
A guide for players who wish to increase the framerate of Rogue Company beyond the normal limit of 150FPS.
Contents
Guide to Increase Framerate Limit
All credit goes to DIE Sh4rk!
Introduction
The current default framerate limit for Rogue Company is 150FPS. You cannot increase this limit in-game, so you’ll have to modify the files a little to increase this limit.
This guide is intended for those players who want to increase the limit beyond that so the framerate reaches the refresh rate of the players’ monitor.
Step 1 – Finding The Correct File
In your PC files go to:
- C:Users[User]AppDataLocalRogueCompanySavedConfigWindowsNoEditor
Note: [User] is whatever your Windows username is.
You should find a list of files that looks like this:

Click on the file called GameUserSettings.ini:

And you’ve finished step 1!
Step 2 – Changing The File
Once GameUserSettings.ini is open, you’re going to want to make 1 change.
- Find [/script/killstreak.ksgameusersettings]
- Underneath add the line “FrameRateLimit=[240.00000]”
[240.0000 can be changed to any value you wish]
Your file should look like this (I highlighted the line you needed to add.):
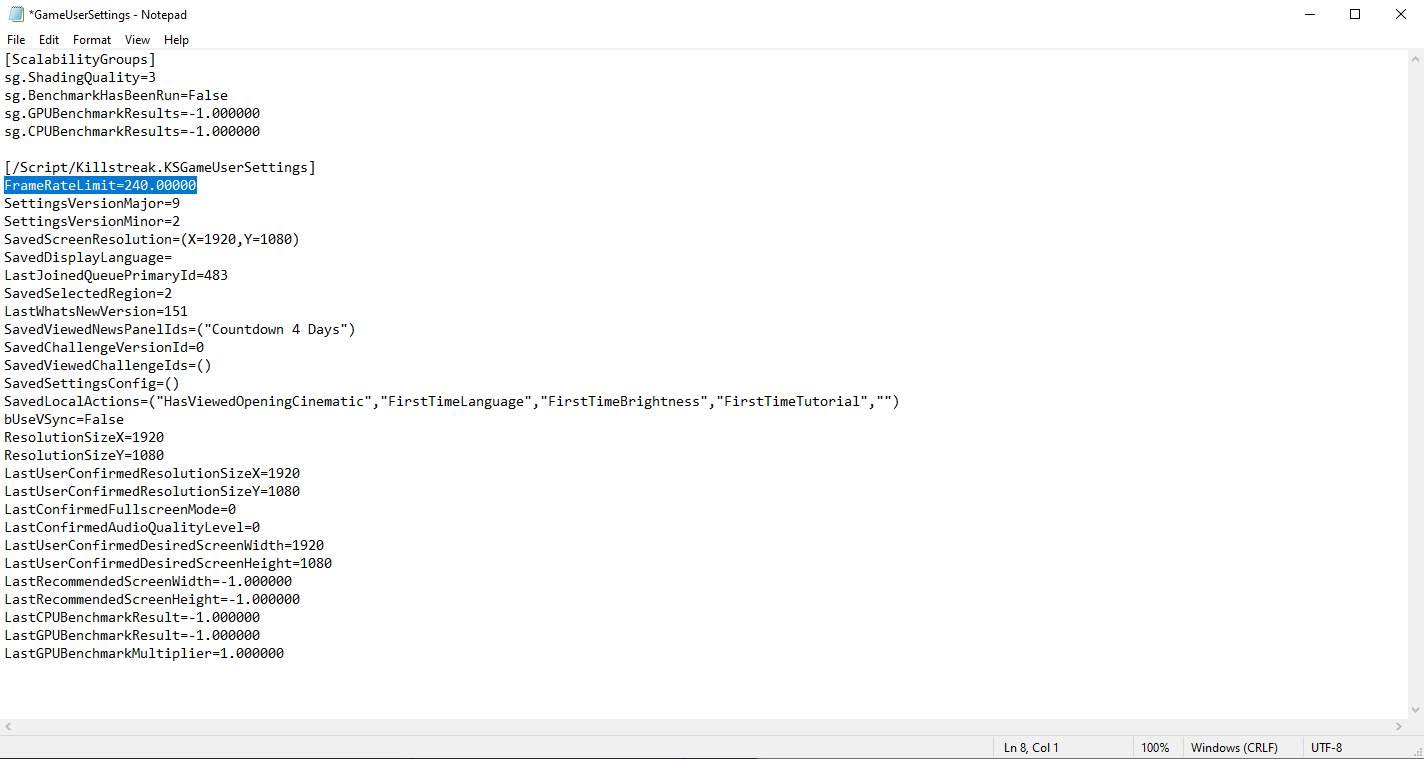
(Please click on the image if you cannot see the text clearly.)
You can change this value to be any value you wish, with a few exceptions:
- You cannot have an infinite framerate by changing the value to be 0.00000.
You have finished step 2.
Step 3 – Save and Close the File
Go to:
- File/Save
Please don’t forget this step – we wouldn’t want you to lose all your hard work, would we?
Step 4 – Verifying the Changes Worked
Open up Rogue Company
Enable the in game FPS monitor by going to:
- Settings -> Gameplay -> Telemetary -> FPS (Set to ON)
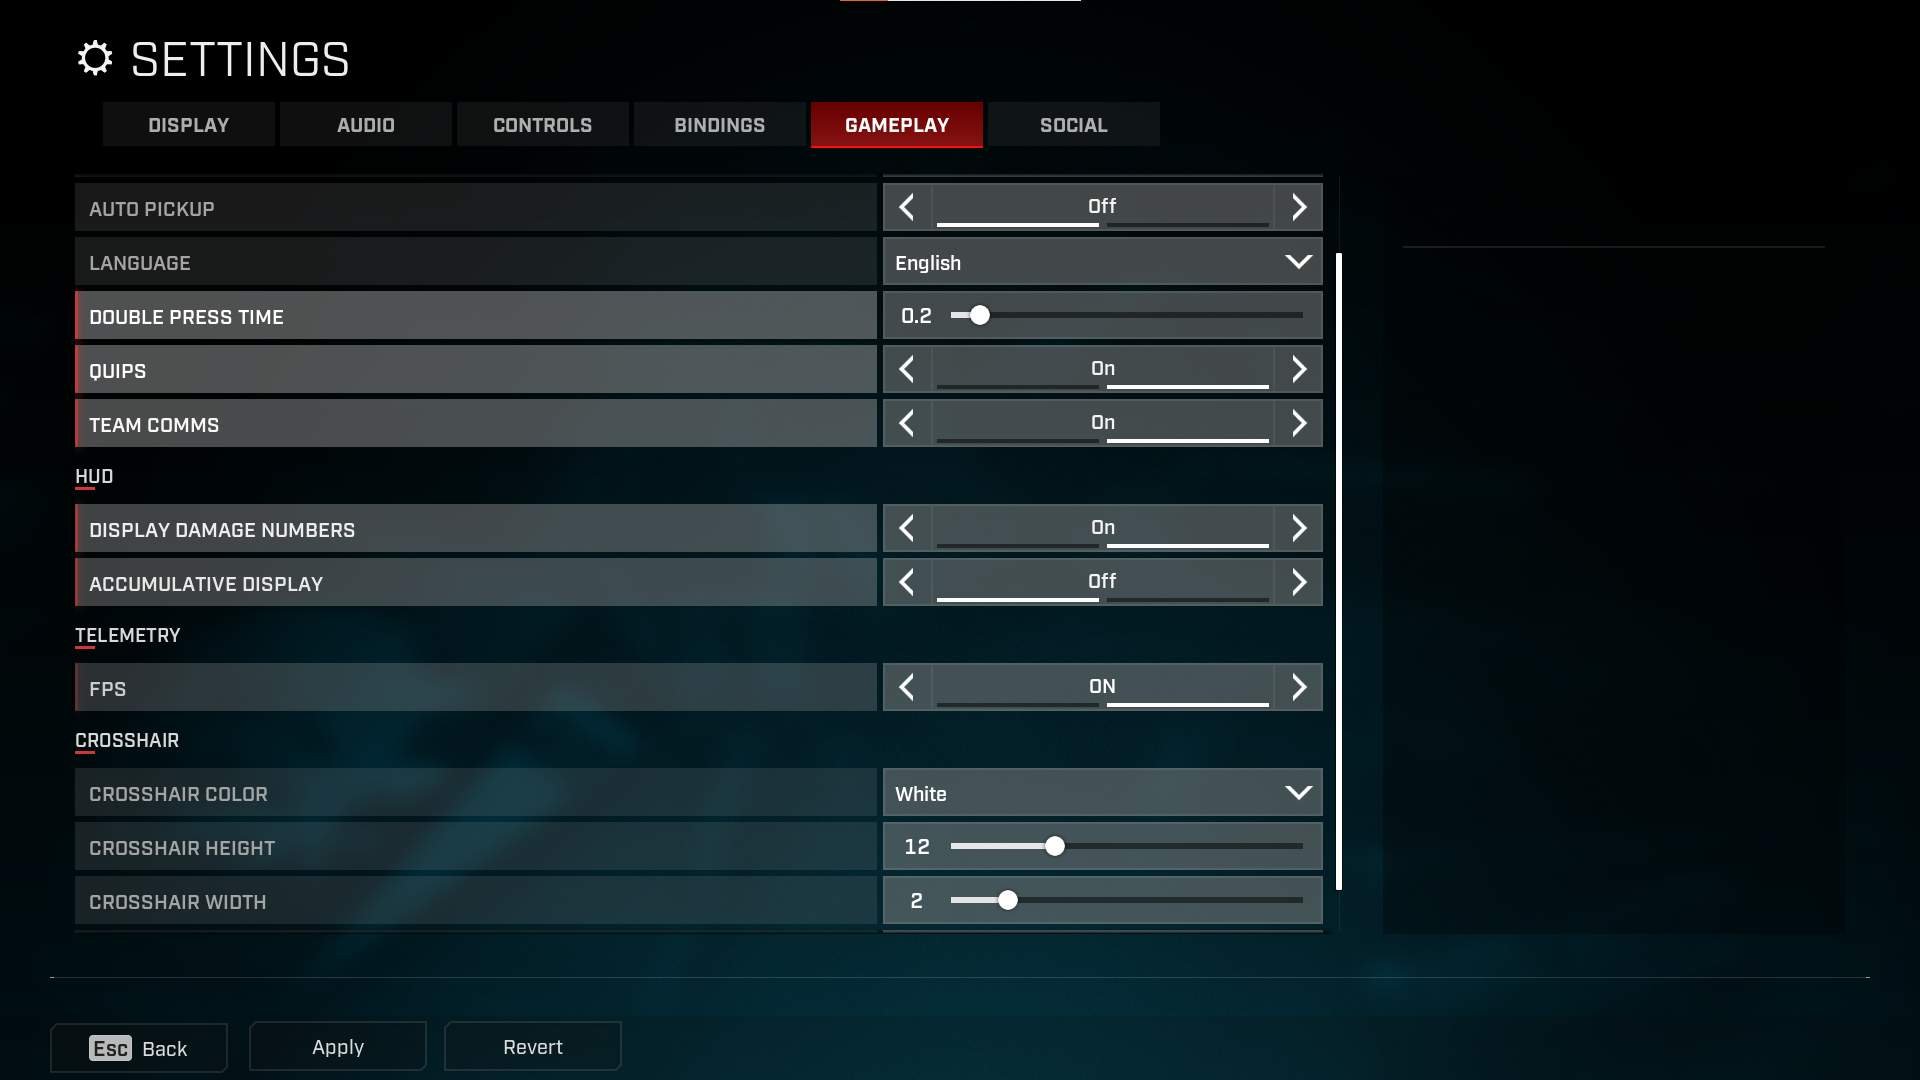
This will display your current FPS when you are playing a match or practising in the shooting range.
(Optional) Step 5 – Bug Fixes
If you find that the file reverts and your changes aren’t being saved set GameUserSettings.ini to read-only, by:
Right-clicking the file, clicking Properties, adding a checkmark to “Read-only” and clicking OK.
It should look like this:

As of the time of writing this guide, that is the only issue I have heard of.


Be the first to comment