
This tutorial aims to help all beginners of the game, to understand some basic settings like climate and resource availability. All information present here are very basic in nature and it’s aim is to familiarize you with essentials things. One disclaimer, this tutorial doesn’t aim to explain basic game mechanics, this will be covered in another tutorial.
Contents
Proper Settlement Guide
All credit goes to vecnavatra!
Introduction
Today we are going to focus on several important things that you need to pay attention to when starting a new settlement.
This tutorial aims to help all beginners of the game, to understand some basic settings like climate and resource availability and have a good planing ideas what to do from the start.
Keep in mind these information present in guide is not about basic mechanics (that will be covered in another tutorial), but to help you organize and plan your settlement better.
Map Selection
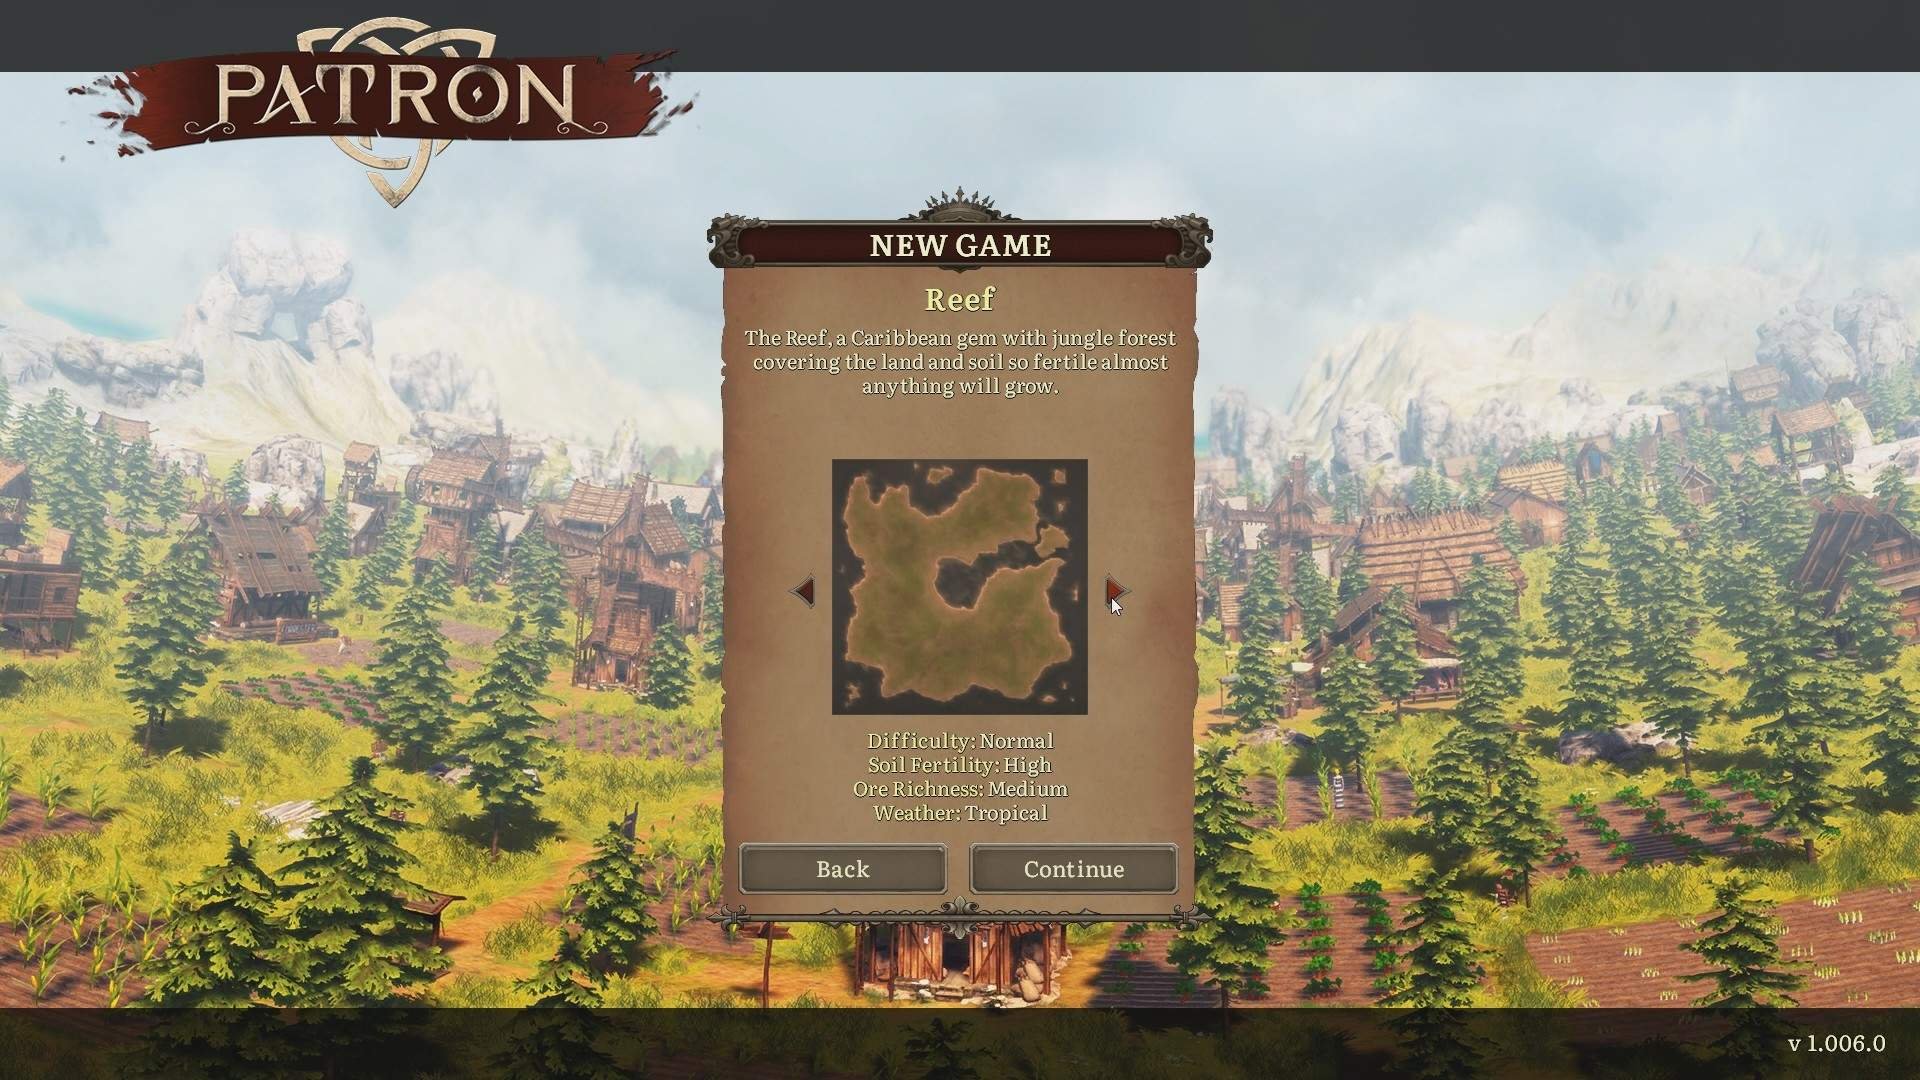
- Now first thing that you need to acknowledge on the map selection screen is the weather or climate, because based on that selection your building priority will heavily depend on that.
- Next thing is a soil and ore abundance on that particular map, that selection is going to impact your entire production and can cause huge problems in mid and late game.
- So if you are new to this game or want to play casualy without stress, select tropical map with High soil fertility and high ore richness.
- For the preset, I would suggest to play on default settings until you understand what each setting will affect the new game.
Starting the Map
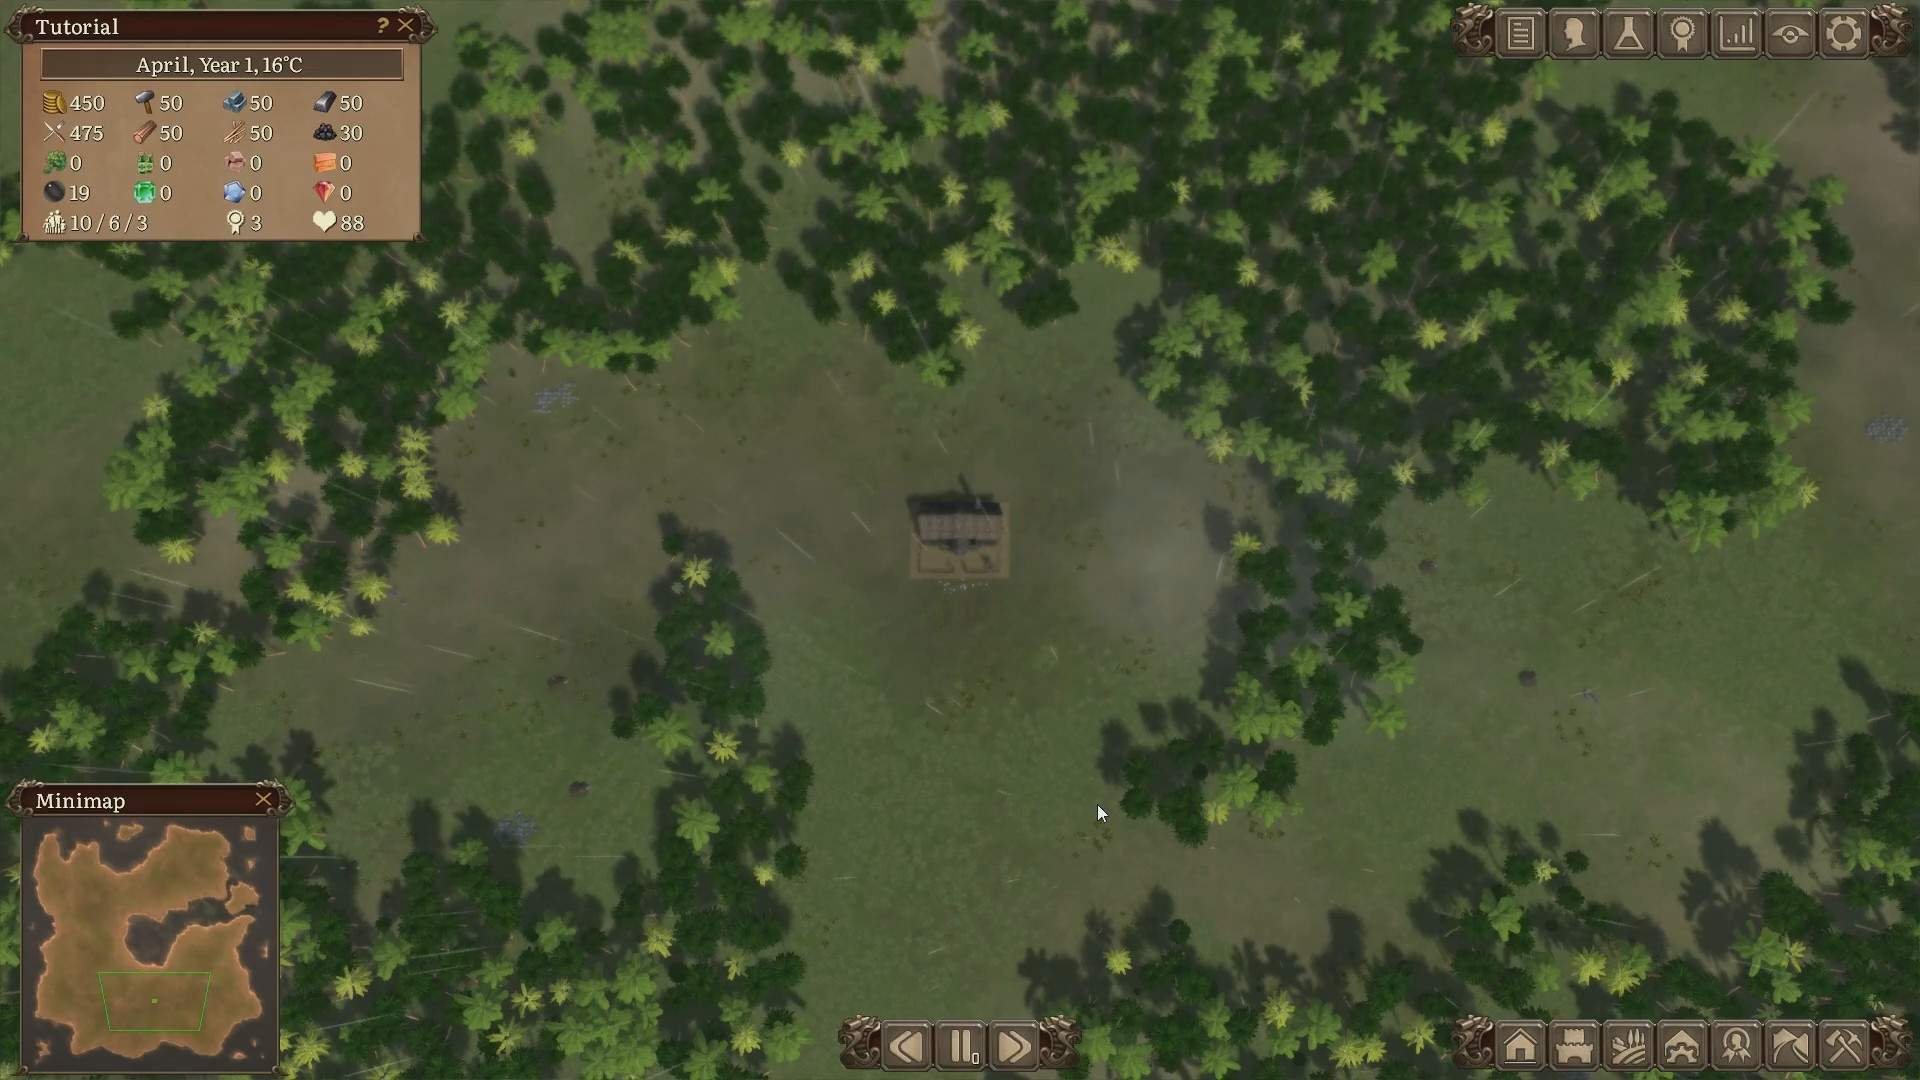
- When you have selected your destiny and you are on the map, pause the game right away and put your thinking cap on, since this step is extremely important.
- Now zoom out with your mouse scroller and if you don’t see minimap in left bottom corner press M which is the default key.
- See where your Town Hall is located on the map, roam around to assess the terrain and have the rough idea what is going to be the wider area of interest for the future.
- Do not unpause the game until you know what will you do.
Assess the Terrain
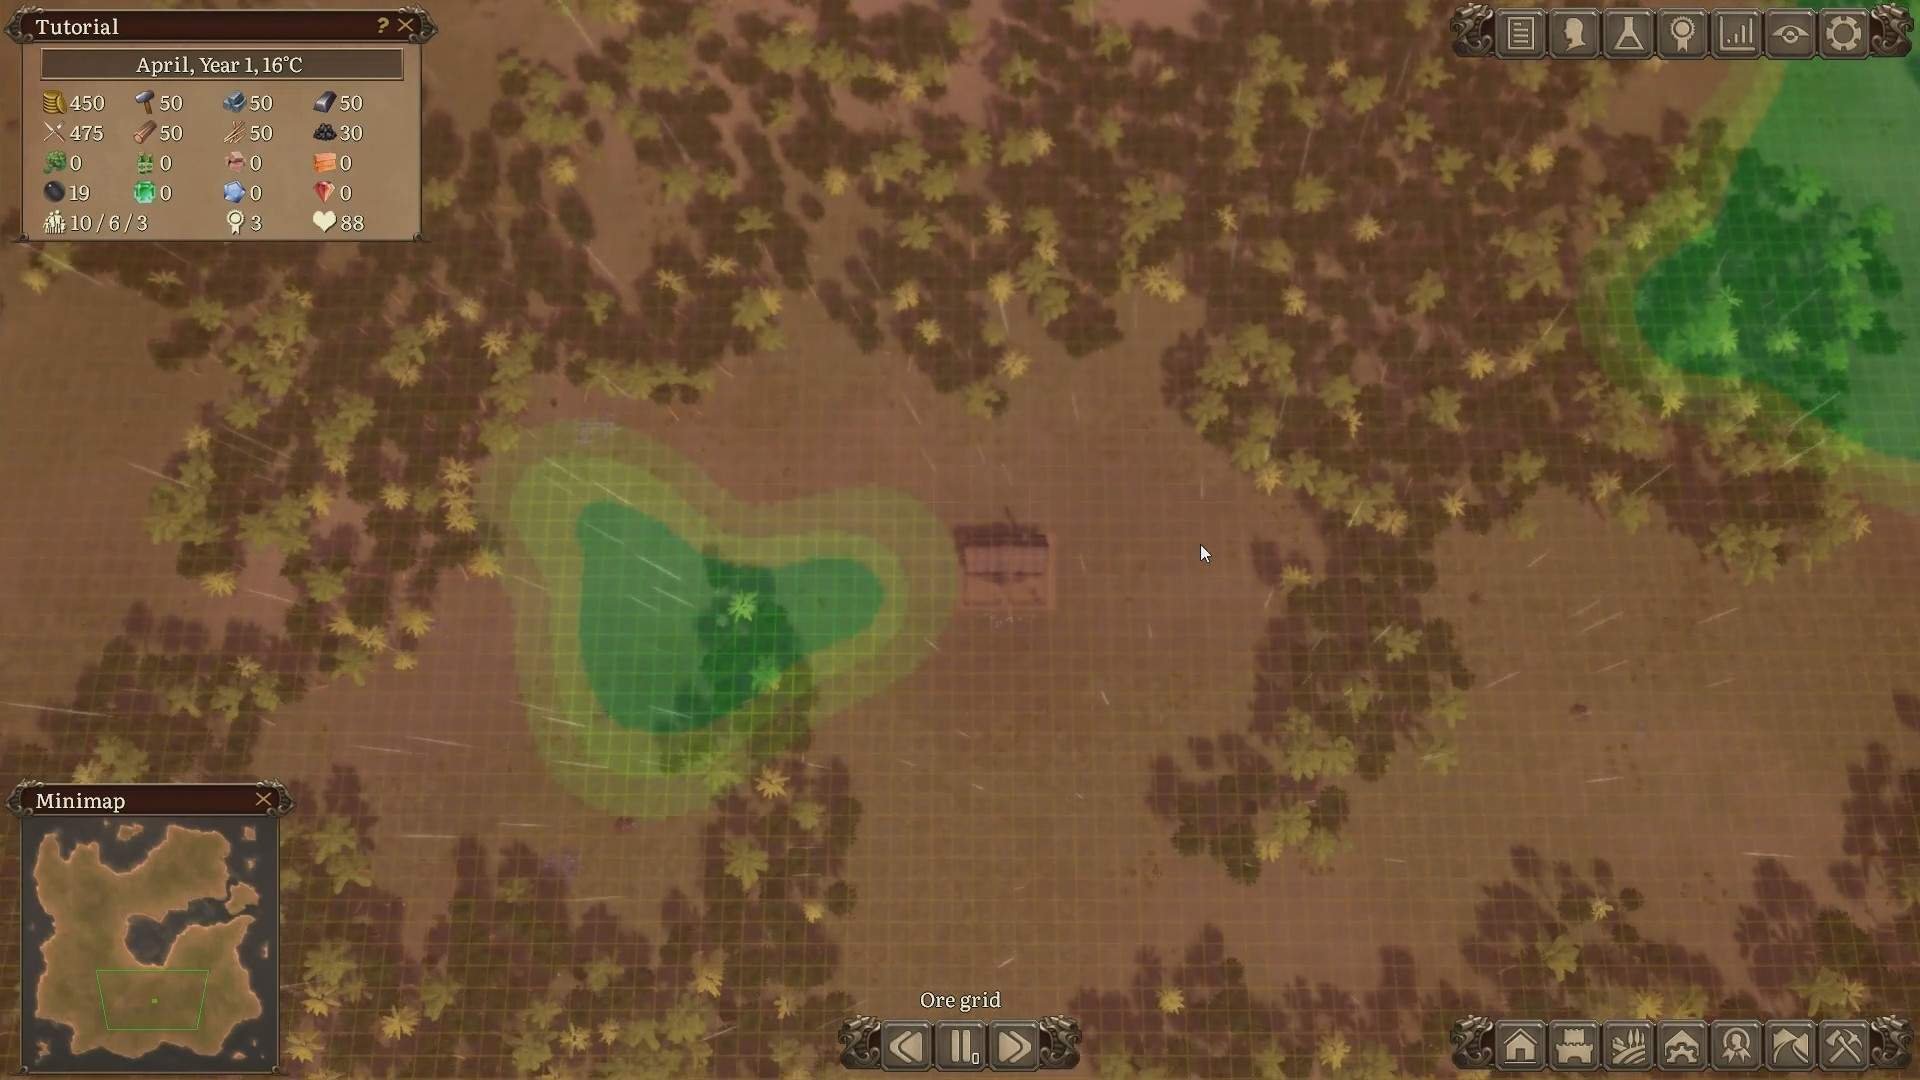
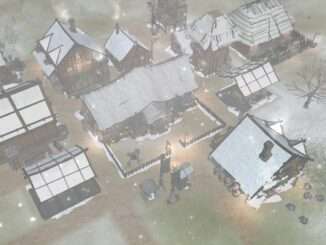
Now press key G twice to get to the Soil fertility grid and find all green areas that are in the wider area around you. (see the bottom left image)
This step is extremelly important because your production of various things (like wheat, oats, plums, flowers…) will depend on your utilization of every square of that green area.
When you have that information, use it to plan your expansion of settlement into those directions right away.
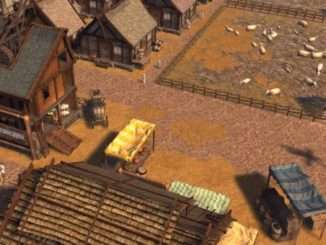
Next thing, press key G one more time to get to the Ore grid view and yet again find all green ore squares in the wider area. (see the bottom right image)
At this point you should have a very good idea where you expansion of settlement will go until the mid game.
To conclude your planning task, see where isn’t any ore or fertile soil and bit further away from your settlemnt, that is where you will build forests and lumber production.
Everything else in between and around, that is a free real estate for residential and production buildings.

Weather Effect
Now lets get back to the paused game and see what your selection of the map climate is going to affect your immediate priorities before you unpause the game.
Before that, to mention, there are basic two types and two sub types for hot.
Major types are Hot and Cold and sub-type is Dry and Tropical for Hot, while Cold is self-explanatory term.
As already mentioned, what you need to build right away and have as soon as possible is very dependand on this climate.
Hot climate
- This is a easier and less punishing environment and that is the reason why it is better solution to play it for the beginning.
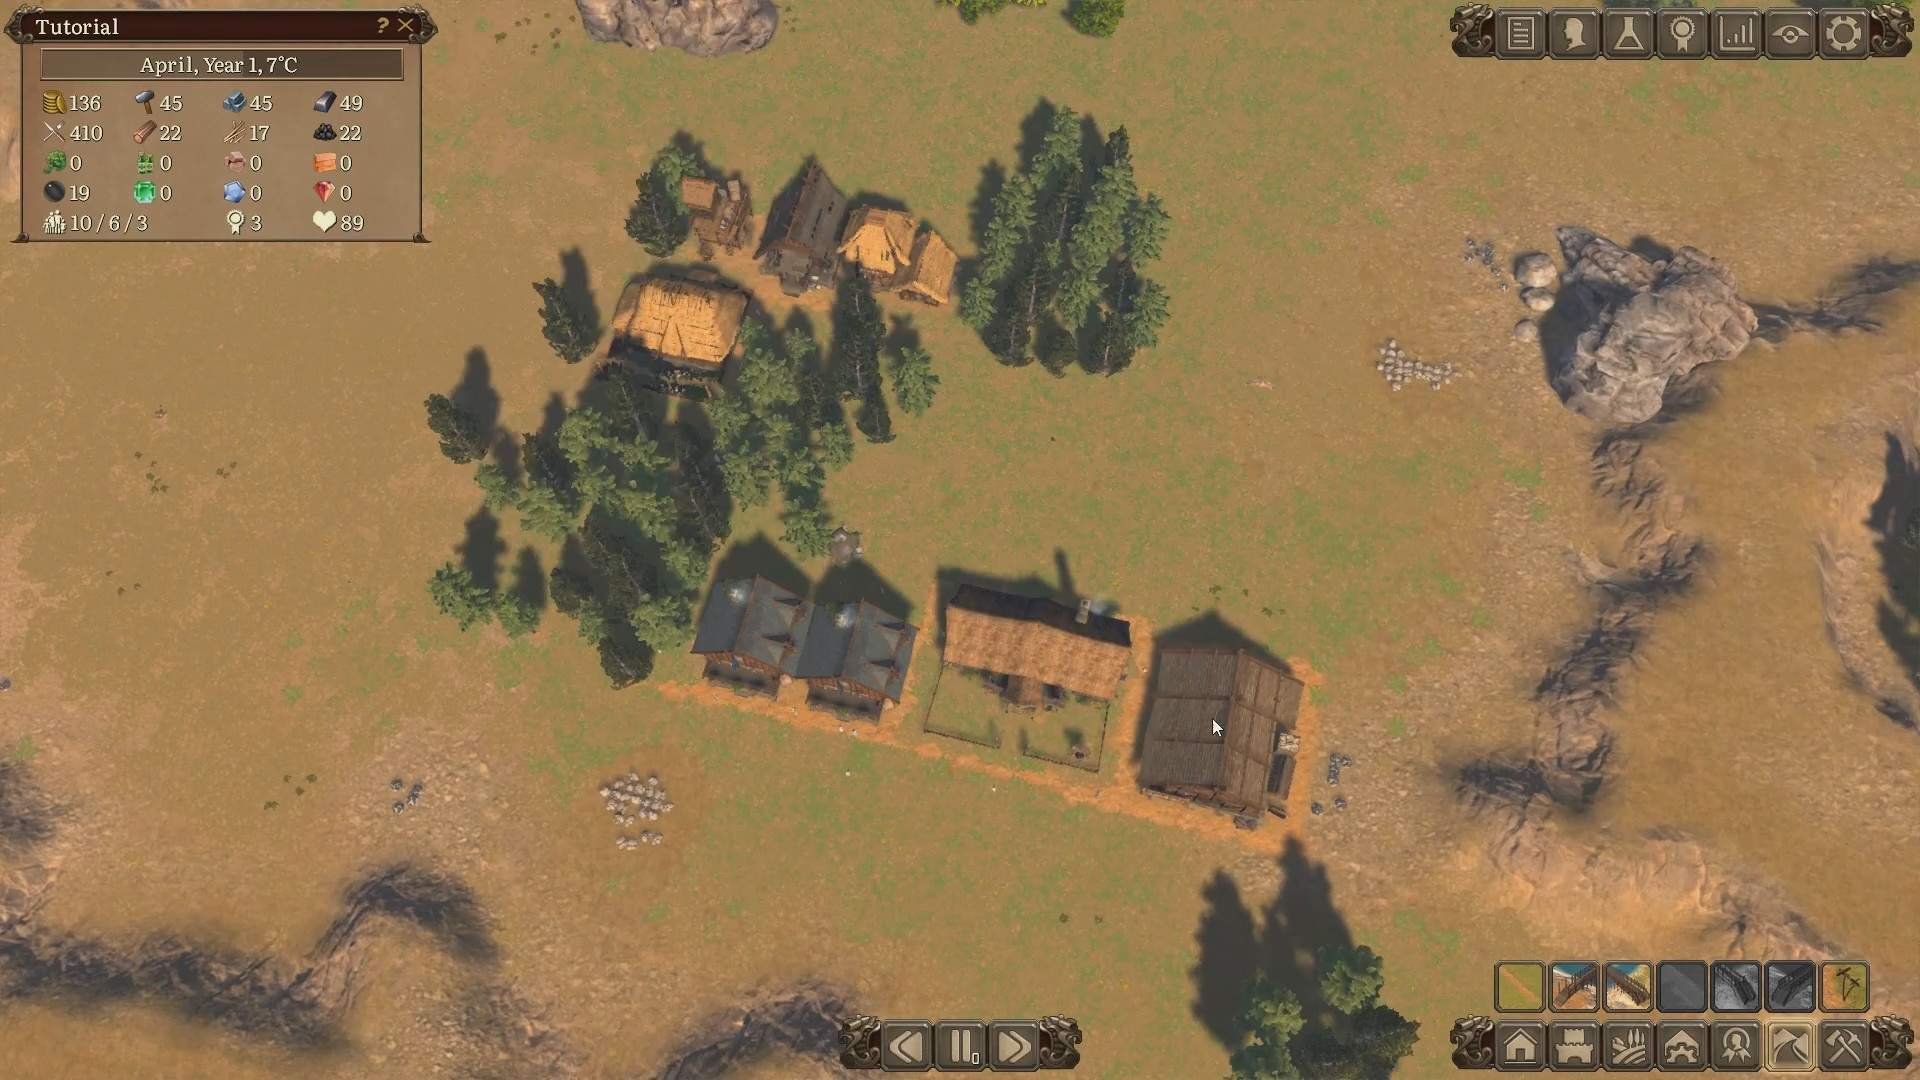
- Now as for the priority of this climate, make sure have this priority, food, housing and then production.
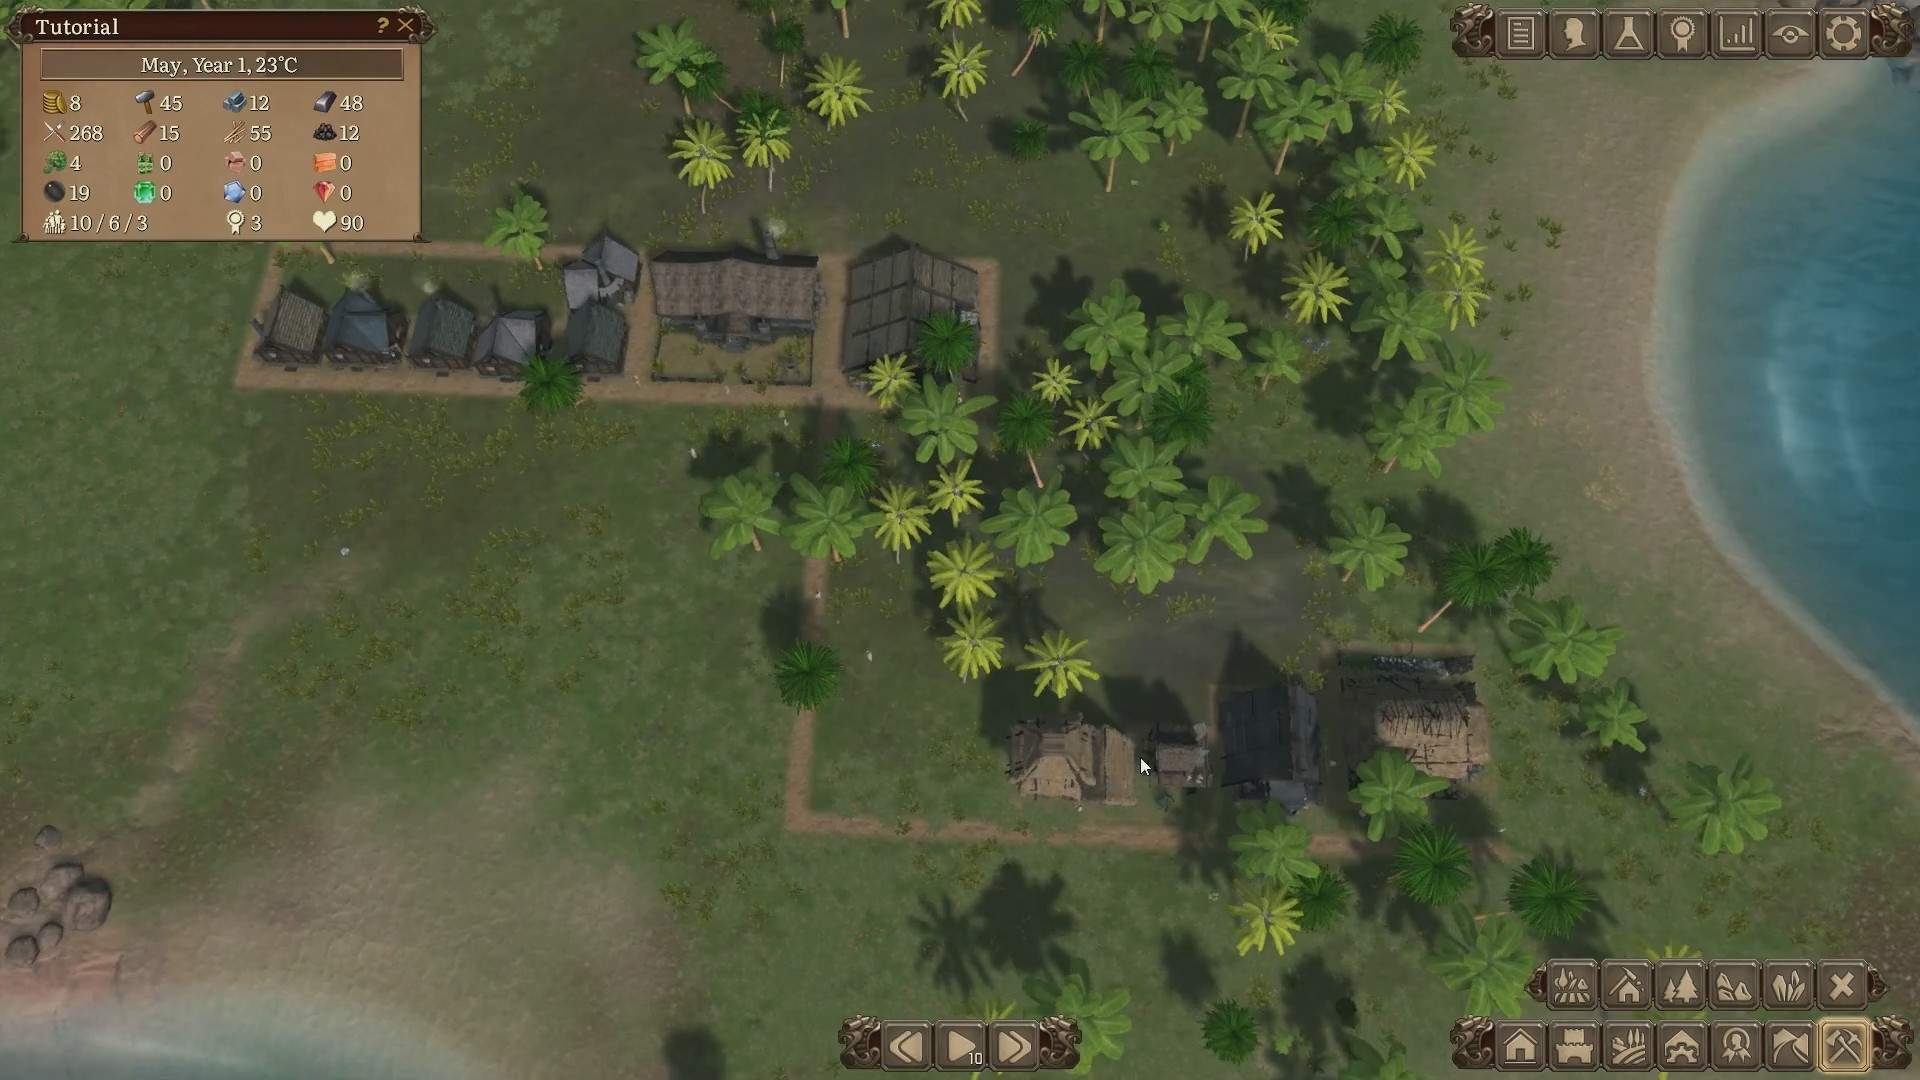
- First build 6 houses, for 5 families and have one vacant house, then go to the production buildings and build following.
- Forester’s hut and make sure you have as much as possible efficiency for these starting building.
- So place the hut, now place hunting lodge, gatherer’s shelter, herbalist and sawmill a bit further from forest area.
- At this point, you can unpause the game and start building everything.
Lumber will be one of your most important resources, lodge and gatherer will provide food, herbalist income from docks export and sawmill to keep your settlers warm during the winter.
Now as soon as you can insulate houses (click on the house, then click on Insulate option, it is cheap and it can save life) to reduce upkeep during the winter, then upgrade food building, leave herbalist and sawmill as is but when you have coins, reduce upkeep for sawmill, since it is very costly at start.
Winter on hot climate is not harsh but make sure you have good production of sawmill to survive first few years since your settlers could die.
Cold climate
As you can imagine, if you settlers can die during the winter on a hot climate, have a rough idea about how punishing this will be on a cold climate.
Your priorities on this climate should be different that on hot one and this is starting suggestion.
Build two shelters, then repeat the production buildings, forester, gatherers, herbalist and sawmill.
For this weather make sure to invest in insulation then upgrading sawmill and lumber as soon as possible and expand when you can.
After you are sure that you will be able to survive the climate, upgrade food and start building houses to expand settlement (and prevent citizen complain about house and be able to reproduce, since shelter will prevent families to reproduce offspring).
Also try to get coal mine up and ready as soon as possible, since it will also provide you with resource that can keep your settlers warm during the winter.
Next Step
After you make all the basic production, it is time to go into researh area and start expanding your settlement.
I would suggest to first go to quarry and construction goods decress which you should enact as soon as possible.
Then go to the lower branch, fisherman’s hut and cleared path until you finish researching food production and enact in a town hall.
When you can, reach the shores as well so that you can build fisherman’s hut and docks, this is very important part.
Now at this point your settlement should have enough stability to start pushing toward gathering hall, your first milestone of the settlement and also will be near getting the stone roads (and warehouses).
Tips and Tricks
Make sure to check out Research tree and pay attention to the red/brown item which are the bonuses, read the slowly and have idea which building is going to give you bonuses when they are near other buildings.
This is very important, since it will affect your building strategy and also significantly boost your production.
For the green research items, read it make sure to get and utilize all that will boost your production and reduce upkeep, later on when you have production you try enact different decrees.
Don’t research decorations until you need it to unlock something or your settlement is stable with production and needs.
Build Depot’s as much as possible to prevent your stock getting full and aim to get warehouses as soon as possible.
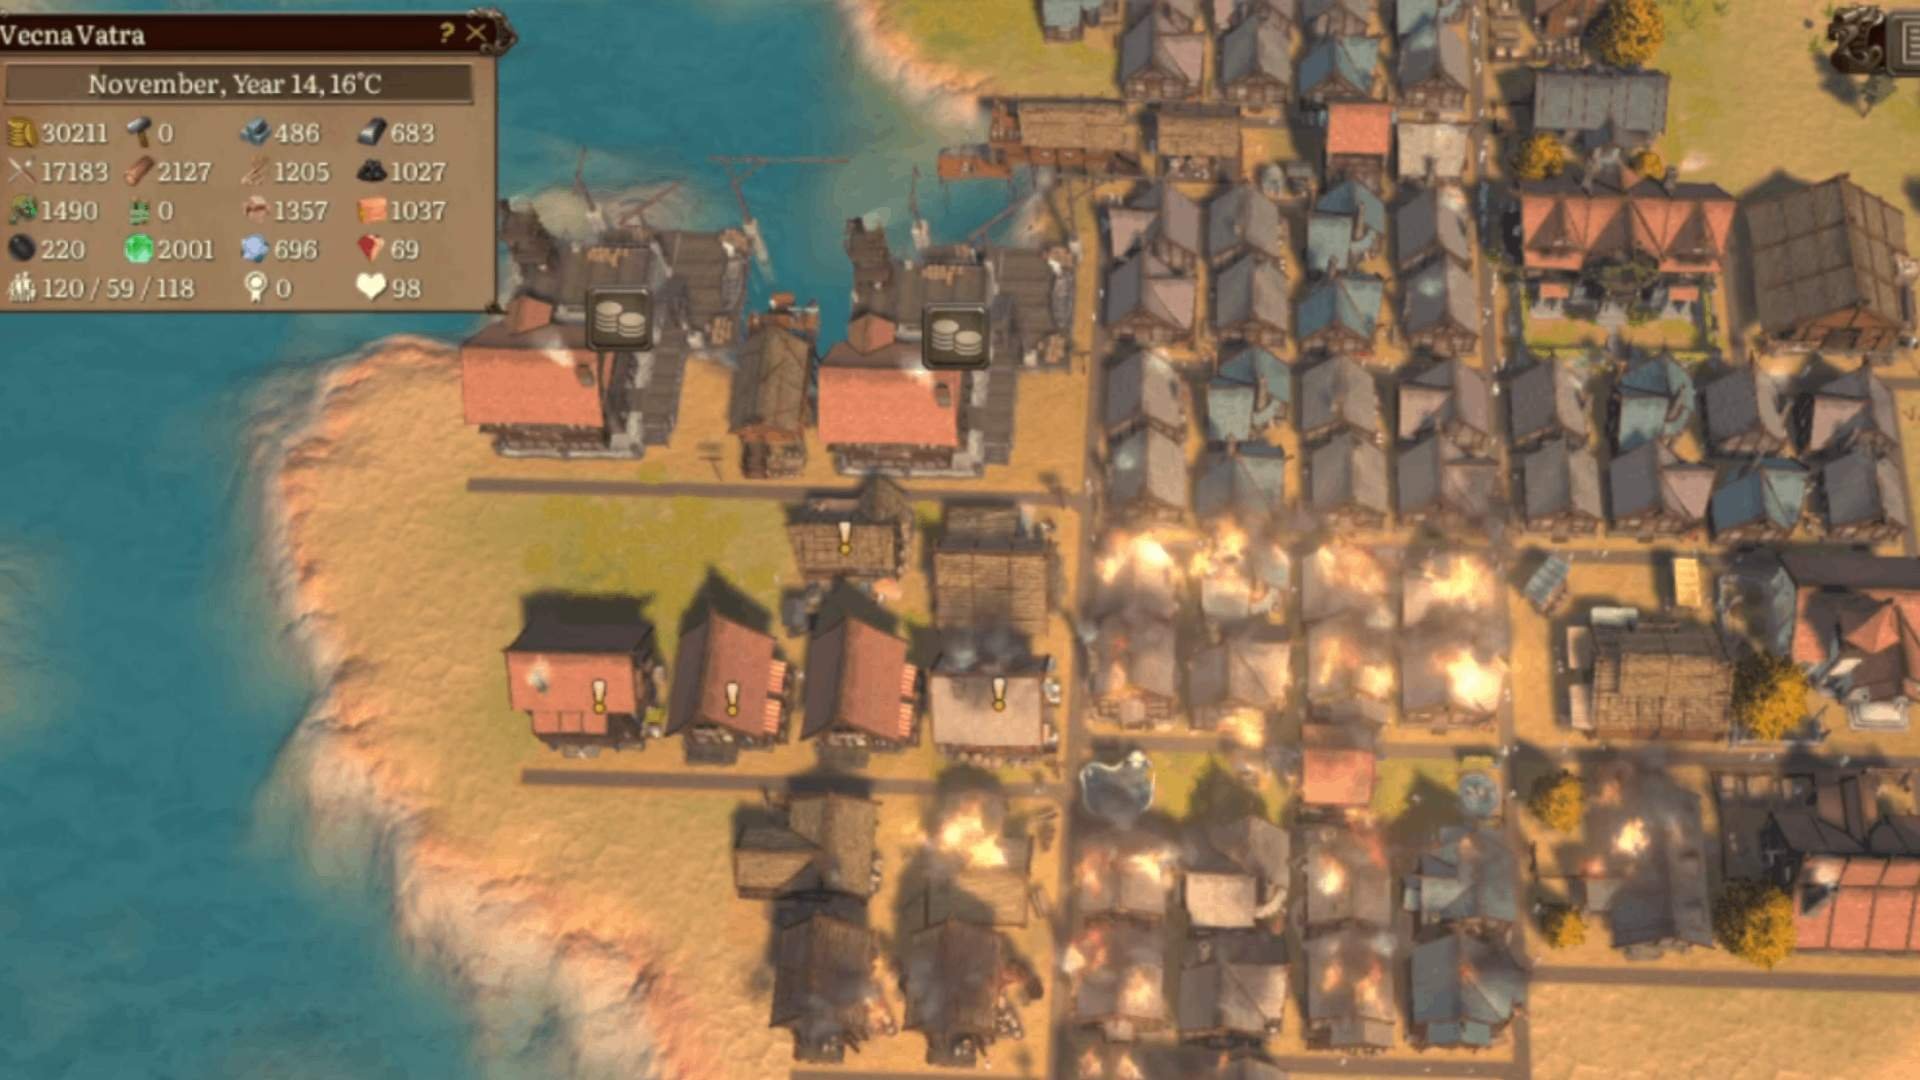
Hot climate will bring some dangers in a form of wild fires, when you see that, demolish or upgrade that building right away and litteraly right away or that is going to spread everywhere.
For the production make sure to read for each building what is the cost of upkeep, so that you can have enough resources always and build enough storages!
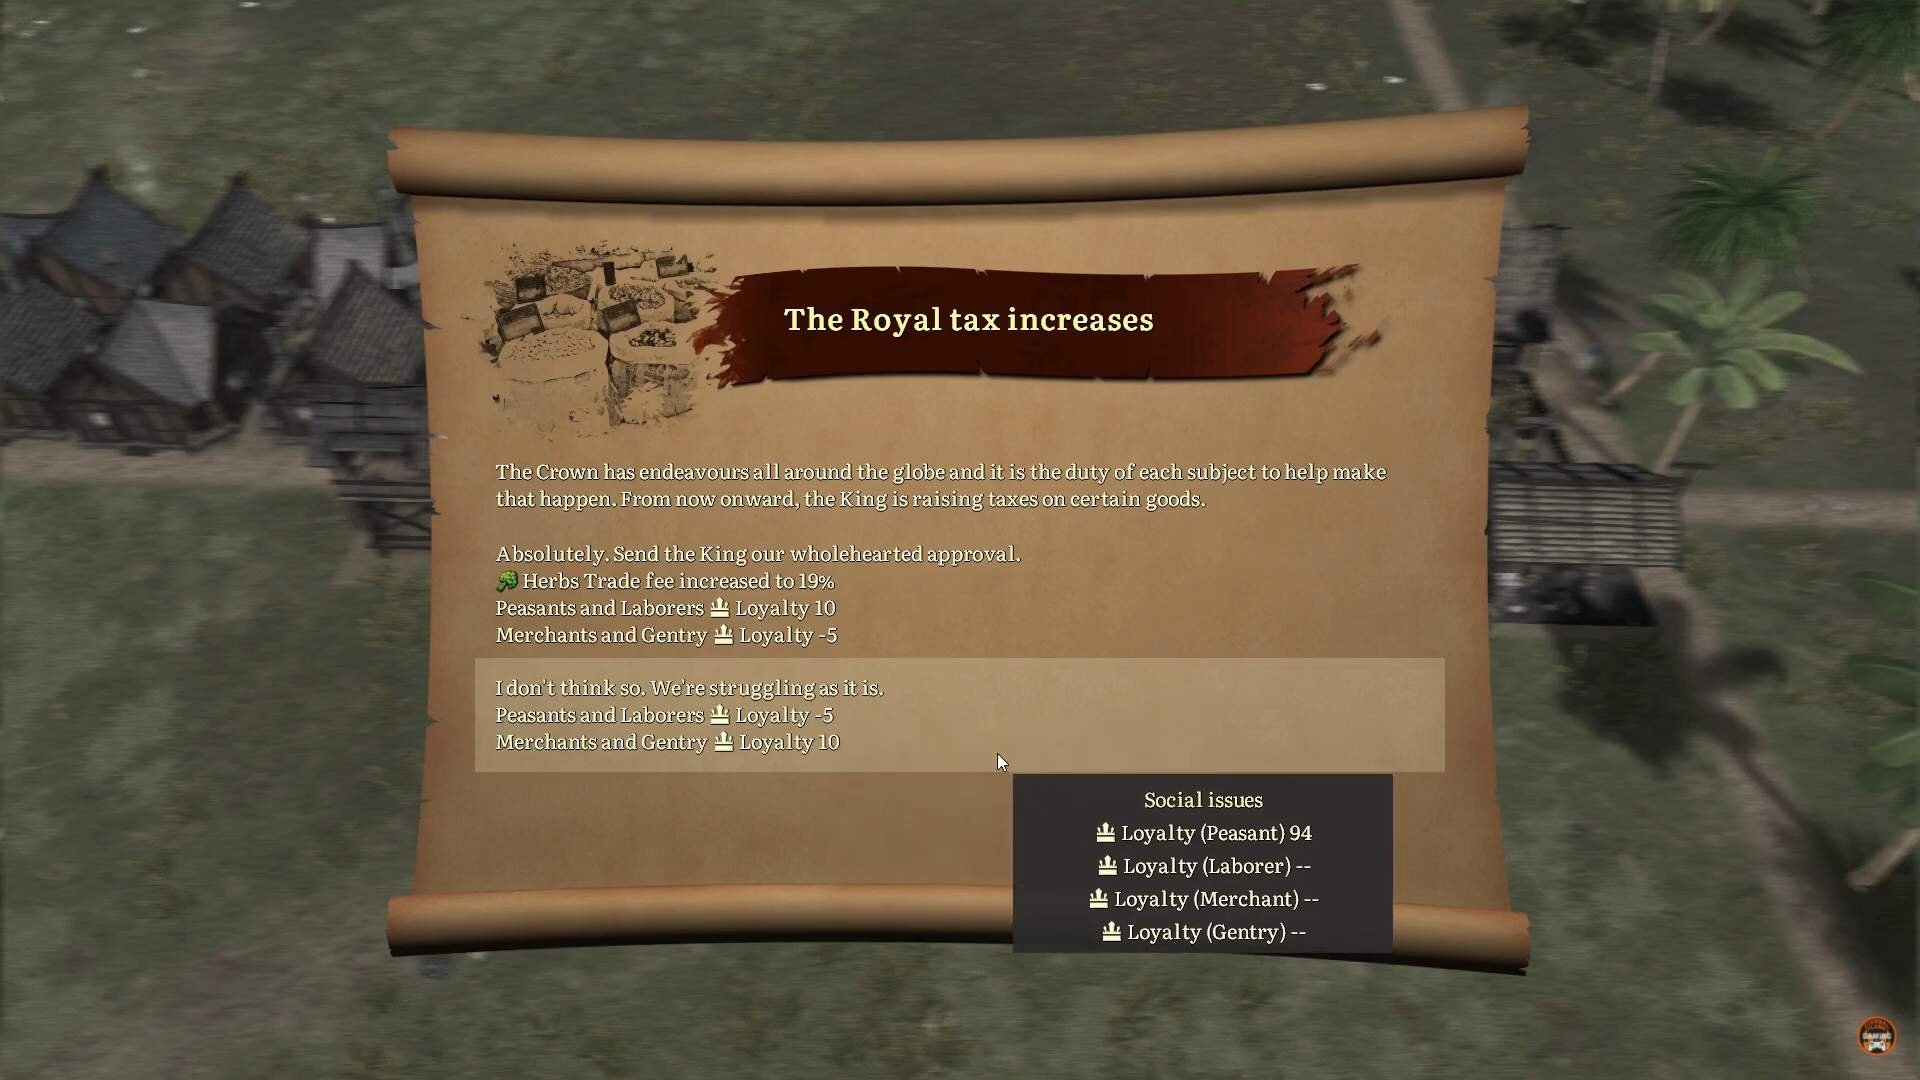
Also never, ever accept events from King when he wants to raise taxes on some goods, it is not worth no matter what you might think, always choose penalty instead of having higher taxes.
Be sure to always have enough “free” worker that is not assigned to any particular task, since lack of this type workers can cause production problems and especially building new building will be much slower (if you don’t have any free worker, you wont get any new building)
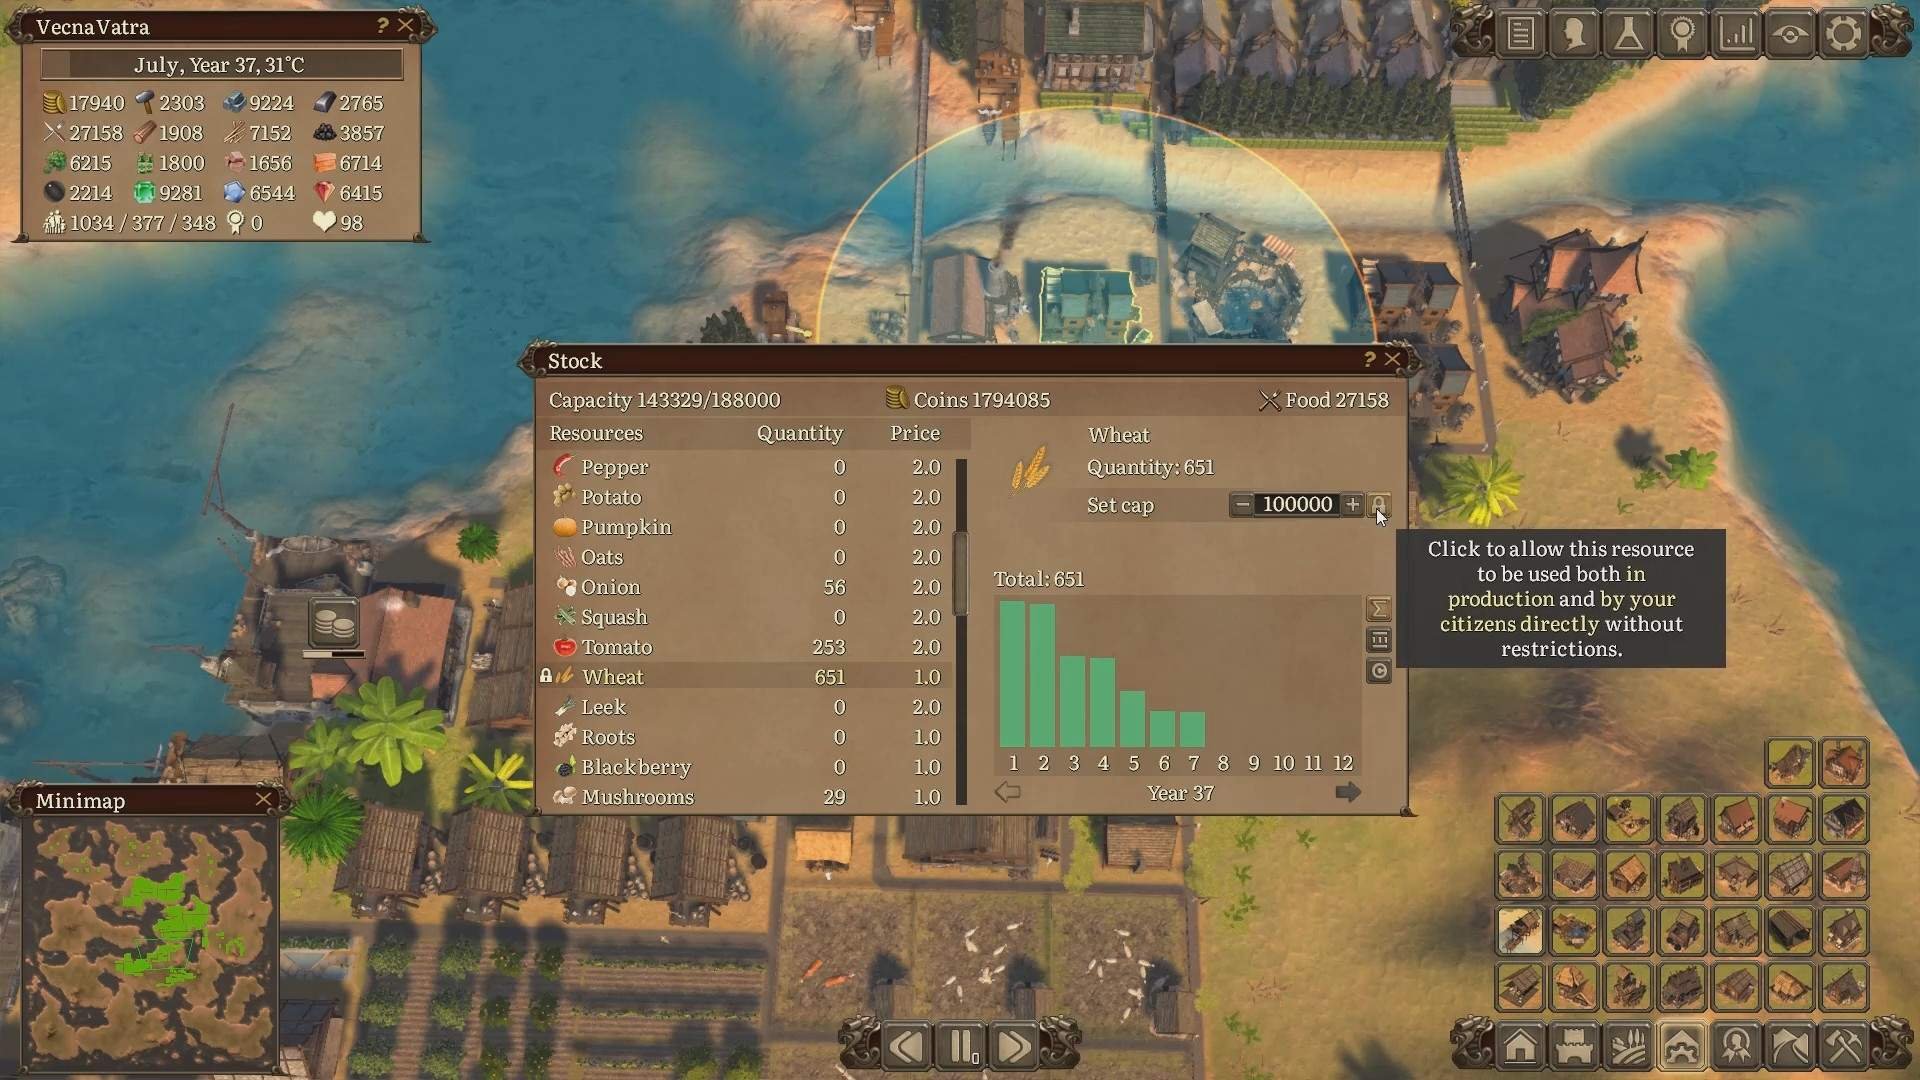
And one more important note, make sure to lock the usage of products, so that they are only used for production, like wheat for instance.
Conclusion
Key to this game is balancing production of materials so that you have enough products, while having the food and never lack the empty houses, so that you can have stable flow of new families.
Of course this a rough overview of everything related to planing, but it’s purpose is to help you survive the beginning and when you land on your feet, you can be creative and do whatever you feel like.

Be the first to comment