
Introduction
All credit goes to Linnense!
Please understand that this will be a rudimentary guide, as many people on the discord have been asking the same questions, so it’s purpose is more like a memo than a full on guide.
Additionally, the information here is suspectible to change or becoming outdated as this has been on Early Access for less than a week.
But without further ado, to the part that matters!
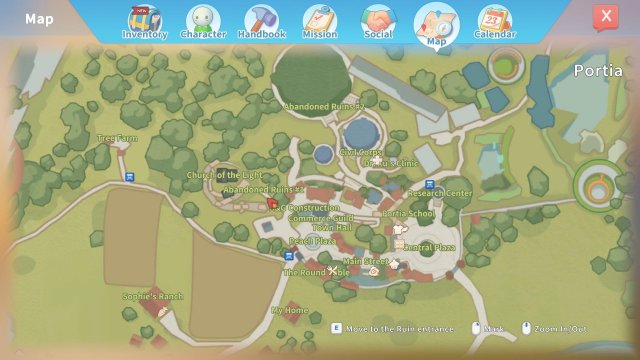
Here is a map that provides you with the locations of the Ruins. Since the Hazardous Ruins are more dungeon-esque, they will not be covered. The red arrow is the player’s location to provide an idea of the spatial relation.
Abandoned Ruins #1
This is your first source of ore. Available to you once you require copper items. When you arrive, Remington provides a short explanation about how rare the gear is and how you have to pay an unfair amount of money to use it every week. BUT. You’re the new builder so you get a 60% discount first time. Which is “great” since when I started I didn’t even have the money to pay the discounted rate. Afterwards, the regular fee is 200 Gols. Highway robbery.
So! What do you look for when you mine? You just see a lot of grey rock, right?
Wrong.
If you look closer, you’ll actually find some discolouration. In this mine, there are brown patches like dirt. When you mine there you recieve copper and tin ore. Regular gray rock will produced stone, sand, and soil. These are always the combinations.
Now what about that scanner thingie he mentioned? That looks like lost steampunk tech?
You use this to scan for relics. Relics can be data discs (needed for trading with the research center or the church), power stones (needed to supply some machines with fuel), old parts (what it says on the tin), building materials (which appear in AR # 2), and furniture!
Relics found only in this ruin are:
- Leather couch
- Odd Clock
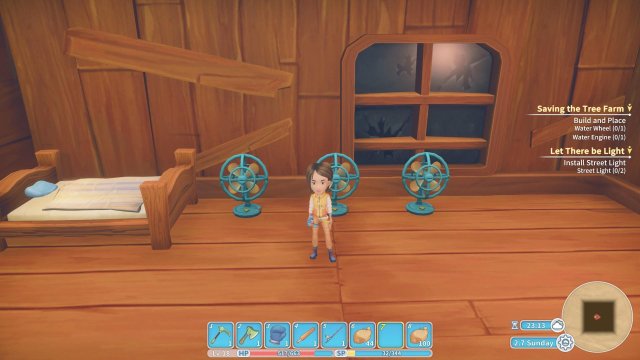
- Fan
- Small Engine
Look at all my fans! So popular.
Scanning
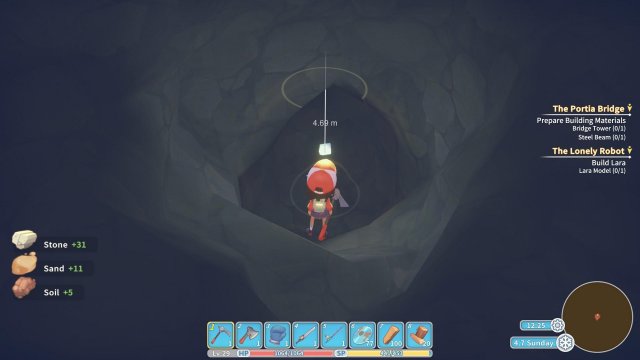
As the small pop-up tutorial says, use ‘F’ to scan for relics. When you do, a circle will appear in the center and you (hopefully) will see small glowing orbs.
When you see such a thing, move your camera so the circle overlays with the orb. Wait a few seconds for the circle to fully become yellow and you will then have located the distance and location of your relic! A number and line will appear, the line provides depth whil the number tells you how far away you are. The closer you get, the smaller the number is and larger the orb is.
So now that you’ve found it, mine. Mine like your livelihood depends on it!
And when you recover the object (in this case, a power stone), simply walk up and the item will automatically be added to your inventory.
Abandon Ruins #2
This one seems to trip players up a little more. This mine is available after you build the bridge to Amber Cave.
This is the road you will take to get to the ruins, next to the cemetary and to the right of the first ruins.
This is the front of said ruins, in which you will have to pay 300 Gols weekly to get in.
There is no copper in this ruin, instead it has.
Iron
Manganese
Iron will occasionally be mined with lead ore, about the same frequency as copper with tin. While Manganese is mined all by itself.
Relics which can only be found in this ruin:
- Washing Machine
- Lubricant
- Carbon Fiber Cloth
- Steel Wire
- Industrial Engine
Secret Stuff!
So far the most known secret, is the secret room. I do not have pictures of it, but have found and been in the room myself.
Reports say that this room is in AR #1 and you must clear out the area under the elevator and you’ll find a tunnel. This tunnel should have the ‘E’ button prompt and say something like “Unknown” or “Secret” location. You venture in and I found there to be level one Gooeys and one chest that gave me llama fluff. Uneventful.
There are folks who have spent weeks in game clearing out the mine and have not found it, while others have stumbled on it by accident. We don’t know if it always shows up or is a random spawn, but there you go.
Also in the AR #1 is a large piece of architecture with a hit box (this one I haven’t found). In order to properly mine it, you need to upgrade your pick axe to bronze or higher. From what I heard, this is also uneventful when you break oit.

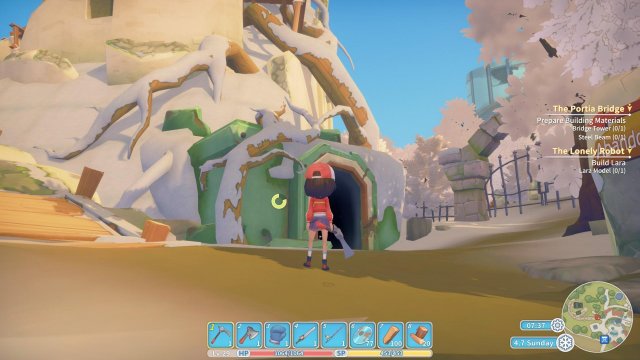
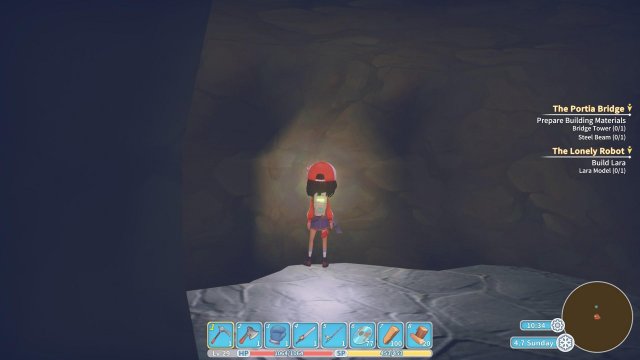
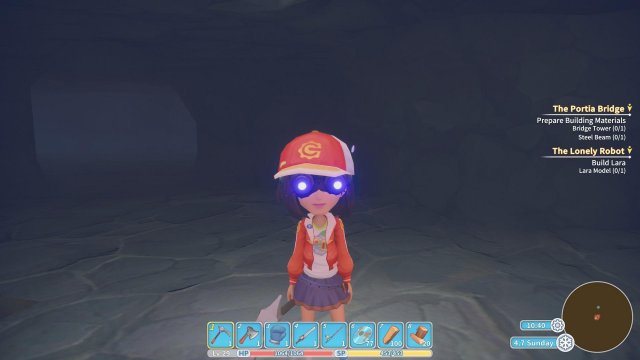
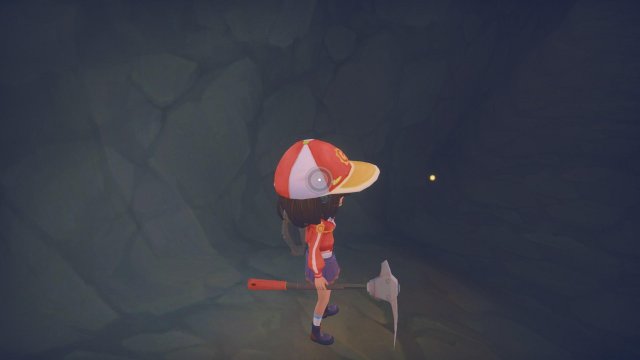

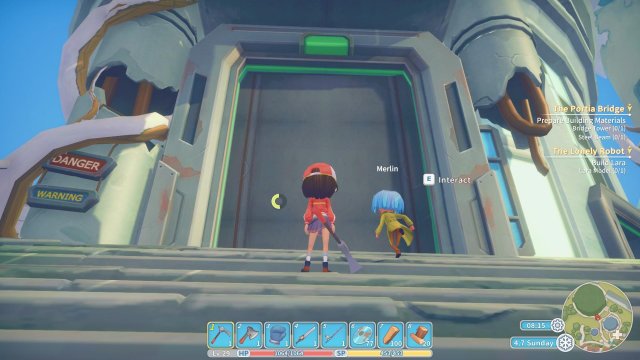
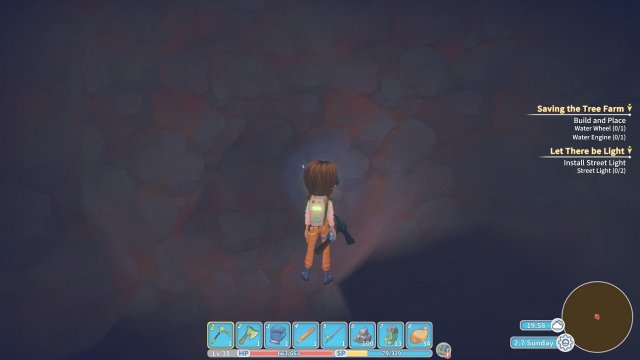
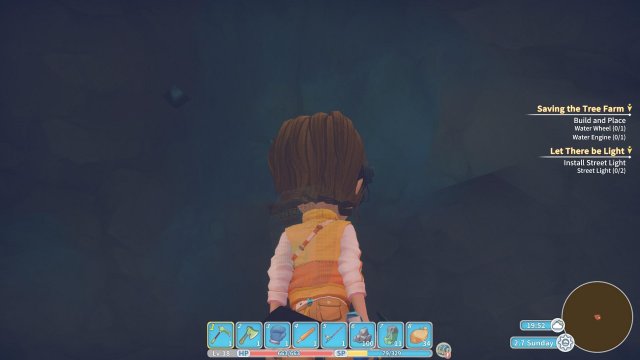


The secret room isn’t impossible to find and you don’t just stumble upon it. You find it with the relic hunter. Instead of a yellow circle, you will see a purple circle. I haven’t played all that long but I’ve found it twice now. Like I have been playing maybe 8 hours and 2 weeks worth of access to ruins #1 in game. But in other words, if you see a purple dot, make it priority! Make sure you have a weapon. It’s only lvl 1 creatures I came across in one of them, but it gave me materials I hadn’t found anywhere else(mucus), and they both had a chest in them.