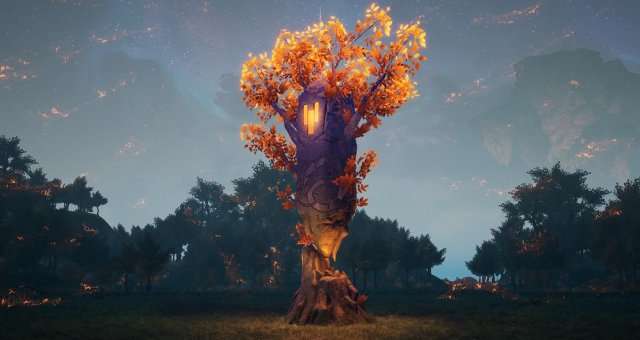
This guide is for players who are new to the game and need a little help tackling the large and complex world of Rend. In it contains information on crafting, combat, taming, zones, factions, and enemies. Get a kickstart into the world of Rend and propel your faction to victory!
Contents
The Basics
All credit goes to HouTexjr!
When you spawn into Rend, you aren’t given much. Players must craft everything they need in order to survive and progress. Before I get into what you should do at the start of the game, I’m going to go over some basic tips that are crucial for success.
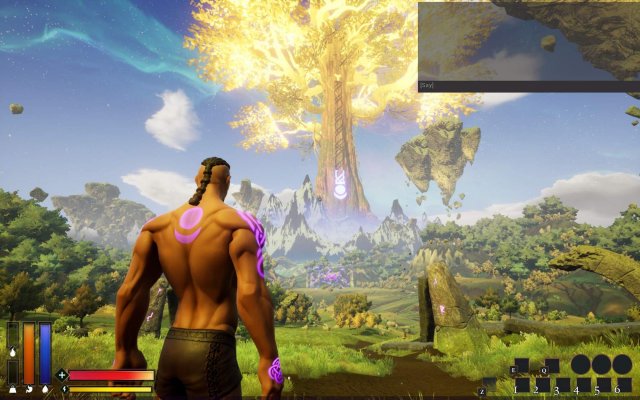
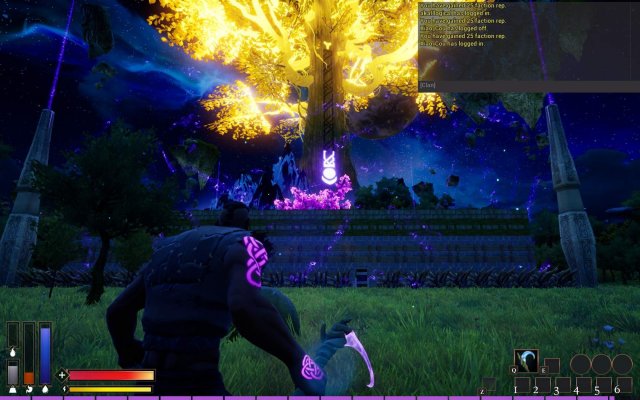
- The Big Yellow Tree is considered North.
- All harvestable things give different items from left-click and right-click harvest. Try them both!
- Each faction zone has its own unique Tier 1 ore. Revenant – Tin. Order – Copper. Covenant – Flux.
- Don’t be a consumer of your faction, be a contributor.
- Friendly players have nameplates; Don’t team kill!
- Feel free to ask your faction what they need so you can help.
- Enjoy the beautiful moments in Rend.
Getting Started
When you spawn in, you should see this:
If you don’t, turn around!
Gathering and Crafting
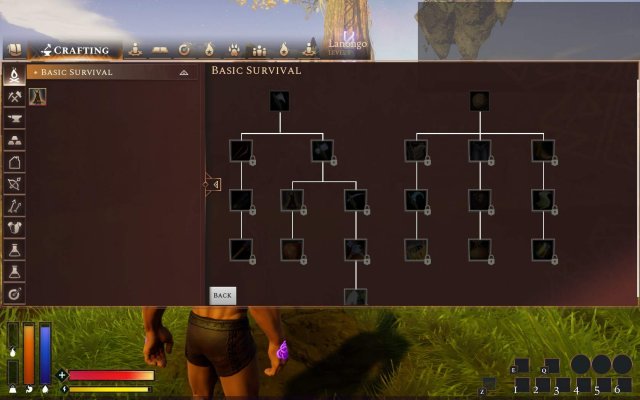
To start off, you’ll want to open your crafting menu (default key is ‘C’) and go to the basic survival tab. Click on the basic survival icon to get a full view of the crafting tree:
Crafting everything in these trees should be your first goal! The first thing we need to craft is some Fiber Twine which requires some Raw Fiber. To get Raw Fiber, you need to Left-Click on bushes, or on the melon plants. When you’ve gathered enough, craft some Fiber Twine.
You can continue to craft more Fiber Twine and craft armor if you want, but now you’ll need to make your Spirit Tools. Start with the Spirit Hatchet on the left tree. You’ll need to gather Roughwood Sticks by Left-Clicking the skinny trees with your first (you can’t cut the big trees without a hatchet). With enough sticks and twine, you can now make a hatchet. Press ‘Q’ (default key) to equip your hatchet, or hold ‘Q’ to select a tool.
Now that you’ve got the basics down and a few crafts done, here are some tips to help you finish crafting almost everything in the Basic Survival tree:
- Pressing ‘X’ will put your current tool away and bring out your fists so you can harvest bushes without a Spirit Sickle.
- You get logs from Right-Clicking trees.
- You get branches from harvesting trees.
- Sticky sap is an uncommon drop while harvesting trees.
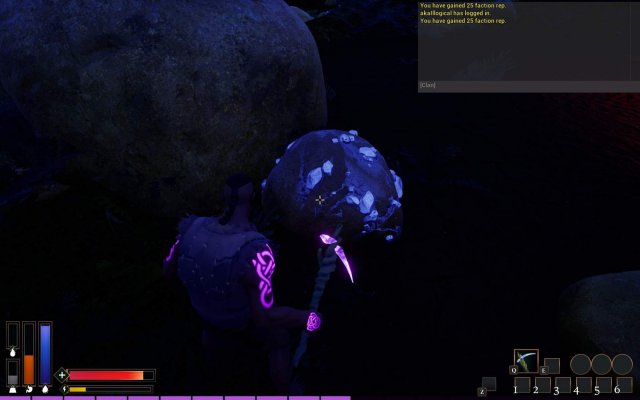
- The Spirit Mallet is what harvests rocks, the Spirit Pick harvests ores.
- You get crumblestone from Left-Clicking rocks; Flint from Right-Clicking.
- Tensile Vine is an uncommon drop from harvesting bushes and it takes a while to get.
- Ores are different from rocks, they look shinier and give metals:
Food and Water
Don’t eat raw meat!
Now that that’s out of the way, here is how not to die from starvation or dehydration. Before you craft a bow, the only way to get food will be harvesting melon plants. Left-Clicking melon plants, or any fruit plant, will give you fruit. You can eat this fruit quickly by putting it on your hotbar and pressing the button and if it sits in your bags too long it will decay.
Once you’ve crafted a bow and a good amount of arrows, you can start hunting (more details on combat below)! Start with killing the Gruntlings around the spawn (they don’t fight back). Once you’ve killed something, you can harvest it with ANY tool. Left-Clicking will give you meat and other meaty products, while Right-Clicking will give you leather and other crafting products. When you get your meat, craft a campfire and place it down by putting it on your hotbar and pressing the key.
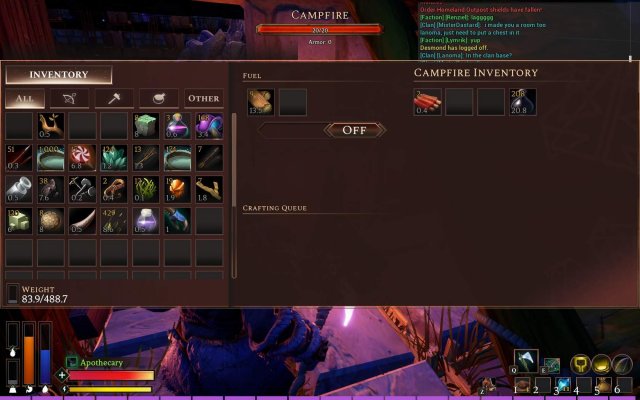
To cook the meat, you need to put fuel in the campfire (left side of the campfire inventory) and your raw meat (right side). Turn the campfire on and wait!
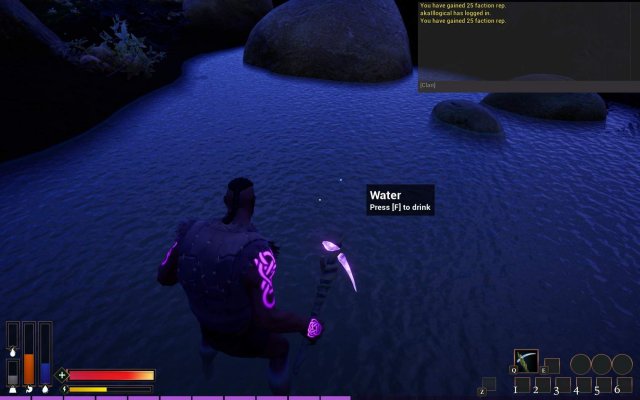
Drinking is much easier. Just walk into any water souce and press ‘F’!
Early Combat
There are multiple weapon types in Rend, but early on you’ll only have your bow. To use it, hold Right-Click to draw the bow back and press Left-Click to release the arrow! Easy. You’ll want to start with killing Boars and Frabbits, but watch out for the Wolves, they are very fast and will quickly kill you!
If you receive a wound from fighting, craft a bandage in the Basic Survival menu and use it. The wound won’t go away on its own.
Talents and Skills
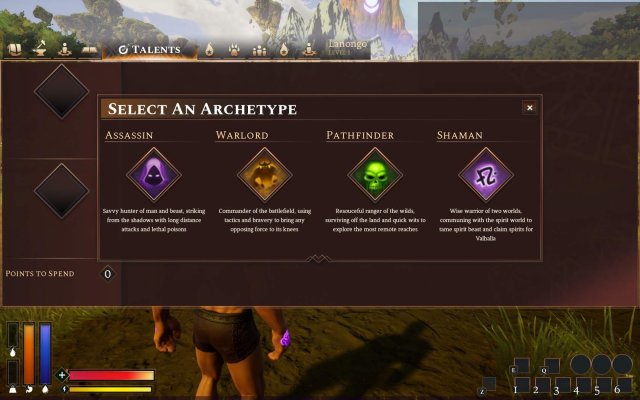
Rend has incorporated RPG elements into its game by giving the player Archetypes to choose from with multiple talents and skills specific to each one. Everytime you level up you get a talent point to spend on various passive buffs or skills in your Archetype tree. To choose your Archetype, press ‘N’ to open the talents menu.
You can choose 2 Archetypes, but be careful!!!! Once you put a talent point into an Archetype, you can’t undo it. Look through all of the Archetype skills and abilities to find which one best suits your playstyle before choosing your 2 Archetypes!
Skill Trees
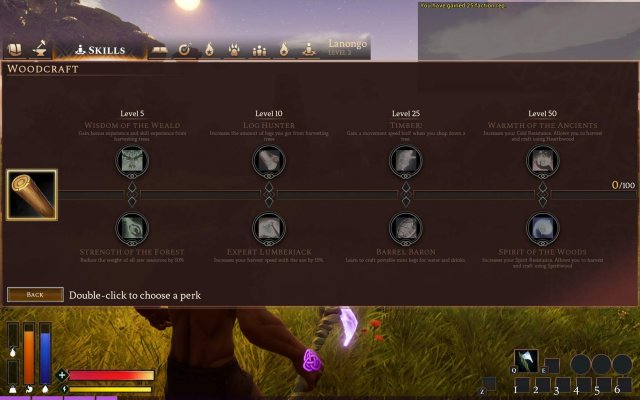
Along with the Archetype talent trees, Rend also offers progression through Skills. You level up skills by performing acts in the game, such as gathering, hunting, crafting, and building. When you reach a certain skill level milestone, you can select one of two traits that will buff your character. Be careful though, once you select a trait, you can’t switch to the other at a later point. Press ‘K’ to open your skills menu, and click on a skill to see its trait progression!
Your Faction and PvP
The primary goal in the game Rend is to collect enough spirits and have your faction ascend to victory! Each faction has a faction base, and the factions are split into three identical parts of the map that can be accessed through portals (or by walking around the entire map). To get to your faction base, walk North from the spawn point (remember the Big Yellow Tree is North!) Your faction base will look something like this:
Faction bases offer a place to craft advanced items through refineries and to share resources with other faction members. You can also gain reputation with your faction by building and upgrading in the base, depositing spirits, and researching. The crafting stations have different locations for every base, so ask your faction where everything is if you can’t find them (/f in chat to access faction chat).
Spirits
To win in Rend, you need to collect spirits and put them into your faction’s tree in the middle of your faction base. There are 2 ways to collect spirits:
- Consume spirit flowers gained from harvesting plants.
- Harvest spirit whisps that spawn around the map at night.
Whisps can be harvested using any tool, and can range in size, giving more spirit the bigger they are. This is what they look like:
The bottom left part of your UI will contain a bar that will fill with a light blue color as you collect spirits. It has a max capacity, so make sure you deposit your spirits into the faction tree when you can (press ‘F’ on the faction tree to deposit spirits). You will also “drop” your spirits on death, but they can be re-harvested at your body by anyone.
Sparks and Research
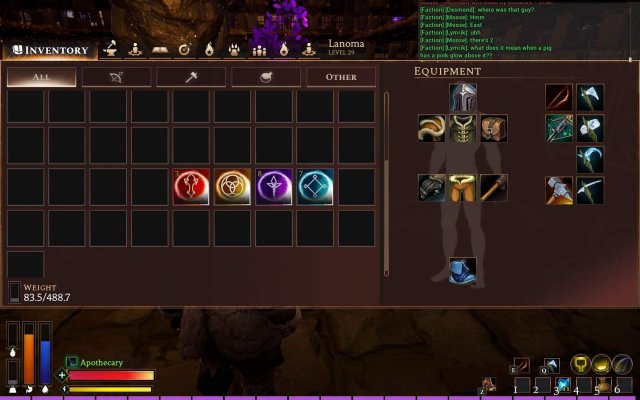
Sometimes when performing certain acts in Rend you’ll gain Sparks of Genius. These sparks can be used to research new buffs and advanced crafting options for your entire faction! This is what they look like:
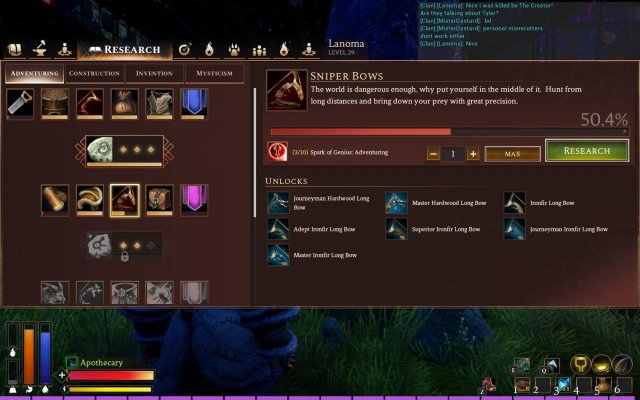
To use them, you need to go to the research stones in your faction base. There are 4 research stones, each corresponding with a type of research and spark. Press ‘F’ on a stone to open up the research menu. Your faction must unlock a certain amount of each tier of research before you can start researching the next tier. Click on a research icon, and use the “research” button on the right of the menu to put sparks into it!
PvP and Capture Points
PvP is inevitable in Rend, as you need to defend your base and capture points from enemy players (or fight them at theirs). Luckily for beginning players, you shouldn’t expect to see any enemies around you for quite some time. Traveling across to another faction’s territory is a lot of work, and players usually only do it to get capture points or resources.
So, what are these capture points?
Capture points are small trees that generate Sparks of Genius that can be collected by any player that has access to the tree. These sparks aren’t locked to a specific type, and can be crafted into one of the 4 types of sparks to then be used for faction research. To convert them, go into your crafting menu, to the “Station” section, and under the mysticism tab there are “Research Conversion” crafts. There are a total of 6 capture points in the game, 3 being almost directly north of each faction’s base, in the Highlands. The other 3 are inbetween each faction zones at what are called “byways”.
At certain intervals throughout the day, the shields on a capture point will drop, and any faction can come to take it. If you already own the point, defend it! If you don’t own it, capture it! And remember: always close the doors when you leave!
Base Building
Along with the faction base, each player can build their own bases out in the world. To open the building menu, press ‘B’. You’ll need resources in your inventory to build, and the building comes in steps. First, you need to place the frames of what you’re building. You can switch what structure you place by holding down ‘T’ while in the building menu. Pressing ‘R’ on a frame can change its variant. Walls can change into doorways or windows for example.
Once your frames are down, exit out of the building menu by pressing “B” again. You then need to upgrade your frames to full structures by looking at them and holding “F” to deposit the necessary resources. Finish that up, and you’ve got a base! But until you place a Divinity Seed down, anyone can edit your base structures. A Lesser Divinity Seed can be crafted in the Basic Survival crafting tree. Simply place it down in your base to protect your structures (they can still be destroyed by siege weapons and explosives).
Taming
Taming… Oh taming. Everyone dreams of having their own giant raptor to ride around and fight for you. Well, in Rend, that can happen! Taming involves sending a creature to the spirit realm and taming it with special spirit equipment. It’s fairly complicated and difficulty, so I’ll break it down into some easy steps:
- Go to the Taming Workshop in your faction base.
- Craft some Taming Crystals, Spirit Arrows (x100), and Potions of the Otherside.
- You’ll need to have enough Potions of the Otherside to stay in the spirit realm for up to 3 minutes, depending on the level of the creature.
- If you’re a Shaman, you can open a portal to the spirit realm instead of using the potion.
- Craft a Simple Bow from the Basic Survival tree (you want to do as little damage as possible in the spirit realm to avoid killing the creature).
- Find a creature you want to tame. Higher pet ratings = better stats, but harder to tame.
- Throw your Taming Crystal at it.
- Kill it normally.
- Go into the spirit realm where it died (potions or shaman skill).
- Equip your Simple Bow and Spirit Arrows, shoot the creature with the arrows a lot!
- Lost will swarm and kill you in the spirit realm if you stay too long.
- Fill up the blue tame bar on the creature to tame it.
- Once tamed, go back to the Taming Workshop and into the Spirit Stables.
- Open your pet menu with ‘O’ and set your pet as active.
- Press ‘Z’ to spawn your pet, and ‘Z’ while next to it to mount it!
Phew. That was a long list. Keep in mind that taming is DANGEROUS! Lost in the spirit realm have high health and do a lot of damage. If you do not have high level armor, you need to have someone help you tame by distracting lost, or by using a spirit siphon.
How Do Pets Work?
Pets can act as mounts and can also carry things in their inventory. They have a weight limit though, and when you ride them your current weight is added onto them. Higher rating pets have higher carrying capacities. They will also fight with you, but generally have low health and defence so make sure they don’t die! As long as your pet is out with you, it will level up as you gain experience, so make sure to keep it out when you’re gathering/killing.
Reviving Your Pet
If your pet dies (RIP), you can revive it at the Spirit Stables. Each pet has specific resources they need to be revived, and you can check what those resources are in the pet menu (‘O’). Take the resources to the Spirit Stables, open the pet menu, and click revive to bring your best friend back to life! And here’s a tip: you can get Animal Blood from salvaging meat!
Zones and Creatures
For help with resource gathering, I’m going to list a few of the key early zones and the creatures/resources they offer. I’ll be ordering materials, zones, and creature by tier. Higher tier means it’s used in higher level crafting or offers materials for higher tier crafting.
Location:
- To the East and West of the faction base.
Resources (Tier 1):
- Roughwood
- Hardwood
- Bjornheather
- Skogurfrut
- Tin / Flux / Copper
- Crumblestone
- Thin Leather / Scraps
- Raw Silk
- Silver Ore
- Boar Tusks
Creatures (Tier 1):
- Elk
- Wolves
- Spiders (rare)
- Bears (in caves)
- Frabbits
- Boars
- Draptors (beware low-level players, these will kill you quickly)
Highlands (Tier 2)
Location:
- Northern section of the zone.
Resources (Tier 1):
- Hardwood
- Thin Leather / Scraps
- Crumblestone
- Matted Fur
Resources (Tier 2):
- Yxengrass
- Eventide Halo
- Cragrock
- Tough Fiber
- Iron Ore
- Gold Ore
- Medium Leather / Scraps
- Fur / Scraps
- Feathers
Creatures (Tier 1):
- Frabbits
- Wolves
- Elk
Creatures (Tier 2):
- Yxen
- Cats
- Chargers
- Roc
Myrkfen (Tier 2)
Note: Don’t drink the water!
Location:
- West of faction base, past Stagswood.
Resources (Tier 2):
- Thornwood
- Tar Berries
- Medium Leather / Scraps
- Gold Ore
Creatures (Tier 2):
- Allidon
- Wasp
- Maggot
- Glutt
There are more zones than this, but these will be your primary zones starting out!
Death
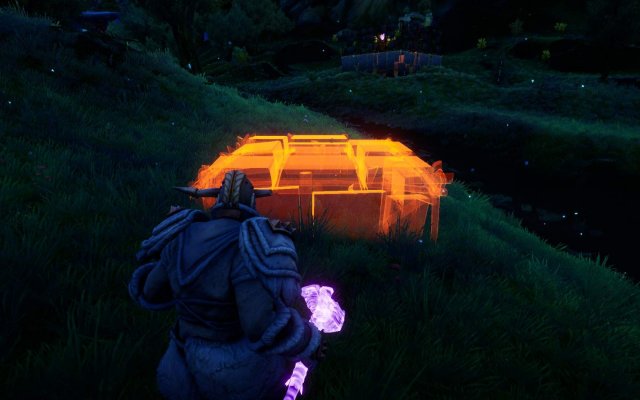
When you die, don’t rage quit! Your items will stay on your body for some time. Find your body by looking for an orange beacon in sky in the area you died! Other players can see the beacon too, but only from a much closer distance.






Be the first to comment