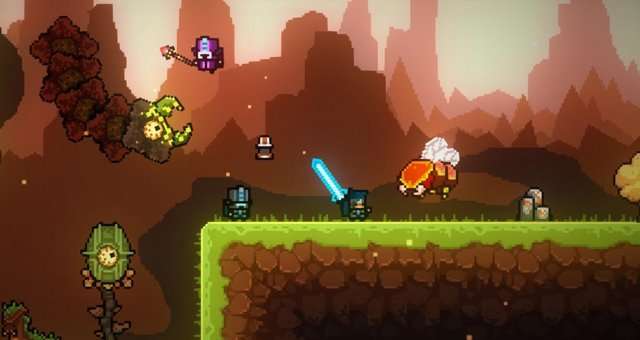
It may seem odd, but there is a reason for purposely killing ones level 200 ironman. The race, called Savior, has the most damage potential, and it’s unlocked (with a 100% chance) for killing a level 200 ironman. This guide will explain the processes I took in unlocking Savior.
What you need beforehand:
- Basic knowledge about the game.
- A mid-to-late game non-ironman character.
Contents
Step One: Creating the Ironman
All credit goes to coreymonsta!
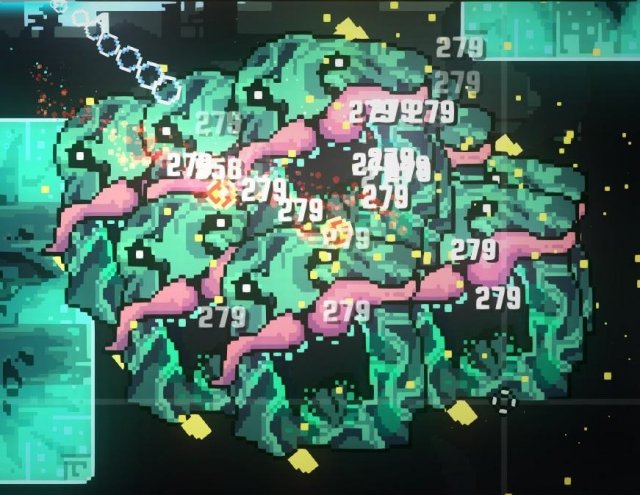
I highly recommend going magical for your ironman because magical characters have two very useful ultimate weapons: the Wrath Aura and the Ice Wall. The Wrath Aura tears apart the catherdral which is where you will be when leveling late game. The Ice Wall is what you will use to farm Mods in the Deep Jungle.
As for your uniform and augment, just go with what you think the is the best you have. I use the augment “Crown” (reduced damage by 5), and the uniform “Monster Trainer” (immune to status effects). Monster Trainer is actually highly recommended because then you wouldn’t have to craft any of the three otherwise necessary status potions. The only stipulation is it’s unlocked (with a 100% chance) for killing a level 40 ironman. Considering the the amount of close calls I’ve had, now that I think about it, I highly recommend the Crown as well… 5’s can add up.
Step Two: Shady Tactics
Quests in roguelands are not character bound, so you may collect the rewards of quests that were done on your main, on your ironman. This is where you use that mid-to-late game non-ironman of yours to help your ironman.
Do this powerleveling to your ironman until they have 30,000 credits, and 10 darkened shards. Since worthless quests pop up all the time, just skip them for 1,500 credits. I found myself spending at least 80,000 credits in powerleveling my ironman. The more you have, the more time you can save up to a point.
Step Three: Forgeblade
The Forgeblade is an ultimate weapon that adds a 7% probability to crafting higher tiers of items; the Forgeblade is what you should get ahold of next. Since, like quests, portals are not character bound, farming mats for the Gadget Saber should be easy. Just remember to make yourself two extra droids while you’re at it for easier farming of mats.
Once you crafted the Gadget Saber, level it to 10 by running through challenger 1 levels. Now, use those 10 darkened shards you have from step one, and craft a Forgeblade.
Step Four: Farming a Lot in Desolate Canyon
Farm your ♥♥♥ off in Desolate Canyon, and a little in Ancient Ruins until you crafted a full set of legendary. Make two legendary copies of Soul Reaver so that you can make both the Wrath Aura and the Ice Wall. A tip is to keep an eye out for the healing totem and the bubble shield appearing in shops as they are useful for saving health potions and not dying. Also, you may drop all of your emblems after you are ready to progress to step five since they will no longer be of use.
Step Five: Leveling All of the Gear to 10
Prepare yourself to run through many challenger 3 levels. Do this by farming at least 100 Elixir potions, and 50 nuldmg potions. Whisperwoods and Molten Crag are the go to places for the mats involved in Elixir potions. Just remember to have the nuldmg potion applied when visiting those dangerous areas, and also an anti-fire resist potion unless you have the Monster Trainer Uniform like me.
Now that you are prepared for running through many challenger 3 levels, pop the challenger portal to 3 (which costs 30,000 credits), and level all of your items to 10. While you are doing this, be sure to farm the mats because they can sometimes drop shards. You will want to stay in the challenger 3 portal you made until you reach 30 darkened shards and 20 aetherlight shards. This entire process can take up to 2 hours or so, if I can keep time accurately.
Step Six: Similar to Step Five
Now that you leveled all of the items to 10 and obtained the shards, go upgrade them in Mech City. Farm 30,000 more credits by doing the Whisperwood and Molten Crag, or by the help of questing on your main for credits on your ironman.
Now, repeat the leveling process as in step five, except this time use the challenger 3 Whisperwood portal. The mats you find there will be useful for hp potions in the final leveling stretch, and for farming mods in the Deep Jungle. Also, there are a ton of chests in the Whisperwoods which can contain legendary rings.
Step Seven: Farming Mods
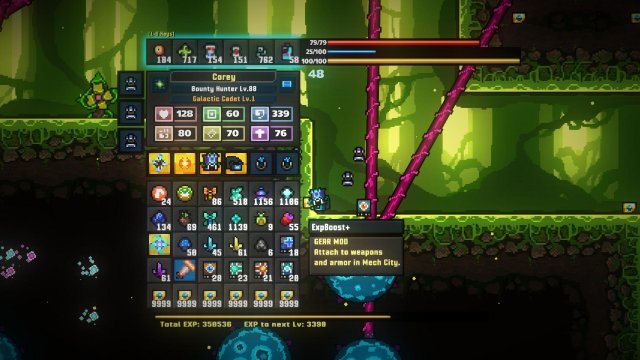
In the Deep Jungle, everytime you touch a vine, a little enemy will spawn. This happens indefinitely, and the enemy drops mods, exp, and credits. Pop a challenger 3 portal to the Deep Jungle and farm by walking in and out of the vines until you have 20 exp mods, and a ton of crit damage and crit rate mods. Apply them on your character in the Mech City, and you are ready for the final step. Note that this process can take pretty long, but the exp mods are crucial as you don’t want to be in the Cathedral for longer than you need to.
Step Eight: The Dangerous Final Stretch
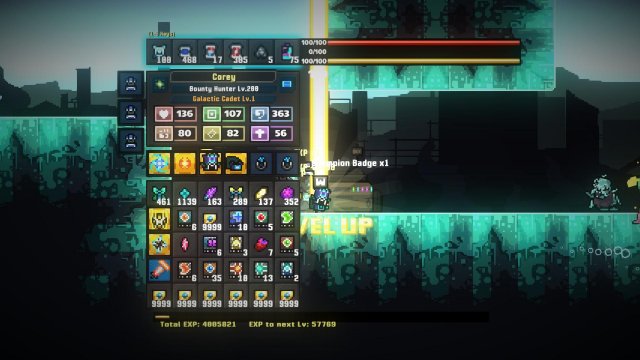
Now you will be farming the Cathedral on challenger 3 for the rest of your journey. I believe with 30 exp mods on, you will need ~80 runs to go from level 100 to level 200. The monsters there can hit up to 90 without a nuldmg potion on, so be very careful. Going in the downward direction, and even upwards, can be dangerous there since ambushes of monsters and rocks can be lethal. Each run will grant about 9,000 credits. I’ve lost a level 150 and 185 ironmen to the Catherdral x( Good luck!


Be the first to comment