Other RSS Guides:
- Beginners Guide (Tips and Tricks).
- What are the Best Scopes?
- How to Play Montagne (Advanced Guide).
- How to Play Lion (Tactical Guide).
- How to Play Jager.
- How to Play Blitz.
- How to Twitch.
Introduction
All credit goes to Goo!
We’re going to get started on what the hell these operators do for their teams; “What is the point” and “What is their role”.
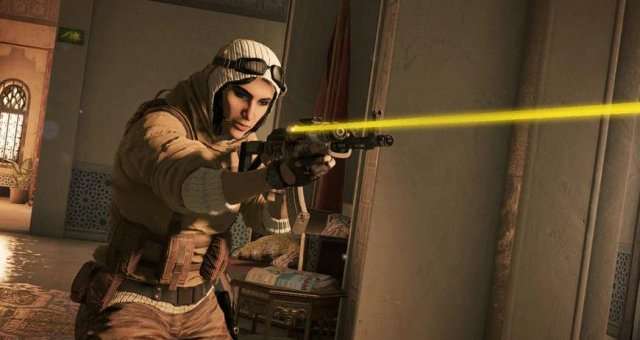
Nomad is an extremely interesting attacker because she takes on a side-line fragger role that only a few operators in the roster currently occupy, and she does it with an aditional tool. She doesn’t play exactly like an entry fragger, like a Twitch or Ash or Zofia, but she can play that role along one of the mentioned operators, by performing her entry through a roam route. She’s very strong at closing off whole areas and by extension she’s one of the hardest operators to roam on and to destroy the defuser against.
You’ll learn her faster than the average player if you play Jackal, Dokkaebi, or IQ. These are attackers that utilize special attack routes in order to make good use of their gadgets; and that’s exactly how Nomad is played.
Her gadget isn’t supposed to be used like a Zofia Lifeline or a Ying Candela, but as a passive, mistake-inducing pressure tool; like a Jackal scan, but instead of intel it provides a direct firefight advantage given you’re in a position to capitalize on the detonation.
From the two GIGR operators, Nomad is the higher skill floor and skill cap operator.
Even though Kaid is a 3 armor operator I’ve found the most powerful way to play him is as a roaming-anchor; that is, hold rooms and set up pixel angles, like any ol’ 3 armor ACOG defender would; but do it outside the site, instead taking on critical areas and using his extremely high damage output as the tactical advantage over attackers.
Your “job” is done once you’ve electrified the key areas of the site (that could be a hatch, a wall, or a barb-wired chokepoint) and after that you’re free to be a human trap wherever you want in the map. Wether you anchor or roam as Kaid, it’s not exactly the same as a regular anchor or roamer, due to the nature of his weapons. We’ll talk about that more later.
In summary, Kaid packs one of the strongest kits gun-wise in the defense side and for that reason alone even he’s a versatile operator.
Nomad’s Loadouts
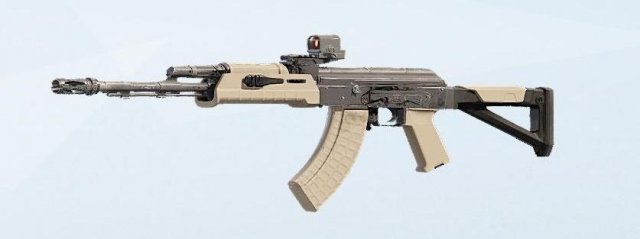
Nomad has access to two assault rifles, the AK-74M and the ARX200. The difference is easy to remember, the AK-74M is weaker overall but has a 40 round mag, while the ARX200 has more damage, more rate of fire, more controllable recoil, but a 20 round mag. Here’s what I think of the weapons:
I’ve seen a lot of players go for the AK equipped with a reflex sight in order to enter and frag up close as Nomad; in my opinion Nomad is better played from safer distances and the ARX is better suited for such playstyle. Also, due to its weird horizontal recoil, the AK feels far too unpredictable to put an ACOG on and be a reliable gun at range. The larger mag really isn’t that big of an upside to warrant its lower stats.
As far as attachments, either the ACOG or the Reflex can be used; and I’ve found that Flash Hider and Muzzle Brake work best to control its recoil (depending on your firing style, short burst for Flash and even shorter ones for Muzzle). Even then you can’t let go of more than 12 or so rounds before losing horizontal control, so if you’re going to be taking the AK be aware of this fact.
Allow me to add that most of these players running AK-74M with Reflex are also utilizing the .44 secondary extensively, as their main long range engagement tool and also as their ACOG; so remember Nomad always carries the .44 when picking your primary option. Also, Nomad’s Reflex sight is not the traditional green-triangle one; it has a smaller reticle and also housing that allows for slightly better peripheral vision.
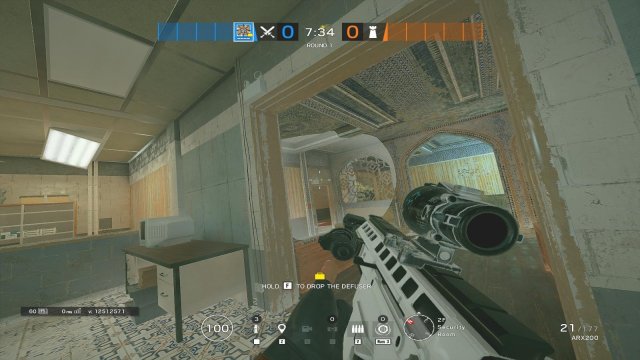
The ARX is my preferred primary, not only because it has a lower time-to-kill when not landing the early headshot than the AK-74M, but because I can safely use it as a long range gun with its ACOG and get more than a few shots in before starting to recoil off the target. This is a very reliable weapon, and the 20 round mag really isn’t as big an issue as most people may feel borrowing from experiences with Hibana’s Type-89. Nomad’s playstyle doesn’t require her to put herself in danger as much and thanks to her gadget she’s generally in good control of what engagements she can take and which ones require repositioning.
I’ve been using the ARX with an ACOG and Muzzle Brake to great success, only ever pulling out the .44 to pixel out defenders, since the .44’s sight is clearer and has a far smaller reticle than the regular ACOG sight.
Nomad also has the choice between Stun Grenades & Breaching Charges. Stun Grenades are by far the more popular choice here and I agree. On a lot of operators I tend to favor Breaching Charges more than other players at my skill level, and that is because I always have vertical play and independence to open a hatch or a soft wall on my mind. On Nomad however, you’re already busy setting up whatever your Air Jab route is going to be, and focusing on narrowing down potential roamer positions. You’re not ever really getting the chance to move about and start breaching stuff or playing vertically, so I say go for the Stuns.
You can also use the stuns to bait people into peeking you into an Air Jab trap, to mask the sound of you shooting an Air Jab close up to enemies, and in generally you can bank-shot yourself closer to the enemy and take positions in a safer manner than if you lacked the stuns.
To sum it up, my recommended Nomad Loadout is:
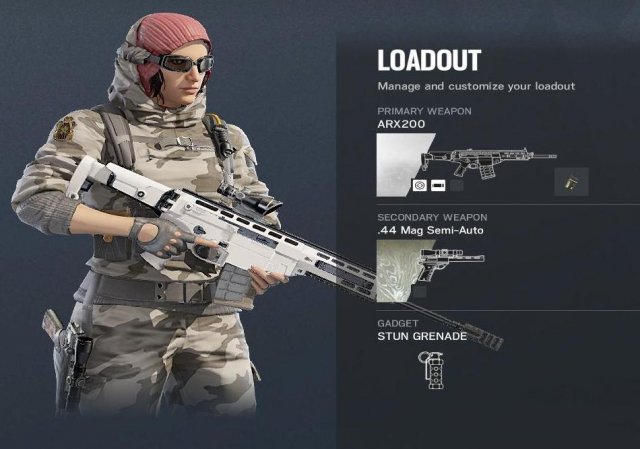
- ARX200 with ACOG & Muzzle Brake
- .44 Mag Semi-Auto with NO Laser
- Stun Grenades
Kaid’s Loadouts
Kaid’s choice in weapons is more diverse than Nomad’s. The AUG A3 & the TCSG12 are completely different; which further supports the idea of Kaid being able to do basically whatever he wants. However, you’ll see soon how only one of those guns is really Kaid’s trick up the sleeve.
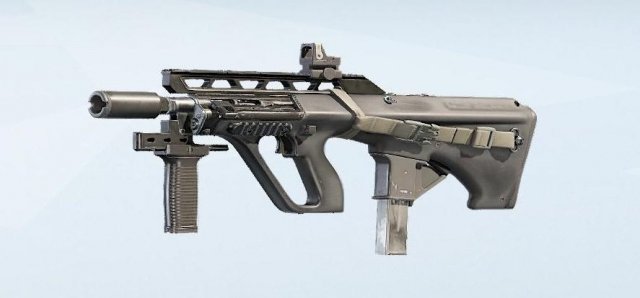
People (& by people I mean Siege Youtubers) have been talking a lot of smack on the AUG A3. Calling it literally the weakest SMG in the game. I disagree. I don’t think its the best, but its very far from being bad. Kaid’s AUG feels extremely similar, and I mean it, to Vigil’s K1A. In recoil, damage, fire rate. They are almost the same gun in terms of stats. The difference of course is that Vigil is a 3 speed and Kaid is a 3 armor.
Sure, it doesn’t have a fast fire-rate, but with its low recoil you can consistenly hit headshots at extreme distances and actually keep your cursor on the enemy without letting go off the trigger. It lets you mag-dump accurately, which is not a common feature for a gun.
I’ve found that either Muzzle Brake or Flash Hider work well enough on it to keep it 100% controllable at whatever range, Compensator less so; but honestly it is controllable enough for you to use whatever you want on it; even an Angled Grip if you feel like it. Treat it like the K1A honestly; you can straight up copy your K1A attachments on it and it’ll work just fine. If you want to go all in on recoil reduction go for the Vertical Grip.
A rather important detail to mention regarding the AUG A3 on Kaid is that it doesn’t have the option for an ACOG sight. Now, this is kind of a big deal since you’re a 3 armor, however at the same time it isn’t because you’re always carrying the .44 Mag Semi-Auto. So don’t discard it outright for not having an ACOG.
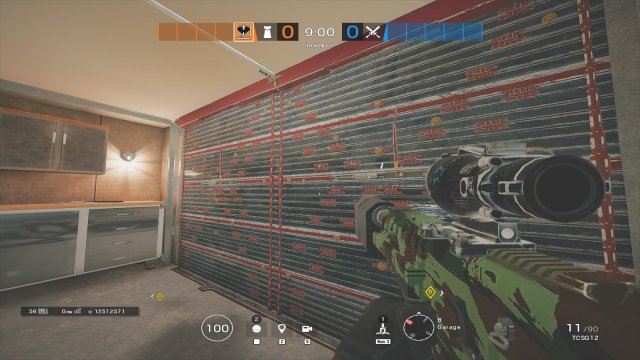
Now the AUG may be brilliant but I like this. The TCSG12 is a semi-automatic slug-firing shotgun able to equip and ACOG & a suppresor, it hits like a truck and it has a 10 round mag, which by the way reloads rather quickly. The recoil isn’t that insane as well for the first few shots, making it, in essence, a DMR on defense. It feels kinda like a mix between the BOSG & Blackbeard’s SR-25, if that makes sense.
Even with the suppresor equipped it can pretty much 2 shot any operator in a pretty good range, it is by far the hardest hitting ACOG weapon available in defense, AND it allows for a suppresor, which is amazing to hide your position since threat indicators don’t show up and this isn’t a gun you really spray with, it makes it so even as soon as the enemy realizes they are being shot at they’re already down and gone.
I strongly suggest you take this gun out for a few laps, and modify your whole playstyle to fit around it because I do feel a Kaid with this suppressed beast is the scariest thing you can come across while attacking, barring maybe a GIGN shotgun around a corner.
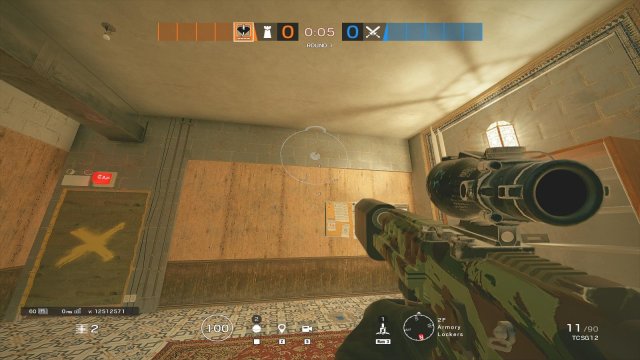
Also keep in mind the TCSG12 is technically a shotgun, which means it can open hatches. Sometimes it takes the whole mag, sometimes it takes only 3 shots. Its not random but it has to do with the angle of entry of the bullet into the hatch; and you have to make it as horizontal as possible, so it destroys the “inner bits” of hatch and it will consider it broken enough to bust open, if you shoot it straight down you’ll just blow a hole through it but the hatch won’t properly break. This is due to the Grim Sky hatch physics.
A really strong way of using the suppressed TCSG12 I’ve found is setting up long murder angles with the help of the .44 Mag Semi-Auto. Look:
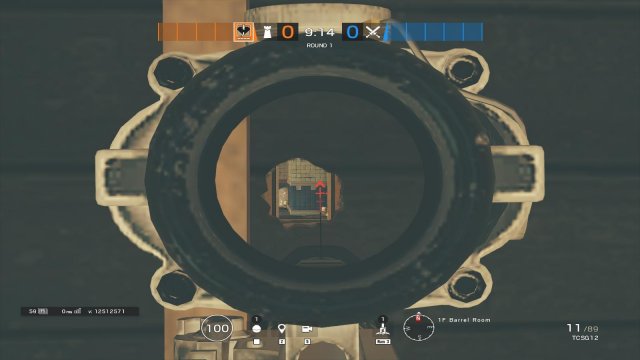
First, the TCSG12 has very strong destruction capabilities, 2 shots will break through any soft wall and make a decently sized hole. However, on two-ply walls you can have these with 1 shot:
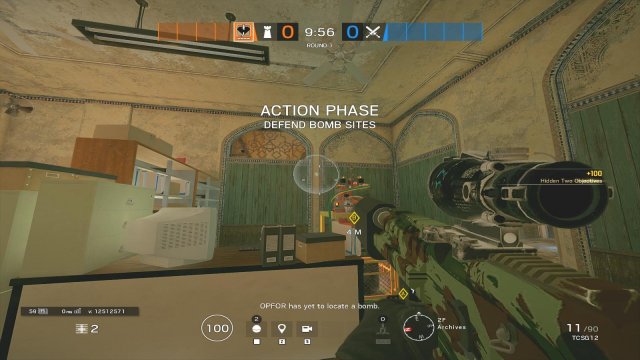
This will only break the first ply, and leave a clean eye-ball sized hole on the second, for you to scope through and pop unsuspecting enemies with your suppressor. It works best for long transitted hallways such as this one when defending Drug Lab.
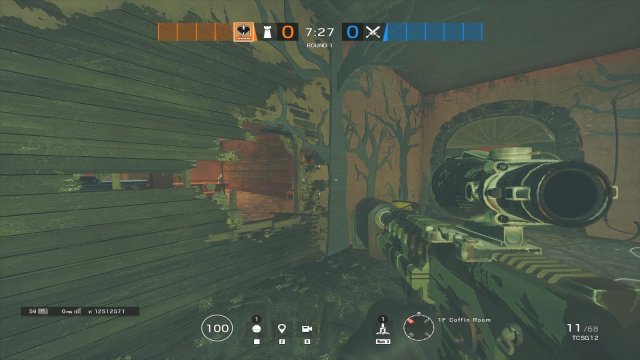
On walls that are single ply (or two-ply that are very close together) I use the .44 to make the holes, otherwise the whole wall just breaks off. The .44 holes are a tad smaller than the shotgun slug holes, but you can put two of them right next to each other and the wall will remain intact, which is what you want. This technique is insanely useful and no other defender can do this with such a high damaging weapon that is also suppressed at the same time. You barely have to aim really, as long as you hit the enemy you’re taking over half their health in a single shot, and you can double or triple-tap enemies like nothing with the ACOG with Vertical Grip.
The TCSG12 destruction is such that you can make vaultable holes with a single mag; so remember that’s always a last ditch alternative if your team hasn’t made the correct rotations.
Both of Kaid’s secondary equipment options are good, Barbed Wire to synergize with your Electroclaws, and Impacts, which are all around very versatile and useful. I’ve personally used the Impacts more often because I’ve been roaming with the TCSG12 and using both of my claws on walls or hatches; but Barbed is not out of the question.
My only issue with using a Claw on Barbed Wire is that since you only have 2 of them, you might as well throw both your barbs in the same doorway and electrify both with 1 claw, then use the second claw on something like a hatch or a 2 wide reinforced wall by placing the claw in the center. But having both barbs on one place generally makes attackers frag or zofia-impact or ash-impact the entrance; which defeats the purpose of using the claw on the barbs in the first place.
With that said, if I’m running the TCSG12 I can open walls and hatches with it decently fast, so having impacts isn’t life or death as long as I have enough time to use the primary for destruction (so not mid-gunfight).
To sum it up, this is my personal recommended loadout for Kaid:
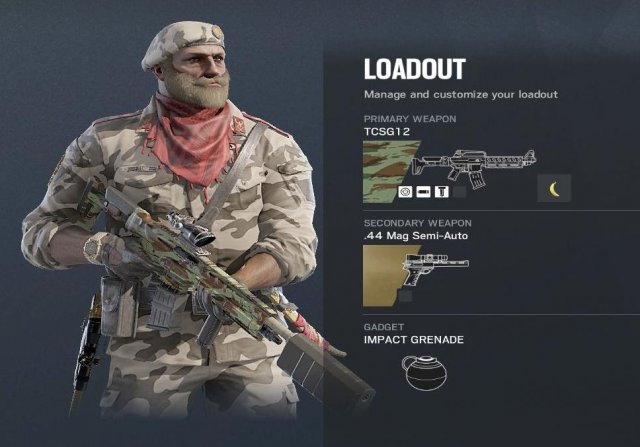
- TCSG12 with ACOG, Suppresor & Vertical Grip. No Laser.
- .44 Mag Semi-Auto with NO Laser.
- Impact Grenades.
A more conservative loadout may look like this:
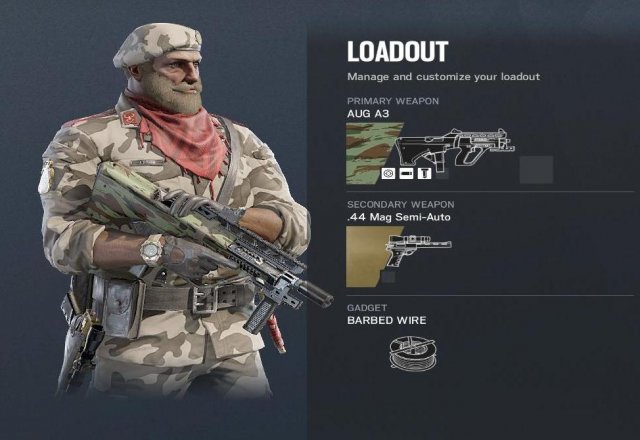
- AUG A3 with Reflex, Flash Hider & Vertical Grip. No Laser.
- .44 Mag Semi-Auto with NO Laser.
- Barbed Wire.
Air Jab Tech
More than strictly “tech” in this section I want to detail what the gadget does and how it does it; because its not that apparent the way it should be used to its best effect; especially cause you only get 3 shots and once you shoot them they’re gone forever.
First, for those who are completely lost on how the gadget works, granted it was changed from its first iteration in the TTS: Nomad shoots the Air Jab charges using a side-barrel attachment on her primary, similar to Buck; but it only shoots one per reload and the reload and swap speed to and from it is far slower. The shot Air Jab travels in a straight line and it sticks to surfaces like a sort of Ela mine; then after a little bit after the impact, it turns on (with a yellow light). Right when it sticks you get a display of the detonation radius of the Air Jab; it doesn’t take much to eye ball it after some rounds as Nomad. Once its turned on, any enemies that come inside the radius will trigger the Air Jab, making everyone inside said radius get launched back from the middle of the Air Jab and be vulnerable for a couple seconds. The explosion affects both enemies and allies, and Nomad as well, so keep your distance.
As I said earlier in the guide, Nomad isn’t a replacement for an entry fragger, her best gun has a smaller mag and not the fastest fire rate (if you compare her to top tier fraggers such as Ash with her R4-C or Twitch with her F2). Air Jabs aren’t entry tools, and really they aren’t “traps”, well, not in the same sense a Claymore is.
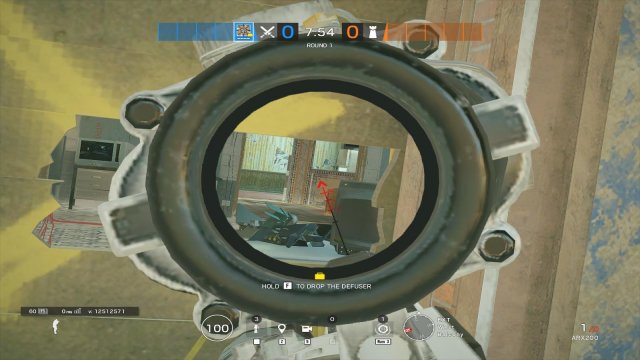
Air Jabs really can’t just be left out in a flank route to “watch over you”; cause if nobody is there to capitalize on the detonation the gadget is kinda eh who cares, its not nearly as useful. Check this out:
Air Jabs can be used in (at least) four different ways:
Multiple Jab setups:
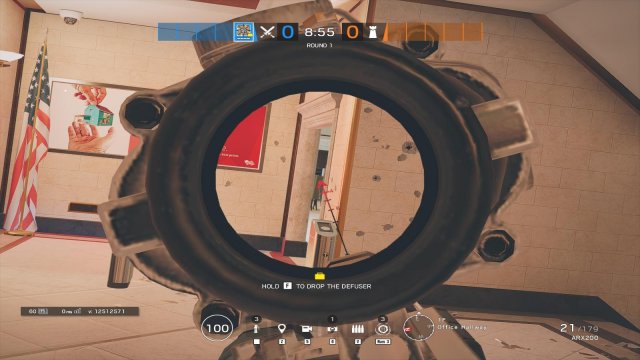
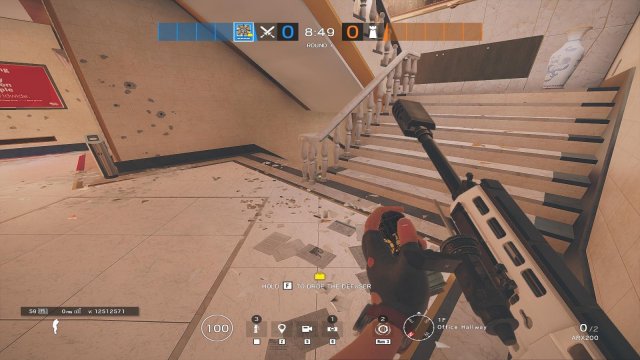
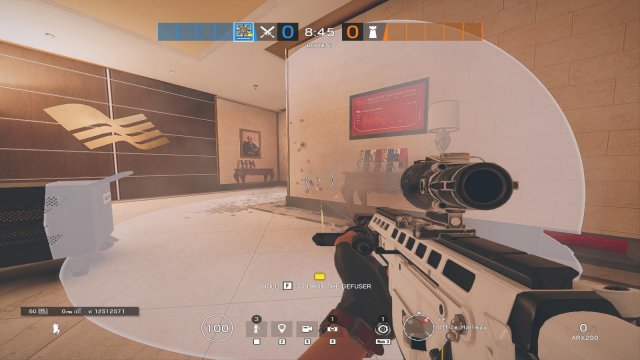
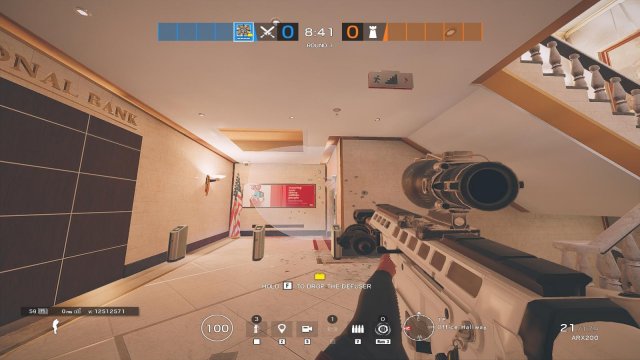
Nomad is extremely good at holding an aggressive position. Multiple Jab setups allow you to be way close to the site you’re pressuring and being safe at the same time, from multiple threat angles, by placing a Jab on each one. Let’s say you’re attacking Open Area in Bank:
Now, there’s at least 3 (4 if you count the elevator hatch) potential threat routes on you when holding this angle. Since you can’t retrieve shot jabs you have to commit to a particular push if you’re gonna trap your back and sides; so these 3 go:
Similar to Ela mines, the ideal setups are those in which for the enemy to get a line of sight on the trap they already have to be within the radius. Doorways, stairs or any kind of uphill, and 90 degree corners.
Single Jab traps:
These ones are usually what net me the most amount of kills. These aren’t really defensive setups for the jabs but they are kind of “bait & kill” tools for roamers, usually placed on doorways or around corners near the floor as well. In order to get away with these you do need some information, like a teammate dying to a roamer or footsteps, or a callout. In all of these cases the enemy can’t know you’re close-by, that way you can get away with putting a jab trap in their escape route.
For example, let’s see I’m attacking Oregon basement; the rest of my team is pushing through the laundry hatch and I get a callout there’s a roamer in meeting room. My target is going to be setting up a situation in such a way the roamer thinks 1) I’m by myself, 2) I’m not Nomad or some other dangerous operator to face as a roamer, like Blitz or maybe Blackbeard, 3) I don’t know he’s in meeting.
There’s tons of ways now of making this roamer try to peek me and get bodied by the jab. I can drone into meeting very slowly and sloppily so that they aggresively decide to peek me while on my phone; I can “fake leave” by throwing flashbangs, prefiring my whole primary mag into the door and then staying quiet or breaking the barricade to my left so they think I just left because I thought I was in danger of getting roamed on, but in reality I can just swap to the .44 and literally wait prone safe and out of sight for the trap to detonate for a free kill.
In these kind of situations you shouldn’t even bother reloading the jab launcher, and instead just put the gadget away to not immediately give away what operator I’m playing until I decide to fire some rounds at them to bait them in. Also you’ll notice I shoot the jab way up on the wall, there’s a few reasons for this, first, I want them to be way out of the regular field of view of the enemy, second, I want them to be far enough off the floor to prevent them from getting destroyed by impact nades, and third, I want the detonation angle to not be too drastic (what I mean by this is that the higher the jab trap is the less horizontal launch enemies are going to get; sometimes enemies get launched into safety, out of sight, or far enough you don’t know exactly where they are, especially if you’re aiming down an ACOG).
With full horizontal force the Air Jab will launch a person twice the range of its detonation radius; get used to not necessarily looking at where you placed the trap when you hear it detonate, you do need like half a second for your eyes to look where the hell the person landed.
The Storm is Shrinking:
A really f*cky way of using Air Jabs to push rooms is combine them with prefire and flashbang pressure to make the enemy forfeit a position and then place a trap in their place. This basically shrinks the area they can play in, and you make it so every time they go deeper into site or into a room you lock them in further by placing traps closer to them. With the right intel and timing I’ve found this to be one of the strongest ways to push site in 1v1s and even 1v2s.
Air Jab traps are brilliant to help you engage multiple enemies at once; since the trap actually renders the affected enemy 100% harmless, as long as you have a doorway or whatever trapped, you can turn your back on it and fight people in a completely different direction, and if a second enemy decides to jump you from behind the trap helps you immensely (unlike other traps like Gu mines or Ela mines by which effects you can still get gunned down).
Anyway, this way of using Air Jabs can be summarized as waiting for people to leave a room and then lock them out by trapping the exit. This is really the way Nomad can become unbeatable when defending a planted defuser.
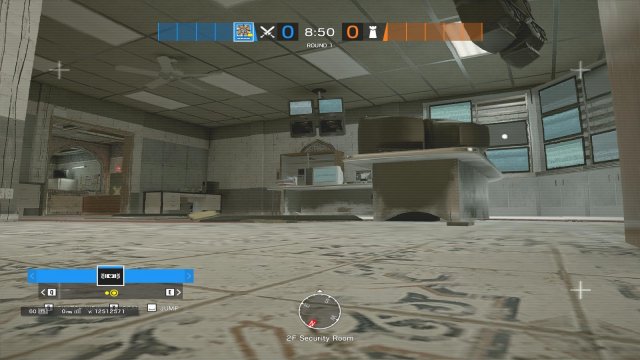
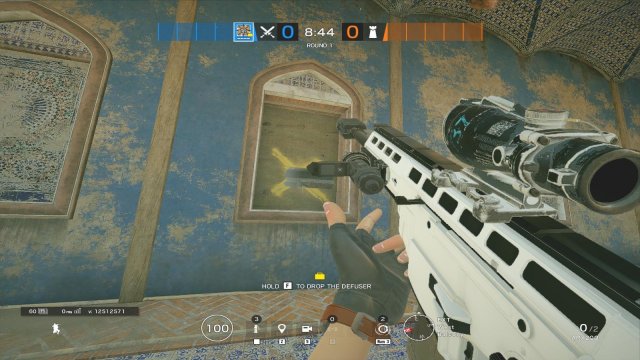
For example let’s say you want to control CCTV:
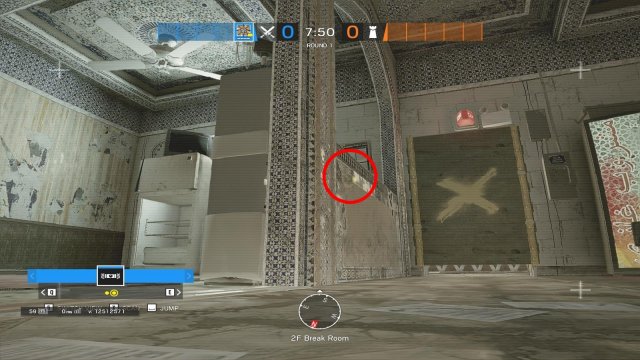
You drone in looking for roamers over brown hatch and behind the monitors desk.
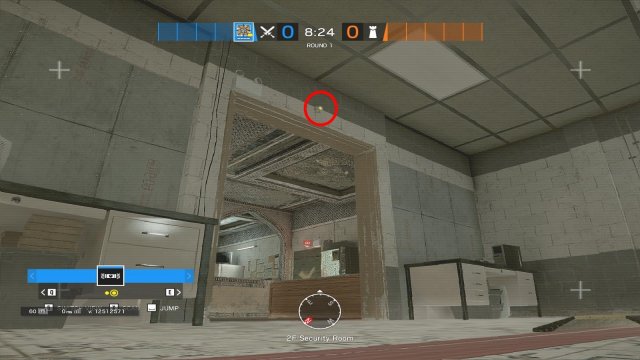
If you find a guy and spot them they will either flee back out of CCTV into the couch area or by the fridge. If they don’t forfeit you can flash them and push them out with a teammate, if they do forfeit, you close them off:
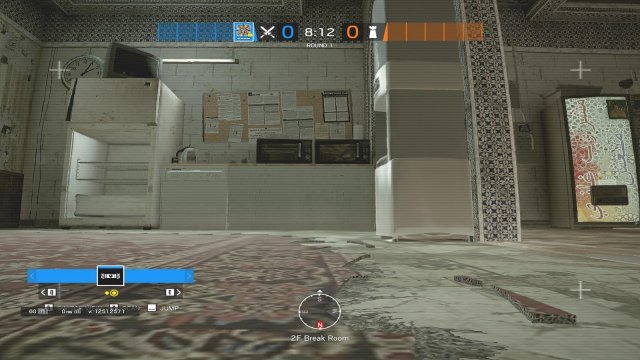
Then you can keep droning, if they still haven’t left and they are sitting here by the fridge you enclose them even further:
The best part of doing this is that whoever is taking cover behind the trapped wall can hear the Jab get stuck to the surface, and they have about a second to decide if they want to leave and be trapped in there or make a run for it and get out before it primes. Due to the trap being so small its not realistic really peeking around the wall and shooting it out before it primes, so really you lock them into taking a decision that may not be the best.
Finally if they do forfeit that last position you just close off this door and you’re set. CCTV is controlled and safe:
You only really have to pay attention for any soft walls that could get impacted by a suicide Vigil or Alibi play but those are far more predictable and react-able to since they are so loud and evident.
Note: Different operators will react differently to getting the “storm shrunk on them”, for example, operators with ACOGs tend to stand their ground more, keep that on mind when putting your head out with the gadget engaged, if you get peeked there’s no way to defend yourself (similar to how Capitao is vulnerable peeking with his crossbow in hand).
Run out Defense
Obviously, on certain maps, Air Jabs can be used as run-out watchers on windows and doors. They are way harder for defenders to see than Claymores and you get 3 of them (and you can place them from a range).
I’d argue using Air Jabs this way is a bit of a waste of potential (maybe cause it feels overly defensive), especially if the run out isn’t going to be a threat anymore once you’ve entered the building with your team, but if we’re talking a site that is mostly attacked from outside, like Tea Room Karaoke then its definitely worth trapping one or two and let your team know which ones they are so they can react fast (since they don’t get the Air Jab triggered notification).
Electroclaw Tech
Kaid has 2 Electroclaws which can be used in any of these configurations:
This is the standard way to electrify two walls with 1 claw.
A single claw can electrify 3 narrow walls by placing it in the center of the middle one.
You can electrify objects through any surfaces, as long as the range is enough. An easy way to do this is by marking from above the middle of the two walls with a ping or a bullet hole, and then going downstairs (or upstairs) to place the claw:
Remember the Electroclaw area of effect is spherical, which means the further away you place them from whatever you want to electrify the more precise your placement has to be (so the object isn’t missed to the side of the sphere).
Placing the Electroclaws on whole different floors will make them way harder to shoot out or get destroyed by a Twitch drone or by a Maverick torch. Thatcher EMPs will take them out just as easily unfortunately.
Since they don’t have to be on top of the reinforced surface to take effect, you can place the electroclaws before reinforcing; which allows you to toss them into good default spots you know your team will reinforce, and gives you the freedom to reinforce whatever you prefer without having to wait for them first. Make sure they are far out of the way otherwise the metal sheet of the reinforcement will break the claw when its being expanded upwards.
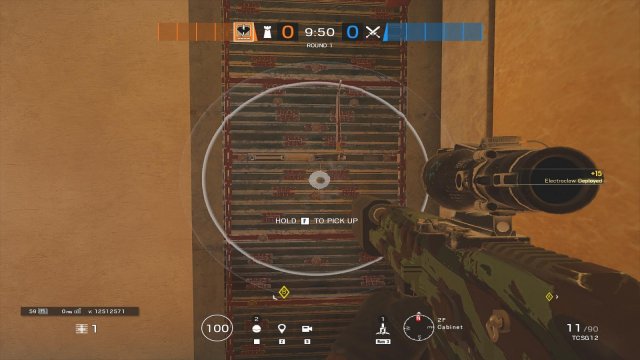
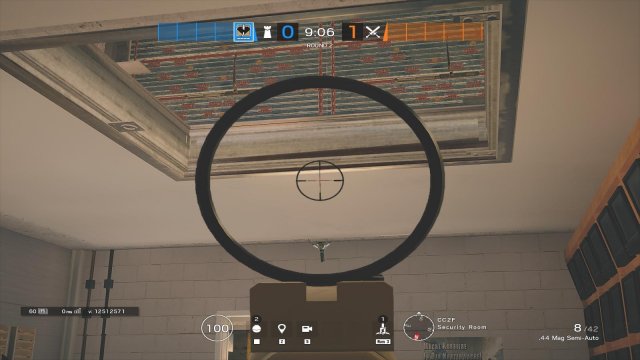
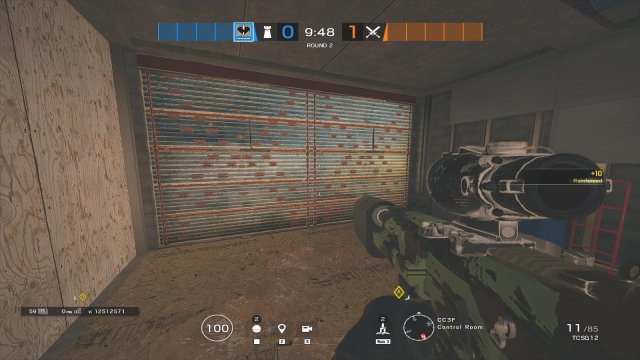
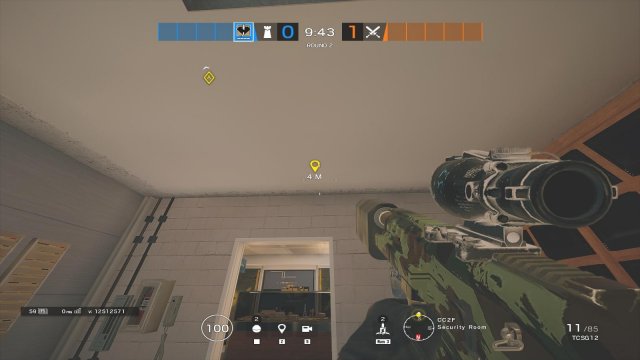
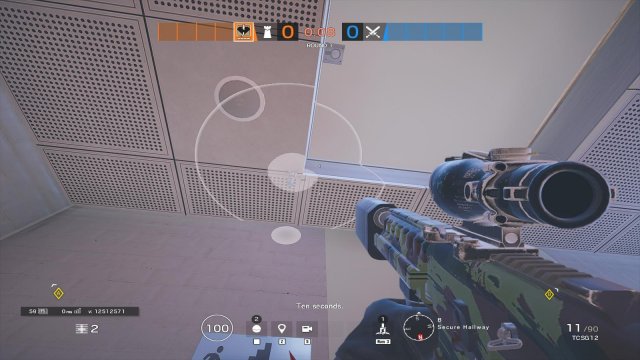
Same thing goes for hatches, you can toss them from below beforehand, then go upstairs to reinforce the hatches and then just stay upstairs roaming or doing whatever. Its a faster prep-phase rollout. HOWEVER, make sure that 1) You don’t place the claw too close to the hatch, otherwise it will get destroyed when reinforcing it; and 2) The ceiling isn’t too thick so the claw doesn’t actually reach all the way up to the hatch; for example in Bank basement:
Even though this looks like its way in range, its actually off by a little bit. Hatches like this generally do require you to throw the claw right on the metalic under-surface of the hatch; unfortunately.









Be the first to comment