
This guide gives you a step by step walkthrough of the marathon of insanity that is the Trial of Fools, the third arena in the Colosseum of Fools in Hollow Knight, including my recommended charm loadout.
Other Hollow Knight Guides:
Contents
Introduction
So, that Trial of Fools is insanely difficult, right? Hopefully this guide can help you avoid the many, many hours I have sunk into trying to complete this, and after a lot of effort I think I have hit on a pretty reliable method.
Before we get going on this, I HIGHLY recommend having the Pure Nail upgrade before you even think about this challenge (if the Nailsmith hasn’t left his hut yet, you don’t have it). Some of these challenges are made a lot easier by being able to spam attacks into your opponents.
I also highly recommend the Moth Wings and Shade Dash abilities for this arena. In fact I recommend this be the last thing you do in a full completion run as you want every advantage you can get, and Salubra’s Blessing makes it a lot easier to go into the challenge on full soul.
Edit: Evil Doctor Flamingo has pointed out that there is a hot spring to the right of the bench behind a breakable wall, so you can do this before you have all the charms! I’d recommend getting the Shade Dash ability from the Abyss before trying this at the very least.
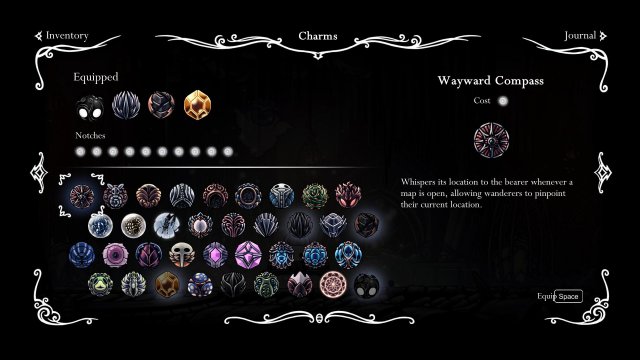
Charm Loadout
The cornerstone of this strategy is the Hiveblood charm, and in particular cheesing the game somewhat to get time for it to recover hit points lost. I’m not going to be bugging out enemies or anything, but there’s a certain amount of jumping on the walls of the arena. If you’re after a more ‘pure’ way of completing the challenge, try using Quick Focus and Nailmaster’s Glory or Thorns instead, giving you a way to heal and the ability to use Great Slash and take out flying enemies in one hit, as has been suggested in some forum threads.
Personally, I found that too hard to use and I hope this works out as a better alternative for players like me.
Aside from Hiveblood [or your alternatives], take Mark of Pride and Quick Slash. This combination lets you hit enemies from a small distance, and lets you slash a lot faster which is important against some of the enemy waves.
Initial Waves
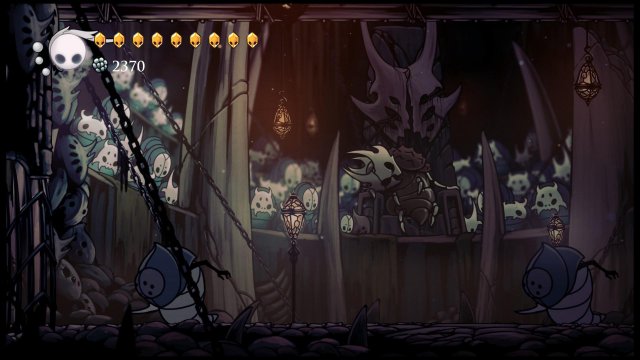
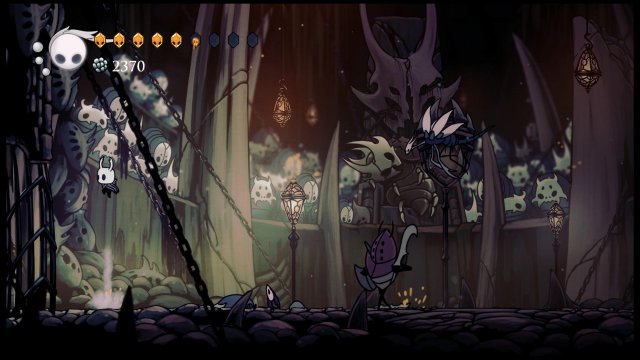
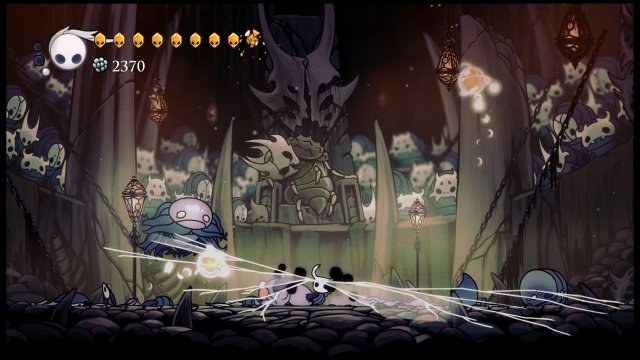
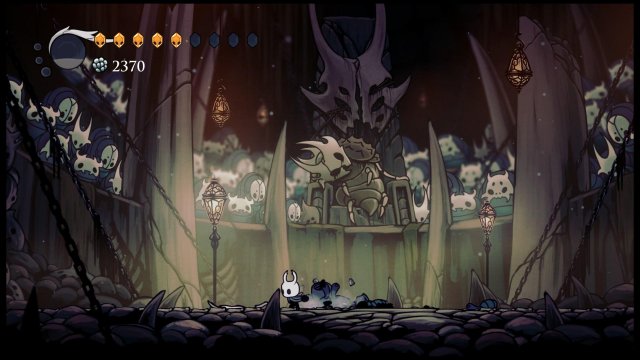
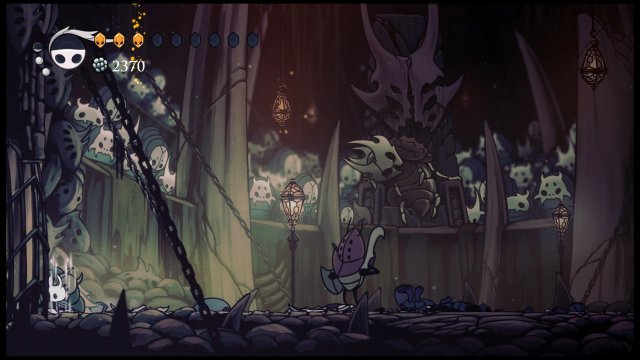
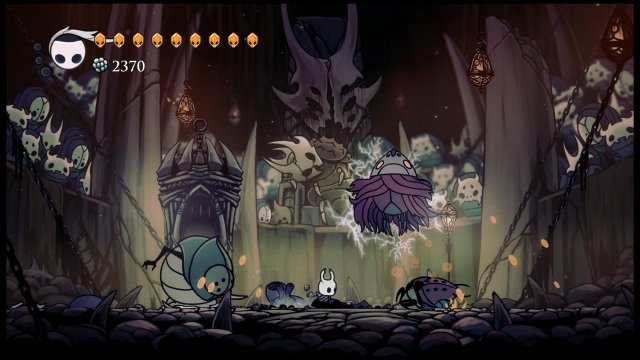
The first wave consists of a Heavy Fool and a Sturdy Fool. Heavy Fools has a jump-slash, slash and charge attack and take a good number of hits to down; Sturdy Fools throw ranged shuriken and have a lackluster melee slash. Note you can hit the shuriken to deflect them and/or injure the mobs, but this probably won’t be needed.
Focus on the Sturdy Fool to the right, just slash him down immediately.
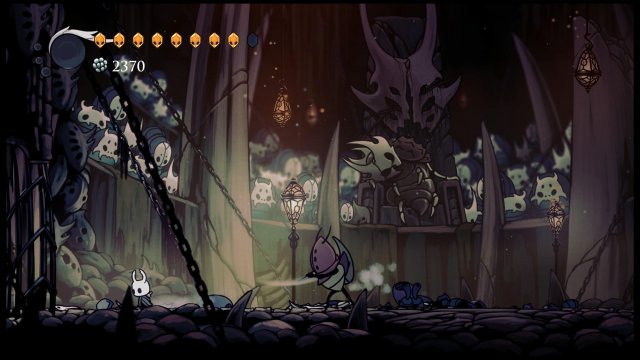
The Heavy Fool will likely charge at you, jump over him and repeatedly downstrike him until dead.
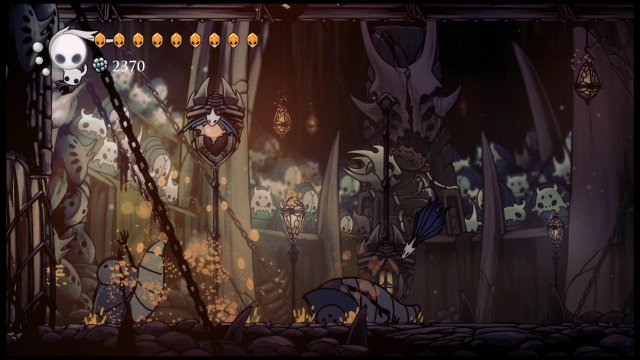
Whilst this is happened, two Armoured Squit (the hornets from Greenpath with armour on them) will spawn. They take two sword strikes to kill, try to avoid taking damage.
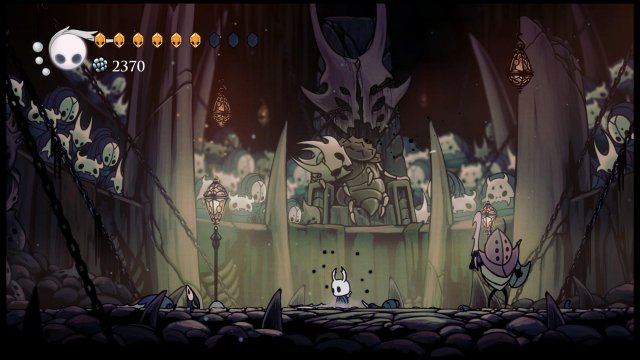
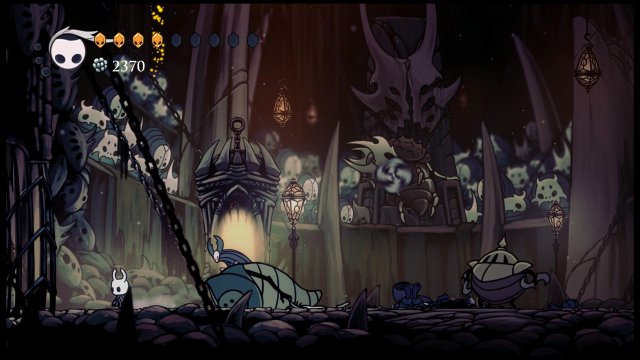
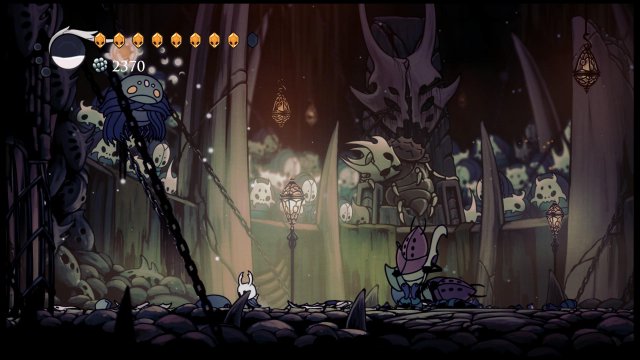
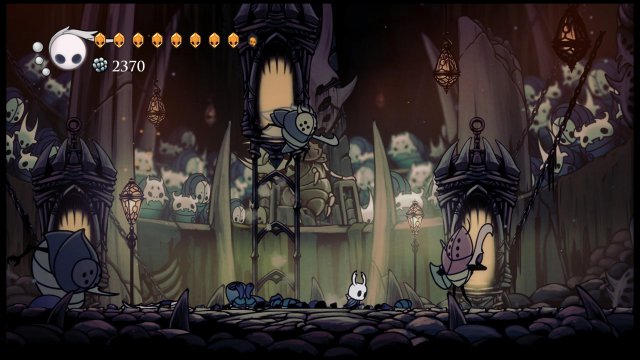
Once all the enemies are dead, two Shielded Fools will spawn, one on either side of the arena. Shielded Fools are your best enemy to take out LAST in any given wave, because they move so slowly you can wait for Hiveblood and/or heal on the other side of the arena, and just jump-dash over them if they get too close to get even more time.
These Shielded Fools are the distraction, ignore them and get ready to strike upward as the Primal Aspid spawns in the middle of the air, center of the arena. These are the bug that fire three shots, as you’ve encountered getting here from below. Two hits to kill them. I recommend jumping and hitting them as they spawn, then getting ready to Shade Dash past one of the Fools to avoid the missiles. Try and get the second hit in on the Aspid as a priority, then run away to heal if necessary. Patience is the key with this challenge.
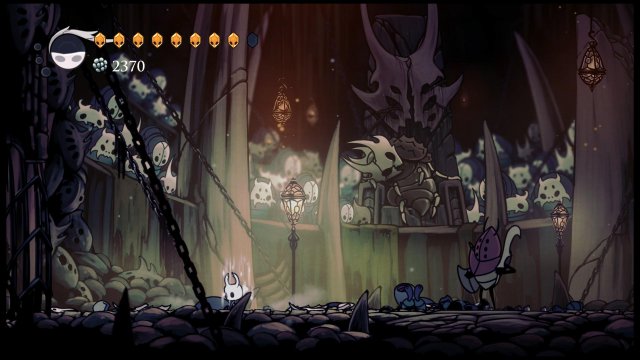
Once the aspid is down, focus on killing the Shielded Fools. Once committed to their three-slash attack they can be safely downstriked on, or you can time coming in with a long ranged slash. If you get hit, again retreat and let Hiveblood help you out.
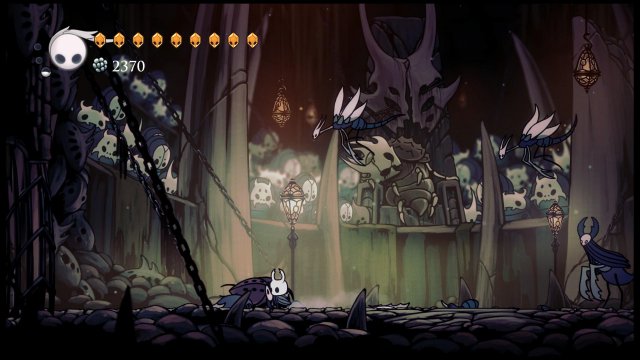
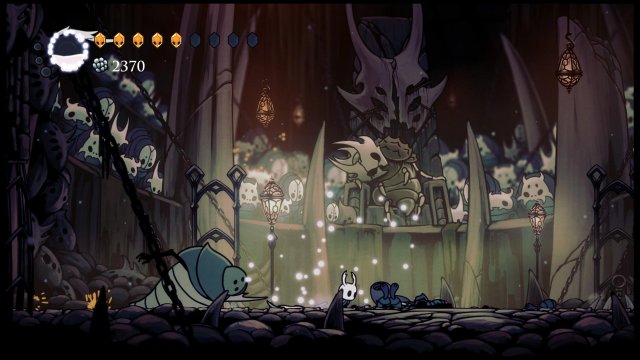
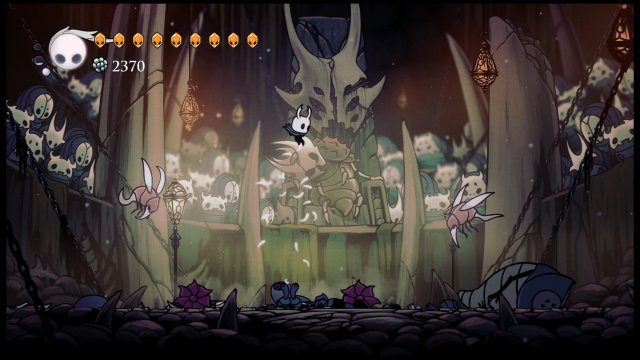
Once both Fools are dead, the final wave of this section begins with two Winged Fools spawning above you and a moment later two Sharp Baldur (the armoured armadillos) will spawn on either side of you. Immediately jump up one of the walls, until higher than the Winged Fools, then repeatedly downstrike on their heads. If you feel unsafe, dash aside and drop back down, then finish off the Winged Fools with jumping slashes from the ground.
Kill off one of the Baldurs, then focus on healing if you need it. You can heal here by jumping over the baldur, then immediately healing one mask. Then finish off the next Baldur.
The Floor is Spikes
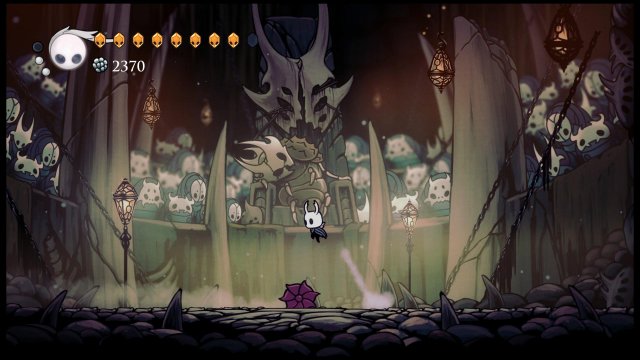
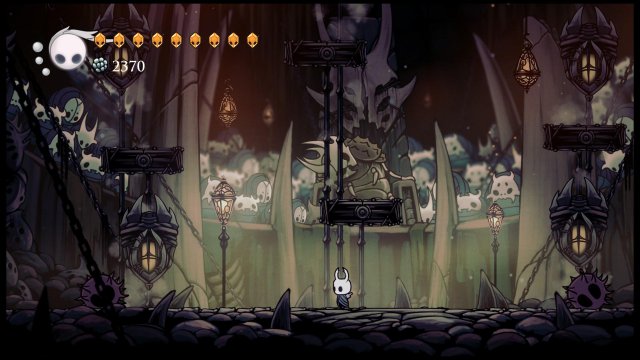
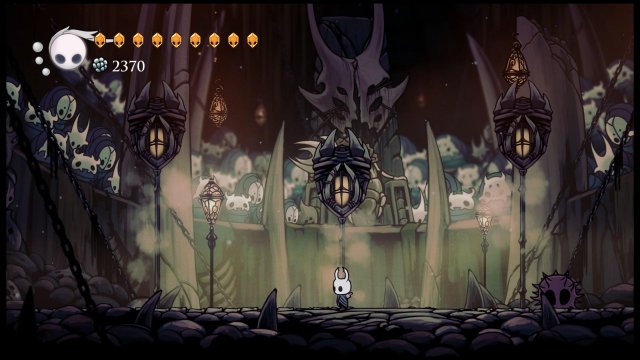
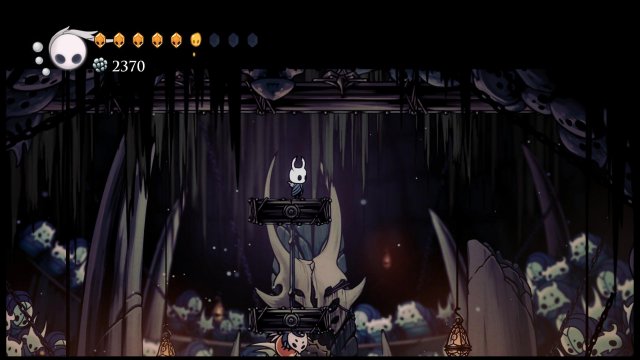
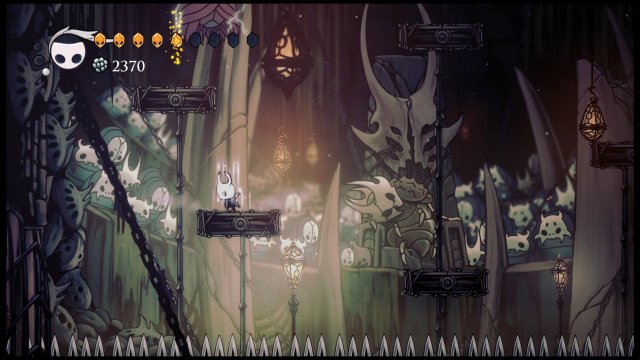
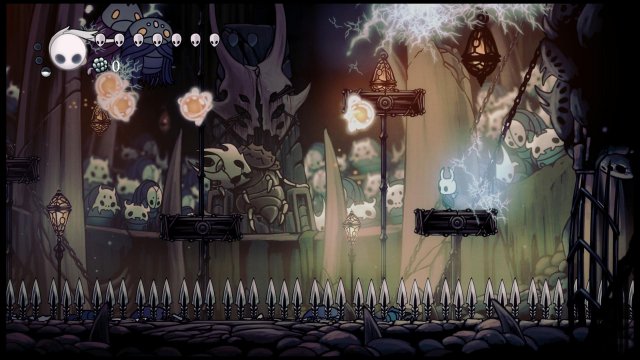
Having finished off the last wave, two more Sturdy Fools will spawn. Ignore them or hit them a couple of times to get Soul back if you need it, but jump onto the platforms the second they appear, then immediately double jump into the middle to downstrike the spawning Primal Aspid. You can attempt a second downstrike for the kill or just dash off to a platform to hit it later. The Sturdy Fools will have died to the spikes on the floor by this point.
Once you’ve killed the Aspid a LOT of Battle Obbles (four way firing flier) and a Winged Fool will spawn. Focus on the Winged Fool first as he’s actively trying to kill you, but smack away any Obble that gets too close. Once the Winged Fool is down hit the Obble either by hitting them from underneath as they go over a platform or hit them when they get too close to the left or right of the platform. Heal up before you kill the last one, if necessary. Be aware that the Obbles are stupid enough to kill themselves on the spikes sometimes.
Once the last Obble dies, two Furious Vengefly will spawn. You’ll only aggro one of them, hit it twice. REMEMBER that their bodies explode after a short period. Heal up again if necessary. Then jump and dash over to the other platform, again two hits will kill your enemy. Prepare to drop to the ground (away from the body).
Loodles of Fun
Once the Vengefly bodies explode, two Heavy Fools will spawn. Ignore them if at full Soul or hit one a couple of times otherwise, then get the hell up to the left wall and keep jumping up to the top. Stay there as Belfly after Belfly spawns and explodes down below you, killing the Heavy Fools. Once they stop spawning you can get down to ground level.
Congratulations on making it this far! This next section is annoying but not really too dangerous. Three Death Loodles will spawn – these are armoured versions of the frog-like jumpers from Queen’s Gardens. It takes three hits to kill them, which you can often manage if you’re attacking them as they land. Luckily their movement is entirely random so if you need to heal just get as far away from the remainder as you can to do so. They do sometimes jump a long way though, so keep an eye out.
Once those three are dead platforms will spawn, then many Loodles. Hide under the central platform and try and swipe anything that gets too close. You can also upstrike things on the platform a lot of the time, especially at the edges. Loodles can eventually land on the floor under the platform – focus them down immediately as they tend to jump back and forth under the platform.
Once all the Loodles are dead, the platforms leave and you are rewarded with three more Loodles. You’ve got this.
Vertical Slice
Once the last of the Loodles die you want to wait a second, then double jump up to try and land on the spawning platforms in the middle. Immediately double jump left to downstrike the spawning Squit (there’s also one to the right).
If you’re using the alternate build with Nailmaster’s Glory, Great Slash lets you one-hit all the fliers so that should help. (Apologies for the lack of screenshots here, aerial sections need me to have a third hand to take them).
As soon as one enemy dies a Primal Aspid will spawn in the top left, then again in the top right when another enemy dies. Try to hit things once and then change elevation to avoid attacks, and if you get hit spam attacks at whatever hit you to clear space. Once you clear another enemy a Primal Aspid spawns on the left and a Winged Fool to the right – often climbing to the top and downstriking as they chase helps here. Also bear in mind that you can Shade Dash through the projectiles of the Aspids. Sometimes enemies will get stuck under platforms below you, if this happens take the opportunity to heal up.
Once all these enemies are dead get to the second-highest platform and heal. A Garpede will pass underneath you, drop down a platform to avoid the Garpede on your level once it has passed, continue healing if necessary.
Three last fliers (two Squit, one Fool) then spawn – I recommend downstriking the Squit on the right as it spawns to reduce complexity, then mop up the rest as you’ve been doing up to now.
Once all the mobs are dead the spikes and platforms will retract.
Constant Pressure
The next section really likes to spawn new enemies when you kill an enemy, so be forewarned.
A Shielded and Heavy Fool will spawn on either side of you – but again, these are the distraction for a Primal Aspid that spawns in the center. Try to hit it as it spawns, then avoid attacks and wait for the Aspid to come back near the ground to finish it off. Once that’s done, focus down the Heavy Fool. ON NO ACCOUNT KILL THE SHIELDED FOOL.
Once the Heavy is dead a Mantis Traitor will spawn, take him out as carefully as possible – easiest by downstriking, though one of its attacks will jump upwards so this isn’t foolproof (if you’ll forgive the pun)
The second the Traitor dies a Mantis Petra will spawn in the center. Kill it as fast as possible, but if you get delayed remember you can Shade Dash through the blade it throws.
OK, finally enemies have stopped spawning. This is why we kept the Shielded Fool alive, to run away from him and heal up. Once you’re out of soul or fully healed kill him off.
A Traitor and two Petras will spawn. Focus on killing the Petras as they are far more dangerous; once you kill two enemies then another Petra and a Heavy Fool will spawn. Take these enemies out in any order, but I recommend Petra, Traitor, Heavy.
Soul Survivor
I hope you enjoy fighting spellcasters because there are plenty coming. We start off with two Soul Twisters – the easiest way to evade their attacks is stay low to the ground and dash strategically. Once one of them dies them there are three Mistakes that will spawn – but only after you leave a third of the ground (left, middle, right). If at all possible, heal up by not spawning one of these and killing off the other Twister.
Once all the Twisters and Mistakes are dead, DO NOT HEAL – a Soul Warrior will teleport in over you and downstrike. Dash out of the way and hit him, and continue evading attacks and getting in damage as best you can. Remember he has a dash forward (Shade Dash into it to get behind him), teleport-downstrike and Twister ranged attack. Follies will start spawning once he has taken enough damage, deal with them as best you can. Once he’s dead we move on to the next stage.
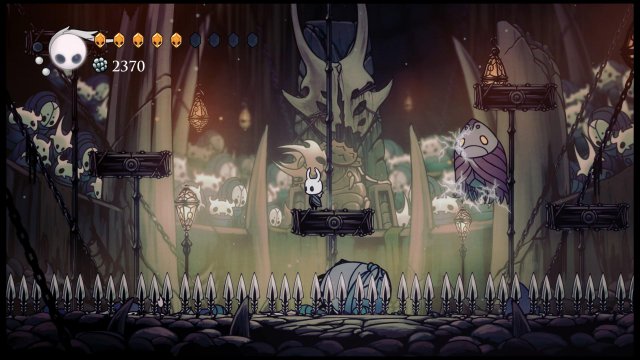
Spikes and Platforms will rise up, get on a platform and wait for a Volt Twister to teleport in. These mages use the electric attack that the jellyfish boss used, which means they are very predicatable.
If you need to heal up, evade a cycle of the electric attacks and heal one level, then repeat. Be aware that the healing white lines mean it’s harder to see the electicity forming so take it slow.
Once the Volt Twister dies a Soul Twister will spawn. Use the platforms to block missiles and get in hits when you can.
Another lone Volt Twister follows, this should be easy for you. Again, you can heal if you need to (and later waves will give you few chances for a while).
Once dead, a Volt AND Soul Twister will spawn. Concentrate on avoiding damage and getting in hits to the Volt Twister as often as you can. Once that’s done, you can kill the Soul Twister at your leisure. Once done, the spikes and platforms retract. DO NOT HEAL.
Another Soul Warrior, but this time with a Twister for backup. Focus down one of them (there are pros and cons for both ways – the Warrior is easier to hit but has more health), then the other. Twister is easier if you can manage it but their teleporting makes it difficult.
Confined Space
This section mostly relies on taking down enemies quickly to avoid being overwhelmed. We also need to heal wherever possible because the next section is the worst part of this ordeal.
Only the occasional Winged Fool can get to you up here. If you take damage, get up to the top of the wall until Hiveblood is done. This may seem tedious but is essential in preparation of the later section – you are going to want all your health.
The first wave is a Sturdy and Winged Fool. Climb the wall and downstrike the Winged Fool to death, staying up there to heal if necessary. Then come down and kill the Sturdy Fool. You have time for 1 heal before new enemies here.
Two Lesser Mawleks spawn here. If you spam attacks at one as it spawns it won’t get to attack. If you get hurt, retreat skywards as normal. Then slash the other to death. You have time for one heal here but it is tight.
The next wave is two Lesser Mawleks and a Winged Fool. Spam one of the Mawleks down again, but this time climb the wall even if you haven’t taken damage to fight the Winged Fool without the Mawlek interfering. Wait for healing if necessary then drop down to finish off the last one. Again, you have time for one heal.
Now the last fightable enemy in this section, the Brooding Mawlek. There’s no time for subtlety or tactics here – spam it down and dash when it jumps or to switch sides as appropriate. This is when quick slash really becomes indispensible for the run. At one point it will cover the screen with spit, either ignore and accept the damage or jump over the Mawlek to avoid it.
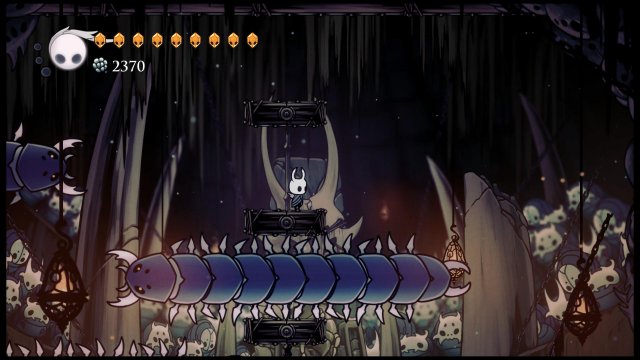
Once you’re done, heal up as the Garpedes come down from the ceiling. Move right of the first one, then into an available gap on each wave.
Once the last pair of Garpedes are past, climb the walls and stay at the top in preparation for the next section.
Where We’re Going We Don’t Need Floors
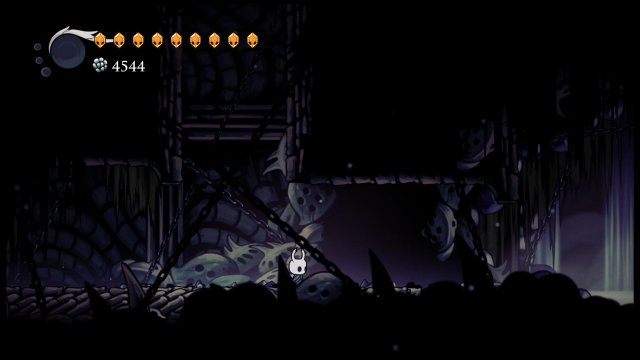
This section is what makes Hiveblood worth it for me over Quick Focus – it allows you to heal (by stalling and avoiding enemies) where there is nowhere to stand. And by nowhere to stand, I mean there are no platforms and the floor is spikes.
The key here is to downstrike as much as possible when the enemies spawn, then use double jump and shade dash to keep evading enemies to heal up. Leaving a Squit as your last enemy is usually best as they are easily avoided by simply continuing to change position. Your first wave is a Winged Fool and two Armoured Squits.
Once all enemies are dead a Squit and Aspid will spawn, the Aspid at top center. Kill the Aspid with downstrikes before it can fire, the deal with the Squit at leisure. This is followed by a Mantis Petra and a Squit – again, downstrike the Petra and then deal with the Squit. If you’re out of position, try and sideswipe the target and then dash underneath them to upstrike.
Now the nasty bit. A load of Oobles spawn here, all over the area. Try and stay high and downstrike some of them out of existence. You’re going to get hit here almost no matter what, but stay focussed and maybe recover a health by staying at the top once most of them are dead.
At an indeterminate point (sometimes it seems to be when all Oobles are dead, sometimes with a couple left) two Winged Fools will arrive. Downstriking remains a good option, but above all evade. Remember there may still be some Oobles spitting projectiles near the bottom of the screen, focus on killing the Fools first.
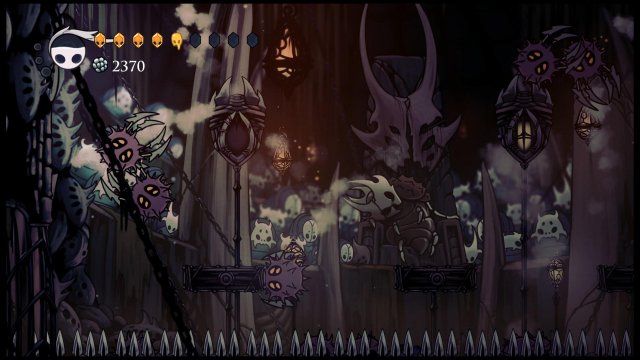
The walls and ceiling will enclose you in a small box, keep jumping up the wall. A Squit will spawn, hit it with Shade Soul (the spell) from exactly halfway down your available wall to kill it in one go. Another Squit will spawn – do the same. If you mess up and get killed on the spikes, either jump to a wall and hit it with the spell or try slashing quickly to finish it.
You get the full run of the screen again, and some platforms. You’re not out of the woods yet though, so focus on healing immediately and NOT on the central platform.
You remember the Loodles, right? Prepare for many Loodles. Heal up a few levels, then just concentrate on dodging or Great Slashing Loodles – they’ll kill themselves on the spikes eventually.
If you get in trouble, try jumping onto the walls (I’m behind the scenery here). It’s imperfect because Loodles do jump up here, but it can buy you some time. Eventually you’ll be out of Loodles for the last time and the spikes and platforms will disappear, so drop back down.
Steady Onslaught
At this point you’re probably low on health. These next enemies are a bit challenging but really designed to set you up with Soul for the final boss. Let’s get into it.
We start off with a Heavy and Sturdy Fool. We’re back to spawning new enemies when one is dead, so I recommend taking out the Heavy.
This will spawn a Mantis Traitor. Kill him off, and a Shielded Fool and Winged Petra will spawn.
Take out the Petra as a priority, then the Winged and Sturdy Fools. No new enemies will spawn.
With just the Shielded Fool left, you can finally heal back up.
Ah, tasty tasty health. Take out the Fool.
A Shielded Fool and Soul Twister will come in. Focus on the Twister – if you stay away from the Fool you can dash to avoid projectiles.
Once again, our friend the Shielded Fool gives us time to heal. Kill him off once you’re at full.
A Volt Twister and a Heavy Fool are next, focus on the Twister. Stay calm and remember that both are easy to dodge – you’re not in a rush.
Once those enemies are down a pair of Squits and Baldurs come in – take to the skies and kill the Squits first, then you can spam the Baldurs down at leisure. If you need it you can heal once there’s only one Baldur left as usual.
A Heavy, Shielded and Winged Fool will spawn – focus on the Heavy first.
When one of them dies a Sturdy Fool will come in. Destroy the Winged and Sturdy Fools in any order, then heal up with the Shielded Fool (or don’t and heal afterwards as you have time before the final boss)
God Tamer
Imposing name, I know. Here’s where we get to the real cheesiness of my method.
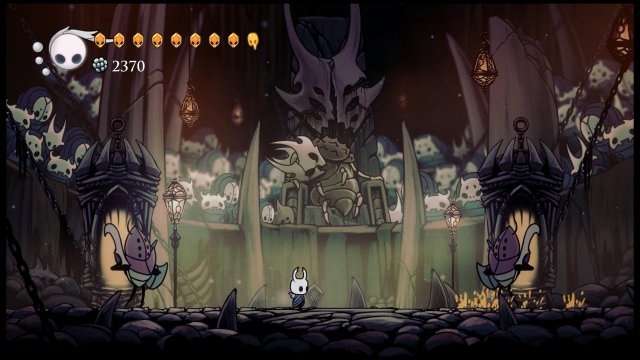
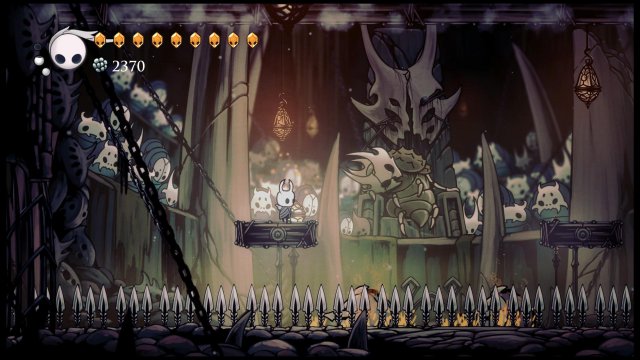
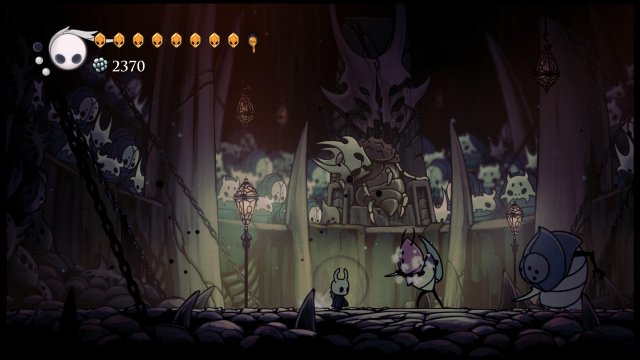
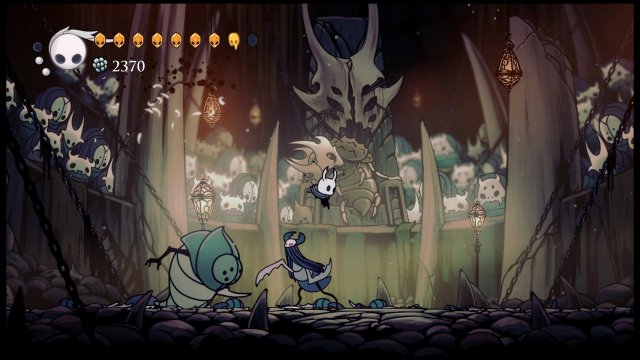
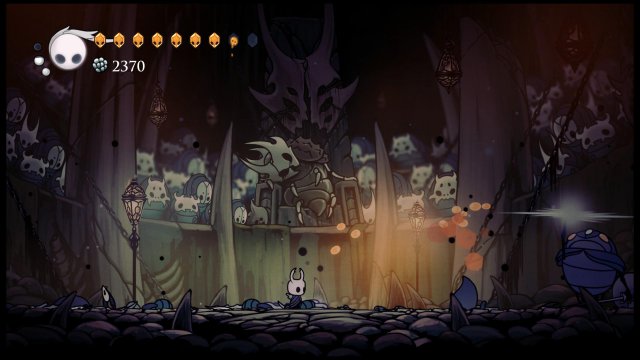
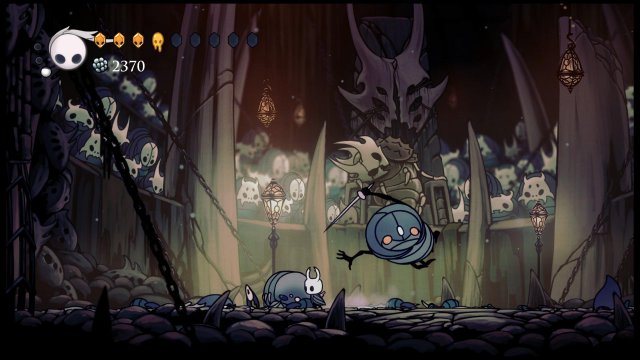
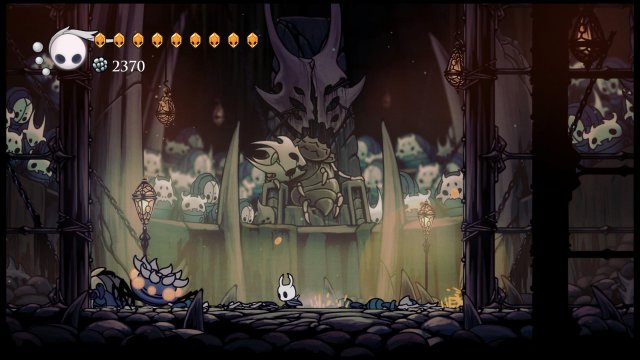
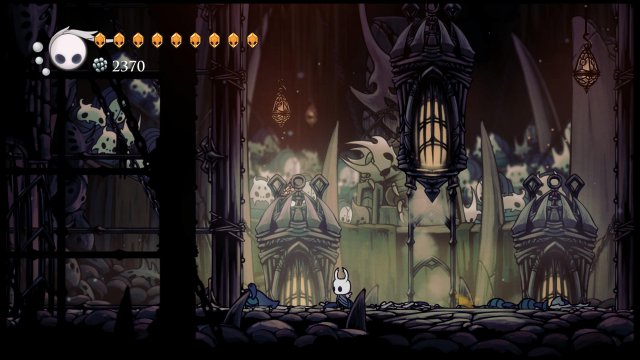
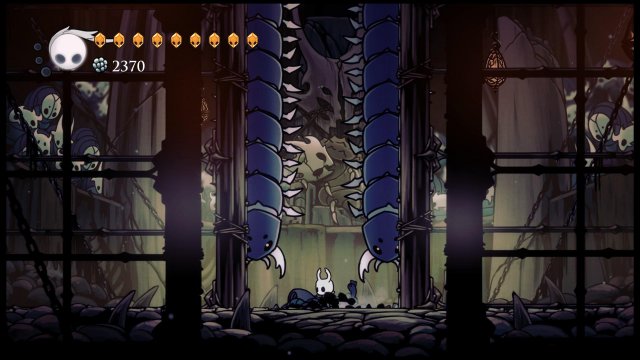
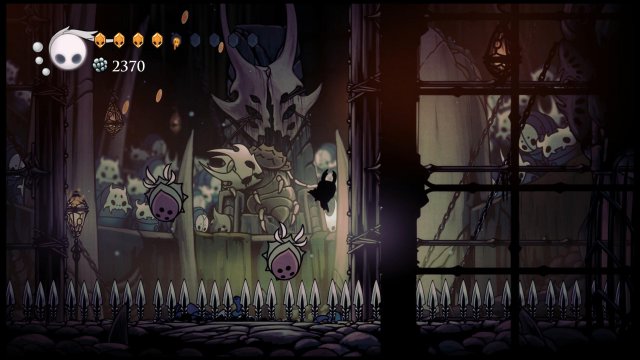
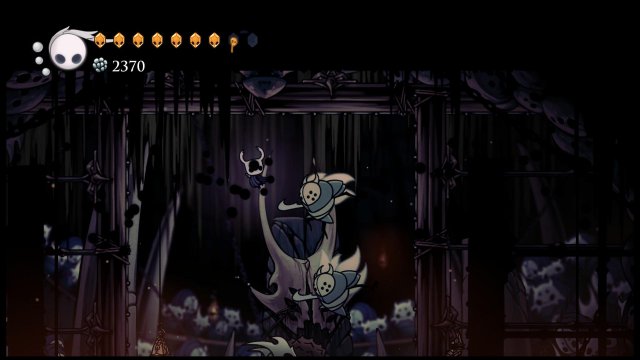
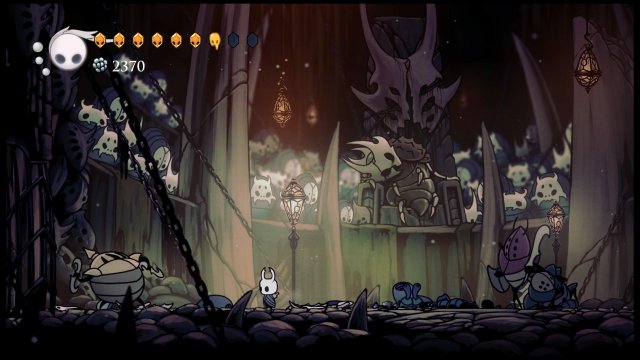
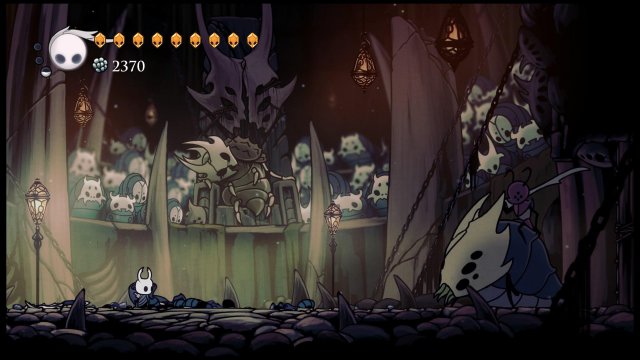
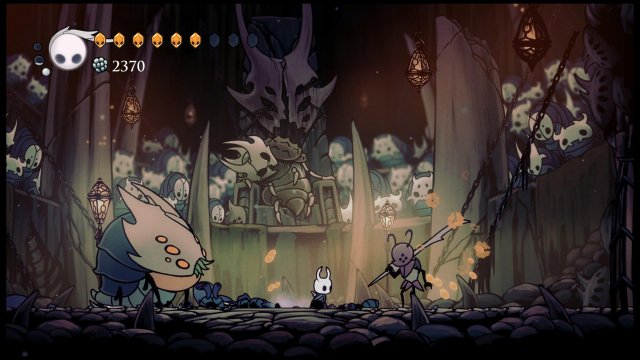
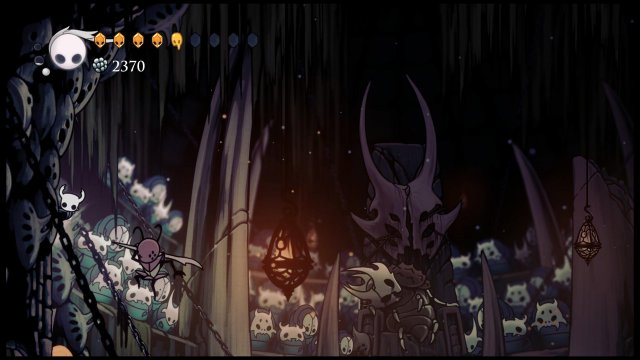
Taking screenshots is dangerous work. She’s only got the one jumping attack, but with other things to consider it can be dangerous. Her mount is the real threat here.
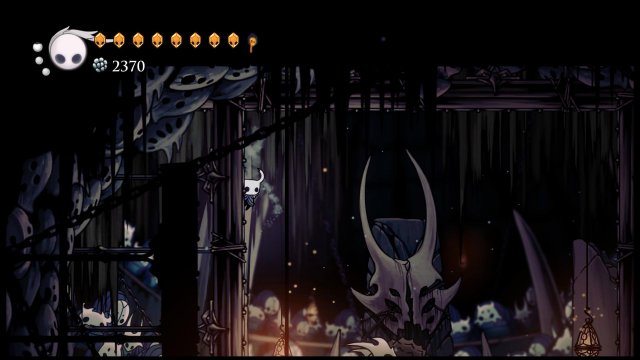
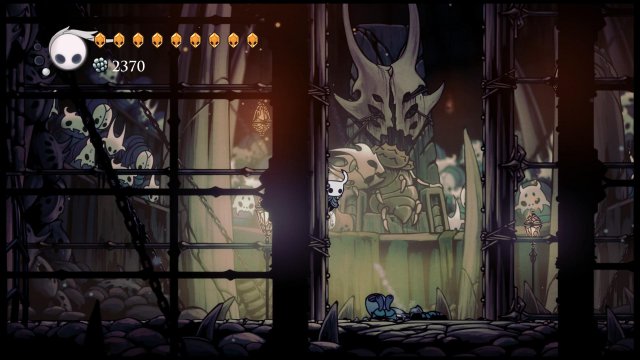
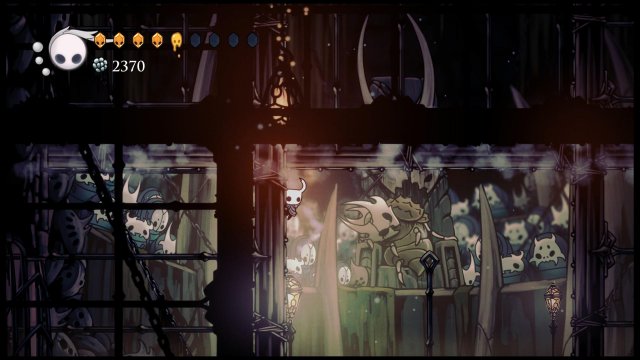
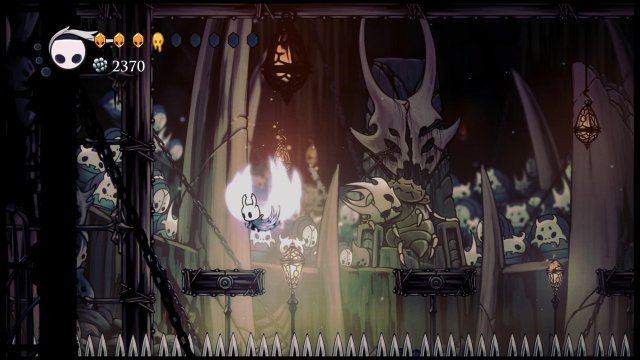
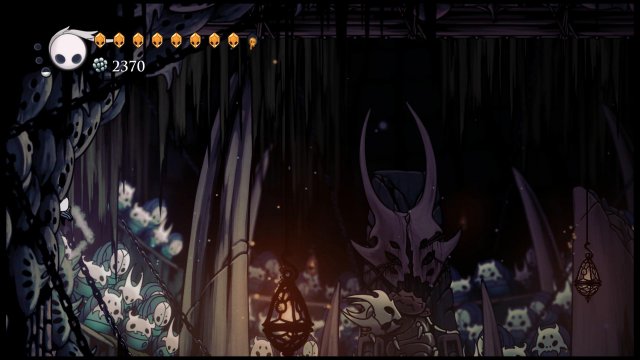
Whenever you get hit (and I do mean whenever), go to the LEFT side of the screen and jump as high as you can up the wall. Wait out Hiveblood healing, then jump and dash off to the right.
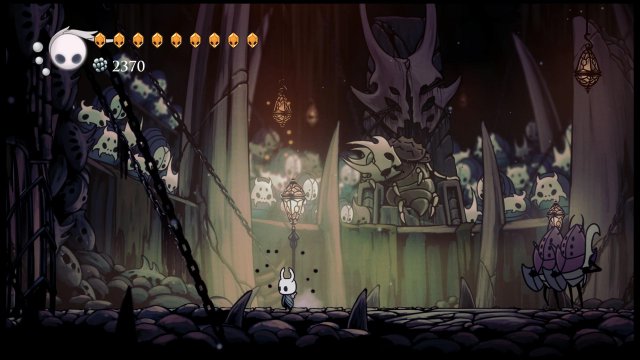
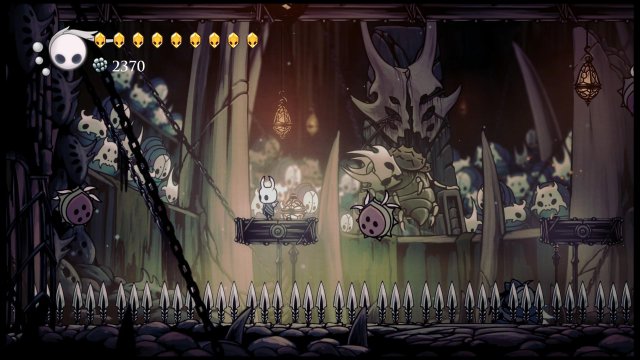
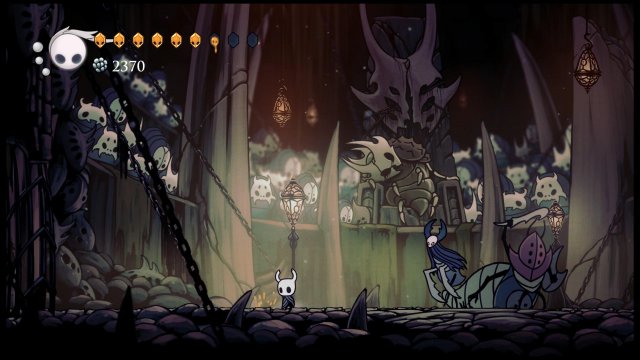
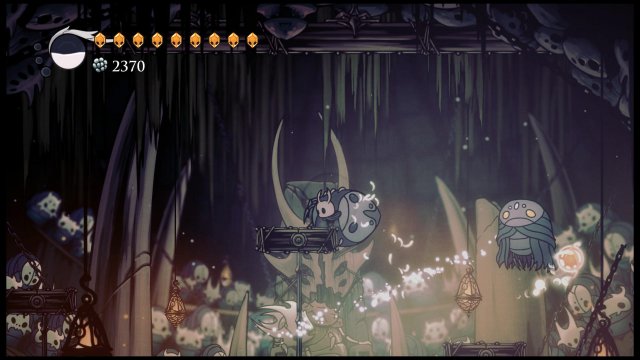
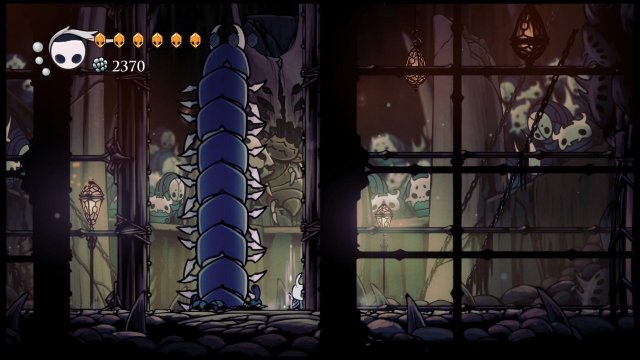
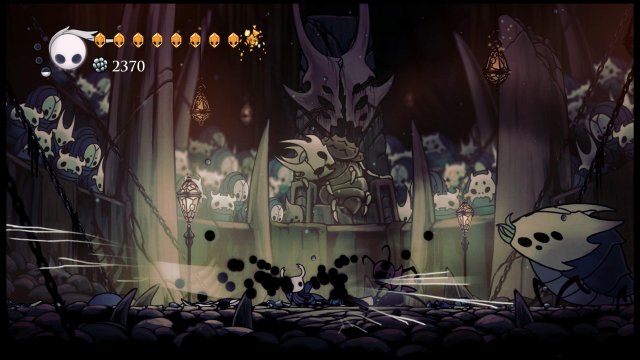
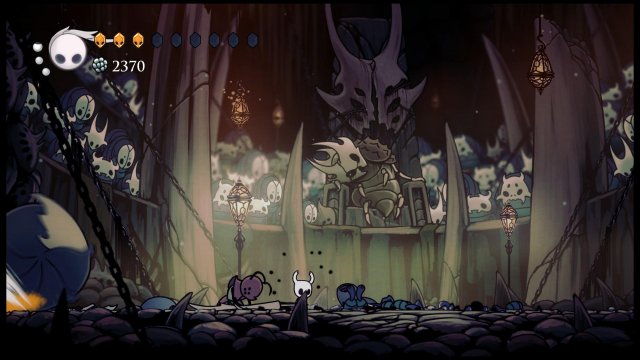
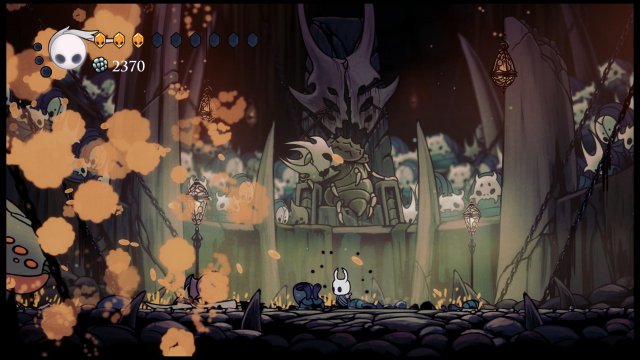
The beast has two attacks, a roll and rebound like the shells in the Soul Sanctum and an acidic spit (shown above) that lands in three places – try to either outpace it or stop between two landing sites. You want to be focussing on God Tamer because although she gives up if her mount dies, she’s very annoying.
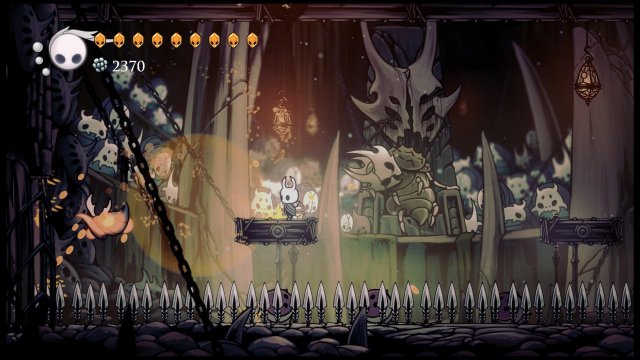
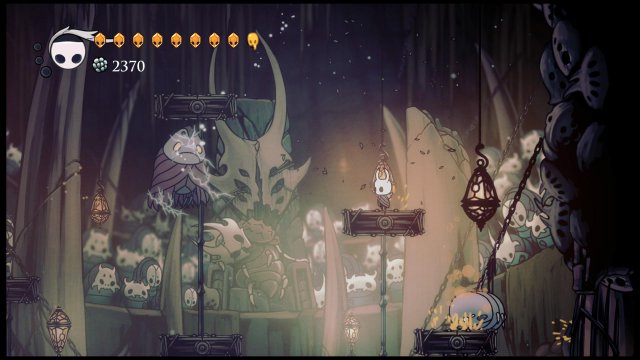
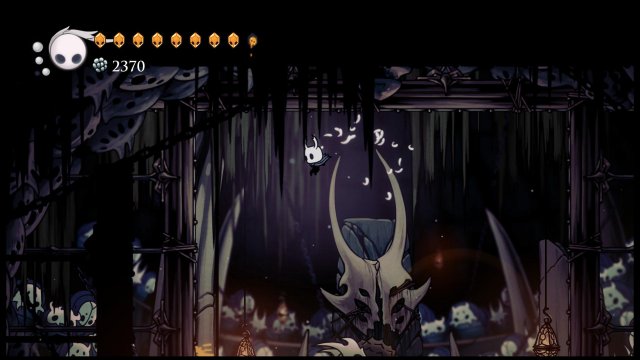
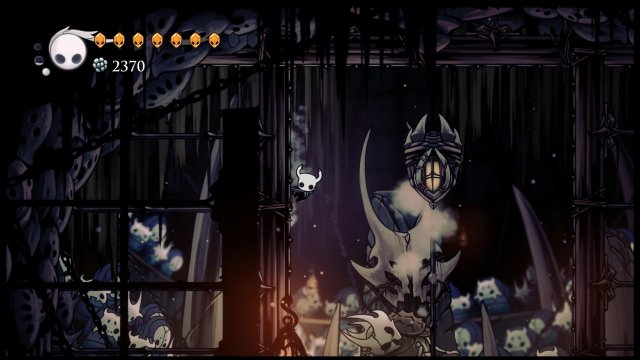
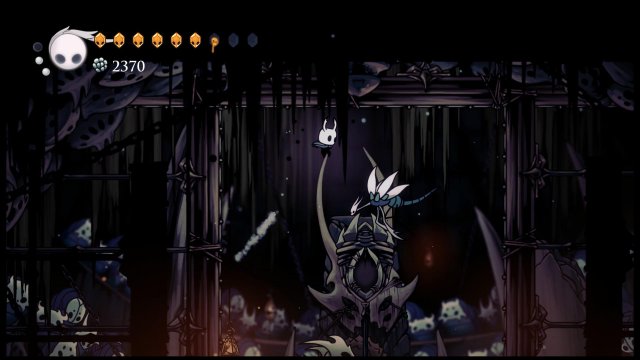
As you can see here, God Tamer and her mount will try to jump at you when you’re up here. If you’re a more skilled player than me you might be able to downstrike her whenever she jumps up and kill her off that way, but with almost infinite health you should be ok as long as you keep coming here when hurt (I’ve taken some extra damage trying to get out through the spit and the beast’s charge here). DON’T FORGET TO SHADE SOUL. You’re not going to get a chance to heal here so it might as well become damage.
Eventually God Tamer will go down and stop being a threat. Stick to the method and retreat when you get damaged – but you should now find it a lot easier to jump over the beast. Keep in mind when it rebounds off the wall it tries to land where you were a second or two ago. Use this to back off and then quickly slash it down a few times. It doesn’t have any new moves, so repeat until dead.
Huzzah!
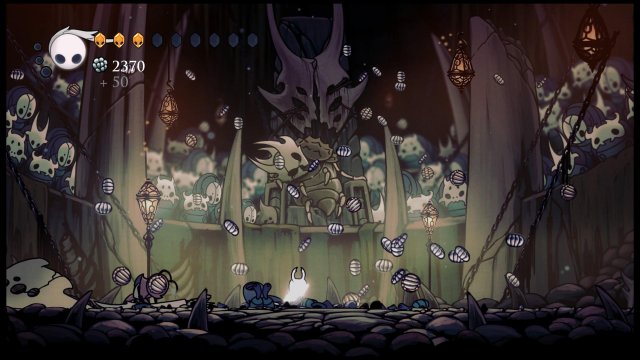
You get 2000+ Geo out of the crowd and an achievement (and 1% toward 100% completion).
Acknowledgements, Bug and Final Remarks
Youtubers Rufey for his helpful video guide (though I’ve gone a different route here)
and NorthernLion for introducing me to this game in the first place.
There is currently a bug in the game where Soul Twisters will leave active orbs behind that damage you and never go away – see below
The only way I know to fix it is to restart the game, so either immediately quit or try and live with it, I’m afraid.
As I’ve stated above, this is a bit of an ordeal to get through. Just try to bear in mind that there is no rush. You don’t need to go after Soul Twisters all in one go, one hit and not getting hit back is better than two hits but losing a health. The flying section is nasty but it’s doable, especially with Hiveblood. Good luck, Fools.
Written by Phobian.








Be the first to comment