
Space Engineers contains a powerful Cutscene editor, which can be used for cinematics and gameplay. This guide explains how to set up cutscenes, trigger them and make them work in multiplayer
Introduction
All credit goes to Klime!
This is a step-by-step guide to creating and using Cutscenes in Space Engineers. Cutscenes can be used for cinematic purposes as well as gameplay purposes.
Cutscenes are vanilla, but generally require a mod to trigger them in multiplayer.
Setup
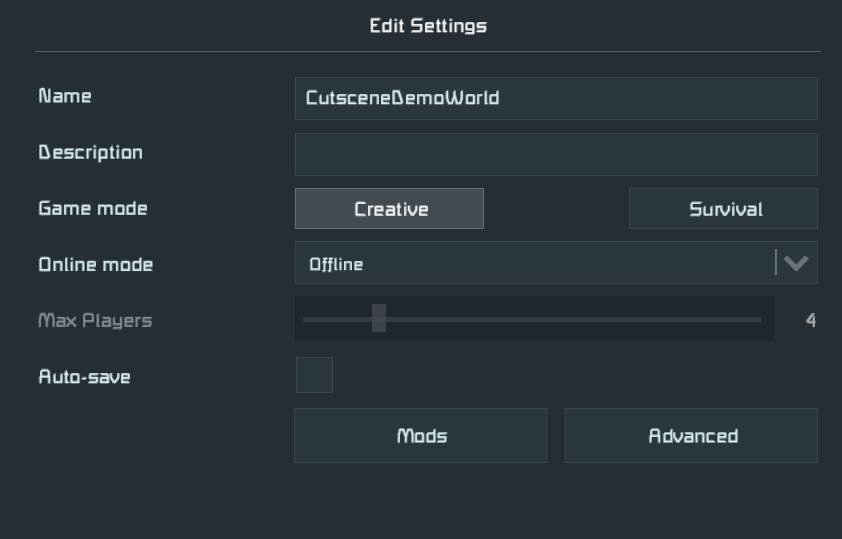
Cutscenes can only be set up in offline mode.
Open an existing world in offline mode, or start a new one.
Highly recommended to add my “CutsceneExtension” mod.
CutsceneExtensions will let you easily visualise where your cutscene waypoints are. It is also compulsory to use this mod if you want your Cutscene to work in Multiplayer.

Once this is done, start up the world and place your spectator camera in the area where you want the cutscene to take place.
Adding Waypoints
Waypoints are special markers that the game uses to move the cutscene camera.
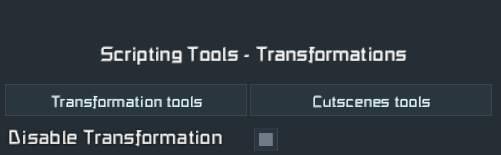
To open the waypoint menu, double press F11

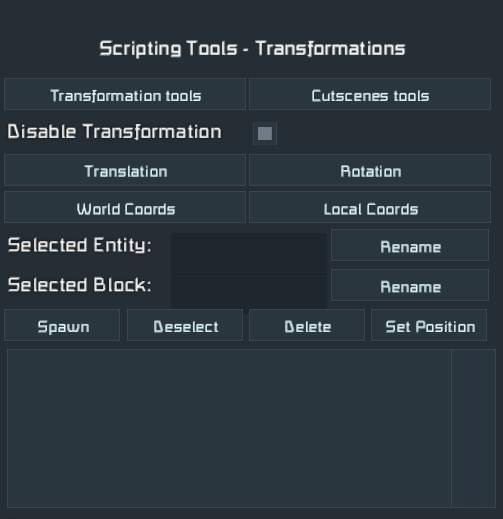
This screen may look complex, but you can generally ignore 90% of it. Firstly, make sure “Disable Transformation” is checked
Now comes the time to spawn waypoints. The waypoint will spawn at the camera location, so position the camera before you hit spawn.
You can move the camera with W A S D, rotate with Q E and look around while holding the right mouse button
Tip: The spectator camera has speed controls. Use Alt + Scrollwheel to adjust the movement speed, and Ctrl + Scrollwheel to adjust the rotation speed. This will help you place Waypoints precisely
Once you are happy with the location, hit “Spawn” to create a Waypoint.
Leave the waypoint name as it is (should be “Waypoint_0”)
If you want to disable the markers, type /markers
Continue to move the camera and spawn in Waypoints. You should end up with a list of Waypoints.

Adding the Cutscene
Once you have the waypoints created, select the “Cutscene” tab on the top left. Press “New Cutscene”, and give it a name. This is the name that you will call when you want to trigger the cutscene
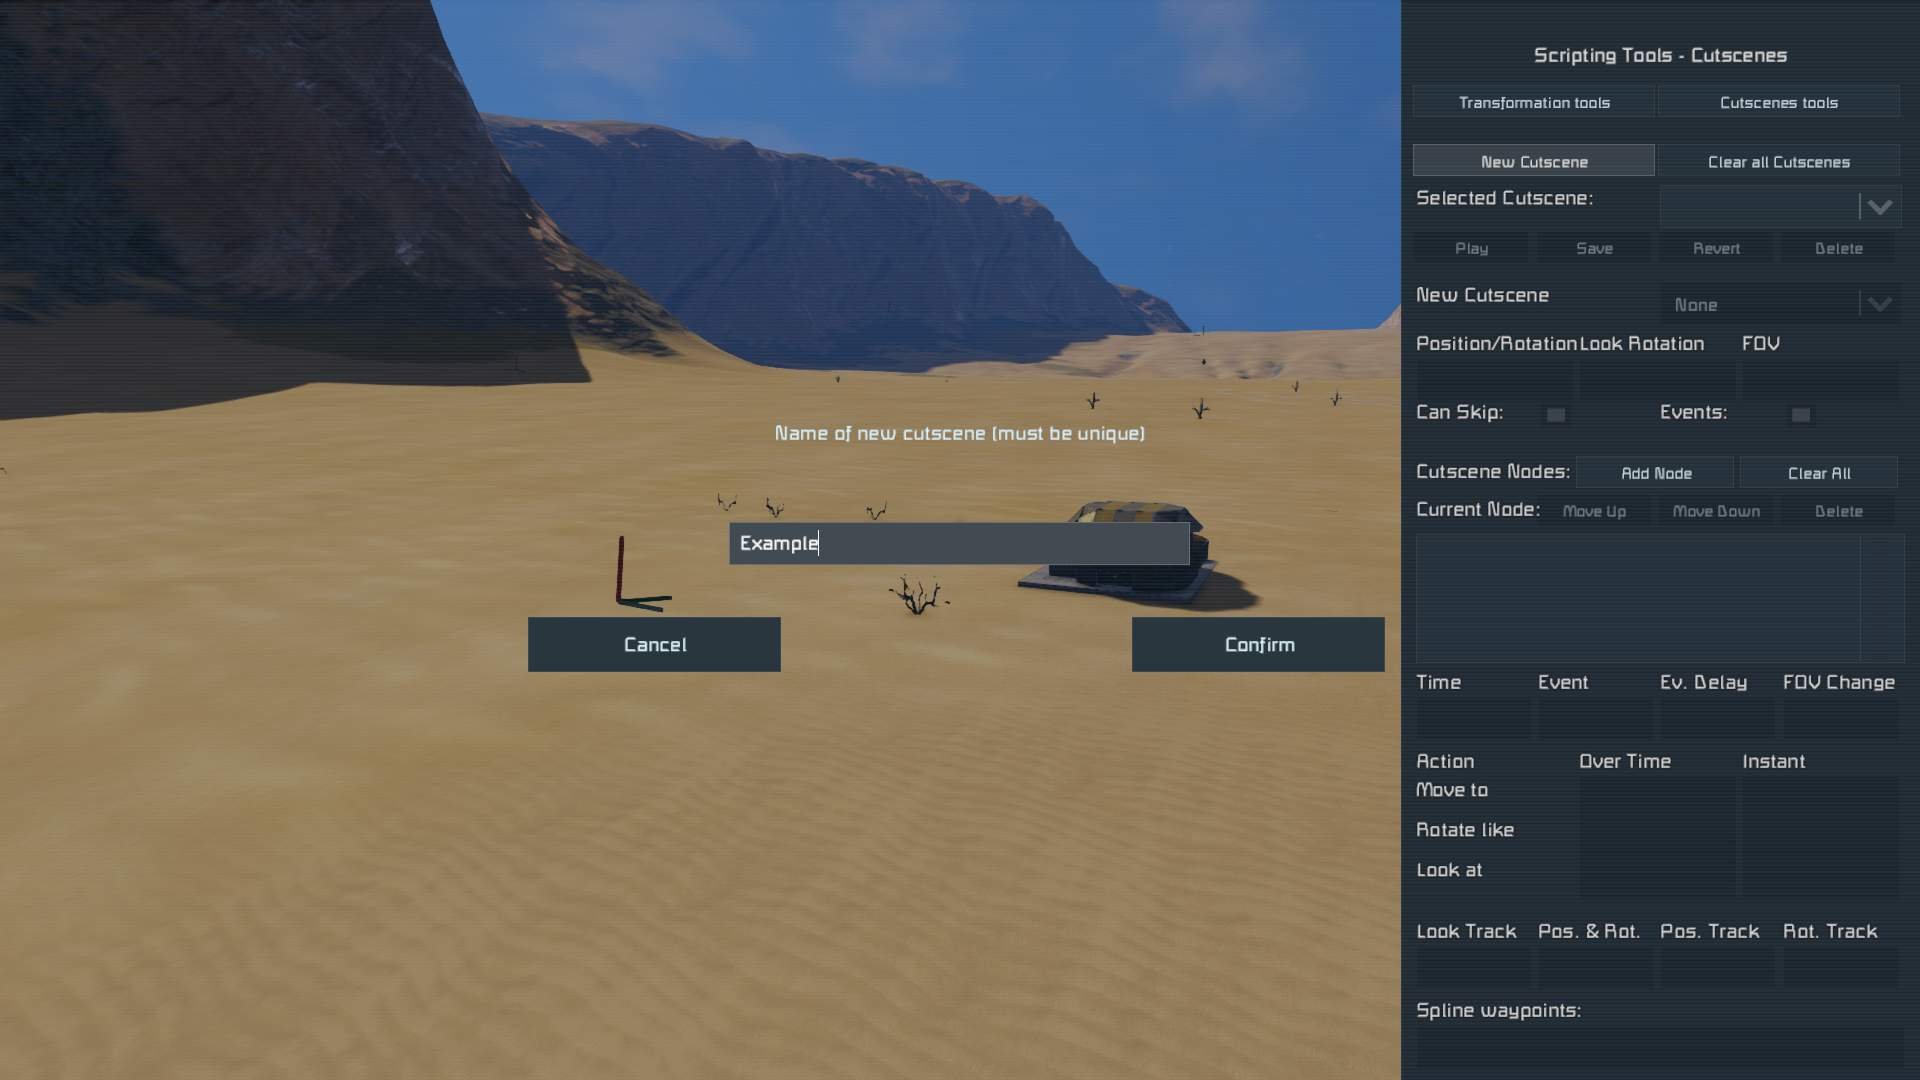
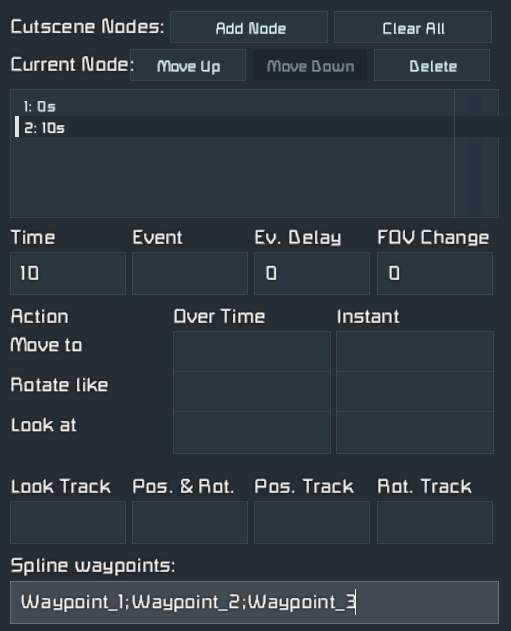
A cutscene is made up a sequence of nodes, each with custom timing and orientation. Start by clicking “Add Node”.
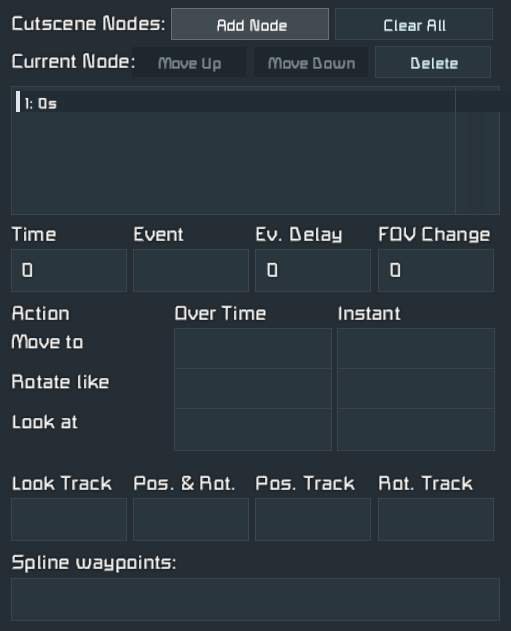
For the first node, you generally want to put the camera at the Waypoint position immediately. Set the time to 0s, and fill the boxes similar to this.
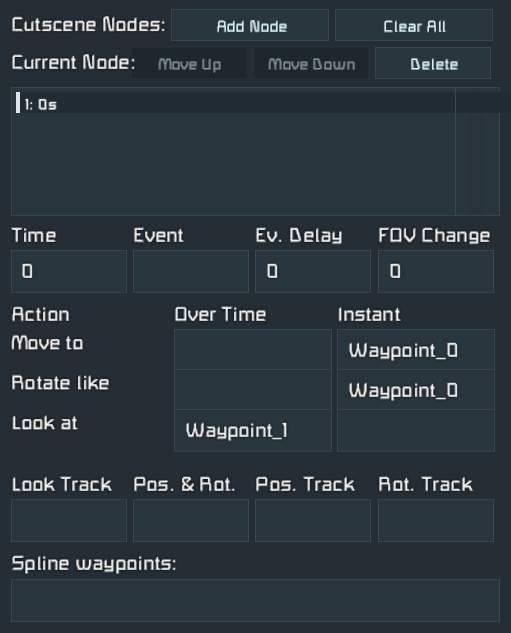
You can now add more nodes, linking up the waypoints. Node timing, FoV and other settings can be adjusted.
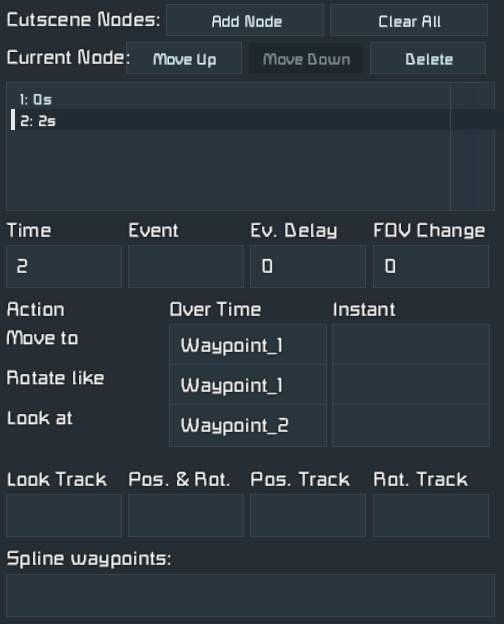
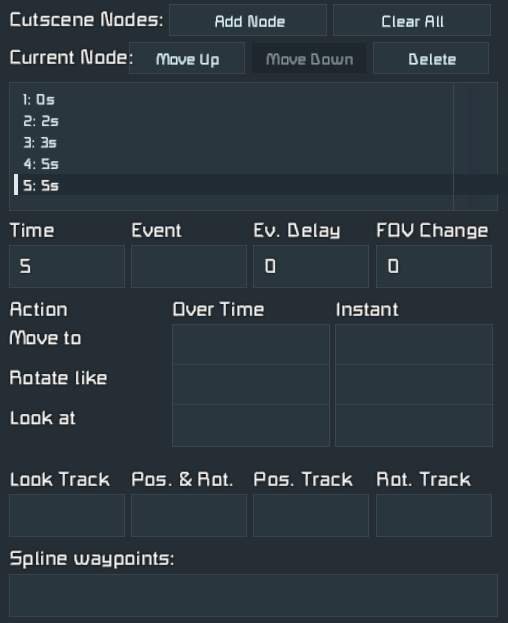
After adding a node, hit “Play” to preview the Cutscene. Once you have finished adding the nodes, you should have something like this.
Another option is to use the Spline function. Here, you supply a starting node, and then a sequence of nodes for the camera to automatically move between. And example is
Once the cutscene is finished, make sure to hit “Save”

You can now exit out of the Double F11 menu, and save the world.
Triggering the Cutscene
Once your cutscene is saved, you can trigger it manually by pressing the “Play” button in the Cutscene editor.
To trigger the cutscene normally, make sure you are using my CutsceneExtension mod.
Place down a timer block, and name it “Cutscene CUTSCENENAME”, where CUTSCENENAME is the name of your cutscene in the Double F11 menu.
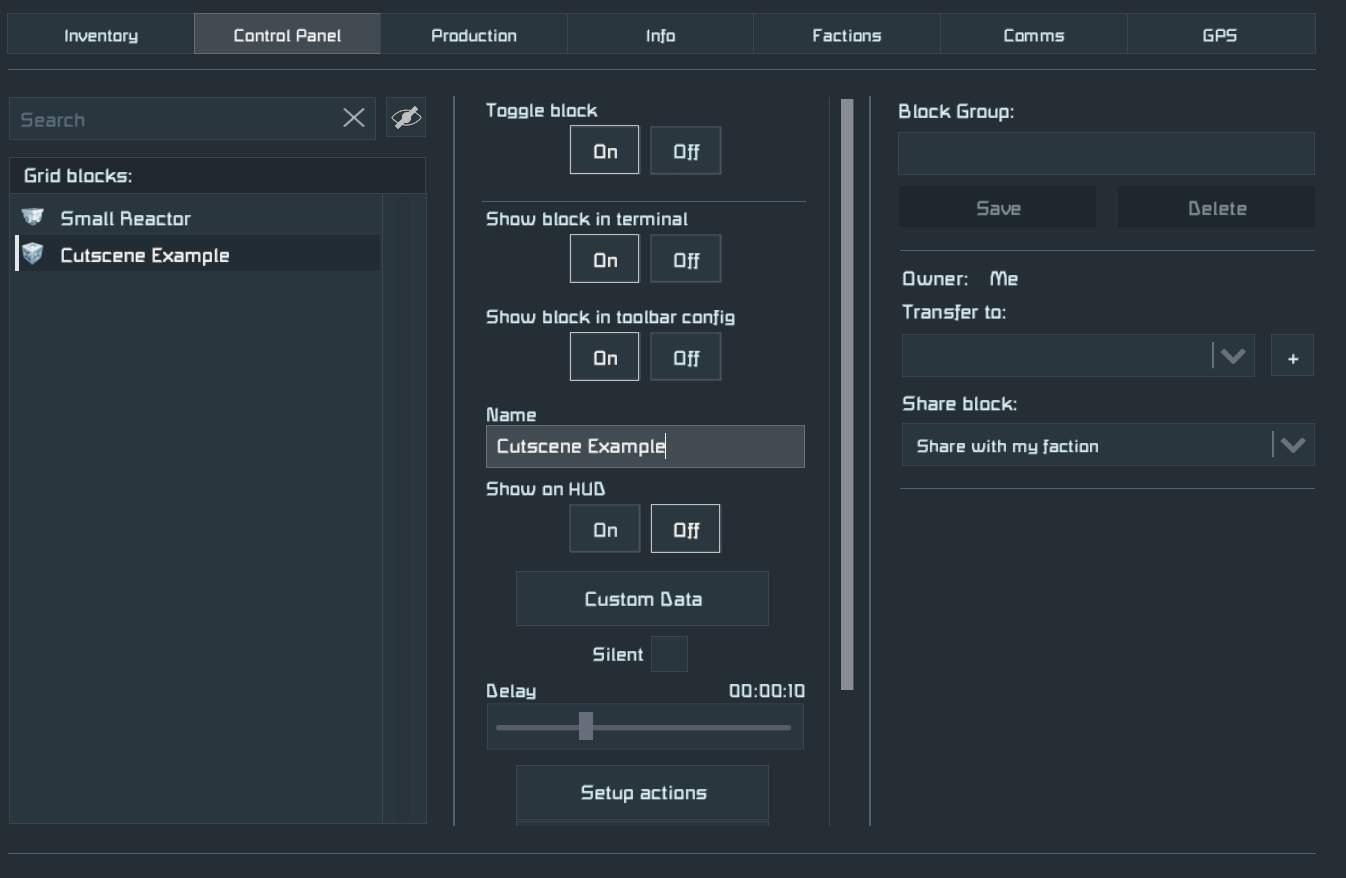
Triggering this timer will play the cutscene for all players. This works in Multiplayer and Dedicated Servers too.
Optional: Restricting the cutscene to players within an area.
If you want to only show the cutscene to players in a certain area, add a number to the customdata of the timer block. Players within this radius will see the cutscene.


Be the first to comment