
A general guide to the second game of the Witcher trilogy, covering many aspects of the game, providing helpful tips and advices that will help you on your journey.
Contents
Comprehensive Guide to The Witcher 2: Assassins of Kings
All credit goes to Reinborn!
Introduction
Welcome to my second guide of the Witcher trilogy, taking on the same design as my previous guide and thus covering useful tips for starting players as well as those who have some experience with the game.
- For a reference, here’s my guide to the first Witcher game.
Story
The game picks its story up some time after the events of the first Witcher game. You are under the command of the king Foltest, whom you’ve saved from an assassin, thus he places his trust in you.
You’re to help him capture a keep where he’s to “rescue” his children – Boussy and Anaïs. Now, whatever were your romance choices in the previous game, you will wake up with Triss in bed (a bit of a letdown) but there’s nothing to do about that.
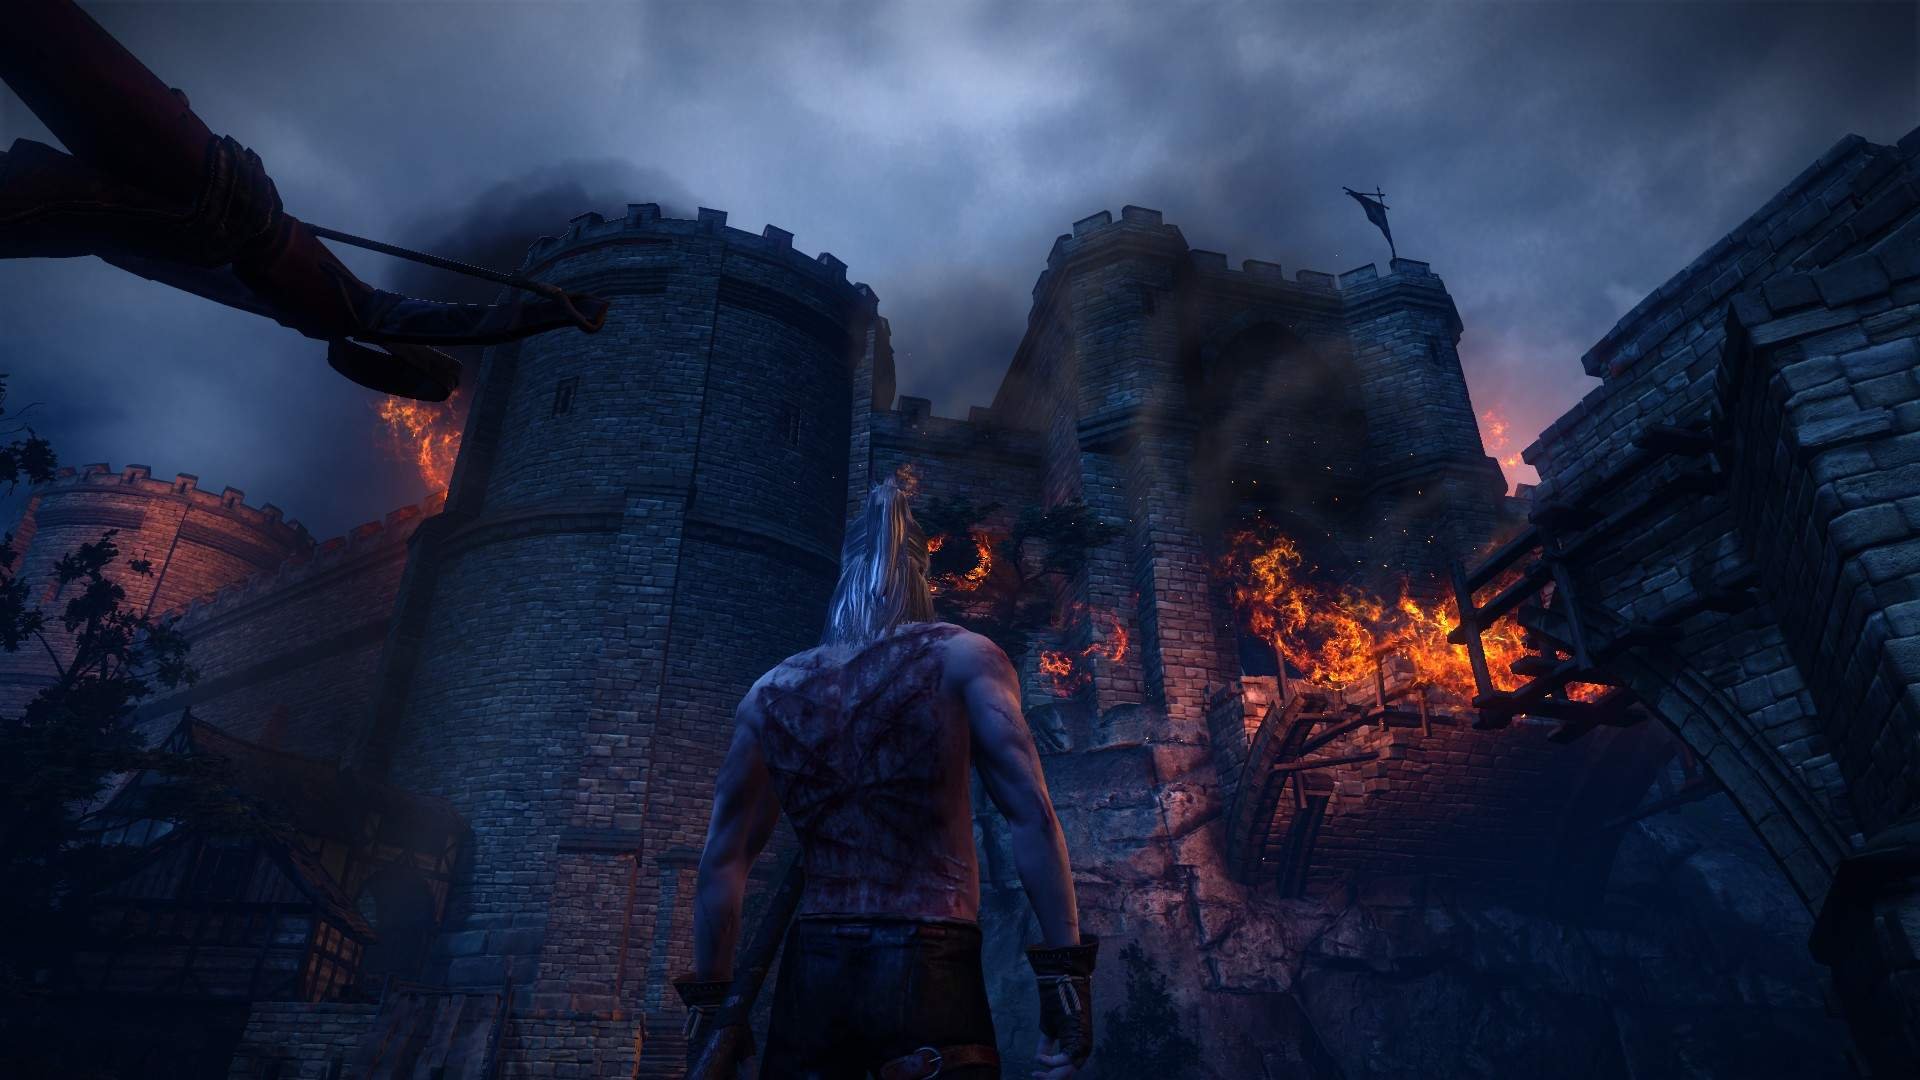
The entire siege acts as a prologue, just like Witcher 1’s Kaer Morhen assault functioned and it’s told rather uniquely through Geralt’s memories while he is being interrogated for yet unknown reason. The order in which you choose to play those memory corridors is entire up to you but personally, I’d like to go by a chronological order, which is obvious from the dialogue lines’ suggestive start-ups.

Once you near the end of the introductory session of the game, you may notice that you’ve already created some choices that already had consequences. You’ll get to choose whether you want to spare or kill Aryan – sparing him makes you meet him again in the prisoner cells while being tortured. If you kill him, his mother will appear instead.
Next to Aryan’s situation, there’s the ‘Newboy’ decision – if you chose wisely and told the Reavers to not trust the medallion, Newboy will live and help you distract the guards after escaping the prison. Roche will also comment on how you managed to get through the prison – whether you used stealth or chose to kill the guards, he’ll make a statement that you approached the situation with caution, or that you turned the prison into another Blaviken.
Whatever were your choices, you sail off to find the killer, starting at Flotsam, encountering characters you’ve met previously.
Yet again the story is divided into chapters, you cannot go back and move in as if it were open world in a literal sense. Inbetween the chapters, Dandelion narrates Geralt’s journey and speaks of his decisions.
As it was with the first Witcher game, you’ll be faced with two-sided issue again – Vernon Roche and Iorveth. Just as you could join the Order or the Scoia’tael, here you’re to tag along with either Vernon and Iorveth. Personally, I recommend trying out both sides of the story as some quests will differ and offer you new outcomes.
Starter’s Guide
The first thing you ought to do is check the keybindings. That is done through the launcher’s options menu, not available in game. Also, you can only change some of all the settings (not inventory, journal etc.) Personally I liked having inventory on ‘Tab’ key but even through the QWERTZ’s .txt file in the Witcher 2, that does not seem to be possible to change (even with changing the solid value 1 to 1.000).
Do not forget you can import saves from your first Witcher game, definitely do so but keep in mind one thing. If you’d start a new game with imported save and then, for any reason, renamed the Witcher 1’s save folder to anything else (for example: “The Witcher Saves”), the game will dismiss it as a directory and your game will lack all the consequences to your first game’s decisions, it will go default. Name the folder as it should be and the game might be fine, although you may or may not have to start over completely.
Since you’re playing a new game on an imported save, you likely have one or two of the importable weapons such as the Moonblade, D’yaebl or the Mahakaman sword as well as the Raven armor, if you obtained it, that is. Keep in mind to put your items on in every memory corridor while being interrogated because quickslot items such as bombs and traps will be removed so put them back in every time.
As you start your game, you will be asked to play tutorial first; I strongly advise so because the settings and especially combat here are different and frankly, quite challenging for a complete newcomer. I’ve played my first playthrough on ‘hard’ difficulty and yet the tutorial suggest me ‘easy’, due to my terrible performance and adjusting to the new mechanics in the first few minutes. Don’t pay much attention to the difficulty suggestion. Play either on Medium or Hard if you want a good Witcher experience.
When it comes to saving; just a little note. Quick saves and loading them functions still the same, however, do not be bothered by the save’s image in the menu on the right. It may appear as if the save is 1hr old and will set you back a lot. These images merely represent the chapter or part of the game you’re in.
When escaping the prison, use your Aard to snuff out the torches and make your movements more concealed. You can choose to stun guards from behind, choosing the more stealthier and likable approach, or kill everyone – Roche will react to whatever way you chose.
Also, you’ll find either Aryan or his mother being tortured, depending on your decisions prior to that.
Shopkeepers’ items refresh after a full day, unlike the first Witcher game, where they would be immediately sold out of alchemical bases after buying them out, never having more of it.
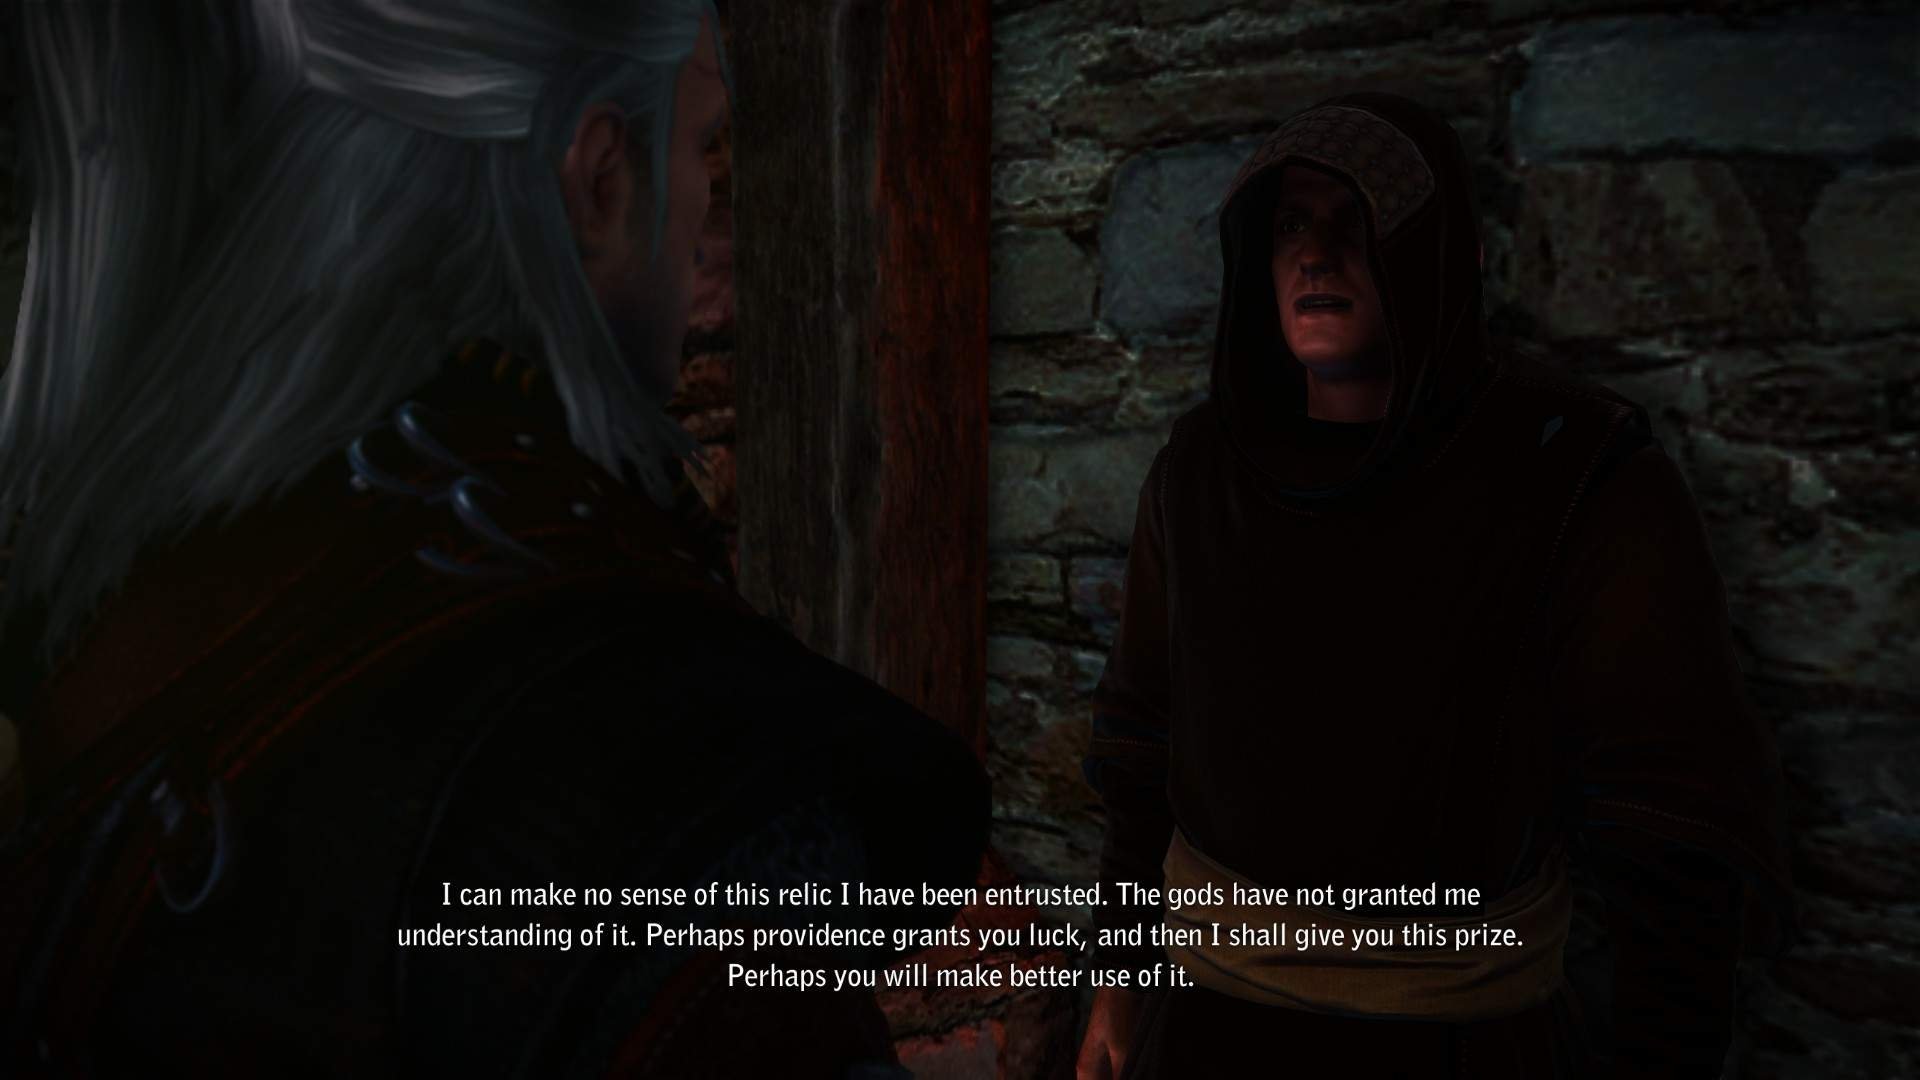
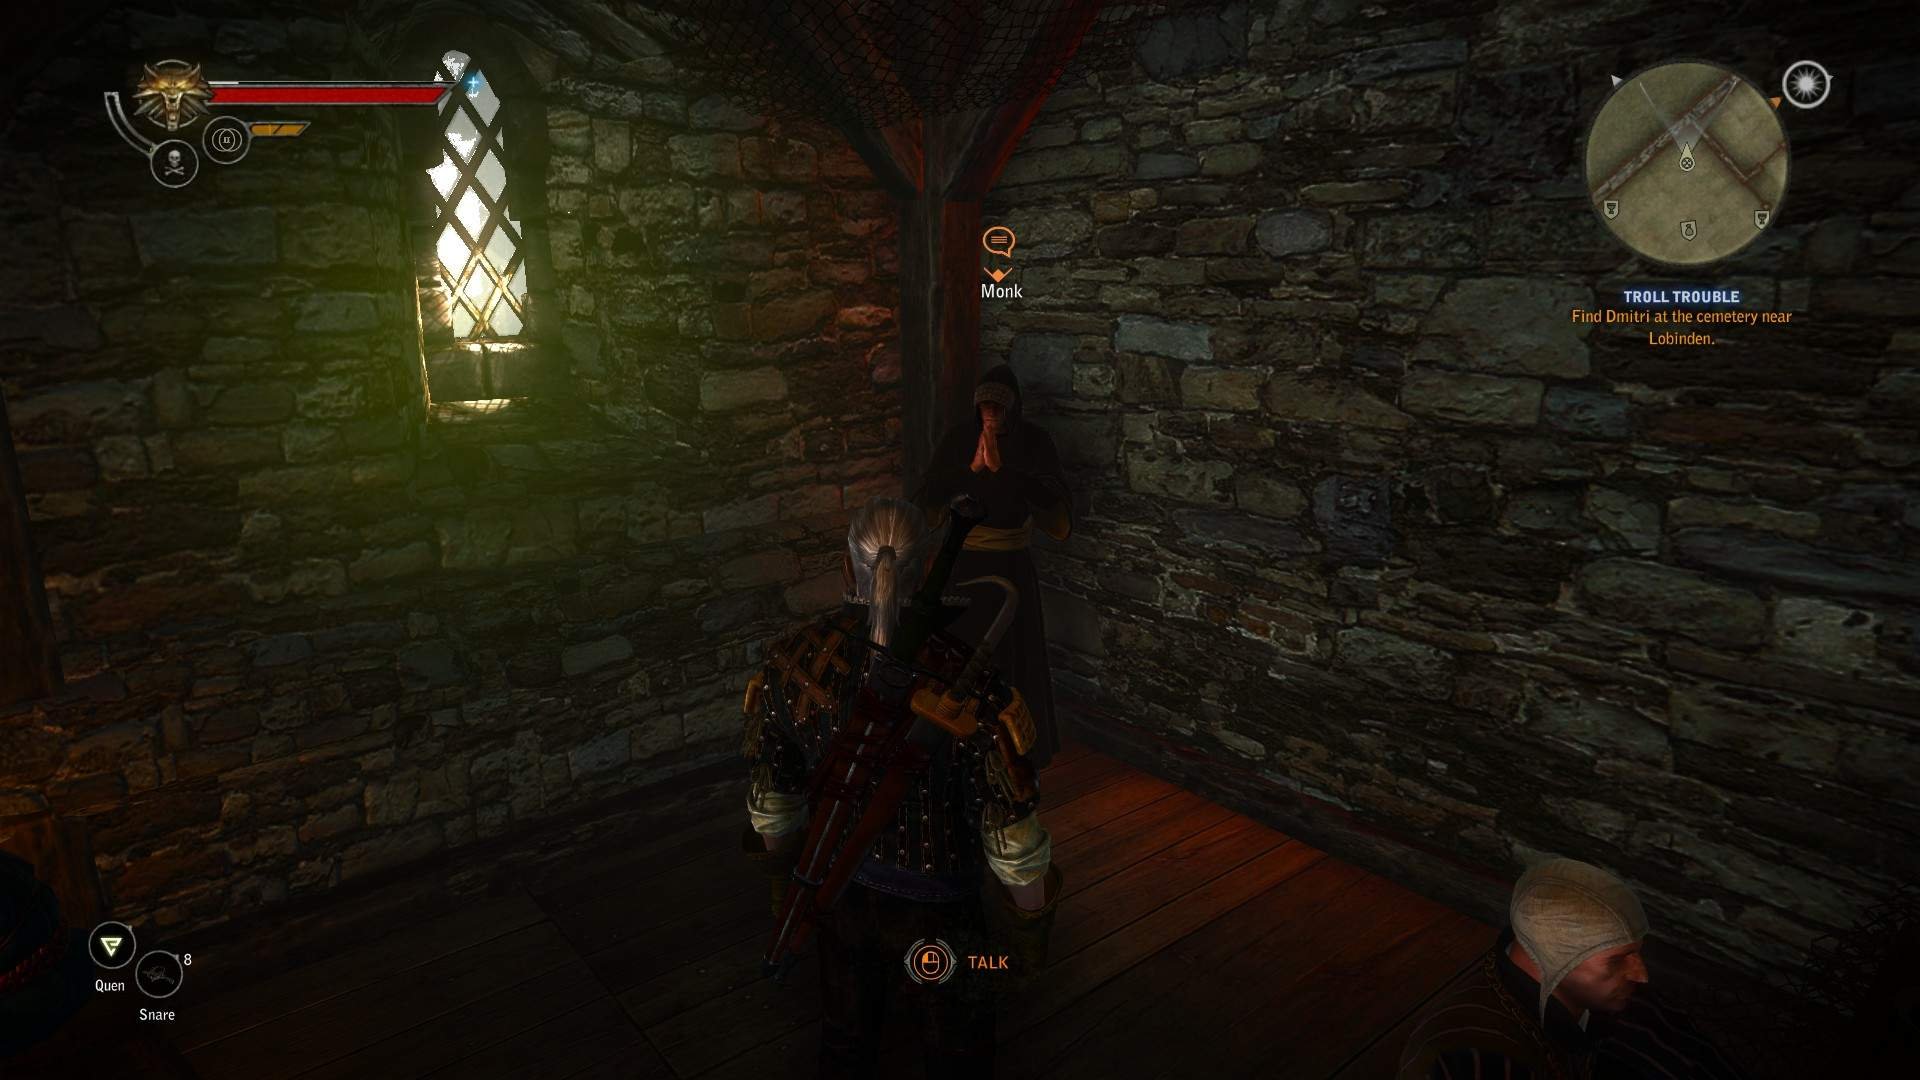
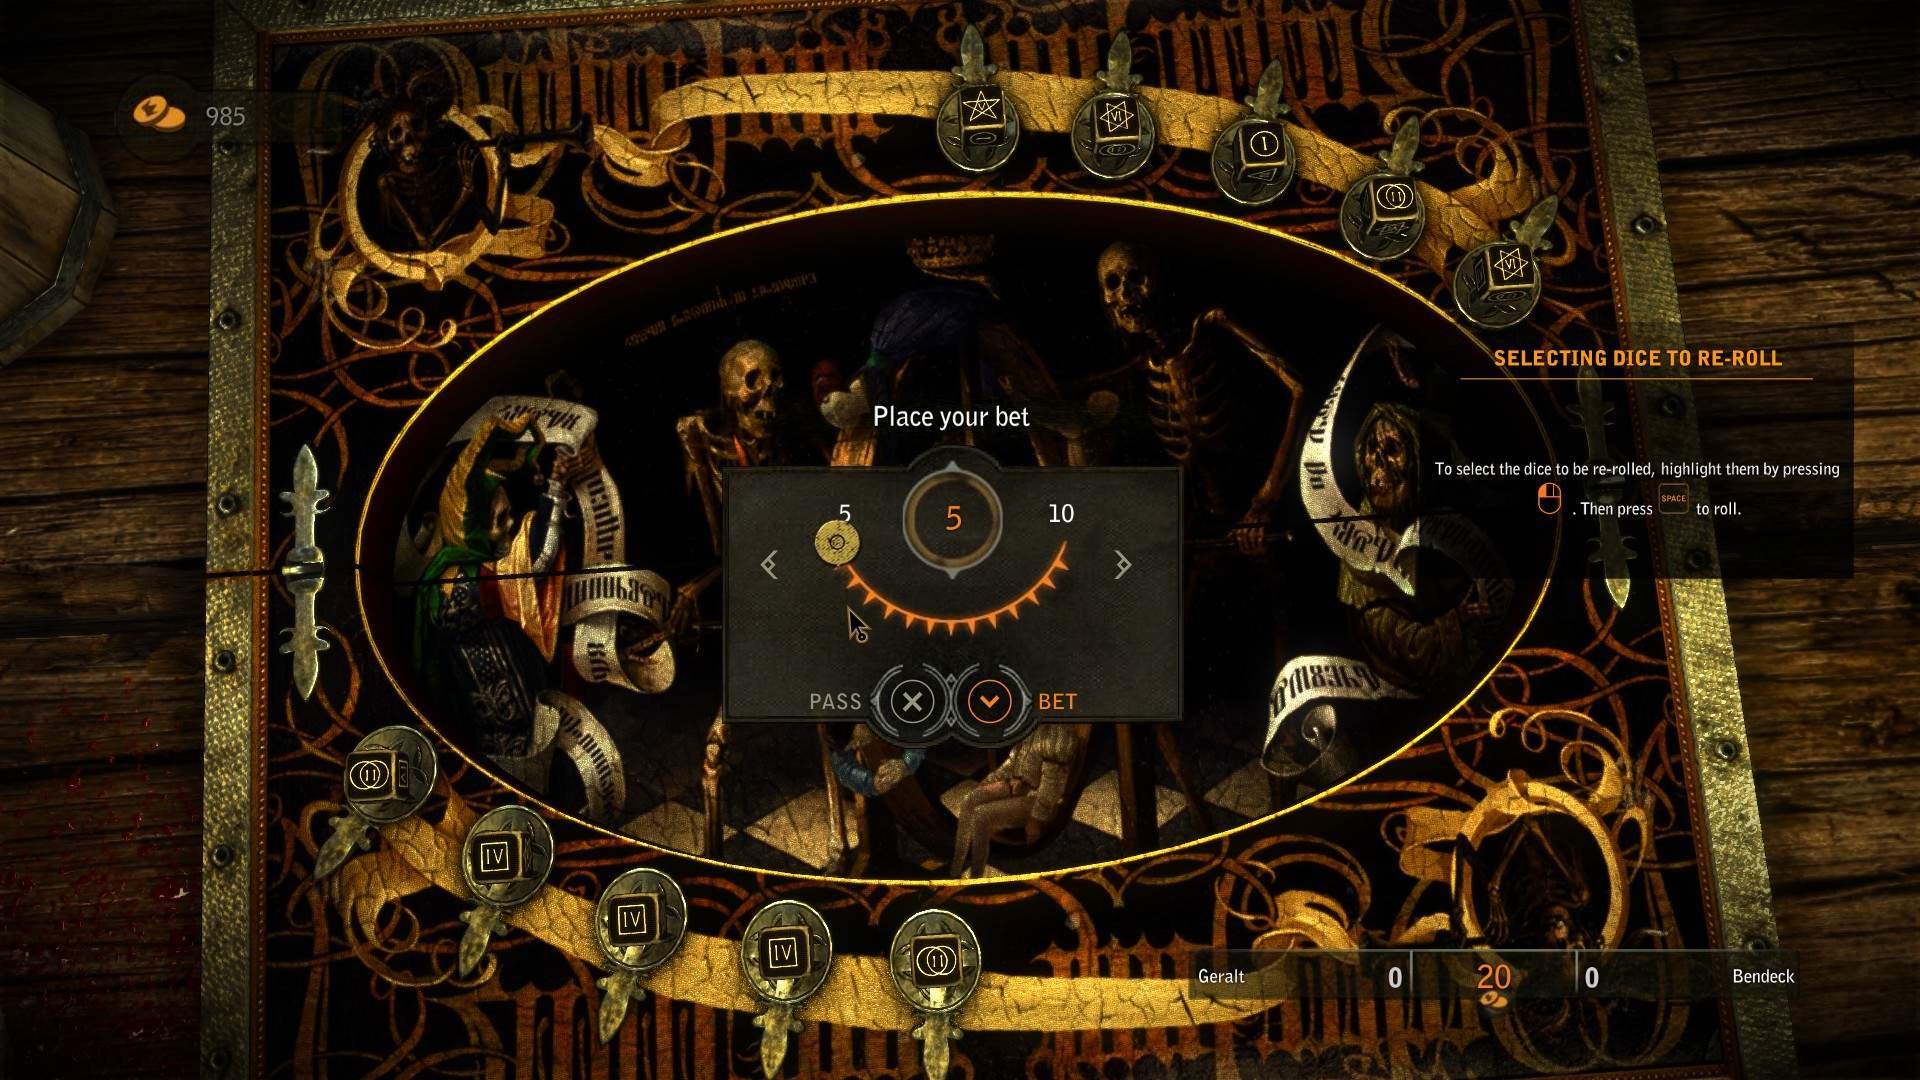
In the Flotsam inn’s underground level, you’ll find a mysterious monk. You can play dice againts him and should you win with two pairs, he would reward you with a link to a promotion code that appears in the ‘extras’ tab. As of now, the promo code is likely not functional anymore.
Make sure to store your items directly into the chest in Flotsam’s inn, not via the inkeeper. Reason being that if stored through the NPC, he would act as if you’ve sold him the items and you’d have them either disappear after 24 hours or have to buy them back. This might have been fixed but according to recent forum posts, it’s not worth taking the risk.
The inventory is a bit different now. You got weight capacity, different tabs and slots. Make sure to always store your crafting components (timber, ores etc.) into the chest as you won’t be crafting armors and swords every couple minutes.
Make sure to visit the dwarven bookkeeper in Flotsman as he can give you new hairstyles, it’s a nice addition.
Places of power have been overhauled. The basic idea is the same – empower your signs altough, this time they’re only visible after being scanned with your medallion. You can hear a mild vibrating sound, indicating that a red cloud of energy is nearby, simply walk through it.
In the first Chapter, you’ll find you have to kill the Endrega queens in the forest. There are two places where she spawns and you can figure that out by finding 3 large cocoons (Geralt’s size) that once destroyed, will spawn the queen. If you’re playing on ‘hard’ difficulty and above (also usable on ‘normal’), stock up on snares that you find throughout the forest and around 10-12 will suffice for each queen combined with 2 or 3 traps and a couple of hits while she gets snared will do the trick.
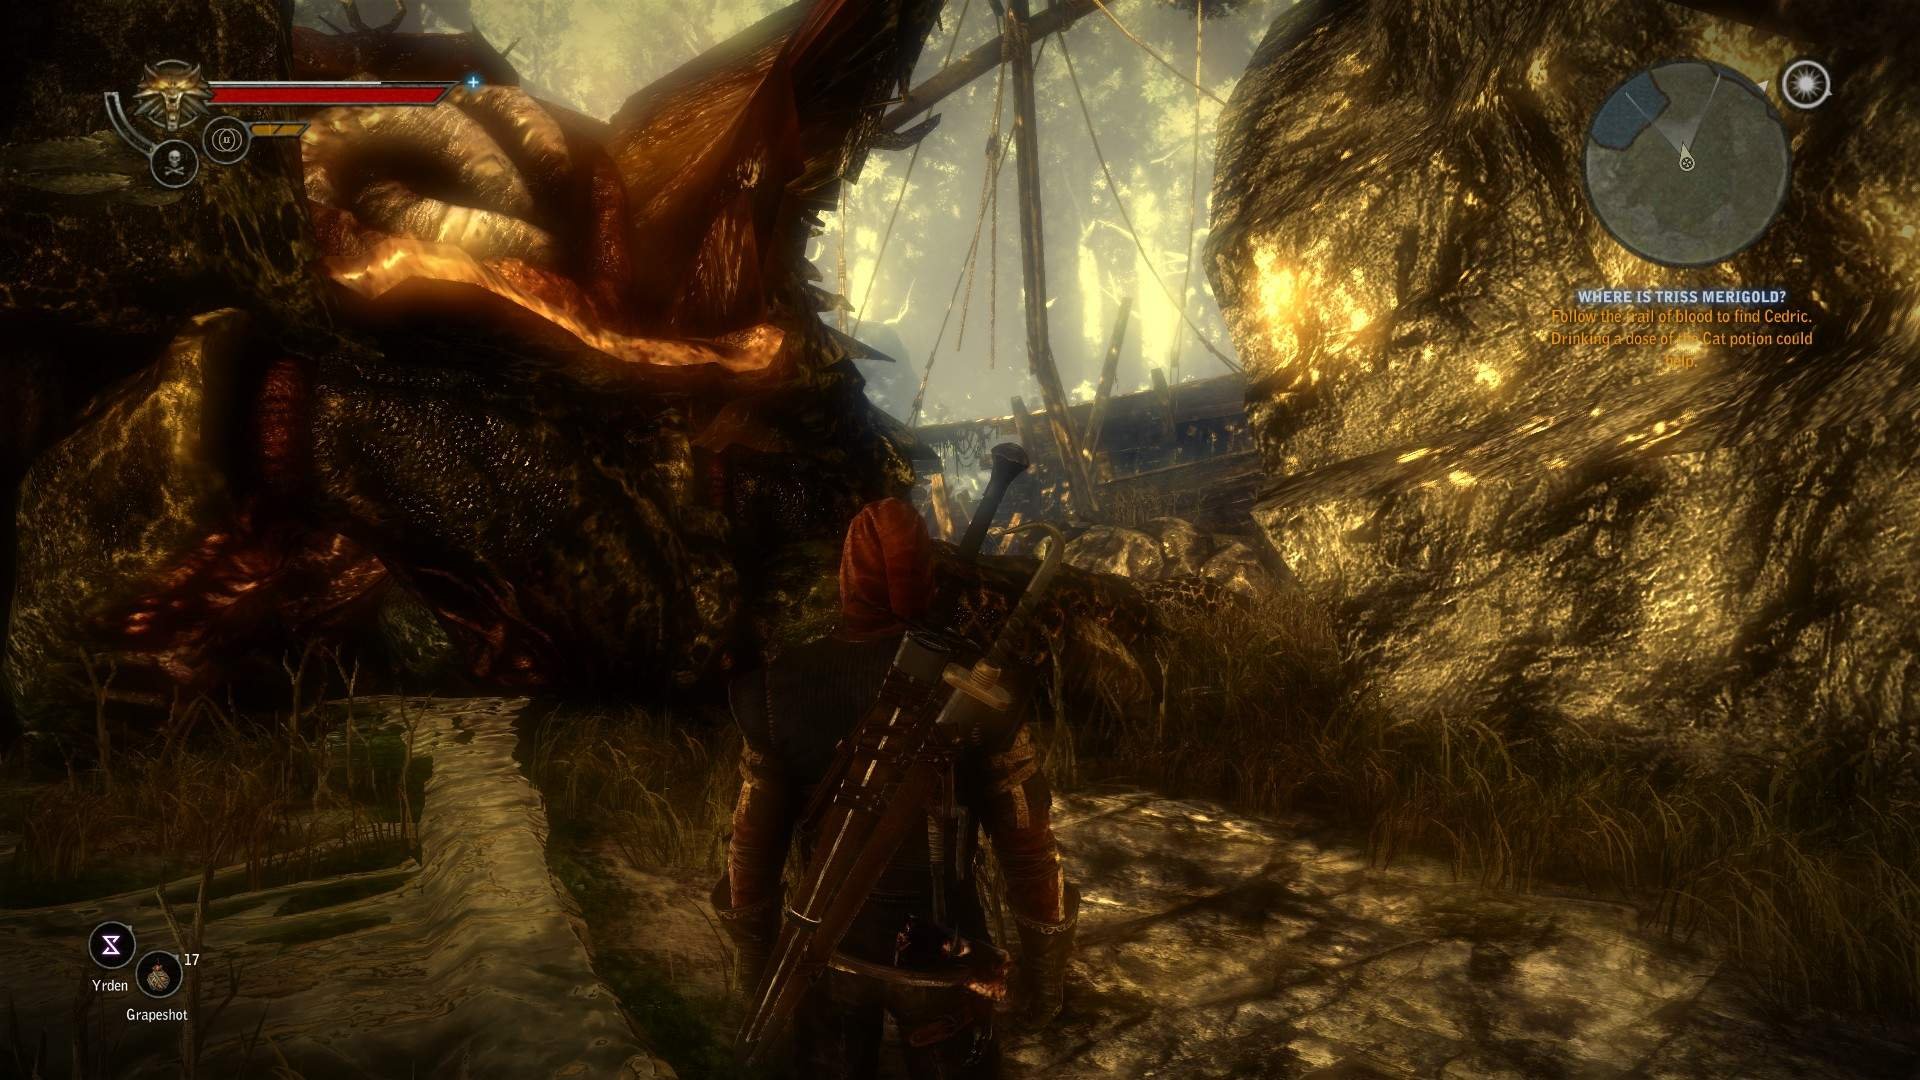
Before you get to fight the Kayran, make sure to buy the Kayran trap off Cedric. It not only cuts one of the beast’s tentacles off immediately but also grants an achievement.
You’ll likely find yourself having to play the game twice if you’re after achievements or the complete story as it differs on each path a bit.
Similiar to the first game, you also get trophies for killing more significant beasts, however, this time you get to keep them and also carry them on your belt permanently (one at a time), which will increase your stats.
There’s an easily missable quest starting in the first chapter by visiting the Kayran’s lair near the shipwreck. The quest is called ‘Mystic River’ and is started by collecting the captain’s log and reading the notes, after which you are to deliver the letter to a royal postbox and find couple more shipwrecks throughout the game. Note that the first shipwreck can also be accessed even after Kayran has been defeated, even though it looks like he may be blocking the access.
If you’re playing the Roche’s path, there’s a nice, fun quest that is only available after speaking to Loredo but becomes locked when you’re to go visit him again near the end of the chapter. Make sure to visit the Blue Stripes’ HQ to trigger it. It also rewards you with a tattoo that you can choose to have removed, because from what I’ve seen, it does carry over into Witcher 3 and by then, it could be viewed as a bad decision rather than a pleasant memory.
Later on in the chapter, you get to play through a memory corridor as a Roche (if his path is chosen), fighting Iorveth. You can indeed win the fight even on harder difficulties by simply keeping your distance constantly as Iorveth doesn’t use any ranged attacks (ironically, for an elf). Wait for him to finish his flailing combo and then hit him with a heavy attack. Repeat.
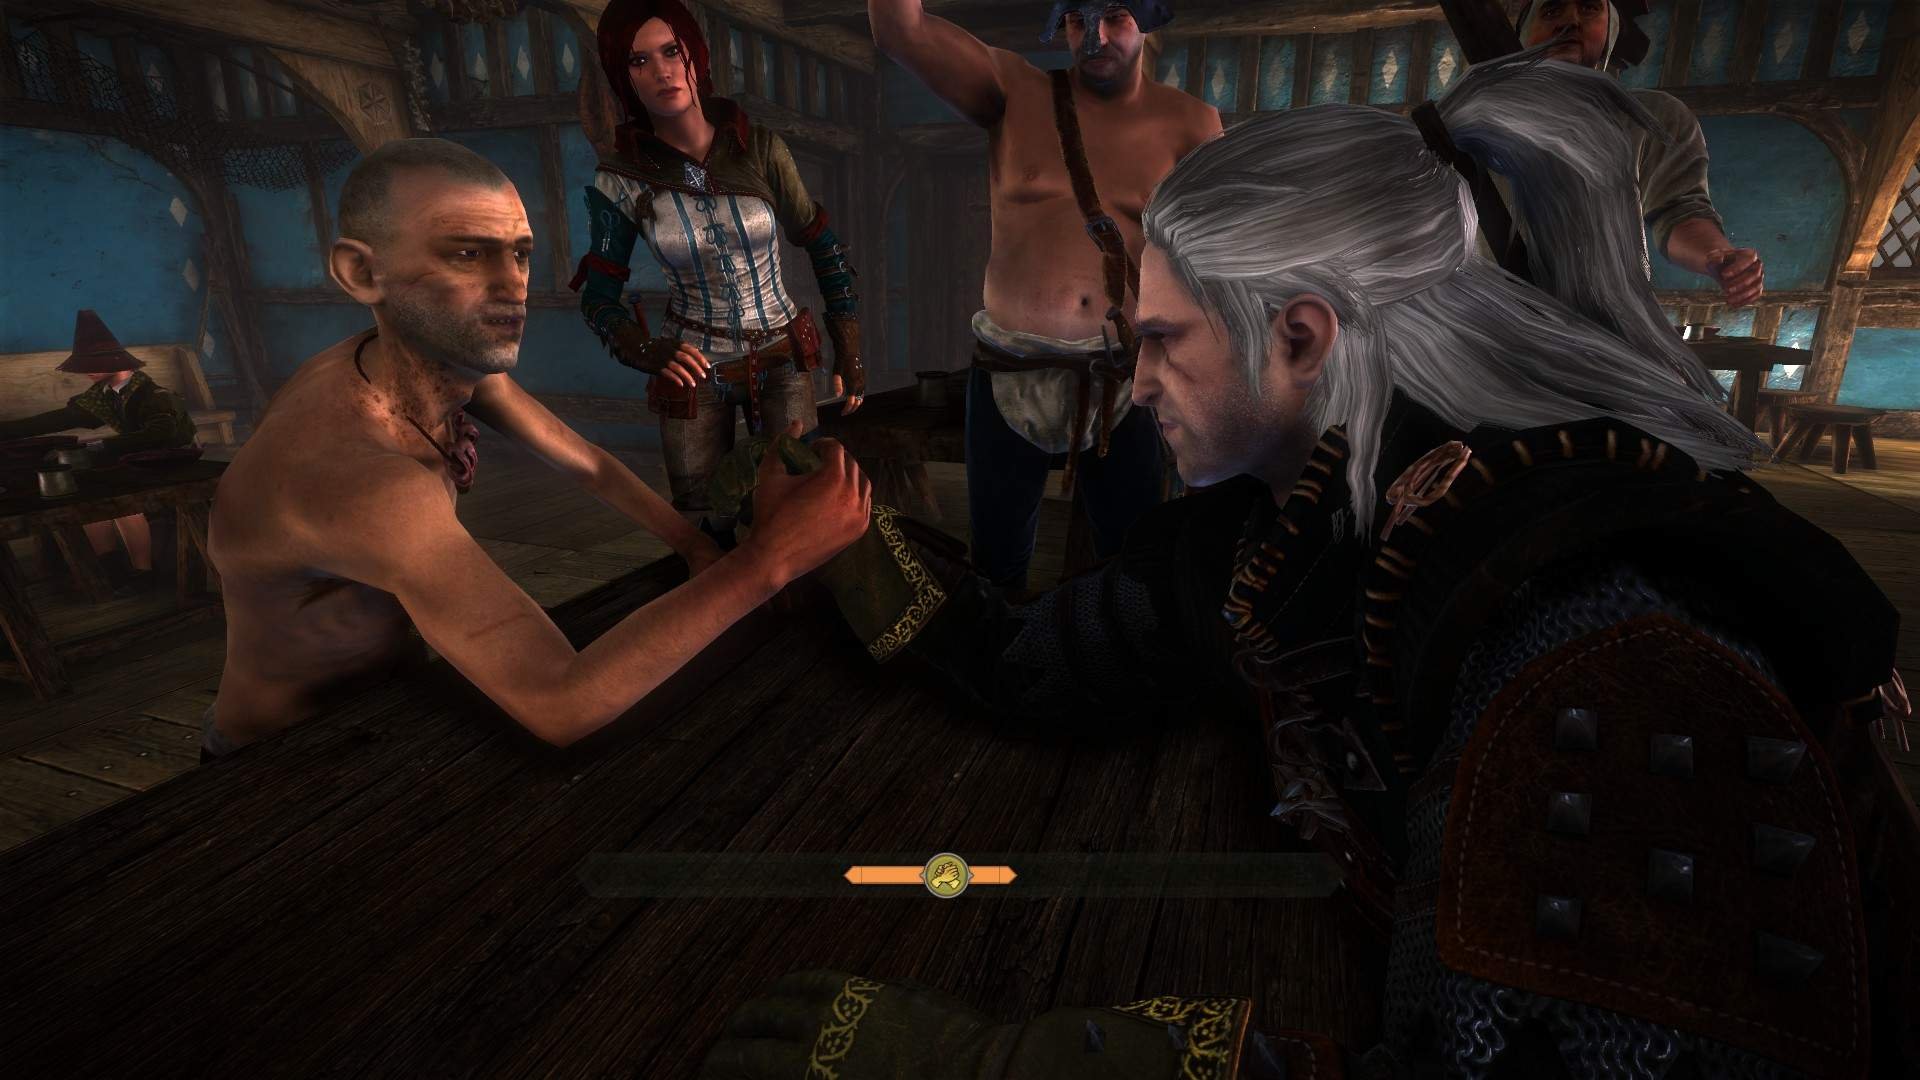
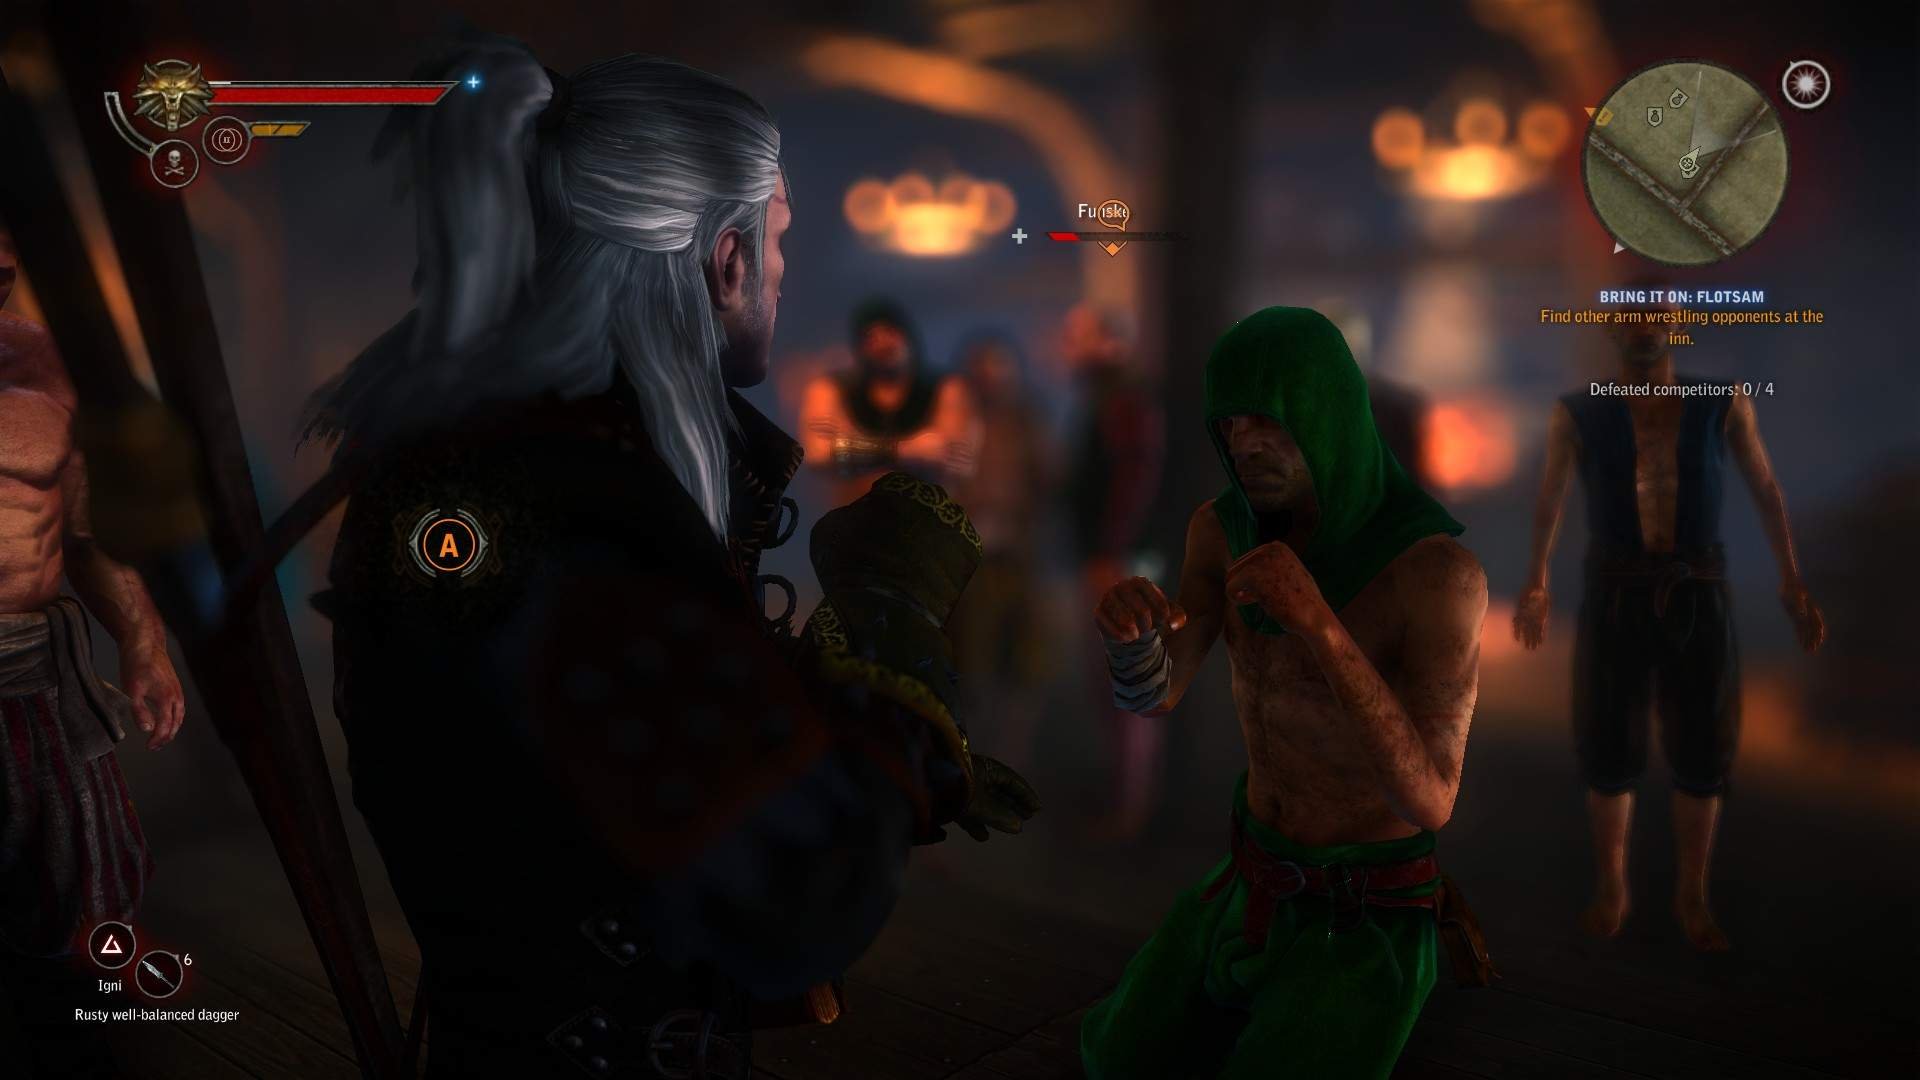
There are minigames in this witcher game just as in the original one with the addition of arm wrestling. It’s often fairly easy if you have the touch for it. The dice have had their design slightly altered and the fist fights now include cutscenes where you react to W, S, A or D appearing on the screen.
This time around however, you don’t get to be able to drink potions as you go. You need to meditate, which can now be done at any given place, select ‘drink potions’ and you can only drink a limited amount of them in one go.

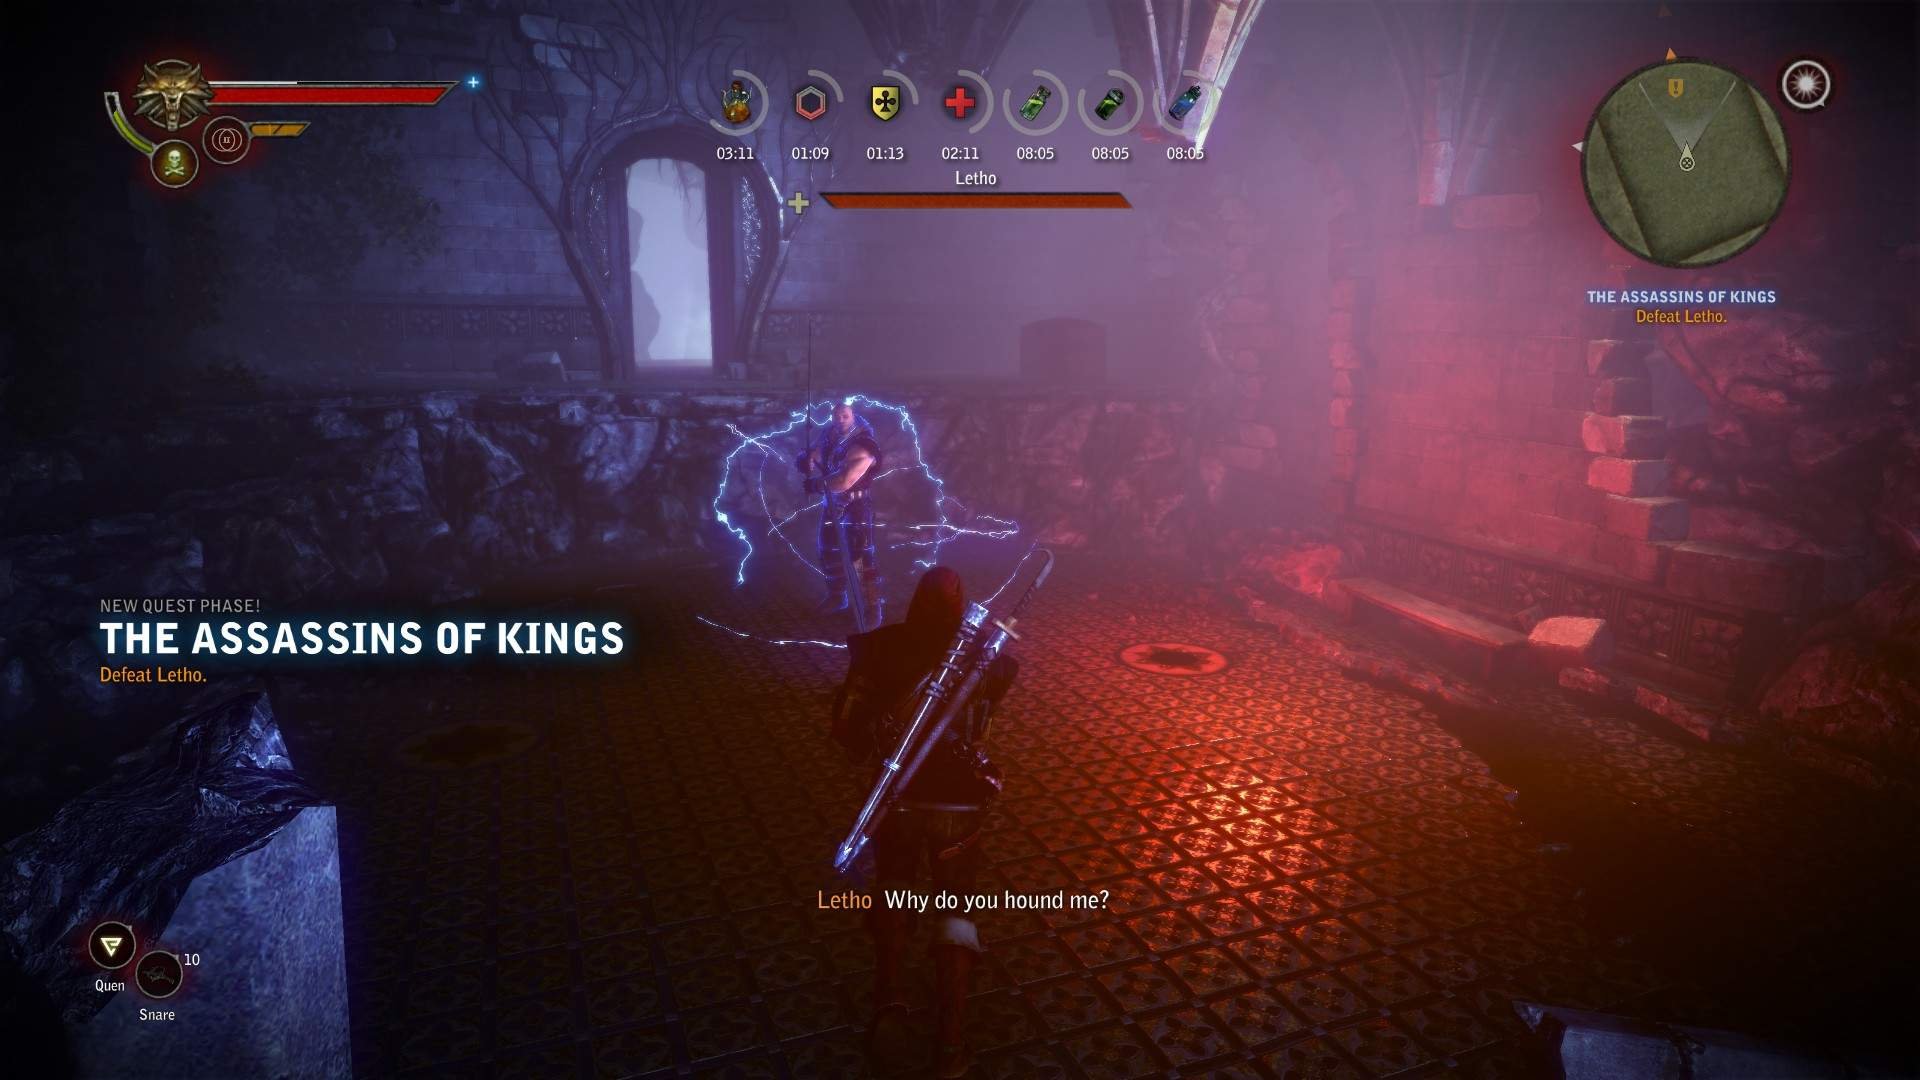
Inevitably, you’ll get to fight Letho in the first chapter. This fight may prove to be fairly tough, especially if you somewhat rush through the game without paying much attention to your gear and skills as well as equipment.
The most viable tactic is using Yrden, Hanged Man’s Venom, Swallow, Rook and Tawny Oil.
Reason being is that Letho uses his Quen a lot, therefore use Yrden to take it off and also stun him if he’s whirling around with his sword. Hanged Man’s Venom and Rook naturally increase your raw sword’s damage and Tawny Oil helps you spam the Yrden traps more often. Casting Quen yourself may not be too bad of an idea but it limits you from spawning a lot of Yrden traps as your endurance won’t regenerate when Quen is up.
Make sure to hit Letho with couple heavy attacks when he is stunned.
Don’t forget to continuously delete saves as it at one point will dramatically slow your loading times down. I recommend doing that from the Steam’s save directory which is located here:
D:ReinSteamuserdata37499330320920remote
However, for this to work, you must disable cloud sync, otherwise it would load up all your cloud saves back up again once you’d launch the game, considering you turned it off halfway through the game.
When you arrive at the Keadweni camp (Roche’s path), make sure to loot all the crates and boxes as there are literally stacks of them all over the camp, unlike anywhere else. Also, make sure to tour the camp with Zyvik instead of rushing to the pompous king for a little surprise.
As you will continue to uncover the consiracy quest during the second chapter, let Dethmold know about where the conspirators are hiding as he will provide you with soldiers that will significantly help you out as the fight will prove difficult. You can also speak to Vernon but he cannot help you out due to his affiliation to the Temerian intelligence.
Altough keep in mind that the soldiers will only attack the lackeyes.
Dragon’s Dream goes very well in combination with upgraded Igni, specifically on ‘easy’ and ‘medium’ difficulties, might as well throw in a Dancing Star for a great incineration effect.
On Roche’s Path, remember to venture as light as possible into the fog when you’re headed to Aedirn as you won’t be able to go back or put your items into a chest untill a certain point in the questline. Alternatively, you can sell some items to the elven girl that can trade with you.
In relevance to the aforementioned tip; complete as many quests as possible before that point and obtain Zyvik’s beaver cap and the Dun Banner cloak to make the following “conversation” a little bit easier.
At some point in the third chapter, you will have the option to escort Brigida out of Loc Muinne and through the forest. This is the only time you can visit the forest outside of Loc Muinne and it’s a very bountiful place for great endgame gear. You’ll find high-end diagrams and swords so take your time exploring as you cannot go back later on.
Combat & Difficulties
Combat
The sword and magic action in this game varies significantly from its prequel. While the timing aspect still plays a rather large role, you’ll get a lot more “free” action and movement during the fight moments. You can now roll around, block and riposte, use heavy and light attacks.
You’ll find that its vital to learn the enemies timing on their attacks, especially if you’re playing on higher difficulties such as ‘hard’ and above. Reason being that you’d need to roll around a lot more inbetween each attack or two as blocking takes away your vigor and partially health, unless upgraded.
“Endurance”, as we’ve known it in the previous game, has now been replaced by “vigor”, that is not only drained by using signs but also blocking/riposting. Luckily, this part can be skilled up, meaning you can end up with up to 6 vigor points later on in the game, depending on the build you’re going for.
On my second playthrough on ‘medium’ difficulty, I went with heavily-based magic & sign skill tree and found it working perfectly fine on that difficulty and it’s extremely fun as well, but I would not recommend its use on the hardest difficulties.

However, on my first playthrough on ‘hard’, I went heavily into the swordsmanship tree.
Provided you’re also trying out the magic tree build, make sure to stay stocked up on Petri’s Philters and Tawny Oils. Also, there’s a perfectly fitting armor for a magically based build in the third chapter called the Ysgith Armor altough, it is one of the components for the ultimate Vran Armor. You may choose to wear Ysigth armor, however, the quest won’t finish until you craft the Vran piece instead as it is part of the Mystic River questline.
Keep in mind that the third chapter may be fairly short if you’re just after the main story but provided you’re playing even on the ‘medium’ difficulty, the following fights may prove troublesome. Once you get the option to attend the summit, stop right there and finish all remaining quests and most importantly, focus on your gear
I went into the final part of the chapter with Elder Blood’s gauntlets, trousers and boots (diagrams obtained from the Gargoyle Contract quest), Forgotten Vran steel sword (Dethmold’s chest on Roche’s path or the Crypt of Mages on Iorveth’s path) & armor (Mystic River quest) with Zerrikanterment (diagram bought from Bras of Ban Ard) – all fully enchanted with runes and the best suitable armor enhancements.
Difficulties
It is explained fairly well on its own in the game, yet I’d still like to add a bit of perspective.
- Easy – combat offers absolutely no challenge, in it for the story or an achievement run.
- Medium – combat is very managable, requires little bit of preparation, ideal difficulty for just wanting to play the game again.
- Hard – challenging opponents, have to stay focused and dodge a lot, need to stay well-equipped and choose skill points accordingly (this difficulty prolonged my playthrough by about 20 hours as opposed to ‘medium’)
- Dark – significantly tougher than ‘hard’, you need to be a seasoned and focused player – this is the absolute test.
- Insane – in terms of numbers, it’s somewhat on par with the ‘Hard’ or ‘Dark’ difficulty level, altough – once you die, the game ends.
Character Abilities
A newly added feature that to my knowledge isn’t brought up enough by the game itself as it is by the community, are the passive abilities gained under certain circumstances. These abilities enhance your stats.
All of these are very, very specific. Some may require storyline decision, others simply overusing certain ability. I strongly suggest going through the entire list, while obtaining them all is not necessary, it surely is a good idea to put them to use on ‘Dark’ or ‘Insane’ difficulty.
As you go through the list, you may notice far from all abilities are precisely known how to obtain, would’ve proved invaluable if it was imbedded in the game itself with its own standalone category for you to chase the abilities down.
Achievements
If you’re a completionist and an achievement hunter – this section is dedicated to you.
All in all, you can get somewhere around 42 to 47 achievements in a sungle run. The trick to it, however, is reloading older saves to make a different decision. The few achievements you would potentionally be left with are the “path specific ones” and ones like Trollslayer or Friend of Trolls, where you’d need to reload a save from chapter 3 back into chapter 2 and play back into chapter 3, but personally, I left that for another playthrough.
The trickiest ones in my book are the following:
- Poker! – roll 5-of-a-kind at dice poker.
- Eagle Eye – hitting the count during prologue with a ballista.
- Madman – finish the game on ‘Insane’ difficulty.
For Poker!, load a save in Flotsman and challenge Zindrab to a game of dice. Why this guy? Because he seems to never forfeit when the game is lost, thus increasing your chances of rolling 5 dices of the same number – enabling you to not have to do it on the first roll, which is neigh inpossible.
It took me a little bit over an hour I reckon. Remember, you need not have to roll 5 dices with 5 on them. It can be any number from 1 to 5 so for example, if you’ve rolled 2x “3” and 3x “2”, then select the two 3s and hope to get two 2s. What helps a tiny bit is shoving the “just-about-to-be-rolled-dices” to your left corner and stack them upon each other, provided it’d seem that if dropped down perfectly, they can yield the combination you need.
As for Eagle Eye, make sure the middle crosshair is aimed directly at the right guy standing on the tower, not the one on the left.
And Madman? Self-explanatory, armor yourself with patience of a saint and a real focus.
More detailed section giving essential tips on this difficulty once I beat it myself.

Then there are few achievements that can be missed:
- Librarian – find all the notes in chapter 1 in the insane asylum (total of 4).
- Heartbreaker – seduce Ves after beating her in the Kaedweni camp.
- Artful Dodger – use the Kayran trap to cut off one of the beast’s tentacles, making the fight easier.
- Tourist – tour the camp with Zyvik in chapter 2 on Roche’s path, instead of rushing to the king immediately.
- Winter & Summer Solstice – two “celebratory” achievements have been added that are hidden a bit and both can be done on either path. I’ve linked the detailed guide to obtaining them below.
- Miser – not really missable, but a specific one to be sure – the best way of doing this is to go to a Visionary’s hut in the second chapter and keep on killing the harpies that endlessly spawn. Set difficulty to ‘easy’ and farm their loot. In about half an hour, I’ve made close to 2k, plus you can also sell all of your items stocked up untill this point and then reload the save.
Arena
The Arena is a new ‘tool’, unique only to the Witcher 2, where you can fight hordes of all kinds of enemies.
- There are a total of 30 rounds.
- You cannot save – if you die, you can still continue playing but without scoring points for leaderboard.
- You can always only choose 1 reward after completing a round.
- It is possible to get a companion to help you in the coming fights.
- Make sure to check what opponents will you fight by approaching the gate and then cancelling the fight, allowing you to prepare accordingly for the battle.
You get to choose which difficulty you’d like to play on, increasing the amount of points you’ll be awarded.
Once you die, you can die as many times as you’d like – useful for knowing the upcoming rounds more specifically.
Personal View
The Witcher 2 has been a sizable step-up from the original Witcher in many ways. Almost all of the core mechanics have been overhauled and surely, for the better. It’s a game worth playing not just once that is still very enjoyable even in 2020 as it has aged well.
Now, due to the Netflix Witcher series, this whole trilogy received an influx of players, especially the first and the third game.
One thing I feel necessary to mention is the saving system. More than once I’ve quicksaved and yet when reloading that “non-existent” save, it either did not have anything to load as the save wasn’t created or it loaded the one before – definitely wonky and not 100% reliable.
Other than that, you’ll have a good time unless you’re a completionist because just as it was with the first Witcher game, there are quests spanning into later chapters where if you’d miss one stage of the quest, it marks as failed in the upcoming chapter (hence Mystic River – missing a shipwreck).
Lastly, the importance of looting everything and exploring every bit of every region is most vital. In the third chapter you’ll find yourself crafting a lot of items and will be needed to gather ingredients that aren’t all obtainable in the third chapter so hopefully you got those previously.
In any case, you might’ve missed an item or two, perhaps you’re going for the ‘Friend of Trolls’ achievement and chose not to kill the two trolls and just to be sure, also avoided the hostile troll in the 2nd chapter or simply missed him. In any case, you’re now in chapter 3 and need a troll hide. For reasons like that, I’d recommend using the linked mod that puts all items you might need to the Eternal Fire inkeeper – naturally, you need to pay for them so they don’t come free. It’s a little saving grace.

Nice guide, thank you! 🙂
After beating Witcher 1 I was overwhelmed by the difficulty of this games combat and could not get through the prolog on hard before I switched to medium. One of my biggest concerns about this game however are the quest progression and quest descriptions (still in part 1, maybe it gets better later in the game) where I often have to search for the quest in wikis because I’m afraid to miss something important. Sometimes a quest tells me that I have to do something that actually is not available in the current chapter without a hint on that.
Besides that it easily became one of my favorite game series of all time by now and I am excited for the 3rd game already.