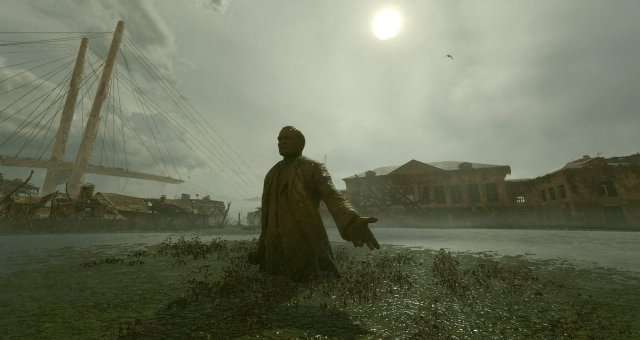
Metro Exodus’s last DLC – Sam’s Story completed earning the Captain’s full trust (A Man of Principle) and without dying in Batwing encounters (Untouchable).
A Man of Principle and Untouchable Achievements Guide
All credit goes to nekov4ego!
A Man of Principle
Every time you make a choice which counts towards earning the Captain’s trust, you the screen will flash in white. Follow all the steps below and you will earn the Captain’s full trust and unlock A Man of Principle achievement.
I will list the Batwing encounters too just for chronological reference. If you need more tips, check the second section of this guide.
Put your gun down as the Captain demands (2:00)
- Press and hold H at the start of the cutscene and hold it until Sam puts his weapon down.
First Batwing encounter (3:30)
Help the Captain move the obstacle (14:50)
- When you meet the Captain for the second time, he will ask you to help him move an obstacle. Go near it and hold E.
Sneak through the sniper’s building and spare him; the Captain will note that you did the job quietly (18:50)
- This may not be required, as there is no white flash on the screen but the Captain does note how you approach this encounter with the bandits and sounds happy saying that you did it quietly, so I will include it anyway.
- It’s easy – sneak quietly and don’t alert any of the enemies as I do in the video.
- When you meet the sniper, make sure to spare his life.
Give food when helping the Captain with his knee (24:30)
- When you reach the Captain’s hideout, you will speak to Tom and after that the power will go off. The Captain will try to get up but will hurt his knee. Before helping him, you will be given a choice to share food with him or not. Choose to share.
Load 5 traps in the Captain’s hideout (27:00)
- This will unlock the Trapper achievement as well.
- You need 5x Molotov for this.
- There is 1 by the Captain before you leave the rooftop.
- On the floor below is a workbench where you can craft 3 more.
- You will find the last one in a safe by the bed in the Night Hunters’ stash (29:00), so save your materials.
Second Batwing encounter (34:20)
Find the 3 missing members of the Captain’s crew (50:50)
- Turn your flashlight on and make sure you go by each body you find.
- Play and listen to the tapes.
- You need to find 3 bodies from the Captain’s crew – two near each of the tapes and the final one at the top where a cutscene will play. If you have not found all three bodies, you may need to backtrack.
- Make sure the Captain acknowledges that your task is complete and instructs you to return to the main task. The screen must flash white.
Third and final Batwing encounter (1:13:50)
Choose to blow up the submarine in the end (2:03:25)
- Hard to miss. Select the option to blow up the submarine instead of the American flag.
Untouchable
To unlock Untouchable achievement, you need to make it through all three Batwing encounters on Normal or higher difficulty without dying. If you die and reload a save, you will not unlock the achievement in the end. If you reload a save before your health runs out, then you can retry.
Use the video above for reference.
First encounter (3:30)
- This is the easiest one. The Batwing will show up on either side of the train car. Just shoot it as soon as it is up in the air until it falls down and repeat. Listen to the sound to know which side it is on – it shakes the tree branches.
- If you miss, make sure to hide behind the train car as the bat swarm attacks.
Second encounter (34:20)
- Make sure you stock up on ammo, medkits and weapons at the workbench just before the car park (33:00). Similar to the previous encounter, you need to shoot the Batwing as soon as it appears in the air.
- It will occasionally send bat swarms towards you – look for a car to hide behind nearby, or jump left or right. You can lure the swarm to a certain position as it forms and then quickly run to the opposite end as they try to attack, so they miss.
- The Batwing will try to push cars towards you (3 times total). Look around and run to the opposite end of where it is. If you are hurt, getting hit by the cars will kill you instantly. If you are not, it will only damage you so you must heal immediately or reload.
- After the third wave of cars sent in your way, the Batwing will attack a few more times and so will the bat swarms. You have a very limited area to run in, so make sure you shoot the Batwing and run away from the swarms as best as you can, then quickly heal if you are hit.
Third and final encounter (1:13:50)
- This is easier than the second one, but make sure you stock up on ammo, medkits and weapons at the workbench in the ruined house just before the encounter (1:13:30). Watch out for the mines around it. I was already stocked up so I skipped this bit.
- Listen and look for the tree branches shaking. Keep constant aim at where the source of the disturbance is and be ready to shoot as soon as the Batwing runs out to surprise you.
- Occasionally you will be attacked by bat swarms again, but in this area you have plenty of space to jump sideways or run around. If hurt, always heal.


Be the first to comment