
How to reach every secret in the Lost Levels campaign.
Contents
Guide to All Secrets in Lost Levels Campaign
All credit goes to rolandoftheeld!
Map 34: Plant Ops
Secret 1/3
After going through the left teleporter at the start of the map, follow the right wall down some stairs to a small side room with a security armor. Use the panel behind the armor to open it for some armor bonuses.


Secret 2/3
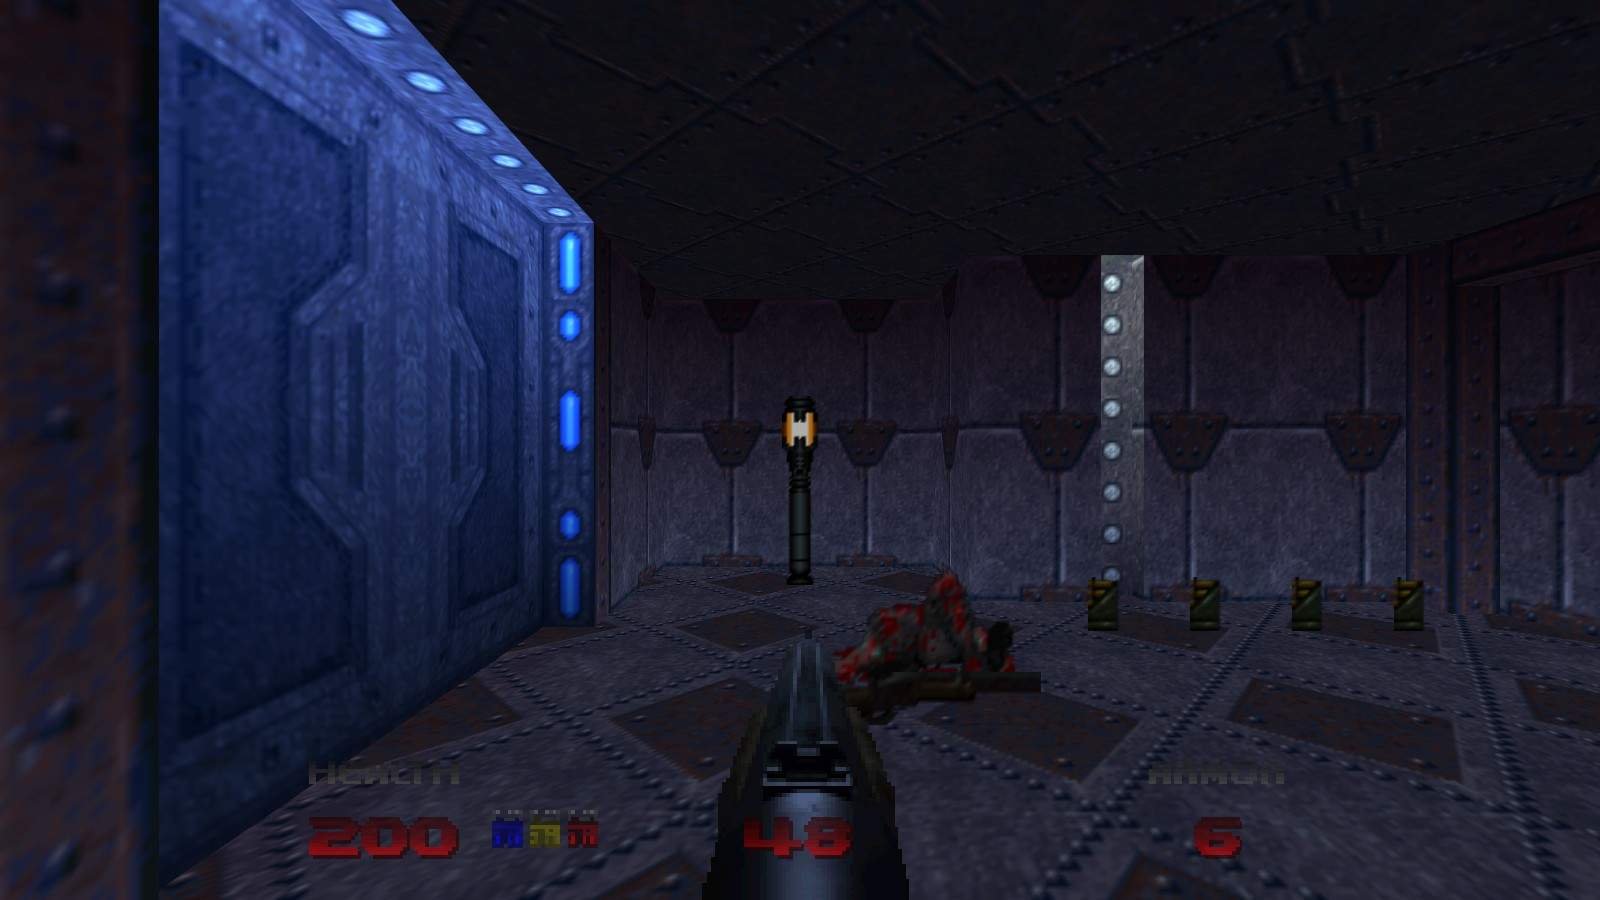
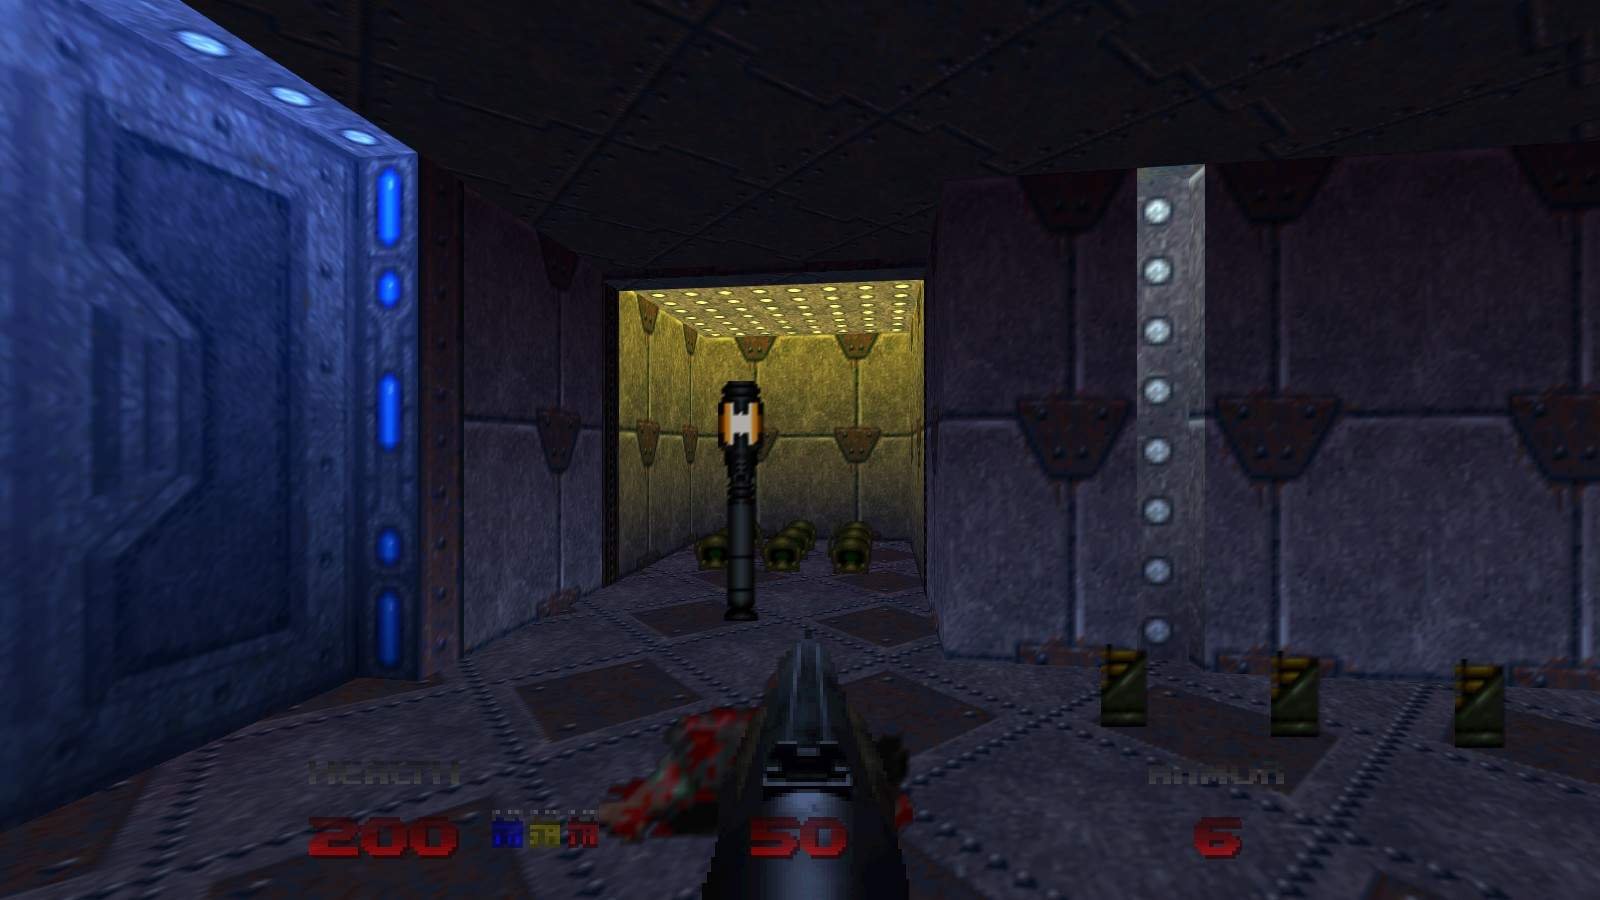
Immediately after going through the Blue door, turn left to see a lamp in an alcove. The wall behind it can be opened for some more armor bonuses.
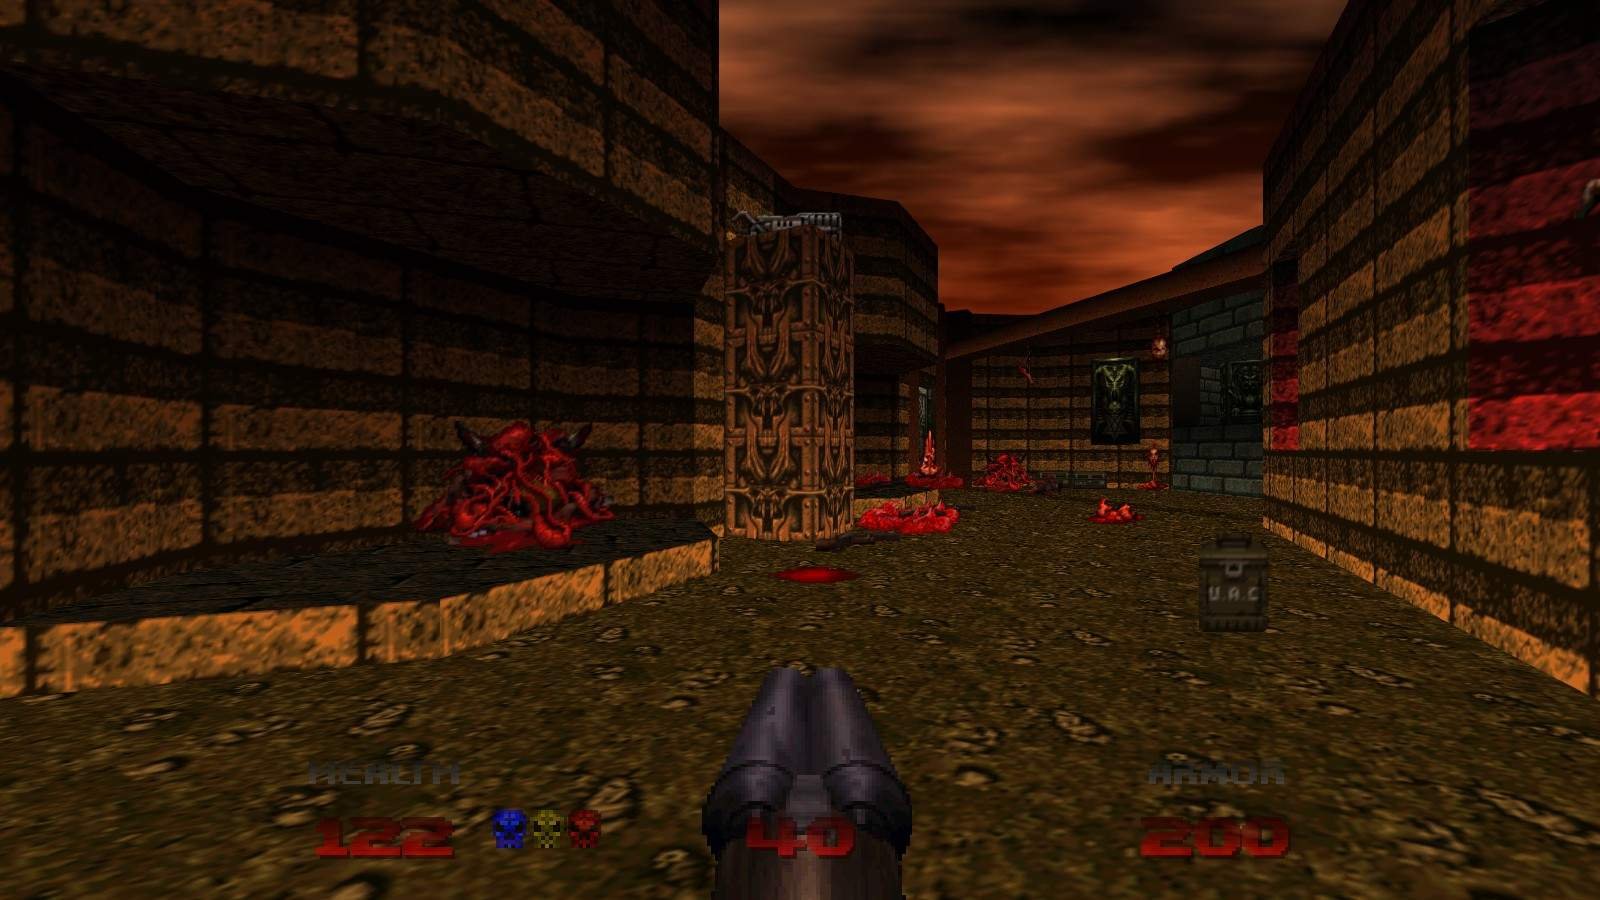
Secret 3/3
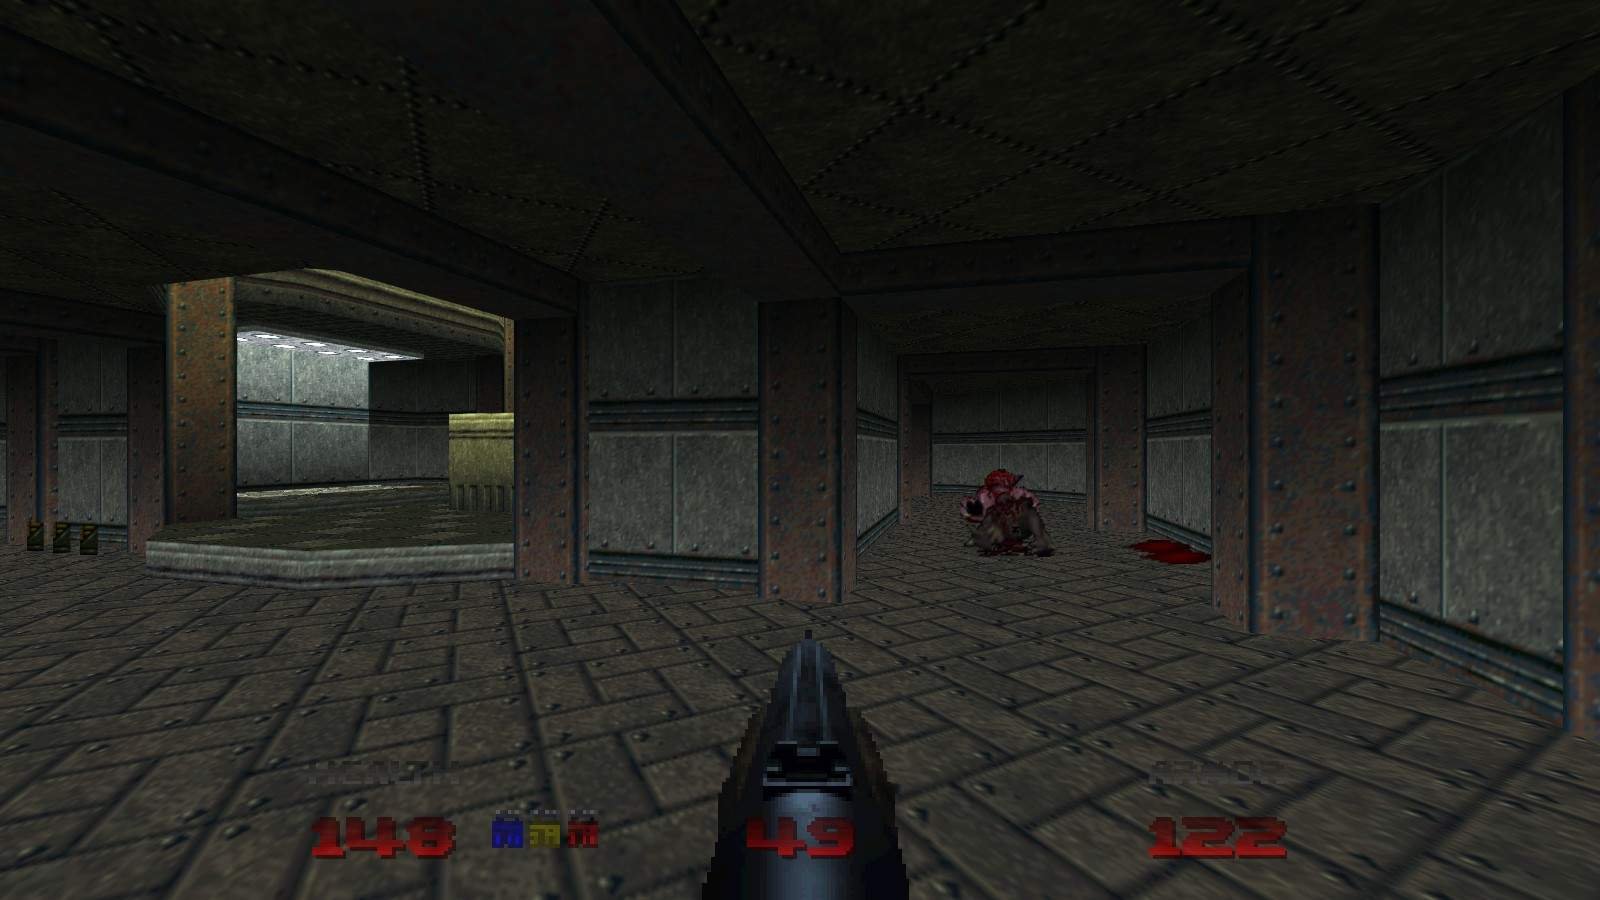
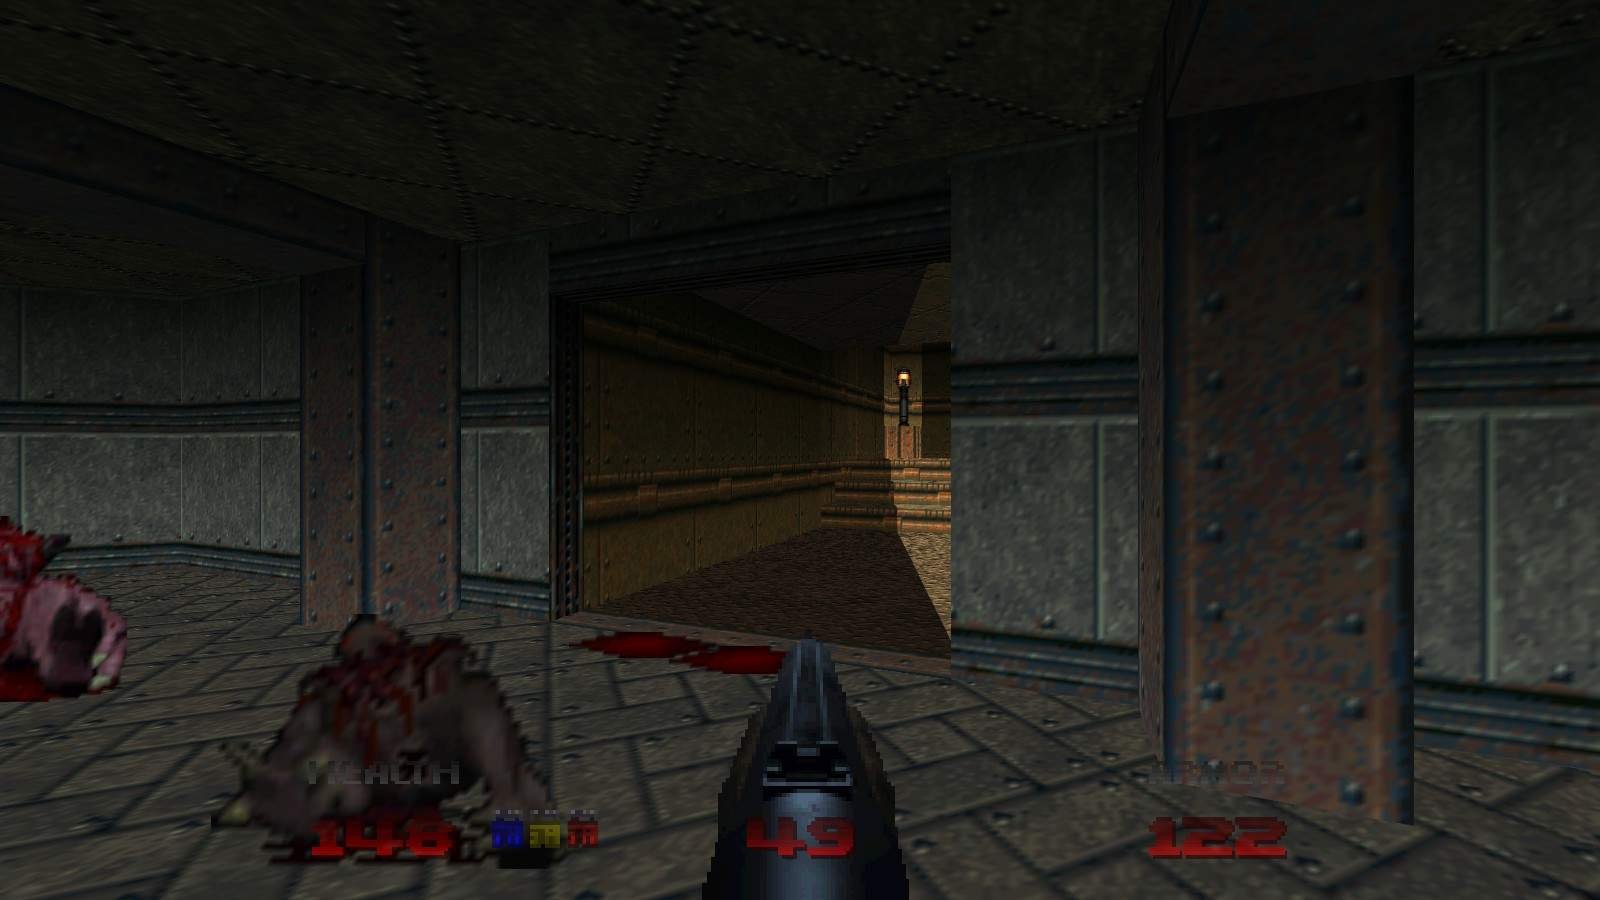
As you enter the room with the Yellow Key, look at the right wall. A section with two blood splats in front of it can be opened to reveal a short hallway to a Soulsphere (This hallway counts as 3 separate secrets in the final tally, giving this map a technical total of 5.)
Map 35: Evil Sacrifice
Secret 1/3
Straight ahead at the start of the map, to the right of the stairs that lead underground, you can see a security armor on a ledge. To reach it, first press the switch to the left of the stairs. This will lower the pedestal holding the super shotgun on the opposite side of the area, near the pillars blocking your path. Walking over the now-lowered pedestal will temporarily lower the ledge holding the armor, so race over to collect it.


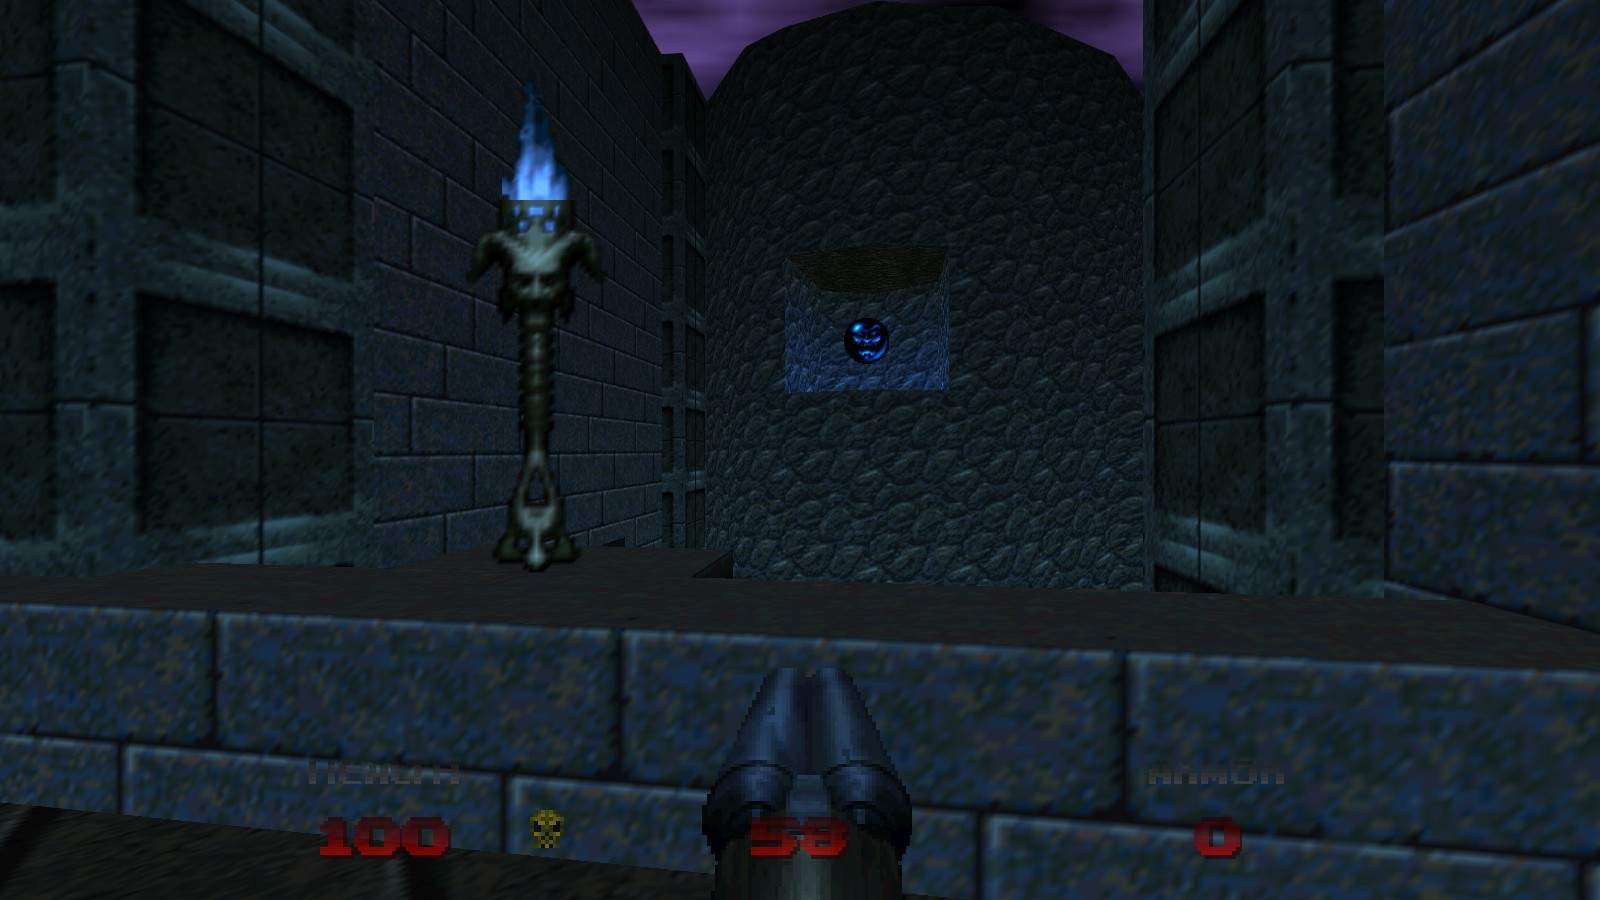
Secret 2/3
Opposite the Yellow Door is a lift, at the top of which is a switch that lowers a pedestal holding a partial invisibility. If you look to the right of that switch, you can see another switch through a grated window on the far wall. Shoot that switch to open this secret. You can either blast away at it with the super shotgun from the platform and hope one of the pellets hits it, or make a run off the ledge and shoot it with any hitscan weapon on the way down.

The secret itself is through the door below and to the left of the window. Take an immediate right to find a mega armor and some energy cells.

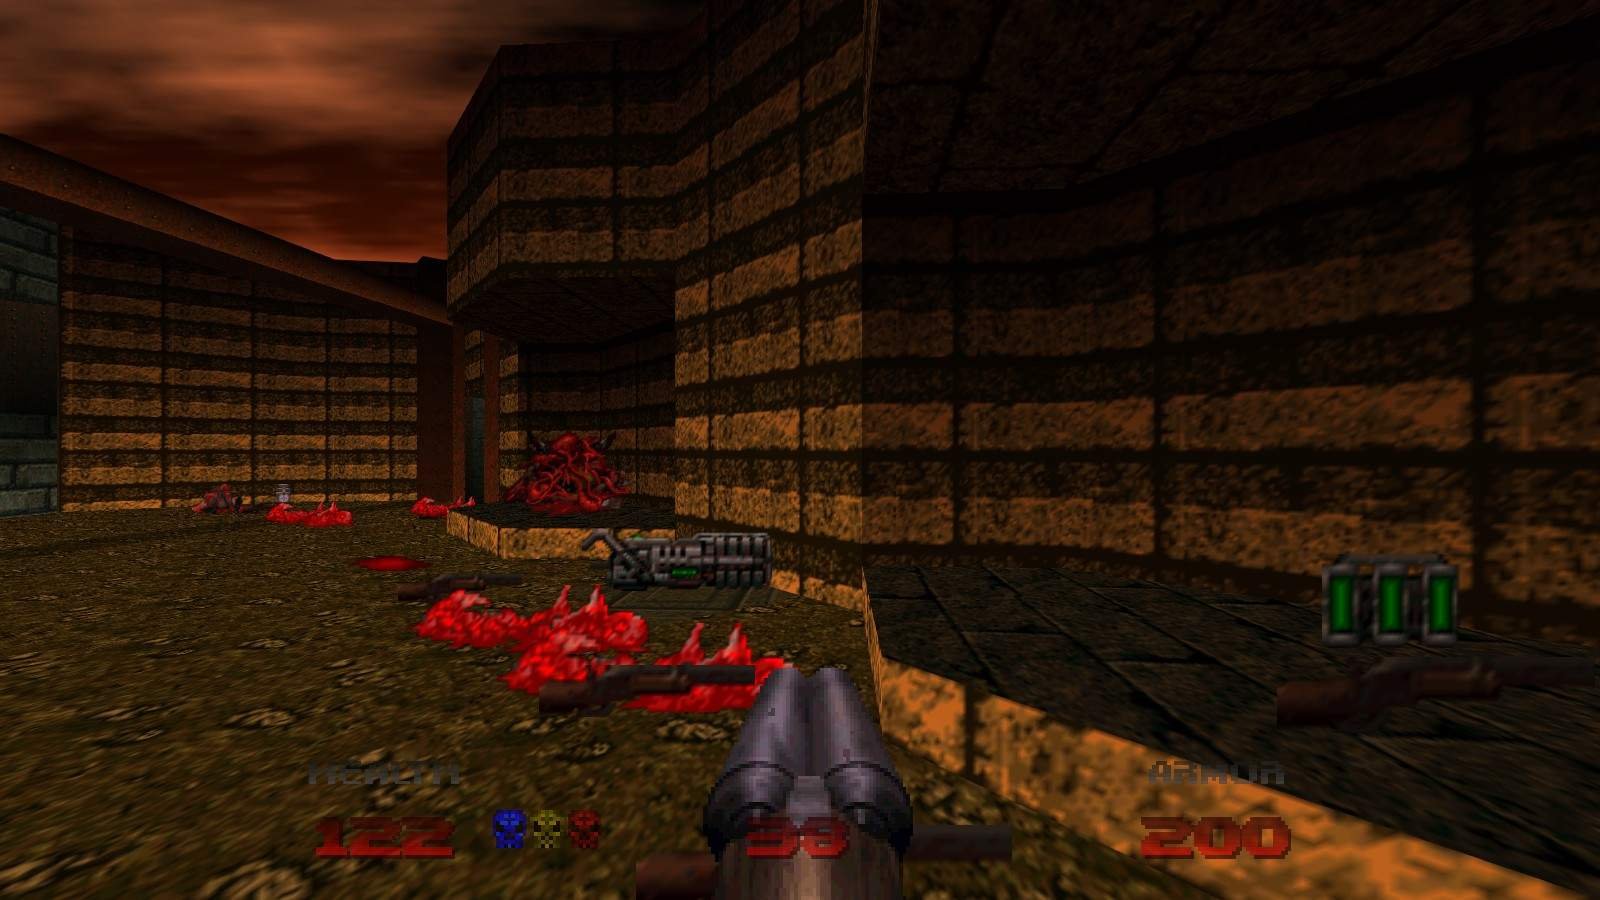
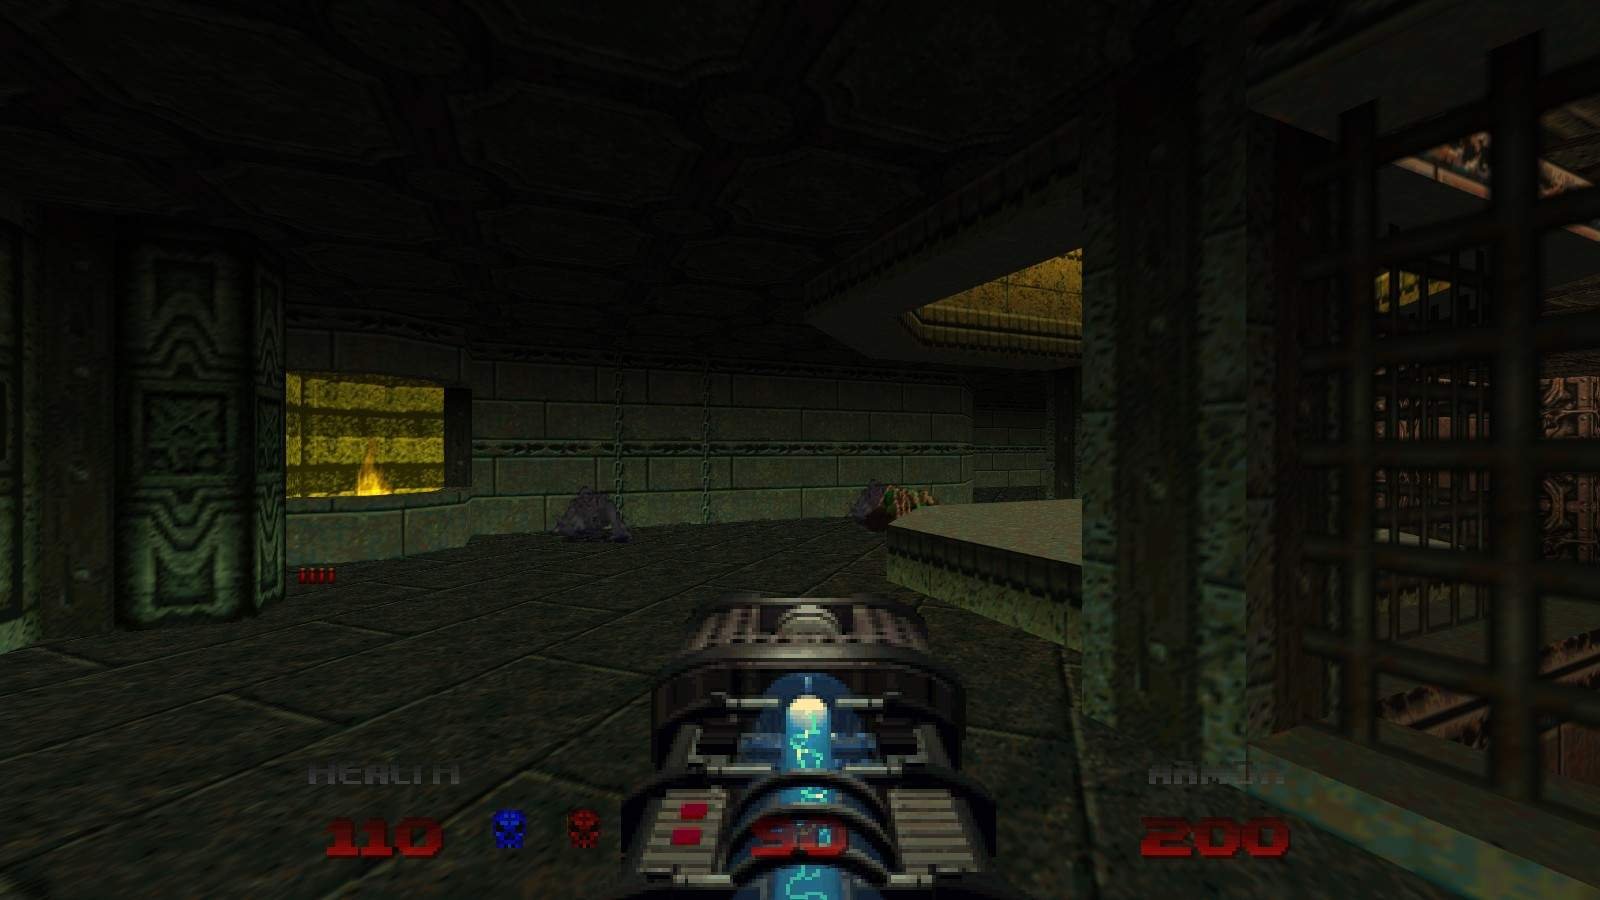
Secret 3/3
After going through the Yellow Door, you’ll end up in a courtyard that contains the Red Key. Turn left as you enter and you can see a tall pillar with a BFG on top. As you go up the stairs that lead to the upper perimeter of the courtyard, you should hear a door open nearby. At the top of the staircase, make a quick 180 to the right to see a switch that has been revealed on the wall outside. Shoot it before it closes to lower the BFG.

Map 36: Cold Grounds
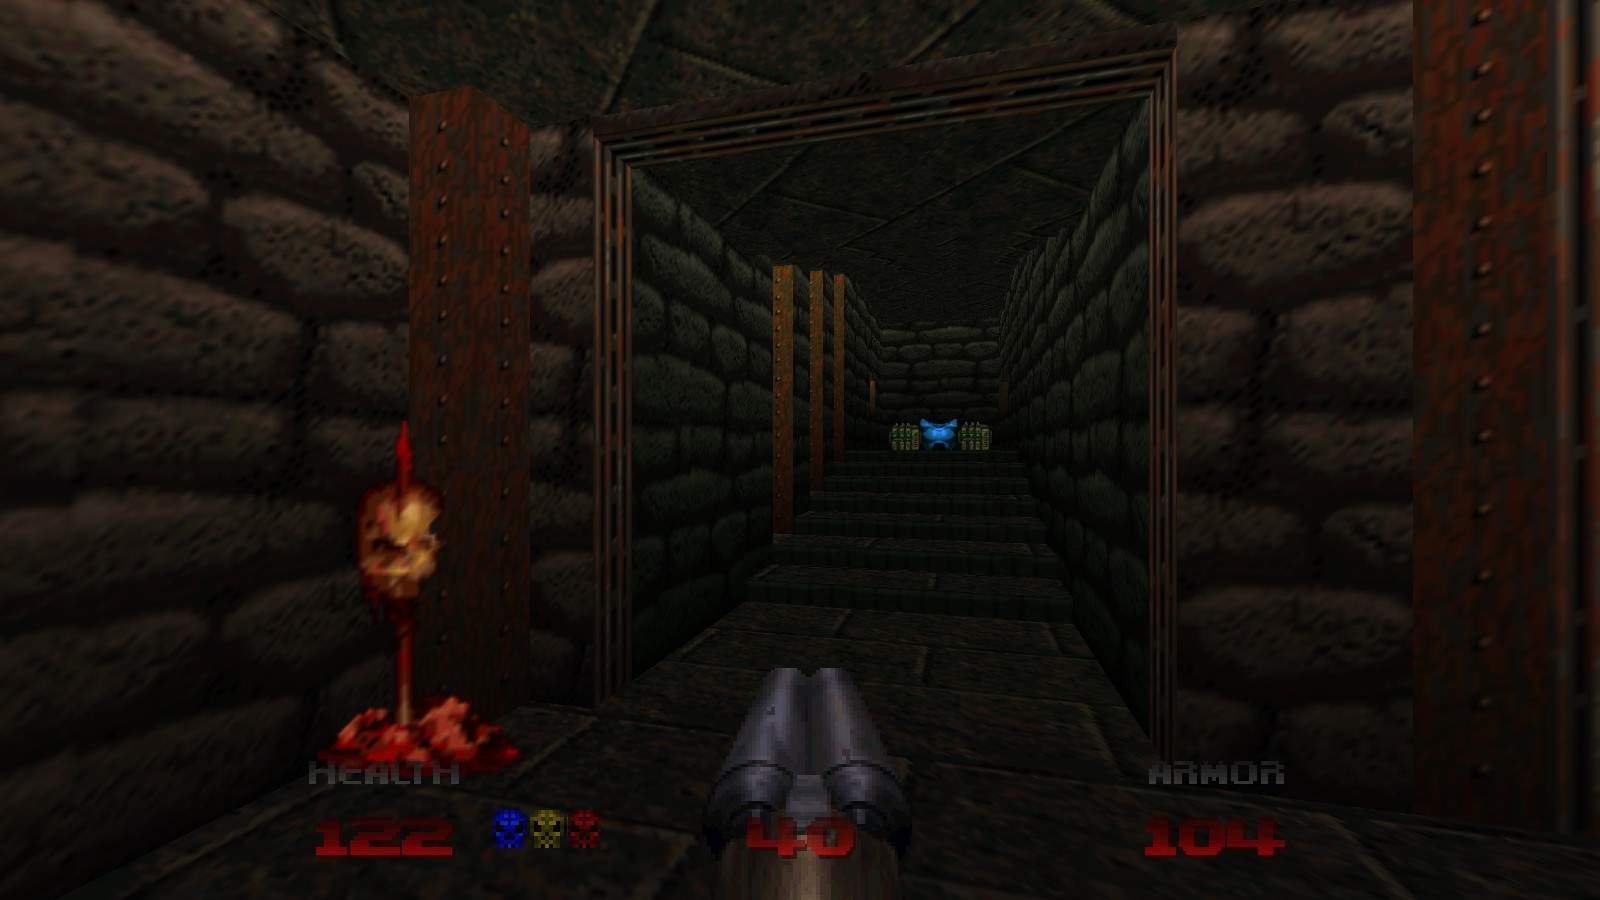
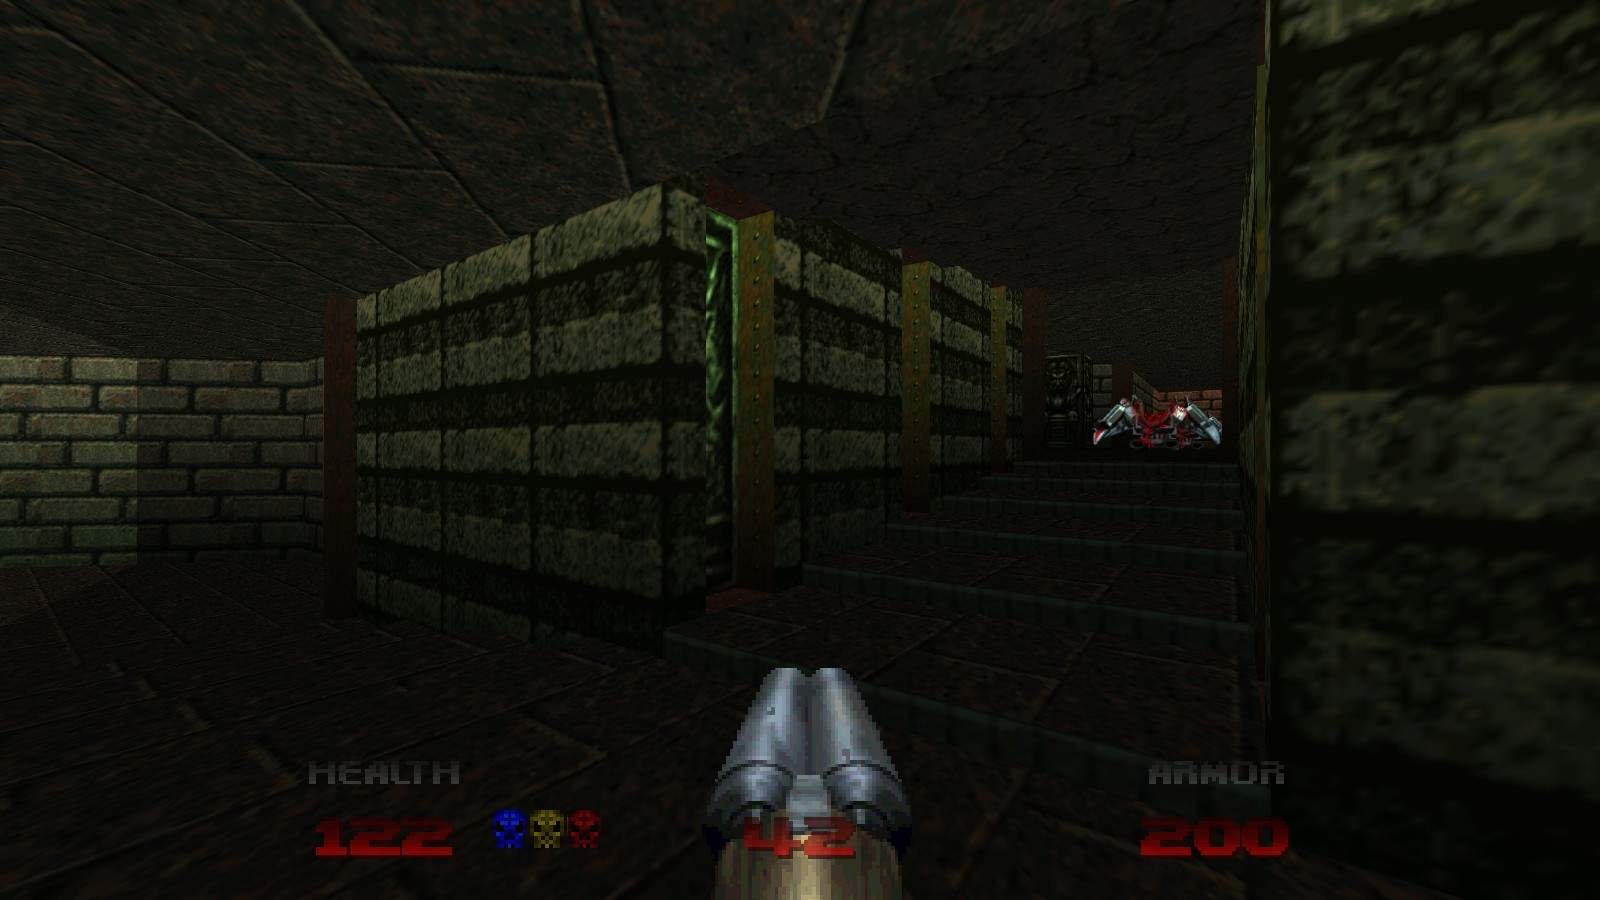
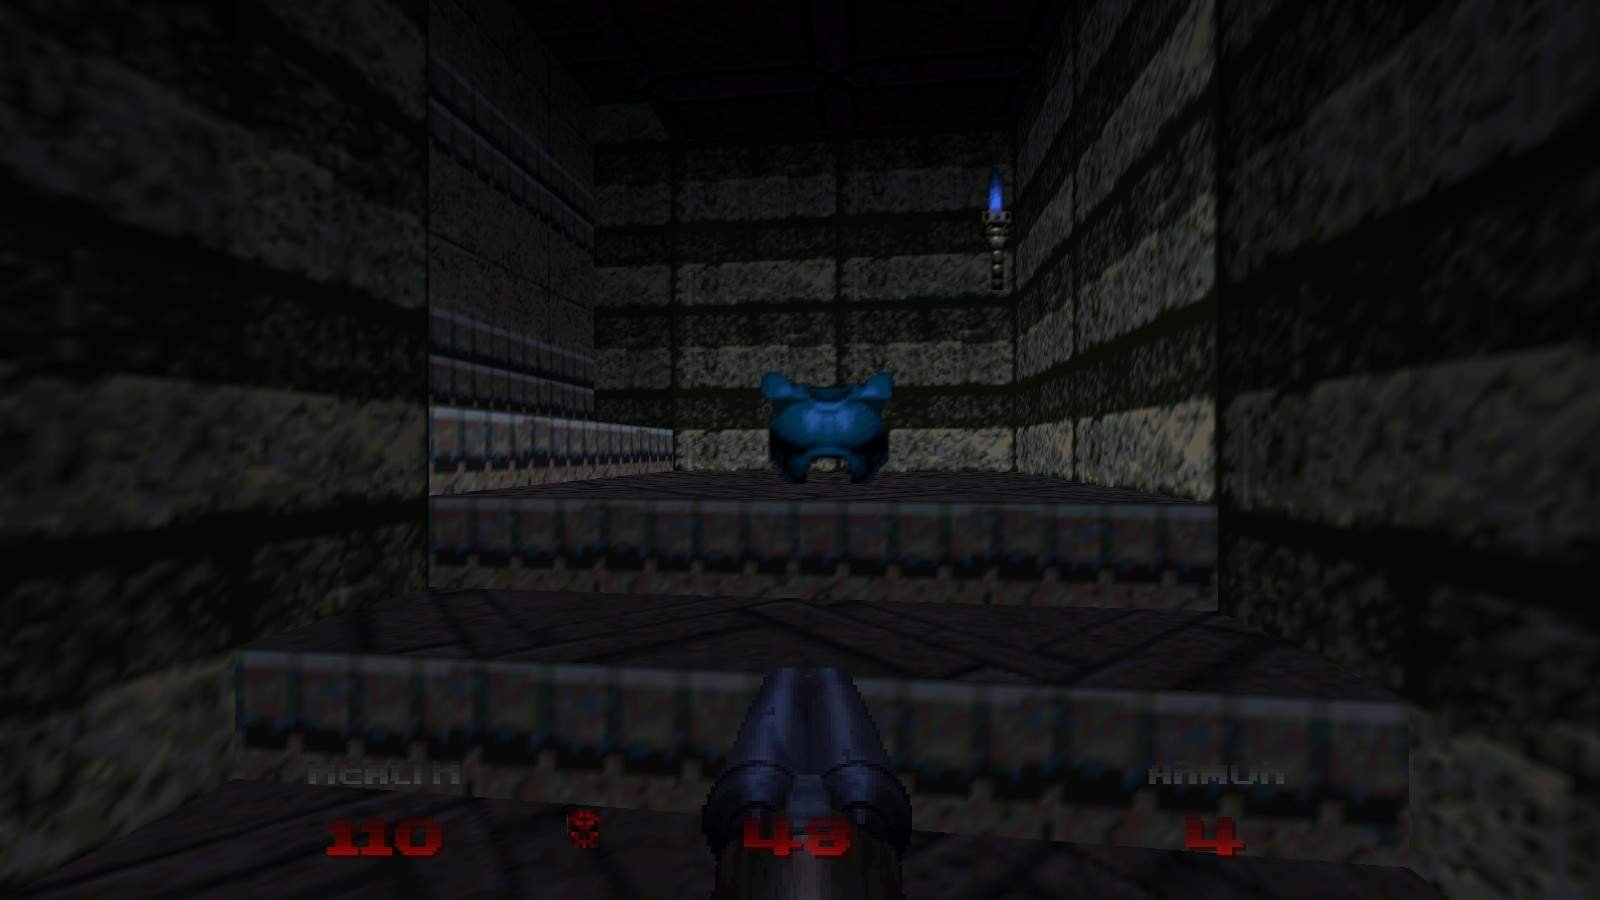
Secret 1/1
When you reach the Yellow Switch, turn right to see the only secret in this map – a Soulsphere. When you first gain access to the middle floor of the central structure, you’ll have to go all the way to the opposite side to press a switch. Pressing it will open a wall to your right containing a medikit, a box of rockets, and a hell knight. The wall to the left of the rockets is actually a teleporter to the Soulsphere.


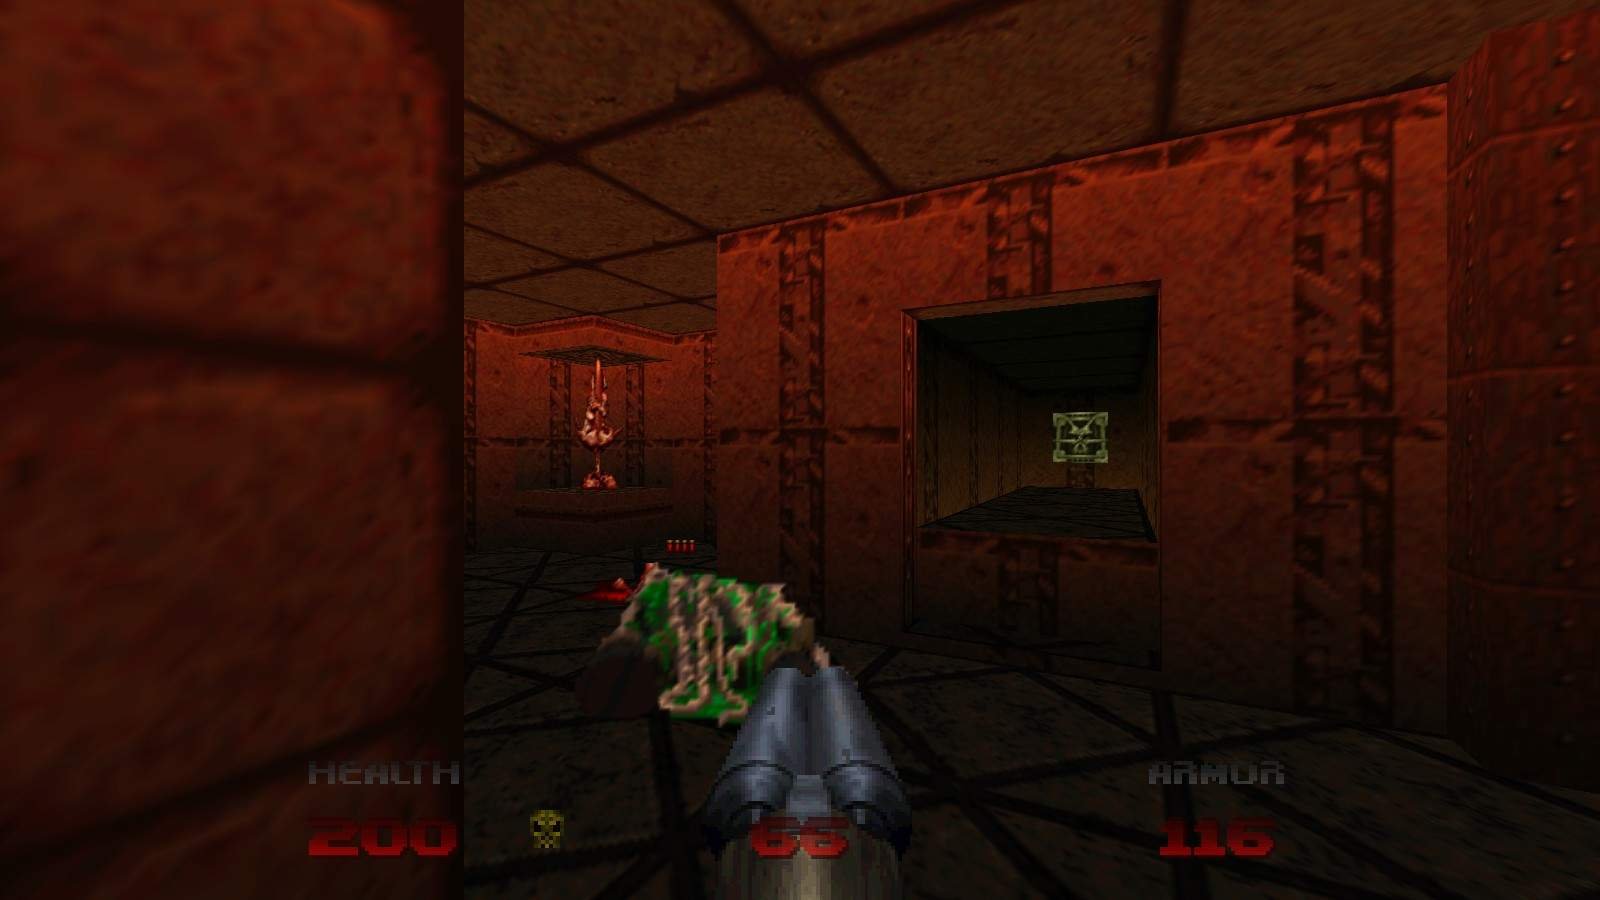
Map 37: Wretched Vats
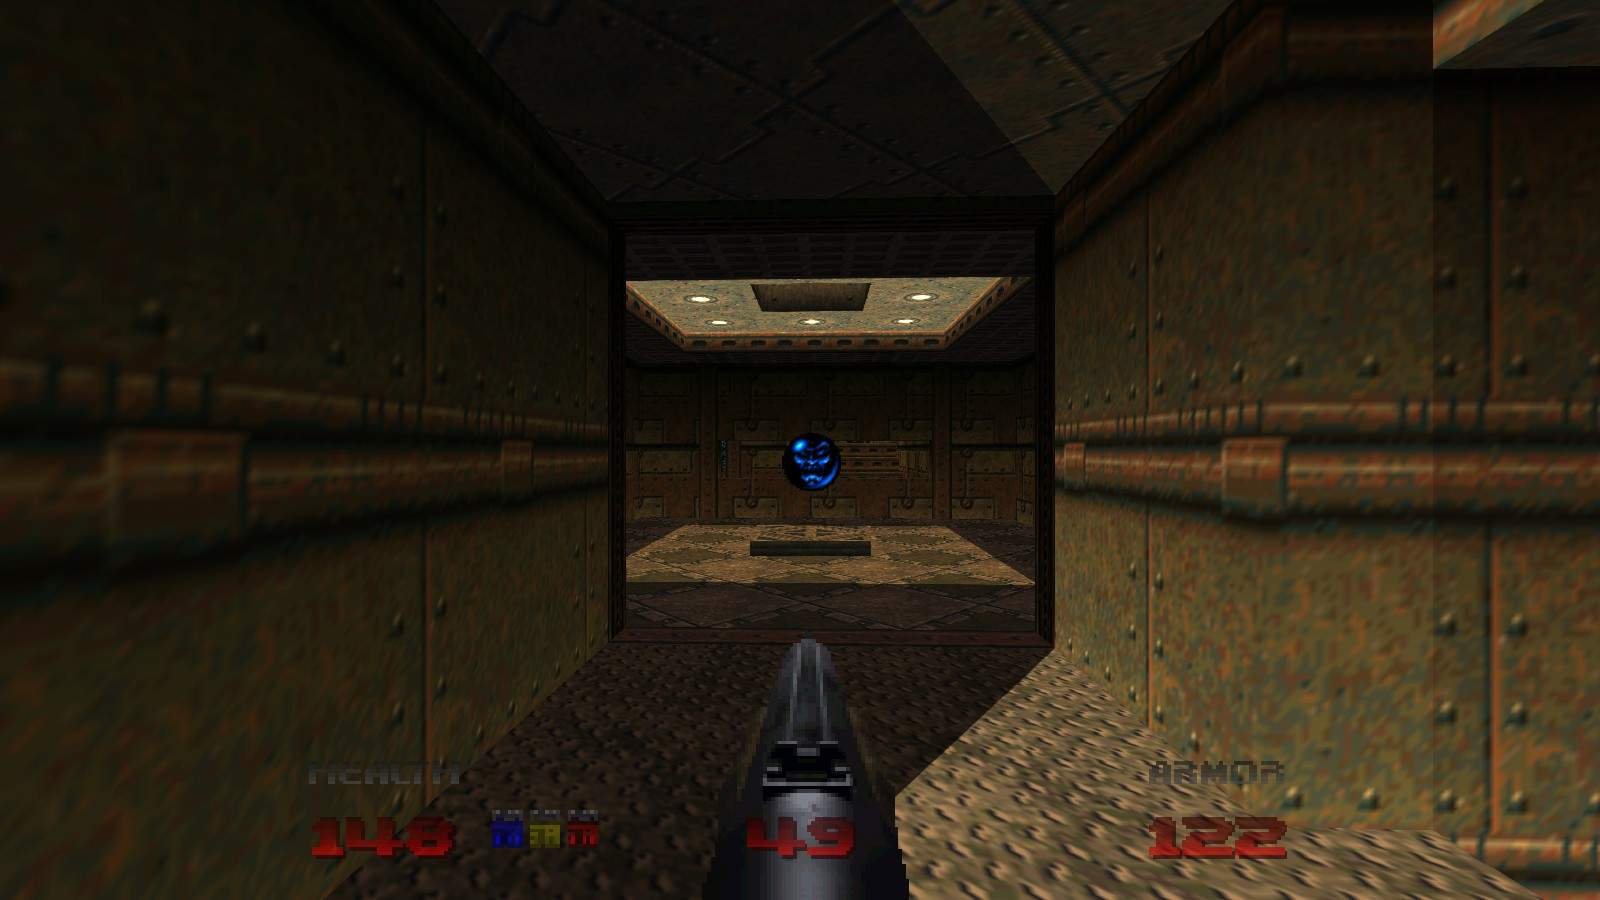
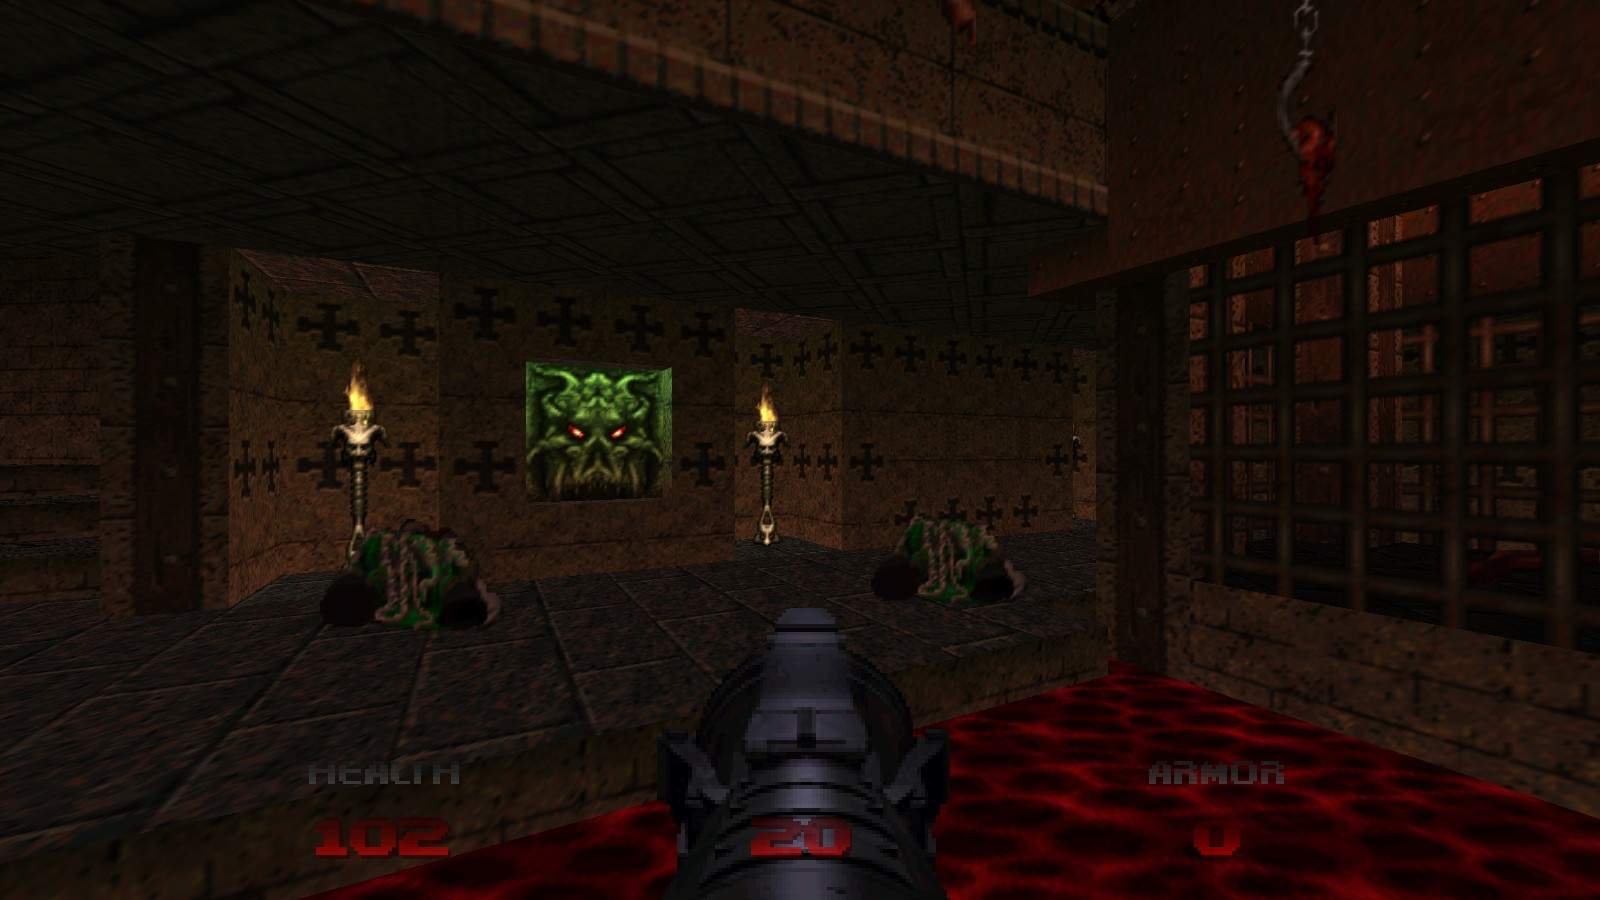
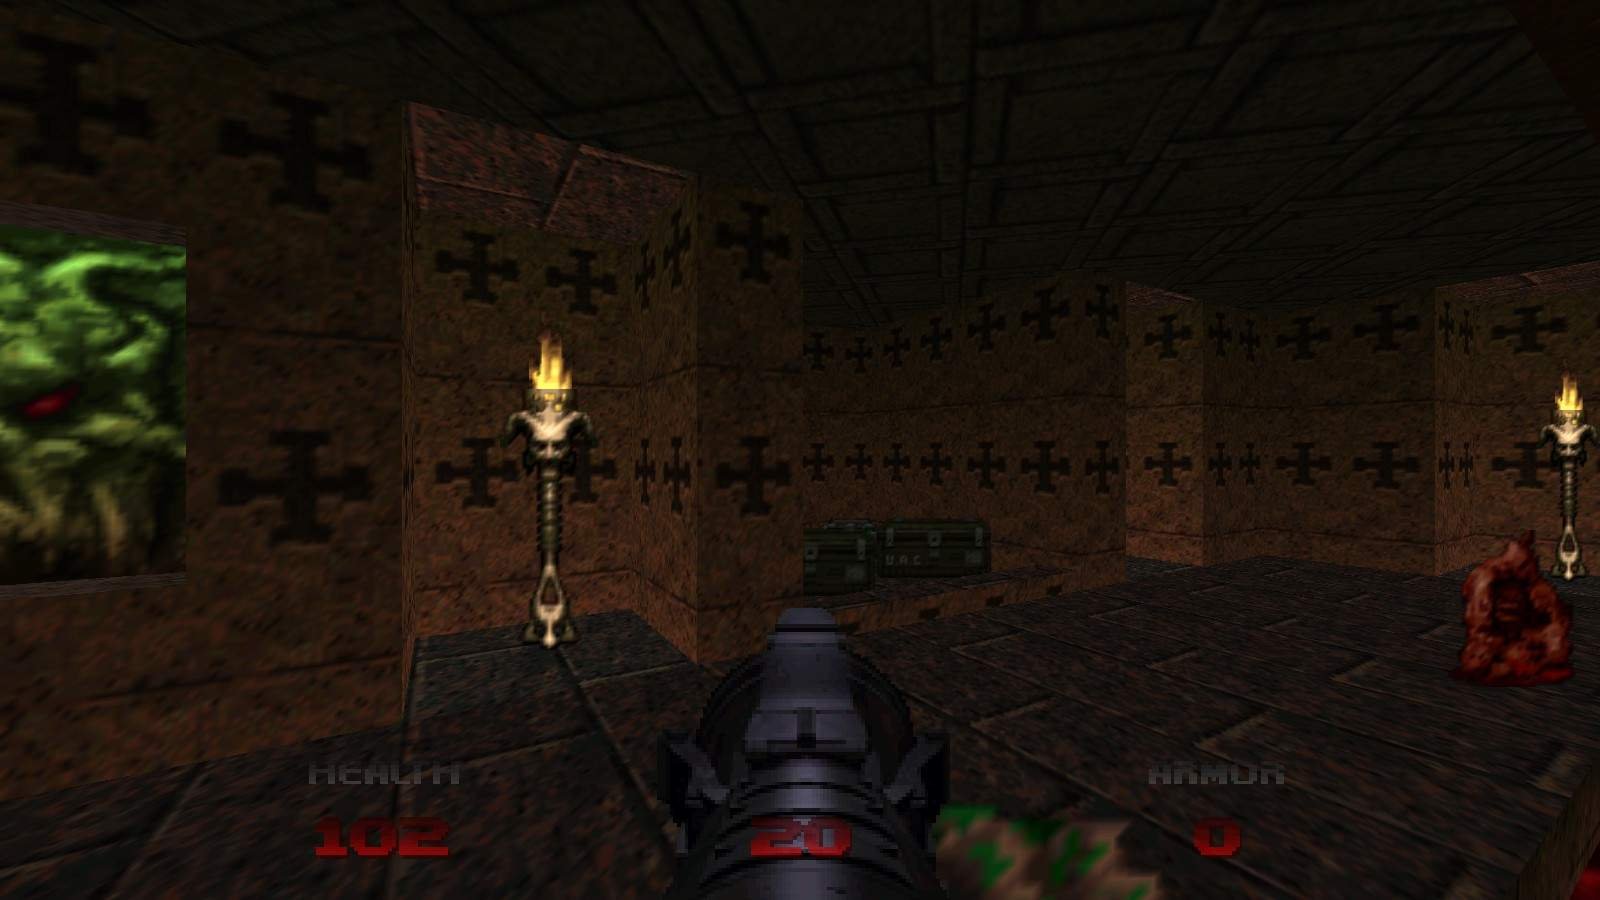
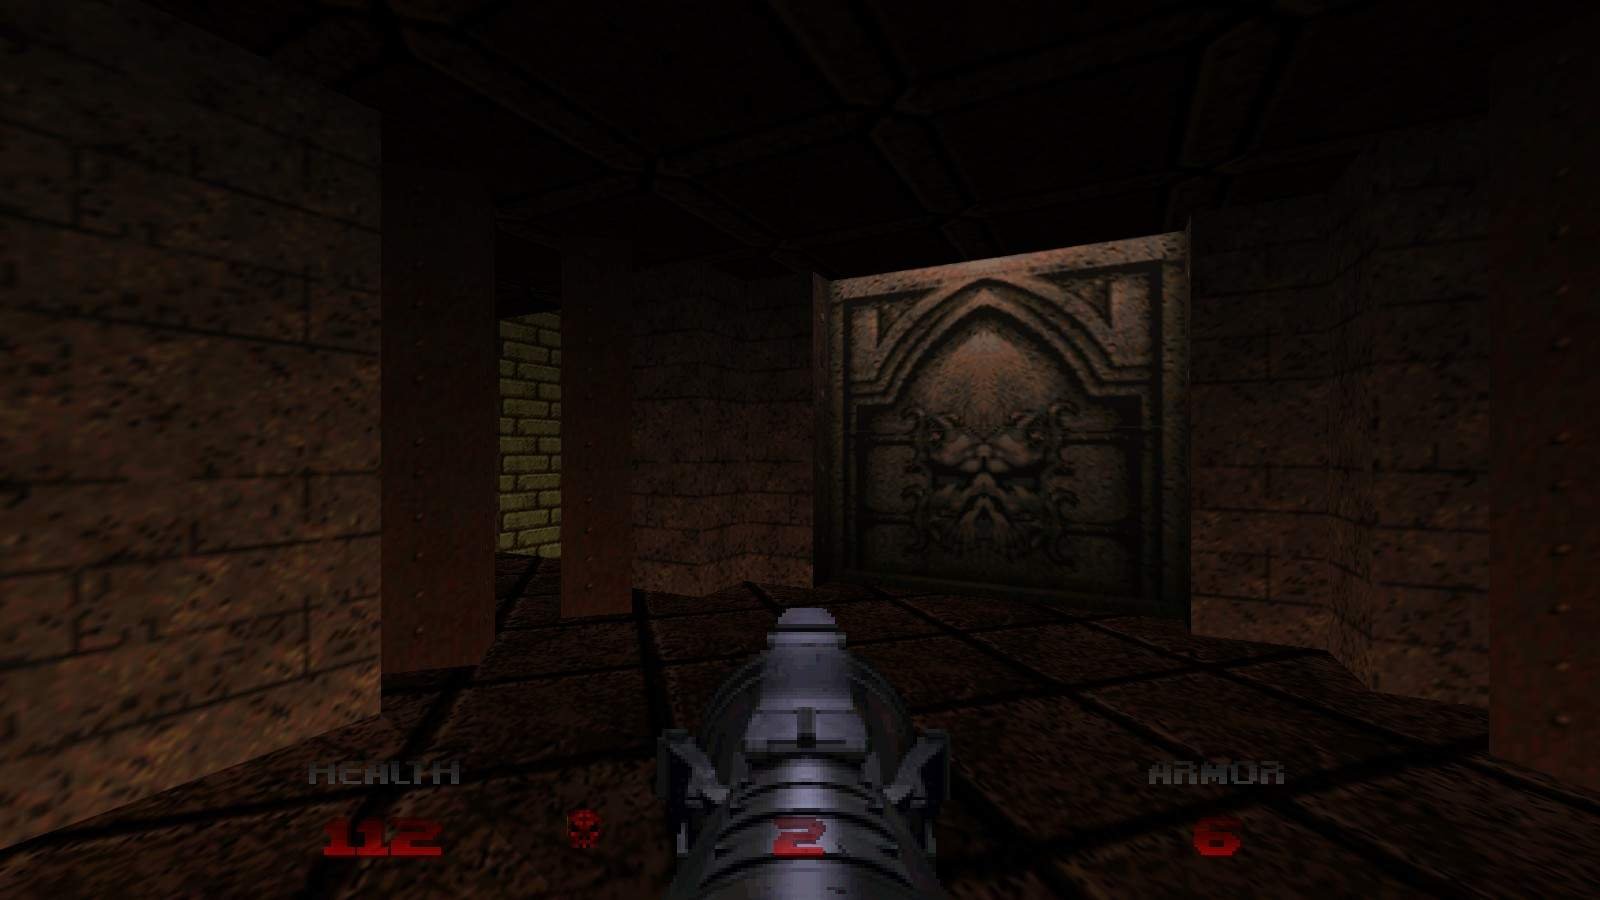
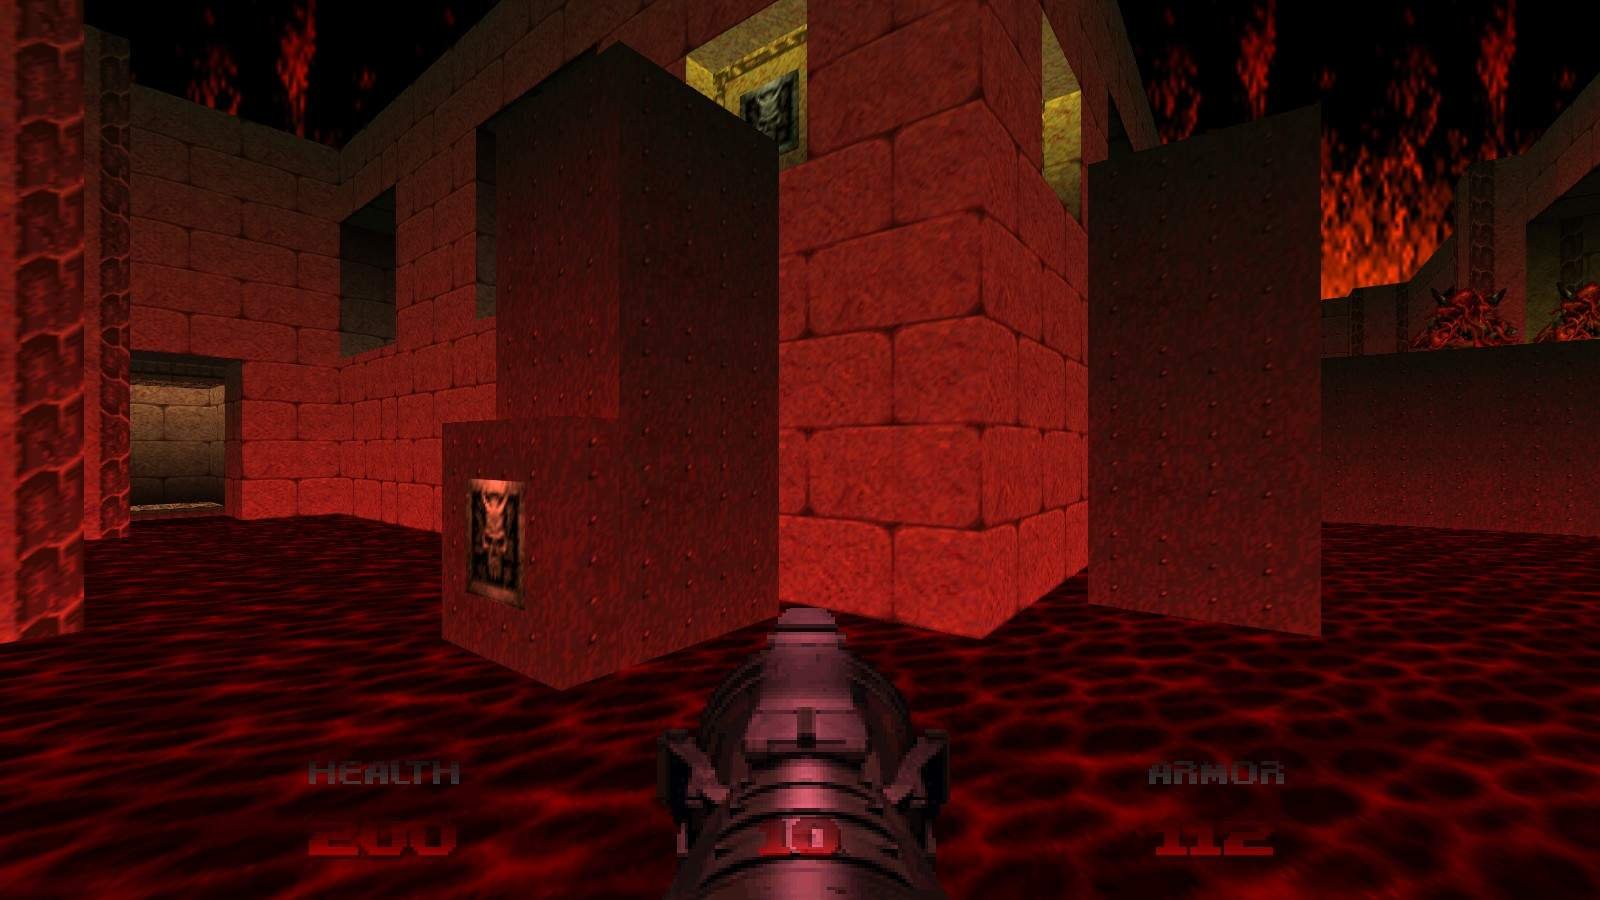
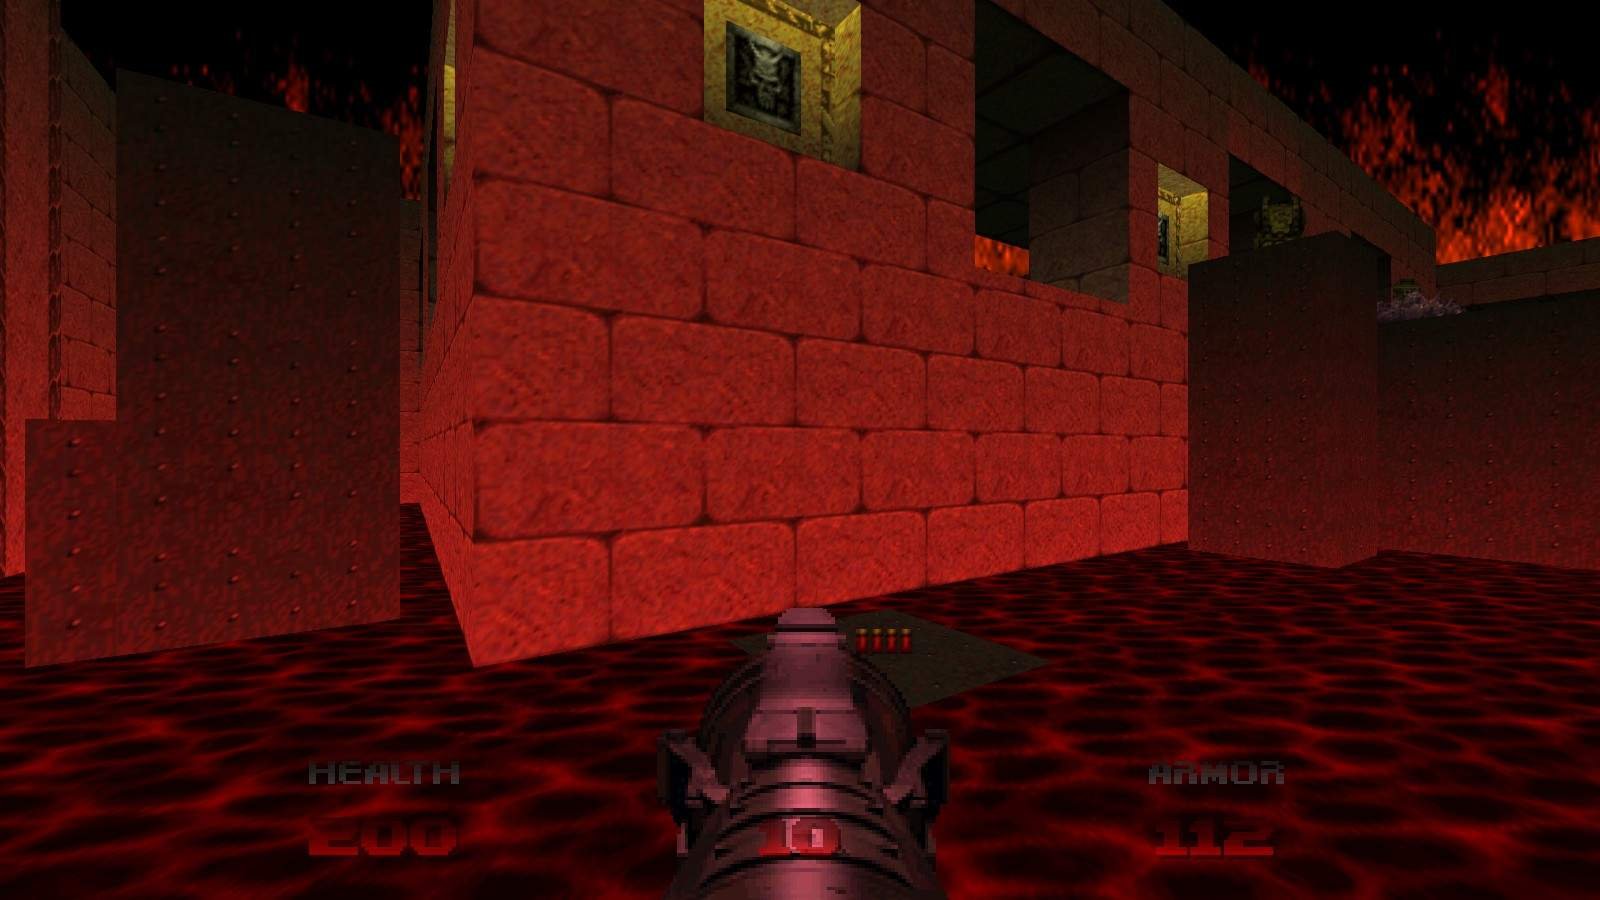
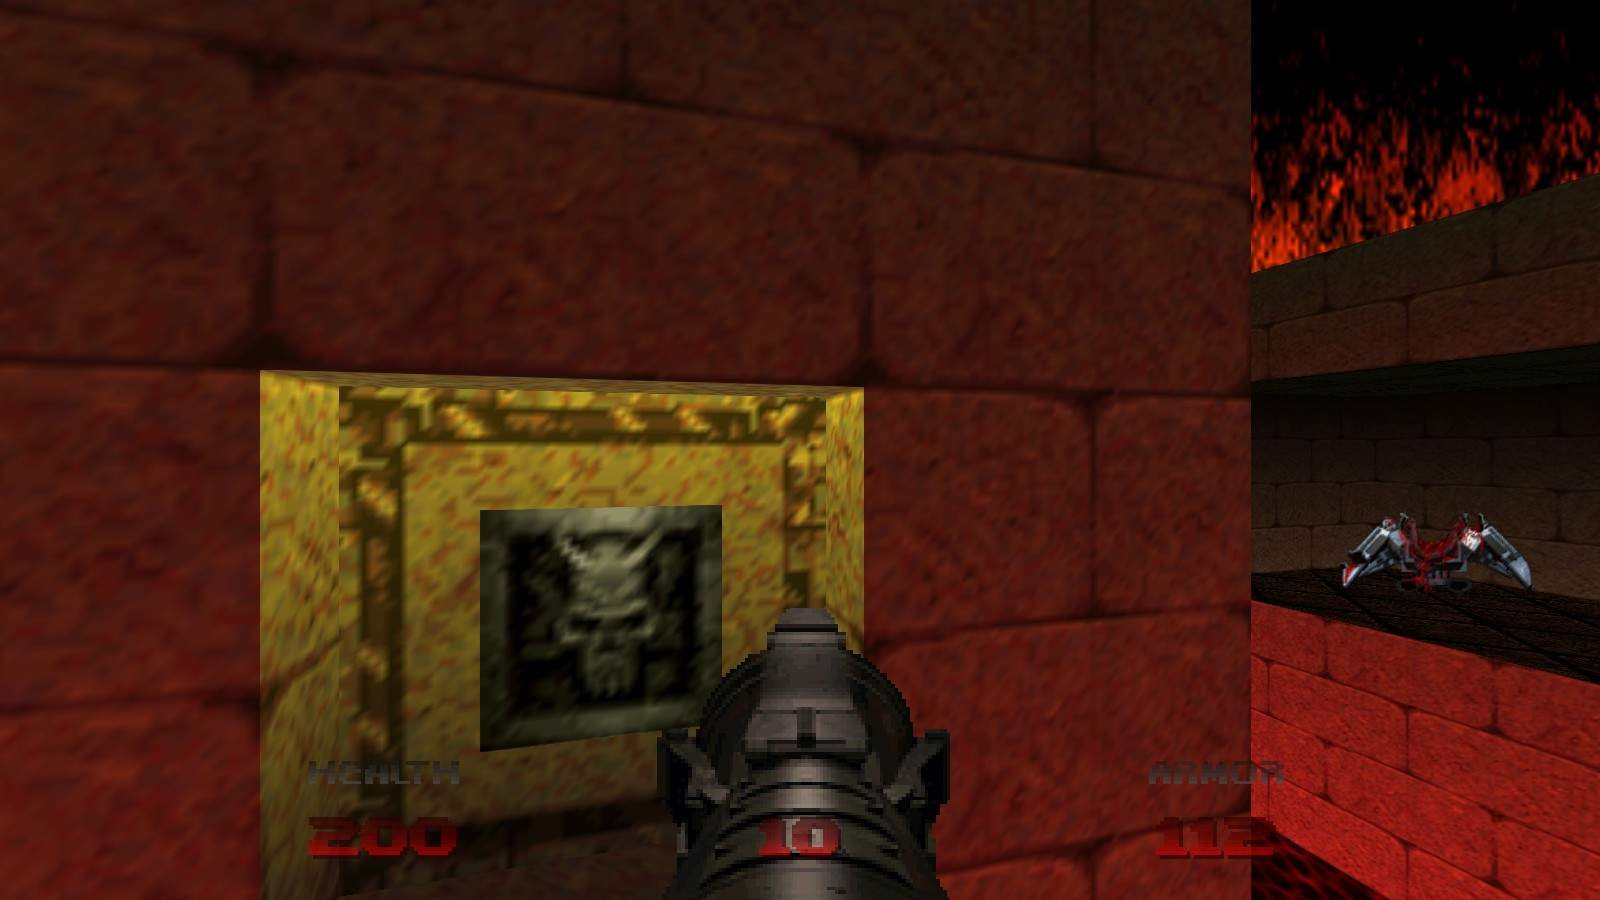
Secret 1/4
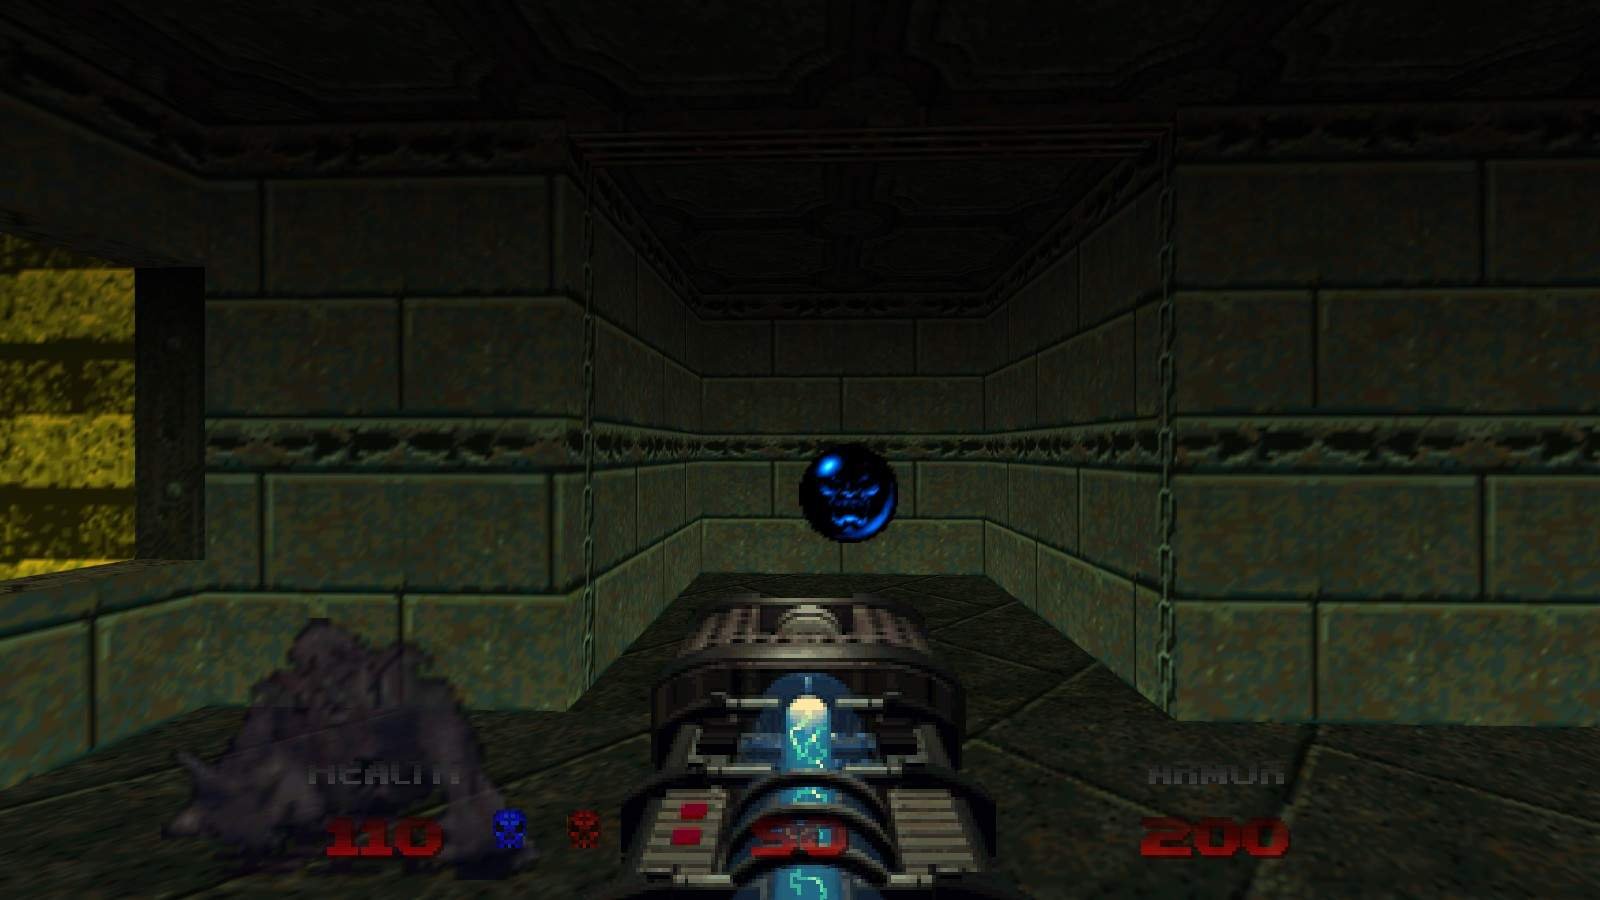
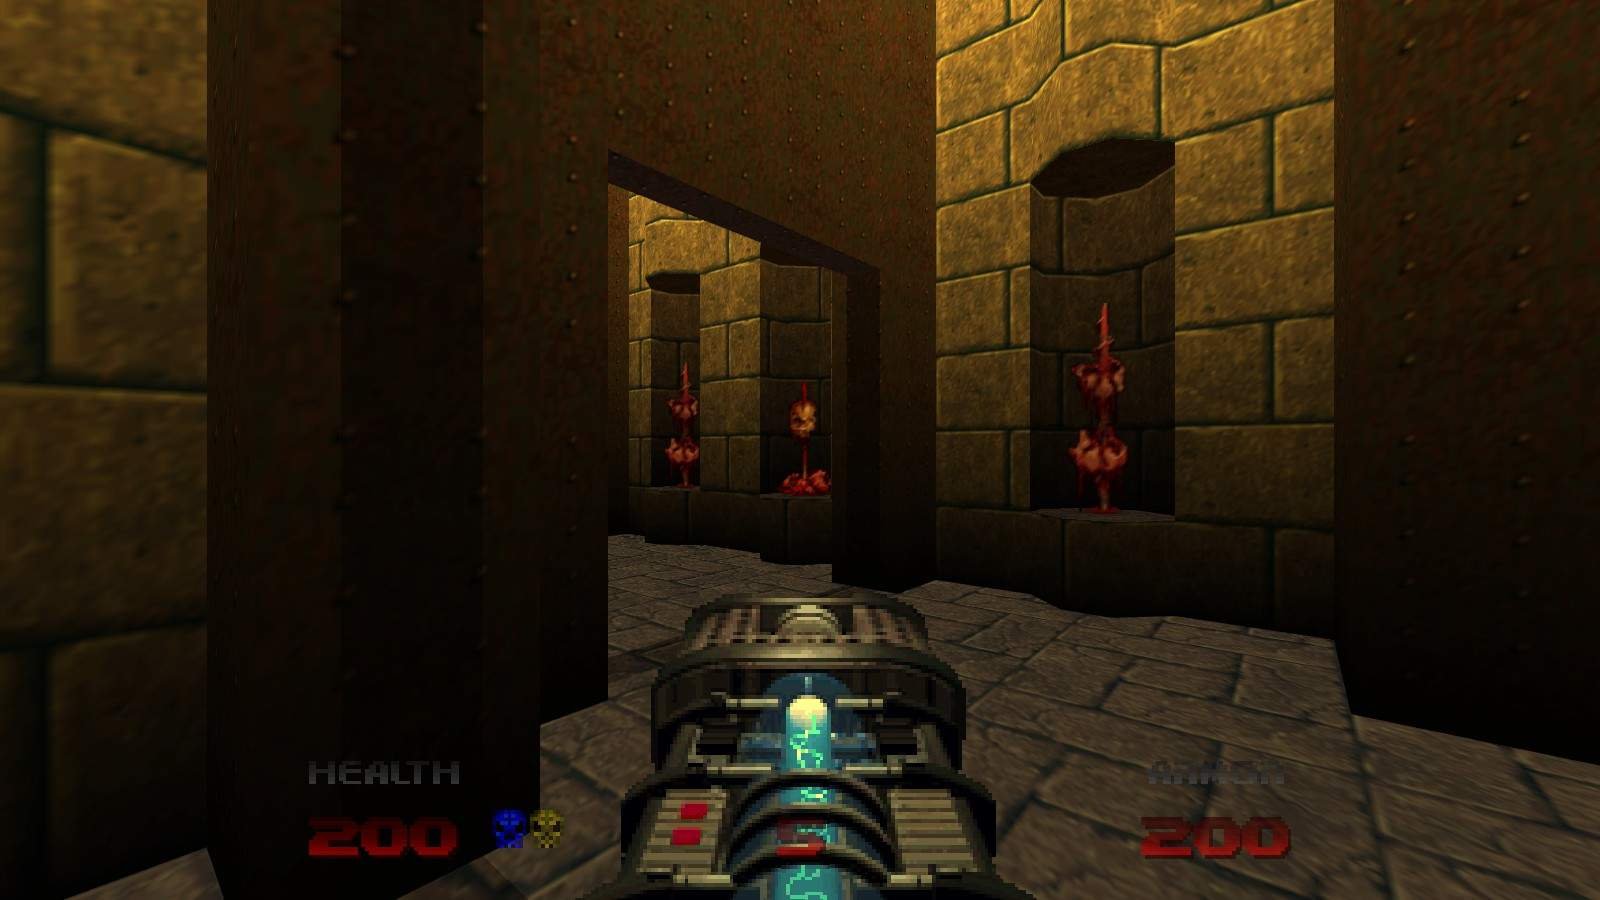
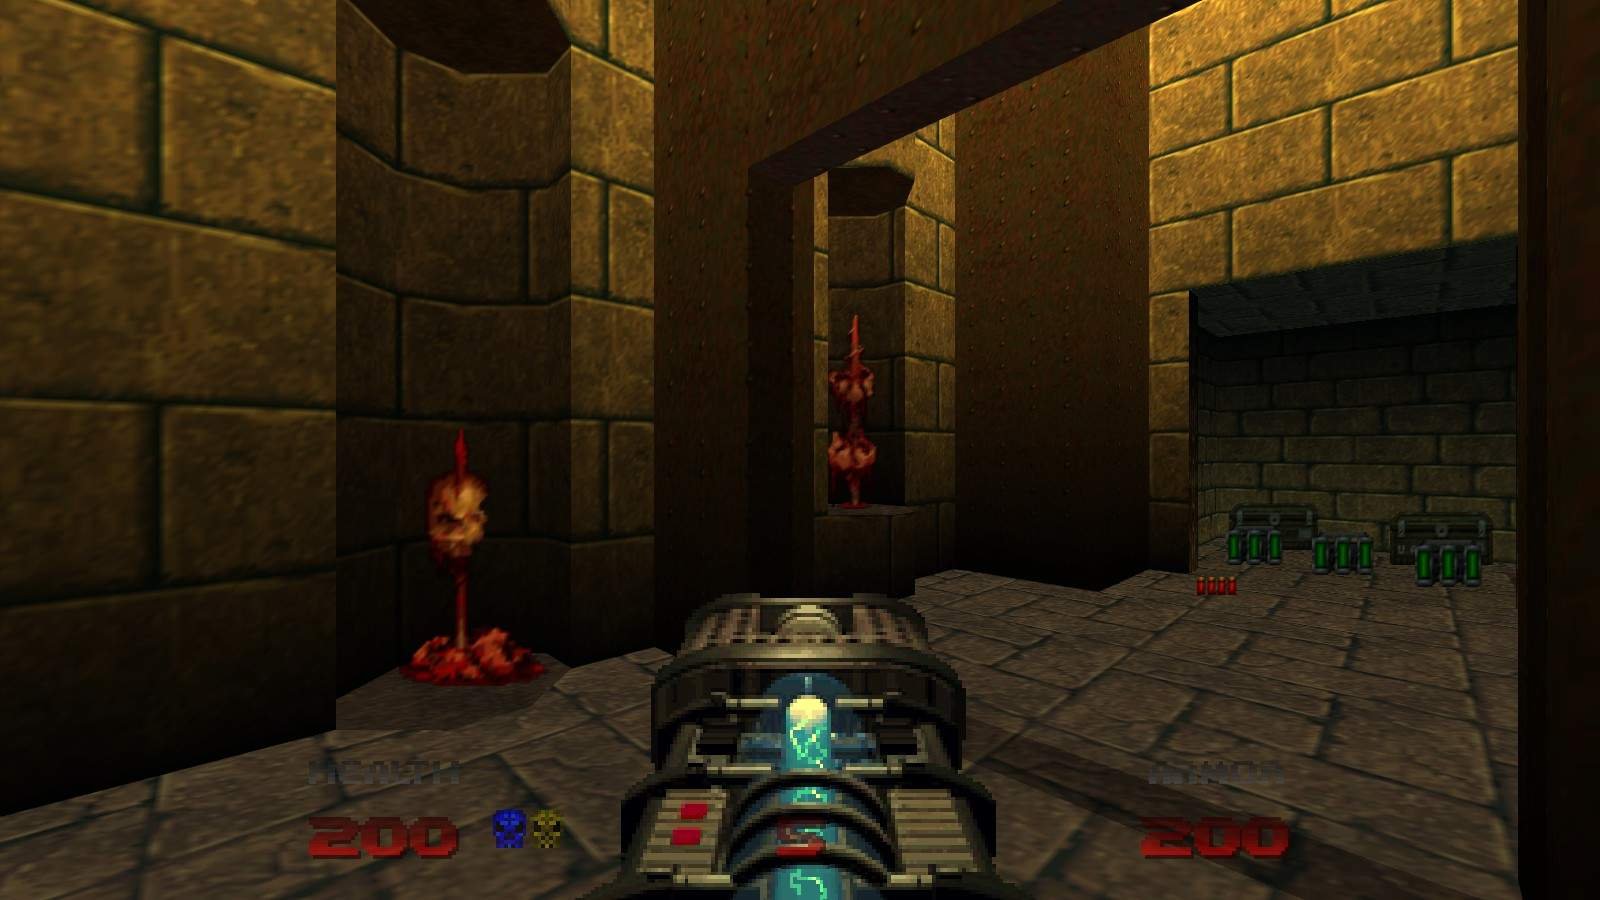
In the room with the Red Key, the wall to the right of the demon face on the wall (opposite the key itself) can be opened for some rockets, cells, and a plasma gun. Be warned – picking up the plasma gun will release some lost souls into the room.
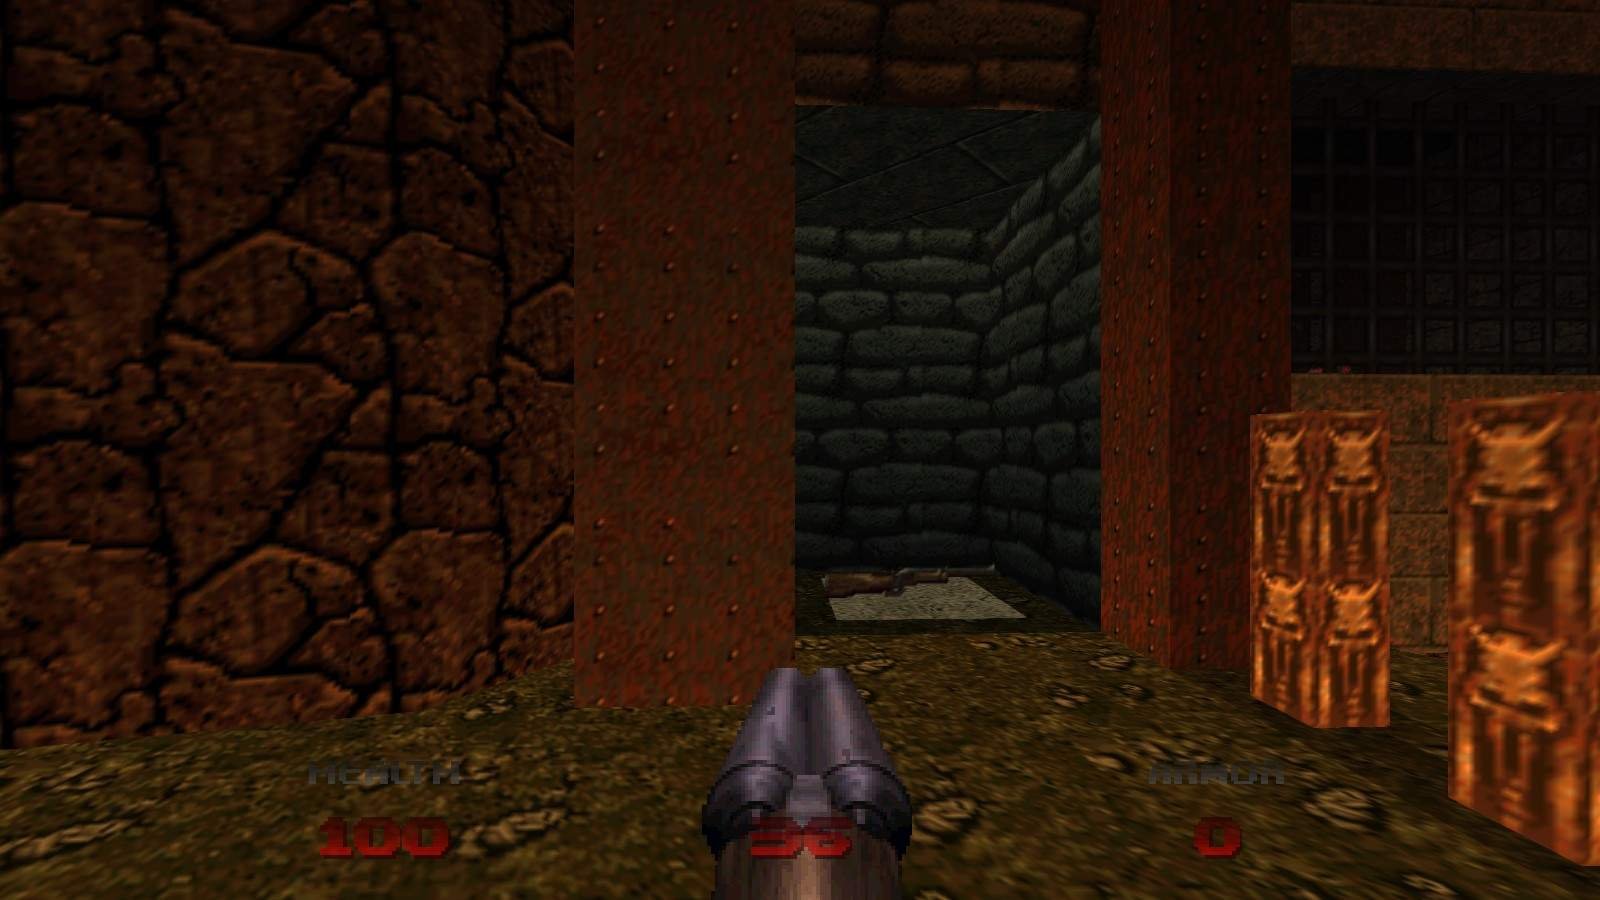
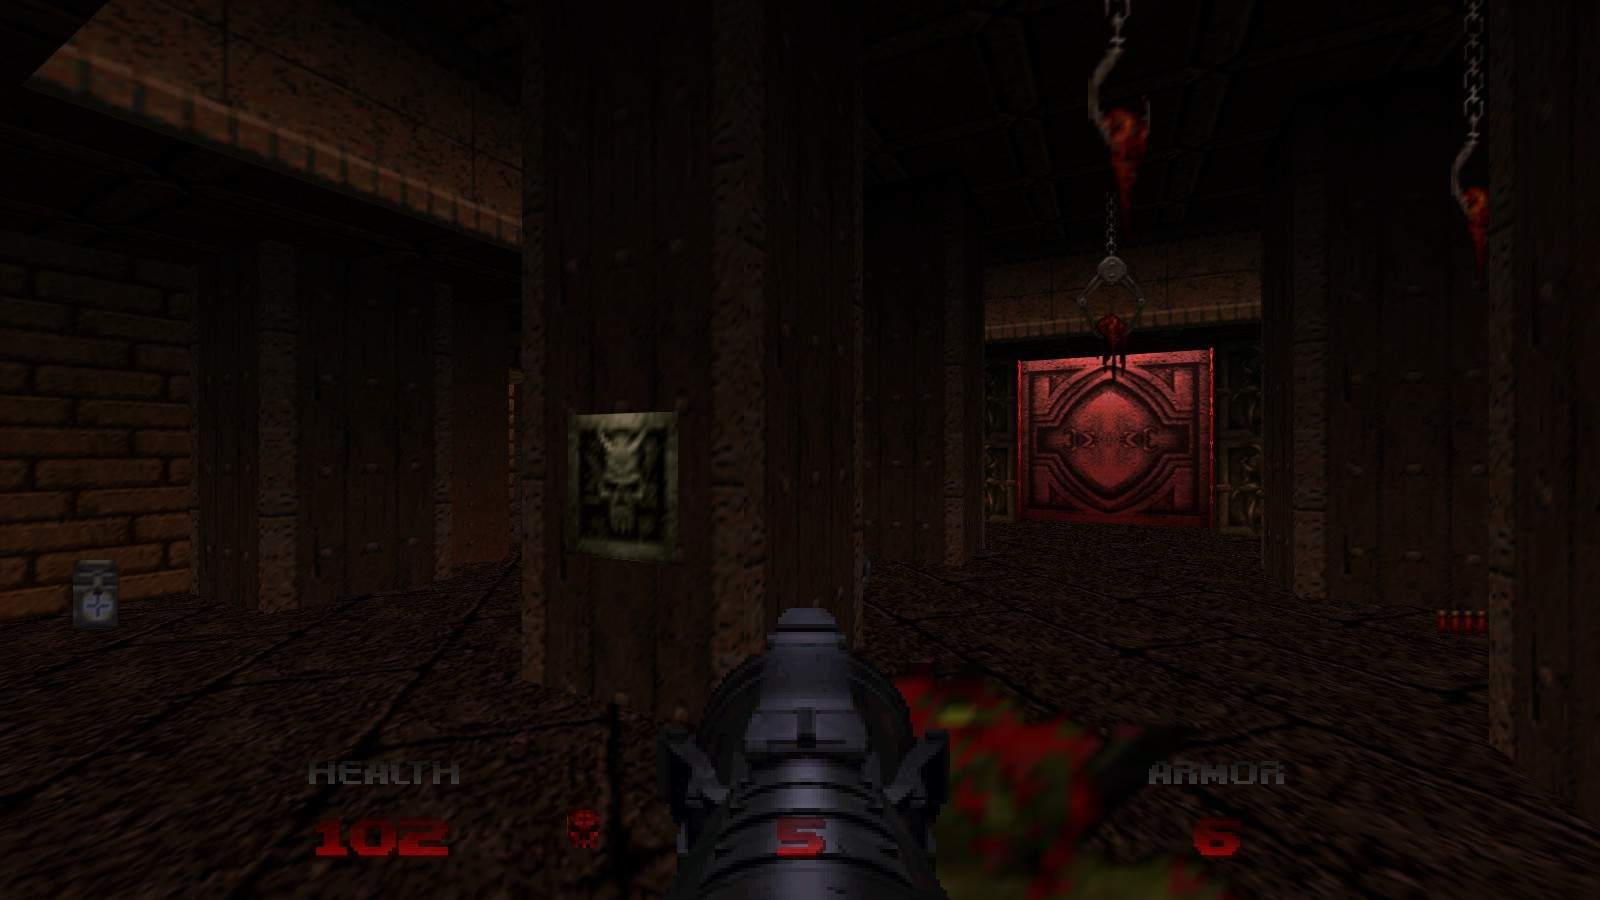
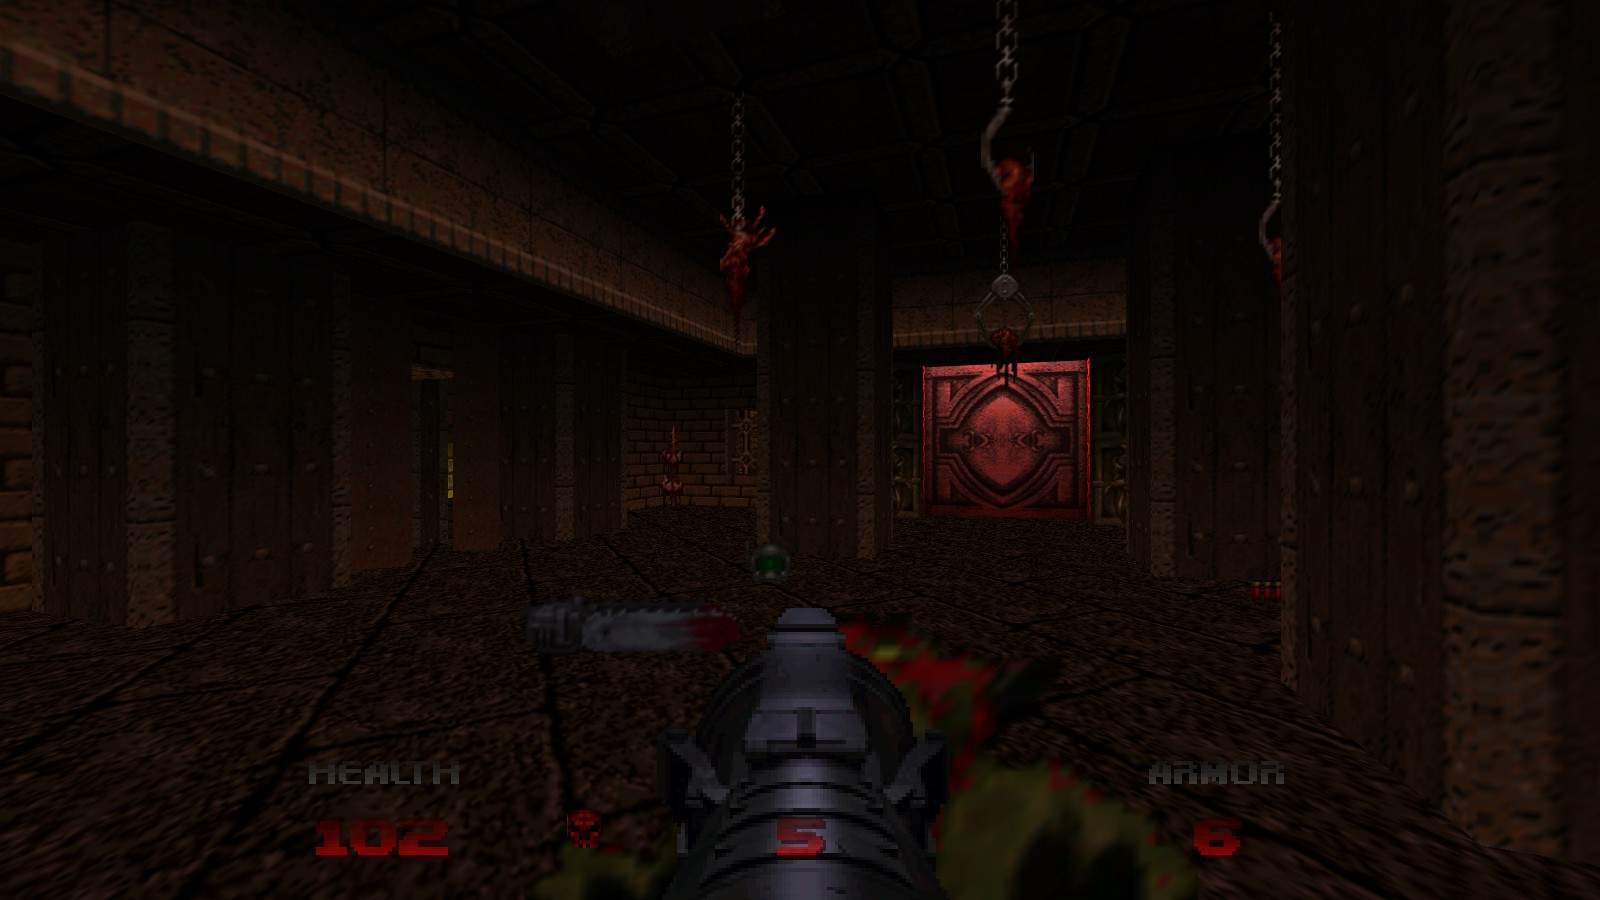
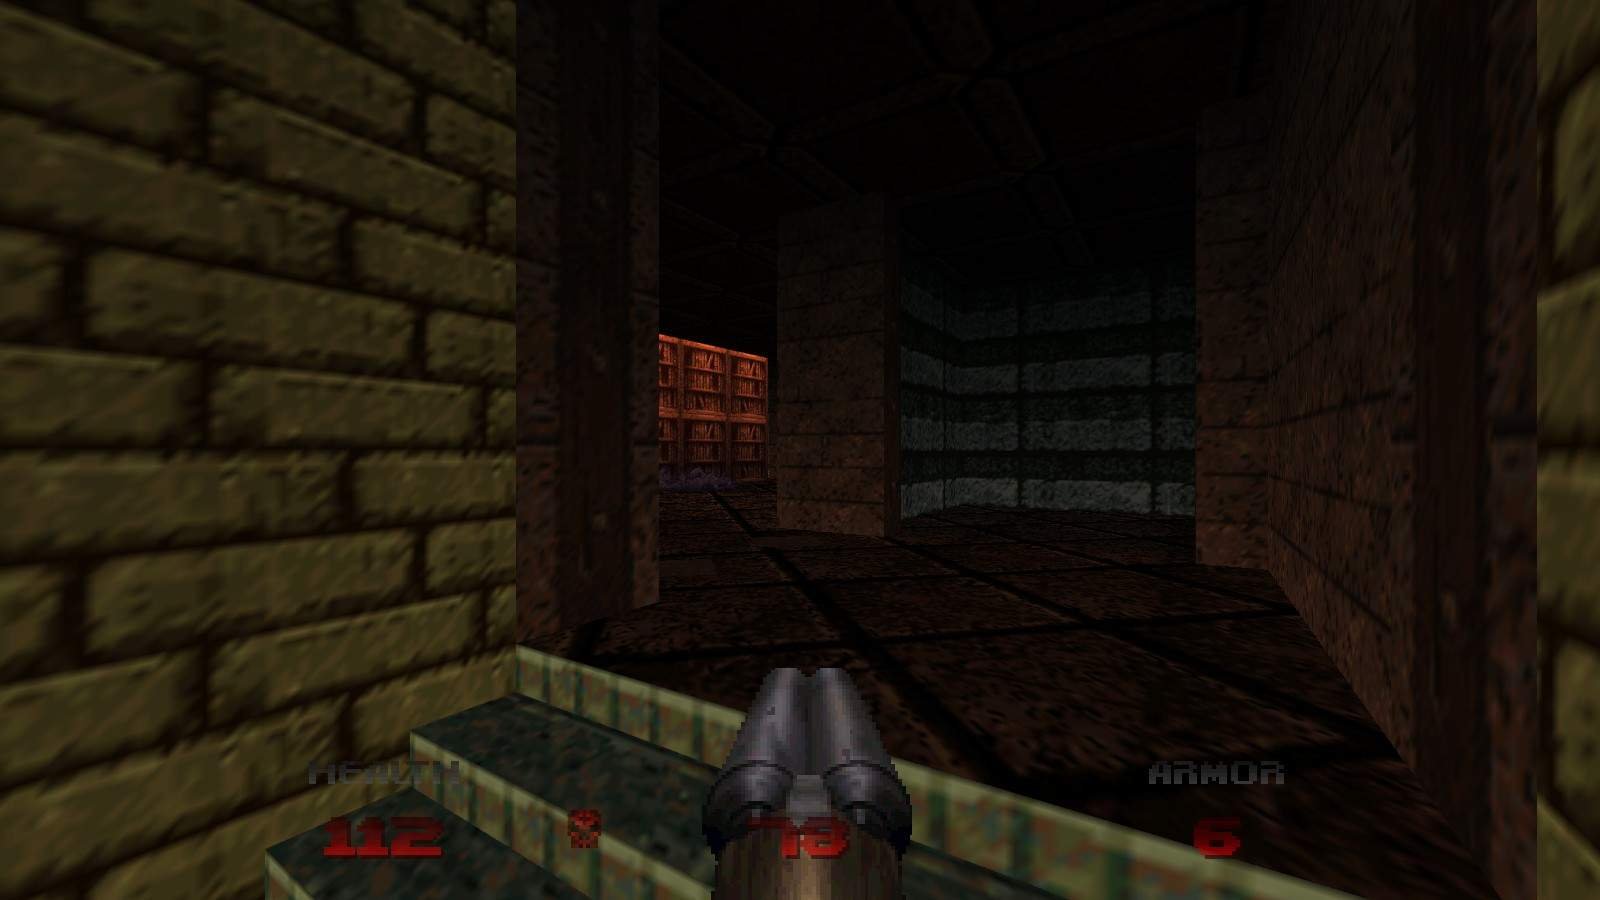
Secret 2/4
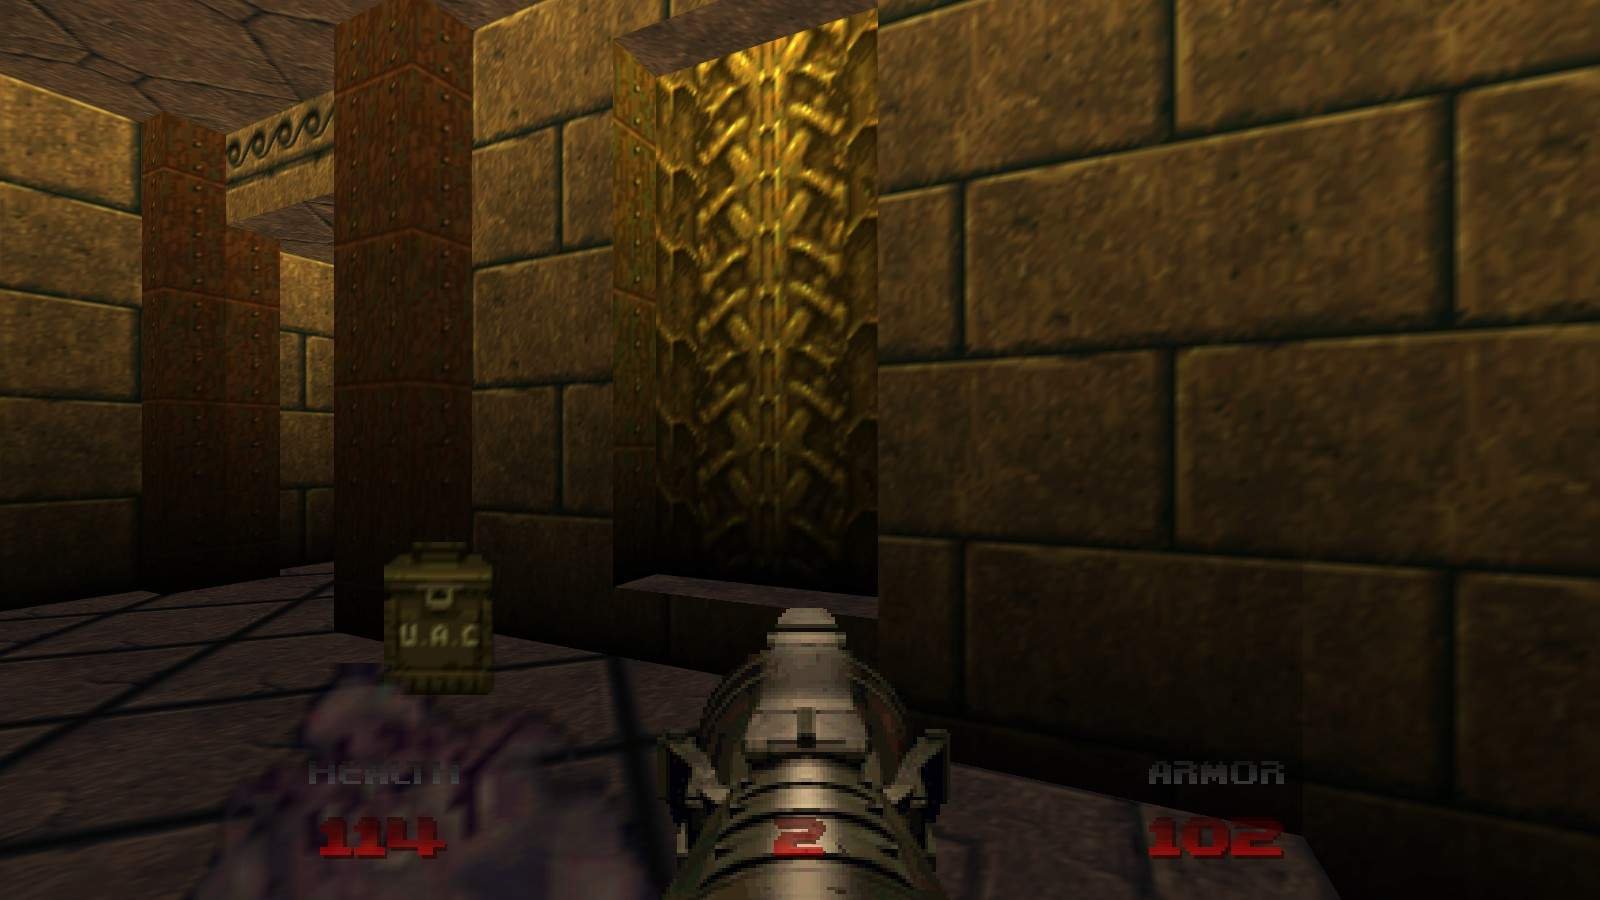
In the room full of columns behind the Red Door connected to the starting room, one of the columns has a switch that will lower it to reveal a chainsaw.
Secret 3/4
When you reach the courtyard containing the Blue Key, you’ll see some bars blocking passages to the left and right. Go to the far end of the room (where the switch that reveals the key is) and hook a left to get outside. Follow this area back to where the bars were (they will lower when you approach) and open the wall to the right of them for a mega armor.

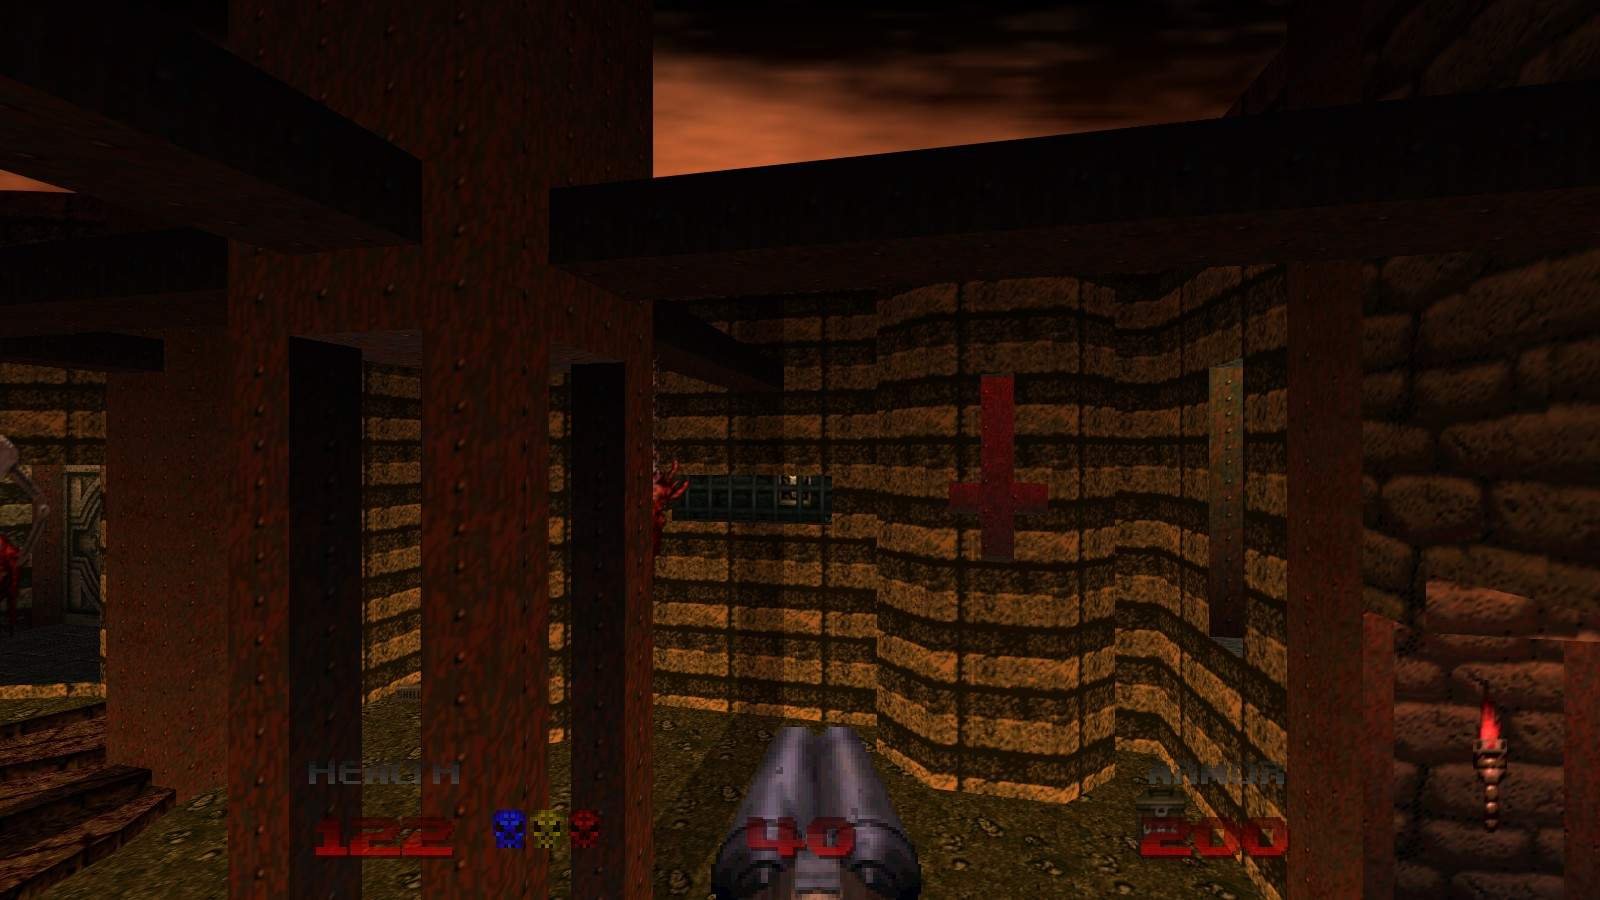
Secret 4/4
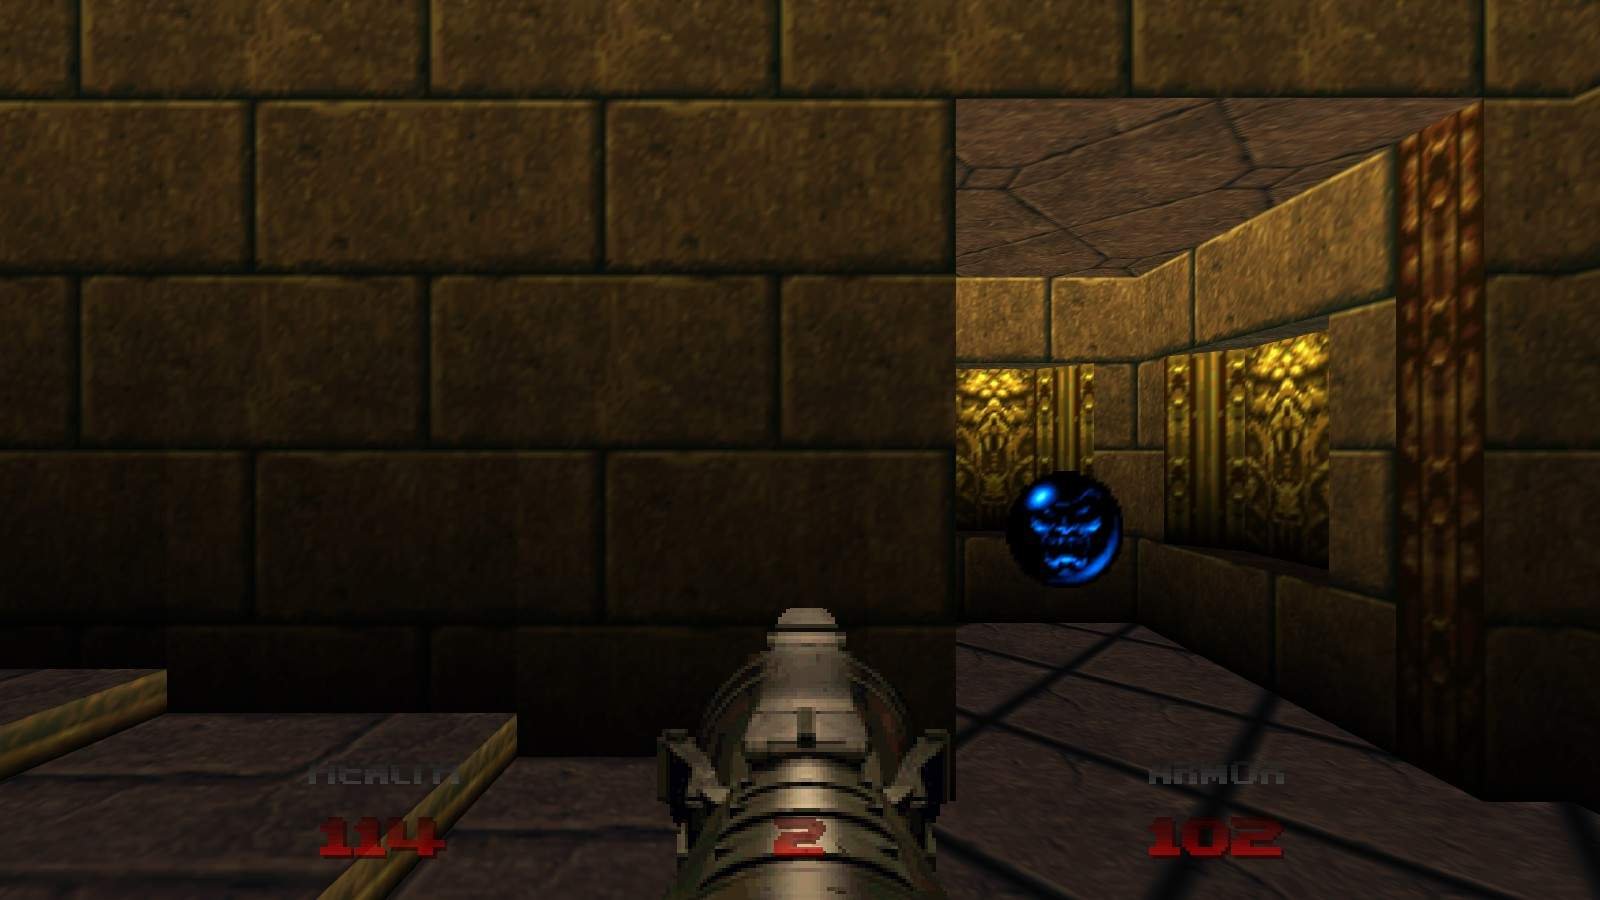
On the upper level of the room with the Yellow Key, to the right of the doors is a wall with a chain texture on it. This wall can be opened to find a Soulsphere.
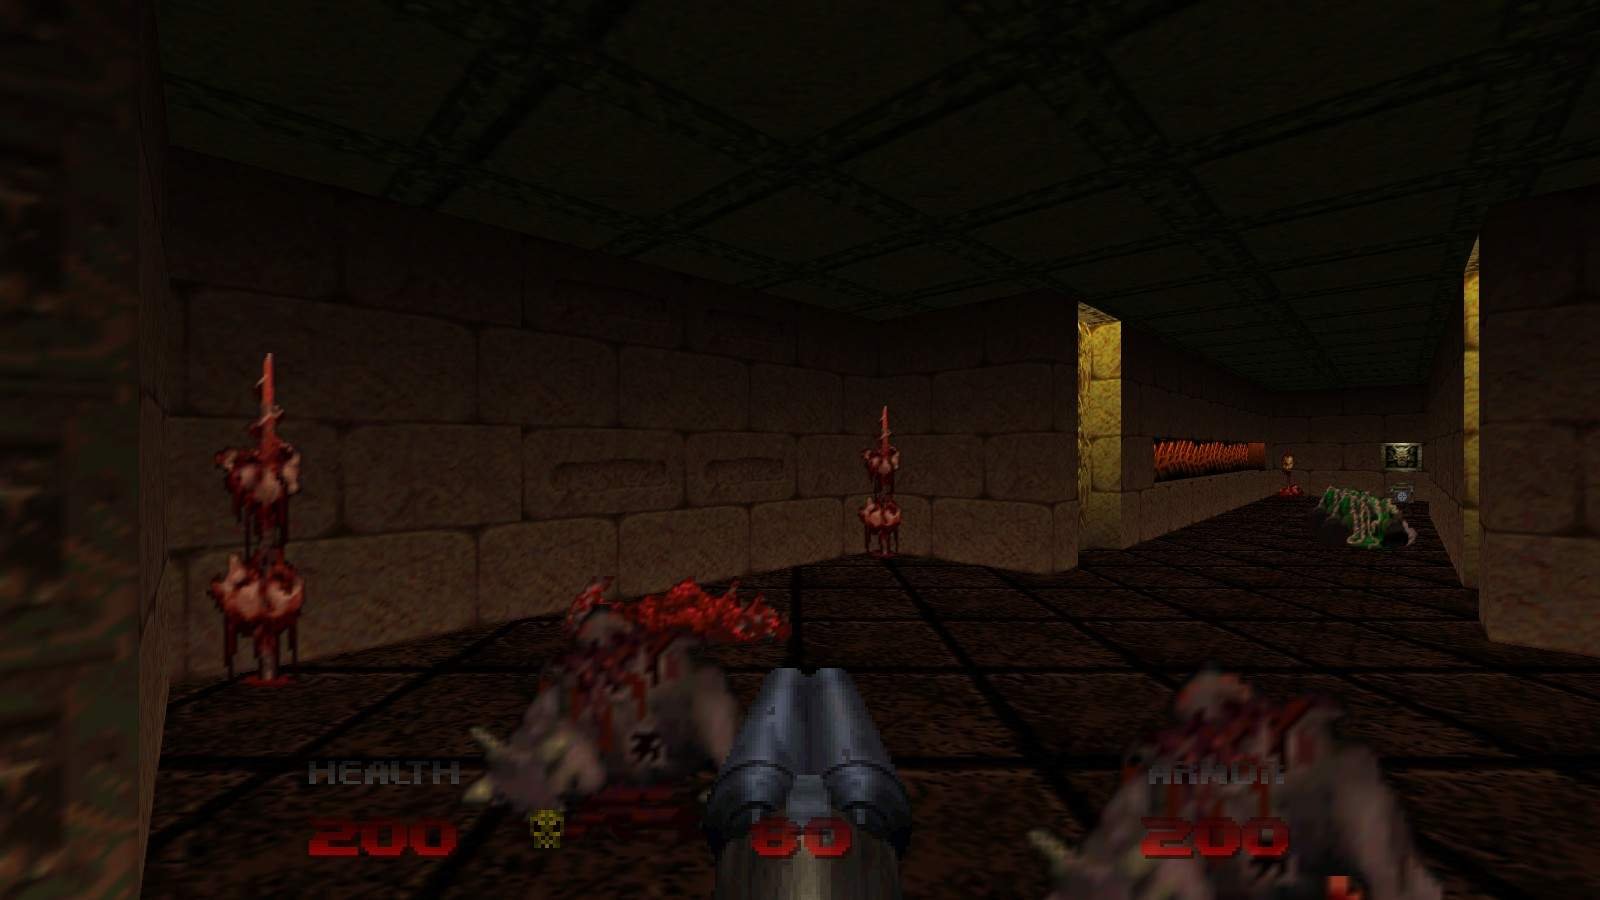
Map 38: Thy Glory
Secret 1/5
As you go up the stairs outside the Yellow Door, a panel on the right is flashing. Activate it to open a wall down at the bottom of the staircase containing a Soulsphere.


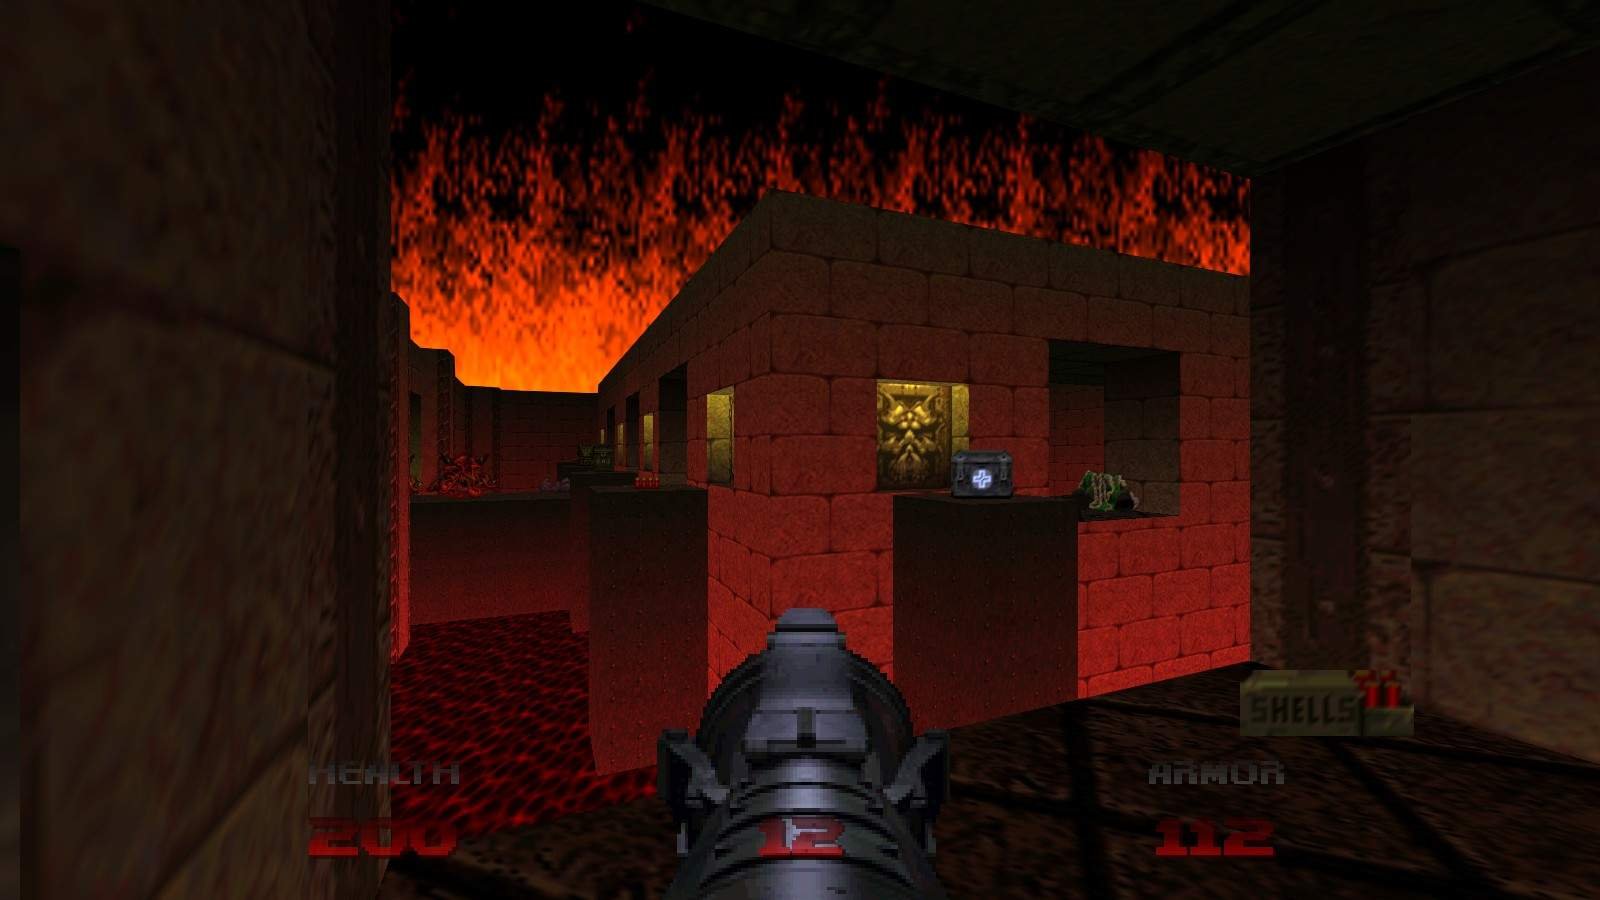
Secret 2/5
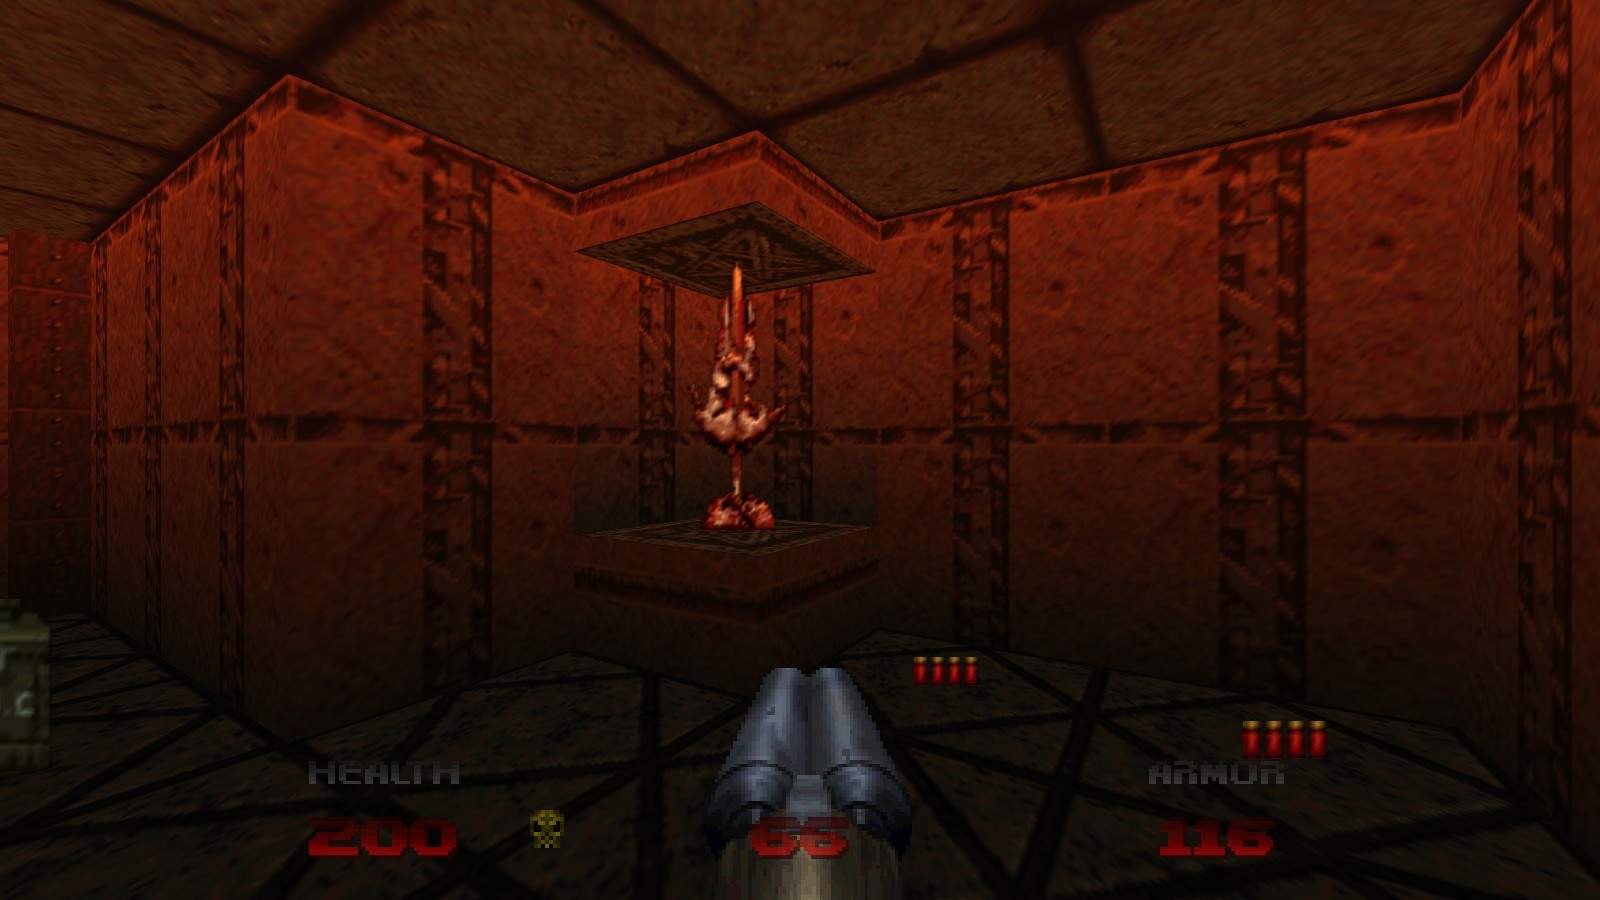
In the room containing the Yellow Key, as you wrap around the upper level, you’ll pass a pedestal with some impaled gore. Activate the pedestal to open a wall to its right, and shoot the switch inside to open a wall next to the pedestal containing a mega armor and some cells.


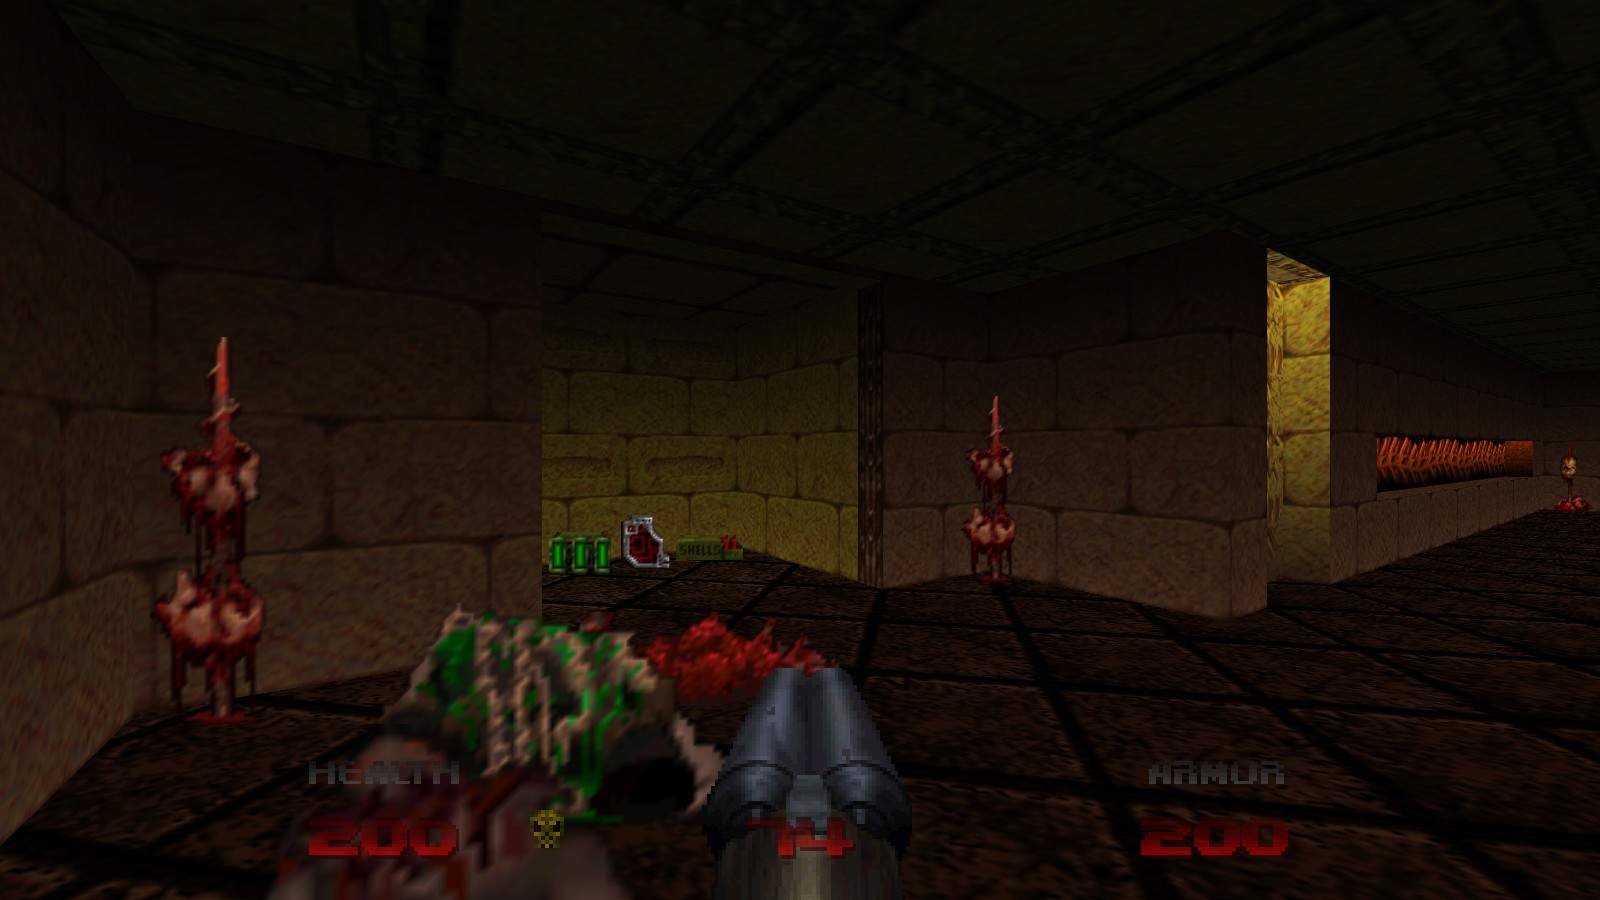
Secret 3/5
Just to the right of the previous secret is a door. The wall to the immediate left after going through it can be opened for some cells, shells, and a computer area map (and a hell knight).
Secret 4/5
This secret is only accessible after extending the bridge in the room with the star-shaped platform with the rocket launcher on it. Drop down into the blood on the right side of the bridge to find a switch at the bottom of a column. Use the switch to lower the column and ride it back up. At the top is another switch – this one lowers the next column to the right. Keep riding each column up to hit all the switches in sequence, and the final column will have a berserk pack that is the actual secret.
Secret 5/5
The final secret of the Lost Levels is just after crossing the segmented bridge. On the right-hand wall is an impaled skull – activate it to open a wall to the right containing some cells and rockets.
Map 39: Final Judgement & Map 40: Panic
No secrets!


Be the first to comment