
This guide helps with making a basic Mass Storage/Smelting system. It auto-organizes all bars stored, and quickly smelts all ores brought up by Cargo Lifts. Not only that, but this setup offers an easy way to create advanced automation!
Contents
Guide to Mass Storage and Smelting System
All credit goes to FireDragon!
Start
To start off, make a Cargo Lift, and make it with 3 blocks of space underneath the controller.
Place 6 hoppers on each side of the Cargo Lift, 3 on bottom, 3 on top.
Make sure they are on add and remove!
Place conveyor belts in front of these hoppers, so ores will be led outwards from the Cargo Lift.
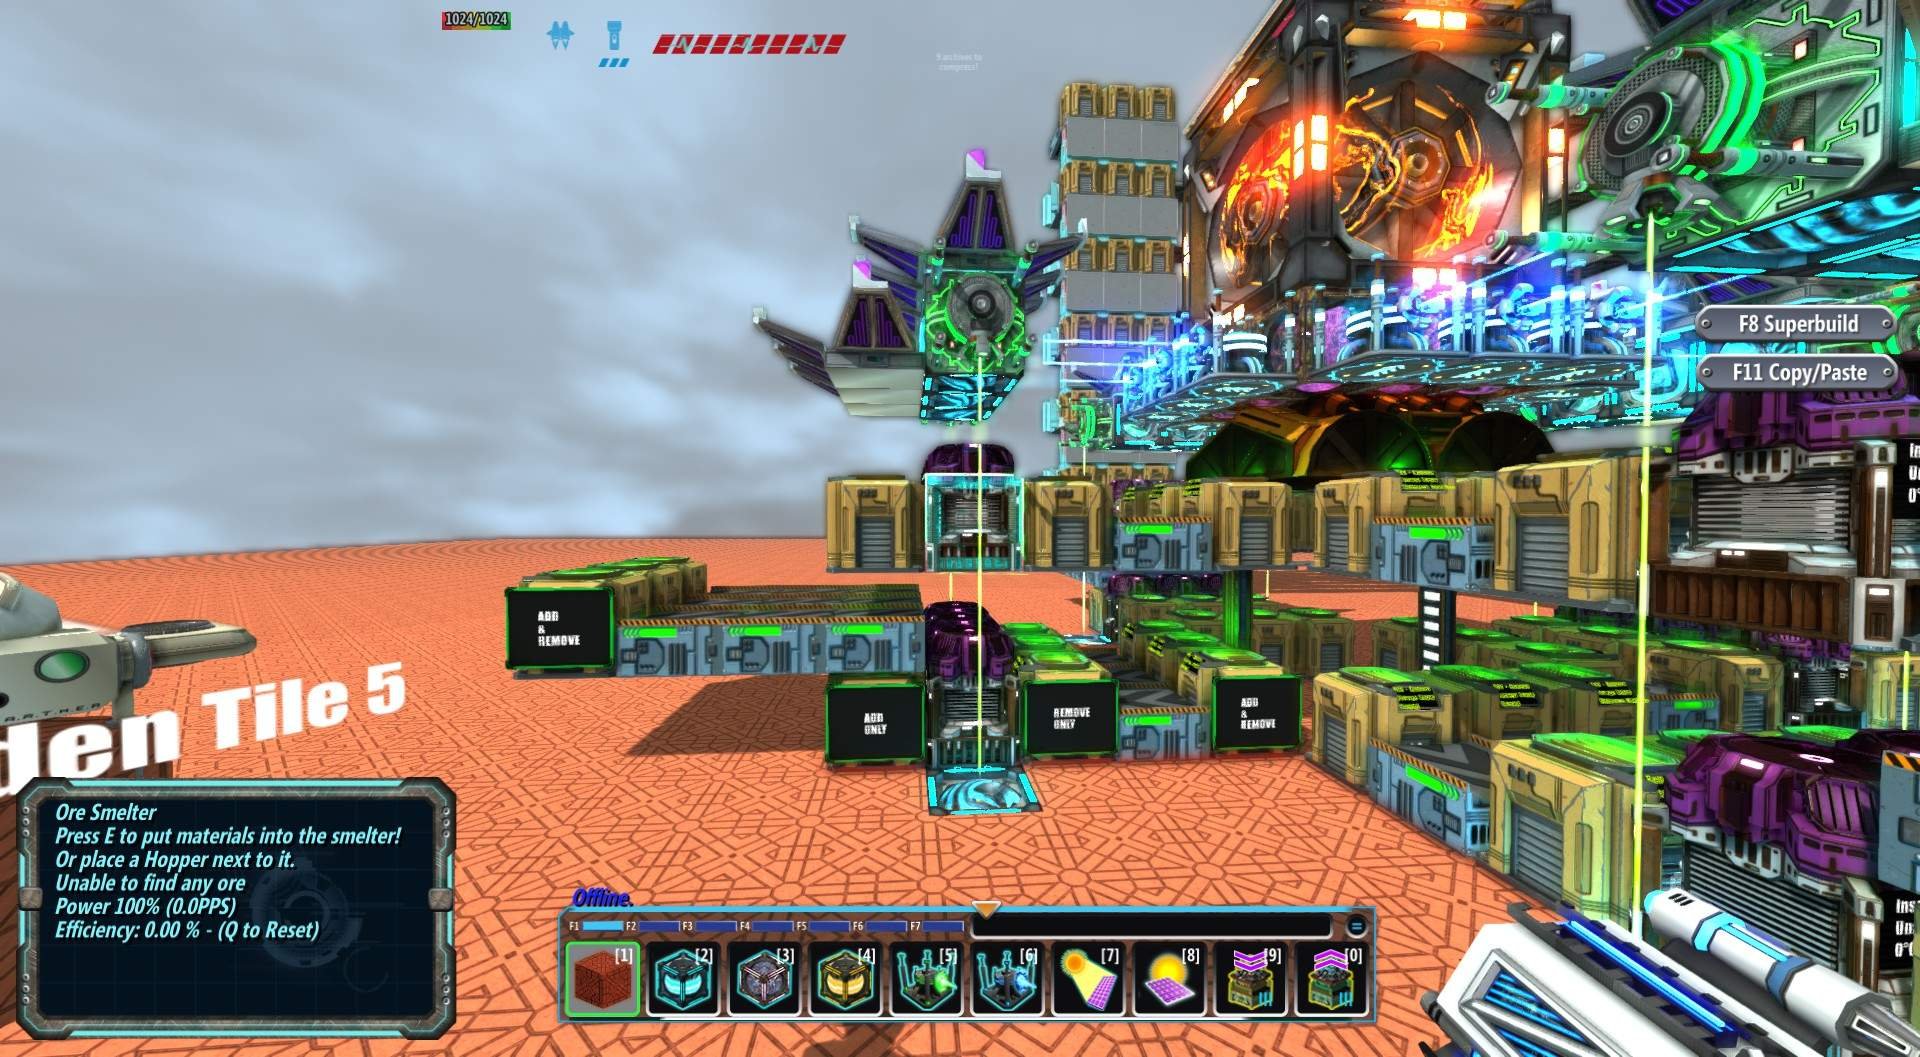
Place 3 more hoppers set to remove only!
Place 3 Ore Smelters (as soon as possible, upgrade Basic Ore Smelters to Ore Smelters!) with MK2 Forced Induction
Yyou can use higher tiers, but MK2 requires the least resources and with the amount of Smelters used, it is unnecessary. I would recommend max of MK3!
Place 3 additional hoppers in front of the ore smelters, set to add only!
Place 2 Conveyor Belts leading out of each hopper, all leading to another hopper (set this hopper to add and remove).
Continue to the next section for Mass Storage Sorting, or use your own methods to store these bars!
Mass Storage Sorting
You have two options from here.
You can place Mass Storage Stocking Ports into Mass Storage Blocks, to create a giant storage area. If you choose this option, you need to tinker around with the flow settings in the Stocking Ports. Set upper limits on each bar type, so that your whole storage is not full of one type of item. To me, this is the more difficult, complex, and confusing way.
The most efficient way to create this is to use Bulk Mass Storage!
For my method, I use Advanced Conveyor Filters in order to separate each bar type from each other. From there, I use Bulk Mass Storage Stocking Ports to put the bars into Bulk Mass Storage Output Ports.
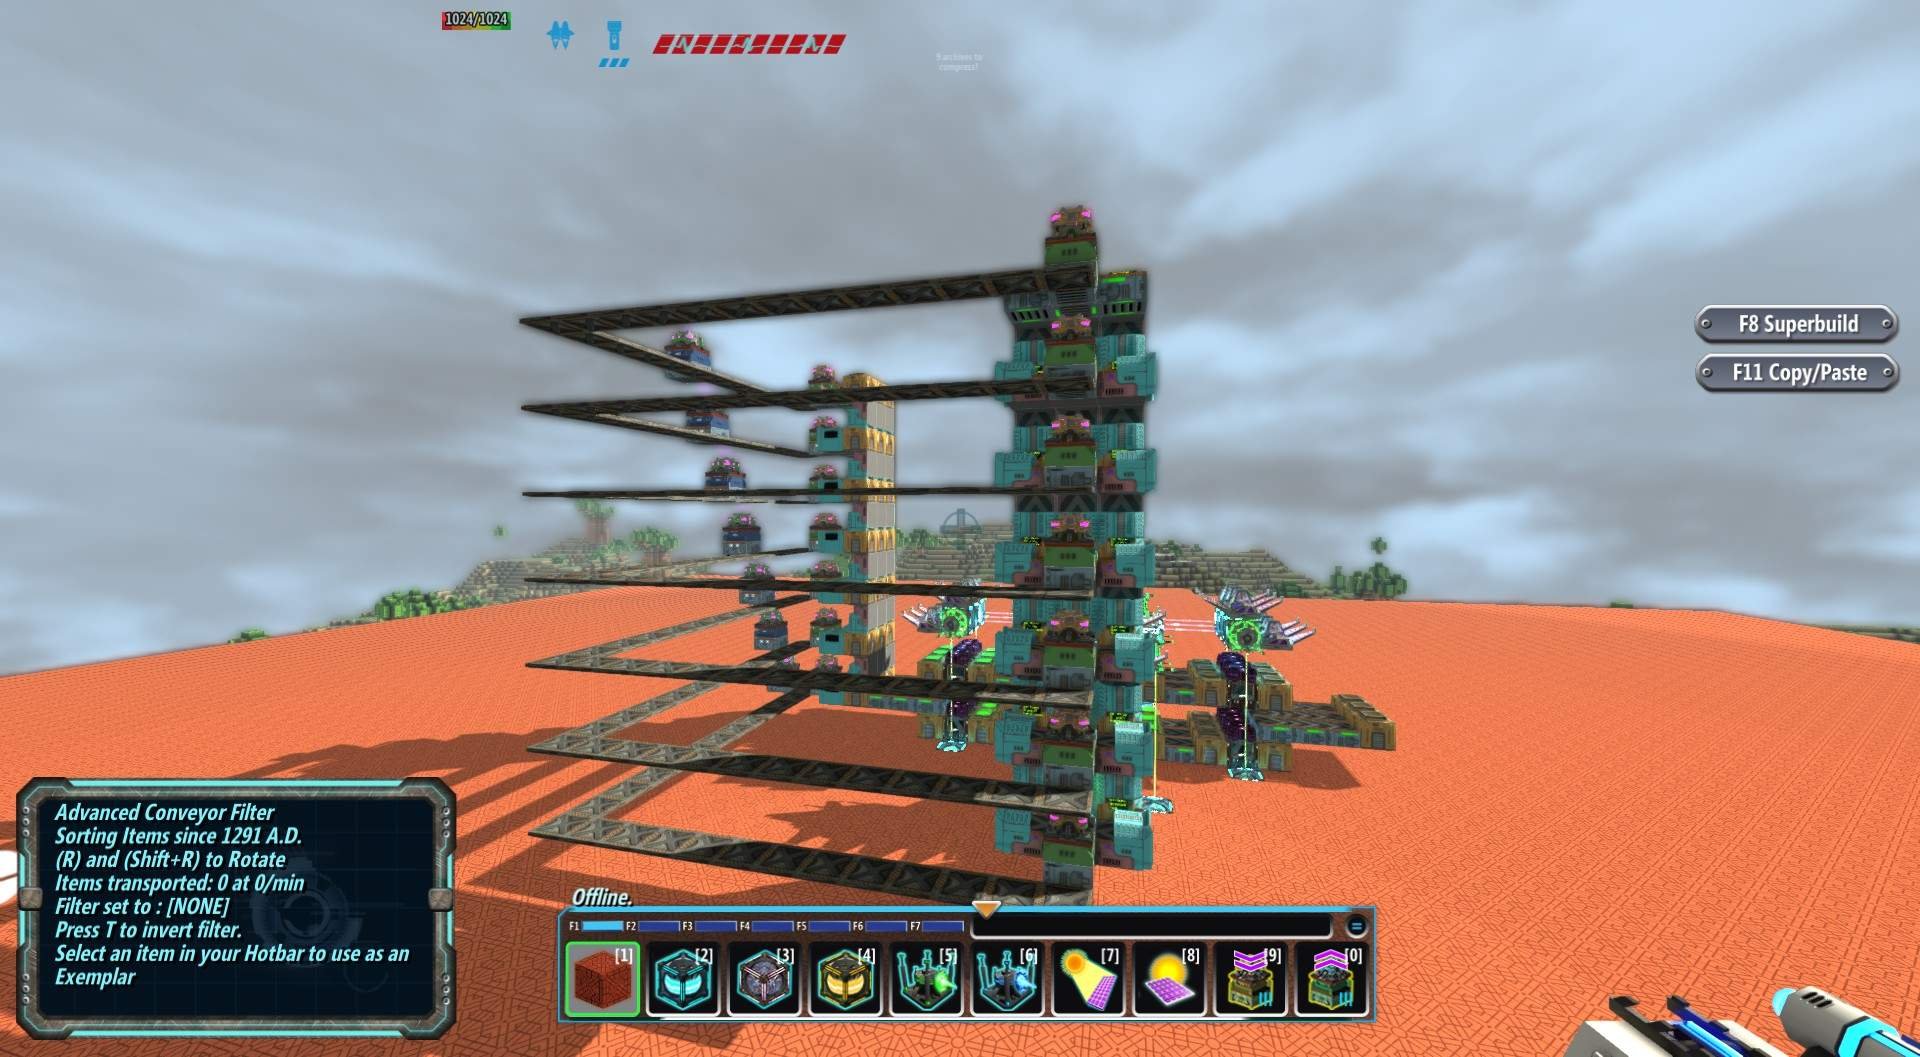
Place 3 Advanced Conveyor Filters in front of each (Add and remove) Hopper. Set the two on the outside to point inwards to the middle filter, and directly in front of the middle filter, place a Mass Storage Stocking Port. Set each filter to Copper Bars.
Above each Hopper, place an Advanced Conveyor Filter leading upwards to 3 more Hoppers. All three can face upwards, there is no need to face the outside two inwards. Set each of these to Copper Bars, then invert it, so that any bar except Copper goes upwards.
Continue this pattern upwards (you will finish at the top with #7 being Titanium). At the top, you do not need filters leading out of the Titanium Hoppers, as that should be the only bar left after all the filtering. Just use regular Conveyor Belts.
In front of each Mass Storage Stocking Port, place Mass Storage Blocks. Then, connect them all in corners (you can see this better in the screenshot).
Continue to the next section for Sustaining Power!
Sustaining Power
The next step is to power all of this. It’s a relatively simple task, and to best understand, see the screenshots and watch the video I made of this (which will be at the end of the guide).
Above your Cargo Lift Controller, you have a few options. Based on your current resources, you can start with 9 MK1 Power Storage Blocks. I personally find it best to use 9 Organic Power Storage Blocks in order to maximize power throughput, in case any power shortages occur (for example, night time has reduced PPS).
If you have the resources and research, the best idea is to place an MK4 Power Storage on top of these PSBs, and on top use an MK2 Organic Solar Panel. The reason for this is that MK2 Organic Solar is significantly better, and can only be placed on top of MK4+ type PSBs.
If you do not have the resources, simply use 9 MK1 Organic Solar Panels on top of what you have chosen as PSBs that are directly above the Cargo Lift Controllers.
You should have two layers of Ore Smelters, one on top and one on bottom. The easiest way to power these, are to place 3 MK2 Power Storages on top of the Top Layer, then use MK1 Laser Power Transmitters to face downward on each of the two sides from the top. Place 3 PSBs below the Bottom Layer of Ore Smelters, and then one more on each side to collect & transfer the power from above.
You are more than welcome to place 6 MK1 Organic Solar Panels on top of the MK2 PSBs.
Place 3 directly above, and 3 directly beside (Facing outwards, towards the Conveyor Filters Tower we built earlier).
You can place LPTs from the middle section (the power from above the Cargo Lift Controllers) to face towards the MK2 Power Storages. This will significantly increase power distribution, and helps to make sure everything keeps running.
Each of your LPTs are suggested to use Exceptional Organic Lenses. These are crafted from Massive Faceted Eyes, of which you can gain as many as you’ll ever need from blowing up just one Hivemind.
This screenshot should help to see the power distribution.

Continue to see Final Comments and clarifications!
Final Comments & Clarifications
To end this Guide, I would like to suggest one further good usage of this setup.
You can use Mass Storage Output Ports in order to remove bars from this storage setup. From there, you can setup lines of different machines to create automated advanced resource crafting. You can see in my video what I mean exactly by that, if you are not sure.
Personally, I have a setup that takes each bar type out of the system, places it onto an evenly distributed conveyor line that creates Research Pods, each that lead to my Laboratory.
Other than that, the Guide is complete! Here are all of the screenshots again, and here is the video for you to watch rather than read!


Be the first to comment