
You’ve probably seen this achievement from the list and thought “there’s no way in hell I’m going to be able to do that.” While it seems daunting, it is very much doable and I’ll guide you through on how I did it.
Contents
Guide to Get The Perfect Achievement
All credit goes to WalTz!
Introduction
Things to keep in mind
- This is not a sure-fire way of getting a perfect stage, this guide is to help you keep track of what goes on in the stage so you can prepare for it, along with tips on how you should go about each section.
- This could take several attempts to get down, so be patient and play slowly. Feel free to pause the game and look back here to help you through the stage. (Or if you need to, find a video on YouTube).
- Using specials does not count as taking damage, so feel free to use it as many times as you like.
- I suggest that for this stage to not use the legacy controls if you’re already using them, just to make things easier.

Getting Started
For our stage of choice, we’re going to Stage 3 – Cargo Ship. I suggest to keep things easy enough to pick Easy mode. This way we can spam as many specials as we like.
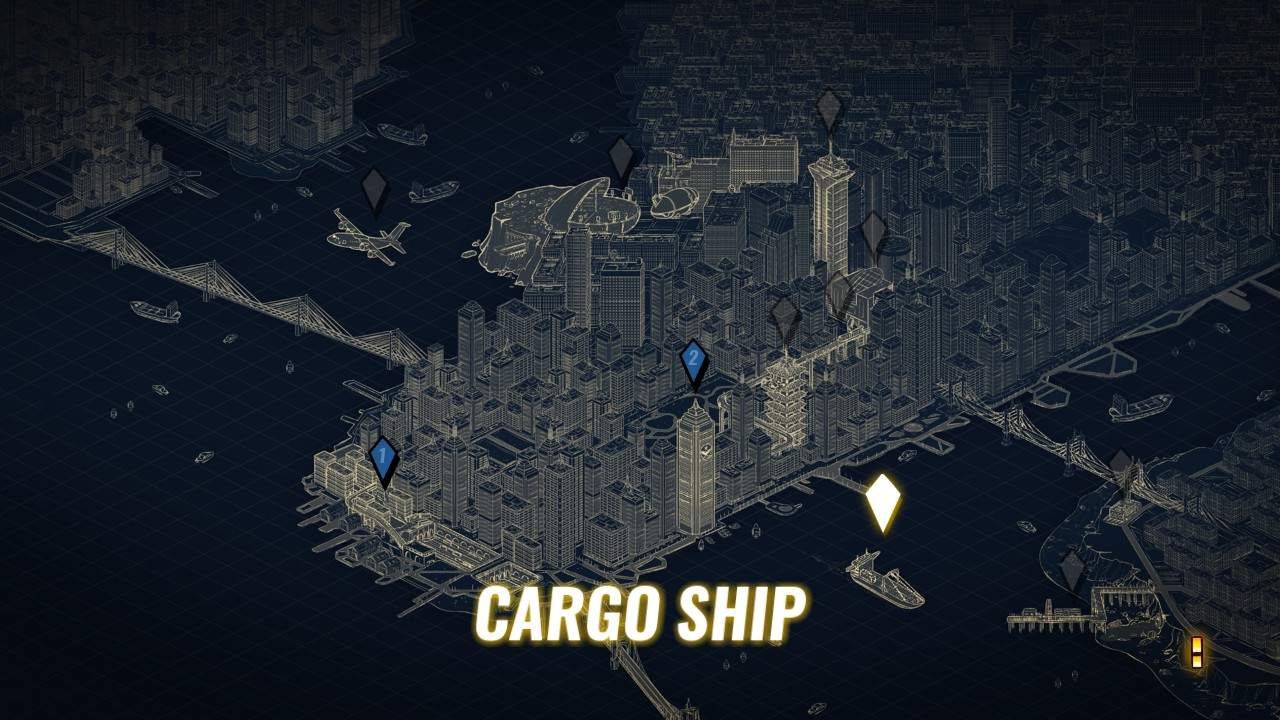
If you haven’t already, beat the 2nd stage and unlock this stage.
I chose this stage because this stage doesn’t have any stupid characters that lunge or hurl themselves or other items at you, or have a lot of health (Other than Big Ben and the stage boss). No real mini boss or difficult waves of enemies. The boss is also very easy to deal with, and I’ll explain it when I bring it up again in the guide.
You can choose any character you like, but for this stage I chose Floyd because he has some of the longest range melee moves and is generally good at crowd control. He’s an overall safe character to play.
Section 1 – Screen 1
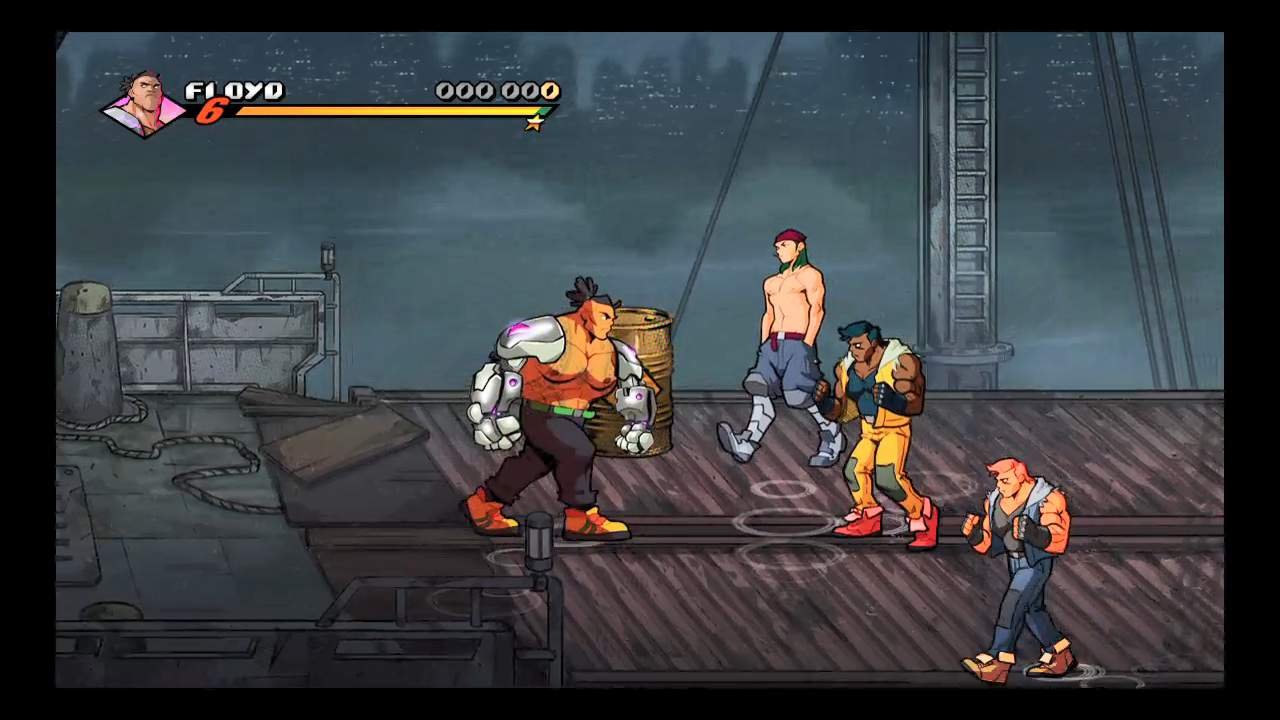
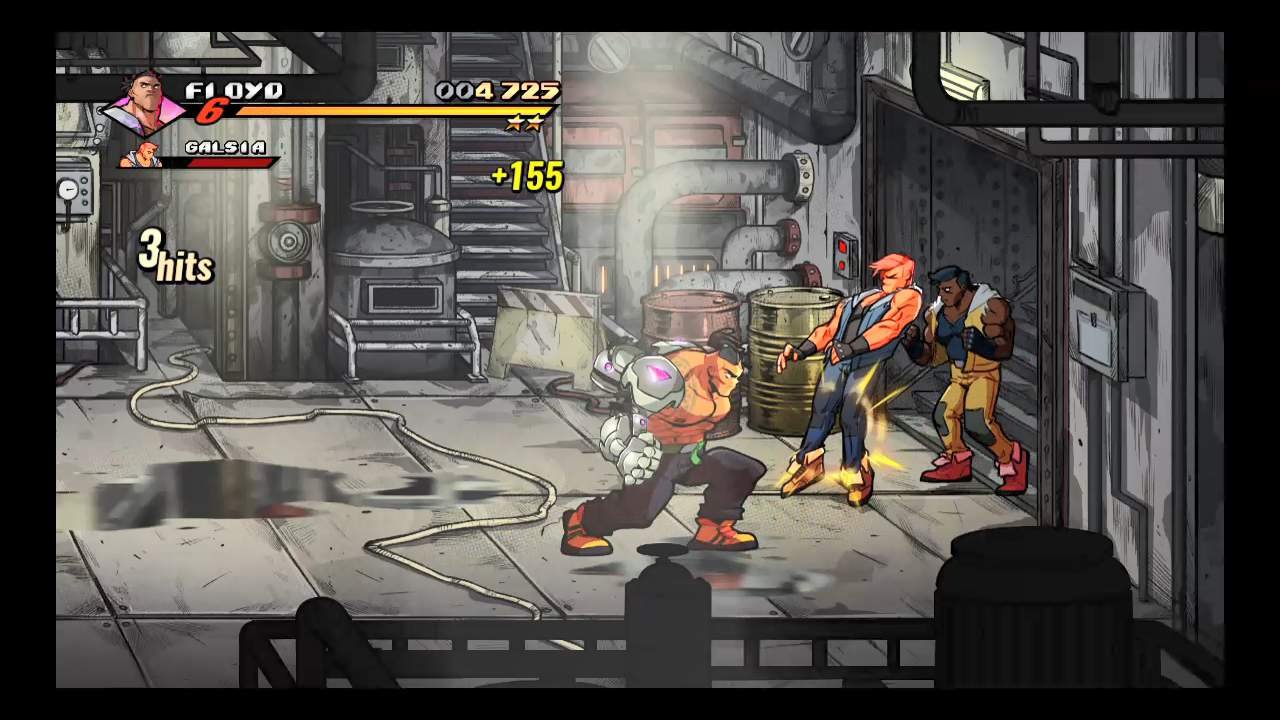
At the start of the stage, you’ll notice that a Dylan will be present, followed by a B.T. and a Galsia. Easy enough.
Once you kill at least one of them, another B.T. will spawn from behind.

Walk up to this part of the screen and a Kevin should drop down, shortly after a Dylan will too. Slam them both.
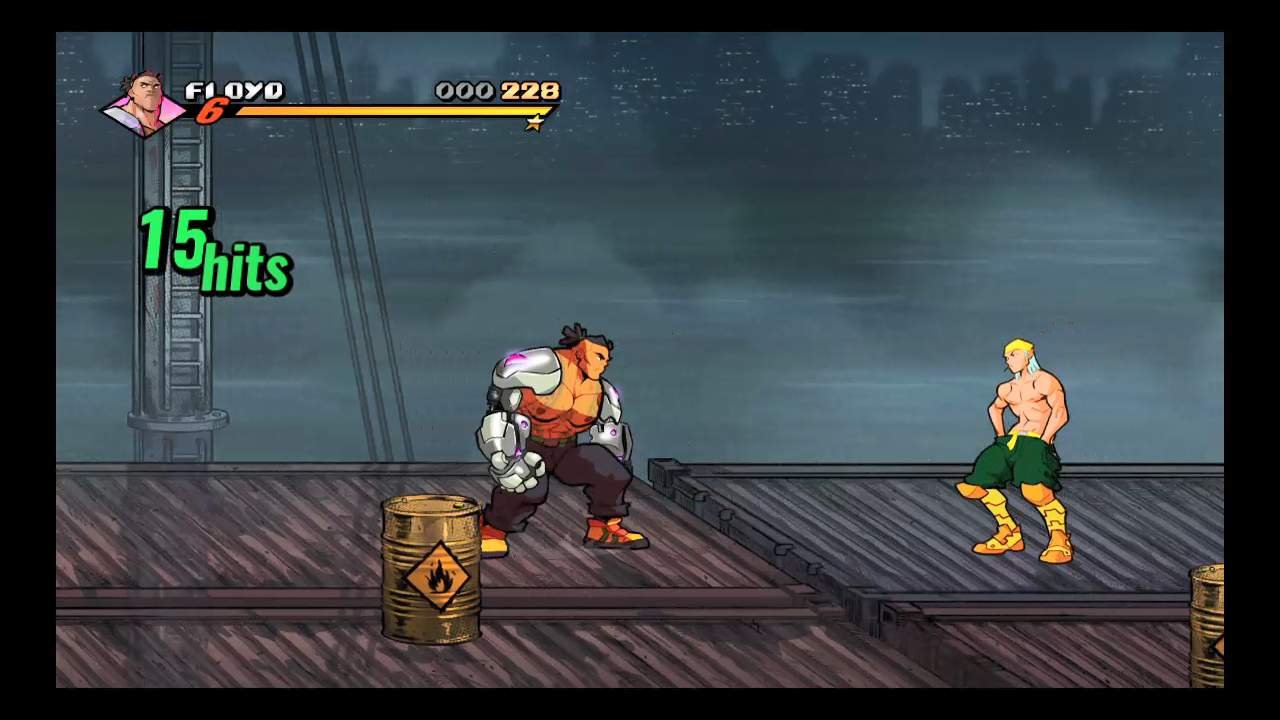
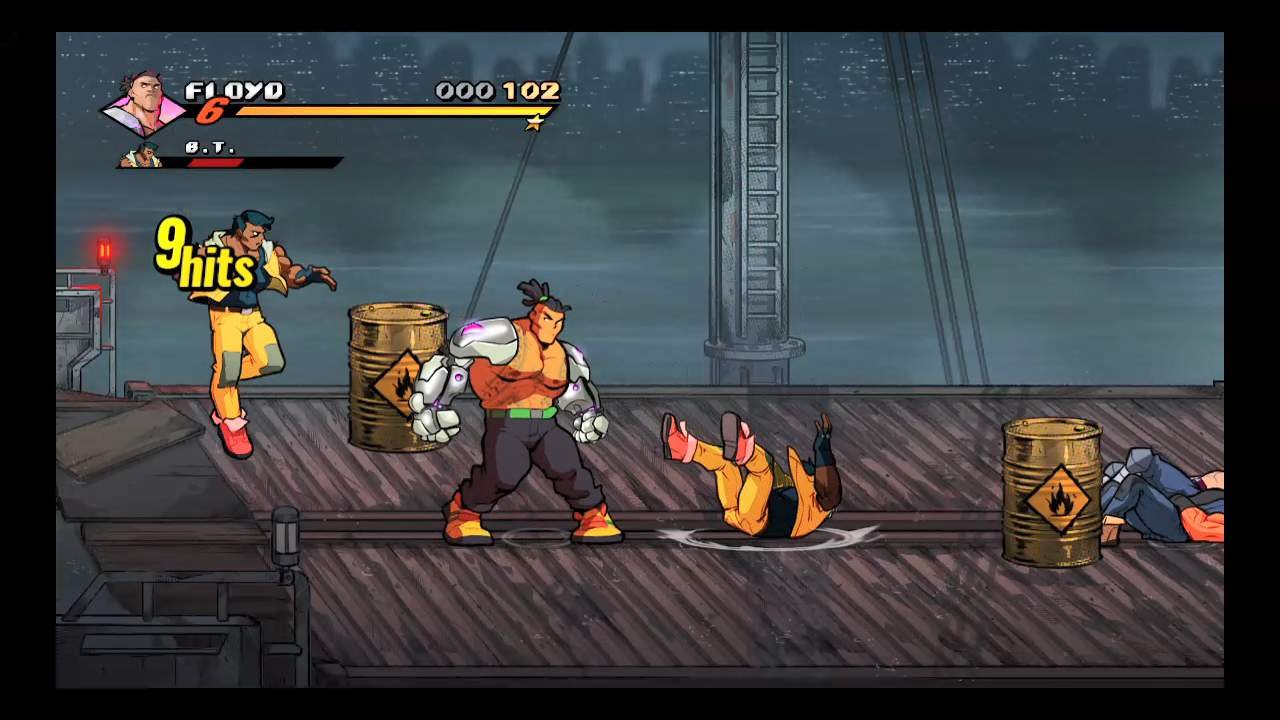
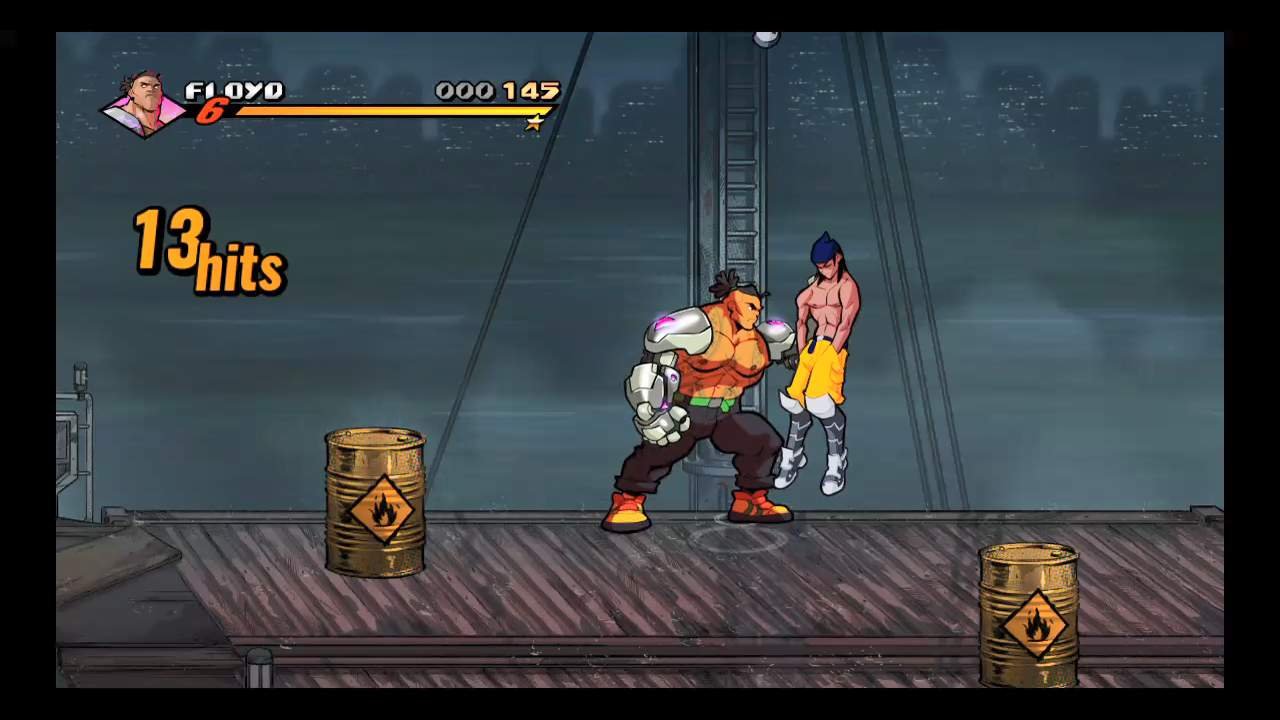
Further up ahead will be a Francis, he has a lot of health so you won’t be able to kill him in one combo, at least not fast enough. Shortly after 2 more B.T.s will spawn. Keep your distance and deal with them carefully.
What I did here was bring Francis to the explosive barrel, waited a bit for the 2nd B.T. to drop down (the one behind Floyd) and slam them both into the barrel in front of me. This triggered the barrel and killed all 3 in one swoop (just be sure to jump out of the way).
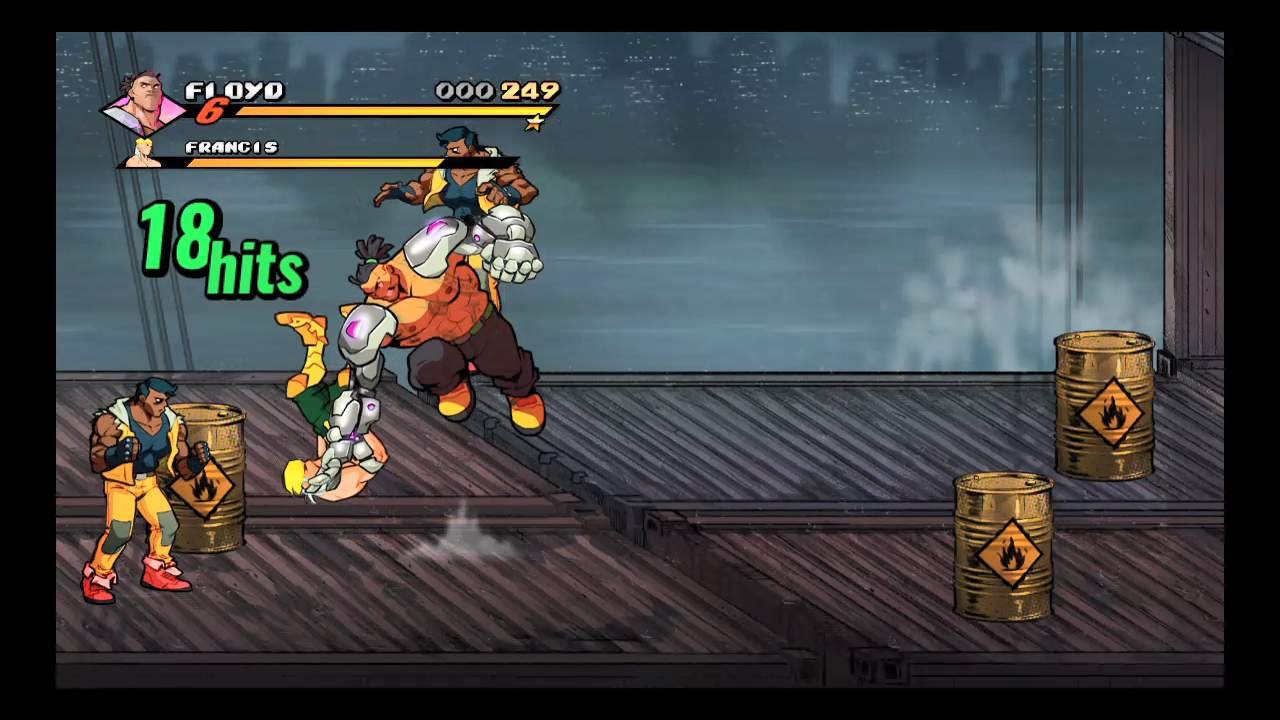
Section 1 – Screen 2
Still in mint condition? Good.
Walk up to the top barrel to trigger the next wave of enemies. A Galsia should immediately walk out of the cargo in front and shortly after a Dylan should walk up from behind and another B.T. from the cargo. I’d take care of the Dylan first by pummeling him a bit then chucking him towards the other two. This should instantly take out the Galsia with him.

As soon as you kill any two of them, another Francis will shortly drop down near the barrel as shown in the picture. He has less health so you can tap the barrel to kill him instantly or do a quick combo on him.

Once they’re dead, another B.T. will spawn from behind and another Galsia from the cargo. Take care of them as you like.
If you want, you can grab another star hidden in the explosive cargo barrel (careful not to get hit). move forward and drop down to the next screen.
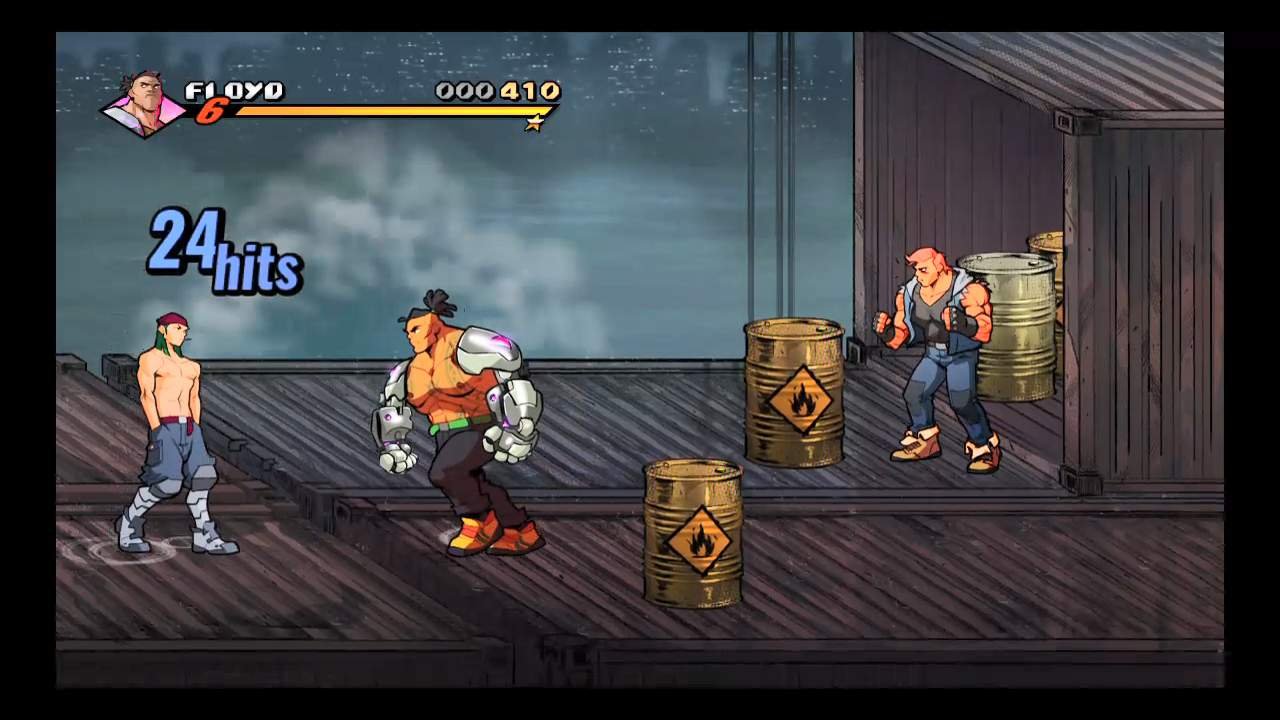
Section 1 – Screen 3
Big Ben’s a meanie.

Once the wave starts, a Francis will shortly drop down around where you are. If you can, try to take him out first. The Galsia will slowly come forward but he’ll never walk long enough to get close to you.

Chuck Francis into the barrel to take him out in one swoop, jab him once and keep your distance to make sure he stays in the explosion and you don’t get caught in the blast. This should also take out a few more enemies.
After a few die, another Francis will spawn where you should be. Take him out along with the other enemies left.

Once there’s only 1 enemy left alive, another Galsia will arrive from the stairs and try his best.
You do the same to him and proceed to the next section.
Section 2 – Screen 1
Let’s go meet discount Mario.

Right out of the gate, Big Ben will charge at you with his fire breath. Just step out of the way and start pummeling.

Keep in mind that once his health drops by about half, the other grunts will spawn. 2 Galsias and 1 B.T.
Deal with them as you should, but be sure to take care of the Big Ben first as quickly as you can. If you can grab someone and toss them at the barrel, it should help clean them up quickly.
Section 2 – Screen 2
Hop on over to the stairs for the 2nd wave.
Right off the bat, a Galsia and a B.T. will come through the stairs. Do a quick jab combo on each. Other enemies will come from the left, but don’t worry about them quite yet.
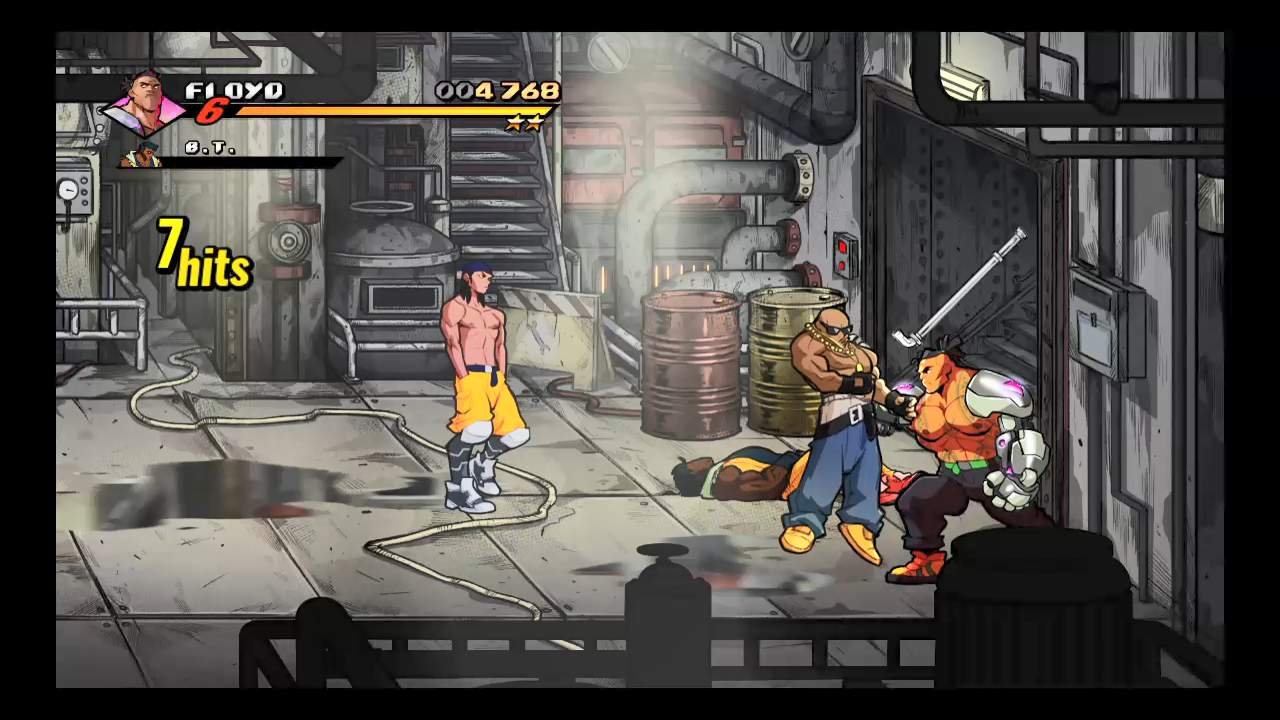
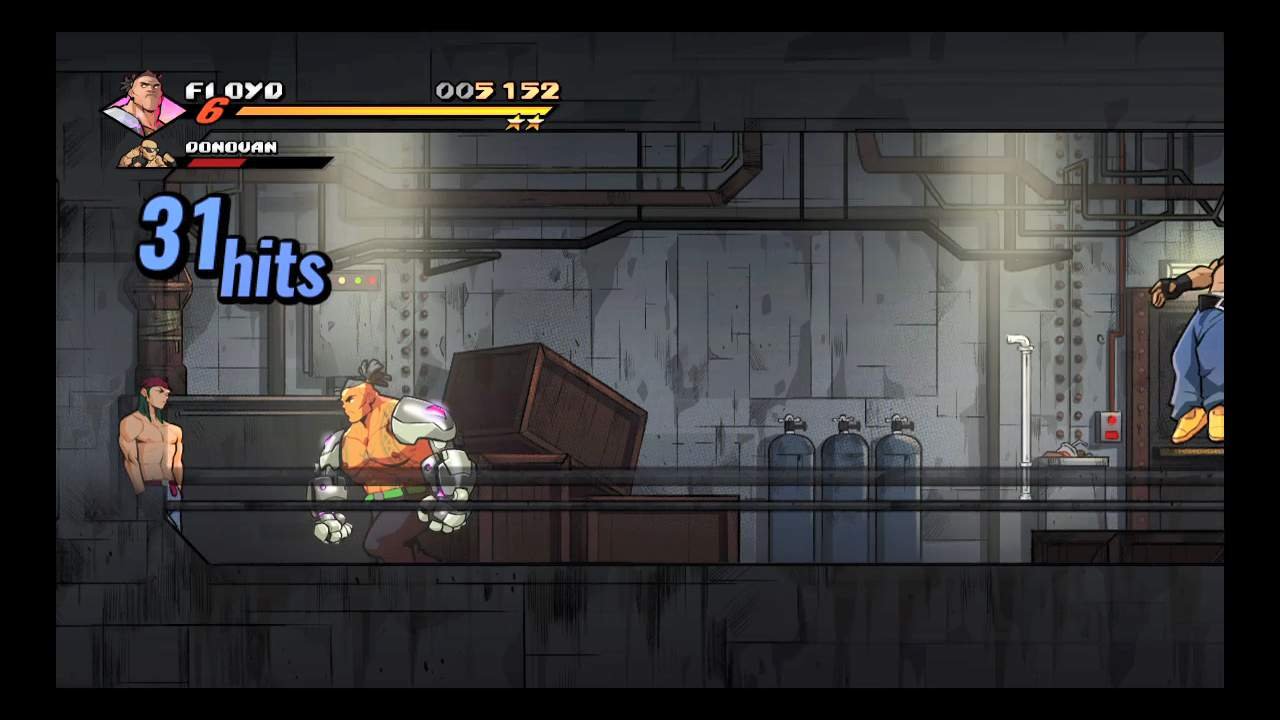
After you kill the Galsia and B.T., a Donovan with a lead pipe will come down the stairs shortly. He won’t start attacking until he’s all the way down so just walk up to him and grab him.
He’ll drop his pipe once you grab him. If you can help it, try not to use the pipe here, it’ll make the next section a bit easier.
Pummel him twice and then chuck him to quickly finish him off. Throw him at the Kevin if you want.

After you kill one more grunt, a Francis will come down the stairs. Same thing, pummel him twice then chuck him to finish him off.
Finish off the remaining enemies and head up the stairs.
If you have some pipe left, pick it up and bring it with you up the stairs.
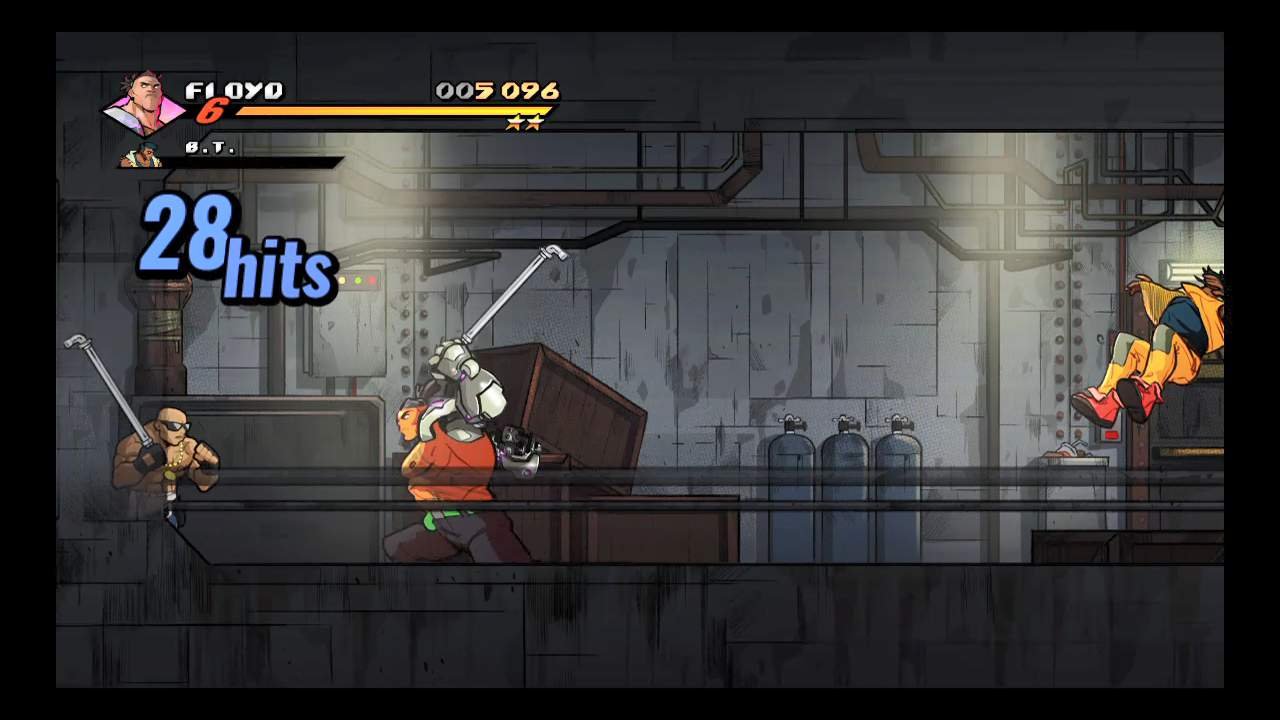
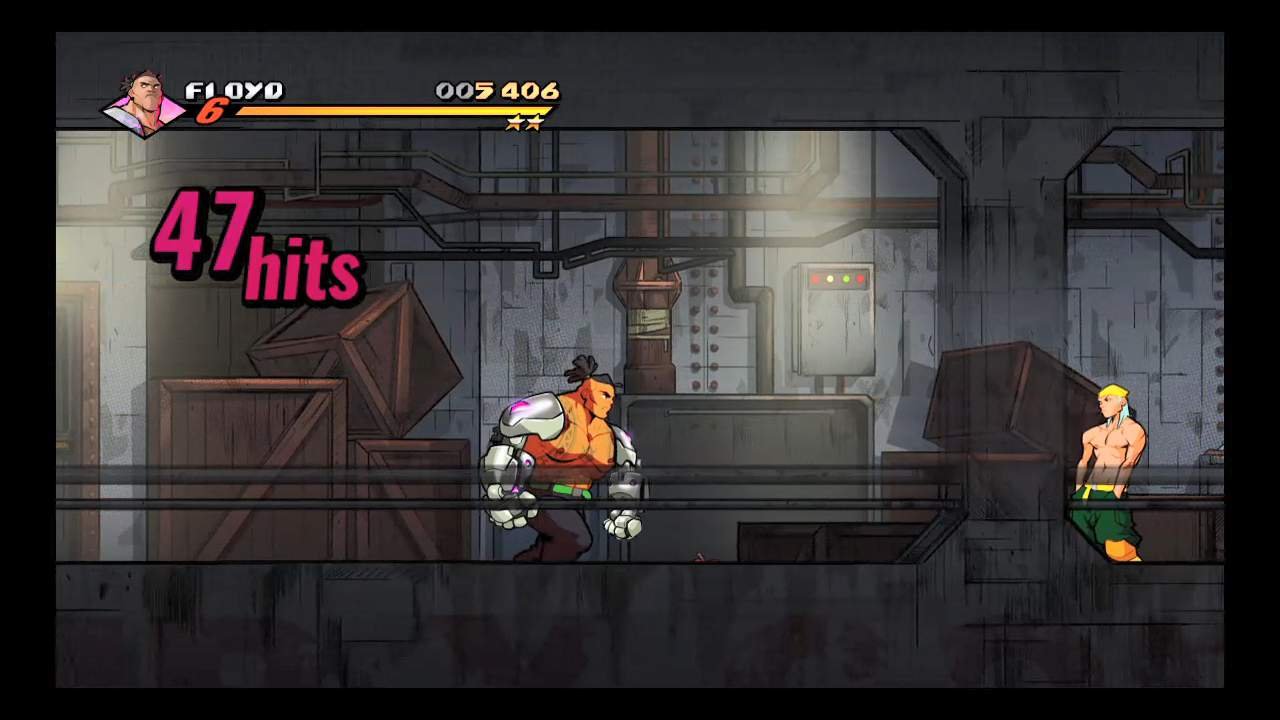
Section 3
This section is fairly straightforward, but I’ll mention the enemies you should keep in mind.
It’s important to have some sort of long ranged tool here because this will give you a lot more space to safely take care of the enemies one at a time or so. Especially since enemies will eventually spawn behind you. Don’t be afraid to use your specials here.
This section is also why it’s important to not use the legacy buttons, as you may accidentally pick up something instead of attacking.
Chuck or swing your pipe to maintain elbow room. If you’re Floyd, feel free to spam your blitz move or offensive specials to safely deal with enemies.
After you kill two enemies, a Donovan with a lead pipe will spawn behind you. Disarm or take him out as quickly as you can.
Be sure to keep out for any enemies in front though. There’s a Galsia up ahead with a knife and that’s usually something you don’t want to deal with too early with all the anti-air grunts around.
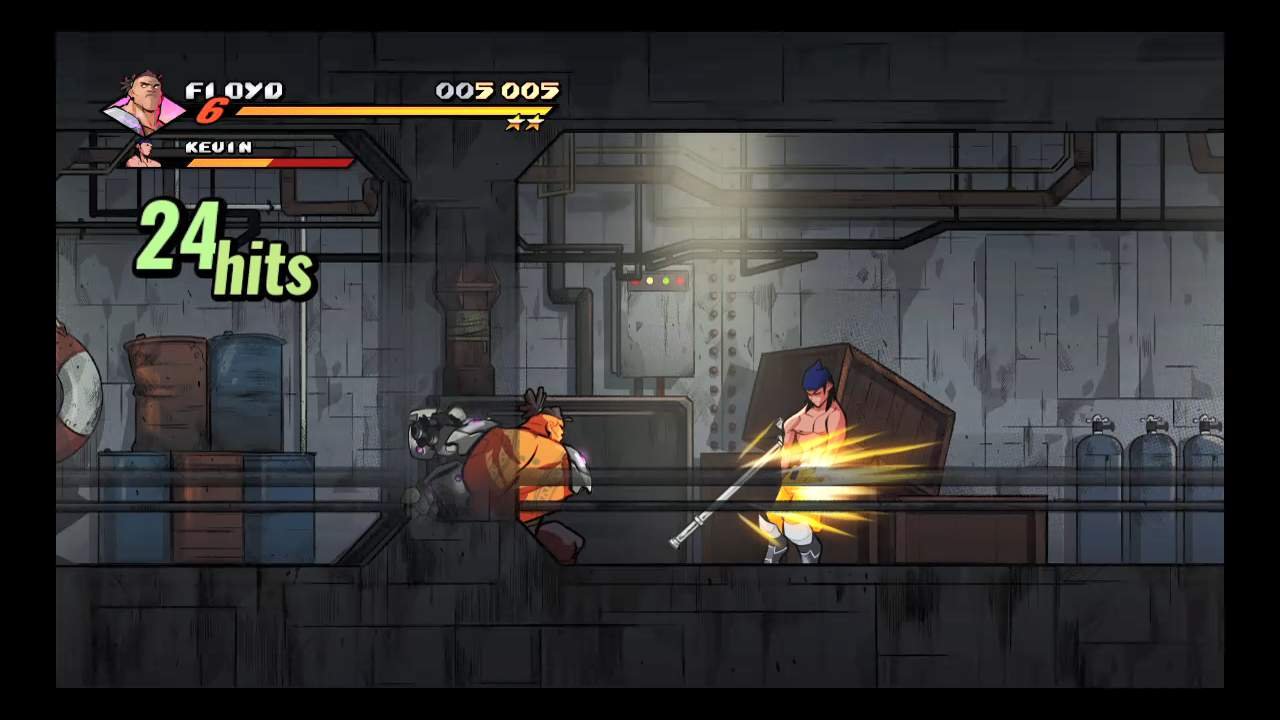
Shortly after the Donovan, a Dylan will spawn from behind. Take him out with a quick jab combo, be sure not to get headbutted.

Also after the Dylan, a Kevin will spawn from behind. Let’s group him up with the people in front and throw him the other way. You can also just jab combo him.
After Kevin, no one else should spawn from behind.

Further up ahead is the Galsia with the knife I mentioned. Disarm him as quickly as you can to make him less annoying.
The rest of the enemies up ahead should be easy to take of until you get to the end of the room.
DIO!
At the end of the room stands one Francis guarding the boss room. Bait out his move by approaching, you can’t beat the ♥♥♥ out of him without getting closer.
Use your specials safely deal with him, or back up enough to avoid getting hit and then jab combo him.
Replenish the green off your health and head to the boss room.
Boss Room
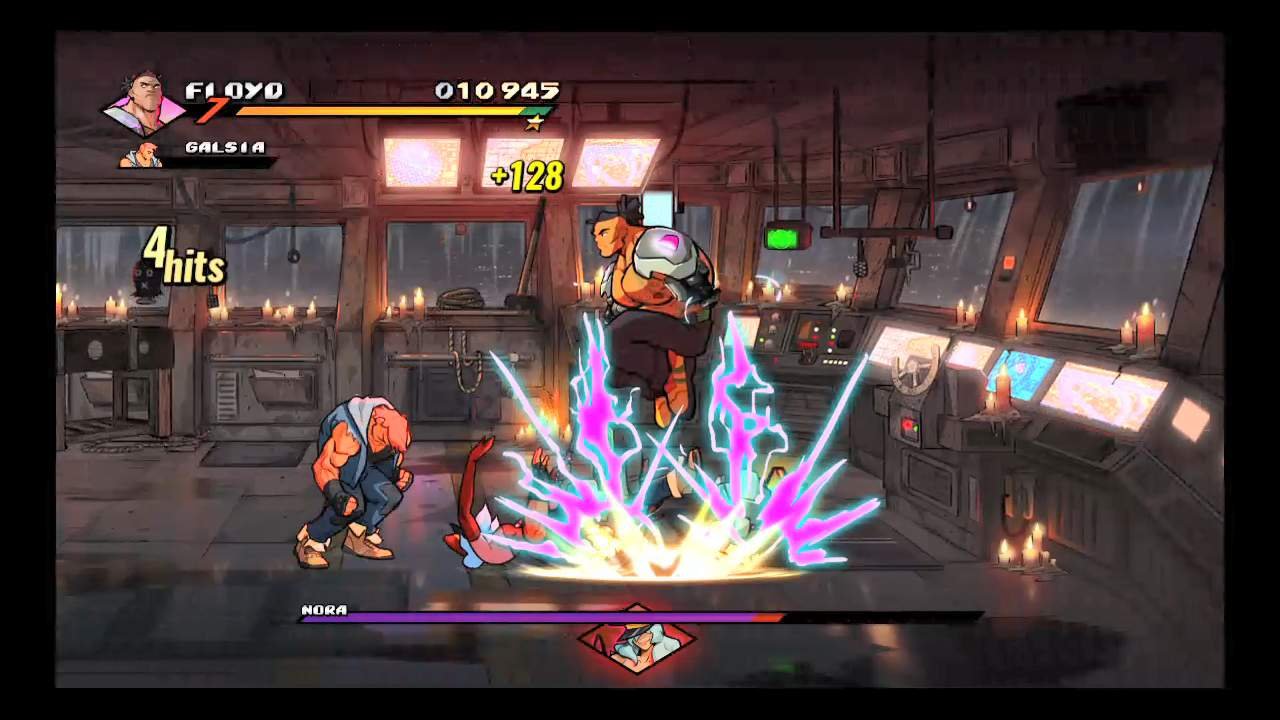
Nora is an incredibly easy boss to deal with. She has no superjoy/get-off-me moves, she never attacks while invincible, only has one attack, and a spike wall that tears through her health like a used tissue.
Because she’s incredibly reliant on the Galsias to make her a challenge, she plays slowly and only sort of defensively. But if there’s no Galsias, she’s just a sandbag. Even on Mania mode she’s a pushover.

There are a few ways you can handle this room. You can try cheesing out the boss by spamming your defensive special since easy mode barely drains your stamina. If you’re a Retro character, you can also spam your offensive specials since you’re invulnerable during the move. Don’t be afraid to use your star moves too.
The Galsiaaaaa’s are annoying so use your star move to one-shot them.
Until the boss reaches about 1/3 of her health, 6 more Galsias will spawn after the first two we just killed. They won’t spawn more than 1 or 2 at a time so take them out as necessary. If you can, throw them at Nora to keep her pinned.
Floyd can kinda cheese out this boss by spamming his air special. Heal when you need to and just be careful not to jump into the spikes. Remember that the thing next to the fire extinguisher hides a full heal item.

Nora isn’t aggressive so follow her movements when she gets up until she loses her invincibility and whale on her. If you can, throw her to the spike wall and keep smacking her.
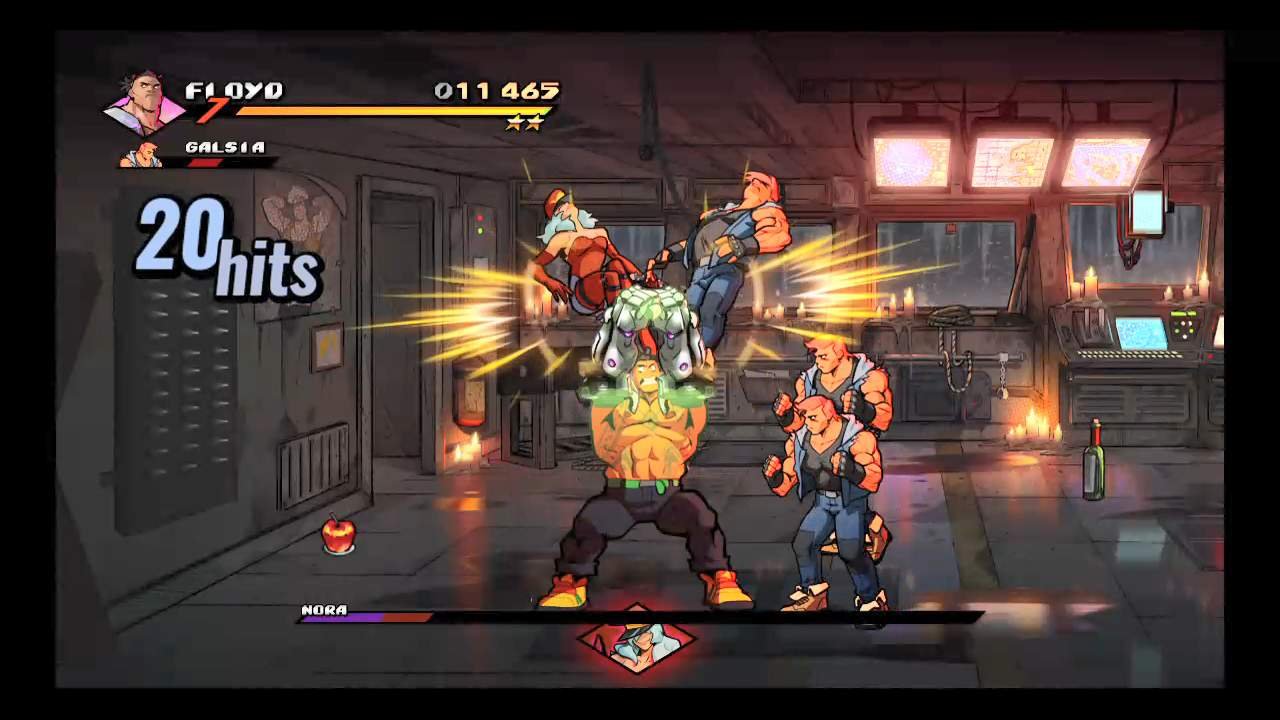
Once she has about 1/3 of her health left, the Galsias will start spawning again. 6 more Galsias will spawn, and little bit faster too. But Galsias are still Galsias. Spam your throws and specials to keep them off. Be careful not to get jabbed by them or your run is ruined.
Take care of the Galsias and finish her off.

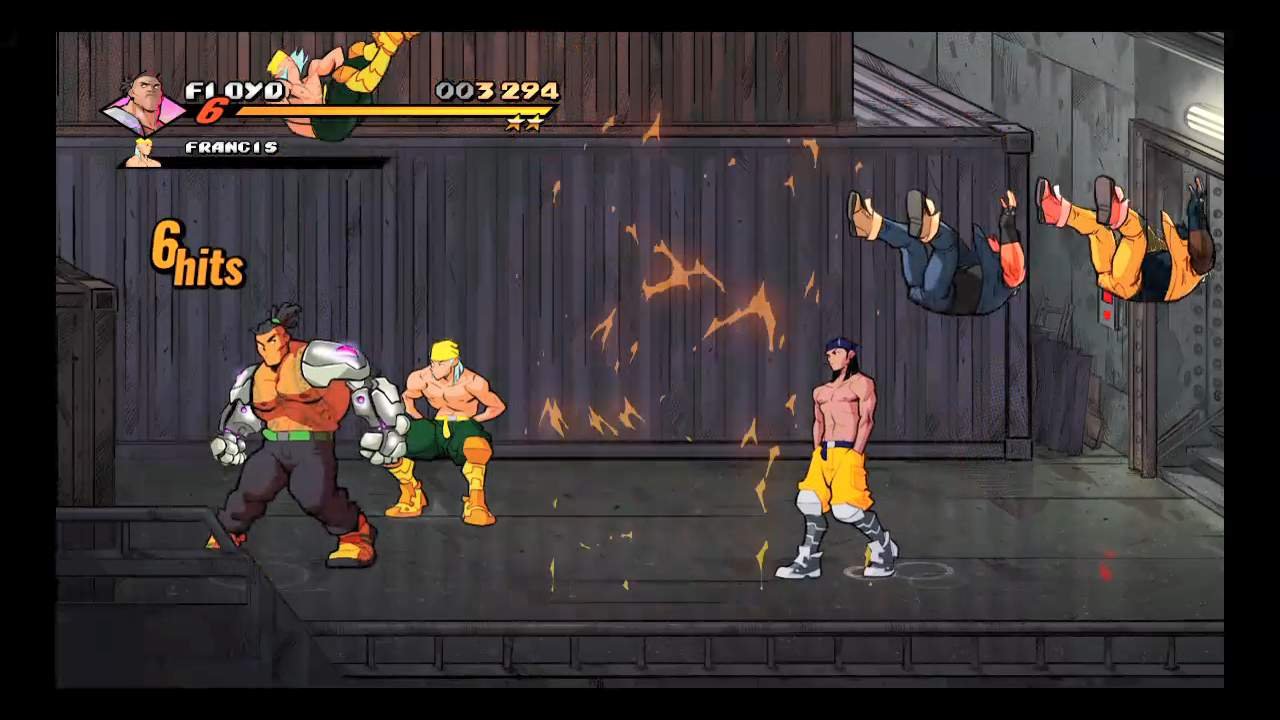
Completion
If you did things correctly, your score screen should look something like this and the achievement should pop up.
Also, you could always go to the Skytrain as SOR3 Skate and spam your offensive special.


Be the first to comment