
This guide will show you how to break a Mackerel class corvette (of any kind), including where and how to cut.
Contents
Guide to Mackerel
All credit goes to rompafrolic!
The Mackerel

According to LYNX’s brochures on the topic the Mackerel is a light Cargo and Transport corvette. Naturally this is largely irrelevant to us seeing as we’re dismantling the damn things, not using them. This is the simplest ship to break in the game, not counting the tutorial in careers mode. It will help you master the use of tethers, the grappling tool, and movement, seeing as you will need to be inside and outside the ship nonstop.
The ship is a mix of metals, nanocarbon panels, and assorted electronics and mechanics and cargo. It’s also quite tiny, and really not all that imposing after you see the Gecko, and even less so once it’s cut apart.
Where to Start?
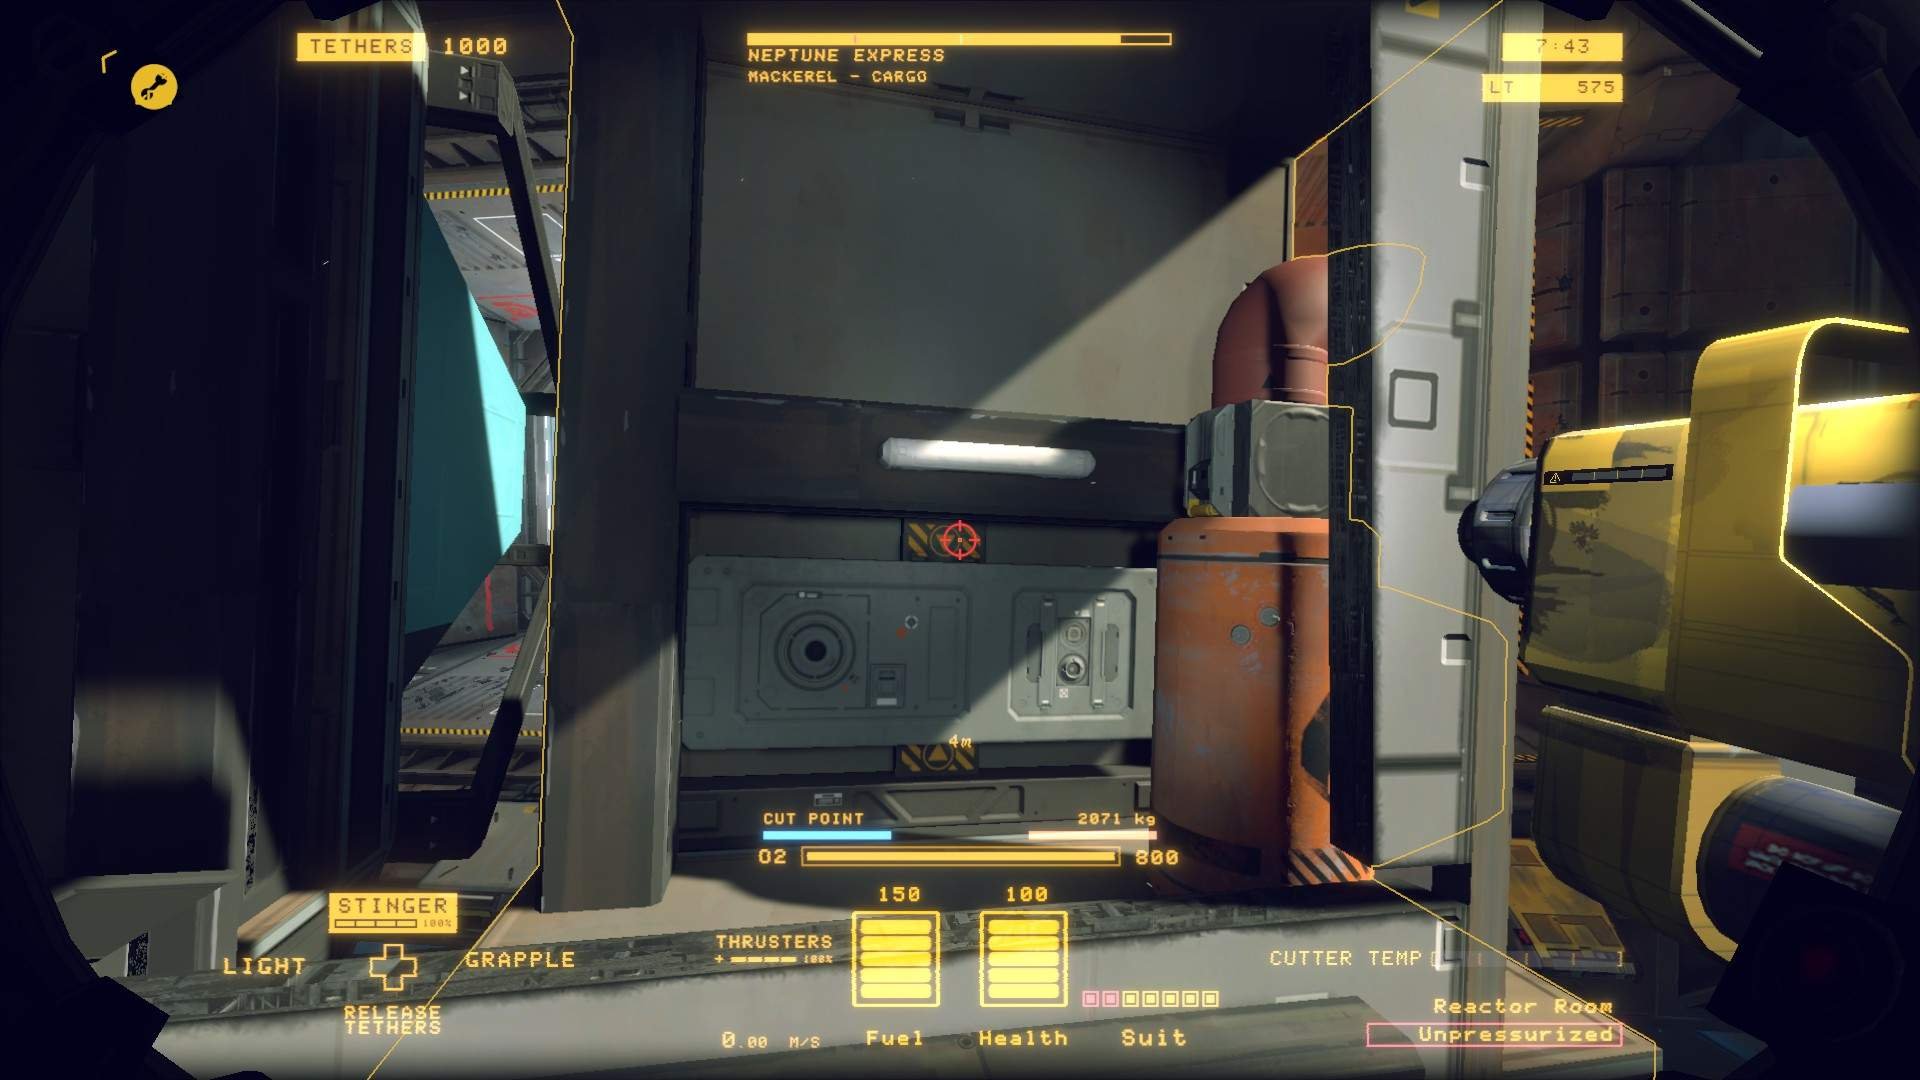
The first thing to do in every shipbreaking Op is to get inside the ship and tidy up. The reason for this is twofold. First you will vent the atmosphere and grab any consumables, and secondly you will be locating important ship systems. For the Mackerel the second is largely irrelevant, but the first is pretty important, as loose crap flying around tends to result in chaos; A clean breaking Op is a successful one!
So how do you get in?
Simple: turn on your scanner and look for the Airlock, it should be labelled ARLCK. To cycle the airlock activate the little panel just next to it.
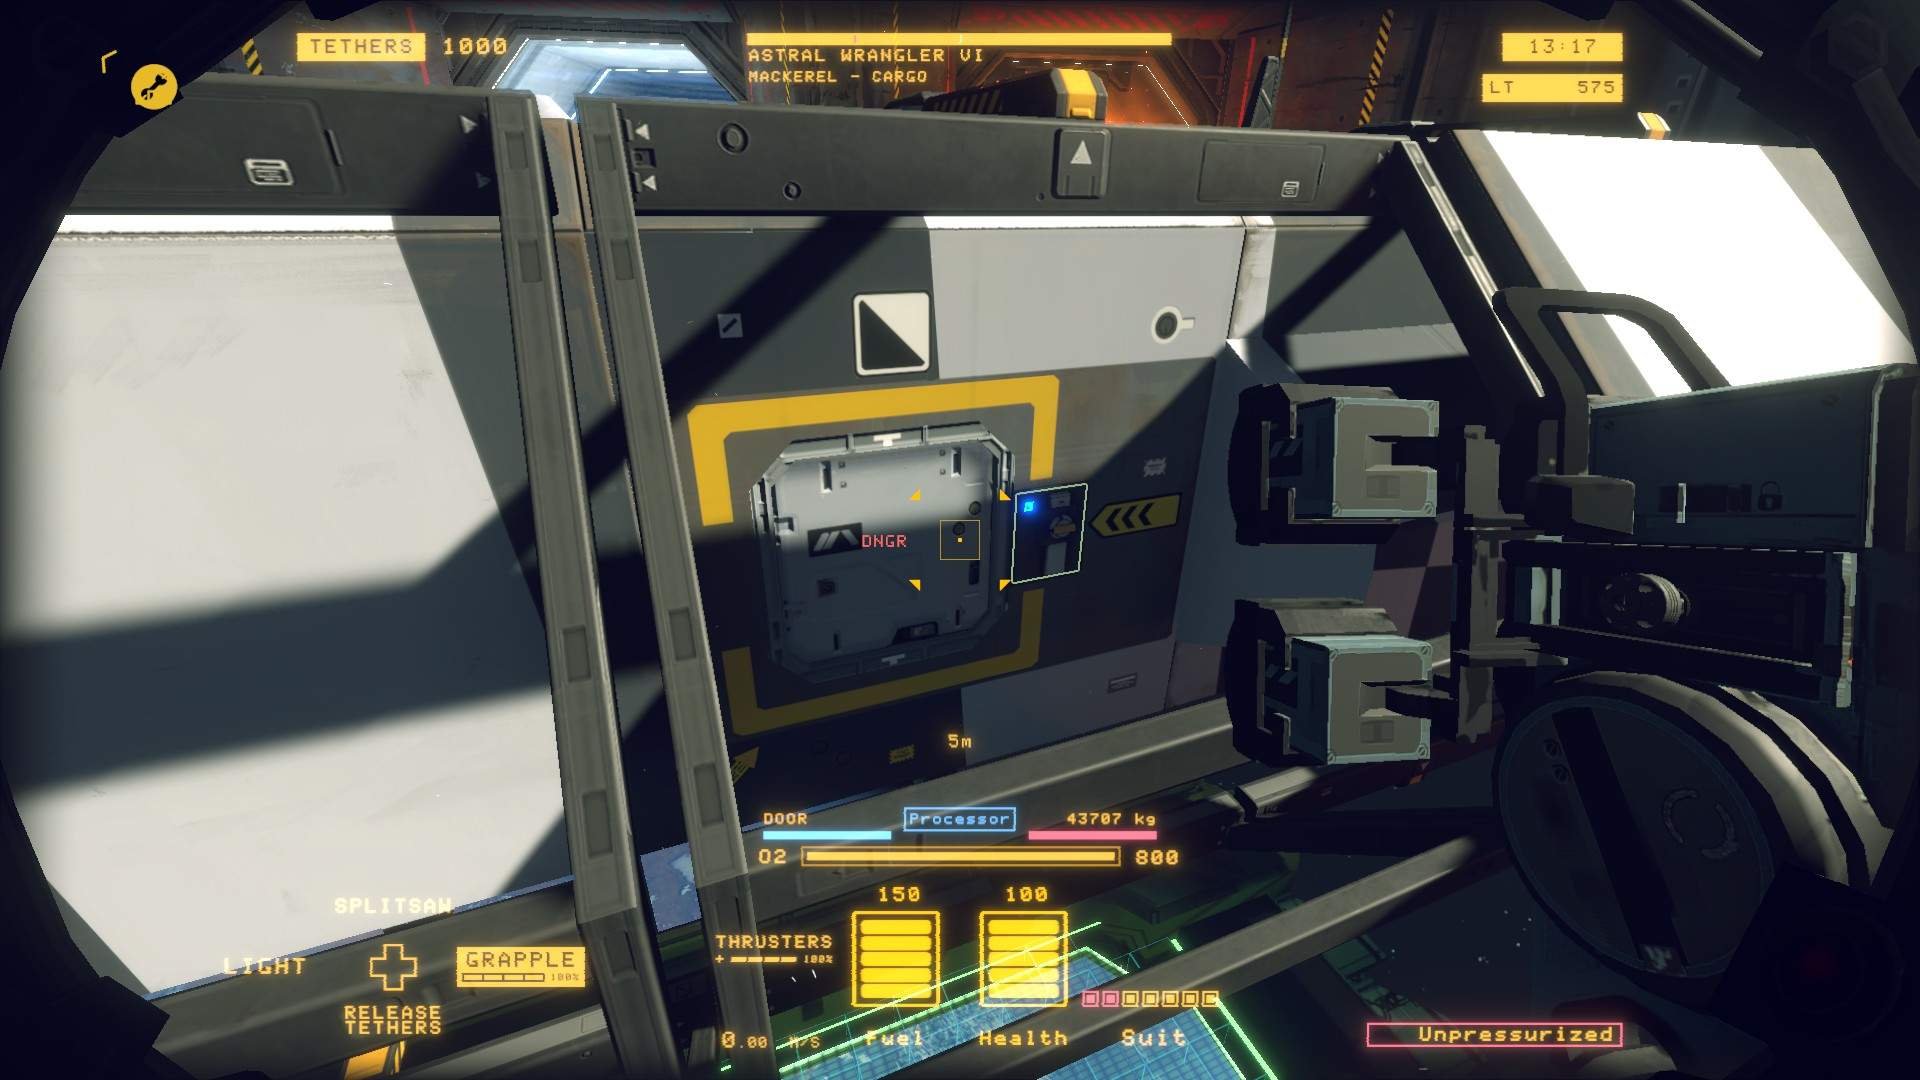
Once you are inside you need to equalise the atmo between all ship sections, for the Mackerel this is simply opening the cockpit door then venting the atmosphere using the console next to the airlock. On larger ships this is a more complicated procedure.
With the atmosphere out of the way you can focus on the second task: tidying. Scoop up all the consumables, doesn’t matter if you need them or not, it’s a quick breaking Op, not a long one like the Gecko. Move loose items to the roof out of the way in preparation for cutting the floor joints. And finally activate the fuel console. This is where the first of several problems may arise: there’s no key, or no console. If there’s no key you’ll need to put off taking out the reactor for the moment, and if there’s no console it’s time to start breaking!
The First Cut(s)
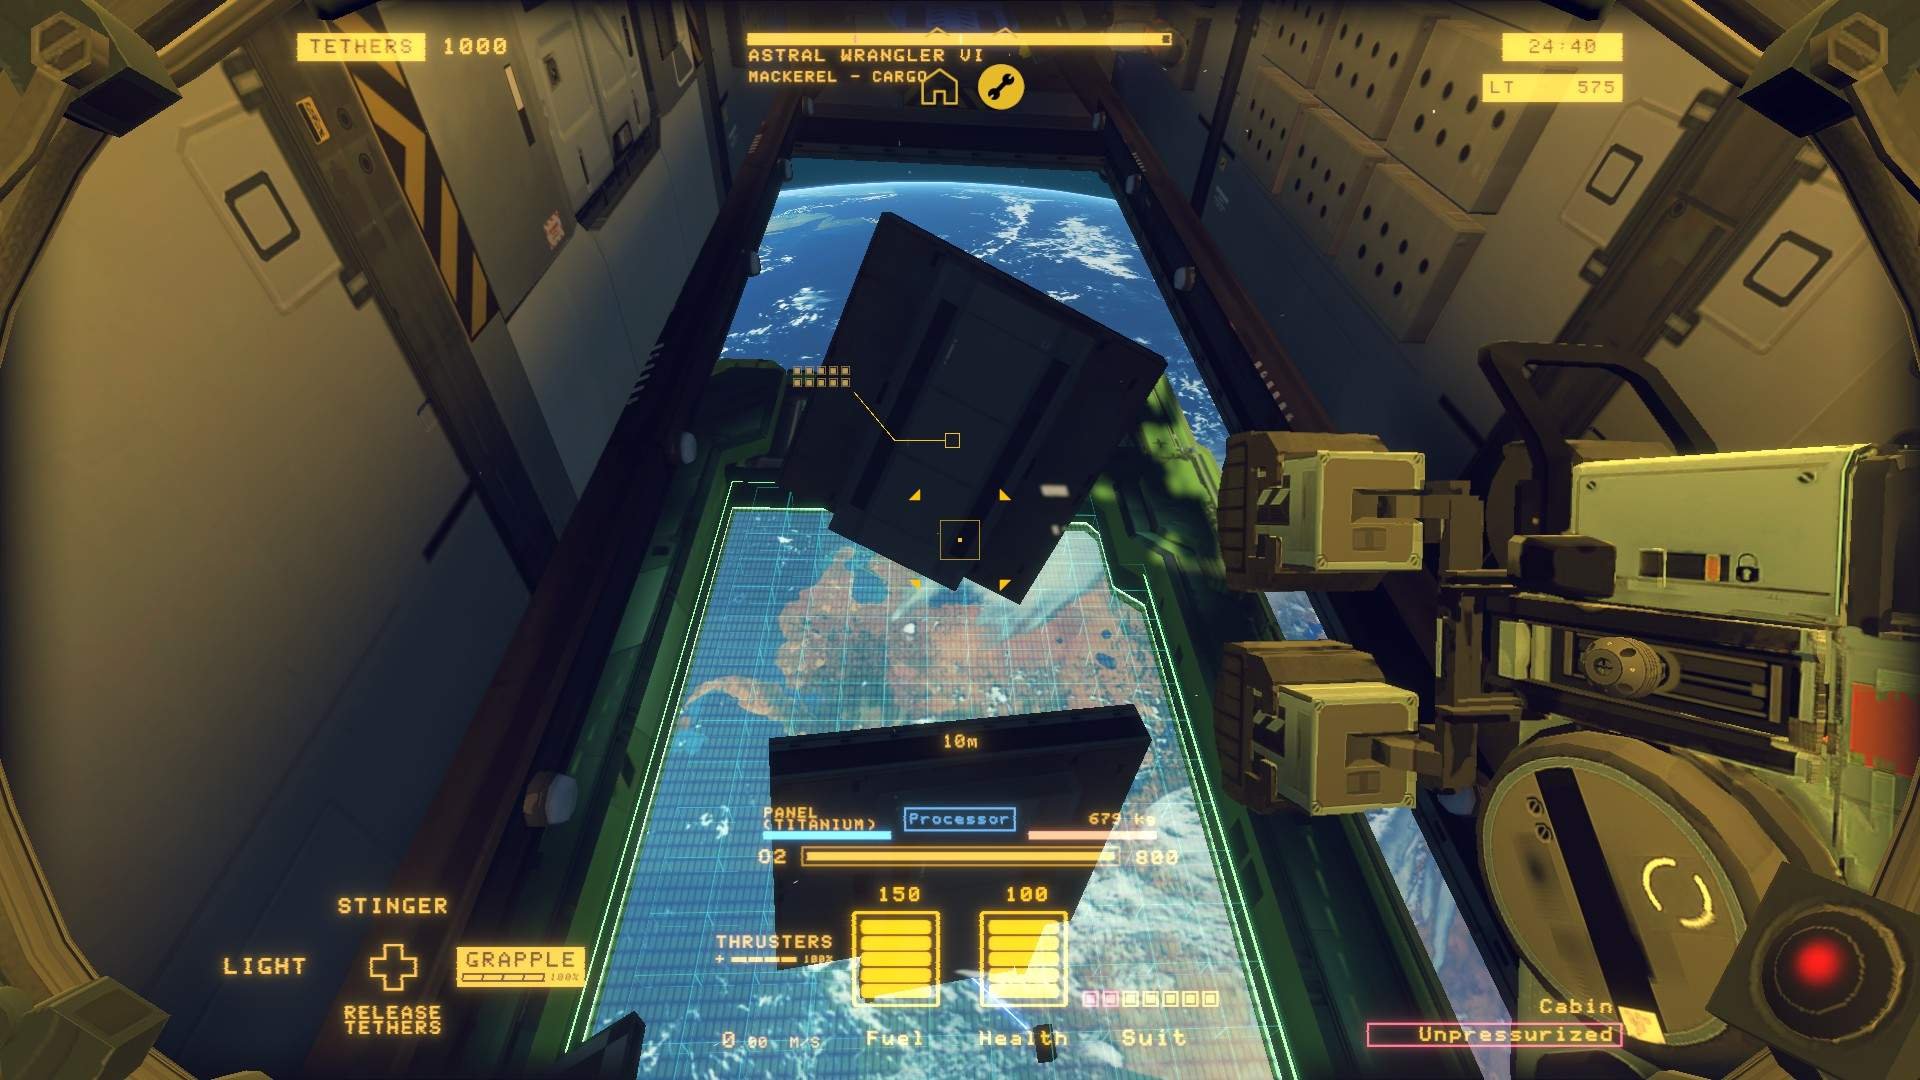
Now that the interior is tidy it’s time to start breaking. Make sure that the atmosphere is fully vented, otherwise things will get… exciting.
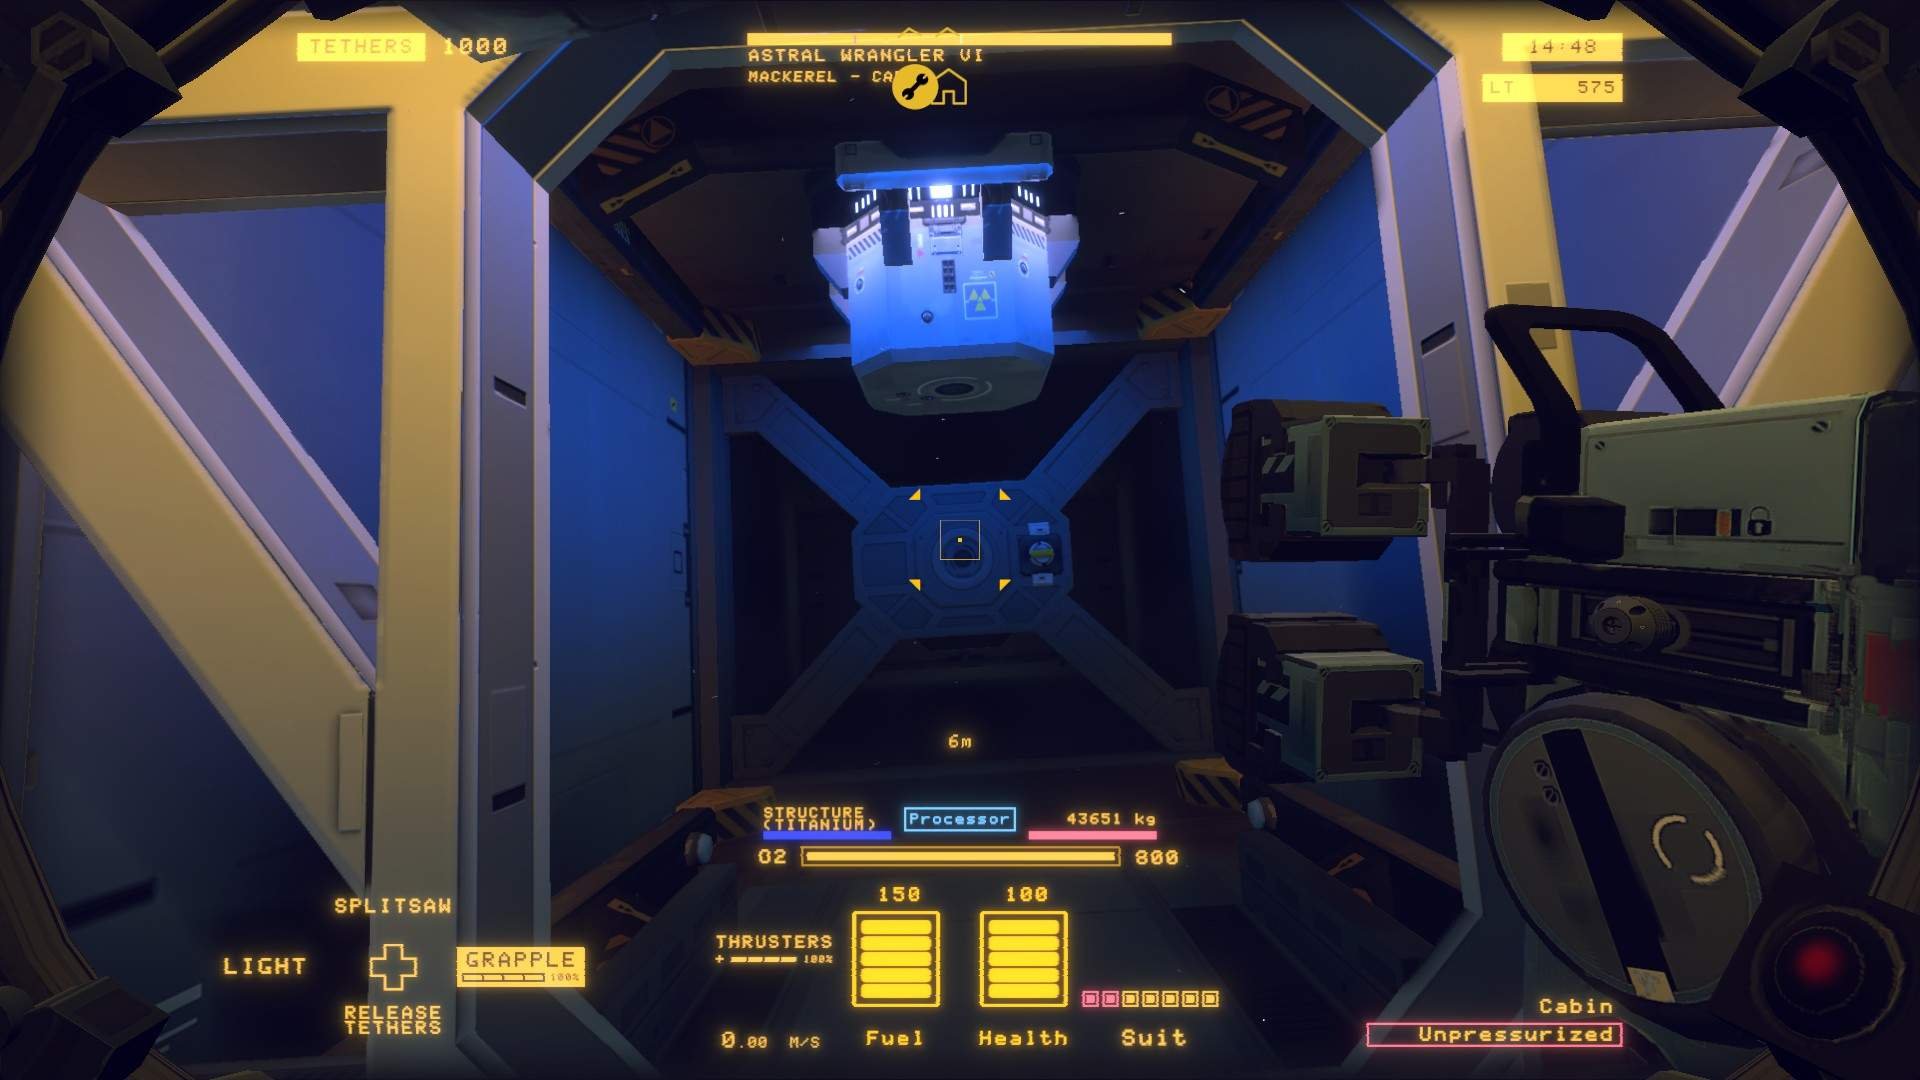
The floor panel has two joints keeping it attached to the ship: cut them and knock the panel out. Follow it out and tether it into the processor: tethers are your best friend! Next look back at the Mackerel, the reactor now has a nice path from the Mackerel to the barge! Tether the reactor directly into the barge; the tether will rip it right out of its cradle with no damage done, and minimal effort from you.
And that’s already the single most valuable piece of the ship done.
“Hold up!” you say, “I can’t do that because I couldn’t vent the reactor pipes!”
Not to worry, I have a solution.
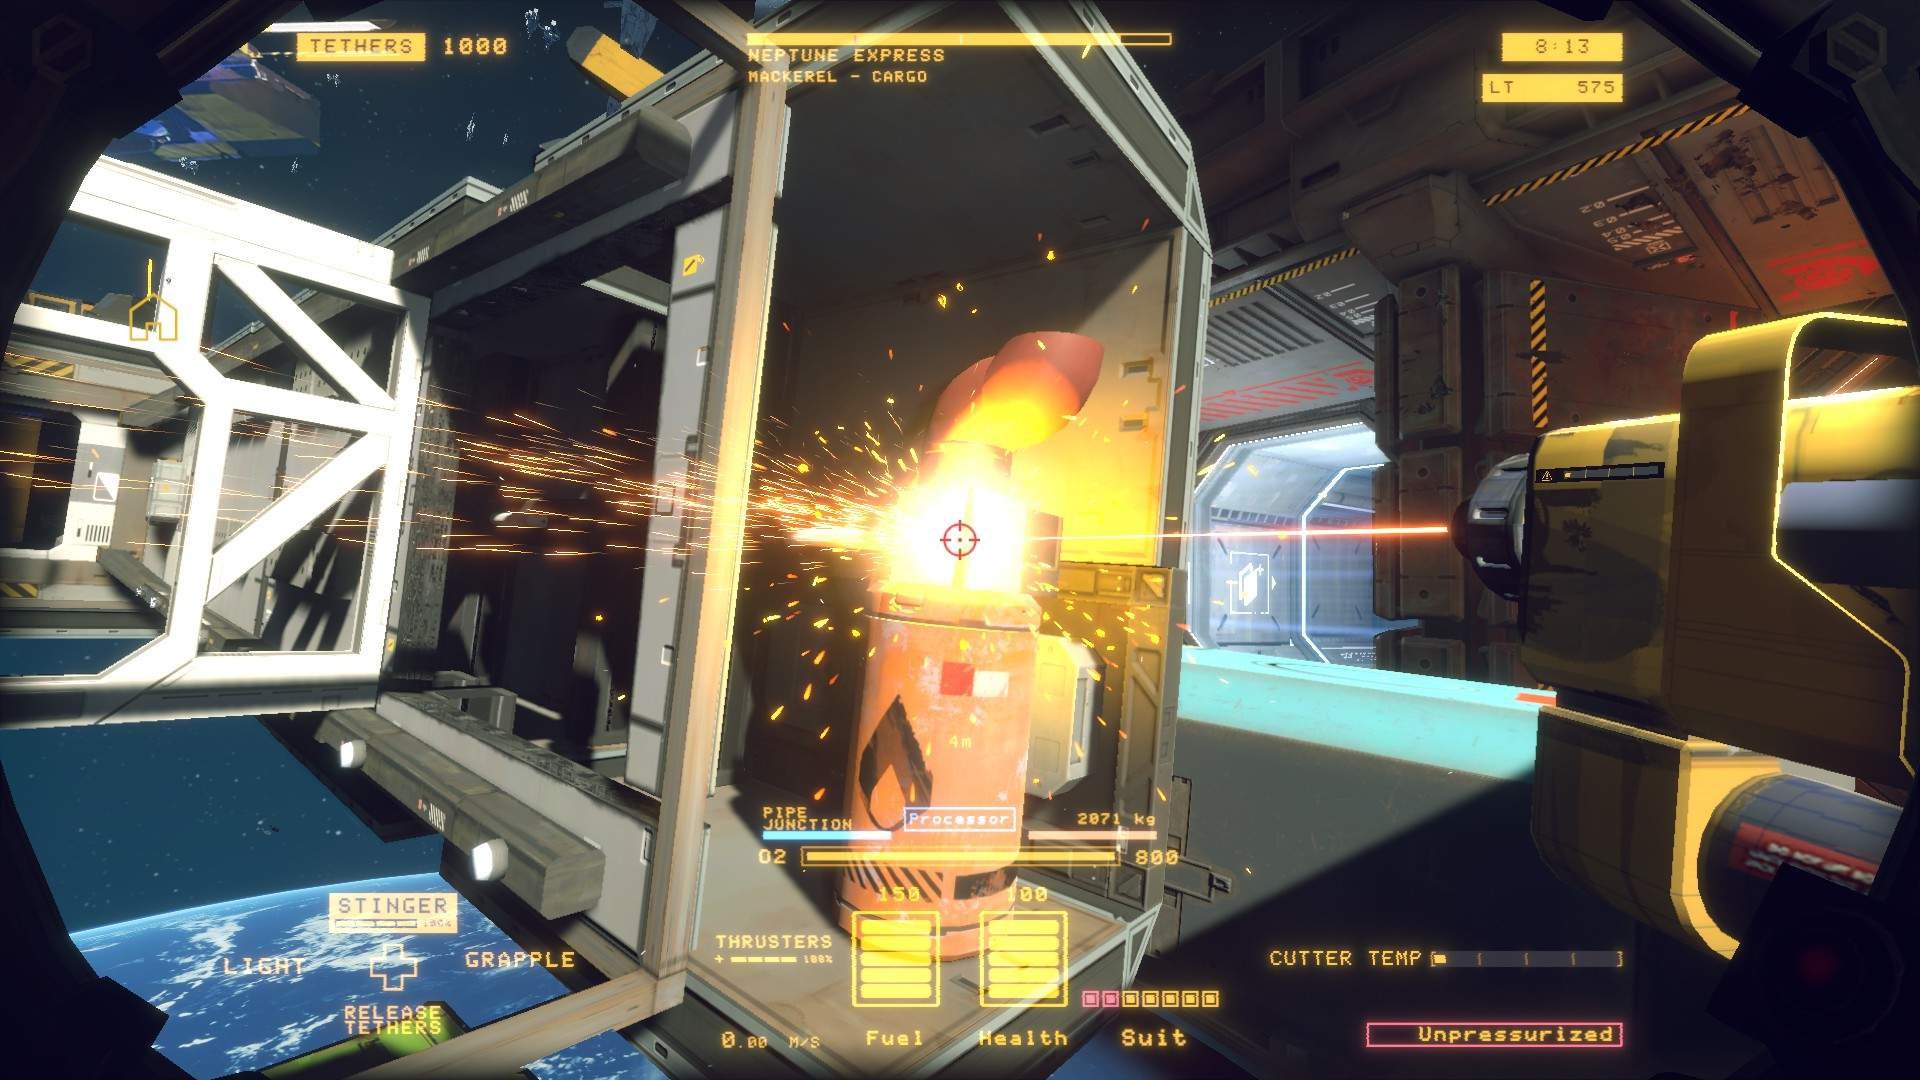
The fuel for a Mackerel is always located in the rear of the ship, to either side and below the reactor. It’s also behind a panel and quite awkward to get at.
You need to cut into these panels and turn off the fuel from the tanks manually. Do this on each side. You can maneuver the cut out sections out of the bottom of the ship.
Once the fuel is cut off you can disengage the engine using the handle at the back. With no fuel in the pipes there’s no risk of a dangerous fuel venting event. Now you can remove the pipe keeping your reactor in place and get it safely into the barge!
Next up: skinning and filleting.
Skinning and Filleting a Mackerel (Internals)
This section is in two parts: first removing the internals of the ship, and second removing the outer shell sections.
Internals
ideally now you want to remove the whole of the floor of the Mackerel, and then get all of its guts into the barge. This is pretty simple: just cut the connecting pieces and the floor comes right off. Remember to throw the monocarbon panelling into the processor! For the heavier items use tethers.
If your ship is a cargo ship it might have barrels of coolant or fuel in hold, in that case be very careful when cutting near them, and be even more careful when moving them. Barrels like to explode at a moment’s notice.
Now that all of the stuff inside is in the barge it’s time to scrape everything else out from inside *except* for the Power Junction Box, it’s too explodey for now. Don’t worry about the cockpit just yet, we’ll get to that one soon enough! by everything else I mean the door controls, and the atmosphere controls. This bit includes the ones in the airlock, and you might as well get the antennae too while you’re outside.
The next step is to do the same thing to the roof: cut the joints and tether the panels into the barge. Here is one of the main differences between the Cargo variant and the Transport variant of the Mackerel. The Cargo variant has a cargo hatch. This is one of the roof “panels” and needs to be split into the door section and frame section before it can be salvaged. To do this cut the two yellow joint bits and tether them into the right places (barge for the door, processor for the frame).
In addition you may have panels of different materials which need to go in the furnace instead. Pay attention to the tooltips which show up at the bottom of your HUD to know where things go.
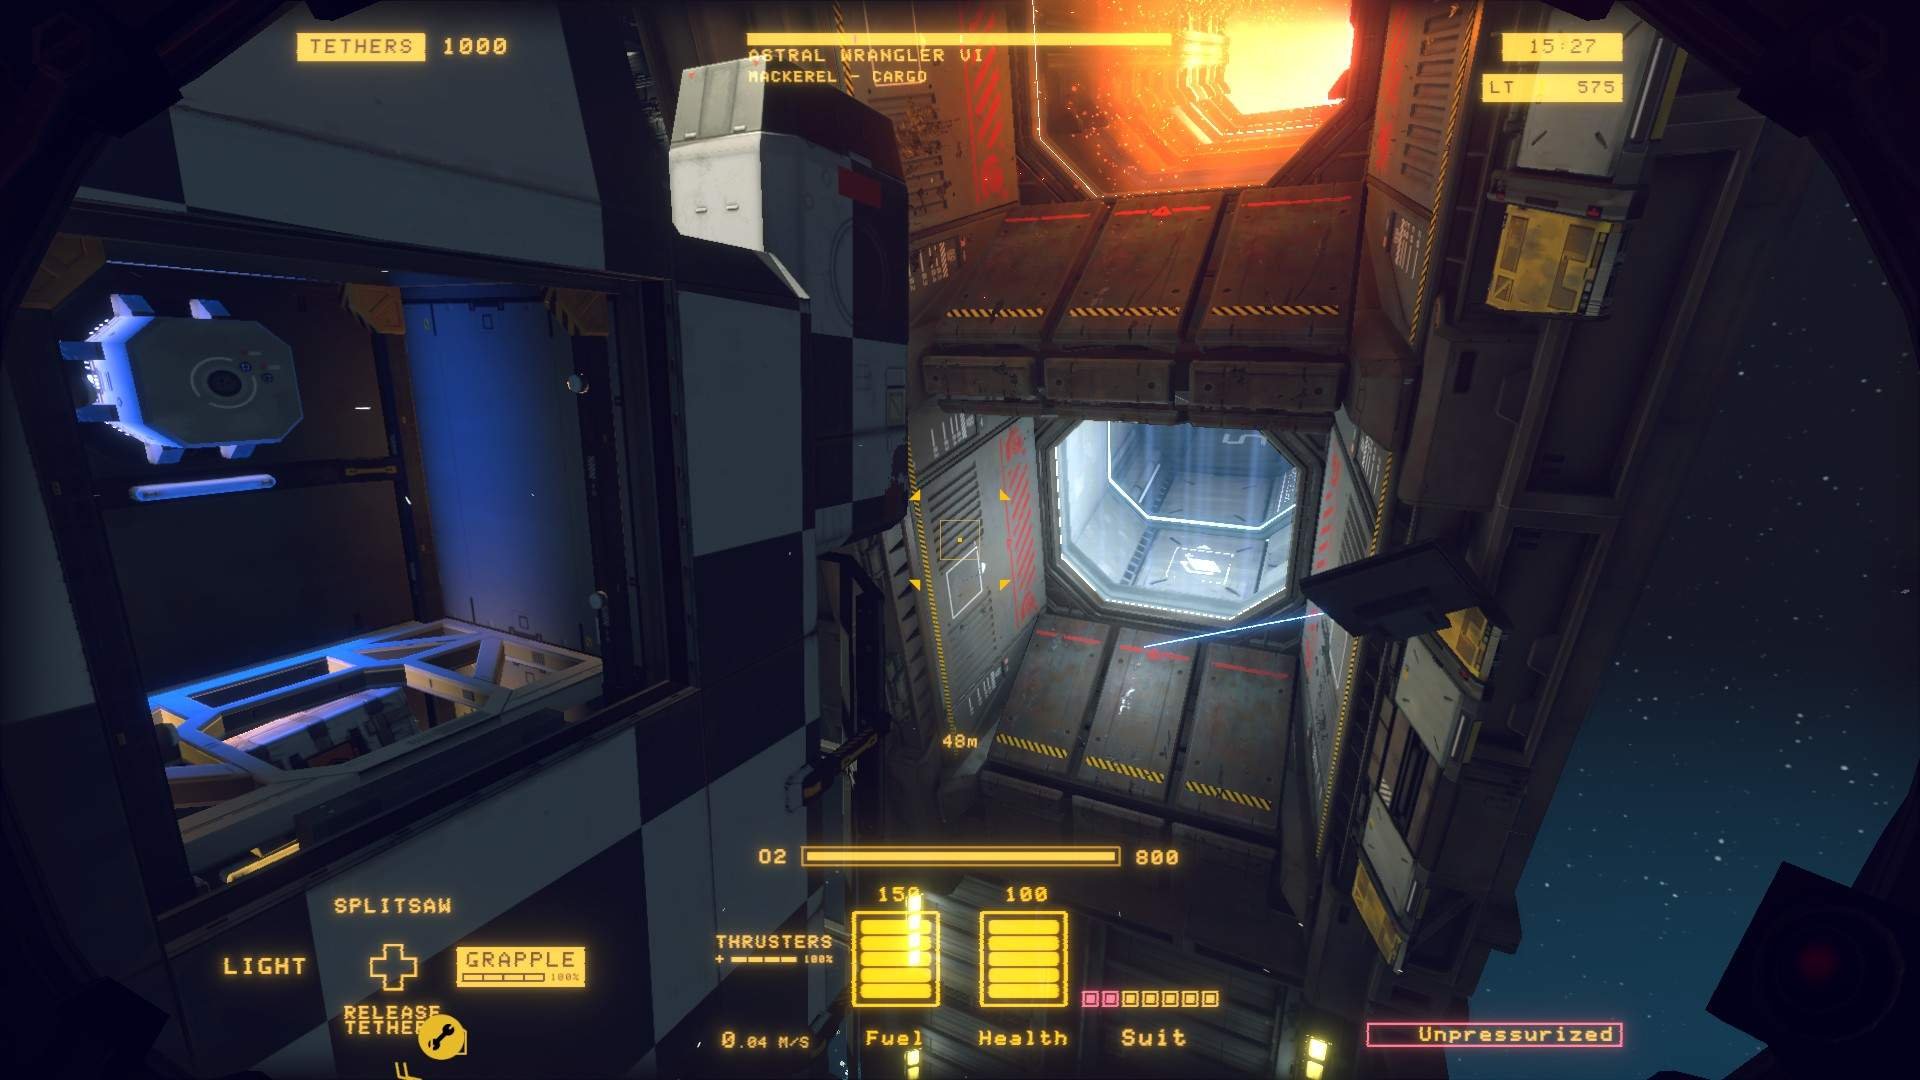
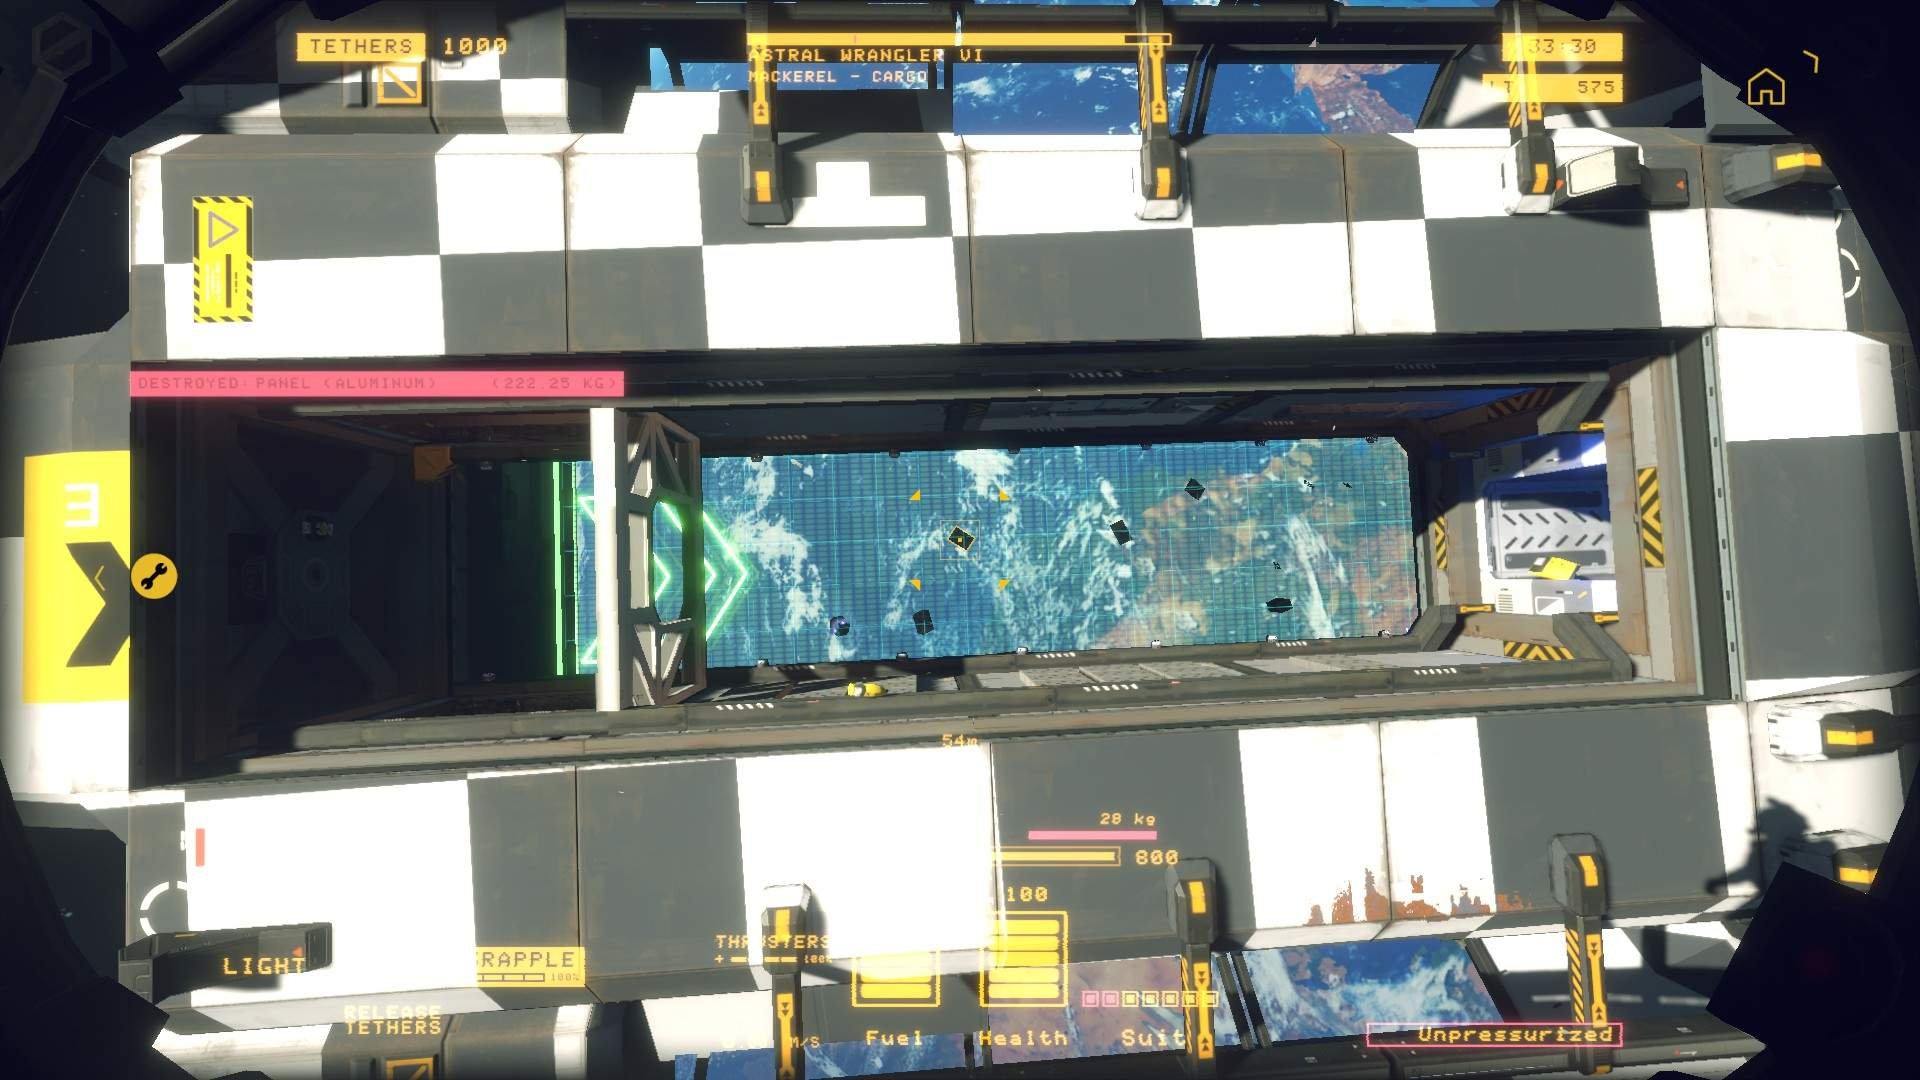
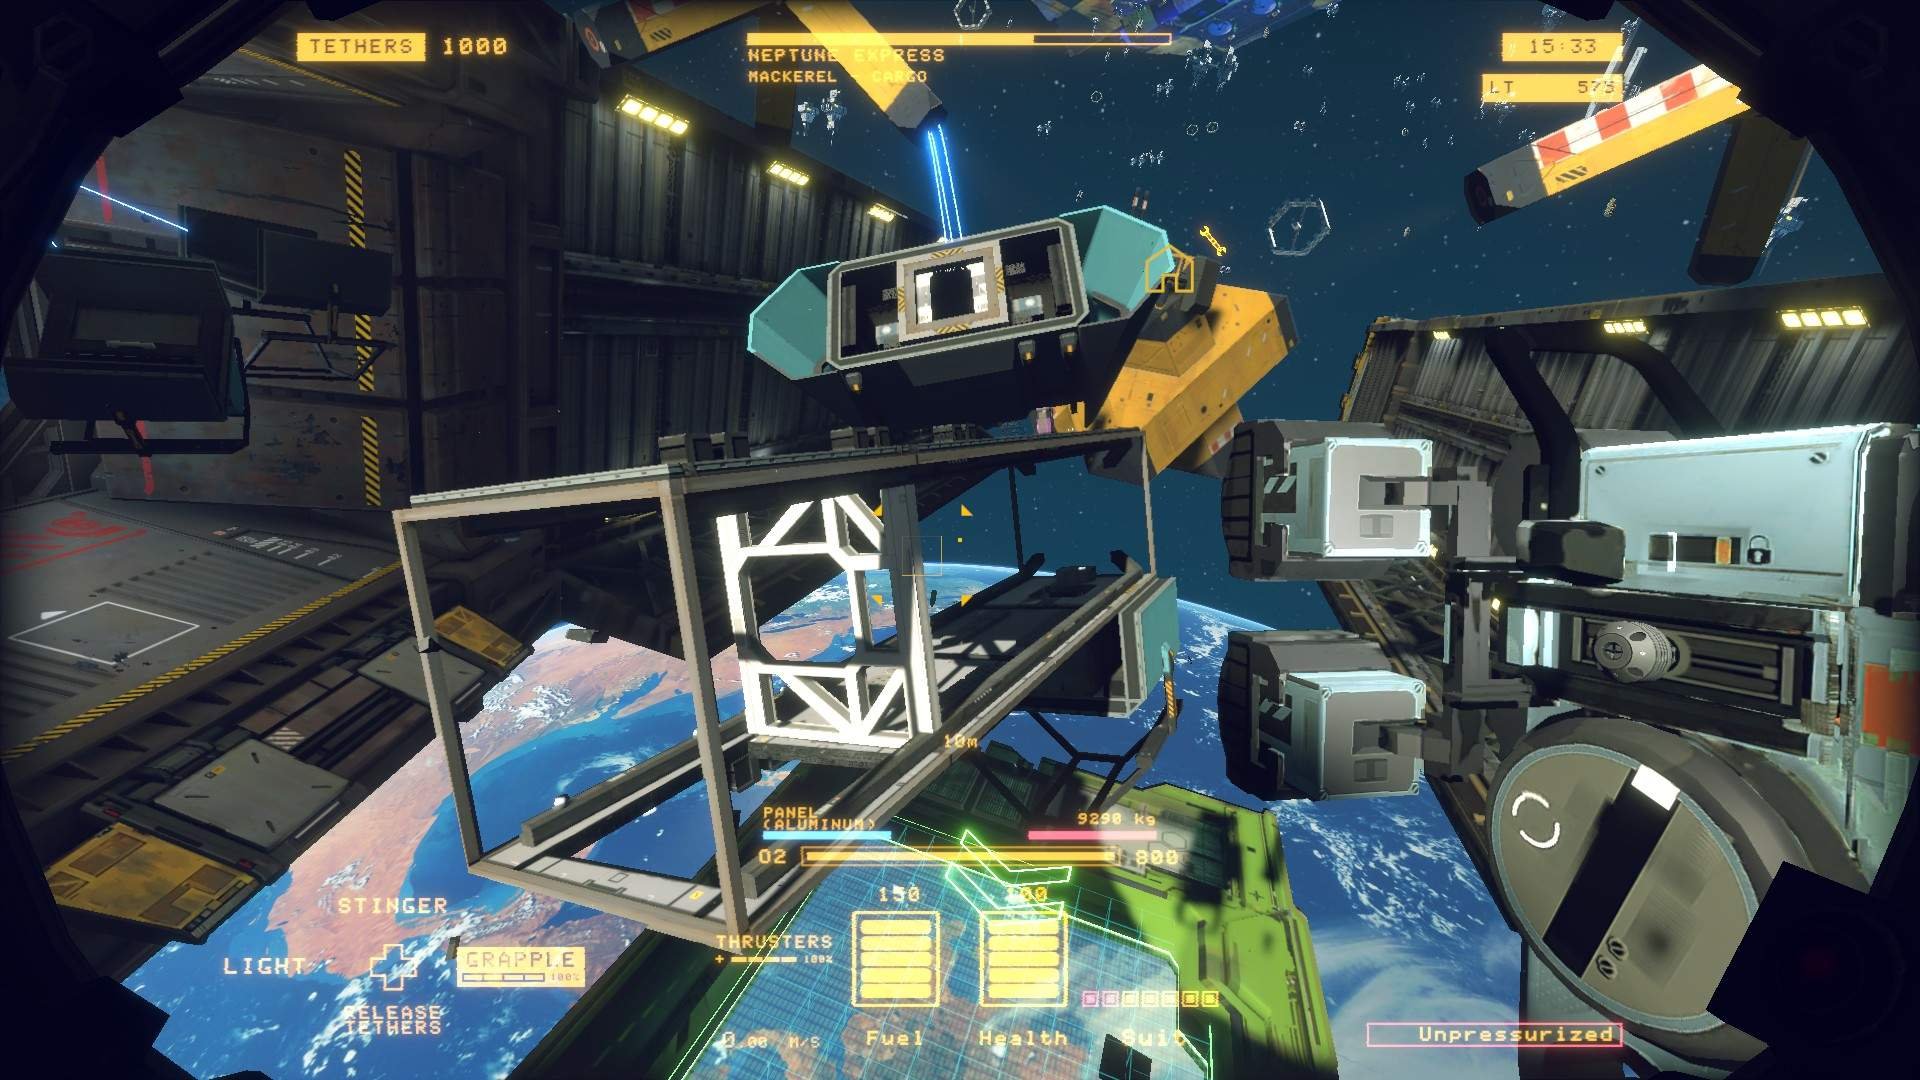
By now your fish should look something like this:
Skinning and Filleting a Mackerel (Externals)
Externals
The next step is getting that skin off. But to do that we need to take off the head and tail.
If you go back into your Mackerel you will see four connecting points at the front and rear. Be careful not to cut into the frame around the joints, as that can lead to a loss of profit! (and potentially loss of limb and/or life) For these particular cuts if you position yourself properly you can cut two joints in one; very useful if you’re working on a timer.

Unlike the roof and floor panels the head and tail won’t just drift away. They’re a fair bit heavier and will need tethers to get them out of the way. Tether them to a Jax, or the rear of the bay, or the Hub Jax and we’ll deal with them later.
“But wait!” you cry, “My engine section isn’t moving away from the ship!”
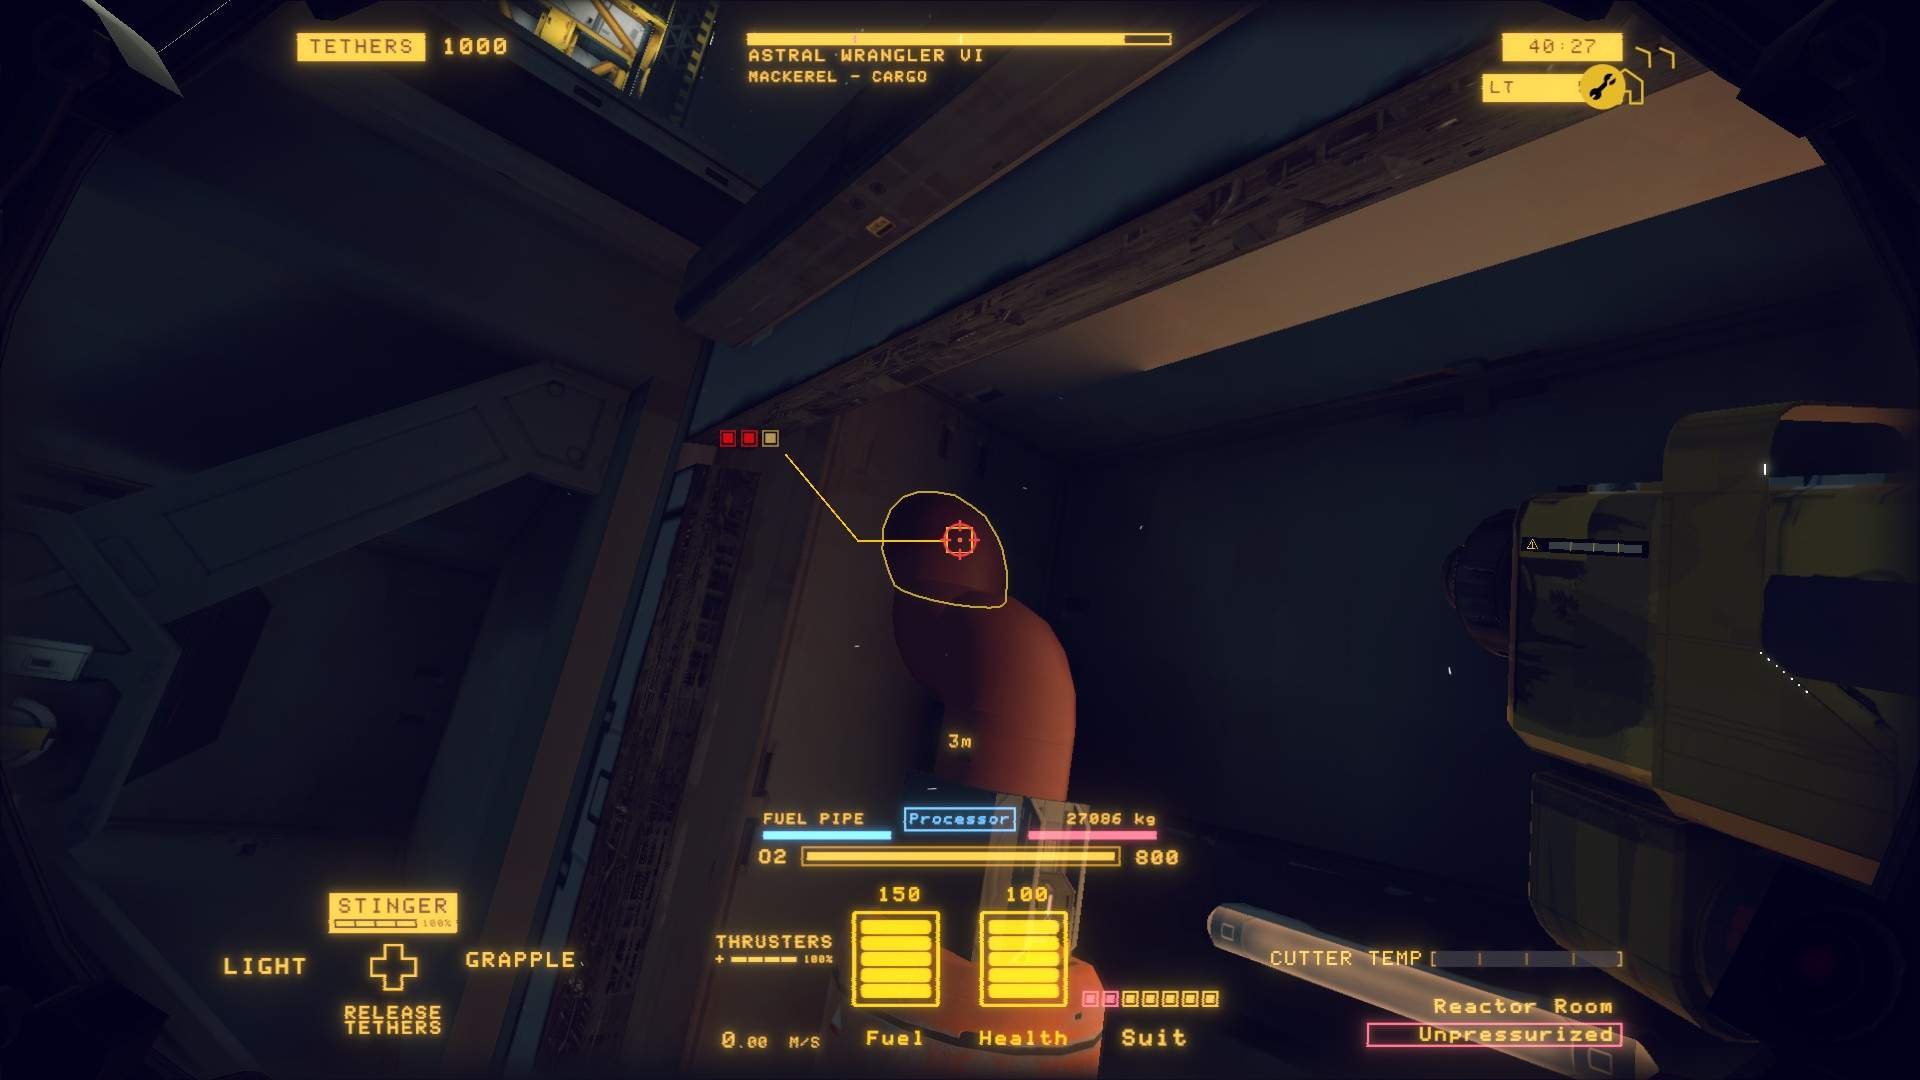
This is a problem linked (again) to the fuel systems. Go back inside to the fuel section. You should see pipes leading into the rear of the ship. Use your stinger tool to completely remove that section of pipe. As always be careful when cutting around fuel (and coolant). You should now see the back of your Mackerel moving away from the main section.
If you look down both sides of the ship now you should see a crawlspace with lots of joints and various gubbins inside. On one side your view will be blocked by the airlock. We’ll get to that problem later.
Cut all of the joints. This will make the panels loose don’t send anything off to the processor yet, there’s still valuables there. As always be careful when cutting near fuel (and coolant).
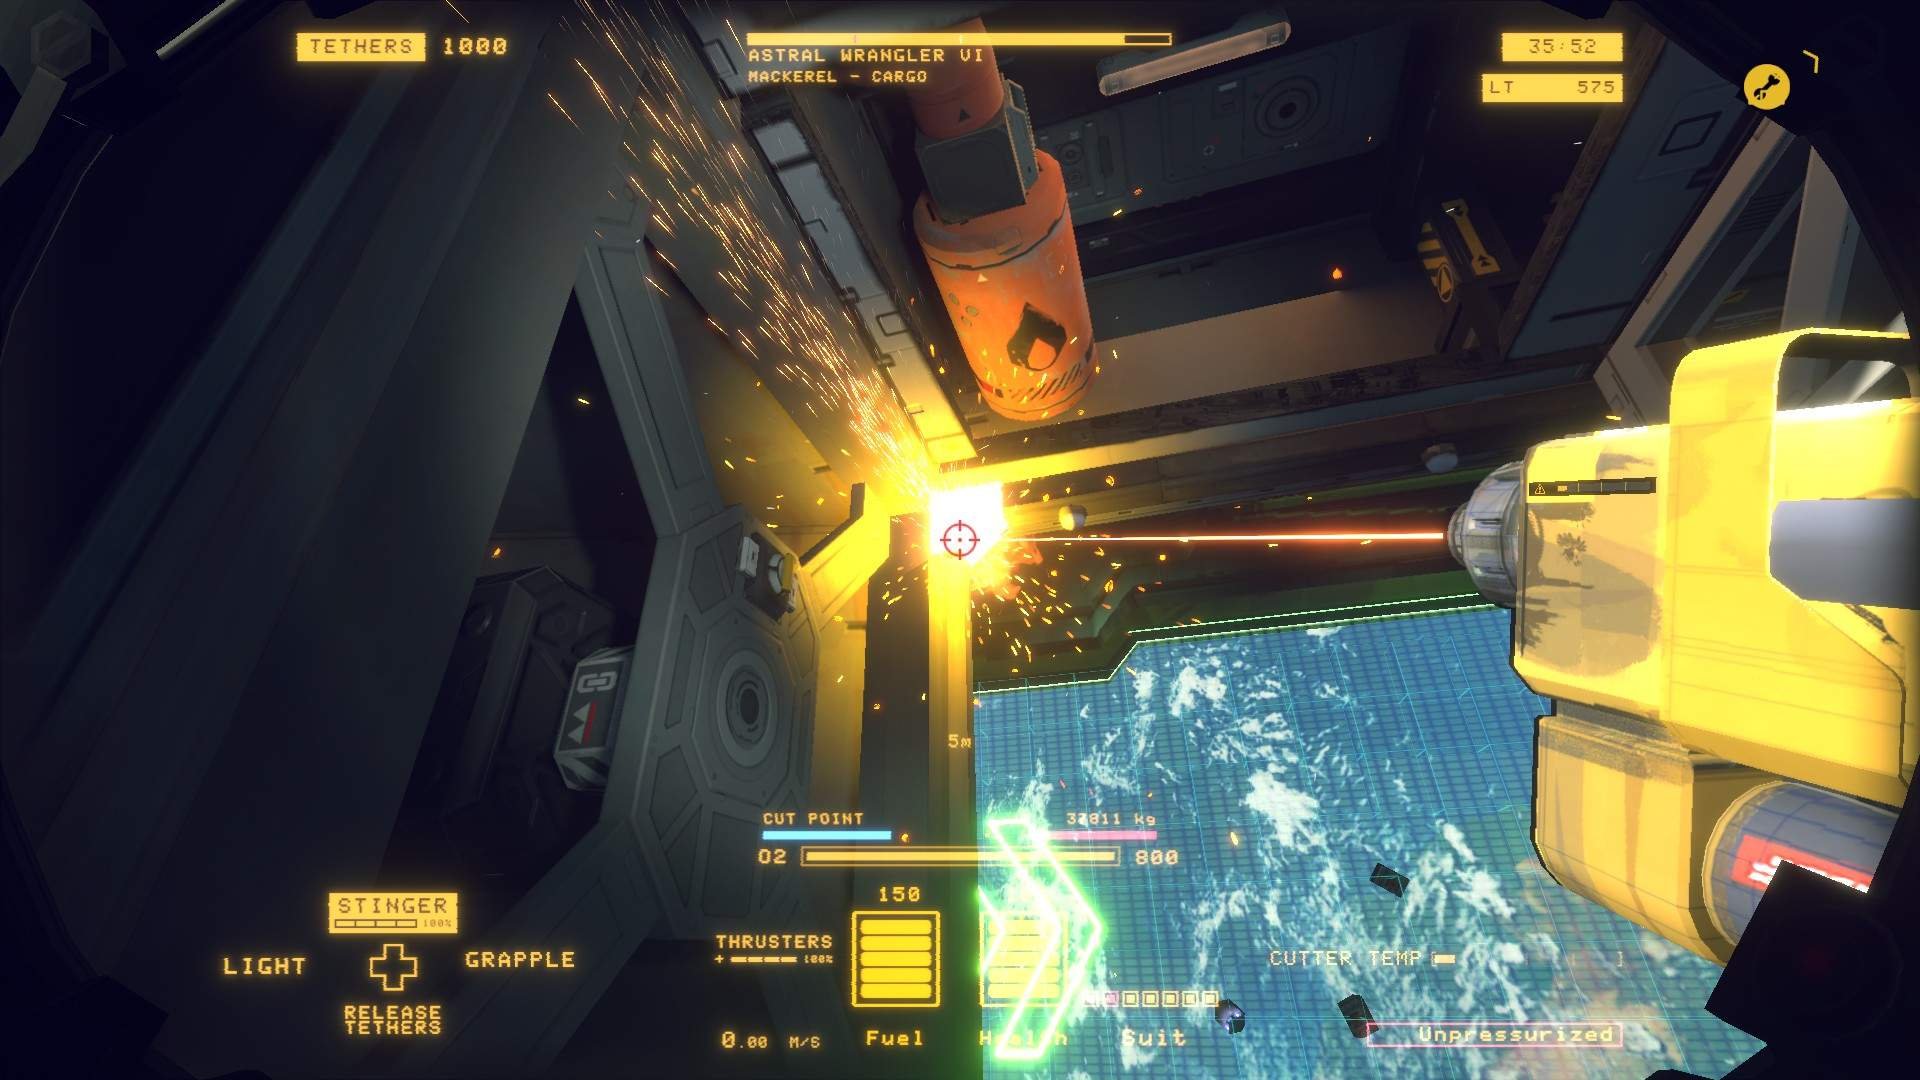
The result of a bad cut:

For the nacelles connected to these sections you need to either cut the joint on the outside or go inside and cut the joints there.
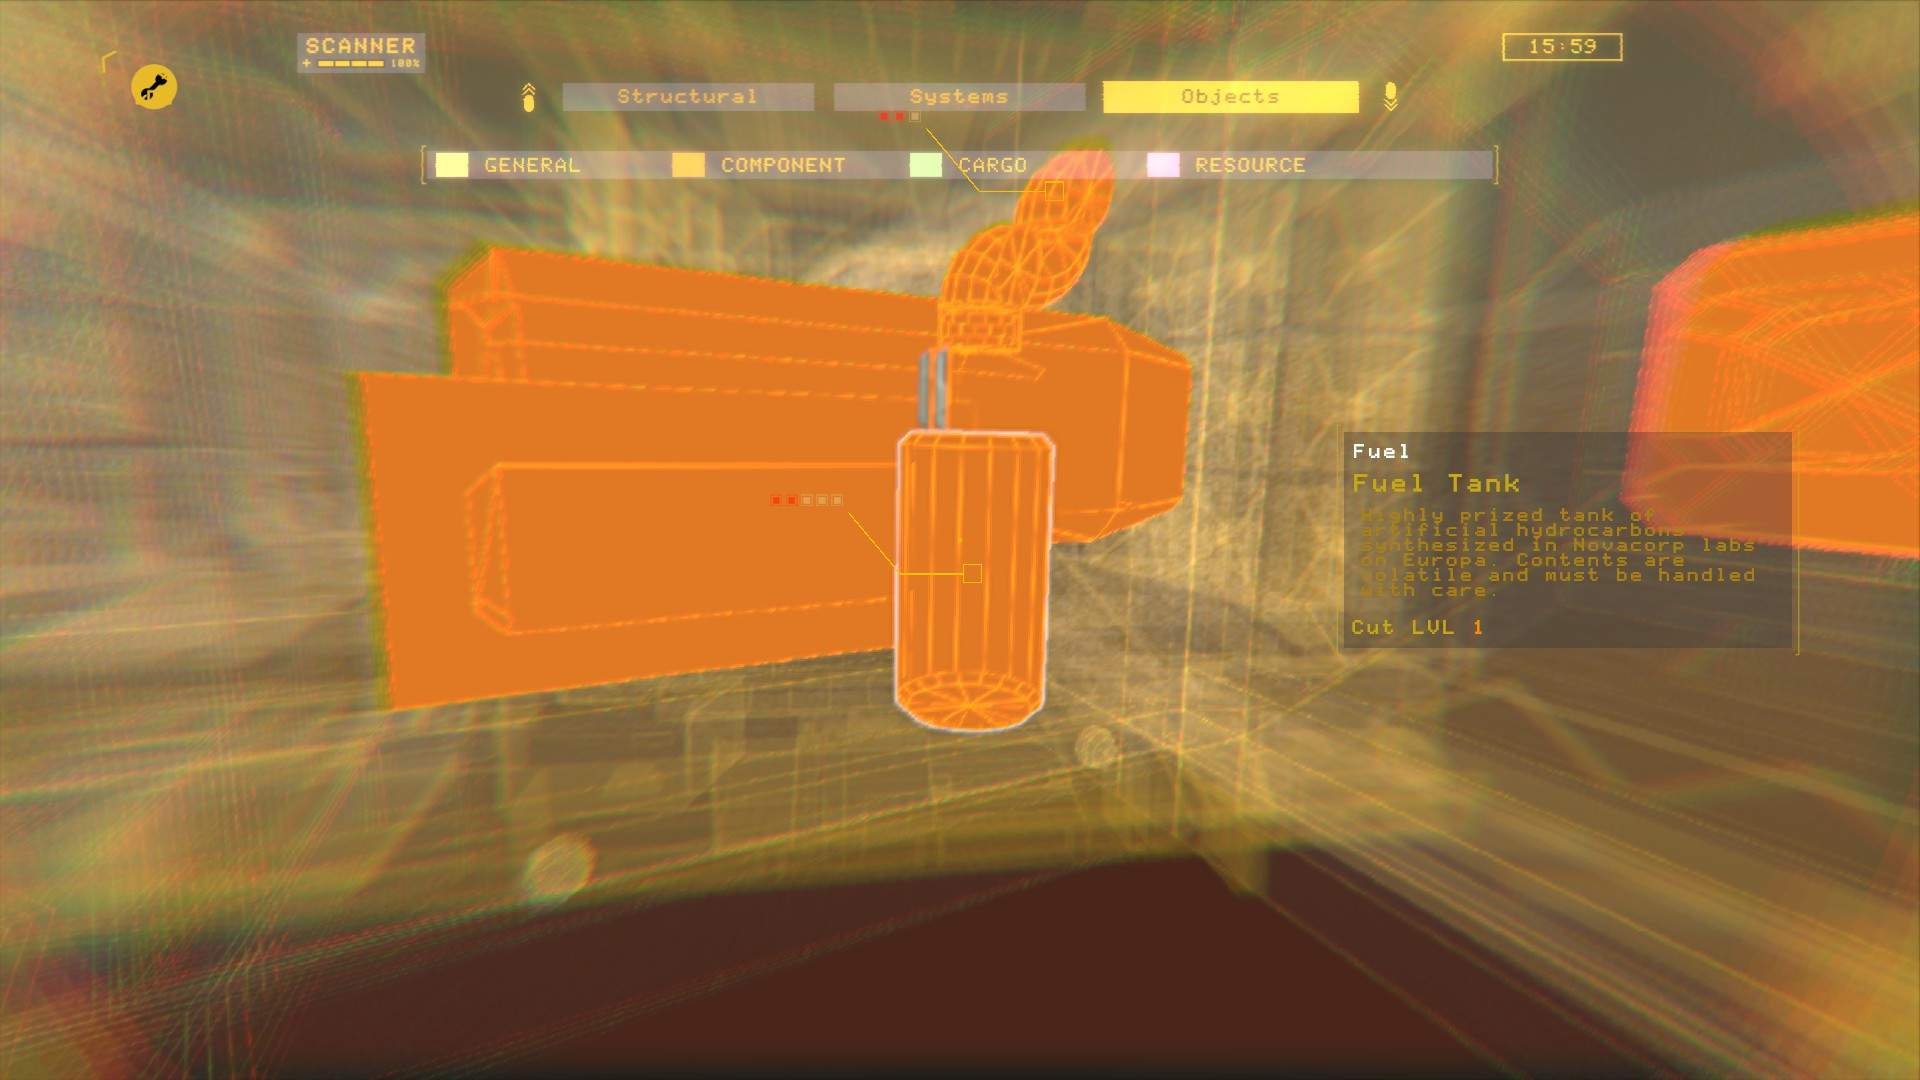
For the section with the fuel tank you need to cut the piece just above the tank. This will let you safely remove and salvage the tank and its valve, which both are quite valuable. Be careful when moving the fuel tanks as in tight spaces they can be quite temperamental.
Some of the ship classes have longer pipe sections which will need to be maneuvered free of the ship and sent to the processor.
By now your “ship” should look something like this:
You will notice that we can still salvage the battery and power junction box, and the airlock is still there. Be careful when handling the first two as they will short out as soon as they are separated from the frame. The battery is also rather temperamental just like barrels, so be careful and delicate with the grappler. If the angle is right it is by far simpler to just tether them both directly into the barge.
The airlock is a pain. It has no easy cut points to separate the monocarbon and the metal frame. You are welcome to just throw the whole thing into the furnace. For the sake of completeness though, cut through the metal (not the monocarbon) as carefully as you can and hopefully the whole thing will come off without you mangling it too much.
Heads or Tails?
Tails?
The tail of the Mackerel is easy enough: cut the joints holding the engine cap in place, then pull out the engine itself. the cap and the large frame go into the processor, the engine into the barge. Be careful when cutting as the cap and engine can be damaged by the cutter.

If the engine isn’t coming loose you need to turn the handle on the “inside” part of the tail to release it.
Heads!
First cut the cheeks away. As with the “skin” panels there are joints you can remove, be careful around the coolant. The coolant itself cannot be tethered directly into the barge unfortunately, you need to carefully grapple the barrels free and then you can there them into the barge.
Next up is the cokcpit. There’s a little destructive salvaging here because of the way everything inside is laid out, so say goodbye to the glass and to some panels.
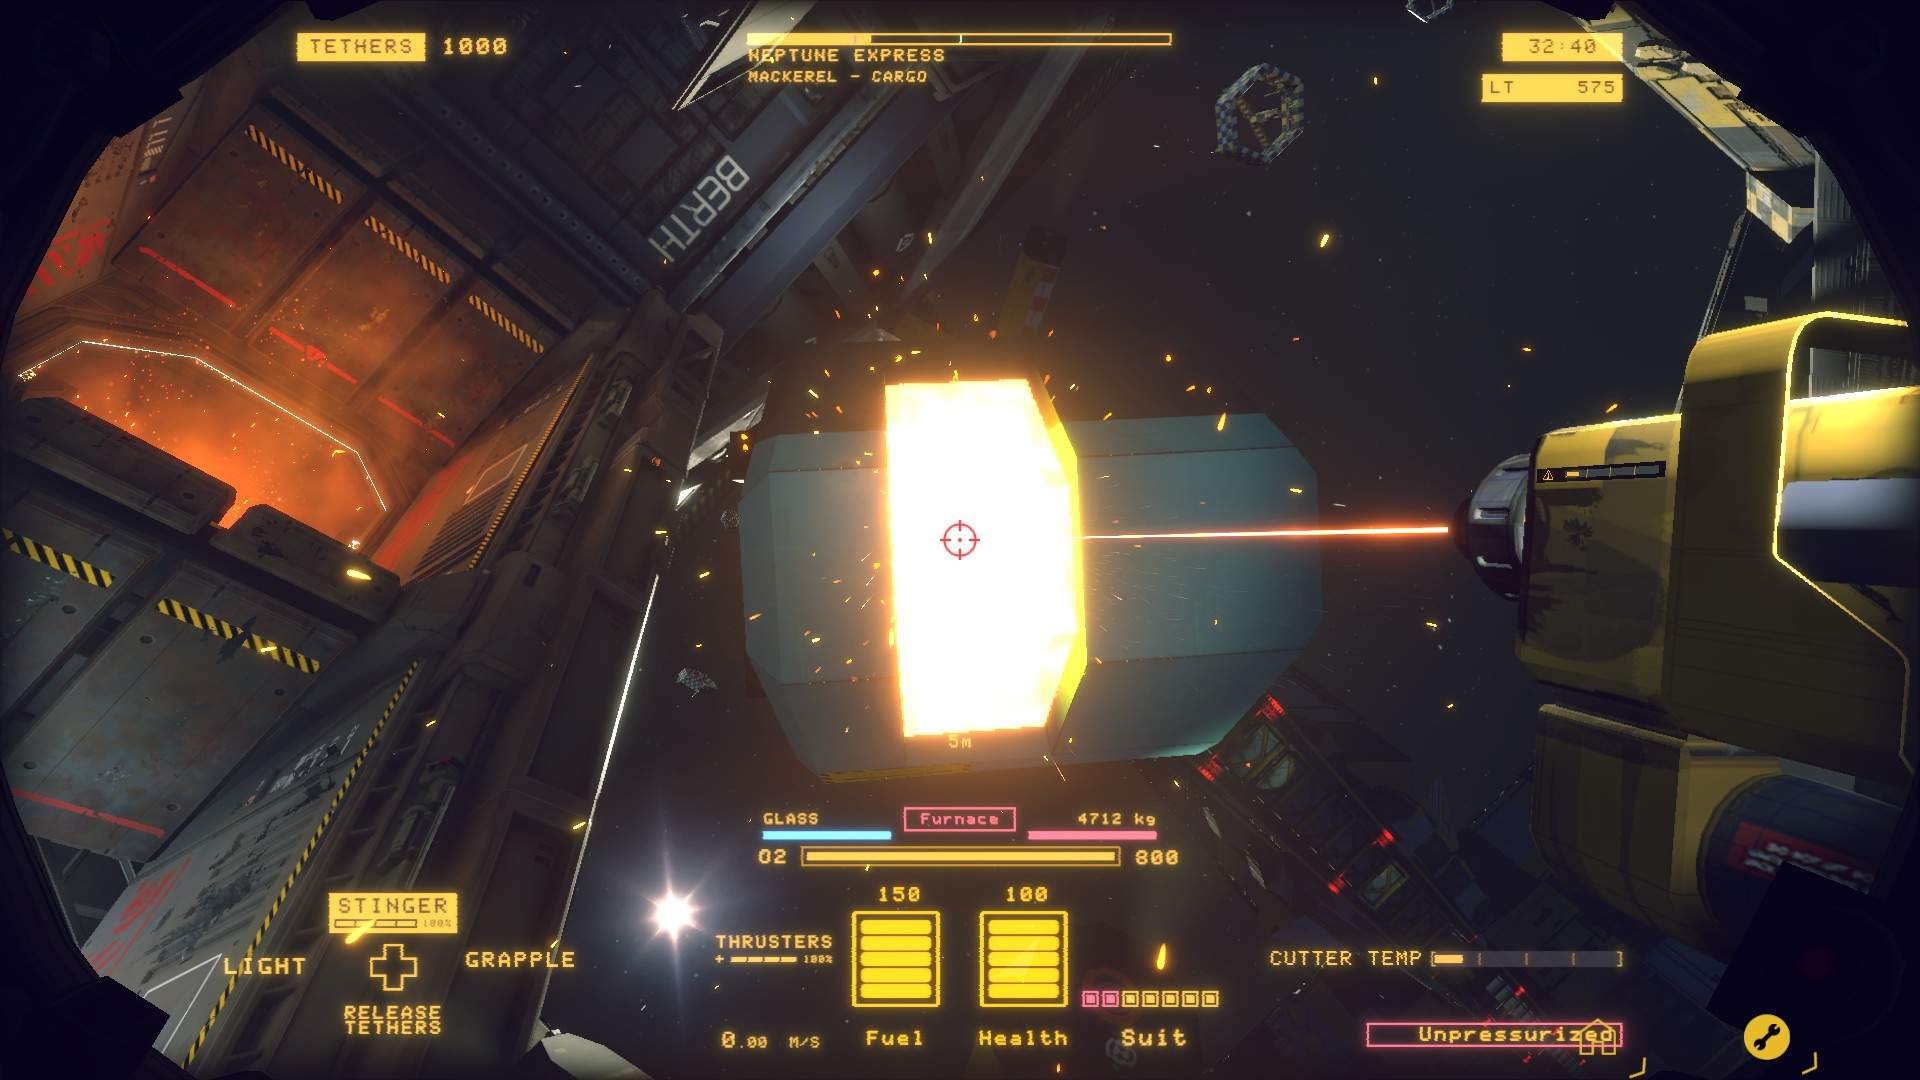
First up use the stinger tool to remove the front glass completely. If you can’t do this because your stinger isn’t powerful enough yet, then you need to carefully cut away the glass and send it to the furnace. Next you need to delete the two panels on either side of the seats and consoles. This will immediately release the chairs and two of the consoles, making it far far easier to empty the damn thing.
With those cuts done you can simply gather everything up and throw it into the barge, leaving the power junction box for last, otherwise its electricity will damage all the other salvage.

The storage boxes can be awkward to get out as grappling them will lock them into their current orientation, stopping them from passing through openings.
Finally is the separation of the Furnace components and processor components. There is no clear and easy way to do this. I recommend simply throwing the whole thing into the processor for maximum profit, and at this point in career mode you will have fulfilled most of your work orders.
The Skeleton
Now all that is left is the skeleton of the Mackerel. I recommend cutting this into two sections lengthways and then sending each half into a furnace. Just make sure that nothing valuable is left on the skeleton.
Extras
Priorities
Your first priority is completing the work order. After that you want the most valuable things to pay off your debt, these are from most lucrative to least: Barge items, Processor items, Furnace items
Scanner
If ever you’re unsure of where something is or where to cut something or where to find a specific item, use the scanner. It has three modes and all are incredibly useful.
Lights
I typically don’t bother with removing the lights of a ship, they’re not usually worth enough to both, but if you like you can. They’re in the crawlspaces, the cockpit, and the main passage.
Barrels
To pull them out (mostly) safely just pull them until they’re about to come free, then tap the grapple until they pop free, then tap them again to stabilise their movement. After that pull them to move them and avoid lateral movements, they interact weirdly with *everything*, usually resulting in an explosion.
Power Junction Boxes
These bundles of fun will happily turn themselves into scrap if you’re not careful, so only remove them once the battery has been taken out, otherwise you’ll get a shocking surprise.
Tethers
Your best friend, or at least your closest friend. They’re cheap, incredibly useful, and if ever you panic and put too many down you can cancel *all* active tethers by press your V key.
Oxygen
Your second best friend in career mode. When you drop to 0 you can’t cut anything and will have about 20s to get more oxygen, so don’t panic buy oxygen until you really need to (around 30 O2 count or so). You can top up using the oxygen in ships, and whenever you go to the kiosk, it’s very affordable, thank you helmet lady.
Thrusters
Abuse you CTRL key to stabilise yourself. Do it every time you stop, want to grapple, or feel unsafe.
Cutter
This lovely lady has two modes. use the right one for the right job. The beam technically comes out of your face, but the stinger tends to ignite things just to your right. The cutter will only cut what is highlighted and along the dotted lines, so you can do some quite creative cutting to get what you want.


Be the first to comment