Dead Cells – Ultimate Beginners Guide

An in depth guide on Dead Cells.

Comprehensive Guide to Dead Cells

Prisoners Quarters

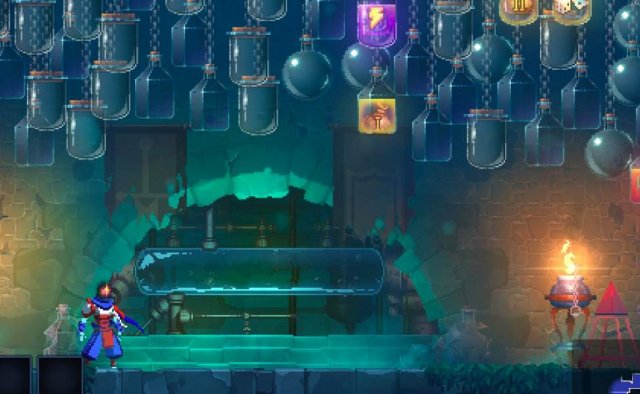
The prisoners quarters is where you’ll first awaken when playing and acts as the spawn in Dead cells.

Bottles

The hanging bottles is all your unlocked powerups and equipment that’s been discovered. The more you unlock the more in the bottles.

Random equipment

You can unlock a random three pieces of starting equipment if you unlock the upgrades in the cell tree.

Daily quest

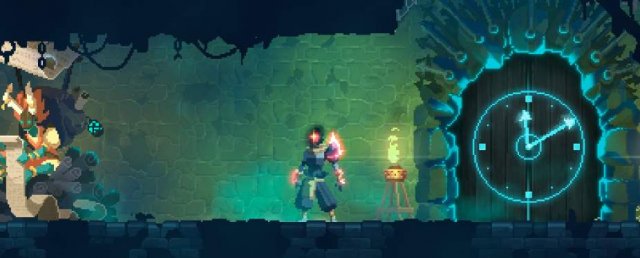
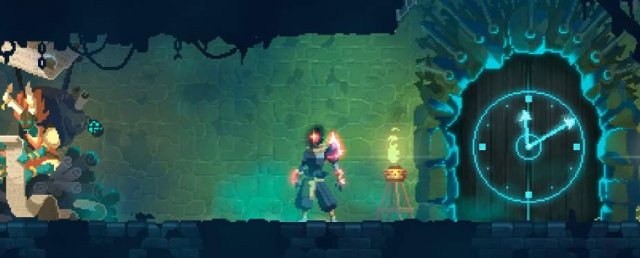
You can head upwards near the tailor and you can access the daily quest from the clock looking door. You can also just go into the main menu and click on it.

The tailor

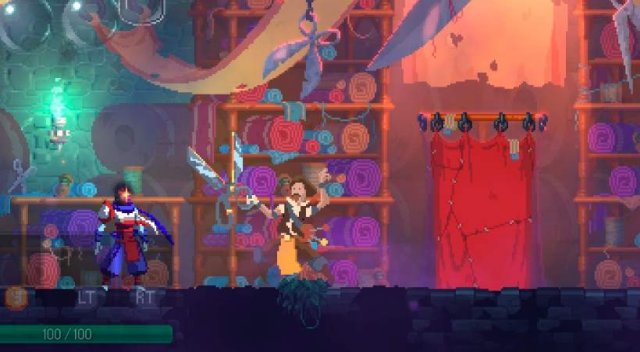
The tailor is located downwards from the Prisoners quarters just below the daily quest. In here you can equip cosmetic outfits you’ve researched.

The Collectors Room

The collectors room appears before every stage and offers a variety of features to the player.

Door challenges

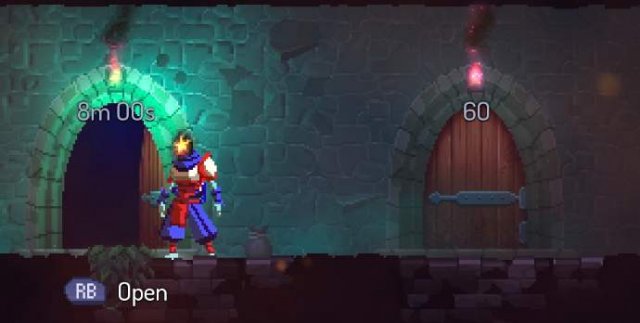
Completing a mission under a certain amount of time or killing x amount of enemies with no damage taken will unlock doors between stages that offer small rewards.

Cell upgrades

The collector appears between every stage and offers upgrades for cells found from dead enemies. Most equipment and weapon unlocks require blue prints to be found in stages or from dead bosses/enemies. You wanna invest in upgrades for your hp potion for more uses and to unlock more items for use in runs.

Gullian

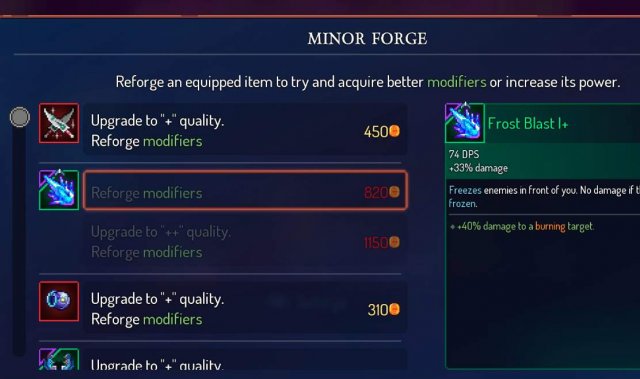
Sits to the right of the collector and offers reforge and mutations. You can reroll stats on weapons/equipment for gold. Handy if you like a certain item and need it stronger.

Mutations

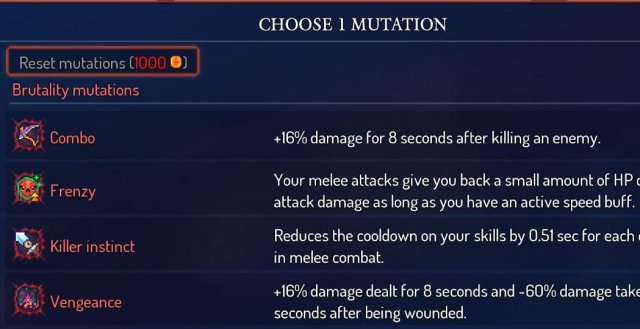
Choose mutations for the build you wanna use during the run. You can reset these with gold. Mutations are split up into brutality, tactics and survial. They scale with scroll upgrades.

Heal orb

The orange health orb will refill your health potions between stages and grants full health on use.
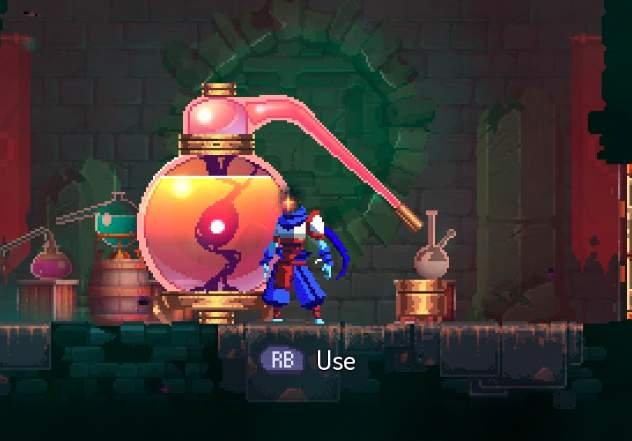
The blacksmith

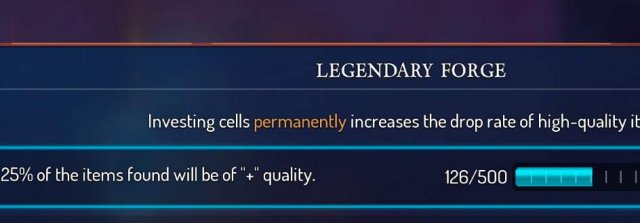
The blacksmith only appears in the collects room once you have passed about three stages. The blacksmith allows you to spend cells to grant a better chance at getting a higher rarity on items that drop during runs.

Stages

Normal run stages

  • Prisoners quarters.
  • Promenade of the condemned.
  • Toxic sewers.
  • Ramparts.
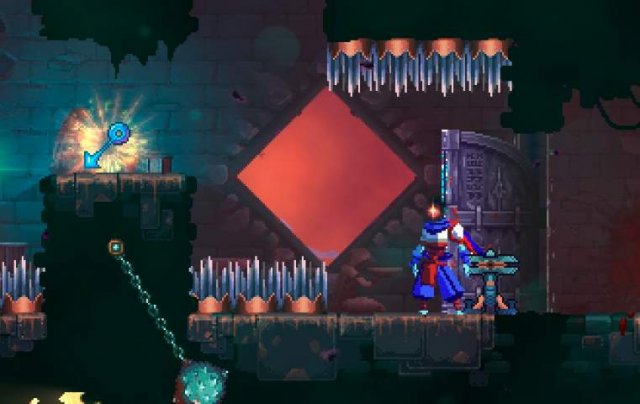
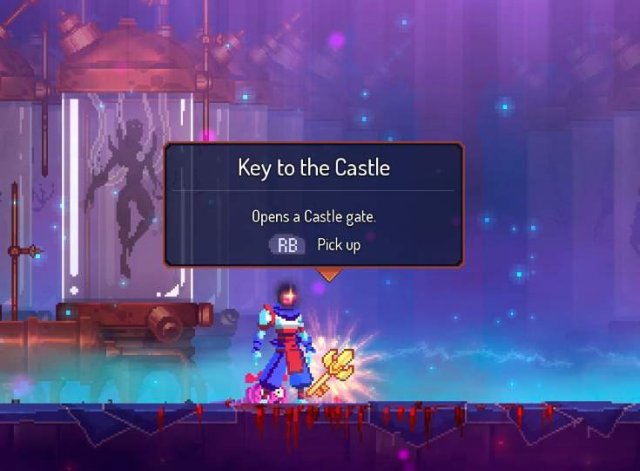
  • Stilt village (You must find two keys in this stage).
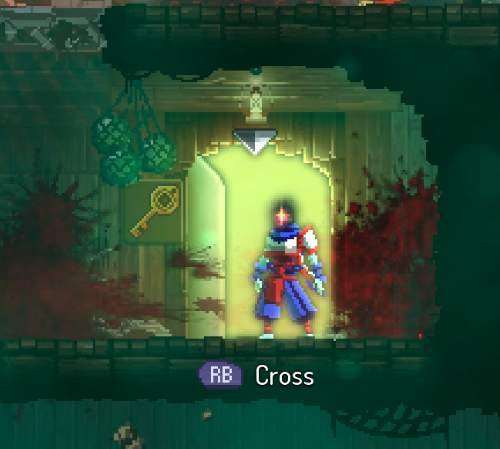
  • Clocktower (You will need to locate a key in order to proceed normally).
  • High peak castle (You’ll need to find two keys).
  • Throne room.

Optional stages

Some stages require an out of the way key or rune to access.

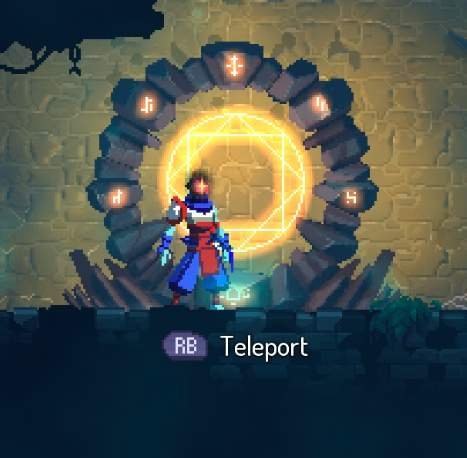
Teleporters

Use teleporters to fast travel around stages to save time.
Shops

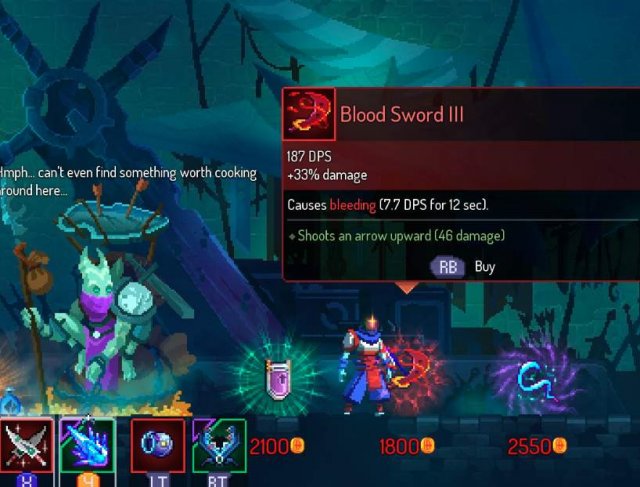
You can find shops in stages that can provide upgrades or the ability to buy an equipment you desire.

Treasure chest

Can be found hidden in stages that grant gear or rare chance an enemy attack.
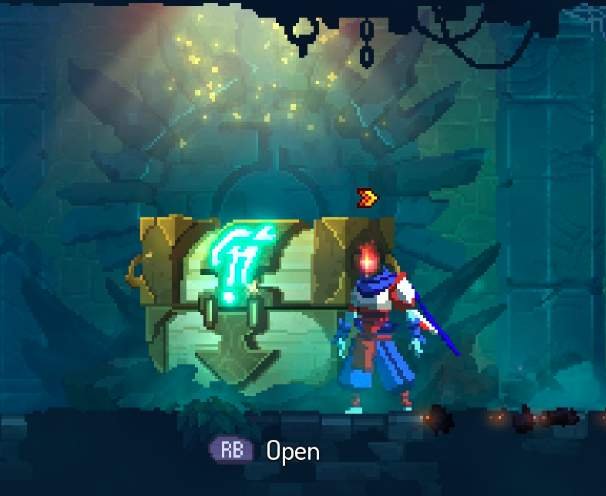
Cursed chest

A cursed chests can be found that grant buffs for a sacrifice, for example 10 kills while you’re a one shot until done.

Interactables

You can examine doors and boxes for text or gold drops. Also some lore can be read here.
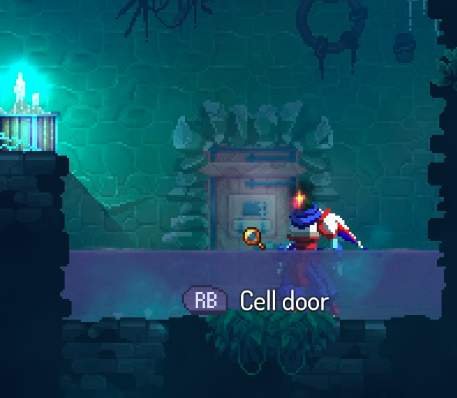
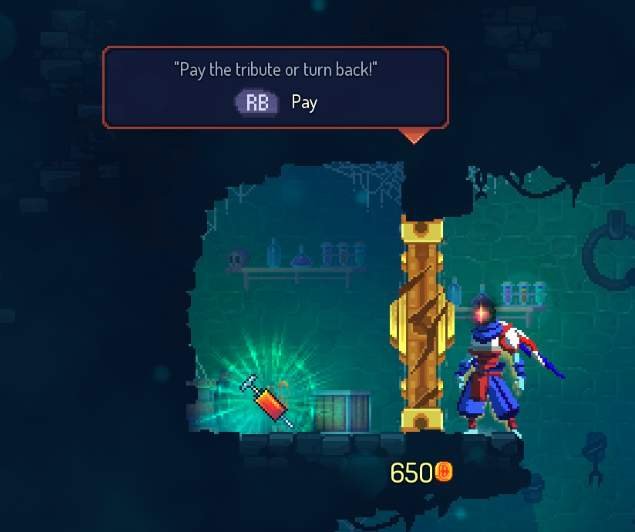
Tribute doors

Pay gold to unlock the door to what ever item or weapon is on the other side.
Elites

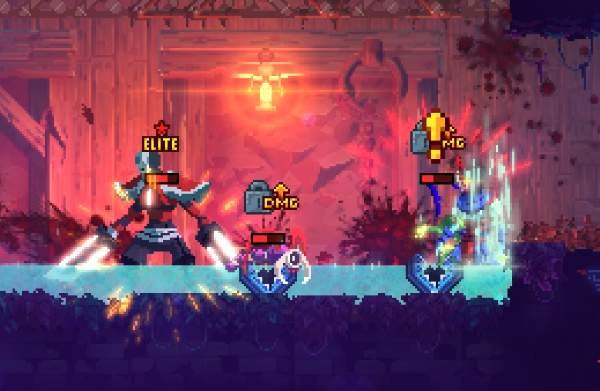
  • Elite enemies are normal enemies but buffed and harder to take down.
  • Elite enemies drops cells and certain stages a rune for use.
  • The castle has two elite enemies that’re needed to be killed to progress.
  • You can tell they’re elite because of the tag above their heads.
Bosses

Dead cells has three main bosses that you don’t need to do anything extra to reach.

Conjunctivius

Accessed from the sewers and then the crypt.

Mama tick

  • Apart of the bad seed DLC.
  • Head to the banished and then the nest.
  • You must kill mushroom boi.

The giant

  • Unlock the gate to the cavern found in the grave yard.
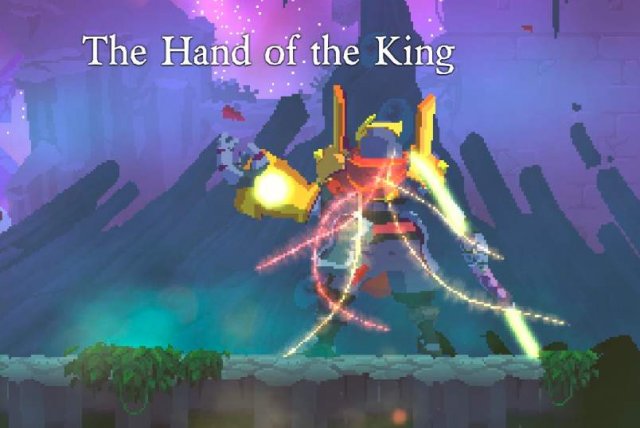
  • Kill the hand of the king.
  • Guardian heaven.

Runes

Runes provide extra abilities to traverse stages or find loot. Some runes will need you to go out the way to get.

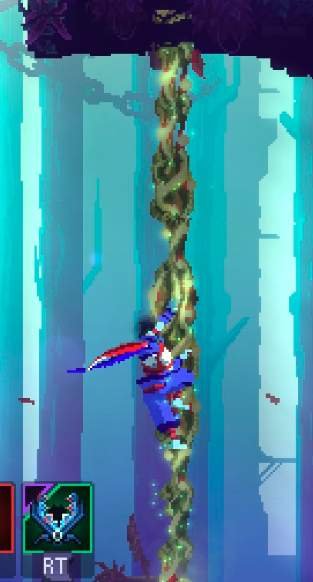
Vine rune

Allows you to traverse on a vine from the ground.
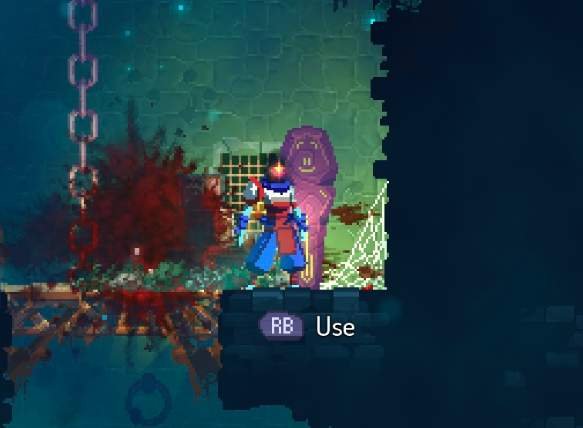
Warp rune

Allows short range warp from one of these statues.
Challengers rune

Opens the daily quest door in the prison quarters.

Ram rune

You can break certain parts of the ground.

Spider rune

Allows the use of wall climbs.

Homunculus

You must kill the hand of the king. You can use your head to go into certain areas.

Customization rune

Unlocks custom mode in the main menu.

Explorers rune

Shows points of interest on the map.

Mutations

Brutality

  • Killer instinct – Reduce skill cooldowns with combat.
  • Combo – Get damage boost after a kill for x seconds.
  • Vengeance – Get damage boost and x damage reduce for x seconds after taking damage.
  • Open wounds – Inflict bleeding.
  • Tainted flask – Using health potion adds base damage for x seconds.
  • Soldier res – Increases health and gives res to malaise.
  • Adrenalin – Melee attacks give health back.
  • Frenzy – Health on melee if speed boost.

Tactics

  • Hunters instinct – Reduced cool down with non melee kills.
  • Support – 10% base damage near deployable.
  • Parting gift – Drops bomb on non melee kill.
  • Tranquility – Base damage increase if not in combat.
  • Ripper – Melee attacks cause arrows to come out enemy.
  • Scheme – Next melee att after skill is damage increase.
  • Inititive – First melee attack does more dps.
  • Predator – Killing enemy with melee makes u invisable for x sec.
  • Networking – Enemies with arrows in them share dps.
  • Crows foot – Rolling leaves leaves behind that do damage.
  • Tactical retreat – Dodging attack last minute slows the enemy.

Survival

  • Blind faith – Reduce cooldowns with parrys.
  • Counterattack – Following attack after parry is increased dps.
  • Extended healing – Your flask does more and does dps.
  • What doesn’t kill me – Recover health after parry.
  • Necromany – Get health back on kill.
  • Gastronomy – Effects of food do more.
  • Spite -Parrys inflict damage.
  • Frostbite – Enemies take damaged when slowed.
  • Heart of ice – Striking frozen enemy reduces cooldowns.

General

  • Master arms – Reduce cool downs on critcal hit.
  • Ammo – X2 ammo.
  • Li ox – Saves you once.
  • Recovery – Time to get health back is increased.
  • Emergency – Potions do less but much faster and invunerable.
  • Velocity – Running speed bonus.
  • Dead inside – 50% health and food no longer works.
  • Alienation – Curses give back health.
  • Acceptence – Killing enemies reduces curse but eating gives curse.
  • Masochist – Trap damage is capped and speed boost.
  • Disengagement – Shield when below 20% but has cool down.

Bonus Beginners Tips

Gameplay

  • Explore the whole biome, you will find more scrolls, money, cells, food, items, blueprints, and more!
    • There are rooms called “lore-rooms(usually indicated by a light-blue colour on the map), interacting with those can give you money, food, weapons, amulets or blueprints.
    • Look for leaves in the walls while exploring! These are often a hint for secret zones. You can roll through one-tile-tall gaps and the leaves are used to hide these one-tile-tall pathways.
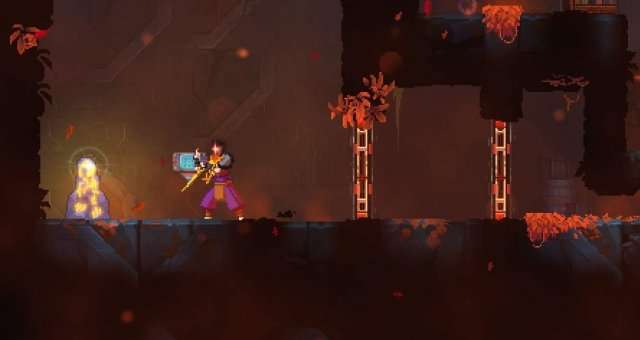
    • You might find a Legendary Altar while traversing through a biome (it looks like a golden bubble with lines that connect to enemies). Upon killing the nearby enemies that it is protecting, you’ll be able to pick up the (usually strong) legendary item on top of the altar!
    • Switch up your biome choices! You might come across something you’ve missed before (like Runes or blueprints) and at the same time get to enjoy more biomes. They all have great music too!
      • This might prevent burnout & boredom that originates from taking the same path every single time, which is especially common in players that try to min-max by taking only the “best route” (which doesn’t really exist either as it really depends on your build, your personal preference and your situation).
      • If you want to prevent burnout and think Dead Cells is worth the money, then go ahead and buy some DLCs. They’re worth it and add quite the variety.
  • Search for Secret Rune Markings in the floor and walls, they contain money and food.
    • There is a special Secret Rune Marking that opens a Challenge Rift (this one can only be found in the ground and has a 20% chance to appear per biome). These are very worth it because they contain a Power Scroll, 5-180 cells (depending on where the Rift is found and the difficulty) and an amulet!
  • Kill every enemy! They drop money, cells, food, items & blueprints. You’ll also get familiar with the enemies which will help you with higher difficulties.
  • Don’t spread stats. This is one of the biggest beginner mistakes you can make!
    • Invest all scrolls into your main colour, every scroll should be invested into one colour (e.g. instead of 8-8-8, go for 16-4-4)!
    • The scrolls that you can’t put into your main-stat should go into health, there is no benefit in neglecting one of your two off-stats. This will grant you more health, which is a nice bonus (16-4-4 is better than 16-1-7).
      • Splitting stats was a viable strategy before the 3.0 version because legendary items scaled with your two highest stats, but this has changed since then!
    • Spreading stats is bad due to the nature of the damage & health scaling. Your damage rises exponentially if you invest stats into the same colour, but health on the other hand has limited returns and eventually will stop increasing your health.
      • Each scroll adds +15% damage, so your current damage will double after every 5 scrolls in your main stat! (Example with 1, 6, 11, 16 & 21 stats: 100 → 201 → 405 → 814 → 1637)
      • The enemies can’t attack you if they’re already dead! You will have more DPS, progress faster and get hit less often.
      • Boss fights will take more than 5 minutes (probably even longer) if you spread stats. That’s a huge disadvantage when you compare this to builds that can melt bosses in mere seconds!
    • Don’t change your main colour during a run, you should commit from the start. It doesn’t matter if you find your favourite weapon if it’s off-colour (aka. if it doesn’t scale with your main-stat), changing your main-stat in the middle of a run will most likely give you a harder time.
      • Side note: Enemies don’t scale with the amount of stats you have (since 1.1 at least), that’s why there is no downside to picking up every scroll.
  • Dodge enemy attacks, getting hit in this game is very punishing! Prioritise not taking damage over dealing damage, face-tanking (getting hit without caring about dodging) isn’t ideal!
    • There are attack cues! Watch out for the yellow exclamation mark and the red aura around the exclamation mark, that symbol appears in the moment before the enemy attacks and it’s very useful for timing your parries or for dodging!
    • Rolling gives you I-frames, you should practice using your roll and use it more effectively in combat!
    • There are multiple forms of dodging, combine them to master the art of dodging!
  • Get the No-Hit Doors, they force you to practice not getting hit and reward such a playstyle.
    • Time Doors aren’t worth rushing for, you want to get everything from a biome (Scrolls, Money, Cells, Items, Blueprints, Food, etc.). You should rather focus on the killstreak doors, that will also help you with not getting hit in the future. Even 5BC players skip the time doors if they would have to rush a biome for it.
      • Biome Killstreak & Time Doors have the same rewards (20 cells, some money and a 3-choice-altar with either 3 items or 2 items & 1 amulet).
      • Besides the 20 cells & extra money, Boss Flawless Doors also contain a random legendary item from your item pool instead of a choice altar.
    • Get these blueprints from some of the Time Doors & ignore them afterwards:
      • Assault Shield: 2 minutes door to Promenade of the Condemned
      • Frenzy: 2 minutes door to Toxic Sewers
      • Marksman’s Bow: 8 minutes door to Ossuary (from Promenade)
      • Root Grenade: 15 minutes door after Concierge
  • Use your skills, they are not consumables! It’s free damage for both biomes and bosses.
  • Have a source of AoE damage (usually from skills) to deal with groups of enemies.
    • Some great burst damage AoE skills are Knife Dance & Lacerating Aura.
    • You can use a source of CC to prevent getting overwhelmed by enemies (e.g. Ice Grenade, Root Grenade, Ice Shards, etc.).
  • You should upgrade the quality of the items that you want to keep in your run. Upgrading the quality of an item (blank → + → ++ → S) at the Blacksmith’s Apprentice won’t change the weapon’s current affixes, but it will increase the internal level of the item by 2 per quality increase!
    • Don’t upgrade the quality of early-game items.  Items you find before the 1st boss can usually be replaced by higher level stuff quickly, which you can upgrade instead. The only exception is if you found an item with great affixes that allows for synergies.
  • There are many different types of weapons, some of them can be upgraded and others have unique characteristics:
    • Two-Handed: Some weapons will take up both weapon slots (e.g. Crossbows, Hard Light Sword, Scythe ClawsTBS, Ferryman’s LanternFF).
    • Dual Scaling: Some items can scale with two different attributes! Sadist’s Stiletto for example scales with two colours, Brutality and Tactics. But this doesn’t mean that both stats contribute towards the damage output. Only the highest stat takes priority! If you are at 9-8-2, then only 9 stats will count; If you’re at 8-8-2, then only 8 stats will count.
      • They work like normal items for the most part and can be found anywhere. The dual-scaling characteristic is hand-picked by the devs!
    • Colourless: These items can do everything that a normal item can do, the only difference is that they can scale with any stat due to the “colourless” affix. A colourless Sadist’s Stiletto (normally scales with Brut/Tact) can now scale with Survival as well!
      • They are dropped from Cursed Chests or the Collector when you unlock a new item.
    • Legendary: These items are usually very strong and they have multiple unique characteristics:
      • Can’t be upgraded (they already have an internal S-quality level).
      • All legendary items also have the “colourless” affix.
      • Each legendary item has a hand-picked legendary affix that can’t be re-rolled.
      • You can equip the same item twice if one of them is legendary (it’s not possible otherwise).
      • You can find items you haven’t yet unlocked (even if you don’t own the respective DLC) as a random legendary!
  • Don’t use two primary weapons! This isn’t ideal because most of the time they won’t synergize with each other (there are some exceptions, but this is the general rule). Having a secondary weapon to increase your DPS or using a shield to parry attacks is often better.
    • Shields enable you to play more aggressively, utilise your roll to shorten the distance to enemies and reflect attacks for additional damage/effects. When using a shield, always prioritise parrying over blocking!
    • Weapons with DoT effects (like  Throwing Knife or Hokuto’s Bow) are considered to be secondary weapons that enhance your damage output due to their short attack animations and/or the passive damage bonus they add.
    • Other items with CC effects (like Ice Shards or Frost Blast) are also secondary items because of the help they provide.
  • You should store weapons that you consider using in your backpack.
    • You can’t store two-handed weapons or the GiantkillerRotG in your backpack.
    • You will still die in one hit with the Cursed Sword in your backpack.
  • Don’t compare pure DPS numbers or item levels! Affixes, synergies and familiarity will have a bigger impact than a higher level or a bigger DPS number.
    • Aim to upgrade your loadout throughout your run by either buying items from shops (the item level bonus from shops is great) or picking them up from enemy/boss drops. Relying on a lvl 1 weapon when facing the final boss isn’t exactly ideal.

Upgrades

  • Get all Runes & Permanent Upgrades (Flasks, Starting Gear, Spider Rune, etc.) as quickly as possible!
    • General priority order for the general upgrades (most important to least important depending on the impact of the upgrades):
      • Flasks 1-4
      • Random Starting Items / Recycling Tubes / Recycling 1-2 / Restock / Merchandise Categories / Backpack / Starting Gold 1-5 / Specialist’s Showroom; (Honestly, all of these are great!)
      • Hunter’s Mirror / Advanced Forge 1
    • Unlock all runes, there are only 8 and all of them improve the quality of your runs by letting you find more items, access different biomes and use more movement related strategies!
      • Having all four flasks and being able to climb walls with the Spider Rune are the most important unlocks you can get!
    • You need to find specific permanent upgrades before you can unlock them:
      • Merchandise Categories – (Behind a door in Graveyard; Requires Architect’s Key)
      • Advanced Forge I – (Dropped by Conjunctivius on the 6th kill)
      • Gold Reserves 5 – (Found in a secret area in Ancient Sewers; Requires Homunculus Rune)
      • Recycling Tubes – (Beat The Hand of the King on 1BC+)
  • Priority-order to spend cells: Weapons, Skills, Mutations & Permanent Upgrades > Forge >>> Outfits
    • After unlocking enough, focus on upgrading the Legendary Forge! That’s very important to not feel behind in damage!
      • The bonus from gear quality is a game changer: + adds 2 levels, ++ adds 4 levels & S adds 6 levels!
      • This bonus is added to a weapon, V++ (level 5++) is the same as IX (level 9).
    • You still should unlock what you want to unlock, don’t force yourself to unlock stuff that you don’t want to unlock! (Maybe you want to unlock an outfit instead? Just get that drip and don’t listen to me!)
  • Don’t leave blueprints at 1 cell, a bigger item pool means more possible synergies & fun!
    • You can disable weapons & skills that you don’t like in Custom Mode. This isn’t considered “cheating”, feel free to experiment! But beware, some settings disable achievements. There usually will be a red message in the bottom right corner of the screen (in the section where you can start the run) that lists all the options that disable achievements if you have turned some on.
      • Having less than 20 items enabled also locks achievements.
      • You can still unlock Boss Cells even with achievements locked.
      • Aspects will hinder you from unlocking the next Boss Cell & they’ll lock boss flawless achievements! You can still make permanent progress with Custom Mode & Aspects.
  • Do Daily Challenges to unlock unique items! You’ll receive blueprints for your 1st, 5th & 10th completion (only one win per day counts, it doesn’t have to be back-to-back):
    • Swift Sword (1st completion)
    • Lacerating Aura (5th completion)
    • Meat Skewer (10th completion)
    • Daily Challenges reset at midnight UTC+1 time (aka. CET, but not CEST).
      • Current UTC+1 time

Learn

  • How to dodge correctly!
    • Parrying: Tapping the shield button in the right moment will deflect most enemy attacks and deal damage to the parried enemies (even projectiles can be parried). It’s a skill that needs to be practised by learning enemy attacks (attack cues, wind-up length, combo, unparryable attacks, etc.) but it can enable you to play way more aggressively.
    • Blocking: Holding the shield button will reduce the damage from the incoming attack by ~75% (varies between shields) and deal damage to the blocked enemy (even projectiles can be blocked).
    • Rolling: Usually used to dodge enemy attacks because of the invincibility-frames it provides. Often it’s better to roll through the attacking enemy (though there are quite a few exceptions and some attacks can’t be rolled). Can also be used to roll into the range of an enemy but then the roll will be on a short cooldown and can’t be used to dodge an incoming attack.
    • Jumping: Some attacks can’t be parried or rolled (e.g. “Ice Spikes” from Slammers), so double-jumping comes into play. Besides that, jumping can be used if the roll is on a cooldown. You can jump above many attacks as hitboxes usually have a short vertical reach!
    • Ducking: This is a niche way to dodge attacks, it can be useful in some niche situations (e.g. arrows from an Archer) but won’t be needed all too often. 
    • Walking: Simply walking away works in some cases with short-ranged attacks! Side-stepping might be a better answer to an attack if you want to save your roll!
  • How to use your map for navigation! Open your map and check where you haven’t been yet or if you forgot to pick up some items. The Explorer’s Rune helps with this!
  • How to use synergies & build around them (e.g. one of your skills inflicts bleeding, your weapon has +60% against bleeding targets. Bam, synergy!)
    • Affix synergies is one of the most important mechanics in this game, you can increase your damage drastically if you understand how you build around affixes!
  • How to use Recovery/Rally: An orange health bar appears after getting hit and it shrinks slowly (it will replace the lost portion of your green HP). Deal dmg to restore some of your HP while the orange bar is still there!
    • Sometimes confused with the orange bar above your HP (aka. the Malaise bar).
Volodymyr Azimoff
About Volodymyr Azimoff 8048 Articles
I love games and I live games. Video games are my passion, my hobby and my job. My experience with games started back in 1994 with the Metal Mutant game on ZX Spectrum computer. And since then, I’ve been playing on anything from consoles, to mobile devices. My first official job in the game industry started back in 2005, and I'm still doing what I love to do.

Be the first to comment

Leave a Reply

Your email address will not be published.


*