
Here is the guide for pilots who can’t shoot good and want to be good at winning fleet battles. Also it will teach pilots of all ages everything they need to know to learn to be a professional Imperial TIE Pilot in Fleet Battles.
Contents
Guide to Fleet Battles
All credit goes to SD Water!
In The Hangar
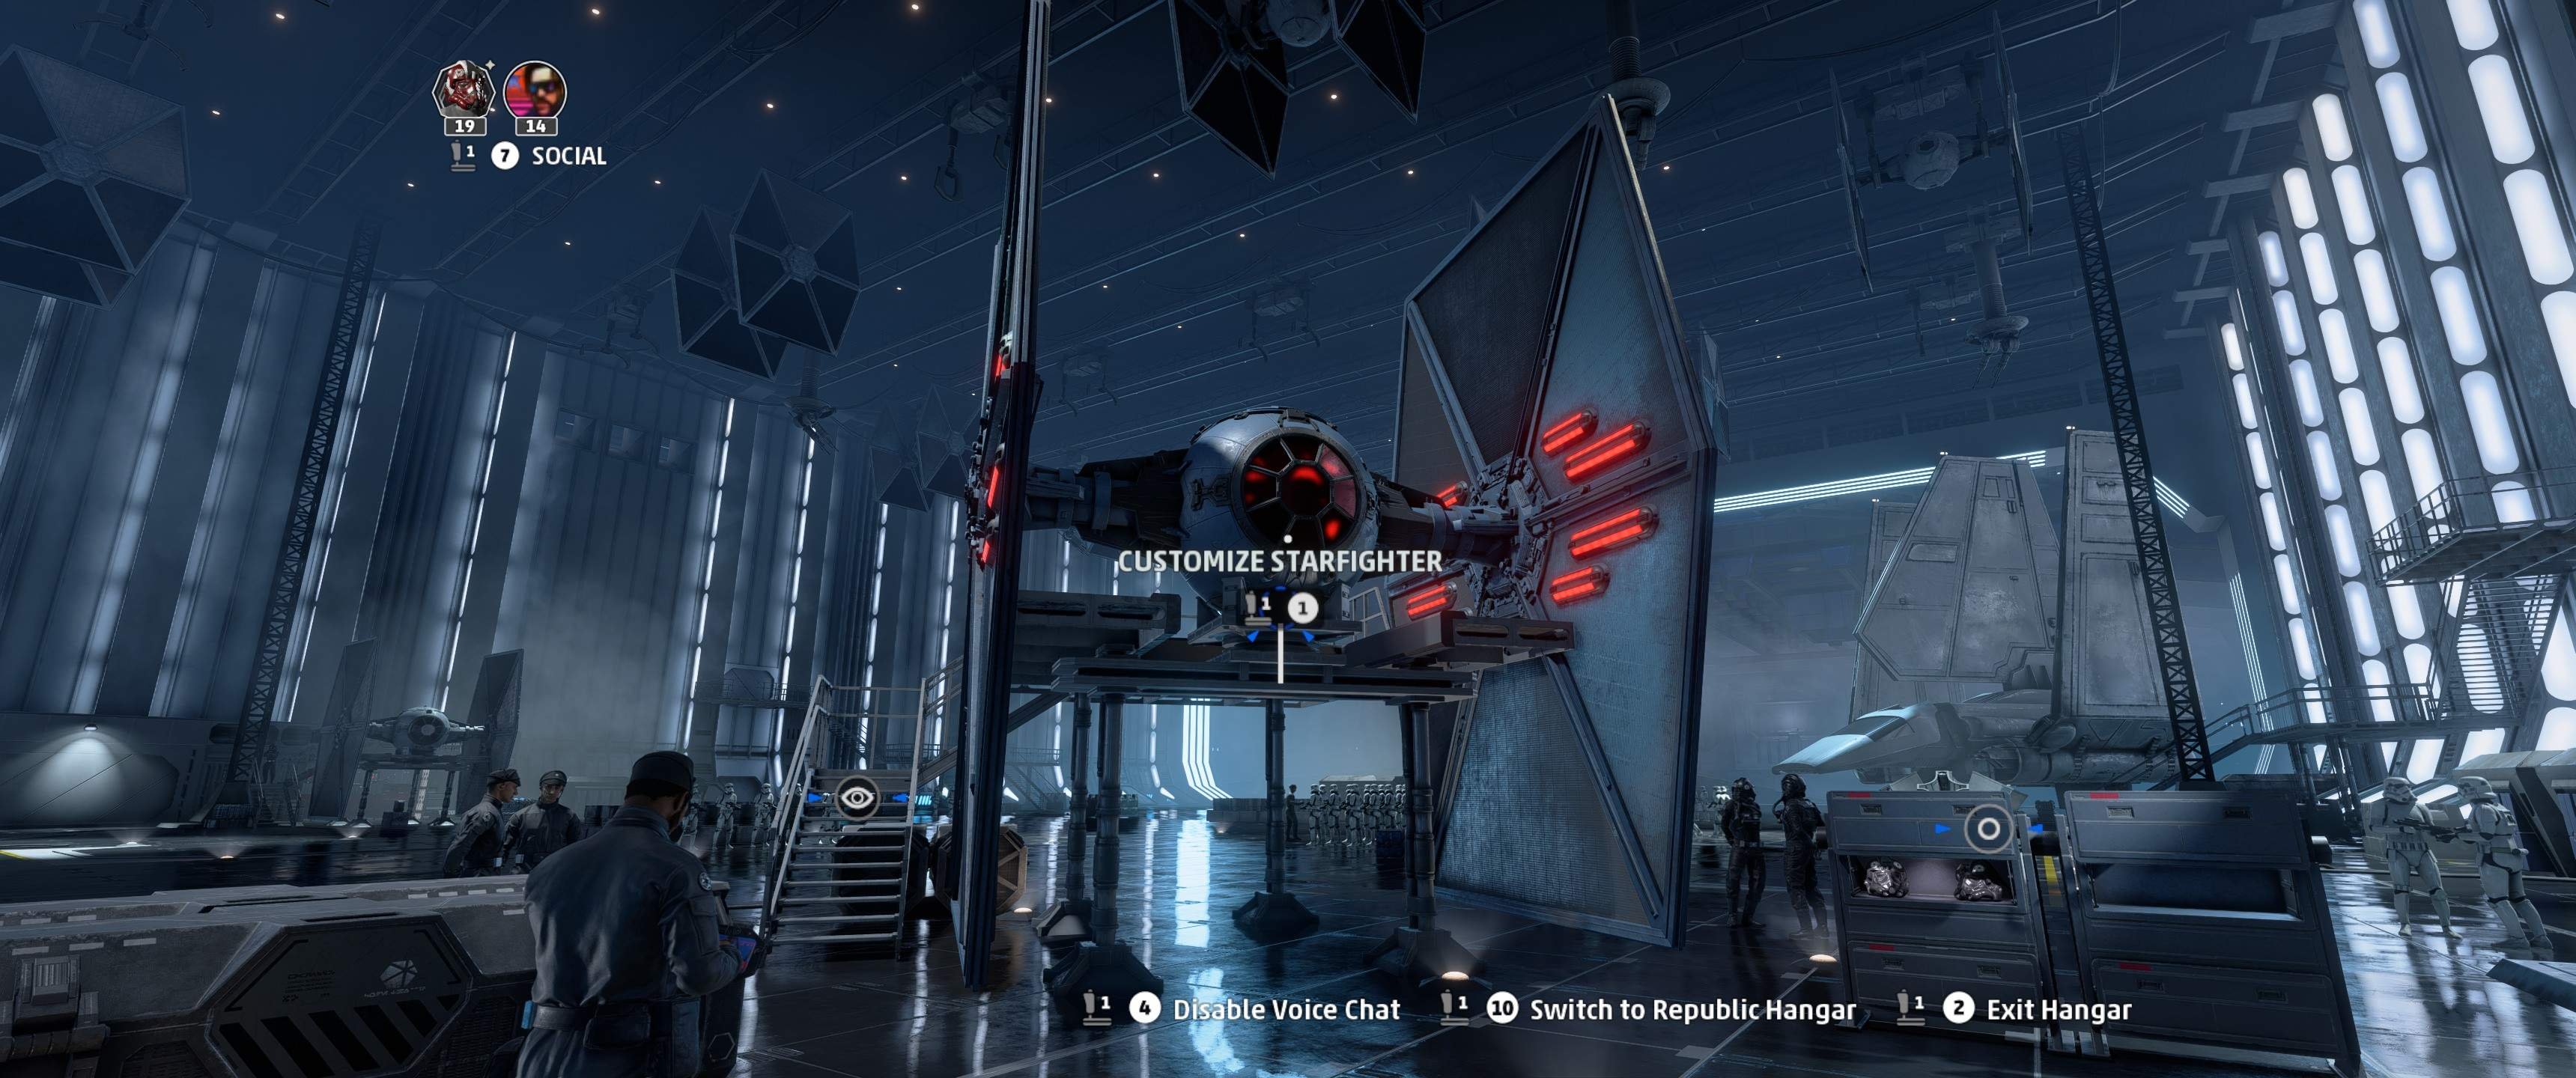
A successful mission begins with a capable ship. Ideally you want to coordinate with your team to see what they plan to flight out in, and pick accordingly. However, this might not always be a sure thing, as you’re playing solo or have RANDOMS on your team. No worries, because you’ll have a ship ready for any situation. Here are some quick suggestions based on their purpose.
TIE-Fighter
This is going to be your all-rounder. Since it’s solid at doing the two things you’ll want to be doing, have two loadouts set-up: one for taking out capital ships and subsystems of the flagship, and one for taking out fighters and bombers.
TIE-Bomber
People are arguing that this is the best ship in the game due to what it brings to the table. The Rotary Laser Cannon is easy to lead with since it paints a straight line ahead of you. It also deals solid damage and just feels oh so satisfying. This, the SLAM Engine for boost gathering, and the Reinforced Hull are must-haves for bombing runs. You’ll be slow, with a top speed of 91, but with the SLAM Engine you’ll have the boost to get to your target.
TIE-Interceptor
This is for taking out enemy fighters. It doesn’t excel as well as the TIE-Fighter for taking AI ships out from a distance, but it will tear up a named enemy fighter if you can tail them long enough. The Rapid-Fire guns are attractive but require being right on the enemy, and the Onslaught Rockets are absolutely the best Auxiliary Fire weapon in your arsenal. Don’t bother with the Repair Droid, as you should have a Reaper out supplying heals.
TIE-Reaper
This is your healer. You should be rocking the SLAM Engine to maintain the boost necessary for jetting over to friendlies and supplying them with the heals they need to stay out dog-fighting. Have another loadout (can even be the same loadout) for following the bomber on their bombing runs. The Ion Torpedo is a must-have for this and the TIE-Fighter on bombing runs so you can take the shields out of the Corvettes and capital ships.
With this in mind, it’s time to move onto the Fleet Battles themselves.
Fleet Battles – Phase One
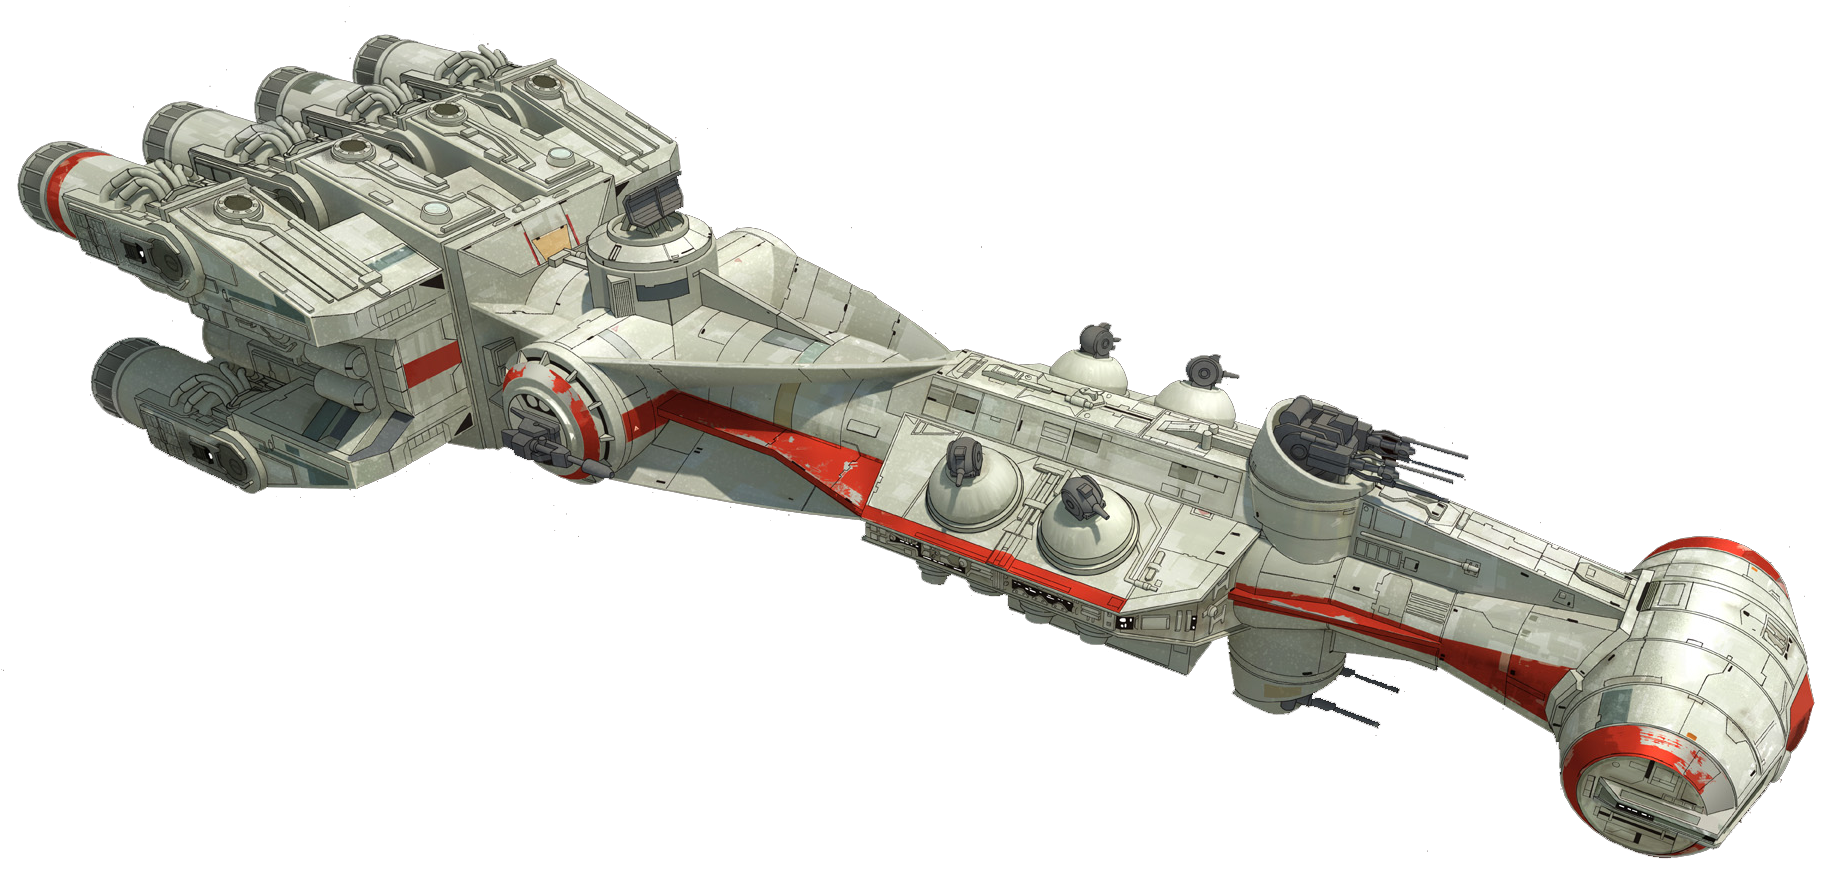
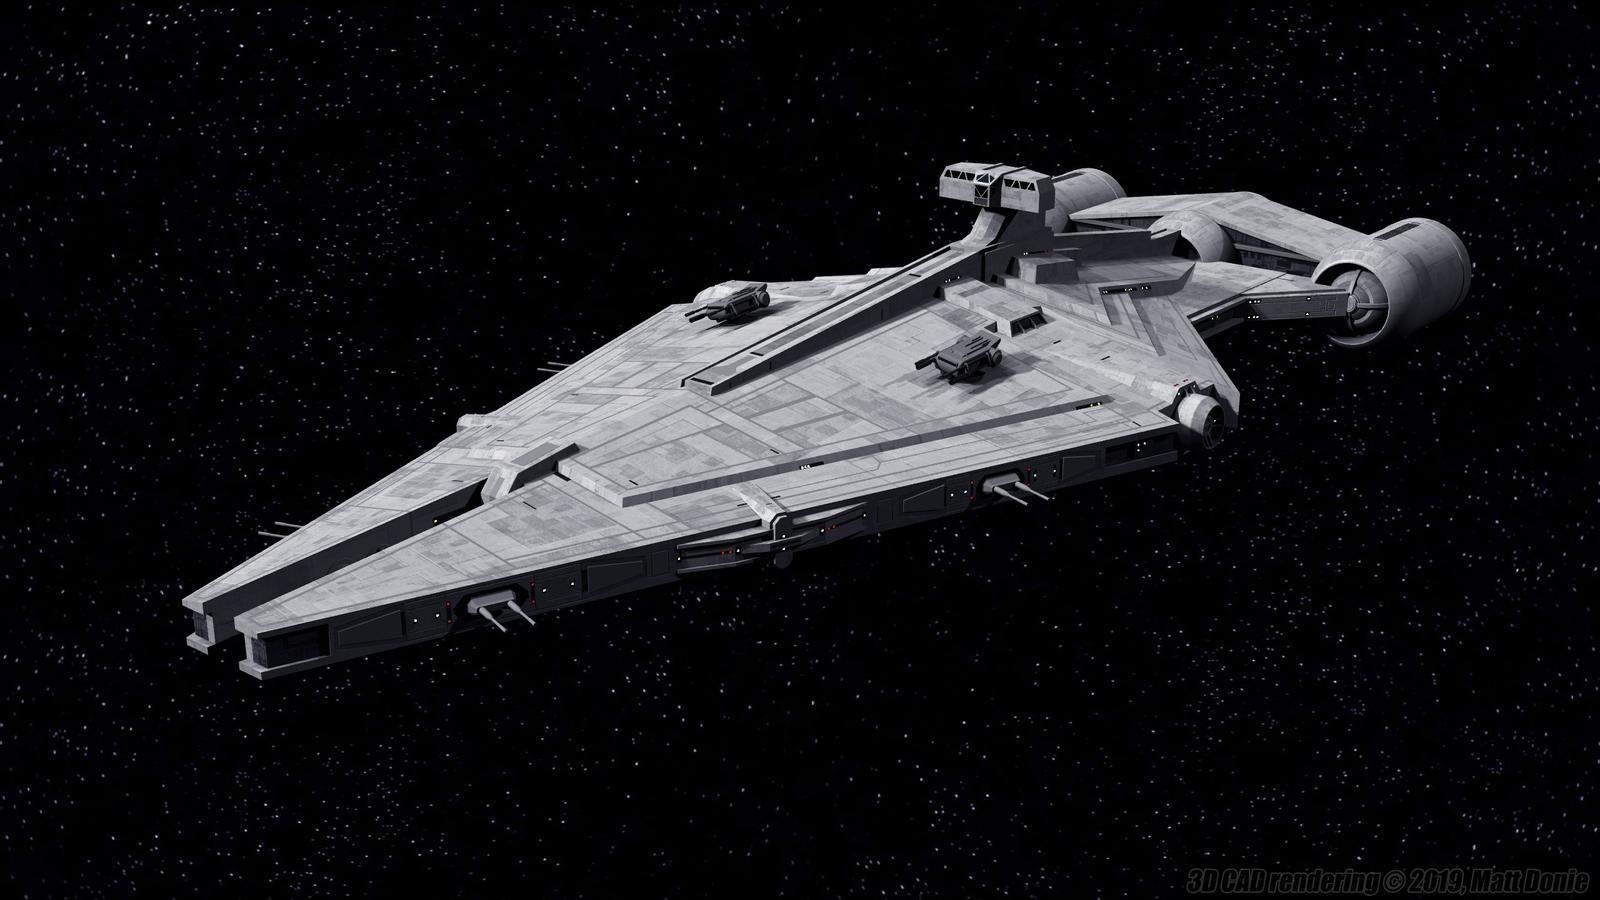
This is going to be the phase that takes place immediately after leaving the Star Destroyer. You will either be in one of three roles in this phase: dog-fighting, bombing, or supporting. Your goal is to destroy the Rebel Corvette before it can reach your capital ships, as well as defeat enough fighters to secure morale and defend your Raider.
Dog-Fighting
You’ll want to bring a TIE-Fighter or TIE-Interceptor for this. Your soul mission is to defend the Raider, which means your ideal targets will be shared among you and your wingman (the other pilot that is dog-fighting). Together, your focus should be on bombers, then the other fighters, but stay near your Raider so that you have proper support. Ideally, the bomber will not be able to handle the assault and will be taken out before they can do sufficient damage to your Raider. Your other target will be their Support Ship (U-Wing) if they bring one. Despite its defense, it shouldn’t be able to stand up to the both of you. Your mission is done once the Corvette is destroyed or you’re given the fall-back order after losing enough morale.
Bombing
You’ll want to bring a TIE-Fighter or TIE-Bomber for this. Ideally a bomber, but the TIE-Fighter has a much better escape potential than the TIE-Bomber does. Your soul mission is to destroy the Corvette. Take a scenic approach, unless you’re in open space with no obstacles to travel around, and even then fly on the outside of the formation. You’ll have the TIE-Reaper with you for support, and will be able to help with the dog-fighting while the TIE-Reaper fires Ion Torpedoes on the Corvette. Once hit, the shields will be either weak enough to dispel with the Rotary Gun/Burst Lasers, and only after the shield is down should you fire your payload into the Corvette. Beam and missiles, while all your energy is put into your weapons. Should you not have the luxury of a TIE-Reaper’s Ion Torpedoes, you can fly close enough to be under the ship’s shield entirely, bypassing it completely. It requires a bit of skill but with a Reinforced Hull a TIE-Bomber should be fine. Your mission is done once the Corvette is destroyed, even if you have to respawn and try again.
Supporting
You’ll want to bring a TIE-Reaper for this. Your soul mission is to supply heals for the team, and fire your Ion-Torpedoes into the Corvette. Make sure your aim isn’t or won’t be blocked by terrain or your own Raider. Once hit, continue firing into the shield until it is down. After, focus fire onto the other fighters and continue providing support until Phase Two. Your mission is never done.
Once your mission is done, proceed to Phase Two.
Fleet Battles – Phase Two
This is going to be the phase that takes place immediately after the Rebel Corvette or the Imperial Raider is destroyed. It consists of attacking and defending capital ships, and has a very similar pattern to Phase One. The Morale Meter at the top of the screen will let you know where you should be at any given time.
Attacking
Attacking follows a very similar formula to Phase One. Here are some guidelines when making attack runs.
- If you’re bombing, try to fly in fast with boost and come to an all-stop in a way that puts you under the shields of the capital ship. If you have support, wait for their Ion Torpedoes to penetrate the shields of the capital ship first, and if they have no shields, deliver your payload as distanced from it as possible.
- If you’re dog-fighting, stay by your Raider so that you have its support. Whether or not you have a Raider to support you, always stay by one of their capital ships. This will put you out of range of the other. Focus fire on other enemy fighters and keep an eye on your bombers as they will be drawing a lot of fire, especially in AI Battles.
- If you’re supporting, try to stay moving. Your Support Droid has a pretty good range, and doesn’t require you to be too close to the needy ship you’re helping. Use a SLAM Engine so that you always have boost on standby, and if you need to duck out that is one less ship for the enemies to destroy.
- One ship should be destroying AI non-named X-Wings. This will keep Morale up as high as it can be, and provide more bombing runs for the bombers who will inevitably die on their bombing runs.
- Remember that any damage to the capital ships is good, but you can fire on opportune targets on your way there.
- Always keep an eye on the Morale Bar, and if it’s ever 3/4 the way to your side, it’s best to halt your assault and position yourself to defend your capital ships.

Defending
Defending follows a more similar structure to Phase One, however it doesn’t require you to change ships. A bomber taking out enemy bombers and fighters is also very viable. Here are some guidelines for a proper defense:
- Take out the Corvette first. Each time you are put on the defensive, another enemy Corvette will come out of hyperspace and will begin assaulting your capital ships. This is priority one, and done the exact same was as in Phase One.
- Enemies can be seen coming, and often will be coming back from their flagship after swapping to a Y-Wing or X-Wing. You can use your targeting wheel to select “Enemy Squadron” and more readily swap between just them using your Cycle Targets command. An approaching enemy is usually flying straight down your sights, and the distance is decreasing rapidly. Most guns land within 1000m, so begin firing as they approach that number. Their bombers are usually not expecting this, as their focus is on your capital ships, and they can be taken out before ever arriving.
- Try and keep a flight pattern from your flagship to your capital ships, and circling back around quickly in that same motion. This will keep your fire down range and your targets in your sights. Chasing them around your capital ship only invites other fighters to catch you.
- If you’re having a hard time catching the fighters, change targets to the bombers. They will do like you: move slowly and often all-stop right on the ship, asking to be destroyed and wasting morale. If you’re having a harder time with all ships, move to destroy AI ships. This is still necessary for bringing the Morale Bar back to their side.
Once you move to assault their flagship, or retreat to defend yours, you have entered into Phase Three.
Fleet Battles – Phase Three (aka Final Phase)
This is going to be the phase that takes place immediately after destroying the enemy capital ships or suffering the loss of both your capital ships. The phase consists of coordinated attacks on the enemy flagship, destroying its subsystems and turrets, and removing the fighters in your way of that goal.
Priority One – Targeting Systems
On the top and bottom of the Rebel MC75 Star Cruiser are two subsystems that are insanely hard to miss: the Power and Targeting Systems. The smaller of the two, on top of the cruiser, is the Targeting System. This will disrupt several turrets on-board the cruiser and cause them to emit static to symbolize that they’ve been tampered with. This also prevents the cruiser from firing missiles in your direction. It’s probably the easiest to attack since its base at the top of the cruiser counts when fired upon. You can easily slip in under its shield and begin immediately firing at the subsystem from the bow of the ship, unlike the Power System. As before, bring in a TIE-Bomber or TIE-Fighter (with Onslaught Rockets) and take it out within seconds. A TIE-Bomber can take it out faster and has more of a chance of surviving the flight, and a TIE-Fighter can make it there faster but will possibly take two trips depending on how quick the enemy force is to catch on.
Priority Two – Power Systems
The Power System is the large knob on the underside of the cruiser. Destroying this is much safer than the other three subsystems relative to what can shoot you from the cruiser itself, however the shield around the subsystem is quite small and formfitting, and can only be passed by getting really close to the system itself. This is done by a TIE-Bomber or TIE-Fighter very similarly to the capital ships or Corvette, where you boost in and come to a near immediate all-stop once you get close enough. Unload all three of your weapons onto the subsystem, and once it’s taken out, huge sores will appear over the entire surface of the cruiser. These open sores are full of bright, noticeable static, and the only way to heal them up is to fire copious amounts of lasers into them.
Priority Three – Shield Generators
The Shield Generators of the MC75 Star Cruiser are located along its sides, about halfway down the ship. These look like gills, or grills, and can be easily targeted from a distance if the shields are down without much of a fuss. If the shields are up, it’s back to the charging tactic your bombers will love by now. This however will prove difficult, as the ship’s equipped with tractor beams near each generator. If you’re quick enough, a TIE-Bomber with a SLAM Engine and a Reinforced Hull can reach these generators by going full-boost at 2000m out. Once there, you will likely still be caught by the tractor beam. However, if you made it under the shield, proceed to light the generator up. Once destroyed, if you have time, you’ll see a dish on the side next to the generator glowing blue: that’s the tractor beam. You can turn on it next.

Once all subsystems are taken down, the ship is already on its last leg. Fire into the weak points of the cruiser and destroy it for the win. Here are some quick tips to make this phase run smoothly:
- If you have a TIE-Reaper on your team, have it follow you on route to the flagship. Staying right behind you, your bomber will be the first and prioritized target. Once you begin taking significant enough damage, the TIE-Reaper can repair you via drone, and fire Ion Torpedoes very similarly to Phase One.
- Don’t worry about dying. These runs are made specifically to destroy the subsystems, and if you’re doing your job well, you will die a lot.
- If the enemy force is defending too well, try and time your assault with one of the randoms on your team. They want your hard-earned points too, but they only matter if you get a win. Teamwork will keep their fighters off you while you focus on your work.
- If you’re not trying to do the bombing, then follow the bomber in your TIE-Fighter or TIE-Interceptor. You can take on the various enemy ships around the flagship while he does his job on the subsystems.
- You may not get as much credit as those out destroying the enemy squadron ships, but destroying the AI X-Wings provides a much needed morale boost that will allow the bombers to continue doing their job. Just be careful not to follow the X-Wings on their return flight to their flagship.
And that’s it. That’s the cut-and-dry, no-nonsense, foolproof plan for destroying the Rebels in your conquest to keeping the Galaxy a safe place to live. Do keep this to ourselves, because this all applies to them as well. Should they get a hold of it, the consequences could be losing a good 30% of your rank because the ranking system is flawed right out of the box even though several games have implemented the same one for years now.


Be the first to comment