
The Monk Guide
All credit goes to Frezmo!
- Type: DPS
- Difficulty: Very Hard
- Attack type: Melee/Ranged
Do you enjoy being versatile when attacking enemies, the monk may be for you considering he has the ability to both stab enemies with his spear by holding left click as well as throwing magic bolts at the enemy by holding right click. The Monk is a DPS class, meaning that it specialises in dealing damage to enemies and is useful for taking out bosses or enemies with a lot of hit points such as an ogre. Although being a DPS class, the Monk has the ability to place down auras to help defend the Eternia crystals from enemies.
Monk Auras
The monk can summon different auras which effect enemies in different ways (depending on the aura) as they step into them. They drain over time before disappearing which is shown has a health bar as if any other regular tower. However, enemies can not damage these to reduce it’s health, the health will just steadily go down over time with use. Like the Apprentice and the Huntress, the Monks damage aura is elemental damage not generic, meaning some enemies you fight may walk through them without taking damage, however there is a way to stack auras to nullify these enemy resistances which will be spoken about in more detail below. This class has the following auras:
Ensnare Aura
- Level Unlocked: 0
- Mana Cost: 30
- Defence Units: 3
- Attack Distance: On Contact
- Aura Effect: Slows down enemies
This aura has a low mana cost and defence unit cost, this means that you can place quite a few of them armour the map for a small amount of cost to your resources. This trap does not do any damage at all however it debuffs the enemies by reducing their movement speed significantly. This can give you more time to damage them as they make their way to the Eternia crystal you’re defending.

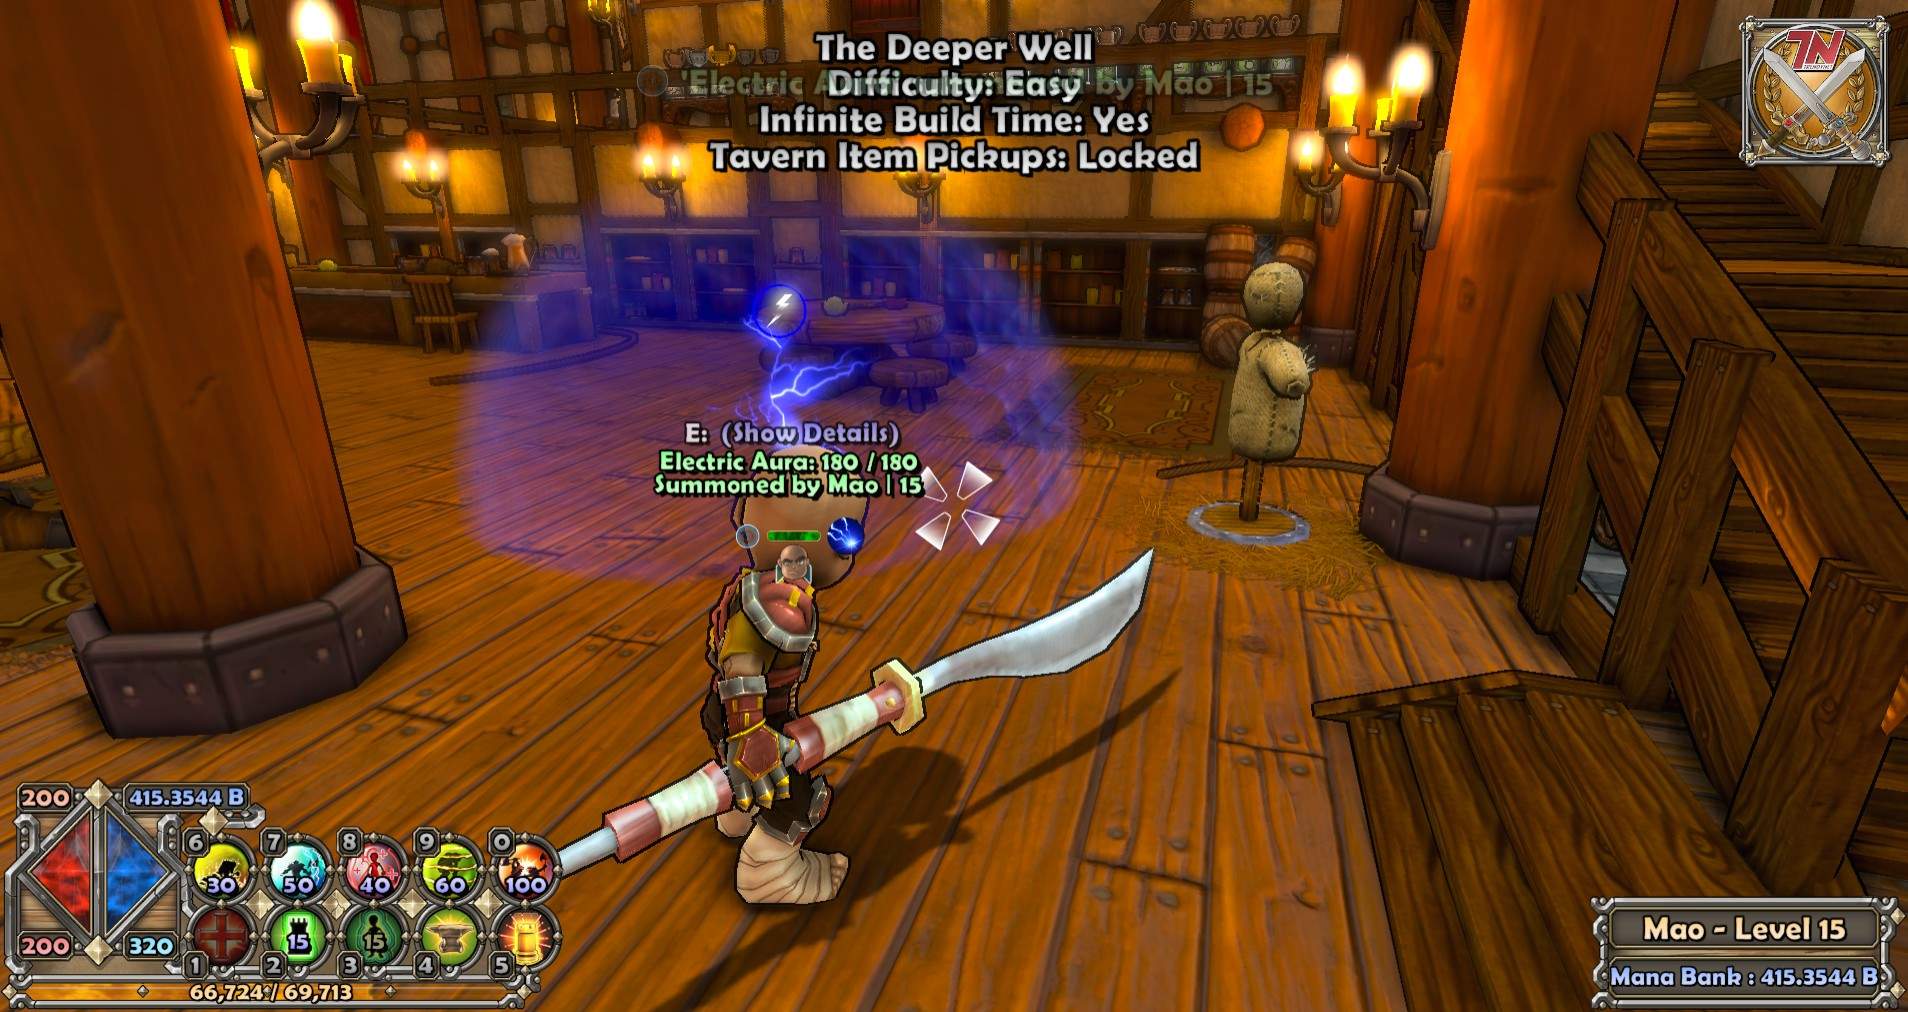
Electric Aura
- Level Unlocked: 3
- Mana Cost: 50
- Defence Units: 5
- Attack Distance: On Contact
- Aura Effect: Damages enemies
This Aura is a bit more costly than the other, however it does lightning damage to any enemies that walk through it. This aura can be combines with the slow aura by stacking them on top of one an other to slow down the enemies as they walk through both auras to ensure that the electric aura does more damage to them as they’re in it for a longer period of time. Keep in mind that some enemies may be resistant and therefore immune to the damage in inflicts.
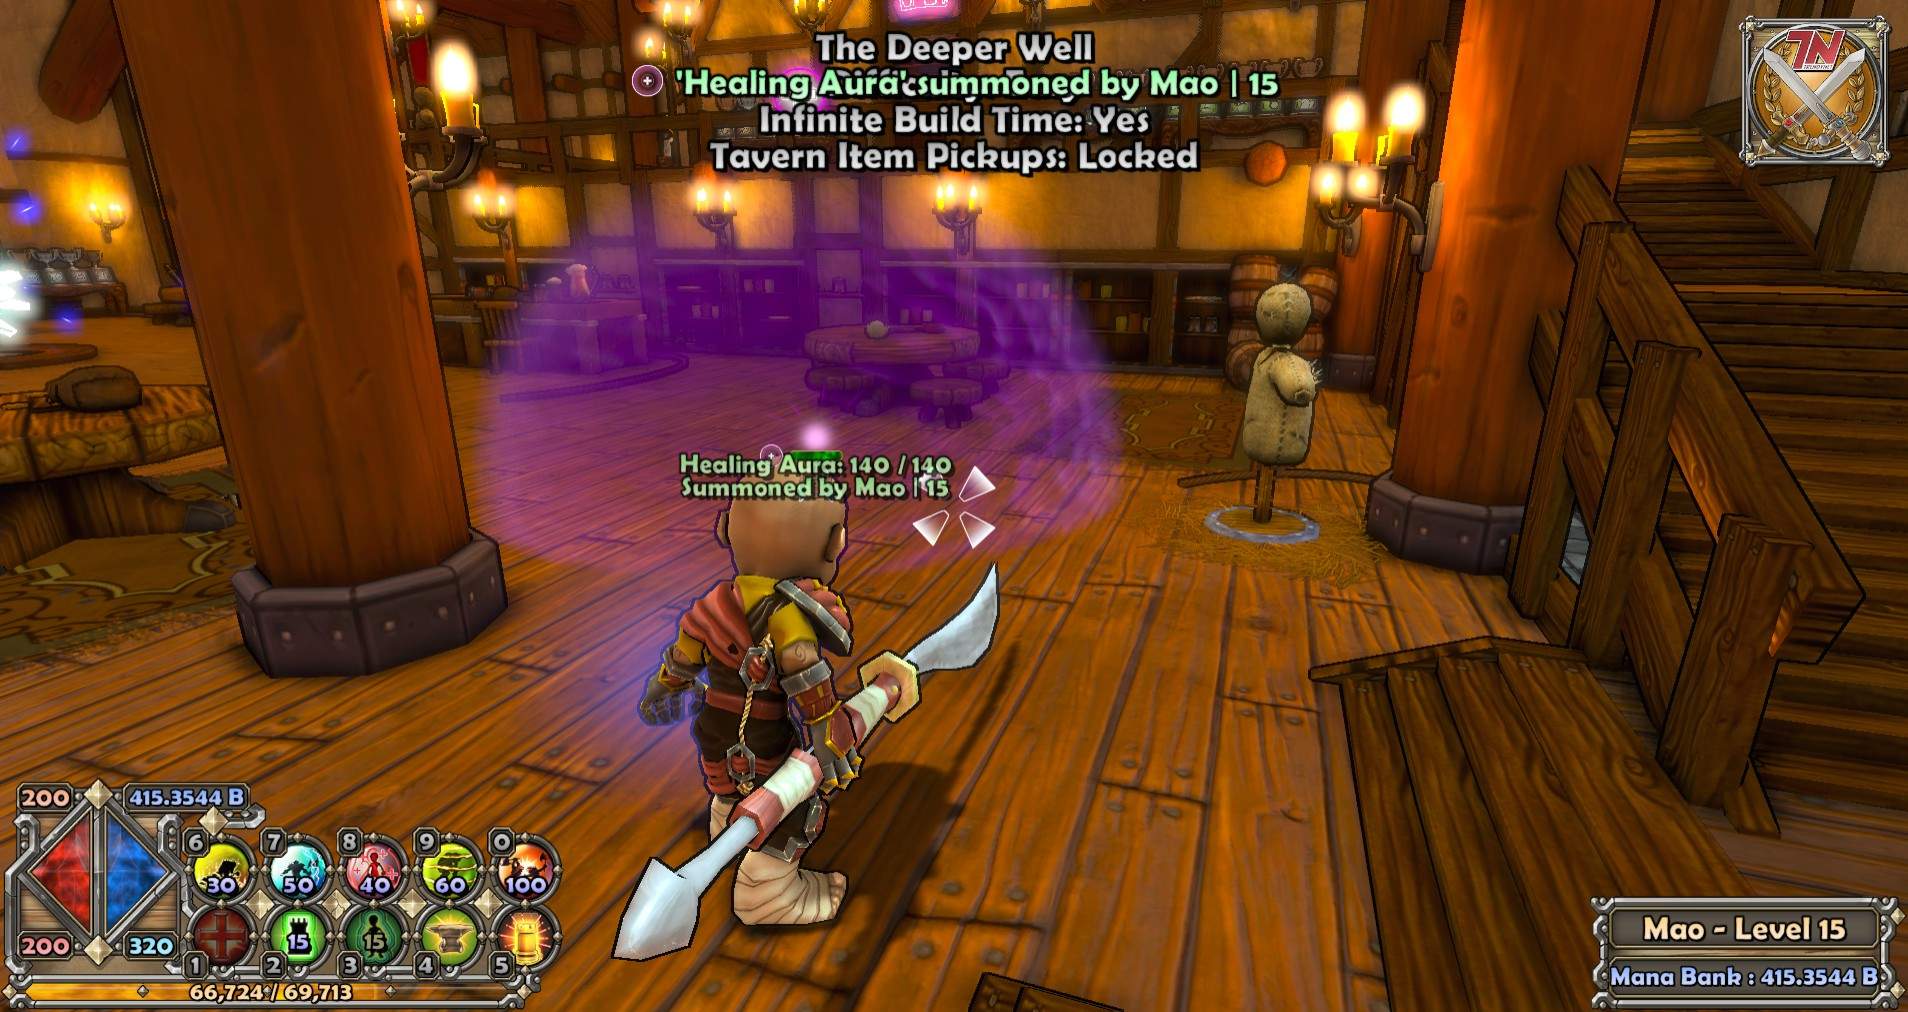
Healing Aura
- Level Unlocked: 7
- Mana Cost: 40
- Defence Units: 4
- Attack Distance: On Contact
- Aura Effects: Heals Hero
This Aura is fairly cheap for the resources it costs to build, despite this it is not wise to build more that a couple of these auras, and on the earlier maps you only really need one. This Auras heals your hero and any other players who are standing within its range. The Healing Aura is best used placed near to the Eternia Crystal(s) that you and your fellow players are defending to keep your heros alive for longer. This means that your heros are likely to live longer allowing more effective tower repairing and upgrading, as well as DPS.
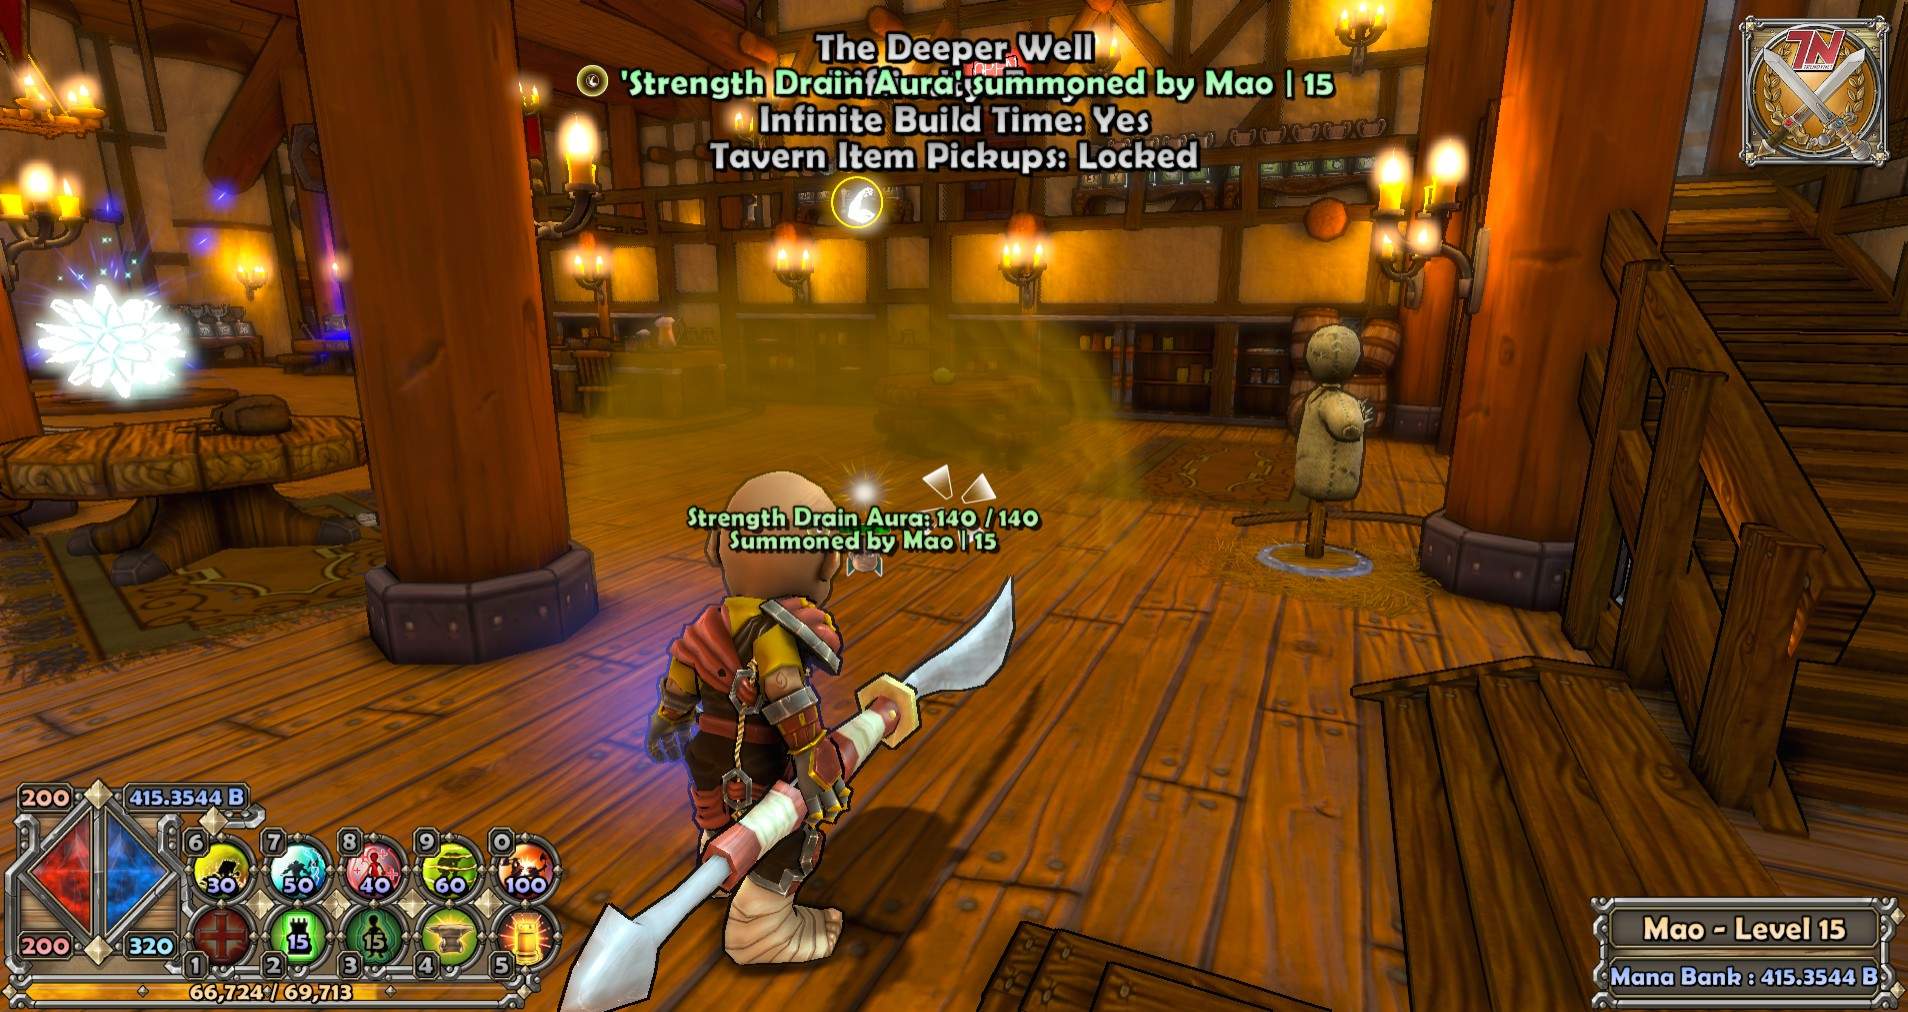
Strength Drain Aura
- Level Unlocked: 11
- Mana Cost: 60
- Defence Units: 5
- Attack Distance: On Contact
- Aura Effects: Reduces damage of the enemies within it as well as removing any elemental resistances they have temporarily whilst they’re within the aura
This Aura us on the more expensive side, however it is also one of the more useful auras you can use as a monk. A good way to use this aura is to stack it a long with the Electric and Ensnare Aruas explained above. By combining the effects of all three auras you can optimise the DPS of your auras as a monk. This tactic reduces the enemy movement speed as well as removing any elemental resistances which optimises the Electric Auras damage.
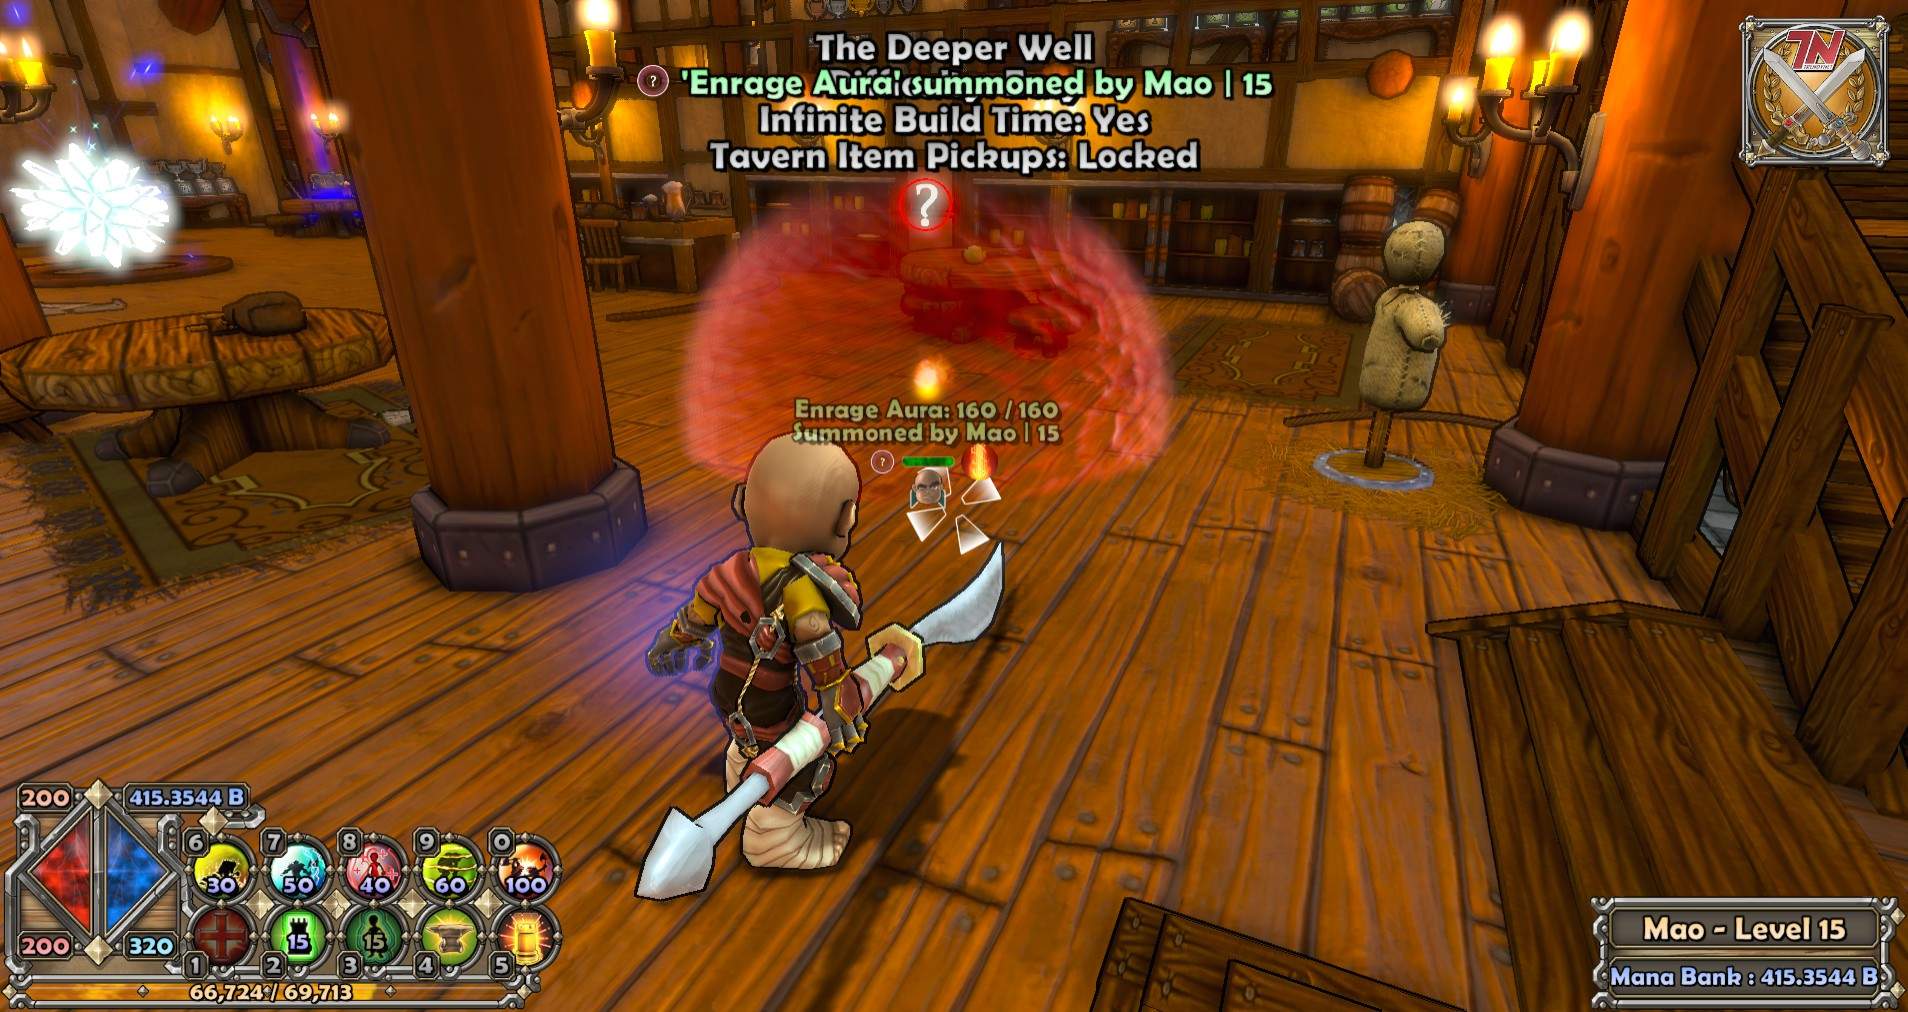
Enrage Aura
- Level Unlocked: 15
- Mana Cost: 100
- Defence Units: 5
- Attack Damage: On Contact
- Aura Effects: Causes enemies to attack each other within the aura
Out of all the auras this is the most costly and also the most fun to use. It is very entertaining to watch the enemies smack each other whilst you kick back or deal with other things which need attention else where. However, despite the amusement, this aura isn’t worth the cost to make, your best bet is just ignoring this aura all together and just using the other four. In the long run, it really isn’t that useful at all.
Class Abilities
The Monk has two abilities it can use during combat to aid in defending the Eternia Crystal.
Defence Boost
- Level Unlocked: 5
- Mana Cost: 15 per second
This causes the Monk to emit a wavy aura of his own which increased all stats of defences within its range whilst this ability is active. As well as this, it also heals the towers as well. This is good and should be used by the monk whilst they’re in a dense area of defences.
Hero Boost
- Level Unlocked: 20
- Mana Cost: 15 per second
This causes the Monk to emit a wavy aura of his own like the above, however, this one increases all stats of heros within range including the monk himself rather than defences. As well as this, it also heals heros over time whilst they’re in range. This can be combined with the defence boost for maximum tower and hero buff effectiveness. This boost is very useful to use when fighting a boss, however you only need one as if you have two monks using hero boost, only the boost with the highest stats will take effect and the other will have no effects other than wasting mana, this is the same for the tower boost too.


Be the first to comment