
This guide explains how to beat scenario 01: “All Aboard Tourism” on Expert difficulty. This serves as an opportunity to introduce important mechanics to novice players, even those who have no interest in playing on Expert.
Contents
Guide to Complete Scenario 01 (Expert Difficulty)
All credit goes to tcassat!
Introduction
I decided to write this tutorial because there are very few sources of information in English about this game. I used as an example the first scenario on Hard, which is not suitable for beginners, but throughout this tutorial I will try to detail a lot of important mechanics so I recommend reading even if you have no intention of playing on Hard.
Scenario Objectives
- Annual No. of Tourists 200K or More – Whole Town.
- Population 20K or More – Whole Town.
Deadline: 1 year.
First Step: Bank Loan
The first thing you should do is to get a loan from the bank. Since you only have a single year to complete the scenario you won’t have to worry about paying it, so think of it as extra money. Unfortunately you will only have access to about 825 million Yen, but every extra money counts in this scenario.
Beginner’s tip:
In A-Train: All Aboard! Tourism you should see the bank as a source of funds for investments, not just as a source of emergency funds. Building the infrastructure can be extremely expensive and it will take you forever to get the funds from the profits of your activities alone, but you can get significant funds either in the form of loans from banks or from shareholders. The second case requires at least two years of profit before you can go public, so usually in the beginning you need to rely only on the bank. Don’t be afraid to take out loans if you are sure that you can make significant profits from an activity. Keep in mind though that the loans go on your company’s balance sheet, so you will have to make a lot more profit in a year to keep your balance sheet positive, which can get in the way of going public (another important way to capture funds quickly) and also of paying your shareholders.
Second Step: Bringing Tourists
There is nothing very special about this part. If you make a connection from the castle (tourist spot) to the city to the north (Hasuoka), you will get 200k tourists in about 8-9 months without having to do anything else except the “seasonal tours” in the “plans” section that increase the number of tourists on holidays and weekends (as well as the number of passengers in general).
You can use all these tourists as a “tool” to develop your city by forcing them to make transfers at your stations, however.
For example, take these two cases:
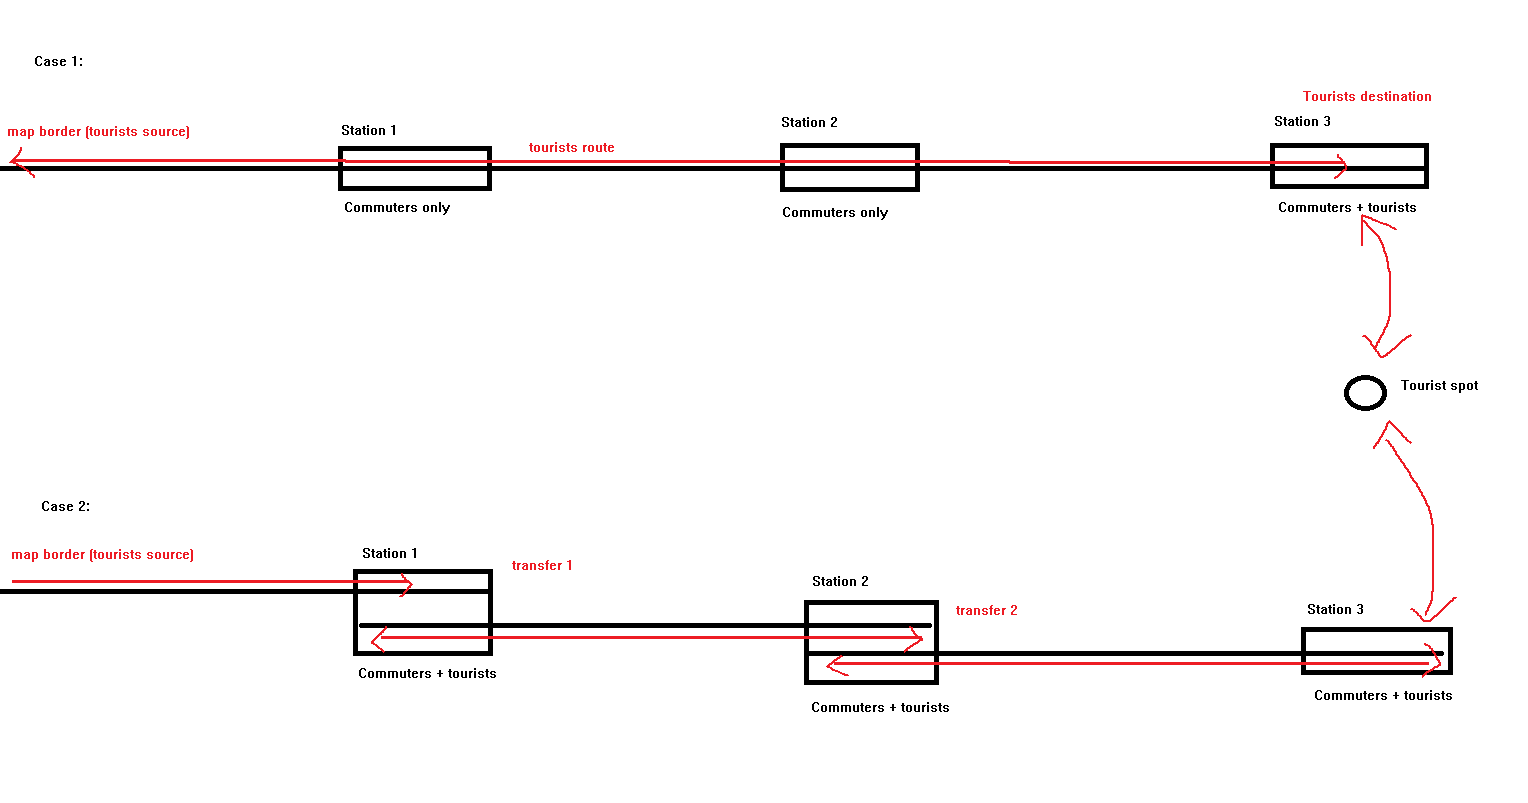
In case 1, the tourists coming from the neighboring city will not get off the train until they reach their destination. This means that the only station that will benefit from the presence of tourists is the last one, near the tourist spot. This station will be much busier than the others, because besides the commuters boarding there, there are also the tourists.
In case 2, you are forcing tourists to make a transfer at each station. This is a bit ridiculous if you think realistically, and also not always an advantageous thing to do on A-Train, but in some cases it can help you inflate the number of passengers at stations (especially remote ones in the middle of nowhere) and thus accelerate the development around them considerably.
In the case of the first scenario (Expert Difficulty), we can use this to accelerate the development of the city, so it is recommended that your line look something like this:
Note that although the station has two platforms, there is only one single line on each side. So you will be forcing passengers to transfer at each station and this will inflate their numbers. If you use this logic at all stations, you will need only four 3-car trains to serve all stations on the scenario, which is quite affordable especially if you remember to take out the loan with the bank in step 1.
I don’t recommend abusing this strategy too much during the game because it is unnecessary most of the time, makes your lines look ridiculous and sometimes inefficient. But this mentality of forcing transfers is extremely useful for developing remote areas, as this video shows:
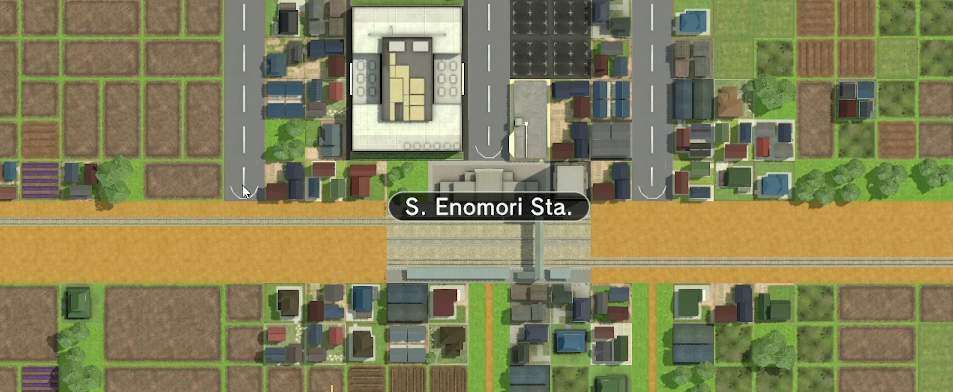
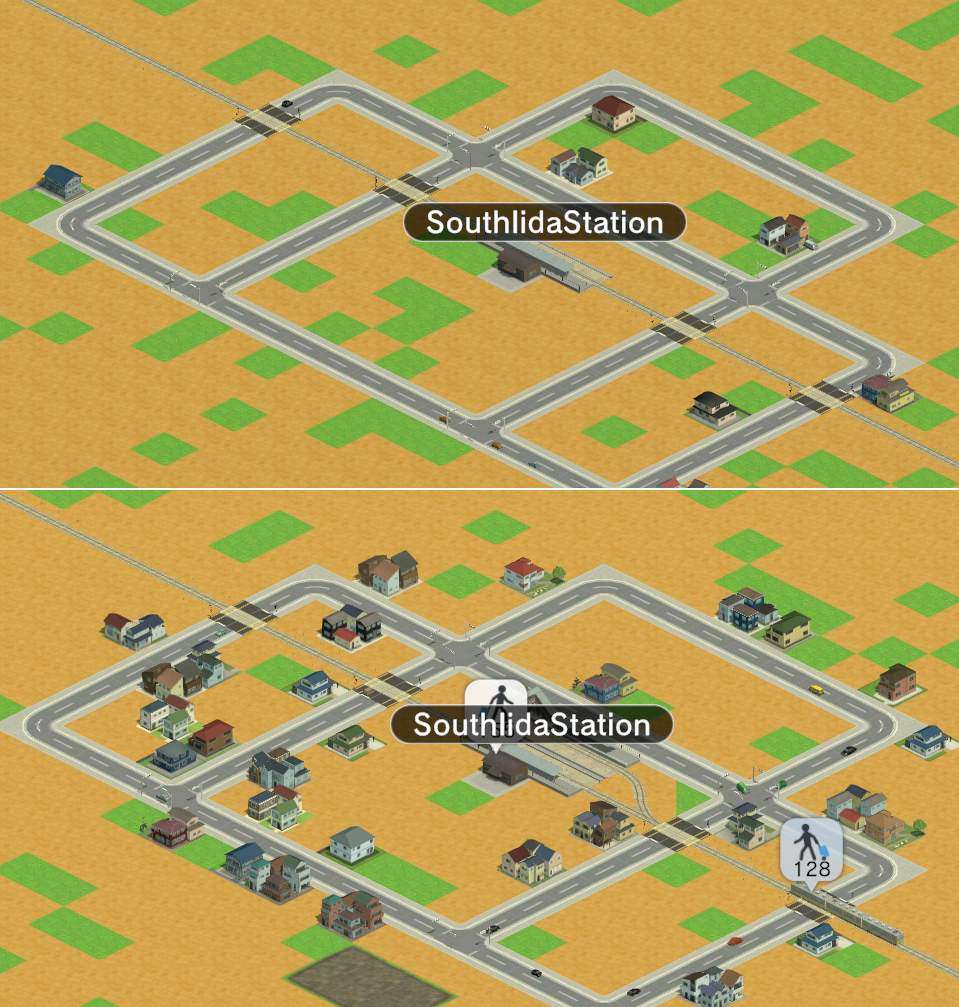
Below is proof that forcing tourists to transfer at a station changes the development of the area. Both images show two months of development from scratch. The top picture represents two months of development, but tourists do not need to transfer because the train continues the route after stopping at the station. The bottom image represents the same two months of development, but this time I used the “exploit” of forcing tourists to change trains if they wanted to reach the tourist attraction at the next station:
Third Step: Urban Development
If you decide to follow the suggestions in step 2, you will have four stations with two platforms each (except the last one near the castle which can have only one platform). Each of these stations will be connected by a single railroad. On this single railroad, a 3-car train will run between two stations, going back and forth. I suggest you have these trains stop for about 30 minutes at each station and run from 6am to 11pm, but you can adjust this as you see fit.
Remember that since you won’t need double-lines, you can sell the extra land near your tracks and make a lot of money, even if you use the “quick-sell” option.
Here is a view of how I connected the stations.
Here some factors that help your city develop quickly:
- Train stations and bus stops with many passengers.
- Building materials available.
- Proximity to streets.
So your concern now is to connect the building material producing area with the most important neighborhoods. You must move the cargo with trucks so that you don’t spend money on more tracks and trains.
Basically you just need to build three truck stops, one in Tomoto (where the building material is manufactured), one in S. Enomori (near the storage site) and one in Enomori. You only need two trucks, one going from Tomoto to S.Enomori, the other to Enomori. You can make the departure of both “wait for freight” and forget about them. They will just keep feeding the storage areas whenever there is a demand for material.
Keep an eye on your “sales report”, there you will notice that the sale of materials is very profitable and therefore also indispensable for keeping your company’s cash flow healthy.

This completes requirement 2, which is the need for materials. The next step is to build some extra streets and place bus stops to create small spots to develop areas further away from the stations.
Beginner’s tip:
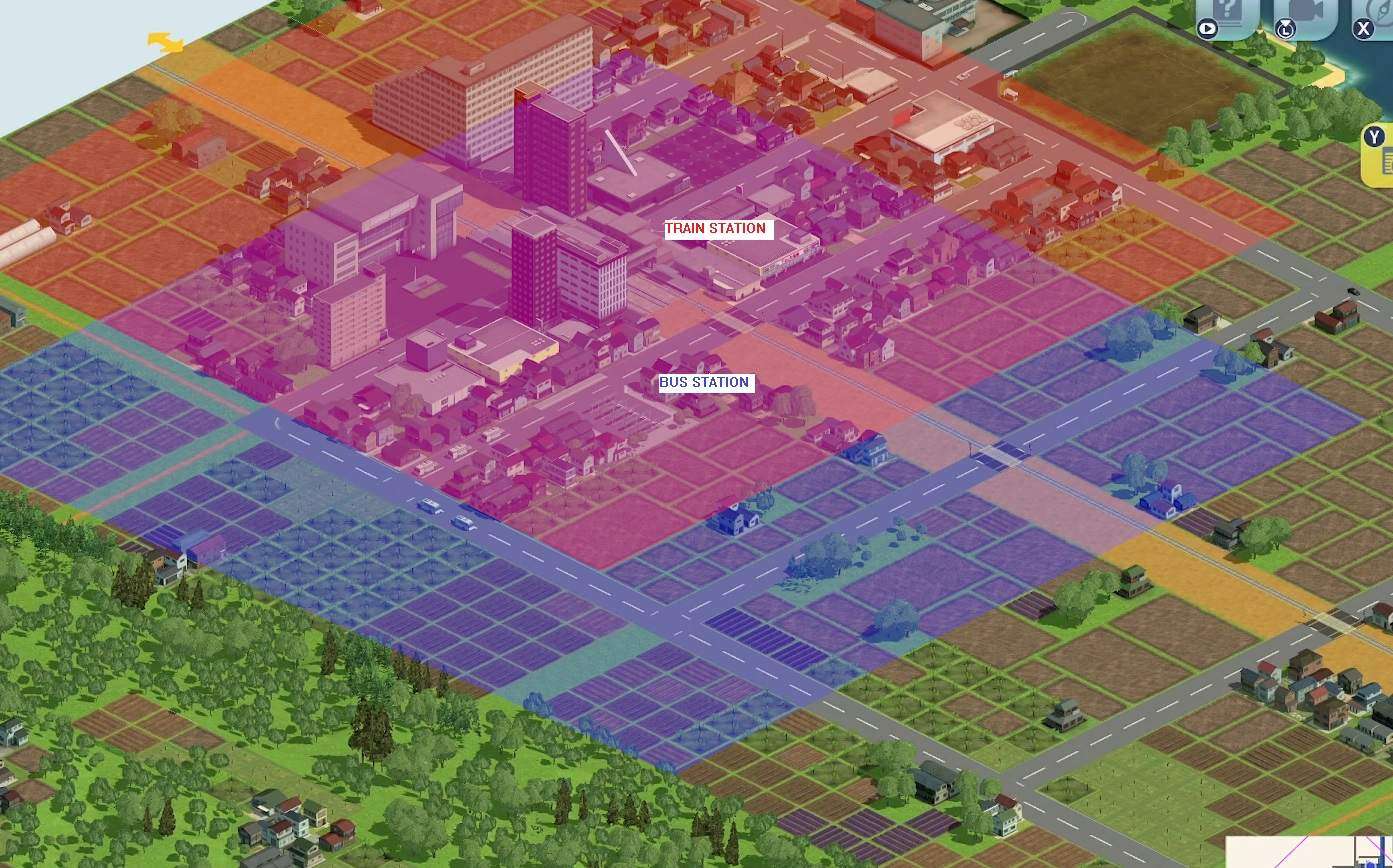
Both train stations and bus stops have a range of 10 tiles from the center. That is, if something is 10 tiles away from your station, it will not have development influenced by it, and also it will not serve as a source of passengers. This is why bus lines are extremely useful. With them you can “indirect expand” the reach of your train stations.
Below is a rough example of the influence areas of train stations and bus stops.
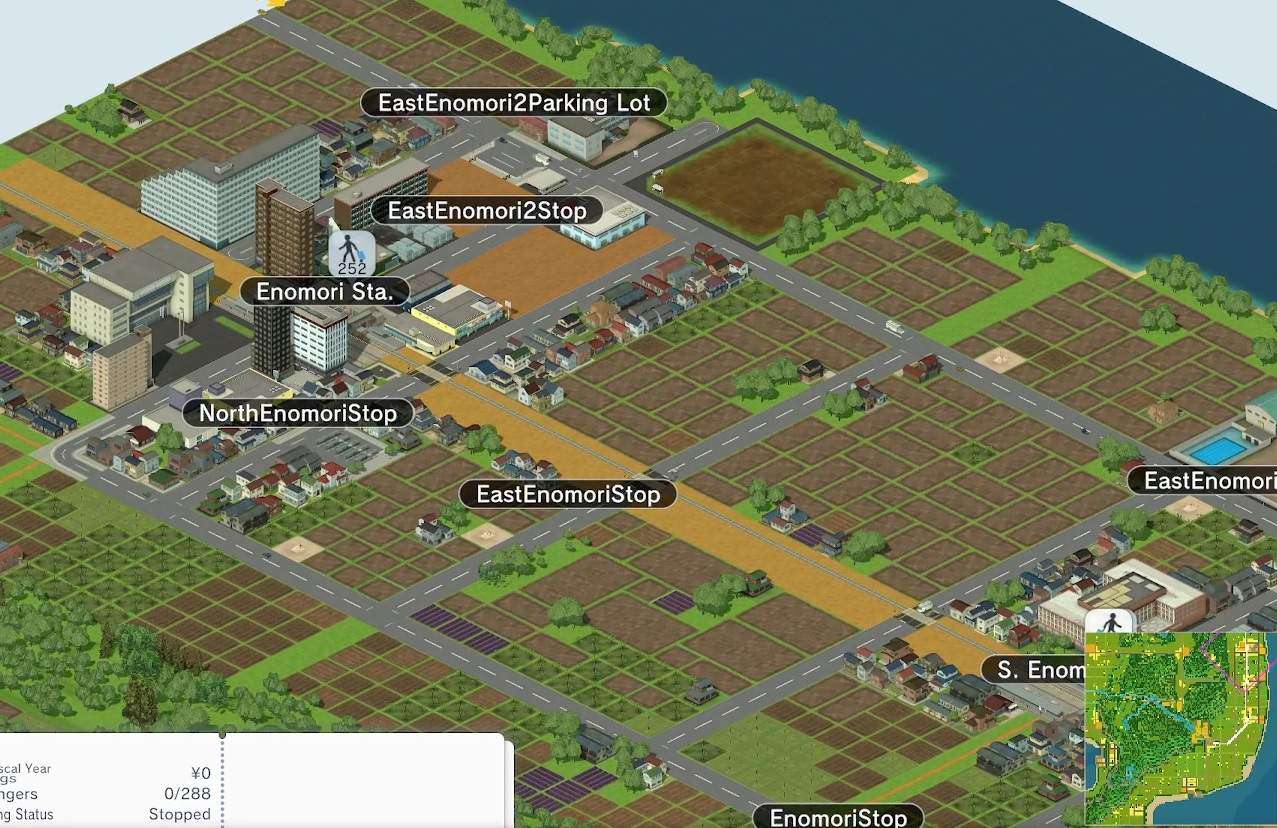
You don’t need to build many streets or many bus stops. I used only five buses and half a dozen somewhat random bus stops. Be careful here, if you build too many streets you will deplete your capital and it is recommended that you have at least 1 billion after this step. Remember to look at the government subsidies, one of them is precisely about building streets in this region of the city and this will help you a lot.
This is the result I got after building the streets:
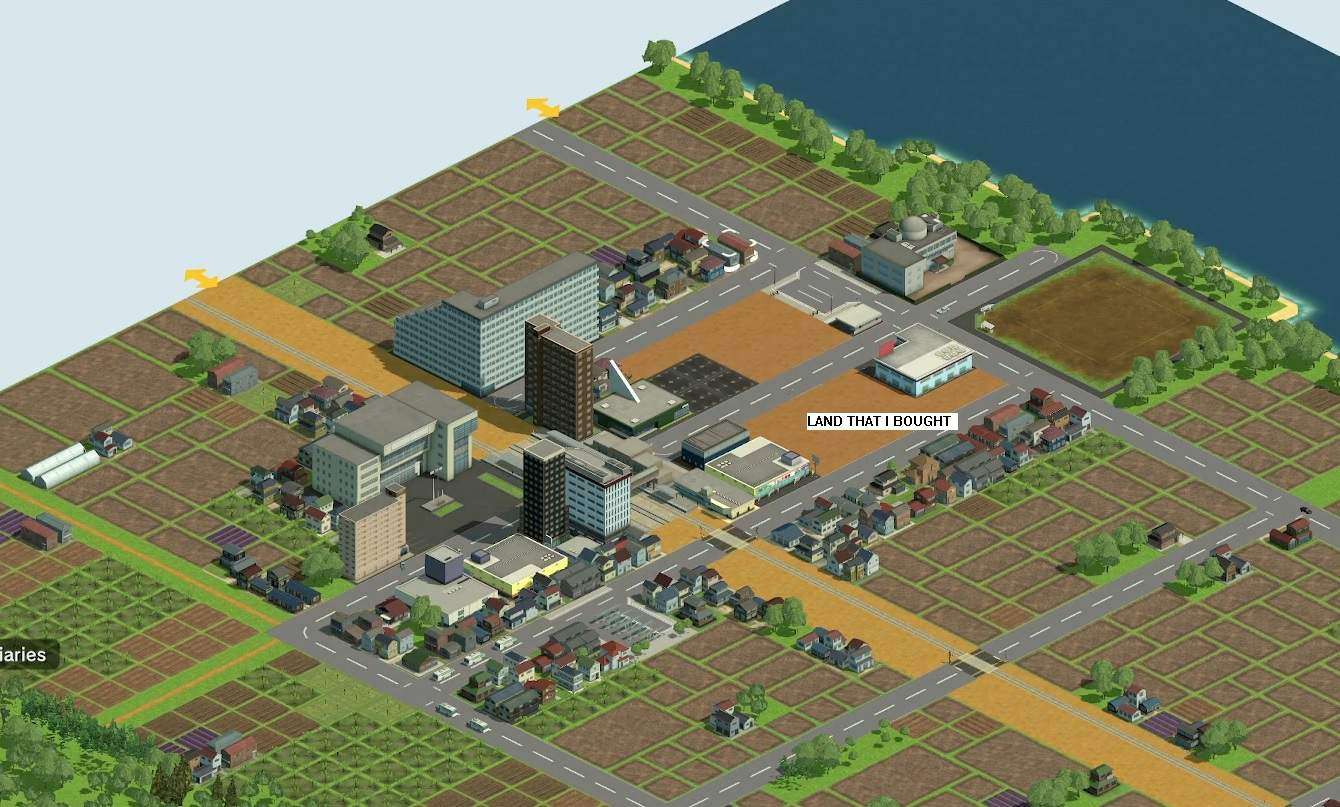
Note that I bought land near the government buildings because I wanted to reserve that area for myself before it got much more valuable. The intention is to build my own residential buildings there to further accelerate the development of the city. Since that area is prime (near several buildings that have positive synergy with residential/commercial buildings), building anything there will be profitable. However, my intention is not to profit from subsidiaries activity, as I will show in the last step.
Last Step: Building Subsidiaries
After following all the previous steps, you will have raised the development potential of your city to the maximum. But you will still be in the computer’s hand, waiting for it to build things to increase the city’s population.
You can use the rest of your capital (you will have between 800-500 million at this time) to build your own residential buildings to make the city grow even faster.
When building subsidiaries in good locations you will have two options. The first, is to collect the monthly profit which will be decent because of the good location. This is the best option in the long run. But you can also sell that subsidiary for a higher price than you spent to build it, by choosing the “Find Buyer” option instead of “Quick Sell”. If you build the subsidiary in a decent location, it won’t take you long to find a buyer.
Here is the location I chose to build my residential buildings:
When playing on the hardest difficulty, you get no hints as to whether the location is good or not for building the subsidiary. But in general things like government buildings, schools, train and bus stations, public areas, etc. will have a positive effect on commercial and residential subsidiaries. The zone also influences this, so it is good to visit the government building from time to time to make sure what the zoning of each region is. If you are playing on Easy/Standard, Junji’s tips are almost always good.
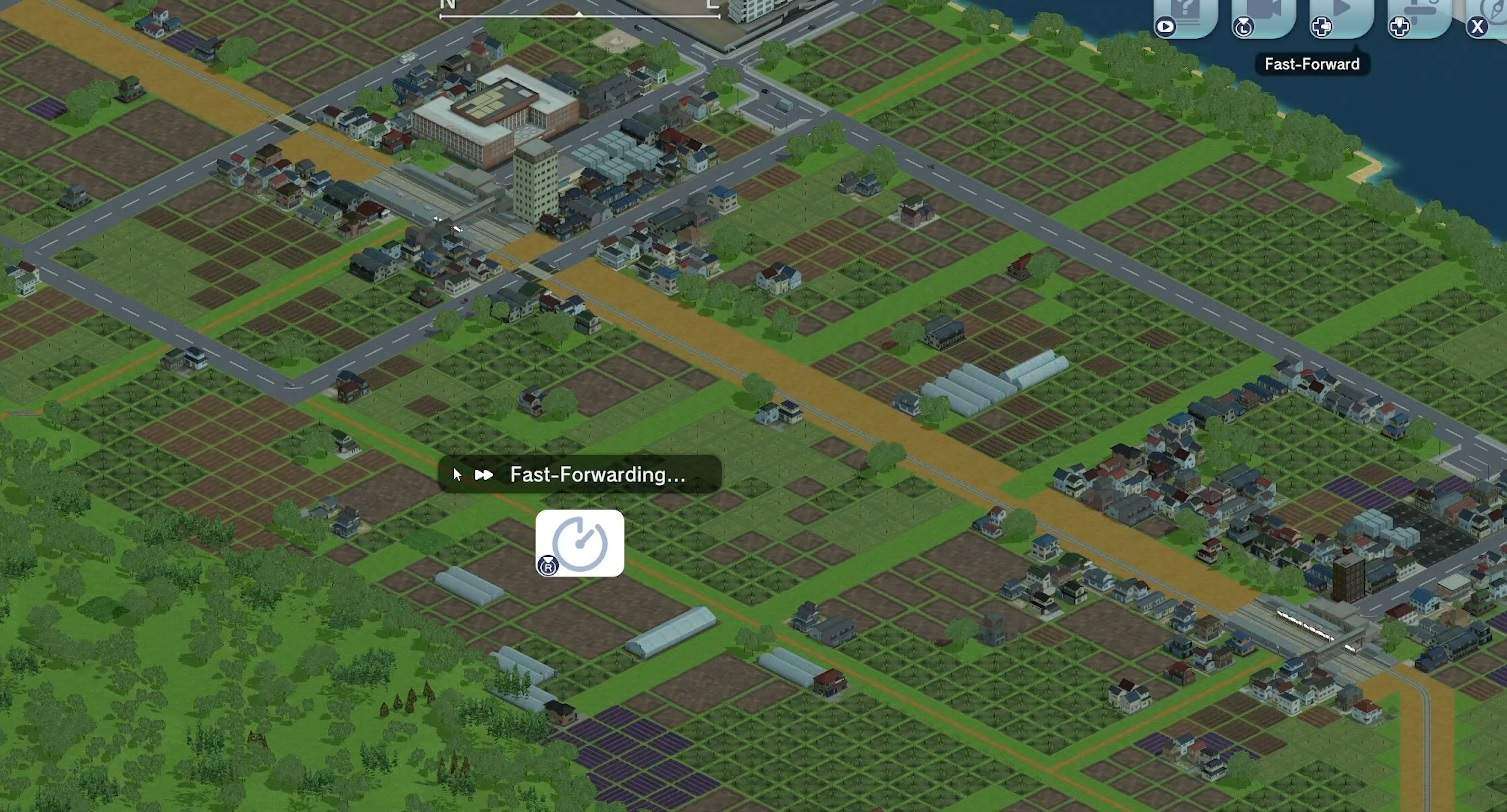
Returning to the scenario in question, you will probably not need more than one or two months to set up all the infrastructure. After that it is a matter of collecting the profits and building residential buildings to make the population grow faster. You probably won’t have the necessary capital to build many buildings, but as I wrote before, you can sell the newly built ones at a profit. If you build in the same area as me, you won’t need to wait many months to find a buyer, make a decent profit, and build the next one. At this point, you can just trigger the fast-forward and repeat this procedure until you beat the scenario.
Here the same area shown in the picture above, but already in December, close to the point where I beat the scenario:
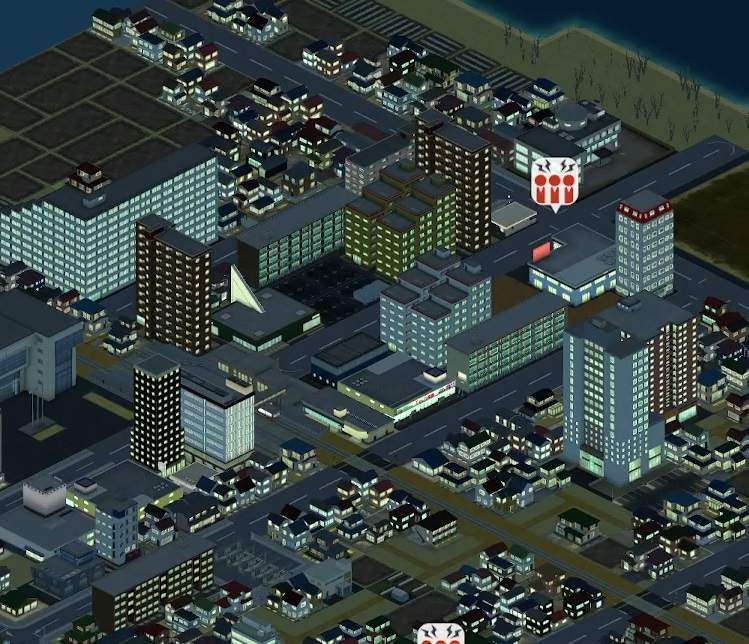
Note how many buildings I was able to build using the strategy of selling them as soon as they were completed. As I mentioned before, I would have more profit in the long run if I had kept part of these subsidiaries for myself, but since the time frame of this scenario is only one year, the short term is the only thing that matters.
Another thing that is good to note is that I have built a few buildings of the same type close to each other. It is always good to avoid this because it causes a negative interaction between subsidiaries, reducing the sale value (if your intention is to sell it) and also the monthly profit (if your intention is to keep it). But I didn’t mind too much in this case because the area is surrounded by so many government buildings, stations, and public areas that even identical buildings are still worthwhile.
Conclusion
With all these techniques the first scenario is quite easy even on “Expert” difficulty. You will probably need only 8-10 in-game months to complete it with plenty of margin left and your business will still be viable if you want to keep playing, especially if you take a bank loan for 2 or more years.
I’m sure experienced players don’t need this guide, but I think it’s a good opportunity to introduce a bunch of important mechanics for novice players.

Thanks so much for this guide, I was enjoying myself but hopelessly lost at the underlying mechanics.
A nice piece of writing illustrating the key techniques needed to play this game.