
Screenshot assisted guide for locating all the secrets in the fifth episode.
Contents
Locations of All Secrets in Episode 5
All credit goes to erc!
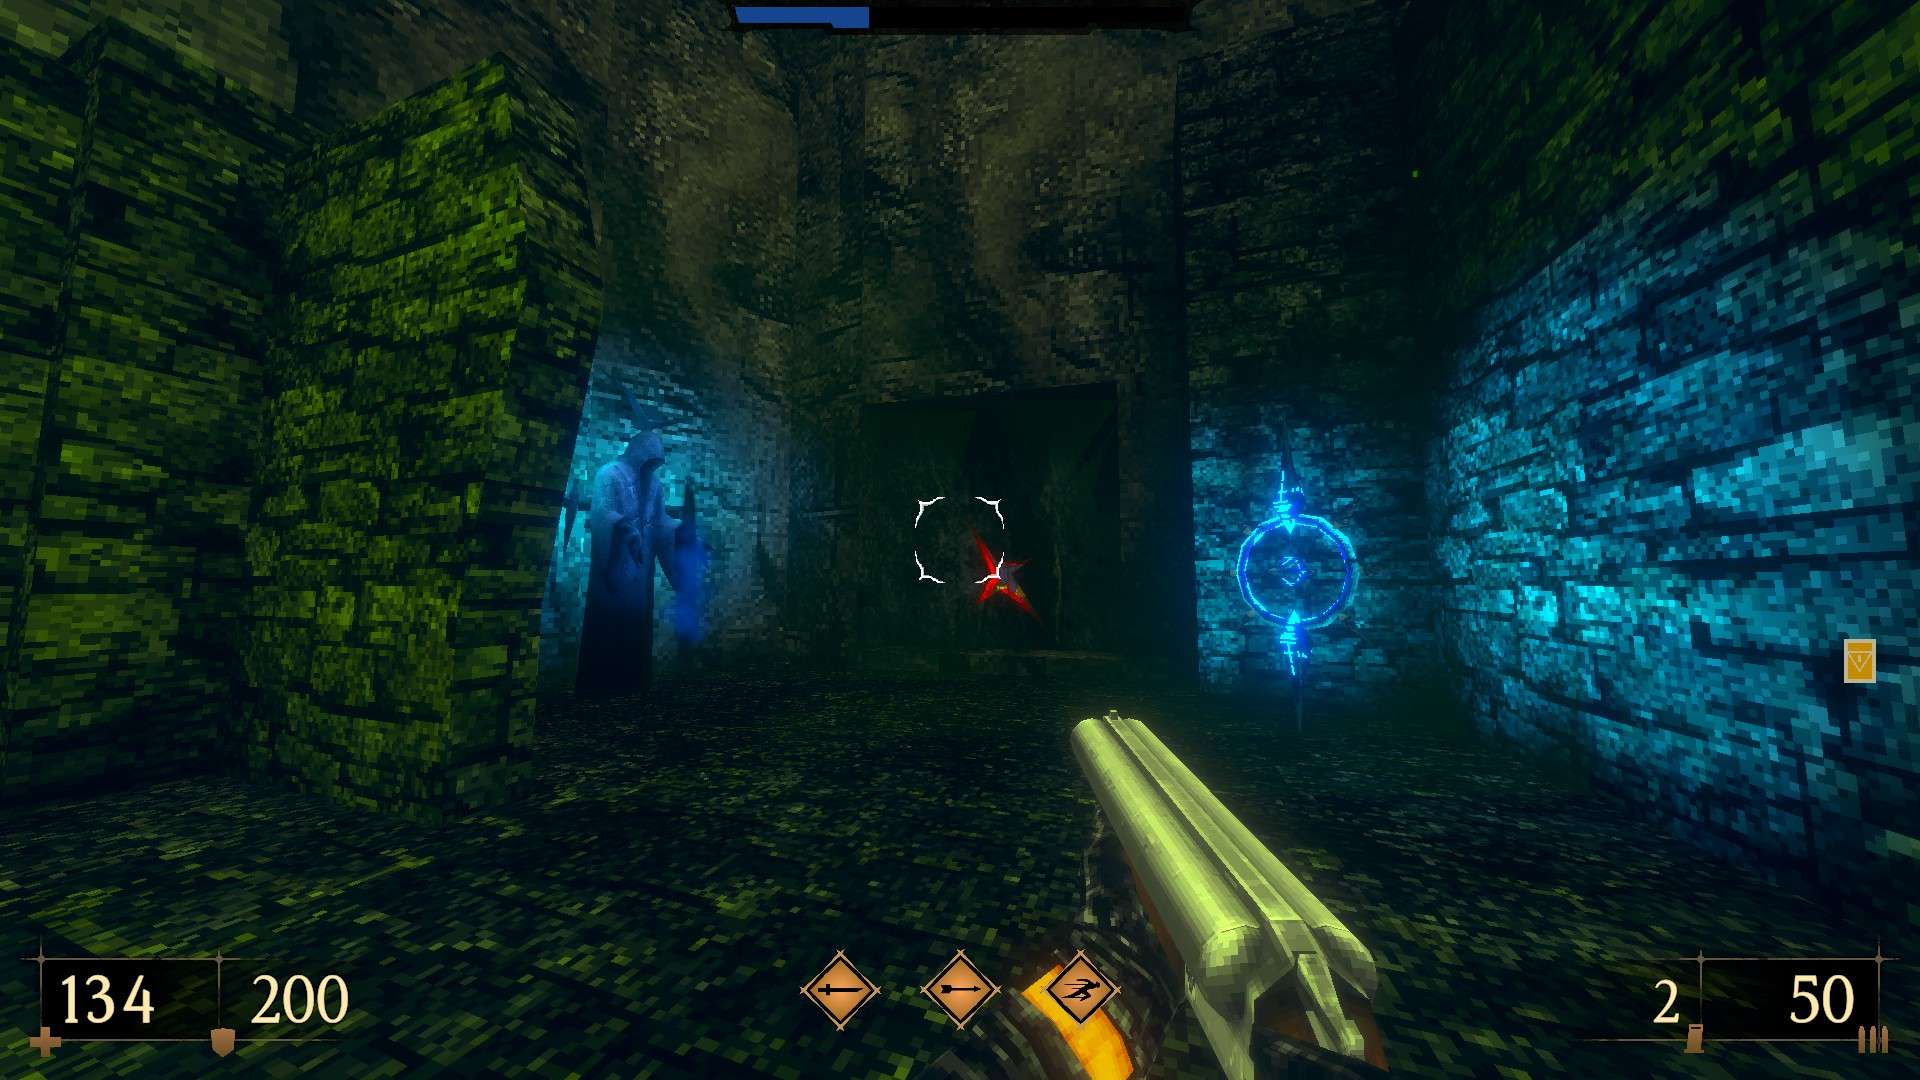
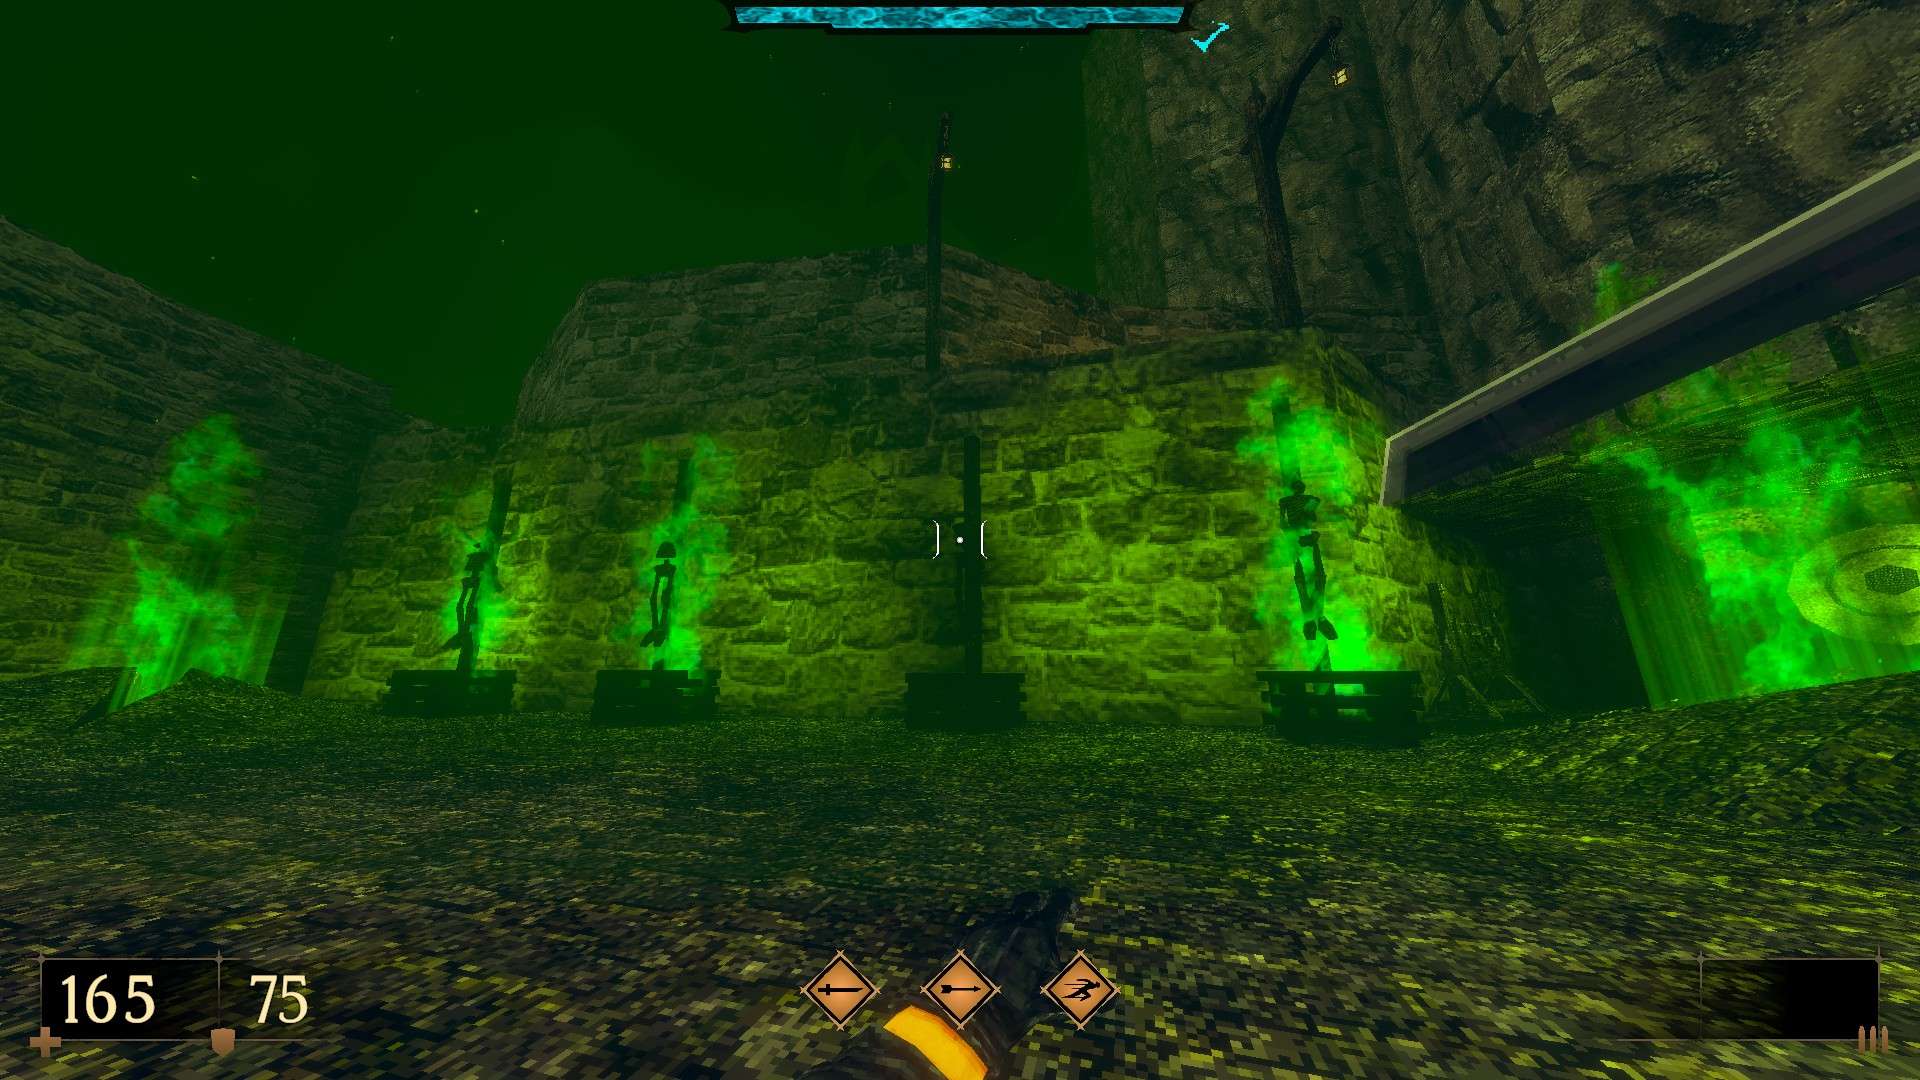
E5M1: Burning Town
Important: Your emblems and character setup are kept separately from your game progression for the difficulty level you are playing on. This means that you can return to completed levels via level selection, grab the emblems and the blood gems you missed on your first run and return to your saved game to have an expanded selection for that matter. Throughout the guide, emblems and blood gems are mentioned in brackets in the descriptions of the secrets they are found in.
This level contains 6 secrets and a super secret.
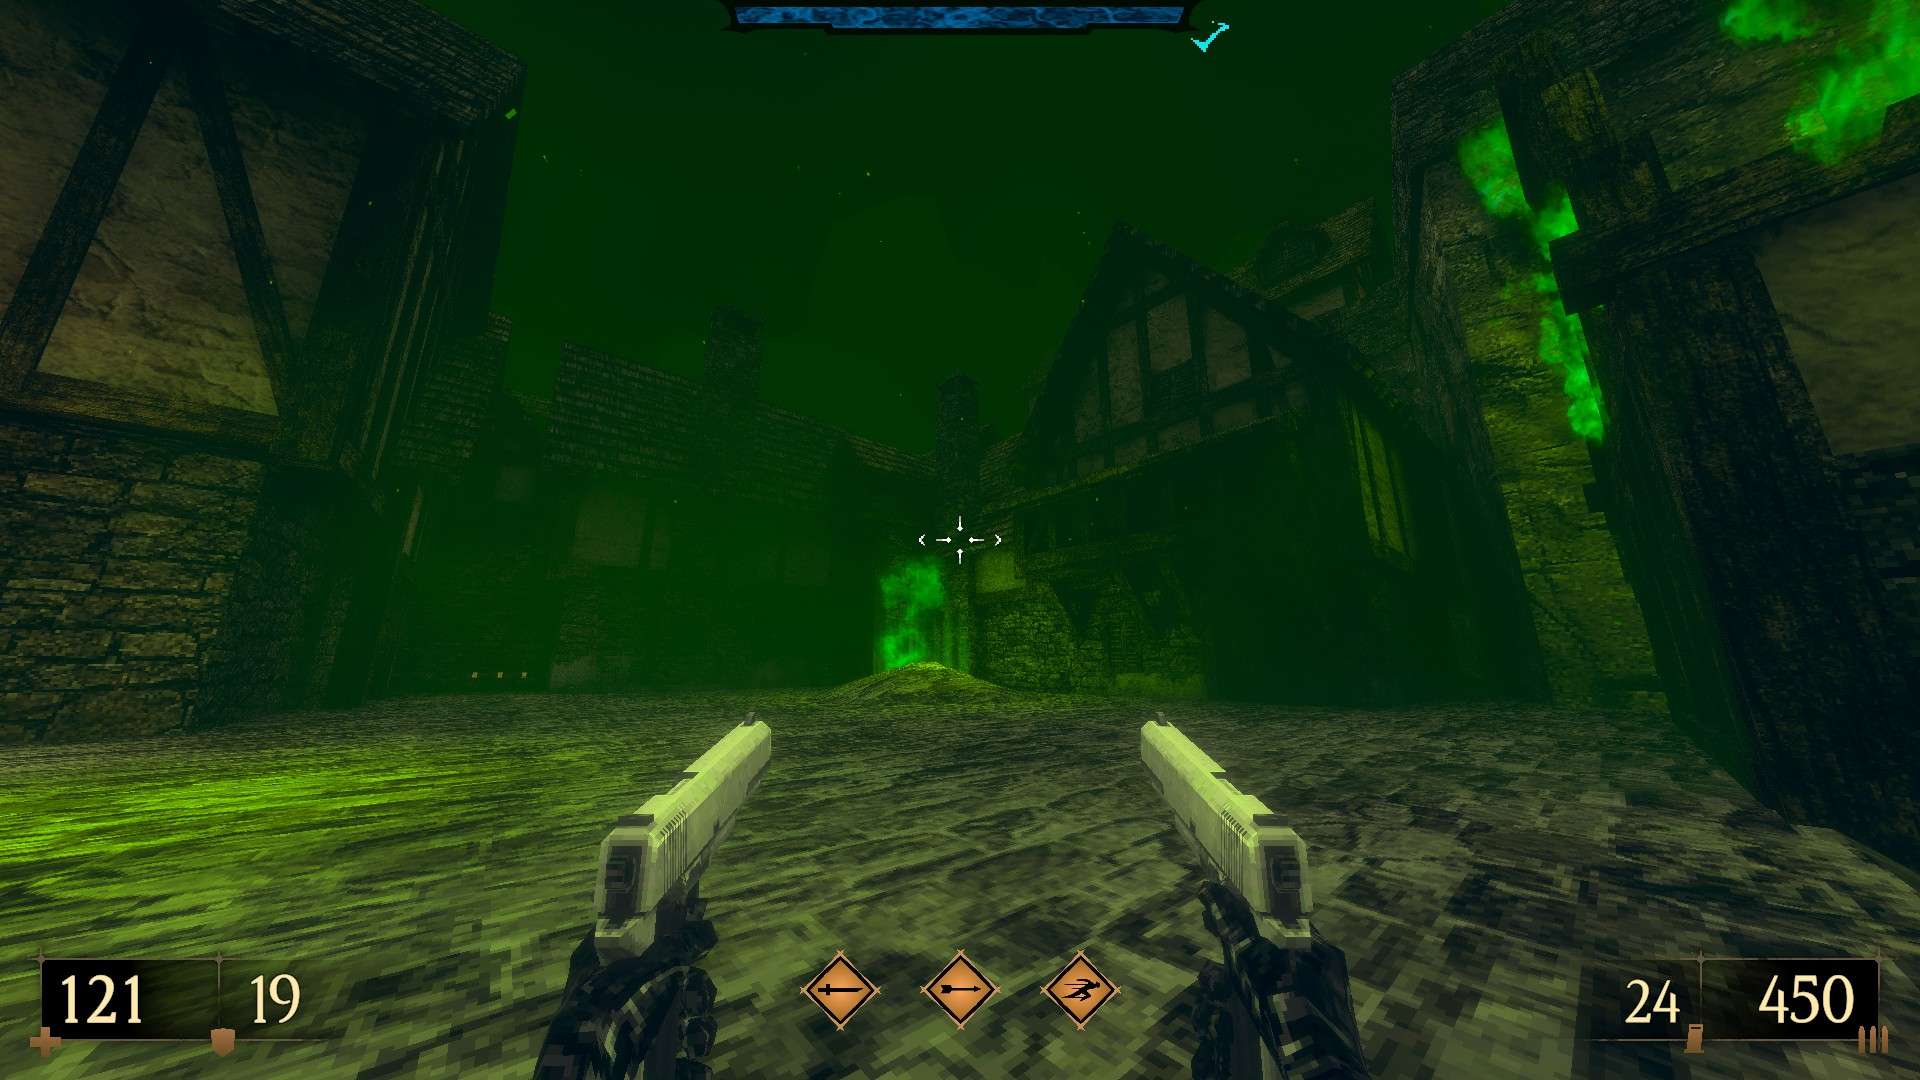
1/6 – Once you reach the upper part of the town, go through the narrow opening to the right of the central building to find a cache on the back. (Inferno Rocket Slaughter III).


2/6 – Following from the previous secret, get on the roof opposite the save point and dash-jump on top of the burning beam. From there, make your way to the armor that can be seen residing on the balcony.

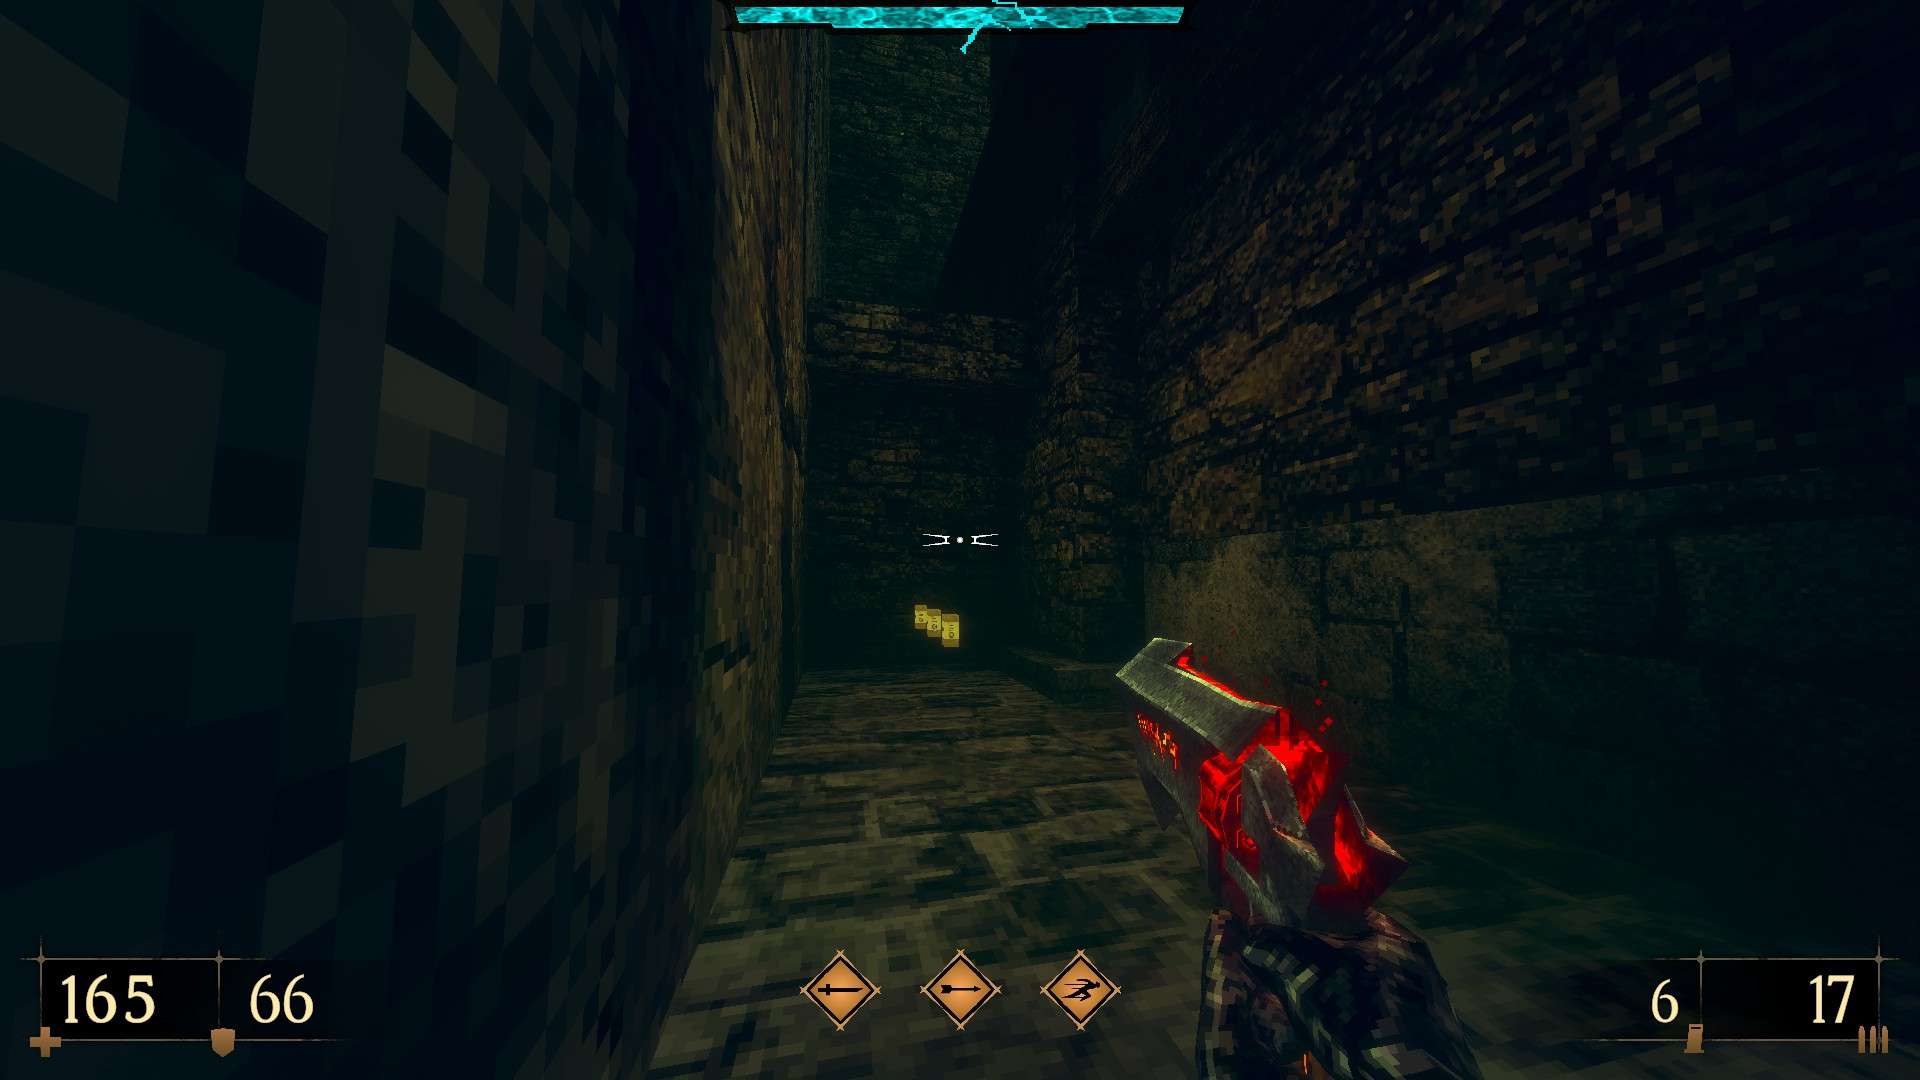
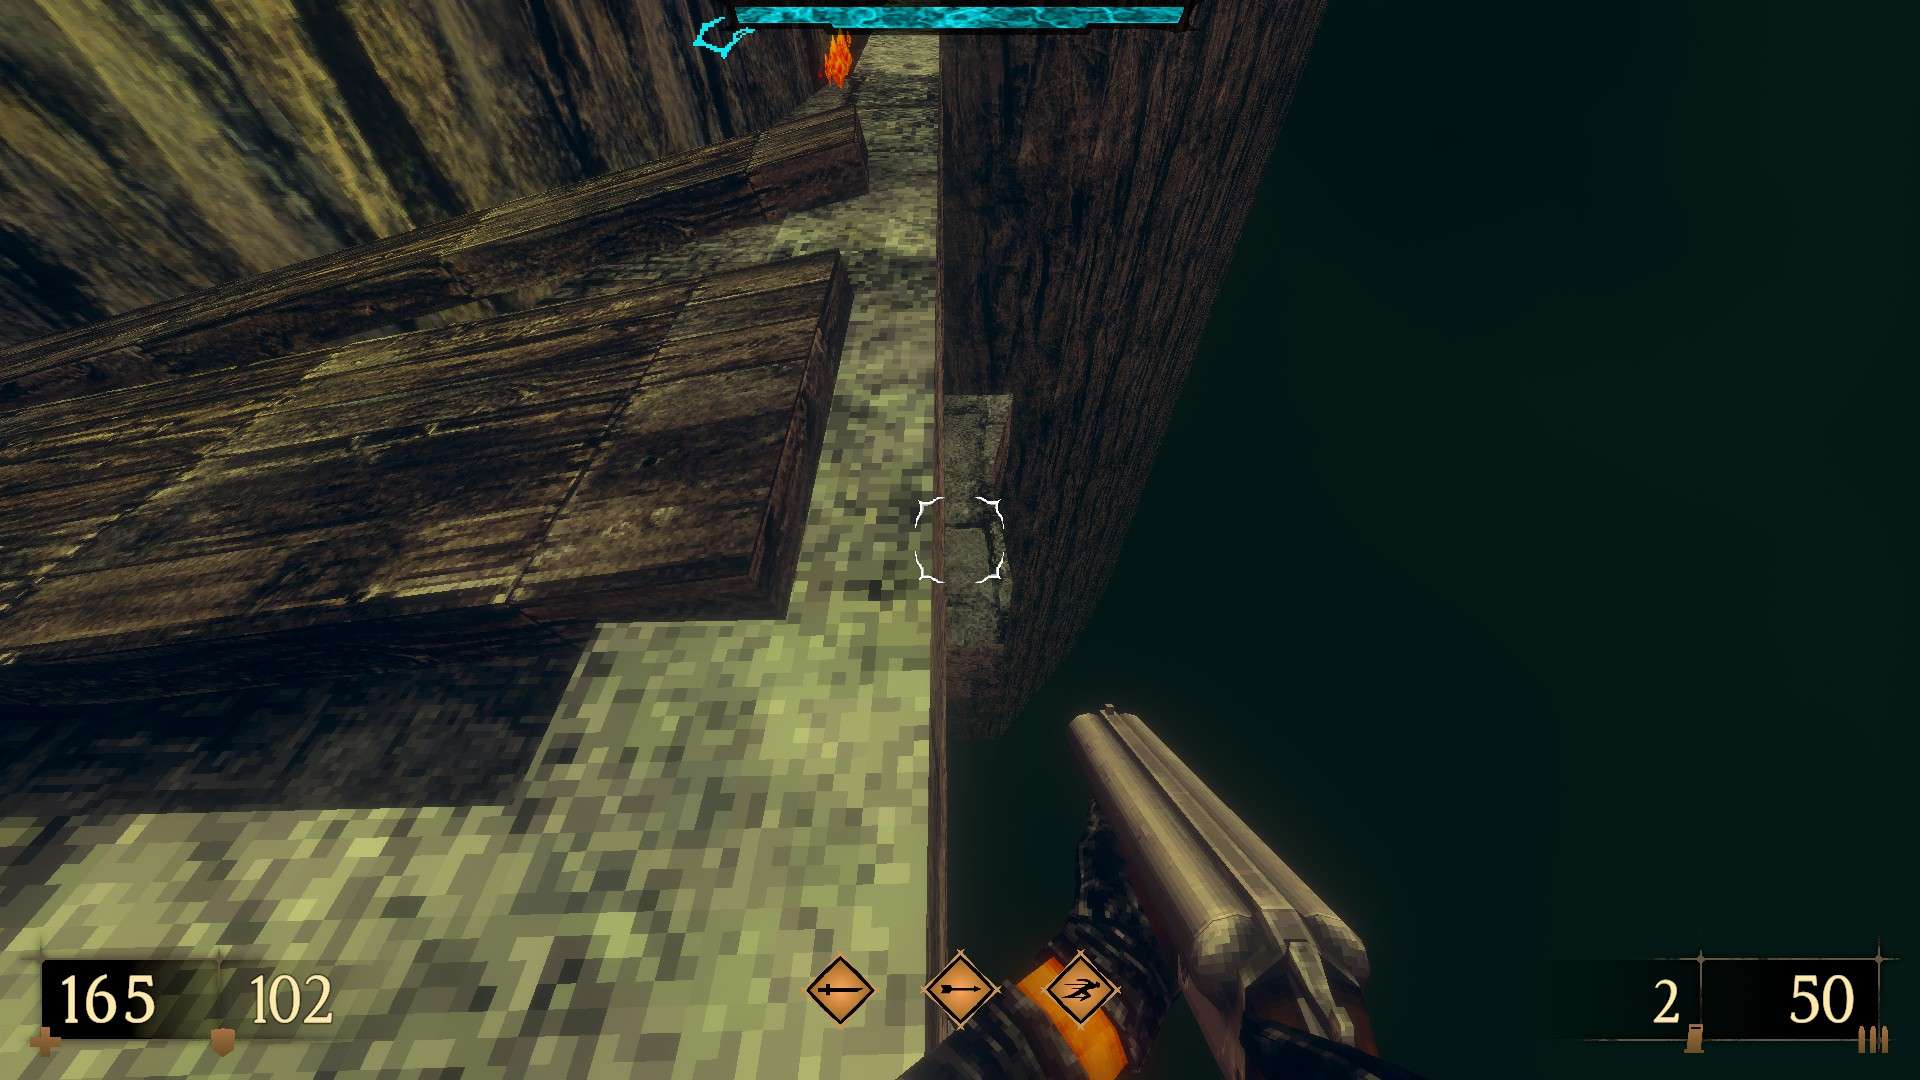
3/6 – Go into the opening to the right of the elevator found at the town center and use the highlighted wall at the end to reveal a hidden alcove.

4/6 – After going up the slope at the center, look for a single torch on the path to the left and use it to reach a hidden armor.
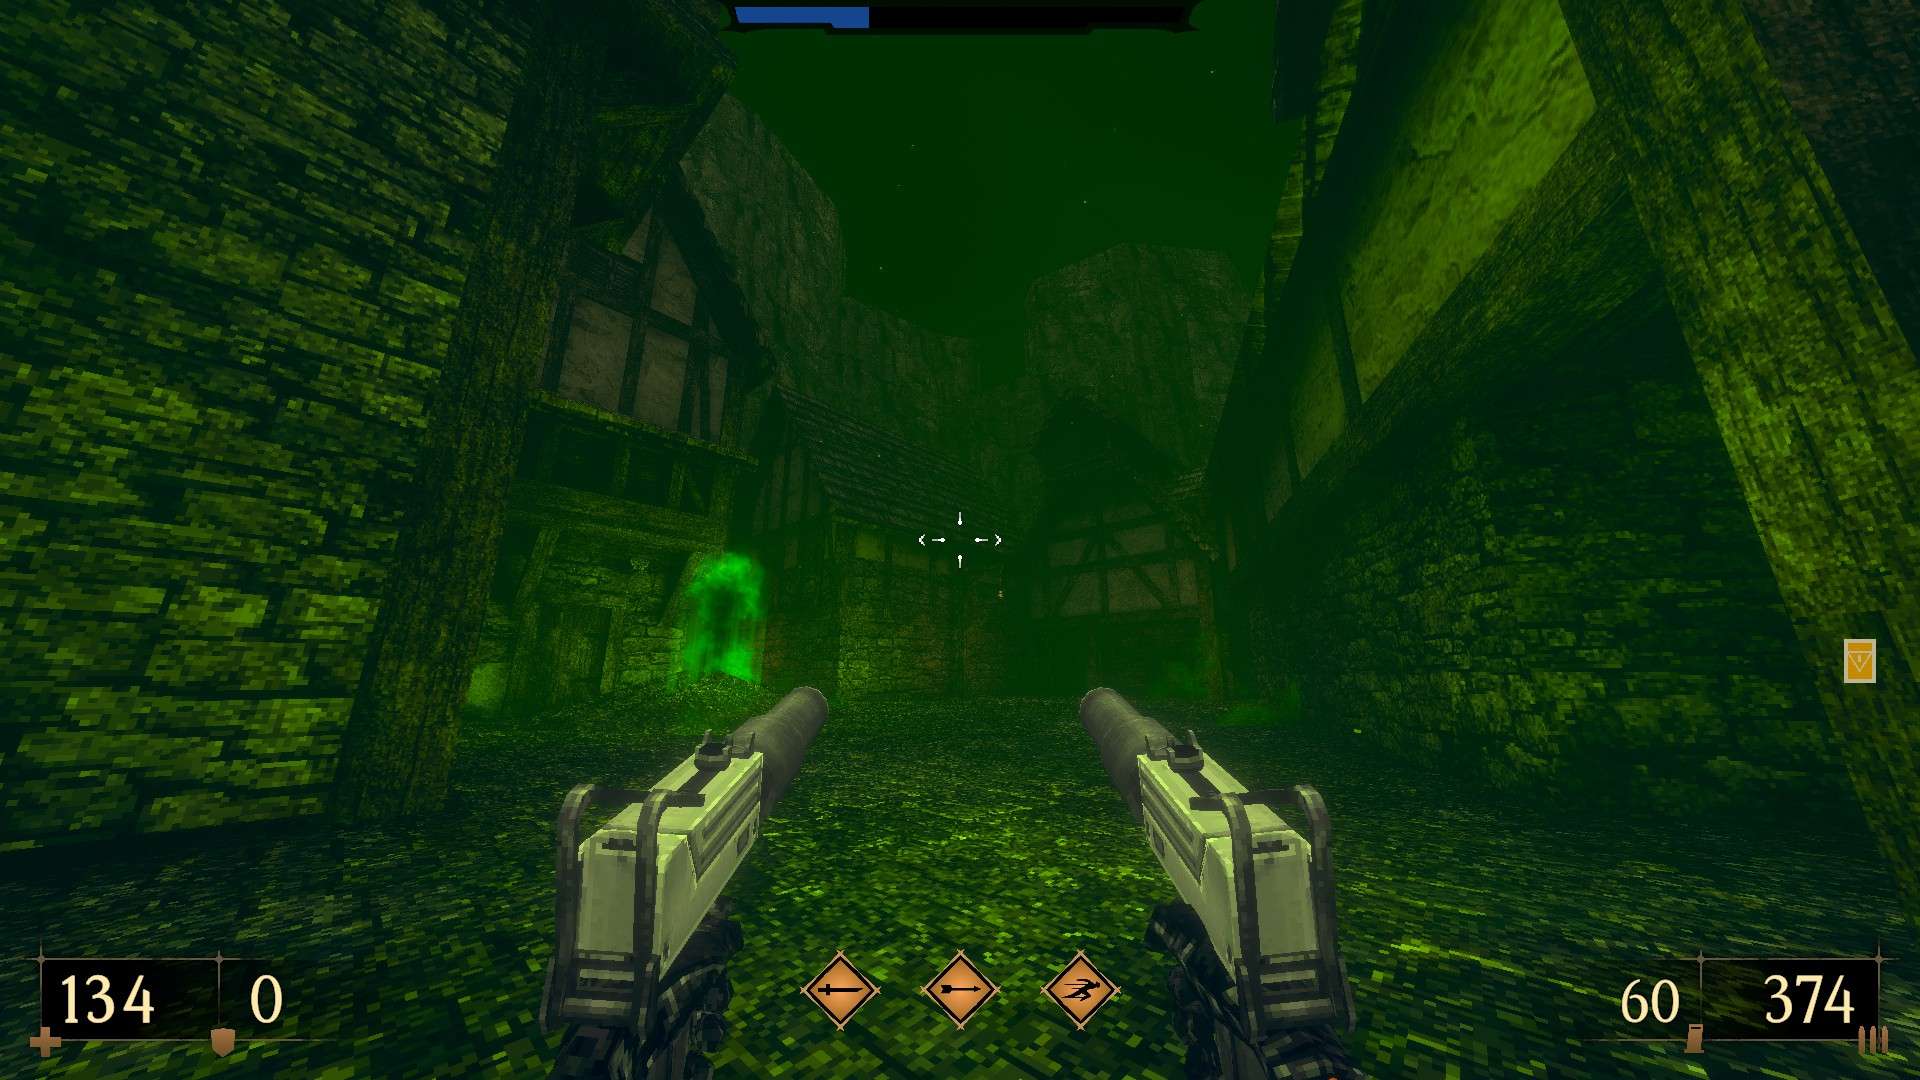
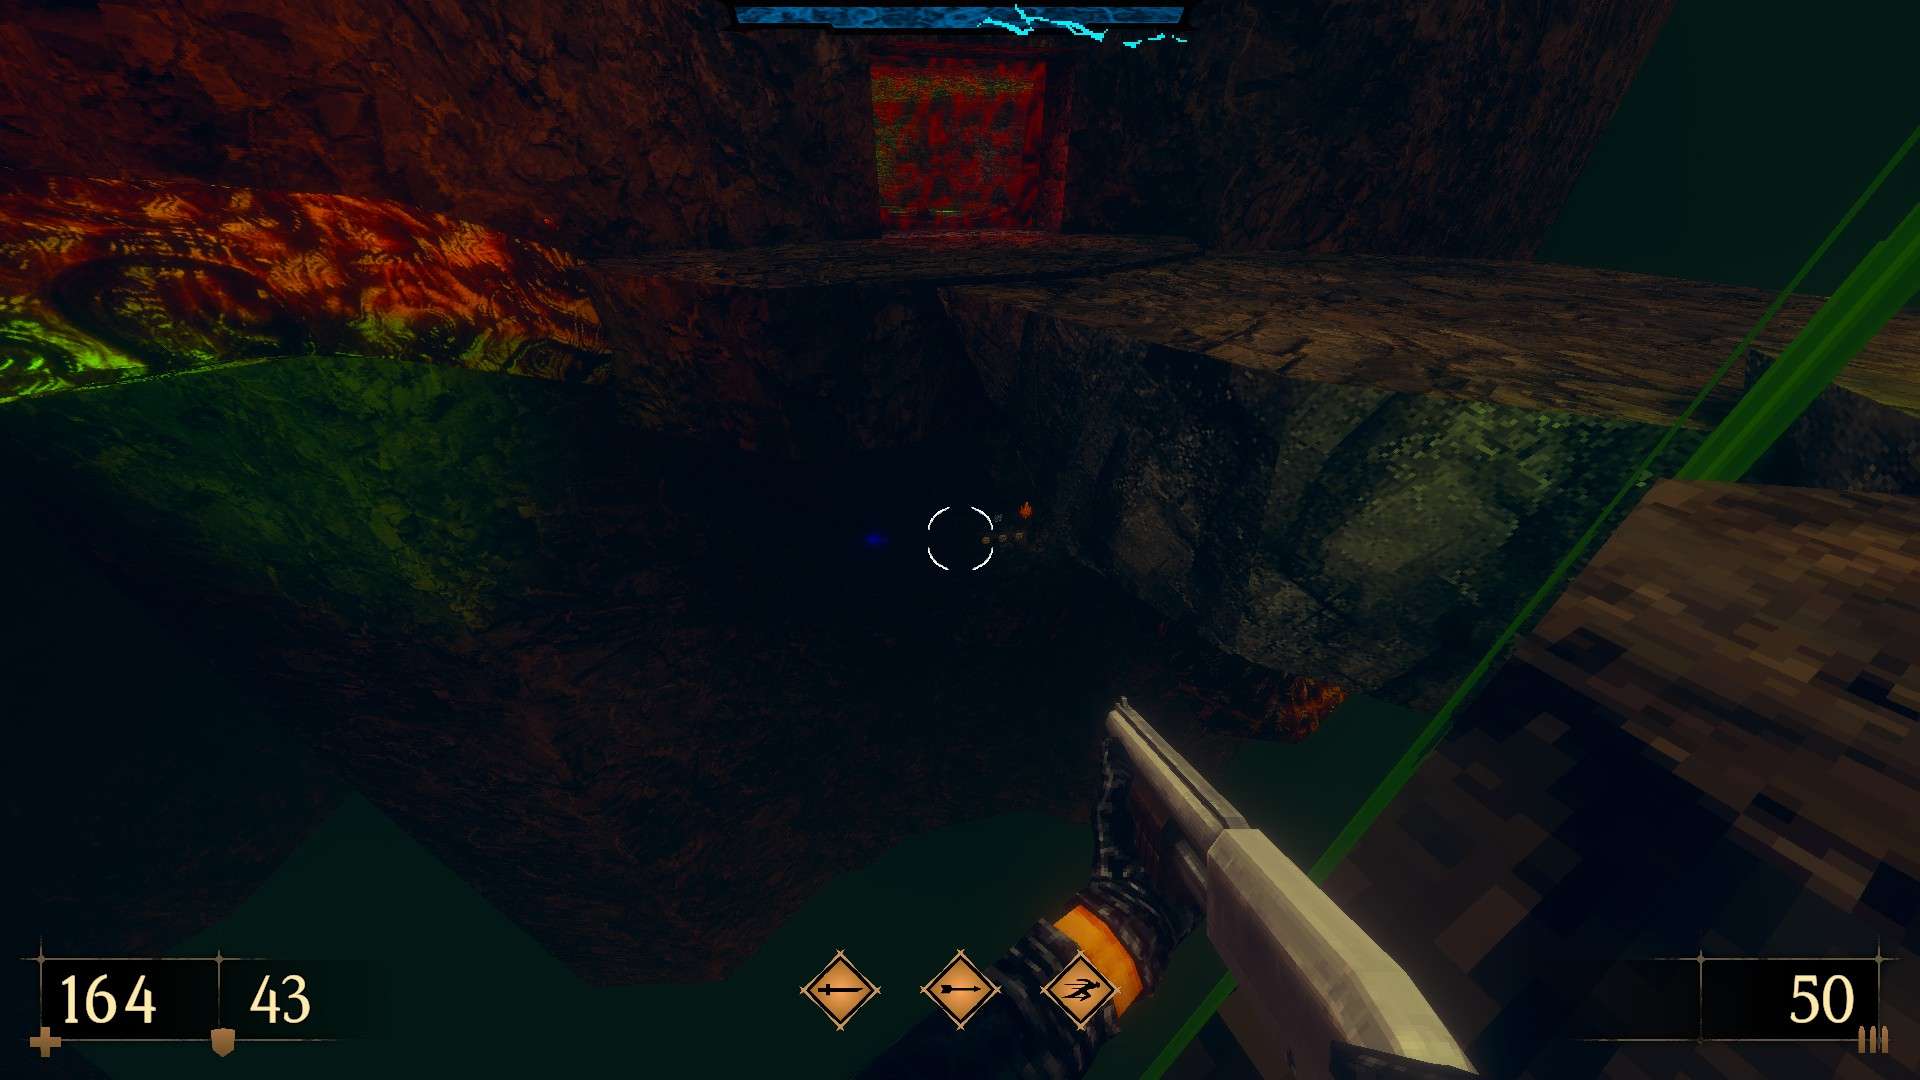
5/6 – Following from the previous secret, destroy the cracked part of the mountain at the end of the path and reach the side area through the teleporter. Battle your way out and grab the goodies stashed in an opening to the left of the exit teleporter.
6/6 – Upon returning from the side area, first unlock the metal door to your left, then use the door right next to it. Grab the goodies and go further in to come across a skeleton with a ring on her finger.
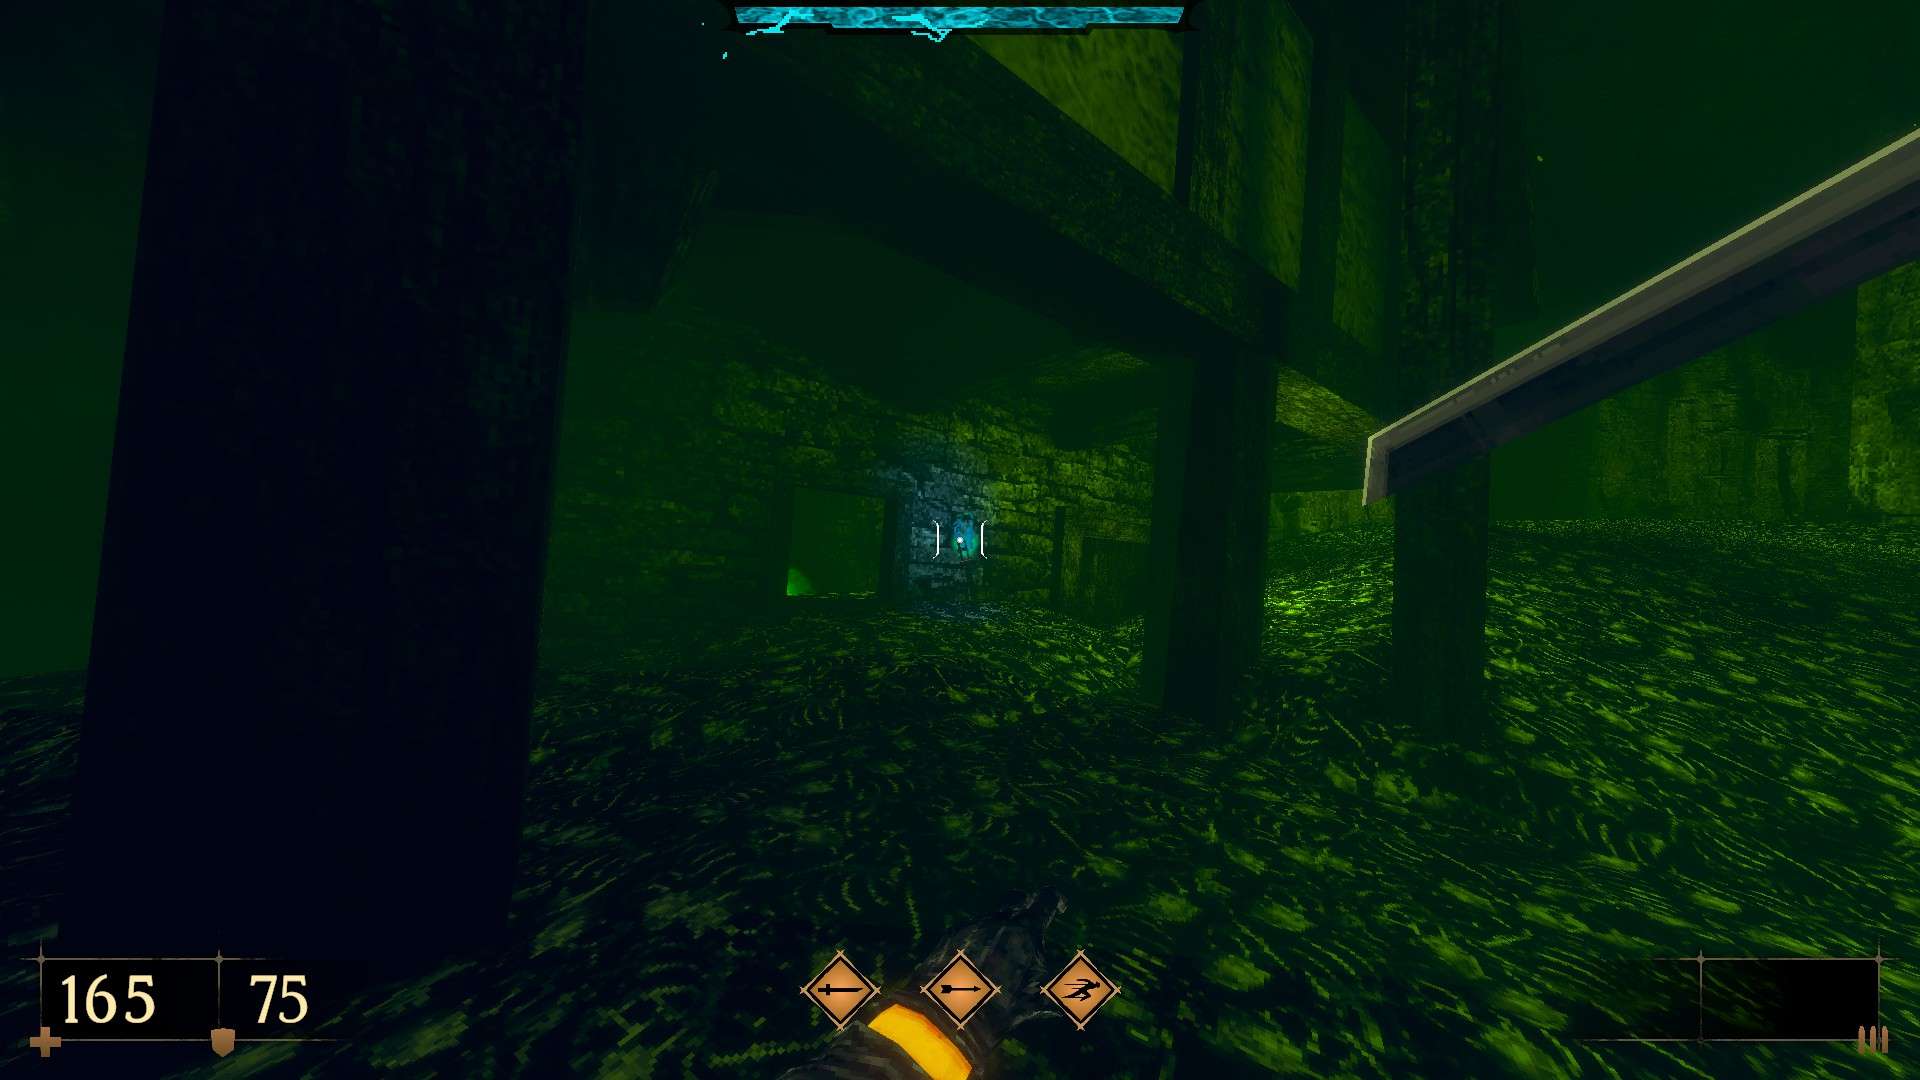
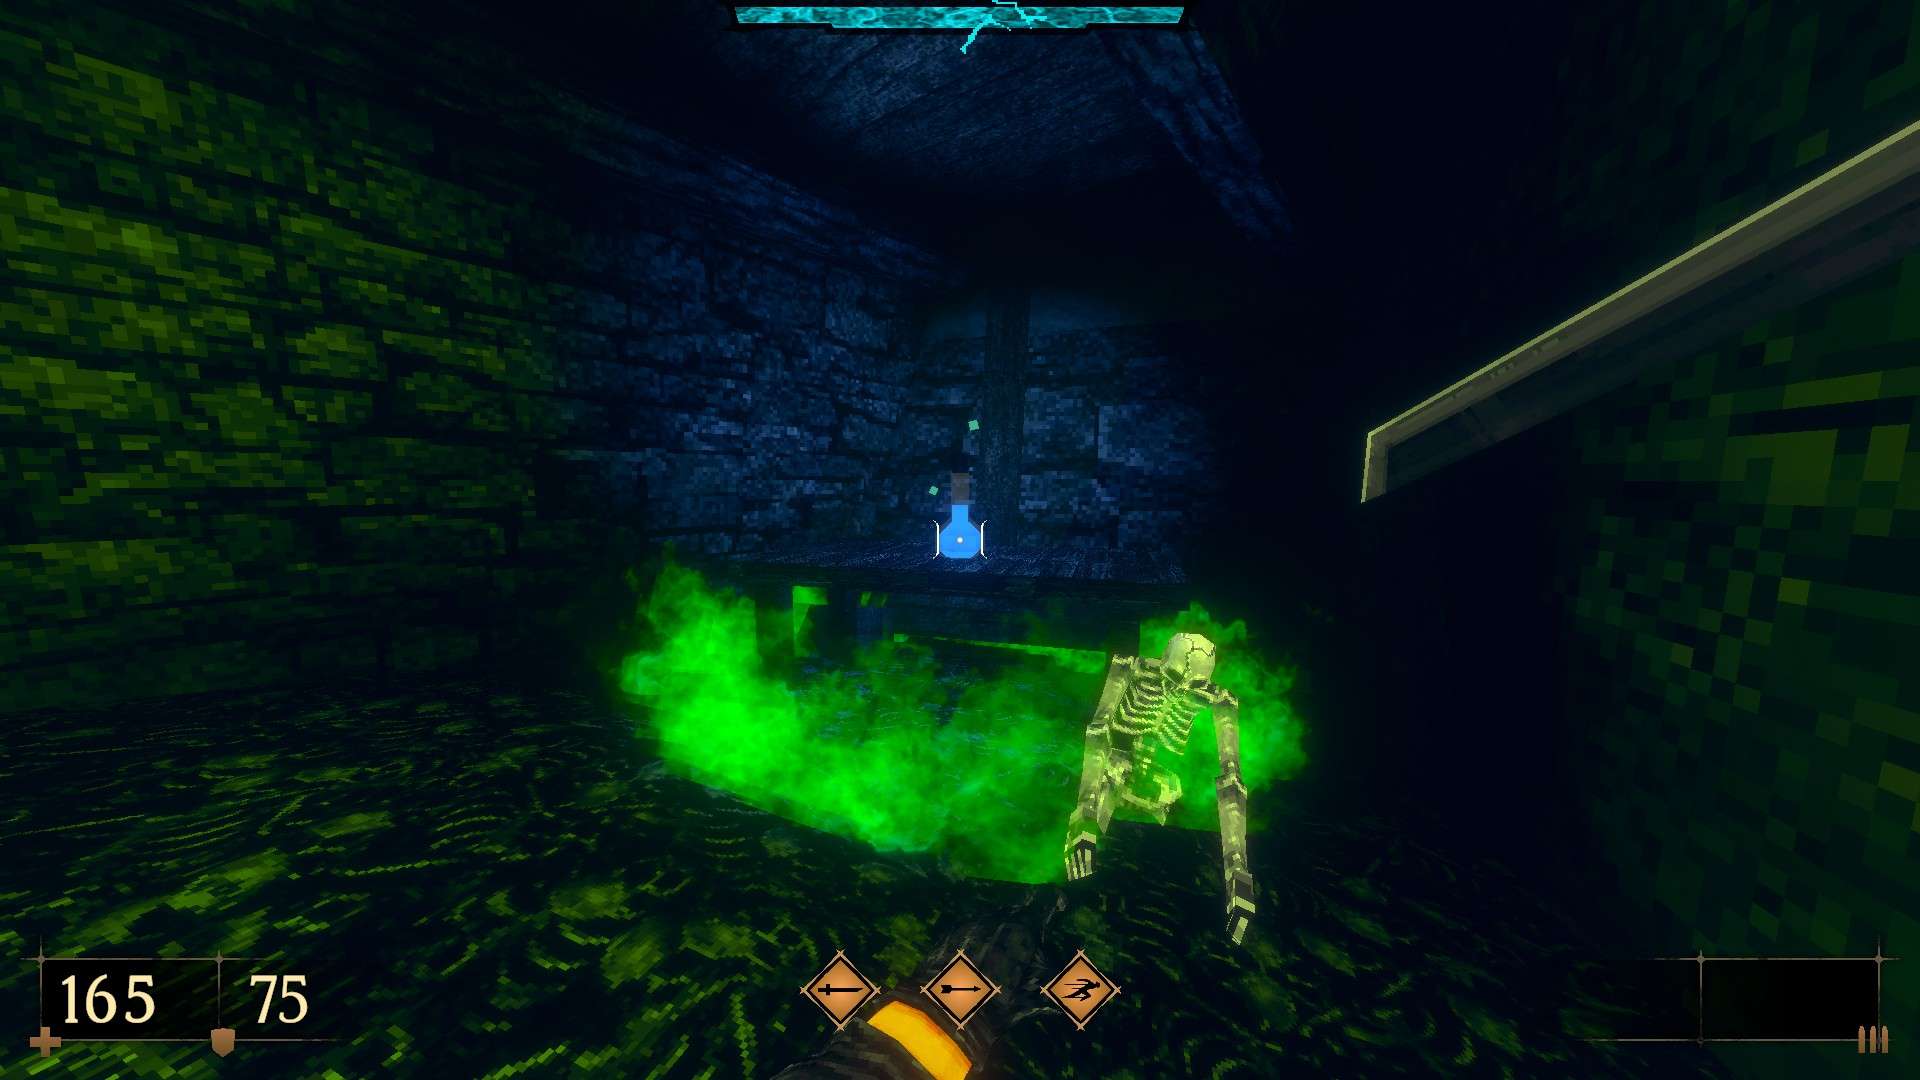
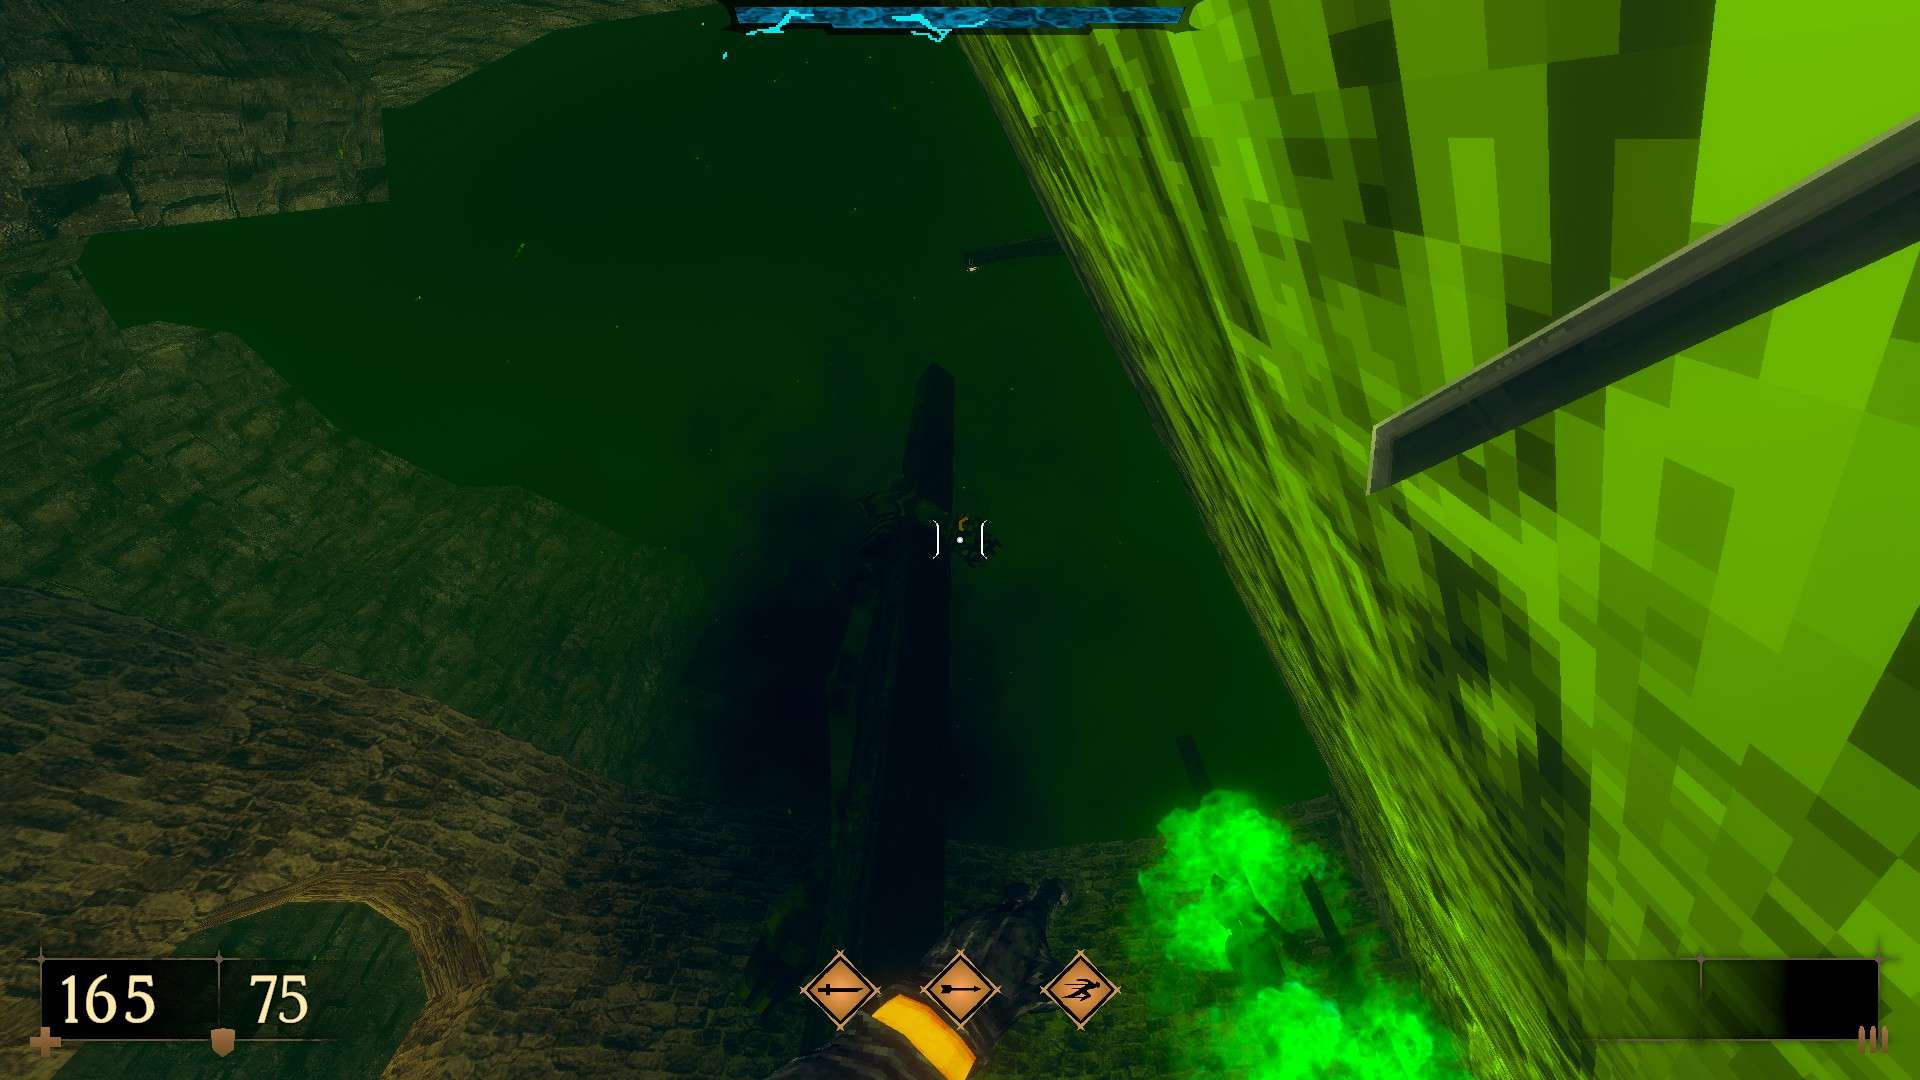
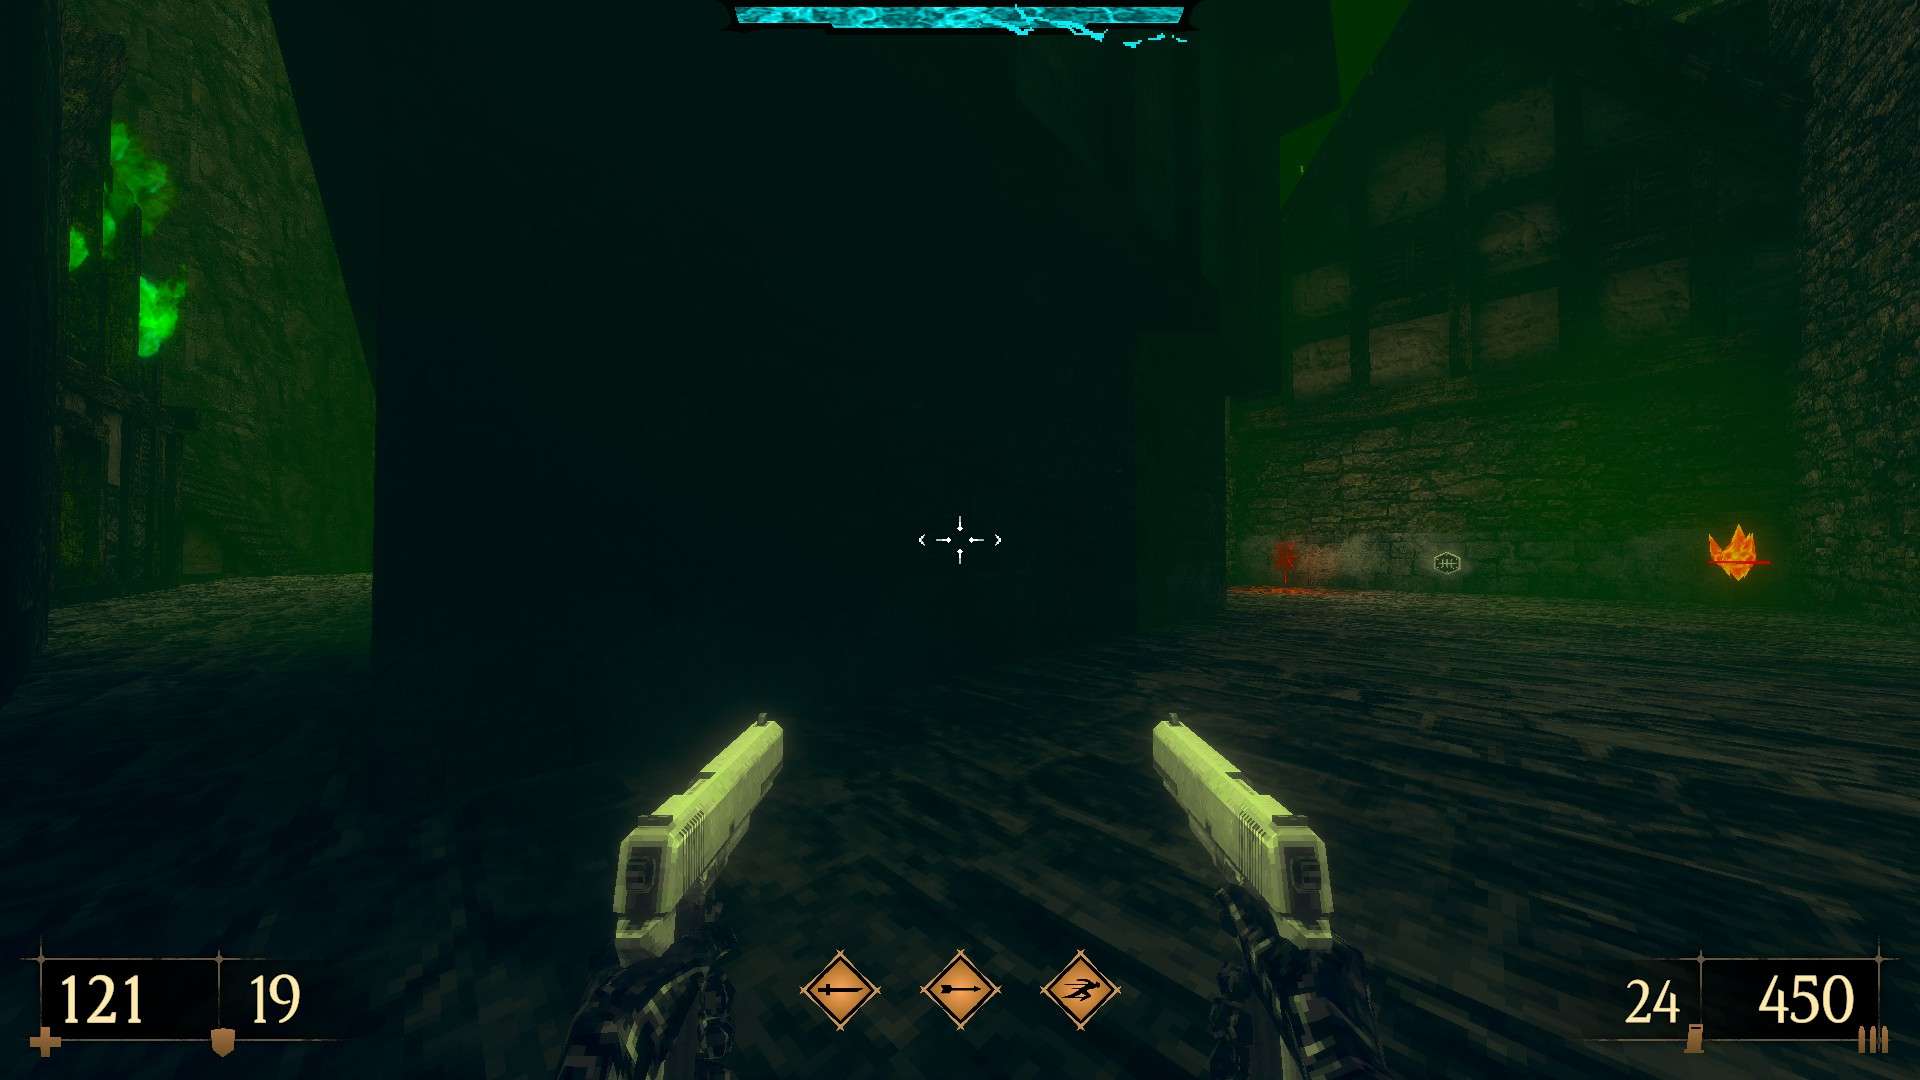
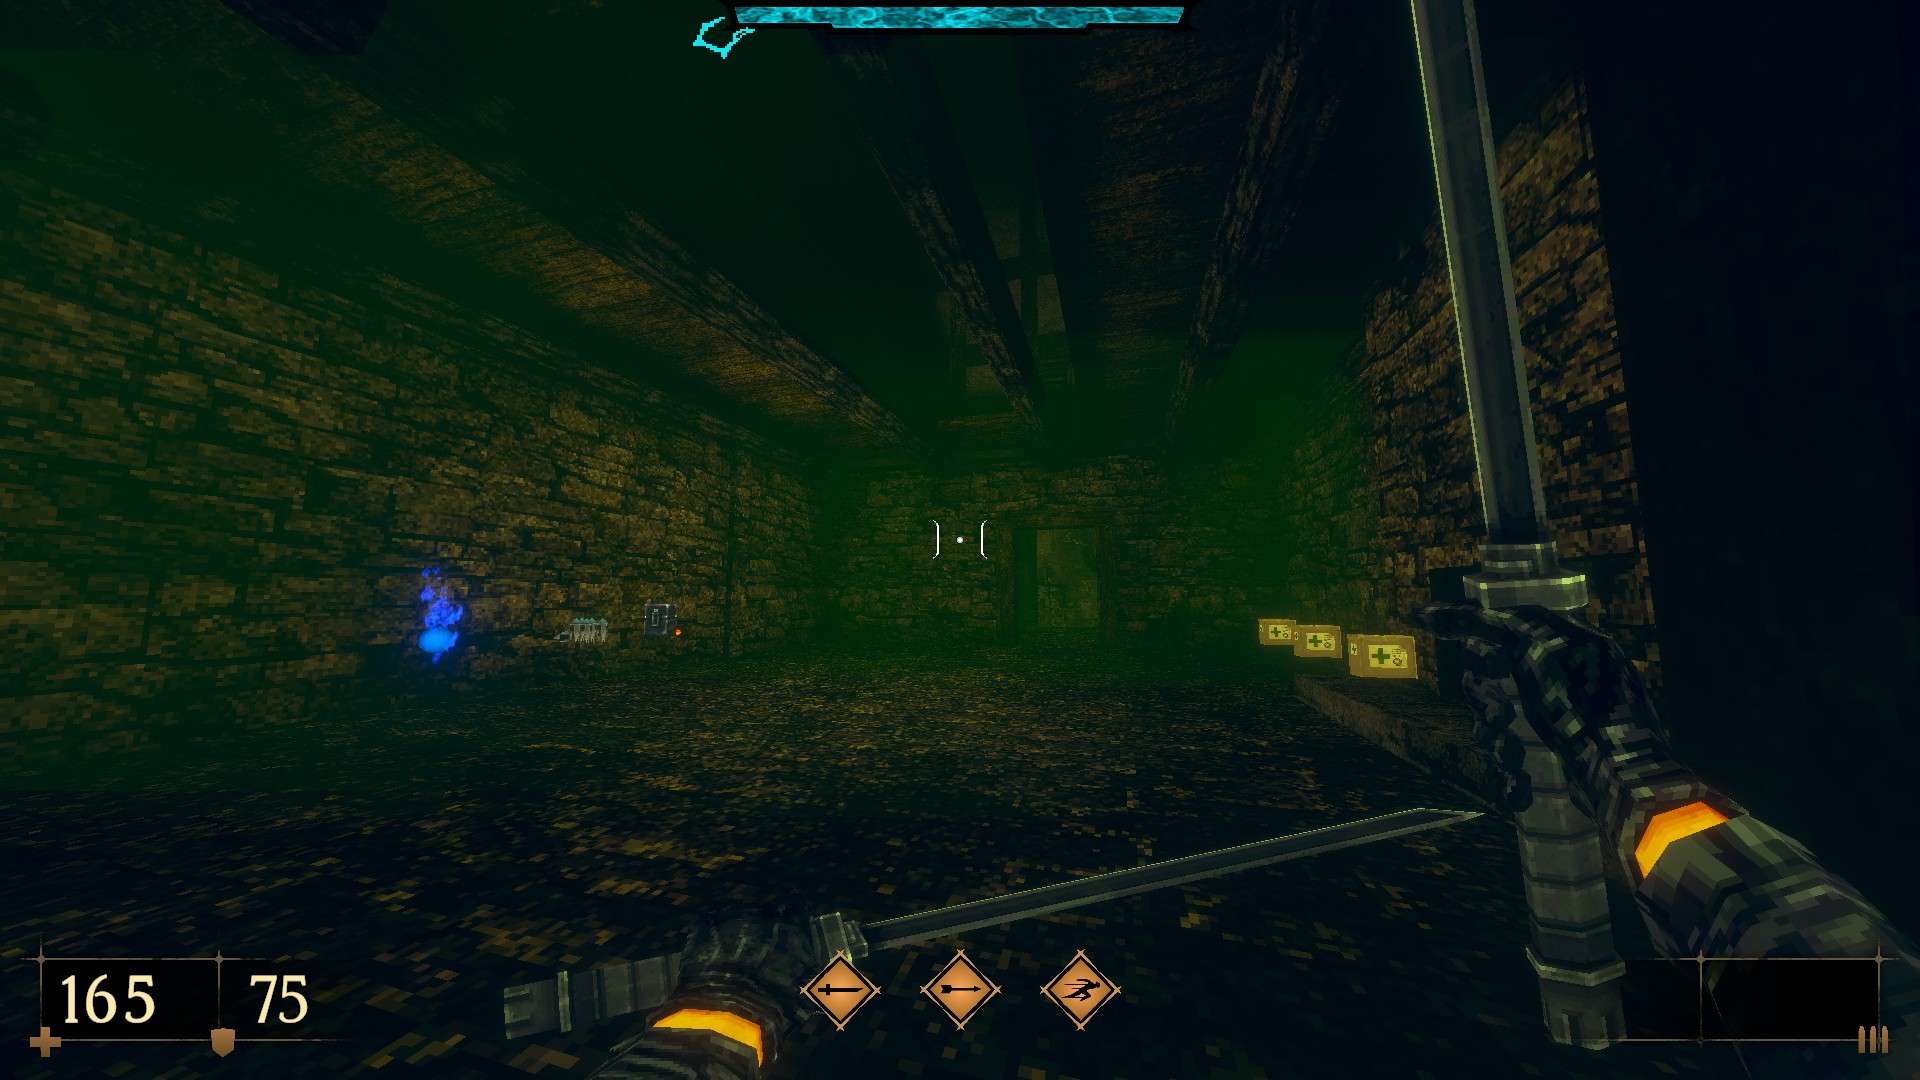
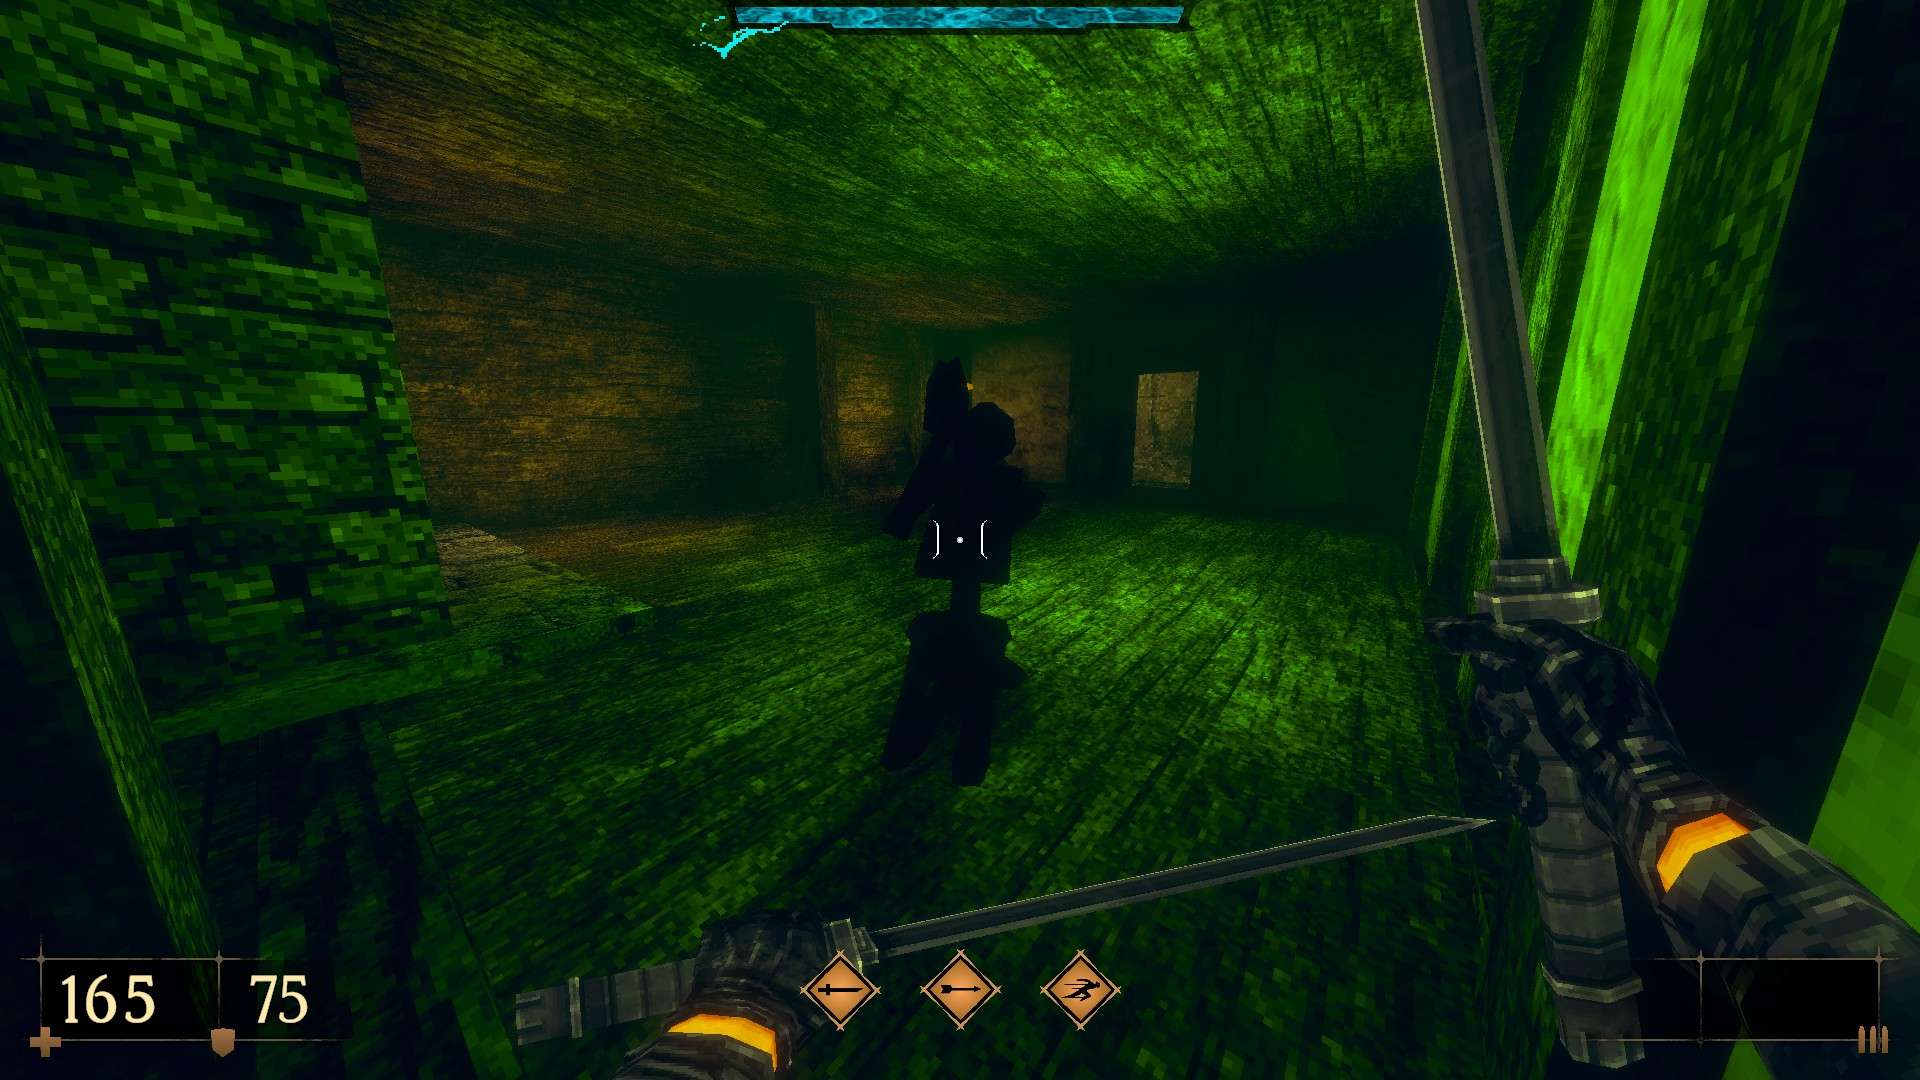
Super secret – Dive back into the underhalls from the crack at the town center and look for a blue-lit torch in the immediate area. Use the window next to it, get in and grab the flame suppression potion from the table. Make your way back to gallows behind the yellow gate and use the potion on the skeleton second from the right. Once the flames are gone, get the ring from his finger. Return to the skeleton found in secret #6, give the ring to her and get your rewards from the newly-revealed cache (Vampire -G- and a Blood Gem (Also unlocks the achievement ‘Love and Promise’.)).
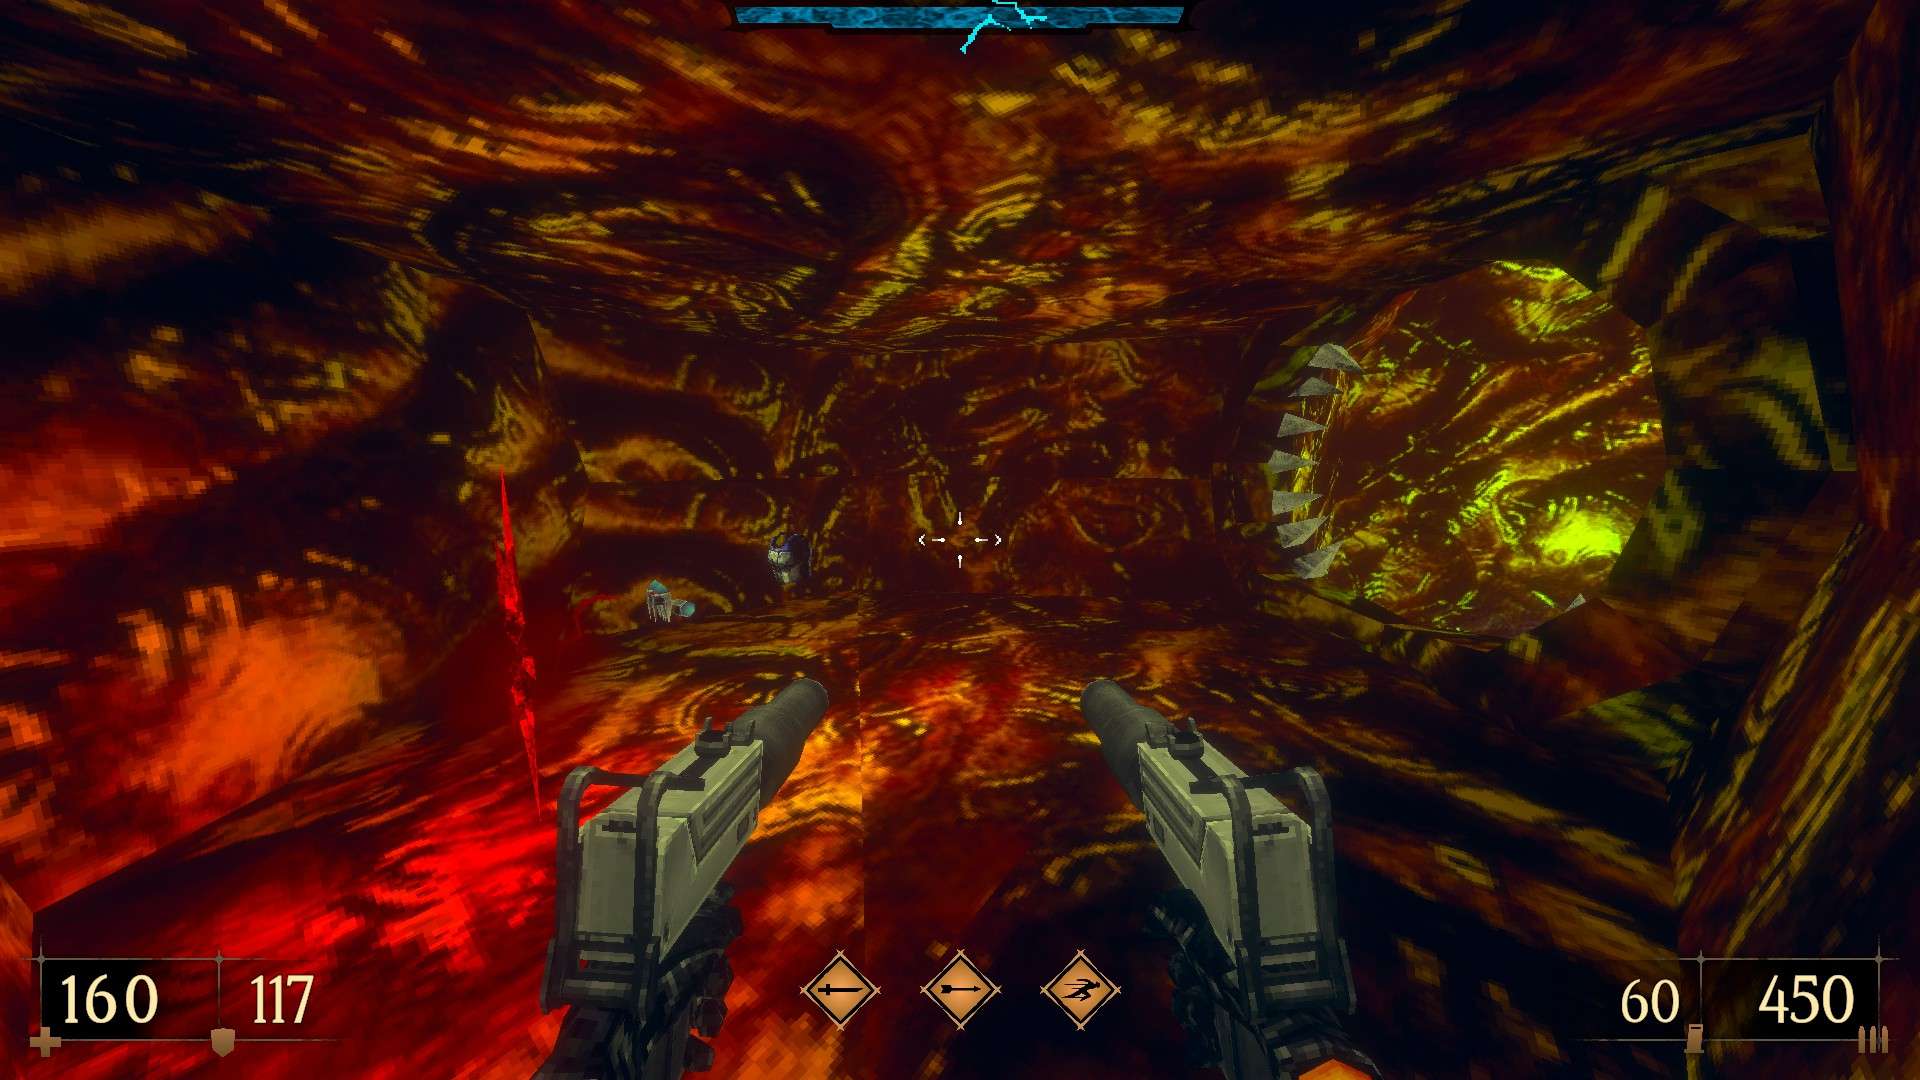
E5M2: Wriggling Evil
This level contains 6 secrets and a super secret.
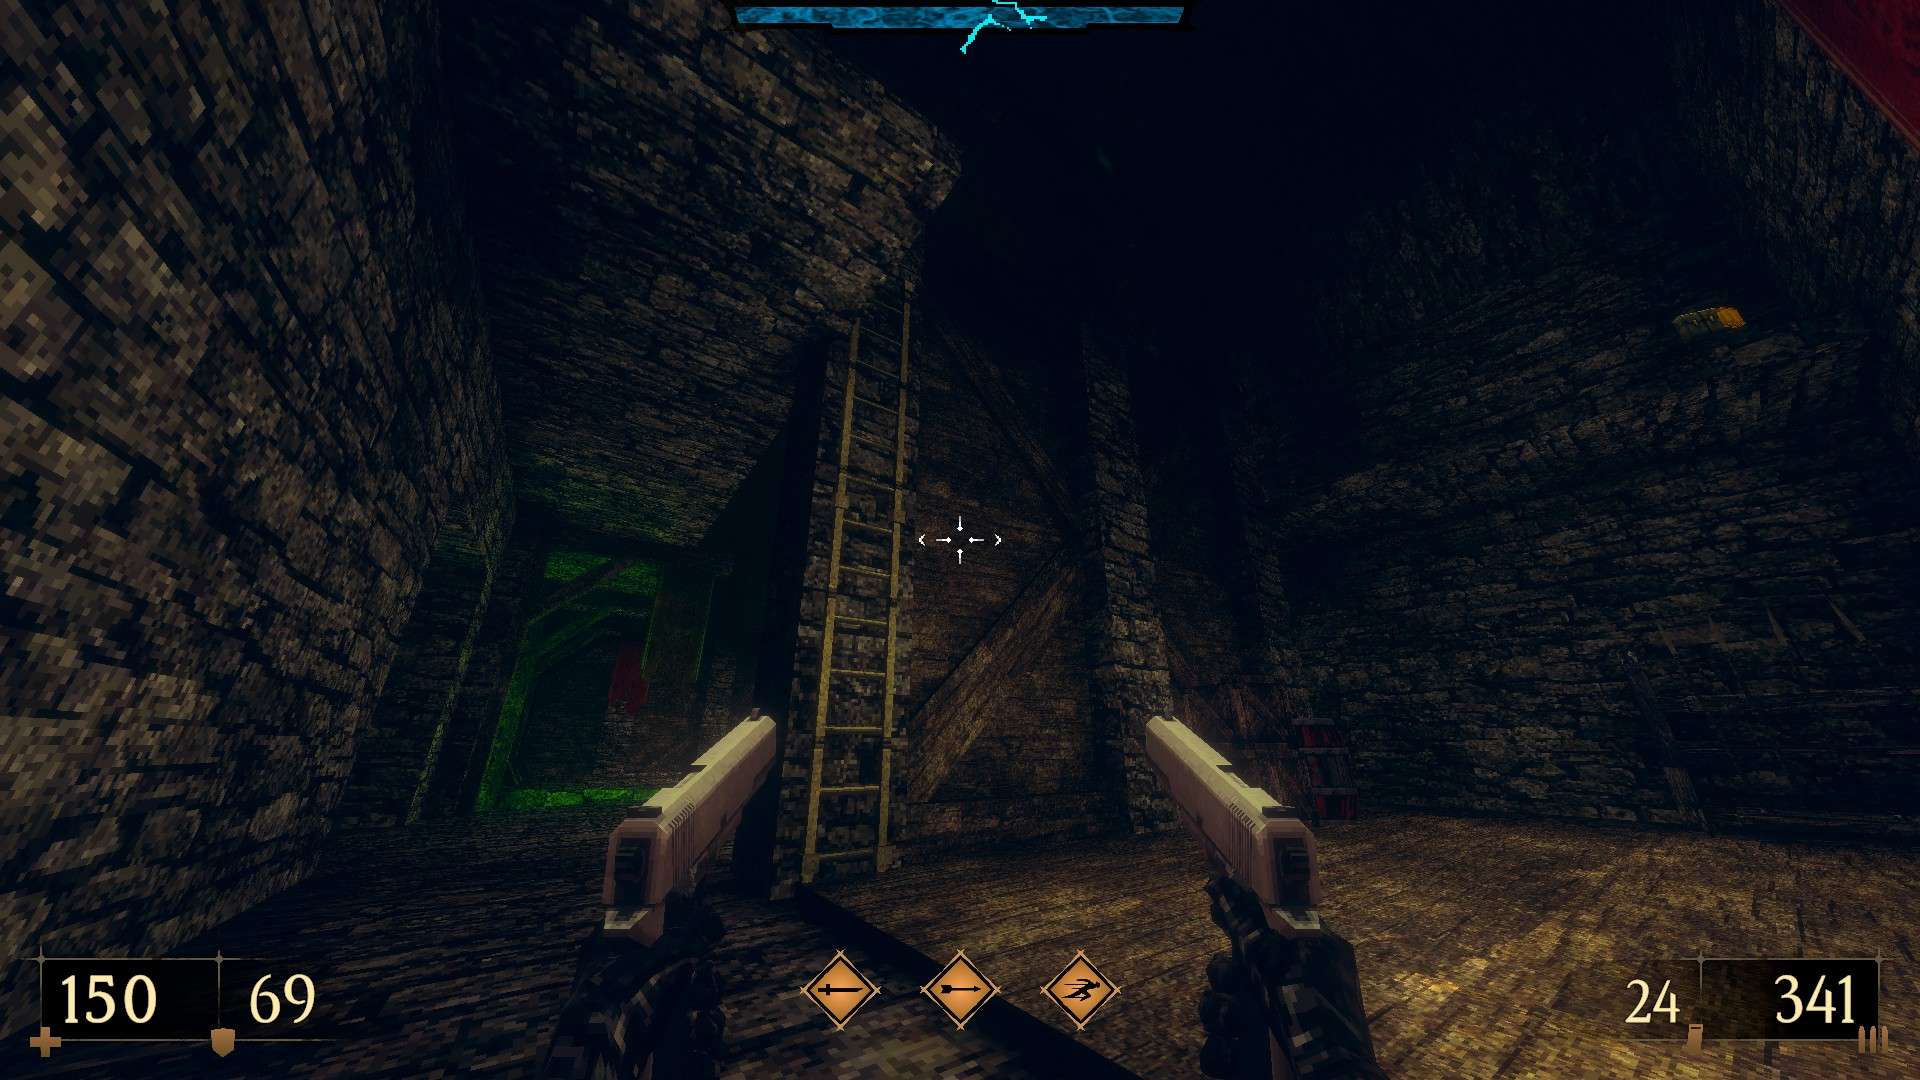

1/6 – Get to the other end of the starting hall and take the ladder up. Follow the path, dash-jump to the ledge on the other side and use the wall next to the fork and the bundles of dynamite to reveal hidden ammo. Victims, aren’t we all?
2/6 – At the area beyond the veil, cross over to the island, turn around and dash-jump to the goodies laying out in the open below.
3/6 – As soon as you leave the mines behind, take the path to the right and destroy the cracked wall to find the teleporter to the side area (which starts familiar enough). After cleaning up the area and using the crystal that opens the way out, look for an opening next to the central pillar where an armor and a health pack reside.


Super secret – Back at the side area entrance, dash-jump to the path below and use the lantern found next to the cavern wall. Once the lantern is lit, turn around and take the newly-revealed path to reach a hidden cave (Blood Gem).
4/6 – Before leaving the ruins behind, take the right path to its end, drop down to the ledge below and open the door to get a hidden emblem and an armor (Inferno Gauntlets Slaughter III).

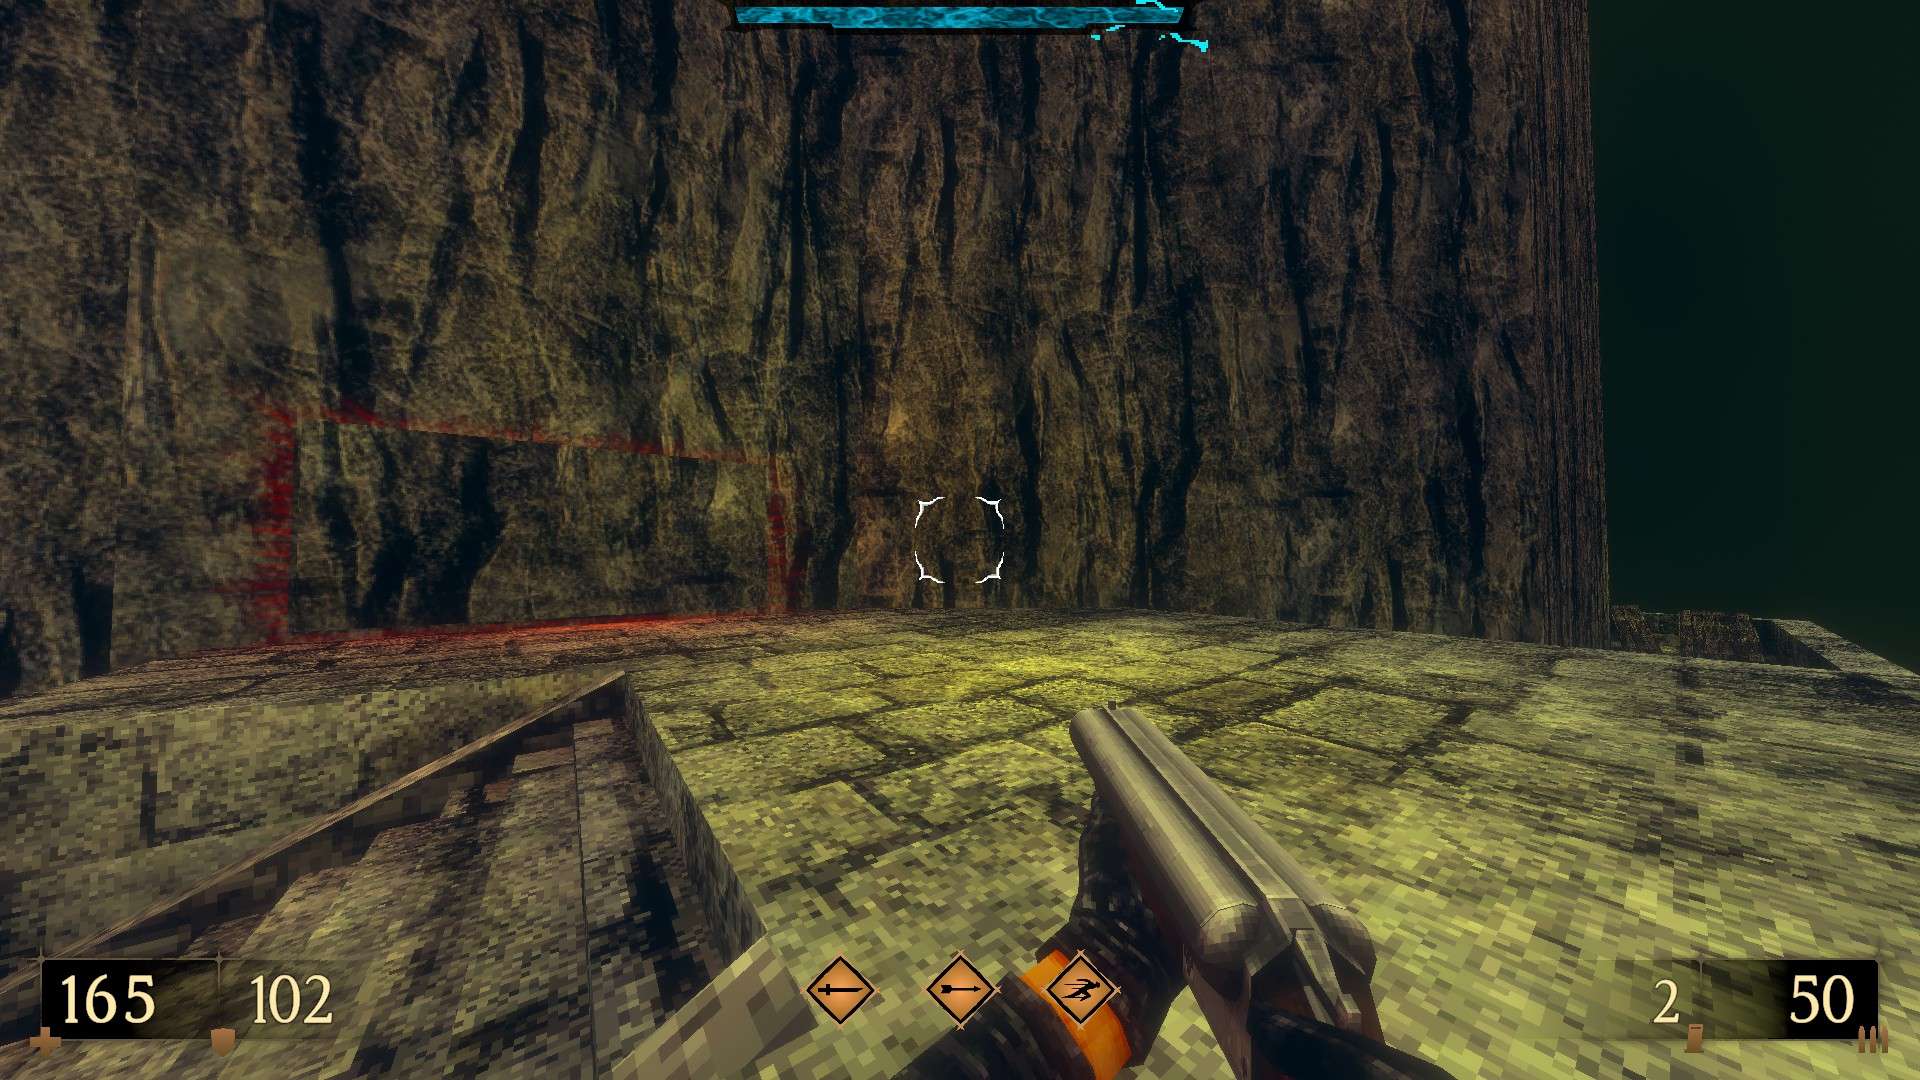
5/6 – As you step out of the crypts, use the wall with the unlit torch to the right to reveal a hidden alcove.
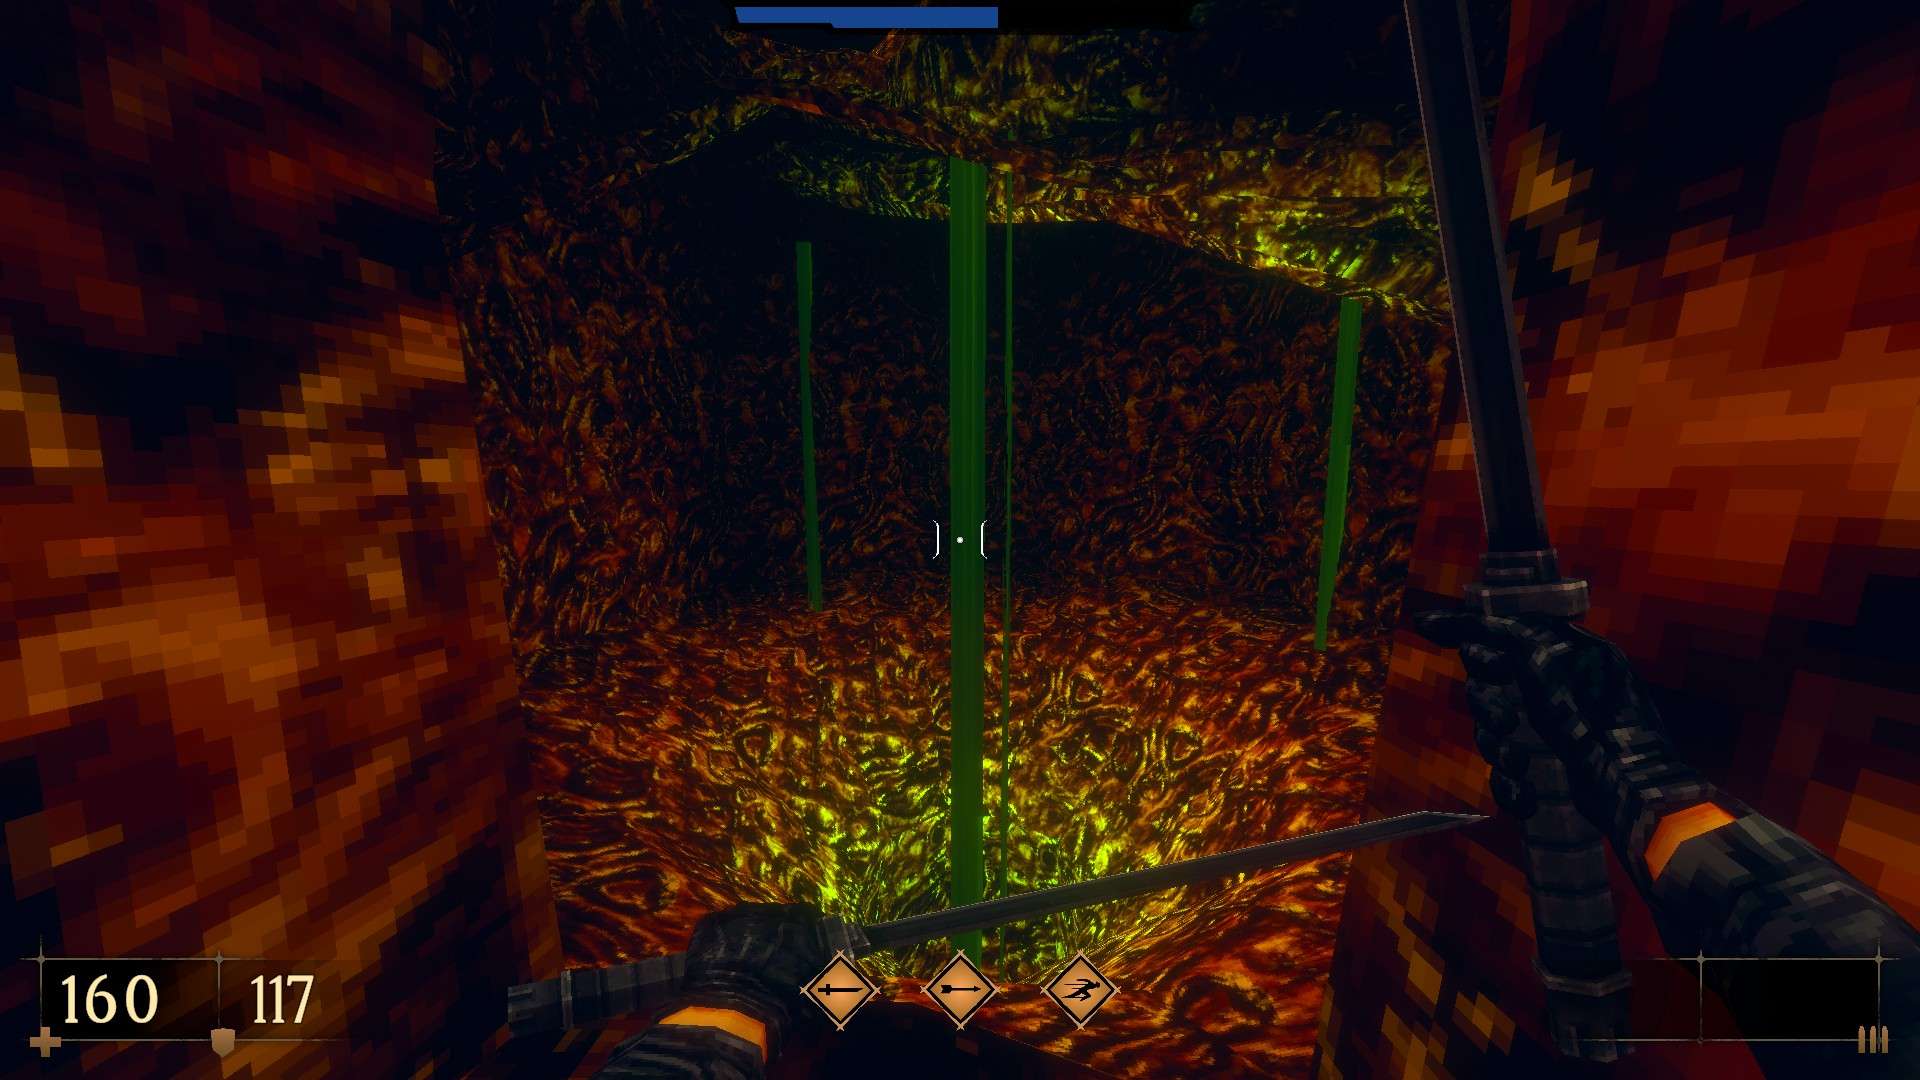

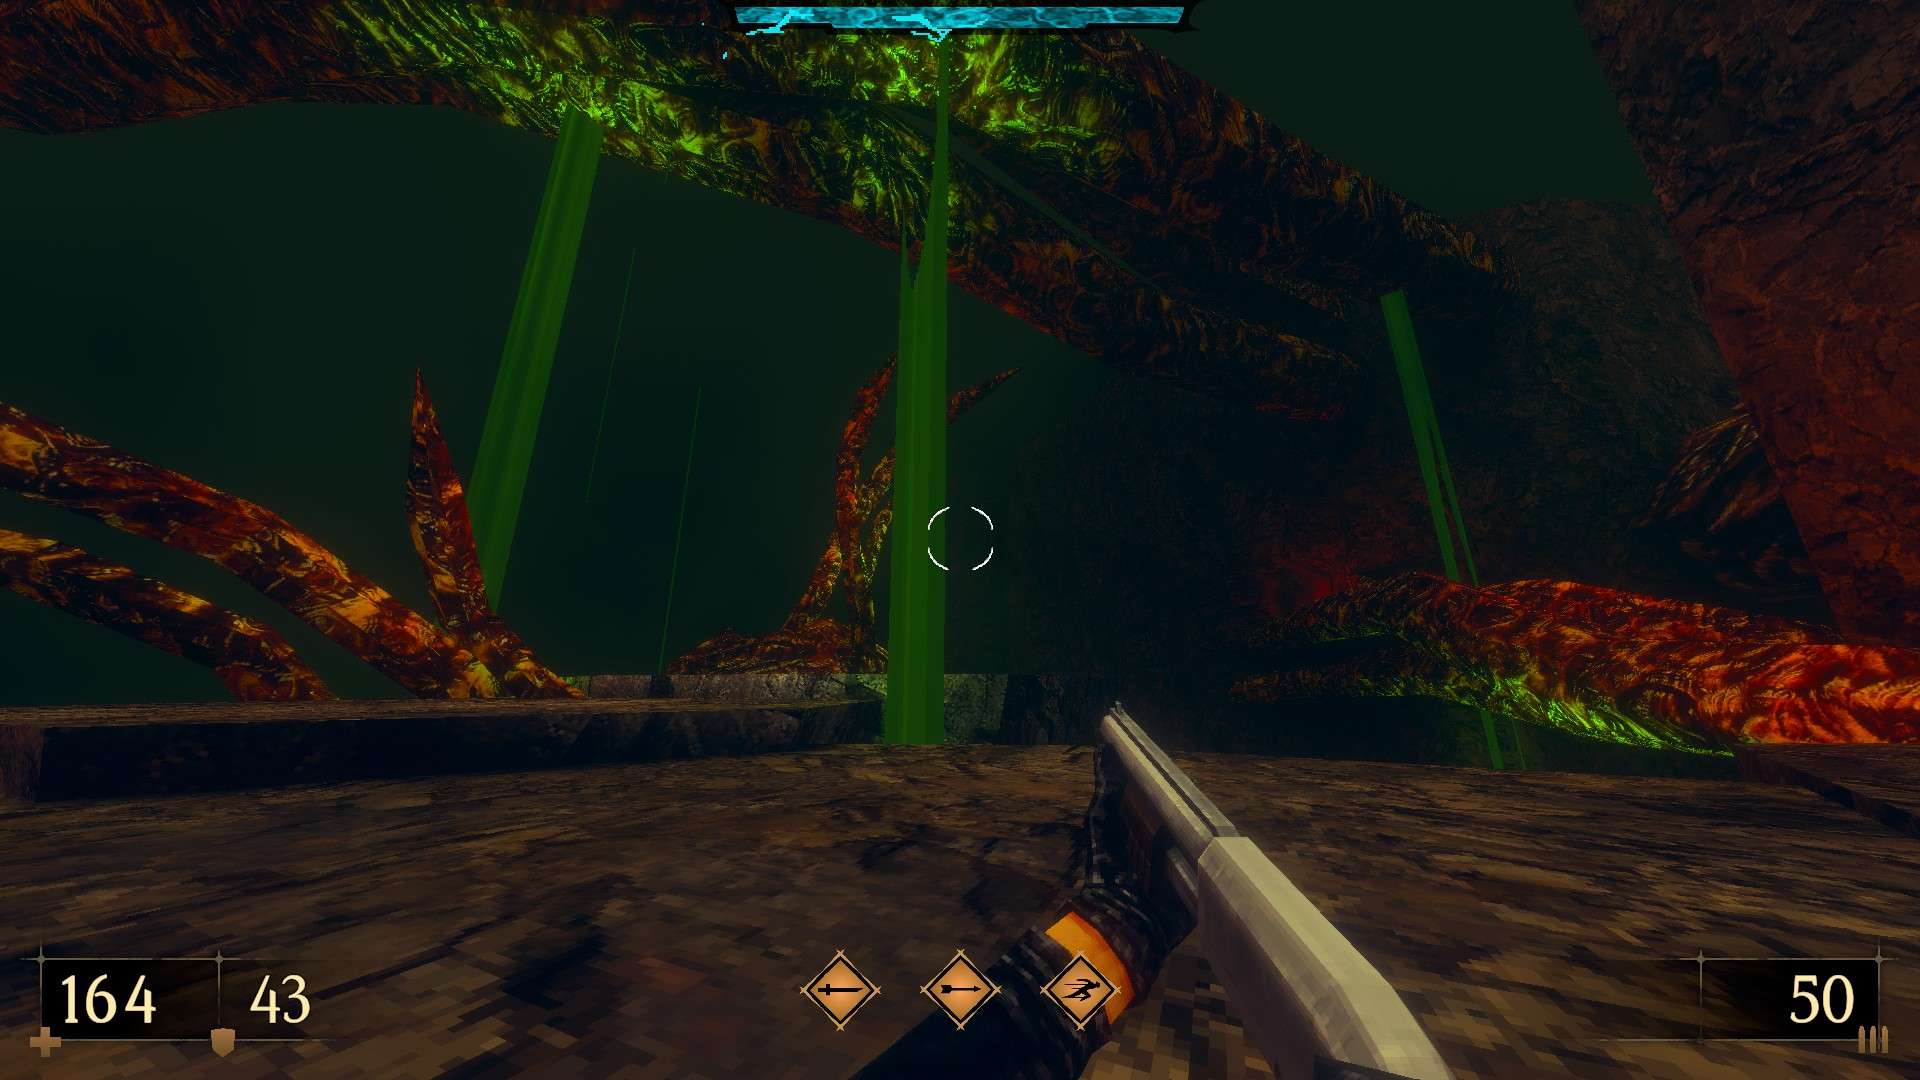
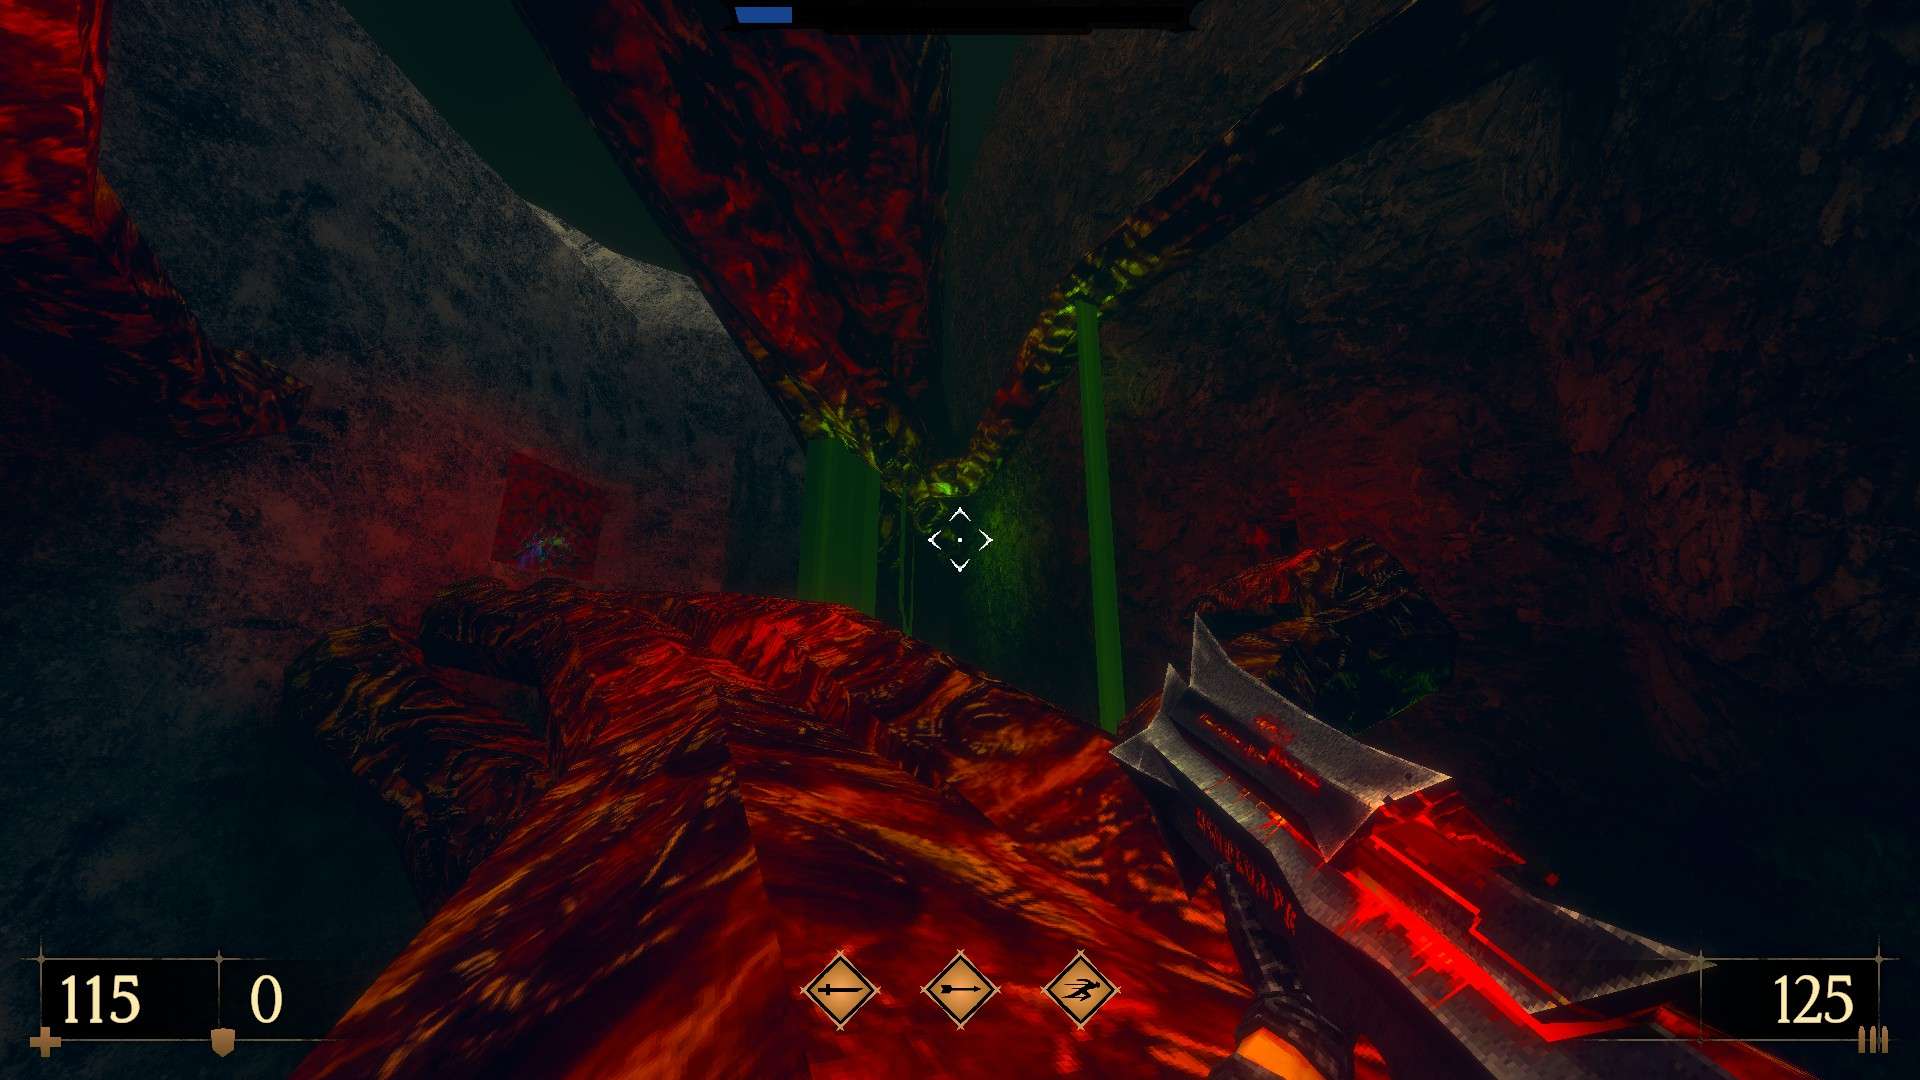
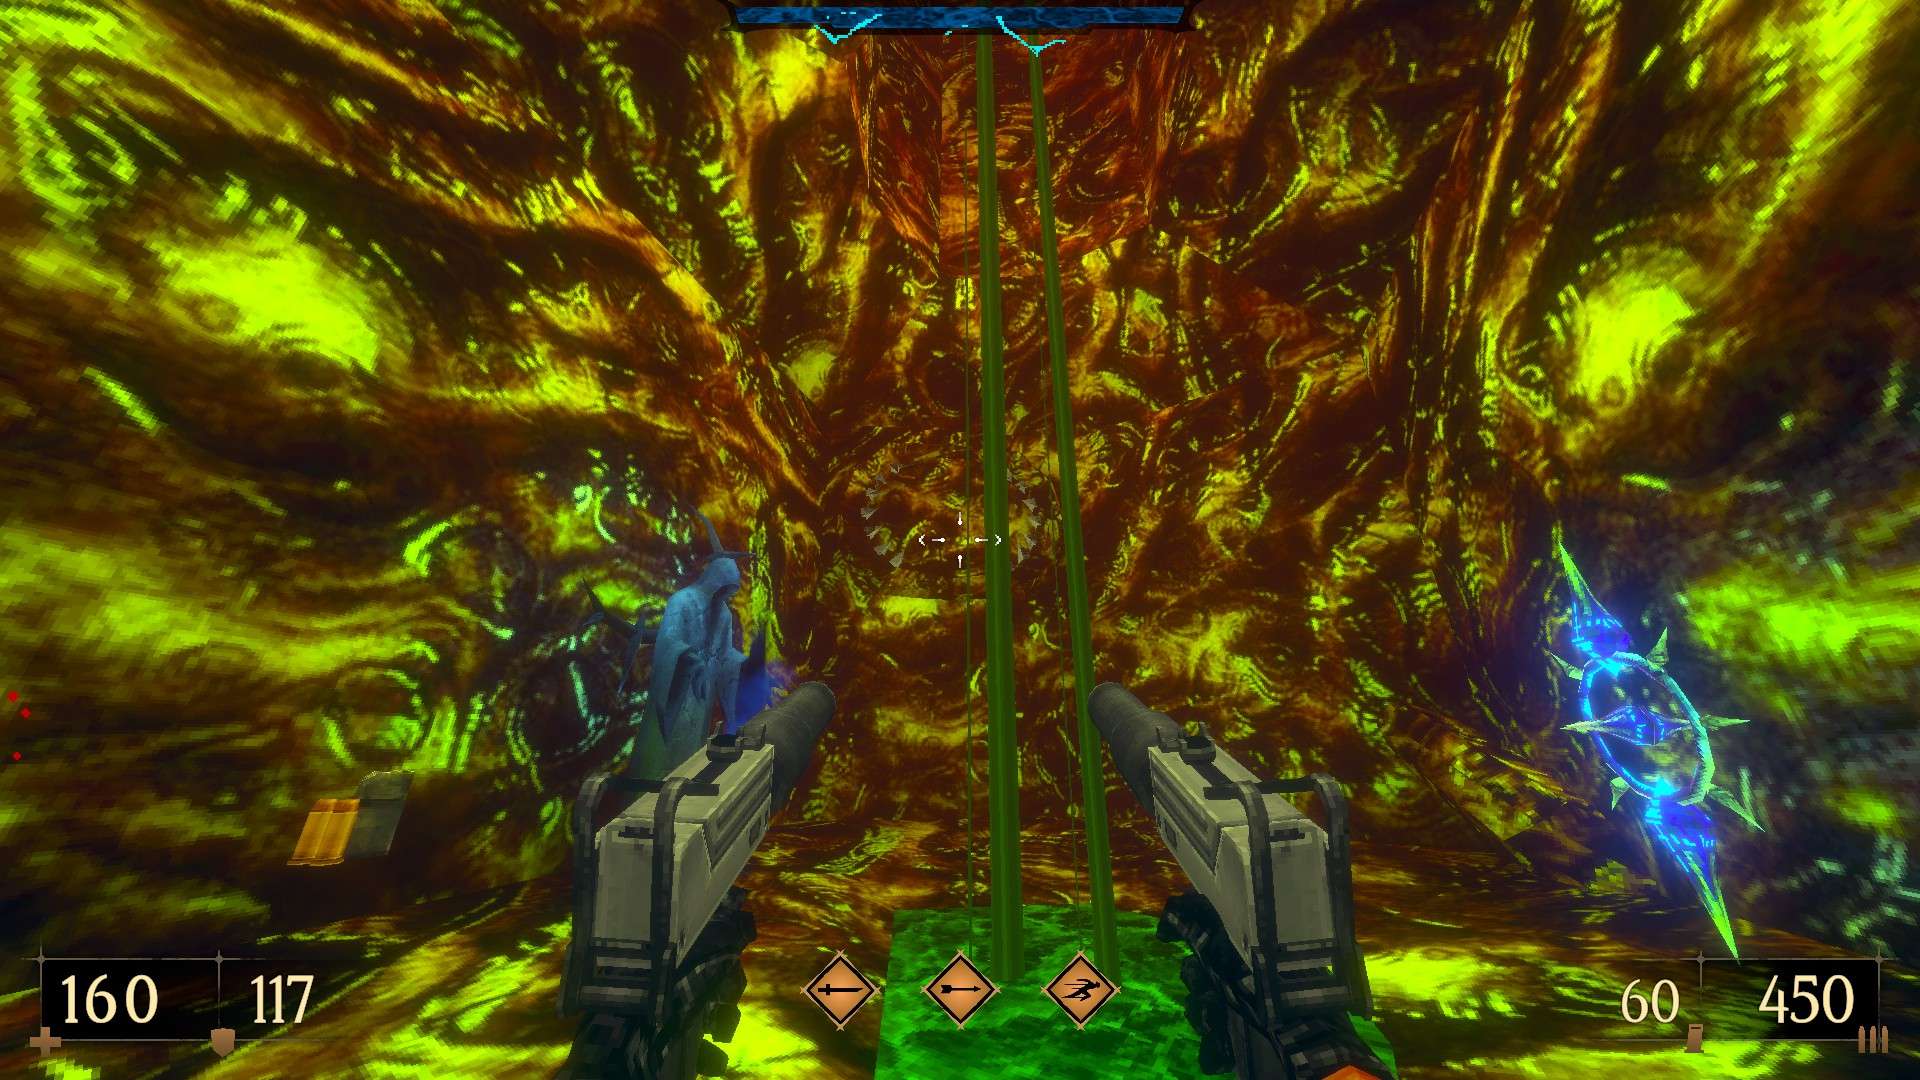
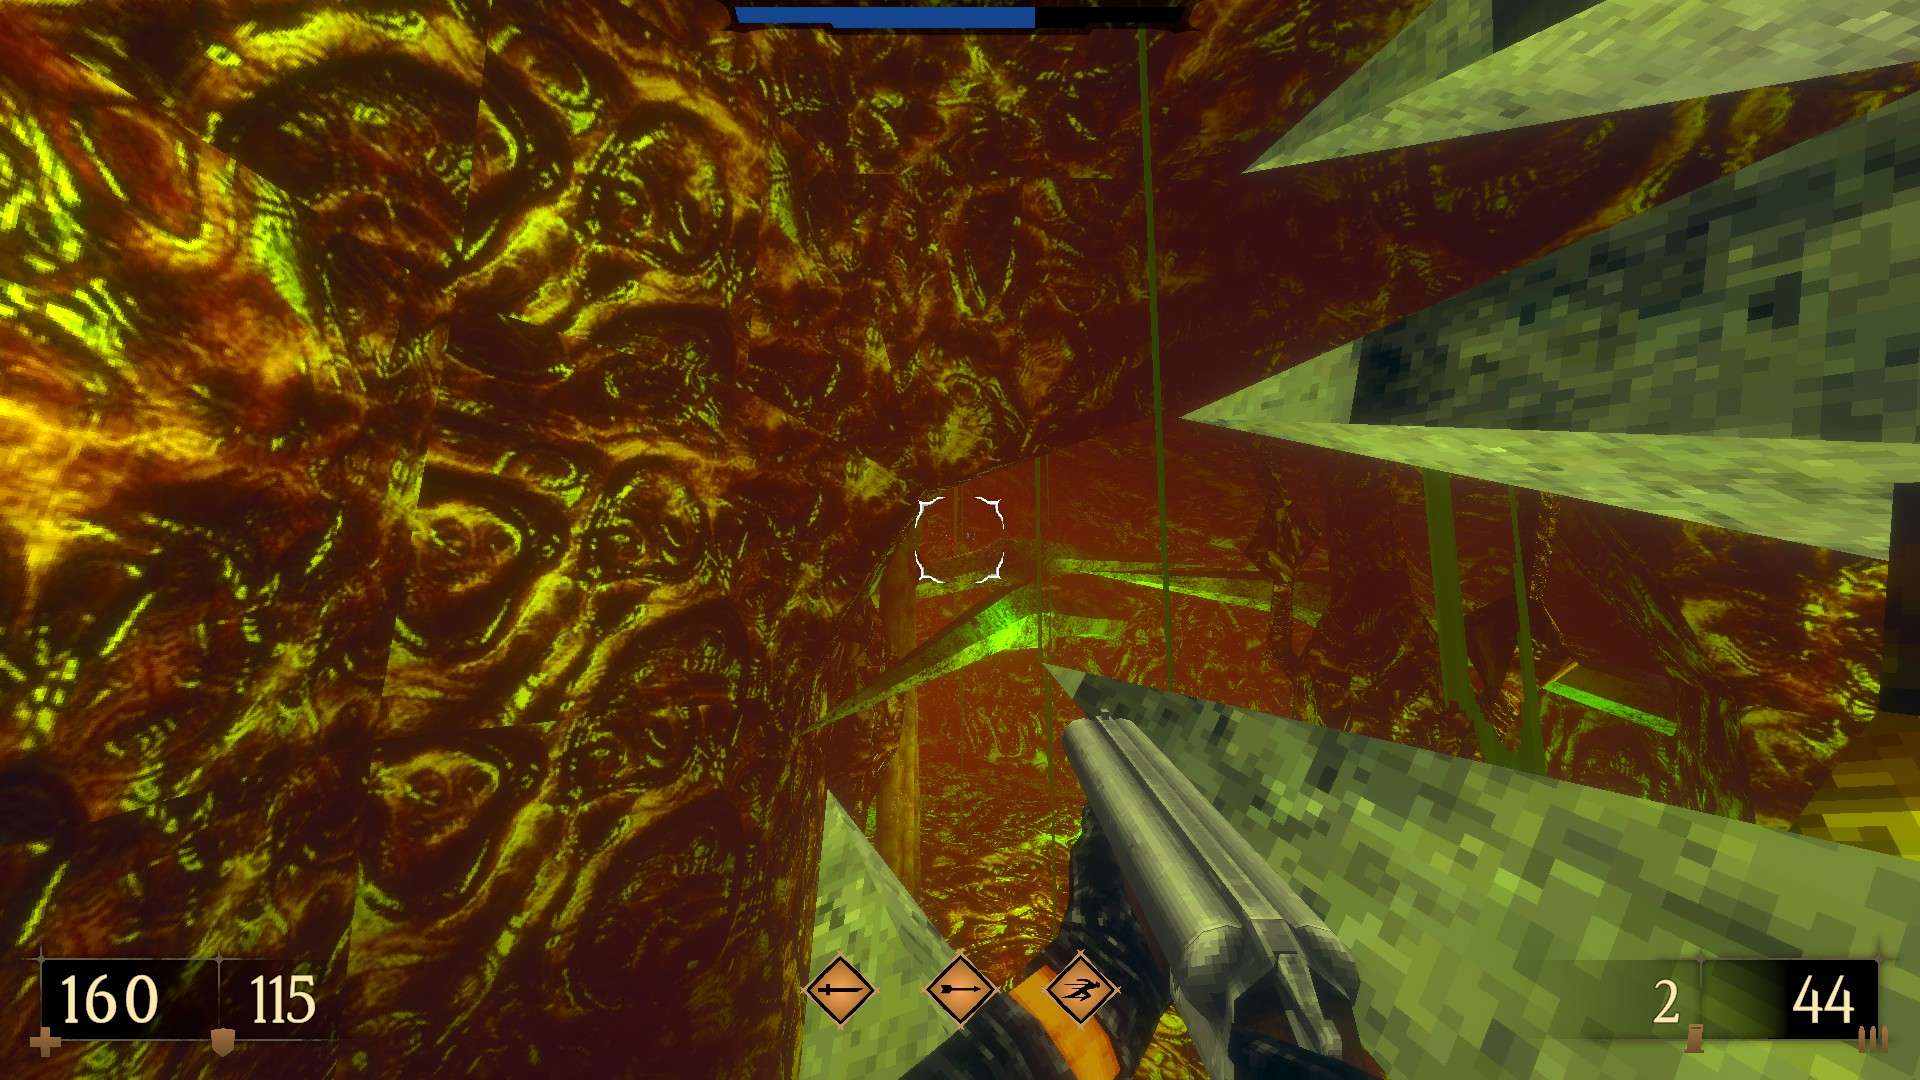
6/6 – Before dropping down into the pit, get on the artery to your left and follow it all the way up to a hidden emblem (Inferno Revolver Slaughter III).
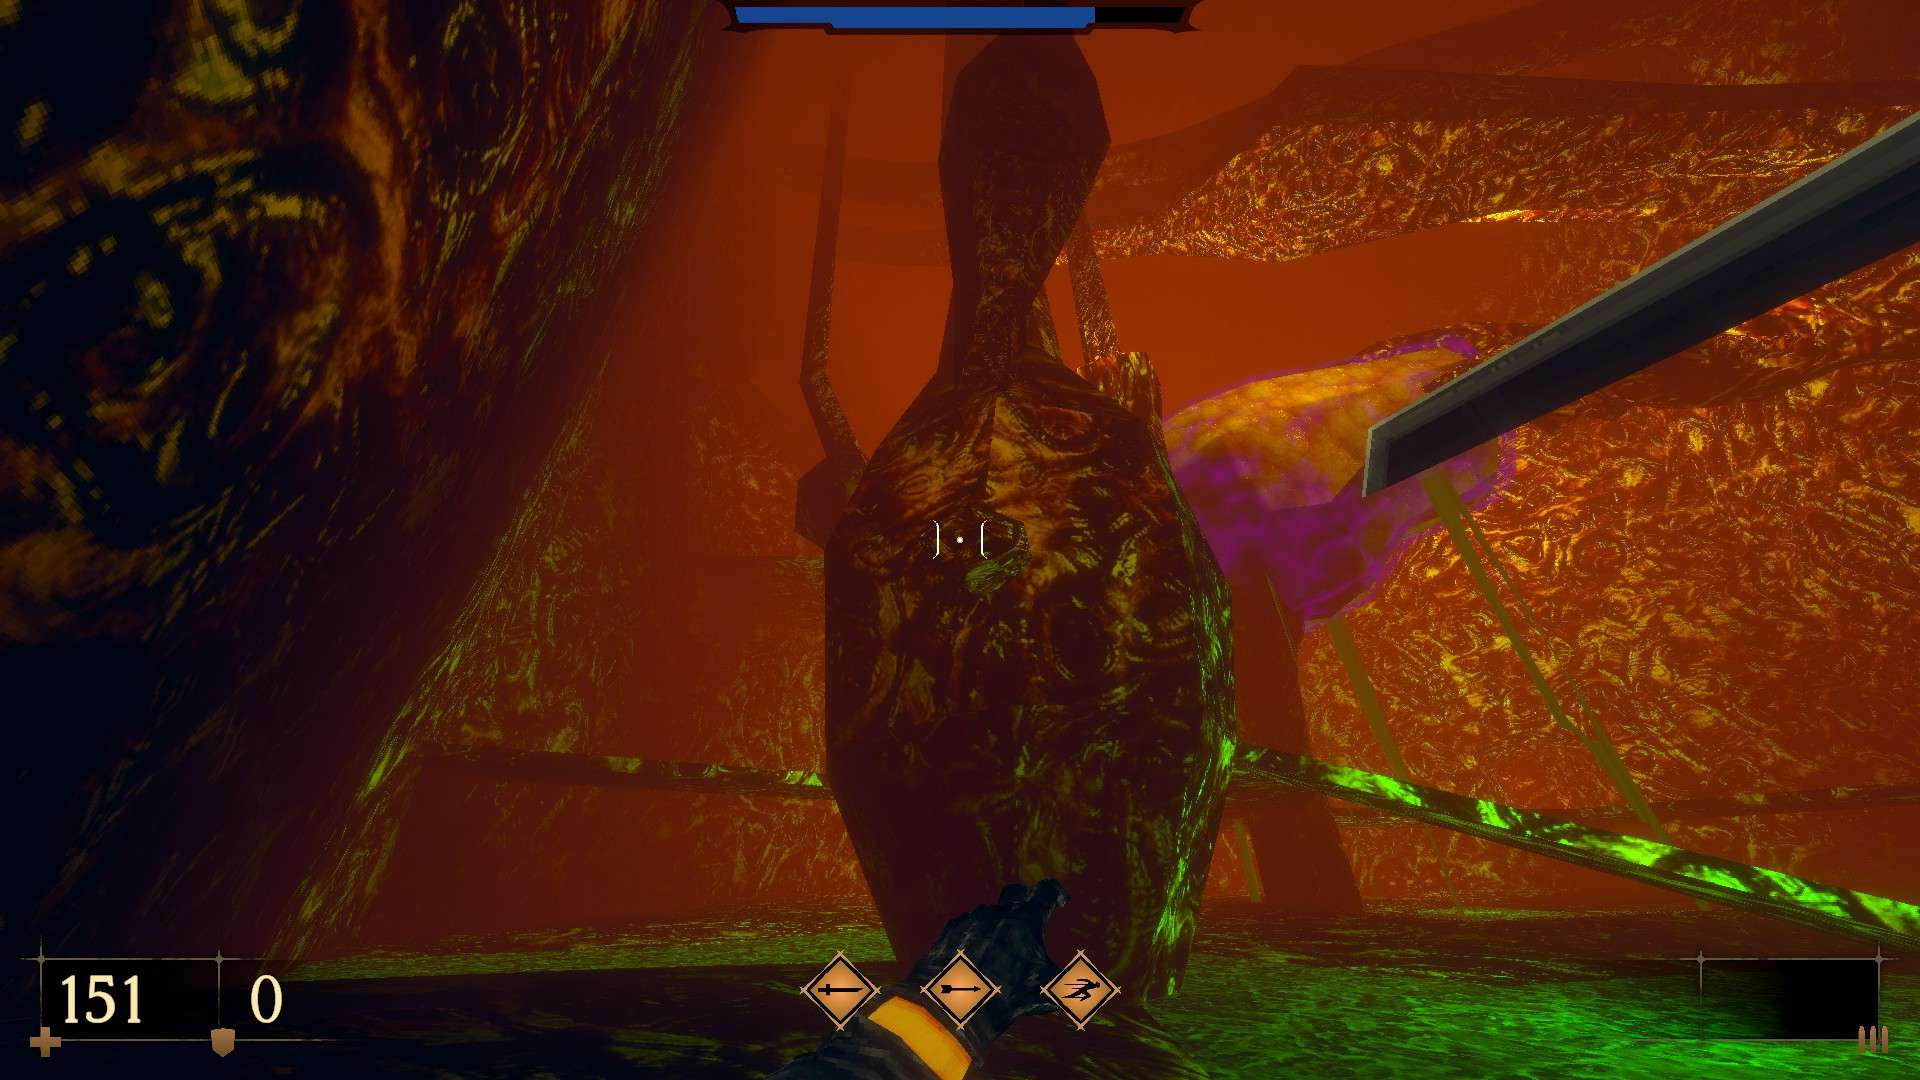
E5M3: That Night
This level contains 3 secrets.
1/3 – Right at the start, turn around and jump onto the artery at the corner. From there, utilize the save point and the upgrade panel as stepping stones to reach the circular teeth above. Use it to reveal a hidden alcove.

2/3 – Upon reaching the second save point, turn around, dash-jump from the top of the tooth to the nearest spike and make your way to the goodies nearby.
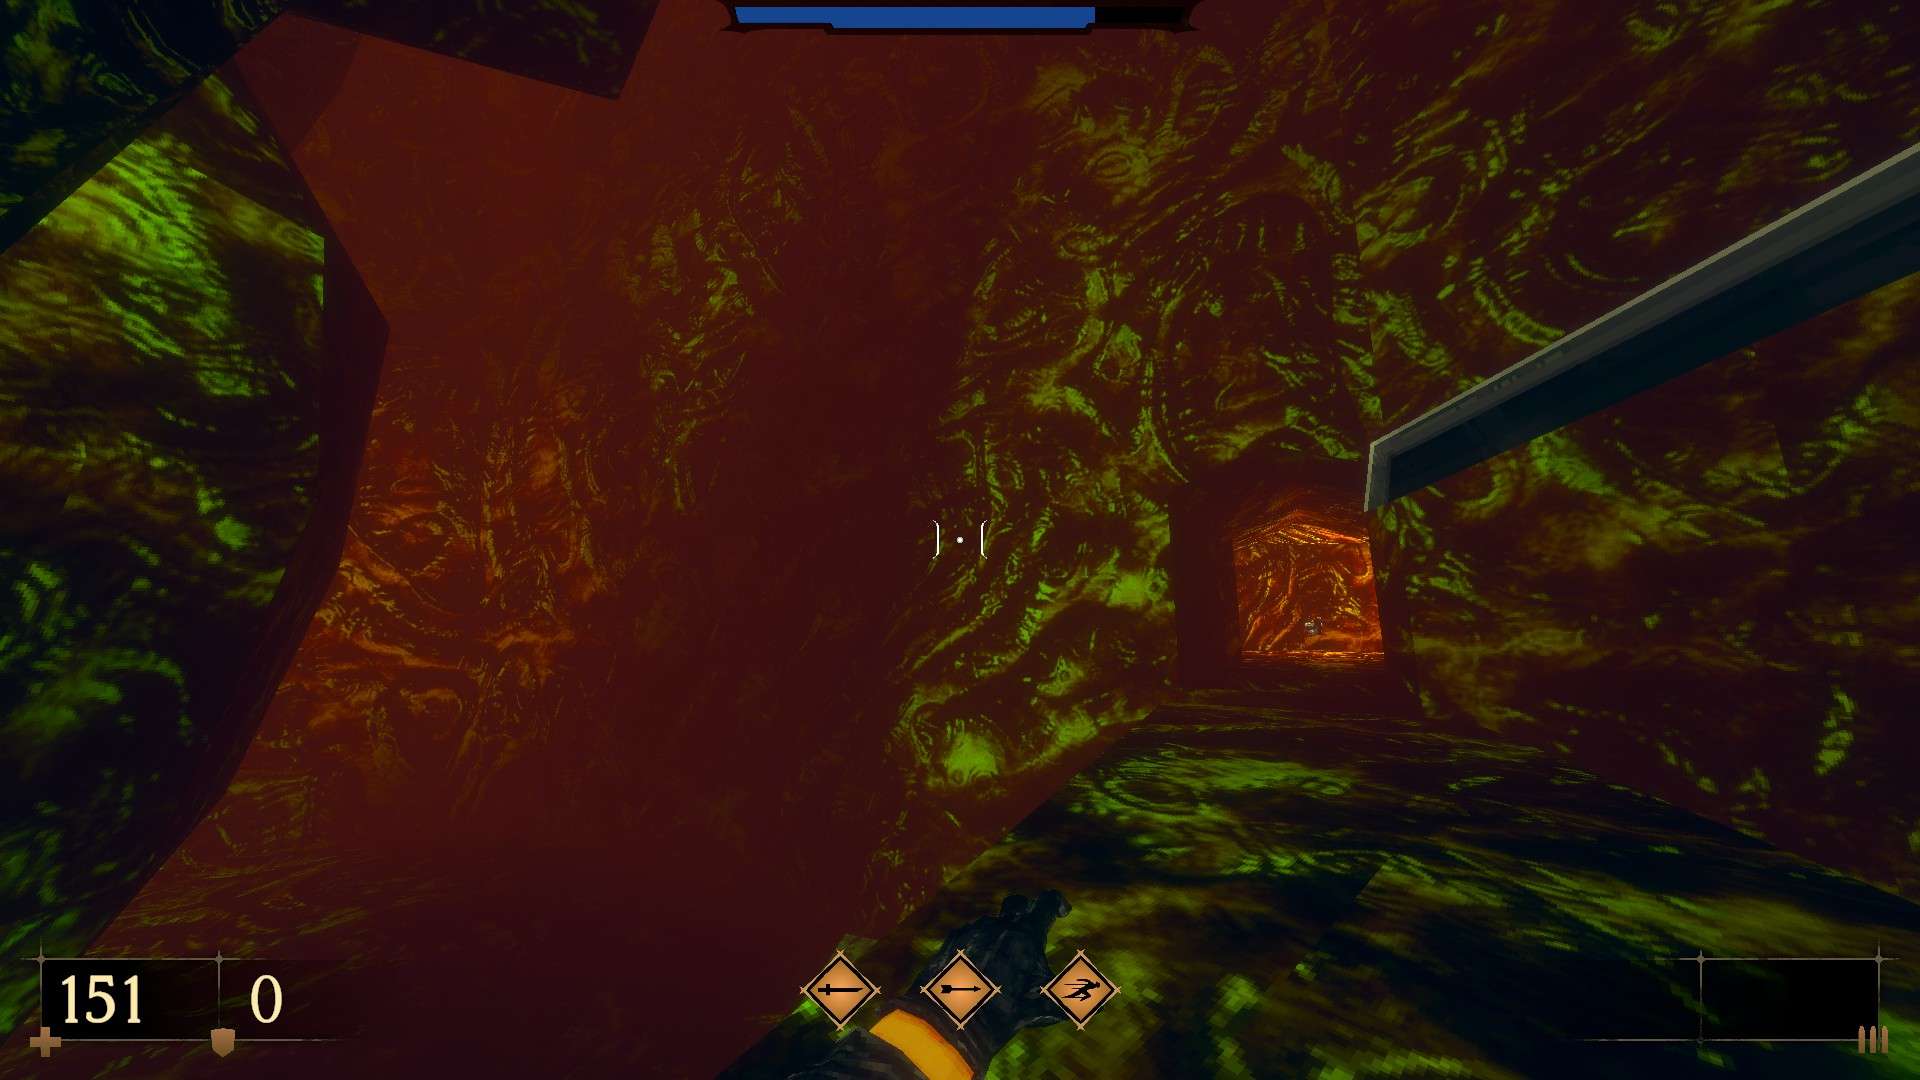
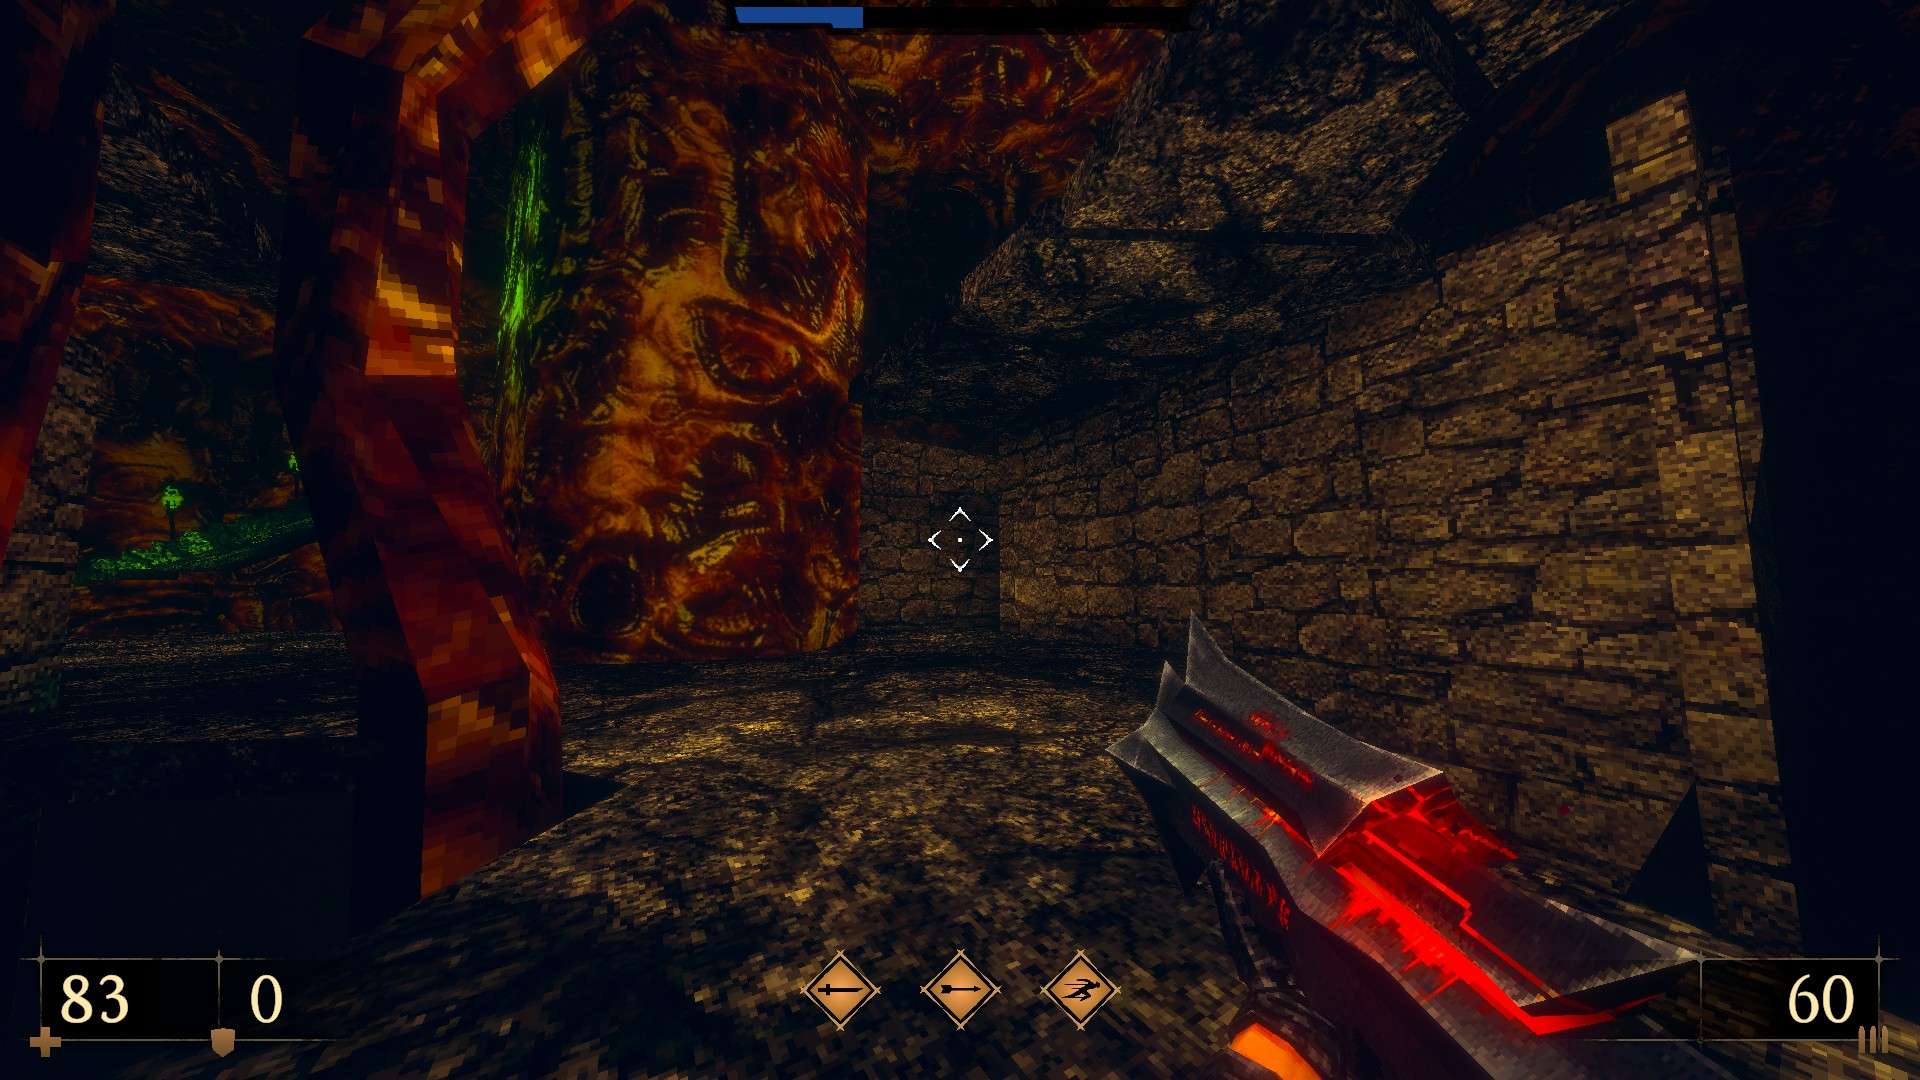
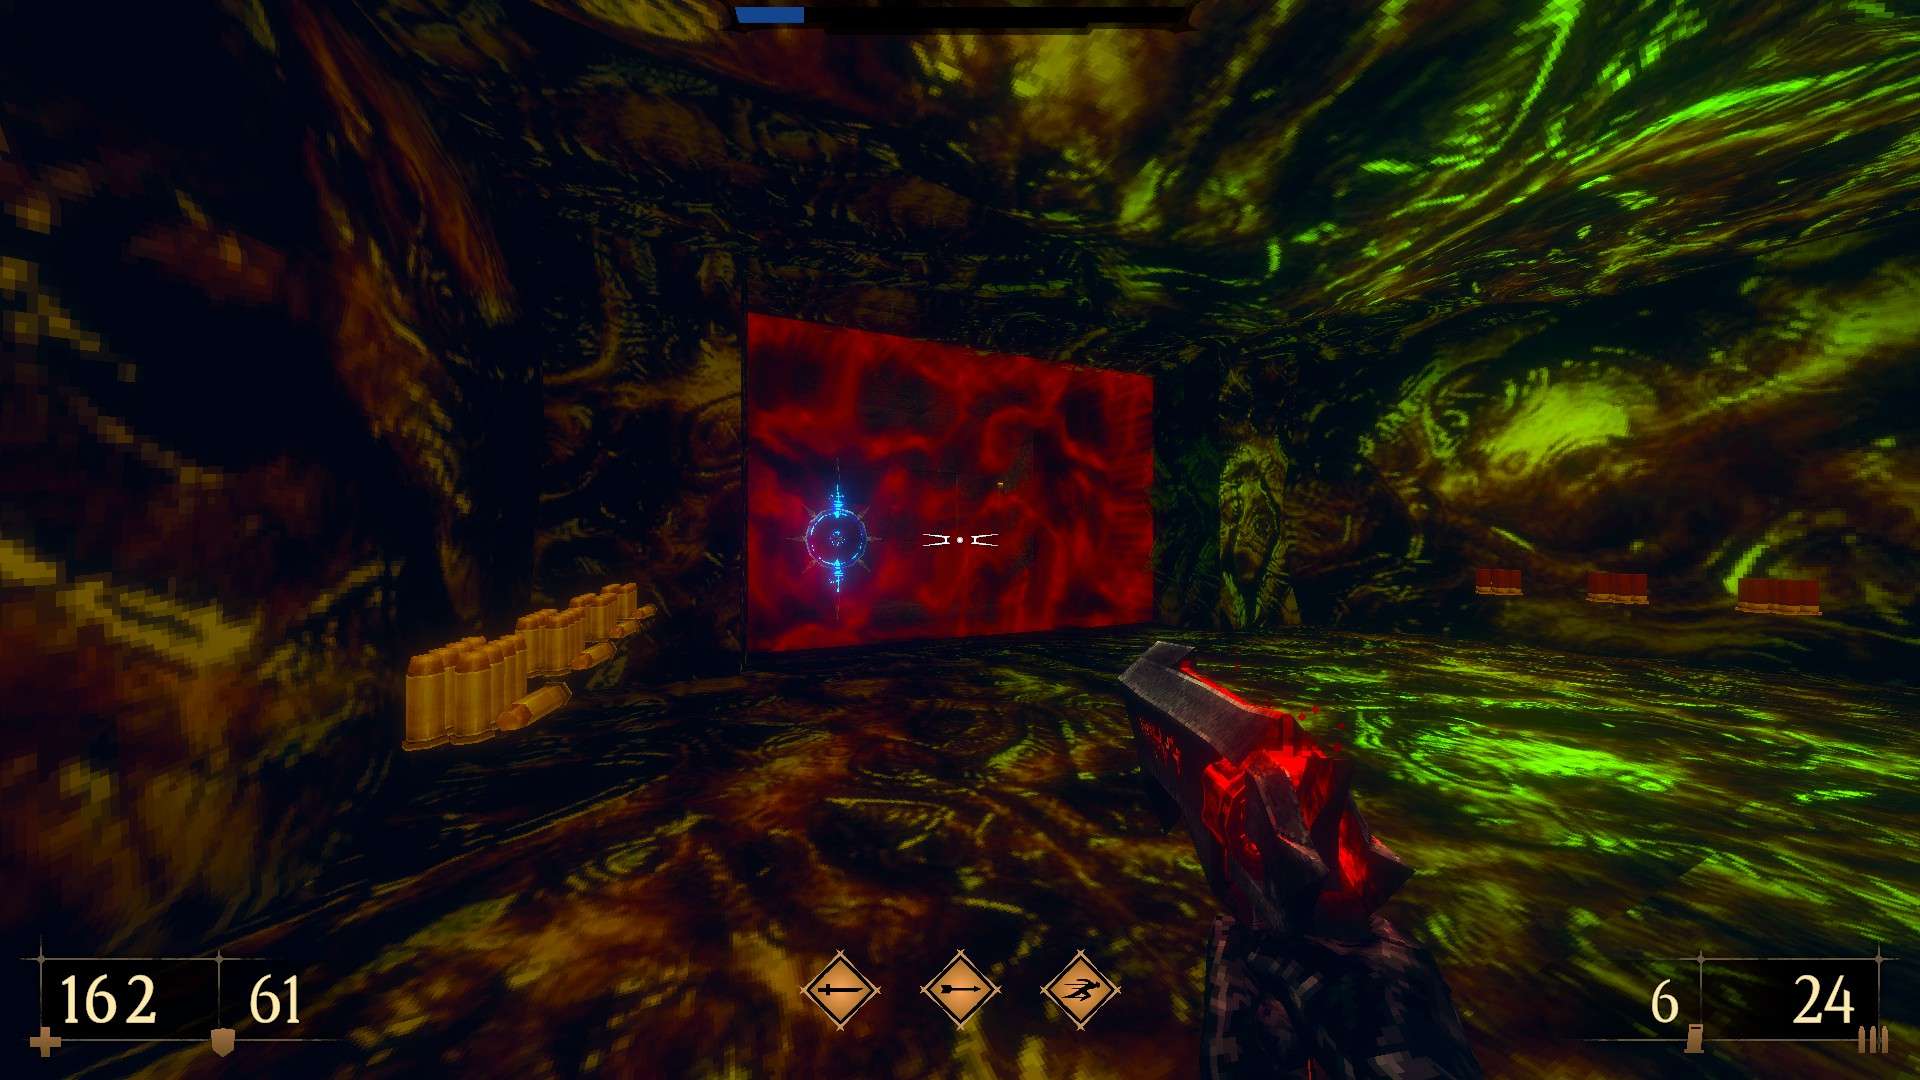
3/3 – Look for a throbbing thing behind the wider artery next to the brain in the central area and shoot it to open up an otherwise unreachable alcove nearby.
E5M4: The End
This level has no secrets.


Be the first to comment