
Replicate the overall appearance of a Trinitron running a composite video connection.
Contents
How to Composite Video CRT Emulation
All credit goes to AFreakinProblem!
First Run
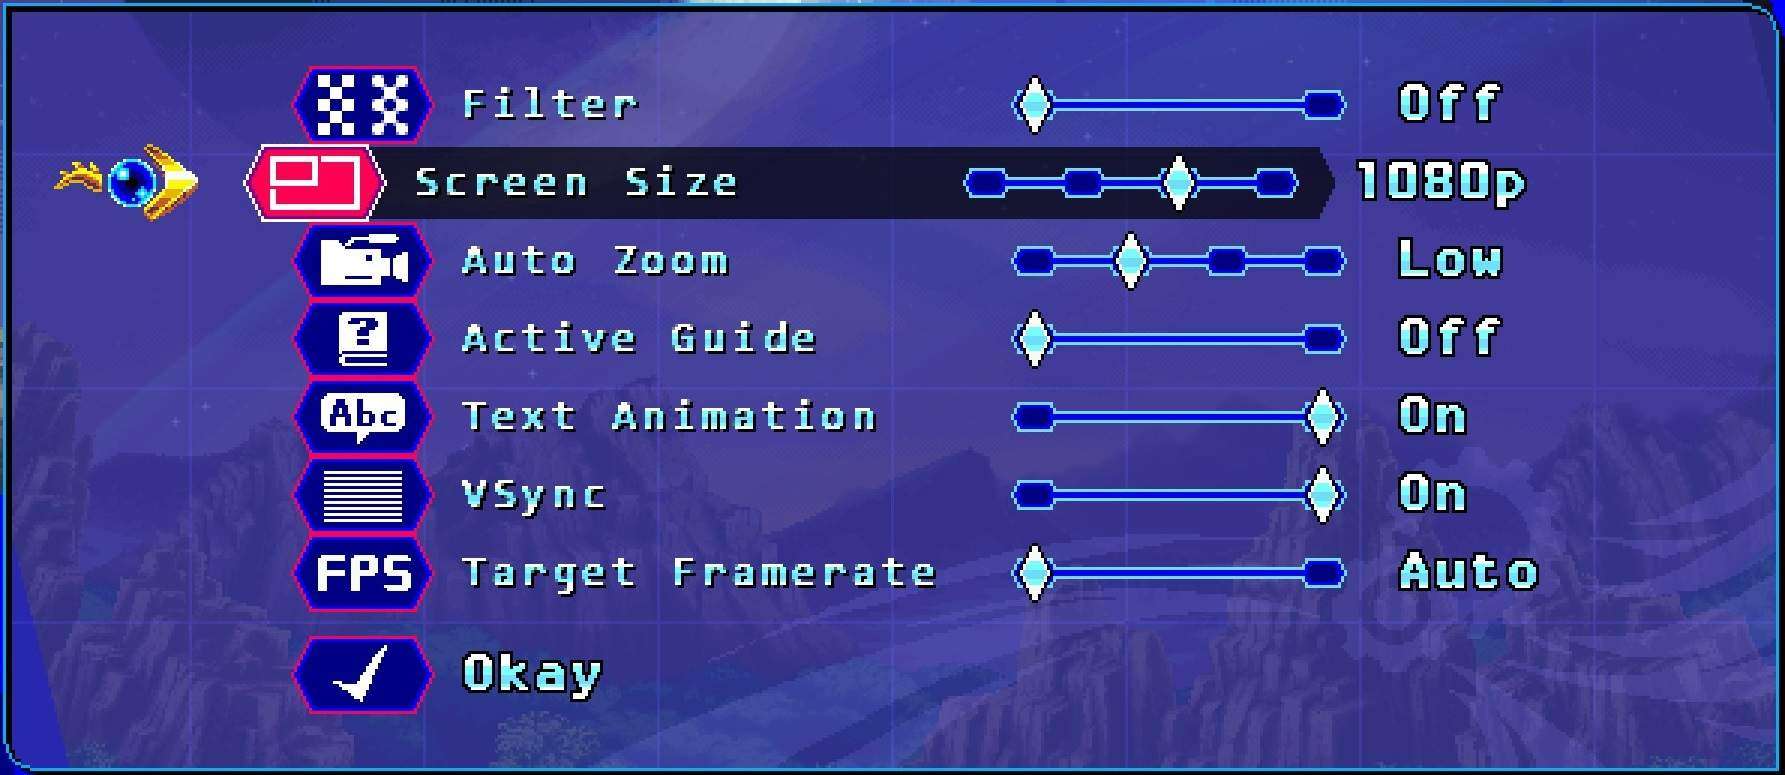
Install the game and run it. Open the screen settings and change video settings to 1080p and turn off filtering. I strongly advise against running the game in fullscreen mode as doing such blurs everything, even when running on a native 1080p monitor. To run the game in a borderless window you can apply the -popupwindow launch parameter and hide your taskbar. Alternately you can also throw Borderless Gaming at it if you have it in your Steam library.
Downloads
Download and save the following items:
Reshade and Shader Installation
Run the installer for Reshade and point it to your game’s directory. It automatically detected OpenGL when prompted on API selection when I installed it. I would install only the shaders that’s ticked by default. Launch the game after installing Reshade and click your way through the tutorial. Take note of which keys open the overlay (you’re going to need them to configure things) and I’d also recommend binding a key to disable all effects. After that is done, close the game.
After performing that step you’ll want to go to your game’s directory and find your “reshade-shaders/shaders” folder. Once located, copy the shaders you downloaded over into it. Each shader file should have a .fx file extension. Once complete, it’s time to configure the shaders.
Enabling Shaders
Launch your game and hit the overlay key. After that, locate and enable the following shaders and list them in the following order:
- GTUV50
- CRT_Royale
- Deconverge
- AMD FidelityFX Contrast Adaptive Sharpening
Configuring the Shaders
[GTU] (Video signal and RCA connection)
Find the settings for GTU and change most of the values to match my screenshots. For screen width and screen height, you’ll want to use your monitor’s actual resolution.
[CRT Royale] (Emulated physical screen)
Find the settings for CRT Royale and change all of them to match my screen shots. If flickering becomes an issue, then I recommend disabling interlacing.
[Deconverge] (line up video signal with aperture grille to remove jail bars)
Find the settings for Deconverge and set screen dimensions to 640×320. To remove jail bars, you will need to play around with increasing the target dimensions setting. 1310×990 seems to remove the jail bar effect on a 1080p display, but you may need to try others if running higher resolutions. You can make tweaking this easier by changing CRT Royale’s scanline thickness to 1 to make apparent jail bar effects more obvious while tweaking.
[CAS]
Nothing really to do here except make sure the values match my screenshots.


Final Steps
Technically not required, but recommended. After getting everything to run I strongly recommend going over to the Reshade settings tab and ticking “Load only enabled effects” as well as ticking the “Performance mode” box on the home tab.
Screenshots
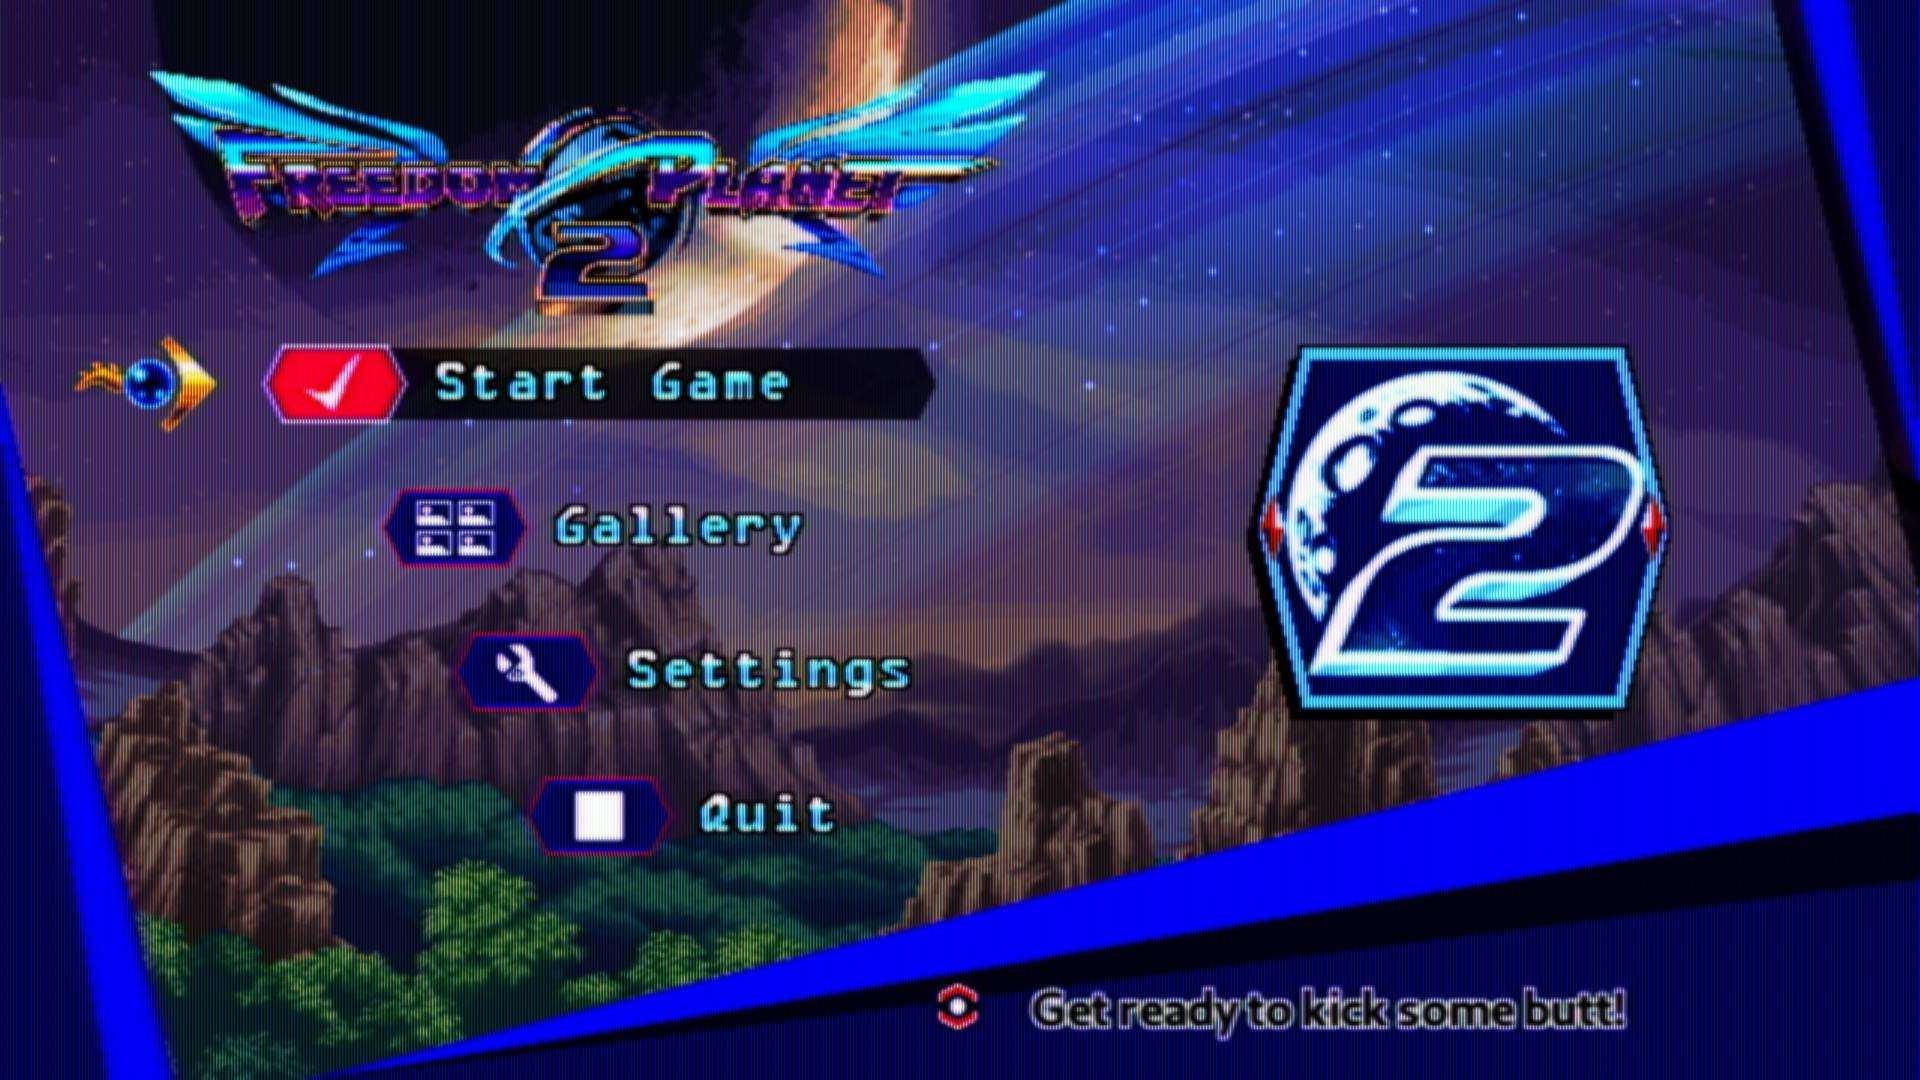
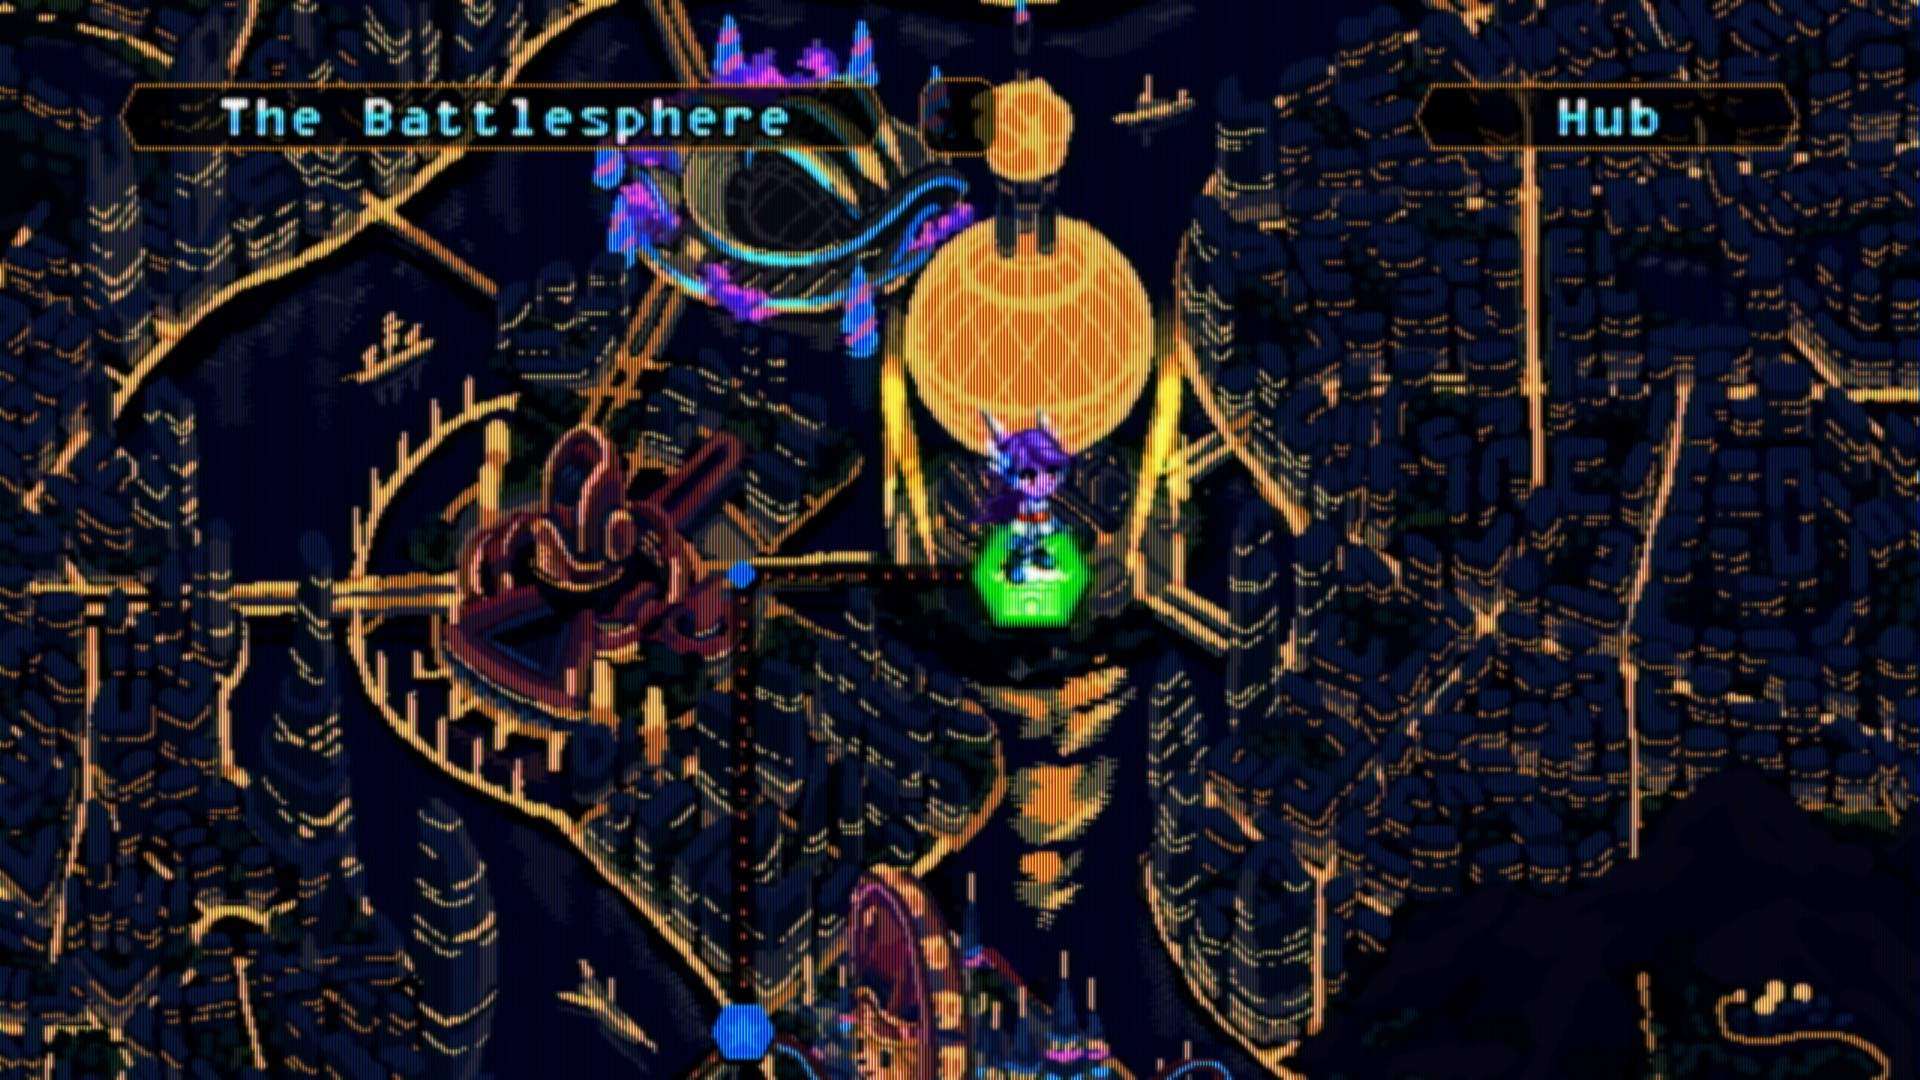
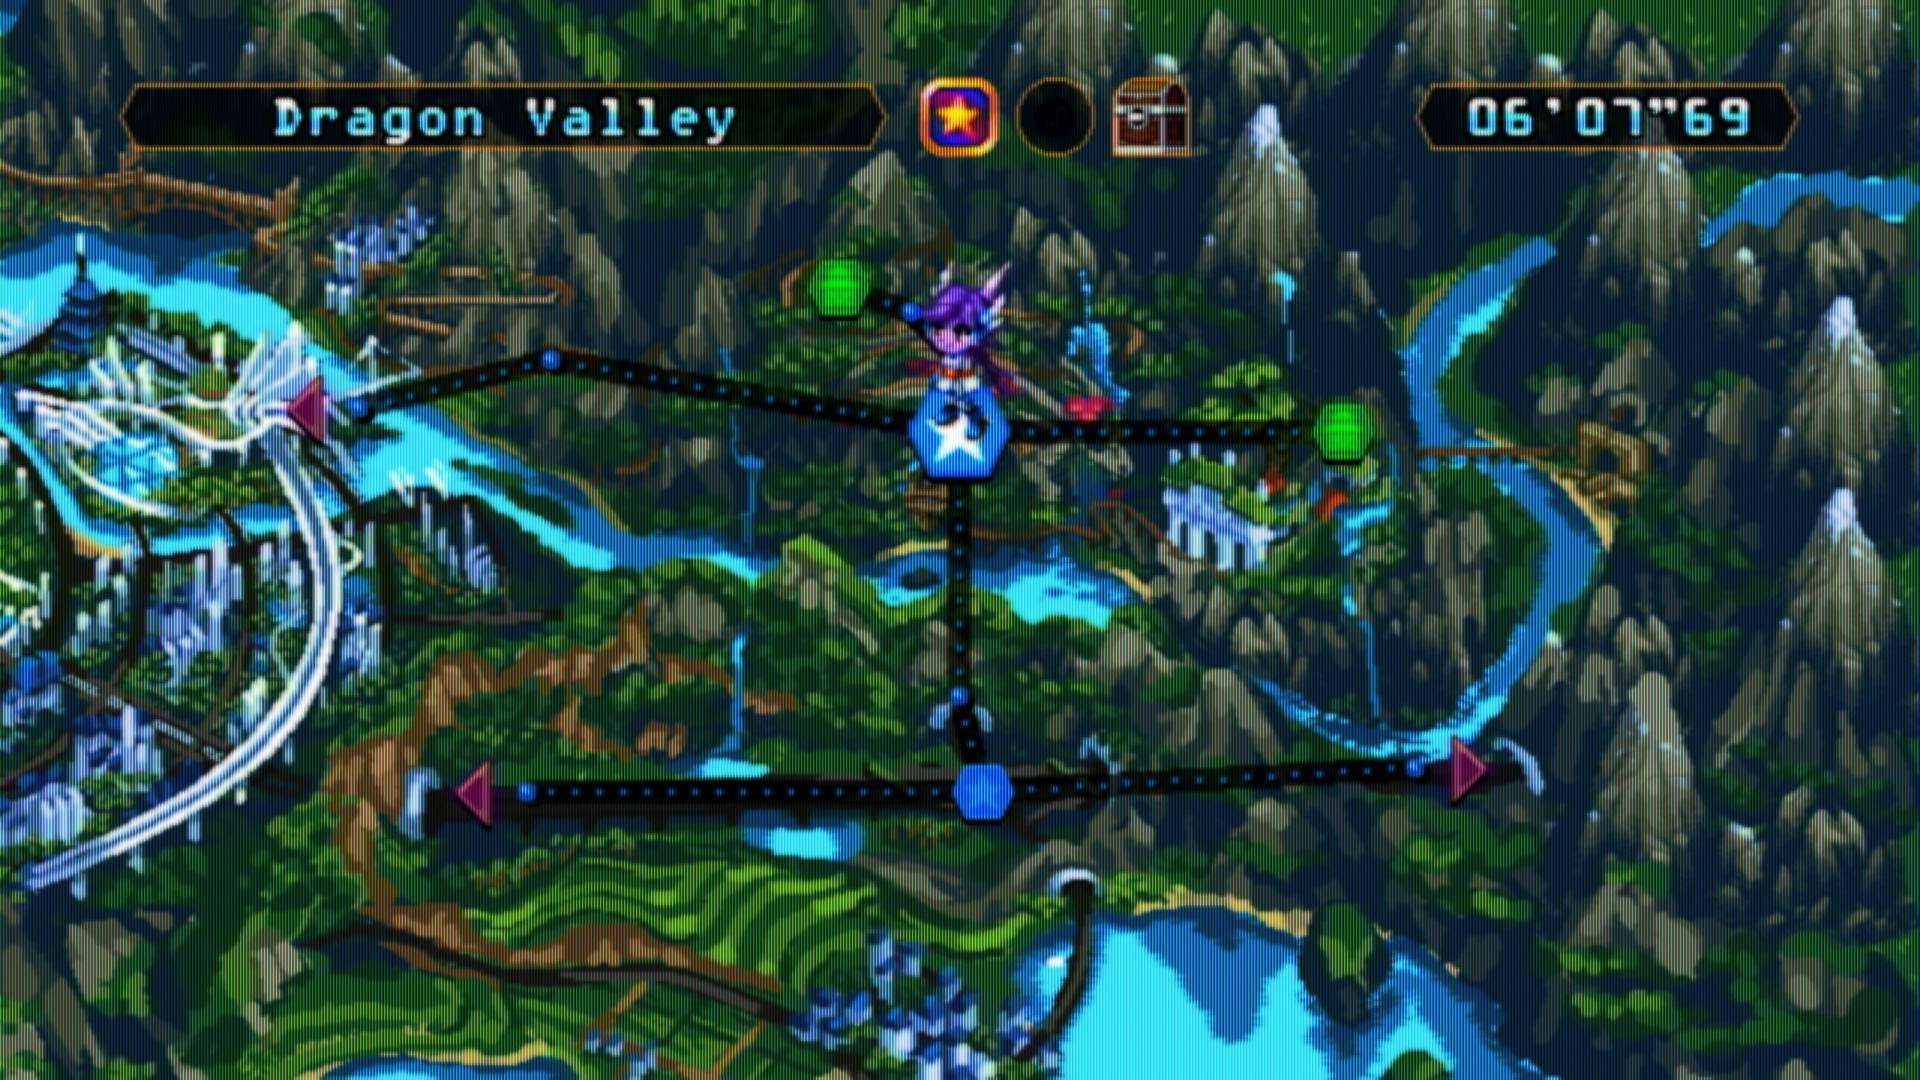
Just a small collection of screenshots I took with all of this applied. You will want to view these in their original size.


Be the first to comment