
Contents
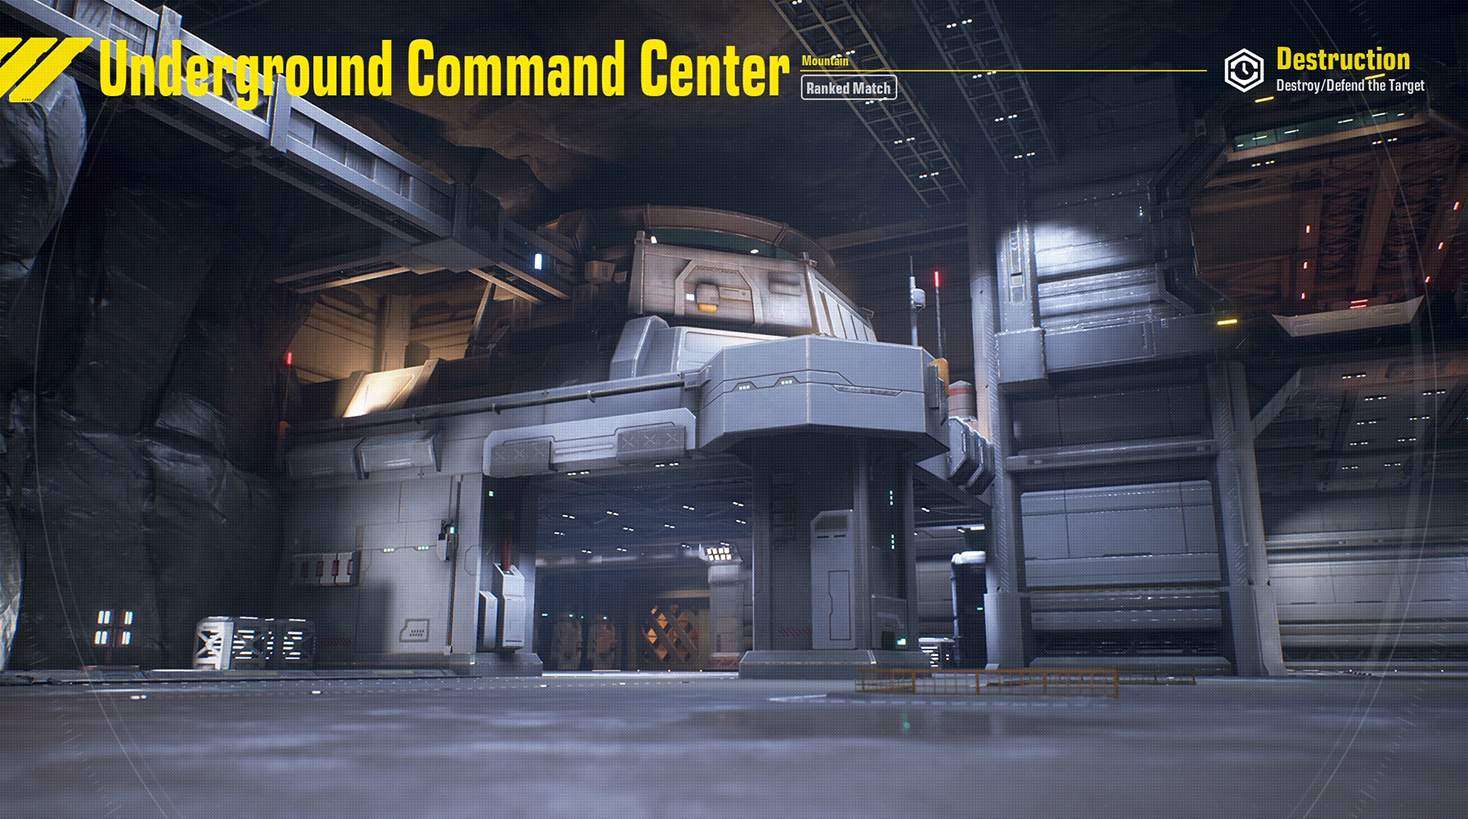
Guide to Destruction Mode
Intro
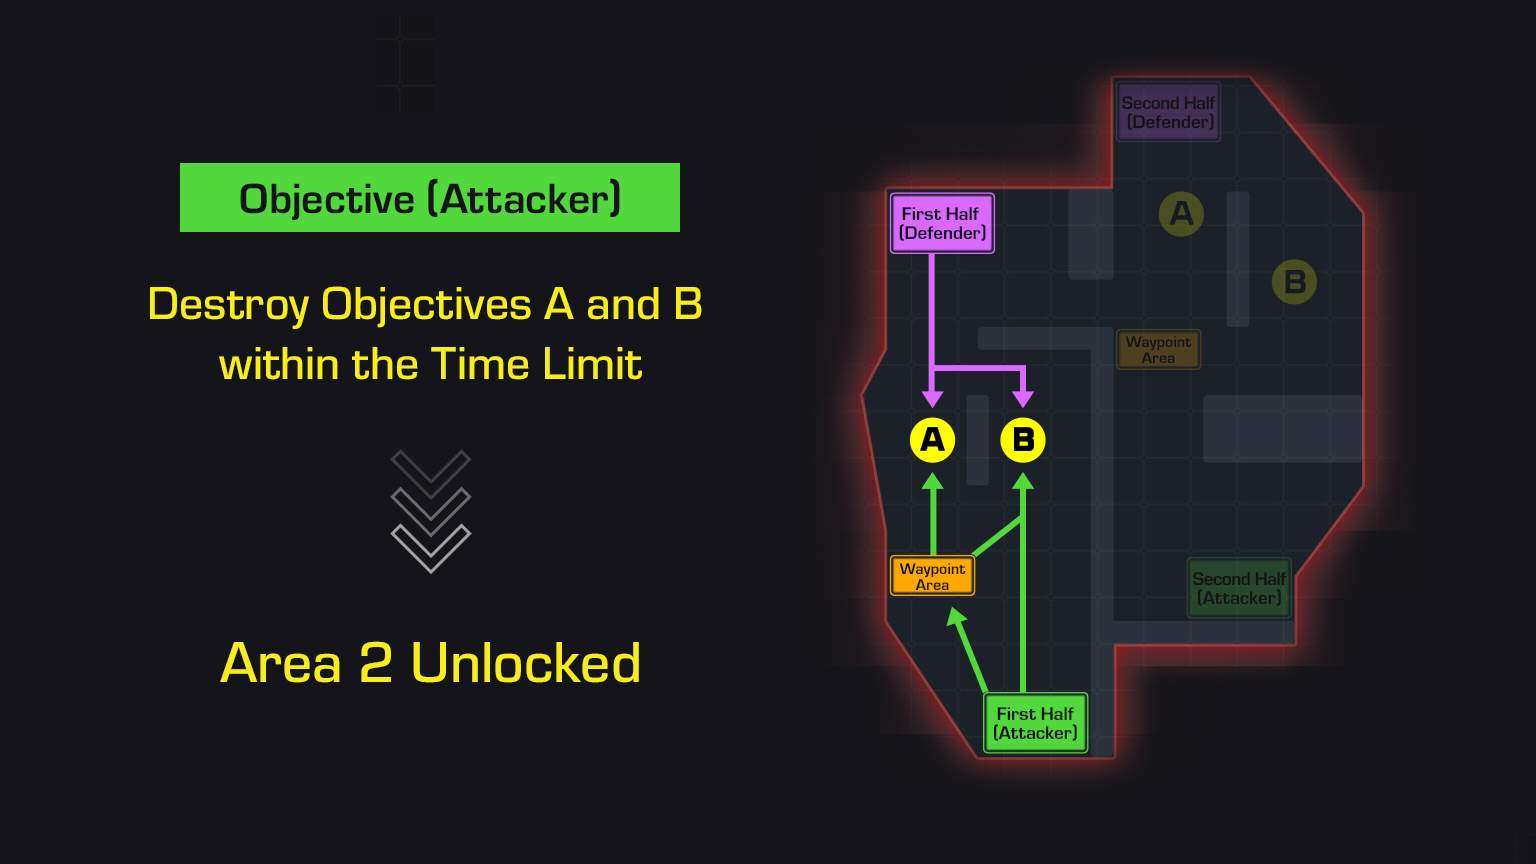
In Destruction, players are divided into Attacker and Defender teams that compete to destroy or defend Objectives.
Attackers are to destroy Objectives within the Time Limit by arming Megacharges, while Defenders are to disarm them.
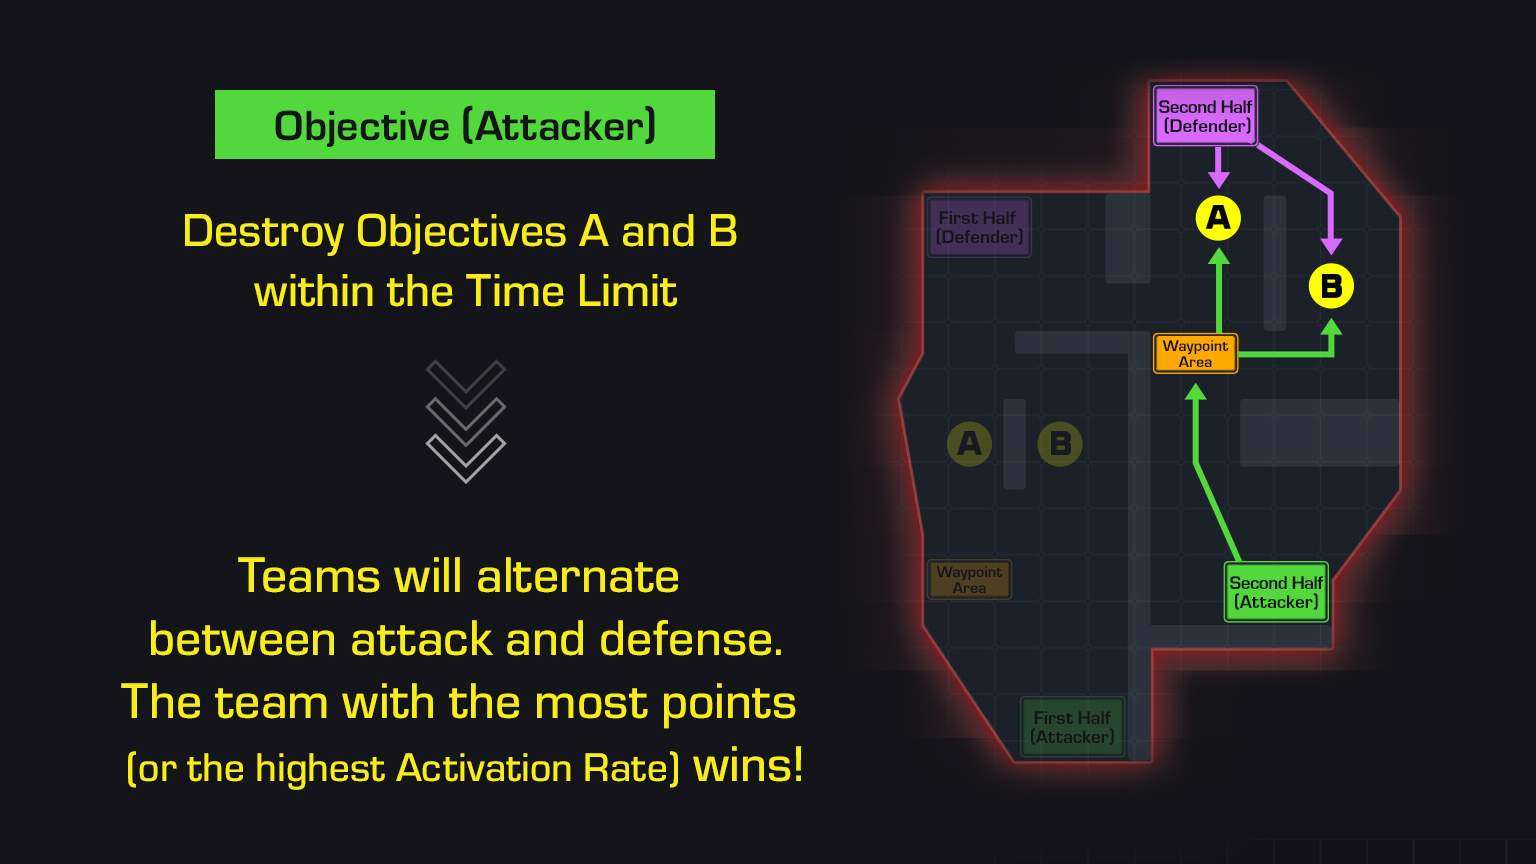
Each Match has two rounds. At the end of the first round, players will switch sides.
There are several Waypoint Areas throughout the Map. Waypoint Areas captured by the Attackers may be used as a Sortie Zone.
By destroying either of the two Objectives in Area 1, Attackers will unlock Area 2. When this happens, the Sortie Zone for both teams will change.
The round ends either when both Objectives are destroyed by the Attackers, or when the Time Limit expires with the Defenders having successfully held their ground. At the end of the round, players will switch sides.
Area 1
Area 2
The above map is for illustrative purposes only. Actual map may vary.
Arming and Disarming Megacharges
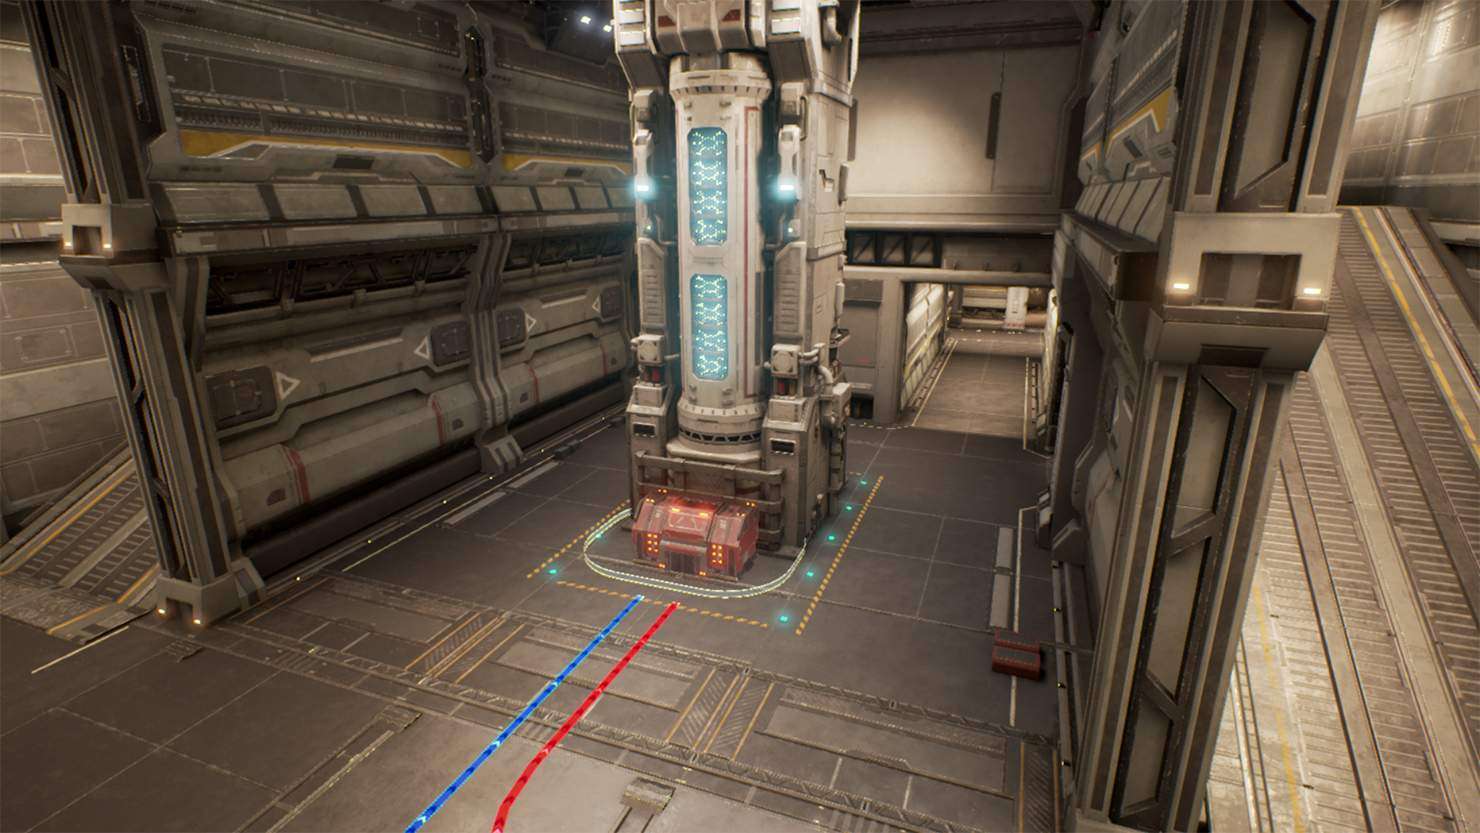
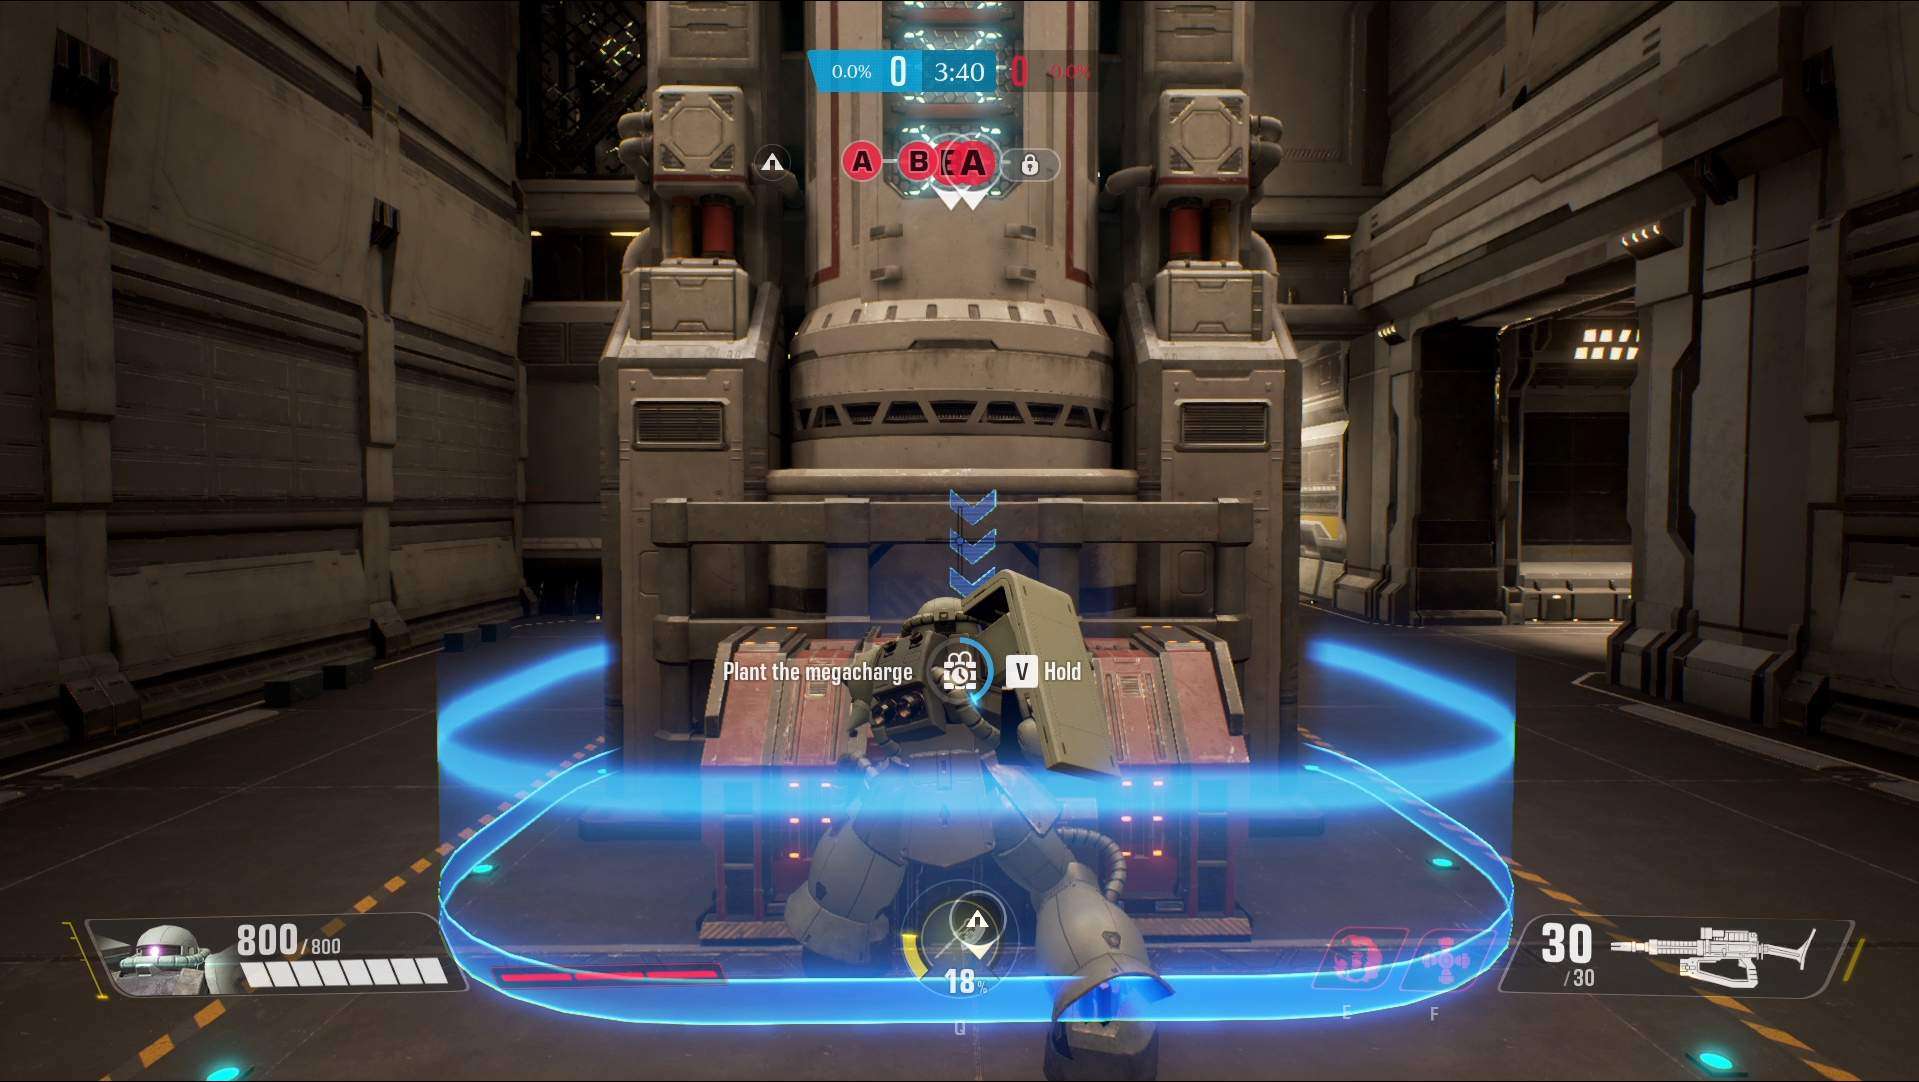
[Attackers] Arming Megacharges
Press and hold the “Interact” key to arm a Megacharge.
Arming a Megacharge will raise the Activation Rate. If the Megacharge remains armed until the Activation Rate reaches 100%, the Objective will be destroyed.
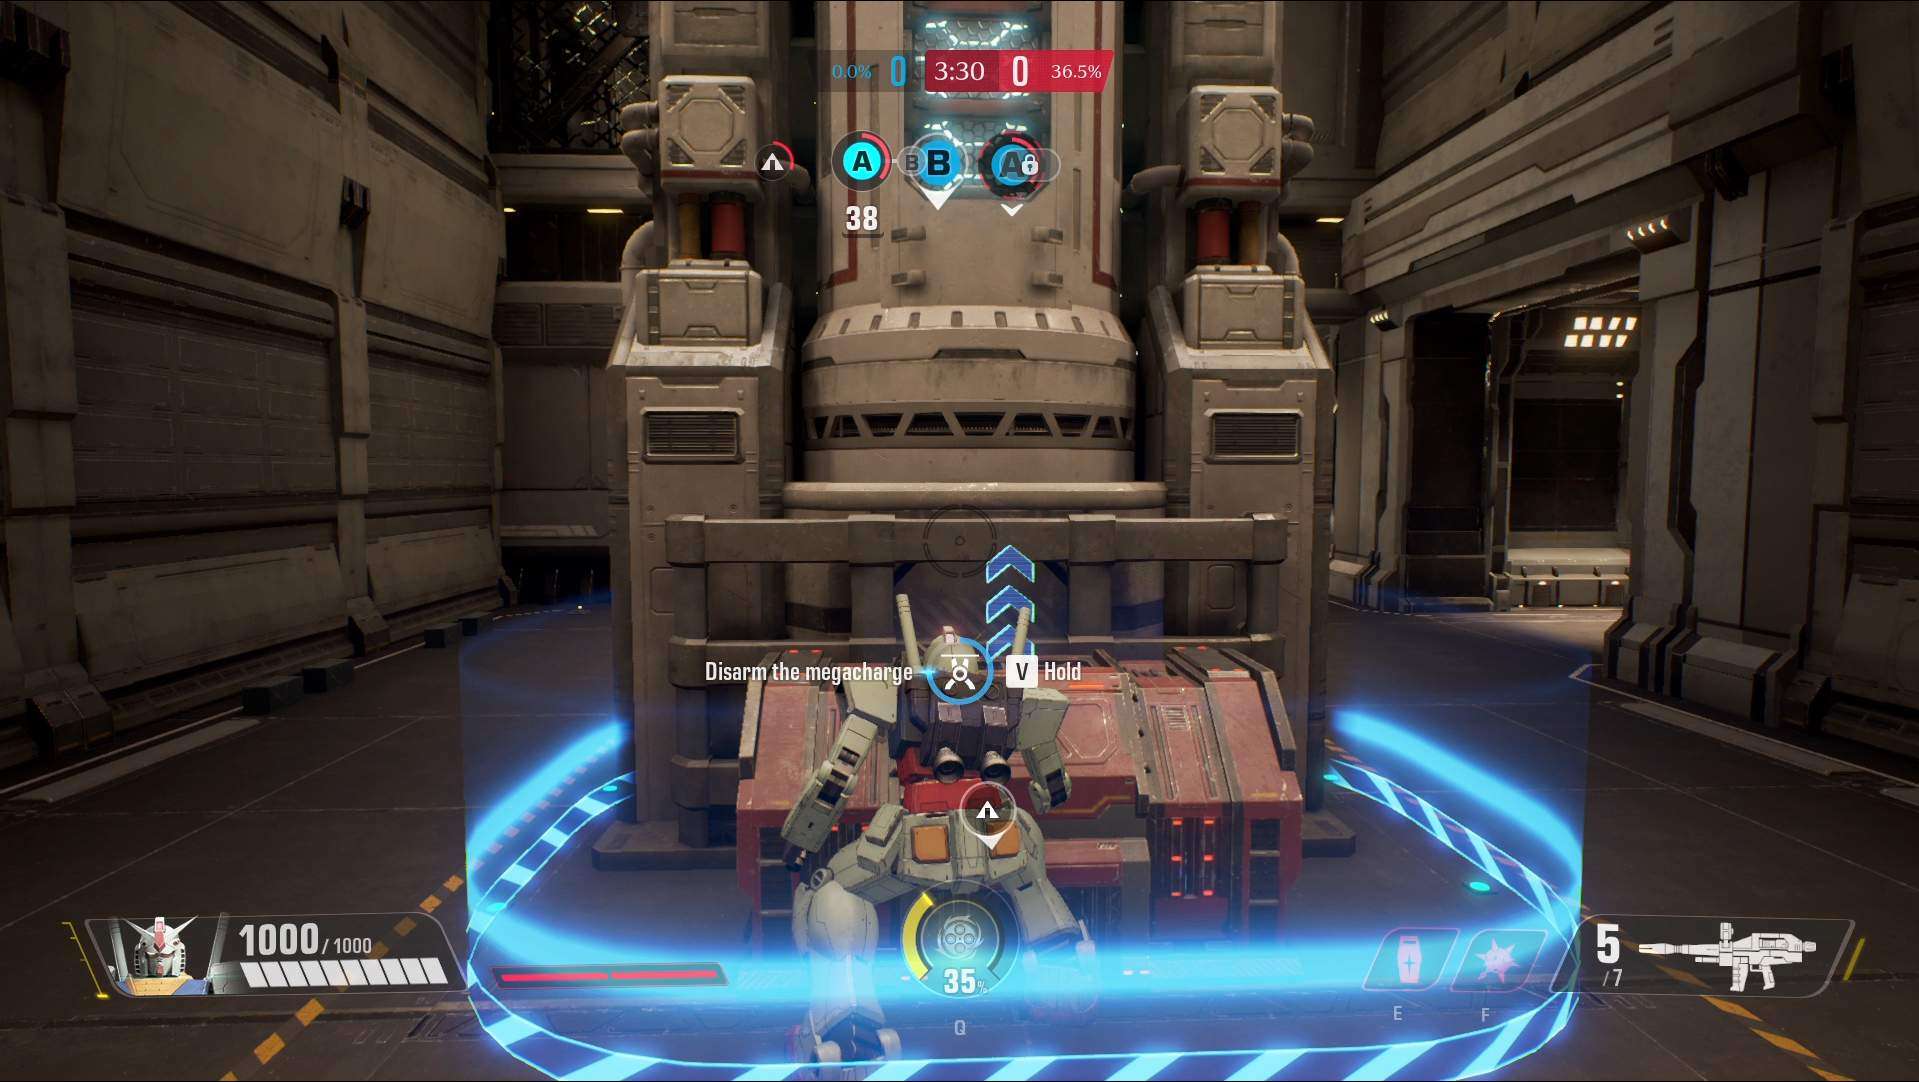
[Defenders] Disarming Megacharges
Press and hold the “Interact” key to disarm a Megacharge.
Destroying an Objective will grant the Attacker team 1 point.
The Attacker team can get a maximum of 2 points per round.
Arming a Megacharge
Disarming a Megacharge
Extra Time
If certain conditions are met by the time the Time Limit expires, the Match will go into Extra Time, and the round will continue.
Victory Conditions
The team which has gained the most points by the end of all rounds wins.
If both teams have the same number of points, victory will go to the team with the highest Activation Rate.
Overtime and Draws
- If both teams destroy both Objectives, the Match will go into overtime.
- If both teams have the same amount of points and the same Activation Rate, the Match will end in a draw.


Be the first to comment