
Obtaining a Outpost
All credit goes to Minimemyth !
To get started on obtaining a Outpost you will need to head over to your sanctuary table. Once there we are going open it as if you were going to go raid, but this is where it gets tricky! Instead of raiding click build at the top, then press r to claim a new site!
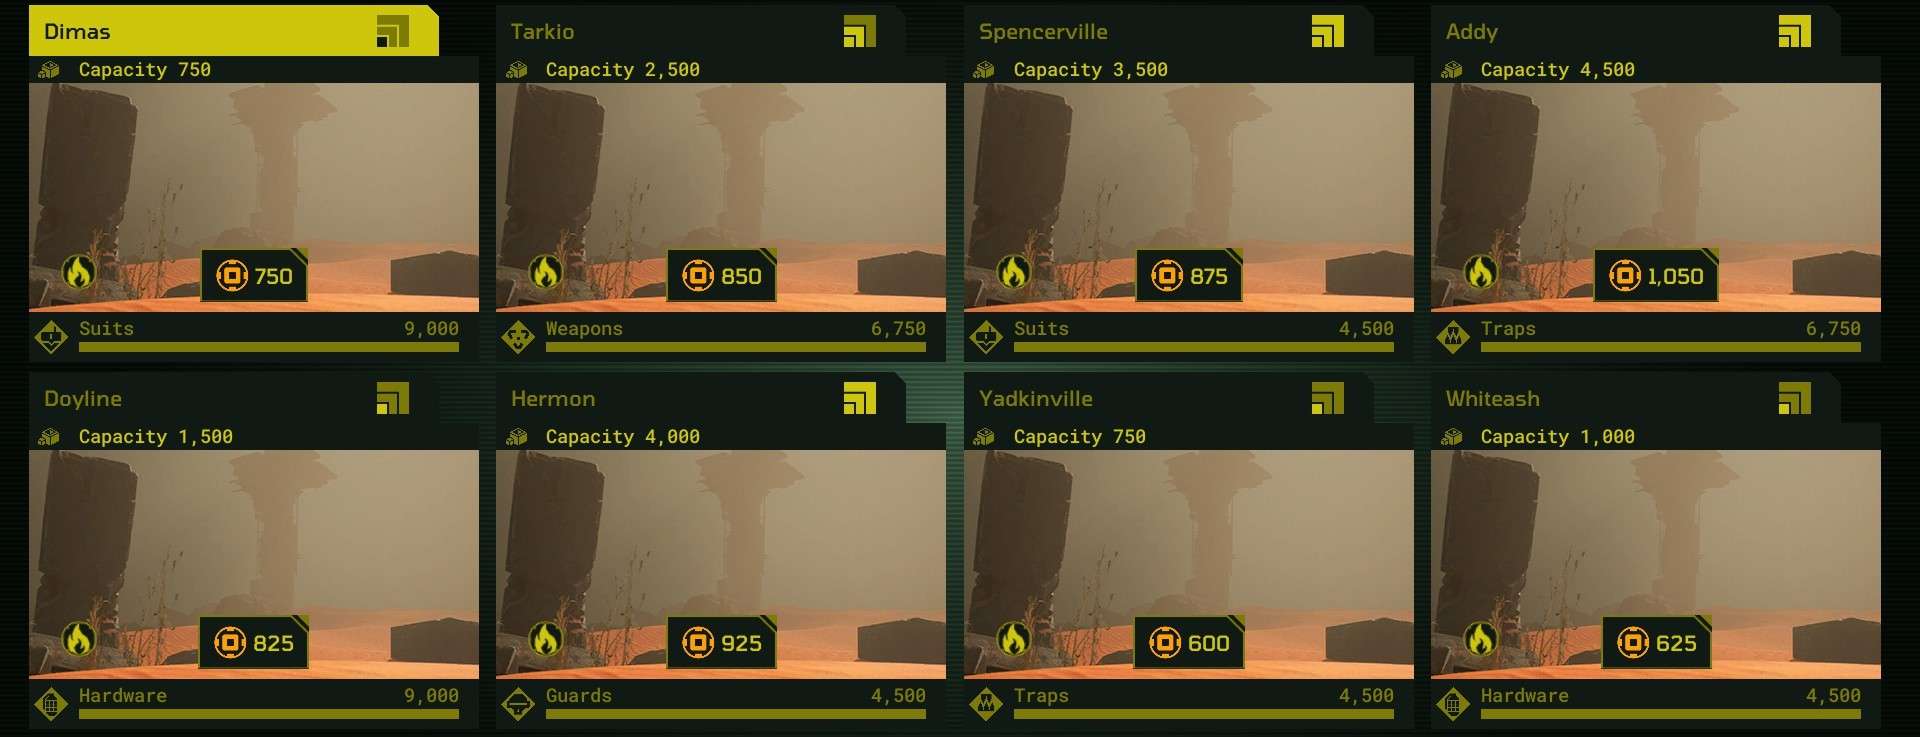
You will then be bestowed 8 burial sites to choose from, each with various stats.
- Size
- Capacity
- Cost
- Type
- Production
Size
This is the size of the site, It is located to the right of the name.

Capacity
This is the amount of placeable’s available to use, it is located just below the name. Remember that each placeable has a different cost to the capacity!

Cost
Located just below center of the site would be how much Synthite it costs to claim the site.

Type
Located to the left of the Cost you can find the type, as of now there is only the desert.

Production
Located just below the Cost or at the far bottom of the site you can see the Production. This tells you how much Genmat (experience) you get, and to whom it goes.

Once you have chosen its time to advance to the next level!
Cleaning Service
Now that you’re done claiming your site its time to clean it up!
Find your site under the build tab and head on in!
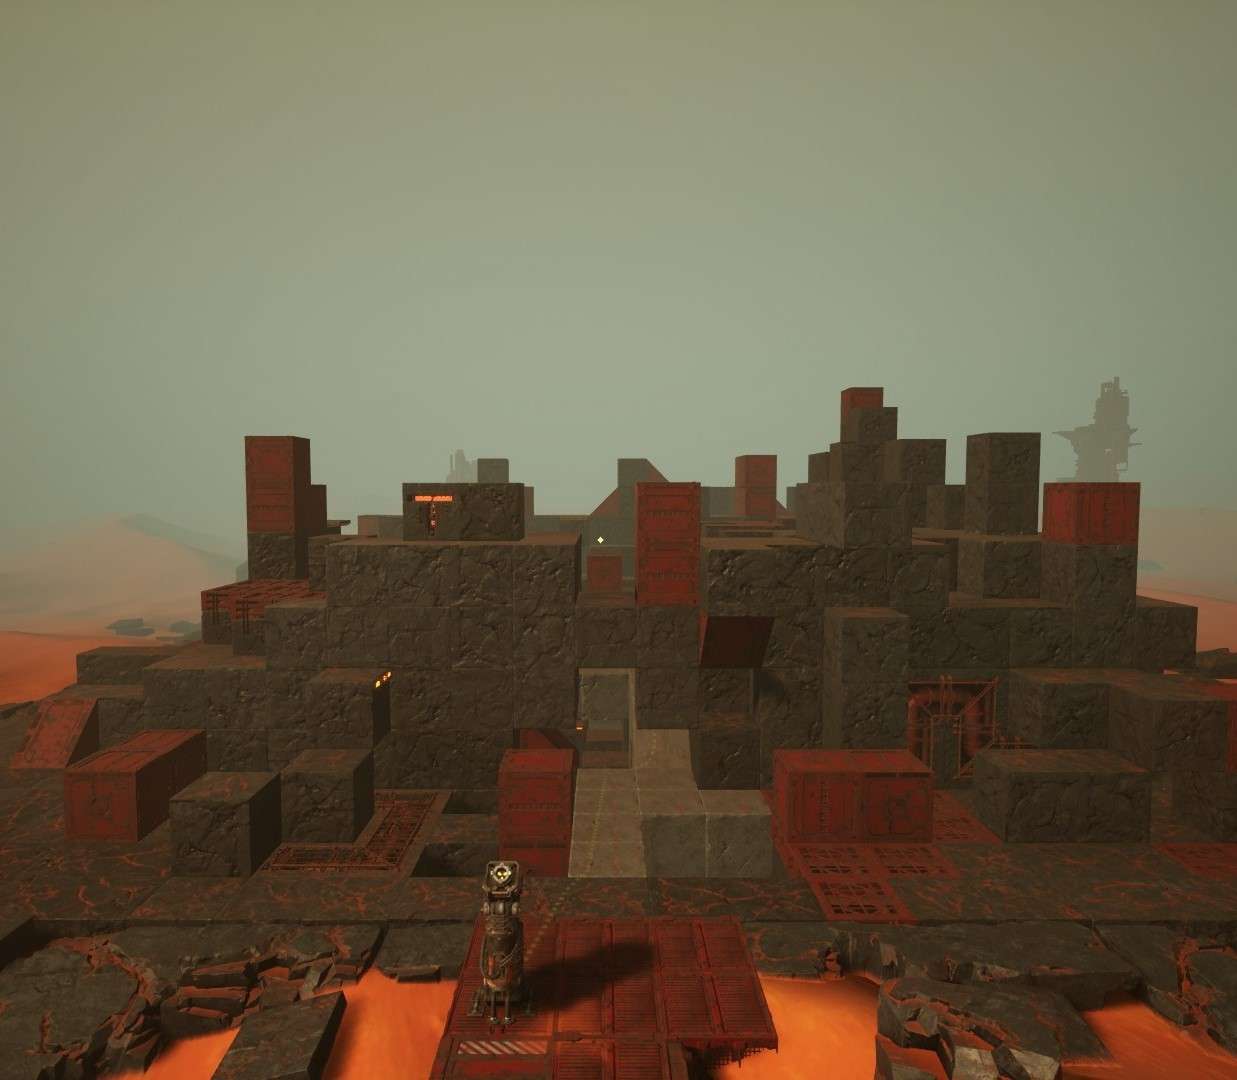
Once you arrive, some stuff will be pre-built. So lets get rid of all that gunk the easy way! Open your build menu and at the bottom you will see strip outpost, do that and you will have cleaned all the gunk away!
This will give you more capacity to use for things you ACTUALLY want!
Before
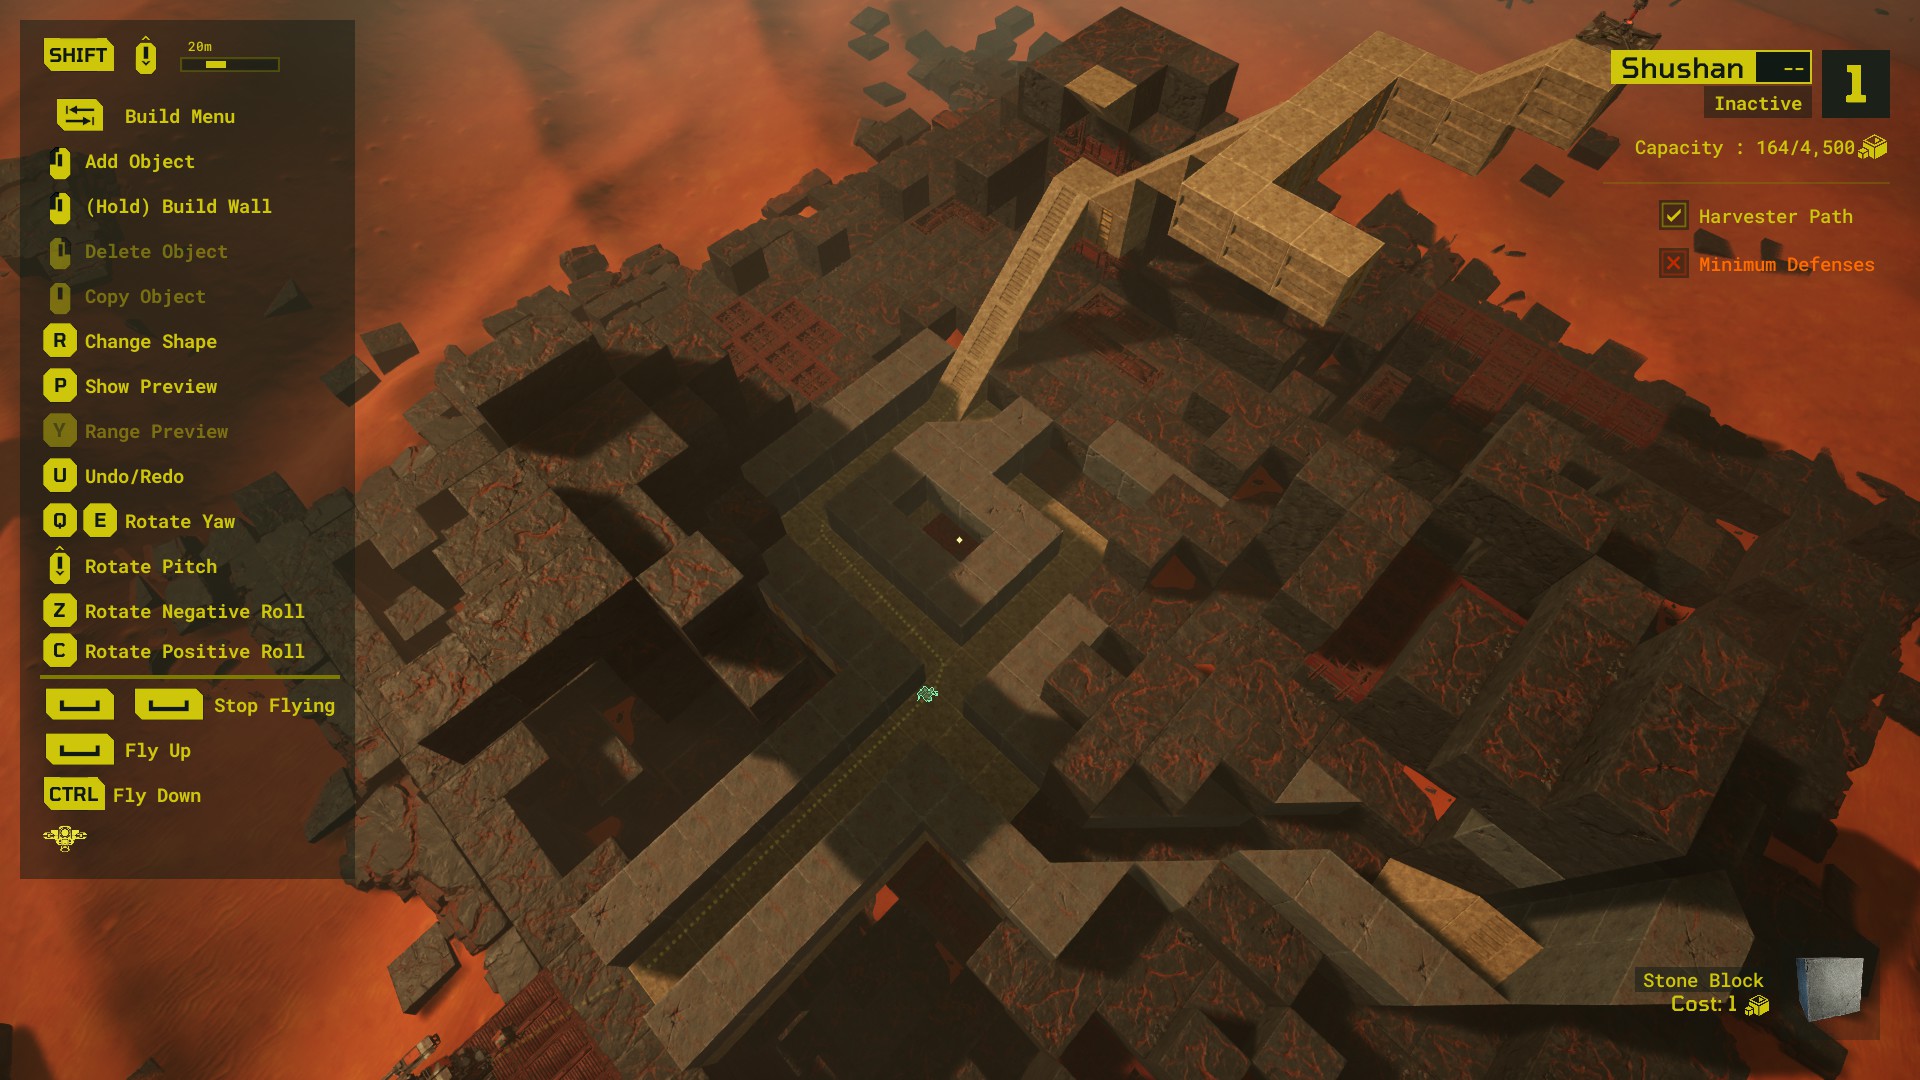
After

Congratulations, You’ve successfully cleared the gunk! You may proceed to the next level.
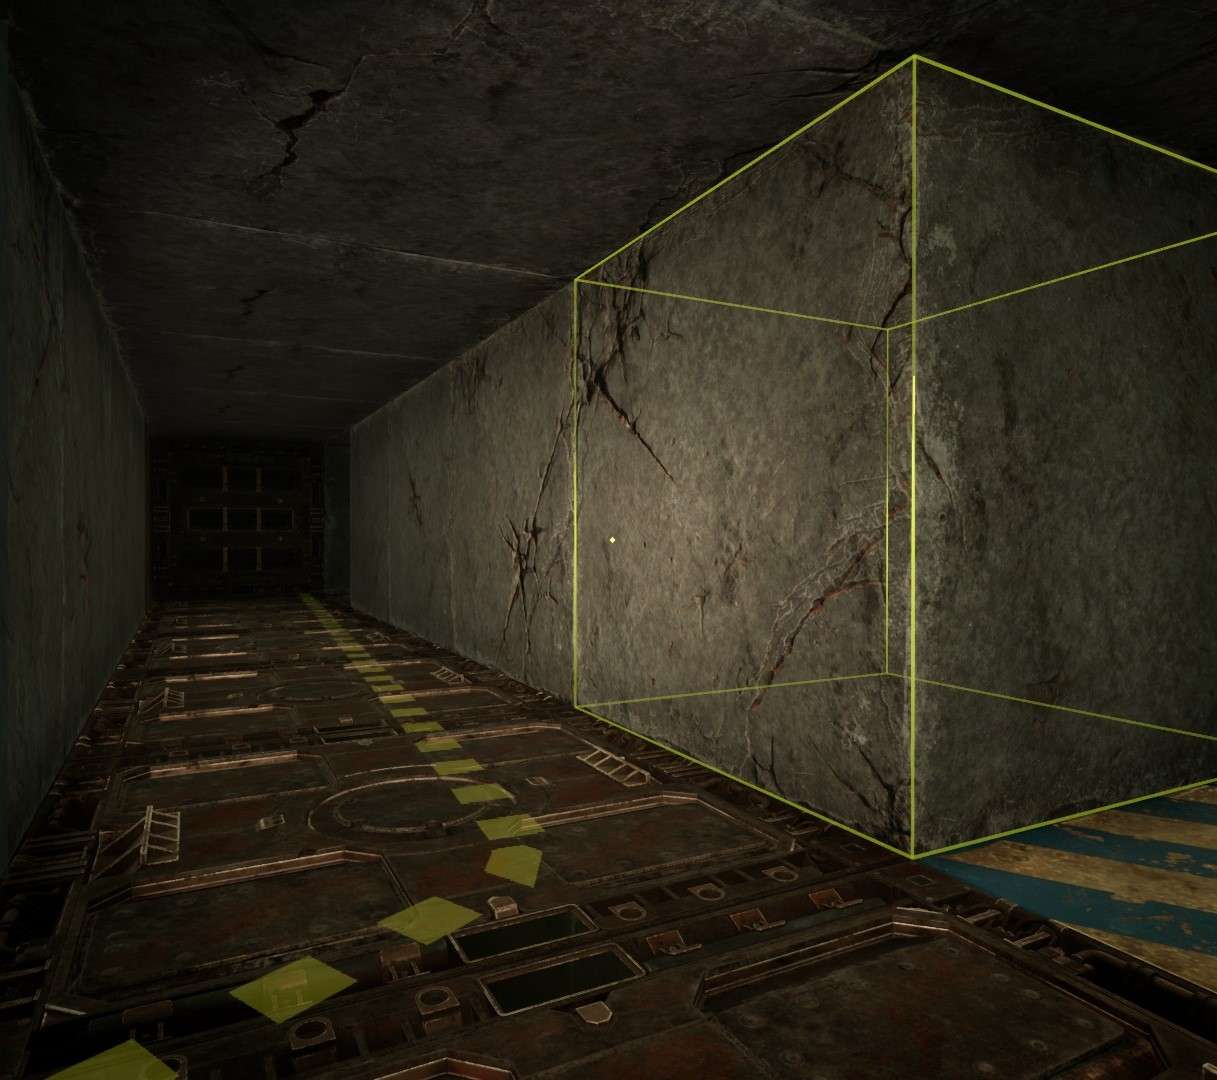
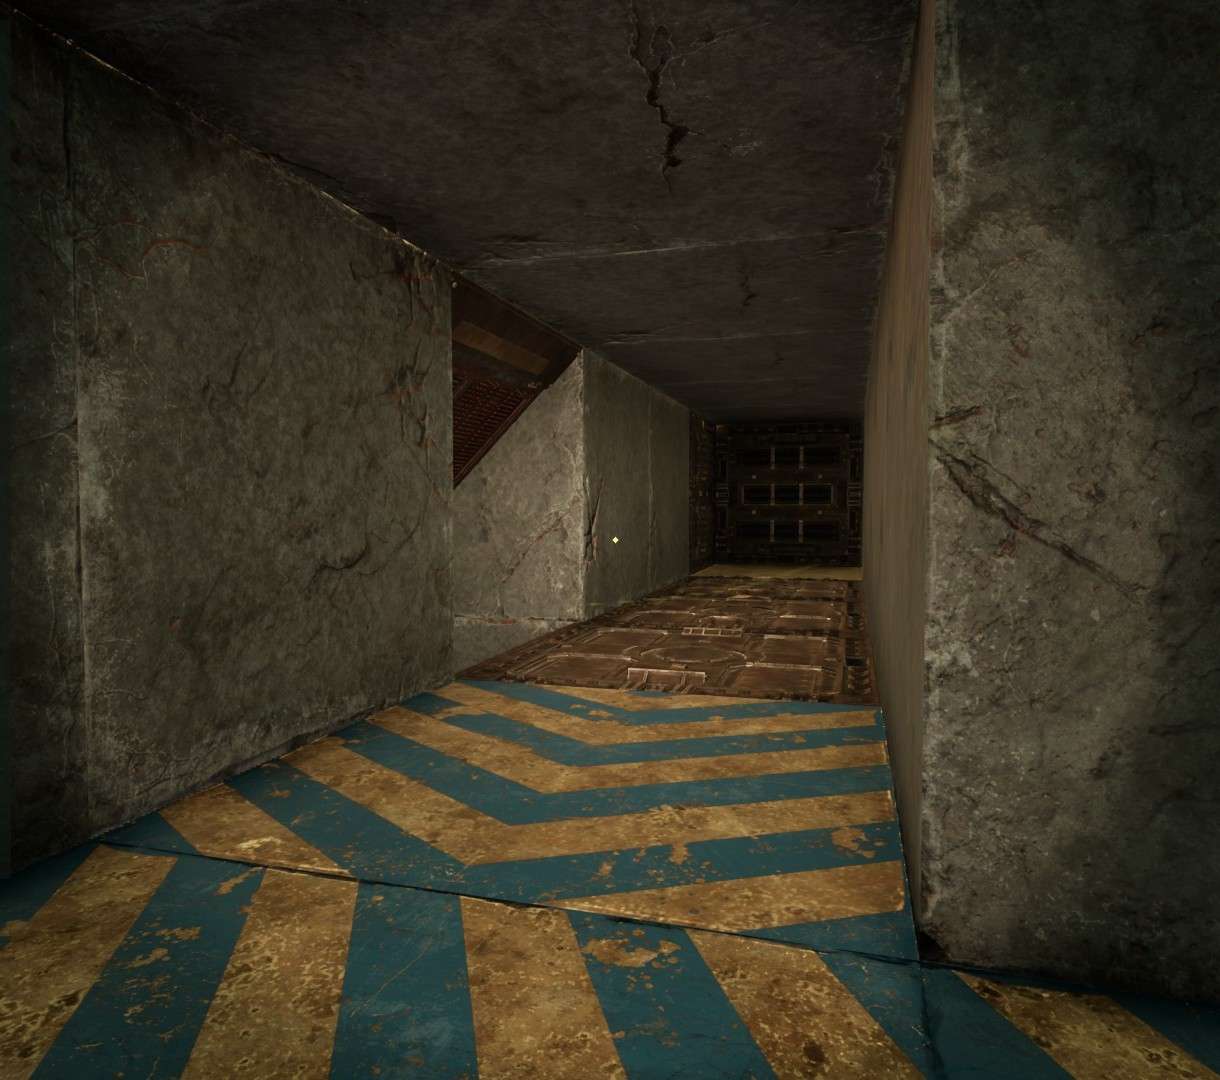
Floor Plans
Now that you’ve successfully gotten rid of that junk, you can proceed to plan your outposts layout!
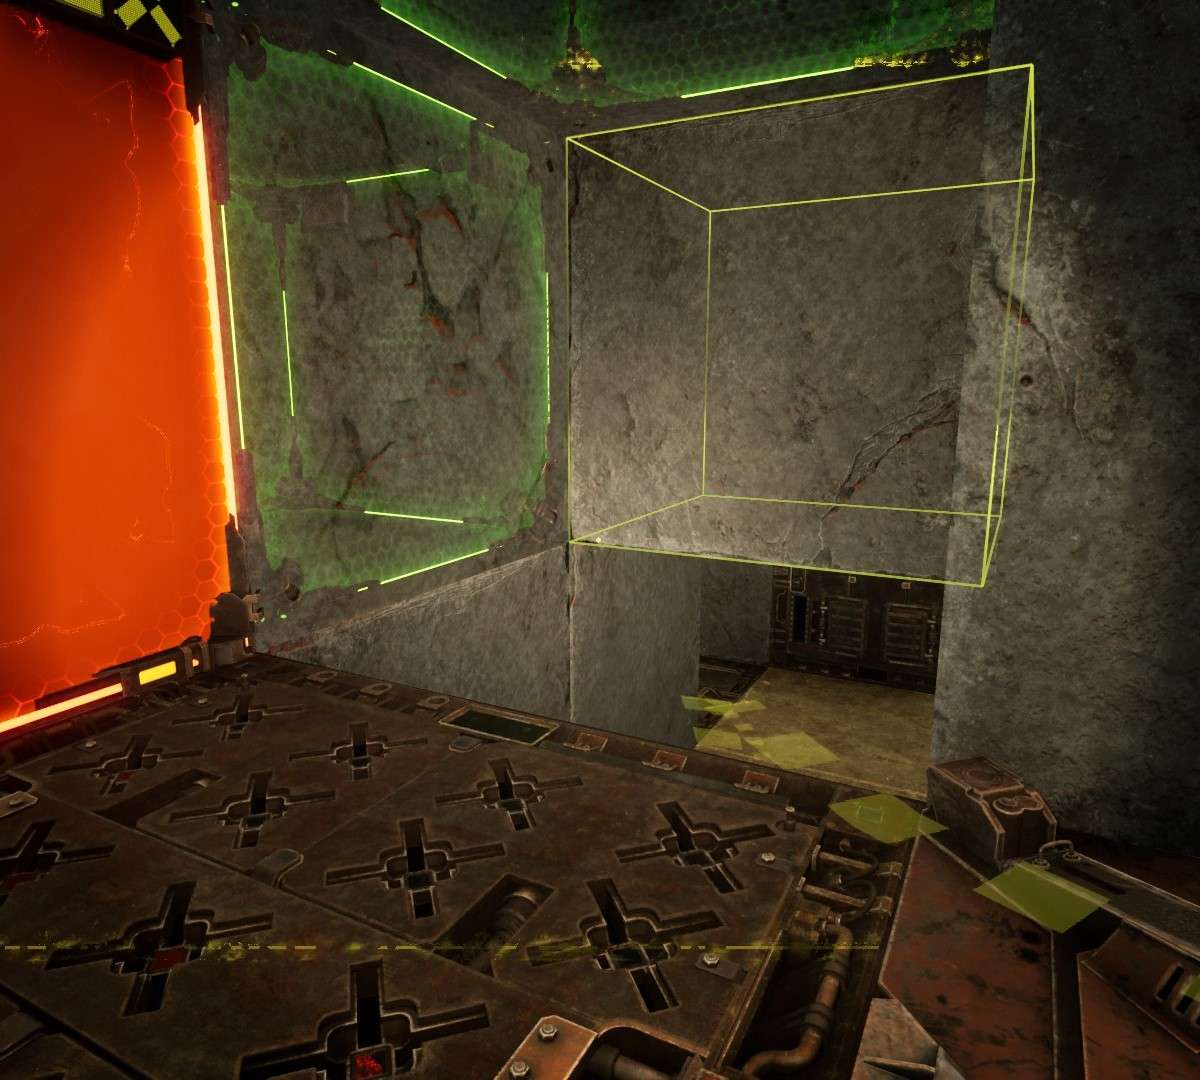
You can do this in many ways whether or not you want to build like a printer, build the interior first, or the exterior first is really up to you! Just remember things are easier if they are planned out or have some path or inspiration for them. One thing you should think about is incorporating Forsaken Tombs into your build as side objectives!! But wait, you must be thinking what a Forsaken Tomb even is! Sounds like some made up Mayan b.s! Fret not, For I shall save you from this thought. Forsaken Tombs are side objectives at all Burial sites Hence the Burial part, now that’s some foreshadowing!
There can be up to 3 Forsaken Tombs per burial site depending on size.
Now you may be thinking to yourself, if they are side objectives should i block them off? Now whether or not you do is entirely up to you but i’d suggest not. Not only do you not lose anything if the raider gets them, but they can make great distractions and opportunities to get some kills, not to mention any traps placed off Harvey’s path will count less to the maps difficulty score! So take advantage of the raiders greed and punish them!
Now that you’re done planning the layout, its time to proceed once more!
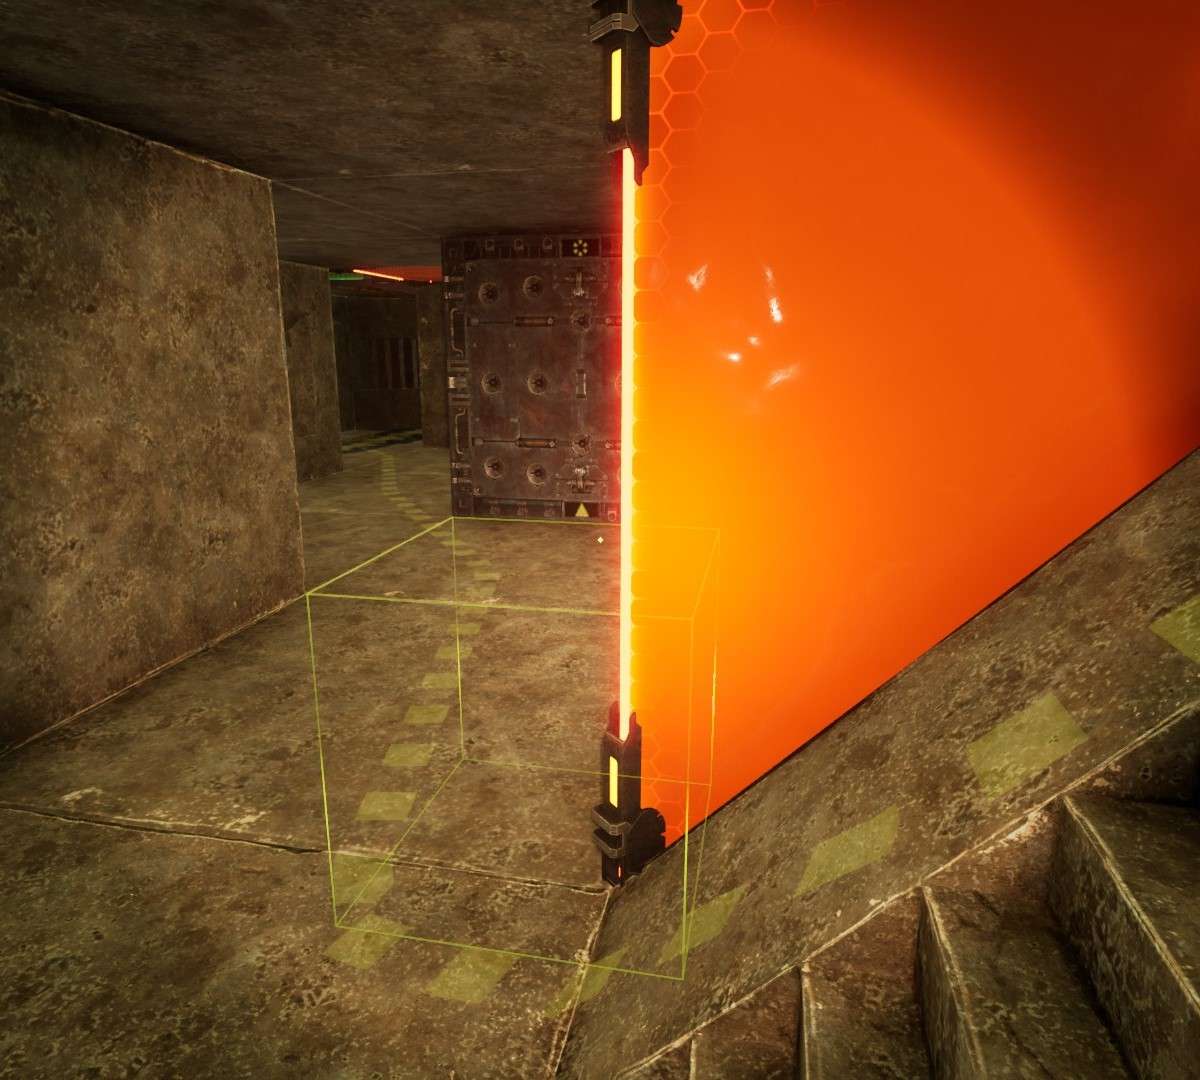
Trap Artist
Now here’s where the fun happens, this is when you plan out your devious creations and rack up some kills!!
Here is a table including all block/trap/guard costs.
| Name | Type | Cost |
| Decor | Misc | 0 |
| Basic Blocks | Misc | 1 |
| Holocube | Traps | 10 |
| Corrosive Cube | Traps | 15 |
| Impaler | Traps | 30 |
| Iron Claw | Traps | 30 |
| Plasma Sentinel | Traps | 50 |
| Boltshot | Traps | 50 |
| Death Piston | Traps | 50 |
| Bomb Ejector | Traps | 50 |
| Incinerator | Traps | 50 |
| Enforcer | Guards | 50 |
| Warmonger | Guards | 50 |
| Incinerator | Traps | 70 |
| Cannonback | Guards | 70 |
| Hornet | Guards | 70 |
Trapping it up
I’m really only going to put common things here as there’s not much for me to say other than be creative, and plan well. Usually you’re going to want to make traps that are distractions for others to snag kills as usually having 1 trap by itself wont do the trick, but remember to always throw in that one red herring trap that is by itself, its best to keep the raider on edge the whole time.
Done Trapping it up on the dance floor? Good! now we can move on.
Testing Time
Done trapping are you? Good! Now we test to make sure everything works the way we want!
This is where you will want to run through your outpost, checking to see how and when all the traps trigger. This is the part where your trap placements may fail, and fail again. But keep calm, and trap on!
Now that we’re done testing, its time to move onto the final step!
Spice of Life
When all else is done, dusted, and probably swept under the rug, its time to add that spice!
This is where we finish up, we build the exterior, add decals, throw the raiders off with jokes, the whole nine yards.
Whether you build Simple.
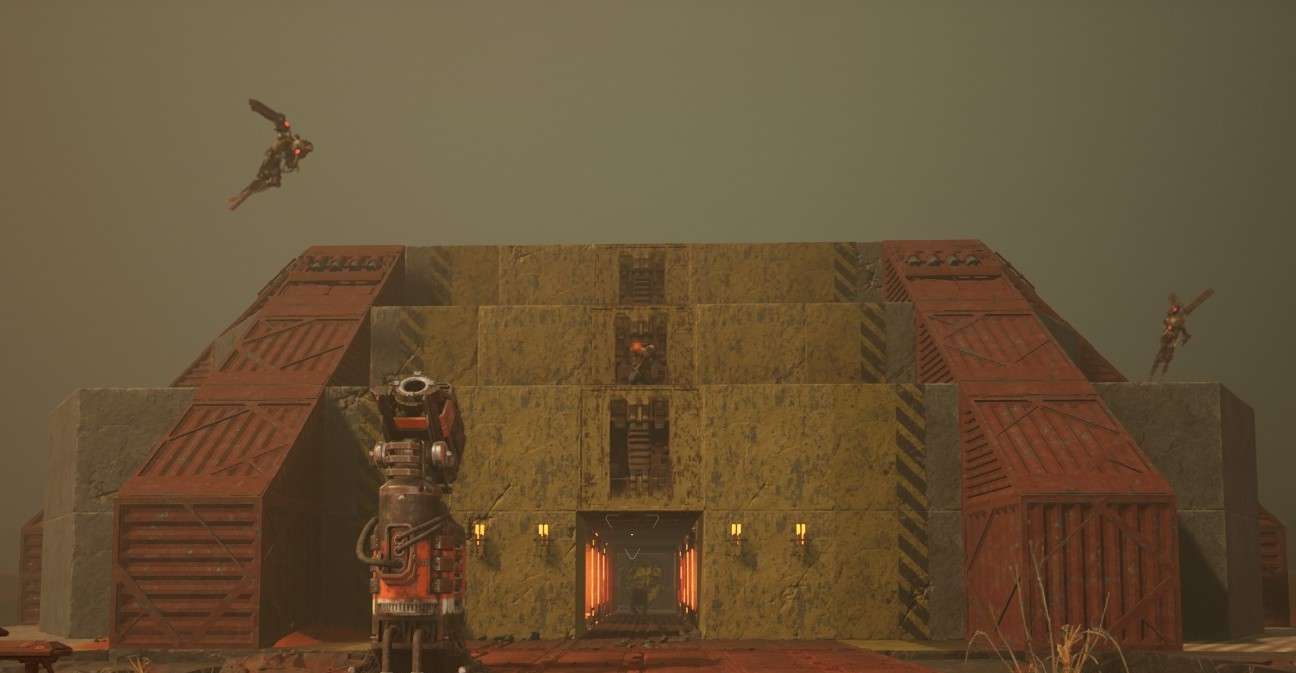
Whether you build Beautiful.
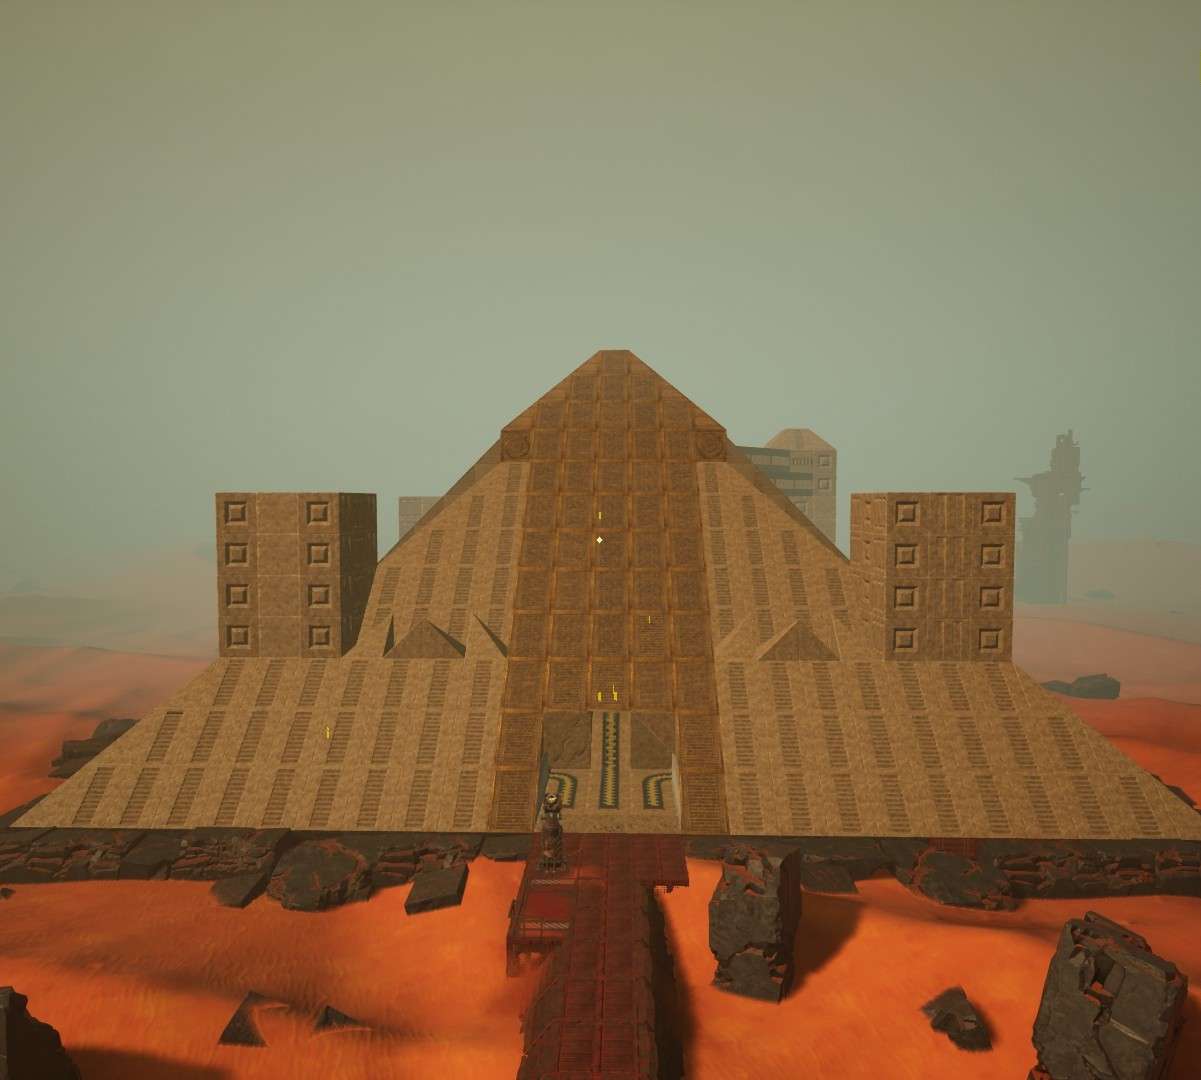
Whether you build downright Strange.
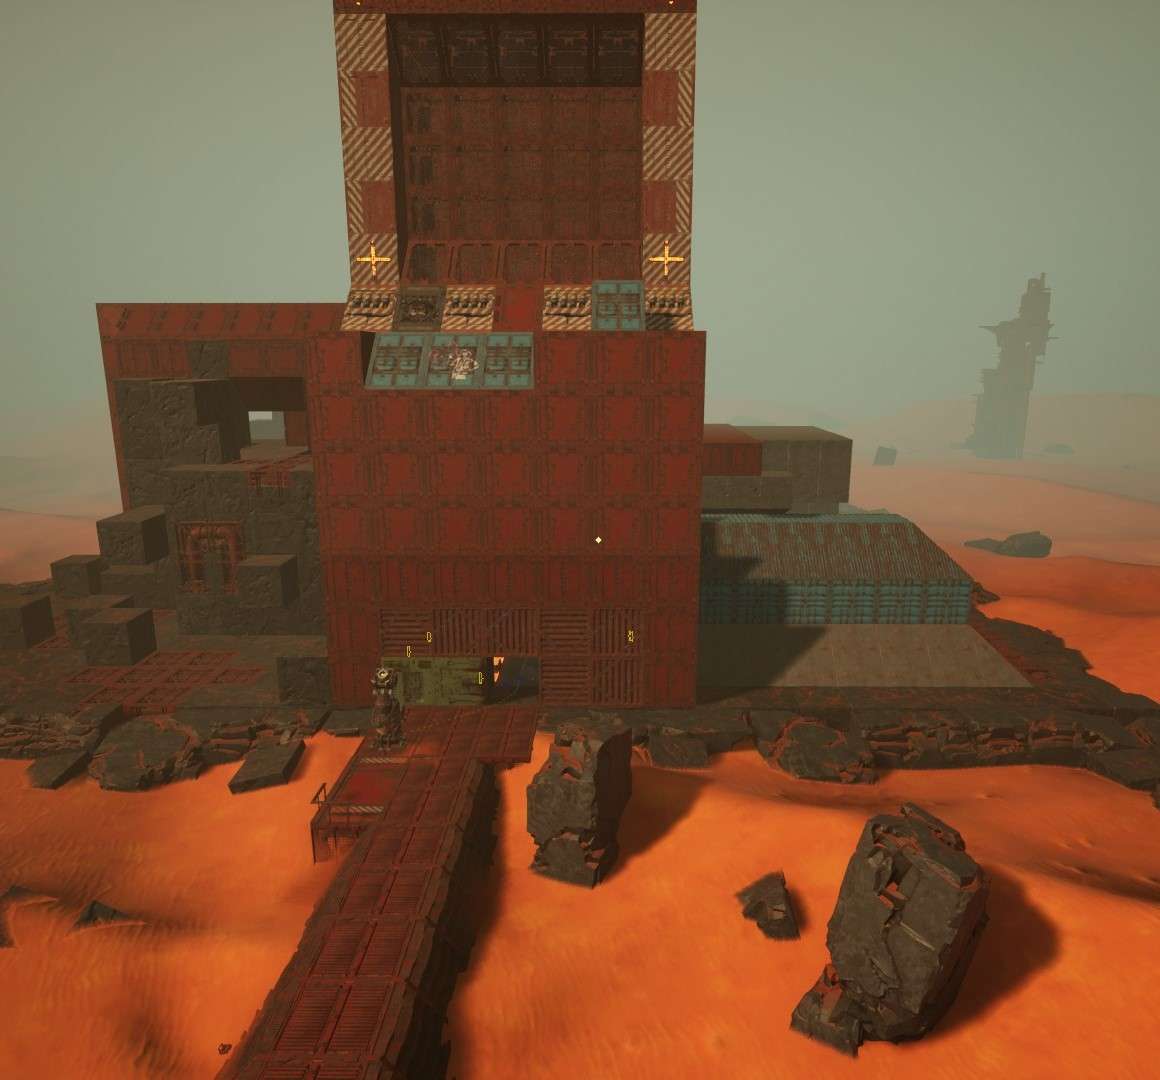
Or whether you want to build Not at all.

Its really up to you, and your imagination!
Aftermath
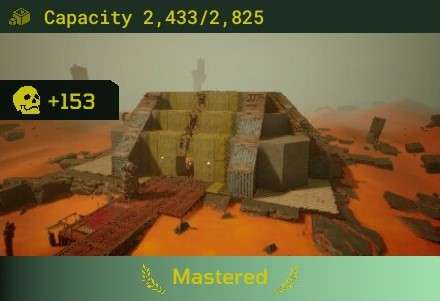
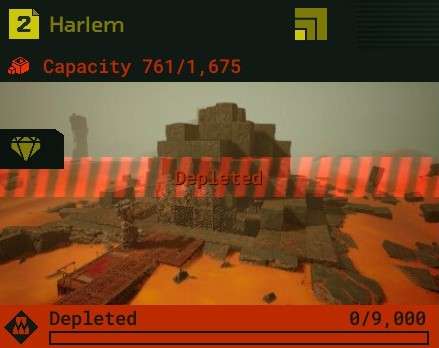
This is the aftermath of your outposts being hard at work!
Here’s the juicy part!
When your outposts have skulls indicated on them, that means you’ve got kills! head on in, gather their drops, and roll in their sadness! Oh The TEARS!!!
Prestige
Oh No! Your outpost is depleted of Genmat? fear not!
If your outpost has killed enough Custodians or gotten enough Accolades you can Prestige them! In order to Prestige your outpost you will need to enter it, open the main menu and click on Prestige. Here it will show all of the outposts stats including kill count, accolades, how many Prestige points you have, and how much it will cost you to Prestige the outpost.
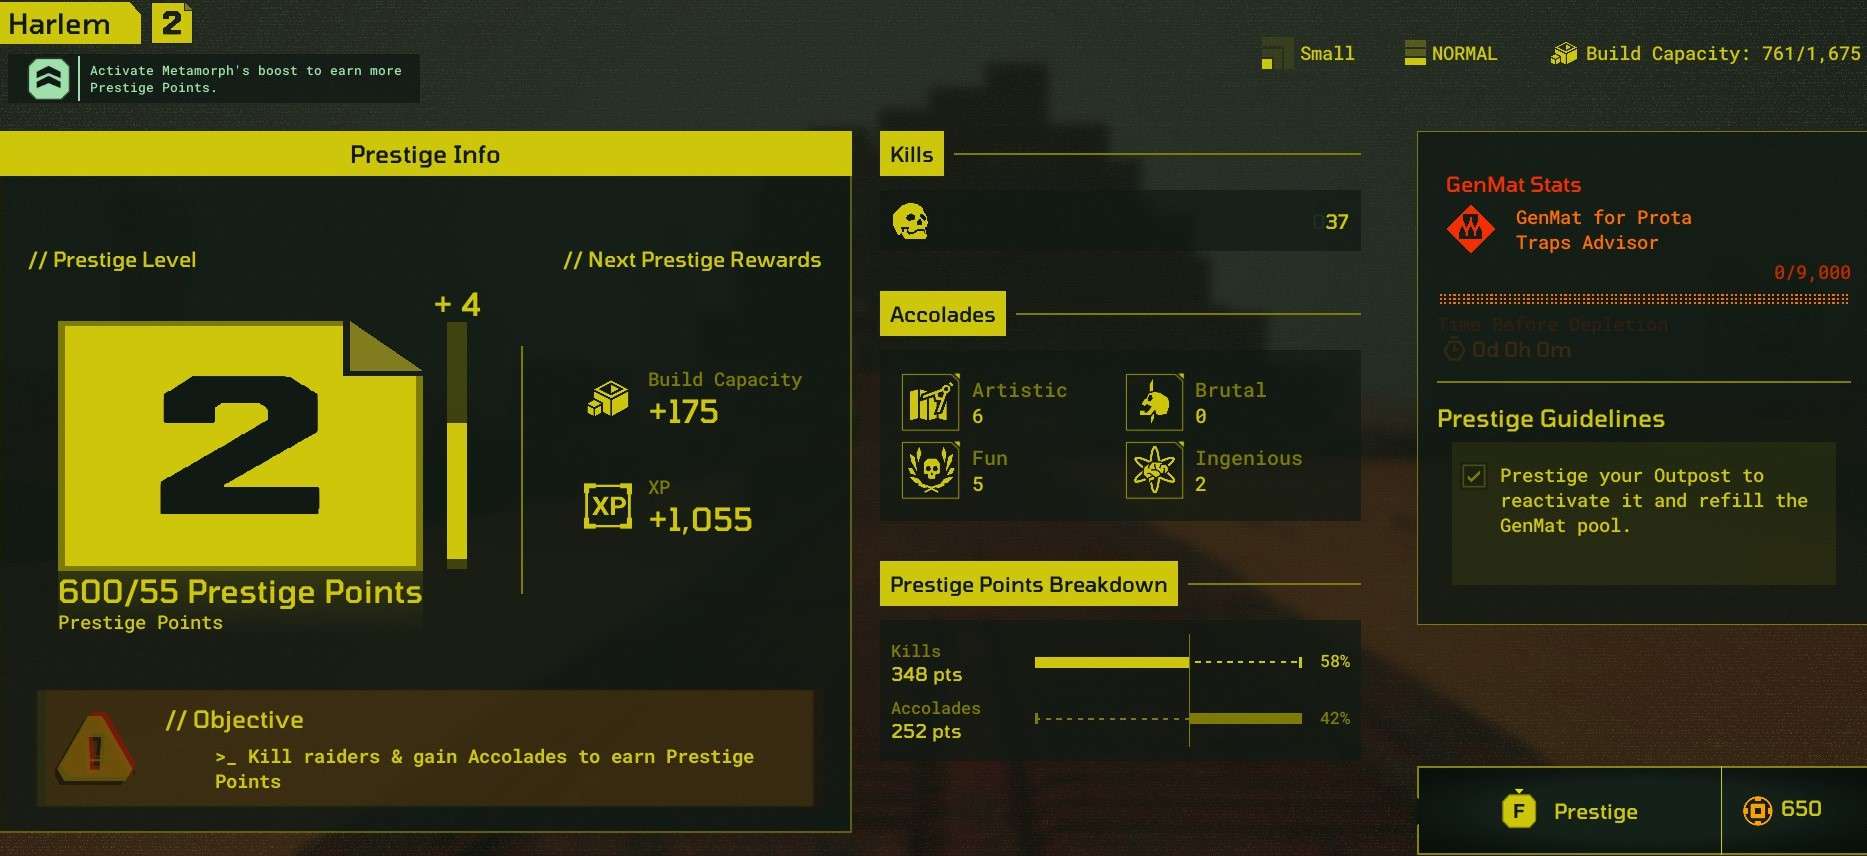
I suggest waiting until your outpost is depleted of resources to Prestige it as there are a finite amount of Prestige’s per outpost.


Be the first to comment