
I want to show you here how you can build a shunting yard with some tricks.
Contents
Guide to Build a Switching/Shunting Yard
All credit goes to Weißbrot!
The Beginning
You start with getting your hight for your groundwork.
You go to the grade wich has the hight you want to have your rails at, you place on top of the grade wich has your hight another grade and drag it to the destination you want to build your switching/shunting yard.
Before you make a straight line to the area you build the switching/shunting yard, you make there (at your switching/shunting yard area) a short piece of grade, then delete the longer rest from the foreign grade to your switching/shunting yard area so only the short piece of grade with your hight remaines.
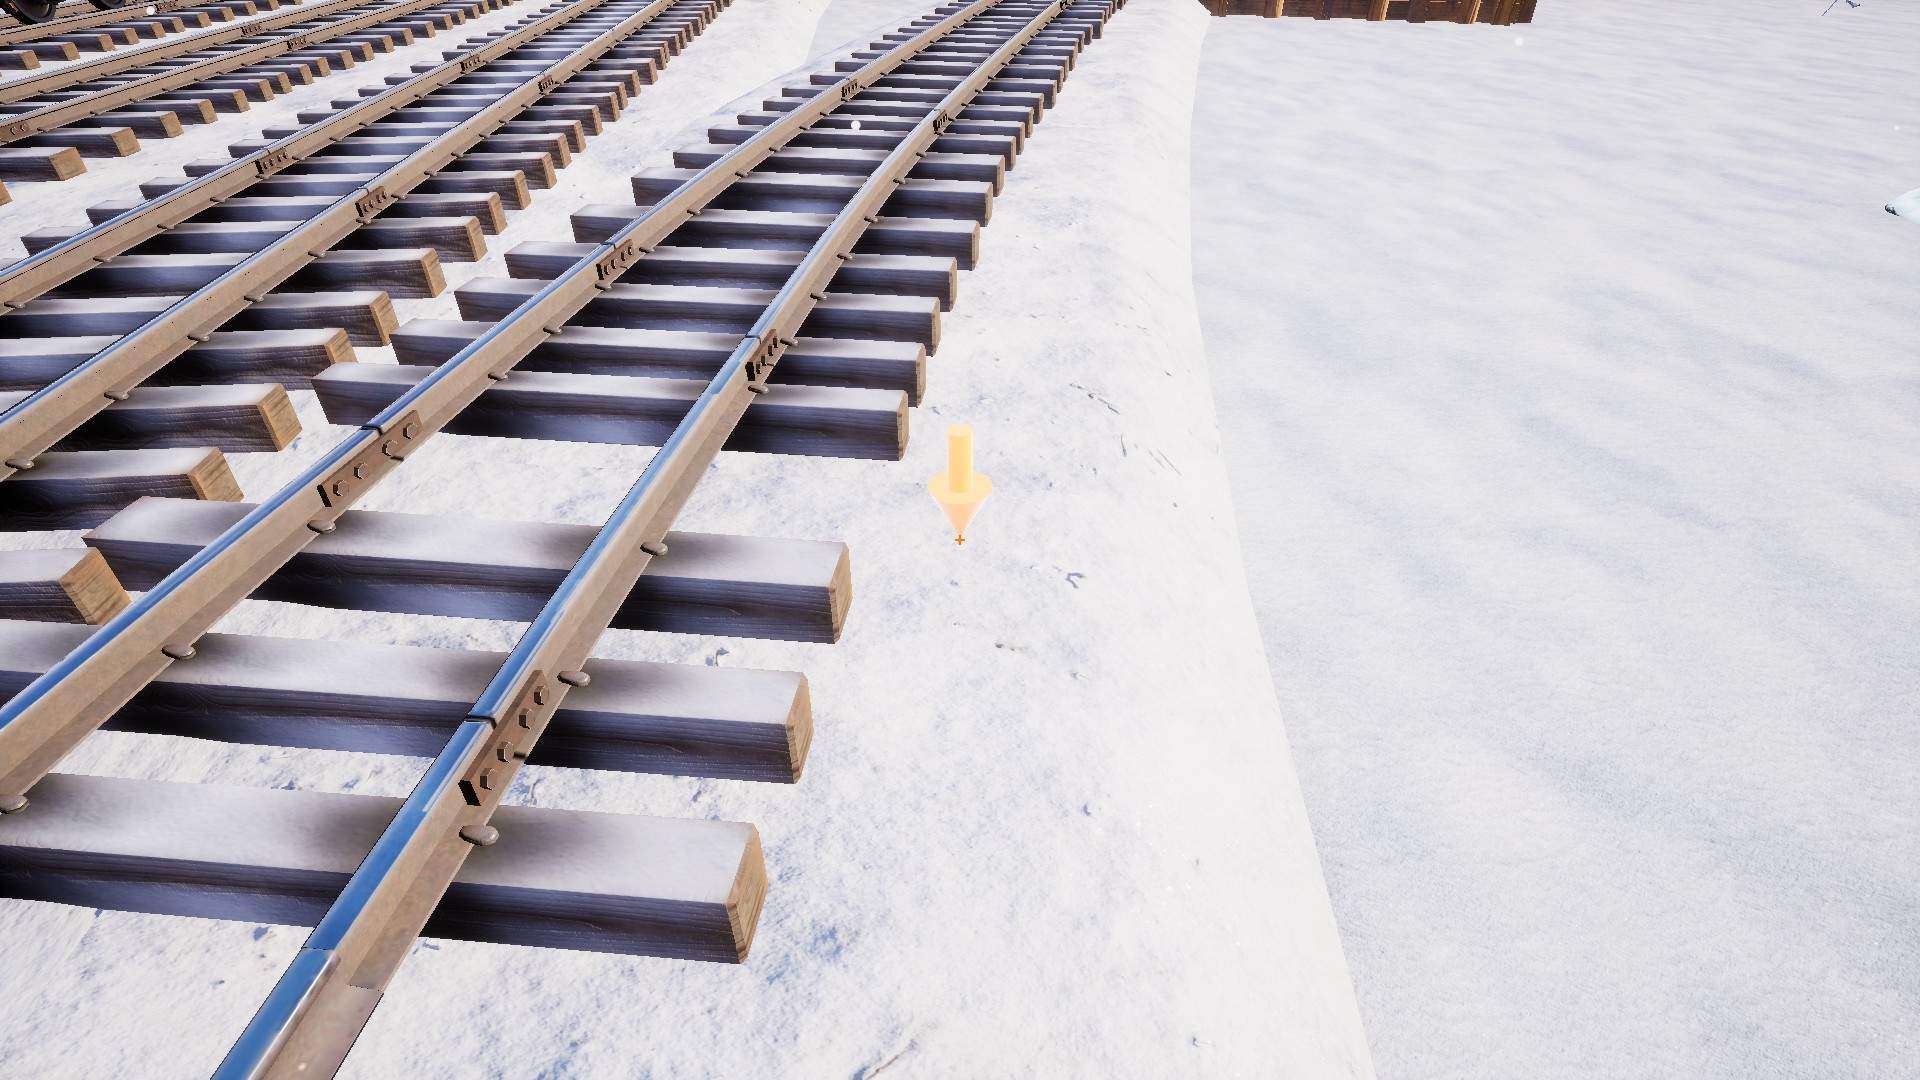
If you have your final location where your switching/shunting yard start you make again a short piece of grade and place on top of it a crossover piece.

Complete the First Switching/Shunting Line
Now you have the base done and need to add switches wich will dictate the length of your switching/shunting yard lines.
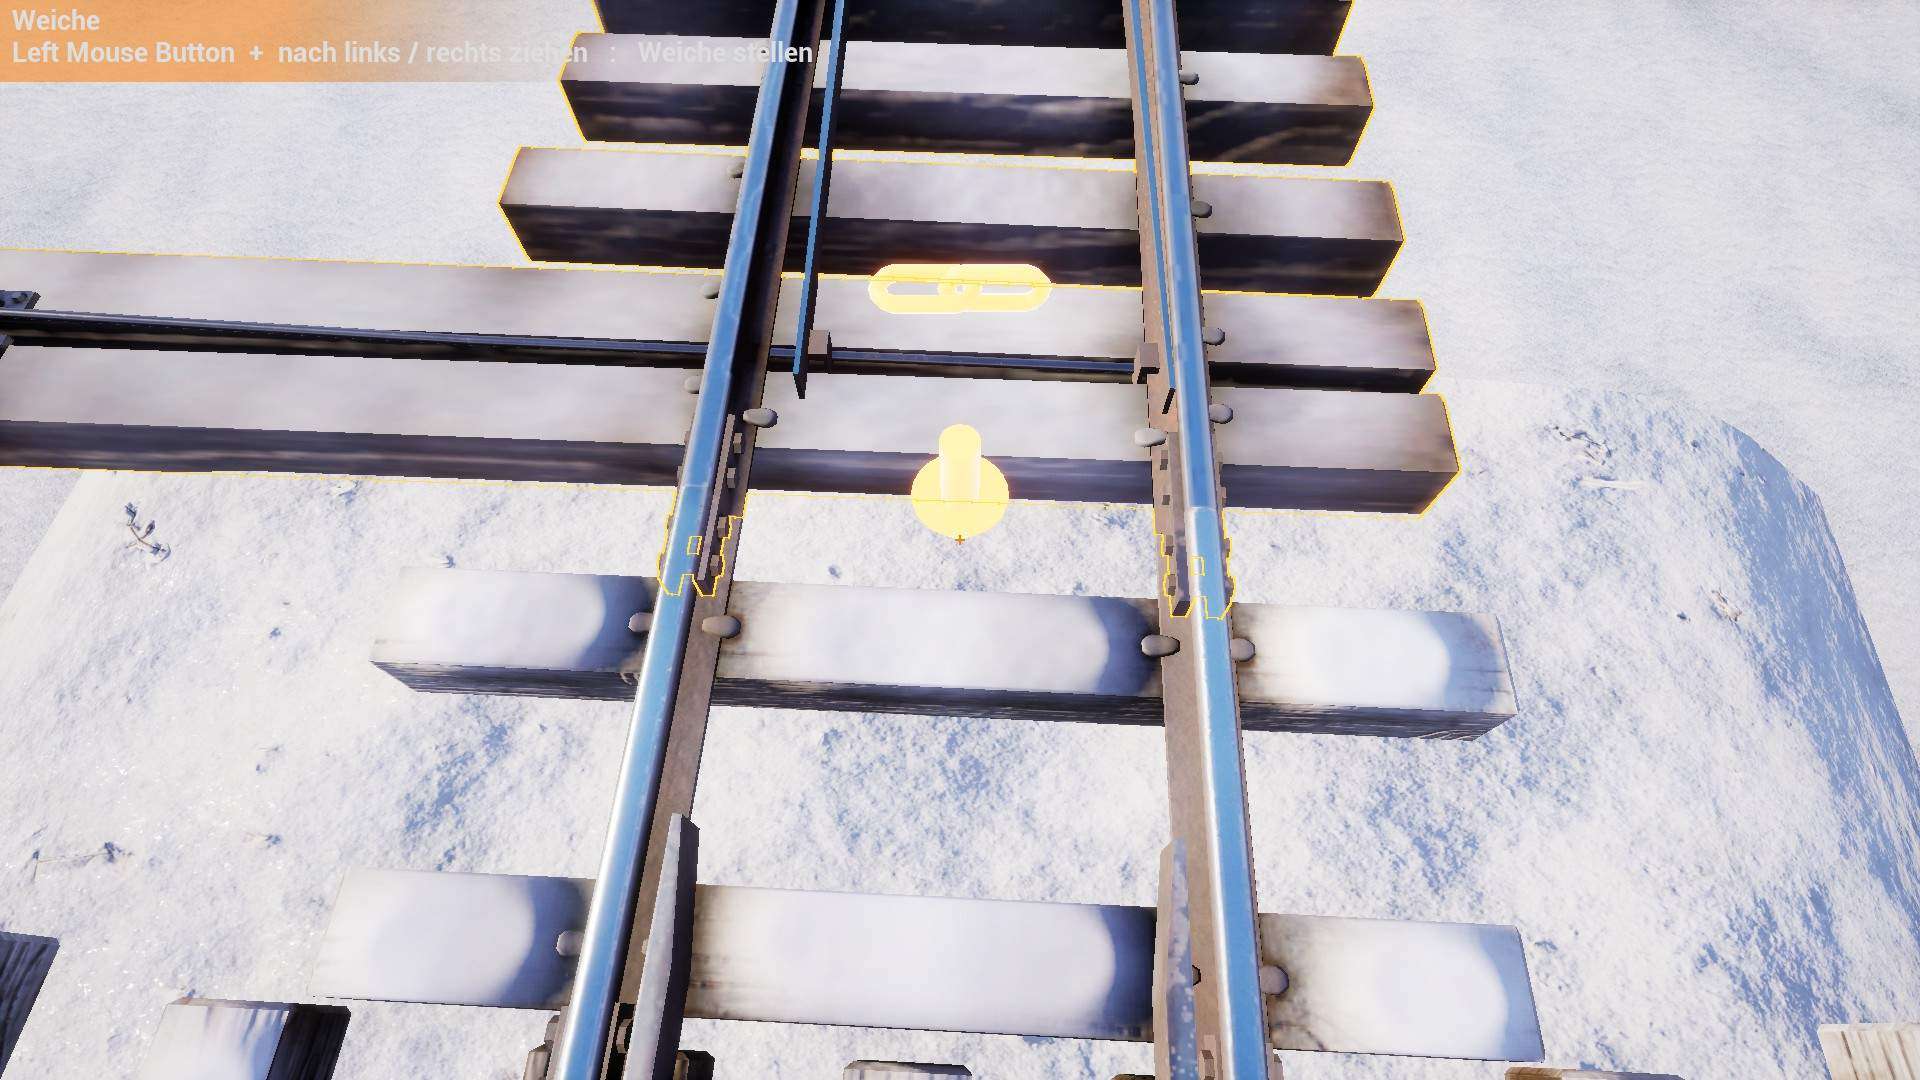
Add to the crossover piece a switch in the right direction.
Add so many switches until you have reached the wanted length of your switching/shunting yard area.
On the right side of the stone wall ramp (towards me) all the switches get deleted except your propper set switch at the start of the switching/shunting yard.
Then you go back to the end of the switching/shunting yard and place a propper switch at the end of the remained switch on the left side of the stone wall ramp.
Now you want to connect both switches (end and start), you get again the hight from your placed short piece of grade and drag the new grade to one of the switches, make a short piece of it and delete the longer rest of it you dont need.


Instead of placing a crossover piece you will now place another grade from the new created short piece of grade to the end switch.
Then add to one of the switches a crossover piece.
Now you have placed the temporary base grade for your rails, you snap the normal rail from the start of the new placed crossover piece to the end of it.

Then you press left ALT and drag and click the rail towards the other switch, before you connect the rail with the other switch you press again left ALT and deactivate the fixation and then connect the rail with the other switch.
Add another switching/shunting line and how to built the last switching/shunting line curve
Now you probably want to add another switching/shunting line.
Add to both switches (end and start) again a propper switch.

I made my screenshots with the wrong switches so please just ignore that its laying on the ground.
Now you add to the second propper switch so many switches as you need switching/shunting lines.

If you placed as many switches you need and have connected them like with the first switching/shunting line you will have at the penultimate switch the problem of the curve wich connects the penultimate switch with the last switching/shunting line.
To build the curves for the last switching/shunting line add to both switches a crossover piece and delete after that the last switches.
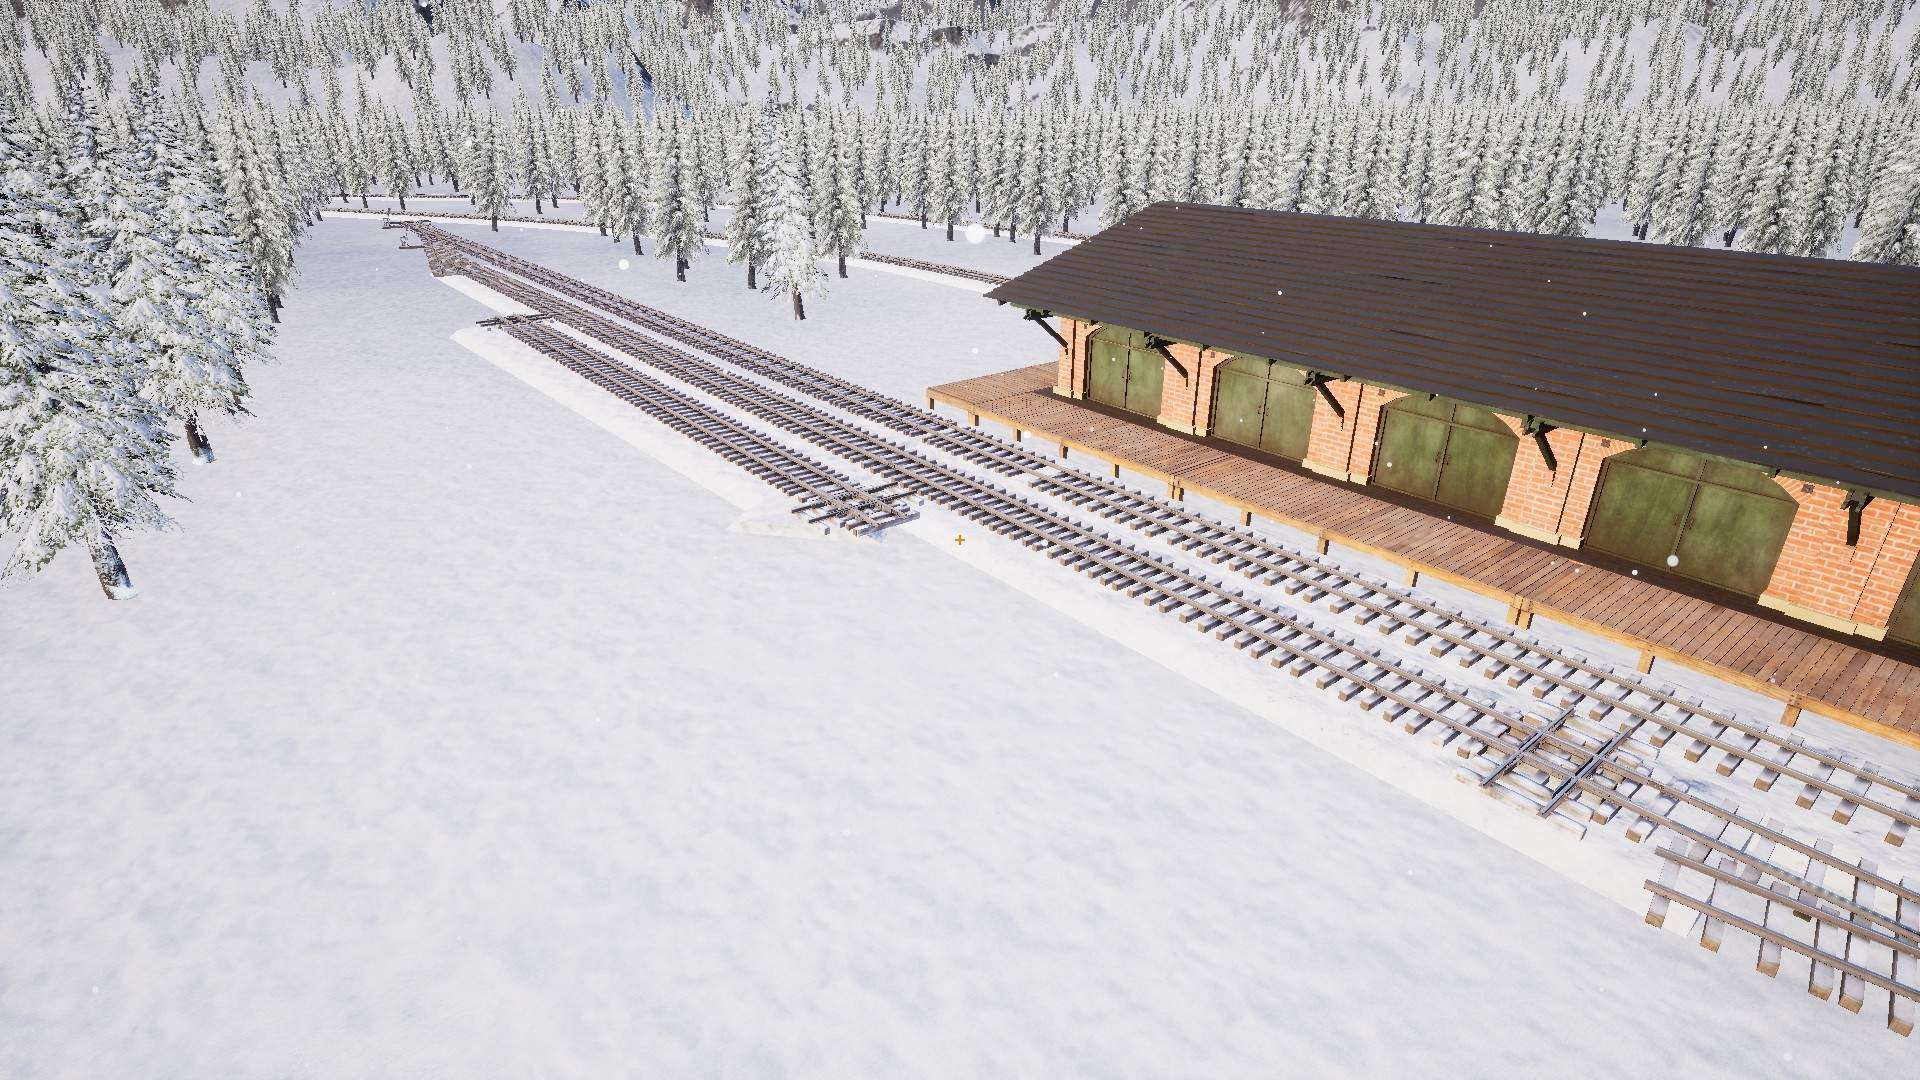
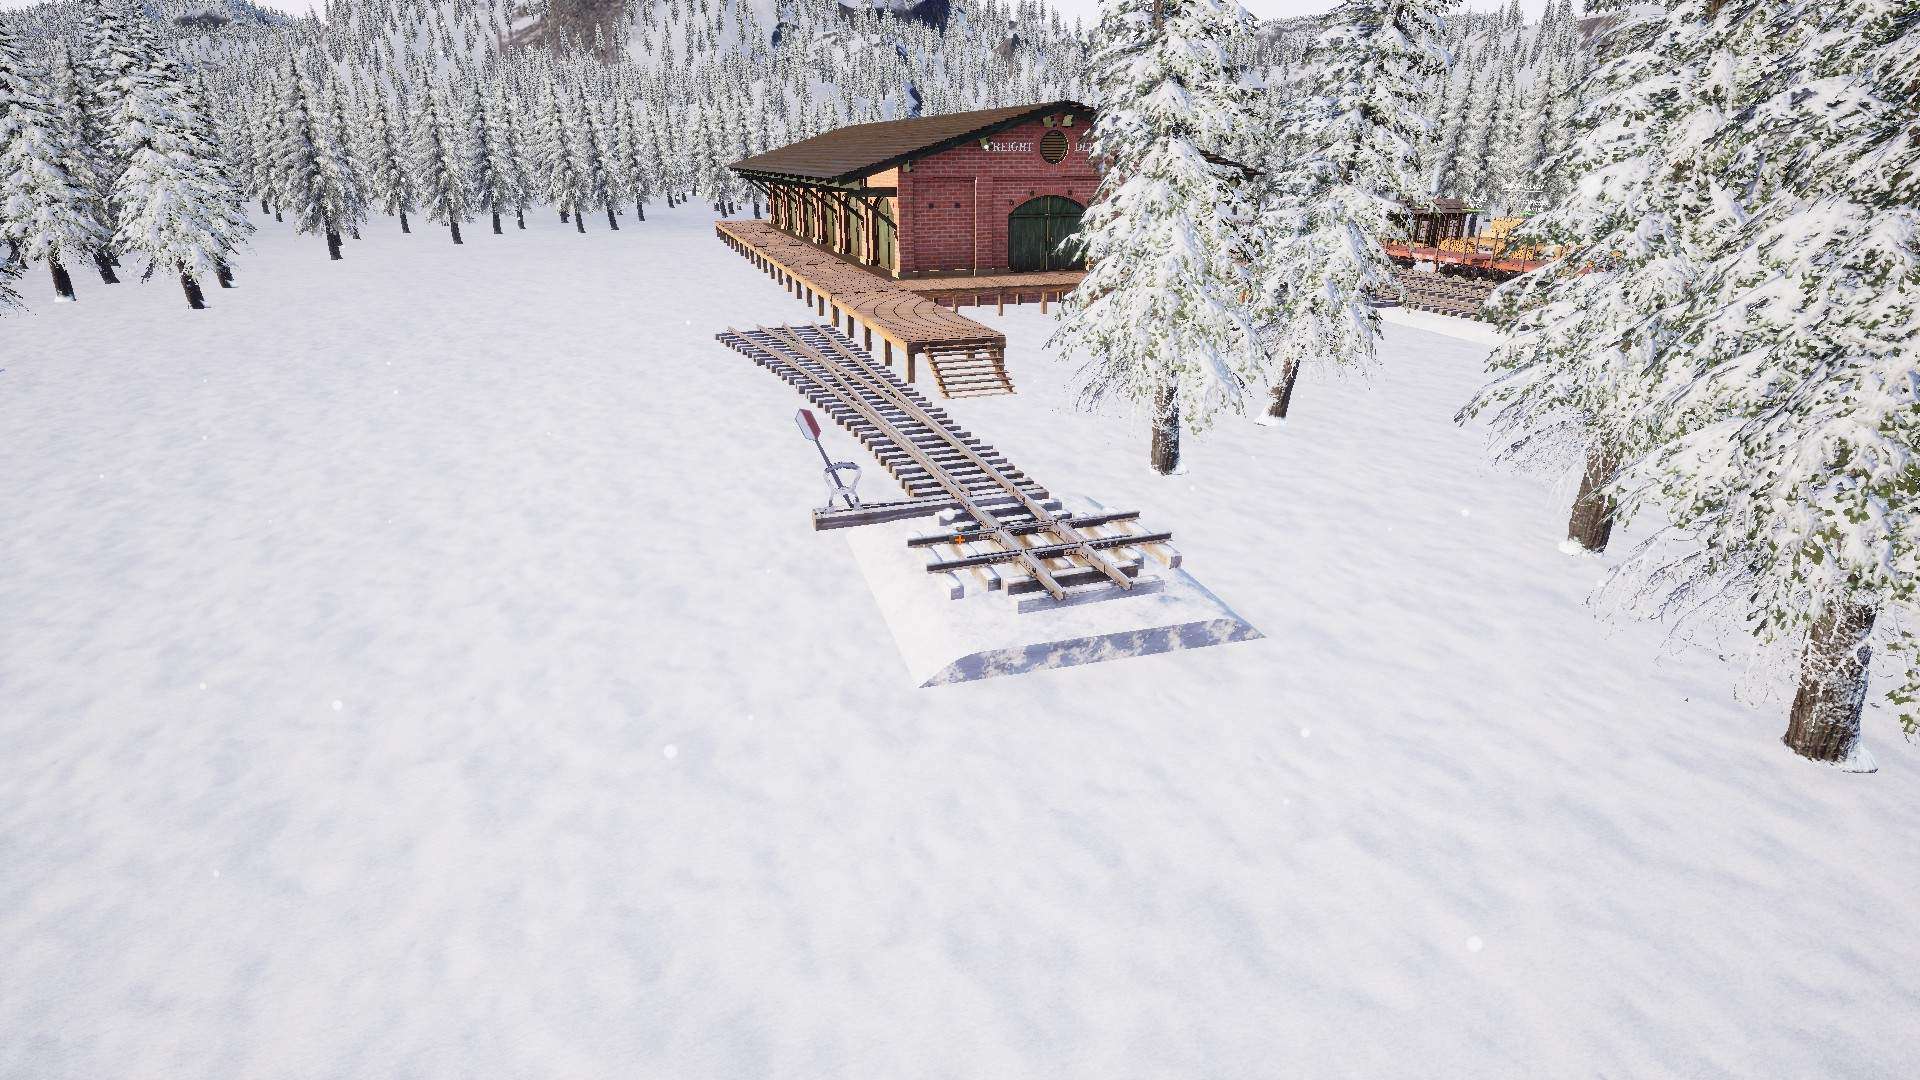
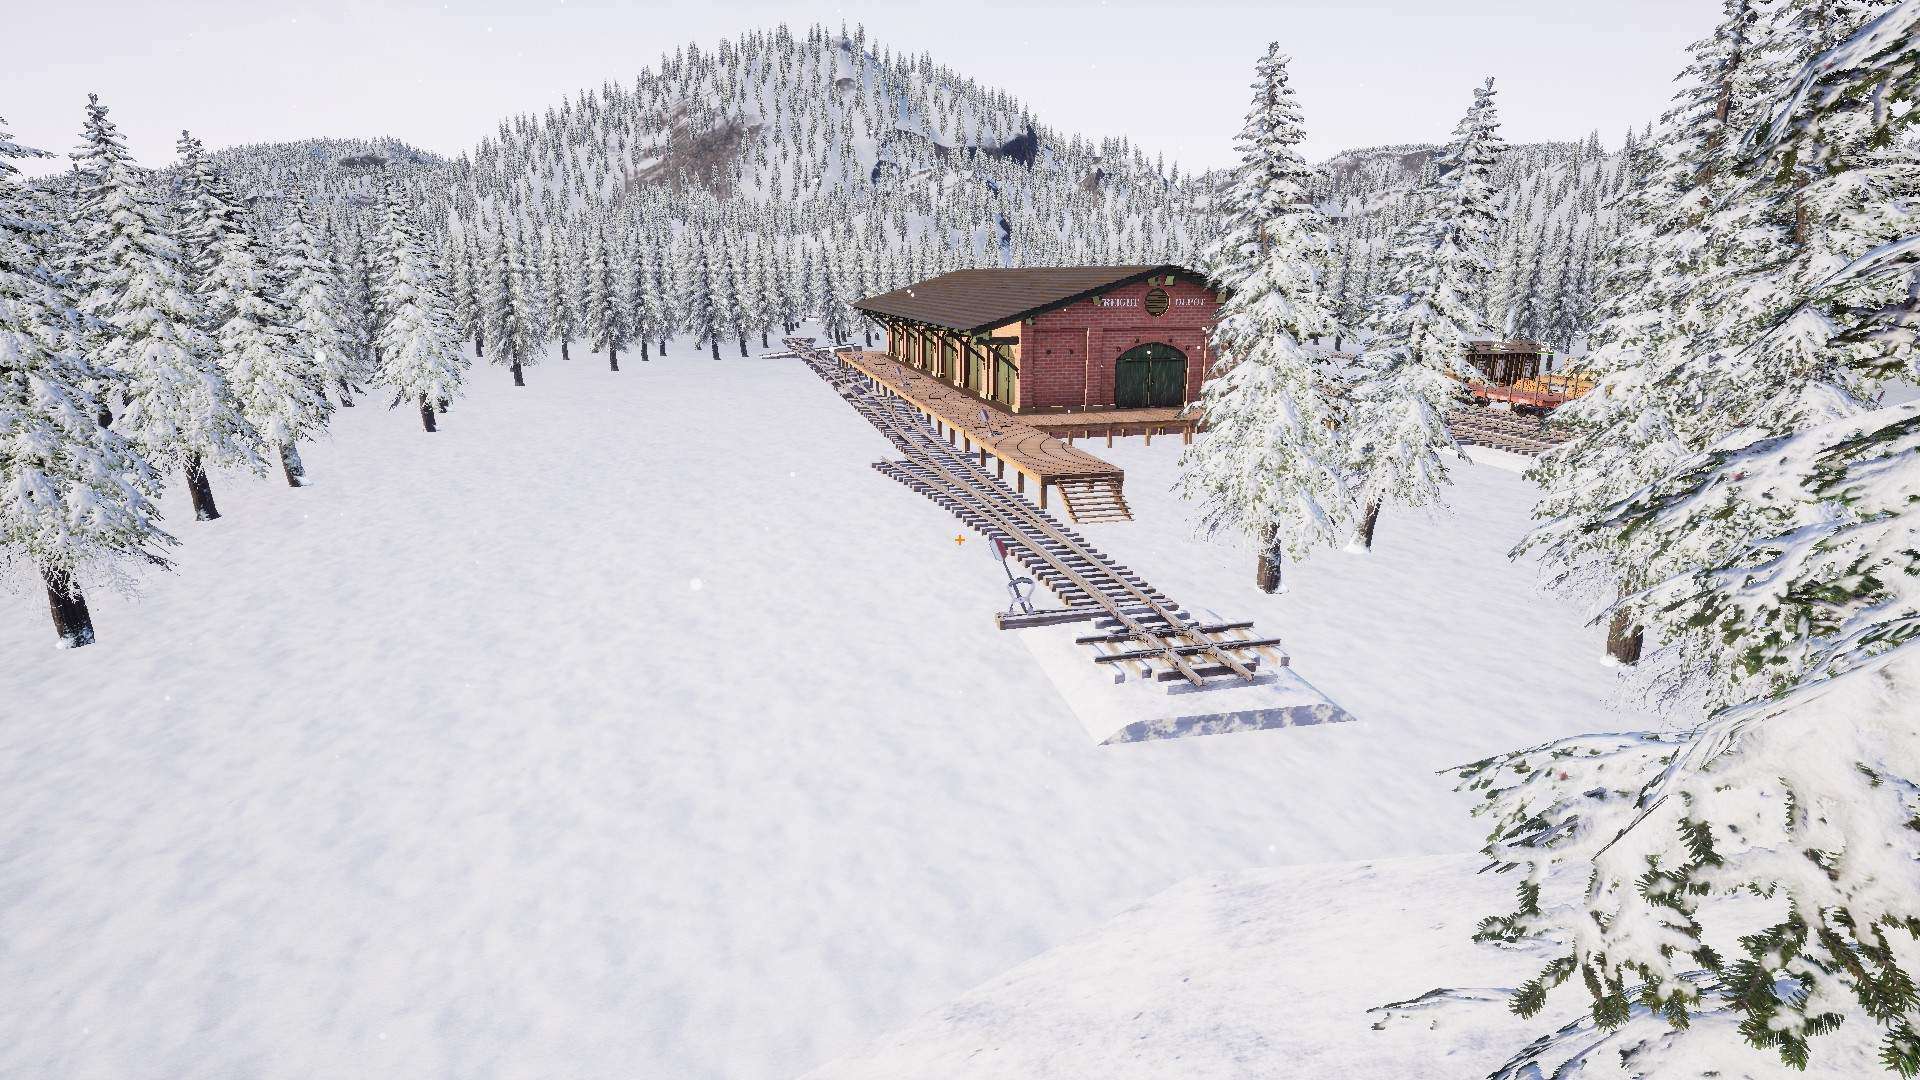
Now you lay the groundworl for the curves and lay the curves by hand.


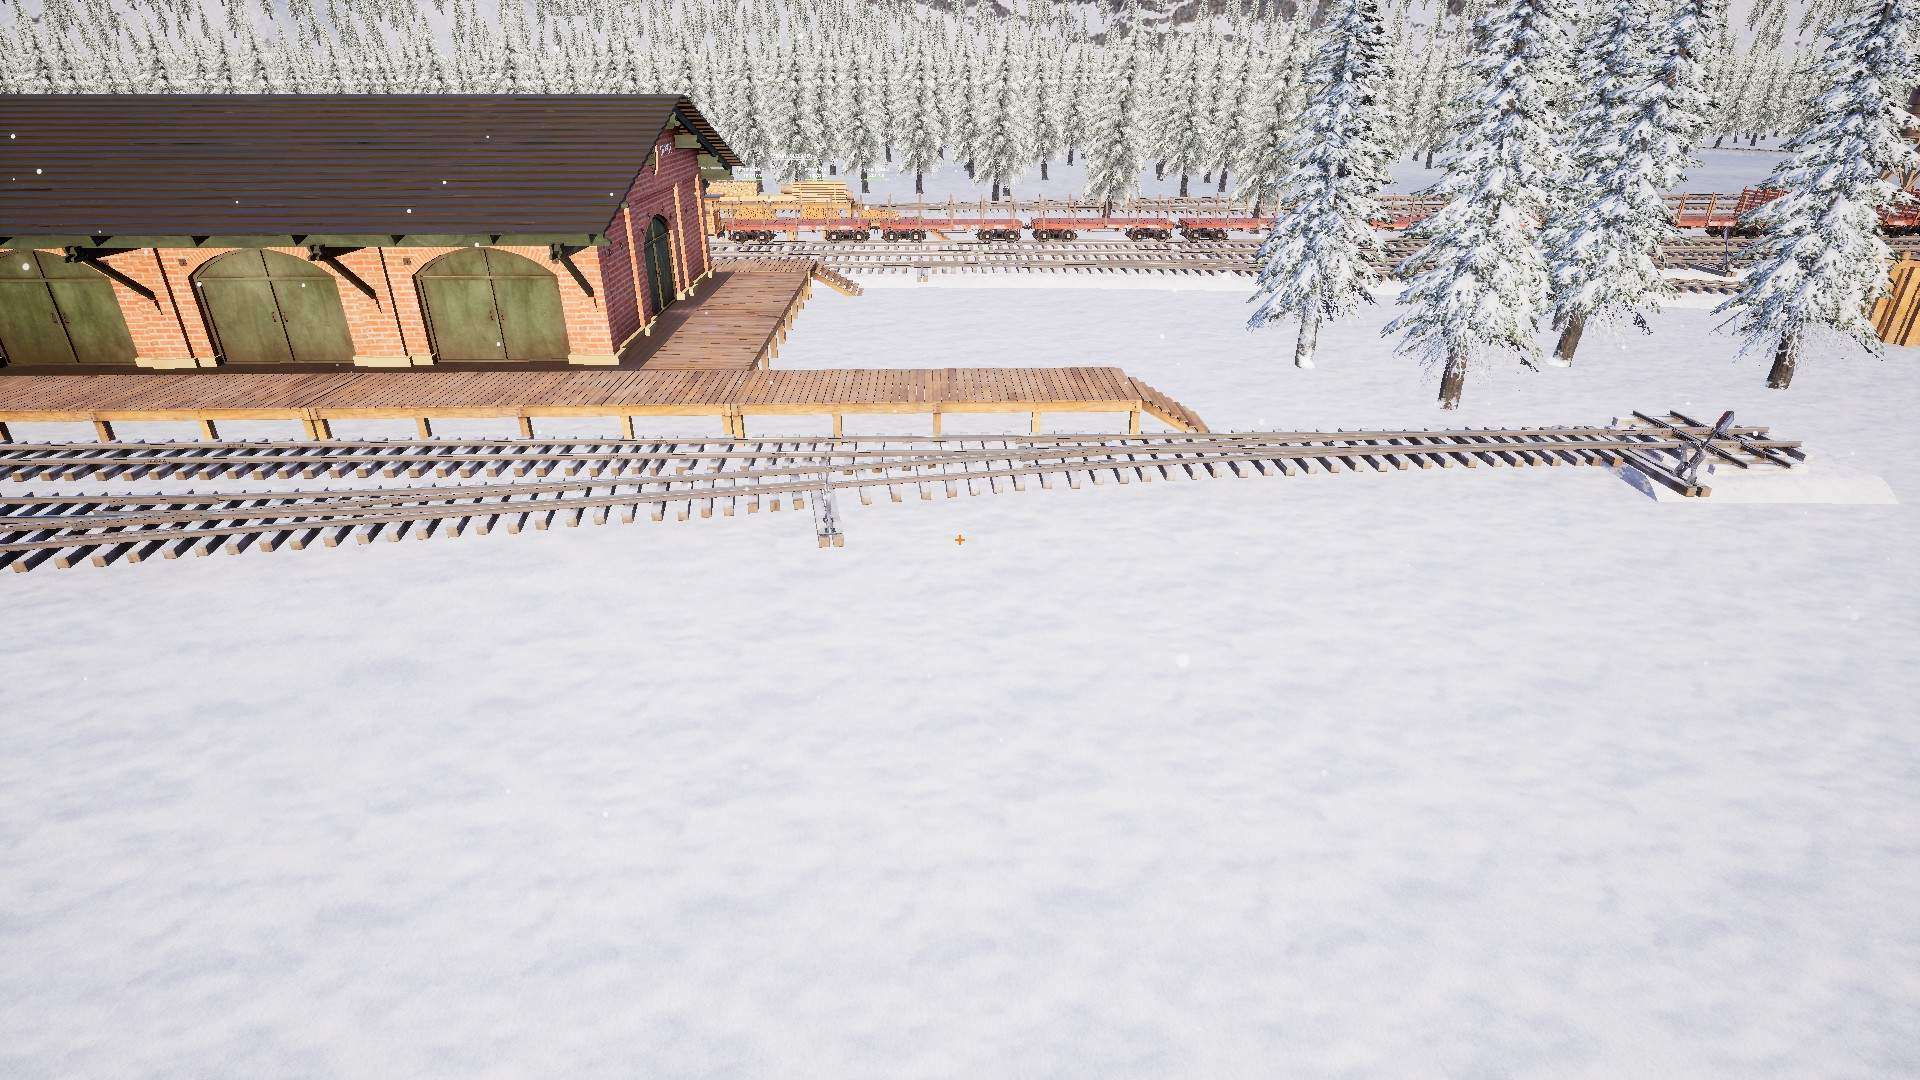
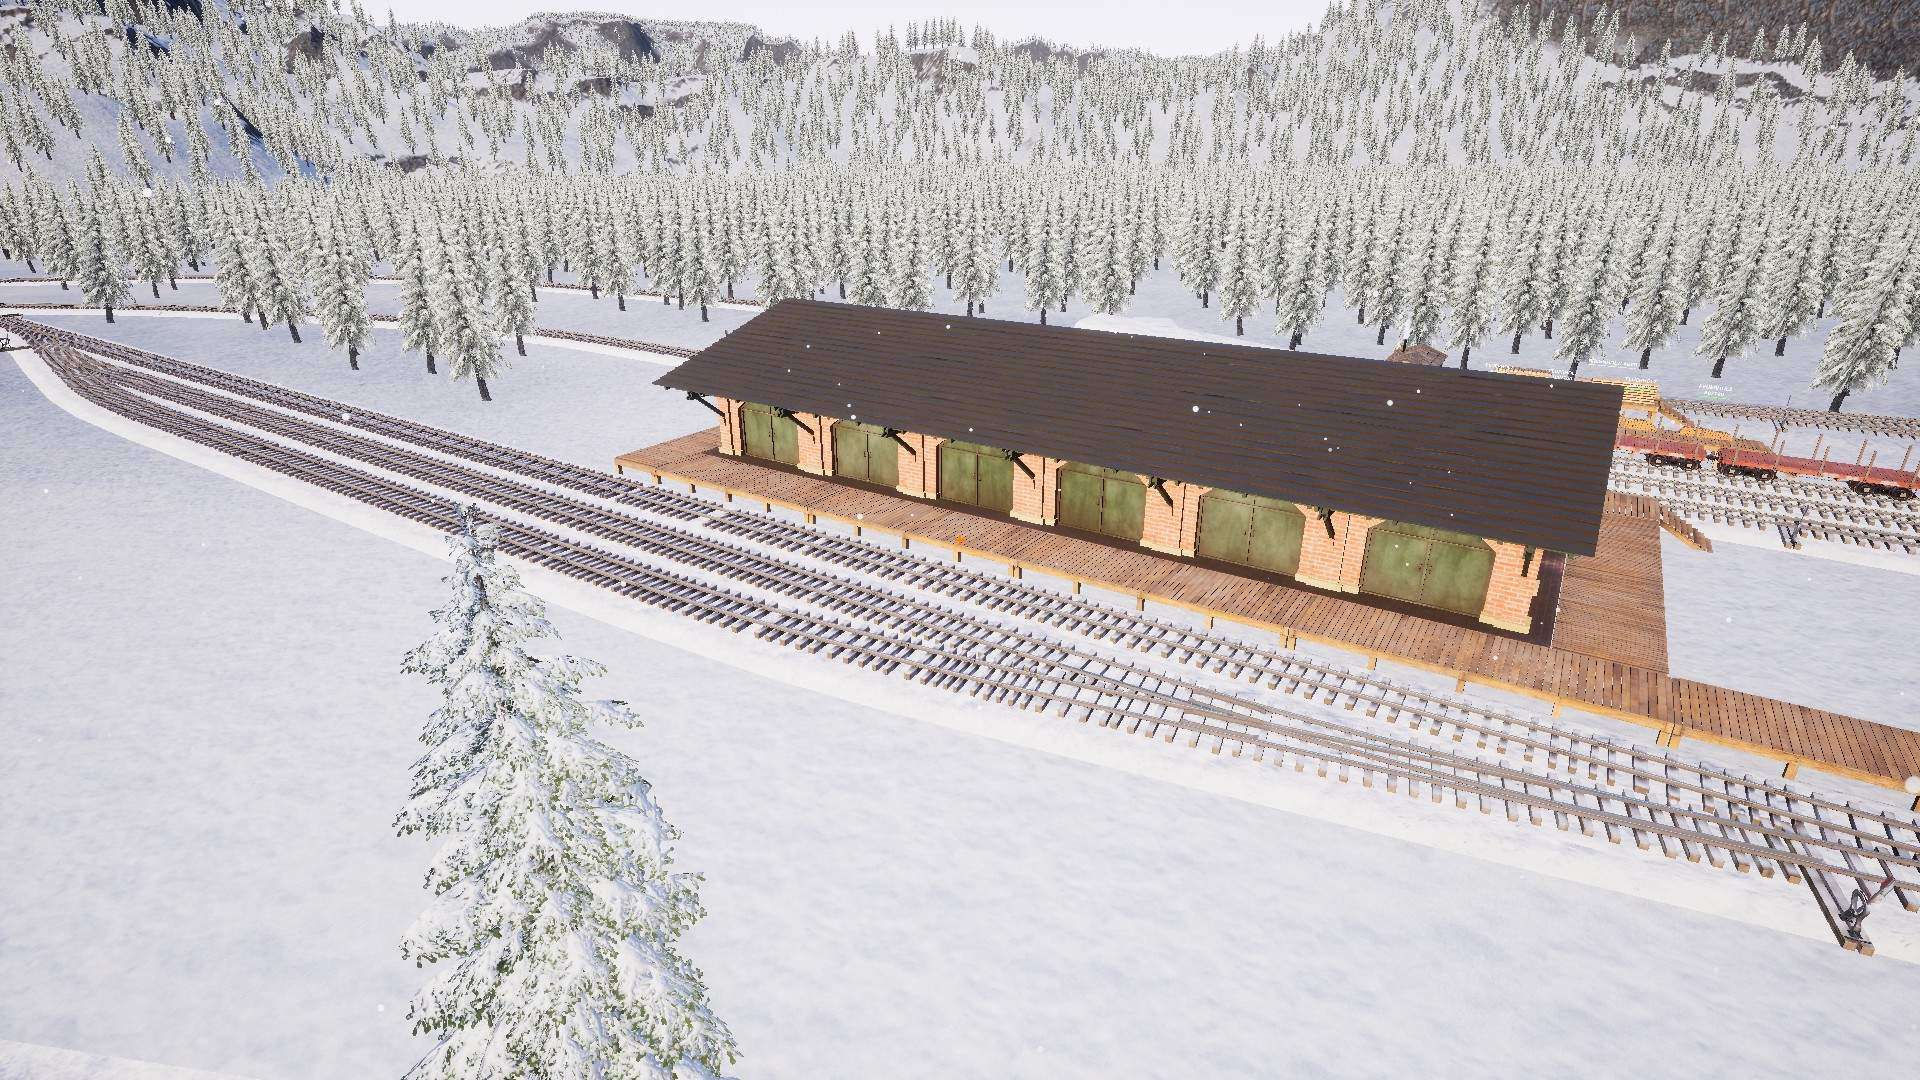
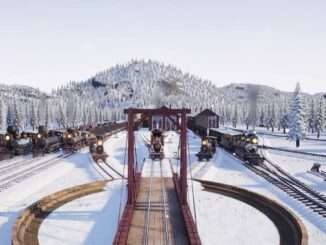
The result should look like in the picture below.
Placing Propper Groundwork
Now your switching/shunting yard is done and you need to delete all of your temporary grades you have made except the very first one or you create a new at one of the very first switches to have access to the hight you want to be your groundwork grade at.
Then you place a grade at the start of one of your very first switches and connect it with the start of the switch (the short piece of grade wich represent the hight has to be below the start of the switch).
And the drag it to the end of the switch and connect it (this will place the grade exact at the center of the switch start/end).

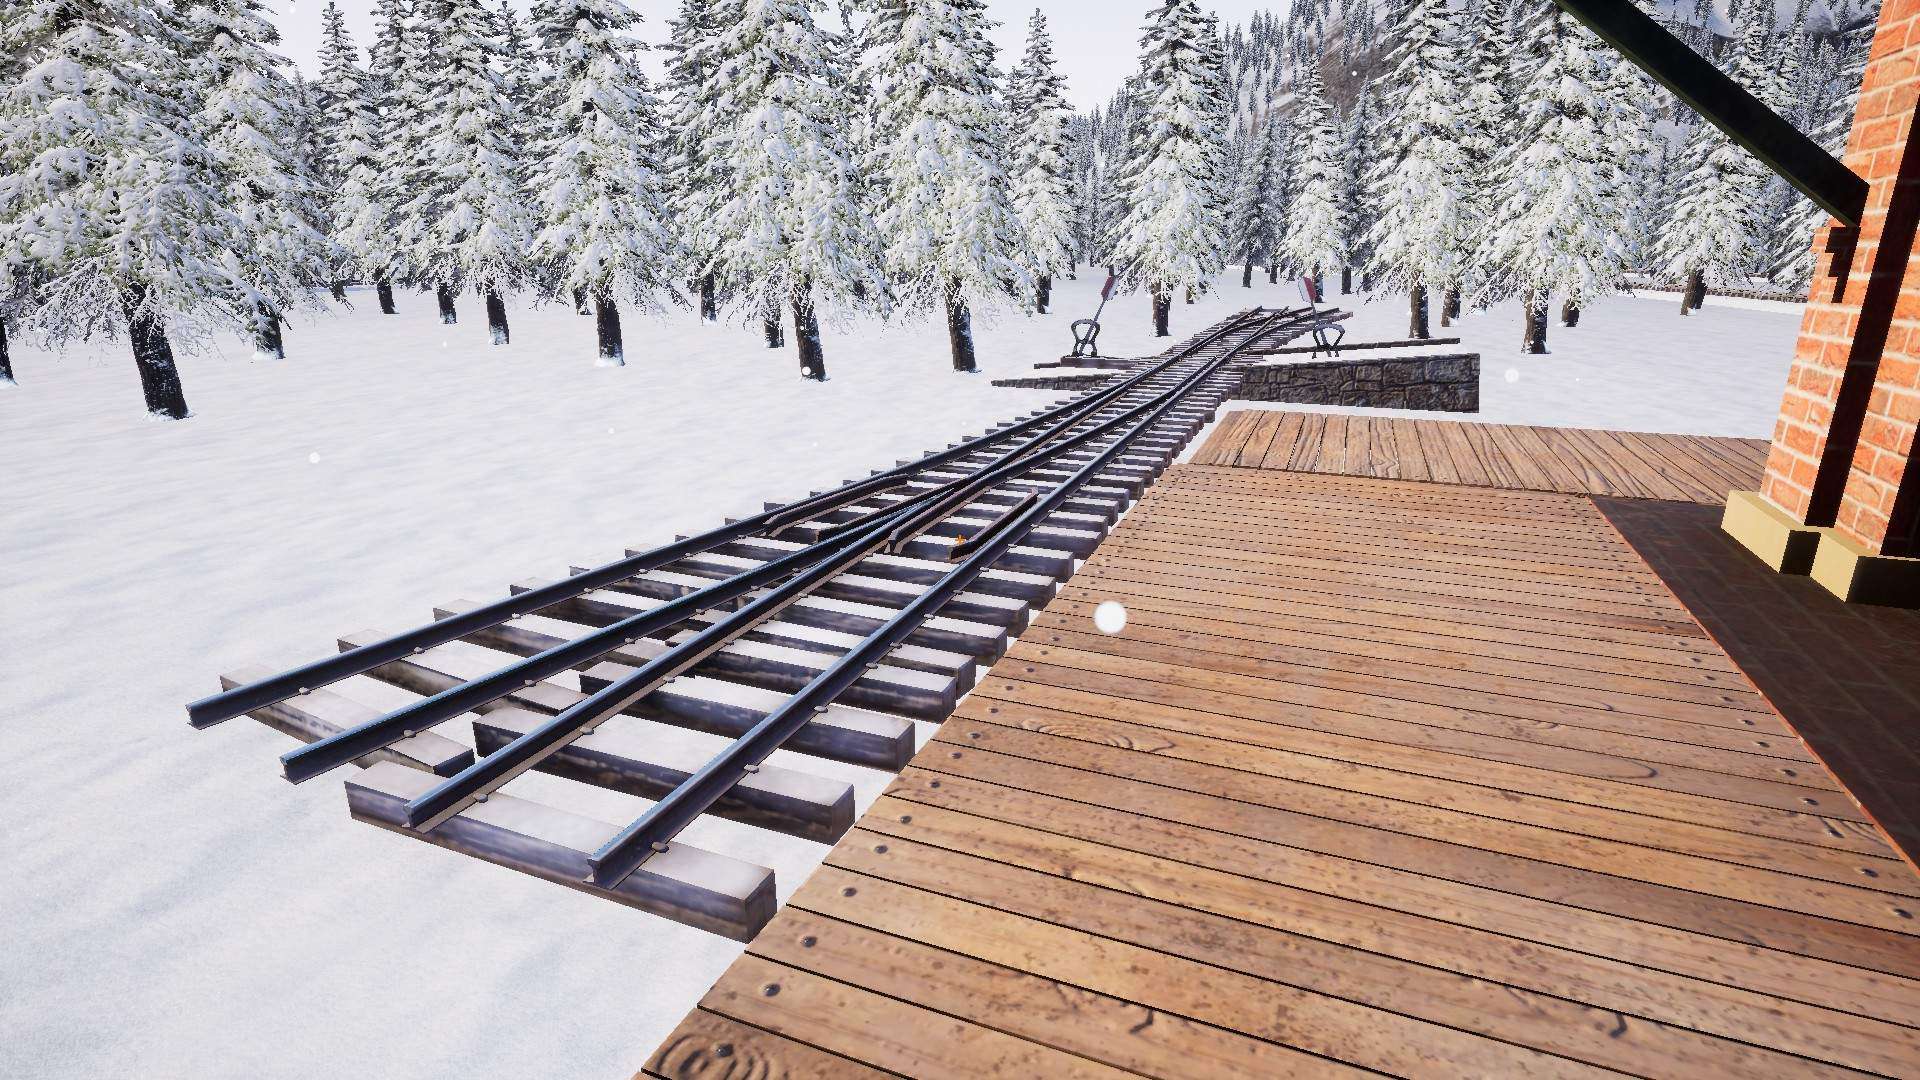
Then you just drag and click the grade in the middle of the rails and end at the end switch like you started at the first switch.
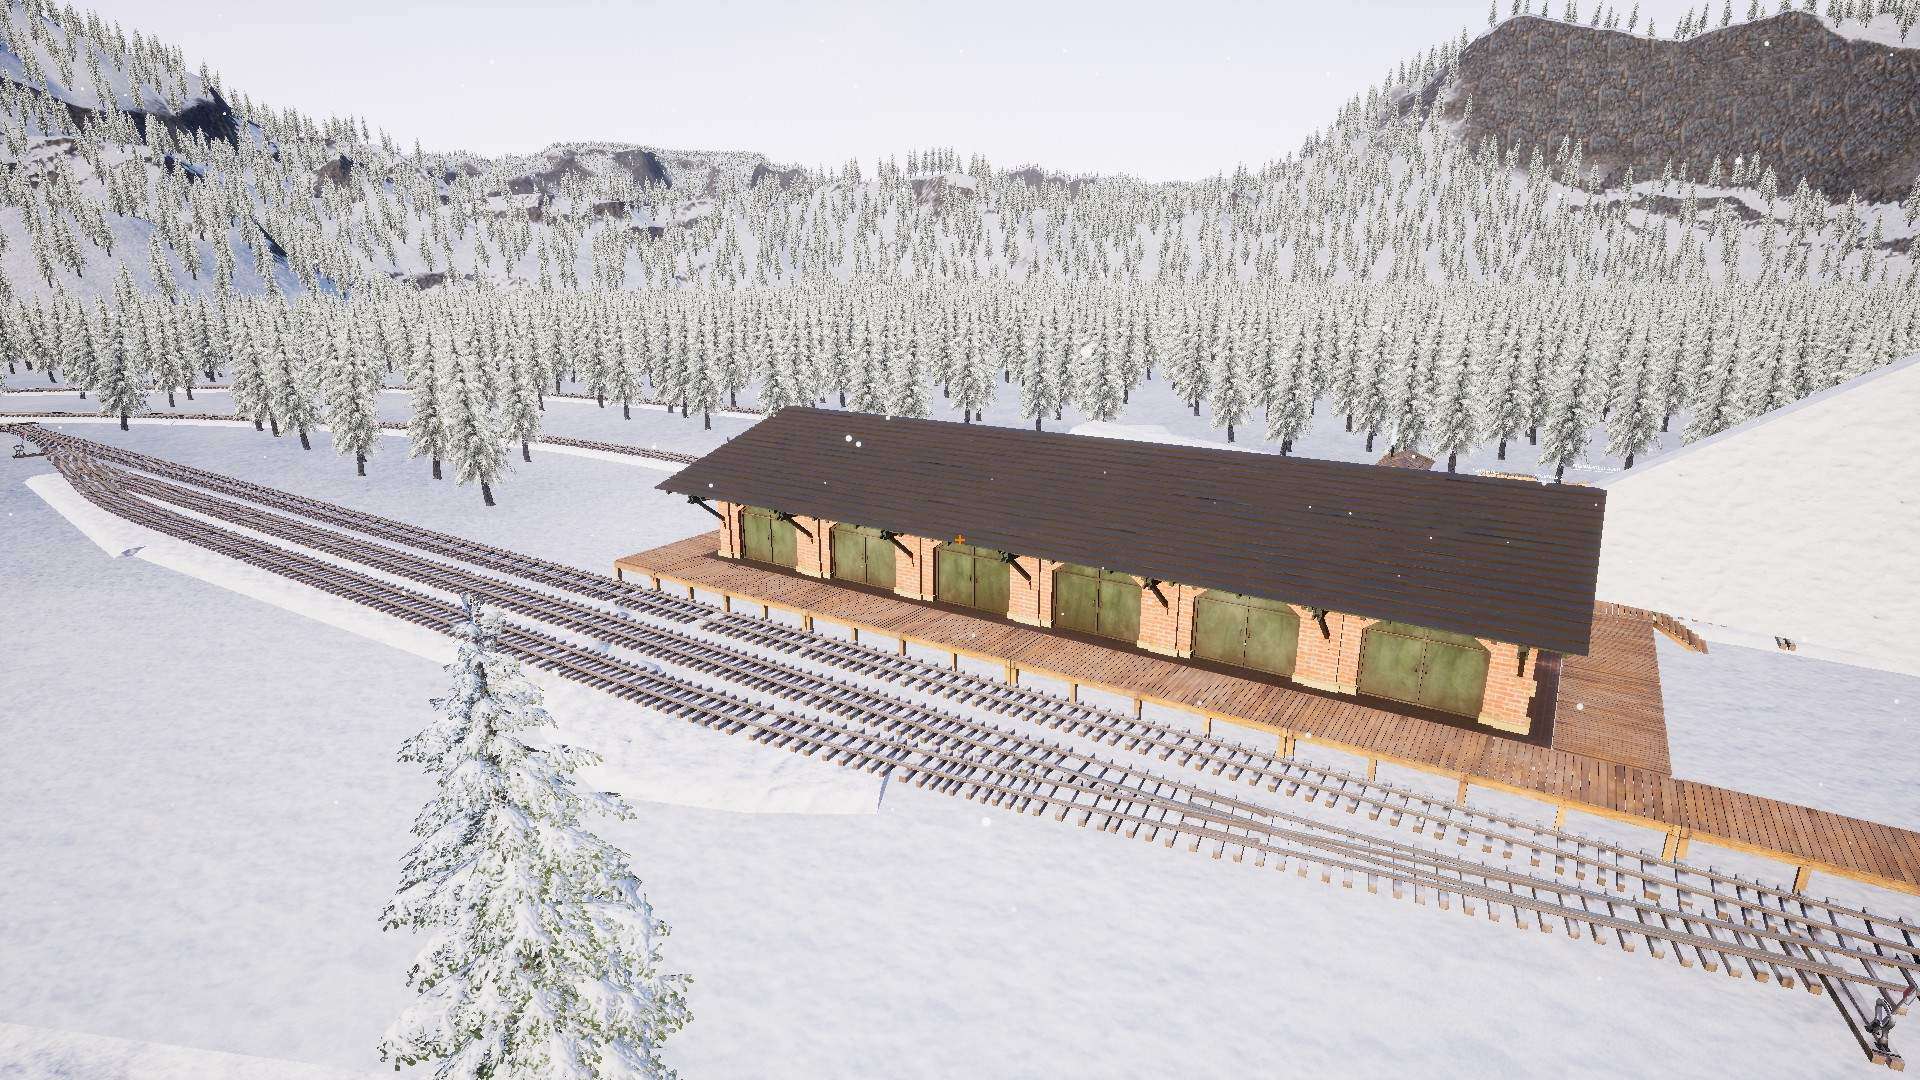
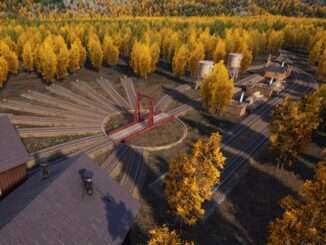
For the curved part you just make the same again just this time in a curve, click in a curve at the start of the curve, in the middle and the end so the game has three points to generate the curve, it should look like in the picture below.
I hope i could help you in building a nice looking switching/shunting yard.

Be the first to comment