
This guide is going to focus on lesser known features inside of Satisfactory, that when known and utilized improve your gameplay experience in a variety of ways. These include useful keyboard shortcut, setting configurations or building techniques.
Tricks You Can Do In-Game
All credit goes to Okurimono !
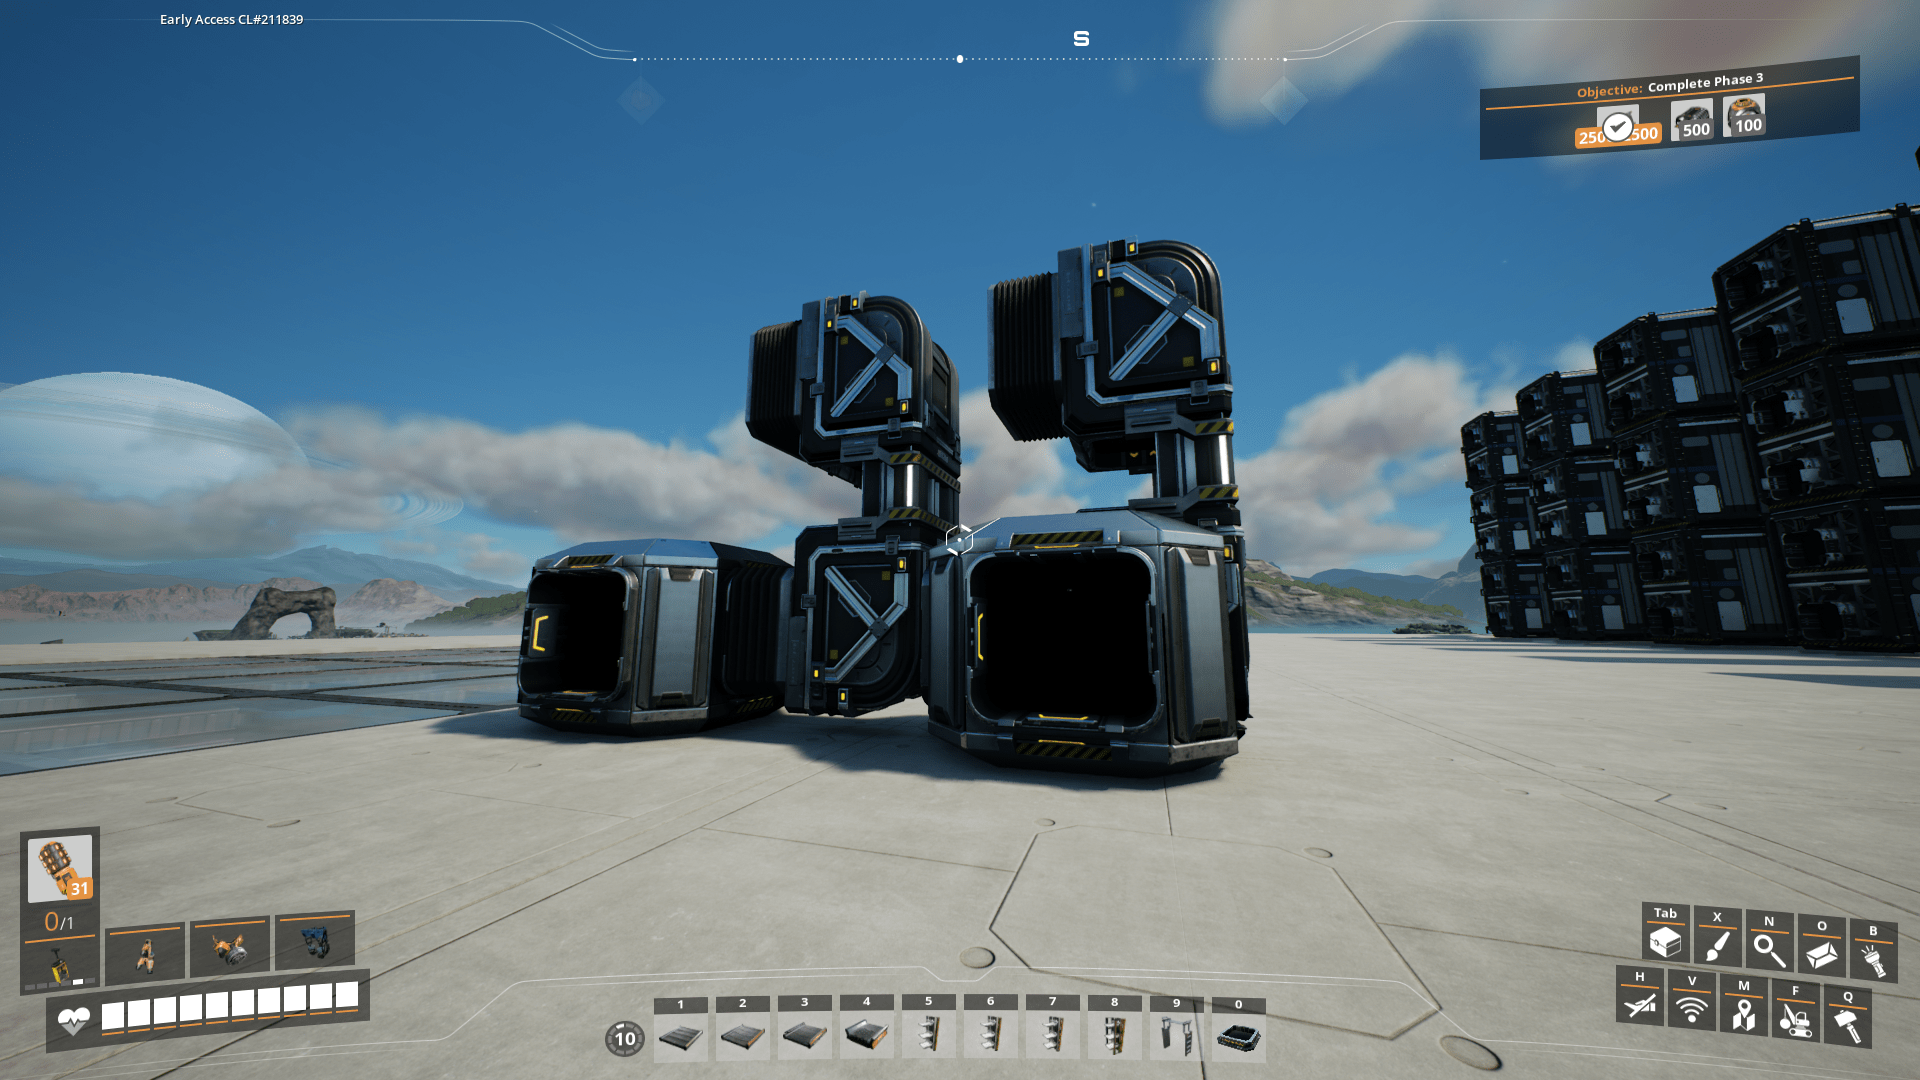
The Hotbar
As you know the game features a hotbar that you can pin items to. Simply hover over an item in the build menu and use your number keys from 0 to 9 to pin the selected buildable. This also works with different materials! It’s possible to pin a concrete foundation on one slot, plastic coated foundation on the other and the deafult one on the third.
What you might not have known, is the fact that there’s actually 10 different hotbars that can be cycled through, simply hold the left alt key and move your scroll wheel to switch between these bars. Changes made to the hotbars will persist between switches. I personally recommend grouping your hotbars by buildables (i.e a conveyor hotbar, a pipe hotbar etc)


The Key Shortcuts
- Press your scroll wheel while aiming at a buildable to sample it.
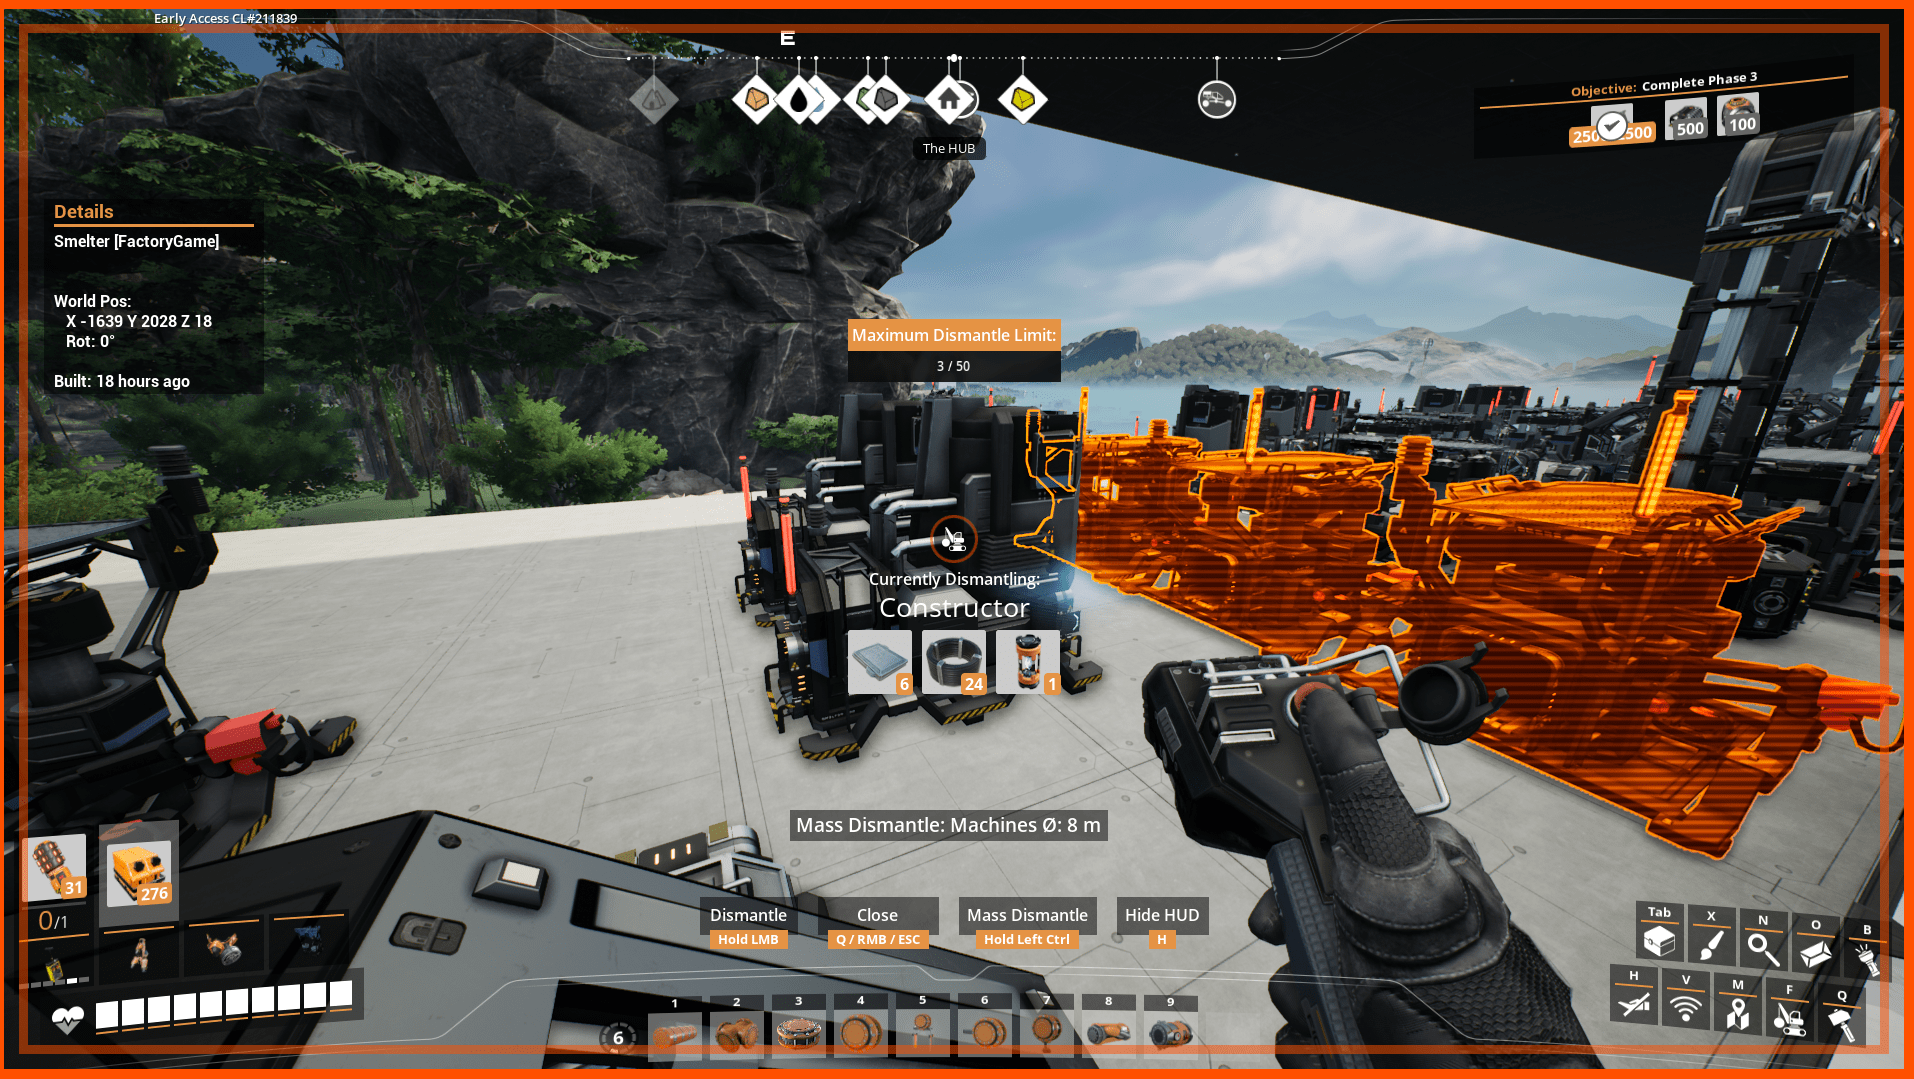
- In dismantle mode, if you hold ctrl for mass-dismantle, you can also press the thumb button on your mouse to filter out a buildable you are aiming at. This will make it so that only the selected thing will be marked for deletion even when aiming at other buildings.
- H to holster whatever you are holding
- B for flashlight
- T for the emote wheel
- R for build modes when constructing a buildable (more on that later
- O for the codex
- N for quicksearch.
- When in building mode, E to switch between different types of same buildable (if possible. I.e different foundation heights, different type of conveyor mounts etc can be cycled through
Ctrl+C when aiming at a buildable to copy it’s settings. (for example the clock value of a given item) Then Ctrl+V to paste these settings into another buildable of the same time, when pasting overclocked values the appropriate amount of power shards will be used if you have them in your inventory. Please note that settings can only be pasted between identical buildables (that means t sign layouts can’t be pasted between different sizes etc.)
The Build Modes
When in build mode, you can press or hold R to cycle through and bring up a wheel of build modes respectively. This section will briefly overview the different modes of the buildables that have them.
Pipes:
- Default. The default mode for building pipes, nothing special, just drag’em where you want’em.
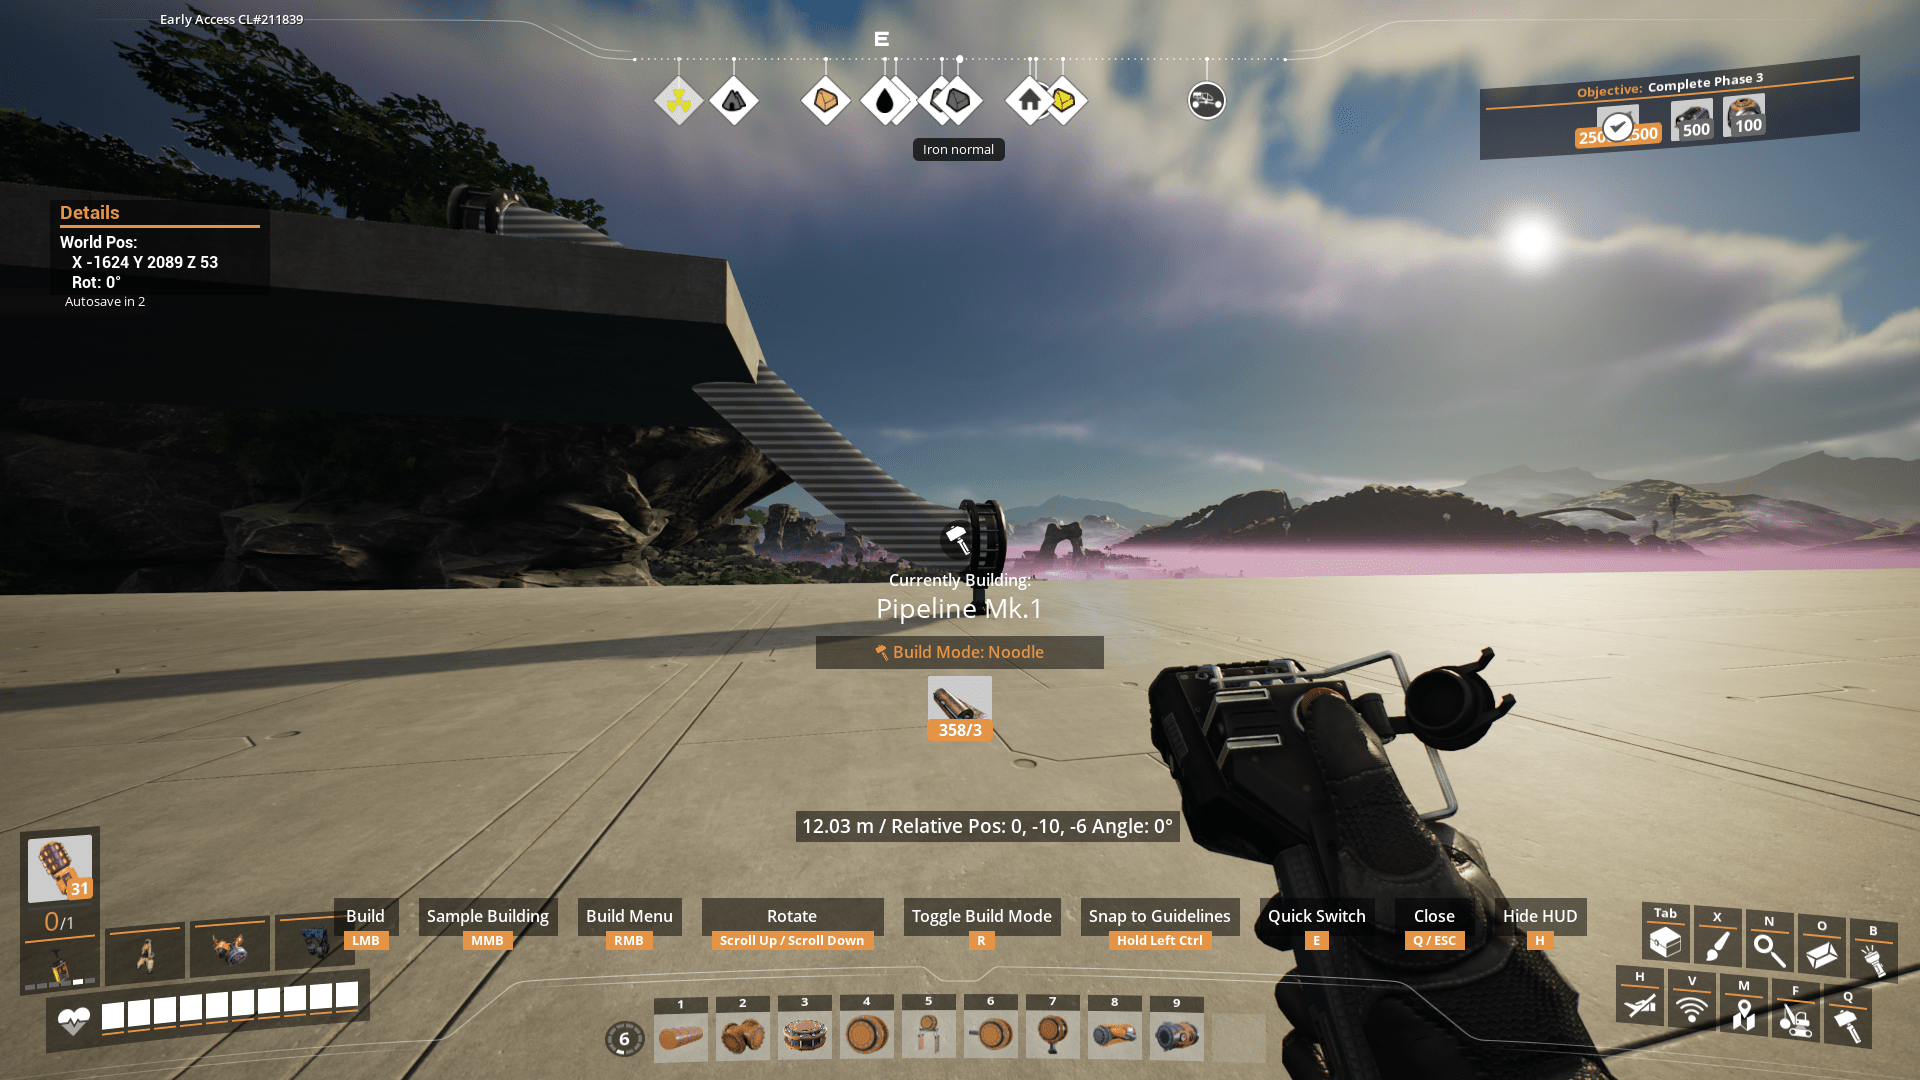
- Noodle. In this mode, the pipe will maximize it’s curve so that it looks smoother, less blocky when turning.
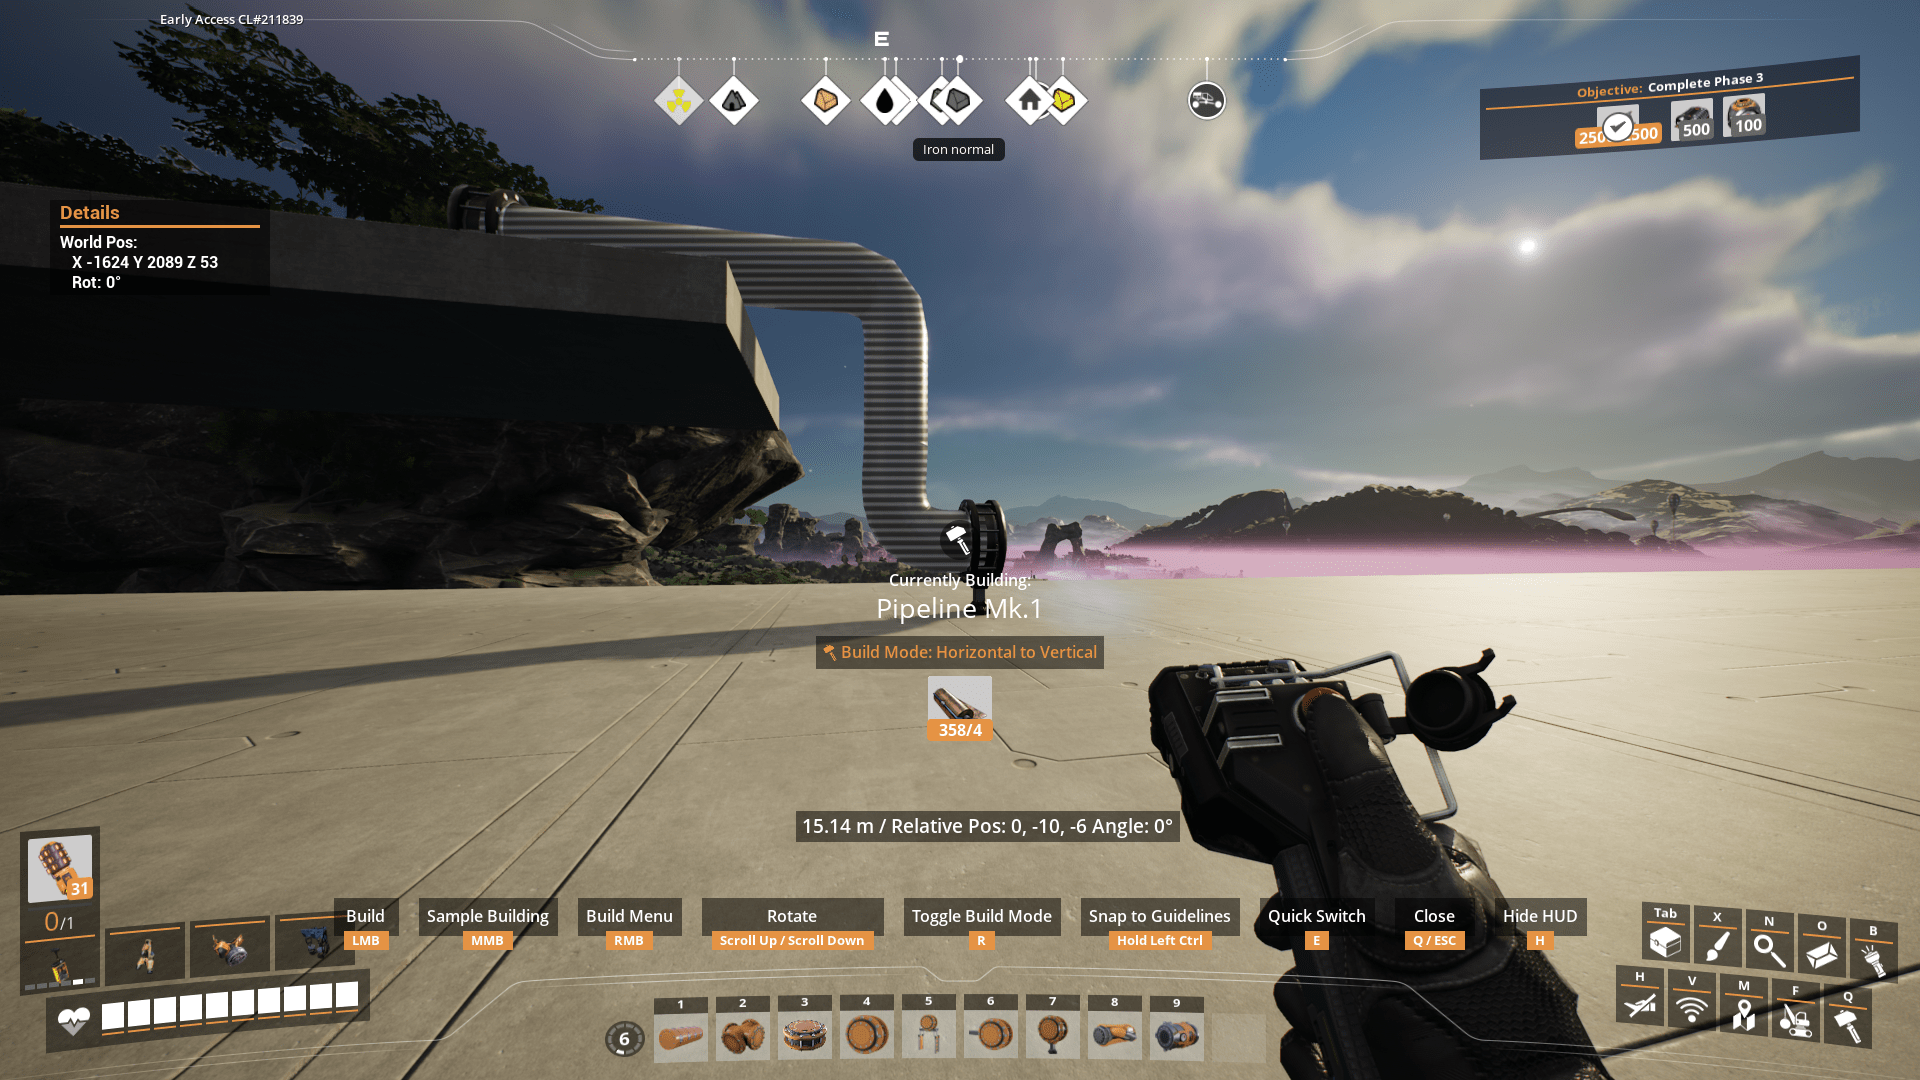
- Horizontal to vertical. The pipe will maintain it’s current level and then come vertically down when approaching the end point.
- Auto2D. I’m not sure how it works but its useful when building a pipe in other modes isn’t possible for some reason. It won’t always work however it can come in handy when in any other mode your pipe does something crazy.
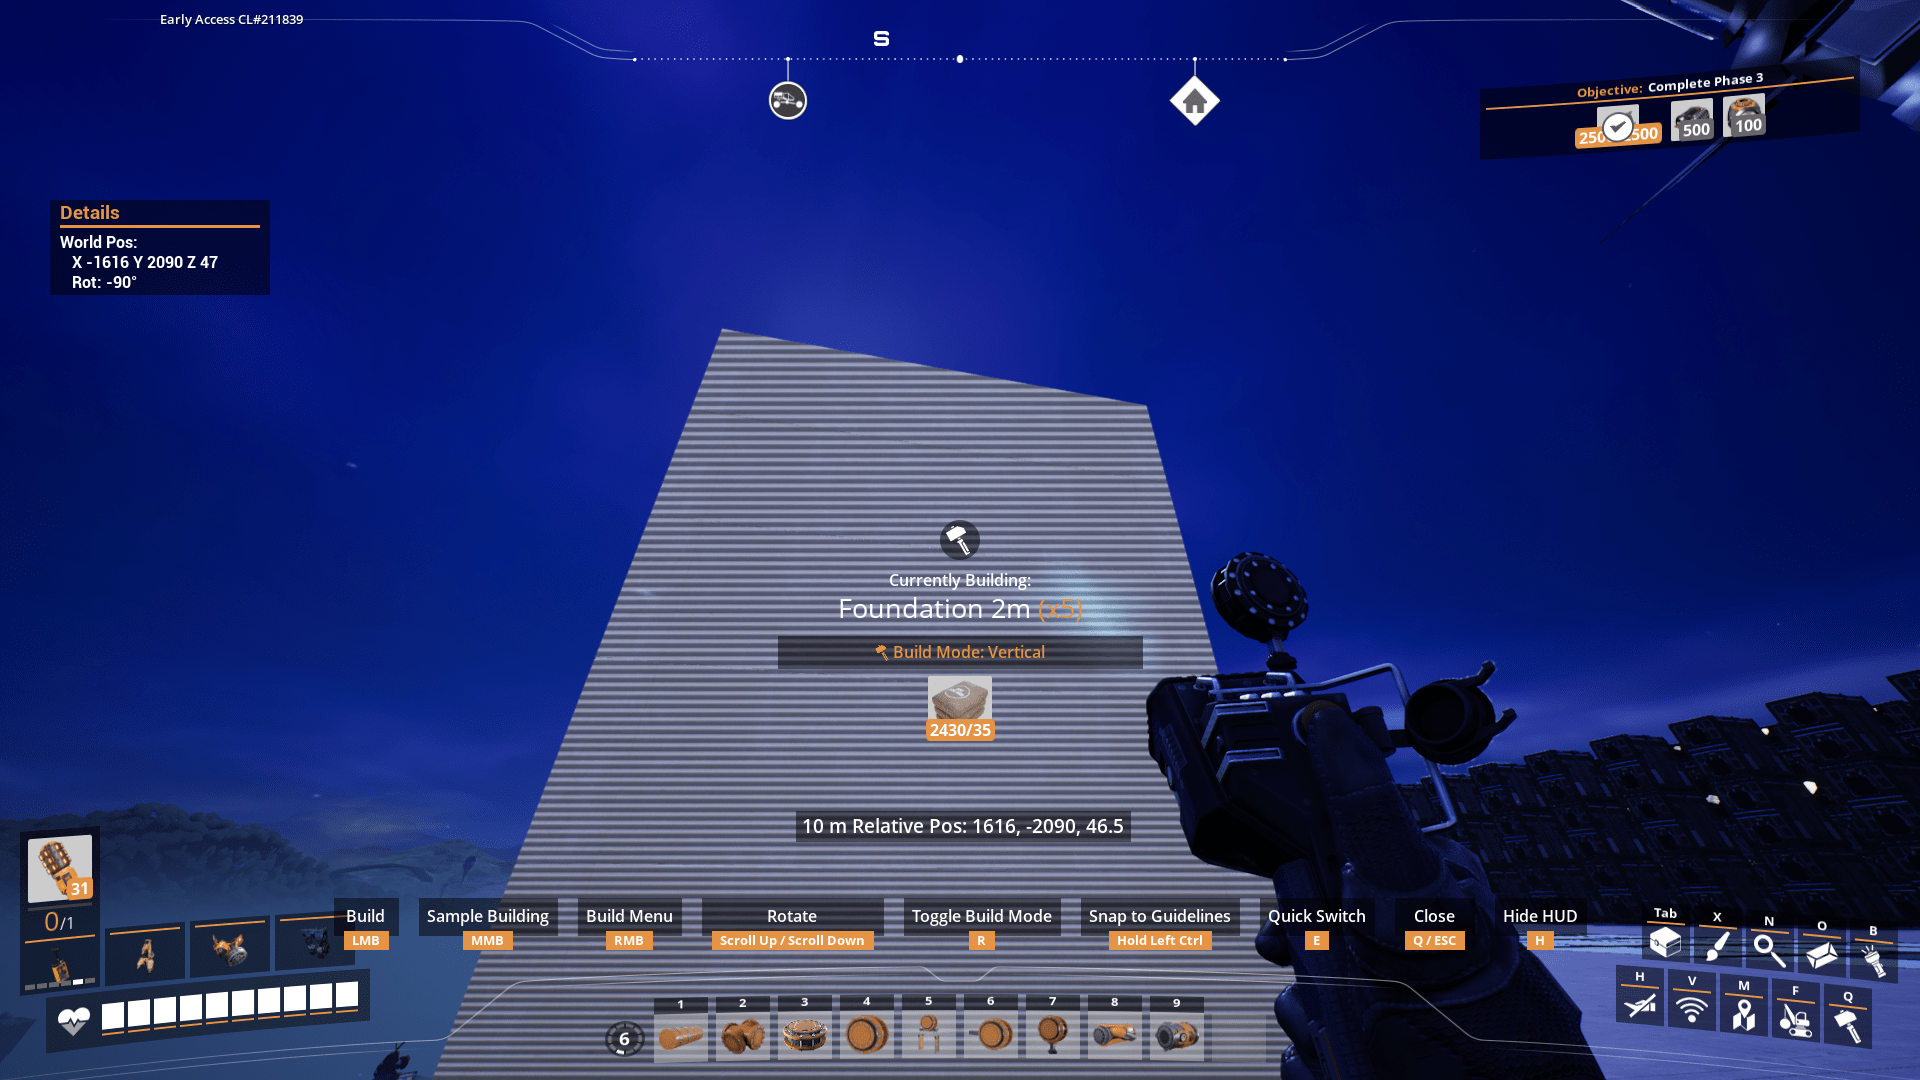
Foundations:
- Default. Simply places your foundations in desired spot upon clicking.
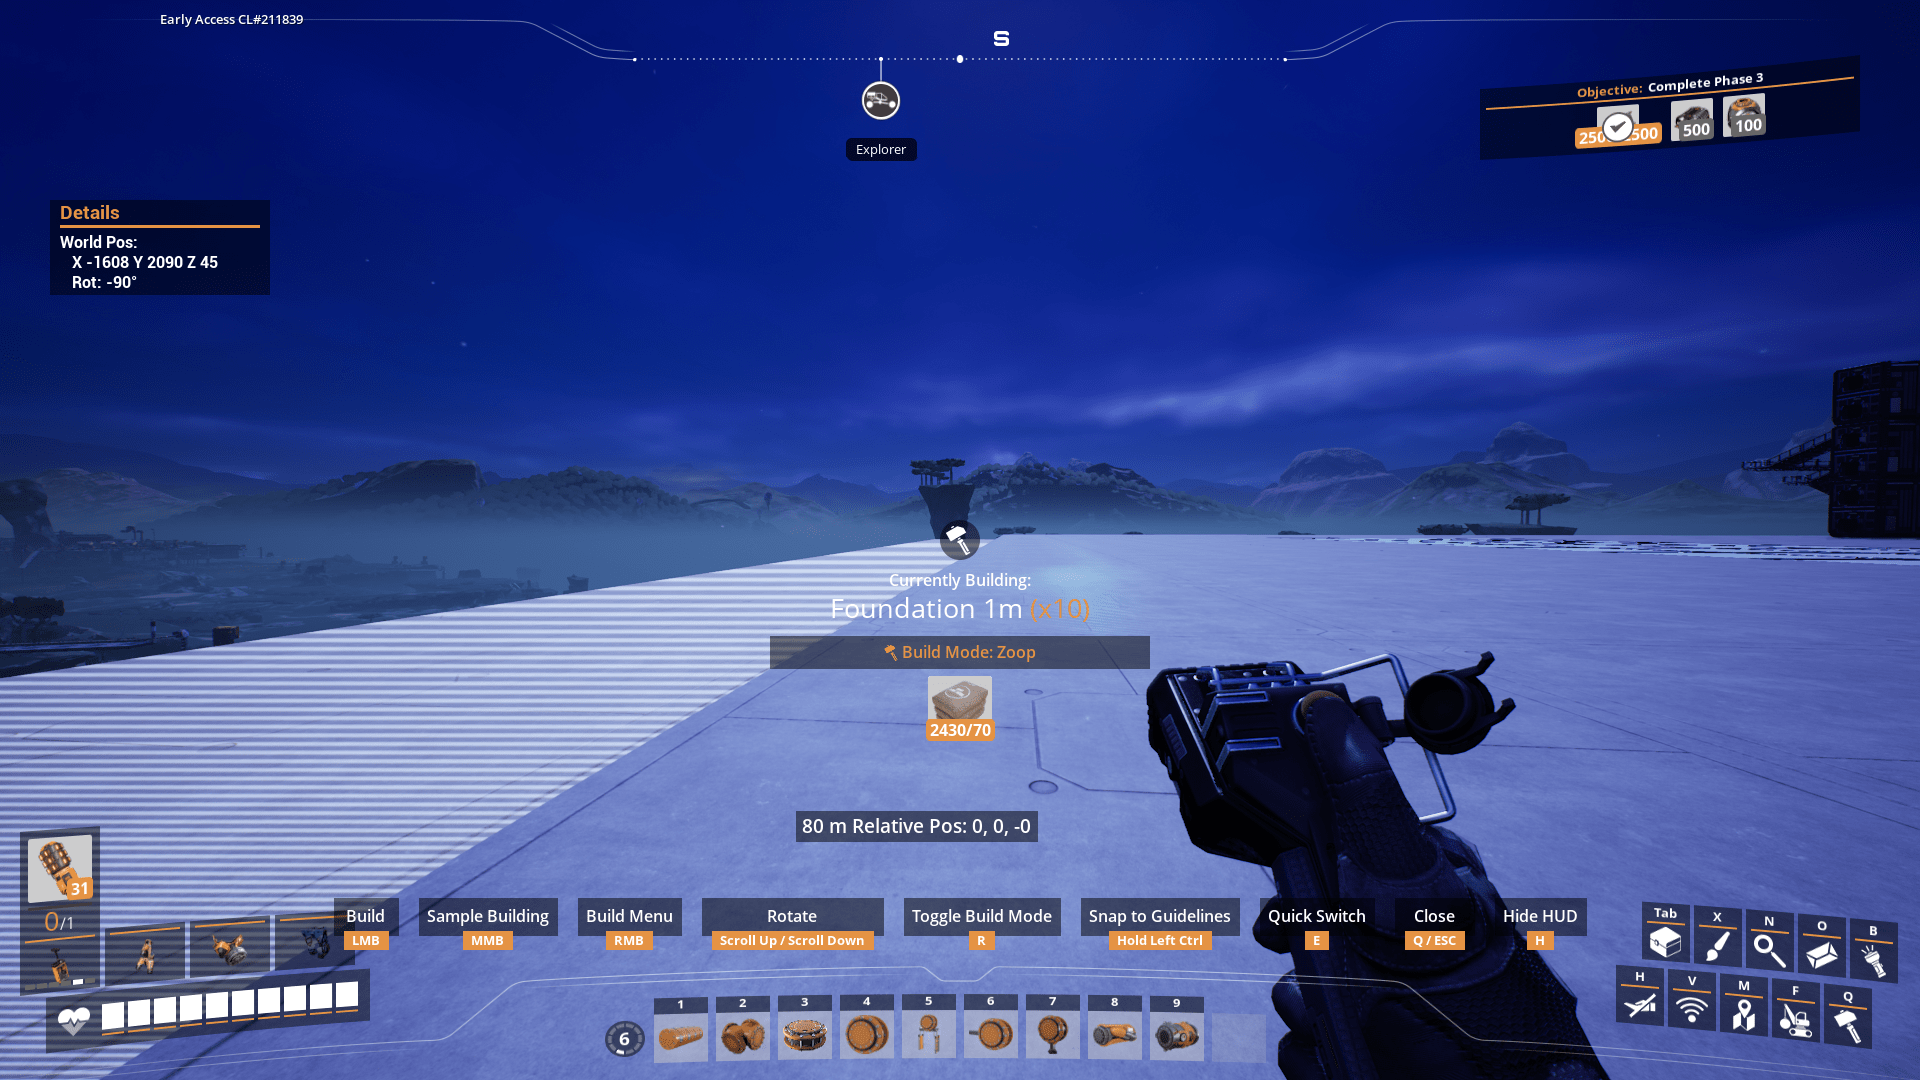
- Zoop. Placing foundations in this mode is a two step process. You first click LMB and then drag your mouse to place up to ten foundations horizontally.
- Horizontal. Like zoop but up and down.
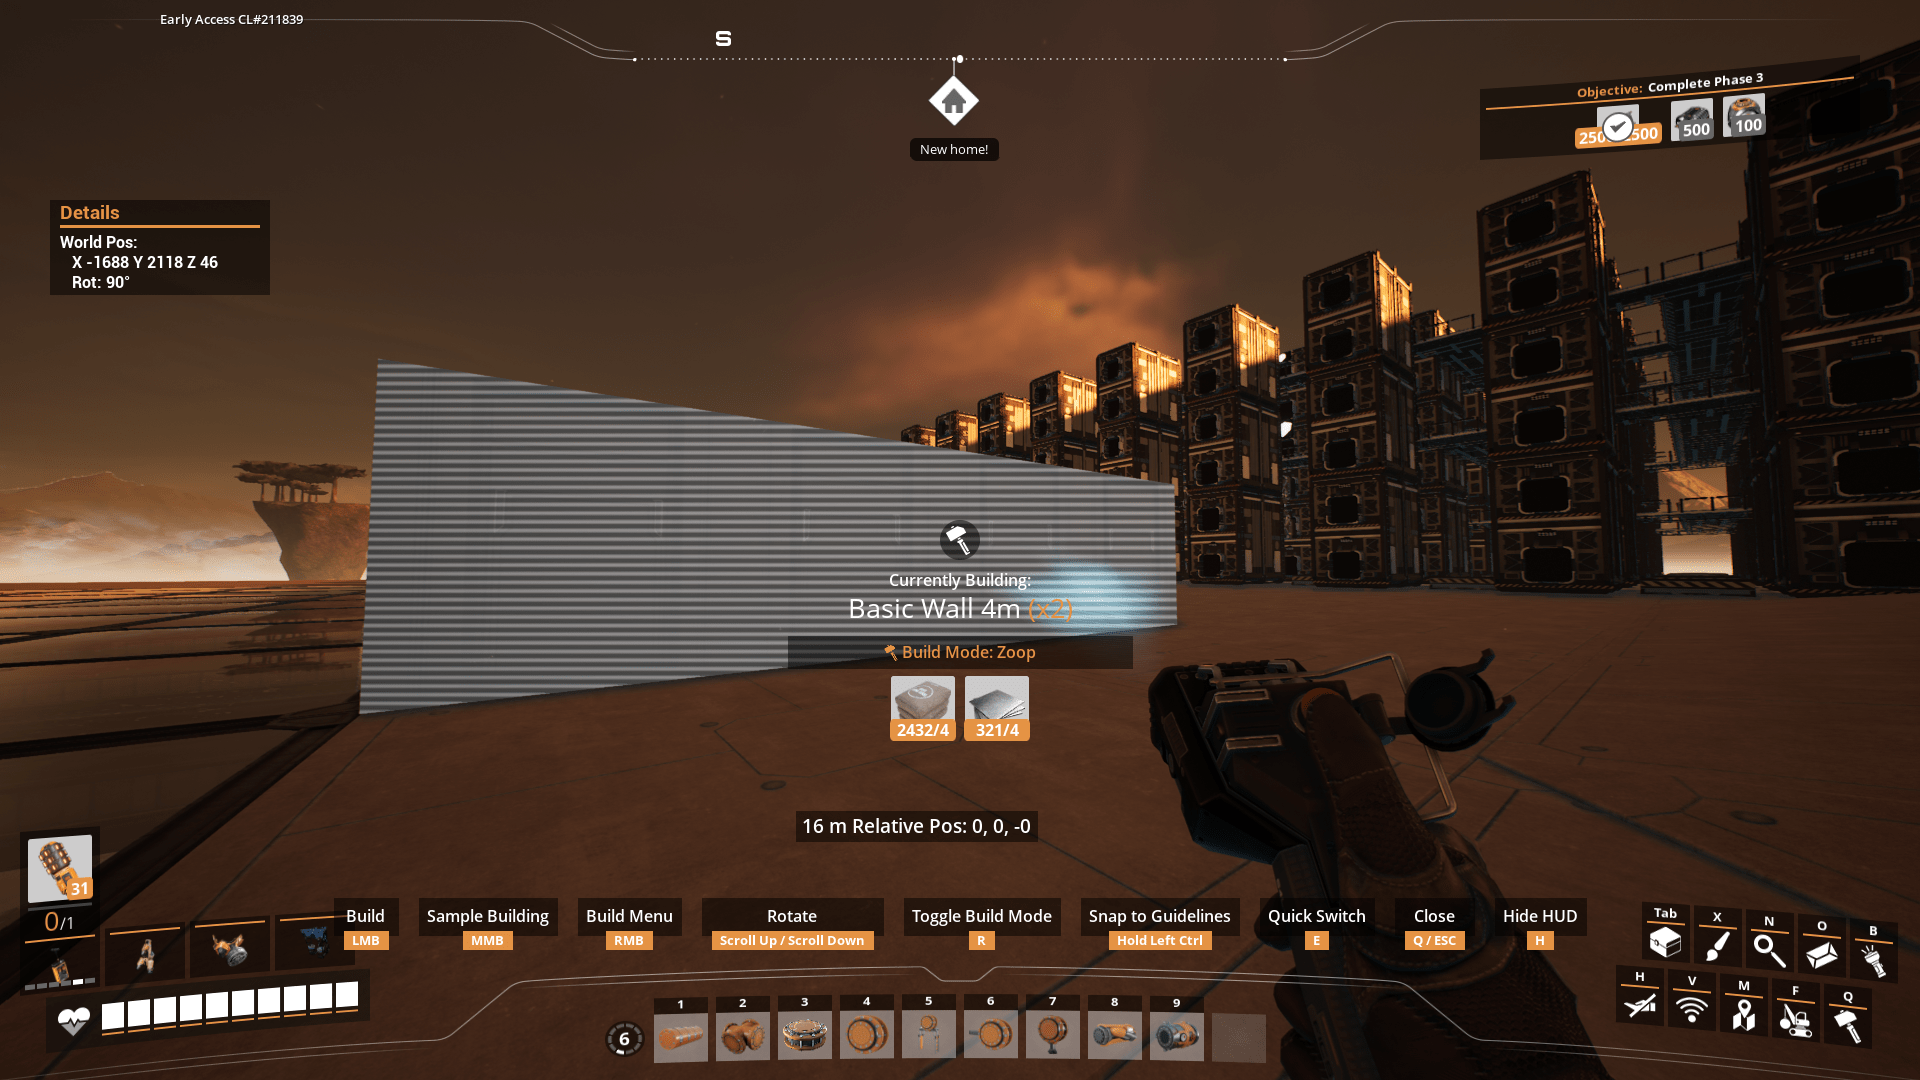
Walls:
- The default mode works just like the foundations.
- Zoop. Works just like the foundations but can do vertical and horizontal. (Not both at a time)
Settings
This will be brief, but I recommend that you change your build hologram color to white/gray/black since that makes it much easier to see the inputs and outputs of what you are trying to make.
You can find it by going to options>user interface. This is the color I use for my hologram in the picture: #B4B5B6
Miscellaneous
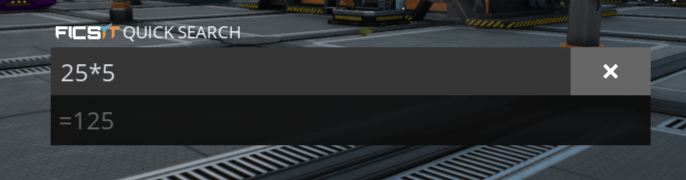
- The quicksearch bar doubles as a calculator. The characters used for formulas are: “+” for adding, “-” for subtracting “/” for dividing, “*” for multiplying and “^” for exponents. Brackets can also be used in the formula.
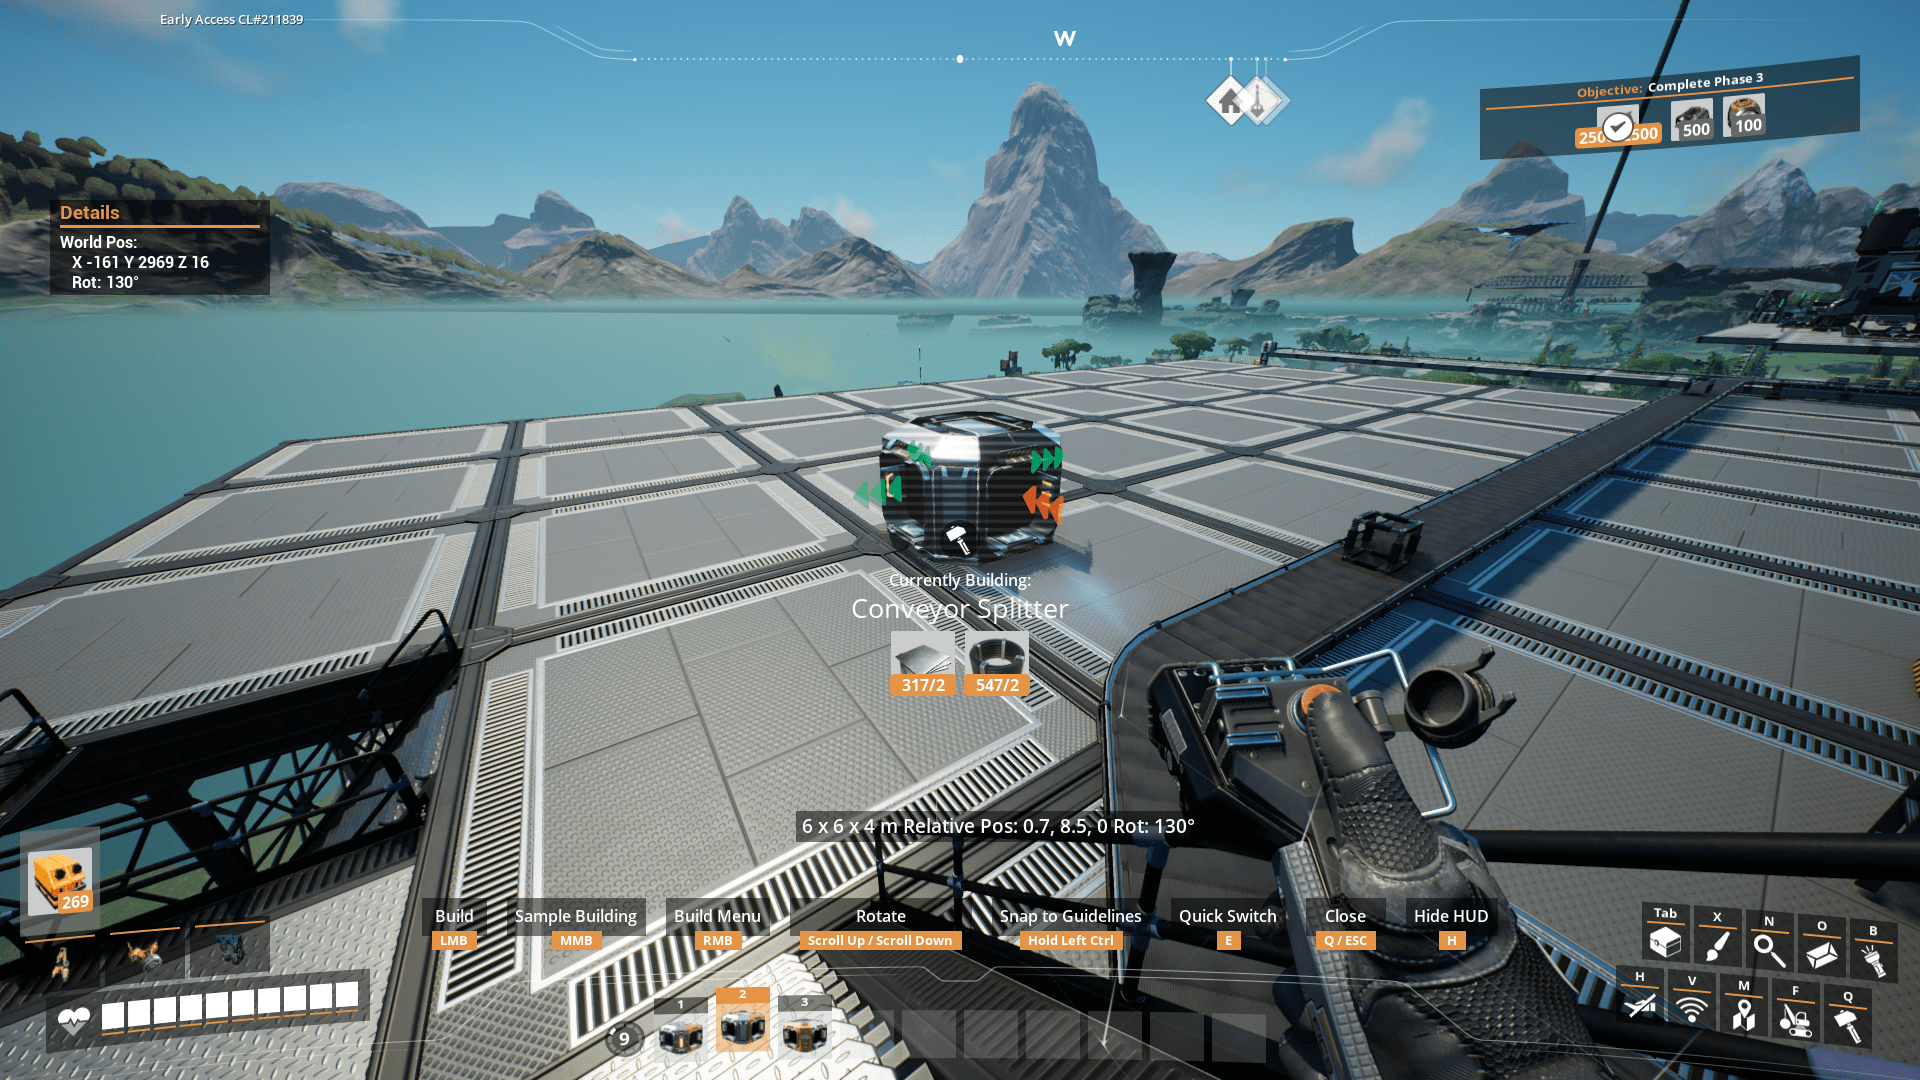
- It is possible to snap conveyor mergers/splitters directly into elevators at either side. Note that in order for that to work, the elevator needs to place first. Trying to snap an elevator to an existing merger will not work.
- The fastest way to mass build foundations isn’t zooping. Instead, you should make a 4×4 foundation grid in the blueprint designer and paste that blueprint.
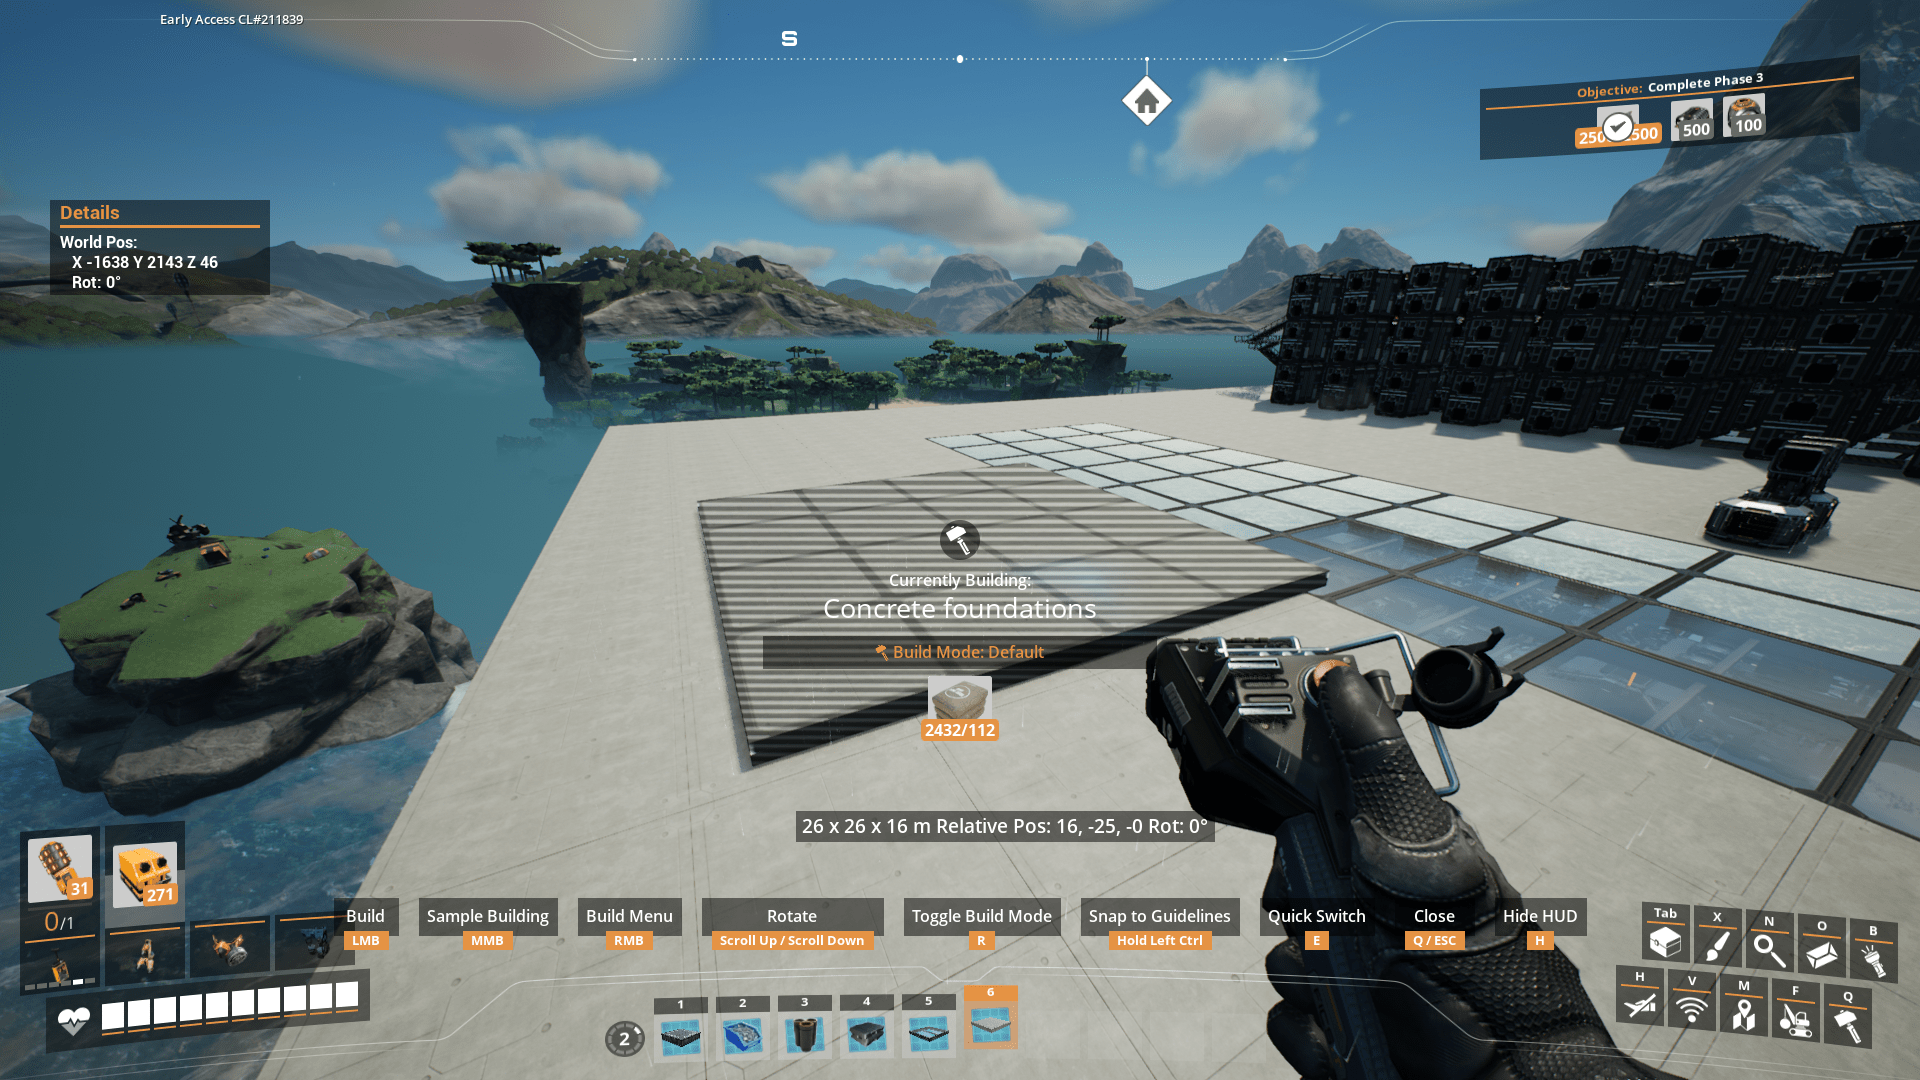
- The global grid. You might have noticed that when you build anything atop a foundation it snaps to fixed positions on that foundation. This is because unlike the ground the foundations have a forced grid. However, buildings placed on the ground can also snap to a grid, specifically a global grid that’s aligned for the whole map. Simply hold ctrl when placing a buildable on the ground and you should see it snapping. It is recommended to always snap your foundations to that global grid, even if you place them far apart and it seems like those foundations will never connect to your main base, they might in the future. Snapping your foundations to the global grid will ensure that they will align even across the whole map.
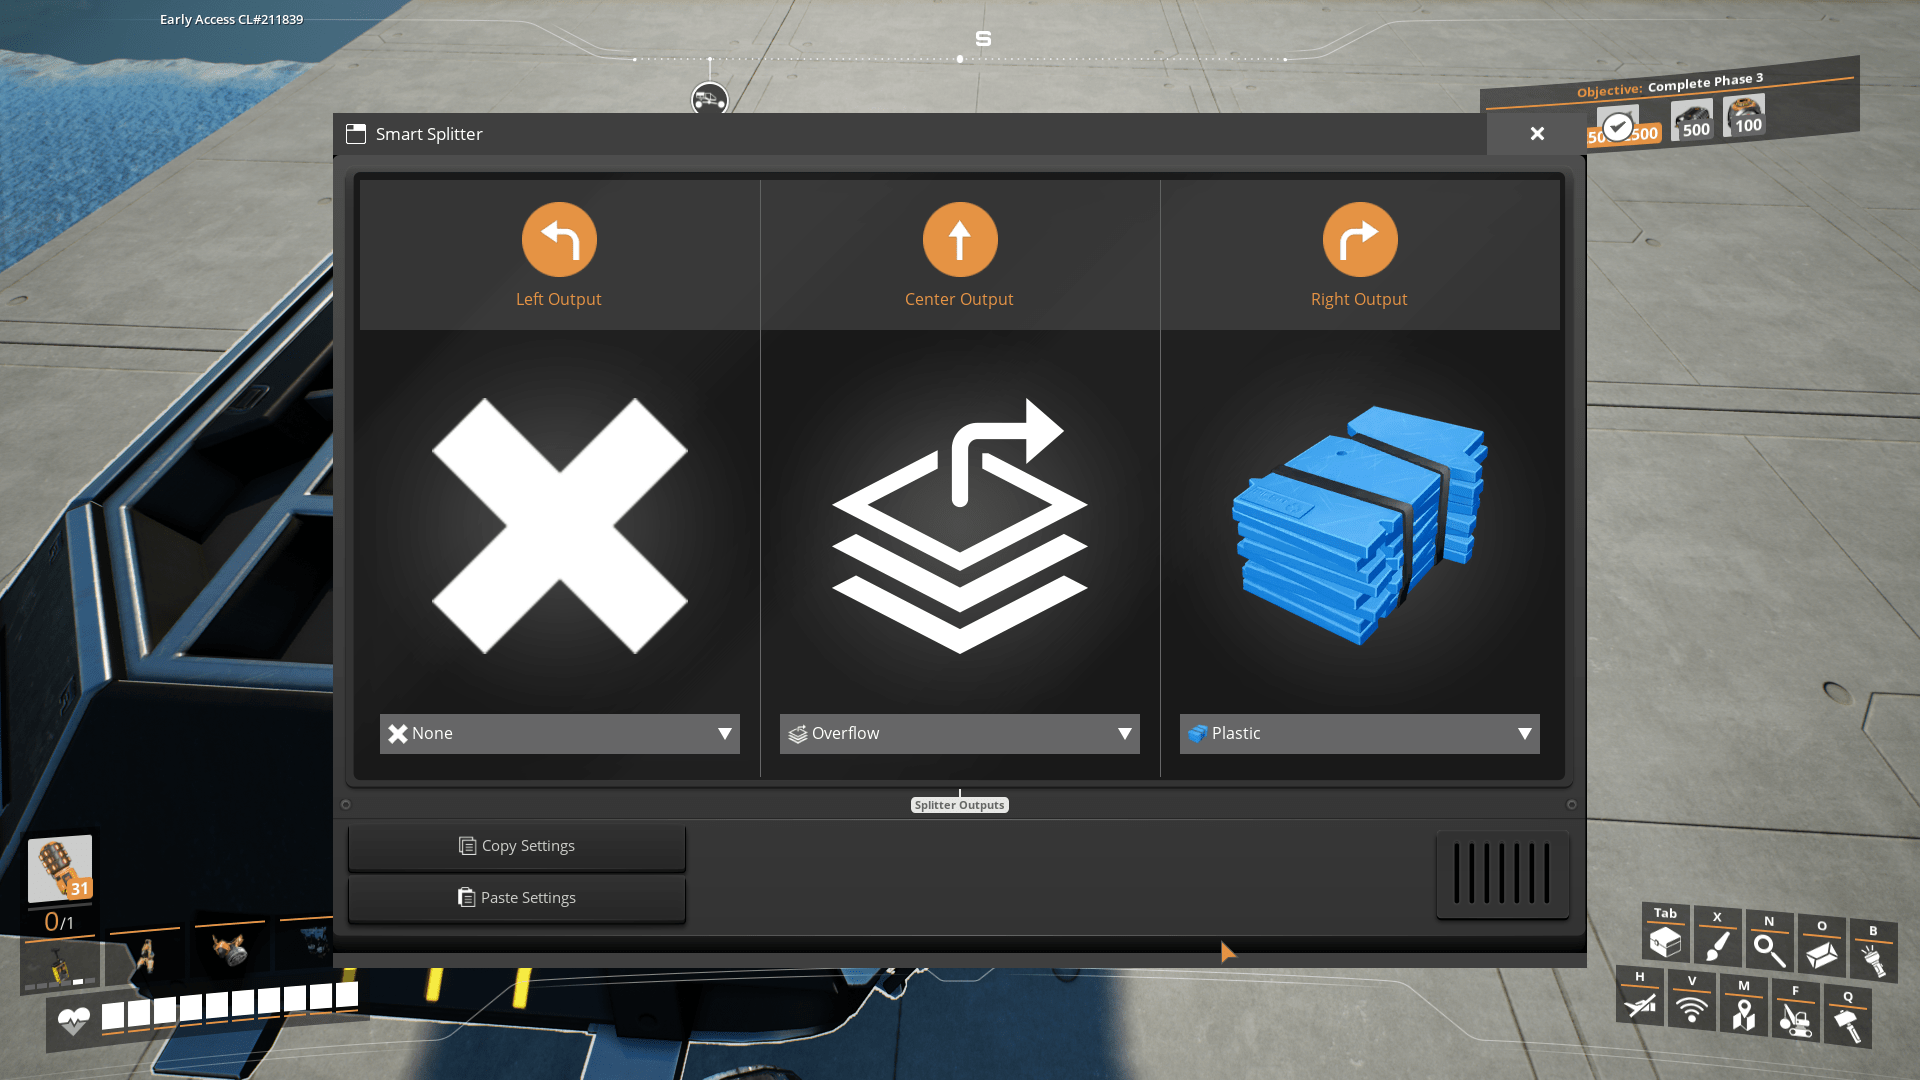
- When you want to filter out a single item from a conveyor belt and want to rest to continue on their path but also the filtered item be sent through the main path in case of an overflow, se tand only have access to smart splitters (which let you set a single rule per output) Use overflow setting for the main path instead of any undefined, the smart splitter will treat all items except the selected one as overflow. (Here’s a description with examples: Let’s say you have plastic, rubber and iron plates going through a single belt. They are heading to an awesome sink but on the way there there’s a buildable that requires plastic. With the setting presented, the rubber and iron plates will always proceed to the sink while the plastic will take the turn to the buildable that needs it, this will continue to happen untill the belt leading the plastic towards the buildable will overflow, in that case the plastic will also be sent to the sink)
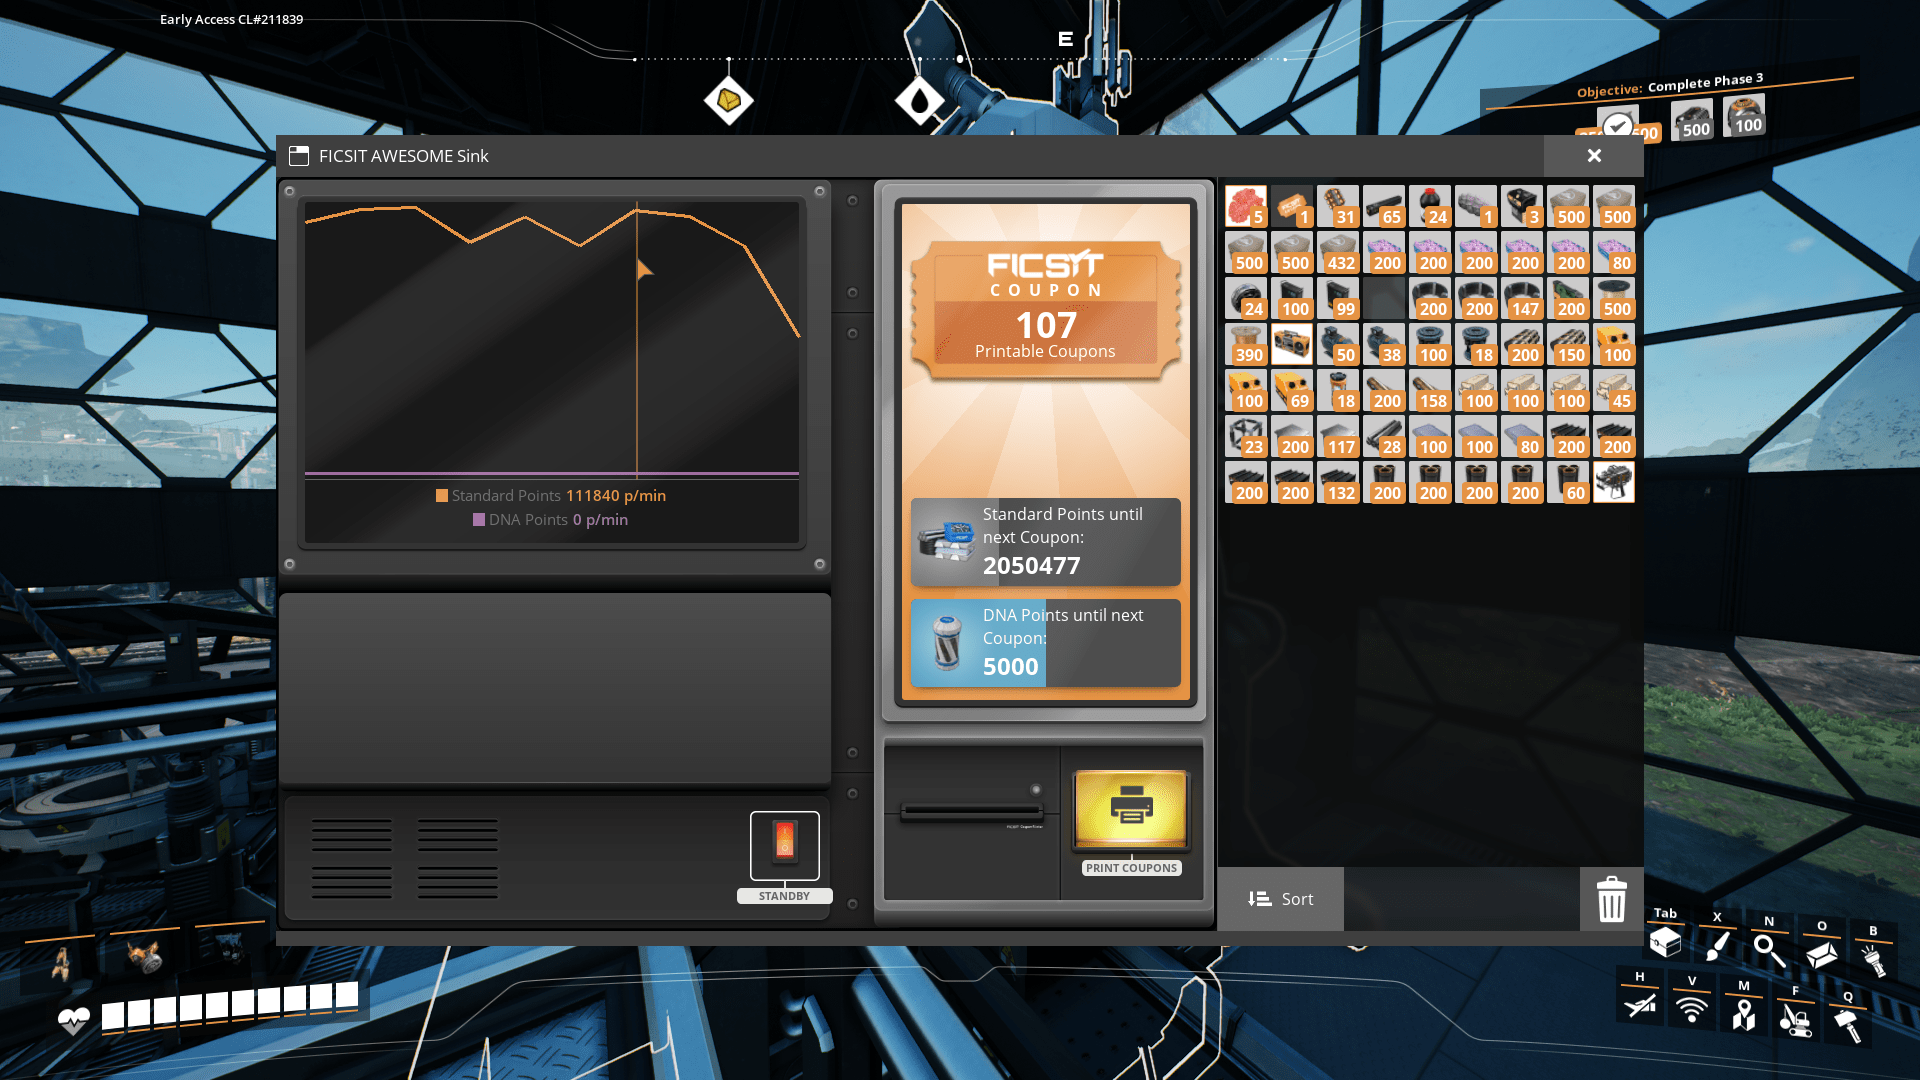
- The awesome sink and MAM share their progress across multiple units. That means if you have several awesome sinks in your factory, all points and coupons generated by all sinks combined can be redeemed from any of them. They also store progress if deconstructed. Similarly, MAMs share the research progress, so if you find a hard-drive while exploring you can build a MAM, put in the drive and destroy it. It will be available to redeem in any other MAM, even a freshly built one. MAMs will also internally progress research even if none are currently constructed.


… What do you mean trying to snap an elevator to a merger will not work? I do this all the time when building assembler manifolds
the elevator will not be inside the merger if you build the merger first, the picture shows it. At least i wasnt able to do that
I see what you were getting at. You can do a similar thing when snapping elevators to machines. If a splitter/merger is close enough to the machine’s input/output, and you use an elevator to attach it to a machine, the elevator will attach closer than it would be if you just snapped the elevator to the machine directly.
I couldn’t figure out what the number beside the hotbar was 🙂 Good tip.