
This guide goes over several common and effective formations you can use in TABS, that are (mostly) historically accurate.
Guide to Formations
All credit goes to Rednax910!
Full Phalanx
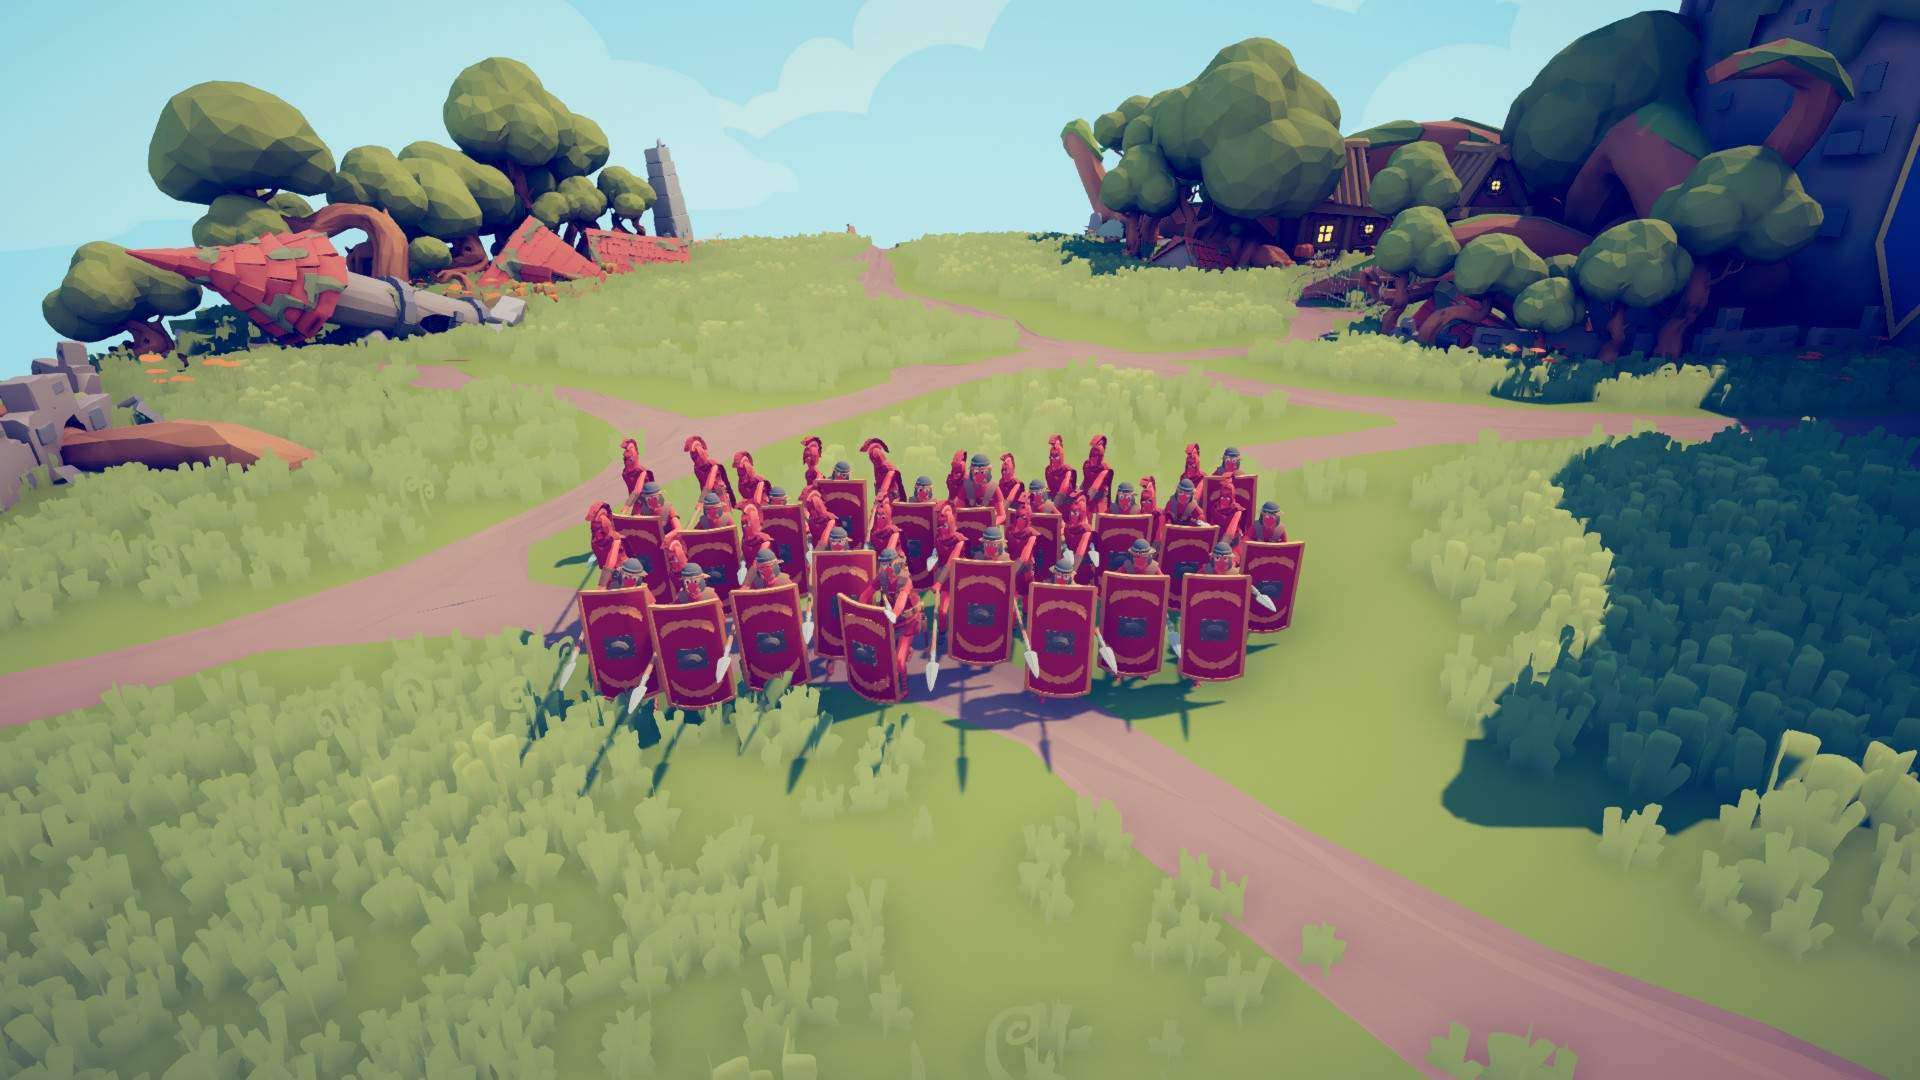
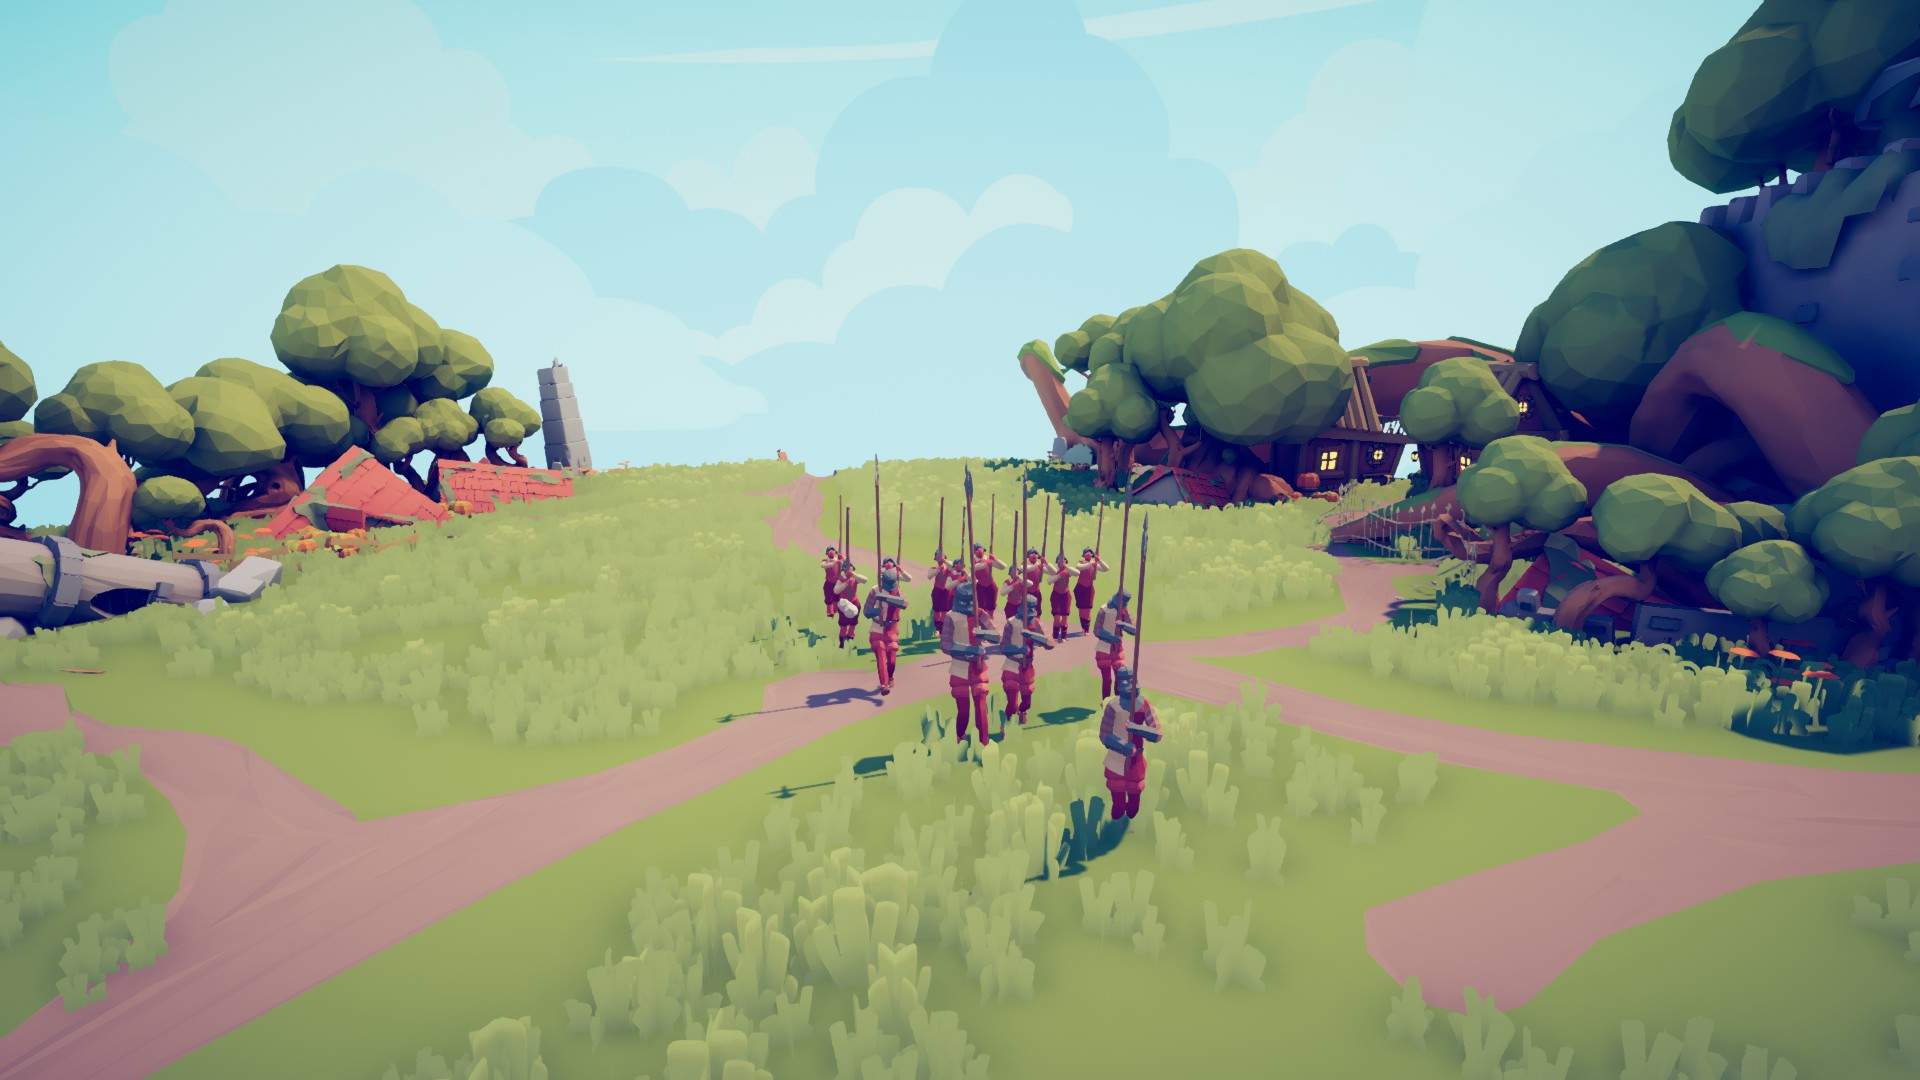
A full phalanx is probably one of the first things you will think of when you hear “formation” in TABS. This formation costs a total of 4400 to place, uses the Shield Bearer and Sarissa, and contains 40 units.
The full phalanx is composed of 4 layers, each 10 units long: A layer of shield bearers, followed by one of sarissas, then shield bearers, then sarissas again, all tightly packed.
- Strengths: The full phalanx is excellent for dealing with most ranged units such as Archers due to the shields, and can also quickly overpower and deal with small amounts of melee units.
- Weaknesses: The tight formation of a full phalanx is very weak to crowd control. Siege weapons will take out large chunks of units with every shot, and strong AoE units such as the Mammoth or Reaper will cut through the units like butter. Additionally, Musketeer shots will pierce the shields and take out several units per shot.
Half Phalanx
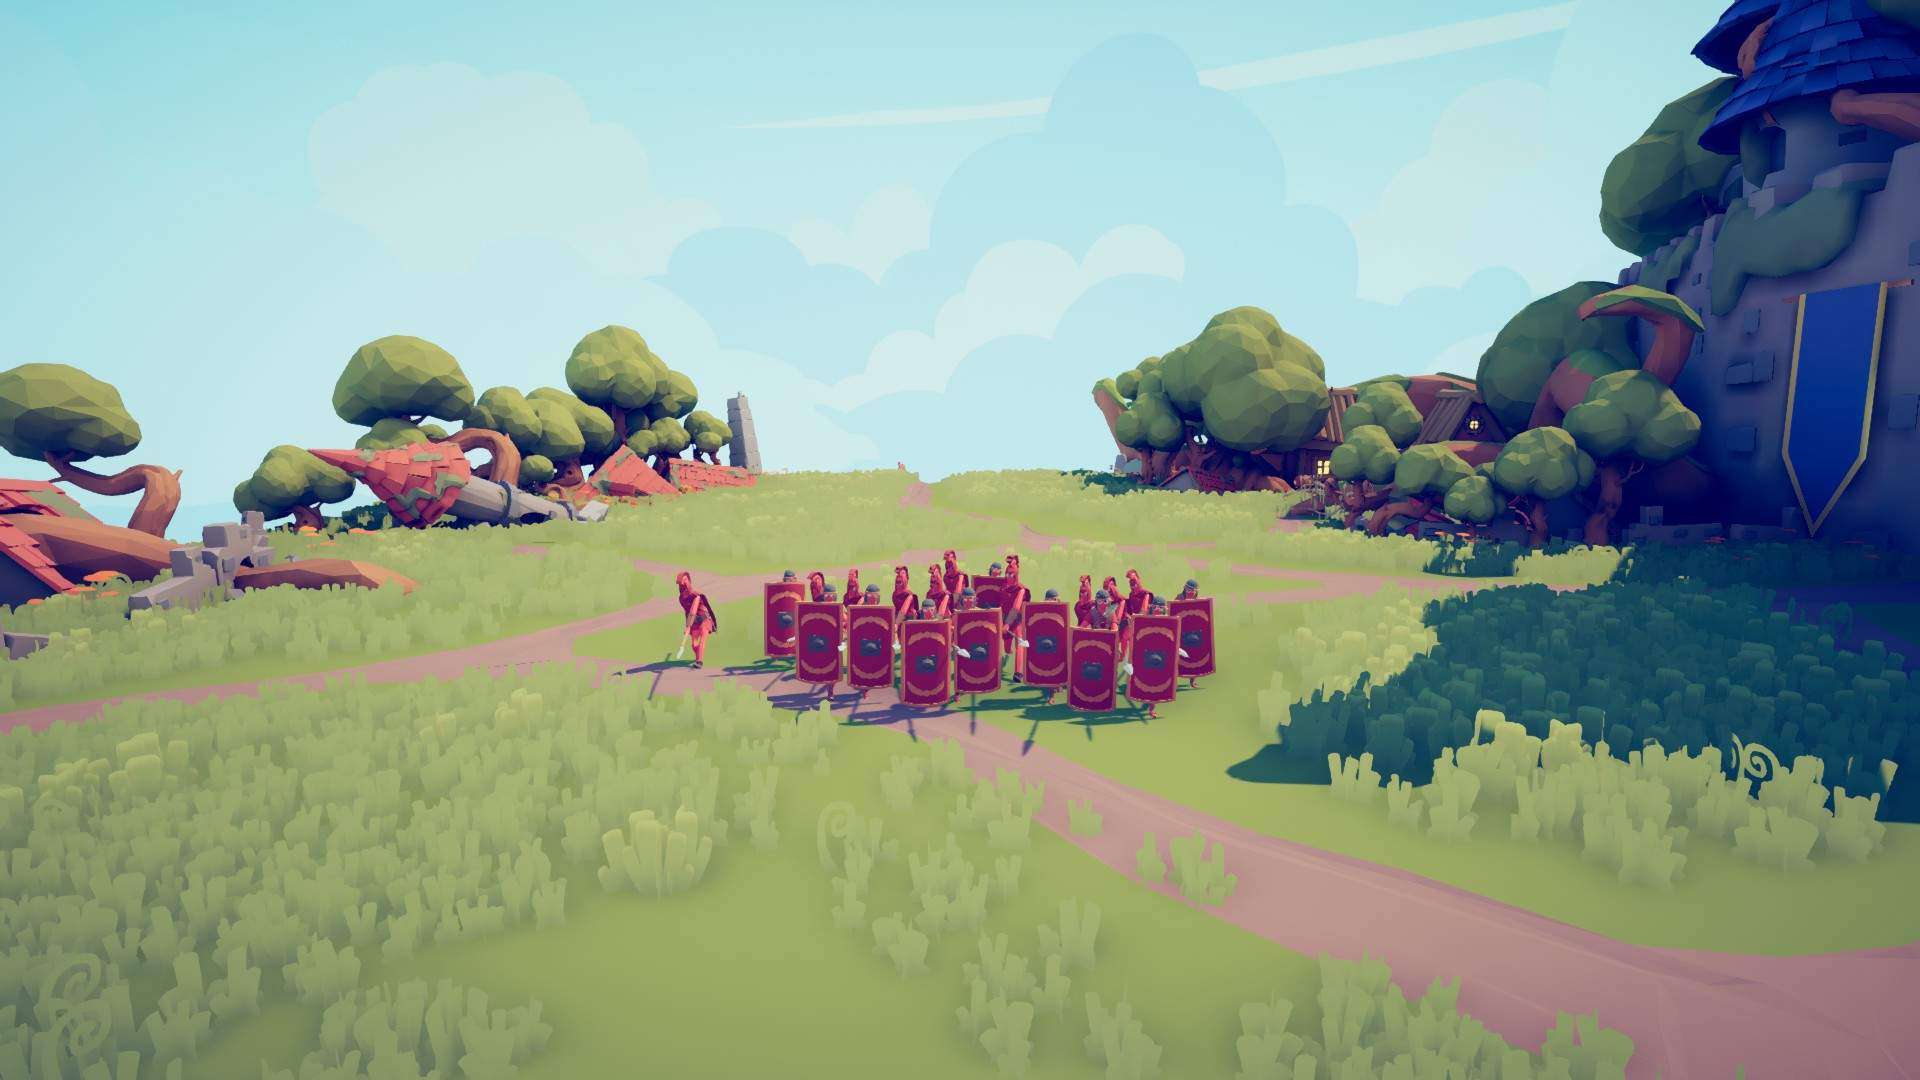
The smaller version of the Full Phalanx. The Half Phalanx is unsurprisingly half the size of a full phalanx, composed of 20 units costing 2200. The formation is simply a 10 unit layer of shield bearers followed by a 10 unit layer of sarissas.
- Strengths: Same as a Full Phalanx, but less prone to crowd control simply because there’s less crowd to control. Lower cost makes it easier to place.
- Weaknesses: Same as a Full Phalanx, but weaker against single strong units than a Full Phalanx is due to less unit count. Also just weaker than a Full Phalanx in general. This is really only if you can’t afford a Full Phalanx due to unit limitations or cost.
Archer Phalanx
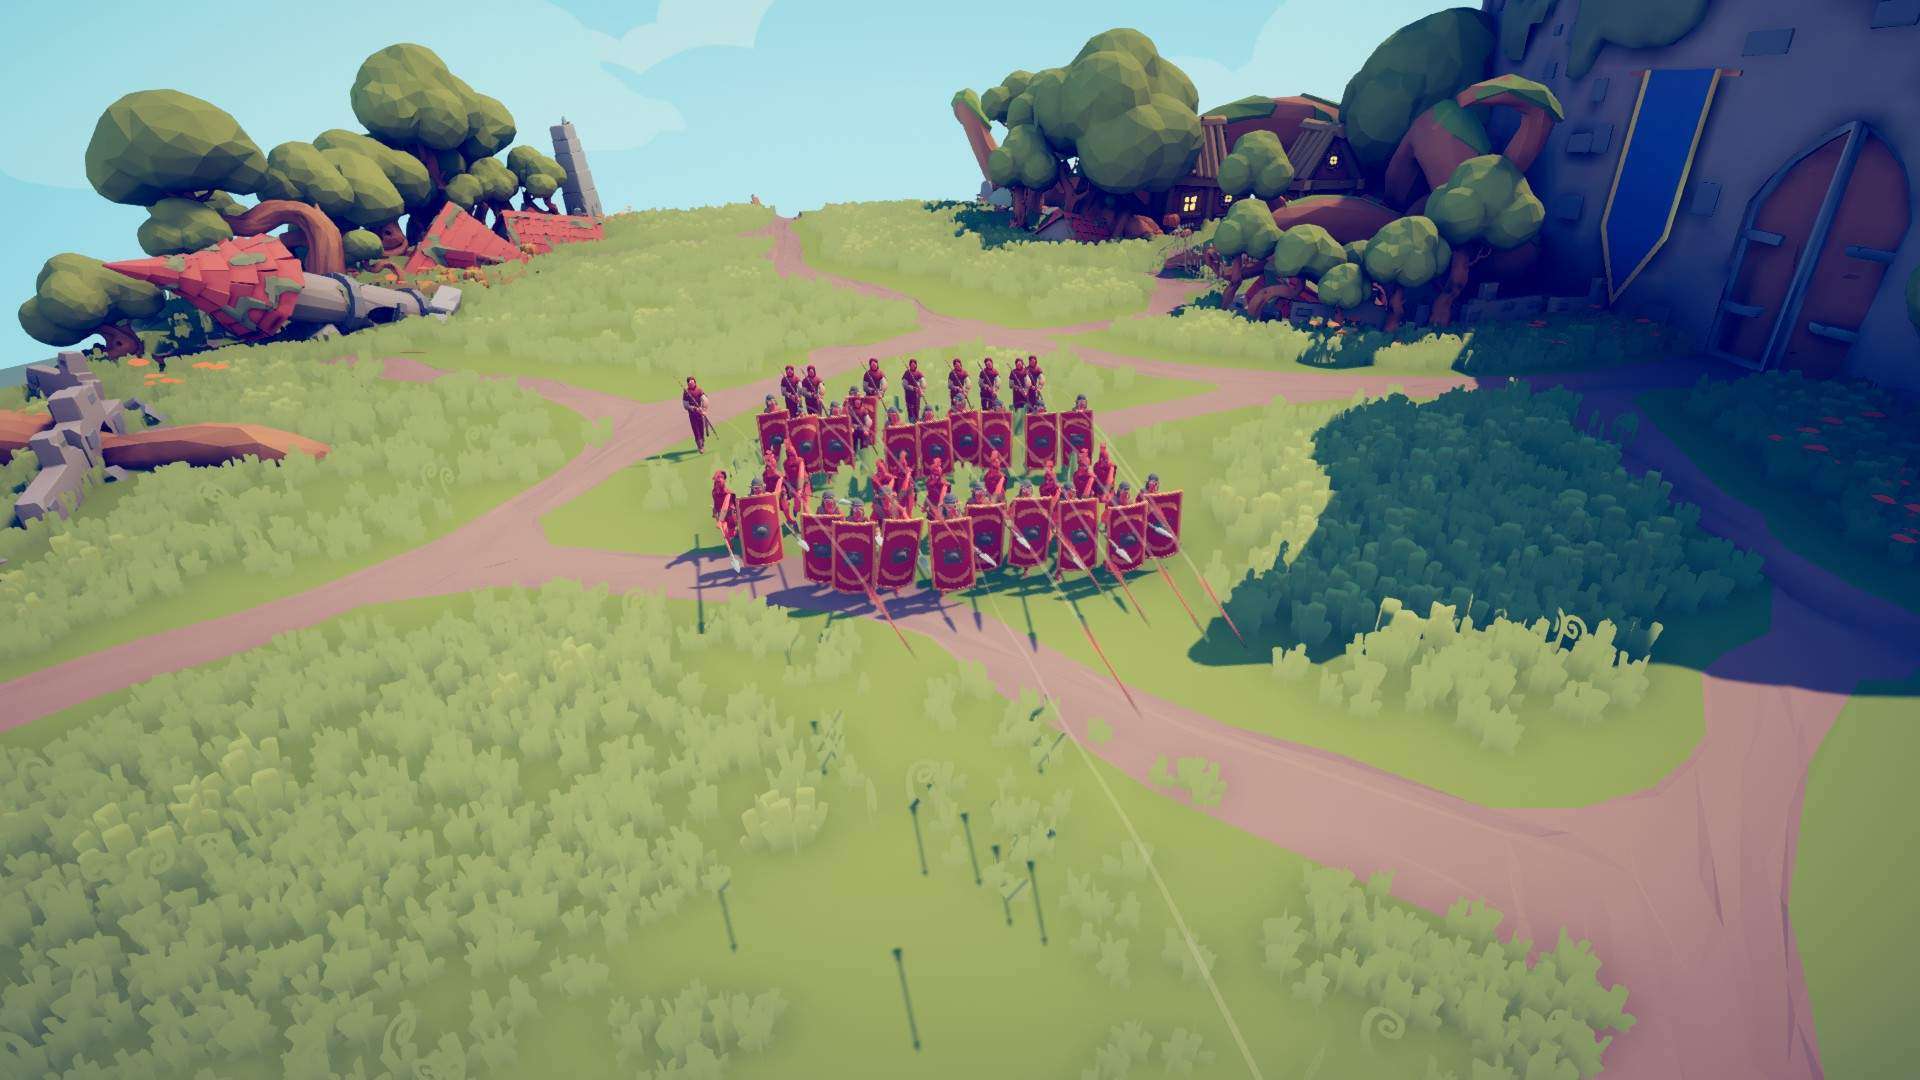
A variant of the Full Phalanx with the back row replaced with one of Archers, and a small gap added between the 2nd and 3rd rows. Composed identically to a Full Phalanx, but with a slightly higher cost (due to the Archers). The first and second layers remain the same, then there is a 1 layer gap, then a layer of shield bearers in front of a layer of archers.
- Strengths: Same as a Full Phalanx, but also has good ranged firepower to take down enemy ranged units and unshielded melee ones.
- Weaknesses: Less strength in melee combat due to the halved amount of Sarissas, and also the Full Phalanx’s weaknesses.
Pike and Shot
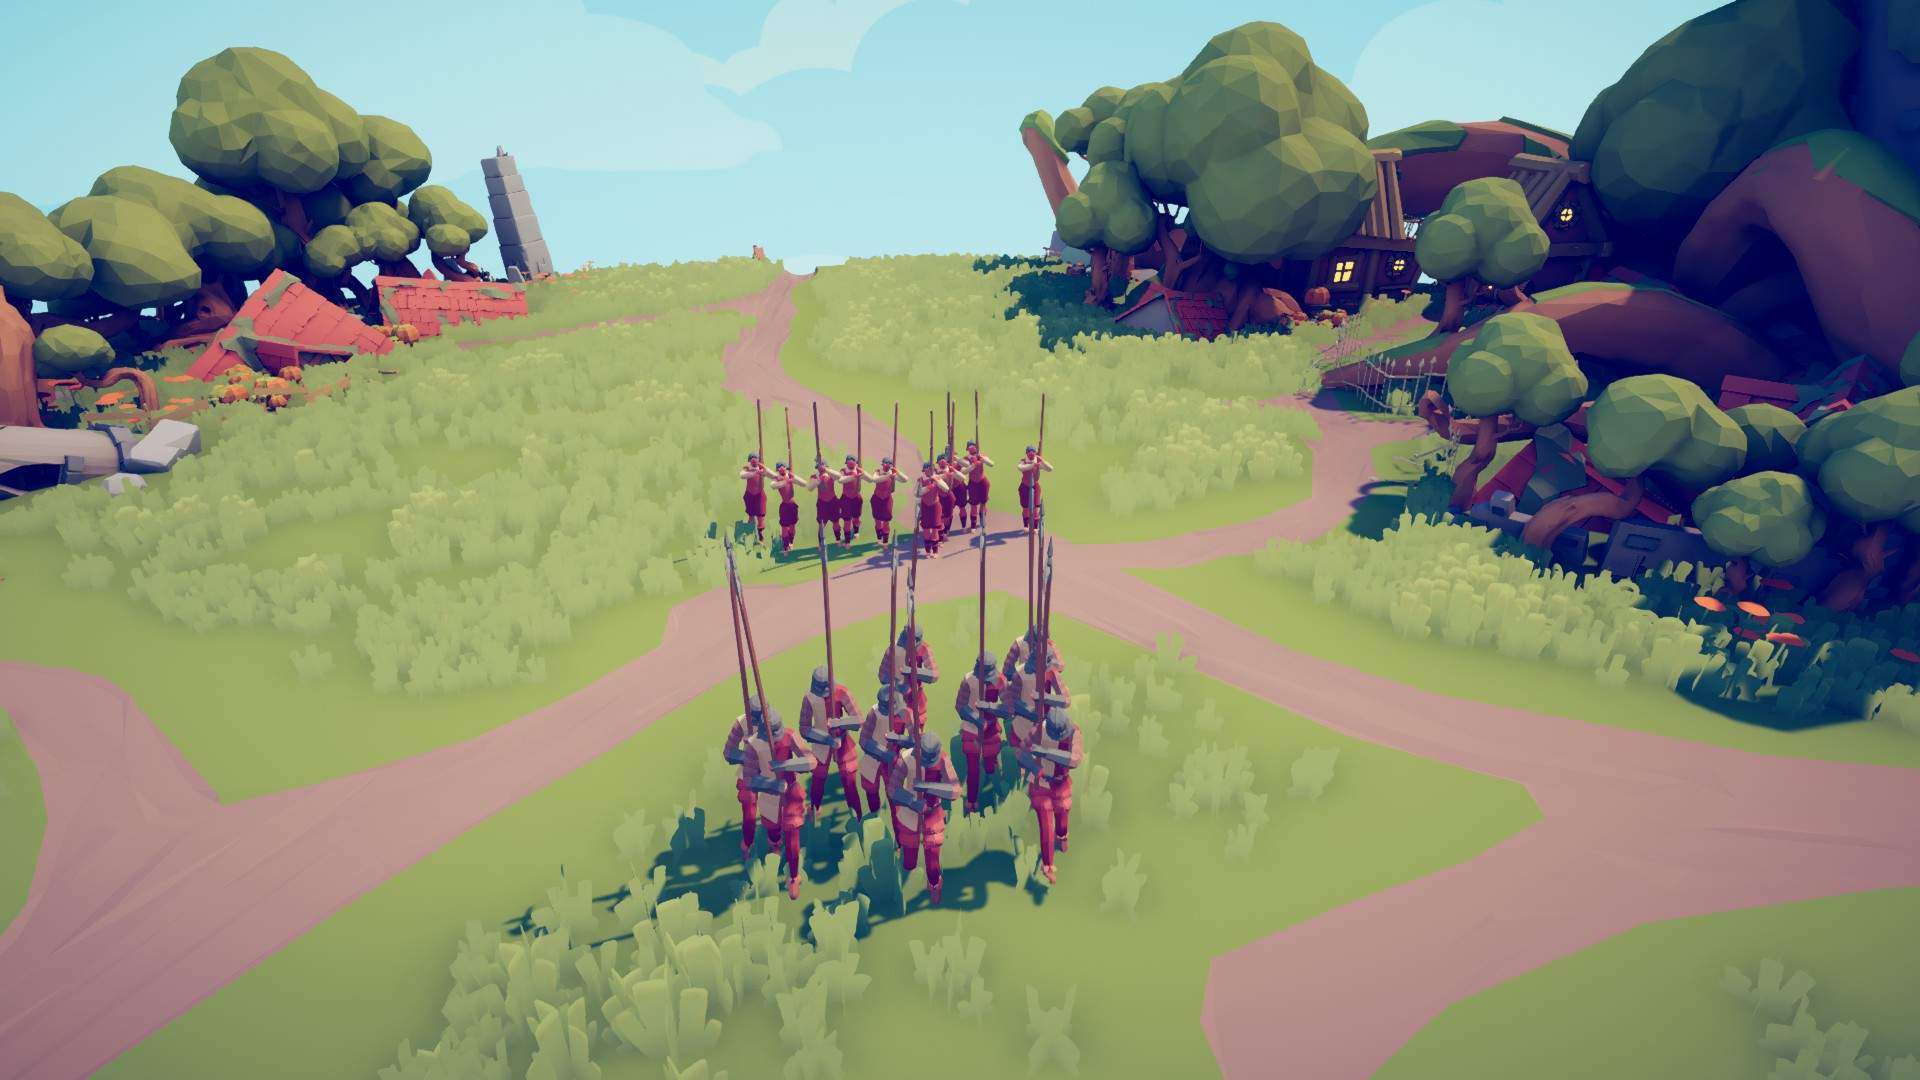
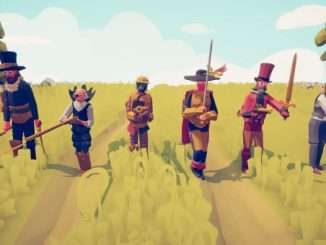
A two-layer formation with relatively few units but high power. Composed of Renaissance units only. The formation consists of a layer of 10 halberds in front of 10 musketeers.
- Strengths: The muskets will shoot through shields and enemy ranged units, while the halberds will then chop up the weakened melee units without too much trouble.
- Weaknesses: Shadow Walkers distract both unit types, and even if dealt with, could cost the musketeers a volley of shots that could be better used. A strong enough melee force could overwhelm the halberds, especially if spread out so the musket shots will hit less targets at once.
Halved Pike and Shot
A smaller version of the Pike and Shot formation, with half the amount of halberds, but the same amount of musketeers.
The formation has a layer of 10 musketeers behind 5 halberds, spread out to the same size as the musket layer.
- Strengths: Same as Pike and Shot.
- Weaknesses: Same as Pike and Shot, but more vulnerable to melee attack. Much like the Half Phalanx, only use this when a full Pike and Shot formation isn’t feasible.

Be the first to comment