
A guide that functions as an introduction to the Rebel Alliance, as well as a way to assess the basic unit types in general.
The Rebel Alliance
The Alliance to Restore the Republic (2 BBY–4 ABY), commonly known as the Rebel Alliance, Alliance, the Rebellion (and rarely the Separatists), was a resistance movement formed by Bail Prestor Organa and Mon Mothma to oppose the reign of the Galactic Empire.
I wanted to write an introductory guide that serves as a way to get into one of the factions, as well as just generally provide a quick overview of the potential of each unit, and what kind of unit you’d like best depending on what kind of role you like to fill in your team. If you have any suggestions, please let me know!
Rebel Soldier
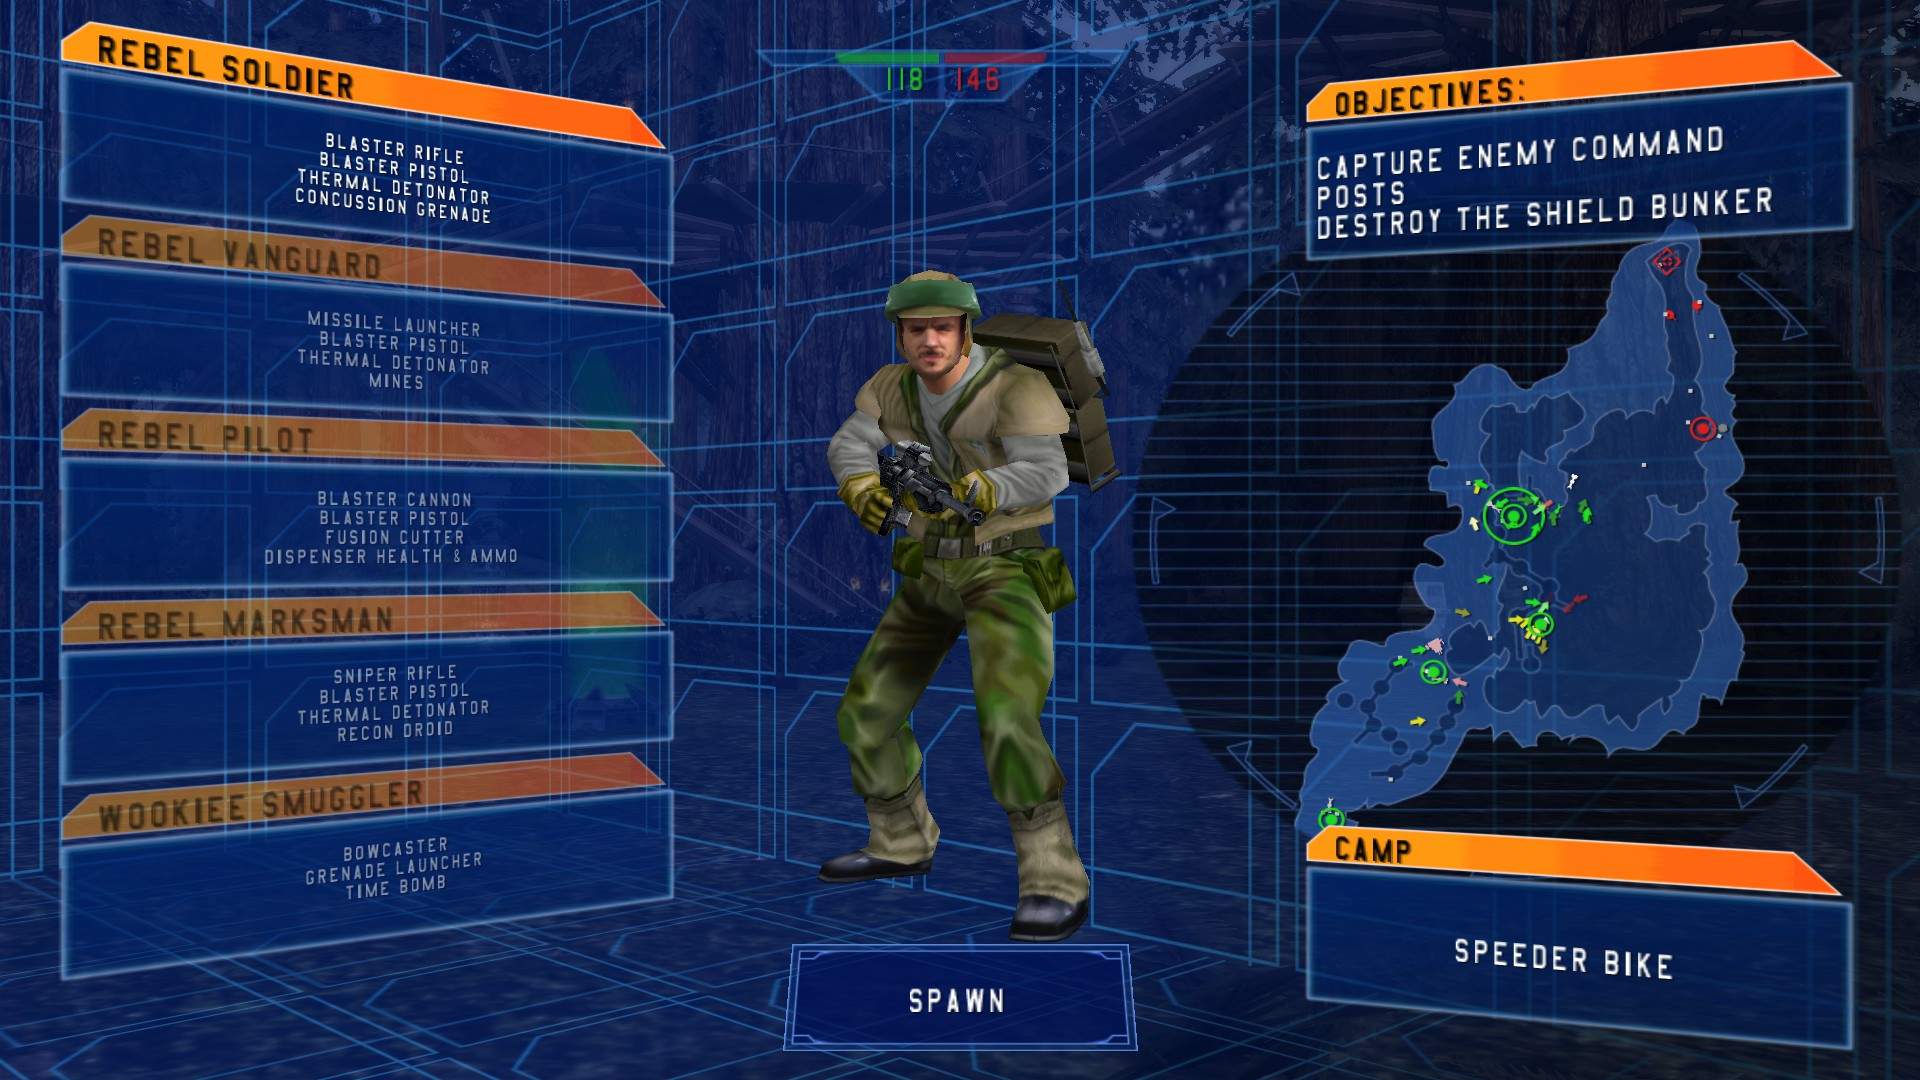
Equipment:
- Blaster Rifle (ammo).
- Blaster Pistol (cooldown).
- Thermal Detonator (grenade, particularly effective against enemy troopers).
- Concussion Grenade (grenade, made for use against vehicles and turrets).
The Rebel Soldier is your “average joe”, the regular infantry soldier who will generally make up the majority of your team’s forces. It’s worth selecting them if you like regular FPS gameplay, as they are armed with an automatic blaster rifle and a semi-automatic blaster pistol, which can overheat if used too frequently. They are also incredibly versatile. If you are ever in doubt for what trooper to pick, this should be your default choice, as their toolkit comes with a lot of ammunition and both anti-vehicle and anti-personnel explosives.
It is worth noting that a Rebel Soldier’s rifle has a low rate of accuracy the more you hold down the fire button, due to recoil. The decrease in the weapon’s accuracy and stability can be avoided by pressing “Z” or the middle mouse button to zoom in, which of course also reduces your field of view. They are generally less accurate than Imperial Stormtroopers, which means you have to play slightly more cautiously, and avoid becoming outnumbered or outflanked by Stormtroopers, who can mechanically outperform you.
Thermal Detonators are a great all-purpose tool, and are extremely effective on maps like Bespin Platforms where enemy troops generally have to funnel down tight corridors or across narrow walkways to reach their destination. Use them at every relevant opportunity, because they’re just too damn fun not to use.
Rebel Vanguard
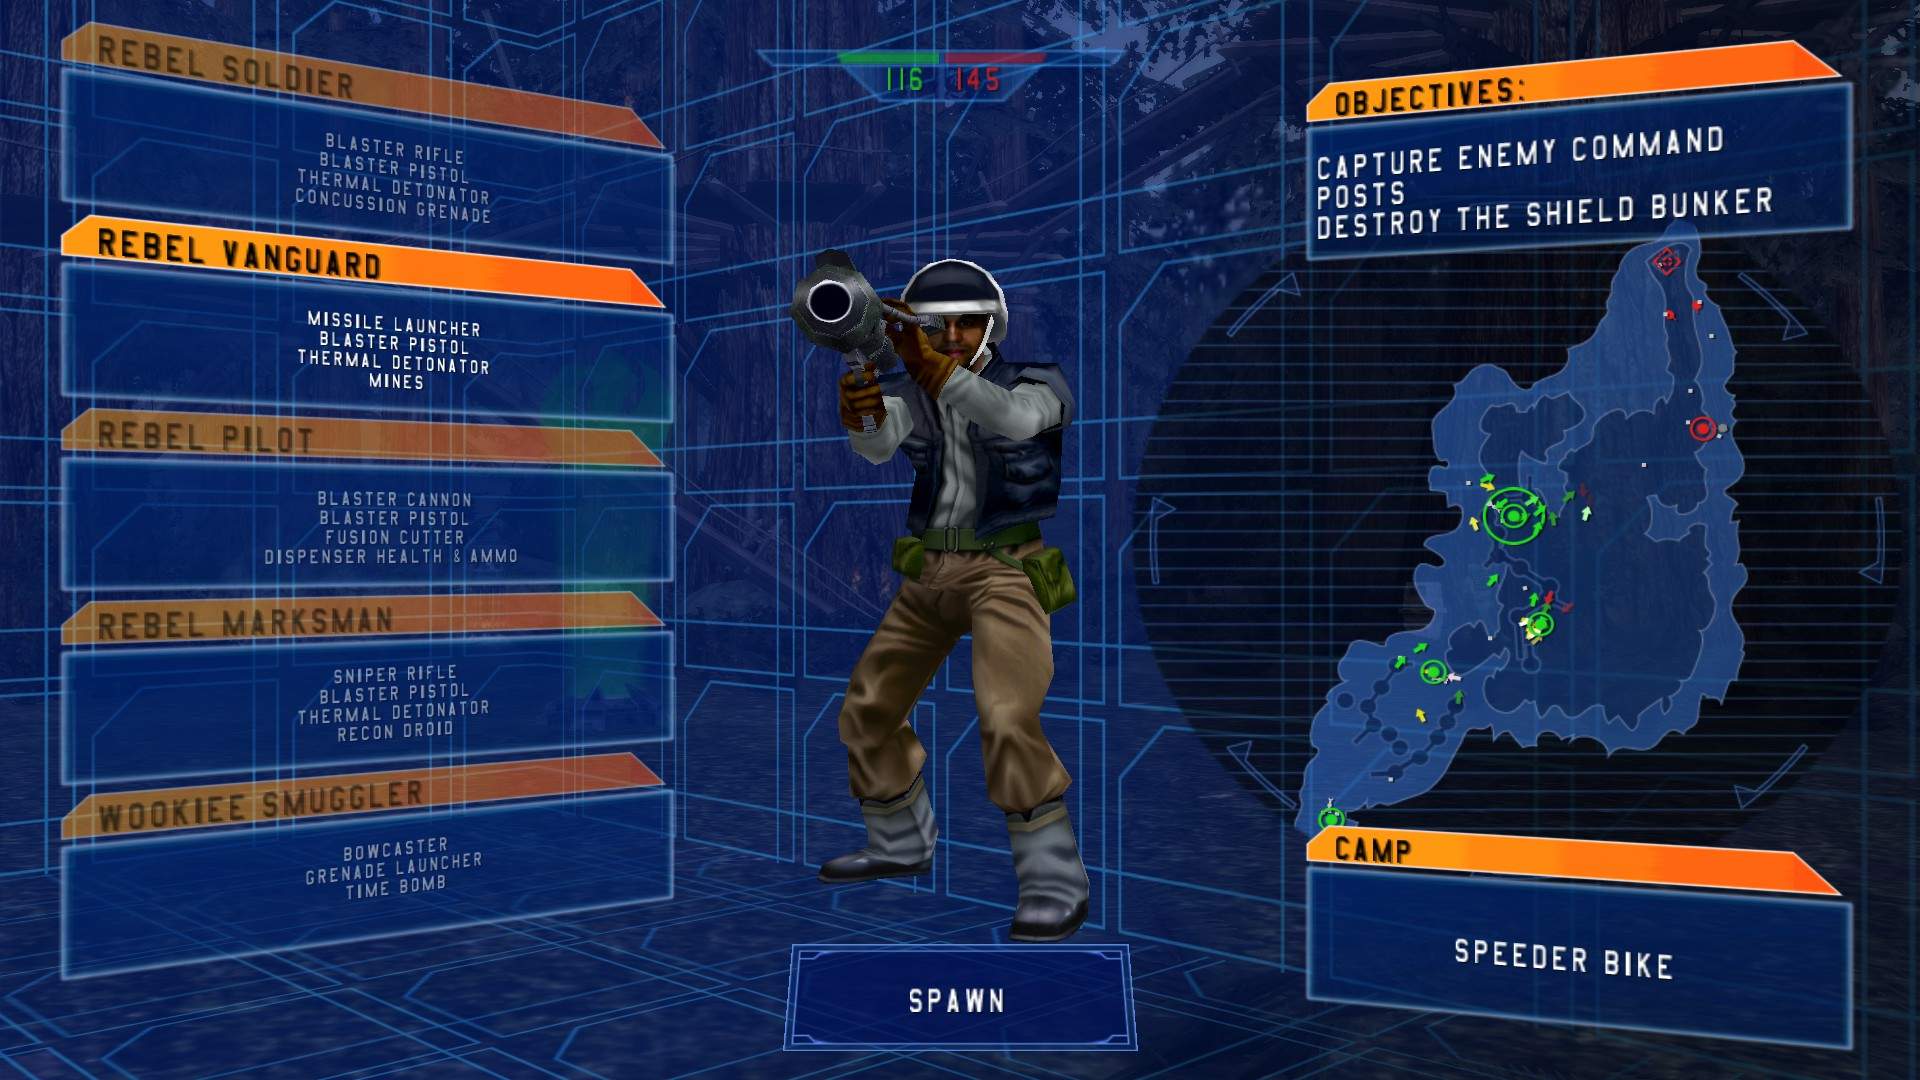
Equipment:
- Missile Launcher (fires two missiles in quick succession).
- Blaster Pistol (cooldown).
- Thermal Detonator (grenade effective against personnel).
- Mines (mostly anti-vehicle traps, but can be used against troopers as well).
The Rebel Vanguard is your standard anti-vehicle unit, armed with a missile launcher and mines, as well as the wonderful thermal detonators. They have more health than the regular trooper, but also move slower. A Vanguard is also less than ideal for close quarters combat, as their only close-range tools are grenades and a blaster-pistol.
What separates the Rebel Vanguard from other anti vehicle units is their rocket launcher, which fires two rockets in quick succession, making for a more damaging missile barrage than other missile units, which is a fair counterpoint to the fact that the Empire will always have a better amount of land vehicles than the Rebellion, which makes Vanguards surprisingly indispensible. The rocket launcher does take a little while to reload, but its damage output makes up for that.
There probably won’t be a huge amount of Vanguards on the battlefield at any one time, but those that are there are best deployed to deal with turret emplacements, lay traps for vehicles along predictable routes with their mines, and generally pester vehicles like the AT-ST. Their blaster pistol can be surprisingly effective too, if things come down to trooper-to-trooper combat (which you’ll generally want to avoid doing over and over again as a Vanguard). Mines can also be used to deal with ignorant Imperial troopers who are walking around, not paying attention to their surroundings.
Rebel Pilot
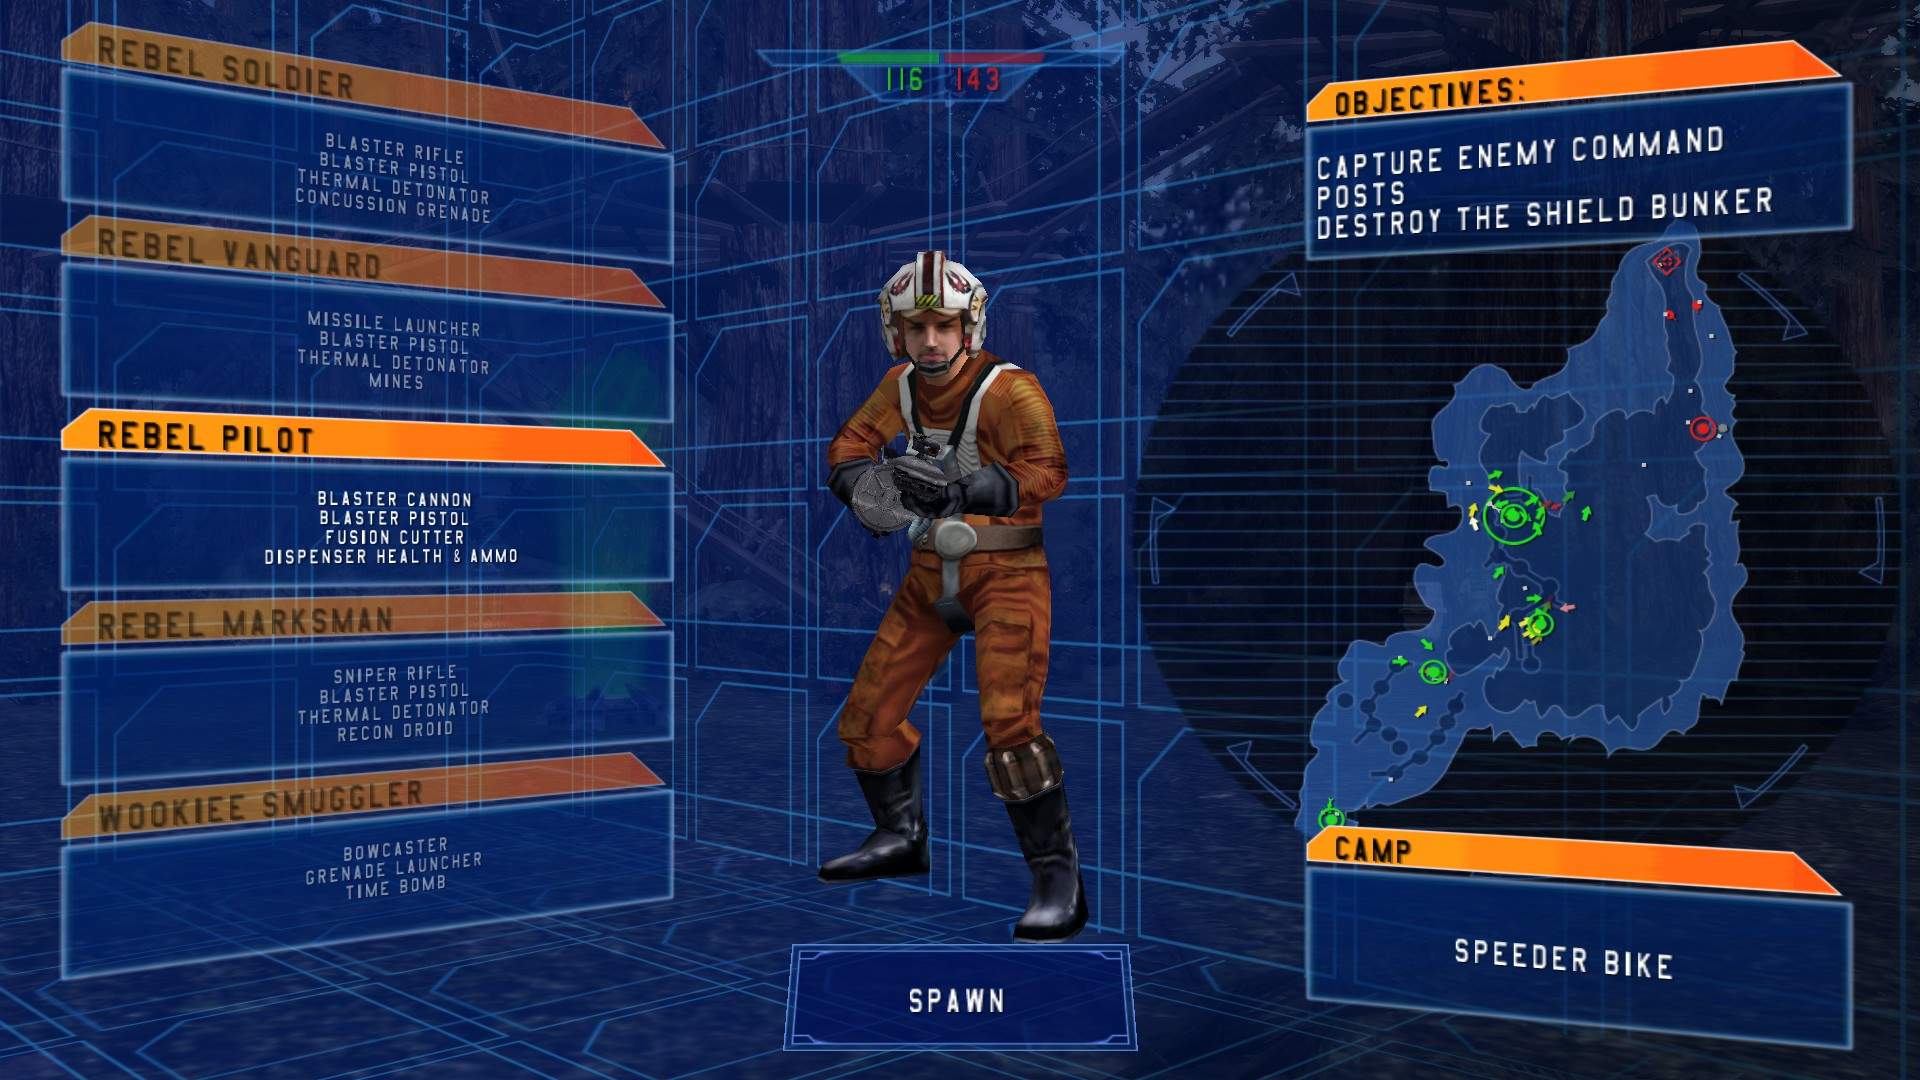
Equipment:
- Blaster Cannon (shotgun with controlled spread).
- Blaster Pistol (cooldown).
- Fusion Cutter (repairs vehicles, health/ammo stations, and turrets).
- Dispenser Health & Ammo.
Rebel Pilots are the support unit for the Rebels, and come armed with one of the most lethal anti-trooper weapons available, the Blaster Cannon. However, it is also fairly short-ranged, and so is only super useful in close quarters. It does a frankly insane amount of damage in close-quarters though, and has a high rate of fire for their cannon. They are great for planning ambushes. In other situations (which you should be trying to avoid), the blaster pistol is the only thing the Pilot can fall back on to directly defend themselves.
However, as with most support units in games, the Rebel Pilot’s supplementary skills make them one of the more unique classes in the game. The Fusion Cutter heals vehicles and turrets, as well as health and ammo stations (the brick-like Gonk droids which dispense ammo, and the FX-series medical droid, which heals those who stand next to it). This makes a good Pilot invaluable, as they can repair vital installations for defense, like the turrets on Hoth. They should also (obviously) be the troops first selected to drive vehicles, as they heal any vehicle they are currently sitting in. You should choose a pilot if you want to play one of the more specialized roles, either support or vehicle driver.
The health and ammo dispenser is also very useful, as it deploys a large batch of health and ammo anywhere on the field for your teammates to pick up. Not much more needs to be said about that; it’s as useful and vital as it sounds. The Rebel Pilot is probably one of the best pilot units in the game; far better than the Imperial one, anyway, in my opinion.
Rebel Marksman

Equipment:
- Sniper Rifle (long-distance rifle, instant kill on a headshot, 2x zoom).
- Blaster Pistol (cooldown).
- Thermal Detonator (grenade for use against enemy troopers).
- Recon Droid (lightly armoured droid to scout ahead, armed with an incredibly weak blaster pistol and incredibly powerful orbital strike).
The Rebel Marksman is my personal favourite unit, being versatile enough to use on most of the maps in this game, but is especially effective on maps like Bespin Platforms, Hoth, or the forests of Yavin, where a lack of cover allows a good Marksman to pick off enemies from a distance with ease. Rebel Marksmen are particularly effective because of their 2x scope, which allows them to sit a long way away from a battle and find targets who won’t even know you are there. Imperial Scout Troops do not share the same advantage, meaning Rebel Marksmen have a range advantage.
It is worth noting however that Marksmen are not durable at all. A few shots is enough to kill them. Being the most fragile unit in the game, they have to use the advantage of range and good positioning to deal with enemies. An effective counter to marksmen are the Empire’s fastest unit, the Dark Trooper, which often moves too fast in the air to be picked off safely, and it’s best to keep Marksmen away from enemy vehicles, as their low health and unreliable techniques to take down heavier vehicles being a risky gamble. As Marksmen are so vulnerable, it’s best to move after every few kills so that you aren’t left vulnerable to a Dark Trooper or an enemy countersniper.
The Marksman can also use a recon droid, which is armed with its own blaster pistol, the blaster pistol which isn’t very useful at all, to scout an area out for you or your team. It requires you to remain stationary while operating it, so it could be considered a risky proposition to use it if you aren’t located somewhere safe. A recon droid can call down an orbital strike too on a specific outdoor location, which can do an extreme amount of damage to an enemy placement. It is the Marksman’s best way to deal with enemy vehicles, or fortified areas – if the droid can survive long enough to reach the destination the orbital strike needs to be called down onto.
Wookiee Smuggler
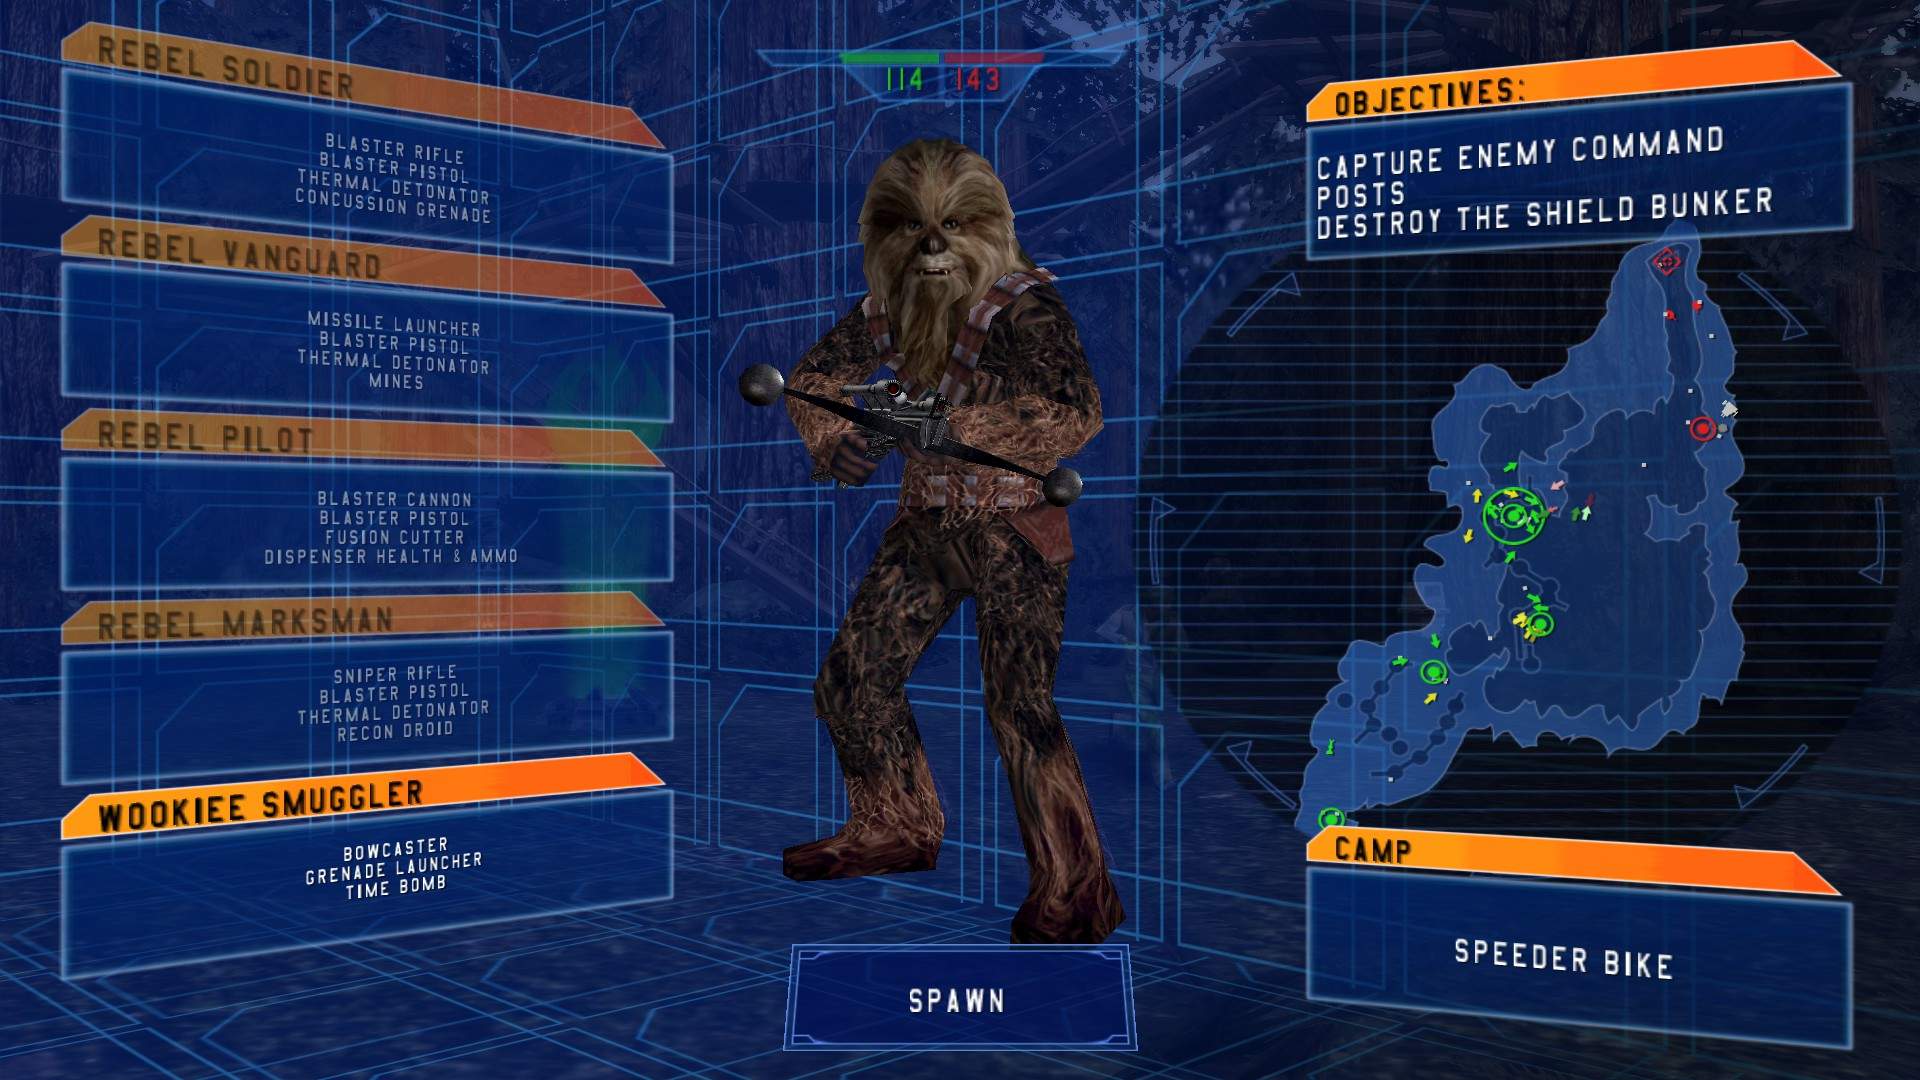
Equipment:
- Bowcaster (chargeable laser-crossbow with a broad or narrow spread depending on how long you charge it for).
- Grenade Launcher (fires grenades from a long gun, gives your grenades more range than the average trooper).
- Time Bomb (a highly damaging bomb that is dropped directly in front of you and that goes off after five seconds).
Wookiee Smugglers have the highest amount of health in the game. They are immensely durable, but are also big and slow targets on the battlefield, having some of the slowest movement in the game. They can deal a large amount of damage with their bowcaster, though the bowcaster has a noticeably slow rate of fire. The bowcaster also has decent range, however, making the Wookiee Smuggler a good choice for players who like to hang around the middle of the pack and draw fire away from your teammates.
The time bomb is a great weapon against turrets and vehicles, dealing a huge amount of damage. It’s also probably one of the best tools to use against the Empire’s bunker on Endor, since it deals so much damage and cannot be interrupted once it has been placed, whereas a Rebel Vanguard has to reload their rocket launcher.
The grenade launcher might have a greater range than the average trooper’s throwing arm, but the grenade launcher also can make it harder to judge where the grenade is going to land. It’s less accurate and thus perhaps riskier to use against targets that require more finesse. Still, a great tool to use, especially with practice.

Be the first to comment