
Lith Harbor → Tria
This is the beginning area and mostly contains really easy to collect stars. However, because of the story, you get teleported around and might not have a chance to collect them naturally.
Lith Harbor
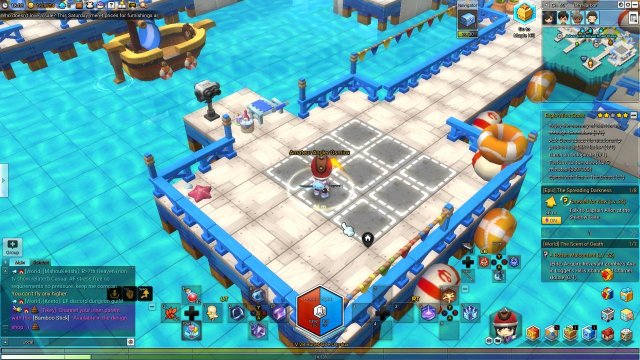
Enjoy the scenery of Lith Harbor through binoculars
- The binoculars are located on the southern end of the map. Interact with them to collect the star. You do not need to finish the cutscene, you can skip it.
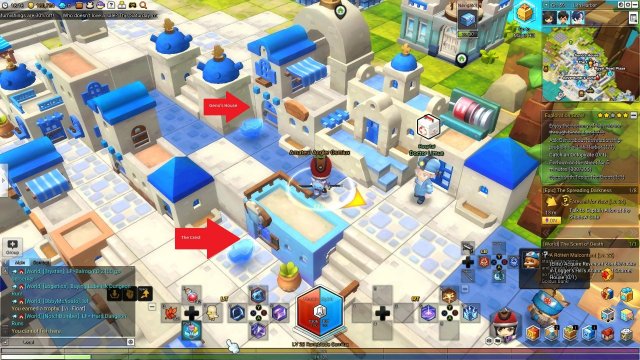
Ask Geno about his relationship problems in Lith Harbor
- Geno is located in the middle of the map inside of his house. If Geno has a quest, make sure when you initate the conversation with him that you select the Talk action instead of the quest.
Catch an Octopirate
- To catch an Octopirate, you need a fishing rod. If you reach a certain level, a guide will pop up and offer to teach you on how to fish. You also recieve a free fishing rod too.
Perform on the street for 5 minutes
- Much like the Octopirate, If you reach a certain level, a guide will pop up and offer to teach you on how to compose and play music. You recieve a free instrument. The song that you play does not have to be 5 minutes long, you can play a 1 minute song 5 times. This fish is an exceptional fish, so if you don’t catch it, keep on trying!
Speak with Teo in the crest
- Teo is in the crest, which is directly south of Geno’s house. You should be able to see it on the same screen.
Royal Road Plaza
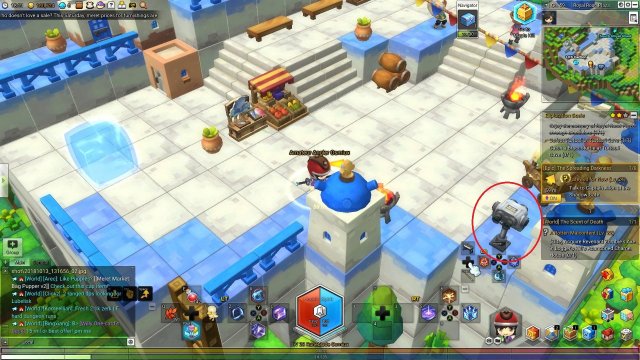
Enjoy the scenery of Royal Road Plaza through binoculars
- The binoculars are located on the southern end of the map, near the portal to Lith Harbor.
Defeat Turtcoli in Turtcoli Cave
- The Turtcoli Cave can be found just to the right of the binoculars if you climb down the ladder. Once in there, you fight the Elite Level 3 Monster here. If you’re going straight to the Turtcoli from the tutorial, you might struggle a bit, but once you hit level 5+, this should be a piece of cake.
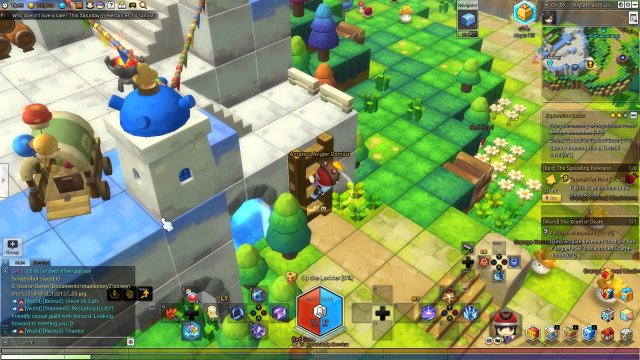
Catch a Broccoturtle at Turtcoli Cave
- To get to a fishing spot, enter the cave and climb on to the sides of the walls and parkour up to the waterfall. This is the only spot you can fish in this cave. Much like the Octopirate, the Broccoturtle is an exceptional-ranked fish, so it will take you a couple of tries.
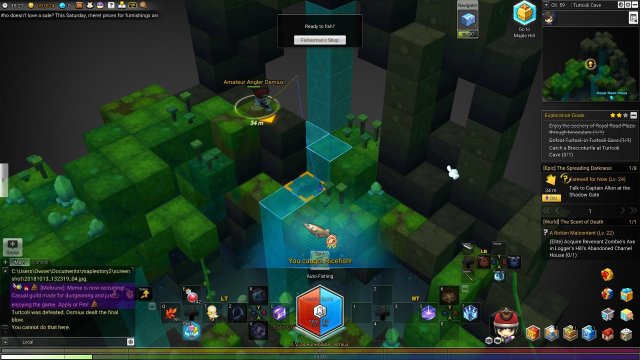
South Royal Road
Thankfully, all of the objectives for this map are all clumped up together.
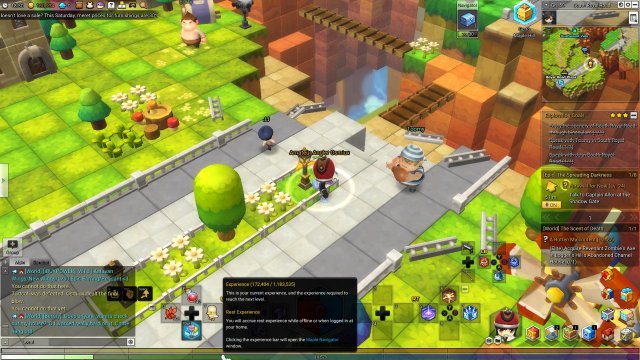
Enjoy the scenery of South Royal Road through binoculars
- The binoculars are located on the southern end of the map, near the portal to Royal Road Plaza.
Speak with Toomy in South Royal Road
- Toomy should be to the right of JJ. Again, if Toomy has a quest, make sure when you initate the conversation with him that you select the Talk action instead of the quest.
Speak with JJ in South Royal Road
- JJ should be to the right of the binoculars.
Hushwood Vale
Enjoy the scenery of Hushwood Vale through binoculars
- The binoculars are located on the western end of the map, clumped up together with various NPCs, including Vale himself.
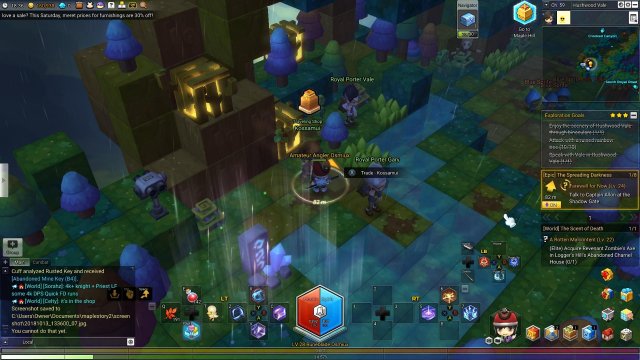
Attack with a ruined rainbow tree
- Because of the weather and lighting, the rainbow trees don’t look very… Rainbow-y. That’s okay though, the trees appear like a soft serve ice cream, so it’ll be easier to find if you look for the shape instead. All you need to do is pick one up and throw it at the nearest enemy, 10 times.
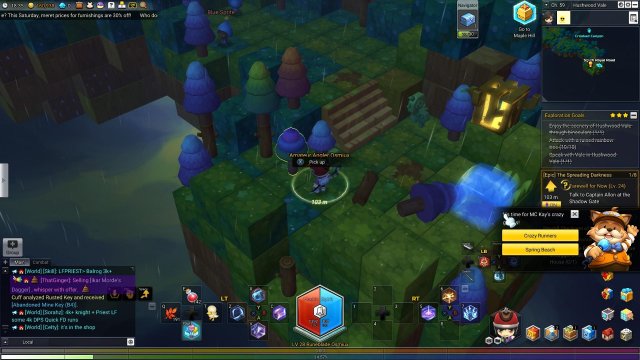
Speak with Vale in Hushwood Vale
- As stated before, Vale is right next to all of the other NPCs and the binoculars. And as stated before, if Vale has a quest, make sure when you initate the conversation with him that you select the Talk action instead of the quest.
Crooked Canyon
Enjoy the scenery of Crooked Canyon through binoculars
- The binoculars are located in the middle of the map, Right next to the Elite monster, Urza, and Wolf Handler Tann.
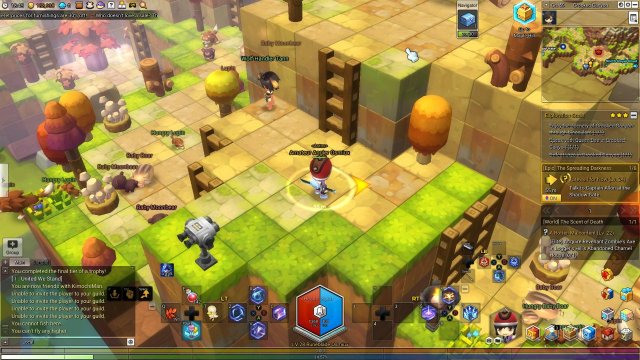
Speak with Queen Bee in Crooked Canyon
- Queen Bee is actually just north-east of the area where you fight Urza. Again, if Queen Bee has a quest, make sure when you initate the conversation with him that you select the Talk action instead of the quest.
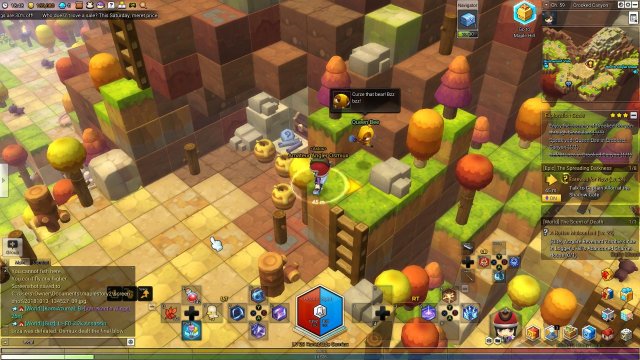
Defeat Urza in Crooked Canyon
- Elite Level 8 Monster here. If you’re going straight to Urza from the tutorial, you might struggle a bit, but once you hit level 10+, this should be a piece of cake. Otherwise, make sure to use those potions and maple leaves!
North Royal Road
Welcome to the last area of this section! We’re right before Tria and after this area, without doing the tedious ones, you should have 17-20 stars. Make sure to collect your reward in your map by pushing M!
Enjoy the scenery of North Royal Road through binoculars
- The binoculars are located on the north side of the map, on top of the gates to Tria.
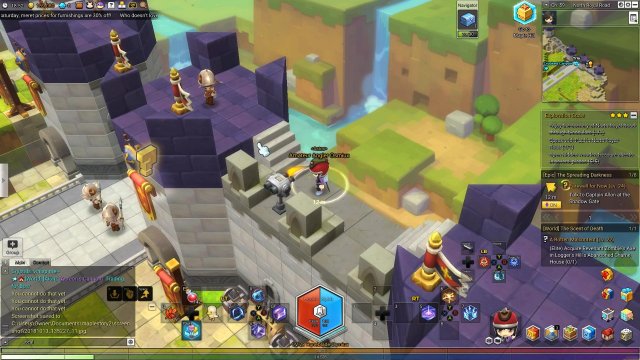
Speak with Paul in North Royal Road
- Paul is west of the gates to Tria. He’s located in what seems to be an outpost or a training area.

Open hidden wooden treasure chests in several places
- This objective is really vague, but if you look around the maps in some hidden areas, you might fight some chests that you can interact with. These are good things to interact with while you’re exploring the map because it gives you quite a bit of things: EXP, items, and even mesos. If you can’t find any, look on the edges of the map! You might even find golden ones. Although, the golden chests don’t count towards the wooden treasure chests.

Tria and It’s Outskirts
Welcome to Tria! This is a city that’s very useful for starting the life skills. Many of the materials that you can gather are in areas right outside of Tria, starting in Evansville. However, that’s not why we’re here! Before I begin this next section, I must point out that there are some discrepancies between maps and guides as to what is considered which region, so I’m basing it off of surrounding areas, levels, and names.
So in this section we have the following:
- Tria
- Evansville
- Queenstown
- Middleton
- Beauty Street
- Ludibrium Crater
- Sylvan Woods Trail
- Boulderwhite Mountain
- Fairy Tree Lake
- Kerning Interchange
- Kerning Junkyard
- Revoldic Dam
- Goldus Pharmaceuticals
Let’s get started!
Tria
Enjoy the scenery of Tria through binoculars
- The binoculars are located on the southern end of the town; and not the map. They can be located on top of the walls.
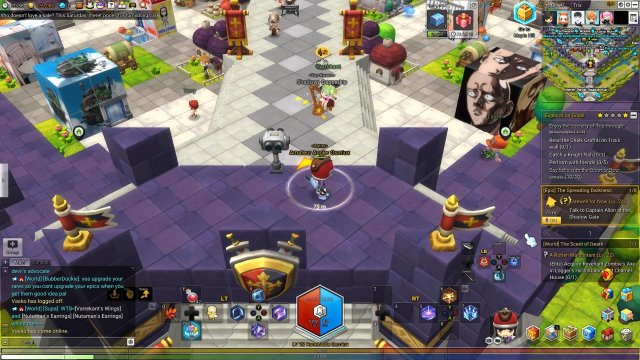
Read the Chalk Graffiti on Tria’s wall
- If you didn’t know the location beforehand, it would take a long while to find it, as nothing about the “graffiti” stands out. From the binoculars, head east and fall off of the walls. Head towards the small river coming out of the wall and turn towards the inlet on the side of said wall and interact with the graffiti.
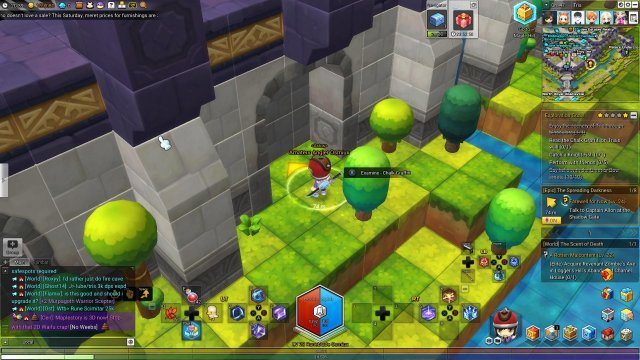
Catch a Knight Fish
- Again, much like the Octopirate in Lith Harbor, you need a fishing rod. The Knight Fish is an exceptional-ranked fish, so again, it will take you a couple of tries.
Perform with Friends
- When you recieve an instrument and play it, you have an option to have it as a solo or ensemble. If you have a party and you start playing in an ensemble, your party members should join in and it should work.
Say hello with the Greet or Bow emote
- They don’t really talk about emotes until later on, but on a Keyboard + Mouse control scheme, you can press F1 to greet. Otherwise, in the chat you can type /greet or /bow to do the emote! All you gotta do is do this 10 times.
Evansville
Enjoy the scenery of Evansville through binoculars
- The binoculars are located on the middle-western end of the map. They can be located on top of the small alcove, which is next to Pesca and Yoharang.

Speak with Alponi in Evansville
- Alponi is right next to the portal to Balmy Farm. Again, if Alponi has a quest, make sure when you initate the conversation with him that you select the Talk action instead of the quest.
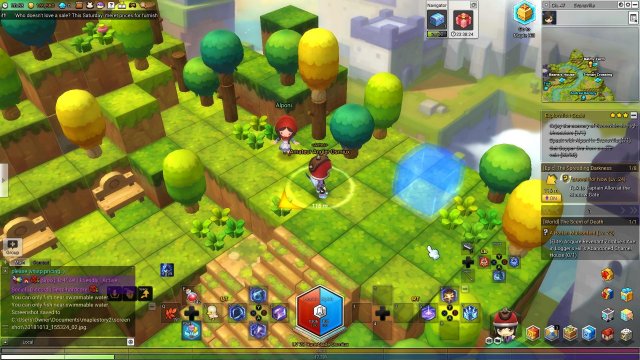
Get Copper Ore from an ore vein
- Remember when I said Evansville was a good place to do your life skills? Well we’re going to dabble in it for just a bit! Looking around, you can see rocks that stick out of the ground and look like bronz-ish crystals. Those are the ore veins, and if you can’t find any, you can look on the mini-map and a symbol will show you where they are. Unfortunately, you can only collect so many per day (10-13, usually) which then your chance of collection drops to “Impossible”. Therefore, this exploration quest will take two days to get all 20.
Queenstown
Travel by Taxi from Queenstown
- The first exploration quest that requires you to spend mesos. While adventuring, you should come upon taxi locations throughout the world. These allow you to essentially fast travel at a cost. I would highly recommend these if you do not have Rotors Walkie-Talkies. To complete this one, you just have to travel anywhere from the one in Queenstown. I would recommend Tria to save your mesos!
Perform on the street for 5 minutes
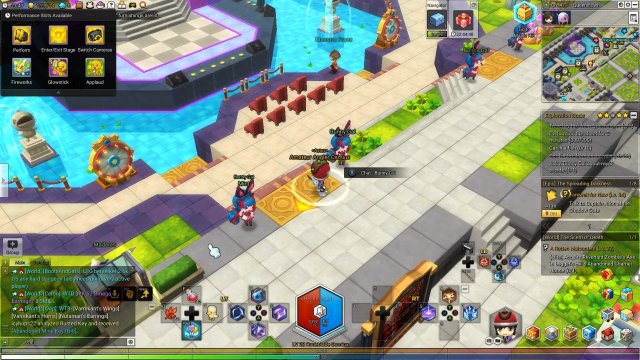
- This is essentially the same exact thing as the one in Lith Harbor, except you can’t just play your music willy-nilly. To play your music here, you must be on stage. On the top left of your screen, you see a menu that you can click. You click the Perform button and then you click Enter/Exit Stage. Now you can play your instrument for 5 minutes. You have a 10 minute time limit, but that shouldn’t be too bad.
Catch a fish
- This is a little bit harder to do, because the minimum your fishing mastery has to be is Advanced IV to even fish anything here. If you do get there though, this is a very easy task, just catch 10 of them!
Get Tin Ore from an ore vein
- We’re moving up in the world! Mining tin ore can be done the same day as mining the copper, as the copper should give you enough experience to just get to rank 2, pretty easily. Just look for the
rocks that stick out of the ground and look like pink crystals. Again, you can look on the mini-map and a symbol will show you where they are. Unlike the copper ore, you can complete this mission in 1 day; you get ~38 per day!
Ask a Bunny Gal about royal events
- Talk to any non-special Bunny Gal and select “What events does the palace sponsor?” You can’t just spam through the options to finish it. When I say non-special, I mean not named, and the closest one to Tria’s portal is next to the stage.
Middleton
View the Vidrem Mansion Garden in Middleton
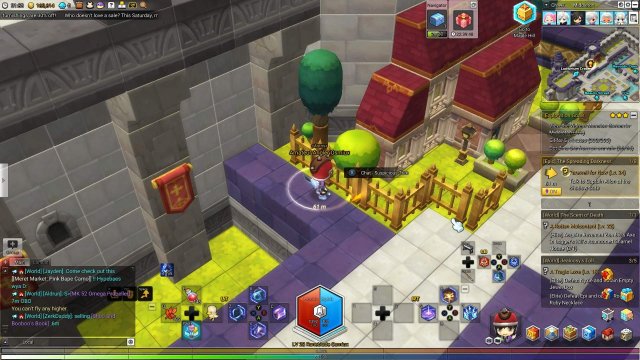
- This one is a tricky one. Much like the graffiti on the wall in Tria, there is a thing you can interact with that is very nondescript. Go to the western side of the map and approach the mansion. To the left of the mansion is a tree that you can interact with.
Sit for 5 minutes
- Very self explanitory. Use /sit to sit down! Make yourself a cup of tea or do some stretches.
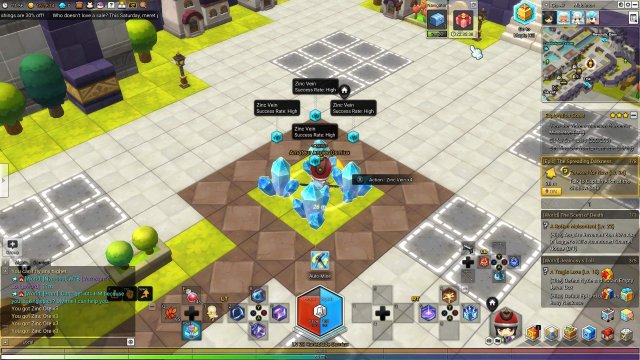
Get Zinc Ore from an ore vein
- We’re moving even further up in the world! Look for the rocks that stick out of the ground and look like blue crystals. Again, you can look on the mini-map and a symbol will show you where they are. What’s nice about these ones are that they’re clumped in a group of 4, so you can stand in the middle of all of them and mine 4 of them at once.
Beauty Street
Travel by Taxi from Beauty Street
- Very similar to the one found in Queenstown. To complete this one, you just have to travel anywhere from the one in Beauty Street. Again, I would recommend Tria to save your mesos!
Speak with Adam in Beauty Street
- The good thing about this area is that it is TINY! You can easily find Adam and Isabel standing next to each other. Just in case you can’t, they are standing right outside of the Douglas Dye Workshop.
Speak with Isabel in Beauty Street
- Just remember, if they have a quest, make sure when you initate the conversation with them that you select the Talk action instead of the quest.

Ludibrium Crater
Pull the lever under the centerpiece at Ludibrium Crater
- Very self-explanitory. Just find and pull the lever found underneath the giant lego meteor. This is basically in the middle of the map.
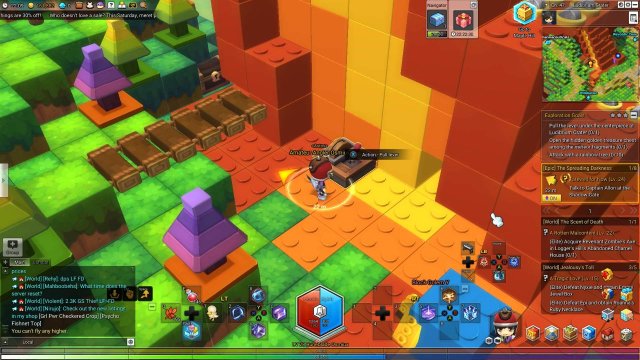
Open the hidden golden treasure chest among the meteor fragments
- This one is a little tricky. From the hint that they give you, it seems like you’re supposed to pick up meteor fragments to find it, but I found it actually inside of the large centerpiece itself. From the top of the center piece, jump off of the piece towards the south-west side (the side with holes in it). The highest hole should have the treasure chest. If not, you can either wait 10 minutes or change channels and hope someone hasn’t picked it up yet. There might be another spawn location, but I don’t know.
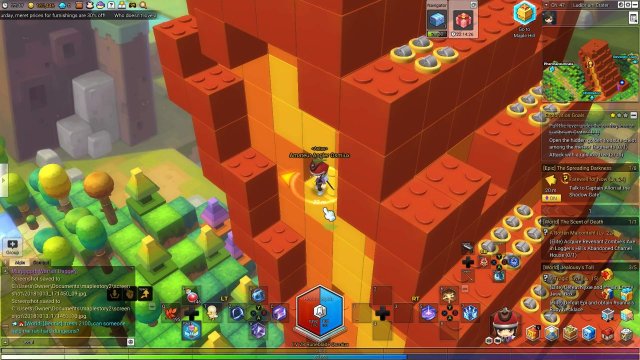
Attack with a rainbow tree
- Very similar to the quest found in Hushwood Vale. Except you can actually see the colors. All you need to do is pick one up and throw it at the nearest enemy, 10 times.
Sylvan Woods Trail
Enjoy the scenery of Sylvan Woods Trail through binoculars
- The binoculars are located on the very southern tip of the map, not that hard to find.
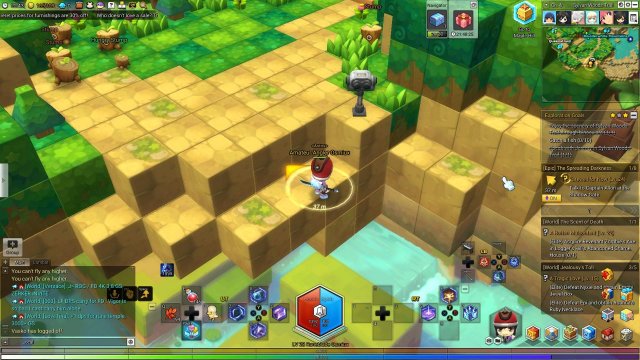
Catch a fish
- Much like Queenstown, the Sylvan Woods Trail has a mastery-requirement before you can complete it. However, unlike Queenstown, this place is only Beginner III, so it’s not too bad!
Speak to Jeremy in Sylvan Woods Trail
- Jeremy is located inbetween the portal to Fairy Tree Lake and the binoculars, so it shouldn’t be too hard to find. Just remember, if he has a quest, make sure when you initate the conversation with him that you select the Talk action instead of the quest.
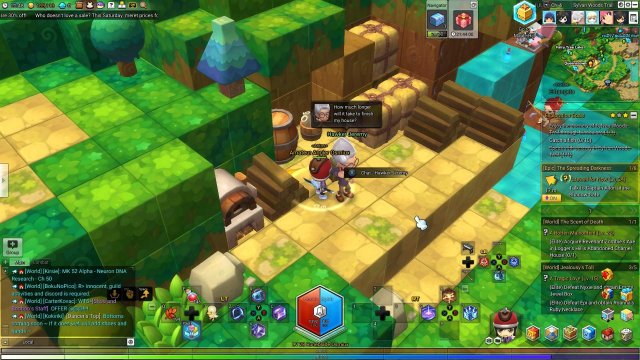
Boulderwhite Mountain
Enjoy the scenery of Boulderwhite Moutain through binoculars
- The binoculars are located on the southern end of the map, next to the taxi stop and Sylvan Woods Trail portal.
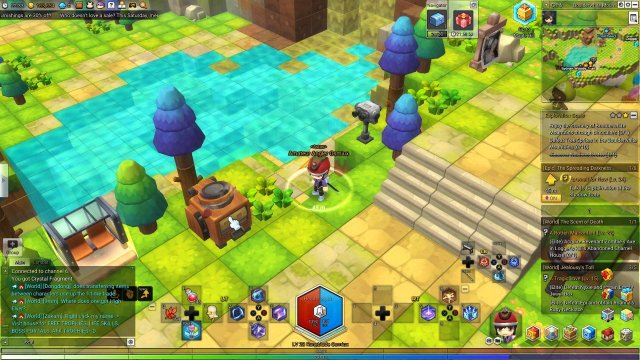
Defeat Tree Sprites in the Boulderwhite Mountains
- Pretty easy to do, they’re not all clumped up, so there isn’t really an ideal place to kill these, just run around and get some experience off of these Level 14 monsters.
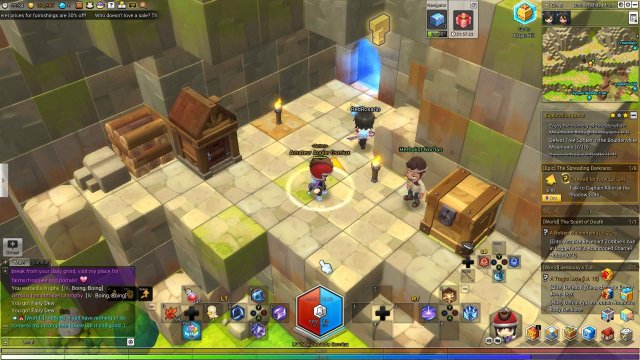
Discover Noxious Grotto
- The Noxious Grotto can be discovered if you just simply follow the main storyline. It brings you here after a certain point. But if you don’t want to do that, you can go to Boulderwhite Moutains and go towards the middle of the map. The enterance is right next to Nordan. You must enter for it to be checked off!
Fairy Tree Lake
Defeat Nyxie in Fairy Tree Lake
- Before I even start talking about these guys, grab the quest in Tria in the Library and start the questline. The end of the questline has you fight these guys. And oh boy, these guys are NOT Elite monsters, they’re Epic monsters. These are essentially a world boss, so I would recommend soloing these guys at 25+ or getting a party.
Defeat Epi in Fairy Tree Lake
- Especially because they gang up on you too. They do not fight solo. So instead of fighting 1 Epic Level 14, you’re fighting 2. Make sure to use healing potions and leaves!
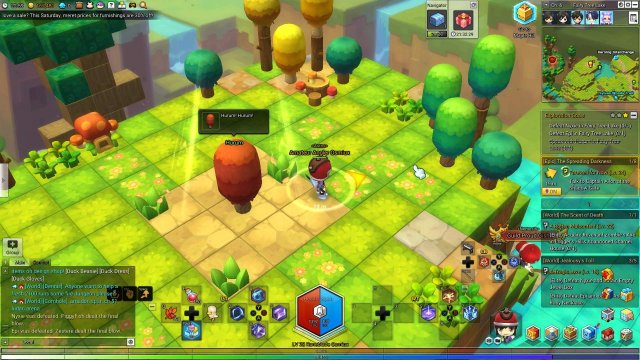
Speak with Hurum in Fairy Tree Lake
- This NPC looks like a tree found just to the left of the Kerning Interchange portal. Hurum also has a quest associated with them, so make sure you select the Talk action instead of the quest.
Kerning Interchange
Defeat monster in the Kerning Interchange
- Pretty easy to do, just go grab some free experience!
Defeat Guard Boss Chaw in Kerning Interchange
- This guy is kind of easy to defeat; Elite Level 12. Especially because there seems to be always some people fighting it too. He appears on the north side of the map. Right next to Justin.
Speak to Justin in Kerning Interchange
- Speaking of Justin, he’s on a bench next to some other NPCs. Justin also has a quest associated with them, so make sure you select the Talk action instead of the quest.
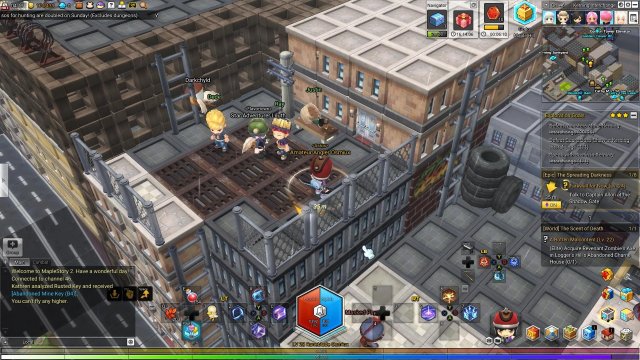
Kerning Junkyard
Swim in Foul Water for 10 seconds
- Just find some toxic water and swim in it for a bit. You should have enough HP to just tank it. Otherwise, you can use maple leaves to heal it all back.
Attack by throwing a burning drum
- These are similar to the rainbow tree ones. However, when you throw it, the ground burns underneath the location for a bit. Just find 10 of these and throw them!
Attack by throwing a gas tank
- Again, similiar to the rainbow tree ones, but this one explodes upon impact. Again, find 10 and throw them at enemies.
Revoldic Dam
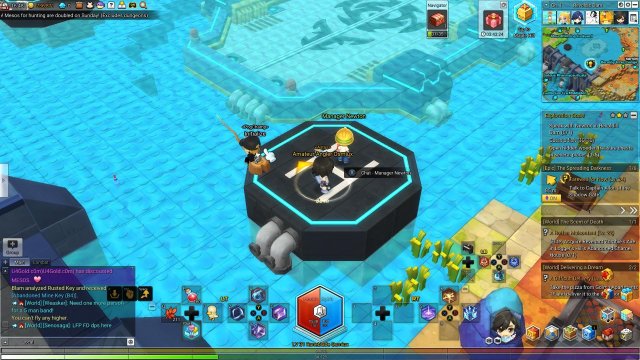
Speak with Newton in Revoldic Dam
- Newton is located on a helipad that is on the southern side of the reservoir. If you are standing on the dam, he’s located more towards the right of the dam.
Catch a fish
- Again, similar to the other “Catch a fish” missions. The requirement here is Beginner III, so you should be able to fish here not too far into the game.
Open hidden wooden treasure chests in several places
- Much like the goal earlier, just go around the map and open some treasure chests!
Goldus Pharmaceuticals
Travel by taxi from Goldus Pharmaceuticals
- Exact same as all of the other “Travel by Taxi” missions so far. Again, I would recommend the closest one to save yourself some mesos.
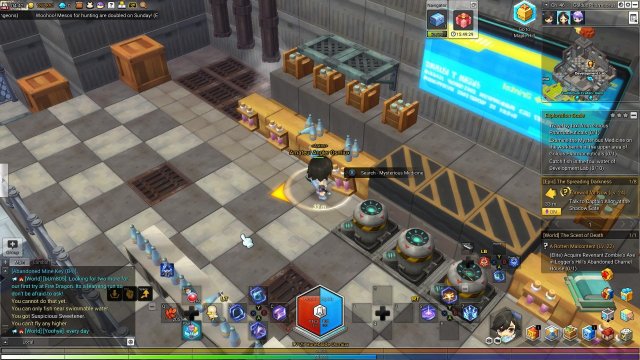
Examine the Mysterious Medicine on the workbench in the upper area of Goldus Pharmaceuticals
- This hint is actually quite accurate. The mysterious medicine is straight north and directly up from the Development Lab portal.
Catch fish in the foul water of Development Lab
- Speaking of the Development Lab, you need to catch 10 fish in the toxic waters there. However, you do need to be at least Intermediate II to catch fish in this map.
Kerning City and the Slums
Welcome to Kerning City. In MapleStory 1, this was known as the city of thieves and whatnot, but now classes don’t really have mentors and skills to learn from designated areas. They just learn from the skills window, which I honestly prefer. As stated in the Tria and It’s Outskirts section of this guide, there are some discrepancies and I will dictate what is considered Kerning City area and what isn’t in my opinion. There are a LOT in this section, so buckle up…
So in this section we have the following:
- Kerning City
- Silverstone Bridge
- Black Market
- Oasis Town
- Kerning Techno Valley
- Suffering Wasteland
- Barrota Port
- Woodward
- Majore Lake Park
- Fellowstone Construction
- Mounthill
- Neuron DNA Research Center
- Shadow Gate
- Barrota Shore
- Lavaworks
- Beachway 111
- Frostheart
- Flora Avenue
- West Watchtower
- West Wind Hill
- Resortville
- New Goldus
You might be wondering why I didn’t include the very northern tip of the map, but I’m calling that section Ludibrium, because it basically is, so all of that aside… Let’s get started!
Kerning City
Enjoy the scenery of Kerning City through binoculars
- The binoculars are located on the very southern tip of the map.
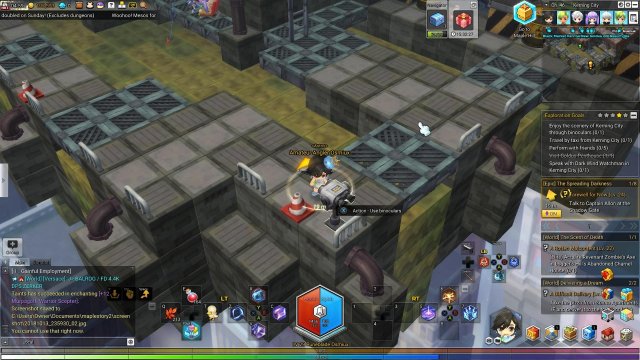
Travel by taxi from Kerning City
- Again, exact same as all of the other “Travel by Taxi” missions so far. And again, I would recommend the closest one to save yourself some mesos.
Perform with friends
- Exactly the same as the one in Tria!
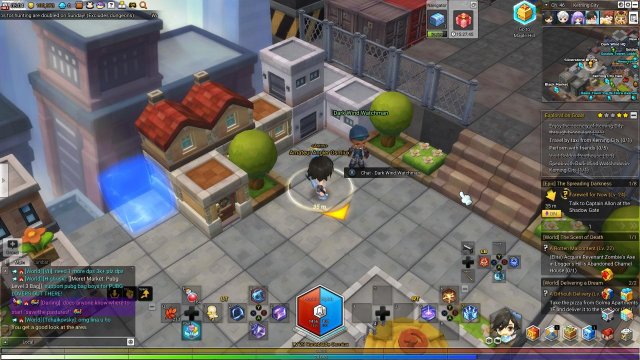
Speak with Dark Wind Watchman in Kerning City
- The Dark Wind Watchman is right next to the portal to Silverstone Bridge.
Silverstone Bridge
Enjoy the scenery of Silverstone Bridge through binoculars
- The binoculars are located south of the portal to Kerning City. If you follow the river east, they are on the shores of the river.
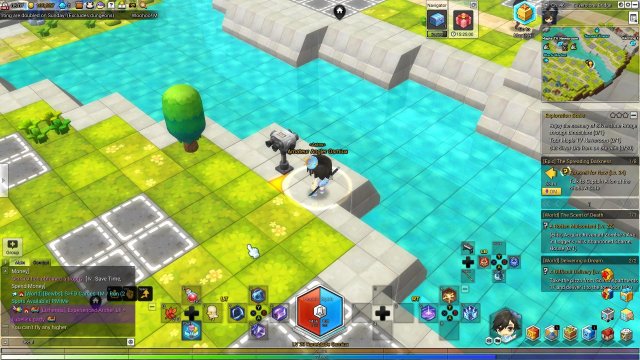
Tour Maple TV Newsroom
- Maple TV Newsroom is on an island that is nearly smack-dab in the middle of the map. Head north-west of the binoculars, and you should very easily find the building.

Get Silver Ore from an ore vein
- Very similar to the ones earlier near Tria, but except these ones are for silver ore! You need to be at least Mining rank 4 to mine these. There are some right outside of the Maple TV Newsroom on the island, so they’re not too hard to find.
Black Market
This surprised me when I got here. There are only two stars on this map, and they’re really easy to finish too.
Travel by taxi from Black Market
- Again, exact same as all of the other “Travel by Taxi” . And again, I would recommend the closest one to save yourself some mesos.
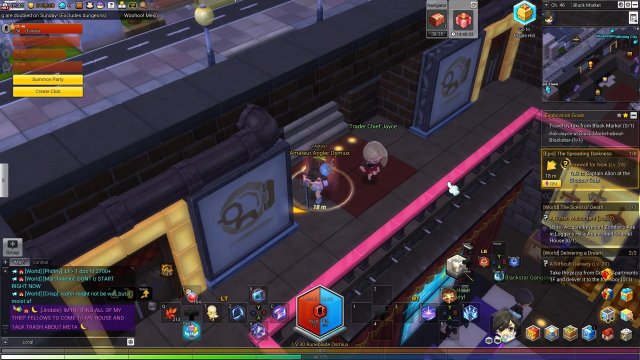
Ask Jayce at Black Market about Blackstar
- Jayce is in the middle of the map, underneath the road a bit. The Blackstar chat option is the second one on there, so make sure to select that instead!
Oasis Town
Ride a mount
- This is the first mission that is like this. You need to move 200m on your mount. It must be a ground mount, so balloons and flying things don’t count. If you don’t have one, you can buy some at general stores or mount stores all over the world.
Get Nickel Ore from an ore vein
- Again, similar to the earlier mining missions. Nickel ore is rank 7, so you might not get this anytime soon.
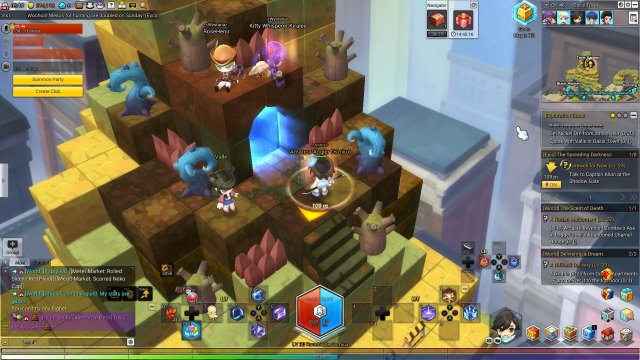
Speak with Valle in Oasis Town
- Similar to the previous “Speak with…” missions, just find Valle next to the Toxic Garden portal and begin chatting with her.
Kerning Techno Valley
Attack with a sign
Attack with a waste storage drum
Attack with a telephone pole
- All of these missions are identical. Find the correct world object and throw them at the enemies! If you’re too low level to do this, just grab, throw, and run like hell! After a couple of minutes, I realized that you don’t even need to hit enemies. As long as you swing/throw the object, it counts.
Suffering Wasteland
Enjoy the scenery of Suffering Wasteland through binoculars
- The binoculars are located on the very east of the map. They are up some stairs, isolated.
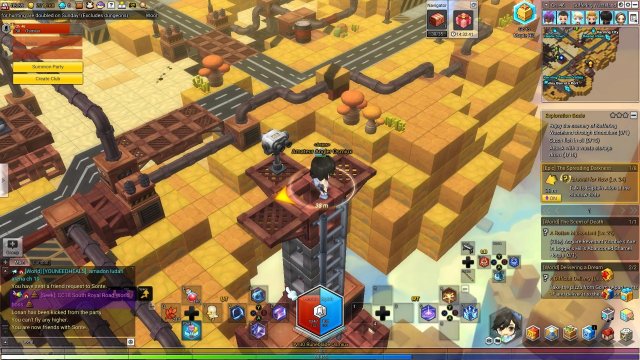
Catch fish in oil
- The fish here are only available to catch if your fishing mastery is at least Intermediate I, so get through those Beginner masteries!
Attack with a waste storage drum
- Much like earlier in the guide, find some drums and throw them!
Barrota Port
Enjoy the scenery of Barrota Port through binoculars
- These binoculars are located on the front of the ship docked in the port. They’re kind of in the middle-east part of the map.
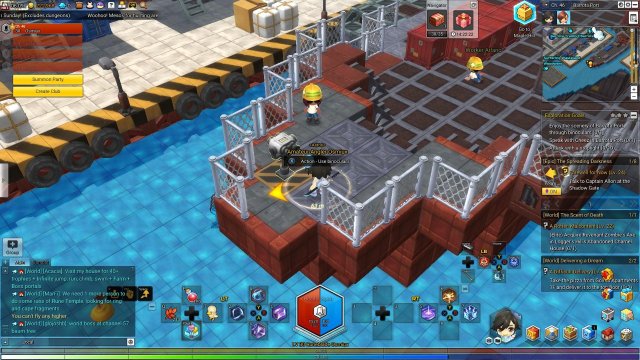
Speak with Cheez in Barrota Port
- Cheez is a cat that is found on top of the crane above the ship. I got there using a balloon, so maybe consider using that method too.
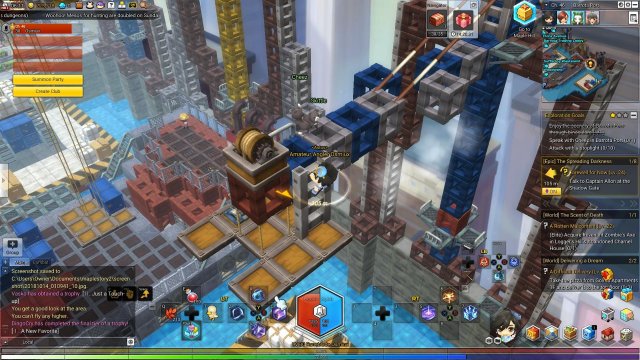
Attack with a stoplight
- At this point, do I even need to explain this one? Find some stoplights and swing them!
Woodward
Enjoy the scenery of Woodward through binoculars
- The binoculars can be found on the western part of the map, north of the taxi.

Eavesdrop on the Blackstar Hideout in Woodward
- This can be done by interacting with a door that doesn’t really stand-out to you. The door is north-west of the binoculars. Just click and skip through the dialogue. Nothing important…
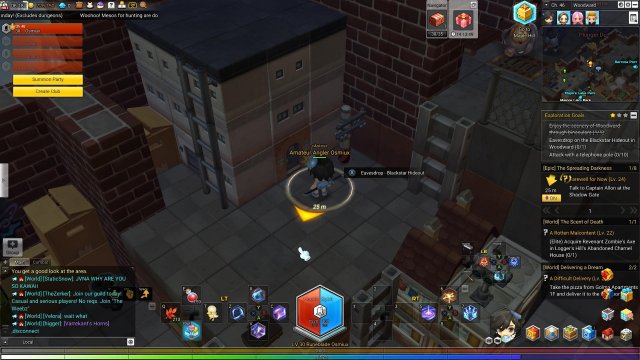
Attack with a telephone polet
- Yeah, yeah… Find some telephone poles and you know what to do with them.
Majore Lake Park
Speak with Fredo Haights in Majore Lake Park
- This guy is on the tower that connects to the stage that Blake is on, I used a balloon, but it’s very easy to just jump-climb up there. He has a quest, so make sure to use the Talk action instead!
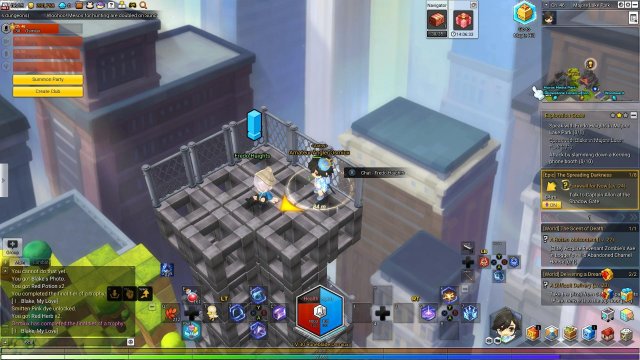
Speak with Blake in Majore Lake Park
- This guy is the very pretentious-looking lad on the stage. Interact with him and complete this goal.

Attack by slamming down a Kerning phone booth
- Same goal as the other “Attack with…” goals, except it’s a new object. Find some telephone booths and you know what to do with them.
Fellowstone Construction
Break 10 things
- Find some cardboard boxes and let your avatar go wild!
Open a hidden golden treasure chest
- Much like the ones earlier, you find a golden treasure chest. If you can’t find one, keep on trying or change channels! There is one that spawns behind the elevator, that is to the right of the Muros Media Park portal.
Speak with Monica in Majore Lake Park
- Monica is a little girl that is just next to the Mounthill portal.

Mounthill
Enjoy the scenery of Mounthill through binoculars
- The binoculars are located on the northern part of the map, at what seems to be a cafe.
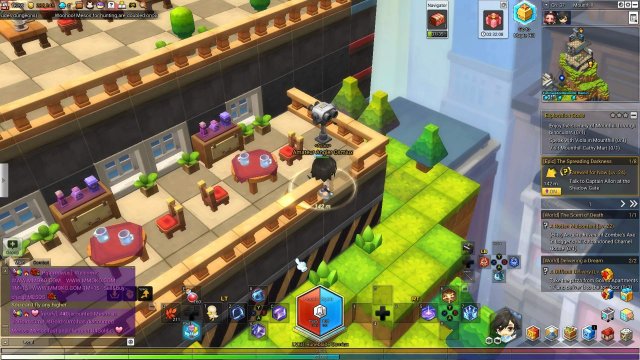
Speak with Viola in Mounthill
- Viola is a red-headed maid working in said cafe, just left of the binoculars. Head towards the northern-most tip of the map and you should see her. Interact with her and complete this goal.
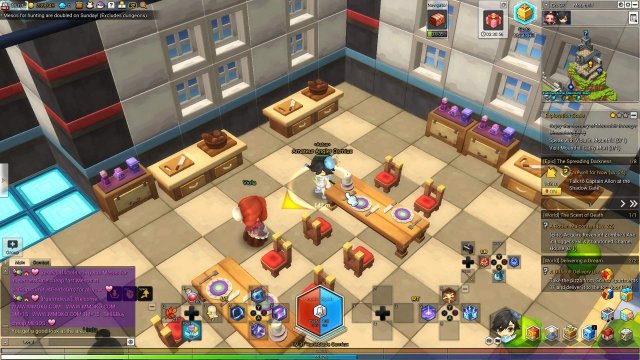
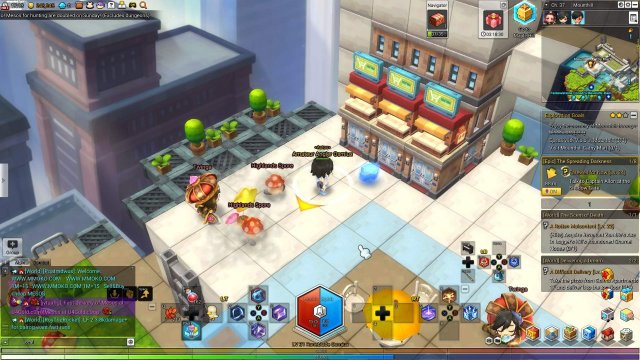
Visit Mounthill Cathy Mart
- Mounthill Cathy Mart is located south-west of the cafe where Viola was found. You should be able to spot it on your minimap too!
Neuron DNA Research Center
Travel by taxi from Neuron DNA Research Center
- I don’t think I have to explain this one at this point. Just remember to save yourself some mesos. Or not, it’s up to you.
Defeate Frankenette in Neuron DNA Basement
- The Neuron DNA Basement is located underneath Dr. Mikail, whom can be found on the western side of the map. Frankenette is a Elite Level 26, so you have to level up a bit to fight her. I entered the battle and had spam orange potions at level 31.
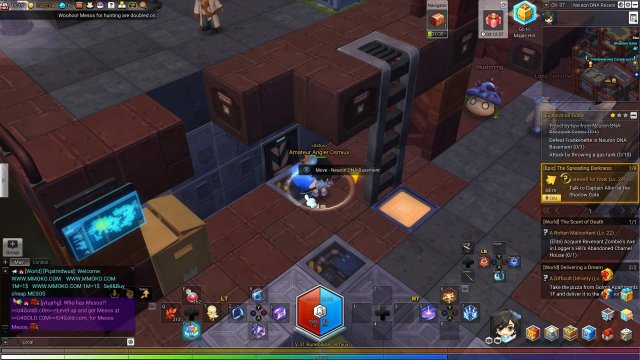
Attack by throwing a gas tank
- Find gas tanks and throw them.
Shadow Gate
Travel by taxi from Shadow Gate
- Yeah, yeah… Drop some more mesos for this goal.
Speak with Gregory in the Shadow Research Center
- The Shadow Research Center can be found on the eastern side of the map. Enter the building and talk to Gregory. Make sure to use the Talk action instead of accepting the quest if he has one.
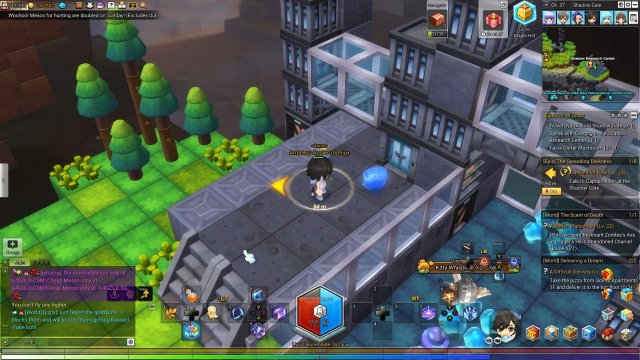
Taste Glitter Mushroom
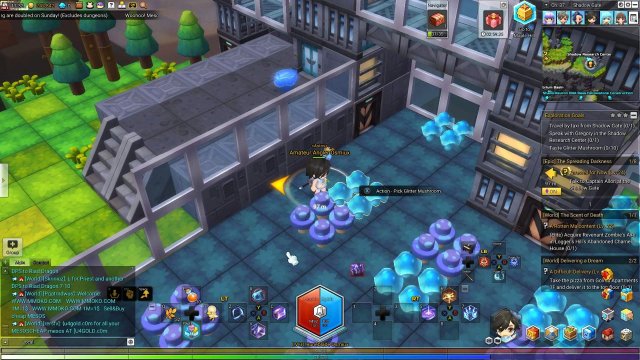
- Glitter Mushrooms can be found just outside of the Shadow Research Center in… the garden? Just interact with 10 of them and you should pick up some of them as items. Eat them, even though they stun you.
Barrota Shore
Enjoy the scenery of Barrota Shore through binoculars
- The binoculars are located on the northern end of the map, next to the Barrota Port portal on top of a crane.
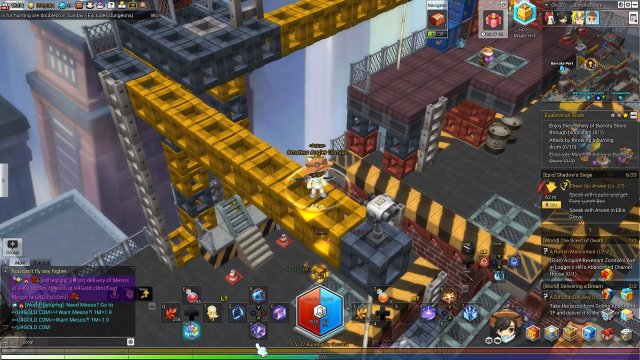
Attack by throwing a burning drum
- The nth time doing this quest. Find oil drums and throw them.
Eliminate Mini Pim hiding in Barrota Shore
- While on this map, you might notice some levers that you can pull. When you pull these, the Mini Pims spawn and you can kill 3 of these.
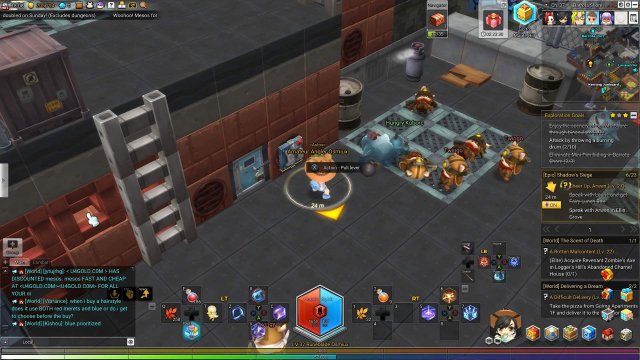
Lavaworks
Speak with Junjun, who is in charge of the Lavaworks
- This is the same as all of the other “Speak with…” goals, just a little bit more descriptive. He is found on the lavafall on the north end of the map.
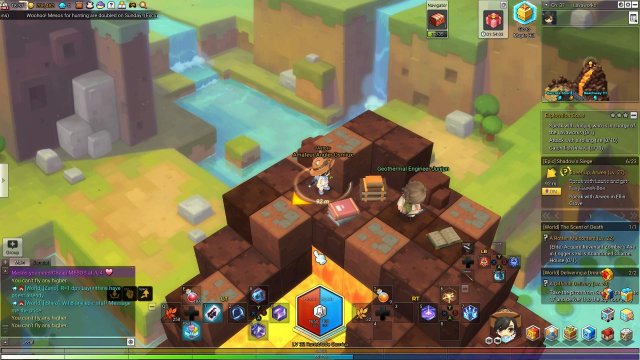
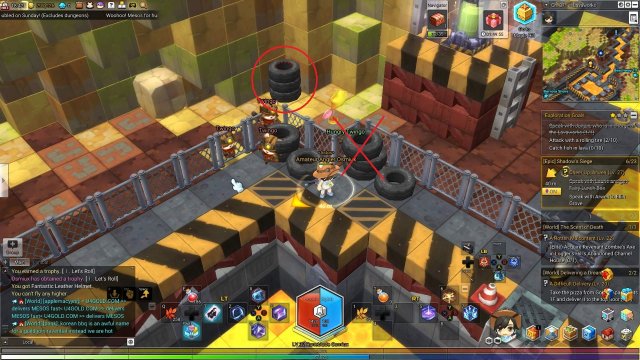
Attack with a rolling tire
- Same goal, different object. The only things that you can pick up and throw are neatly stacked tires of three. The picture below shows the difference.
Catch fish in lava
- The requirement for catching fish in this area is Beginner IV, so you have to do some leveling, but not too much. Once you get there though, catch 10 of any kind of fish!
Beachway 111
Swim for 300 meters in the ocean
- Very self explanitory. Just go for a swim!
Catch fish in the ocean
- While you’re at the beach and in the ocean, you might as well complete this goal too. However, like Lavaworks, you must be Beginner IV to start fishing here.
Open a hidden golden treasure chest under the ocean
- The golden treasure chest that this is referencing is literally at the bottom of the ocean on the western side of the beach. Now, you’ll notice that you can’t dive down and open it. There is a secret entrance to get to the chest, this is directly south-west of the portal to Lavaworks. You have to destroy a block that is covering the entrance.
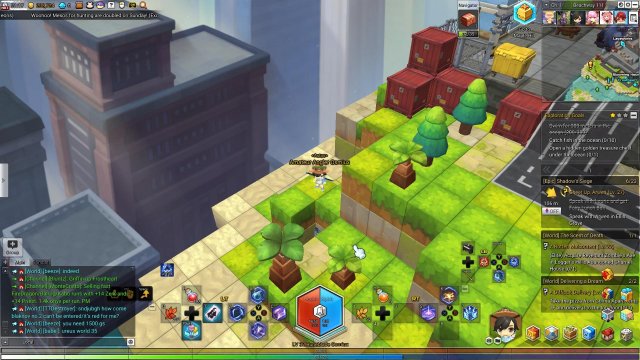
Frostheart
Fly for 60 seconds while holding a vulture or Griffin
- This is a new goal. To find these vultures, you go to a spot where there seems to be a nest and just wait there. Once a vulture arrives, interact with them to hold on. Hang on for 60+ seconds and you should just complete this. I did this one with the nest next to Loki and Senox.
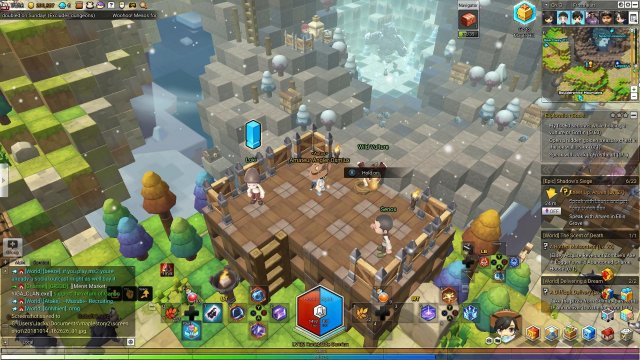
Open a hidden golden treasure chest in the ice wall crack
- This is kind of easy to find thanks to the hint, and unfortunately, that also makes it annoying to get. This one is just to the right of the frozen golem in the middle of the map. If you find a channel with it not there, just hop channels until you find one that DOES have it.

Speak with Jack in Frostheart
- Jack is standing right outside of his house, which can be found on the east side of the map.
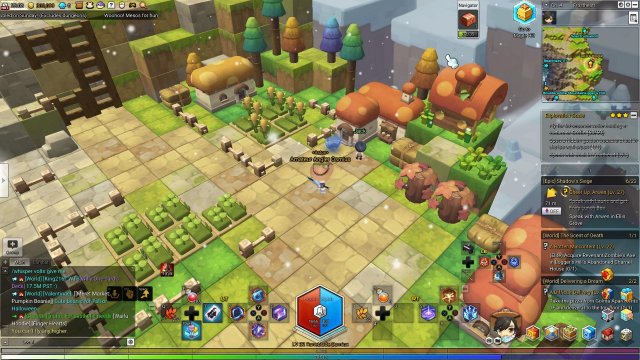
Flora Avenue
Enjoy the scenery of Flora Avenue through binoculars
- The binoculars are located pretty much in the exact middle of the map.
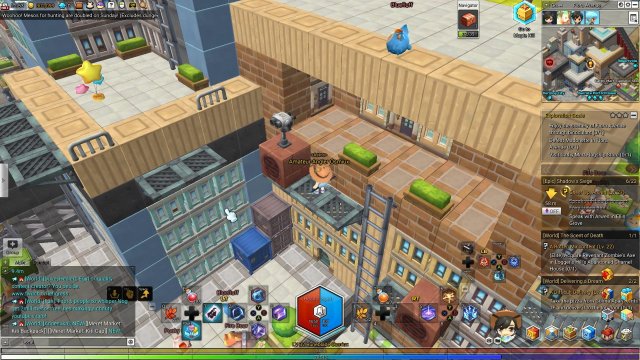
Defeat Madonette in Flora Avenue
- Not to hard in comparison to the Epics earlier. Madonette is just an Elite Level 17, found to the left of the binoculars.
Visit Cathy Mart Flagship Store
- Cathy Mart Flagship Store is found on the ground eastward from the binoculars. Just enter and you complete this goal.
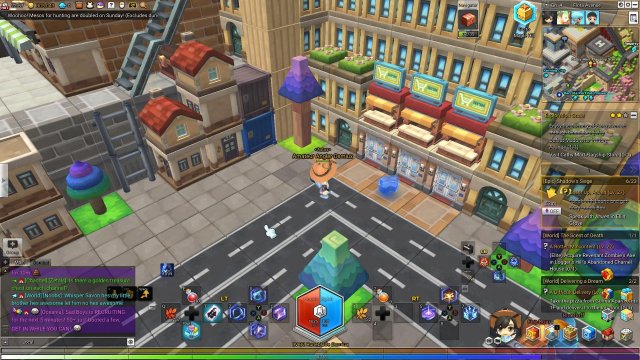
West Watchtower
Enjoy the scenery of West Watchtower through binoculars
- The binoculars are located on the west side of the map, directly south of the Flora Avenue portal.
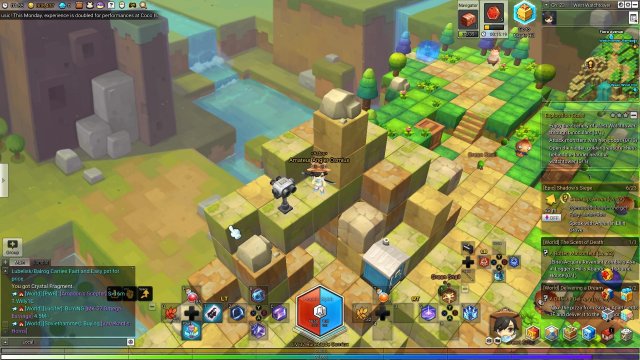
Attack monsters with hen coops
- These coops look more like cages, but okay. Find some “coops” and let them loose!
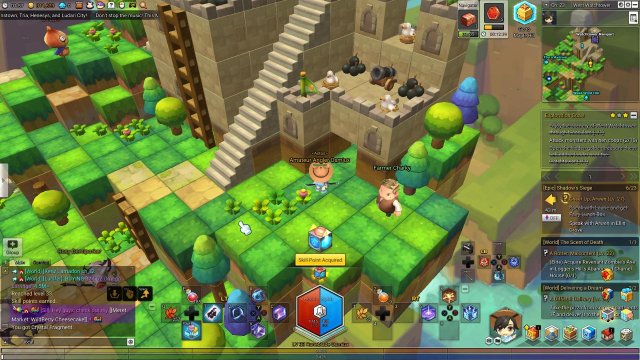
Open the hidden golden treasure chest behind the ladder near the watch tower
- This description is actually very accurate. To get to the golden chest behind the ladder, you need to go through a secret entrance. Although, it’s not so… secret. Break the block next to Farmer Charky and go through and open the chest. If there isn’t a chest there, again, change channels and try again!
West Wind Hill
Enjoy the scenery of West Wind Hill through binoculars
- The binoculars are located on the north-west side of the map, directly south of the Sweetskirts portal.
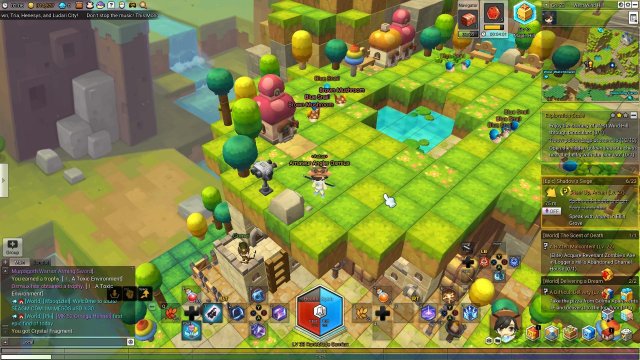
Throw poison bags at enemies
- The poison bags don’t really look toxic at all. They look more like sandbags. Just grab 10 and throw them. Also, they spawn a lot on the south side of the map, in semi-close clumps.
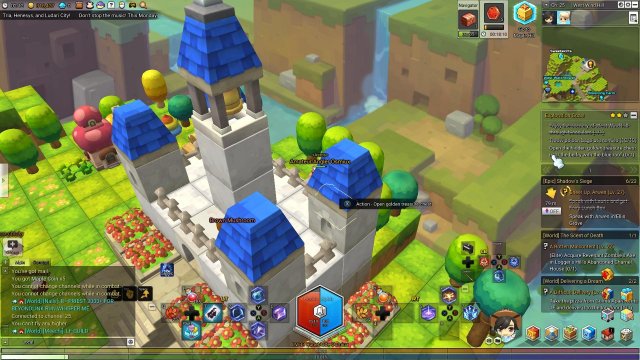
Open the hidden golden treasure chest near the belfry with the blue roof
- Exactly as it sounds. Go to the north end of the map and go behind the belltower/castle and interact with a chest. If it isn’t there, hop channels! Be careful of the enemies there. They’ll try to interrupt your interacting/channeling.
Resortville
Ride a mount
- Another one of these goals. Find your favorite ground mount and run around in a circle or something.
Catch a fish
- This area requires you to be Intermediate I, so you’ll have to do some grinding to get there. Otherise, just go have fun with the fishies!
Get Iron Ore from an ore vein
- I hope you didn’t forget about these goals. You need to be at least Mining Rank 5 to do this one.
New Goldus
Ride a mount
- Exactly the same as the one in Resortville. If you didn’t know, slopes don’t lower your movement speed but technically counts as more distance moved for the same amount of blocks. So technically the fastest way to do these are going to be equipping your fastest ground mount and walking up and down slopes.
Get Lead Ore from an ore vein
- Again, very similiar to the goal in Resortville. Except, you need to be at least Mining Rank 6 to do this one.
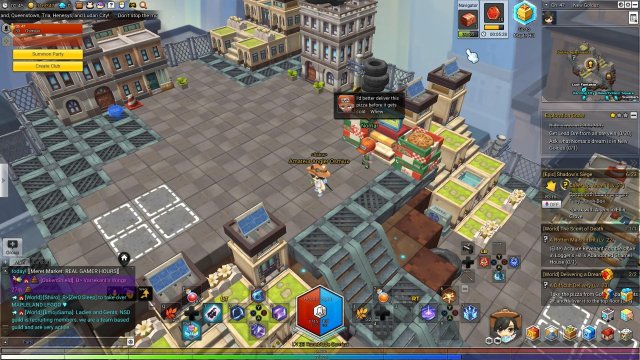
Ask what Nomar’s dream is in New Goldus
- Nomar is the pizza delivery guy on the northern most point of the map. You have to scale some towers to get there. Also, make sure to use the correct prompt when you talk to him.
Henesys and It’s Hills
Finally! We’re done with Kerning City. The next area that the storyline teleports us to is Henesys and in MapleStory 1, this was known as the city of archers. Henesys was also a huge hub for people to just AFK and do whatever. Again, there are some discrepancies and I will dictate what is considered Henesys area and what isn’t in my opinion. There aren’t as many around Henesys as Kerning City, so we can tone it down a bit!
So in this section we have the following:
- Henesys
- Nerman Forge
- Blooming Farm
- Spectrumwood
- Logger’s Hill
- Verdant Heights
- Prism Falls
- Hotottot River
- Crystal Vale
- Stone Quarry
- Ant Tunnel Entrance
- Ant Tunnel Plaza
- Aner Park
- Forgotten Keep
- Henesys Docks
- Precipice Fortress
Henesys
Enjoy the scenery of Henesys through binoculars
- The binoculars are located on the northern portion of the map, next to the waterfall.
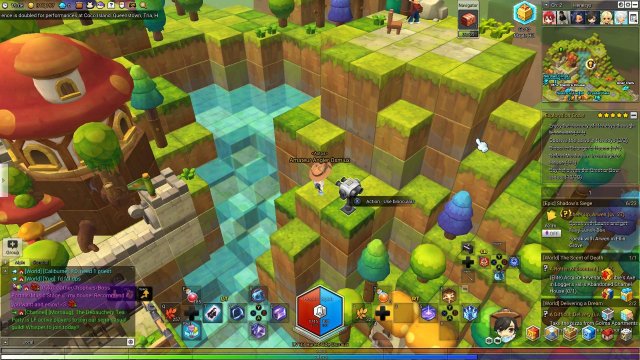
Observe the cows in Henesys
- Kind of a strange goal, but find some cows and interact with them. Go cow-watching, really… The cows that I used are found on the south-west portion of the map.
Discover Stranger’s House
- The Stranger’s House can be found behind Kodor, on the north side of the map. Interact with the lone orange tree and you should be teleported inside.
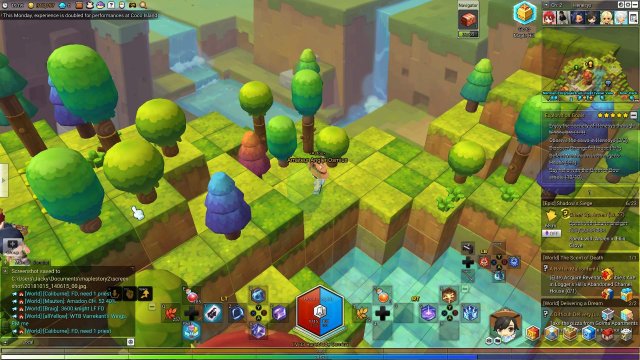
Defeat Mushmom in Stranger’s House
- While in the Stranger’s House, you will be greeted with a very familiar orientation (if you played Maple 1). Go down to the bottom of the map and attack Mushmom. Elite Level 21 monster, not too bad if you’ve reached here through the storyline.
Say hello with the Greet or Bow emote
- Exactly the same one as the one found earlier in the guide. /greet or /bow or F1 to get this done. I will recommend getting the quest from Sylvia because you need to greet her crops.
Nerman Forge
Enjoy the scenery of Nerman Forge through binoculars
- The binoculars are found on the western part of the map, above Chaos Onyx Collector Nox.
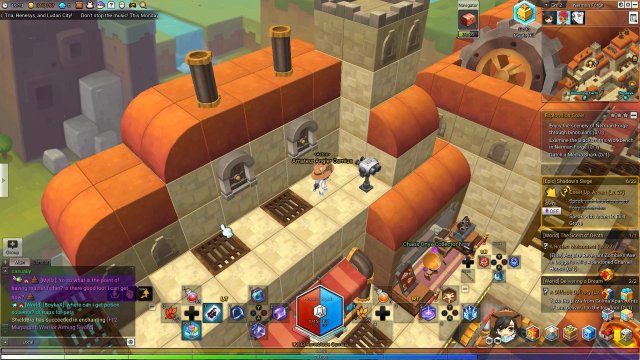
Examine the Blacksmith’s Workbench in Nerman Forge
- The Blacksmith’s Workbench can be found behind Ophelia. If you didn’t know, she’s also the person that you go to if you want to enchant stuff. Or you can just open it from your inventory.

Catch a Mecha Shark
- There are technically multiple things about this goal, as you need to be at least Intermediate I to start fishing here. The Mecha Shark is also an Epic ranked fish, so it will take you a while to catch this guy. Just try to have fun fishing or use an Auto-fishing Voucher.
Blooming Farm
Enjoy the scenery of Blooming Farm through binoculars
- The binoculars are found on the western part of the map, on a cliff, overlooking the rest of the map.
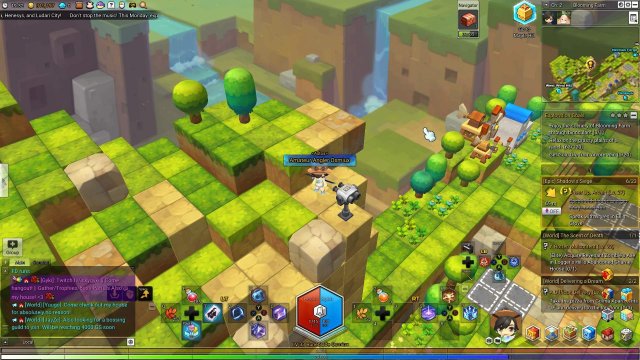
Relax on the grassy plains of a ranch
- Just exist! This goal is kind of weird. You get points for just staying on a certain point of a map. So long as you’re not on the cliff next to the binoculars, you should just get points towards this goal.
Get Gold Ore from an ore vein
- Hey! Another one of these goals. Rank 10 this time though, so good luck getting this anytime soon.
Spectrumwood
Enjoy the scenery of Spectrumwood through binoculars
- The binoculars can be found north-east portion of the map, just off of the side of the cliff/trail.
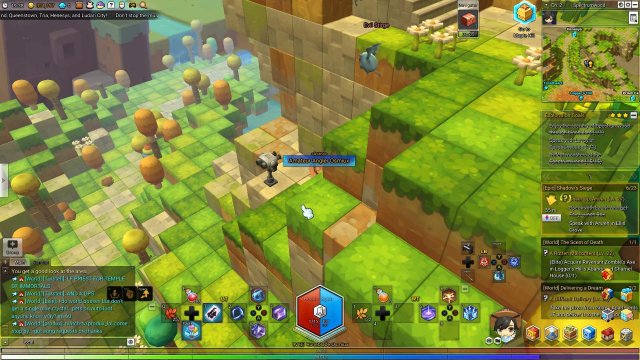
Speak with Lavoy in Spectrumwood
- Lavoy is found directly south of the giant healing tree.

Defeat monsters at the Spectrumwood
- Very very self explanitory. Just go attack stuff!
Logger’s Hill
Enter Abandoned Charnel House
- Abandoned Charnel House can be found south-east of the portal to Spectrumwood.
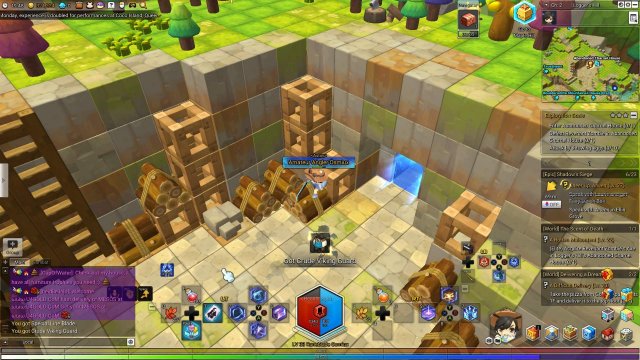
Defeat Revenant Zombie in Abandoned Charnel House
- Before you do this goal, go get the quest “A Rotten Malcontent,” because it has you get the Revenant Zombie’s axe anyways. Inside the Abandoned Charnel House, go towards the center of the map and head right slighty until you find a little inlet that has Leg- err… Ludibrium pieces as the floor. The Revenant Zombie should spawn there. He’s an Elite Level 22, so do make sure to use potions and maple leaves!
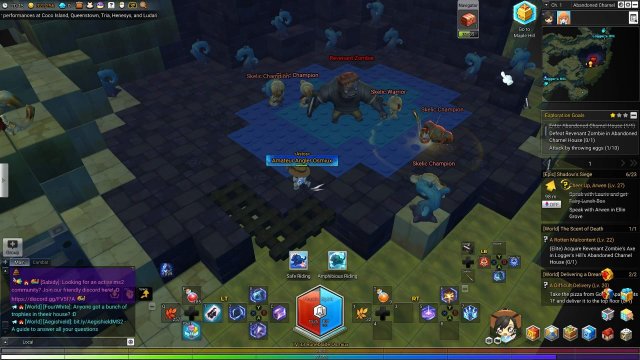
Attack by throwing eggs
- Go egg a poor monster 10 times.
Verdant Heights
Enjoy the scenery of Verdant Heights through binoculars
- The binoculars can be found to the left of the waterfall on more Ludibrium bricks.
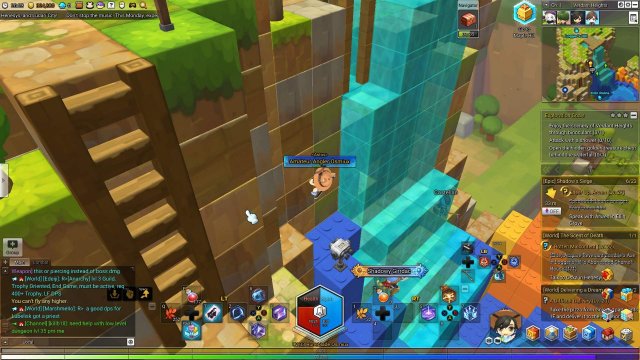
Attack with a shower
- An interesting choice of objects to throw, but still the same goal. Throw showers around!
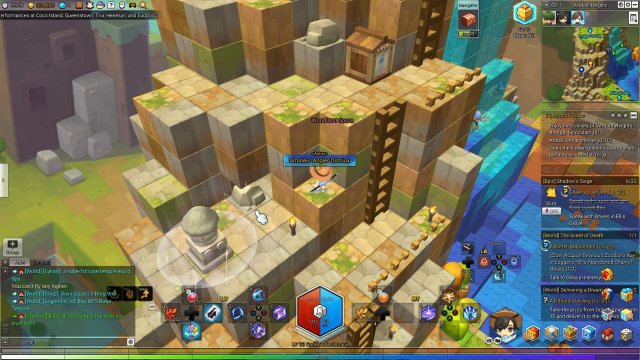
Open the hidden golden treasure chest behind the waterfall
- The secret entrance to the golden treasure chest can be found just behind the healing totem on the west side of the map. Follow through the tunnel and open the chest. Otherwise, change channels and try again!
Prism Falls
Open the hidden golden treasure chest behind Prism Falls
- The treasure chest that is hidden behind Prism Falls doesn’t actually have a secret entrance, so this one is easy to get.
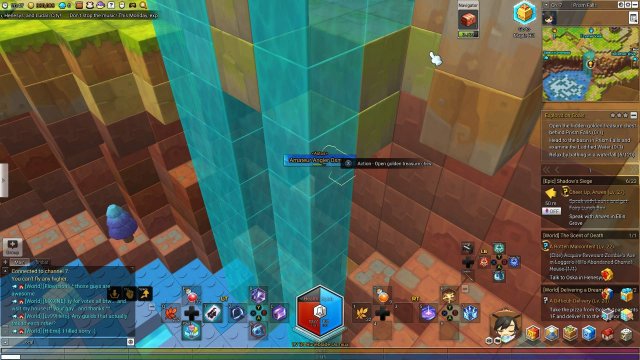
Head to the basin in Prism Falls and examine the Ludified Water
- I didn’t know that there was an adjective about Lego Water, but okay. Directly underneath the golden treasure chest, you can interact with the water and find out about the Ludified Water.
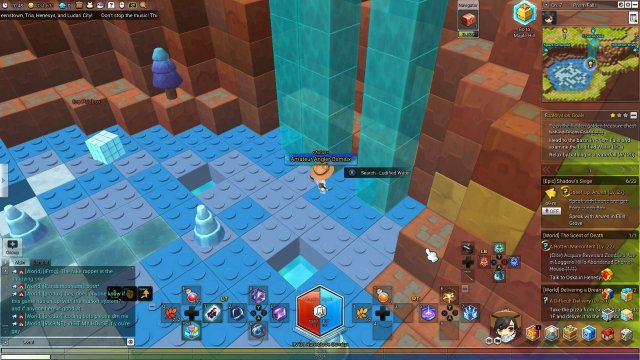
Relax by bathing in a waterfall
- Go to the top of the waterfall and just chill.
Hotottot River
Enjoy the scenery of Hotottot River through binoculars
- The binoculars can be found in the north-eastern part of the map, north of the Bonebridge Worksite portal.
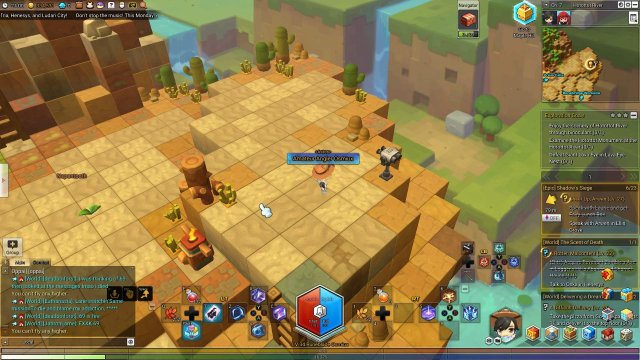
Examine the Hotottot Monument at the Hotottot River
- The monument can be found on the side of the mountain, next to some lava. I used a balloon to get here, so I would HIGHLY recommend doing the same. Lava is no joke.
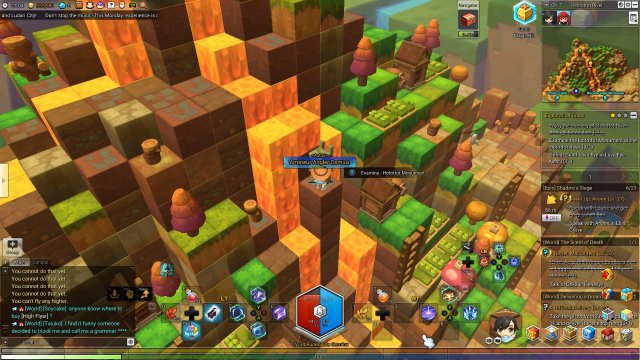
Defeat Giant Lava Eye in Lava Eye Nest
- The entrance to the Lava Eye Nest is actually at the peak of the mountain. There’s a small hole you can jump into. The Giant Lava Eye is an Elite Level 30 monster, so do be careful when fighting it.
Crystal Vale
Enjoy the scenery of Crystal Vale through binoculars
- The binoculars can be found on the middle-eastern part of the map, somewhat close to cluster of Ravensteel Ore.
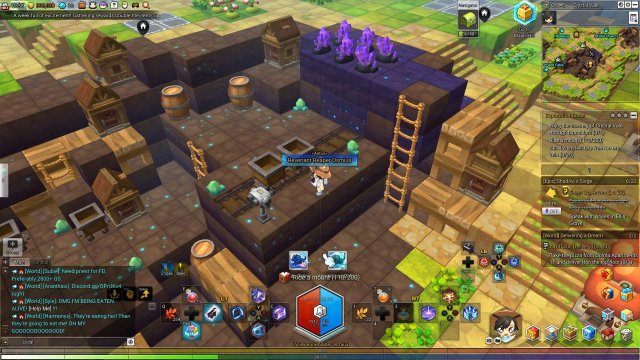
Ride a mount
- Another one of these goals. Get on a ground mount and run around. You can even run towards the binoculars to knock two goals down at once.
Get Ravensteel Ore from an ore vein
- Ravensteel Ore can only be mined if your mining mastery is at least 8, so it will take you some time before this will be completed.
Stone Quarry
Attack with dynamite carts in Stone Quarry
- Again, new item; same goal. Find dynamite carts and throw them about.
Speak with Quarry Worker in Stone Quarry
- Quarry Workers can be found scattered all throughout the map. There are three right next to Foreman Kaya.
Open hidden wooden treasure chests in several places
- Go around and search for some more wooden chests. If you can’t find any, again, hop channels. This one took me a long time. It seems like the places that the chests spawn are really obvious, so everyone just takes them.
Ant Tunnel Entrance
Defeat Zombie Mushmom in Ant Tunnel Entrance
- Zombie Mushmom is an Elite Level 32 monster, so do be careful. Luckily there’s a healing totem directly under her area, so it’s easy to cheese it, given that you have enough health to survive the first 5 or so hits, which shouldn’t be too hard if you’re about that level. Make sure to use Potions and Maple Leaves too.
Attack with oak barrels
- Again, same thing. Find oak barrels and put them down to get some progress in this goal.
Speak with Andy in Ant Tunnel Entrance
- Time Traveler Andy can be found just left of the healing totem, mentioned earlier.
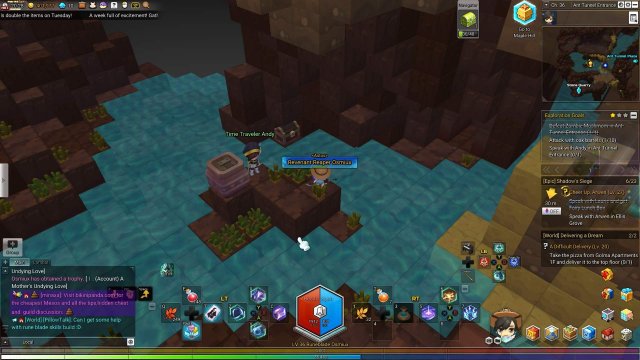
Ant Tunnel Plaza
Enjoy the scenery of Ant Tunnel Plaza through binoculars
- The binoculars can be found on the top-most and north-western part of the map, surrounded by Evil Eyes.
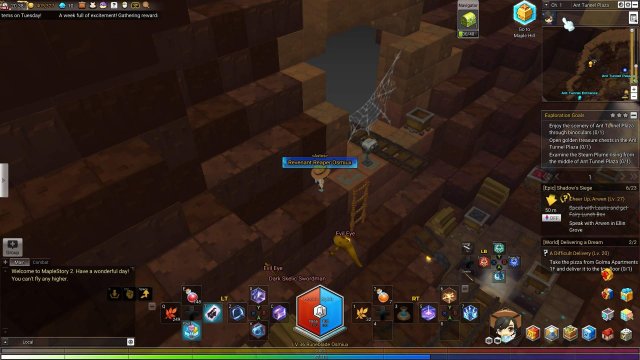
Open the golden treasure chests in the Ant Tunnel Plaza
- This one doesn’t specify any specific gold chest, so you can go look for either of the two that are on this map. The one that I collected was directly underneath the Ant Tunnel Entrance portal, behind a pillar supporting the upper areas of Ant Tunnel Plaza.
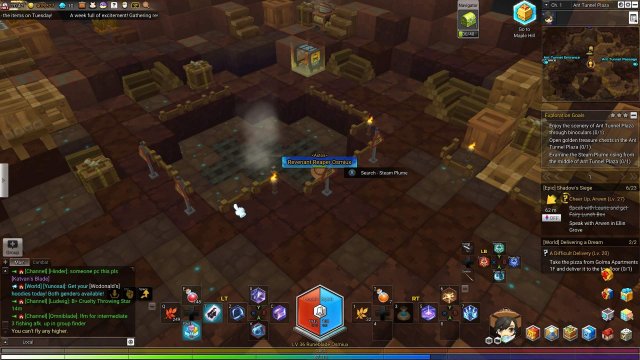
Examine the Steam Plume rising from the middle of Ant Tunnel Plaza
- This one is exactly as it sounds. Head towards the middle of the map and investigate the Steam Plume.
Aner Park
Relax for 5 minutes on a park bench
- This one is strange. You have your character model jump onto a bench and then use the /sit command while on it. You start slowly accruing towards the goal by doing this.
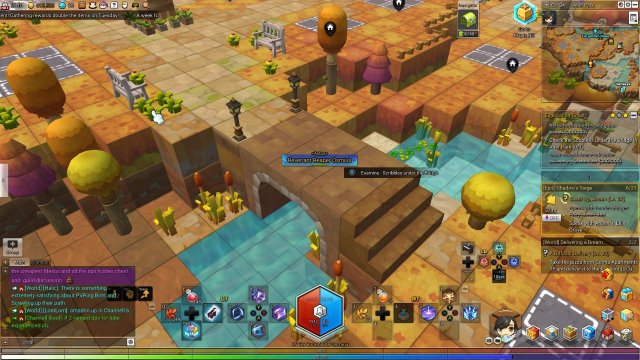
Check the Scribbles under the Bridge in Aner Park
- This one is even stranger. There are two bridges in Aner Park, this one is talking about the smaller of the two bridges. From the Henesys portal, head north-west and swim under the bridge. You can only interact with the Scribbles in a very precise location. It is on the northern most tip of the bridge, underneath if you come from the south side.
Look around Aner Park while swimming in the river
- All you have to do is swim around 300 meters. I don’t know why this one is worded strangely.
Forgotten Keep
Enjoy the scenery of Forgotten Keep through binoculars
- The binoculars can be found on the top-most wall of the keep, on the south-eastern side of said wall.
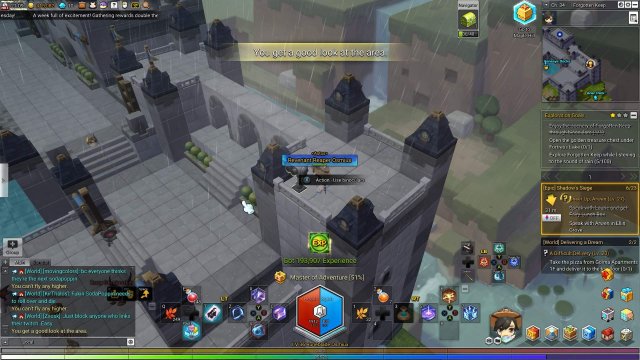
Open the golden treasure chest under Fortress Lake
- The secret entrance is going to be a part of the fortress itself. If you head towards the lake, there should be an extension of the castle that splits the lake in half. There are tunnels that lead into the middle part, and in the middle part is a corridor that is blocked by the… well… blocks. I turned the camera angle so you can see what I’m talking about. Look at the map in the photo if you want more information on the location.
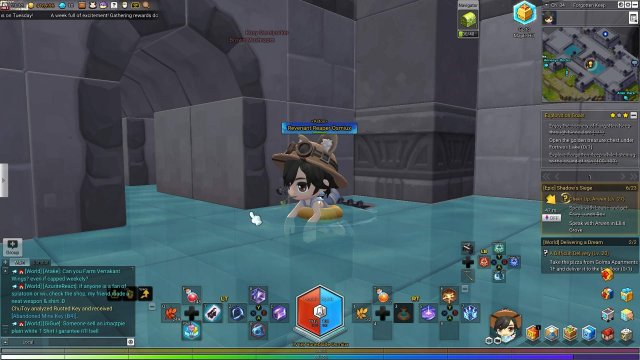
Explore Forgotten Keep while listening to the sound of rain
- When I got to this map, it was already raining, so I don’t know if it has dynamic weather or not. Either way, WALK around the map for 100 meters and you should have this goal done.
Henesys Docks
Enjoy the scenery of Henesys Docks through binoculars
- The binoculars are on the north-eastern part of the map, located next to some standard port items.
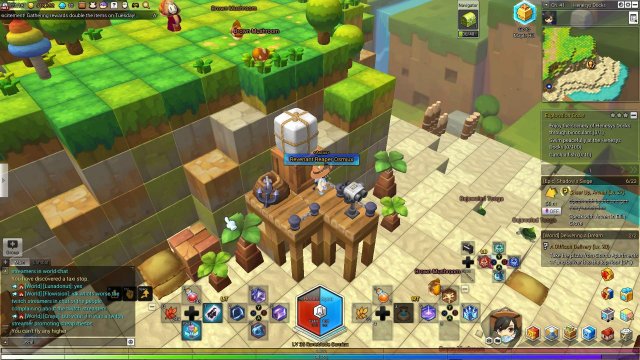
Swim peacefully at the Henesys Docks
- Just swim around 100 meters. Go wild.
Catch a fish
- Same thing as all of the other “Catch a fish” goals. This place is Intermediate IV, so that will take you a LOT of leveling to do this one. If you really want this, I would recommend getting Auto-Fishing Vouchers and doing some grinding.
Precipice Fortress
Enjoy the scenery of Precipice Fortress through binoculars
- The binoculars can be found at the northern tip of the map. They’re basically a straight shot up to the northern most part.
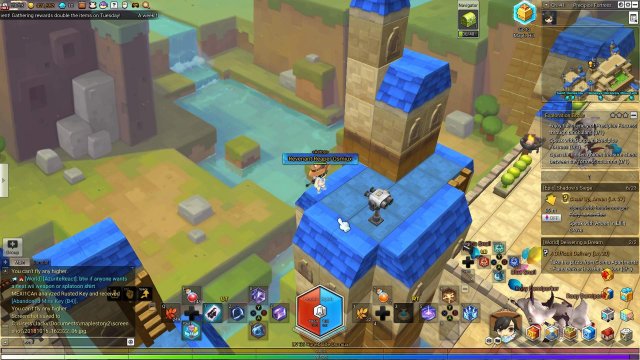
Speak with Danpa in Precipice Fortress
- Weapon Collecter Danpa can be found directly south of the binoculars, not too far away.
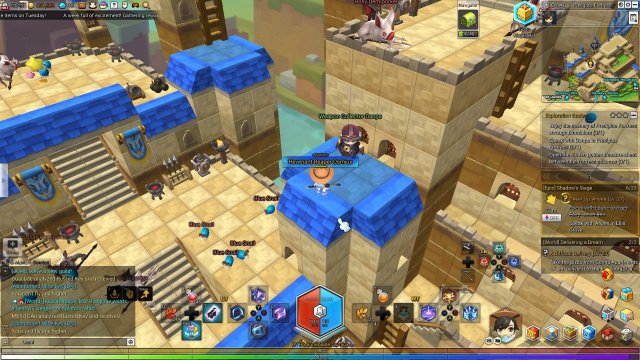
Open the hidden golden treasure chest between the fortress columns
- This treasure chest is found slightly to the south-east of Danpa, protected by a couple of monsters. I actually haven’t collected it yet, it seems like it isn’t spawning too often. Just keep trying or come back some other time.
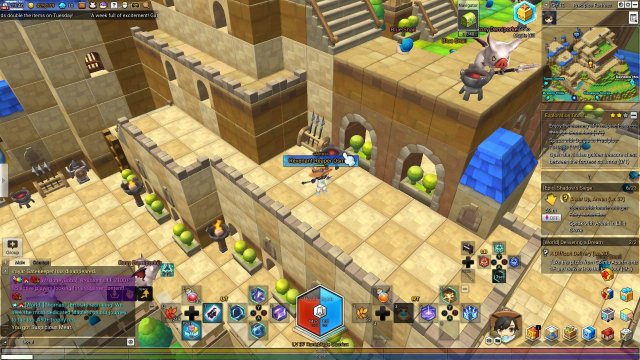
Ellinia and The Mystical Forests
The Ellinia region of Maplestory 2 is huge. And I mean HUGE!
Here is what you can expect from the Ellinia region though:
- Ellinia
- Decor Haven
- Ellin Grove
- Torhara Spring
- Trinian Crossing
- Andrea Barony
- Orne Town
- Ellbo’s Hollow
- Ellua Forest Path
- Ellua Riverside
- Ellin Ruins
- Great Ellin Tree
- Trinket Woods
- Razed Forest
- Baum Tree
- Forest of Lost Memories
- Corona Lake
- Eileen Town
- Godspring
- Ellin Town
- Ellosylva
- Tidepool Cliffs
- Barbosa Beach
- Greenia Falls
- Cheliska Bay
- Tortuga Seaside Cliffs
- Coco Island
- Fungee Stump
- Mirror Castle
- Caustic Garden
- Overtop Beanstalk
- Rose Castle
- Forelle Town
- Serene Docks
- Twilight Moon Castle
- Moonglow Forest
Wow that’s a long list! We have to get started somewhere, so why not start off with the big checkpoint known as Ellinia?
Ellinia
Enjoy the scenery of Ellinia through binoculars
- The binoculars can be found on the middle part of the map, right outside the portal to Firefly Cavern.
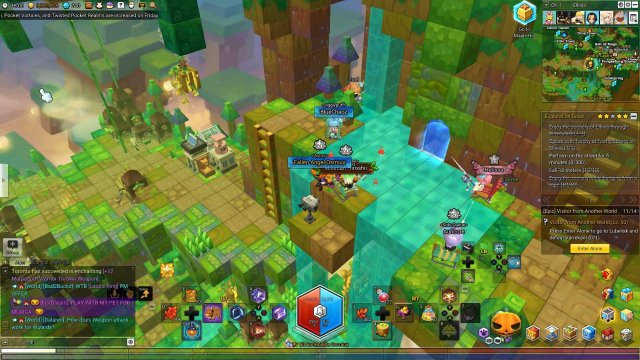
Speak with Torchy at Firefly Cavern in Ellinia
- Torchy is the ladybug/firefly on the bottom of the Firefly Cavern. Speak with Torchy to get this goal completed.
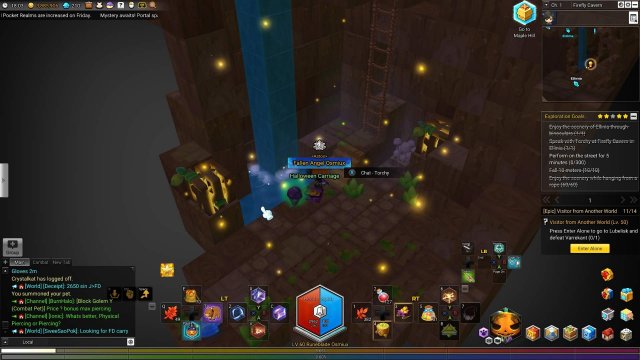
Perform on the street for 5 minutes
- Exactly the same as the previous “Perform” goals.
Fall 10 meters
- A new goal! This one promotes your self-destructive tendencies. I used an air mount to get up in the air and fall as much as possible. Might as well get some trophies while getting this goal.
Enjoy the scenery while hanging from a rope
- Also another new goal! This one SOUNDS like it wants to promote your self-destructive tendencies, but… Uh… Yeah. Find a rope that is being used to hang the lanterns, so use an air mount to get up on the lanterns and climb up the rope like you would a ladder.
Decor Haven
Travel by taxi from Decor Haven
- Exact same as the other “Travel by taxi” goals. Again, save your mesos!
Explore the inside of Tria Theme Shop
- The Tria Theme Shop is located on the bottom floor, it looks like the Tria Castle, I don’t know what else you need to know.
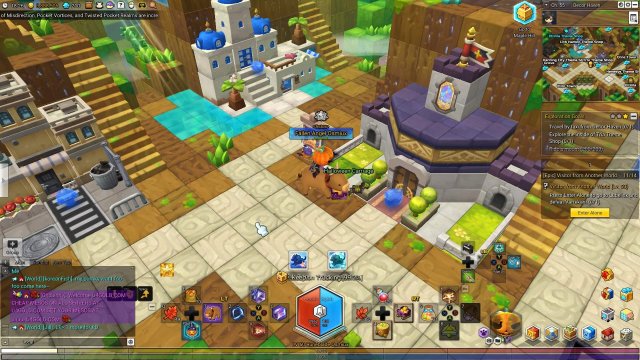
Ride a mount
- Ride a mount! Find a ground mount and run around 200 meters.
Ellin Grove
Enjoy the scenery of Ellin Grove through binoculars
- The binoculars can be found on the very eastern part of the map, north-east of the portal to Orne Town.
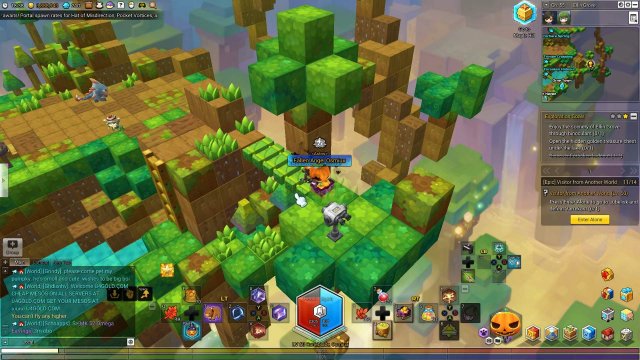
Open the hidden golden treasure chest under the lake
- The secret entrance to this specific treasure chest can be found on the side of the lake, not too far from the chest itself. Just slightly to the south-east of Arwen, you can see a mini-waterfall. Enter there! If there’s no chest, change channels.
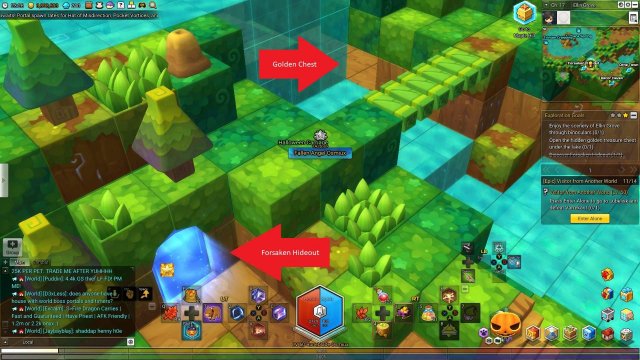
Discover Forsaken Hideout
- From the secret entrance of the golden treasure chest, look to the south-west slightly. There should be a portal to the Forsaken Hideout, directly south-south-east of Arwen.
Torhara Spring
Enjoy the scenery of Torhara Spring through binoculars
- The binoculars can be found on the very top of the eastern part of the map. From Torhara, there is actually an elevator block that brings you straight to the binoculars.
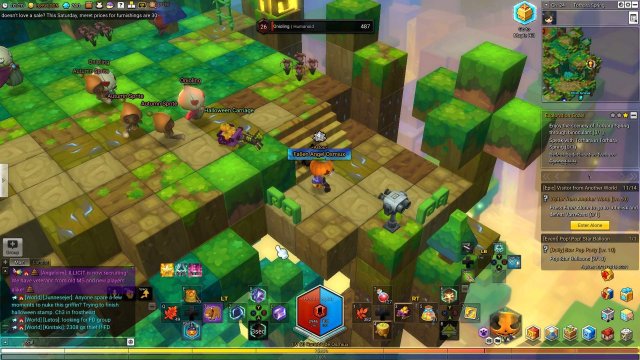
Speak with Torhara on Torhara Spring
- Speaking of Torhara, you must speak WITH Torhara. Found on the middle-northern part of the map. Just look for the giant turtle.
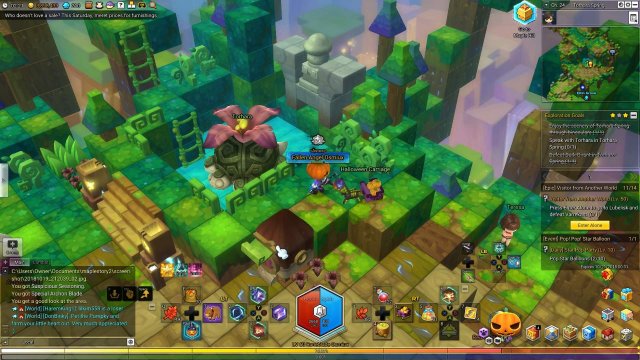
Defeat Dark Girant in Torhara Spring
- North-west from the binoculars, you might be able to see the Dark Girant. Go and beat him up! Dark Girant is just an Elite Level 27. I would recommend getting the quest to take out both the quest and the goal at the same time.
Trinian Crossing
Enjoy the scenery of Trinian Crossing through binoculars
- The binoculars can be found in the middle of the map, to the south-west of the Griffina arena.
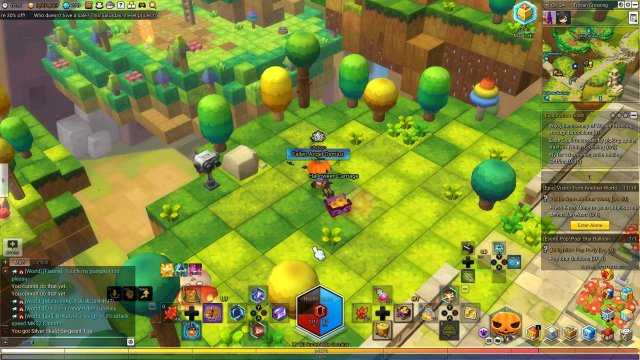
Ease Shalin’s worries by picking up the trash in Trinian Crossing
- These little items aren’t hard to find. Just go around and pick up three trash-looking items, like bottles on the floor.
Fly for 10 seconds while holding Griffina
- The best way that I figured out how to do this is to just grab some strong leafs and pump yourself with some good regeneration. Find a channel where she is in the world, attack her once so you’re considered in the fight, and then interact with her. If you get knocked off, just jump back on as soon as possible. She is a Boss enemy, so she will not always be available, so just come back and do this when you see her on the map.
Andrea Barony
Speak with Melvo in Andrea Barony
- Caretaker Melvo can be found just outside the portal to Operation Hen Rescue. Head to the northern parts of the map and he should just be standing there.
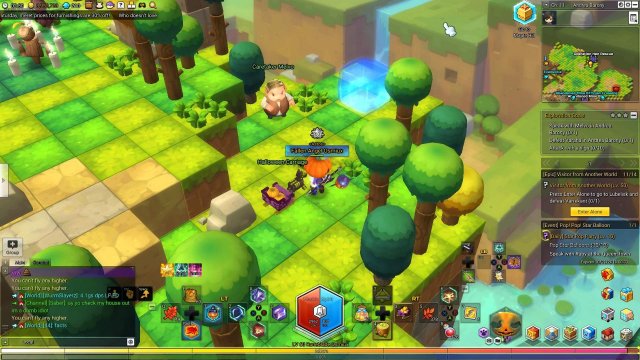
Defeat Varaha in Andrea Barony
- Varaha is an Elite Level 24 monster, located south-east of Melvo. Take him out and get this goal completed.
Attack with a sign
- Another “Attack with…” goal. Just get’er done.
Orne Town
Speak with Brynn in Orne Town
- Brynn is overlooking the “town square” (if you could call it that), just outside the portal to Ellbo’s Hollow.
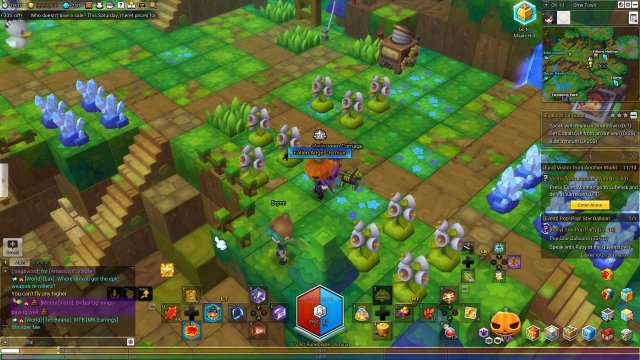
Get Cobalt Ore from an ore vein
- More of these goals! This one is mastery rank 12, so this is going to be way WAY later into the game.
Ride a mount
- Another one of these goals. Again, find your favorite/fastest ground mount and zoom around.
Ellbo’s Hollow
Enjoy the scenery of Ellbo’s Hollow through binoculars
- The binoculars can be found in the eastern most part of the map.
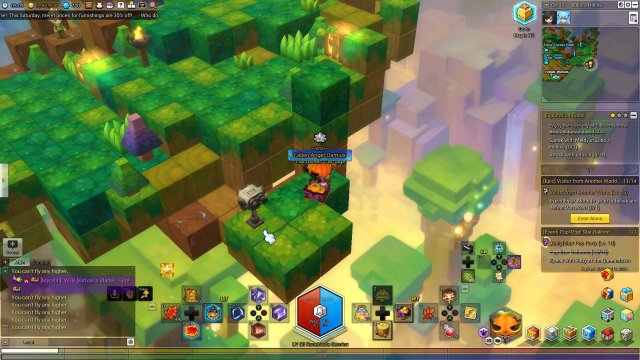
Speak with Meldy in Ellbo’s Hollow
- Meldy is located at the very very top of the map, towards the north-western side.
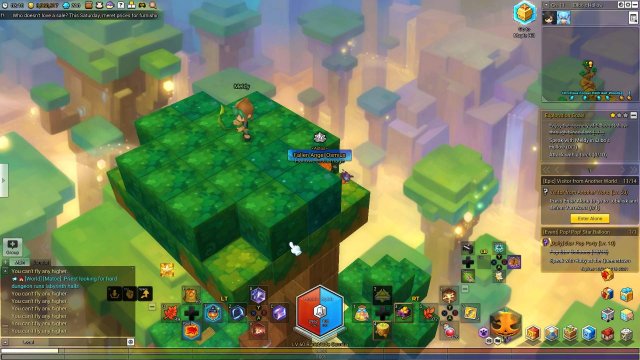
Attack with a torch
- Light them on fire!
Ellua Forest Path
Enjoy the scenery of Ellua Forest Path through binoculars
- If you’re coming from Ellbo’s Hollow, it’s right there. If you aren’t, go towards the Ellbo’s Hollow portal.
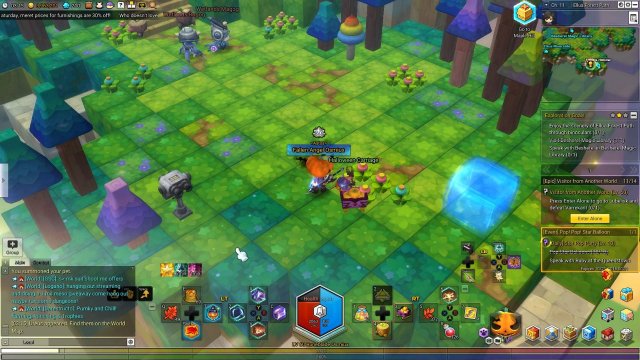
Visit Besherel Magic Library
- The Besherel Magic Library is basically smack-dab middle of the map; and then go straight up. It’s marked on your map, just go there and enter to complete this goal!
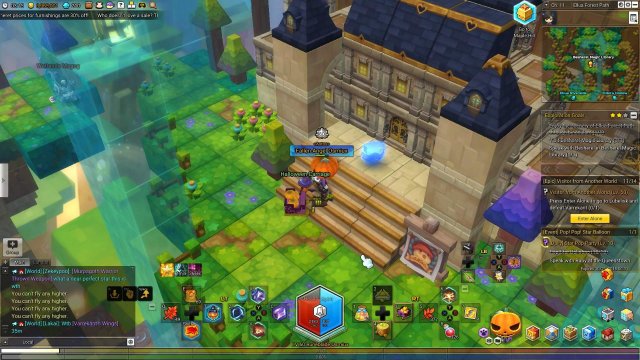
Speak with Besherel in Besherel Magic Library
- To speak with the titular NPC, go up the tunnel slightly and take a right as soon as a fork presents itself. Besherel should be in a small safe-haven. Make sure that when you speak to Besherel, you use the Talk action to complete this goal!
Ellua Riverside
Enjoy the scenery of Ellua Riverside through binoculars
- The binoculars are found on the south-western side of the map, next to a waterfall that falls into the abyss.
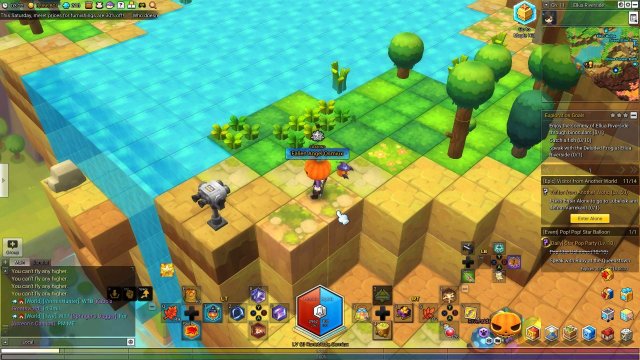
Catch a fish
- Same as always. The minimum rank for here is Advanced II, so good luck trying to get this one done anytime soon.
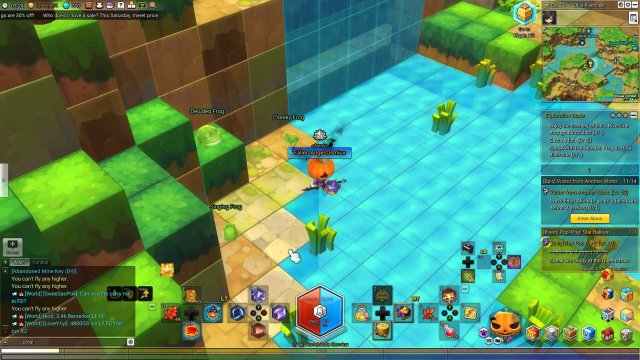
Speak with the Deluded Frog at Ellua Riverside
- The Deluded Frog is one of the NPC trio directly south of the northern healing tree in this location. They’re sitting next to a waterfall.
Ellin Ruins
Enjoy the scenery of Ellin Ruins through binoculars
- The binoculars can be found on the northern part of the map, just off to the left of the grass growing into the arena.
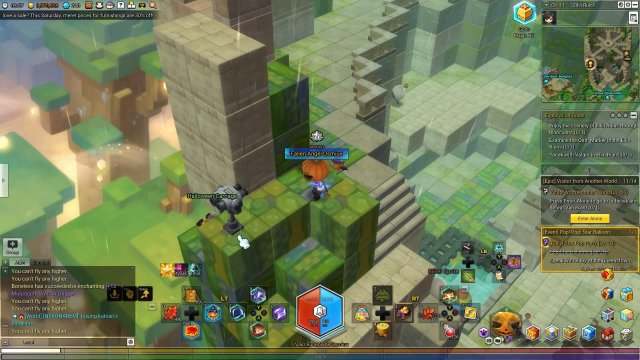
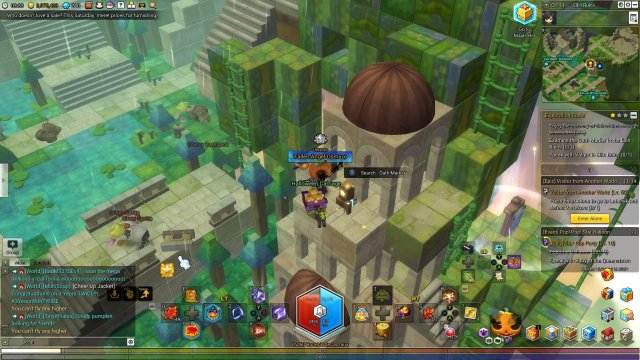
Examine the Oath Marker in the Ellin Ruins
- Without knowing what this was, it took me a while to find it. It’s a small night light next to the healing banner.
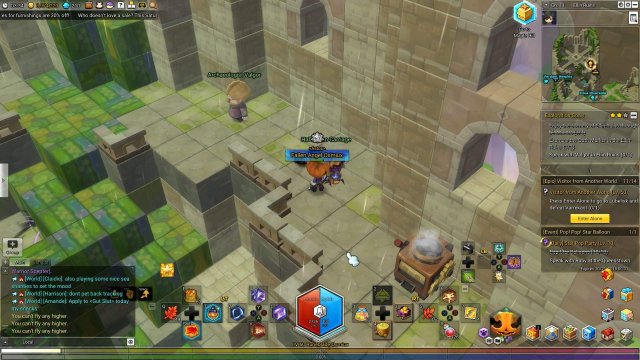
Speak with Valgor in Ellin Ruins
- Archaeologist Valgor can be found just to the left of the item dismantler and the taxi stop.
Great Ellin Tree
Enjoy the scenery of Great Ellin Tree through binoculars
- These binoculars can be found in the middle of the map, at the base of the giant tree.
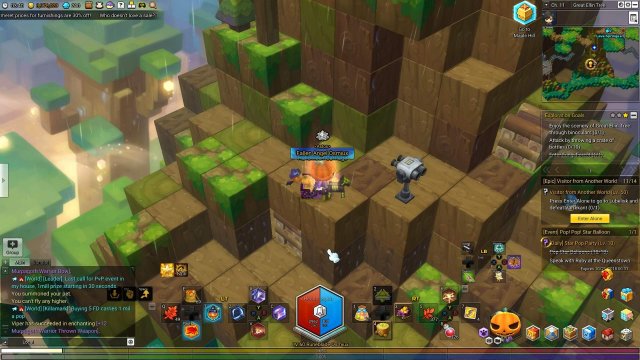
Attack by throwing a crate of bottles
- I guess go ruin someone’s attempt at recycling for this goal. The only places that these crates spawn are going to be on the mechanical parts of this map. The fastest way I completed this is to go to the nearest mechanical area and throw the crate and then change channels. You will more than likely spawn next to another mechanical area. It’s a lot faster than going to the otherside of the map and it’s a lot faster than waiting for the object to respawn again. Occasionally, you do spawn in the middle, so just pick a side.
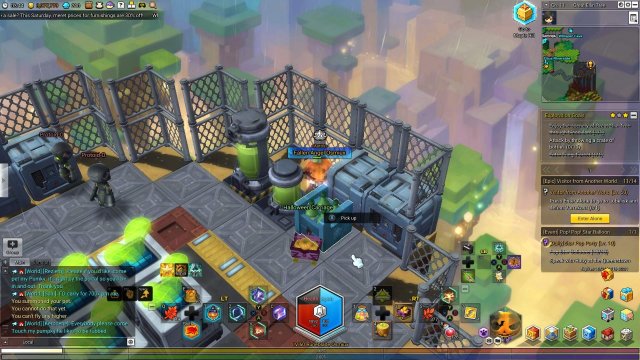
Enter Fungi Forest
- The portal to Fungi Forest is going to be right next to a healing totem found on the tree itself.
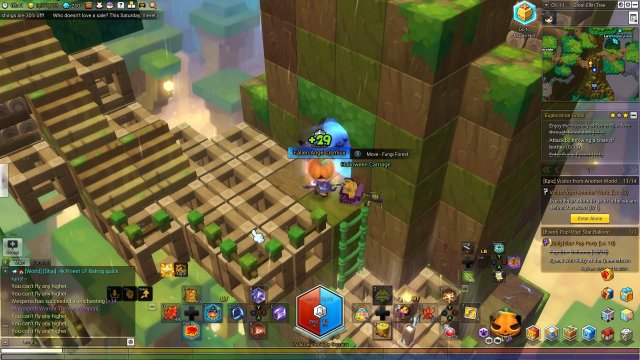
Trinket Woods
Enjoy the scenery of Trinket Woods through binoculars
- The binoculars can be found on the northern tip of the map, surrounded by three enemies.
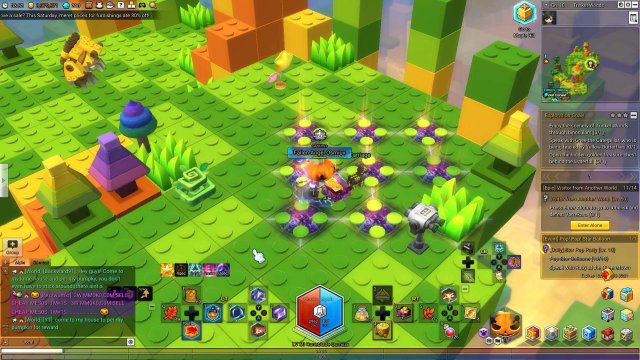
Speak with Chee the Caterpiller, who is being teased by Yellow Butterflies
- Exact same as the other “Speak with…” goals, but it gives you a little extra (useless) information. Chee can be found on the south-western most tip of the map, on top of a small tree.
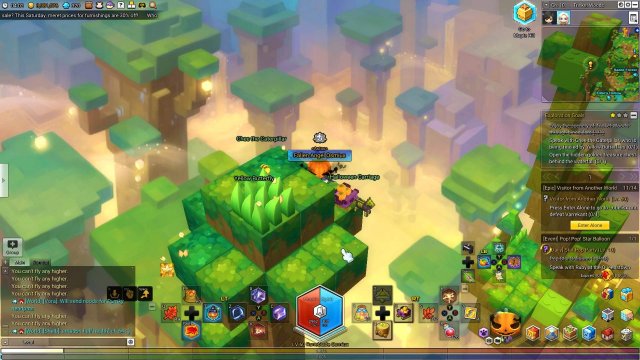
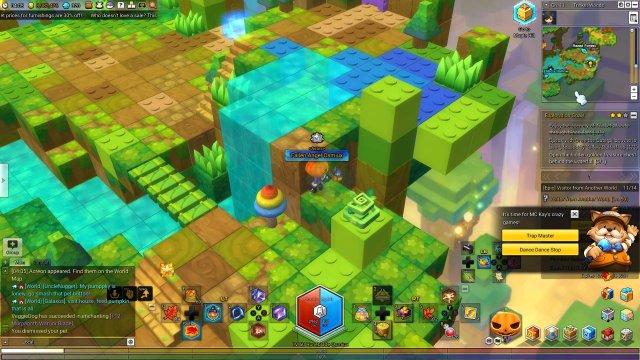
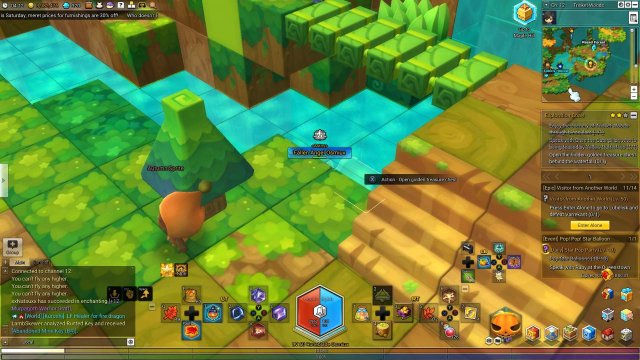
Open the hidden golden treasure chest behind the waterfall
- The golden treasure chest has a secret entrance just to the right of the actual chest itself. I’m posting two pictures because it’s hard to see if the chest is actually in there or not.
Razed Forest
Enjoy the scenery of Razed Forest through binoculars
- The binoculars can be found on the southern-most portion of the map, just to the left of the portal to Baum Tree.
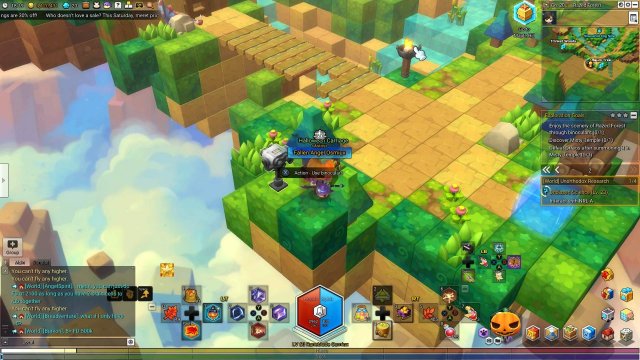
Discover Misty Temple
- The entrance to Misty Temple can be found on the western part of the map, just under some cliffs.
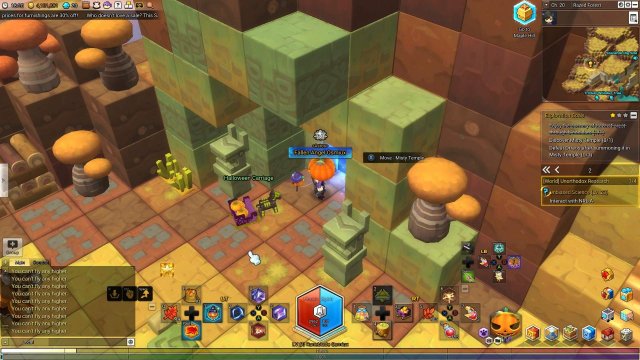
Defeat Orreos after summoning it in Misty Temple
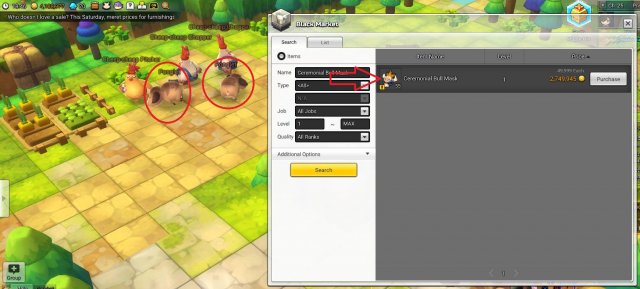
- Orreos can only be fought if you have the bull mask to sacrifice. You can only get the bull mask as a drop from a monster. Go back to Prism Falls. Yes, it’s that far back. Fight the Ponglets until they drop the masks. OR if you were lazy like me, you can buy them off of the Black Market. Just type in, “Ceremonial Bull Mask” and if it pops up, great! If not, well you’re going to have to start grinding away at that drop.
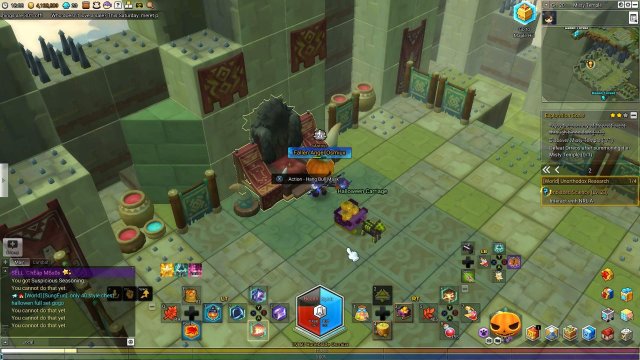
- Once you get the item, head back into the Misty Temple and head to the end. Place the Ceremonial Bull Mask and Orreos should spawn. Orreos is a Level 29 monster. Not even an Elite. Just beat the ever-living crap out of him and complete this goal!
Baum Tree
Enjoy the scenery of Baum Tree through binoculars
- These binoculars can be found on the eastern side of the map, just west of the portal to the Forest of Lost Memories.
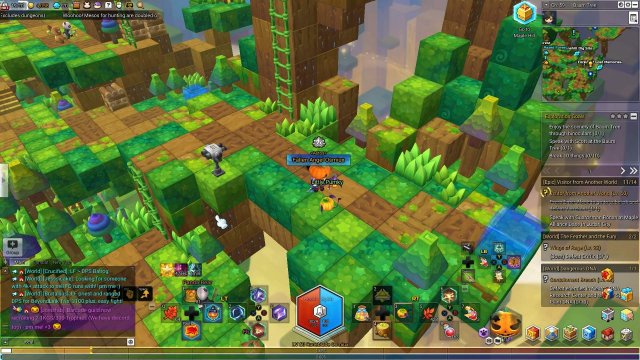
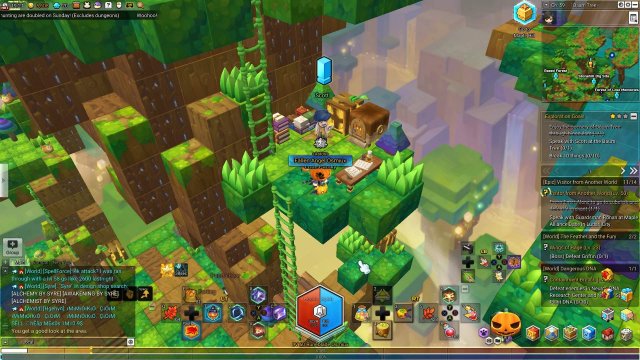
Speak with Scott at the Baum Tree
- Scott is a researcher that can be found on top of a branch, above the Stonehill Dig Site portal.
Break 10 things
- Let loose your destructive tendencies!
Forest of Lost Memories
Enjoy the scenery of Forest of Lost Memories through binoculars
- The binoculars can be found near the middle of the map, south-east of the taxi stop.
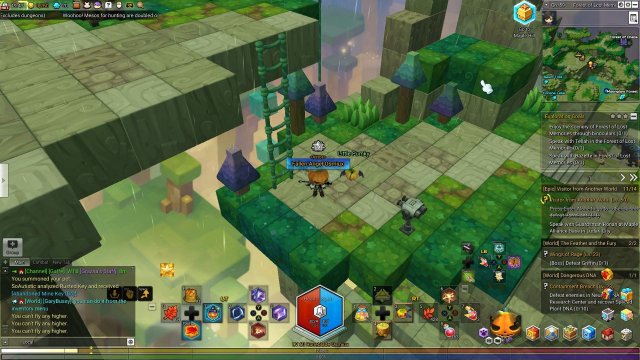
Speak with Tellah in the Forest of Lost Memories
- Tellah is a turtle that can be found south-west of the healing totem in the river.
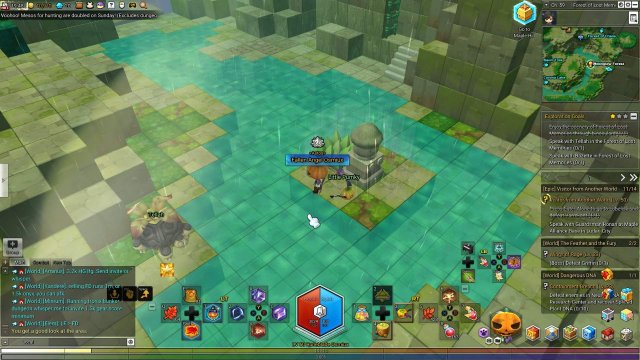
Speak with Bazette in the Forest of Lost Memories
- Bazette can be found directly east of the portal to the Baum Tree. She does have a quest, so make sure you use the Talk action instead.
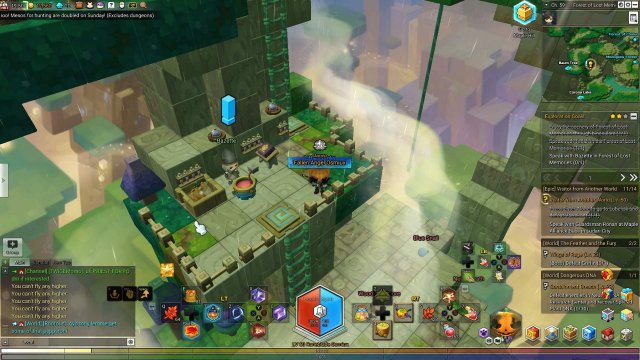
Corona Lake
Enjoy the scenery of Corona Lake through binoculars
- The binoculars can be found on the southern-most portion of the map.
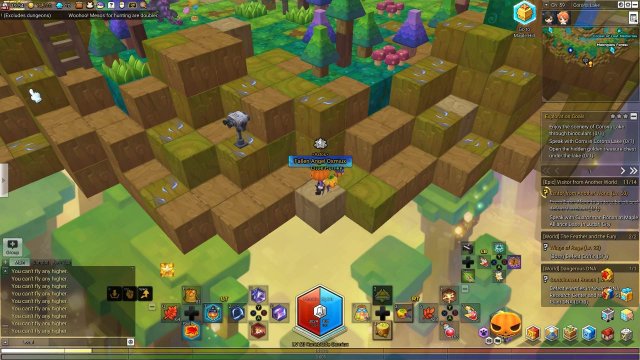
Speak with Corni in Corona Lake
- Corni is a unicorn that can be found in the middle of the map.
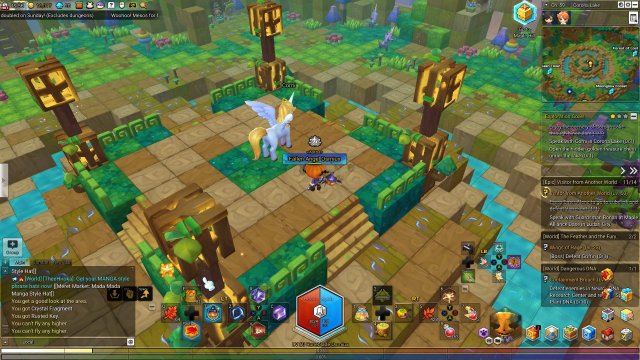
Open the hidden golden treasure chest under the lake.
- Wow was this one hard to find. The secret entrance to thie area under the lake is hidden. You can’t see it from the regular camera angle. From Corni, go north until you hit the lamp post. Go straight up from the left side of the lamp post and fall down two blocks. As soon as you fall down the second block, turn around. Go south and you should enter a secret corridor.
I’ve highlighted the block that you are supposed to enter from, but it’s really really hard to see.
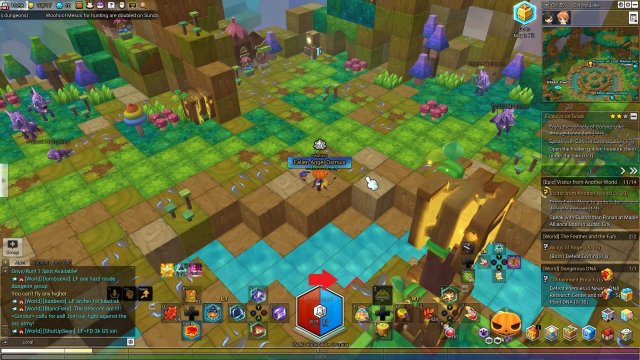
Eileen Town
Enjoy the scenery of Eileen Town through binoculars
- The binoculars can be found in the middle of the map, north from the dismantling station.
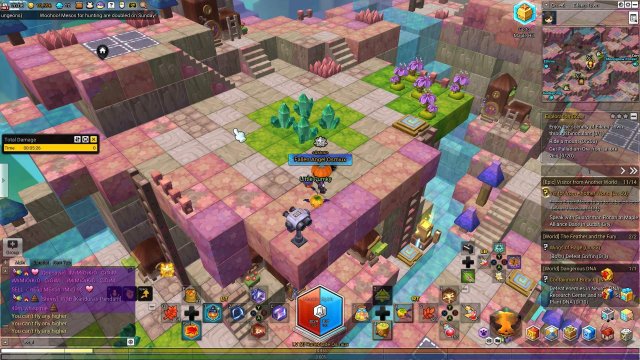
Ride a mount
- Again, find your favorite ground mount and run around 200 meters.
Get Palladium Ore from an ore vein
- Another one of these goals. Unfortunately these are the absolutely last things you can mine; mining rank 13 required.
Godspring
Enjoy the scenery of Godspring through binoculars
- The binoculars are on the north end of the map, on top of the temple-looking area. This also hides the golden chest you need for the third goal.
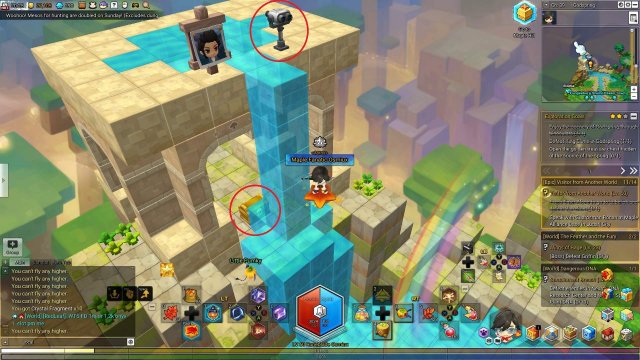
Defeat King Slime in Godspring
- King Slime can be found in the middle of the map. He’s an Elite Level 35, so heal up and use leafs.
Open the golden treasure chest hidden at the source of the spring
- This golden chest can be found directly underneath the binoculars. Look at the picture earlier.
Ellin Town
Travel by air
- Take out an air mount and go around!
Perform with friends
- Another one of these goals. Find a friend and play an ensemble.
Get Platinum Ore from an ore vein
- And yet, another one of these goals. Platinum is rank 11, so you’ll take a bit to get here. Come back later if you need.
Ellosylva
Enjoy the scenery of Ellosylva through binoculars
- The binoculars can be found in the middle of the map on a tiny floating island.
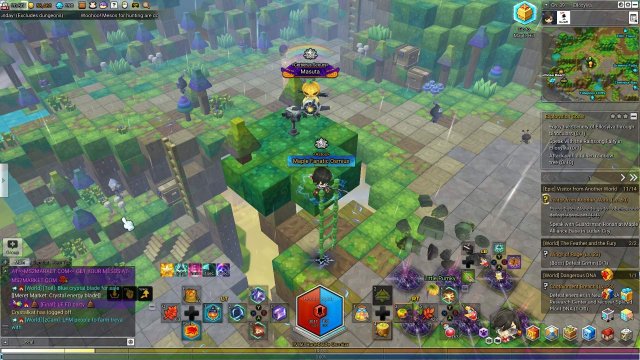
Speak with the Rainsong Fairy in Ellosylva
- The Rainsong Fairy can be found on top of a tree, on the west side of the map.
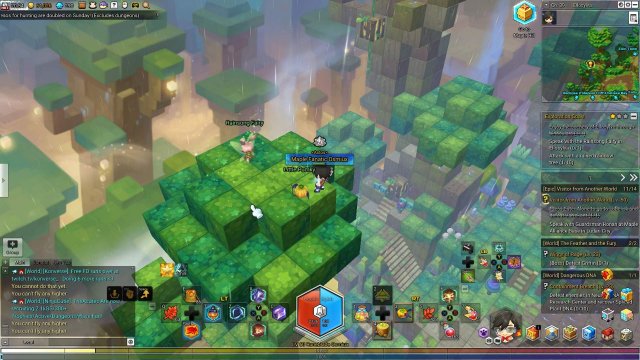
Attack with a ruined rainbow tree
- Another one of these “Attack with…” goals. Find the dull-looking, poop-shaped trees.
Tidepool Cliffs
Enjoy the scenery of Tidepool Cliffs through binoculars
- The binoculars are on the western side of the map, to the very north of the portal to Barbosa Beach.
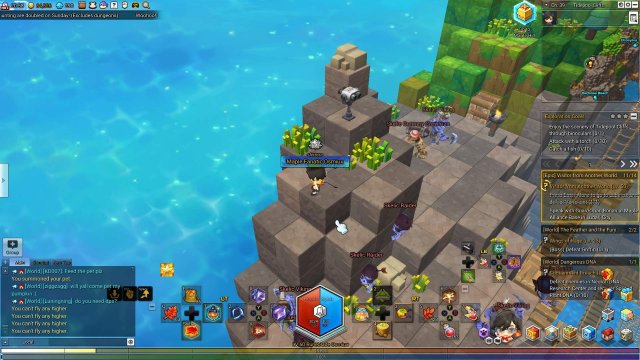
Attack with a torch
- And yet another one of these “Attack with…” goals. Find the torches and throw them about.
Catch a fish
- Go fishing at the sea! It only makes sense. To start fishing here, you must be Advanced II. That’s quite a bit of grinding.
Barbosa Beach
Enjoy the scenery of Barbosa Beach through binoculars
- The binoculars can be found on a cliff next the the portal to Baraska Ice Cave Entrance.
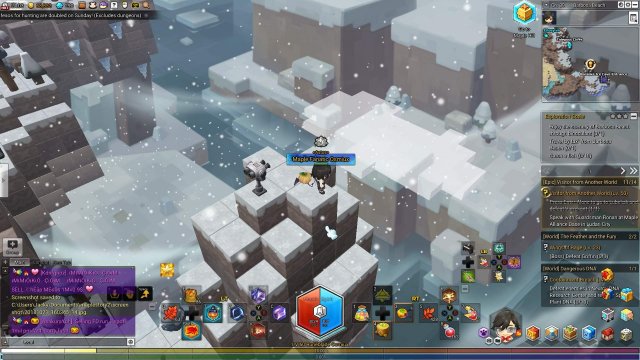
Travel by taxi from Barbosa Beach
- We haven’t seen a “Travel by taxi” goal in a while. Either way, go try to save some mesos by going to a nearby taxi stop.
Catch a fish
- Another fishing goal. Much like Tidepool cliffs, you must be Advanced II to start fishing here.
Fungeeburg Stump
Enjoy the scenery of Fungeeburg Stump through binoculars
- The binoculars can be found on the western side of the map, south west of the NPC, Moya.
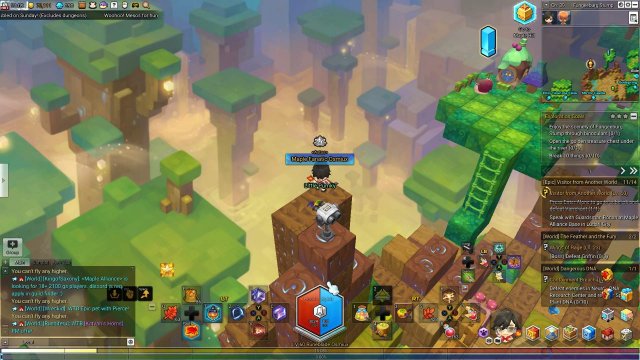
Open the golden treasure chest under the river
- In between Moya and the binoculars is a block on the ground that you can destroy. This is the secret entrance to the bed of the river. Open the chest and you’ve completed your goal.
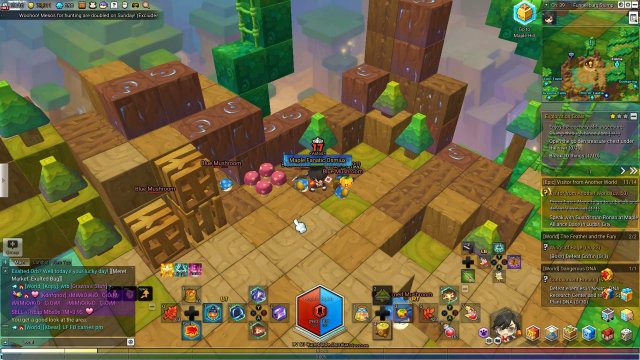
Break 10 things
- That block that you destroyed for the chest should count as one, so destroy 9 other things!
Greenia Falls
Enjoy the scenery of Greenia Falls through binoculars
- The binoculars can be found on the northern side of the map, on top of the trees.
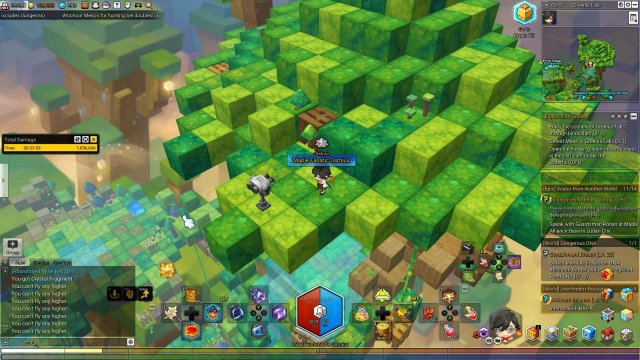
Defeat Mano in Greenia Falls
- I would recommend getting the quest from Moya first in Fungeeburg Stump first. Mano is a boss that is returning from MapleStory 1. He’s an Elite Level 37, so go wild?
Open the hidden golden treasure chest in the cleft under the waterfall
- This is some off-map trickery. At the healing totem in the water, go directly south-west off of the edge. There should be a golden treasure chest semi-hidden behind a block.
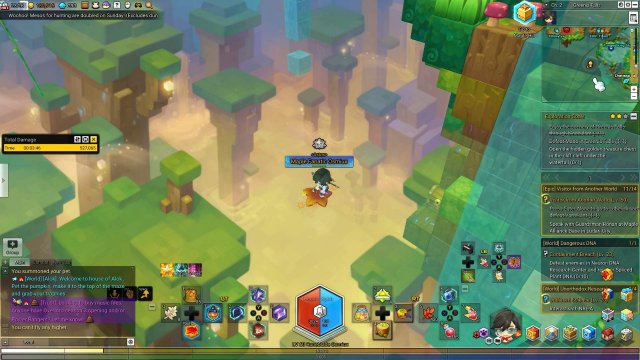
Cheliska Bay
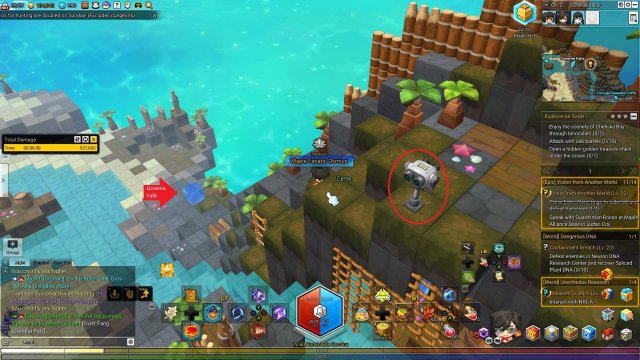
Enjoy the scenery of Cheliska Bay through binoculars
- The binoculars can be found south-east of the portal to Greenia Falls.
Attack with oak barrels
- Barrels! Find and eliminate!
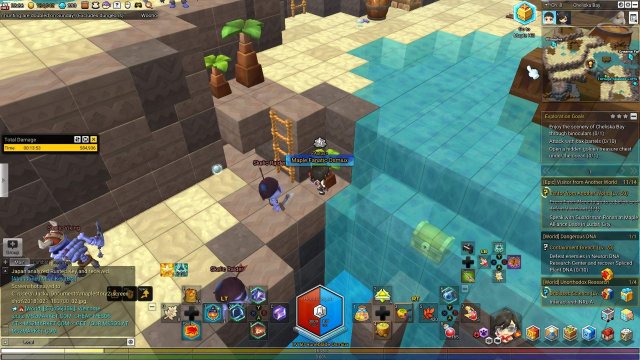
Open a hidden golden treasure chest under the ocean
- The golden treasure chest is more like it’s underneath a waterfall instead of the ocean, so it’s slightly misleading. From the Greenia Falls portal, head south-west until you reach the waterfall. If you can see the chest, perfect. If not, change channels, because this chest is NOT hidden.
Tortuga Seaside Cliffs
Enjoy the scenery of Tortuga Seaside Cliffs through binoculars
- The binoculars can be found on the north section of the map.
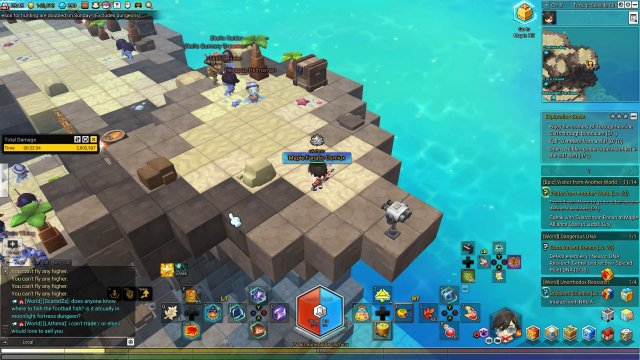
Fall 10 meters from a cliff
- What a strange goal. Just fall 10 meters from a cliff, I guess. Pretty self explanitory. I used the cliff right next to the binoculars and did all 10 meters in one go.
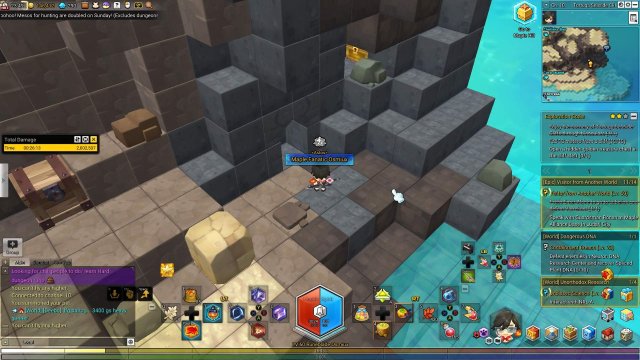
Open a hidden golden treasure chest in the cliff cleft
- The goals are kind of clumped together, which is nice. From the cliff with the binoculars, jump down and turn around to look at the wall. A rock hides where the golden treasure chest should be.
Coco Island
Enjoy the scenery of Coco Island through binoculars
- The binoculars can be found on top of the Lucky Whale, to the west of the portal to Tortuga Seaside Cliffs.
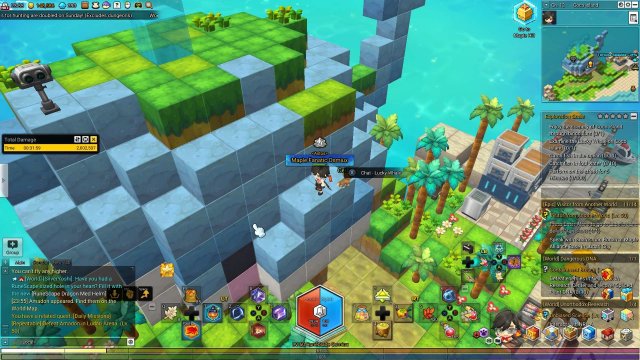
Examine the Lucky Whale on Coco Island
- Speaking of the Lucky Whale, you must interact with it. If you go from the binoculars, just land on its cheek and interact with it.
Catch a fish in the ocean
- Wow. Fishing mastery has to be at Master to fish here. Good luck!
Catch a fish in foul water
- There’s actually two fishing-related goals here. They really want you to hit fishing mastery master.
Perform on the street for 5 minutes
- Fishing? Nah, just do some music if you can’t fish here. Perform for 5!
Mirror Castle
Enjoy the scenery of Mirror Castle through binoculars
- The binoculars are on the southern-most part of the map.
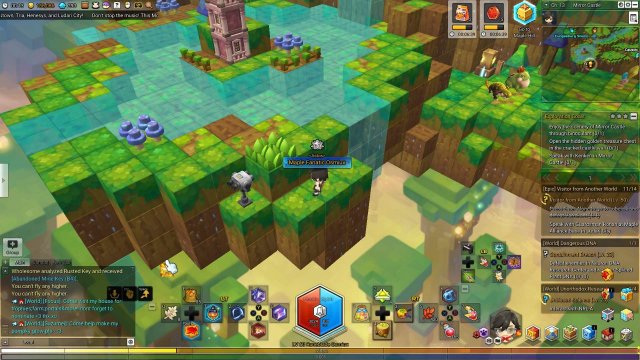
Open the hidden golden treasure chest in the cracked castle wall
- This chest is so elusive, that it took me a long time to find. And when I say that, I mean that I know exactly where it is because it’s so… out there… It seems like everyone gets to it first before I do. The location of this is vertically from King Kenken and then to the right slightly in the wall.
Speak with Kenken in Mirror Castle
- Speaking of Kenken, you need to speak to Kenken. Kind of center of the map, not too hard to find.
Caustic Garden
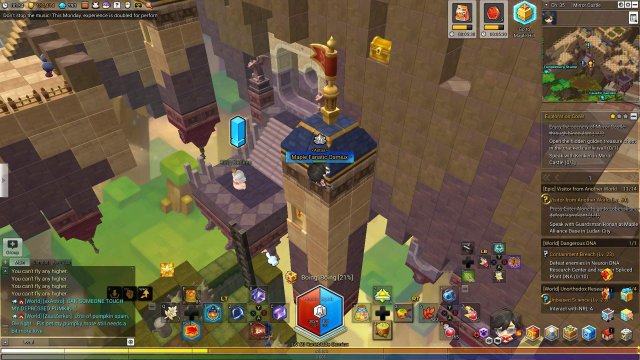
Travel by taxi from Caustic Garden
- Save yourself some mesos and travel lightly!
Defeat Wind Mystic Lapin in Caustic Garden
- Wind Mystic Lapin is an Elite Level 38, so if you go through the story and get here naturally, you should be fine.
Attack monsters with hen coops
- Free the chickens!
Overtop Beanstalk
Enjoy the scenery of Overtop Beanstalk through binoculars
- The binoculars are located on the western side of the map, above a castle-looking type building.
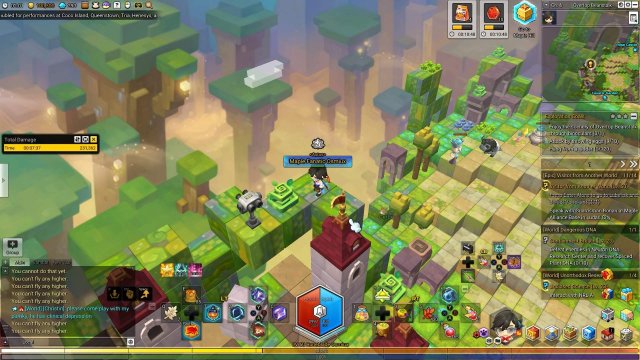
Attack by throwing eggs
- Egg those losers!
Hang from a ladder
- This one is a new one! Just go onto a ladder and stay there for 120 seconds or 2 minutes. If you didn’t know, there’s a trophy that is related to this goal.
Rose Castle
Enjoy the scenery of Rose Castle through binoculars
- The binoculars here are north-east from the portal to Forelle Town.
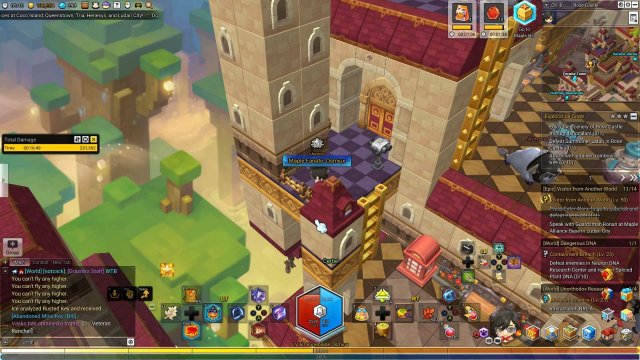
Defeat Summoner Latun in Rose Castle
- Summoner Latun is an Elite Level 40, I actually kind of had trouble at level 60 with no epic equips except for my helmet, so be careful. Latun also summons other monsters to join the battle and then turns invincible, so you have to eliminate the ones Latun summons.
Attack with a ruined rainbow tree
- Another one of these “Attack with…” goals. Again, more poop-shaped trees. Uproot some trees.
Forelle Town
Speak with Lupicia, who is resting in Forelle Town
- Lupicia isn’t actually laying down. She’s just chiling on top of a tree on the eastern side of the map.
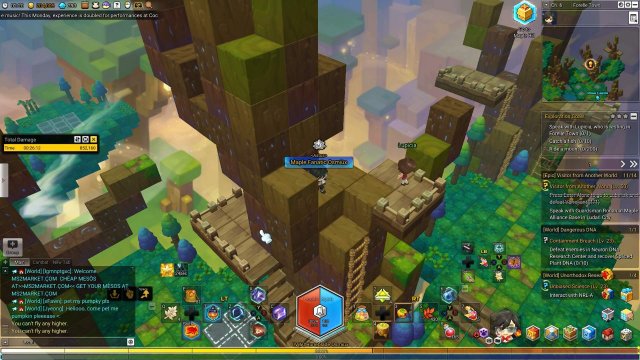
Catch a fish
- Advanced II is the requirement here, come back when you’ve hit that mastery.
Ride a mount
- Same thing as always, ground mount; 200 meters.
Serene Docks
Catch a fish
- Also Advanced II here, come back when you’ve hit that rank.
Speak with Monshel in Serene Docks
- Remember King Kenken a couple of maps back at Mirror Castle? Yeah, Monshel looks exactly like Kenken. Monshel can be found middle-west part of the map, hidden in a small alcove.
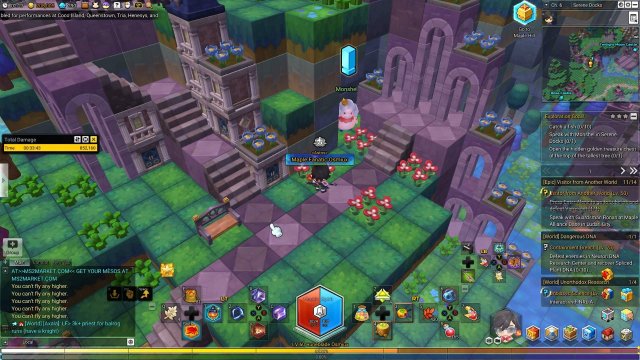
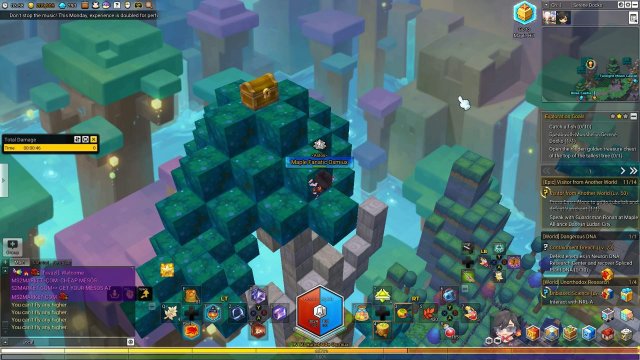
Open the hidden golden treasure chest at the top of the tallest tree
- This one is accurately described. It’s just the fact that you gotta know which one is the tallest one. Luckily for you, it’s the one to the north-west! Now you know.
Twilight Moon Castle
Enjoy the scenery of Twilight Moon Castle through binoculars
- Wow. That’s a lot of castles. The binoculars here are on the very south side of the map.
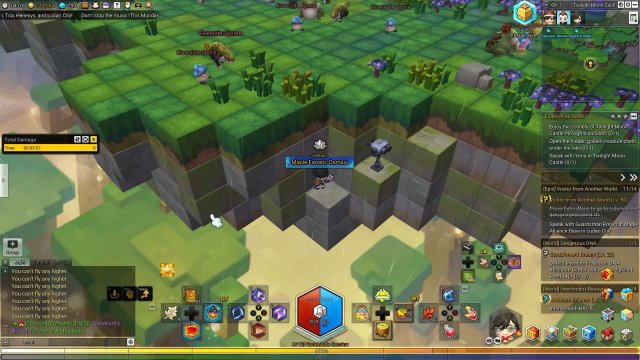
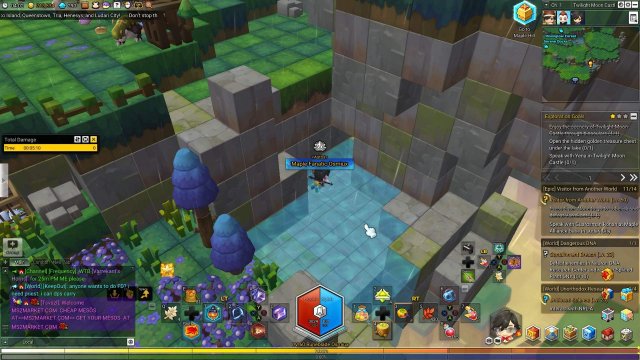
Open the hidden golden treasure chest under the lake
- The secret entrance is north-east from the binoculars. It’s not very hidden. Once you hit the back, you gotta jump up a block and continue north-west.
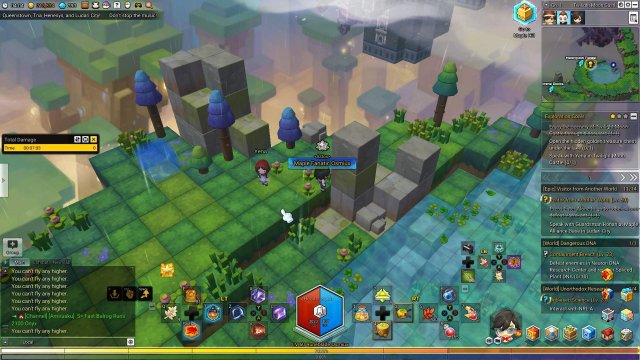
Speak with Yena in Twilight Moon Castle
- Yena is literally right next to the portal to Moonglow Forest. You CANNOT miss her.
Moonglow Forest
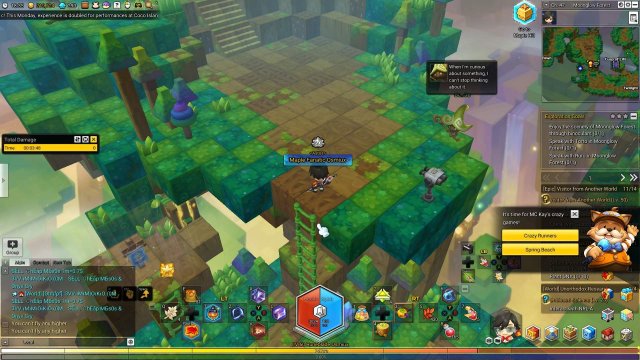
Enjoy the scenery of Moonglow Forest through binoculars
- The binoculars are going to be just to the right of the healing totem found in the middle of the map. The portal to the Cusp of Life is just to the east of the binoculars too.
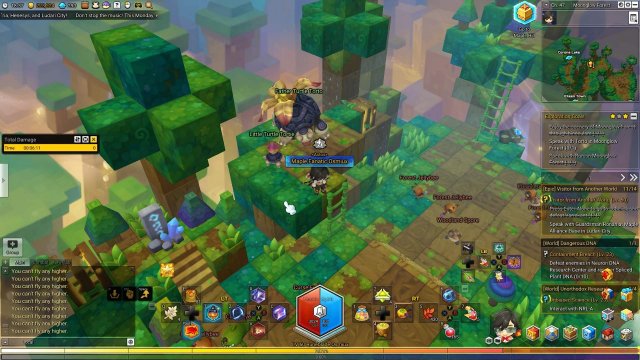
Speak with Torto in Moonglow Forest
- Father Turtle Torto is a large tortoise that can be found on the north-east side of the map, just south-west of the portal to Corona Lake.
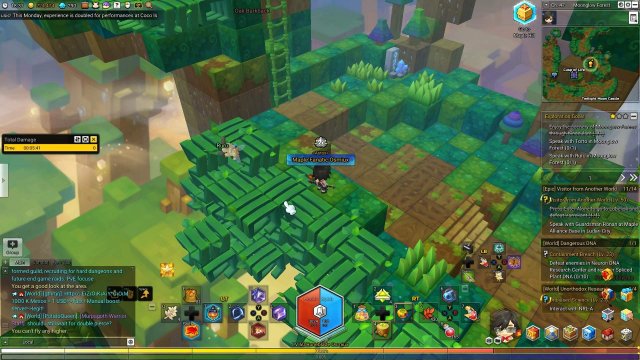
Speak with Ruru in Moonglow Forest
- Ruru is located north-east of the portal to the Cusp of Life.
The Peerless Perion Plateaus
Wheew! With Ellinia out of the way, we only have five more sections: Perion (This one!), “Ludibrium,” Taliskar, Alikar, and Karkar Island. Let’s just go over what this section entails:
- Perion
- Brave Peak
- Windsong Ravine
- Stonehill Dig Site
- Paruvan Plateau
- Crow’s Eye Village
- Molten Hourglass
- Bonebridge Worksite
- Picchu Picchu Gardens
- Lava Springs
- Serpent Town
- Pigming Clan Altar
- Whistler Cliffs
- Wolfclaw Canyon
- Kolopua Crag
- Red Wall
- Highcliff Temple
- Raptor Dive Pass
- Skyreach Pass
- Karnif’s Fang
- Fractured Canyon
- Expedition Base
- Aurora Laboratory
- Lulu Village
- Forsaken Fields
- Lion’s Gate
- Igloo Hill
- Crystalfrost Wall
- Frostpeak Mountain
- Snowscarf Haven
- Frozencrest
- Cave of Eternity
- Frostember Void
- Ant Tunnel Passage
- Lavaluna Cave
- Lava Crest
- Magma Gorge
- Darkmist Path
Okay. Now that I actually have the list written down… I think Perion might be larger than Ellinia. Oh boy. Lets begin?
Perion
Enjoy the scenery of Perion through binoculars
- The binoculars are right next to the portal to Paruvan Plateau.
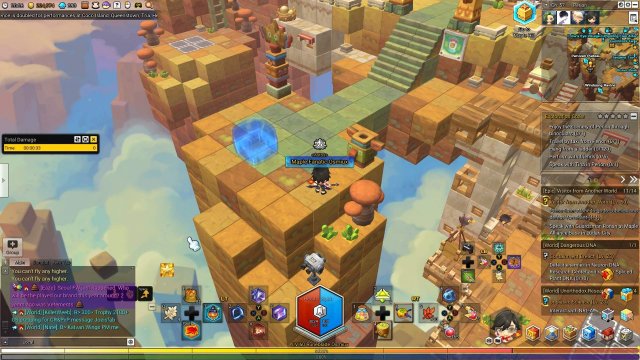
Travel by taxi from Perion
- Another “Travel by taxi” goal. You know what to do. I would actually recommend getting to Brave Peak first and then traveling to there and coming back, so you complete two goals at once.
Hang from a ladder
- Similar to the “Hang from a rope” goal in Ellinia, but ladders this time. You’ve seen this goal before. 2 minutes!
Perform with friends
- Again, same thing as all of the other “Perform with friends” goal. Find a friend, go into a party and do an ensamble performance.
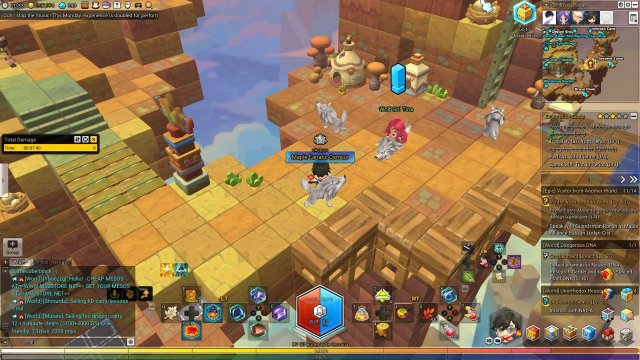
Speak with Tina in Perion
- Wolf Girl Tina can be found just west of the portal to Serpent Town. Not too hard to find, just look for a bunch of wolves.
Brave Peak
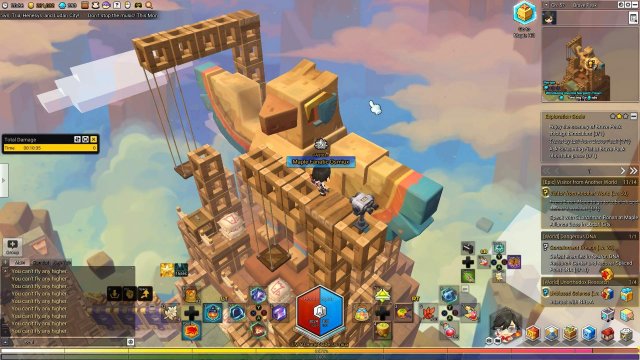
Enjoy the scenery of Brave Peak through binoculars
- The binoculars are on a crane that is above the portal to the Testing Grounds. Just fly up.
Travel by taxi from Brave Peak
- Another “Travel by taxi” goal. You know what to do. Again, I would actually recommend getting to Perion first and then traveling to there and coming back, so you complete two goals at once.
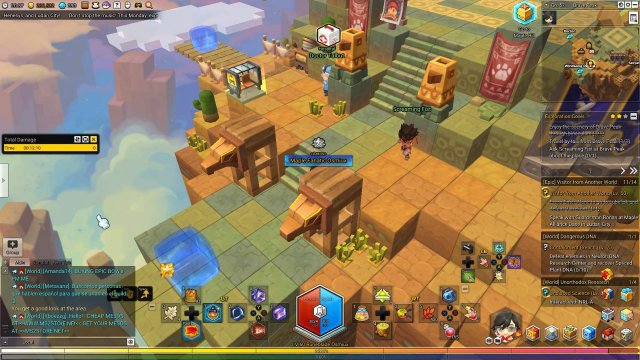
Ask Screaming Fist at Brave Peak about the place
- This is really just another “Speak with…” goal disguised. Screaming fist is north-east of the portal to Windsong Ravine, next to Doctor Talbut.
Windsong Ravine
Attack with totems
- No binoculars here, just throw some totems around.
Attack by slamming down a Perion house
- While you’re picking up and putting down totems, might as well destroy some houses as well.
Do some rock climbing in the canyon
- Well this is a new goal. If you didn’t know by now, you can climb walls in this game. I would hope you knew this before you got here. Just climb up and down 200 meters.
Stonehill Dig Site
Enjoy the scenery of Stonehill Dig Site through binoculars
- The binoculars here can be found to the west of the portal to the Baum Tree.
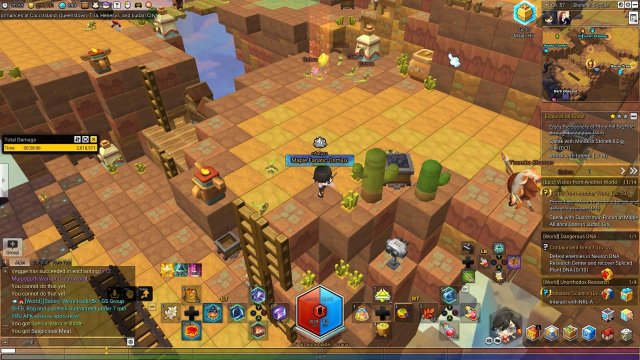
Speak with Minok in Stonehill Dig Site
- Minok is one of the fairies that are standing outside of the portal to the Dark Descent. Go to the south side of the map.
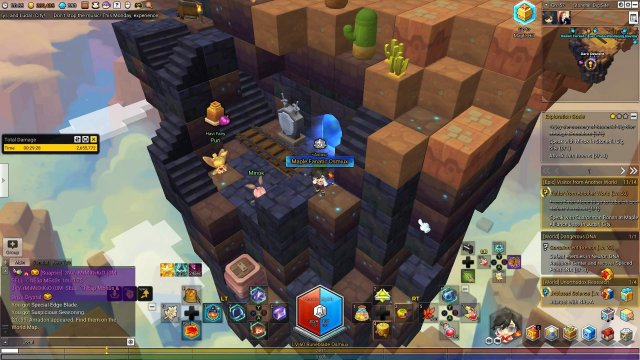
Attack with totems
- Another one of this goal, back-to-back. Find totems, and interact with them.
Paruvan Plateau
Enjoy the scenery of Paruvan Plateau through binoculars
- The binoculars can be found on the southern side of the map, above the lava river. It’s located on a small platform.
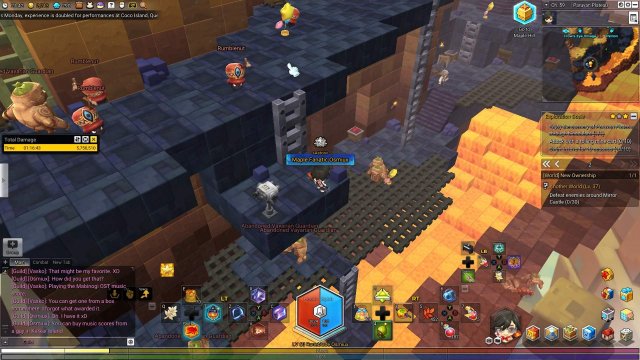
Attack with a rolling mine cart
- I can’t remember if this object is new or not. Either or, the goal is essentially the same as all of the other ones.
Swim in lava for 10 seconds
- Oh boy this one is kind of a doozy. If you jump in lava, you take a LOT of damage. I think it’s something like… 360 damage per second? You have to survive 10 whole seconds. In all honesty, I used Maple Mushrooms to get the Hot Hot Hot Tub achievement and it was dealing more damage than 1200/5s. So yeah. Just 10 seconds. 60 if you want the achievement I just mentioned.
Crow’s Eye Village
Enjoy the scenery by sitting down
- There’s no binoculars here, but it’s a similar goal. Just sit down with the /sit command for 5 minutes or 300 seconds 🙂
Fall 10 meters
- Another one of these goals. I fell from the top to the second-to-last floor and got the goal completed.
Hang from a ladder
- Just chill on a ladder for 2 minutes. Not too bad!
Molten Hourglass
Enjoy the scenery of Paruvan Plateau through binoculars
- The binoculars are on the north end of the map, at the top of the hourglass. To get on top of there, you must travel the the south-eastern side of the hourglass next to Shamaness Udra and Silver Wolf. There will be platforms that go up and down the hourglass. Go to the top and you should be able to see it.
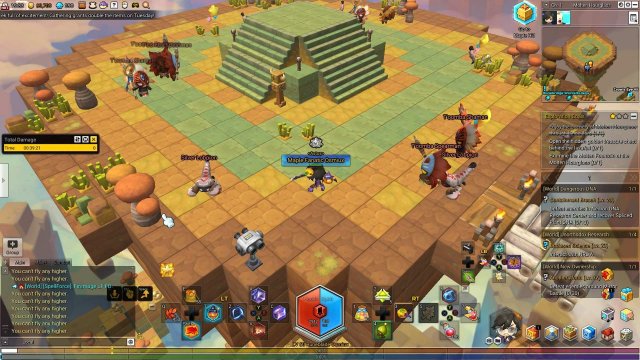
Open the hidden golden treasure chest behind the lavafall
- The chest is on the south-western side of the hourglass, behind the lavafall. There is an area that is unaffected by lava and you can waltz behind the wall and grab it.
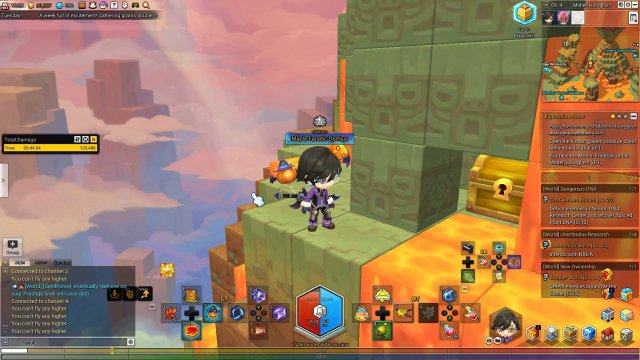
Examine the Molten Fountain at the Molten Hourglass
- The fountain is found on the south-eastern side of the hourglass, half way up. Examine the object and finish the goals here!
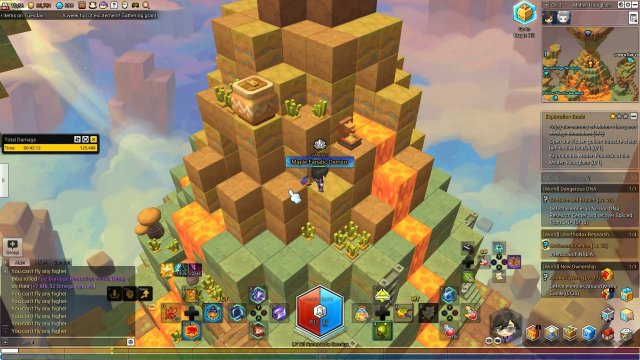
Bonebridge Worksite
Enjoy the scenery of Bonebridge Worksite through binoculars
- The binoculars are going to be found at the southern end of the map, south-west of the healing totem at the bottom-most level; west of the portal to Bonebridge Nook.
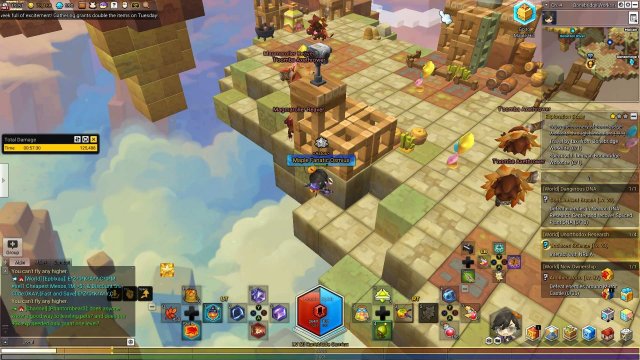
Travel by taxi from Bonebridge Worksite
- Another one of these goals. The taxi stop is on the north end. Make sure to save some mesos!
Speak with Lenty in Bonebridge Worksite
- Lenty is an NPC that can be found north-west from the binoculars; or on the south-western part of the map. Lenty is on a small platform that acts as a safe-zone as well.
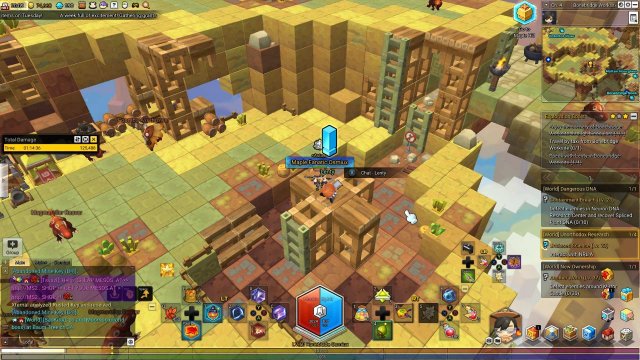
Picchu Picchu Gardens
Enjoy the scenery of Picchu Picchu Gardens through binoculars
- Not the Pokemon, and not the Machu Picchu Gardens, but rather Picchu Picchu. The binoculars can be found on the western part of the map, south of Ringling.
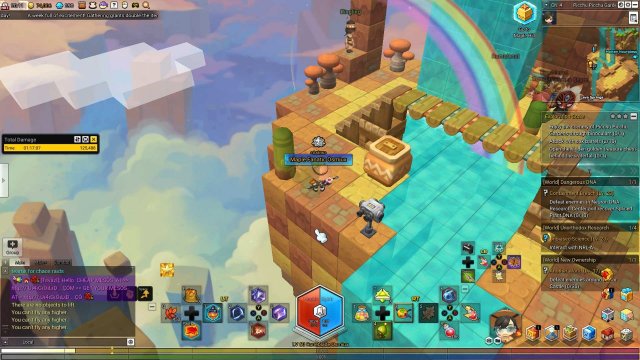
Attack with oak barrels
- And yet again another one of these “Attack with…” goals. Find some oak barrels and put them down!
Open the hidden golden treasure chest behind the waterfall
- The chest that the game is talking about is NOT next to Ringling. The chest that they’re referencing is underneath the ground JUST south-west of the portal to the Molten Hourglass. The secret entrance is actually south-east of the aforementioned portal.
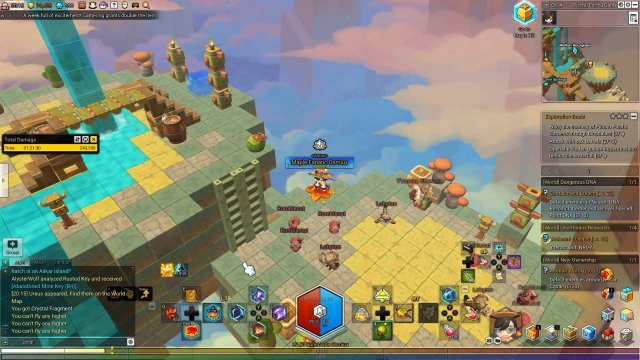
Lava Springs
Enjoy the scenery of Lava Springs through binoculars
- The binoculars can be found on the north end of the map, on the volcano. It’s just to the right of Master Jinbar.
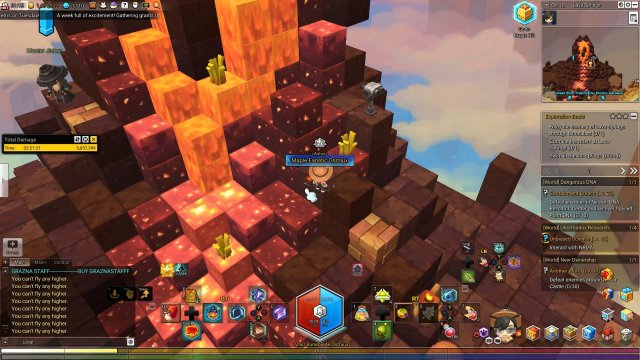
Examine the totem at Lava Springs
- The totem is just next to the small trickle of water from the springs that are south from the portal to Picchu Picchu Gardens. The springs are found on the east side of the map.
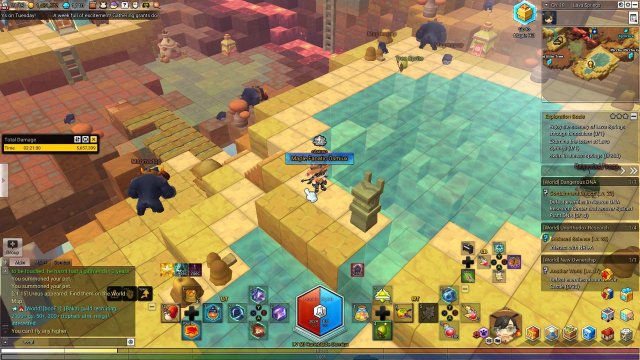
Swim in the hot springs
- Speaking of the springs, you gotta swim in the water for 300 seconds. The counter of this goal seems a little messed up. Sometimes it counts for just sitting, but sometimes it only counts when you exit the water. Either or, I would recommend swimming anyways so that you get some extra progress on achievements.
Serpent Town
Travel by air
- Air mount time! Go around 100 meters on your fastest air mount.
Catch a fish
- The requirement here is Intermediate IV, so it might take a while before you get here. If you do, just fish up 10 things!
Sit and enjoy the wilderness
- This isn’t really a wilderness, especially when you’re supposed to come here to gather materials, but okay. Just sit down with the /sit command and chill for 5 minutes (300 seconds).
Pigming Clan Altar
Enjoy the scenery of Pigming Clan Altar through binoculars
- The binoculars can be found on the north end of the map, super close to the altar; south-east of Tanz.
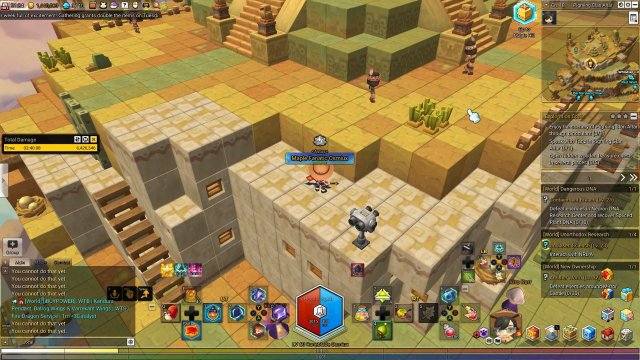
Speak with Tanz in Pigming Clan Altar
- Speaking of Tanz, you gotta talk to them. Again, north-west from the binoculars, next ot the altar. Tanz has a quest associated with them, so make sure to use the Talk action.
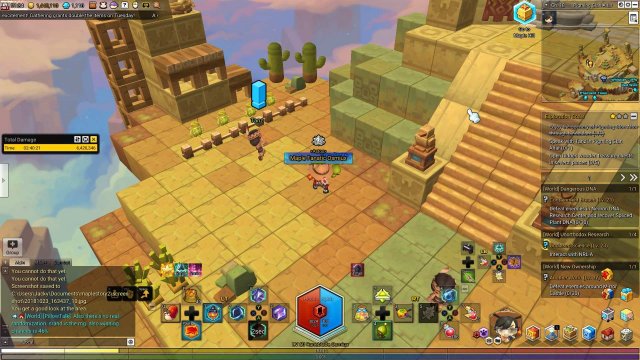
Open hidden wooden treasure chests in several places
- We haven’t seen this goal in a while. There isn’t any specific chests that you need to find, but you do need to find 5 wooden ones. Remember to check the edges of the map and to change channels if you need it.
Whistler Cliffs
Enjoy the scenery of Whistler Cliffs Altar through binoculars
- The binoculars can be found on the eastern portion of the map. If you go south-south-west from the portal to Pigming Clan Altar, you should see it.
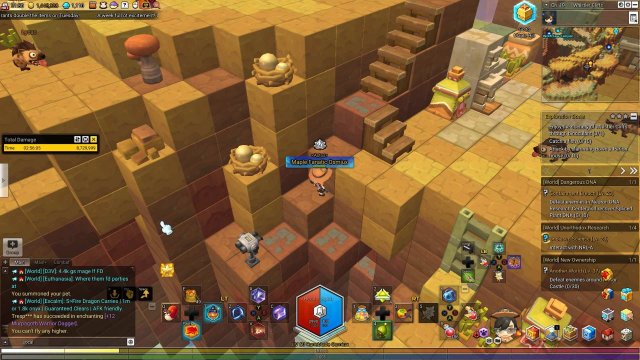
Catch a fish
- The requirement here is Advanced III. Again, it will probably take a while before you get here. If you do, just fish up 10 things!
Attack by slamming down a Perion house
- This goal again. Exactly the same as the goal found at Windsong Ravine. Find 10 houses and file for insurance!
Wolfclaw Canyon
Enjoy the scenery of Wolfclaw Canyon through binoculars
- The binoculars are found near the middle of the map, above the portal to Yamarcha Temple Ruins.
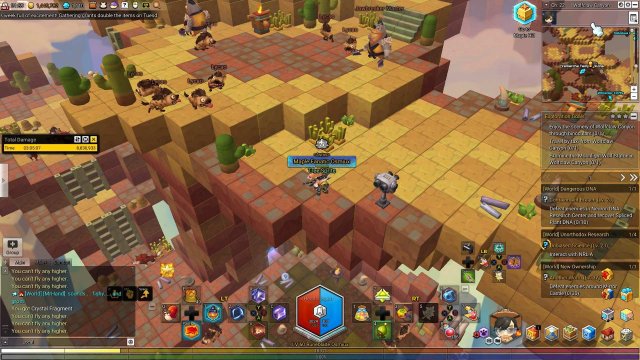
Travel by taxi from Wolfclaw Canyon
- Another taxi goal. Make sure to save mesos and travel to the nearest one. Or if you want to get some more achievement progress, travel to the furthest one. It’s up to you.
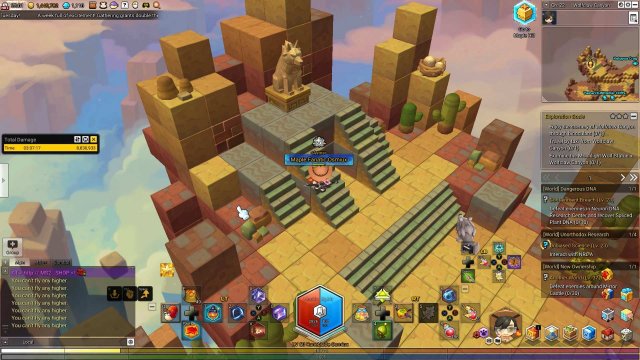
Examine the Moonlight Wolf Statue in Wolfclaw Canyon
- The wolf statue can be found on the north portion of the map. The terrain is terraformed for the statue, so it not only looks important, it’s easy to find!
Kolopua Crag
Enjoy the scenery of Kolopua Crag through binoculars
- The binoculars are basically on the roof of the Mon Petit Chouchou Hotel, which can be found in the middle-north section of the map. It’s a pretty big building, hard to miss.
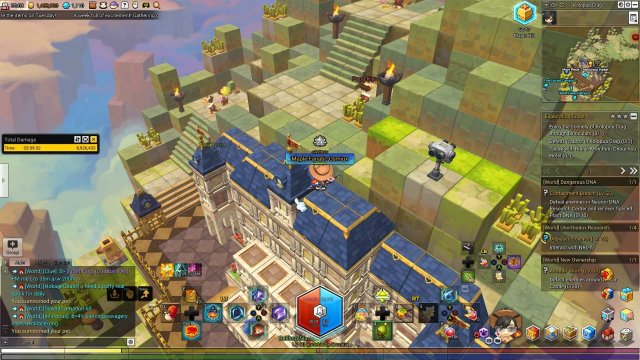
Defeat Trauros in Kolopua Crag
- Trauros can be found even more north from the hotel. Trauros is an Elite Level 42 monster. I took him down solo at level 60, so you should be fine with a lot of potions. Otherwise, start getting some people to party with. We’re starting to get into the harder goals.
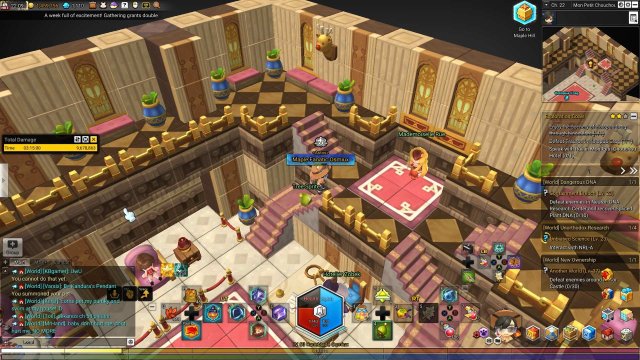
Speak with Rue in Mon Petit Chouchou Hotel
- Mademoiselle Rue is found just barely inside of the hotel. Not too hard to find, as the lobby is quite small.
Red Wall
Enjoy the scenery of Red Wall through binoculars
- The binoculars are on a crane that is south on the south. The icon on the map makes it look like it’s near the center of the map, but it’s just because it’s so high up.
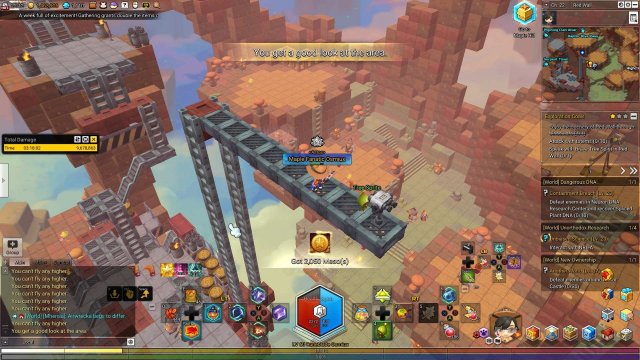
Attack with totems
- Another one? Wow. Okay. Totems, who needs them? These totems are actually not the ones used for swinging, but placing down.
Speak with Brave Tree Spirit in Red Wall
- The Brave Tree Spirit is actually on the eastern side of the map, just to the north-east of the portal to Serpent Town.
Highcliff Temple
Enjoy the scenery of Highcliff Temple through binoculars
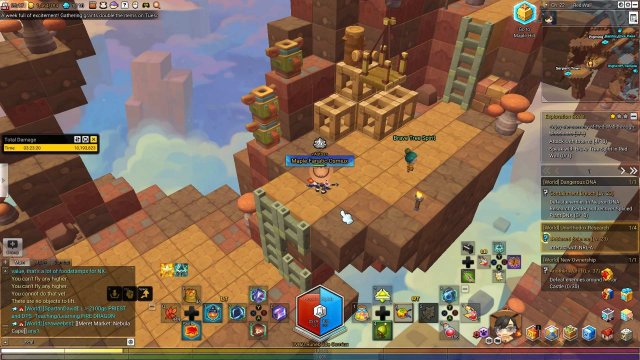
- The binoculars are on the top of the temple, next to the eagle statue and the golden chest.
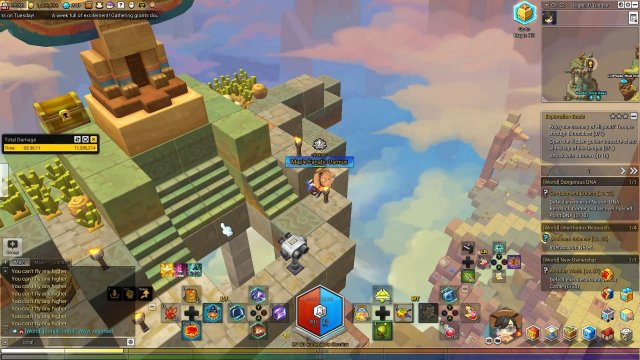
Open the hidden golden treasure chest at the top of the temple
- Speaking of the golden chest and the binoculars, it’s right there! If it’s not, change channels and try again. Just look at the picture beforehand.
Attack with a totem
- These totems are NOT the ones that you put down and run away. These are the ones that you actually swing. MapleStory 2 is sometimes too descriptive, or in this case, not descriptive enough. They seem to mostly spawn on the eastern side of the map, so check over there.
Raptor Dive Pass
Enjoy the scenery of Raptor Dive Pass through binoculars
- The binoculars are on the south side of the map, south-west from the portal to Red Wall.
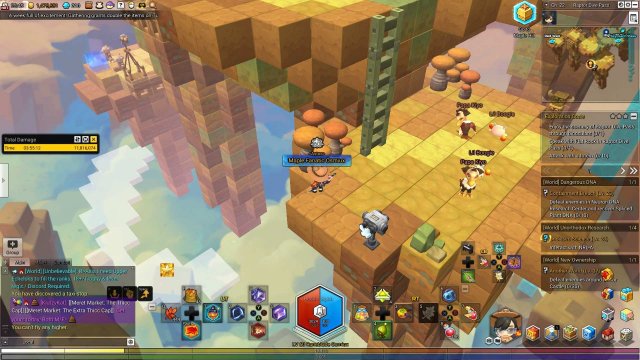
Speak with Flat Rock in Raptor Dive Pass
- Flat Rock is uh… a rock… The fine piece of boulder can be found just west of the portal to Skyreach Pass. Complete this goal and question as to why you’re speaking to a literal piece of stone.
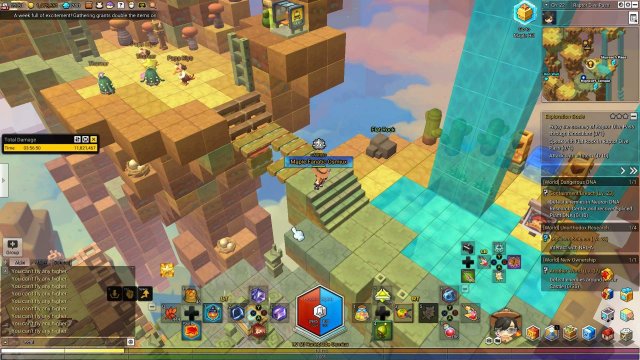
Attack with a totem
- Again, these totems are NOT the ones that you put down and run away. These are the ones that you actually swing, just like the previous map. I think this is the first map that has both the fire totems and the swing totems. I tried putting the fire totem down and seeing if it counts… It doesn’t count. Anyways, the swing totems mostly spawn in the areas surrounding Flat Rock and above.
Skyreach Pass
Enjoy the scenery of Skyreach Pass through binoculars
- The binoculars can be found on a “floating” platform on the eastern part of the map. The binocular icon is misrepresented on the minimap because it’s higher than it actually is on the map.
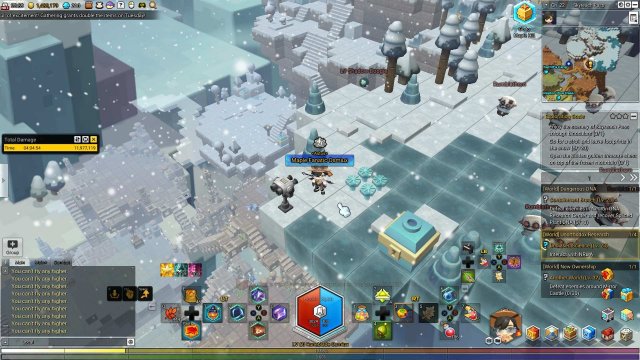
Go for a stroll and leave footprints in the snow
- This one is new! This one asks of you to walk around in the snow, but you actually don’t even have to do that. You can just stand around for 2 minutes (120 seconds). I would walk around anyways just to get some extra progress on your achievements.
Open the hidden golden treasure chest on the top of the frozen mountain
- This chest is hidden underneath the poster at the top of the mountain. There is an ice block that you can destroy on the right side of the peak, and there should be a chest under there. From what it seems, you gotta throw some pretty strong spells at it.
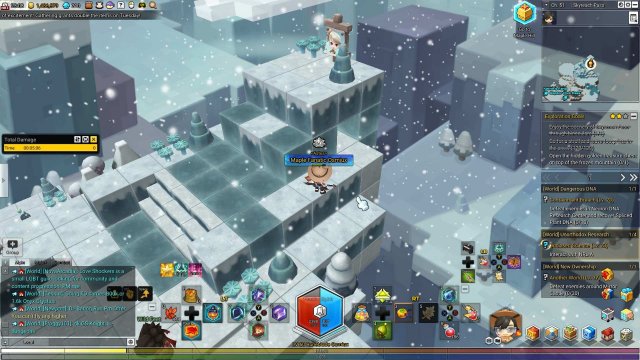
Karnif’s Fang
Enjoy the scenery of Karnif’s Fang through binoculars
- The binoculars are just north of the portal to Fractured Canyon. It’s on top of a stalagmite-looking outcrop.
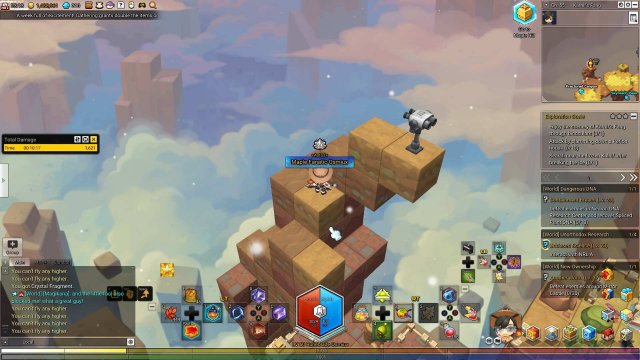
Attack by slamming down a Perion house
- Wow. Another one of these goals. Time to destroy more property! They mostly spawn on the south-eastern portion of the map.
Search near the frozen Kalnif after breaking the ice
- At the peak of this mountain, there is a frozen wolf. On the south-eastern side of the glacier is a block that you can interact with and remove. Be careful of the enemies around. They’re a big nuisance.
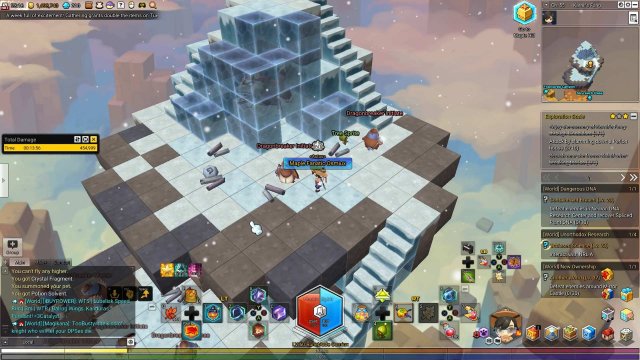
Fractured Canyon
Enjoy the scenery of Fractured Canyon through binoculars
- The binoculars are located on the bottom floor of the map, at the north end. At this point, I thought that it was on the upper levels, but they pulled a sneaky on me.
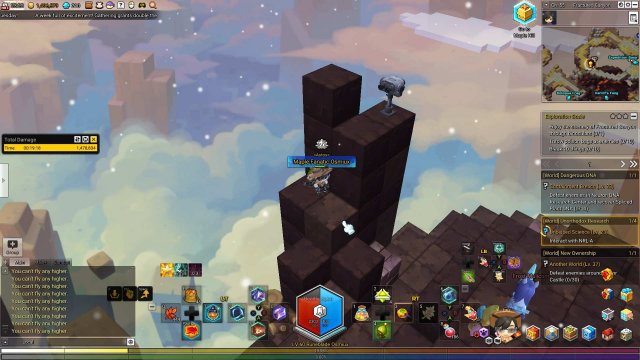
Throw poison bags at enemies
- Same “Attack with…” goal, different object. We haven’t seen a poison bag in a while too. Just pick up and throw them. These mostly spawn on the north-west side of the map.
Break 10 things
- Wow. What is up with the destruction in this region? Just destroy 10 things that look breakable. Most of the breakable things are located on the lower portions of this map.
Expedition Base
Do some wall climbing
- I guess there’s no binoculars here. Head towards the north end of the map and jump on the wall. go up and down 200 meters and you should complete this goal.
Open a hidden golden treasure chest
- There is no specific treasure chest that is required. As long as it’s gold, it works.
Catch a fish
- Time to go ice fishing! Not really, the water here isn’t all frozen. You do, however, need to be fishing mastery of Master to complete this goal. Lets… uh… Yeah… Let’s come back later!
Aurora Laboratory
Enjoy the scenery of Aurora Laboratory through binoculars
- The binoculars are located on the bottom floor of the map, at the north end. At this point, I thought that it was on the upper levels, but they pulled a sneaky on me.
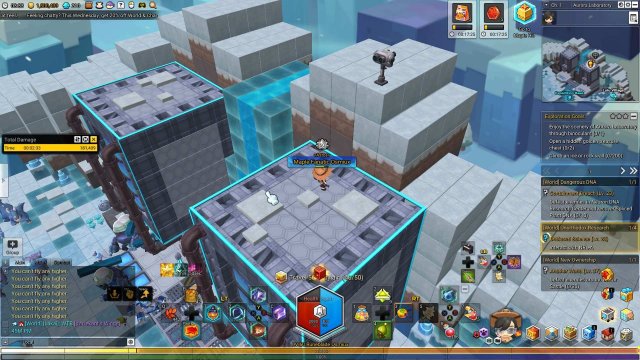
Open a hidden golden treasure chest
- If you thought the previous golden chest goal was tedious, this one requires two.
Climb an ice or rock wall
- I know this specifies an ice or rock wall, but it doesn’t matter. I climbed up the side of the Laboratory and it still counted.
Lulu Village
Open the hidden golden treasure chest at the town hall
- The treasure chest that they’re referencing is is literally in the town hall. You can’t enter the building, but you can destroy the front door. I had to use a strong spell to break the block, but it was destroyed in the end.
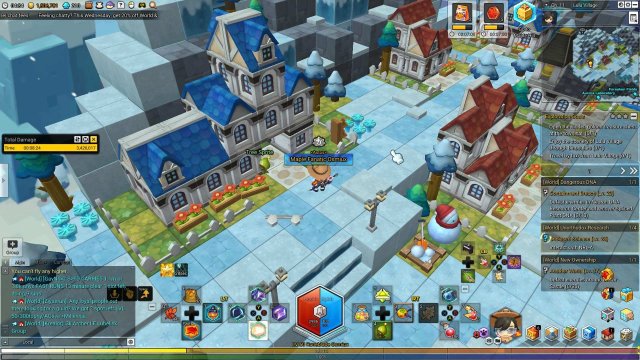
Enjoy the scenery of Lulu Village through binoculars
- Wow. This is really strange. Usually the binocular goals are first. This one is second. That strange placement aside, the binoculars are found north of the town hall, on the north-western portion of the map.
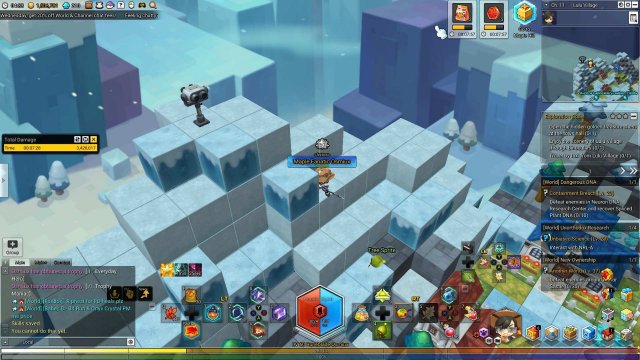
Travel by taxi from Lulu Village
- Another one of these goals. Just travel to the Expedition Base and you should get this goal completed.
Forsaken Fields
Rest on a ladder
- This one is a simple one. Just find a ladder and chill on it for 2 minutes (120 seconds). The ladder that I used was the one that lead up to the healing safe zone.
Open a hidden golden treasure chest
- Oh ew. Another one of these ones. Again, find two golden chests. Honestly, I skipped these ones. I’ll be coming back to them eventually, but I don’t need 1 star THAT desperately right now.
Leave footprints in the snow
- This goal again. This one might seem harder because this area is literally TEEMING with enemies. However, the area around the healing safe zone is also considered snowy, and its guaranteed safe. Just stand in the snow for 2 minutes (120 seconds).
Lion’s Gate
Open a hidden golden treasure chest
- Oh ew. Another one of these ones. This one is even worse. Find 4!? Honestly, I would skip this one. Again, I’ll be coming back to them eventually, but I don’t need 1 star THAT desperately right now.
Defeat enemies
- This is a new goal. A simple, but new goal. Defeat 60 enemies. The enemies are around level 60, so uh. Level to max first.
Travel by air
- Air traveling time! Find your favorite air mount and travel around until its done!
Igloo Hill
Enjoy the scenery of Igloo Hill through binoculars
- Ah yes. Back to the binocular goals. This one is on top of the penguin statue on the eastern part of the map.
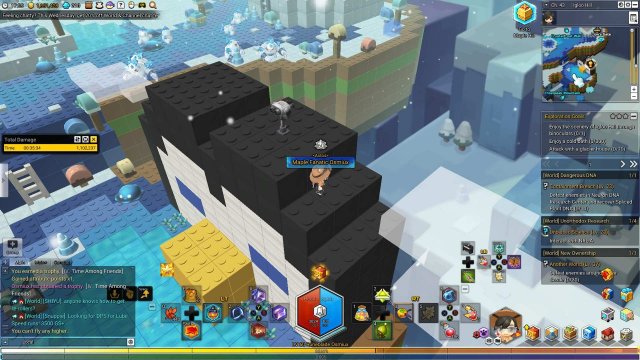
Enjoy a cold bath
- Swim in the water for 5 minutes!
Attack with a glacier house
- Hmm. This is a new object. I don’t know why they called it a glacier house and tried to be fancy. It’s an igloo. Just attack with an igloo. The only ones that you can pick up are the ones with the blue door.
Crystalfrost Wall
Enjoy the scenery of Crystalfrost Wall through binoculars
- The binoculars are on the north-west portion of the map, on a glacier.
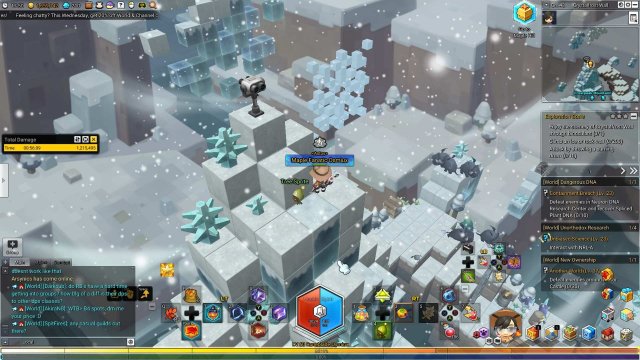
Climb an ice or rock wall
- This is another free objective. Find a nice wall and go up and down it!
Attack by throwing a burning drum
- Most people in the movies gather around the burning drums to find warmth, but not you! Throw it aside. Who needs warmth? You need STARS!
Frostpeak Mountain
Attack with a glacier house
- Igloo, not glacier house. Just find 10 of them and cash in on that insur-… Wait… I don’t think there’s igloo insurance.
Go for a stroll and leave footprints in the snow
- This is another free objective. Stand around in the snow for 2 minutes (120 seconds).
Speak with Fordson in Frostpeak Mountain
- Expedition Member Fordson can be found west of the healing crystal. He’s standing in a safe area, but remember to use the Talk action.
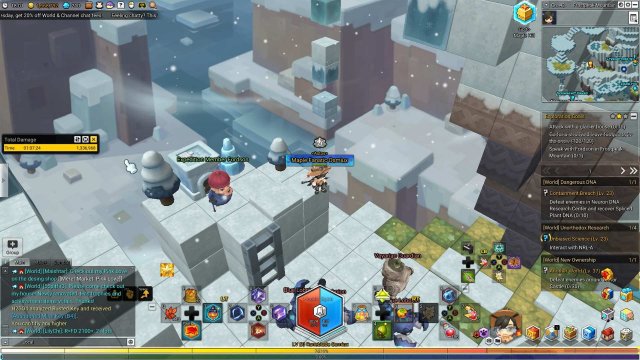
Snowscarf Haven
Enjoy the scenery of Snowscarf Haven through binoculars
- The binoculars are on the north-west portion of the map, on top of the Ludibrium sculpture. Watch out, it’s protected by some Ponglets.
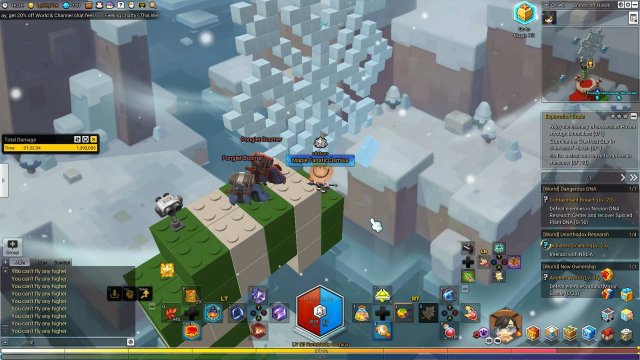
Examine the Everfrost Star in Snowscarf Haven
- The Everfrost Star is the giant snowflake in the backgroun. If you are on the sculpture with the binoculars, it’s straight north. Just interact with the snowman.
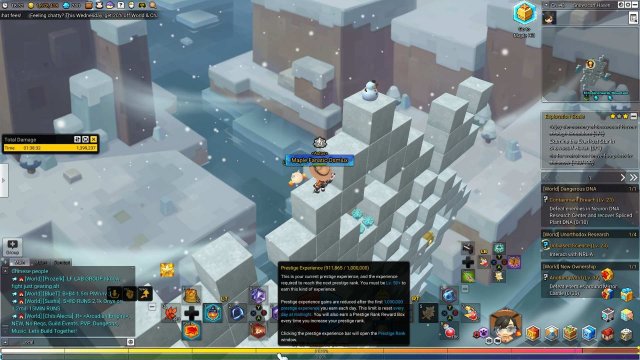
Go for a stroll and leave footprints in the snow
- This goal again. Just stand on a snowy block for 2 minutes (120 seconds).
Frozencrest
Enjoy the scenery of Frozencrest through binoculars
- The binoculars are on a crest of ice. It’s kind of located on the north side of the map. The icon on the mini map is more north than it actually is, because it’s located vertically.
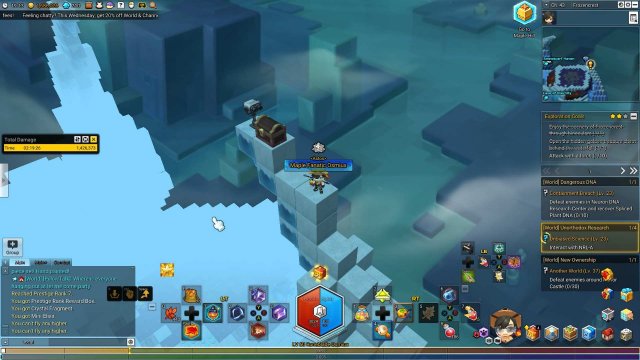
Open the hidden golden treasure chest behind the waterfall
- The entrance is located inside of the waterfall. Once you walk into the back, there is a ladder that is hidden and you must climb down it to reach the area underneath the water. Once you are at the basin of the watefall, jump up a block and open the chest!
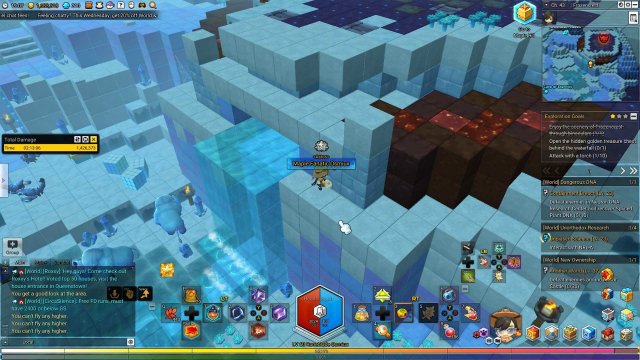
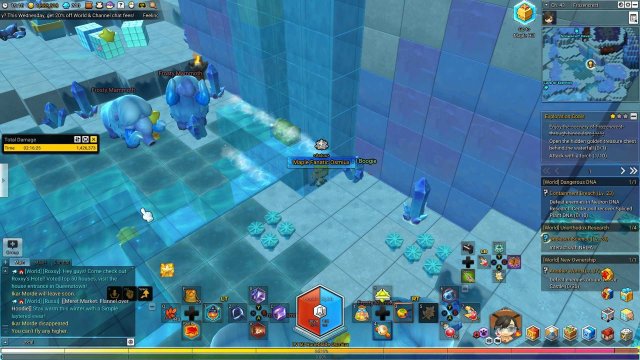
Attack with a torch
- Attack with a torch! Light stuff on fire! Become an arsonist!
Cave of Eternity
Speak with Corniel in Cave of Eternity
- Corniel is a… You guessed it… A unicorn. Corniel can be located near the middle of the map overlooking the grassy area.
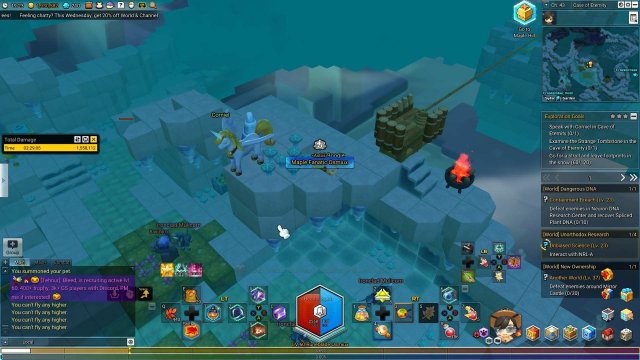
Examine the Strange Tombstone in the Cave of Eternity
- The strange tombstone is not the weird-looking altar/tombstone found near Corniel. It’s actually a literal tombstone that can be found south-east of the portal to Wayfarer’s Garden.
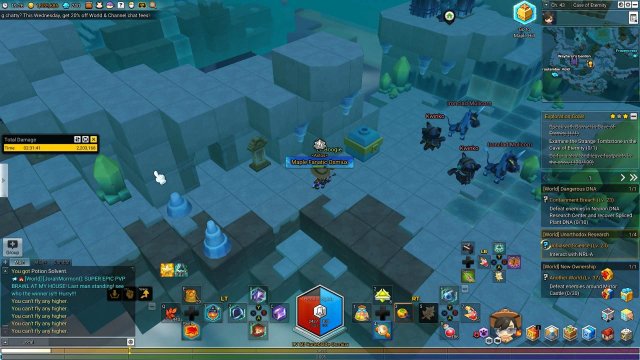
Go for a stroll and leave footprints in the snow
- This exact same goal again. I think you know what to do. Again, just stand on a snowy block for 2 minutes (120 seconds).
Frostember Void
Enjoy the scenery of Frostember Void through binoculars
- The binoculars are actually pretty low, height-wise on the map. Located in between the portals to Ant Tunnel Passage and Cave of Eternity.
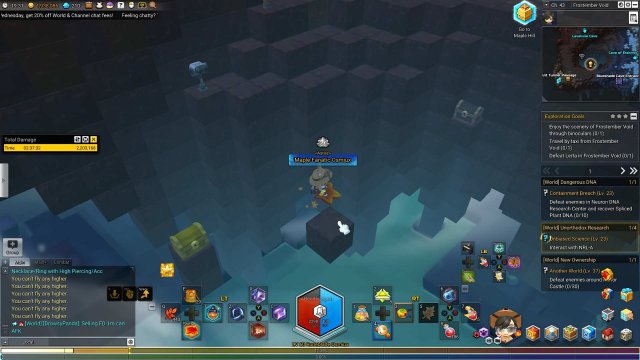
Travel by taxi from Frostember Void
- The taxi stop is next to the portal to the Ant Tunnel Passage. Travel to Ant Tunnel Plaza to save some mesos.
Defeat Lerta in Frostember Void
- Elite Level 50 here, it took me a while and I had to use some potions while fighting. I’m not decked out in Epic gear, so it took me longer than I would have liked it to.
Ant Tunnel Passage
Enjoy the scenery of Ant Tunnel Passage through binoculars
- The binoculars are going to be located on the north side of the map.
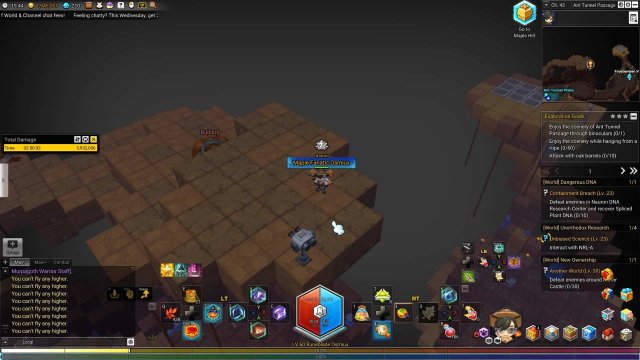
Enjoy the scenery while hanging from a rope
- There are ropes that are hanging off from some over hangs. Just find a rope that you can hang on for a minute (60 seconds). The rope that I used is located on the north side of the map, north of the portal to Frostember Void.
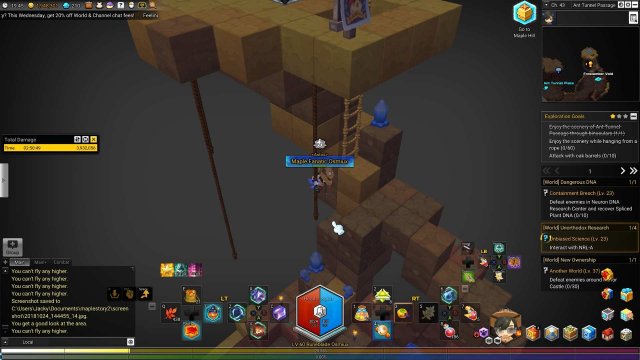
Attack with oak barrels
- Barrels! Find and destroy 10 of those poor containers.
Lavaluna Cave
Enjoy the scenery of Lavaluna Cave through binoculars
- Binoculars can be found on the south side of the map, next to the lava river.
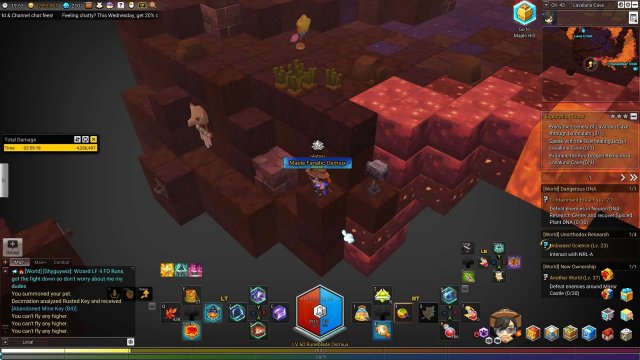
Speak with the Overheating Dog in Lavaluna Cave
- The Overheating Dog is located on the north-east, north of the Frostember Void portal.
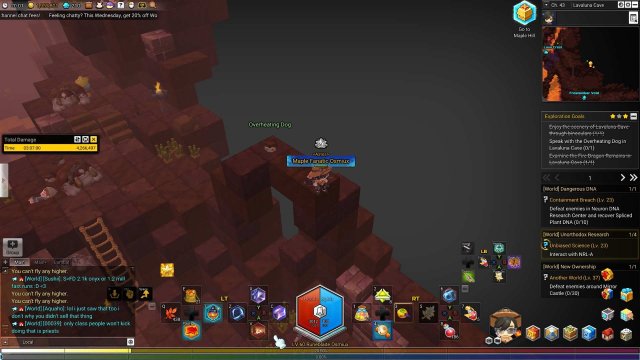
Examine the Fire Dragon Remains in Lavaluna Cave
- The remains are very nondescript. In the middle of the map, there is a fossil and bone remains that you can interact with. They’re located next to an outcrop that is next the lava “river”. The river is actually in the form of a moon, hence the name Lavaluna.
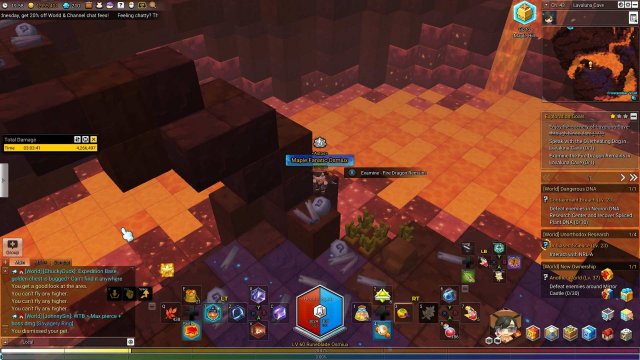
Lava Crest
Enjoy the scenery of Lava Crest through binoculars
- The binoculars are right next to Researcher Casto, left of the portal to Pyratalos.
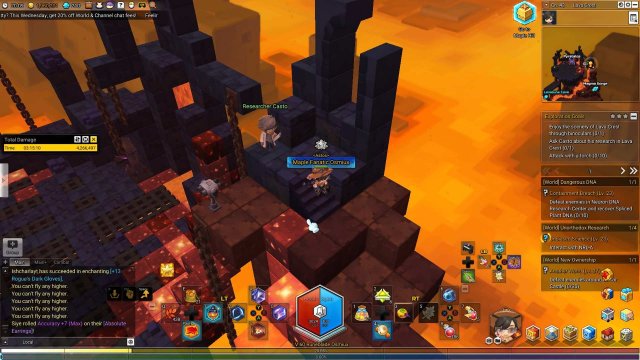
Ask Casto about his research in Lava Crest
- Speaking of Casto, use the Talk action and make sure you pick the right prompt!
Attack with a torch
- I don’t know why you would need a torch in an area like this, so get rid of them! 10 of them, to be exact!
Magma Gorge
Pull the lever to reveal the hidden iron chains
- The chains are located on the eastern side of the map.
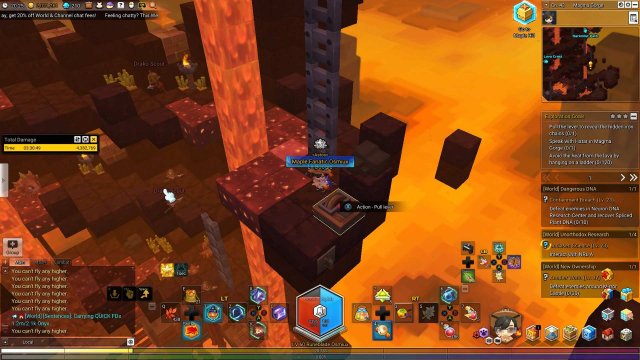
Speak with Hatar in Magma Gorge
- Shaman Hatar can be found on the western side of the map, south-east from the portal to Lava Crest.
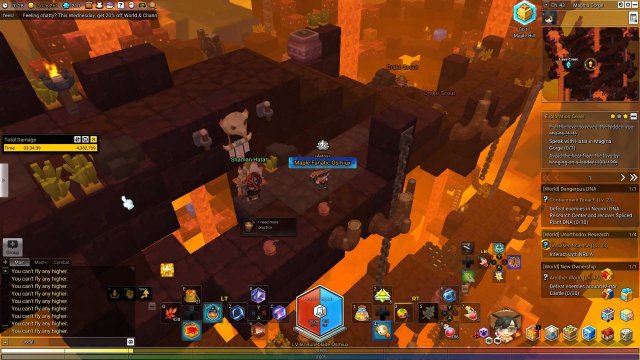
Avoid the heat from the lava by hanging on a ladder
- Just find a ladder and chill on it for 2 minutes (120 seconds).
Darkmist Path
Ride a mount
- Fastest ground mount, go! 200 meters!
Break 10 things
- You’ve seen all of these goals before, just do what you think needs to be done.
Open hidden wooden treasure chests in several places
- And last but not least of the Perion section, open 5 wooden chests in this area. Good luck! You’ll need it, especially because there’s no mini map in this area.
Ludibrium
Whew. With the two longest sections out of the way, all we have left is this “Ludibrium” section, Taliskar, Alikar, and Karkar island. That’s actually a lot of -kar areas, but whatever. That’s fine, I guess. Lets go over what Leg- err… Ludibrium entails.
In this section we will have:
- Rainbow Mountain
- Sand Dunes
- Breezy Hills
- Sweet Tooth Valley
- Sweetskirts
- Ludibrium Crevasse
- Clock Tower Square
- Ludi Station
- Slumberland
- Ludi Fantasia
- Berrysweet Castle
- Macaroon Acres
- Frostbunny Park
- Ludi Arcade
- Harrot Hill
- Ludition Carnival
Definitely a lot shorter. I don’t think I would be sane if I had to keep writing guide sections as long as Ellinia or Perion all the time. I need small breaks! Let’s get going.
Rainbow Mountain
Enjoy the scenery of Rainbow Mountain through binoculars
- The binoculars are on the north section of the map, on the top of the mountain.
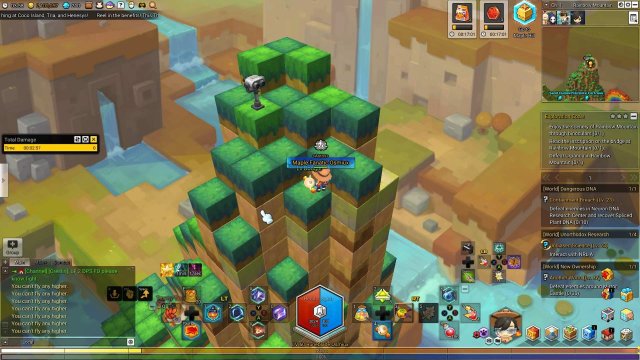
Read the inscription on the bridge at Rainbow Mountain
- The rainbow sculpture has something that you can interact with at the top. I passed by it while flying.
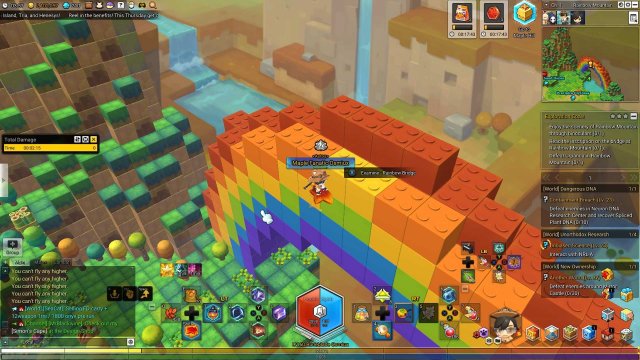
Defeat Urpanda in Rainbow Mountain
- Urpanda is an Elite Level 40 monster. He’s definitely a step down comparatively from some of the monsters that we’ve been fighting in the stronger areas of Perion, but his attacks are super annoying. He has abilities that knock you back, stun you, and push you around. Not difficult, just tedious.
Sand Dunes
Enjoy the scenery of Sand Dunes through binoculars
- The binoculars are located on the south side of the map, right next to the watefall.
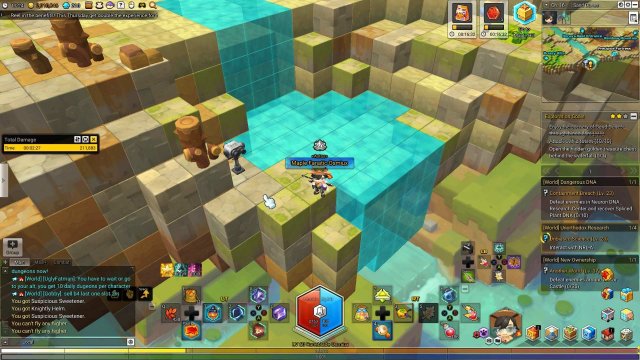
Attack with a totem
- These are the swinging totems. Just find 10 of them and swing them around.
Open the hidden golden treasure chest behind the waterfall
- The treasure chest can be found on the north end of the map underneath the origin of the waterfall.
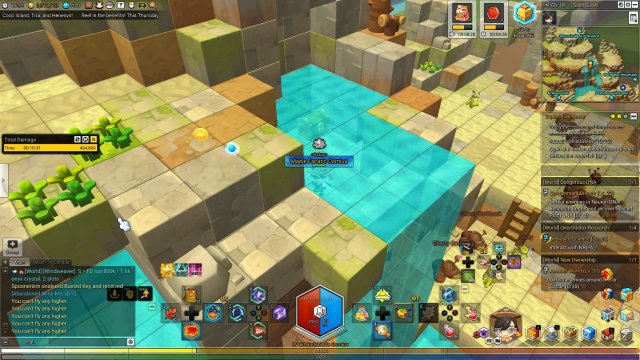
Breezy Hills
Enjoy the scenery of Breezy Hills through binoculars
- The binoculars are found on the south-west part of the map, north-west of the portal to Sweet Tooth Valley.
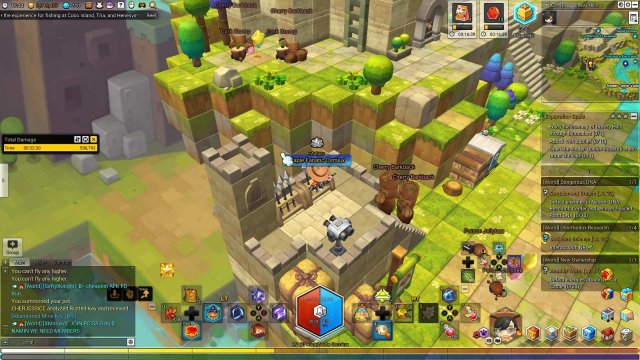
Attack with a toilet
- The toilets are actually the porta-potty looking things. Just pick them up and try not to get sloshed with toilet water. They mostly spawn on the south-east side of the map.
Open the hidden golden treasure chest under the lake
- The secret entrance can be found on the very south end of the map. You’ll have to either use a flying mount or crawl in there very carefully. Just run to the end and grab that chest.
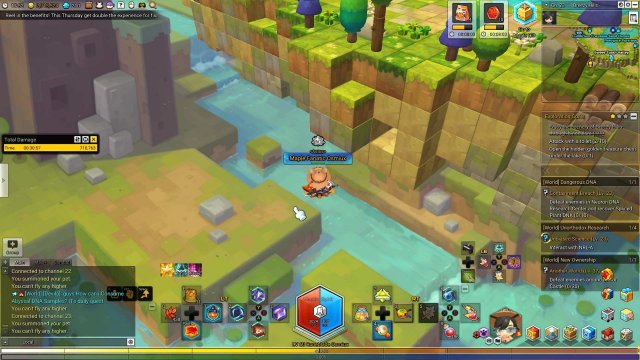
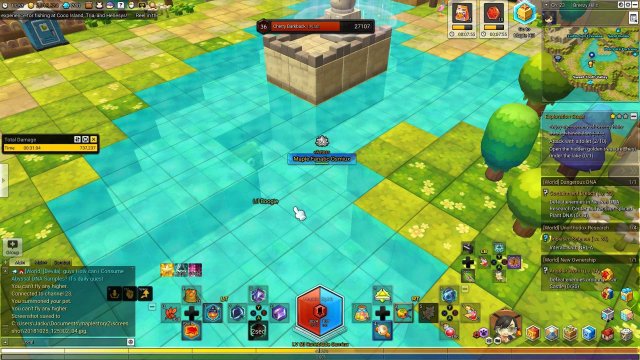
Sweet Tooth Valley
Enjoy the scenery of Sweet Tooth Valley through binoculars
- The binoculars are on the north side of the map, to the left of the giant sculptures.
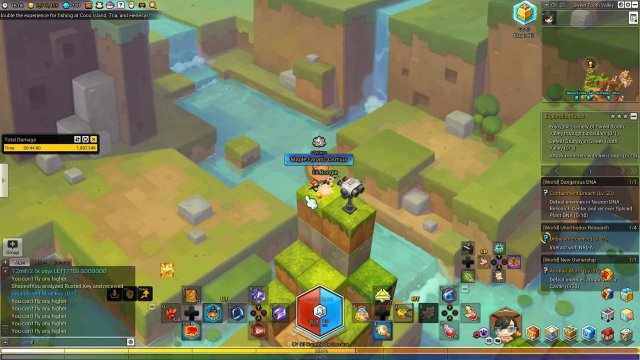
Defeat Stumpy in Sweet Tooth Valley
- Stumpy is an Elite Level 34. Much harder than the one found in the Cherry Blossom Forest dungeon. Also slightly more annoying. Stumpy now has attacks that stun you.
Attack monsters with hen coops
- Exact same as all of the other “Attack with…” goals. Find some hen “coops” and release the chaos. Again, they look more like cages than coops. They mostly spawn on the south-east side of the map.
Sweetskirts
Enjoy the scenery of Sweetskirts through binoculars
- The binoculars can be found on the north side of the map, next to the wooden chest and the giant cherry.
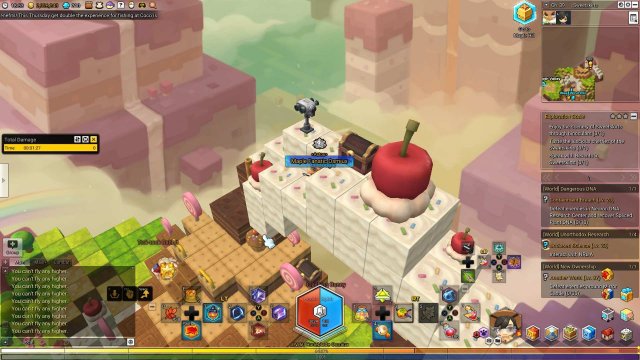
Taste the luscious cherries of Sweetskirts
- Speaking of the giant cherry, go taste it! It takes a while to interact with it.
Speak with Benvento in Sweetskirts
- Benvento can be found directly underneath the giant cherry and the binoculars.
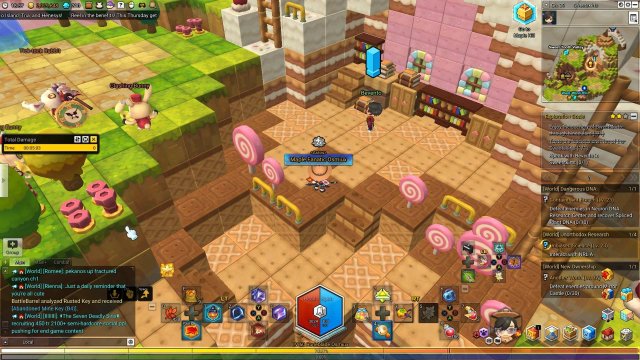
Ludibrium Crevasse
Enjoy the scenery of Ludibrium Crevasse through binoculars
- The binoculars are located on the middle-east part of the map, overlooking the Ludibrium floor.
Defeat monsters at the Ludibrium Crevasse
- Woo! A free star. This one is really easy. Just kill 10 monsters here.
Attack monsters with hen coops
- Again, same objective as always. Find 10 hen coops and set the chickens free. The hen coops are everywhere. So long as you aren’t on the Ludibrium blocks.
Clock Tower Square
Enjoy the scenery of Clock Tower Square through binoculars
- The binoculars are literally right next to the portal to Resortville. It’s kind of hard to miss.
Attack with a rainbow tree
- The rainbow trees kind of actually fit with this area. Time to ruin it by uprooting and swinging them! Do that to 10 of them.
Open the hidden golden treasure chest behind the ladder near the watchtower
- The golden treasure chest is actually on a platform behind the ladder on the watchtower. It’s very hard to see from the angle of the camera, so I captured a picture of the platform a bit further back.
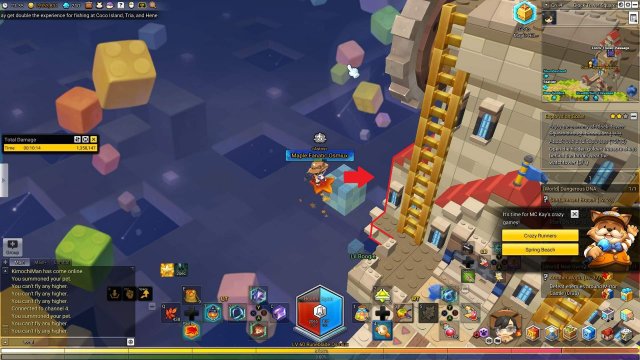
Ludi Station
Enjoy the scenery of Ludi Station through binoculars
- The binoculars can be found on the north end of the map, on top of a “tree.”
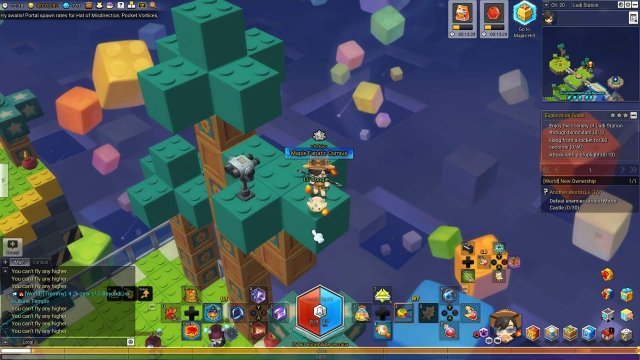
Hang from a rocket for 60 seconds
- This goal is actually similar to the ones found earlier in the guide, where you have to hold onto birds and fly around the map. The rockets have a set path, so if you wait at one of those stops, you would be able to just latch on and complete this goal. The stop that I waited at was on the south-east portion of the map.
Attack with a stoplight
- This goal again. Find some stoplights and swing them around! They only spawn on the south-west side of the map, near the road.
Slumberland
Enjoy the scenery of Slumberland through binoculars
- This is not the furnishing store. Ha. The binoculars here can be found on the north-west side of the map, on top of a Ludibrium wheel.
Ride a mount
- This goal again. Choose your fastest ground mount and run around! Thanks to some basic geometry, slopes are better for this goal if you want to complete it faster.
Open hidden wooden treasure chests in several places
- And yet another familiar goal. This one is just tedious though. Go around the map and find 5 wooden chests and open them.
Ludi Fantasia
Enjoy the scenery of Ludi Fantasia through binoculars
- The binoculars are found on the north-west side of the map. The area is pretty high, so I had to use a balloon to get onto the wall and climb up.
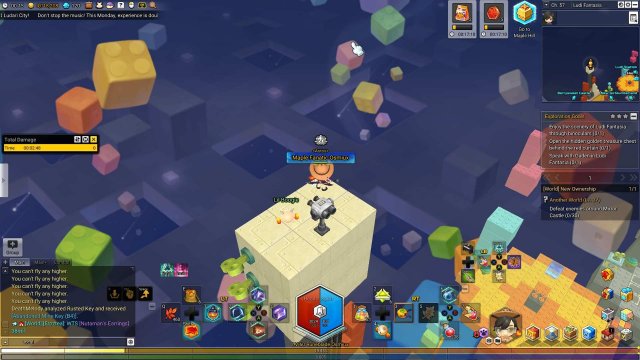
Open the hidden golden treasure chest behind the red curtain
- The golden treasure chest is literally behind the red curtains directly beneath the binoculars. You can walk through the curtains, but the chest is on the north end of the stage. You won’t know if its there unless you go and literally check.
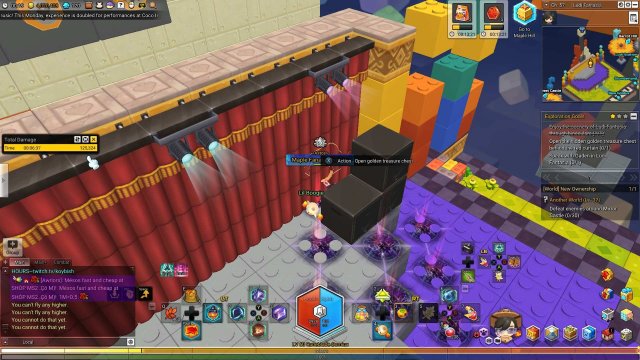
Speak with Gaden in Ludi Fantasia
- Security Guard Gaden is with the whole pack. The NPCs can mainly be found next to the portal to Slumberland.
Berrysweet Castle
Enjoy the scenery of Berrysweet Castle through binoculars
- The binoculars can be found on the north side of the map, next to the pagoda-looking area.
Talk to the Mouse gobbling up sweets in Berrysweet Castle
- The mouse is actually directly north of the binoculars. There are a lot of monsters around and they are aggresive.
Defeat Molten Knight in Berrysweet Castle
- Not too bad of an enemy. The Molten Knight isn’t actually a knight, but rather a rolypoly-esque monster. This Elite Level 46 monster can be found on the south side of the map. Not too many crowd control abilites, so you can just pump out damage.
Macaroon Acres
Enjoy the scenery of Macaroon Acres through binoculars
- The binoculars can be found on the south side of the map, just west of the portal to Ludi Station.
Examine the Chocolate Waffle Waterfall in Macaroon Acres
- There is a small cake that you can interact with on the south-east portion of the map. You will complete this goal if you do.
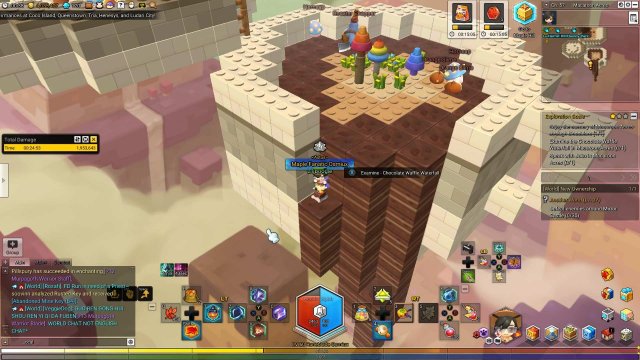
Speak with Juko in Macaroon Acres
- Juko can be found north of the chocolate-waterfall, next to the Mother Magic Pot.
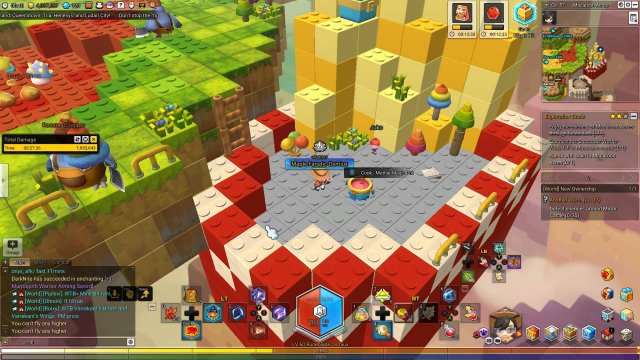
Frostbunny Park
Enjoy the scenery of Frostbunny Park through binoculars
- The binoculars can be found on the bunny girl statue, on the north-east side of the map.
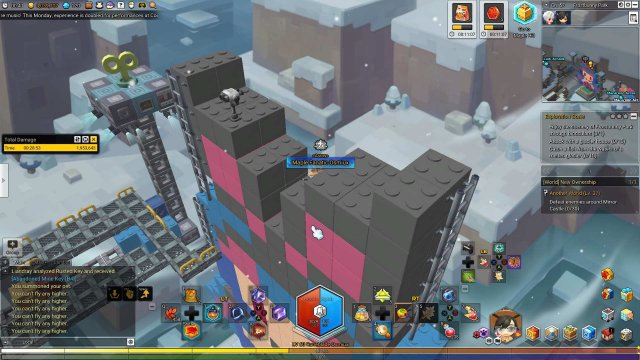
Attack with a glacier house
- Igloos. But you already know what to do to these igloos. I mean… I would hope so, knowing how many “Attack with…” goals that you’ve seen already. They mostly spawn on the south side of the map.
Catch a fish from the waters of a melted glacier
- This one is descriptive, but just fish up 10 fish. Advanced III is required to start fishing here.
Ludi Arcade
Enjoy the scenery of Ludi Arcade through binoculars
- The binoculars are on the north side of the map, on top of the giant crane machine.
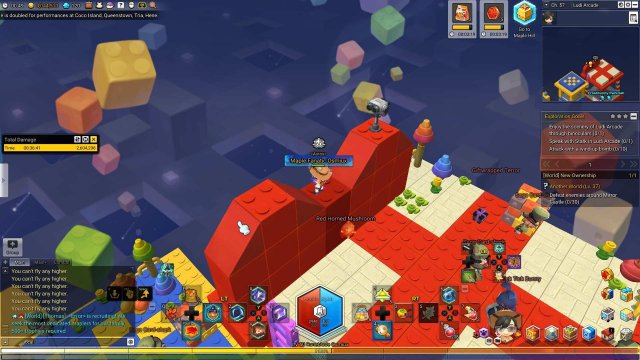
Speak with Stark in Ludi Arcade
- Temporal Engineer Stark is located on the south-east side of the map, next to the portal of Ludible Time Hall.
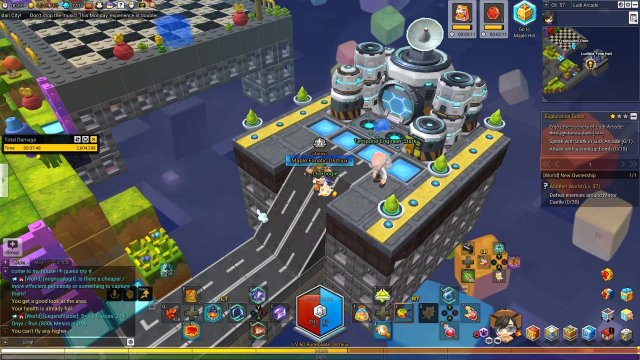
Attack with a wind-up bomb
- New object! These bombs are kind of everywhere. There are actually three bombs next to the portal Frostbunny Park.
Harrot Hill
Enjoy the scenery of Harrot Hill through binoculars
- The binoculars can be found on the north part of the map, on top of the bunny’s right ear (south-west from the screen’s perspective).
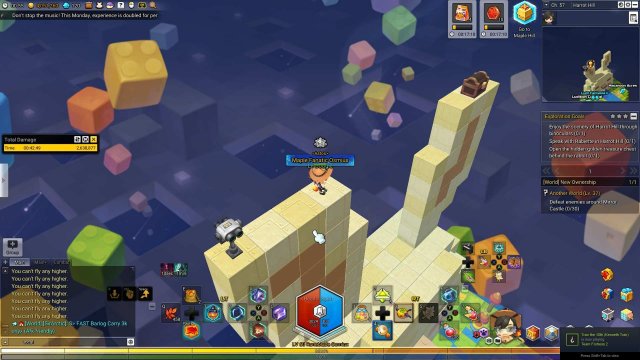
Speak with Rabiette in Harrot Hill
- Moon Bunny Rabiette can be found on the south-west side of the map, outside of her house.
Open the hidden golden treasure chest behind the rabbit
- The rabbit that they’re speaking about is NOTthe one with the binoculars on their ear. The golden treasure chest can be found on the north side of the southern-most rabbit.
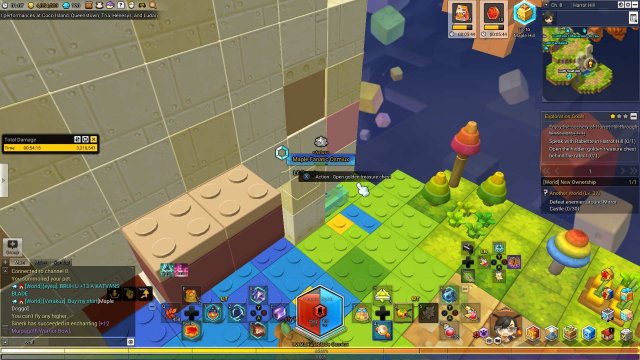
Ludition Carnival
Defeat Monty de Carro in Ludition Carnival
- Elite Level 50 here. The fight goes by pretty easily, if it weren’t for the fact that he spawns clones that try to crowd control you. Just make sure to heal up while fighting the knight.
Open the hidden golden treasure chest beyond the moving cubes
- The golden treasure chest that they’re referencing can be found on the south-west side of the map. The ground area that its located on doesn’t show up on the mini map, so technically it’s “out-of-bounds” using the loosest definition of out-of-bounds.
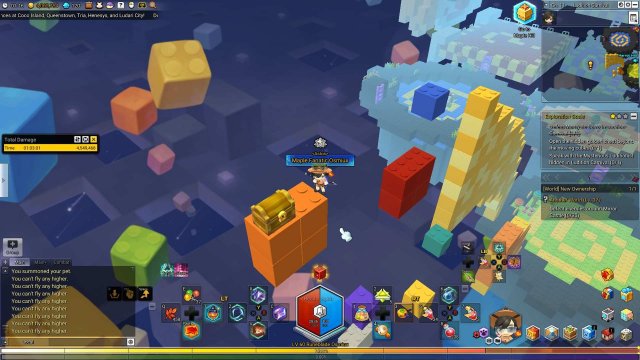
Speak with the Mysterious Luditionist hidden in Ludition Carnival
- The Mysterious Luditionist is not the NPC on the south-west, it’s actually an invisible thing that you can interact with on the clown hat.
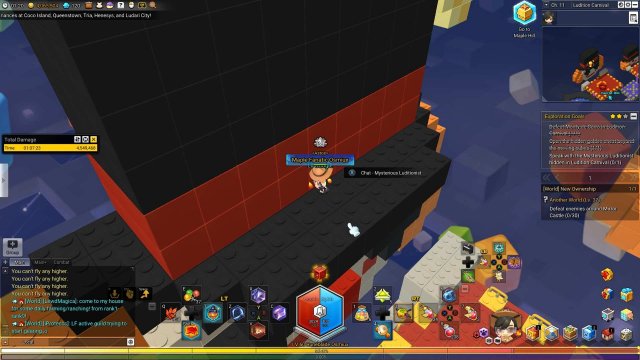
Taliskar and the Mechanical Creep
We are nearing the end! Taliskar is a pretty high level area, consisting of level 41-50 areas, so these missions are not recommended if you are low level. These guys hit like a truck. In this section, it contains the following areas:
- Taliskar
- Steamerbrook
Water Supply Center - Phantoma Cyborg Center
- Kernel Energy Research
- MSL Robot Dev Center
- MSL Factory
- MSL Electronics Institute
- Cellimental Test Bunker
- New Kerningdom
- Old Kerningdom
- Magma Research Station
- Chronoff Train Station
- Muros Media Park
Not a super long list comparative to the other sections. Lets begin!
Taliskar
Enjoy the scenery of Taliskar through binoculars
- The binoculars can be found on the southern most tip of the map, just south of the housing areas.
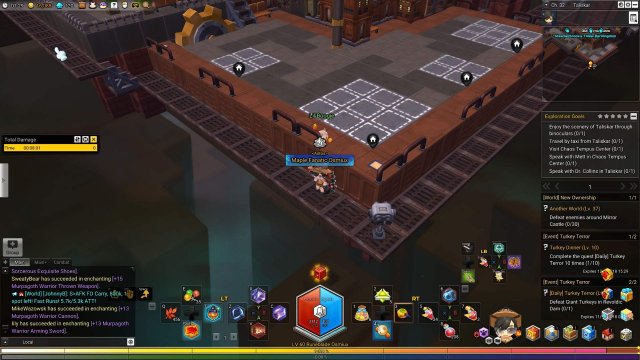
Travel by taxi from Taliskar
- Another “Travel by taxi” goals. As usual, save yourself some of those precious mesos. The taxi stop is south-west of the bank and the hospital.
Visit Chaos Tempus Center
- The Chaos Tempus Center is located on the northern end of the map. The building is very prominent and can be found very easily. Enter the building to complete this goal.
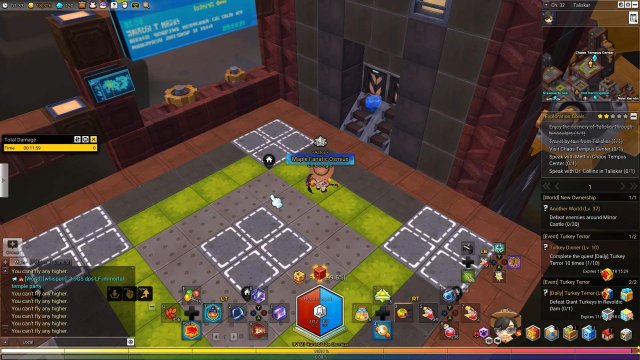
Speak with Mett in Chaos Tempus Center
- While in the Chaos Tempus Center, talk to Director Mett, and you should complete this goal. No picture here, there’s only one NPC when I visited.
Speak with Dr. Collins in Taliskar
- Dr. Collins can be found east of the taxi stop, not too far from the hospital. He’s kind of on the middle of the map.
Steamerbrook
Enjoy the scenery of Steamerbrook through binoculars
- Again, the binoculars can be found on the southern most tip of the map, just like the previous map.
Speak with Akarka in Steamerbrook
- Akarka can be found in the middle of the map, slightly to the north. Speak with the android and finish your goal!
Enjoy the thrill of standing on a glass floor
- This one is very self descriptive. If you stand on a glass pane for a while, the progress to completing this goal progresses. All you have to do is stand on a glass block for 2 minutes (120 seconds).
Water Supply Center
Enjoy the scenery of Water Supply Center through binoculars
- The binoculars can be found basically in the middle of the map, next to a large water pipe… thing.
Attack with a pipe
- These pipes are hard to find because they blend in with the surroundings quite a bit. I have attached a photo with what they look like. Just pick them up and swing them around, 10 times.
Speak with Phelan in Water Supply Center
- Professor Phelan can be found on the north-west section of the map. It should be a safe area, but if monsters aggro you, they can attack you. Just start the conversation and complete this goal.
Phantoma Cyborg Center
Enjoy the scenery of Phantoma Cyborg Center through binoculars
- The binoculars can be found on the north-west portion of the map, on top of a large outcrop.
Attack enemies with rolling mine carts
- Another “Attack with…” goal, just styled differently. I think we’ve used minecarts before. Just look around and interact with them! These mostly spawn near the portal to Water Supply Center
Defeat Phantom Destroyer in Phantoma Cyborg Center
- Elite Level 50 monster here. The Destroyer does quite a bit of damage, but hardly any crowd control effects, so if you just pump out that damage, you should be able to finish this relatively quickly. At level 60, and Epic Weapon, I had to use some Event Mini-Elixirs.
Kernel Energy Research
Enjoy the scenery of Kernel Energy Research through binoculars
- The binoculars can be found on the northern portion of the map, on top of a couple of steel beams.
Defeat Urska in Kernel Energy Research
- Urska is an Elite Level 48 monster, not too bad. I joined someone while they were attacking and just pumped out damage again. He doesn’t seem to have any crowd control effects again, but he does have some invincibility frames.
Attack by slamming down a Kerning truck
- Nearly identical to all of the other “Attack with…” goals. Except, this one is a new object. Find some yellow trucks and destroy them, Street Fighter style!
MSL Robot Dev Center
Enjoy the scenery of MSL Robot Dev Center through binoculars
- The binoculars can be found on the southern portion of the map, just south-east of the portal to Kernel Energy Research.
Open the hidden golden treasure chest behind the toxic waterfall
- The chest that they’re referring to isn’t exactly behind the waterfall, it’s next to it. However, the chest IS behind some barrels, obstructing the view of the chest. Just go (kind of) to the middle of the map, and you should see a stack of barrels next to a waterfall. Use a strong spell to destroy them.
Speak with Herman in MSL Robot Dev Center
- Lead Researcher Herman can be found directly south of the golden tresure chest that we were talking about earlier. If you want another point of reference, Herman is literally right next to the portal to MSL Electronics Institute.
MSL Factory
Enjoy the scenery of MSL Factory through binoculars
- These binoculars are directly above the portal to MSL Robot Dev Center. Just fly up and interact with it.
Travel by taxi from MSL Factory
- Another one of the “Travel by taxi” goals. Again, save some mesos and travel to a nearby one.
Attack with an EMP Bomb
- And again, another “Attack with…” goal. EMP Bombs are also new, so try to look around. They don’t actually look like bombs, but rather energy cells.
MSL Electronics Institute
Enjoy the scenery of MSL Electronics Institute through binoculars
- The binoculars are found on the northern end of the map, near the lavafall origin.
Attack with a waste storage drum
- And yet again, another “Attack with…” goal. These aren’t a new object either.
Open the hidden golden treasure chest in the lab
- I don’t know if this is going for any one in particular, but I completed this goal after interacting with the one next to the New Kerningdom portal.
Cellimental Test Bunker
Enjoy the scenery of Cellimental Test Bunker through binoculars
- The binoculars are found on the north-eastern end of the map, near the edge.
Attack by throwing a crate of bottles
- There aren’t any specific locations that have a large saturation of these things, so just scavenge the map to complete this. Throw 10!
Attack with a dumpster
- Again, like the crate of bottles, there isn’t a specific location that have a lot of dumpsters, but they’re located mostly on the lower (south-eastern) portion of the map.
New Kerningdom
Enjoy the scenery of New Kerningdom through binoculars
- The binoculars are found on the south-eastern edge of the map, vertically high up on a suspended bridge.
Ride a mount
- A nice relaxing goal to complete, which is a change of pace. Find your favorite ground mount and move around 200 meters. Reminder: Slopes are the fastest way to complete this. That said, there’s hardly any large slopes here.
Enjoy the scenery by sitting down
- If you thought the previous one was nice, this one is even easier. Sit for 300 seconds (5 minutes). I use the /sit command in the chatbox to do so.
Old Kerningdom
Enjoy the scenery of Old Kerningdom through binoculars
- The binoculars are found on the north-eastern edge of the map, slightly north of the crane and the portal to New Kerningdom.
Ride a mount
- Same as the one in New Kerningdom, choose your favorite land mount and ride away.
Perform with friends
- Again, same thing as all of the other “Perform with friends” goal. Find a friend, go into a party and do an ensamble performance. Last time we had this goal was in Perion though. Huh…
Magma Research Station
Enjoy the scenery of Magma Research Station through binoculars
- The binoculars are on the western side of the map, up some ladders.
Speak with Lavi in Magma Research Station
- Director Lavi is on the southern side of the map, kind of away from all of the enemies. Ask how his day was and you should complete this goal.
Attack with a pipe
- And to round this off, you throw some pipes around. Reminder: You don’t have to actually hit anything with it. Just find a pipe and throw it. Most of the pipes can be found up (vertically) from Director Lavi.
Chronoff Train Station
Enjoy the scenery of Chronoff Train Station through binoculars
- The binoculars are on the eastern side of the map, on top of a crane. The crane is next to the area where you should fight Ninecap Copper.
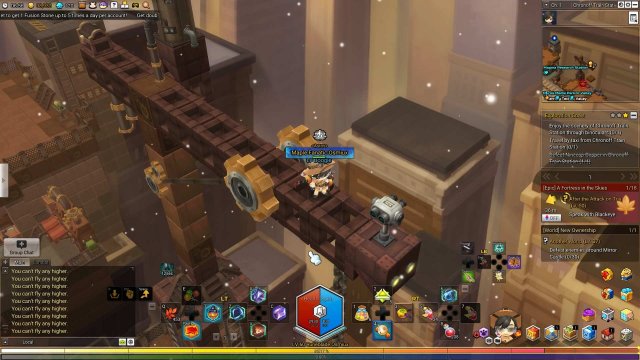
Travel by taxi from Chronoff Train Station
- Another one of the “Travel by taxi” goals. Again, save some mesos and travel to a nearby one. Maple really just wants you to spend petty cash. The taxi is located on the southern side of the map, near the portal to Muros Media Park.
Defeat Ninecap Copper in Chronoff Train Station
- Ninecap Copper is an Elite Level 44 monster, not too bad. I… uh… completed this before I came back from my break, so how hard can it be? Just remember to use potions when needed!
Muros Media Park
Enjoy the scenery of Muros Media Park through binoculars
- The binoculars are on the north-north-east side of the map, on top of a mountain. Getting into the specific cardinal directions!
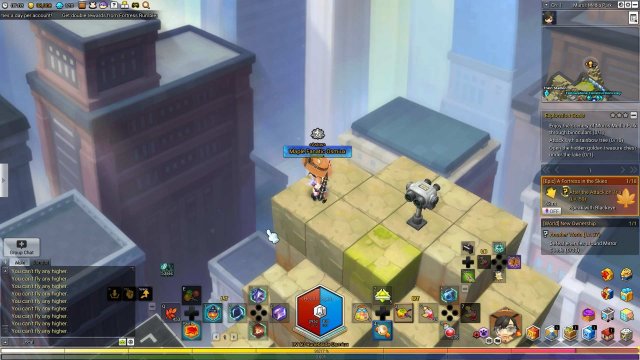
Attack with a rainbow tree
- Again, another one of the “Attack with…” goals. Find one and use your crazy strength to uproot, and toss these around!
Open the hidden golden treasure chest under the lake
- Whooo. Another one of these. This one took me a while because there’s no actual entrance, but a thing that you interact with. Channel hop until you find the golden chest under the lake. Find the pipe that’s next to the ladder on land and interact with it. You should be teleported underneath the water.
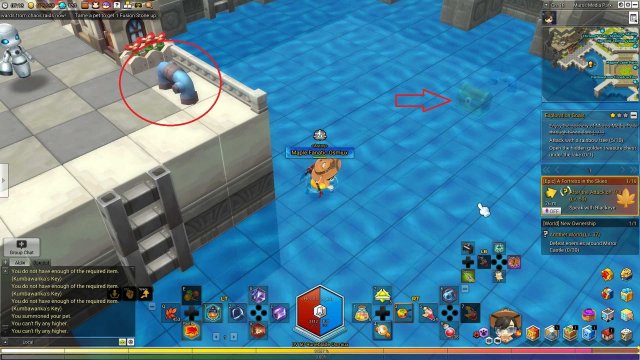
Alikar or Alcatraz?
Even closer to the end! Alikar is a VERY dangerous area, no matter what level you are. If you’re going for just the 150 or the 550 stars, I would recommend skipping this WHOLE section. The reason why this is such a dangerous spot is because it’s almost entirely PvP. However, if you have a guide to write… you don’t really have a choice, do you? Since this is a special section, I will be marking the areas that DON’T have PvP. Yeah, it’s faster to do that than mark the ones that do. In this section, it contains the following areas:
- Alikar*
- Kabrium Basin*
- Chekarta Chemicals*
- Blackout Expanse*
- Occupied Fellowstone*
- Dark Cell Virus Center*
- Picardiv*
- Torrava River
- Vanished Ruins
- Savage Crossroads
- Debloon Ranch*
- Stormville*
- Victoria’s Rest
- North Tyranny Road
- South Tyranny Road
- Wallowville
- Bitters Valley
- Piercewind Hills*
- Stormy Hills
- Demonspring
- Black Forest
- Calamitysnare
- Moldy Hollow
- Outlaw’s Overlook
- Blazing Forest
- Infernal Tree*
- Sealed Forest
- Gloomy Forest
- Obsidian Mountain
- Cozalita Graveyard
- Melta Dam
About the third longest list, I think? Also, for those who are curious, it’s 11 non-PvP zones and 20 PvP zones; total of 31.
Alikar
Before I continue with this one, I don’t… uh… really know how to get here… I used a Rotors Walkie-Talkie (Rotors Air Taxi) to get here originally and then used one of the 700+ Free Air Taxis I got from the beginning of MapleStory 2 to return. If there’s an actual way to get to Alikar, I would recommend doing that, otherwise I REALLY REALLY don’t recommend going here. You’d just spend your real money just to get three stars. Also, this place is kind of annoying to explore in, no mounts, aerial or not. Also no running/fast-swimming and no climbing either.
Edit: I found the way to Alikar, talk to Seamus in Lith Harbor.
So with the disclaimer out of the way…
Catch a Jailfish
- The last time we’ve had to catch a SPECIFIC fish was all the way back in Nerman Forge, in the Henesys region. This time, the Jailfish is another Epic fish which requires Beginner I, so you can come here immediately and fish it up.
Open the suspicious manhole
- The suspicious manhole is located on the weeding grounds, where you see various prisoners pulling up the weeds. It’s hidden behind the sign that symbolizes no entry. It also took me a while to find it because the manhole didn’t show on the map as a green dot at all.
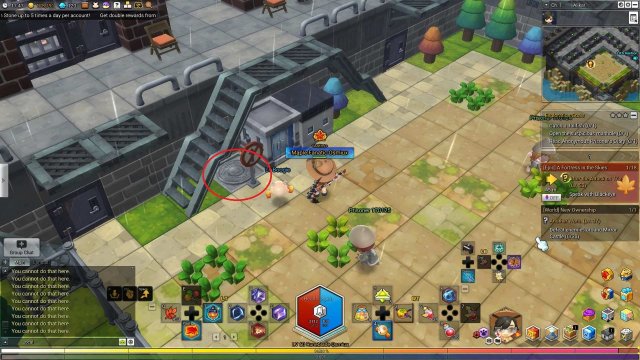
Read Anonymous Prisoner’s Diary
- If you open up the manhole and venture inside of it, you WILL complete this goal if you keep on going. There’s some light parkouring, but nothing a little Super Mario Bros. experience won’t fix.
Kabrium Basin
Stay at Kabrium Basin Shelter for 5 minutes
- The Kabrium Basin Shelter is located next to the Altar of Rage, which has a unique icon on the map. It’s north of the healing totem found here. Also to note: Your HP increases dramatically in here, so I assume it’s a PvP Zone. All you have to do is literally what it says. Enter and stay for 5 minutes. Wait… this zone tracks in minutes, not seconds… What?
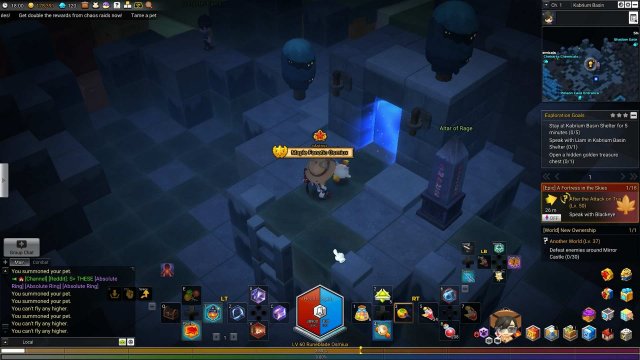
Speak with Liam in Kabrium Basin Shelter
- Speaking of the shelter, Liam exists in here, so you should go and say hi. He’s literally at the front of the door, you can’t miss him. I’m not even going to put a picture up because of how obvious he is.
Open a hidden golden treasure chest
- Much like the ones earlier, you find a golden treasure chest. If you can’t find one, keep on trying or change channels!
Chekarta Chemicals
Catch fish in foul water
- Similar to other “Catch fish” goals. You have to be Intermediate III to fish here. There actually aren’t many spots to fish at. I did mine on the south-western side of the map.
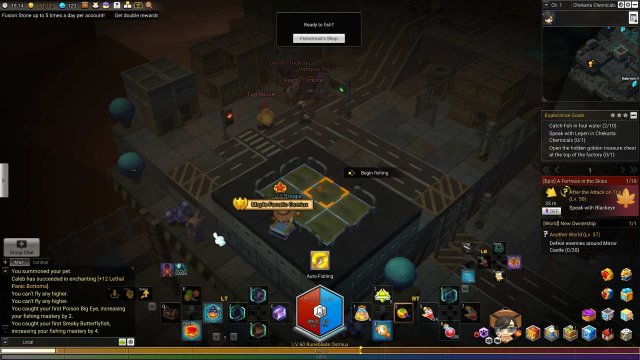
Speak with Lepin in Chekarta Chemicals
- Chemist Lepin is found on the north-eastern portion of the map, just to the east of the portal to Blackout Expanse. You are still within aggro range of the mobs, so talk to him fast!
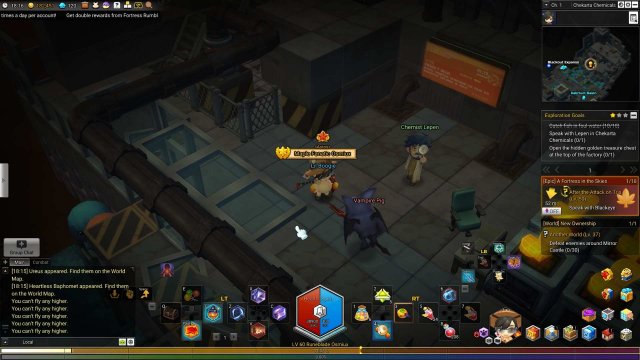
Open the hidden golden treasure chest at the top of the factory
- Well this is quite specific. It’s really self explanatory. I don’t know how to improve on it… It’s uh… north?
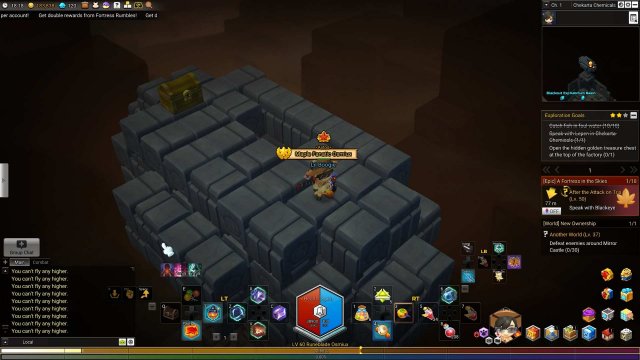
Blackout Expanse
Speak with Marr in Blackout Expanse
- Marr is on the northern portions of the map, directly north (and up) from the healing totem found in the center.
Wall climb on a cliff
- The only previous time we had this goal was in Expedition Base in the Perion region. Climb on a wall, preferably a big one (like the one behind Marr) and go up and down 200 meters. Or even side to side.
Open a hidden golden treasure chest
- Much like the ones earlier, you find a golden treasure chest. Honestly, while writing this guide, if I don’t find them first try, I don’t channel hop so I can pump out more content here.
Occupied Fellowstone
Speak with Maroon in Occupied Fellowstone
- Huh. Lots of “Speak with…” goals now. Maroon is right next to the healing totem found in this area.
Climb on a building wall
- Haven’t had this goal since the Expedition Base and now we have two of them back-to-back. I know it says to climb on a building wall, but any wall will work. It’s just that most of these walls WILL be buildings anyways.
Rest on a ladder and avoid monsters
- The last time we had this goal was in Magma Gorge. It’s the same as it was then, find a ladder and chill there for 120 seconds (2 minutes).
Dark Cell Virus Center
Speak with Informant M in Dark Cell Virus Center
- Wow. These are ALL “Speak with…” goals. Informant M is located on the south side of the map. Look for a small black cat. Or is that a fox?
Speak with Renji in Dark Cell Virus Center
- Renji is next to the healing totem, found in the center-west side of the map.
Speak with Manns in Dark Cell Virus Center
- Biotechnologist Manns is located on the far west side of the map, standing safely on a platform out of harm’s way.
Picardiv
Catch fish in lava
- The fish here require Intermediate IV, so not a super early task you can complete. Fish up 10 in any lava, and complete this goal.
Avoid the heat from the lava by hanging on a ladder
- Another ladder goal. Find any nearby ladder and chill on it for 120 seconds (2 minutes).
Open a hidden golden treasure chest
- Again, another golden treasure chest goal. Once again, because there isn’t any specific chests that you have to look for, I won’t put in an image to show which one you should be going after. Just find one and open one! Kind of easier said than done though.
Torrava River
Enjoy the scenery of Torrava River through binoculars
- Back to binocular goals. The binoculars are located on the western side of the map, next to the lavafall.
Catch fish in lava
- You need to be Advanced I to fish here, so it might be a bit until you do. Even then, I don’t recommend fishing here. It’s a PvP zone.
Break 10 things
- Last time we had this goal was the Fractured Canyon in the Perion region. It’s the same as always, use a strong-looking attack to destroy some destructibles. The things that I attacked were stacks of logs.
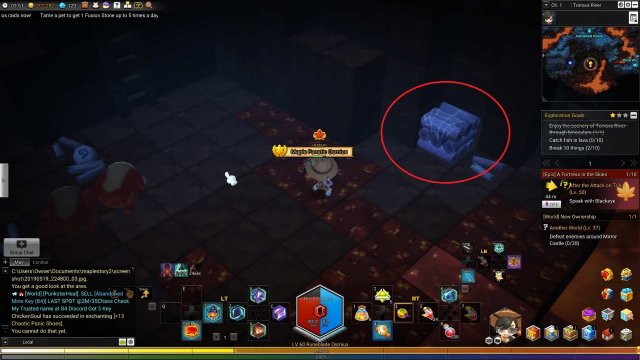
Vanished Ruins
Enjoy the scenery of Vanished Ruins through binoculars
- These binoculars are quite high up! They’re to the north, above the cloud height, actually. I used a balloon mount to get up here quickly.

Catch fish in foul water
- Essentially the same as the one in Torrava River, except in putrid waters this time. Even same fishing level requirement: Advanced I.
Speak with the Mysterious Wisp watching Vanished Ruins from high above
- Sounds poetic and mysterious, but no, it’s actually pretty straightforward. From the binoculars, head north-east until you hit the back wall. Climb up the back wall (or use a balloon mount again) to get to the top and talk to Mysterious Wisp.
Savage Crossroads
Swim in lava for 10 seconds
- Last time we did this was in the Paruvan Plateau area in the Perion region. Lots of callbacks to Perion for some reason. This does EVEN MORE DAMAGE than the last time we did this. So lava must damage based off of % Max HP damage. Dealing 776 damage per tick, with 5 ticks or so per second… uh… that’s 3880 damage to me per second. I actually can’t heal that much, even with elixirs.
This even goes without mentioning the like… two blocks that you can swim in. Find the lavafall and just descend down the side a bit so you don’t get attacked by monsters.
Open a hidden golden treasure chest
- Same as literally all of the other ones. I kind of wish I can write more, but at how far we are into the guide, there’s not much…
Break 10 things
- Exactly the same as the goal in Torrava River. I even broke the same blocks.
Debloon Ranch
Enjoy the scenery of Debloon Ranch through binoculars
- The binoculars are found on the north-west-north side of the map. Again, getting kind of specific, but this is because the binoculars are basically in the middle of mobs that have a large aggro range.
Catch fish in oil
- Flying around, I only saw one area that actually had oil. The rest was toxic water. To do this, you must be Advanced II to fish here, and then proceed to the center of the map.
Examine the Faint Writings on the statue in the middle of Debloon Ranch
- The oil surrounds the statue, so this is really two for one. If you walk to the statue from any side EXCEPT for the back, you can interact with it and complete this goal.
Stormville
Enjoy the scenery of Stormville through binoculars
- The binoculars are on the north end of the map, next to the portals to Katramus Gardens and the Katramus Mine.
Speak with Pochi in Stormville
- North of the binoculars, and north of the portal to Katramus Gardens is Pochi, standing on a small mountain.
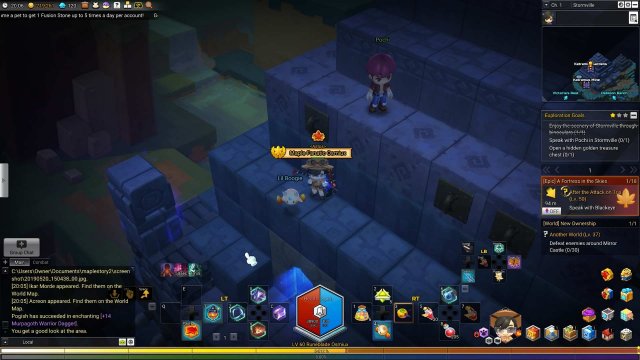
Open a hidden golden treasure chest
- And another one of these. As stated before, I usually skip these for the guide so I can keep writing and pumping out information.
Victoria’s Rest
Enjoy the scenery of Victoria’s Rest through binoculars
- The binoculars are found on the bow of the ship, which can be found in the center-western portion of the map. For those who don’t know ship terminology, it’s the front. But I hope that you can extrapolate data enough to understand that without me telling. 😉
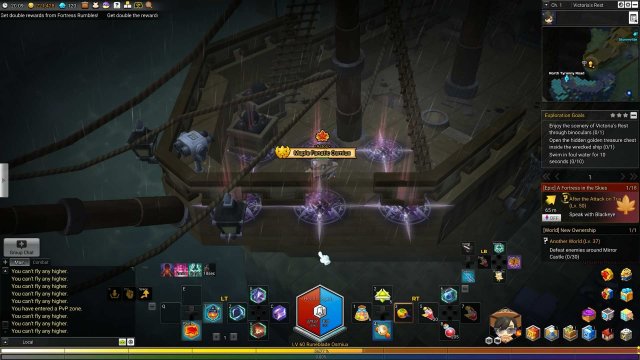
Open the hidden golden treasure chest inside the wrecked ship
- Speaking of the ship, stay on there and head to the stern (back side) to where the captain’s quarters would be if you could access it. There should be a block that you can interact with and drop down. There is literally no way of telling if the chest is in there before hand or not, so you just have to be persistent.
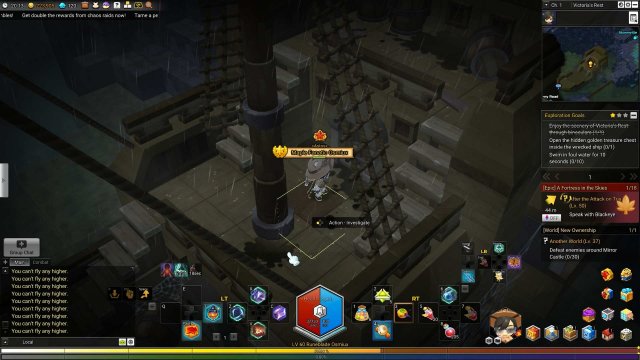
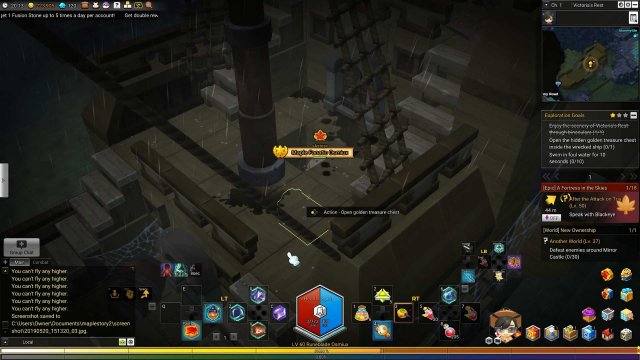
Swim in foul water for 10 seconds
- Much like the lava one we had in Torrava River, but not as dangerous. If you want to know the last time we had the foul water one exactly, that was back in the Kerning Junkyard, back in the Tria region. Wow. That was a while ago.
North Tyranny Road
Enjoy the scenery of North Tyranny Road through binoculars
- The binoculars here can be found on the eastern side of the map, north of the portal to Victoria’s Rest.
Rest on a ladder and avoid monsters
- Another ladder goal. Find a ladder and chill there for 120 seconds (2 minutes). I used the ladders next to the healing totem, found next to the portal to Victoria’s Rest.
Open the hidden golden treasure chest at the top of the mountain
- The golden treasure chest that the goal is speaking of is the northern-most mountain. The chest isn’t too well hidden either, so you might have to channel hop a lot to get the goal completed.
South Tyranny Road
Enjoy the scenery of South Tyranny Road through binoculars
- The binoculars here can be found on the northern side of the map, on some rocks, next to a grassy plateau.
Stay at South Tyranny Road Shelter for 5 minutes
- I think this goal (the shelter ones) is the only time-based goal that records in minutes, not seconds. Again, how strange. The one back in Kabrium Basin also recorded in minutes, not seconds. Whatever… The portal to the shelter can be found next to the Altar of Rage, found next to the healing totem on the west side.
Speak with Arte in South Tyranny Road
- Arte is just north of the portal to the shelter. Basically climb up the mountain a bit until you see him and then talk to him.
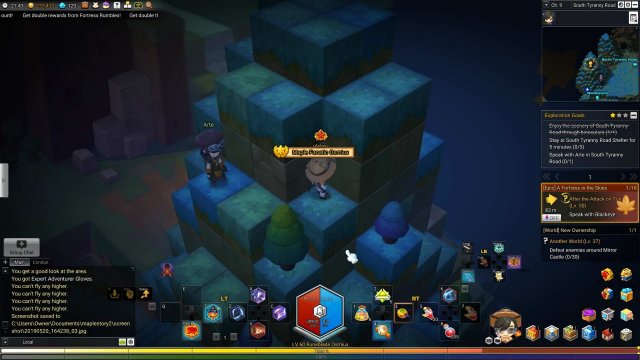
Wallowville
Break 10 things
- Whew. A break from the binoculars. There aren’t any big clumps of breakable items, so it might take you longer than usual. But look for the same stuff; boulders with cracks in them or stacks of logs.
Open a hidden golden treasure chest
- And another one of these. Do I even need to write out what to do at this point? We’re THIS far into my guide.
Speak with Bill at the Wallowville
- Huh. Usually these goals are just “Speak to x at y.” Not “Speak to x at THE y.” Any who, Bill is at the very tippy-top of the northern section.
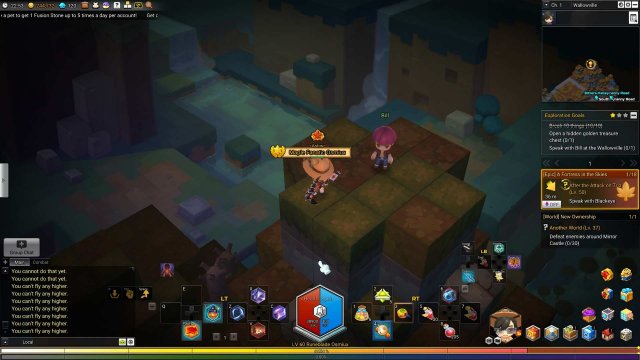
Bitters Valley
Enjoy the scenery of Bitters Valley through binoculars
- The binoculars are located at the very top of the valley to the north. If you look through them, you’ll notice that there’s no alcohol here; so I think this is a false advertisement. (I know that this is supposed to be a counter to sweets, as in sugary treats, but let me be clever).
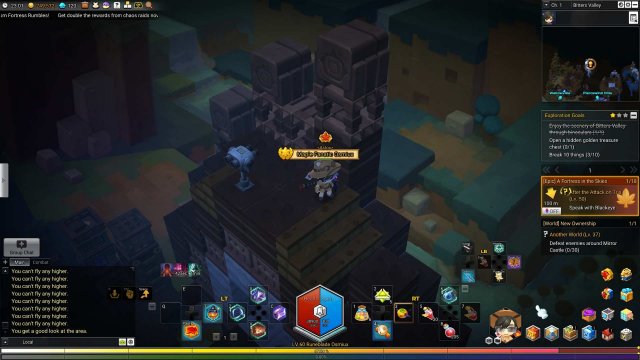
Open a hidden golden treasure chest
- AND ANOTHER ONE! Wow. Jeez. They really want you to explore PvP places and get jumped.
Break 10 things
- The same as the goal in Wallowville. Err… excuse me, THE Wallowville. There are actually places where there are a lot of clumped up breakables and it makes the goal go by much faster. There are three next to the lower healing totem.
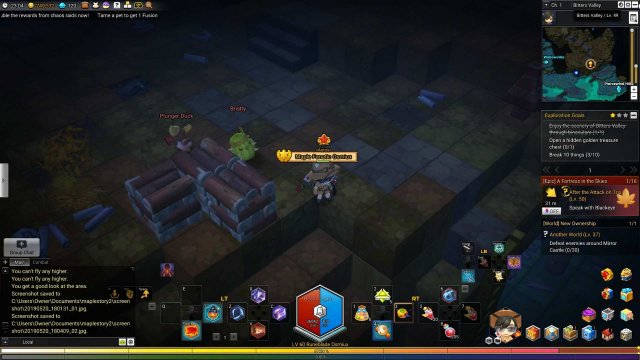
Piercewind Hills
Enjoy the scenery of Piercewind Hills through binoculars
- The binoculars are found on the eastern side of the map, north of the portal to Stormy Hills.
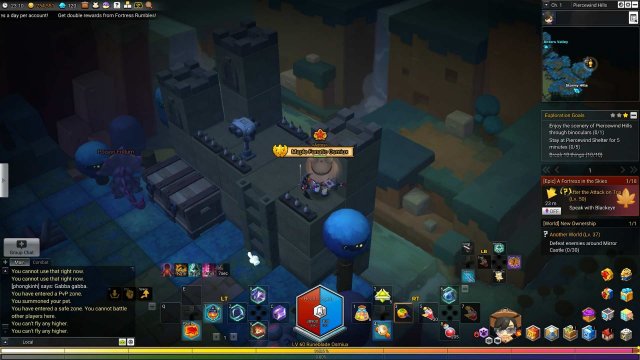
Stay at the Piercewind Shelter for 5 minutes
- Piercewind Shelter can be found next to the Altar of Rage on this map. Man, these goals being recorded in minutes is really throwing me off. Stay here for 5 minutes.
Break 10 things
- Same thing as the Bitters Valley one, except there is an area where the breakables are EVEN MORE tightly grouped up. Go to the northern side of the map, and look for an abandoned castle-like structure. There should be ~7 things to destroy in that one area alone.
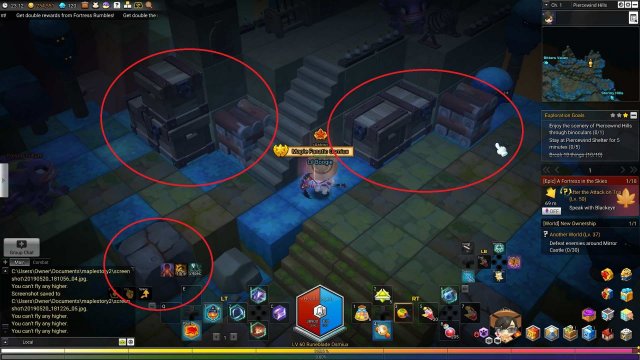
Stormy Hills
Catch fish in oil
- Another one of the catch fish goals. This place requires you to be Advanced IV to catch fish, so it’s definitely late game. Get to that rank, and catching 10 is a cinch.
Open a hidden golden treasure chest
- Aaaaand another one of these goals. I’m getting tired of this, honestly. You know what to do; find a golden chest and open it.
Ride a mount
- For some reason, there’s a relatively peaceful goal for a place with PvP enabled. Choose your fastest land mount and ride around 200 meters. Preferably away from your enemies.
Demonspring
Swim in foul water for 10 seconds
- Whew. Back to recording stuff in seconds. Those minutes in the shelters were weird! The only place with any liquid blocks in the fountain, next to the portal to Stormy Hills.
Open a hidden golden treasure chest
- Ugh. Another one. Honestly. these aren’t even worth it in the PvP areas.
Examine the Inscribed Totem by the pond in the middle of Demonspring
- Quite descriptive, but not super accurate. A better descriptor would be the fountain next to the portal to Stormy Hills. The totem is NOT the mushroom statue, but the one-off statue that is next to the stairs that lead up to the fountain.
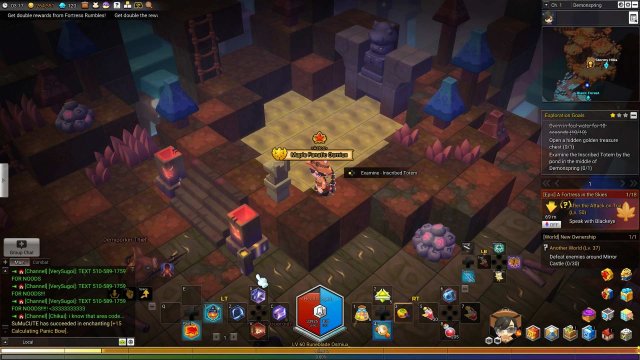
Black Forest
Catch fish in foul water
- Again another “catch fish” goal. This place requires you to be Advanced IV, so it will be a while until you get to do this goal.
Stay at Black Forest Shelter for 5 minutes
- No! Not back to this! We’re back to tracking in minutes. Ugh! This is terrible. The portal to Black Forest Shelter is, once again, next to the Altar of Rage. Stay in here for 5 minutes.
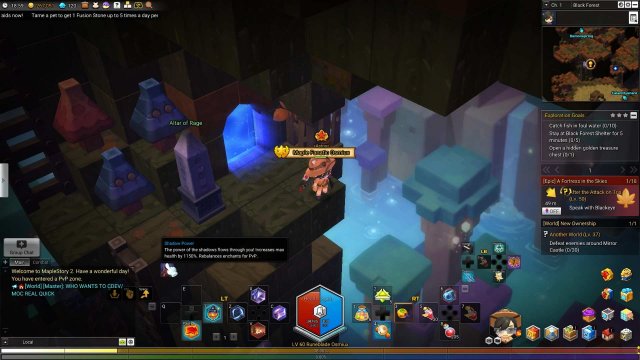
Open a hidden golden treasure chest
- Aaand another one. Again, it’s up to you to find one and open it. I just reinforce the idea that PvP chests aren’t worth it.
Calamitysnare
Catch fish in foul water
- Yet another one. Same as the Black Forest one, even down to the fishing mastery requirement: Advanced IV.
Open a hidden golden treasure chest
- Honestly, I’m getting sick of these. We’re so far into my guide and I can’t contribute anything anymore.
Rest on a ladder and avoid monsters
- Ah, yes. Back to recording in seconds. Next thing you know, we’ll be back to recording in minutes, just watch. Find a ladder and chill there for 120 seconds (2 minutes). There was one north-west of the portal to Black Forest.
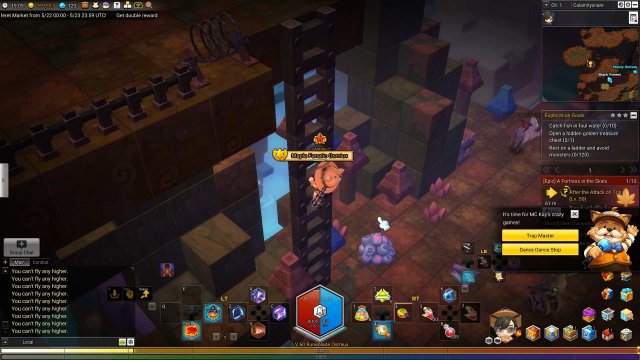
Moldy Hollow
Catch fish in foul water
- Wow this goal is in a combo, requirements and everything. Again, be Advanced IV and come reel up 10 fish here.
Hang from a vine
- Similar to the ladder. Last time that we had the vine/rope goal specifically was in Ant Tunnel Passage in the Perion region. Same thing as before, find one and climb on it for 60 seconds (1 minute). Remember, if you can’t get up to one, use an air mount to land on the ground beneath and then climb up. I found a lantern by the portal to Calamitysnare.
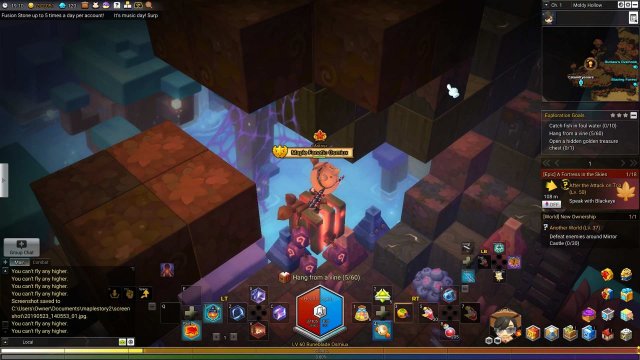
Catch fish in foul water
- Unfortunately, this goal is in a combo as well… Such is the duality of man, or something.
Outlaw’s Overlook
Enjoy the scenery of Outlaw’s Overlook through binoculars
- You know, I didn’t think I would enjoy seeing the binocular goal come back. It’s a nice change of pace from the golden chest goals. The binoculars can be found on the eastern side of the map, on top of a hill.
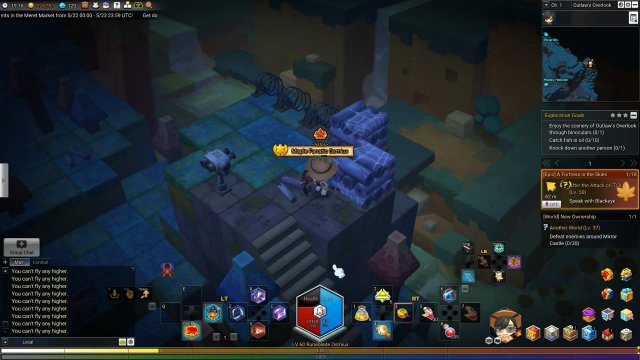
Catch fish in oil
- Not EXACTLY the same goal, but it’s close enough, so i’ll count it. C-C-C-COMBO! Again, requirements are Advanced IV to fish here. Instead of toxic waste though, it’s oil. Which… I mean… A byproduct of refining oil ends up being toxic waste anyways… Is it really different?
Knock down another person
- Wow. Okay. Violent. This goal is new, and so PvP-focused, I couldn’t complete it. There’s no one on my channel when I wrote this section. However, I assume that when it says “knock down” it means kill. So uh… Go wild? Kill another player, and get this goal done.
Blazing Forest
Enjoy the scenery of Blazing Forest through binoculars
- The binoculars can be found on the southern side of the map, right next to the portal to Infernal Tree.
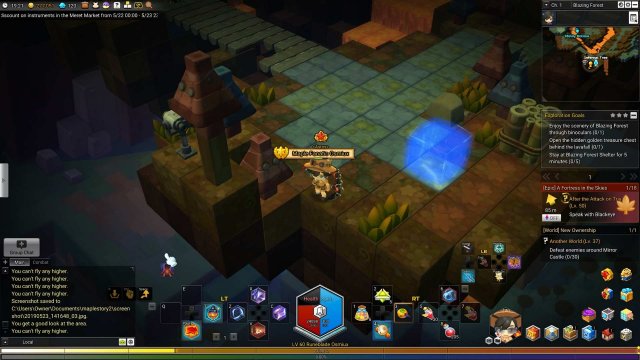
Open the hidden golden treasure chest behind the lavafall
- FINALLY! A golden chest goal that is specific, I can actually elaborate on this. Well… Can I? It’s really descriptive. The lavafall in question is kind of near the center-south of the map, north of the binoculars.
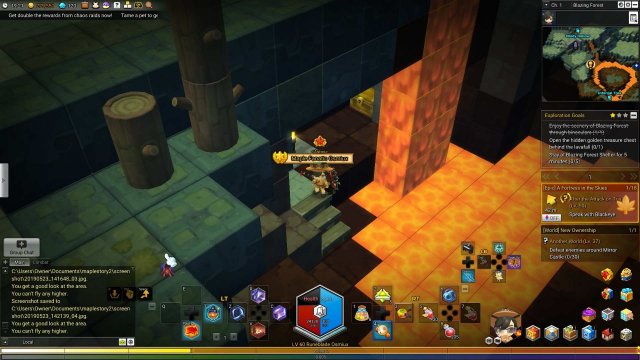
Stay at Blazing Forest Shelter for 5 minutes
- Well… I guess we really are back to recording in minutes. Again, as always, the portal to Blazing Forest Shelter is next to the Altar of Rage. North-west of the lavafall in the previous goal.
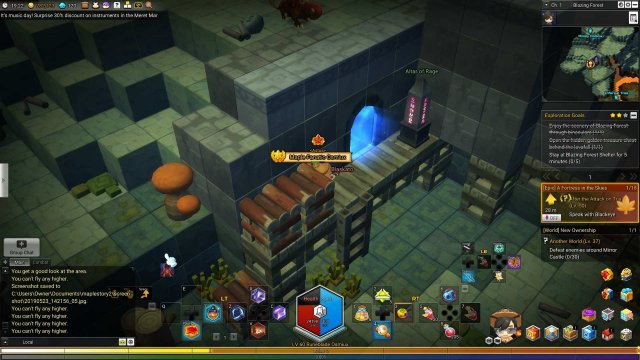


Be the first to comment