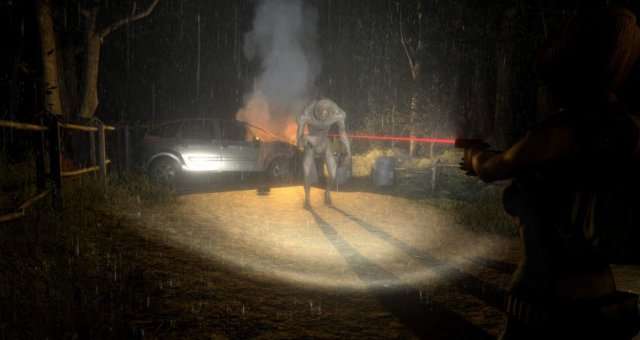
A guide that will show you the locations, solutions, and how to solve the various puzzles encountered over the course of a playthrough as well as to where to find the 4 small keys.
Introduction
This is a guide to help you complete the game Outbreak: Lost Hope, which is considered very difficult compared to the other games in the series. The difficulty level has been significantly increased, so it will be challenging.
Throughout the game, you will encounter several puzzles. Some puzzles require you to find specific items, while others require you to figure out combinations. You will need to revisit previous areas, and dangerous enemies can appear unexpectedly.
I will list the puzzles in the order you will likely find them. The screwdriver is an exception, as you will need to obtain it while solving another puzzle. At the end of this guide, I will provide the locations of the four small keys. These keys are used to unlock optional equipment. There are eight storage boxes in total, so you will need to make careful decisions about what items to keep to help you survive.
Cruiser Trunk (Cop Car)
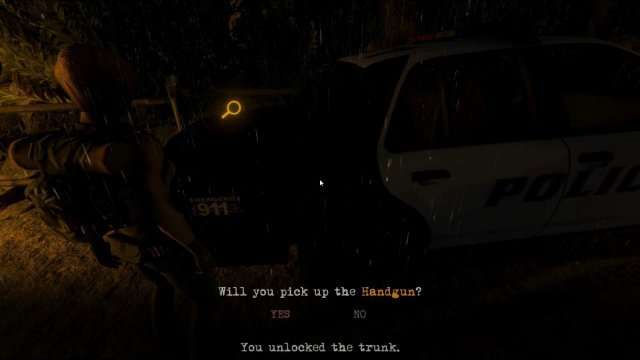
You start the game unarmed. The first weapon is located in the trunk of the police car at the start of the game. This is one of the two instances in the game where you can sequence break, as you don’t learn the combination until entering the medical camp.
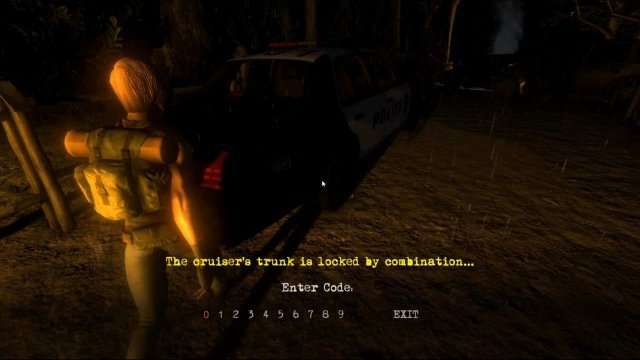
- How to solve: There is a book a short distance away from the car containing the first half of the combination. The second half (ripped note) is found in the medical camp on the first tent to the right.
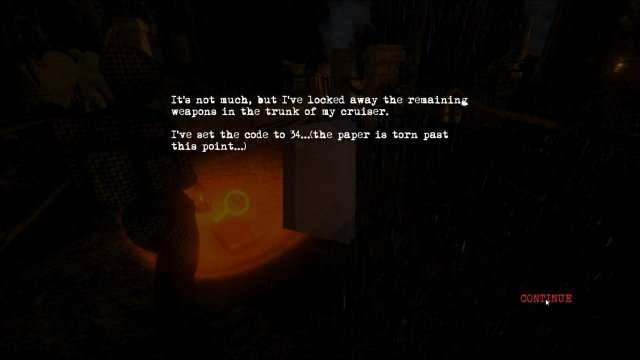
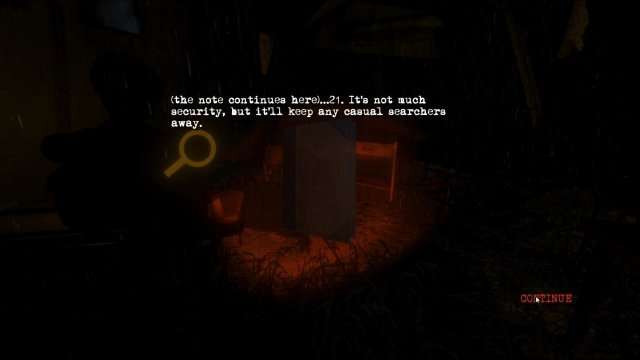
- Solution: 3421
- Reward: Handgun (with its flashlight)
Body Bag Lockbox
To enter the medical camp, you need a key to the chain sealing it off. This is found by some body bags behind an ambulance. Be careful as a zombie stands guard.
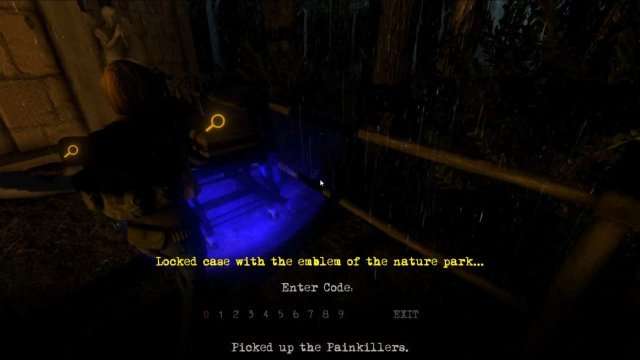
- How to solve: There is a book on a dumpster that has the first and last digit of the combination. To find the missing 2, you need to examine the body bags right next to the case. The missing digits go in order for high to low.
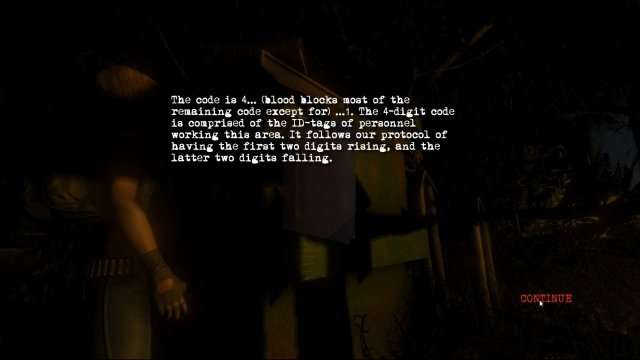
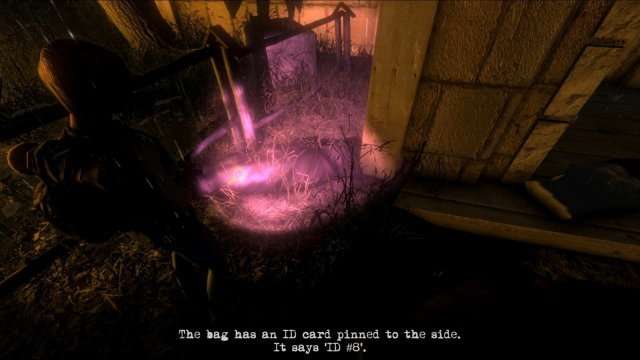
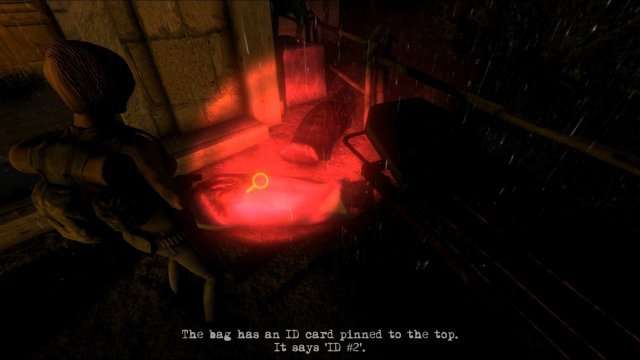
- Solution: 4821
- Reward: Old Key (required to enter medical camp)
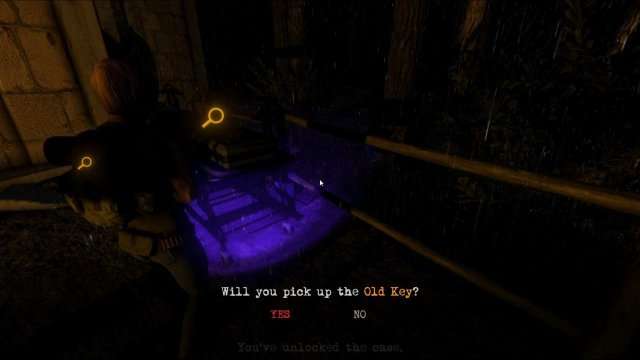
Entering the Church Lot
If you go the other way from the path to the medical camp, you will find another chain. However, this chain is not locked with a key. To remove it, you will need a pair of cutters. You can find these cutters inside the medical camp. They are located near a safe, very close to the Magnum weapon.
Cutters:
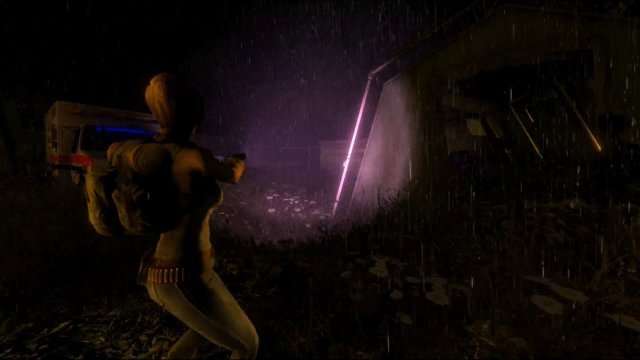
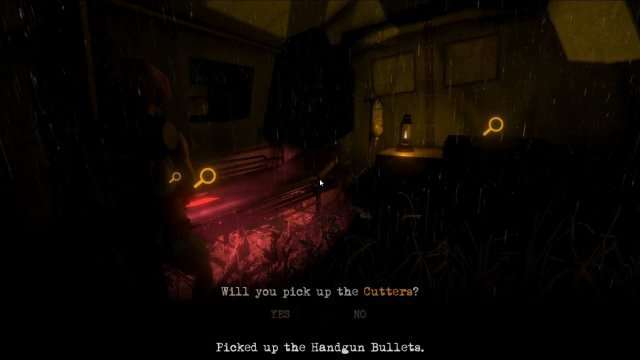
Chain:
Near where you started the game, opposite of the medical camp
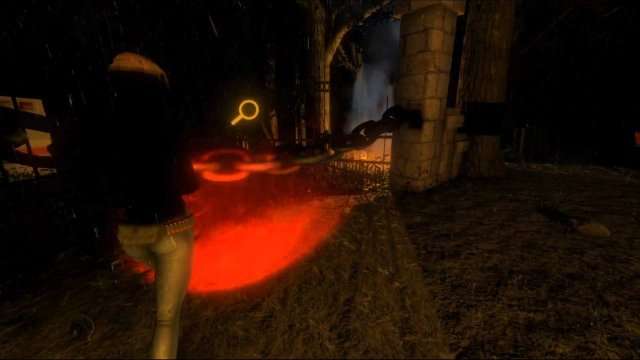
The C4
This is a two part puzzle, as first you need to open a lockbox on the stairs of the church before you are able to open the car to get the C4.
Opening the lockbox:
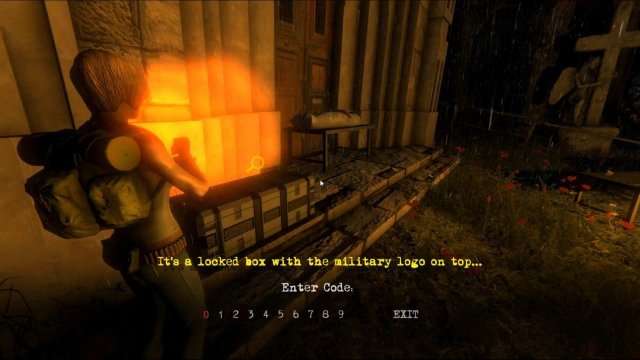
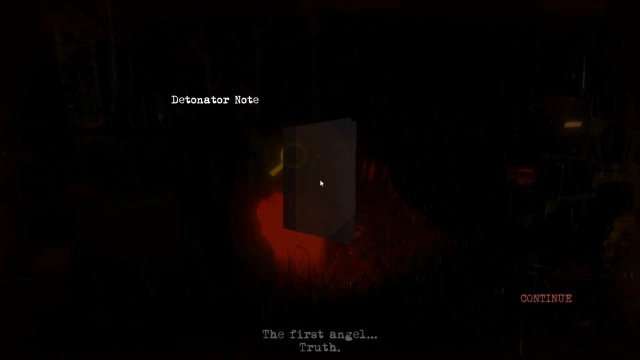
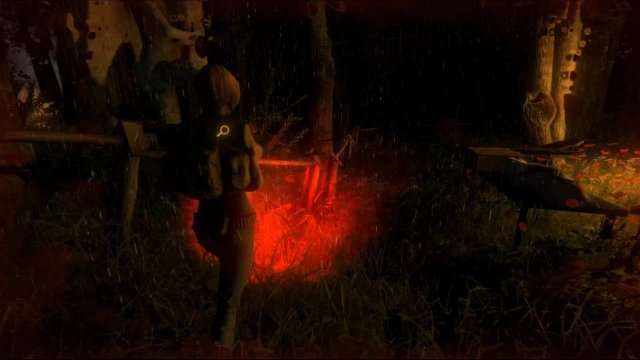
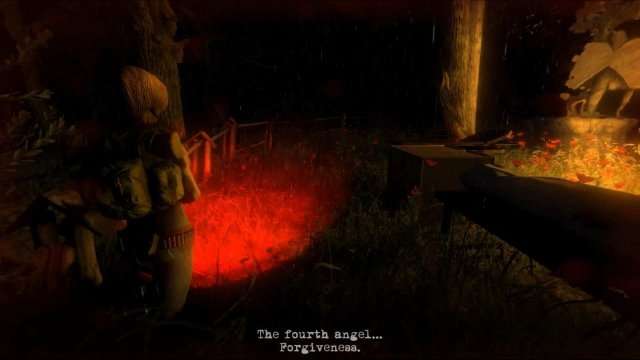
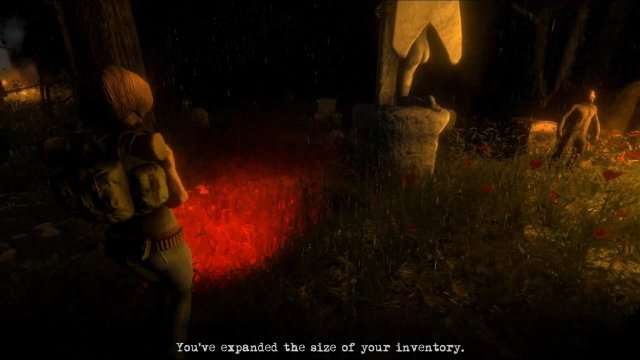
- How to solve: There are 4 angel statues littered throughout the yard with a number written on them. A book will tell you to arrange the numbers from high to low to open the lockbox.
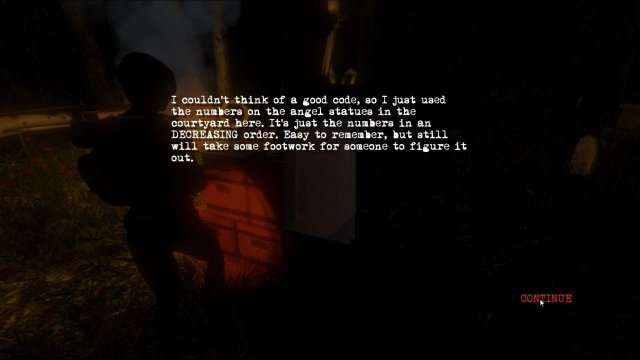
Northwest Corner from the Church:
North Middle of the Lot:
Middle of the Lot:
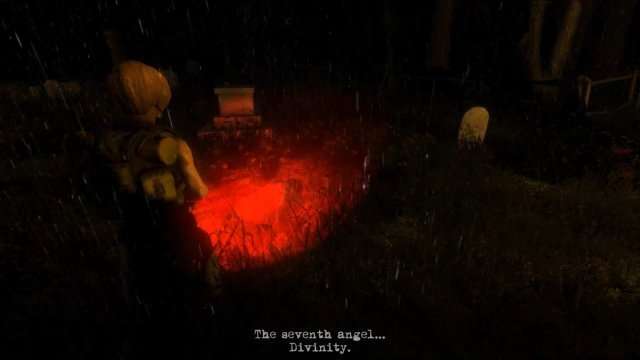
South Side of the Church:
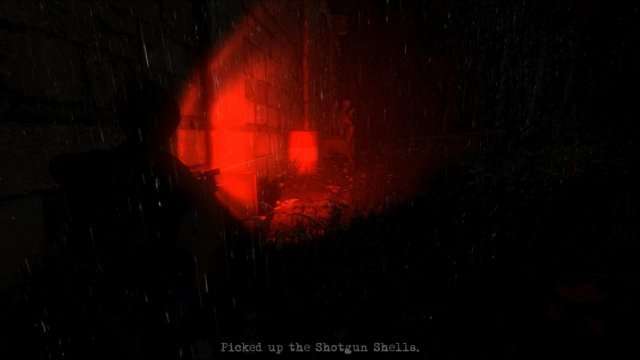
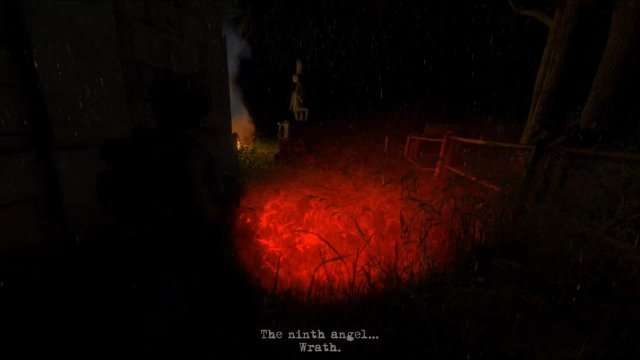
- Solution: 9741
- Reward: Car Key
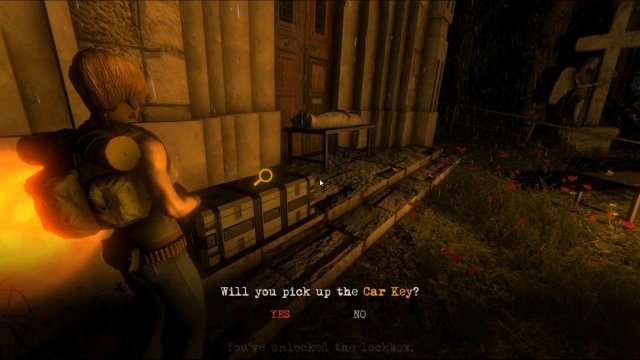
Opening the car:
The car is east of the first statue and the detonator combination and is guarded by a trio of zombies
How to solve: Use the Car Key you just got
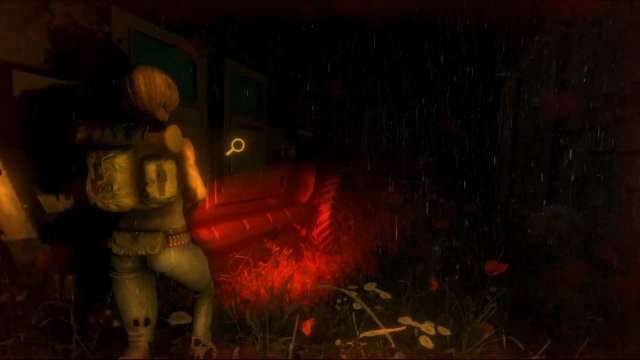
Reward: C4
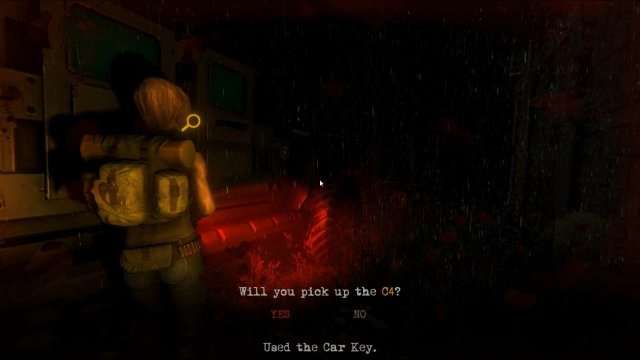
Placing the C4:
There is a location on the far east of the Church Lot where you will be able to place the C4. However, you need to get something else to blast it open…
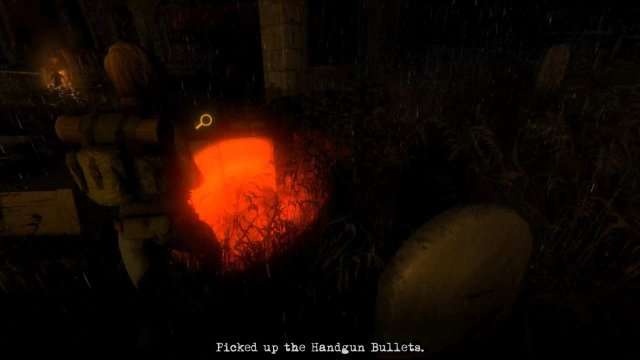
The Detonator
You may have noticed a safe near the cutters in the medical camp. However, its combination is actually near the C4 by the Church. Should you know the combination, this is the second (and last) area where you can sequence break.
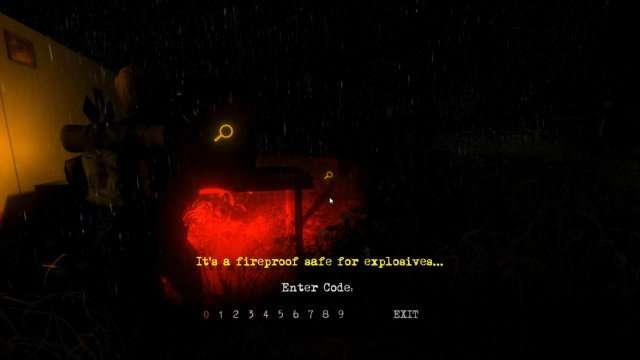
- How to solve: Find the combination by the Church (left of the C4, right of Angel One)
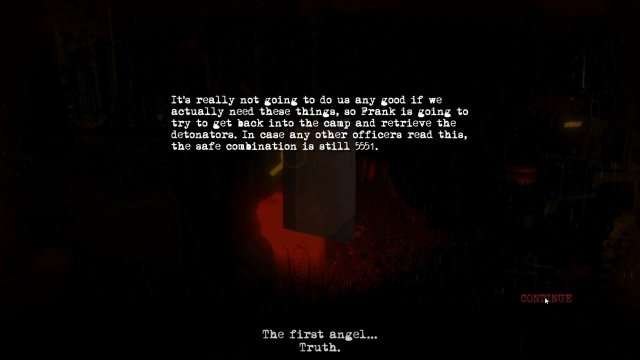
- Solution: 5551
- Reward: Detonator
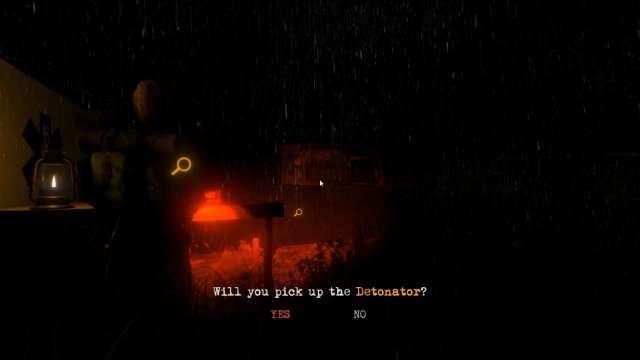
Placing the Detonator:
West of the C4 site, on the South side of the Church Lot is a desktop computer where the Detonator can be used to blast the C4 open
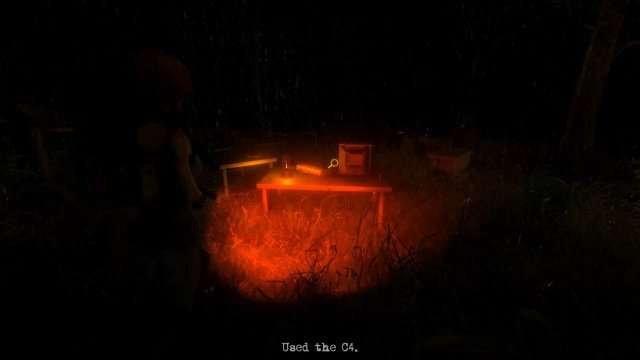
The Carousel (First Ticket)
Behind the debris of the C4 explosion, you are immediately thrust into another puzzle. A present holds a ticket you need to progress, but this present has a combination! To get the combination, you may want to examine the horses…

- How to solve: Sort the number of the horses vertically from low to high. The ones digits in these numbers will be your combination.
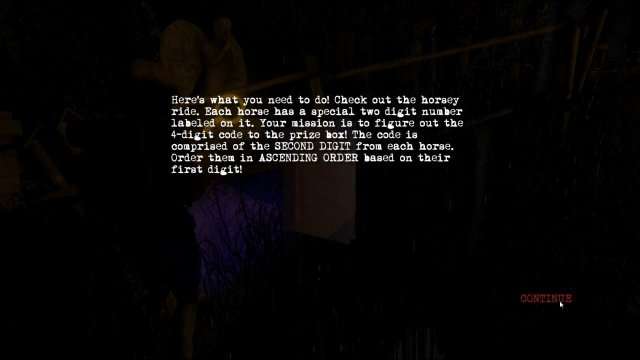
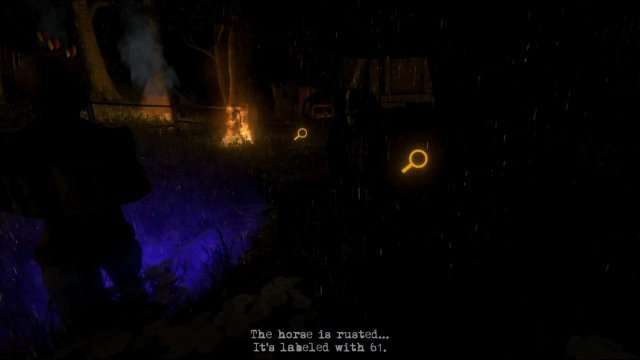
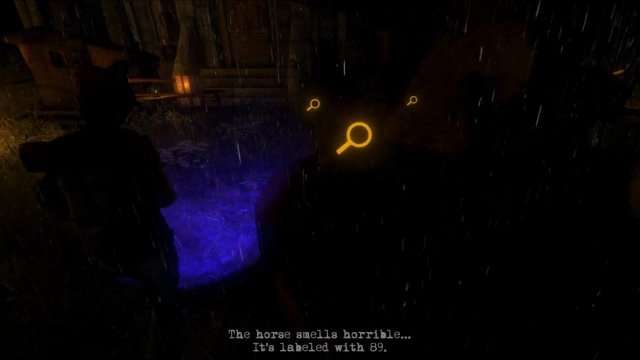
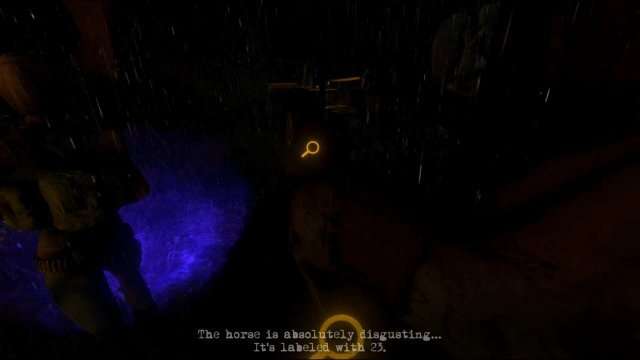
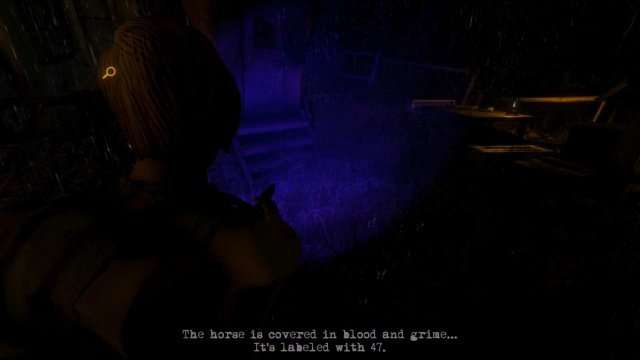
- Solution: 3719
- Reward: Ticket (1 of 4)
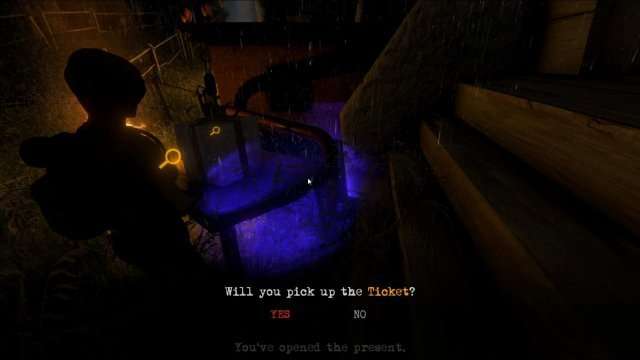
Campfire (Second Ticket)
A treasure awaits in the corner of a campsite guarded by a trio of zombies…
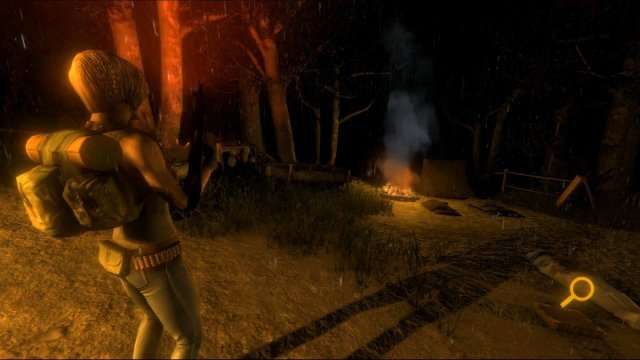
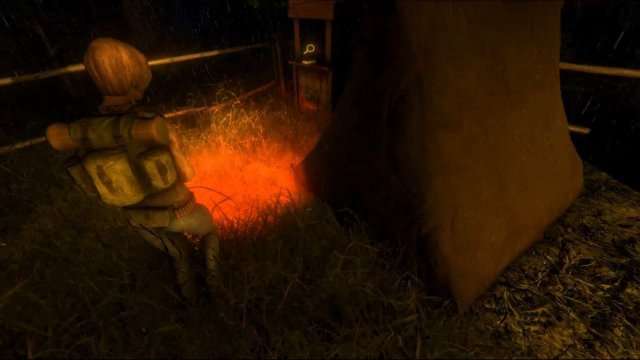
Reward: Ticket (2 of 4)
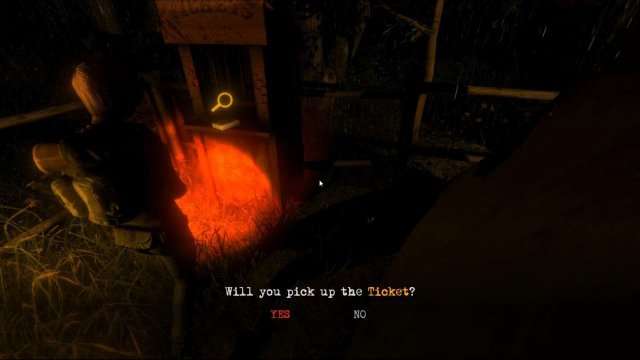
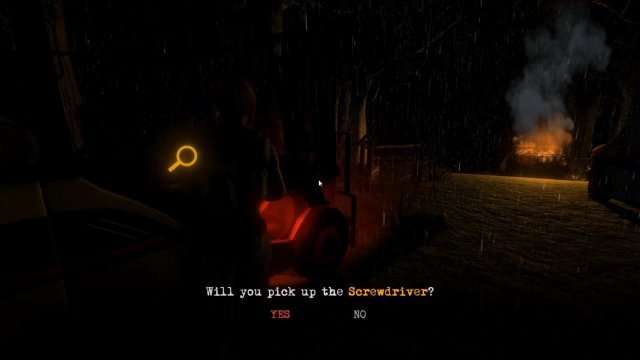
Note: The screwdriver is obtained on your way here, which you will need for the next puzzle.
Housing Key (Screwdriver)
You may have noticed this on your way to the camp site (I didn’t). That suspicious Reptile is guarding something fairly important…
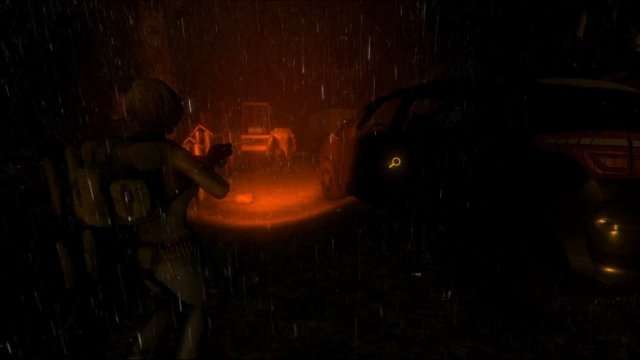
Reward: Screwdriver (on the forklift)
After using the 2nd ticket near the generator that will take part in the second to last puzzle in the game you will find a box guarded by an Enforcer. This box doesn’t have a key, so you’ll need to pry it open.
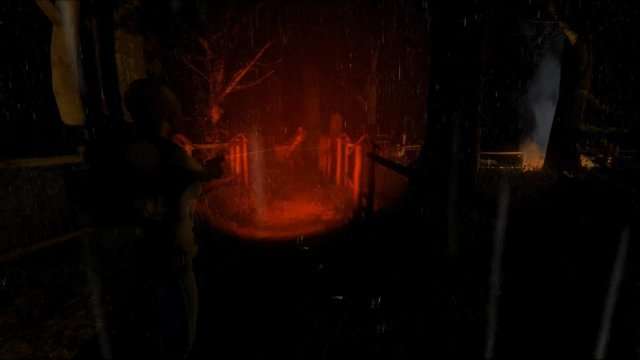
Reward: Housing Key (and blood loss)
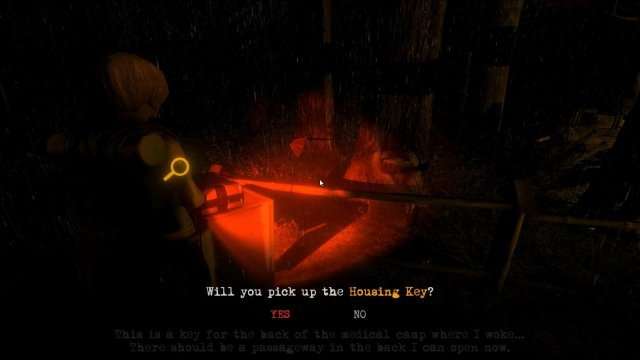
Now go back to where you started the game in the far end of the medical camp to actually use the key
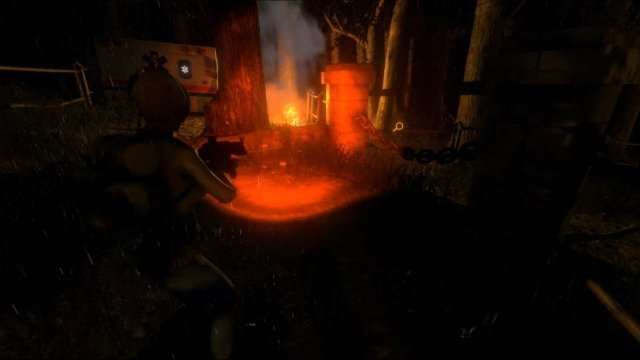
Cages (Third Ticket)
After returning to start, the puzzles make a turn for the deranged. To obtain the third ticket, you may notice some things missing from this macabre display. Maybe this is a clue to open the safe…
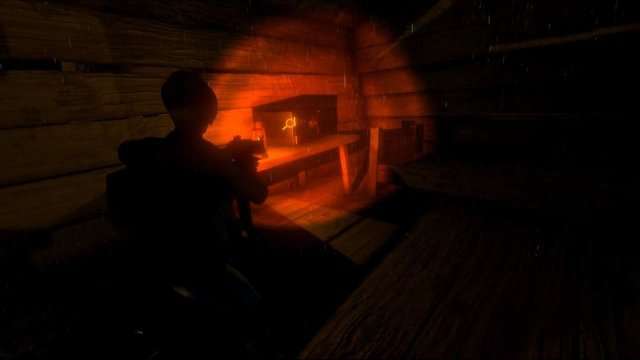
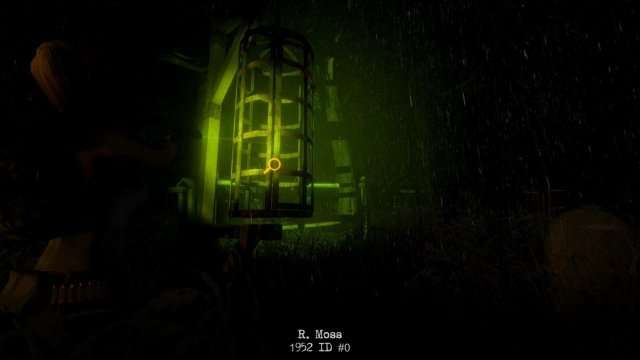
- How to solve: Look for the cages that don’t have a body in them. Arrange them by year from oldest to youngest and the ID numbers will give you a combination.
Three cages are in the corners of the area with the odd one being guarded by a Reptile.
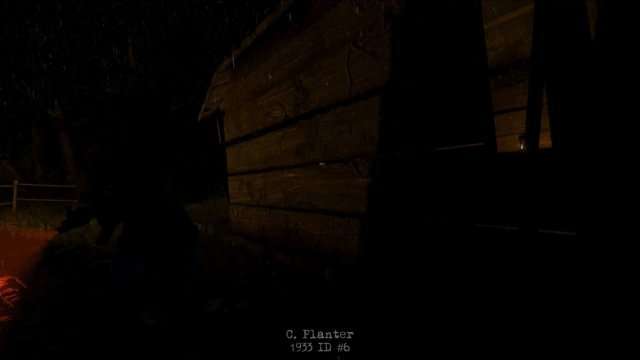
Alderman’s cage is guarded by a Reptile. There is a key to the left of this one that you will need to enter the next area
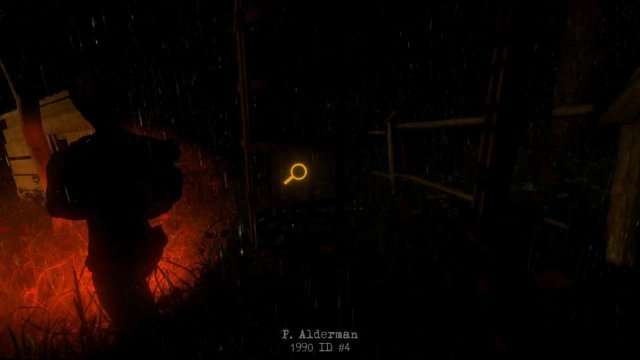
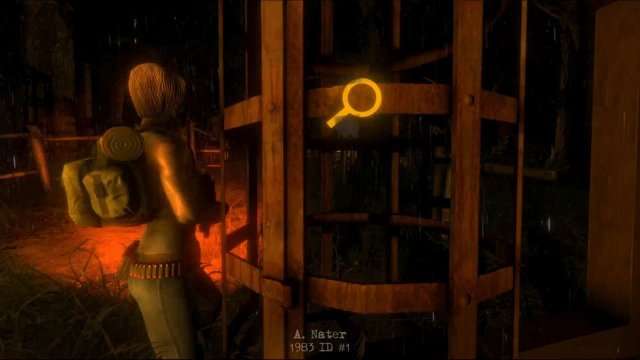
Moss’s cage is guarded by a pair of zombies.
The key by Alderman’s cage:
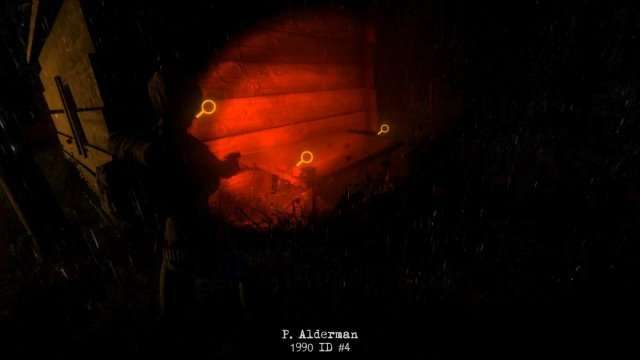
- Solution: 6014
- Reward: Ticket (3 of 4)
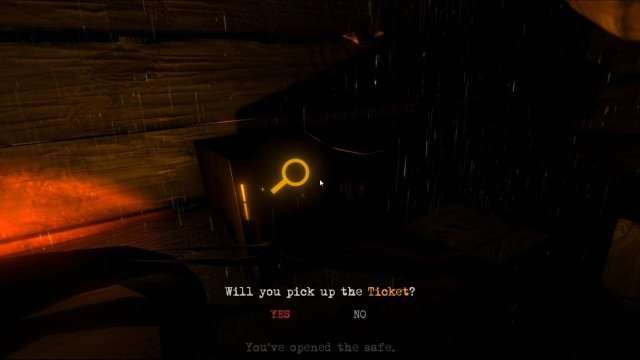
Graveyard (Final Old Key)
Before you can get the missing piece of the generator, you need to find the key to the chain keeping you away. And the great news is that there is a pair of Reptiles in the area. Worth noting is that these are the only two Reptiles in the game that you can bypass entirely without drawing aggro.
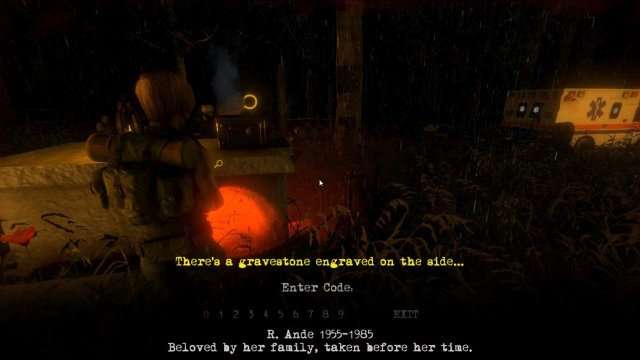
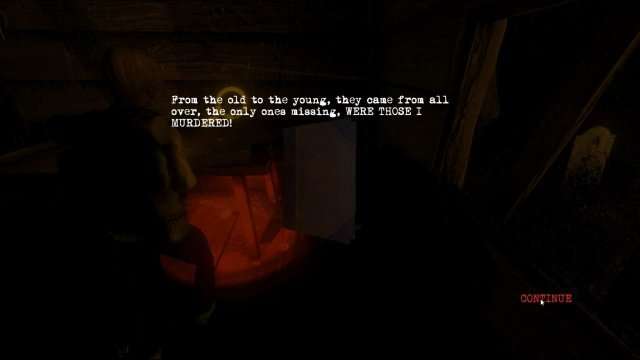
- How to solve: Find the date of birth of the executed murderer
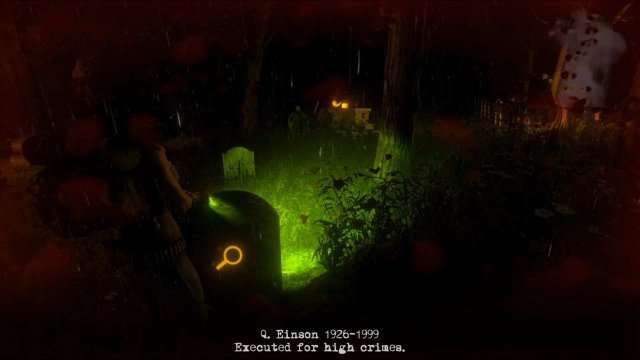
- Solution: 1926
- Reward: Old Key
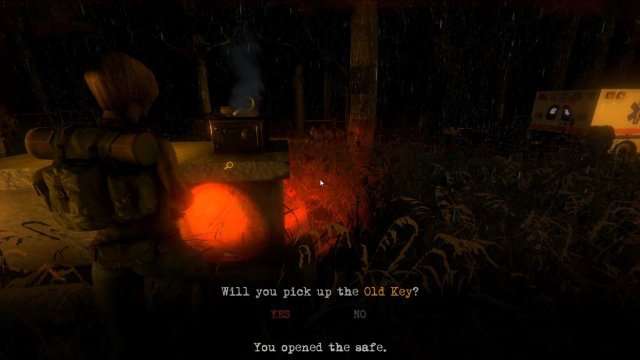
The lock is just a short distance away. Go straight from the picture, if you’re careful you can aggro the zombie, but not the Reptiles.
Generator and Coil
You stumbled across a broken generator in need of a coil by the Housing Key. On the exact opposite side of the map, you will find a camp guarded by a burning Brute. Check the tent in the corner.
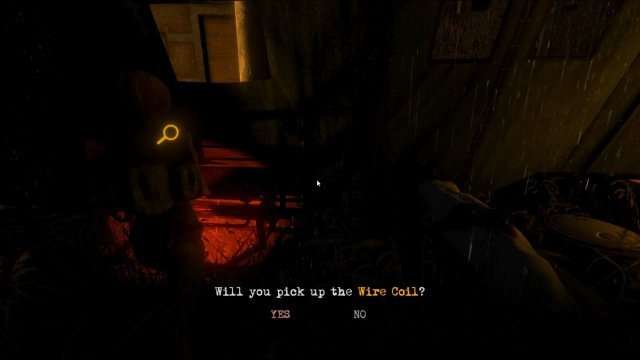
Return to where you found the Housing Key (which may still have an Enforcer).

And pop it in to clear the wreckage.

Final Ticket
This section is going to be incomplete due to story events. Picking up immediately from the previous section: go right. You’re looking for cutters guarded by an Enforcer and a quartet of zombies.
Go right:
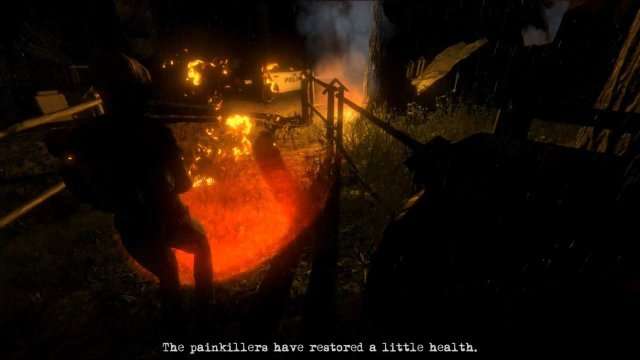
Past 3 of the zombies, you’ll find:
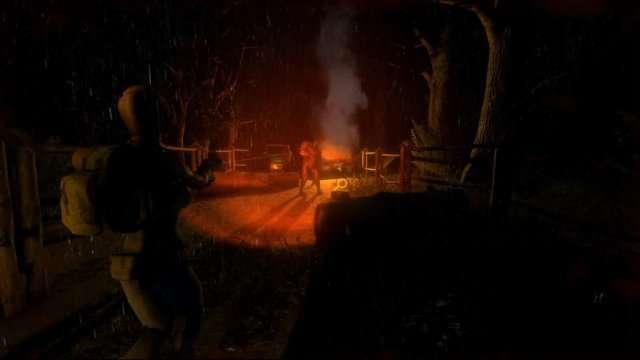
Behind him is:
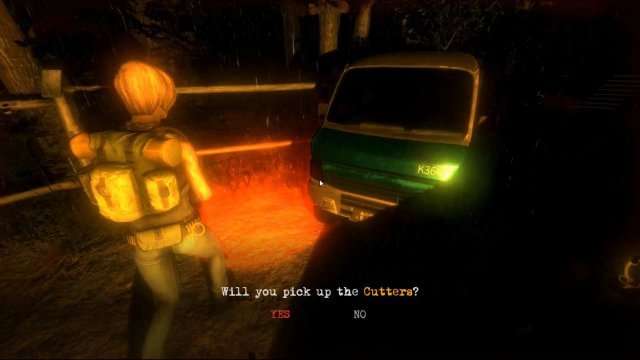
Take this to the opposite side of the area (left from the starting point of this section), and things will start to fall into place. Use the cutters to open the sealed room, and grab the final ticket from the closet. The tickets can be used in the middle of this corridor-like area. The final boss awaits…
Small Keys
Way back at the beginning of this guide, I referenced that there are 8 locked boxes. Outside of Arrange Mode, there are only 4 small keys to be found. Here you go:
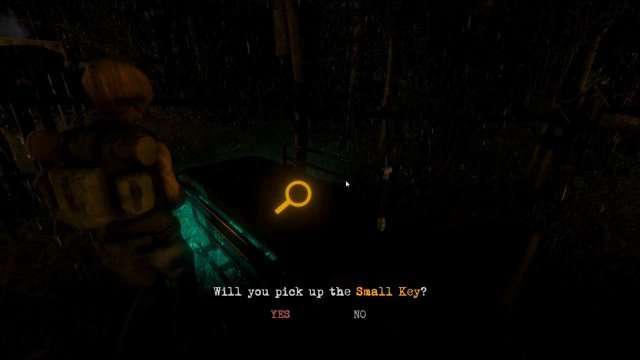
Key #1
On a stretcher immediately upon entering the medical camp on the right side
Key #2
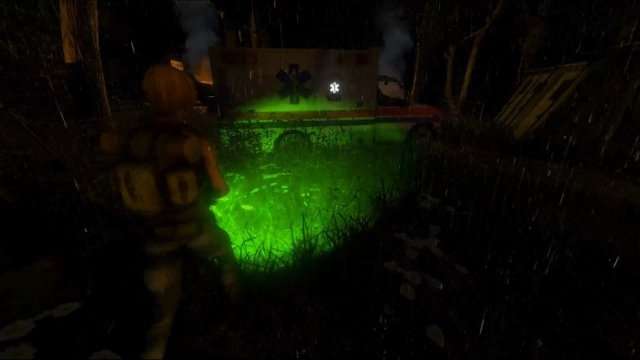
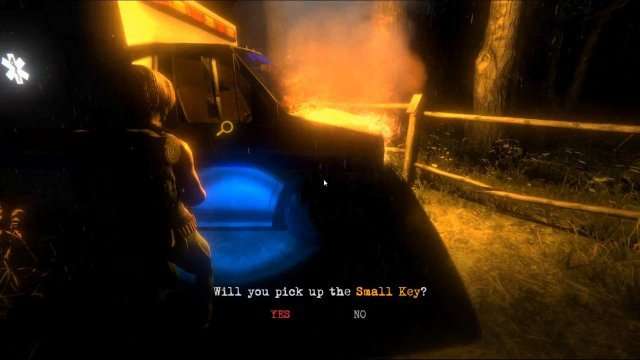
In the passenger seat of a burning ambulance in the medical camp on the left side. Between the tent with the First Aid Spray box and the tent with the Shotgun. Guarded by a zombie.
Key #3
In the driver seat of a police car near the campsite where you’ll find the second ticket

Key #4
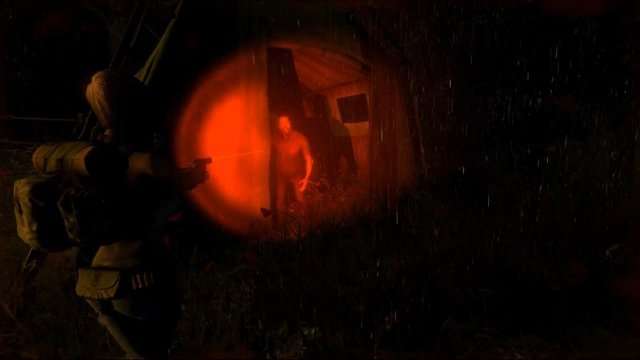
In a bathtub in a tent in the Housing Complex. Guarded by a zombie.
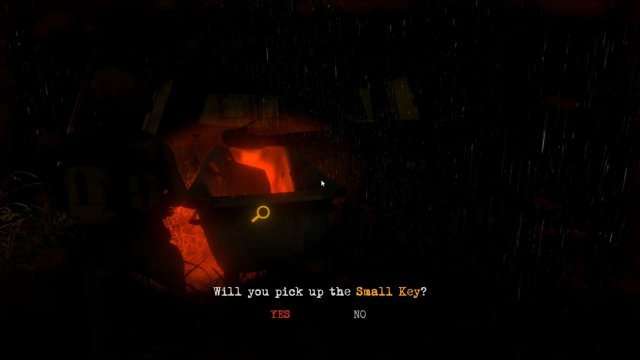
Boxes:
There are 7 locked boxes in the medical camp and 1 in the housing complex (in a cabin). You can only open 4 of them at most. Here are your options:
- Pouch (Inventory +2)
- Shotgun
- Pouch (Inventory +2)
- First Aid Spray
- Shotgun ammo
- Magnum ammo
- Magnum
- Grenade Launcher (this is in the housing complex)
Recommendation: On my clears, I would use Keys 1 and 2 for a Shotgun and Pouch. You get both at the start of the game and need the Shotgun to dispatch Reptiles as they are too swift to reliably kill with a handgun (assuming you have the ammo). Use Key 3 for the Magnum on the return trip to the medical camp. Use Key 4 from the housing complex to get the Magnum ammo.
The Grenade Launcher doesn’t have a lot of ammo in the game and is difficult to use, so I avoid it. Magnum is the most reliable gun in the game, so getting more ammo for it is optimal. Neither the Shotgun nor Magnum start with full chambers, so don’t panic. The ammo is not a full stack either, so make your shots count!
Unlockables
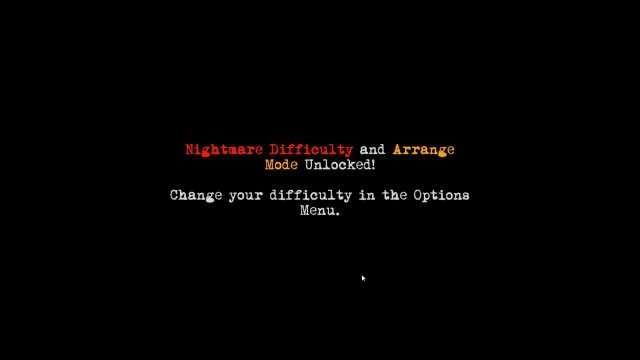
By beating the game you obtain two new game modes (Nightmare and Arrange). Enemies deal 99% of your HP per hit, so you need to avoid getting hit. Nightmare has less supplies than normal while Arrange has excess. On Arrange, enemies are 2-3x more durable, so those supplies can be very easily squandered if you aren’t careful.
By beating Onslaught mode within a time limit, you unlock a knife that can insta-kill any enemy. I don’t have this unlocked yet, so no screenshot to demonstrate it. Sadly, I will probably not have time to attempt this prior to the game being released to the public.


Be the first to comment