
Chapter 01
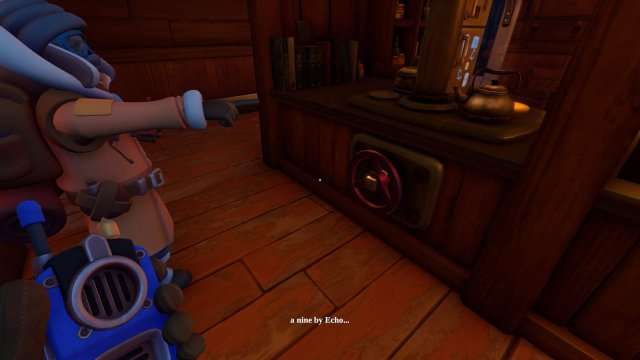
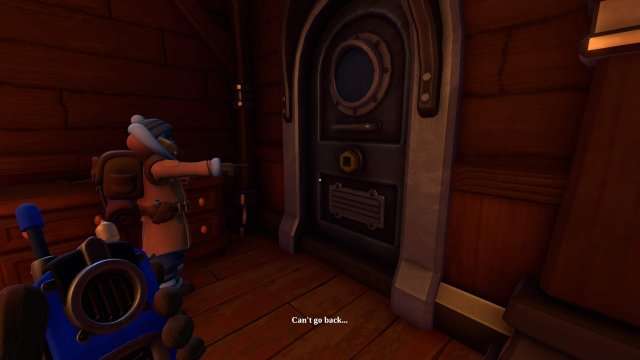
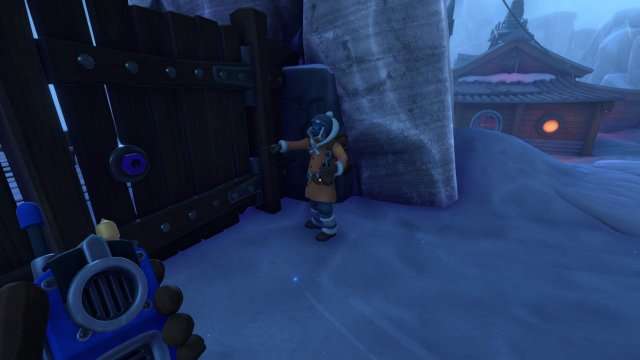
You find yourself in the middle of nowhere, in a little cottage. Find your companion and leave your room. Our first task is to locate five valves so that we may open every door in the home.
Valve #1
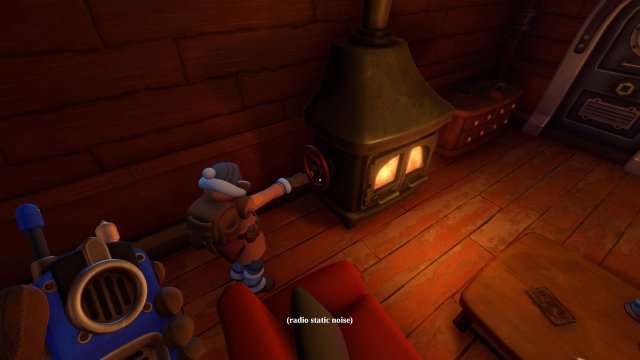
Valve #2
Valve #3
Valve #4
Valve #5
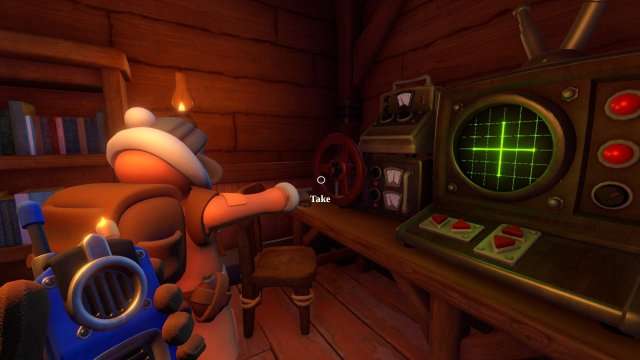
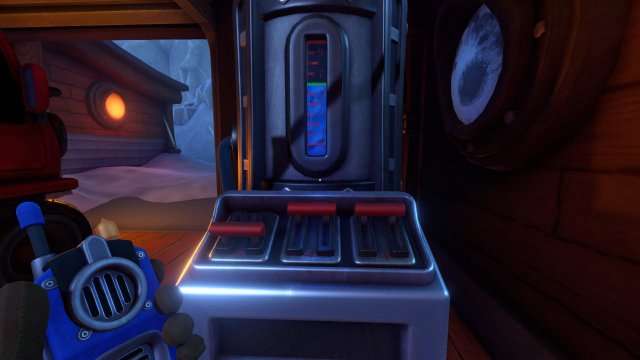
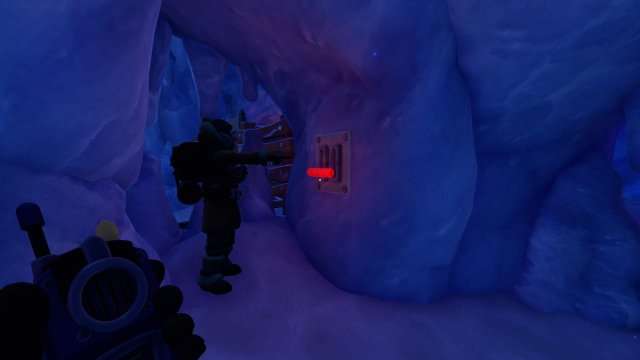
The Signal
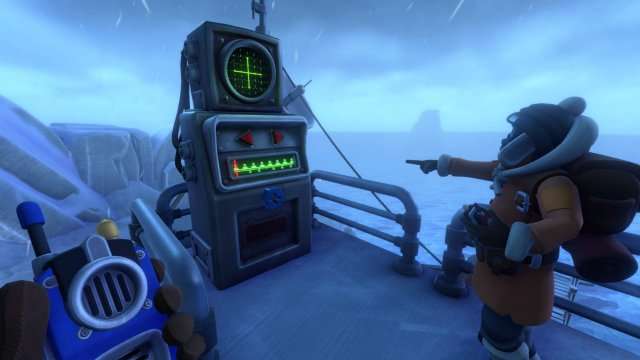
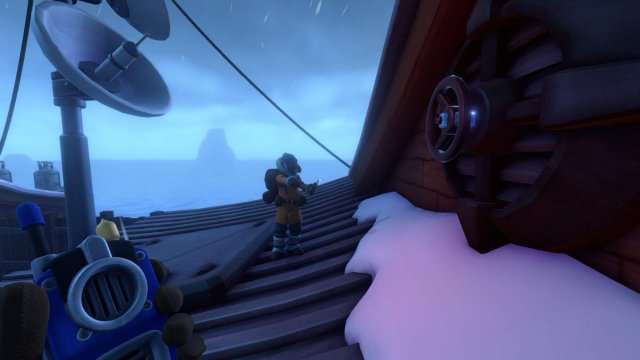
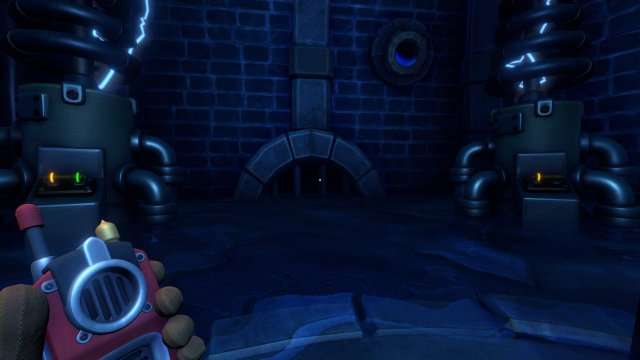
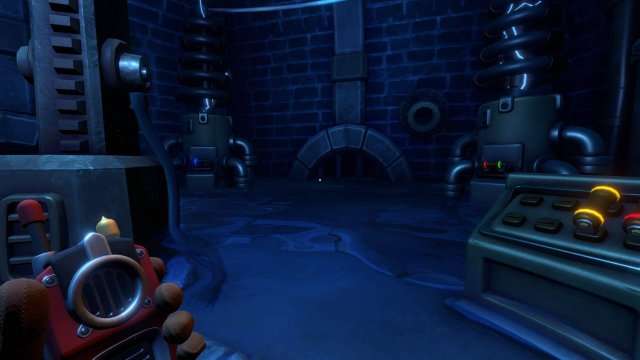
Head to the house’s roof to find a signal transmitter, identical to one inside. One player remains atop, while the other enters the house.
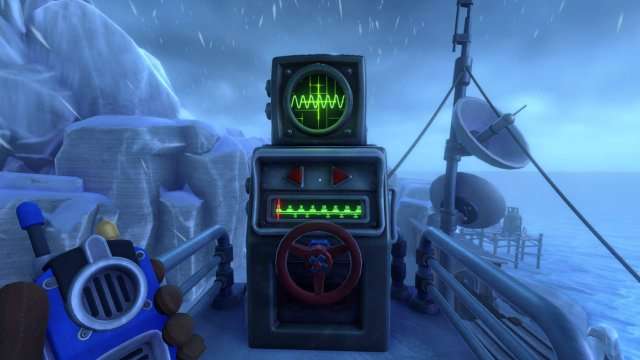
The rooftop player adjusts the frequency to display a distinct colored line, using two buttons to find a matching wave and communicates its appearance and required adjustments to the teammate below.
The indoor player uses four buttons to modify the wave’s height and width, aiming to replicate the rooftop player’s described wave.
Together, they must synchronize four waves: three musical and one voice transmitting coordinates. Once achieved, both proceed to the room with a large wall map.
The Map
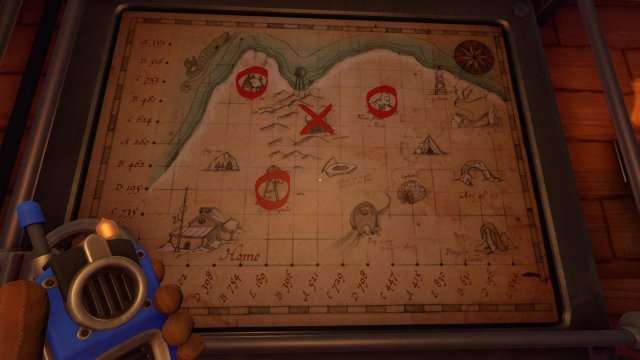
When you stand in front of the big map, think of the radio messages you hear the whole time in the house.
- Charlie 753
- Beta 754
- Delta 195
- Echo 469
- Beta 481
- Charlie 447
In front of the map, there are two levers for coordinates, one per player. Operating a lever moves a slider on the map’s lower left. Extend the slider to three circled targets (unmarked initially).
Reaching a target resets the slider. Marking the wrong spot triggers a failure sound, erasing all marks. If a player looks away from their lever, the slider resets.
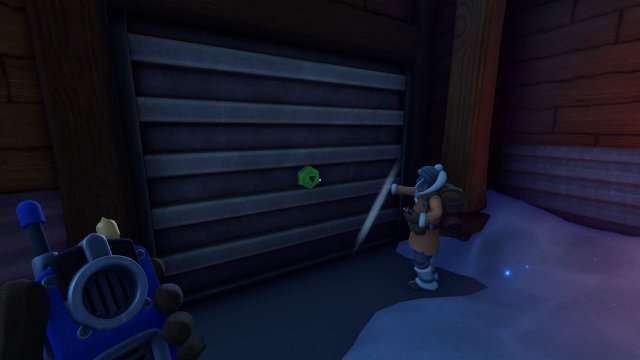
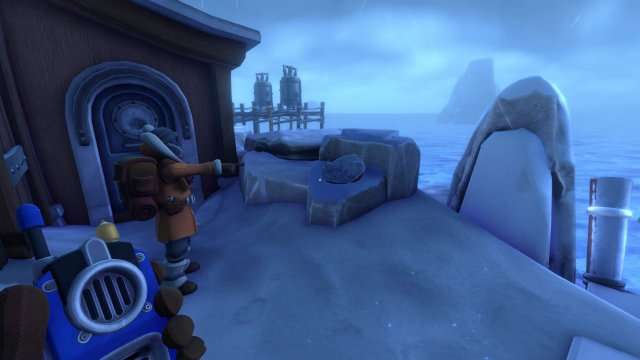
Snowmobil
The first player must go to the tank near the car, and the second to run to the other two tanks, which are outside the house (you opend that door with valve number 4).
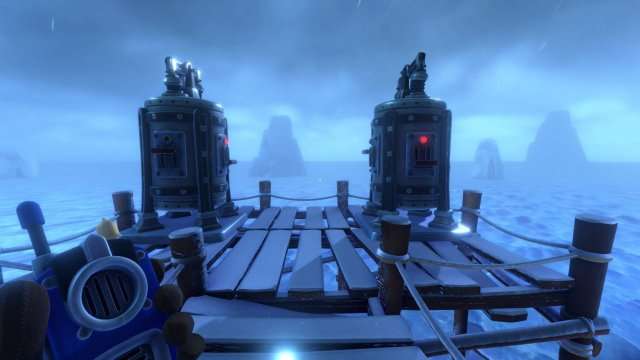
Both of you must reach number 6 at the maschine in the garage.
Inside you have the following numbers
- -8
- -4
- -4
Outside on the leavers you can pull the following numbers
- 8
- 5
- 5
- 8
- 7
- 4
The player on the street should pull the lever with the number 7 on both tanks. And the player near the car pulls the lever with the number 8.
Chapter 02
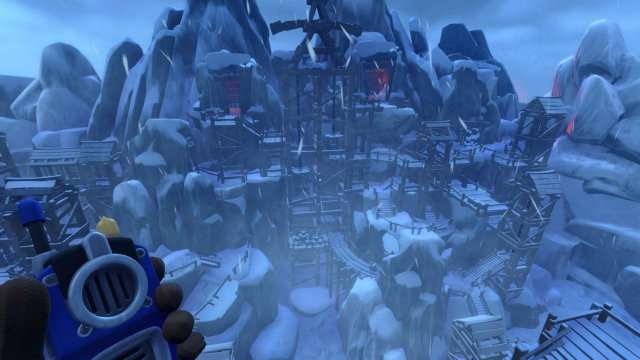
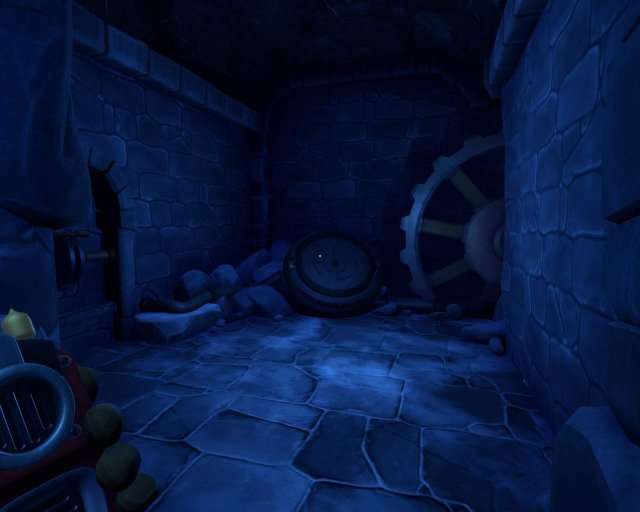
In an old, broken mine filled with wooden elevators, they operate in pairs: lifting one on the left lowers its counterpart on the right.
To solve this puzzle, follow these steps:
- Both players start at two elevators marked with diamonds, learning the puzzle’s mechanics.
- The right player stands on the dynamite-marked elevator. The left player then enters their corresponding dynamite elevator, moving down twice to lift the right side’s elevator.
- The right player moves along the elevator roof, enters another elevator, and moves up once, then returns to the dynamite elevator.
- The left player raises the dynamite elevator, which lowers the right side. The right player then enters the mine car elevator, ascending to the top, walks across the pickaxe elevator roof, and adjusts the next elevator with a dinosaur skull down once.
- After adjusting elevators as needed, the left player joins the right at the dinosaur skull elevator by going to the top via an elevator marked with a pickaxe.
- Both navigate to cave passages, finding two levers. Holding these simultaneously opens the gate to the next chapter.
Chapter 03
Trapped in a cave with various colored levers that open corresponding gates, players P1 and P2 must work together to escape by following these steps:
- P1 enters the left passage. P2 pulls the red lever on the right to close it. P1 then moves to the blue lever.
- P1 and P2 pull their respective levers and step onto platforms near the first gate, rotating counterclockwise.
- P1 proceeds right, through the blue gate to another platform, then turns counterclockwise to reach and activate the yellow lever.
- P1 retraces the path, signaling P2 to pull the blue lever again for passage.
- Repeating the process, P1 enters the left passage while P2 closes it using the red lever, allowing P1 to access the blue lever again.
This sequence emphasizes cooperation and timing between P1 and P2 to navigate through the cave’s lever-operated gates.
Chapter 04
Escaping one challenge, players encounter a bridge-building puzzle across an abyss. Here’s a concise guide:
- Find a mechanism in a small, dark cave on the right. Activate the lever on the left to enable it, then interact with the mechanism.
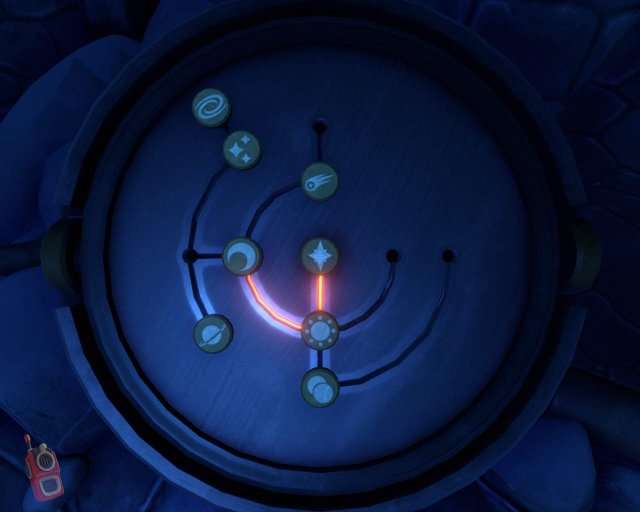
- The bridge forms by correctly sequencing symbols: Star (center), Sun, Moon, Jupiter, Stars, Universe. The player in the cave aligns these symbols for the bridge walker.
- After reaching “Stars,” the bridge splits. The walker should head left towards “Universe” and wait.
- The sequence continues: Universe, Stars, Comet, Eclipse, Moon, Sun. The cave player aligns symbols for the walker to cross safely.
- Incorrect symbol movement can cause the bridge to collapse, leading to a fall.

Chapter 05
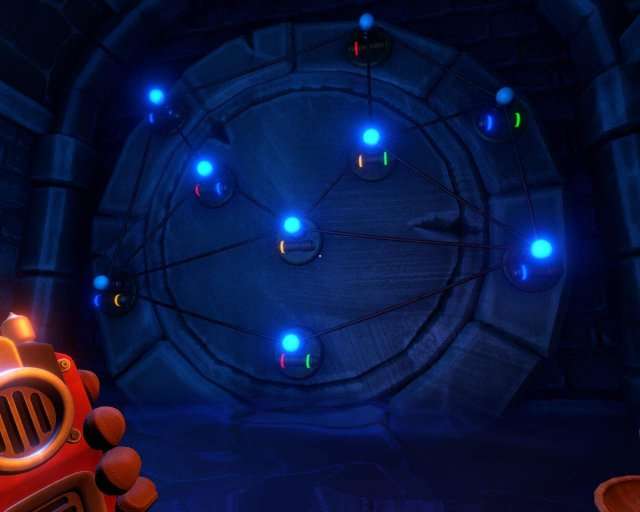
In this puzzle, players begin in separate locations, each with a chessboard image that works together.
One player places spheres representing elements on the board, while the other connects them with lines.
Notes with solution combinations are found on both sides of the wall. Follow the instructions provided in the screenshot to solve the puzzle.

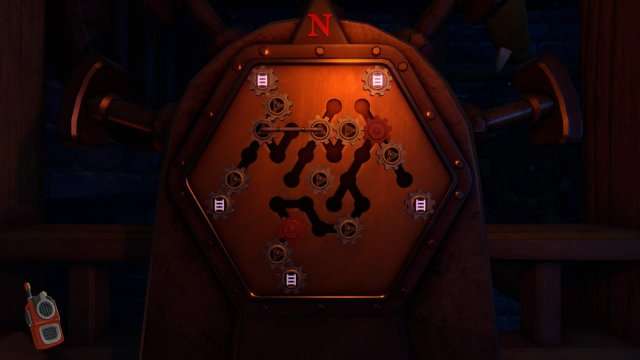
Chapter 06
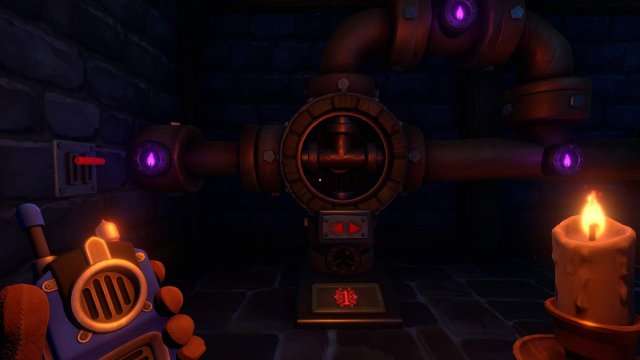
To progress, one player must take a candle and navigate a puzzle involving electric wires:
- The puzzle features a round plate with colored lines for one player and wired poles for the other, along with a lever and color-coded capsules matching the pole colors.
- The capsules must be inserted into the poles in a specific order to match the sequence on the second player’s plate:
- Blue, Blue
- Red, Blue
- Yellow
- Yellow, Green
- Blue
- Red, Green
Time is critical; a large ball descends towards water as time elapses. If it touches the water, the player in the room will fail, necessitating a puzzle restart.
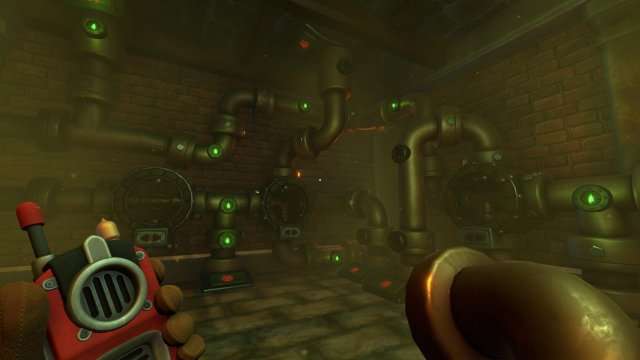
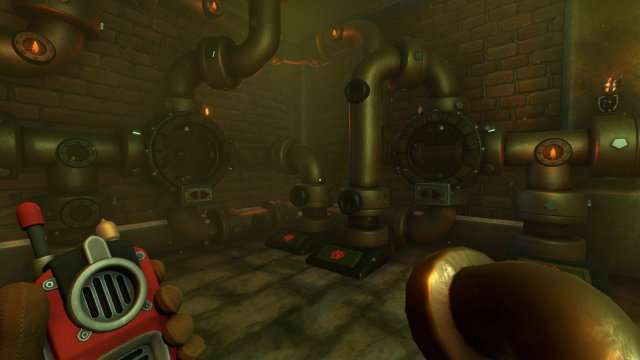
Chapter 07
To advance, players in both rooms must:
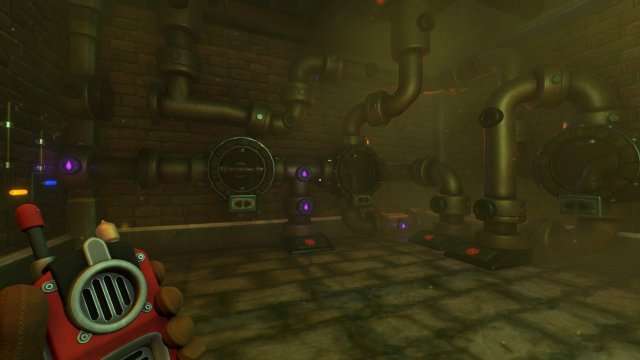
- Find and collect four pipe pieces essential for transmitting colored flames, ensuring no leaks.
- Fill three tanks with green, orange, and purple flames. One room has a red flame lever, while the other has levers for yellow and blue flames.
- Start with any color flame.
Green
To do this, pull the yellow and blue levers and arrange three slots in two rooms of the pipe. Slots can be rotated, and pipes can be changed among themselves. This will be needed in the future.
The symbols below indicate the types of pipes and their location in the slots.
- Single lever room: ┫┛━
- Room with two levers: ━ ┓┣
Orange
We turn off the blue lever in one room, and turn on the red in the other room. After that, we change the pipes in the slots.
- Single lever room: ┓x ━ (x = no pipe)
- A room with two levers: x┏ ━ (x = no pipe)
Purple
Turn off the yellow lever and turn on the blue. We change the pipes.
- Single lever room: ┻ ┛━
- Room with two levers: ━ ┓┏

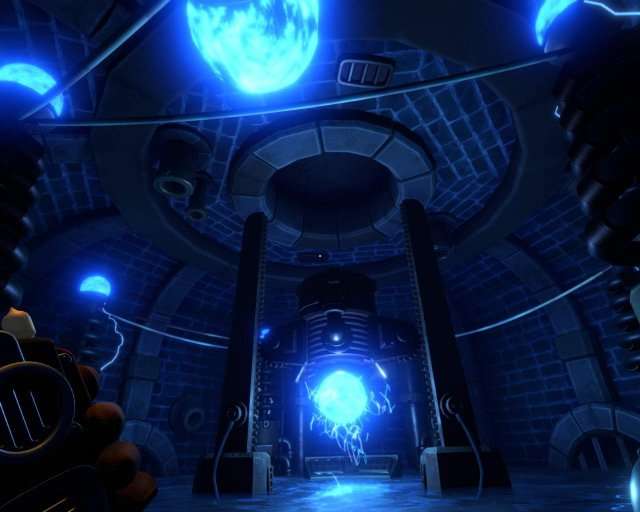
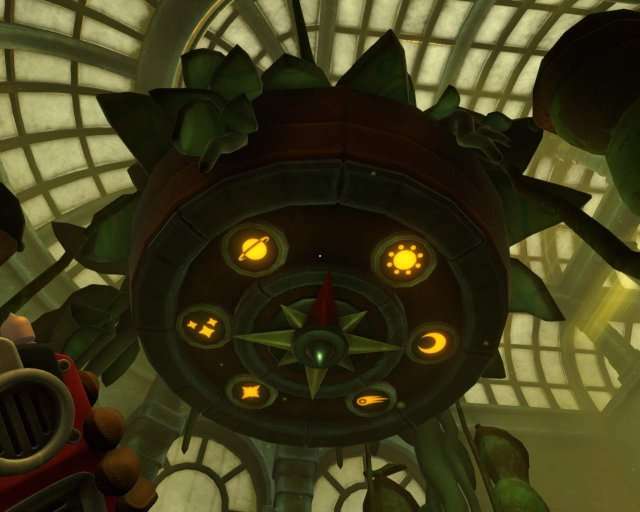
The Fountain
In a timed puzzle, one player starts by descending to an empty fountain to turn a valve, initiating the puzzle and causing water to fill the area, with stairs rotating for navigation.
- Tip: Jumping can temporarily aid visibility in rising water.
- The second player, through a mechanism, rotates stairs marked with symbols to align with those on the fountain’s ceiling, representing a Comet sequence:
- Top Left: Jupiter
- Left: Stars
- Upper Right: Sun
- Bottom Left: Big Star
- Right: Moon
- Players must connect gears from the center to the desired stair without touching red gears, which halt rotation. The second player guides rotations and stops.
- Navigate using symbol-marked stairs, reaching fixed tiers between them. The final tier requires tightening before exiting the puzzle area.
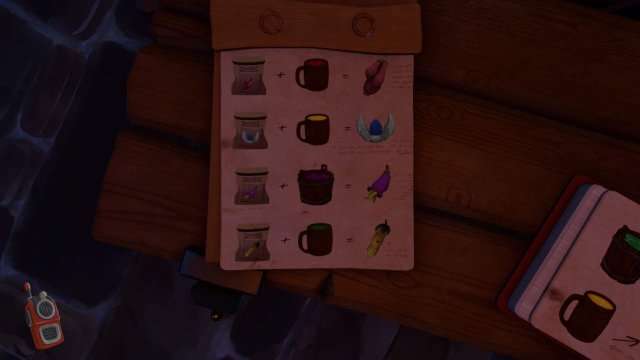
Poisons
In an old greenhouse, players are tasked with brewing potions to defeat a carnivorous plant.
The process involves:
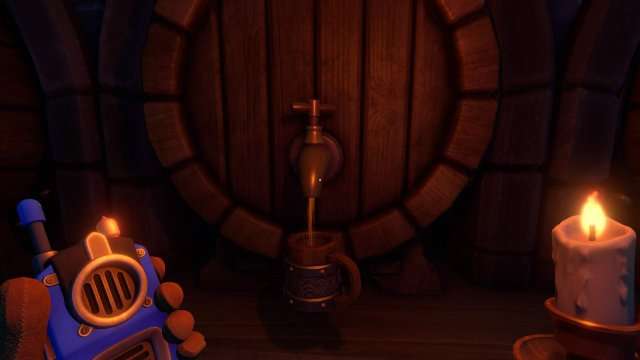
- In one room, three taps dispense fluids in green, orange, and purple. Seeds must be planted and watered with the correct liquid in a small garden.
- Recipes for potions are available in the other player’s room. Use a device with two slots to combine ingredients based on these recipes.
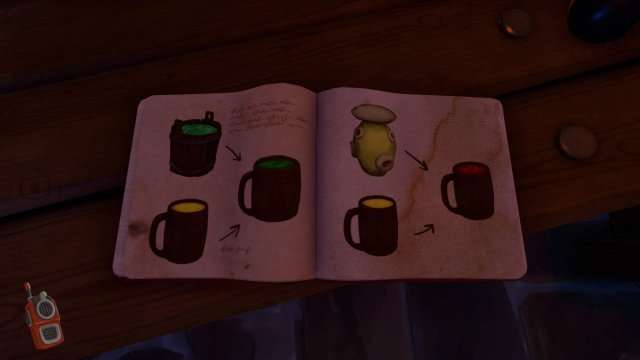
- A rail system with trolleys connects both rooms, allowing for the transfer of potion ingredients.
- Brew three specific potions and combine them in a device with three slots to create a deadly black potion.
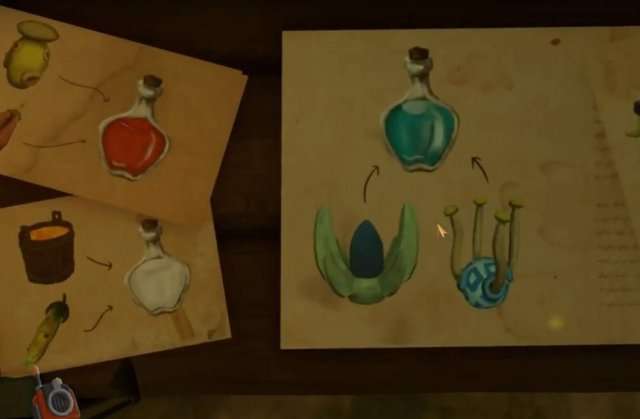
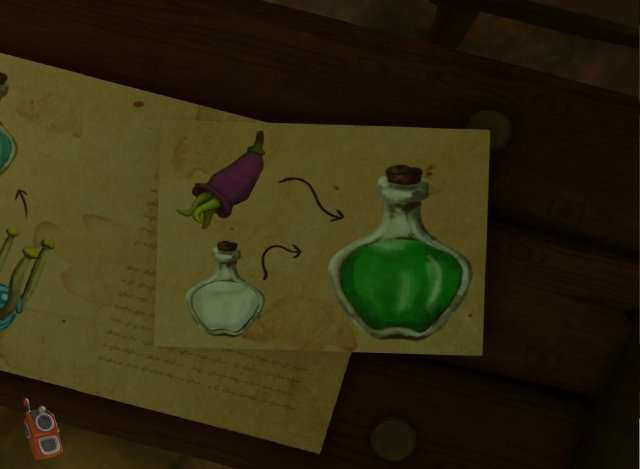
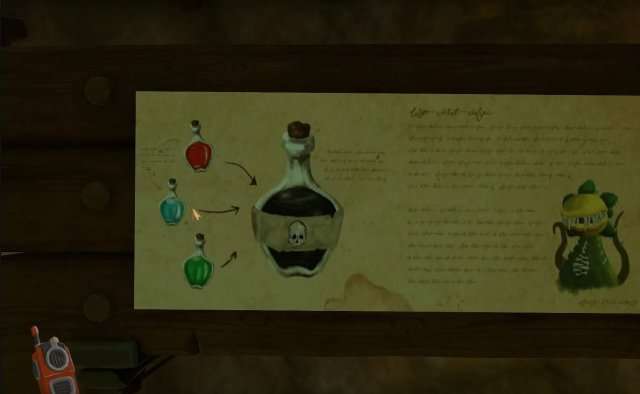
- Fill the black potion into a sprayer found next to the recipes. Transfer the sprayer to the other player to apply it to a large plant, revealing a second stone that must be collected.

Chapter 08
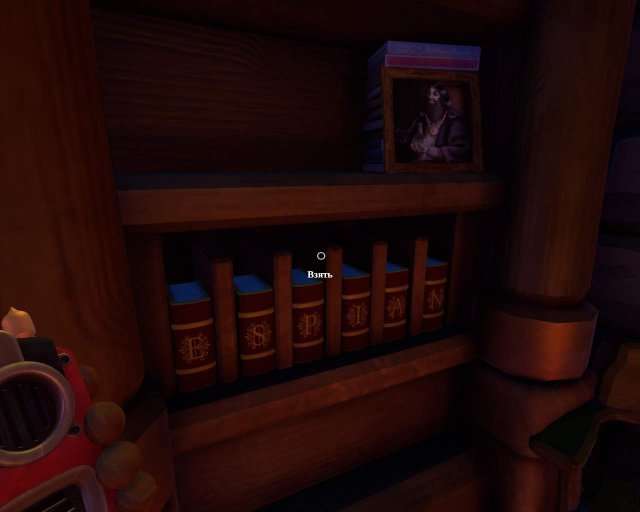
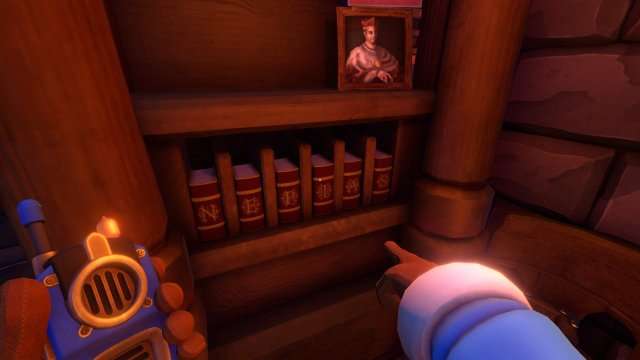
In this chapter, players find themselves in similar yet distinct rooms with the goal of discovering 6 hidden books, each marked with a large letter for easier identification.
The sequence of finding the books is not critical.
- Book #1: Collect and match the placement of four objects (Sand Clock, Globe, Cube) in both rooms. This action unlocks a box on the second floor, revealing the book.
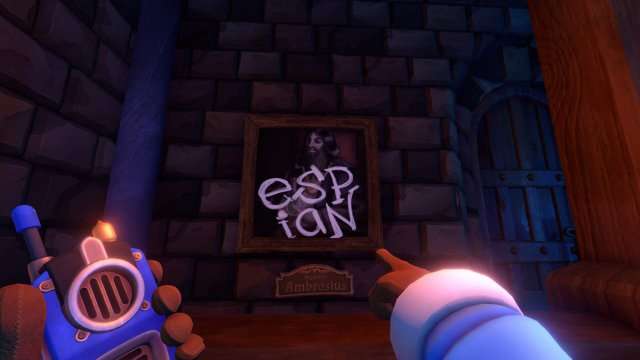
- Book #2: Exchange information to correctly place paintings of strange animals and a distinct man’s portrait. Completing this opens a picture on the stairs with the book.
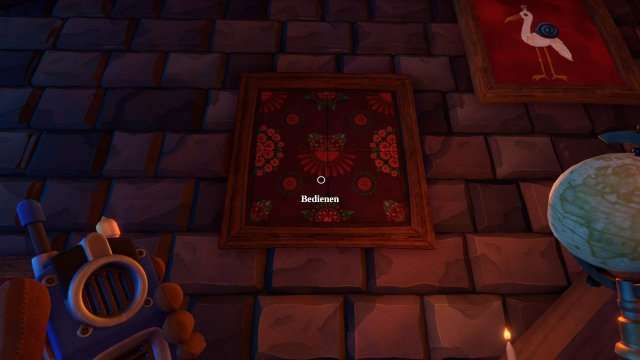
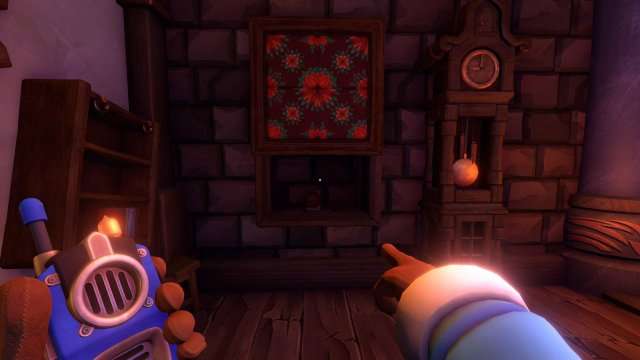
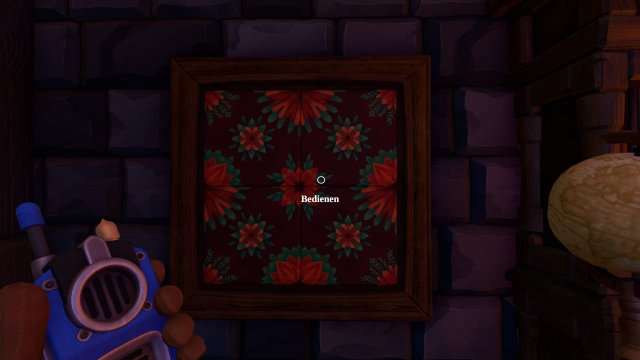
- Book #3: Align squares in three paintings with floral ornaments to match the counterpart room’s arrangement, unlocking a book beside the clock.


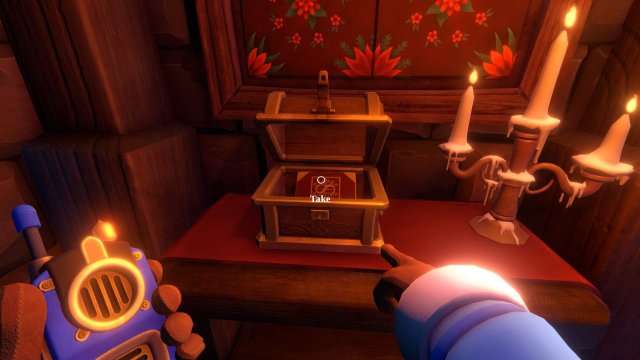
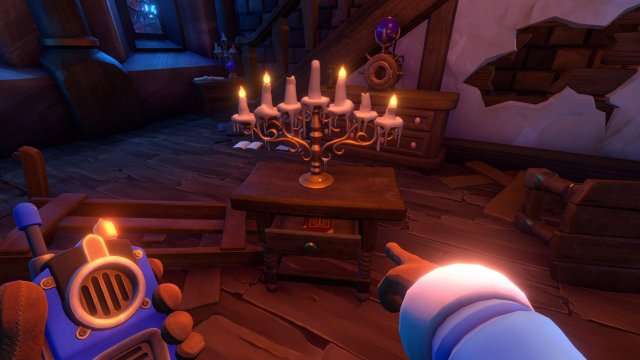
- Book #4: One player lights candles as directed by the other, opening a box underneath with the book.
- Book #5: Activate crystals in the correct order indicated by a spherical device’s reaction. This opens a box under the device with the book.

- Book #6: Match the clock settings (sound, beat frequency, cuckoo) as communicated between players, opening a door under the clock with the book.
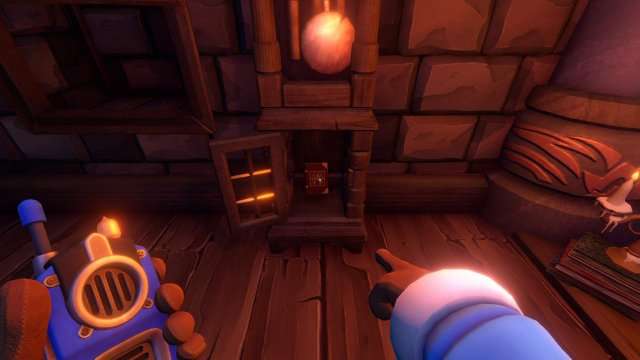
After collecting all books, players arrange them in a specific order, guided by portraits near the entrance: ESPIAN for the player with a portrait of a bearded man looking left, and NEPIAS for the player with a portrait looking right.
Chapter 09
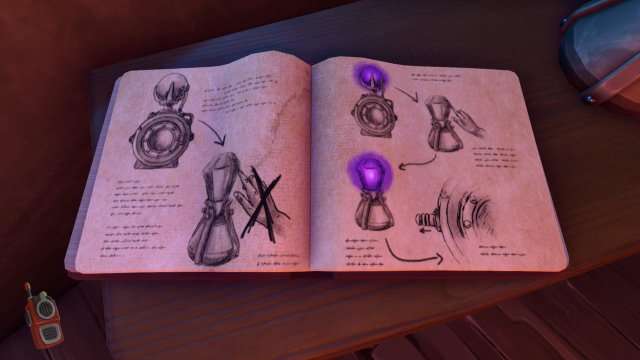
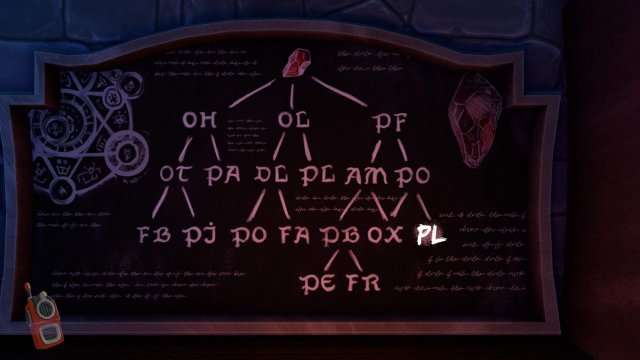
To forge a third stone, players must collaborate:
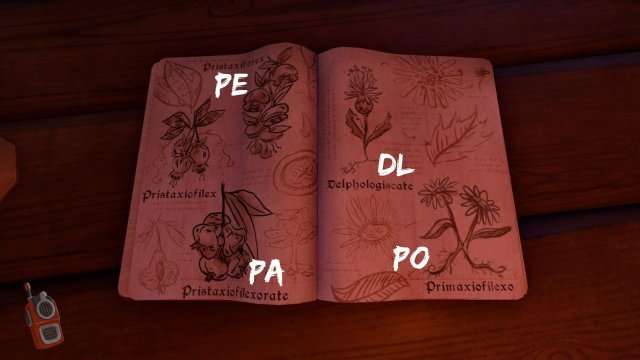
- One player has a board showing a stone’s creation process, with component abbreviations.
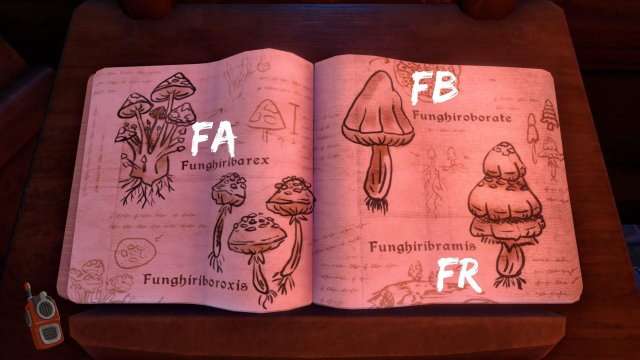
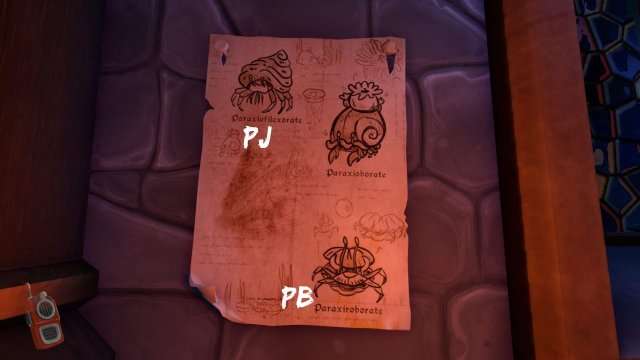
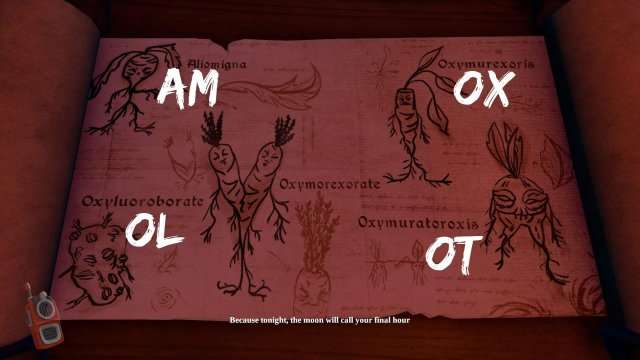
- The second player, possessing a decryption book and access to component images, interprets these abbreviations.
- This player also has three devices: one merges two components, another separates one component into two, and the third combines the specified components (OH, OT, PF) necessary for the stone.
Chapter 10
Upon acquiring the alchemical stone, one player enters a cage while the other explores secret corridors, encountering knights before colored curtains.
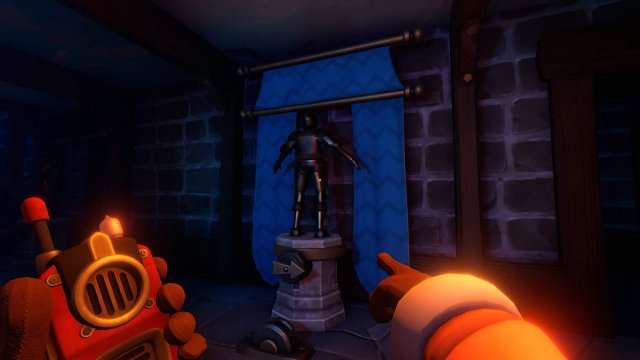

To free the caged player, use the nearby lever. This player discovers a hall with knight statues and a central button rotating them 90 degrees. Curtains can be adjusted to highlight knights, but only one at a time.
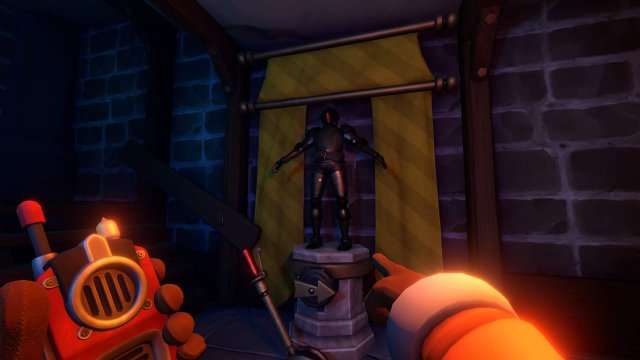
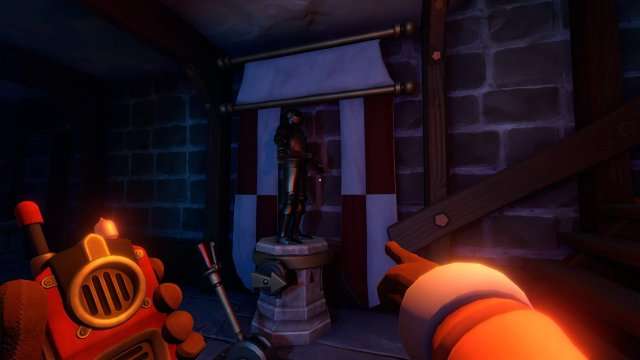
In the corridors, note a knight with a broken lever and blue curtain, another near a window with a yellow curtain, and in another corridor, knights with a red and white, and a green curtain, respectively.
Solve the puzzle as follows:
- The player in the corridors must turn the knight’s lever with the yellow curtain.
- The player in the hall presses the button once.
- The player in the corridors turns that yellow lever again.
- The player in the hall presses the button once again
- The player in the corridors runs to the other side and turns the knight’s lever with the red curtain.
- The player in the hall presses the button once.
A new puzzle involves knights by the royal throne, requiring coordination to arrange weapons and shields as per clues on tablets:
- Weapons: Axe, Hammer, Sword, Mace.
- Shields: Dragon, Deer, Phoenix, Bear.
Success triggers a cutscene leading to a final choice: self-sacrifice or betray your friend.
Regarding chapter 10 – the betrayal (1), you can just pull the levers for the yellow and red knights one time and then have the other player rotate the statues three times.
This his how we did Chapter 9 potion puzzle
1st flower PE
2nd Mushy FR
3rd Crab w/ Flower PT
4th Haning bell PA
5th Plant man DL
6th Normal mushy FB
7th Crab PJ
8th Carrot Man OT
9th Crab Clam PB
10th Mushy Colony FA
11th Daisy Man PO
12th Tall Carrot OX
13th Monstrosity OL
14th Lightbulb man AM
where in the world in chapter 7 – poisons is the weird mushroom with the holes, there is no seed packet or recipe i could find
My buddy and I have matched these fucking stupid signals multiple times, and not once have we gotten a match, only stupid annoying music that keeps fucking playing…. Is there a damn bug that is going around so you CANT finish this puzzle or something? We finished this on accident last night and he SAVED his progress after this stupid puzzle, and now we have to do this shit all over again.
I love puzzle games, and I have read and re-read multiple times over and over and this description makes no sense what so ever. We have both traded places, send pictures and videos to each other, and still NOTHING. 2 hours later and were not getting ANY MATCHES. I am beyond frustrated right now and so is he….
There are 8 different radio settings for the outside station. Only 4 of them will actually show a colored wavelength on the outside screen, but the player at the inside station will not see that until they correctly adjust the active wavelength to what the outside screen displays. Three of the usable settings will play music when lined up correctly, but the 4th one will let you hear a man calling for help, and that is the one you want. Whoever chooses to be outside will be able to see how the inside player adjusts the wave, so they will want to tell the inside player how to do so. I recommend using simple phrases to relate shrinking or growing the wave and in which direction.
We just figured out what might be the logic behind the chapter 10 first puzzle: the knights in the hall and the knights in the corridors must be placed in the same positions based on where the banners are, i.e. the “blue knight” in the corridors is facing the blue banner, so the blue knight in the hall must be facing his blue banner too. Yellow knight in the hall should turn his back to his banner, the green one must turns his back to his banner too and the red and white one has his banner on his left. Hope that helps!
Chapter 7 for Green is wrong. It’s off by one point. Dunno the true answer, but it’s wrong in this diagram. Been playing with it for ages.
chapter 6 strange encounters…..did the walkthrough on it just to pass but not understanding how that puzzle works
strange encounters didn’t work, got stuck on a puzzle that needed two single yellow when i only had one and couldn’t progress any further seriously need advice here
If this can help anyone:
FA = Funghiribarex (multi msuhrooms)
FB = funghiroborate (regular red mushroom)
FR = funghiribramis (3 storey mushroom)
PJ = paraxiofilexorate (shit as home)
PB = paraxiroborate (4 legs)
AM = aliomigna (unhappy radish)
OL = oxyluoroborate (potato with eyes)
OX = OIxymurexoris (carrot)
OT = Oxymyratoroxis (nav with legs)
PE = pristaxiforex (violet fruits with crosses)
PA = pristaxiofilexorate (yellow fruits)
DL = delphologiscate (angry flower)
PO = primaxiofilexo (two headed daisy)