
Guide tells you where the collectables are in each station.
Guide to All Bakerloo Line Collectables
Types of Collectibles
There are 4 types of collectables:
- Route maps
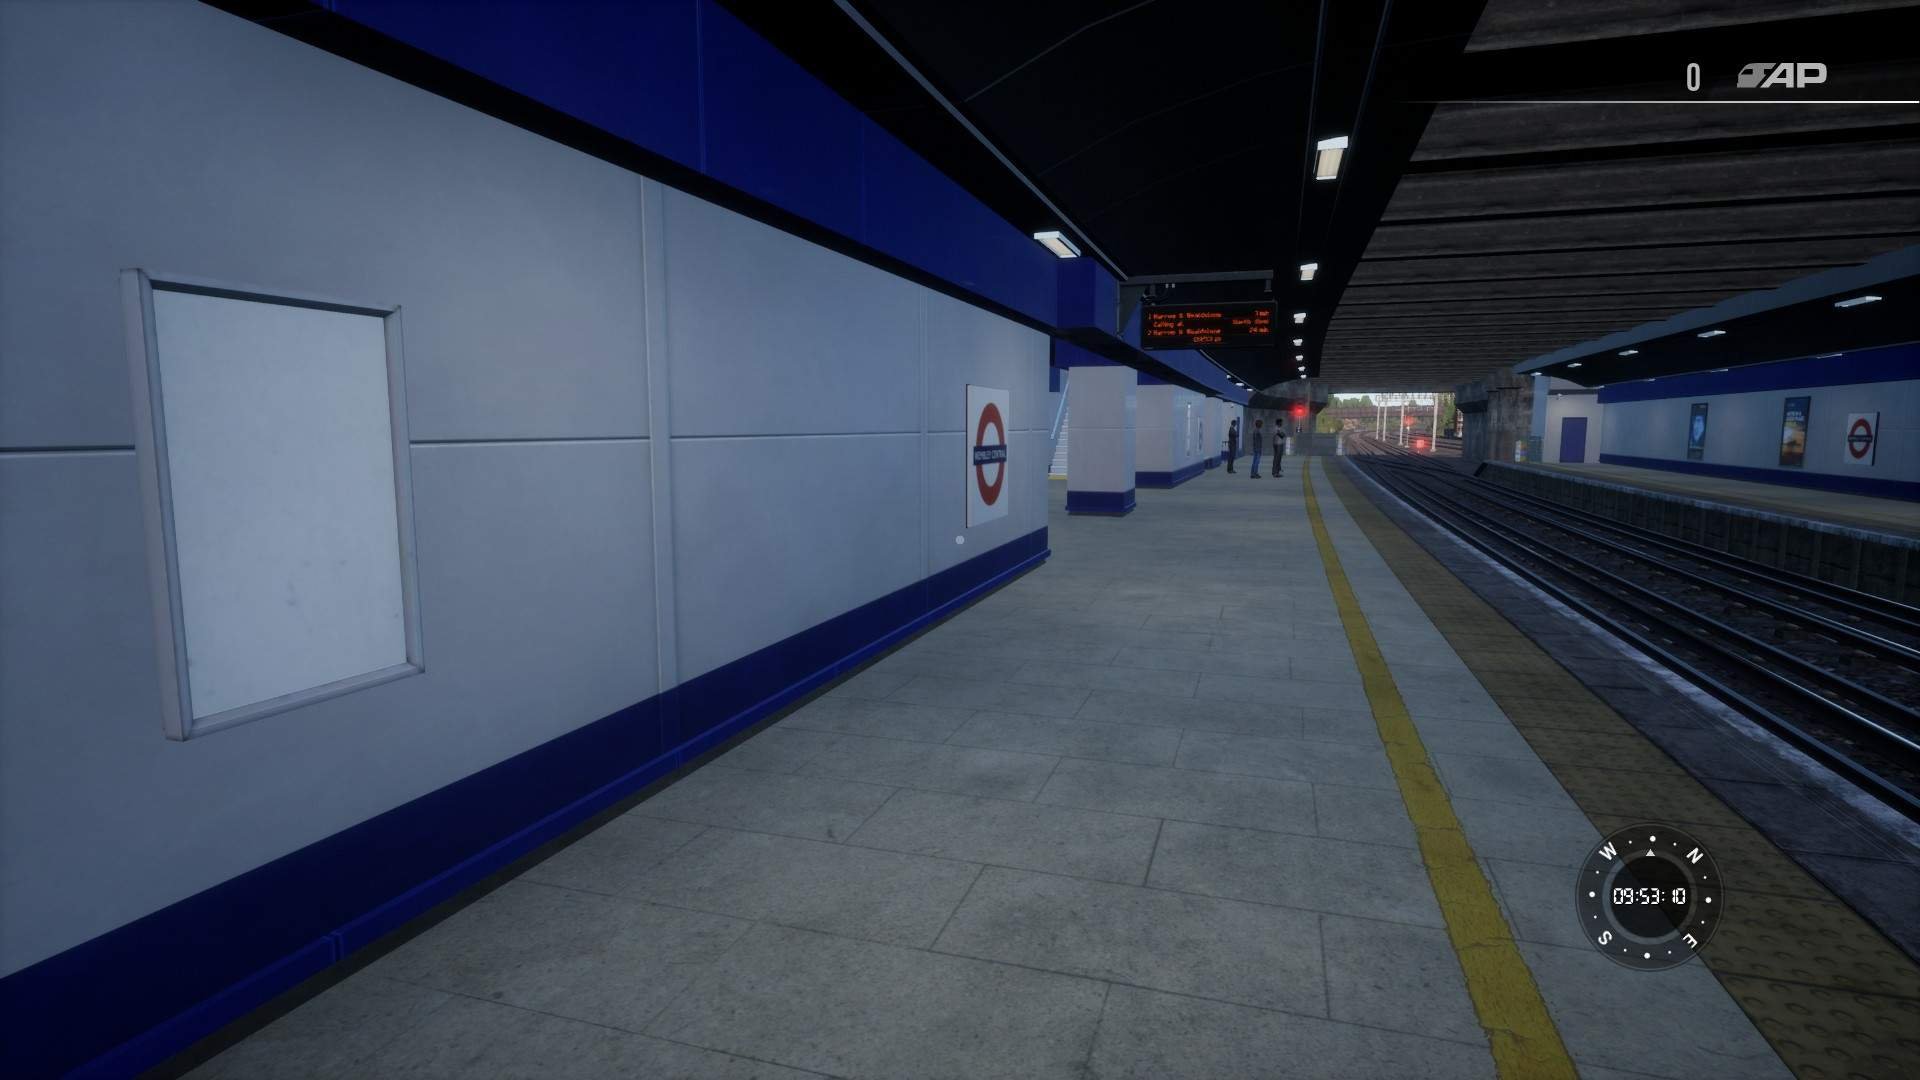
- Platform monitors
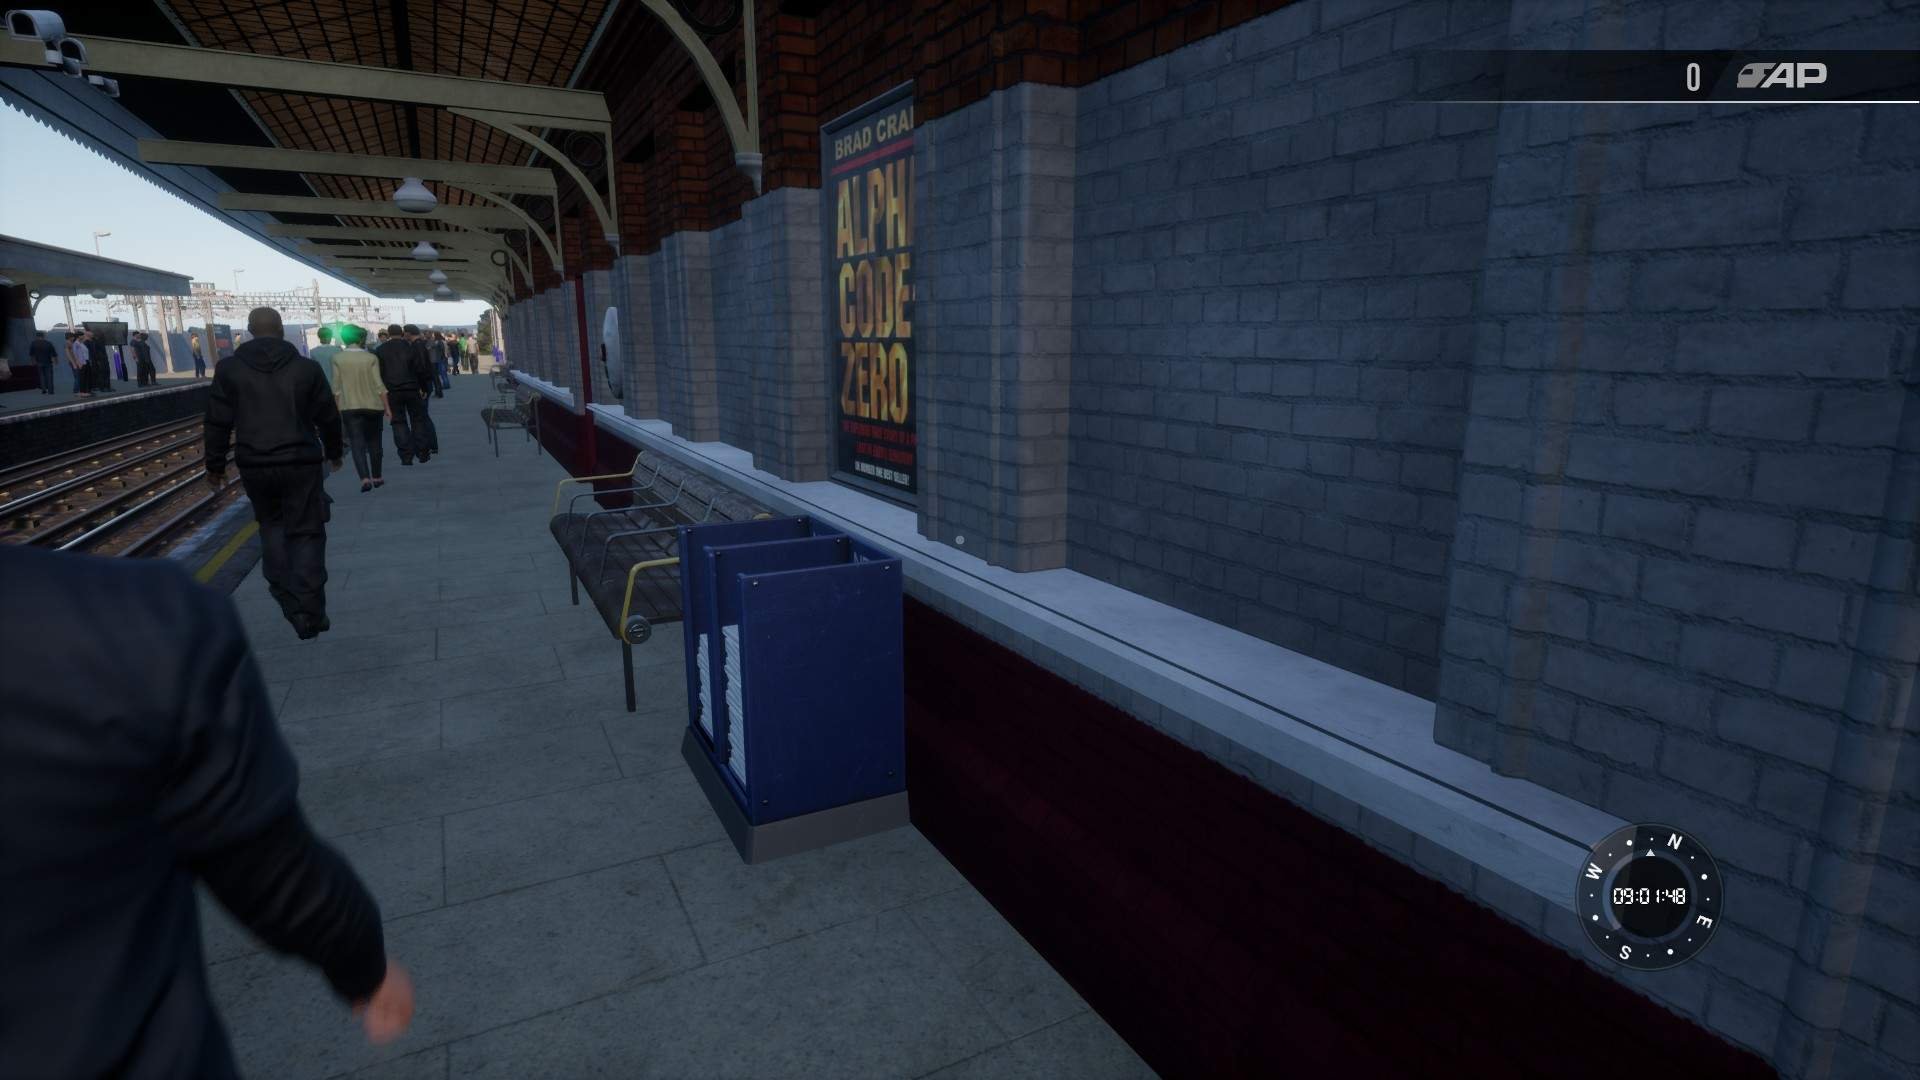
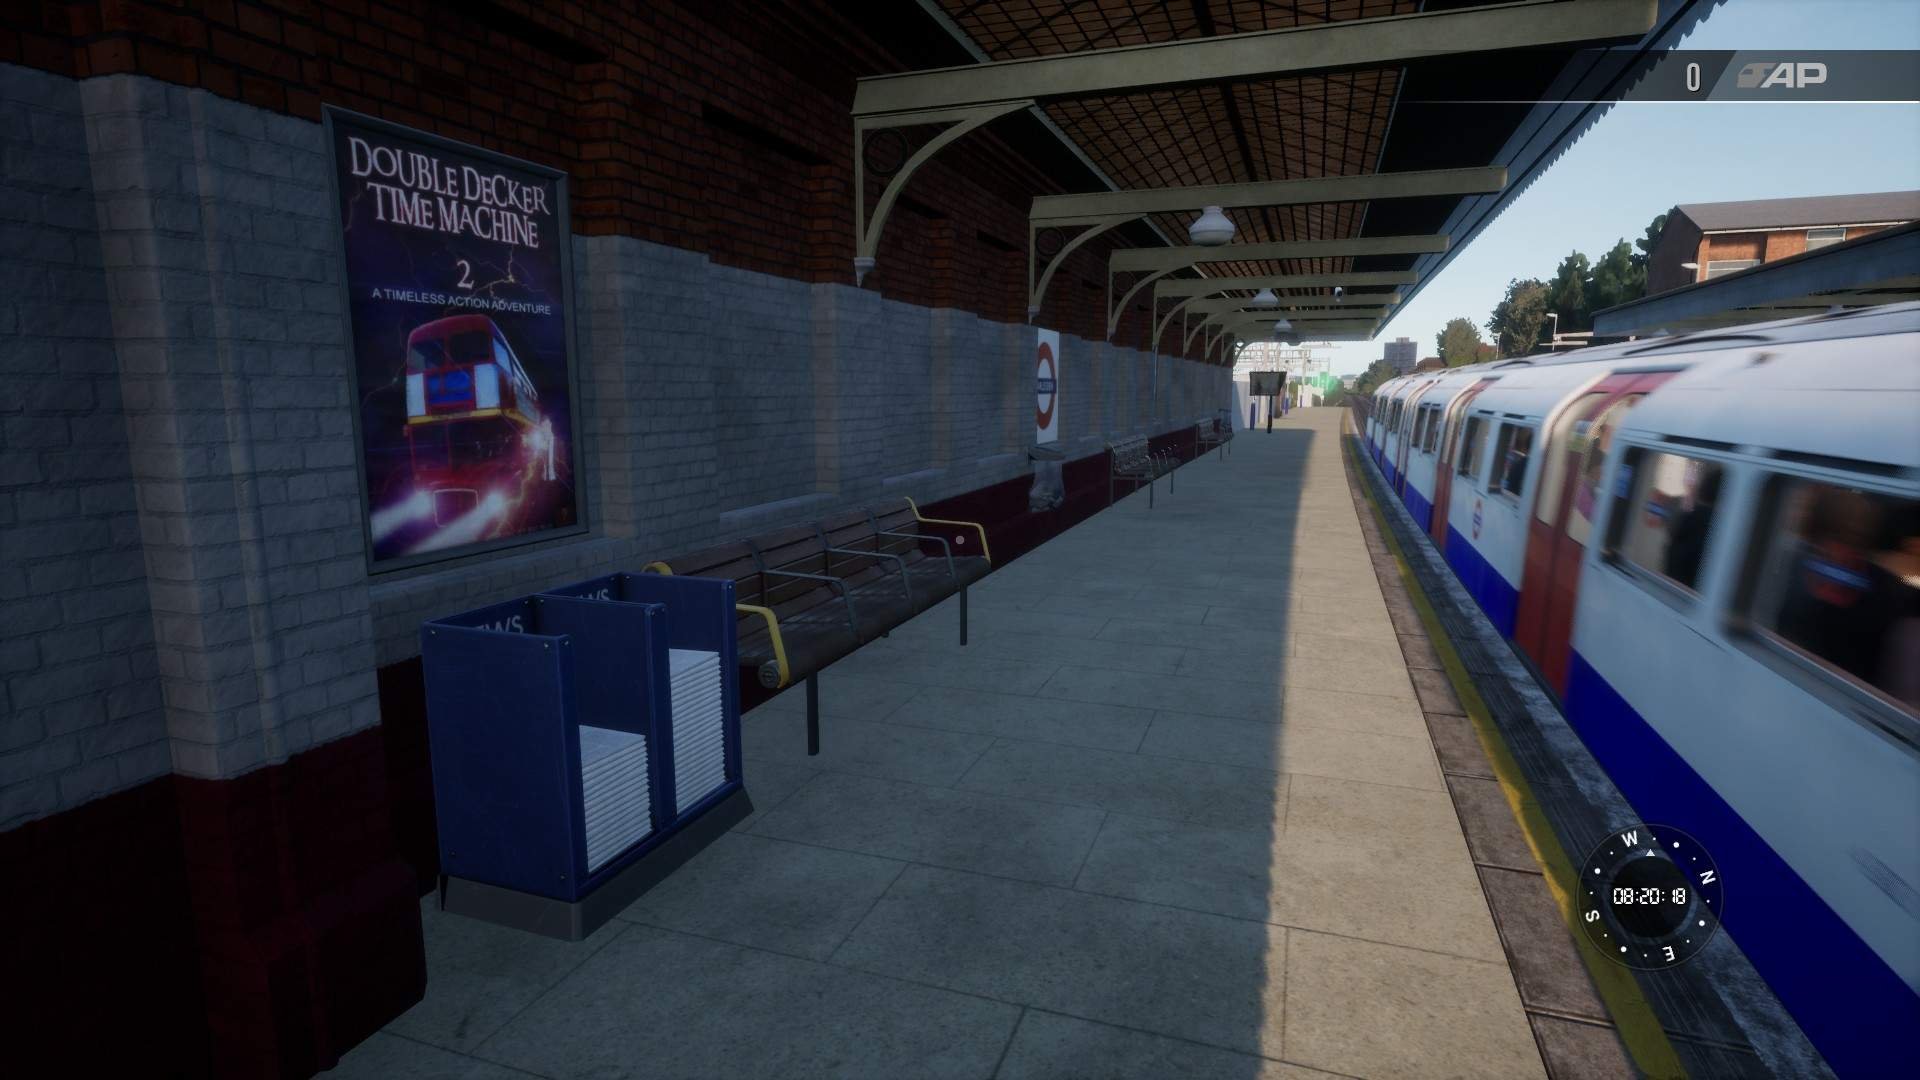
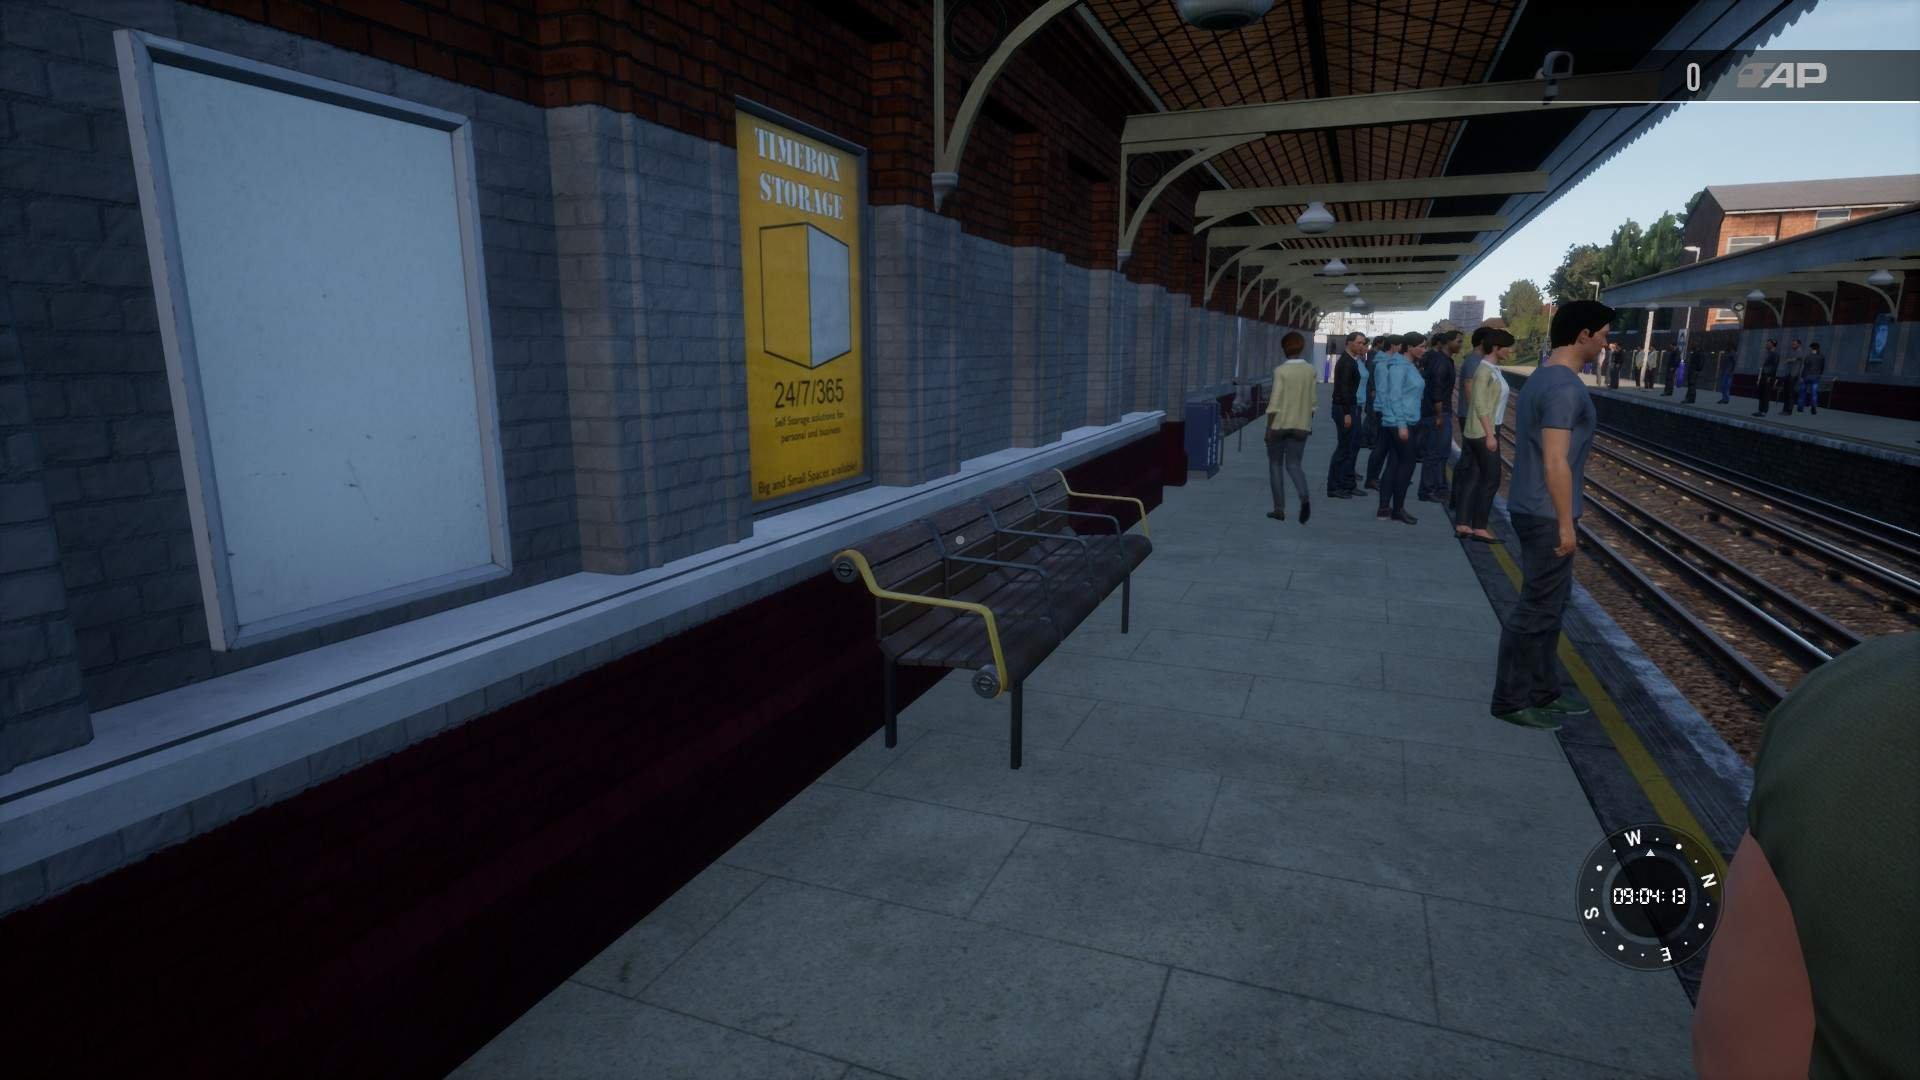
- Posters
- Newspaper stands
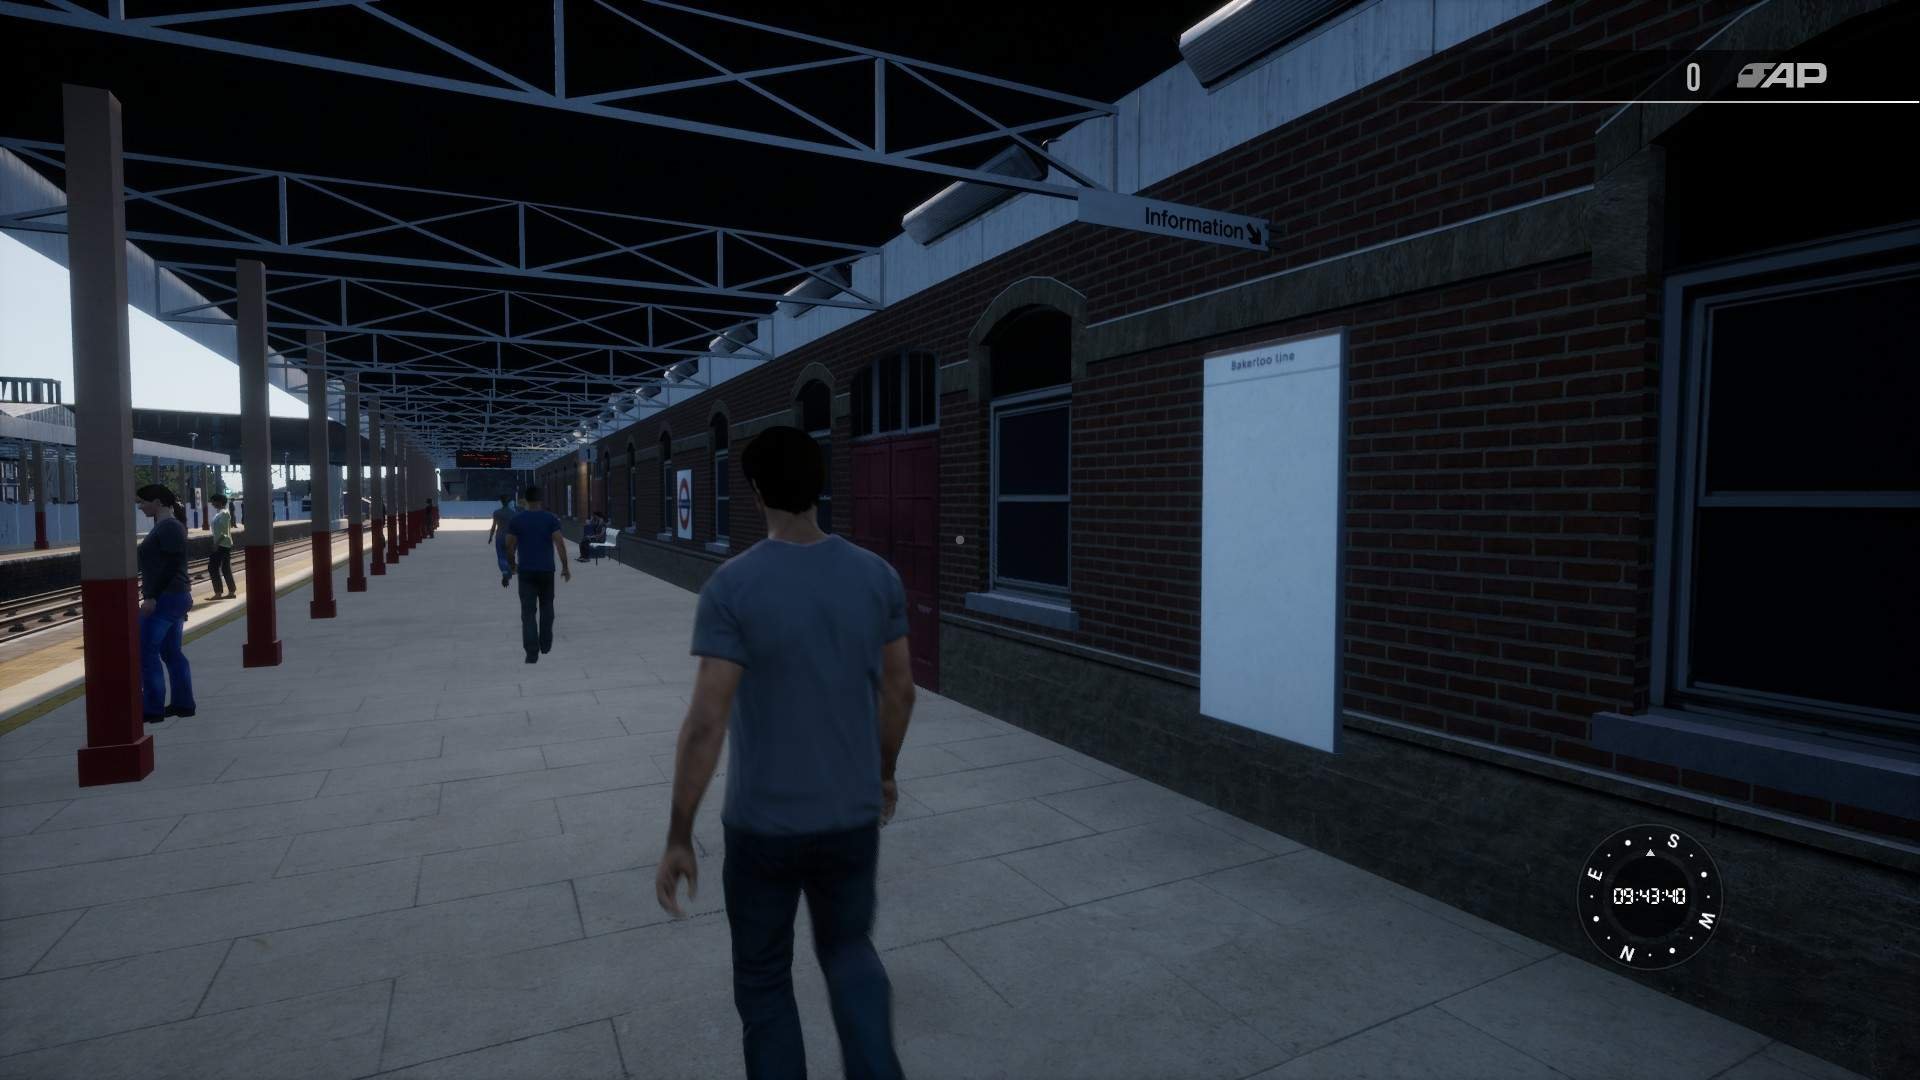
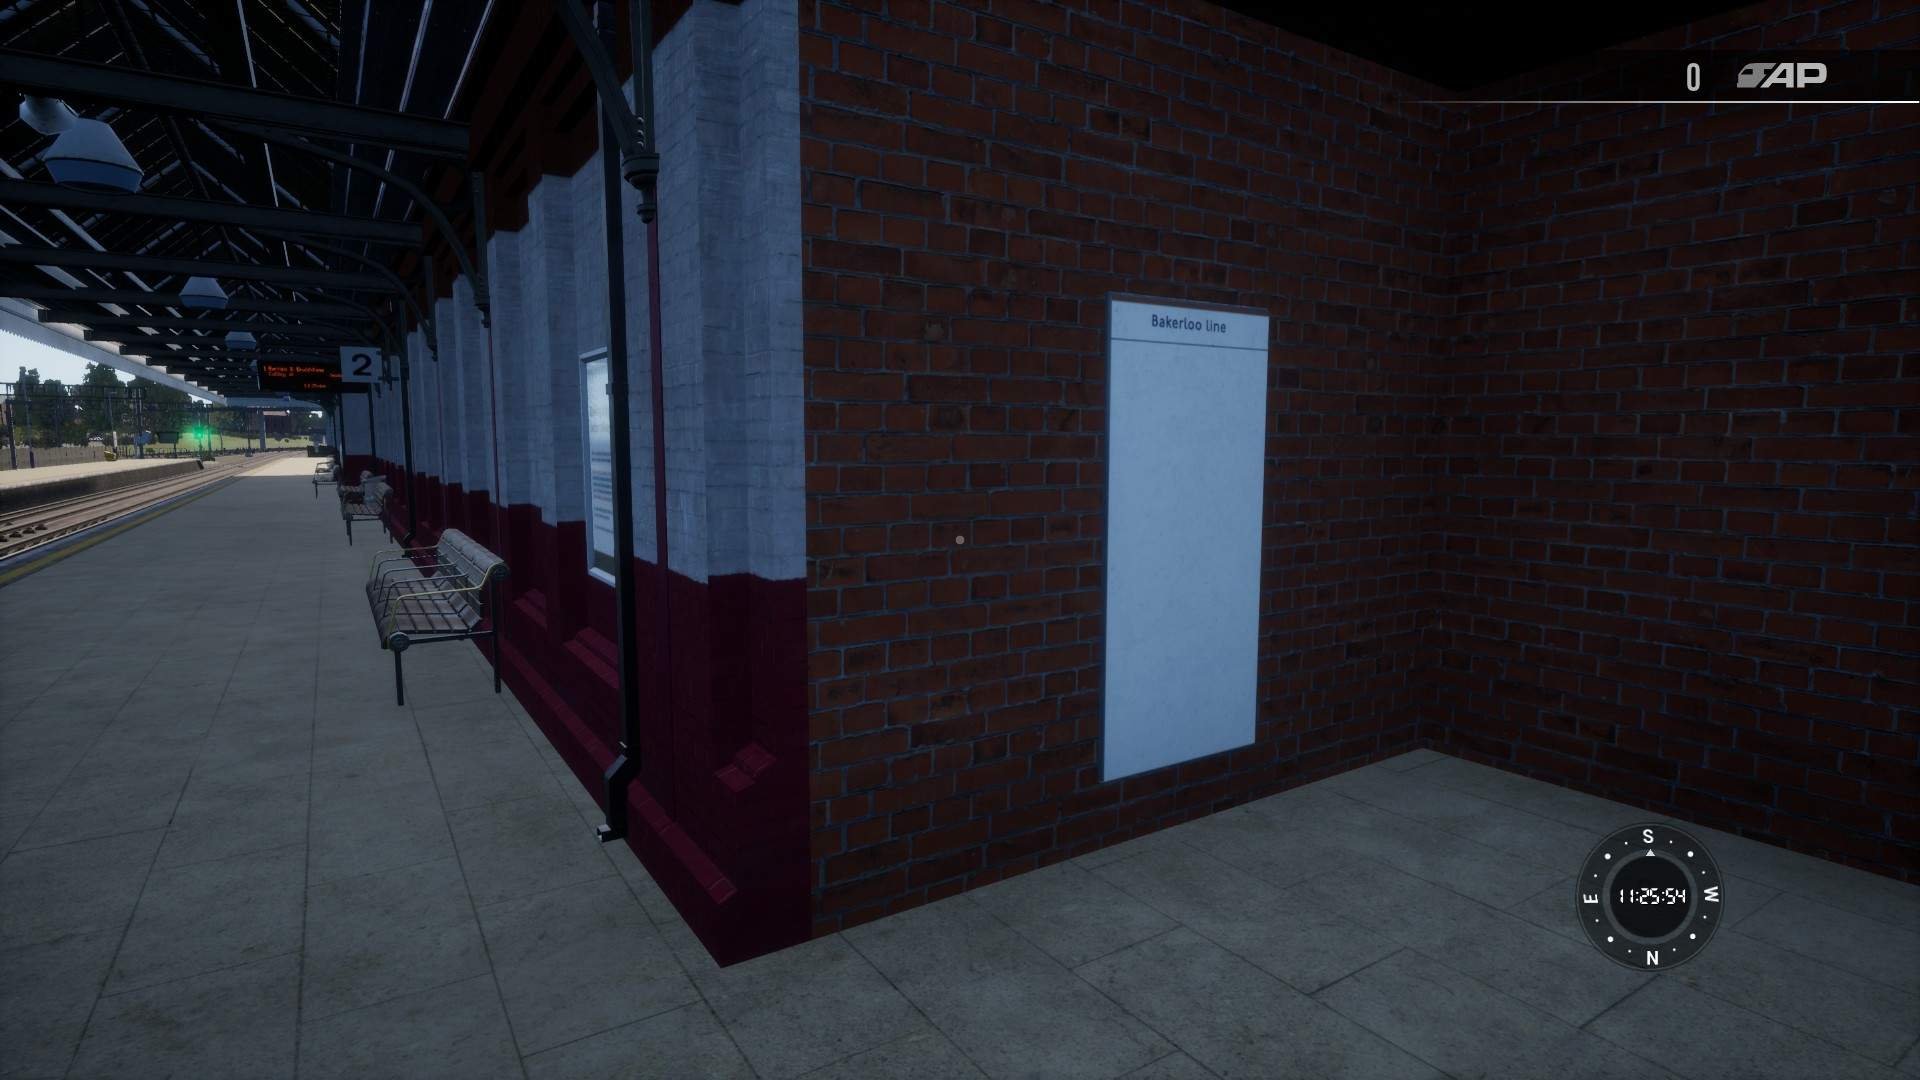
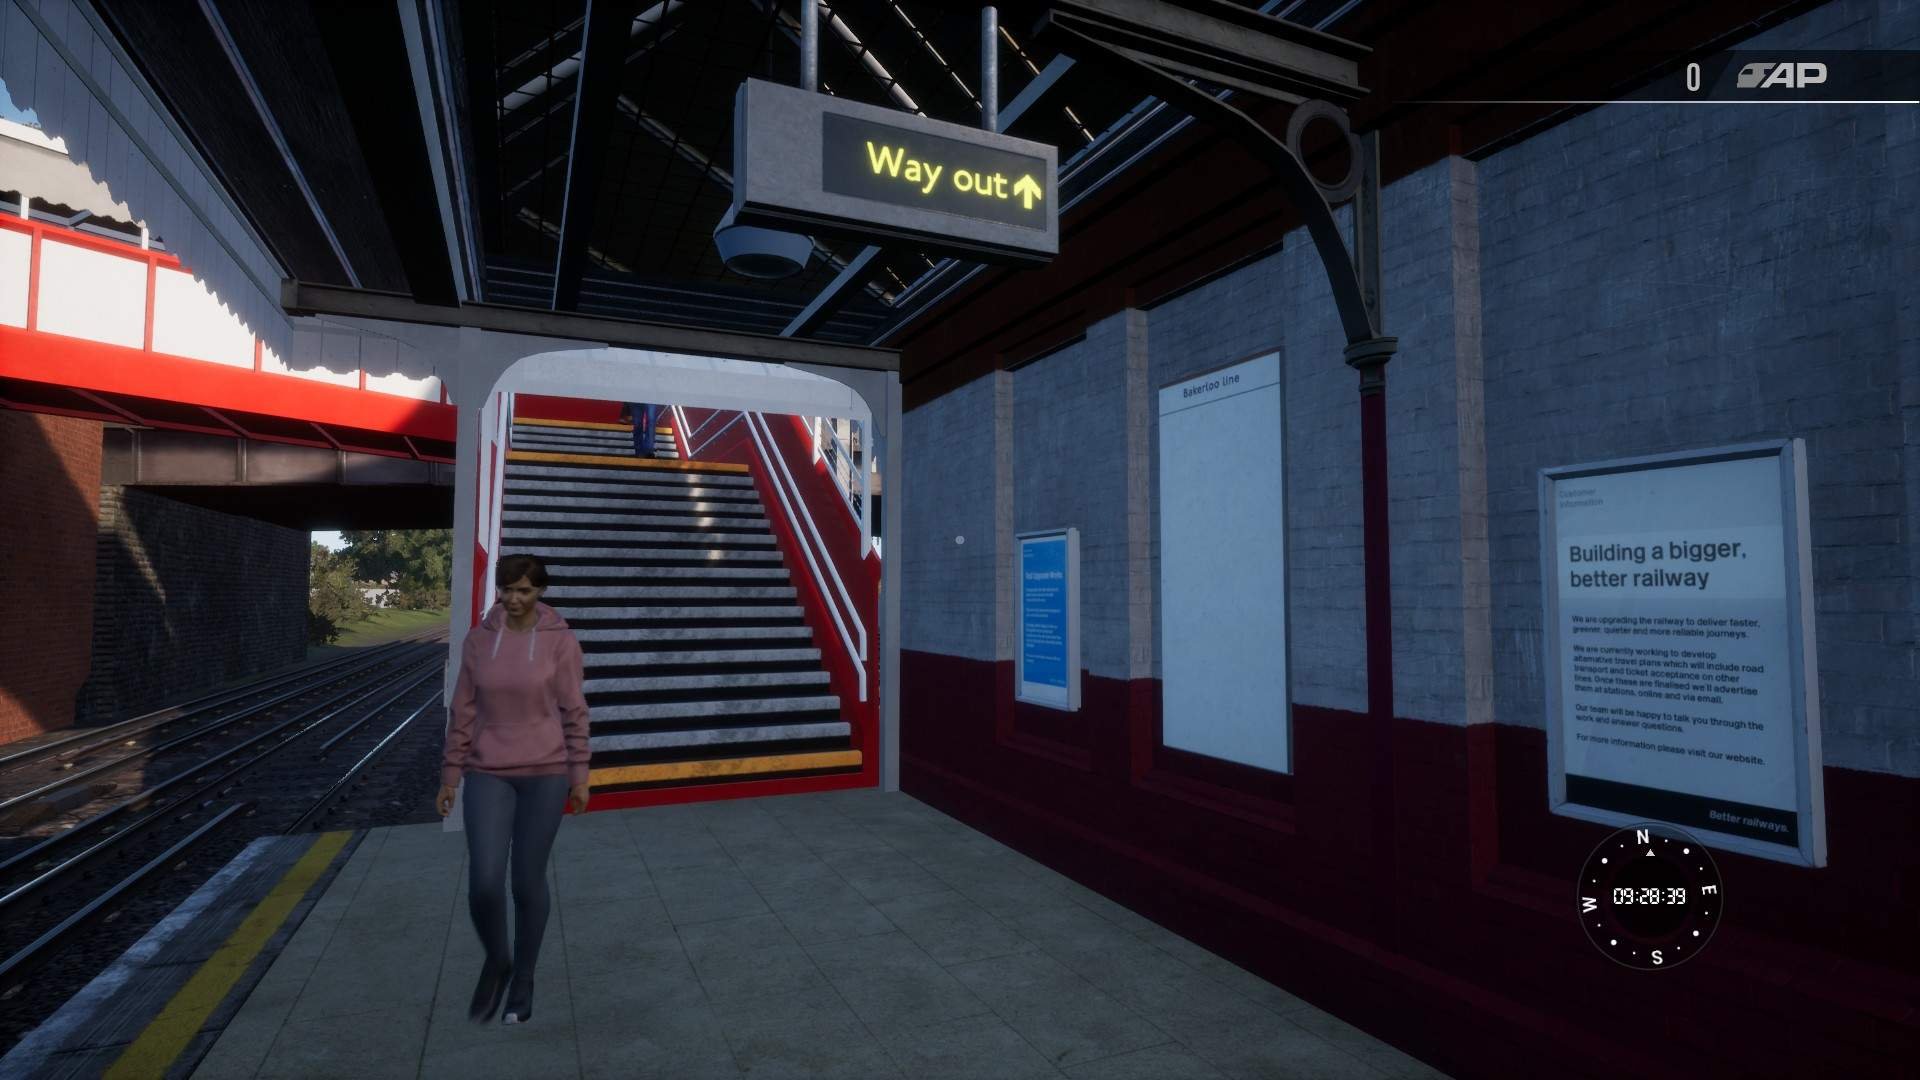
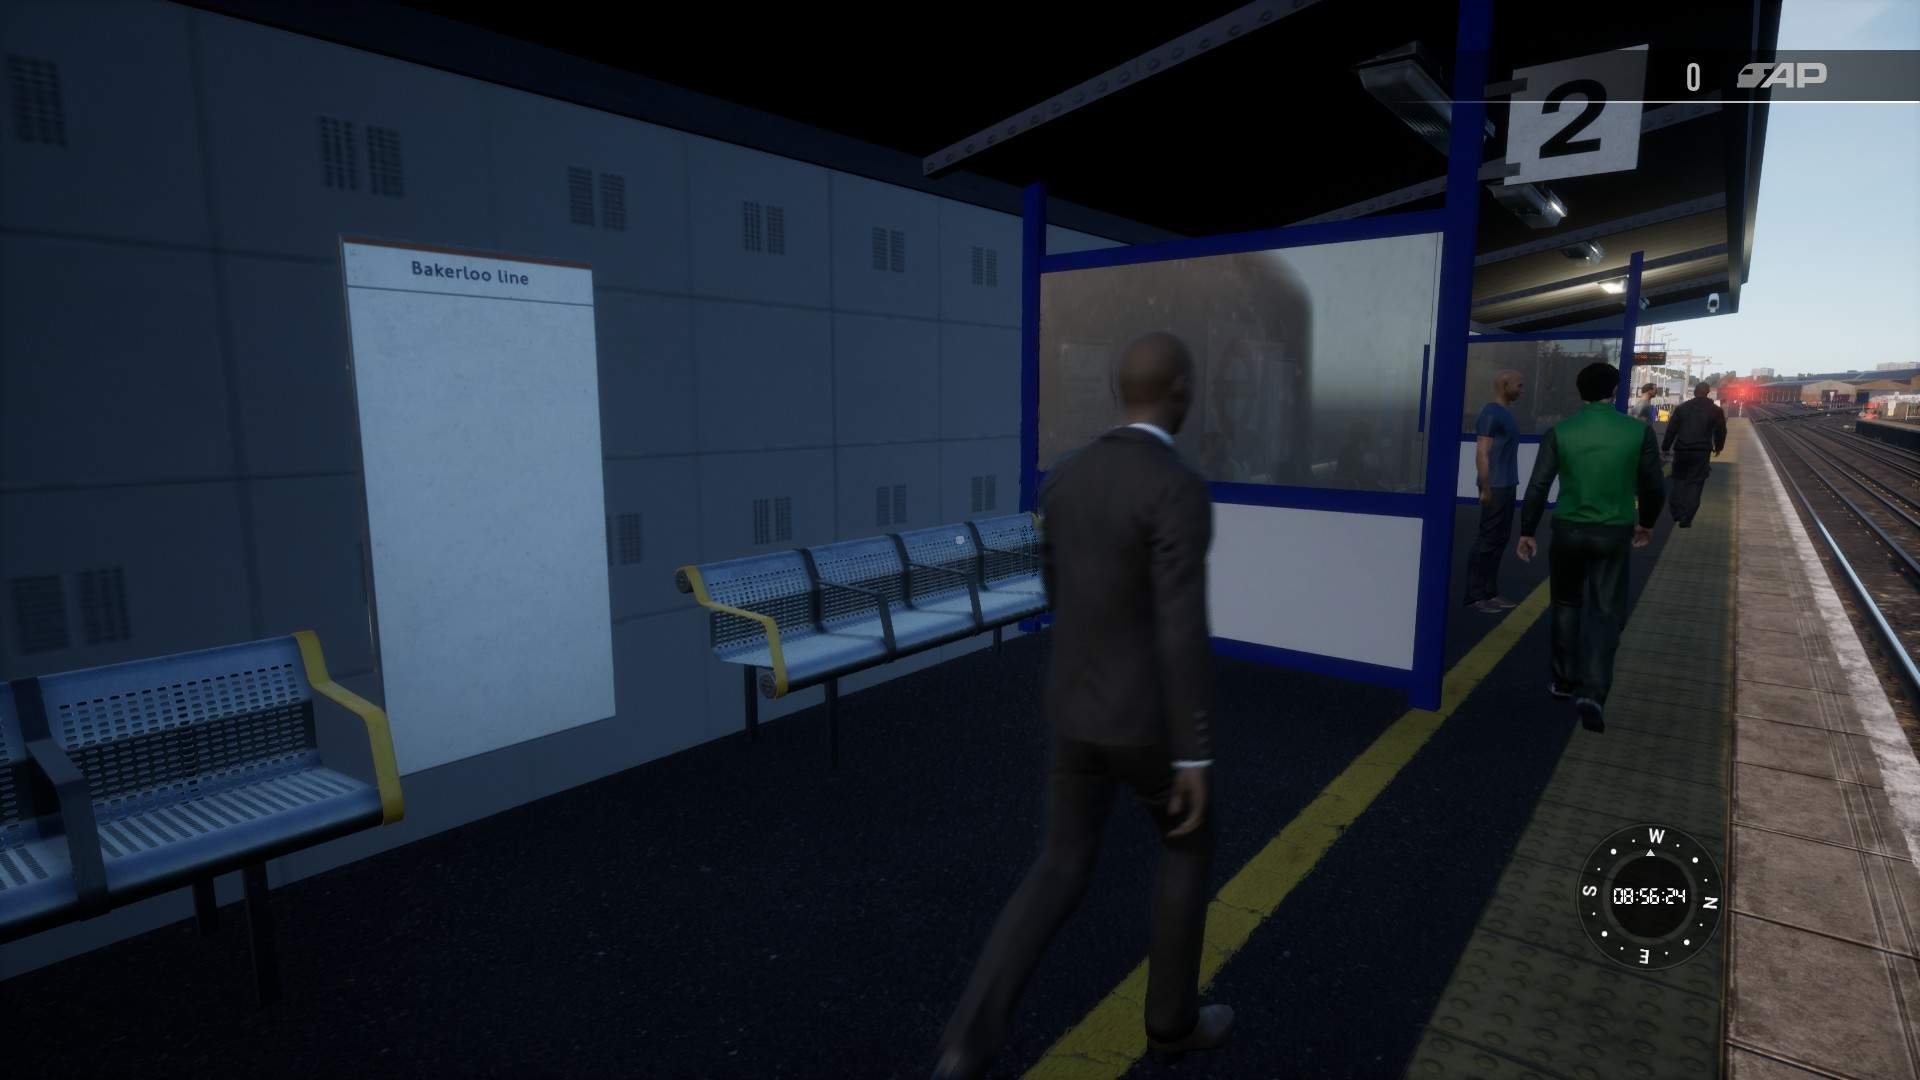
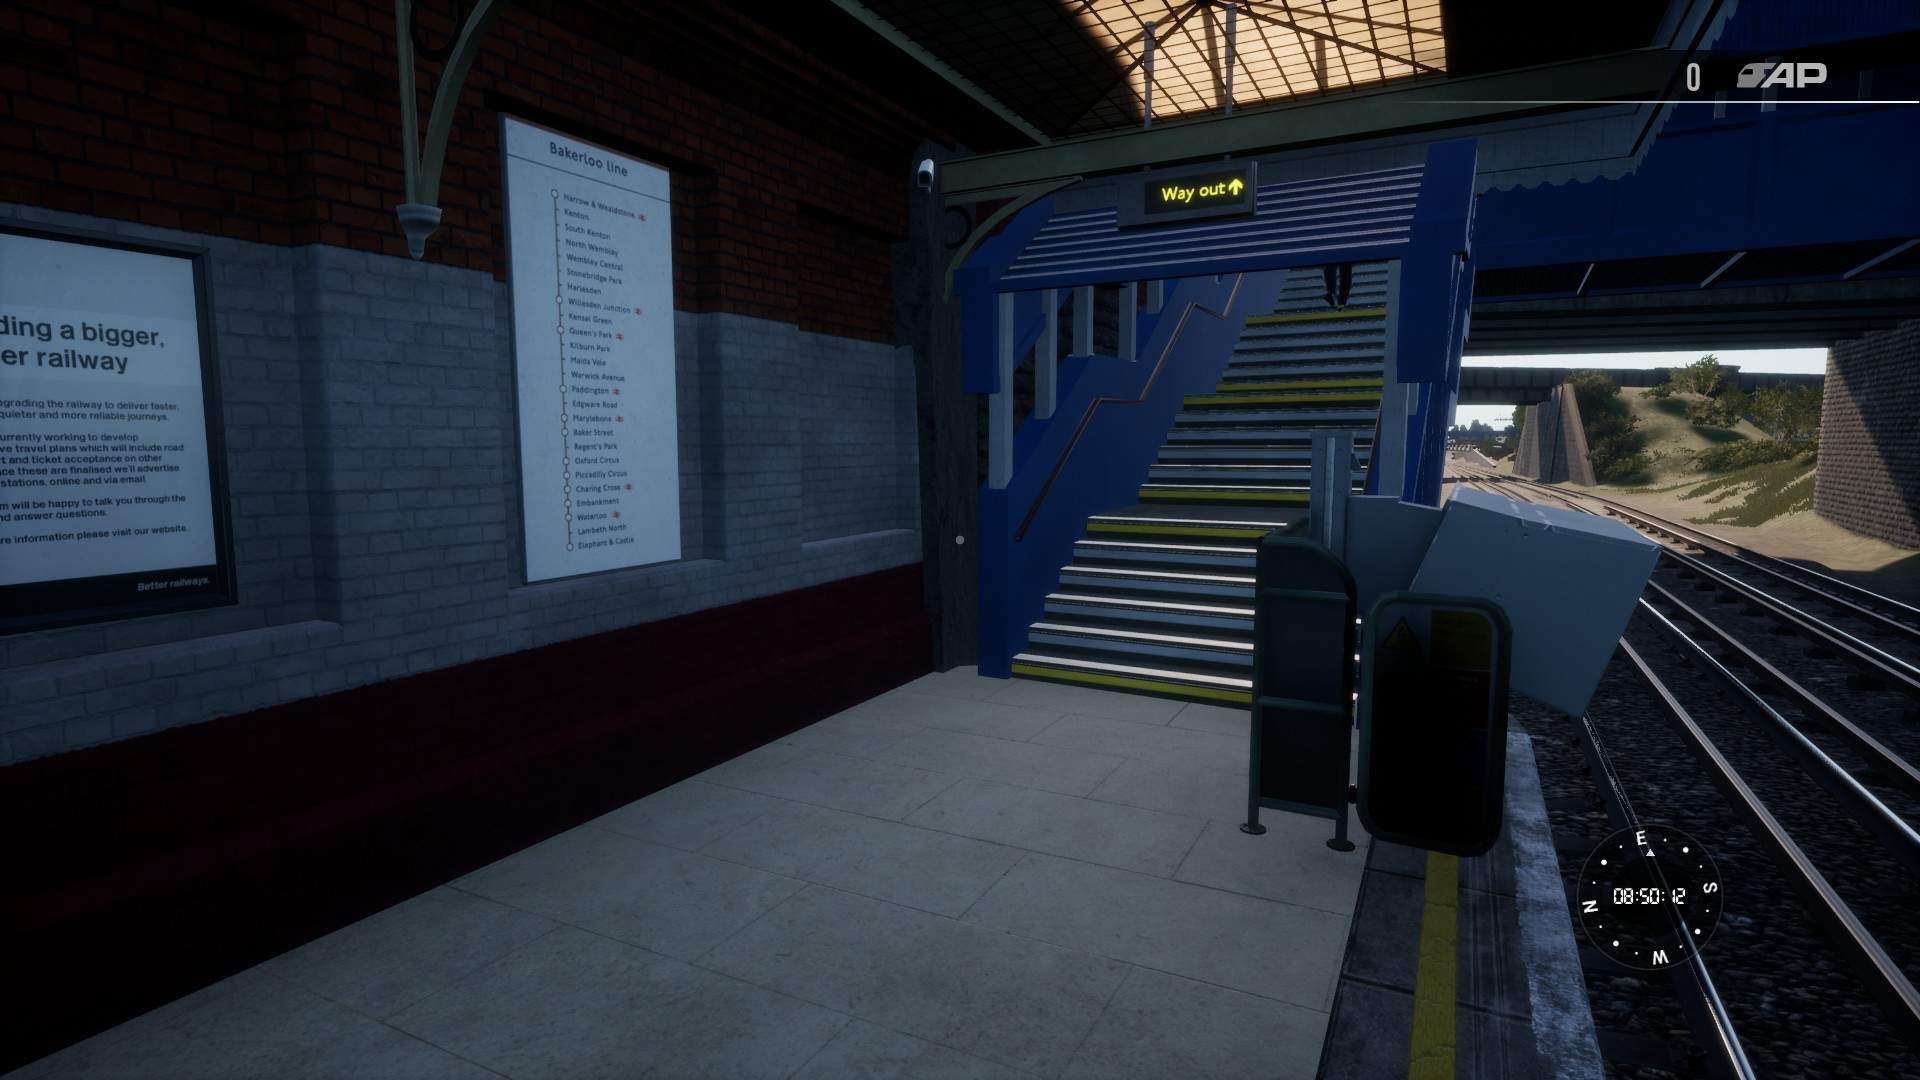
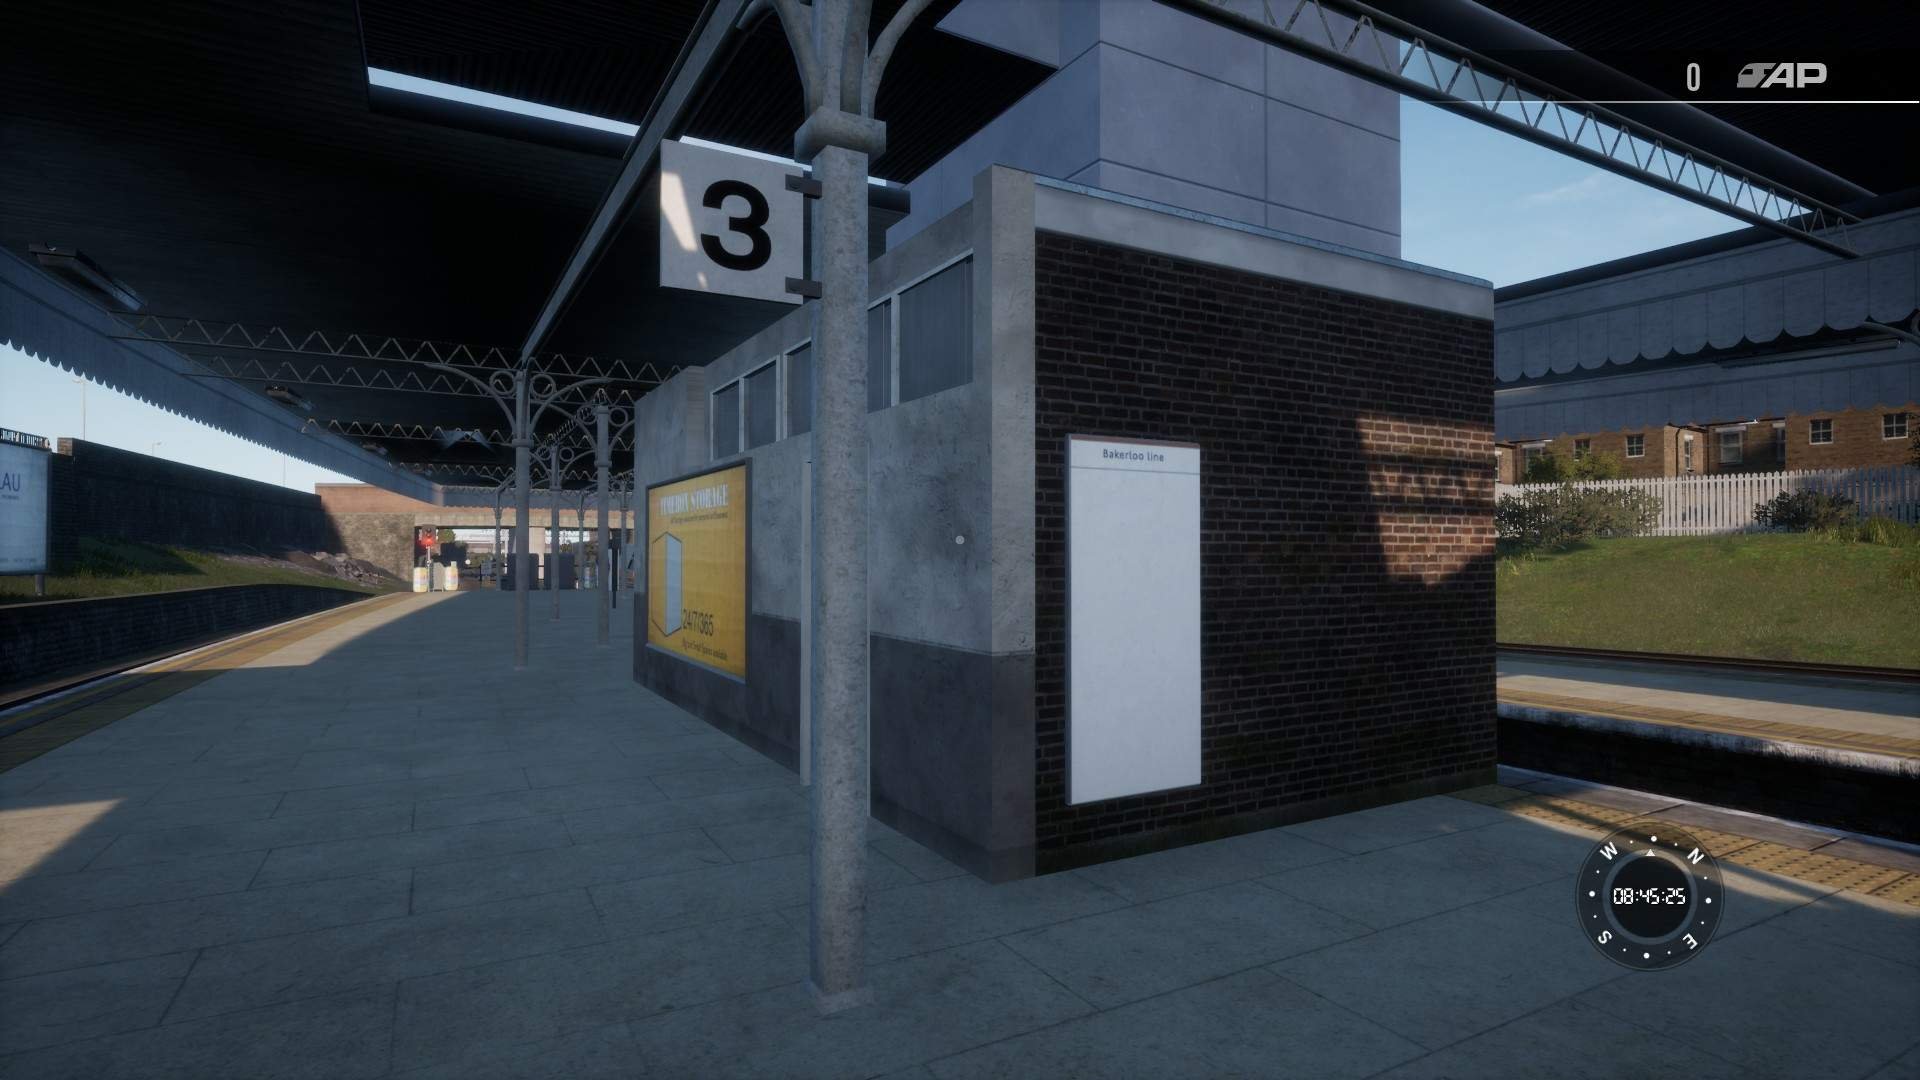
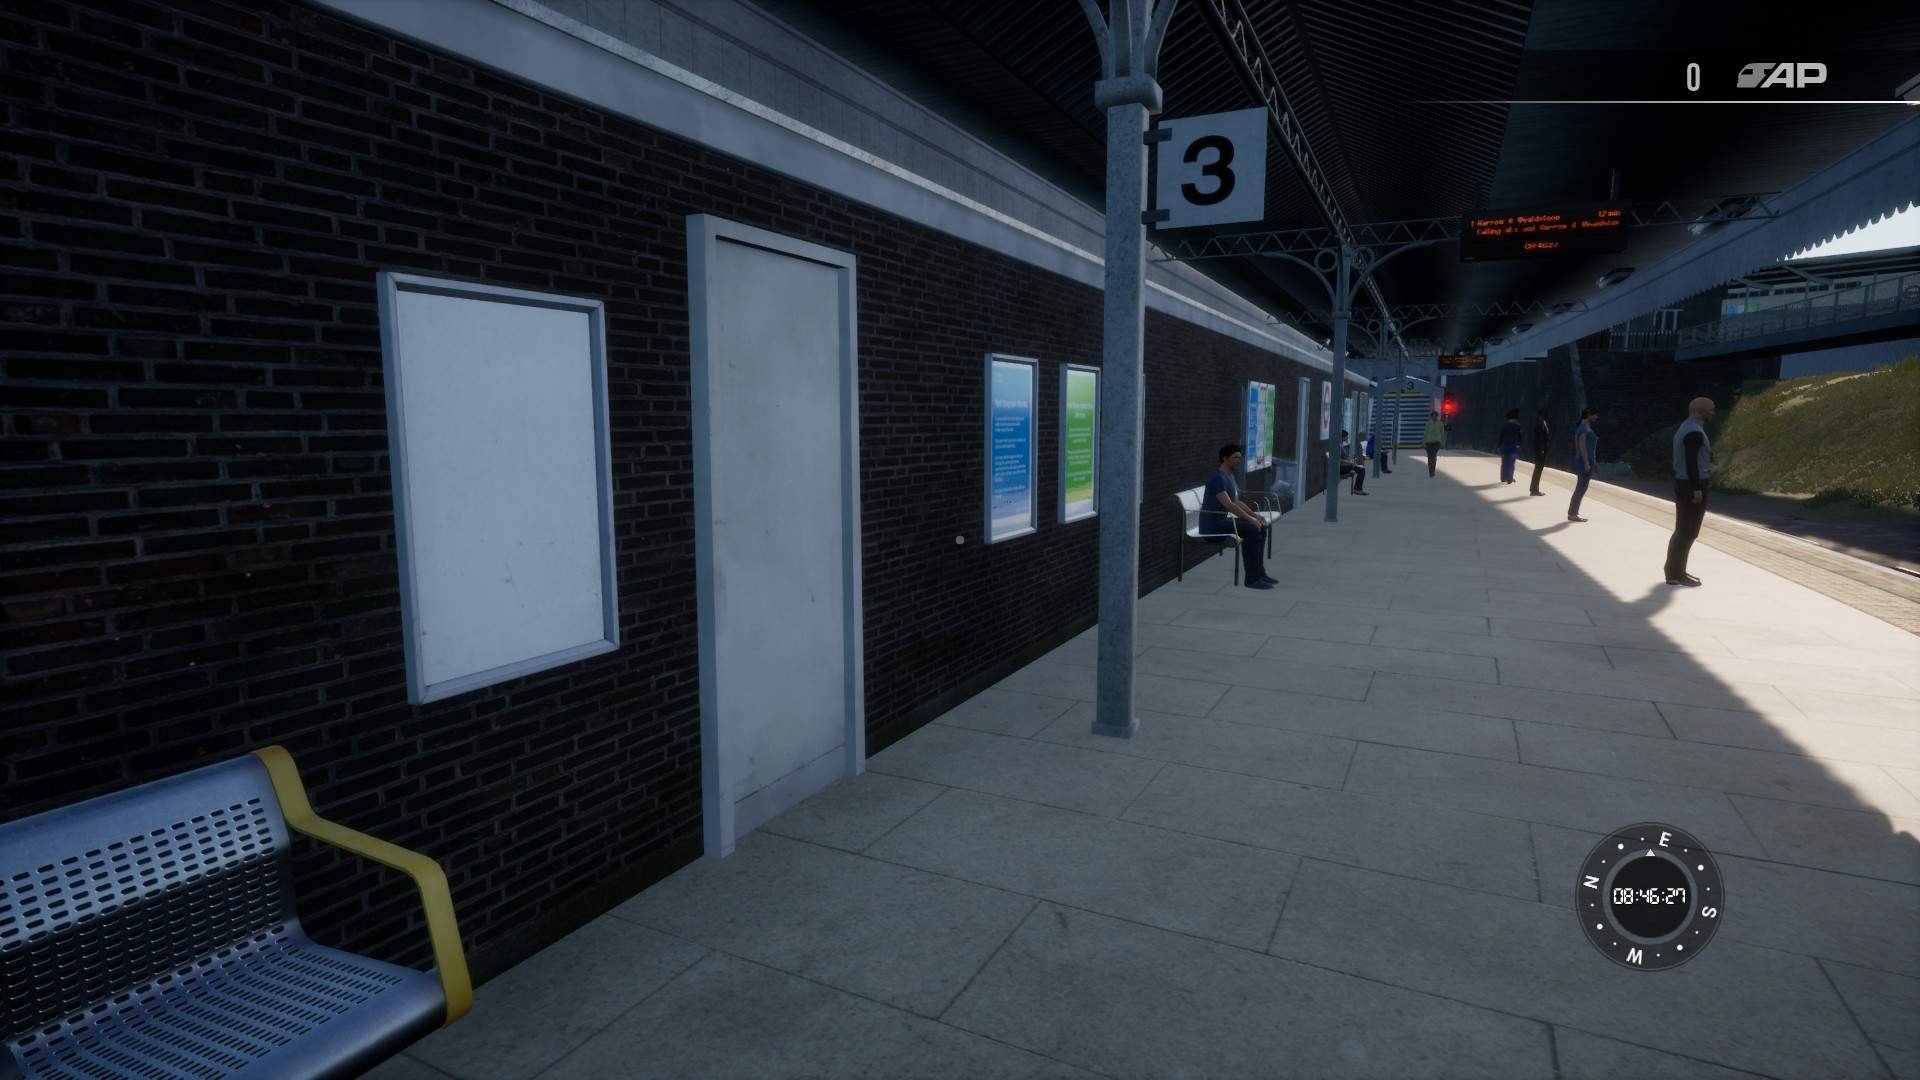
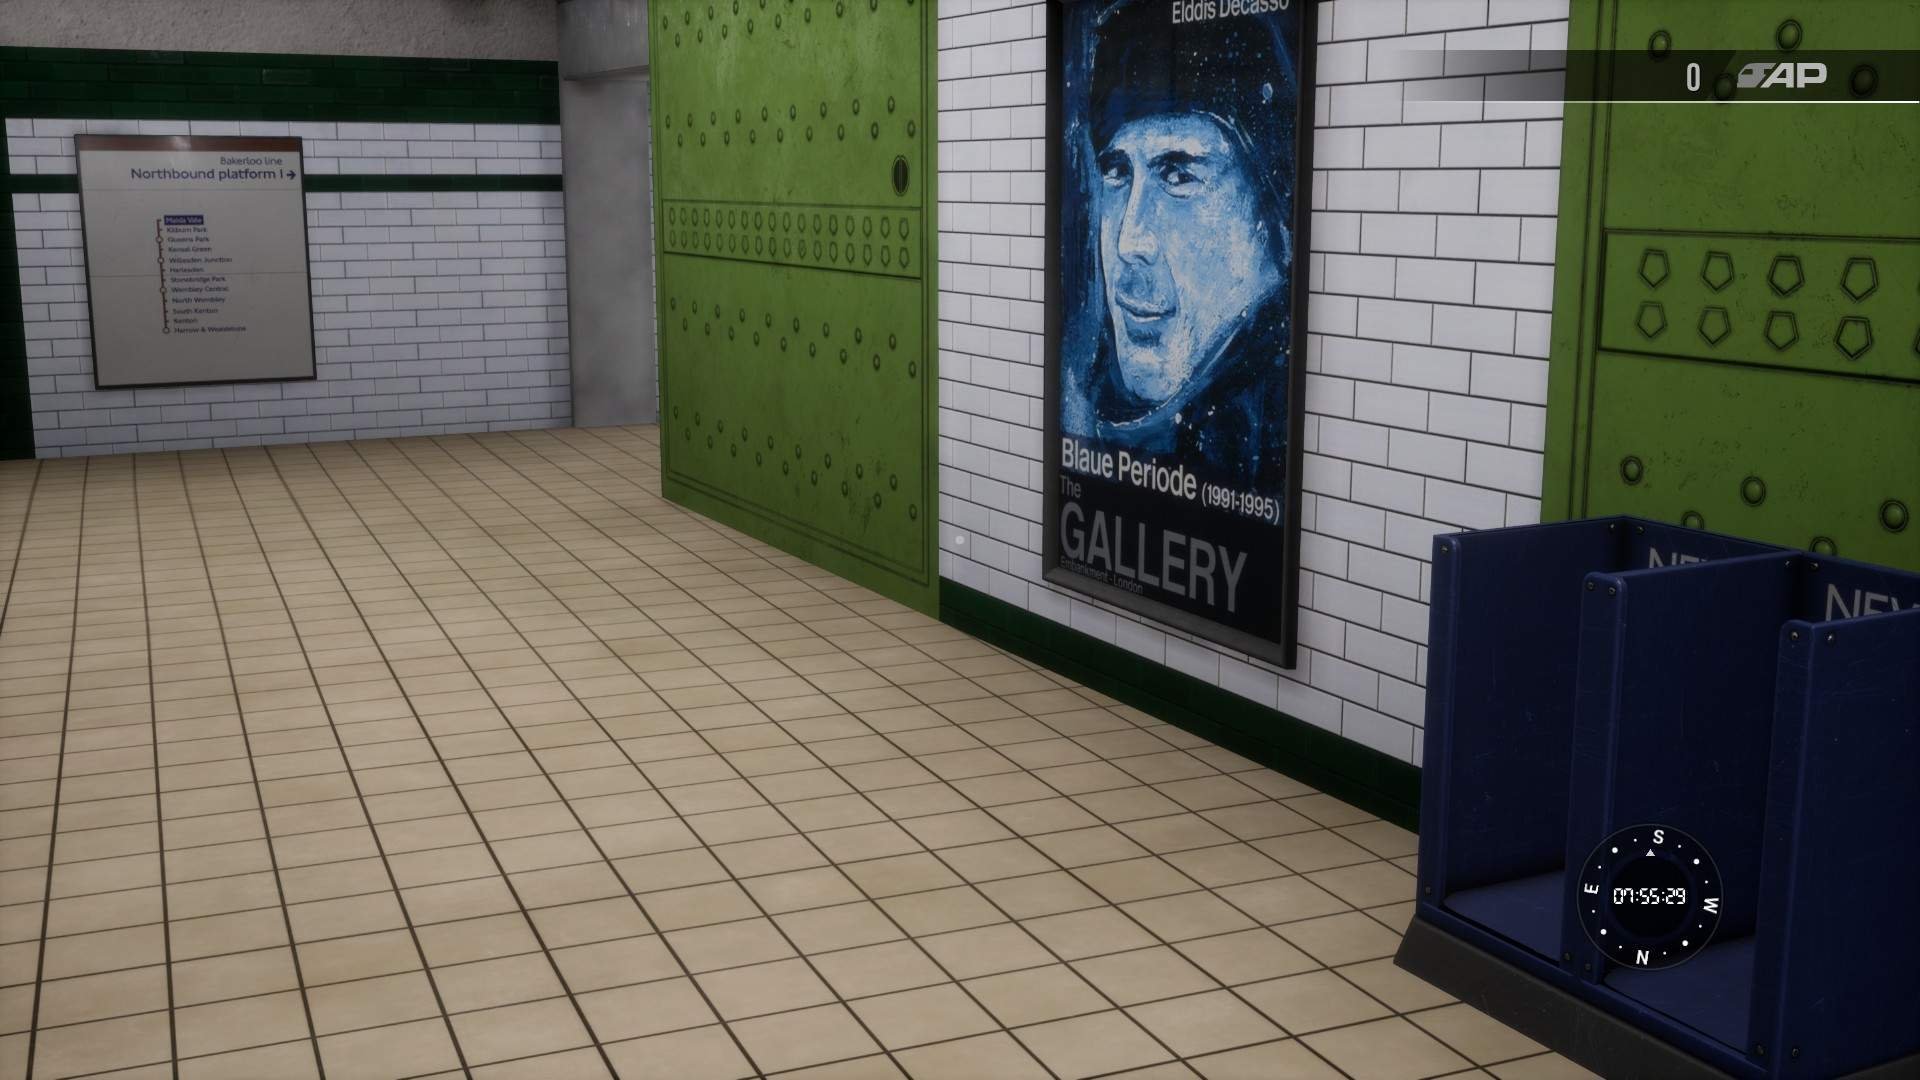
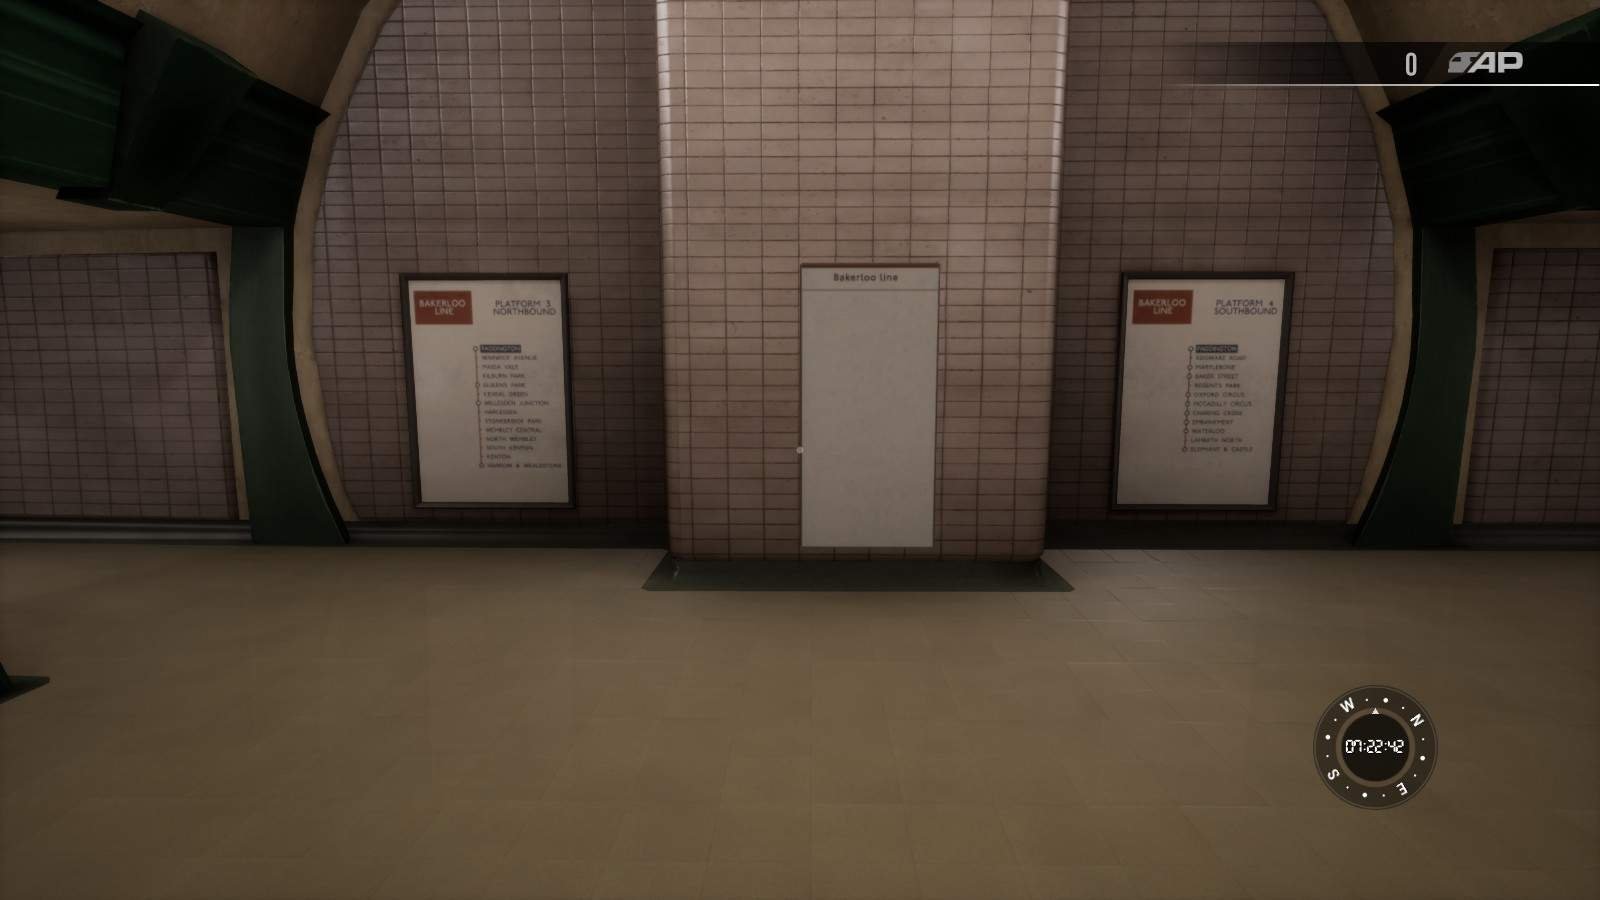
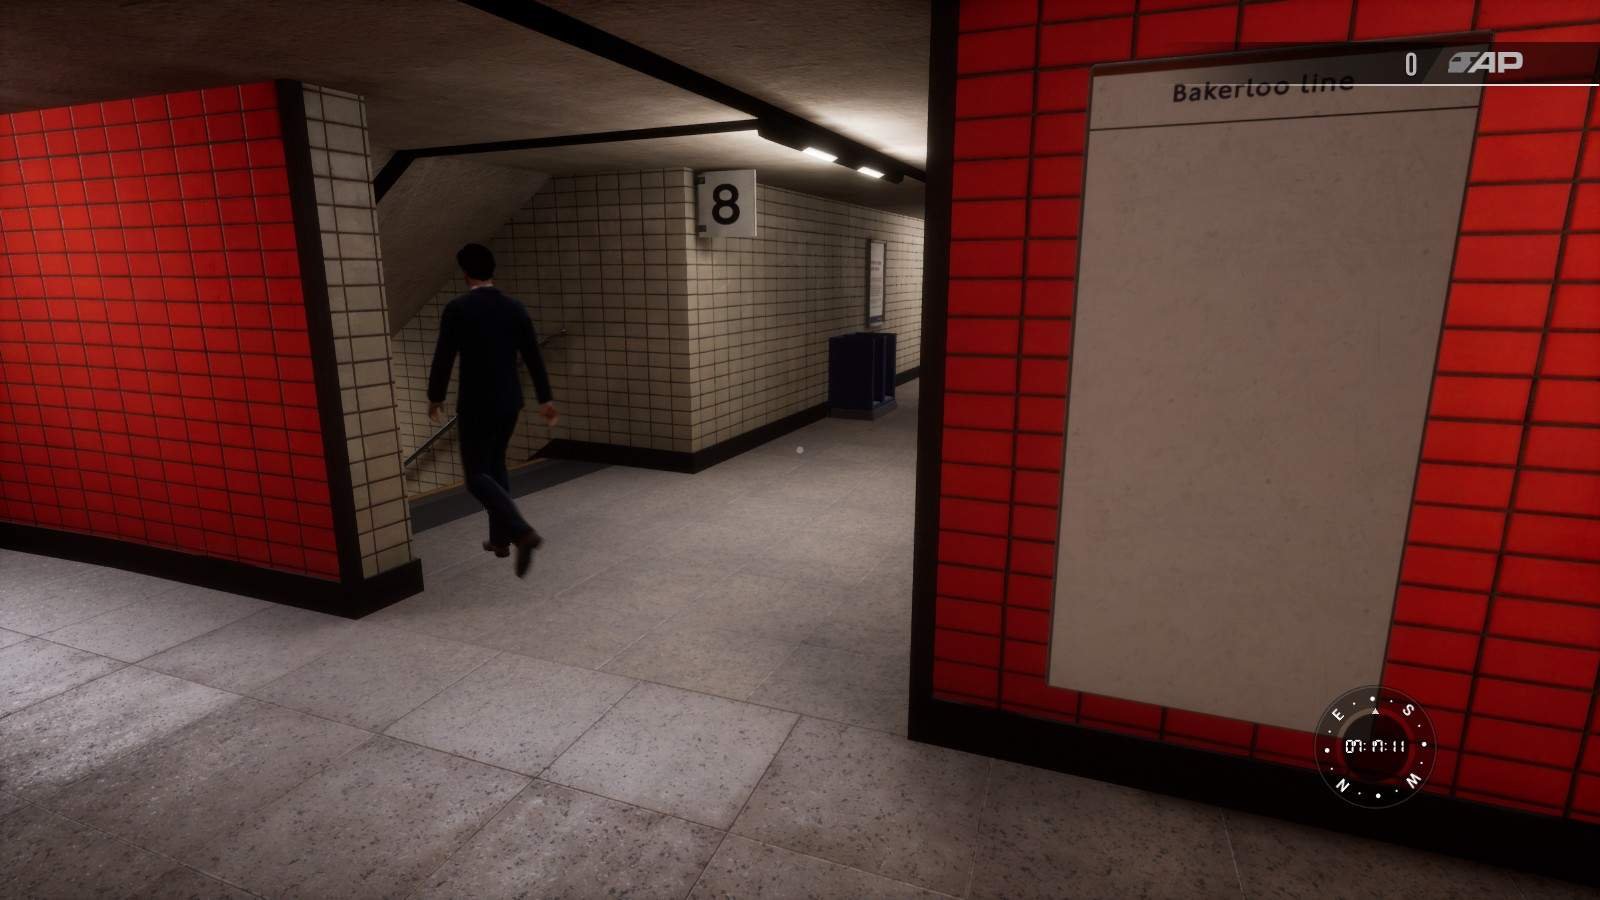
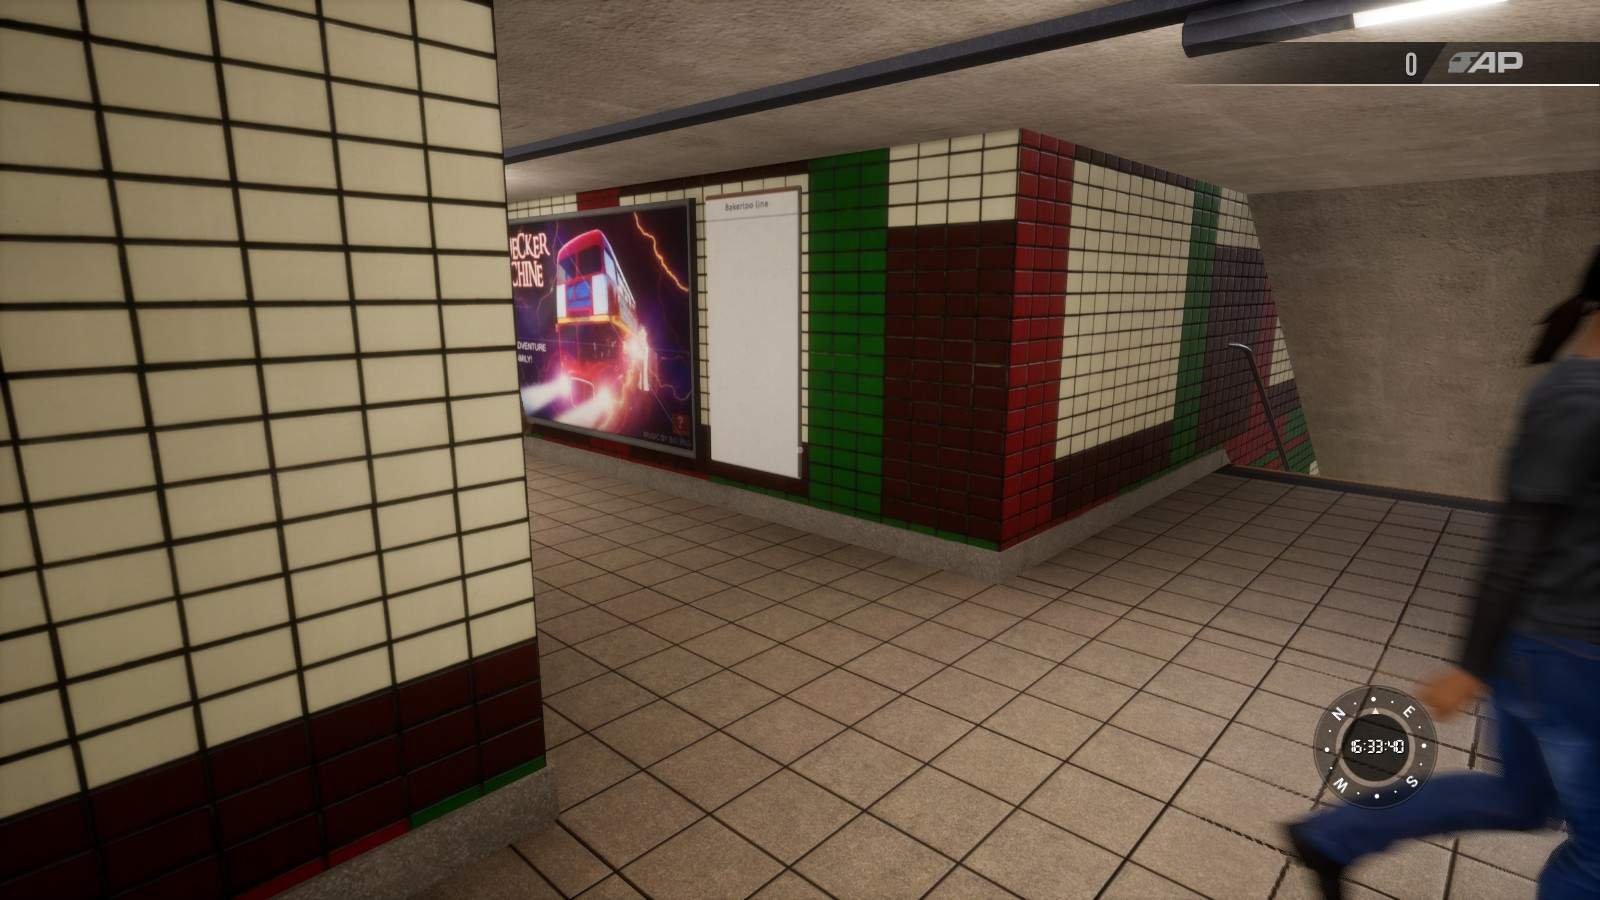
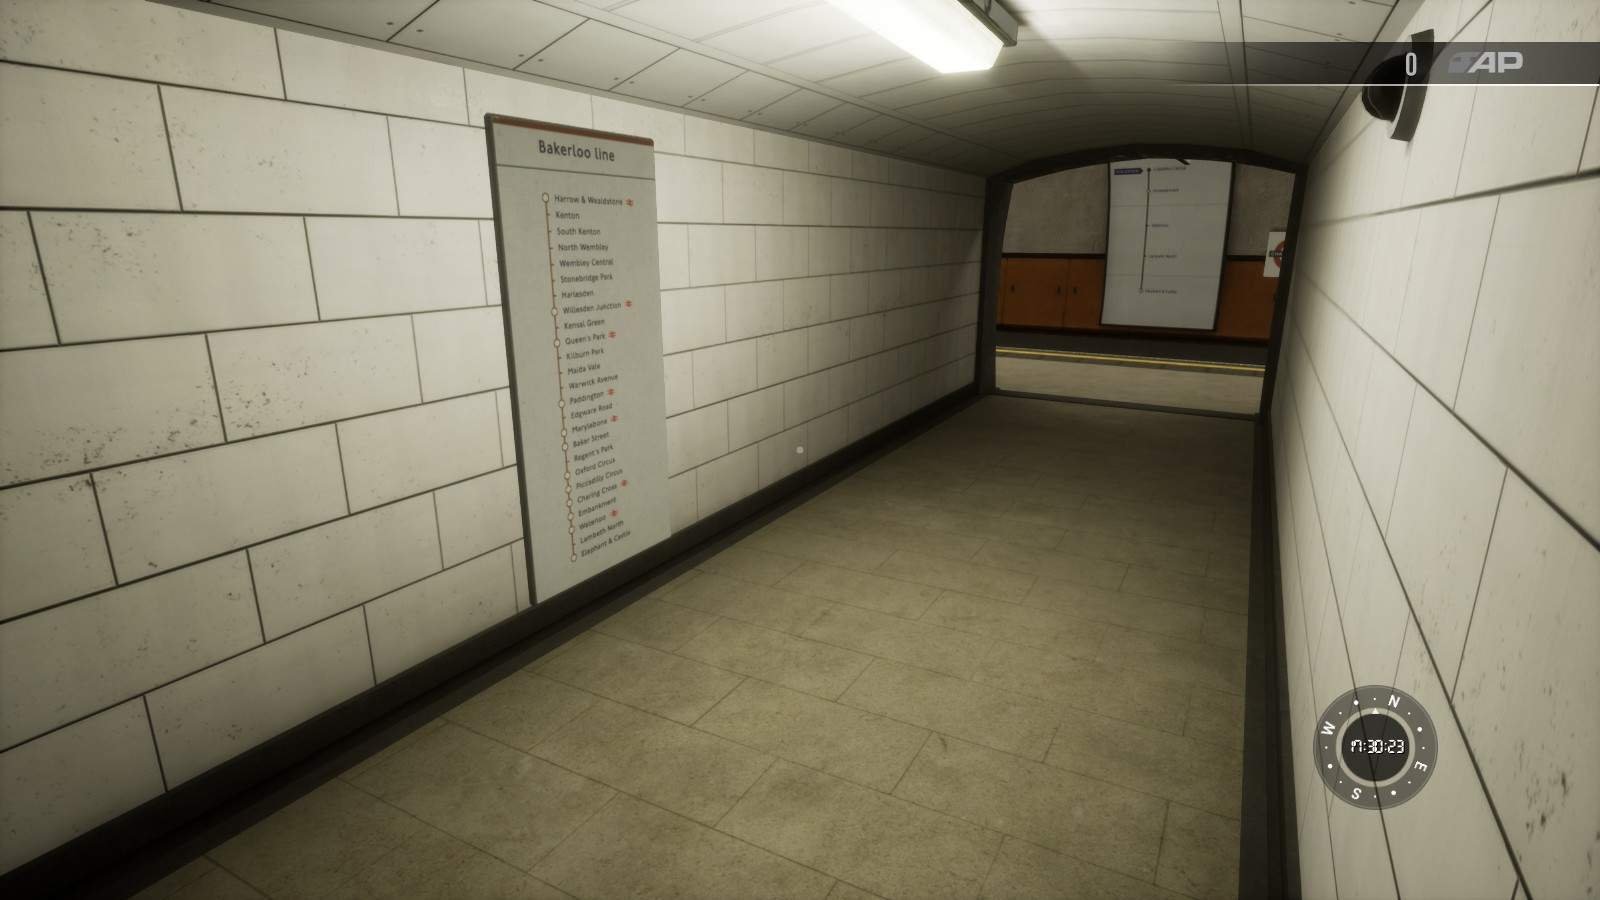
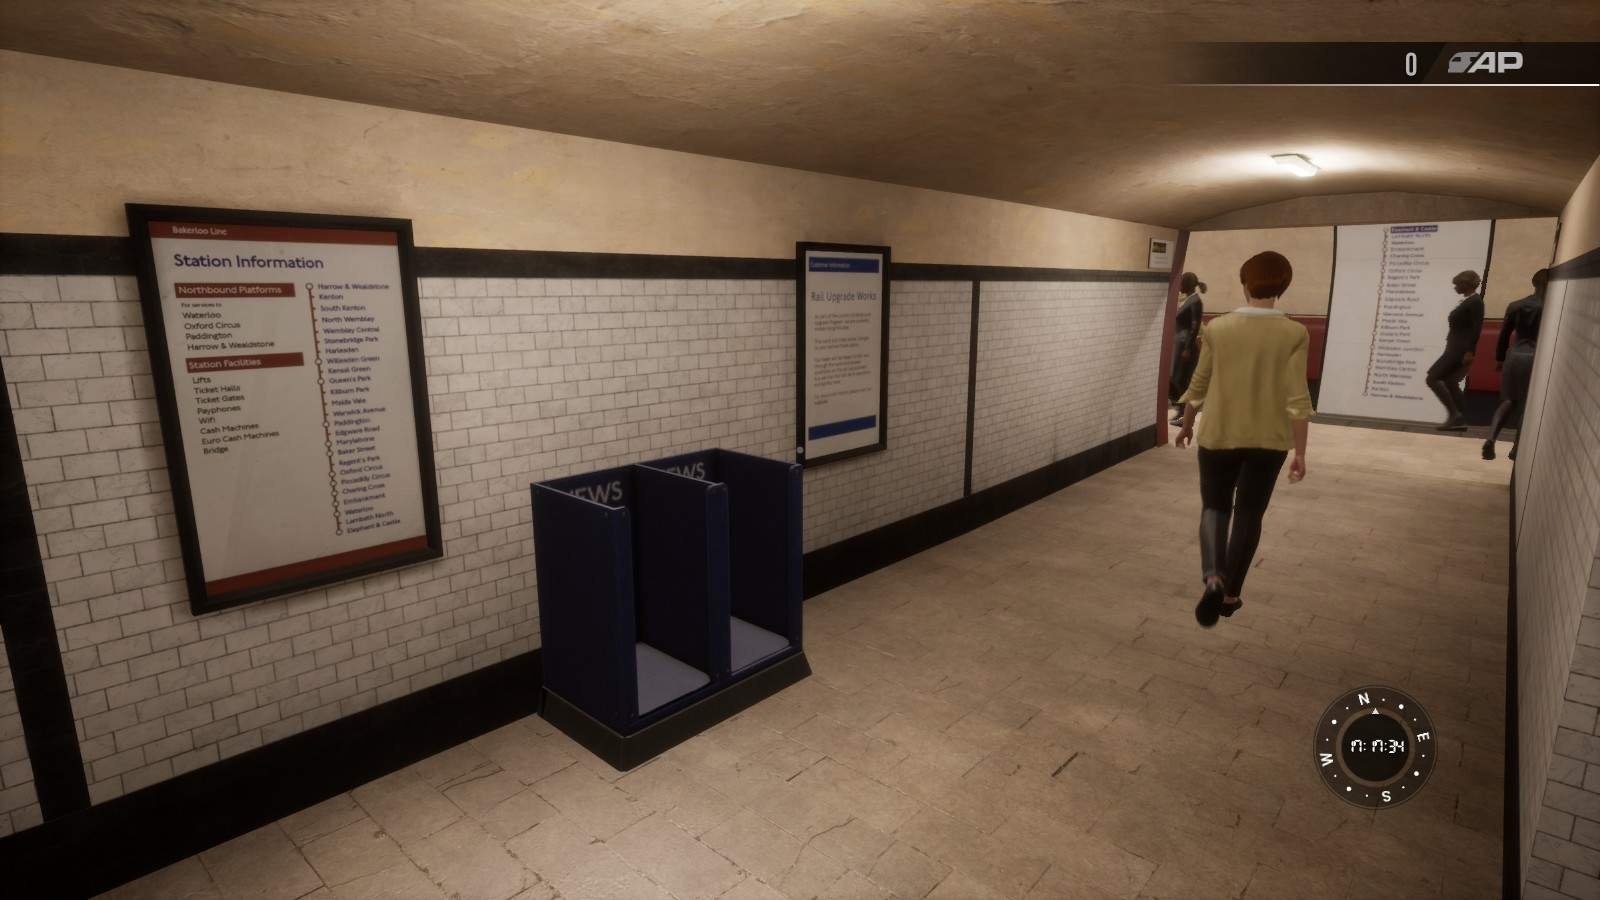
Route maps are big posters which have Bakerloo Line in the top of the placement box. They are found on nearly all of the stations.
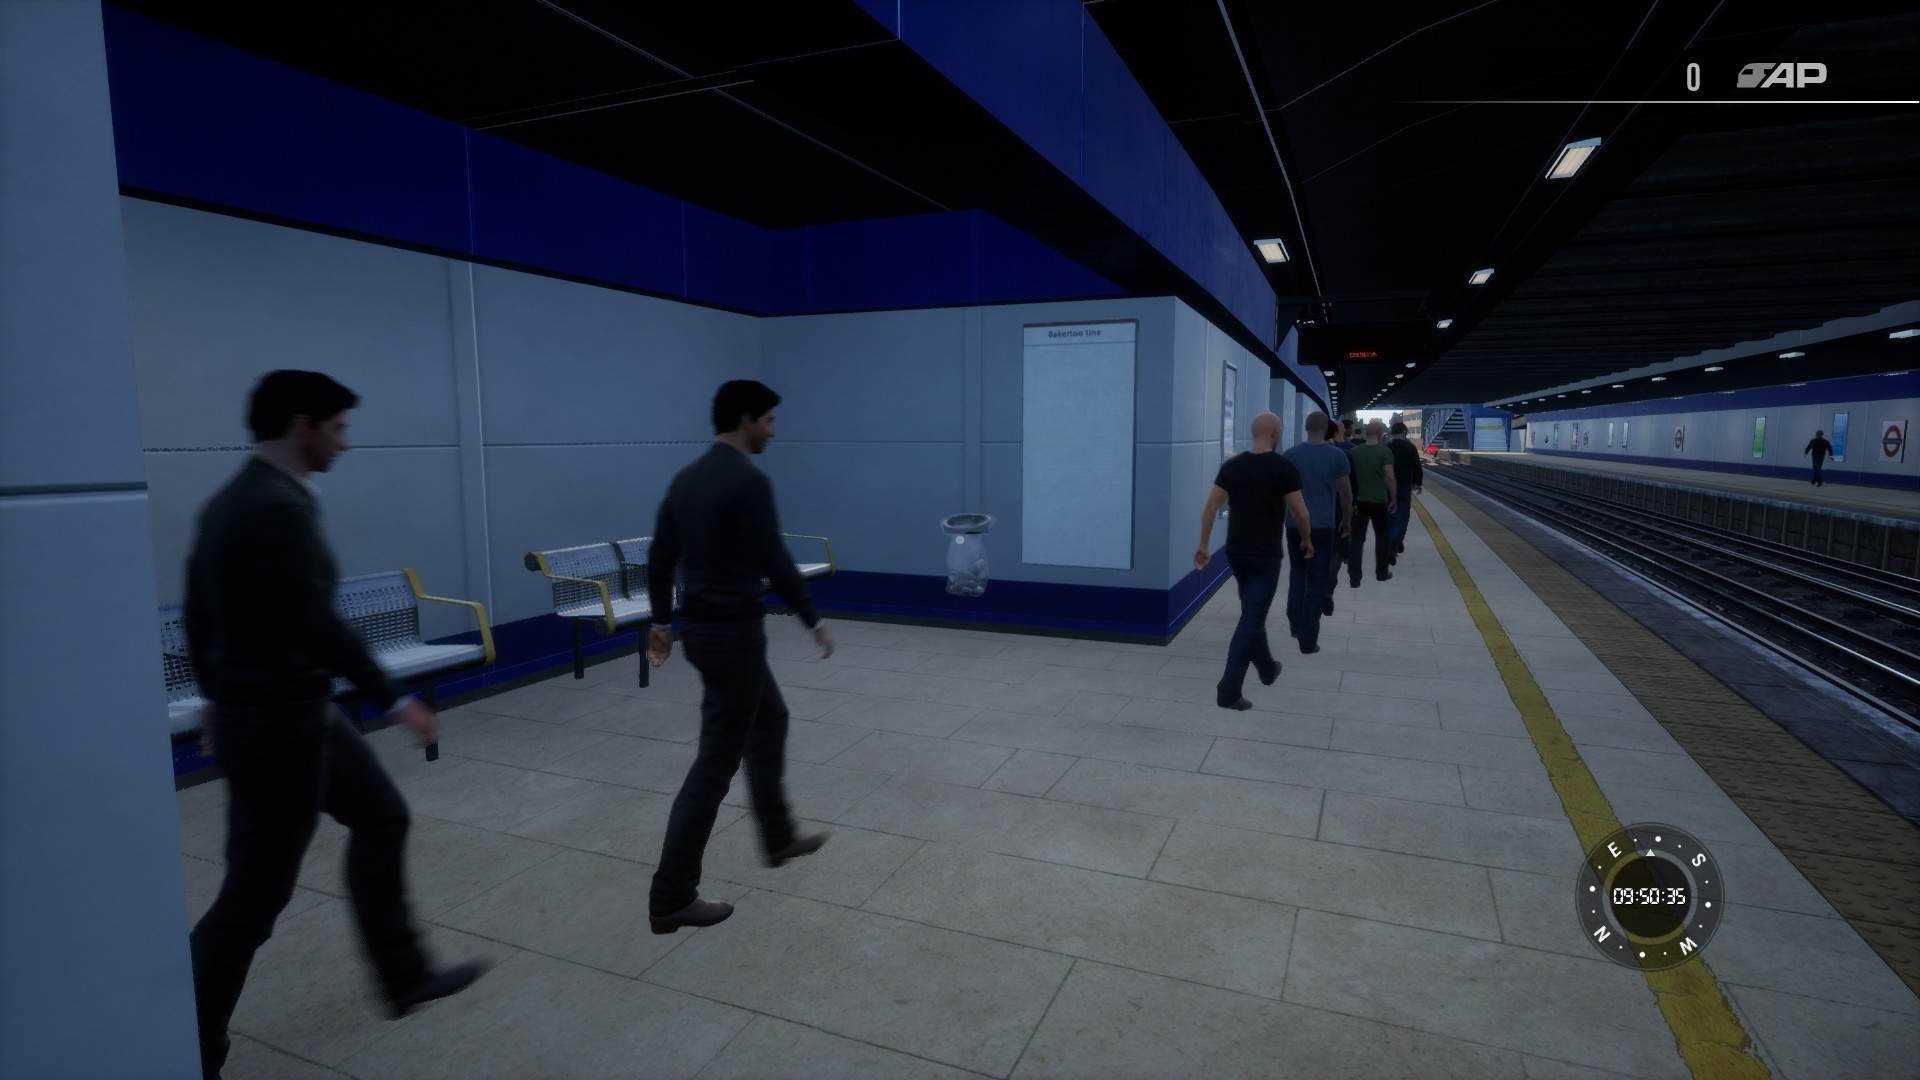
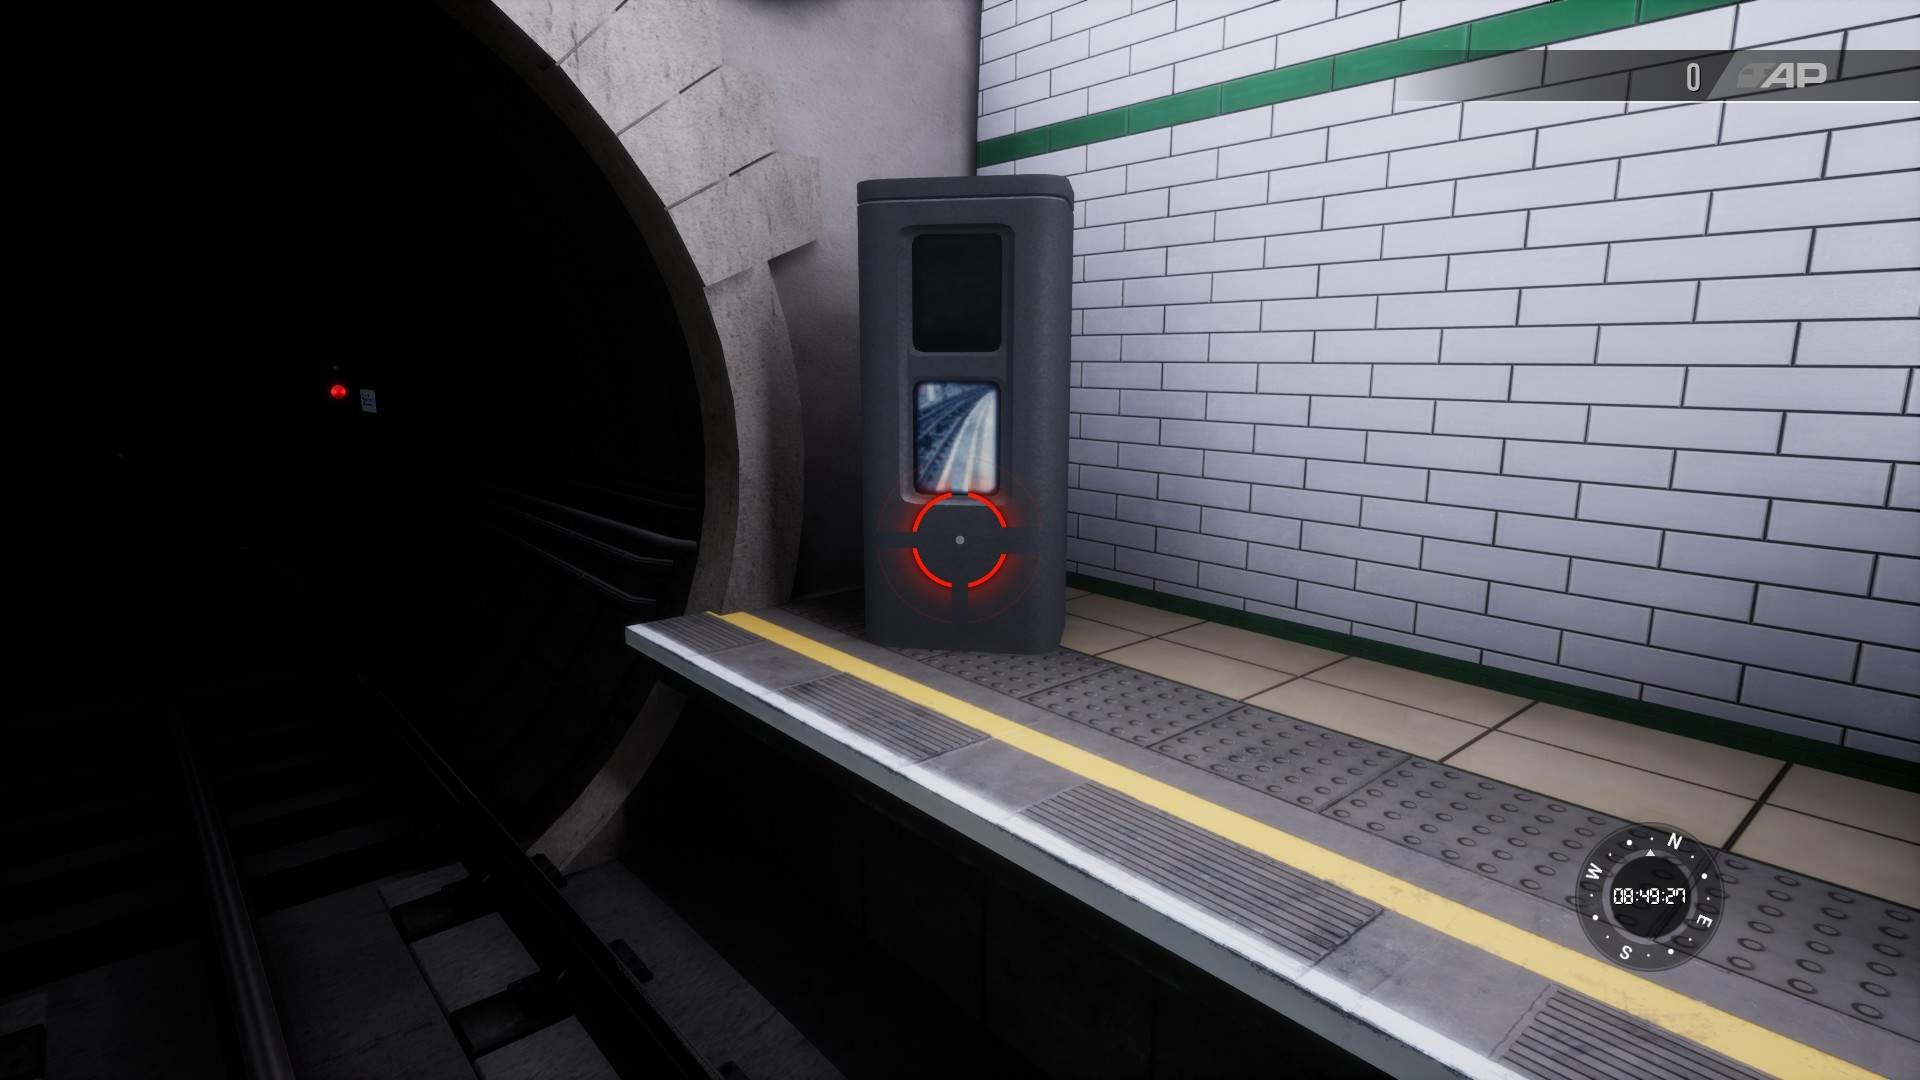
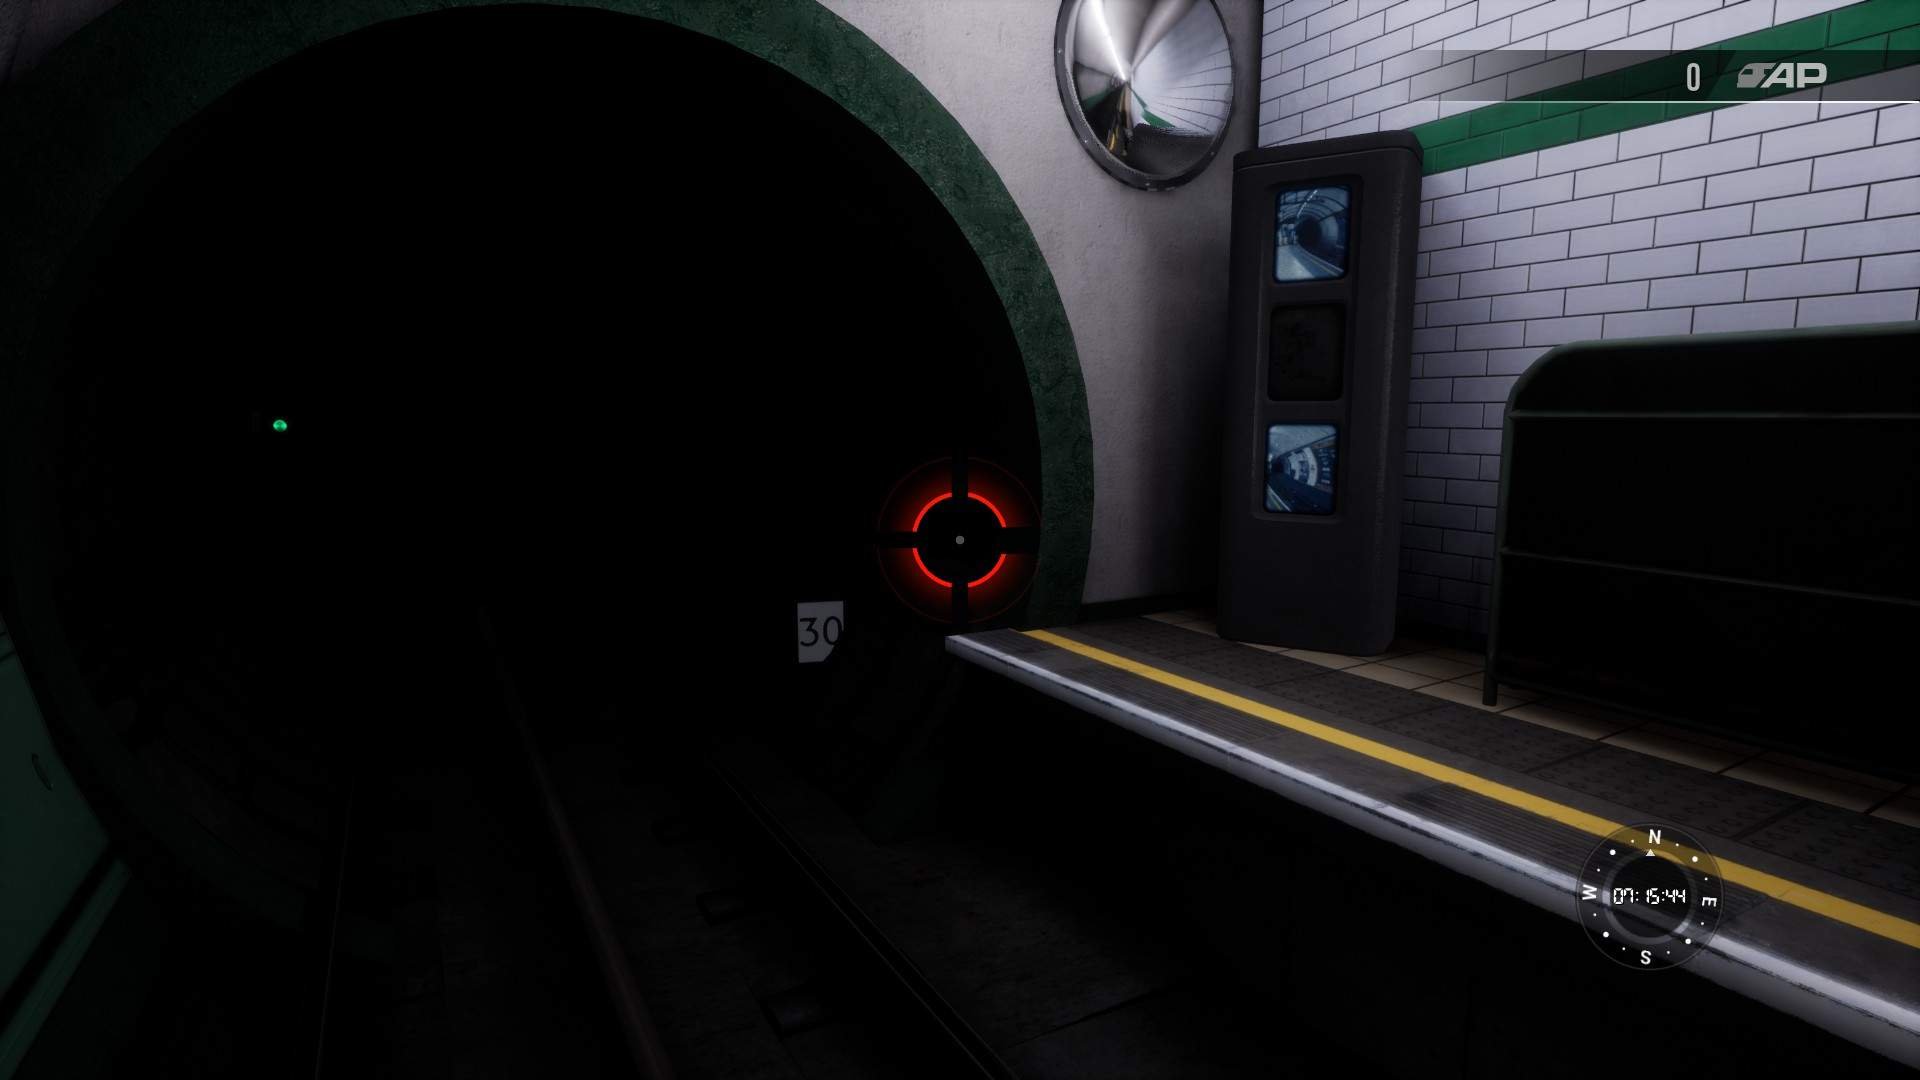
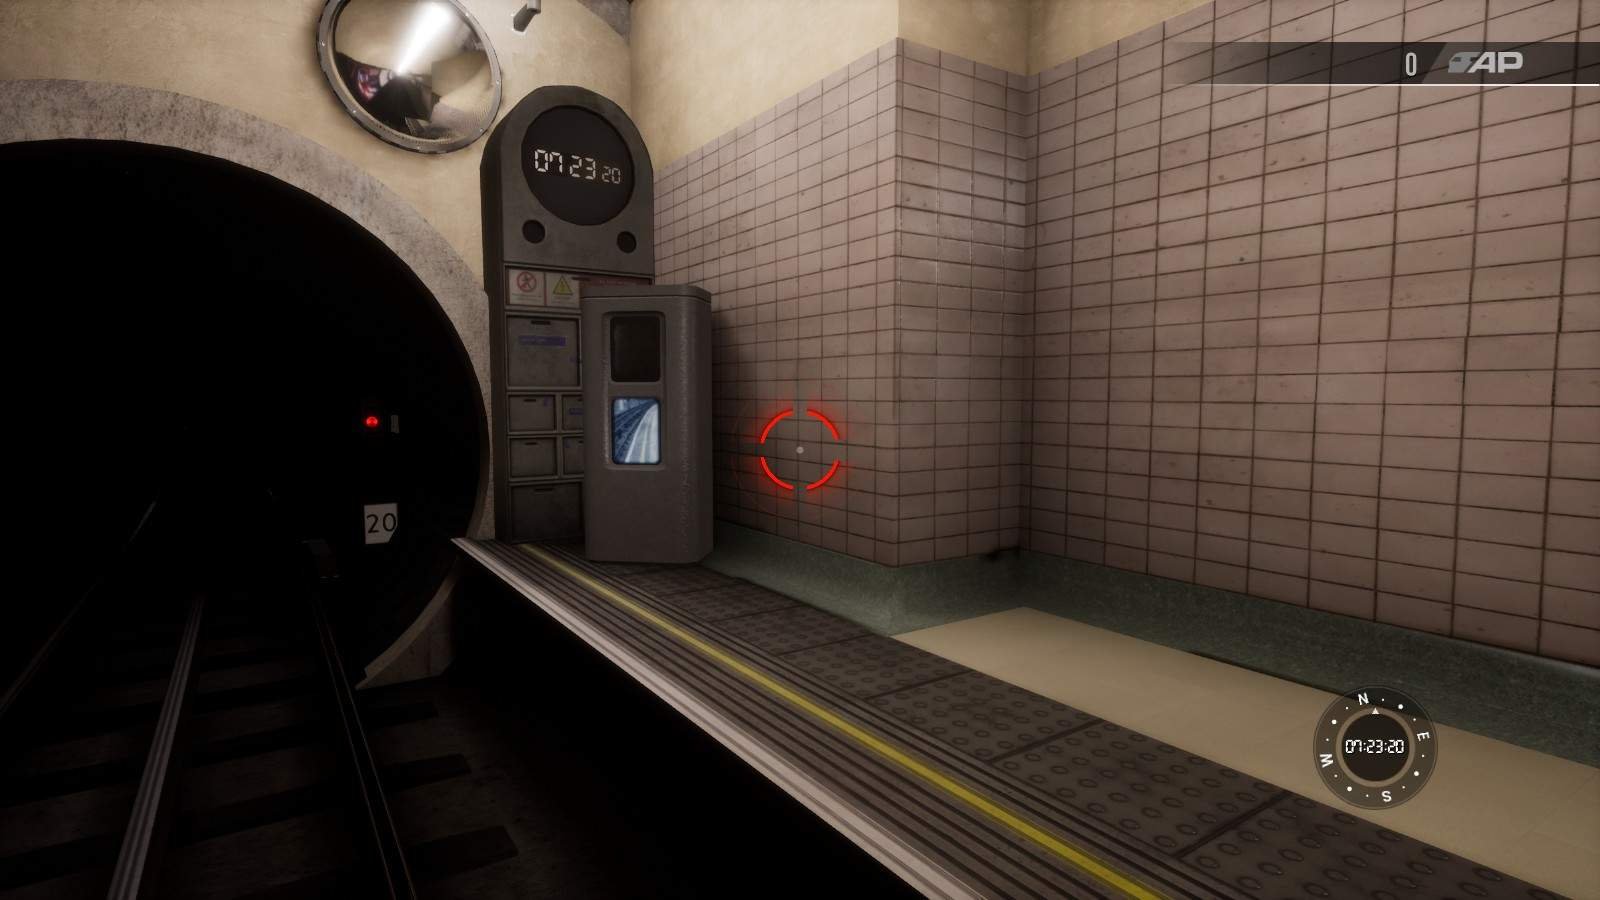
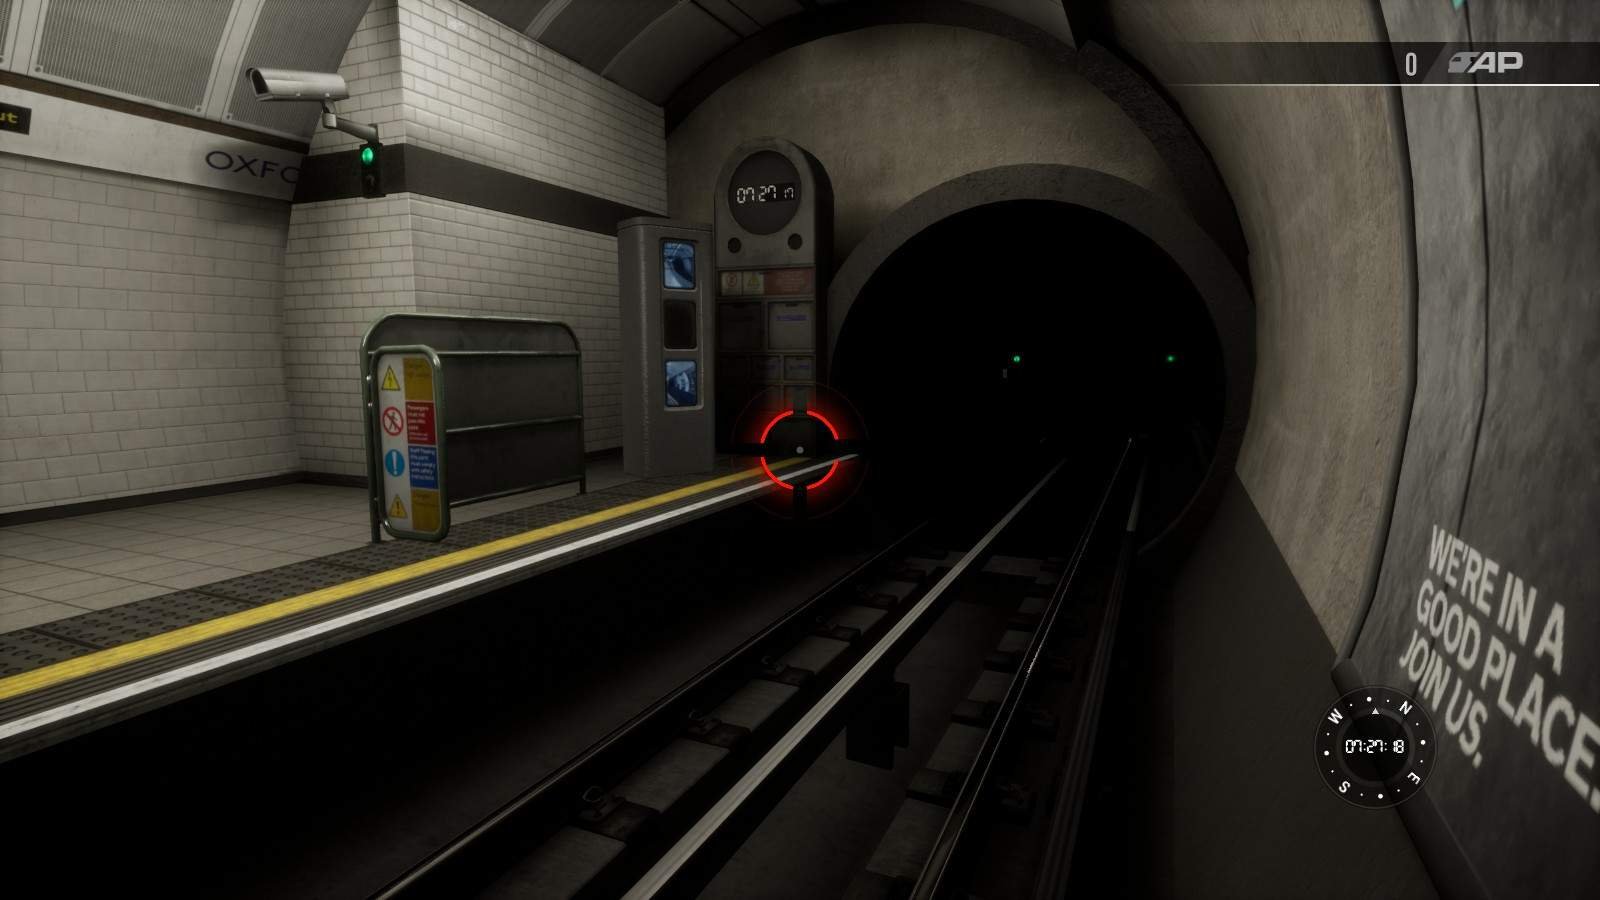
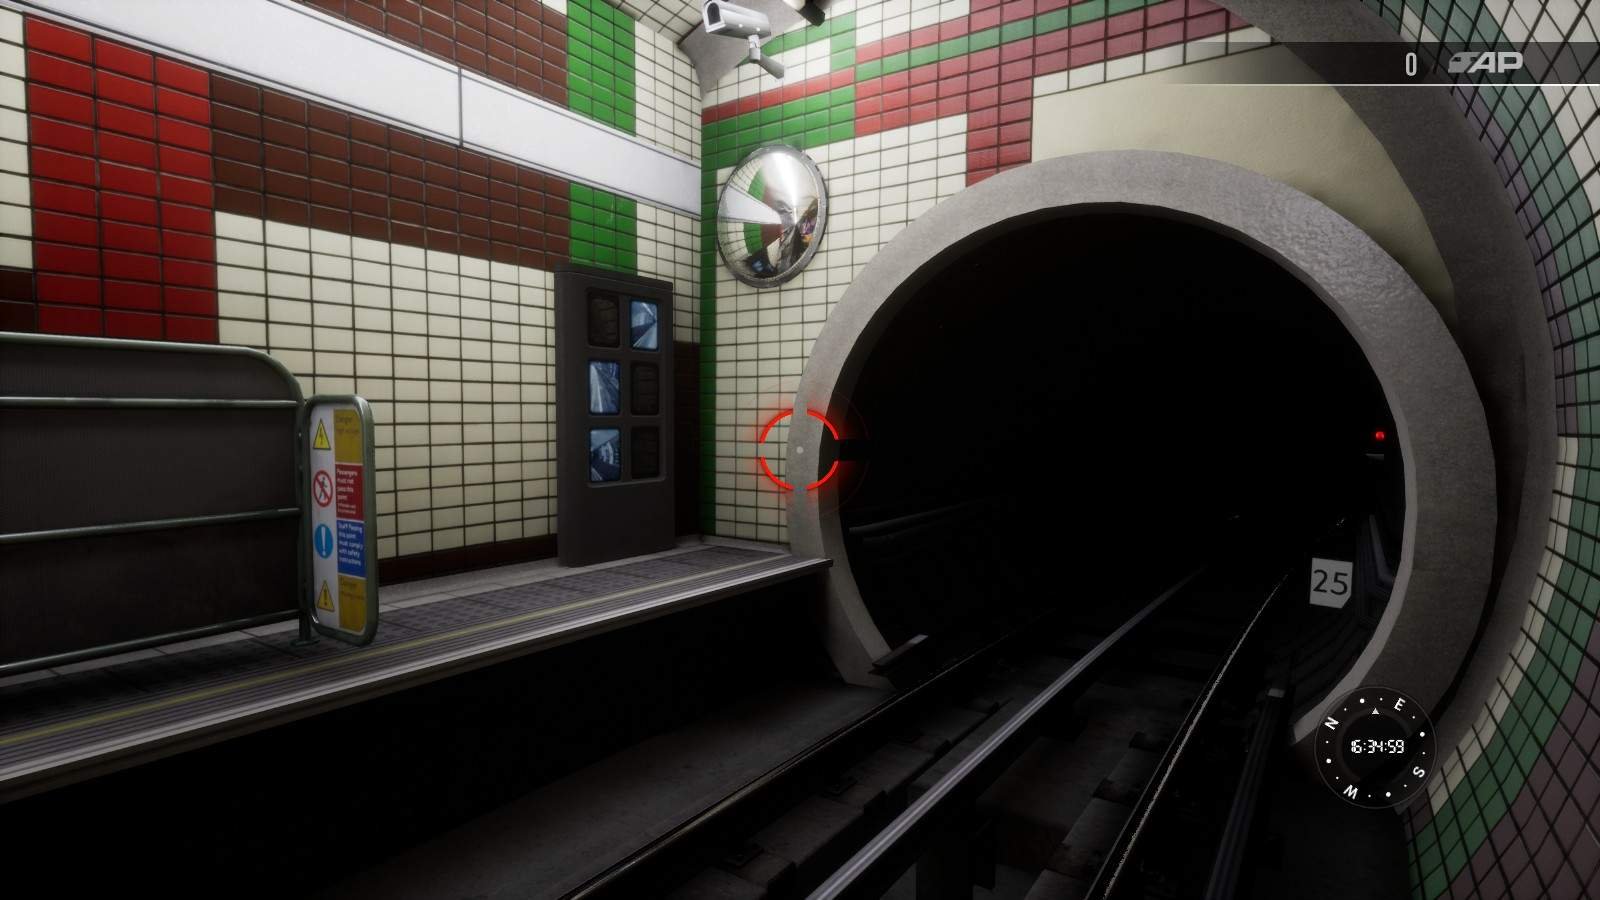
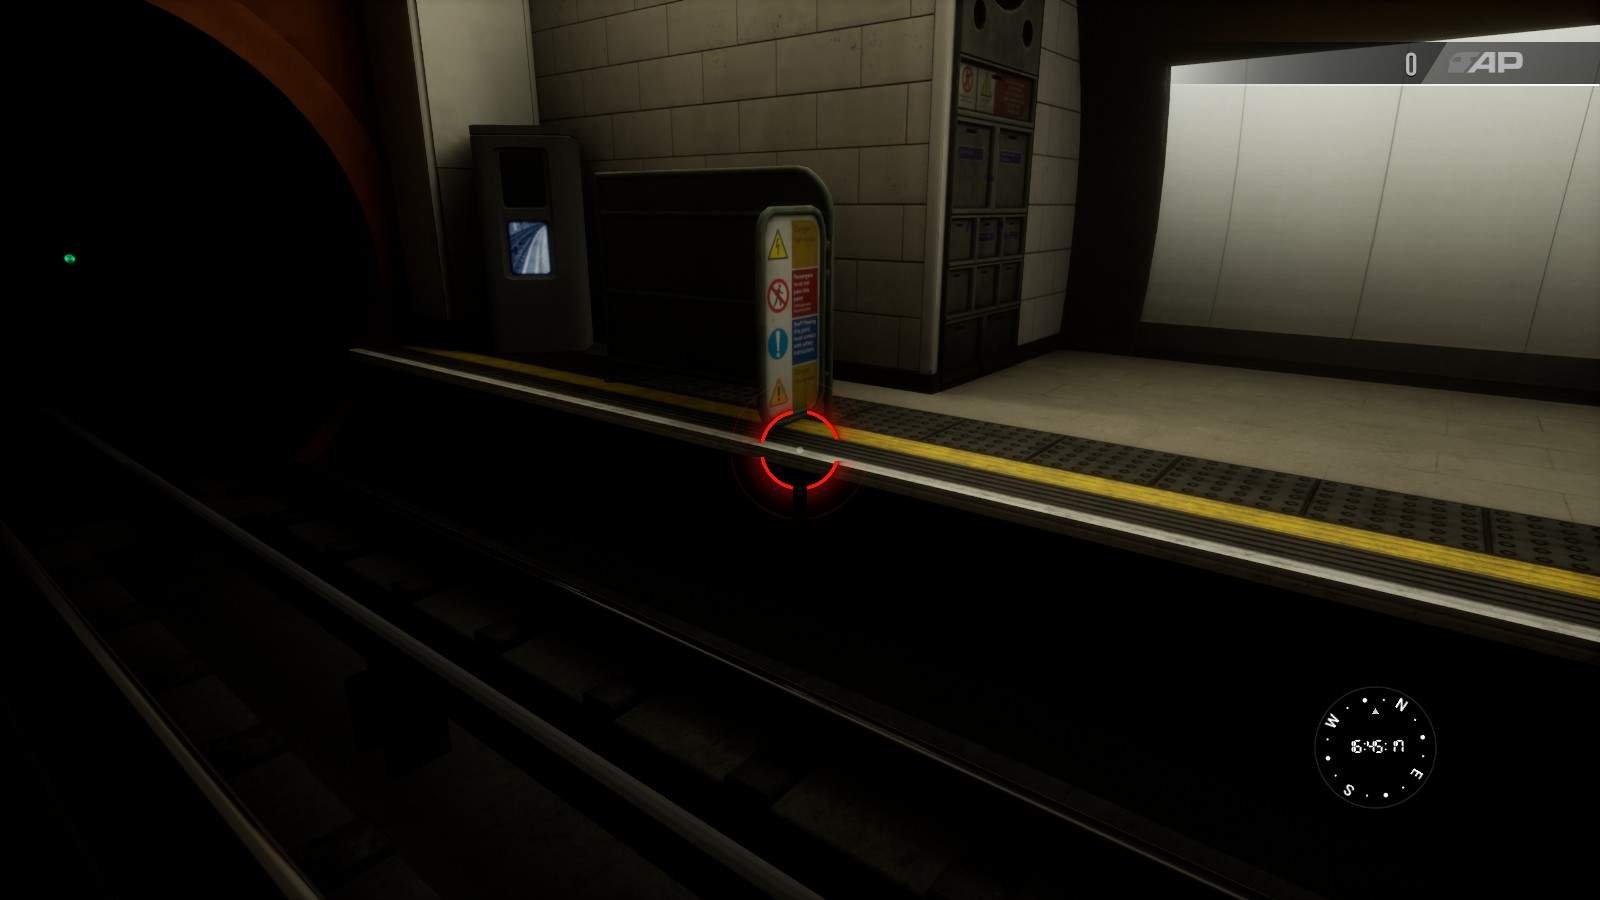
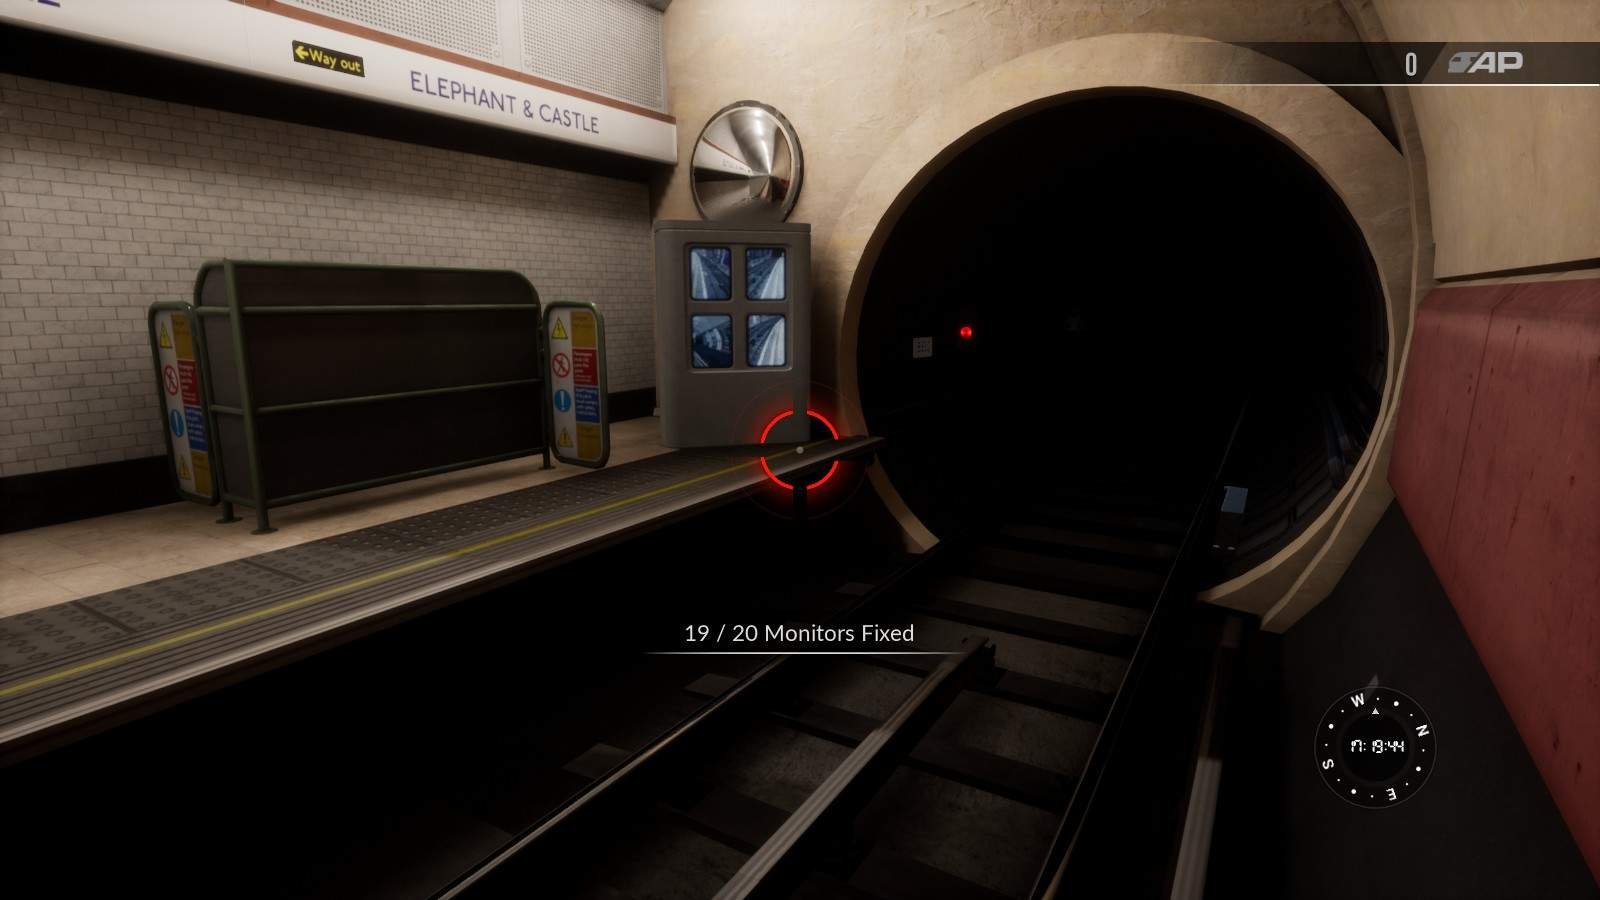
Platform monitors are screens at the end of platform that show images from the CCTV to the driver so they can be sure no one is trapped in the doors or between the train and platform. You need to fix the broken ones and these are ONLY found on the stations which are underground. There are monitors in the above ground stations that show black screen but these do not count.
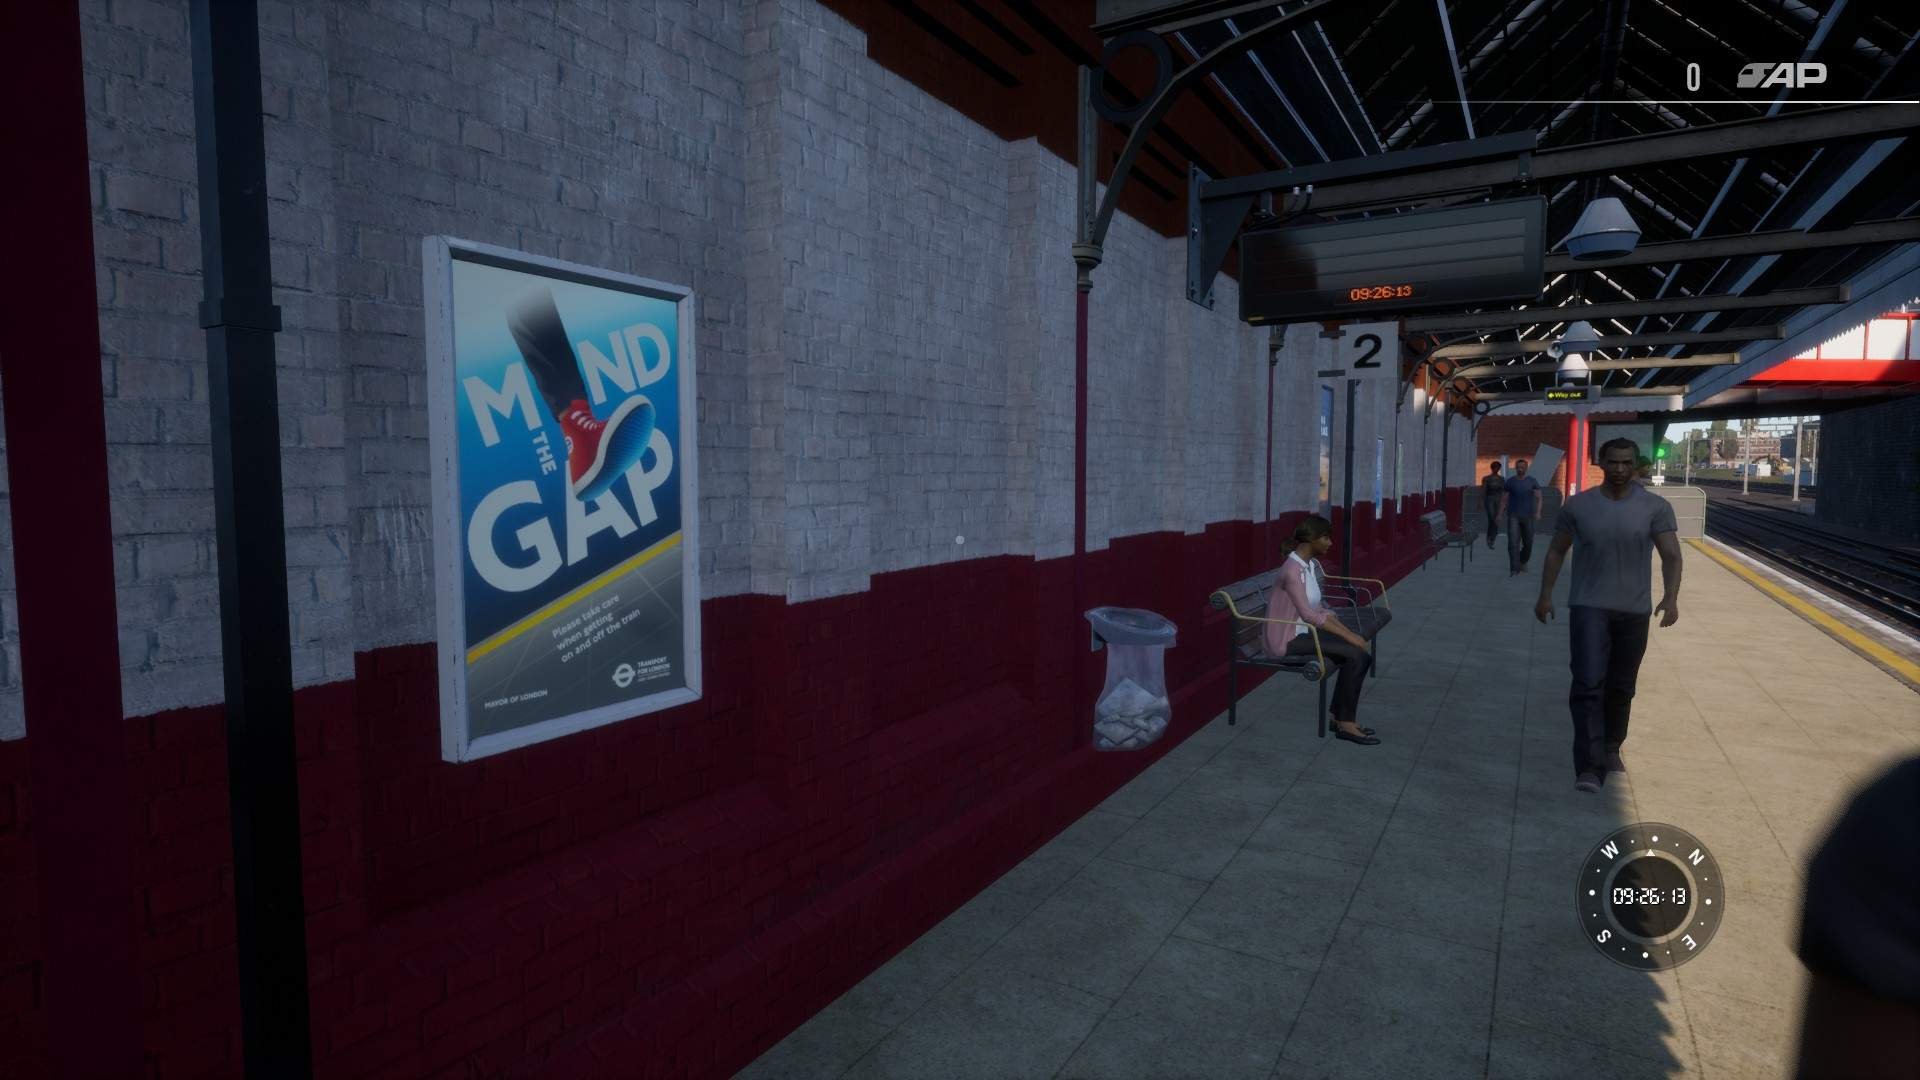
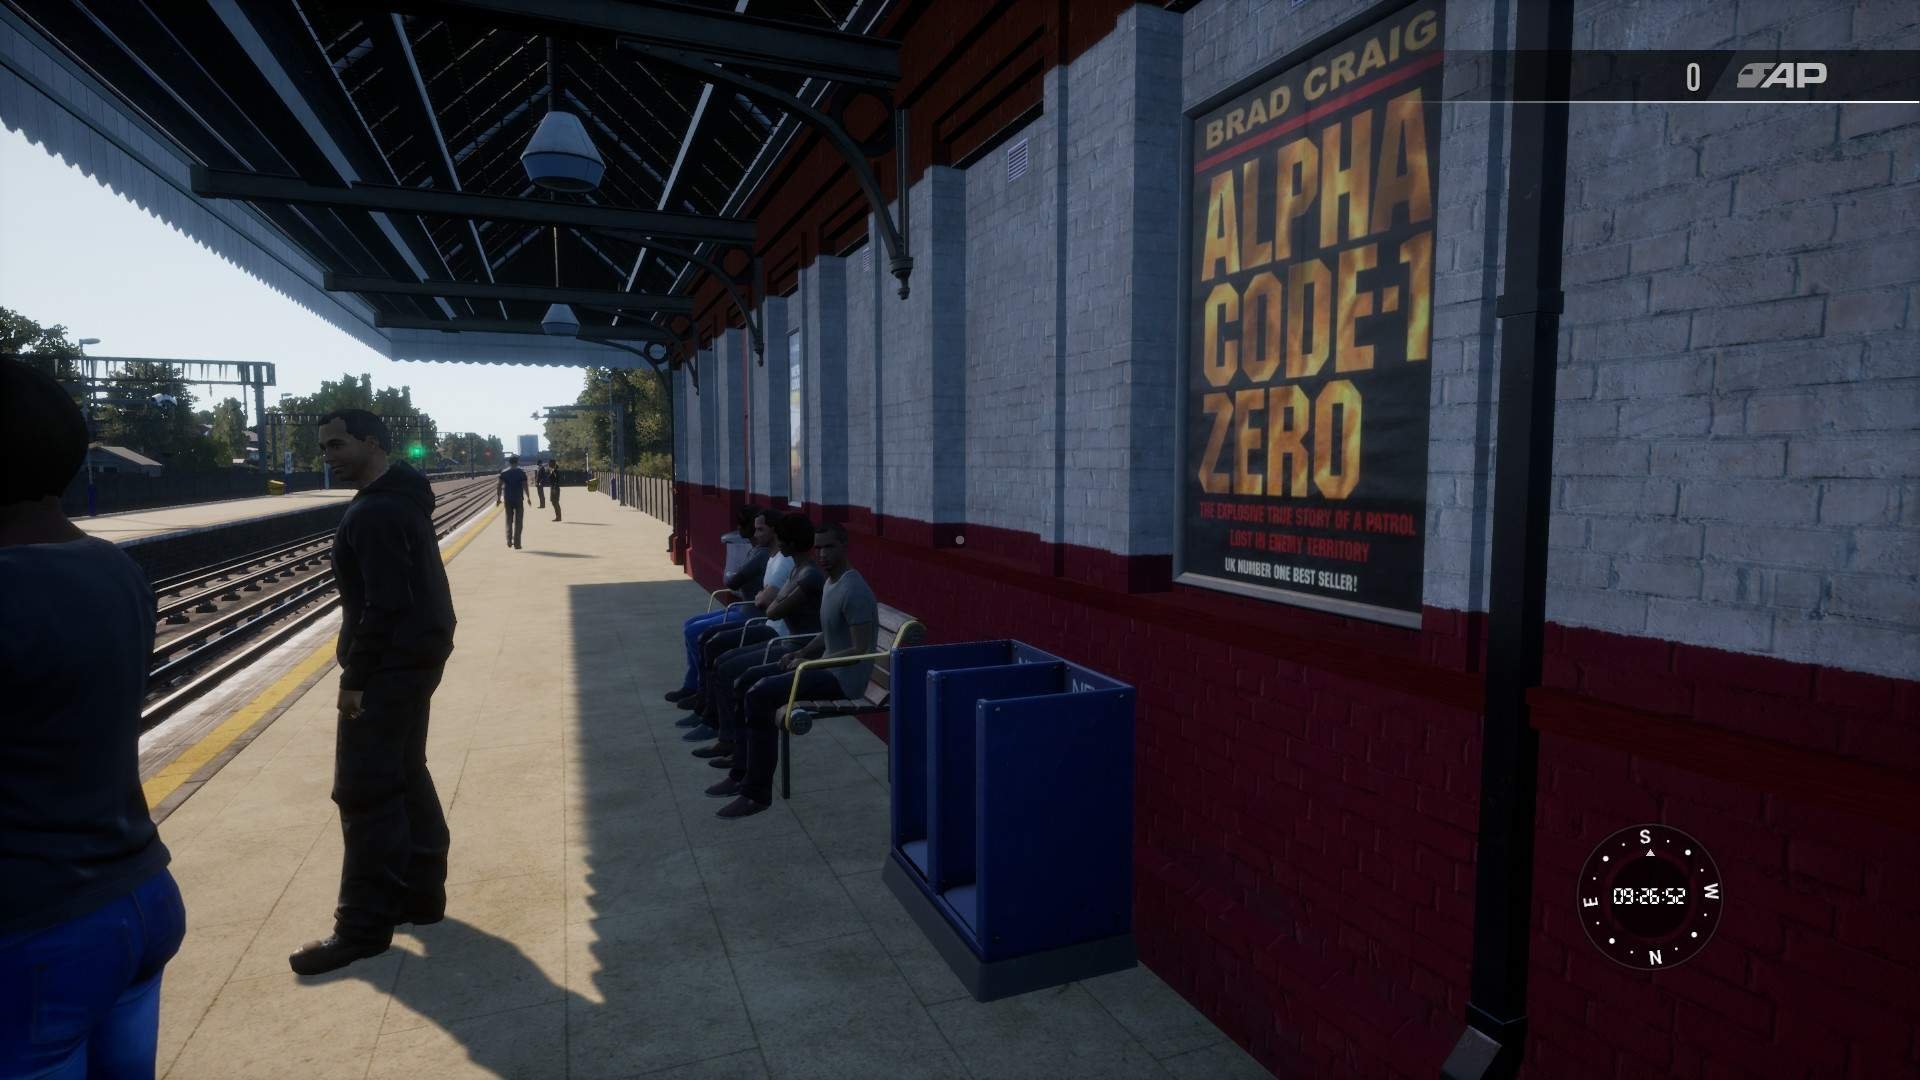
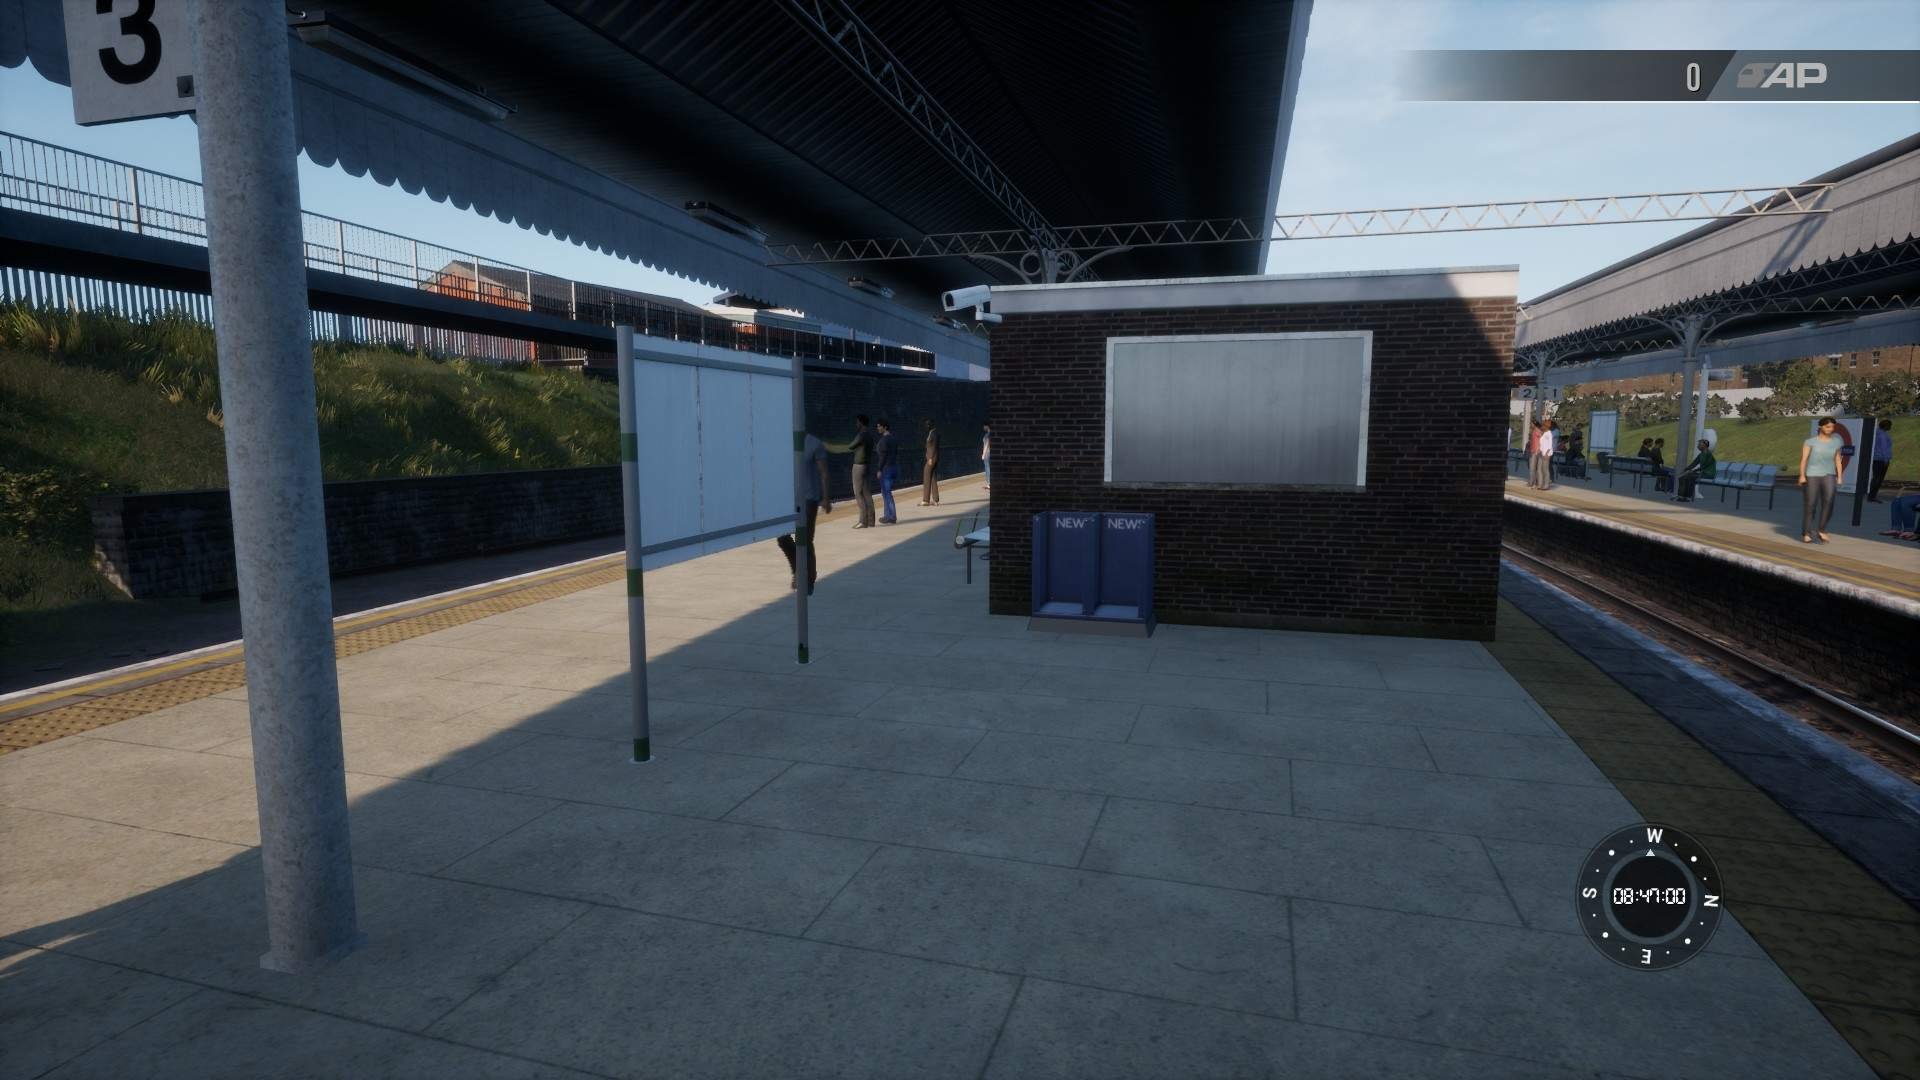
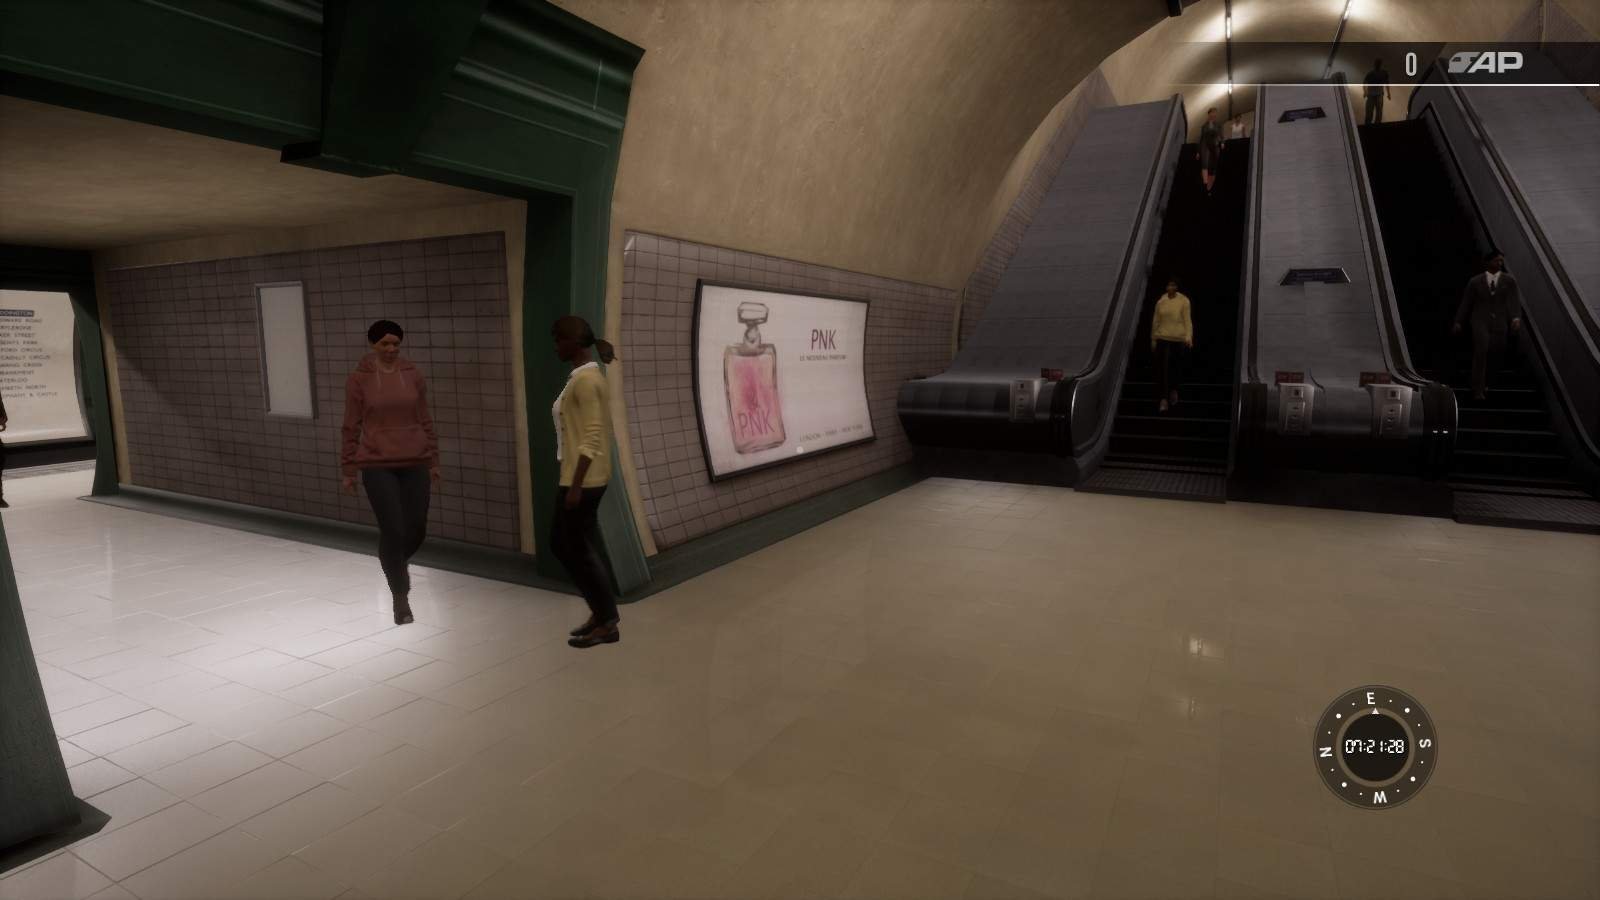
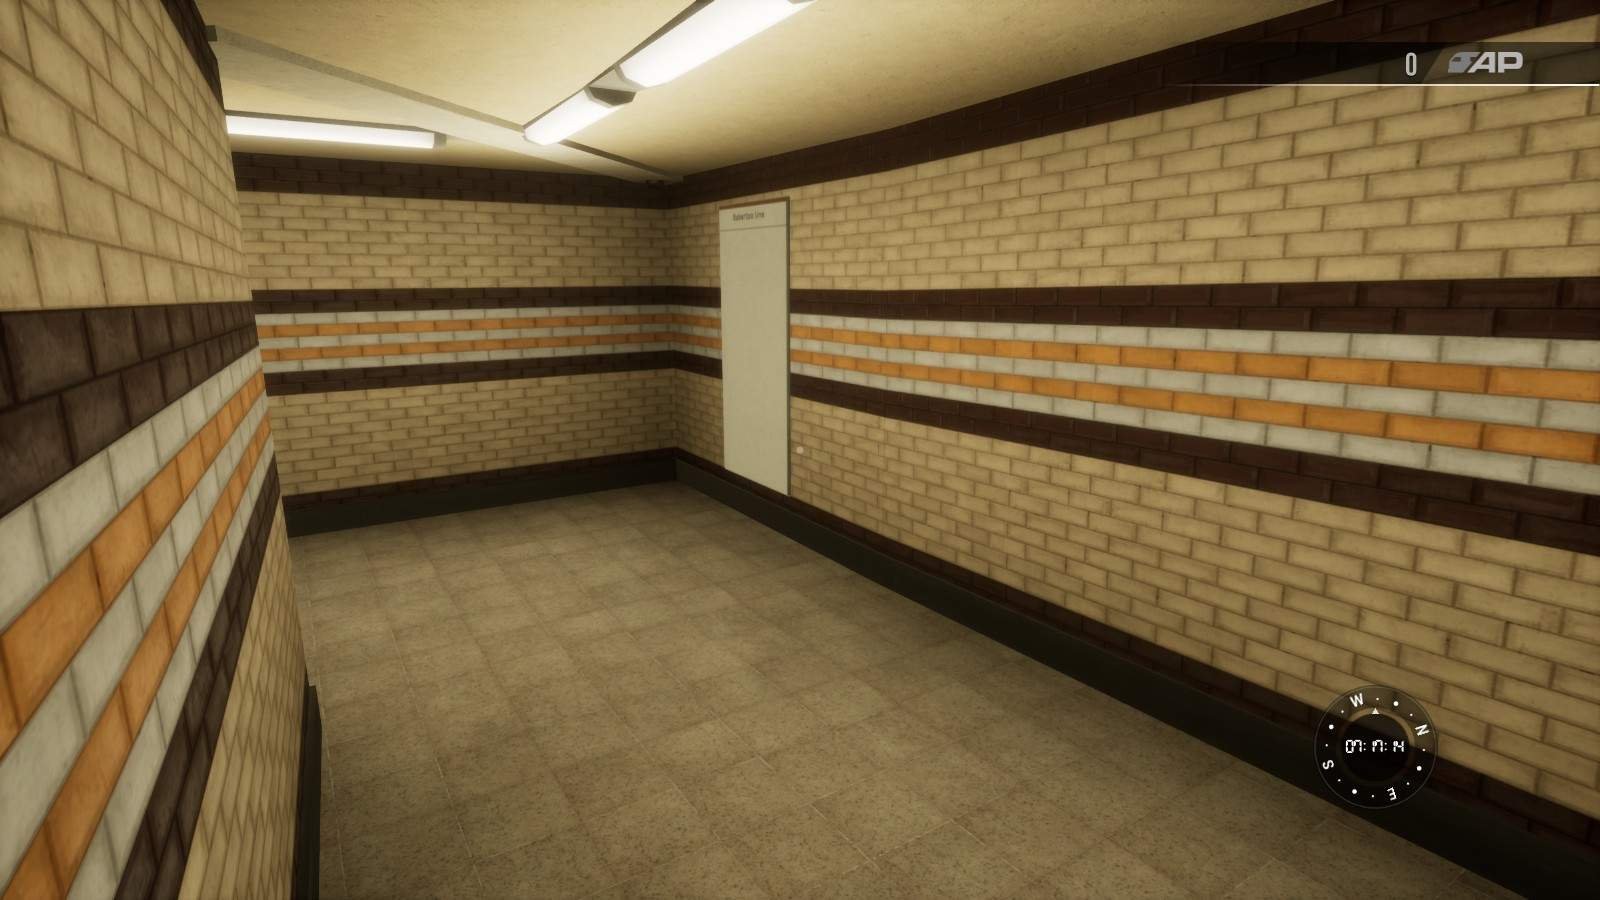
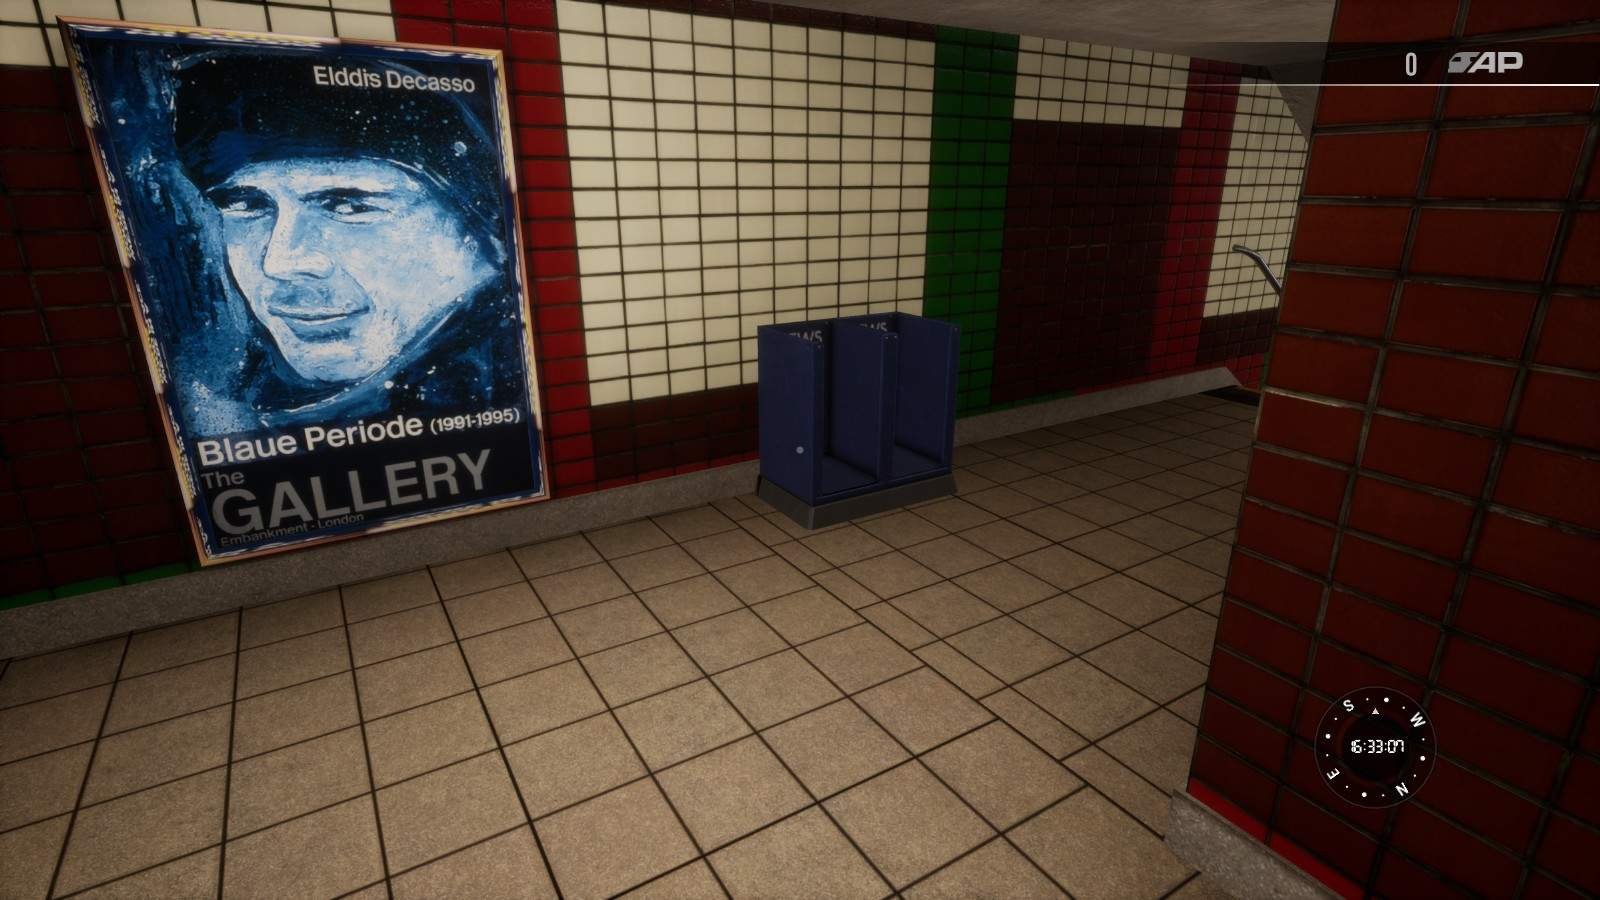
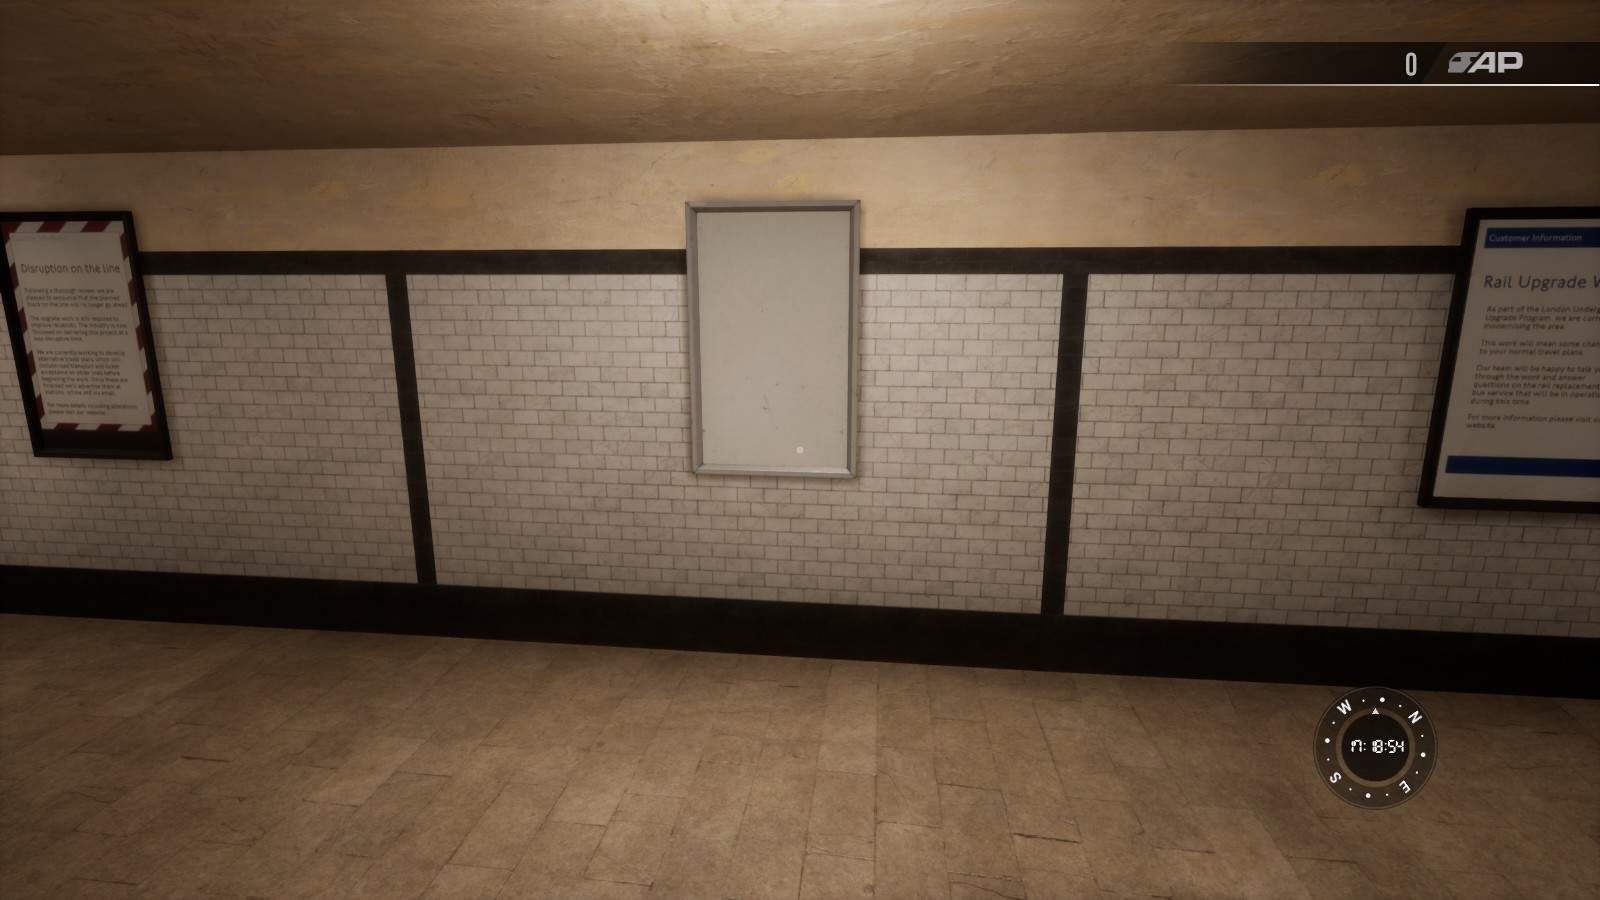
Posters are small posters and their placement area is totally empty. There is one on each of the station.
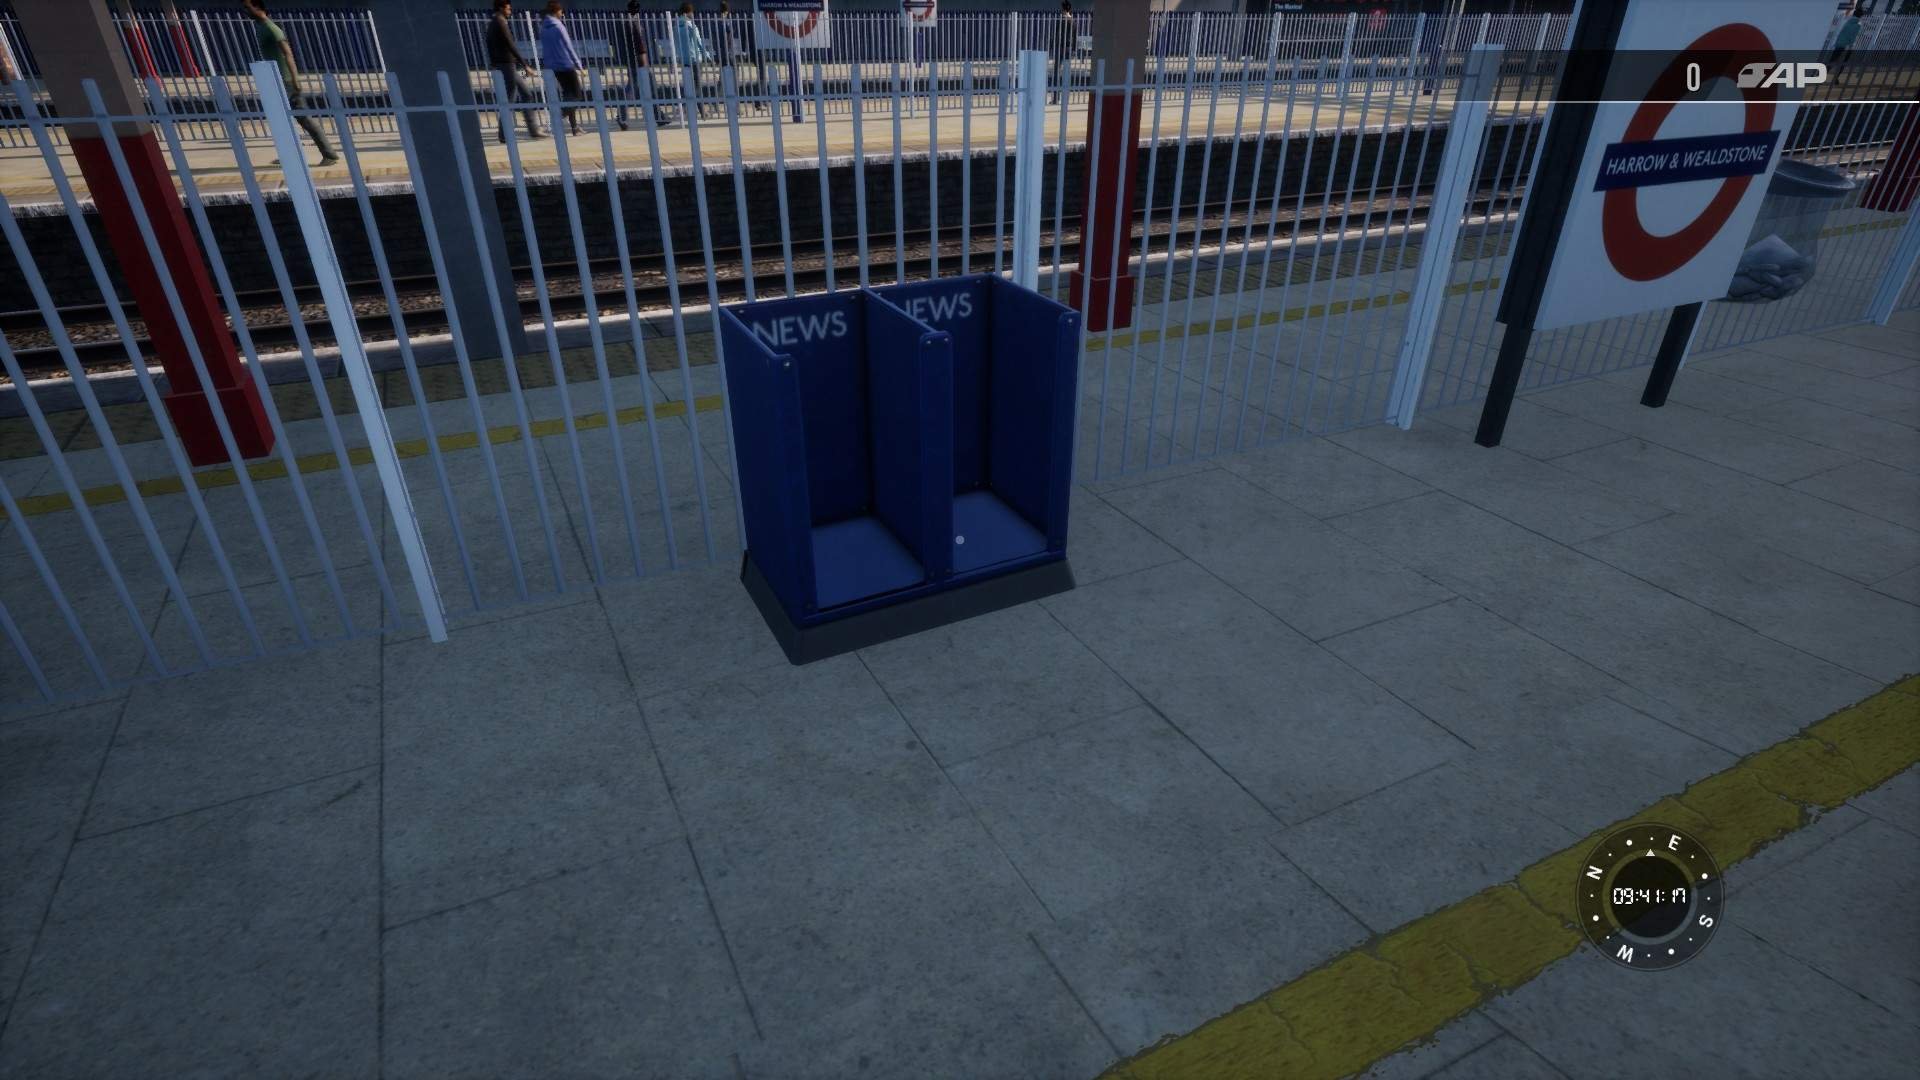
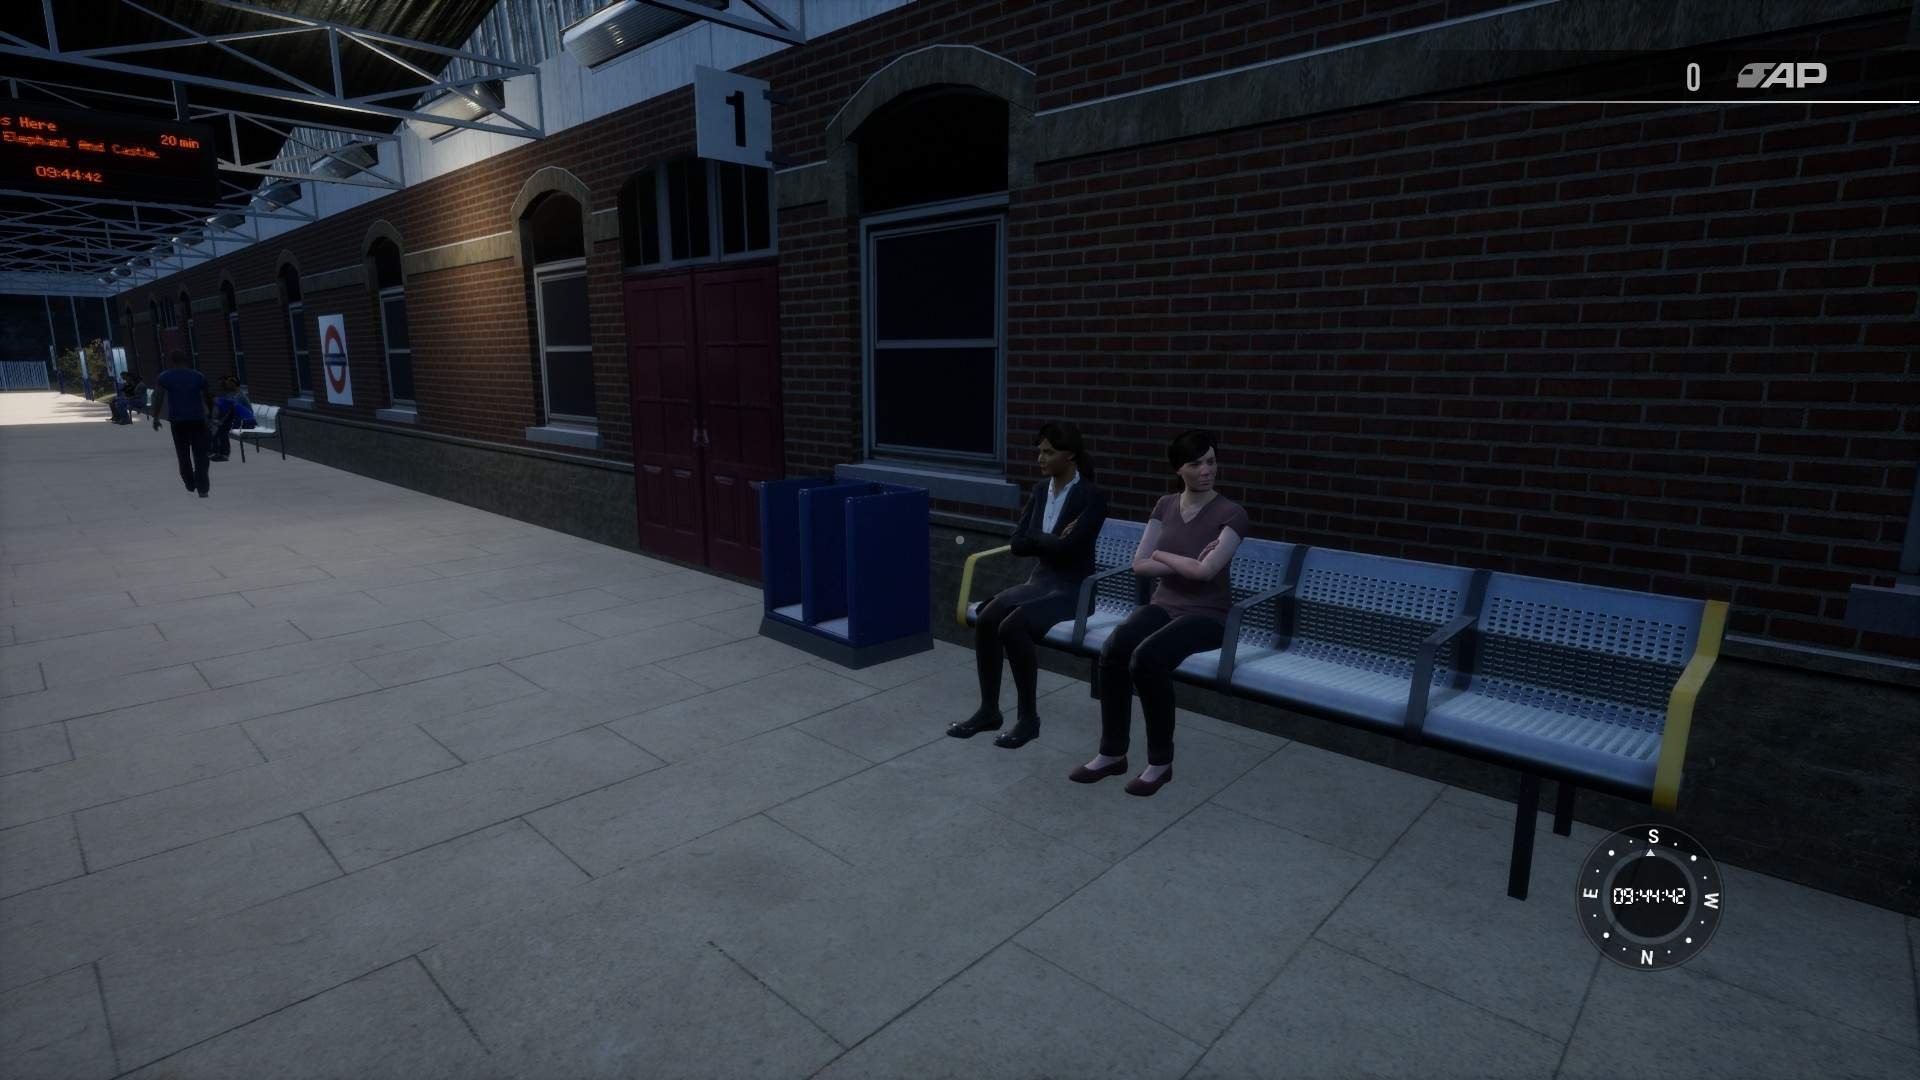
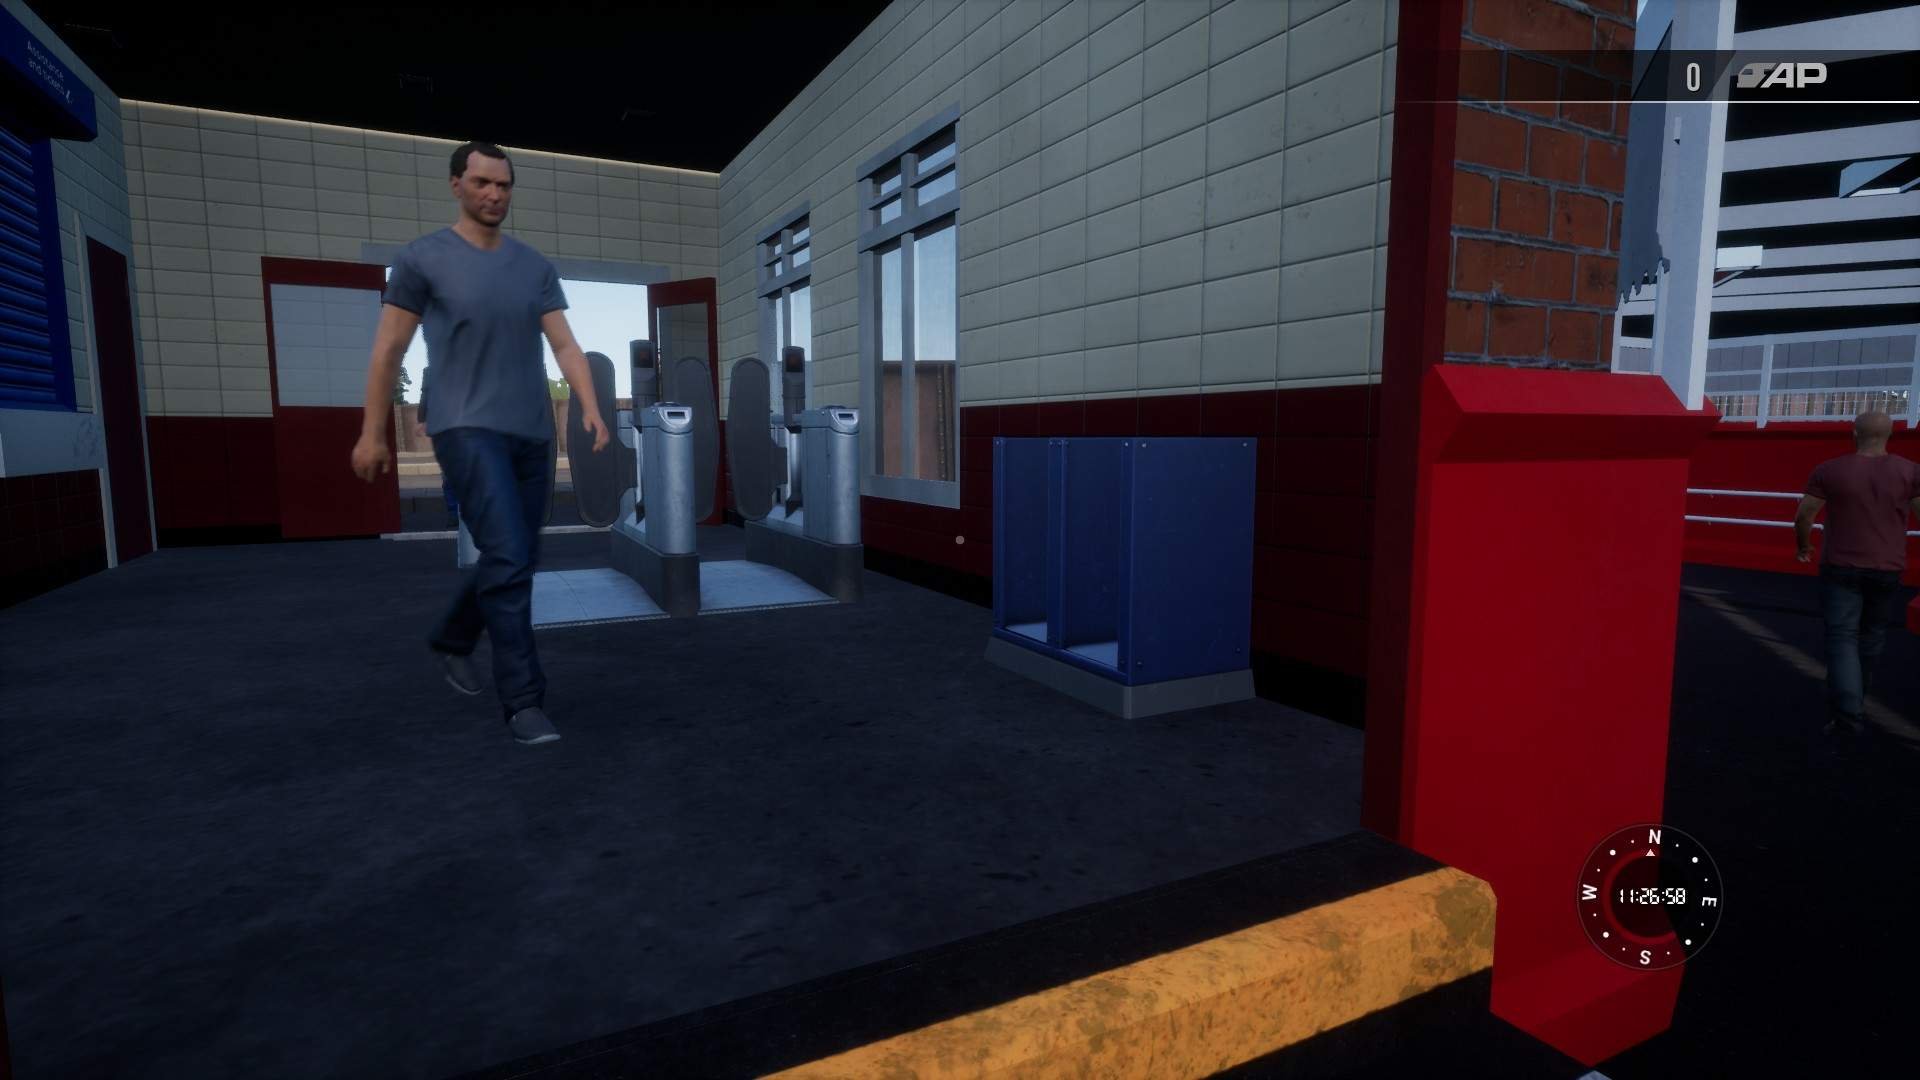
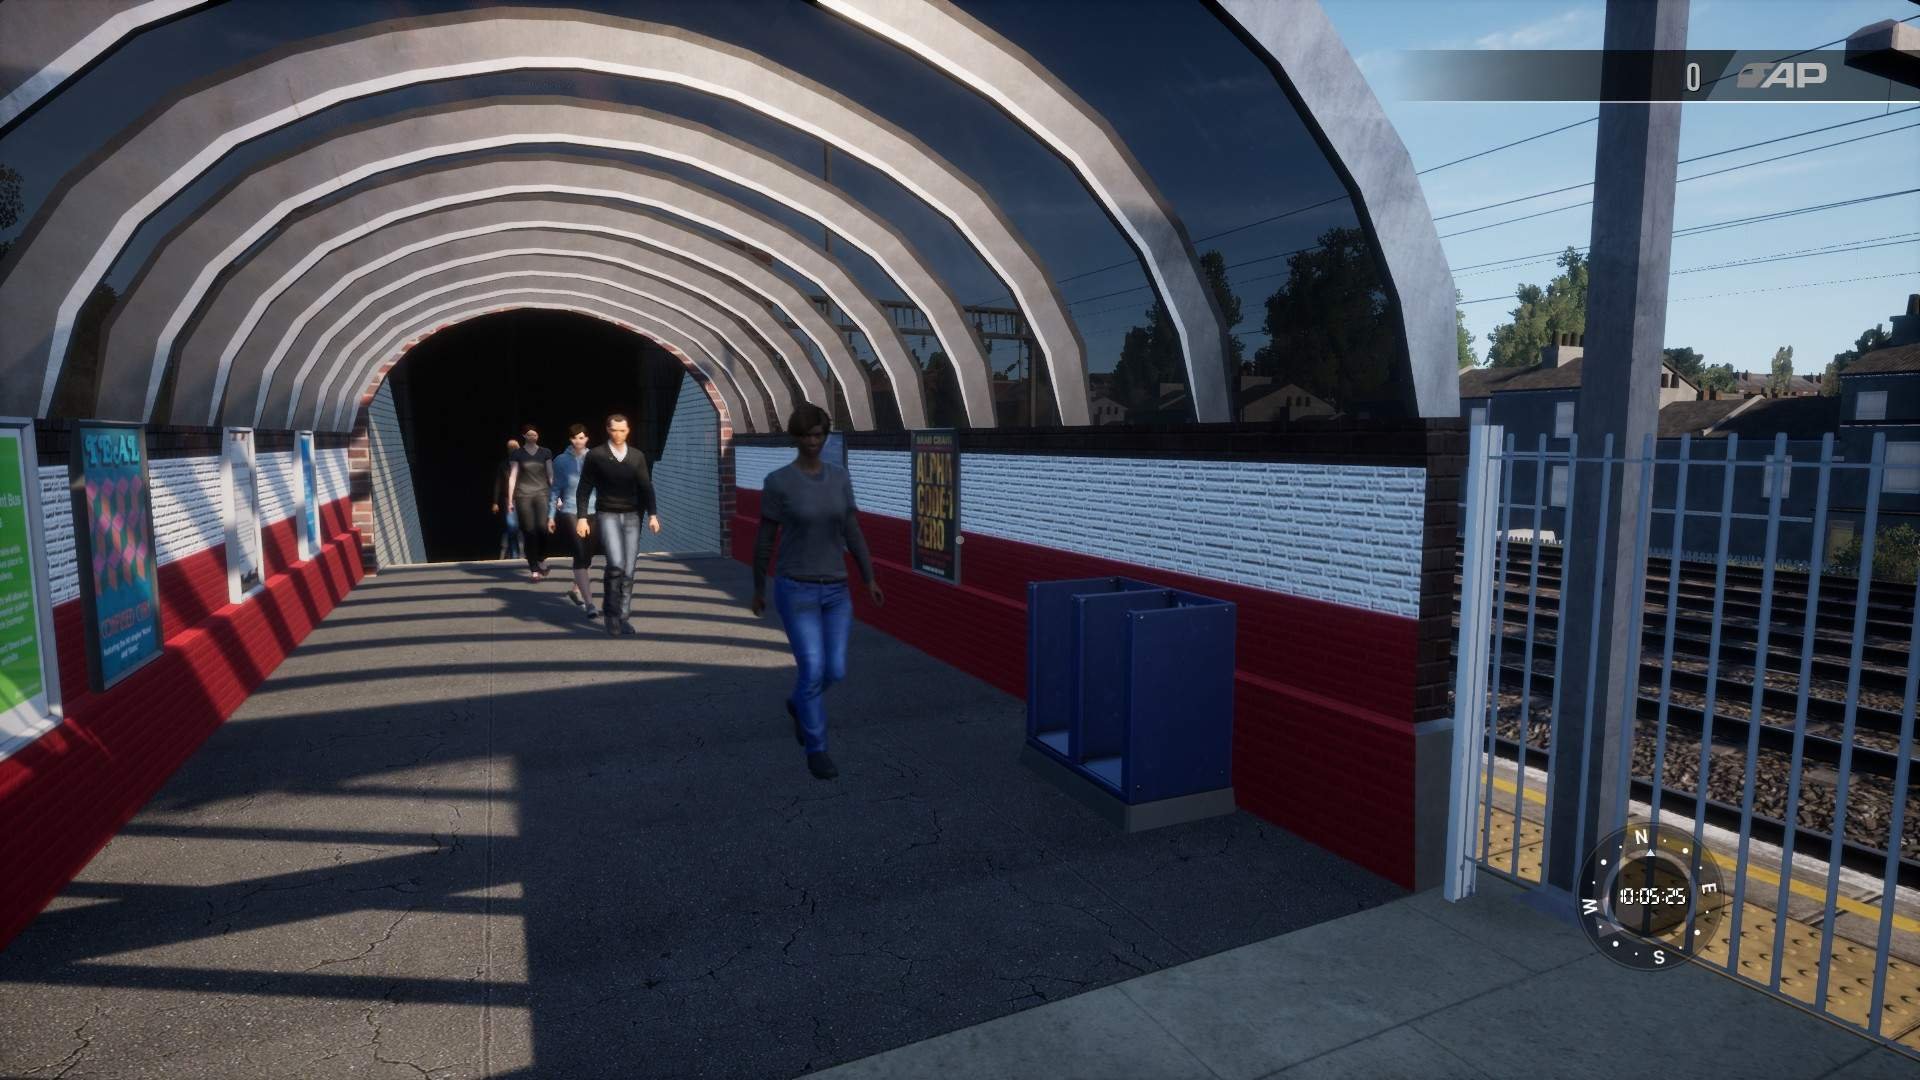
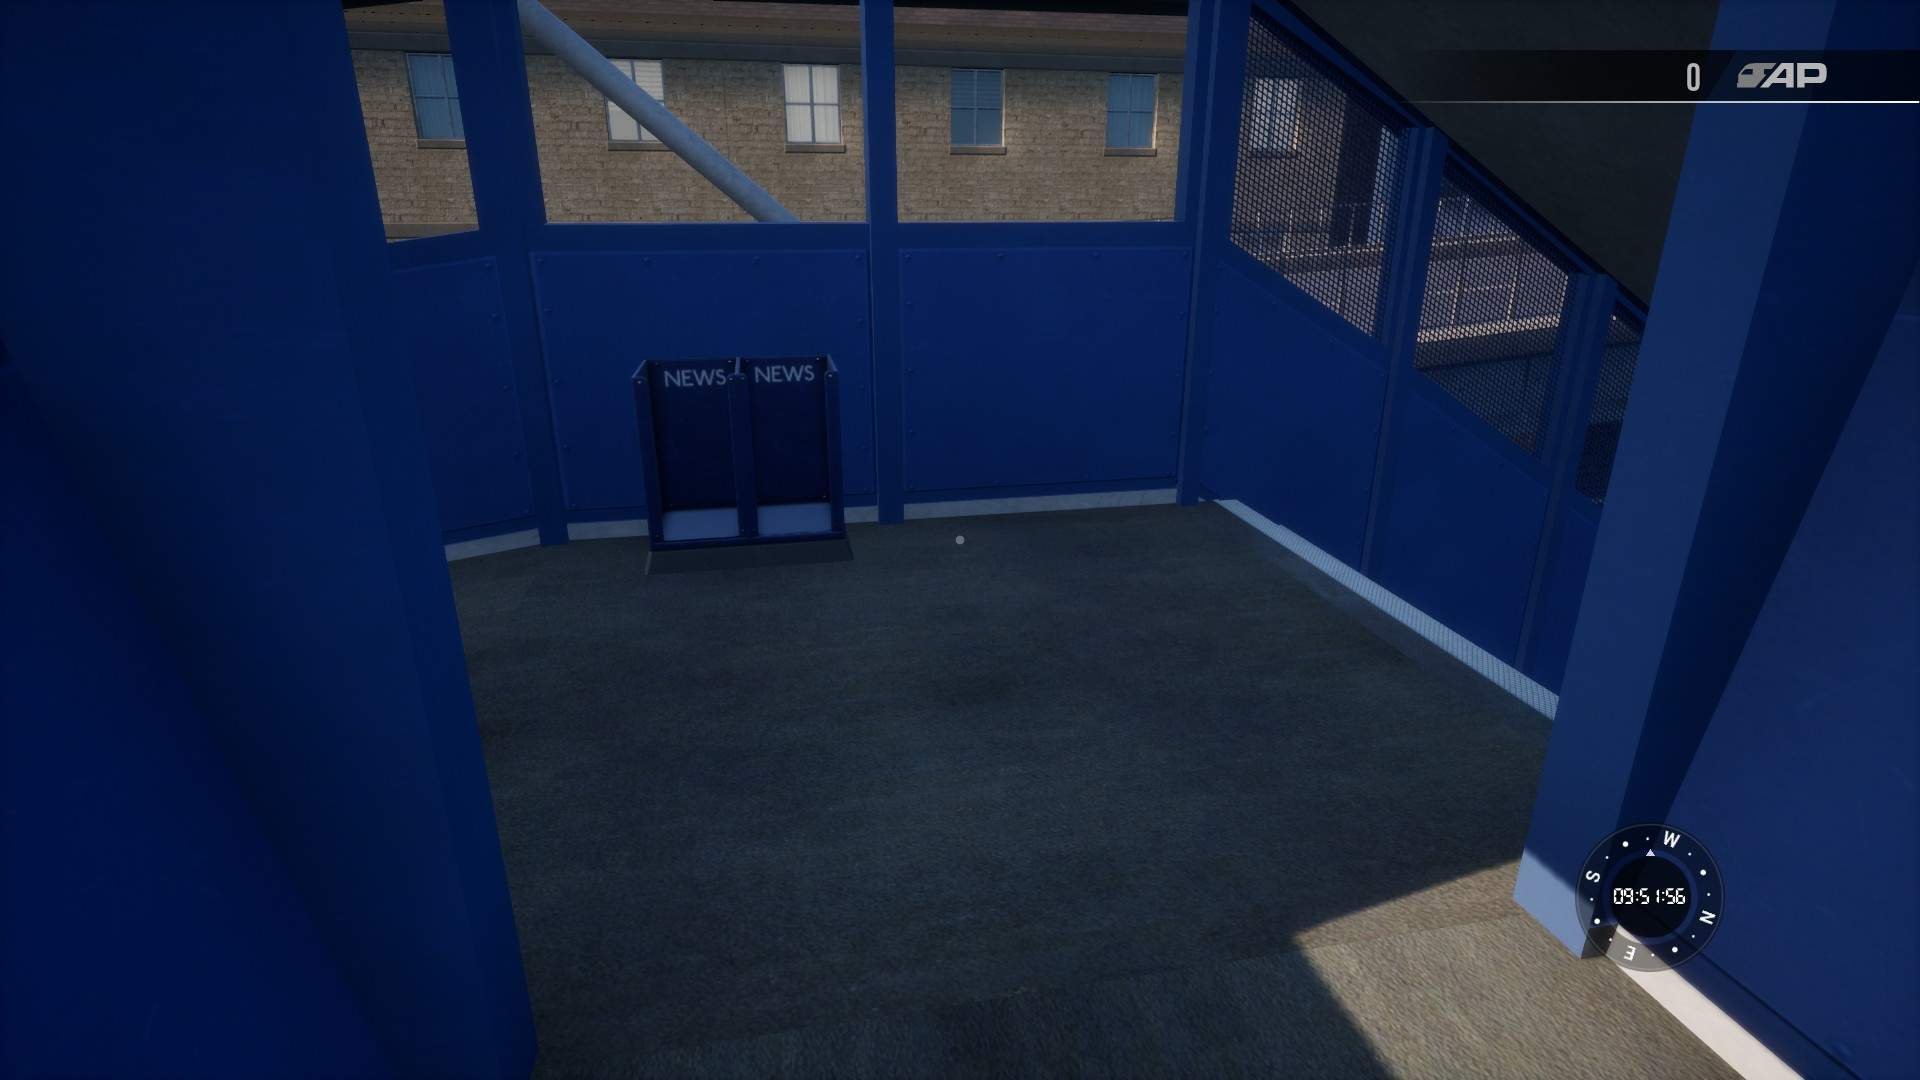
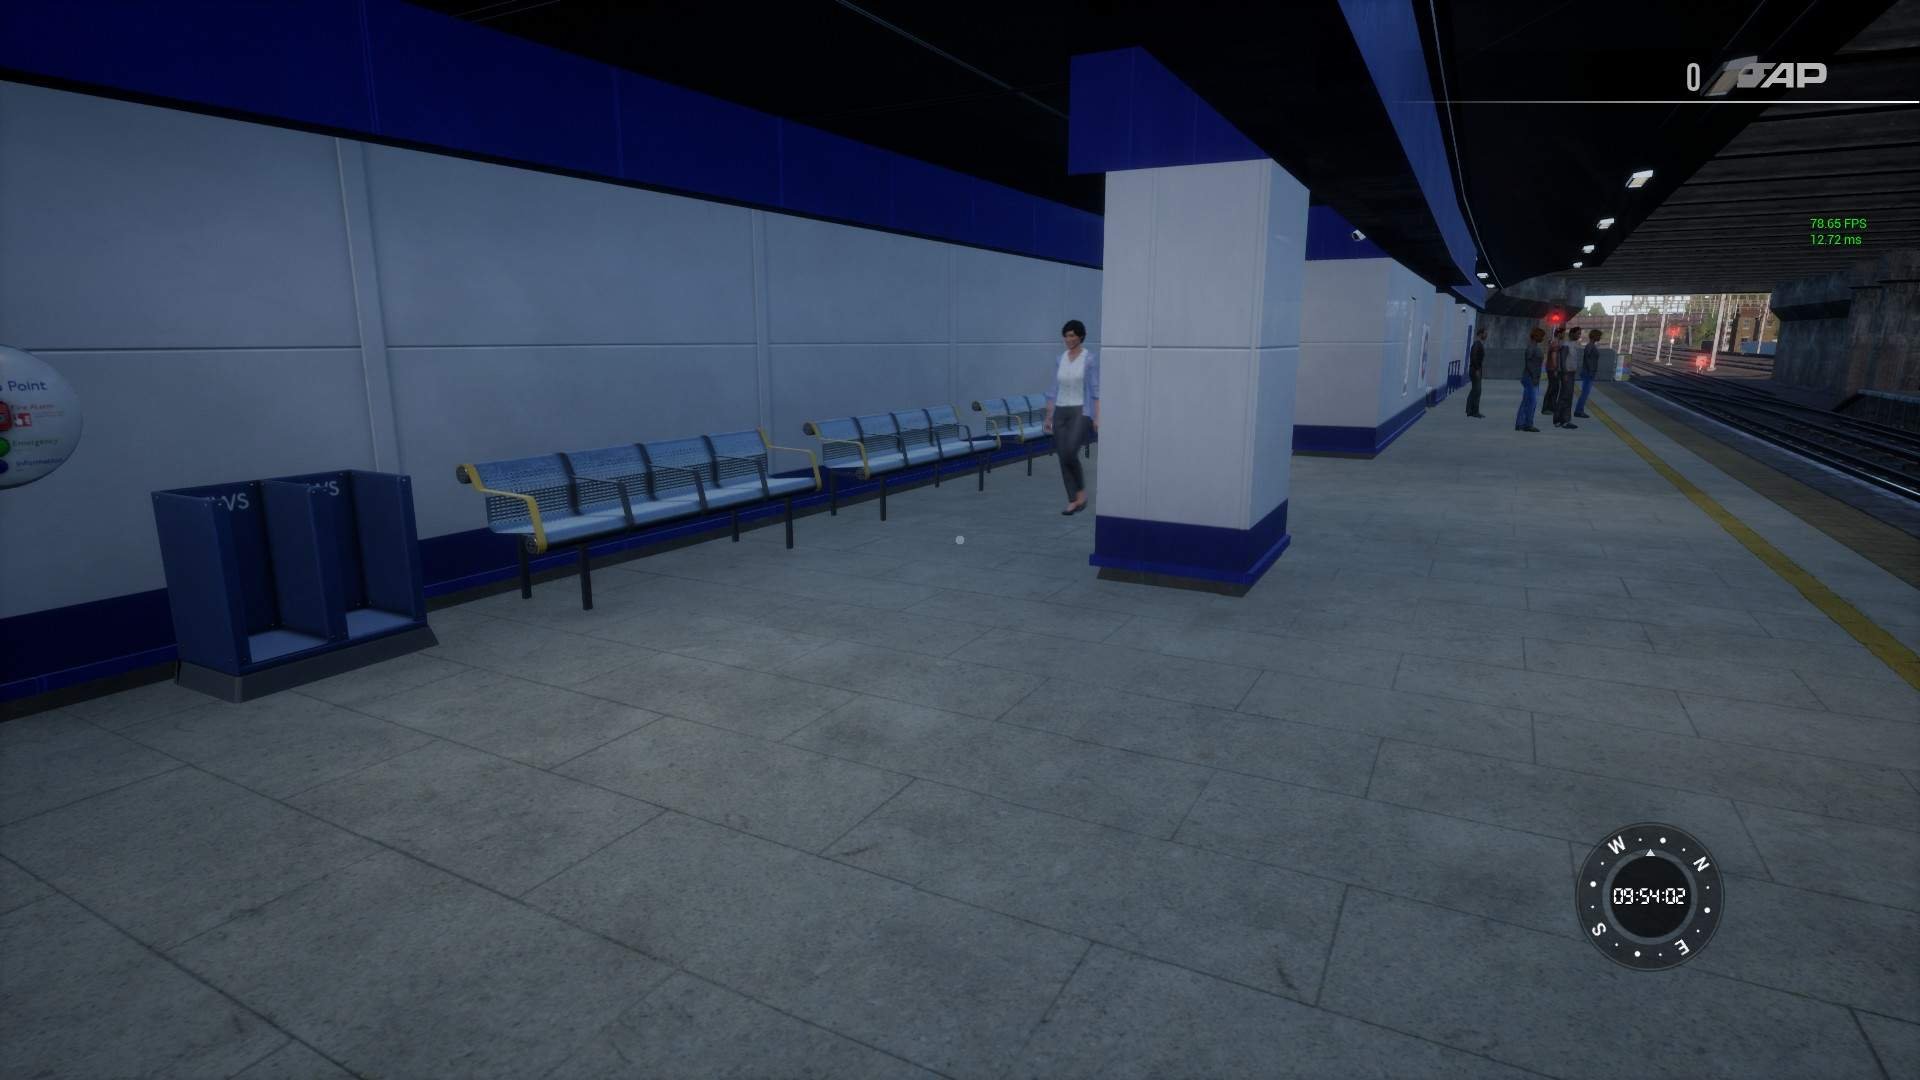
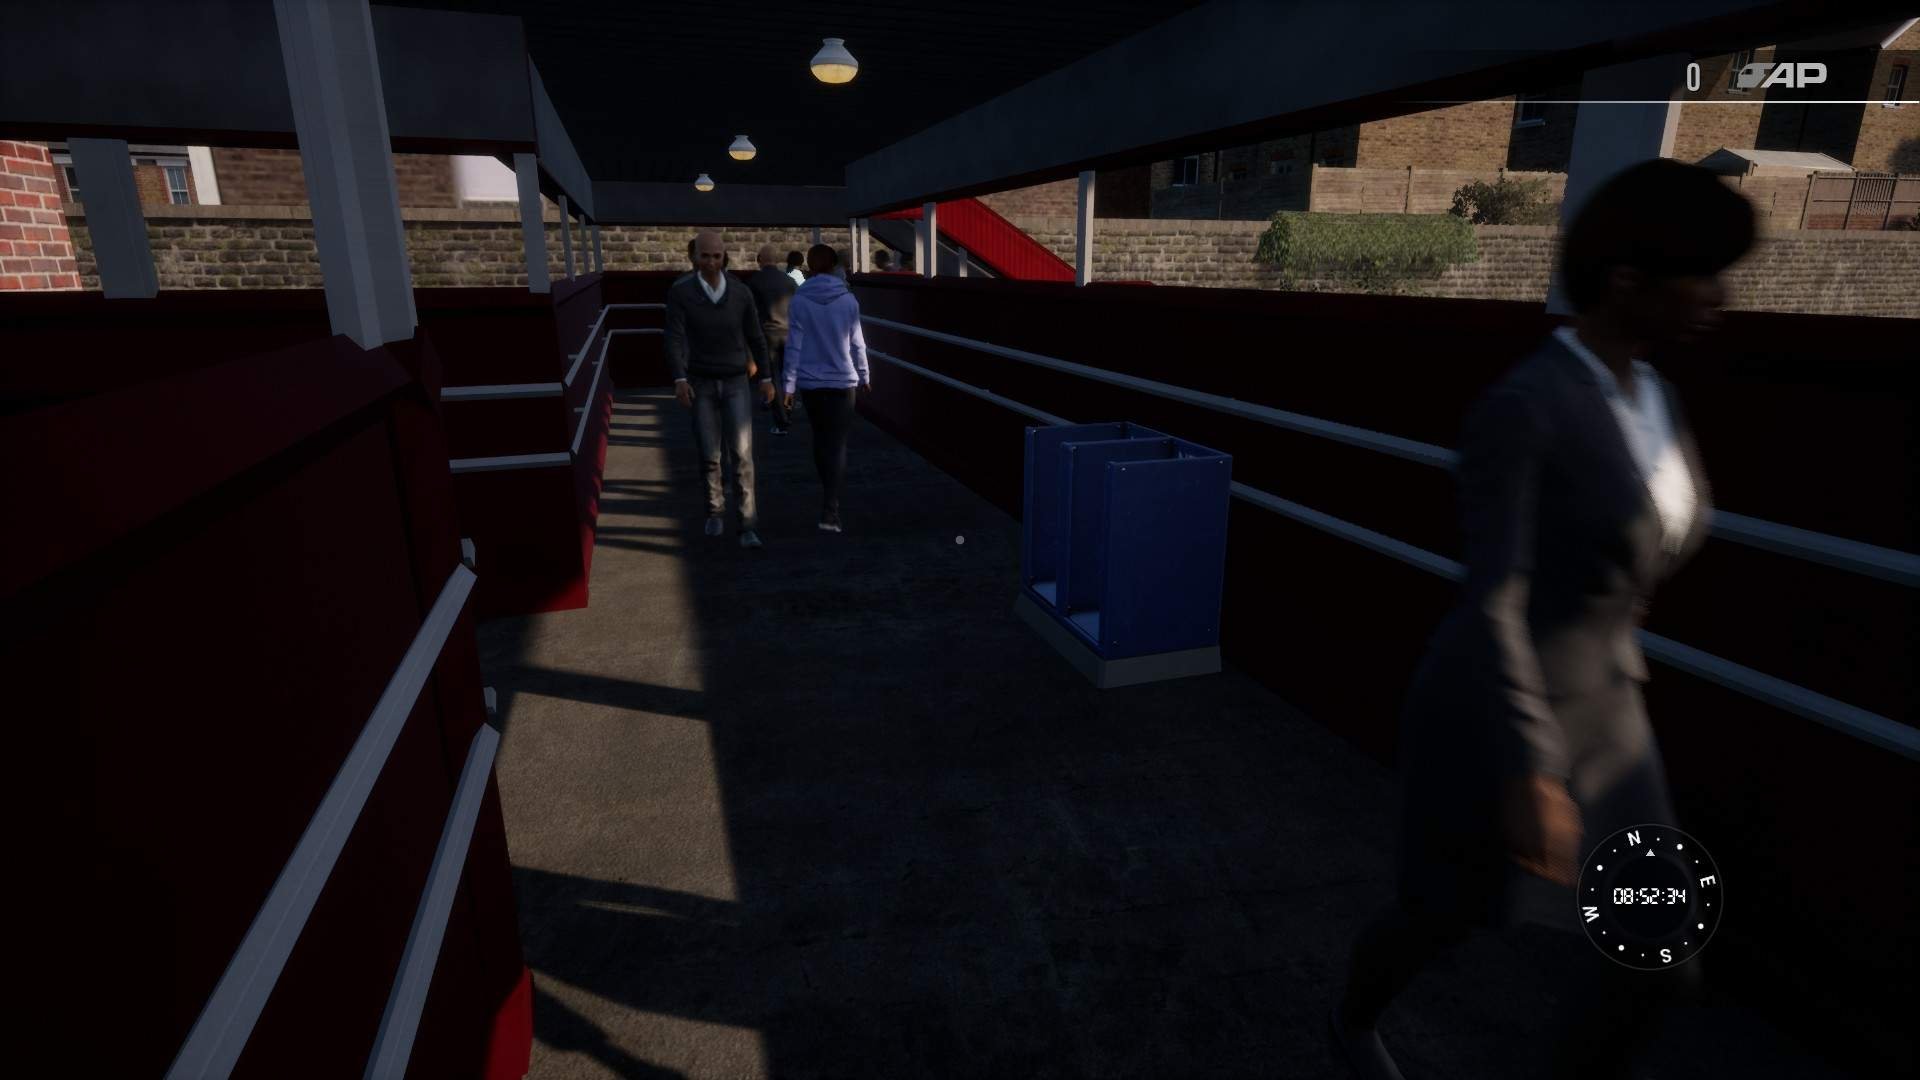
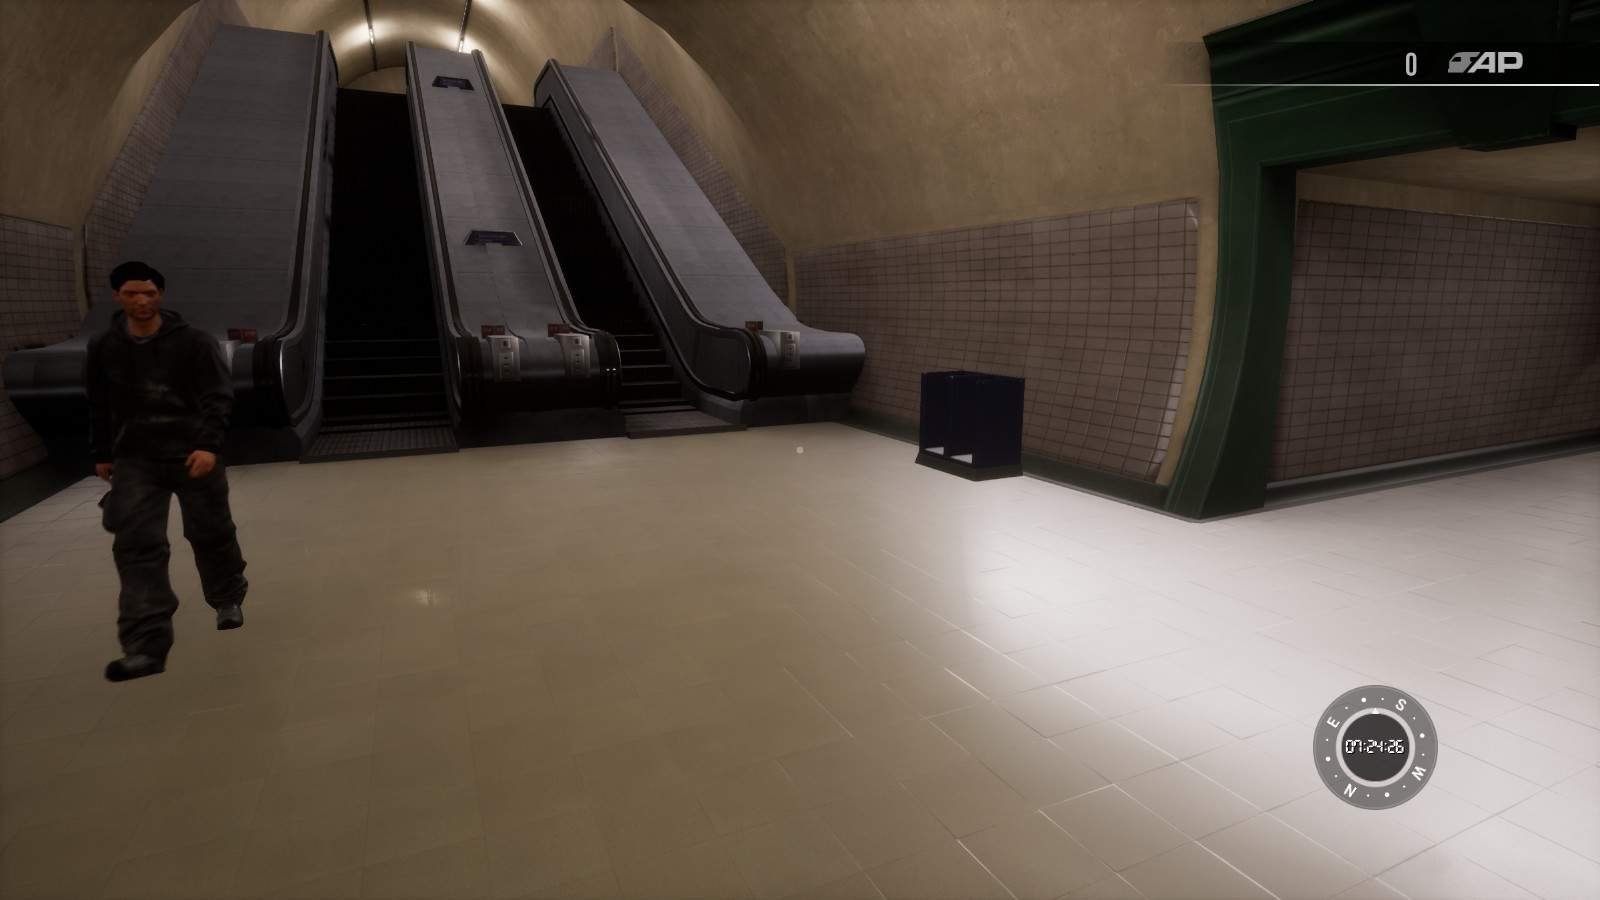
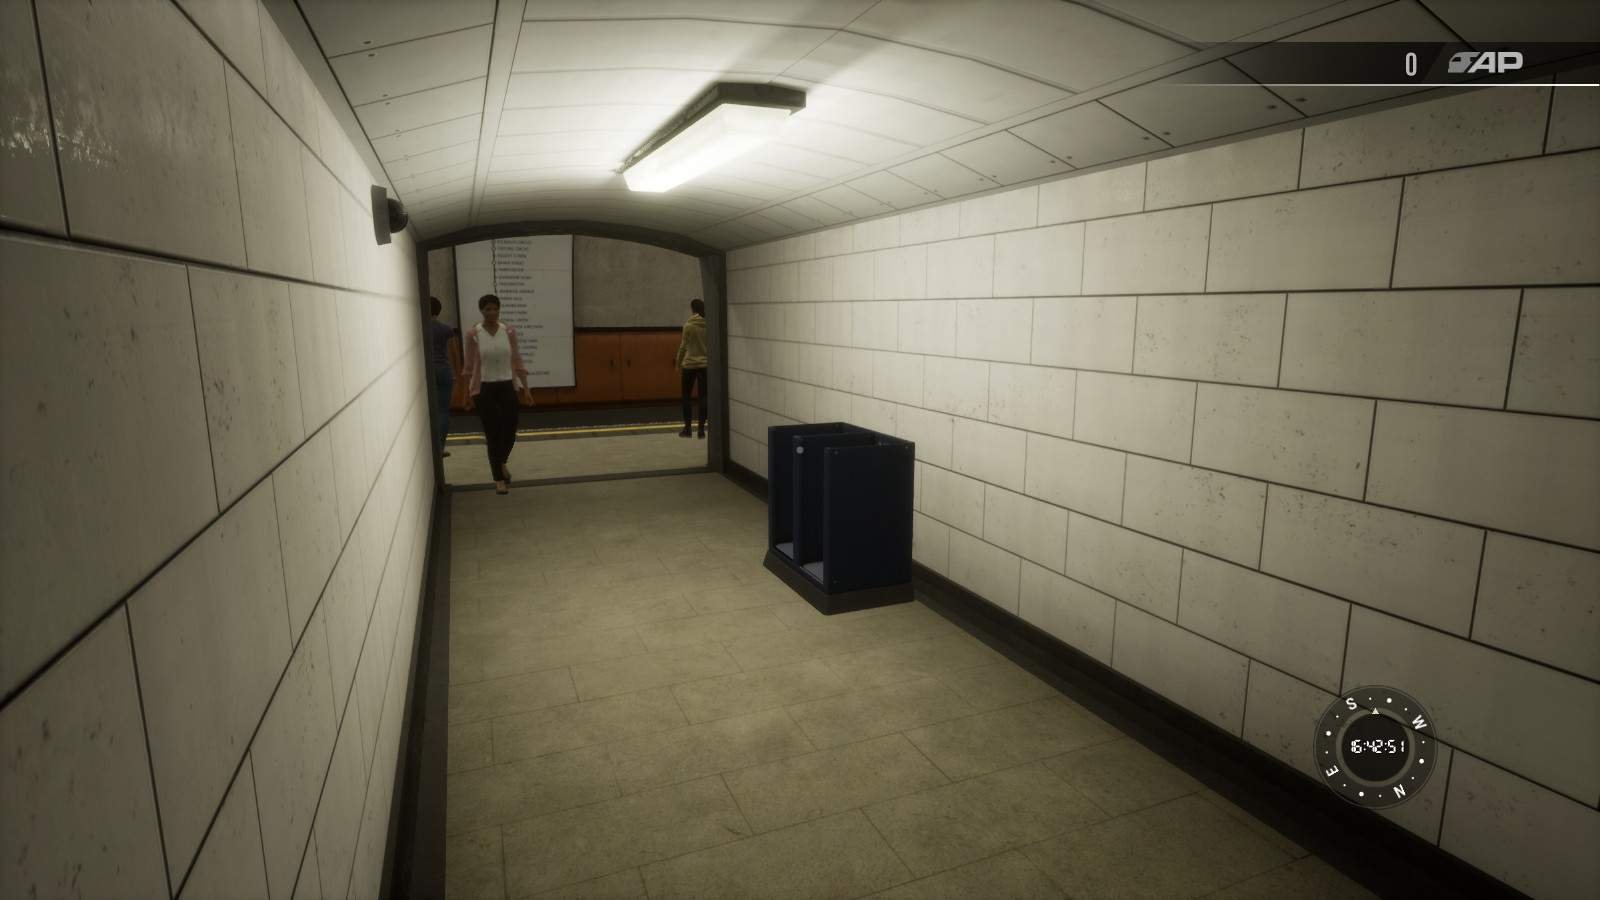
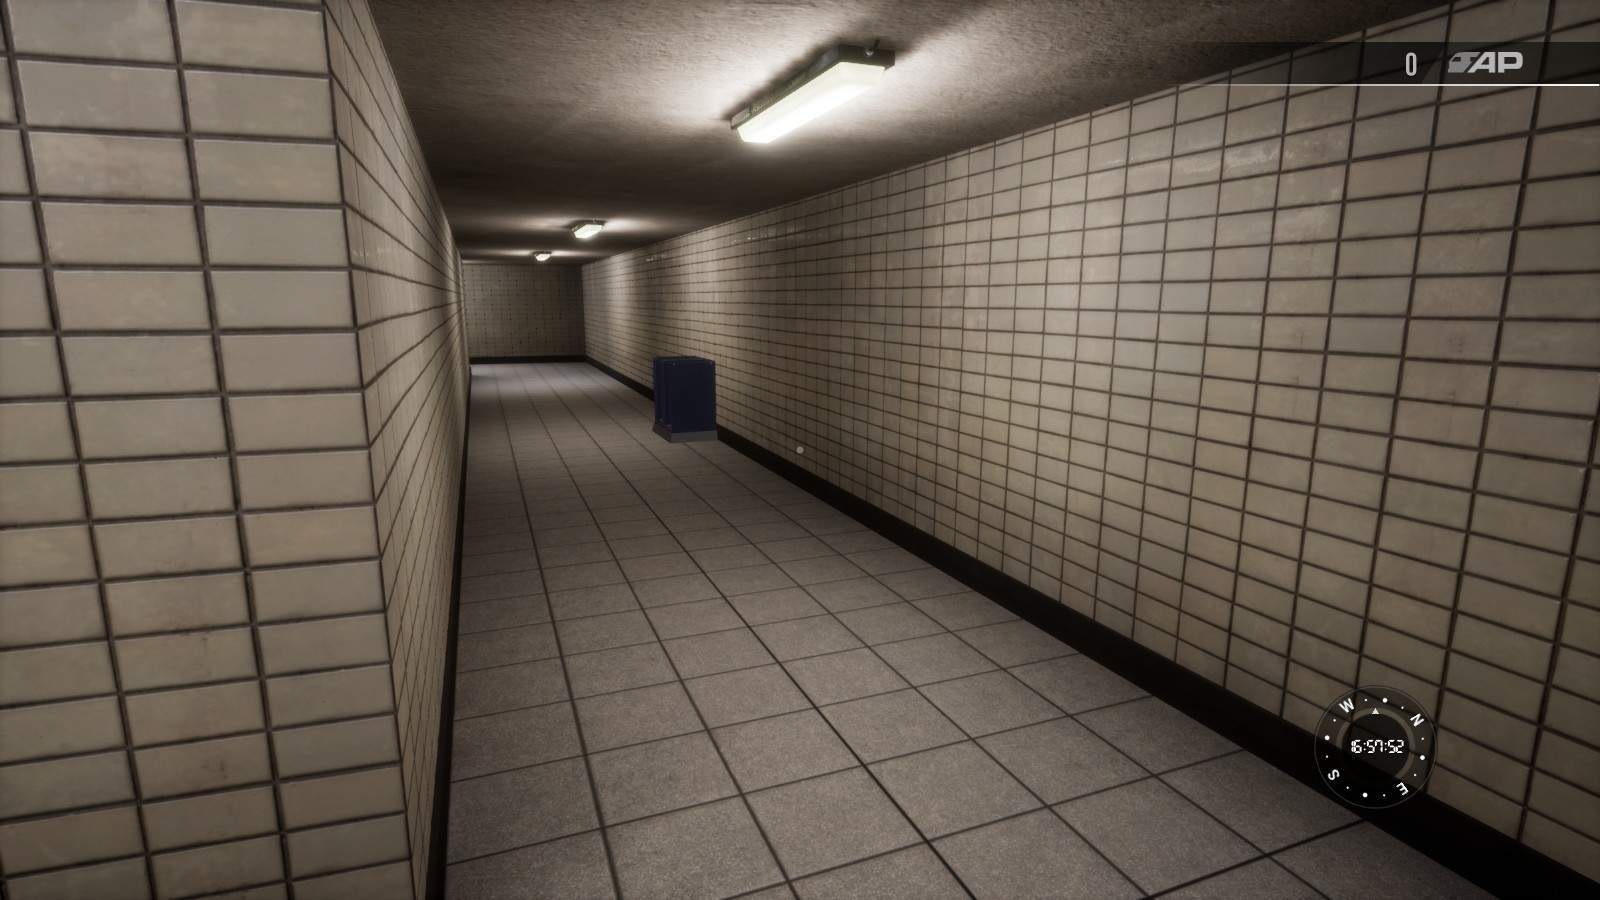
Newspaper stands are blue boxes that you must to fill.
List of Collectibles
Harrow & Wealdstone
- Route maps – 1
- Platform monitors – None
- Posters – 1
- Newspaper stands – 2
Kenton
- Route maps – 1
- Platform monitors – None
- Posters – 1
- Newspaper stands – 1
South Kenton
- Route maps – None
- Platform monitors – None
- Posters – 1
- Newspaper stands – 1
North Wembley
- Route maps – 1
- Platform monitors – None
- Posters – 1
- Newspaper stands – 2
Wembley Central
- Route maps – 1
- Platform monitors – None
- Posters – 1
- Newspaper stands – 2
Stonebridge Park
- Route maps – 1
- Platform monitors – None
- Posters – 1
- Newspaper stands – 1
Harlesden
- Route maps – 1
- Platform monitors – None
- Posters – 1
- Newspaper stands – 2
Willesden Junction
- Route maps – 1
- Platform monitors – None
- Posters – 1
- Newspaper stands – 2
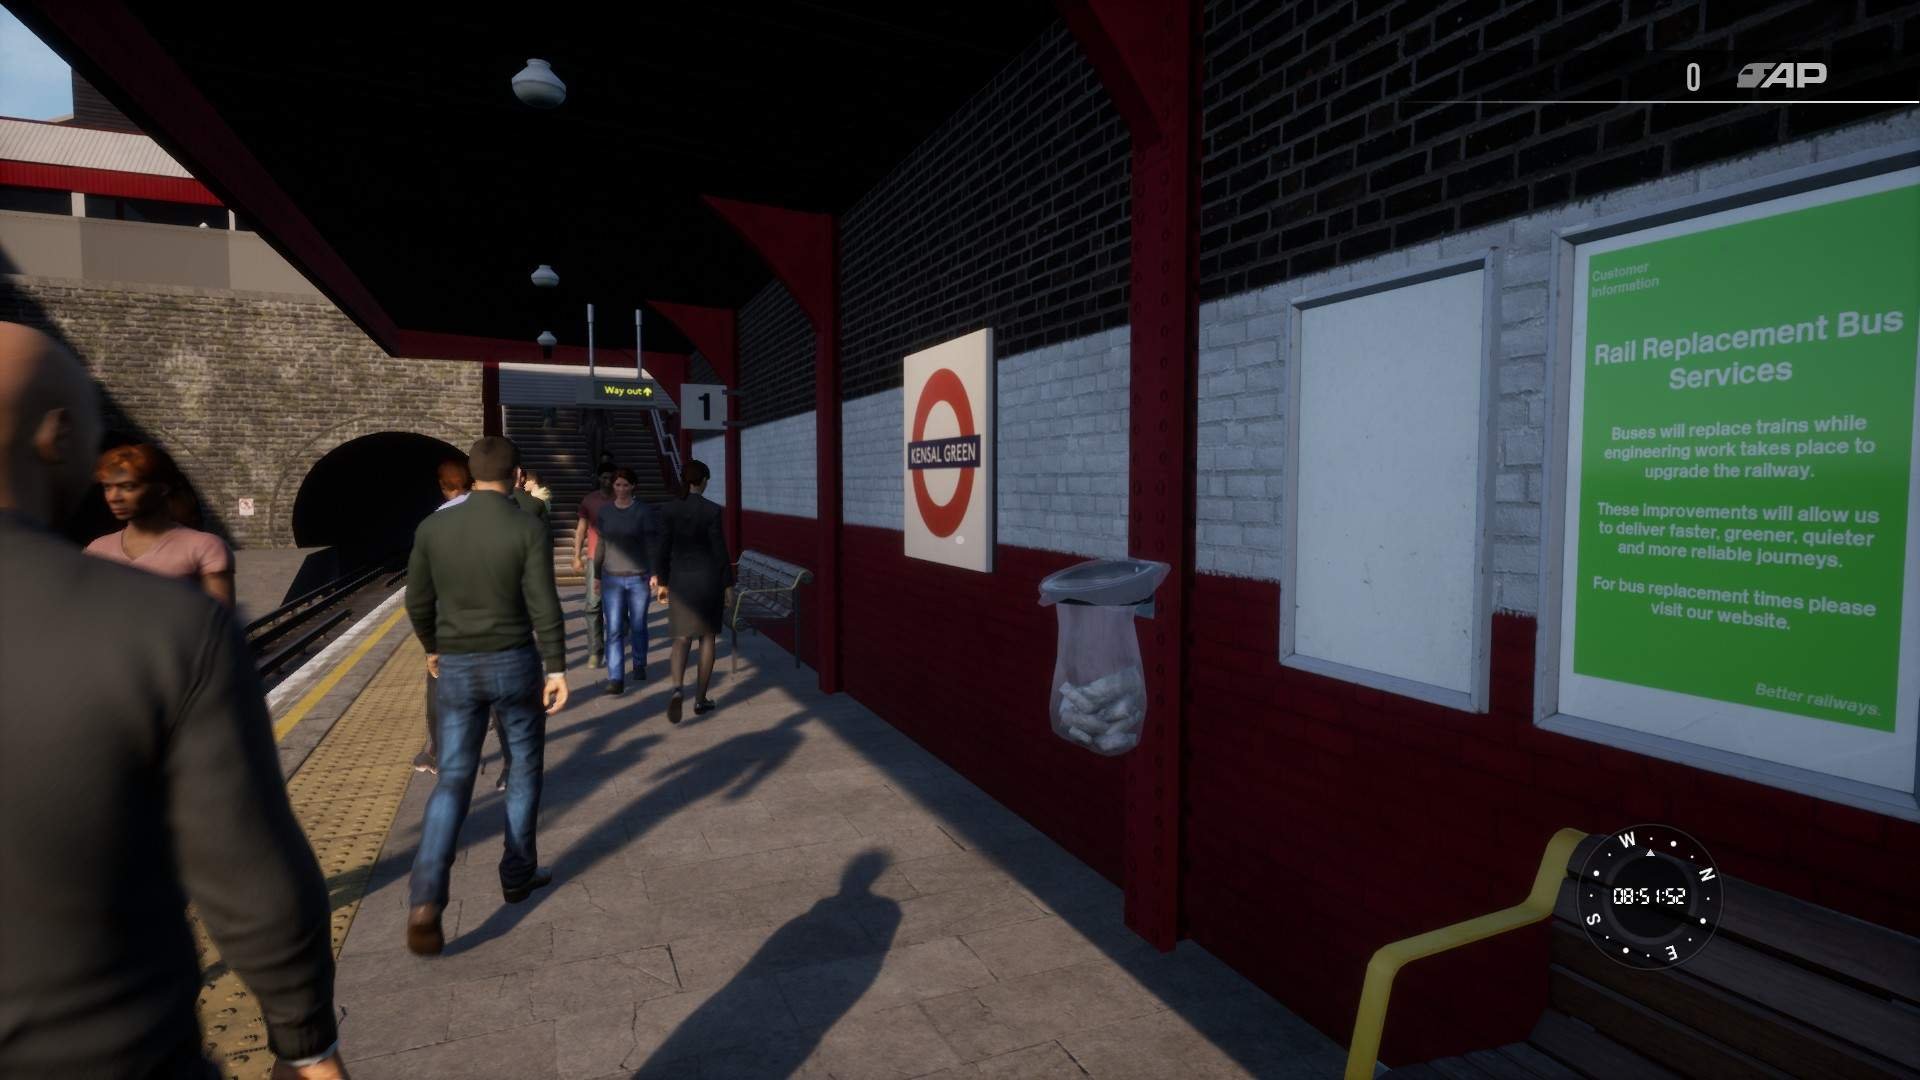
Kensal Green
- Route maps – 1
- Platform monitors – None
- Posters – 1
- Newspaper stands – 1
Queen’s Park
- Route maps – 1
- Platform monitors – None
- Posters – 1
- Newspaper stands – 2
Kilburn Park
- Route maps – 1
- Platform monitors – 1
- Posters – 1
- Newspaper stands – None
Maida Vale
- Route maps – 1
- Platform monitors – 1
- Posters – 1
- Newspaper stands – 1
Warwick Avenue
- Route maps – 1
- Platform monitors – 1
- Posters – 1
- Newspaper stands – 1
Paddington
- Route maps – 1
- Platform monitors – 2
- Posters – 1
- Newspaper stands – 1
Edgeware Road
- Route maps – 1
- Platform monitors – 1
- Posters – 1
- Newspaper stands – 1
Marylebone
- Route maps – 1
- Platform monitors – 1
- Posters – 1
- Newspaper stands – 1
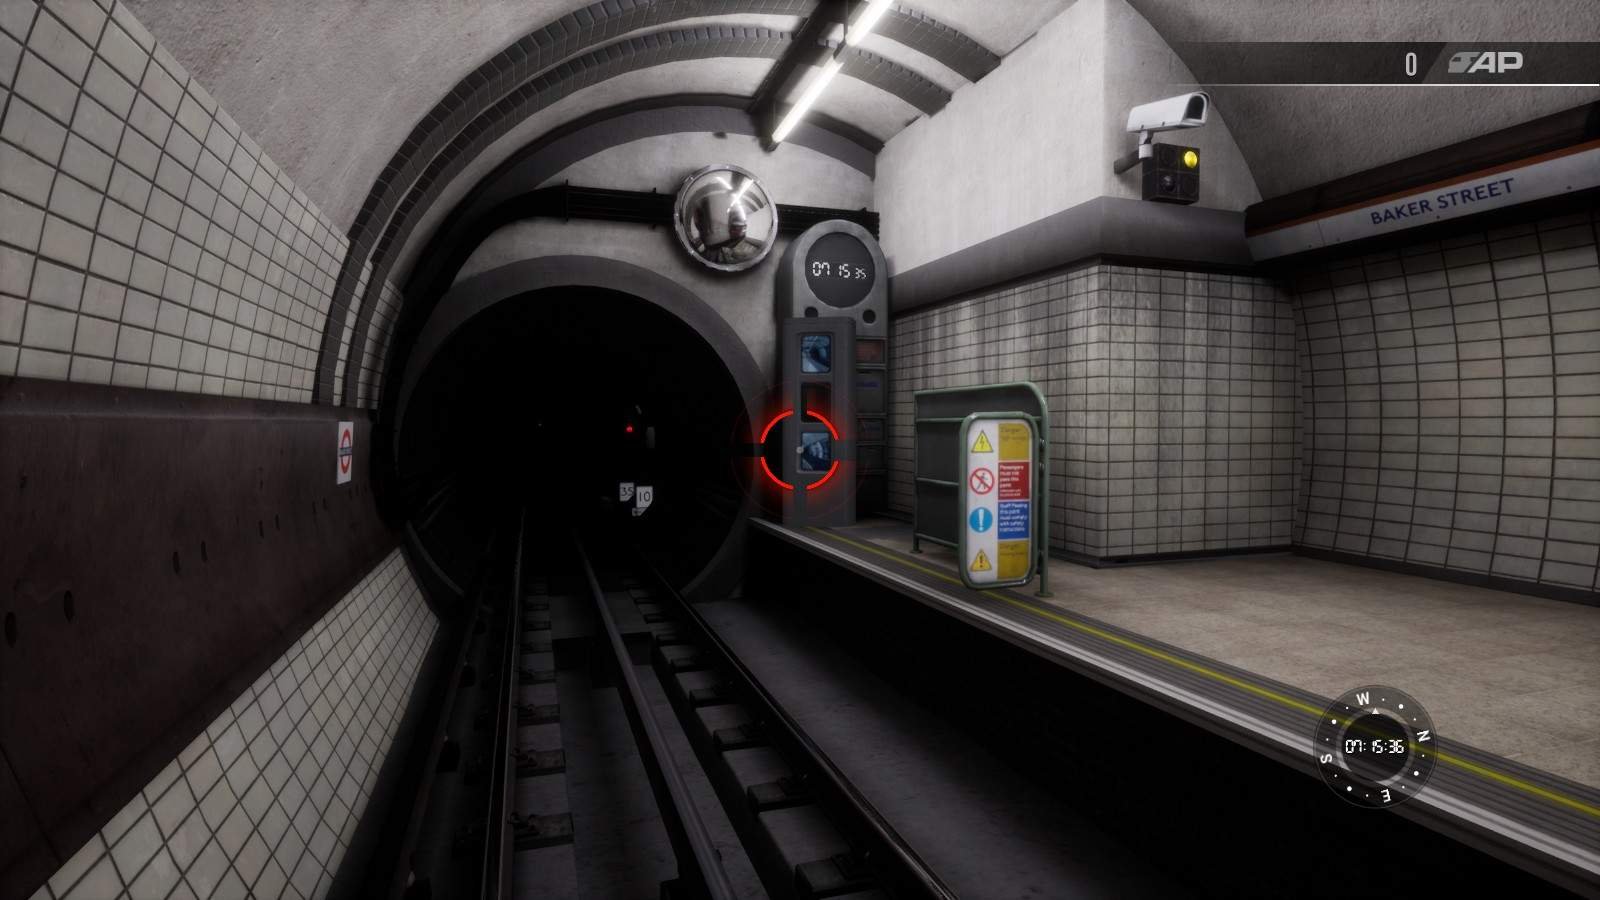
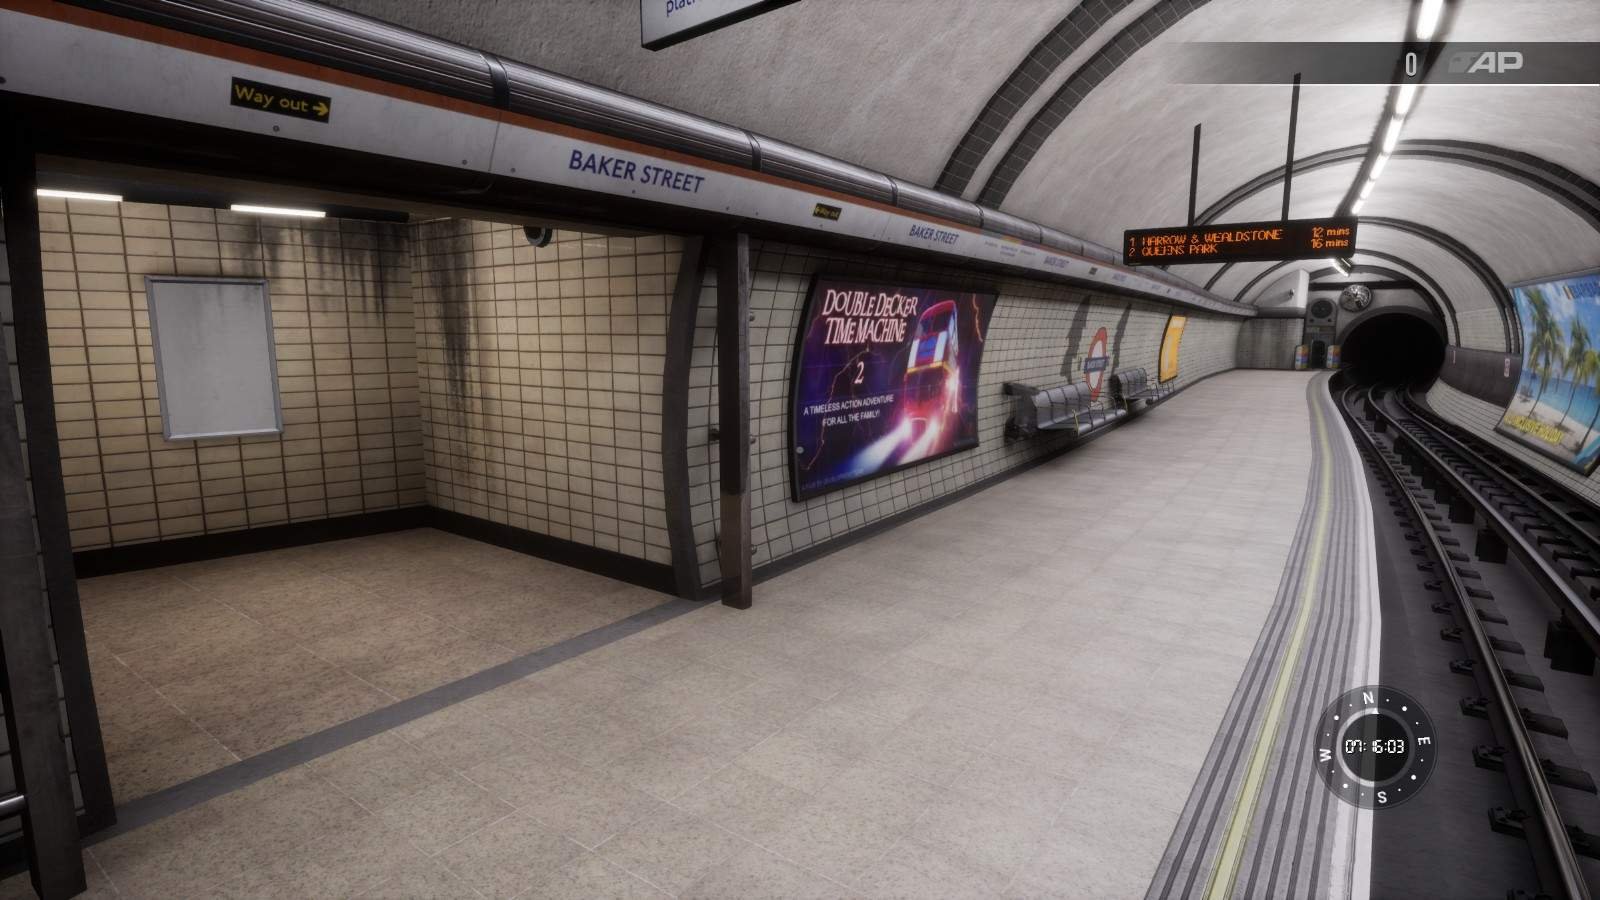
Baker Street
- Route maps – 2
- Platform monitors – 2
- Posters – 1
- Newspaper stands – 1
Regent’s Park
- Route maps – 1
- Platform monitors – None
- Posters – 1
- Newspaper stands – 1
Oxford Circus
- Route maps – 1
- Platform monitors – 2
- Posters – 1
- Newspaper stands – 2
Piccadilly Park
- Route maps – 1
- Platform monitors – 1
- Posters – 1
- Newspaper stands – 1
Charing Cross
- Route maps – 1
- Platform monitors – 2
- Posters – 1
- Newspaper stands – 1
Embankment
- Route maps – 1
- Platform monitors – 1
- Posters – 1
- Newspaper stands – 1
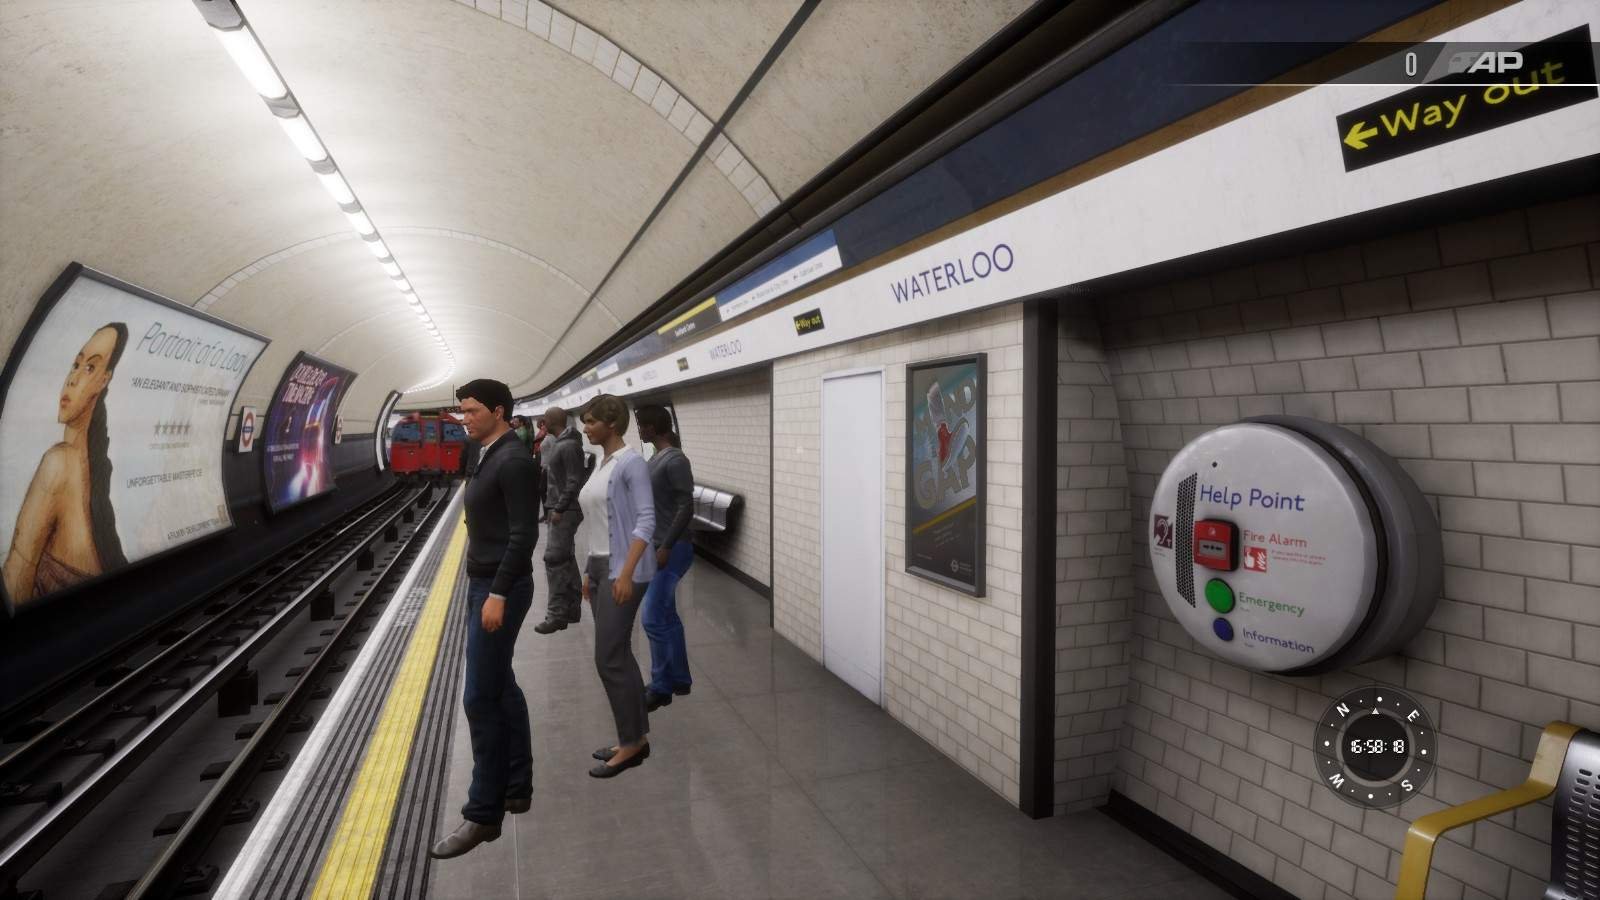
Waterloo
- Route maps – 1
- Platform monitors – 1
- Posters – 1
- Newspaper stands – 1
Lambeth North
- Route maps – 1
- Platform monitors – 2
- Posters – 1
- Newspaper stands – None
Elephant & Castle
- Route maps – 1
- Platform monitors – 2
- Posters – 1
- Newspaper stands – 1
Harrow & Wealdstone
Poster
Platform 2, in side of the building.

Newspaper 1
Platform 2, in the middle of the platform. Bolted to the white fence.
Routemap
Platform 1, middle of the platform. Under an information sign.
Newspaper 2
Platform 1, middle of the platform. Under the platform number.
Kenton
Routemap
Platform 2, North end, in the bottom of the stairs to the overpass
Newspaper
Overpass at the northern end of the station. Next to the gate line in the entrance to the station.
Poster
Platform 1. Middle of the platform

South Kenton
Newspaper
North end of the platform, in the entrance canopy.
Poster
Eastern side of the building next to the entrance canopy which has the newspaper stand

North Wembley
Poster
Platform 2, middle of the platform. If you spawn here in the explore mode, it shoulkd be just behind you.
Newspaper 1
Platform 2, South end of the platform canopy
Routemap
Platform 1, Northern end. At the bottom of the stairs from the overpass.
Newspaper 2
Platform 1, a bit south of routemap.
Wembley Central
Routemap
Southbound platform, Northern end of the platform
Newspaper 1
Southern overpass. On the northbound platform side
Poster
Northbound platform. Northern end of the platform.
Newspaper 2
Northbound platform. Northern end of the platform. Next to the steps to the overpass.
Stonebridge Park
Newspaper
Platform 1, Eastern end of Platform 1

Routemap
Platform 2, middle of the platform. Next waiting shelter to the west from the poster.
Poster
Platform 2, middle of the platform. Next waiting shelter to the east from the routemap.

Harlesden
Routemap
Eastbound Platform, East end of the platform, next to the stairs to the overpass
Newspaper 1
Eastbound Platform, middle of the platform
Newspaper 2
Westbound platform, middle of the platform
Poster
Westbound platform. Middle of the platform. Little bit of east of newspaper stand.
Willesden Junction
Routemap
Platform 3. Western end of platform.
Poster
Platform 3. Middle of the platform.
Newspaper 1
Platform 3. Eastern end of the platform.
Newspaper 2
Western overpass. Middle of the overpass in the small elevator(?) recess

Kensal Green
Poster
Platform 1. Western end of the platform.
Newspaper
Western overpass.
Routemap
Platform 2. Western end of the platform. Next to the stairs to the overpass.

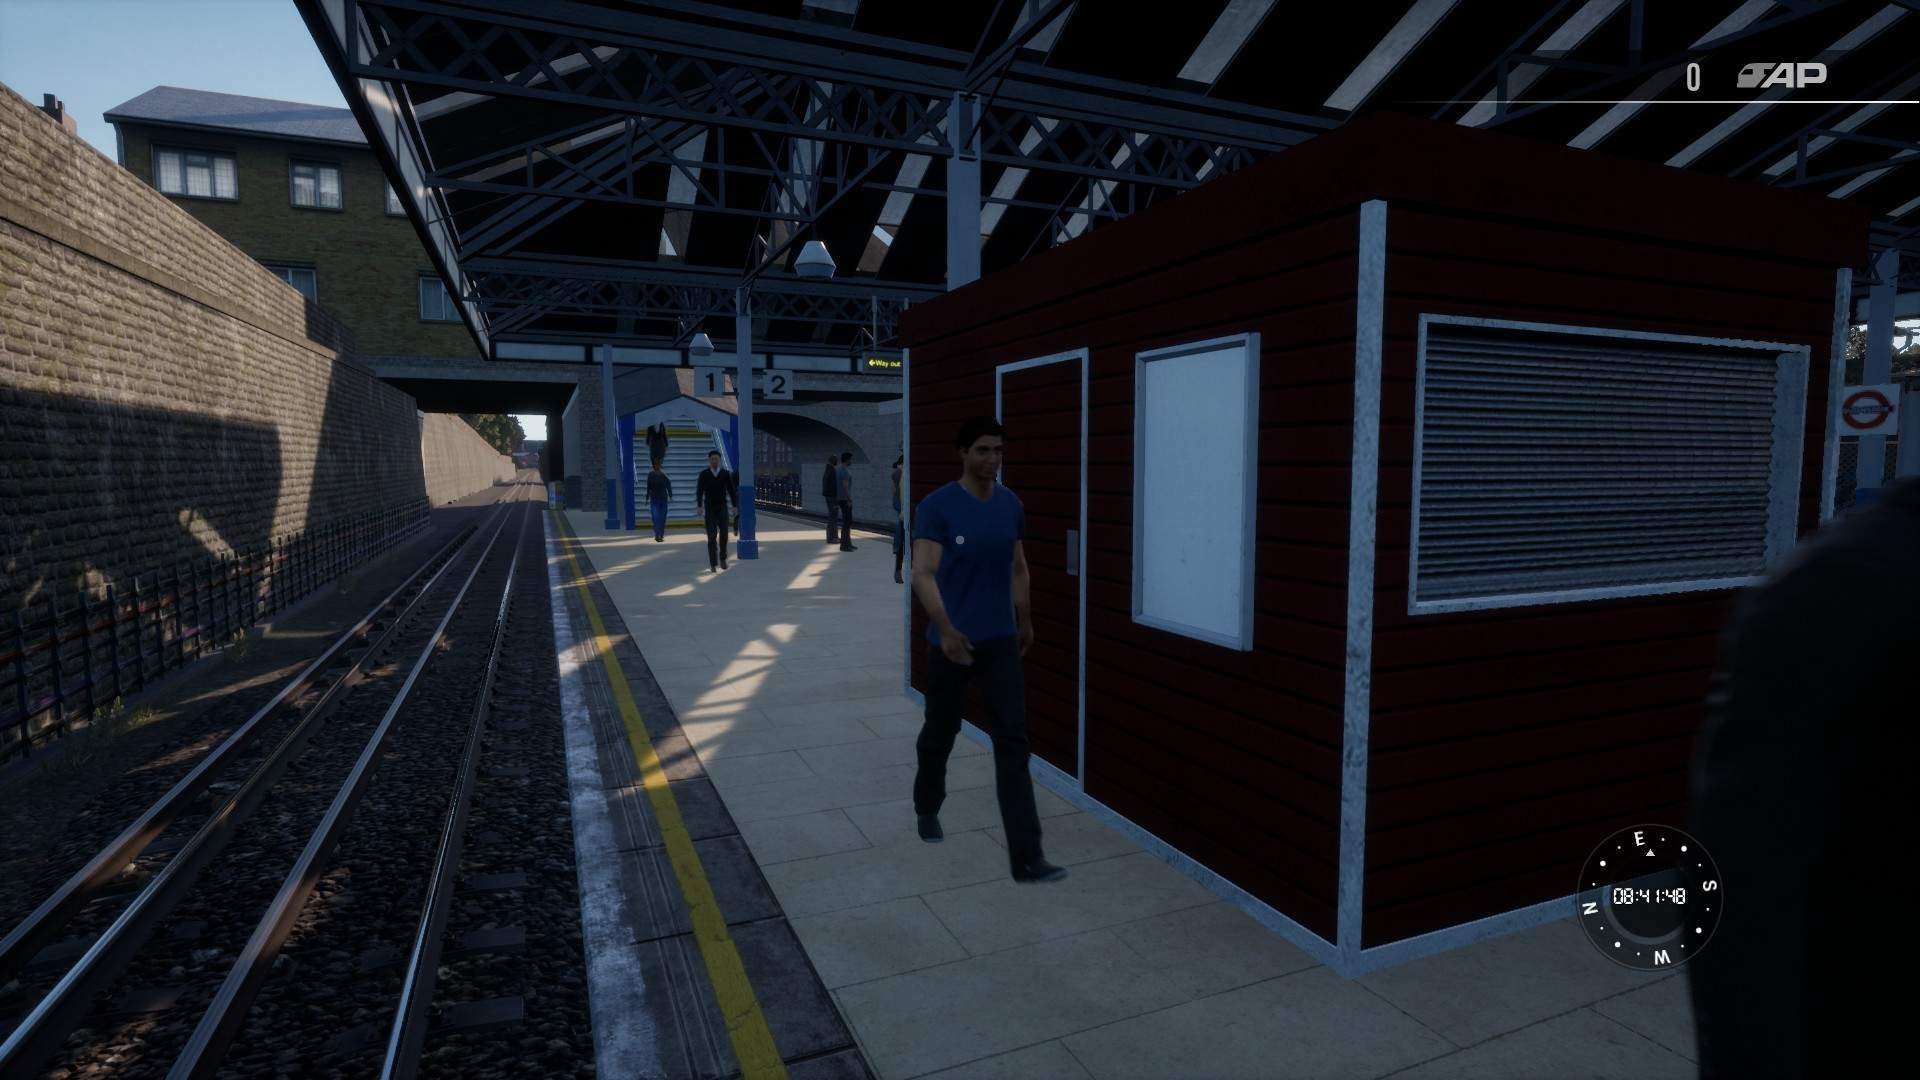
Queen’s Park
Routemap
Eastern overpass.

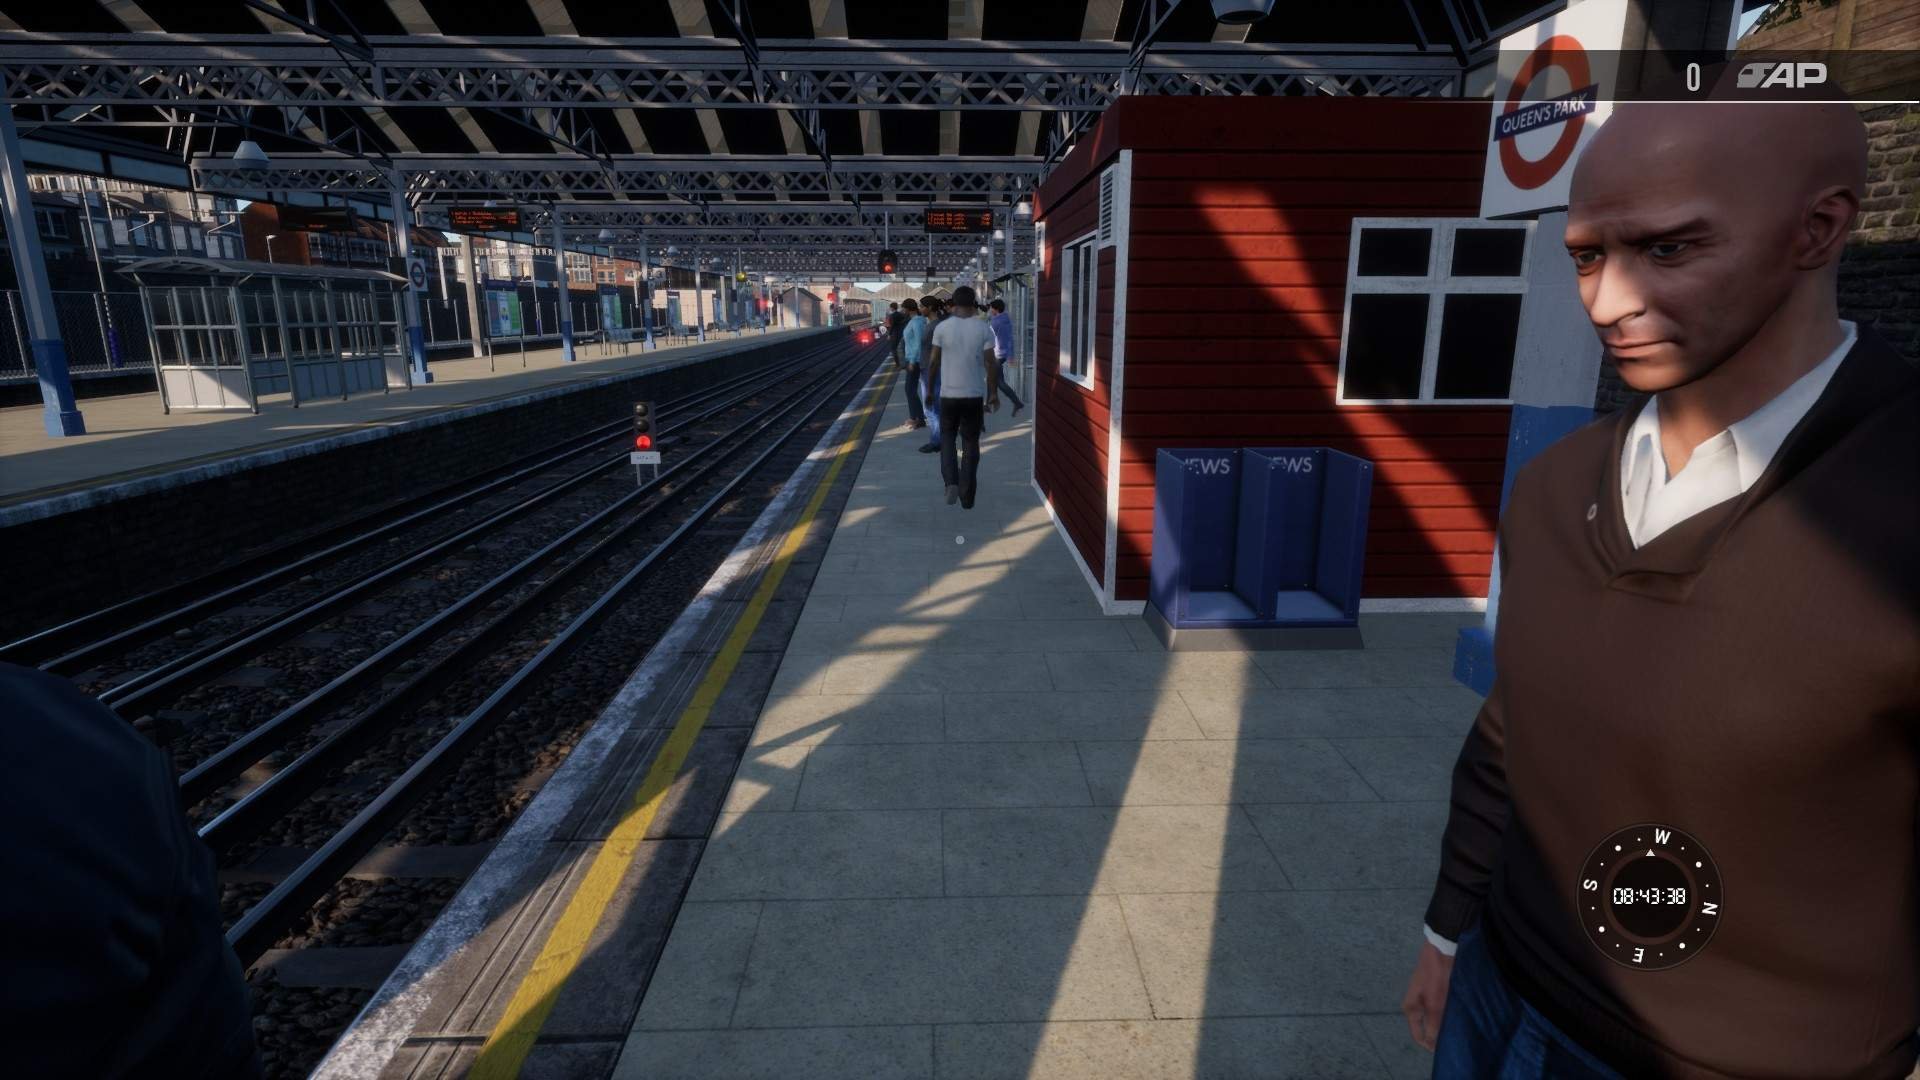
Poster
Platform 1. Eastern end of platform. Attached to the red hut.
Newspaper 1
Platform 4. Eastern end of platform. Turn right to see newspaper stand 2.
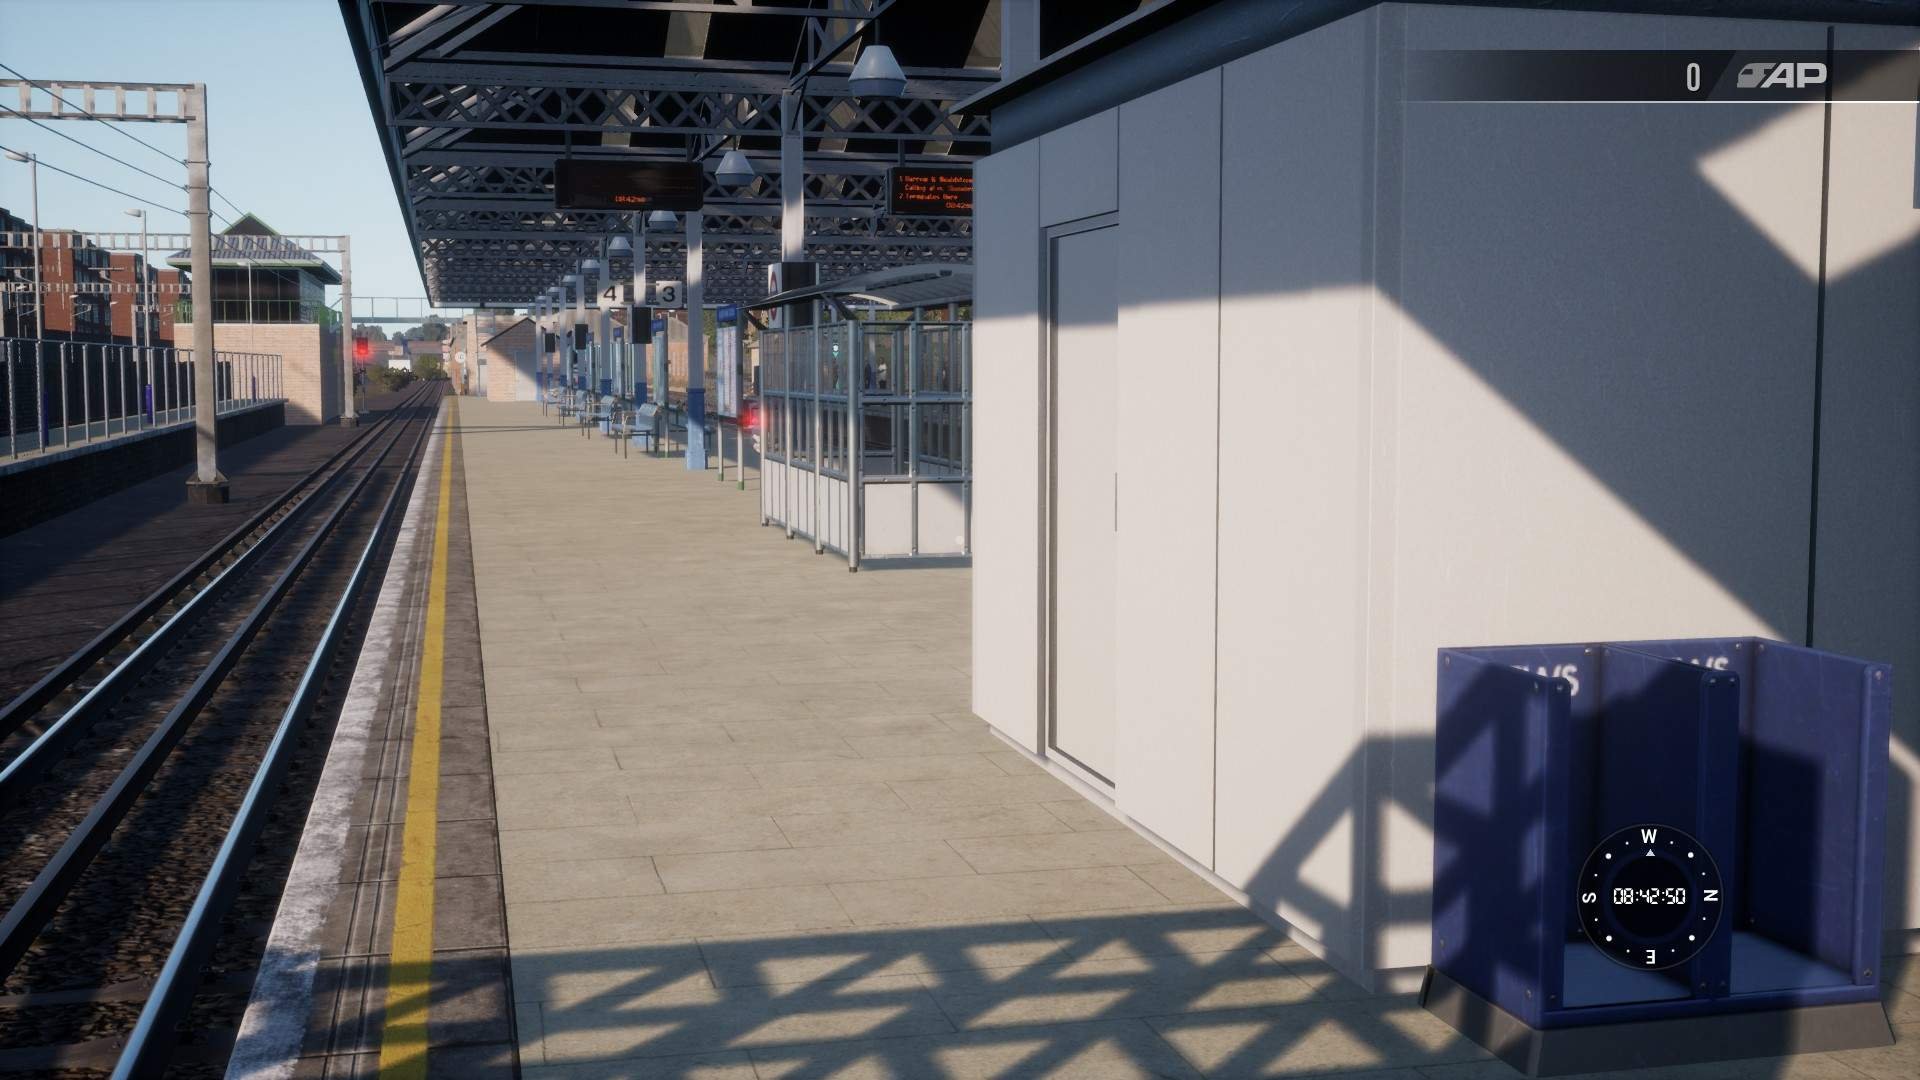
Newspaper 2
Platform 2. Eastern end of platform. Turn left to see newspaper stand 1.
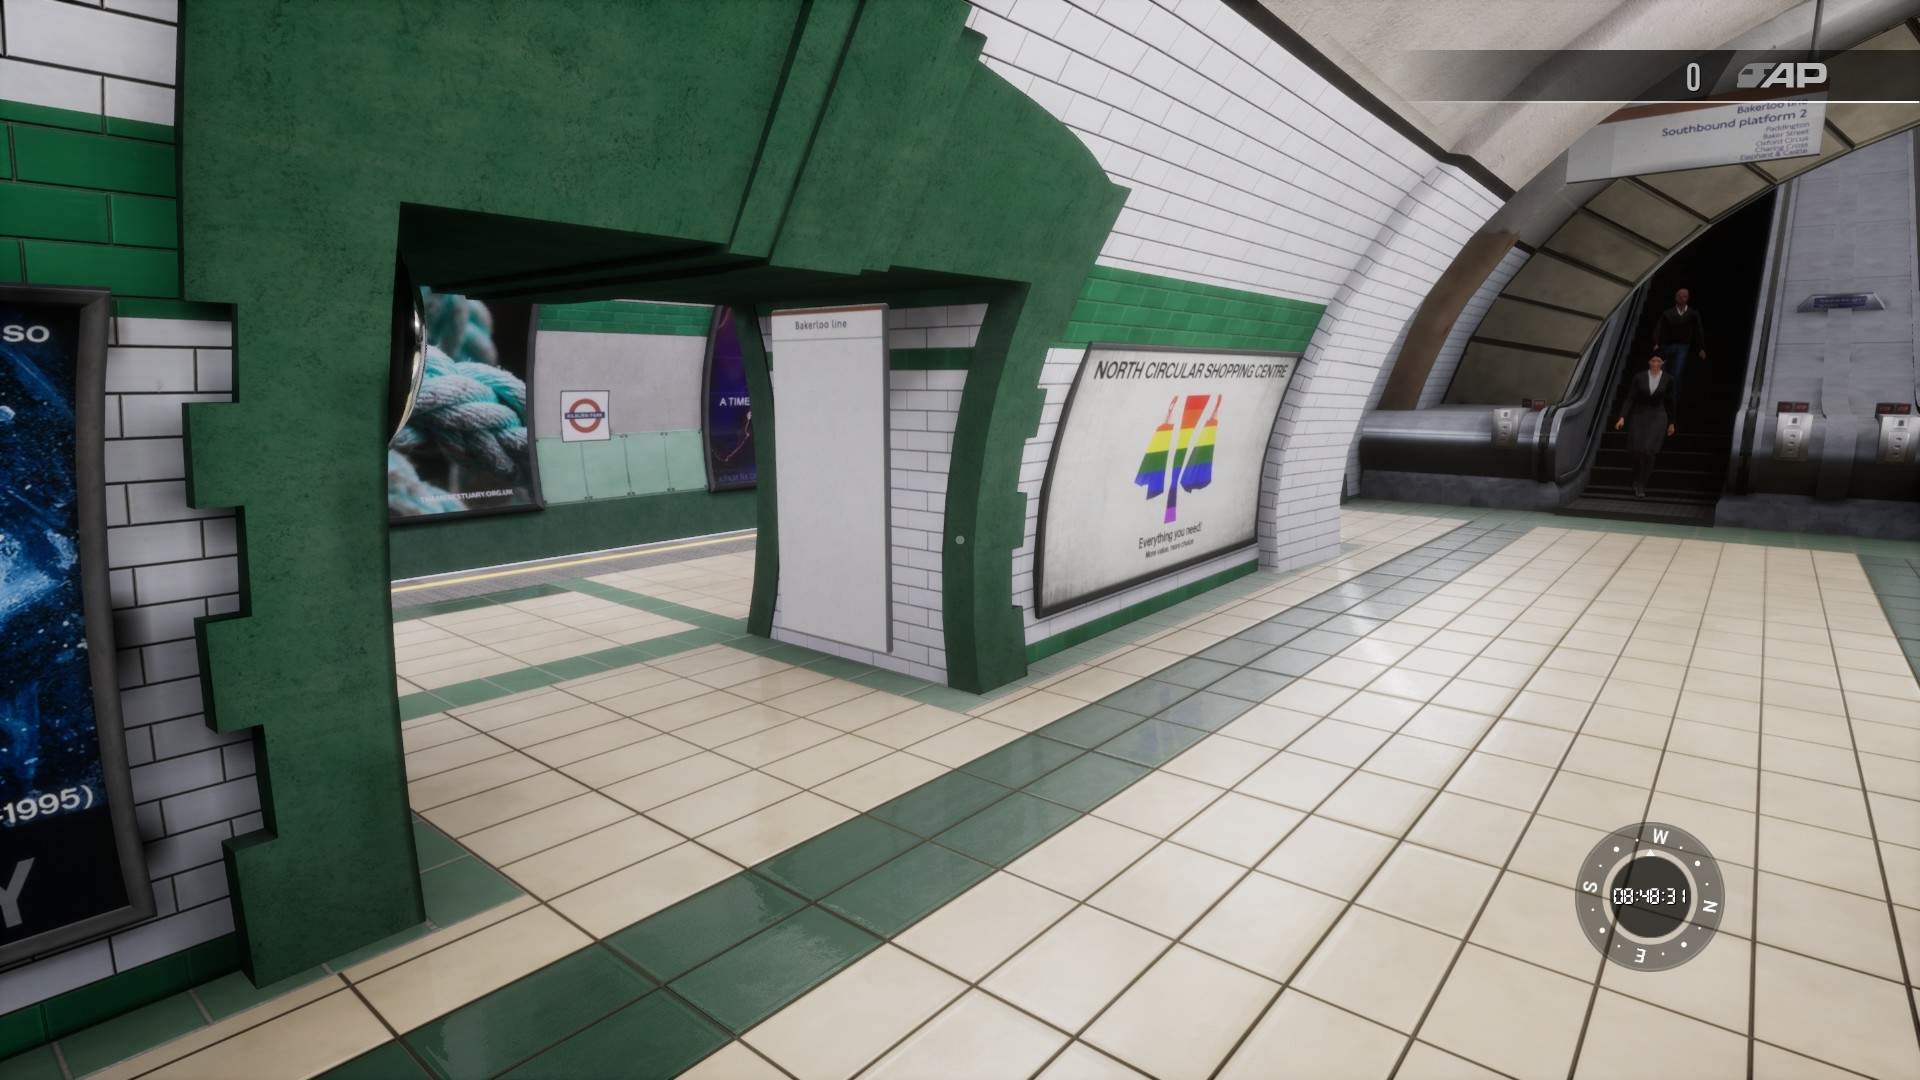
Kilburn Park
Please note that the sign denoting southbound and northbound platforms in the station are reversed. I am using the real NB and SB here since DTG might fix them.
Poster
Middle entrance to southbound platform

Routemap
Middle entrance to northbound platform
Platform monitor
At the northbound platform stopping point
Maida Vale
Routemap
In the middle area near the escalators in the southbound side.

Newspaper
In the middle area, northbound side.
Poster
Southbound platform, southern end of platform.
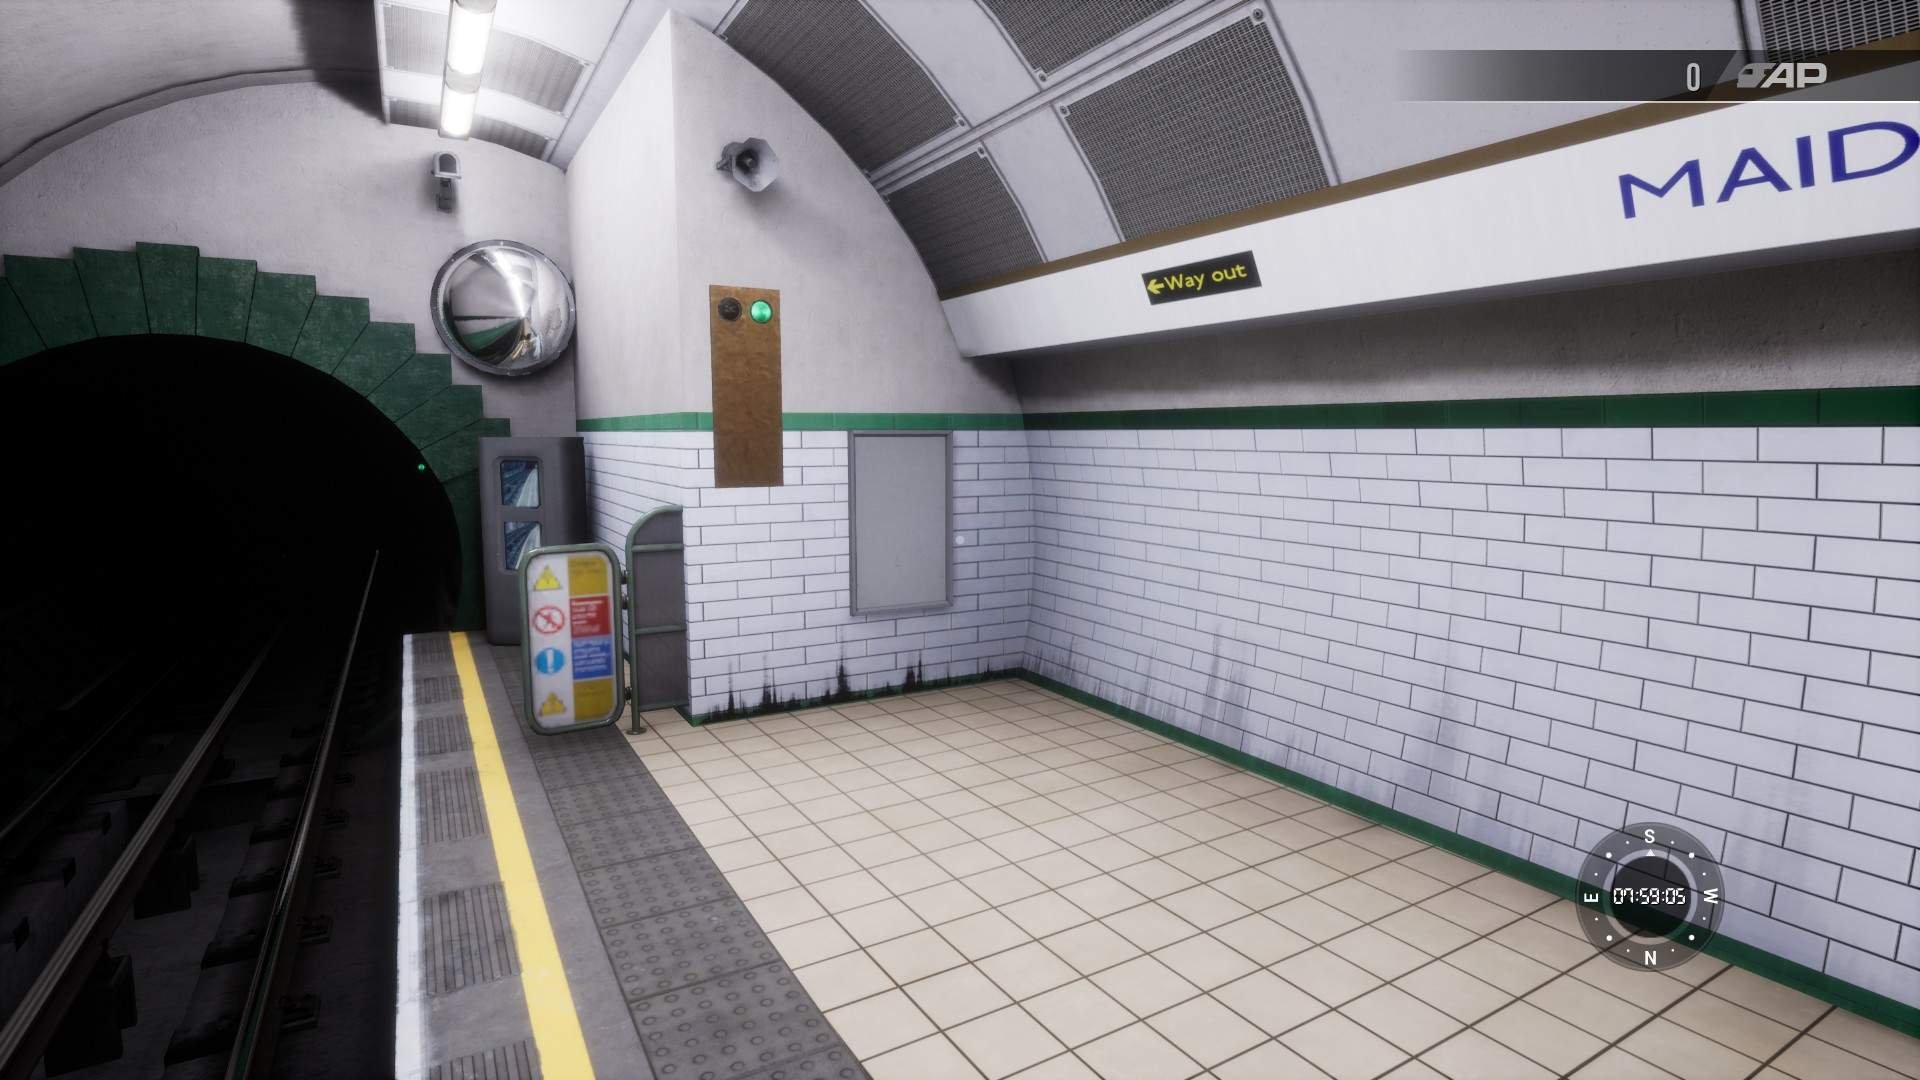
Platform monitor
Northbound platform, northern end of platform.
Warwick avenue
Platform monitor
Northbound platform, northern end of the platform
Newspaper
Middle area, next to the first entrance to the northbound platform.
Routemap
Middle area, right next to the escalators
Poster
Middle area, in the southbound side between entrances 2 and 3 to the platform.

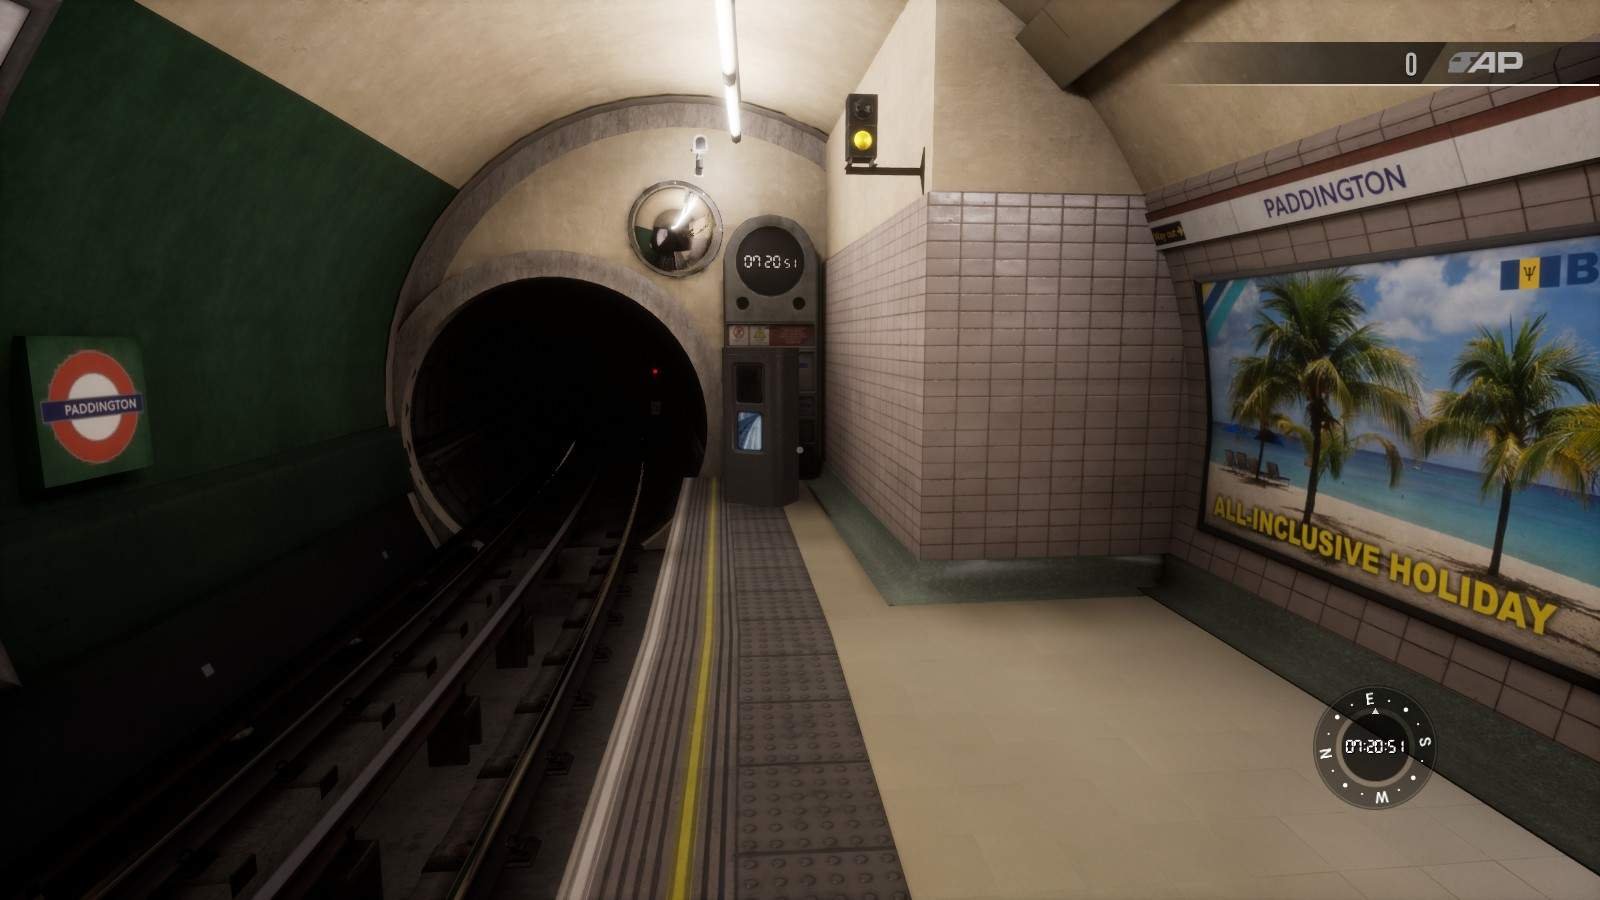
Paddington
Platform monitor 1
Southbound platform, eastern end of the platform.
Poster
Middle area, 1st opening to the platform
Routemap
Middle area, opposite of the escalators
Platform monitor 2
Northbound platform, northern end of the platform.
Newspaper
Middle area, right next to the escalator
Edgeware Road
Poster
Northbound platform, 1st stairs from the east.
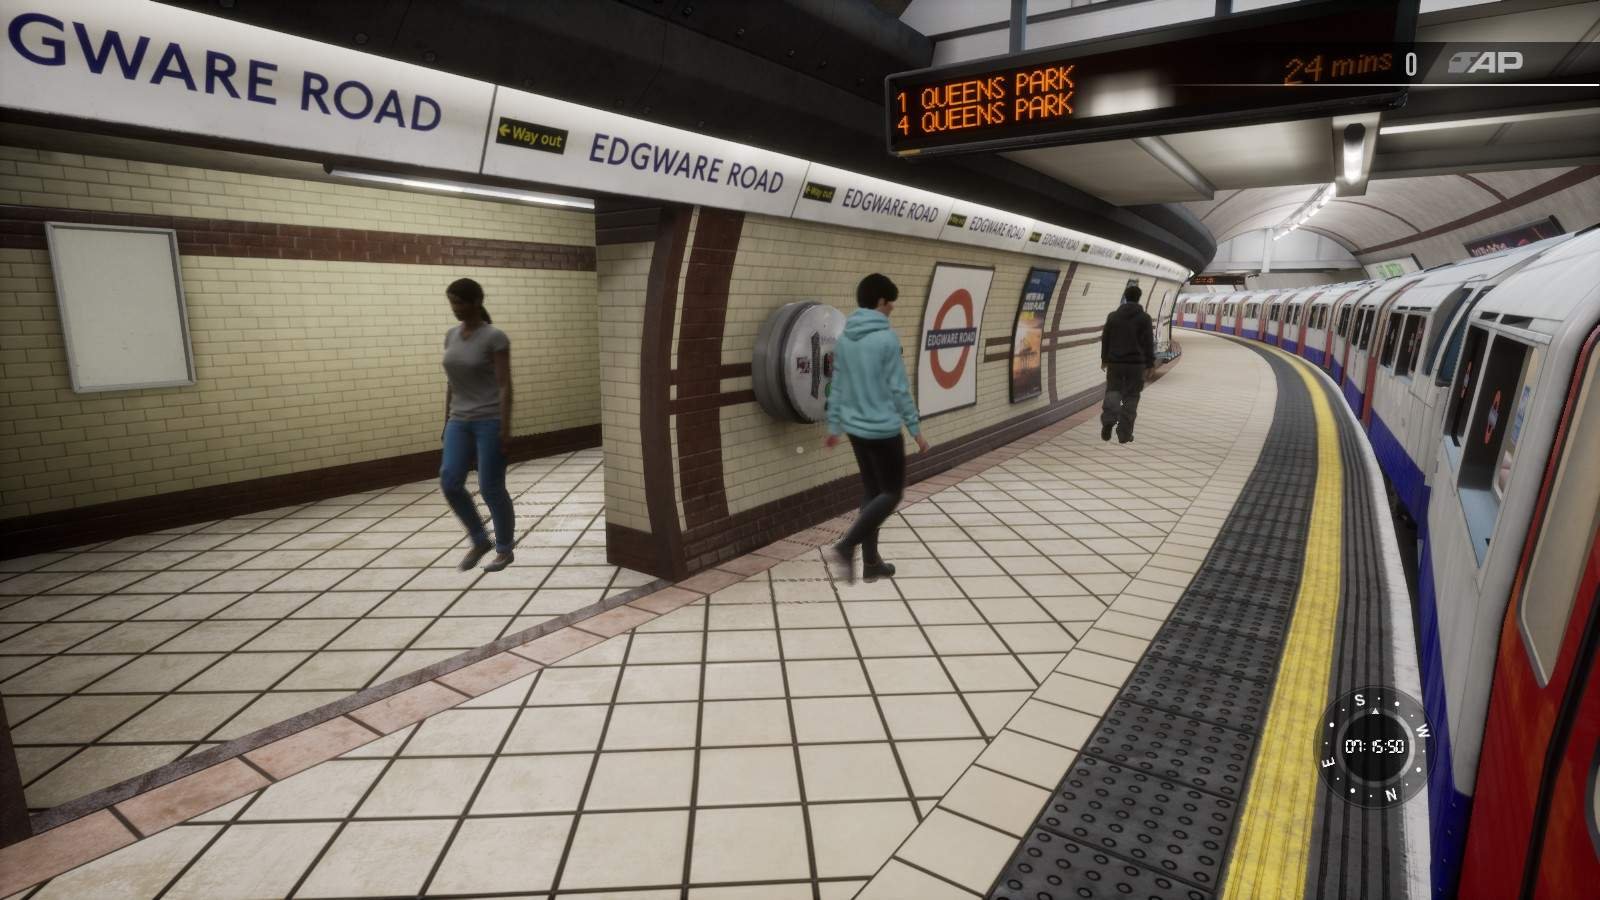
Platform monitor
Southbound platform, eastern end of the platform.

Newspaper
Overpass, estern end of the overpass next to the stairs to the northbound platform.

Routemap
Overpass, western end of the overpass.

Marylebone
Routemap
Southbound platform, 1st stairs to the from the western end of the platform.

Newspaper
Overpass, western overpass over the tracks.

Poster
Overpass, eastern overpass over the tracks.
Platform monitor
Northbound platform, western end of the platform

Baker Street
Platform monitor 1
Northbound platform, western end of the platform.
Poster
Northbound platform, bottom of the northern stairs of the platform.
Newspaper
Western overpass between the trafcks.

Routemap 1
Overpass, in the western end of the red corridor.
Platform monitor 2
Southbound platform, Northern end of the platform
Routemap 2
Eastern overpass.

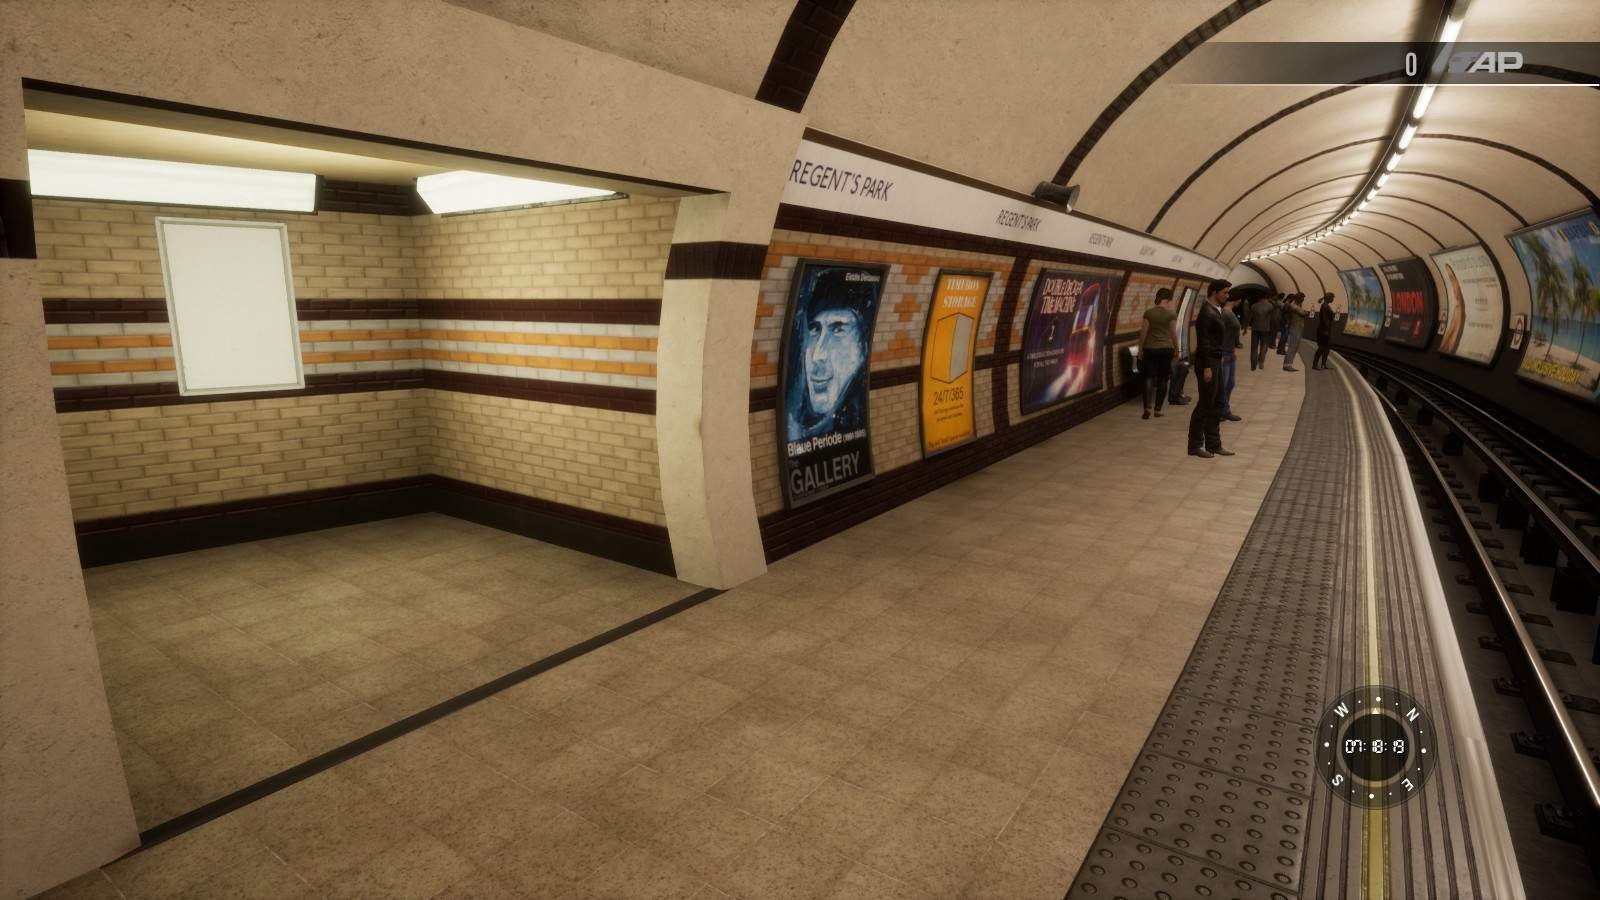
Regent’s Park
Newspaper
Overpass, Southwestern end of the overpass floor. Right next to the spawn point for the Explorer mode.

Routemap
Overpass, Western end of the northern overpass.
Poster
Northbound platform, bottom of the northern stairs.
Oxford Circus
Routemap
Southbound platform, northern end of the platform in the stair recess.

Platform monitor 1
Southbound platform, Southern end of the platform.
Newspaper 1
Southbound platform, Southern end of the platform in the stair recess.
Poster
Northbound platform, Southern end of the platform in the stair recess. If you completed the tutorial, you might have picked this one up in it.
Newspaper 2
Northbound platform, northern end of the platform in the stair recess.
Platform monitor 2
Northbound platform, northern end of the platform.
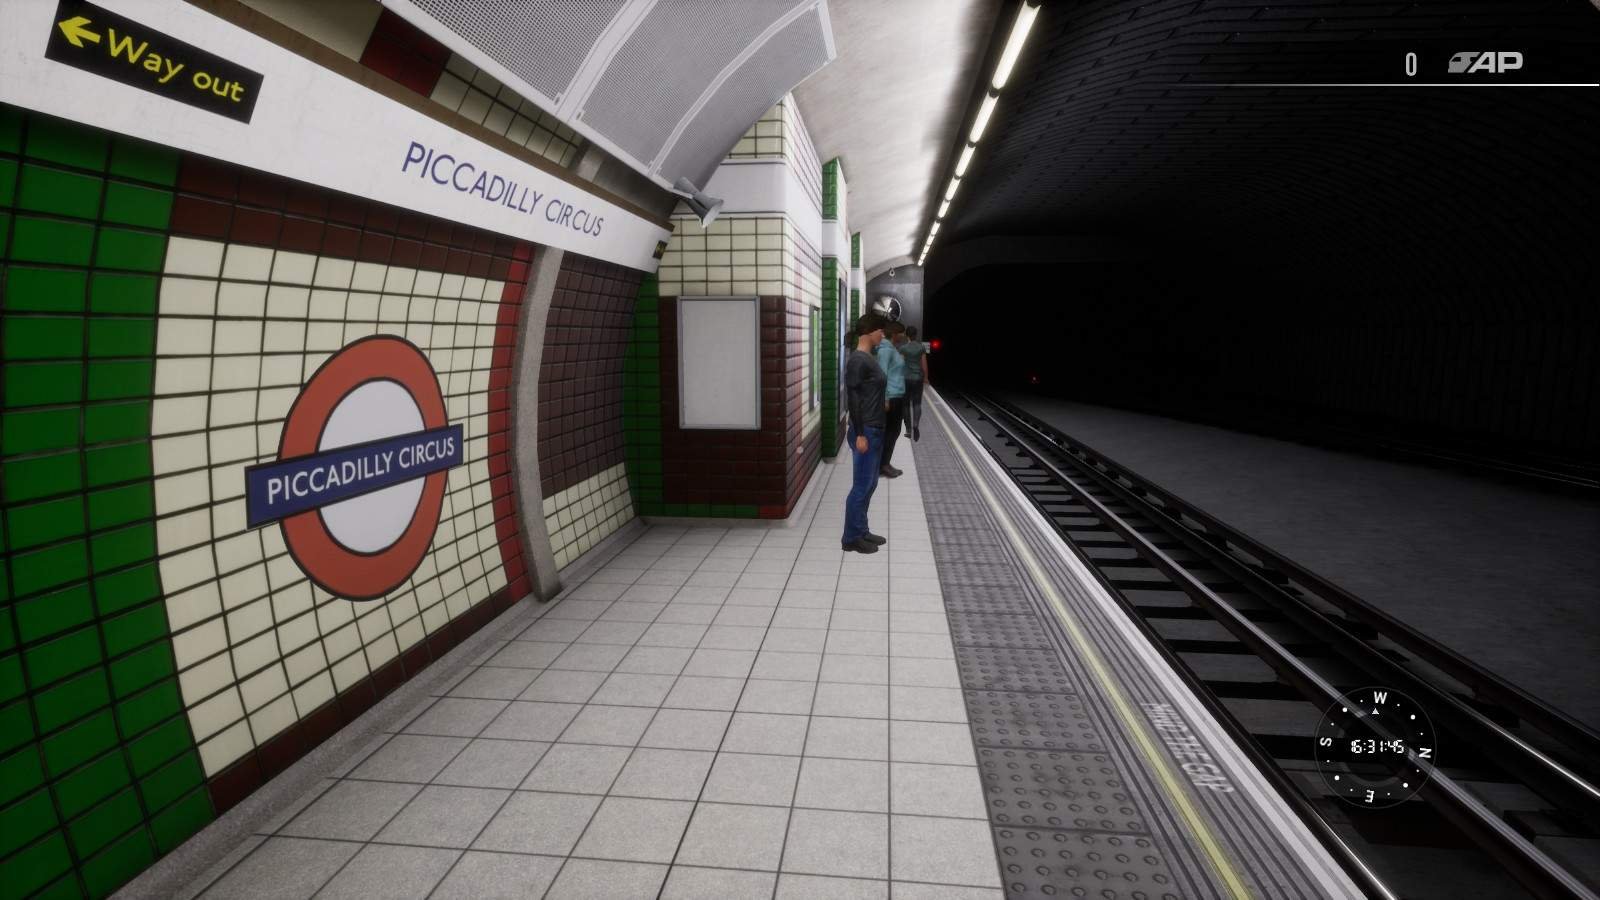
Piccadilly Circus
Poster
Western end of northbound platform
Newspaper
Southern end of overpass. Near the stairs to northbound platform.
Routemap
Northern end of overpass. Near the stairs to southbound platform.
Platform monitor
East end of southbound platform
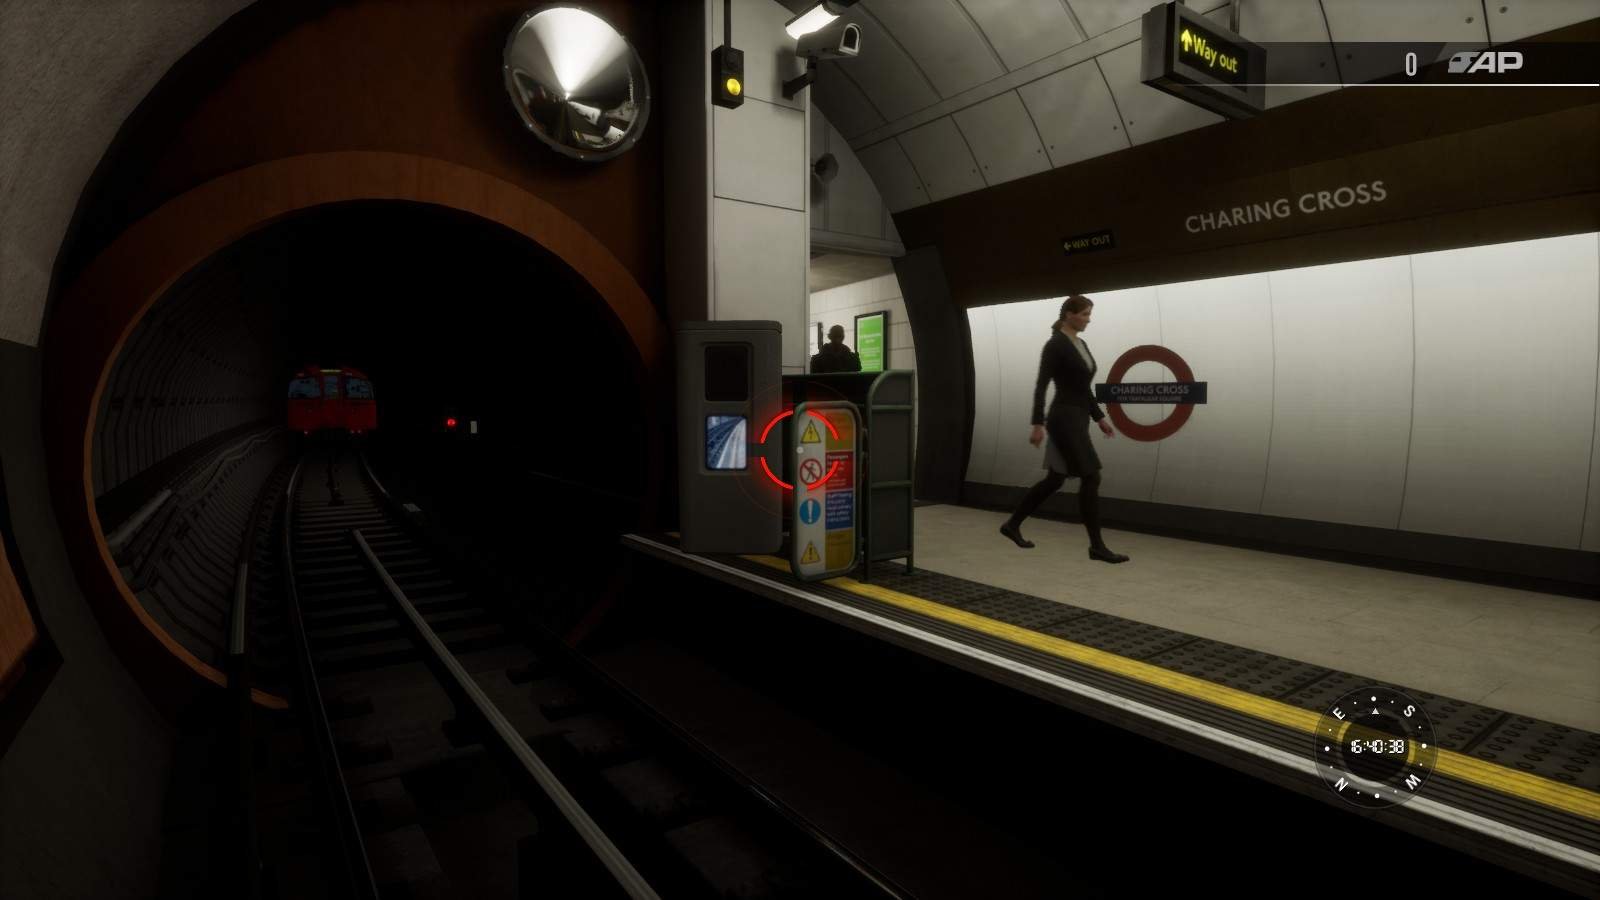
Charing Cross
Platform monitor 1
Eastern end of southbound platform
Newspaper
Eastern passageway between the platforms
Poster
Middle passageway between the platforms
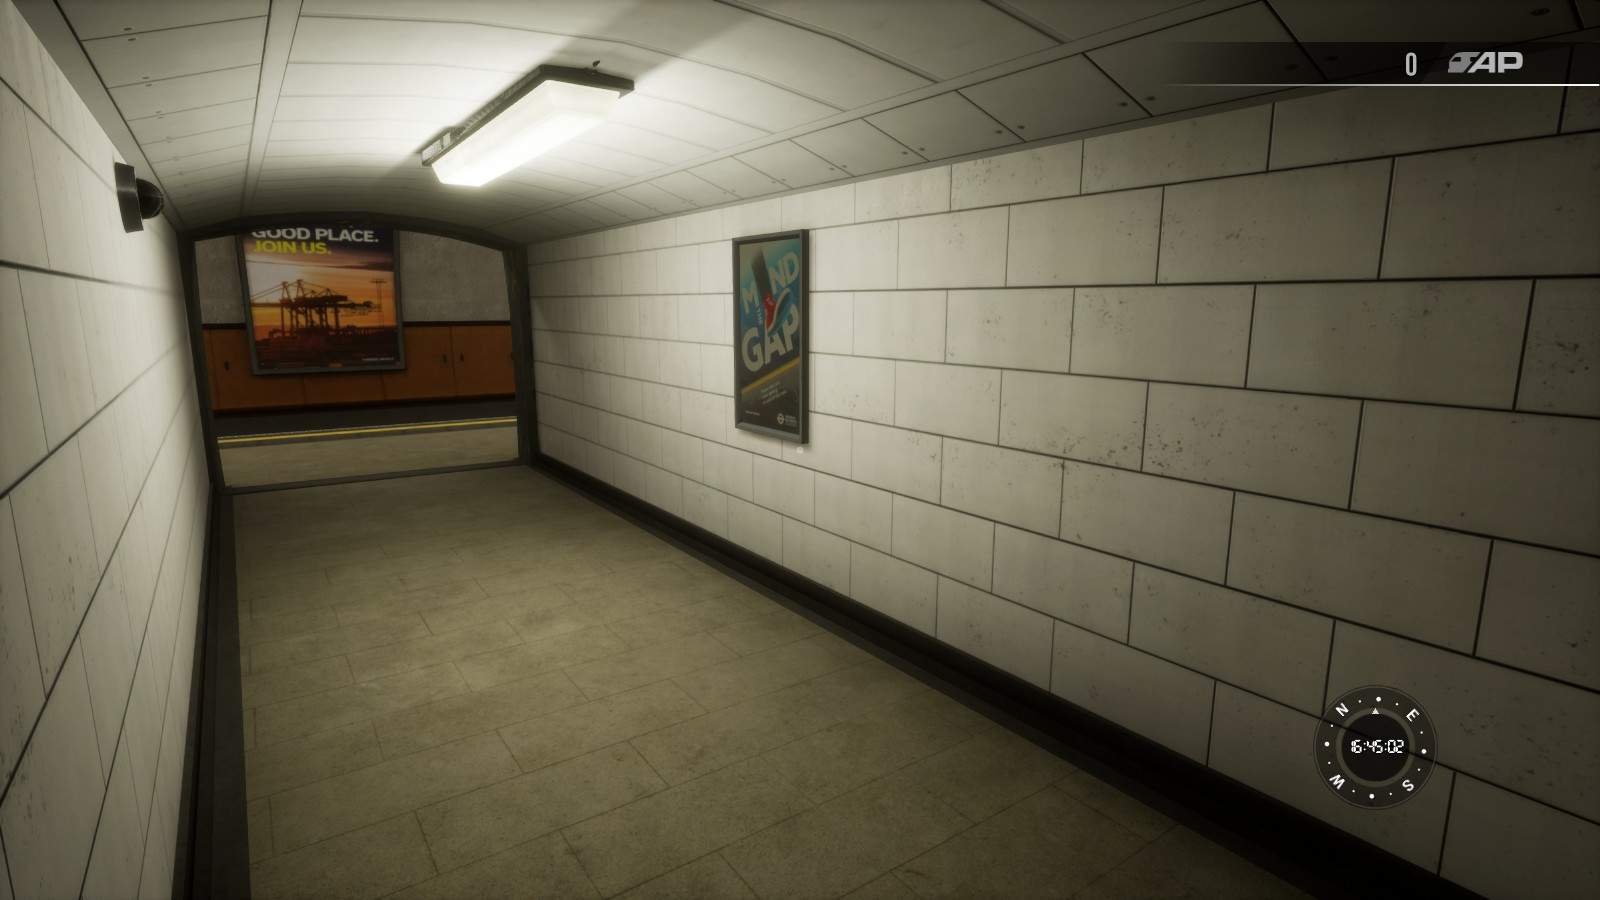
Routemap
Western passageway between the platforms
Platform monitor 2
Western end of northbound platform
Embankment
Poster
Southbound platform, eastern stairs to overpass

Newspaper
Northern end of overpass. Near the stairs to southbound platform.

Routemap
Middle of the overpass between the platforms.

Monitor
Western end of northbound platform.

Waterloo
Platform monitor
Southern end of the southbound platform.

Routemap
Middle of the northern overpass.

Newspaper
Middle of the southern overpass.
Poster
Southern end of the northbound platform.
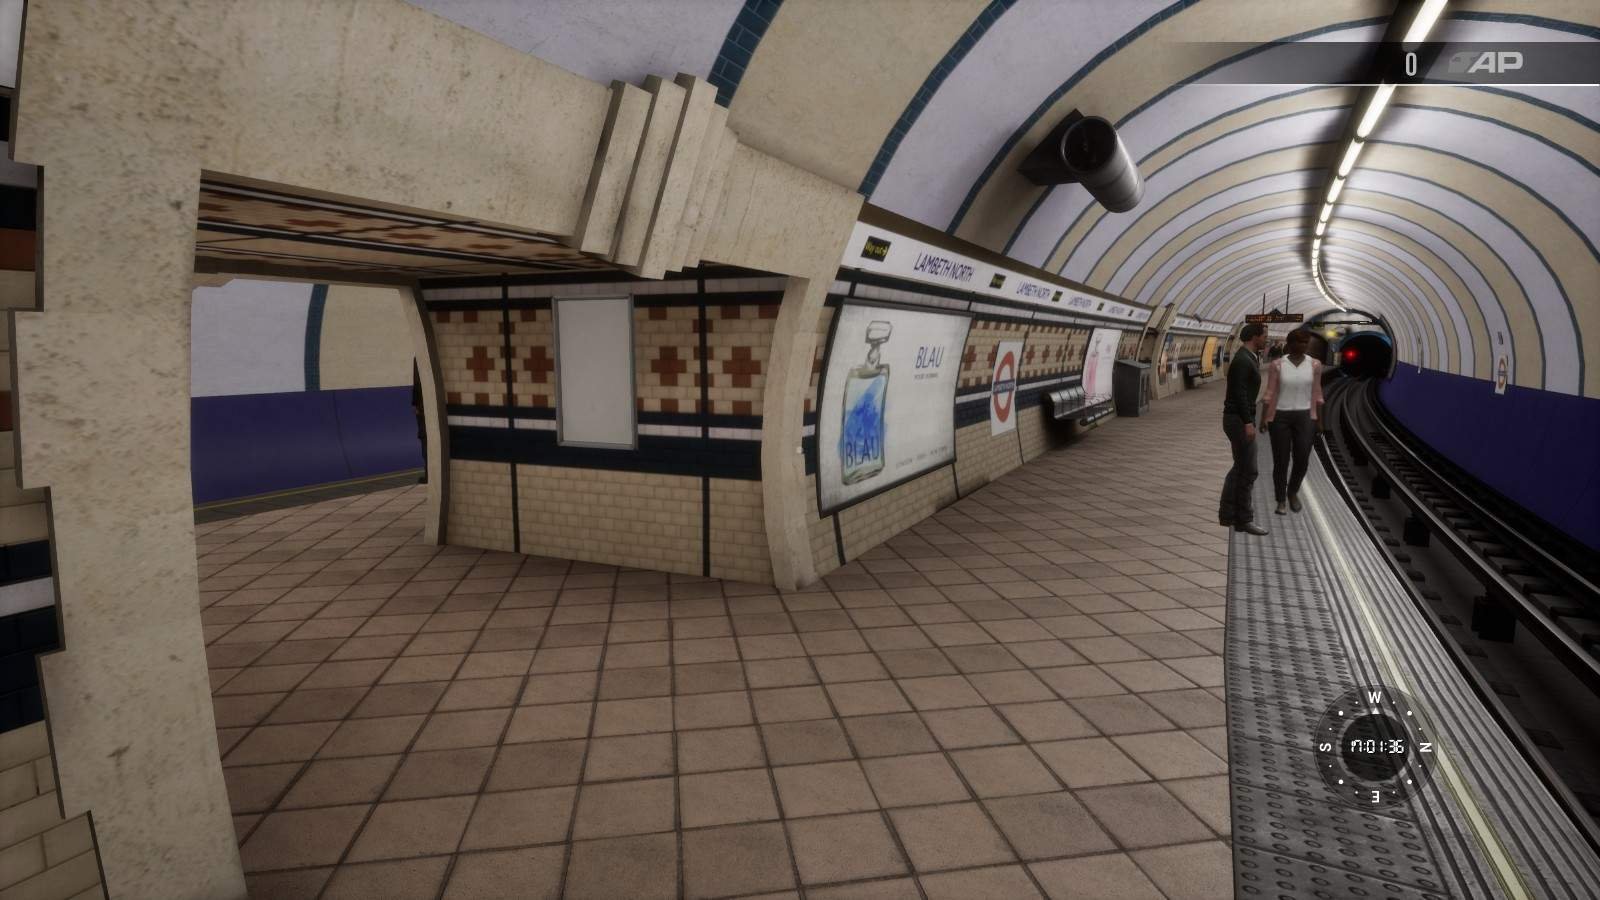
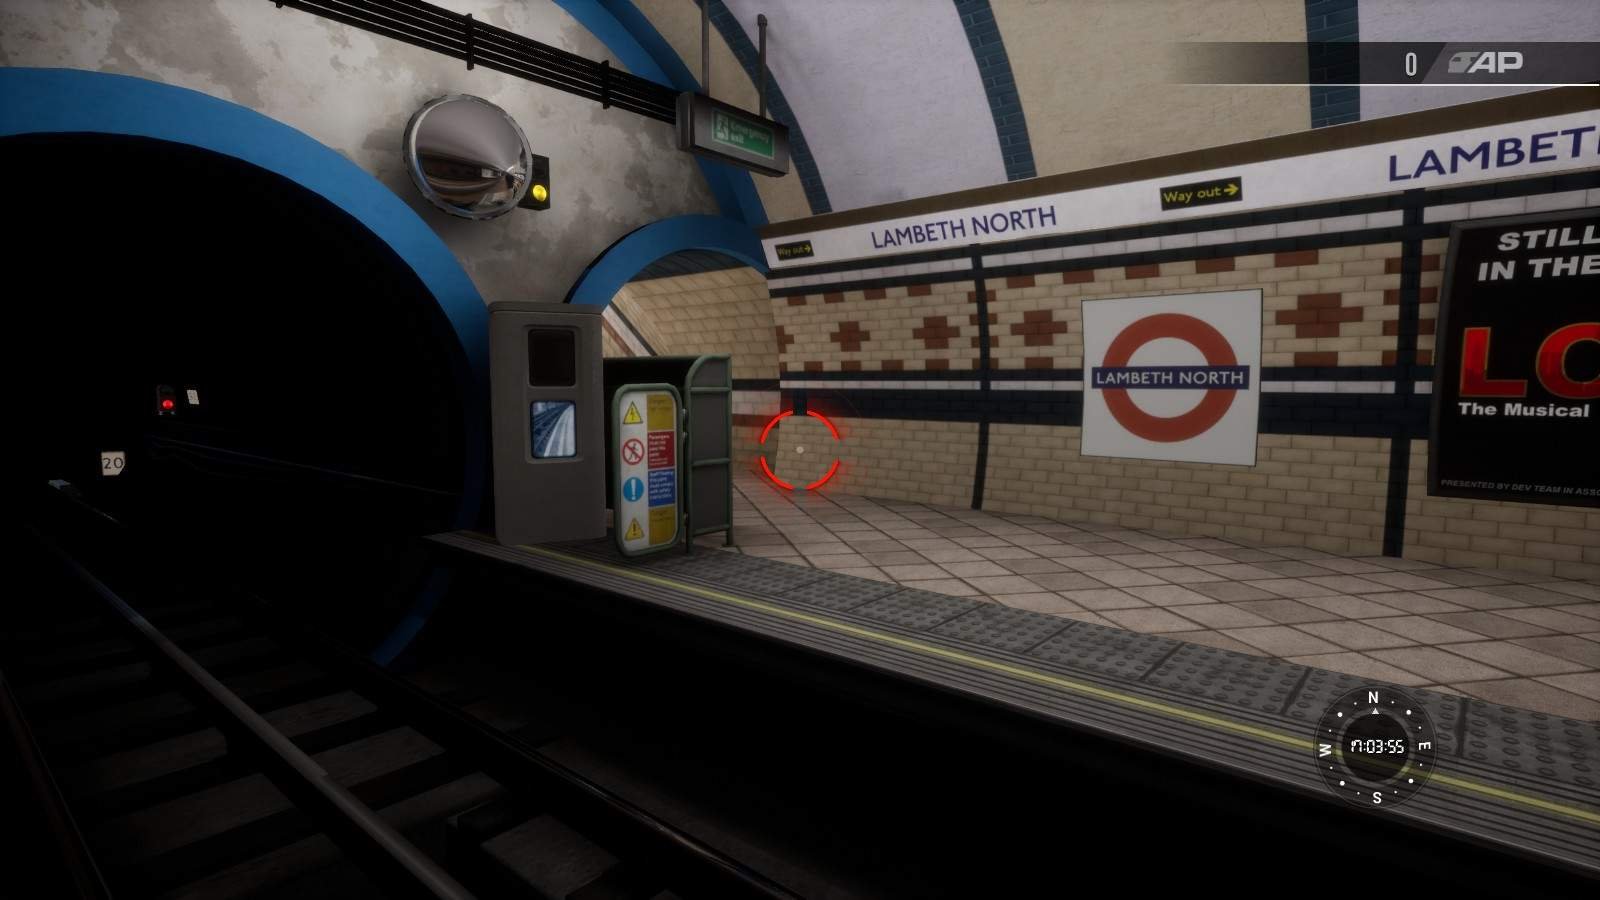
Lamberth North
Routemap
Western passageway between the platforms
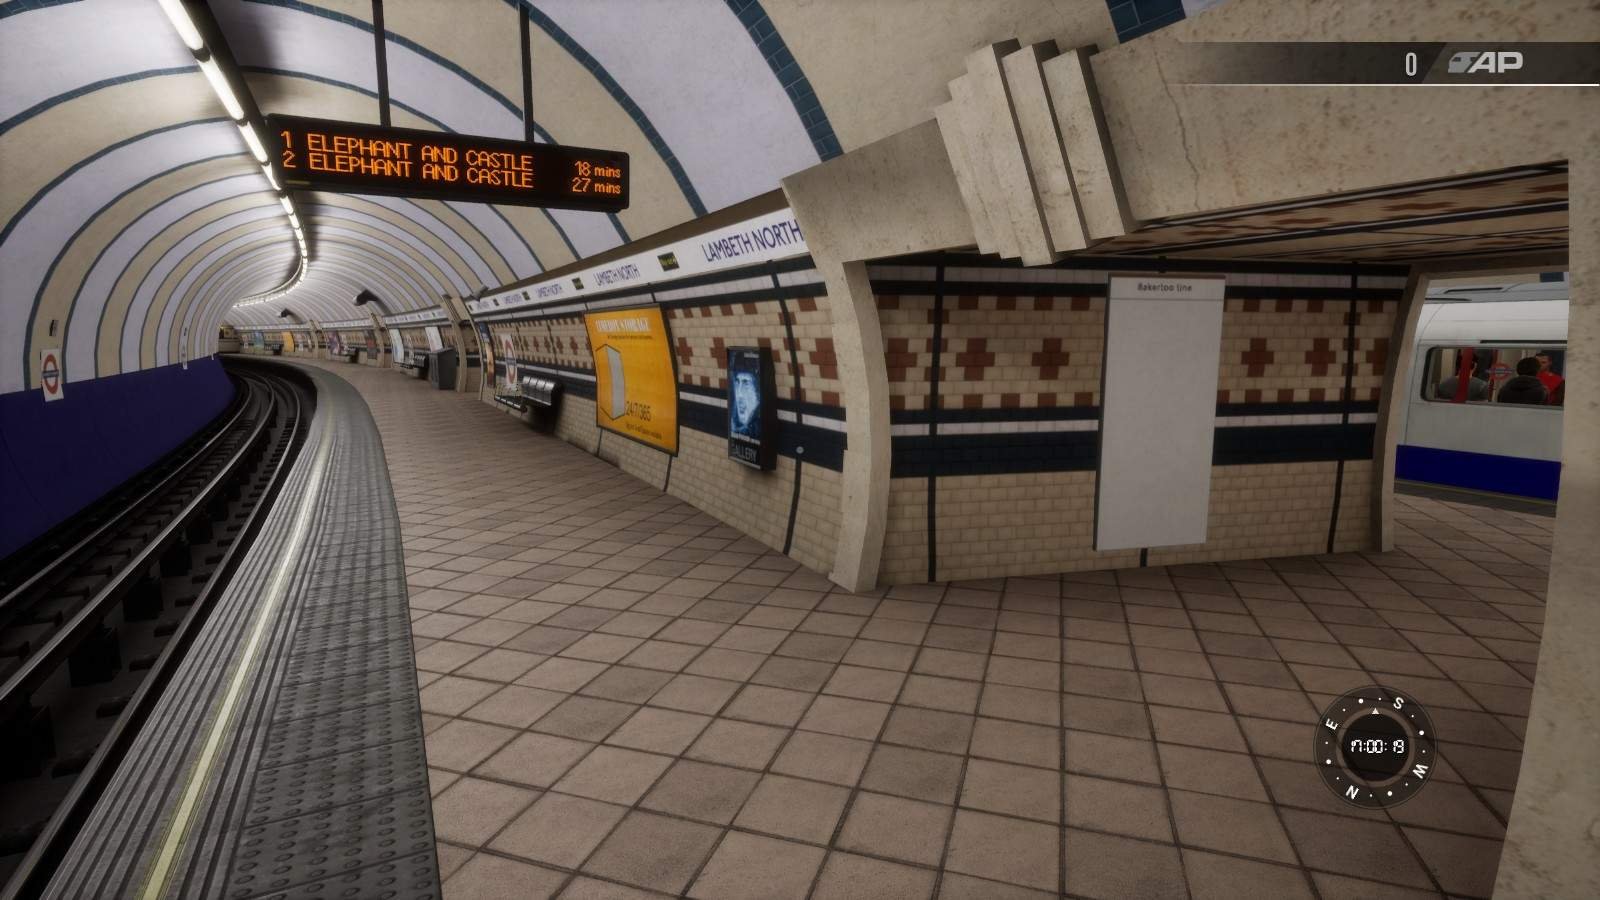
Poster
2nd passageway between the platforms from east
Platform monitor 1
Eastern end of southbound platform

Platform monitor 2
Western end of westbound platform
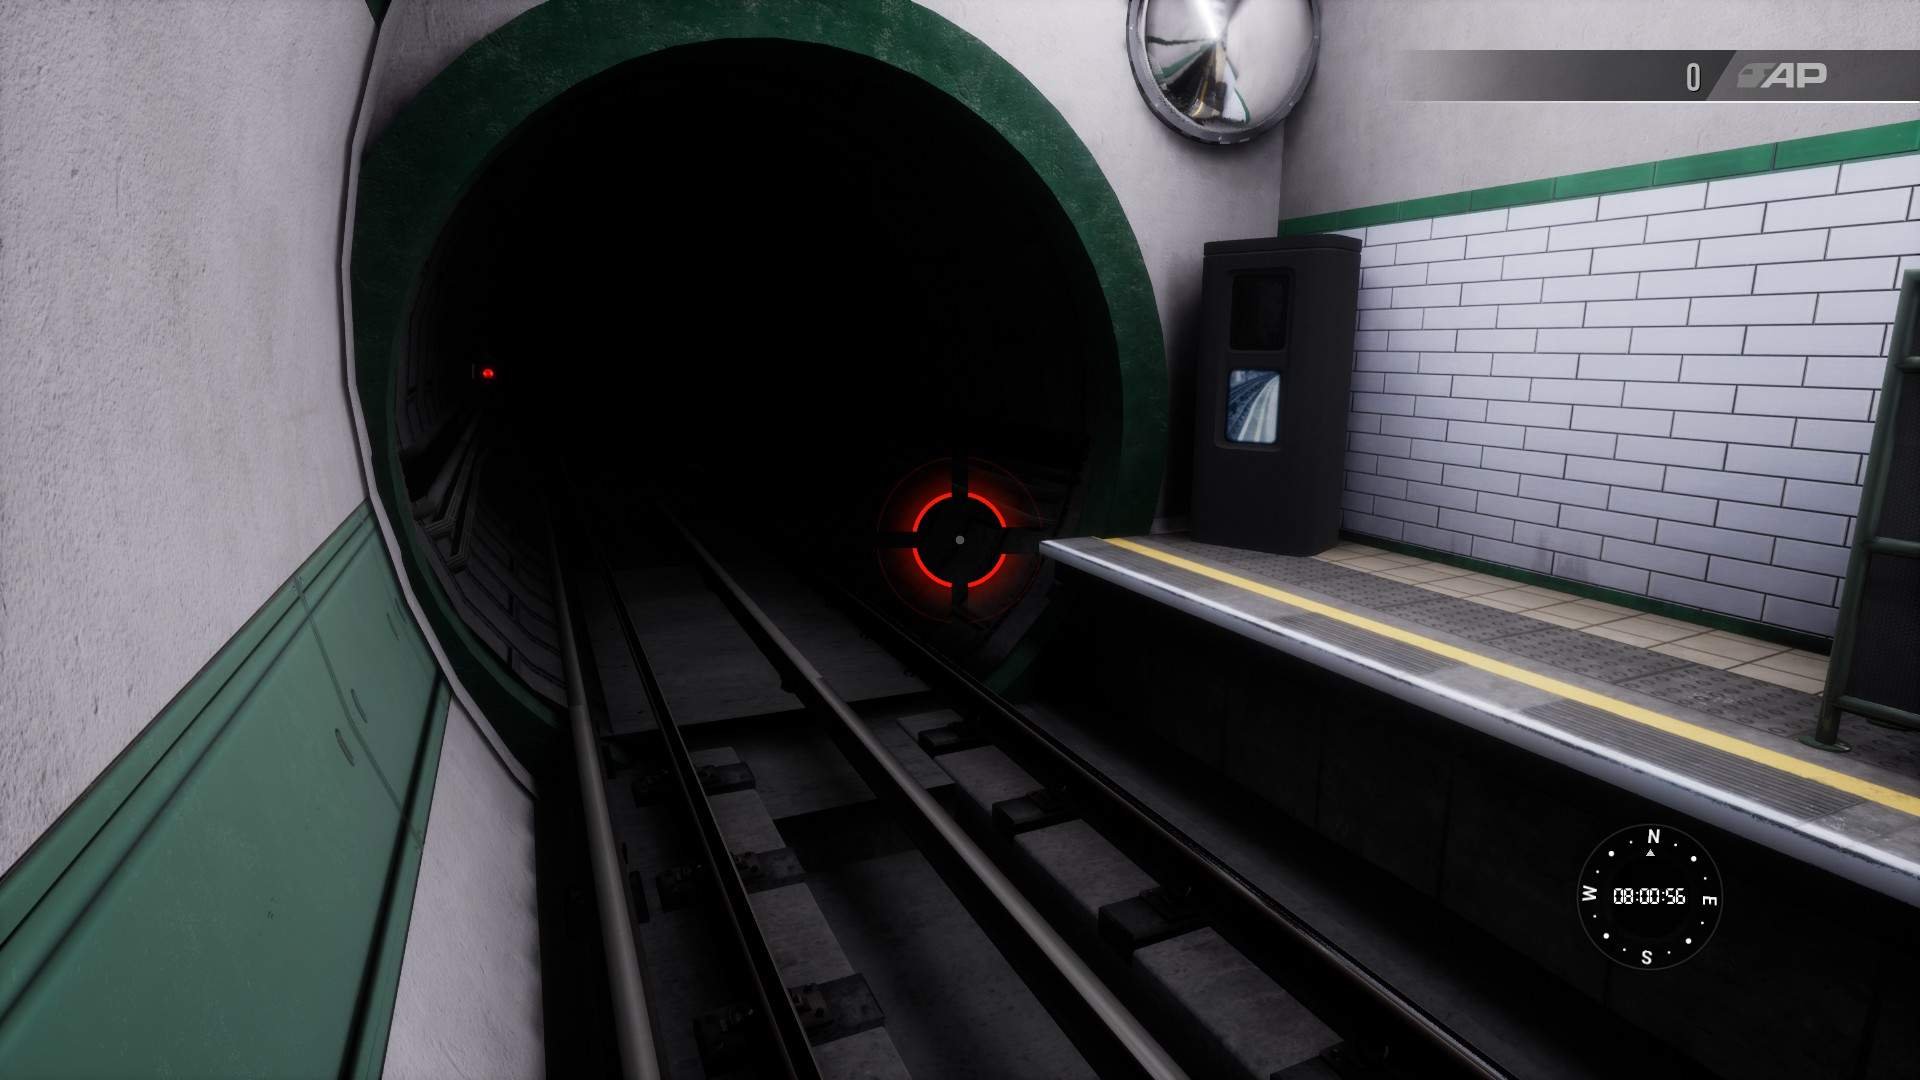
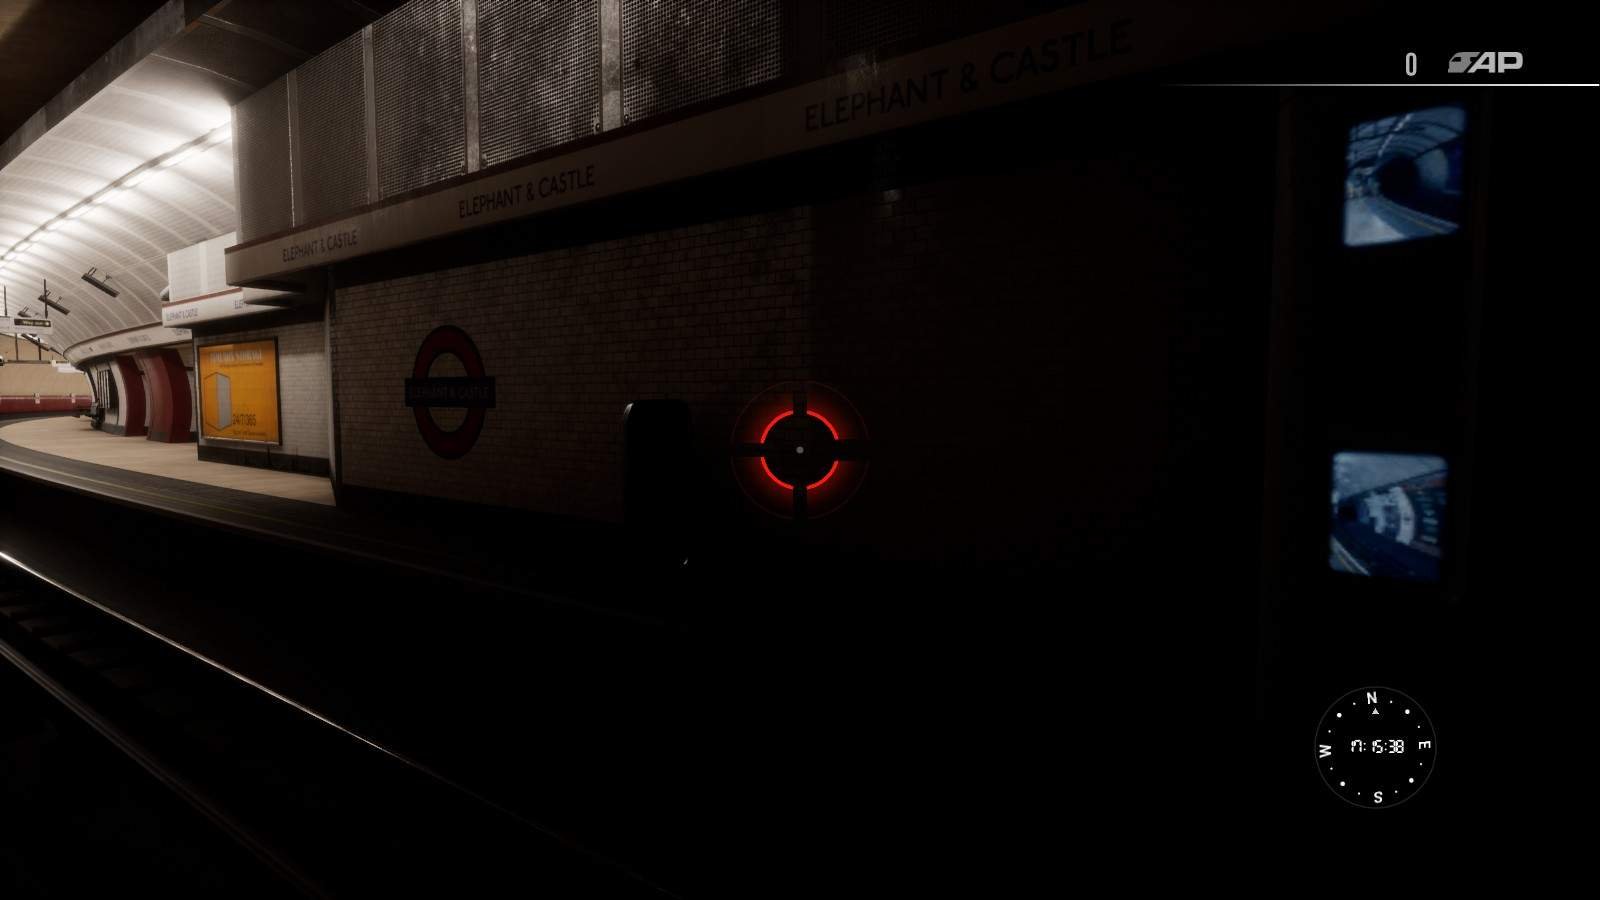
Elephant & Castle
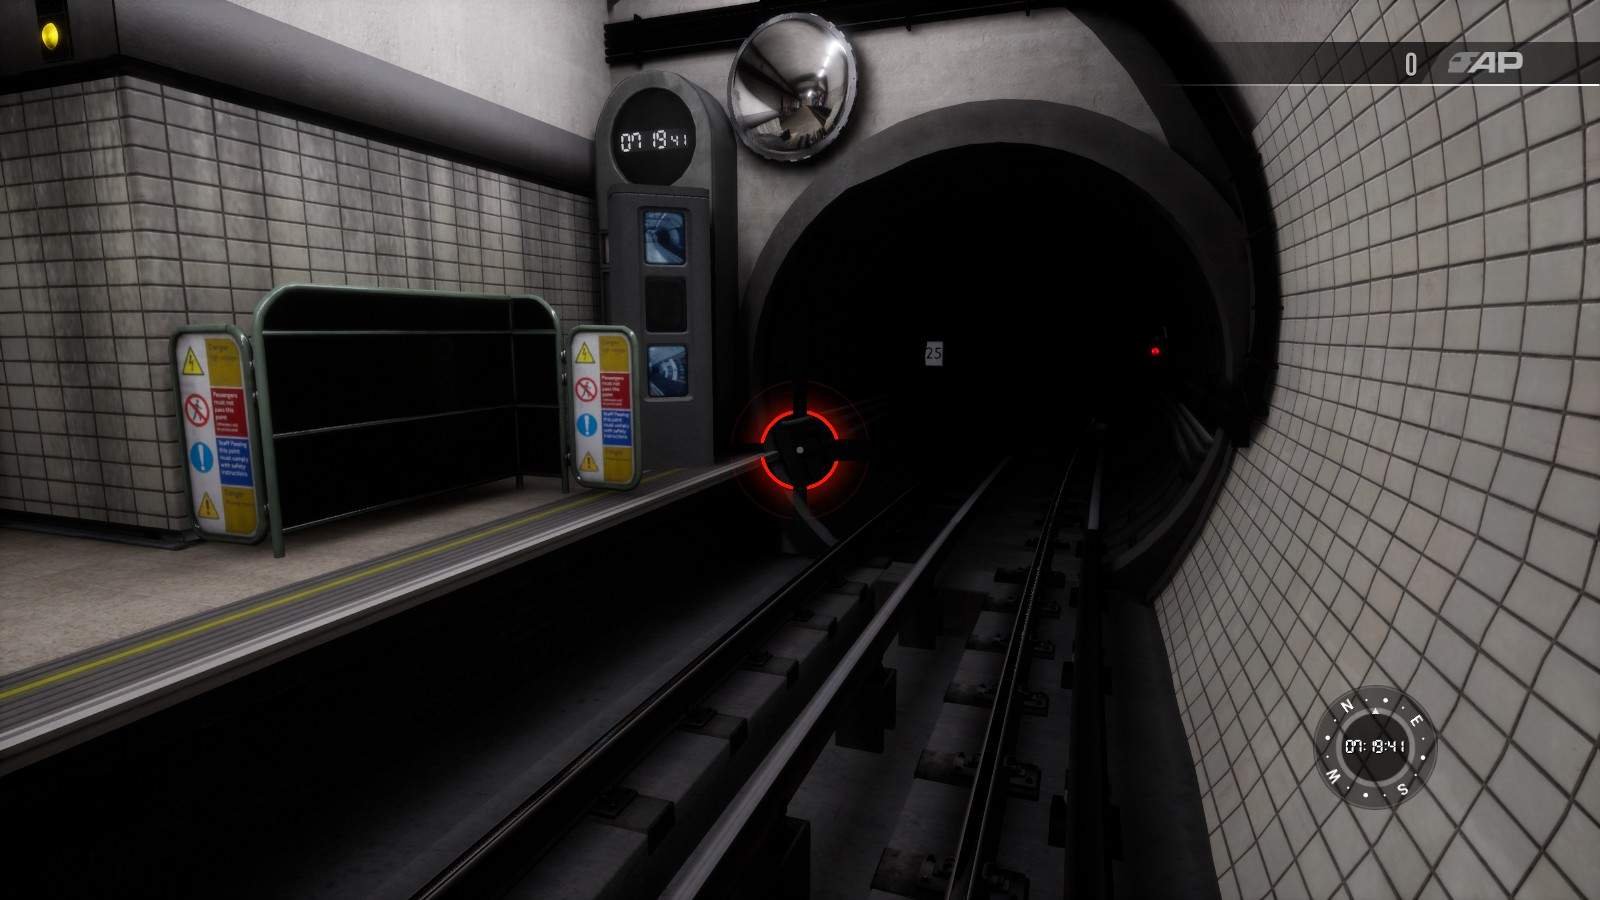
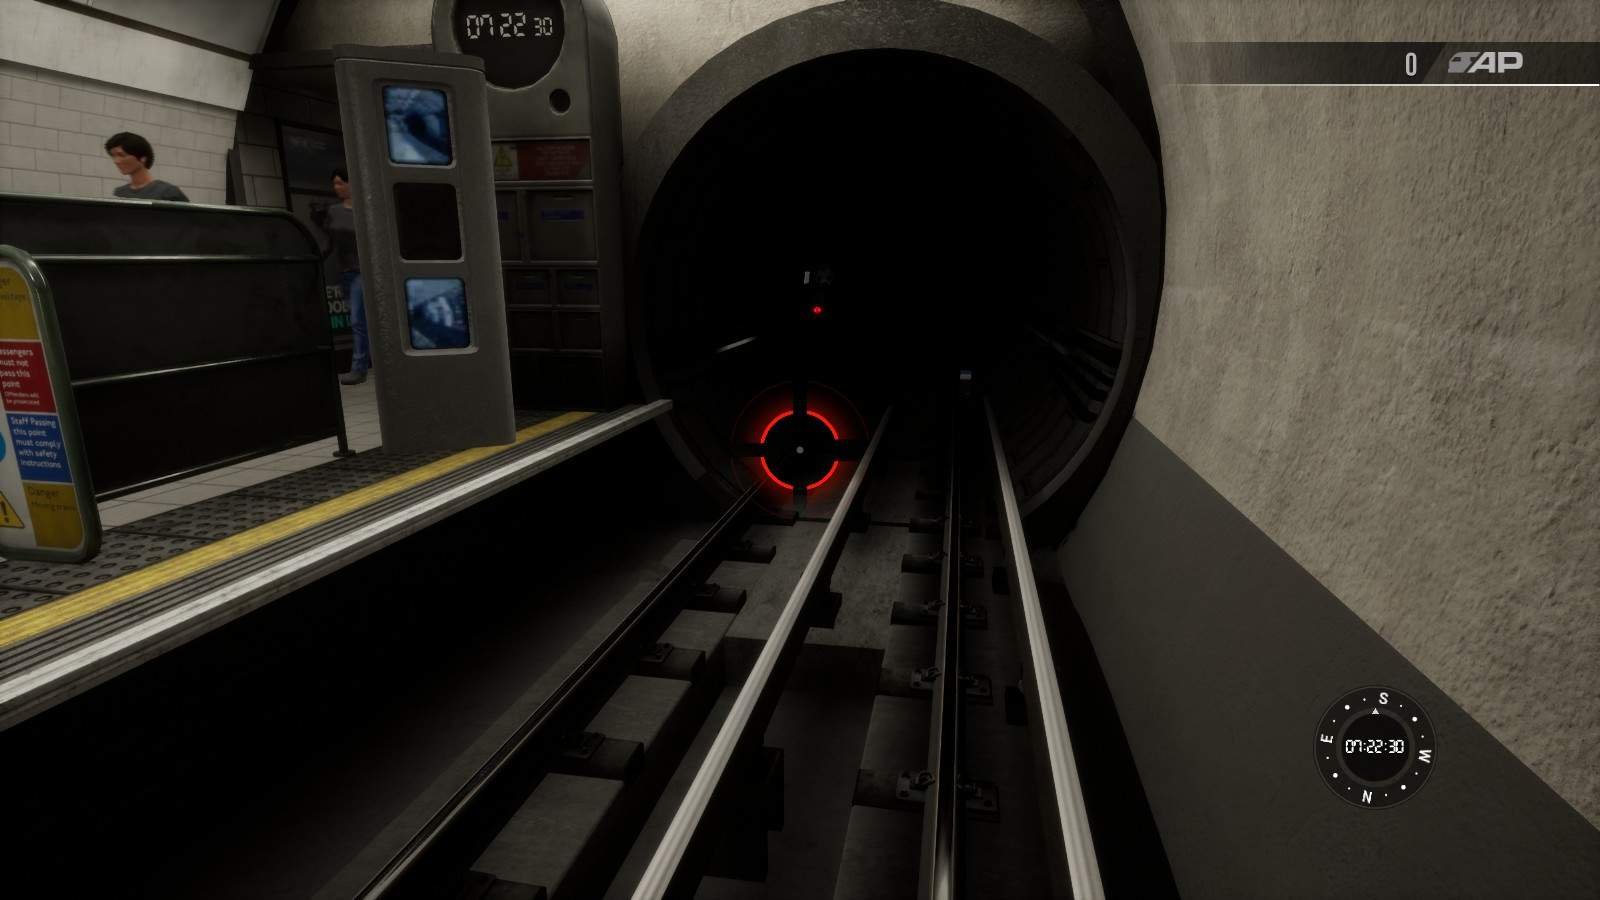
Platform monitor 1
Eastern end of platform 3.
Note: There is invisible wall on the platform at the end of the platform. Jump to the tracks and continue towards the tunnel.
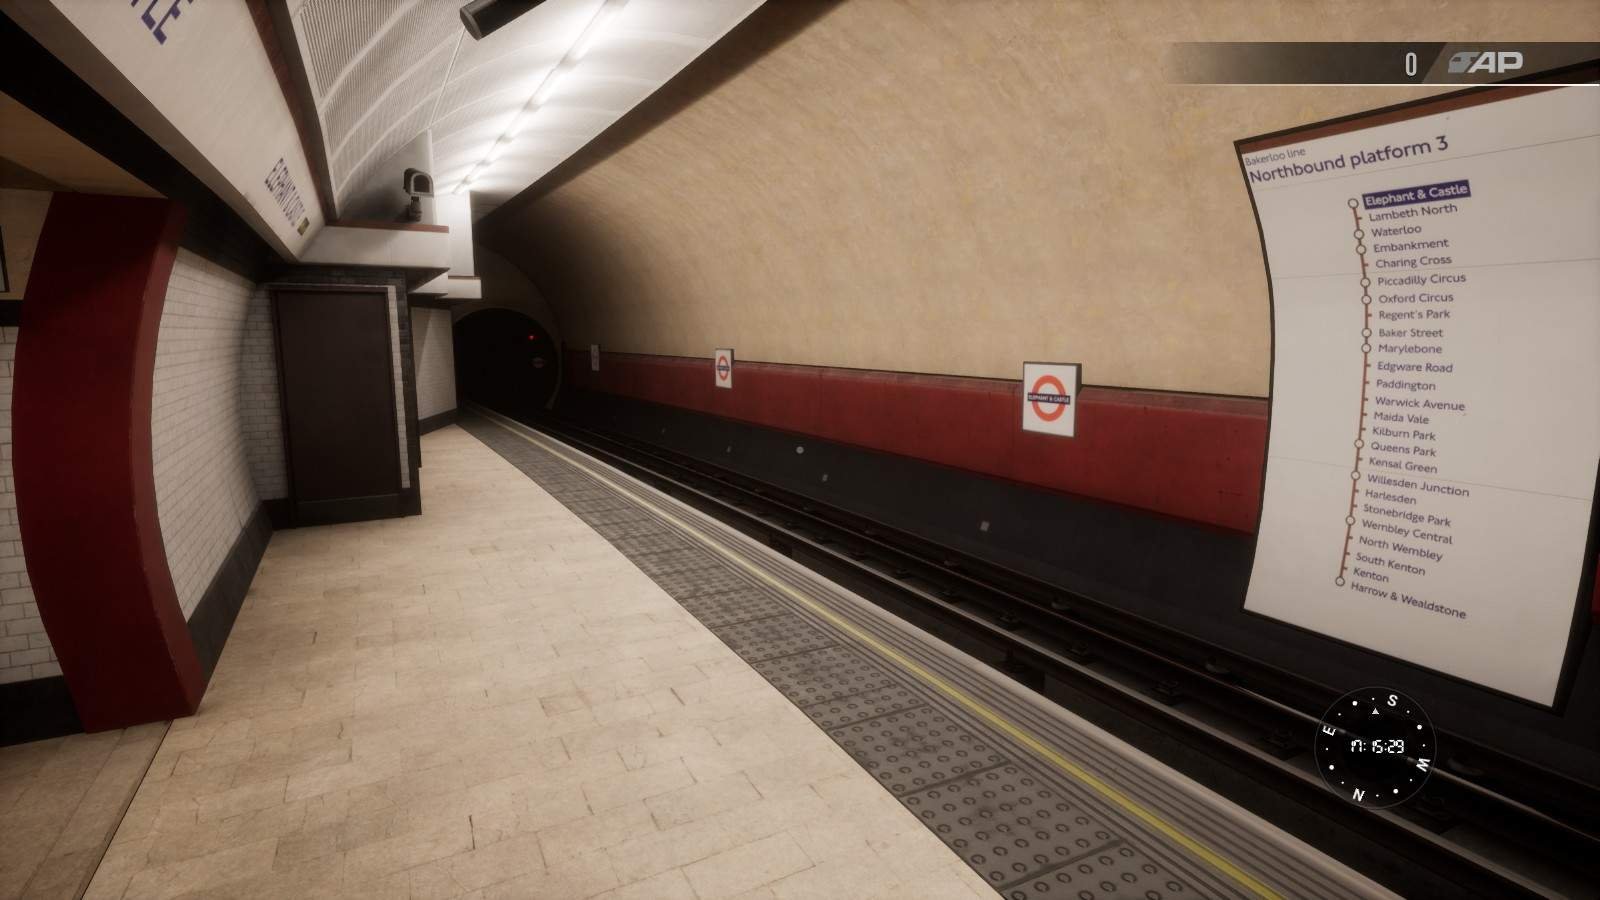
And you will find the monitor near the mouth of the tunnel.
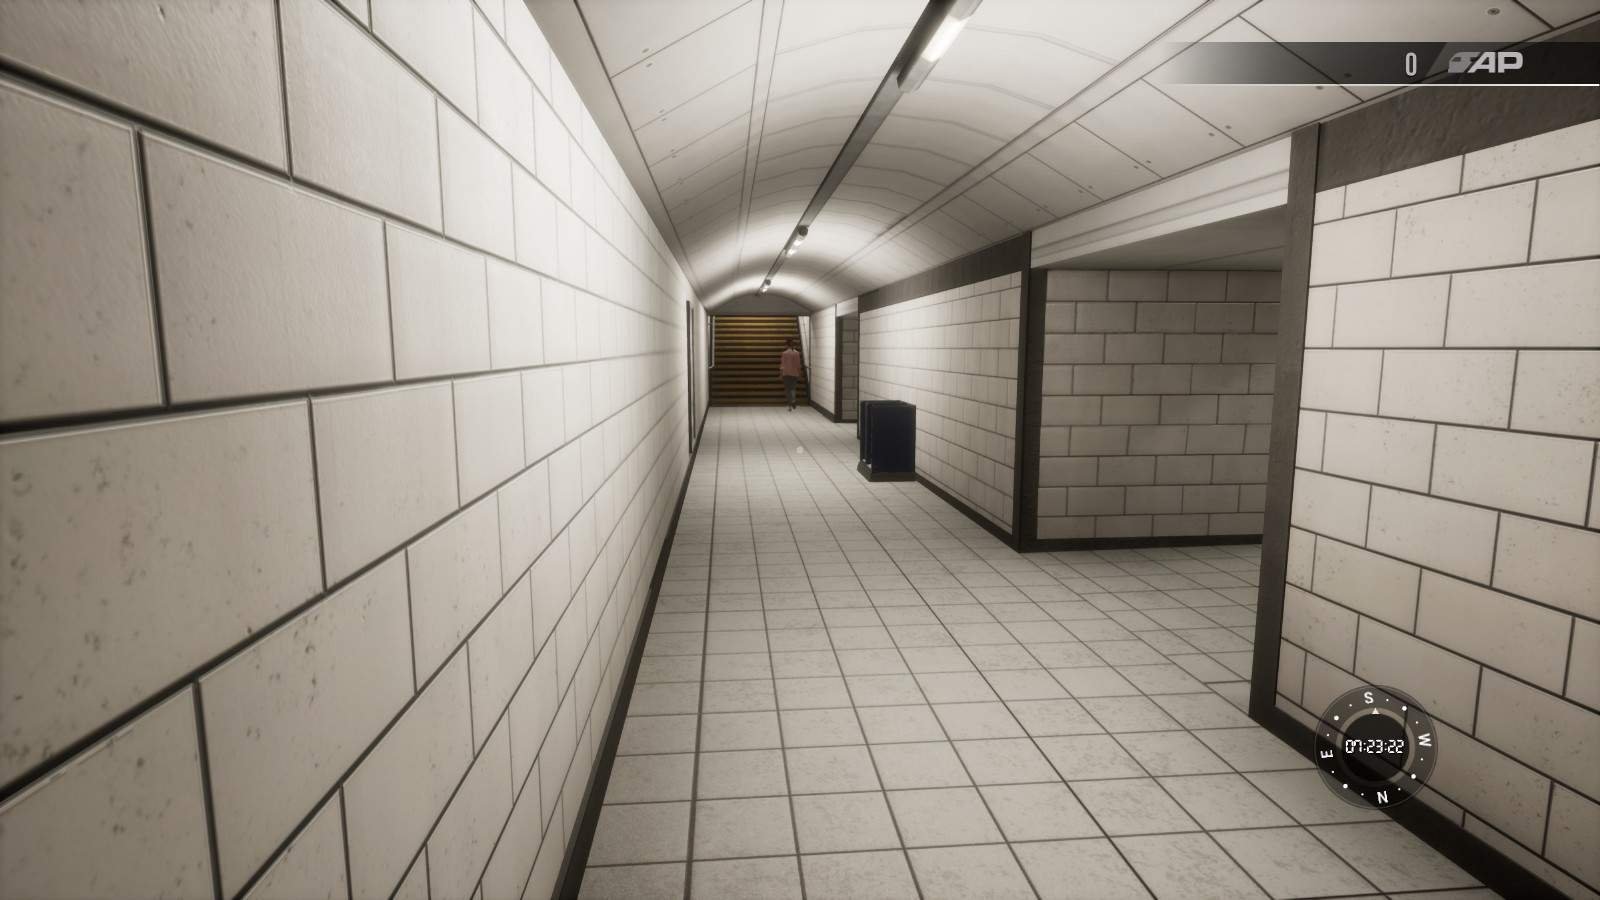
Poster
Eastern passageway
Routemap
2nd passageway from east. This passageway is right next to the poster passageway.

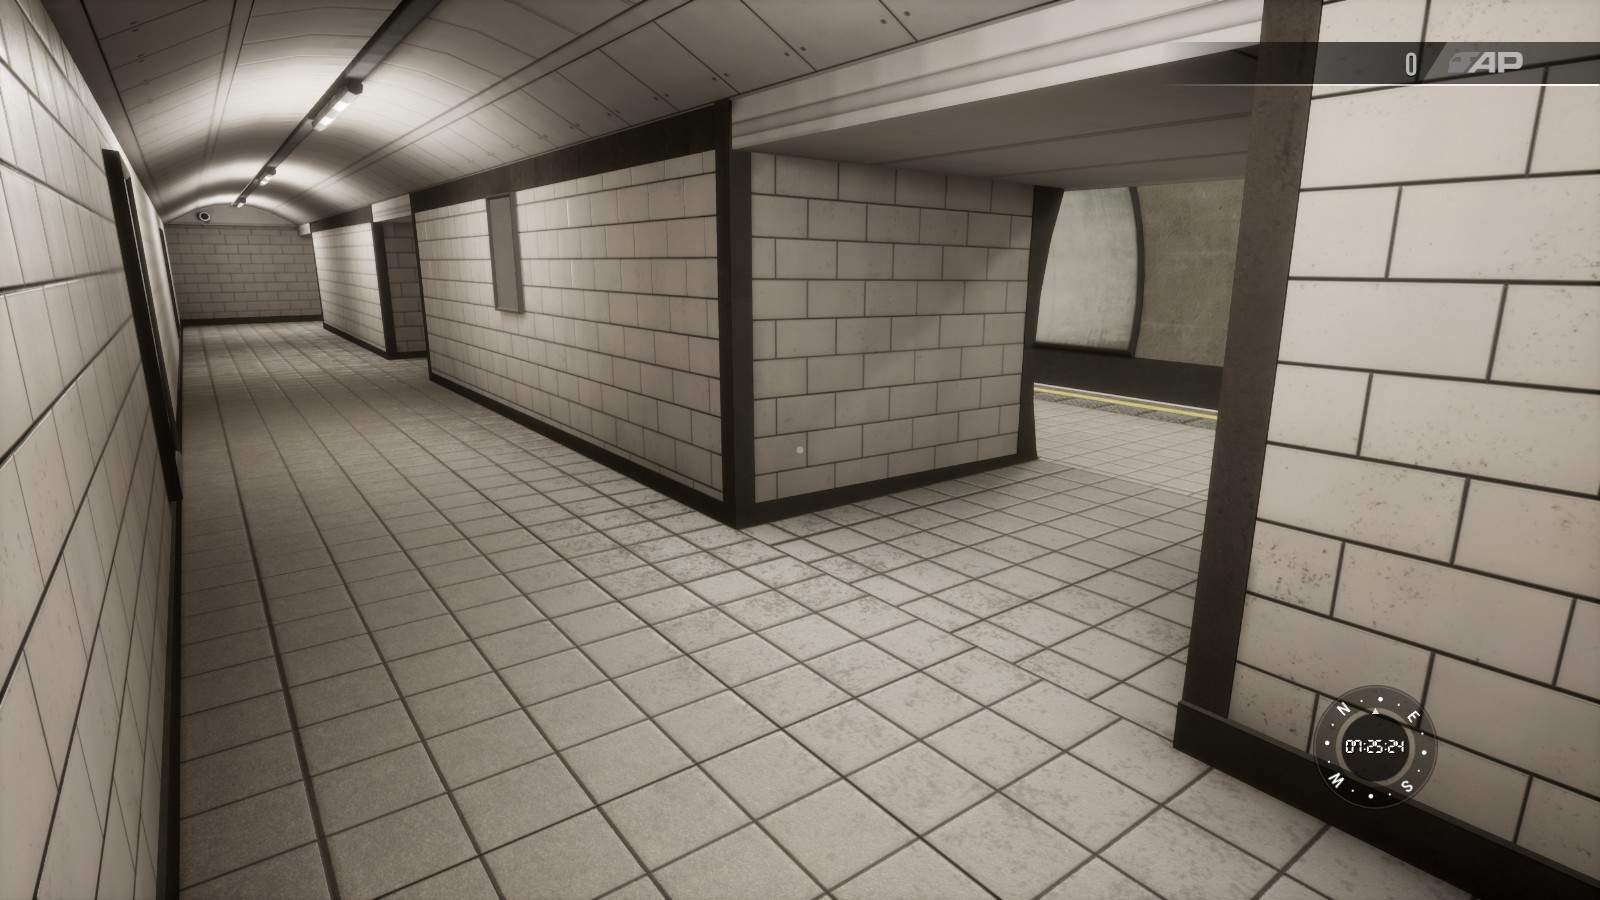
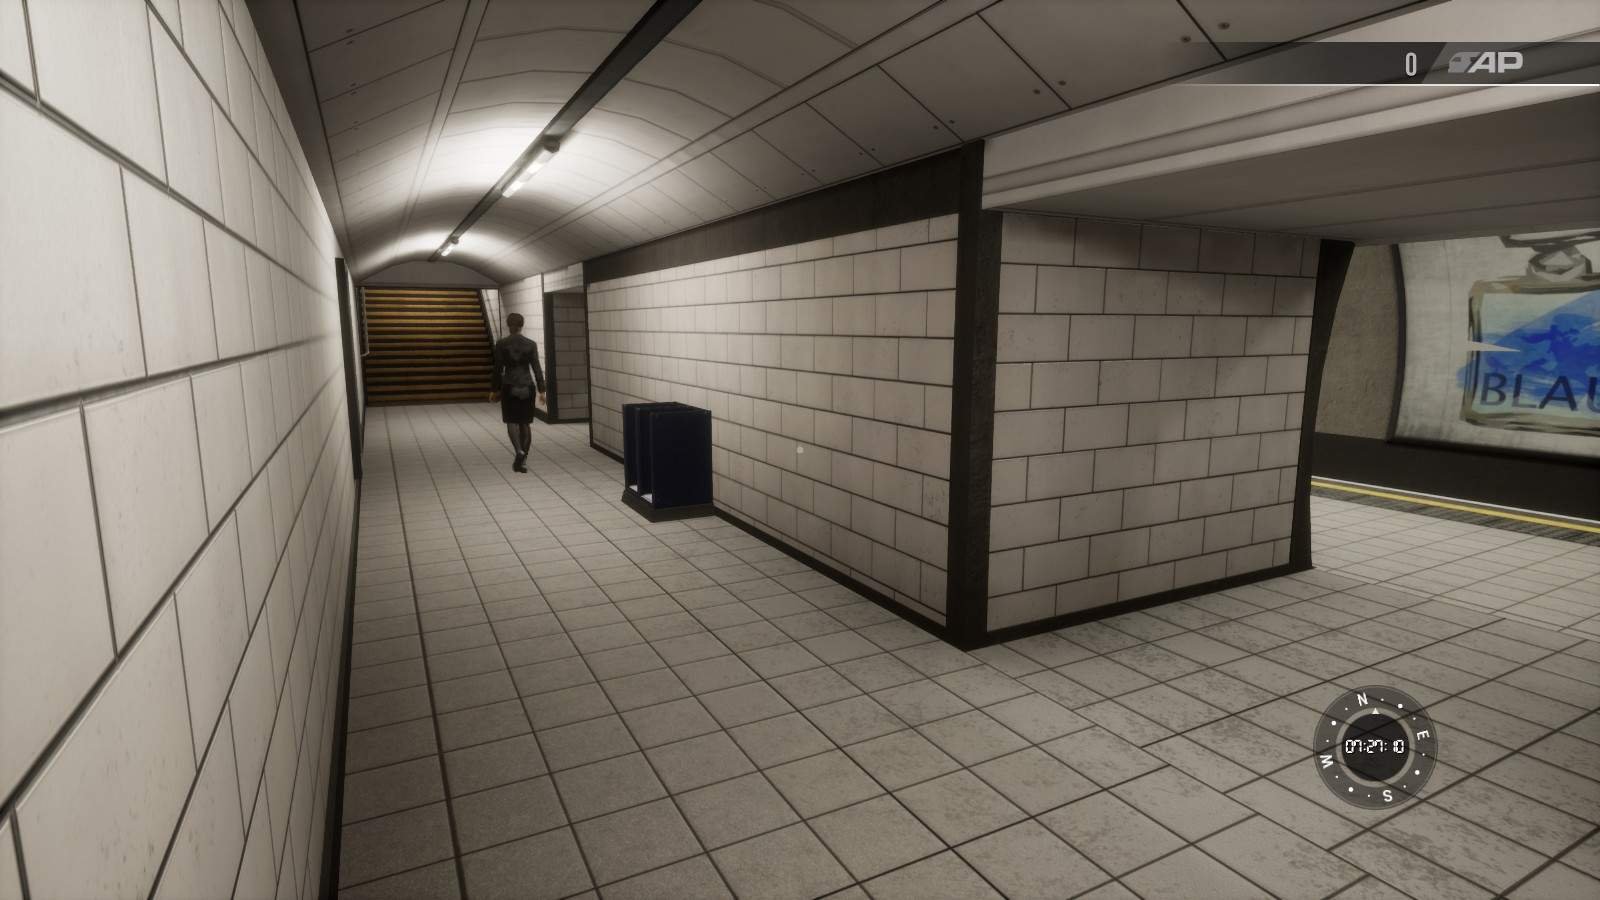
Newspaper
Western passageway.
Platform monitor 2
Western end of platform 4.
Be the first to comment