
Here you can find all locations of rare gems, sparkly gems and shiny gems.
Guide to Gem Locations (Where to Find)
Chapter 1
Sparkly Gem #1 – Road to Ikenfell

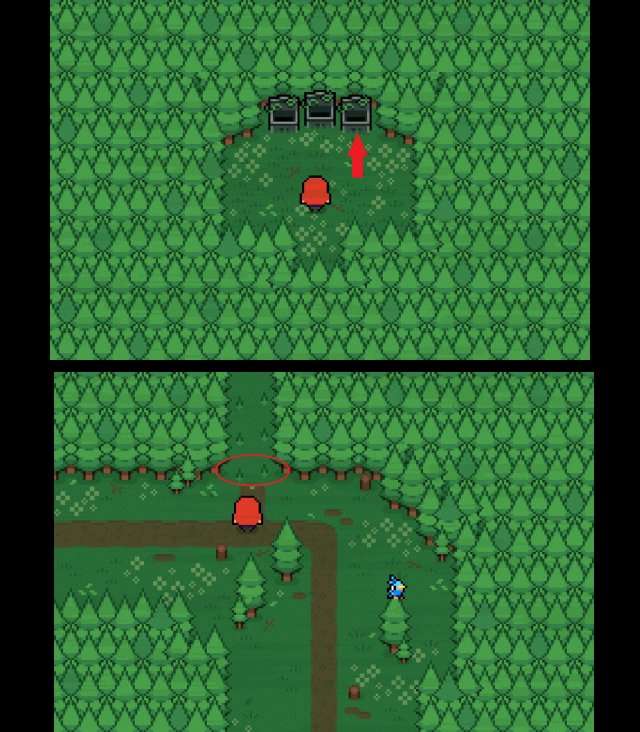
Rare Gem #1 – Forest of Secrets
Chapter 2
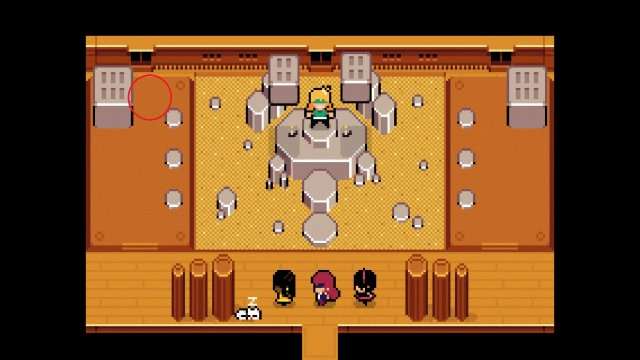
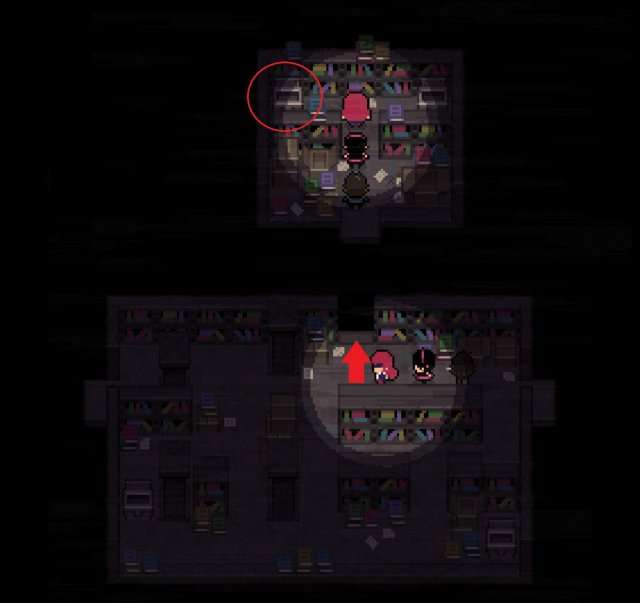
Rare Gem #2 – Ikenfell Grounds

Rare Gem #3 – Ikenfell Grounds
To remove the tree, you first need to talk to Bea. She is in the area directly to the east of the entrance to the Southern Dorms. After you interact with her, you should be able to click on the tree, and it will go away.

Rare Gem #4 – Southern Dorms
Click on mirror to reveal 3rd stall.

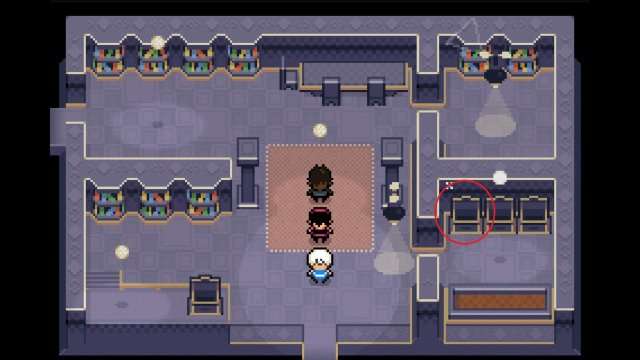
Rare Gem #5 – Southern Dorms
Area with gem is invisible at first, go through wall to make it appear.

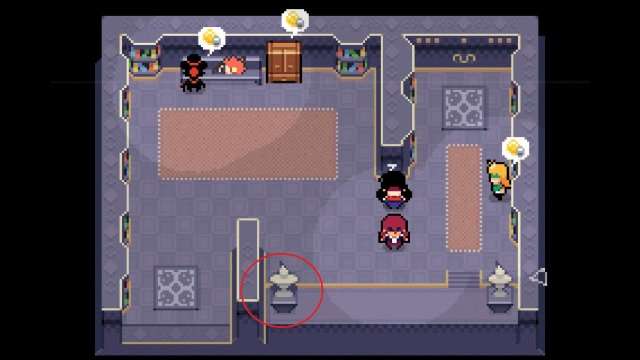
Rare Gem #6 – Southern Dorms
Rare Gem #7 – Alchemy Lab
Rare Gem #8 – Alchemy Lab
New path after defeating boss.

Chapter 3
Rare Gem #9 – Hidden Path

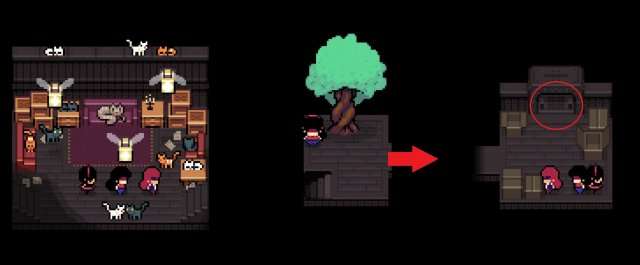
Sparkly Gem #2 – Northern Dorms
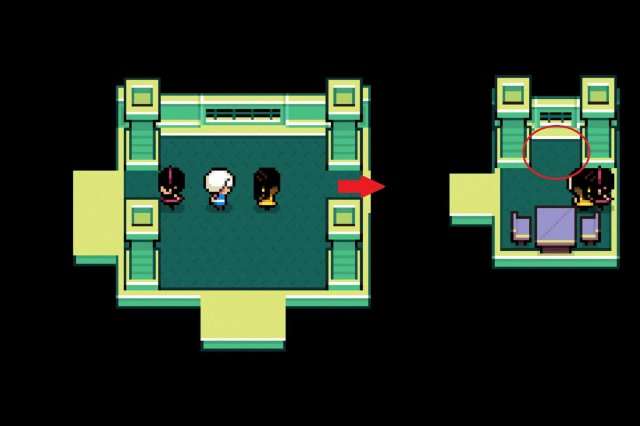
Giselbert Family Room – click on bookcase to make it disappear.

Rare Gem #10 – Northern Dorms
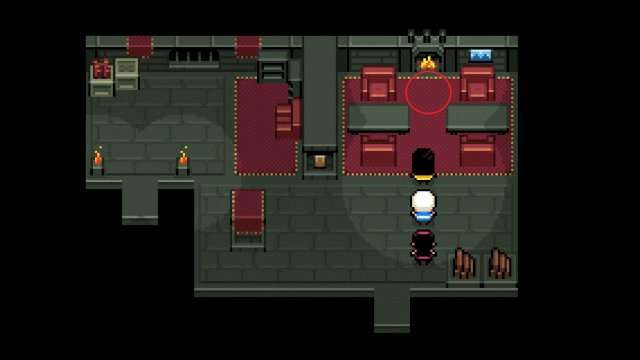
Reward for winning 1-on-1 battle against Gilda.
Rare Gem #11 – Snatcher’s Lair

Chapter 4
Rare Gem #12 – Twilight Yard

Rare Gem #13 – Twilight Yard

Rare Gem #14 – Astronomy Tower

Rare Gem #15 – Great Hall

Rare Gem #16 – Great Hall
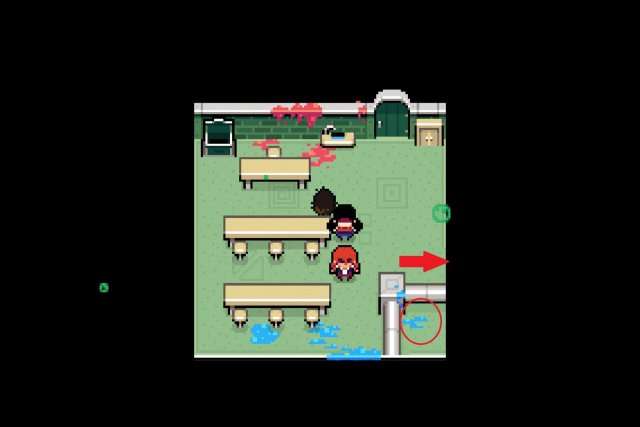
Bathroom stall doors puzzle.

Rare Gem #17 – Spirit Oval

Rare Gem #18 – Spirit Oval

Chapter 5
Sparkly Gem #3 – Great Hall
After Spirit Oval and Bax removing red vine.
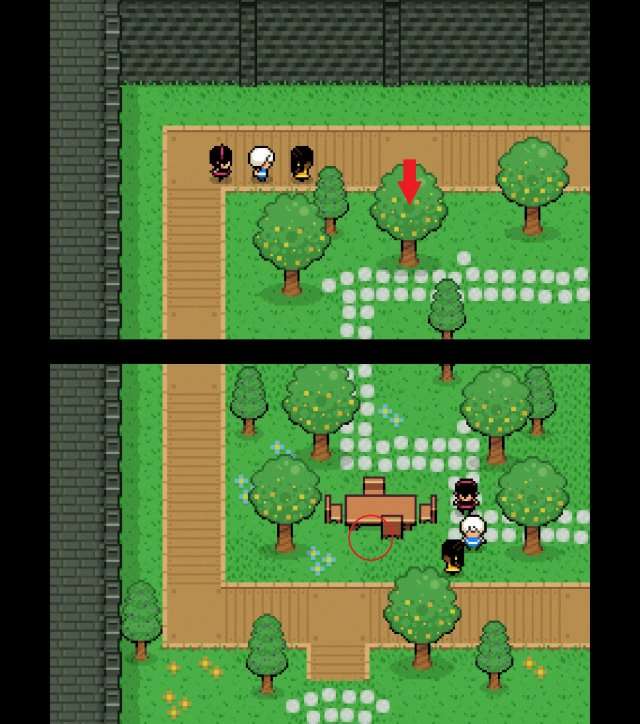
Rare Gem #19 – Orchard
Shiny Gem #1 – Cemetery
Sparkly Gem #4 – Roost

Shiny Gem #2 – Roost
Sparkly Gem #5 – Forest Ruins
Hidden path from boss area.
Chapter 6
Sparkly Gem #6 – Ikenfell Grounds

Rare Gem #20 *Last One* – Duelling Hall

Shiny Gem #3 – Duelling Hall
Sparkly Gem #7 – Ikenfell Grounds
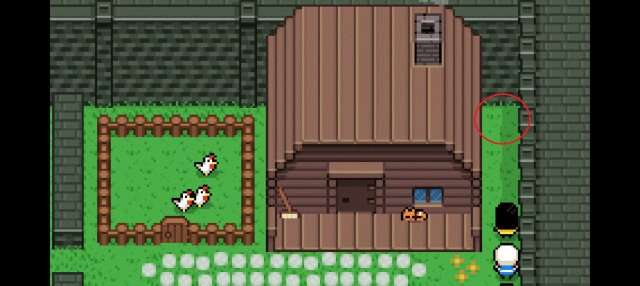
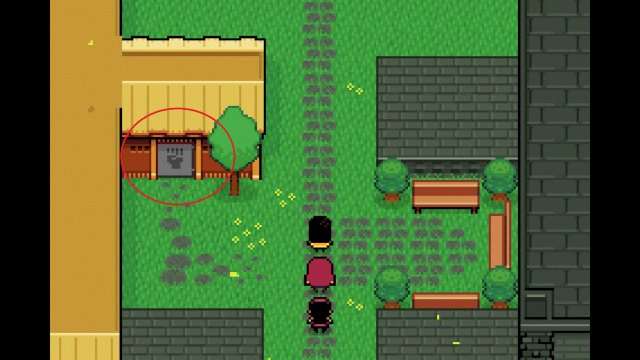
Small building near Southern Dorms, can be accessed with the strength skill.
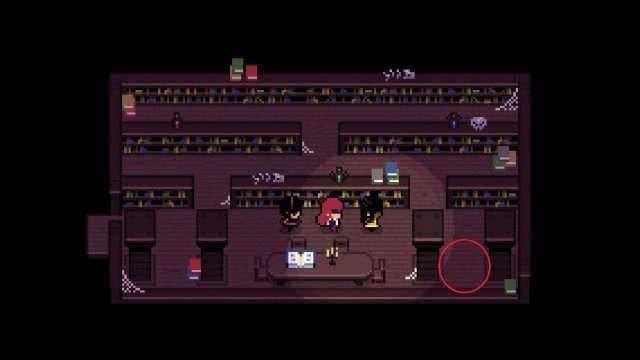
Shiny Gem #4 – Archives
Click on white book to open passage.

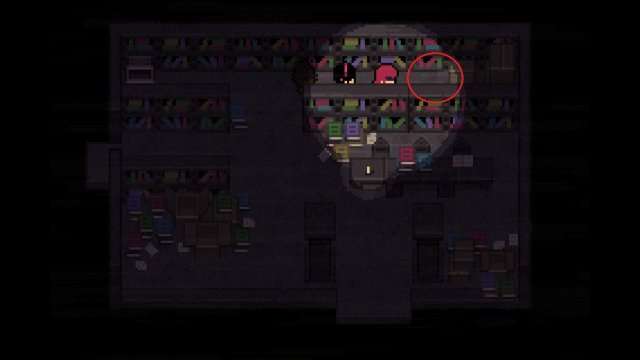
Shiny Gem #5 – Archives
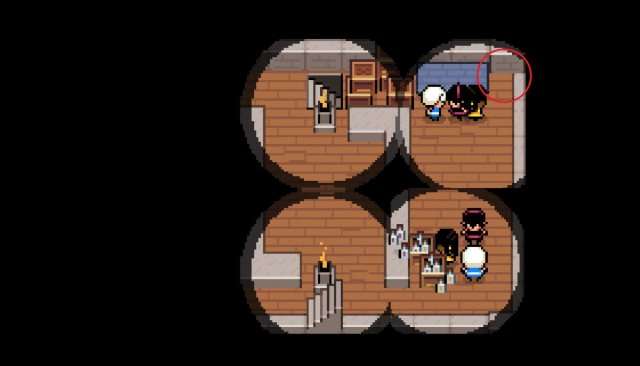
After cutscenes at the end of Archives, room to the right.
Chapter 7
Shiny Gem #6 – Gardens
Boss room.

Shiny Gem #7 – The Stacks
Entrance.
Sparkly Gem #8 – The Stacks
First room with ‘motion detection’ ghosts.
Chapter 8
Shiny Gem #8 *Last One* – Spelltower
1st floor.
Sparkly Gem #9 – Spelltower
Click on statue and it will disappear and reveal gem.
100 Power + Chapter 6 or Later (Access to Duelling Hall)
Sparkly Gem #10 – The Allcat
Thanks!