Several people have more than one Steam account and play Dota 2 in more than one of them. These folks often struggle with mirroring their configurations to the other account. This guide is meant to make this task easier.
How to Export Your whole Dota 2 Configuration to Another Account
Coverage
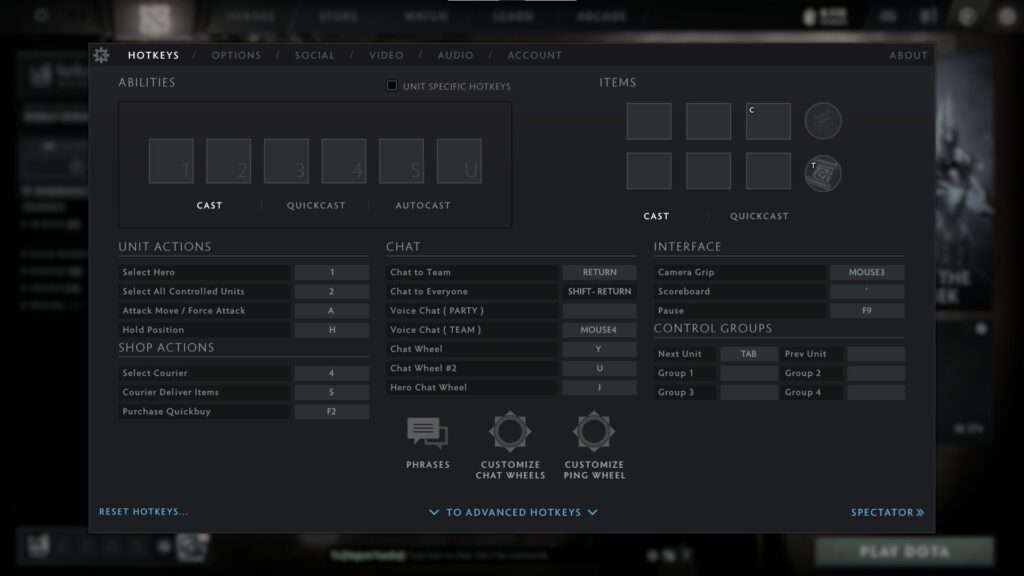
This method I will show you below includes all of your “in-game settings” configurations. By this I mean every configuration you set when you click the gear top-left corner.


This includes every setting you have over there, not only the hotkeys. This includes your options and even your chat wheel messages.
This doesn’t include bindings you create using the console or .cfg files. Several people use the “Directional Move” shortcut binded to the ALT key, for instance. This config can only be done using the console or .cfg files, since the game doesn’t provide this option through the settings itself. That means that, if you use this option, for instance, you’ll have to do it manually afterwards.
Exporting Your Configs
First you need to access your Steam installation folder. The path to this folder will probably be:
- %PROGRAMFILES(x86)%\Steam
or
- %PROGRAMFILES%\Steam
Inside this folder, you’ll have another one named “userdata”.

When you access it, you’ll see every account Steam ID3 (each folder is an account) you logged in using your machine.

Access the folder which name is the Steam ID3 from the account you want to import your configurations. If you don’t know how to get you Steam ID3 check the next session.
⠀
Depending on the games you played/installed, you might have several folders inside this one. Each folder is a game and its name represents the game ID. You want to access the folder named “570”, which is the Dota 2 steam game ID.

Then, all you have to do is copy the whole “remote” folder and then paste it on the other account’s folder.

You can see I even had this folder duplicated and renamed to “bru” for practical reasons – these are my Dota 2 configs.
TLTR
You want to copy the “remote” folder inside this path:
- %PROGRAMFILES(x86)%\Steam\userdata{EXPORT-ACCOUNT-STEAM-ID3}\570
And replace the one on:
- %PROGRAMFILES(x86)%\Steam\userdata{IMPORT-ACCOUNT-STEAM-ID3}\570
How to Get your Steam ID3
You can get you Steam ID3 using the game itself. This is the easiest method, but there are other methods as well, in case you can’t open the game at the moment.
In-game Methods
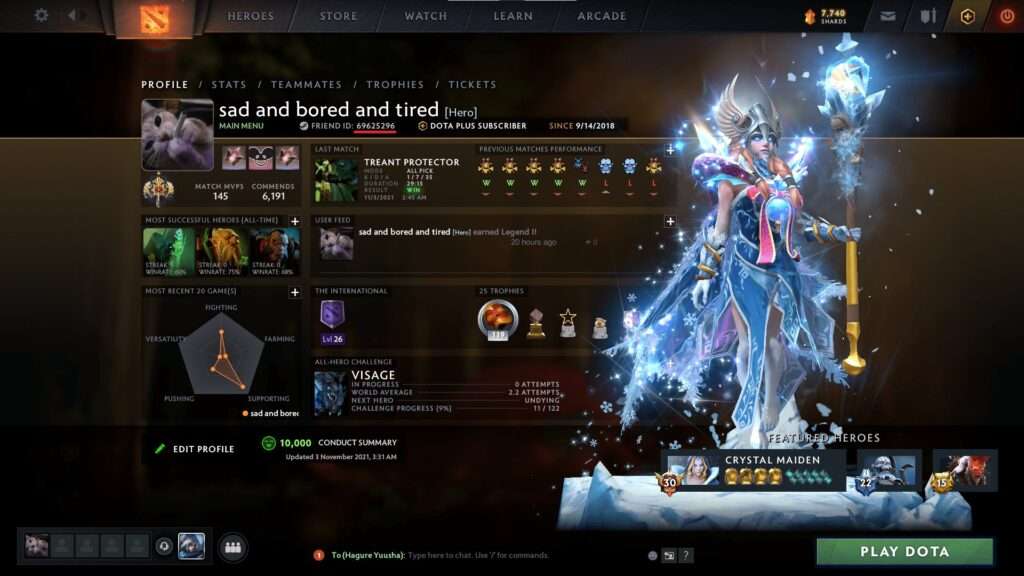
Dota 2 Profile
Your Steam ID3 will be right below your nick name, next to the “Friend ID” title:

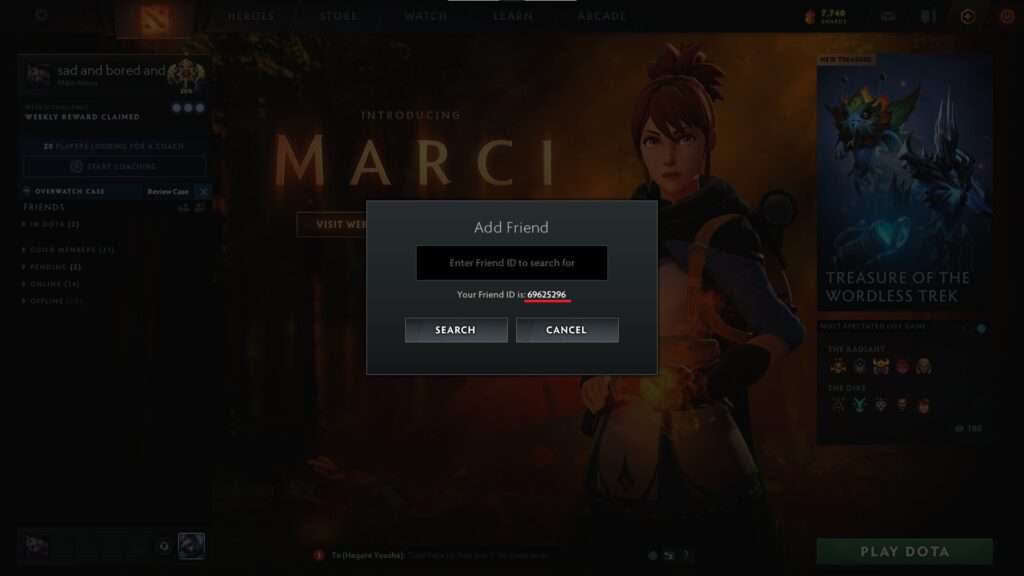
Add Friend
If you click the “Add Friend” button you can get your Steam ID3 as well:


Be the first to comment