
You, too, can become the Fastest Draw of the West…-ern Corridor
Revolver Techniques and Corridor Conga Guide
Overview
You’ve run the Horror Corridor on Hard for the nth time, and you’re sick and tired of seeing this image:
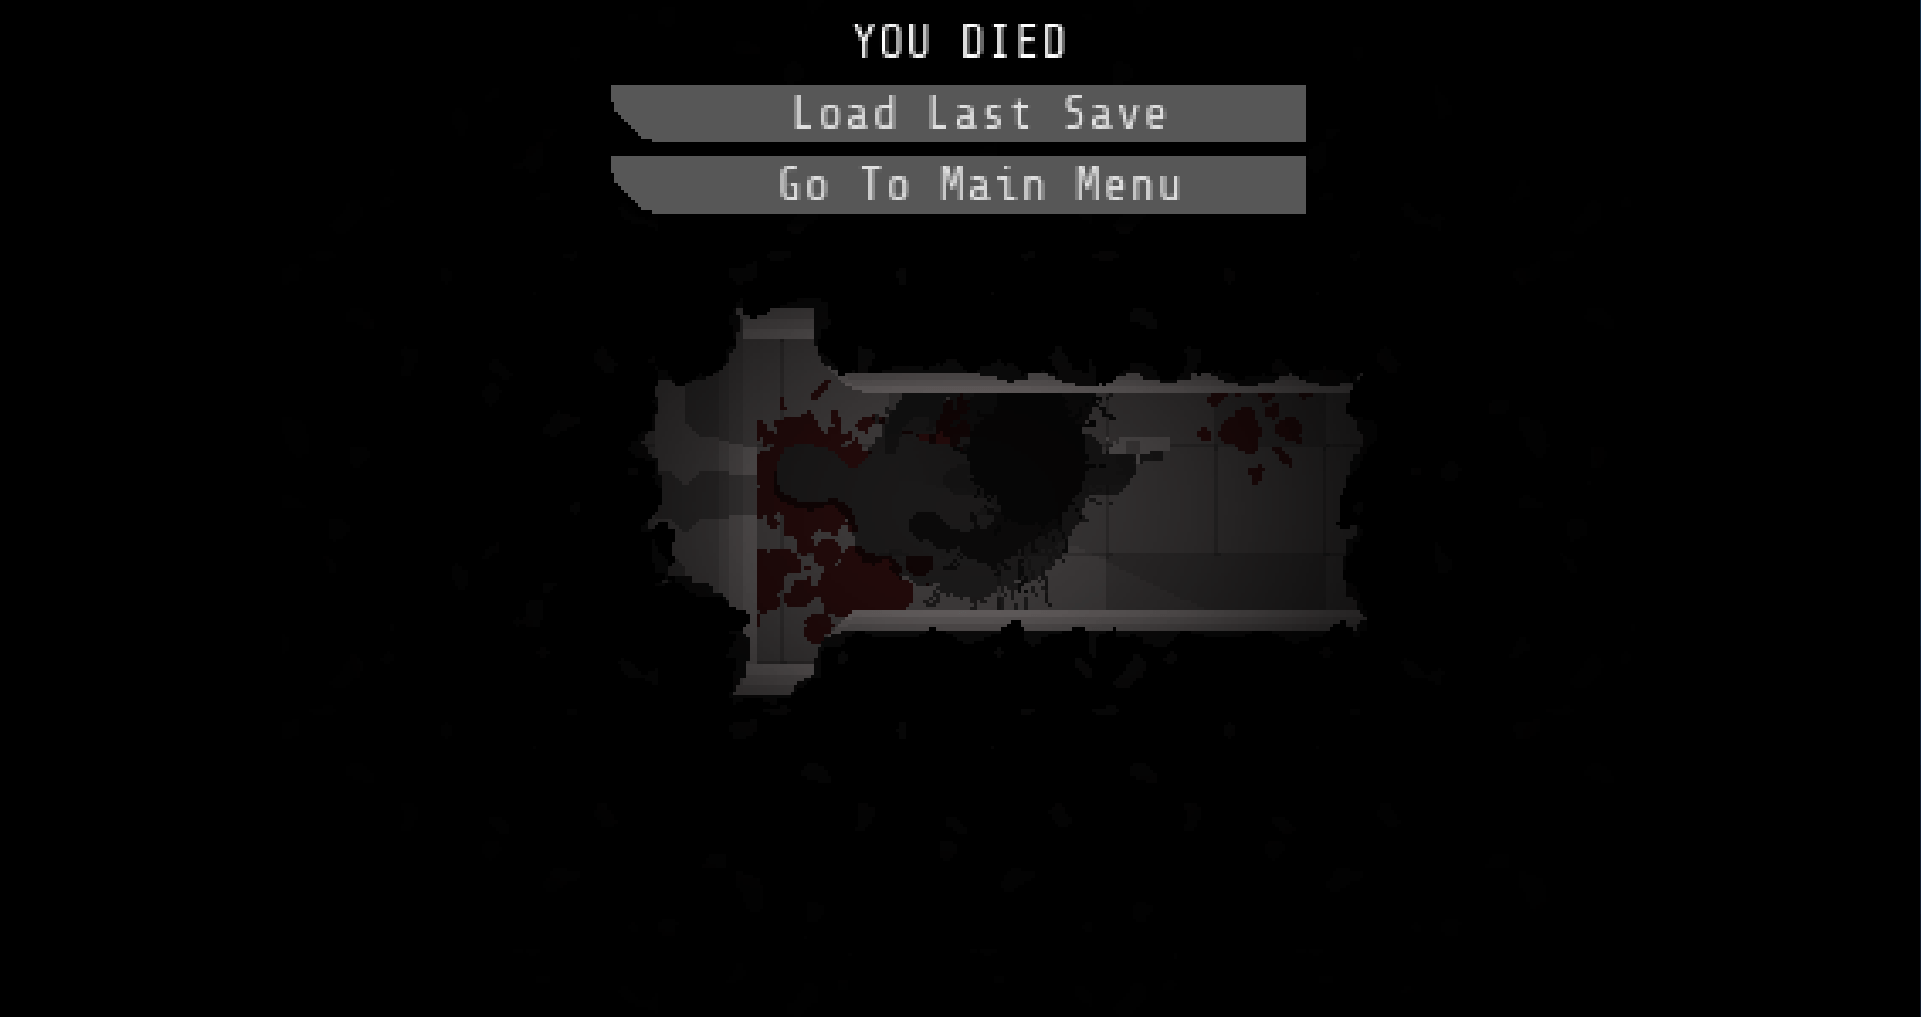
Figure 1: I swear I could’ve gotten it in one more shot!
The revolver is the first weapon you get but is more complicated than most other weapons. Let’s get you brushed up on two techniques that will help you master this gun, and possibly the tricky hallway level.
Disclaimer:
Please note this short guide does not guarantee you will make it through the hallway level on Hard difficulty. This is only intended to help you improve your revolver proficiency enough to increase your chances of success. For an easy workaround to Level 8, watch video below at the 3:18 mark:
Revolver Mechanics
Some of the the below concepts you already know, some of them may be new. Or you may already know them all. Either way, these concepts will serve as a base to be applied in the following sections:
- Empty casings do not have to be dragged and dropped to be removed from the revolver chamber – they are removed simply by clicking on them.
- Mutated scientists take 4 shots to kill; mutated lab rats take 1.
- Revolver will only fire however many live rounds are left in the chamber (accurate as of day of publishing this).
- Given a mix of live rounds and empty casings in the revolver cylinder, closing the cylinder on an empty casing will cause no rounds to be fired, at least until the cylinder rotates to a live round. Well-programmed realism, I say.
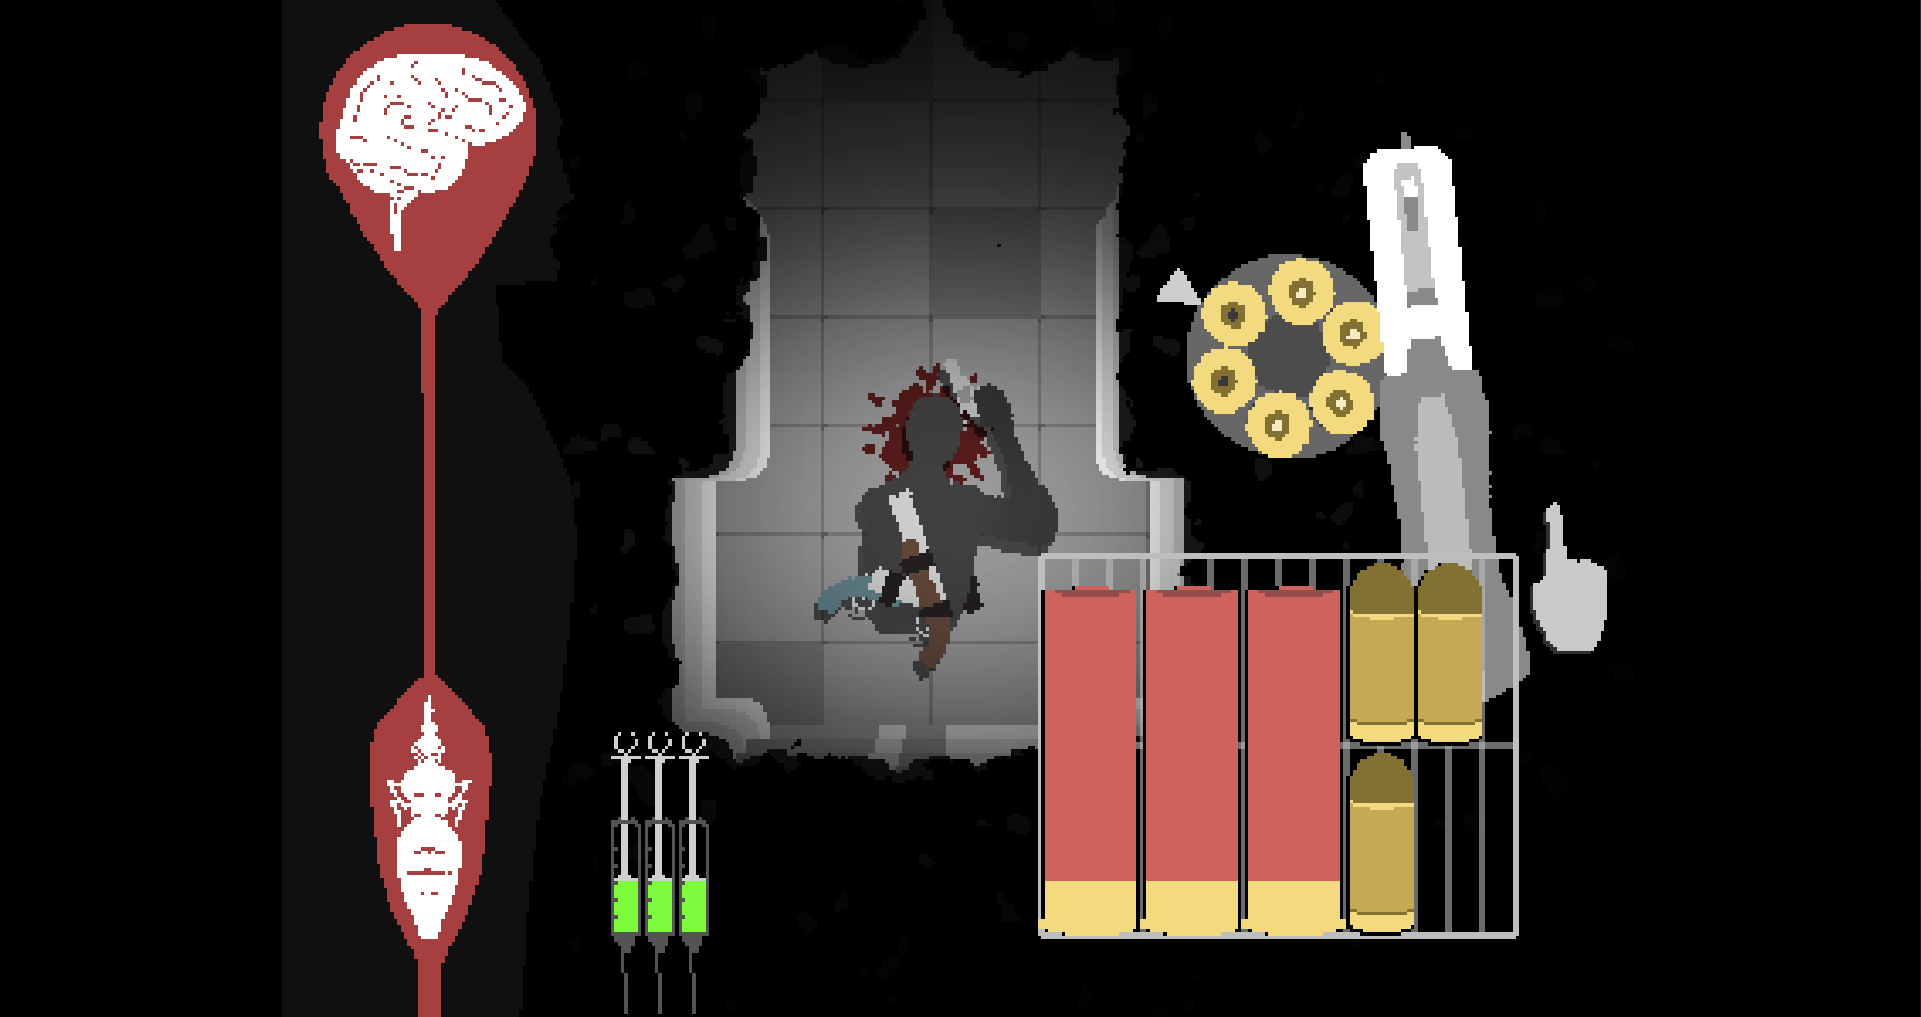
Figure 2: Closing the chamber in this configuration will cause a no-fire…

Figure 3: …until the cylinder rotates to a live round.
- Rotating your scroll wheel up while in the ammo-loading screen rotates your cylinder manually. This scrolling works even if you’re in the middle of dragging a bullet.
And with that, let’s talk about the two main techniques.
General Techniques
- For faster loading: Use the scroll wheel to move the chamber hole closer to your bullet compartment.
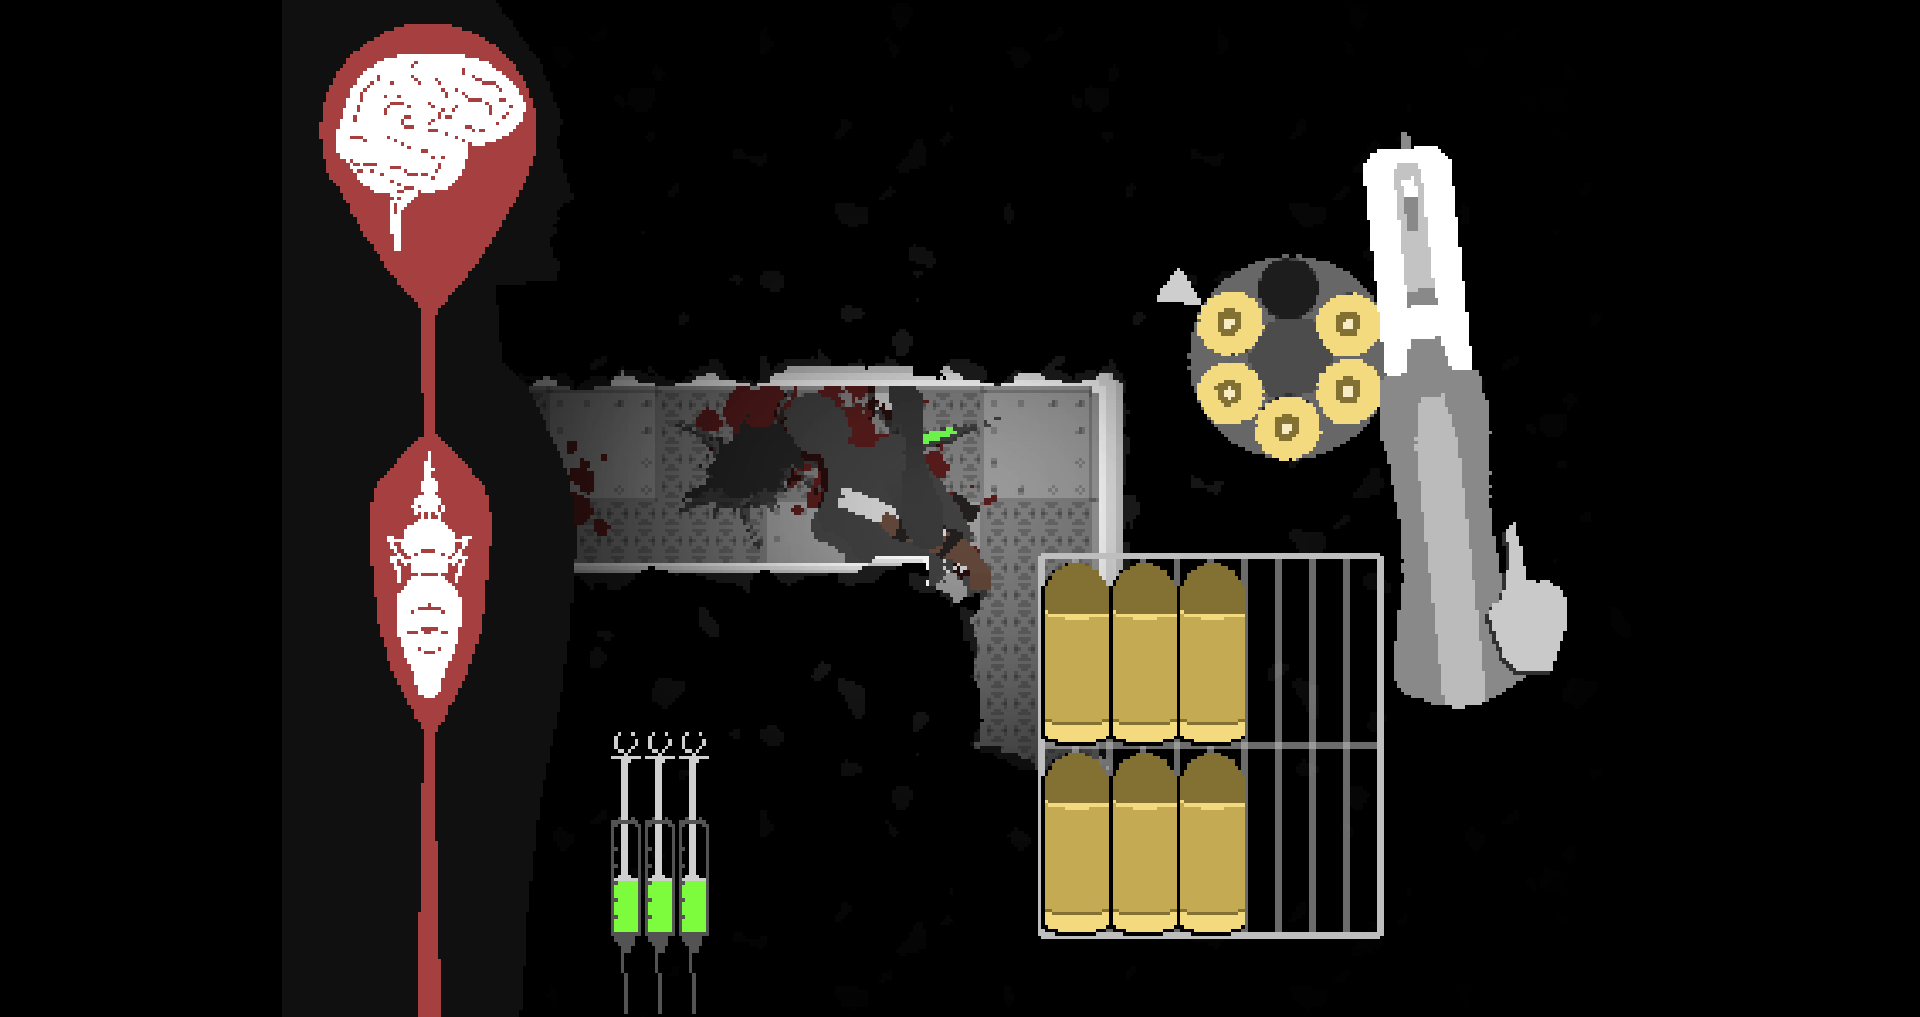
Figure 4: The game automatically sorts the live rounds and empties, but the player must still manually remove the empties.
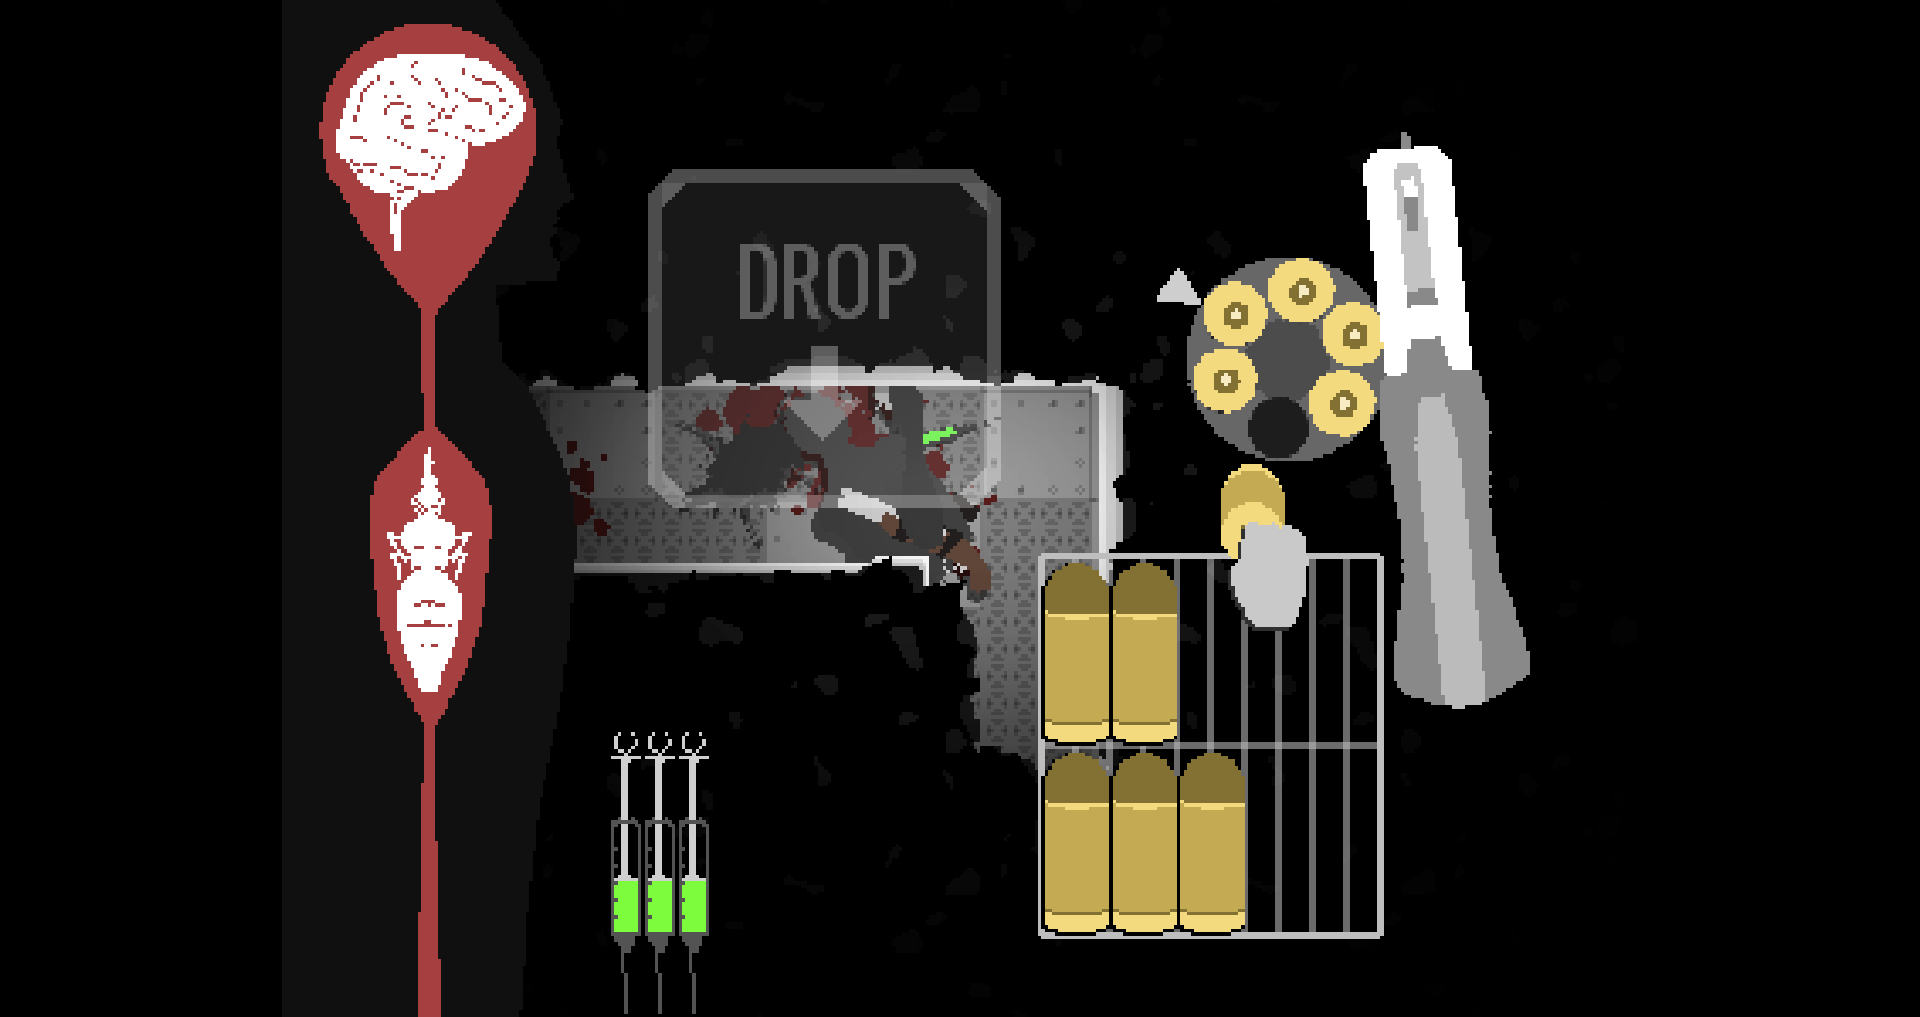
Figure 5: …So we scroll upwards until the hole is closer to our drag and drop area.
As simple as this concept is, it adds up. Instead of chasing the chambers with your cursor, or dragging longer than necessary distances, you bring the chamber closer to you. The moment you load a live round, scroll upwards until the next empty chamber lines up with the next bullet you want to load. This method isn’t necessary in most situations, but in (literally) tight situations, the milliseconds you save may just end up saving you.
- Quickdraw technique: When anticipating mutated lab rats around the corner (if you haven’t already memorised their locations), inch forward while keeping your hand on the revolver, such that your dragging and dropping distance keeps the revolver highlighted at all times, shown below:
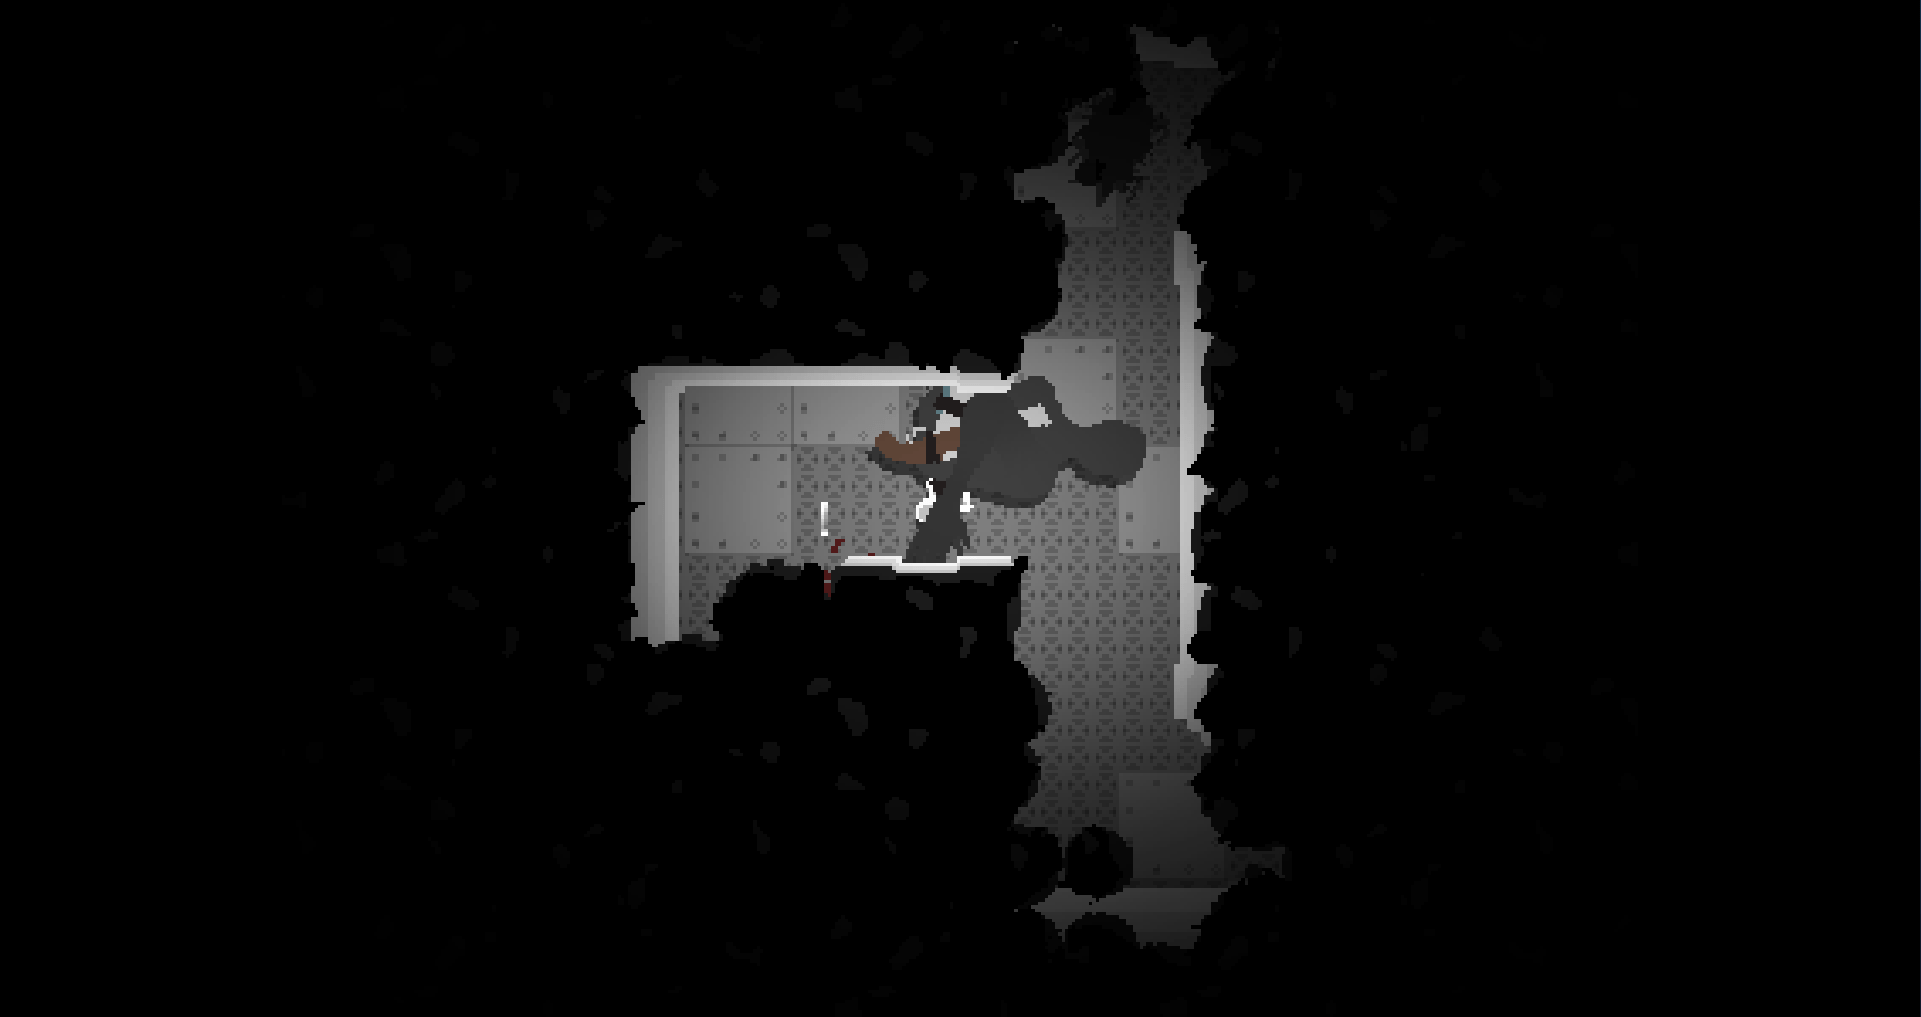
Figure 6: Short drags forward. Once you’ve inched enough, anticipate the squeak and exclamation mark. You can see that by doing this, my revolver is highlighted by the time the rat notices me. Whether I survived this encounter is a totally different story.
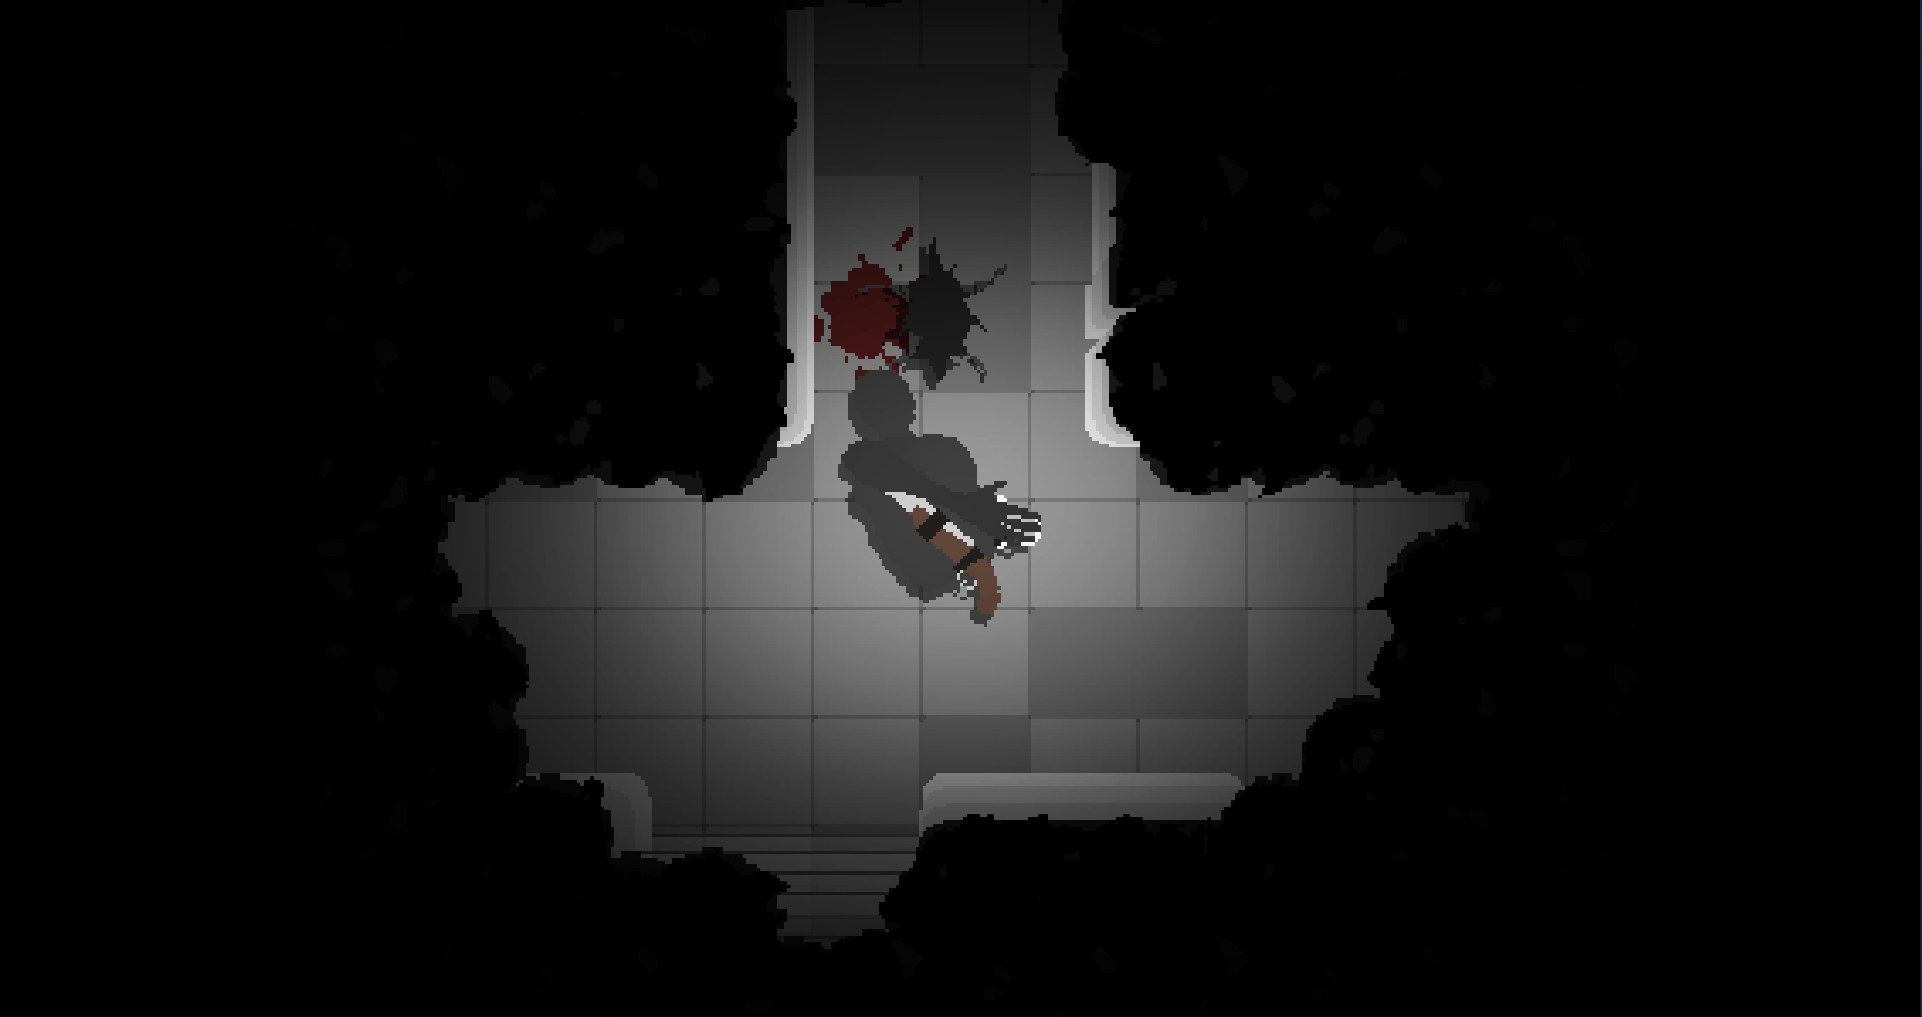
Figure 7: In this instance, the mark appeared, and I right clicked right away. Aim and bam.
Corridor Conga – Level 8 on Hard
Preface: Sorry to disappoint, but this chapter is not a walkthrough. I will leave that to the smarter and more skillful players. However, if you share the sense of indignation like me and want to win this fight fair and square (-ish), I will describe what helped me get through this level, which includes the revolver techniques discussed earlier.
- Luck: At one point one of the mutated scientists stopped following, allowing me enough time to take down the stragglers and the space to retrieve bullets. I don’t know how to replicate this, so if anyone has any idea, kindly contribute.
- Fast reload method: Bringing the chamber closer to my drag-and-drop area, and emptying only 4 chambers per bullet set (the ammo sets on the ground) all contributed to faster response times. There will be times you don’t have time to rotate the cylinder though, and that’s alright – but if you can get loading ammo while rotating the cylinder in tandem down pat, it’ll help.
- Pre-fight ammo: this being Hard difficulty, there will be moments in the previous level(s) that you won’t have to use up your revolver ammo. This will ensure you have full chambers and a full pouch going into this fight.
- Ammo sets: The ammunition provided in this level is spaced out such that trying to pick up all 3 bullets every time will get you killed, if you do not have godly mouse skills. What I did was skip the 1st set and right onto the 2nd set. This gave me distance, which meant time to pump all 6 bullets down the hall and enough time to load two more bullets to finish off the second scientist.
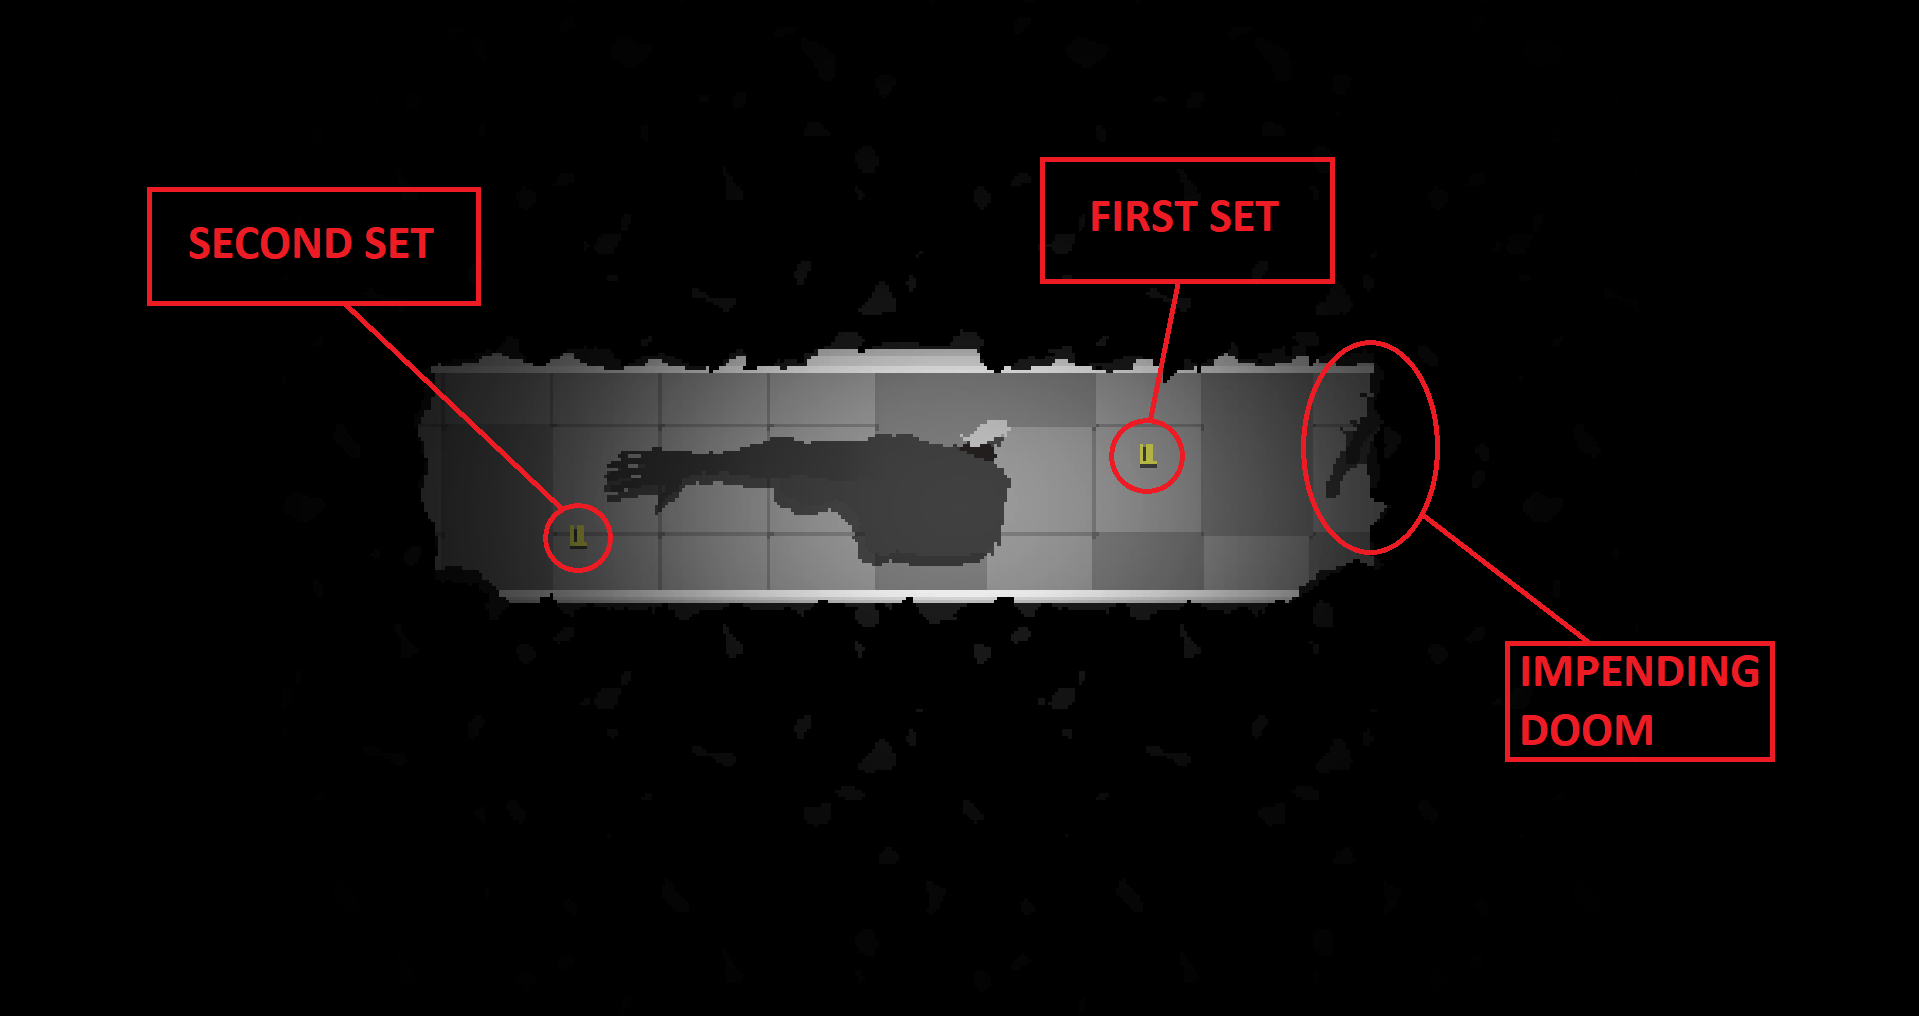
Figure 8: Should I grab the firs- NAH
- Ammo sets Part II: You will find that you are skipping every other ammo set, and that’ll have to do. But basically, I camp on top of a full set of ammo, load 4 bullets, take down one scientist, which allows me to pick up the complete set I’m camping on + 1 bullet from the next set. But after picking up the 1 bullet, I then skip directly onto the next full set, and repeat the process there. Eventually you’ll get backed into the end of the hall, but again, I had to count on one or two scientists bugging out and stopping their pursuit.
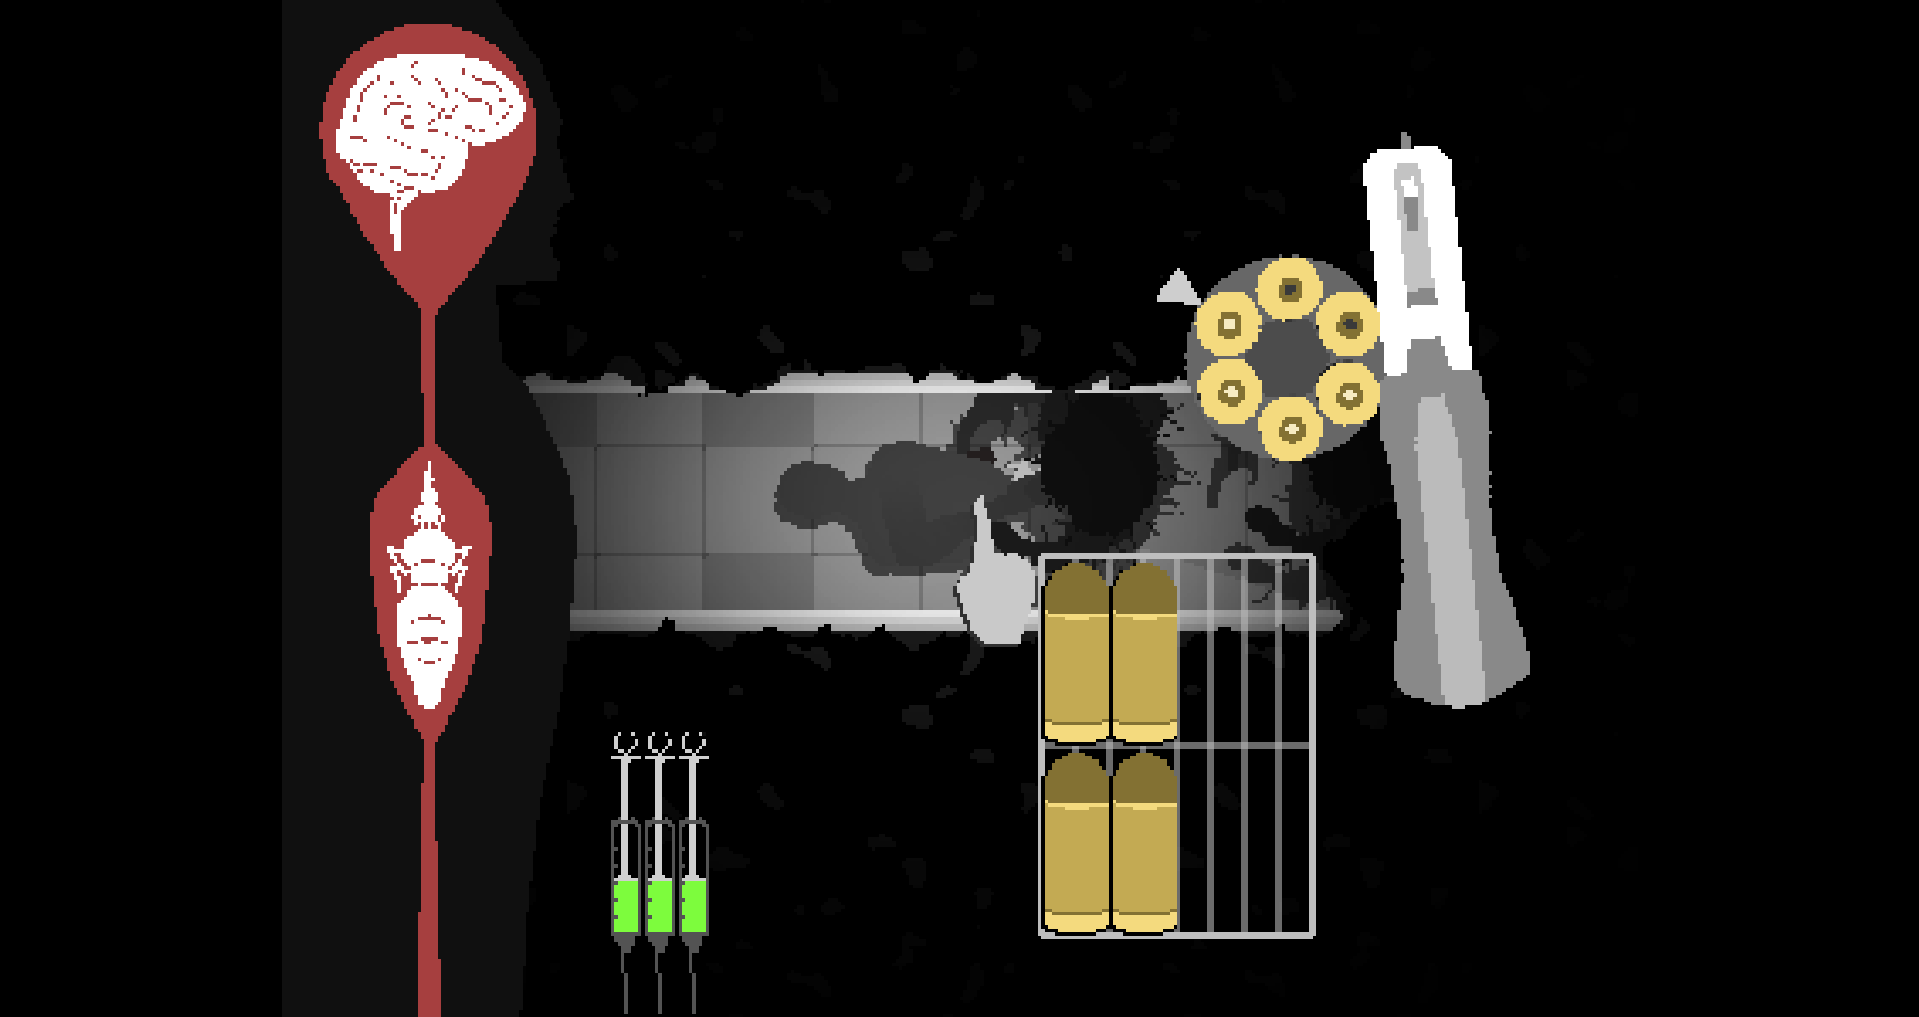
Figure 9: This’ll have to do
Git Gud: Seriously…that’s it. I’ve run this level more times than I’d like, and then some. Breathe, focus, up your mouse speed from Control Panel if you must, get into your flow state, burn candles, pray to your deity, do whatever you can to focus and calm your nerves. Precious time is lost missing the chamber holes while you’re reloading which is anxiety-inducing, I know, but you cannot let the fear of this break your focus. Eventually, you will get it.
I DID IT! I don’t know exactly what I did, but I did turn on crosshairs in the settings which I think made my shots more accurate, I also rushed really fast down the hallway (while still shooting mind you) and the back half of the scientists just completely stopped following, which allowed me to take a breather, reload my ammo, and finish them off. Took me about 20 tries but I finally got it!
Sincere congratulations to you!