
Here we will talk about important newbie notes, rogue-lite mechanics, relics system, color shards system and creature curing system.
Contents
Important Newbie Notes
After you passed Koler’s beginner tutorial level, there are many things to note
- Use locking system for ranged skills instead of relying on aiming
Koler’s ranged skills are based on a locking system, so when using ranged color shards you need to first lock (RS/Q) that target and then release the color shard, the released object will track and homing towards the locked target.
- Use rolling instead of jumping
Rolling in Koler plays a vital role, because when rolling there are about 9 invincible frames, so rolling is the most common means of dodging attacks. In contrast, jumping is not very necessary to be used.
- Containers have many recovery consumables
Every breakable crates or jars may drop recovery consumables, please use them well.
- Level up your initial combat companion
Your initial combat companion can be upgraded at start house, please add points as appropriate.
- Buy initial relics such as reborn crystal at center island
After defeated elite enemies or bosses you can obtain color crystals which allows you to buy initial relics at center island which is really important especially the reborn crystal which gives you 1 more life.

Game Round & Rogue-Lite Mechanics
The rogue loop in Koler starts when you leave your start room as follows:
- Start Room -> Center Island -> Select Map -> Challenge Dungeon -> Activate Color Altar -> Escape Dungeon & Explore Map -> Challenge Boss -> Activate Major Color Altar -> Center Island -> Select Map ->…
Start Room

Here is where you start each round of the game:
- Teleport Area: Start new round
- Ancient Book (Crafter): Craft new color shards or other items
- Color Shards Chest: Manage your existing color shards. All of the newly crafted color shards will be sent to here
- Cured Creatures: Manage your cured creatures
Center Island

- Portals Of R,G,B Islands: You will be teleported to the corresponding island once you entered the portal
- Relic Libra: Cost color crystals to buy initial relics (Color crystals can be obtained via killing elite enemies, bosses or convert color particles to crystals after activated the major color altar)
- Goddess Statue: Claim 1/4 of your lost color particles
Challenge Dungeon

- Start Point: Everytime you entered a map you will be teleported to a start point of the dungeon. The room is safe usually and you may notice there is a door(#4) which is currently sealed, you need to activate the color altar(#3) to unseal it and escape from the dungeon.
- Relics Ruin: Cost color particles to buy relic from here (choose 1 of 3). It is the major method to obtain relics.
- Color Altar: This is your target for each dungeon. You need to find a path to it and finally activate it. After activation you will be gifted 1 more relic slot and 1 ability and then you will be teleported back to the start point(#1).
- Sealed Dungeon Door: It will be unsealed after you activate the altar of dungeon and after that you can exit the dungeon.
Escape Dungeon & Explore Map

After escaped from the dungeon you are allowed to explore the map where you will face enemies and enemy settlements. (Enemy settlements are disabled in multiplayer game)

Every settlement contains a chest, you can open it after cleared the settlement.
And most importantly you can tame(cure) creatures in the map. (More details in cure creature section)

But at this point your major target is to find the boss which is marked as a skull on your minimap.
Challenge Boss

Each map has at least 1 final boss, you need to defeat it and activate the major color altar and get back to the center island.

Boss will drop many color crystals after been defeated which can be out of rounds and be used to buy initial relics or craft new color shards.
Activate Major Color Altar

Then you can activate the major color altar and all of your color particles will be converted to color crystals by the ratio of 1000:1.

And you will be gifted 1 more relics slot and 1 ability. After choosing the ability you will be teleported to the center island immediately (Works the same in multiplayer game if the host has chosen the ability).
Back To Center Island

After returned to the center island you can notice that the previous portal has been closed which means you just helped protect the color in that island. At this point you can use your color crystals to buy powerful relic at the relic libra and then choose next island to go.
All of your color particles and relics will be cleared after you failed in a rogue loop
Only color shards, color crystals and important items can exist outside the rogue loop and all of the color particles, relics, consumables will be cleared after you failed or returned to the start room.
But you can use color crystals to buy initial relic at the center island which will give you a boost for each new round. You can also claim 1/4 of your lost color particles at the goddess statue.
Relics System
Relics System: The Most Important Feature in Koler
Let’s go over how to obtain relics, how to synthesize new relics, and the coolest lores.
How to Obtain Relics
Relics can usually be obtained from Relics Libra, Relics Ruin and Chests
Relics Libra

At relics libra you can buy initial powerful relics by costs of color shards which will be displayed at upper right corner or you can also check it at pause menu.
Relics Ruin

Every dungeon has 2-3 relics ruin where you can buy relics at cost of color particles. You can easily find them via minimap.
Chests

Chest usually contains 1 random relic and some recovery consumables. After defeated every dungeon room there is a chance to drop a chest.
Equip & Unequip Relics

Within inventory you are able to equip relics by selecting it first and then pressing F or Left Shoulder. And unequip it by pressing again. But please note that you can only equip 1 relic with the same name.
How to Synthesize New Relics

You can obtain many relics as you battle through the rogue loop. At this time you can use the Relics Synthesizing feature to combine multiple relics into a new and rarer one (This is true for most cases except when your relic is the rarest).
Select the relic in your inventory and press X or Right Shoulder to put as many relics as you want into the synthesizing slots. Then hold X or Right Shoulder to synthesize. Please note that you also need to spend color particles for this action. You can’t synthesize if you don’t have enough color particles.
The Coolest Lores
After obtain relics you are able to build your own arsenal! Here are some coolest lores I liked.
- Crit Blood-Sucking

Crit Rune + Crit Rune+1 + Breakthrough Ability + Tenacity Rune + Bloodthirsty Gem + Any


Crit Rune & Crit Rune+1 are used to increase the critical rate. Please note that they are two different relics which can be equipped at the same time.

Breakthrough Ability plays a crucial role here because it can increase incredible 50% critical rate but with a negative effect of -45% attack base rate.


Tenacity Rune and Bloodthirsty Gem are the core of Crit Blood-Sucking because they have the effect of converting critical damage into health recovery.


This build gives you 82% critical rate (it can be 100% if combine with color altar ability) and each of your critical damage will be converted into health recovery by 20%.
- Lightning Clouds

Lightning Cloud + The Trident of Lightning + Gambler’s Coin

This build is related to the relic Lightning Cloud which has a chance to spawn lightning cloud to do area attacks every time you dealled damage with Y color shards. So your major target is to maximize your Y color shards attack times.


The Trident of Lightning has the ability to make 3 times Y attacks and Gambler’s Coin can make second attack with the same color and damage. Ideally when you make a Y attack you have a chance to make it attacking 1+3*2=7 times. This makes every Y attacks you dealled to summon a lightning cloud. But what’s even scarier is that lightning cloud damages can also trigger this effect. (Hope your computer has a great memory)


But please note that you need a Y color shard to activate this effect chain.
- Infinitely Proliferating Plants

Magical Seed + Forest Core + The Wand of Rock


But please note that you need at least 1 G color shard to activate this effect chain.


Color shard Magical Plant is recommended here.
Color Shards
Color Shards: Permanently Unlocked Abilities

There are 5 initial color shards, 4 are from the beginner level and 1 is in the color shards chest.
How to Craft New Color Shards

After defeating any boss, you will get a color core in your inventory.

And with that you can craft new color shards in the ancient book.
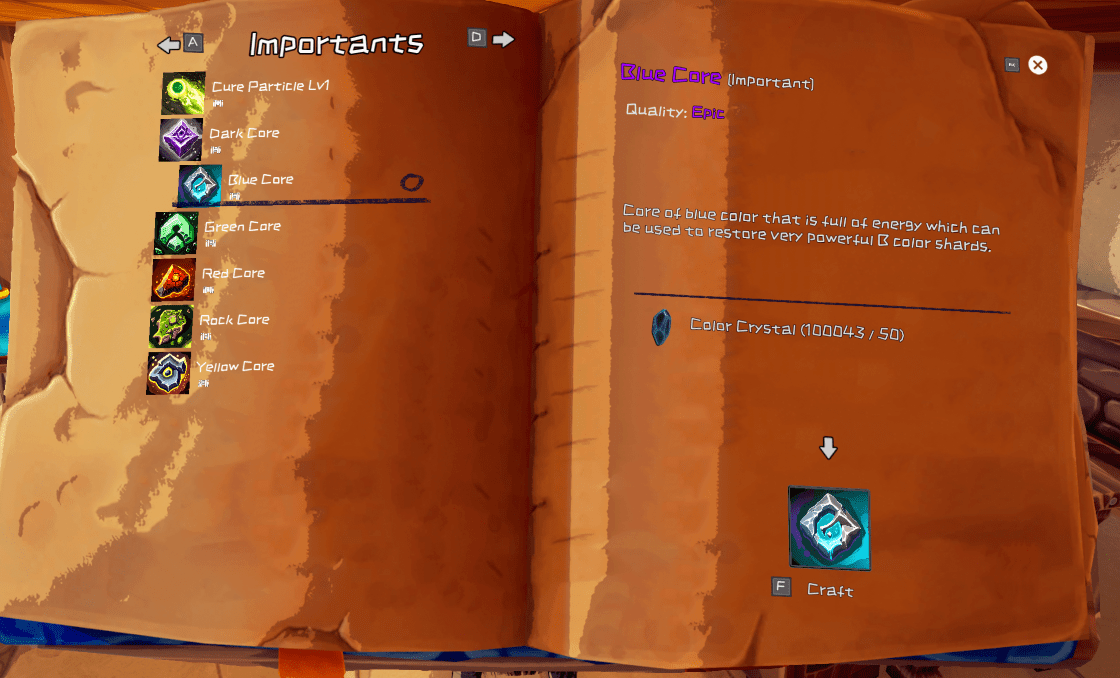
If you don’t have color cores you can craft them with color crystals as well.

After that you can equip them in your color shards chest.
Creature Curing System
Creature Curing System: Tame And Level Up Battle Companions

Gela is your initial battle companion. You can level it up in the start room. Leveling up health and attack is recommended.

If you want more battle companions you can craft cure particles at the ancient book.


And after you escaped from the dungeon (Enemies in dungeons are not curable) you can cure a creature by decreasing their HP first and then press Tab to use the PI menu to select the cure particles quickly and release(You need to lock onto a target first). The cure particle will slow down the target creature once hit and have a possibility to cure it.

If a creature is cured, it will be your battle companion immediately. But please note that once you switch the map you can only have 1 active battle companion.

Be the first to comment