
Achievement Guide
By SunnyTheMeowCat.
Chapter 1
Scene 1: Bowling Alley
Take photos of:
- Alcohol bottles.
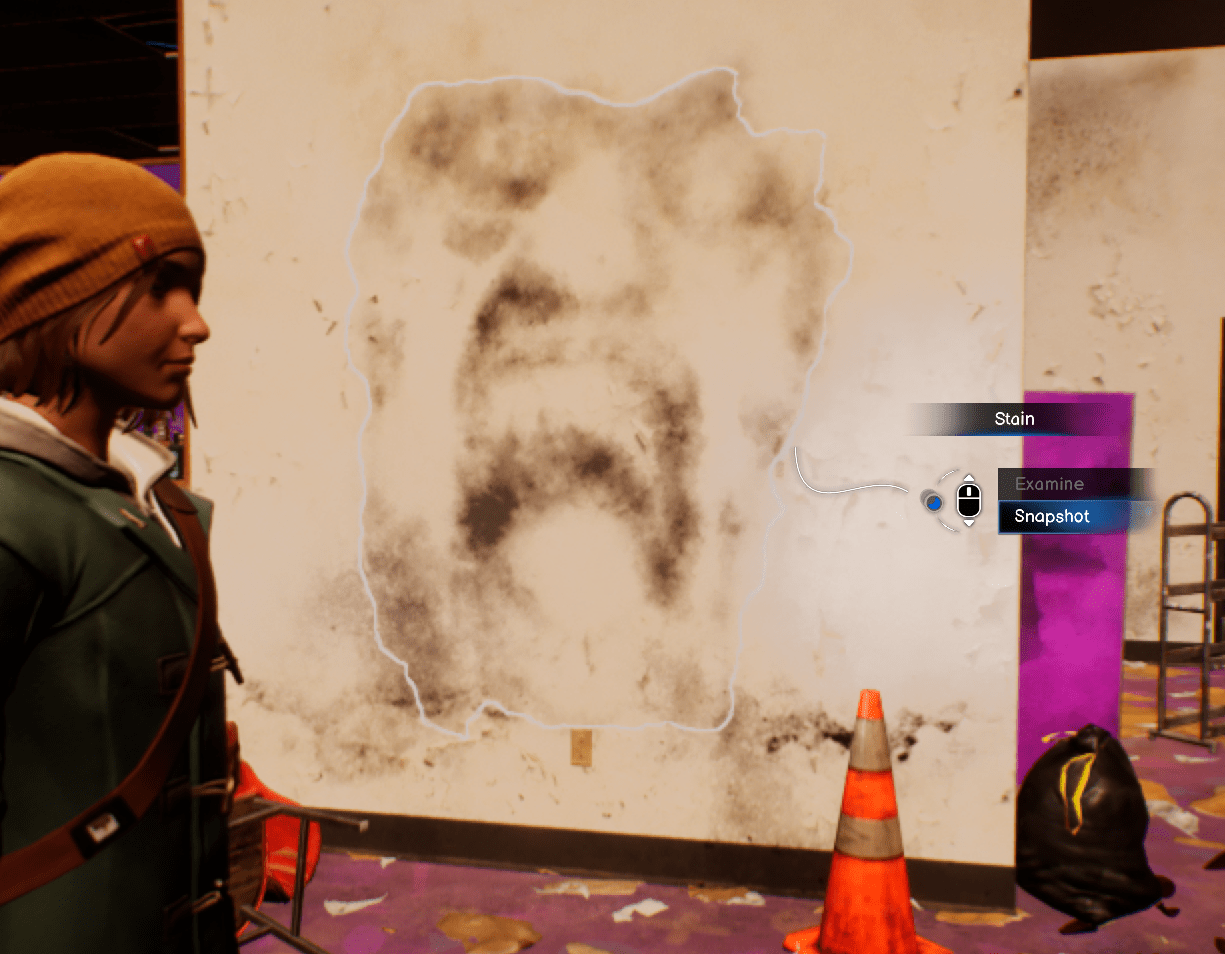
- Molded wall (when Safi looks at it).
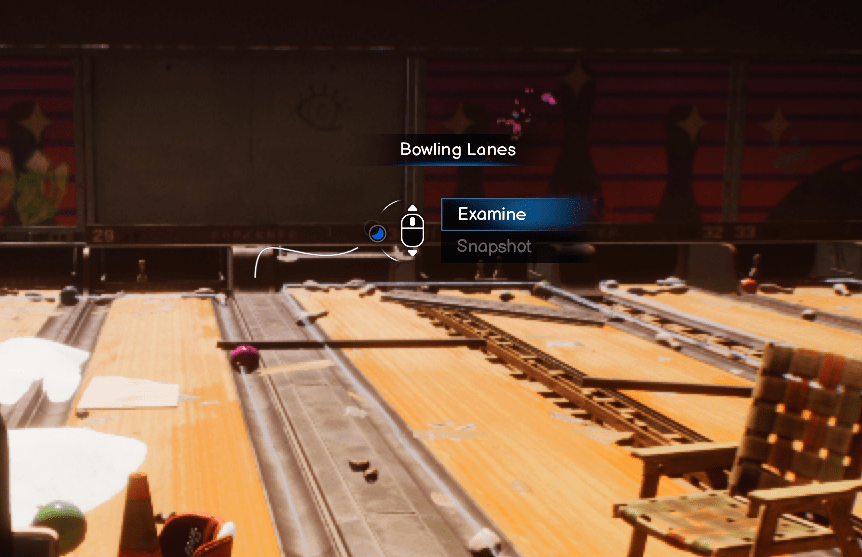
- Bowling lanes.
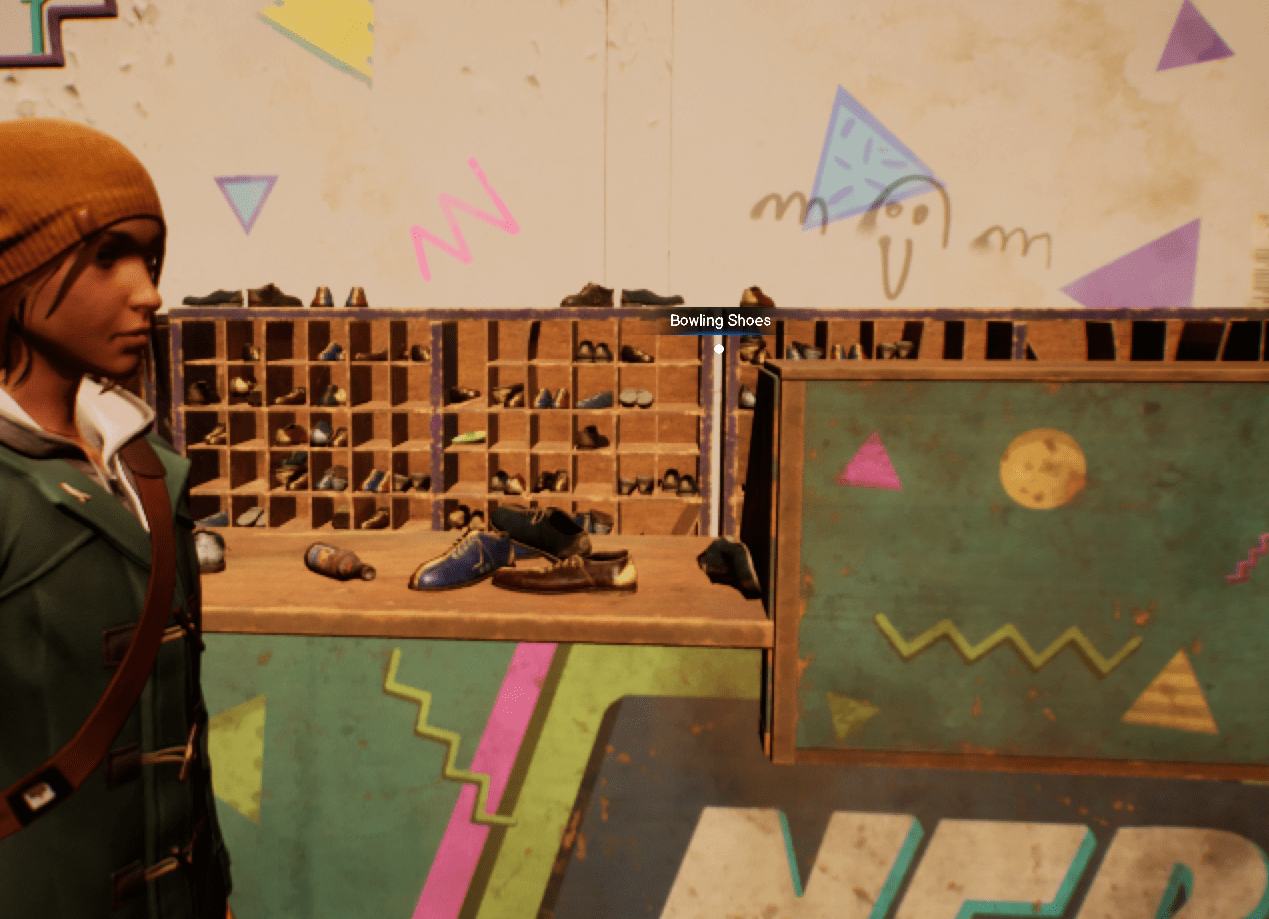
- Shoe rack behind Nebula counter.
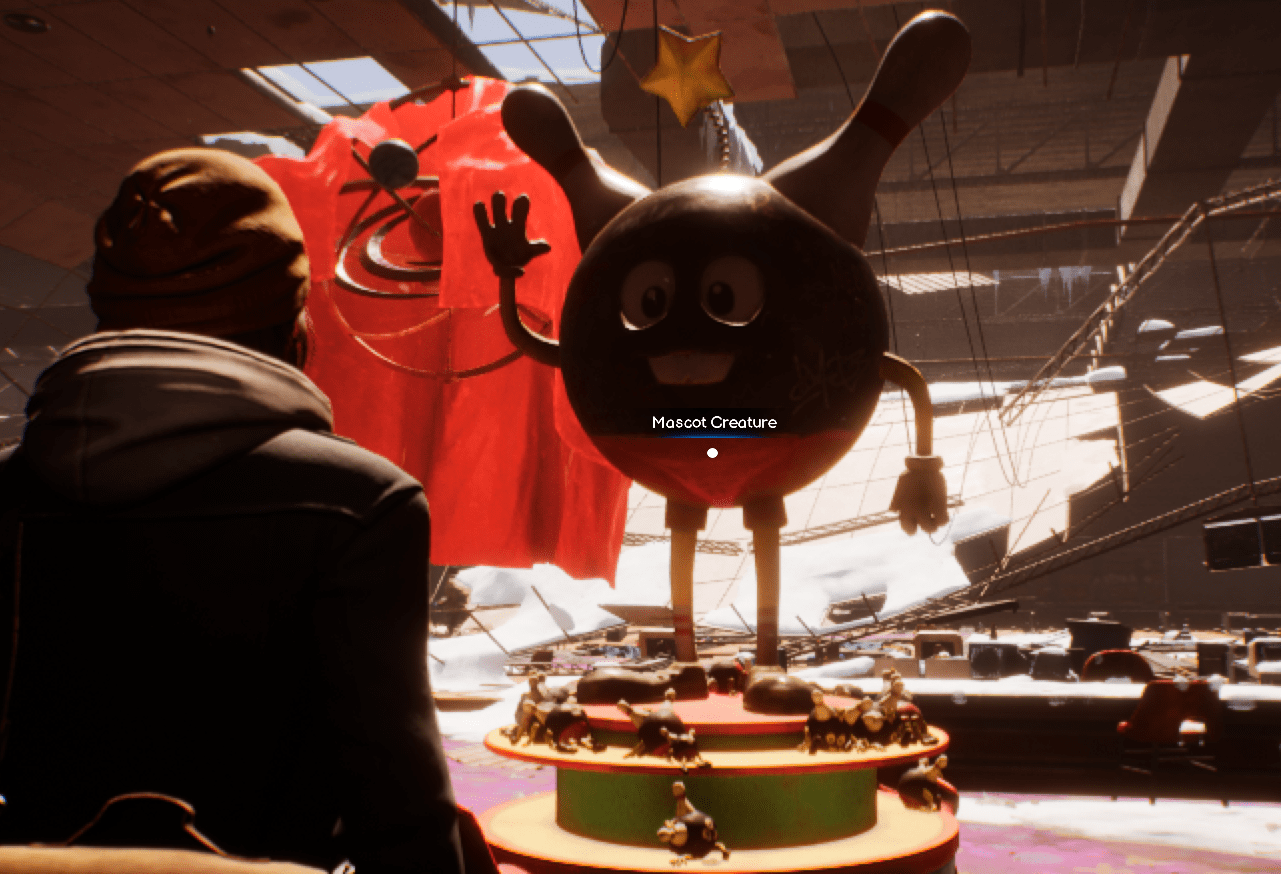
- Find the giant mascot, interact with it and collect a mini version.
Scene 2: Choice and Photo Hunt
Story Choice:
- For “Bay” ending: Choose “She died” when asked about Chloe
- For “Bae” ending: Choose “We broke up”
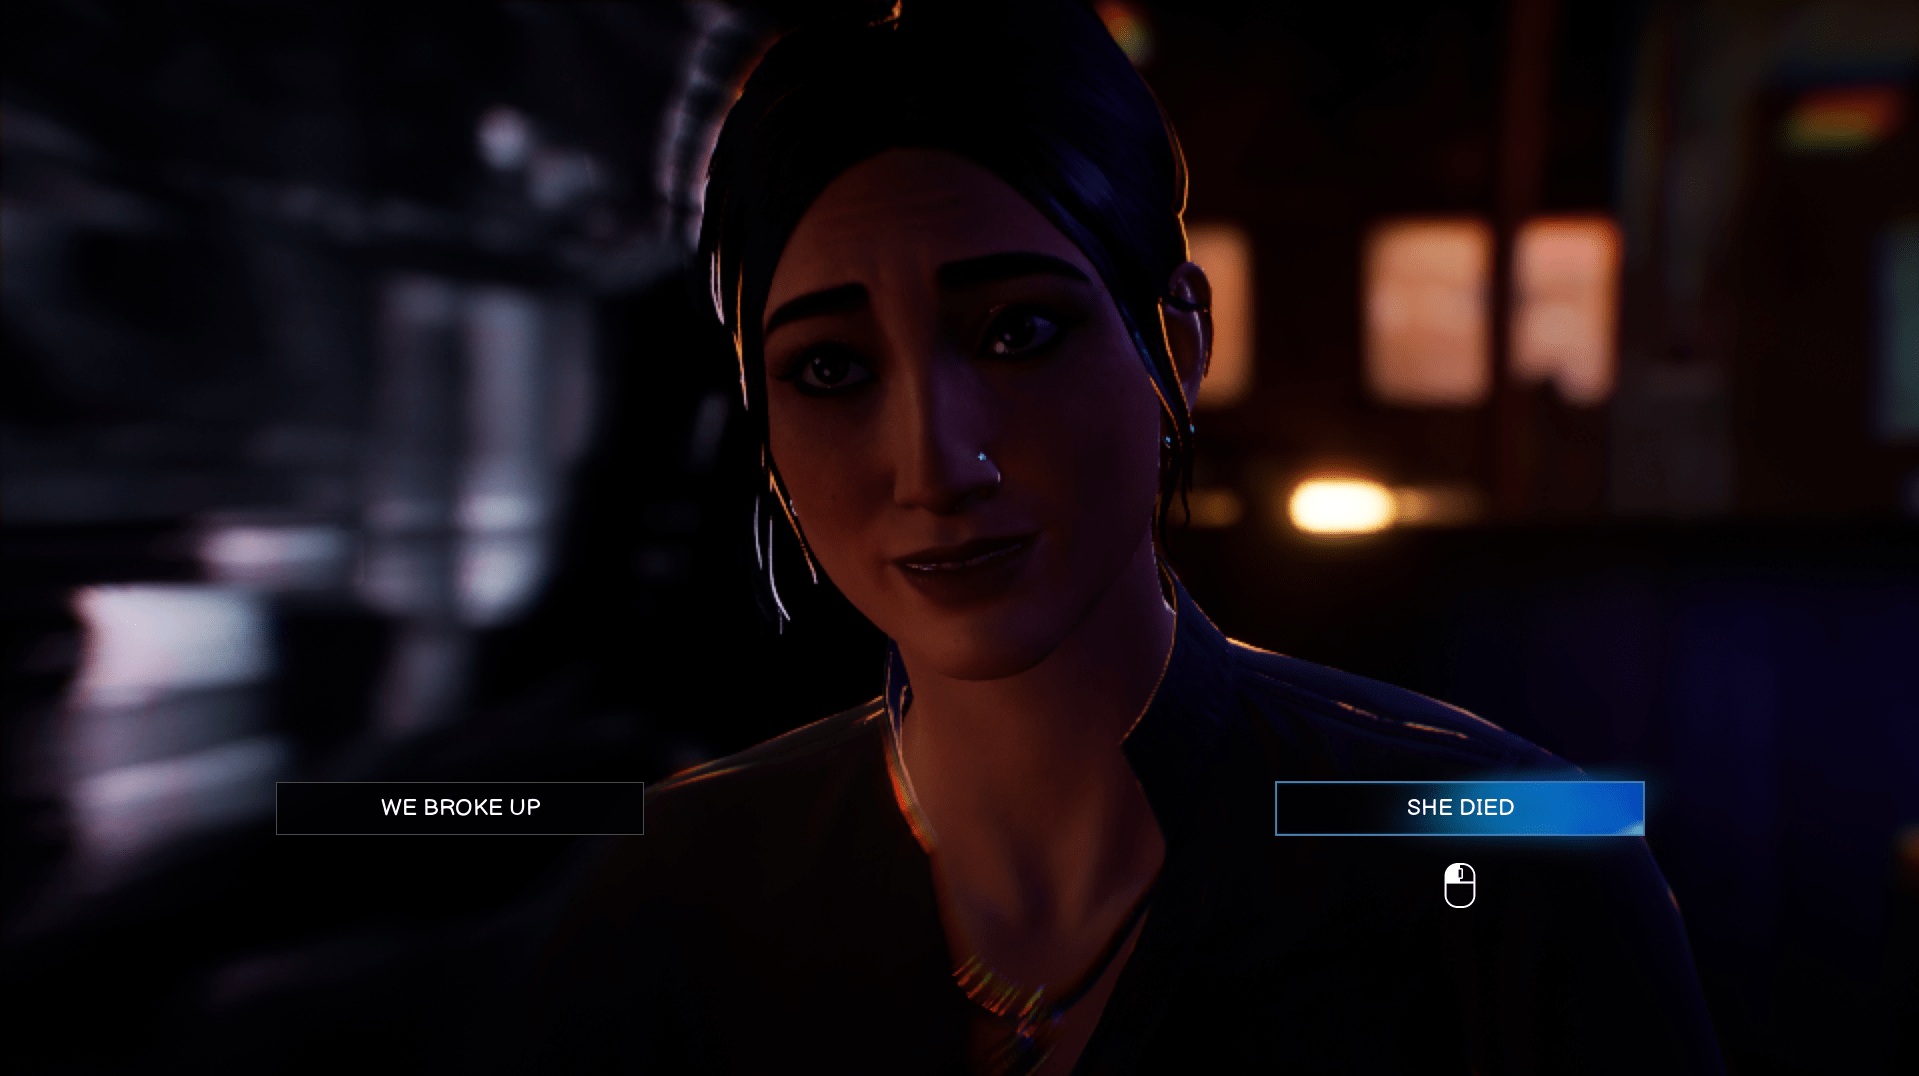
Note: You need to play both options for the achievement.
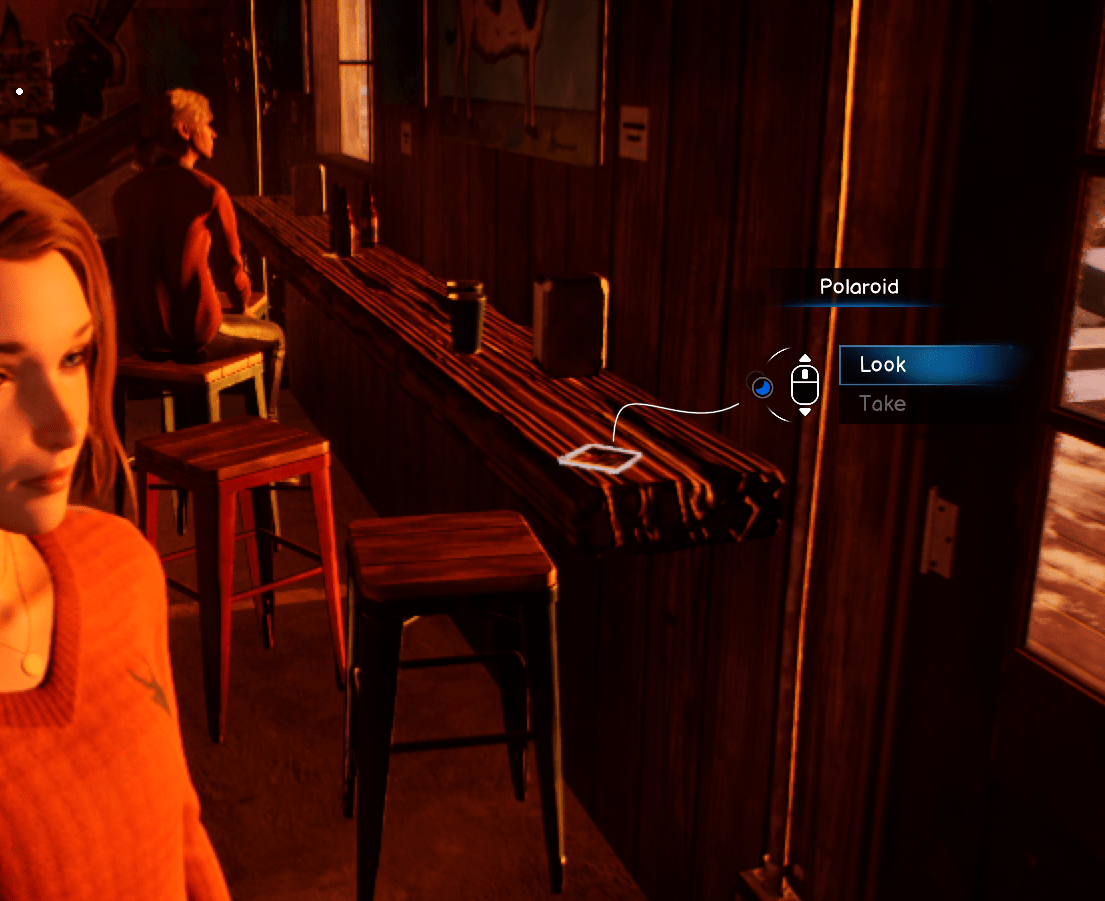
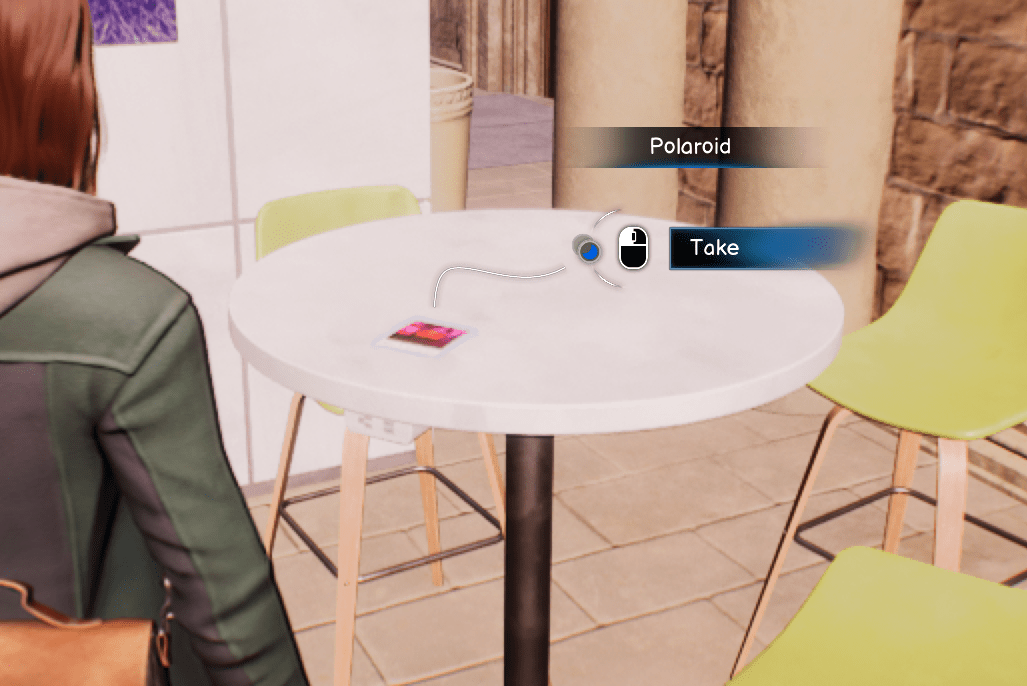
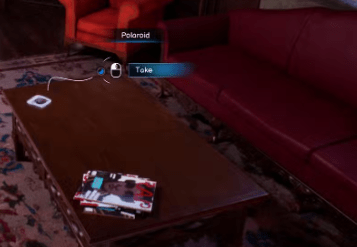
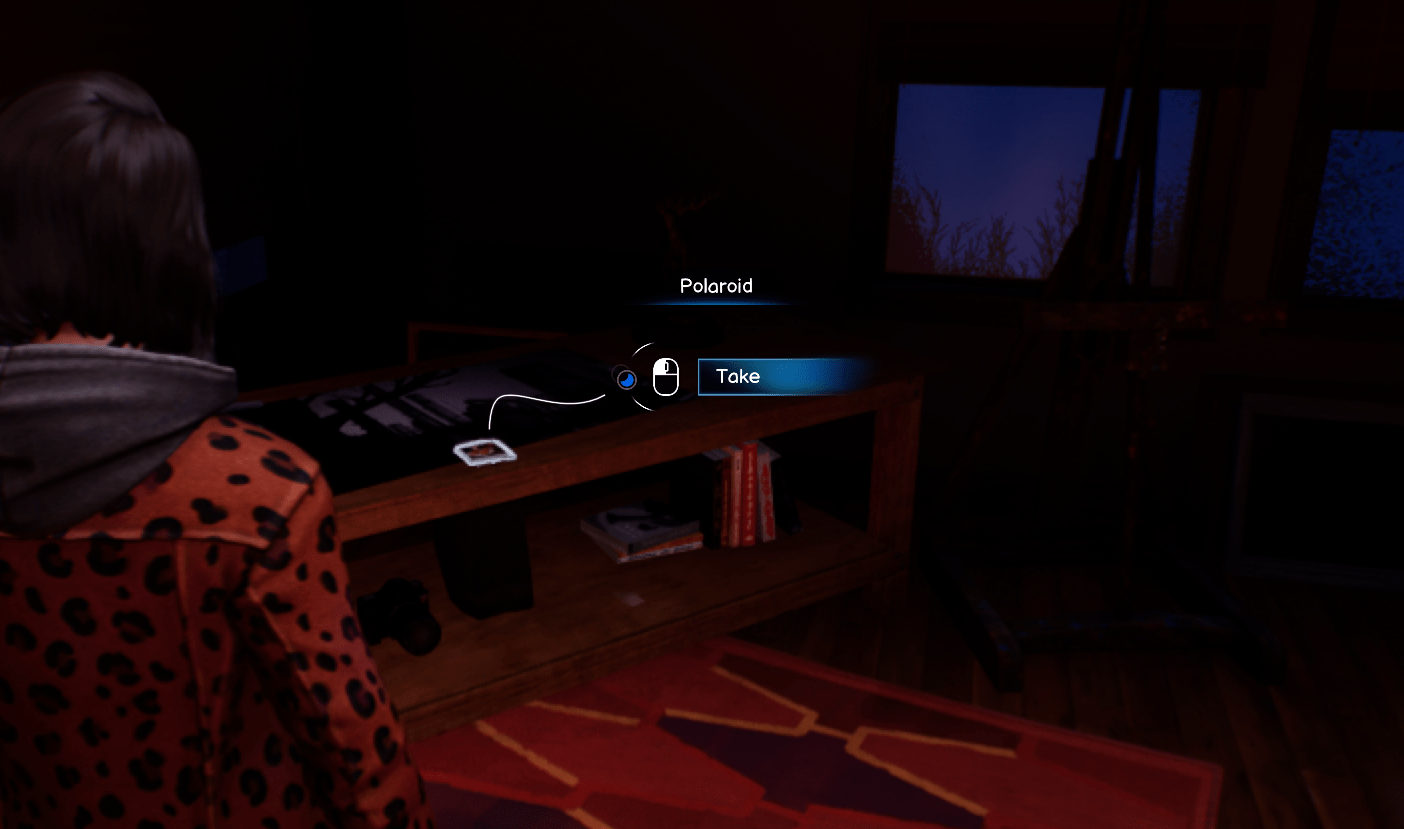
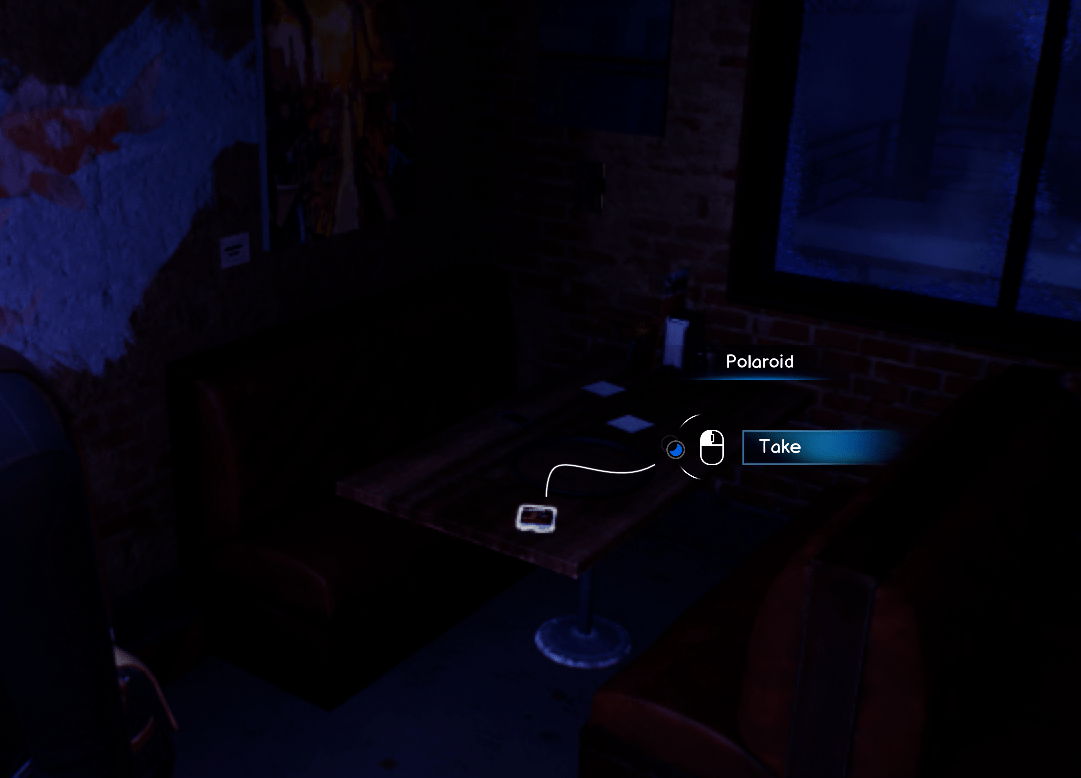
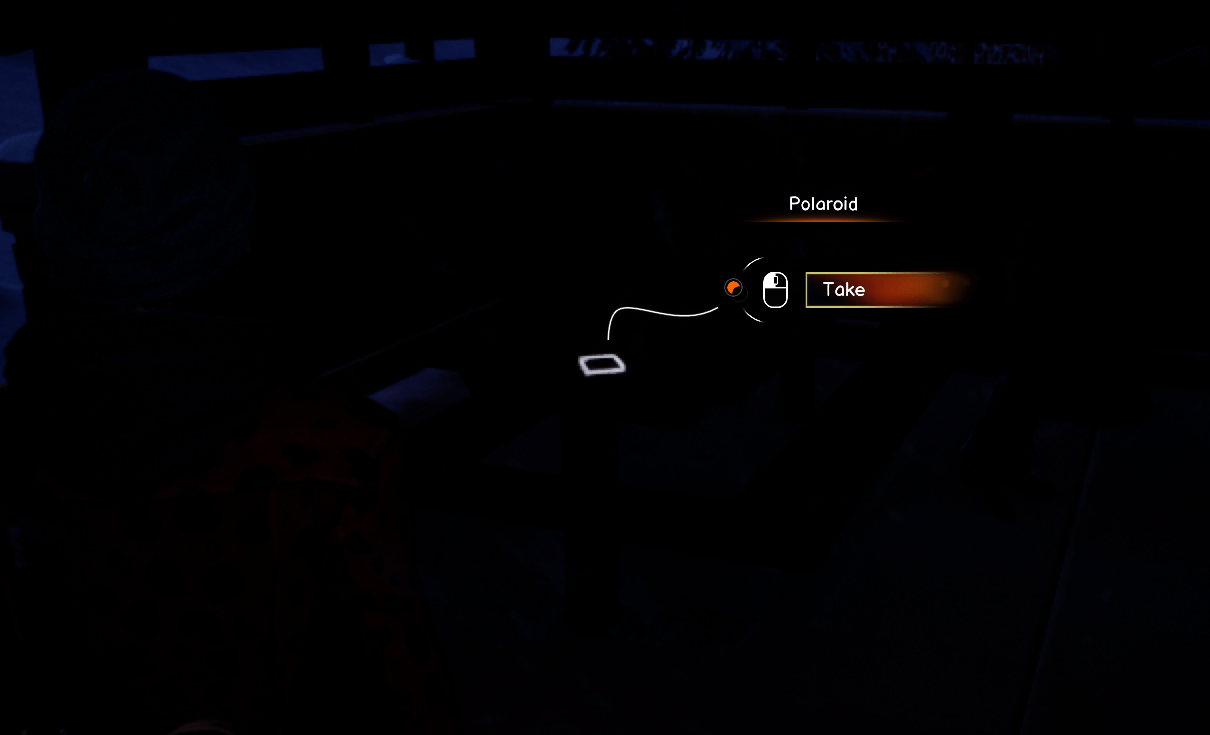
- Find and collect the Polaroid near the couches.
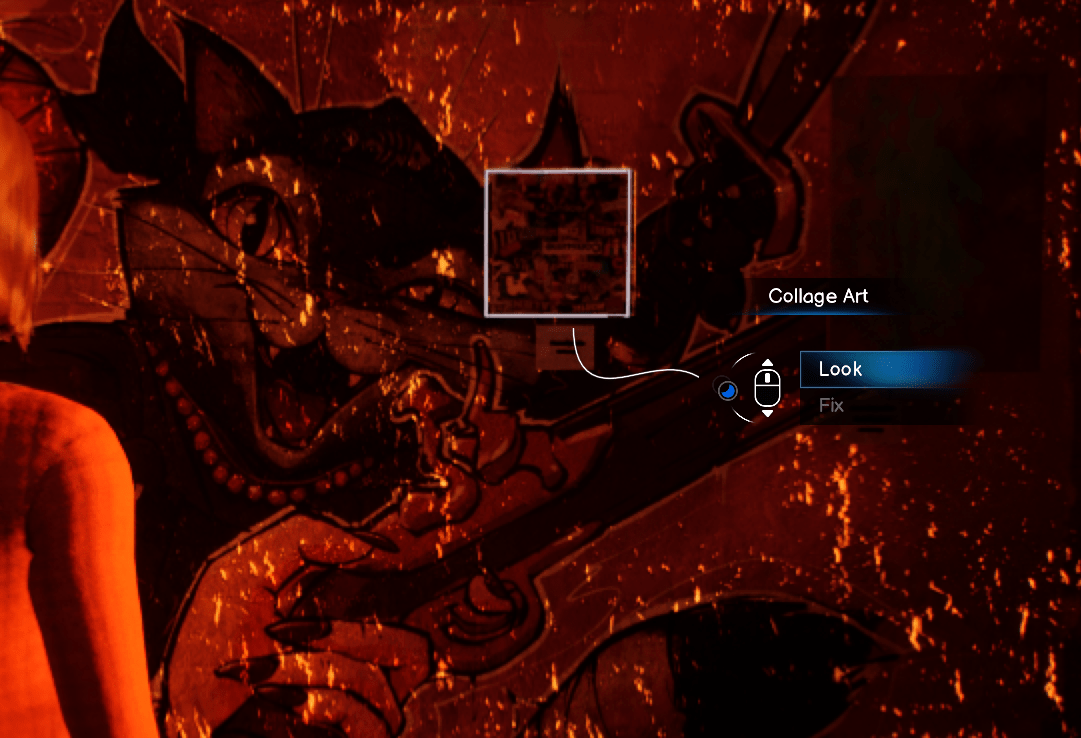
Locate three upside-down pictures to flip:
- Note and tree picture by the stage.
- Picture next to fireplace.
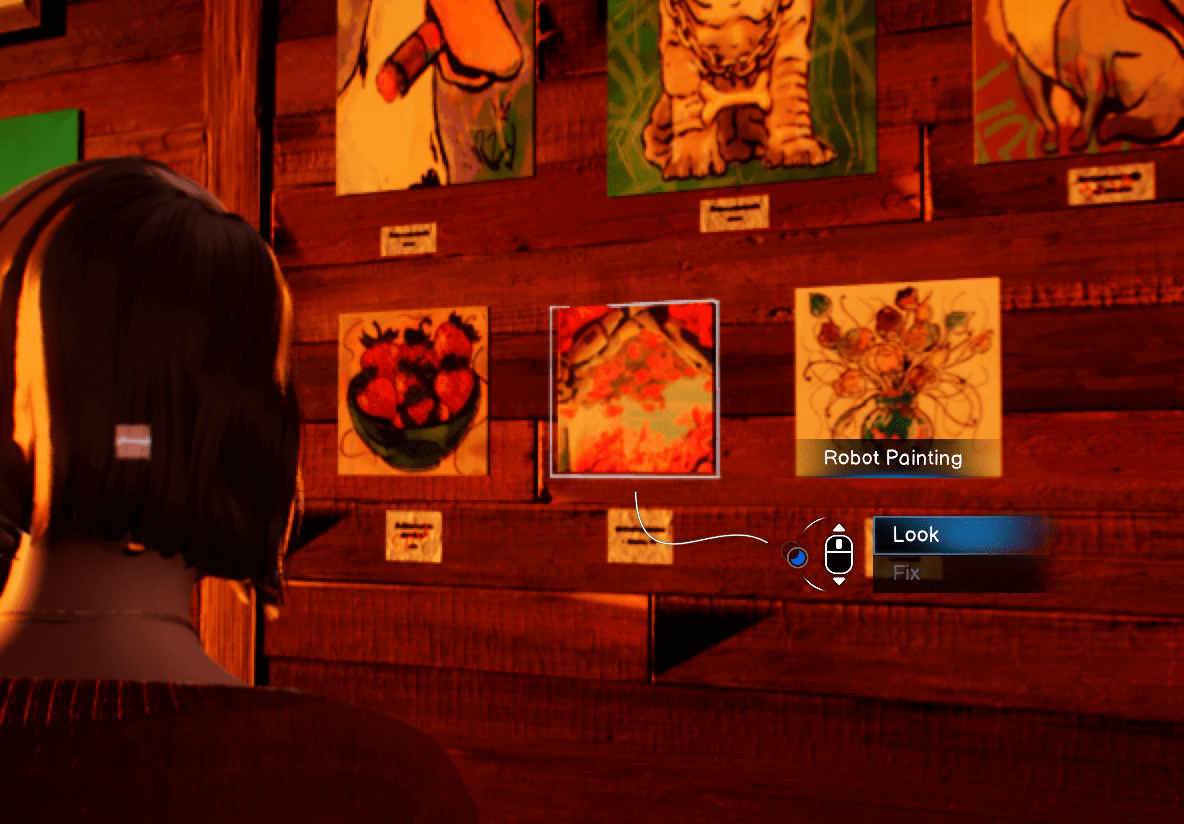
- Robot painting past the bar area.
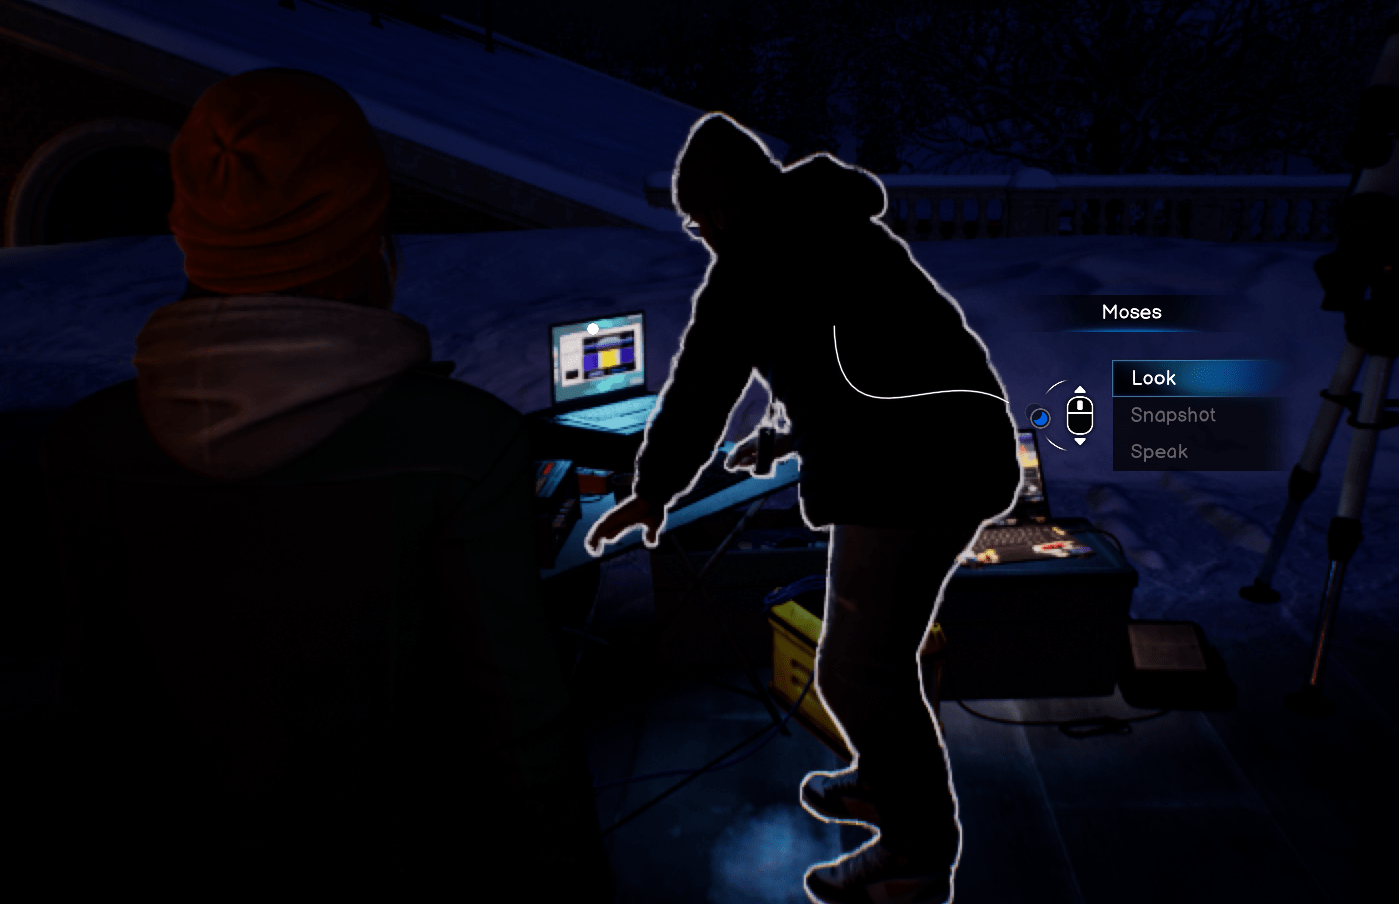
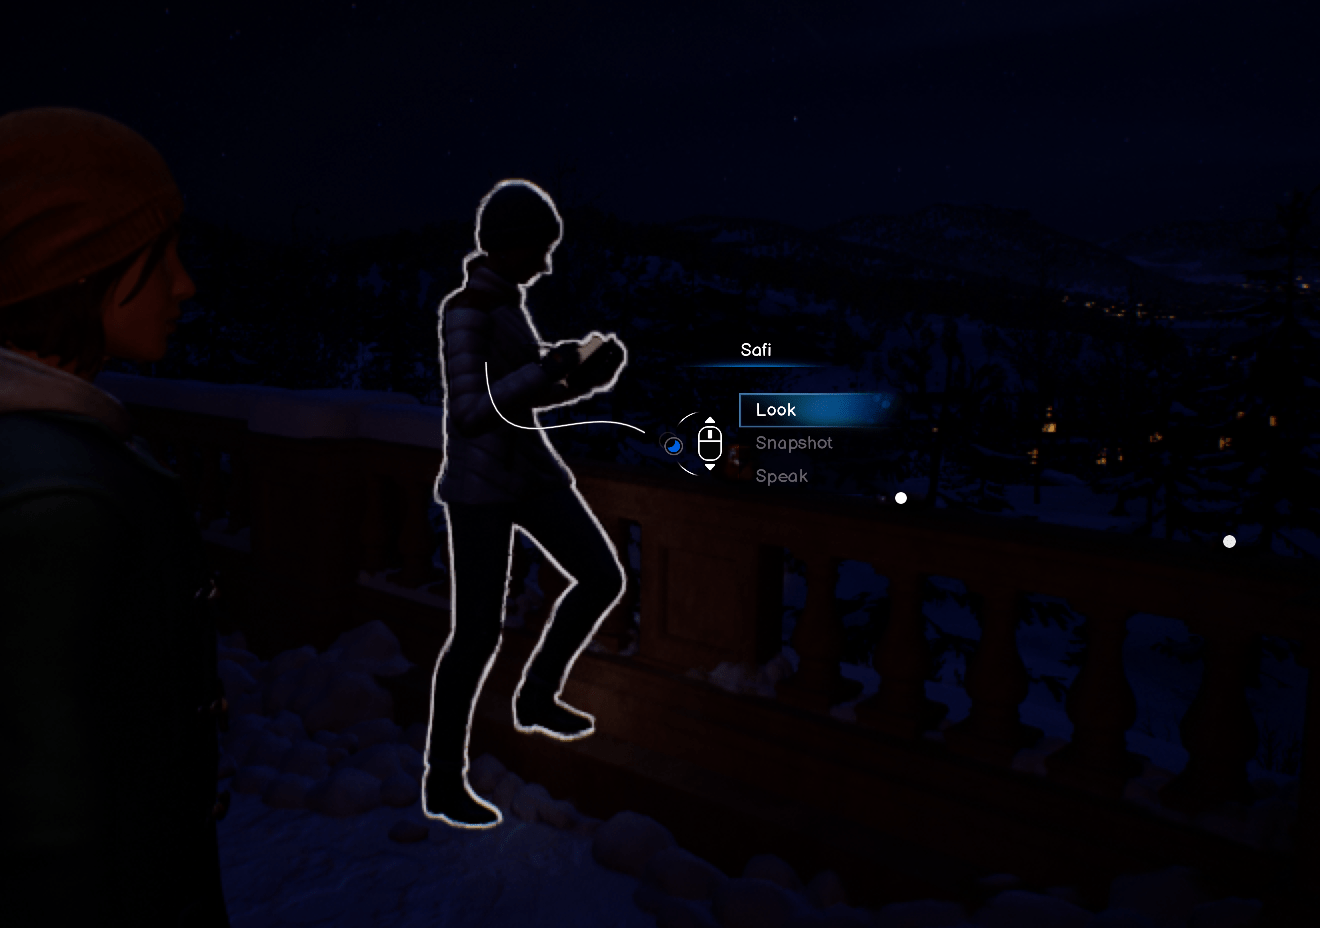
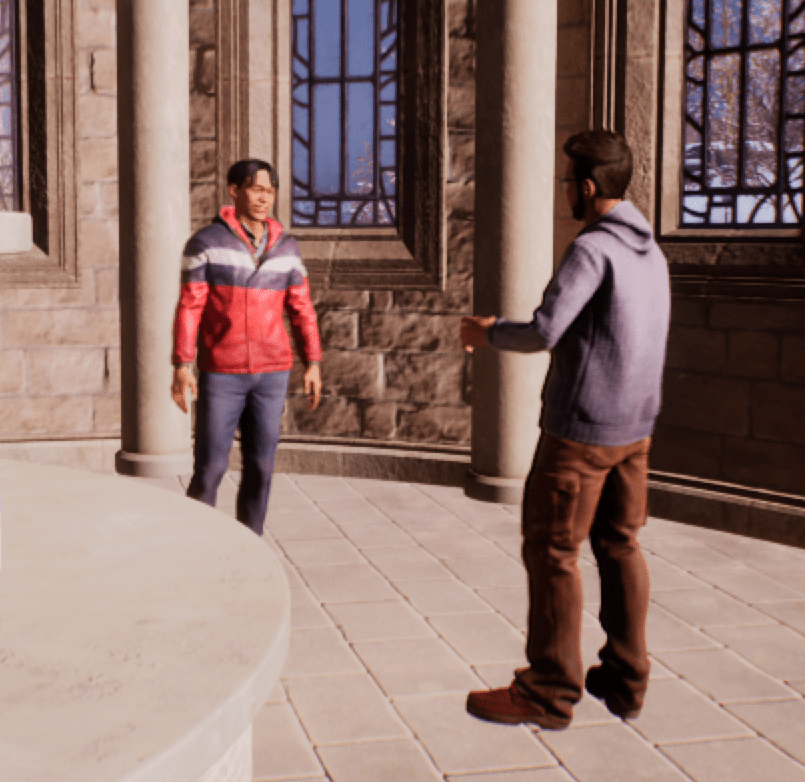
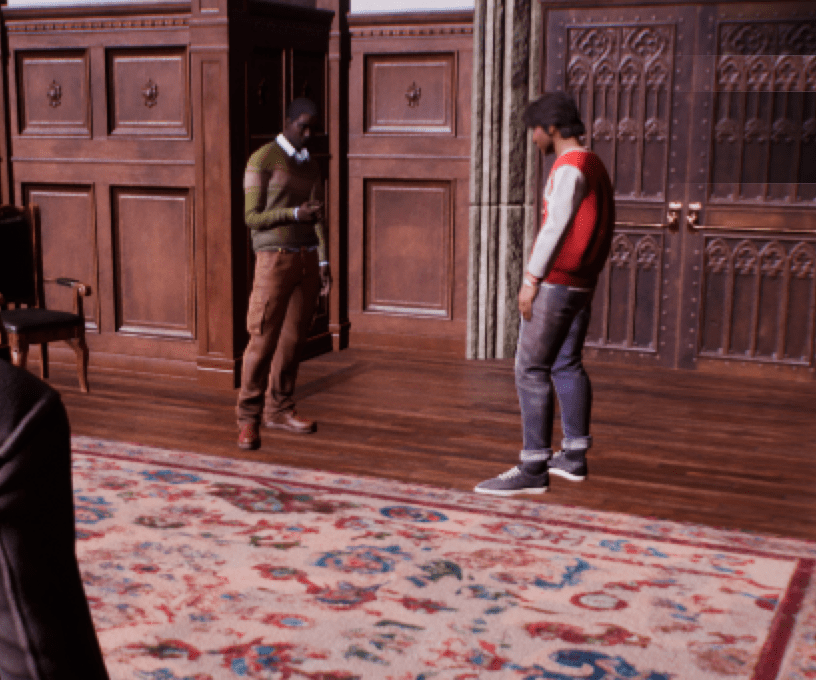
Scene 3: Moses and Safi
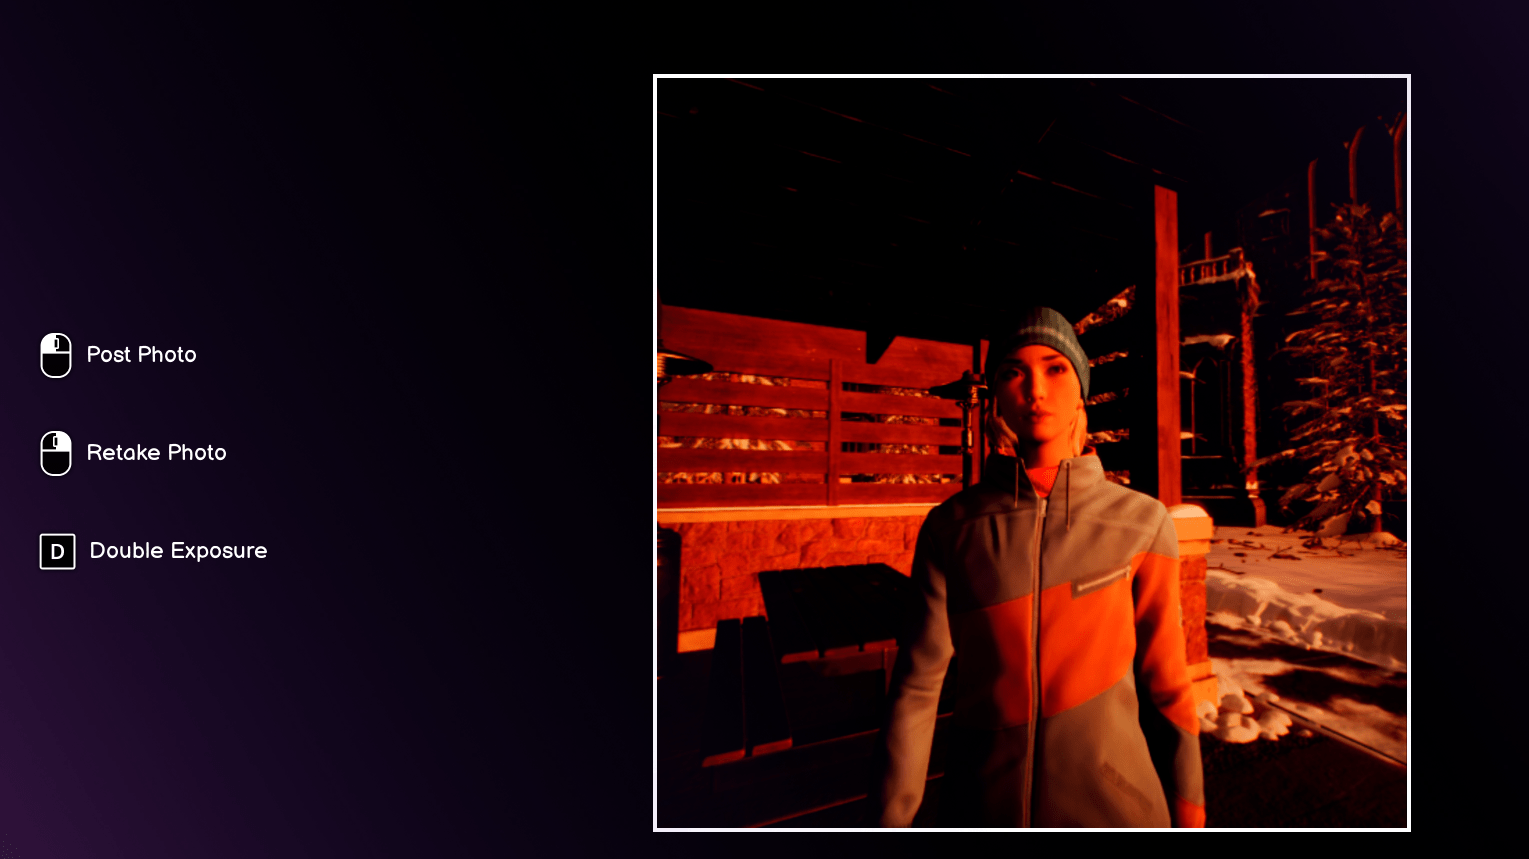
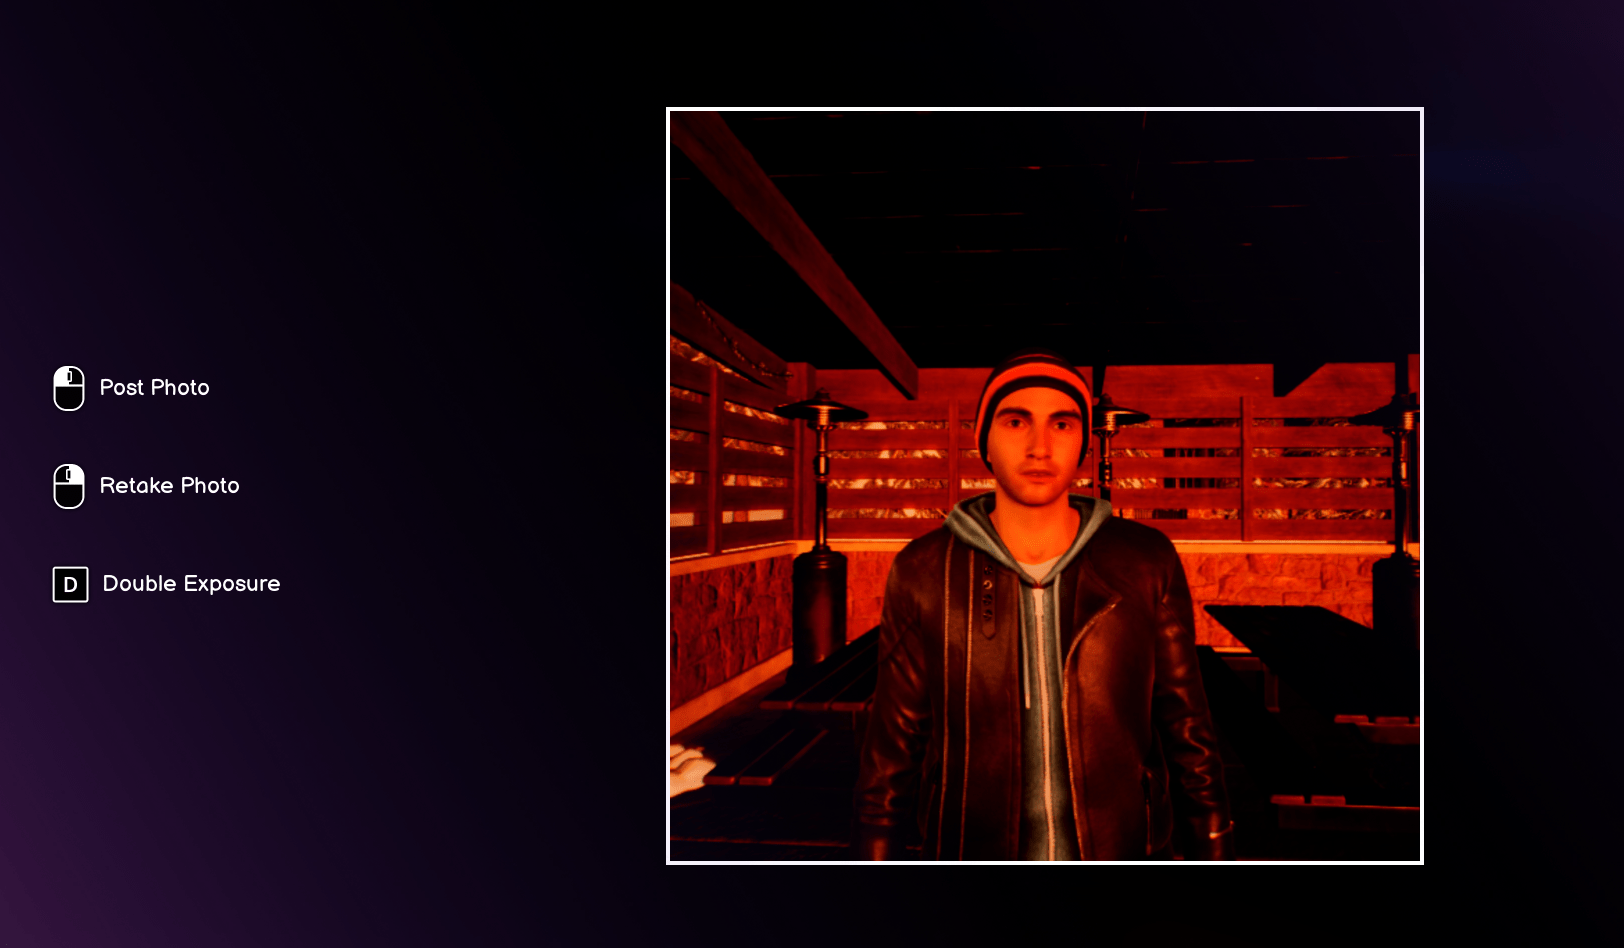
- Take photos of both Moses and Safi.
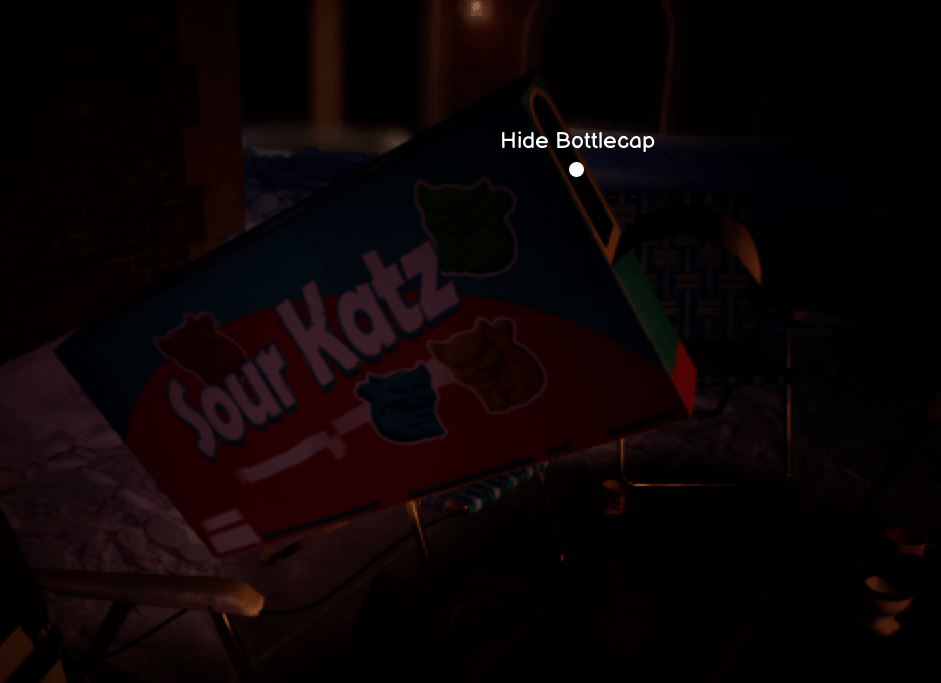
To get “Putting the Cap in Caper” achievement:
- Put bottle cap in Safi’s candy.
- Give her the candy.
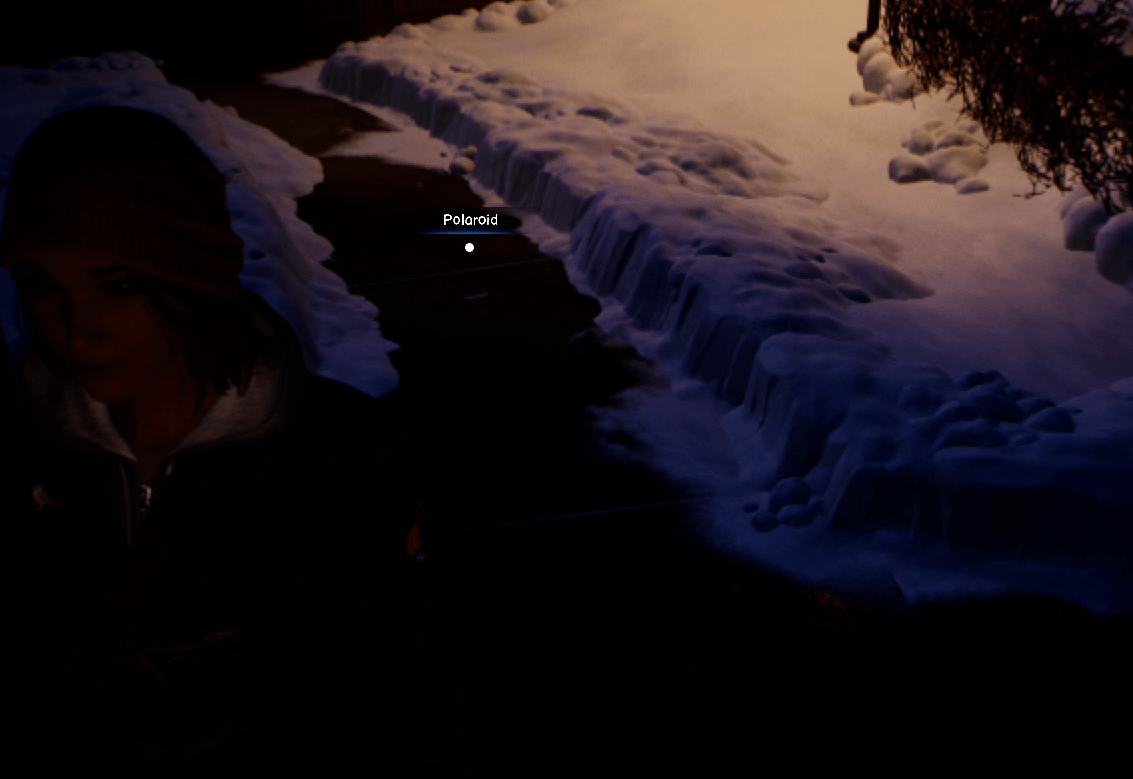
- When walking home, take the straight path to find a Polaroid.
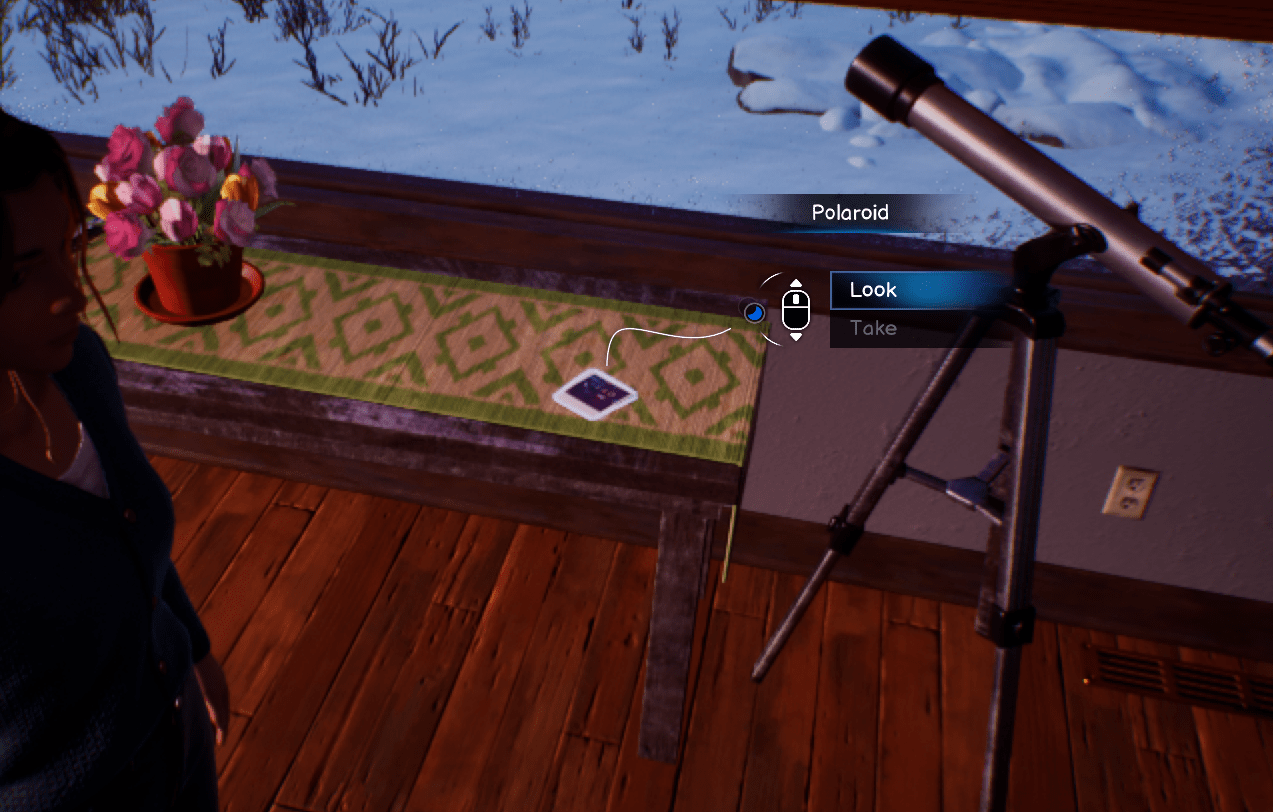
Scene 4: House
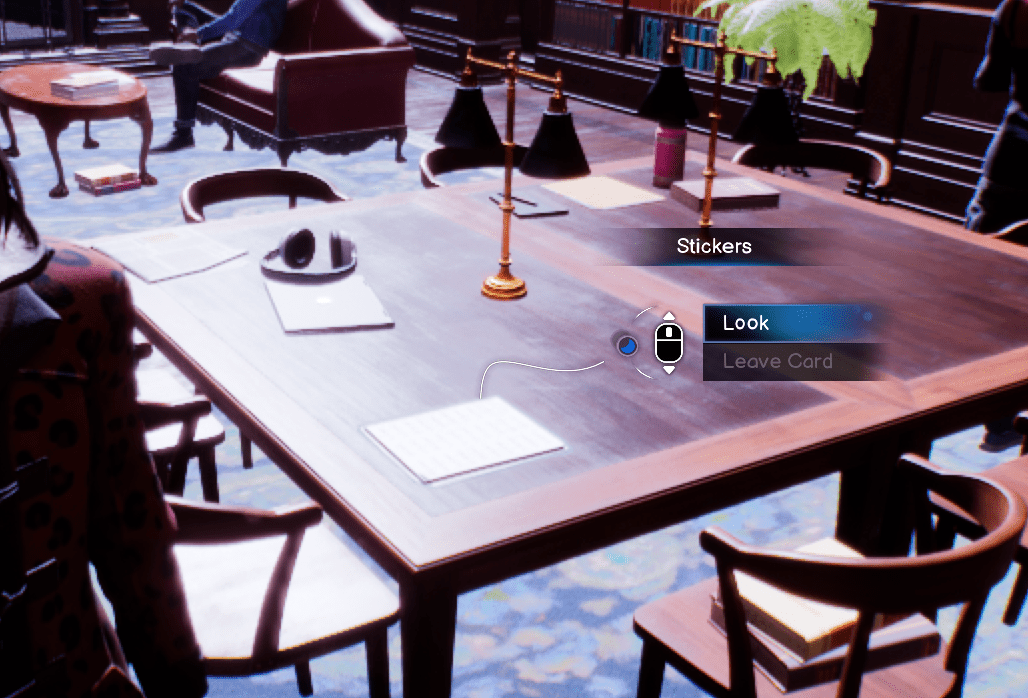
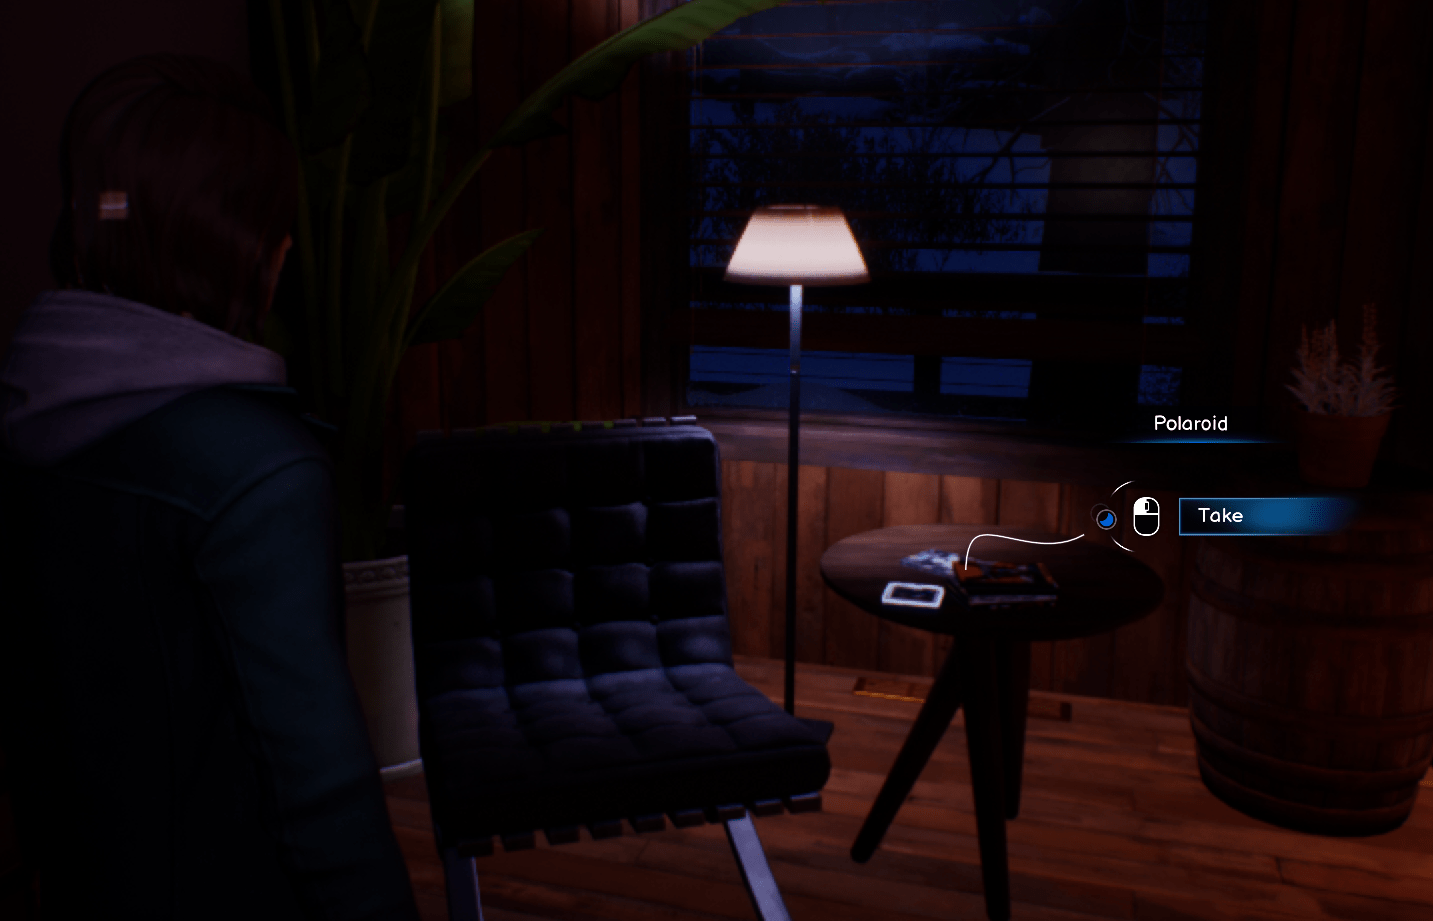
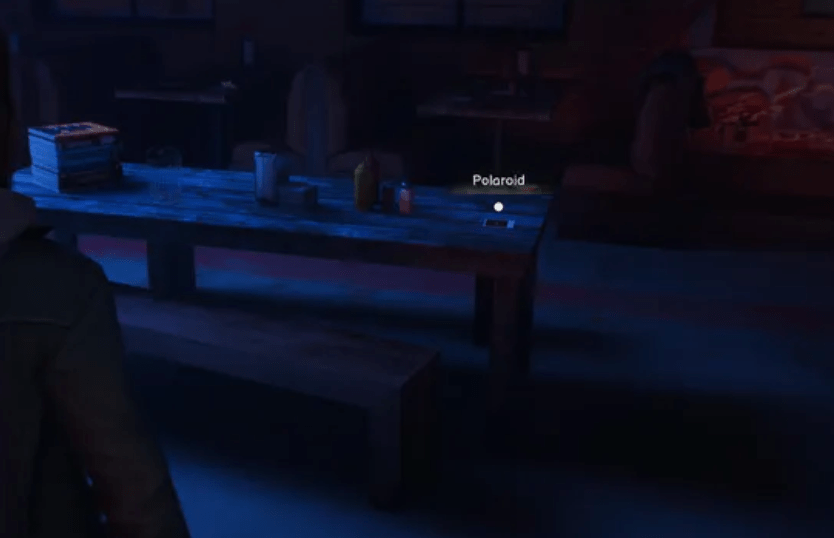
- Find Polaroid on the flower table near the couches.
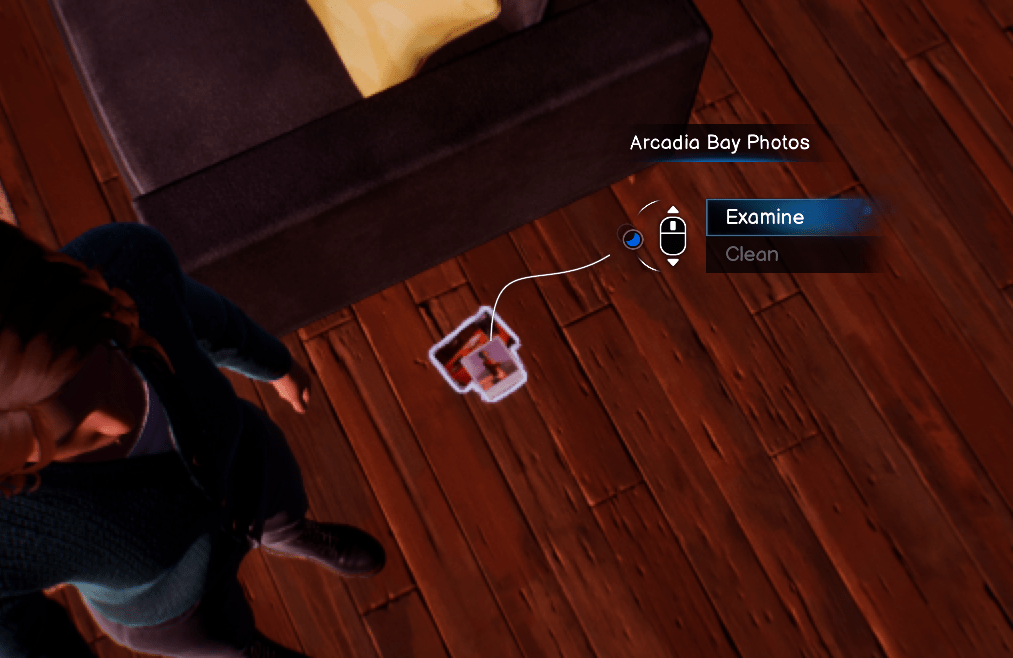
- Add photos from under the memories box to your photo wall.
Scene 5: Campus
Box Puzzle:
- Get box from Reggie.
- Click eye.
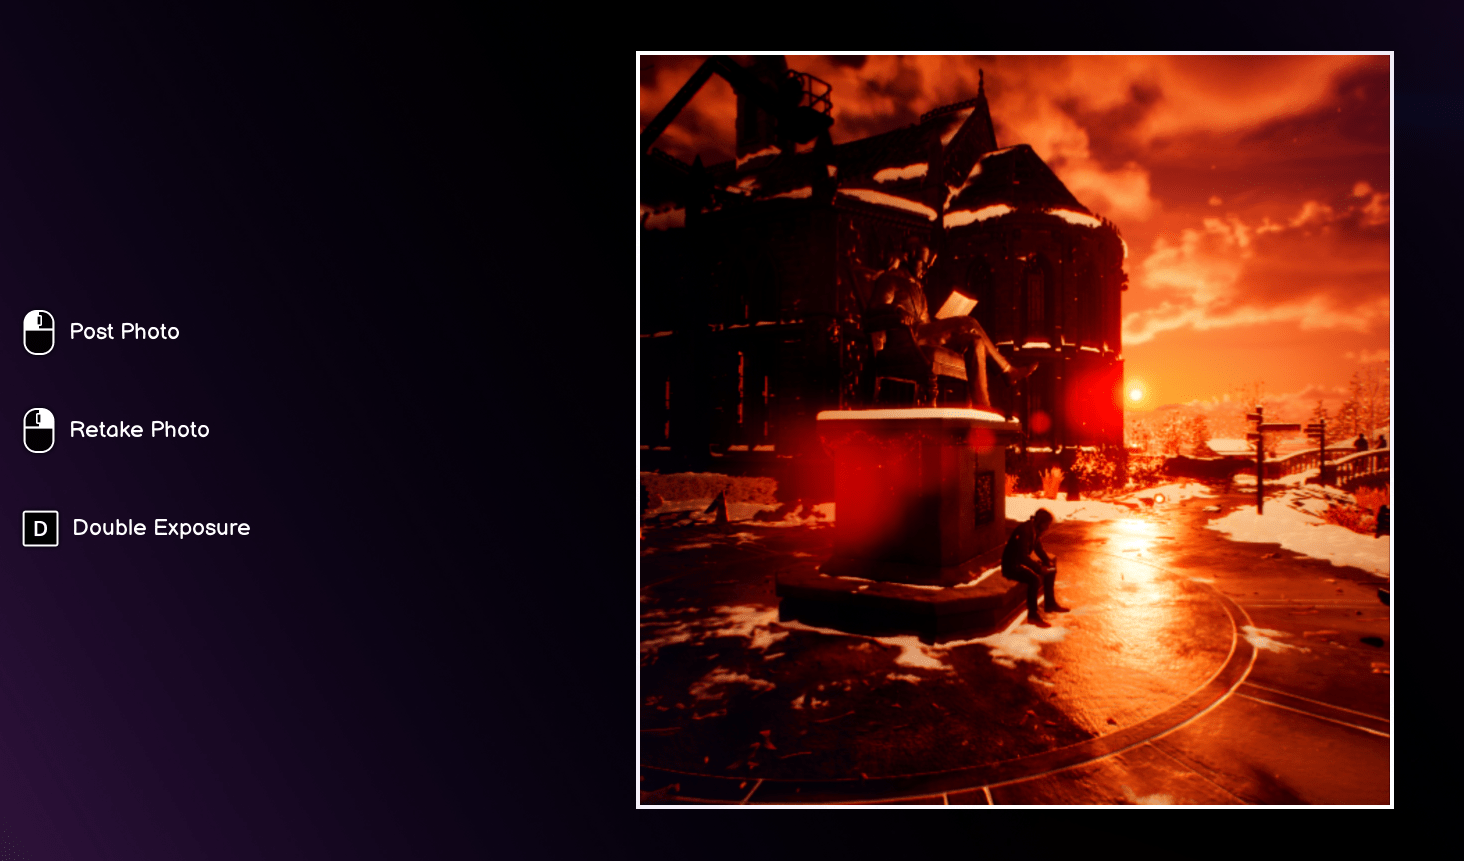
- Turn to founder statue.
- Flip to bird.
- Have Reggie melt wax.
- Place bird on statue’s other shoulder.
Required Activities:
- Read origami note near founder statue.
- Check laptop by cafe.

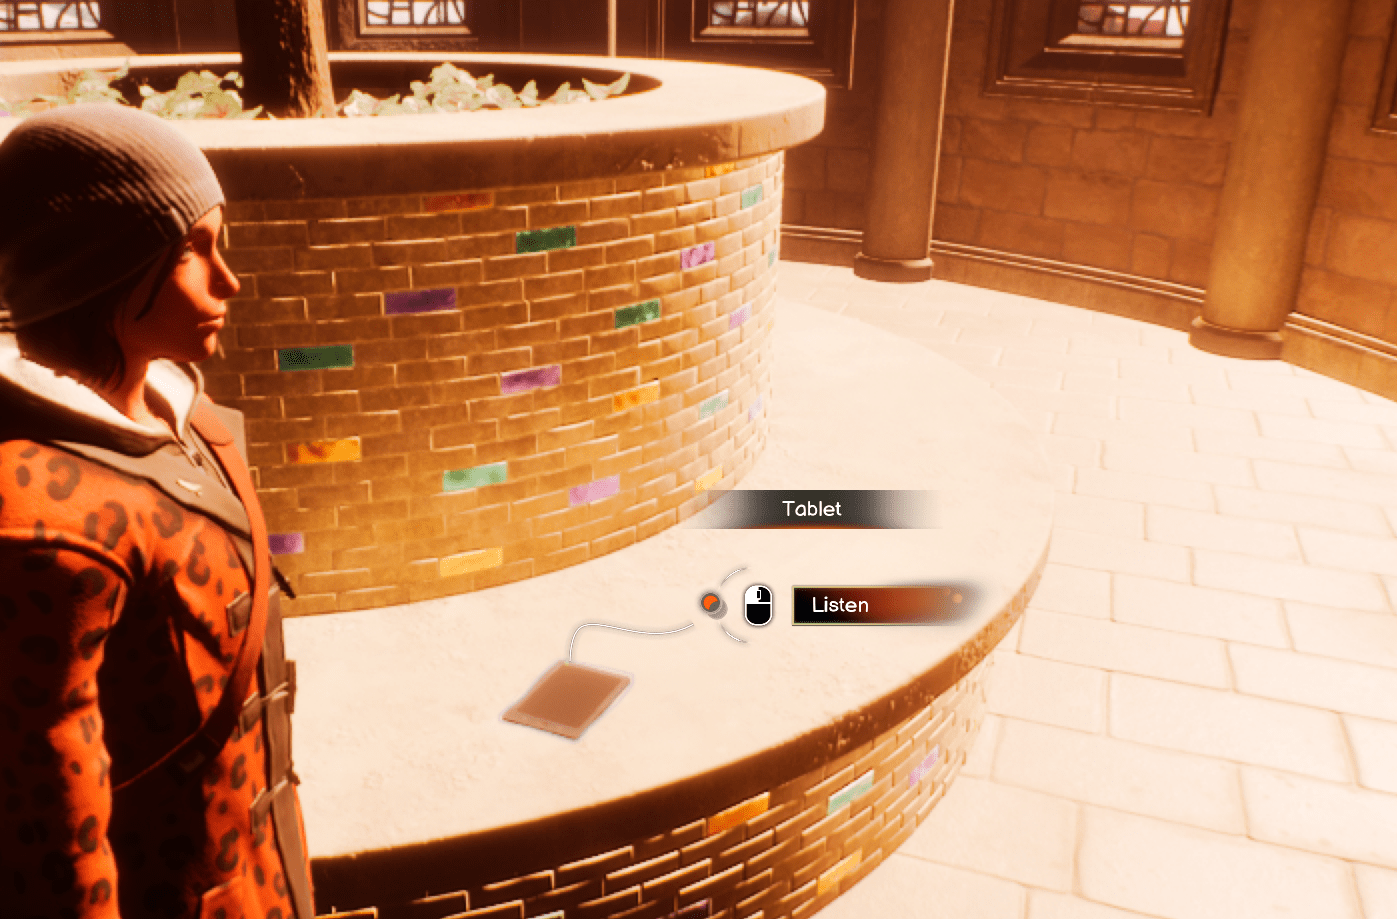
- Listen to entire true believers conversation behind tree.
- Listen to full conversation near admin building stairs.
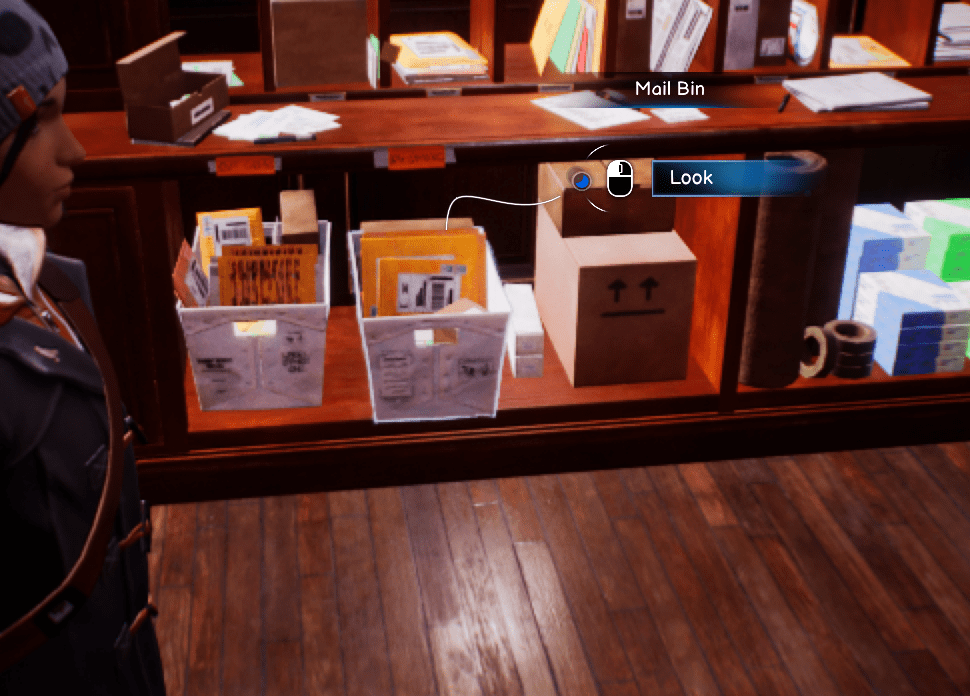
- Help Vinh with mail package.
- Choose silence in Loretta’s podcast.
- Take rose from table and listen to Abraxas.
Chapter 2
Take every photo with double exposure!
Scene 1
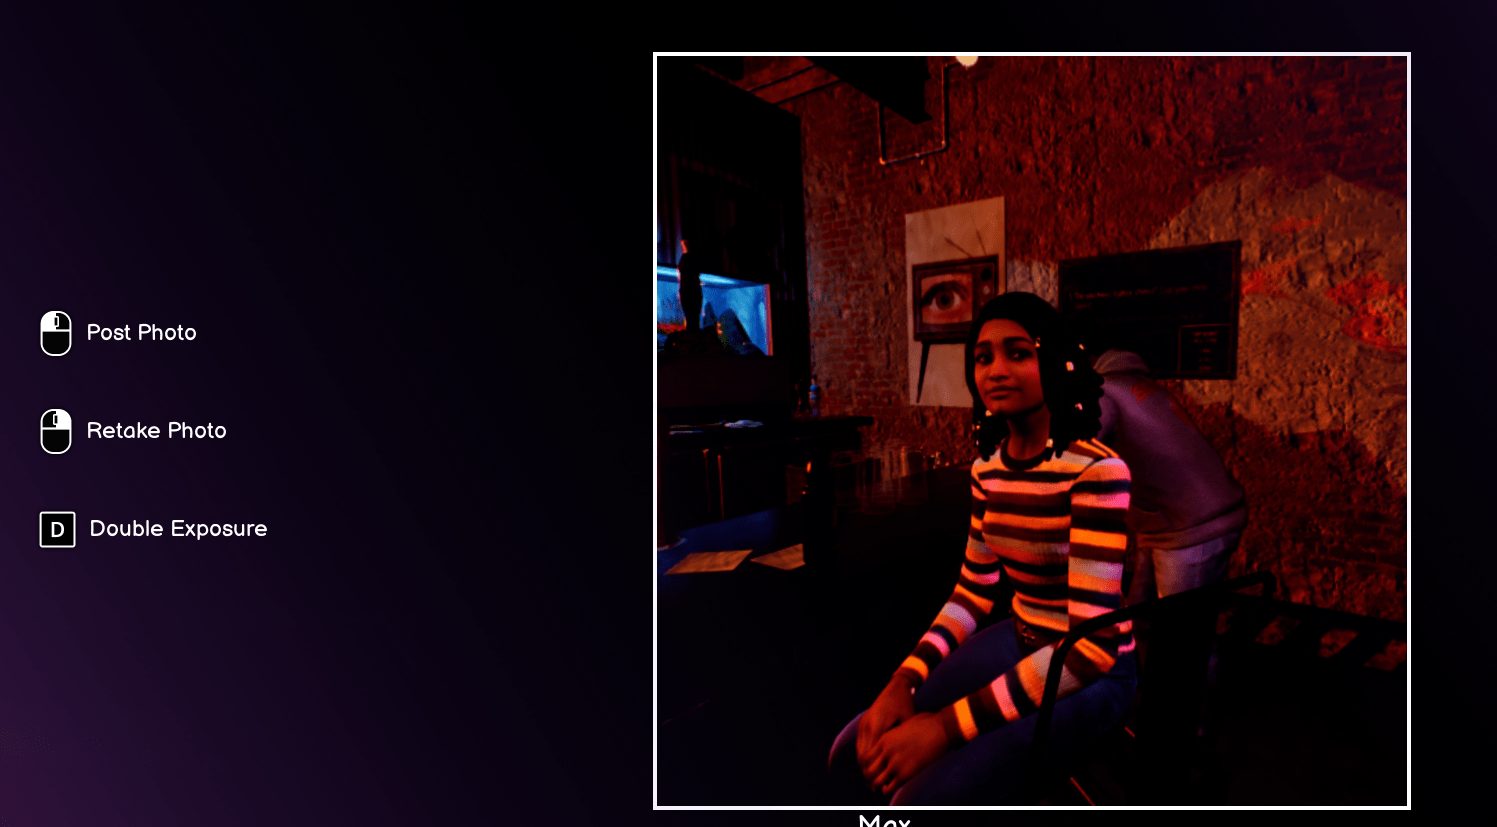
- Immediately after opening scene, photograph Safi and Yasmi (use D for double exposure).
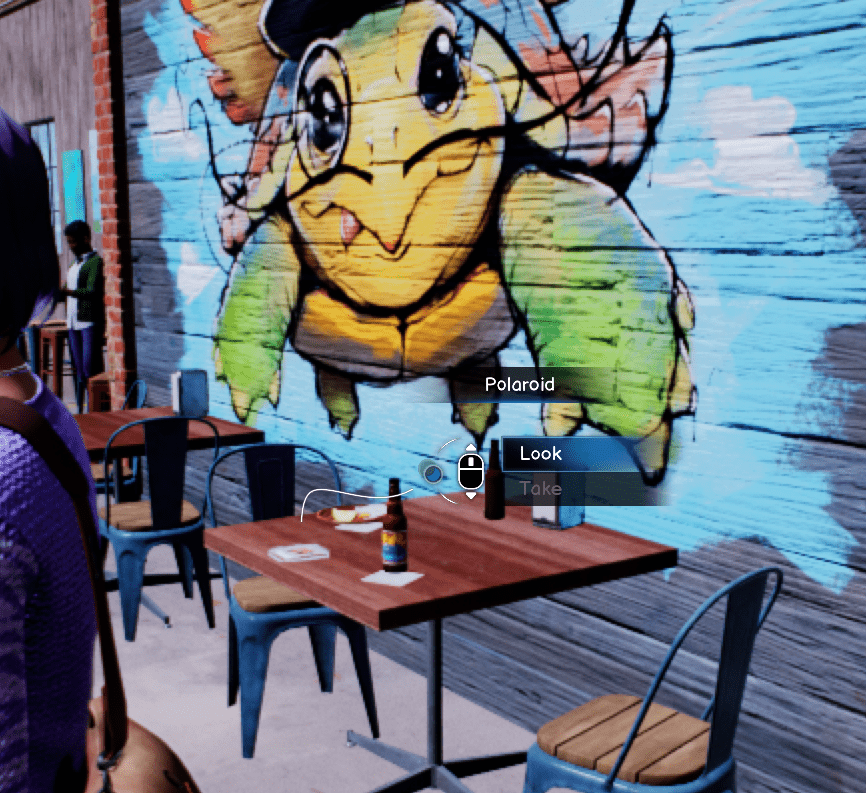
- In dead world, collect Polaroid by turtle mural.
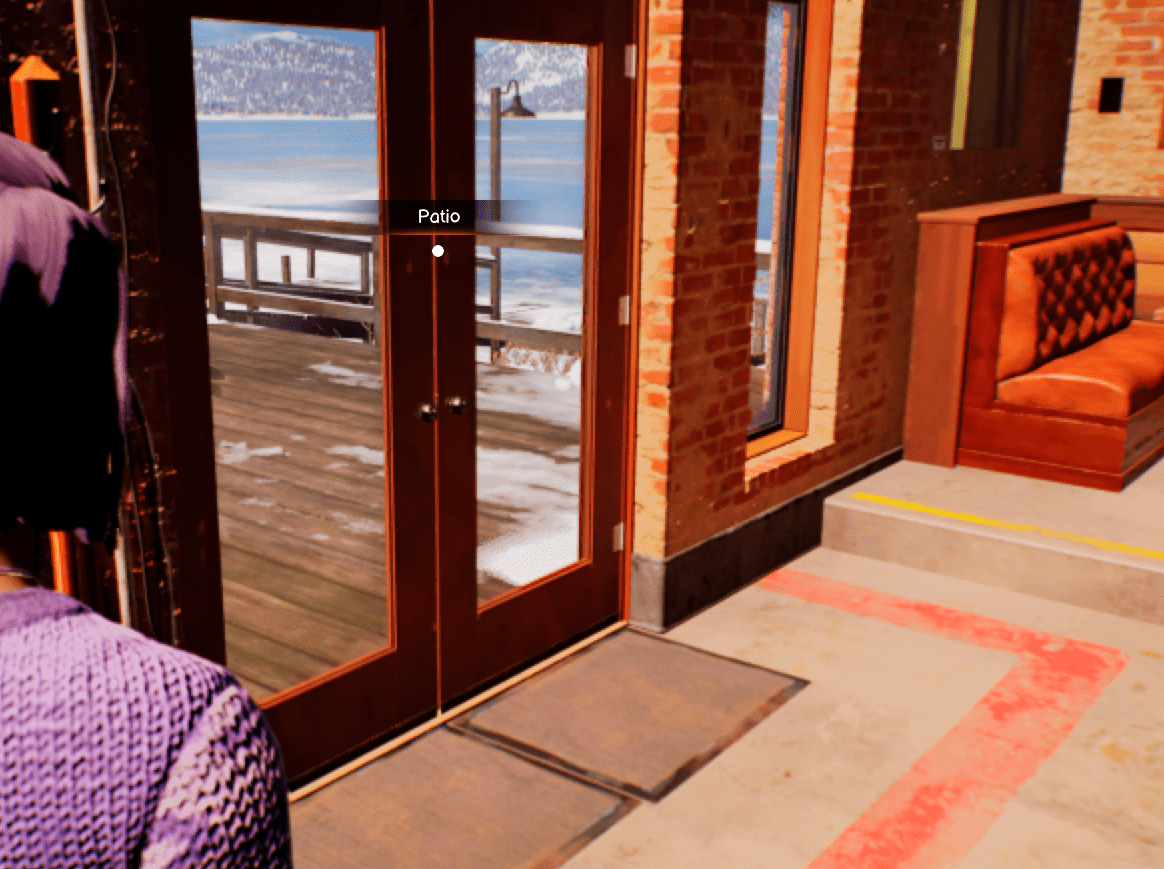
- Listen to guys’ conversation on patio in living world.
- Switch to dead world, listen to same conversation again.
Scene 2
Important Photo Locations (all need double exposure):
- Snow David on second bridge.

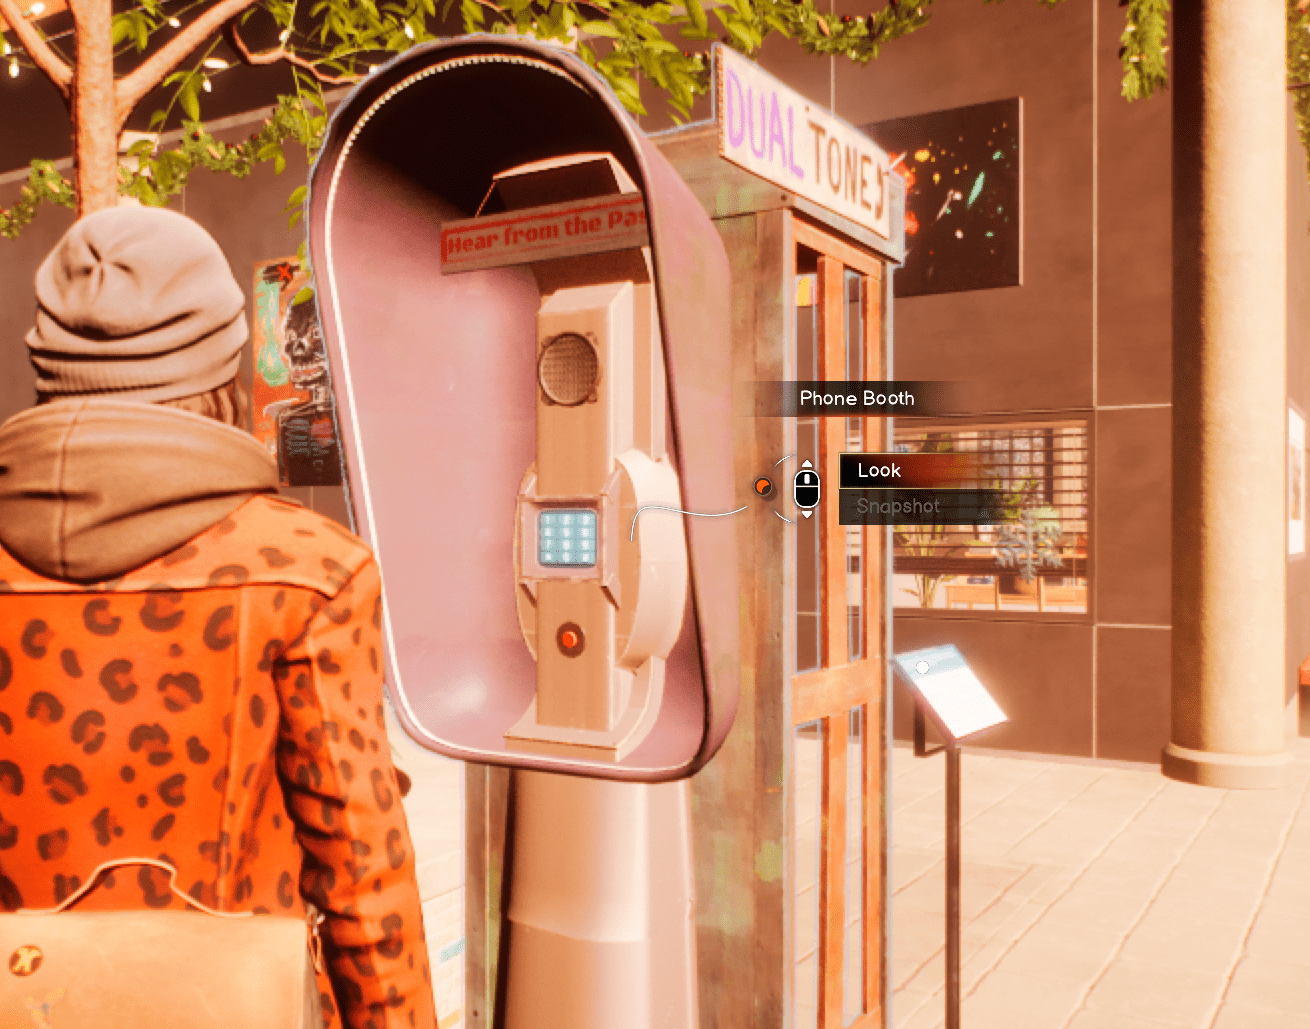
- Phone booth.
- Lucas’ vandalized cardboard (need both black eye and devil horns versions – use explore mode to get both).
- Possum bookend in Gwen’s office.

- Vinh with cards in dead world Admin building.
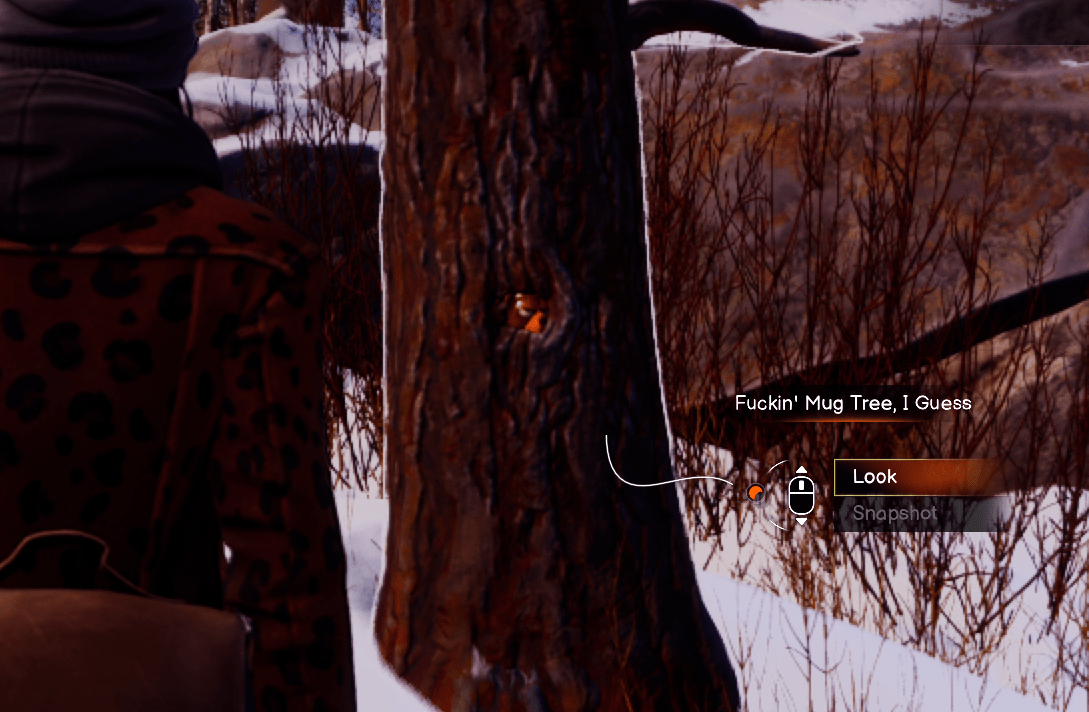
- Bear mug in tree.
Key Activities:
- Listen to full conversation near footprints (last line should be – we need some time apart).

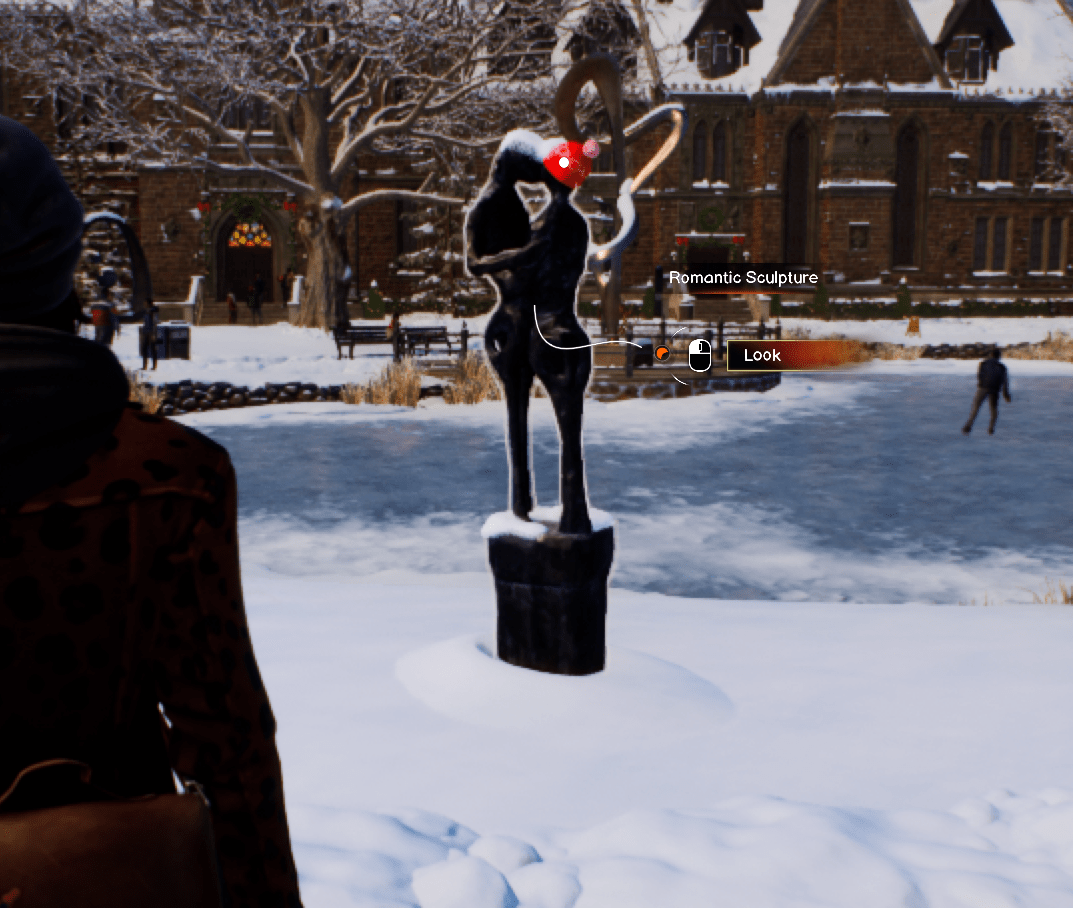
- Interact with romantic sculpture.
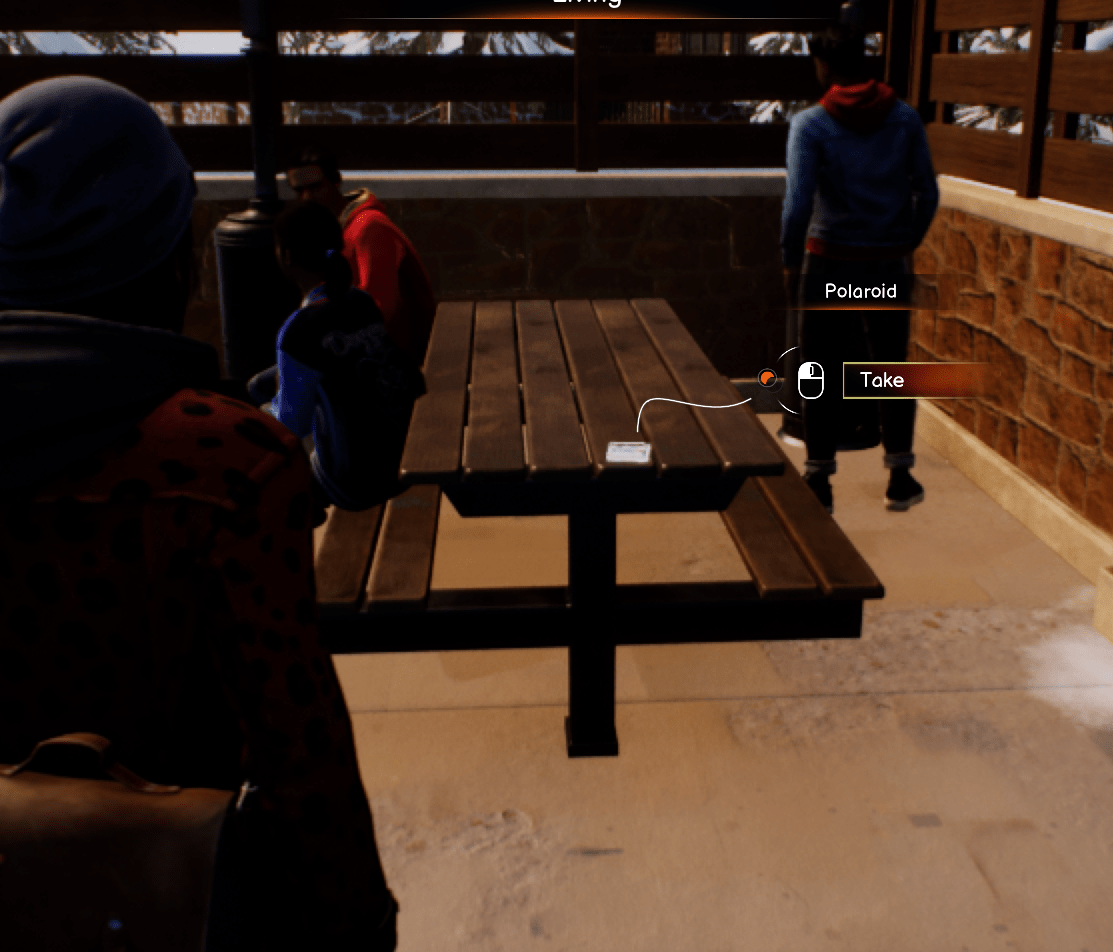
- Collect Polaroid at undercover tables.
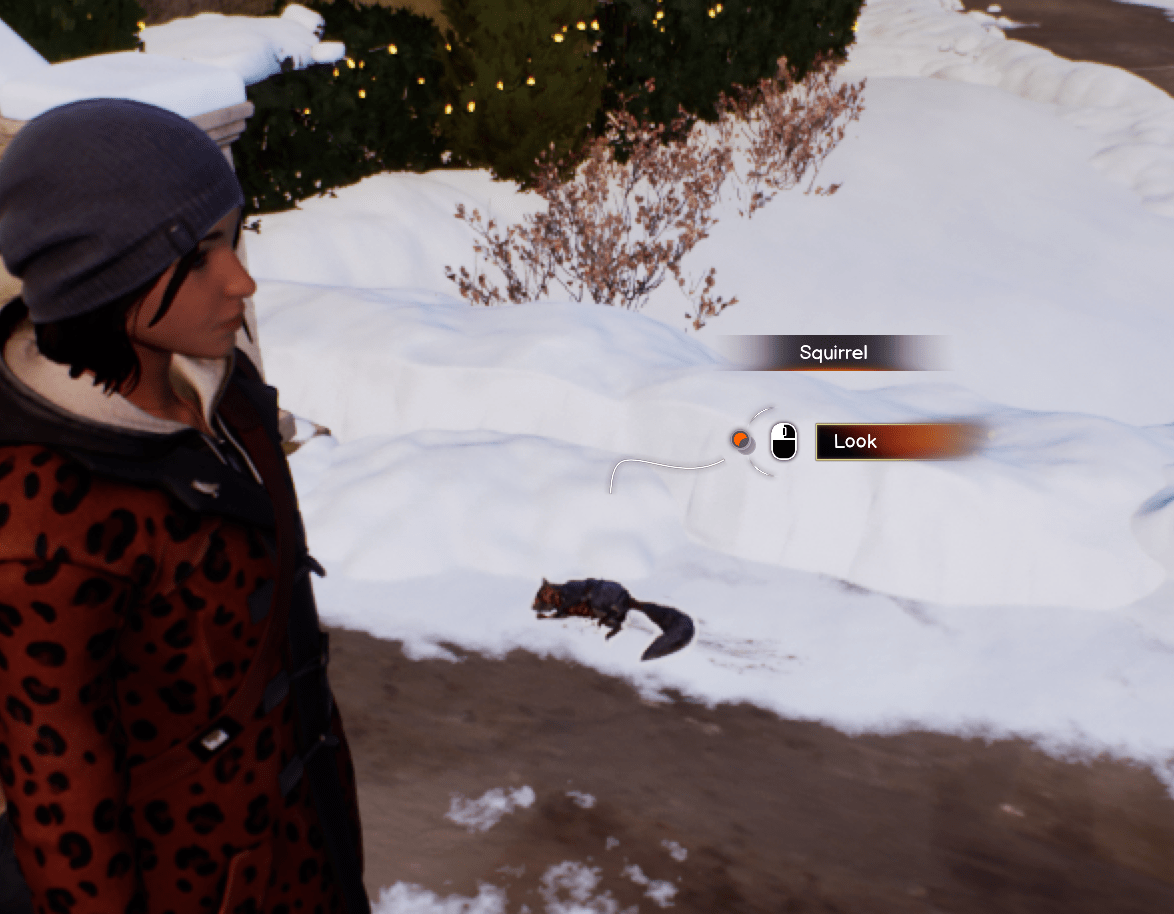
- Interact with squirrel near Admin building.
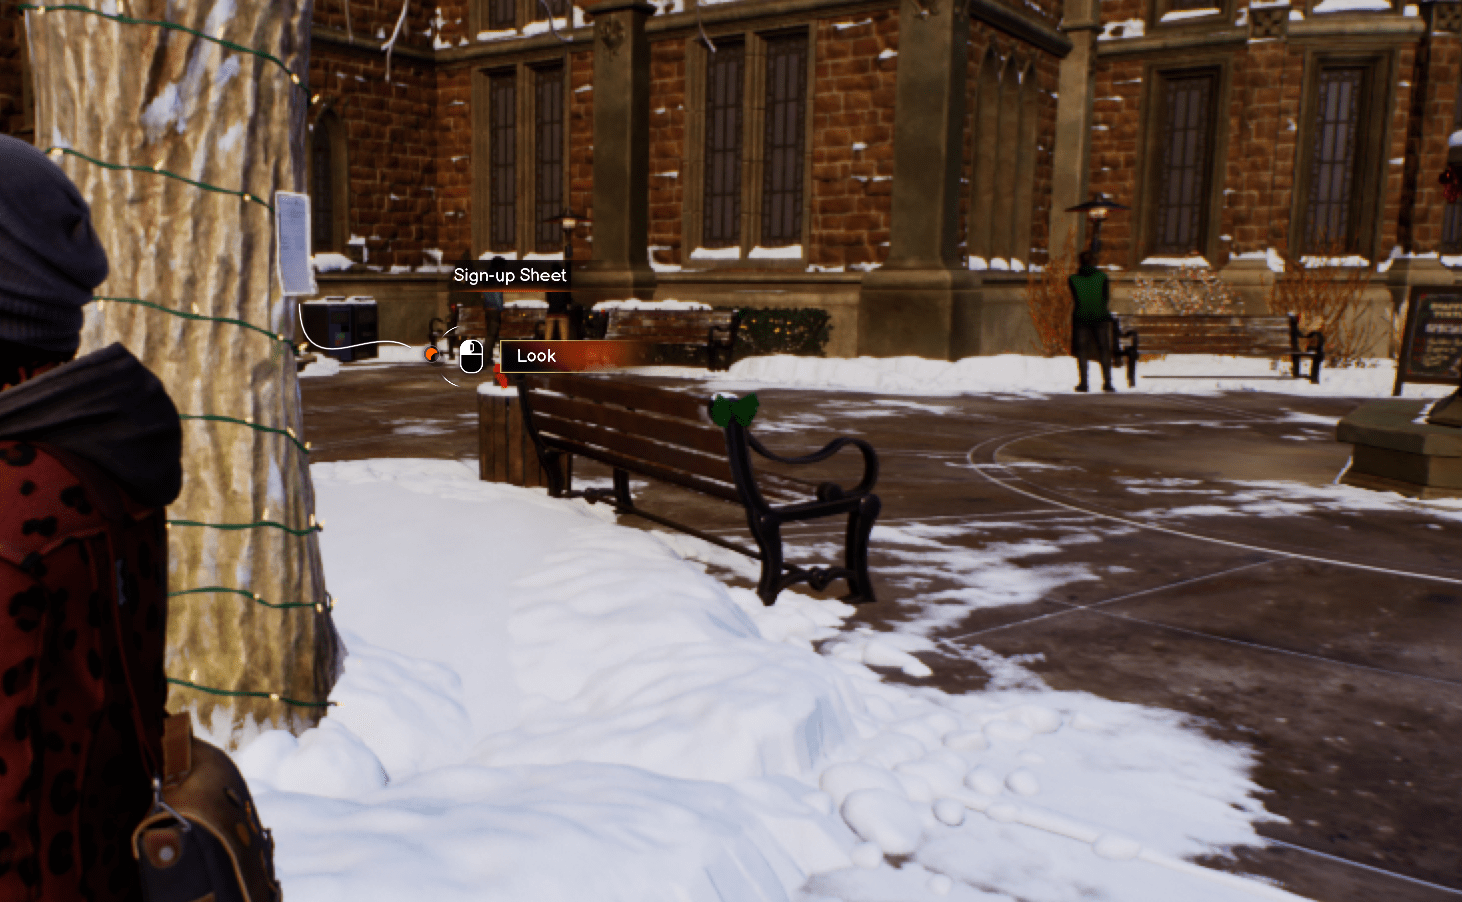
- Sign up for platypus facts at tree poster.
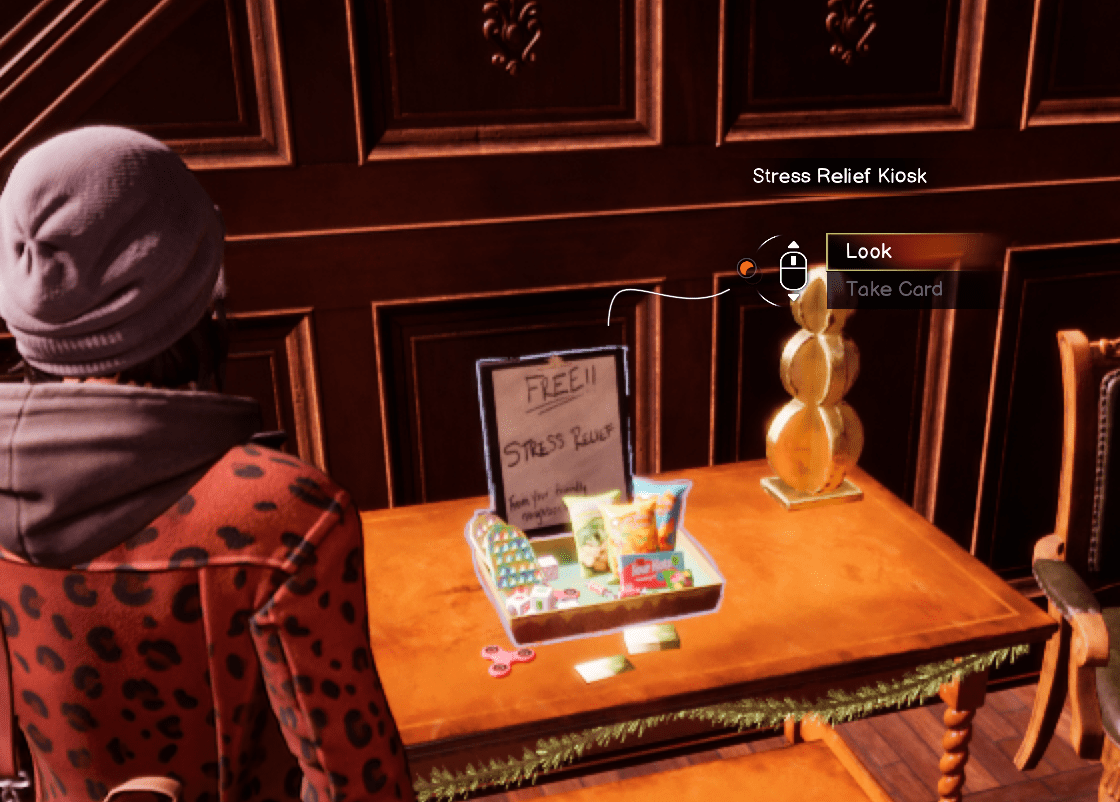
- Collect therapist card from stress relief basket.
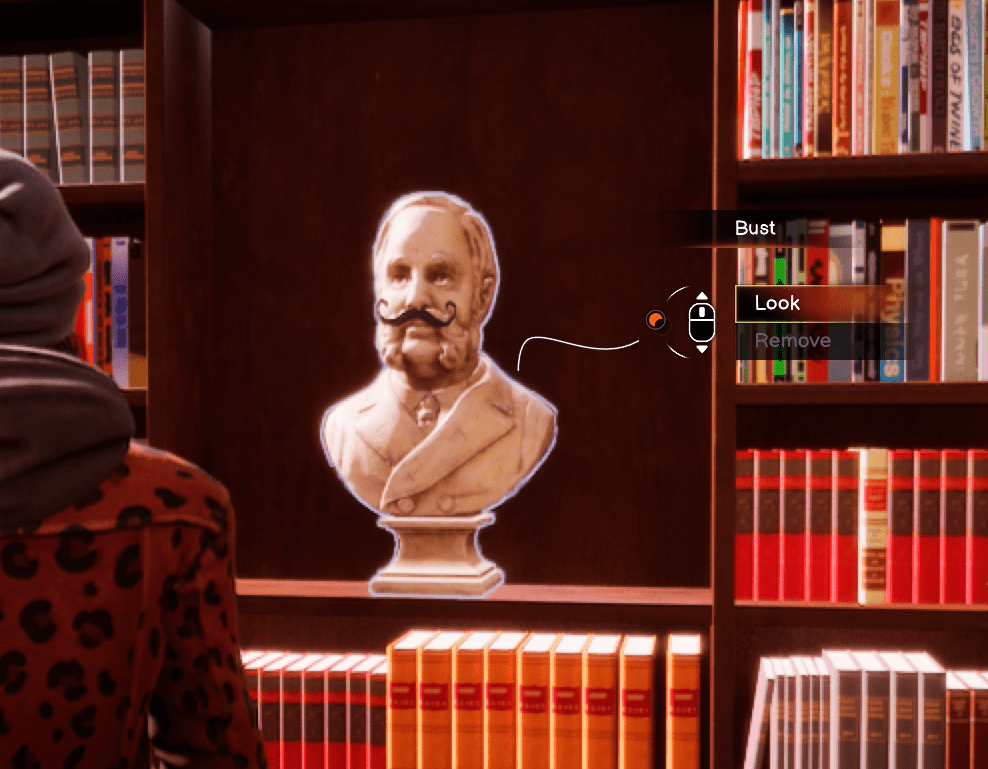
- Take all three mustaches from library busts.
Listen to complete conversations:
- Dead world couch guys (ends with Hemingway reference).
- Two girls in FAB.
- Lucas talking to Robbie (The last words are – The nationals, I’m so proud of you Robbie).
- Tablet conversation behind tree (the living world).
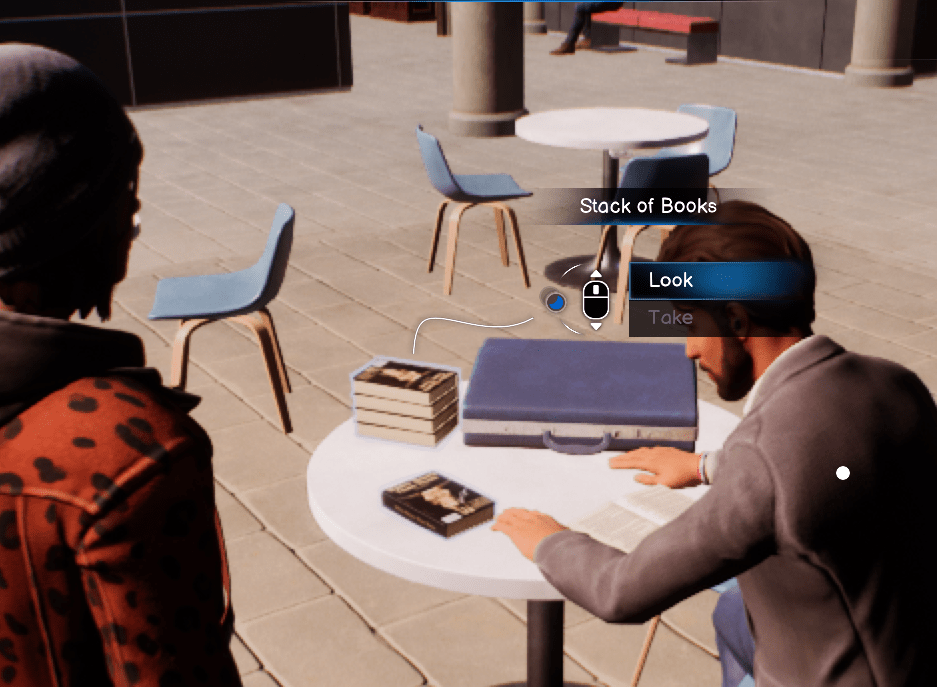
- Take one of Lucas’ books after dialogue.
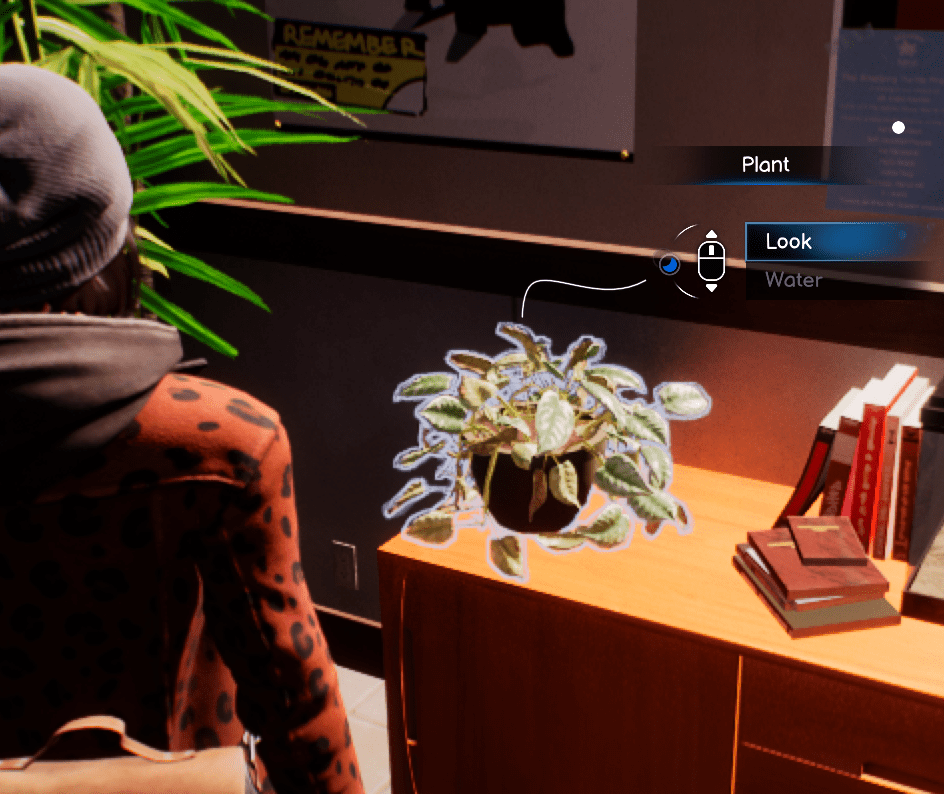
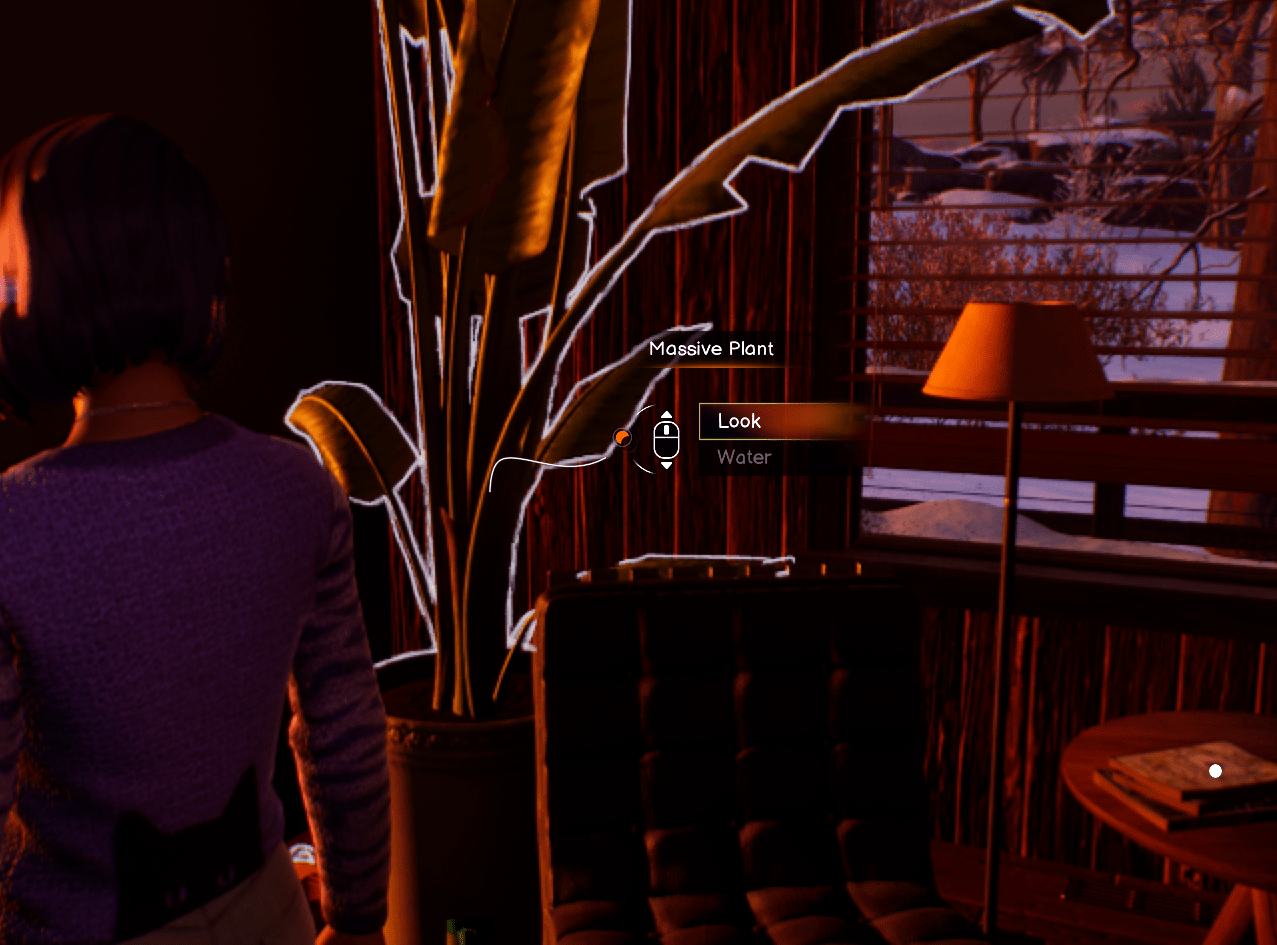
- Water plant in Gwen’s dead world office.
- Read Gwen’s memoir.
- Don’t use Vinh’s favor for “Favor Saver” achievement.
Scene 3
- Take double exposure photo of bear mug in tree.
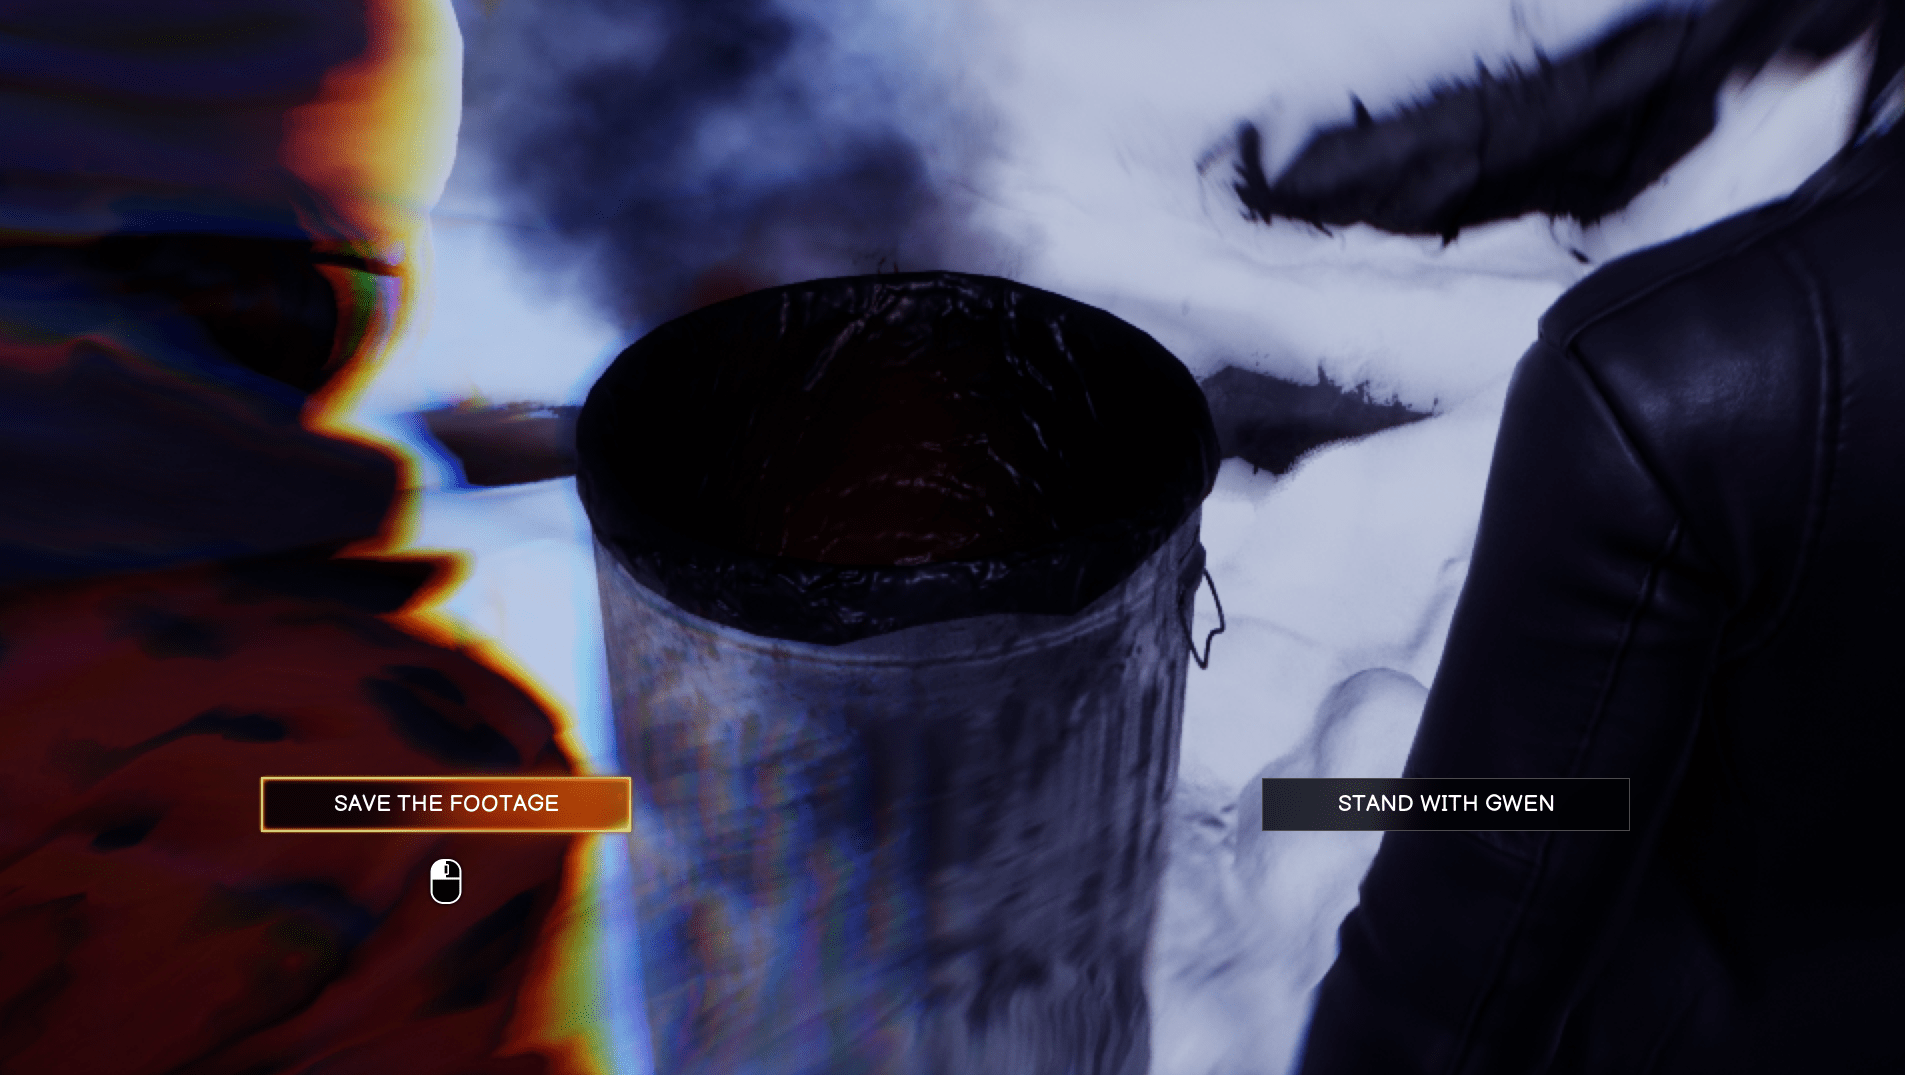
- Choose to save Gwen’s footage.
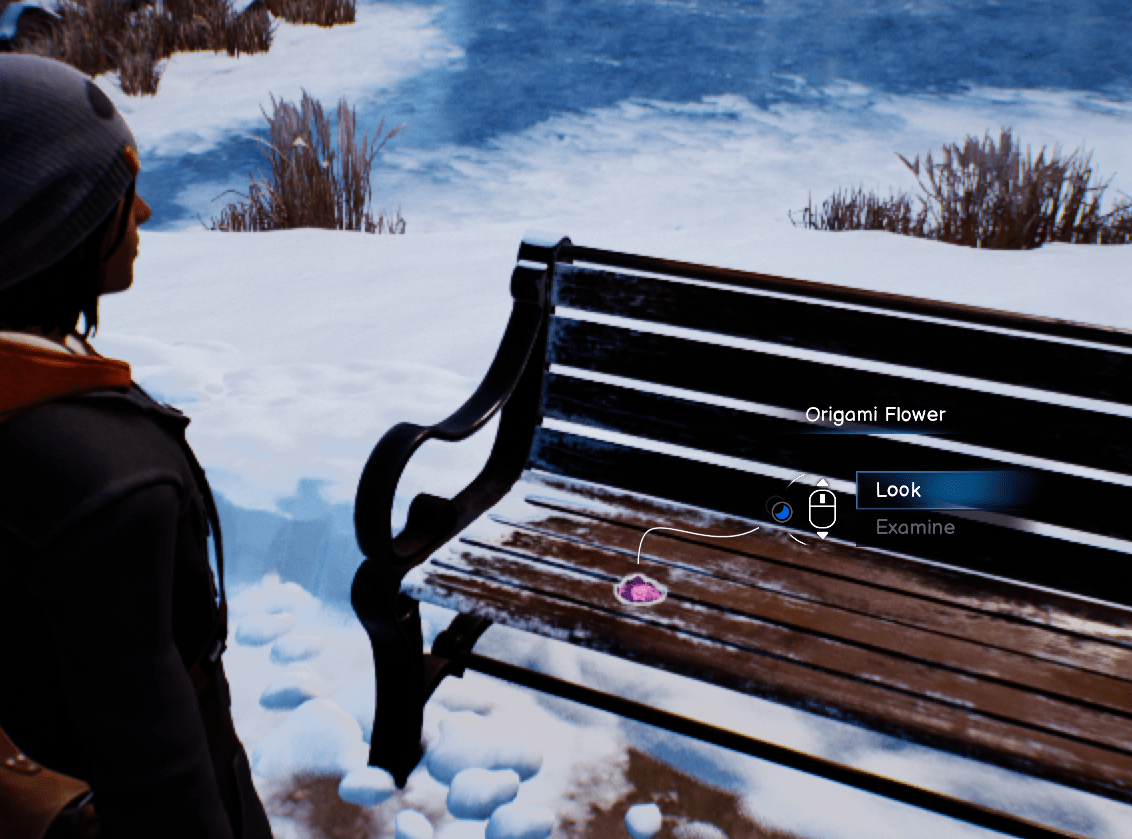
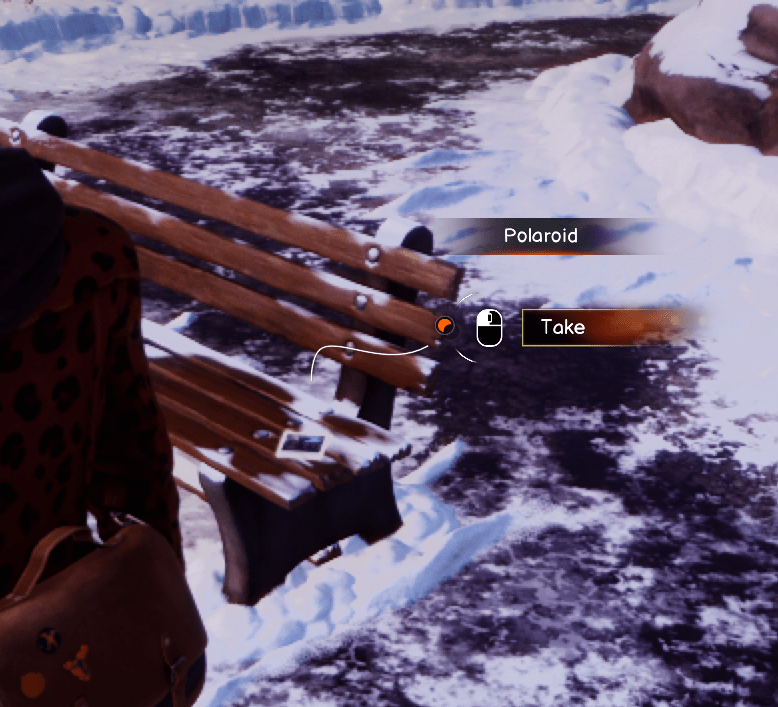
- Collect Polaroid by path bench.
Scene 4
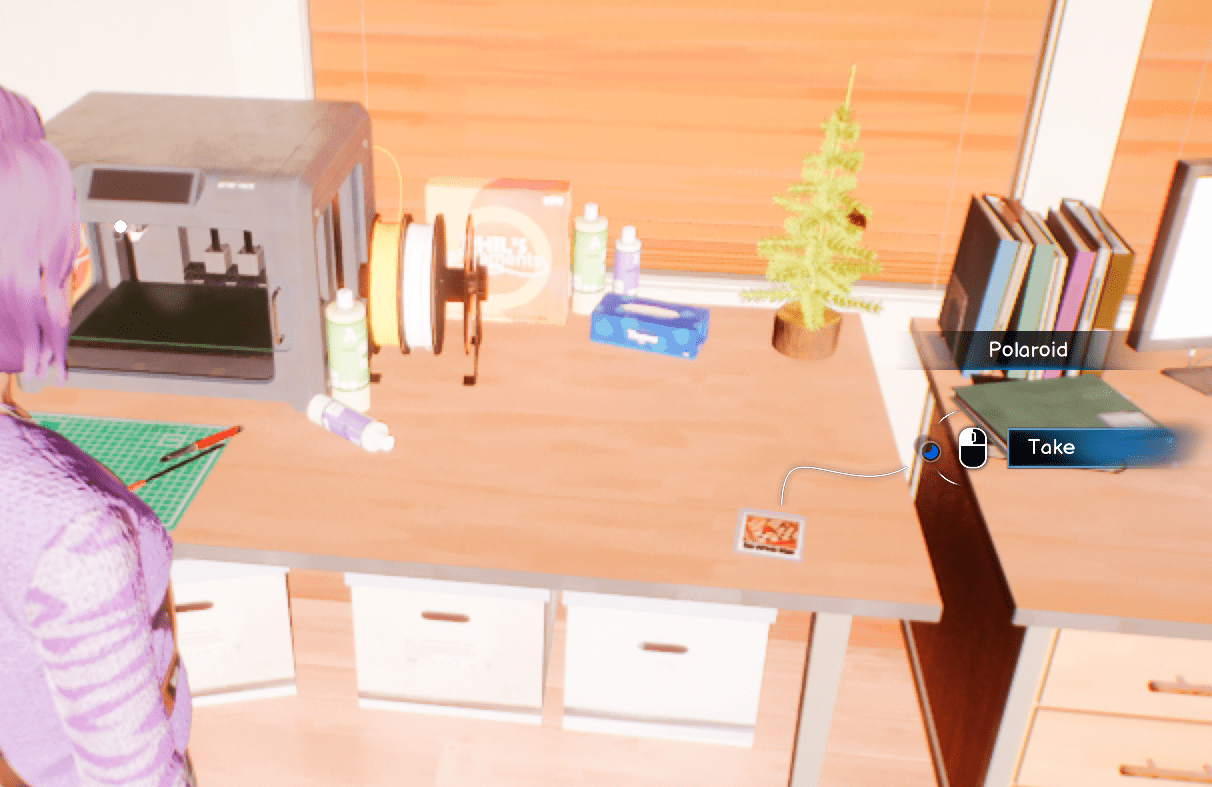
- Get Polaroid by Moses’ 3D printer in dead world.
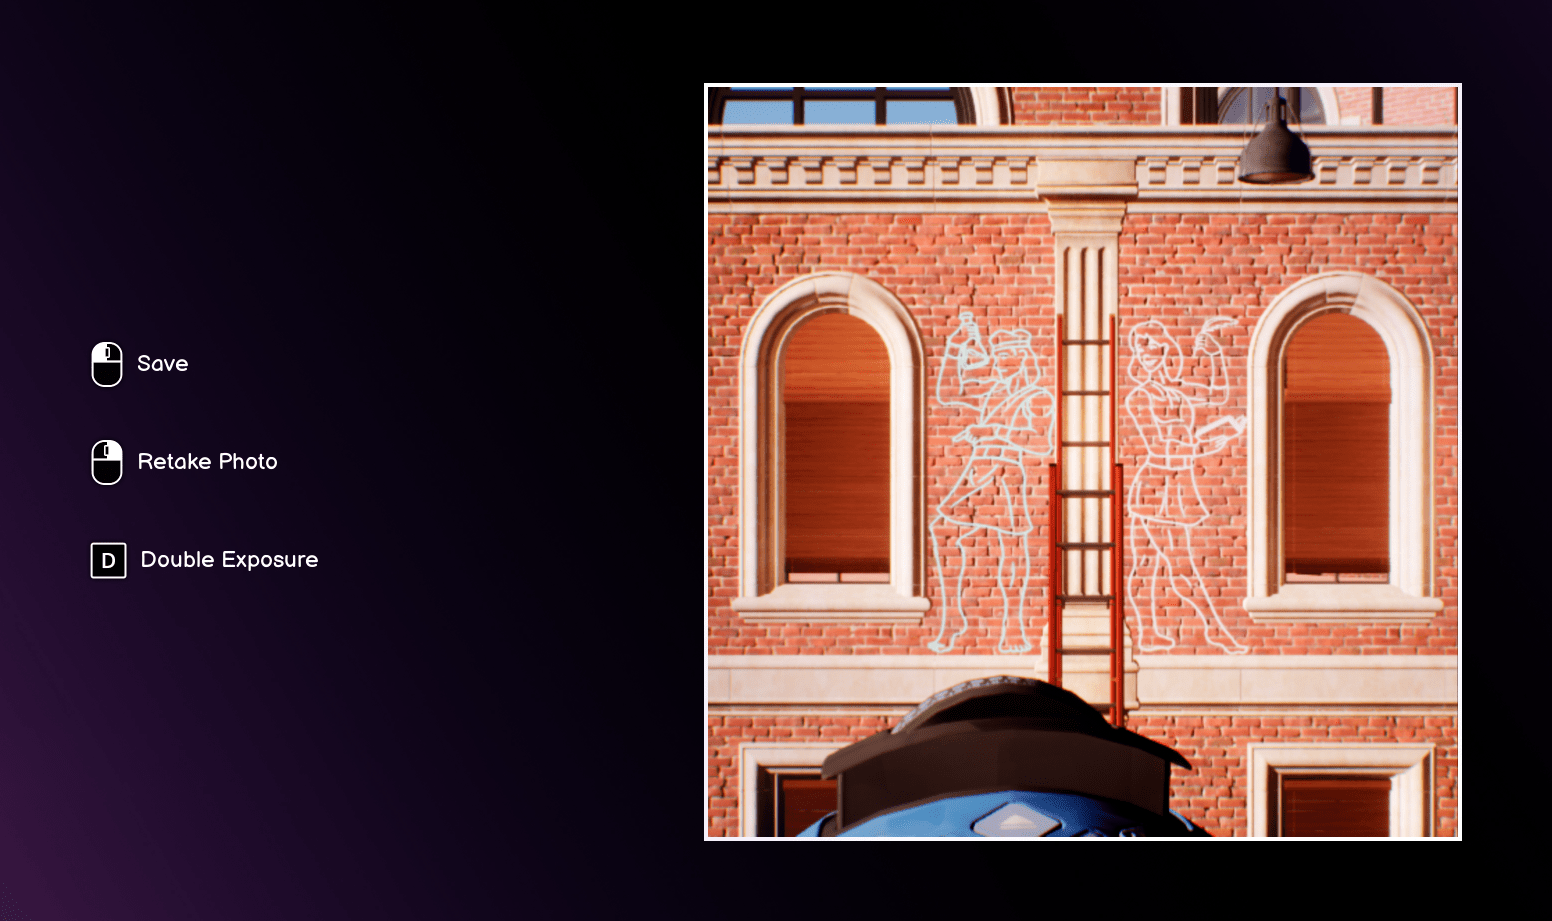
- Take double exposure photo of upstairs mural.
- Tell detective you’ll talk.
Scene 5
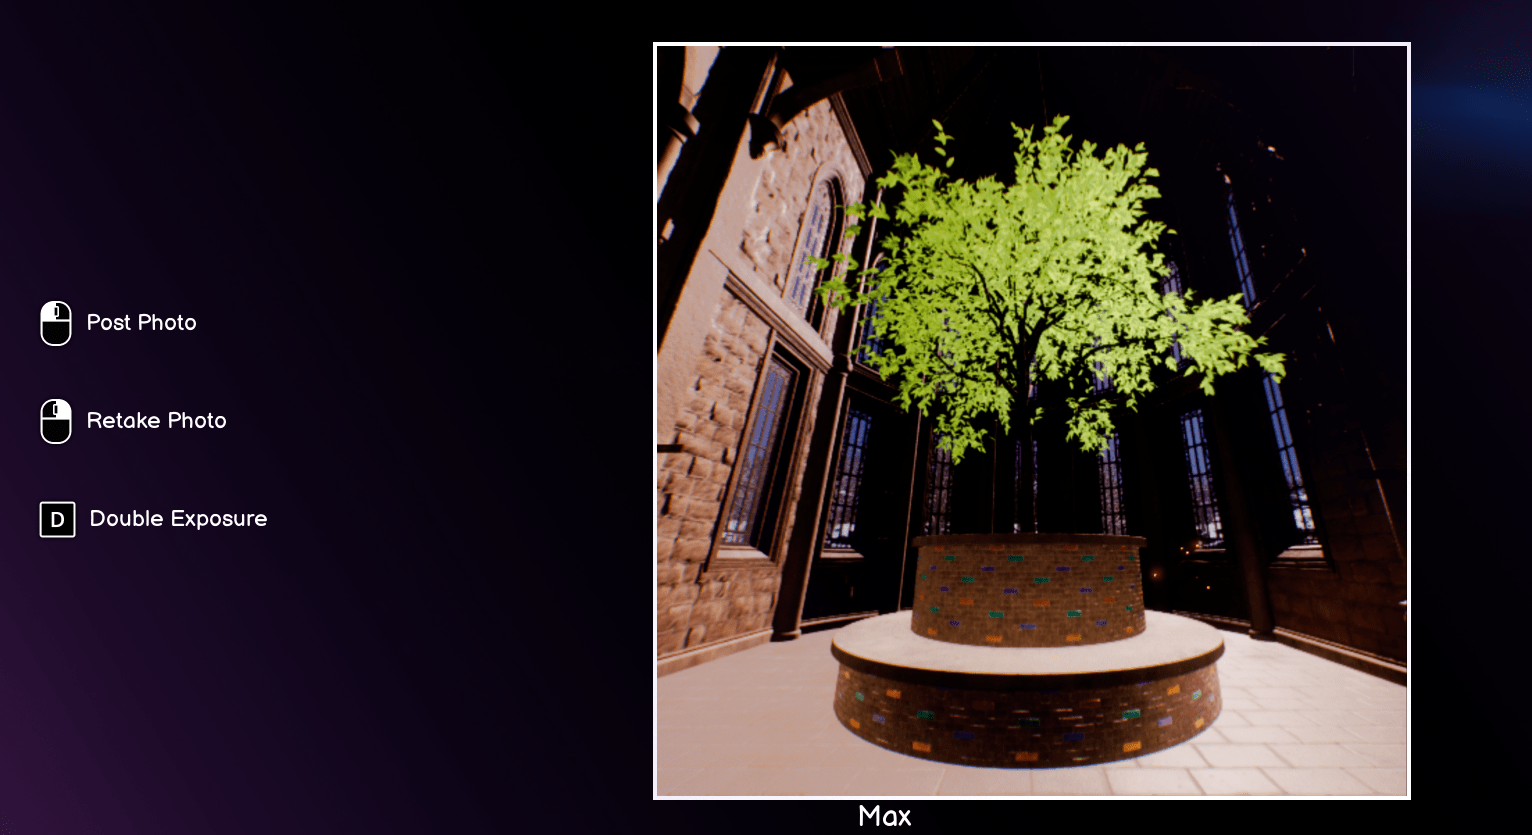
- Water living room plant for “Thirst Trap” achievement.
- Solve puzzle box in dead world kitchen: Move stars: First two down 2, third down 1, fourth down 2.
- Place dial over other one.
- Move top dial right twice, leave bottom dial alone.
- Collect Polaroid by CD player.
- Tell Moses you didn’t mean yes to Aldermen for “Be great, Do crimes!” achievement.
Chapter 3
Take every photo with double exposure then play again and do them normally!
Scene 2
- Before Moses arrives, photograph flowers arranged like Safi’s body.
Scene 3
Photo Locations:
- Look for the windows located behind the tree. Take a snapshot there. Then, move to the other side of the tree where you’ll find purple cushions. Take another photo between those cushions.
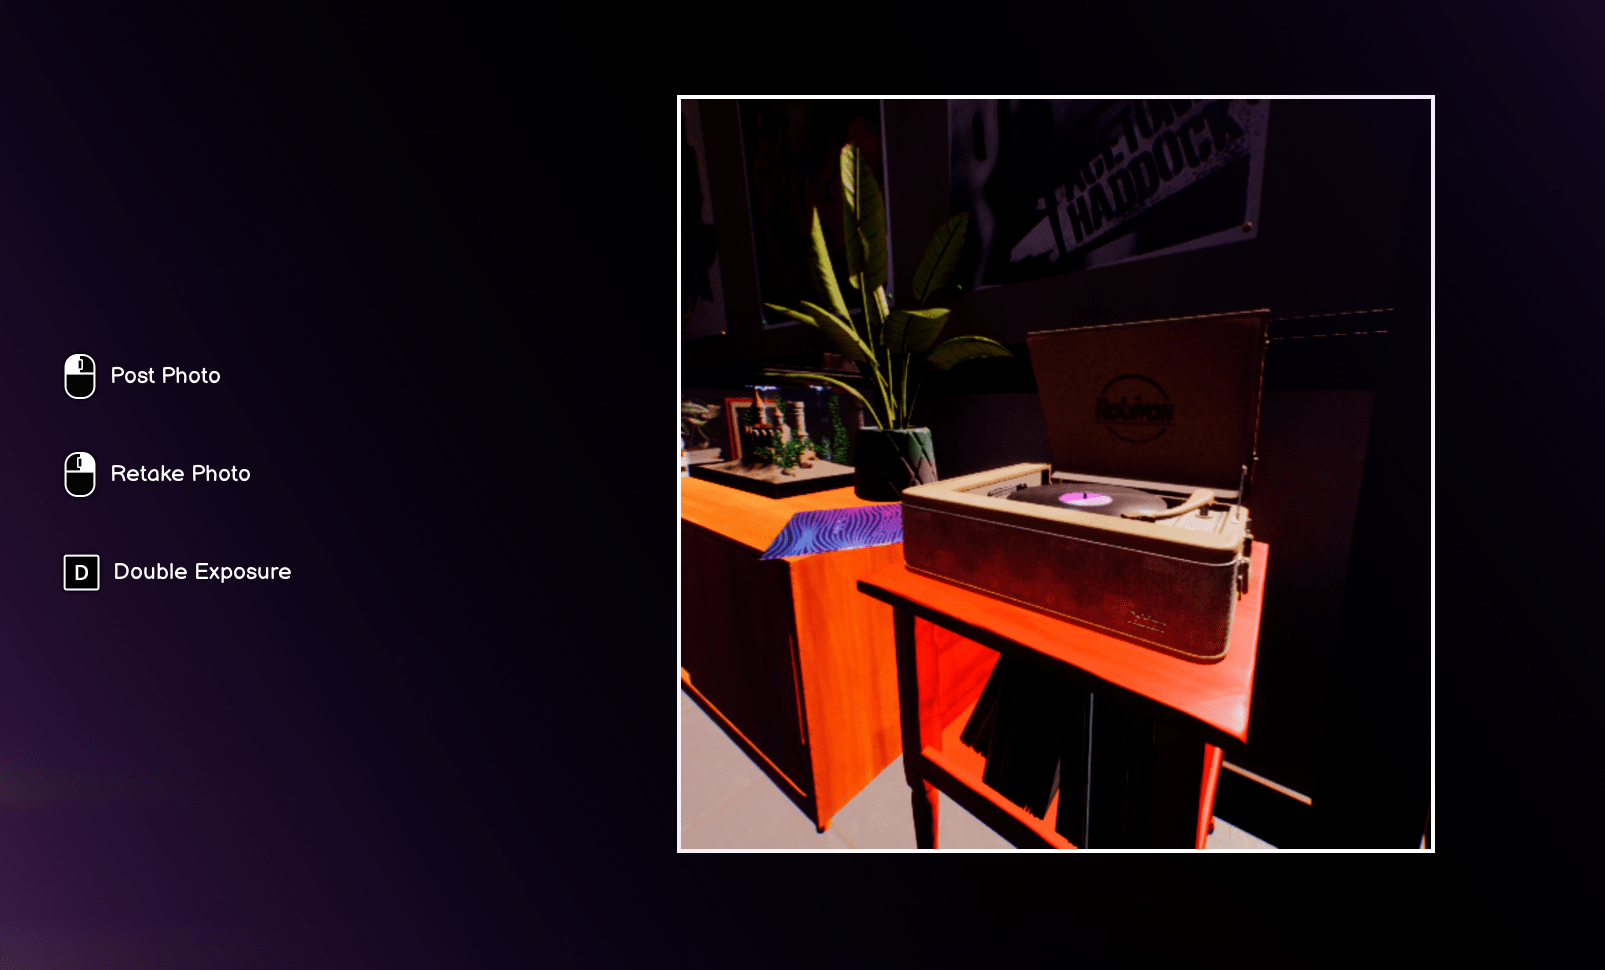
- Gwen’s record player.
- Vinh’s hedgehog (the dead world).
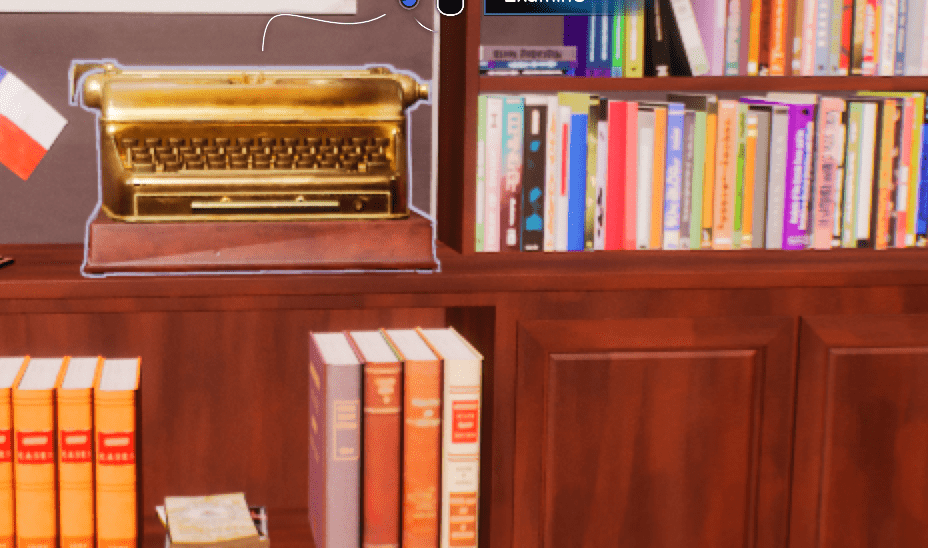
- Lucas’s typewriter (the dead world).
- Amanda and Vinh (after conversations).
Polaroid Locations:
- Furthest cafe table in dead world.
- Vinh’s coffee table in dead world.
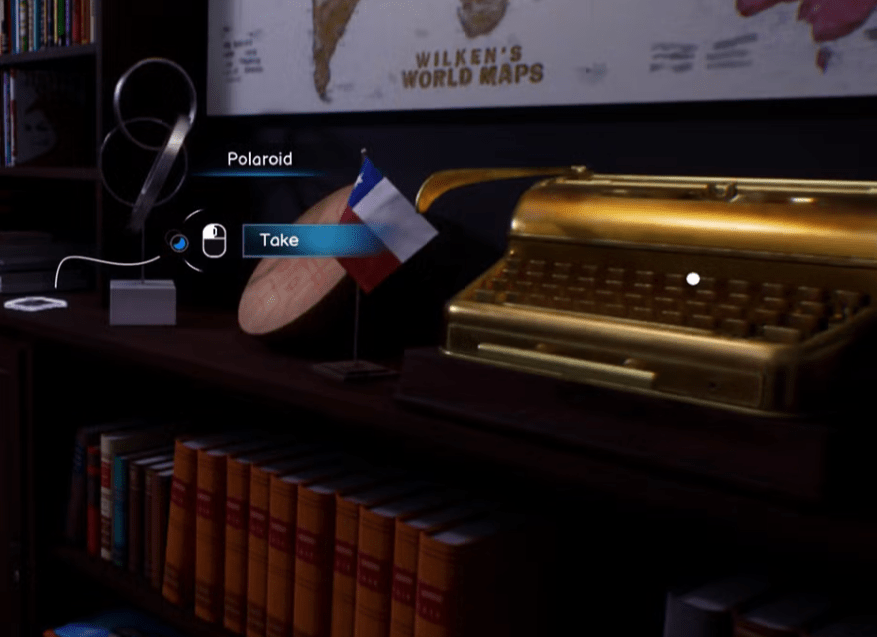
- Next to golden typewriter.
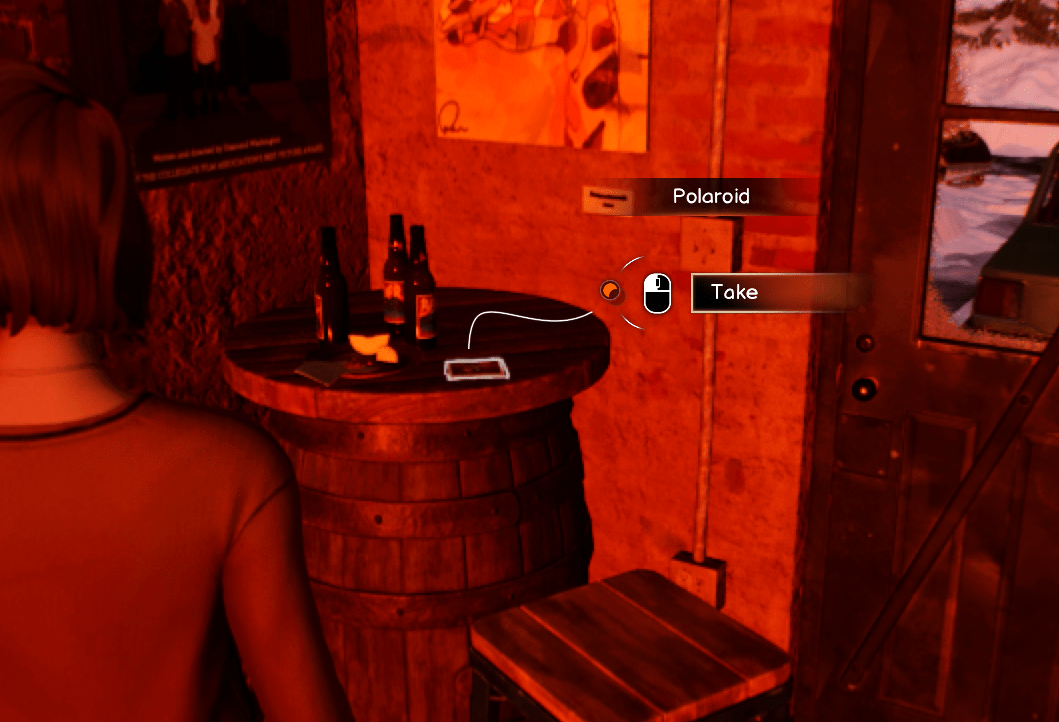
- Barrel table left of couches in living world fireplace area.
- Table next to giant plant in dead world.
Romance Achievement Options:
“Only eyes for the bad boy”
- Reject Amanda
- Kiss Vinh
“A nice girl who runs a bar”
- Reject Vinh
- Kiss Amanda
“Romantically Disentangled”
- Reject both
Remember:
- You’ll need to play through twice to get all regular and double exposure photos.
- Talk to both Amanda and Vinh before taking their photos.
- Take their photos regardless of your romance choices.
Scene 4
- Find Polaroid on barrel table left of couches in fireplace area.

- Talk to Amanda and Vinh.
Romance Achievement Options:
“Only eyes for the bad boy”
- Reject Amanda.
- Kiss Vinh.
“A nice girl who runs a bar”
- Reject Vinh.
- Kiss Amanda.
“Romantically Disentangled”
- Reject both.
After conversations:
- Take photos of both Amanda and Vinh.
- Remember to take each photo twice:
- With double exposure.
- Without double exposure.


Note: Your romance choices don’t affect the photo requirement.
Scene 5
- Switch to dead world and collect Polaroid from table next to giant plant.

Chapter 4
Take every photo with double exposure then play again and do them normally!
Scene 1
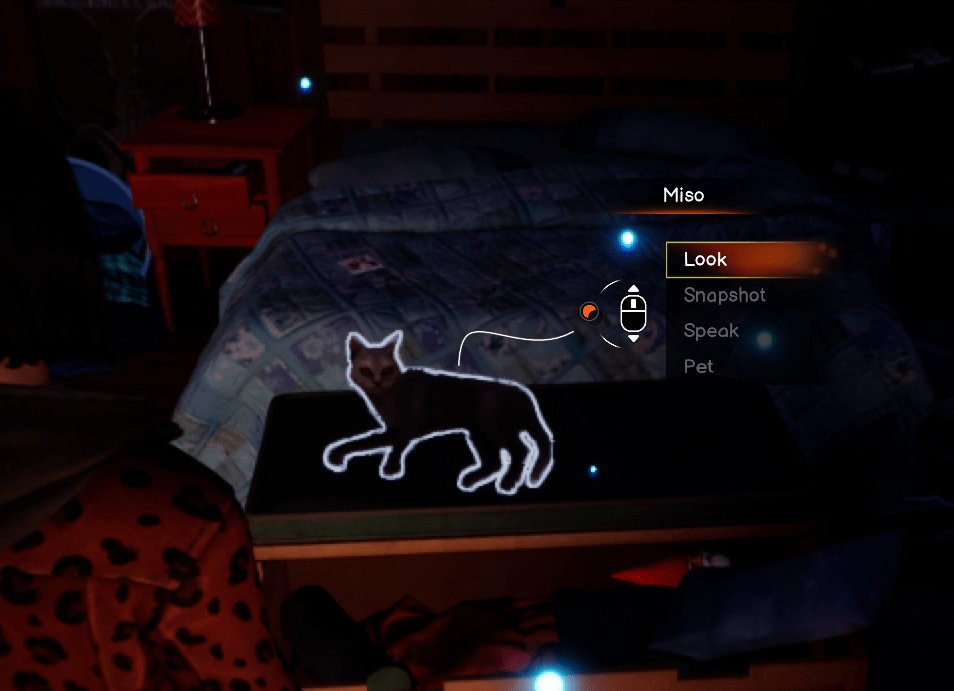
If you have DLC: go upstairs and pet cat for “Heavy Petting” achievement.
- Take photo of cat.
Switch to dead world: Collect Polaroid from table opposite the plant downstairs
Scene 2
Required Photos (take each twice):
- Guy in Krampus mask (left of Christmas tree).

- Stage area (back up and find photo spot on floor).
- Moses and Diamond in first patio booth.
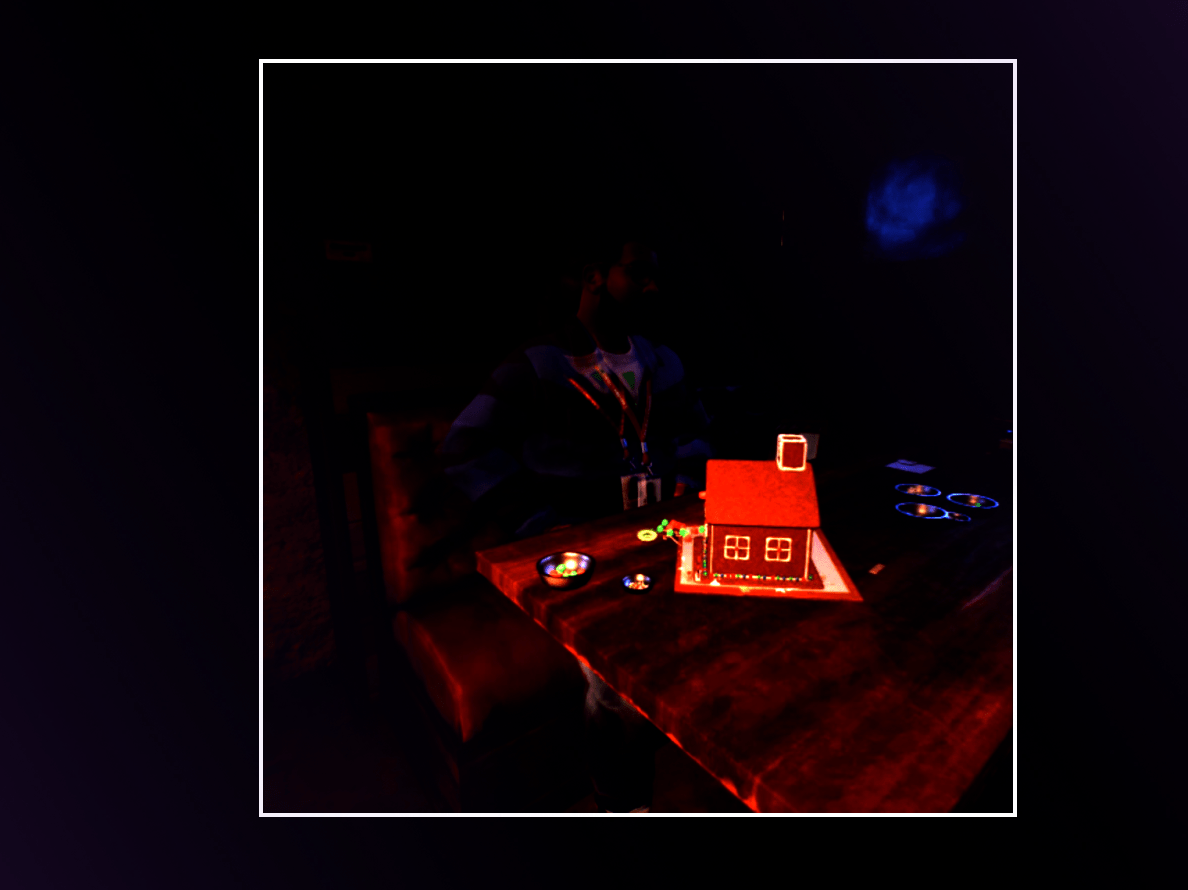
- Completed gingerbread house.
DLC Content:
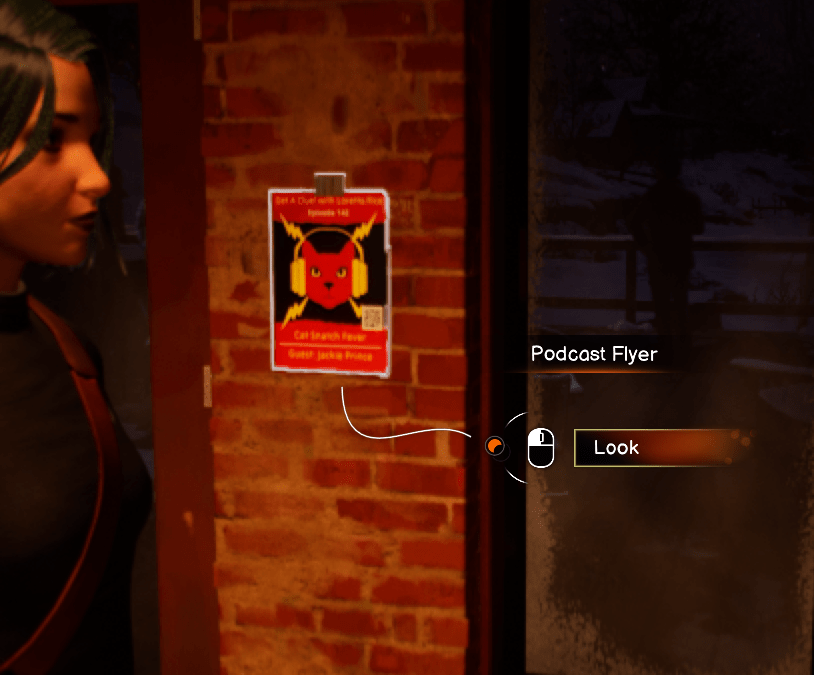
- After Moses/Diamond dialogue, find flyer on wall.
- Scan QR code for “Nothing ever lasts fur-ever” achievement.
Polaroid Locations:
- Dead world: booth behind stage.
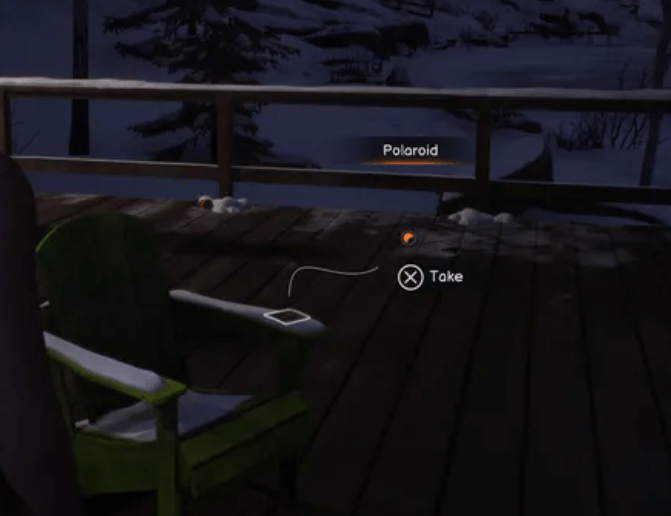
- Alive world: Green deck chair on patio (get before talking to Lucas).
Gingerbread House Task:
- View Safi’s house by fireplace.
- Talk to Safi (choose “Gingerbread house” option, not “Speak”).
- Get chimney.
- Bring to Moses.
- Take photo after completion.
Scene 3
- After cut-scene go to undercover area by graffiti rock and collect Polaroid from left table
Chapter 5
Take every photo with double exposure then play again and do them normally!
Scene 3
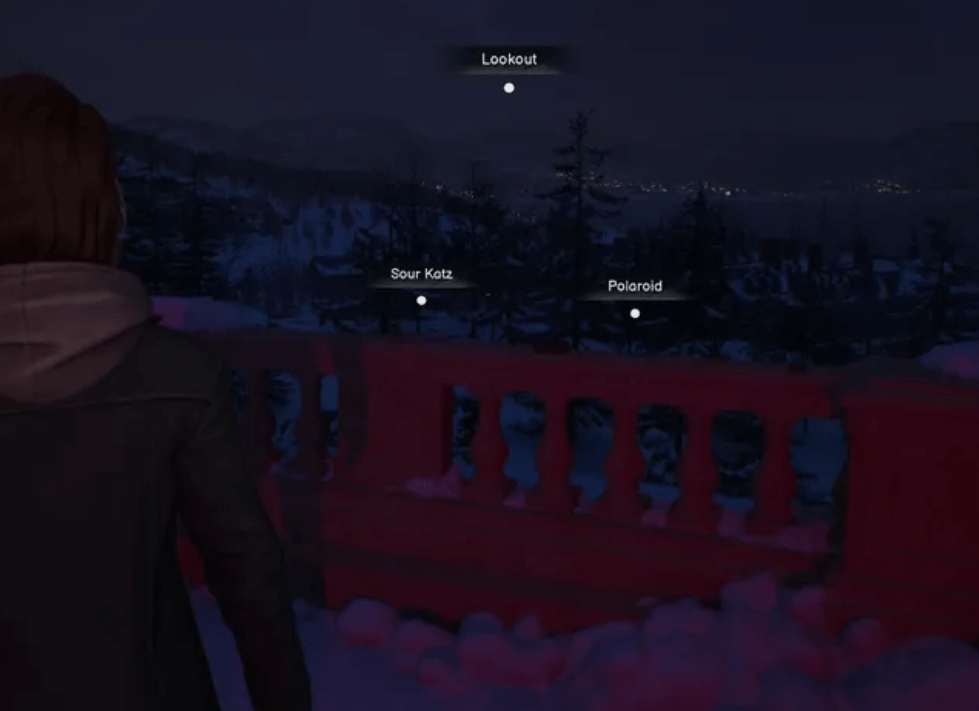
- Collect Polaroid at lookout.
Scene 4
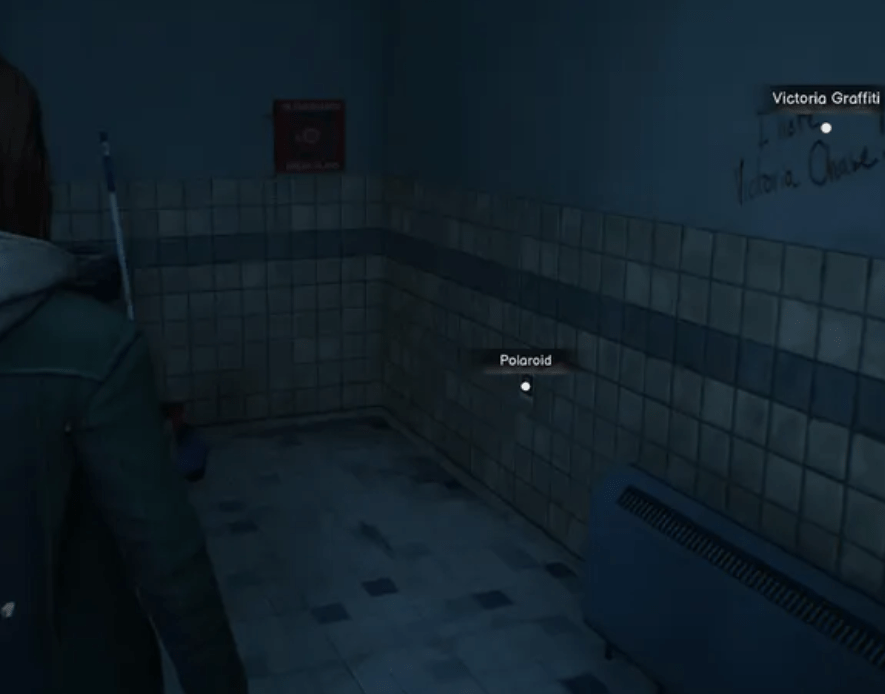
- Turn right and collect Polaroid from wall.
Scene 6
- Switch to other world. Collect Polaroid from table in front of stage.
Scene 9
People Photos (take each twice).
At undercover tables:
- Talk to Reggie then photograph.
- Talk to Loretta then photograph.
At statue:
- Interact with statue.
- Move slightly left to find photo spot.
At Snapping Turtle, after talking to each person, take their photo:
- Amanda
- Vinh
- Diamond
- Gwen


Note: After photographing everyone and talking to Moses, you should receive the “Frame fatal” achievement.
Be the first to comment