
Guidance for obtaining 100% achievements.
How to Obtain All Achievements / Trophies
Foreword
Nemezis: Mysterious Journey III is a Myst-like adventure game featuring 26 achievements.
Story
Hey ho, let’s go
- Solve the first puzzle.
Good start
- Accomplish the 1st level.
Night
- Accomplish the 2nd level.
Towers
- Accomplish the 3rd level.
Caves
- Accomplish the 4th level.
In the clouds
- Accomplish the 5th level.
Water city
- Accomplish the 6th level.
It’s high time!
- Get Amia and Bogard together.
Andromeda hotel
- Enter the Andromeda hotel.
Evil does not pay
- Don’t let the Guide fulfil his plan.
No Hints
Great Start
- Accomplish the 1st level without hints.
Darkest night
- Accomplish the 2nd level without hints.
Highest towers
- Accomplish the 3rd level without hints.
Deepest caves
- Accomplish the 4th level without hints.
High in the clouds
- Accomplish the 5th level without hints.
Atlantis
- Accomplish the 6th level without hints.
Difficulty Levels
Heavyweight
- Accomplish the game on a regular difficulty level.
Puzzle master
- Accomplish the game on a difficult level.
Champion of persistence
- Accomplish the game on both difficulty levels.
Endings
Amia
- Bogard stays on Regilus.
Bogard
- Amia stays on Regilus.
The ending is random (chances are 1:1). Save before entering the hotel to reach both.
Collectibles
Gatherer
- Collect half of the photos.
Collector
- Collect all photos.
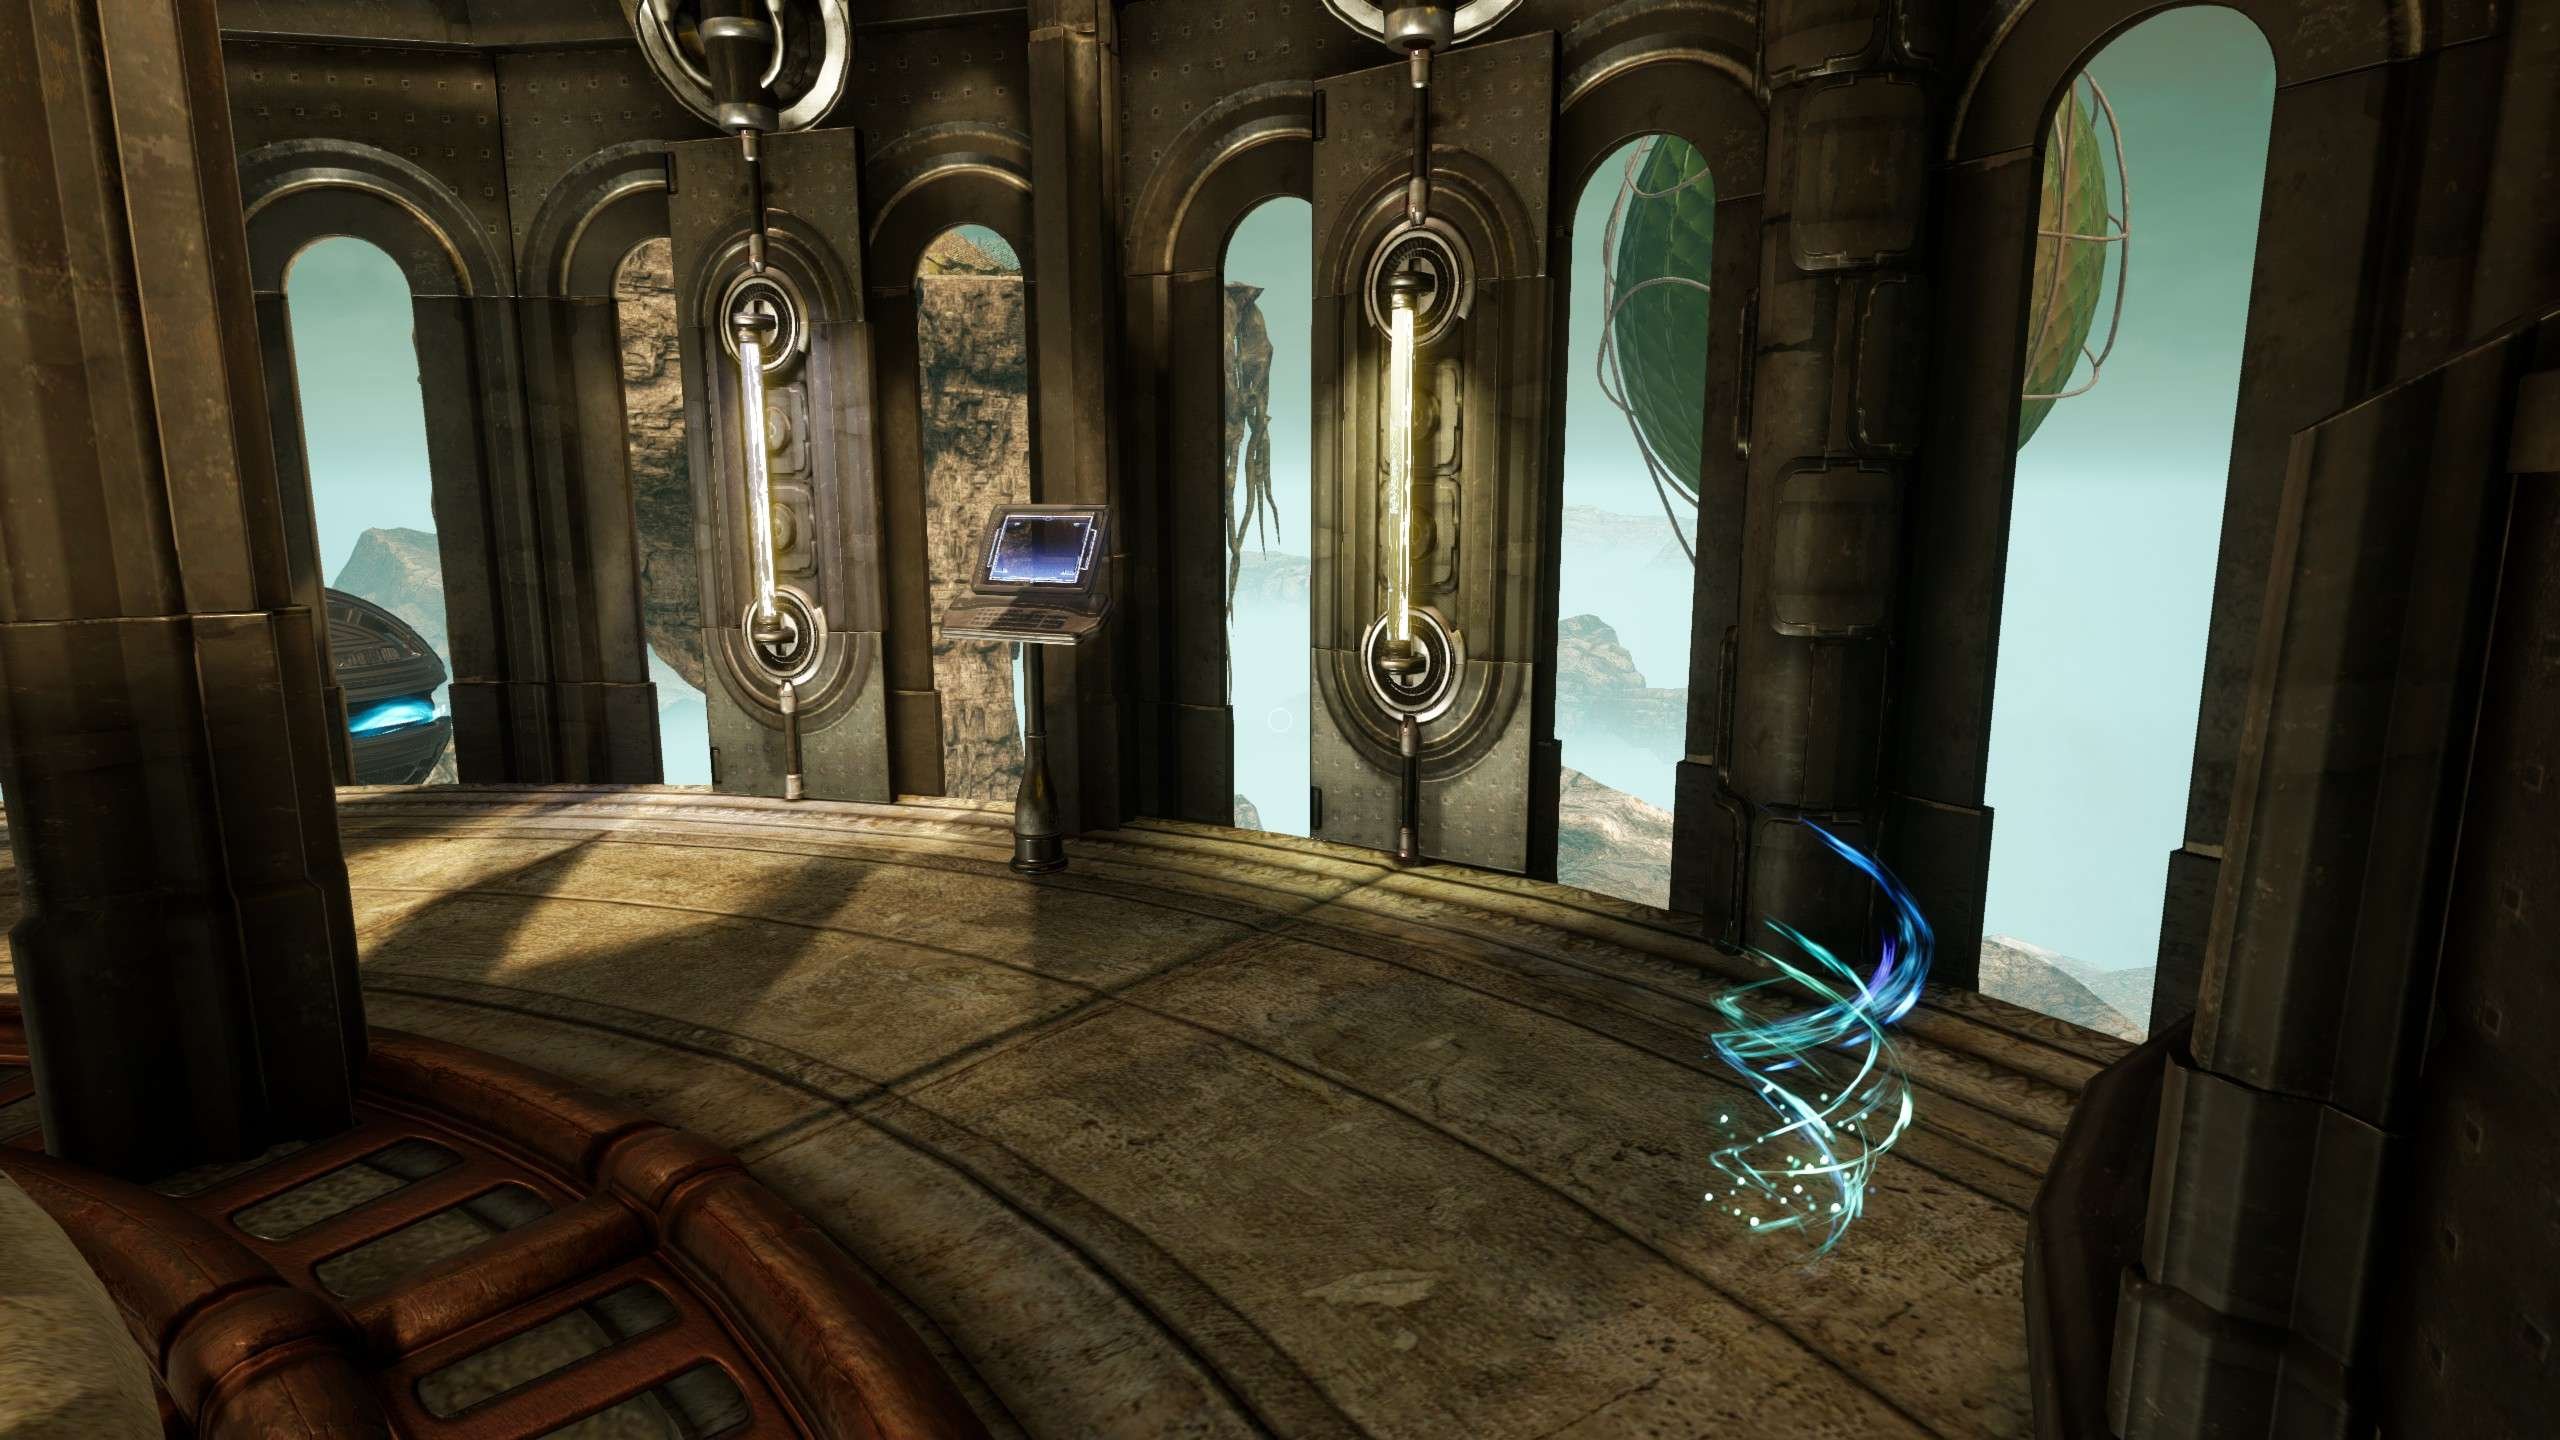
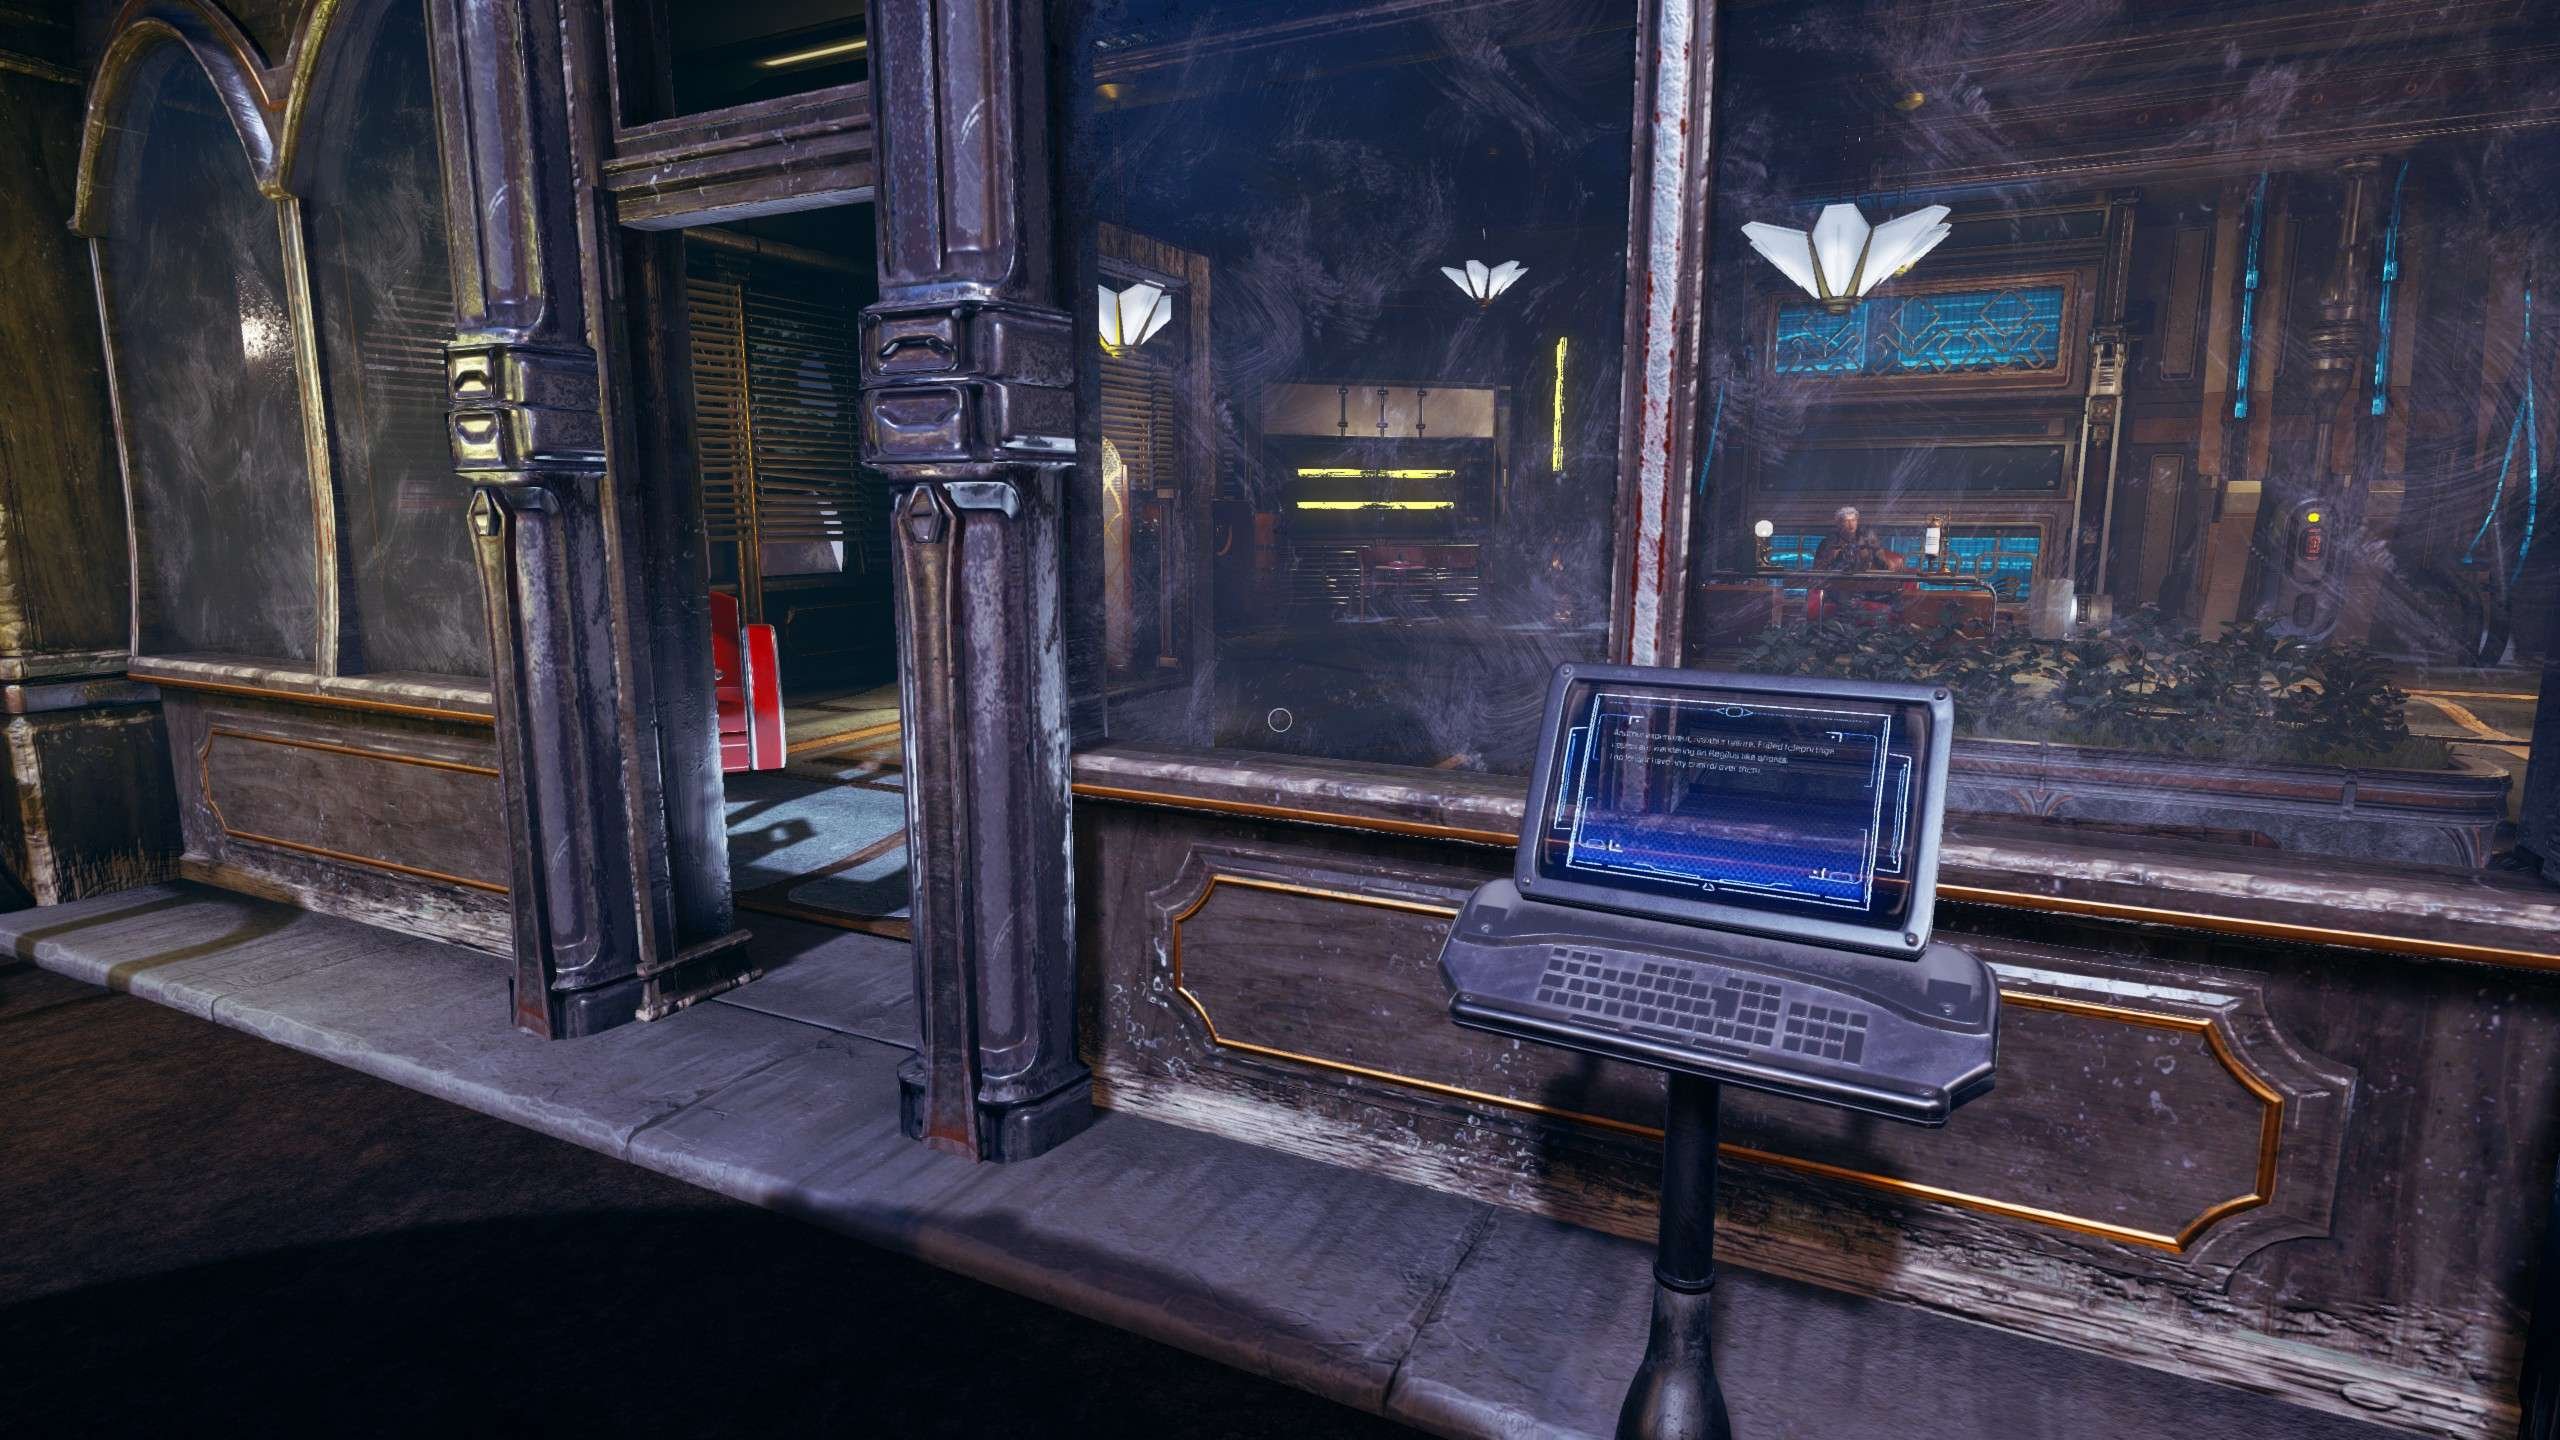
Reader
- Read half of the texts on laptops.
Bibliophile
- Read all the texts on laptops.
Storyteller
- Talk with all the characters.
Important Notes
Overview: 25 Photos, 21 Laptops and 10 Characters.
- All collectibles can be found at the same locations on both difficulty levels.
- Photos are numbered in the same way they appear on the ‘Extras’ screen.
- Chapters can be replayed at any time.
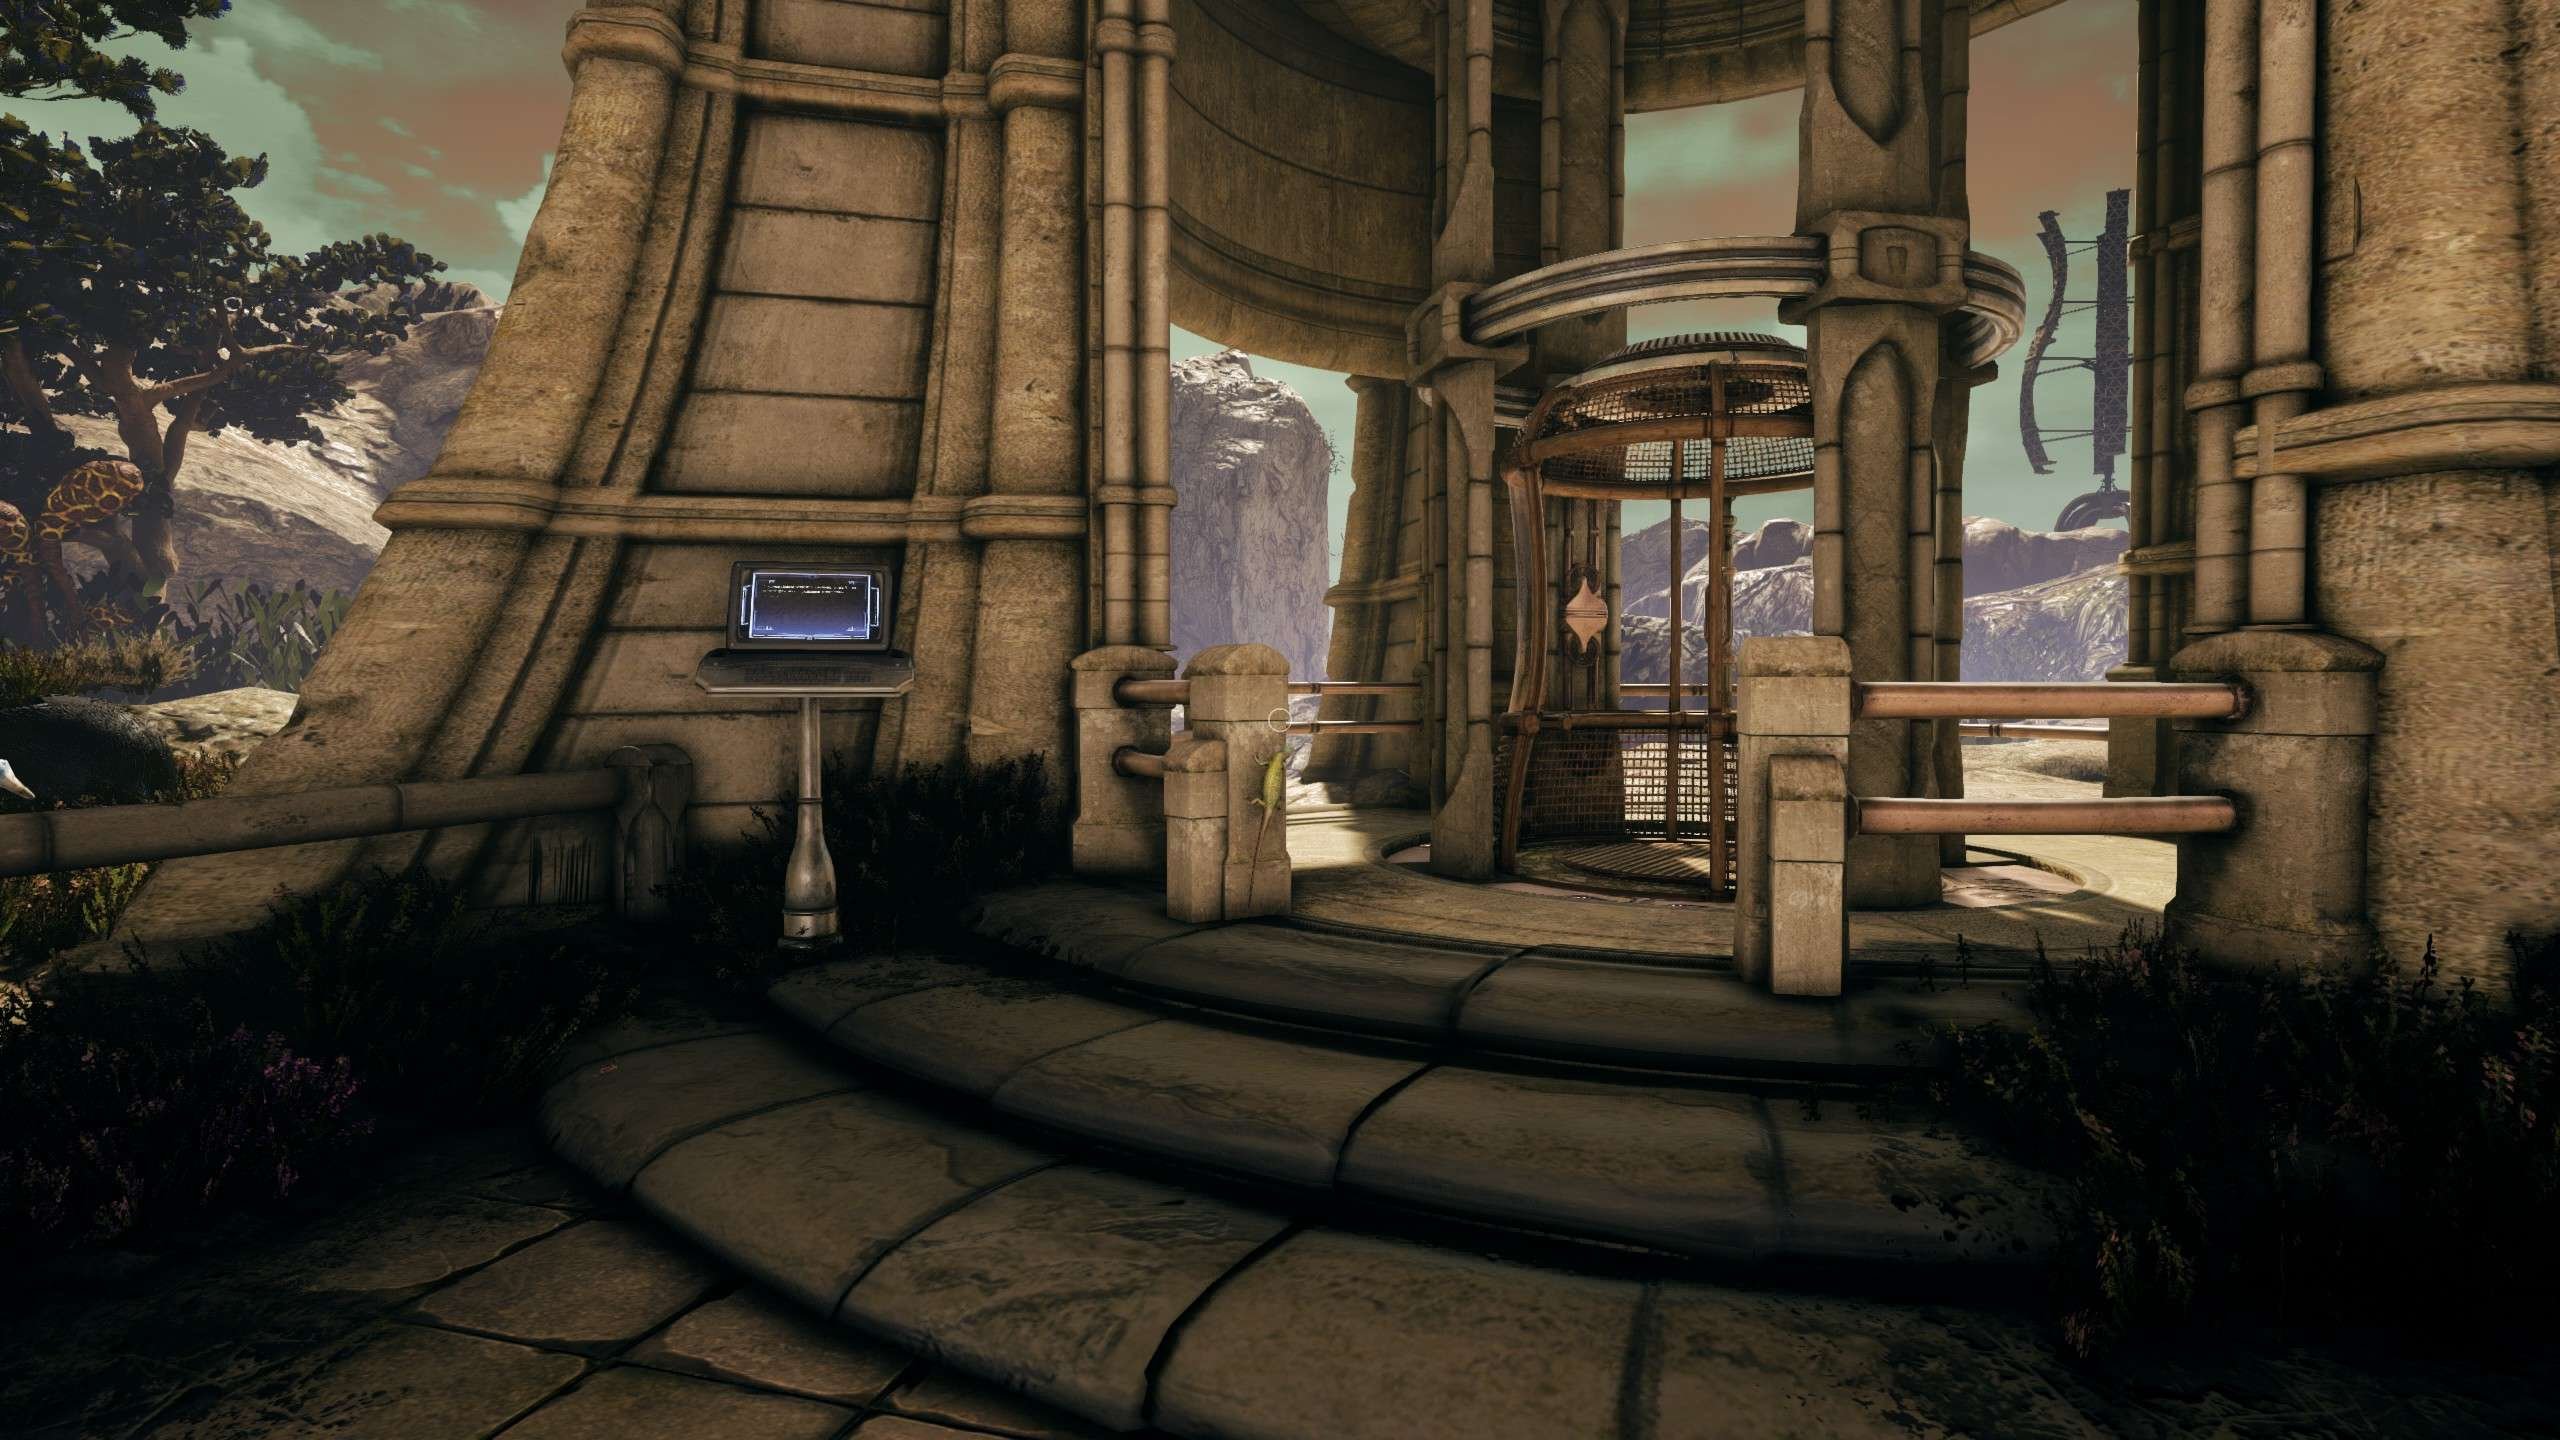
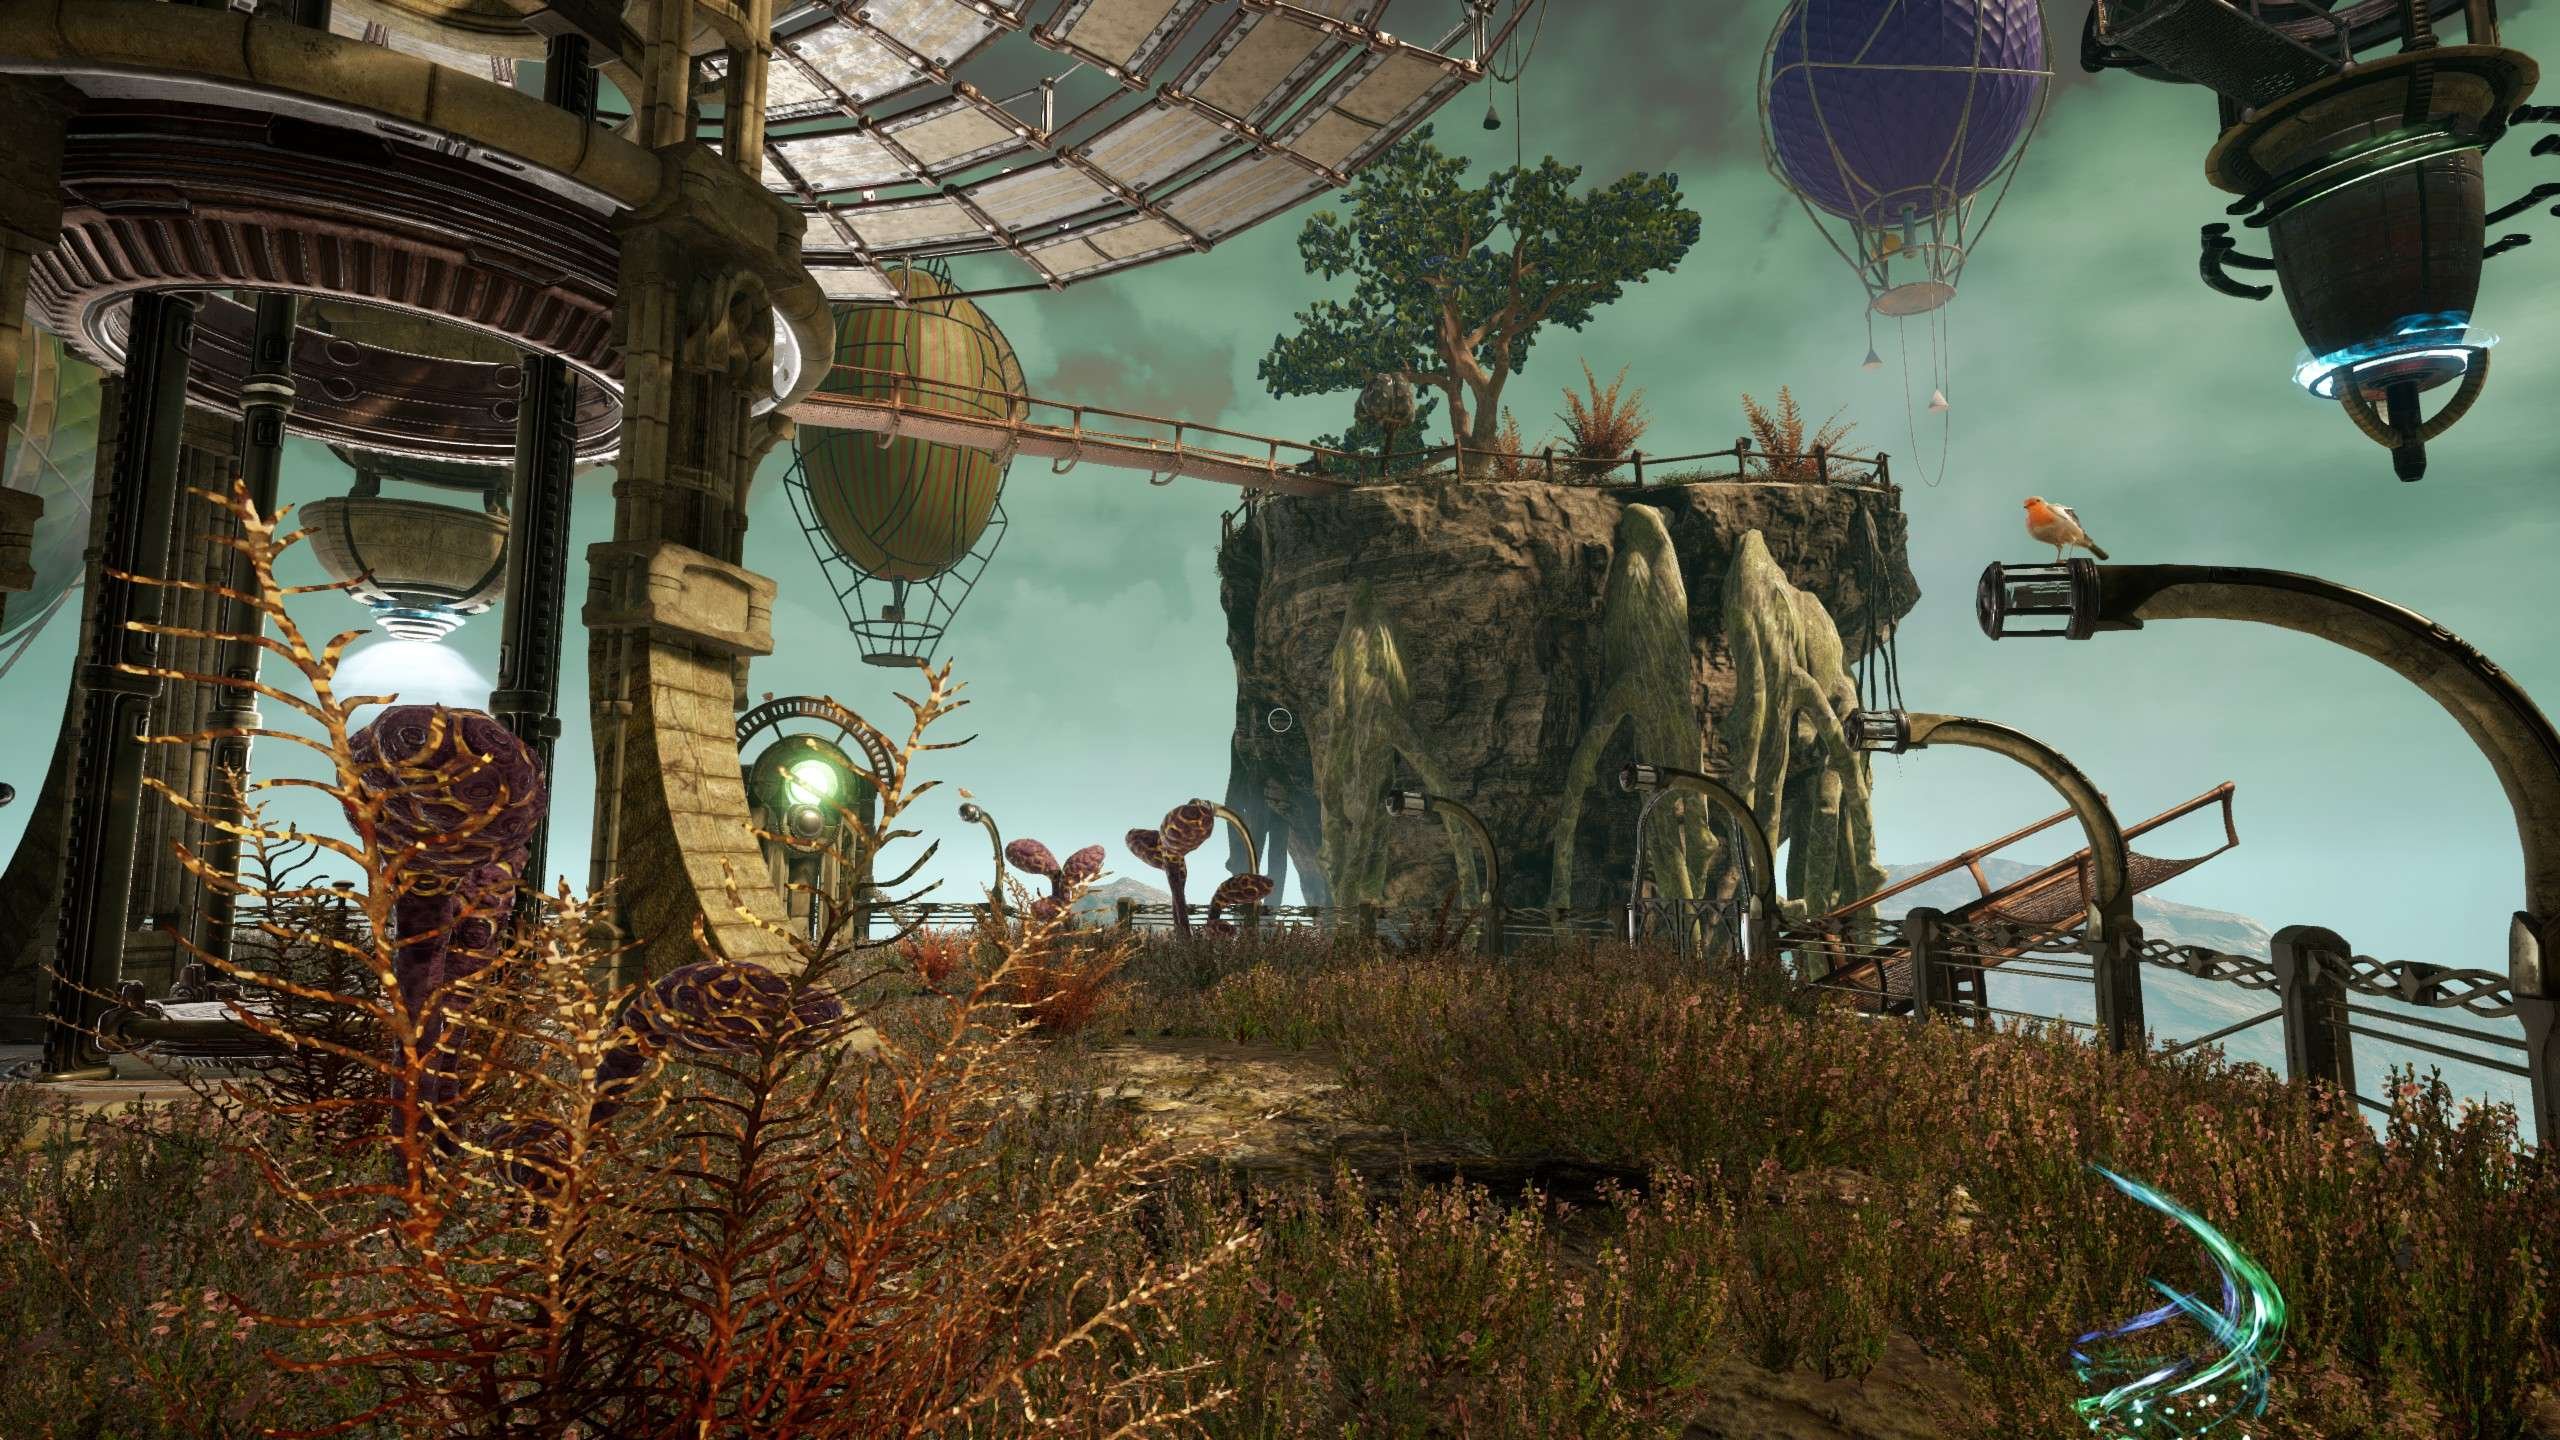
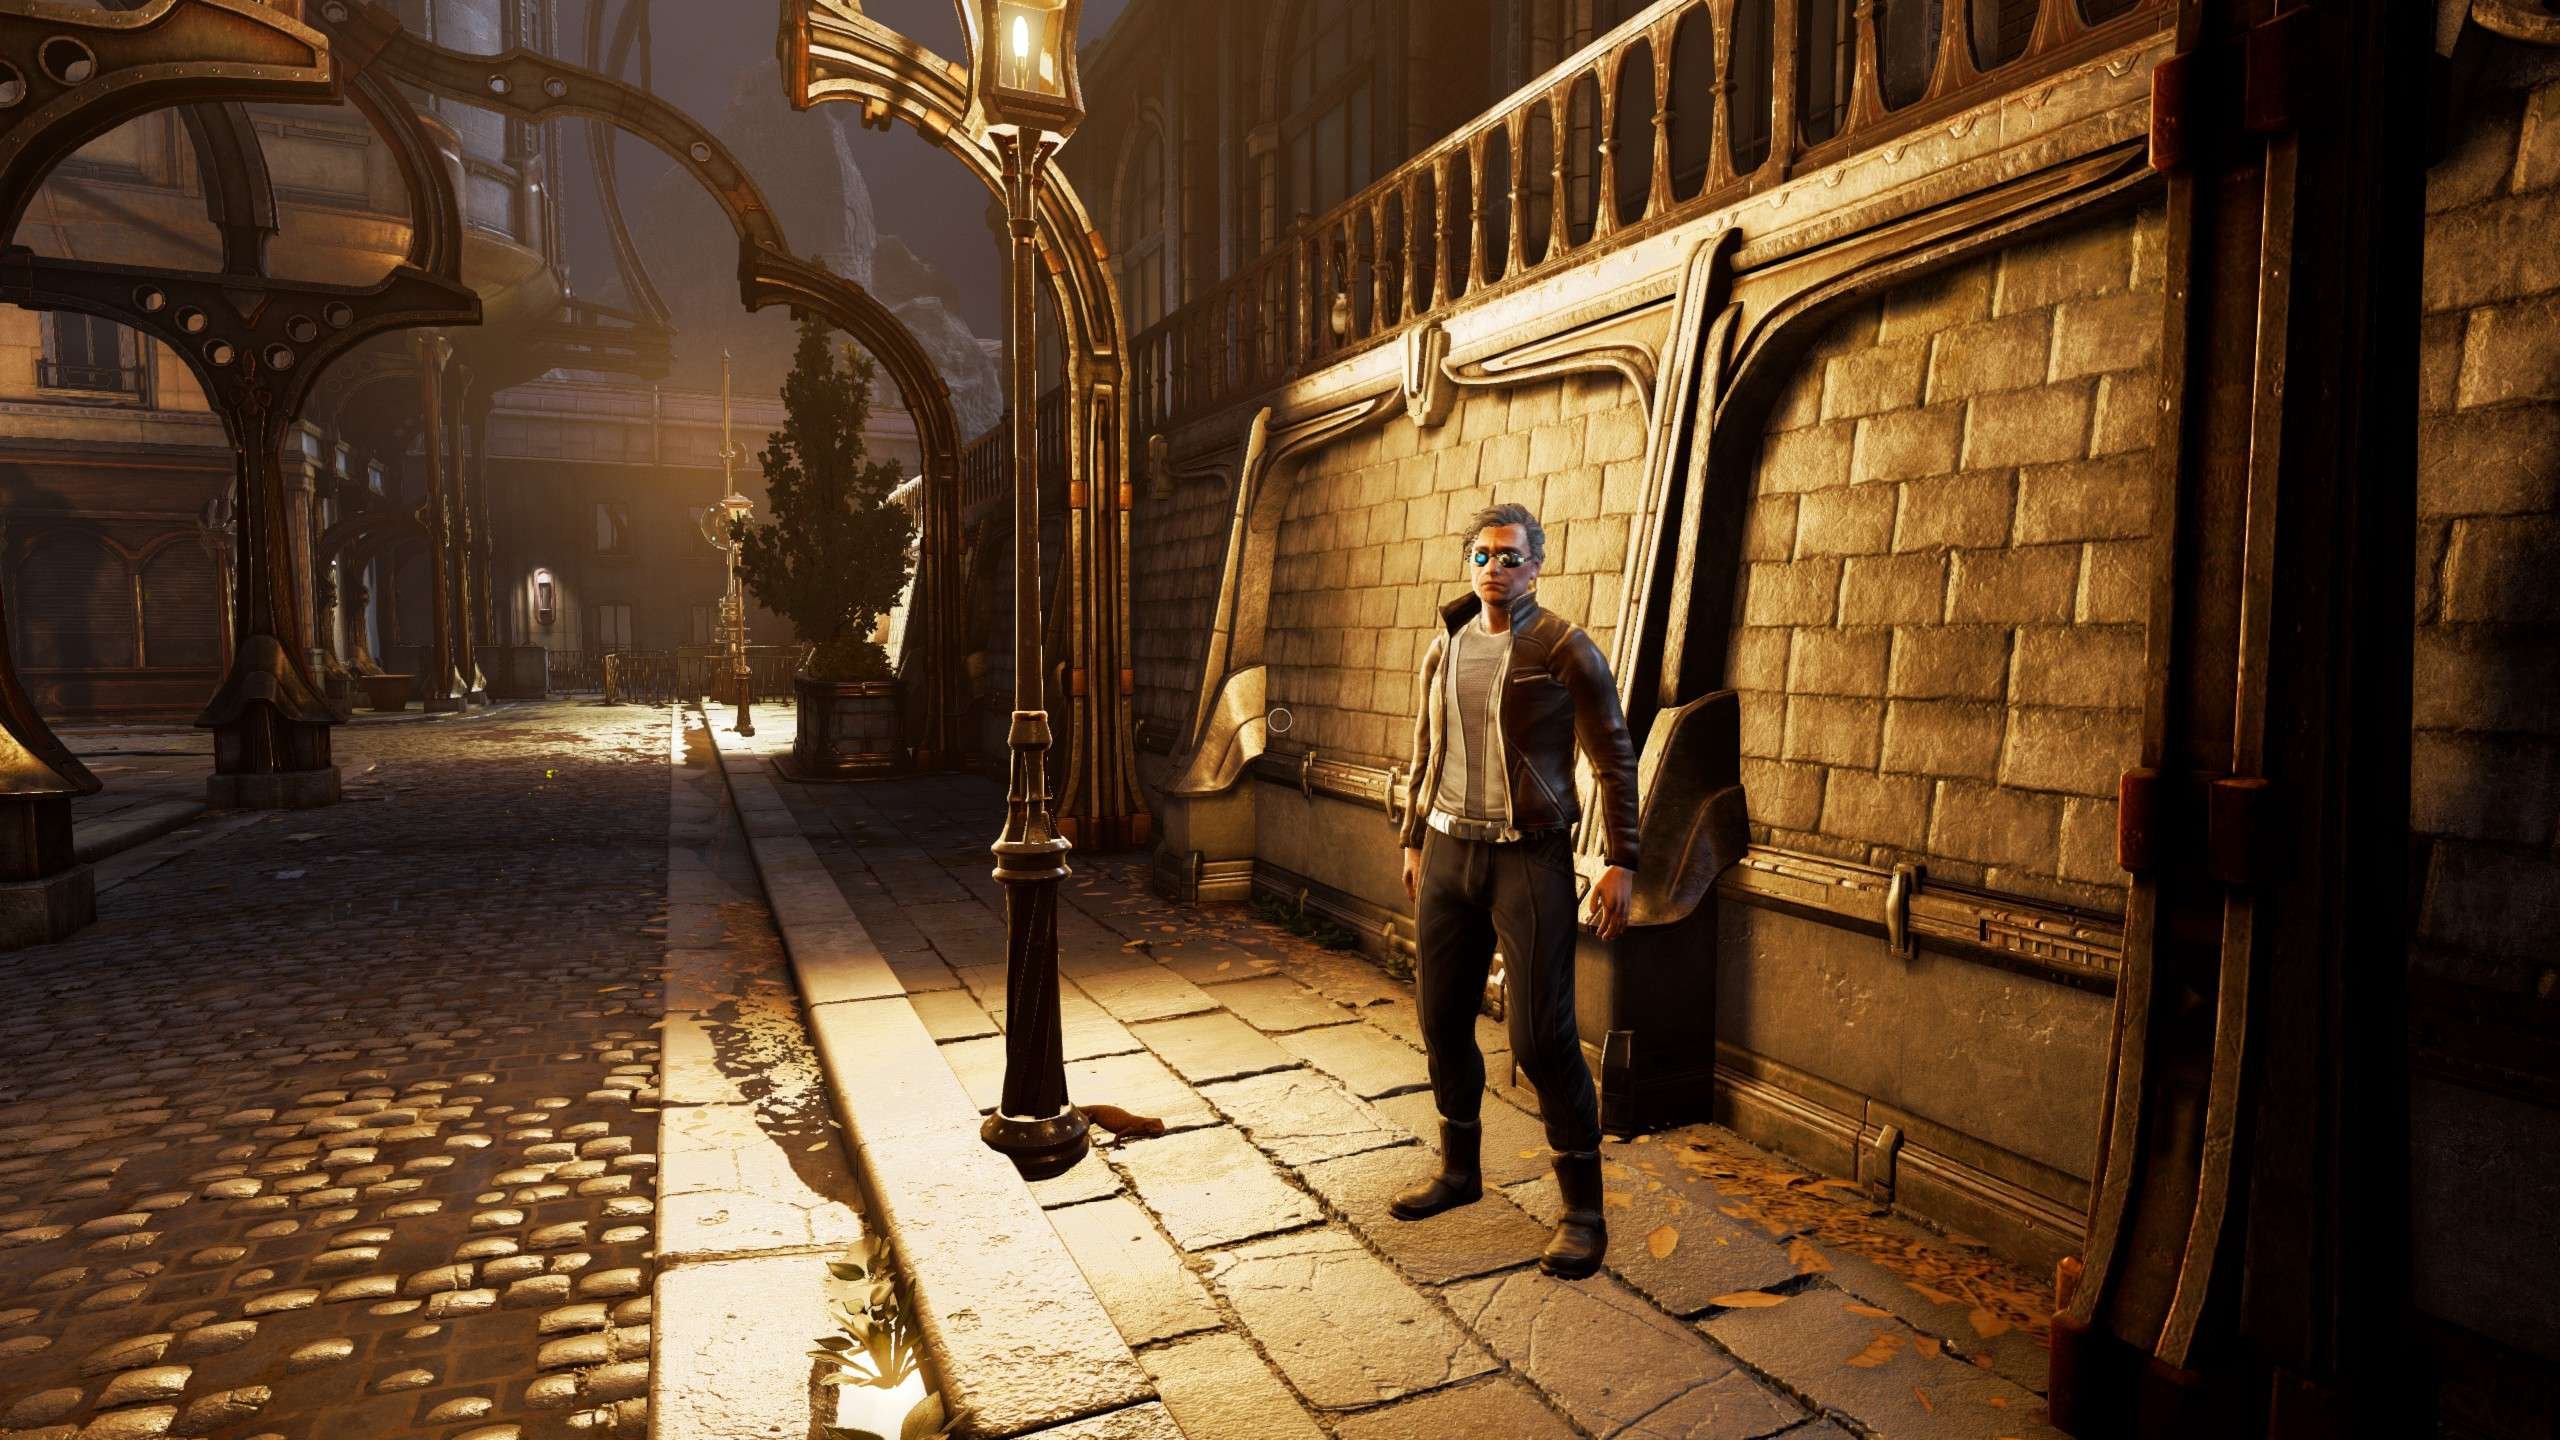
Huts
Character #1
- Location: From the starting point, turn left.
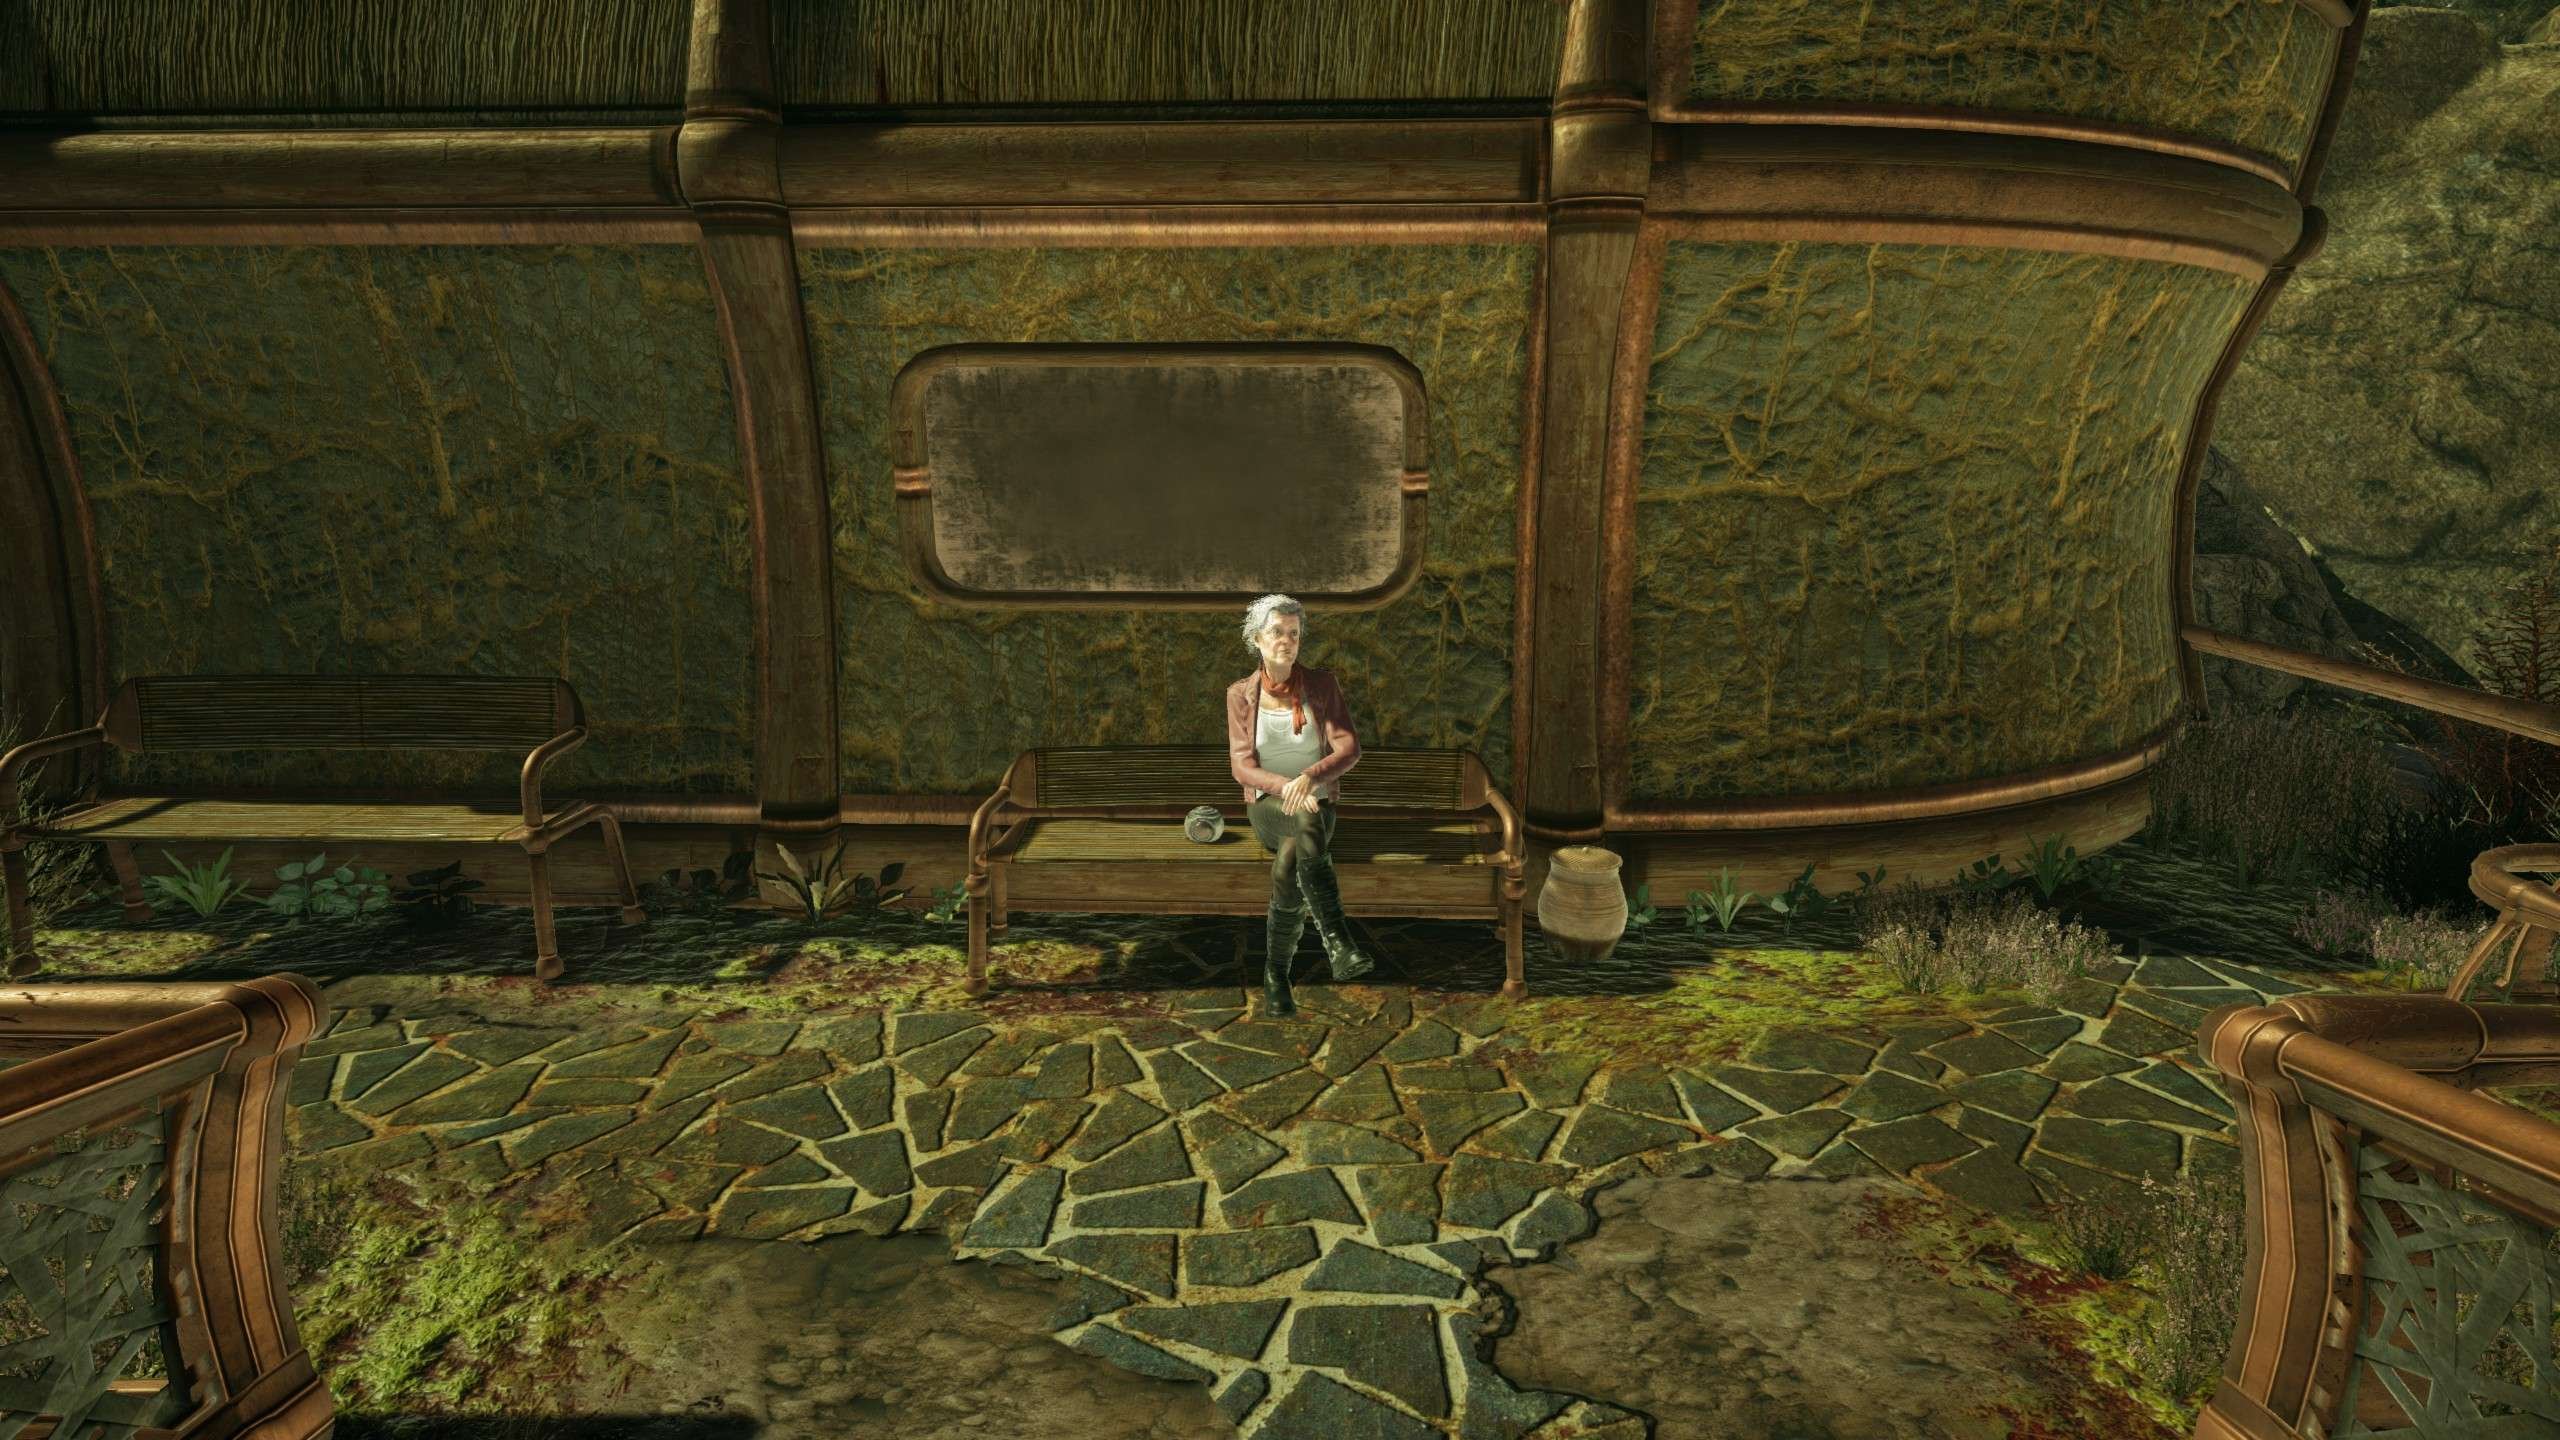
Photo #2
- Location: Next to Character #1 and the first disk puzzle.

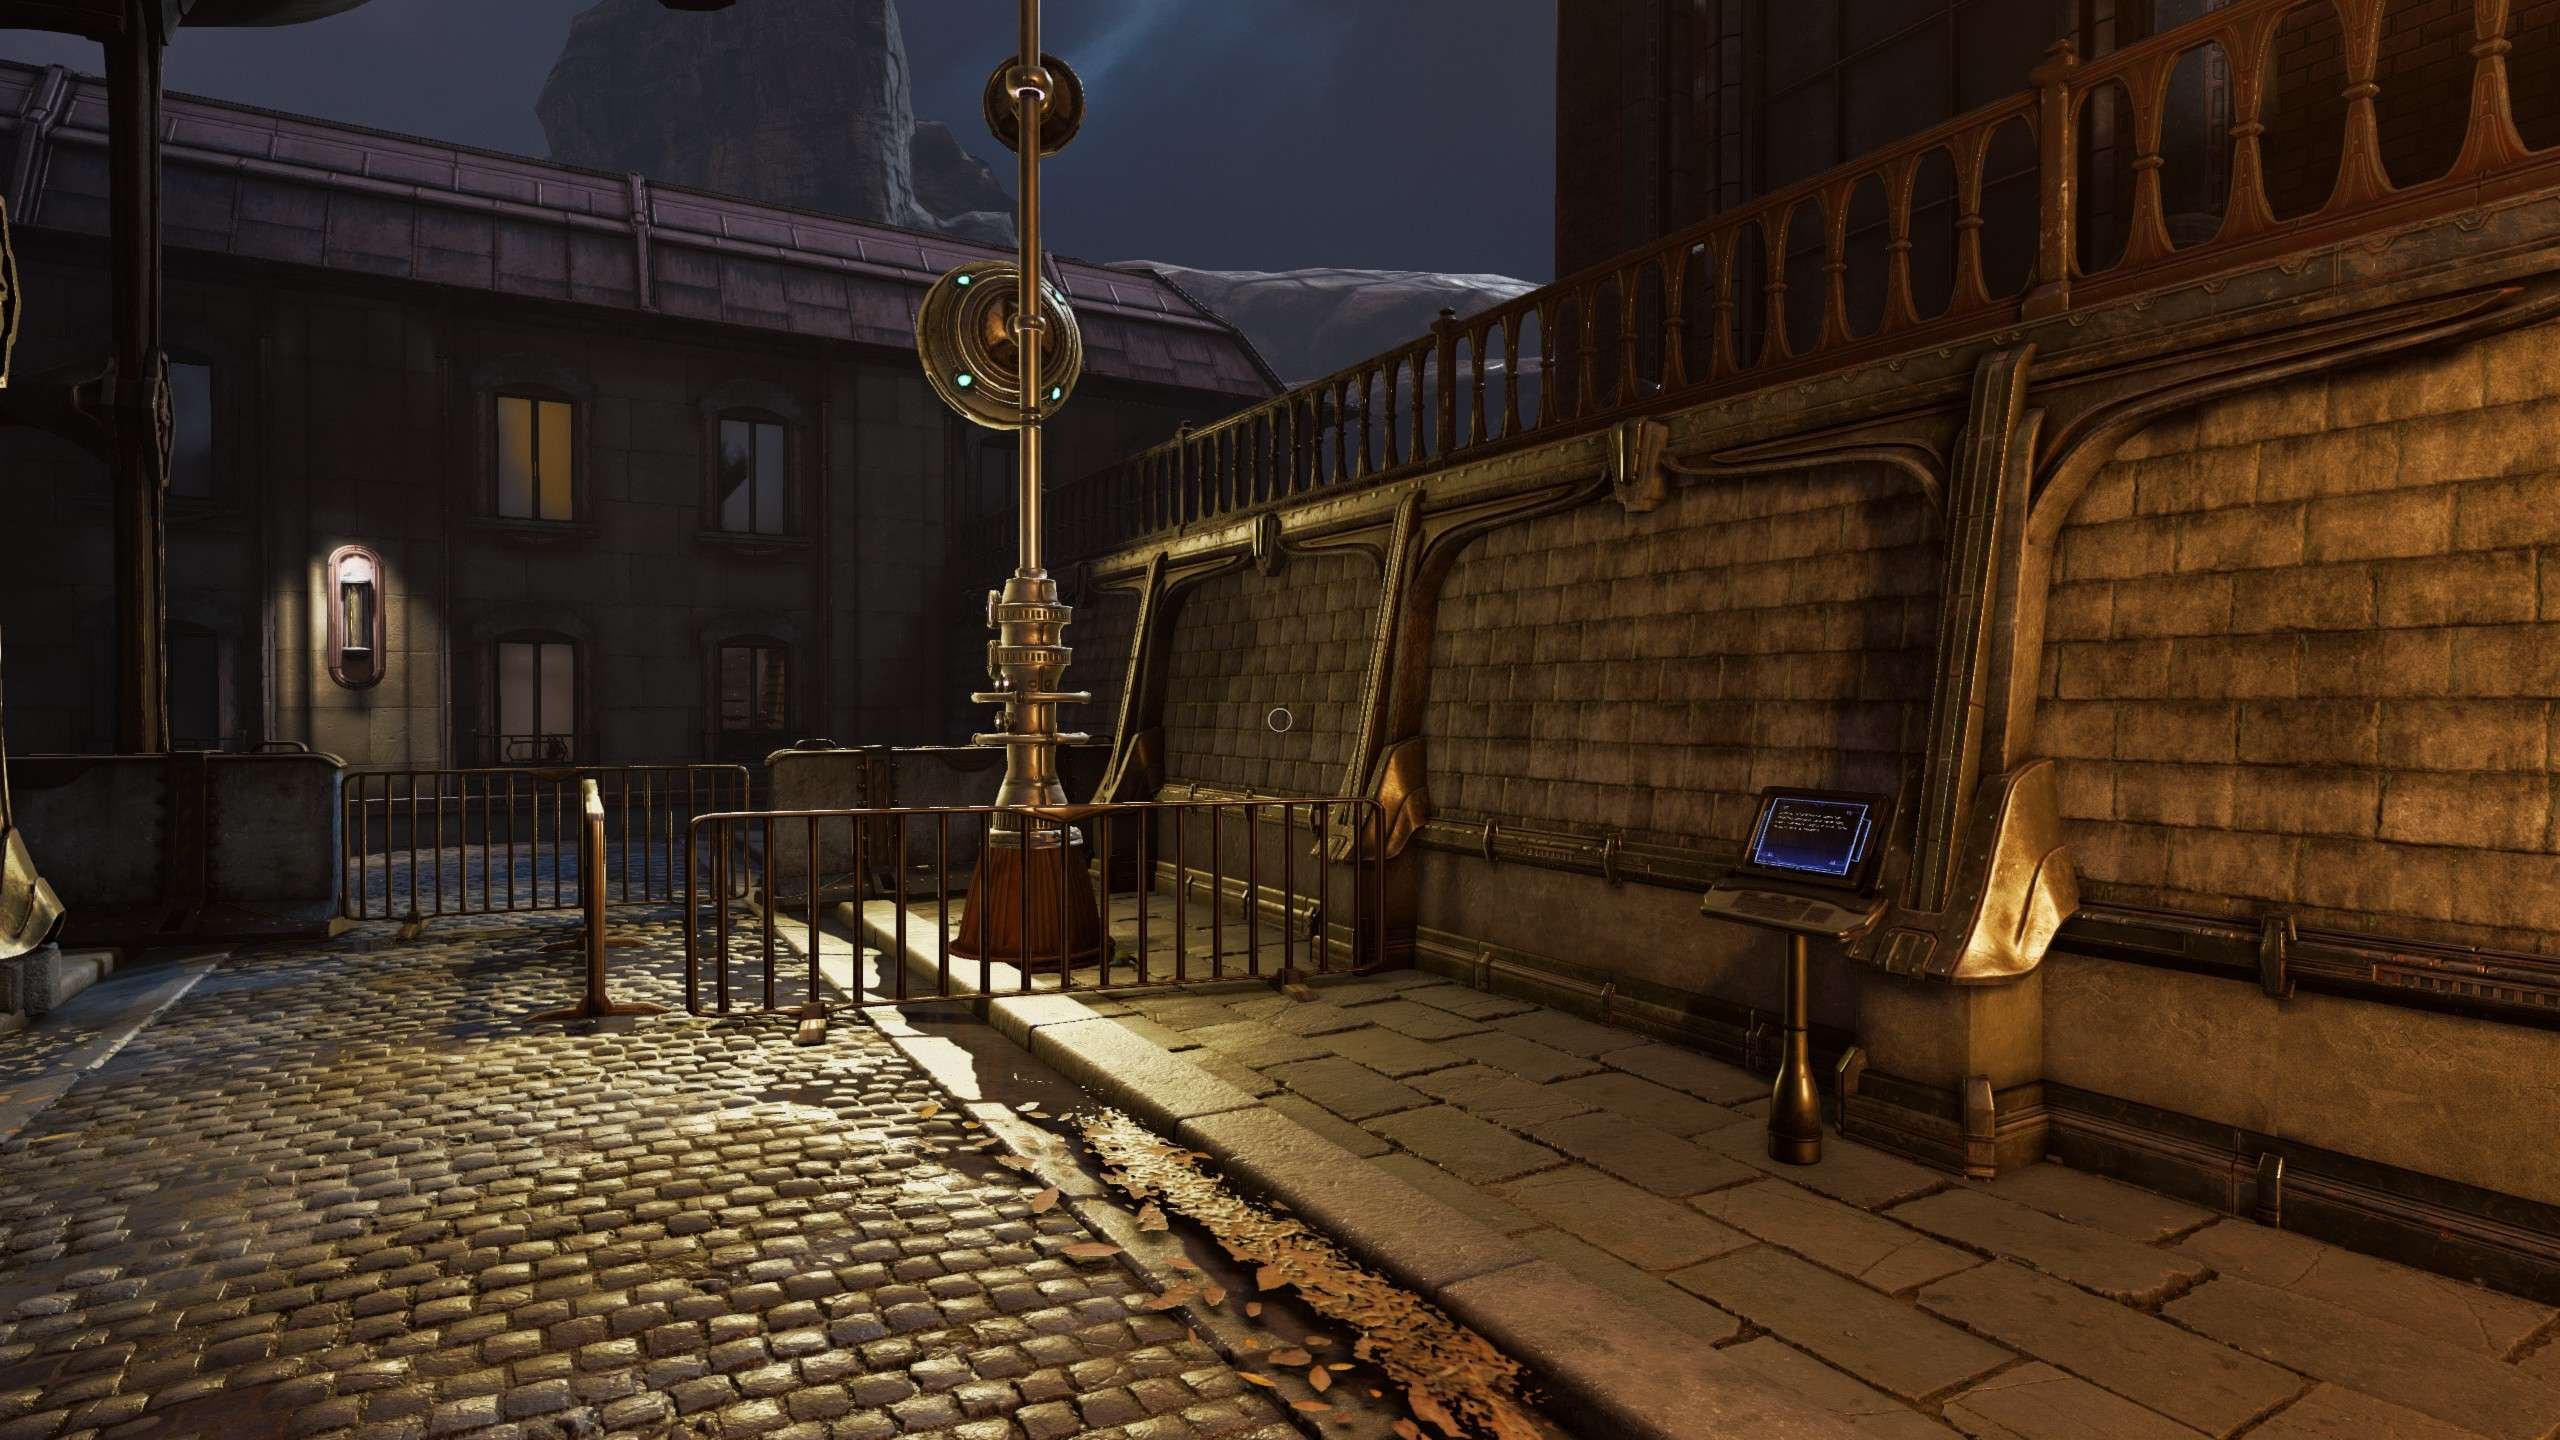
Laptop #1
- Location: Next to the second disk puzzle.

Laptop #2
- Location: In front of the third disk puzzle.

Photo #3
- Location: Above the ground on the metallic passageway.
Photo #1
- Location: Above the ground on the metallic passageway.
Character #2
- Location: In a small area next to the elevator.
Laptop #3
- Location: Facing Character #2, follow the hidden path on the left.
Night
Laptop #4 and Photo #5
- Location: At the beginning of the chapter, turn around and venture into the tunnel.
Laptop #5
- Location: In front of the three smaller disks on the right.

Photo #6
- Location: In the area behind Laptop #5.
Character #3 and Character #4
- Location: In front of the first gate.
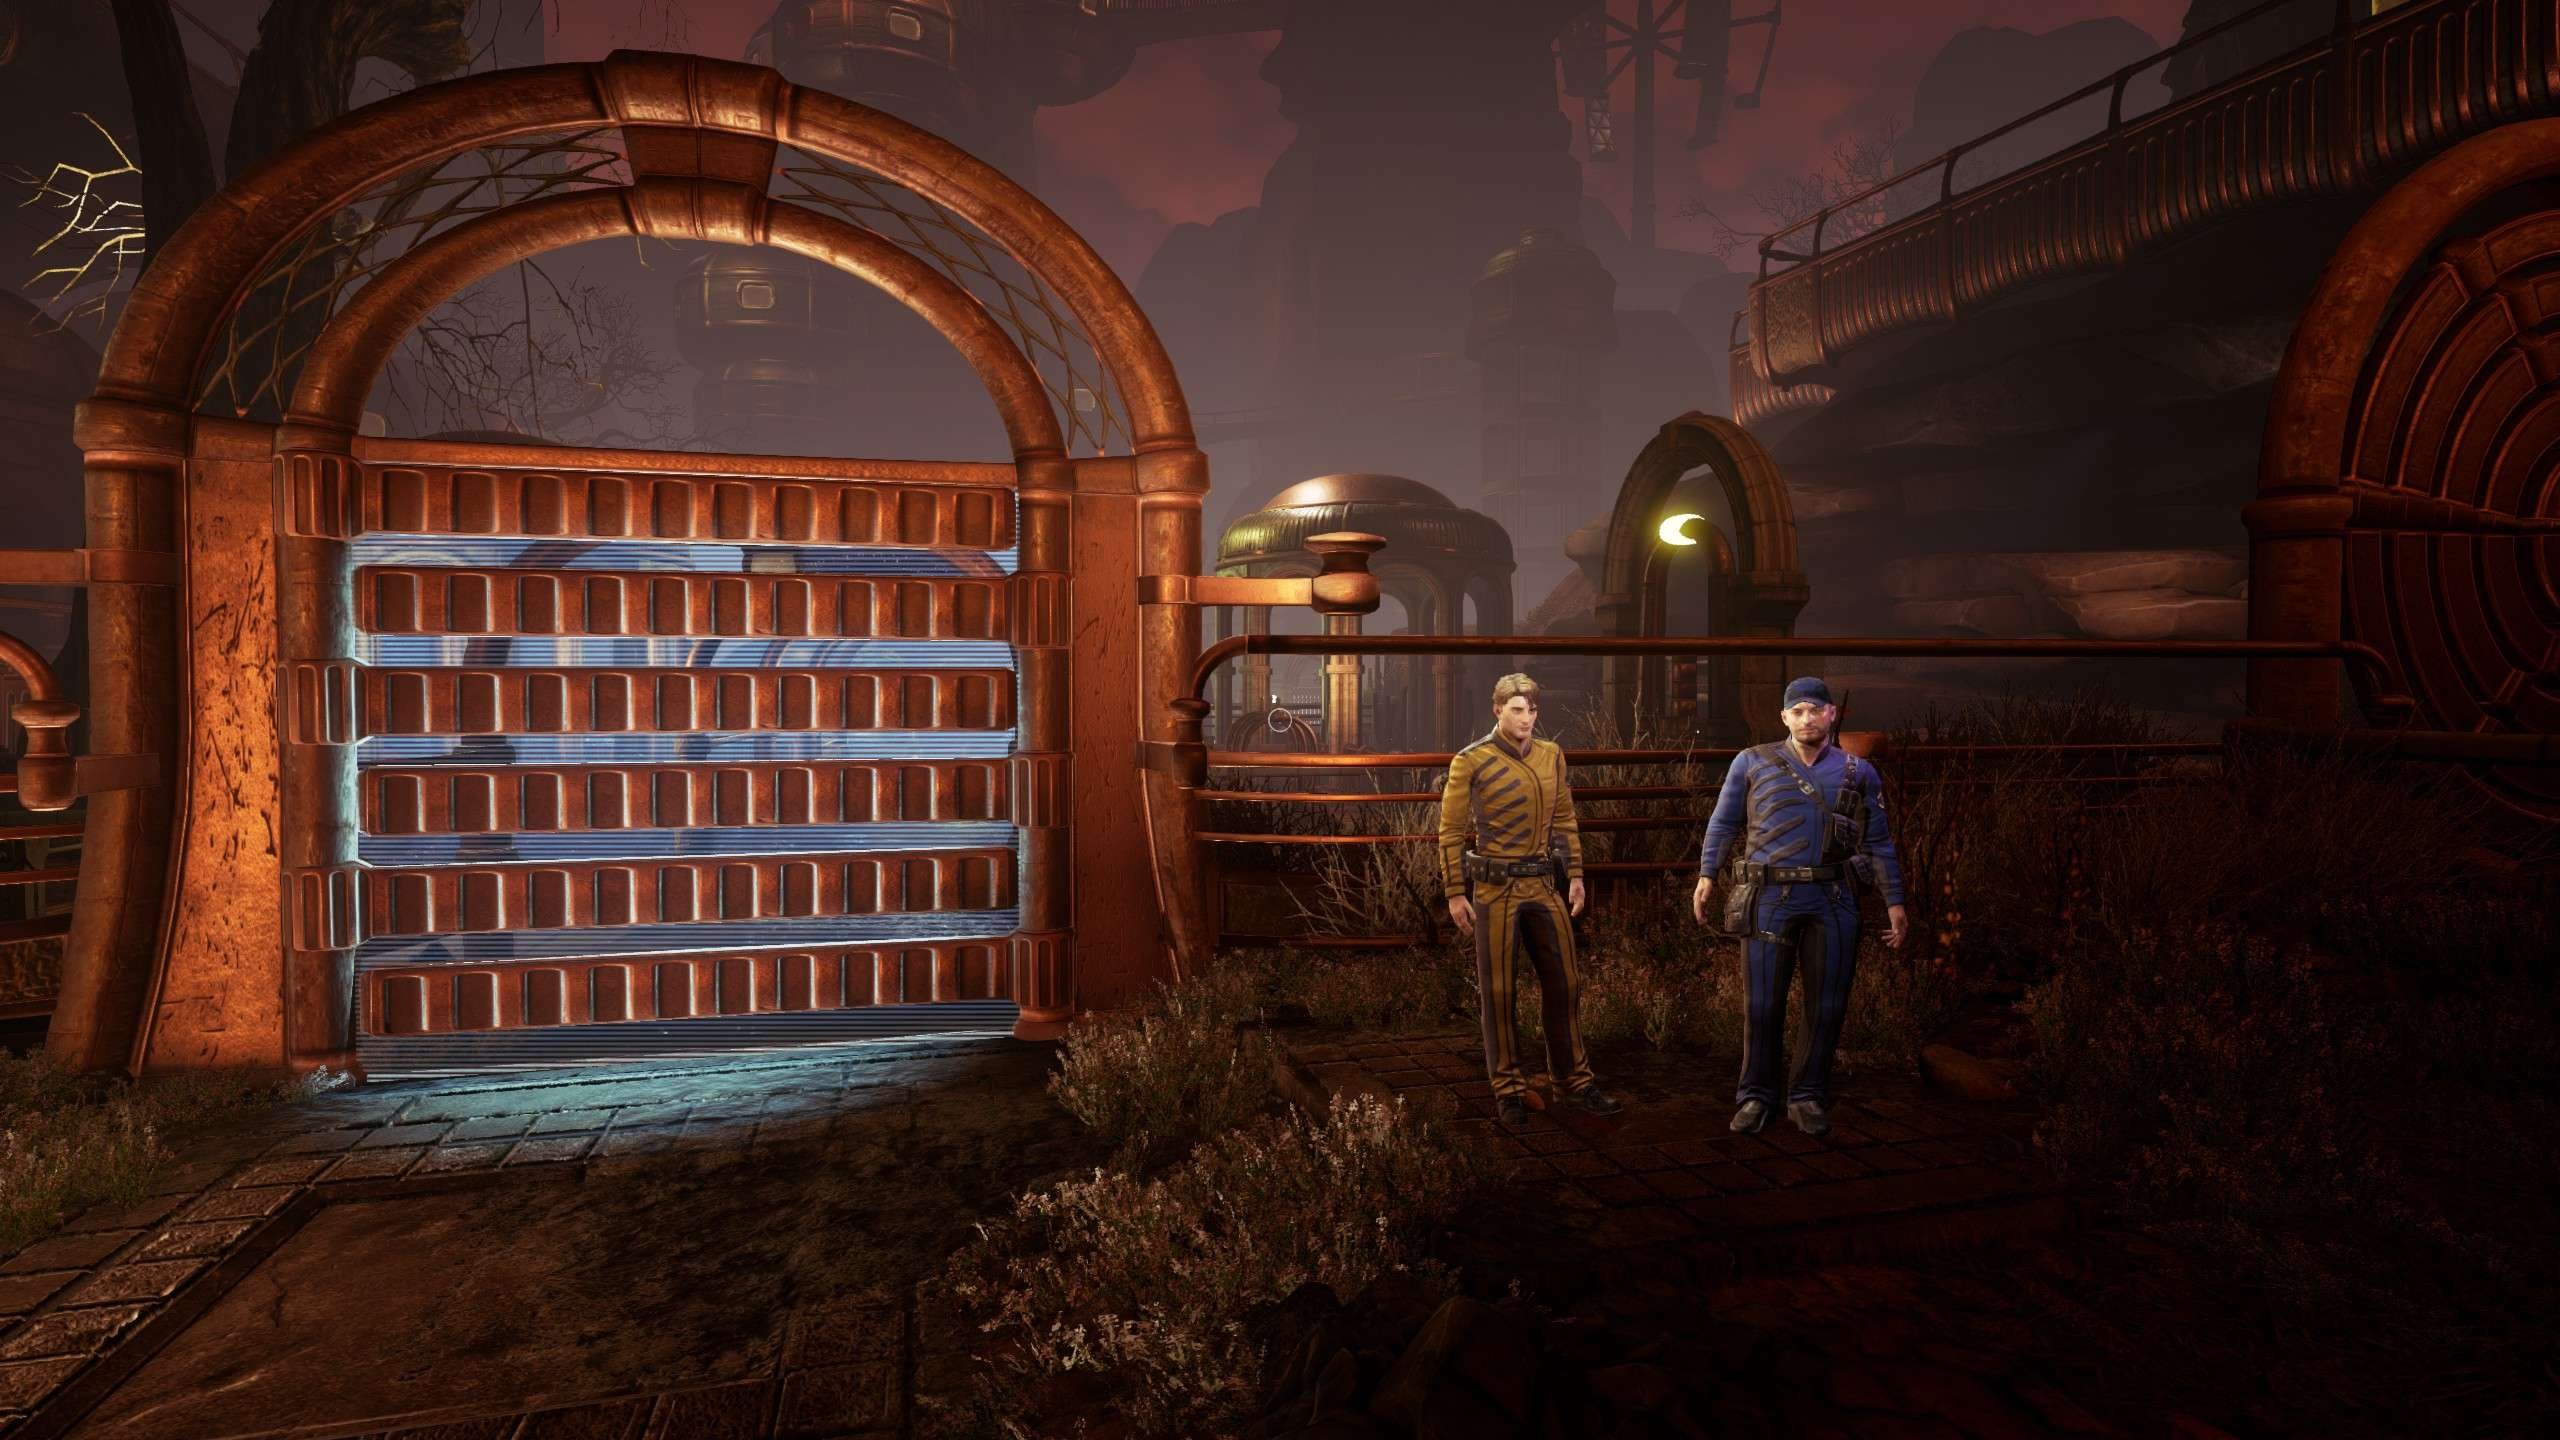
Photo #4
- Location: Behind the first gate, on the left.

Character #5
- Location: In front of the rotation puzzle.

Laptop #6
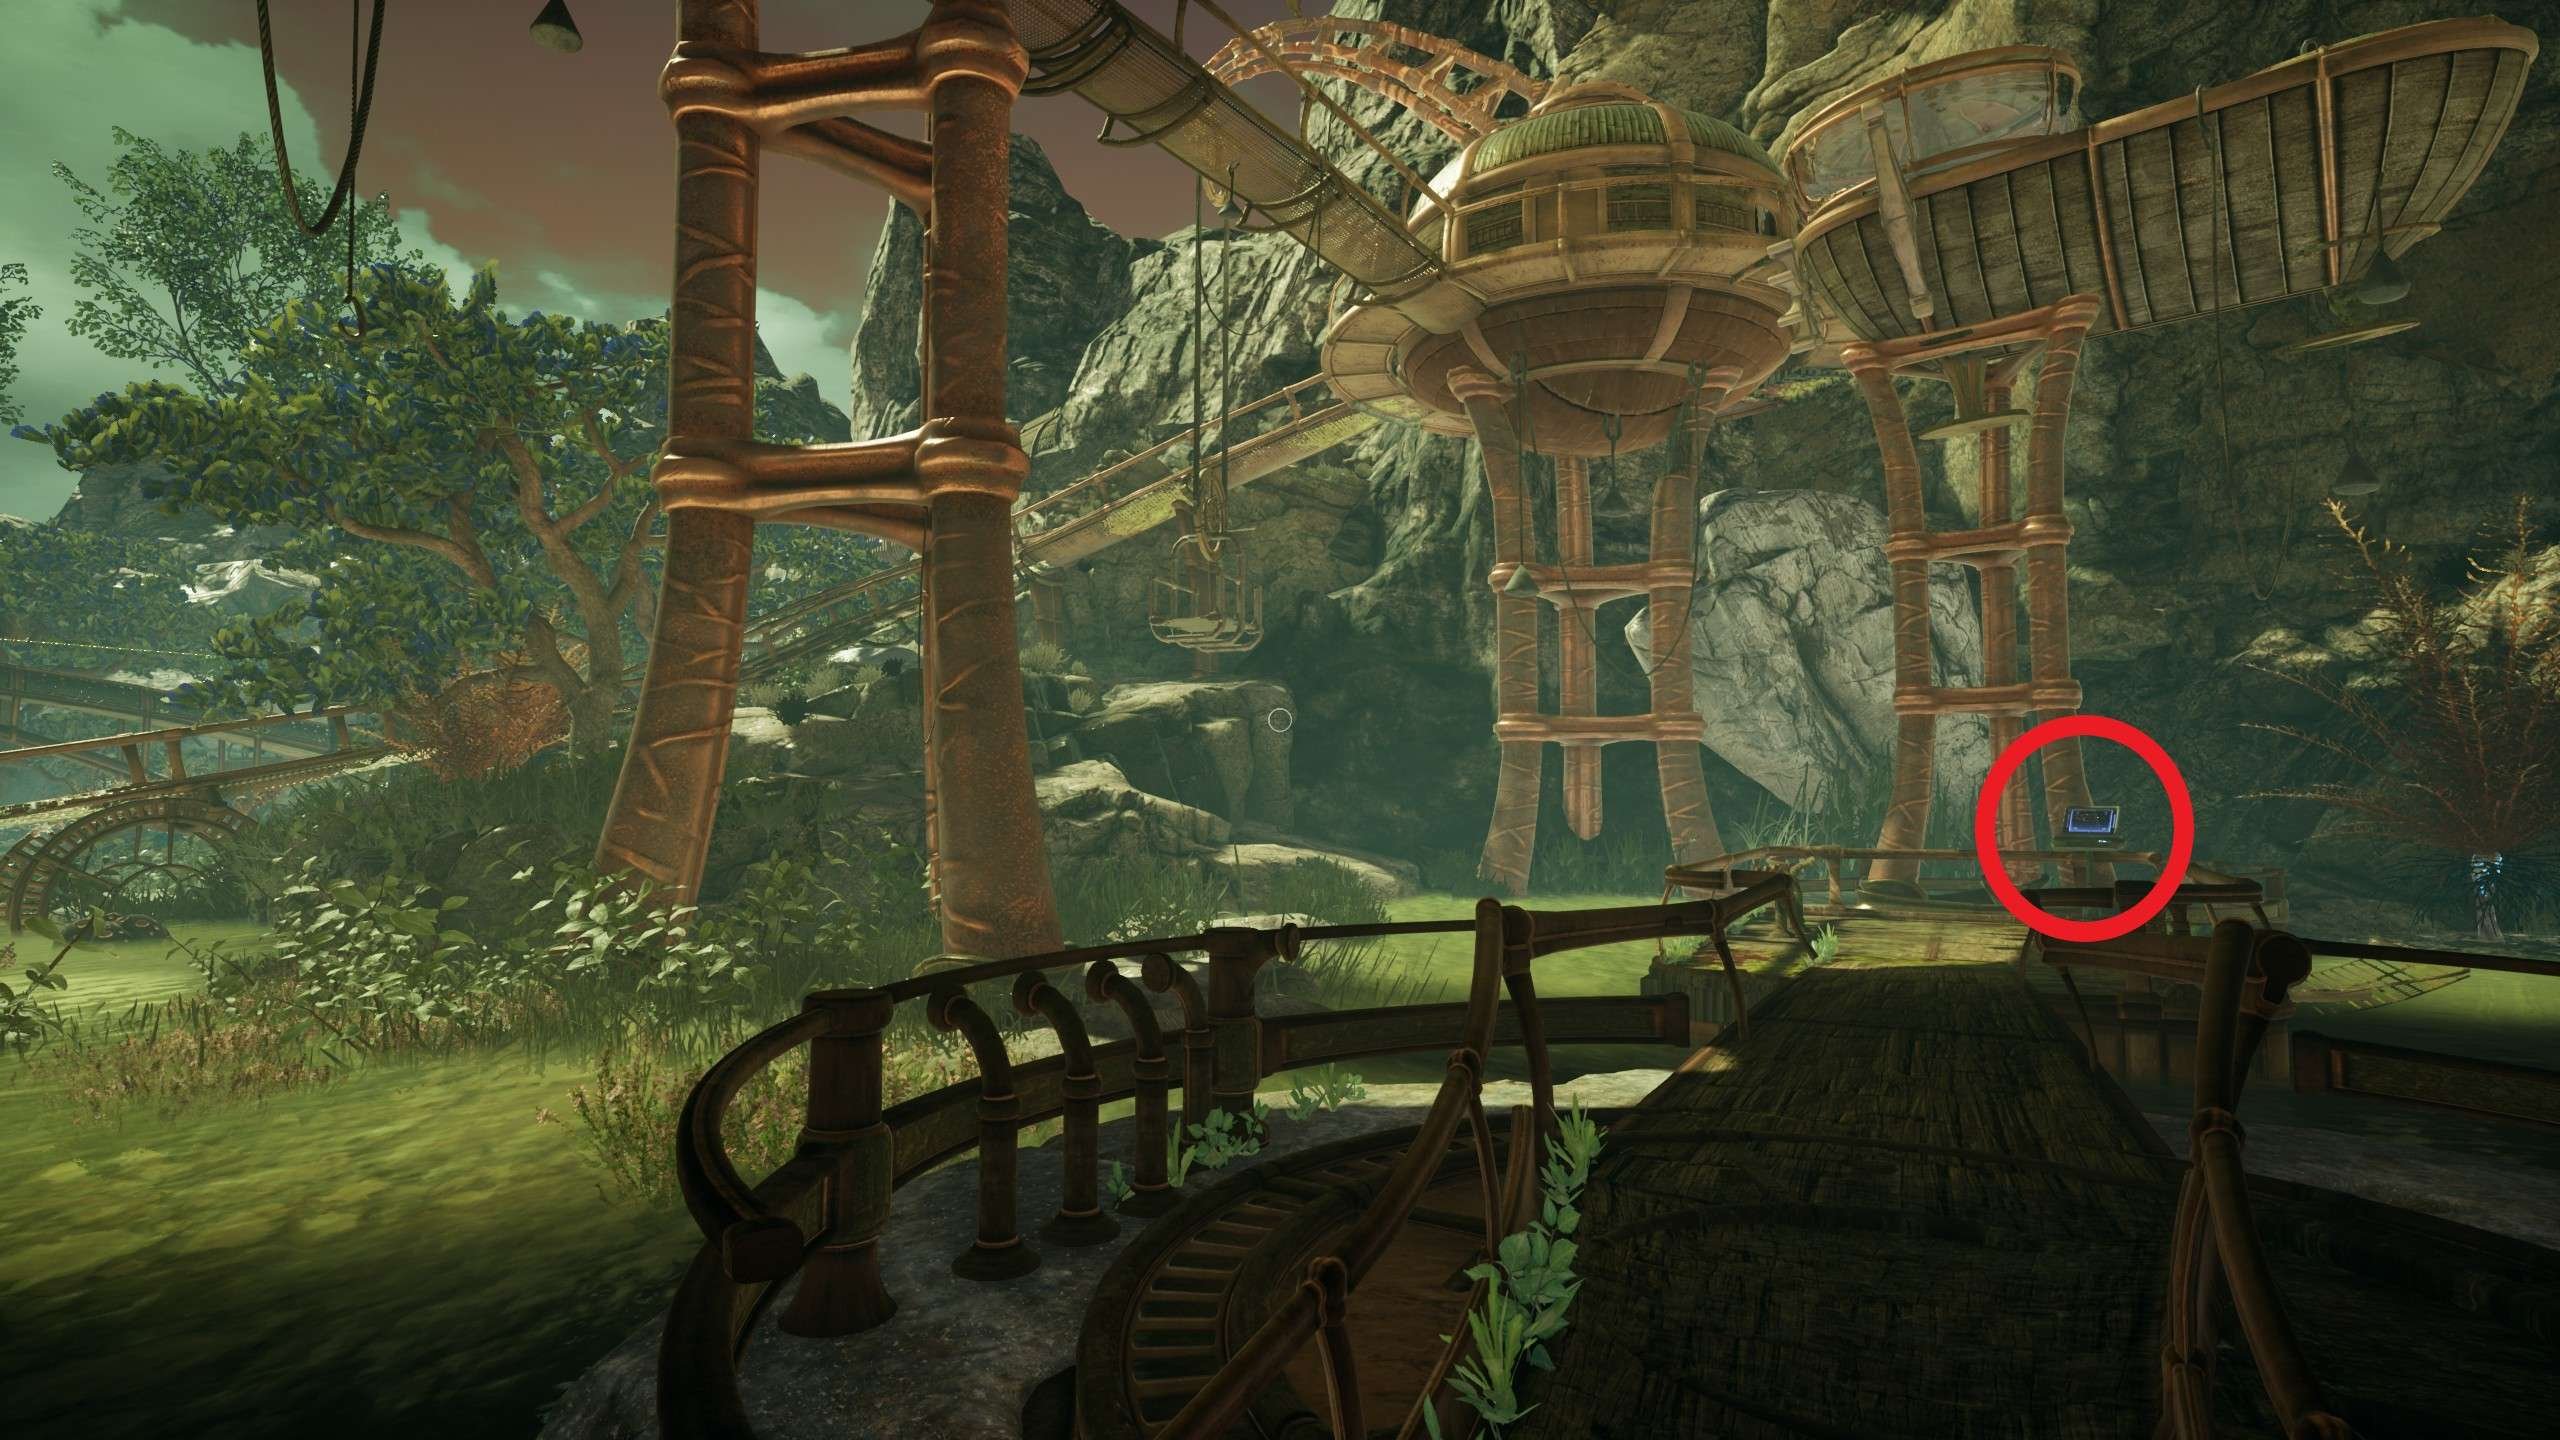
- Location: Across the bridge.

Towers
Photo #8
- Location: At the beginning of the chapter, turn around.
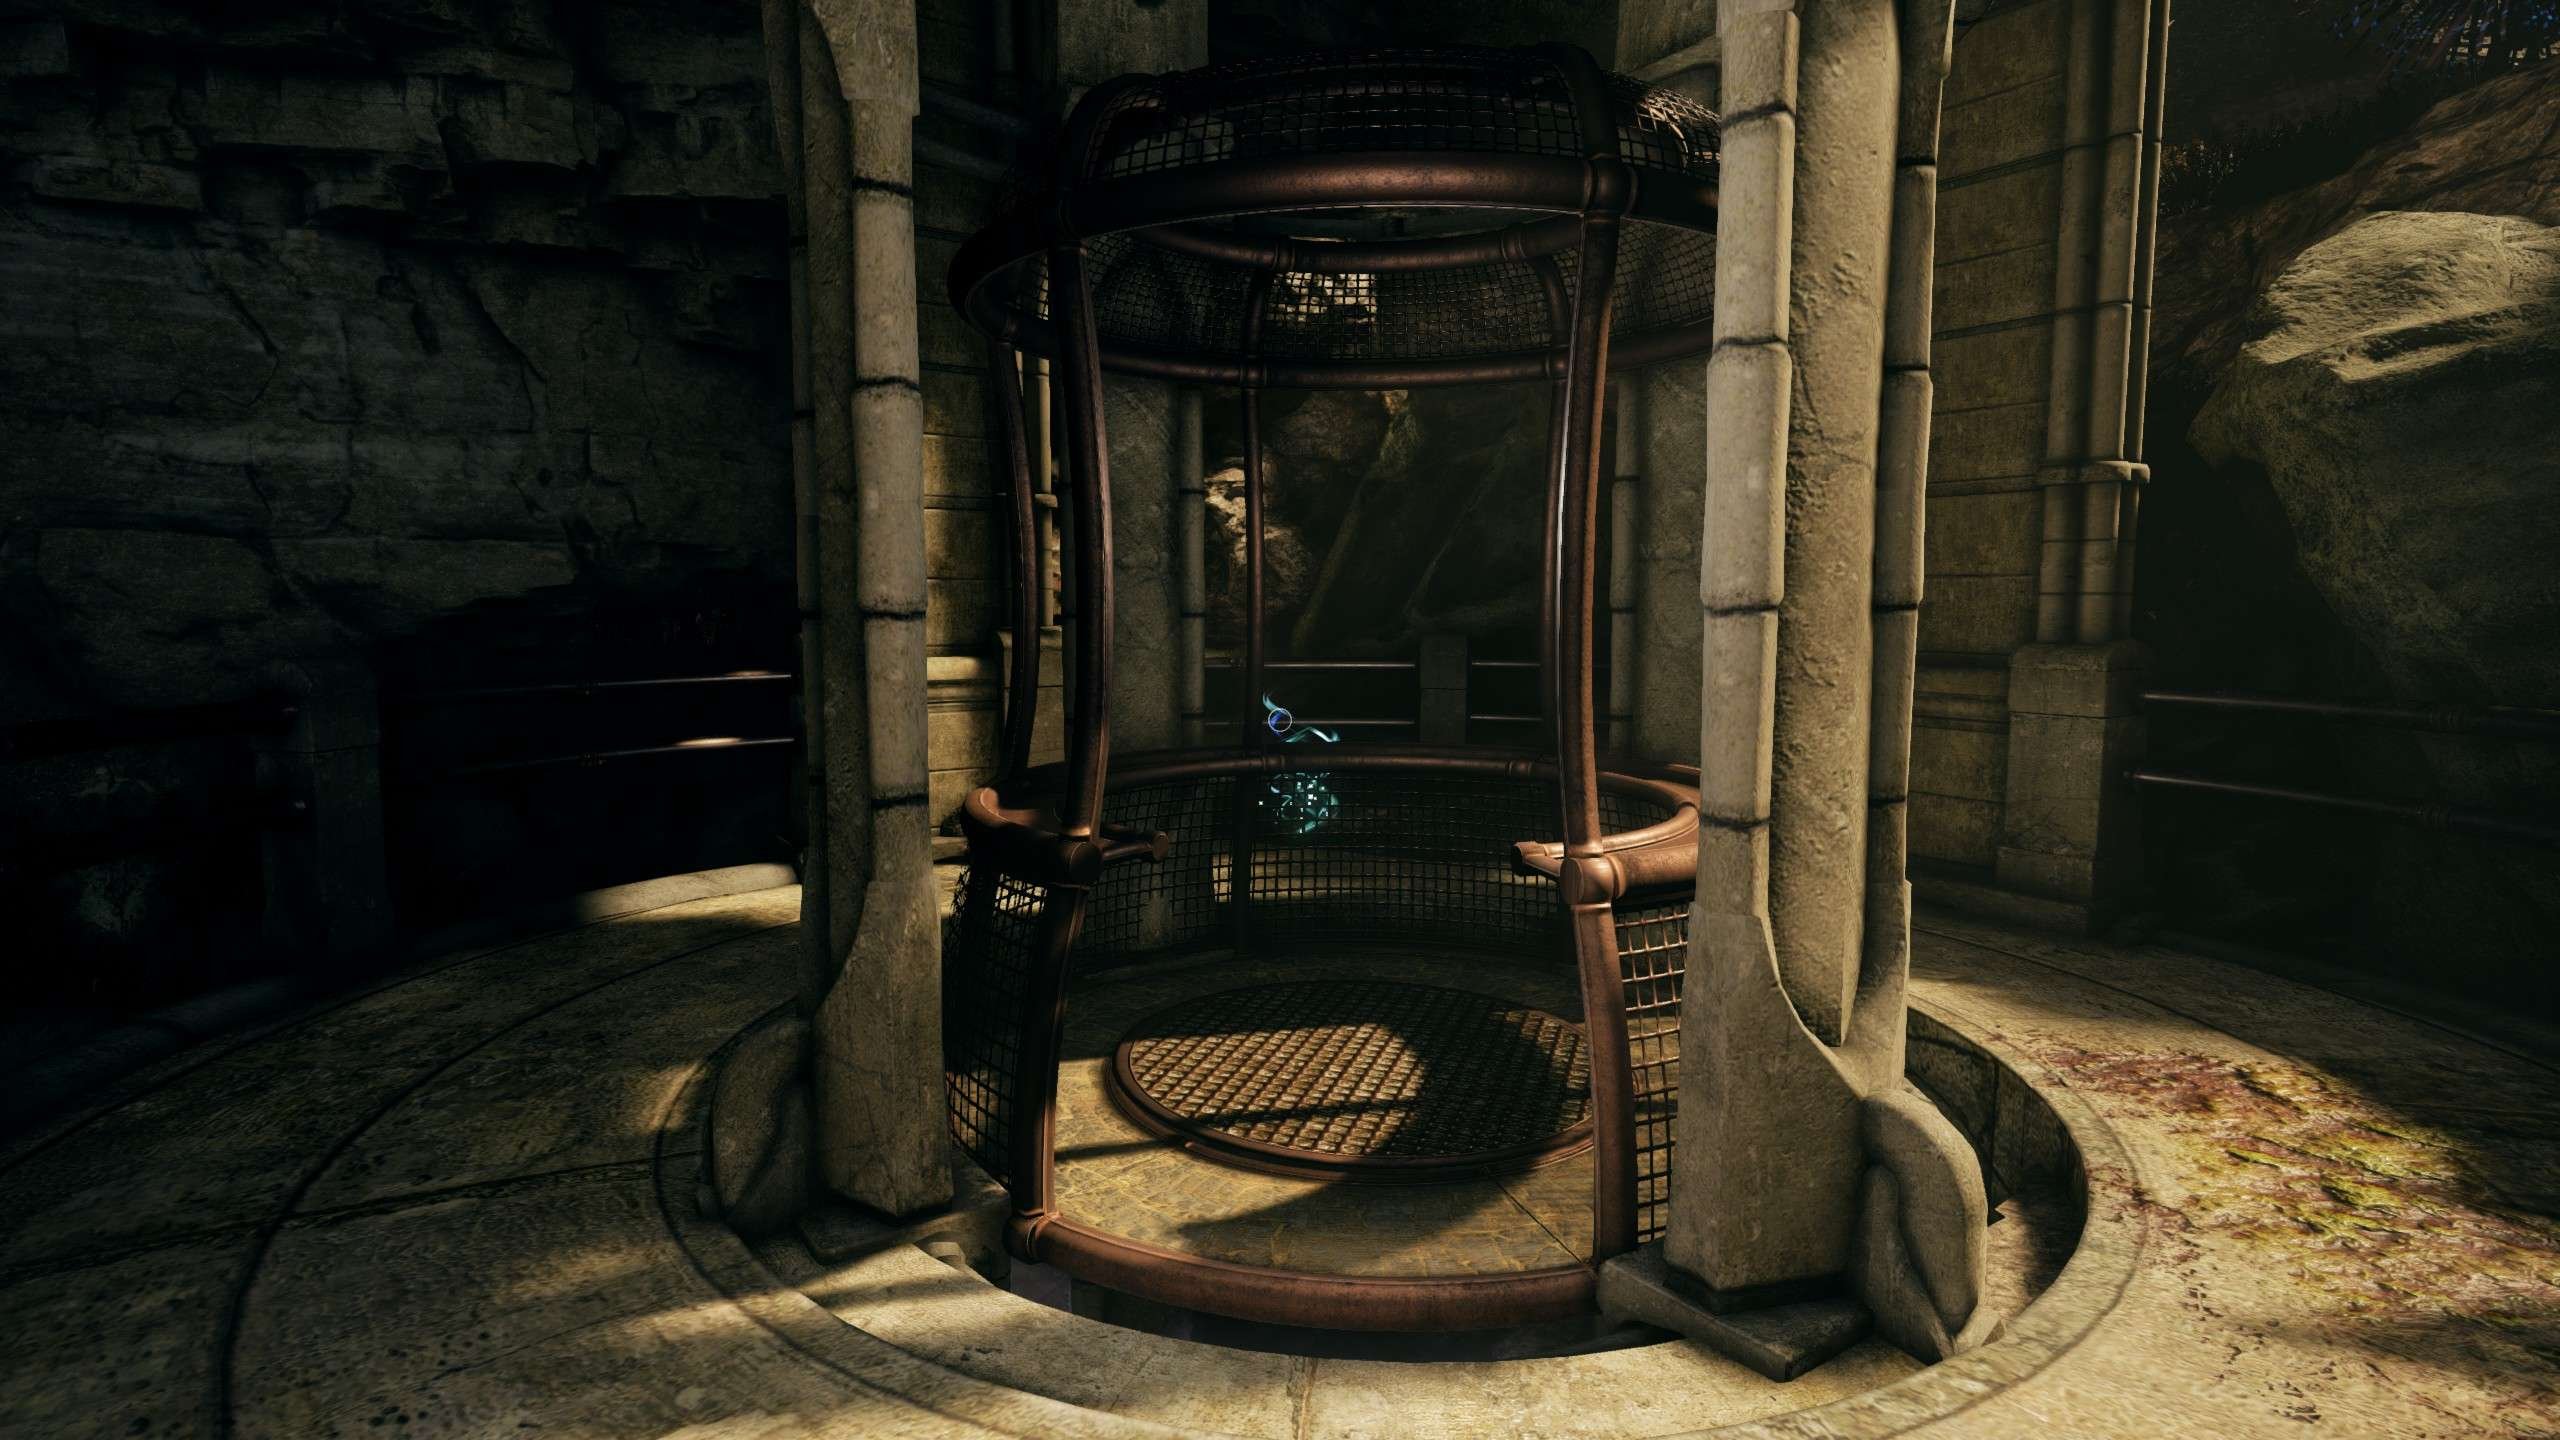
Photo #7
- Location: In the small area on the right.
Laptop #7
- Location: In front of the first tower (east).
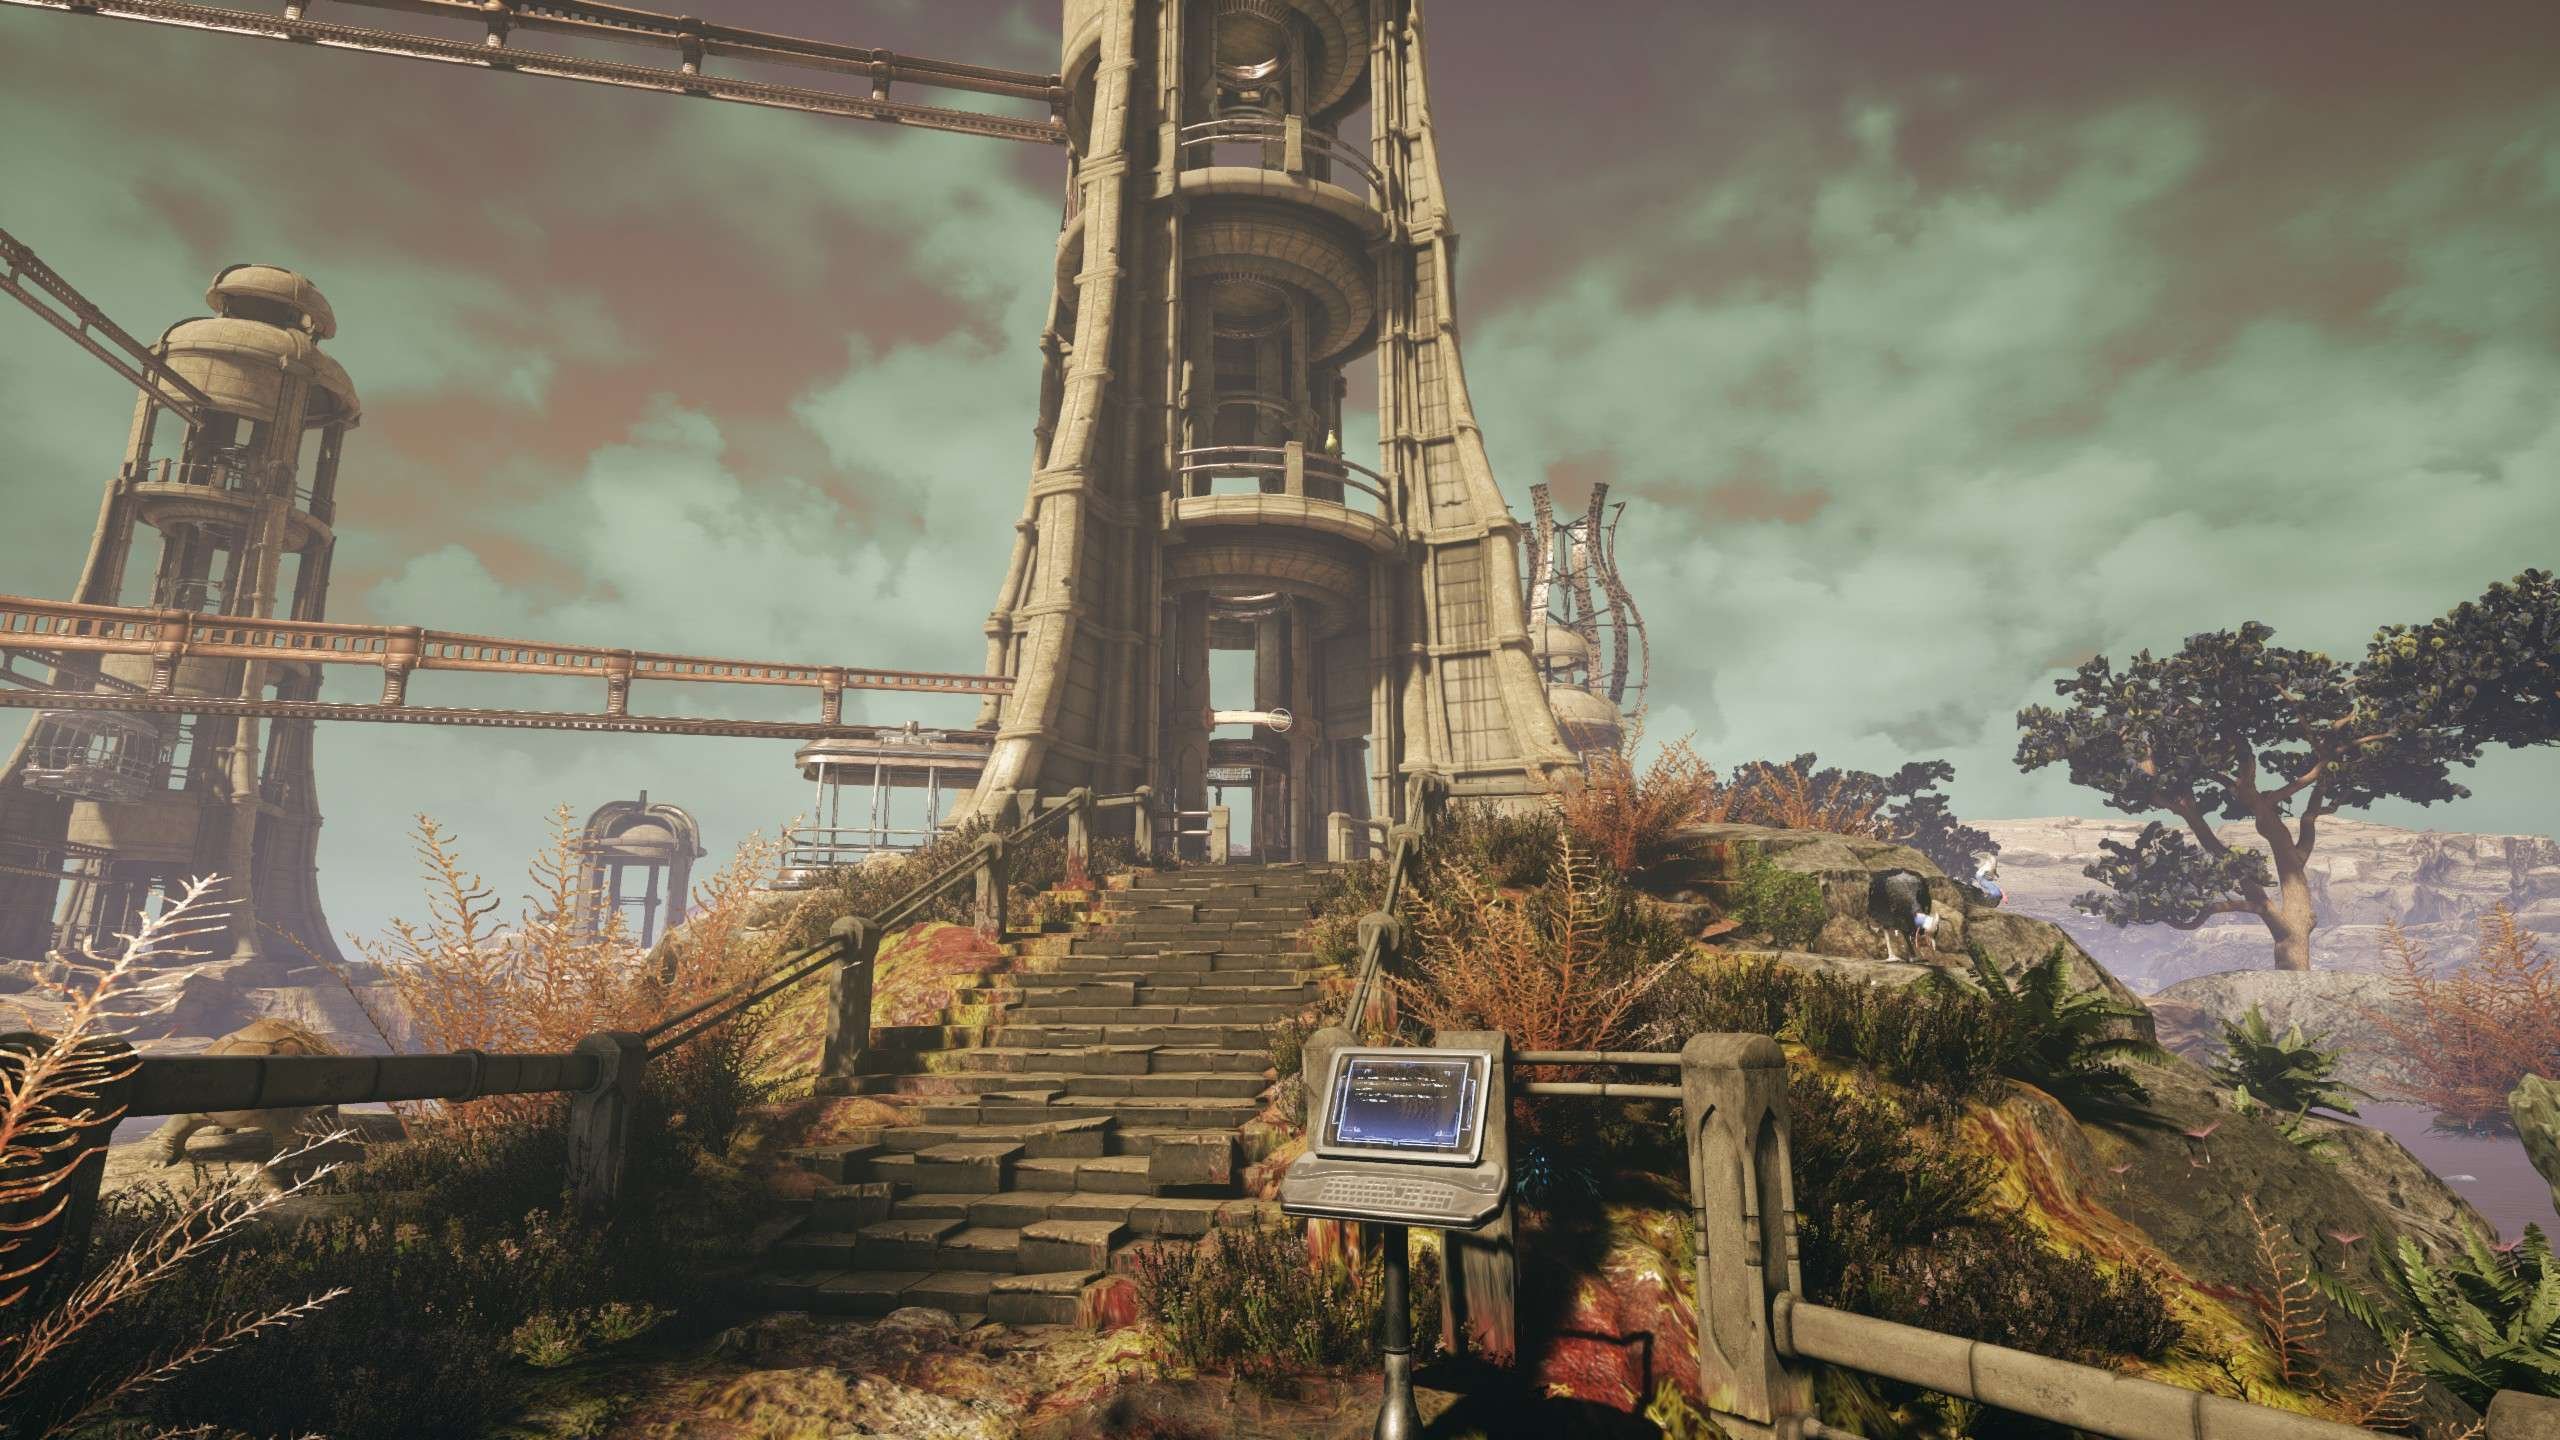
Photo #9
- Location: On the third floor of the first tower (east).
Laptop #8
- Location: In front of the second tower (south).
Laptop #9
- Location: At the end of the chapter, on the top floor of the central tower.

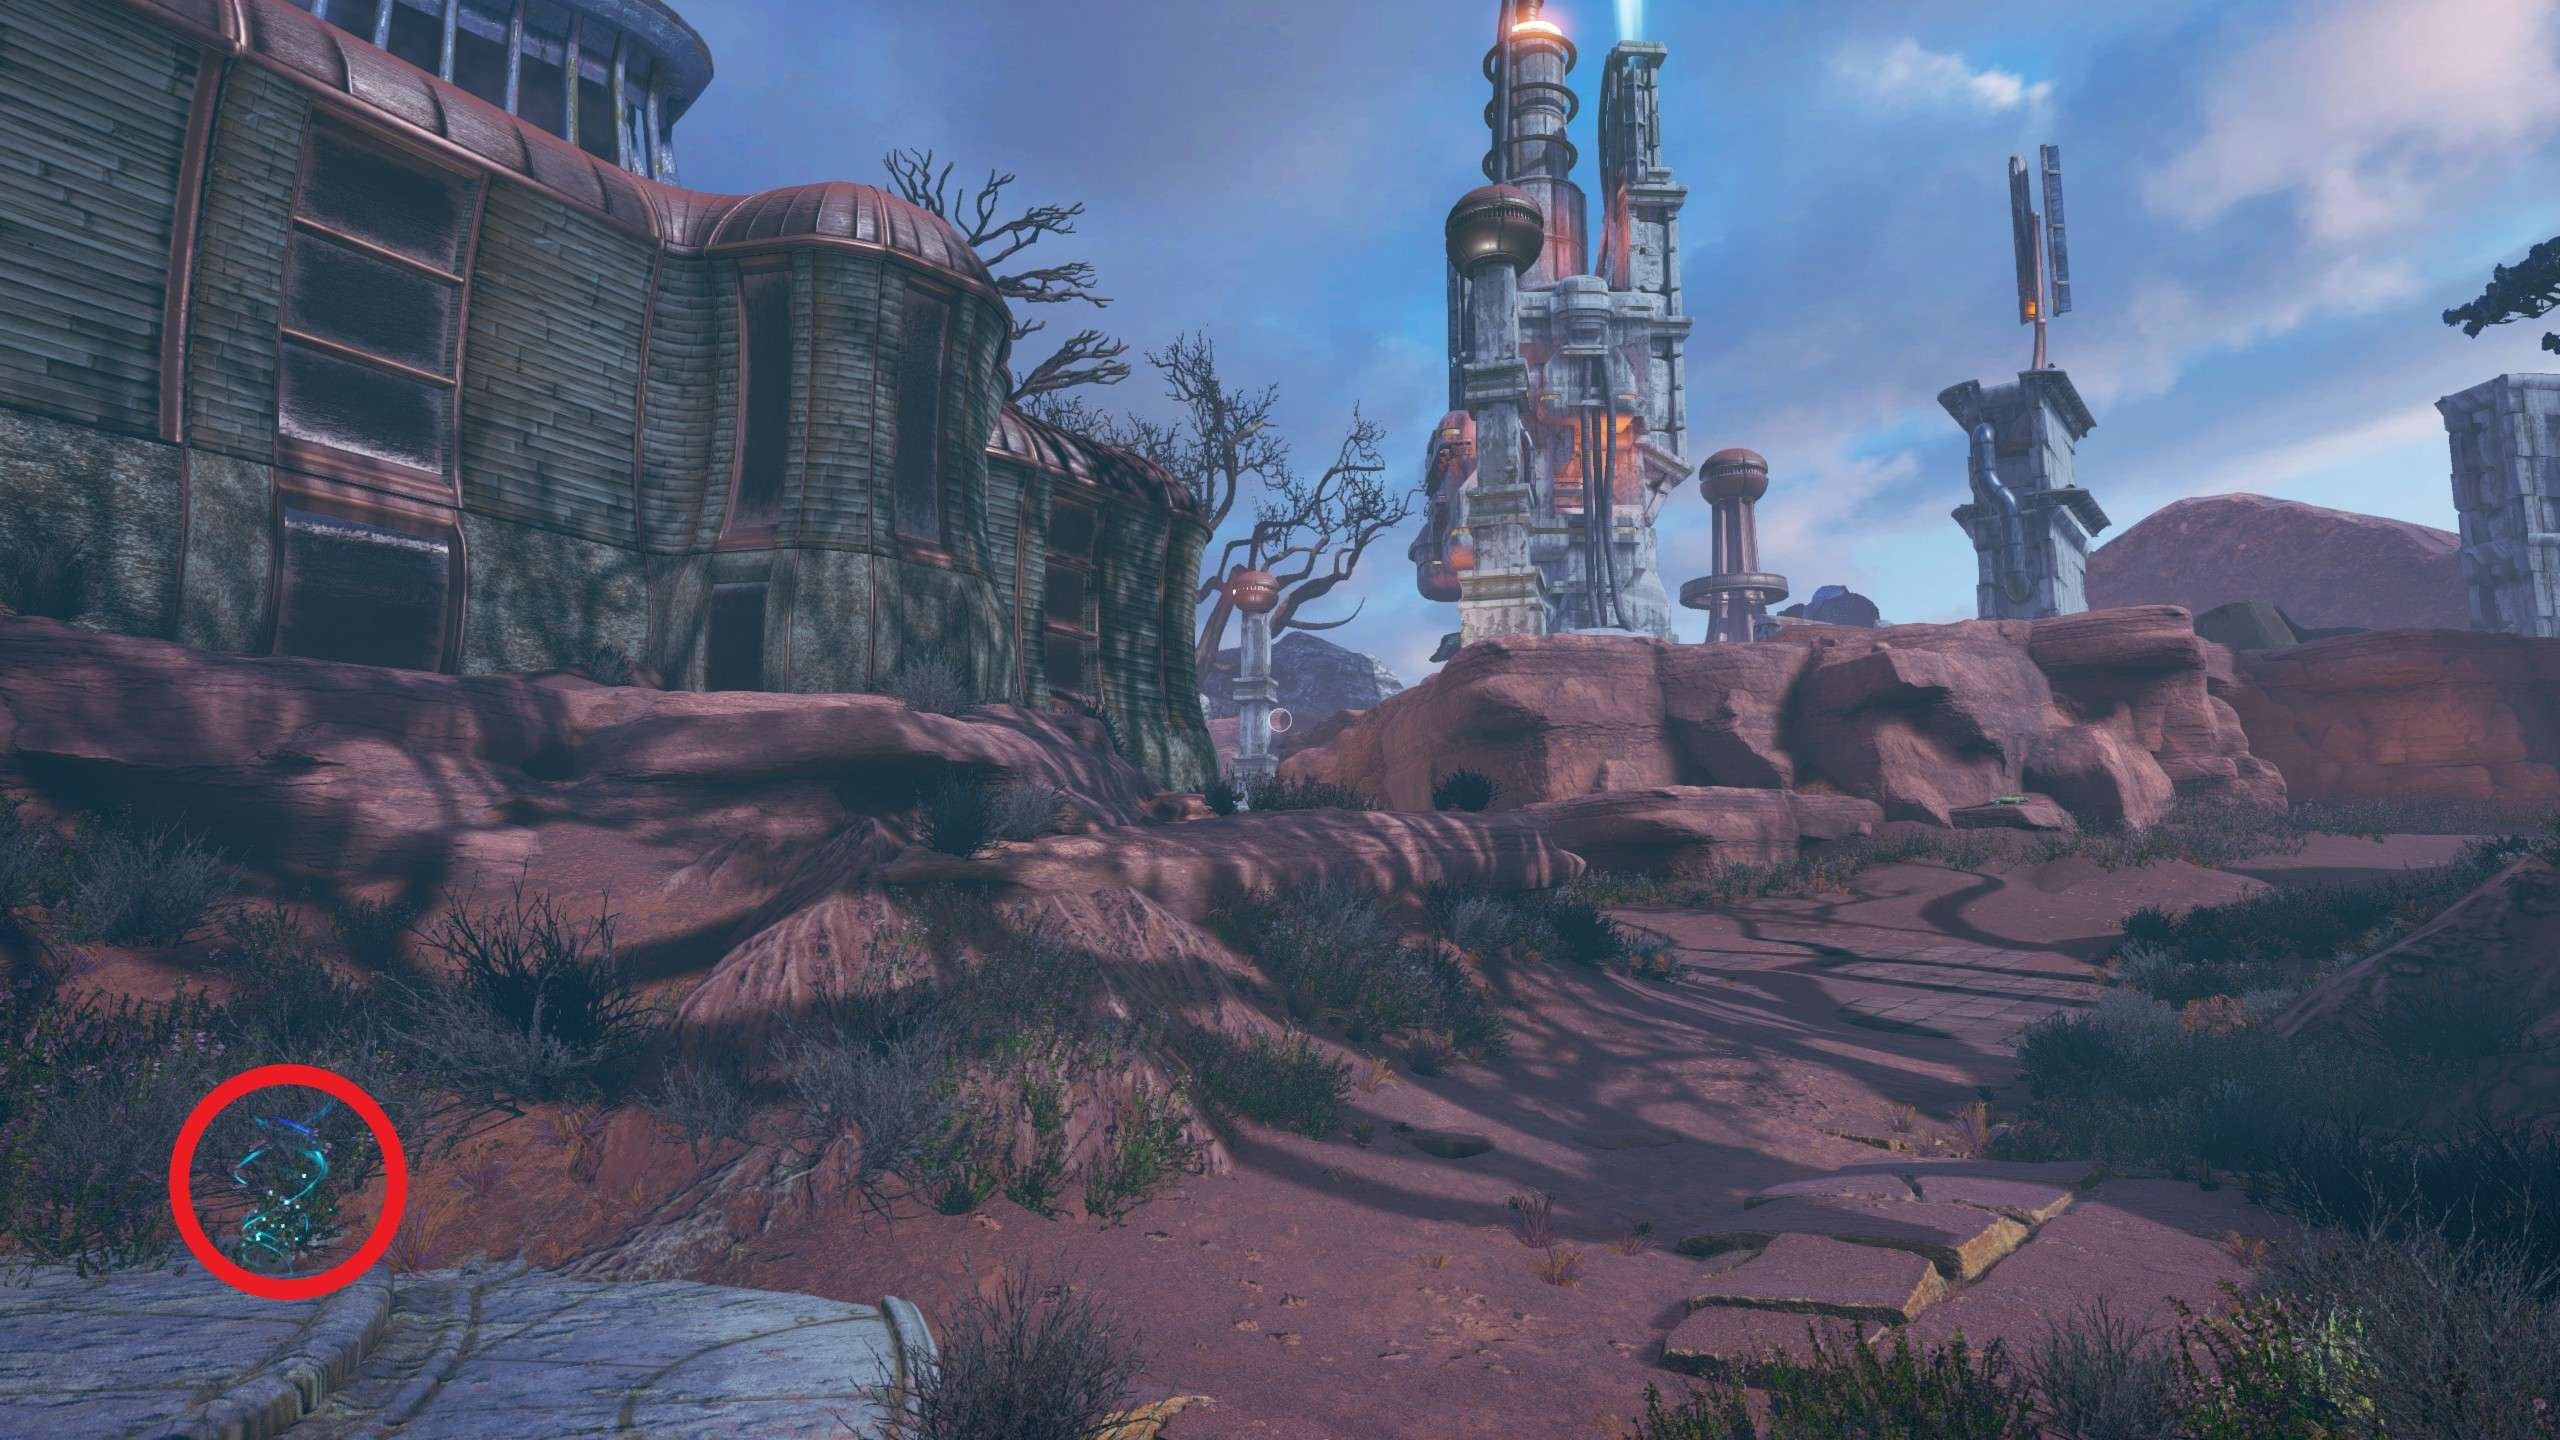
Caves
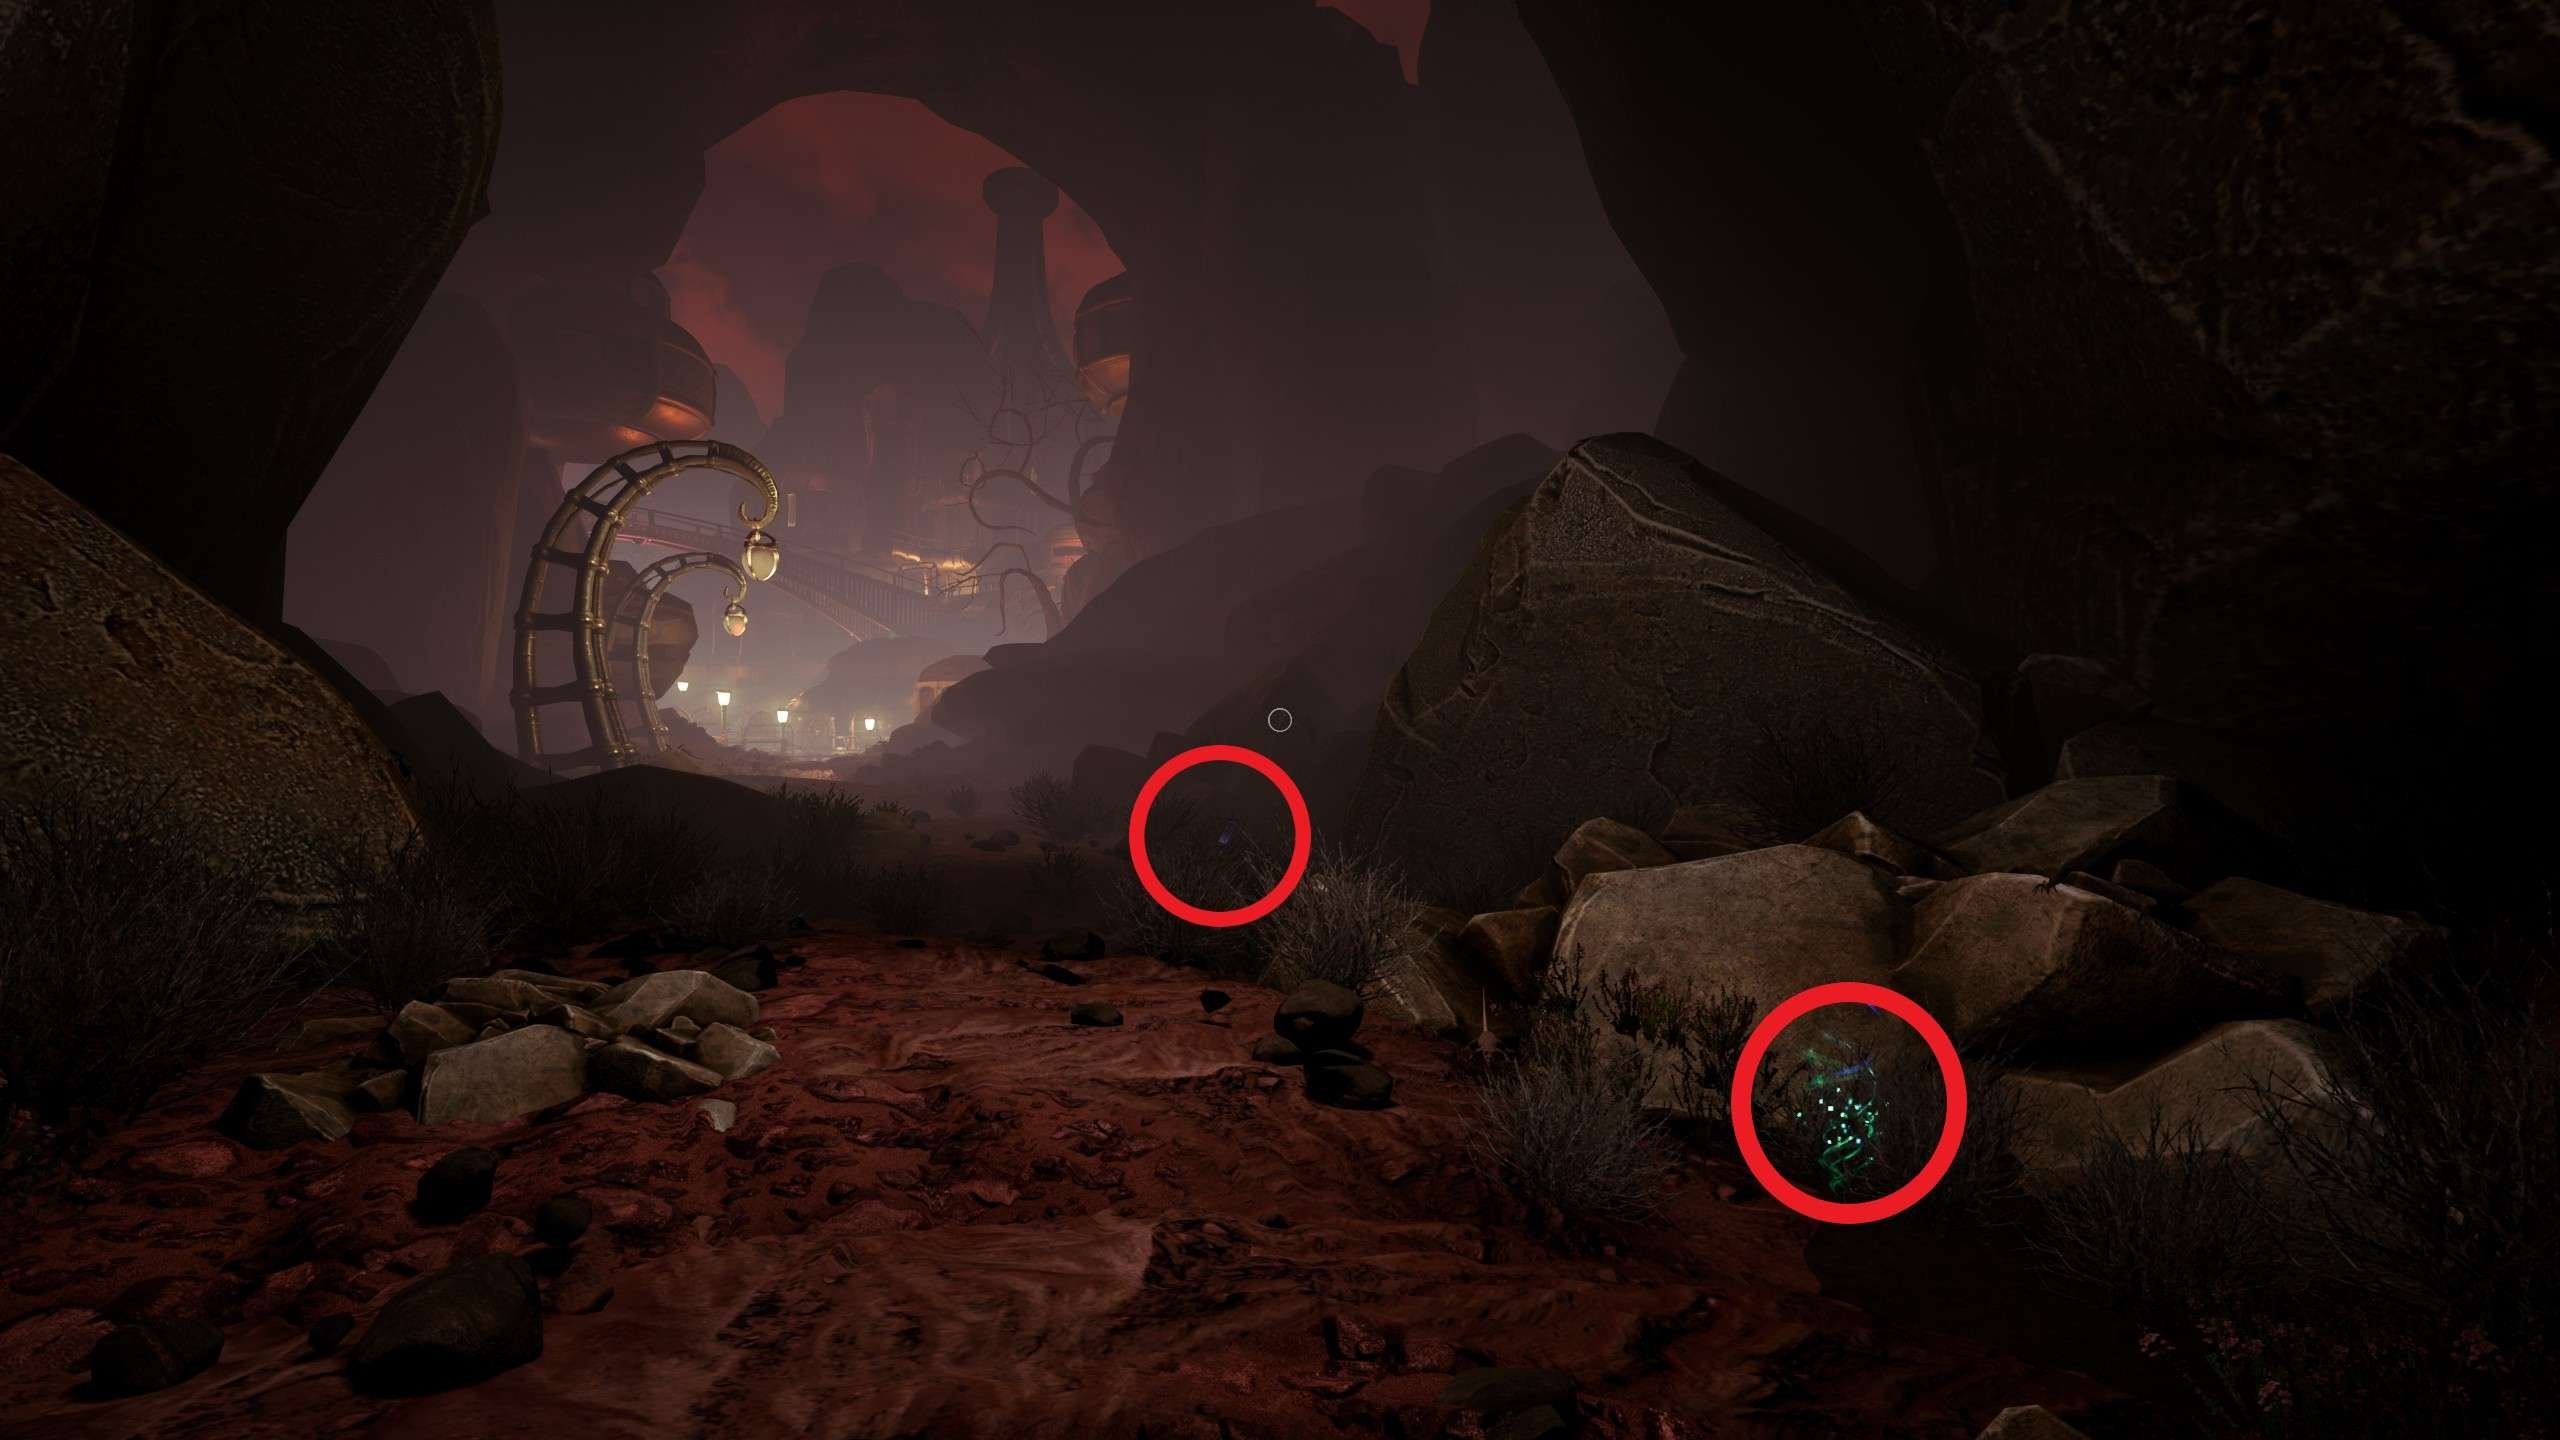
Photo #11
- Location: Next to the elevator at the beginning of the chapter.
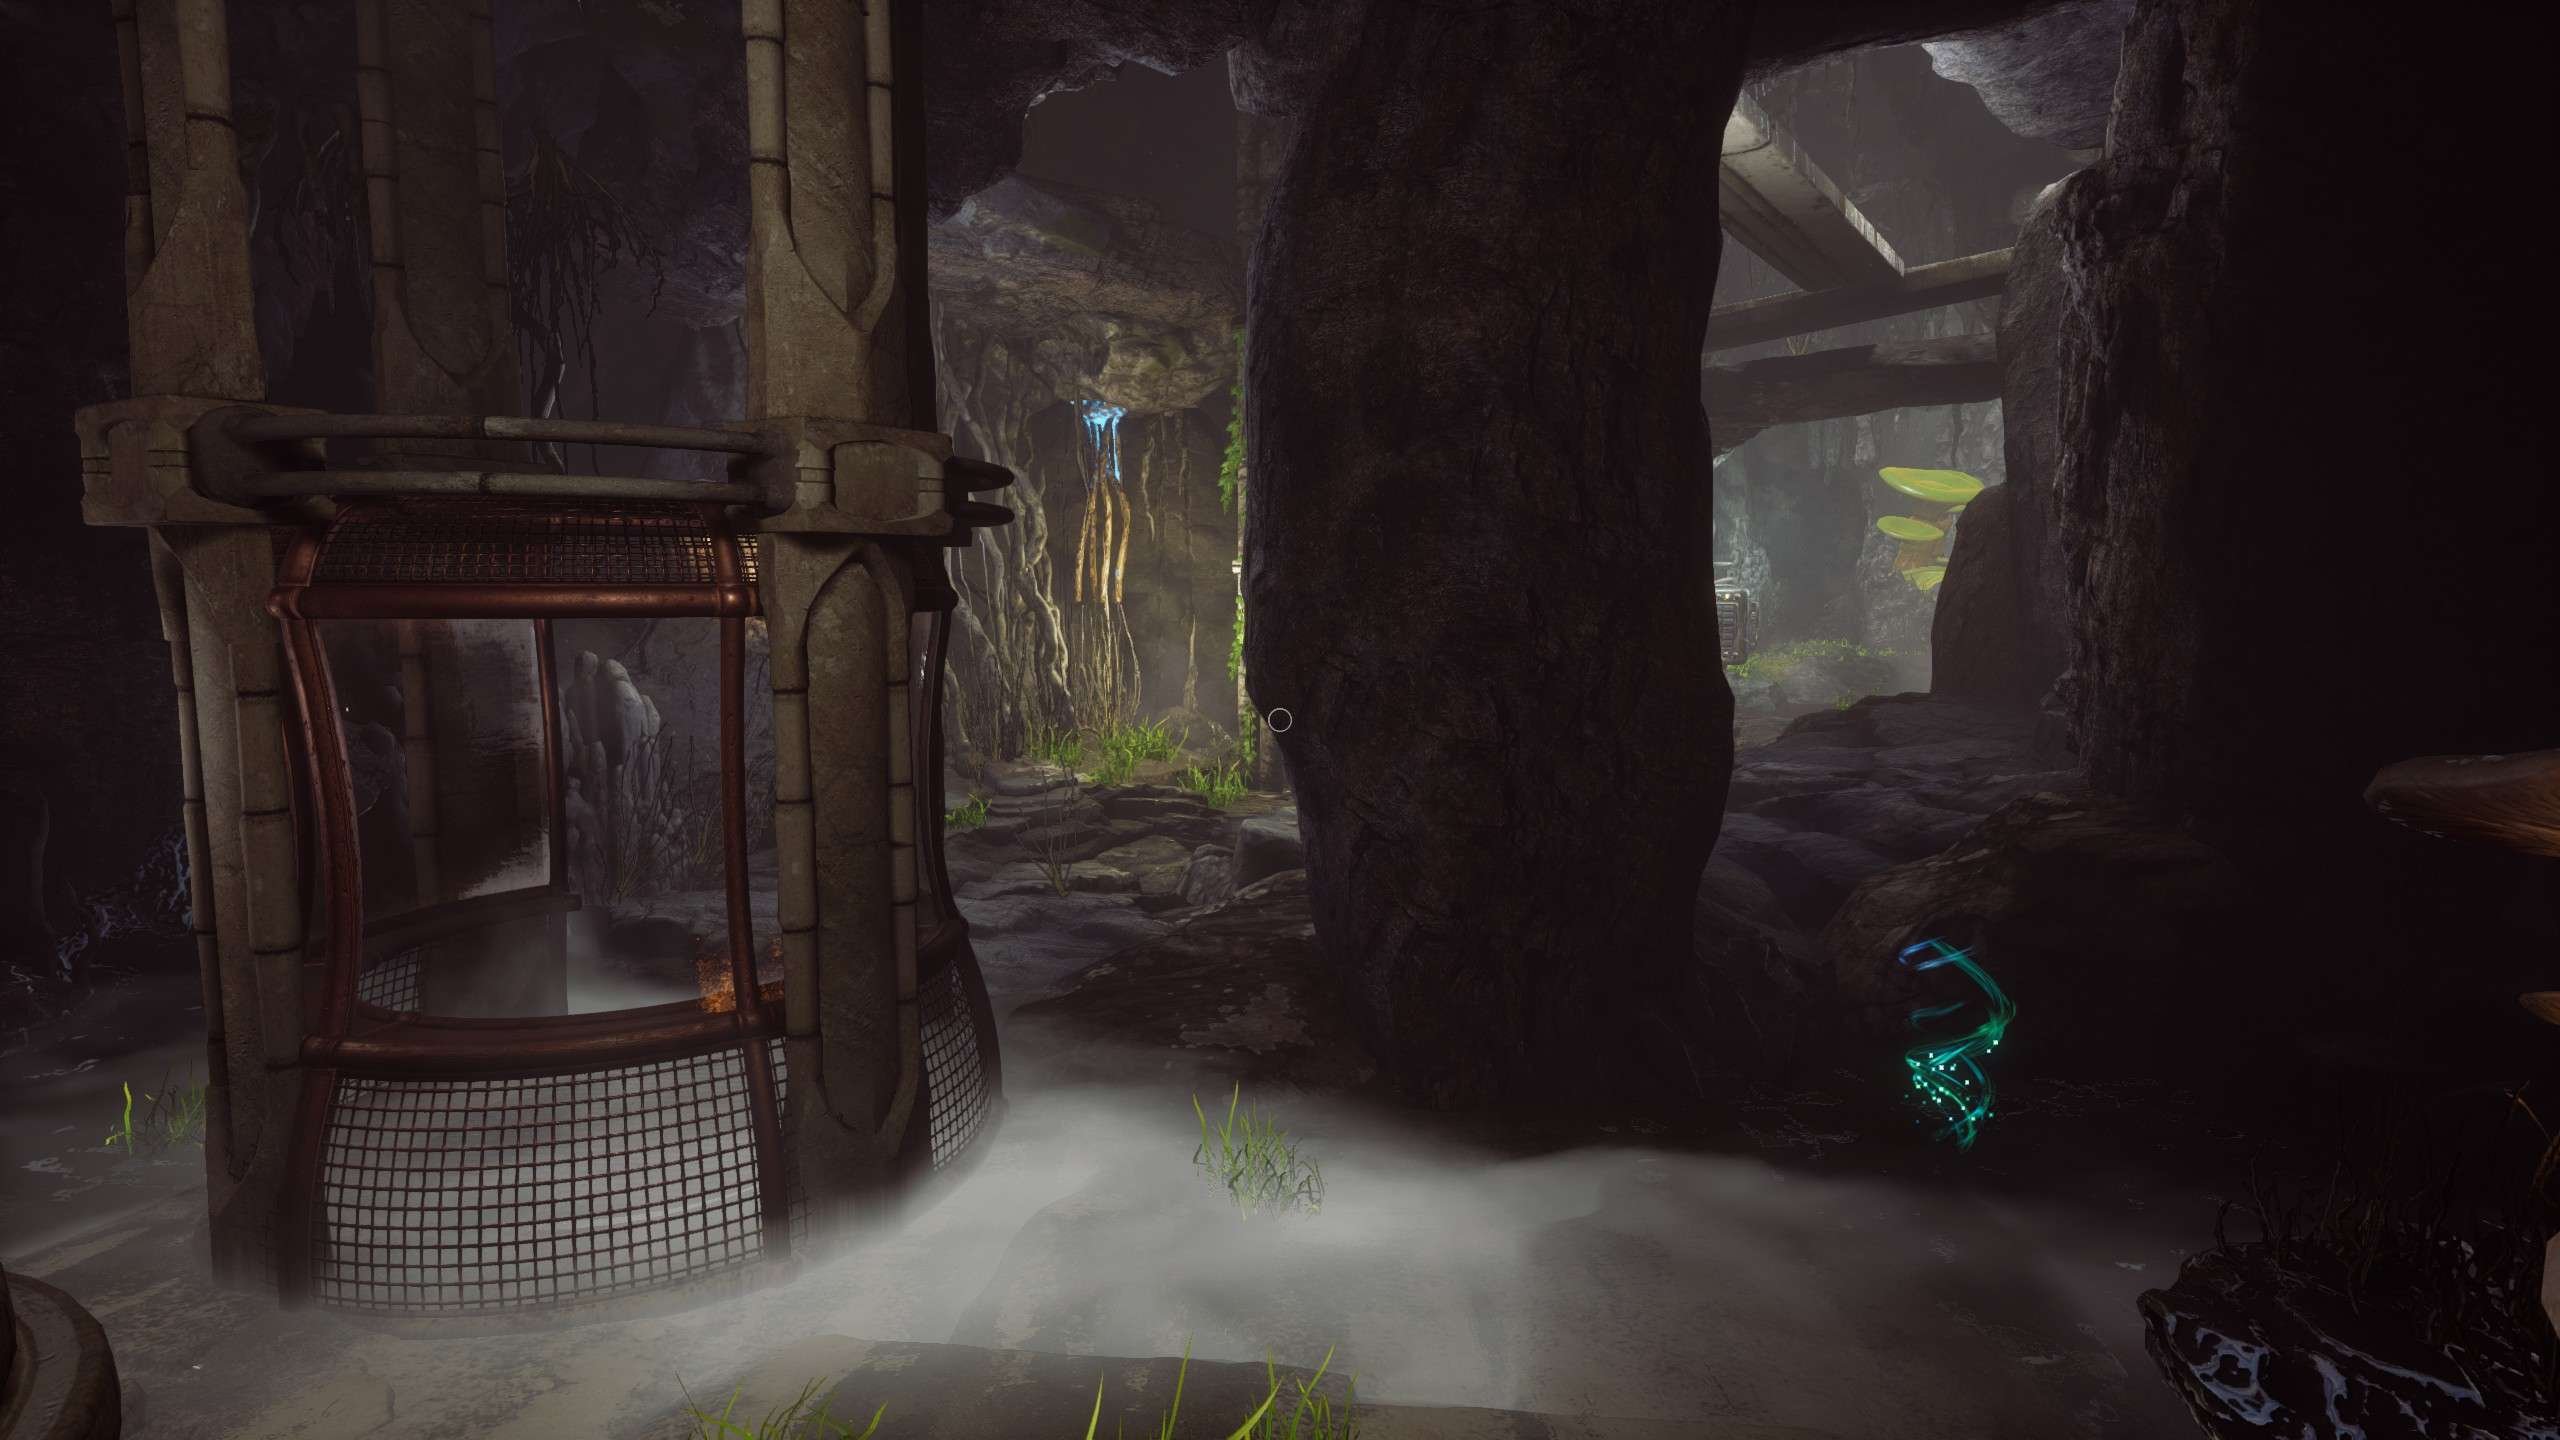
Photo #10
- Location: Approach the first gate and follow the path on the right.
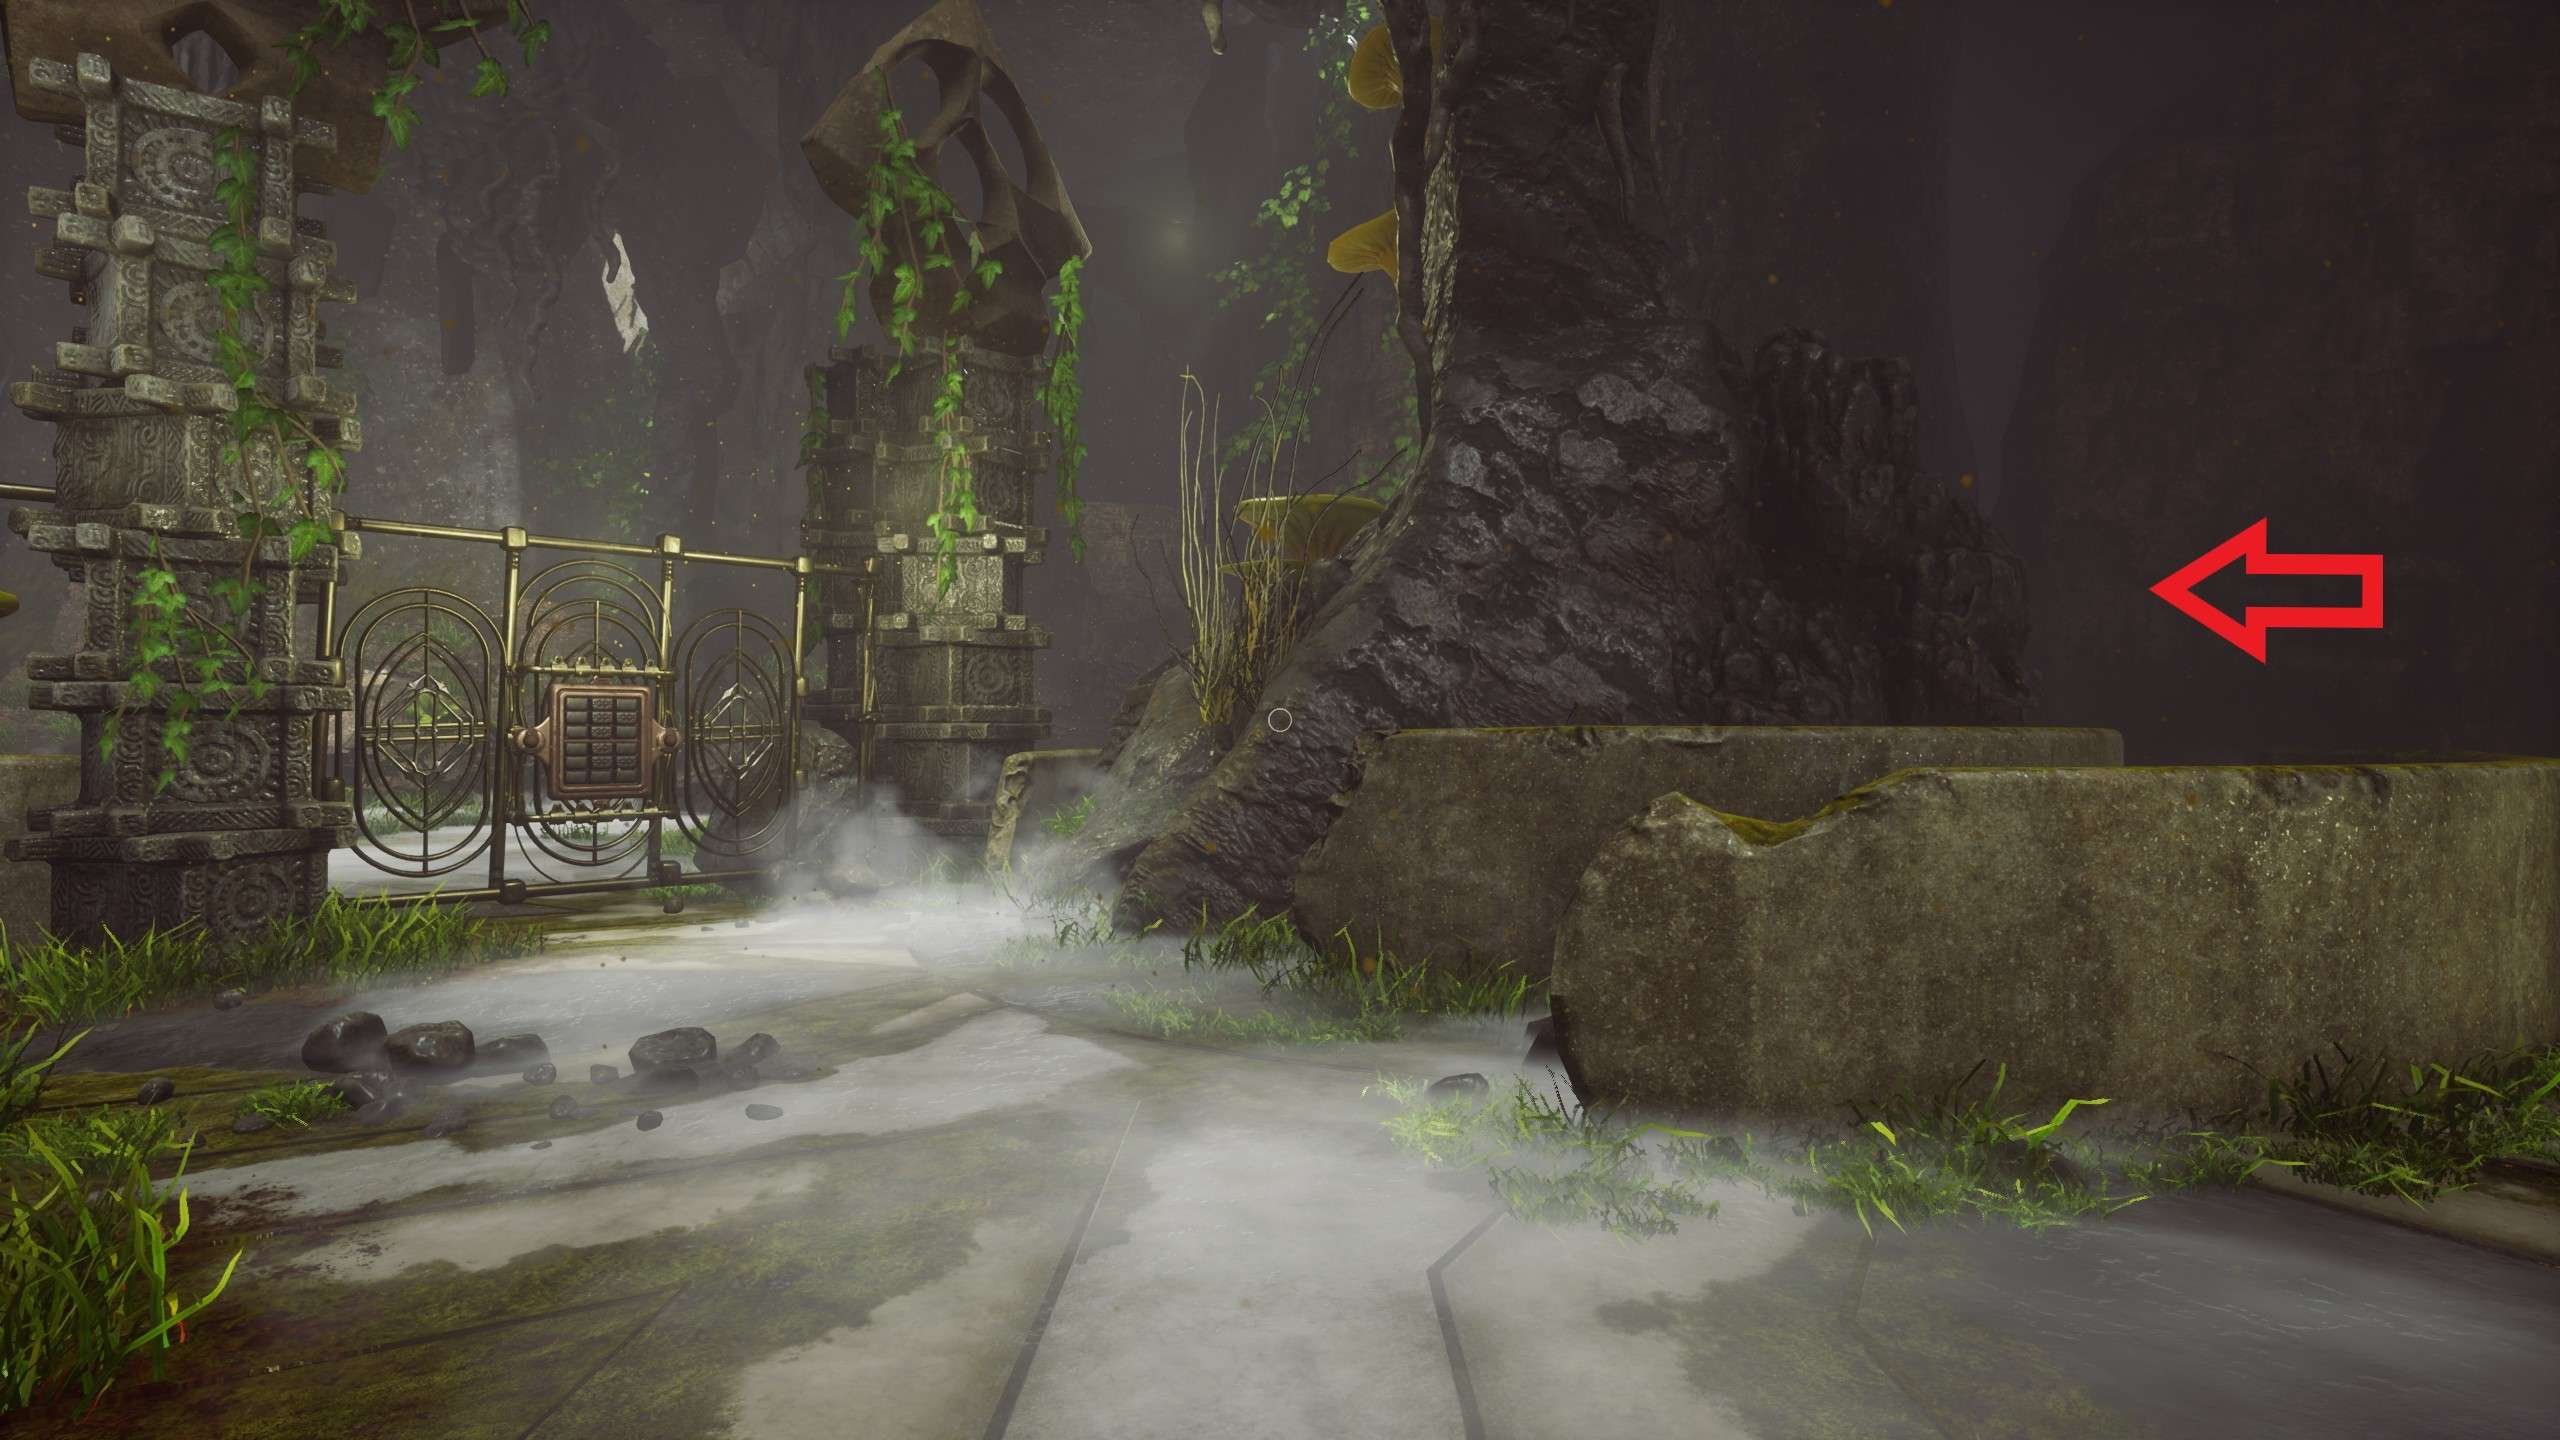
Character #6
- Location: Behind the first gate.
Laptop #10
- Location: In the tunnel behind Character #6.
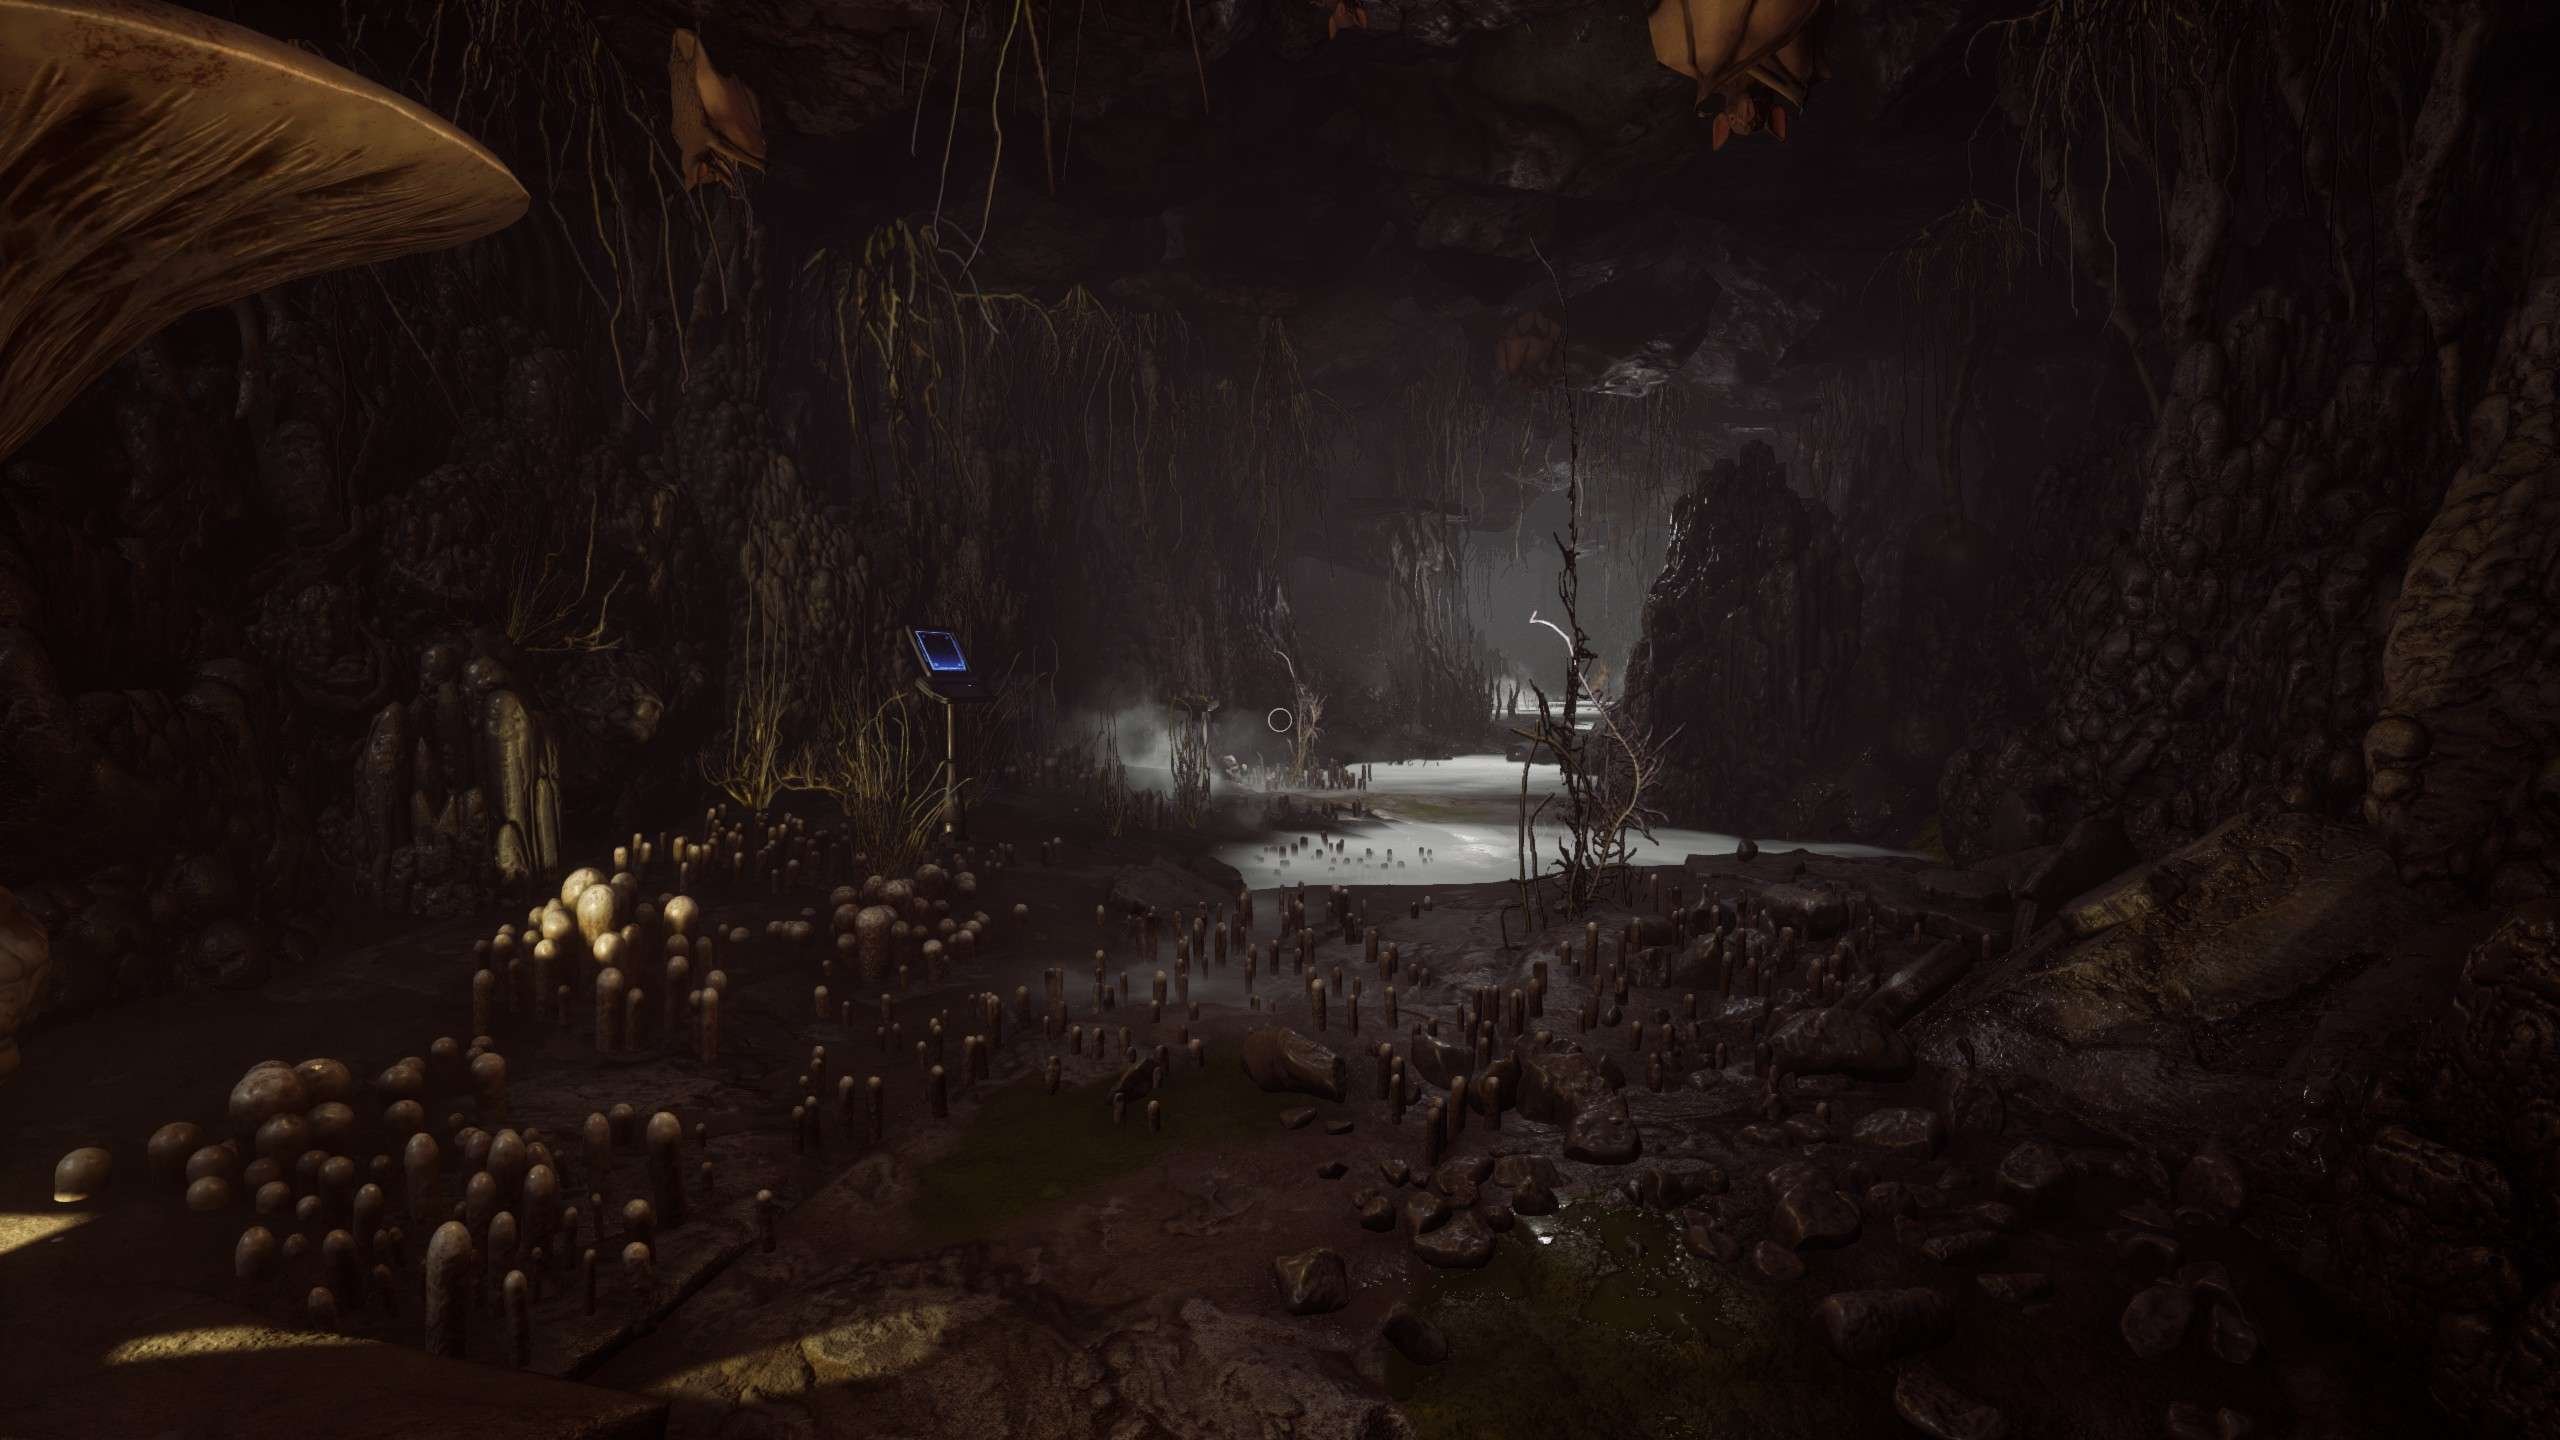
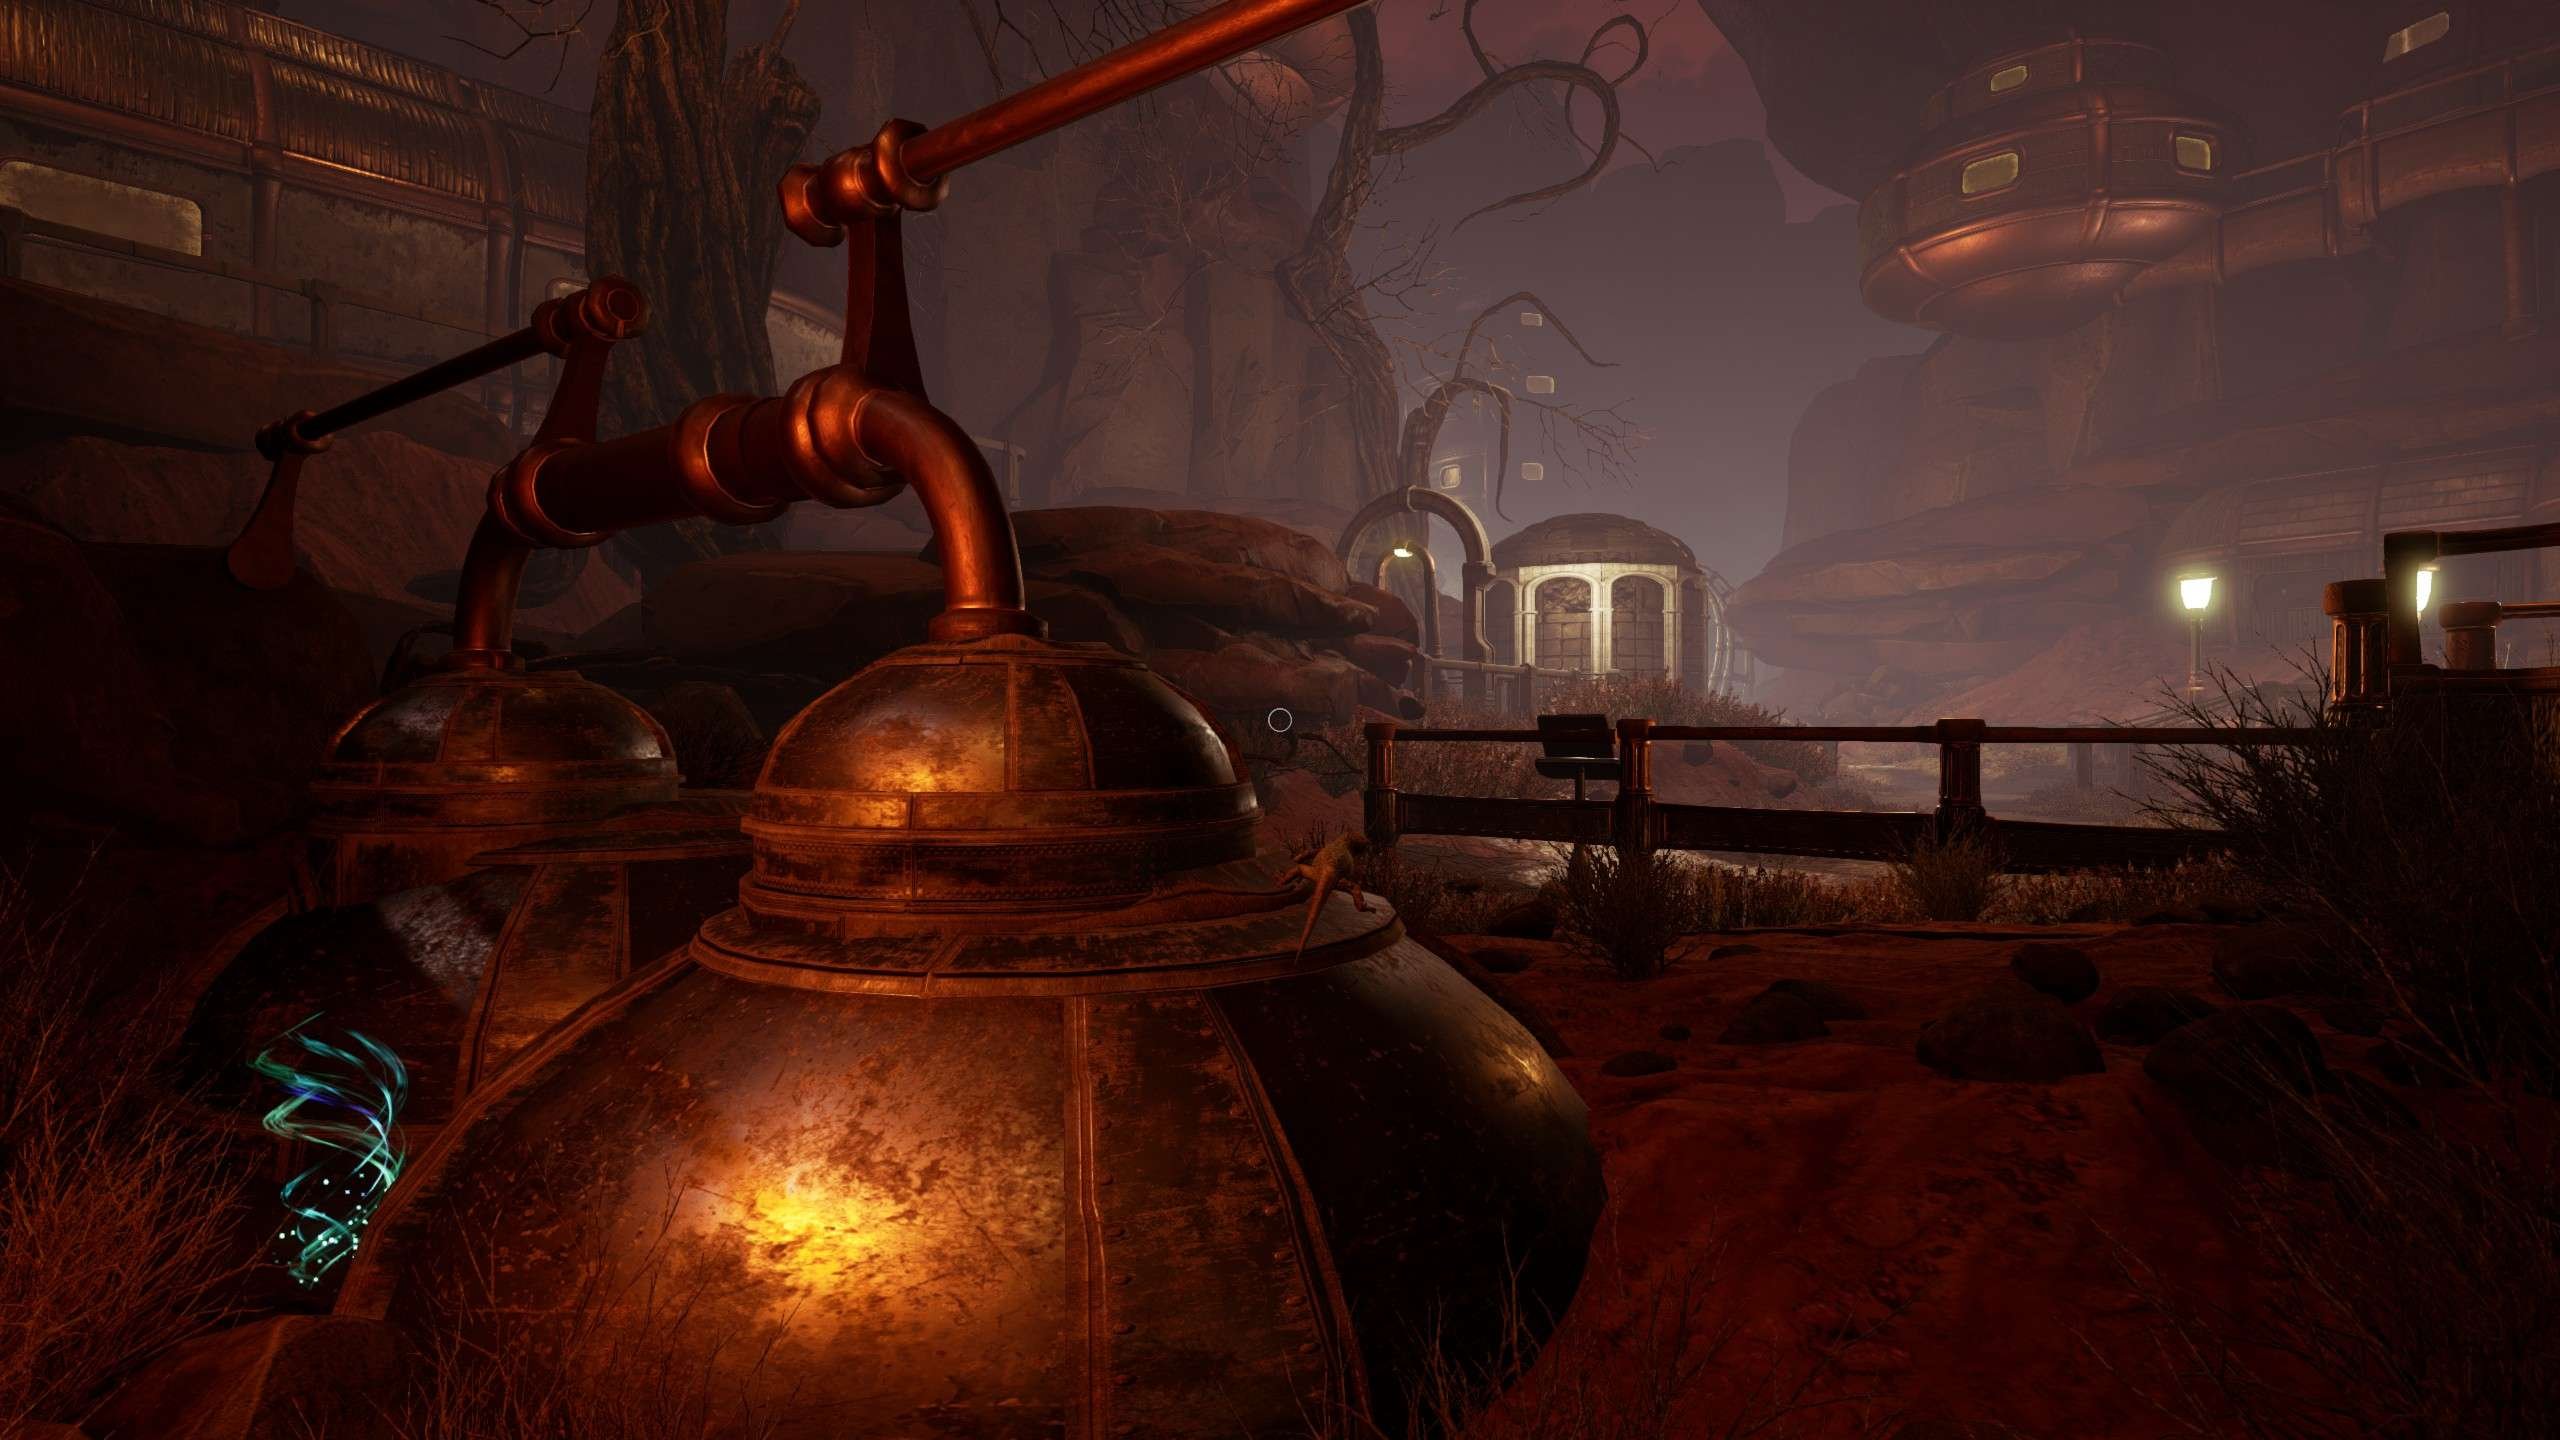
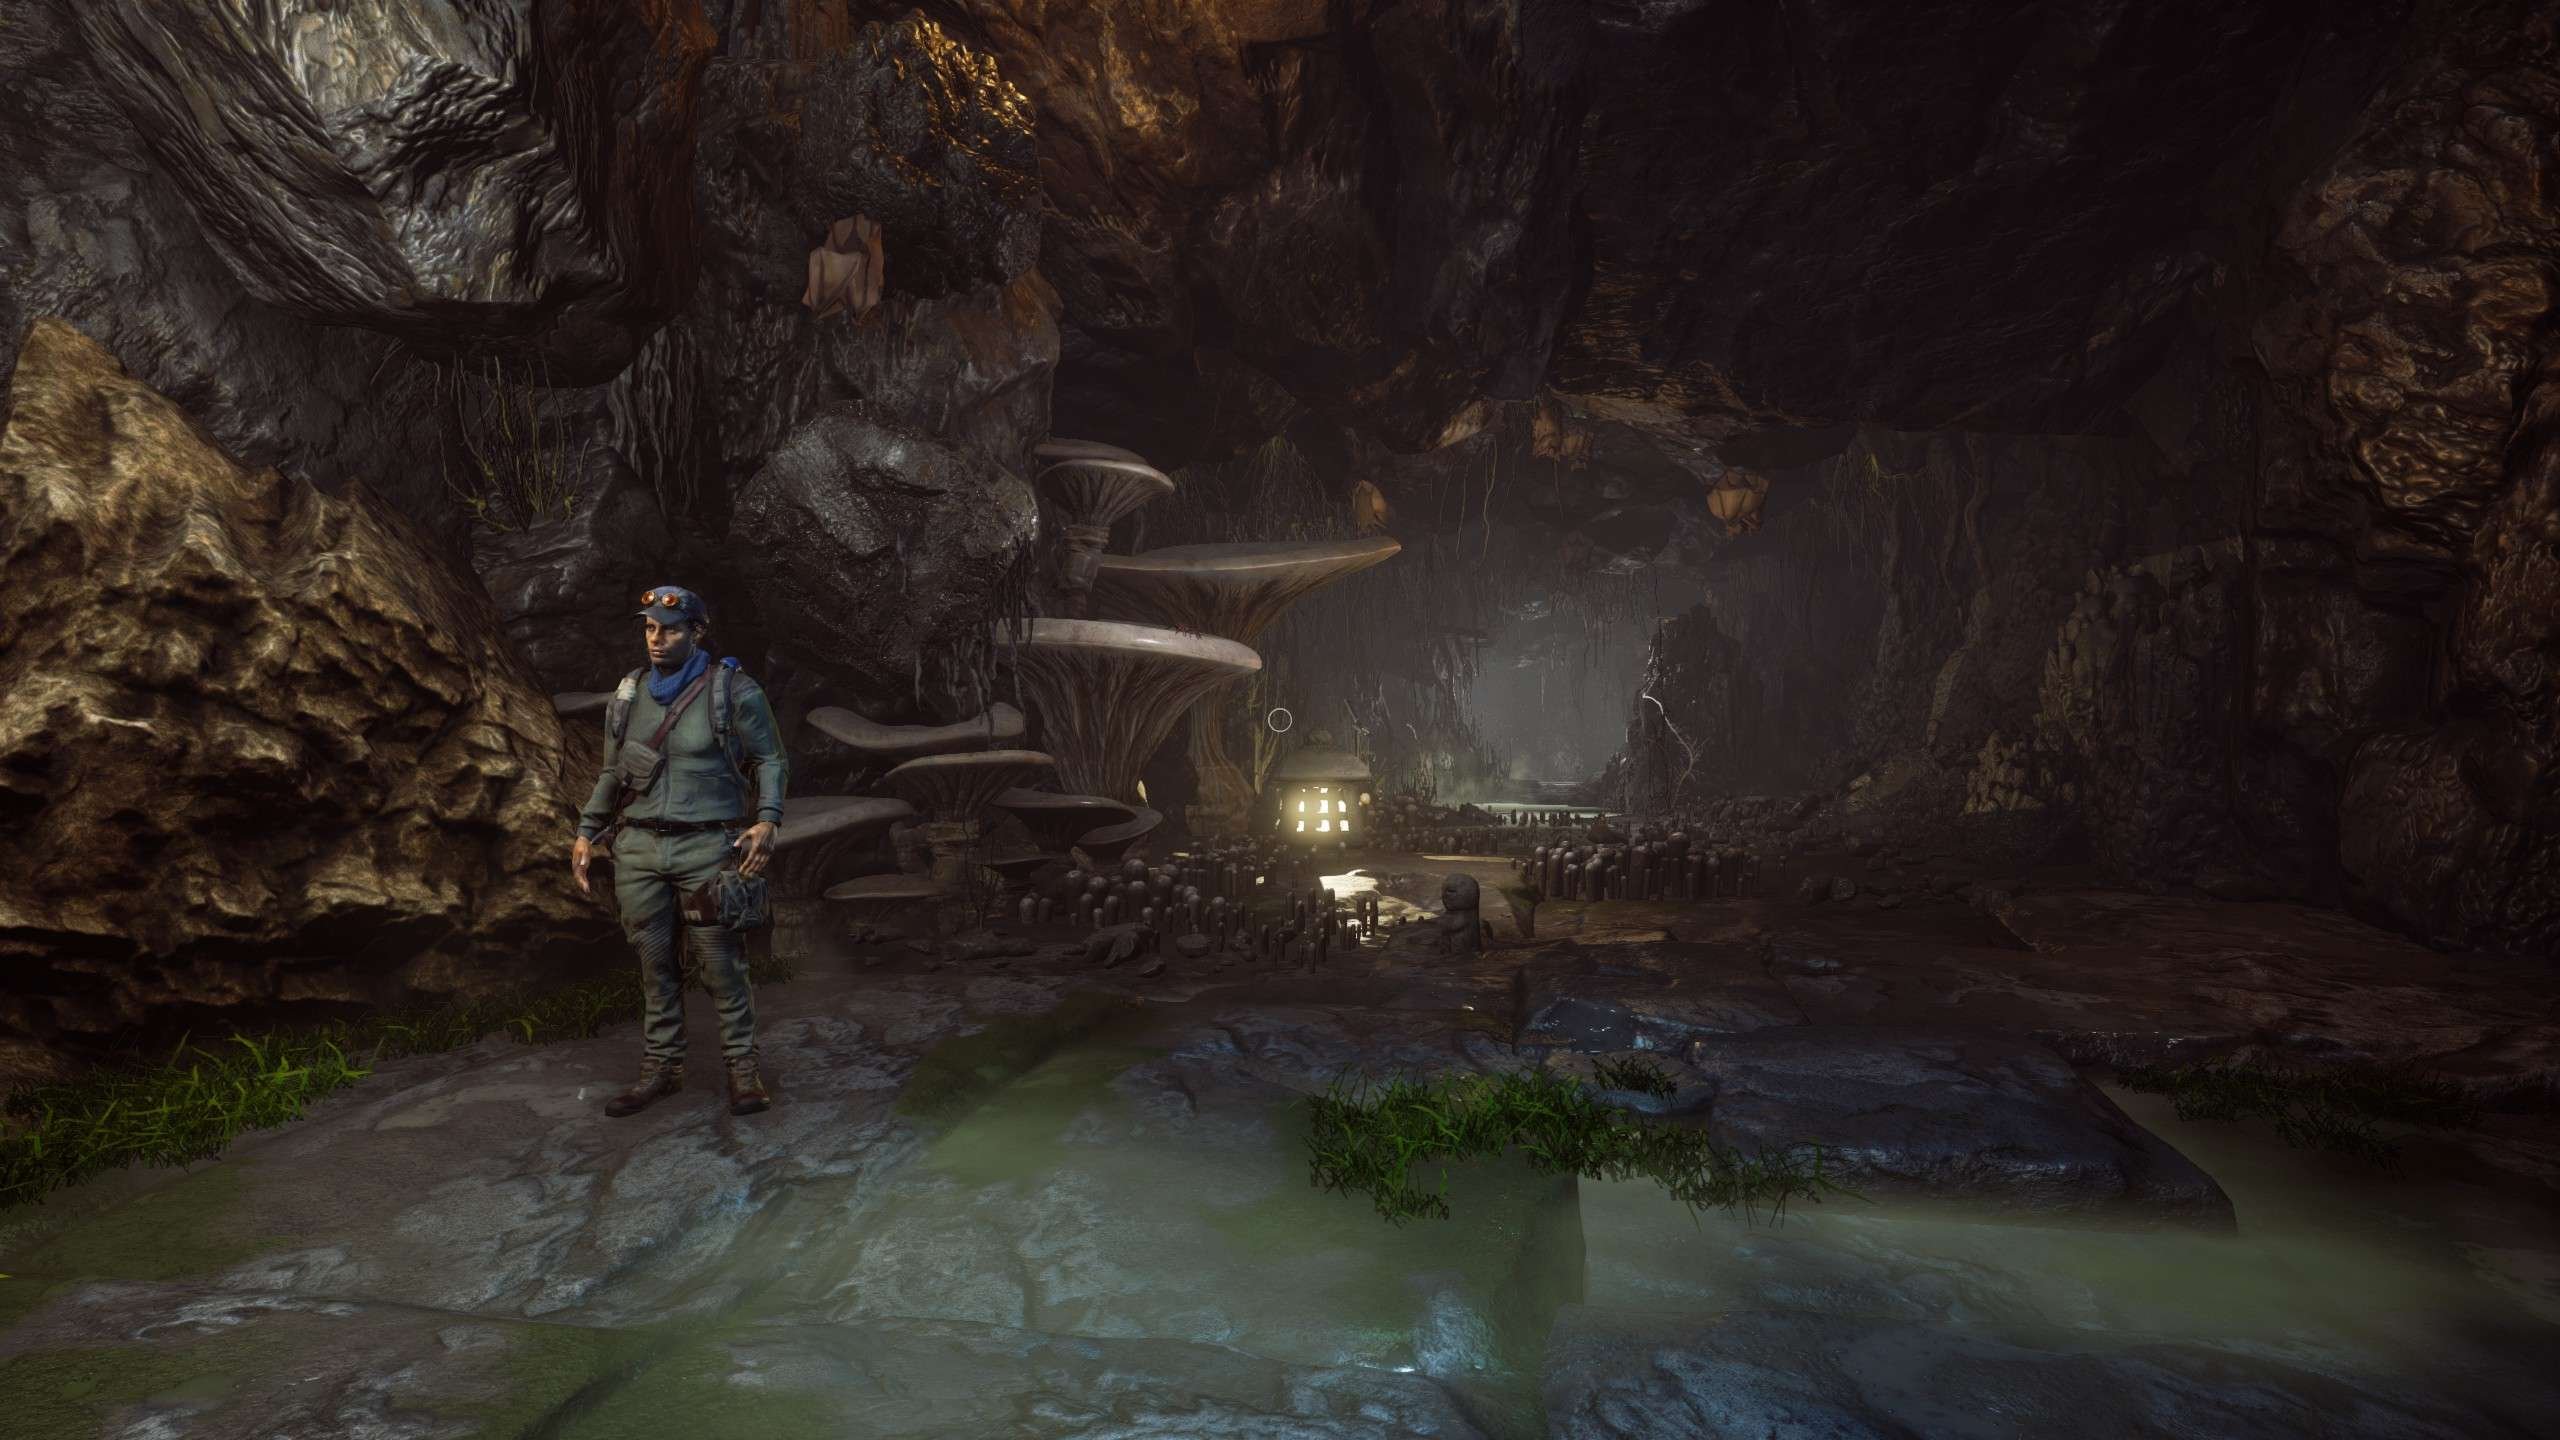
Laptop #11
- Location: In the open mushroom area with the lever.
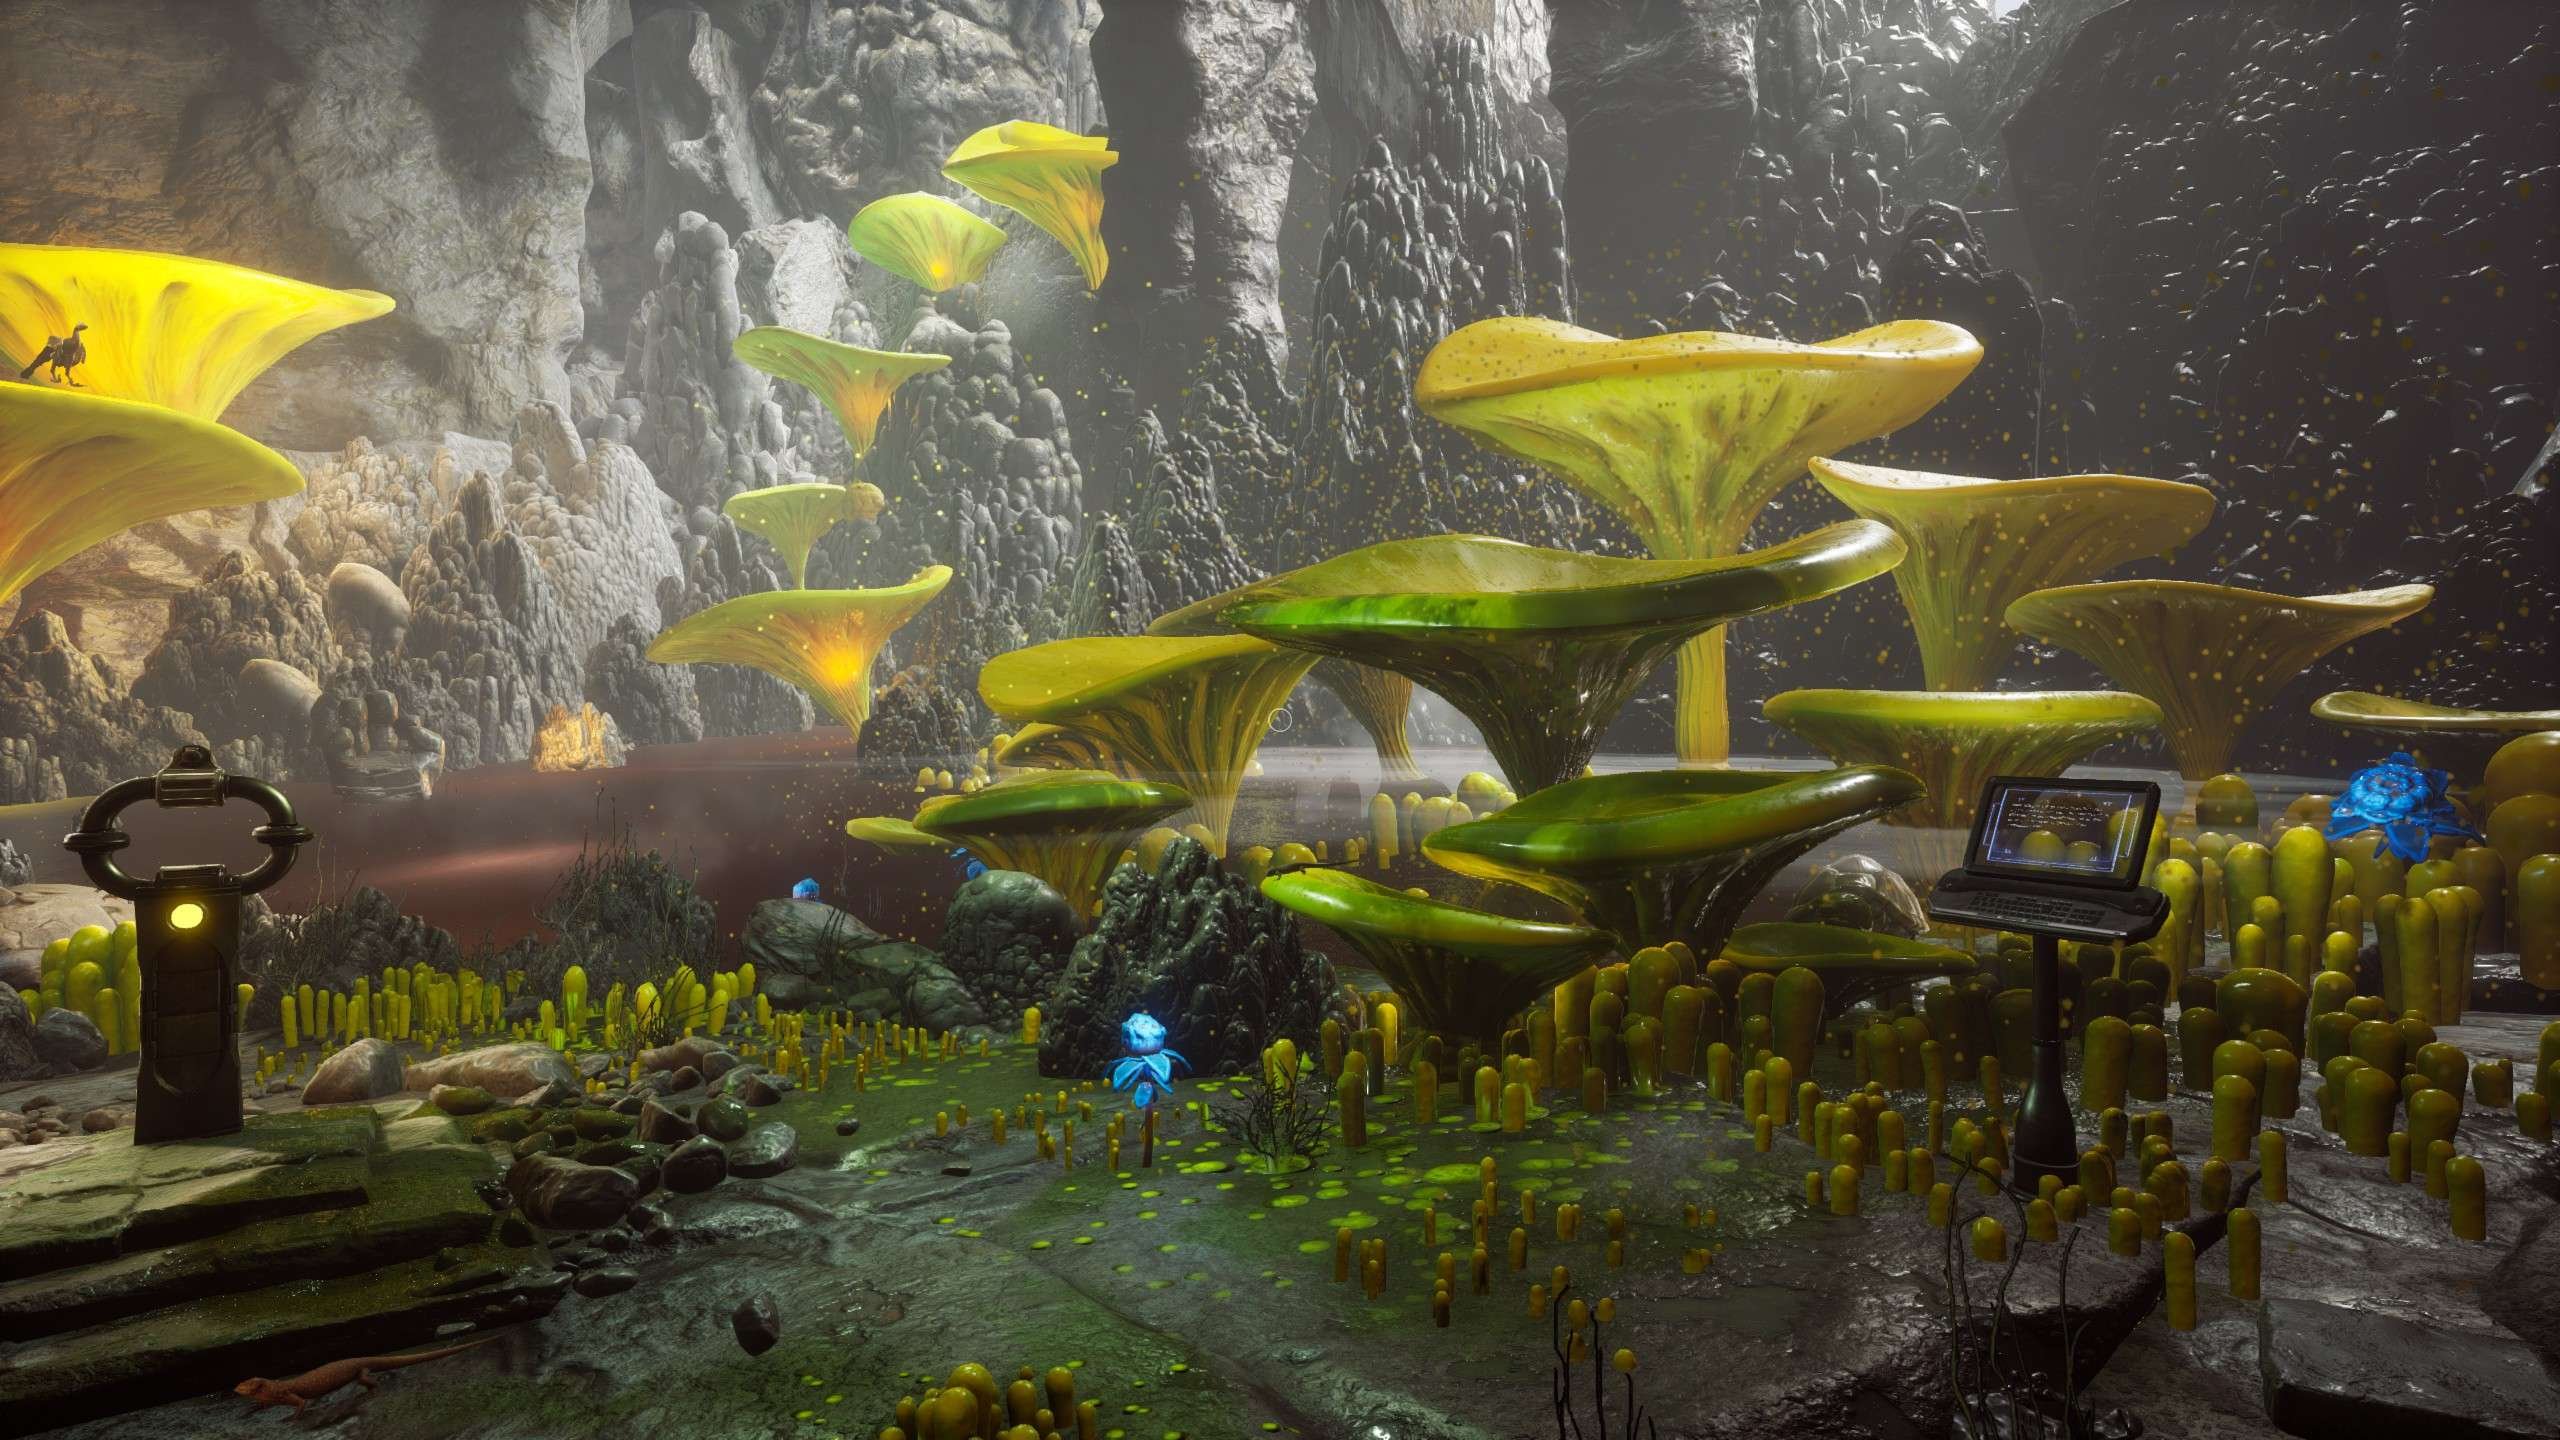
Photo #24
- Location: Next to the second gate, on the left.
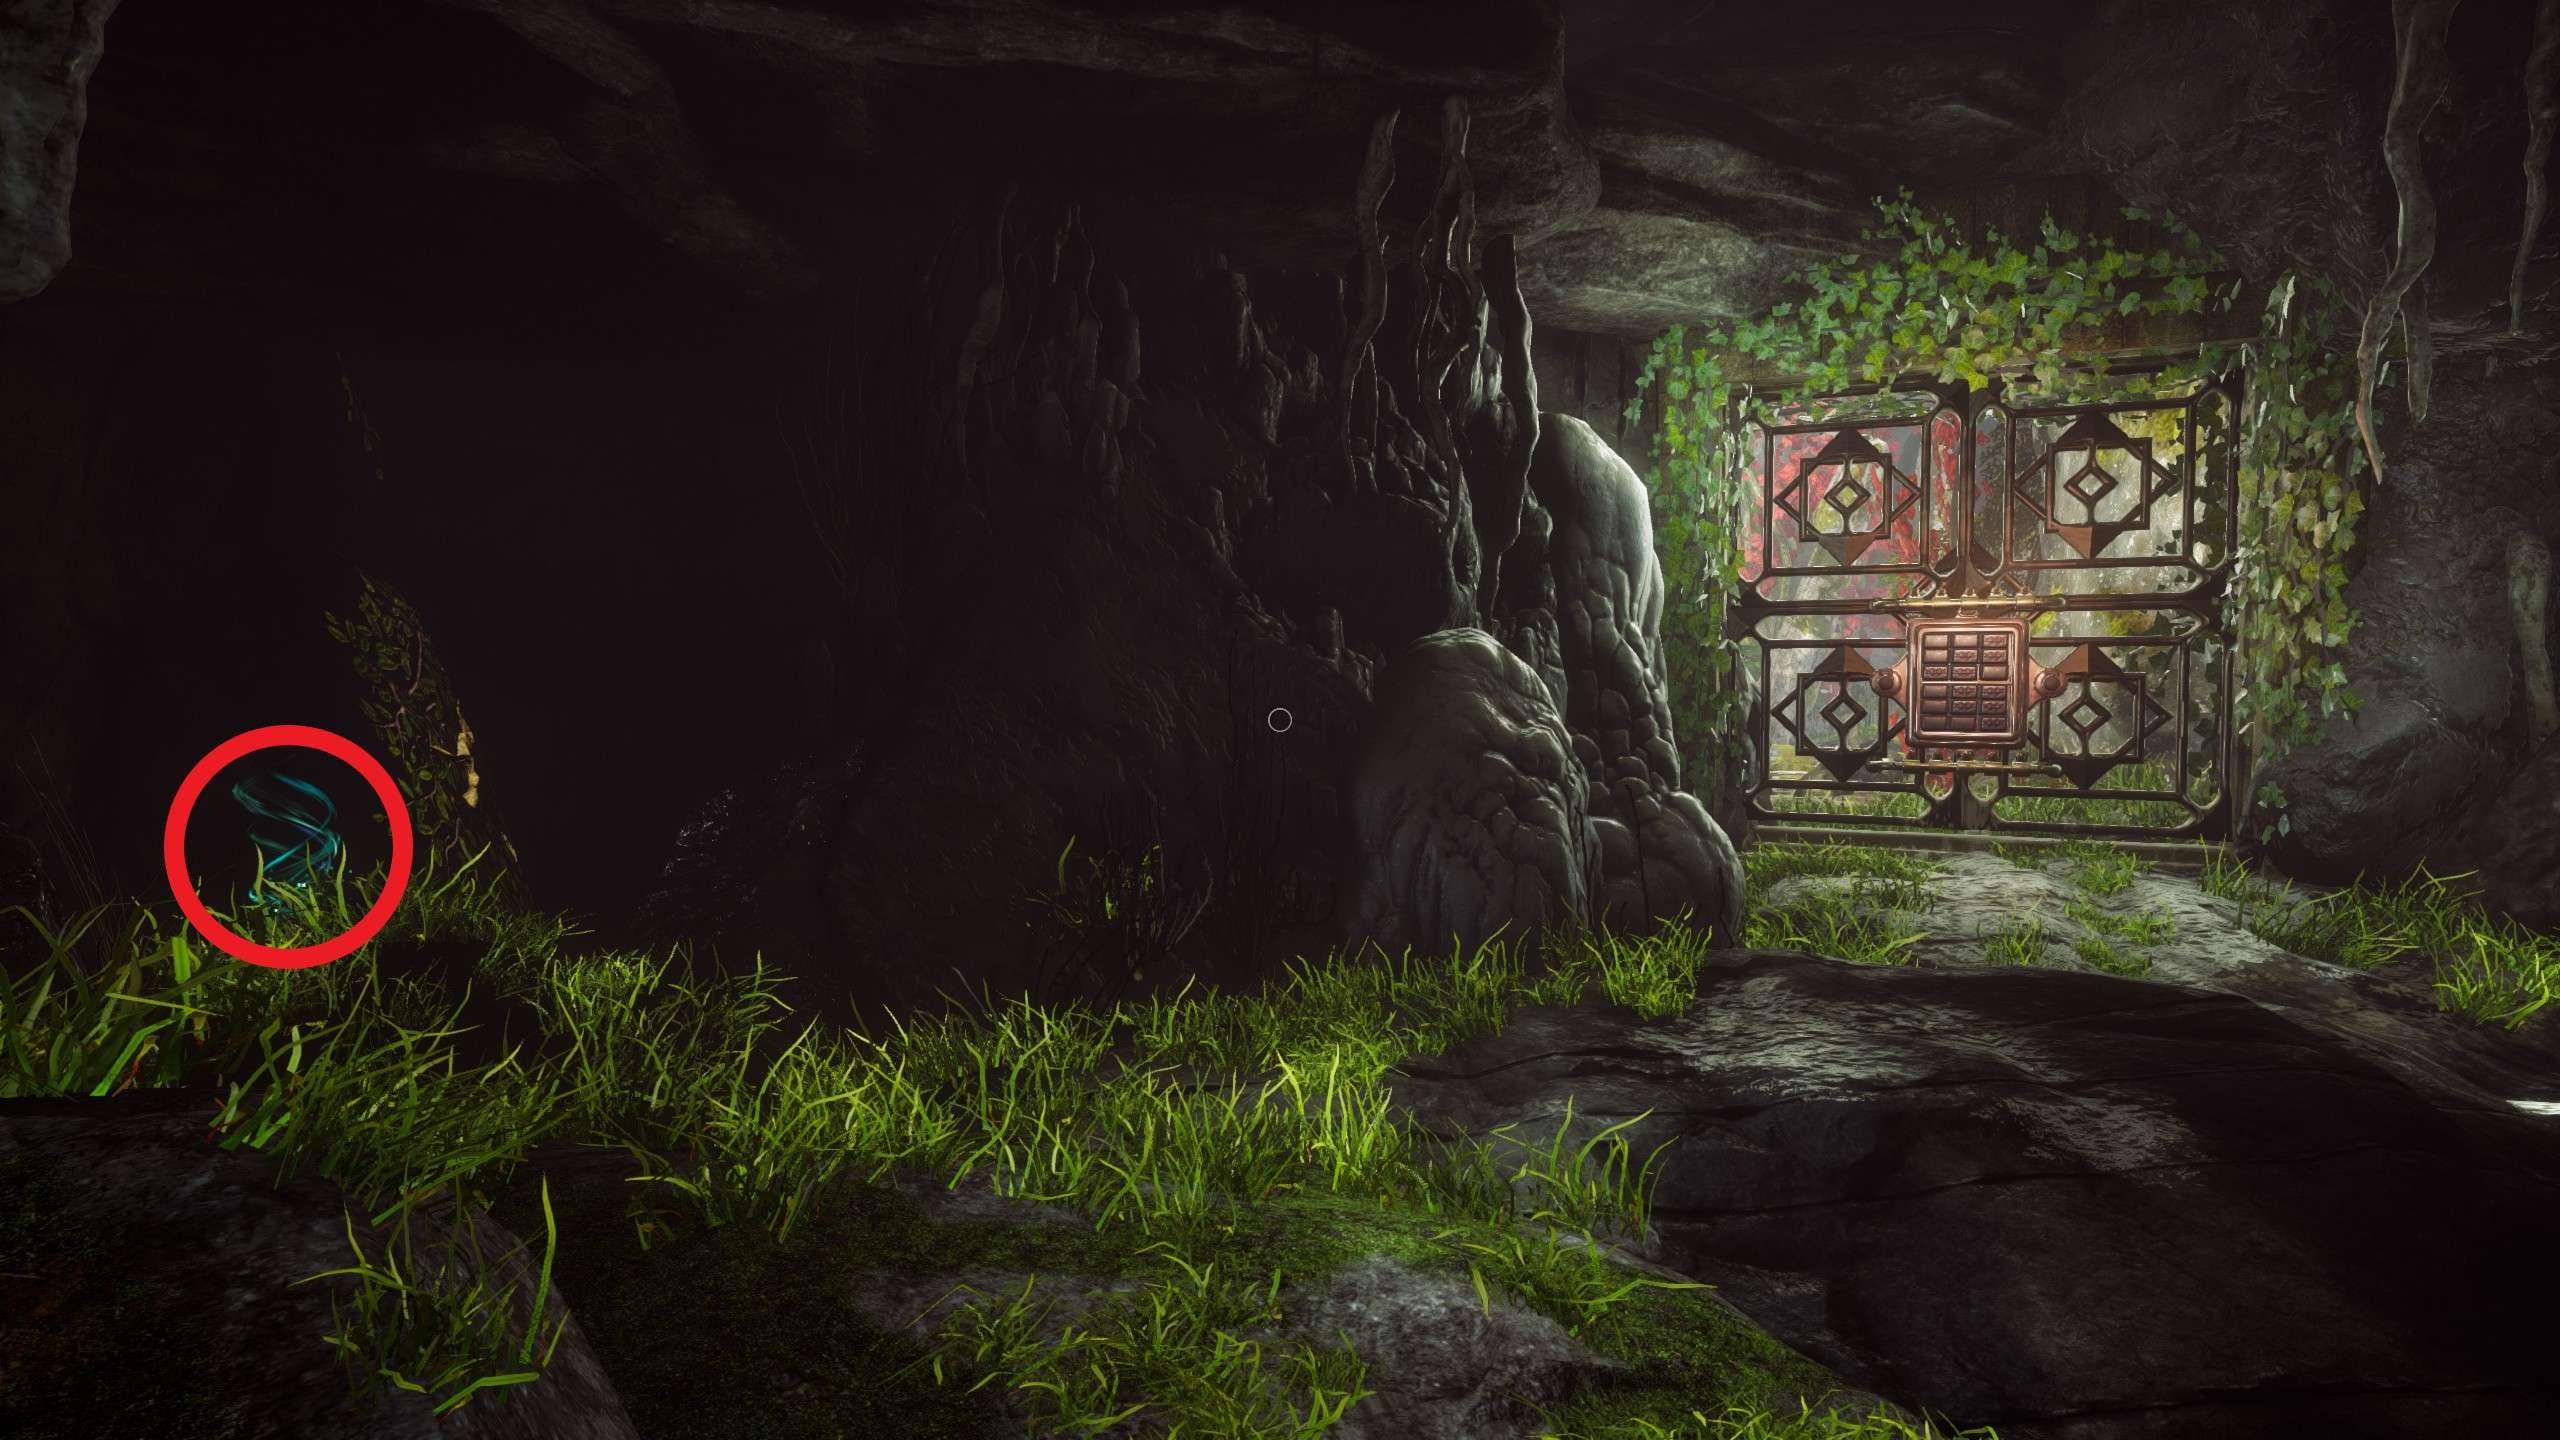
Photo #12
- Location: In the area behind the second gate, towards the end of the chapter.

Laptop #12
- Location: In front of the elevator.

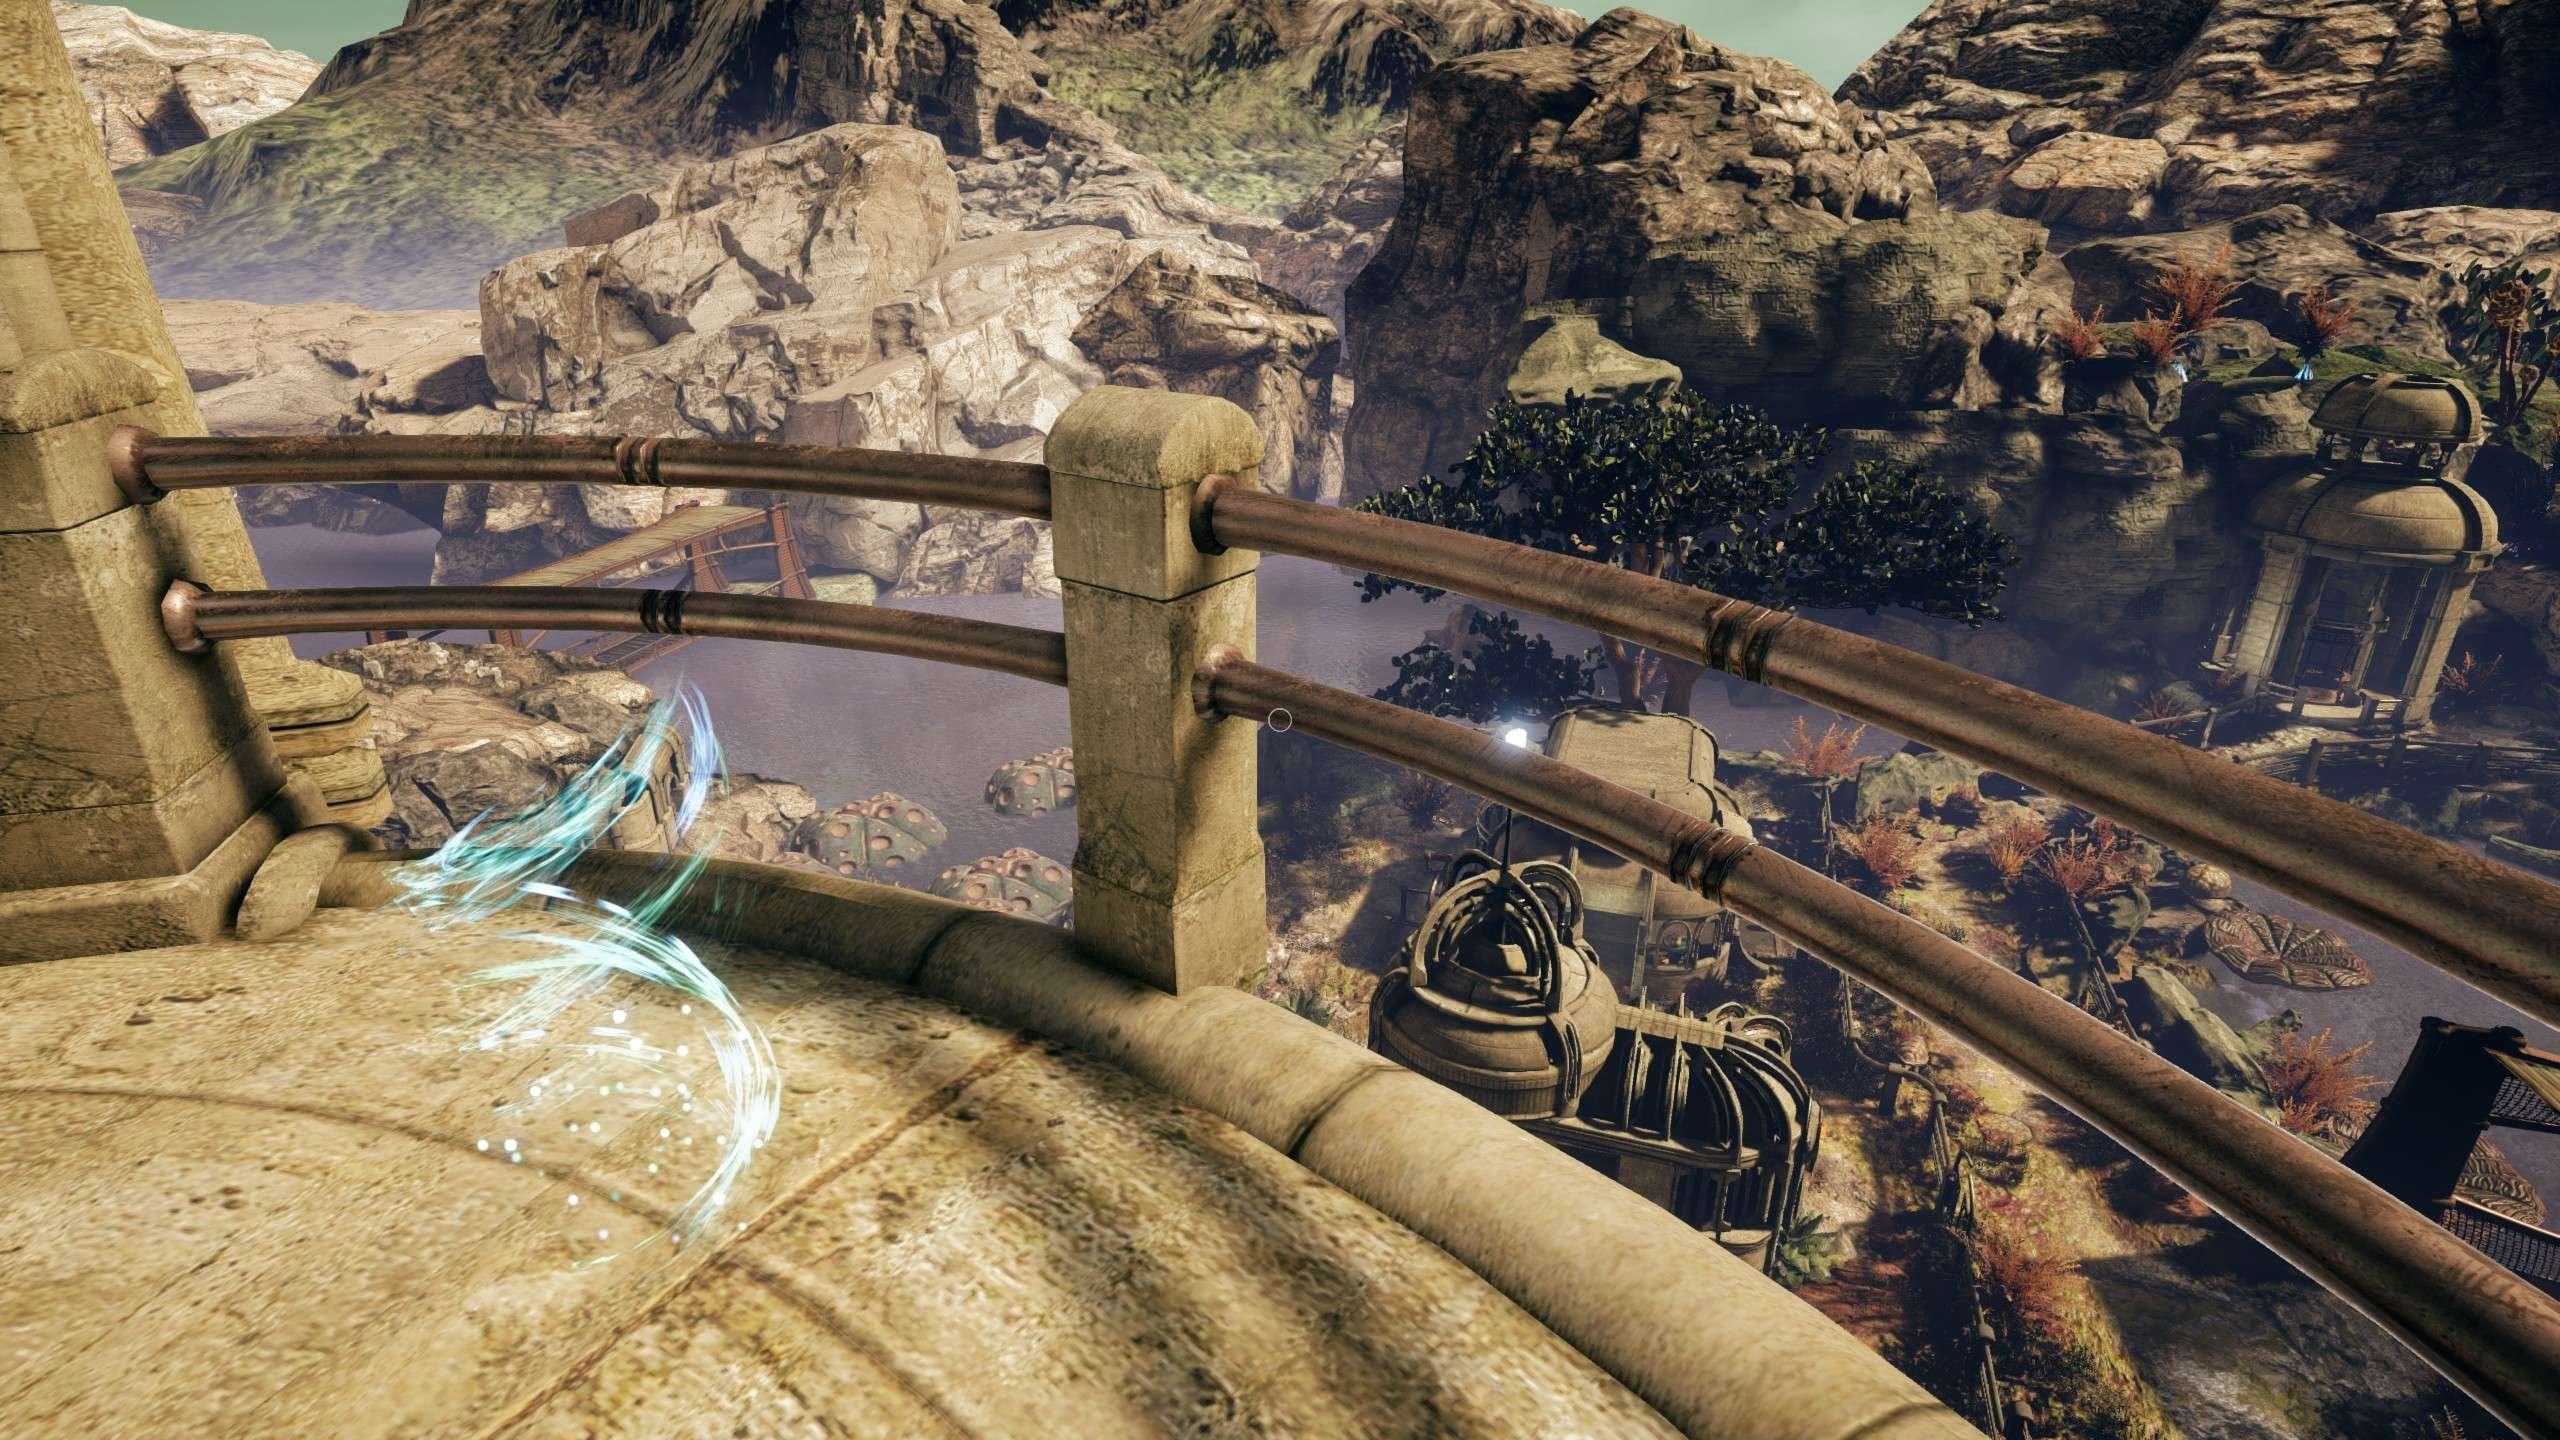
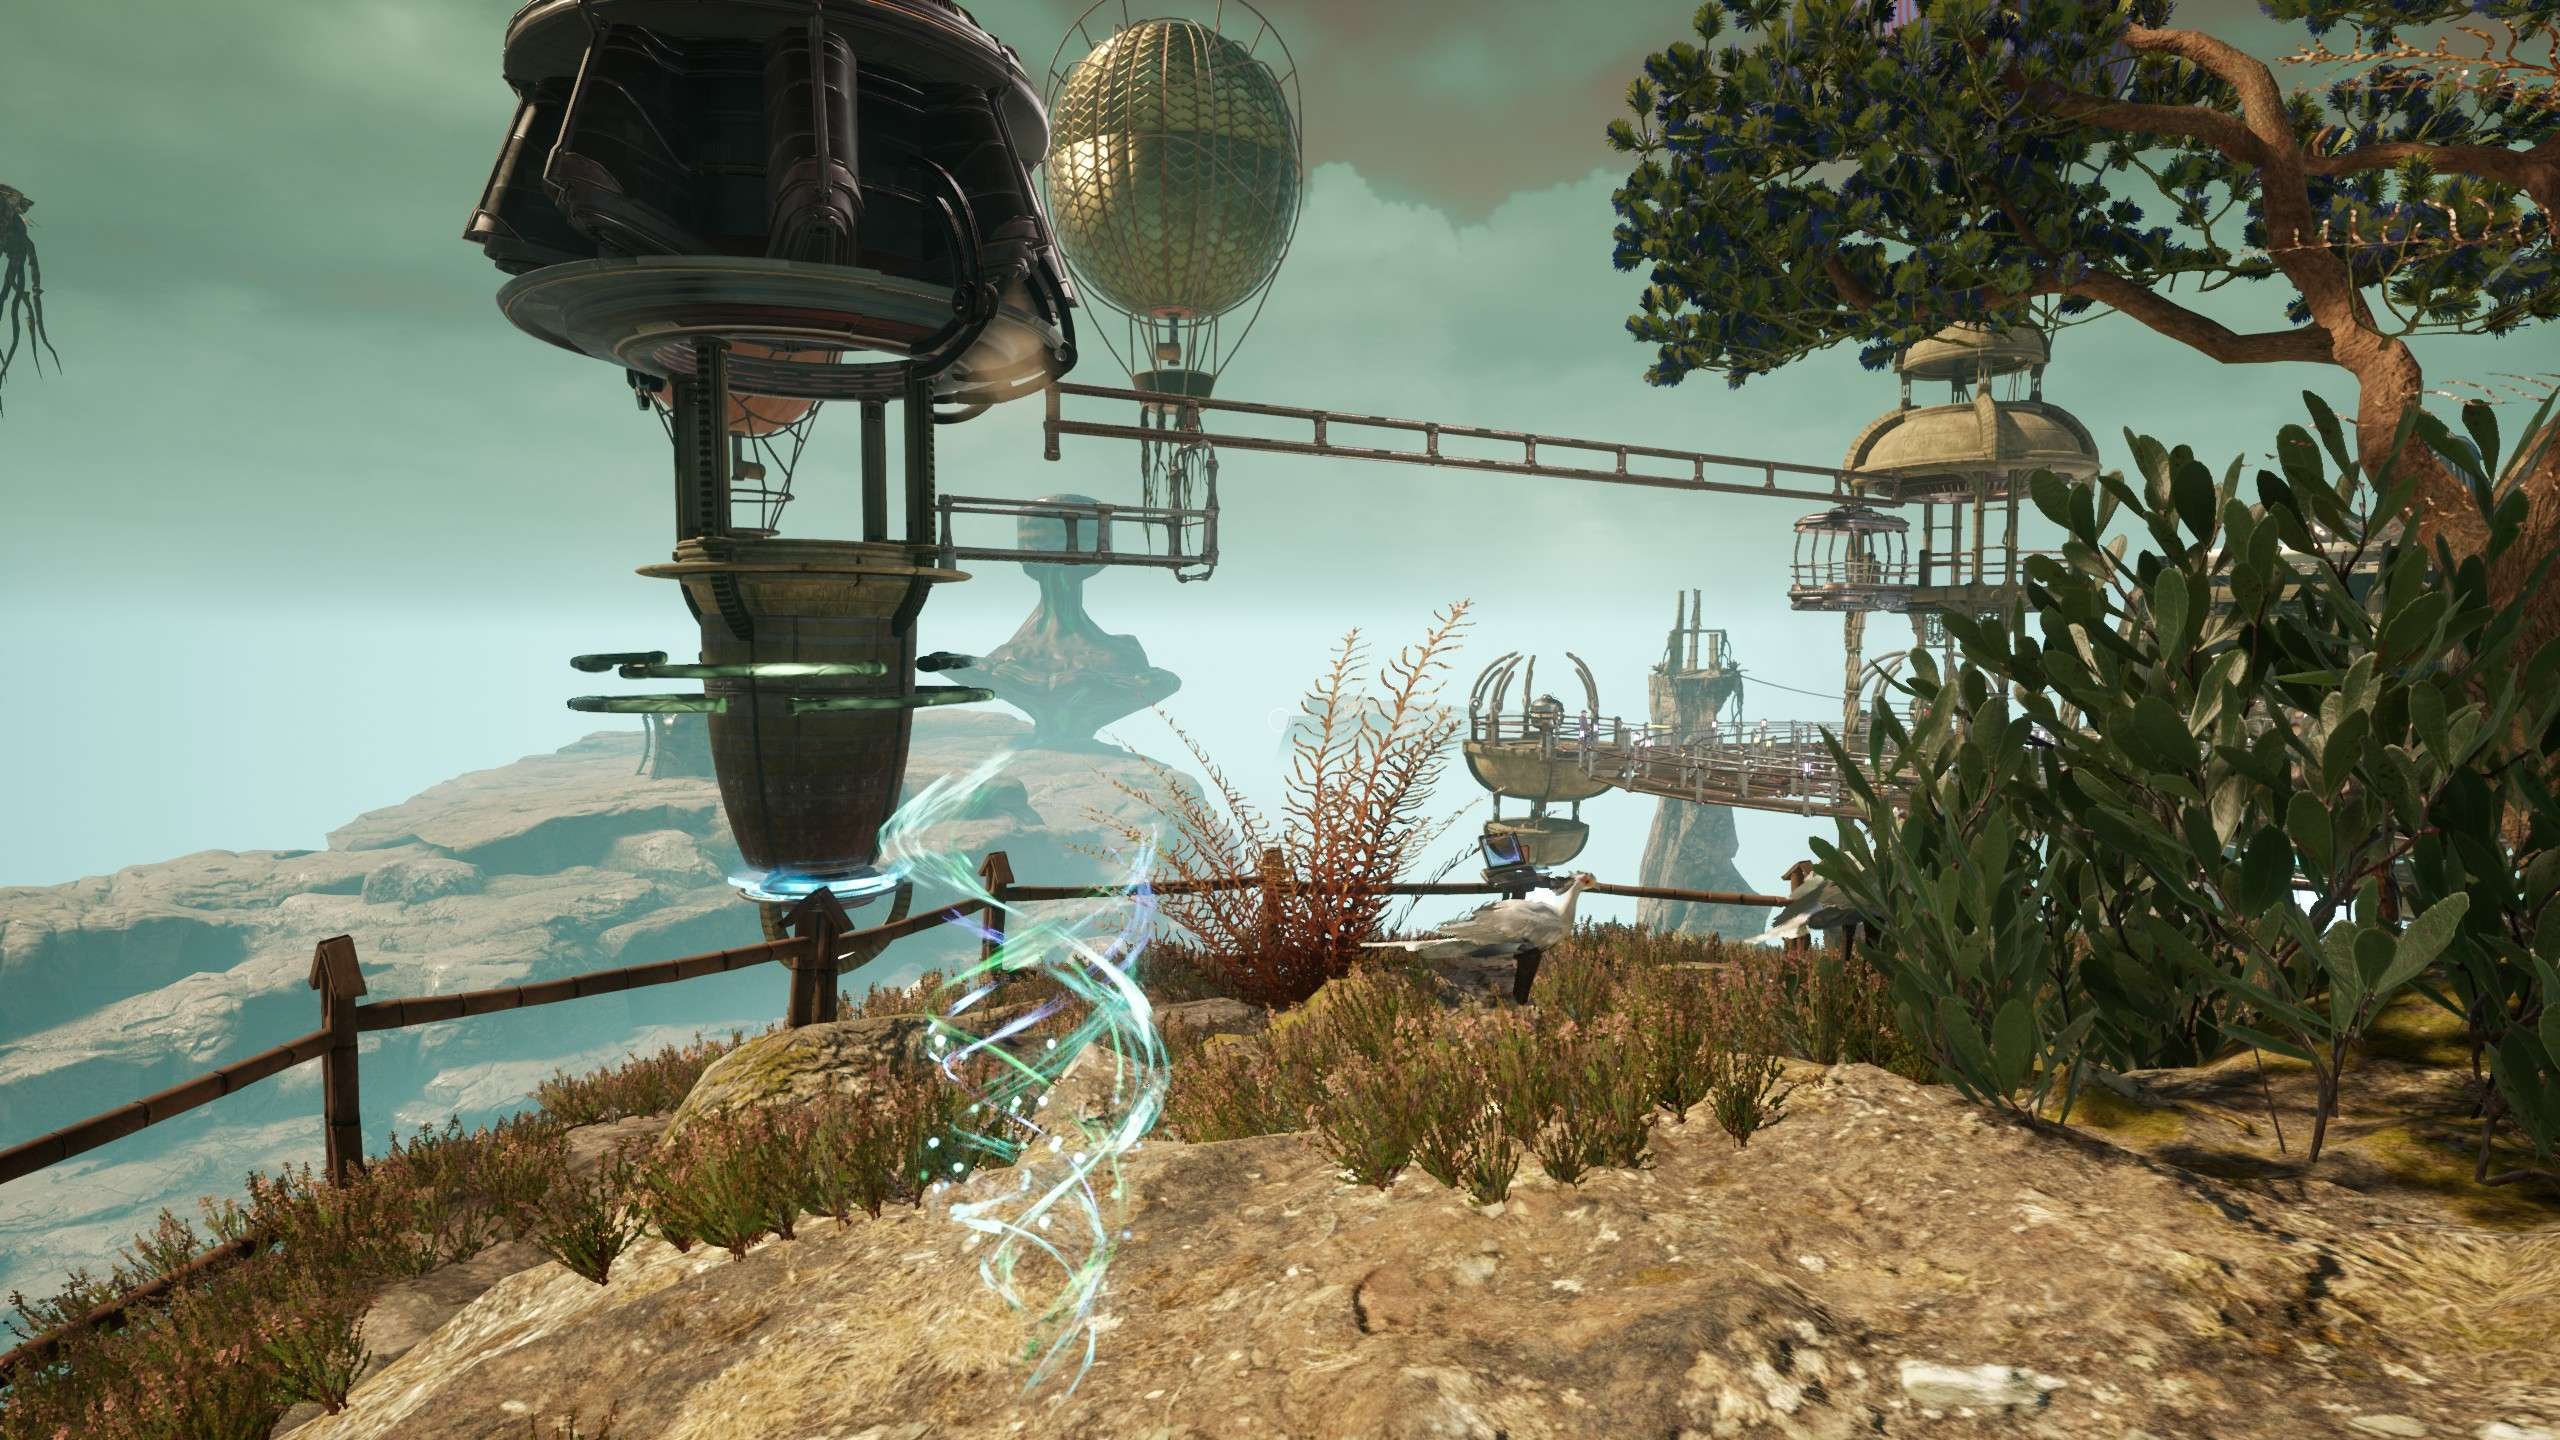
Clouds
Laptop #13
- Location: In the area below the bridges.
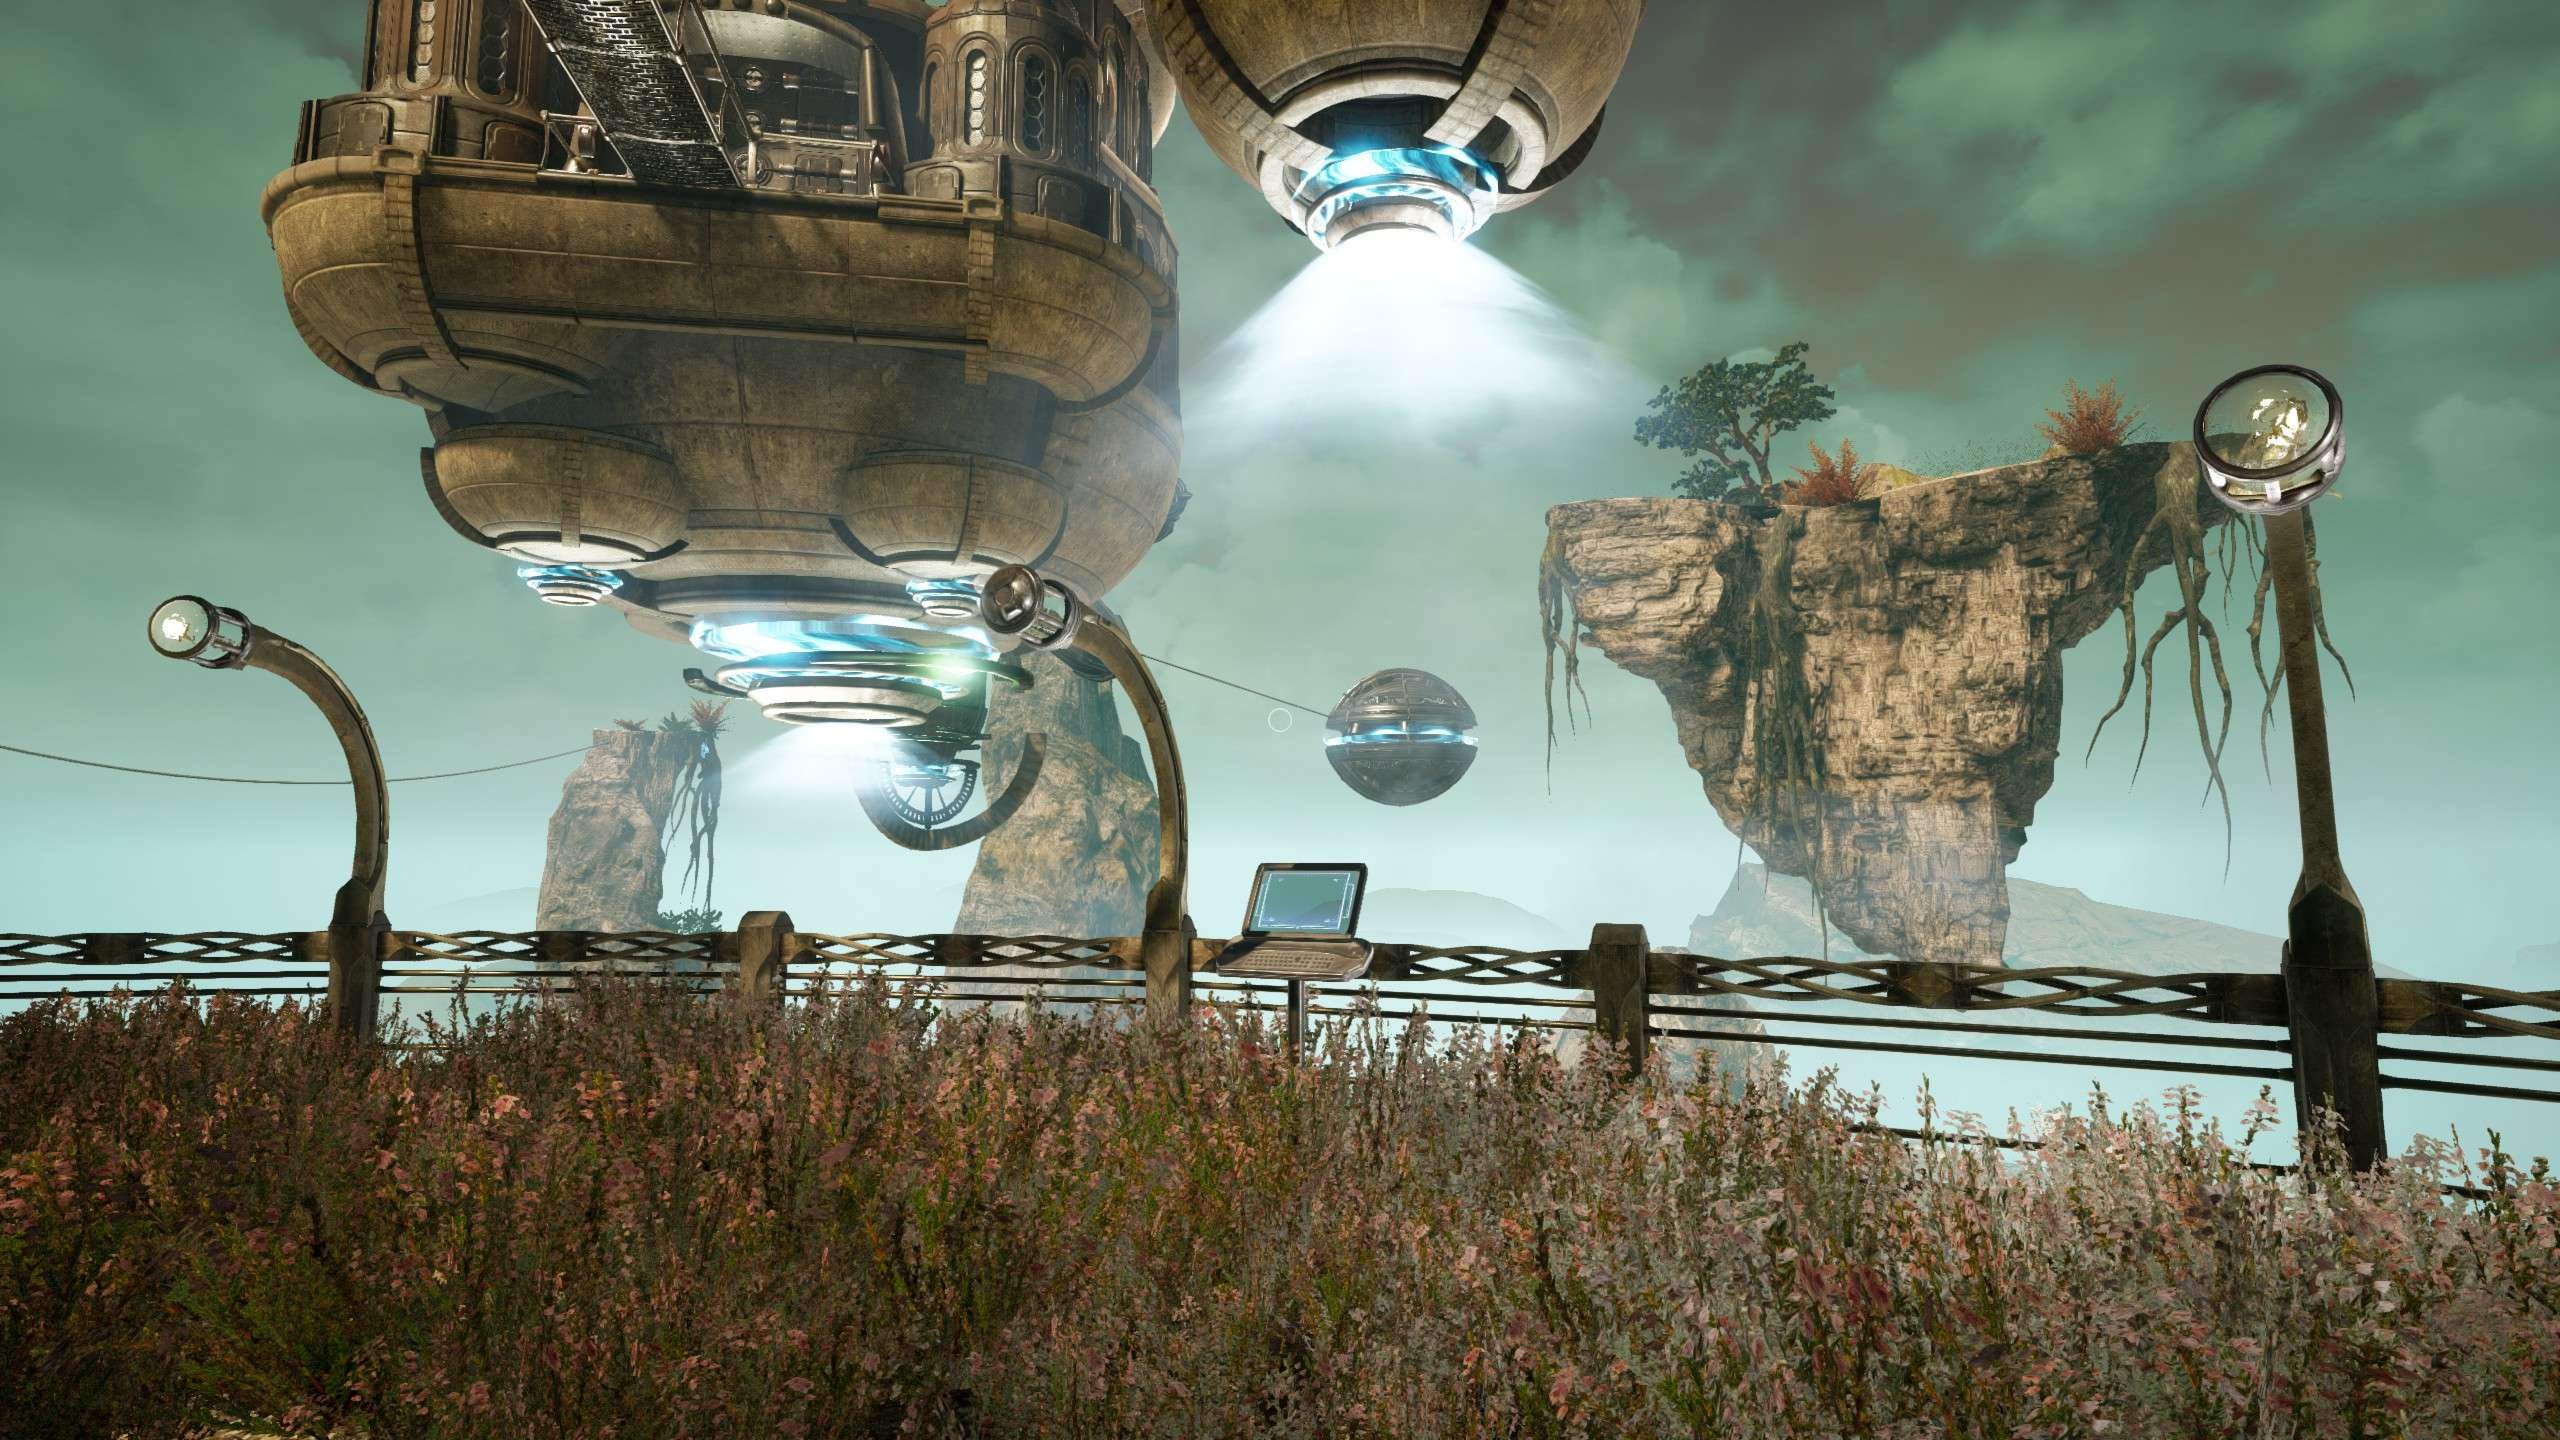
Photo #14
- Location: In the area below the bridges.
Character #7
- Location: In front of the leftmost power source.

Laptop #14
- Location: On the rock behind the rightmost power source.

Photo #13
- Location: On the rock behind the rightmost power source, next to Laptop #14.
Character #8
- Location: Behind the locked gate, on the left.
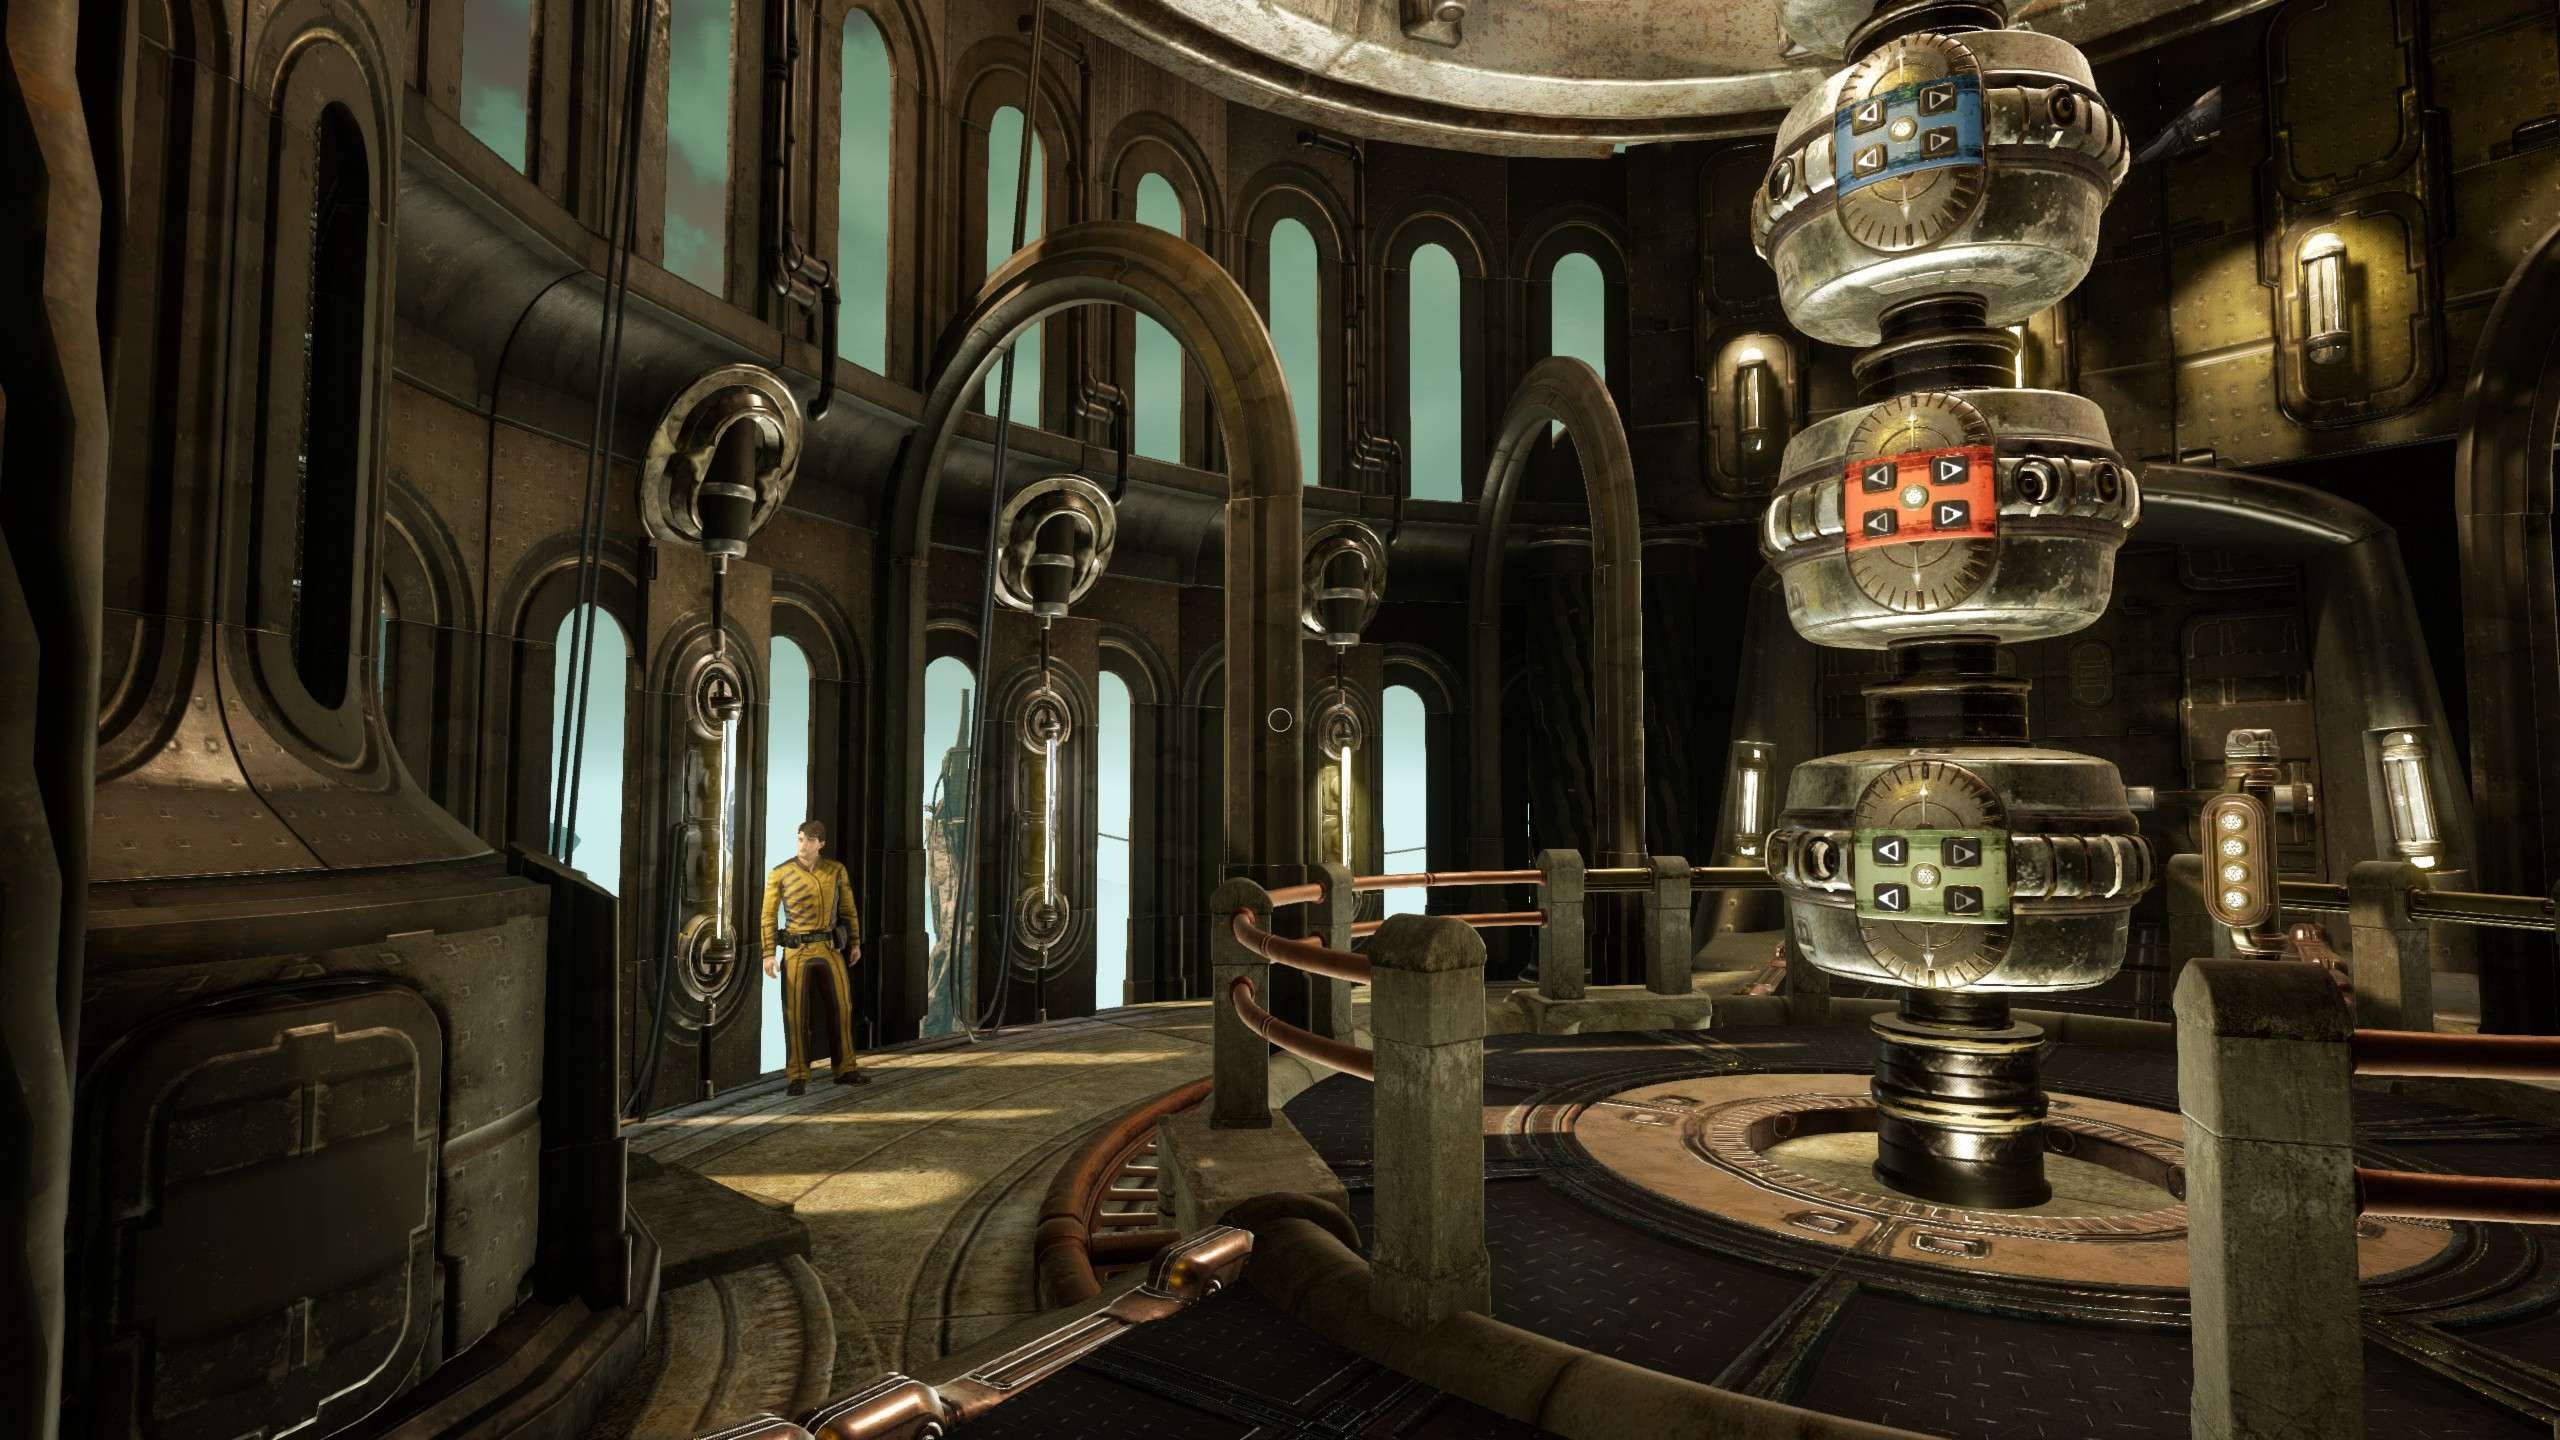
Photo #15 and Laptop #15
- Location: Behind the locked gate, on the right.
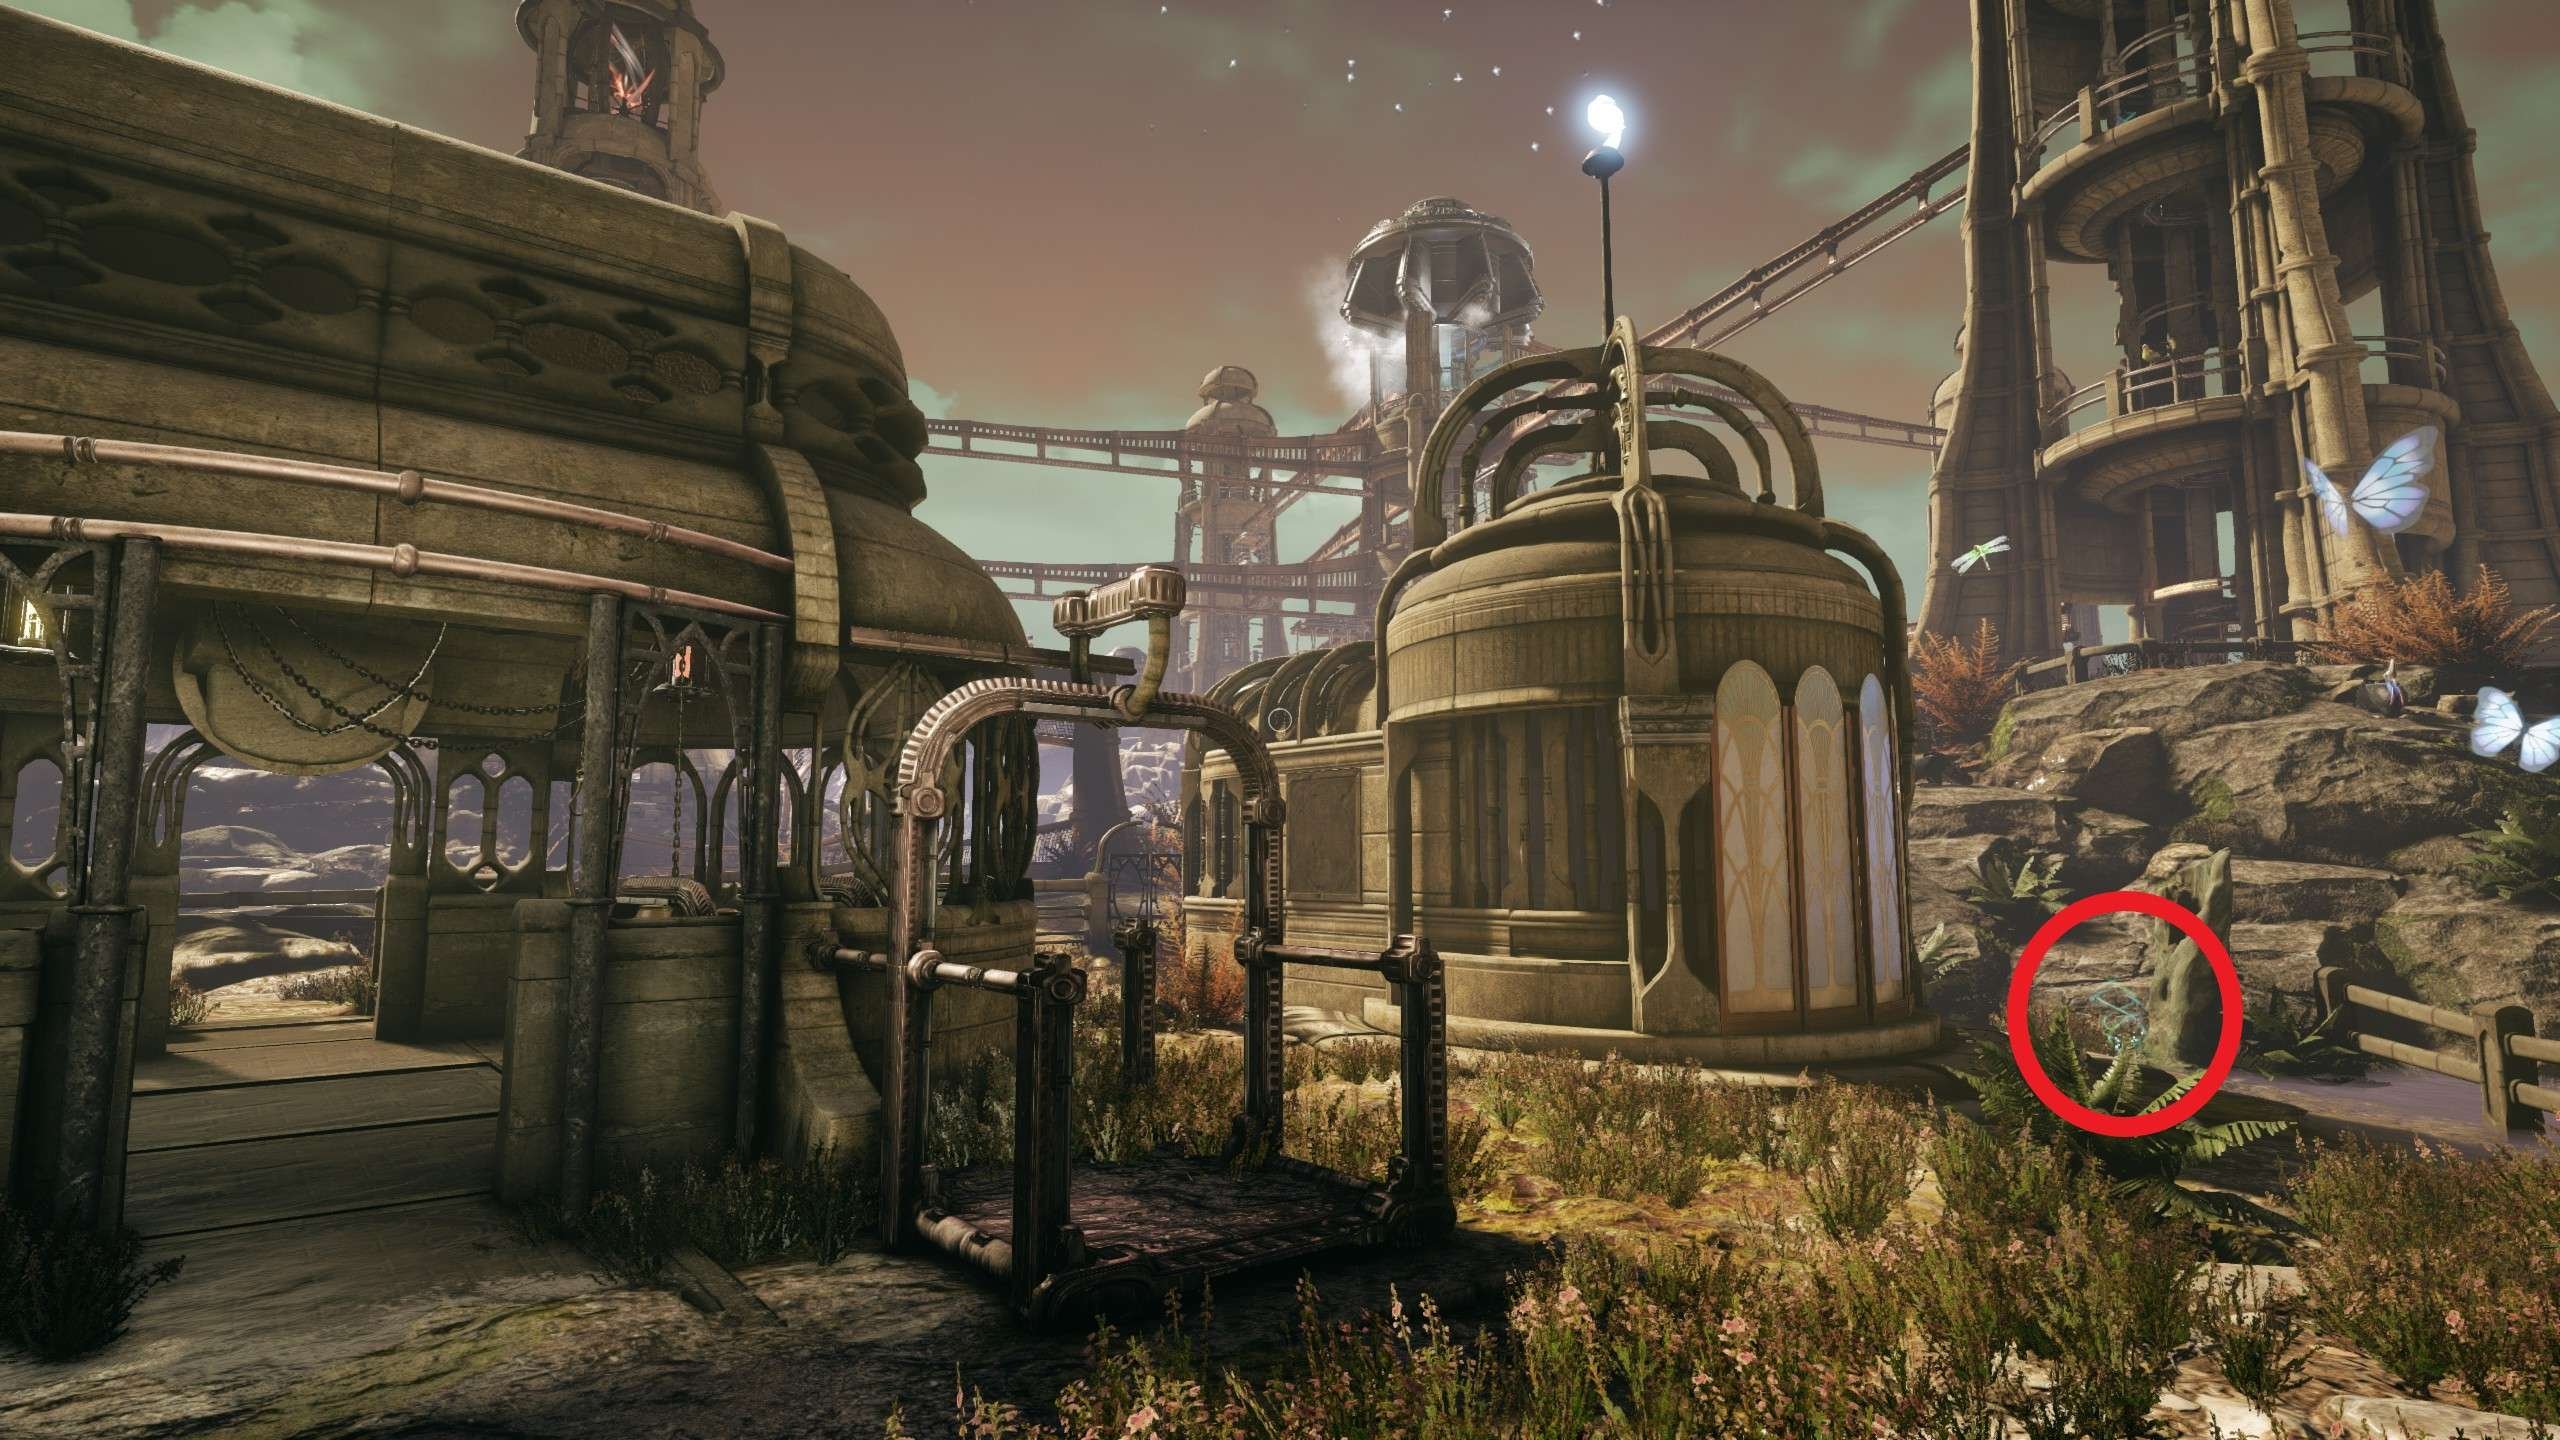
Water City
Character #9
- Location: From the starting point, turn around and follow the street.

Laptop #16
- Location: In the side road next to Character #10.
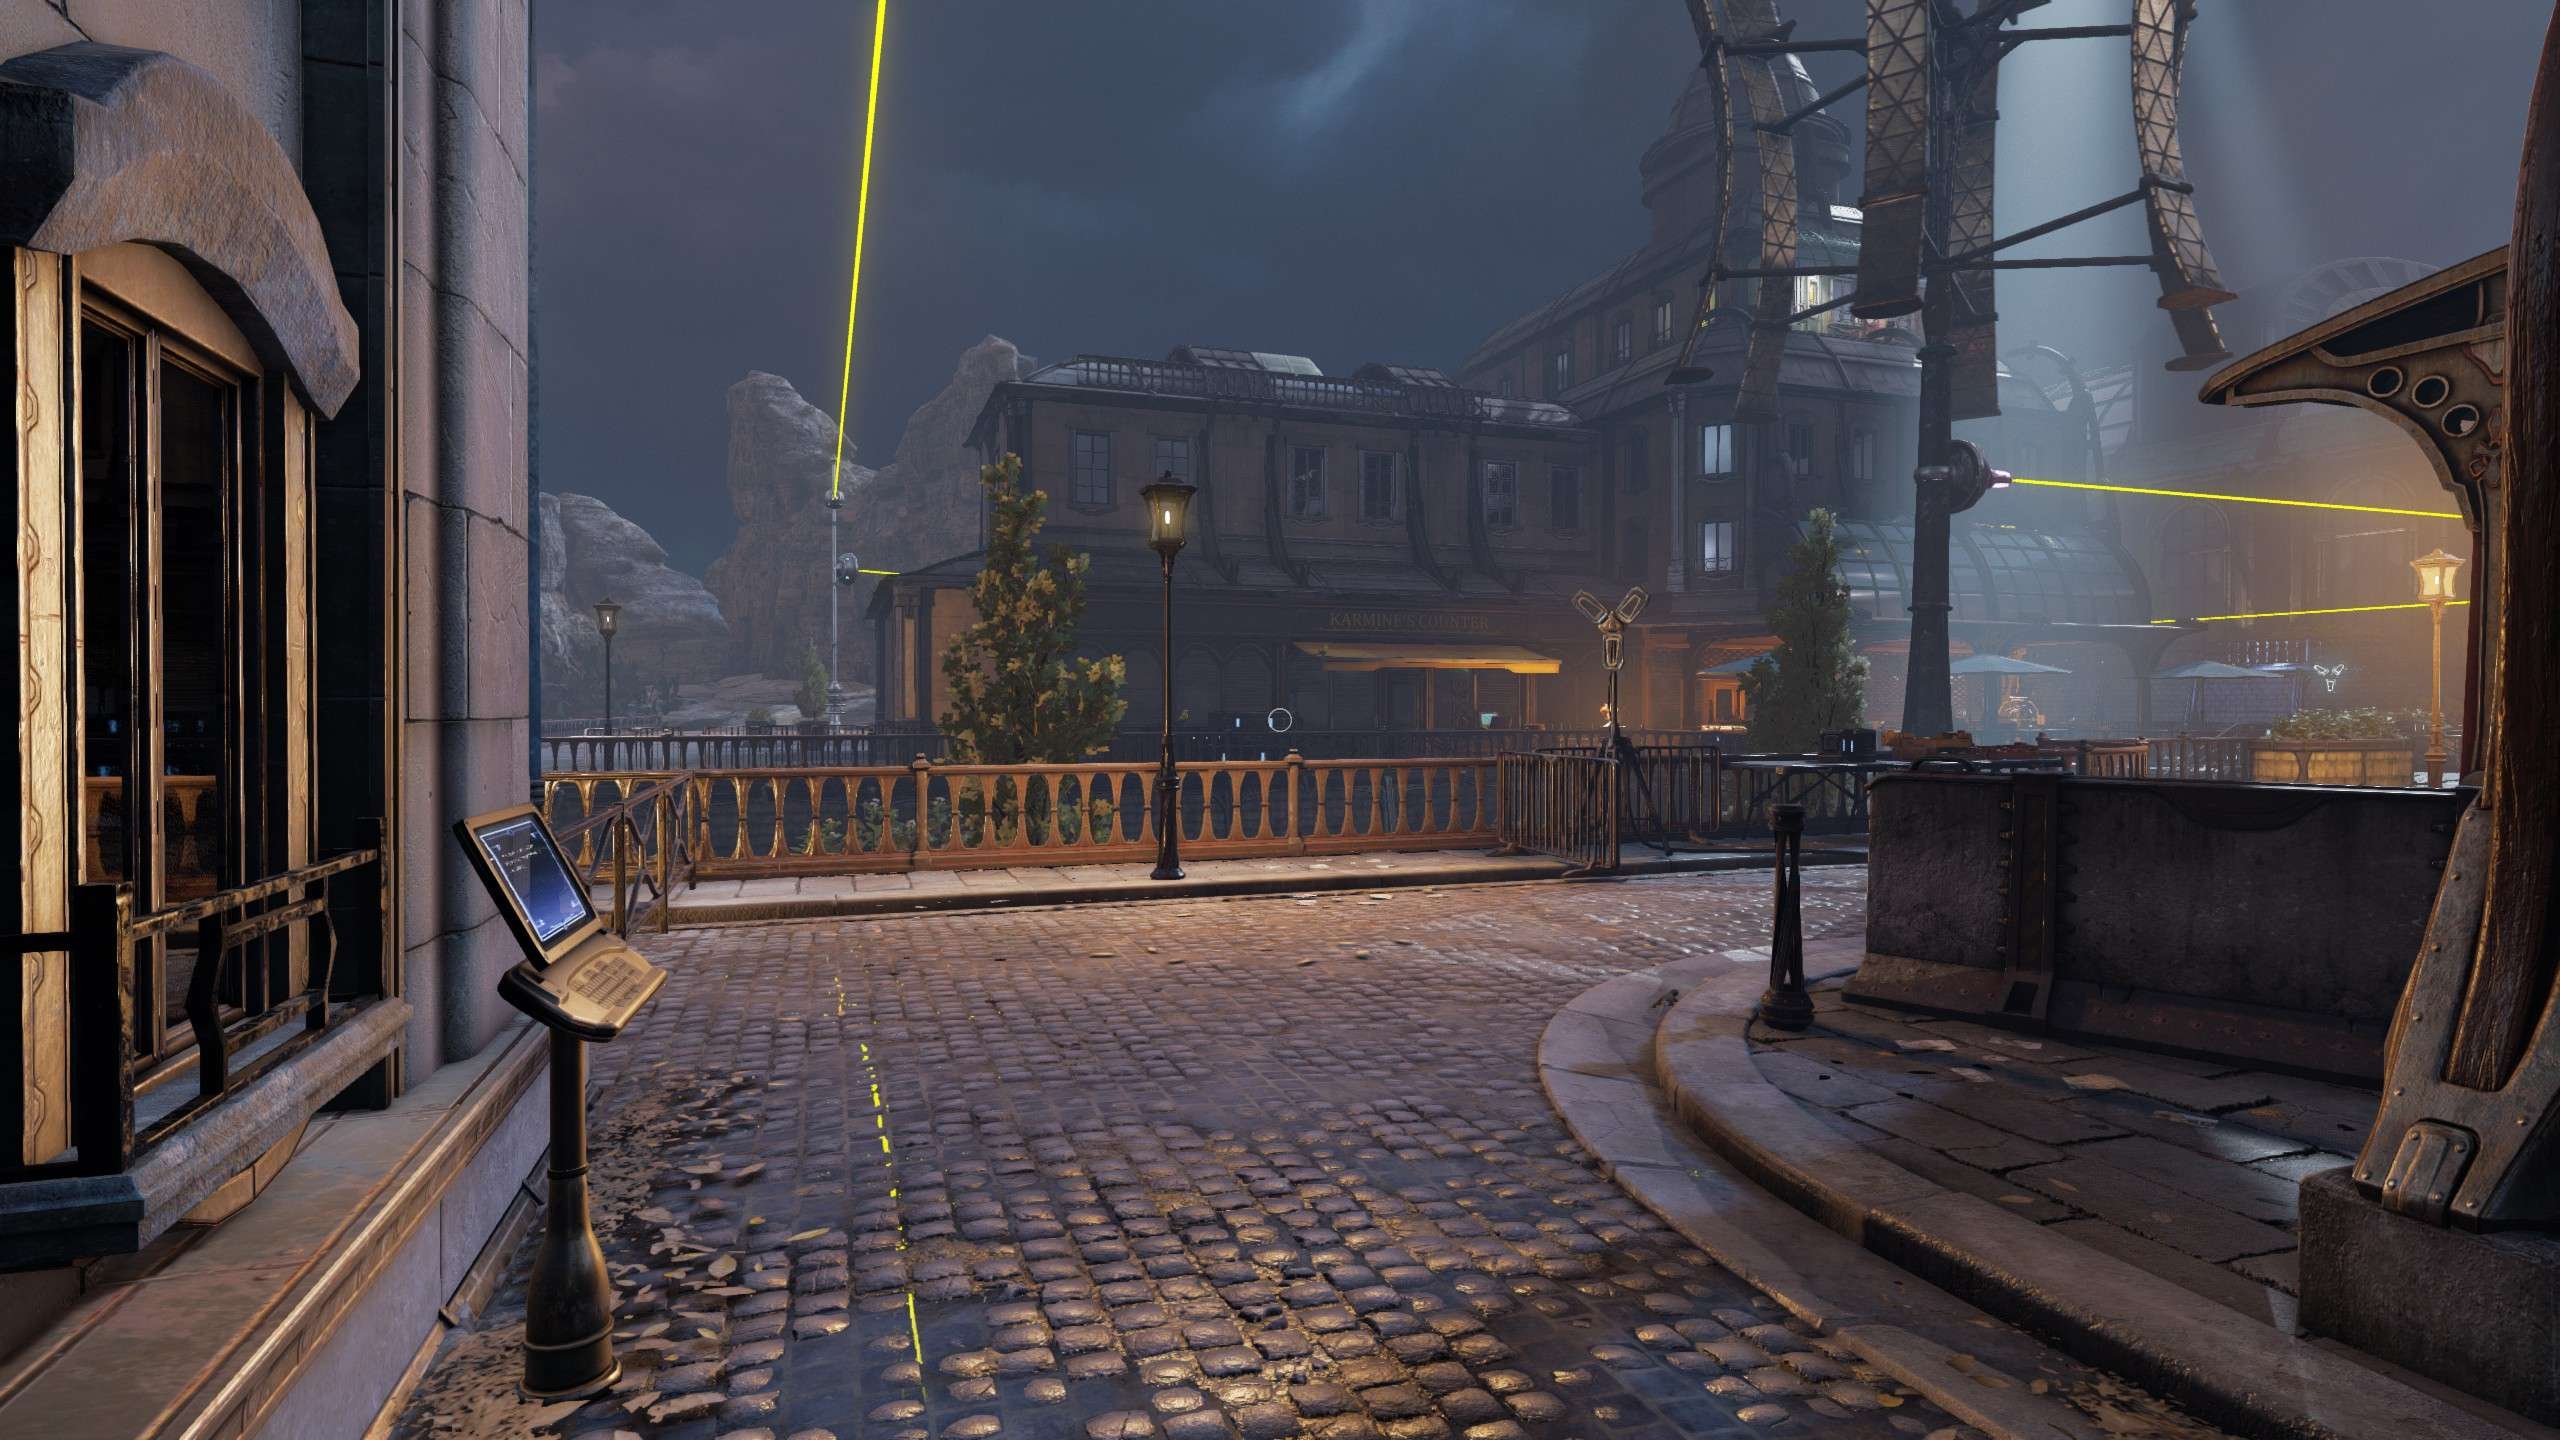
Photo #22
- Location: Next to the large windmill, on the same side as ‘Ephyra’s Delight’.
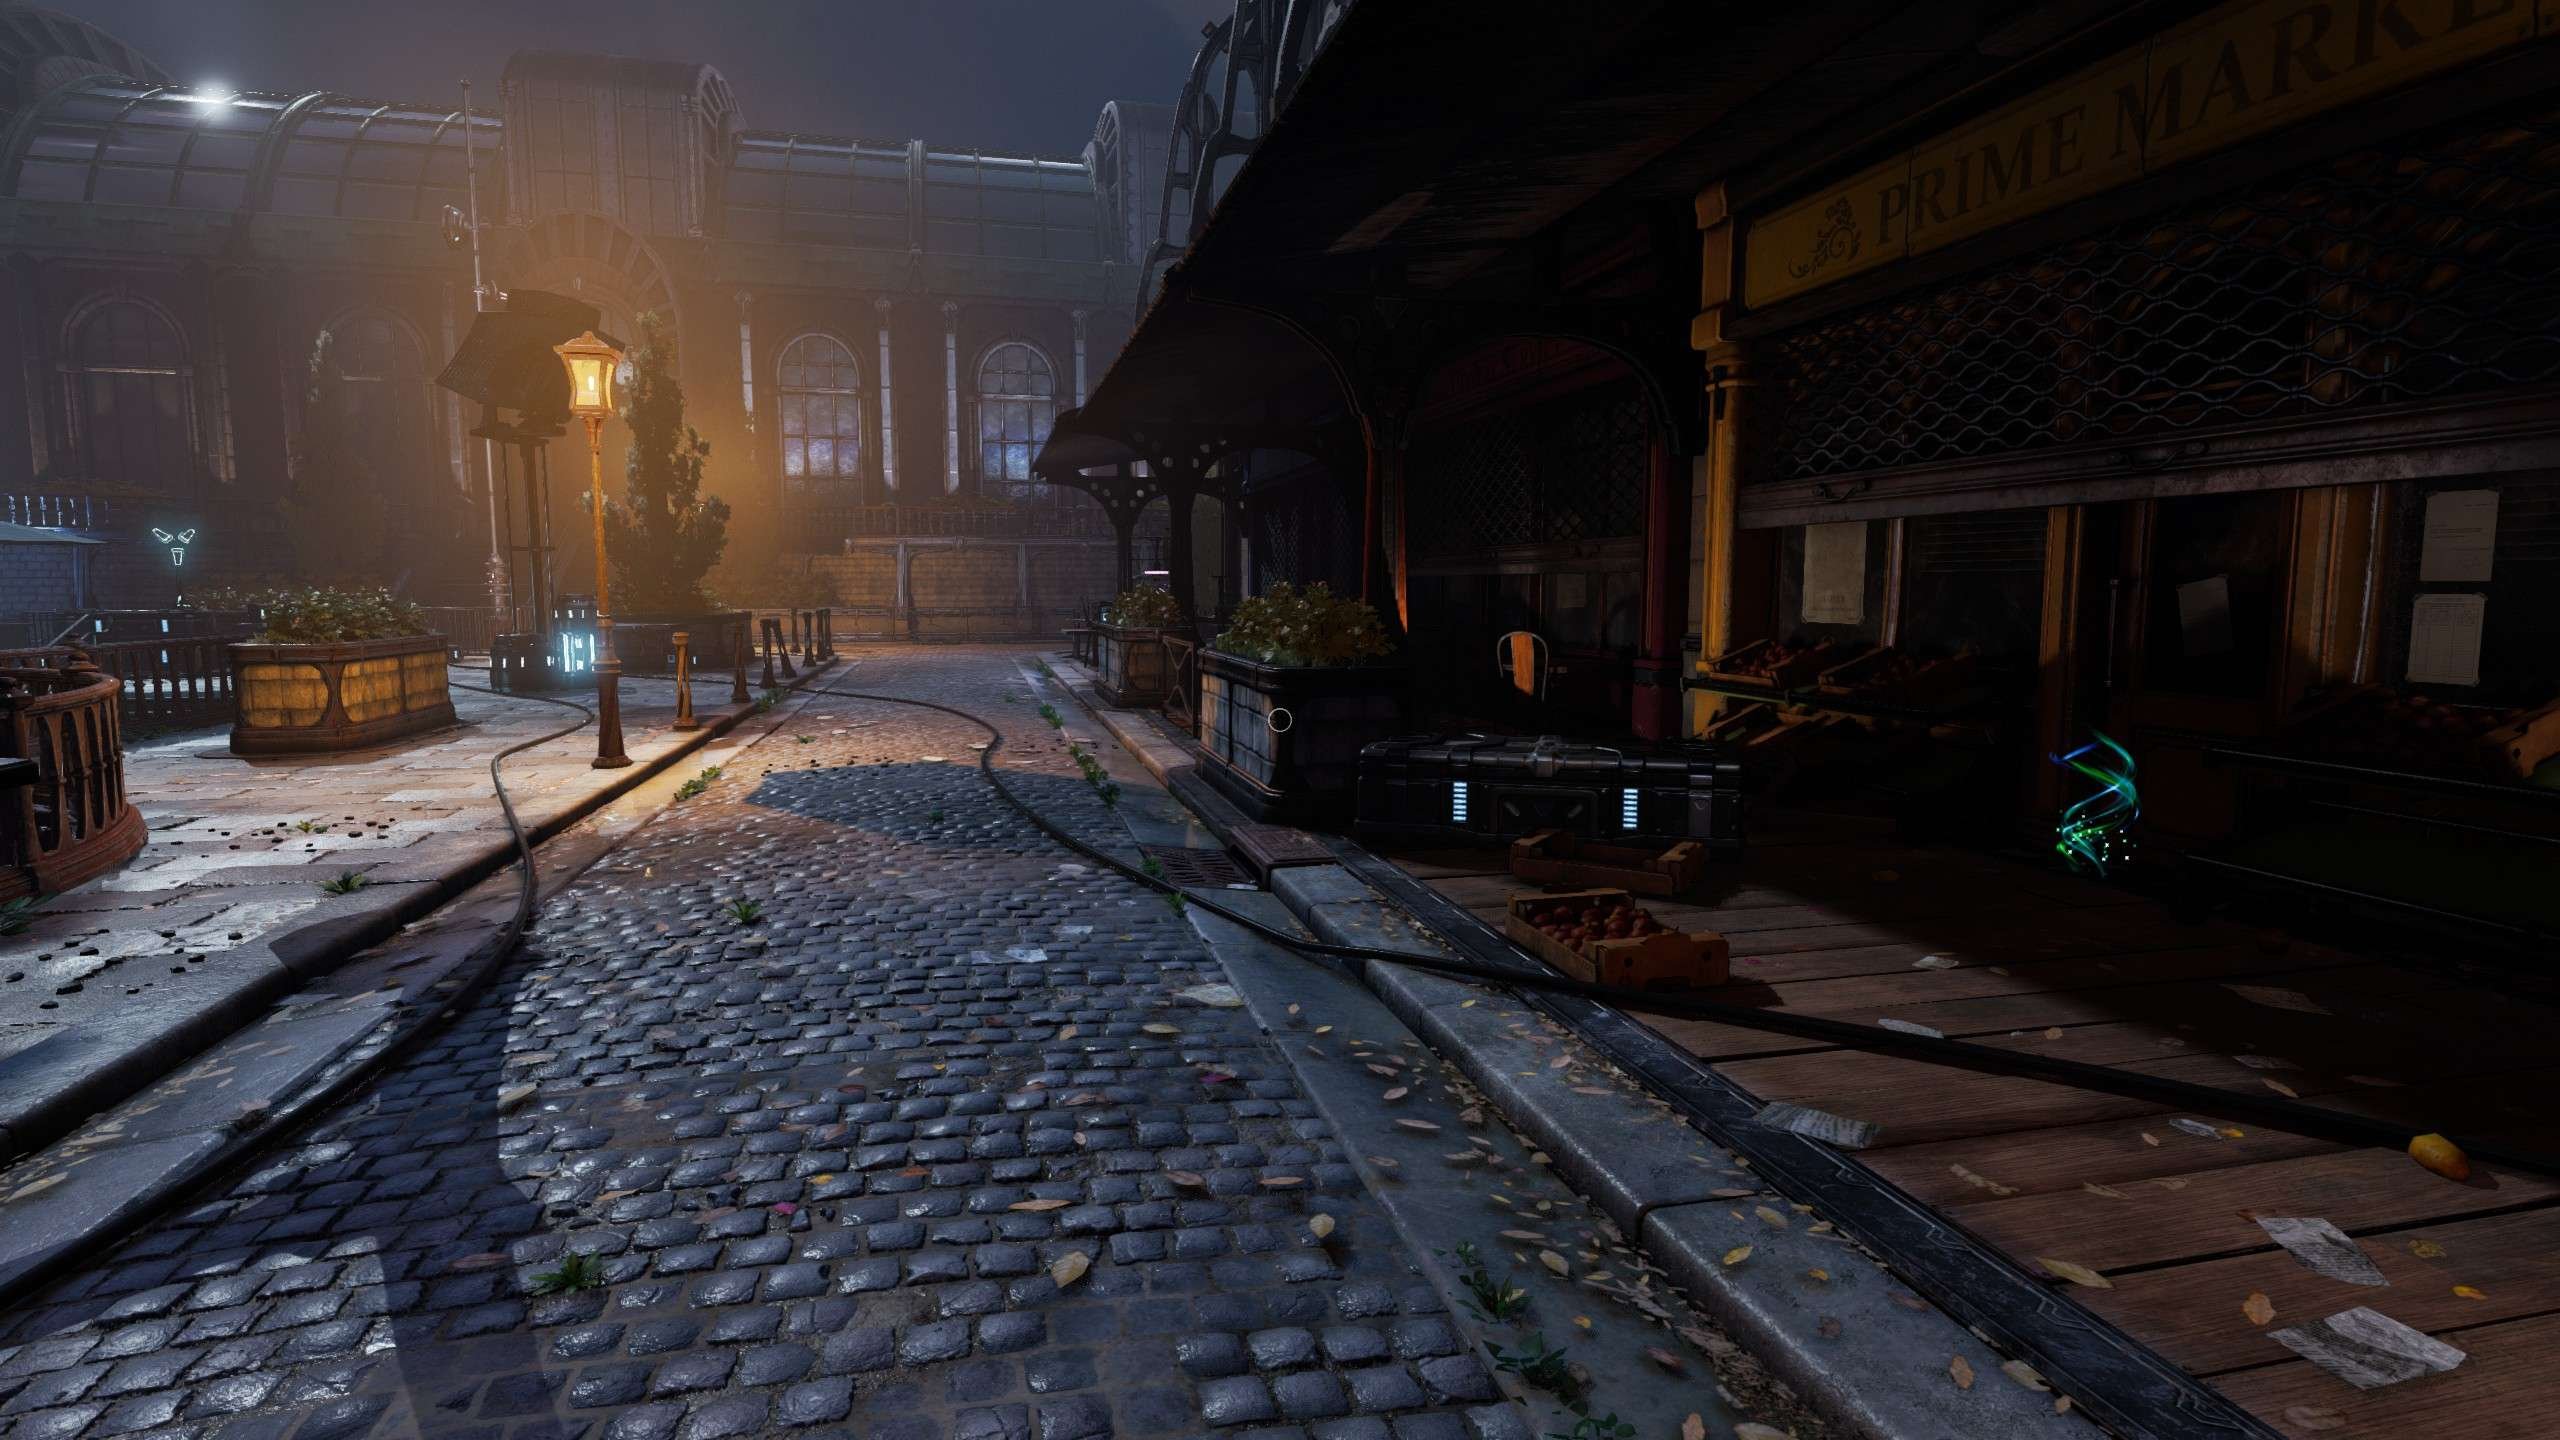
Photo #17 and Laptop #17
- Location: Next to the large windmill, on the same side as ‘Karmine’s Counter’.
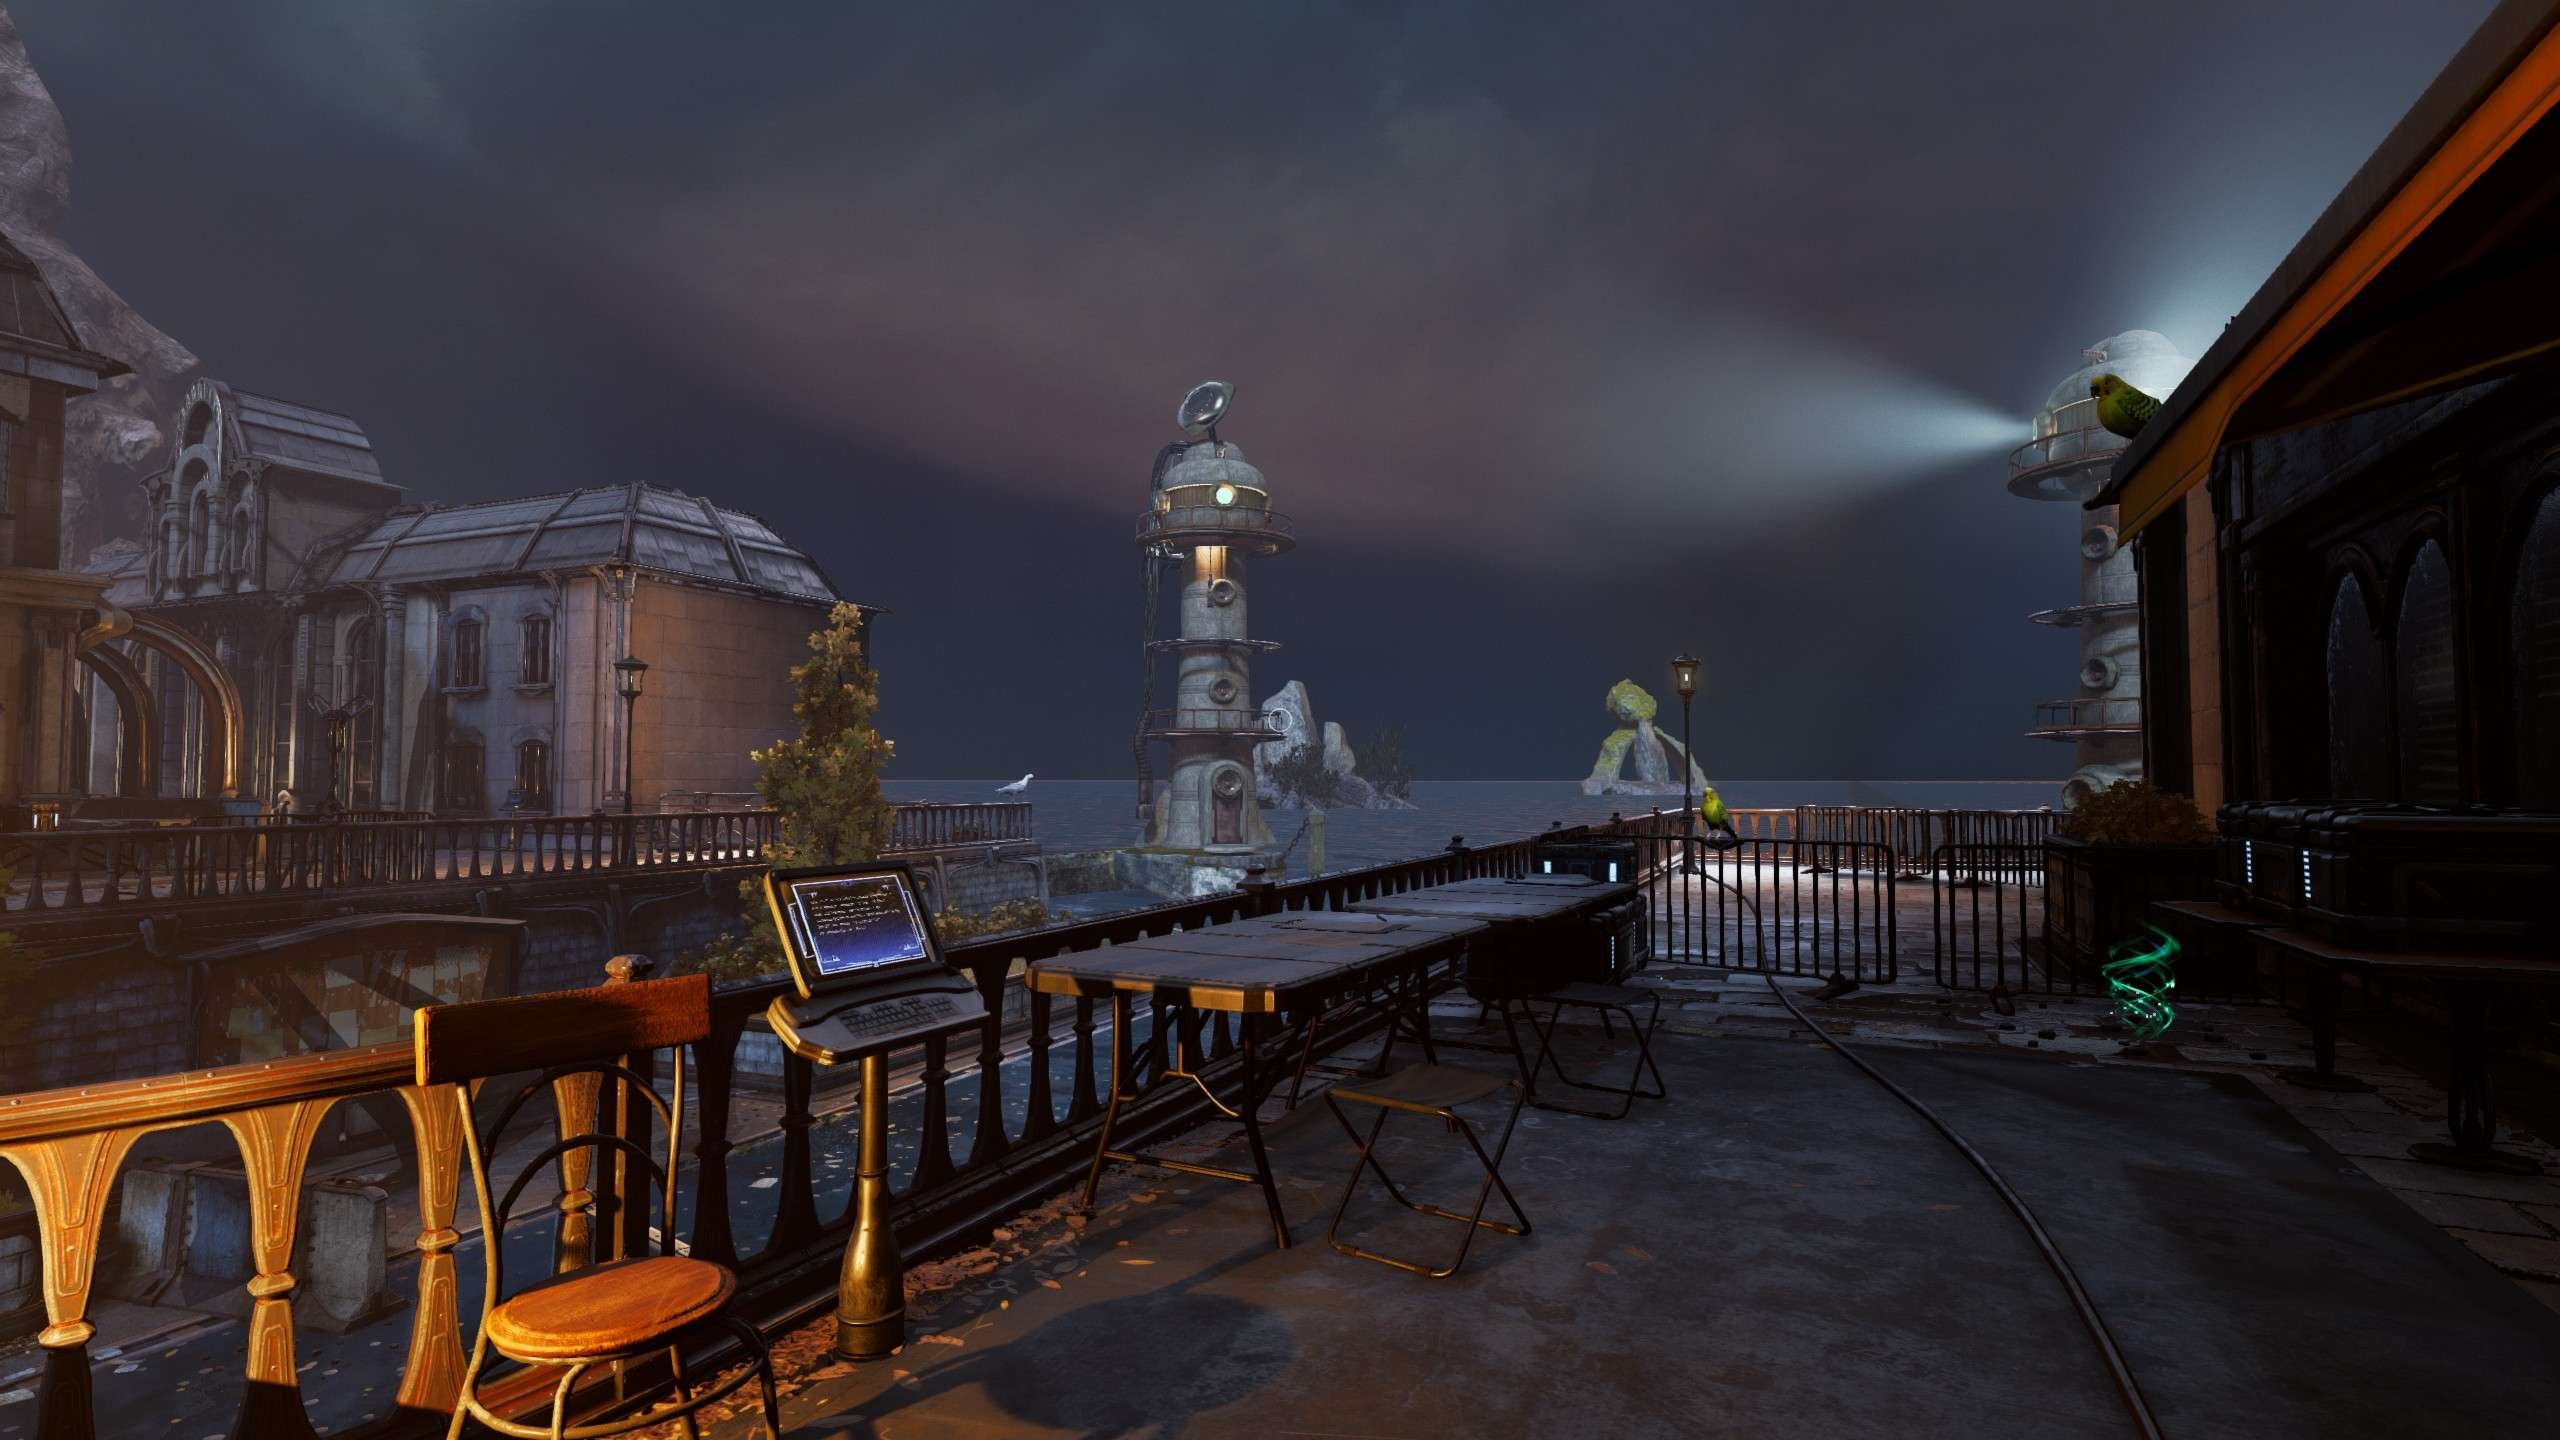
Photo #16
- Location: On the terrace.
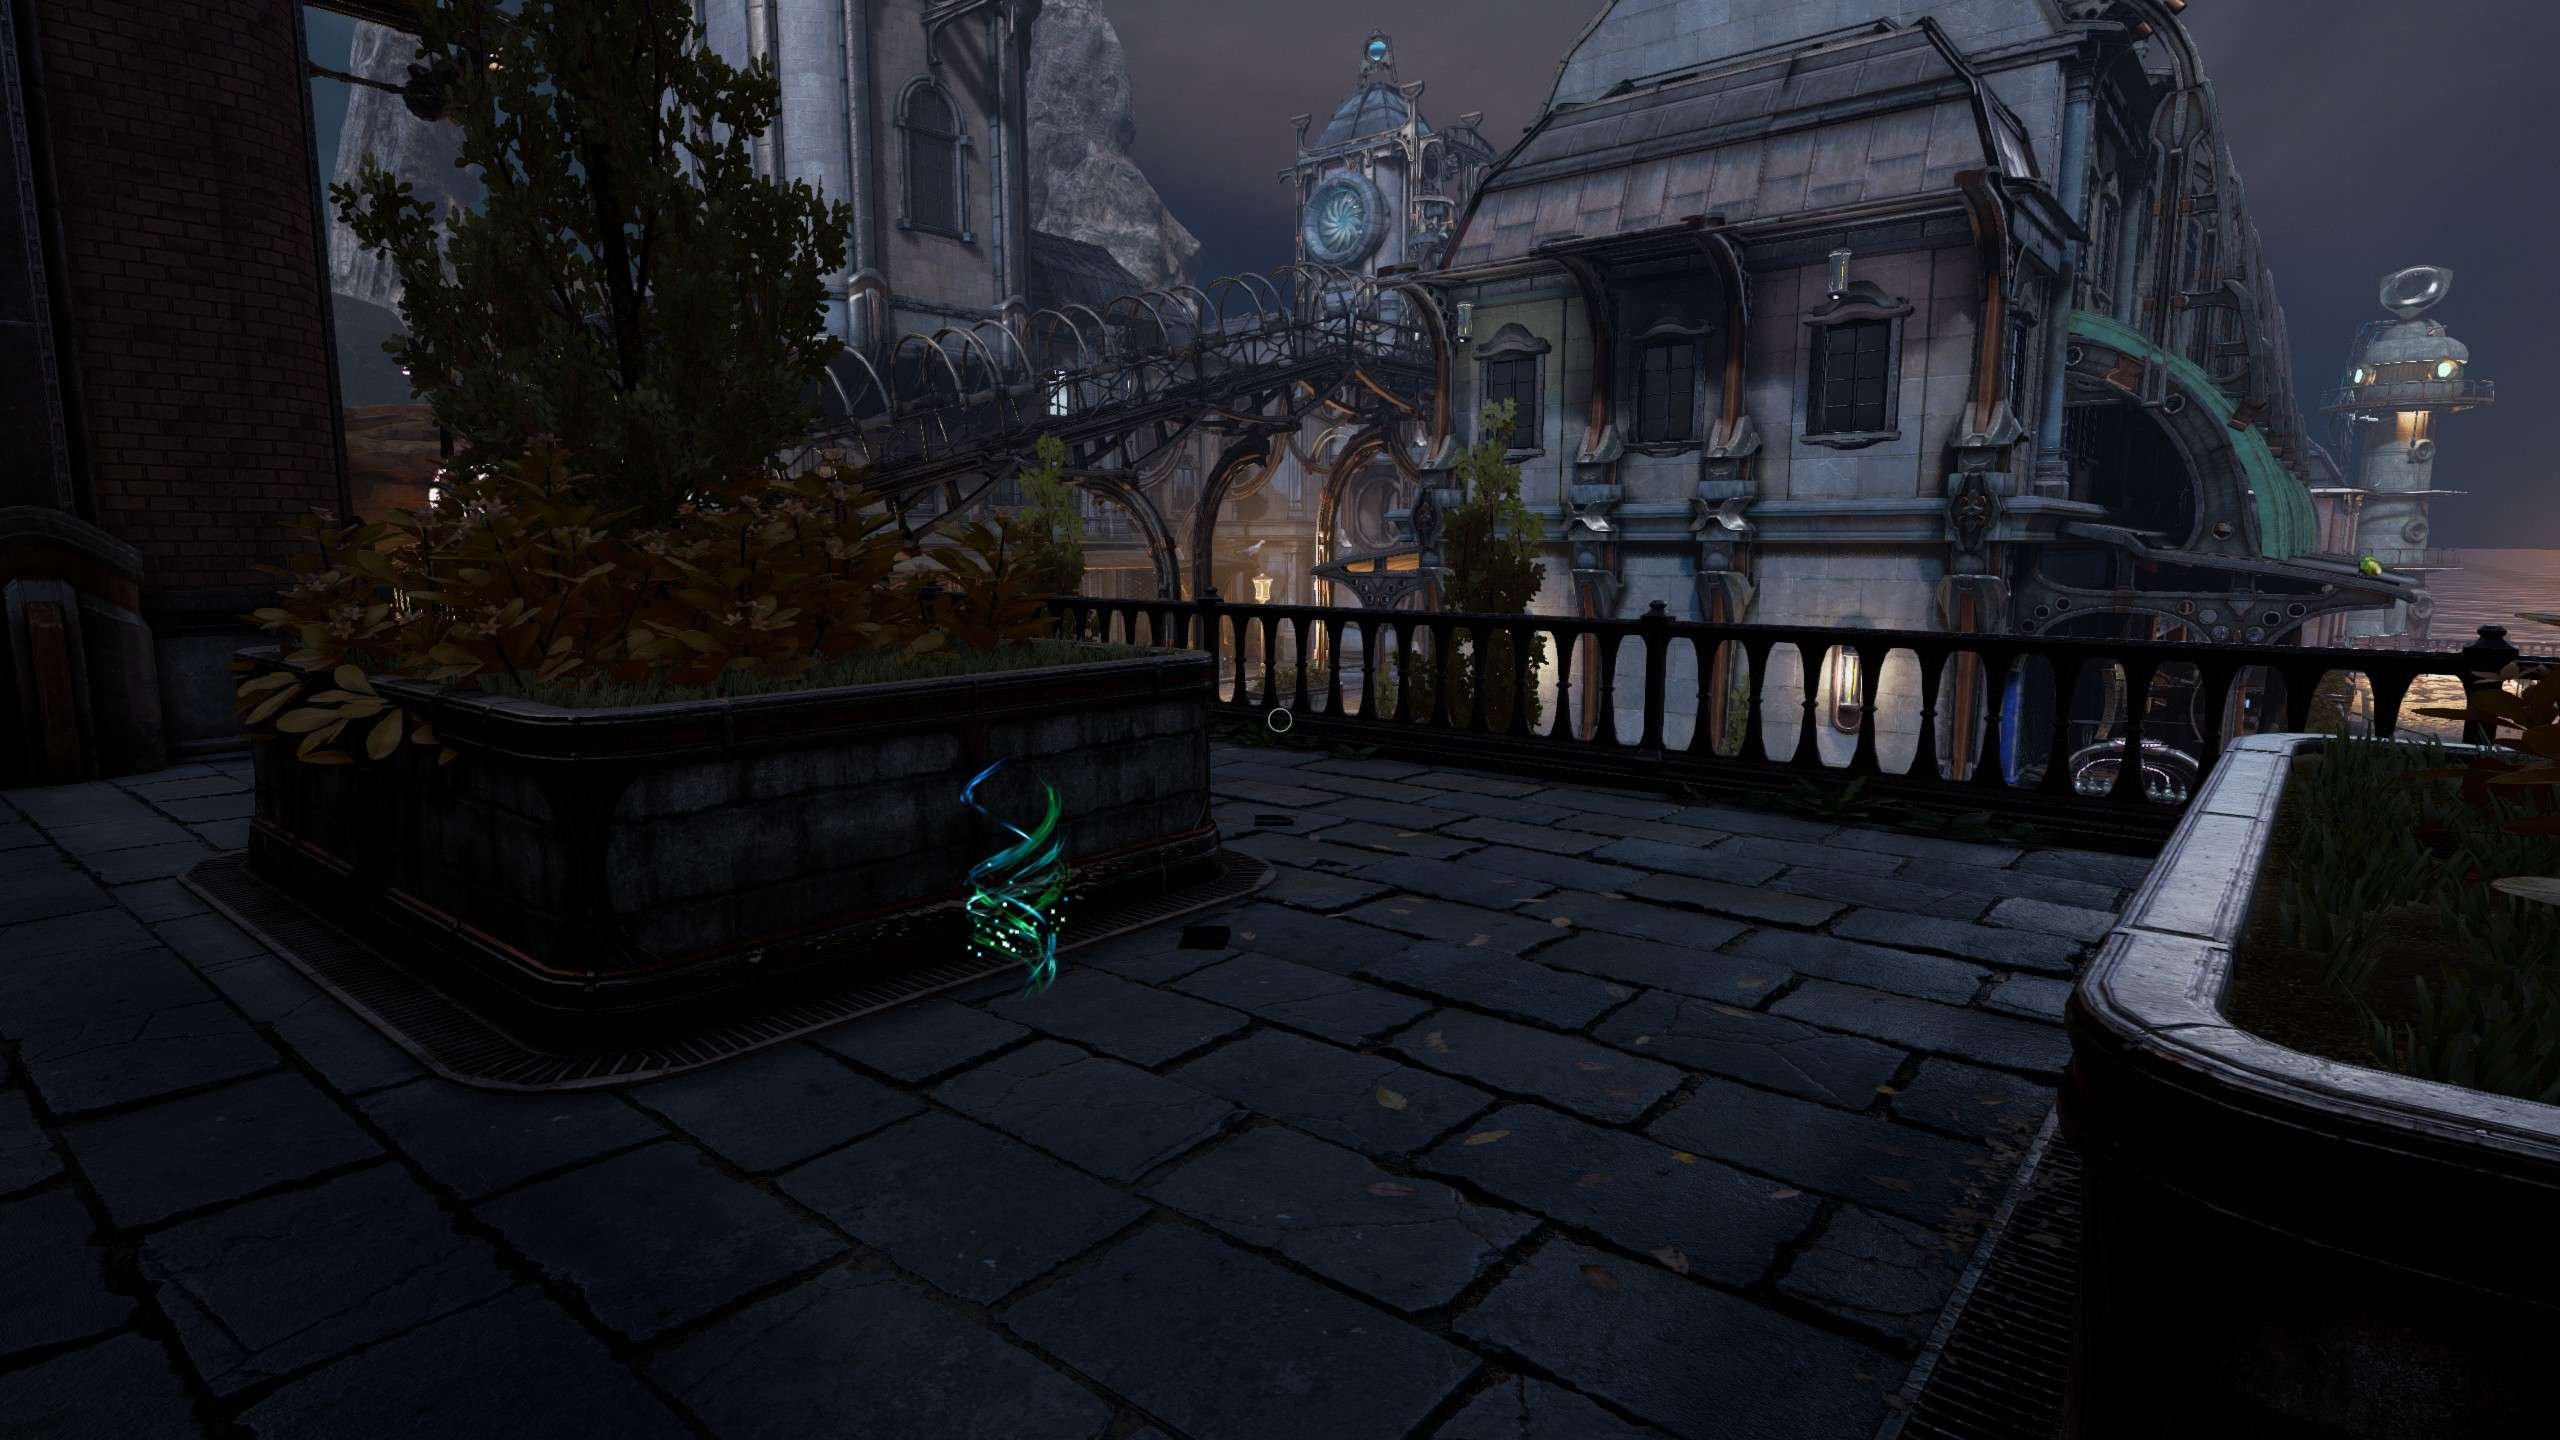
Photo #18
- Location: Enter the terrace and follow the metallic passageway.

Character #10
- Location: Between the large windmill and the small windmill.
Laptop #18
- Location: In the area behind Character #10.
City
Photo #20
- Location: From the starting point of the chapter, go straight on and take a left turn.
Laptop #19
- Location: In the center of the city.

Photo #25
- Location: In the center of the city, next to Laptop #19.

Photo #19
- Location: In front of the large building with the two fountains.

Photo #21
- Location: From the starting point of the chapter, go left until reaching the end of the road.
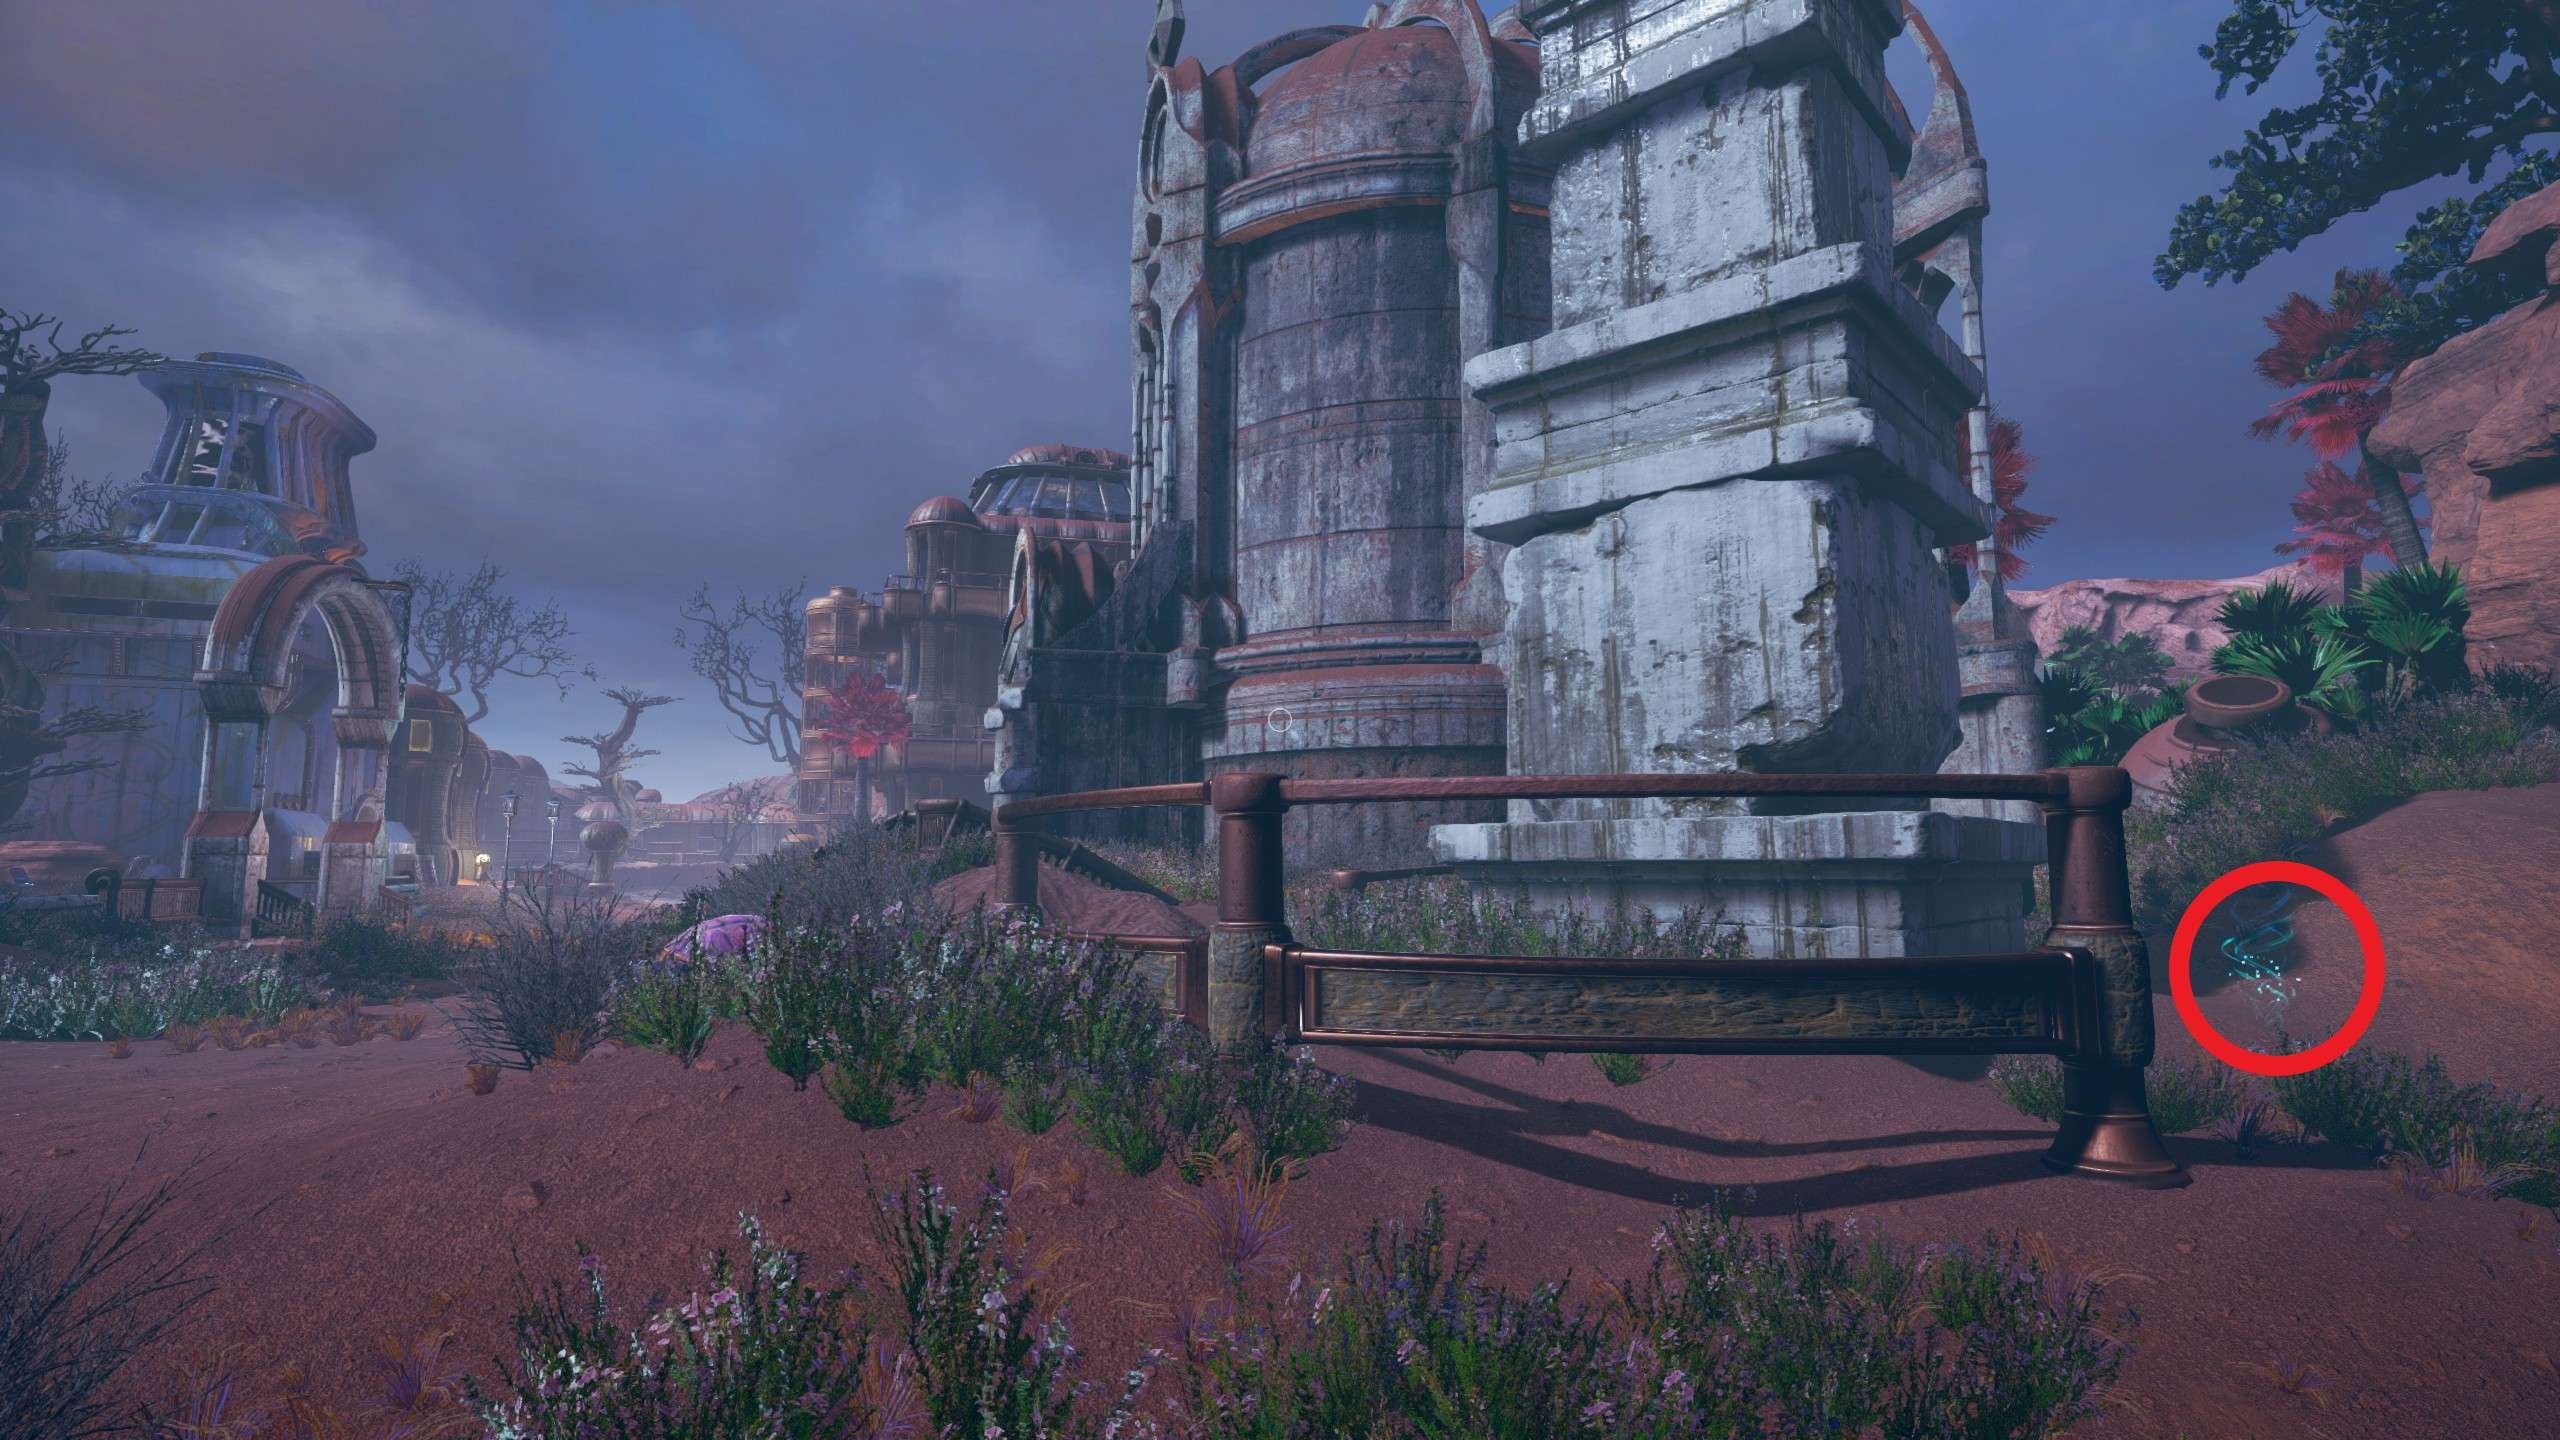
Photo #23 and Laptop #20
- Location: Walk through the building between Photo #19 and Photo #21.

Laptop #21
- Location: In front of the hotel entrance, towards the end of the chapter.
Be the first to comment