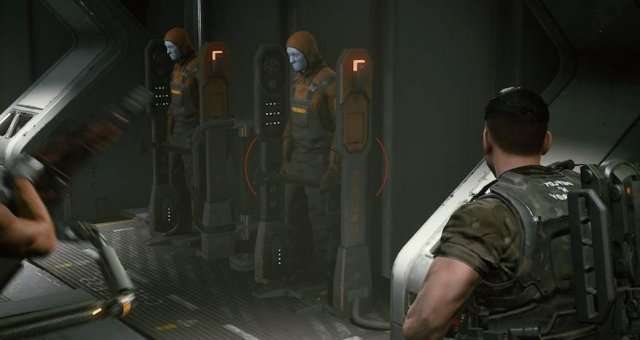
Listen up Marines! The completed guide for Aliens: Fireteam Elite, detailing every piece of Intel’s location.
Where and How to Find All Collectibles (CMISRS Resource Achievement / Trophy)
UAS Endeavor
- Fulminium Alloy: You can find this by exiting the shop area and taking a immediate left and looking behind the large cargo boxes.
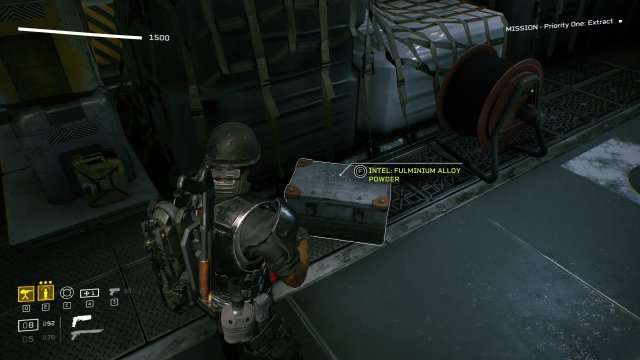
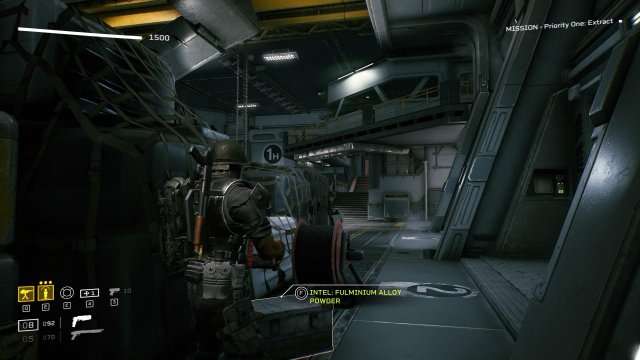
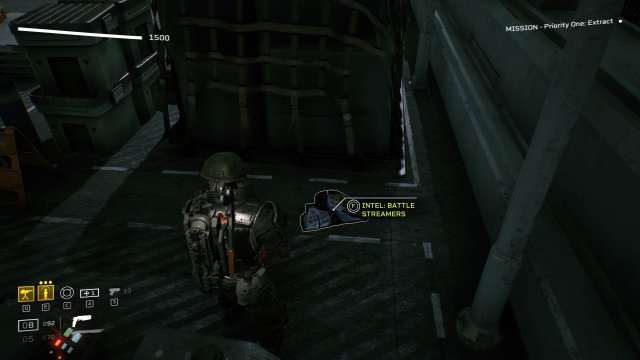
- Battle Streamers: Can be found continuing from picked up the alloy then making a right till you locate a refill box. Facing the box heading forward will bring you to the streamers.
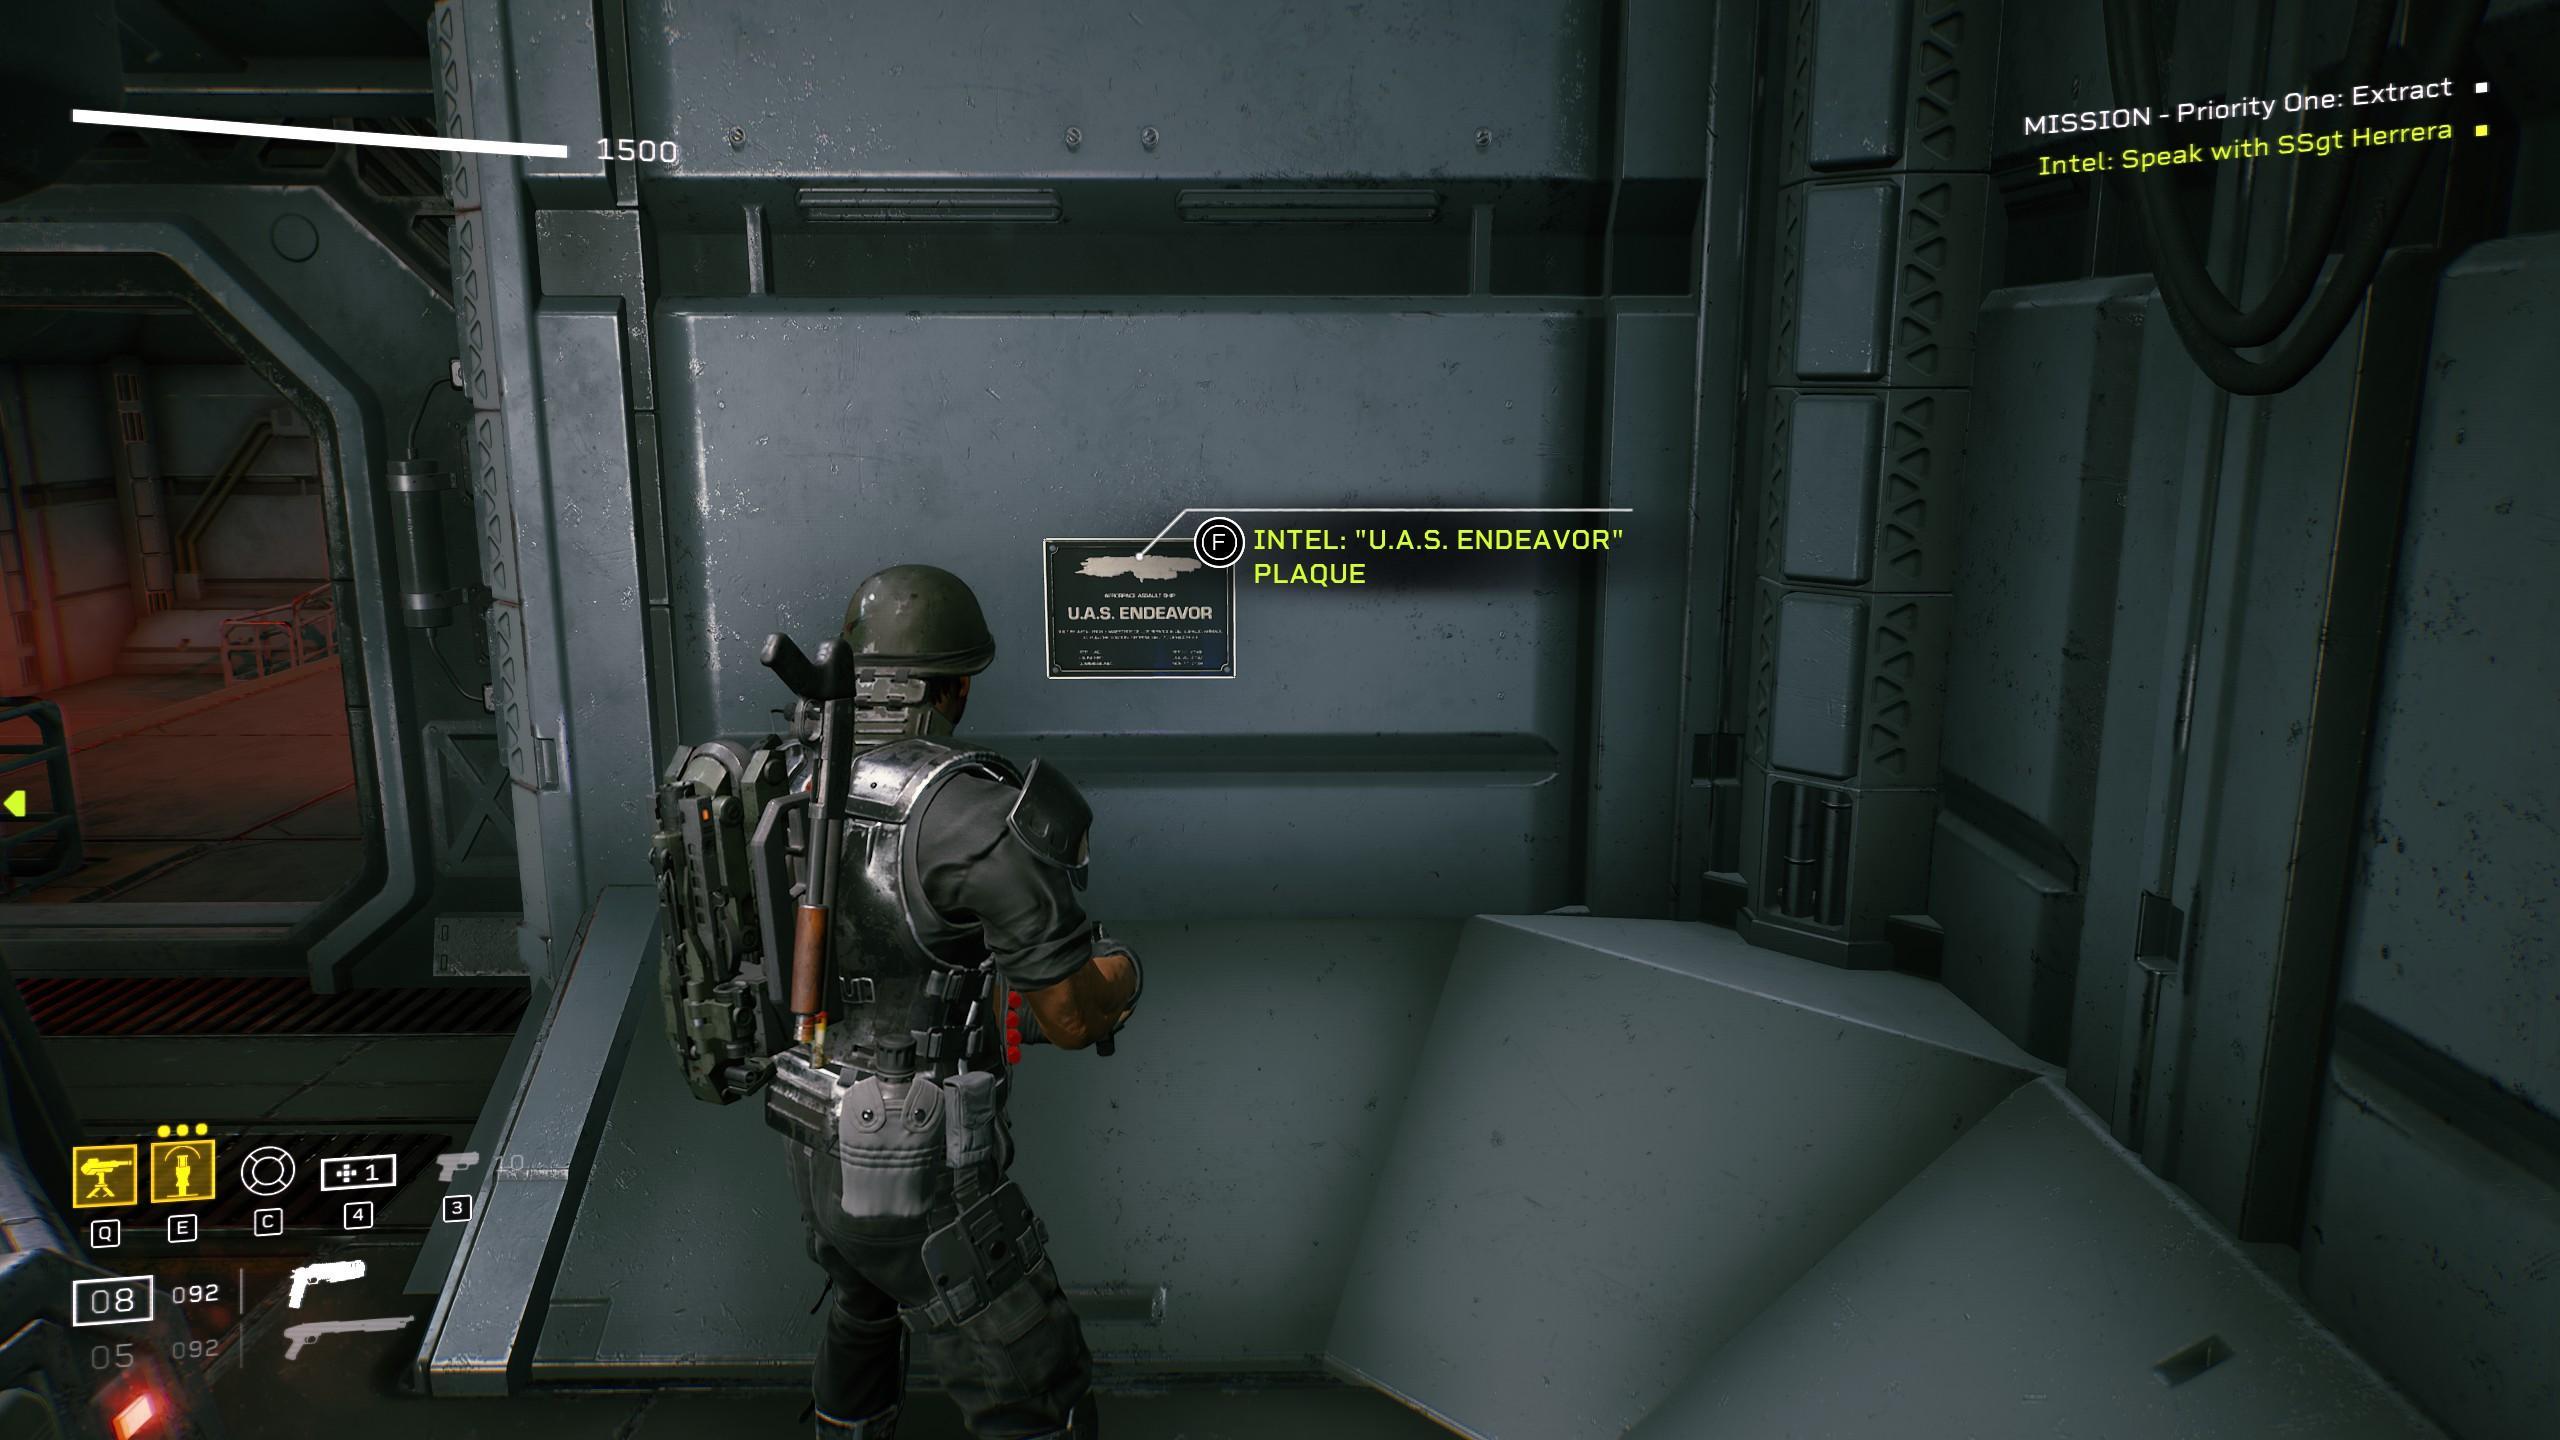
- UAS Endeavor Plaque: The final piece of Endeavor Intel can be found be heading towards Col. Shipp and Cpl. Savane. one you enter the room turn the left to find the plaque on the wall.

Priority One: Ingress Collectibles
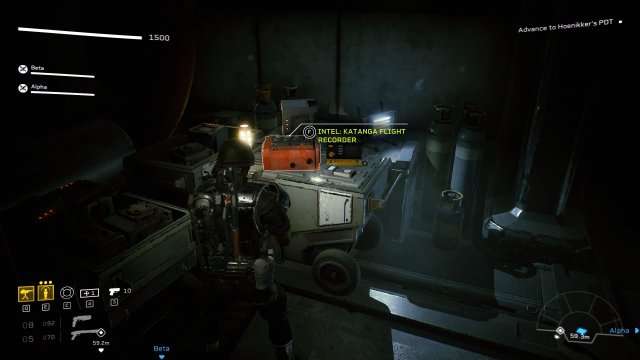
- Katanga Flight Recorder: Before you encounter the first Xenomorph, at the T-shaped intersection leading to Hoenniker’s PDT Head, go left instead of right towards the objective. You will find it in a small recessed area at the end of the hallway.
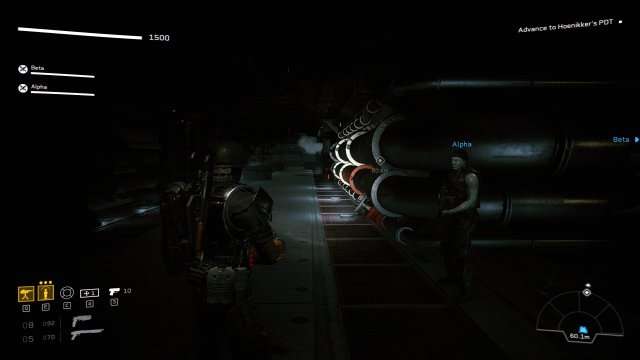
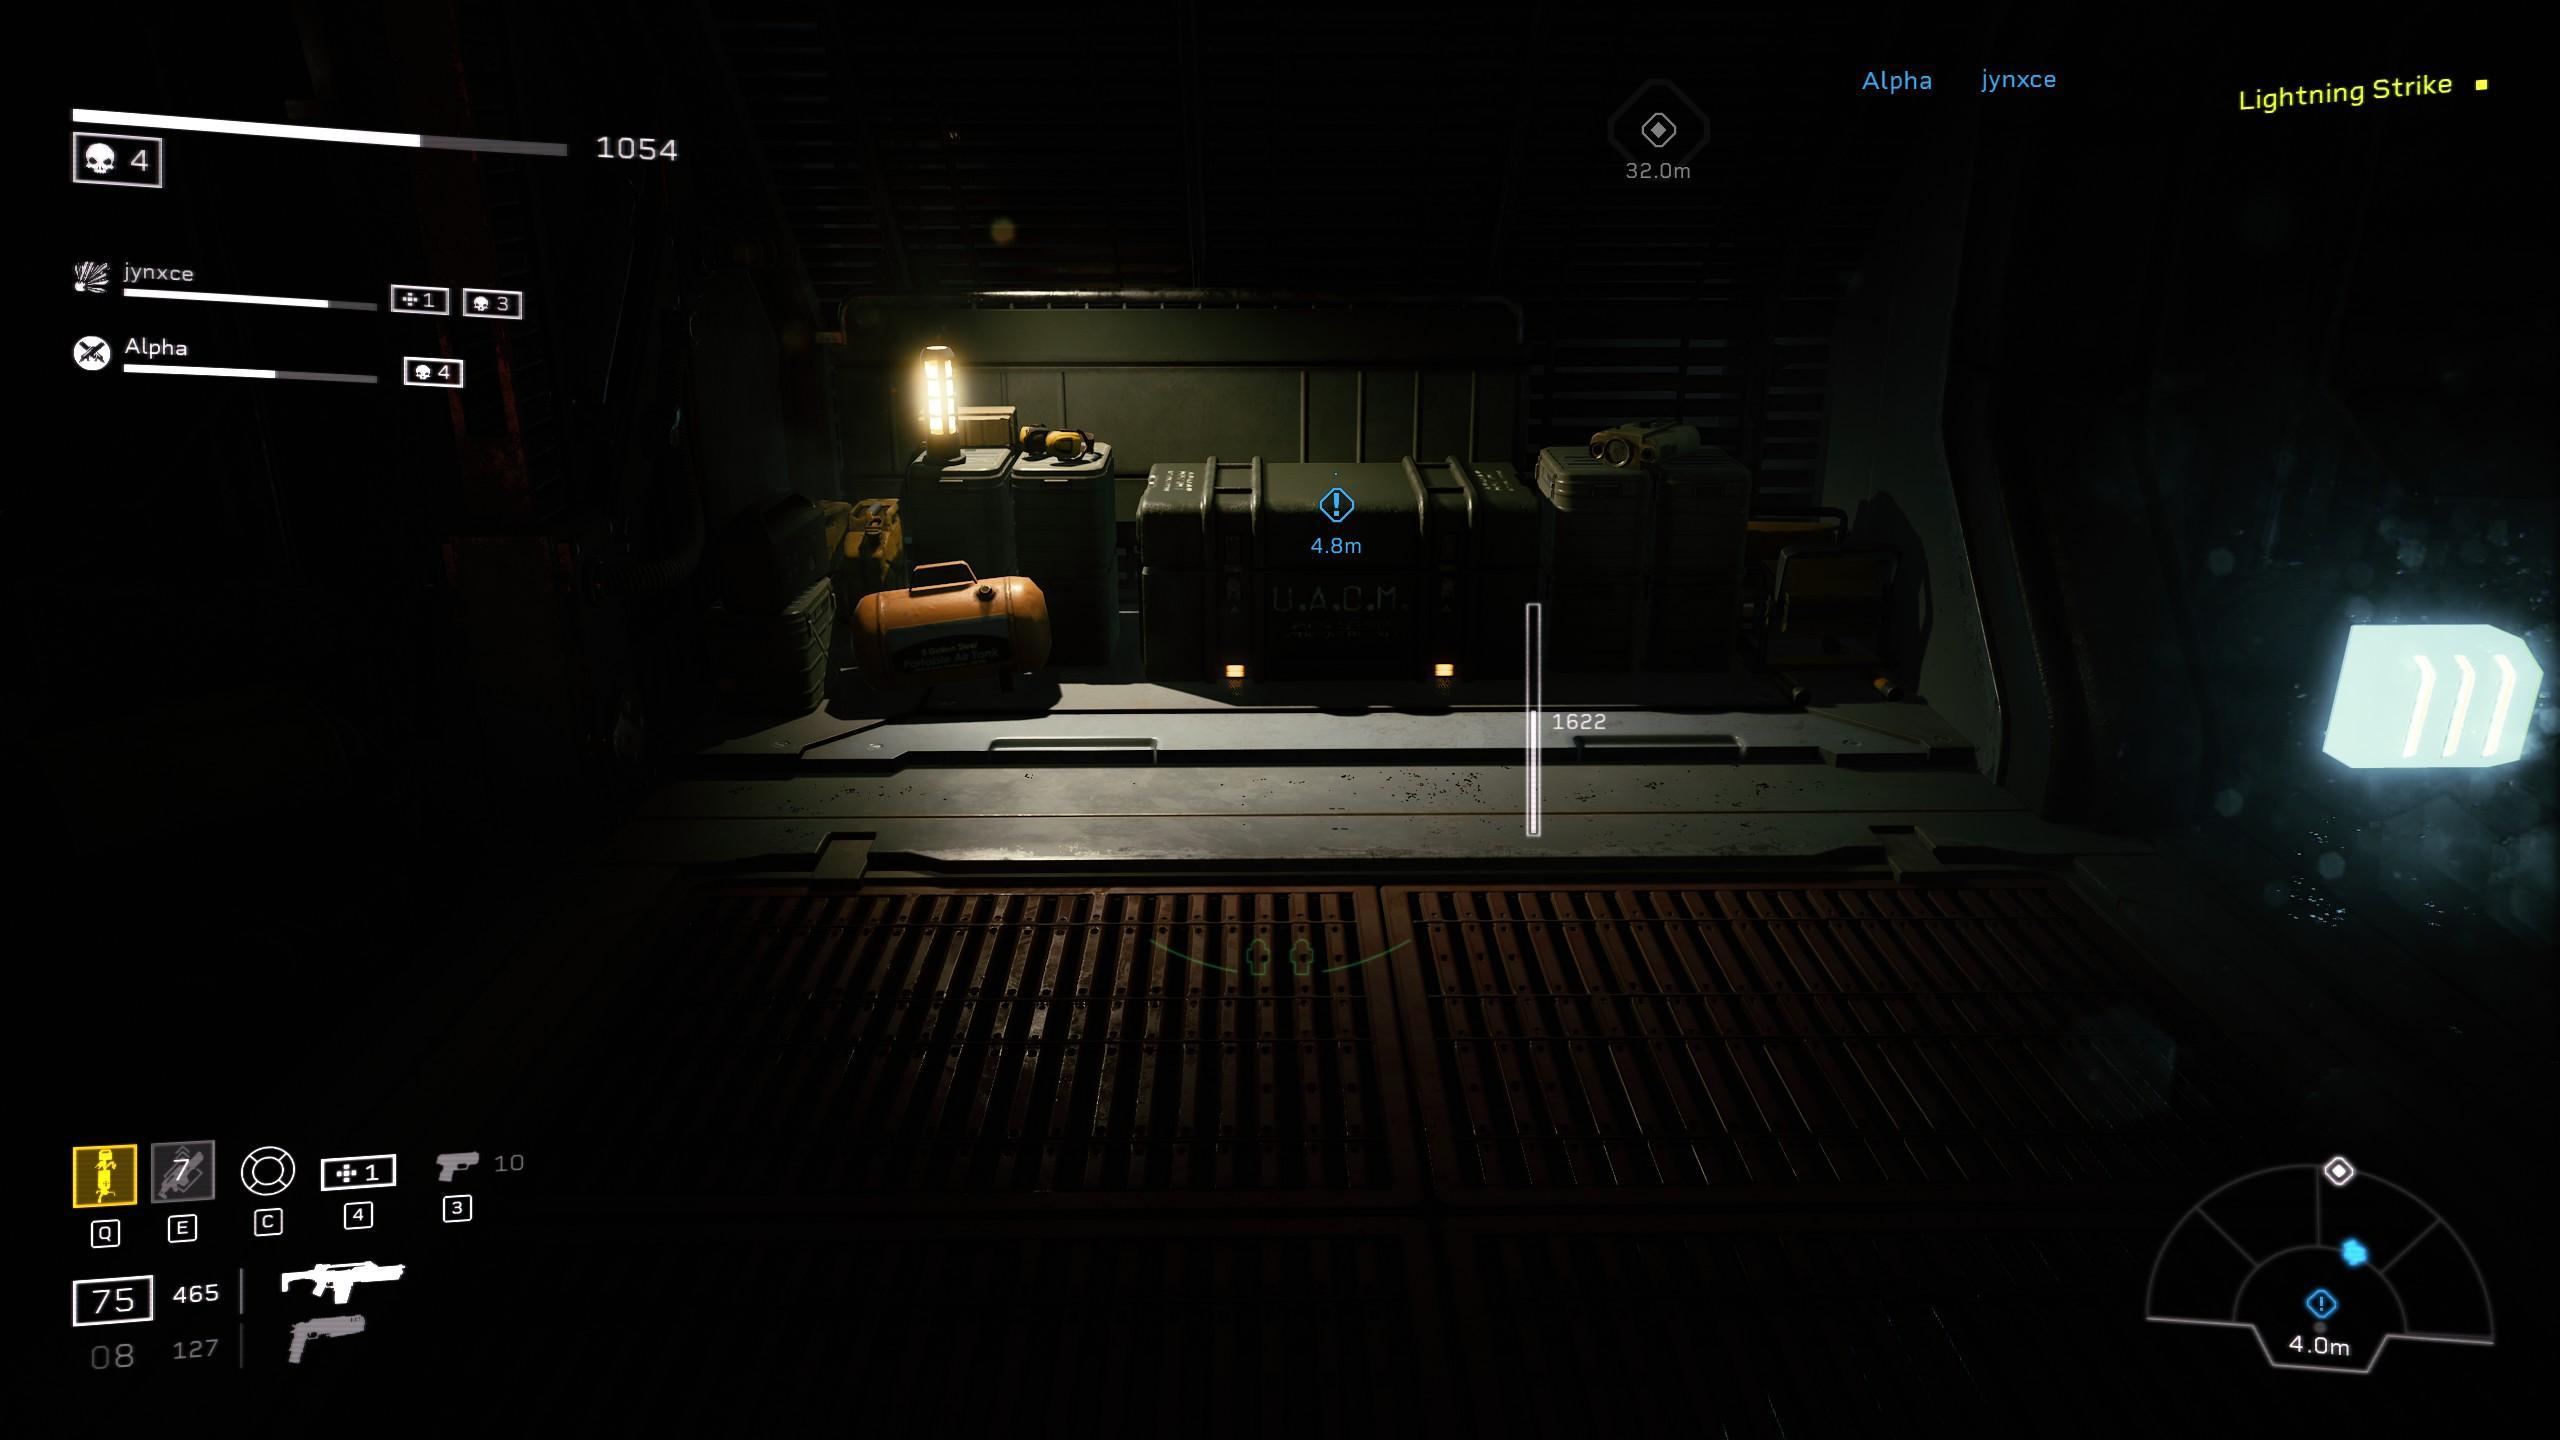
- Dead Facehugger Specimen: Continue forward until reaching the Dynamo Holdout. The Facehugger can be found behind the crate I am aiming at.
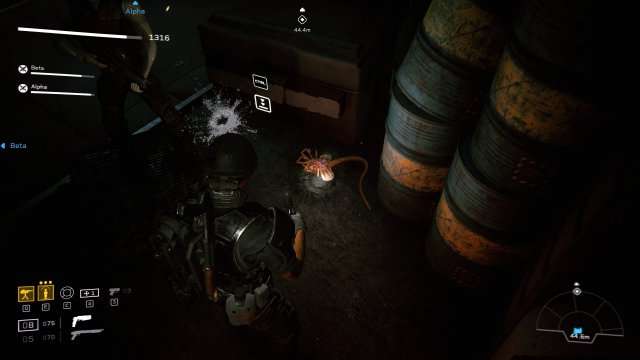
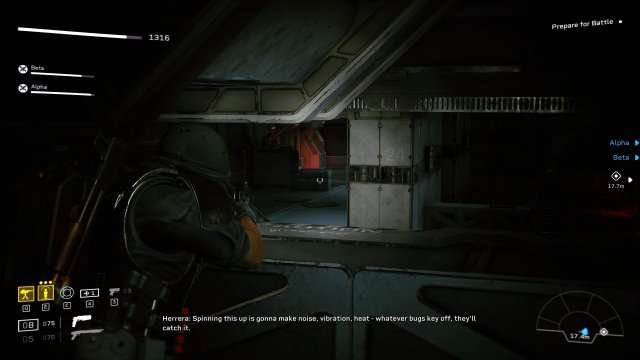
- Colonial Indentured Contract: This Final Collectible of the mission is found after the introduction of Esther. Once you enter this recognizable room, Head to where I aim to find the contract it is the orange folder.
Priority One: Rescue
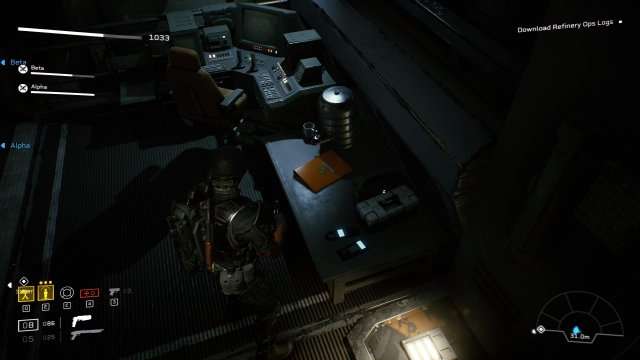
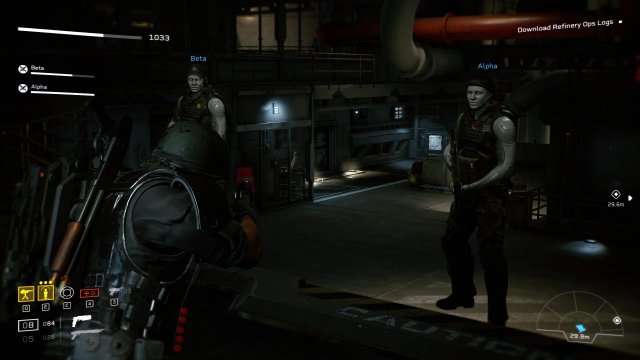
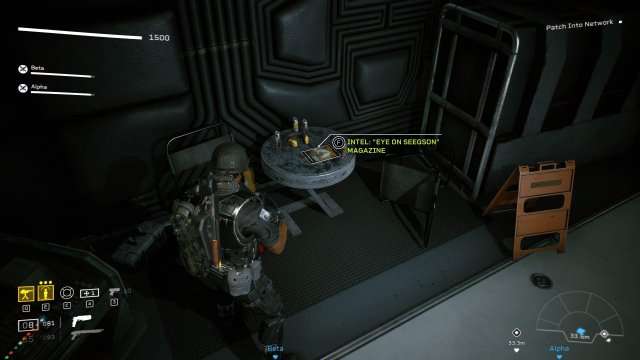
- “Eye on Seegson” Magazine: When the mission begins head straight then take the first room on your left, take another left to find the magazine on the table.
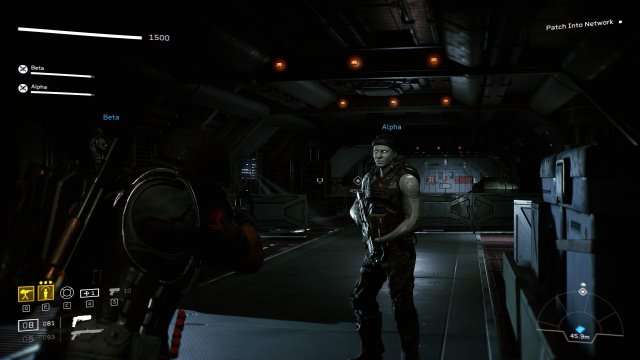
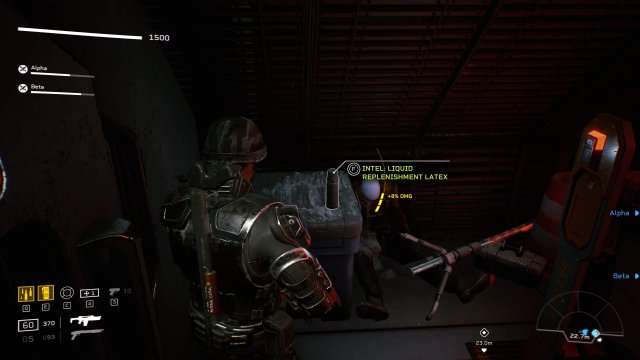
- Liquid Replenishment Latex: This Collectible can be found after your first major holdout. Upon entering a long staircase section take the first door on your right to find the Intel.
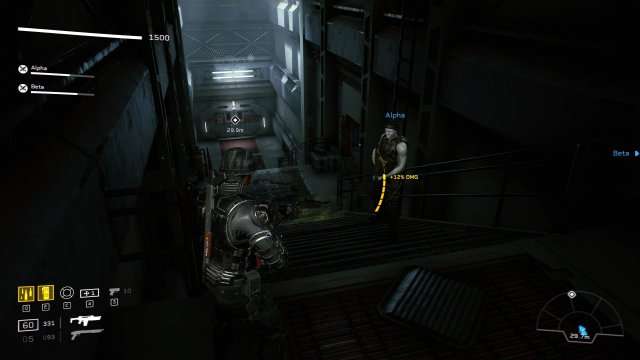
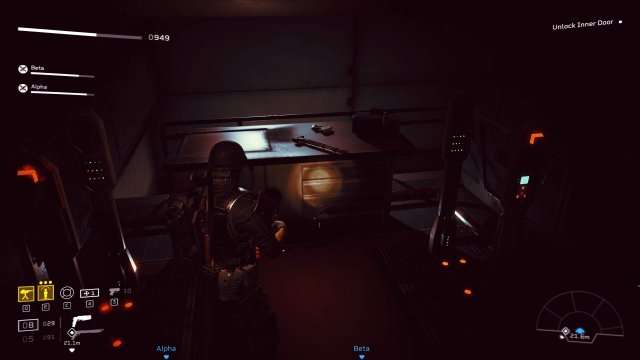
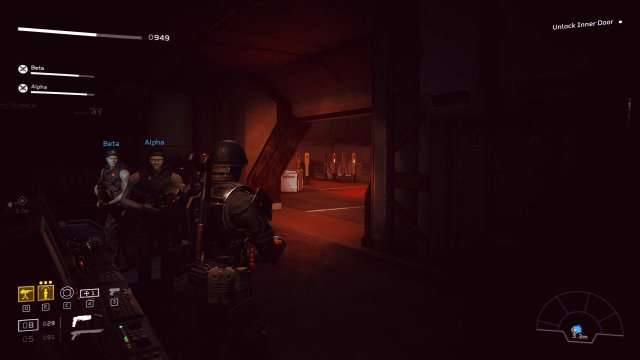
- Working Joe Wrench: Continue playing until you need to override the core. This is the part where you first meet Monica. After exiting the doorway to your left while looking at the control panel, turn left again so you are facing the Ammo Box and Cover Strip. Walk towards the back to find the workbench that is hidden there.
Priority One: Extraction
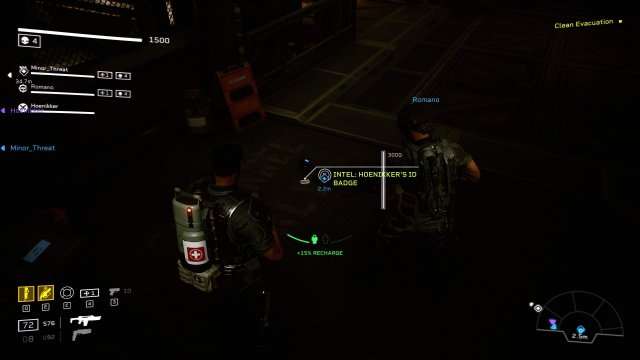
- Hoennikers ID Badge: Right After starting the mission exit the elevator and then take either the left or right to get behind the elevator. The ID badge will be found on the floor.
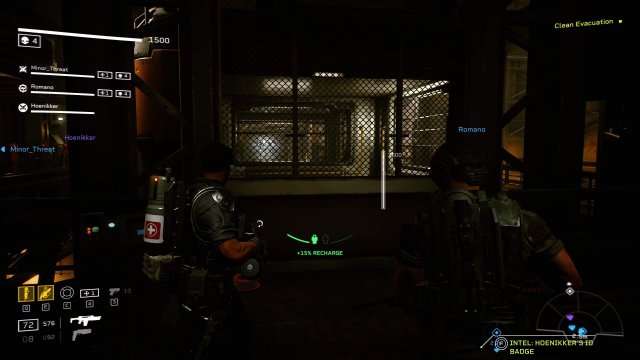
- Shipping Logs: A long ways into the level once you’ve exited the water portion you can find this clipboard of shipping logs down a small flight of stairs hidden in an alcove.
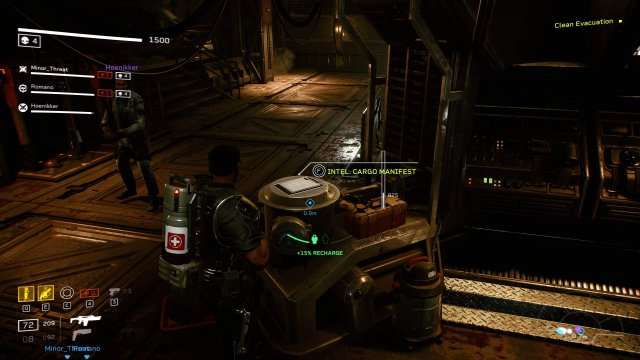
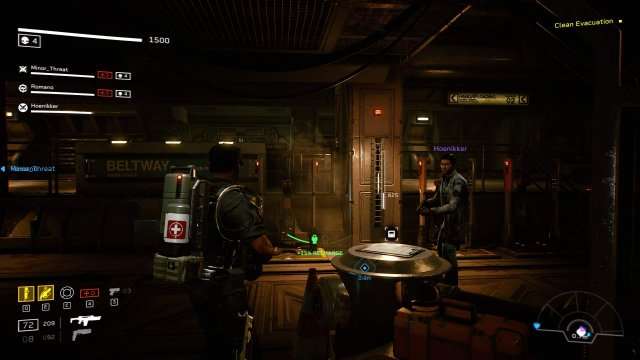
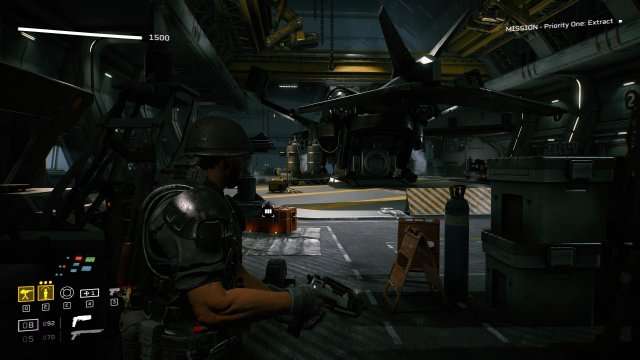
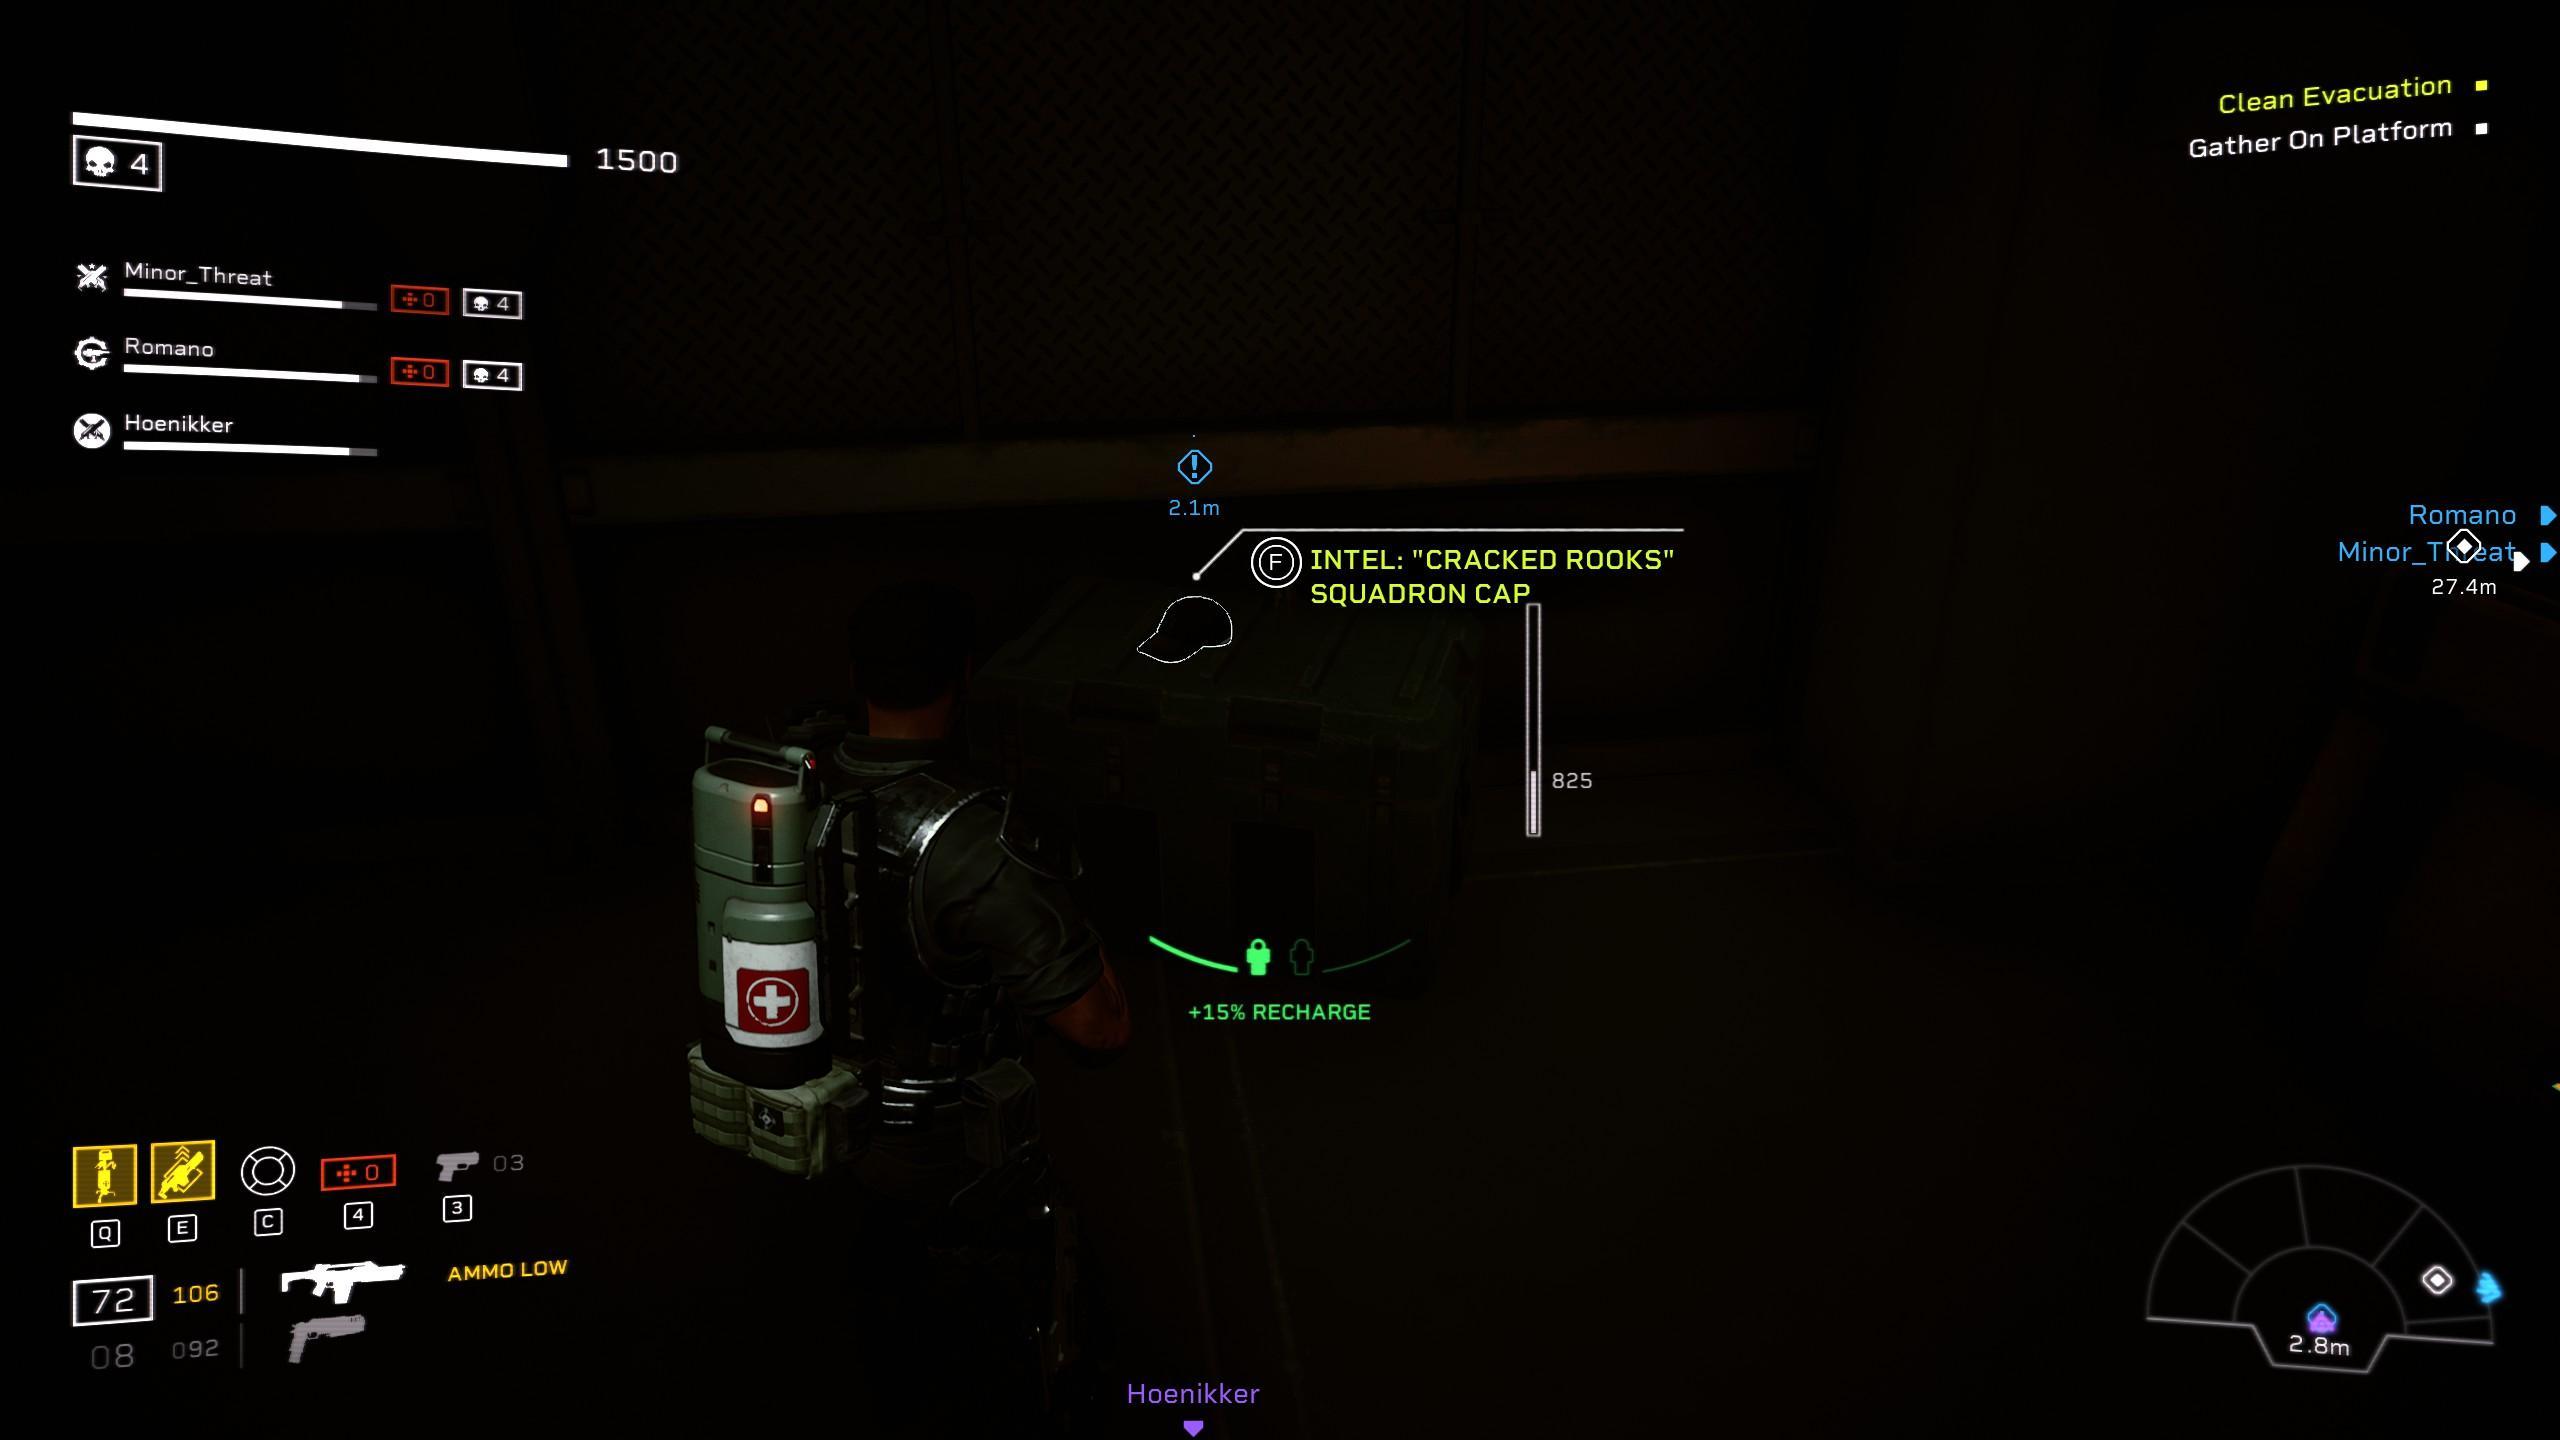
- Crooked Rooks Cap: This is located right as you enter the room for the final Holdout (It’s the hangar with the dropship). Turn left upon entering this room and you’ll find this hat located on top of some boxes.

Giants in The Earth: Insertion
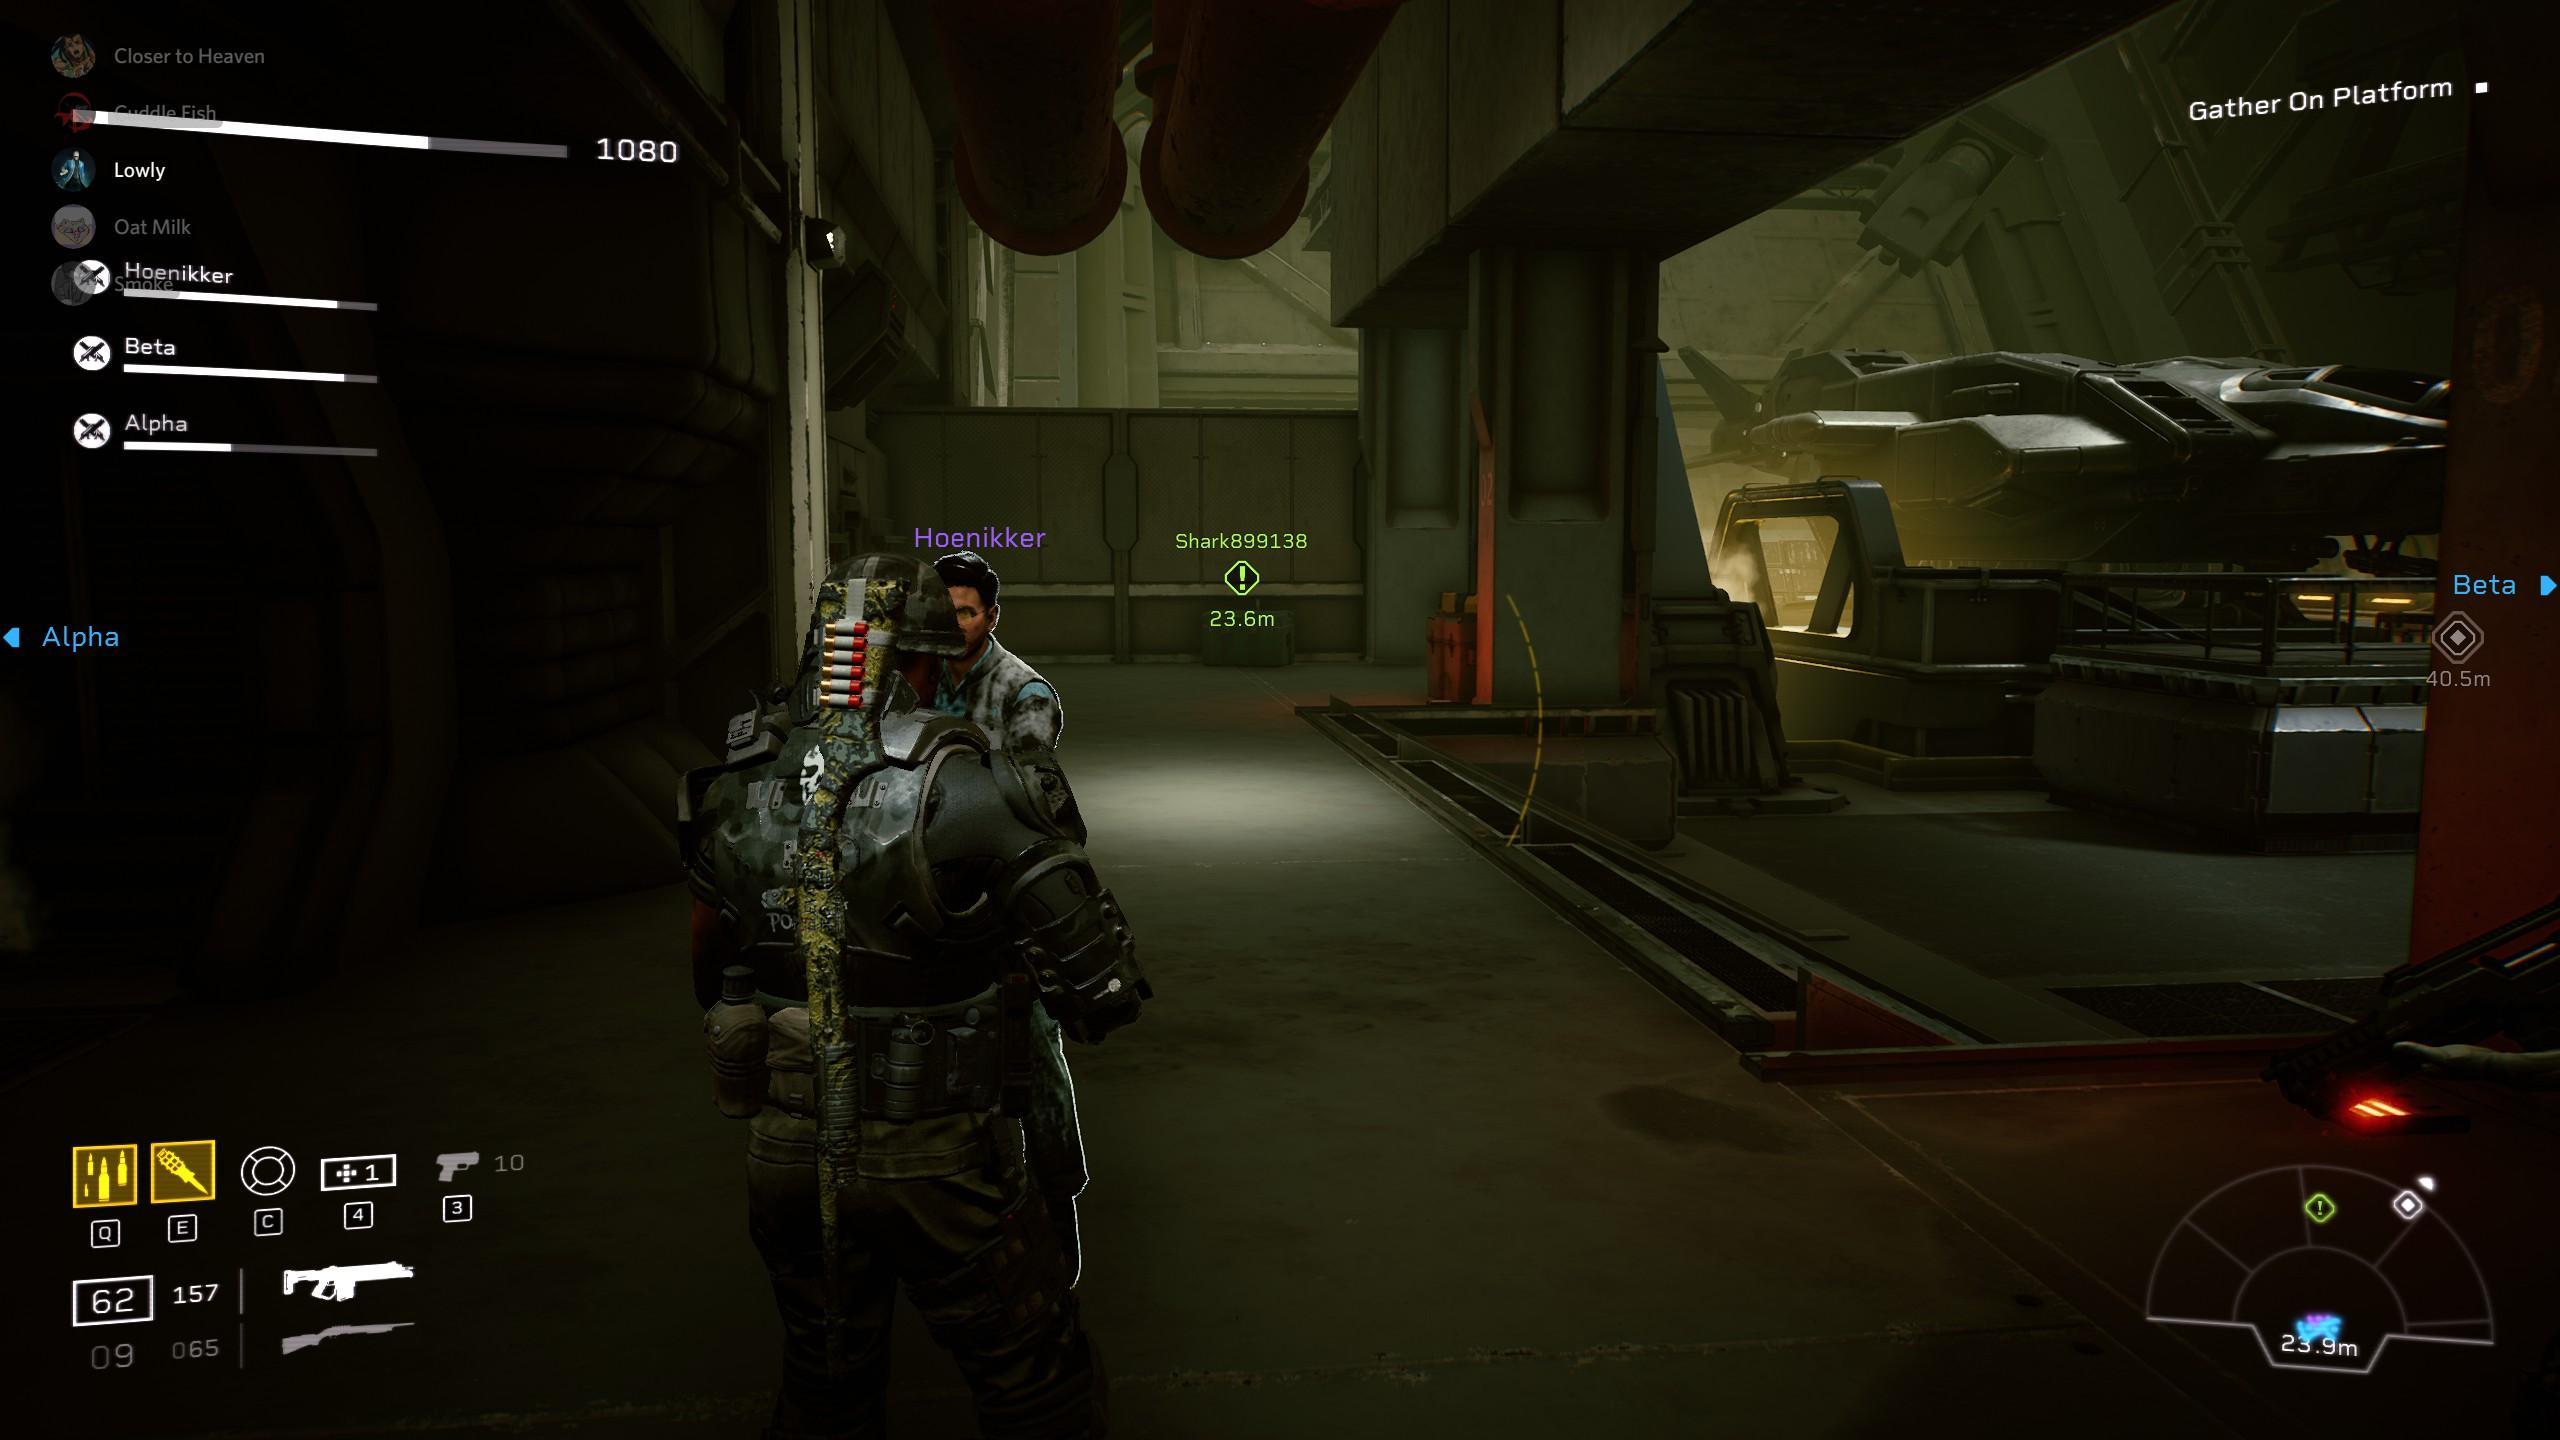
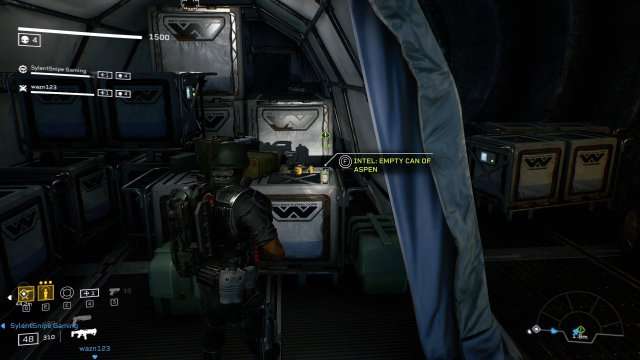
- Empty Can of Aspen Beer: Upon starting this mission after dealing with Bug Horde walk forward until you see a open Wey-Yu tent on your right. walk inside for the Intel.
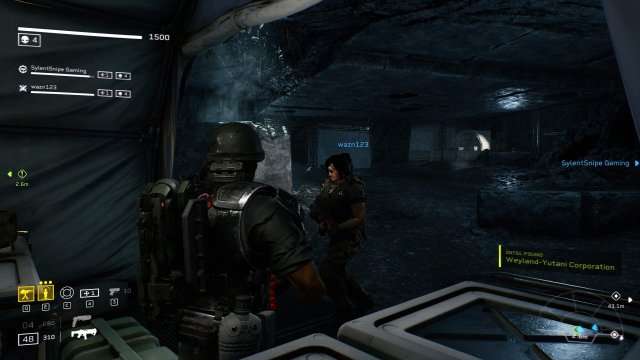
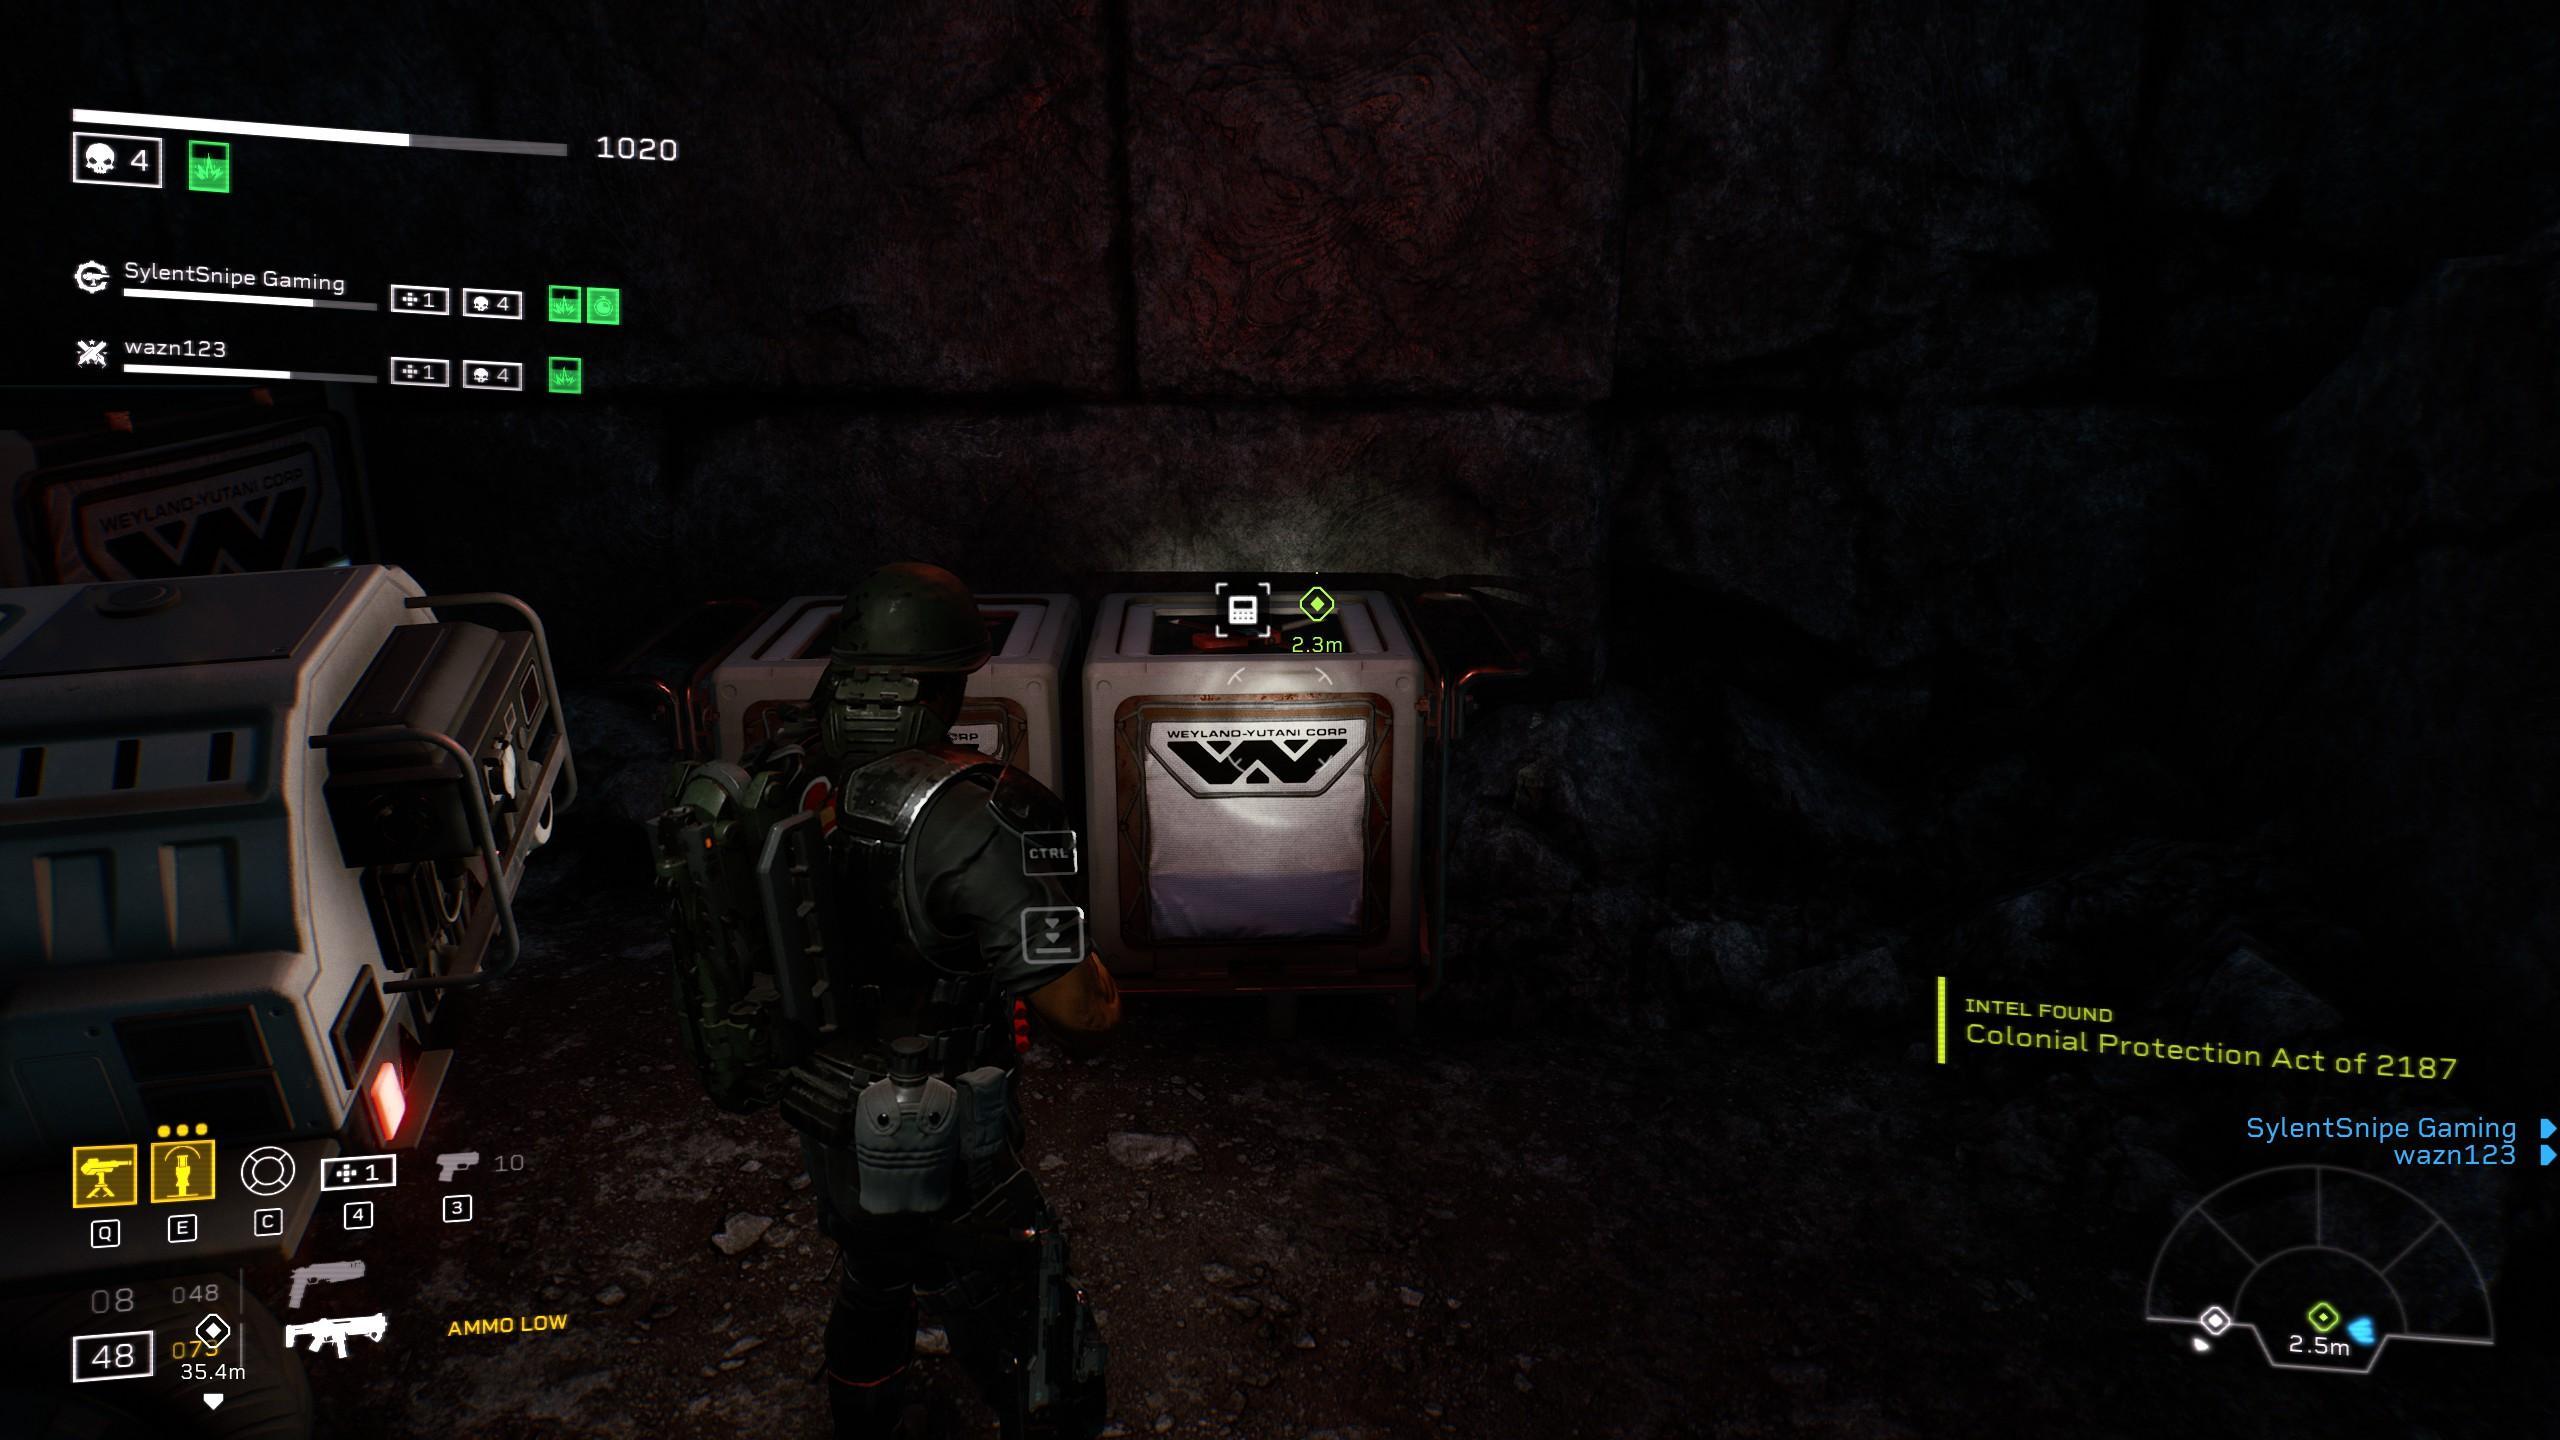
- Colonial Protection Act Pamphlet: Further along the mission you’ll be put into an underground cavern with one path that leads to highground and one that leads lower. after dealing with the swarm that spawns stick to the lower road and at the end look towards the right to spot it on a box.
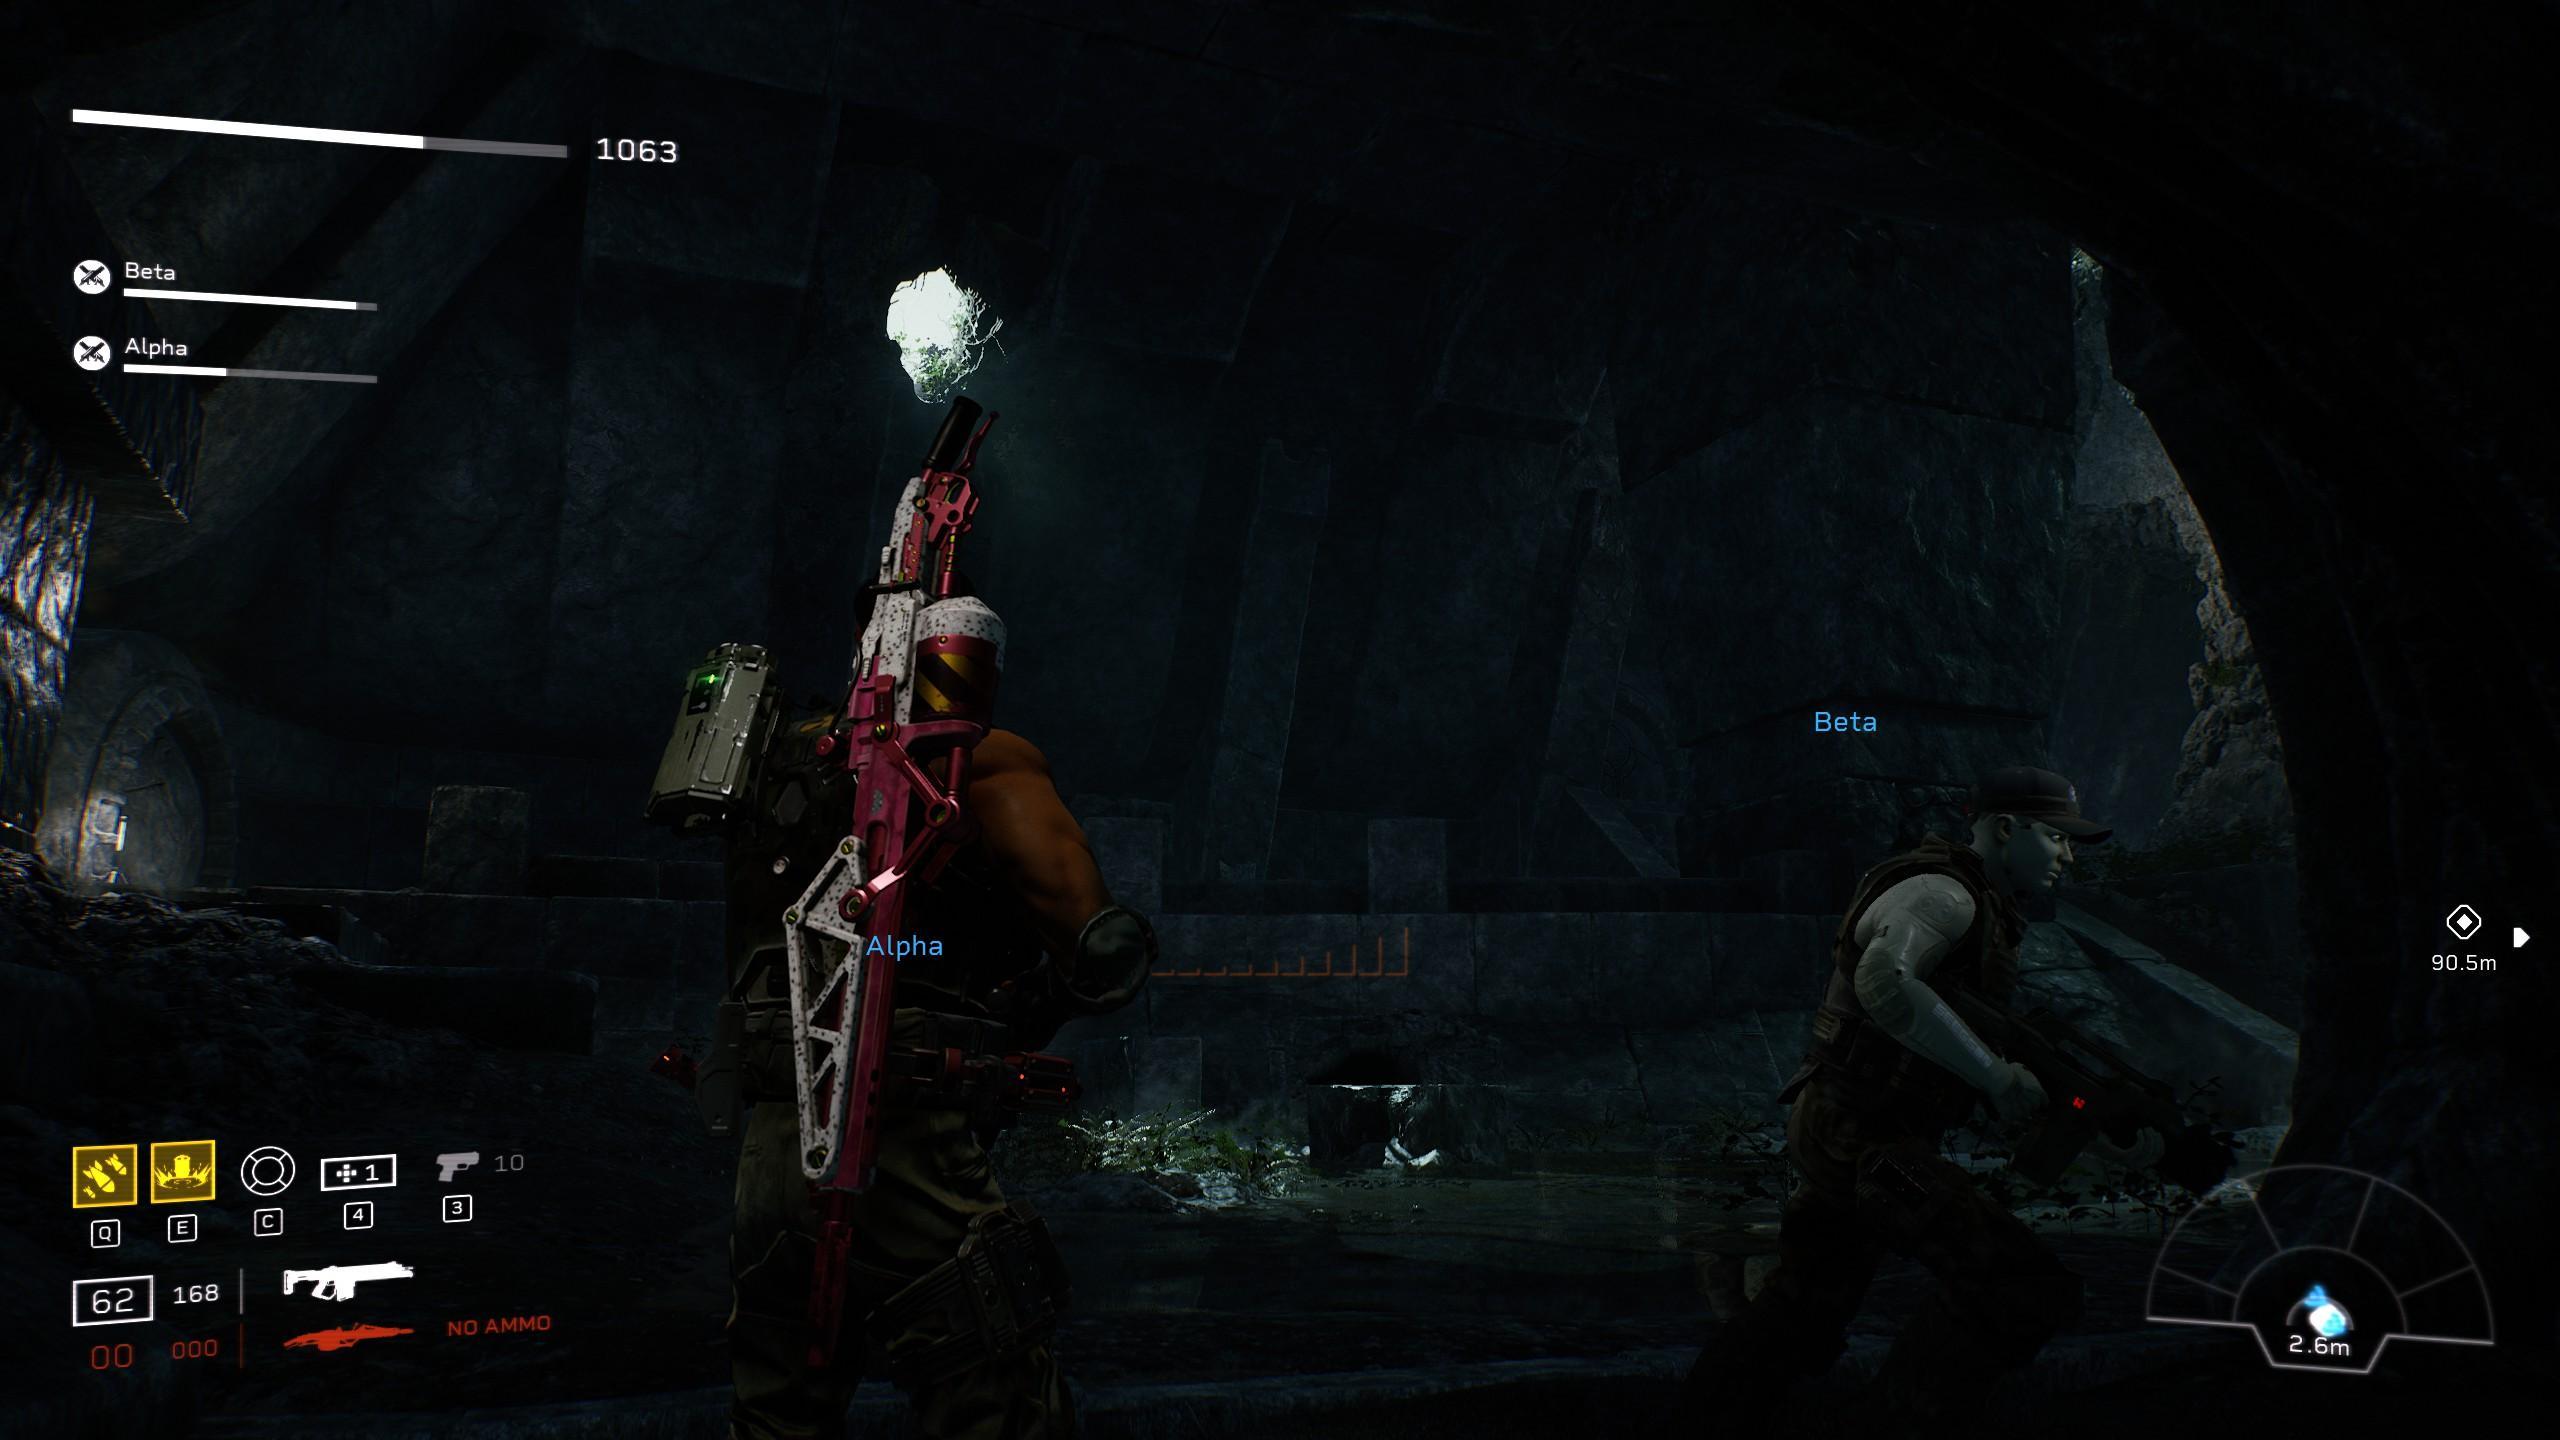
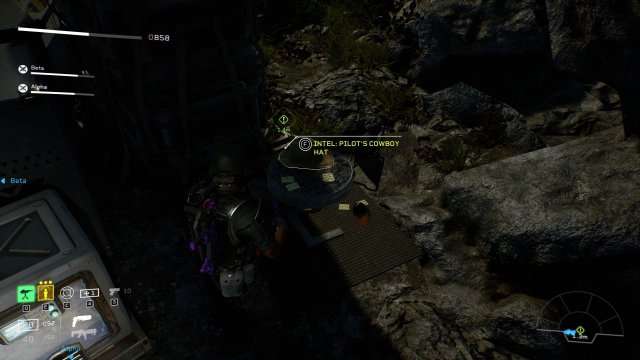
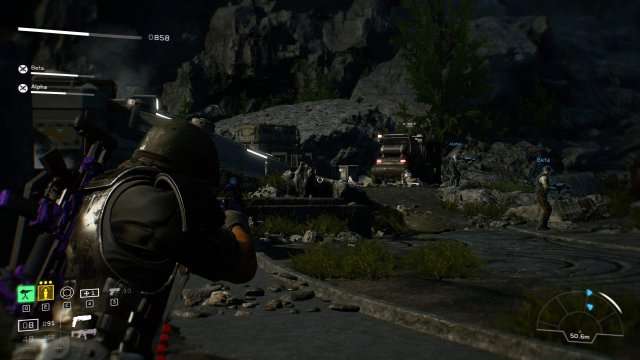
- Frontier Pilots Cowboy Hat: Found at the VERY END of the mission. After crossing the bridge while Ko covers take a left towards the abandoned Lander. Hidden in a corner behind some boxes you’ll find a table holding the hat.
Giants in The Earth: Contact
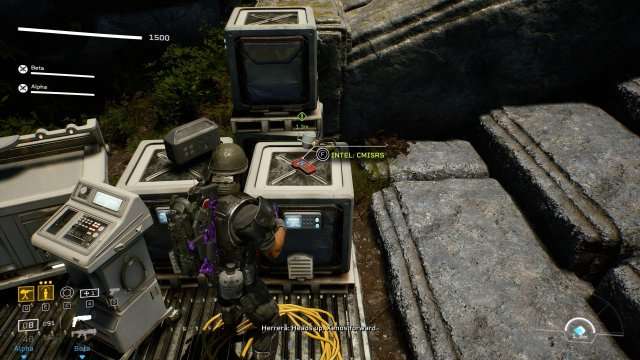
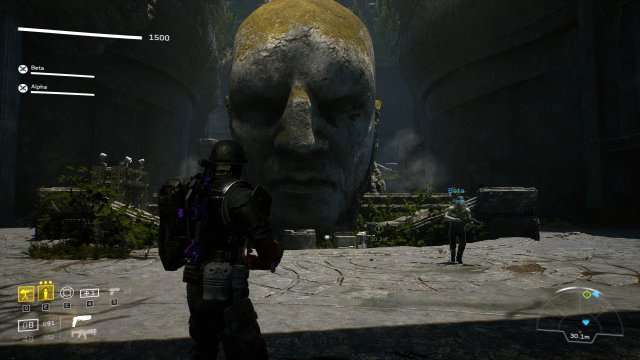
- Intel: CMISRS: Upon starting this chapter you should soon find yourself in this room with the Giant head. Head to the base of the Head (Hahah) and you find this intel on a table.
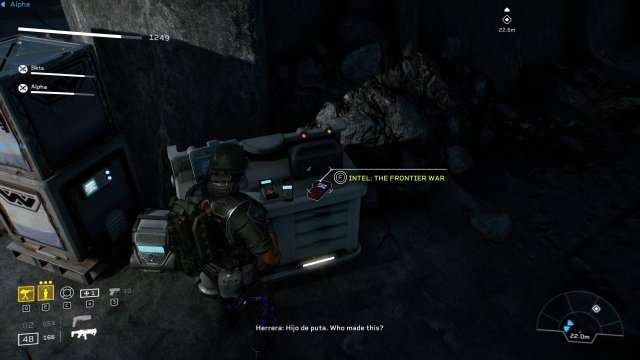
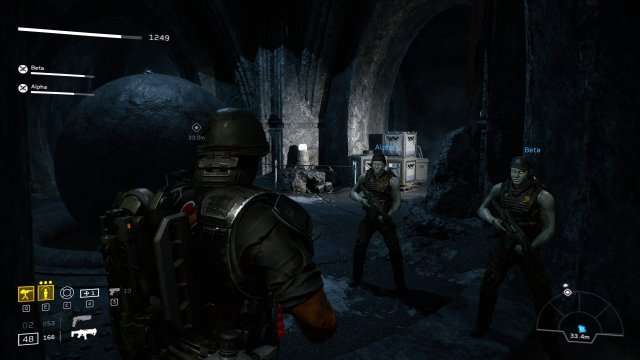
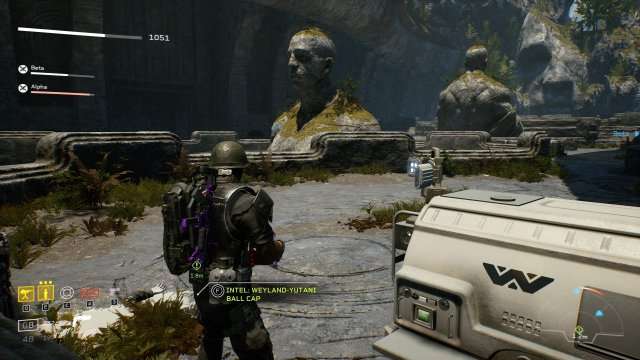
- Frontier War Intel: A lot further on into the level you should find yourself entering this room and immediately facing this ball. Head right of Ball (Beware there may be a pouncer) To pick up this Intel sitting on a table.
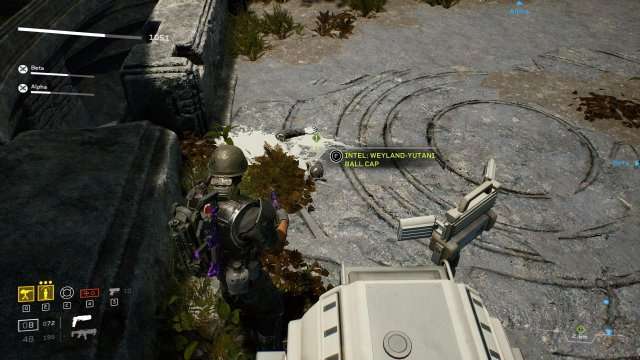
- Synth Cap: Reaching the final Holdout area (Herrera will announce the presence of a Sniper Synth) Head up the crumbled ruins then take a right and another right till you find yourself staring at the featured generator. the cap will be close next to it.
Giants in The Earth: Evacuate
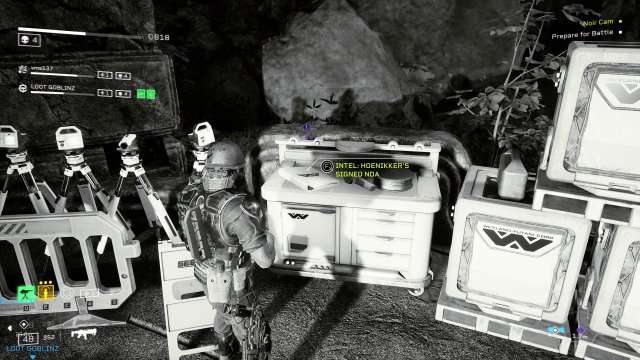
- Hoenikker’s NDA: Found at the first standoff beneath where the Ammo Refill, Medkits, and Item Crates are.
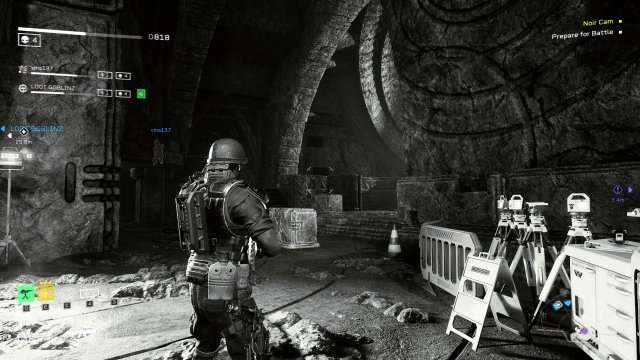
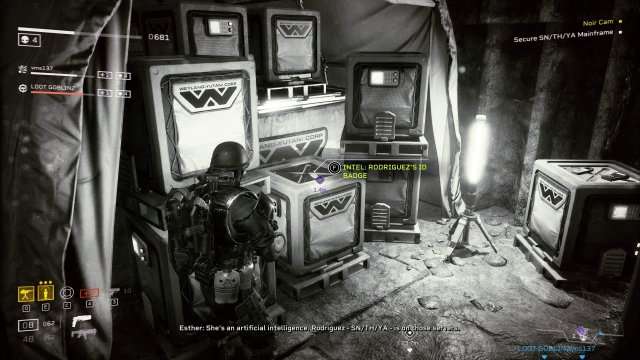
- Rodriguez ID Badge: When you enter the room with all the working Joe’s stick to the left side. once you’ve reach the end turn left till you a see a tent. approach the tent for the intel.
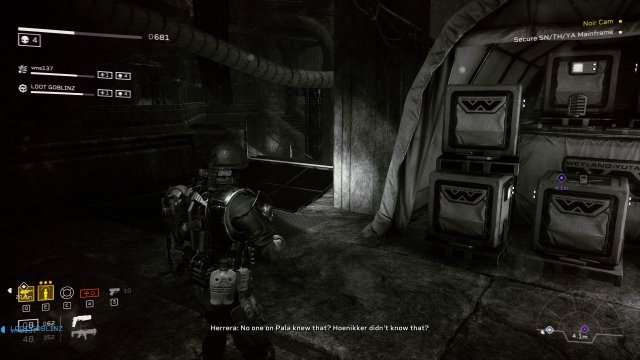
- Server Panel: During the boss fight with SN/TH/YA look under the first core to find this Server panel. do this during or after the siege whichever you prefer.
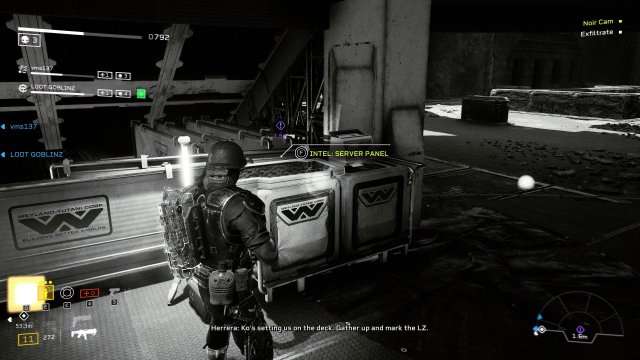
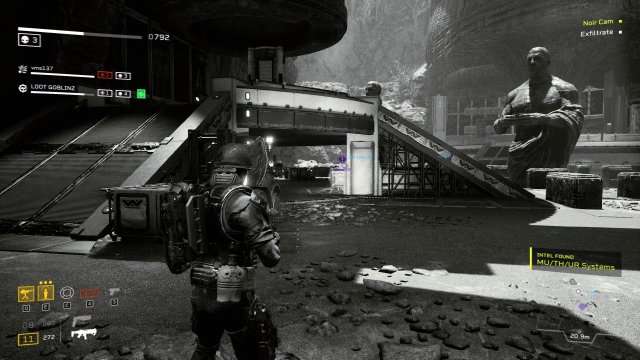
The Gift of Fire: Recon
- 40th Marine Expeditionary Unit: Starting the Mission immediately turn around and head down the path behind. this laptop will be located at the left side base of the statue you see.
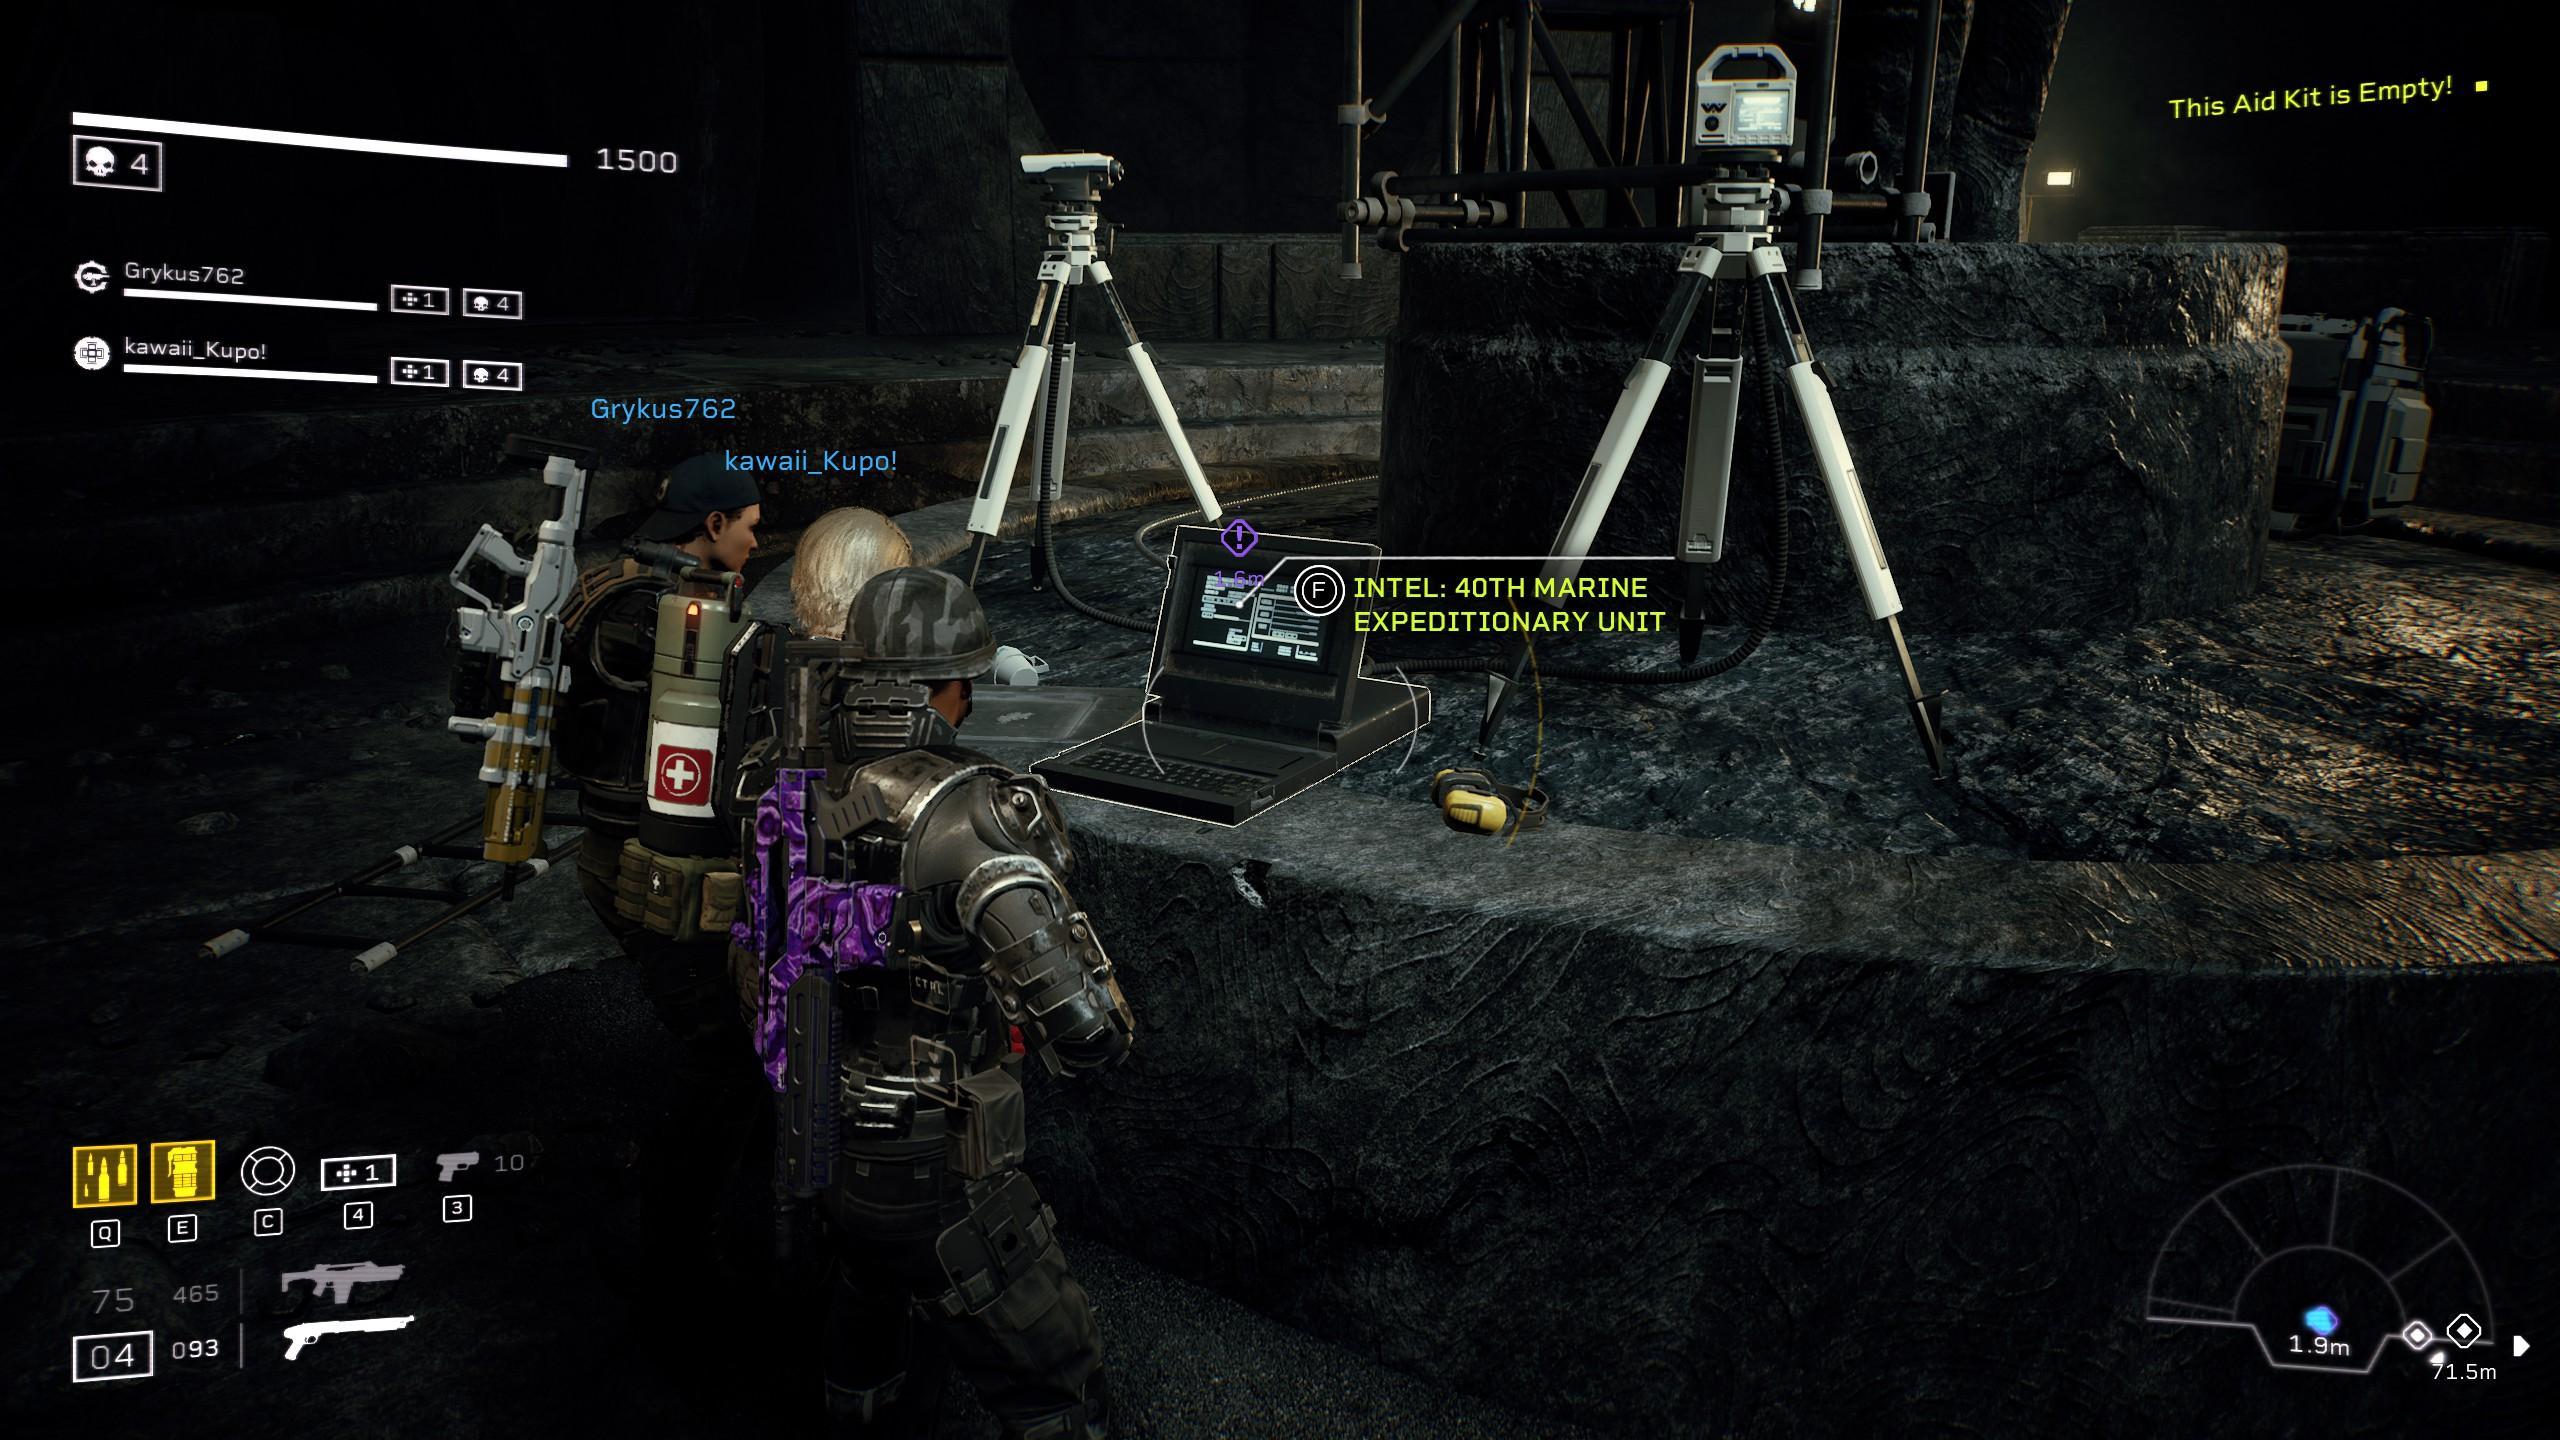

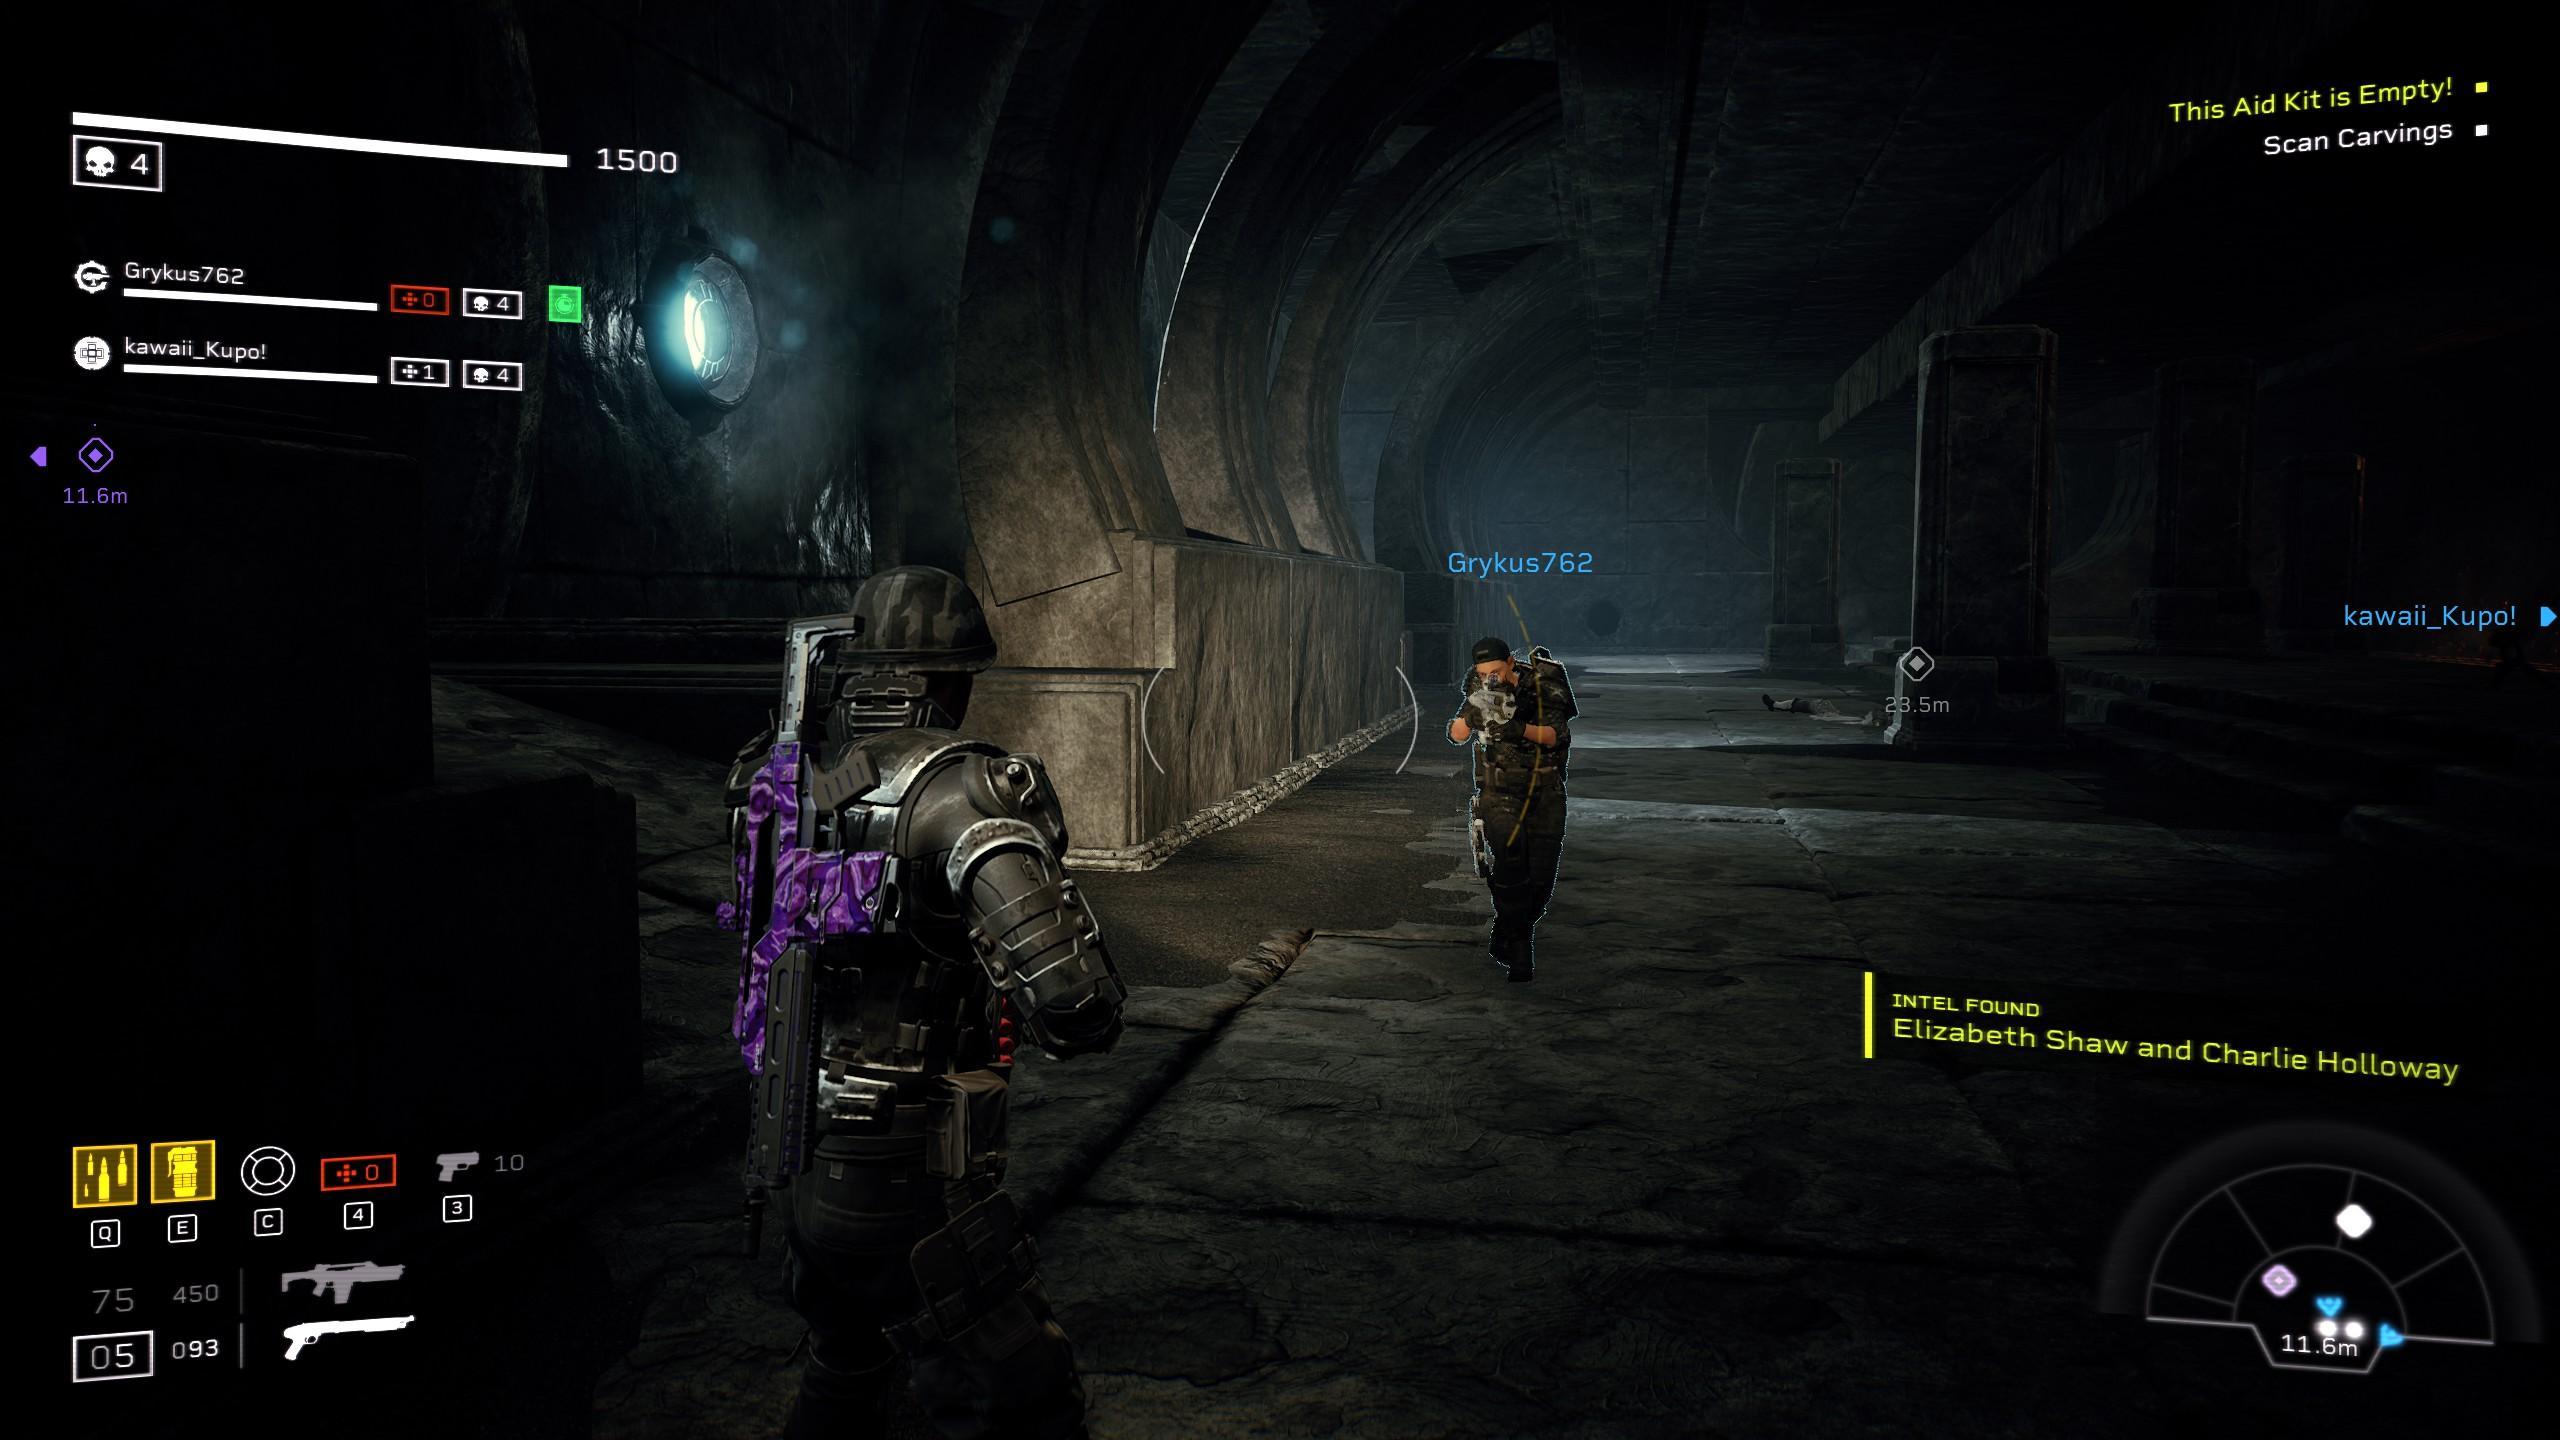
- Issue of Unexplained Universe: Continue on until you come across a long rectangular room in which Esther will ask you to scan some glyphs and activate a small holdout. You will find this piece of intel hiding in the 2nd RIGHT alcove ENTERING THE ROOM atop a generator.

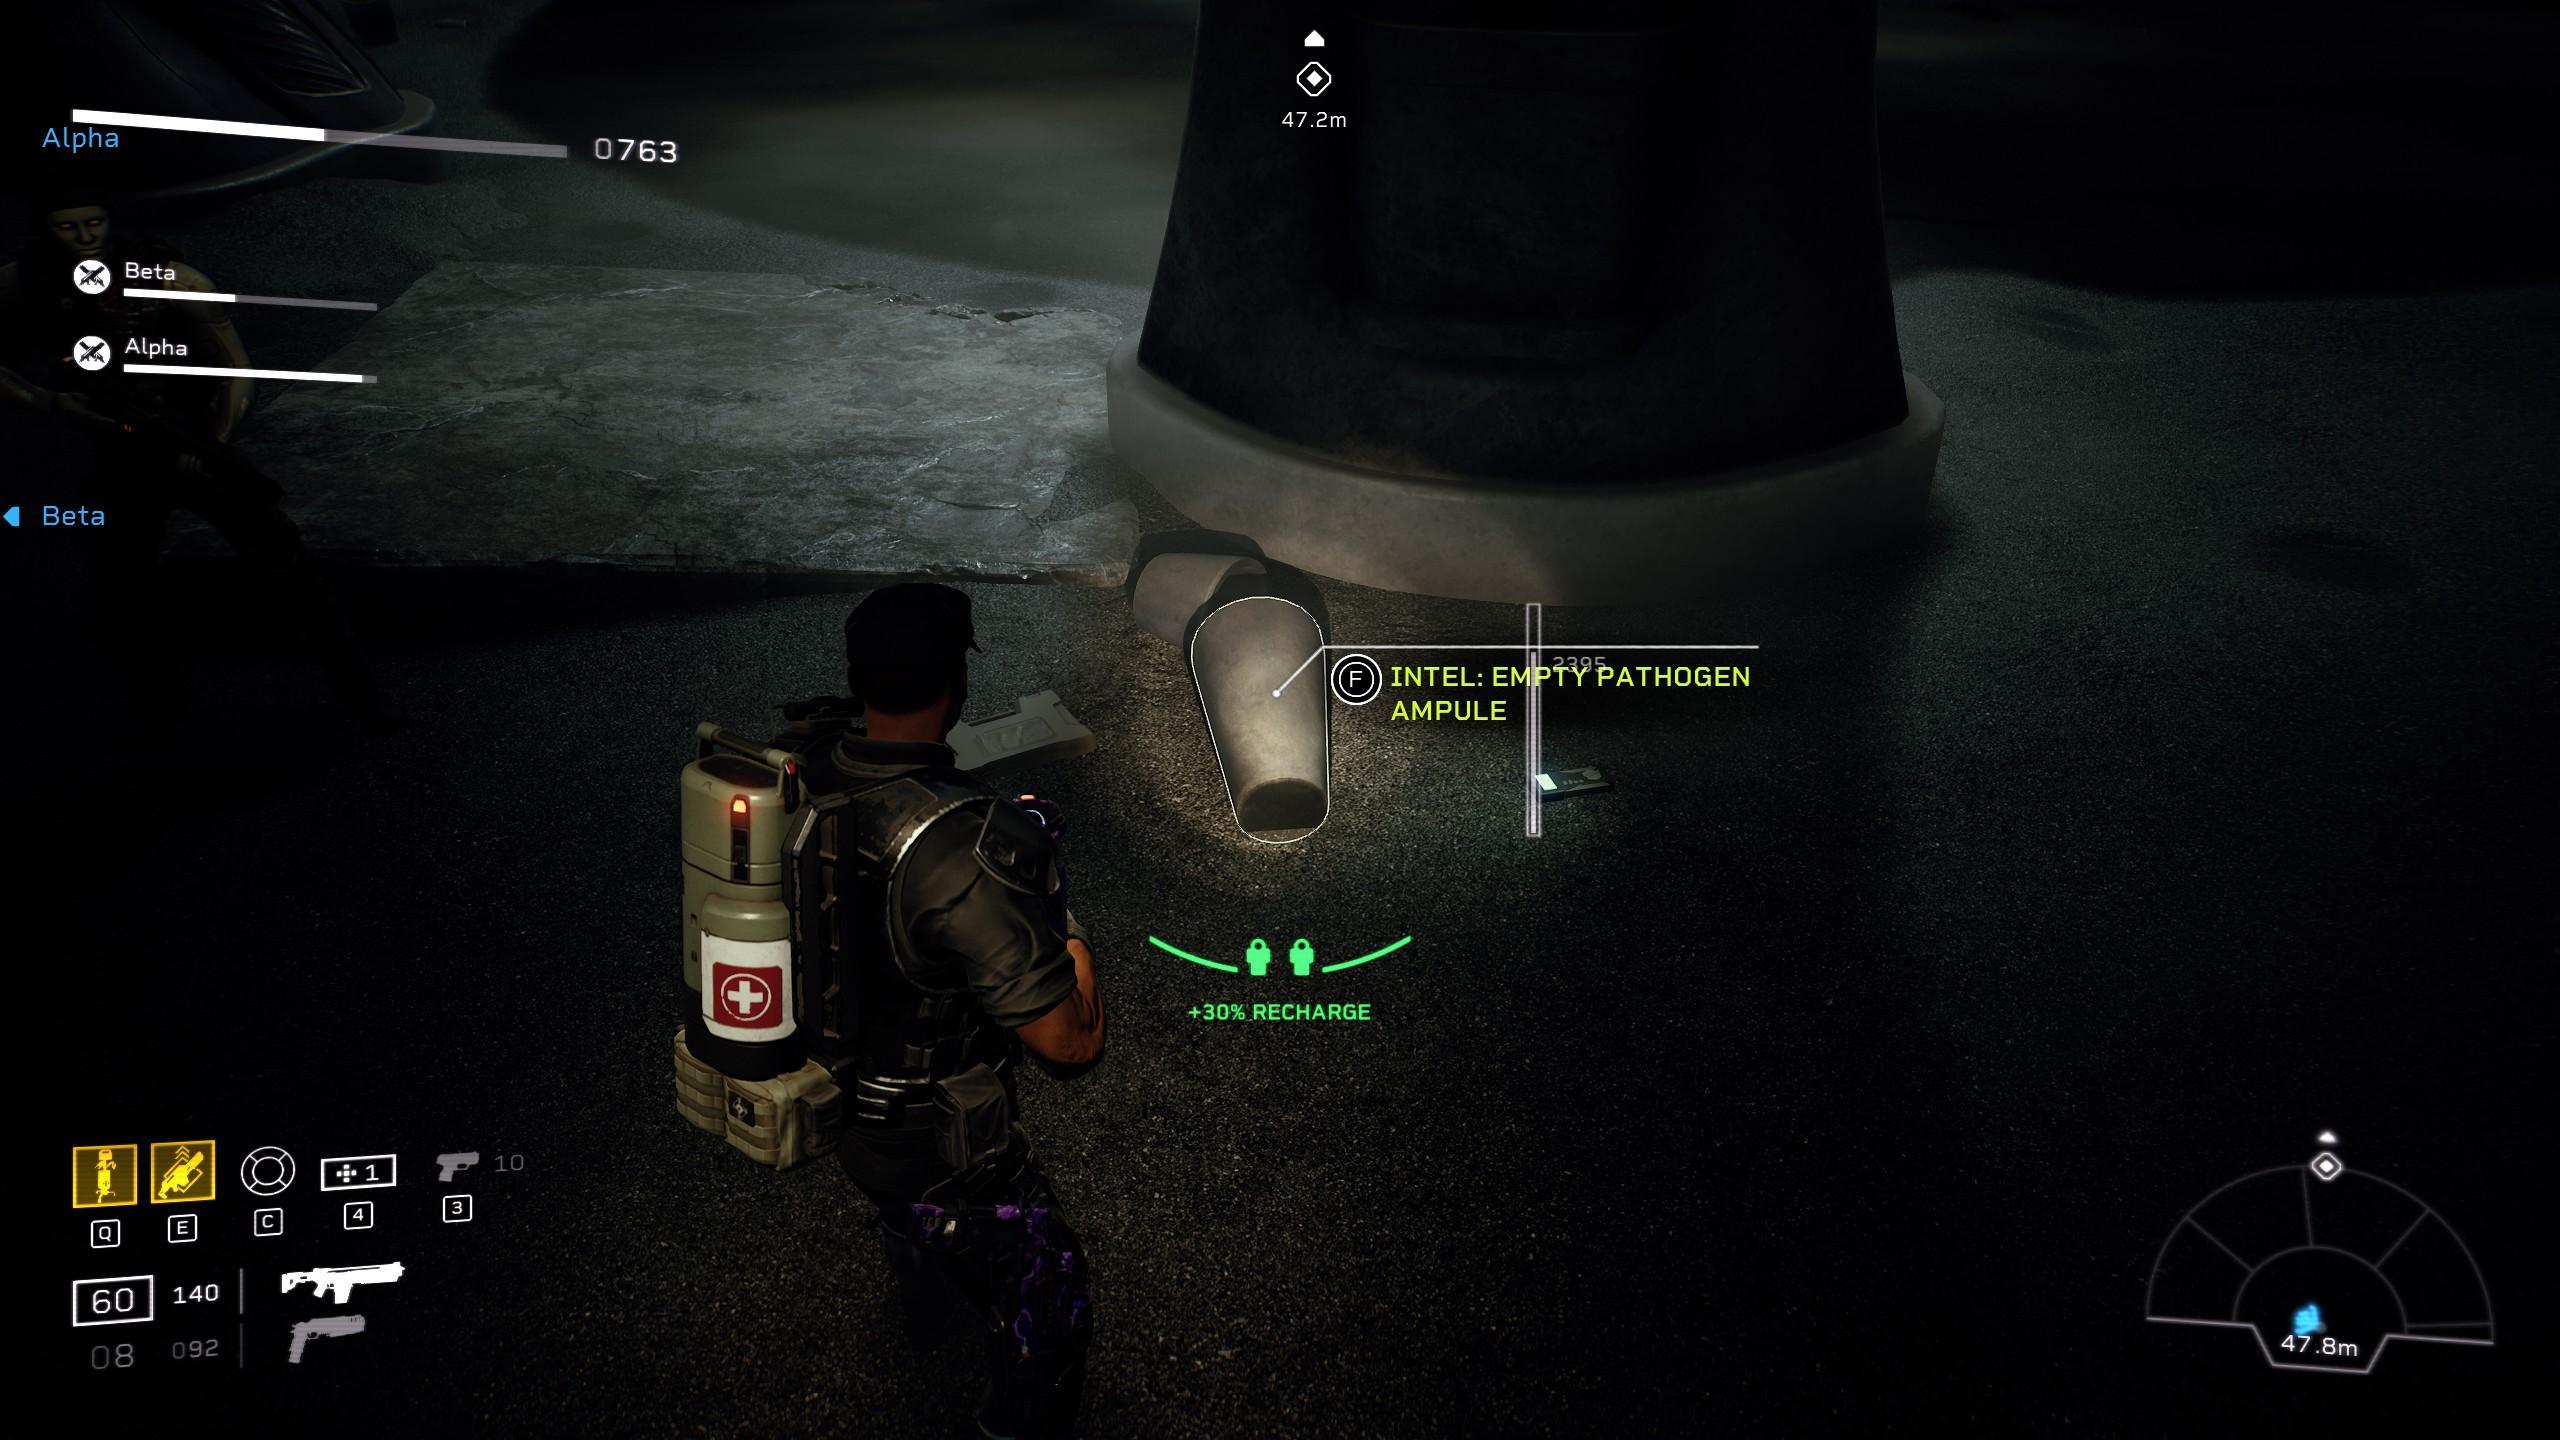
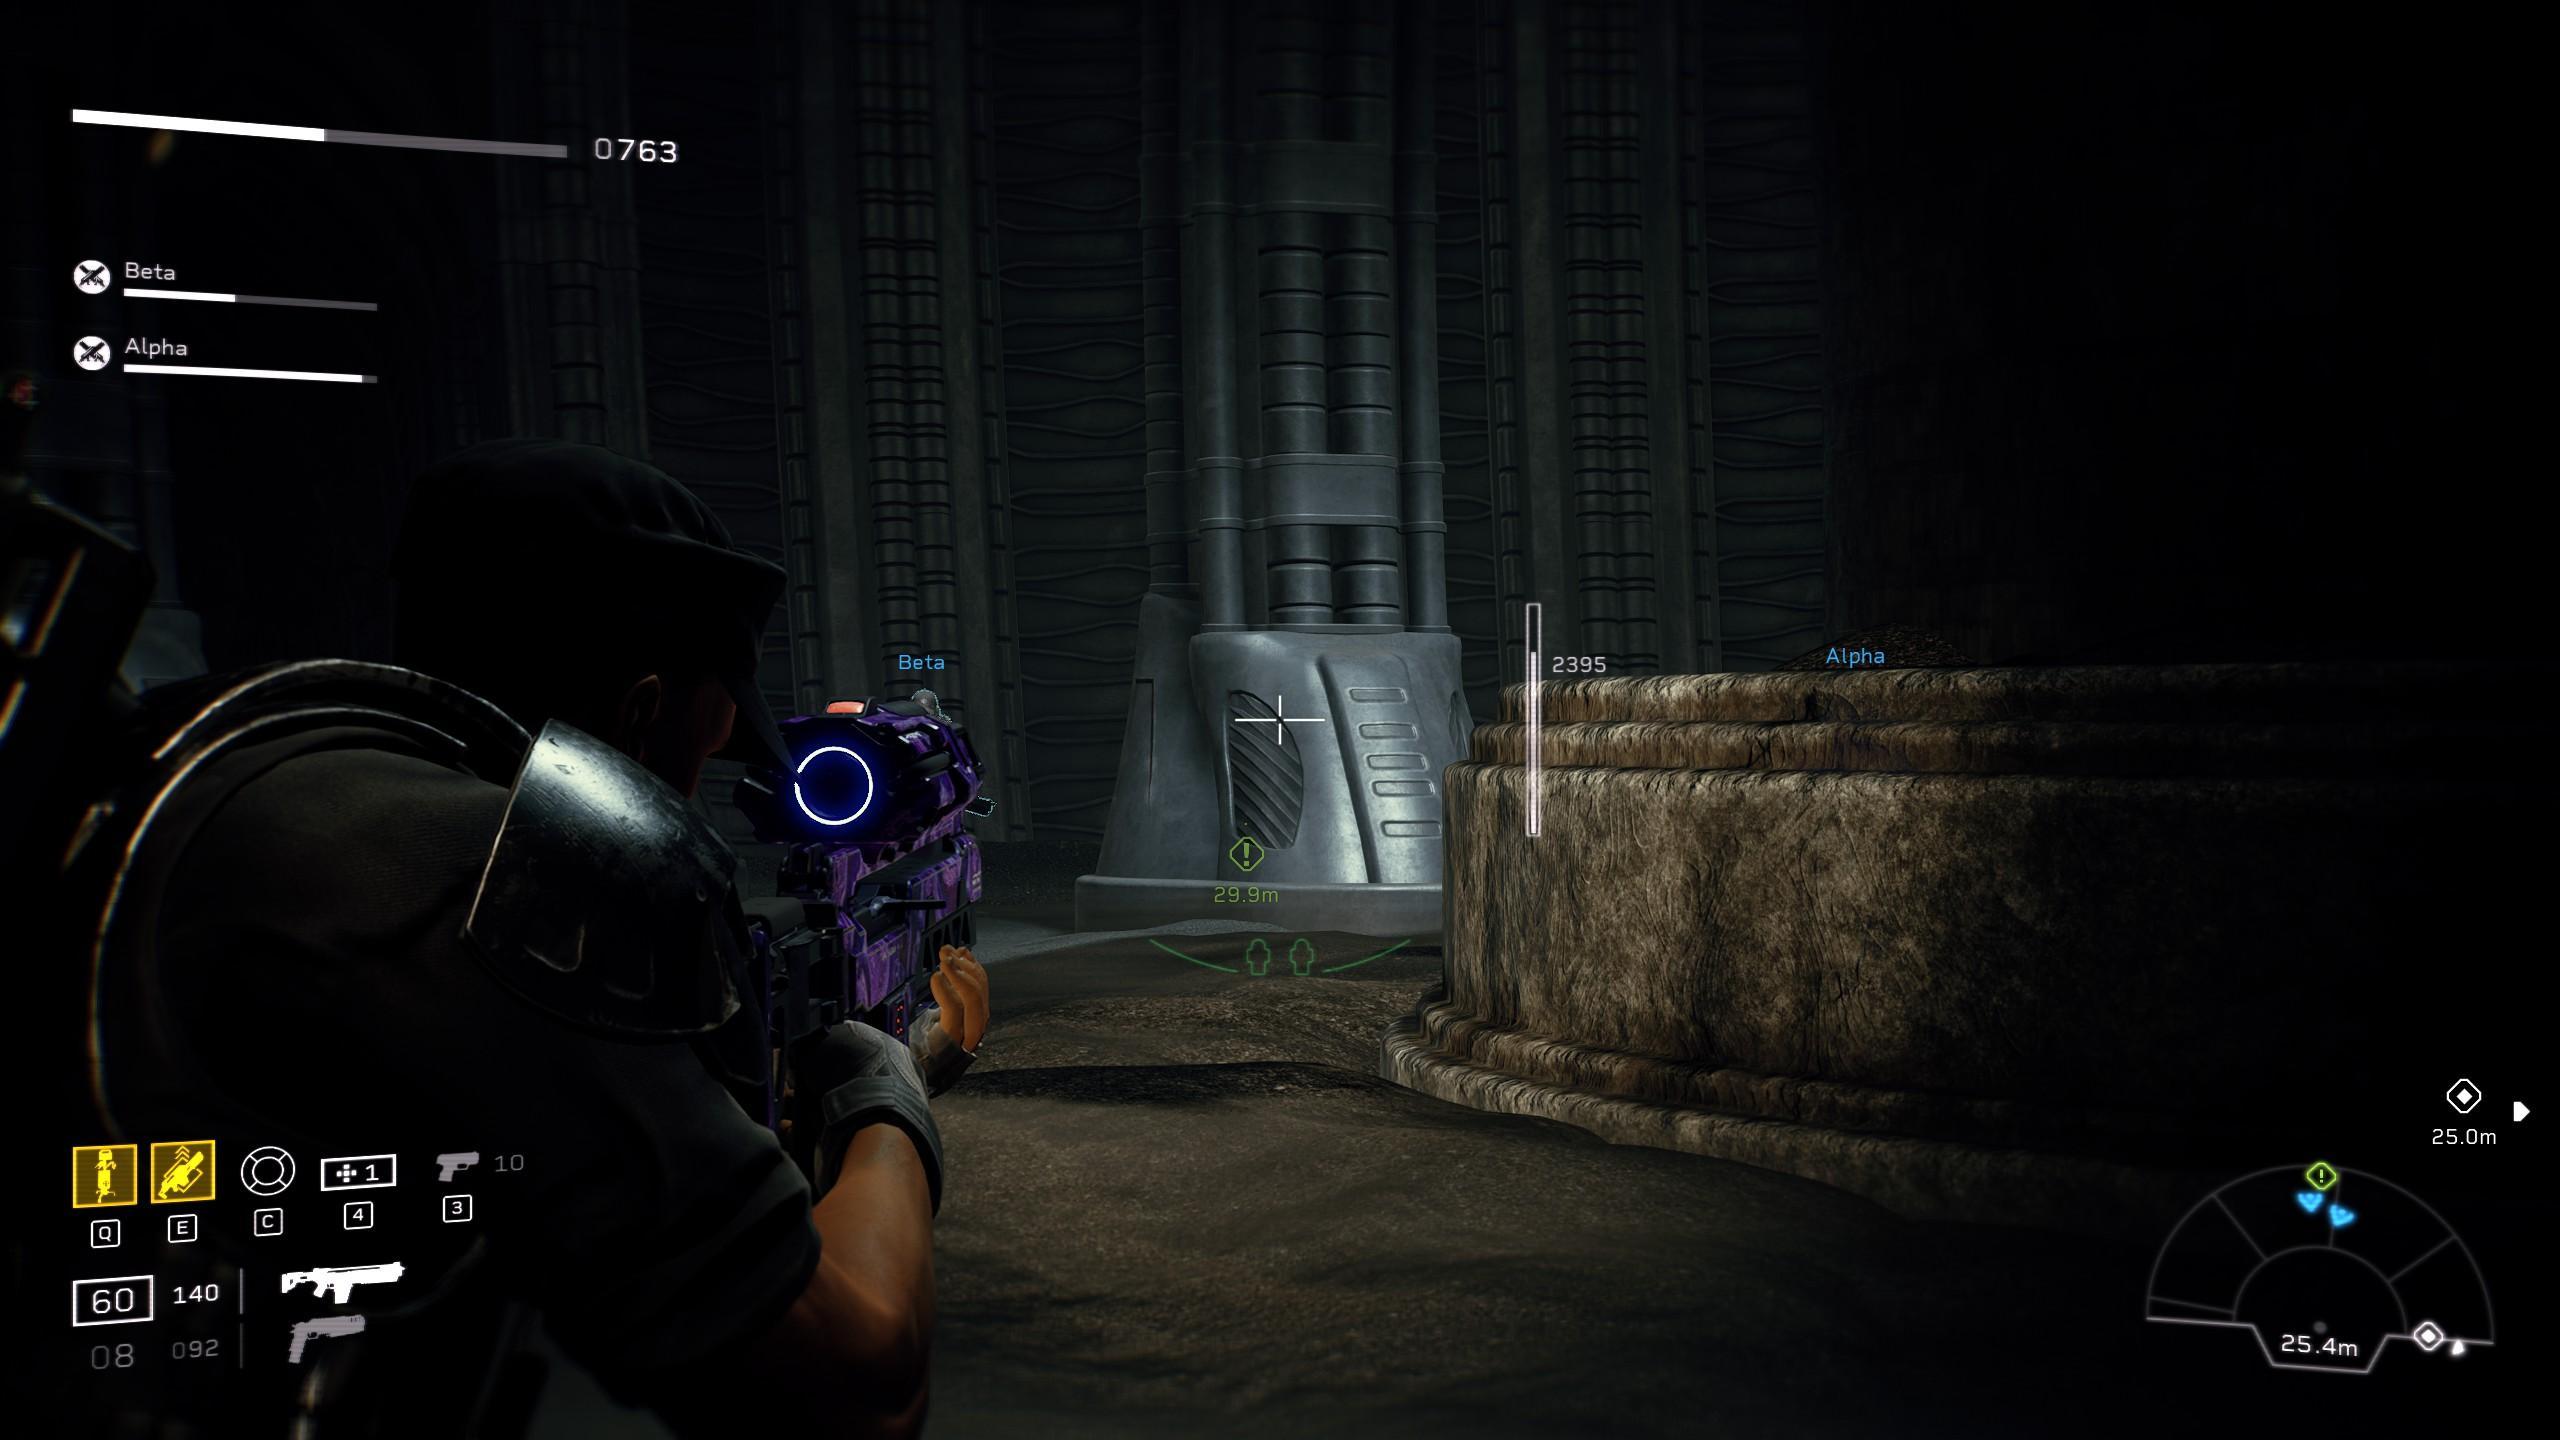
- Pathogen Jar: Welcome back to the land of the giant heads! Coming to the Last Glyph scanner objective heading behind the giant head in the center of the room search the pillars behind it to find the specific jar of pathogen.
The Gift of Fire: Advance
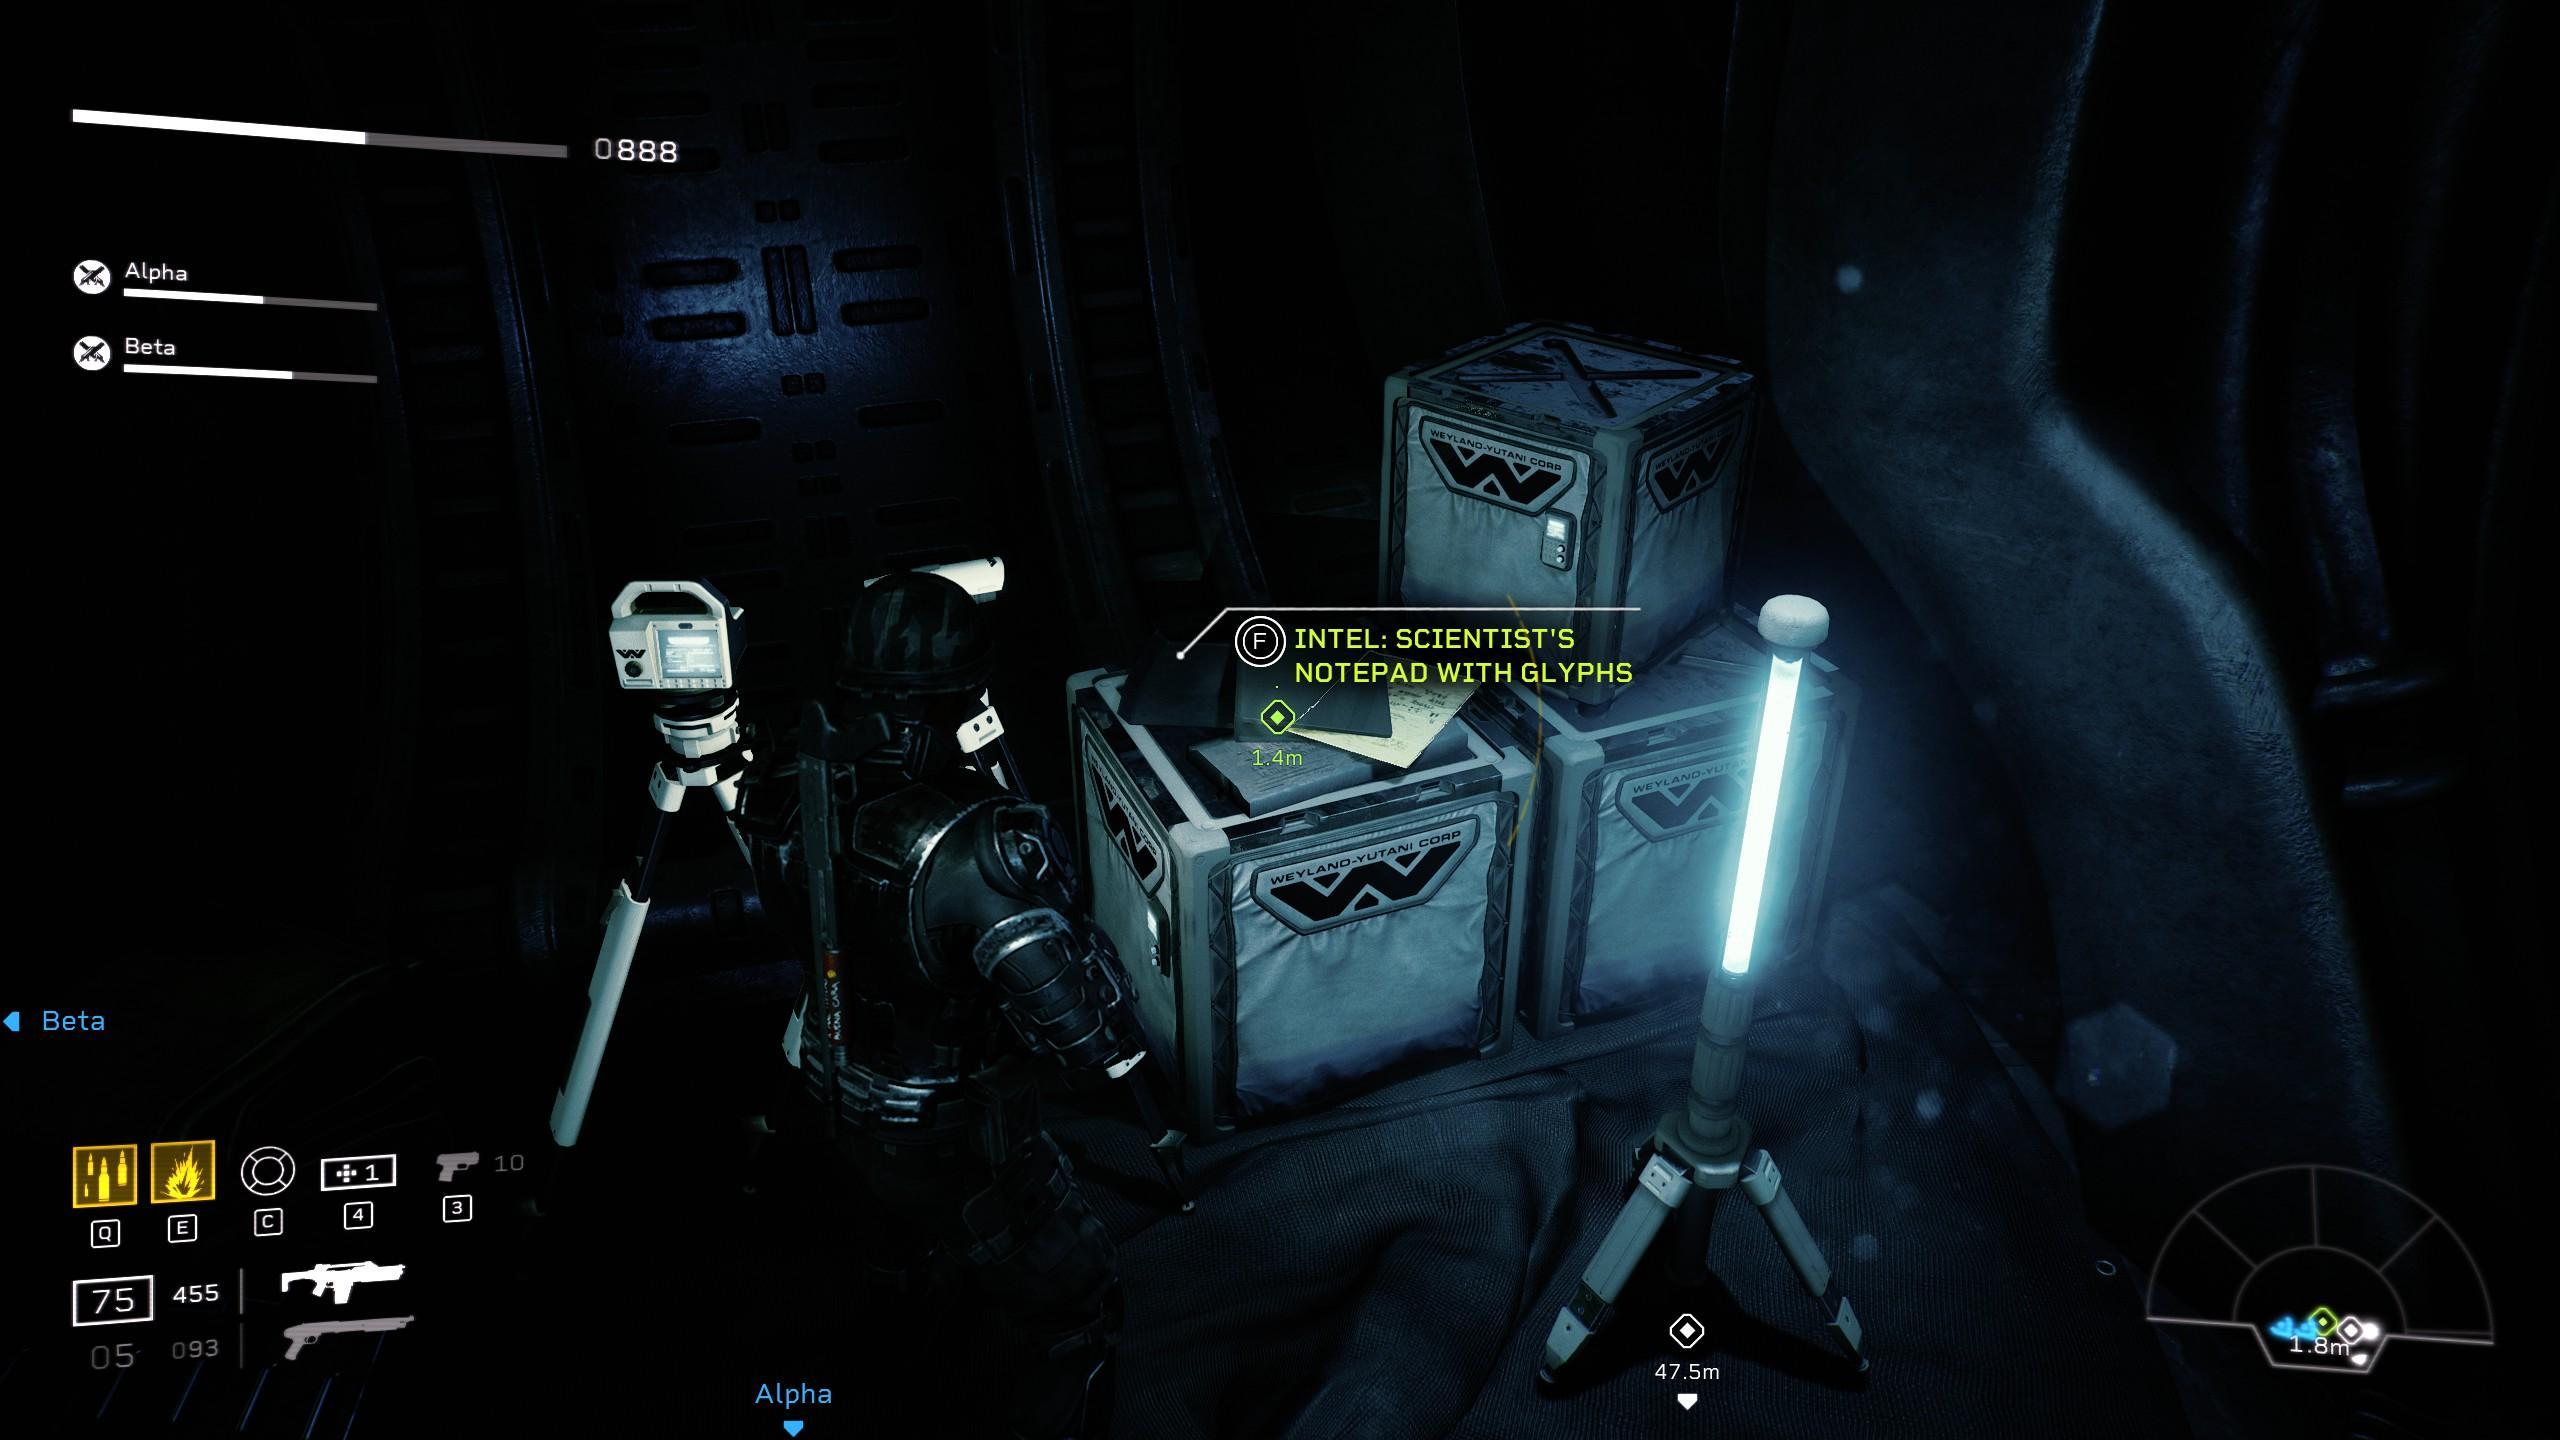
- Scientists Notes With Glyphs: Upon exiting the room that contained slim pathway through the center (It also contains a ammo box). Mantle over the ledge to your immediate left to find this Intel.

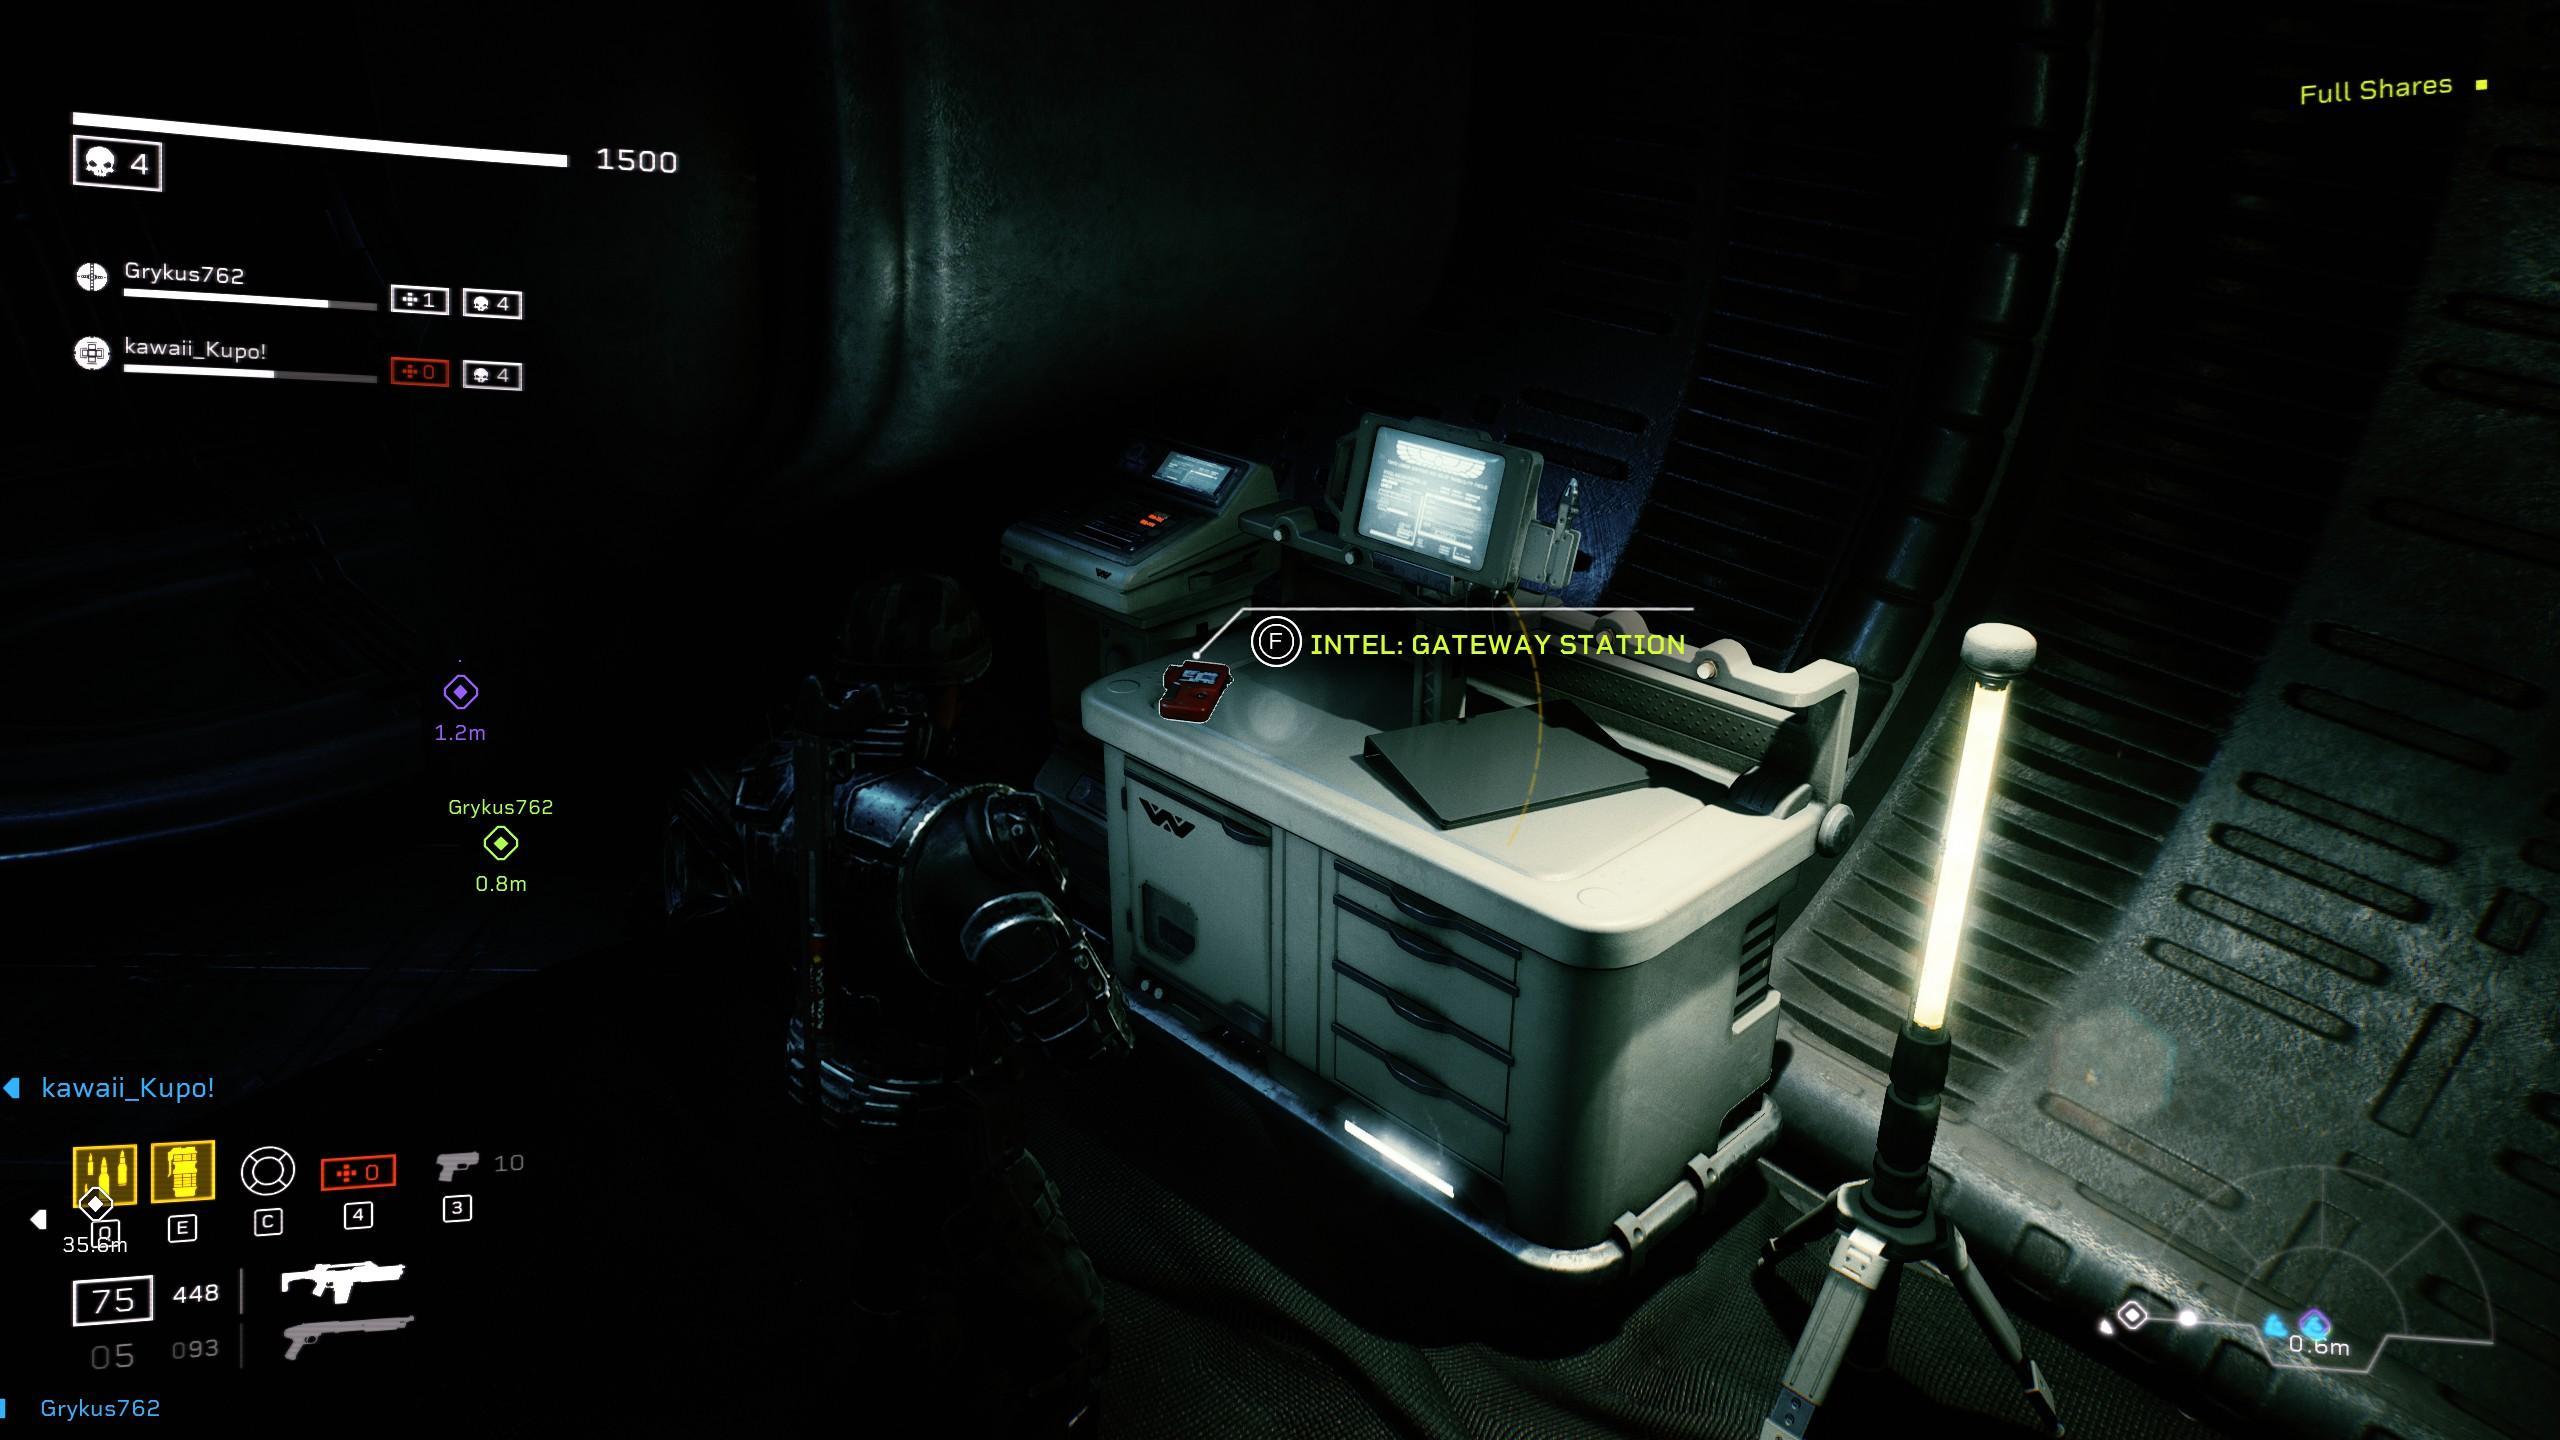
- G.E.OS Datapad: Exiting the room after your second standoff at an Instrumentality (This would be when Esther asks you to input the same code onto a panel) Head right of your objective to take the small ramp up to your Intel. A hidden Cache may spawn there as well.
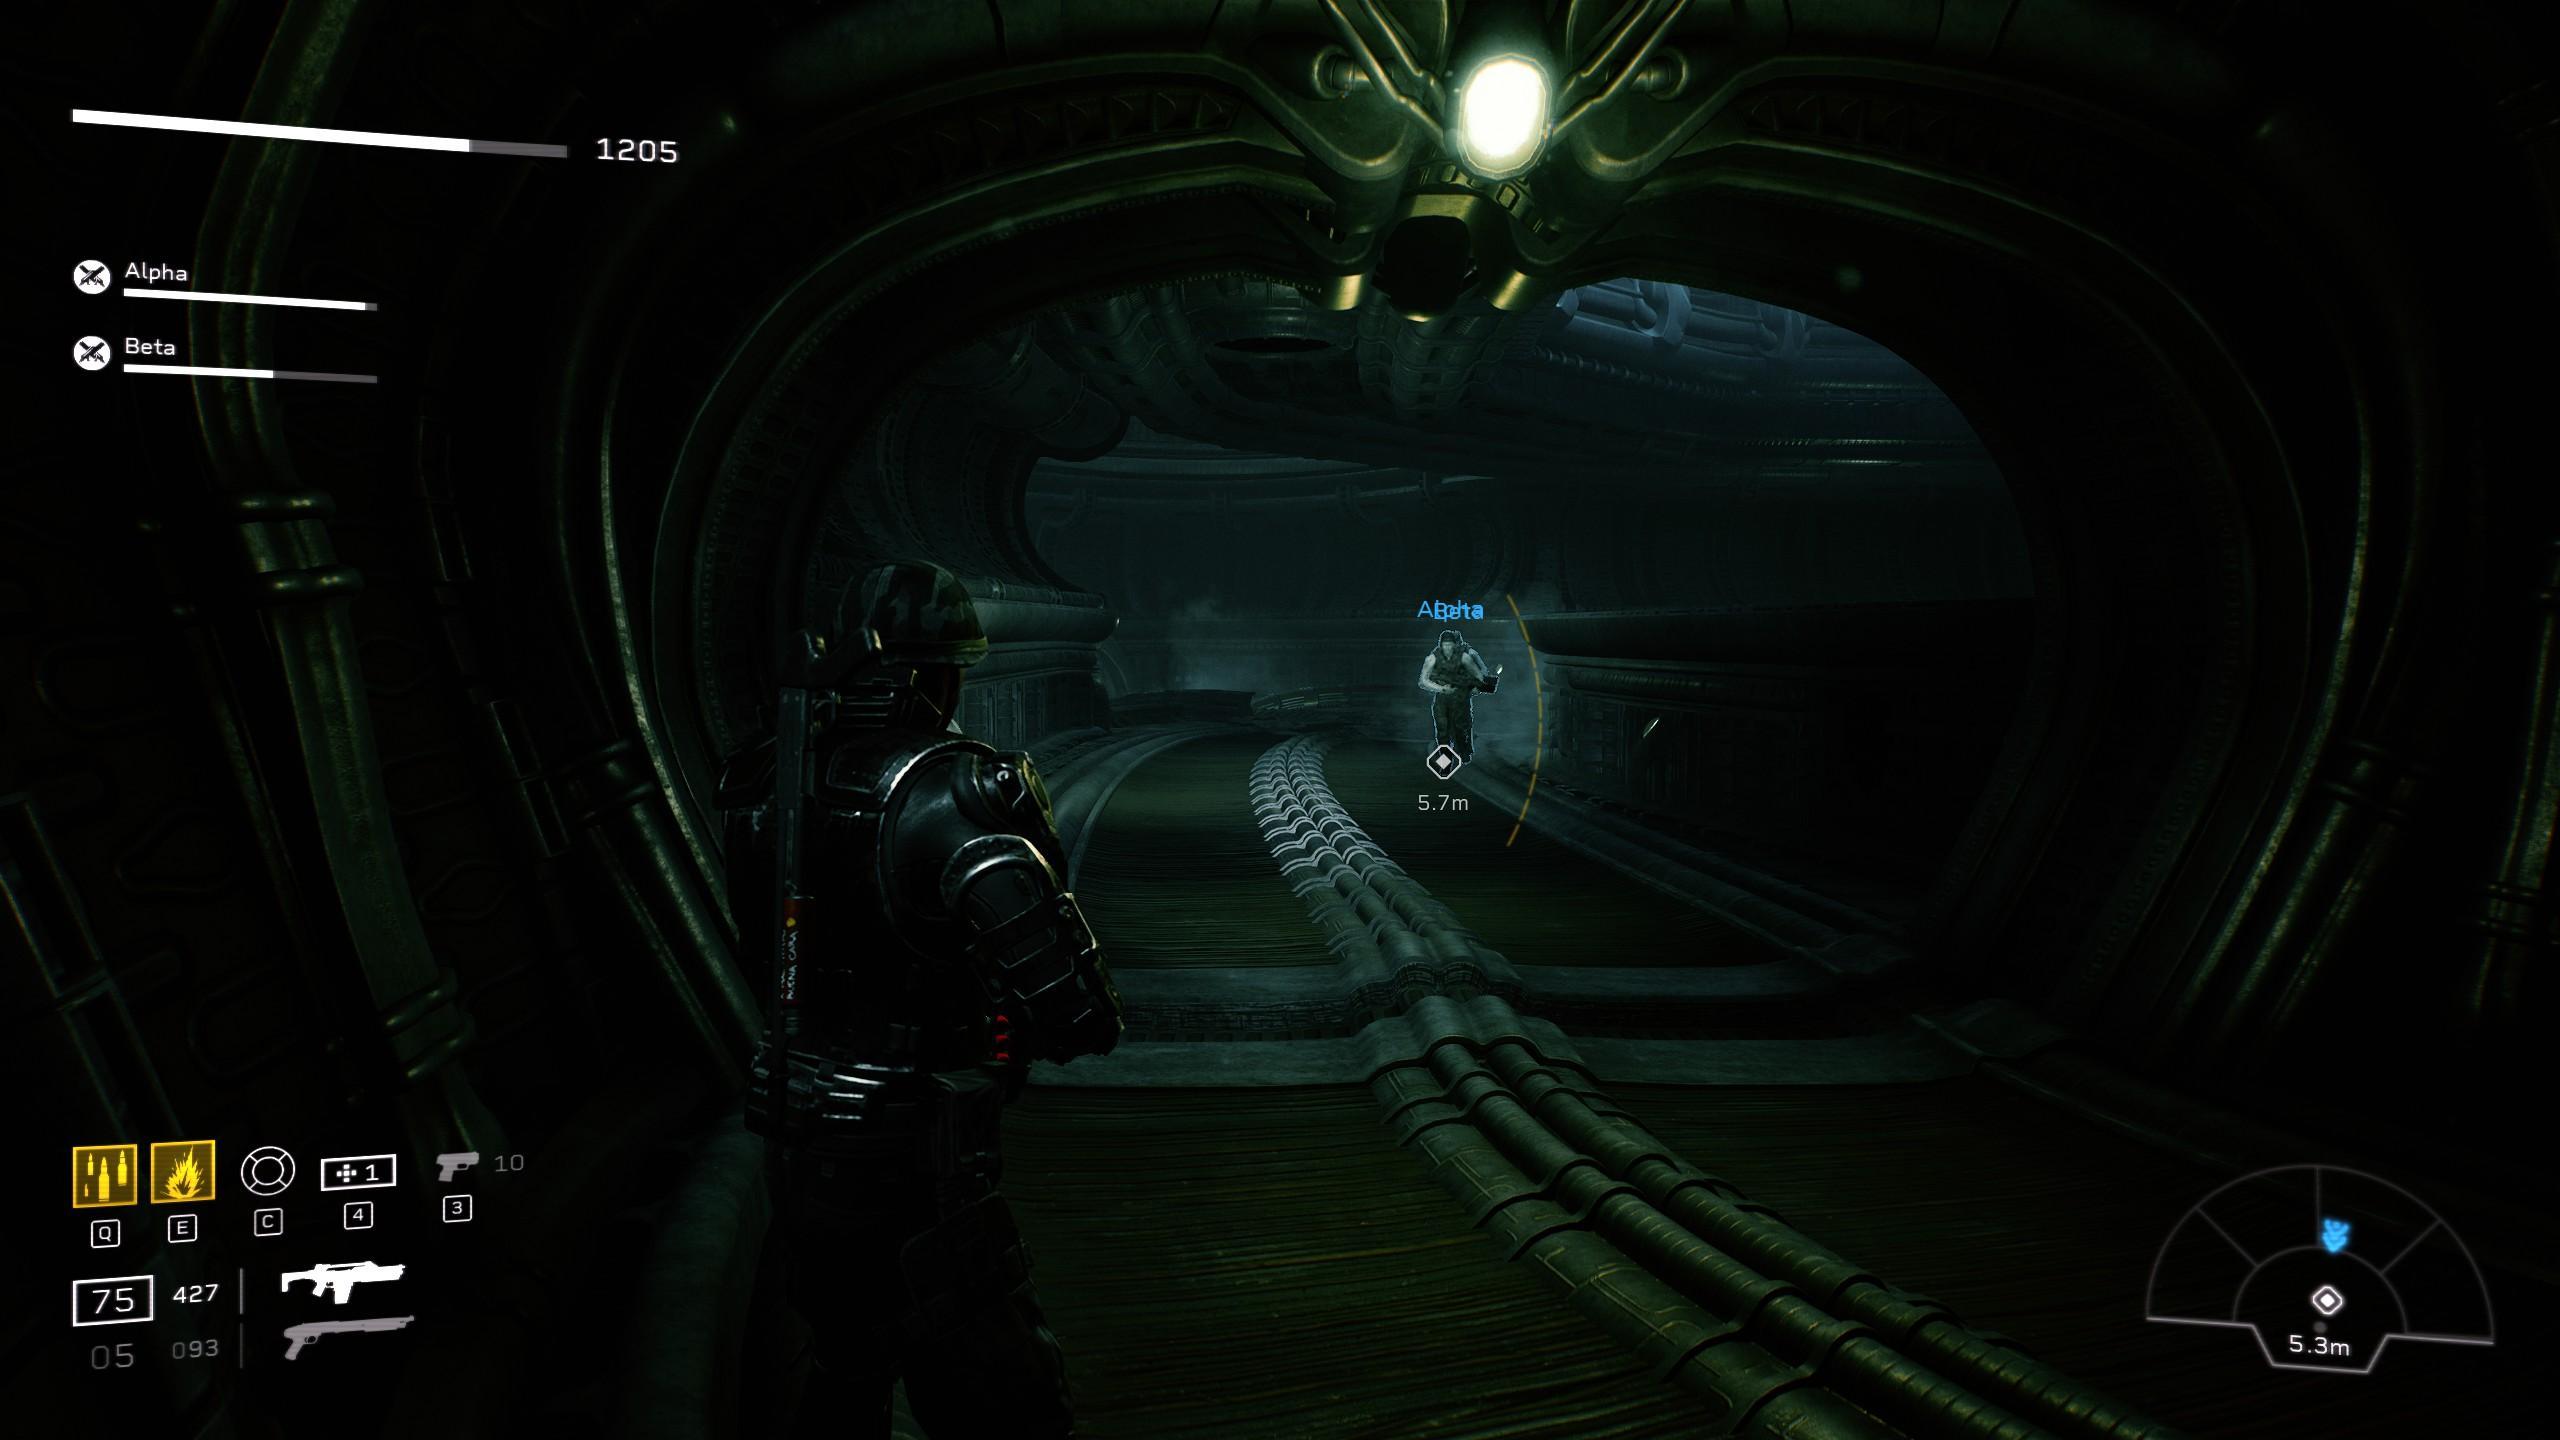
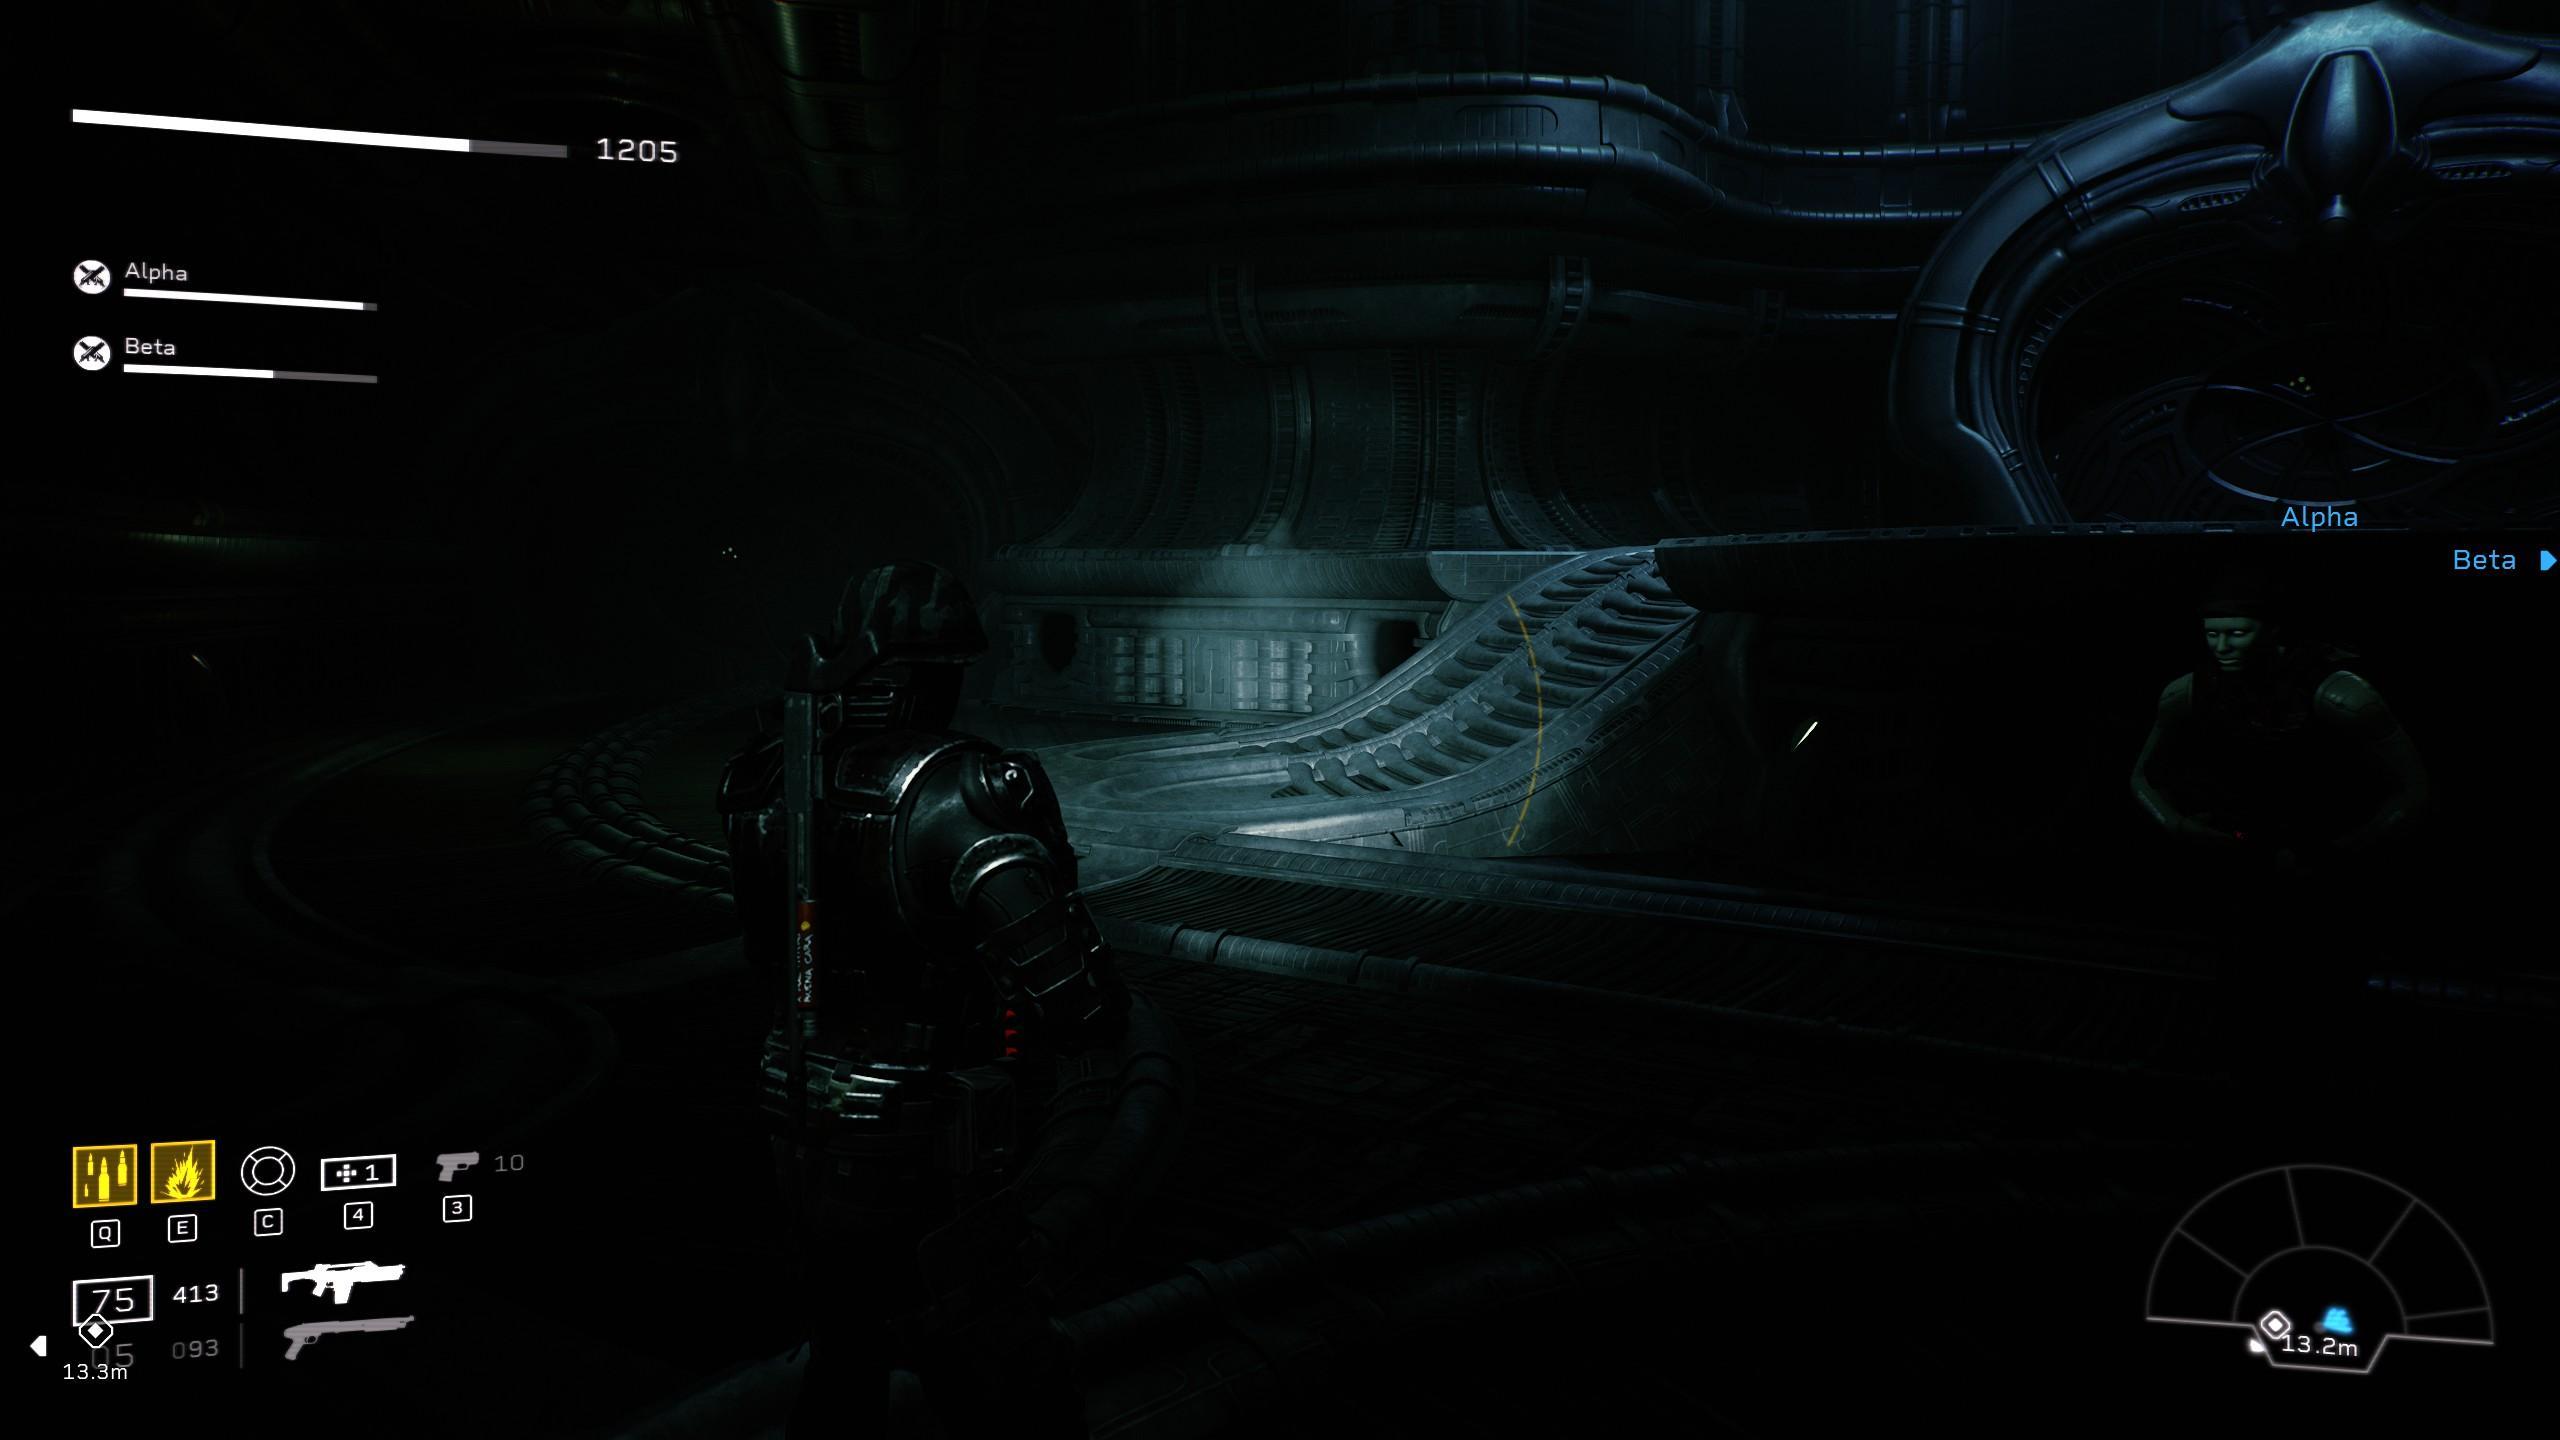
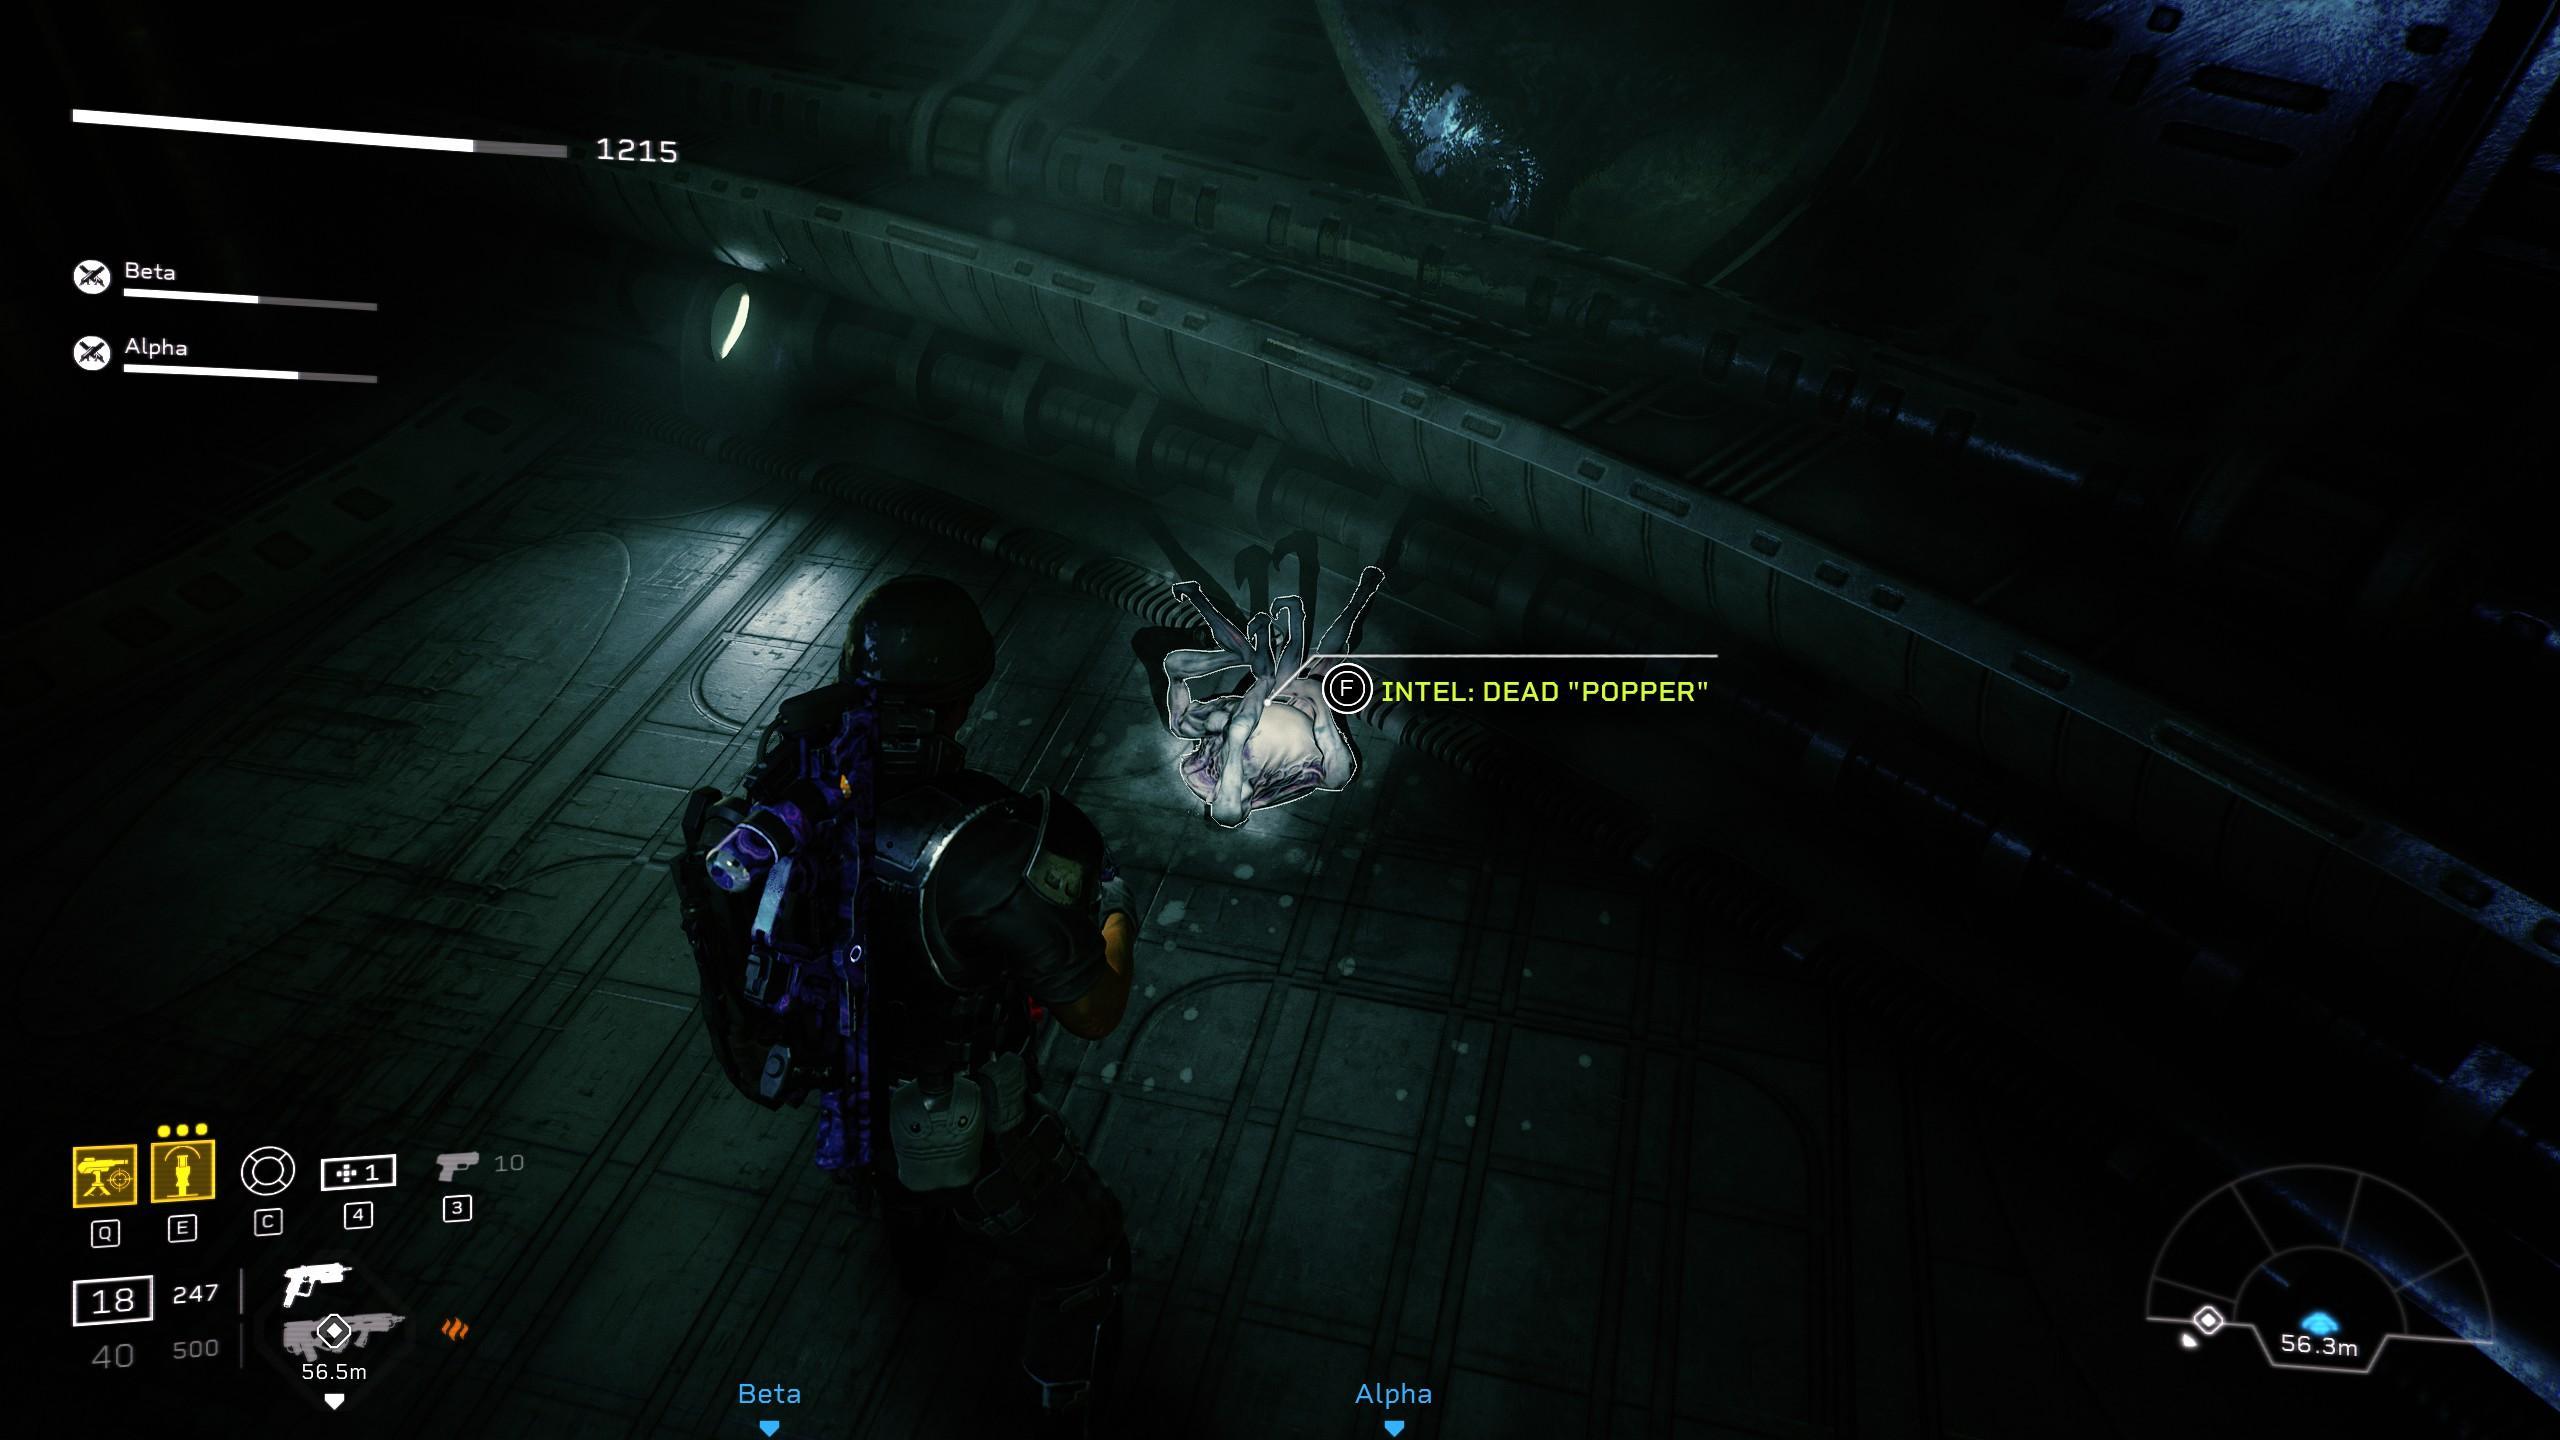
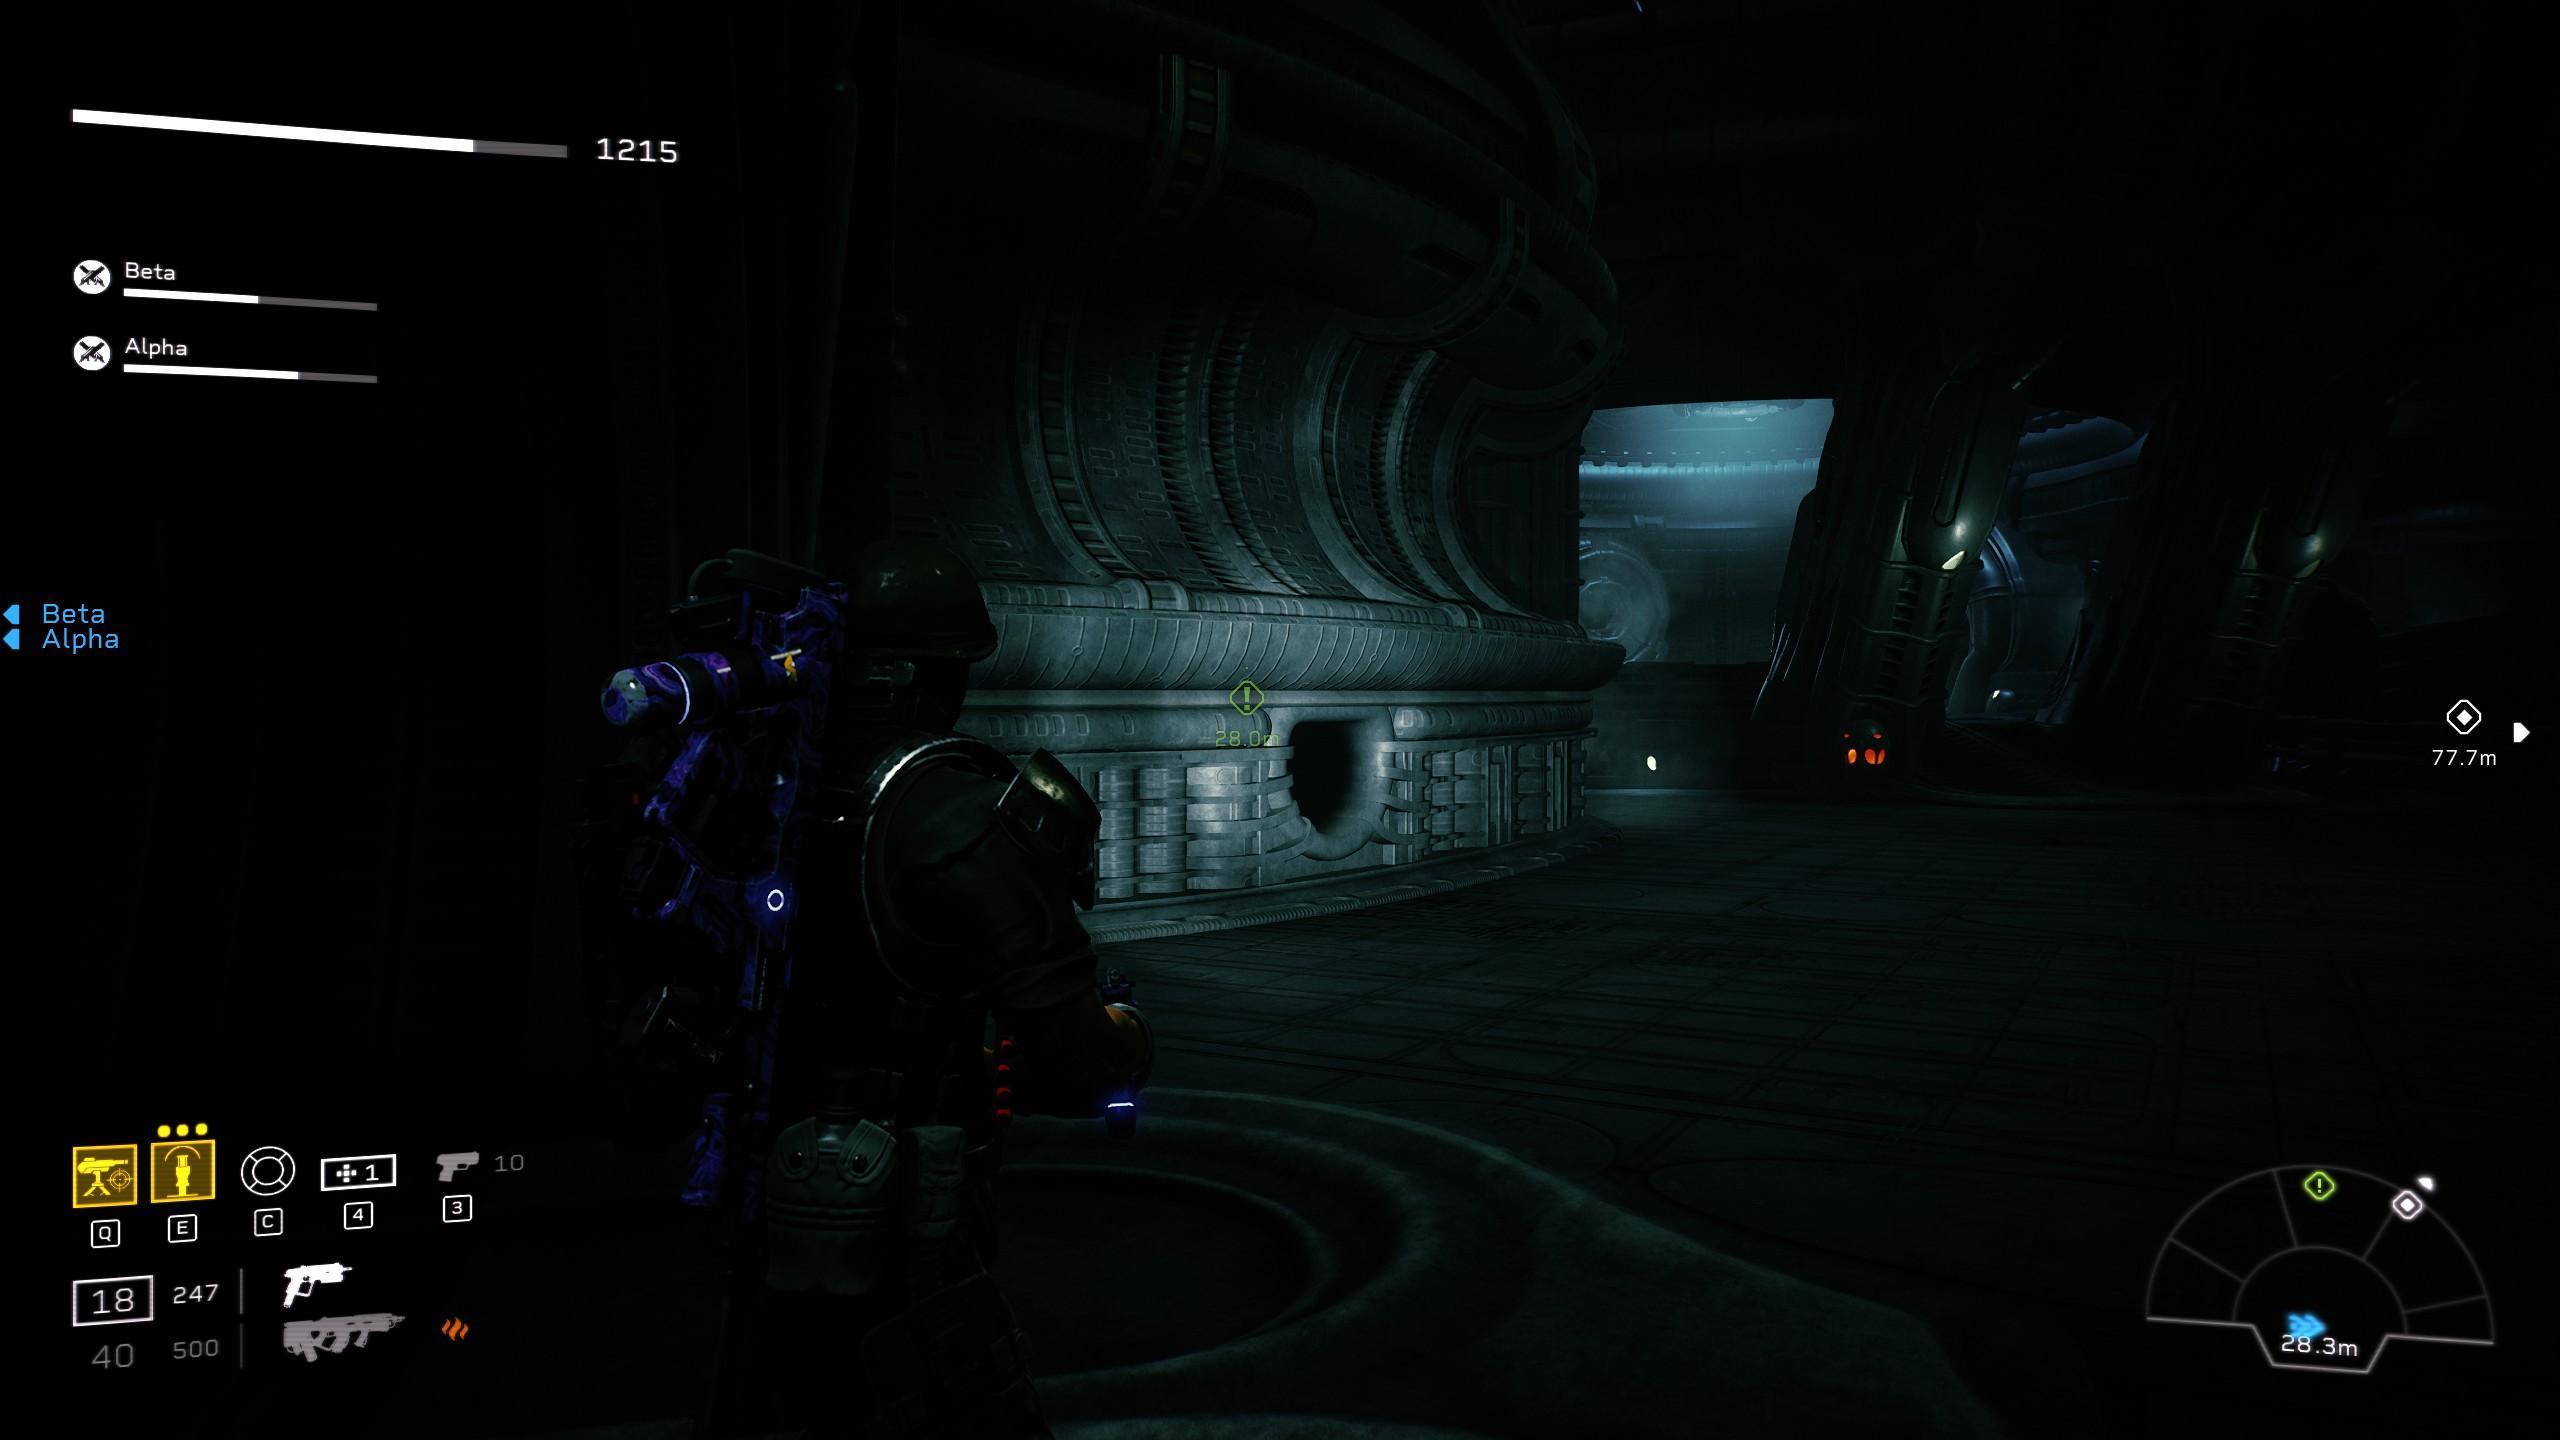
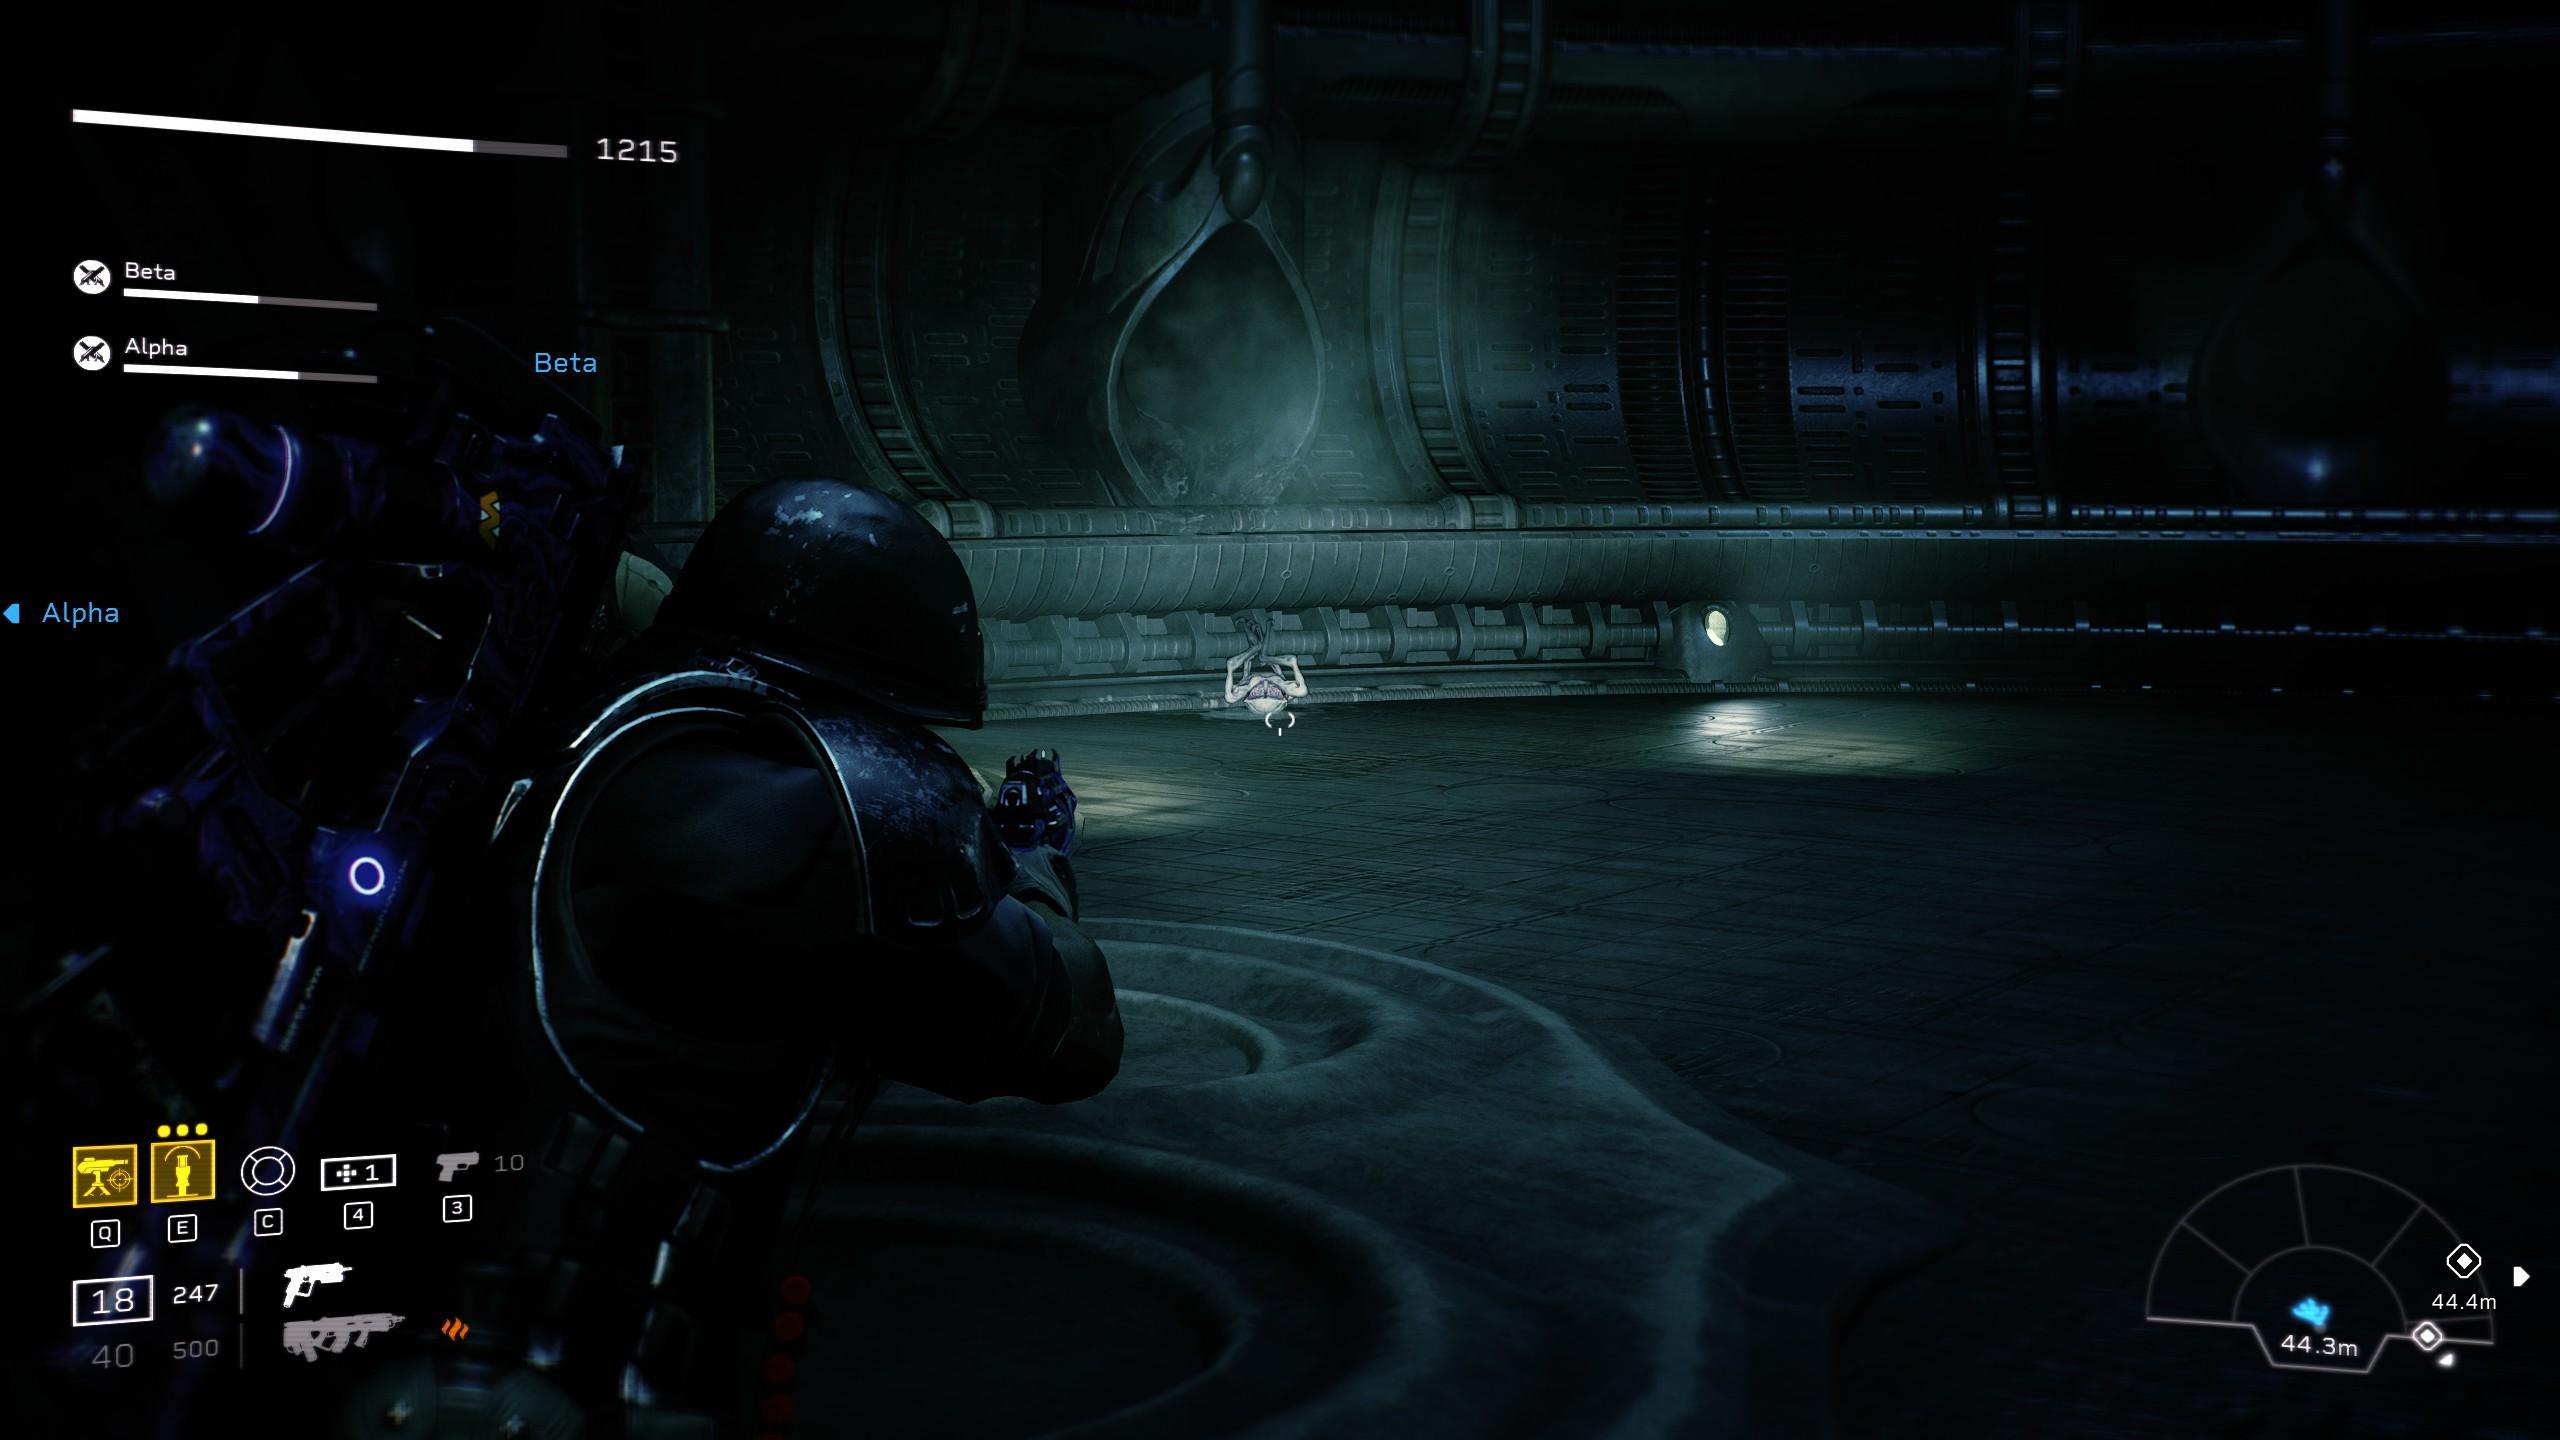
- “Popper” Corpse: To find this mutant of The Black Goo/Pathogen/Accelerant simply exit right out of where you got the last Intel. and taking the left pathway into the circular chamber do a 180 and you should see the corpse laying at the exit of a tube.
The Gift of Fire: Boarding
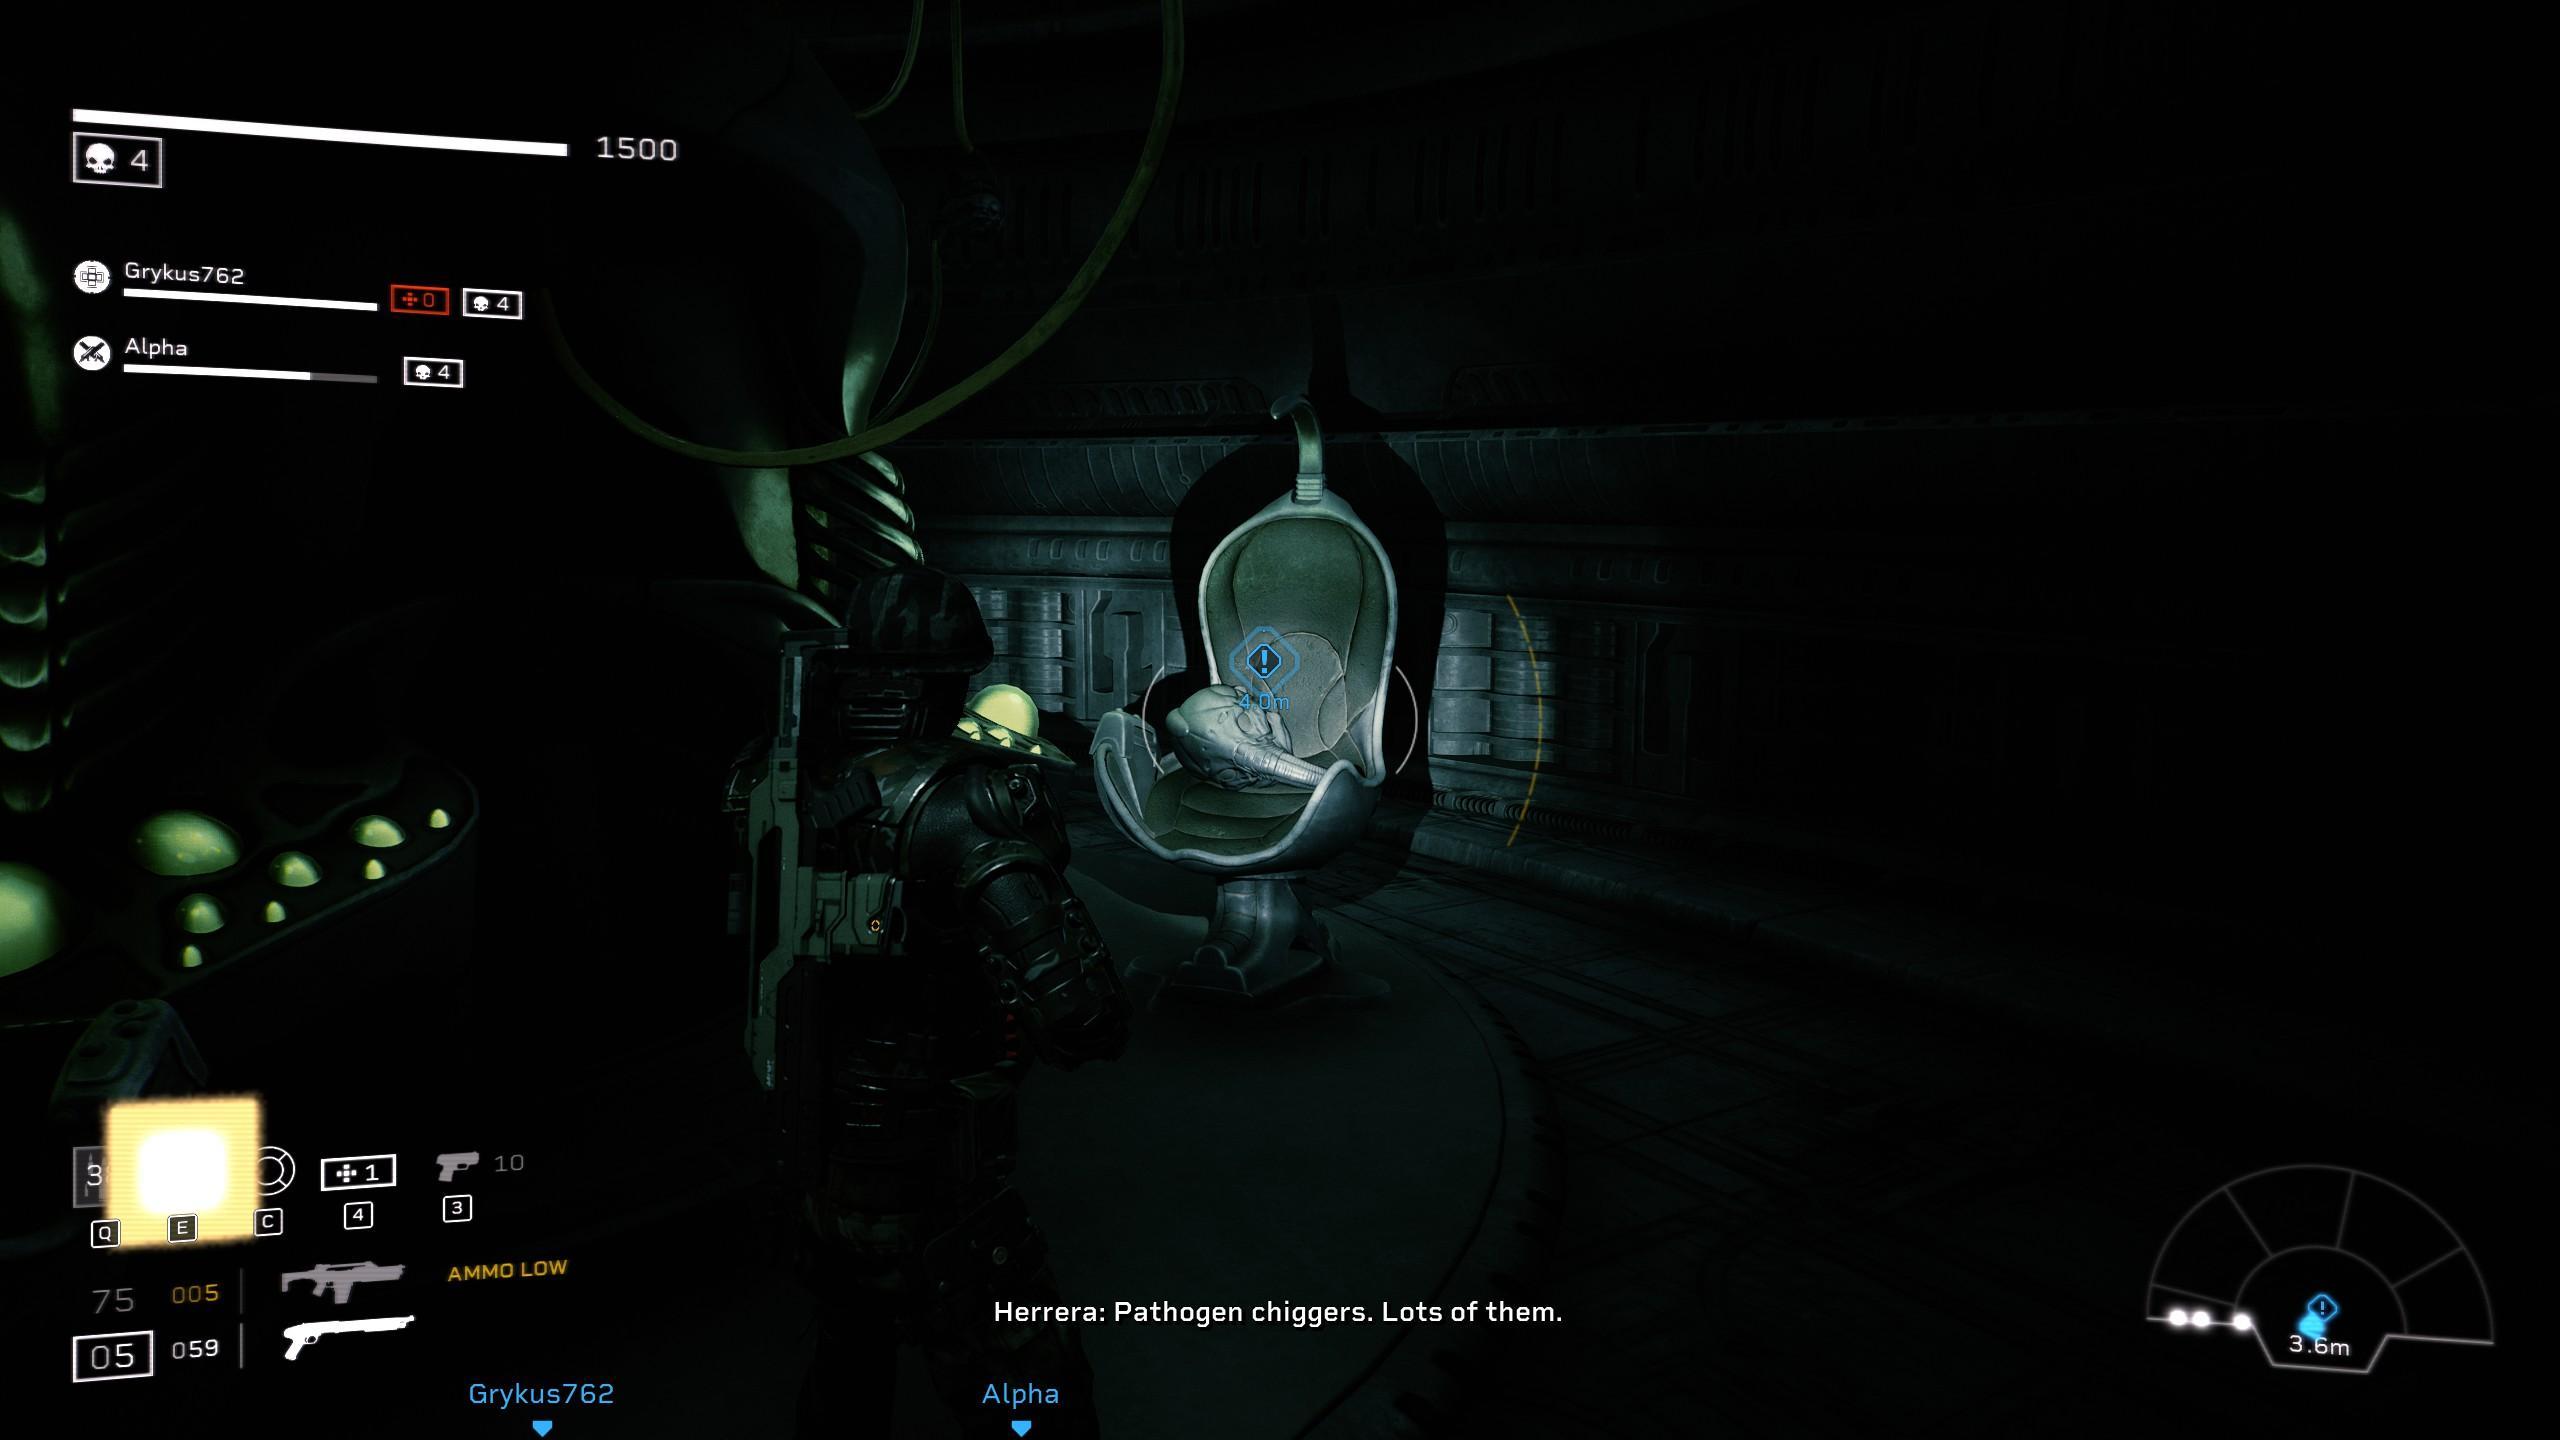
- Engineer Helmet: Upon Entering a room that spawns a massive hoard of poppers to your right you should spy two engineer columns. on the one farthest from upon entering look around the side to find the engineer helmet.

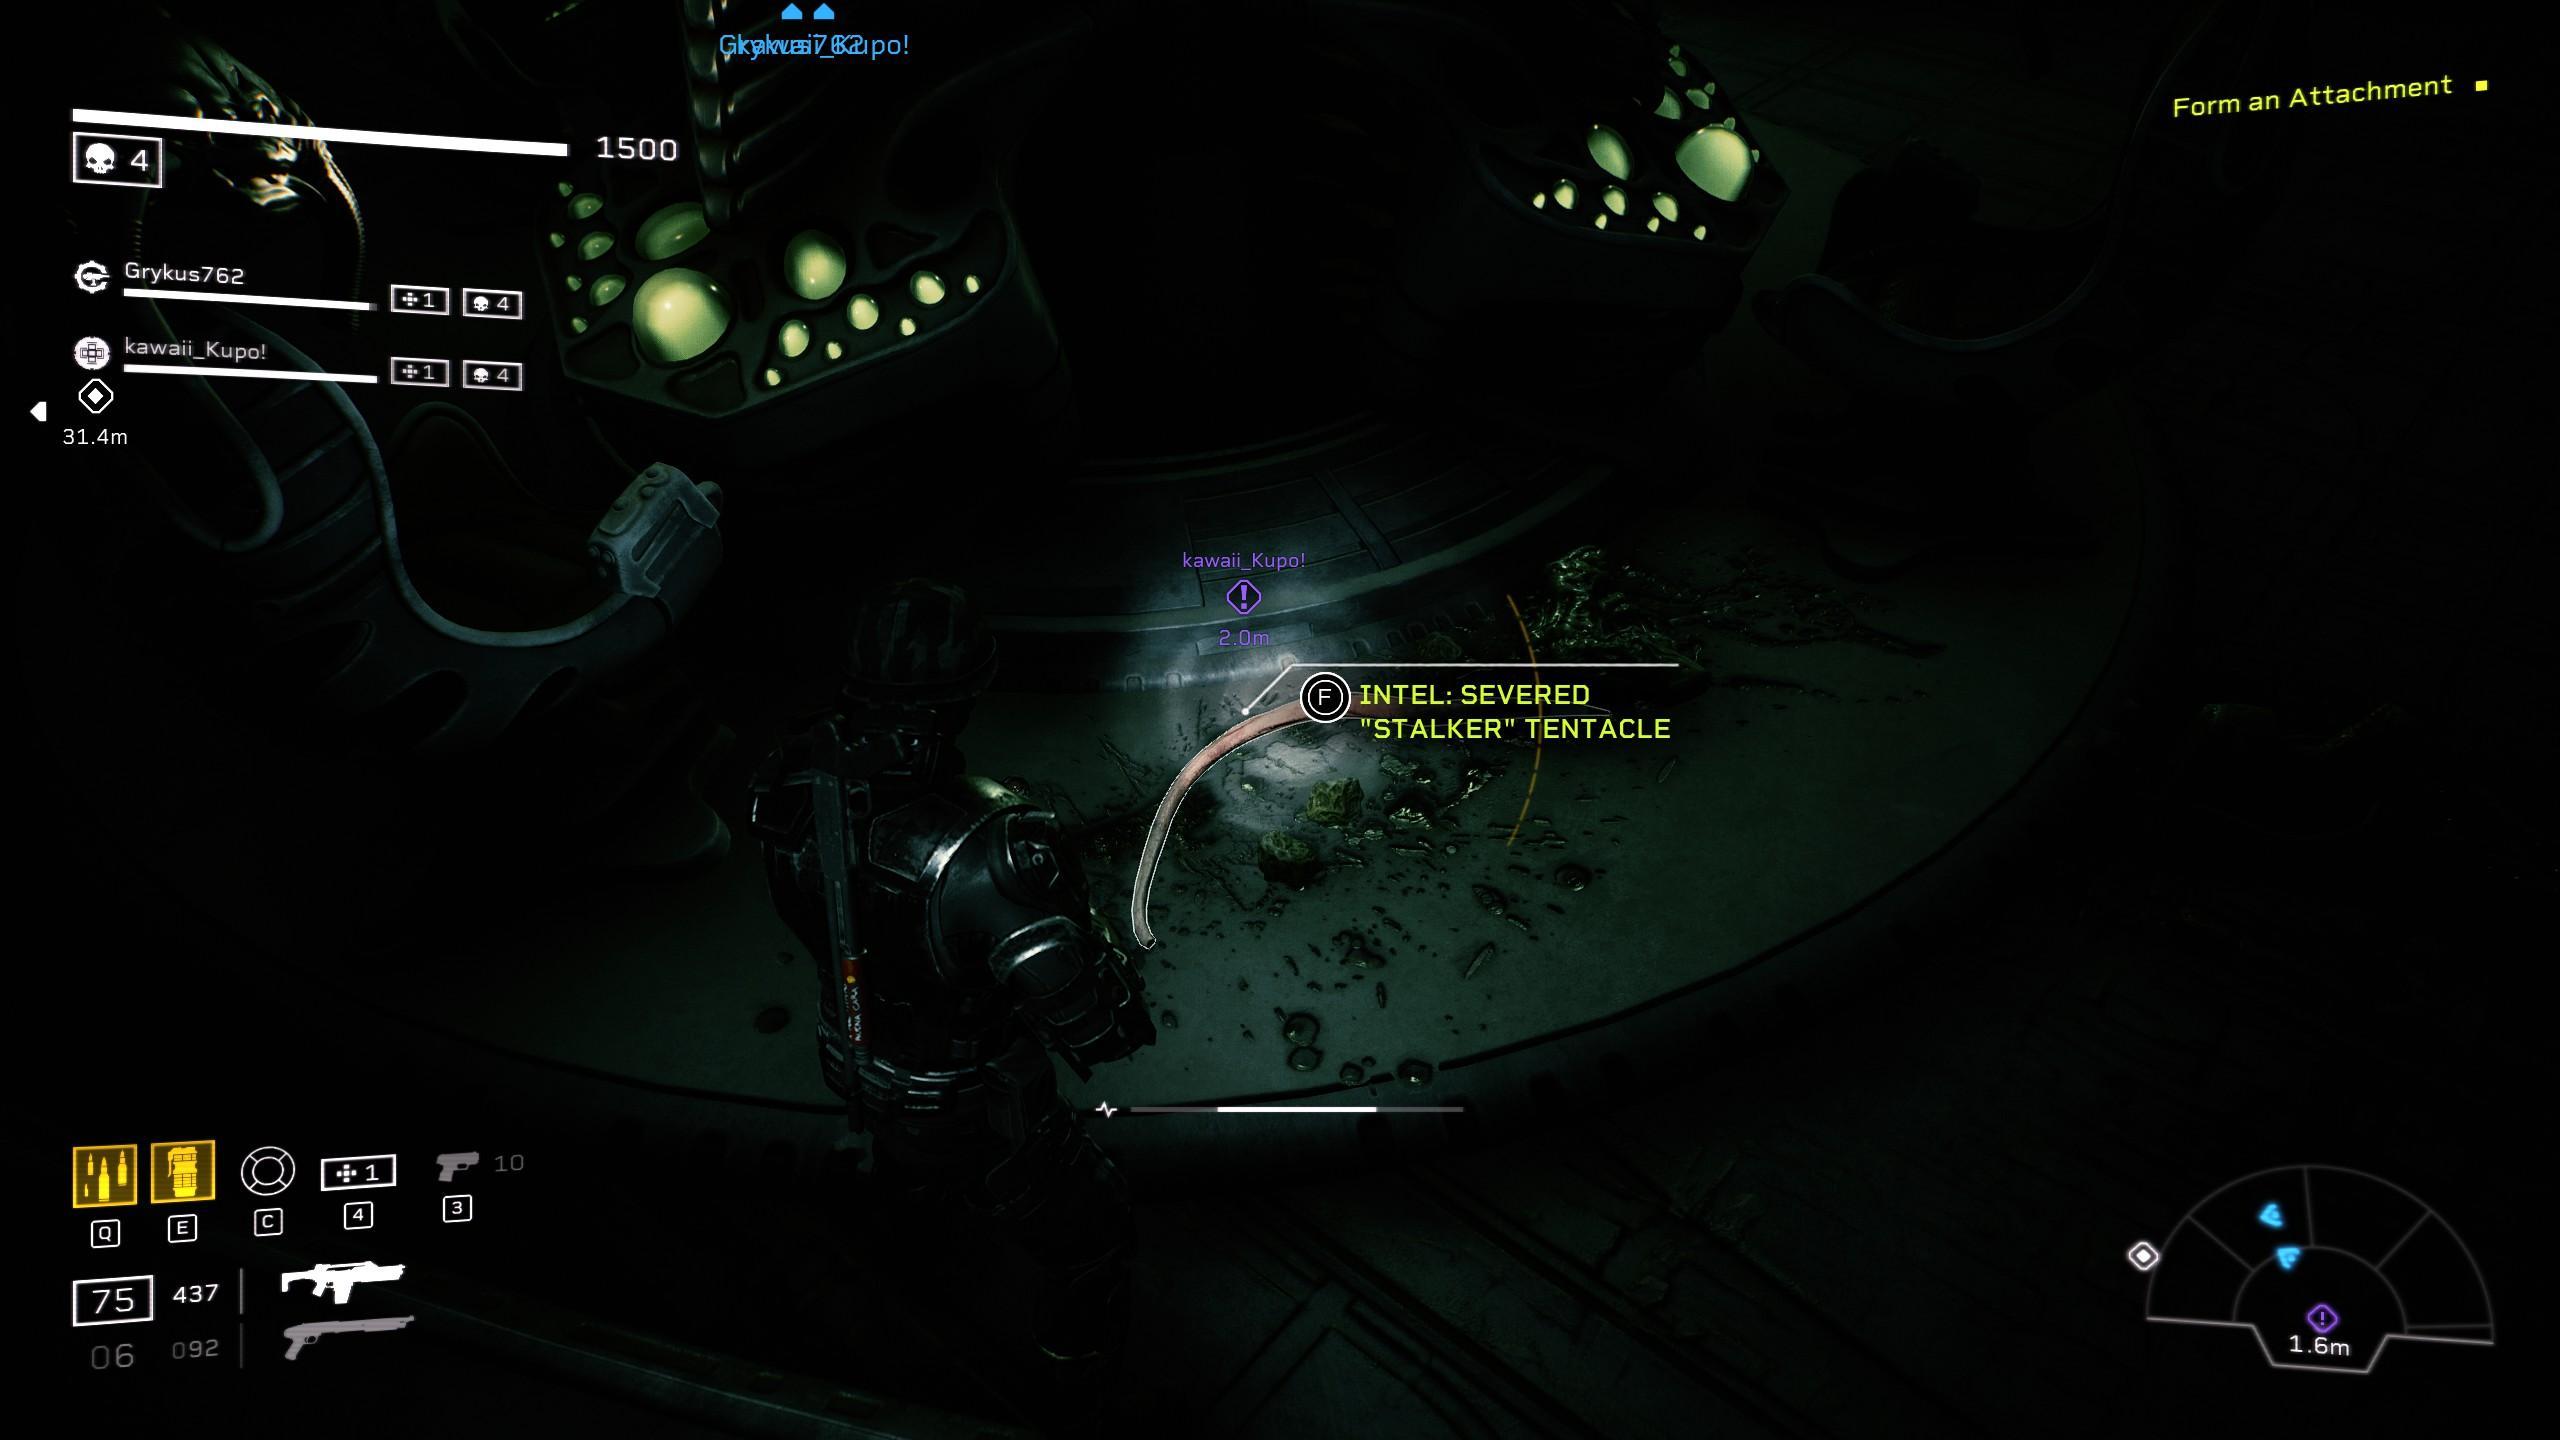
- Severed “Stalker” Tentacle: In the room following the Helmet. Where you first encounter the eponymous stalker once you’ve cleared the hold out or during the holdout take the ramp and then head left towards the gathering of Engineer chairs. Head around the chairs to find the tail lying on the ground.
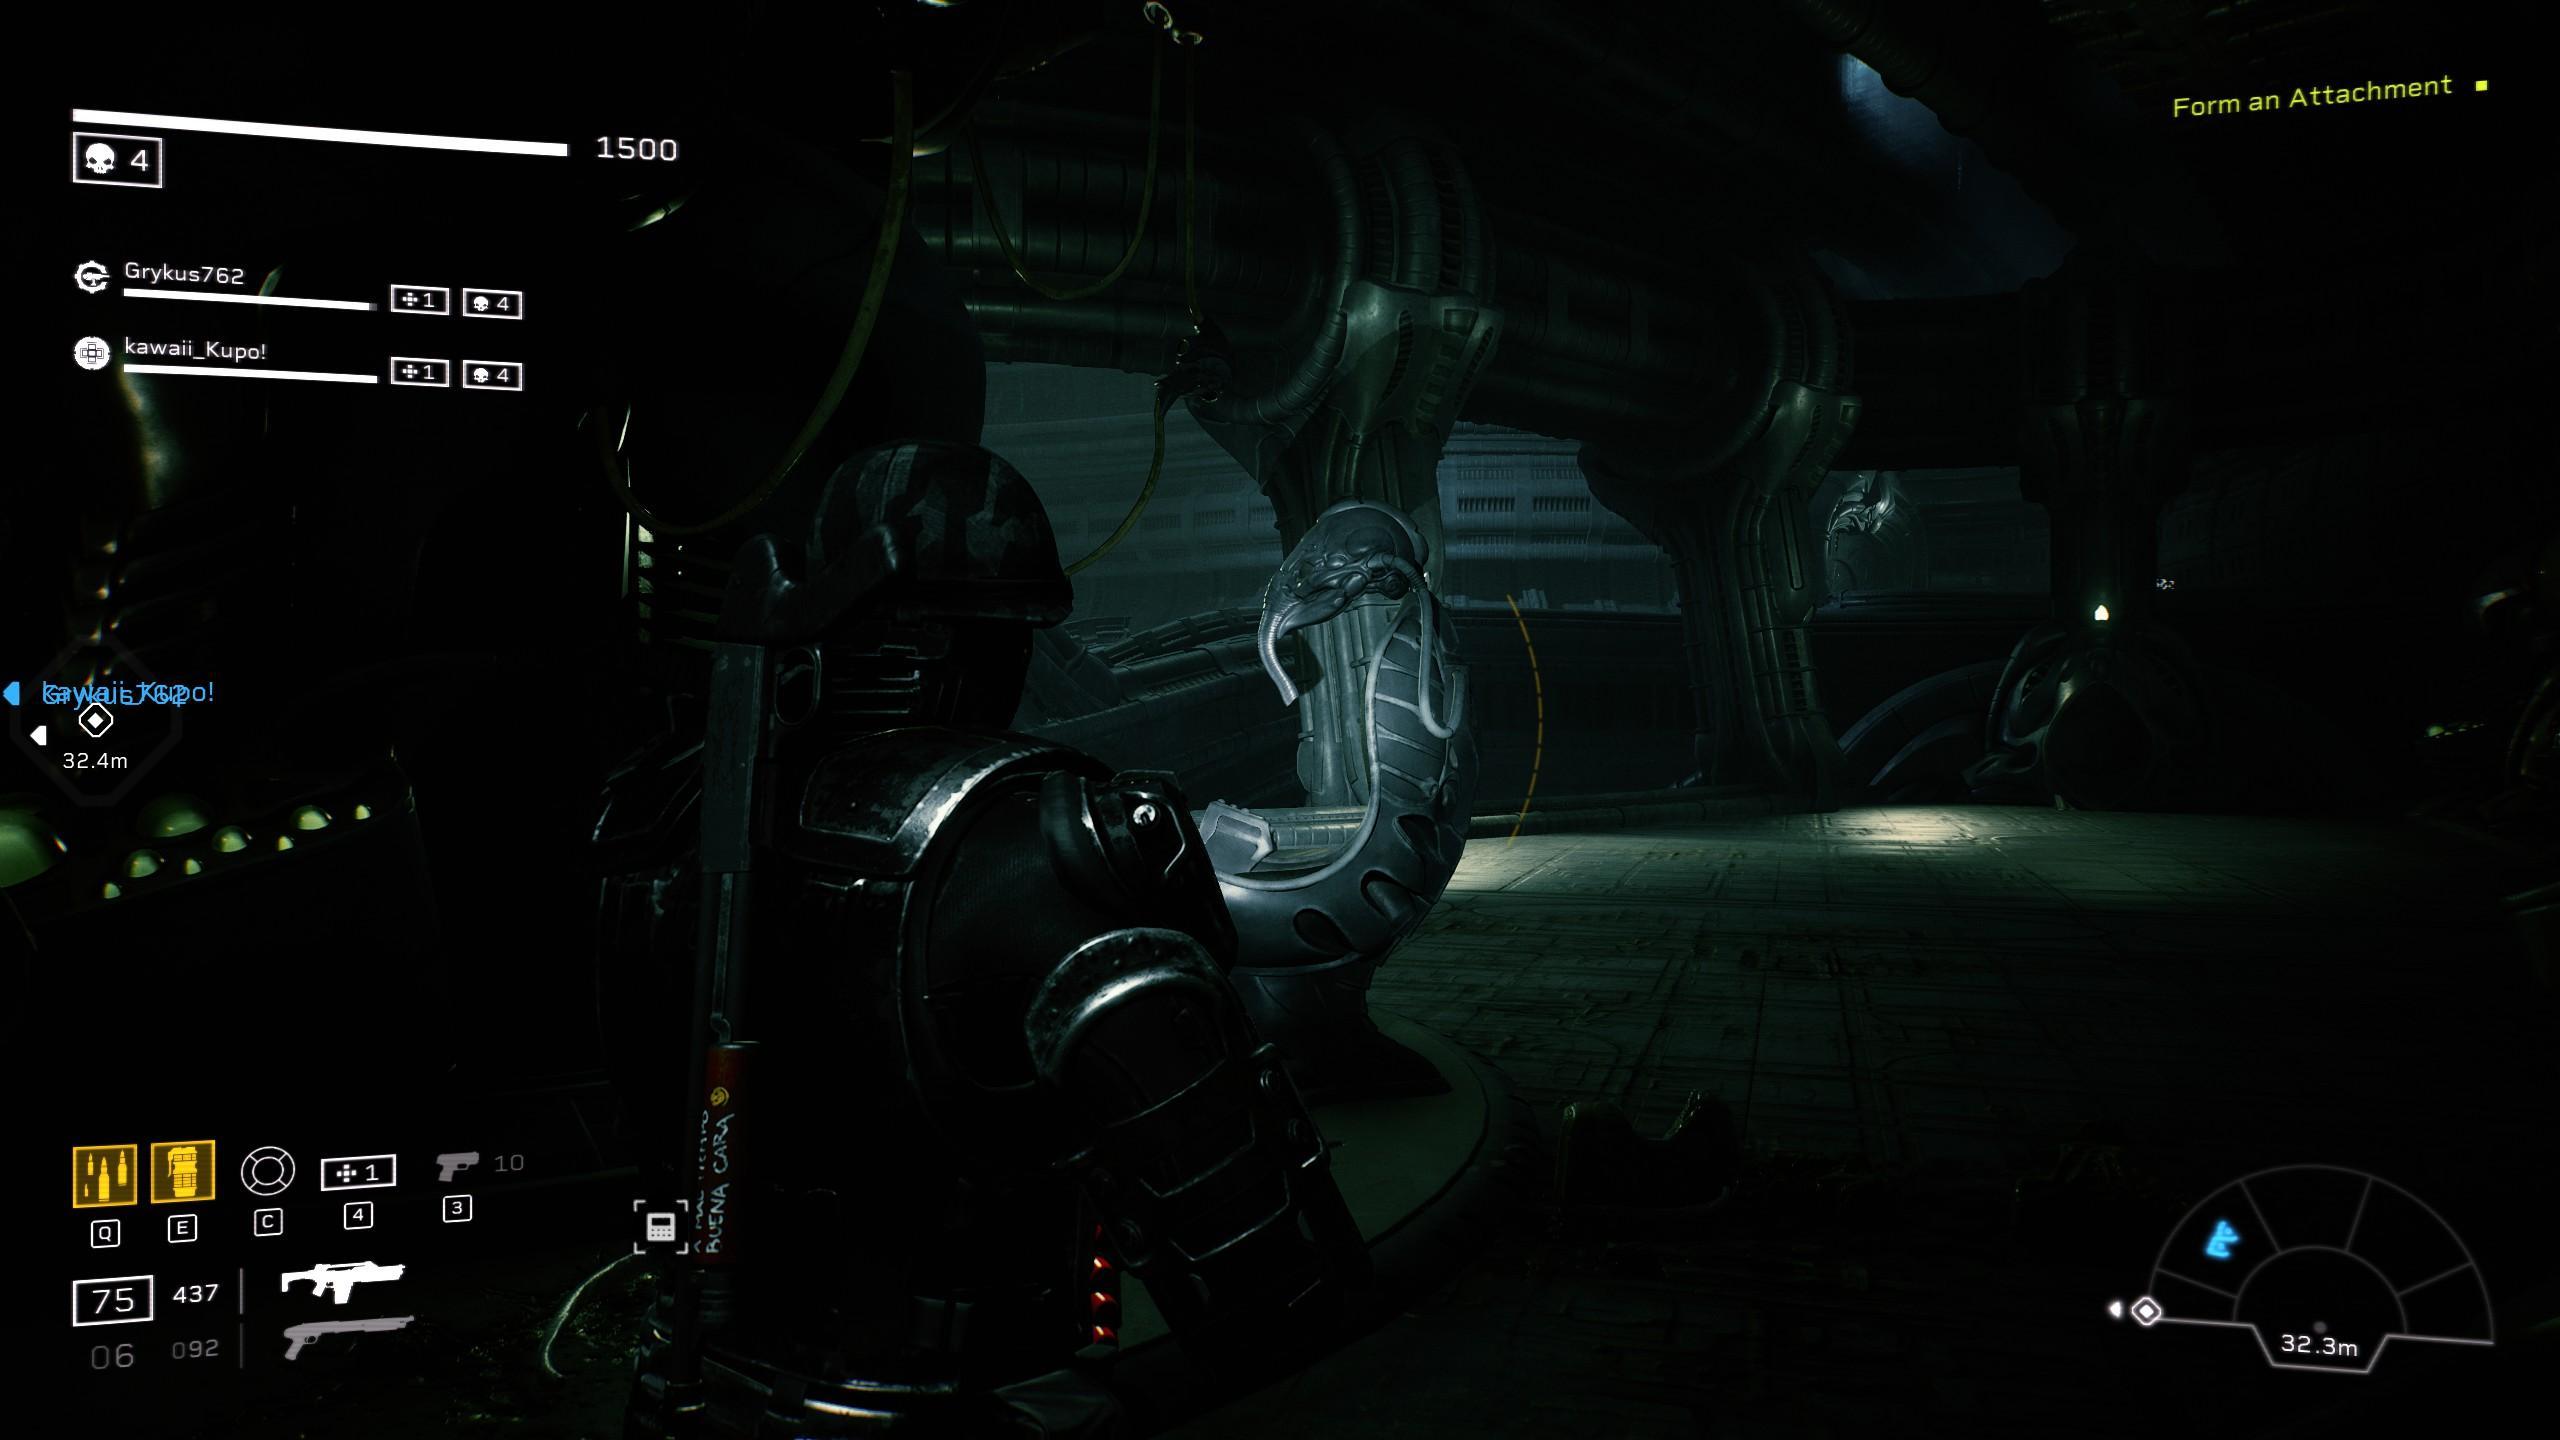
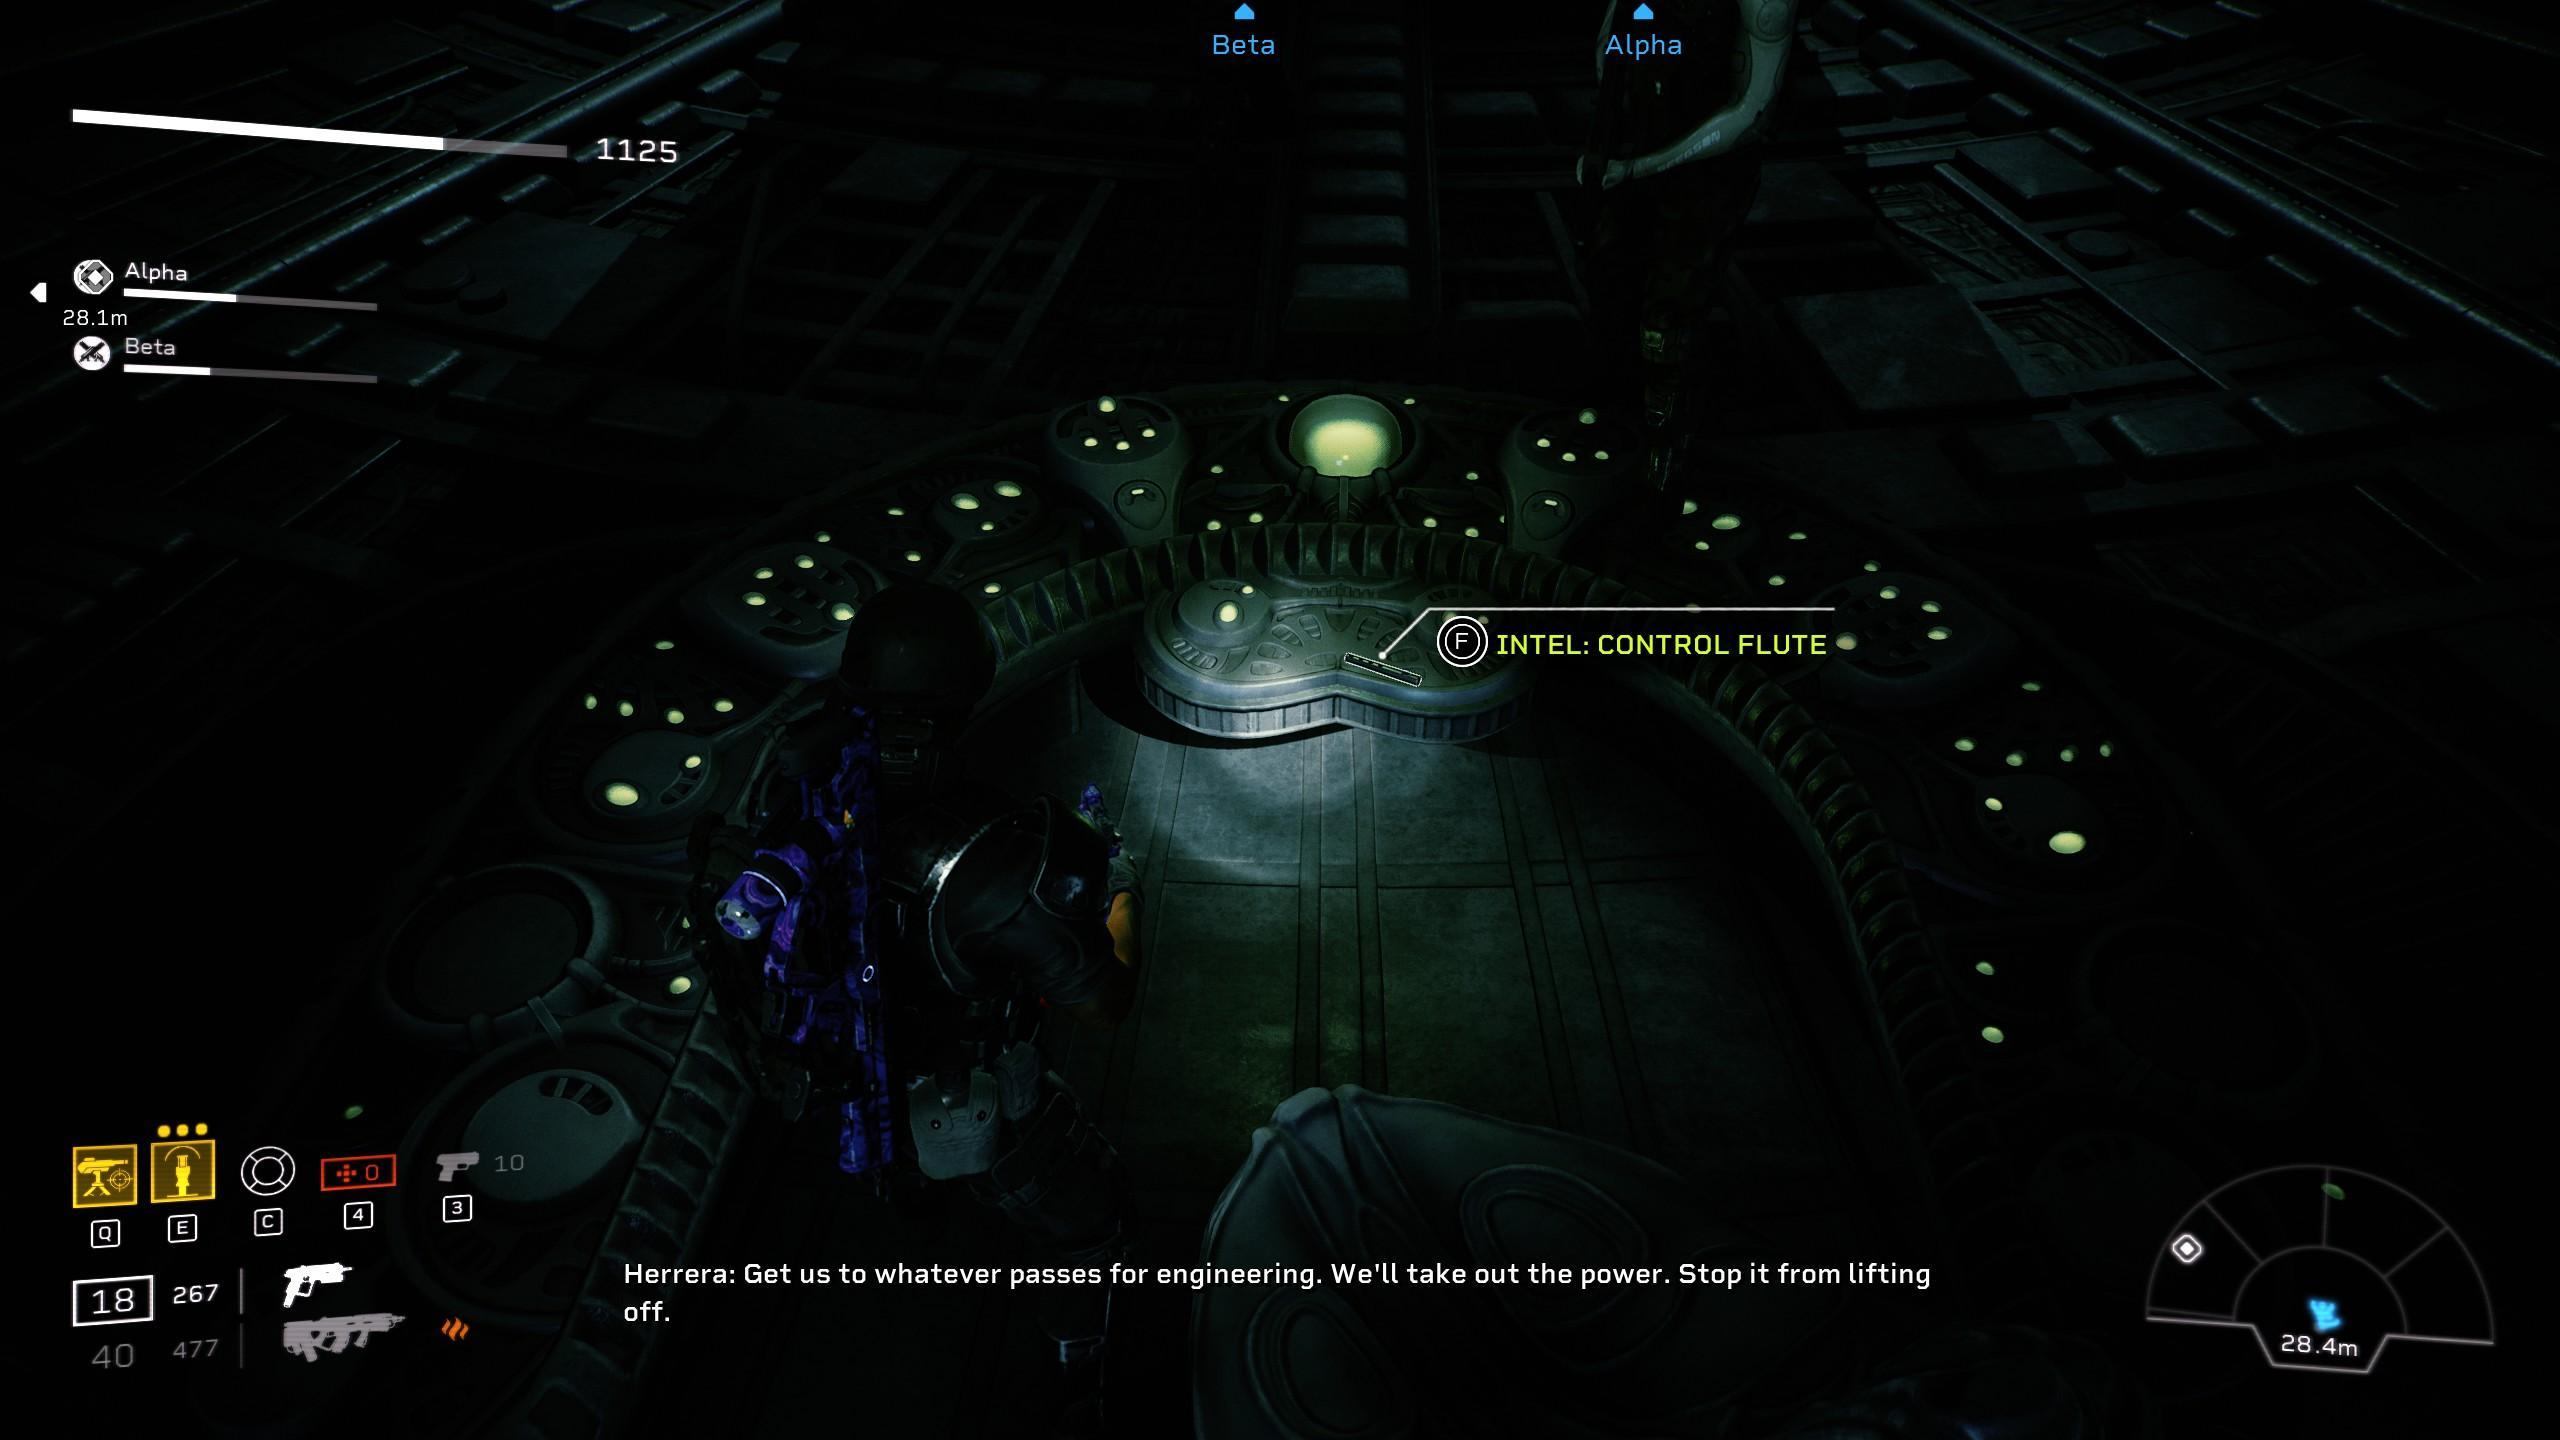
- Control Flute: You’ll find this little flute in the room with the giant pilots chair. Heading towards the pilots chair once you’ve reached the base turn left to see a small console where the flute will be resting.

The Only Way to Be Sure: Breach
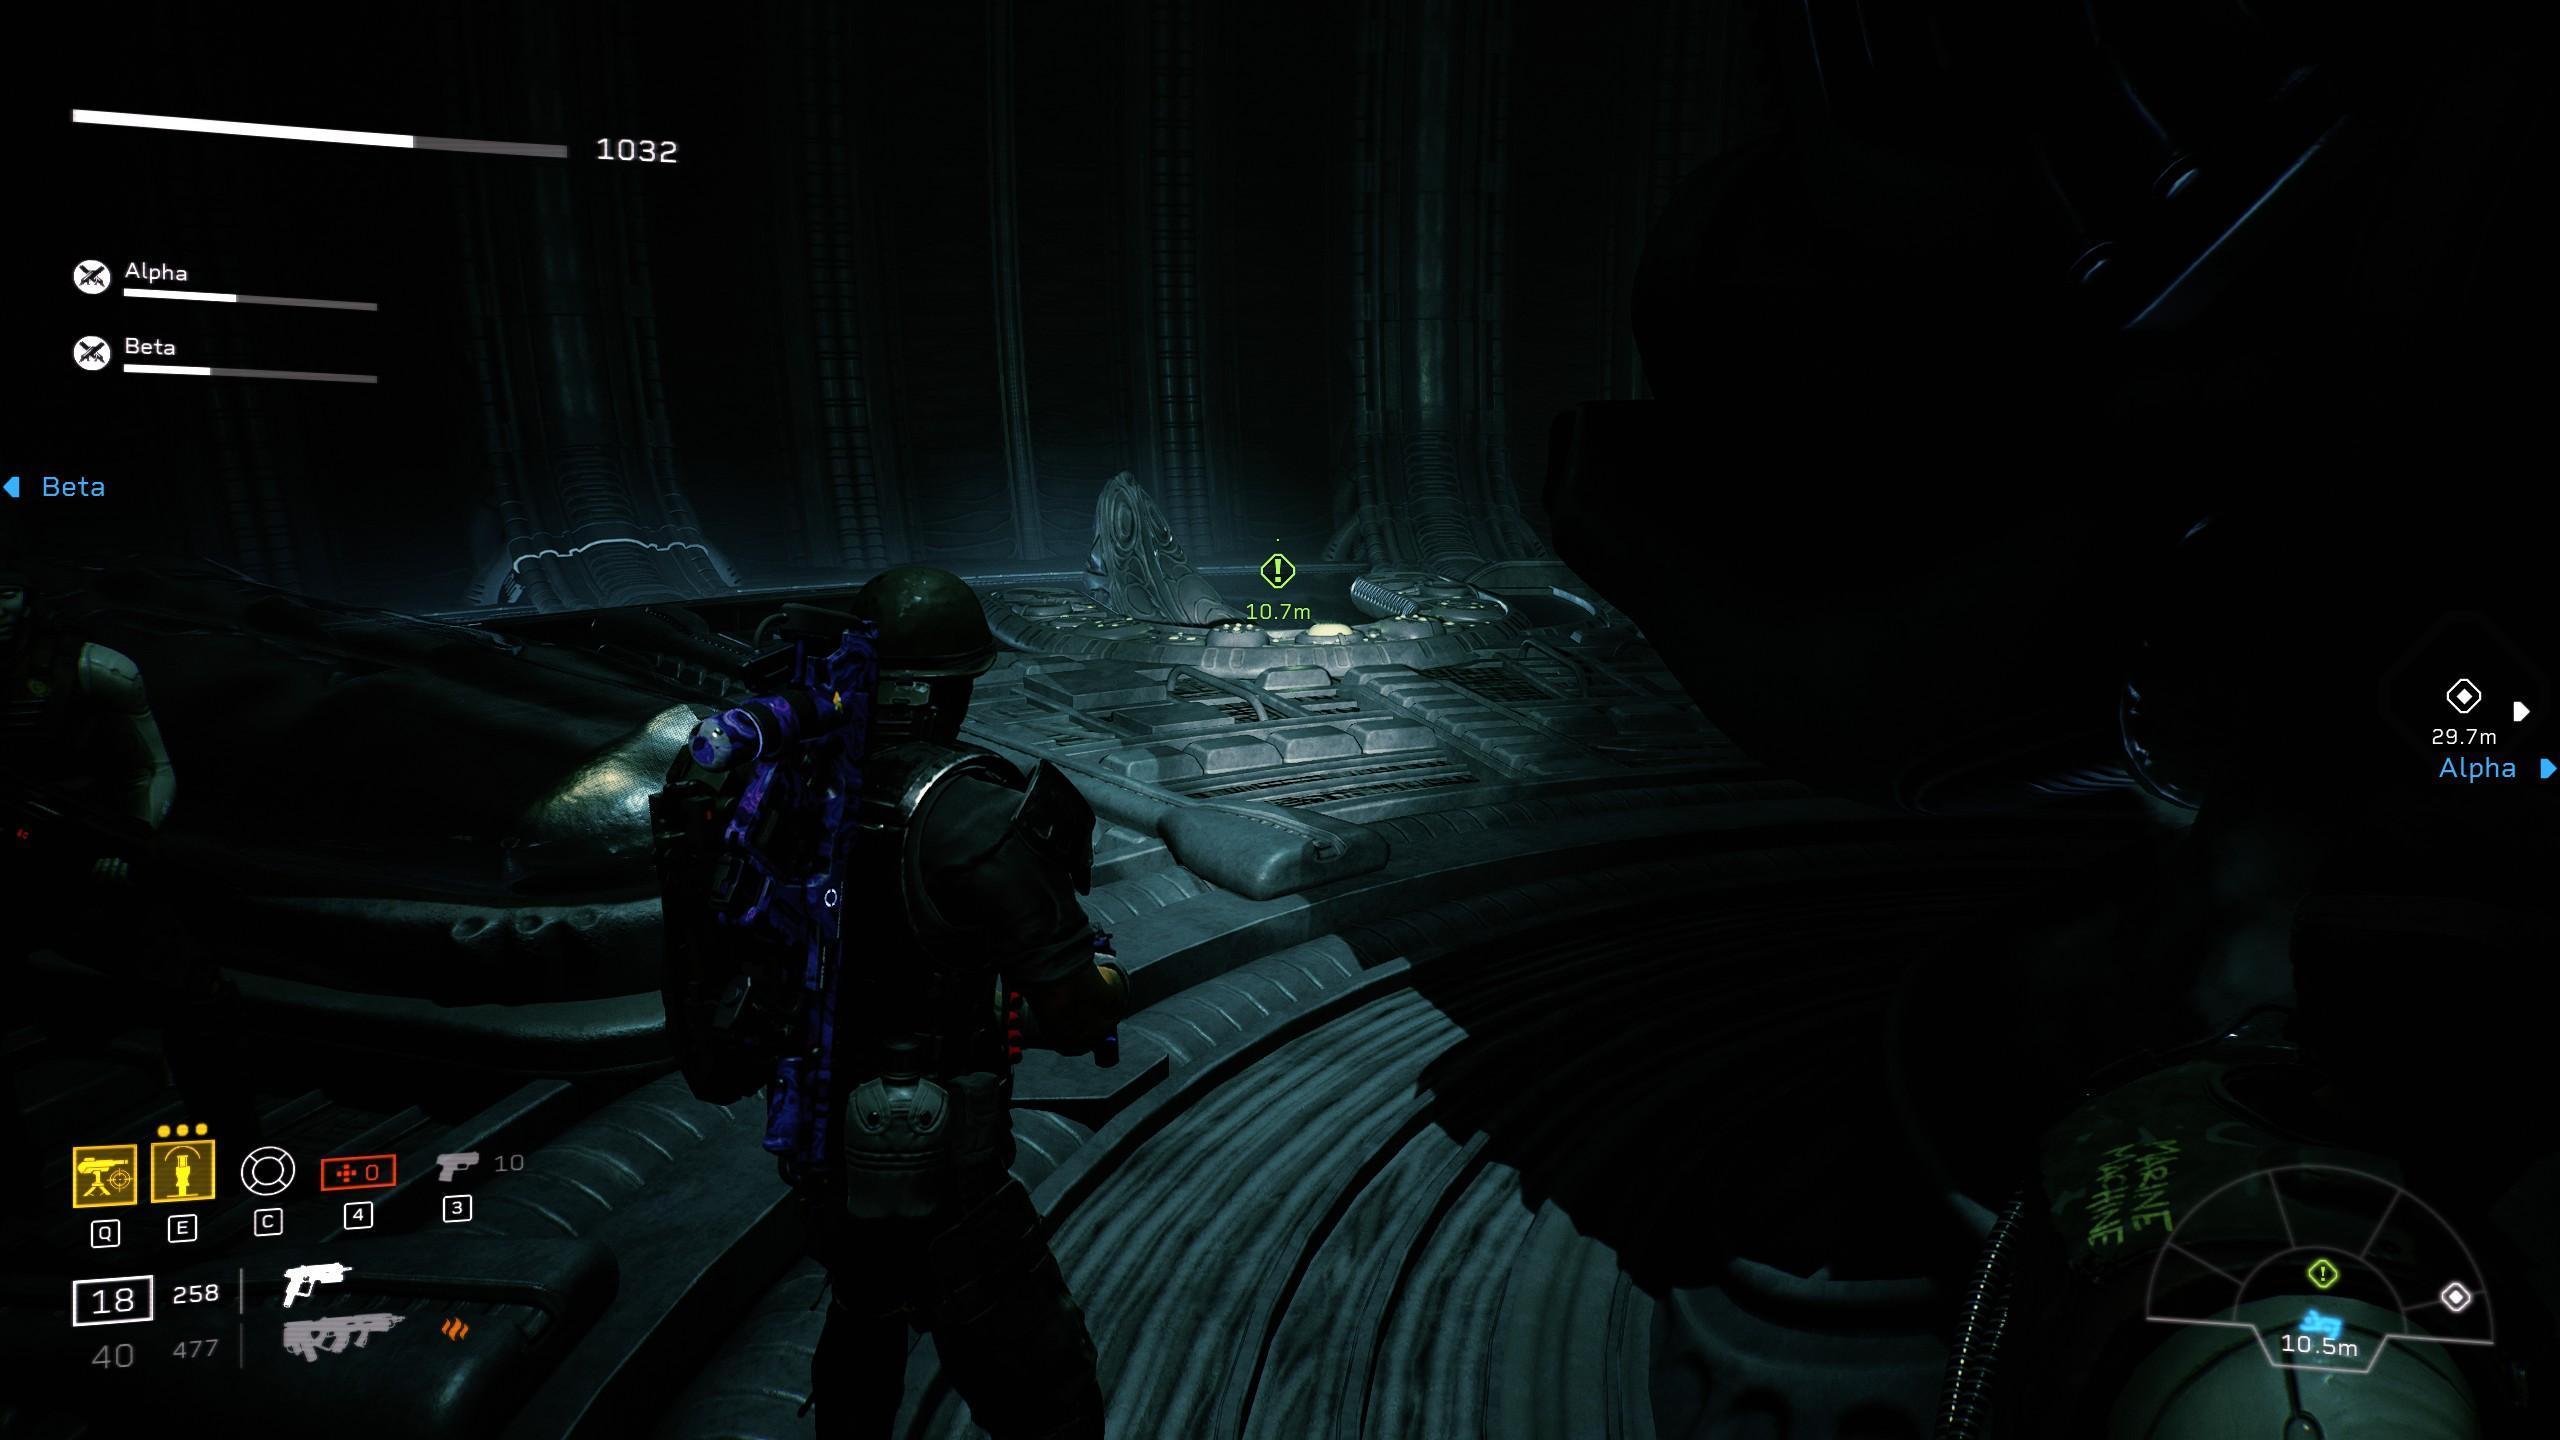
- Armat Weapons Case: Upon reaching the second turret defense head to the end of the lower hall and on the right side you should find the weapons case.
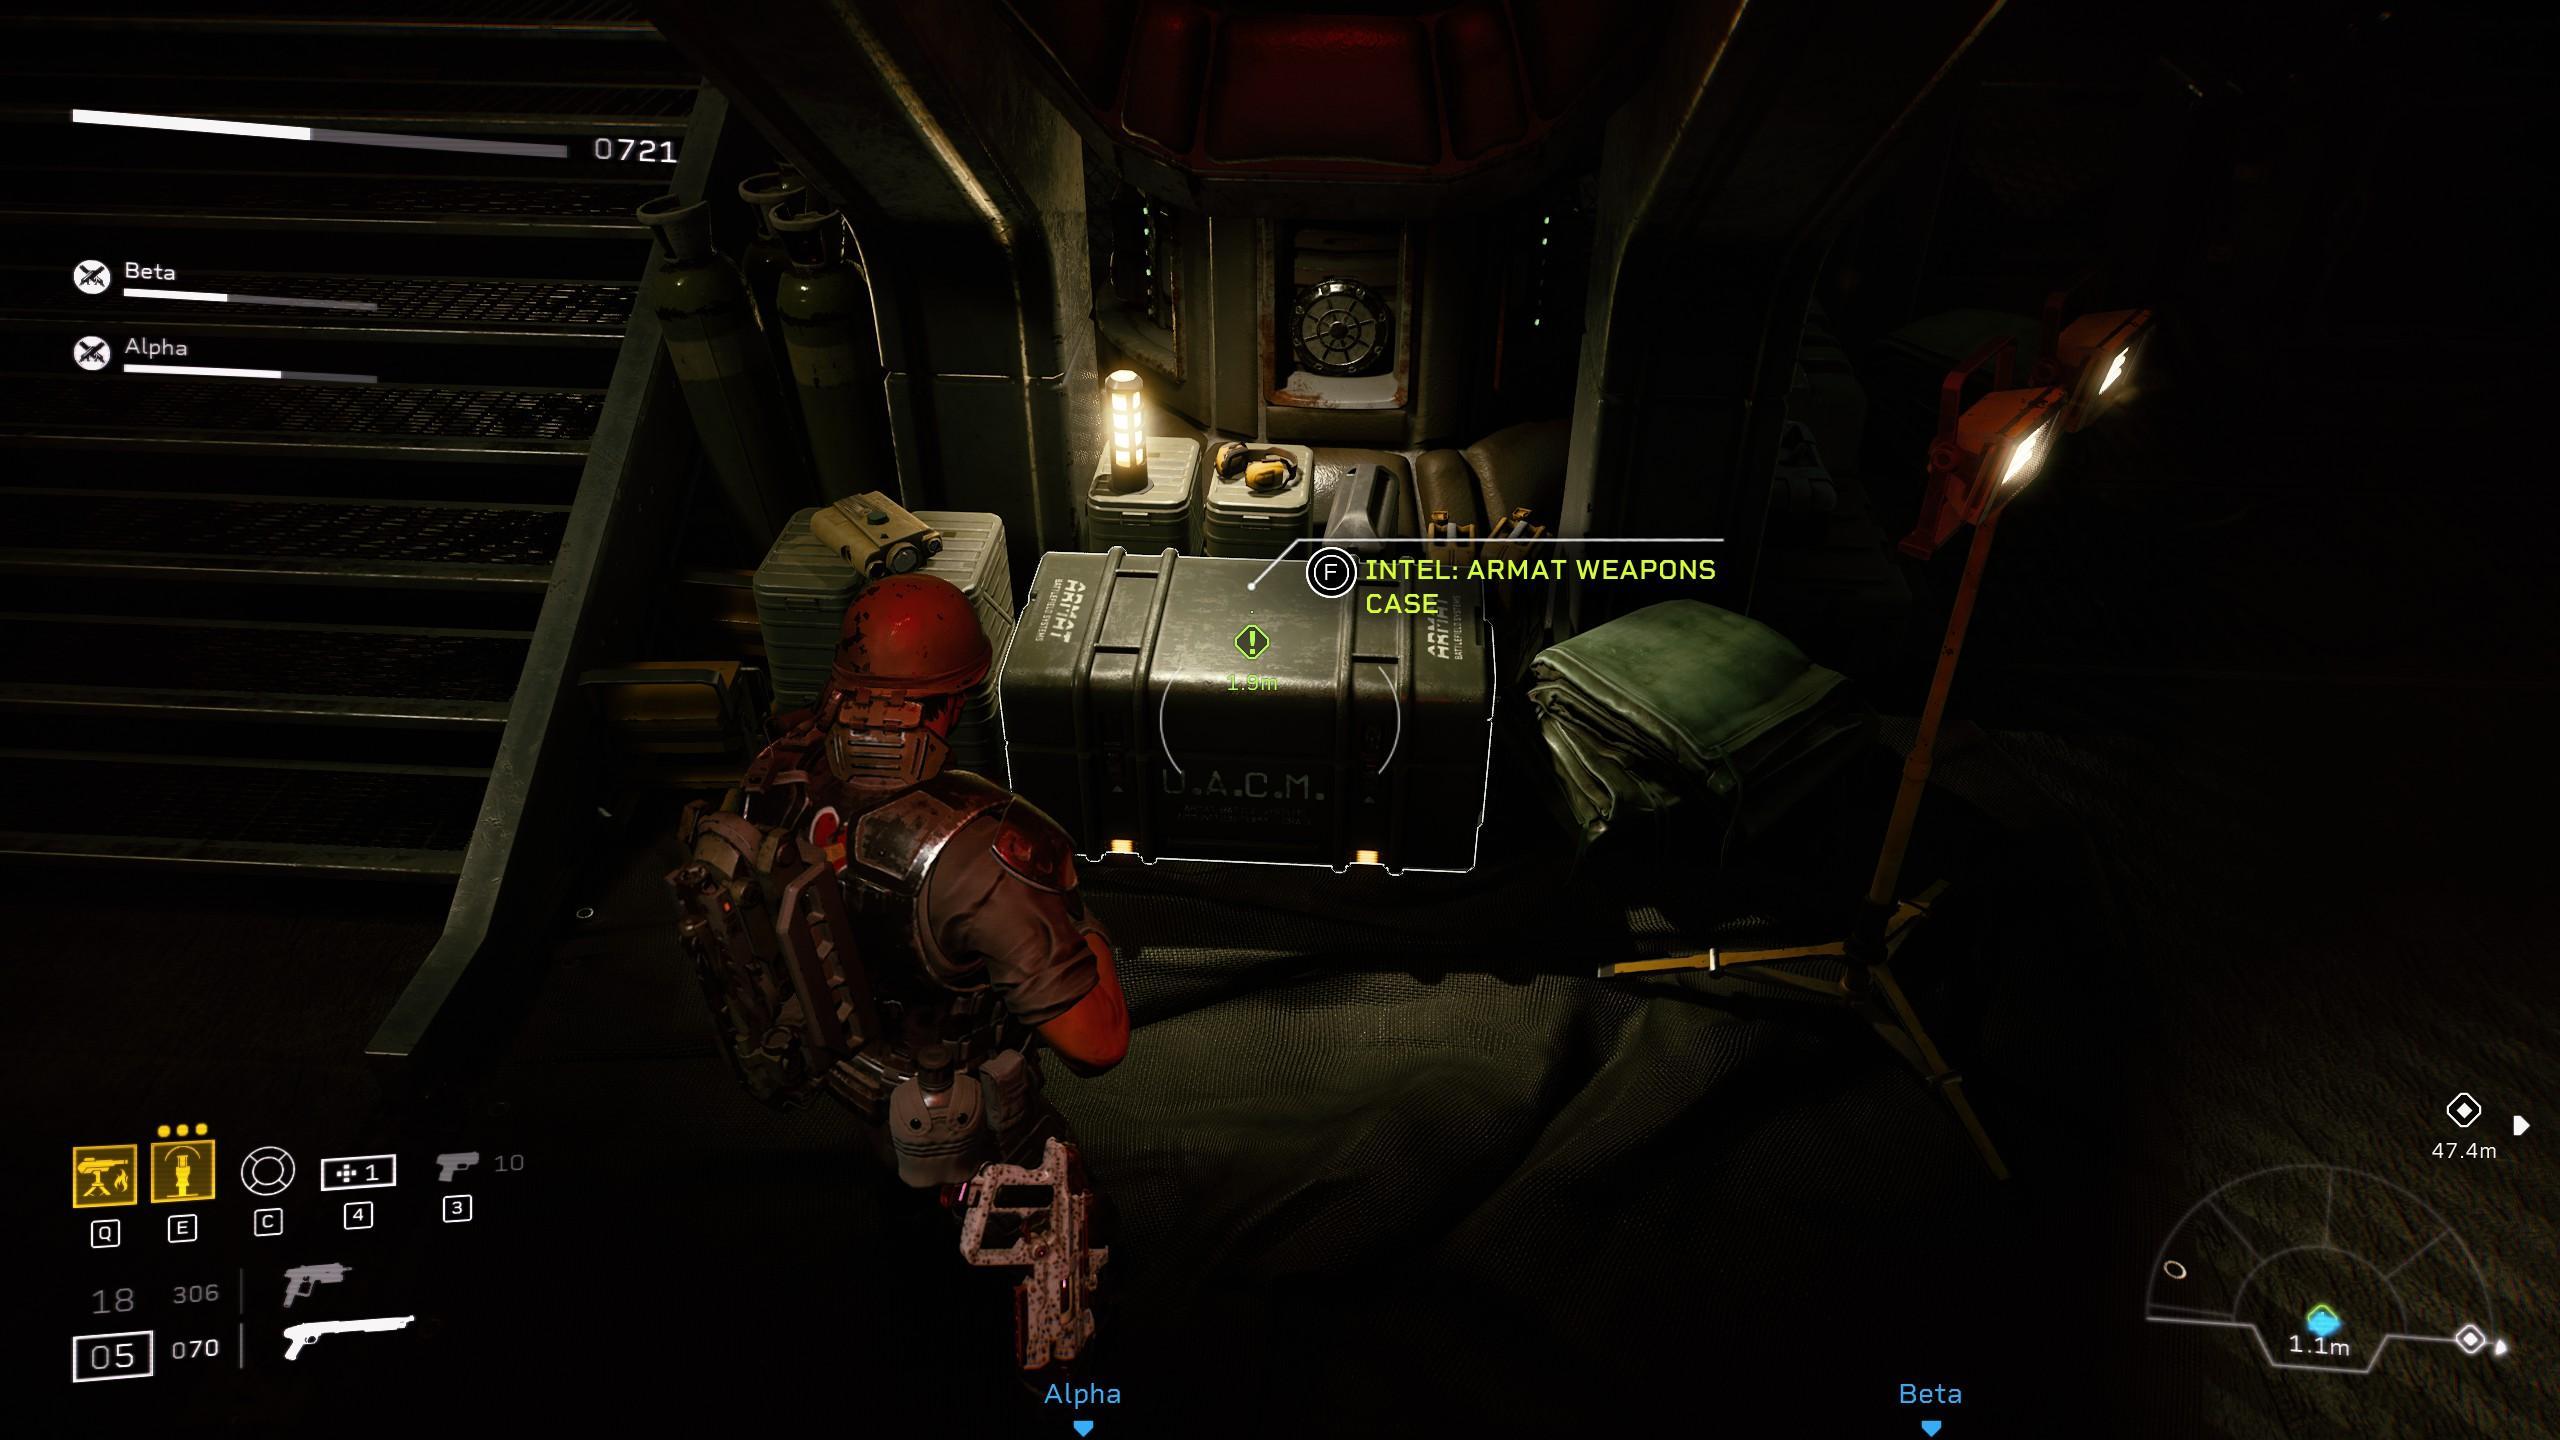

- Armat Weapons Case: Recently Discovered a Variant of this room can spawn different from the one before. You’ll still find the Weapons in the room of the Second Turret Defense just in a different location. Upon entering the Variant 2nd turret defense instead of walking into a large hangar like room you will be into a smaller narrower long hallway room with only 2 turrets instead of 3! Simply mantle over either barricade and walk into the alcove located in the CENTRAL Wall Strip. then look back towards where the turrets are to find the box on the ground.
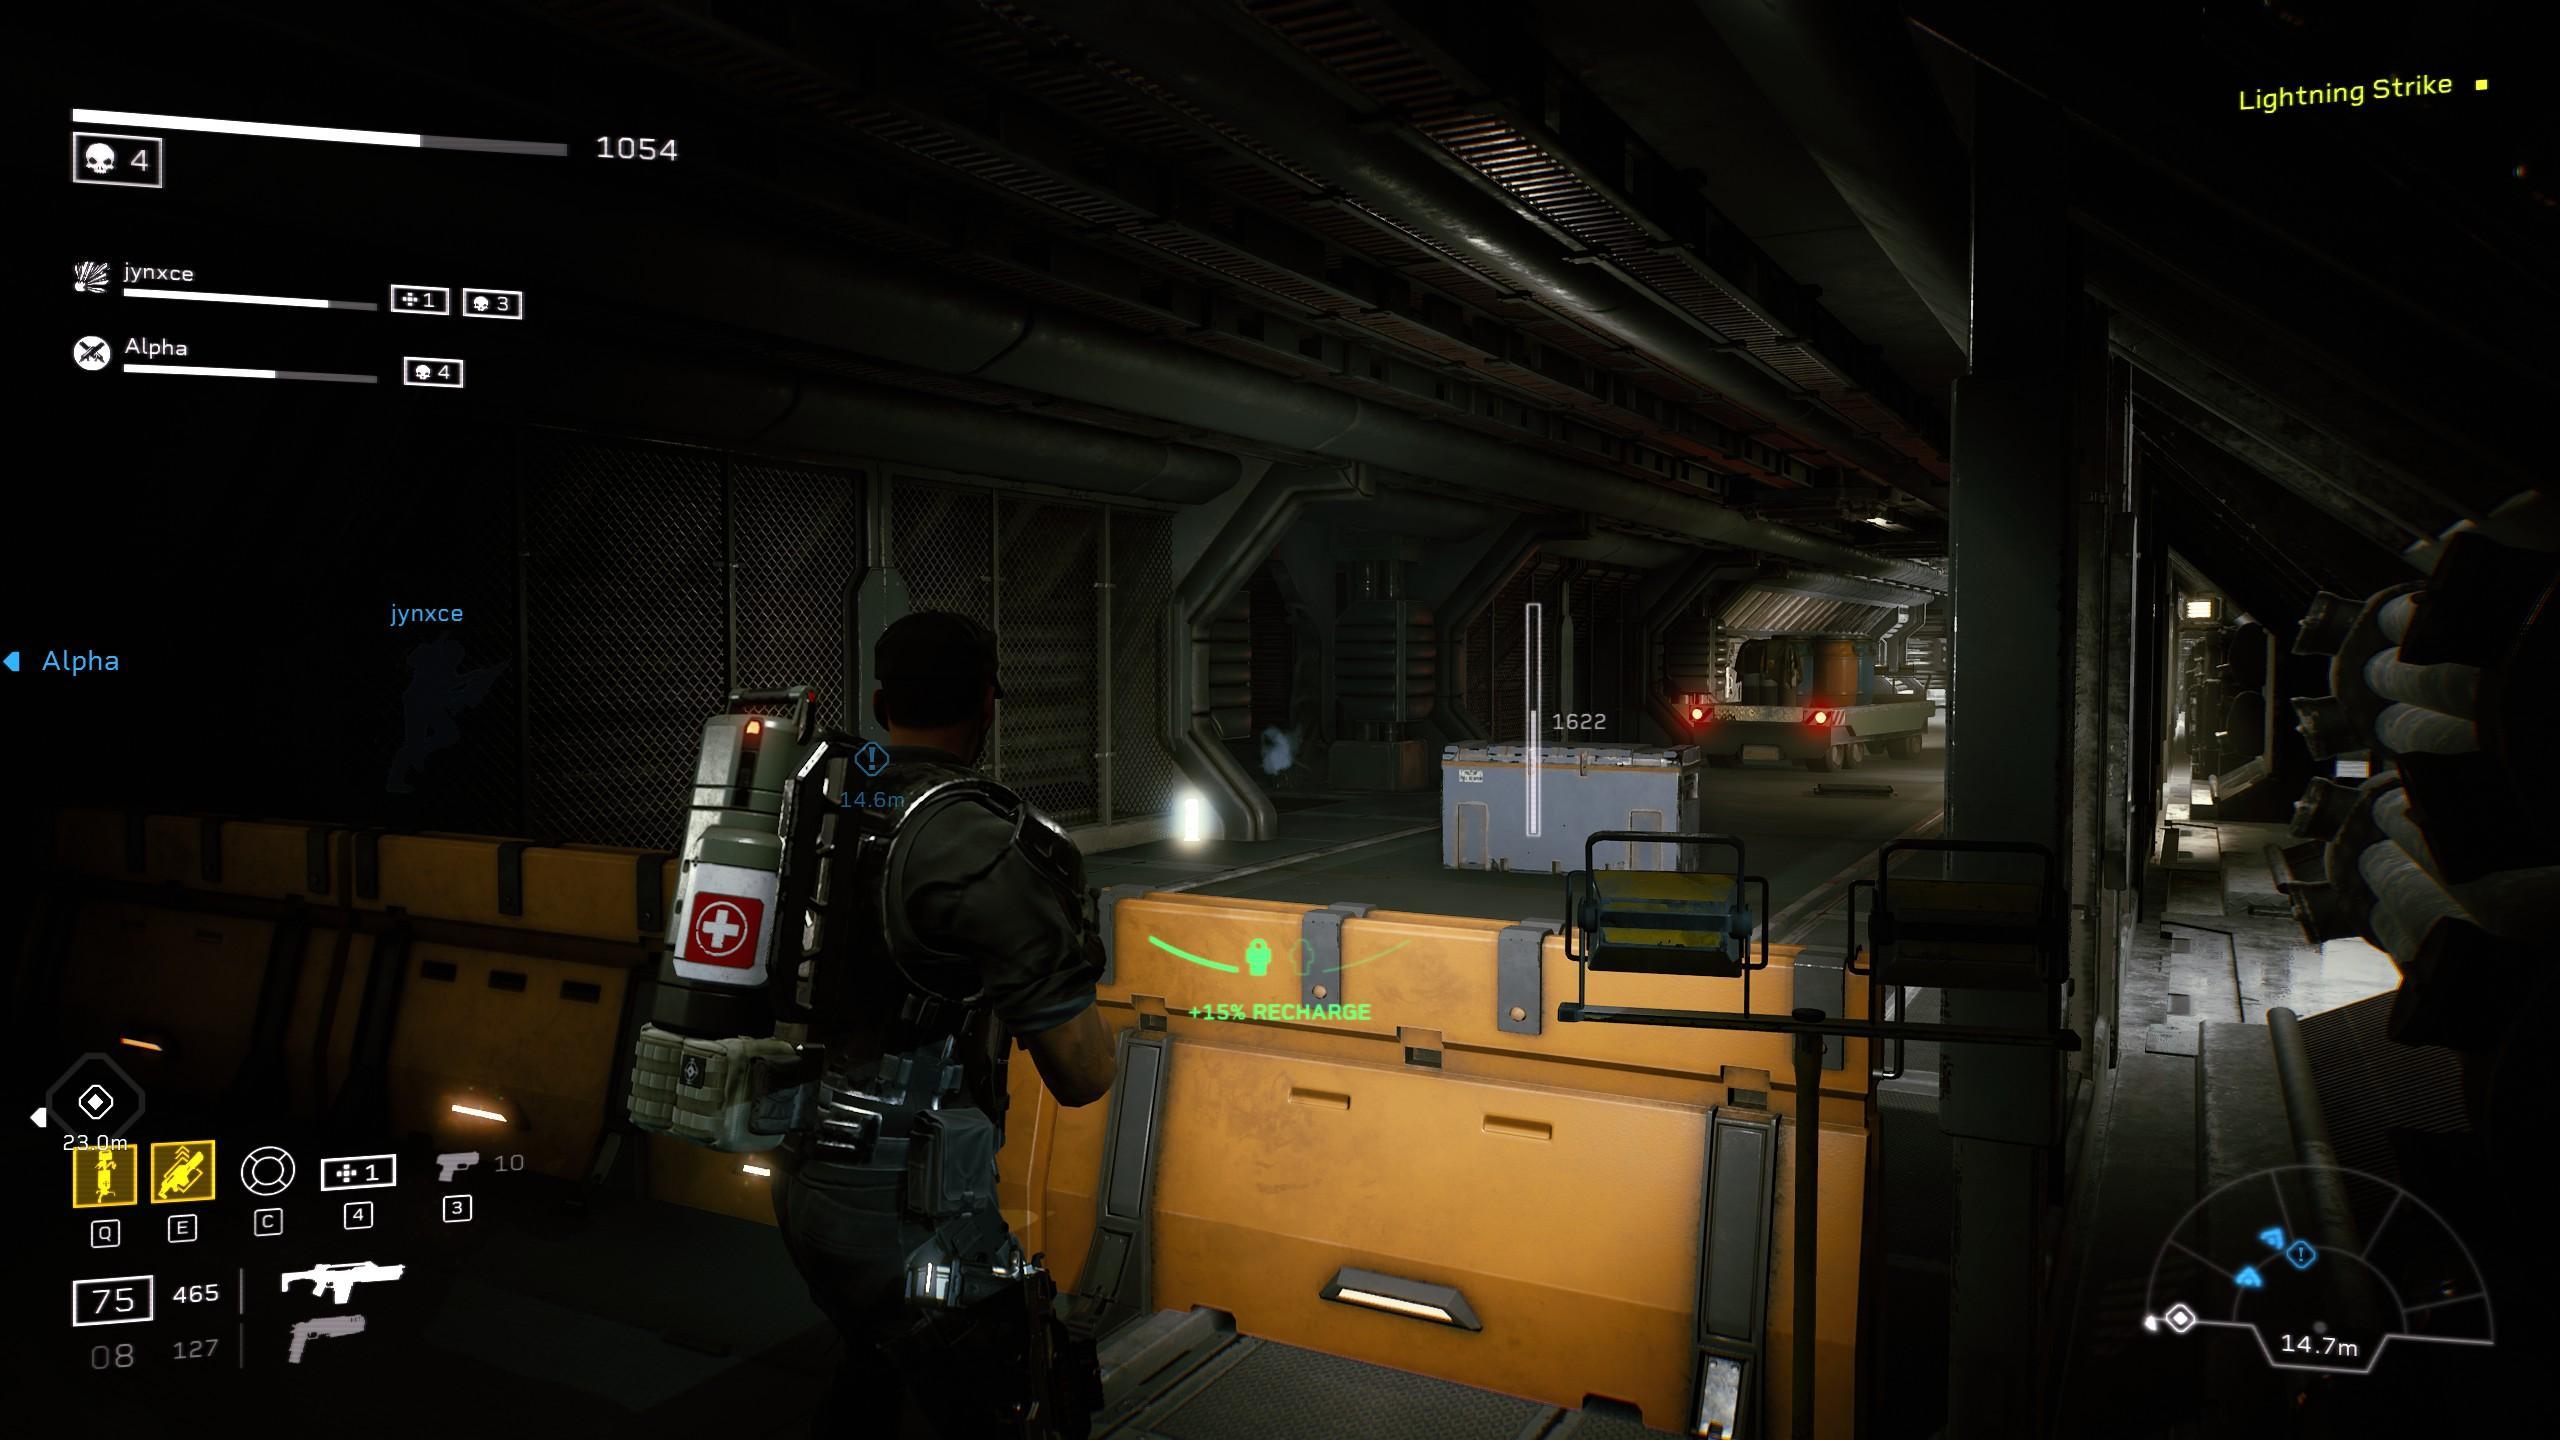
- United Americas Centennial Poster: Upon reaching the Third turret defense head left up the small staircase with the railings then right to find the Banner on a table.

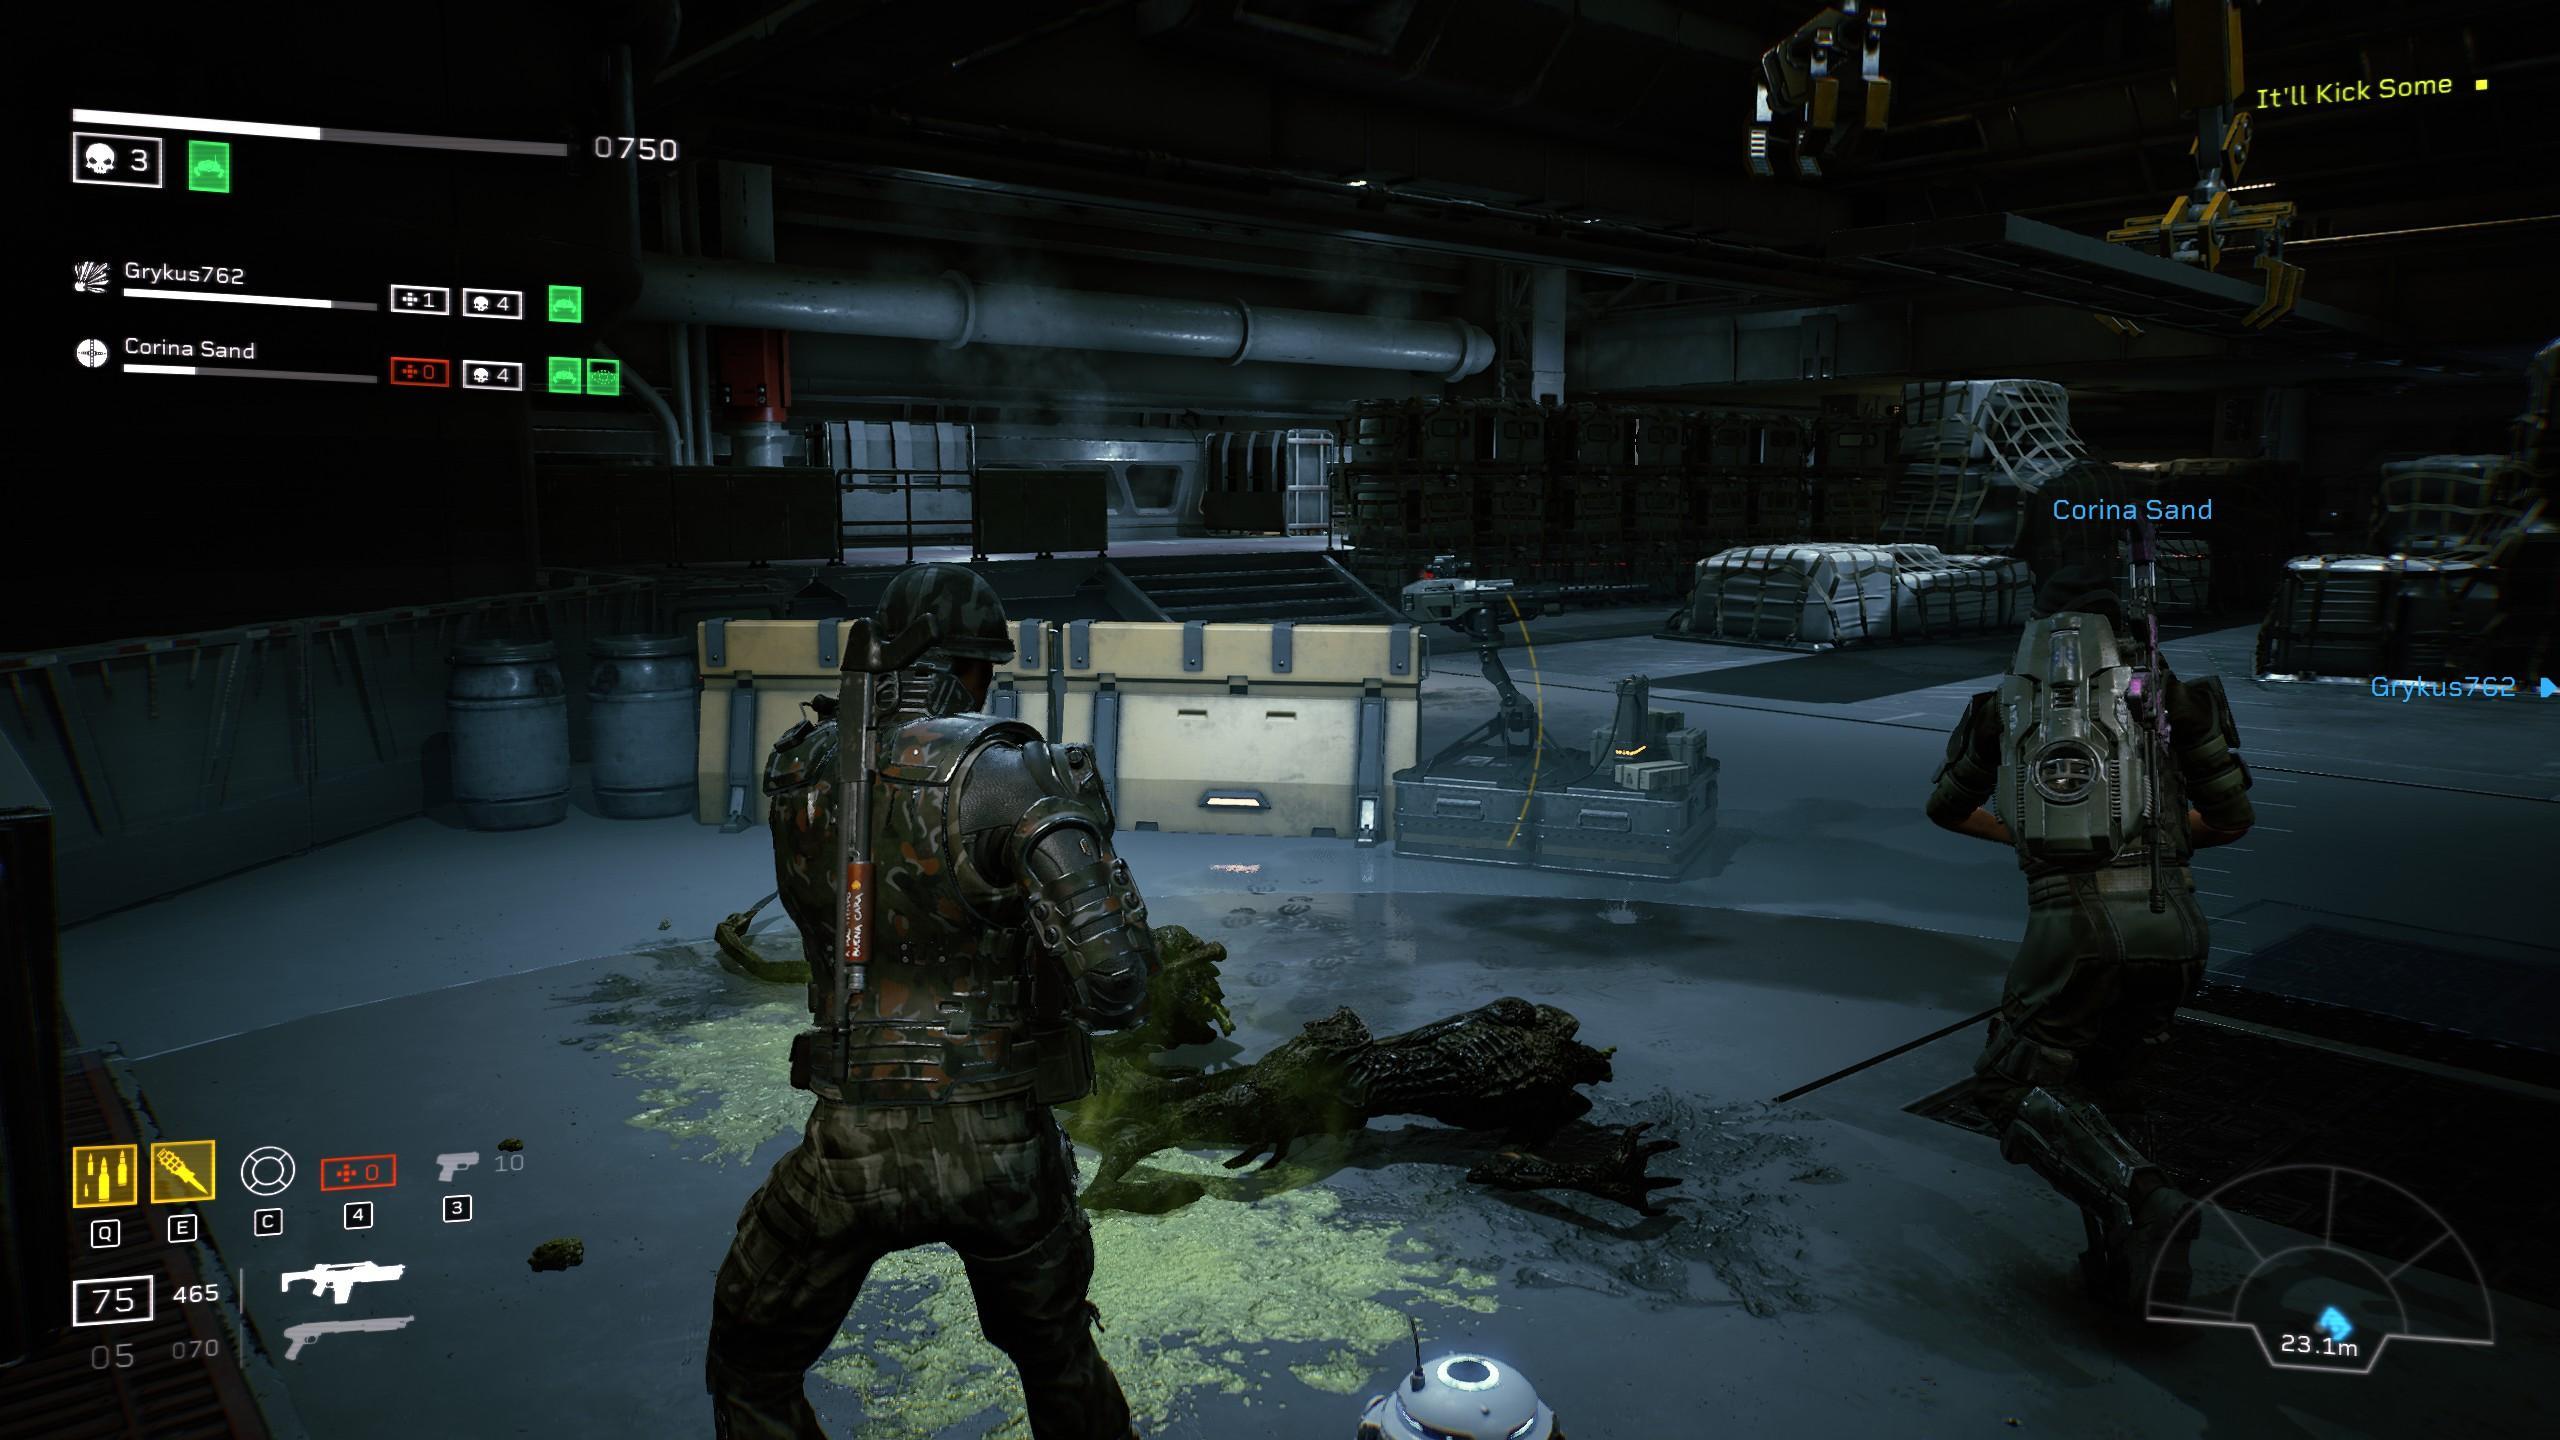
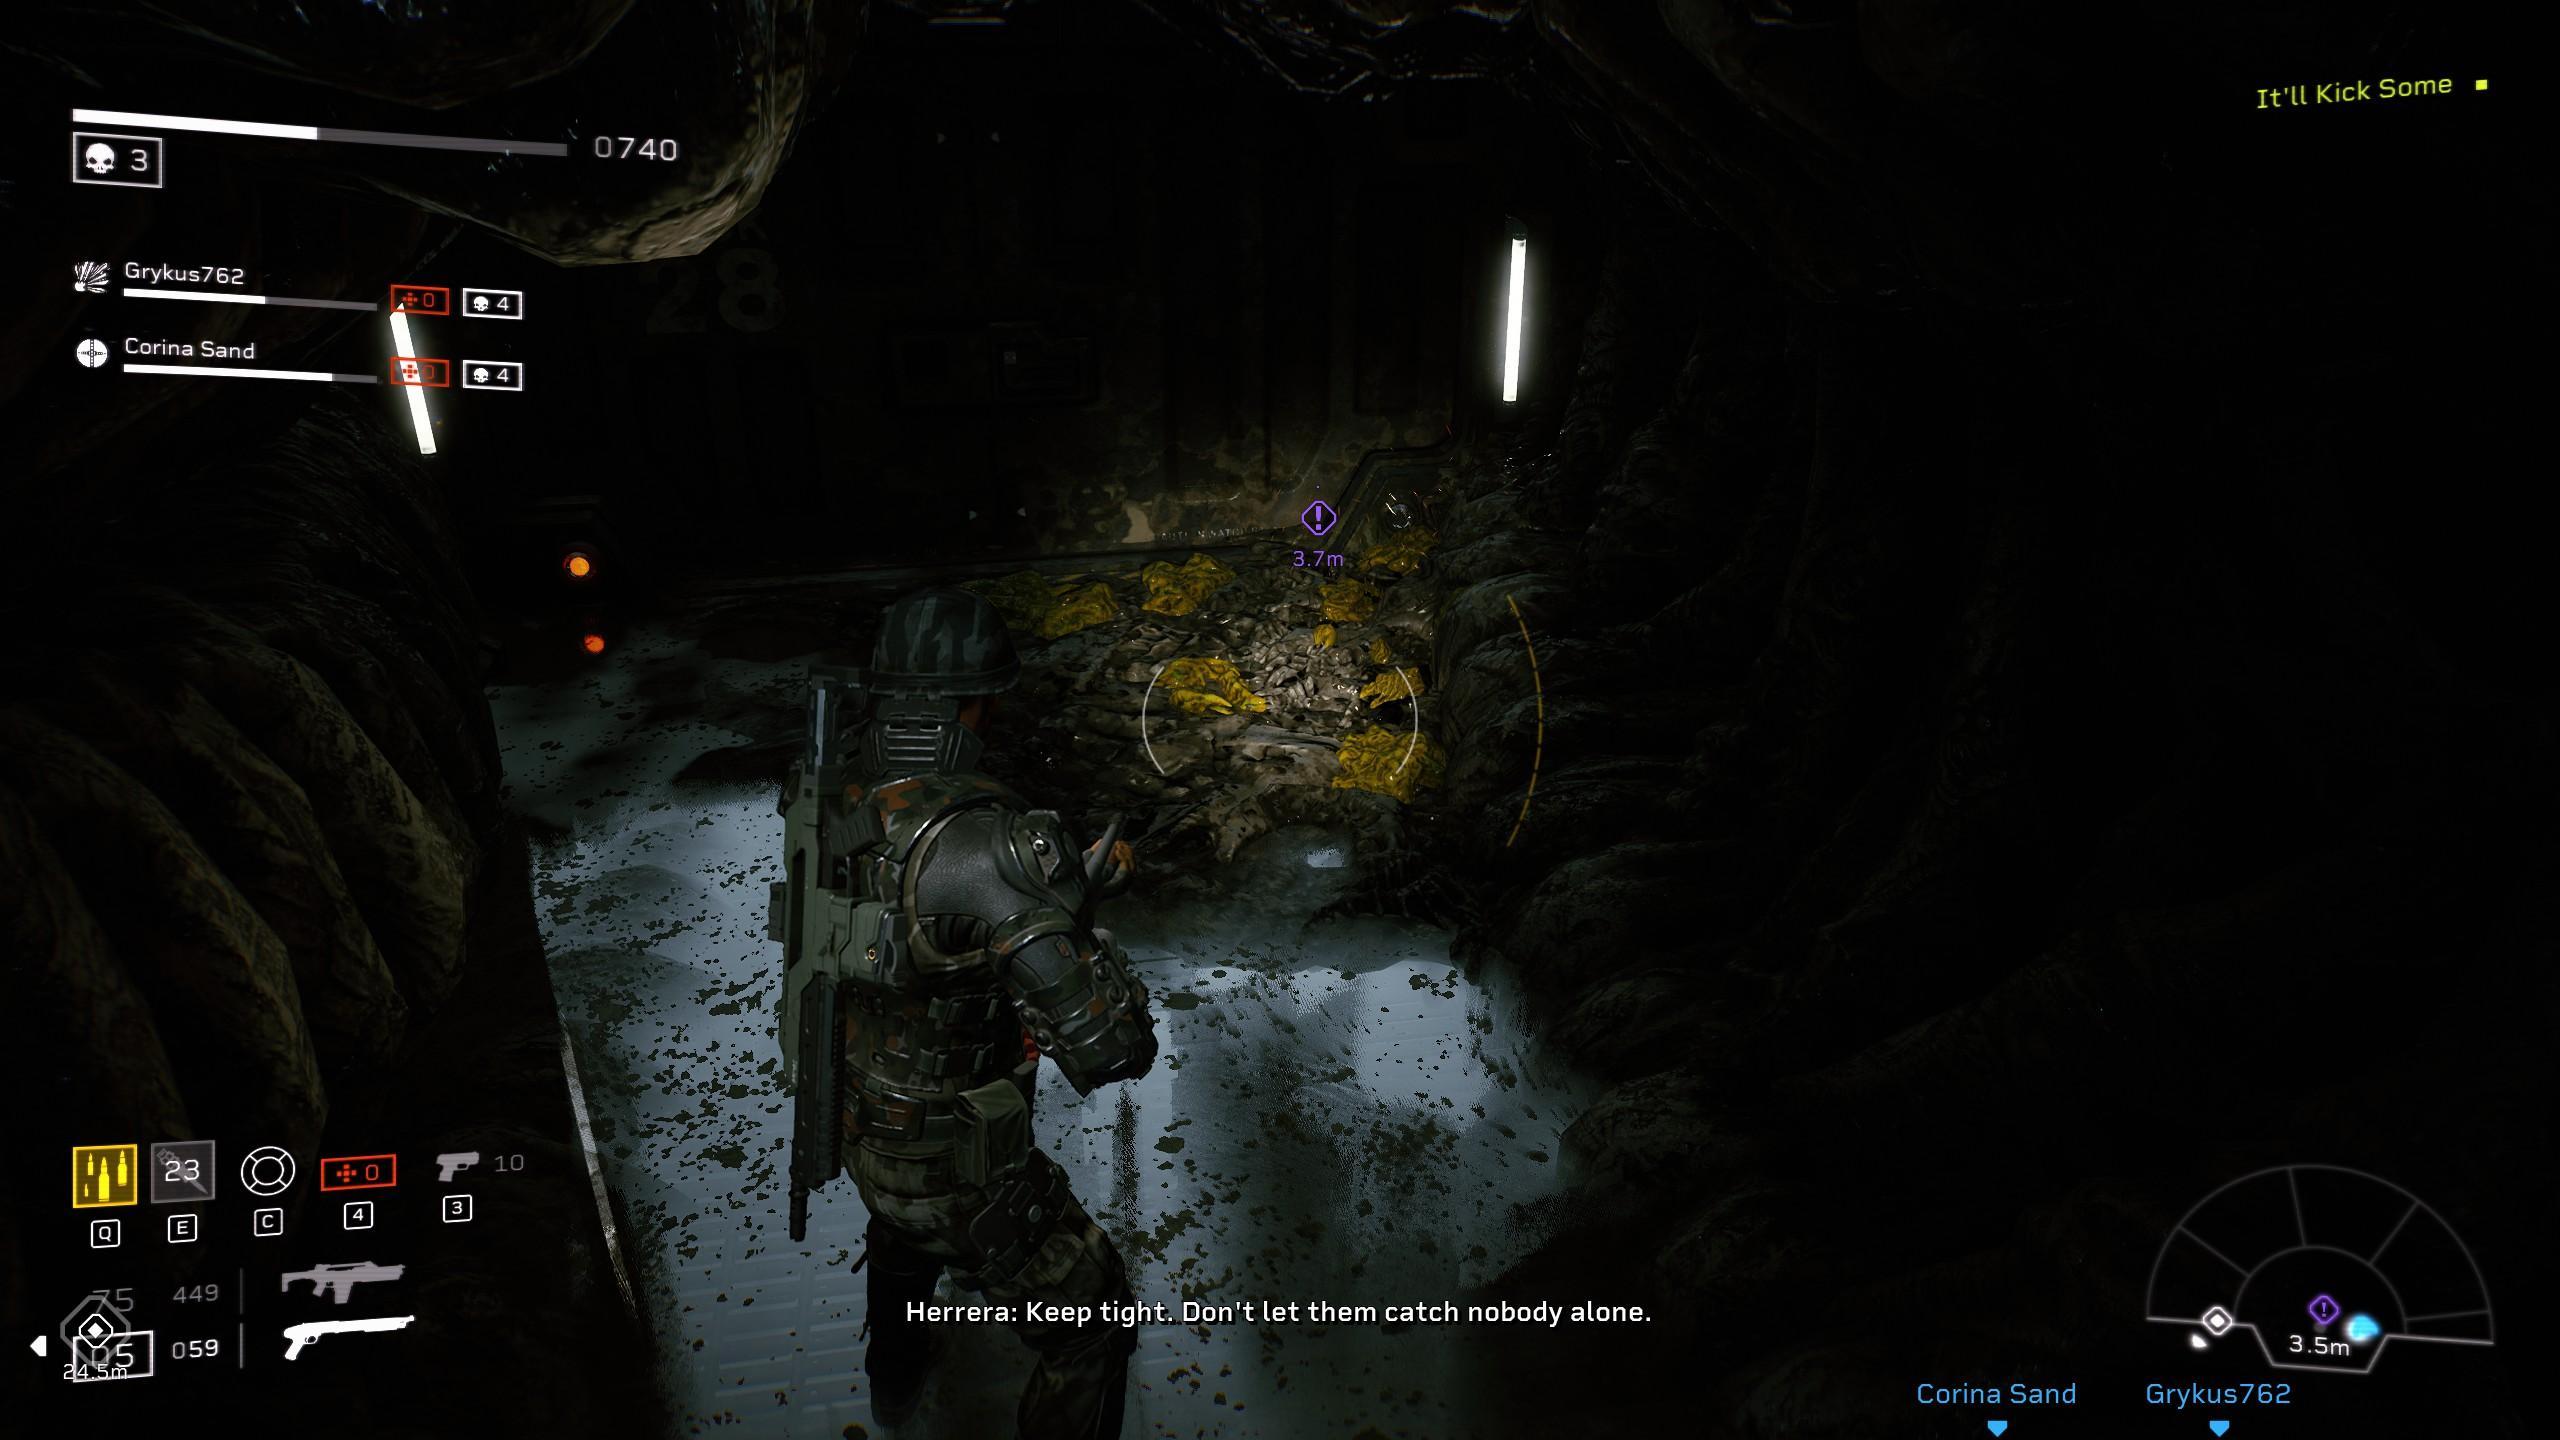
- Acid Burster Goo: Upon reaching the Hive take an immediate once you descend the stairs. Beware the Three Ovomorphs that you will encounter on your way there.
The Only Way to Be Sure: Rescue
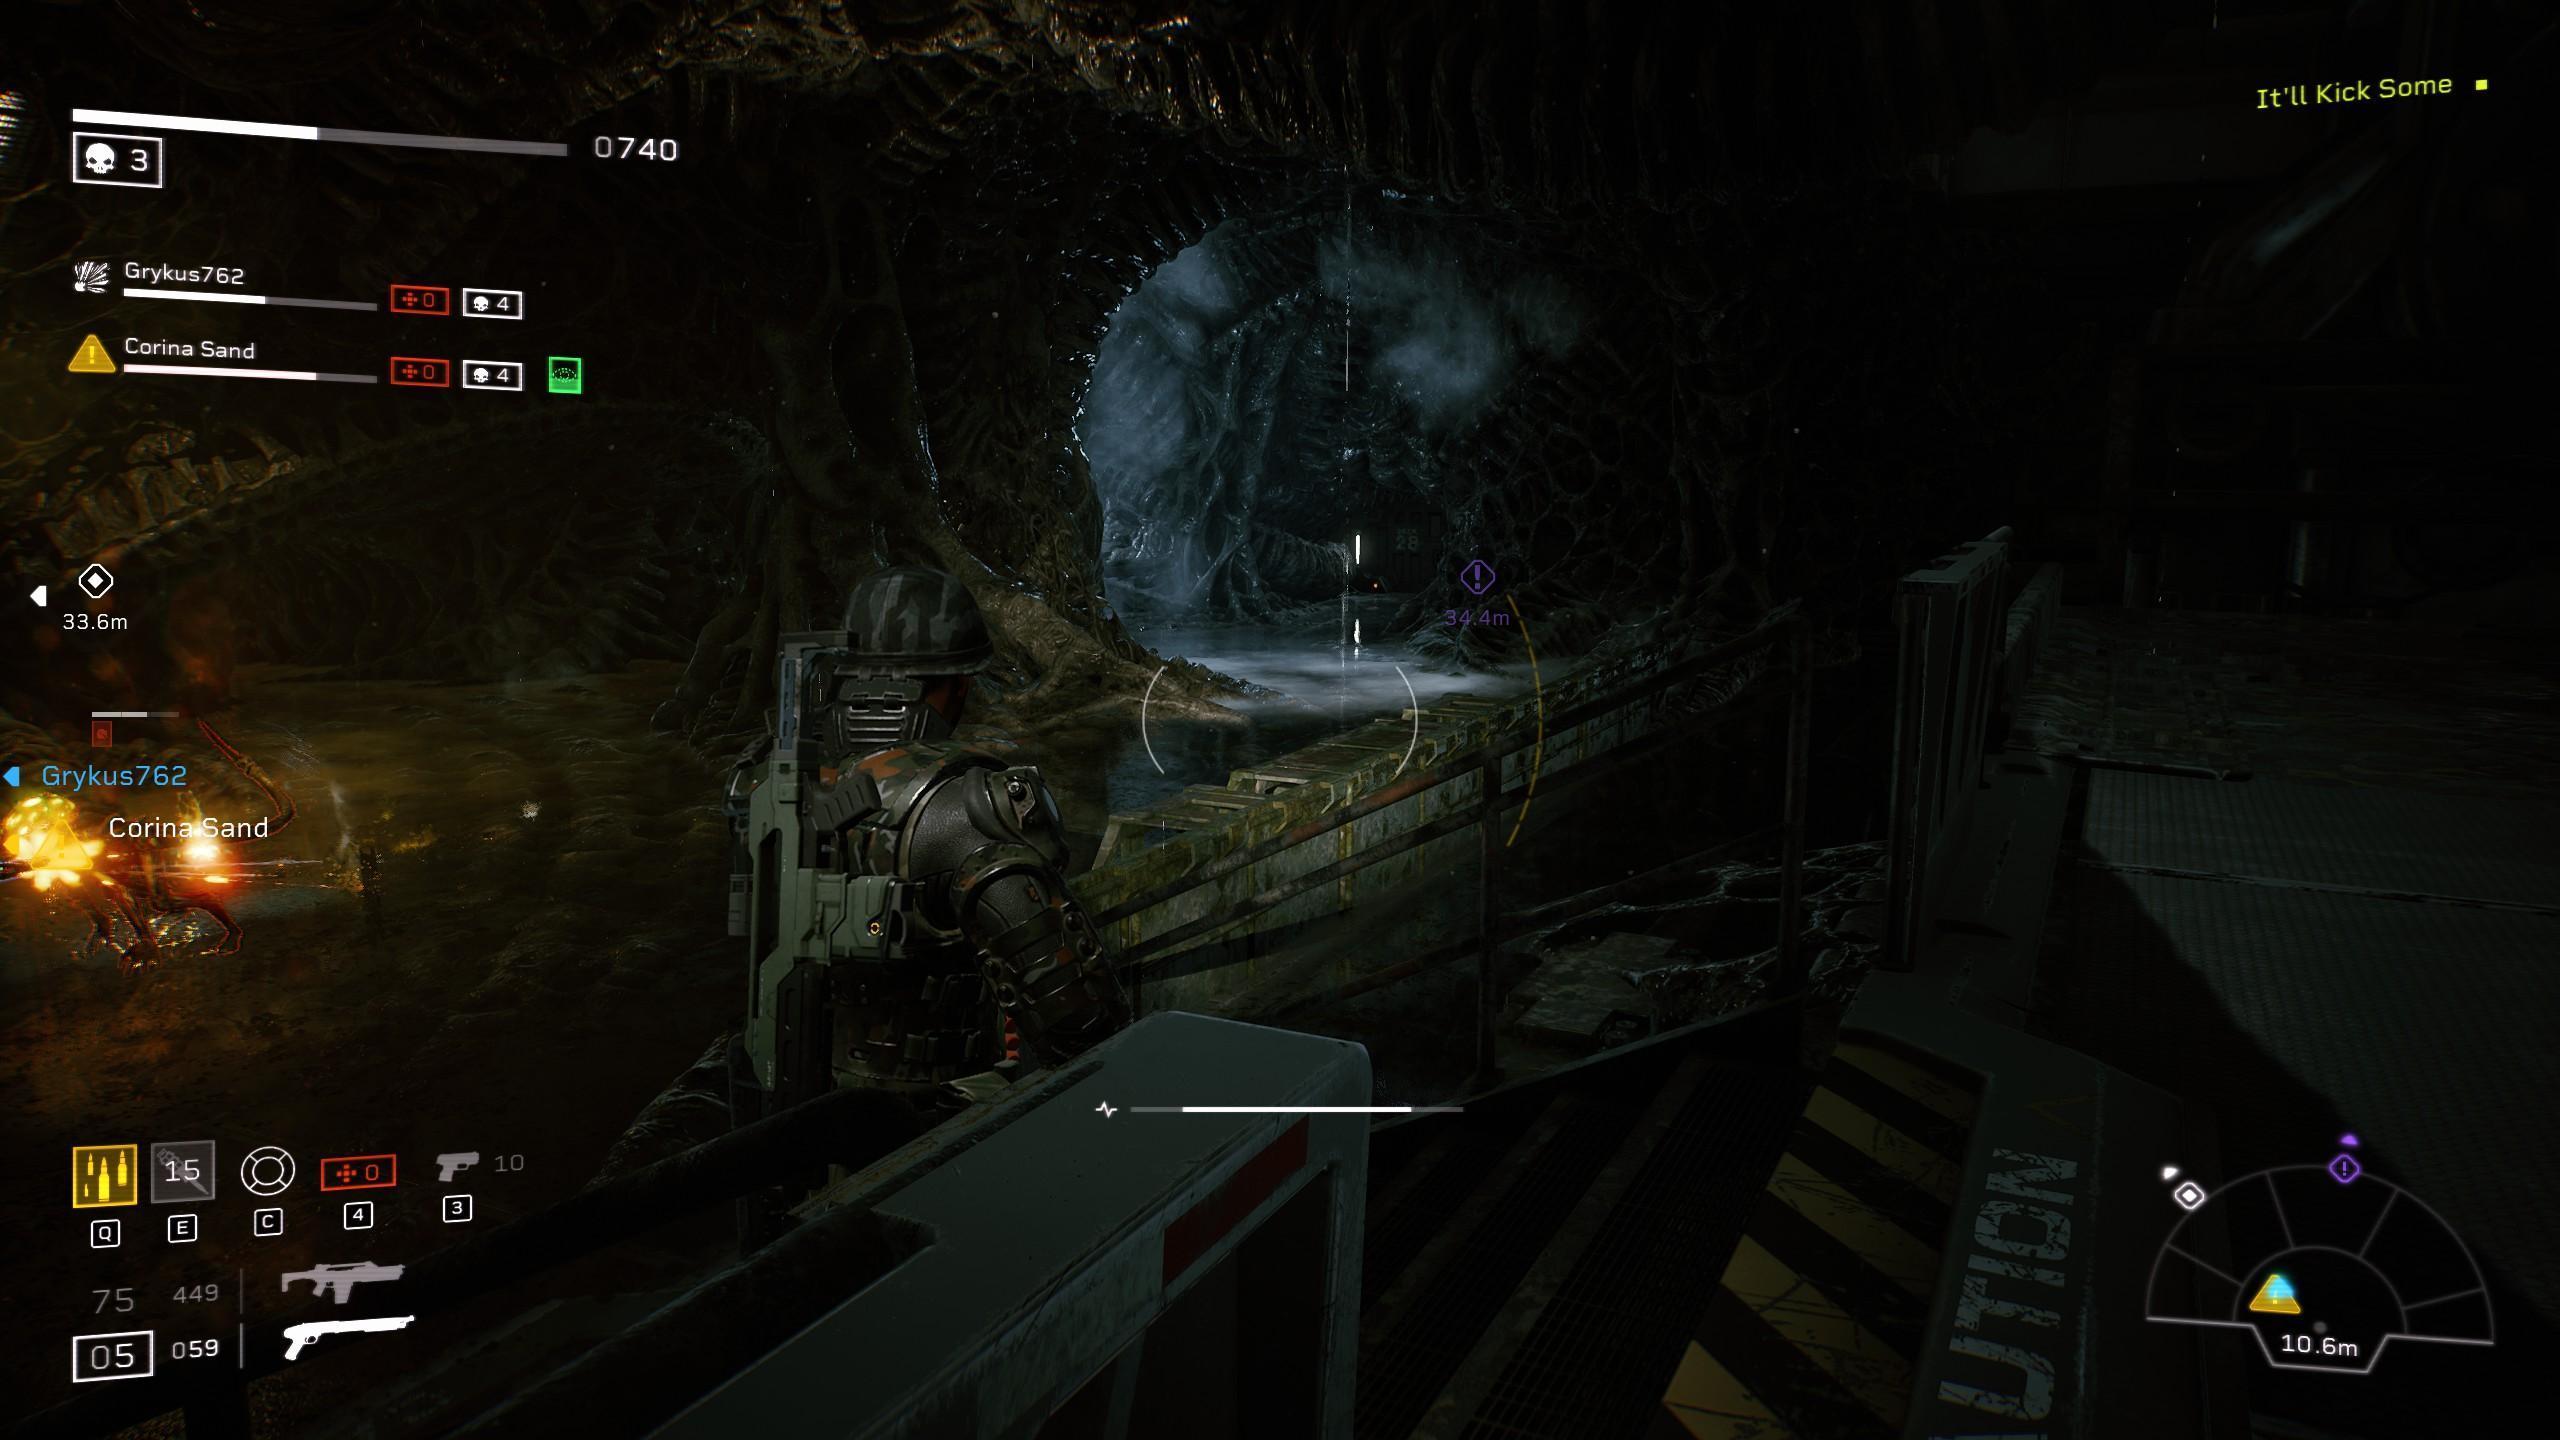
- Partially Dissolved Helmet: Upon mission start you should quickly find yourself in a resin covered highway. continue all the way down post the mission objective to find this helmet tucked in a corner.
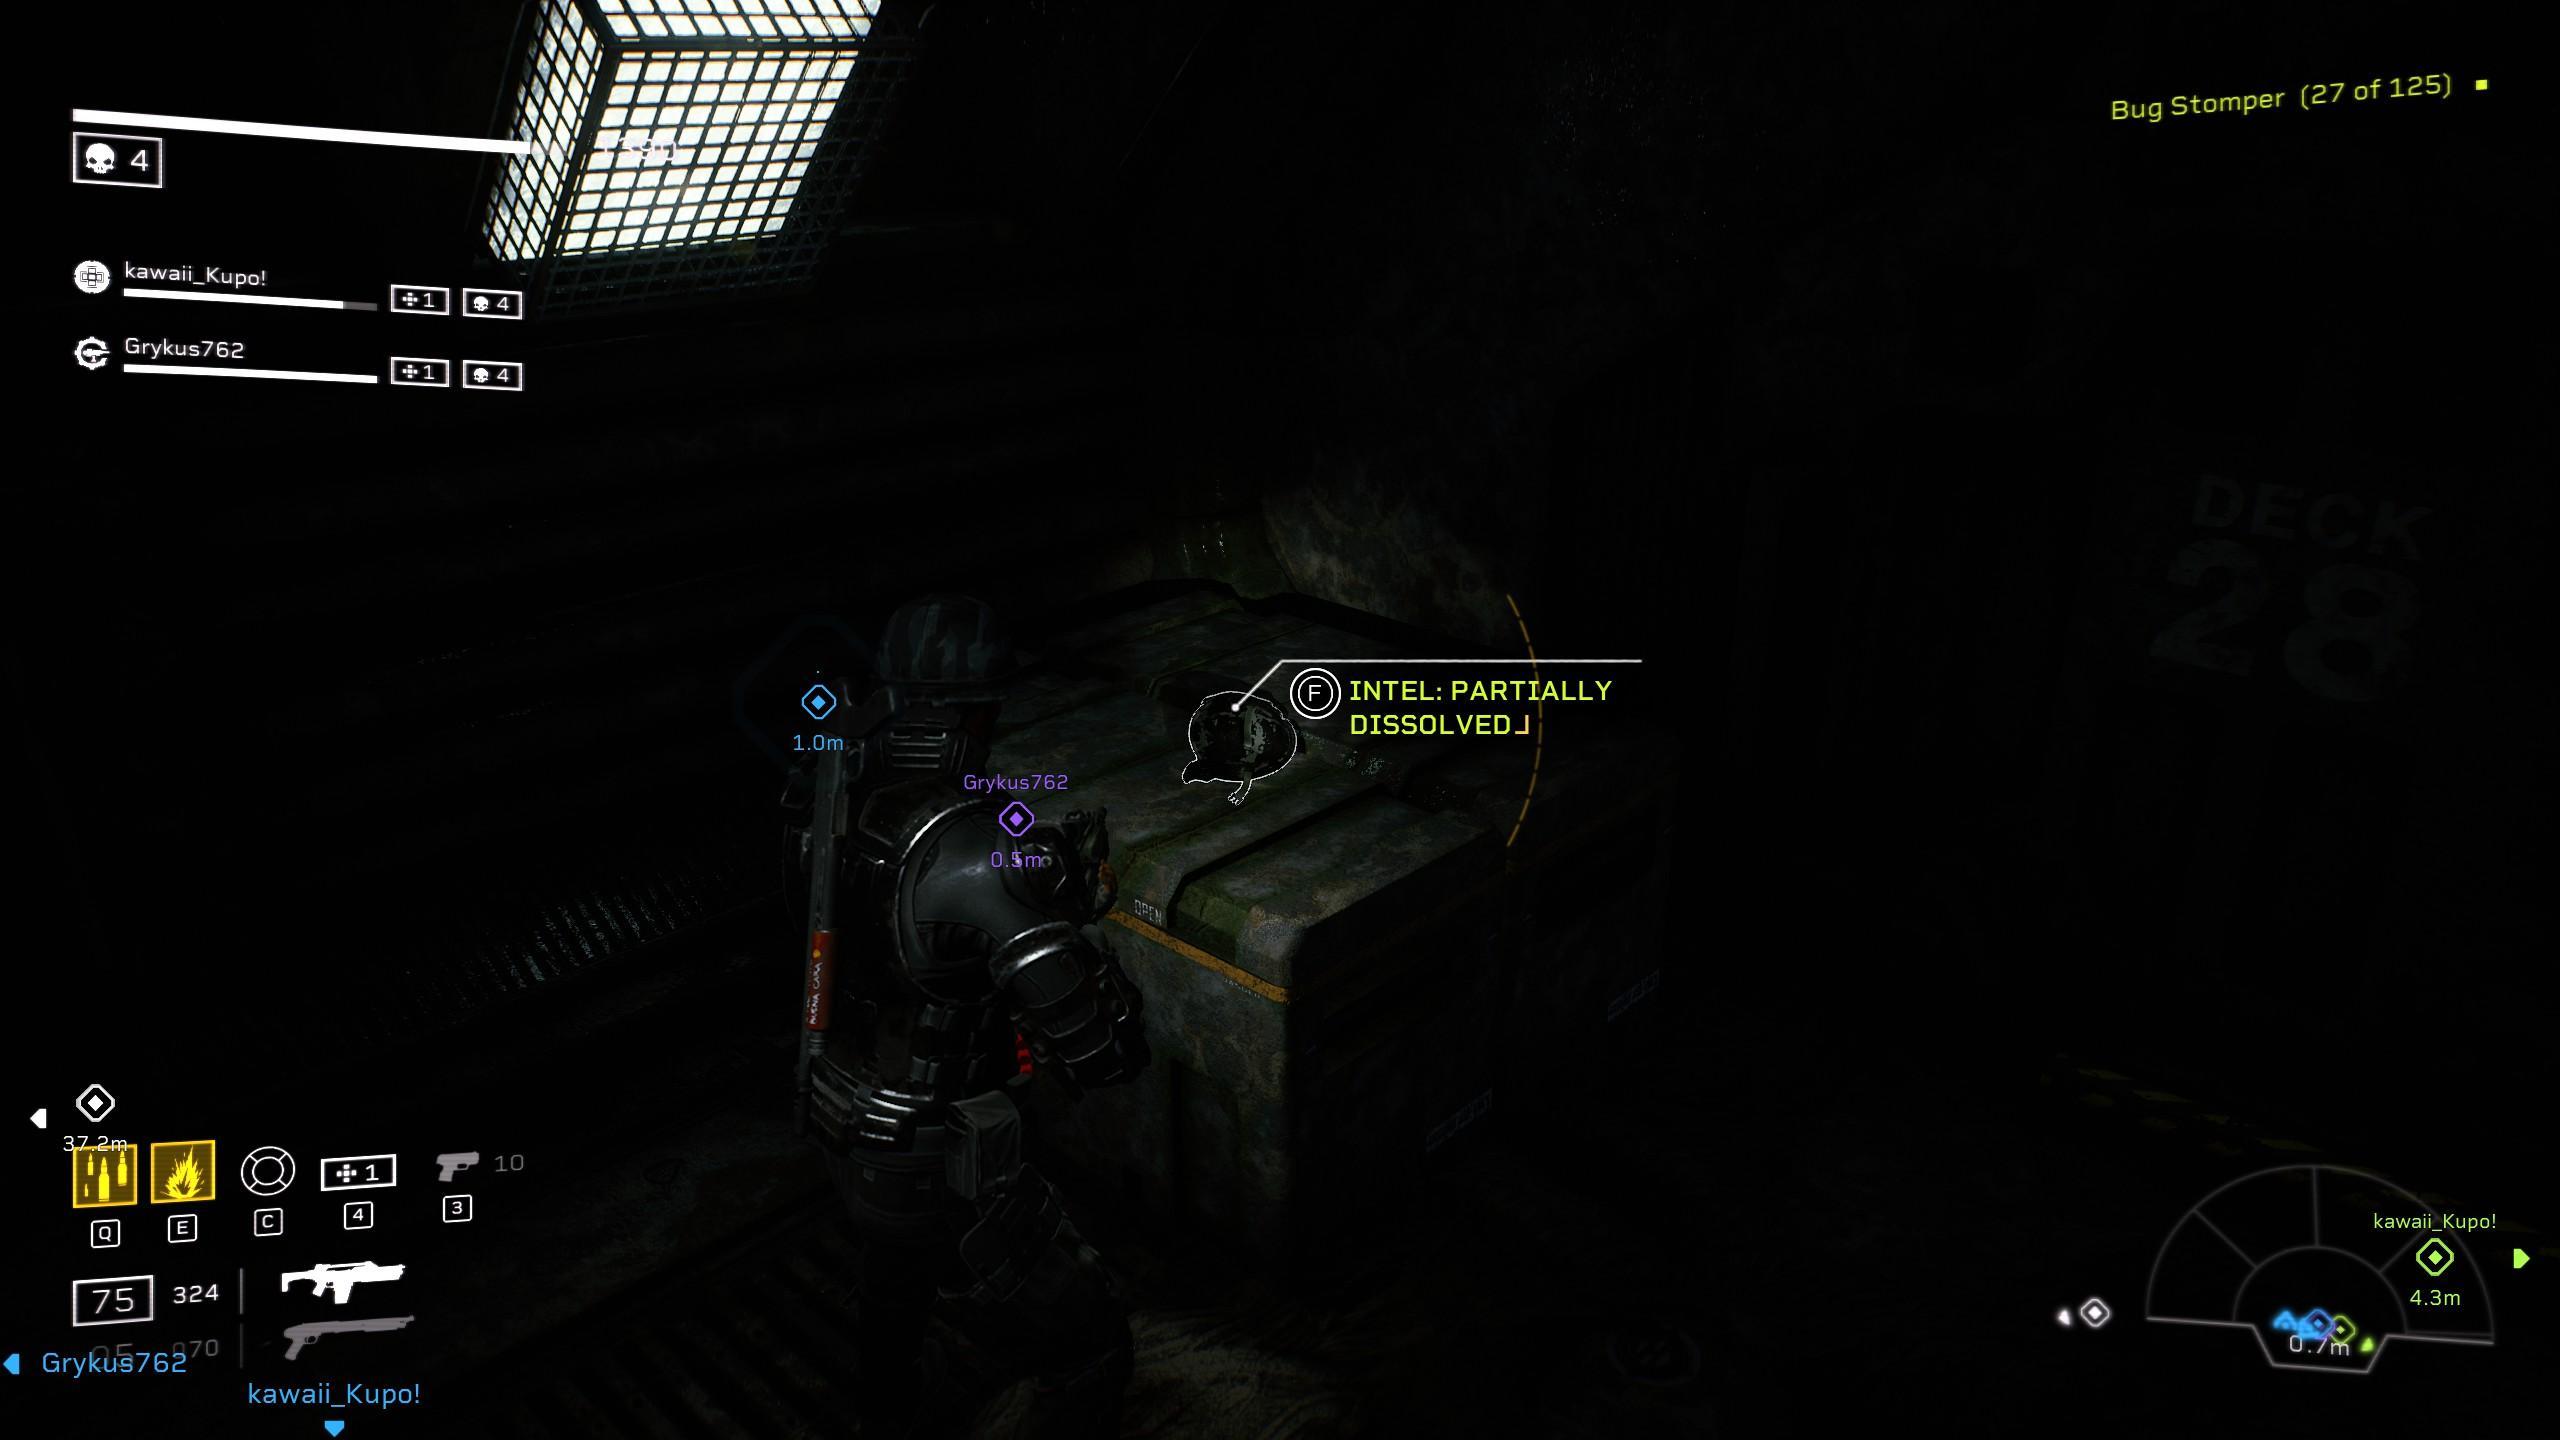
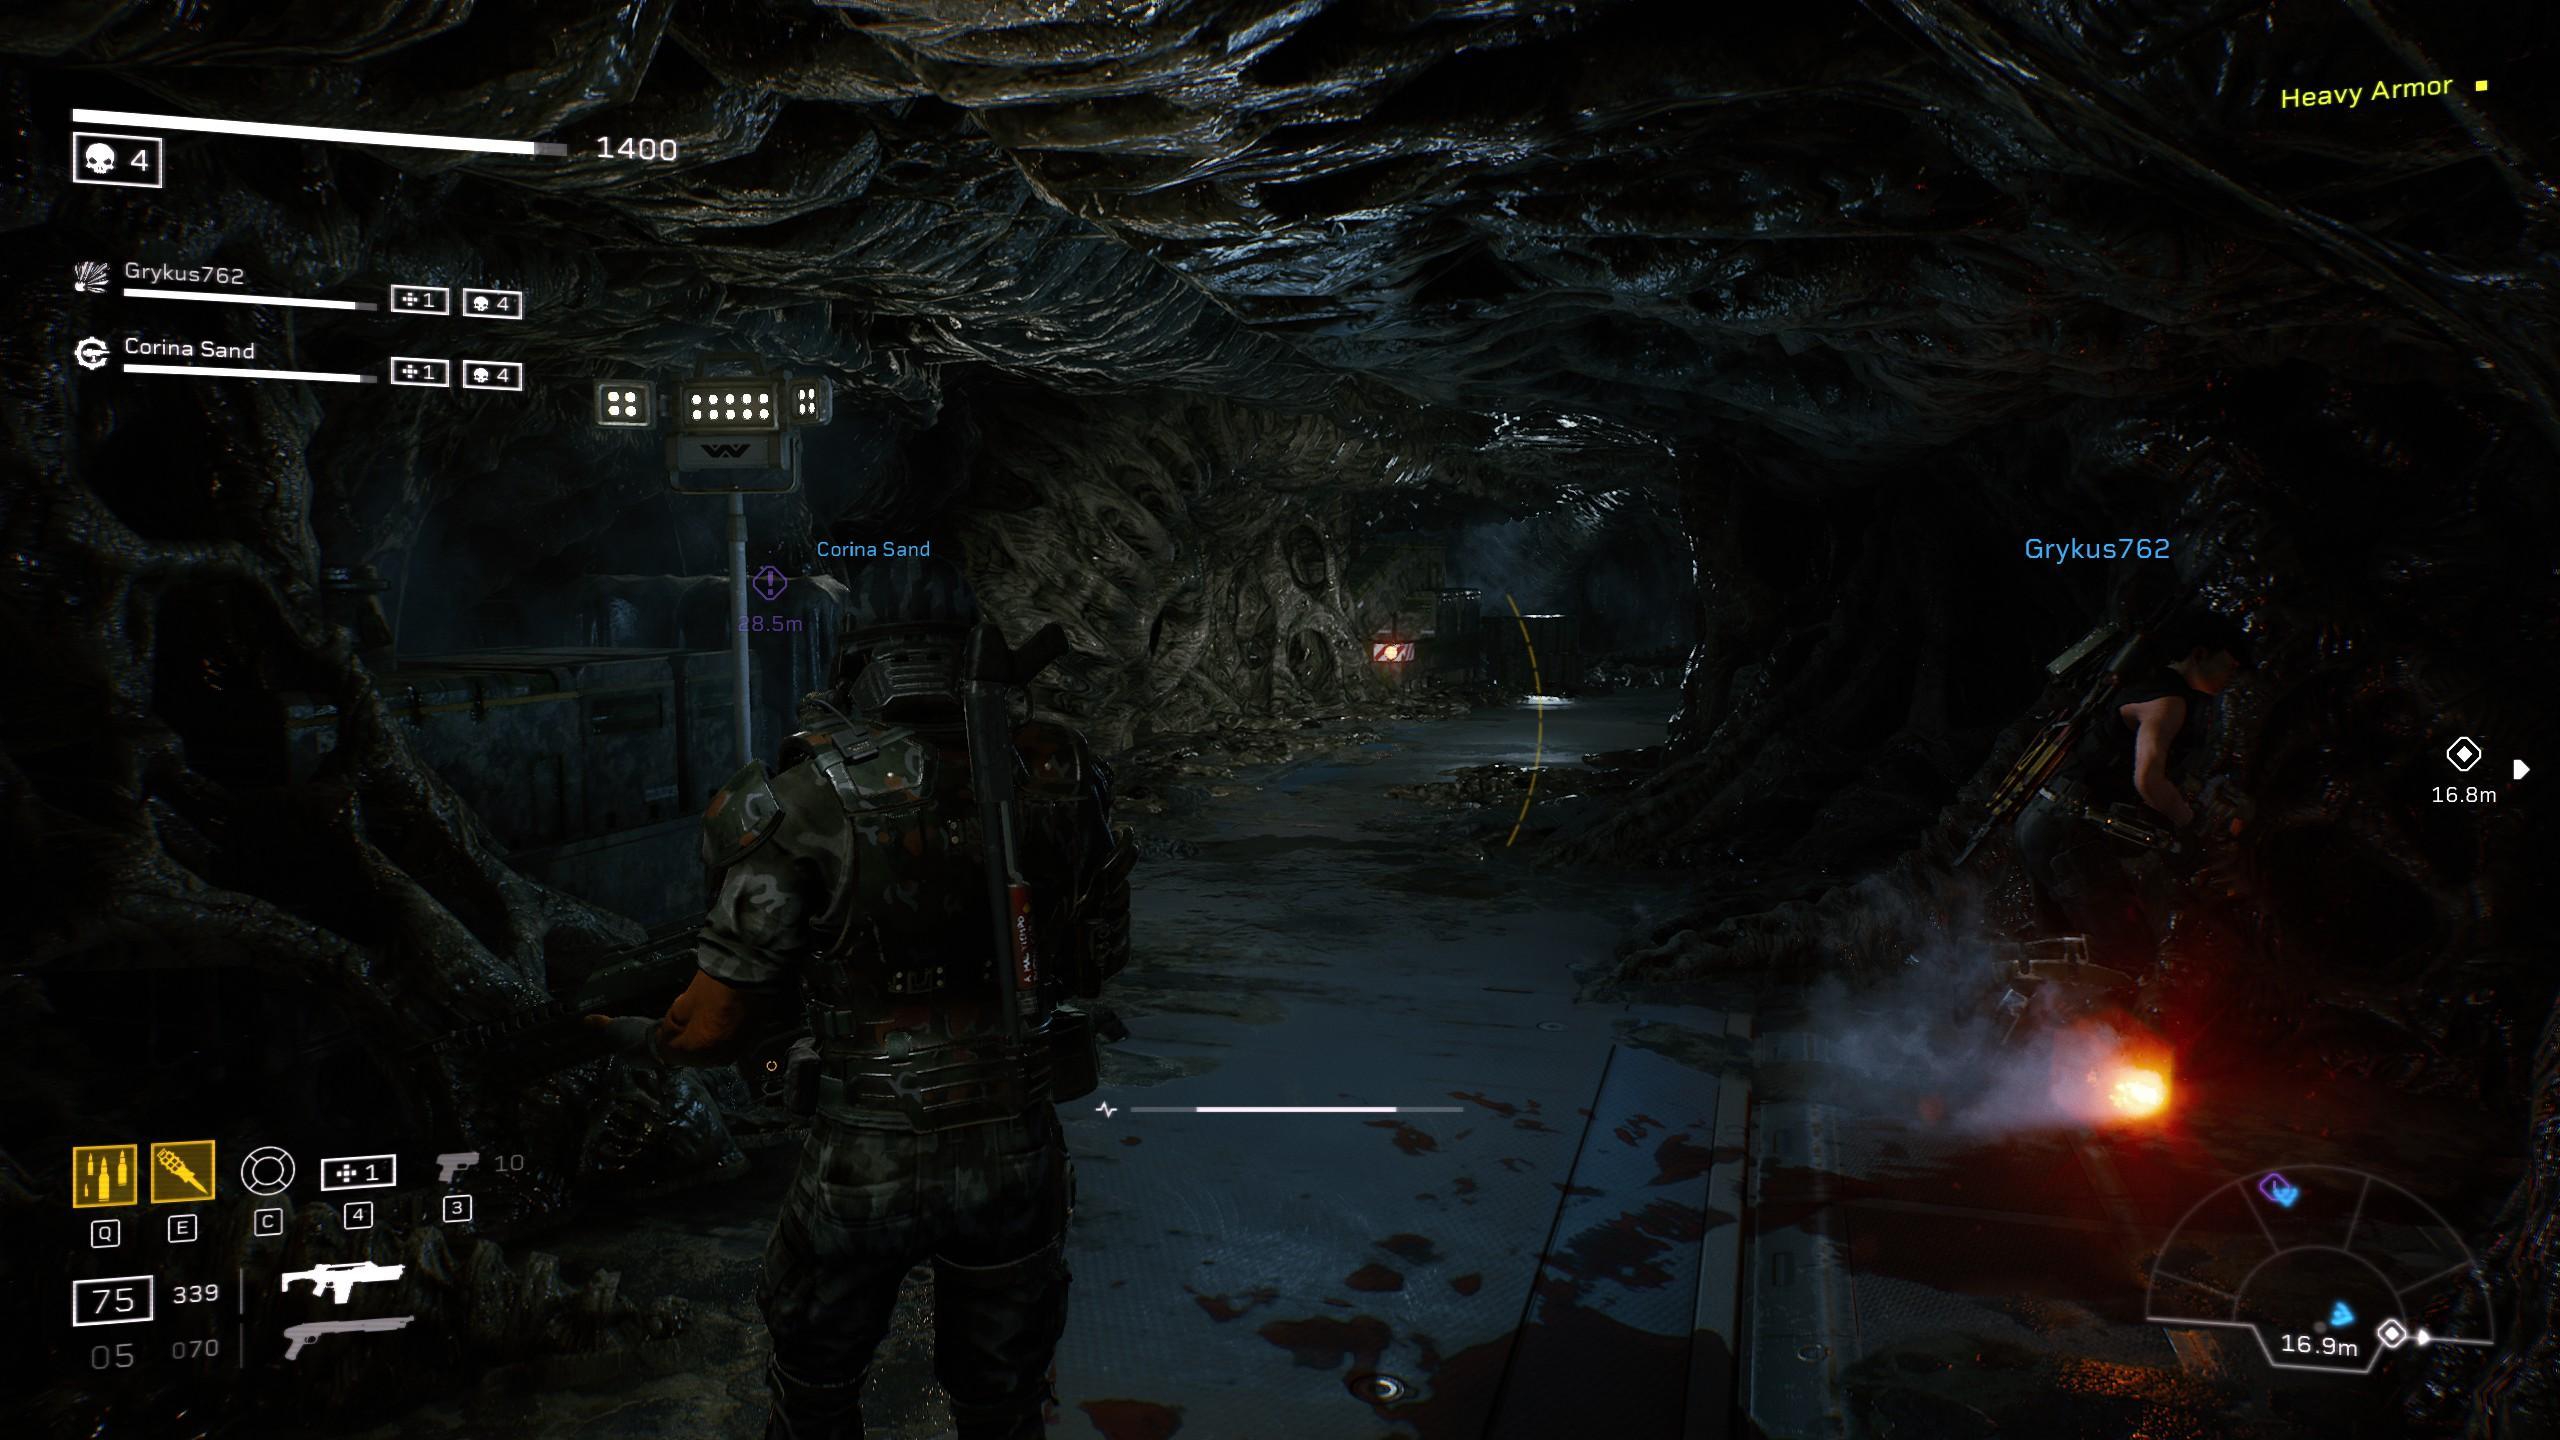
- Hyperdyne Folder: When you reach an area that’s a long flight of stairs one the second to the bottom level head into the alcove to find this intel sitting on a crate.
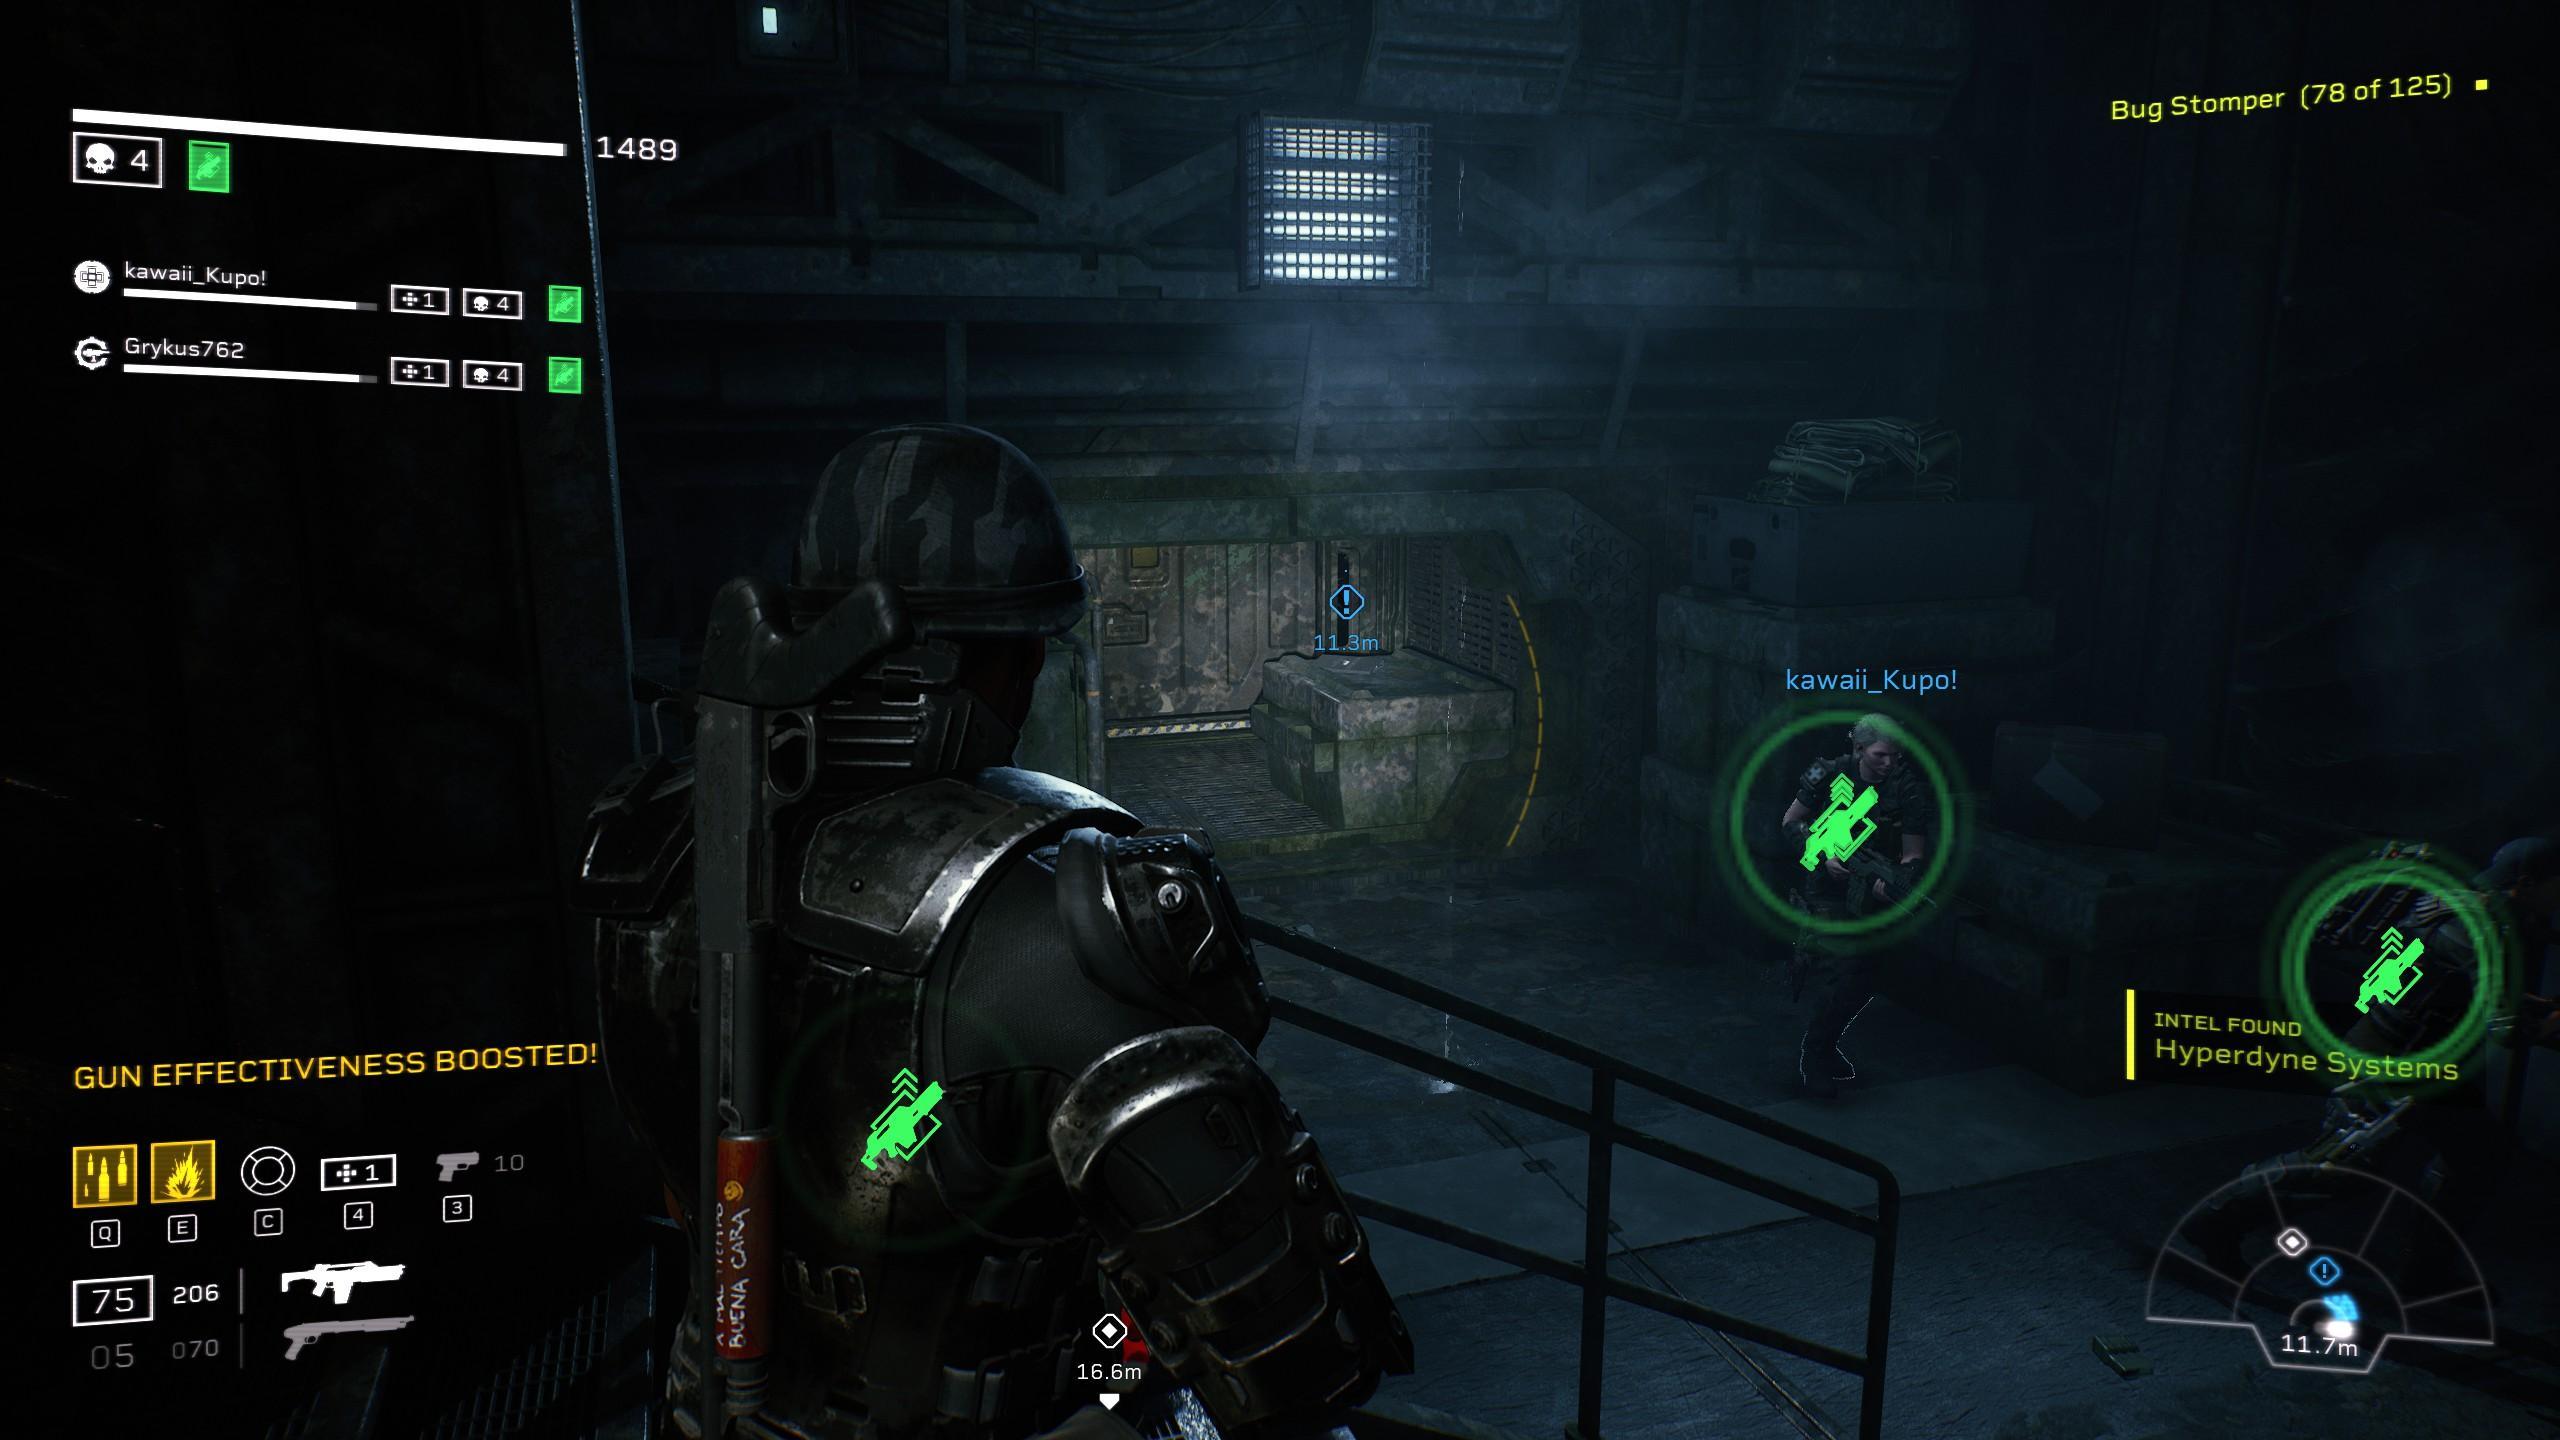
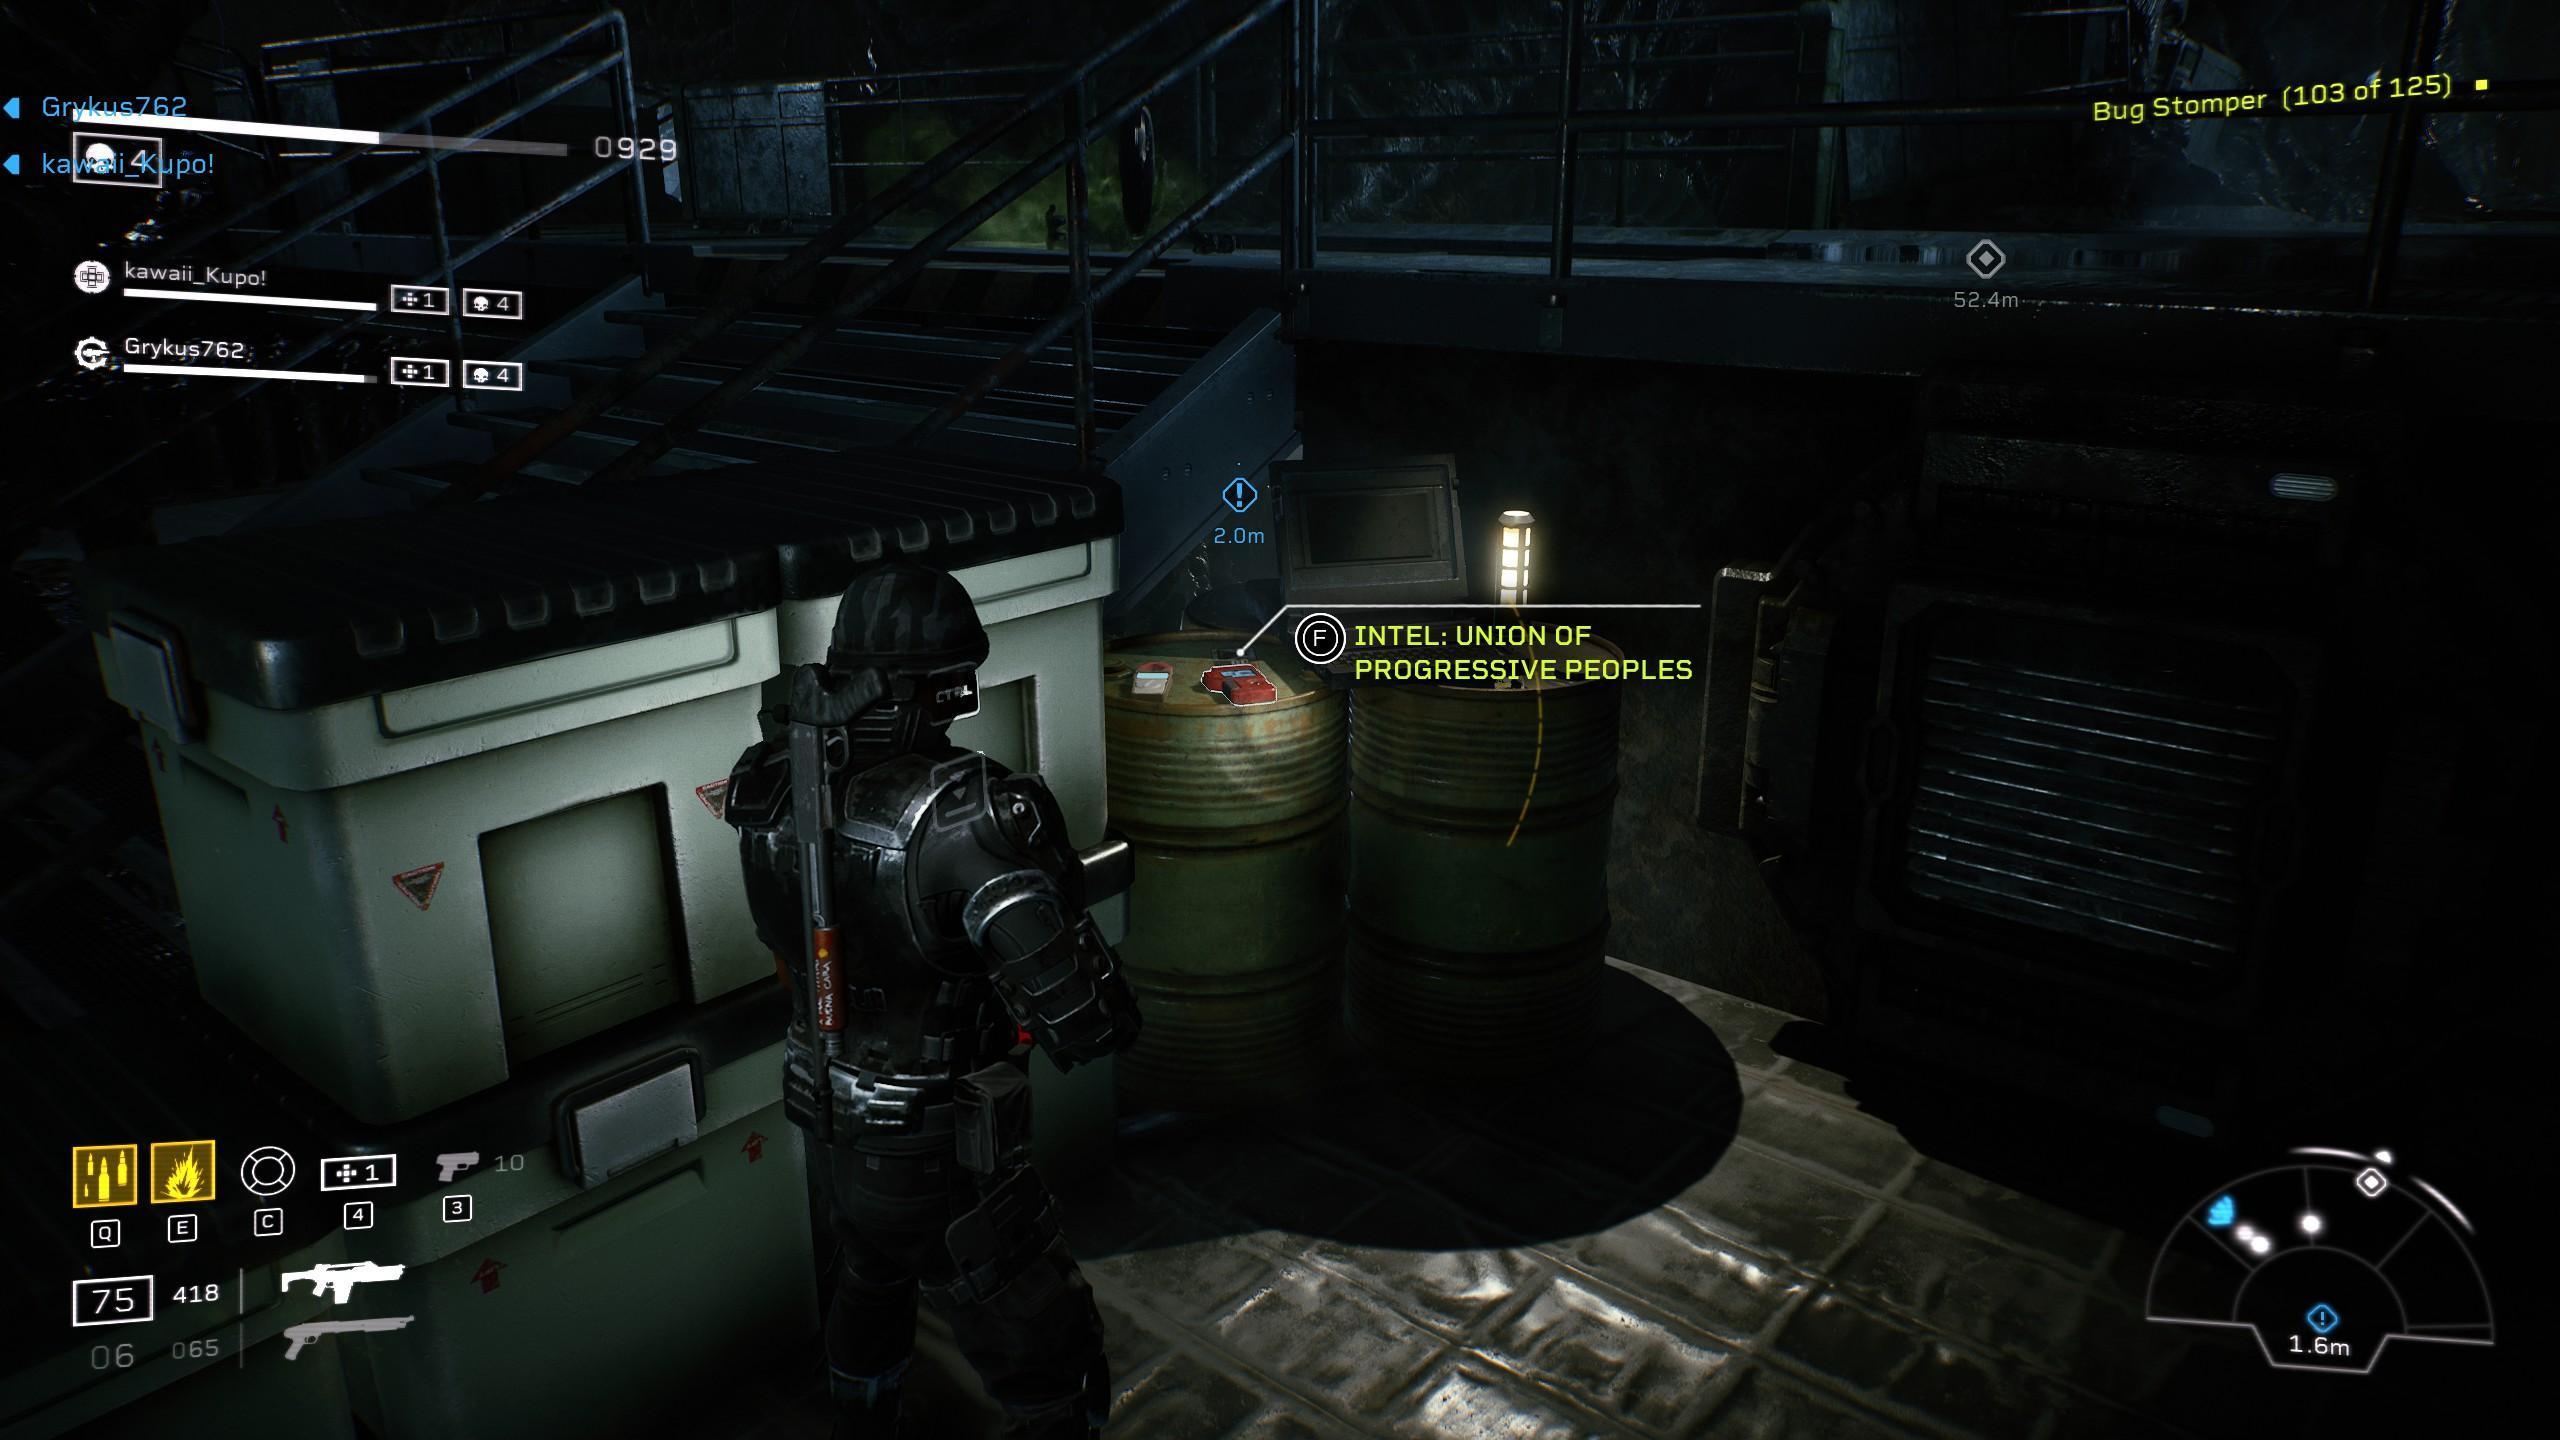
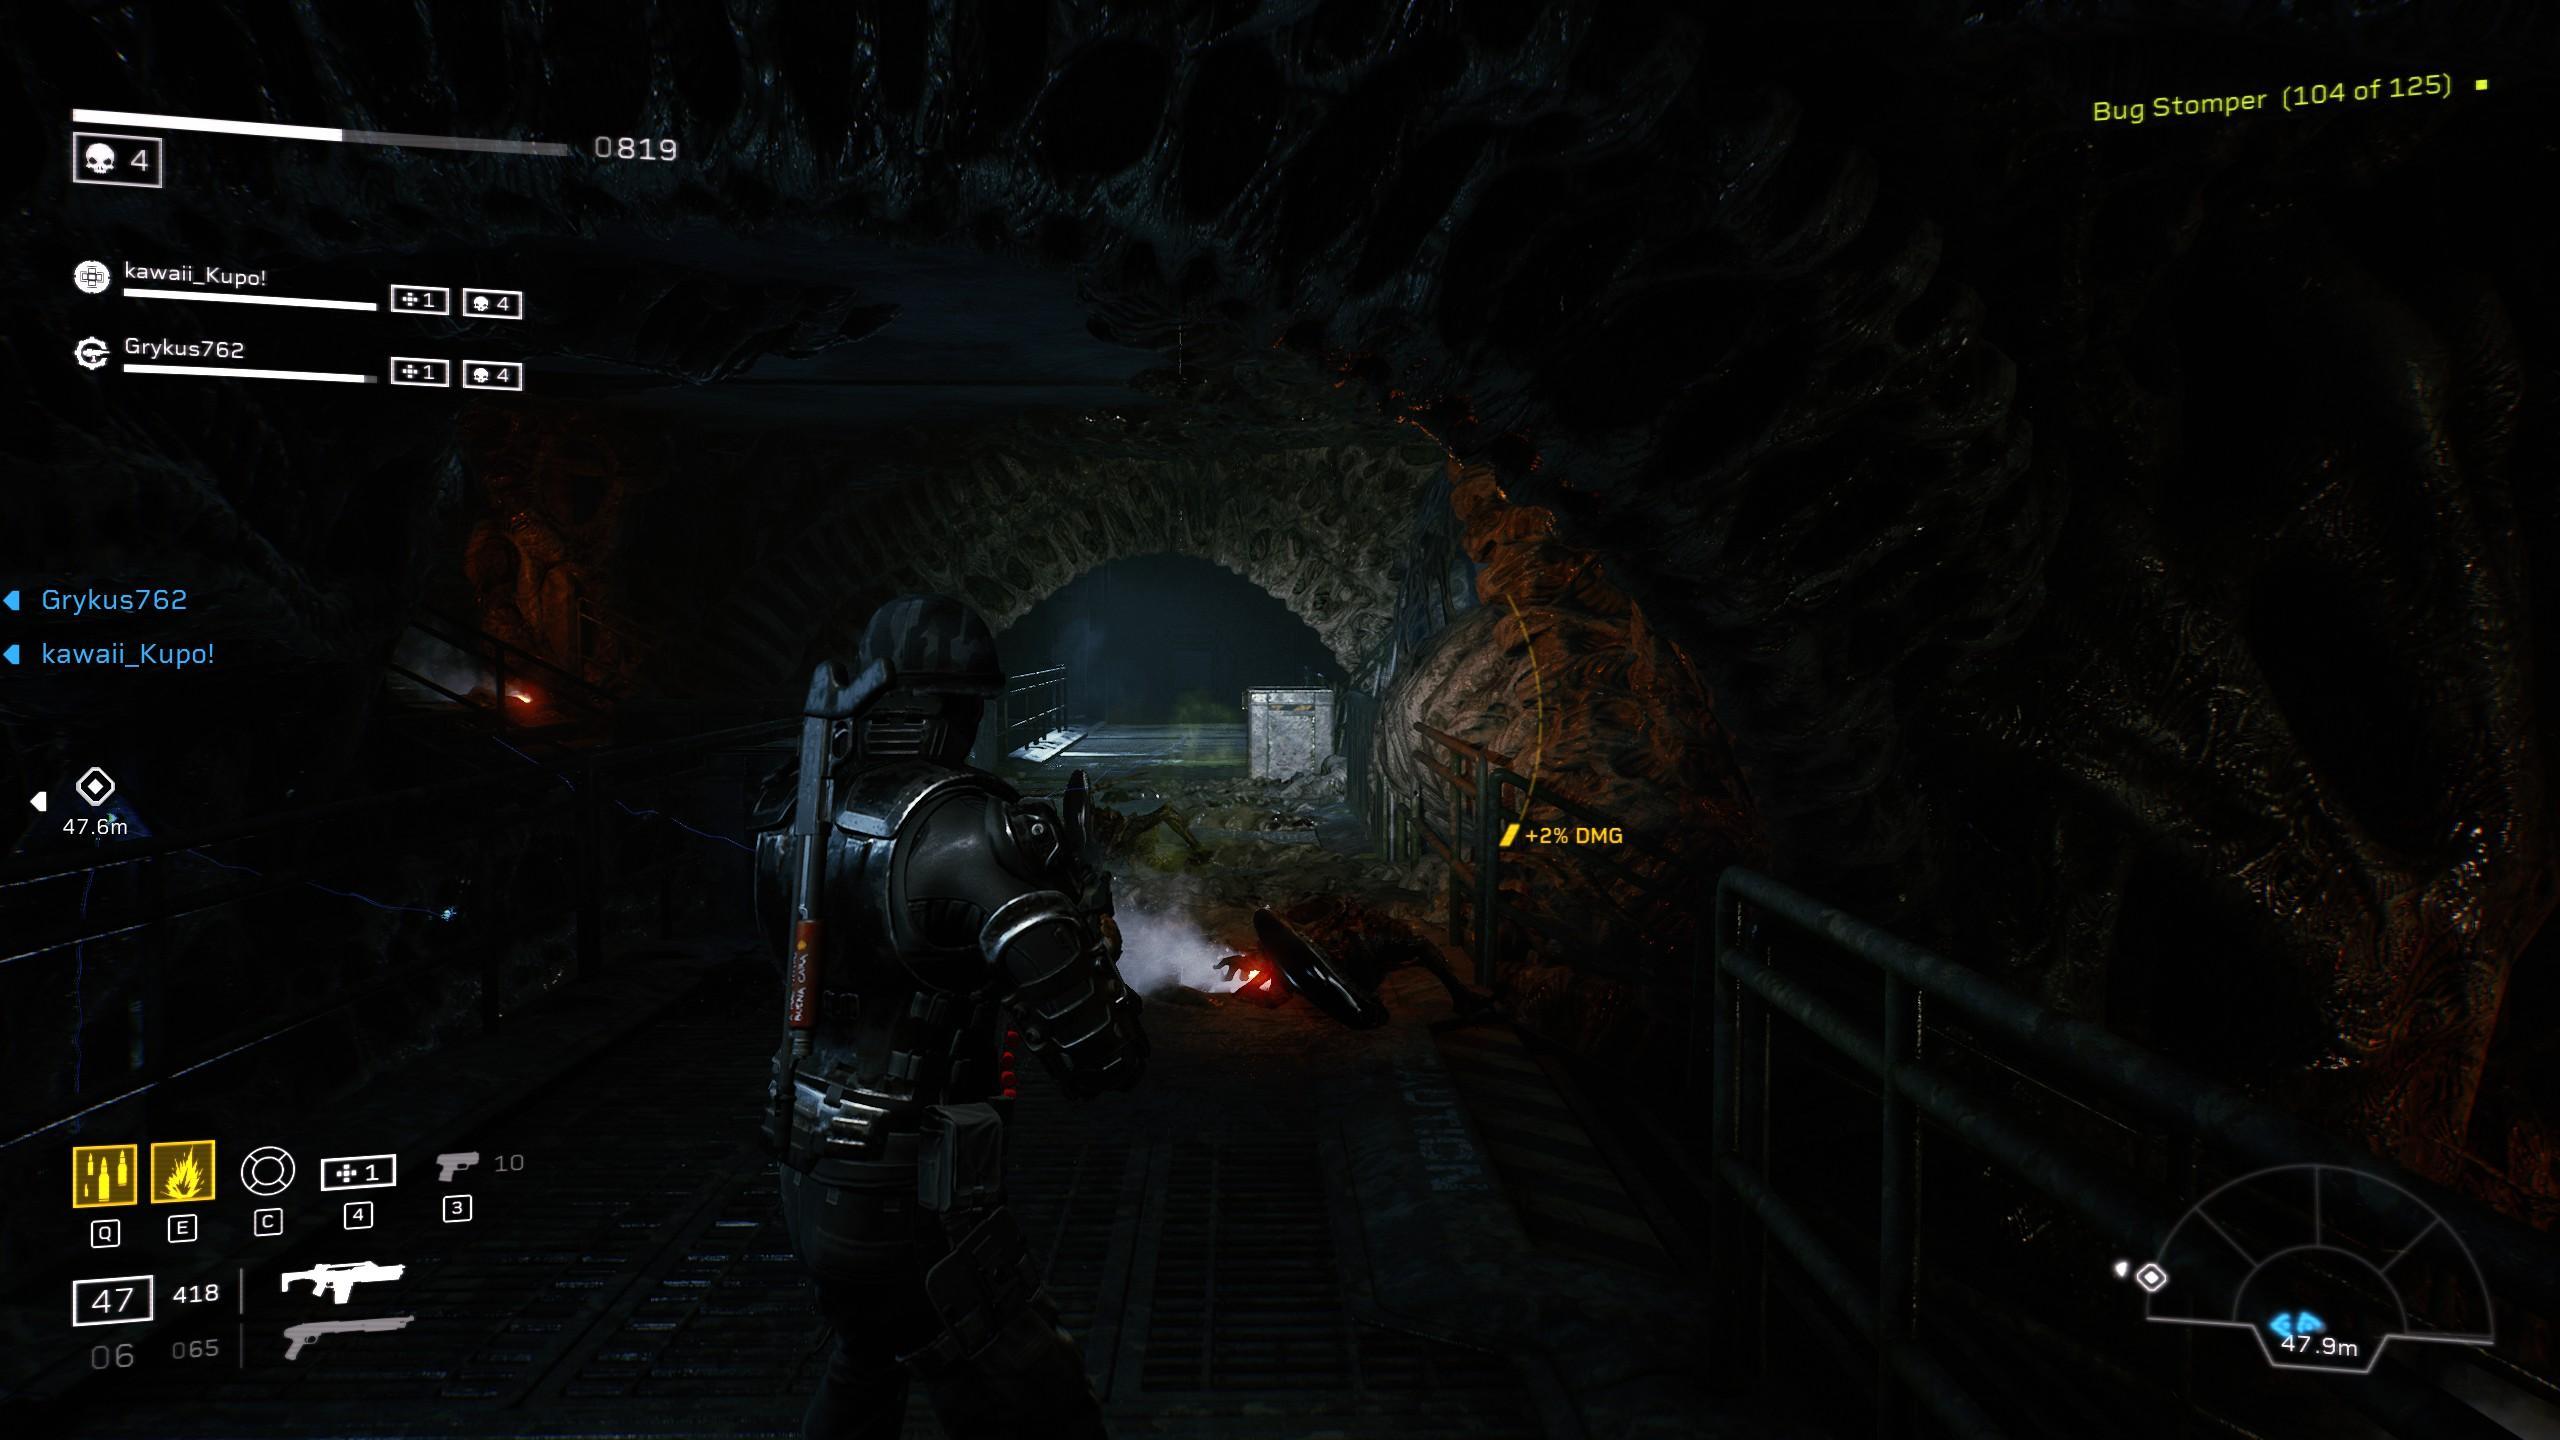
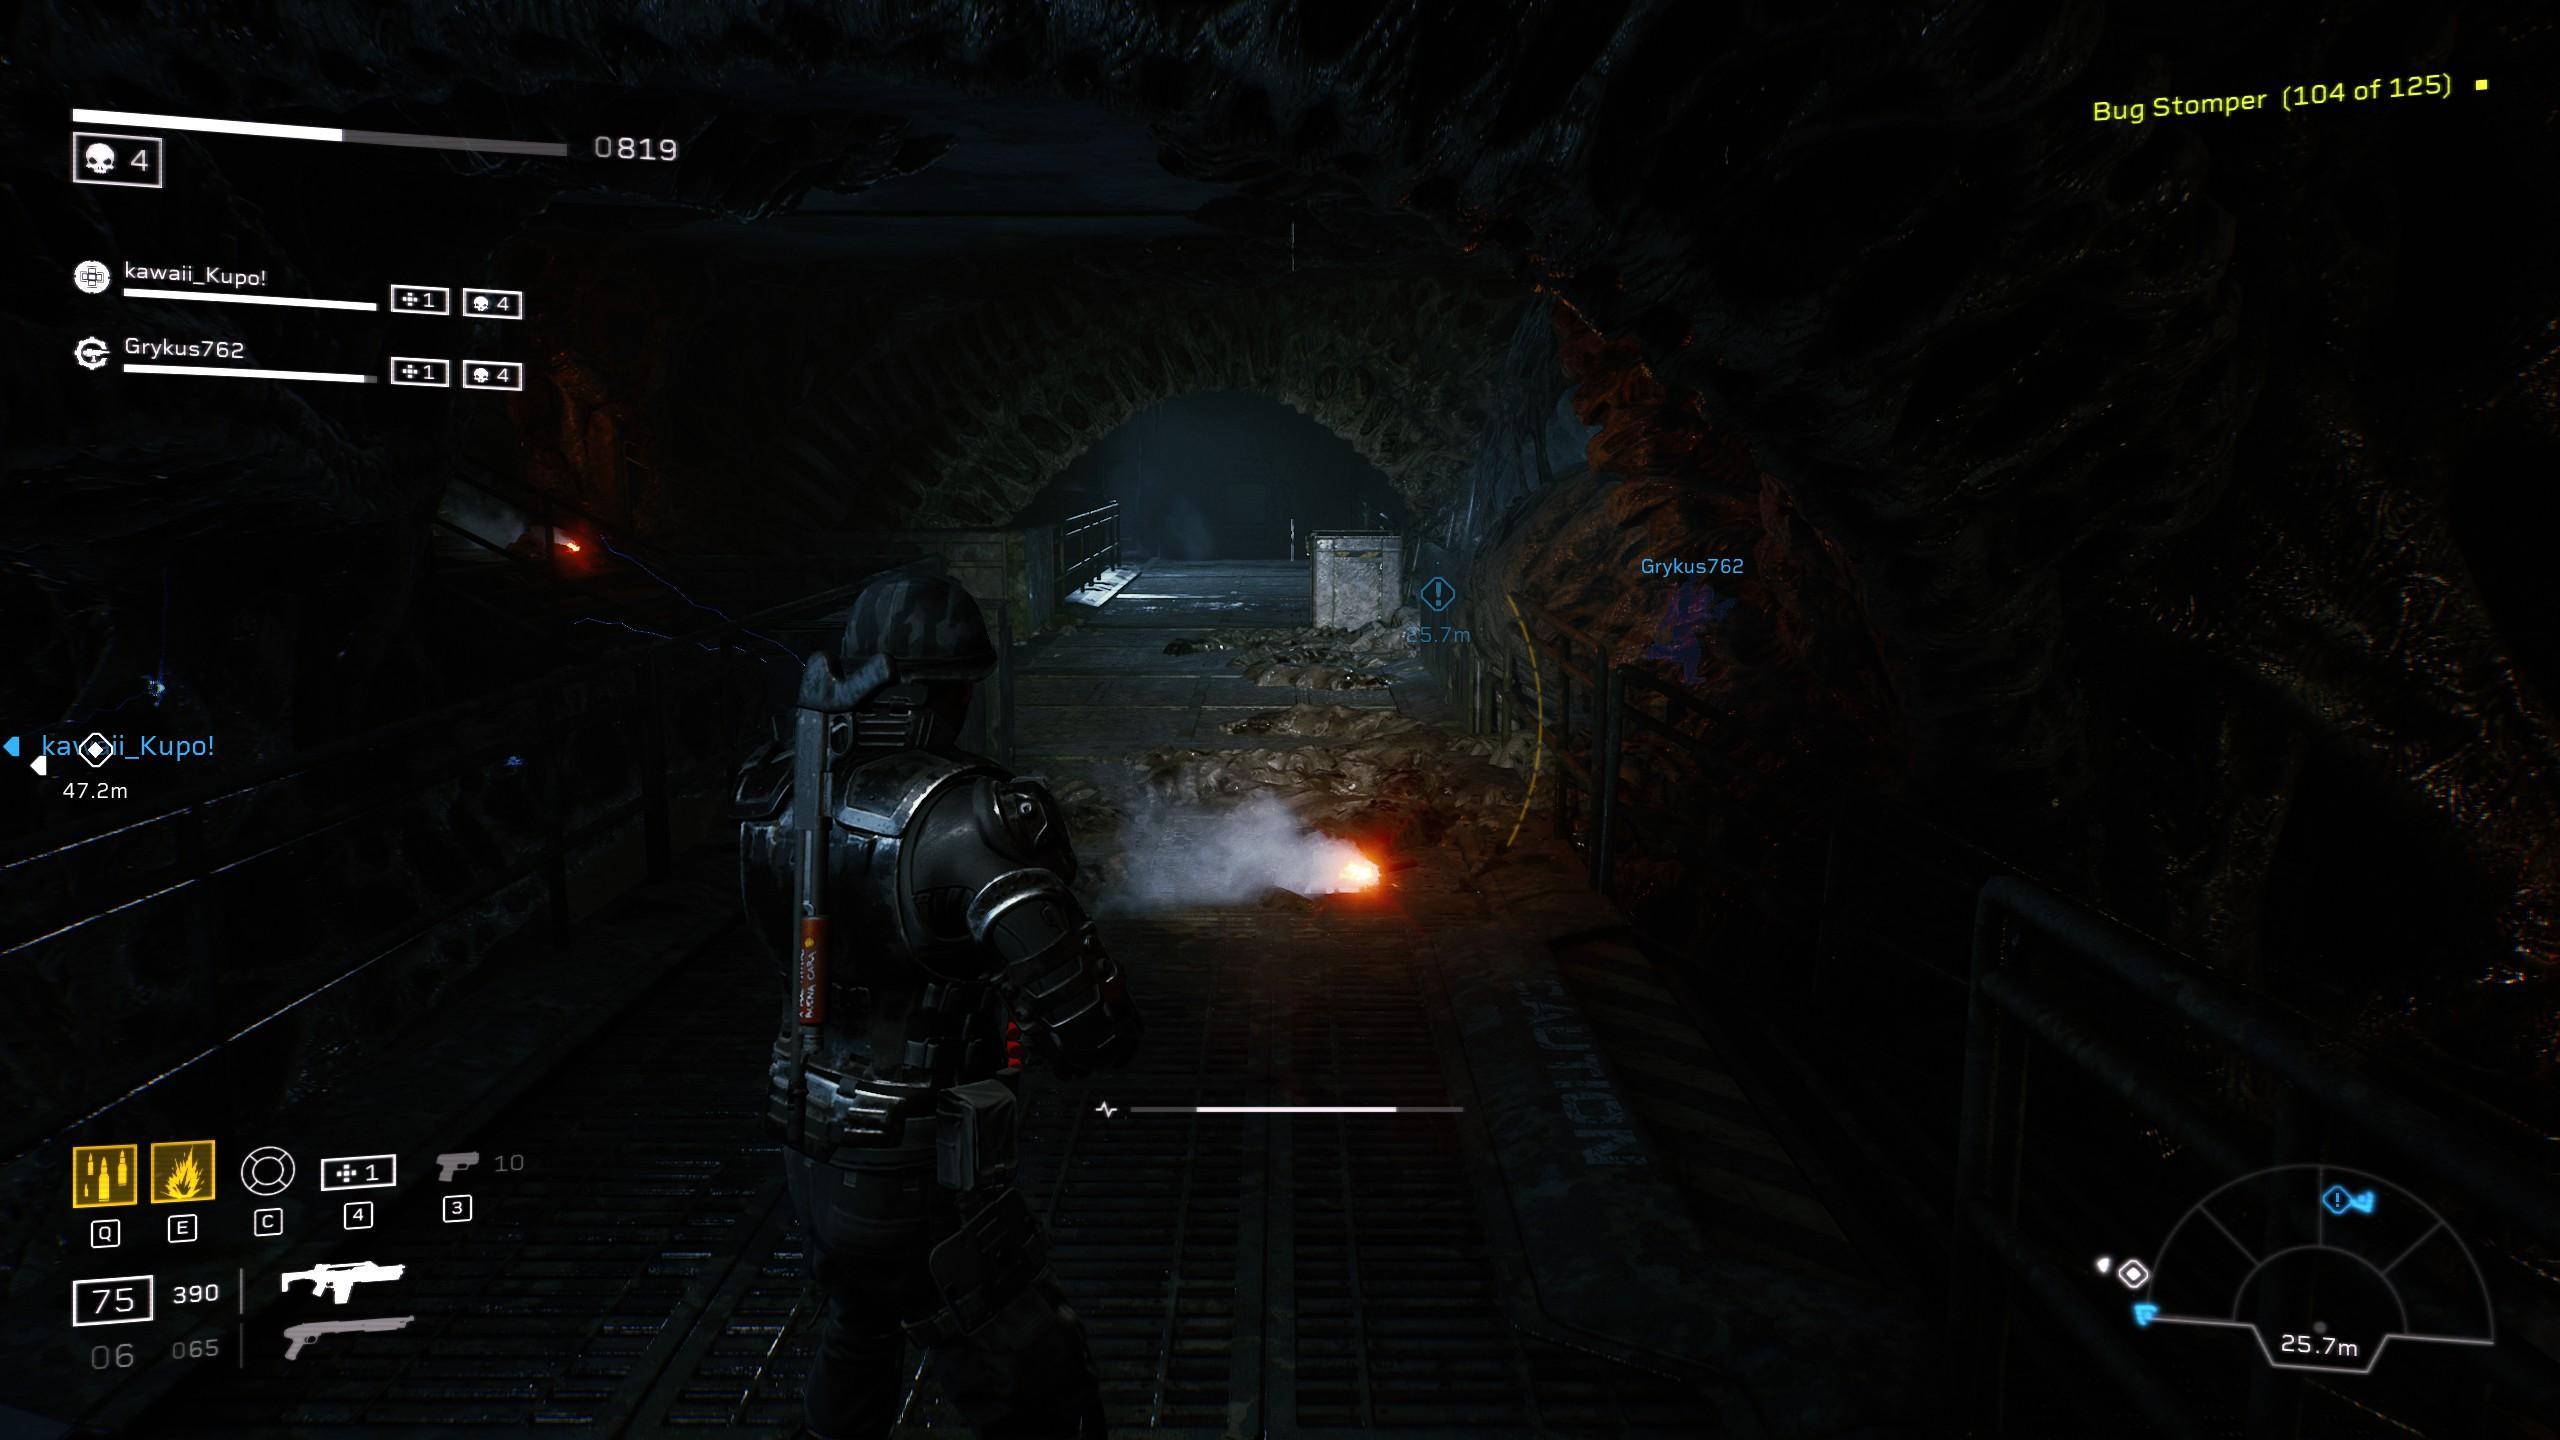
- Intel: Union of Progressive Peoples: Reaching this catwalk area a Praetorian will spawn along with a small Medium-ish Swarm. However when you walk into this room take the catwalks all the way to the right until you come across a small staircase. Take them down to find the Intel right next to them.
The Only Way to Be Sure: Regicide
- Xenomorph Shed: Reaching the area where the “Bugs put a wall over the console” Head up the flight of stairs to your left-front reaching the top look to your left towards the railing to find this shed hiding on the floor.

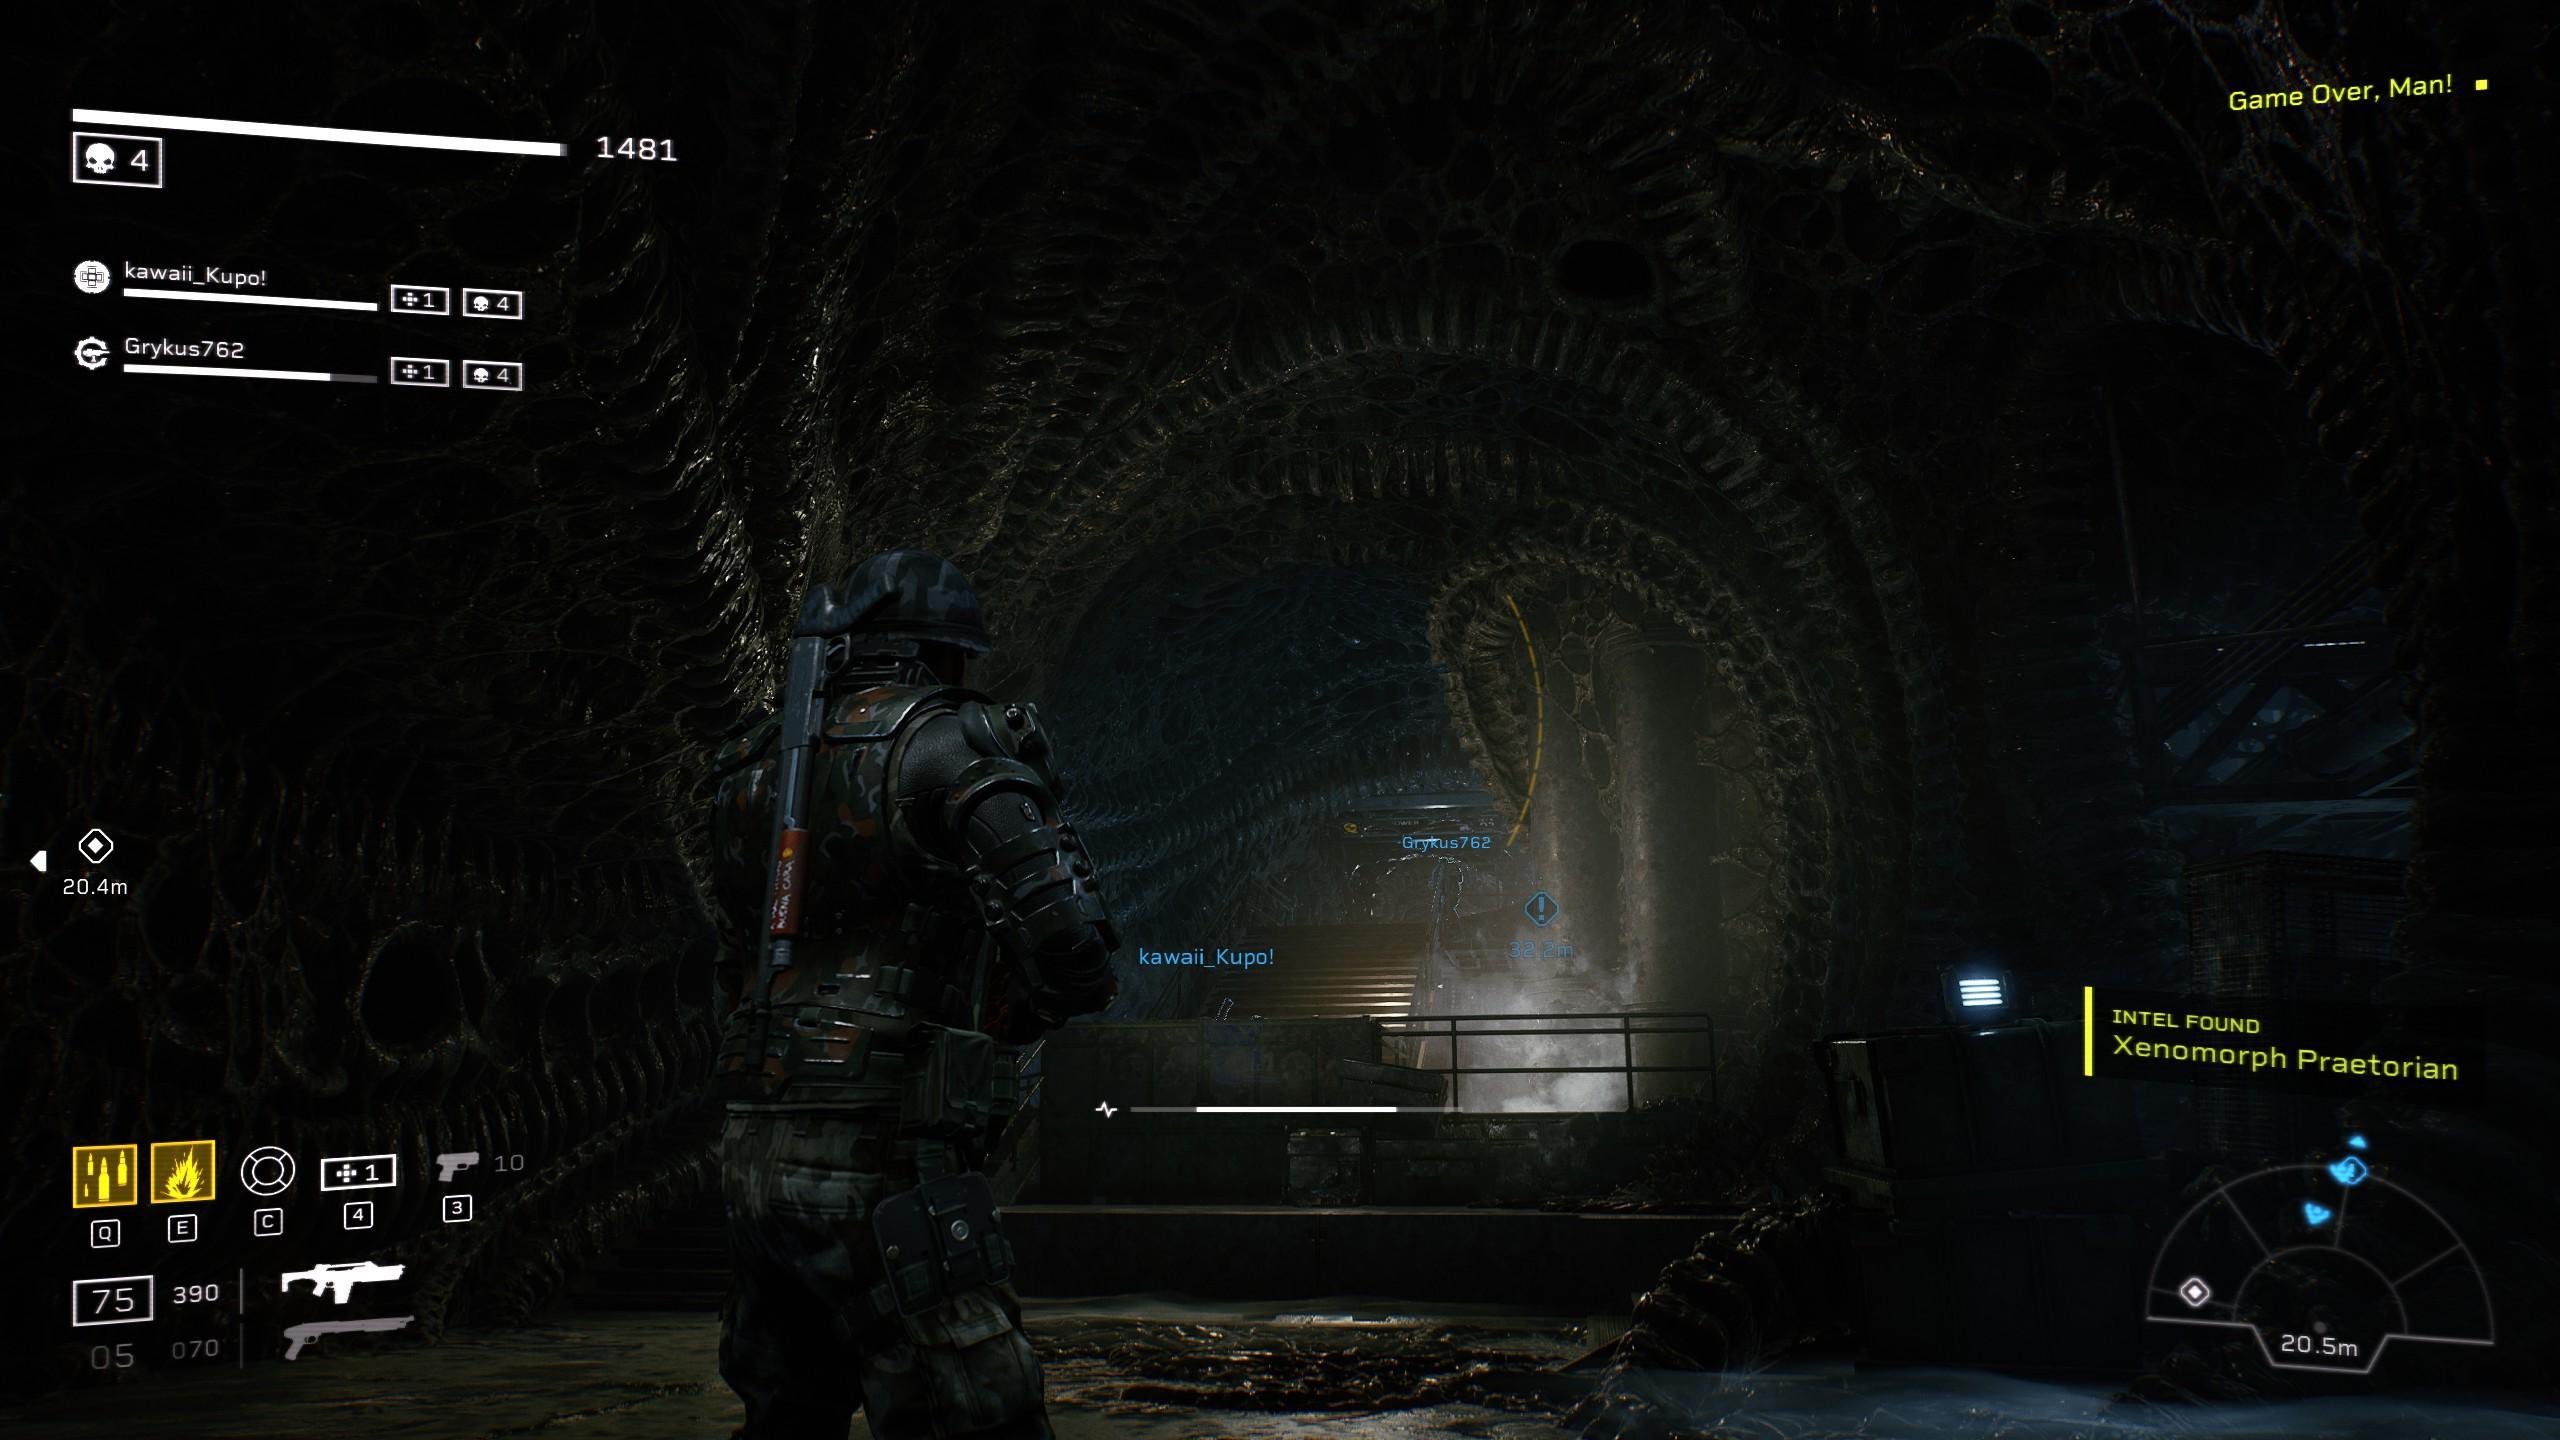
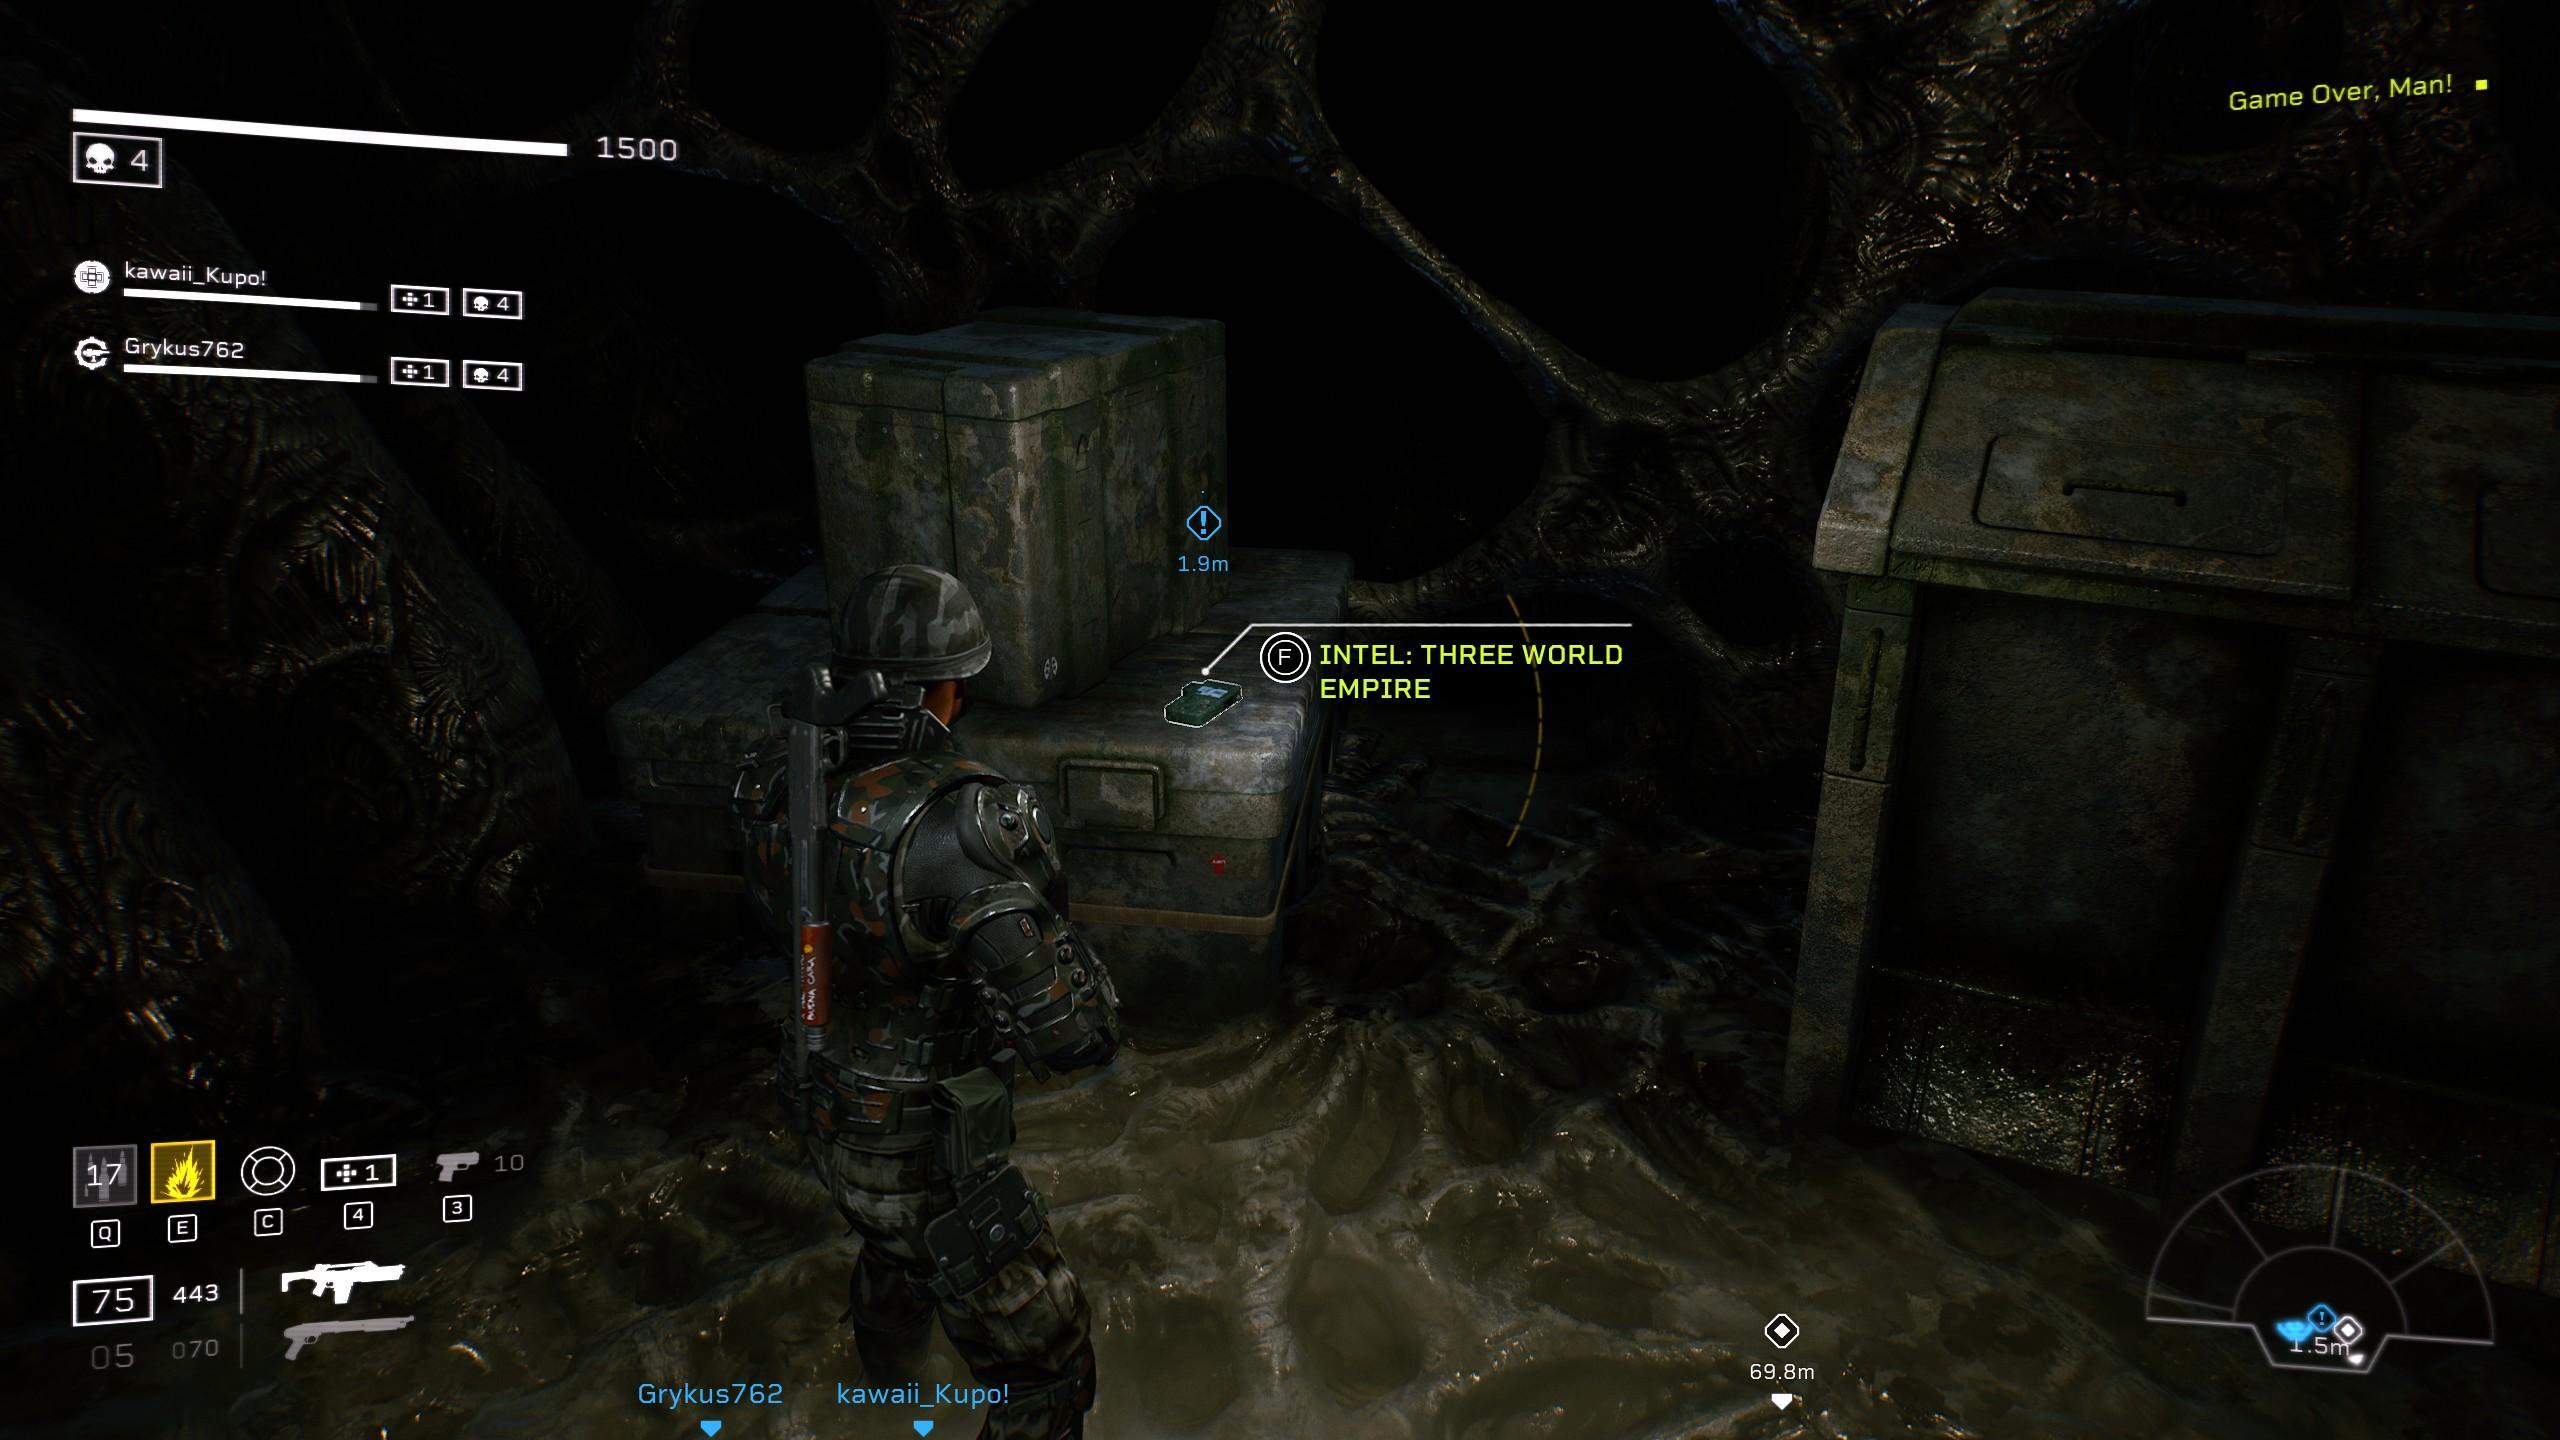
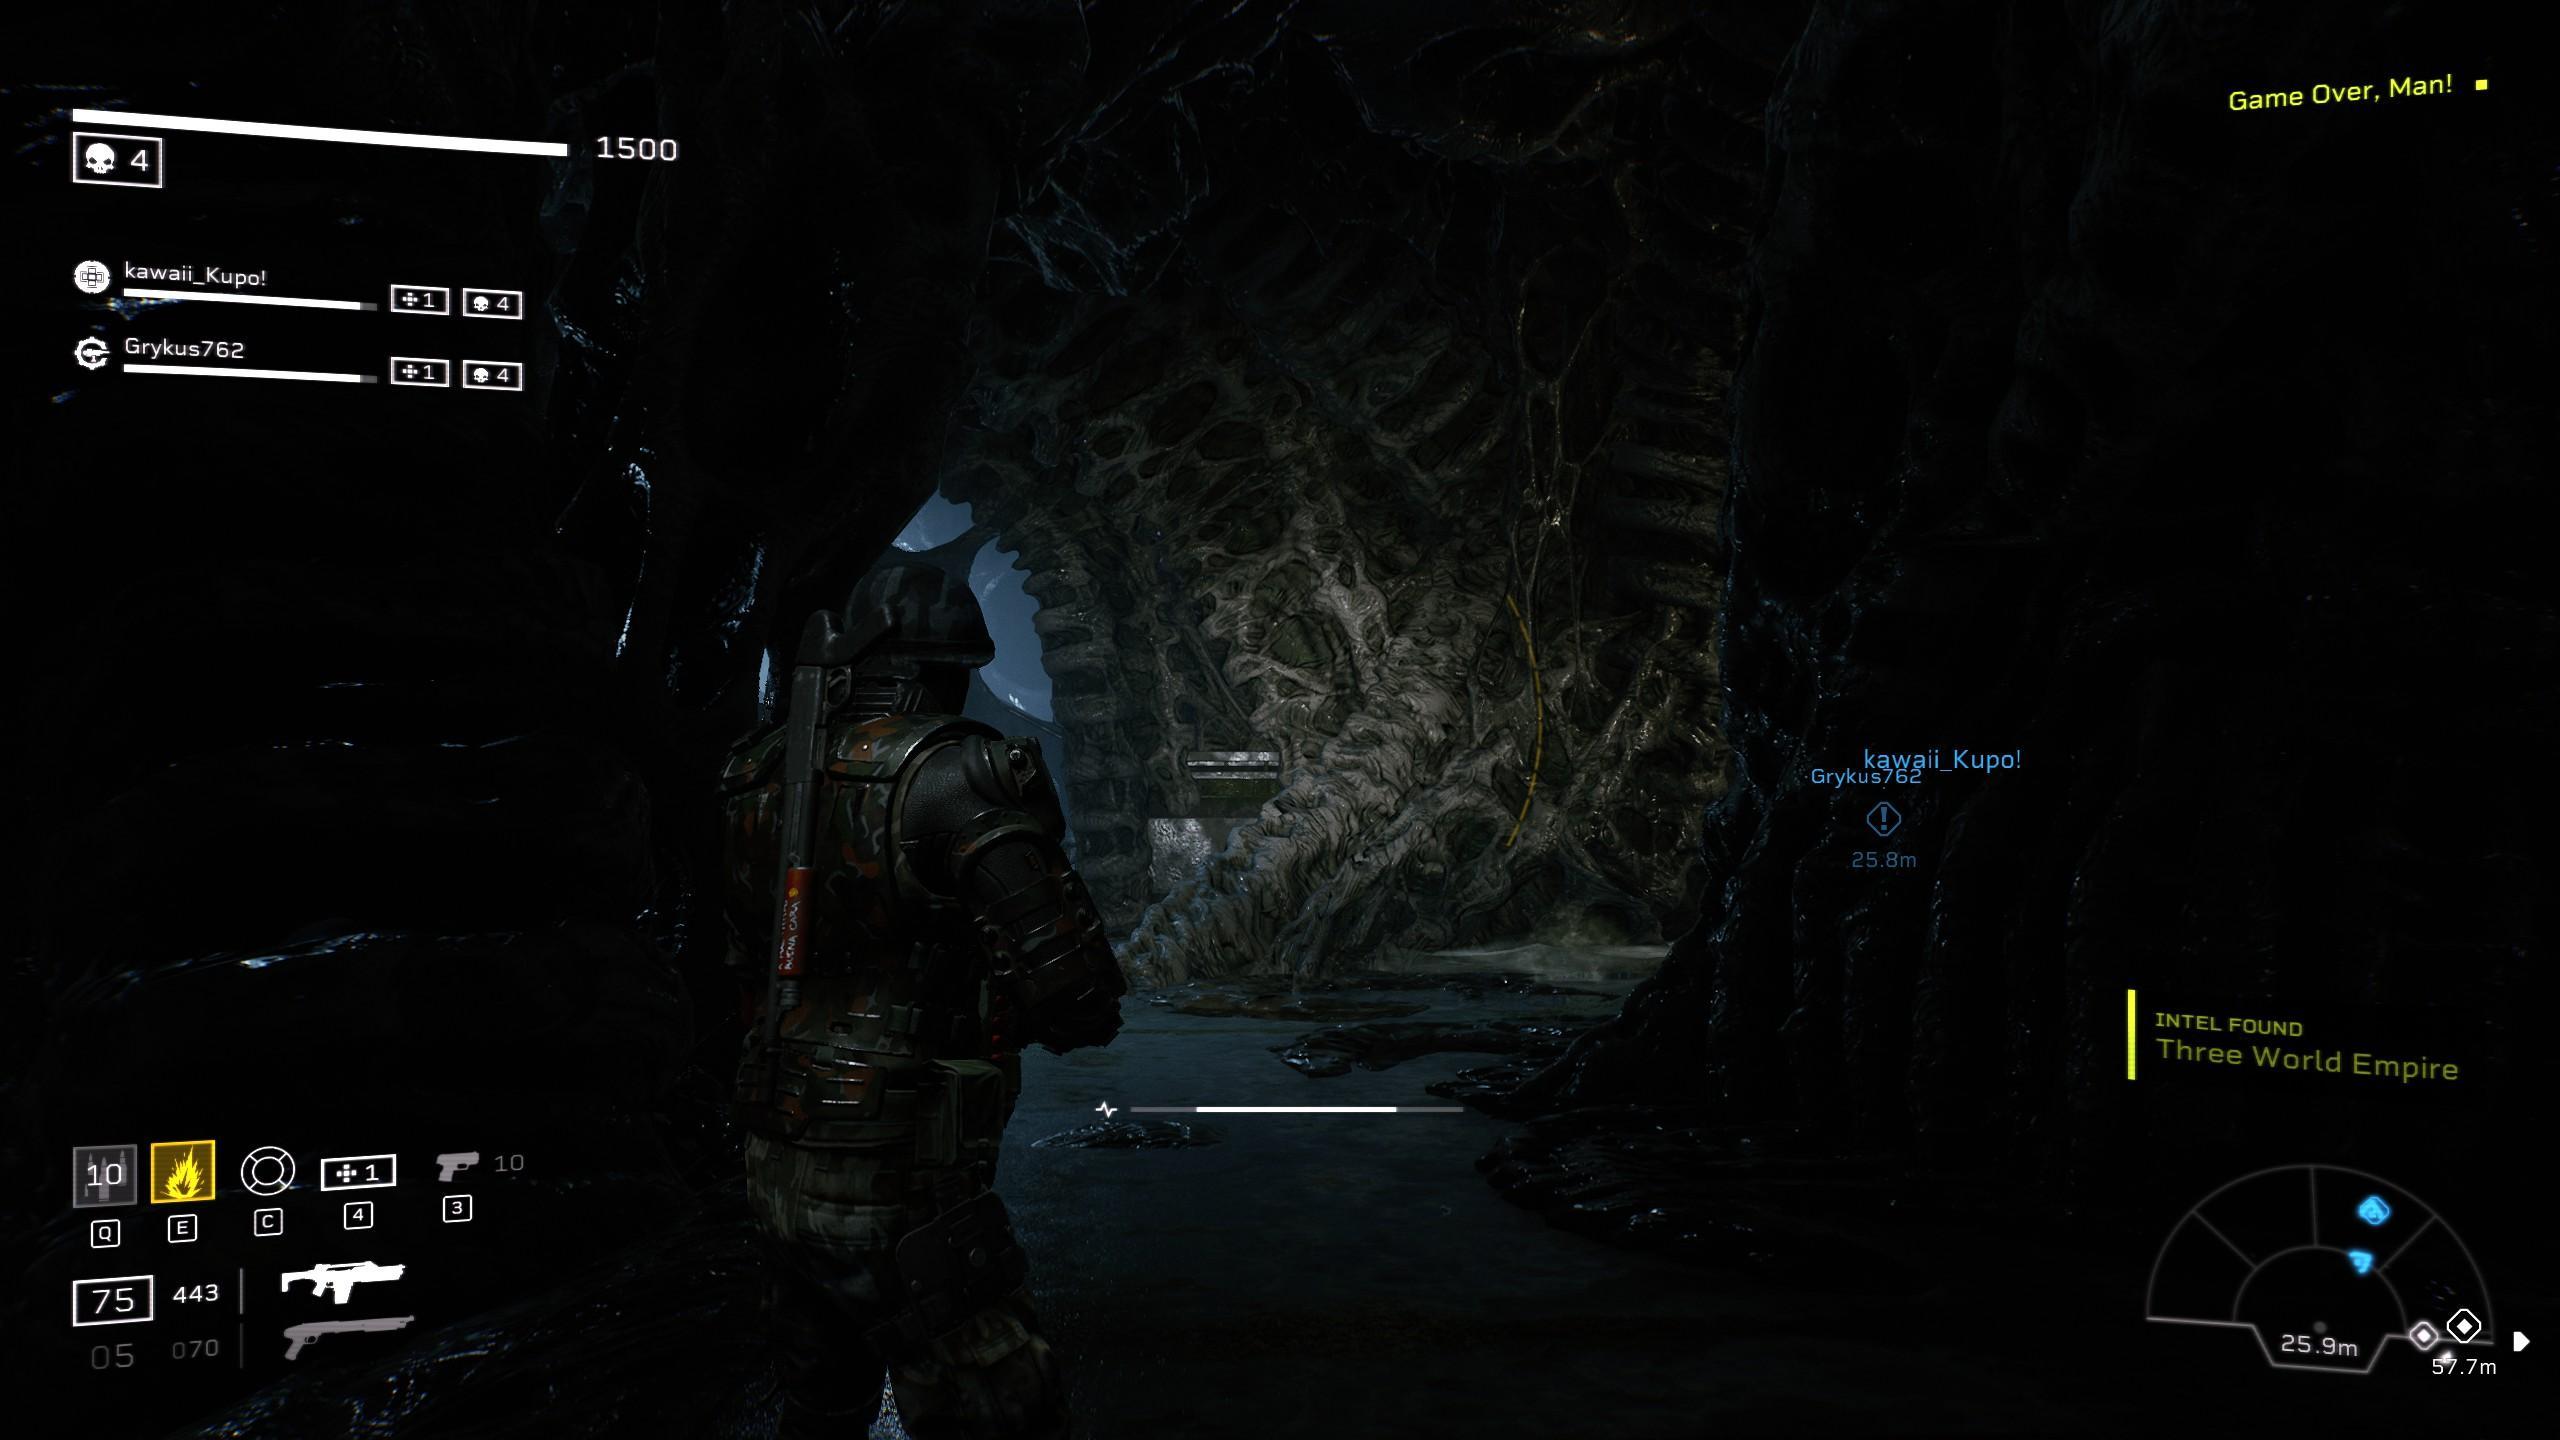
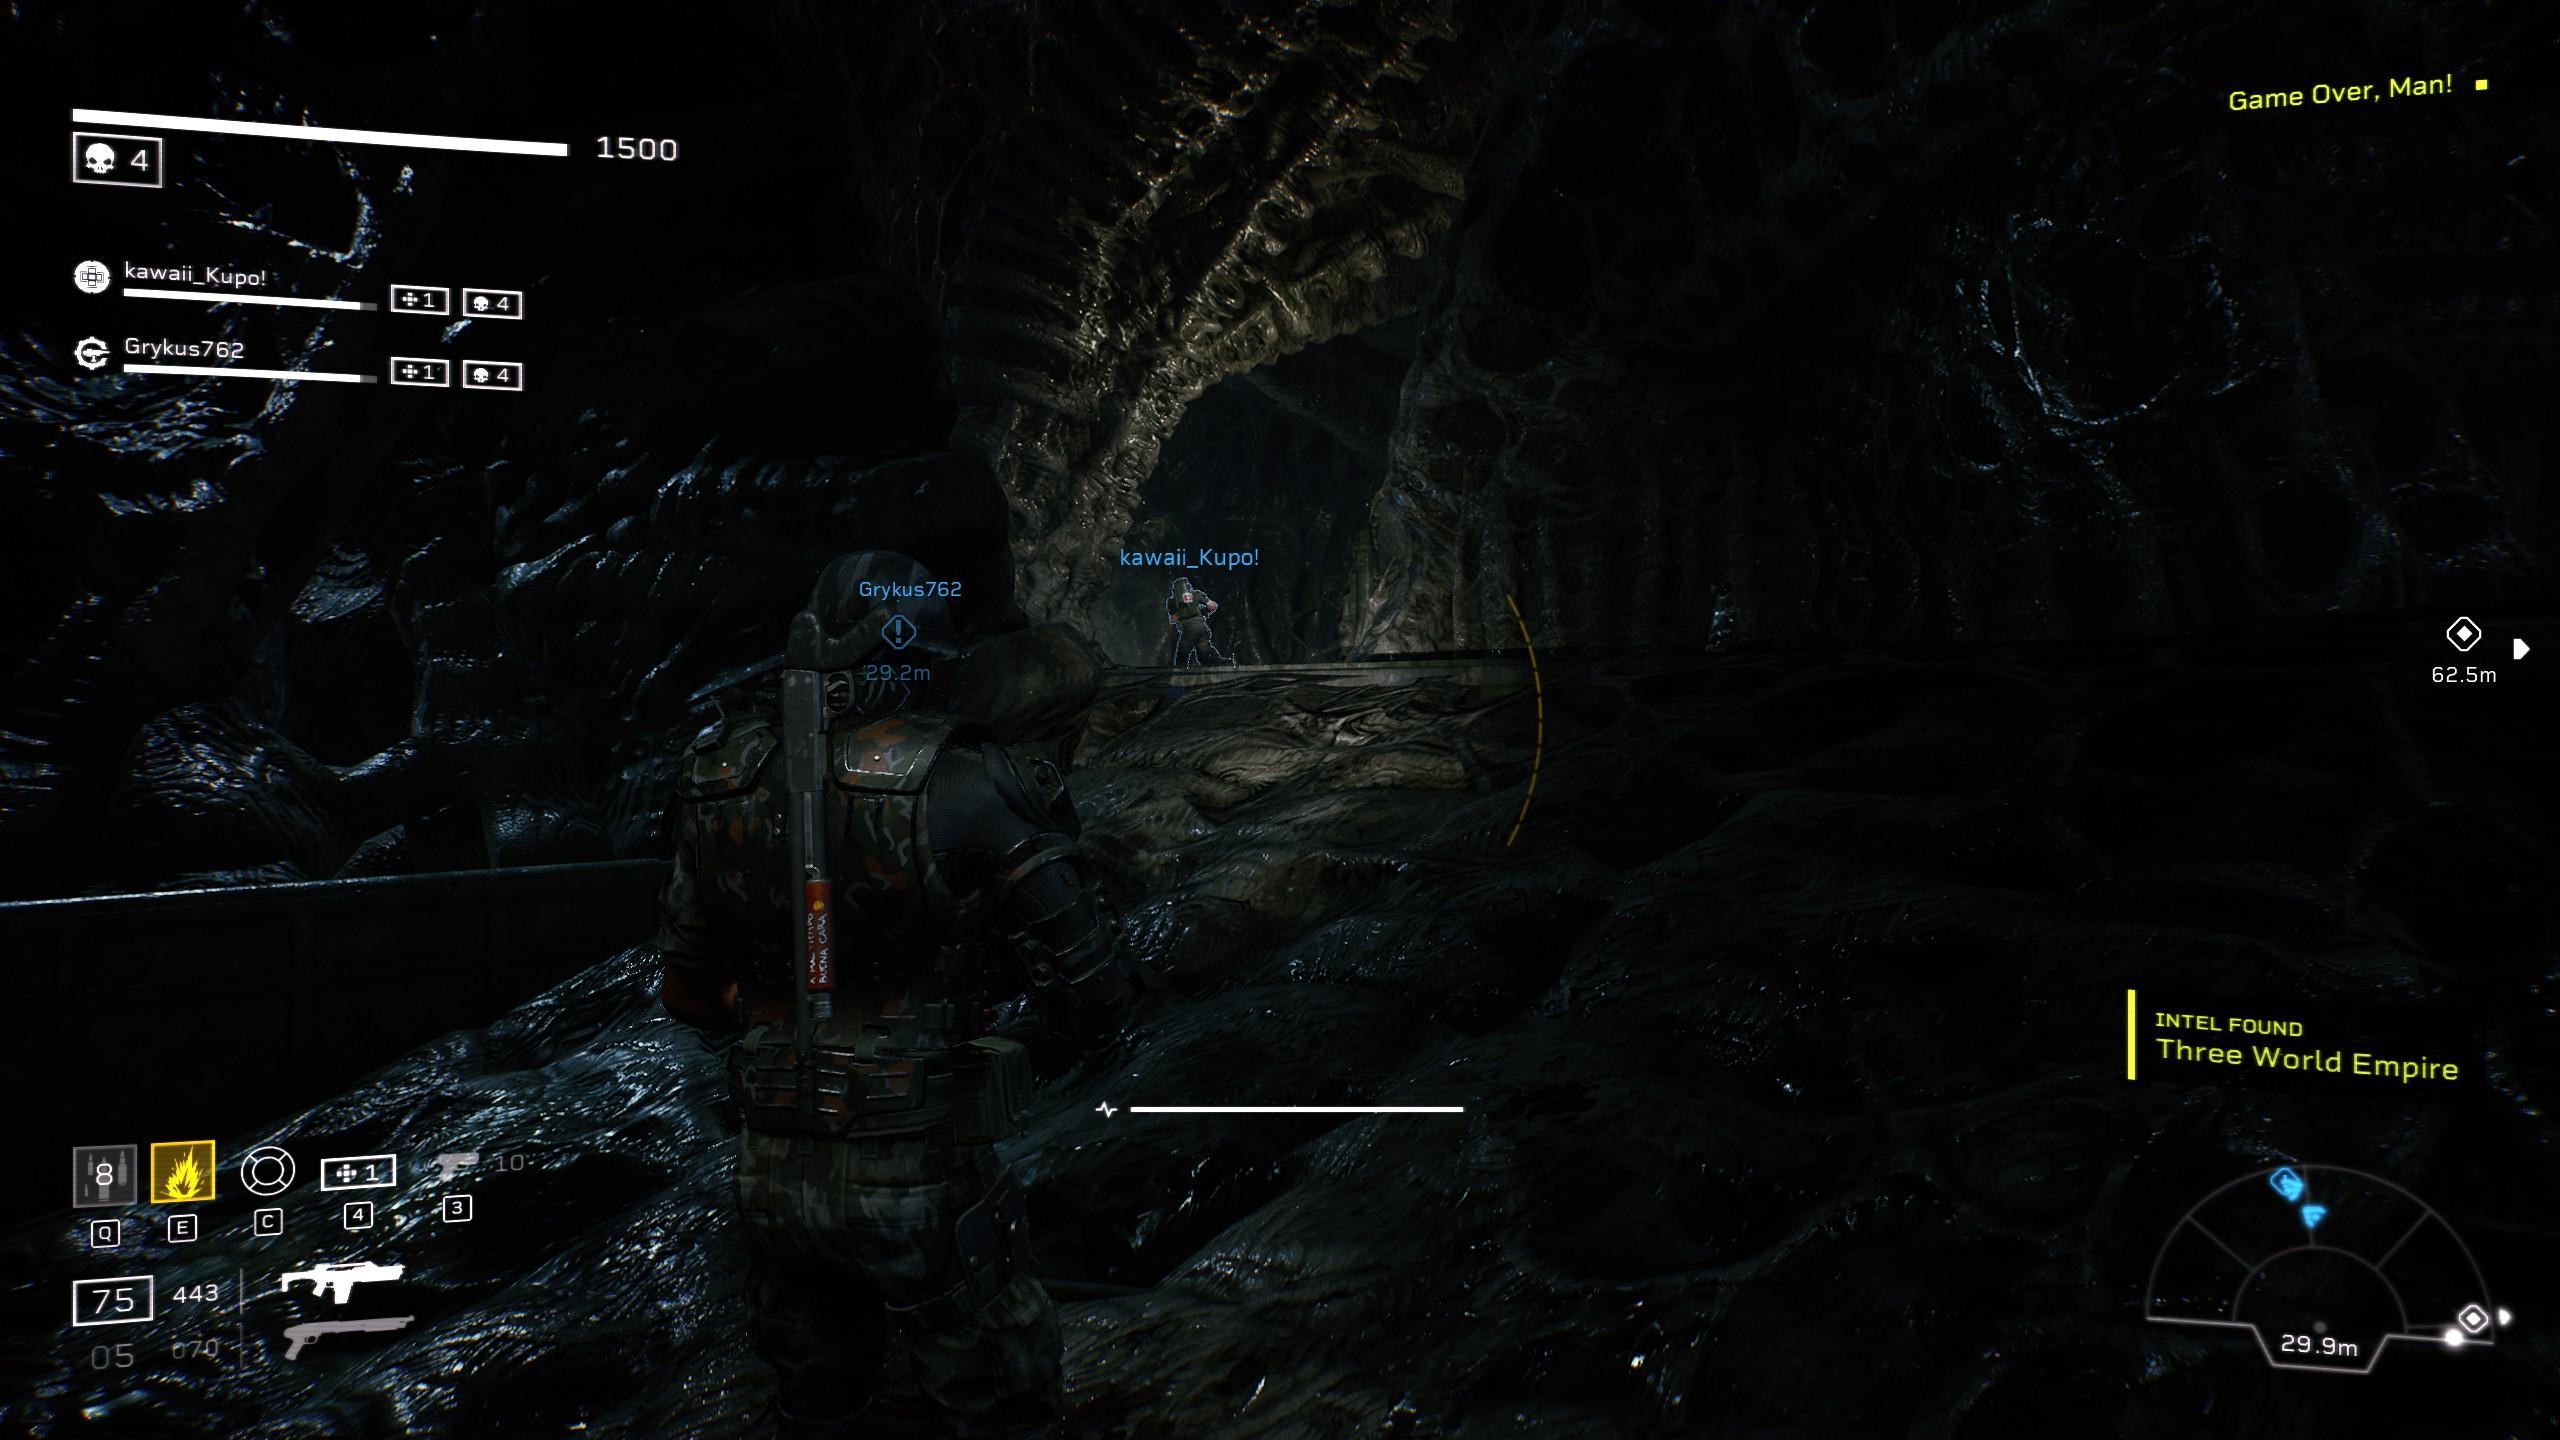
- Three World Empire: Upon reaching a room Herrera will say has been “Turned into a damned maze” (another indicator you’re in the right room is a Elite should spawn.) Head towards the back then stick right and you end up next to the alcove containing the intel.
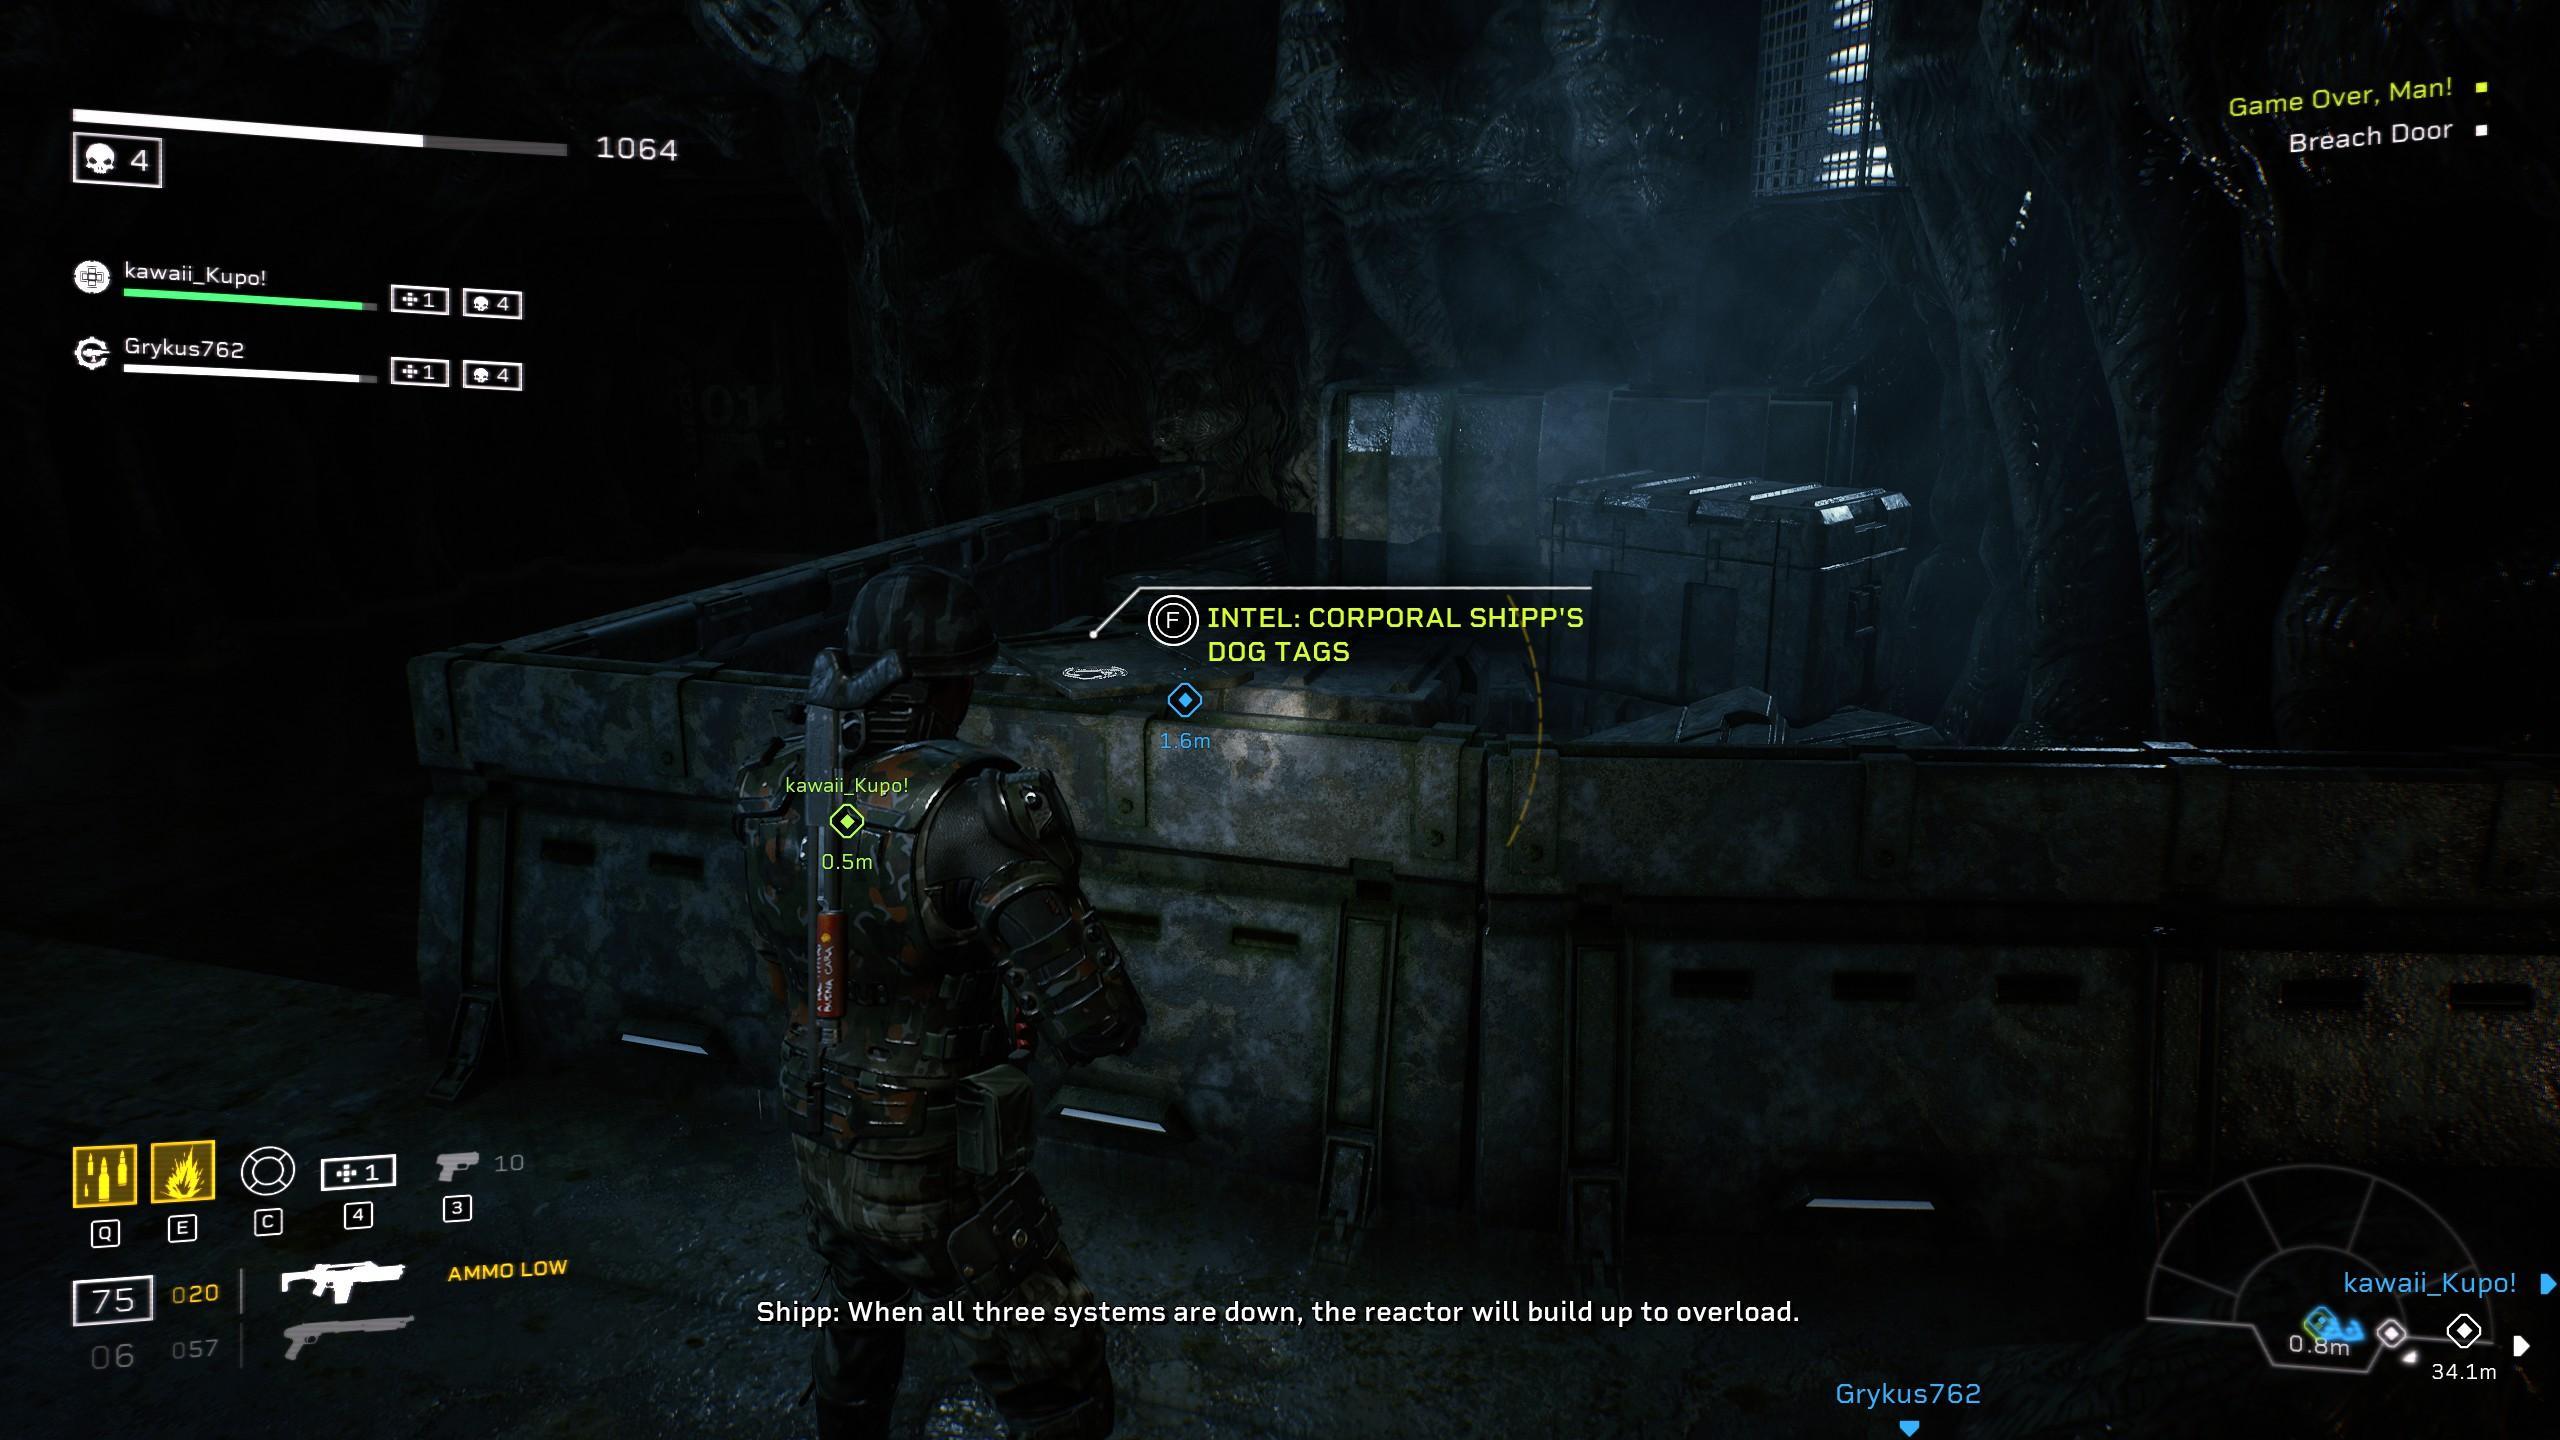
- Corporal Ships Dog Tags: Located once you’ve repaired you’re egress elevator in the room it feeds into. This piece of intel is located towards the back middle of it. if you make it to the objective marker simply do a 180 and head down the hall. You should run into it.
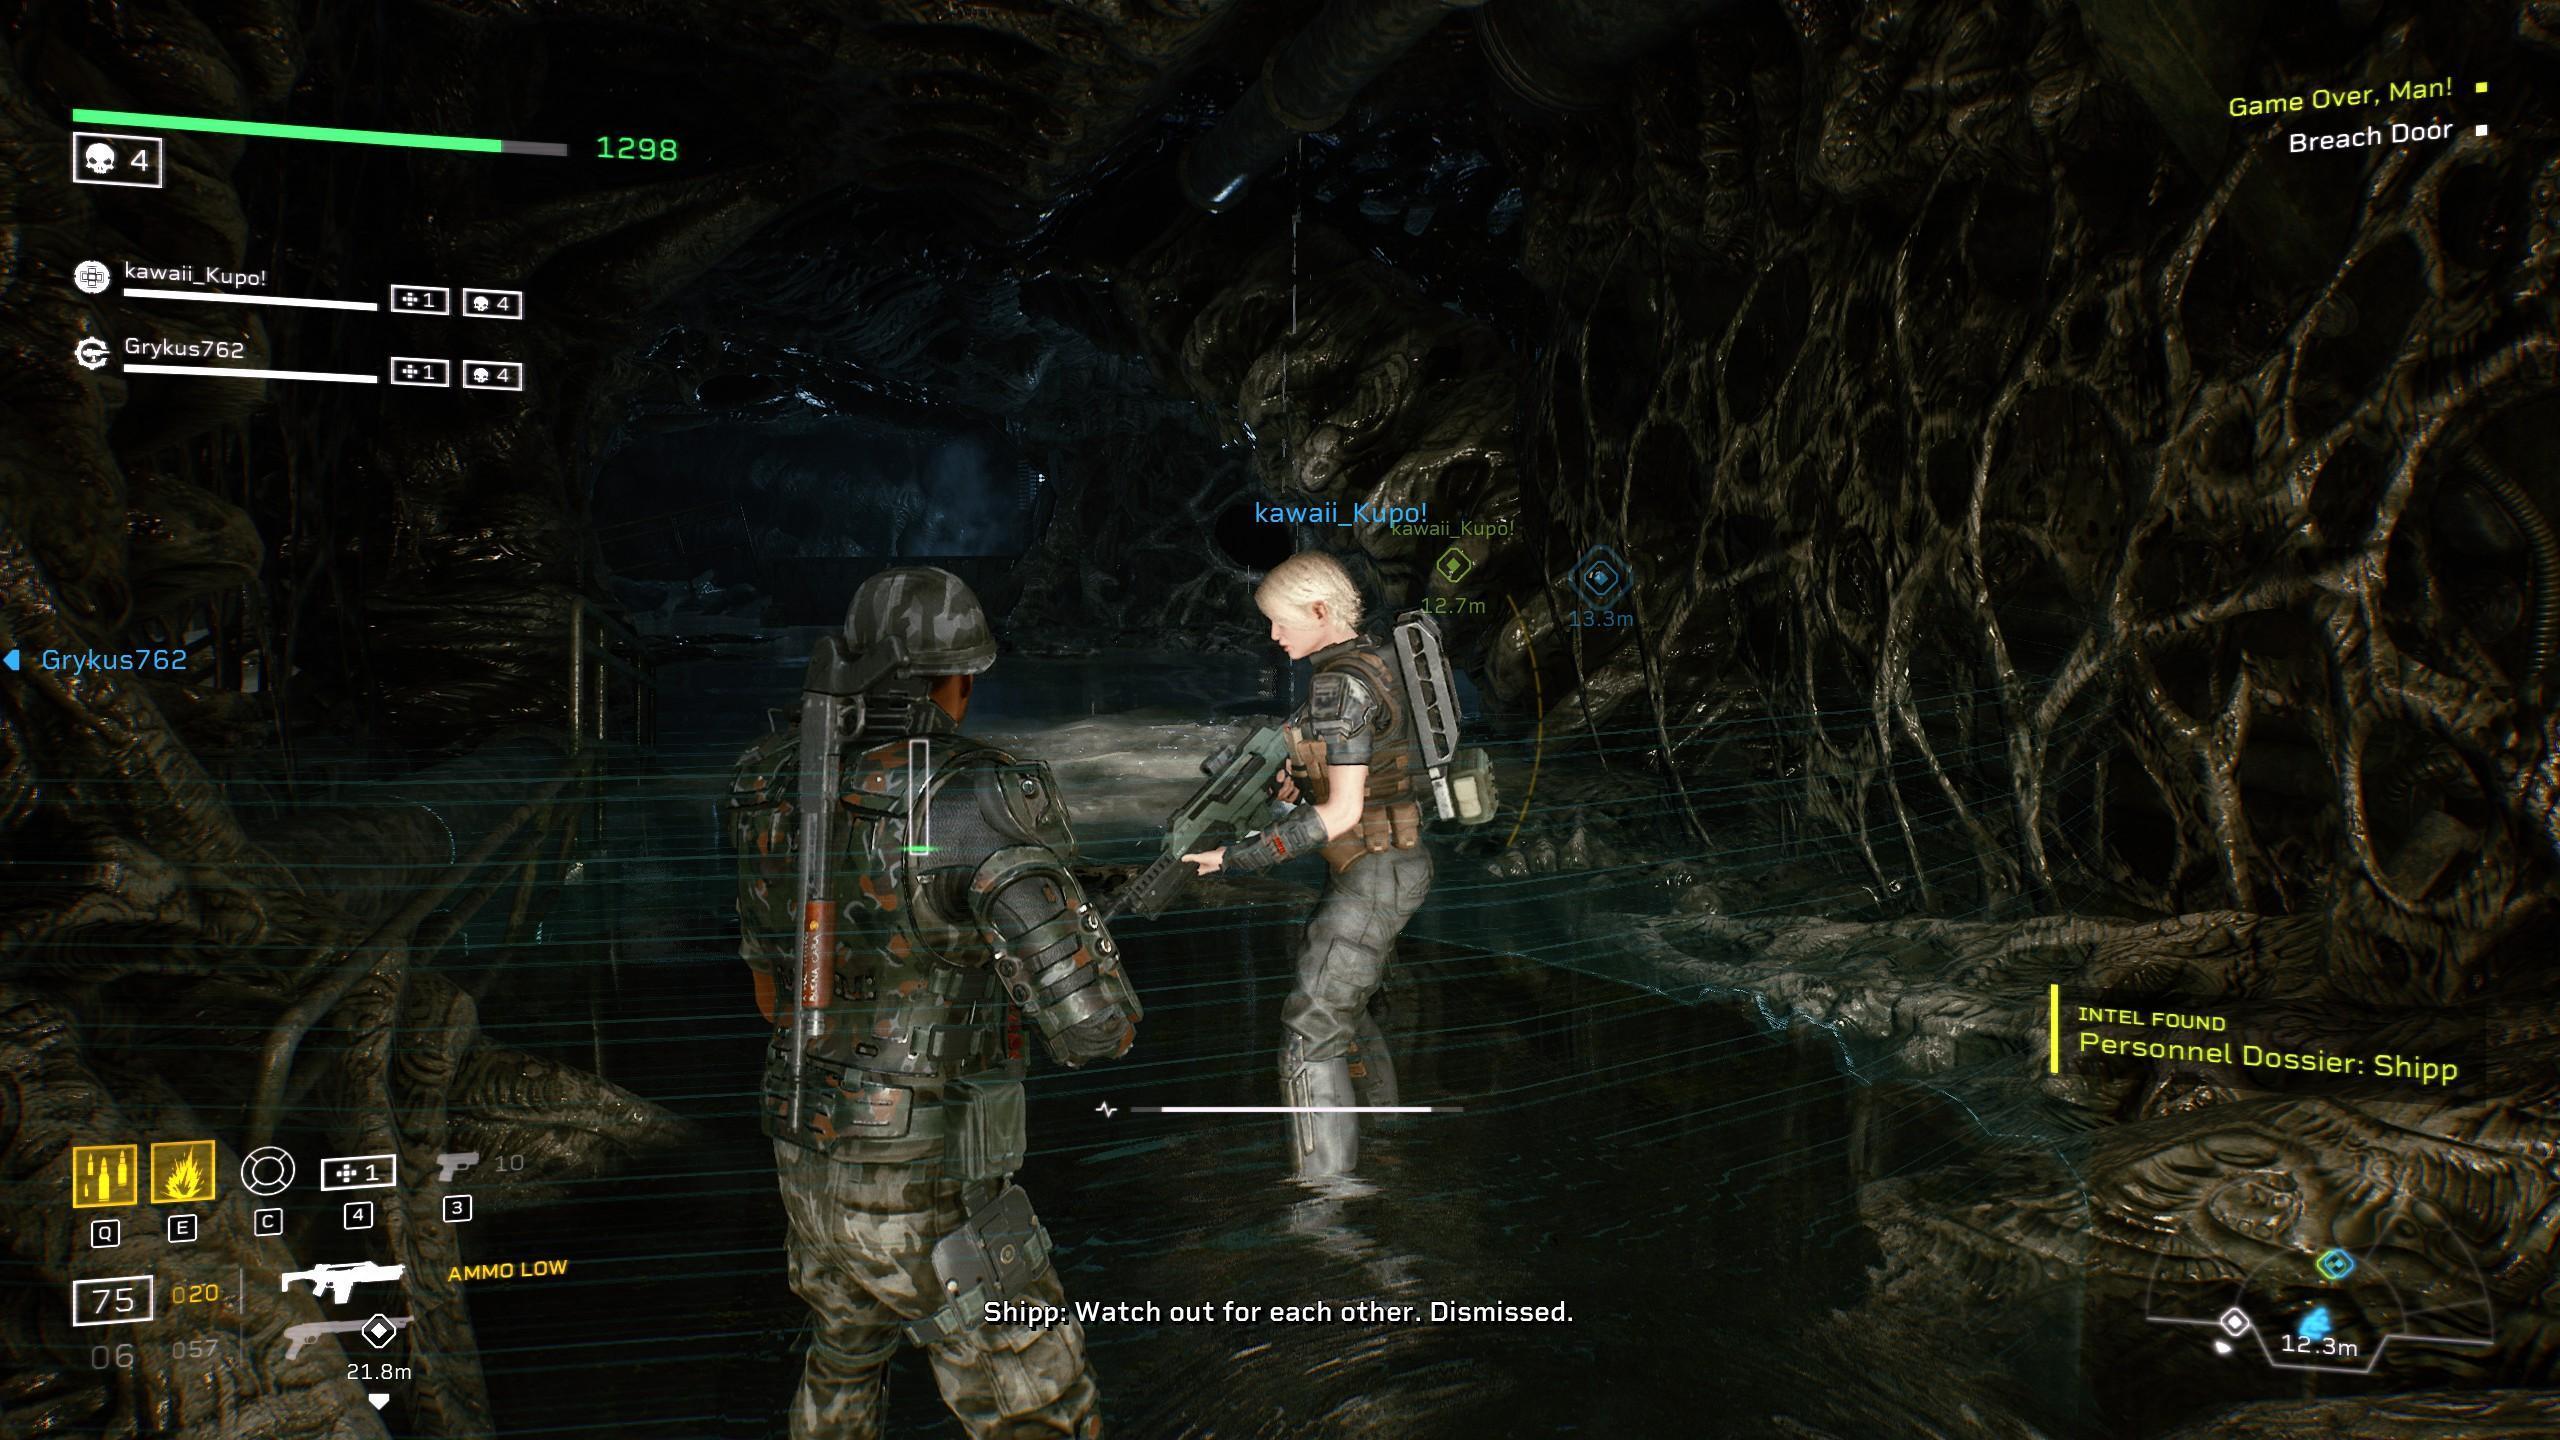
Promise of a Flower: Scout (Pathogen DLC)
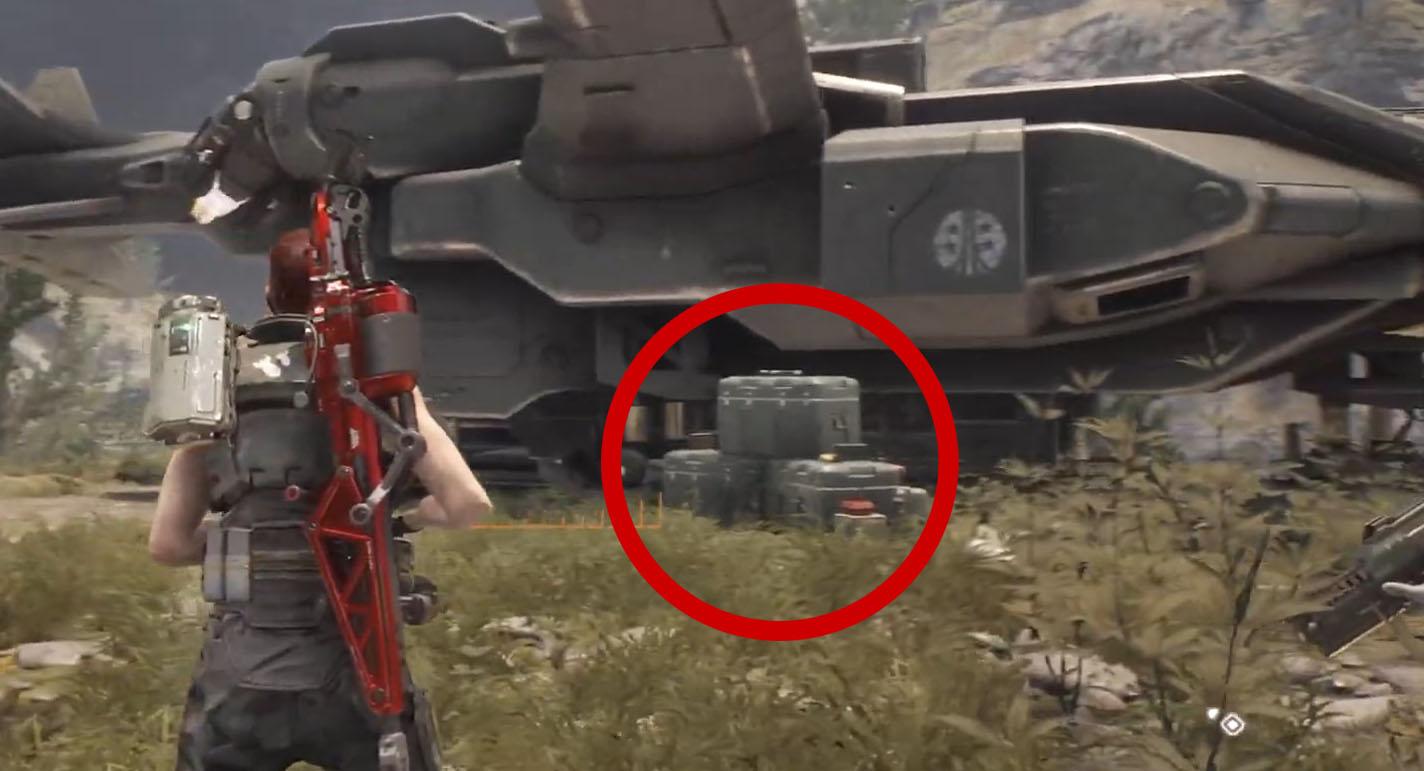
- Broken Alphatech Rifle: There are a number of boxes having your first intelligence near to the spawn at the very beginning of the campaign.
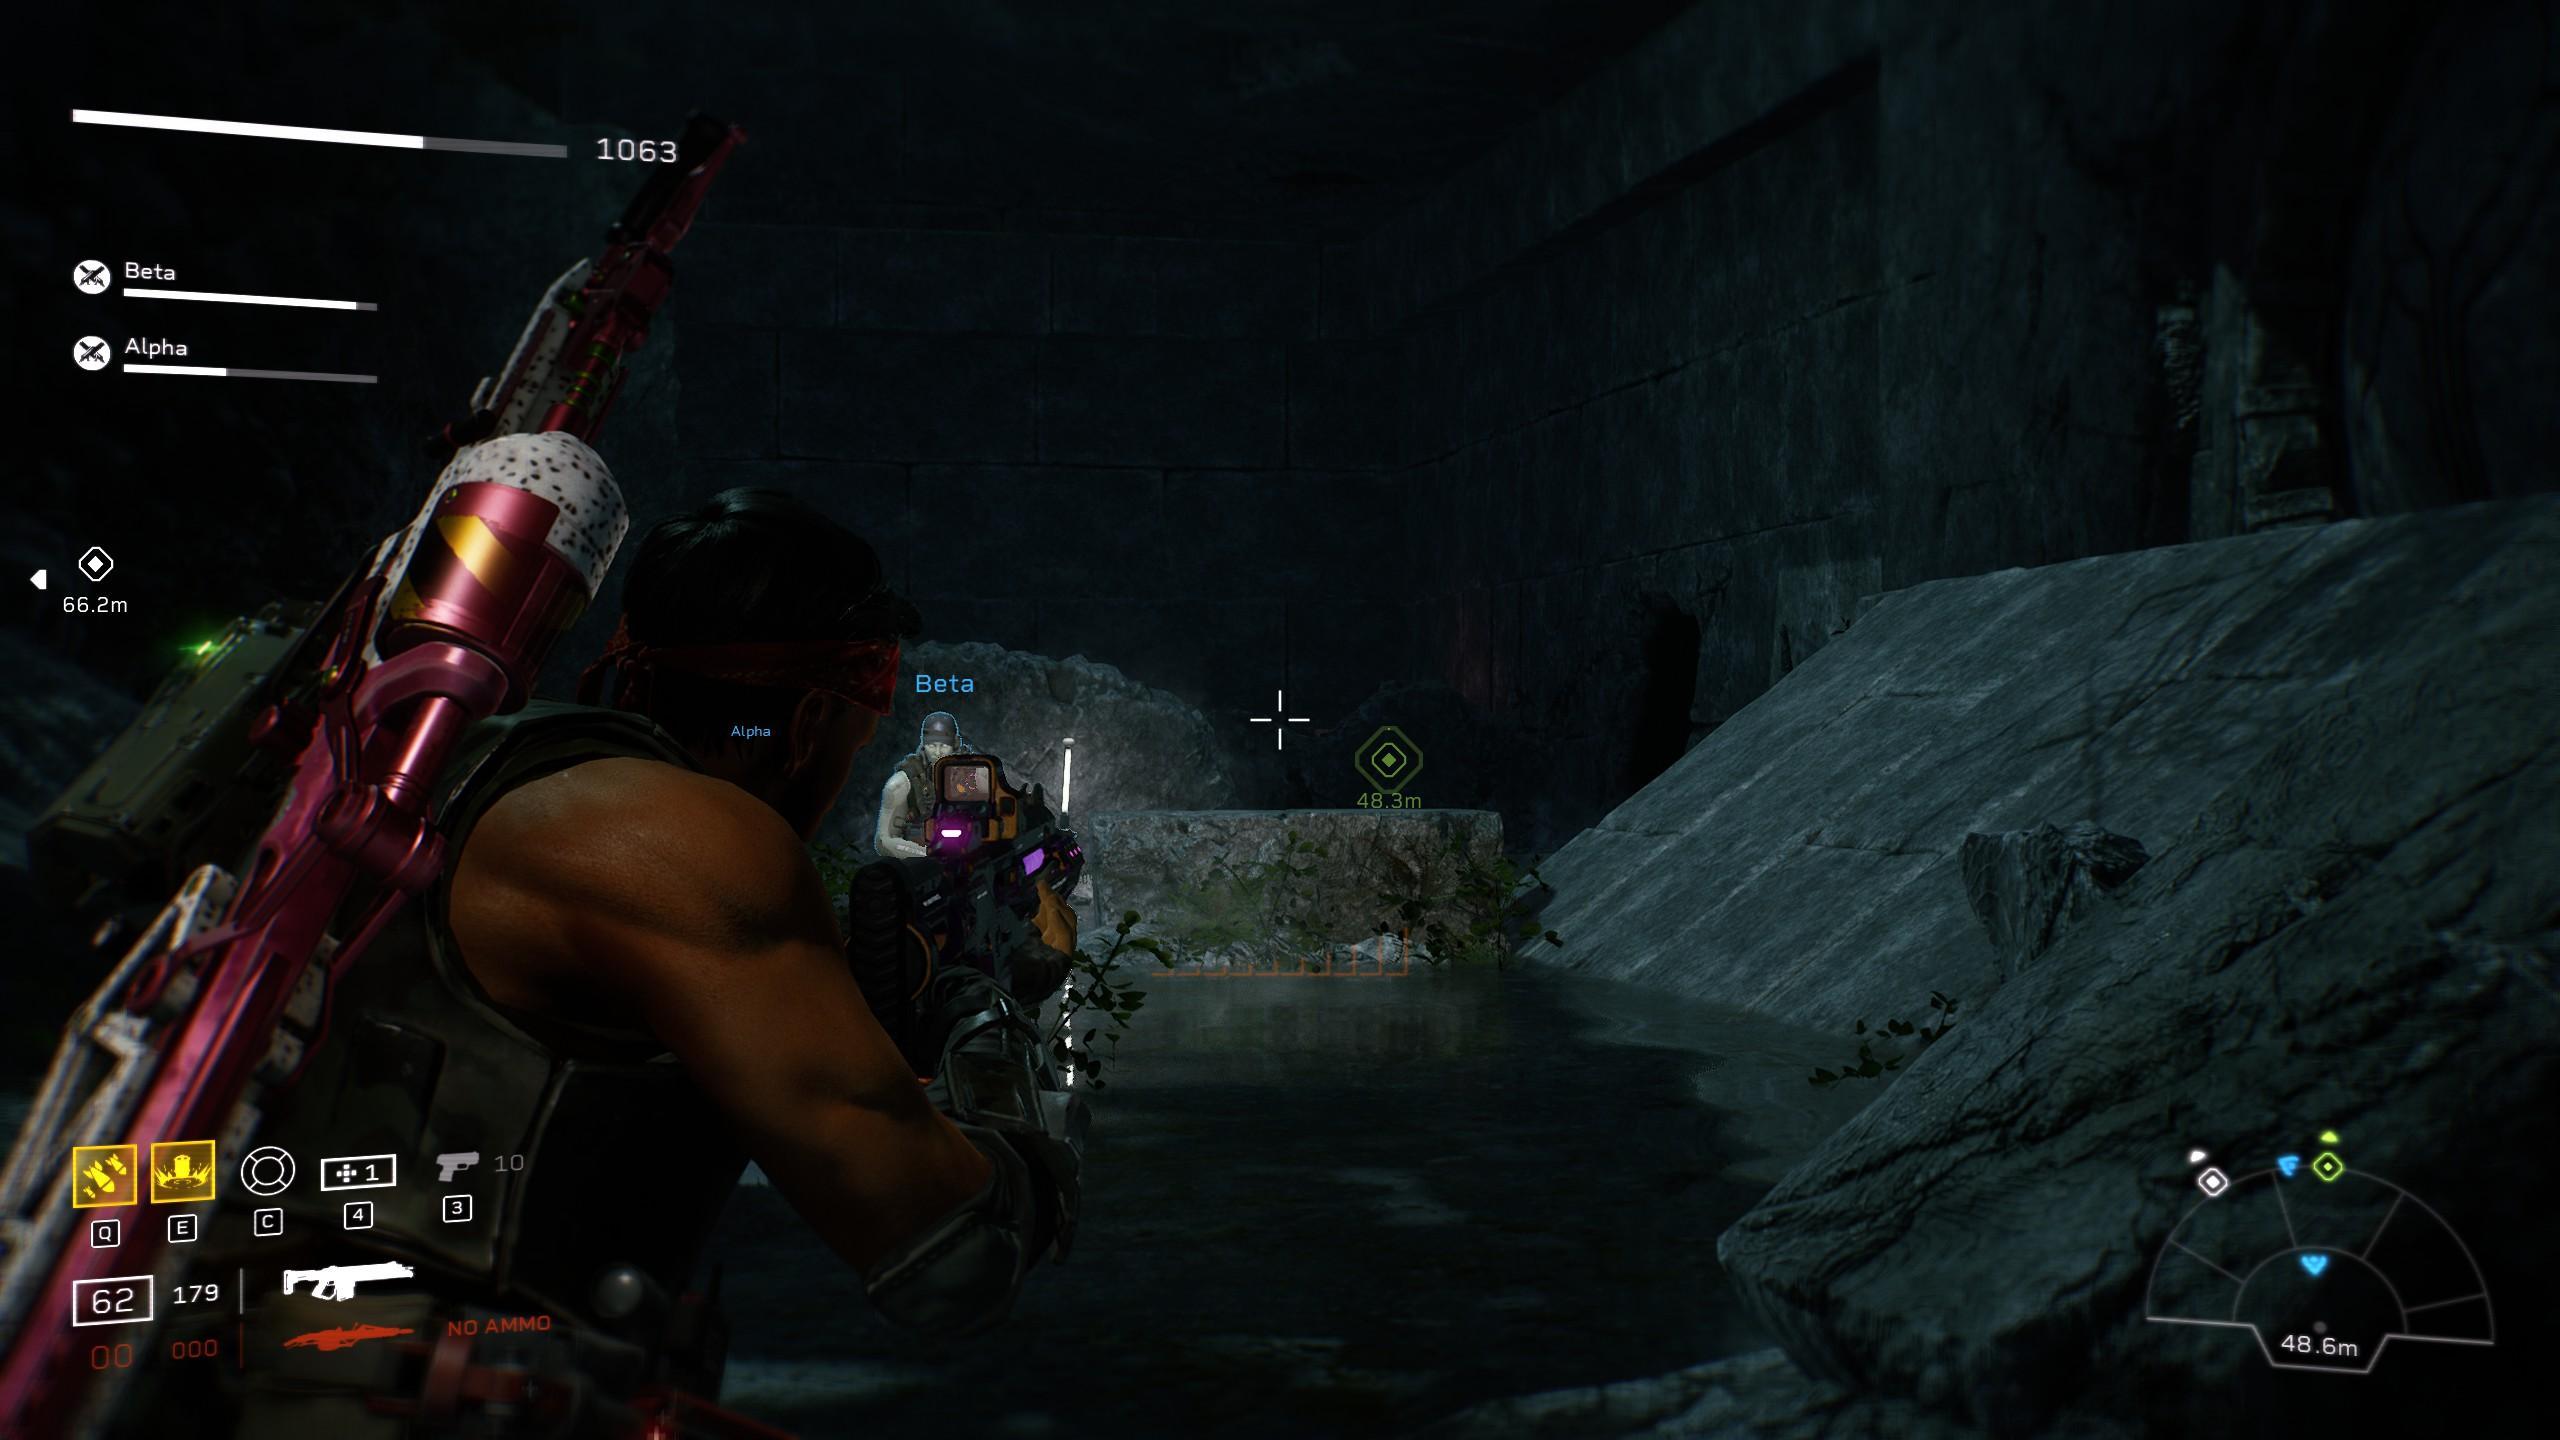
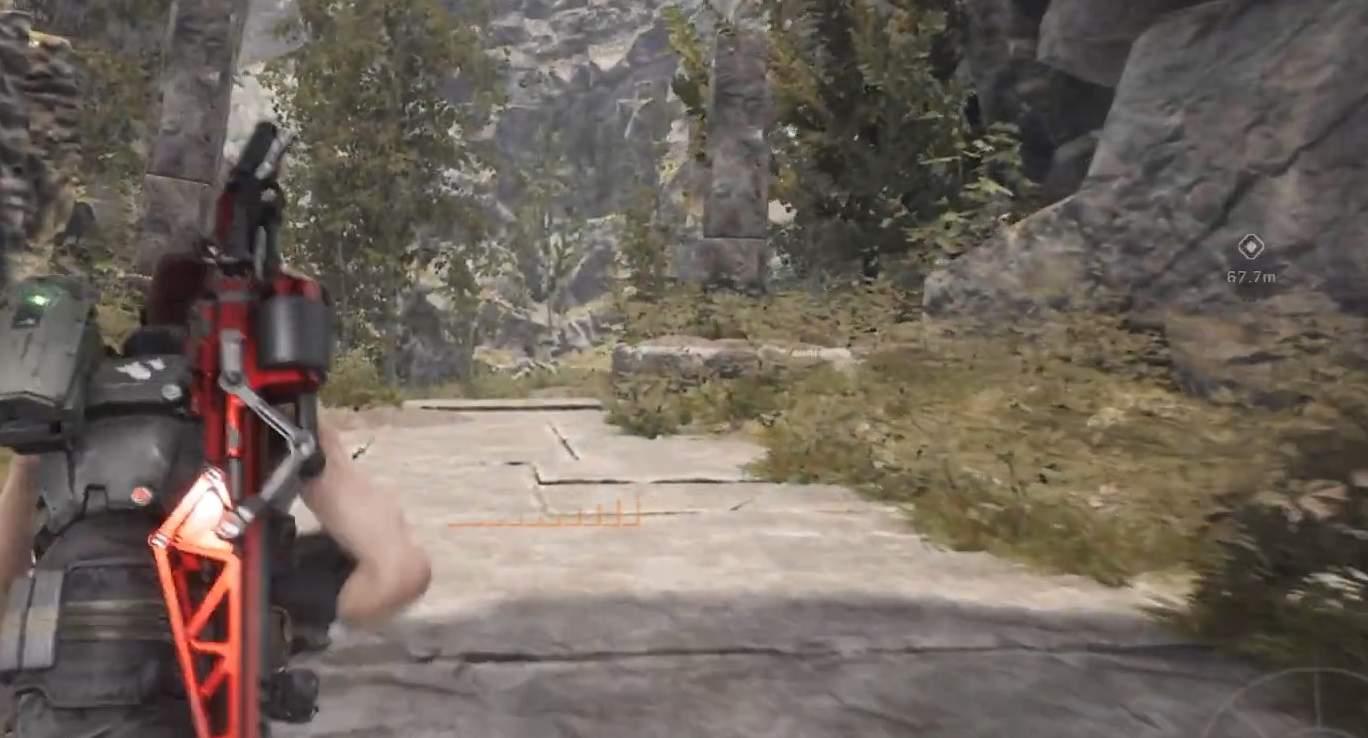
- Crusher Head Plate: Your next piece of intelligence lies in the wooded region by the small stream of water.

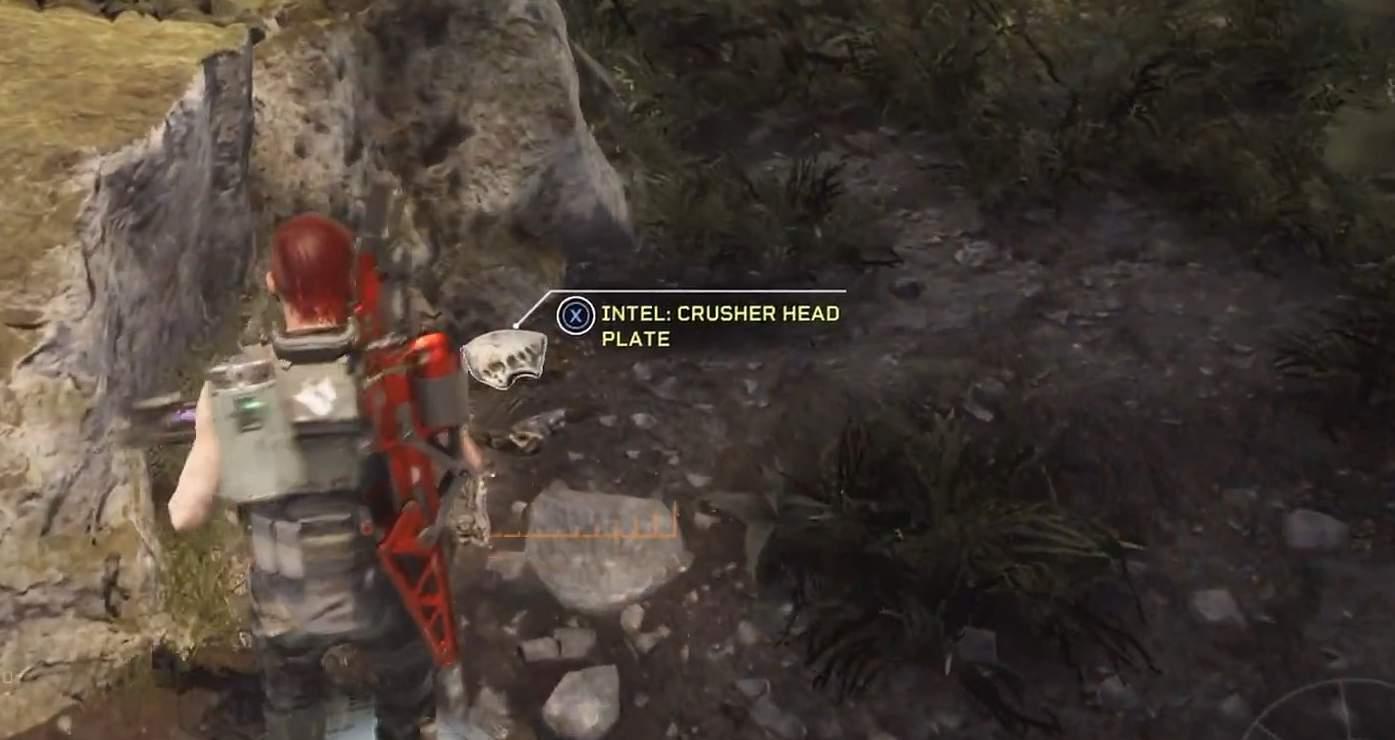
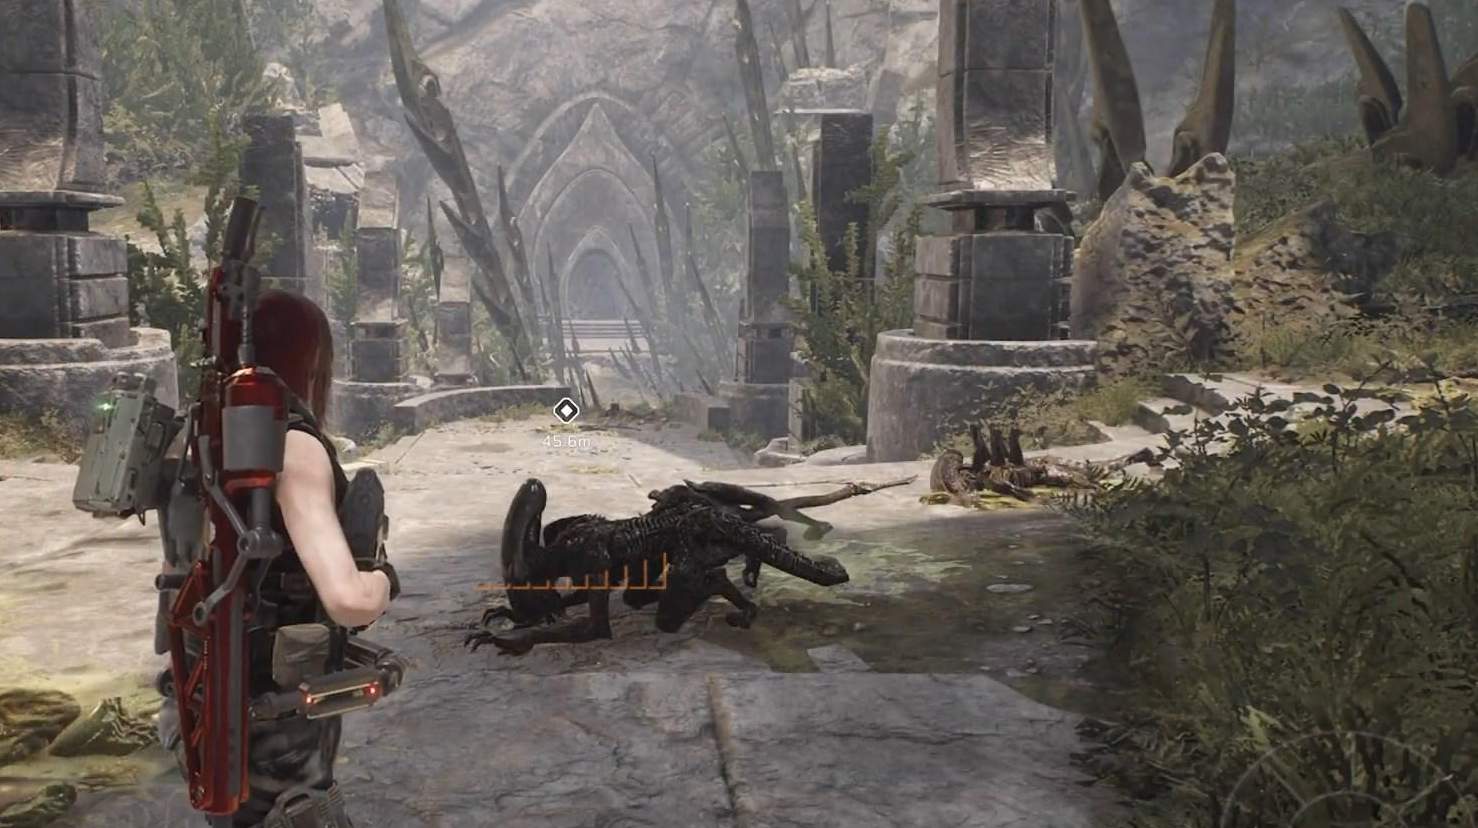
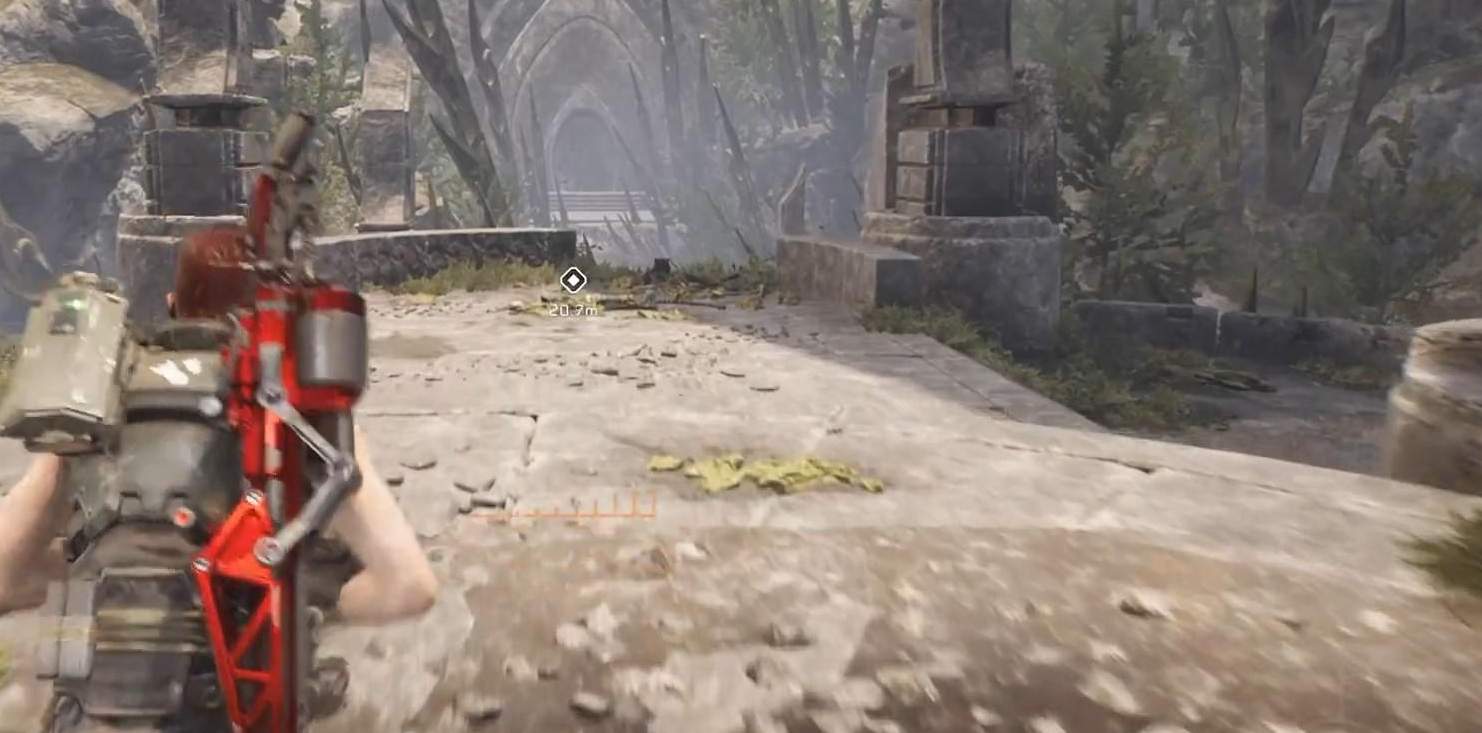
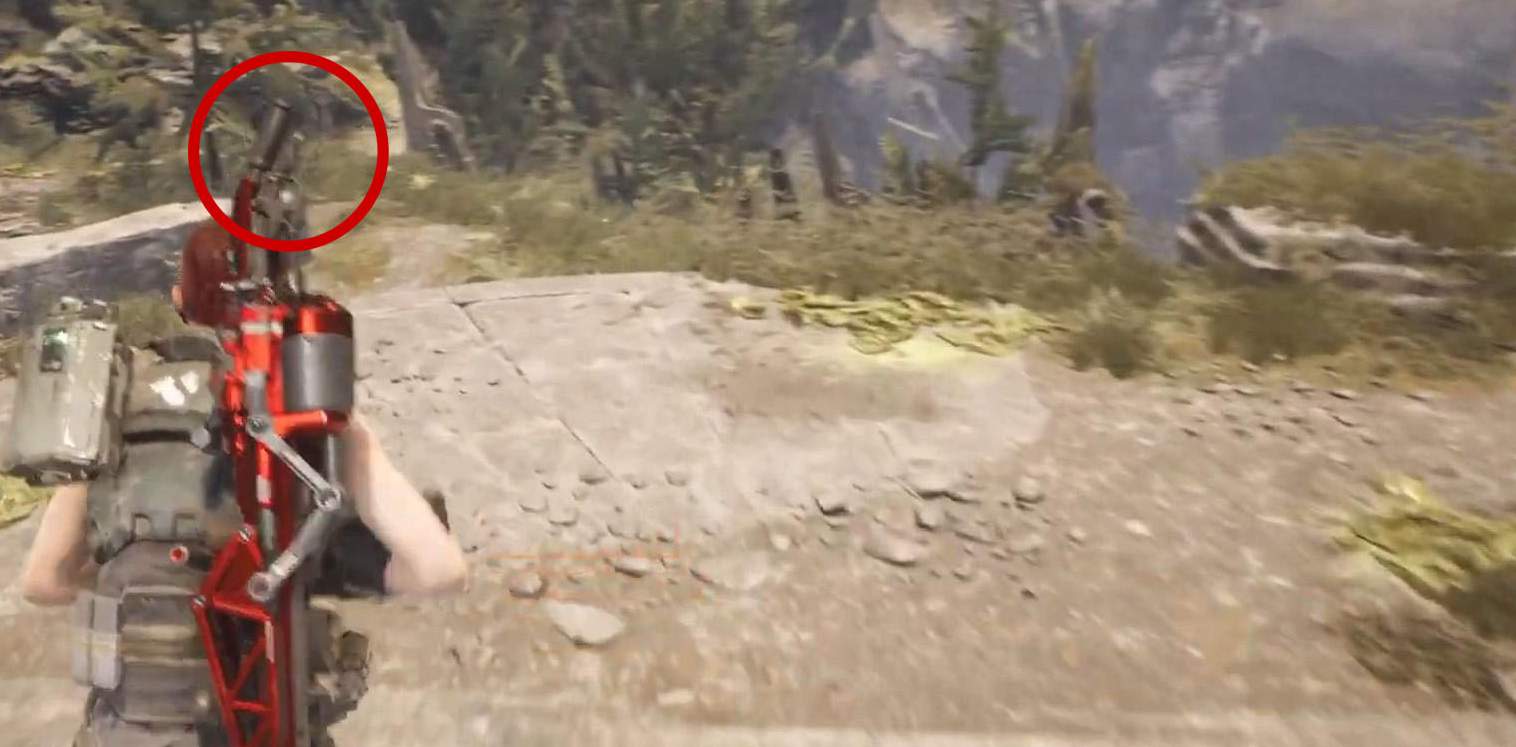
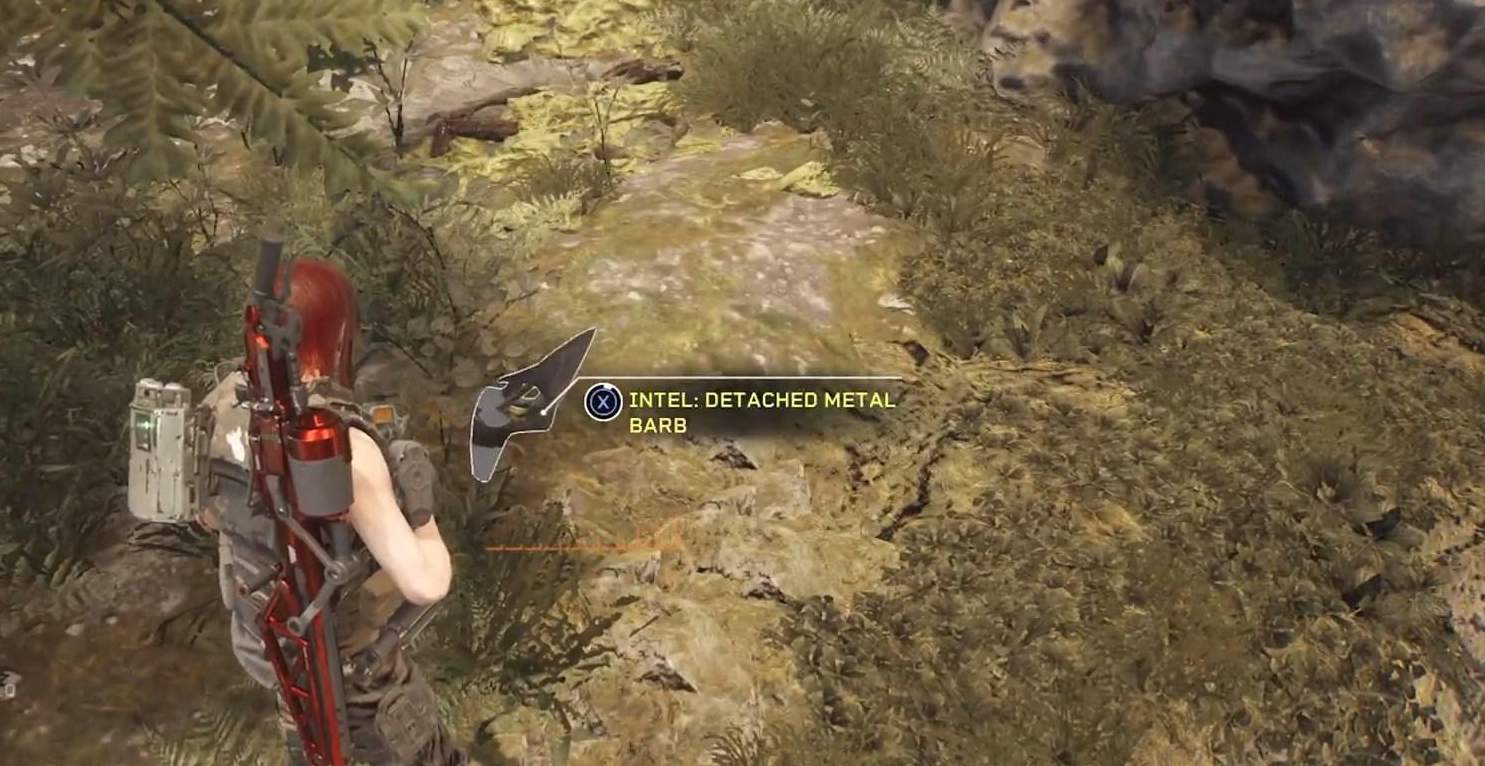
- Detached Metal Barb: As you move farther into the level, you’ll encounter a lengthy pathway surrounded by sharp pillars. Continue down the route until you reach a grassy area to the left.
Promise of a Flower: Approach (Pathogen DLC)
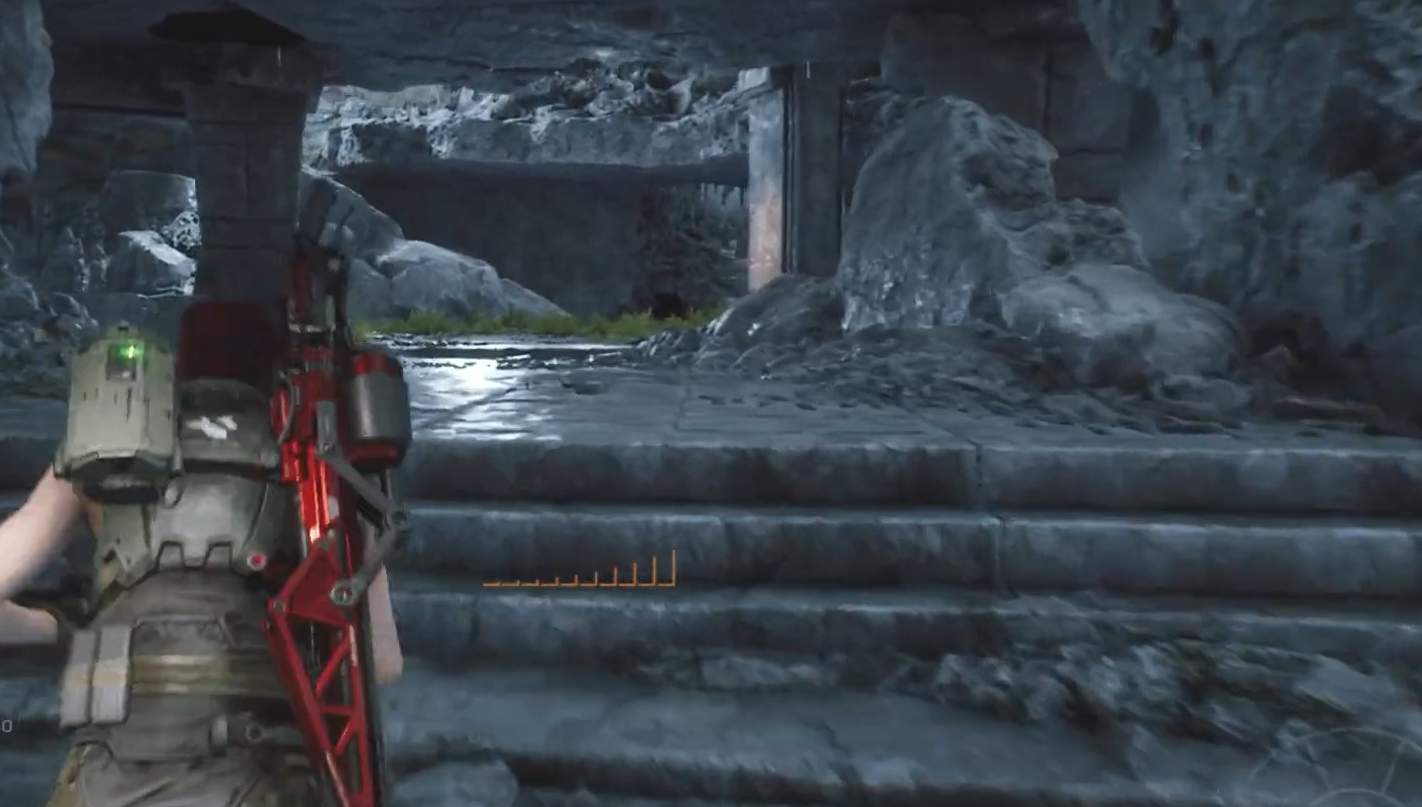
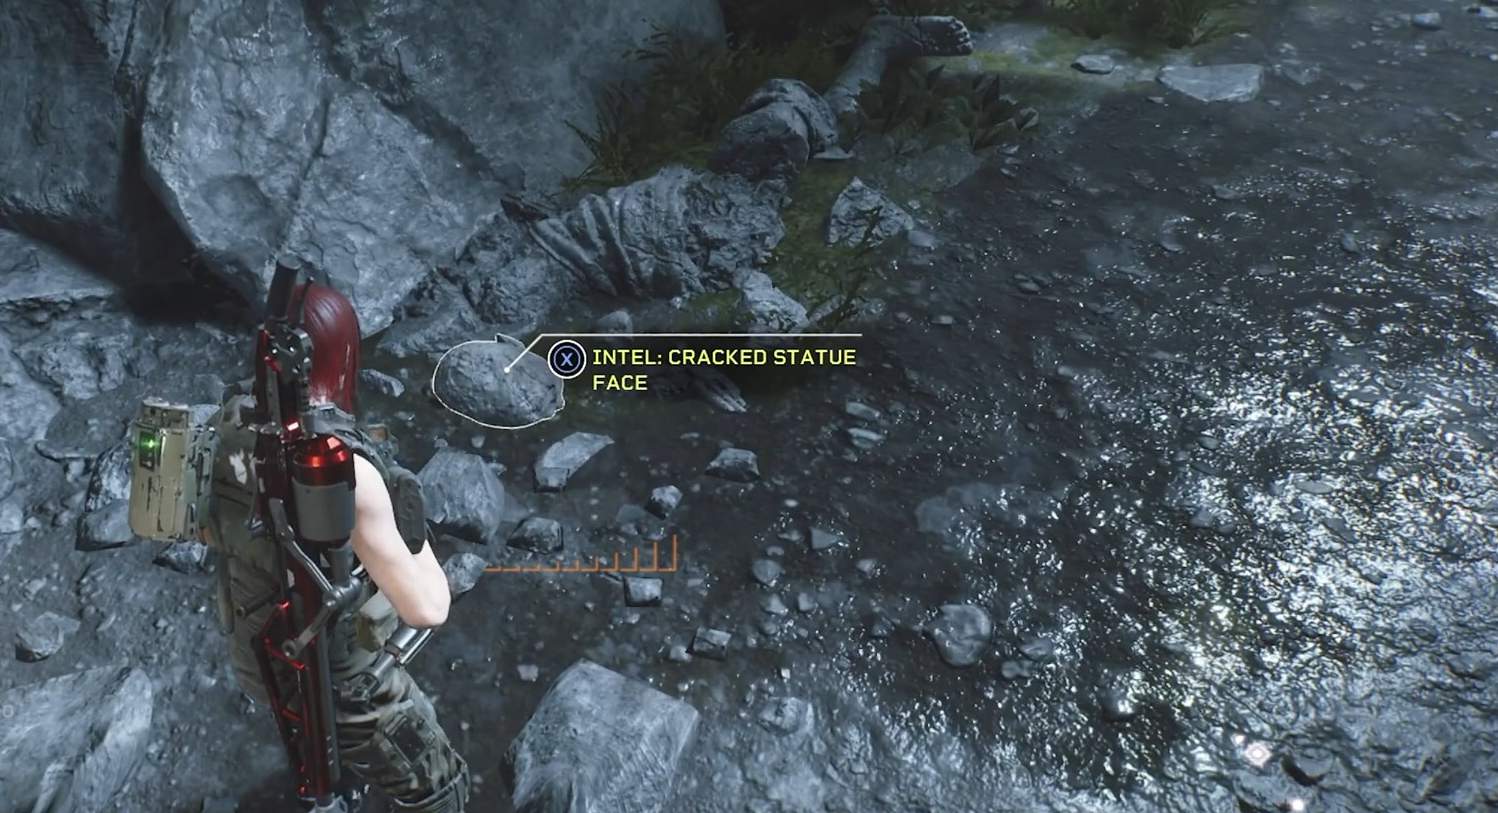
- Cracked Statue Face: Stick to the left wall as you enter the ruin, keeping an eye on the floor and the stone debris surrounding the walls.


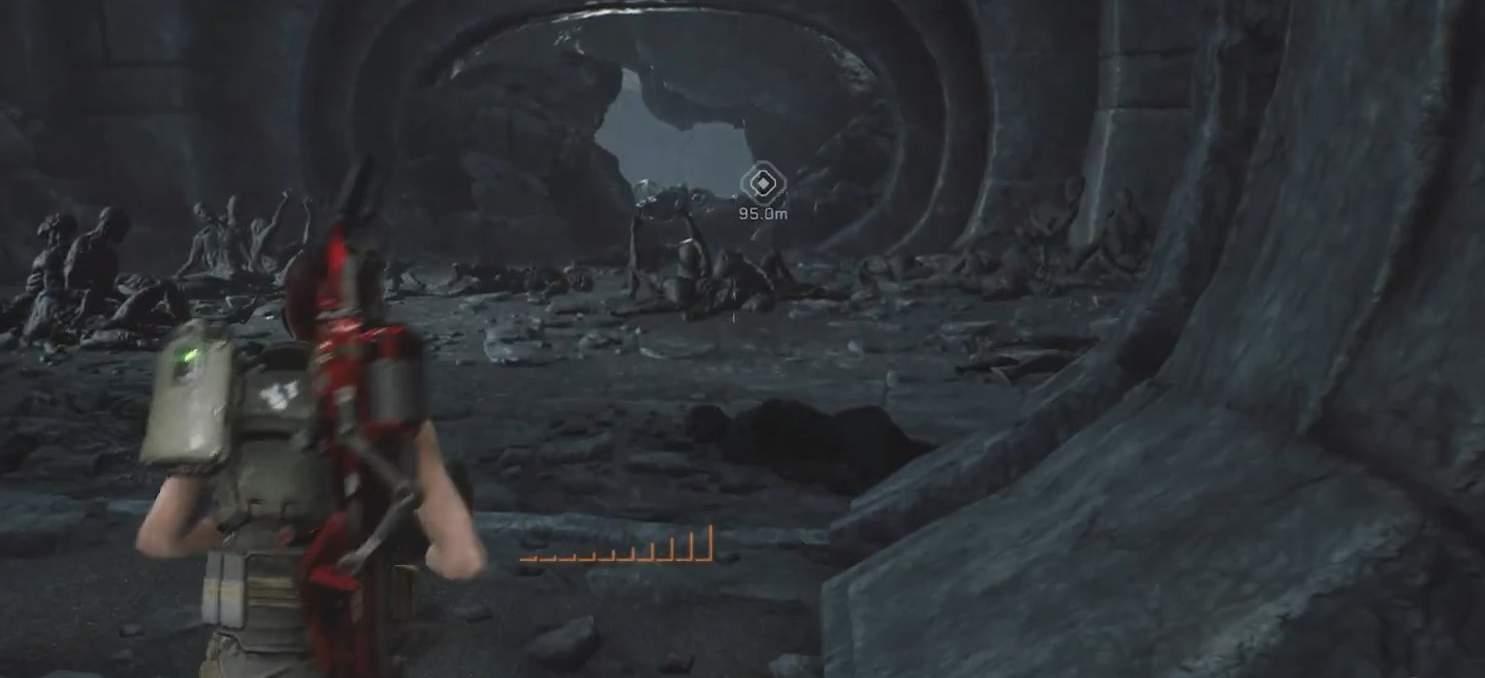
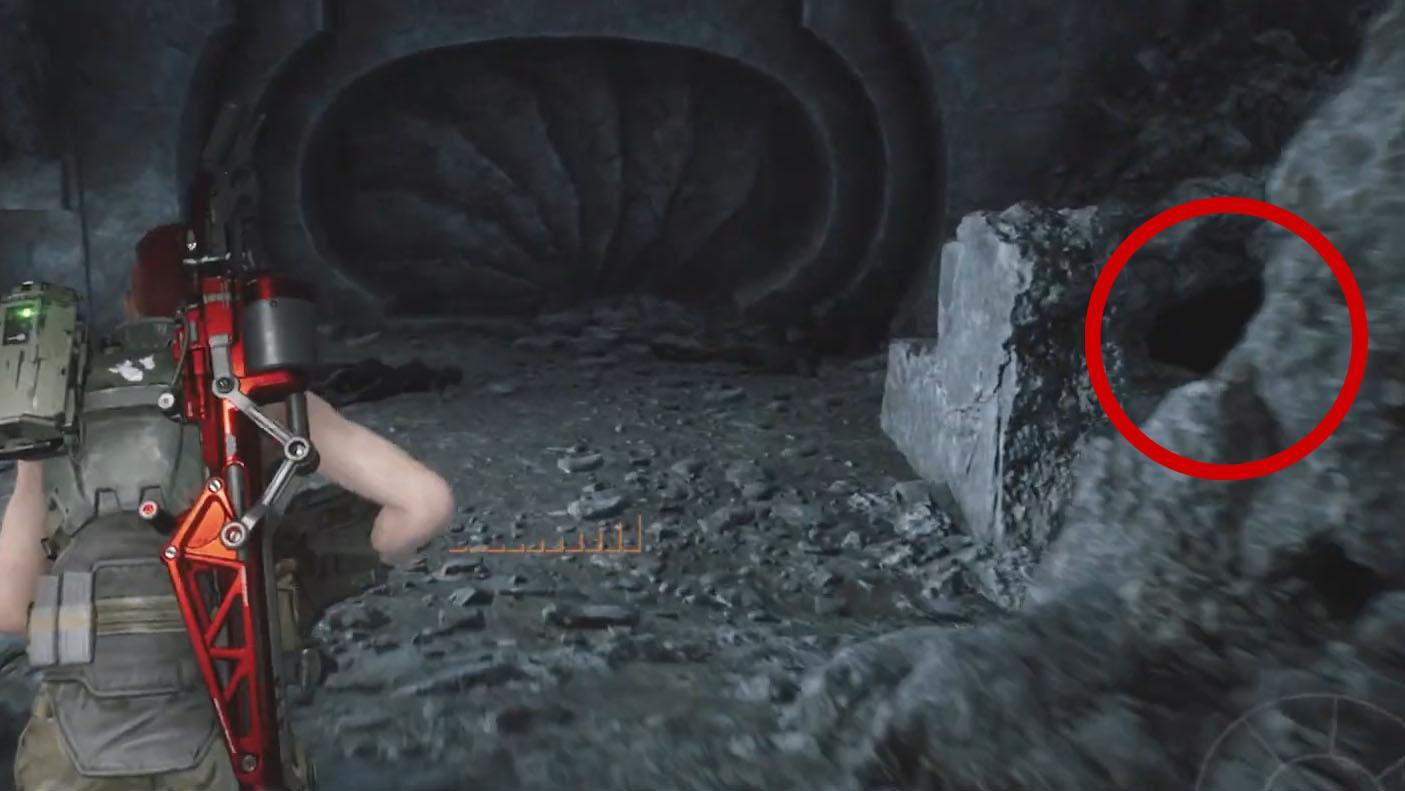
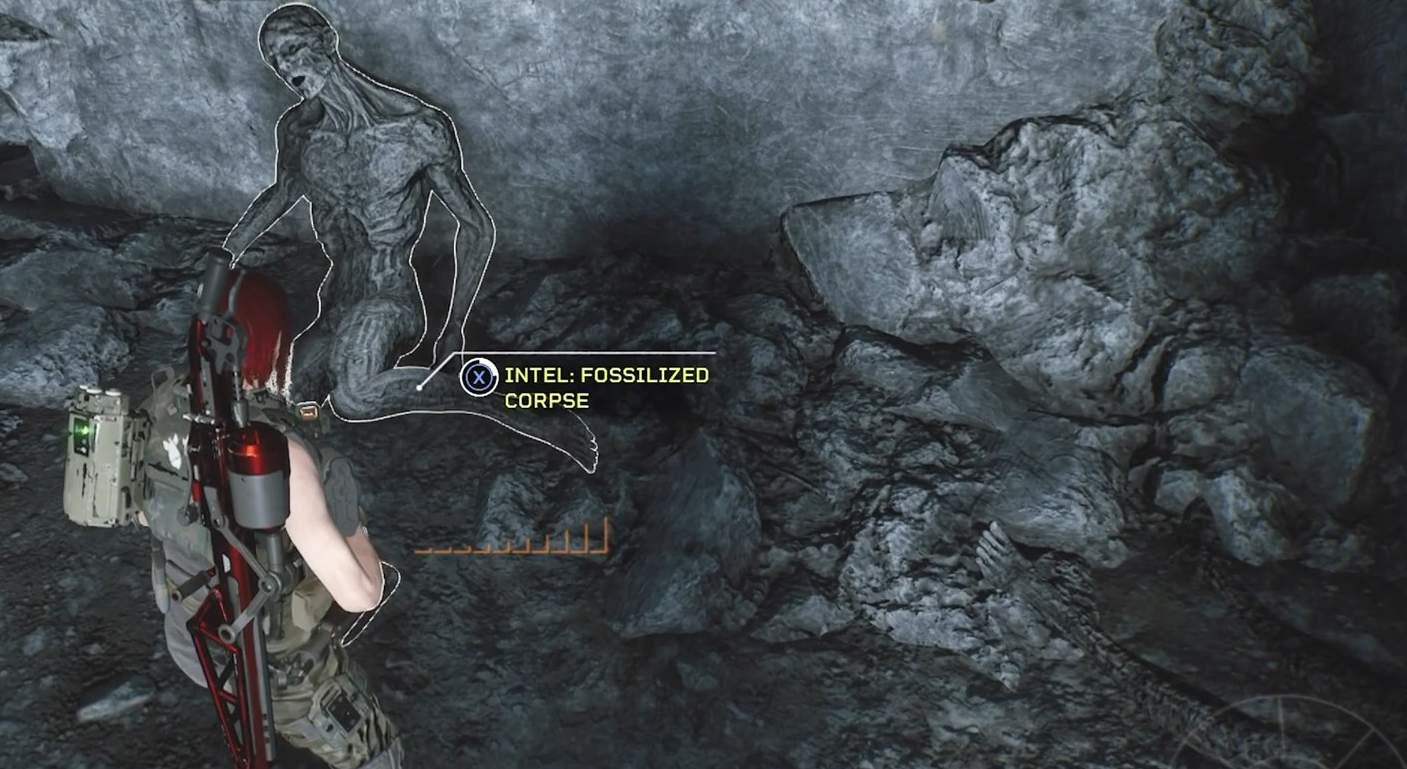
- Fossilized Corpse: When you reach a region with petrified corpses and a road leading straight ahead and to the right, turn left while staying close to the left wall. Your next piece of intelligence is to the right of that.
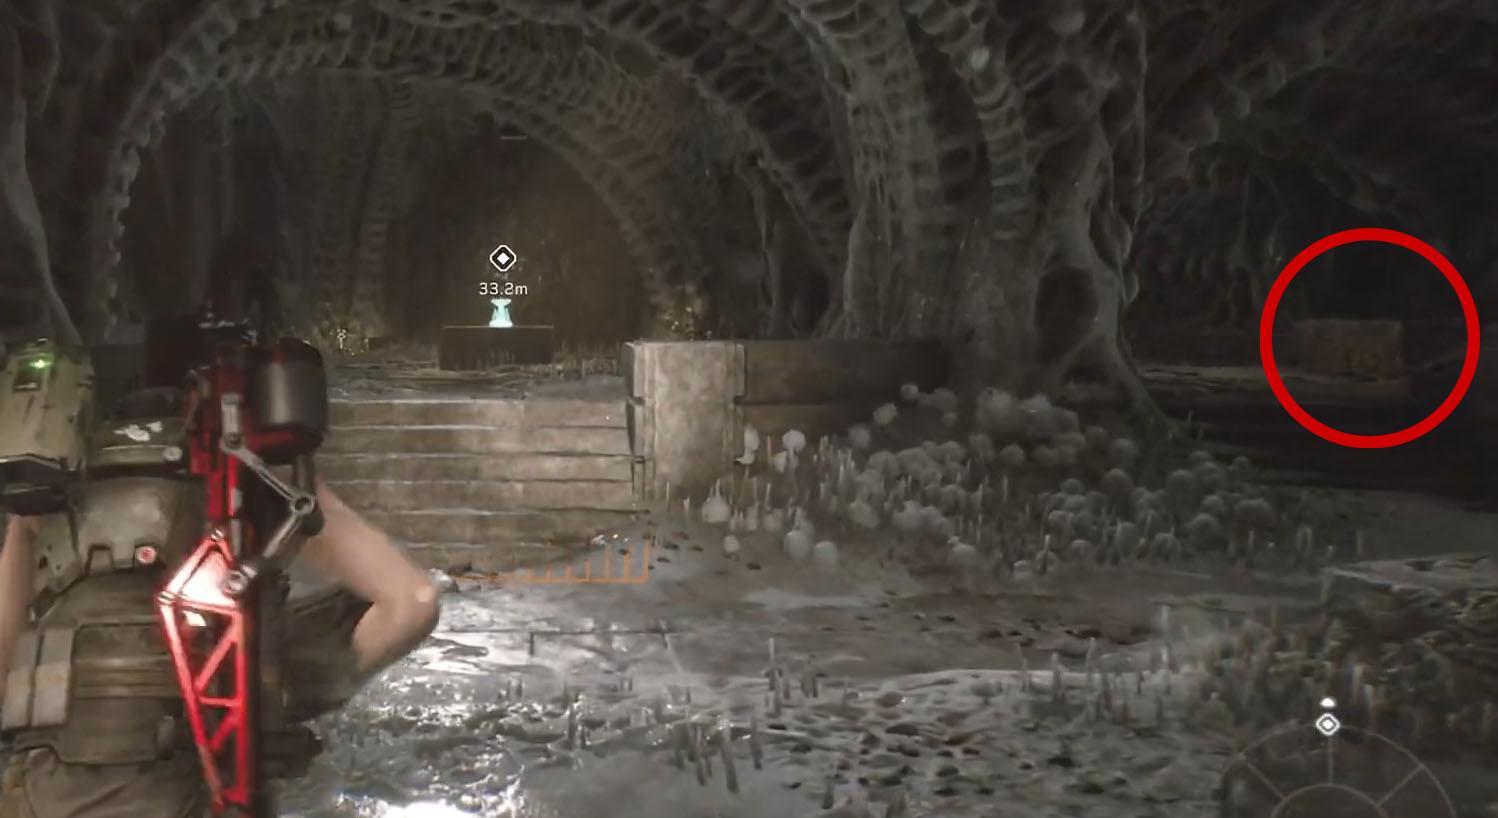
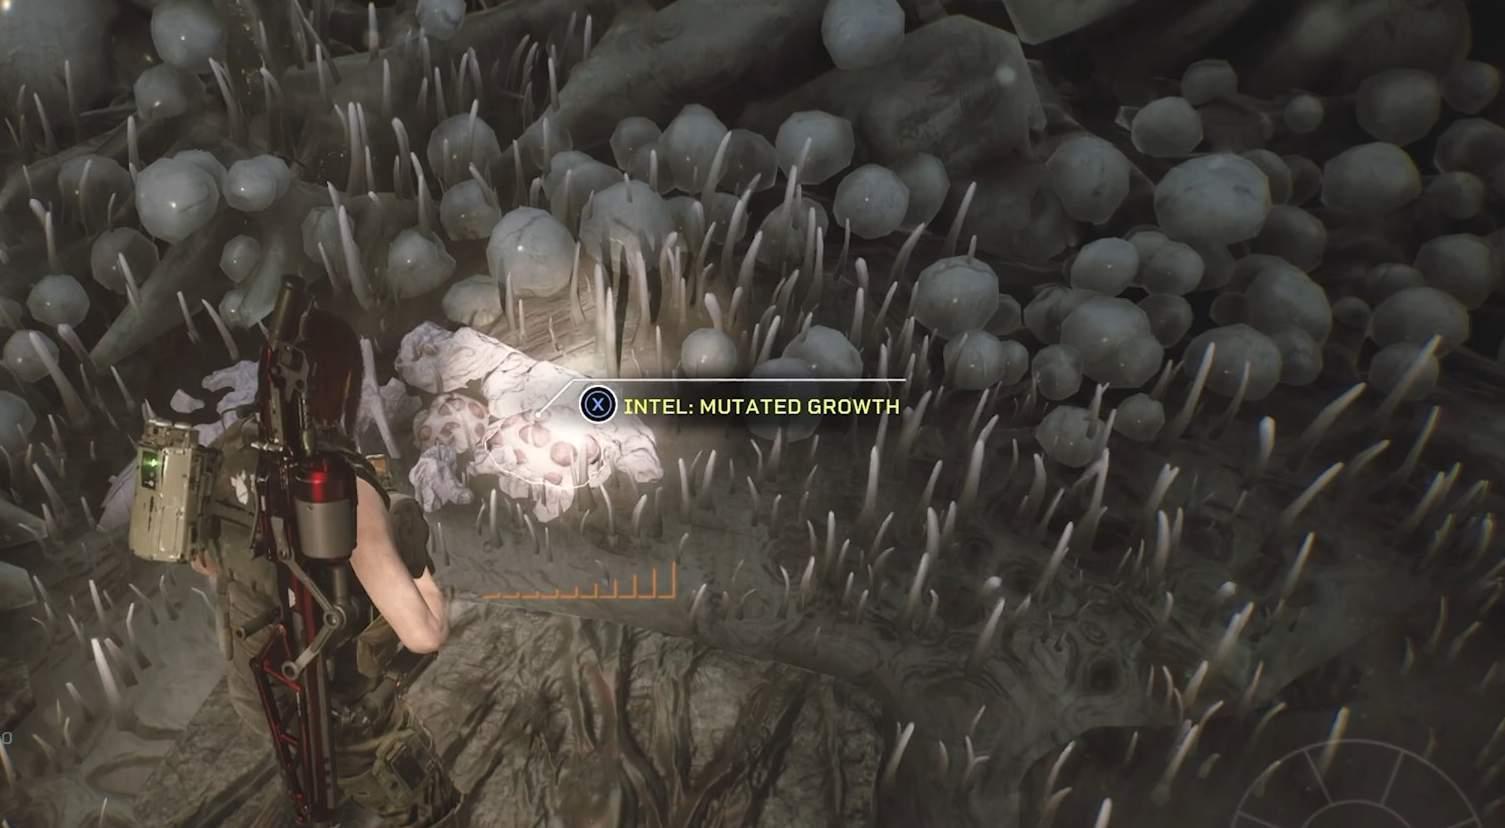
- Mutated Growth: The terrain will change from ruins to an alien colony habitat later on in the level. Once a door is opened and the task “Rally on Platform” appears, you know you are in the correct location.
Promise of a Flower: Strike (Pathogen DLC)
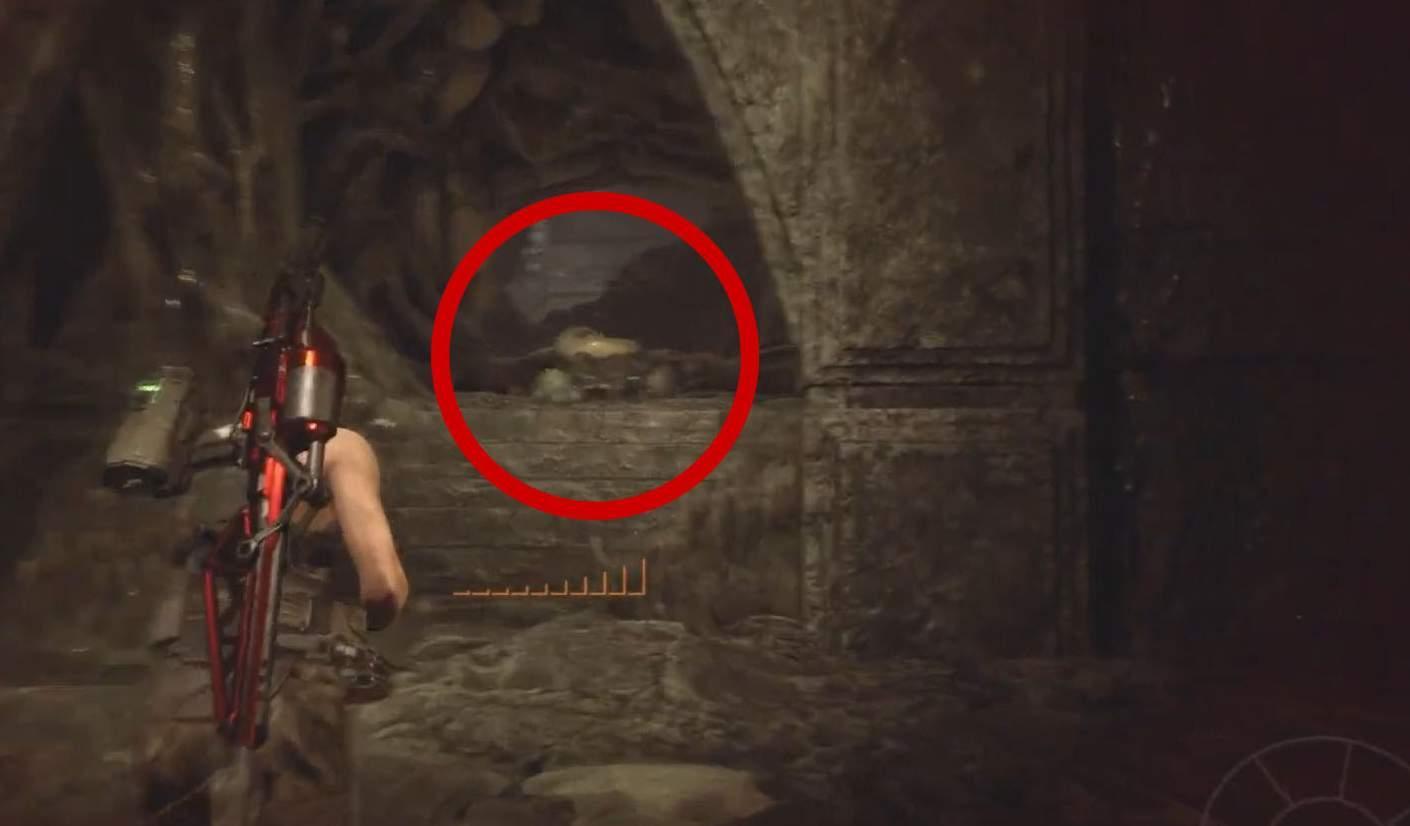
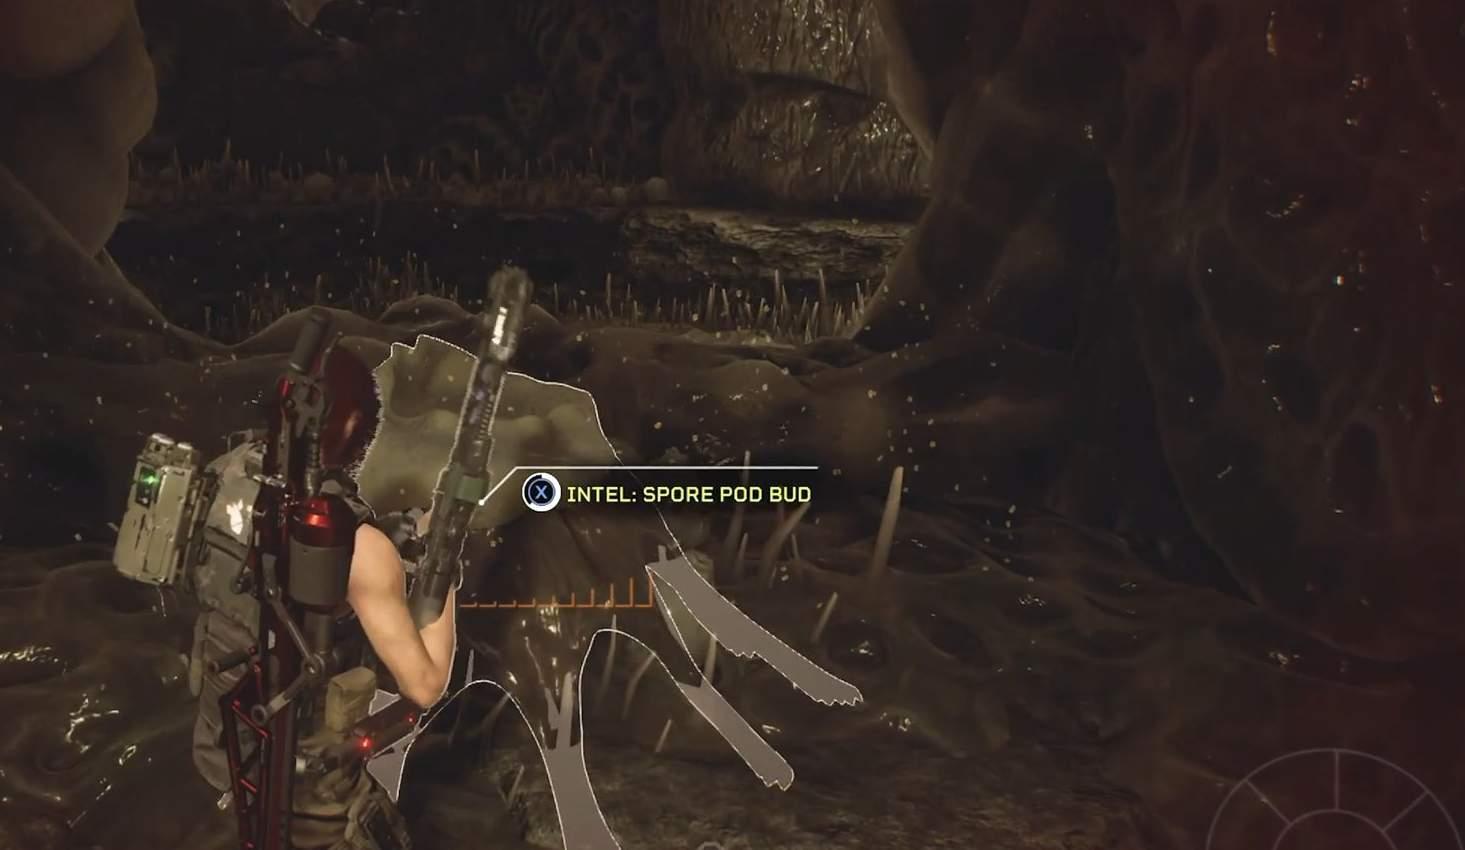
- Spore Pod Bud: Stick to the right wall after you reach that area. Keep following the wall until you reach your first piece of intelligence.

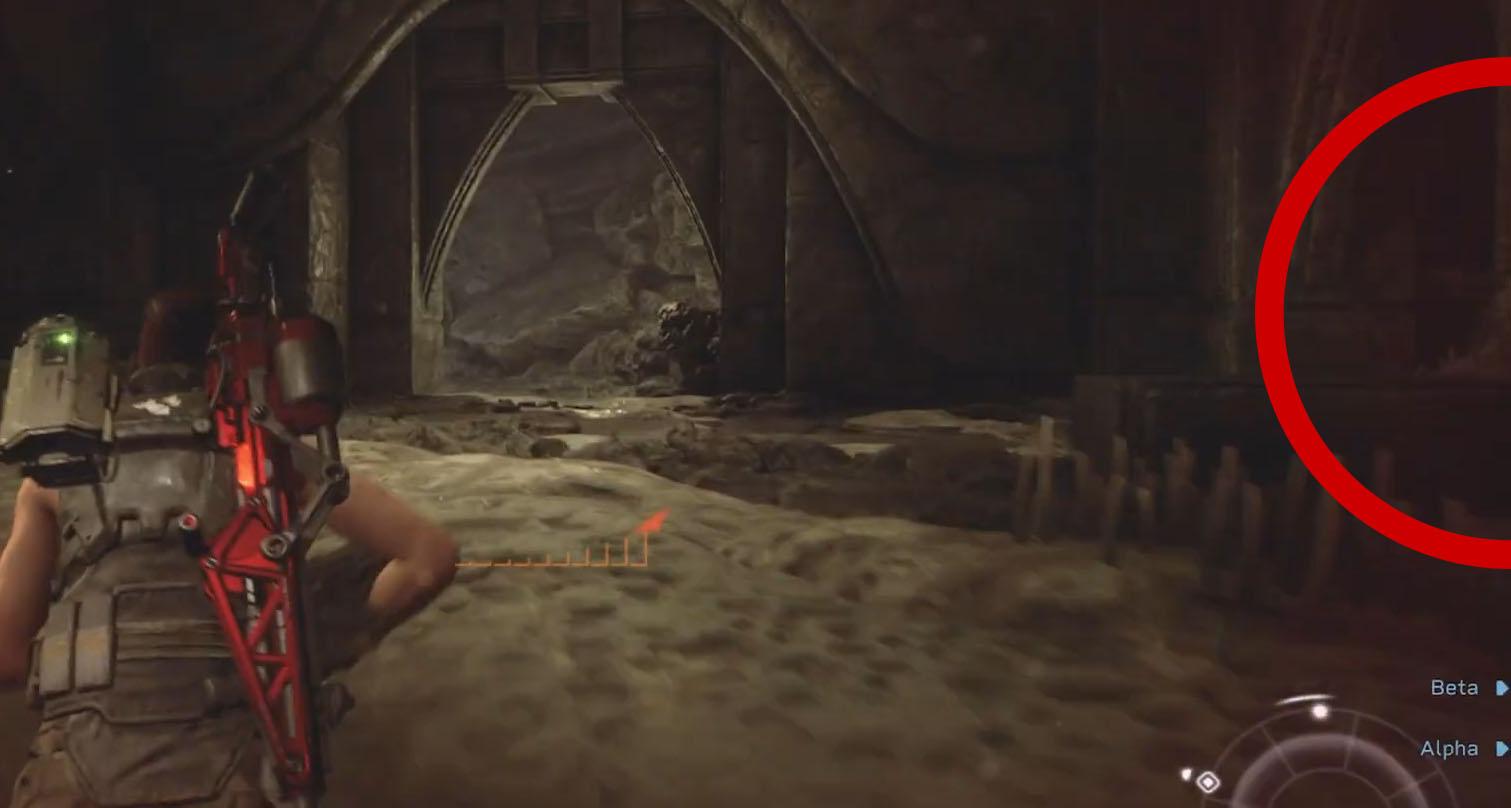
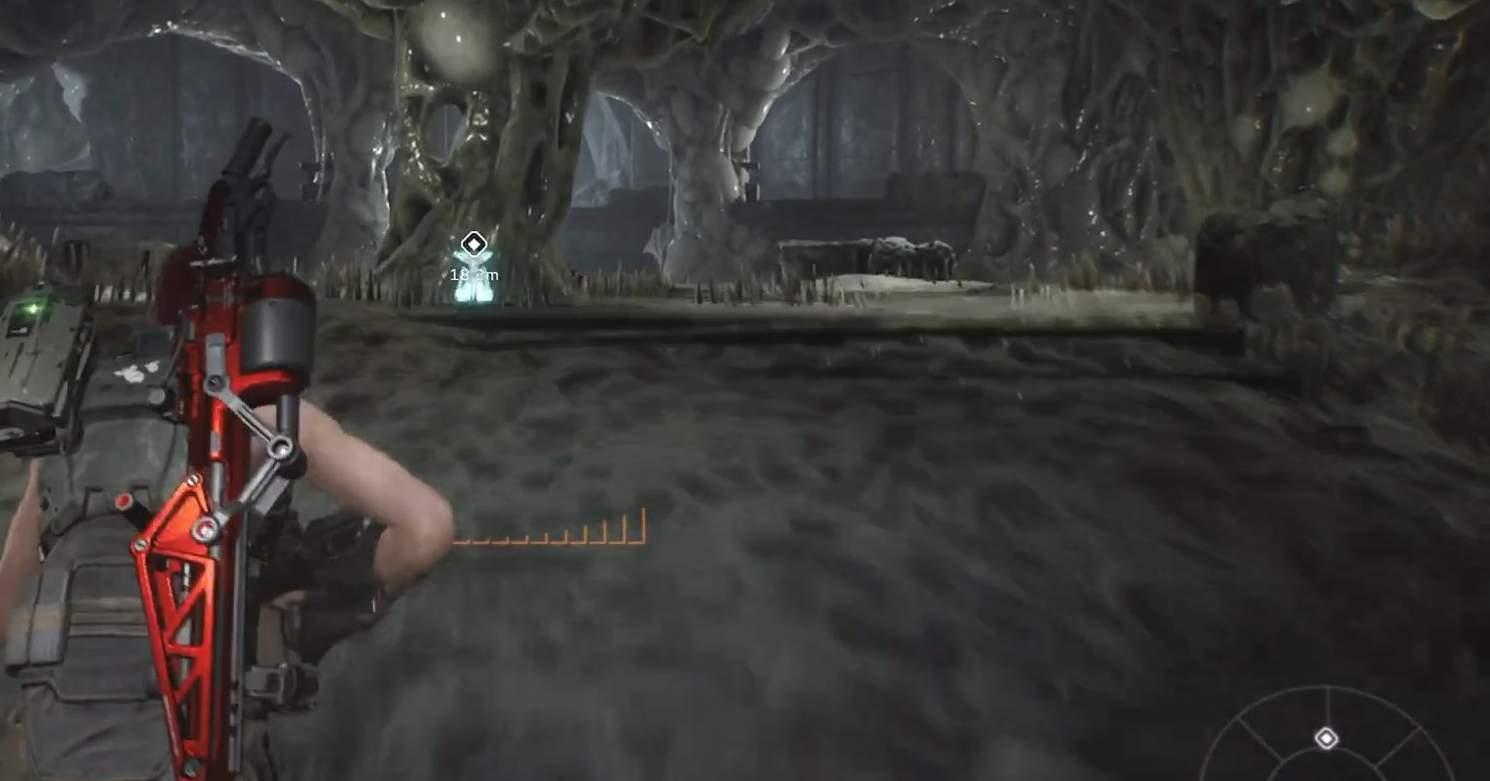
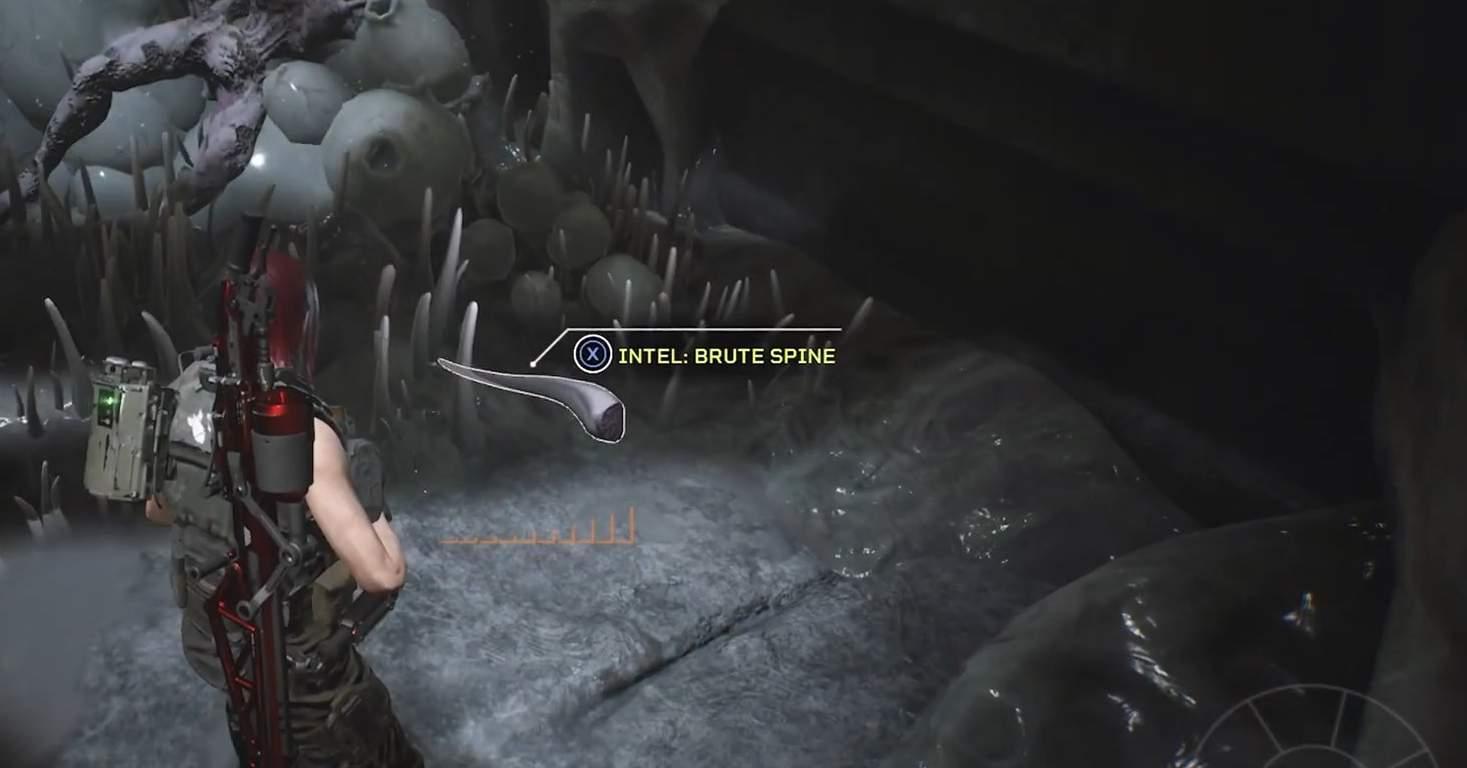
- Brute Spine: You’ll find an open space with some supplies in the middle after the second door. Your next bit of information is to the left.
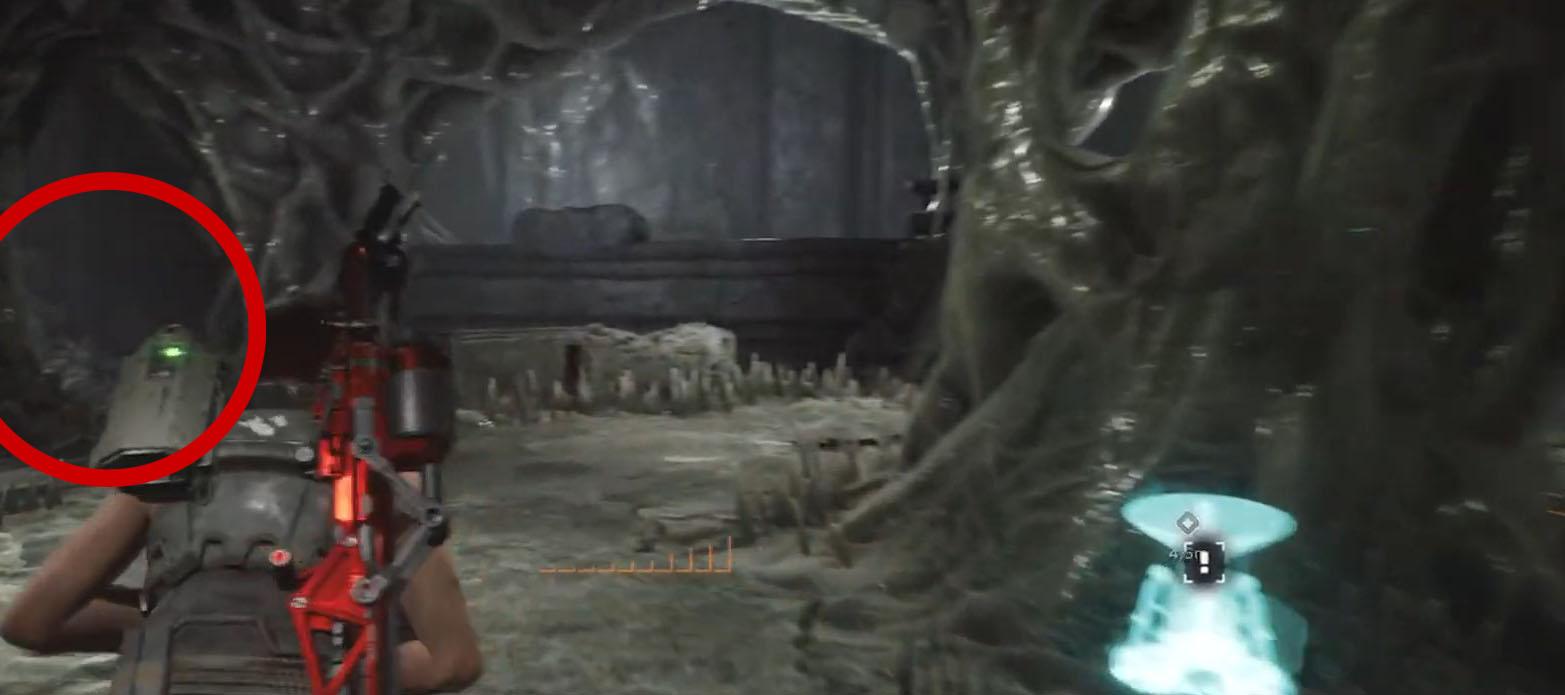
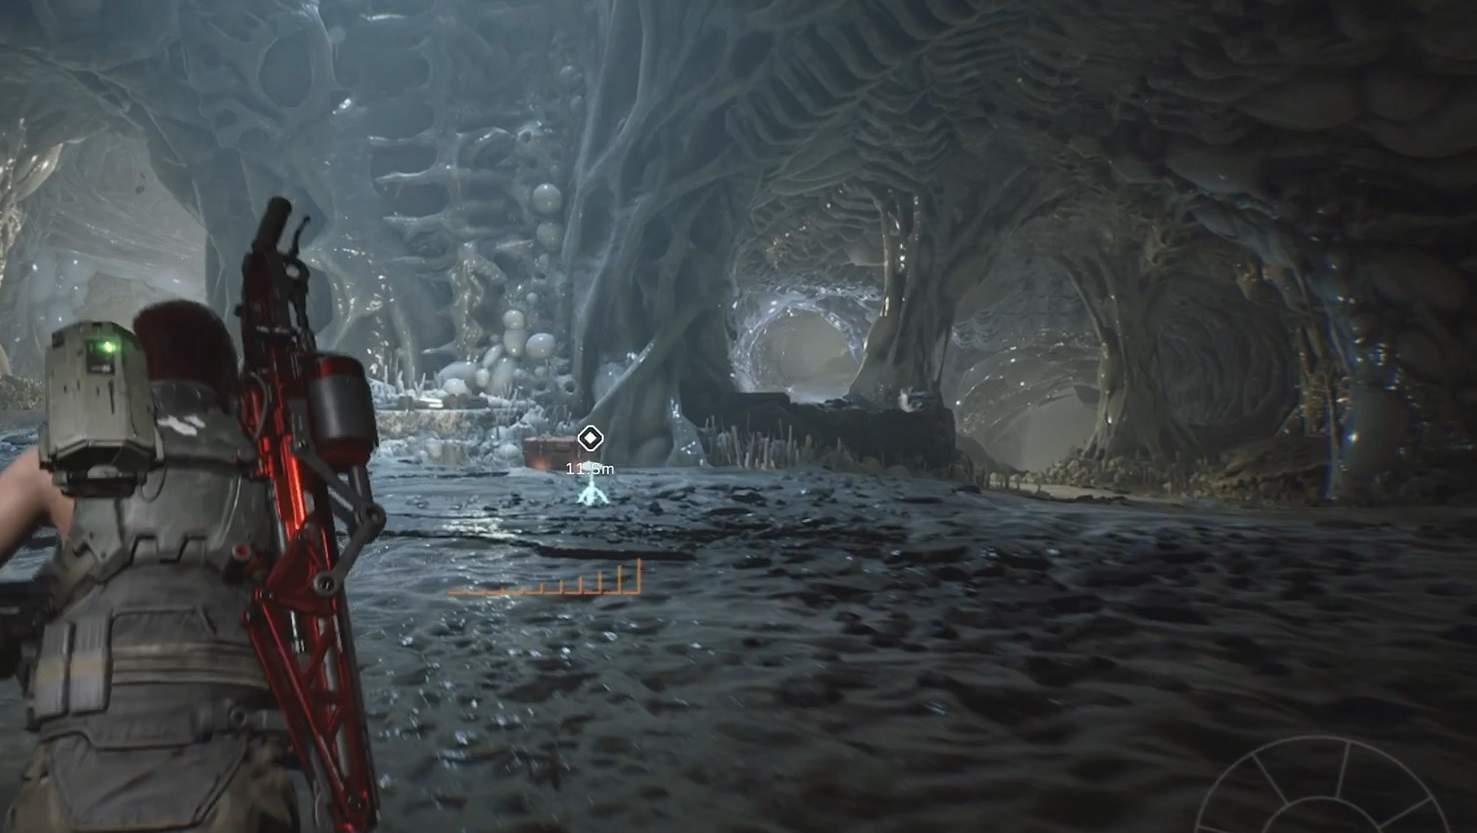
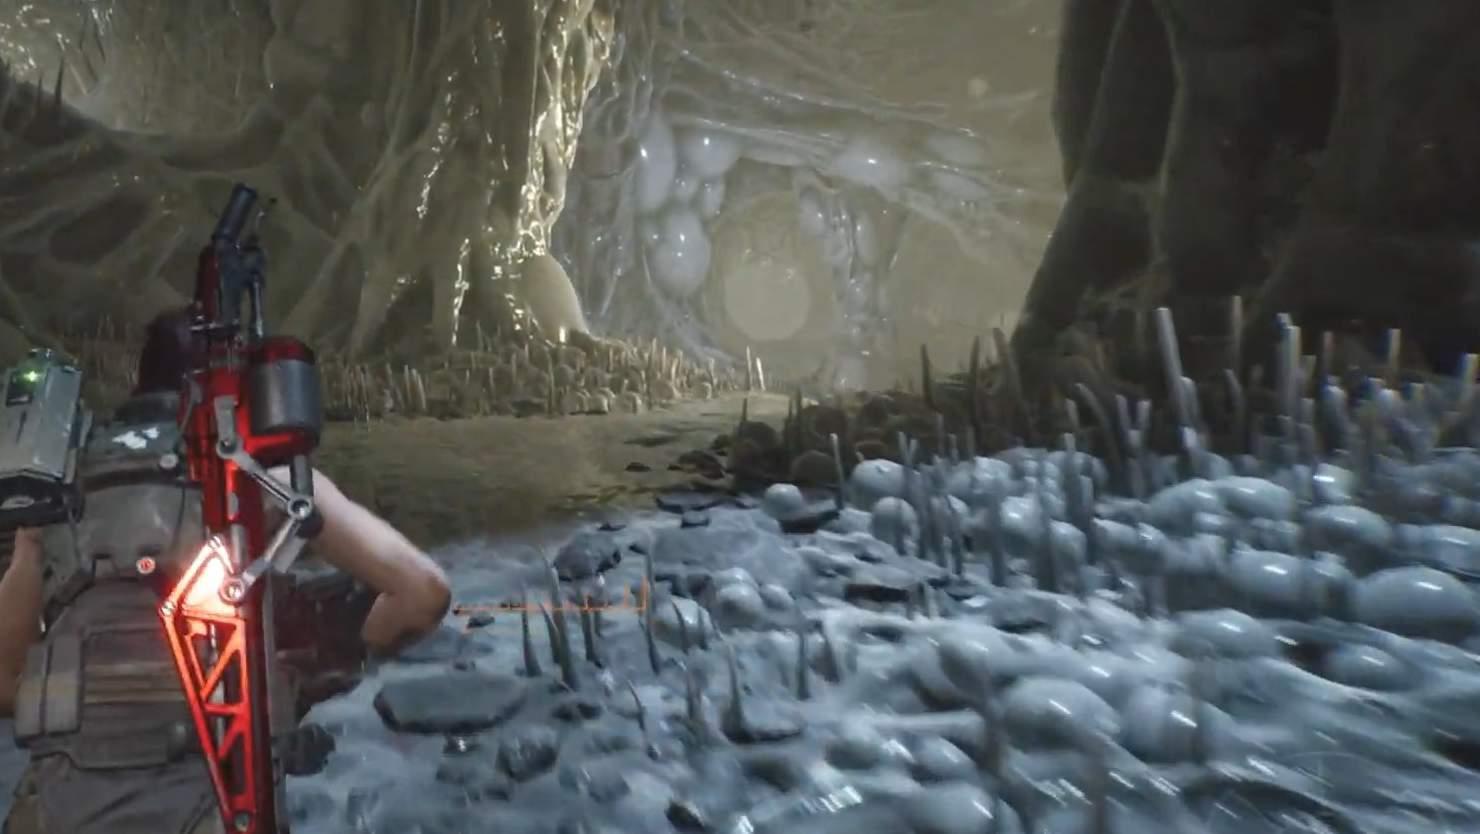
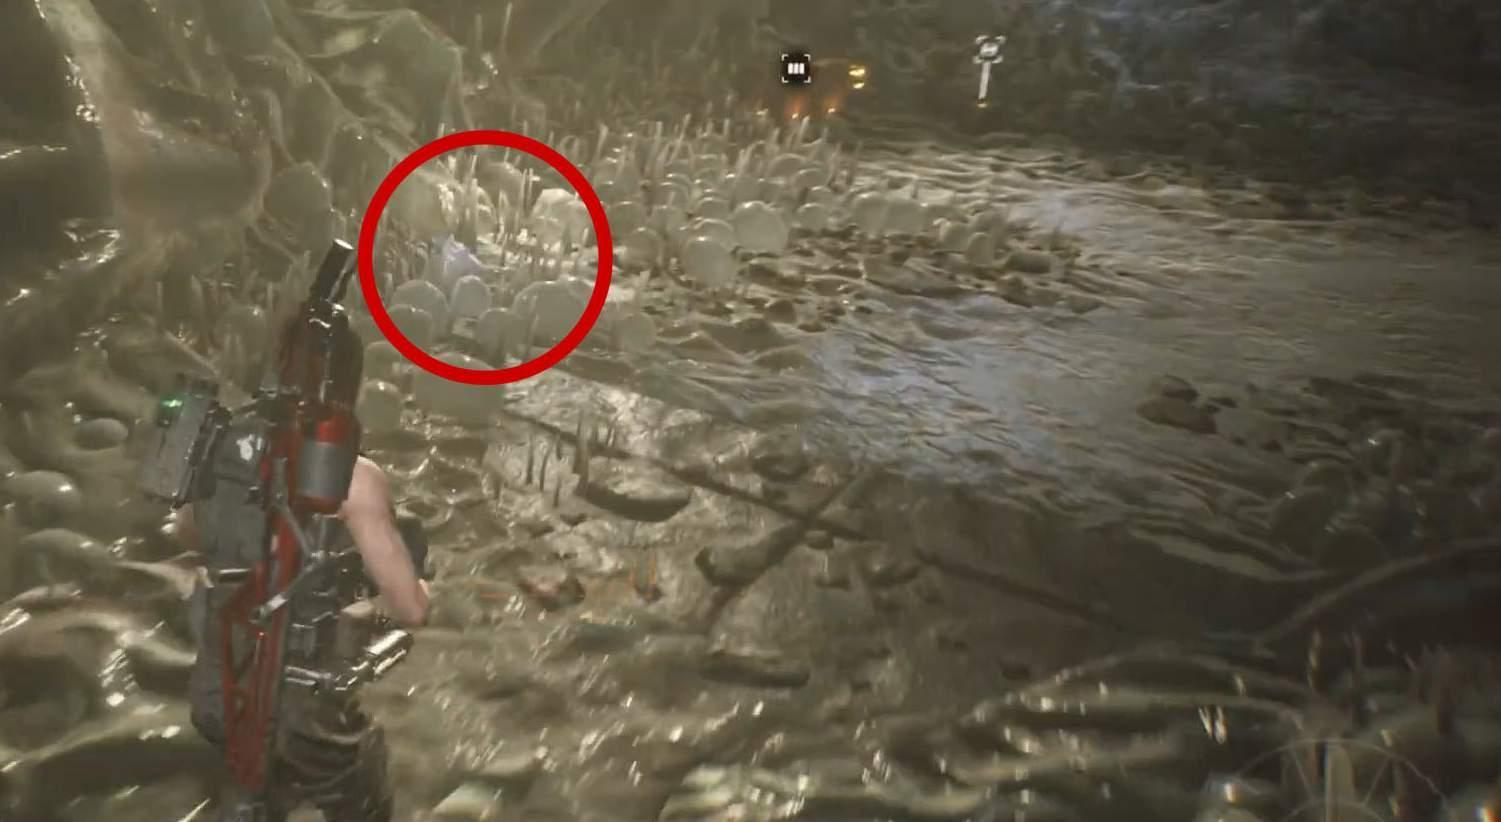
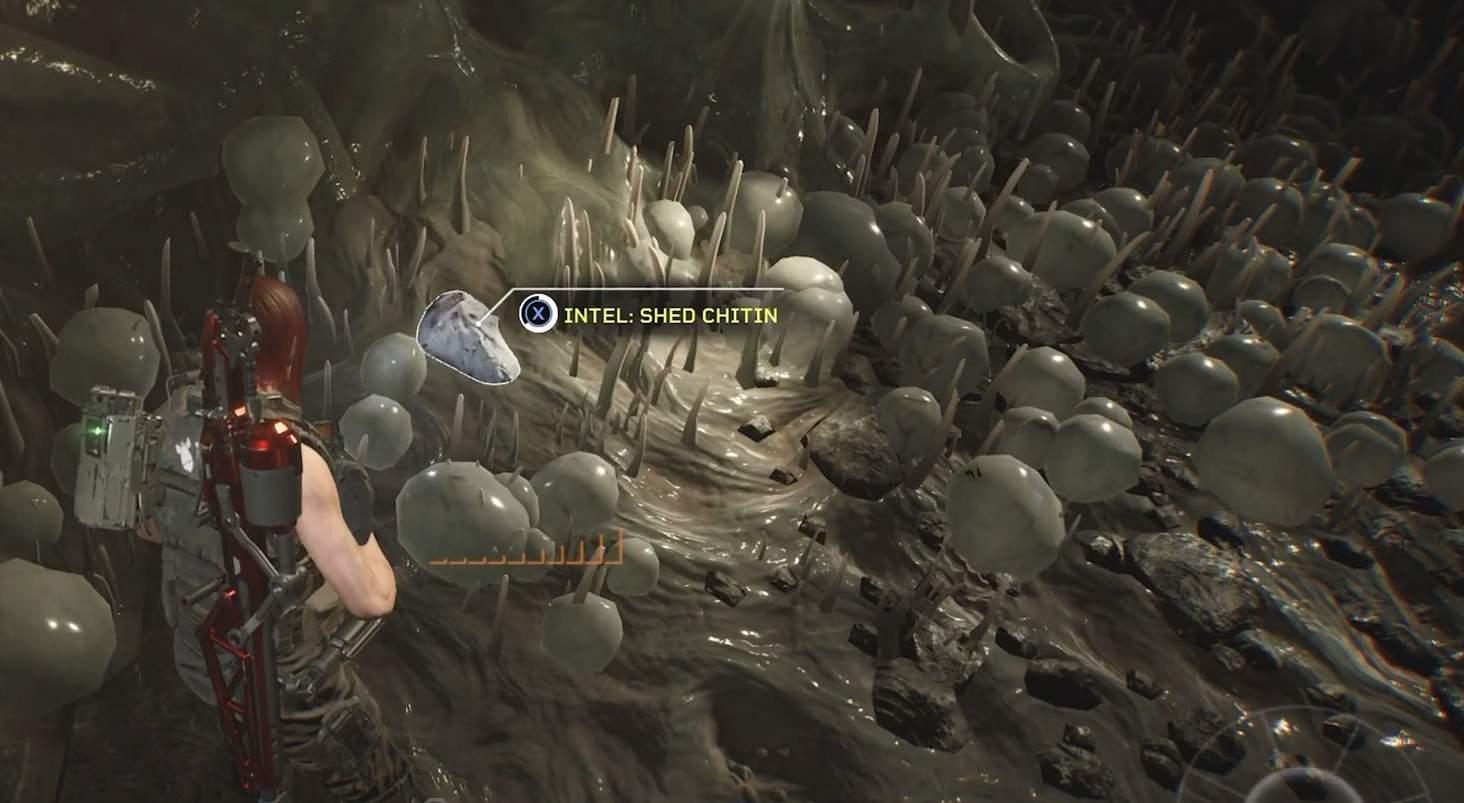
- Shed Chitin: Supplies are located there, and your third and last piece of intelligence is on the left.
Video Guide (Original Game – 39/39)
Timestamps:
- 00:03 – UAS Endeavor
- 00:55 – Priority One: Ingress
- 02:04 – Priority One: Rescue
- 02:58 – Priority One: Extract
- 03:46 – Giants in the Earth: Insertion
- 04:46 – Giants in the Earth: Contact
- 05:46 – Giants in the Earth: Evacuate
- 06:45 – The Gift of Fire: Recon
- 07:42 – The Gift of Fire: Advance
- 08:50 – The Gift of Fire: Boarding
- 09:55 – The Only Way to Be Sure: Breach
- 10:52 – The Only Way to Be Sure: Search
- 12:14 – The Only Way to Be Sure: Regicide
Video Guide (Pathogen DLC – 9/9)
Timestamps:
Promise of a Flower: Scout
- 00:07 – Broken Alphatech Rifle
- 00:23 – Crushed Head Plate
- 02:07 – Detached Metal Barb
Promise of a Flower: Approach
- 02:34 – Cracked Statue Face
- 03:04 – Fossilized Corpse
- 03:33 – Mutated Growth
Promise of a Flower: Strike
- 03:56 – Spore Pod Bud
- 04:29 – Brute Spine
- 04:55 – Shed Chitin
Intel Log List to Intel Collected Checkbox
This section’s primary function is to help some people know what they’ve collected as the log in the inventory system list intel differently from what you pick up.
UAS Endeavor
- Log 01: Tienstin Class Assault Ship = UAS Endeavor Plaque
- Log 02: United Americas Colonial Marines = Colonial Marines Banner
- Log 03: Field Fabricator = Fulminium Alloy
Priority One
- Log 01: Katanga Refinery = Katanga Flight Recorder
- Log 02: XenomorphXX121 = Dead Facehugger
- Log 03: The Outer Rim and Frontier = Colonial Indenture Contract
- Log 04: Seegson Company = “Eye on Seegson”
- Log 05: Synthetics = Liquid Replenishment Latex
- Log 06: Working Joes = Working Joe Wrench
- Log 07: Dr. Tim Hoenikker = Hoenikker ID Badge
- Log 08: Cryogenics Pods = Shipping Logs
- Log 09: UD-9C Condor Dropship = Crooked Rooks Cap
Giants in The Earth
- Log 01: Weyland-Yutani Corporation = Aspen Beer
- Log 02: Colonial Protection Act of 2187 = Colonial Protection Act Pamphlet
- Log 03: Sanriku Interface Craft = Frontier Pilot Cowboy Hat
- Log 04: Security Synthetics = Synth Cap
- Log 05: The Frontier War = Intel: Frontier War
- Log 06: CMISRS = Intel: CMISRS
- Log 07: “Mother” Systems = Server Panel
- Log 08: Pala Station and Site Two = Hoenikker’s NDA
- Log 09: Cynthia Rodriguez = Rodriguez ID Badge
The Gift of Fire
- Log 01: Pathogen = Pathogen Jar
- Log 02: Elizabeth Shaw and Charlie Holloway = Issue of Unexplained Universe
- Log 03: 40th Marine Expeditionary Unit = 40th Marine Expeditionary Unit
- Log 04: The Engineers = Engineer Helmet
- Log 05: Pathogen Mutants – “Popper” Corpse
- Log 06: LV-895 Ruins = Scientists Notes With Glyphs
- Log 07: Leon 895/Pathogen Stalker = Severed “Stalker” Tentacle
- Log 08: Engineer Ship = Control Flute
- Log 09: Gateway Station = G.E.OS Datapad
The Only Way to Be Sure
- Log 01: Xenomorph Spitter = Acid Spitter Goo
- Log 02: United Americas = United Americas Centennial Poster
- Log 03: Armat Battlefield Systems = Armat Weapons Case
- Log 04: Xenomorph Burster = Partially Dissolved Helmet
- Log 05: Union of Progressive Peoples = Intel: Union of Progressive Peoples
- Log 06: Hyperdyne Systems = Hyperdyne Folder
- Log 07: Xenomorph Praetorian = Xenomorph Shed
- Log 08: Colonel Olivia Shipp = Corporal Shipp Dog Tags
- Log 09: Three World Empire = Intel: Three World Empire
Promise of a Flower
- Log 01: Alphatech Hardware, Inc. = Broken Alphatech Rifle
- Log 02: Xenomorph Crusher = Crusher Headplate
- Log 03: Engineer Monoliths = Detached Metal Barb
- Log 04: Ruined Statues = Cracked Statue Face
- Log 05: The Abattoir = Fossilized Corpse
- Log 06: Mutant Xenomorph = Mutated Growth
- Log 07: Toxic Spores = Spore Pod Bud
- Log 08: Mutant Brute = Brute Spine
- Log 09: Mutant Queen = Shed Chitin


Be the first to comment