
Map guide with points of interests and secrets.
Map and Intro
This basic guide might not have every single thing you can find in the game. This is just what I’ve come across (and it has spoilers). If a point of interest has a name on the game map, I’ve tried to include a picture of it in this guide if I could. Just so you know, this guide is mostly based on game version 0.75, so some stuff might be different now.

Screens are simply limited to what I have managed to get in the game while playing and in no way complete. For earlier screens I had the gamma very low so the game would be more scary!
The locations noted on the map might not be a 100% accurate, but close enough. While you read below, use this map for reference.
About how things go in the game, it’s pretty obvious. Like, you have to find the code before you can open the safe in town. And you need a cannonball to shoot the cannon. You can do these kinds of tasks whenever you want. But the big enemies, the bosses, you have to fight them in a specific order.
There is no map for Bellville, but you should be able to figure out where things are here quite easily. Items in Bellville are not around all the time. Some at the start, then some things appear after you kill bosses.
Basics and Start of the Game
At the trader, what you want to go for as fast as possible is the Bounty hunter license! You will be able to get coins for every monster you kill.
The compass is also good to get early so you know where you are on the map. I also recommend getting the skilled merchant before going off to find the loot, since you’ll get more coins for items if you have this skill.
The to town spell is good, but not necessary right at the start. It is good to use when you are being chased and not able to heal up or if you’re just plain lazy.
Try to save the coins for things you really need, since you can get a fair amount of skills for free!
Skill books that can be found:
- Down the night flier with one rifle shot and you get one book and an achievement! If you have all skills, you will get coins instead (~50).
- Find the necronomicon and you get two books and an achievement!
- Another book is found in the chest in the upper left corner of the map!

- Find the “book spirit” and you get another one! The spawning points of this is marked with a book and “1”, since it has several spawning point.
- You get one book when you open the safe in the house by the bridge in bellville. To open the safe, you will need to get the code from the spider cave up in the northeast corner.
The books/skills you get for free are randomized:
- Lockpicks can’t be bought, so you will have to find them in loot locations.
- Silver crucifixes are free for every 10 kills!
- Healing is free at the church!
Evil sight can be used to see where the current boss is at the moment. At the beginning however, it’s hard to even figure out where they are even if you see what they see.
Numbers (depends on what skills you have):
- 1 enemy = ~ 40 mana
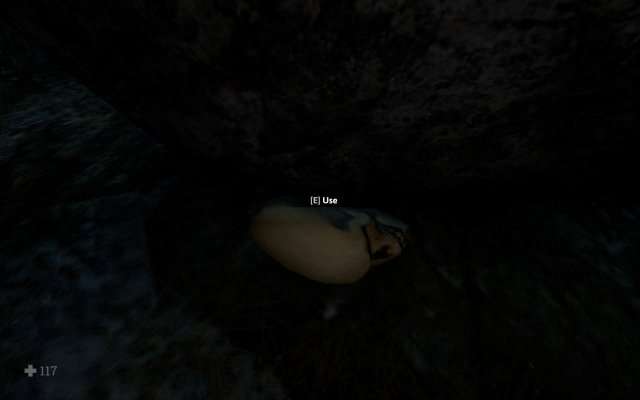
- Spider healing egg = ~45 hp
- Healing plant = 20/40 hp
- Loot chests/locations = 50-150+ coins
Enemies and How to Survive
Musket and pistol – If you want to survive the longest, just don’t use them unless you really have to or you are facing a boss. Learn to use the saber instead!

If you use the gun/rifle, the noise will only attract more enemies and be swarmed. Since the sound of the enemies are incredibly directional you can just crouch, stop, listen, look and sneak up on them after you’ve spotted them! Get them one by one.


The only need to use the guns for regular enemies is to get the headshot achievement or if you are swarmed.

Most enemies take a hit or two – Spiders take 3 hits with the saber and you must hold the saber in a very exact angle for the spider not to be able to attack you. When you do kill them, they leave a healing egg.


There’s only one spider that takes one hit.

The dead blinds do not harm you except the damage you get when looking in their direction. When you finally find them, they die in one hit. To find them, simply keep walking in the direction where you get the red eye.

The whisperers can’t be hit, simply run away. Make use of the directional sounds!
Bosses
When beating the bosses it is very handy to place crucifixes. They do a lot of damage, especically if you have the skill that makes them stronger (Wrath of nature).
Of course the more challenging way is using your heartbeat to hunt them down and then using the rifle or pistol. If you do decide to use the guns on the bosses, remember to always go for the head!
Mana drains fast, but is plentiful since you get around 40 for each enemy you kill. There are four bosses in the game in the following order:
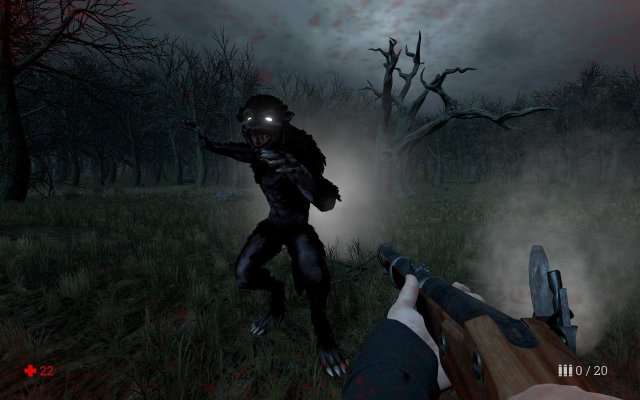
1. The Beast
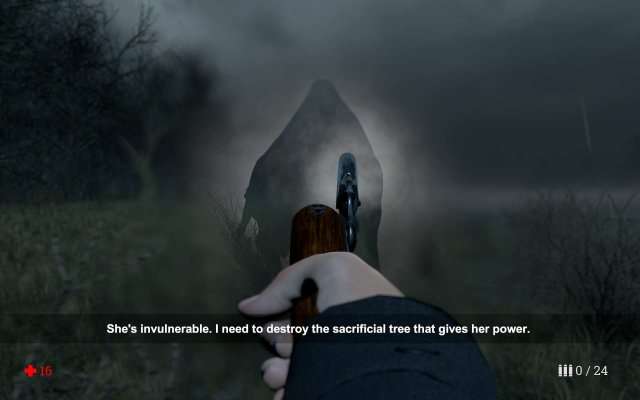
2. The Sacrificial Tree
Sacirficial tree or not? Learn the difference!
3. The Witch
4. Child of the Devil

The final boss is the hardest. To beat it you will need a lot of ammo, the crucifixes are not as handy for this boss. It has 2 stages, the rest you will have to see for yourself.
Special Achievements
The Night Flier

The night flier can be seen anywhere on the map up in the sky. Down it with one rifle shot and you get a skill book.

The Dog
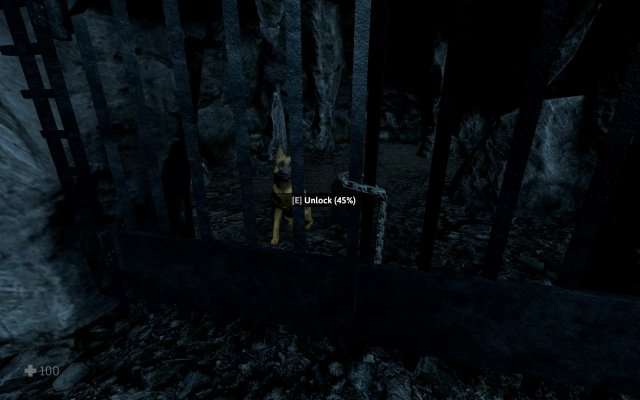
You can rescue a dog that is trapped inside a cave behind bars. You will get loot and the achievement. Remember to bring lockpicks.

The dog will go to town and stay there, he has also left you some loot 🙂
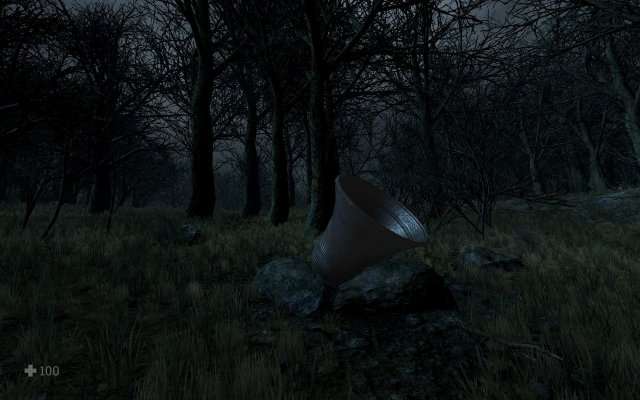
The Skull
The skull is found on the ground at the bottom of a stone.
The Necromicon
The necronomicon is found in a cave in the southeastern corner. To get there you will need to go to the sinkhole and jump into it.


Remember to bring lockpicks, since the goodies are inside a chest!
The Cannon
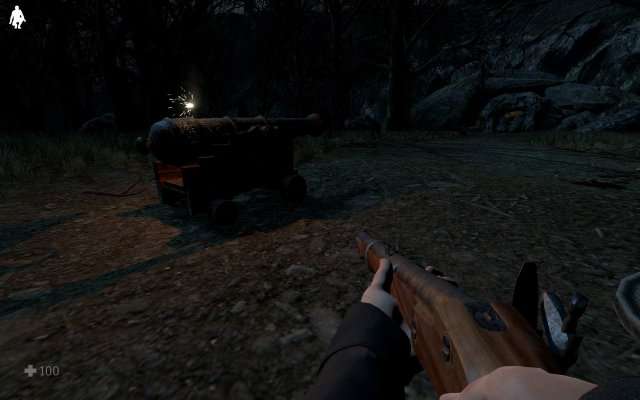
Use the cannonball that you find inside the chest in the cabin with the cannon. This will blow open a cave, where you find some loot and a save point.
Points of Interest, Secrets and Curious Things
Bellville
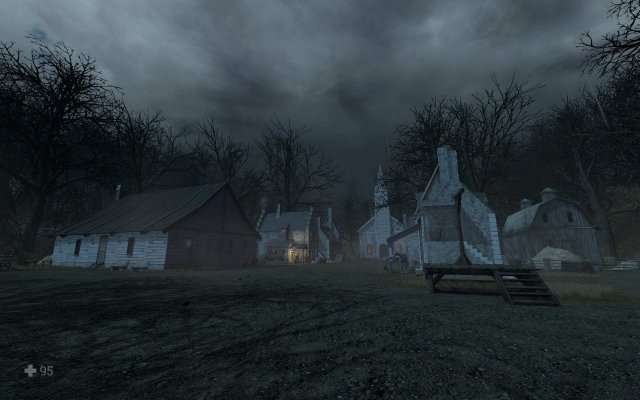
The only town you need in this game!
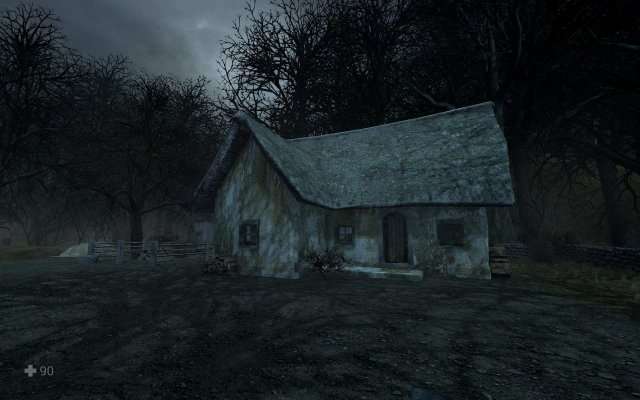
The Cabin
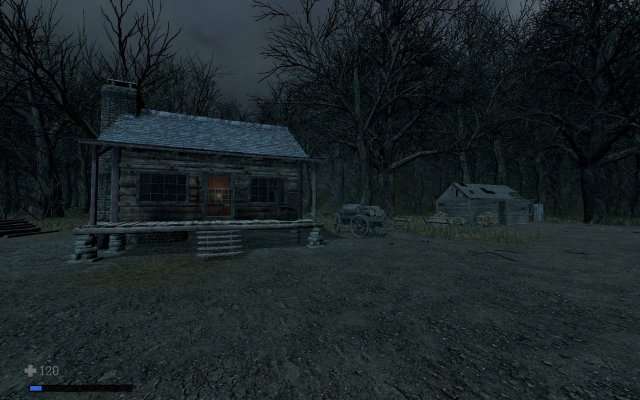
Your second home!
The Tree Treasure
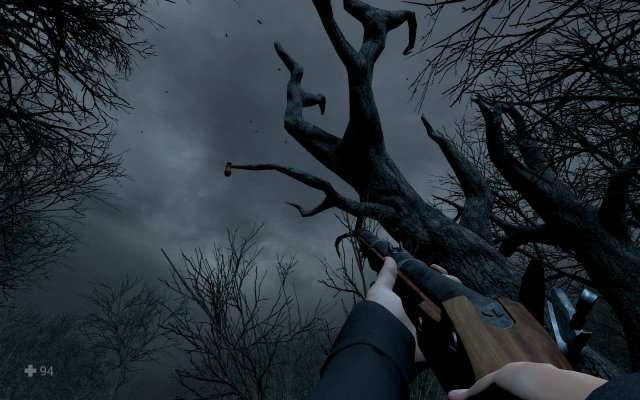
Up in a tree there is some loot hanging that you can shoot down.
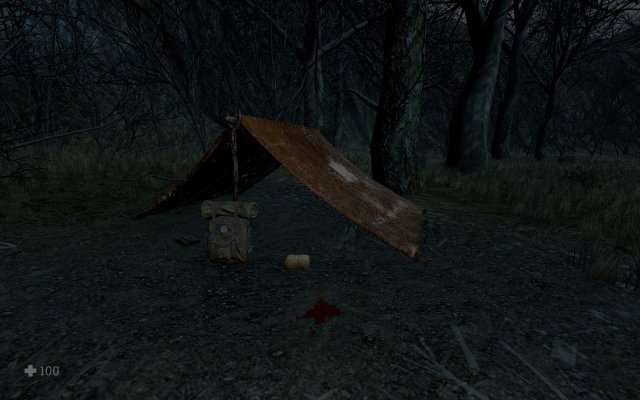
Tent in the North
A tent with loot by a save point.
Single Tent in the South
Single tent in the south with loot.
Tents in the Southeast
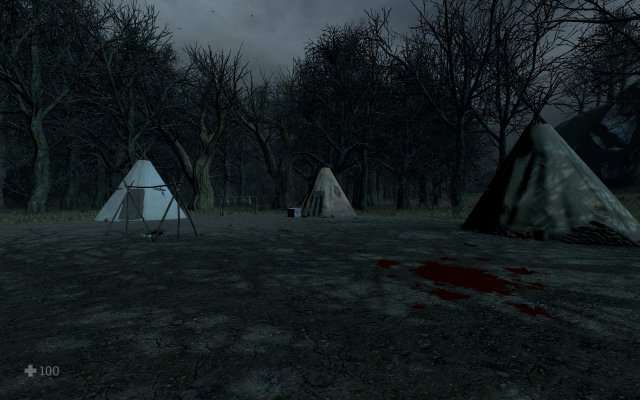
A loot chest is found here.
Spider Cave
The spider cave where you find the safe combination.
Spider’s Nest in the South
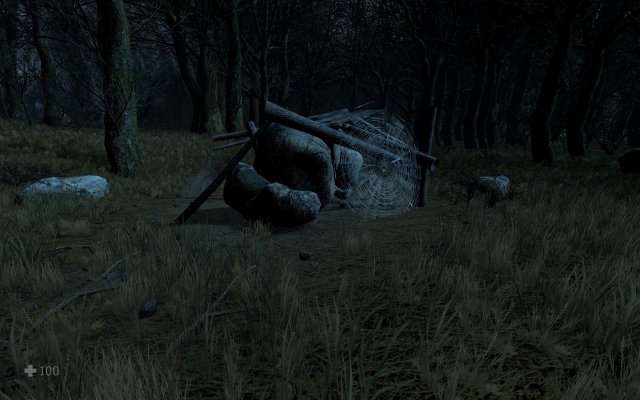
A spider is hoarding some loot inside its nest.
Tree House
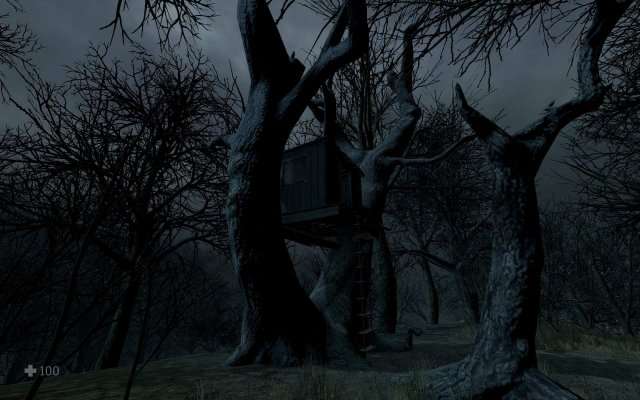
The tree house contains some loot and toys, odd place.
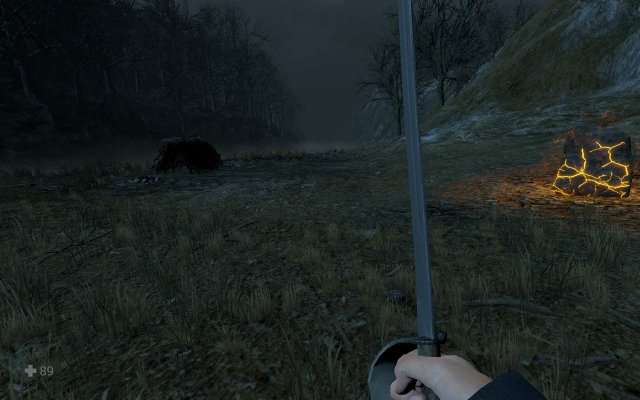
The Body
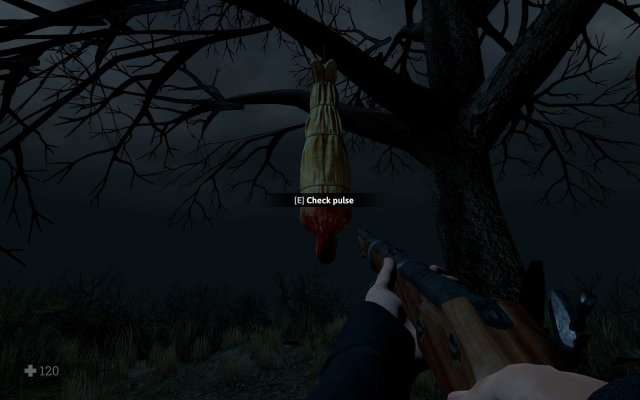
Creepy!
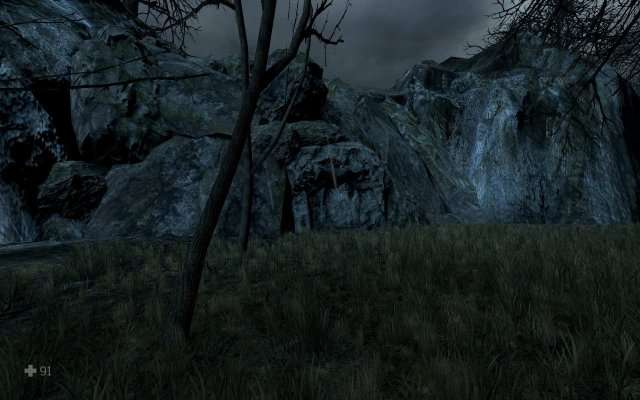
The Easter Island Statue
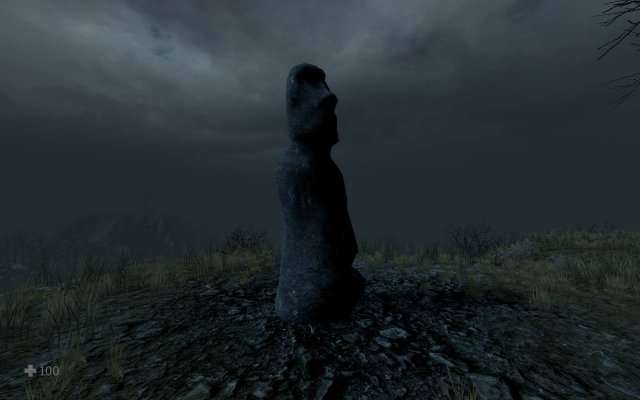
Loot location by a statue on top of a mountain…
The Skeleton
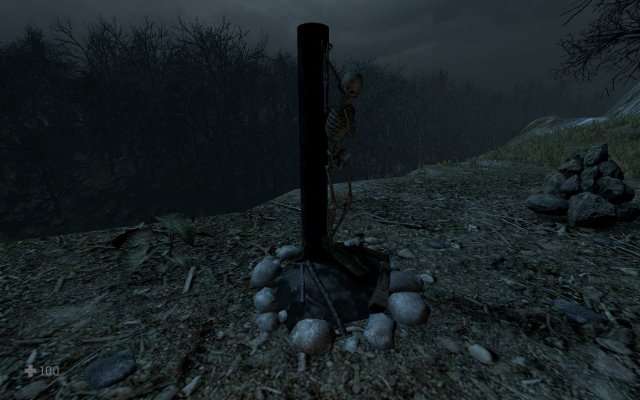
So unlucky…
Stonehenge
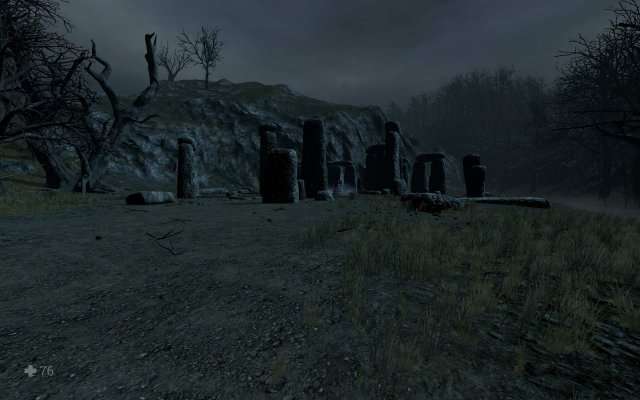
Interesting place…
Mask
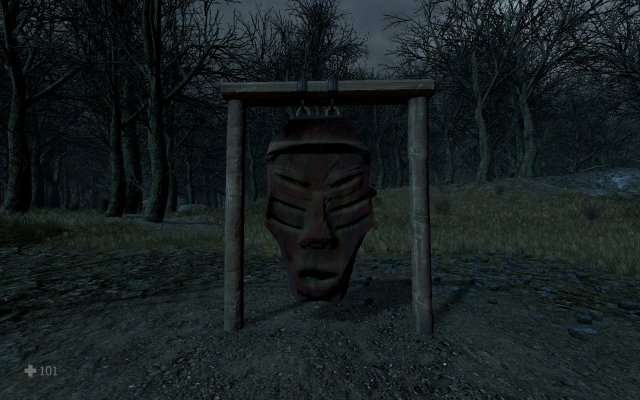
Loot and a healing plant is found here.
Fallen Trees
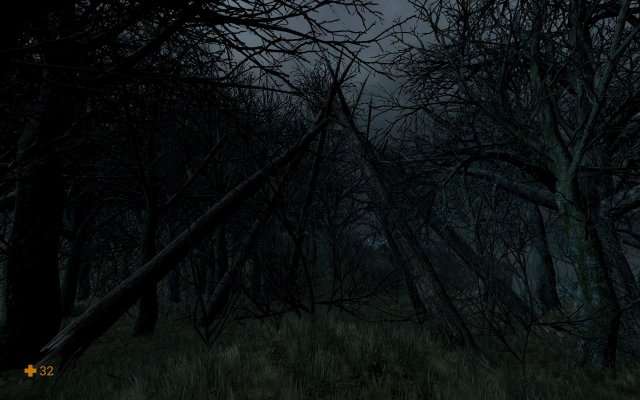
A bunch of trees with the tops standing together. Funny thing, don’t know if it has any meaning…
Bear Trap
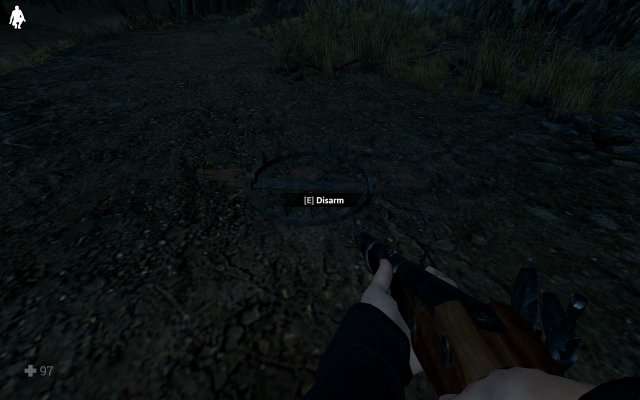
You can’t re-set it if you disarm it…
The Cross
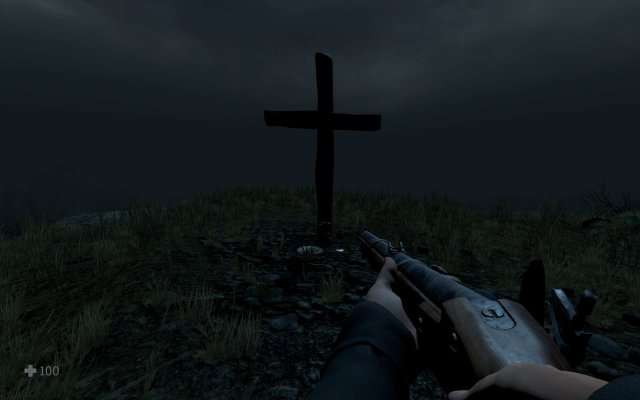
Loot location.
The Bell
The bell has no other purpose than attracting enemies if you start hitting it. A spider will come for sure, be ready!
The Cauldron
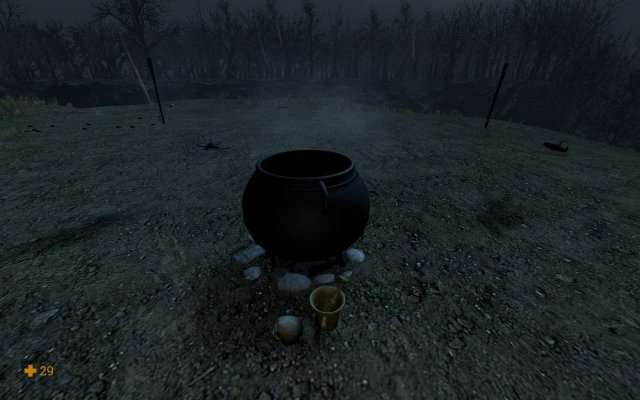
Witch’s cauldron…
Who Was This?
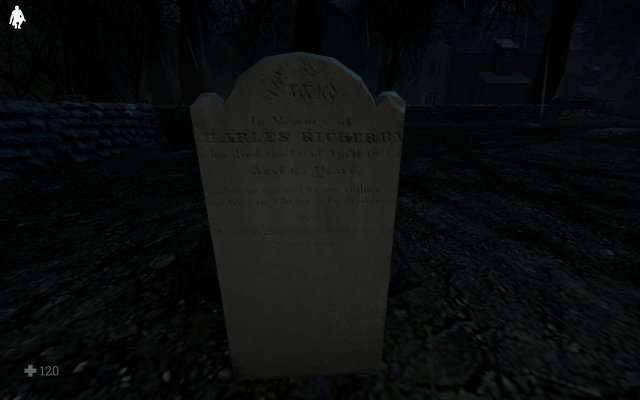
I wonder who this was, this is the only tombstone with a name on it.
The Back Goat
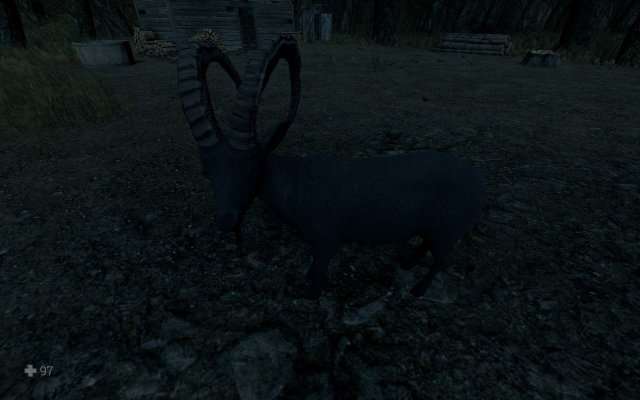
You will meet the black goat in the game for sure. Not sure what it does but bosses might be nearby when you see it…
The Scream
At this place I have heard an unusual scream. I haven’t found the source, but it still has me wondering where it is coming from.
Backup Loot in Bellville
Available from Act I
The Barn

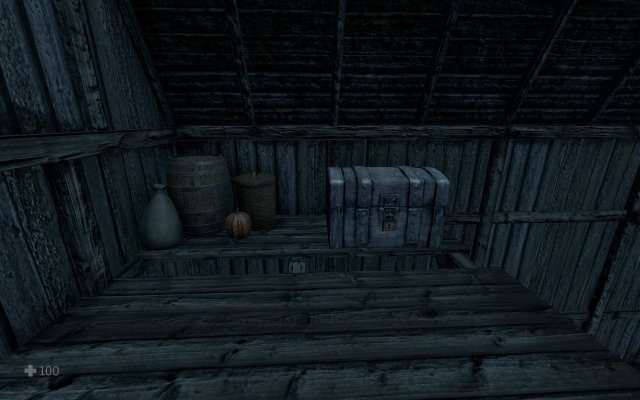
Climb up the ladder to find a chest, requires lockpicks.
The House on the Opposite Side of the Trader
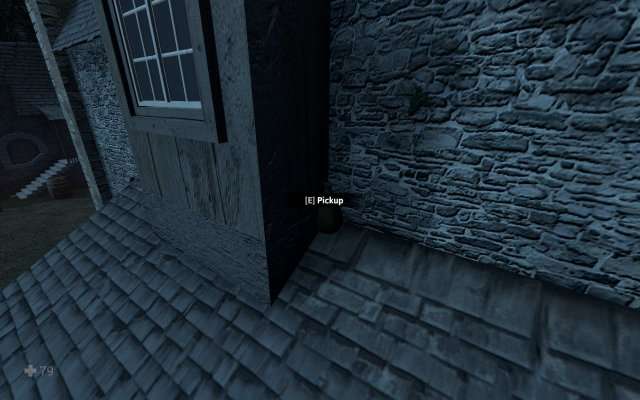
Climb up the ladder, pass to the other side of the window to find a bag of coins (~10 coins).
The Graveyard
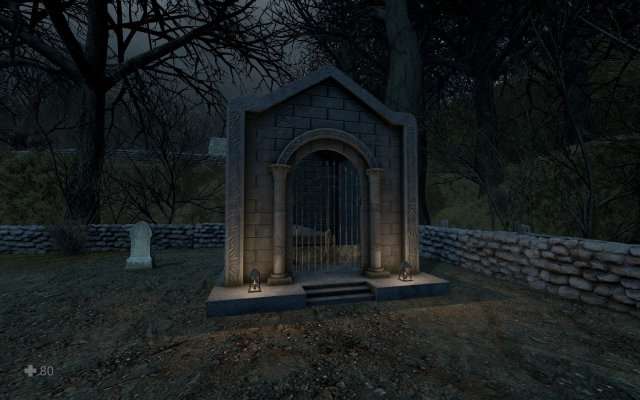
On the right side of the church is a loot location, requires lockpicks.
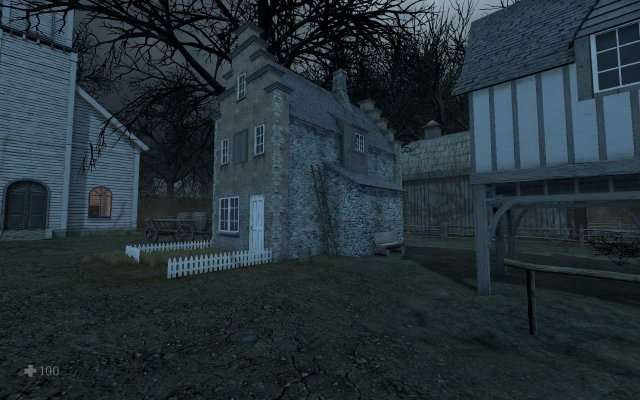
The Haunted House
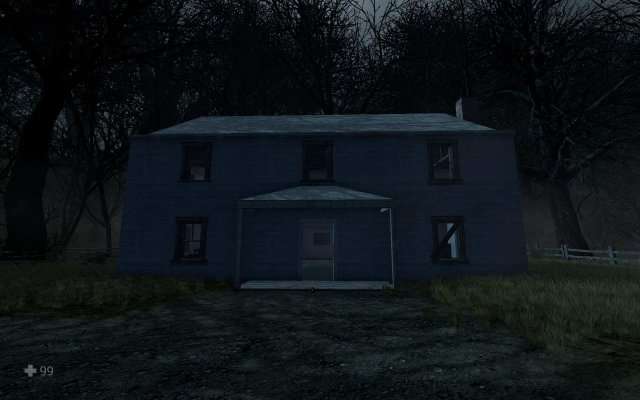

On the top floor there is a chest inside a room (where you can hear footsteps), requires lockpicks.

On the right side of the house, there is a bag of coins inside a tree trunk, ~15 coins.
The Witch’s House
The house can be opened with lockpicks.

Inside on the right you find a treasure ~20 coins.

On the right side of the ammo, the safe is found (requires combination found in the spider cave).
Available from Act II
Besides the reward you get from the mayor, new loot appears in Bellville. The barn is now closed, the hens and cows are also gone. A wagon has appeared at the entrance of the town.
The Wagon
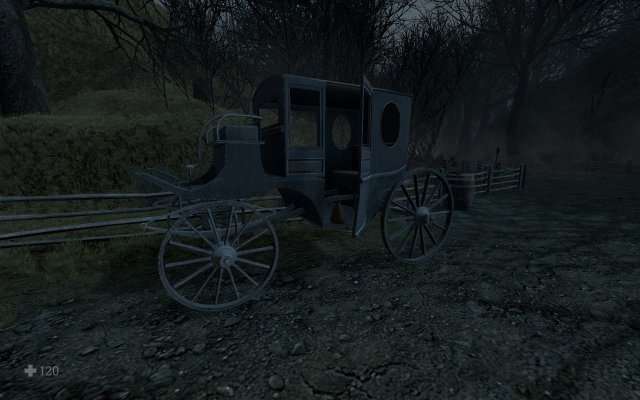
A bag of coins is found on the steps of the wagon (~10-15 coins).
Corpse by the Bridge

Here you get ~10-15 coins
Tombstone
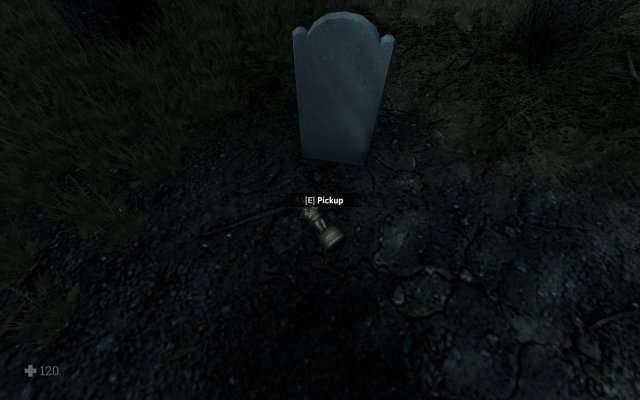
On the right side of the chruch you find ~20 coins in front of a tombstone.
The Spooky House
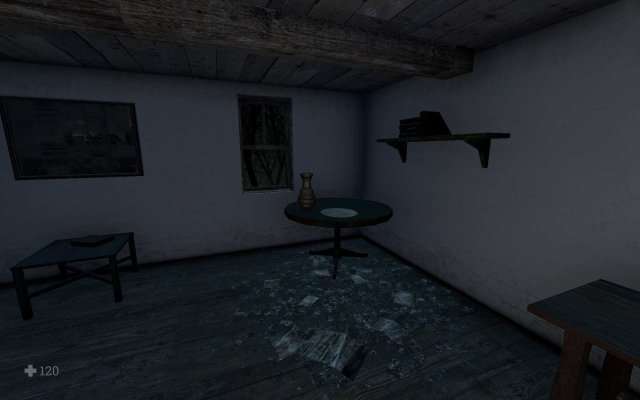
On the top floor you can now find some loot on a table ~15-20 coins.
Available from Act III
The hanging woman in town is now gone.

The hens and the cows are now returned and the barn is re-opened.

I am not sure, since I didn’t open the chest before Act III – This might be a respawn of the chest here.
Available from Act IV
Darkness falls over Bellville… The doctor is also gone now, so you will have to resort for the healing plant patch by the house at the bridge (Witch’s house, i guess – The spooky house might be the Witch’s house as well).


Inside the spooky house, a figure is now available on a chair (~65 coins).
Be the first to comment