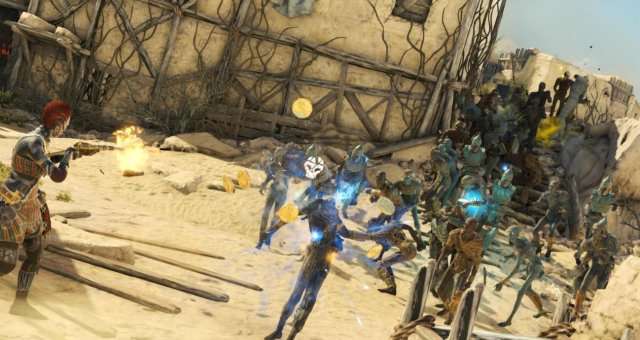
A few tips on surviving Horde Mode.
Introduction
Horde mode puts you against continuous waves of enemies. Each round has 15 waves, with more and different enemies appearing as you progress.
Maps start with restricted areas that open up as you complete more waves.
You get about 25 seconds between waves to get ready for the next one. If you want to start sooner, hold Enter to reduce the wait time to 5 seconds.
Weapons
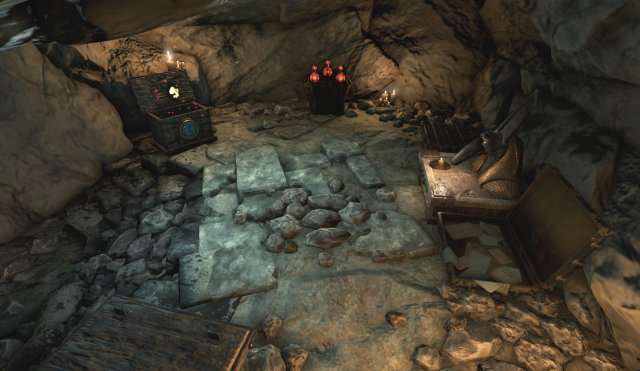
Around the map are locked doors with a golden hand reaching out for your precious gold. Behind these you will find potions, weapons blueprints and gems. Weapons blueprints are found in flat suitcases that spring open when approached – these unlock a new weapon for purchase between waves. Gems can be used to upgrade your weapon at the workbench.
Behind the final door, for a princely sum and the solving of a puzzle, awaits a handsome reward…
The workbench is only available between waves, whereas the weapon chest is always available. These both change location every few waves.
Amulets don’t cost anything to change between, but only those you have unlocked by playing the main campaign will be available to you.
Gameplay Tips
- Be aware of your surroundings – check the edges of your vision for ghostly hands, a warning of impending danger.
- When you are nearing the end of a wave, the remaining enemies will have exclamation marks over their heads – this gives you a chance to catch your breath and make sure you’re in a useful place when you finish them off and begin the next coutdown.
- Keep an eye on your health! Potions can be found behind the locked doors dotted around the map. Remember that you can throw a potion on the ground for your teammates to pick up if they need it more than you do.
- Sometimes between waves a mummy with treasure on its back will run through the map. Shoot it for a bonus! The narrator may draw your attention to it, but otherwise listen out for its telltale sparkling noise.
- Some maps will have traps that require payment to be reset – use these wisely, and decide if they’re worth saving up for.
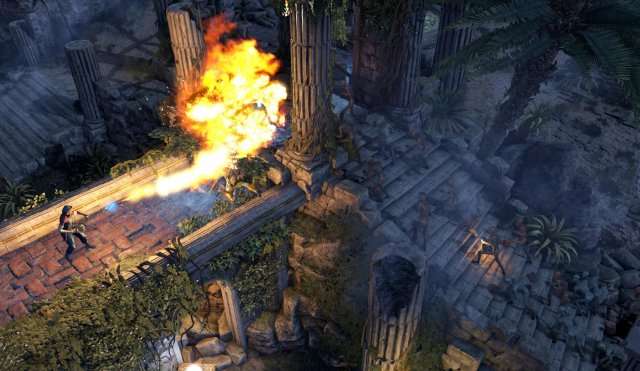
- It’s worth taking a break from all the shooting to gather souls. Remember your gun is not your only weapon – use your special ability and throw those items!
- It might be tempting to fire blindly at the nearest enemy, but it’s generally a better idea to keep an eye out for the bigger, faster and harder to kill – prioritise which enemies you’re going to take out first.
- Pay attention to whether the workbench and weapon chest have changed location so you don’t waste time running in the wrong direction when they open.
- Get a good feel for the maps so you can avoid getting cornered. Know where the dead ends are, and avoid unlocking doors trying to hunt for gems while there are enemies about – unless you have someone covering you!
- 10. There is a chest full of ammo crates, but after four refills it will require payment to re-open – plan accordingly, and remember to pick up ammo from fallen enemies.




Be the first to comment