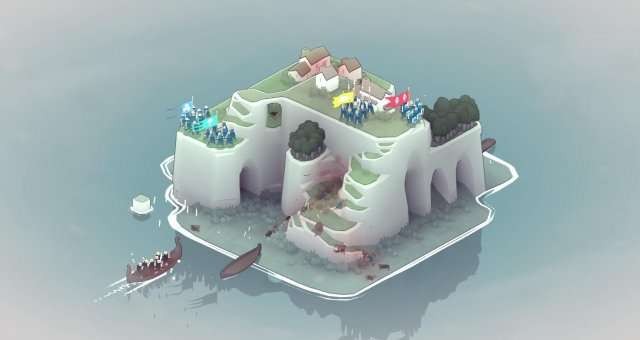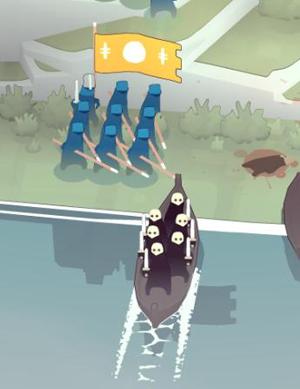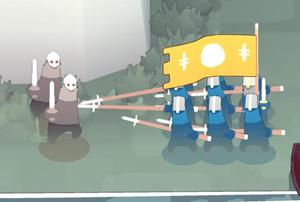
A guide to the enemies in Bad North, and a couple tips I had up my sleeves
Swords
Threat Level: ★☆☆☆☆
These are your basic enemy, could also be called “Militia”. These all black scum bags carry only a sword and have no protection at all. They are killed in 1 hit from most weapons.
Strategy: Shoot them, stab them, skewer them. Everything kills them so it doesn’t really matter as long as they don’t reach your archers/pikes. They might kill a couple of your shields if given the opportunity, but pikes will handle them no problem.

Archers
Threat Level: ★★☆☆☆
Archers are just plain annoying. Not extremely dangerous, but more of a nusance. They shoot arrows that will kill your pikemen and archers. Shields are all-but immune.
Strategy: Attack them with Shields. You can put some archers behind them if you feel like it, but it’s not really necessary. You may have to chase them down.

Shields
Threat Level: ★★☆☆☆
These ne’er-do-wells are the baseline shield unit in the game. They have a sword and a round yellow shield, and that’s it.
Strategy: These will block arrows unless you can hit them while they are fighting. The best way to counter these is with Pikes, but Shields will do just fine in a pinch.

Ninjas / Heavy Shields
Threat Level: ★★★☆☆
These shield units are no joke. They will mess up your sield units and look good doing it before they die. They block projectiles just like other shield units.
Strategy: Just like normal Shield units, fight these with pikes whenever possible. If you have to use shields and you have at least two shield units, try to sandwich them between the two units to kill them as fast as possible and minimise casualties. Obviously the more there are the more you need to prioritize Pikes over Shields to kill these degenerates. Pikes will handle these no problem, though they take several pokes to go down.

Axe Men
Threat Level: ★★★☆☆
These shield-bearing axe-throwing low lifes have a yellow-green tear-drop shaped shield. Before attacking they will throw a single axe each whch, like an arrow, can be stopped by a shield, and will kill an archer or pikeman. In mele combat they are only about as dangerous as a regular shield enemy.
Strategy: These can pretty easilly be handled with a Shield unit. Pikes will take damage unless they’ve already thrown their axe. Right before they throw their axe they are vulnerable to arrows for about a second. The best way to deal with these is to attack them with a shield unit supported by archers.

Brutes
Threat Level: ★★★★☆
These large lumbering oafs are the Uber Soldat of Bad North. They pack a punch and take a lickin. They are big, grey, and are armed only with a sword. They will do a lot of damage to Shields, but Pikes can handle them just fine.
Strategy: PIKES PIKES PIKES. Only attack with shields if you absolutely have to. High level archers CAN bring them down, but you better have a lot of them.

Brute Archers
Threat Level: ★★★★★
These bad boys will rock your wold. Armed with a Ballista-like bow and arrow, they can shoot very accurately across the entire island and will skewer multiple archers or pikes with each shot. So don’t let them do that. Shields may be stunned but won’t be killed unless they’re not facing the Brute Archer.
Strategy: Consider these Public Enemy Number 1. Kill them first, second and third. Just like archers, they’ll shoot at whatever’s closest to them so make sure that is a shield unit. The best way to counter these are with a shield unit and some archers off to the side, above or behind. They have slightly less health than normal Brutes and will keep their distance like archers if you let them. Archers can kill them.

Tip #1
Enemy shield units when attacking will point their shields toward your mele units. This is a perfect opportunity to rain arrows down on them from behind.

Tip #2
The map can tell you what houses are on an island, and therefore how many coins an island is worth. Small square boxes are worth 1 coin, rectangular boxes are worth 2, and large square boxes are worth 3. So far I have seen a max of 12 coins on an island and a minimum of 3.

Tip #3
The best unit combination is 1 Archer with the Command item which will give you up to 16 archers, 1 Pike with the Warhorn so you can instantly replentish your unit, and 2 Shield units. Items on shield units are whatever floats your boat. The Shields are always on the front line, but since there’s 2 you can rotate one out to replentish without too much trouble. Keep the archers behind other units so they don’t get hit, and always use pikes whenever there’s no archers or axemen to minimise casualties. No point risking your shields getting hurt for no reason. Pikes can cover up to 3 tiles across, they don’t absolutely have to be at a choke point, although that is ideal.
Tip #4
When your commander dies, your unit is no more. However, he won’t die unless he’s the last man standing. So if your unit gets split up and at least 1 guy makes it to safety but the commander is still surrounded by enemies, they’ll knock him down but you won’t lose the unit.


Be the first to comment