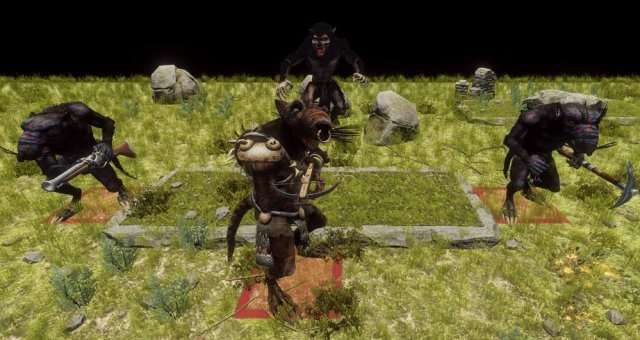
Note: This is the in-game tutorial.
General Guide
Welcome to Dead Monarchy, life is harsh and people will die. As the sole developer, I’m not trying to create a game that is difficult for the sake of being difficult. Rather, I am trying to get the player to use difficulty as a means to feel satisfaction and excitement when the player overcomes the challenges that are presented within the game.
In order to complete the game in its current state, the player must defeat all 5 Monarchs. There are five biomes in which turn based, tactical combat takes place in. Each respective Monarch is tied to one of the five biomes and has a very low chance of spawning whenever the player embarks on a mission. The harder the mission, the higher the spawn chance albeit the spawn chance is still low overall. There is no restriction on spawn chances, if you are unlucky enough you may encounter a Monarch early on.
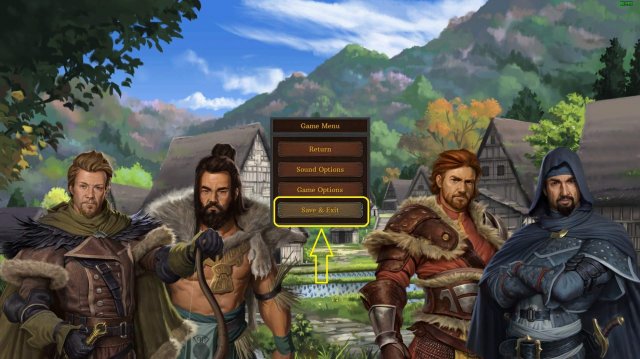
Currently, with no “overworld” layer to interact with, the majority of the interaction with the game takes place in the “town” and “combat” layers. On that note, currently there is only an autosave system with one autosave slot available. The game will autosave automatically at certain points and you can save when exiting. Autosaves will be deleted when starting a new game or upon player defeat.
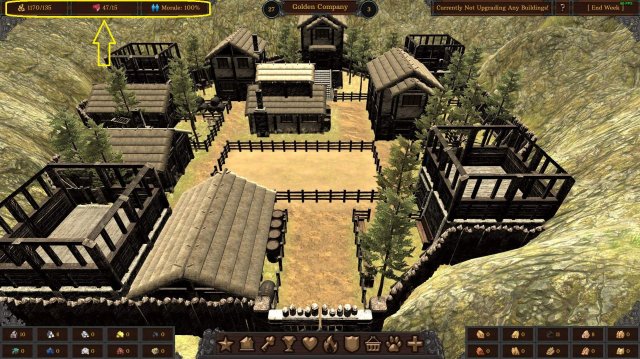
Aside from hunting the Monarchs, you need to manage your town and the basic needs of your warriors. Each warrior has its own daily wage and intake, requiring Crowns and Food. If either of these requirements are not met, Morale will reduce by 25%. When Morale reaches 0%, at the end of the following week, one random warrior will leave and special abilities are disabled. Having no warriors in your party results in the player’s defeat.
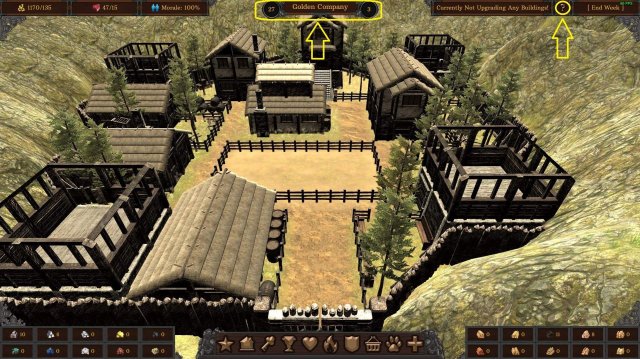
As each week progresses, the siege counter will count down. If you fail a siege mission without being completely wiped out, your building upgrades will be reduced. Over time, enemies will grow stronger. After coming into contact with a new monster, you can press the [?] button, located in the top right hand corner to view detailed information on them. You can view the siege timer and current week to the left and right of the company name. Let’s now prepare for your first expedition.
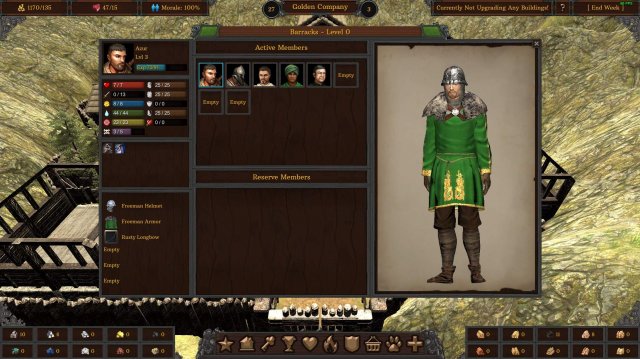
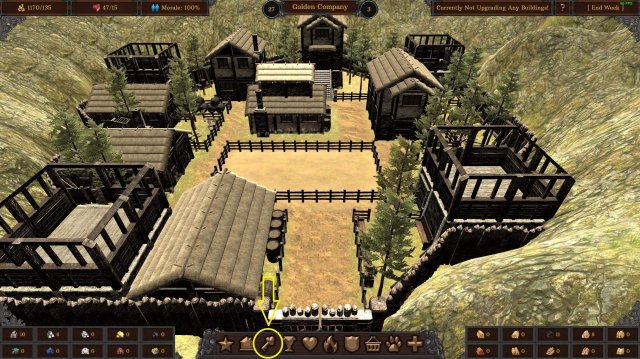
Click on the icon that looks like a [house], it is the second icon from the left, towards the bottom centre of the screen. This is the barracks building. Here you’ll be able to manage your party. You can click and drag your warriors into active or reserve slots by clicking on their portrait icons. You can also drag and drop warriors on top of each other to change their positions. Active members fight, reserve members don’t.
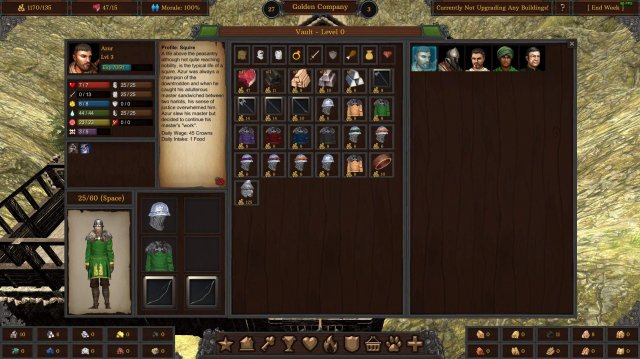
Click the [key] icon to open the inventory menu. To equip items, drag and drop the selected item onto the correct equipment slot or mouse right-click. To unequip, drag off or left mouse-click. All items can be unequipped except for body armor. No one wants to be naked. To unequip body armor, you must replace it with another piece of body armor. Most items also have level requirements, which can be viewed in the tooltips when hovering over the item.
The inventory is shared among the whole party. To equip items on another warrior, simply click on that warrior’s portrait. To filter items in the inventory, simple click the icons at the top, just under the title. The inventory has limited space but can be increased if you upgrade the vault building.
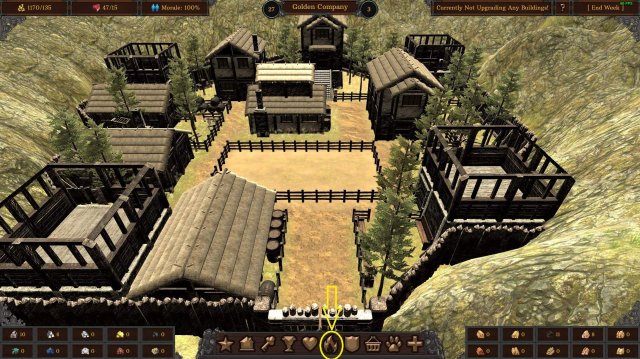
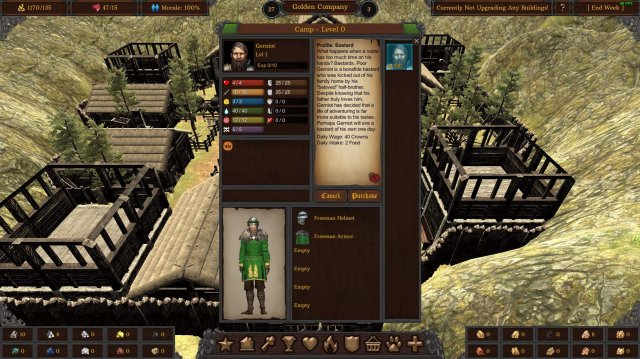
Now that you understand the basics of party management, let’s look at how to hire new warriors. Click the [fire] icon, it is the sixth icon from the left, this will open up the recruitment screen. To hire a warrior, click on that warrior’s portrait and a purchase button will show up just under the warrior’s profile. To swap to another warrior, simply click on that warrior’s portrait but make sure you are not in the middle of purchasing, cancel out first if you are.
Each warrior has their own daily wage and intake, this value is static and does not change. Currently, warriors will only come partially equipped. The initial hire cost is scaled to the warrior’s level. You can increase the amount of recruits available and their overall levels by upgrading this building. The initial cost of hiring will not change even if you upgrade this building. With the limited Crowns you have now, best not to purchase any new recruits.
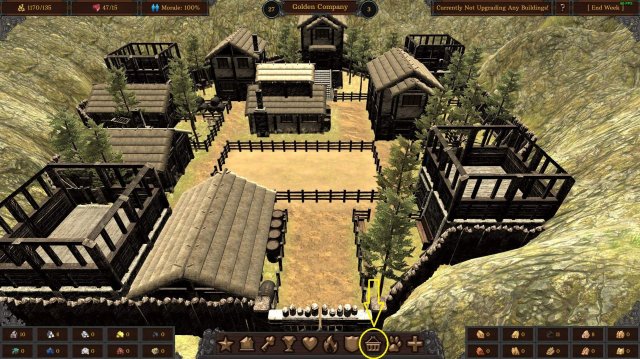
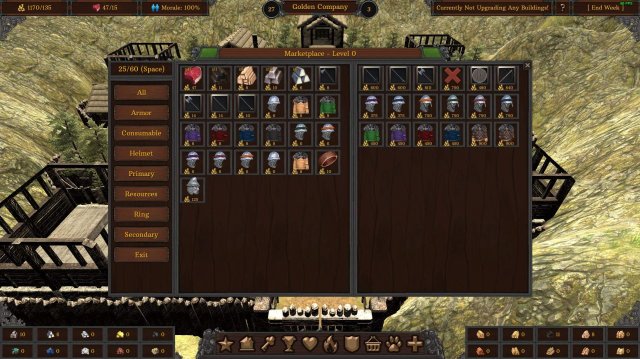
The marketplace is the place where the player can trade items. Click the [basket] icon, it is the 3rd icon from the right. The player’s items are on the left, and the seller’s items are on the right. If you wish to reduce the prices of items available for sale and to increase the value of your own items when selling, you should upgrade the marketplace building.
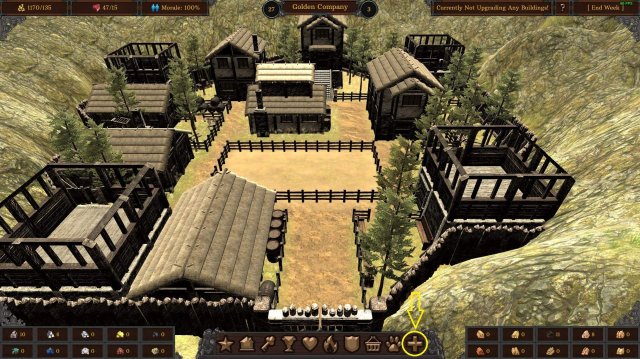
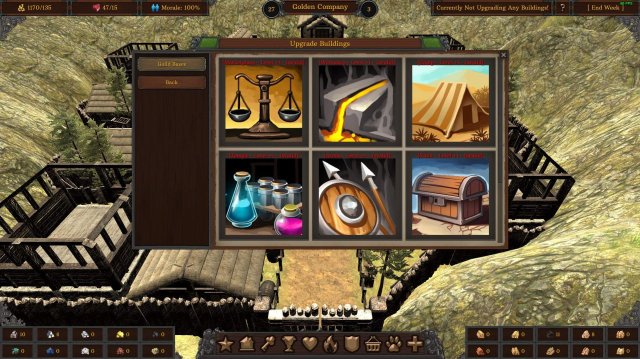
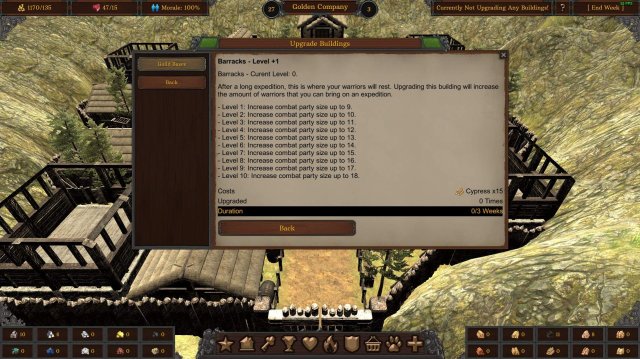
To upgrade buildings, click the [+ icon, it is the first icon from the right. Here you can view all the buildings available to the player. Most buildings are implemented, but the arena and the menagerie are still WIP. For further details on each building, simply click on the building’s icon. There are more buildings to view, if you scroll down.
You may have noticed that all buildings require resources and a certain amount of weeks in order to upgrade them. Anyway, by now you should have decided who is going and who is staying, items should have been equipped and any new recruits or items should have been sorted out.
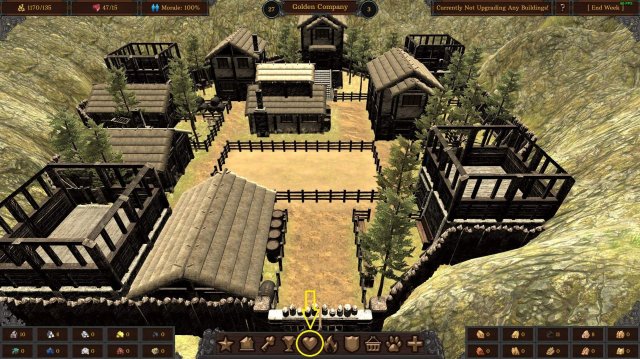
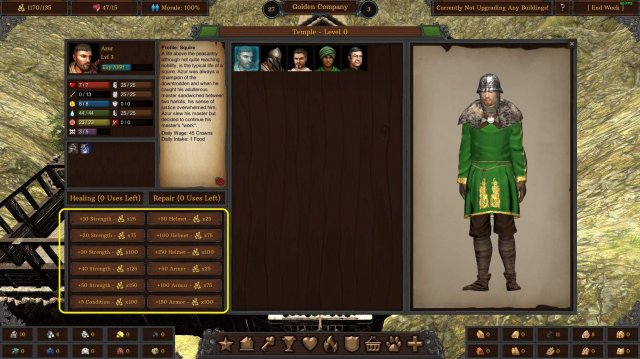
Let’s just quickly cover two other things. Helmets and armor can be damaged and they will need to be repaired, and “Strength” or health does not automatically recover. In order to replenish those values, you need to access the temple. Click the [heart] icon, fifth icon from the left. You have a limited amount of charges each week to spend on recovering and repairing. Upgrade this buildings to receive more weekly charges.
Clicking the repair button will repair the currently equipped helmet or armor on the currently selected character. Each option costs one charge, so you’ll have to balance cost vs available charges. Upgrade the building to earn more charges and clicking on a warrior’s portrait changes the selected warrior.
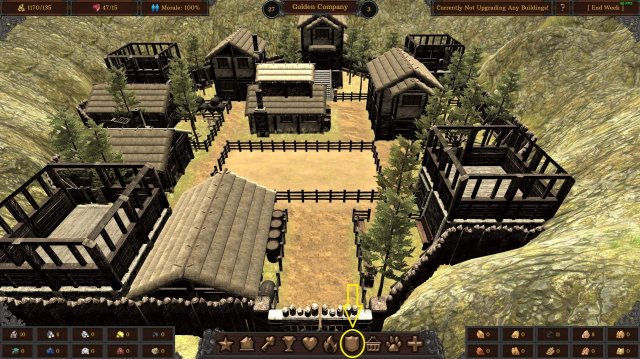
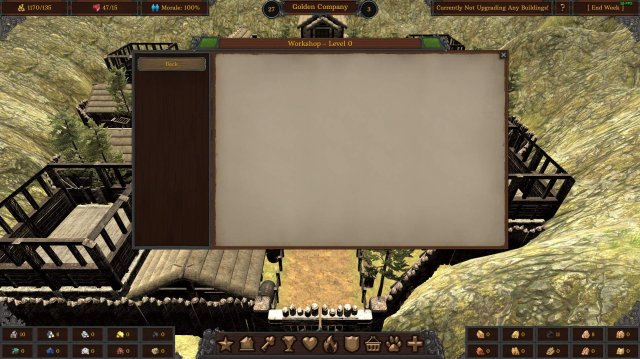
Expeditions reward all sorts of items and resources and precious materials are highly sort after to craft equipment. Currently the workshop has not been upgraded, but once it has you can use the materials you have gathered to craft new equipment. To access the workshop, click the [shield] icon, it is the fourth icon from the right. The workshop menu behaves similar to the Upgrade Buildings menu.
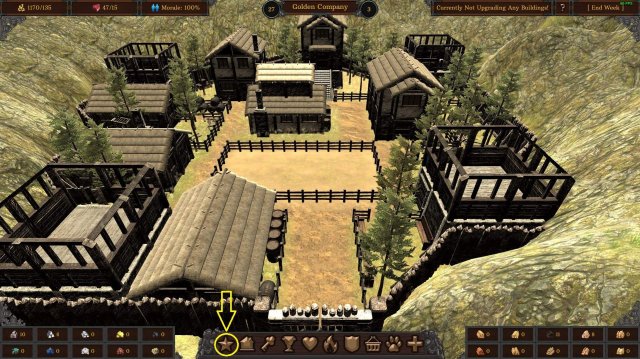
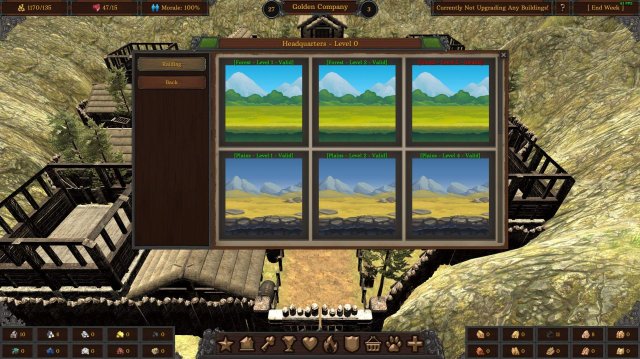
Now that all the basics have been covered, let’s move onto expeditions. Click the [star] icon, the first icon from the left. The basic functionality of this interface behaves similar to the Upgrade Buildings menu and the workshop menu. Each biome has three difficulties available each week. The first two difficulties will always be available each week, with the 3rd mission offering varying from 3 to 10.
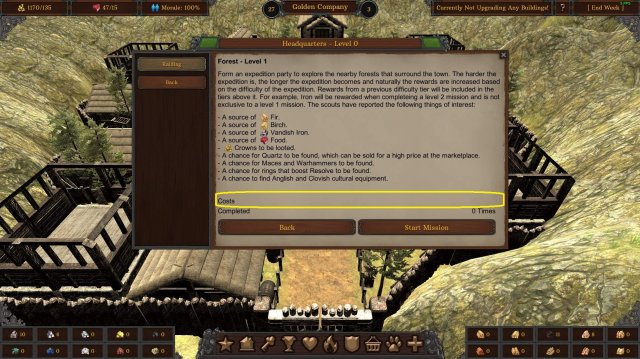
If you are desperate for Food and Crowns, the level 1 missions for each biome will always be “free”. Each biome has its own unique resources and challenges associated with it. Also, each biome is home to a Monarch and the unique monster faction it controls.
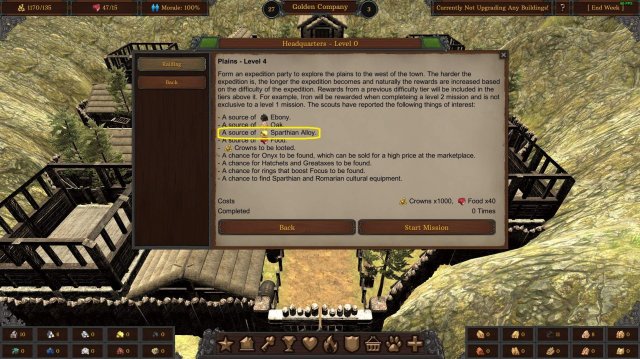
There are only a few consistent things that are rewarded across all biomes. A minimum amount of Crowns and Food will always be awarded and rare gems and minerals are tied to the mission difficulty as opposed to the biome itself.
Minerals as in metallic materials scale to mission difficulty but previous mineral tiers are also rewarded. For example, level 1 missions reward iron, but doing a level 2 mission will reward both iron and steel.
Generally speaking, the biome that you choose to adventure in, will be determined by the materials that you are hunting after to upgrade the building you have chosen to upgrade. Buying and crafting items is difficult in the early game and each weapon has its own playstyle, so perhaps the weapons that have a chance of spawning in each respective biome, will be another factor.
Weapon tiers are scaled to the difficulty of the mission from 1-10, but keep in mind the level requirements as well. A tier 3 claymore is useless for a warrior that is only level 5.
You may also be hunting after the rare and elusive cultural armors or rings, relics left behind by the former kingdoms that used to inhabit each region. They are extremely rare to come by but the armors have no level requirement and represent the best light, medium and heavy armor in terms of stats. Just remember that some armors have “Stamina” penalties, so equipping the heaviest armor on a level 1 character renders that character more or less useless.
By now you might have also noticed that most missions require a certain amount of Crowns and Food. The requirements may be high now, but remember you can upgrade the headquarters to reduce the requirements. Lastly, you can only go on one expedition per week. When you come back from an expedition through victory or defeat, click the [End Week] button to progress the game forward.
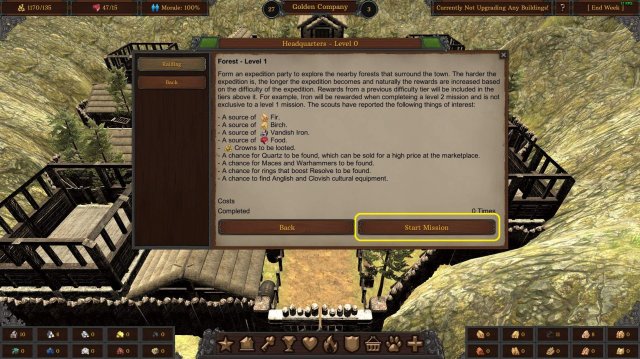
When you have decided on which mission you want to do, simply click on the “Start Mission” button. The game will autosave once the mission has been loaded. If you wish to continue the tutorial, press “B” to bring up the combat portion of the tutorial after you have placed all your warriors on the battlefield. Good luck captain, you’ll need it!
Combat Guide
Welcome to the battlefield, this mission isn’t scripted. There are video tutorials available online if you wish to watch them instead. Pressing “Q” and “E” will rotate the camera and you can pan the camera with the “W, A, S, D” keys or by dragging the mouse to the edge of the screen. You can press “T” to toggle the trees. Use the “Mousewheel” to adjust camera height and the <, > keys to adjust camera distance. Press “V” to toggle the follow camera and “C” to center the camera.
Currently as it stands, the only objective is to eliminate all the enemies. Let’s now begin to explain the basics of combat. To move, click a tile within the blue highlighted area. To attack, select an ability on the shortcut bar by clicking or using the appropriate shortcut key. Hover the mouse over a combatant within the orange area, if the mouse cursor changes to a sword, that combatant is valid. Greyed out icons are attacks and abilities that cannot be used due to stat or positional requirements.
There are 5 primary stats in Dead Monarchy, “Strength”, “Attack”, “Resolve”, “Stamina” and “Focus”. Secondary stats are temporary stats that are mainly affected by the equipment you wear. Those stats are “Helmet”, “Armor”, “Defense”, “Break” and “Damage”. For more information on primary and secondary stats, you can hover over the stats in the HUD towards the centre of the screen in the left panel to display the tooltips.
The basics of melee combat revolve around 4 stats, “Strength”, “Damage”, “Helmet” and “Armor”. The amount of initial damage you inflict on an enemy is your “Strength” + “Damage”. “Strength” which also serves as your character’s health is inherent and “Damage” comes from the equipped weapon. The lower your “Strength” gets, the less damage you’ll do.
That damage is then mitigated by the enemy’s current value of “Helmet” or “Armor”. The two basic attacks that all weapons have are “Attack Head” and “Attack Body”. So if you choose to attack the enemy’s body, the amount of damage you inflict is your “Strength” + “Damage” – enemy’s “Armor” stat. Helmets protect your head and armor protects your body.
Attacking the head will always do bonus damage but it also consumes more “Stamina”. Movement will also consume “Stamina”, with the amount depending on the terrain you are fighting in. Each turn all characters will gain +5 “Stamina” but if it reaches 0, then the chance to regain is only 50#percent. Without “Stamina” you cannot perform any attacks in most cases.
Ranged combat functions similar to melee combat however only the “Focus” stat is used to represent the damage inflicted by the attacker. Abilities tied to weapons, function in a similar way except the damage will automatically be calculated based on whatever body part is least protected.
If a character’s “Helmet” or “Armor” is the same or exceeds your maximum damage output, then you’ll need to use the “Break Helmet” or “Break Armor” abilities to reduce the stat first.
Of course in order to actually do damage, the attack must connect. Hit chance is determined by your “Attack” + 50 – target’s “Defense”. Use axes to reduce “Defense” if it is too high.
Elevation will also affect hit chance, attacking from a higher elevation will give a bonus while attacking from a lower elevation will hinder it. The direction that you initiate an attack from will also affect hit chance, attacking from the back will give a +25#percent hit chance. Attacking from the left or right will give a +10#percent hit chance.
Elevation also affects the availability of abilities. The player will not be able to use melee special abilities when attacking a target on higher elevation and all melee abilities used by monsters won’t be able to be used if the player is on higher ground. These rules only apply to melee weapons, ranged weapons are exempt from these advantages and disadvantages with the exception of increased hit and critical chances.
Attacking from the back will also do +5 Damage (melee only) that will ignore “Helmet” and “Armor” values. So in short, battlefield positioning does matter. You should try and exploit the terrain and your position, as best as you can.
As well as having to manage your “Stamina” during battle, characters all have a “Resolve” meter. Certain actions like killing enemies will restore “Resolve” while seeing your fellow warriors getting decapitated or certain monster abilities will reduce it.
When “Resolve” is completely reduced to 0 the character will break and attempt to flee. There is then a random chance that the character will recover but during the turn they recover in, they will have 0 AP. Critical Chance is also determined by your “Resolve” – the target’s “Stamina”. So the lower your “Stamina” is, the higher chance it is to be critically hit. Critical hits do extra damage to “Strength” and “Resolve”, most weapon abilities cannot critically hit.
AP or Action Points is what determines how far a character can move and what abilities a character can use during the character’s turn. You can perform as many actions so long as you have the AP for it. Combat is turn-based but with phases or rounds for both the player and the enemy. All the player’s units move and then all the enemy’s units move, then the entire phase ends and the next phase begins.
You can view the current AP available above the character’s name. You can switch characters by using “TAB”. Pressing “Backspace” or “F” will end that selected character’s turn, marking it as finished and pressing “Space” will end the entire phase. You can also rotate the direction your characters face in by pressing “R”, then moving the mouse around the character and left-clicking on the tile that you want them to face in.
If a combatant happens to disengage from melee combat such as when a character breaks and attempts to flee, they will be subjected to an Attack of Opportunity or “Opportune Strike”. A character’s “Focus” is used to determine counter attack chance which also results in an “Opportune Strike”. The damage formula is slightly different with this ability, “Helmet” and “Armor” values are ignored but the damage is reduced by 50#percent. Counter attack chance is Focus – Stamina (Attacking unit).
The panel to the right of the stats panel, shows all the current status effects. The yellow numbers above denote the stack count and turns until expired, 0 is infinite. Hovering over enemies will display their stats in that same panel. The battlelog is in the right-hand corner and hovering over tiles will display further information in the left-hand corner. You can bring up further information on any combatant by hovering your mouse over and right clicking.
Sometimes you may encounter monsters that are just too strong for your warriors. In times like that, you should consider retreating. By moving to one of the white cells on the edges of the map, that character will automatically leave combat. If all your characters have left the battlefield via retreating, you will be defeated but will live to fight another day. Bear in mind that it costs a minimum of 6 AP to move onto a retreating tile. Getting knocked back will trigger it too.
Combat only gets more complex when you factor in special abilities that ignore the standard damage formulas or monster’s with unique abilities. For more information, consult the glossary [?] or check out the video tutorials provided online. New entries into the glossary are added each time you come into contact with a new monster. Press the [Tutorials] button on the main menu to quickly access the video tutorials. This now concludes the entire tutorial.



Be the first to comment