
In this Guide I will add things as I come up with ways to add detail without having to do too much micro adjusting and fine tuning, also random tidbits.
Introduction
To sum this up, I want to form this into the Ultimate general purpose guide focused on the simple side of this games engineer, for example easy to handle detailing on aircraft, or simple control surface mechanisms for good use.
Basic Shaping of the Fuselage
This section will cover, the shaping of fuselages, cockpits and air intakes.
The most important step to designing your dream aircraft, is the fuselage, or the main body of the jet.
I tend to go for a body that tapers behind the cockpit (seating area), to try and reduce the surface area of the aircraft (to get that Sleekness). EX. The ♥ pit, (glass we cover later) I tend to try and make it.

About the size of the starting pod, if not a little different depending on how you want to continue. from there I focus on getting that simple sleek shape.
Here are the steps in order:
- Under the mouse pointer Icon at the top left of the screen. One you select the icon you should see the right of it in order from top to bottom- the pointer, the 3 blades (Translation tool), the a swirled arrow (Rotation tool) and then the fourth option is the shape tool (the box with arrows). This is the one you want.
- Once you have the shape tool selected you just need to click on the surface you want to shape, (either the front or back face of any object) and adjust however you please.
Now in order to make a cockpit, (other methods besides this one):
- Slap a fuel tank onto your fuselage center with your main command pod (or control circuit).
- Use translation tool to get it into desired location. (I recommend you make the cockpit in a couple of smaller pieces instead of one big one).
- Use the shape tool to form the cockpit glass of your dreams.
Finally: the nose, to be honest you can do it however you want, but I tend to build my jets with the engines below my seat so shape my nose downwards slightly to give more down force.
Mirroring, Engines and Intakes
So to be realistic, you don’t need to design your engines like this, not every plane has two engines as you know. I tend to design mine this way because I enjoy the look of twin engine Jets.
Moving on, Mirroring is the first thing to know, since that will be how you match both sides, I will have a checklist because that is faster than gathering images.
- Place a Fuel tank anywhere on the side (skip this step if you are attaching the wings directly to the fuselage) and make sure that you use the rotation tool and set it to -90 on the right side, or 90 on left.
- The mirror tab can be opened with the Line icon with a wing on each side (on the left hand side) or easier is just Ctrl M.
- Click on the Fuel tank you placed (or the wing if you skipped) then at the top left of the screen you should see Mode – followed by Disabled. if you do, click the arrow on the right of disabled and select mirror.
- It should auto place anything connected to the block you mirrored, and any changes you make to either side of the jet should be shown on the other as well.
Note: If you need to invert any rotors or control surfaces, you need to break the Mirror which you do by selecting the original, or root block, and clicking on break under the Ctrl M menu.
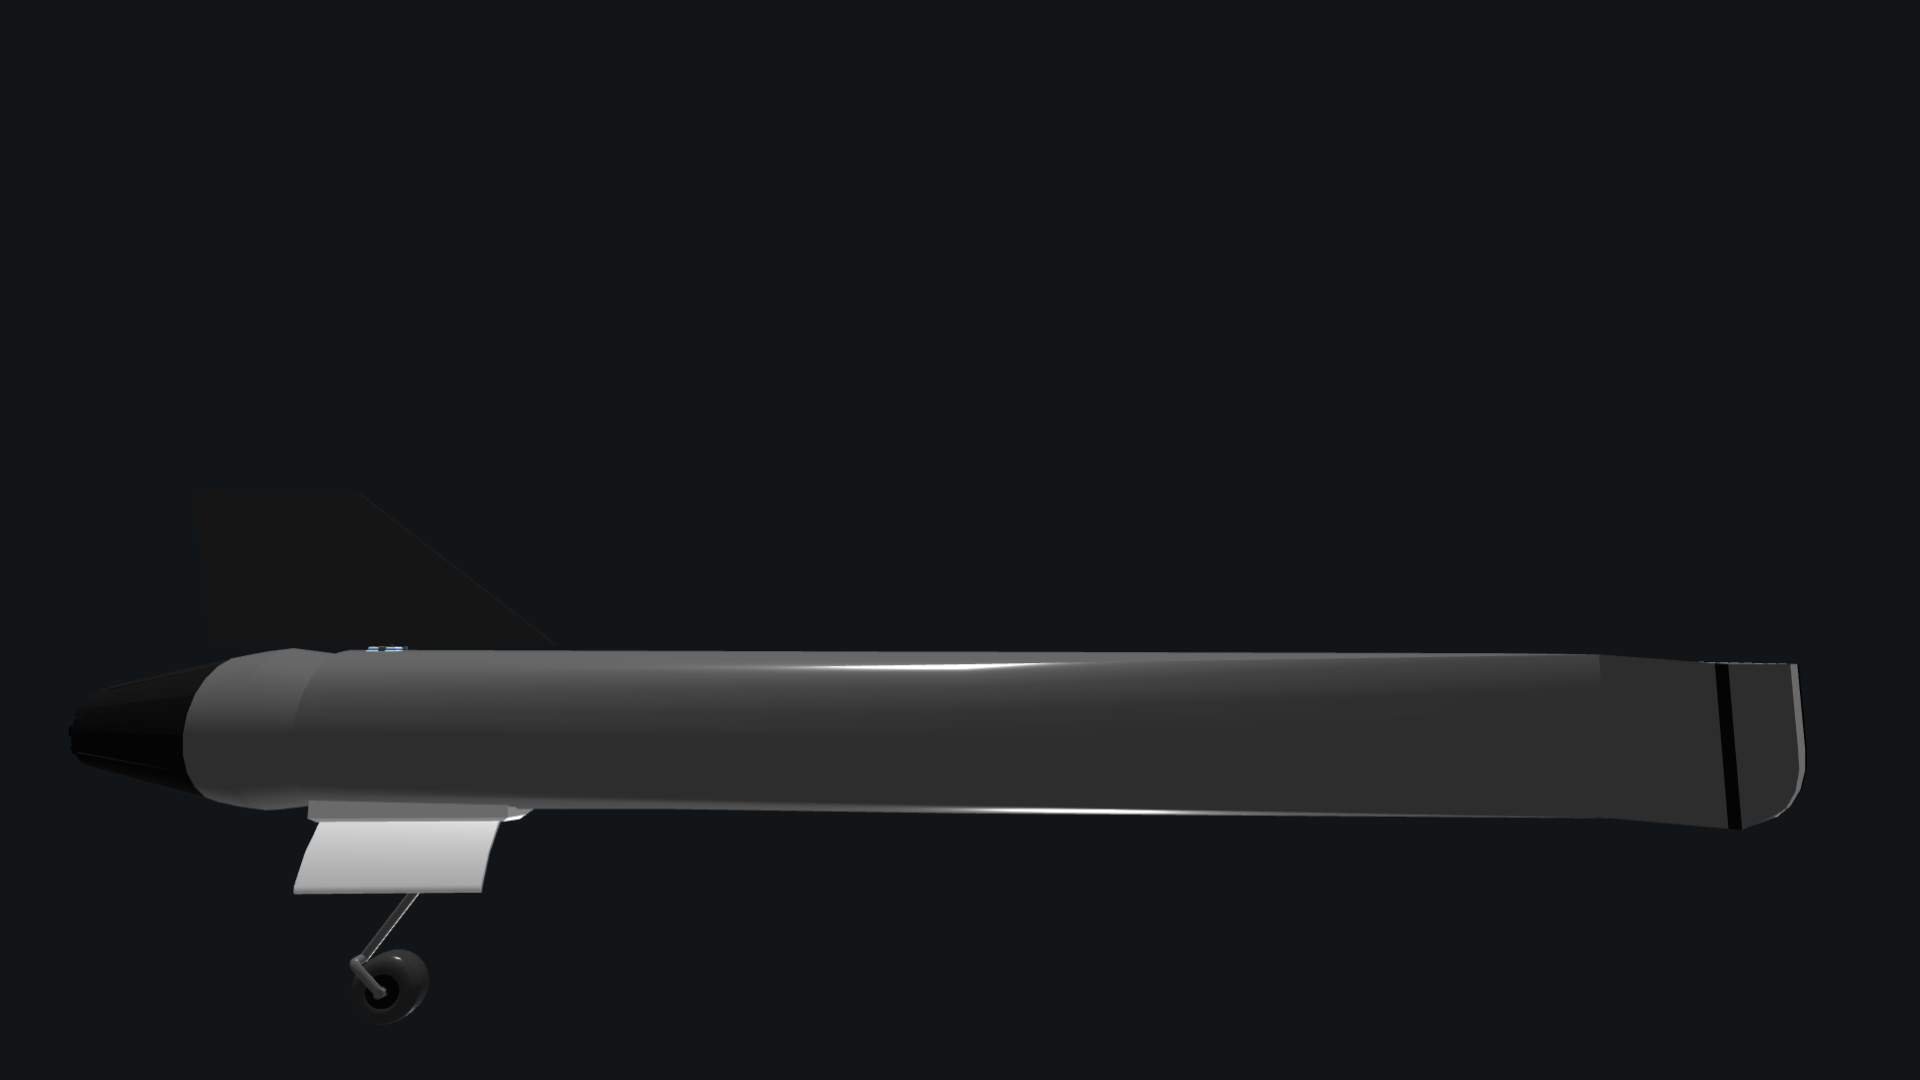
After some fiddling you may end up with something resembling this.
After you get the base shape you want, and slap you basic wing and shape it a little, put one (I stack two) air intakes onto the front of the tank, the larger the mouth, the more air you can collect, (I don’t know if the internal volume matters but the front must be unobstructed).
Once it is placed, simply shape it as you see fit.
Lastly for the engine, slap it onto the back of where ever, adjust it as you see fit, (will cover stats next) and then if you want, translate it into the fuel tank, (to hide the internals).
Engine stats and…
As the name suggests, I will explain how I get my engines to be fuel effective, with good power.
The steps are pretty easy for this:
- Set the Compression ratio to Max, this uses more Air to get more power from only a slight increase to fuel consumption, it does make the engine longer however, so adjust as needed.
- Now we the ♥, so that we can pump air into that bad boy (note if you want High thrust turn off Bypass ratio if you have a light plane and want your fuel to last longer adjust as needed).
The general rule of thumb for air intake is as follows, if you look at it, and can’t hear the ♥ it needs to be bigger (in terms of shape tool my air intakes are around 2.15 x 1.9). In a more serious note, angular velocity, altitude, and air flow all effect how much ♥ you get for those engines. Air flow you can counter by having plenty of open space out in the front of the intake. as for altitude bigger / more air intakes (the air is less dense at higher altitudes, requiring more surface area of ♥).
As for Angular velocity, it is harder to say, but you can assume a combination of the previous two, and having intakes angled up and down may help, the main problem is that like in any situation, it is hard to succwhile doing a back flip (you do get decent retention though).
Be the first to comment