
A guide to change some rendering settings that are not available in the Options menu.
Introduction
The game has many options, but Unreal Engine provides even more. Unfortunately, Fallen Order doesn’t give players complete access to the engine .ini files, making it harder to adjust these settings.
The file that stores the settings we can set in the menu is the GameUserSettings.ini located in:
- %localappdata%\SwGame\Saved\Config\Windows\NoEditor
It can be used to do some additional tweaks, but for more we’ll have to use the Universal Unreal Engine 4 Console Unlocker.
The First Steps
Download the Universal Unreal Engine 4 Console Unlocker[framedsc.github.io] and extract it somewhere. We’ll use this tool to enable the Developer Console and perform the changes in-game.
- 1. Make sure to set your keyboard layout to English (more on this later).
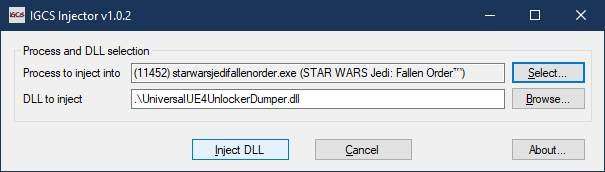
- 2. Launch the game first and once you are in the main menu ALT-TAB out and launch the UE4CU.
- 3. Select StarWarsJediFallenOrder.exe from the process list and the DLL to inject if it’s not detected by the tool.
- 4. Click Inject DLL:
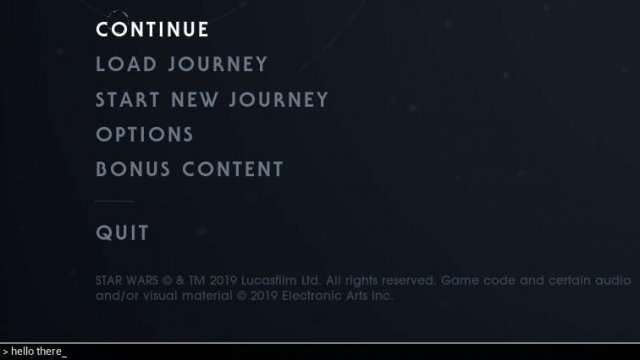
- 5. Should take a few seconds and when the process is complete you’ll get a message and another command line window will pop up.
- 6. Now return to the game and press ~ to open the console. If everything went well the Console should appear at the bottom of the screen.
Setting the keyboard layout to English was the only way to make it work, since we can’t access the config files to change this key from ~. It might work with other languages though.
After that, load into the game and start adjusting the settings.
Changing FOV, Custom FPS limit, Changing the Rendering Resolution
Changing FOV
Open the console and type the command then press Enter:
fov 70
This will change the FOV to 70
You can try different values as well. Typing just “fov” will reset the default value.
Custom FPS Limit
30,45,60,90,120,144 FPS cap can be set from the menu.
Use this command to set 75 FPS:
t.MaxFPS 75
Or to remove the FPS cap:
t.MaxFPS 0
Changing the Rendering Resolution
Can be used to Increase the rendering resolution for better quality (more demanding on the GPU) or to Decrease it permanently to improve performance.
To render at 130% native resolution:
r.ScreenPercentage=130
To render at half resolution:
r.ScreenPercentage=50
Disable Motion Blur, Bloom, Depth of Field
While some of these can be turned off/configured in the menu, it does not work on everything or cannot be disabled separately. And they are still noticeable when rotating/moving the camera.
Enter these commands to disable them – Comparison:
r.BloomQuality=0
r.MotionblurQuality=0
r.DepthOfFieldQuality=0
Configure Anti-Aliasing
This can be configured in the GameUserSettings.ini as well, but it will likely reset if you make any changes in-game, so we’ll keep using the Console method:
To disable AA enter:
r.PostProcessAAQuality=0
It’s also possible to increase the quality by using higher numbers (4,5,6):
r.PostProcessAAQuality=4
Comparison:
Off vs Epic
Epic vs Epic+ (AA=4)
That’s It
Until there is a better way, you’ll have to launch the console unlocker and type the commands every time you launch the game.
Be the first to comment