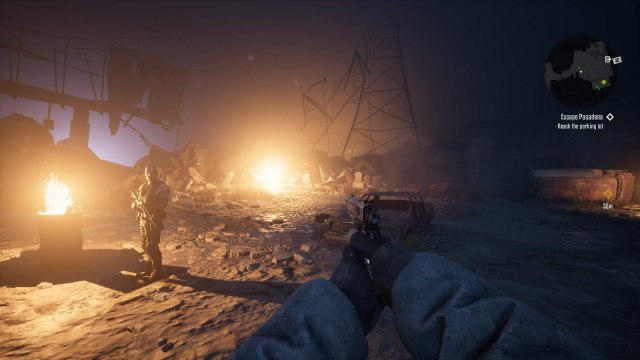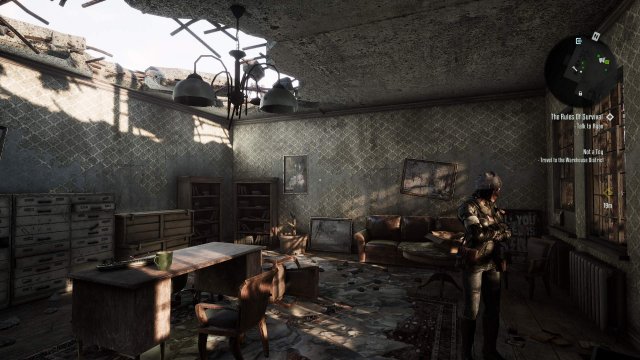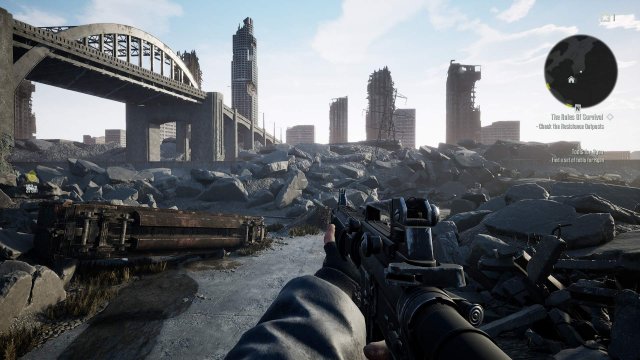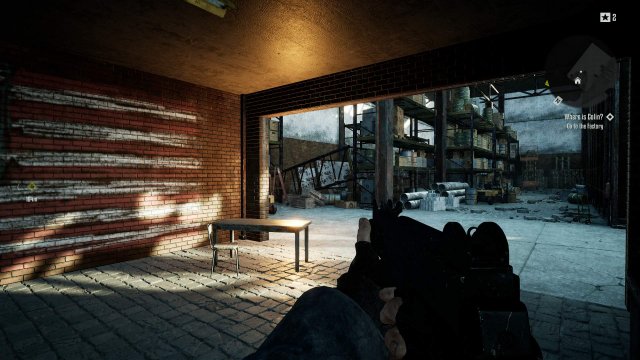
This guide will help you to improve the overall visual quality and clarity of the Terminator: Resistance.
Introduction
If you want to improve visual quality of the game, such as increasing draw distance, tweak memory limit for textures, disabling chromatic aberration / object blur / depth of field, improve texture quality, improve screen space reflections and improve the anti-aliasing, then this guide is for you.
Installation
First, go to C:Users<Your Username>AppDataLocalTerminatorSavedConfigWindowsNoEditor and find Engine.ini then open it with a text editor (for example Notepad).
Then under the values that are already there make two line breaks and add this entire section:
[SystemSettings]
r.MaxAnisotropy=16
r.TemporalAACurrentFrameWeight=0.2
r.TemporalAASamples=2
r.PostProcessAAQuality=6
r.Tonemapper.Sharpen=0.75
r.SceneColorFormat=4
r.SceneColorFringeQuality=0
r.SSS.HalfRes=0
r.SSR.Quality=5
r.SSR.Temporal=1
r.SSS.Filter=1
r.SSS.SampleSet=2
r.SSR.MaxRoughness=1
r.StaticMeshLODDistanceScale=0.25
r.SkeletalMeshLODBias=-2
r.MipMapLodBias=-1
r.Streaming.MipBias=-1
r.Streaming.HiddenPrimitiveScale=1
r.Streaming.UseAllMips=1
r.Streaming.FullyLoadUsedTextures=1
r.Streaming.HLODStrategy=2
r.Streaming.PoolSize=4096
r.ShadowQuality=5
r.Shadow.RadiusThreshold=0.01
r.Shadow.RadiusThresholdRSM=0.01
r.MotionblurQuality=0
r.DefaultFeature.Motionblur=0
foliage.LODDistanceScale=6
r.ViewDistanceScale=13
r.DepthOfFieldQuality=0
[/script/engine.userinterfacesettings]
bEnableMouseSmoothing=false
bViewAccelerationEnabled=false
[ConsoleVariables]
r.ScreenPercentage=125
Tweaking
You can tweak all of the values above to your liking, you can disable any of the tweaks by simply removing them from Engine.ini
Here’s a general explanation of what they do:
MaxAnisotropy ensures the game always uses 16x Anisotropic Filtering (has basically no performance impact on modern PCs).
TemporalAACurrentFrameWeight, TemporalAASamples, PostProcessAAQuality and Tonemapper.Sharpen improve the quality of the Temporal Anti-Aliasing and make the image overall cleaner and sharper.
SceneColorFormat and SceneColorFringeQuality disable the Chromatic Aberration.
SSS.HalfRes, SSR.Quality, SSR.Temporal, SSS.Filter, SSS.SampleSet and SSR.MaxRoughness improve the quality of the Screen Space Reflections (a bit more costly performance wise than stock settings).
StaticMeshLODDistanceScale and SkeletalMeshLODBias improve character model quality at a distance (didn’t notice a performance impact so if it’s there it’s negligible).
MipMapLodBias, Streaming.MipBias, Streaming.HiddenPrimitiveScale and Streaming.UseAllMips improve texture quality a bit (zero performance impact from what I could tell).
Streaming.FullyLoadUsedTextures and Streaming.HLODStrategy make it so that the game loads textures into memory at start rather than during gameplay greatly reducing chance of hitches or stutter (downside is that the INITIAL loading times are increased a little, but only on first-launch of the game per session).
Streaming.PoolSize controls how much video memory is assigned to textures, you should set it to exactly half of your graphic card’s VRAM, as I have 8GB VRAM I set it to 4096 (aka 4GB).
Common values for this would be 6144 for 12GB VRAM, 4096 for 8GB VRAM, 3072 for 6GB VRAM and so on and so forth (this makes the game load and manage textures better with the loading textures at start tweaks above).
ShadowQuality, Shadow.RadiusThreshold and Shadow.RadiusThresholdRSM improve shadow quality a bit (minor performance impact).
MotionblurQuality and DefaultFeature.Motionblur completely disable Motion Blur (ingame setting only disables camera blur, but not object blur, with this object blur is also disabled).
foliage.LODDistanceScale and ViewDistanceScale greatly improve draw distance and drastically reduce pop-in, in fact pop-in is pretty much almost entirely eliminated with this (has a slight performance impact).
DepthOfFieldQuality disables Depth of Field in cutscenes if you find it too blurry for your taste.
bEnableMouseSmoothing and bViewAccelerationEnabled ensure that Mouse Acceleration/Smoothing will always stay on, Unreal Engine 4 games tend to sometimes randomly trigger it back on especially if you have a controller plugged in, with this it ensures it will always stay off.
ScreenPercentage controls Supersampling, this is by far the most performance intensive tweak as it renders the game at higher resolution in % relative to your current resolution and then scales back. This greatly improves visual clarity at moderate-to-heavy performance cost depending on the value you set and how powerful your graphics card is.
100 is the default value (no supersampling) and anything above it up to 200 is % value of supersampling applied. I found 125 to be a decent compromise between visual improvement and performance cost on my GTX 1070 but you may want to turn it off or increase depending on your graphics card (if it’s better).
Conclusion
Hopefully you’ll enjoy these tweaks, they are also universal for all Unreal Engine 4 games by the way so you may use them to improve quality in other UE4 titles.


Be the first to comment