
Maps of key locations with treasure chests and walkthrough of the end game bonus dungeon.
Introduction
Overview
The post-game dungeon Anise’s Stockade is the place to level to 99 while also farming plenty of ??? Seeds and Rainbow Seeds for your New Game+ (which makes gearing and job changing super easy).
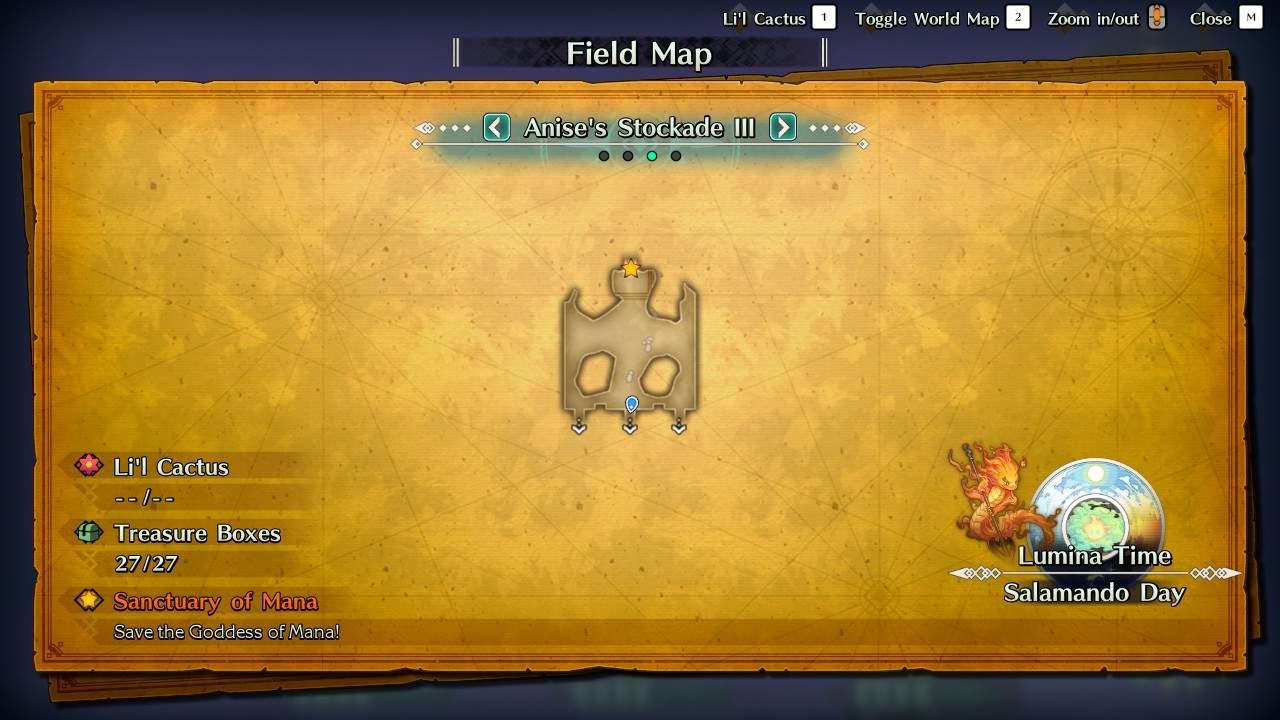
This guide includes maps of all the areas (including treasure locations) which are pretty much the home towns of the characters, interspersed with bridging areas.
Once you’ve cleared Wendel, you’ll unlock a port back to the starting zone. You’ll unlock a second port once you clear Ferolia and enter the final area.
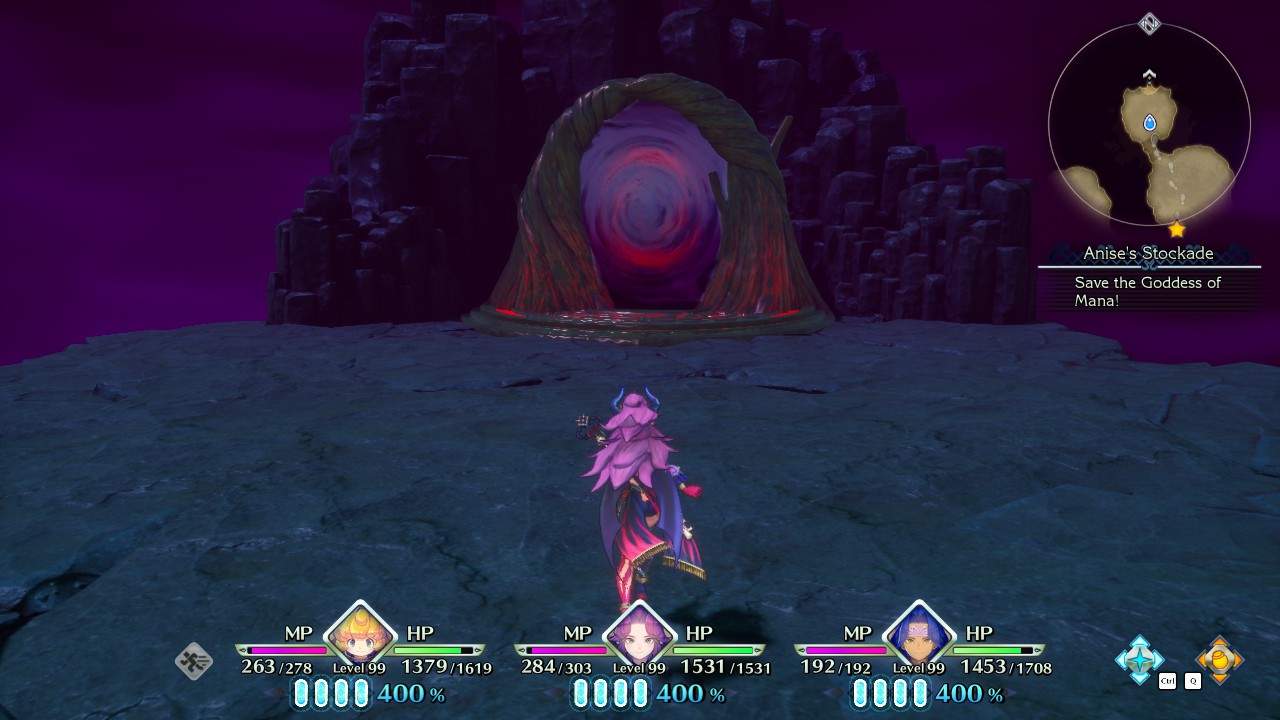
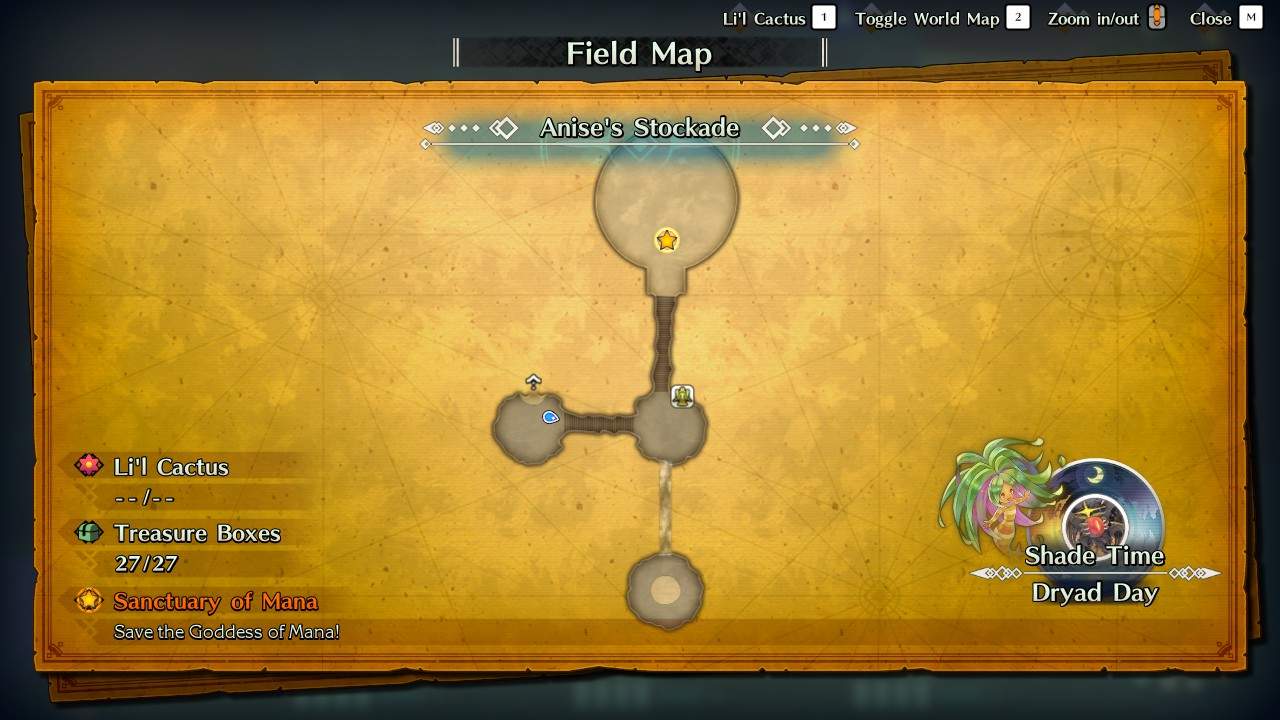
Stockade Entrance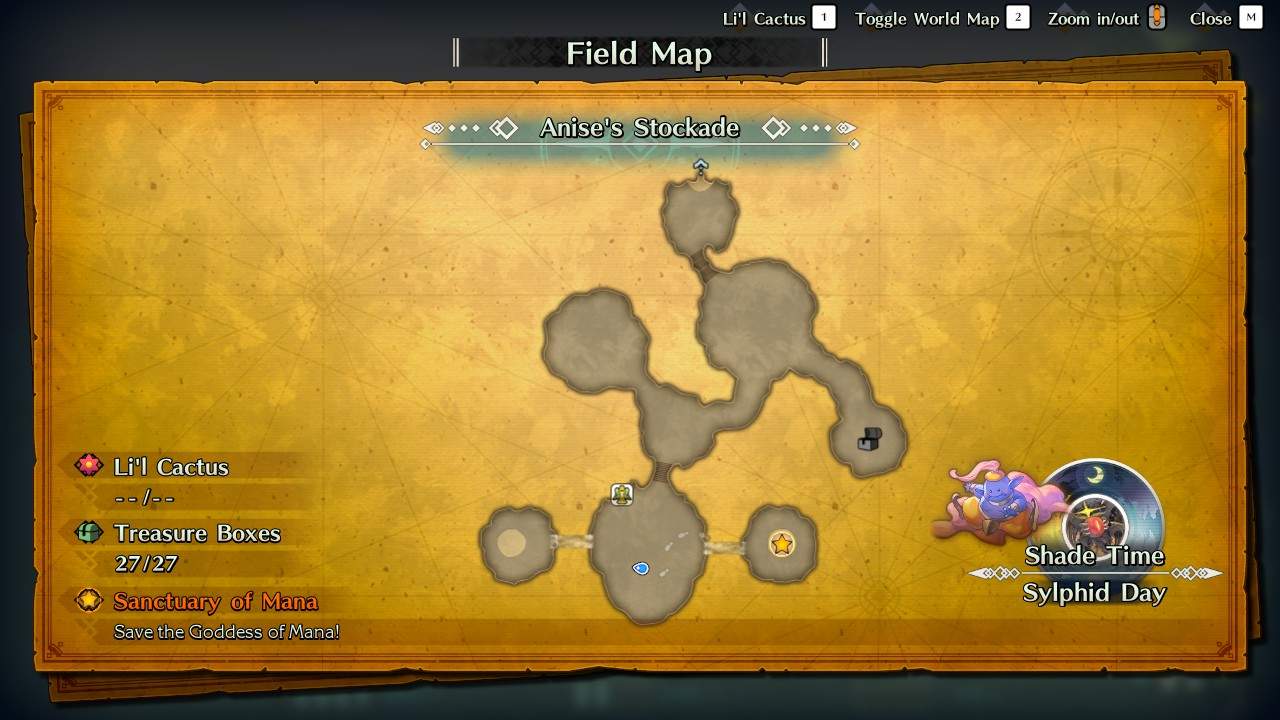
Most Bridging Areas have a Silver Mana Statue near the portal so you can Save your game. Briding Areas with a port back to the starting area also have a Gold Mana Statue.
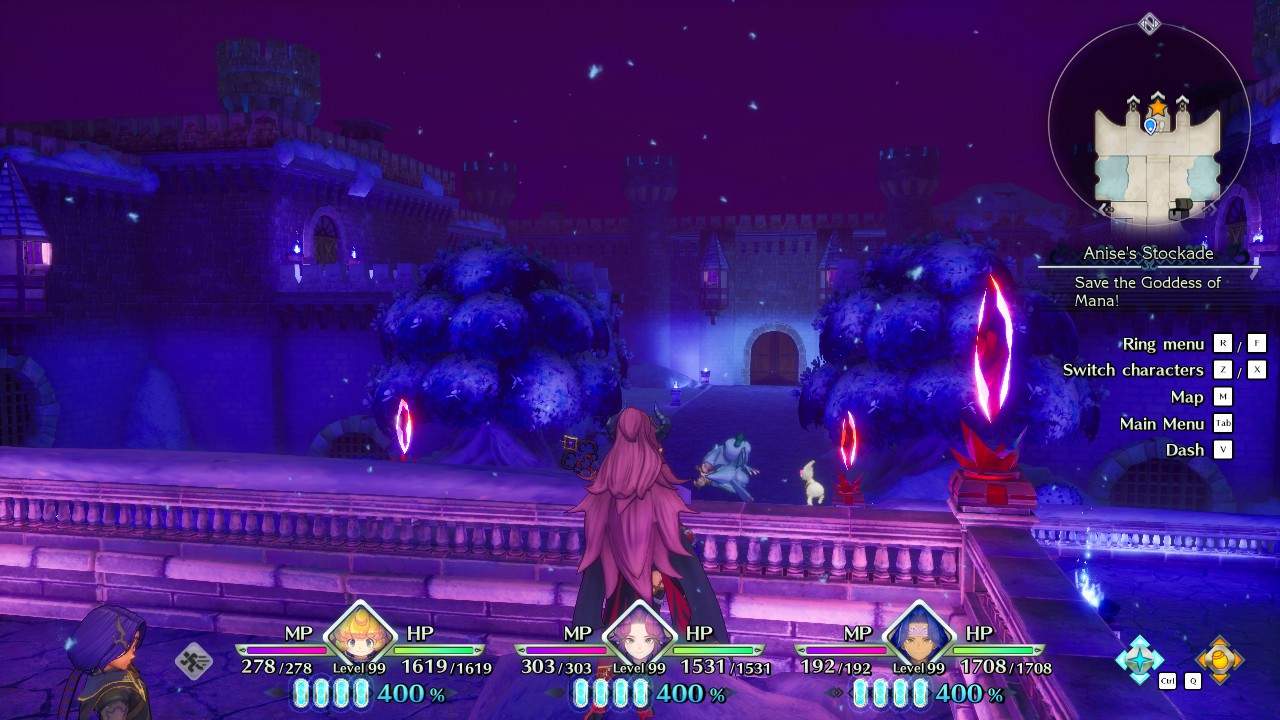
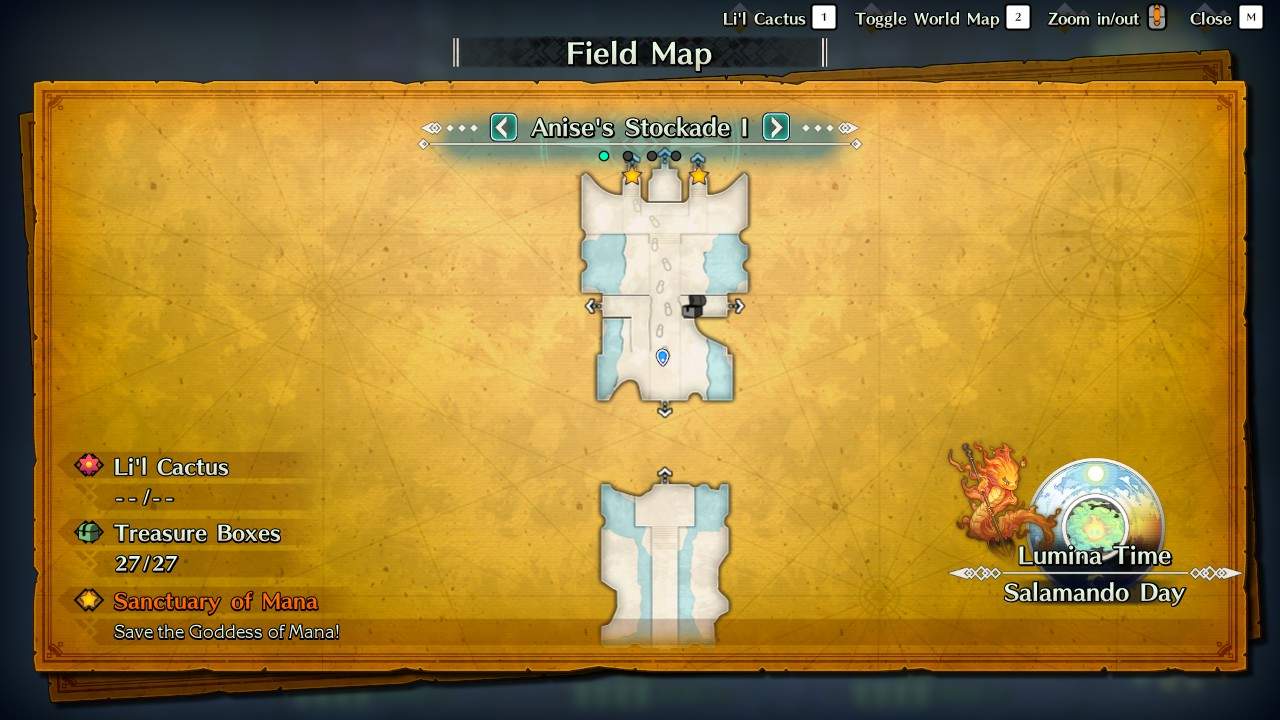
Area 1: Valsena
Valsena
The nightmare version of Valsena has spurs of crystal sticking out from everywhere. Enemies in this zone are Level 64.
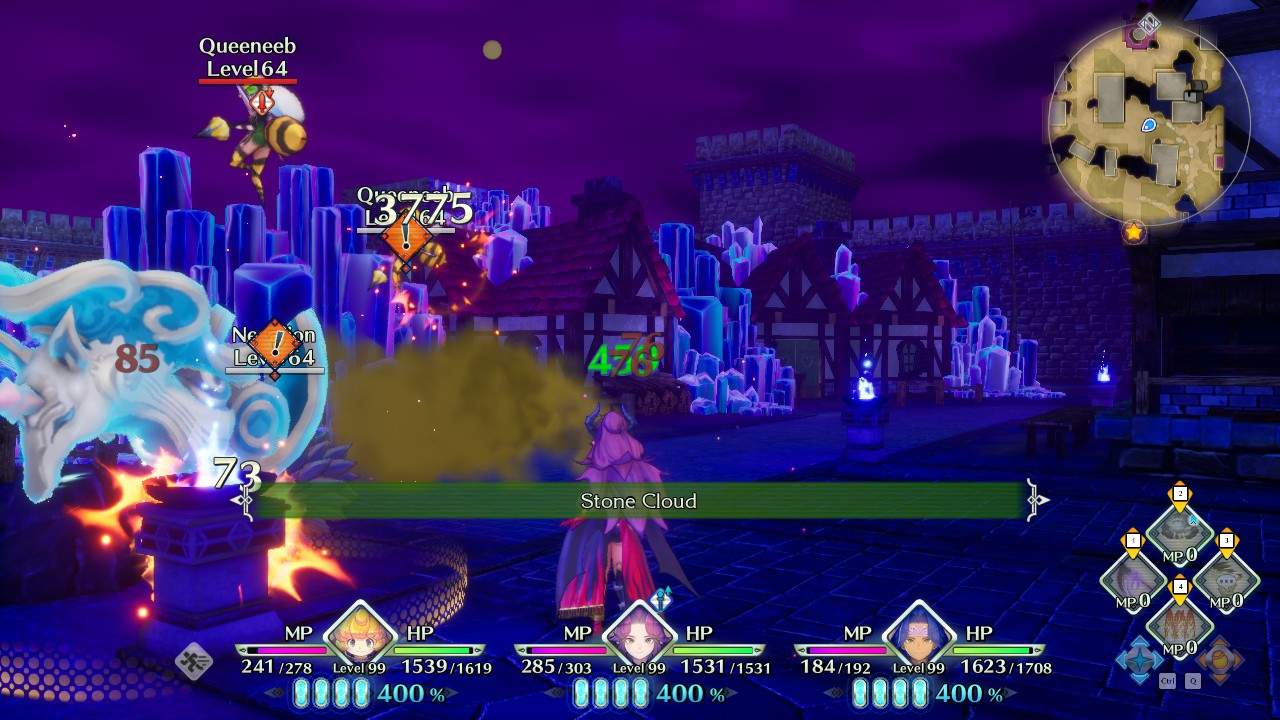
Valsena Town
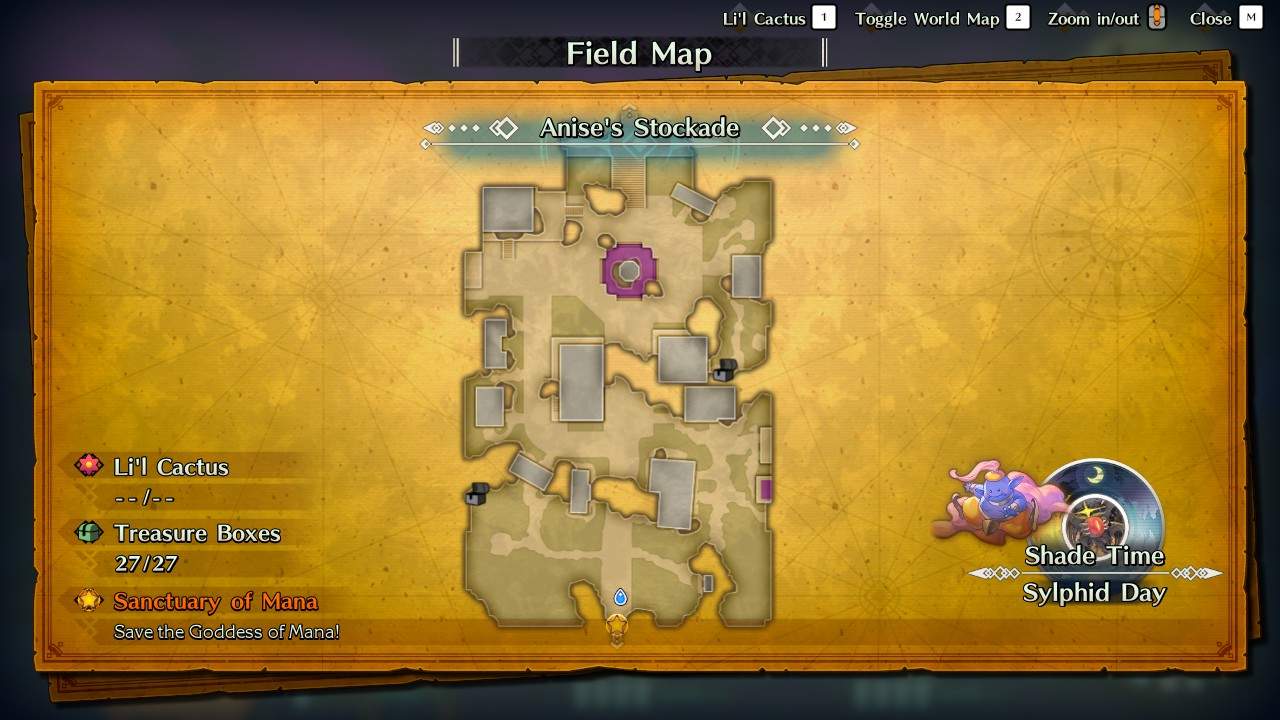
Valsena Castle
Lots of humanoid enemies here, which means it’s a decent location for farming seeds. On your first run through this map, you can expect to encounter some Platinum Mimics, which are a guaranteed source of Rainbow Seeds too.
Bridging Area
Bunch of dragon types here. They drop Seeds too.


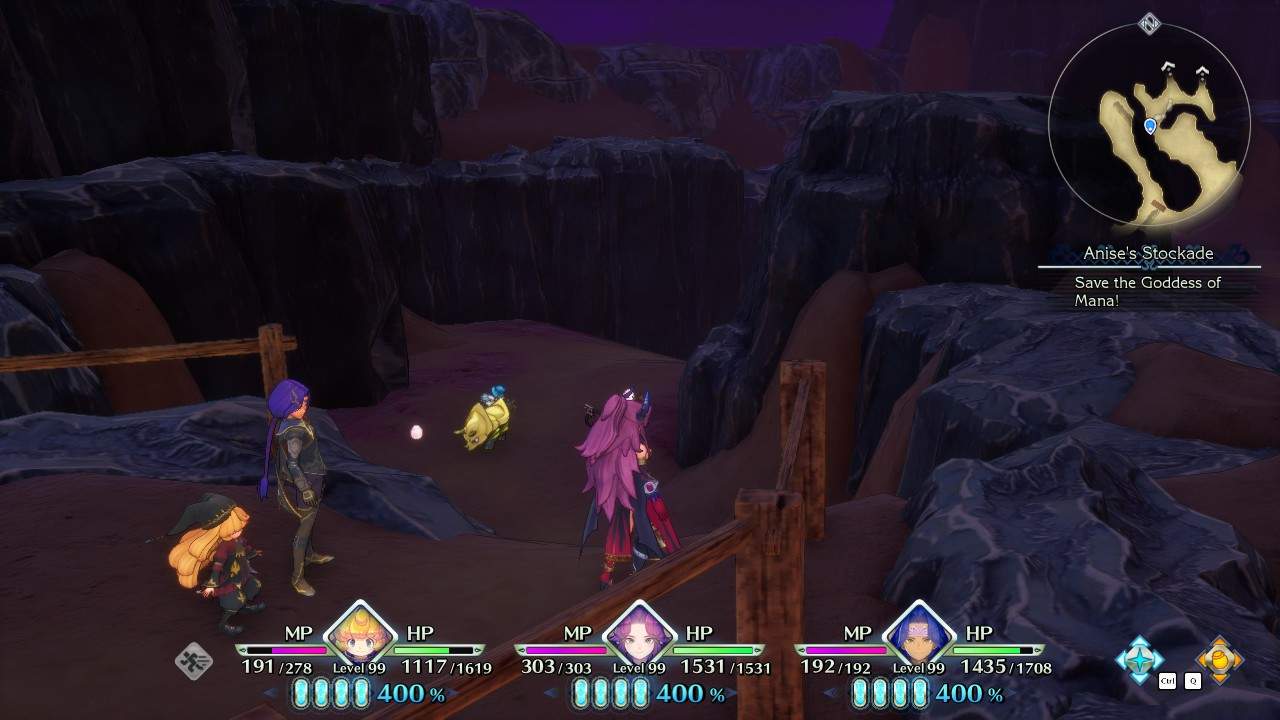
Area 2: Nevarl
Nevarl
The zone is choked full of sand, poison gas, and desert enemies that are Level 65.

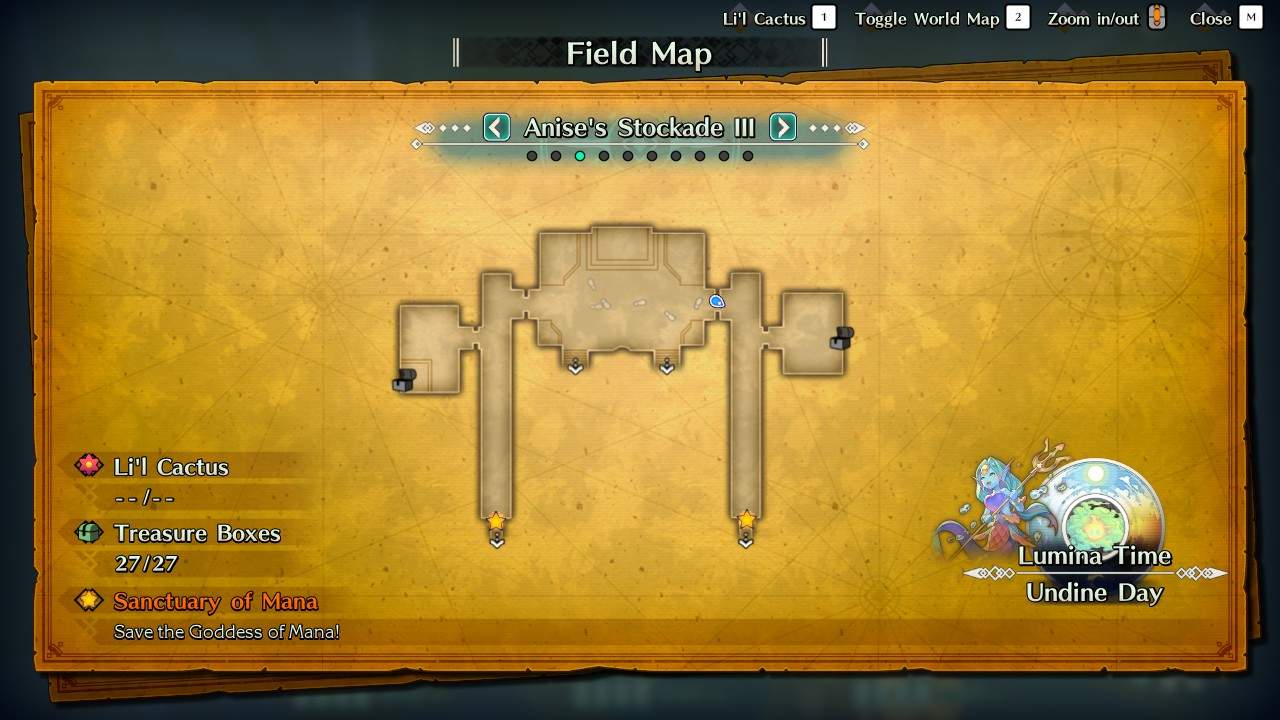
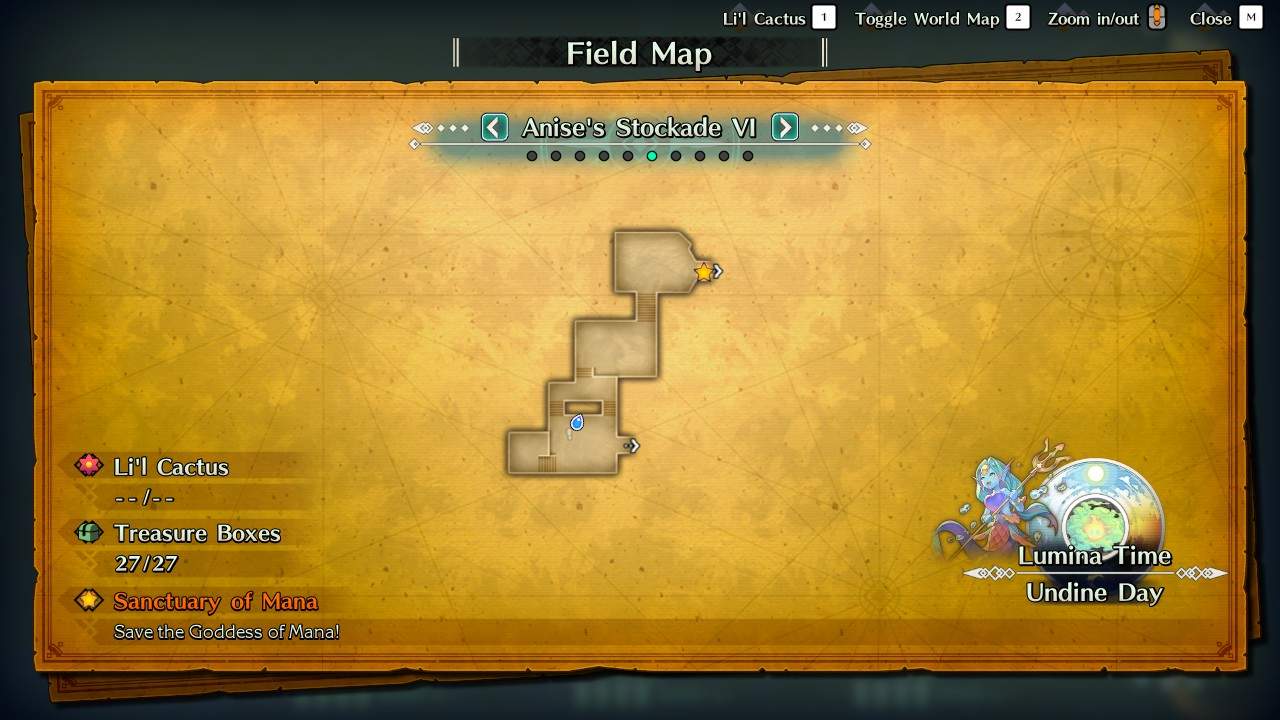
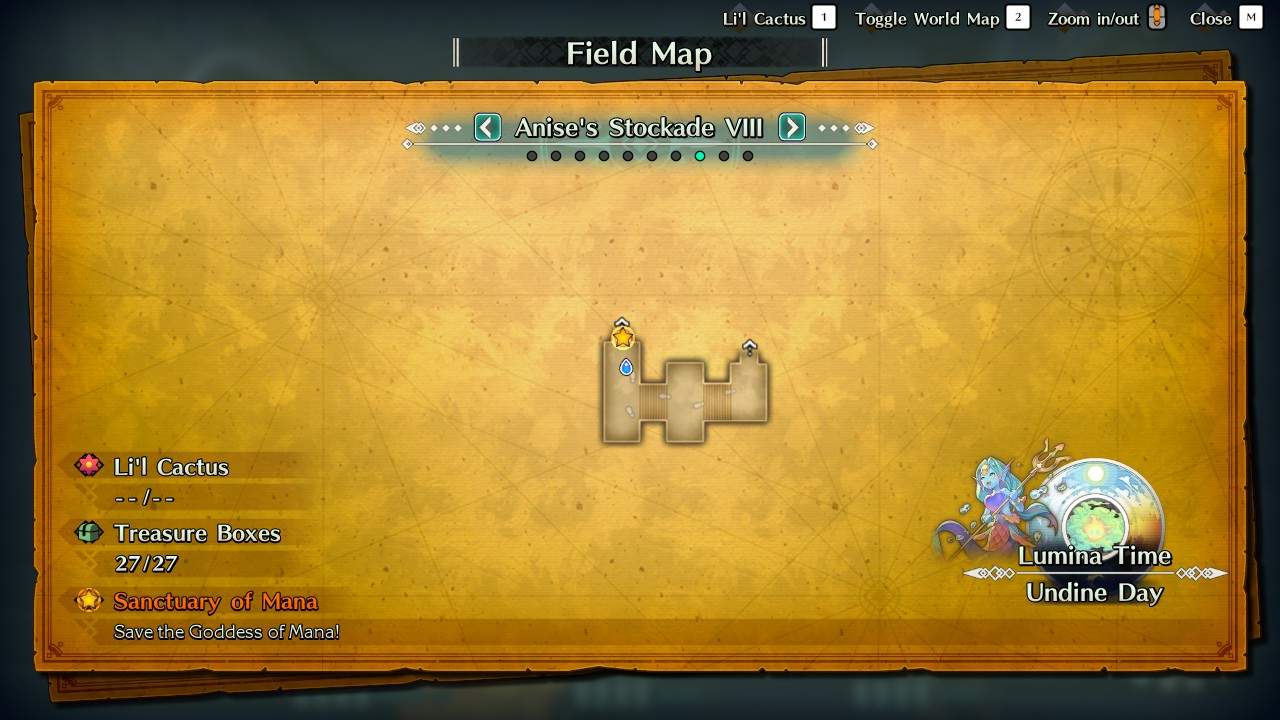
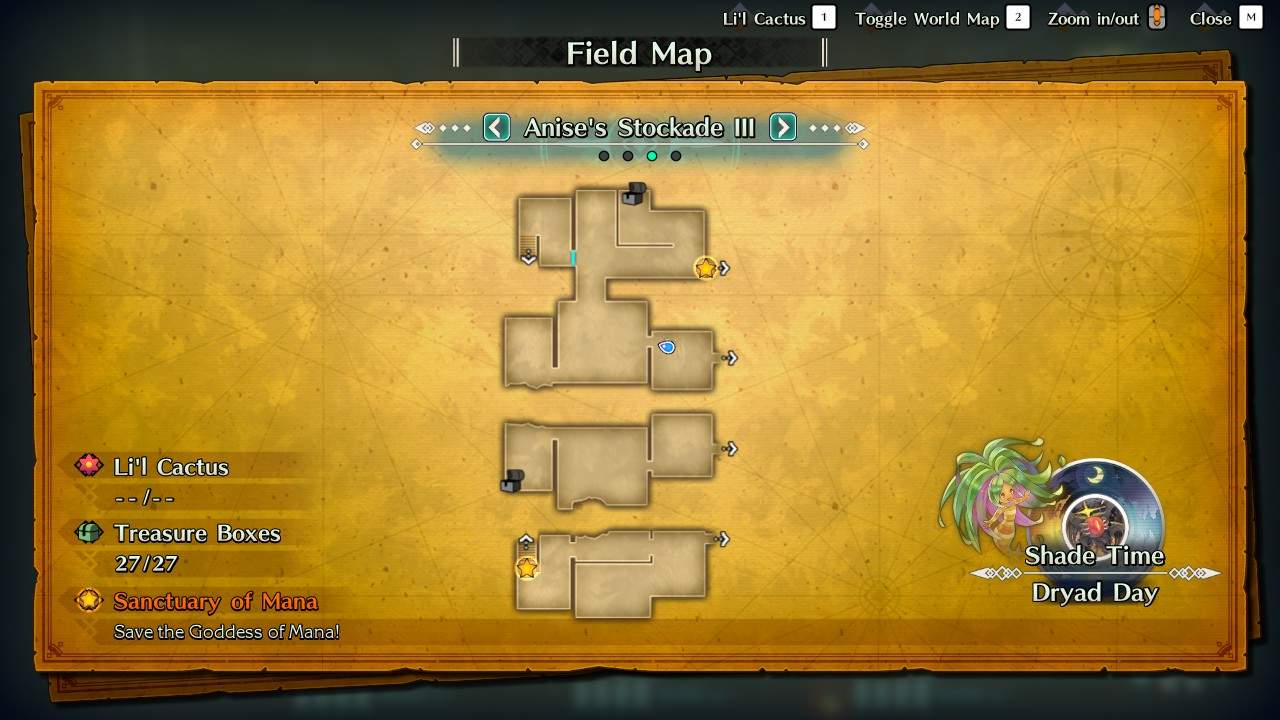
Nevarl Fortress
You start out on Map III, and move on to Map IV.
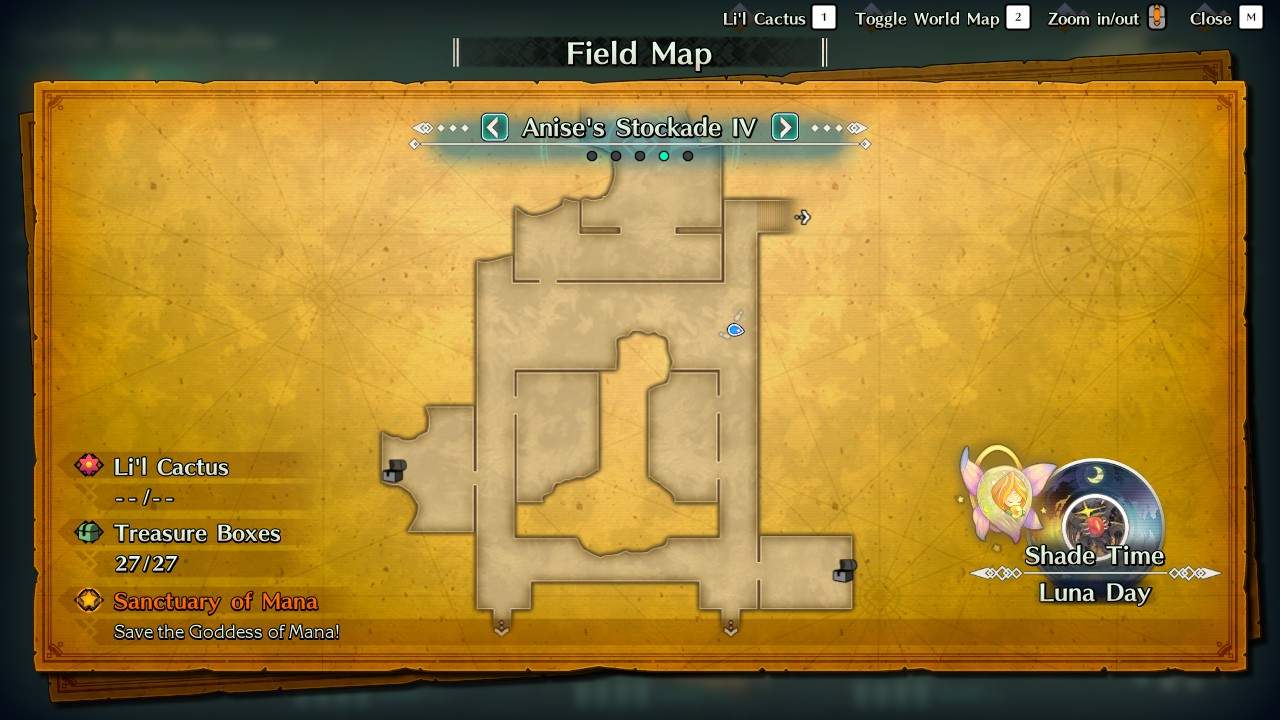
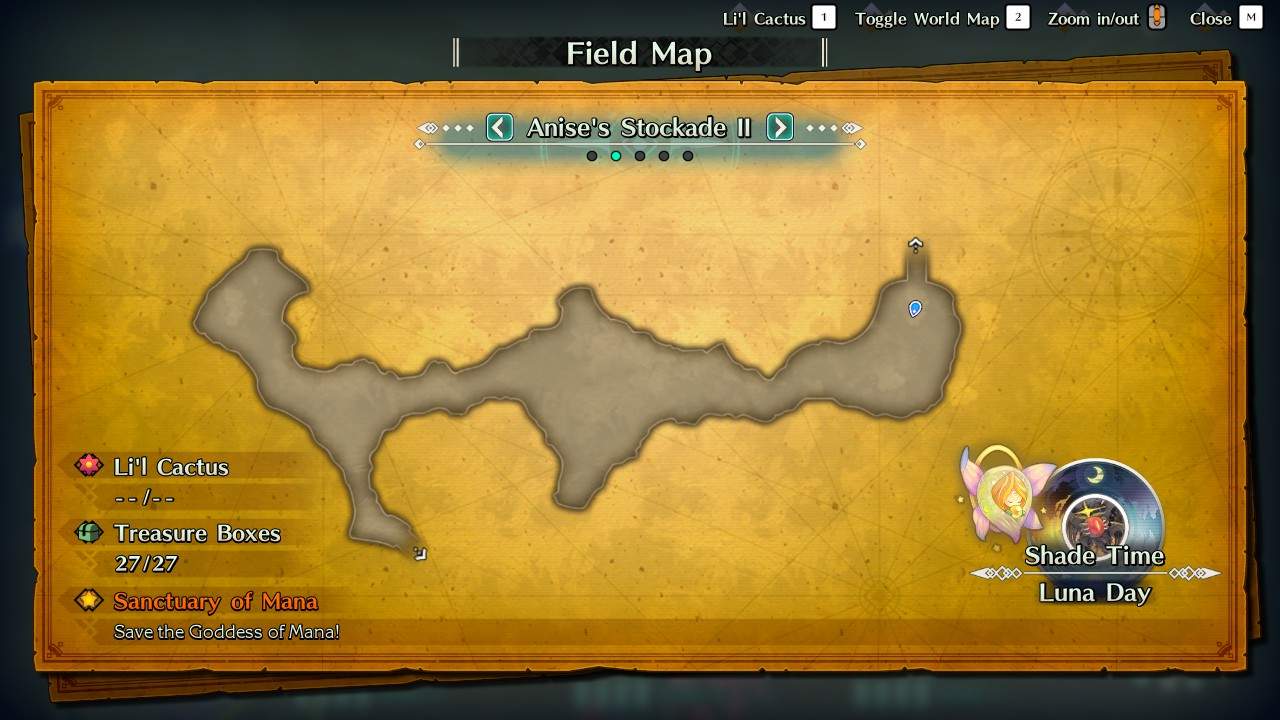
Nevarl Outdoor Area
More desert enemies here on Map I, including the Gold Bulettes.
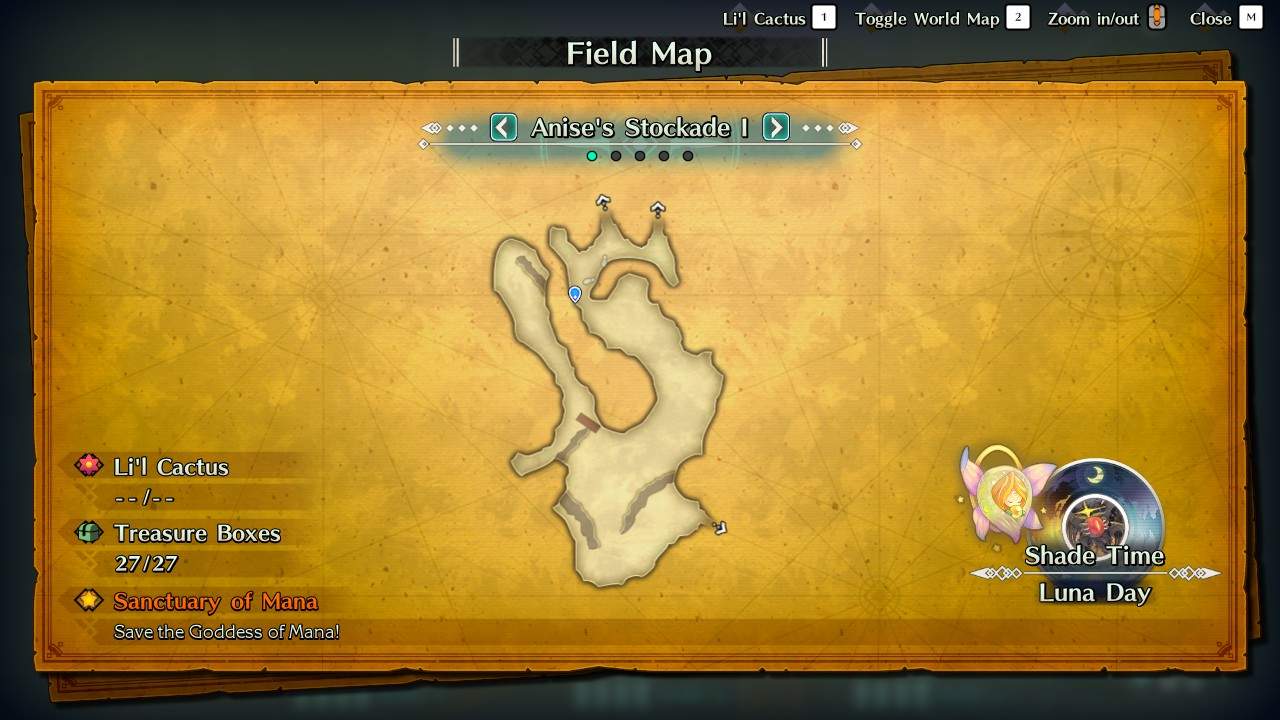
Eventually, you’ll make your way into the caves on Map II, and out again to Map I.
Bridging Area
Navigate the Spring Steppers, crush the Shapeshifters, and get to the other side.
Area 3: Wendel
Wendel
You start out in the outskirts near town, with some poison pools in the way. The mobs in this zone are 67, and primarily undead.

Wendel Town
Hang around near the gargoyle statue long enough and you’ll be ambushed by lots of undead.
Wendel Cathedral
Lots more undead here. Be sure to explore everywhere and open all the chests. The portal to the next area is on the balcony above the entrance of the Cathedral.
Bridging Area
There’s a port here that leads back to the starting area. Before you zone into the next area, there’s a Gold Mana Statue you can use to save your game.


Fast Farm Route
If you speed through the first few zones, you should be about 10-15 minutes in when you get to the port here. If you keep looping this, you can rack up a decent number of ??? and Rainbow Seeds from just killing the mobs in the first three zones.
Area 4: Altena
Altena
You appear in the throne room, and must navigate your way out from the Castle into the Town. The place has been snowed in, and the mobs here have a frosty theme. They are Level 69.

Altena Castle
Don’t miss the chests here. One of them contains an item that nullifies debuffs, but you’ll have to make a fairly big detour (through the sewers) to get there.
The sewers are great, if convoluted. Lots of Chess types and Guardians here, who drop Seeds. They’re easy to one-shot with spells.
Altena Town
Be sure to engage as many packs as you can if you want to farm seeds off the Petit Poseidons.

Bridging Area
Simple horseshoe shaped area. Shadow Zeds here are great sources of Gold Seed drops.

Area 5: Laurent
Laurent
You start at the bridge leading to Laurent. The place is shrouded in a perpetual gloom, and infested by flyers and demons. They are Level 69.
Laurent Castle Interior
You have to hug the walls in some places to get to chests in the side rooms. This is one of the most straightforward maps, but that also means many packs aren’t avoidable.


Bridging Area
Arguably the most annoying Bridging Area. The teleport pads are not particularly intuitive, but you should be able to figure it out after awhile. You want to get to the rectangular strip in the center, and take the center pad to get to the exit. Silver Seeds drop from the Rabite types here.
Area 6: Ferolia
Ferolia
You appear on the topmost floor of Ferolia, and must make your way down the ziggurat. The interior is burning, and you can expect to face Werewolves and their ilk here. They are Level 71.

Ferolia Interior
You want to open all the chests. One of them contains an item that nullifies debuffs, sealed behind a barrier you need to disable.


Through this portal is the final area.

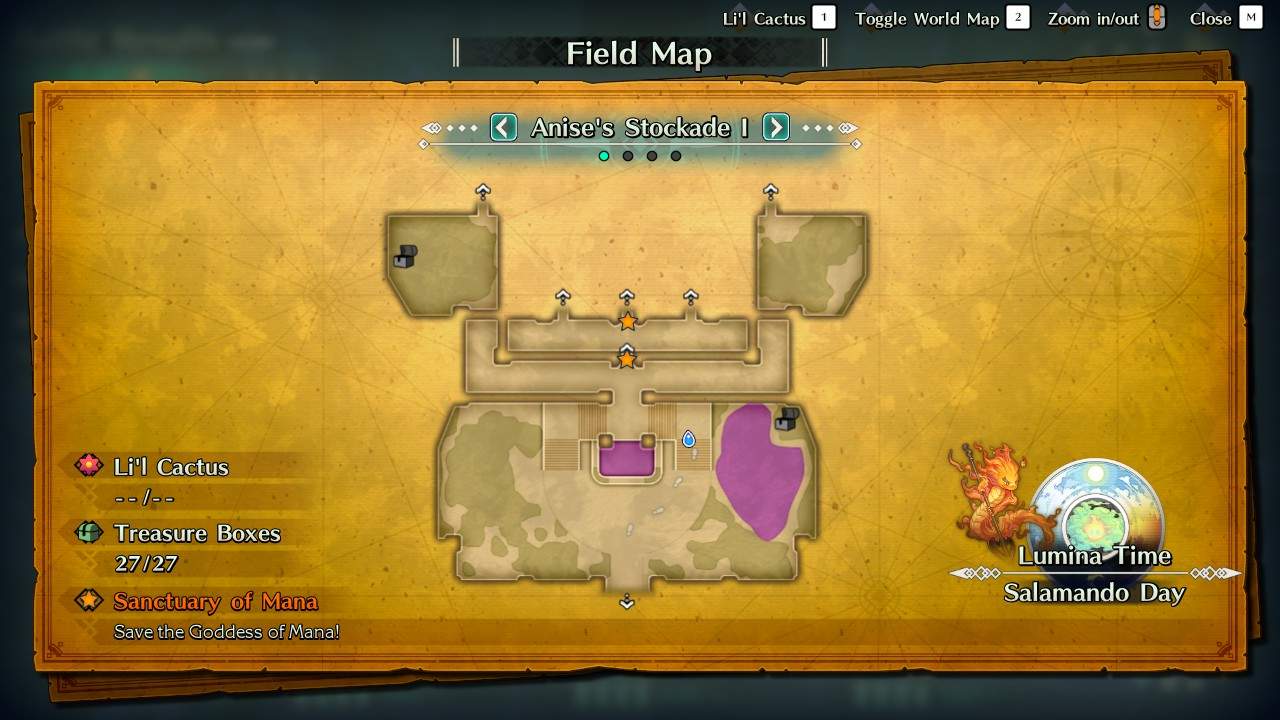
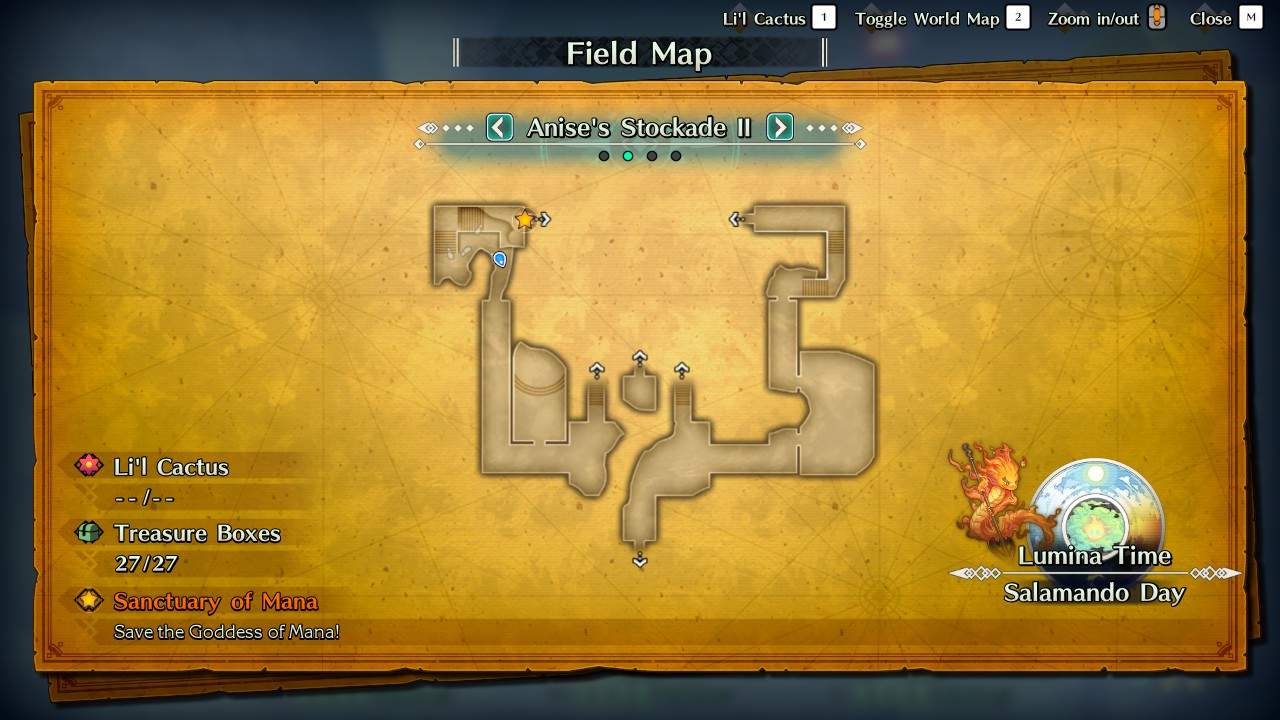
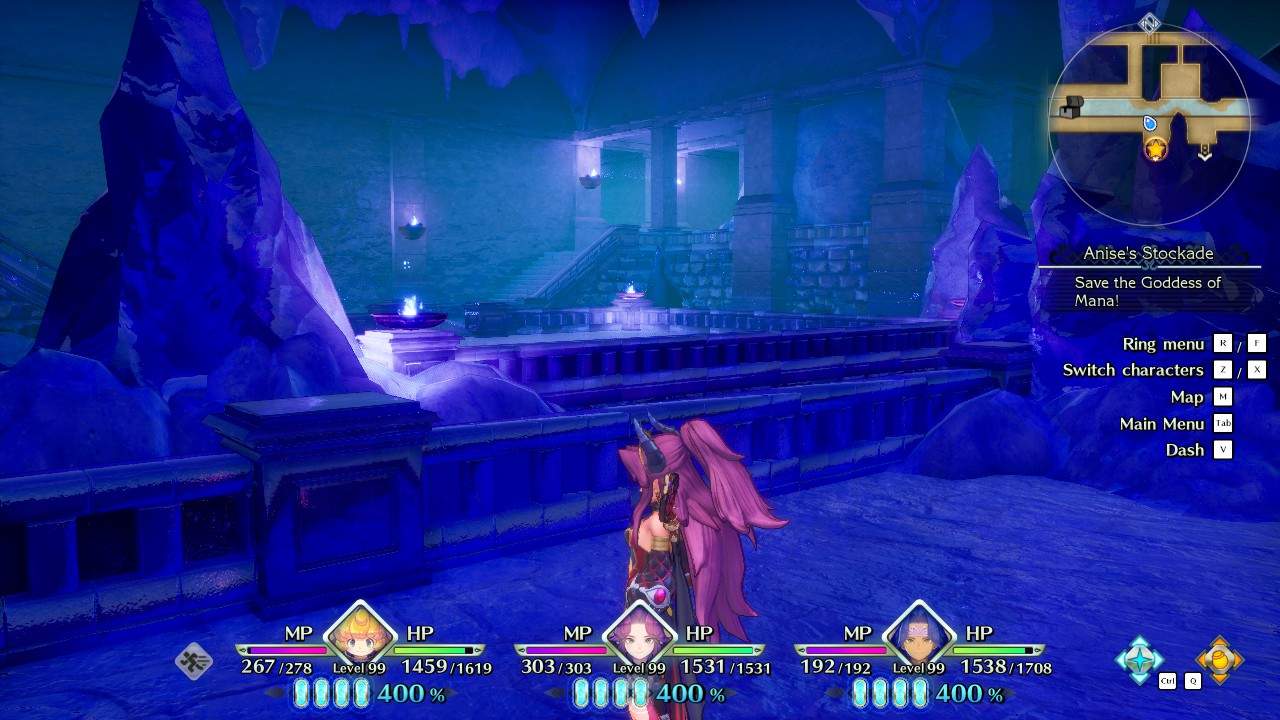
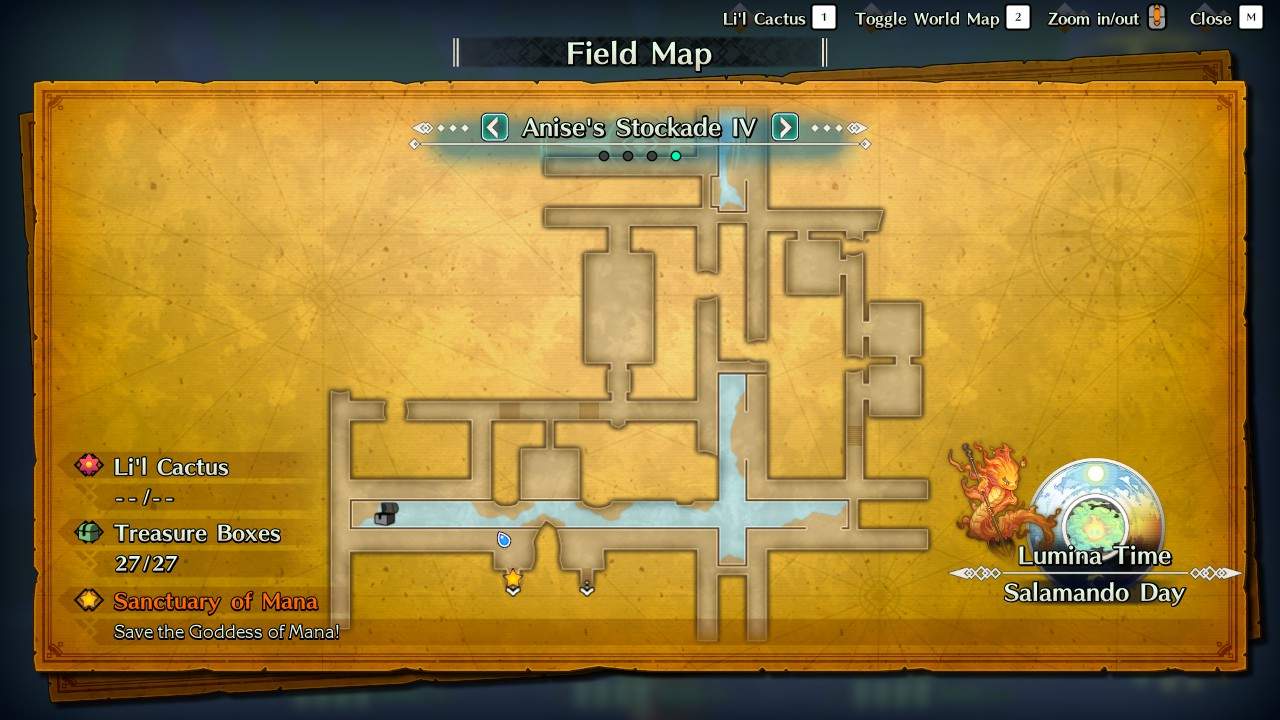
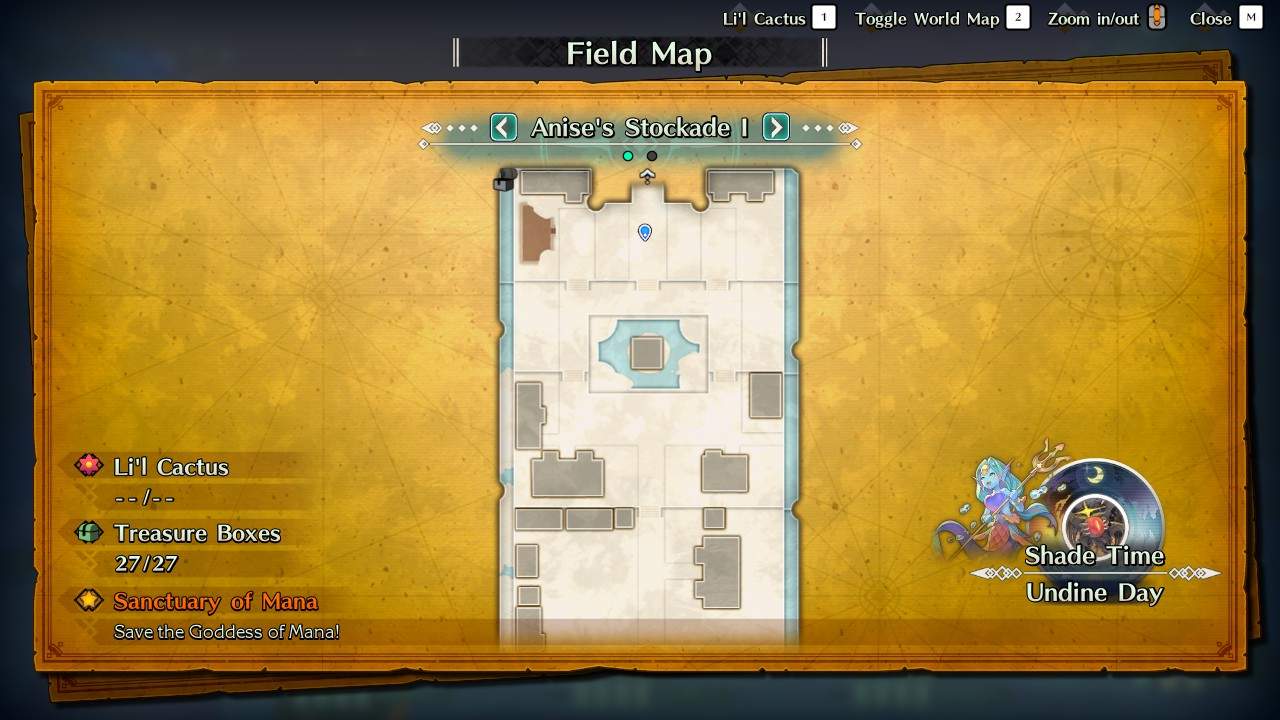
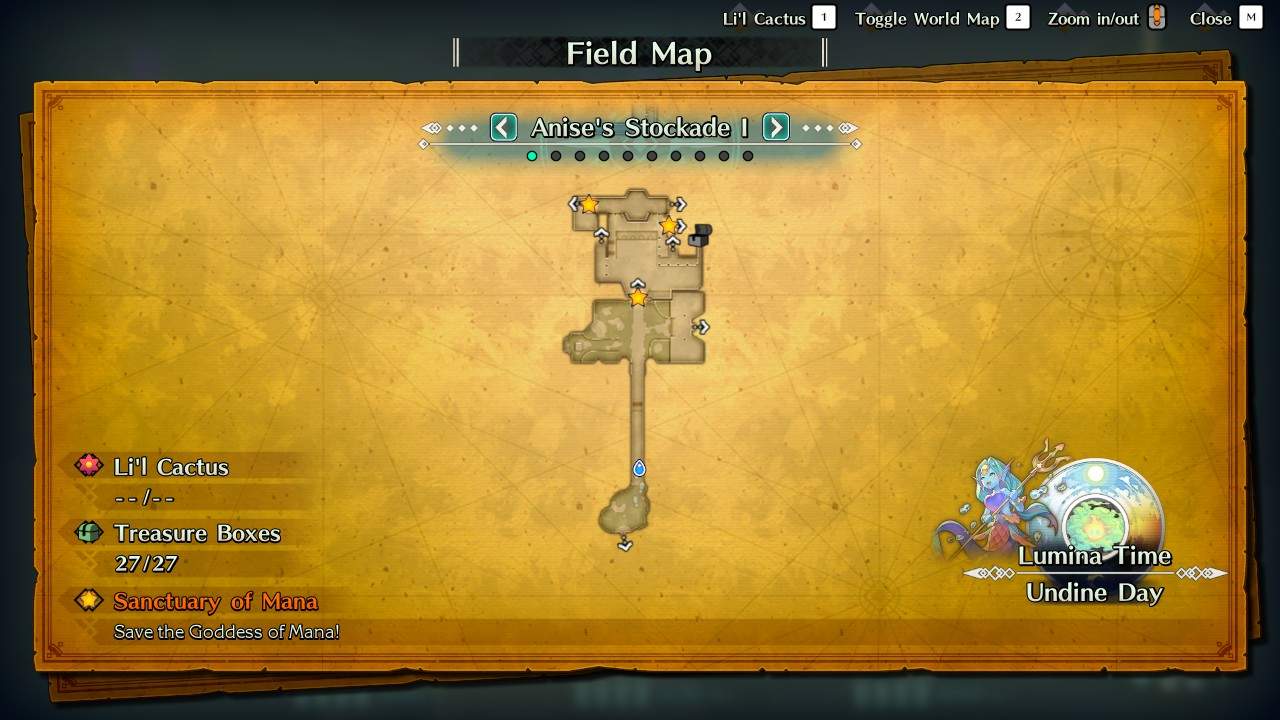
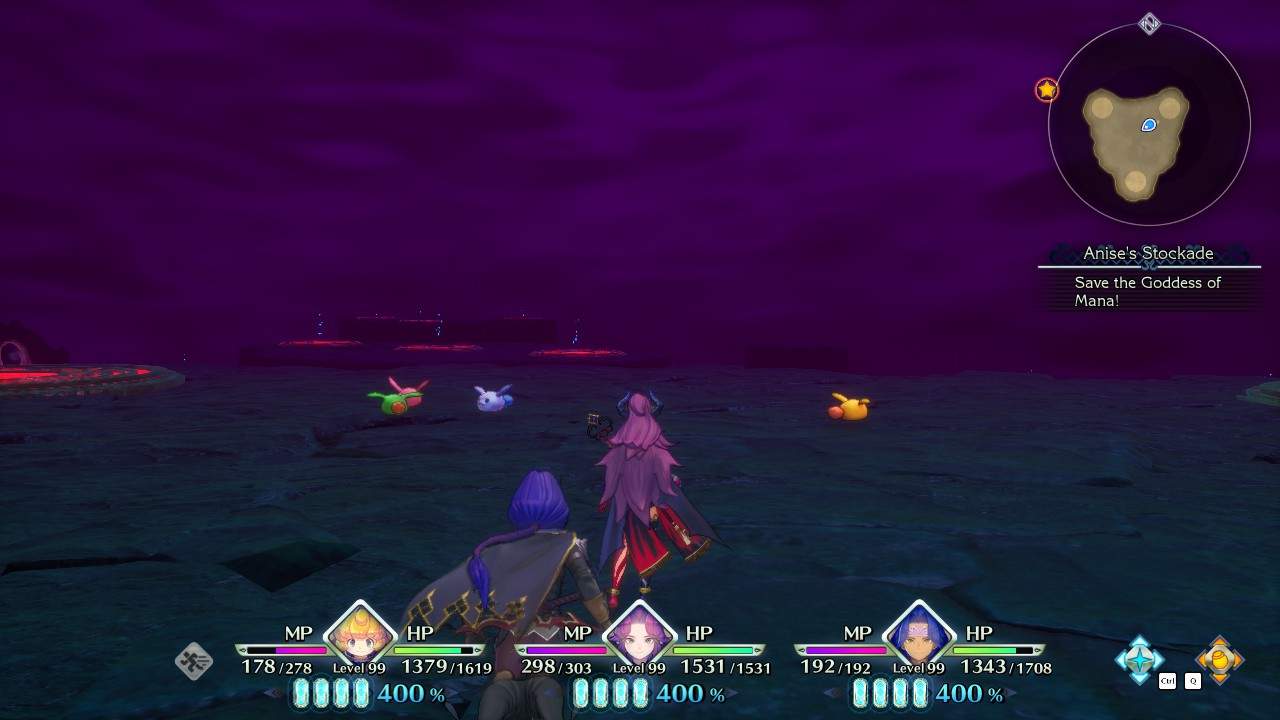
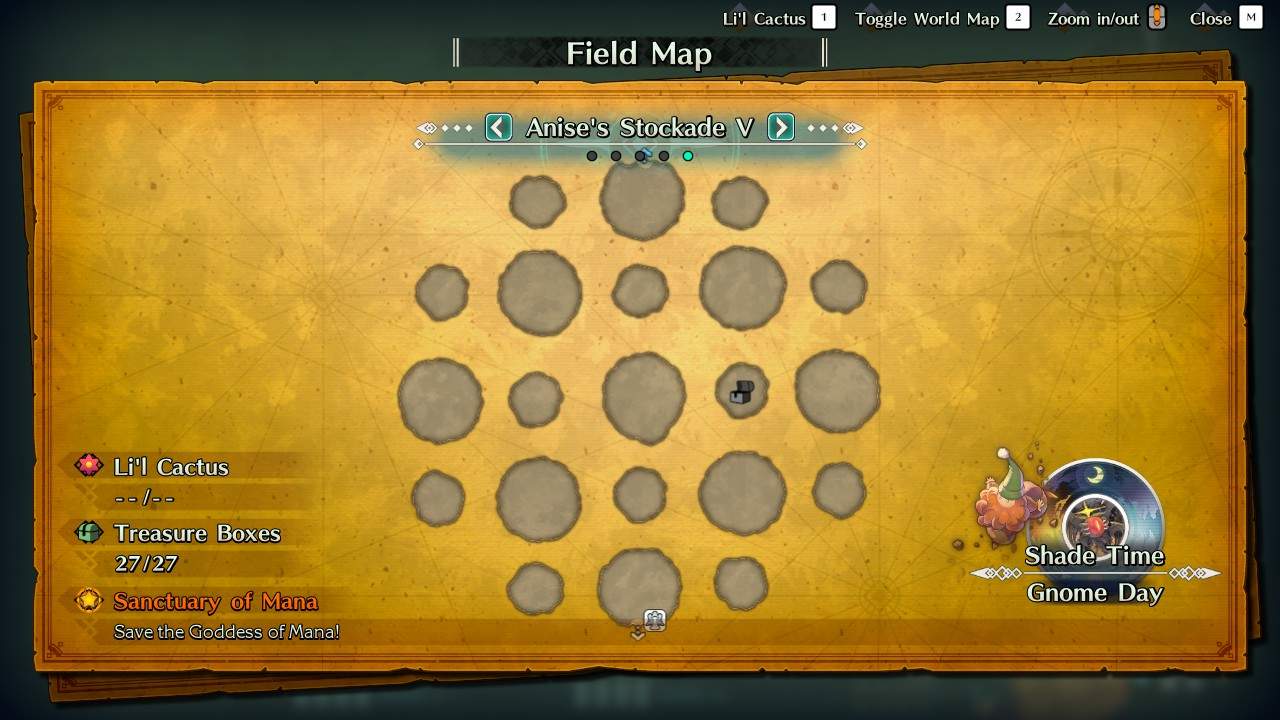
Final Area: Anise
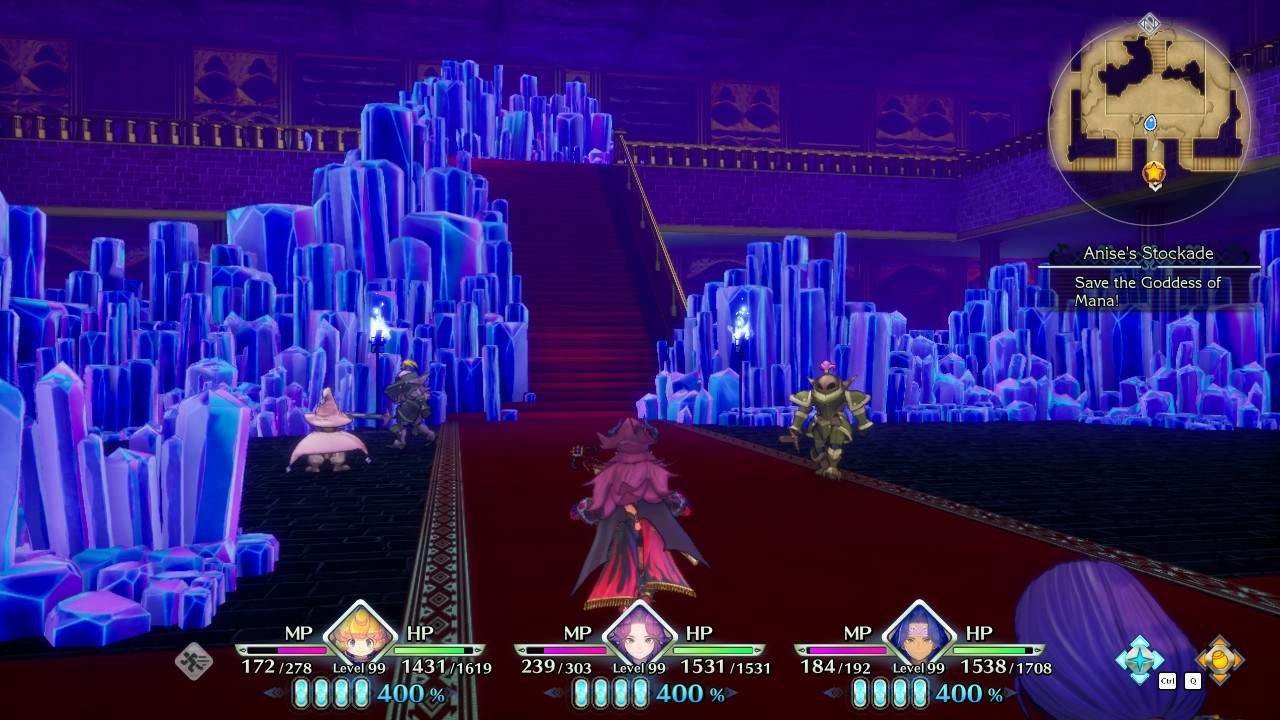
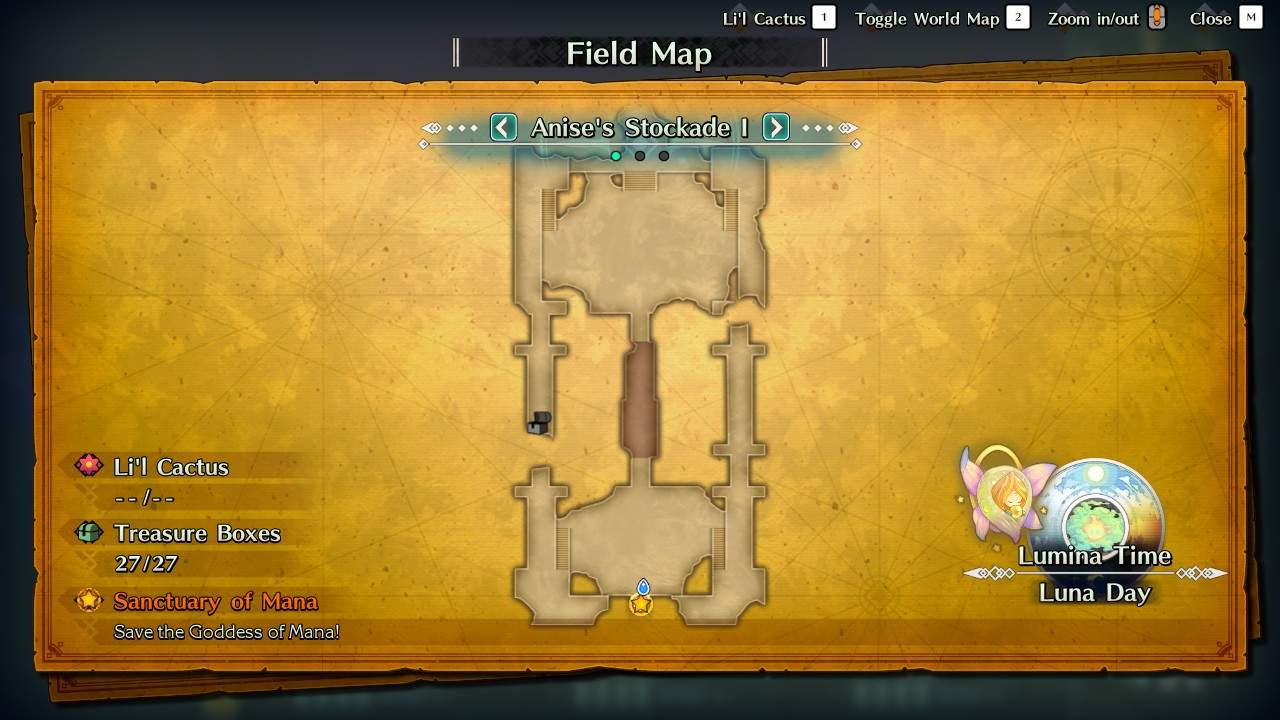
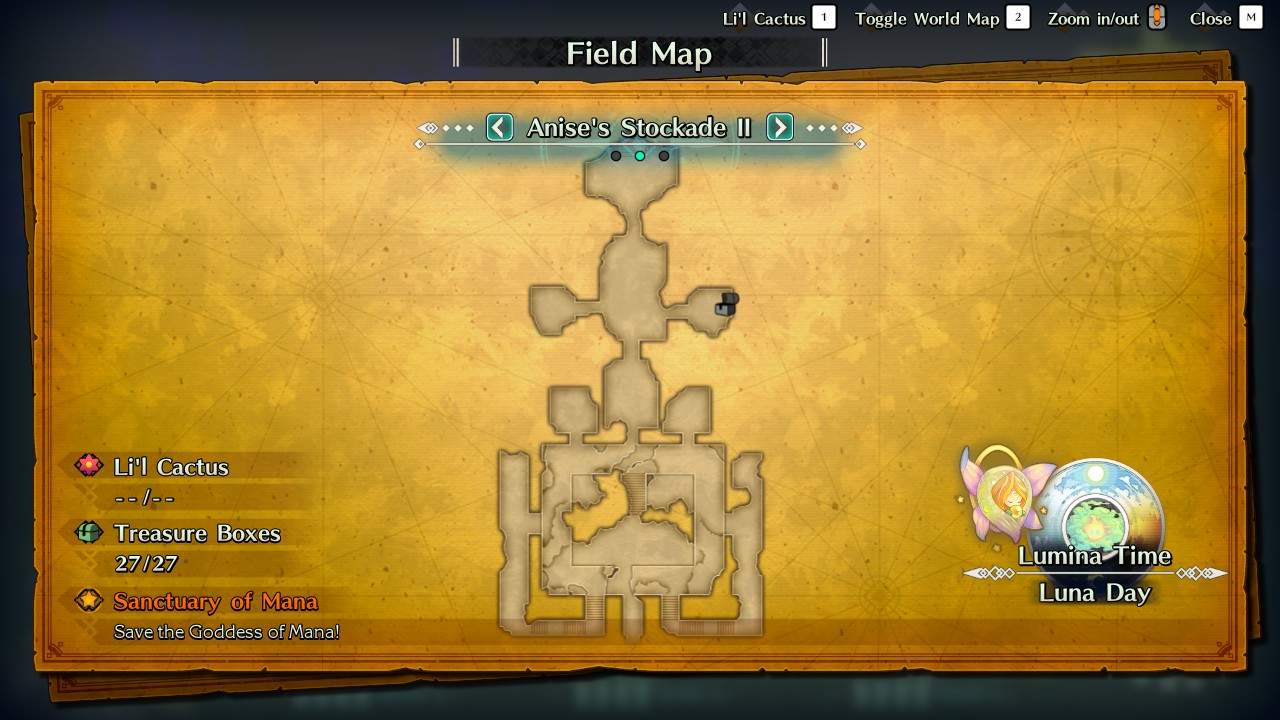
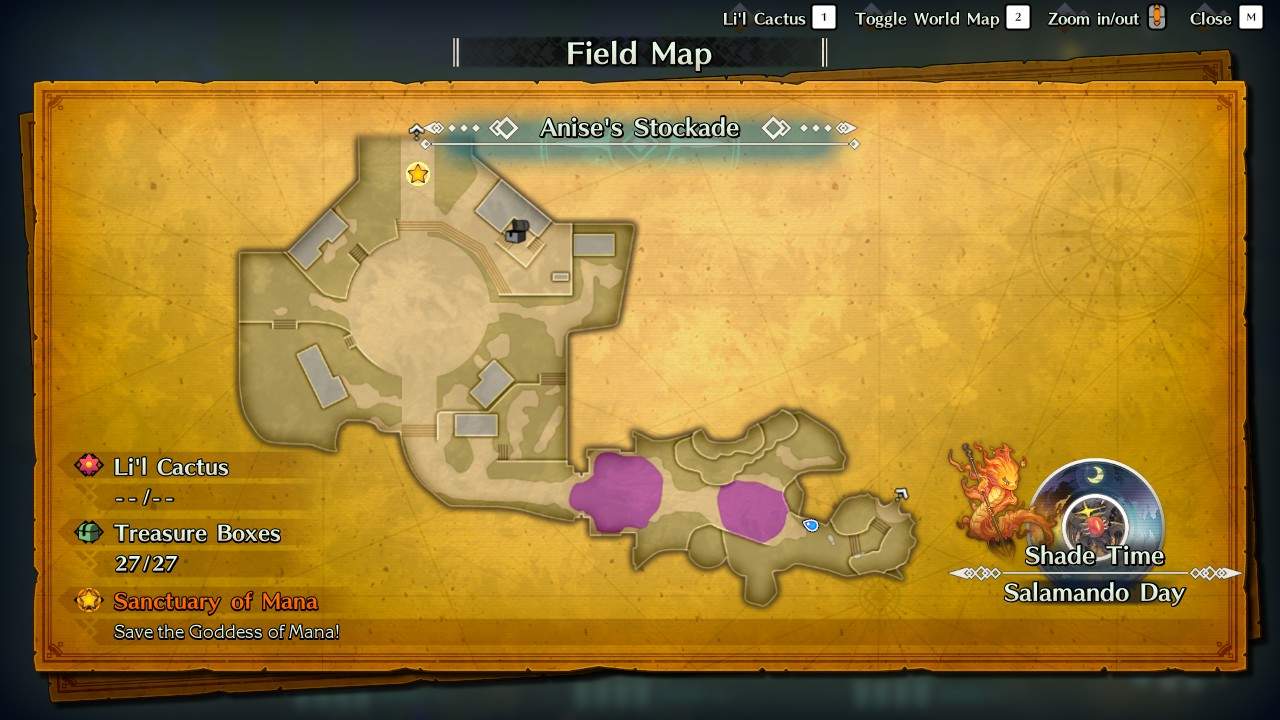
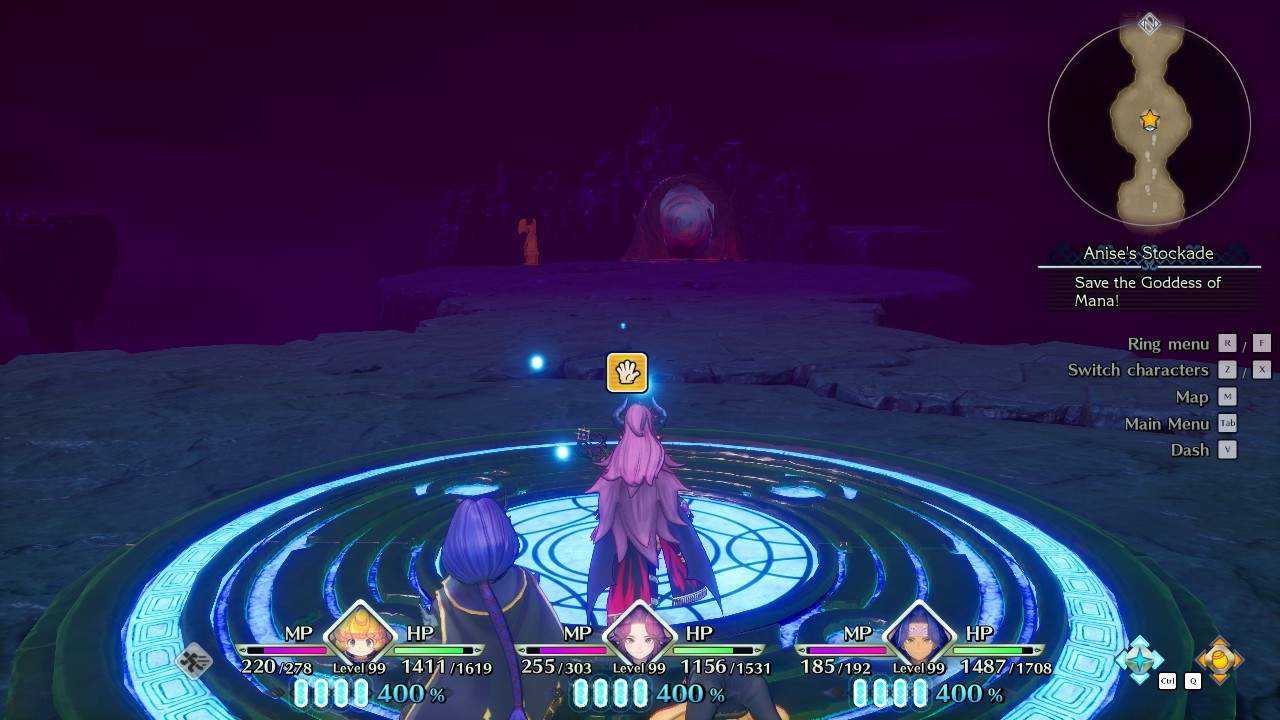
Final Area
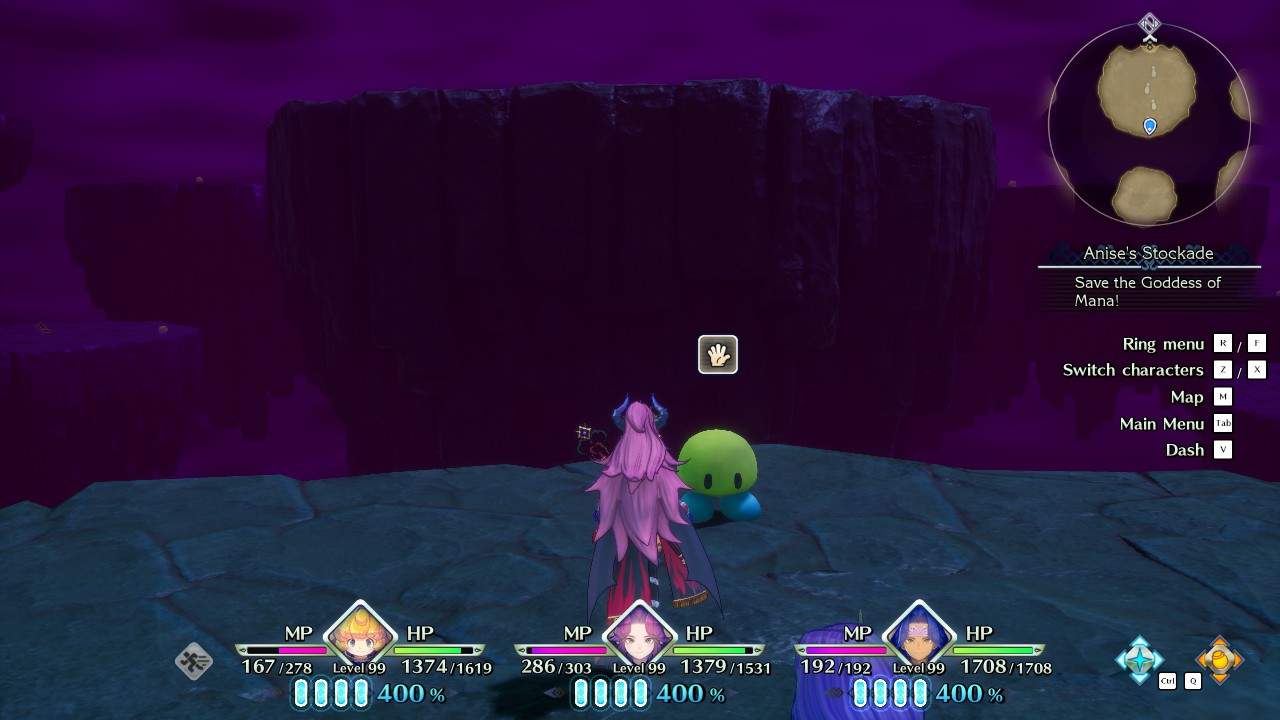
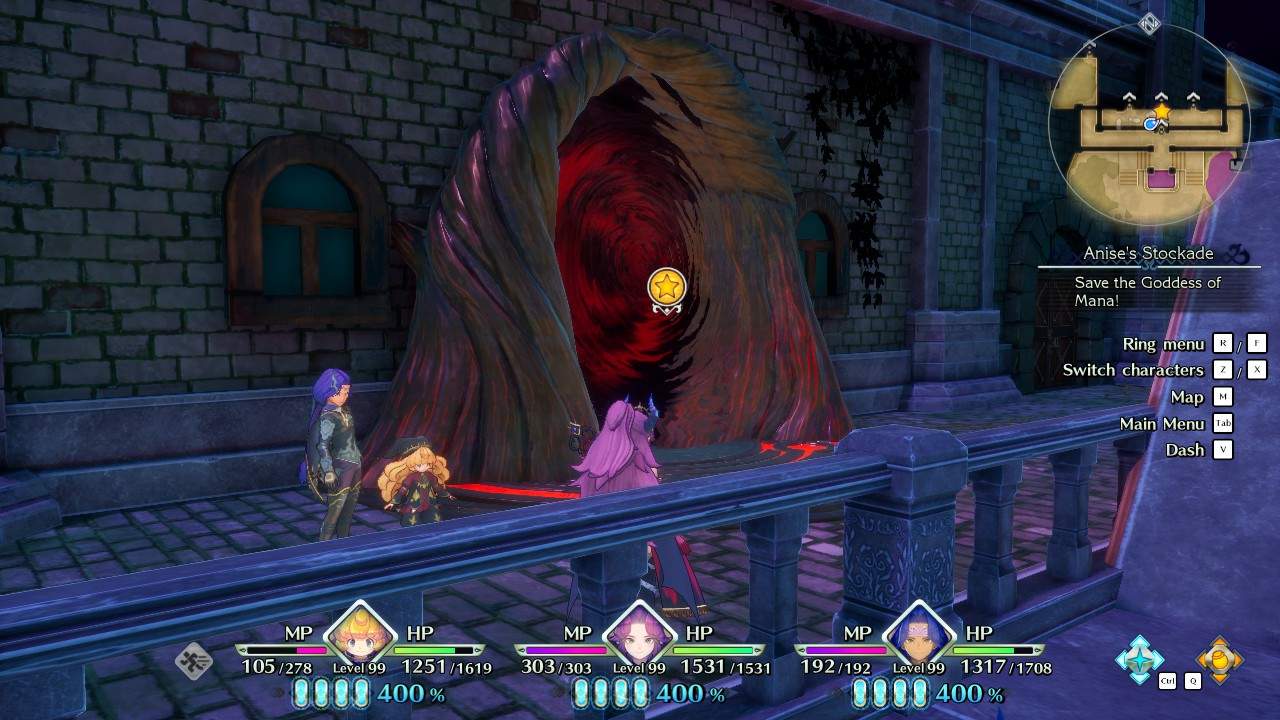
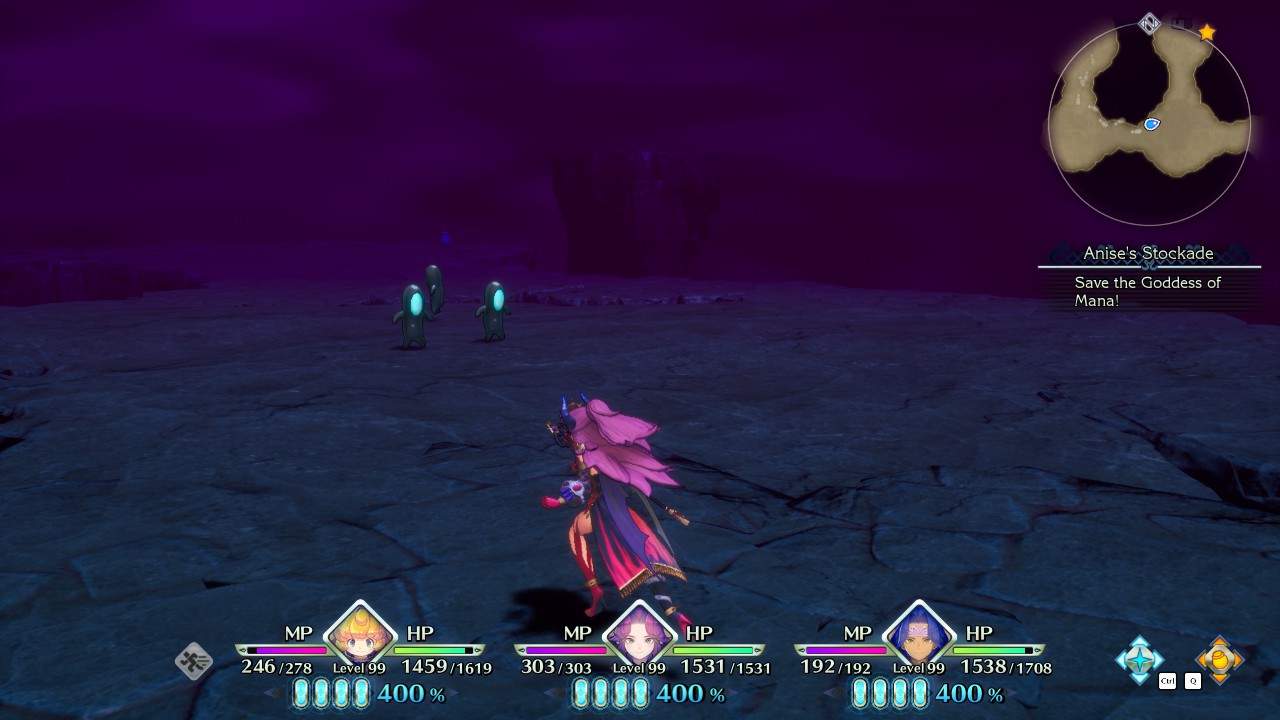
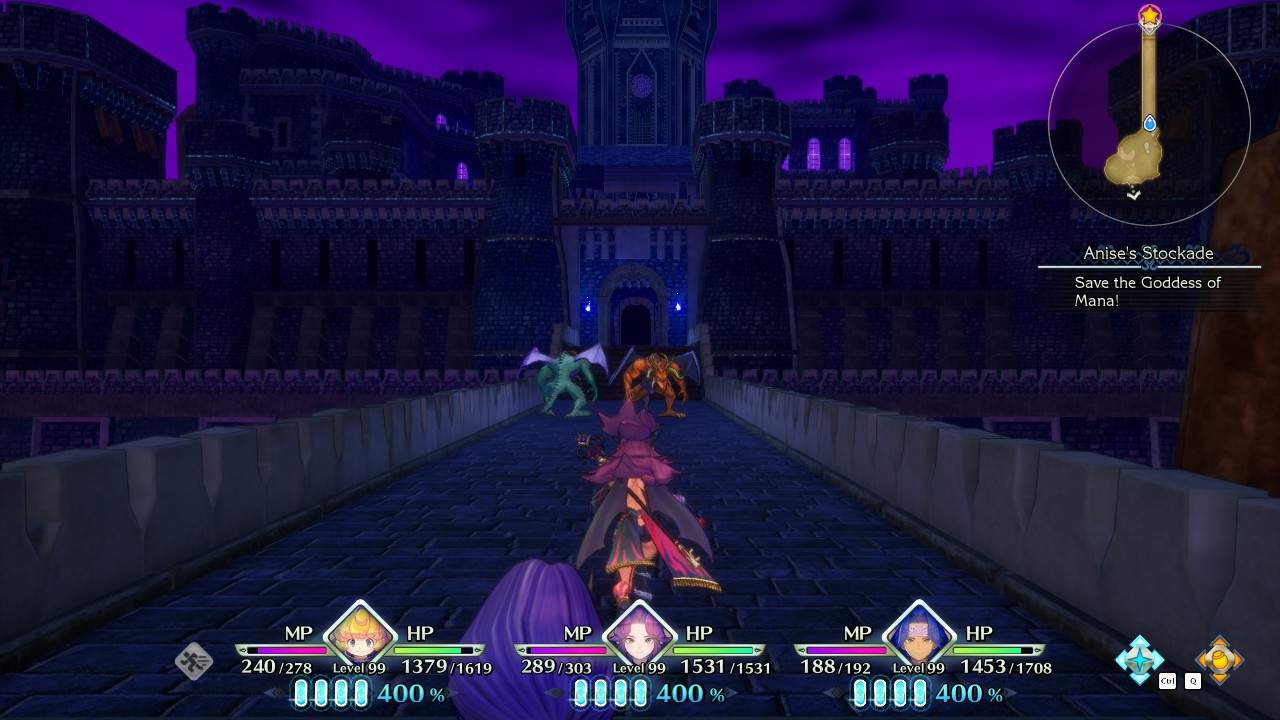
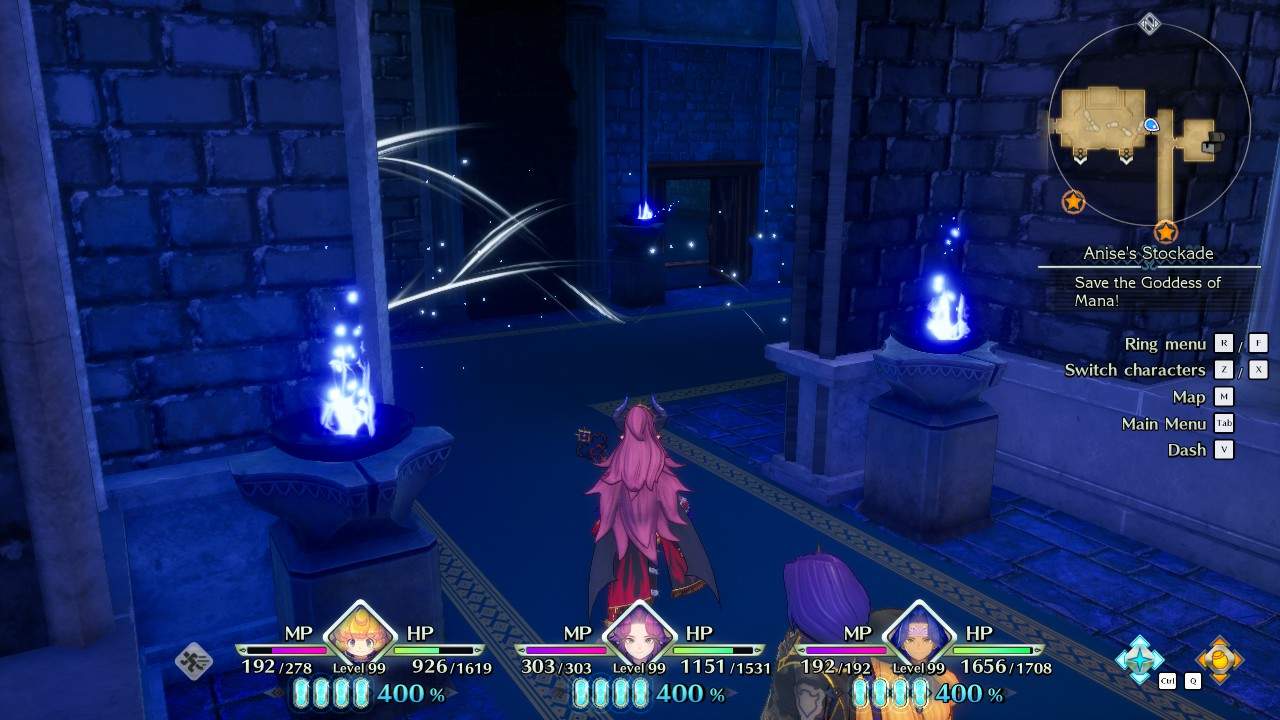
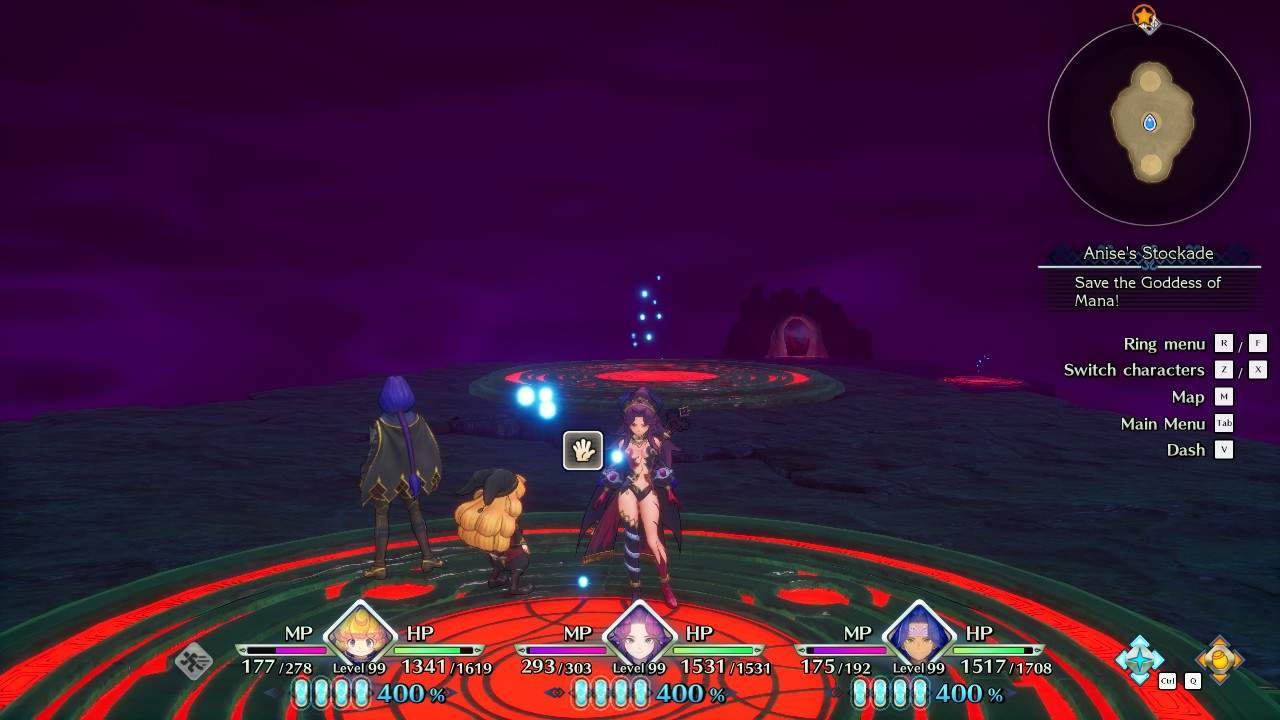
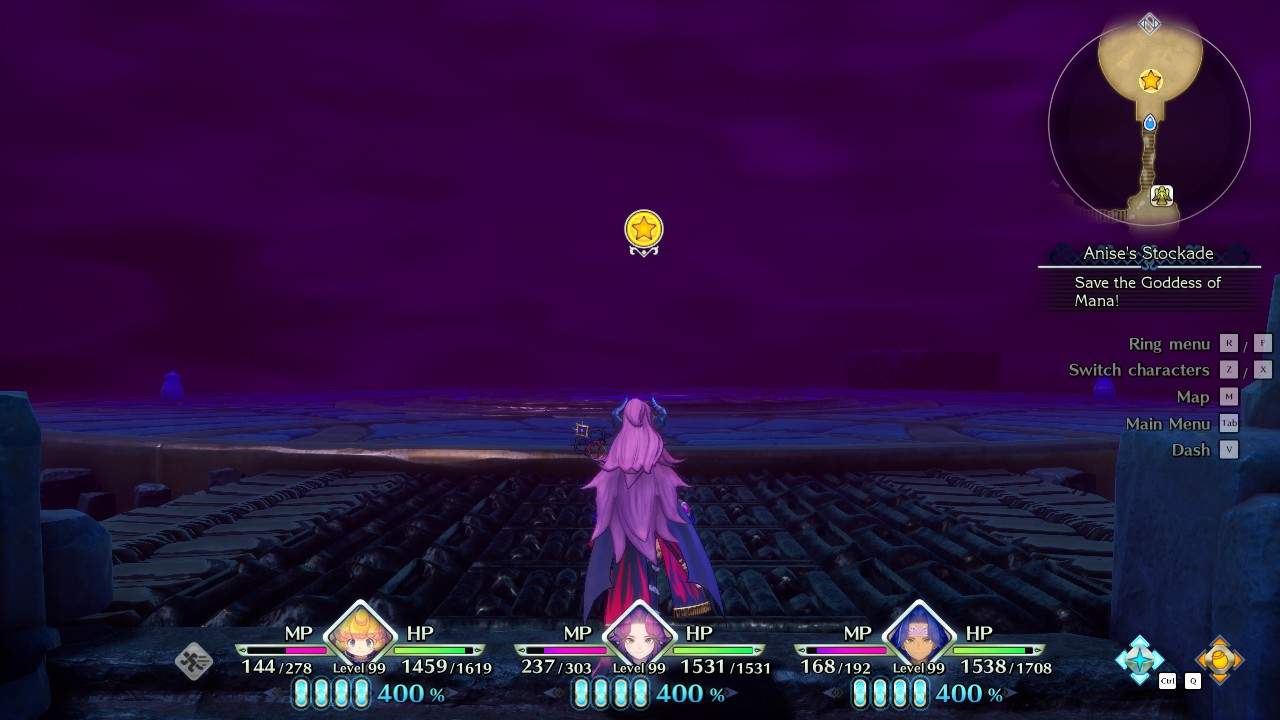
You’ll enter through the portal into this area. There’s an ominous pulsing in the background that sounds like the beating of a heart, and some creepy mood music. There’s a Gold Mana Statue here, as well as a port back to the starting area.
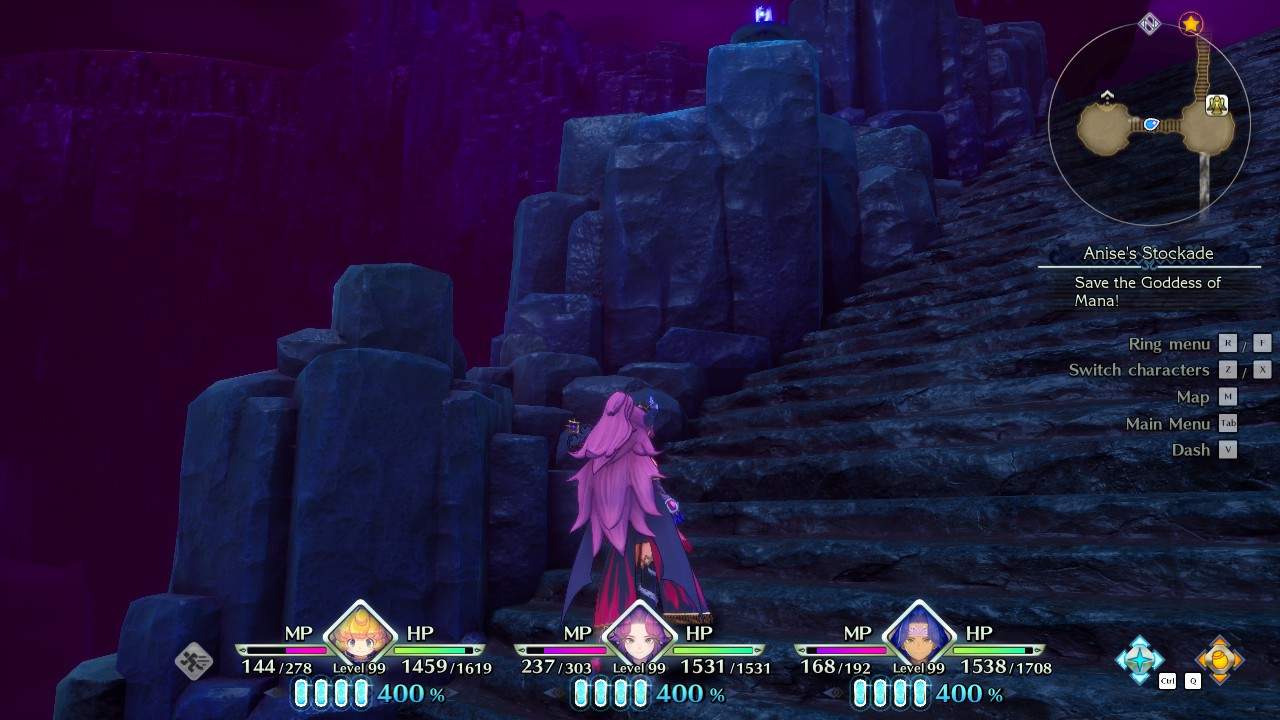
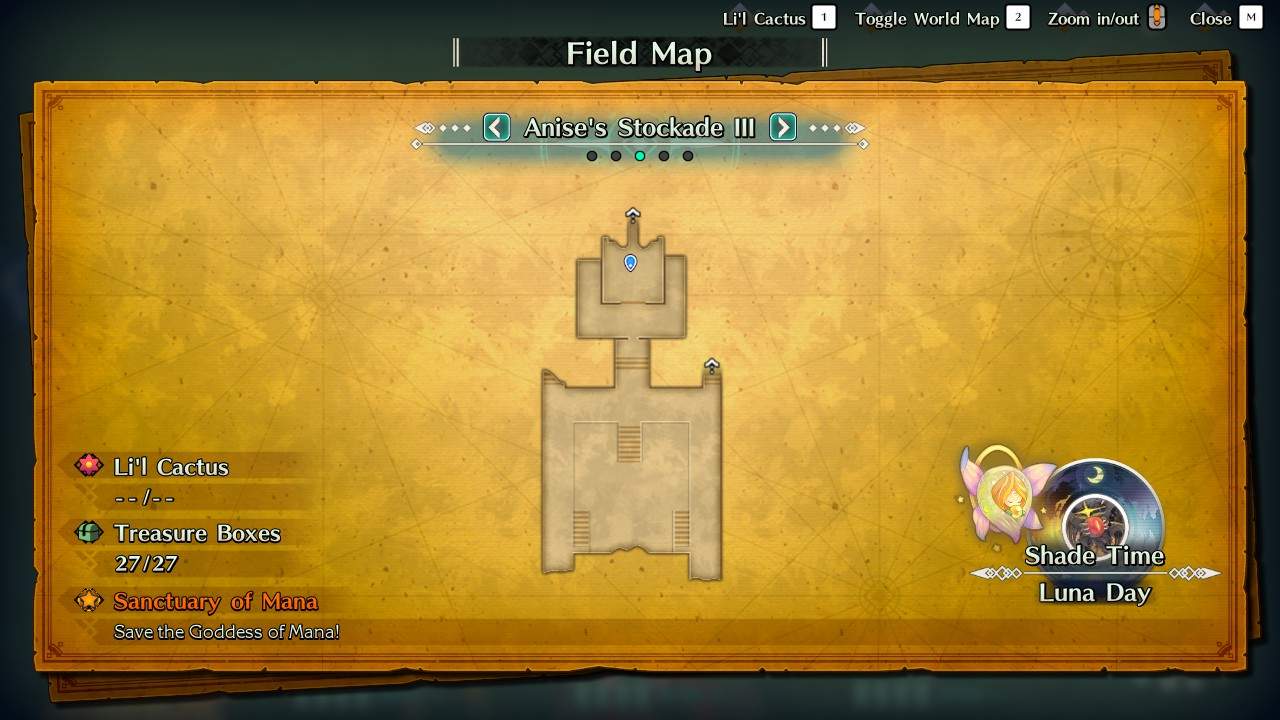
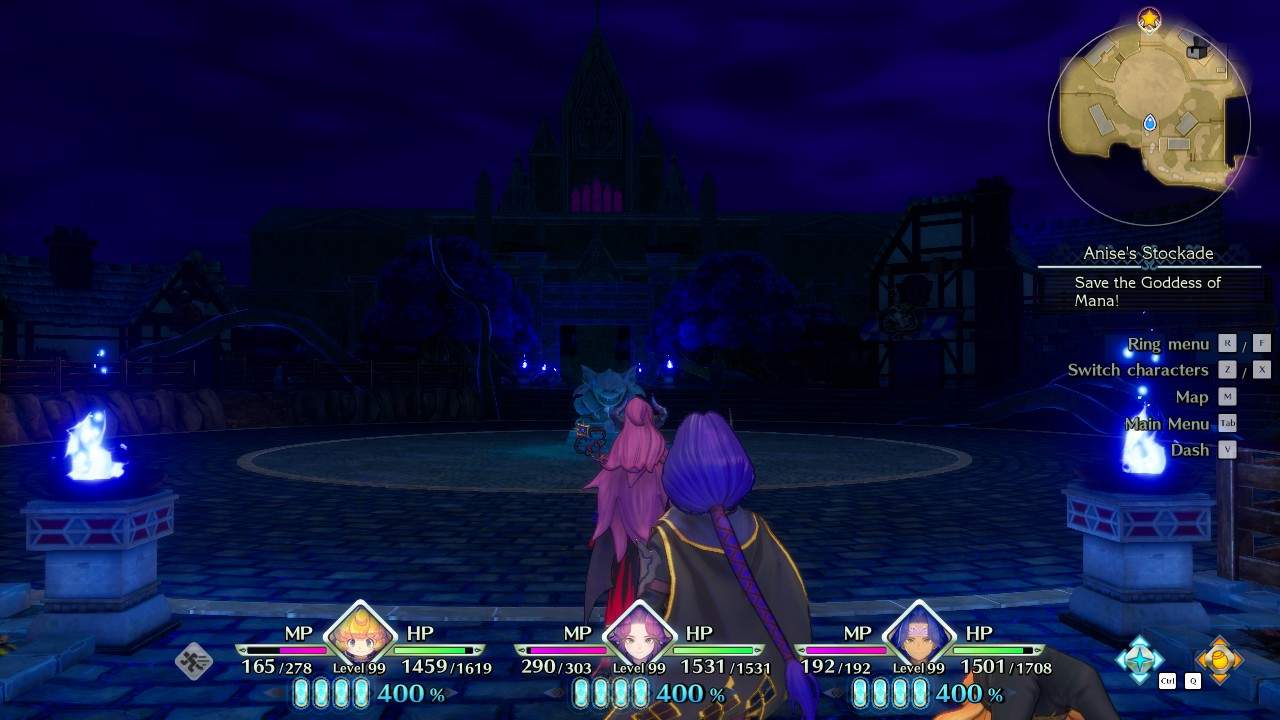
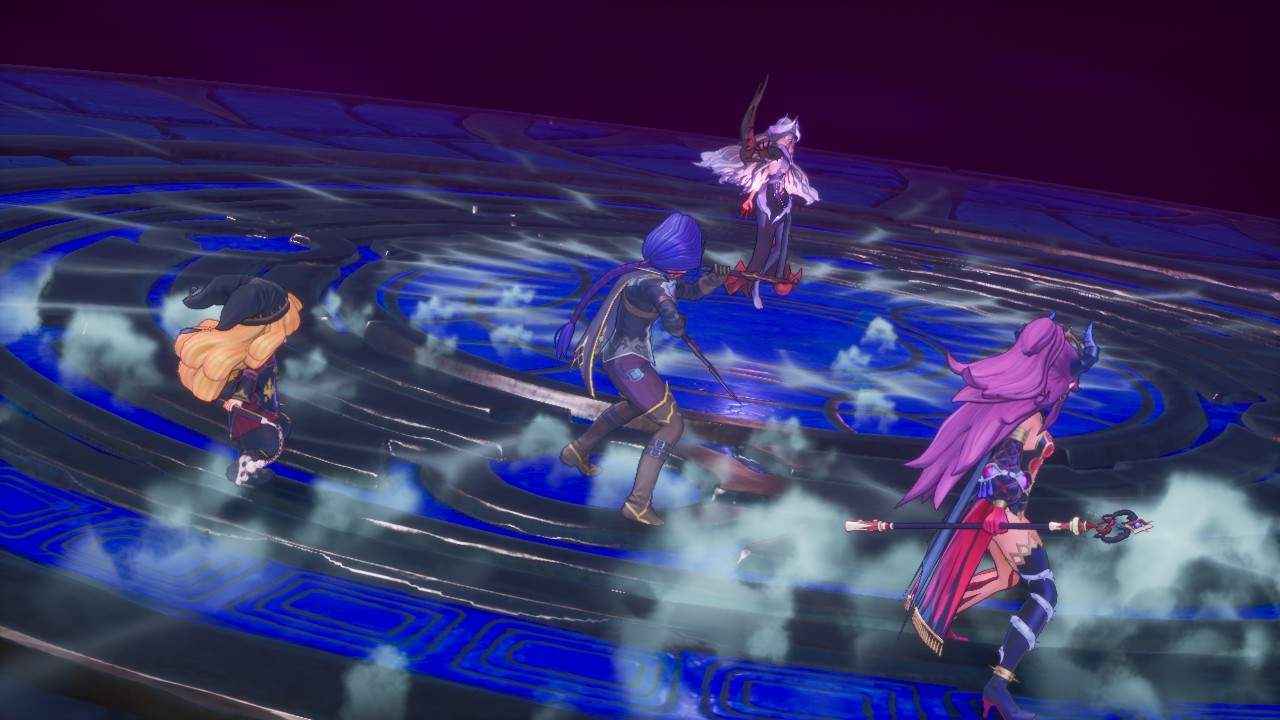
Climb up the stairs next to the Gold Mana Statue, and you can confront Anise.
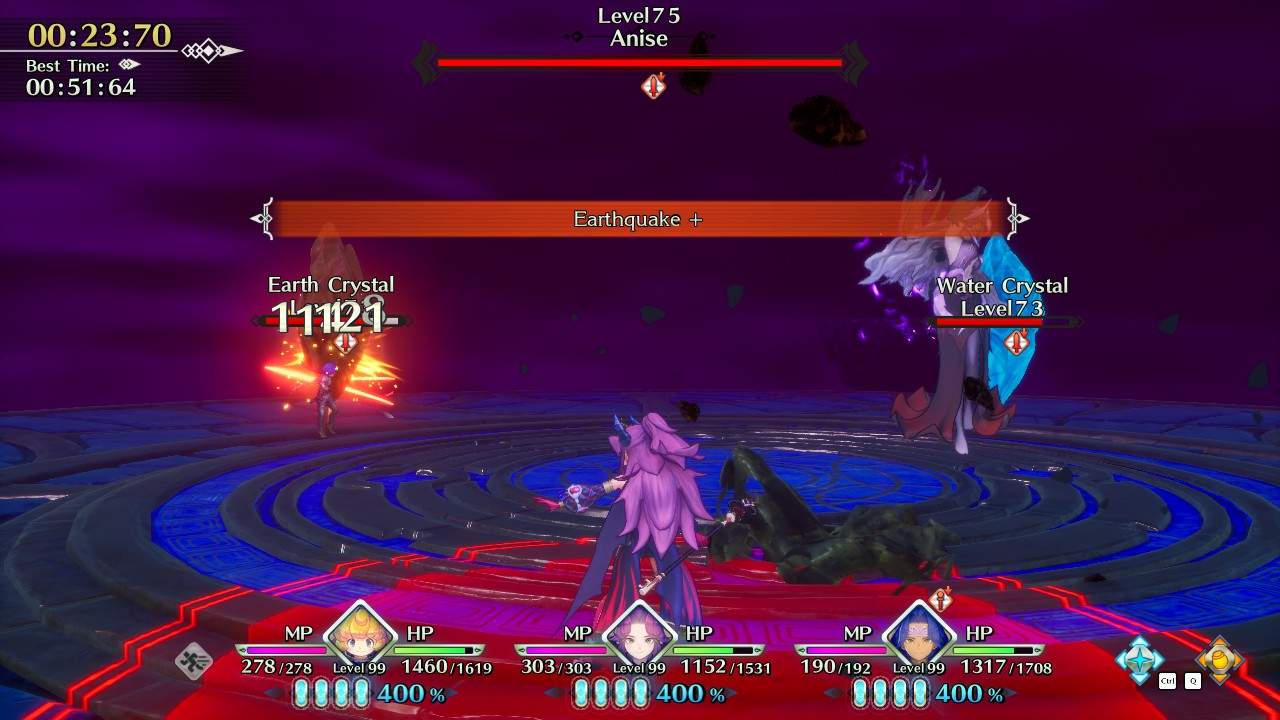
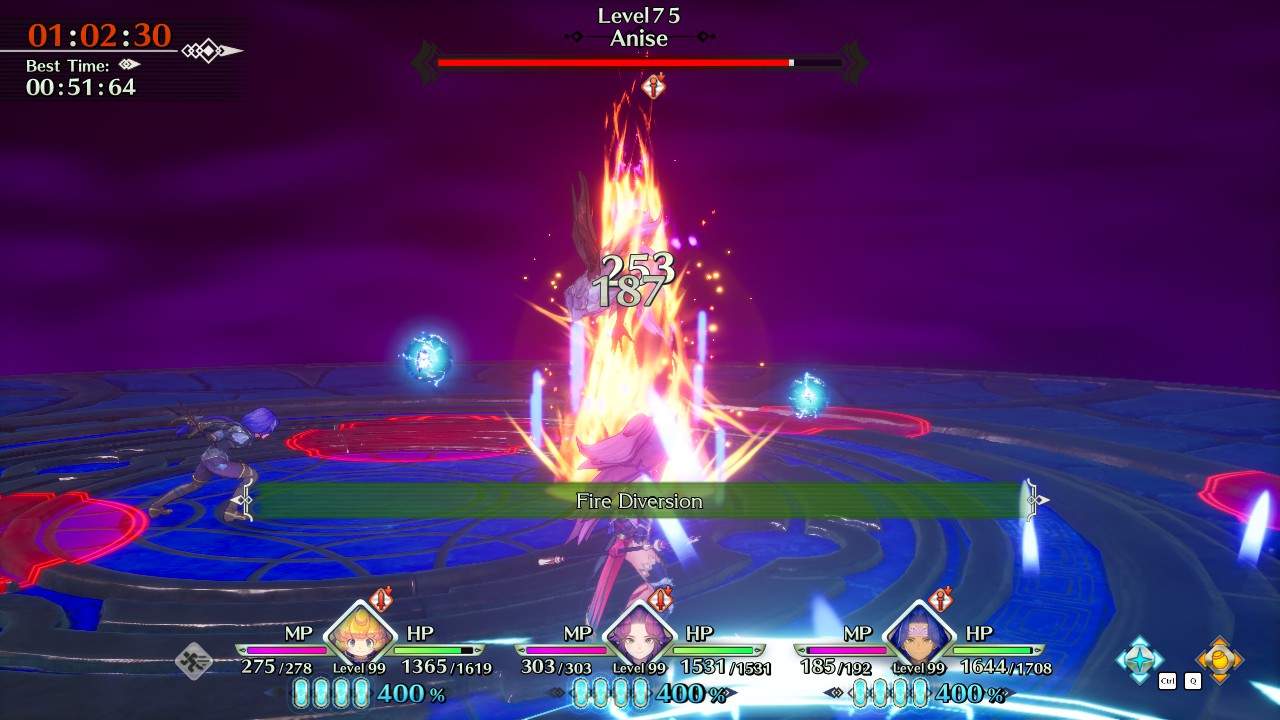
Anise Strategies
This boss has two phases. In Phase 1, she is in her caster form, with four Elemental Crystals that need to be shattered before you can deal damage to her. Her primary modes of attack are teleporting and casting massive AOE spells. She occasionally summons adds to harass you as well, but the adds are easy. Given enough time, the mana crystals come back, so try to force a phase change as soon as you can.
Basically, DPS hard.
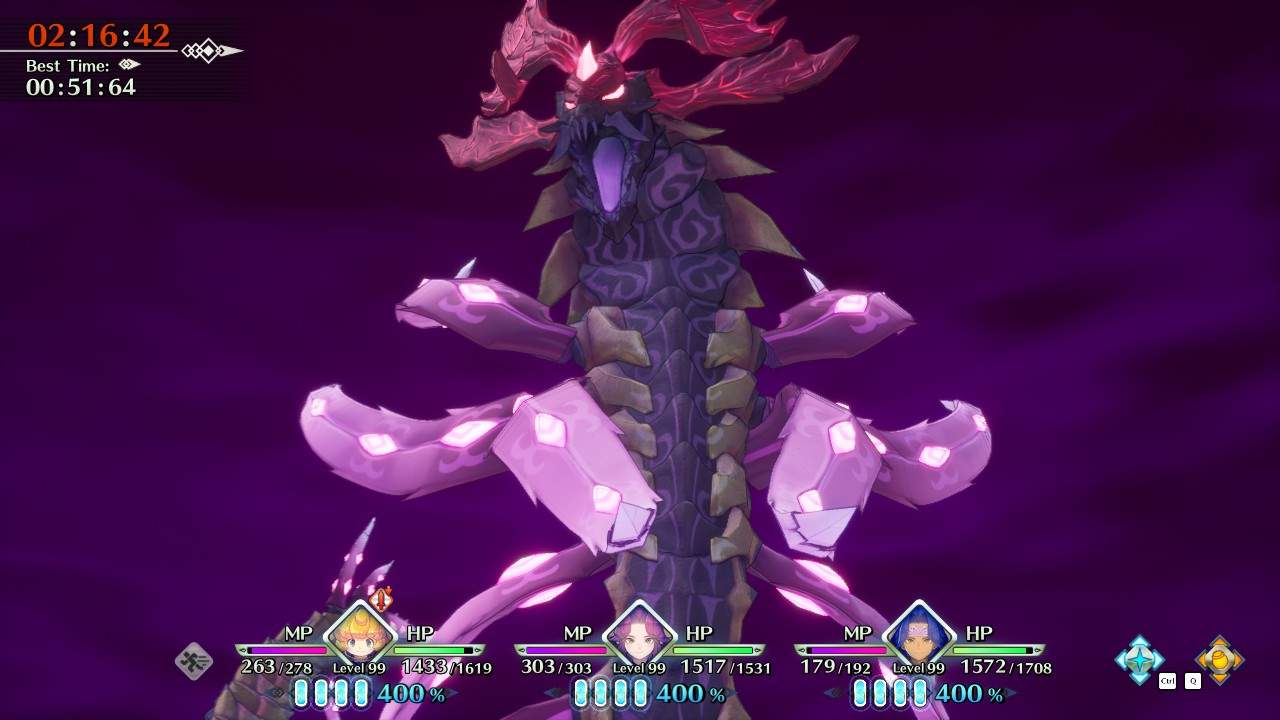
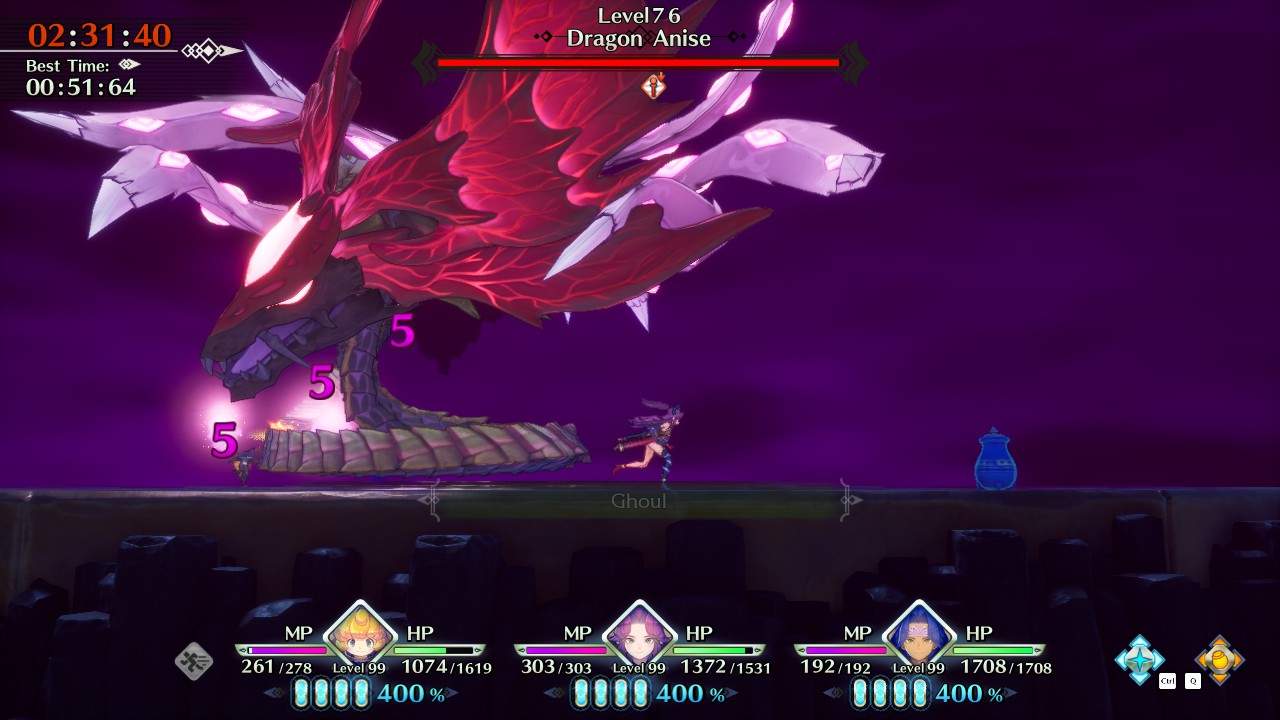
In Phase 2, she turns into a dragon, and does big damage with both AOE physical and spell attacks. She also has a special ability that spawns crystals and adds that can be devastating. You want to bust the crystals as fast as you can, and find a way to mitigate the damage or it can wipe you.
Basically, don’t stand in fire, DPS hard.

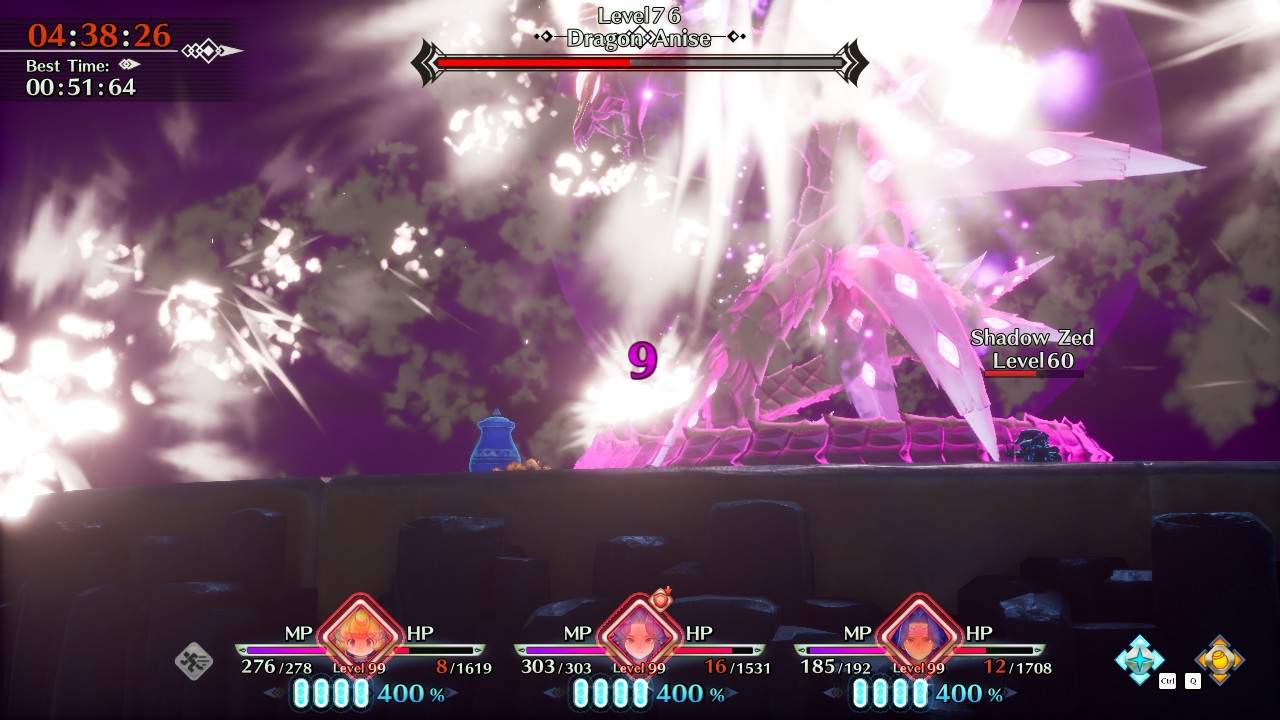
I’ve found beating her with Stone Gust spam on Angela to be super effective.


Be the first to comment