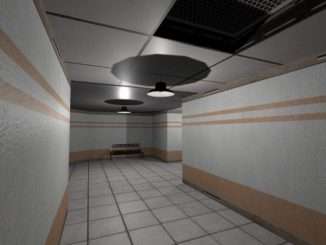
A simple tutorial / guide through the builtin map / level editor.
Guide to Map Editor
What This Guide Will Cover
This guide will cover:
- How to navigate the UI.
- What the keybinds are.
- Spawn pre-made rooms and objects.
- Known issues as of writing.
This guide will not cover:
- How to make custom rooms.
- How to make custom objects.
- Anything that requires the Unity Editor.
- Scripting.
The Guide Itself
The map editor was designed with ease-of-use in mind.
When you open the map editor, you will be greeted with a menu with buttons for:
- Load Map
- Save Map
- Create Map
- Main Menu
At this menu, you will want to click “Create Map” to create a new map.
Once the menu disappears, you may now right click to enter fly mode.
Fly mode controls are:
- W – Forward
- S – Backward
- A – Left
- D – Right
- E/R – Up
- Q/F – Down
Right click again to get out of fly mode.
This will bring up a sidebar. This sidebar will contain the objects you can place in a map. The objects will also be sorted into categories, (LightRooms, HeavyRooms, etc.).
Click on the object name to spawn it in. It will spawn it in at your selected door, or your camera.
After spawning in the object, click on it to select it.
If the object selected is a room, you will see button(s) labeled “Select Door.” Click the button to select the door for spawning the next room. If you want to rotate an object, press the “R” key to rotate it. To delete an object, press the delete key (not backspace).
Final Notes
Please be aware of how large your map is along the up/down axis. Certain features are automatically made a certain heights.
Also, keep the maps small. Large maps are known for lag. The (current) default map is a perfect example of low FPS.


Soooo WHERE IS TUTOTIAL ?