
Kill Raphael’s Old Enemy Quest
Raphael is waiting for the party near the entrance to the Thorm Mausoleum (X:-191, Y:112). The Mausoleum is northeast of the House of Healing.
He immediately strikes up a conversation, explaining that a dangerous creature lurks below the Mausoleum. Raphael couches his words in poetics, but eventually spits out that the creature is an enemy of his and he wants him dead.
If Astarion is in the party when Raphael appears, then he will make a deal with Raphael to tell him about his scars in exchange for killing the demon.
This occurs regardless of if Astarion has confided in the party about his scars. Raphael impresses upon the party how dangerous the creature is and, if Karlach is in the party, confirms the creature is an orthon. Then he disappears, leaving the party to move forward into the Mausoleum.
Finding the Orthon
Enter the Mausoleum after being accosted by Raphael and there is a small puzzle to proceed forward. There are three paintings with buttons underneath them, press them in the following order to open the way: Moonrise Towers, Grief, General. Move north using the traversal gem to enter the Gauntlet of Shar.
The purple glyphs reveal a path to the umbral gem.
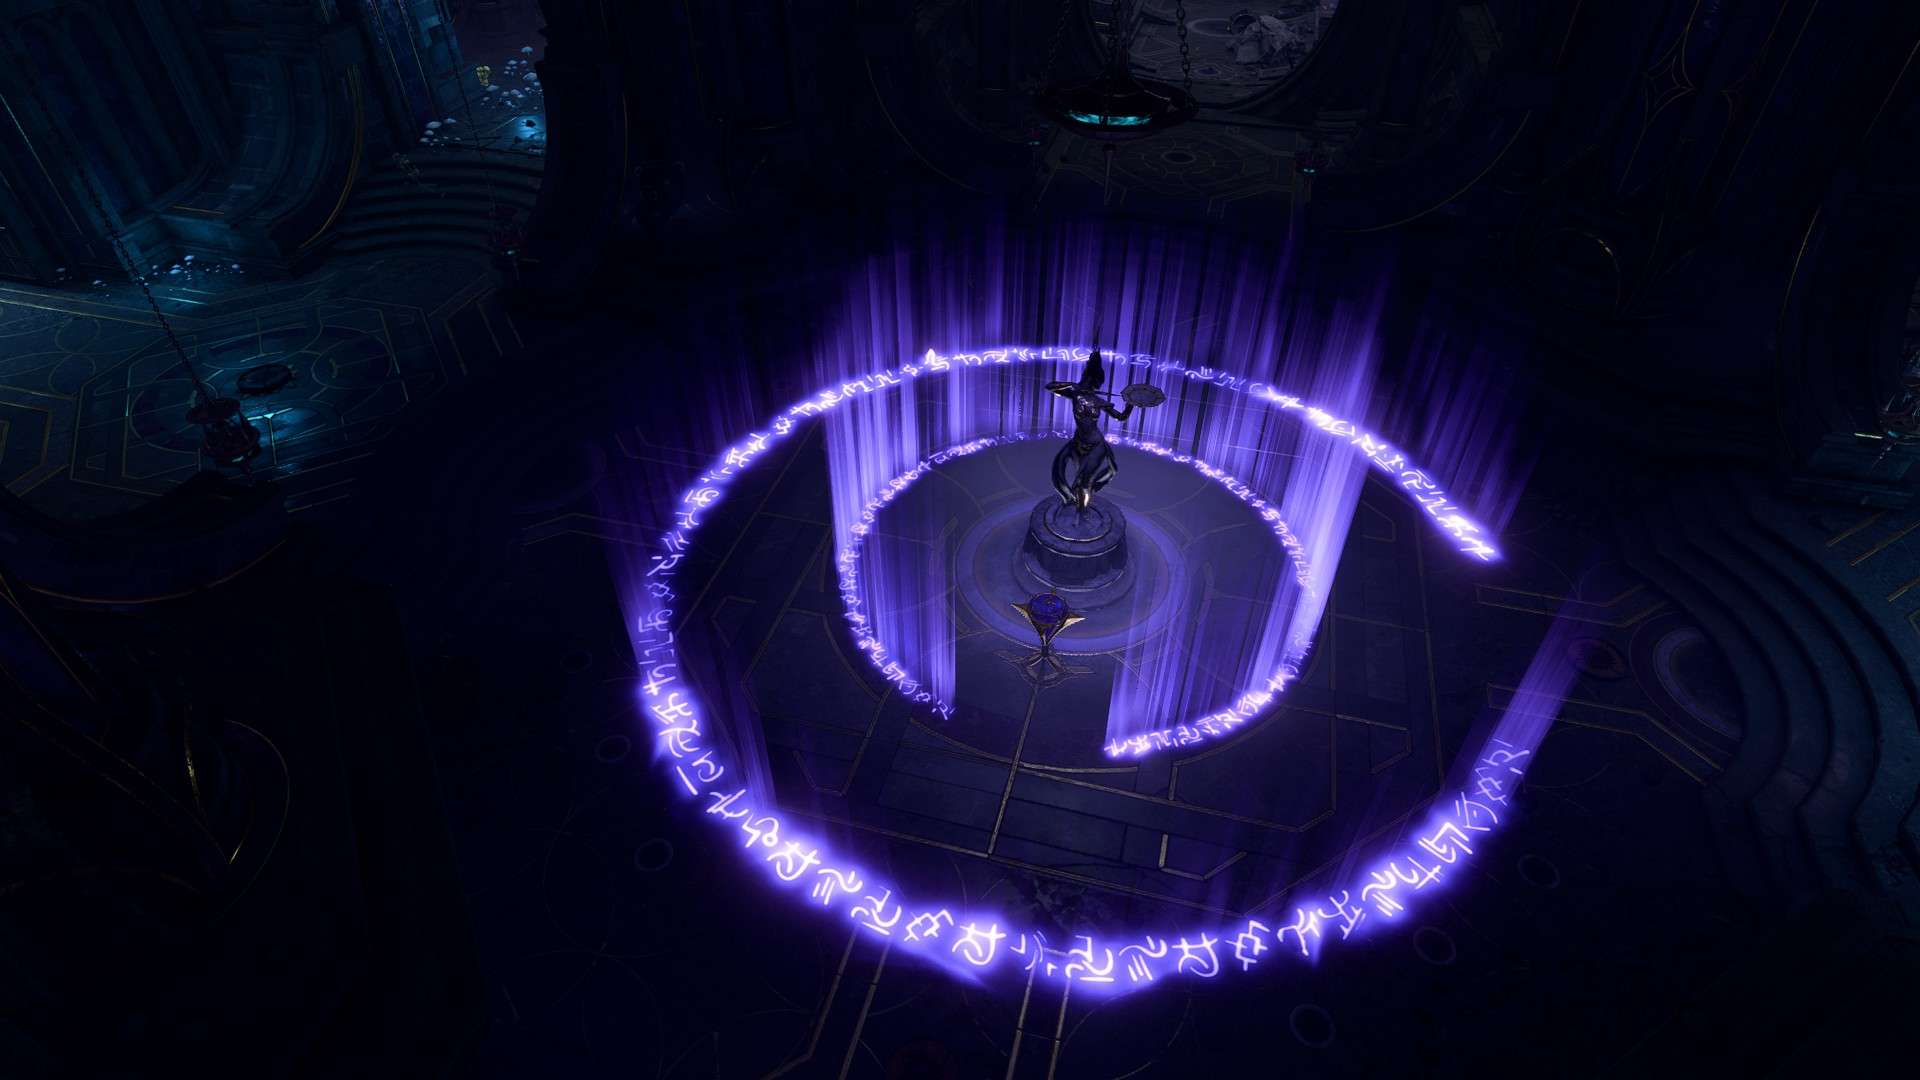
Once inside, Shar speaks to the party, inviting them to take on her trials and prove themselves worthy. The first task is to access an Umbral Gem at a statue. To do this, the party must snuff out eight Mystic Thuribles around the room. There are two levers to the north and south of each side of the room.
The rooms are protected by pressure plates, which can be disarmed (DC 10) as well as vents that activate with the plates. Hit the levers to lower the Thuribles, then interact with them to snuff out their lights. Getting too close to the statue before the Thuribles are snuffed out causes it to magically repel the party. Any Moonlanterns must also be unequipped, as they emit light.
Once the room is shrouded in darkness, purple glyphs are revealed around the statue. Follow the gaps in the glyphs to touch the Umbral Gem. This opens the way north.
Follow the path forward and the party eventually encounters a group of Reconstituted Duelists. They try to warn the party away, but are interrupted by tremors. A group of undead Justiciars attack the party and Umbral Tremors appear. The Umbral Tremors can summor more Justiciars until they disappear.
Dealing with Yurgir
The orthon, Yurgir, is on the eastern end of the Gauntlet (X:-658, Y:-754). Yurgir is prepared to take the party down, smelling Raphael on them, and the party can attack in response or try to make a deal with him.
Choose “Put that thing down. I’m here to talk” to start negotiations. Then choose “Wait – you know Raphael?” when Yurgir mention’s Raphael’s scent being on them. Choose “I’ve had dealings with that devil. Maybe we can help each other.” to have Yurgir explains that he isn’t physically trapped by the Gauntlet, but trapped by Raphael’s contract.
Then choose “Let’s share our experiences about Raphael. Perhaps we can help each other.” Yurgir shares his contract, a song:
- Spill all the blood sworn to the night. Silence all prayers; smother each rite
- Wander Shar’s halls; hungry to slay; Leave no Justiciar alive to obey.
- Leave none to hear it, then be set free; This song is your oath, swear, swear it to me.
From here, the party can genuinely try to help him and start Break Yurgir’s Contract or trick Yurgir into killing his minions and himself.
- The party can Persuade (DC 16) Yurgir to stand down by choosing “There must be something you missed. Let me search this place for you.” or “Wait – there’s one last Dark Justiciar. I met him.” if the party has already met Lyrthindor.
- The party can try to trick Yurgir into killing his minions by selecting “The lyrics are a trick. You’ve always had an audience – your followers. Get rid of them” (Persuasion DC 16). Then, he can be Persuaded (DC 21) to kill his displacer beast. To finish the killings, Persuade Yurgir (DC 21) to kill himself to be free of the song.
- Warlocks with a Fiend patron have a unique opportunity to suggest Yurgir kill himself right off the bat, with a Persuasion check of 21.
If Yurgir is attacked outright, he’s joined by many Merregons and a Displacer Beast. Persuading him to start Break Yurgir’s Contract makes it possible to persuade the Displacer Beast to take our party’s side in case the fight breaks out later.
If Astarion is in the party, he disapproves of doing anything beyond immediately attacking Yurgir, even if the party intends to trick him into killing his minions and himself.
Quest Rewards
- Hellfire Hand Crossbow
- Infernal Iron
- Boots of Brilliance
Consequences
Killing Yurgir progresses Astarion’s companion quest, The Pale Elf. Aiding him deeply upsets Astarion, and he must be Persuaded or Deceived (DC 14) into staying with the party.
Killing Yurgir (via persuasion or outright in battle) means the player will need to pass a DC 30 persuasion check when encountering him later in order to convince him to join the fight for Gather Your Allies.
In this particular dialogue, eliminating the enemies via Persuasion grants significantly less XP than killing them normally.
Break Yurgir’s Contract
This quest occurs if the party manages to successfully convince Yurgir to stand down by offering to look into the terms of his contract.
The rocks that can be climbed down to the foot of the Shar statue.

After convincing Yurgir, he sings the terms of his contract:
- Spill all the blood sworn to the night. Silence all prayers; smother each rite
- Wander Shar’s halls; hungry to slay; Leave no Justiciar alive to obey.
- Leave none to hear it, then be set free; This song is your oath, swear, swear it to me.
Based on his contract, it appears that there is still a remaining Dark Justiciar somewhere in the Gauntlet of Shar.
Of all the suspicious things in the Gauntlet, the most noticeable are the rats who, when spoken to with Speak with Animals, tells the party they aren’t worthy to walk on sacred ground.
The book at the foot of the Shar statue.

To find more information on the rats, the party needs to travel down to the base of the statue of Shar. Two possible routes are the following:
- Across from the Silent Library is a craggy rock that can be climbed down. Then follow another set of craggy rocks to climb down the the feet of the Shar statue.
- If the party exits west of Yurgir’s throne, there are a set of broken stones the party can climb down from slightly to the north (X:-684, Y:-737). After this, the party can climb down one set of cragged rock (X:-699, Y:-735) and move slightly to the north to find another set (X:-731, Y:-750) to get to the feet.
Below the feet is a ritual circle. Read the book One Becomes Many and then light the candles around the circle. A rat appears and offers a bargain – if the party leaves them alone, then it will show them the location of a secret treasure cache. The party can technically still complete the quest while getting the cache, but it requires very quickly targeting the rat before it scurries off.
Otherwise, if the party denies the deal, simply attack the rat and several waves of rats appear to fight. There are normal rats, but also necrotic rats and somniatic rats. Defeat all the waves of rats and Lyrthindor returns to his human form. Enraged, he attacks the party.
Raphael tells Yurgir he should give his “sub-contractors” a reward for finishing the job, to which Yurgir says the party can take whatever he leaves at the Gauntlet.
Unfortunately, this does not provide any unique loot and choosing to go this route means missing out on the Hellfire Hand Crossbow looted from Yurgir’s corpse. Regardless, the quest completes with Raphael and Yurgir going to the House of Hope to discuss his new contract.
Quest Rewards
- Umbral Gem
- Boots of Brilliance
- Justiciar’s Scimitar and Justiciar’s Greatshield – looted from Lyrthindor’s corpse.
Consequences
If, in Act Three, the party undertakes Escape the Deal as part of Deal with the Devil or otherwise visits the House of Hope, then the party has a much lower roll to recruit Yurgir for Gather Your Allies. It’s still possible to recruit Yurgir if he’s killed, though.
If Yurgir is spared, Astarion is deeply upset, particularly if he’s in the party. He requires either a Persuasion or Deception Check (DC 14) to remain in the party.
Notes
The party can still track down Lyrthindor’s ritual circle and make a deal with him (or kill him) even if Yurgir is killed.


Be the first to comment