
Note: Remember you pull the gatcha balls apart to collect them, there are no reclamation bins in this game, you will be very sad if you just hang on to them.
Main Menu
There’s nothing to grab here, you can start the game without fear of missing something here.
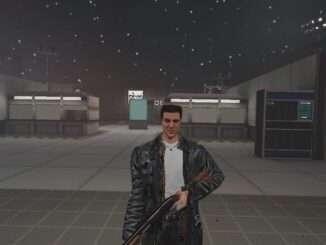
Descent
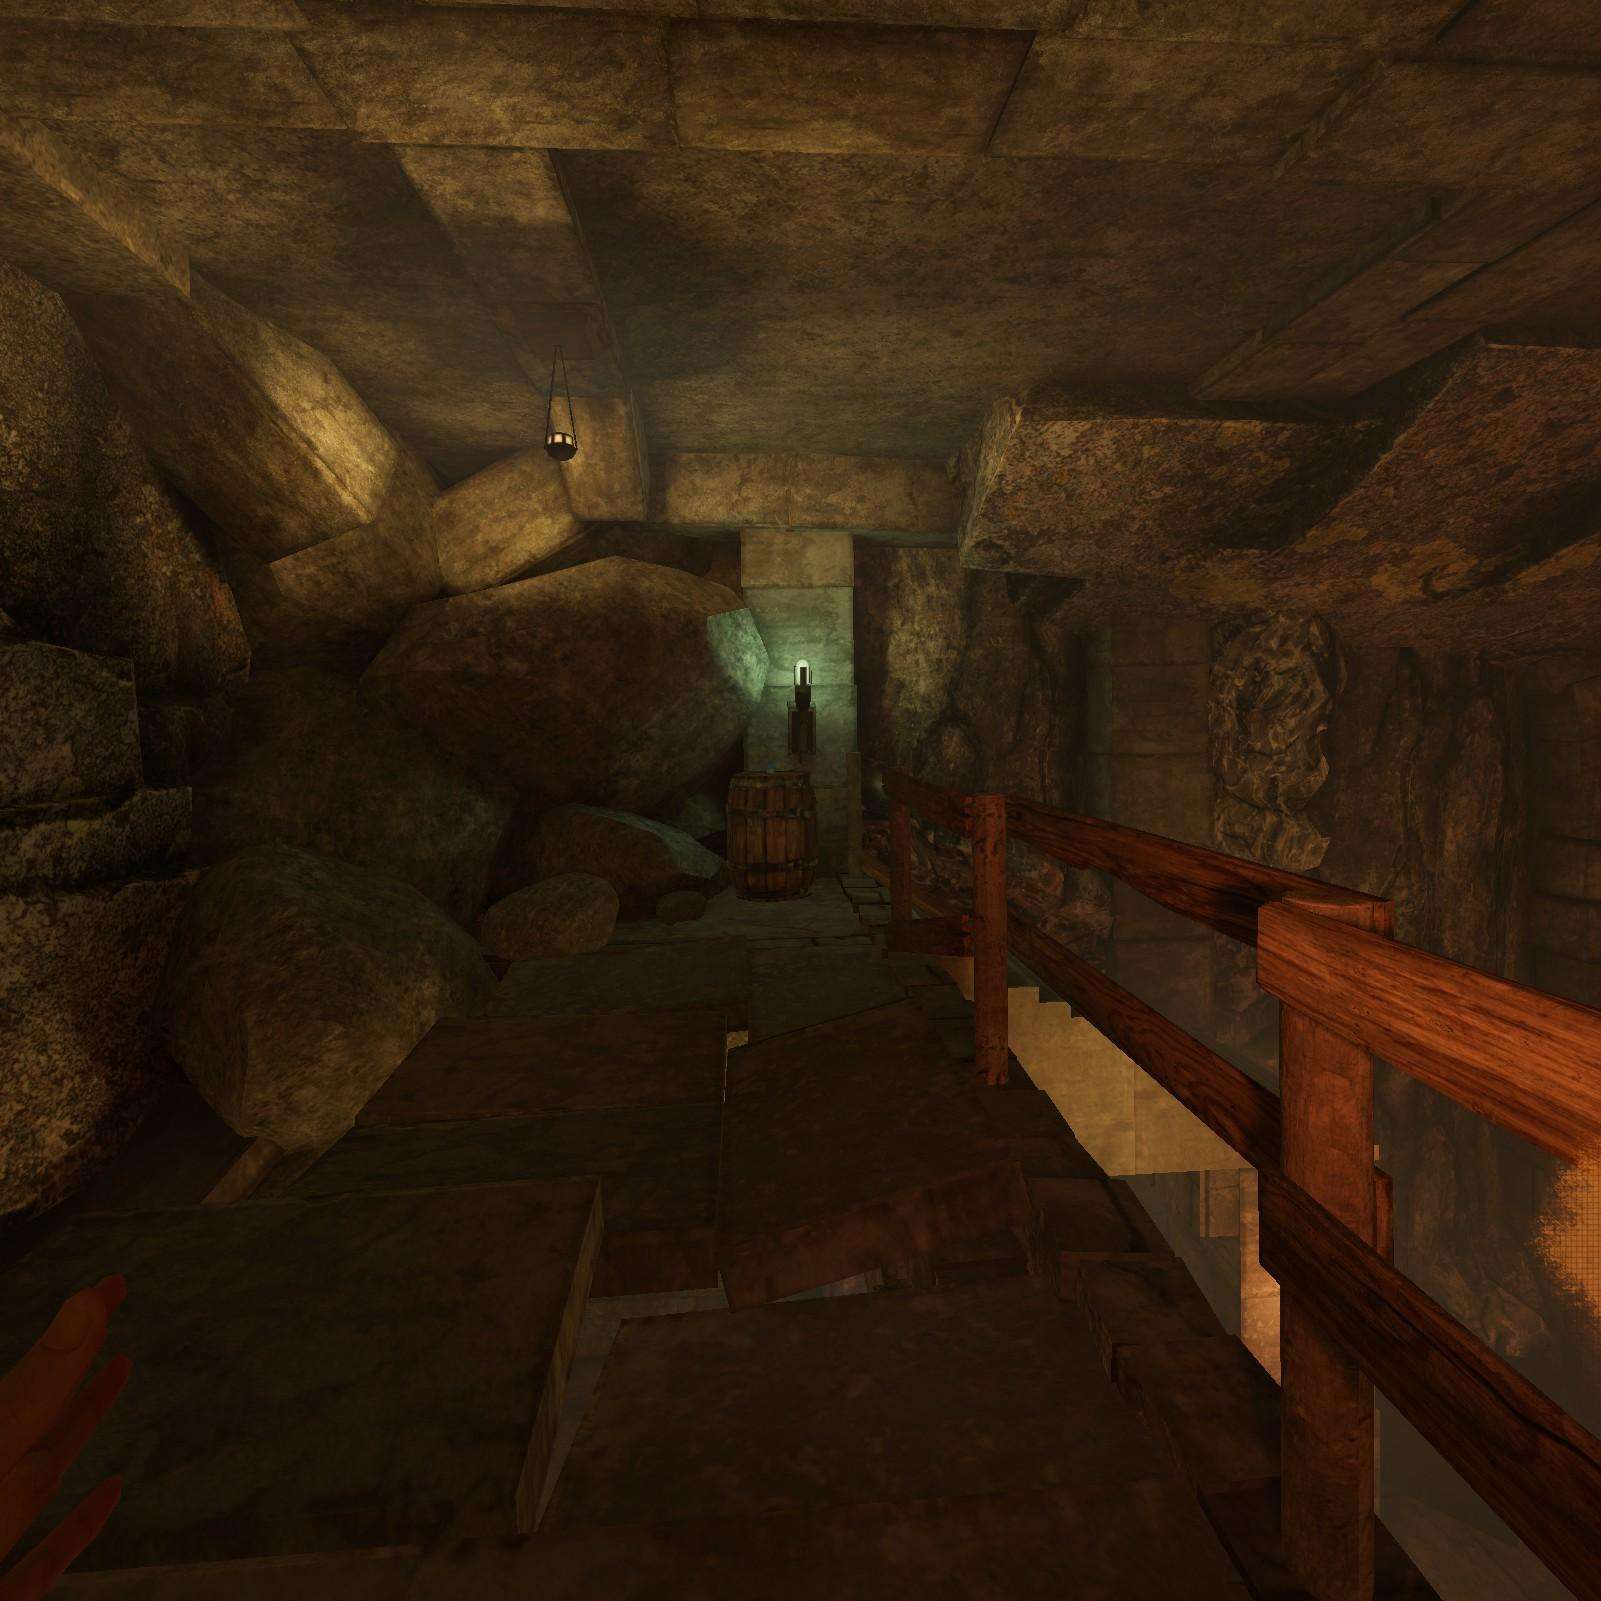
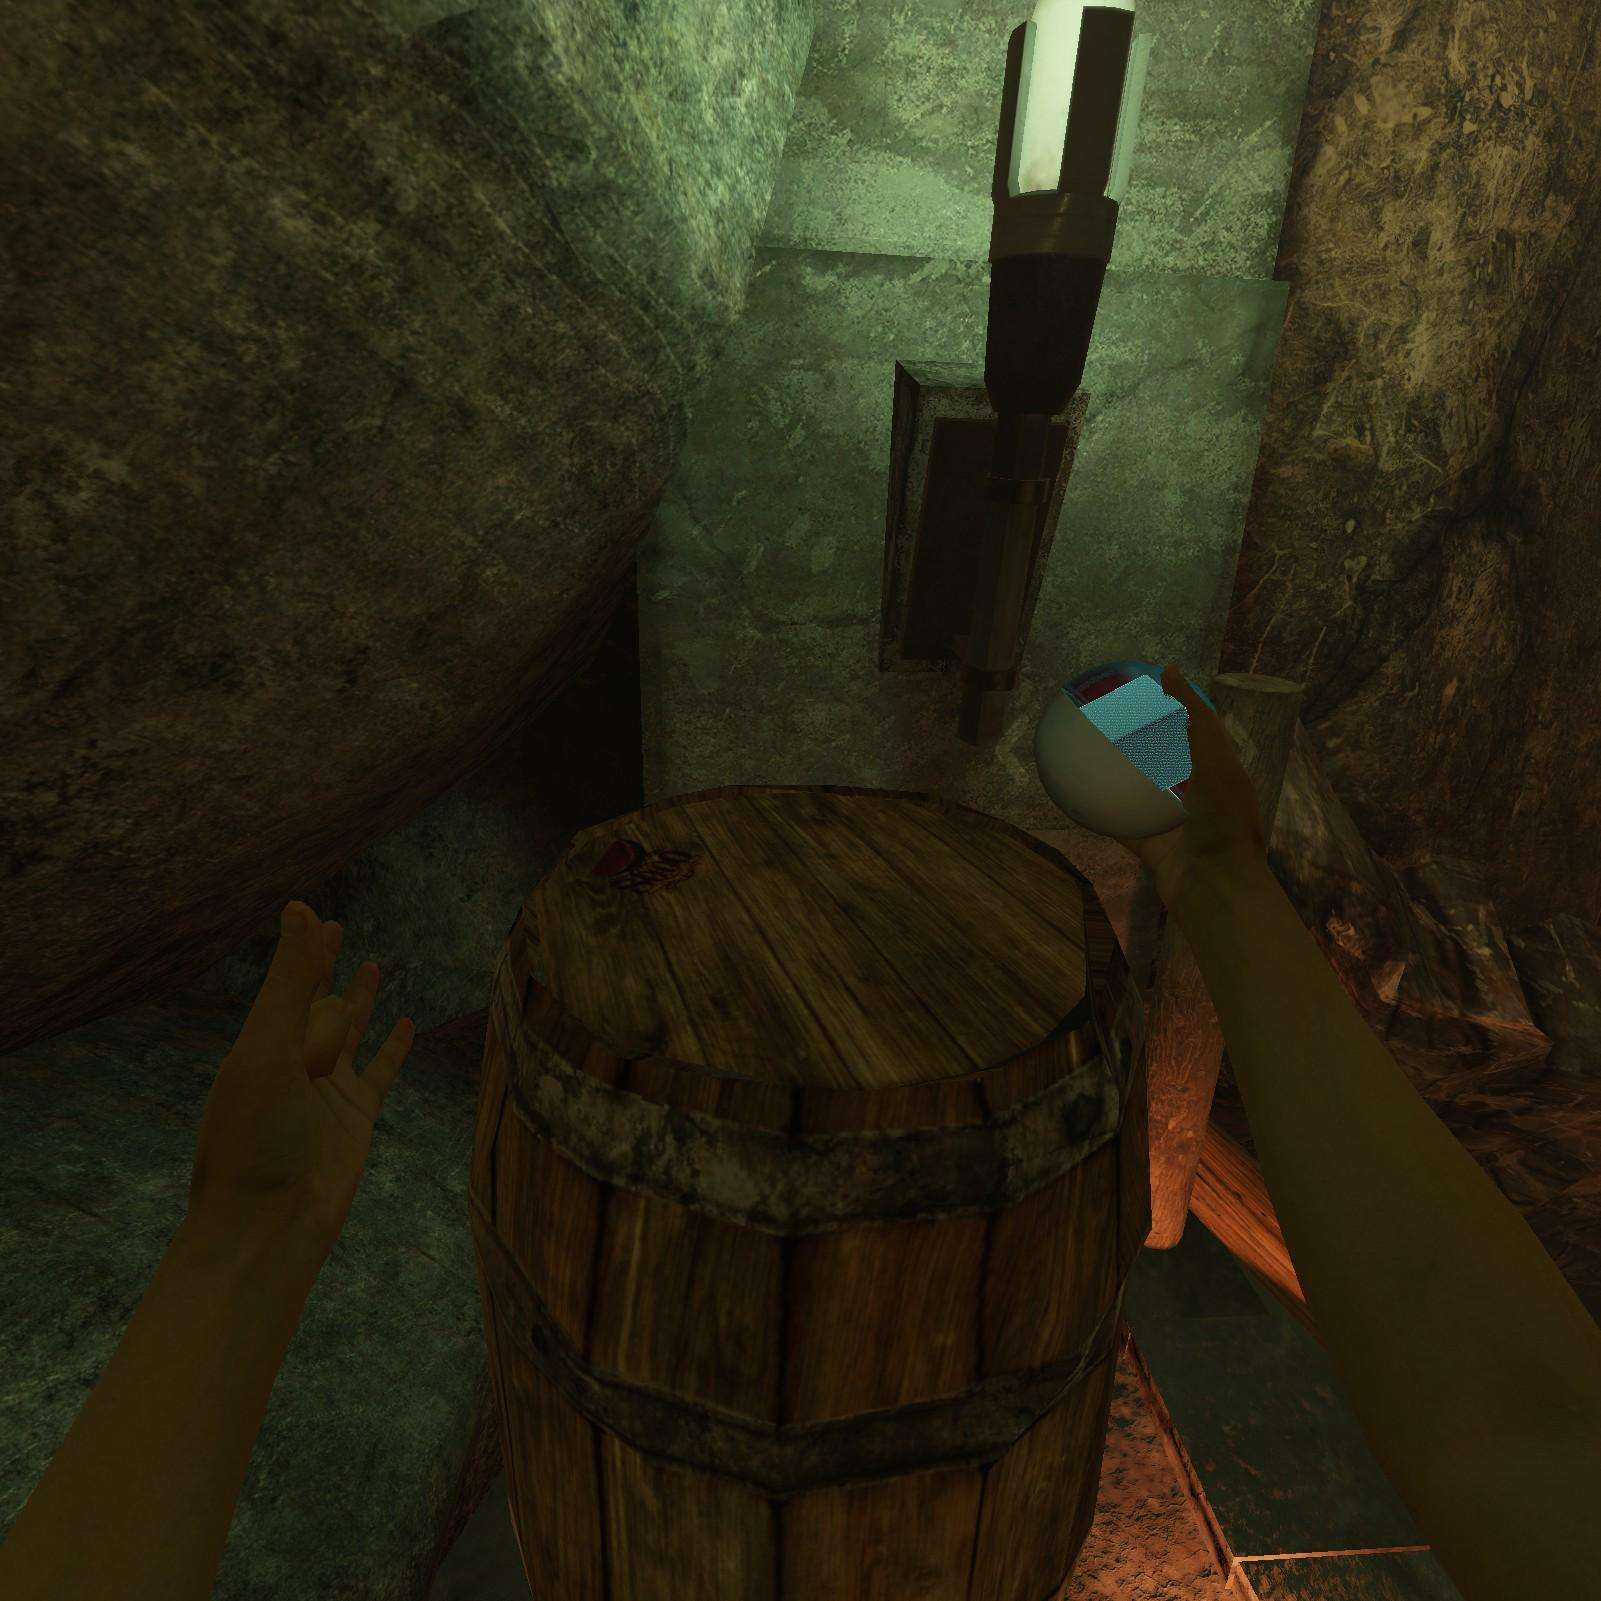
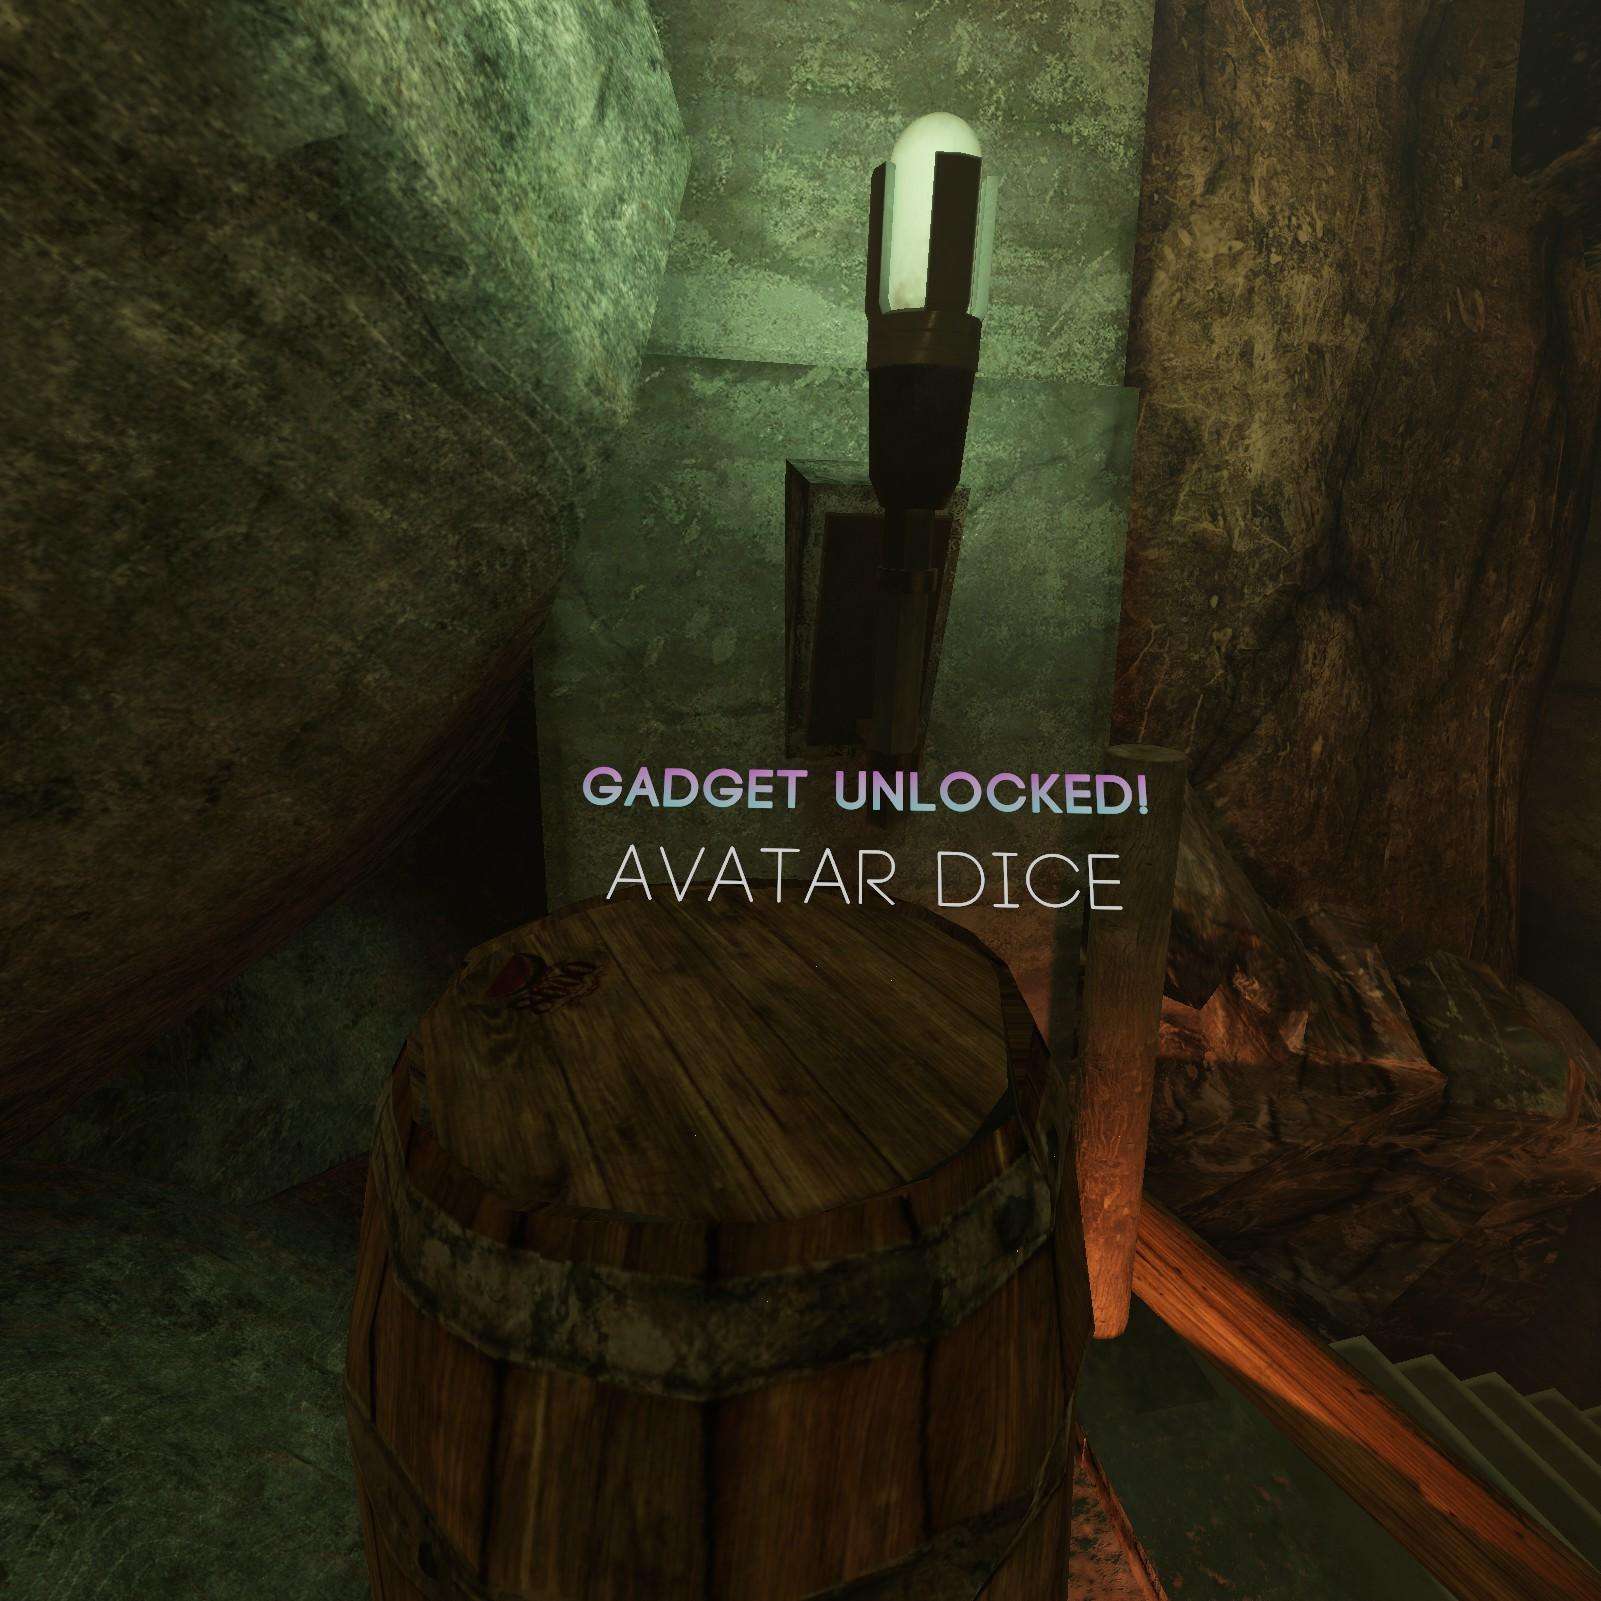
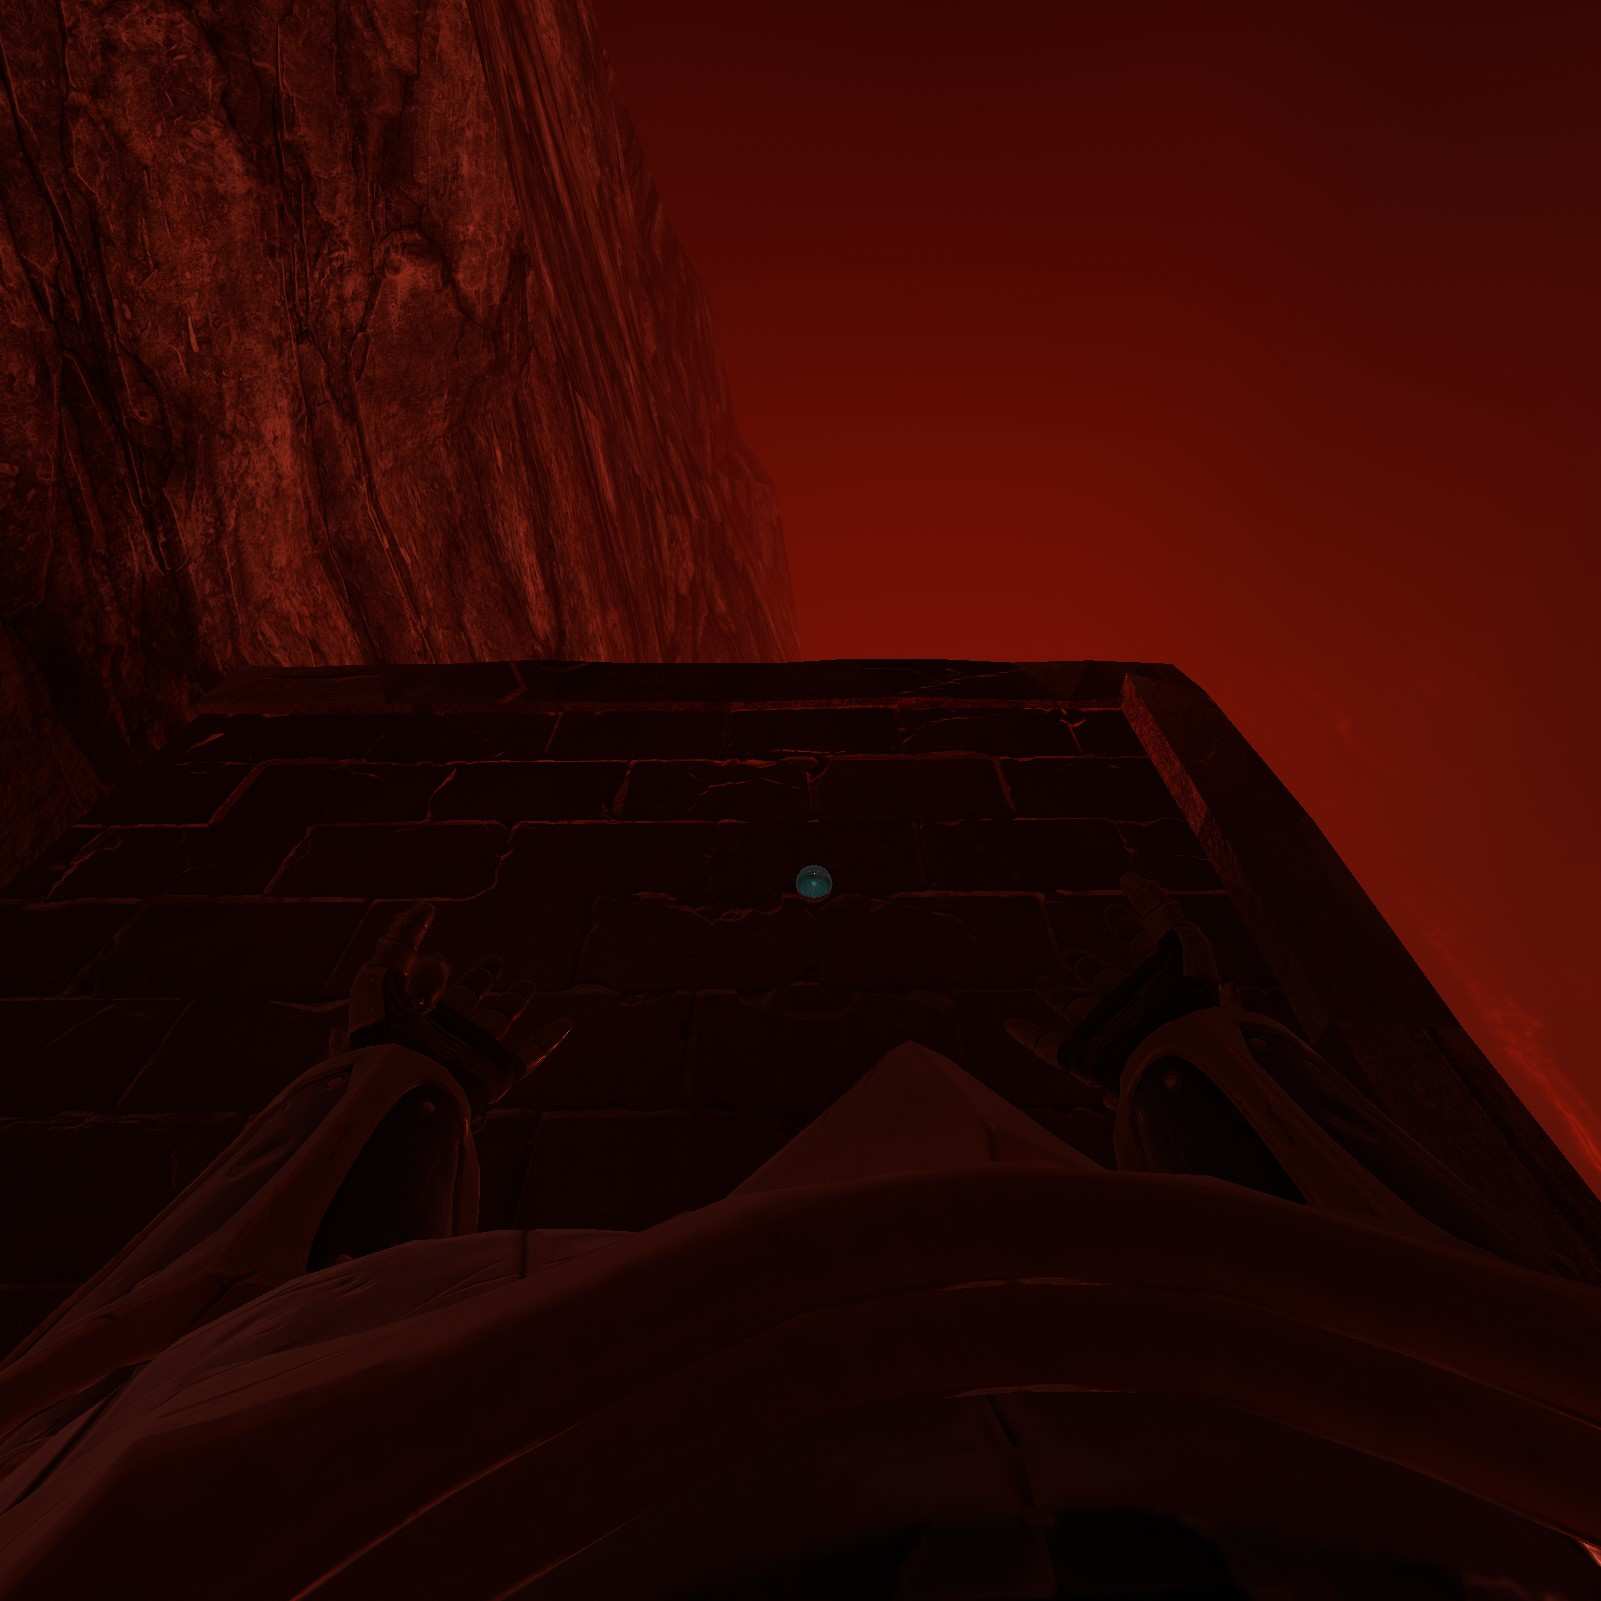
Avatar Dice:
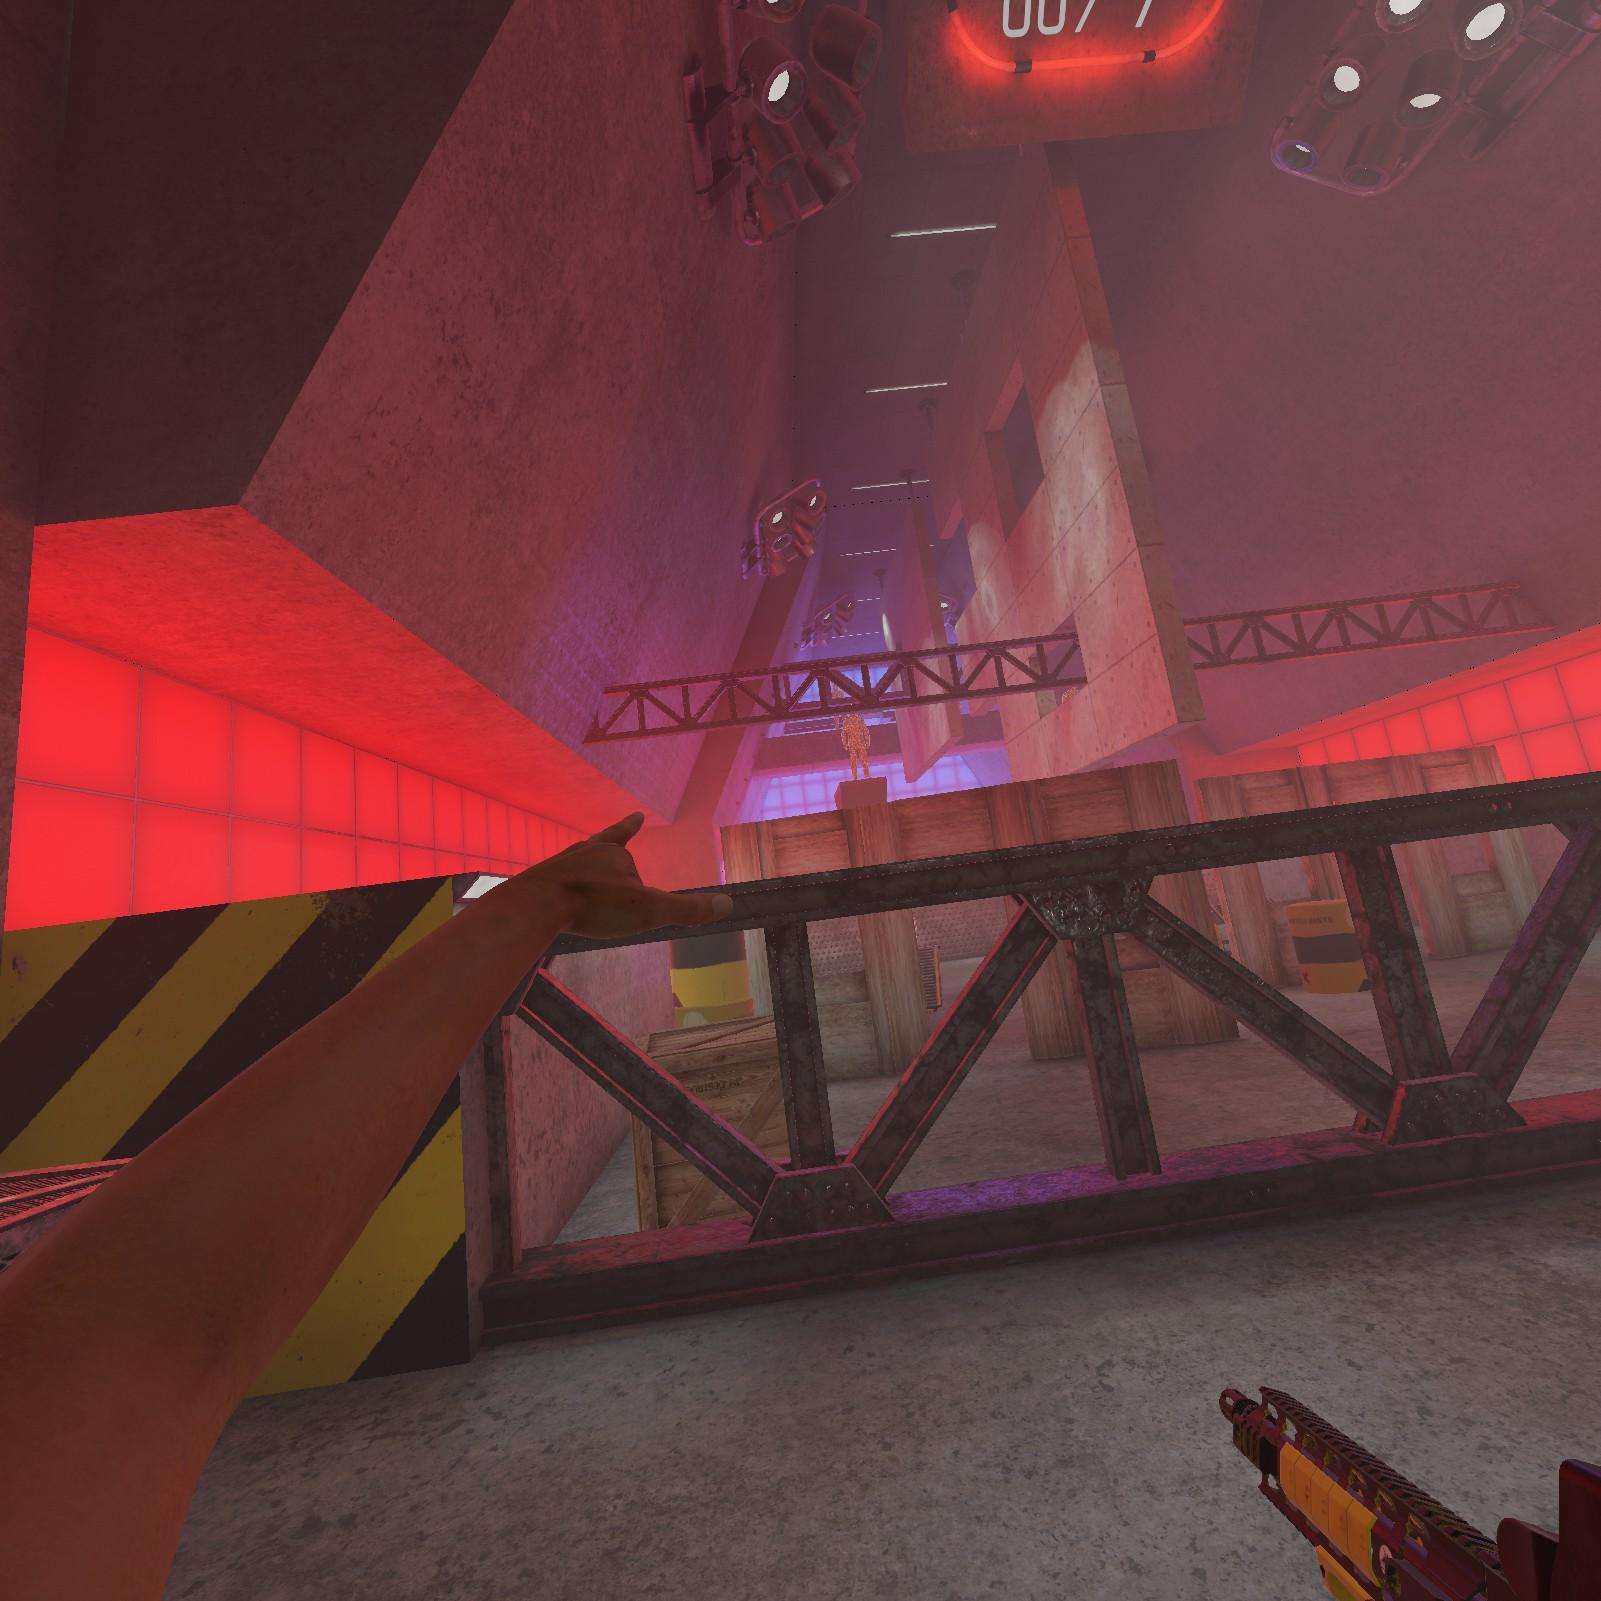
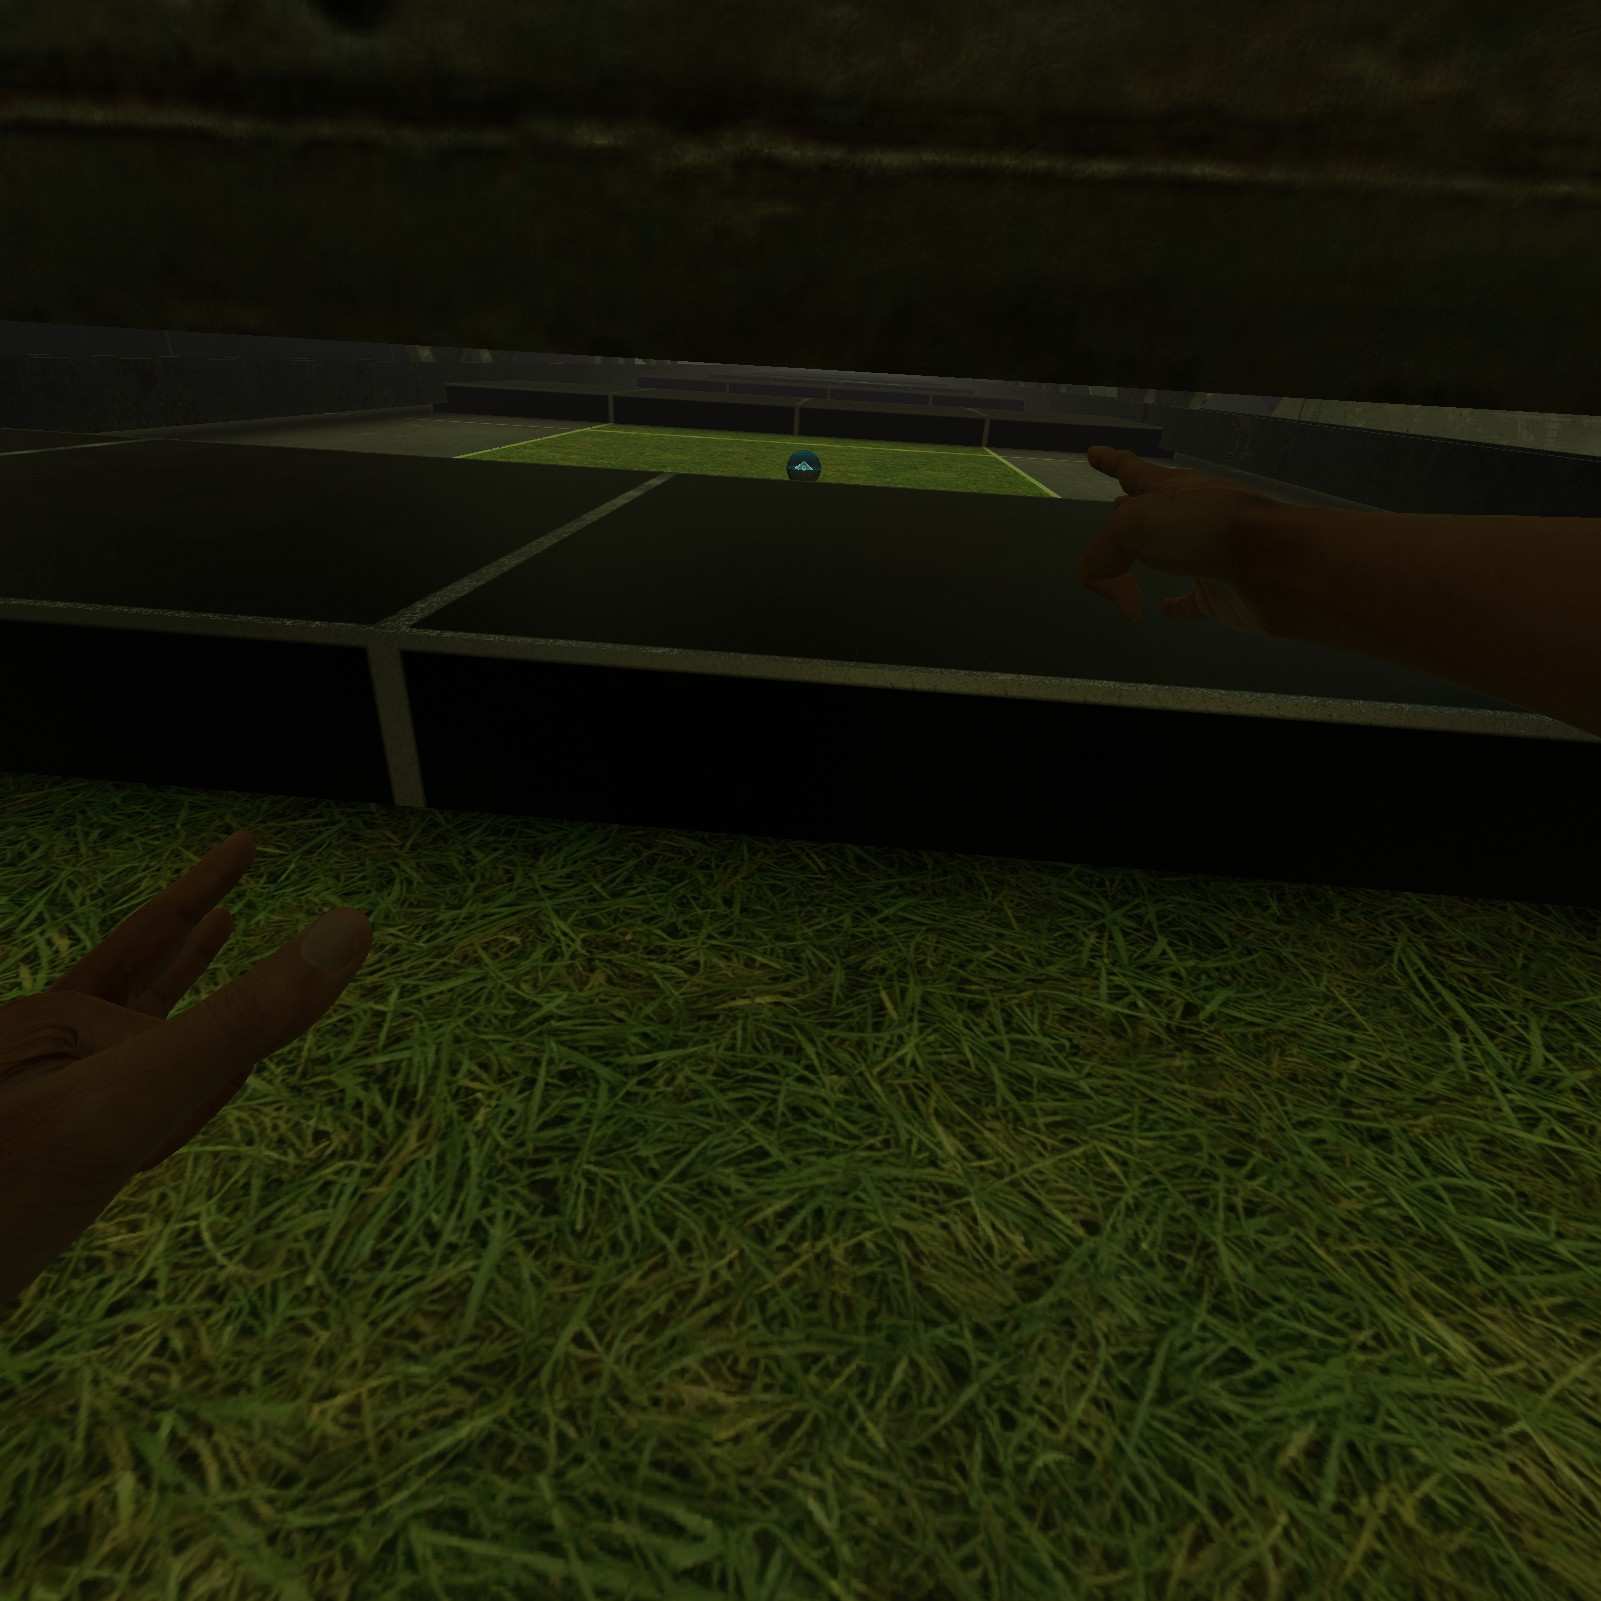
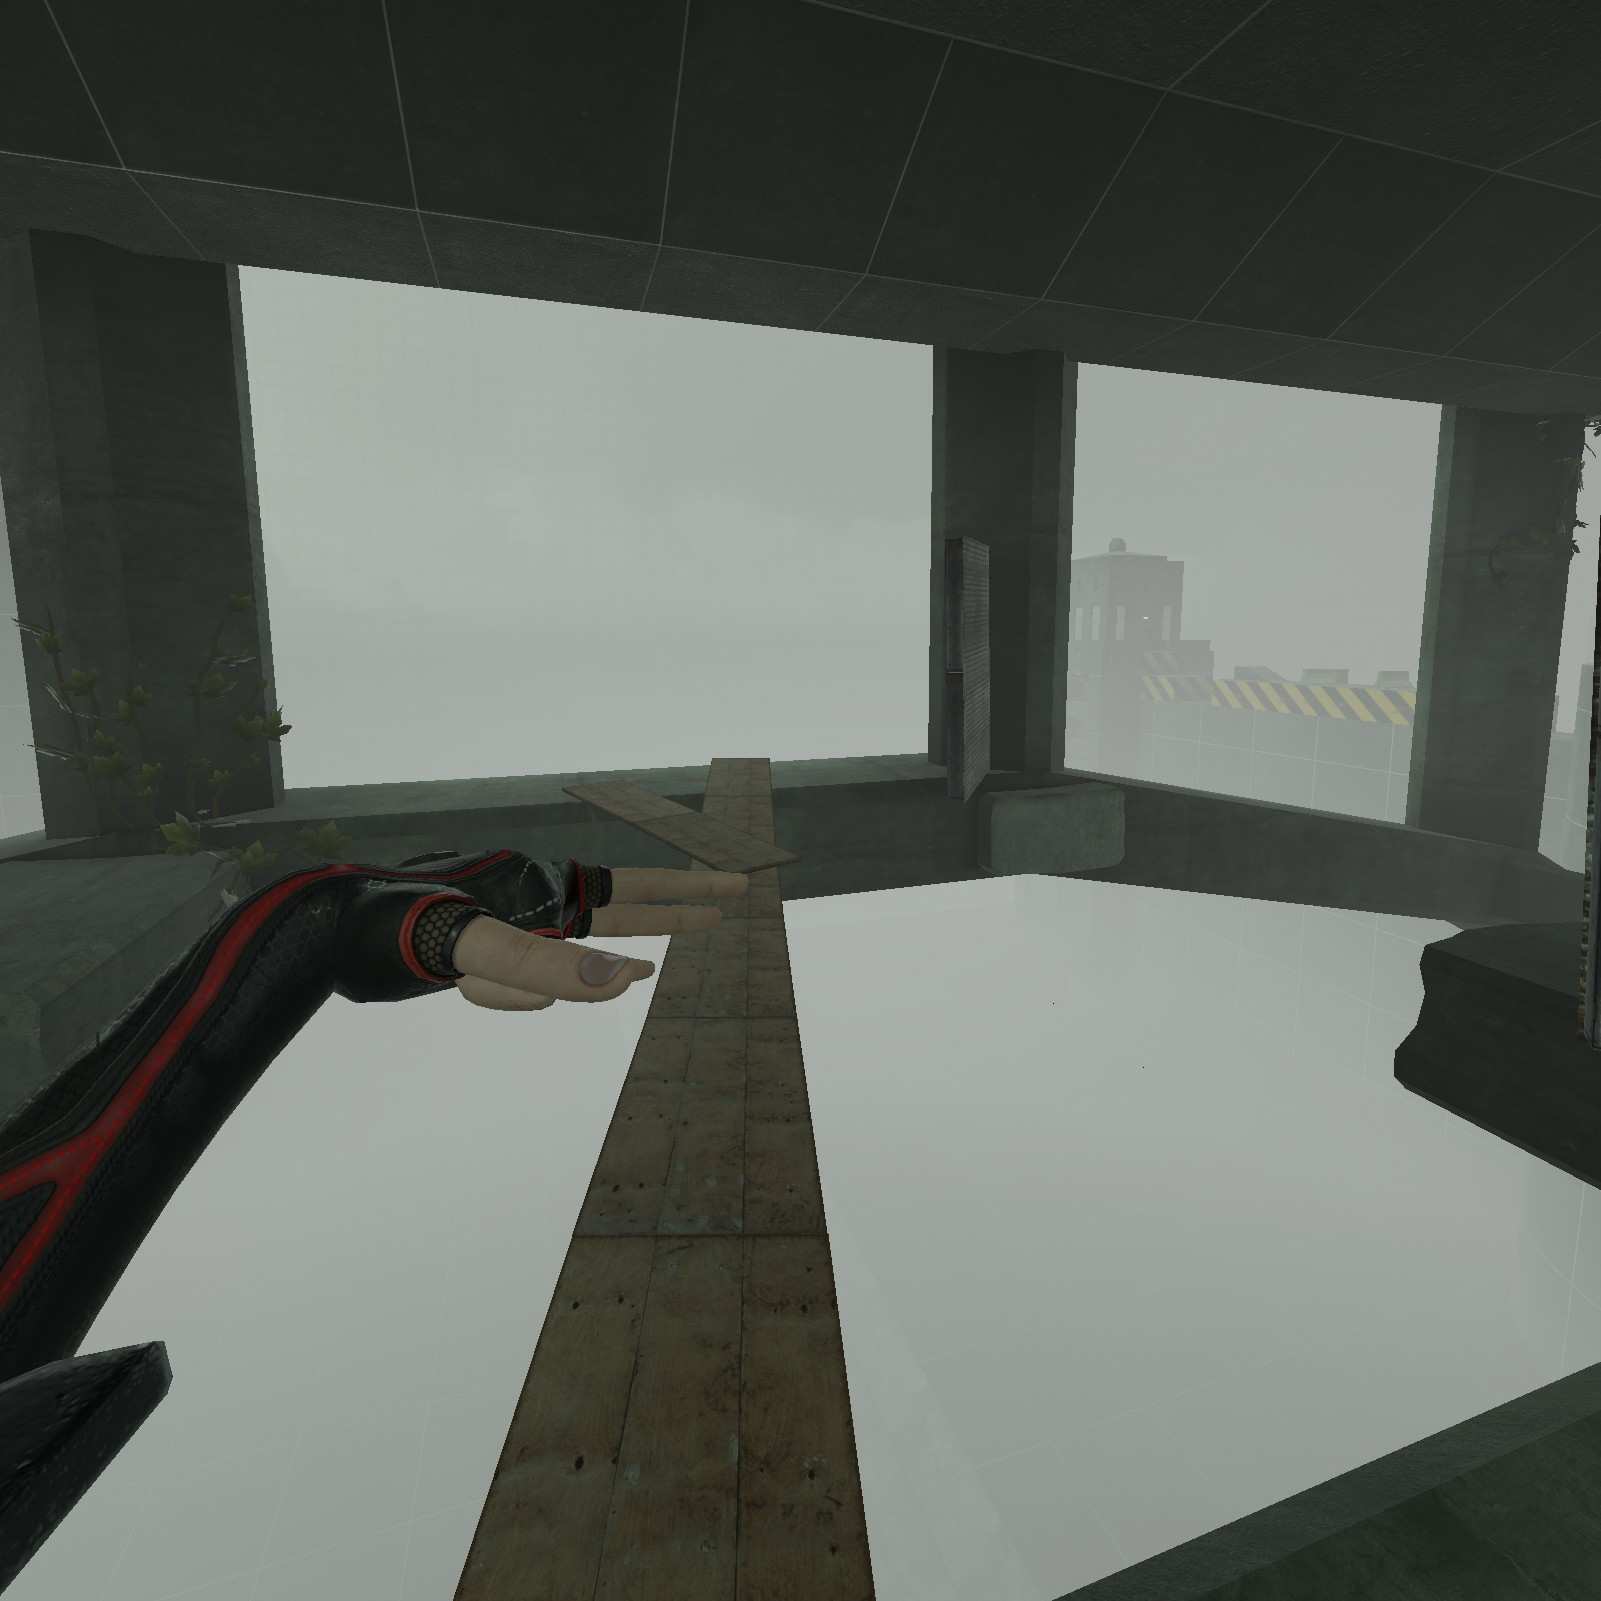
After escaping our execution we speed through several tutorial prompts nobody reads. We do come across this unstable bridge however. If you can get across without falling like a noob you can get the avatar dice for when you need to shift prisoner avatars for marginal stat changes.
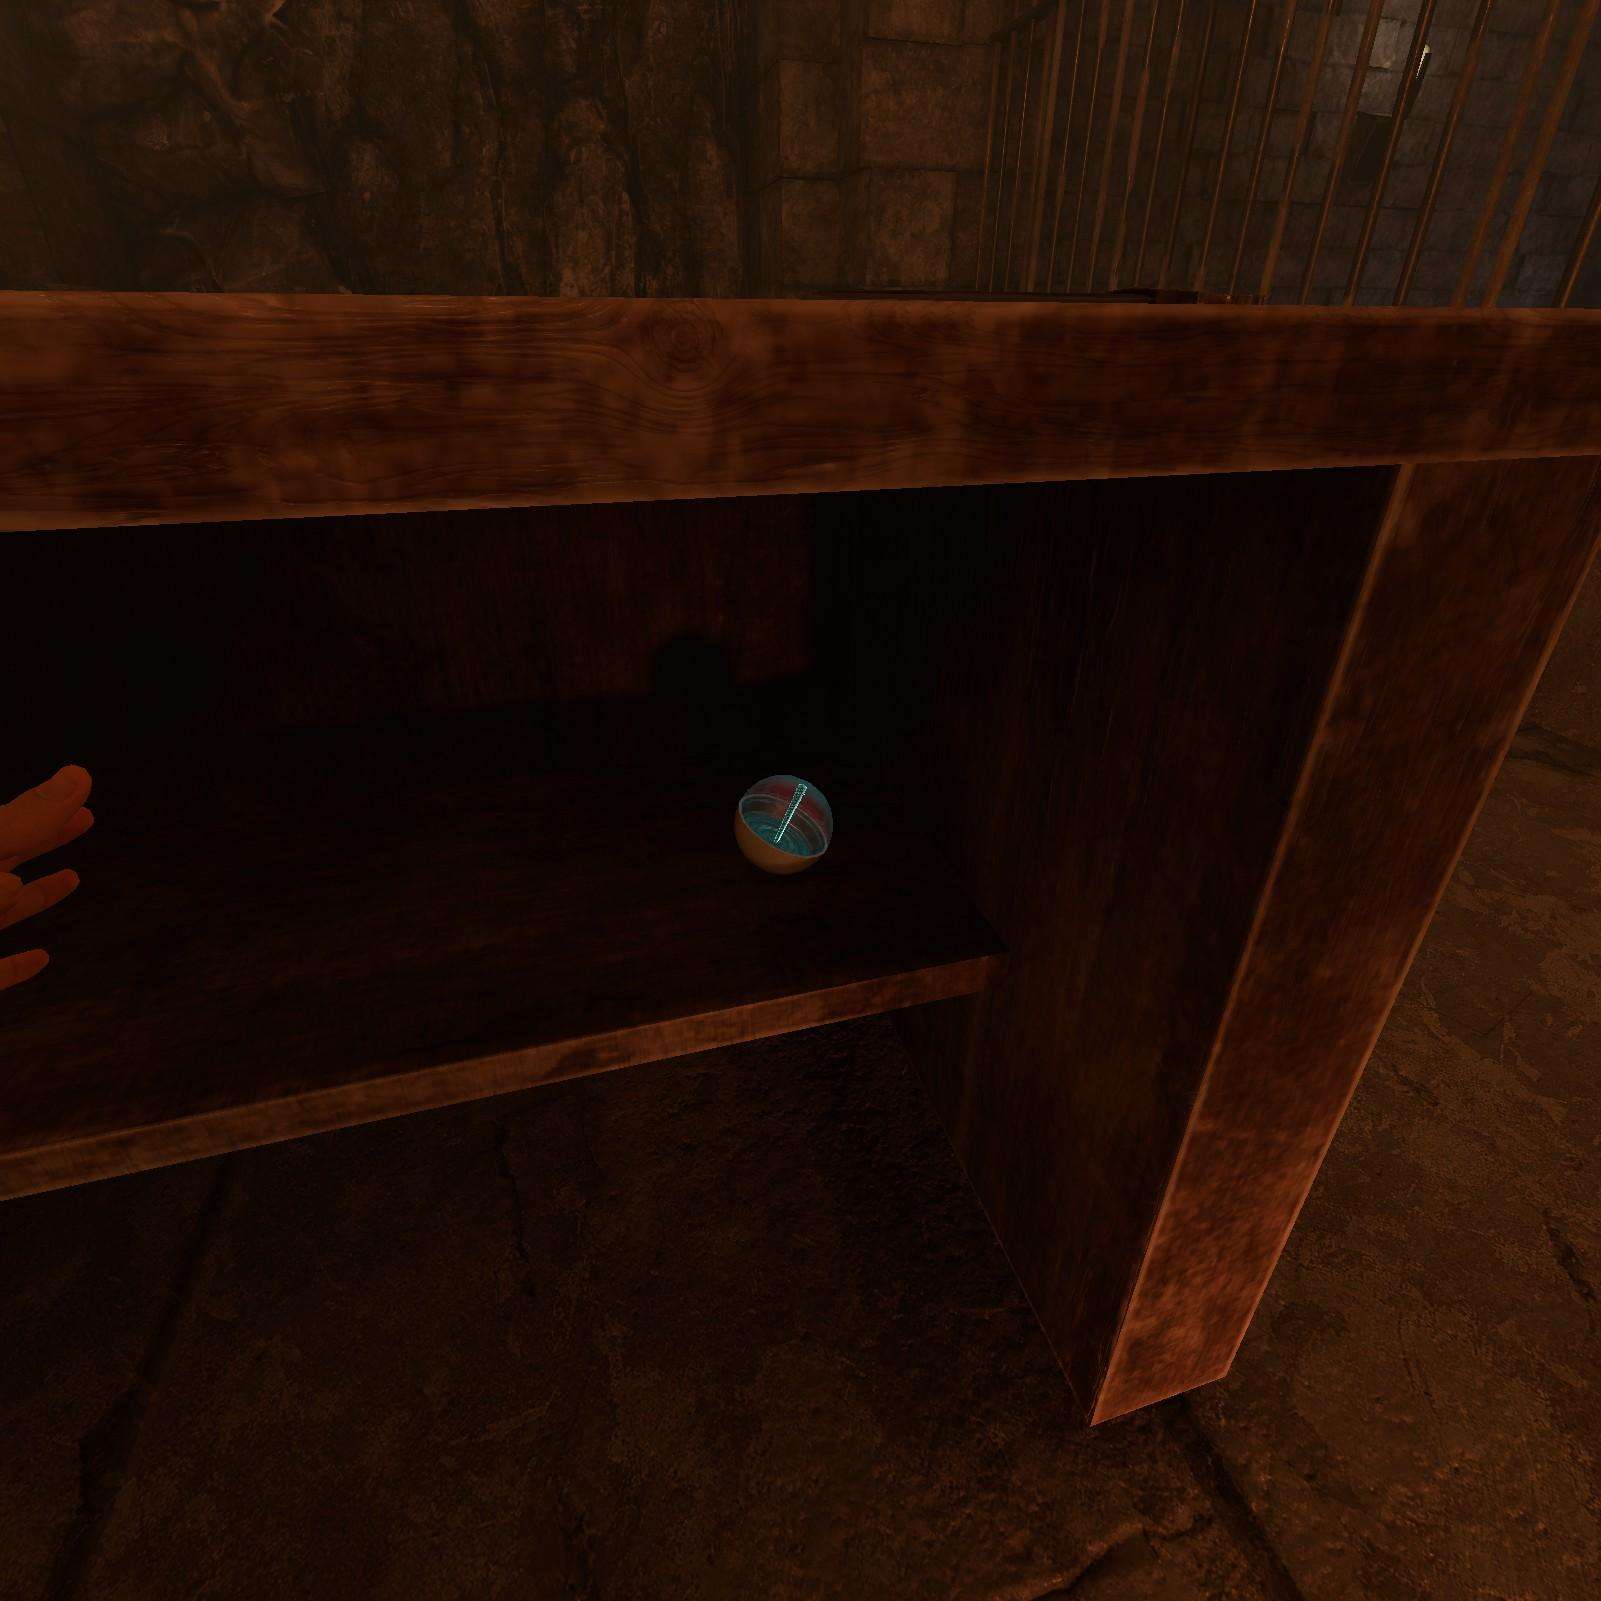
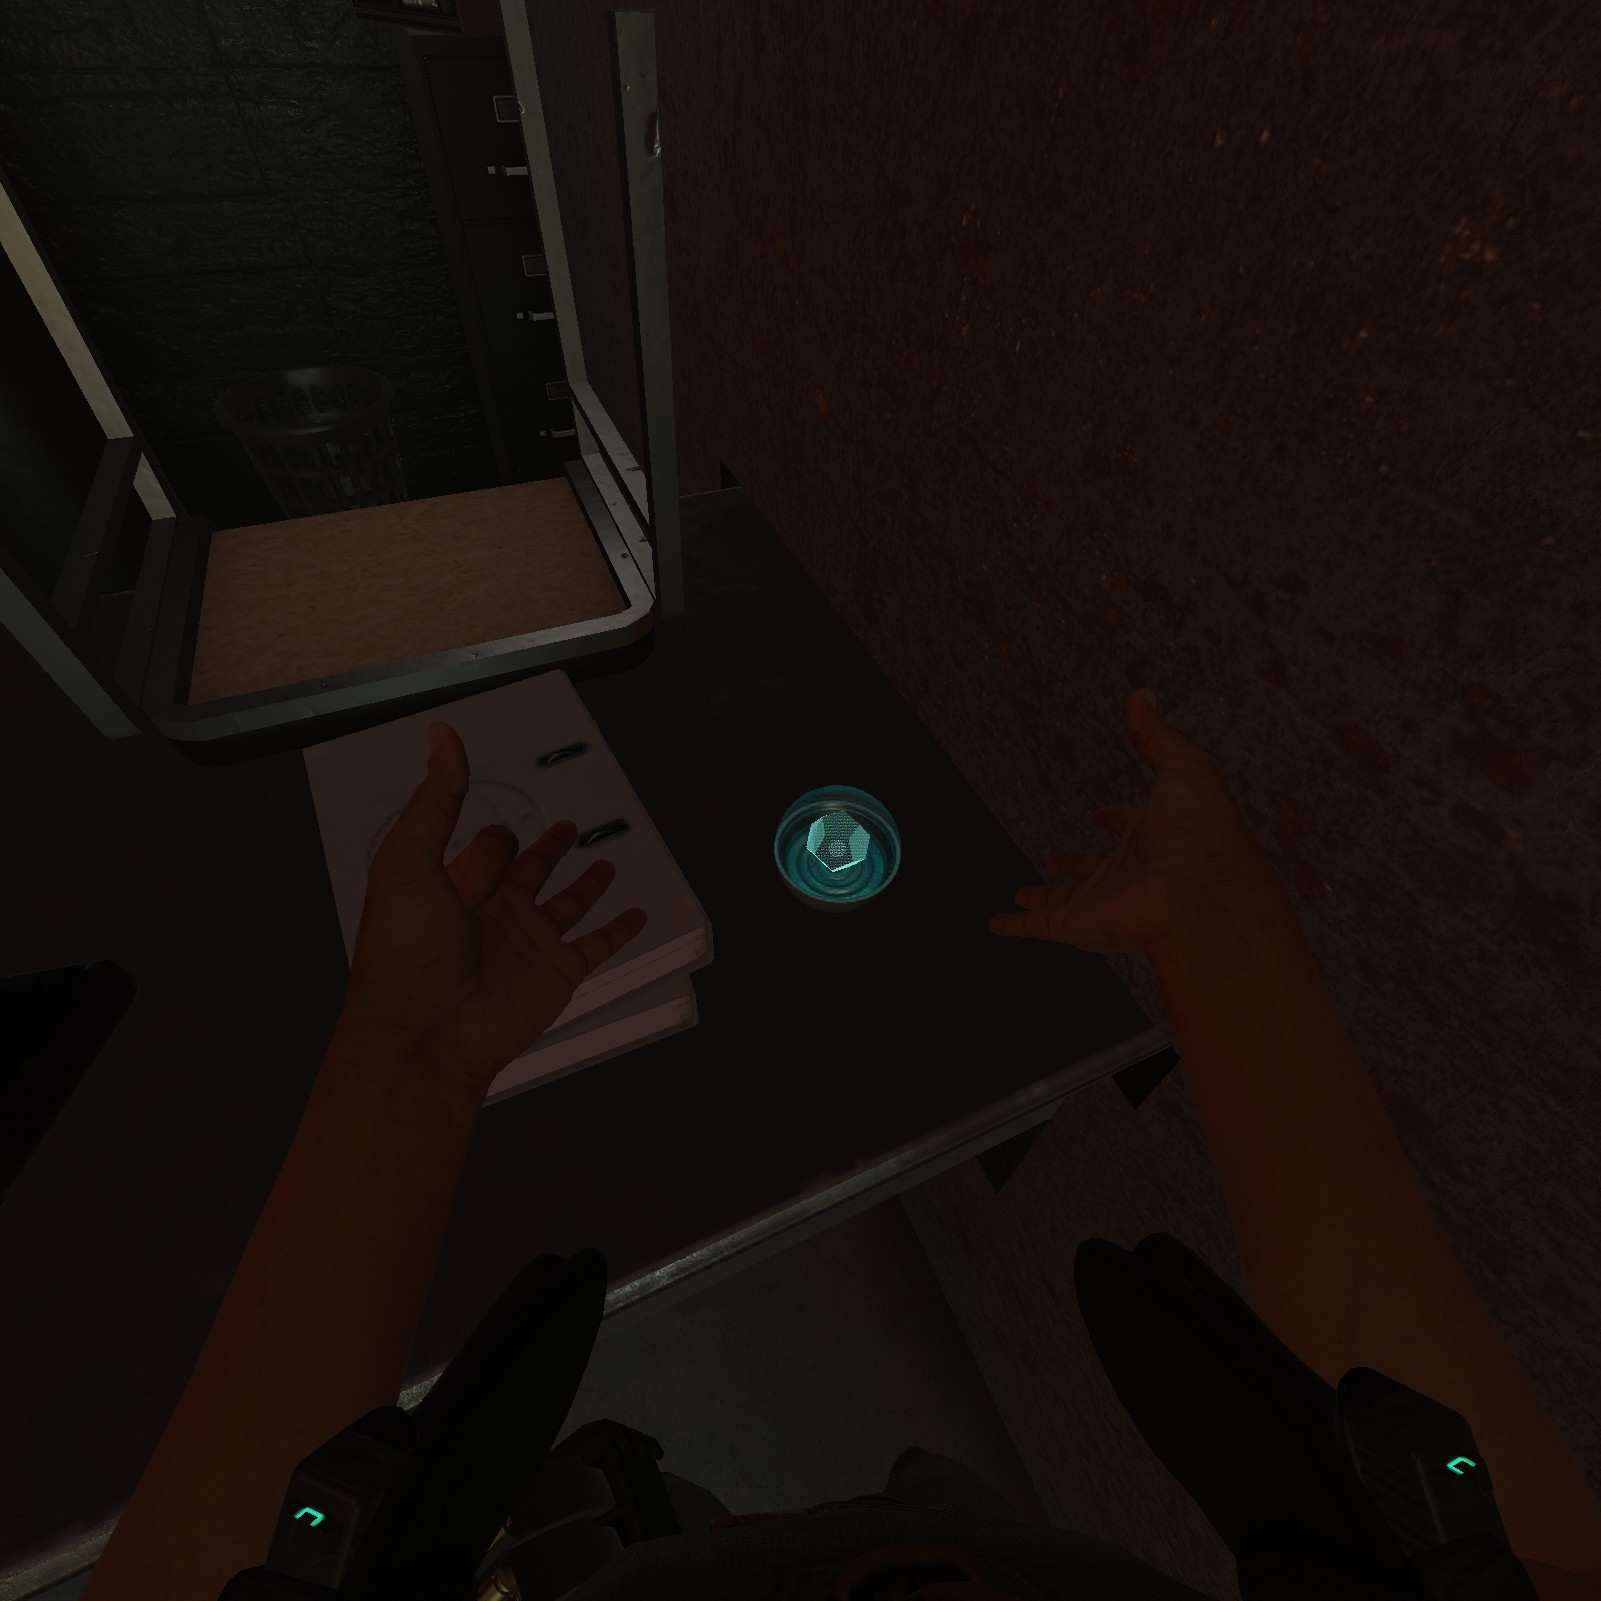
Spiked Club:
Once you’ve grabbed that successfully (Or fell down) its time to search the desk for your first weapon, a spiked club! (I sometimes grab these by accident, I promise its in this general area).

Skeleton Avatar (Rumor):
Rumor has it that somewhere in this next section has a low chance of spawning a skeleton avatar. Did that happen to me? Nope! I’ll grind for that ball later, but there are so many more to get before then if I ever want to get this guide out.
Edit: While grinding for it I have noticed some rng oddities about this level, including the skeleton door sometimes being non-existent, and one time I actually got stuck on the skeleton avatar. Didn’t unlock it though. Wouldn’t be surprised if its a hoax and this is the origin of the hoax.
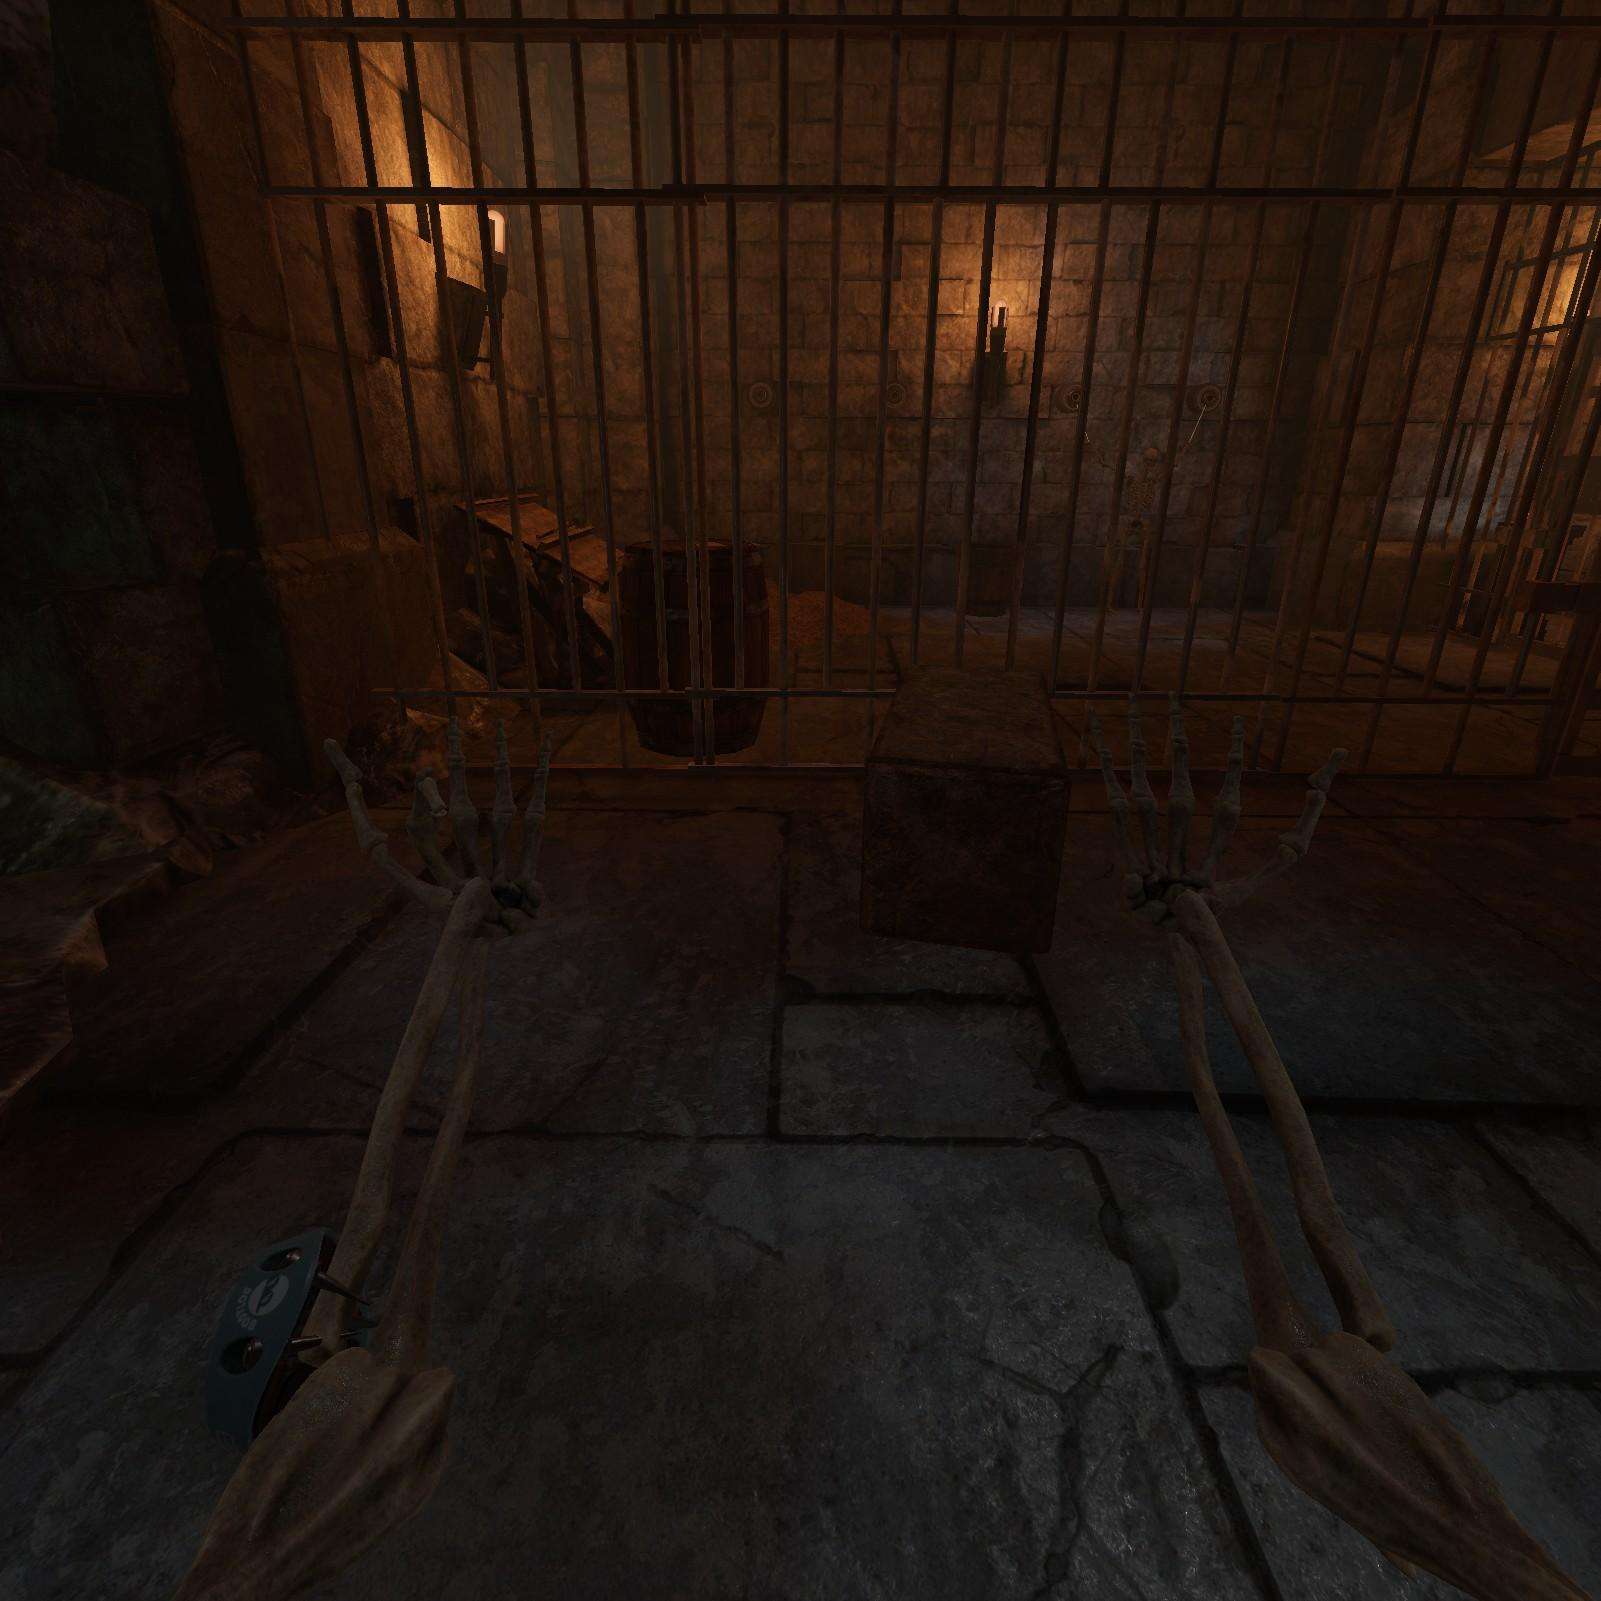
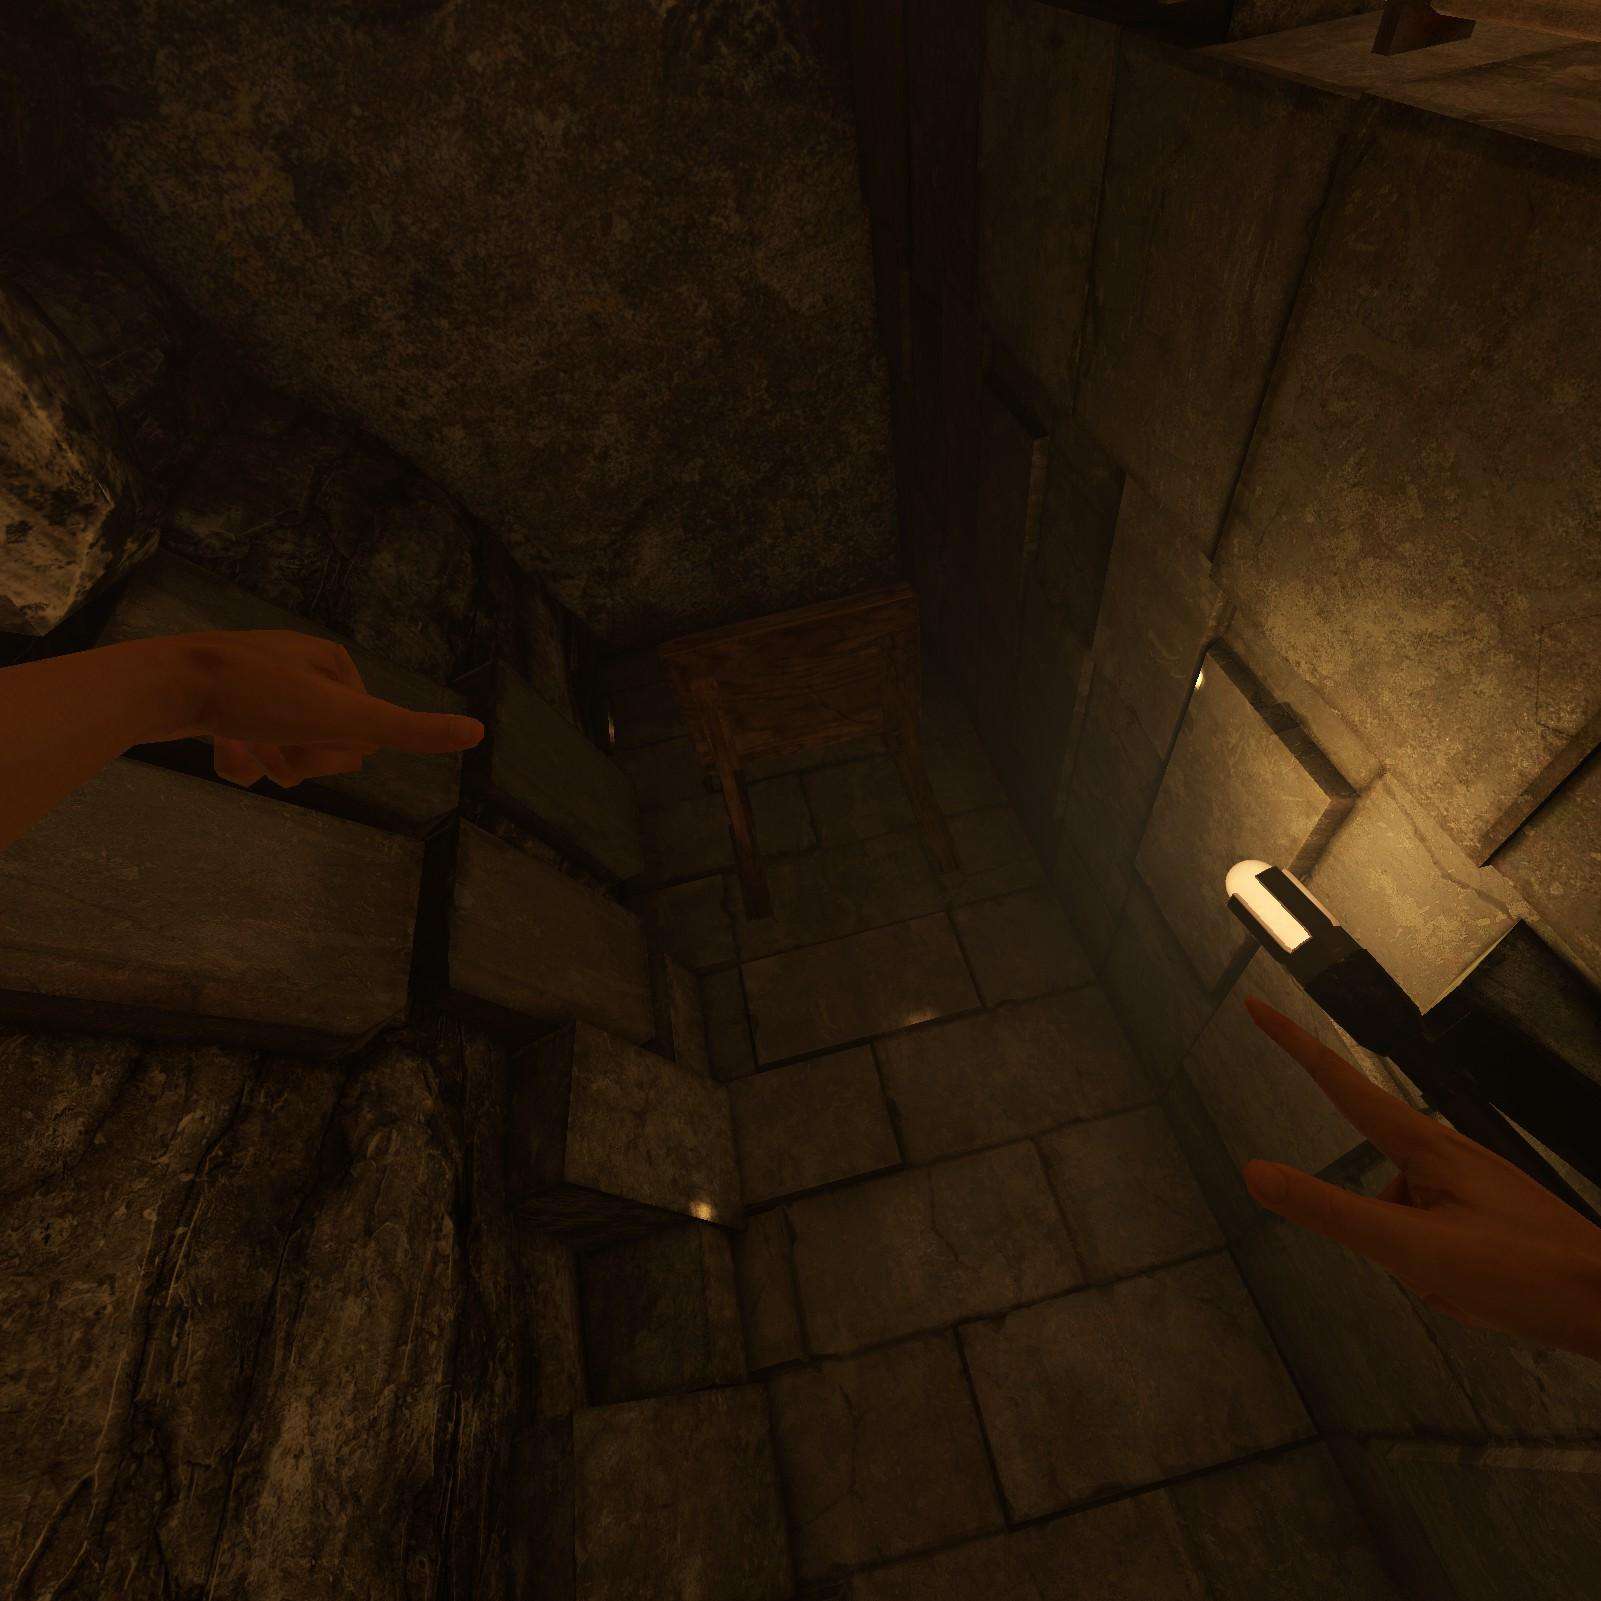
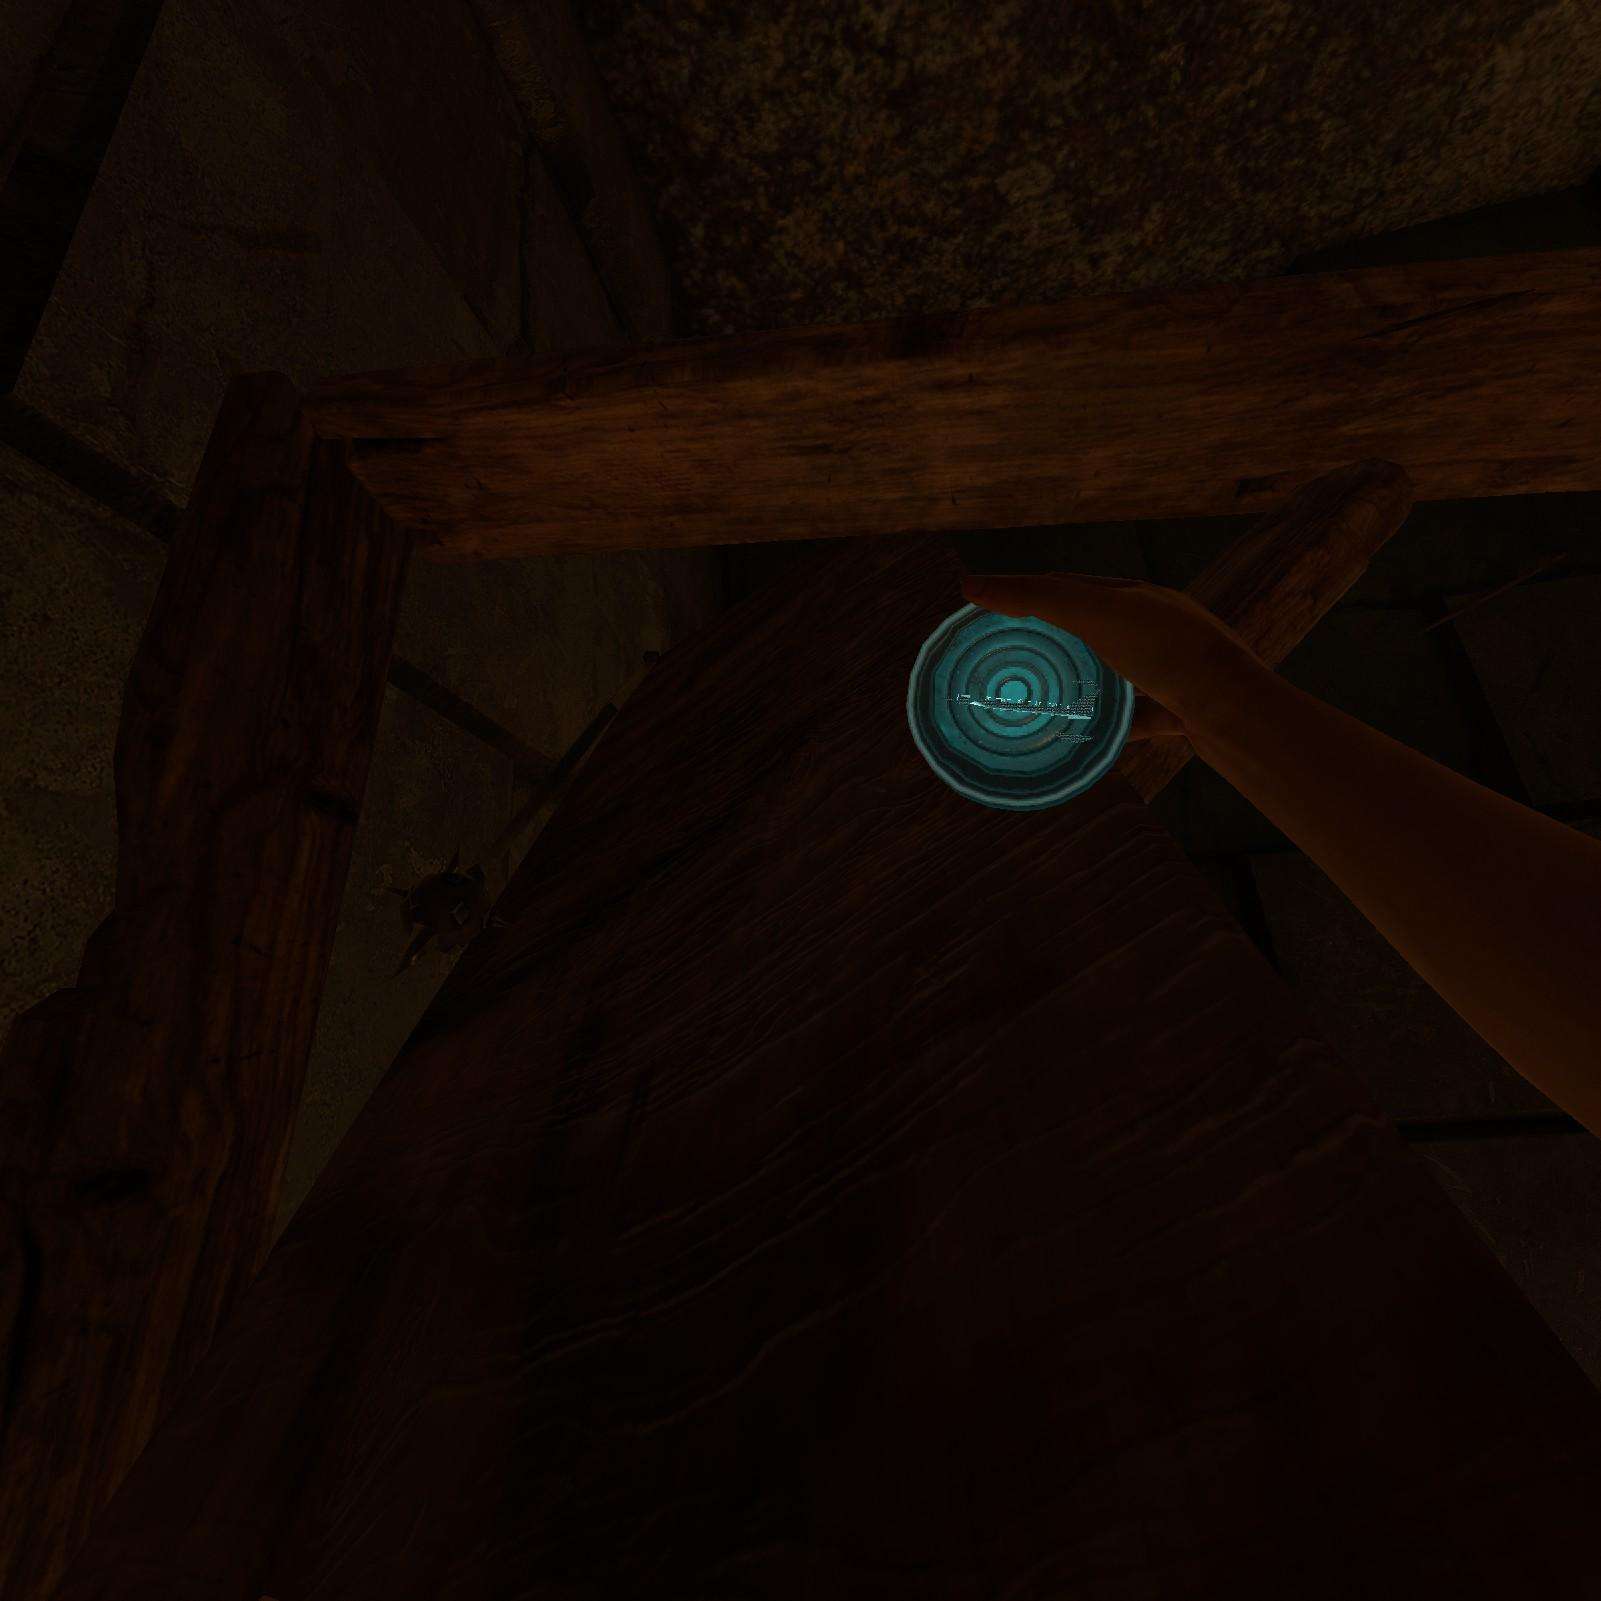
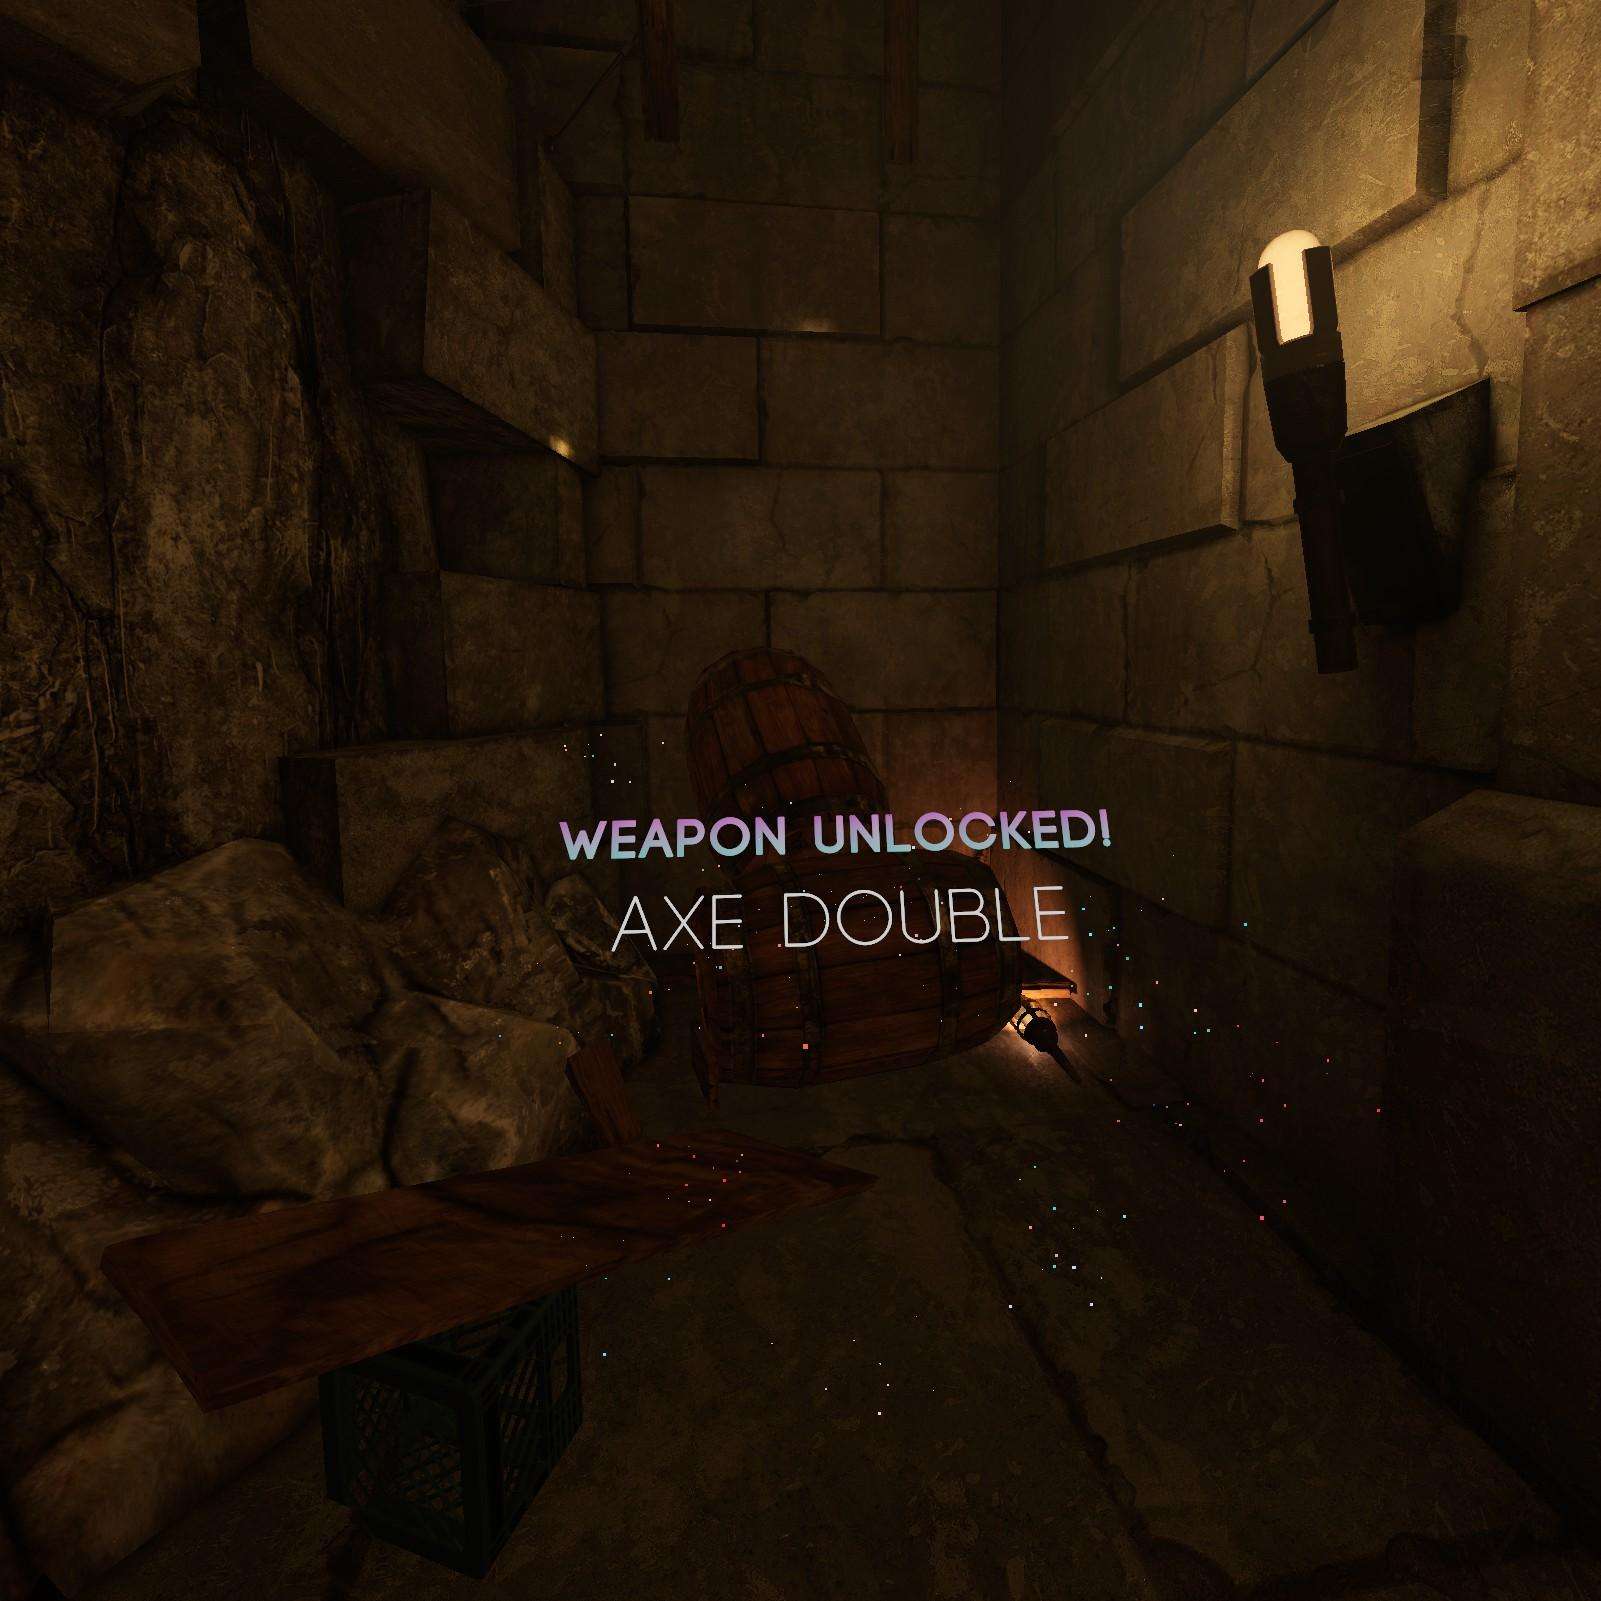
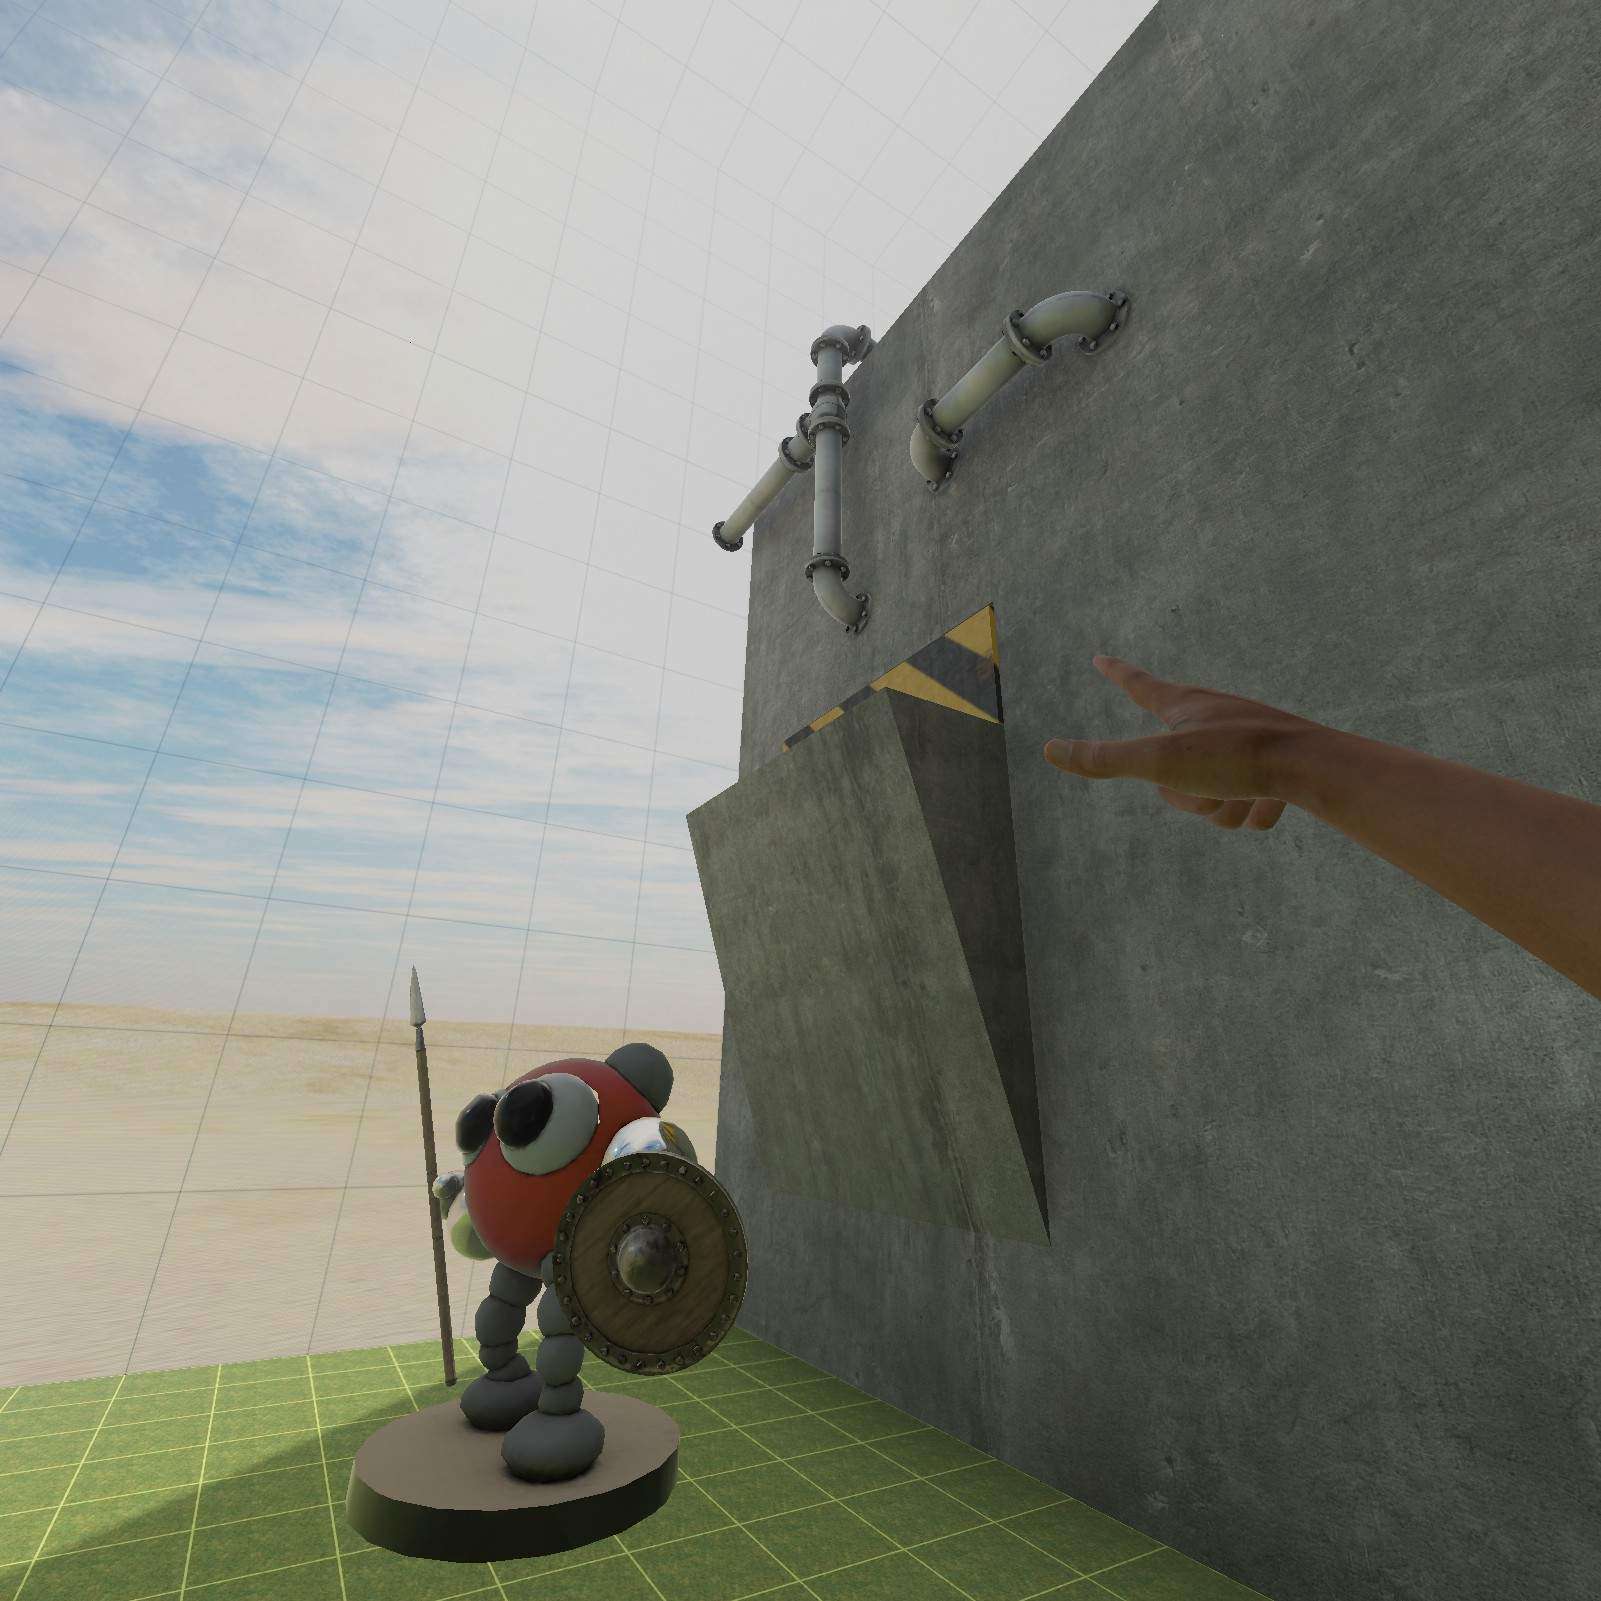
Axe Double:
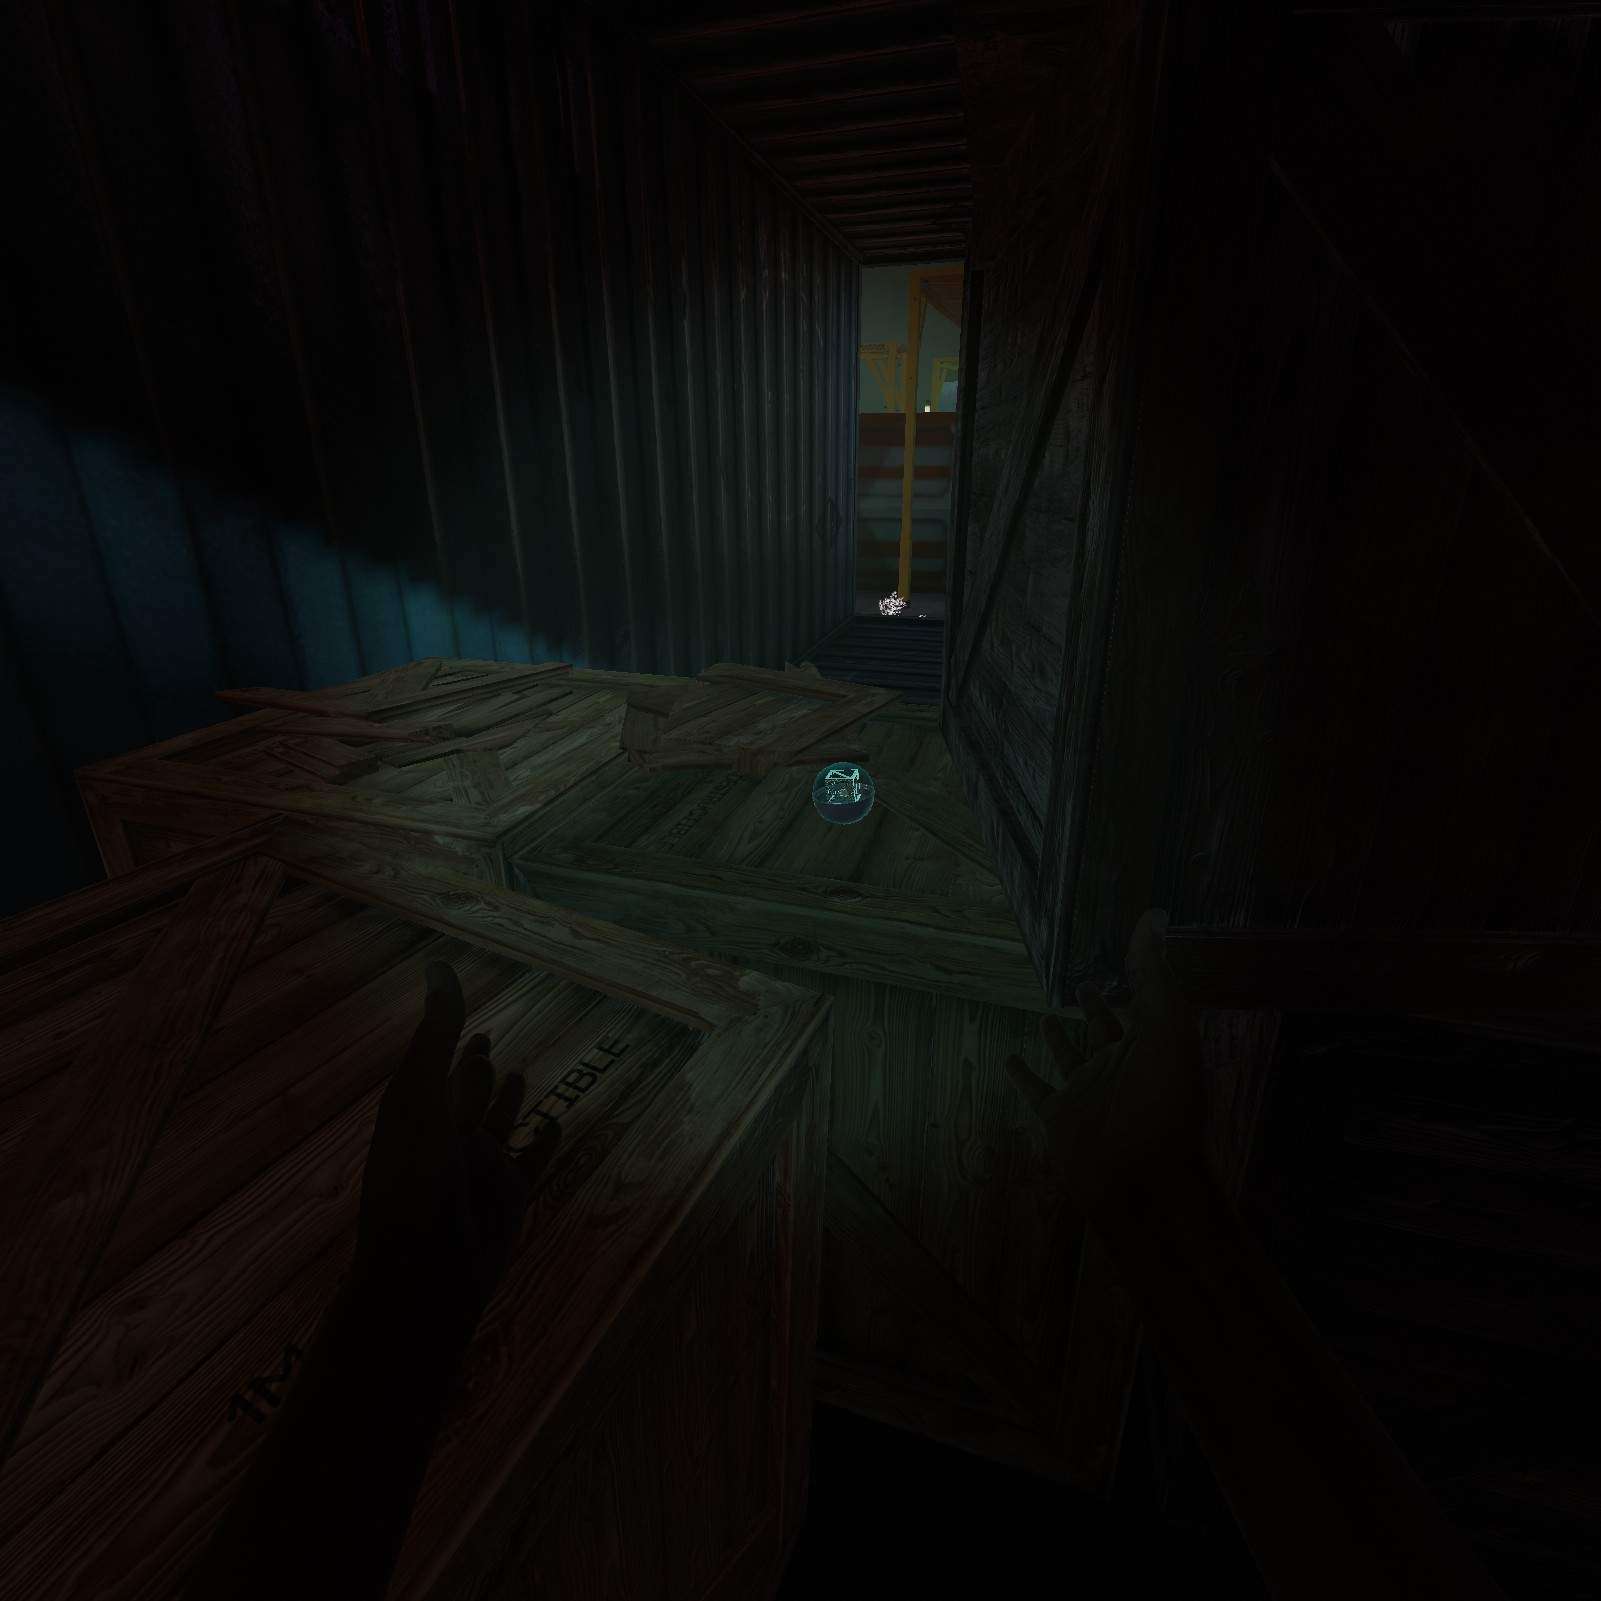
Right, this next one’s a little tricky. Its a wooden platform with a gatcha ball in a plastic crate way up on the wall. You can ether throw weapons at it to break the planks, or climb up the side wall and use your weight to break it down. Reward is Axe Double… on the double…

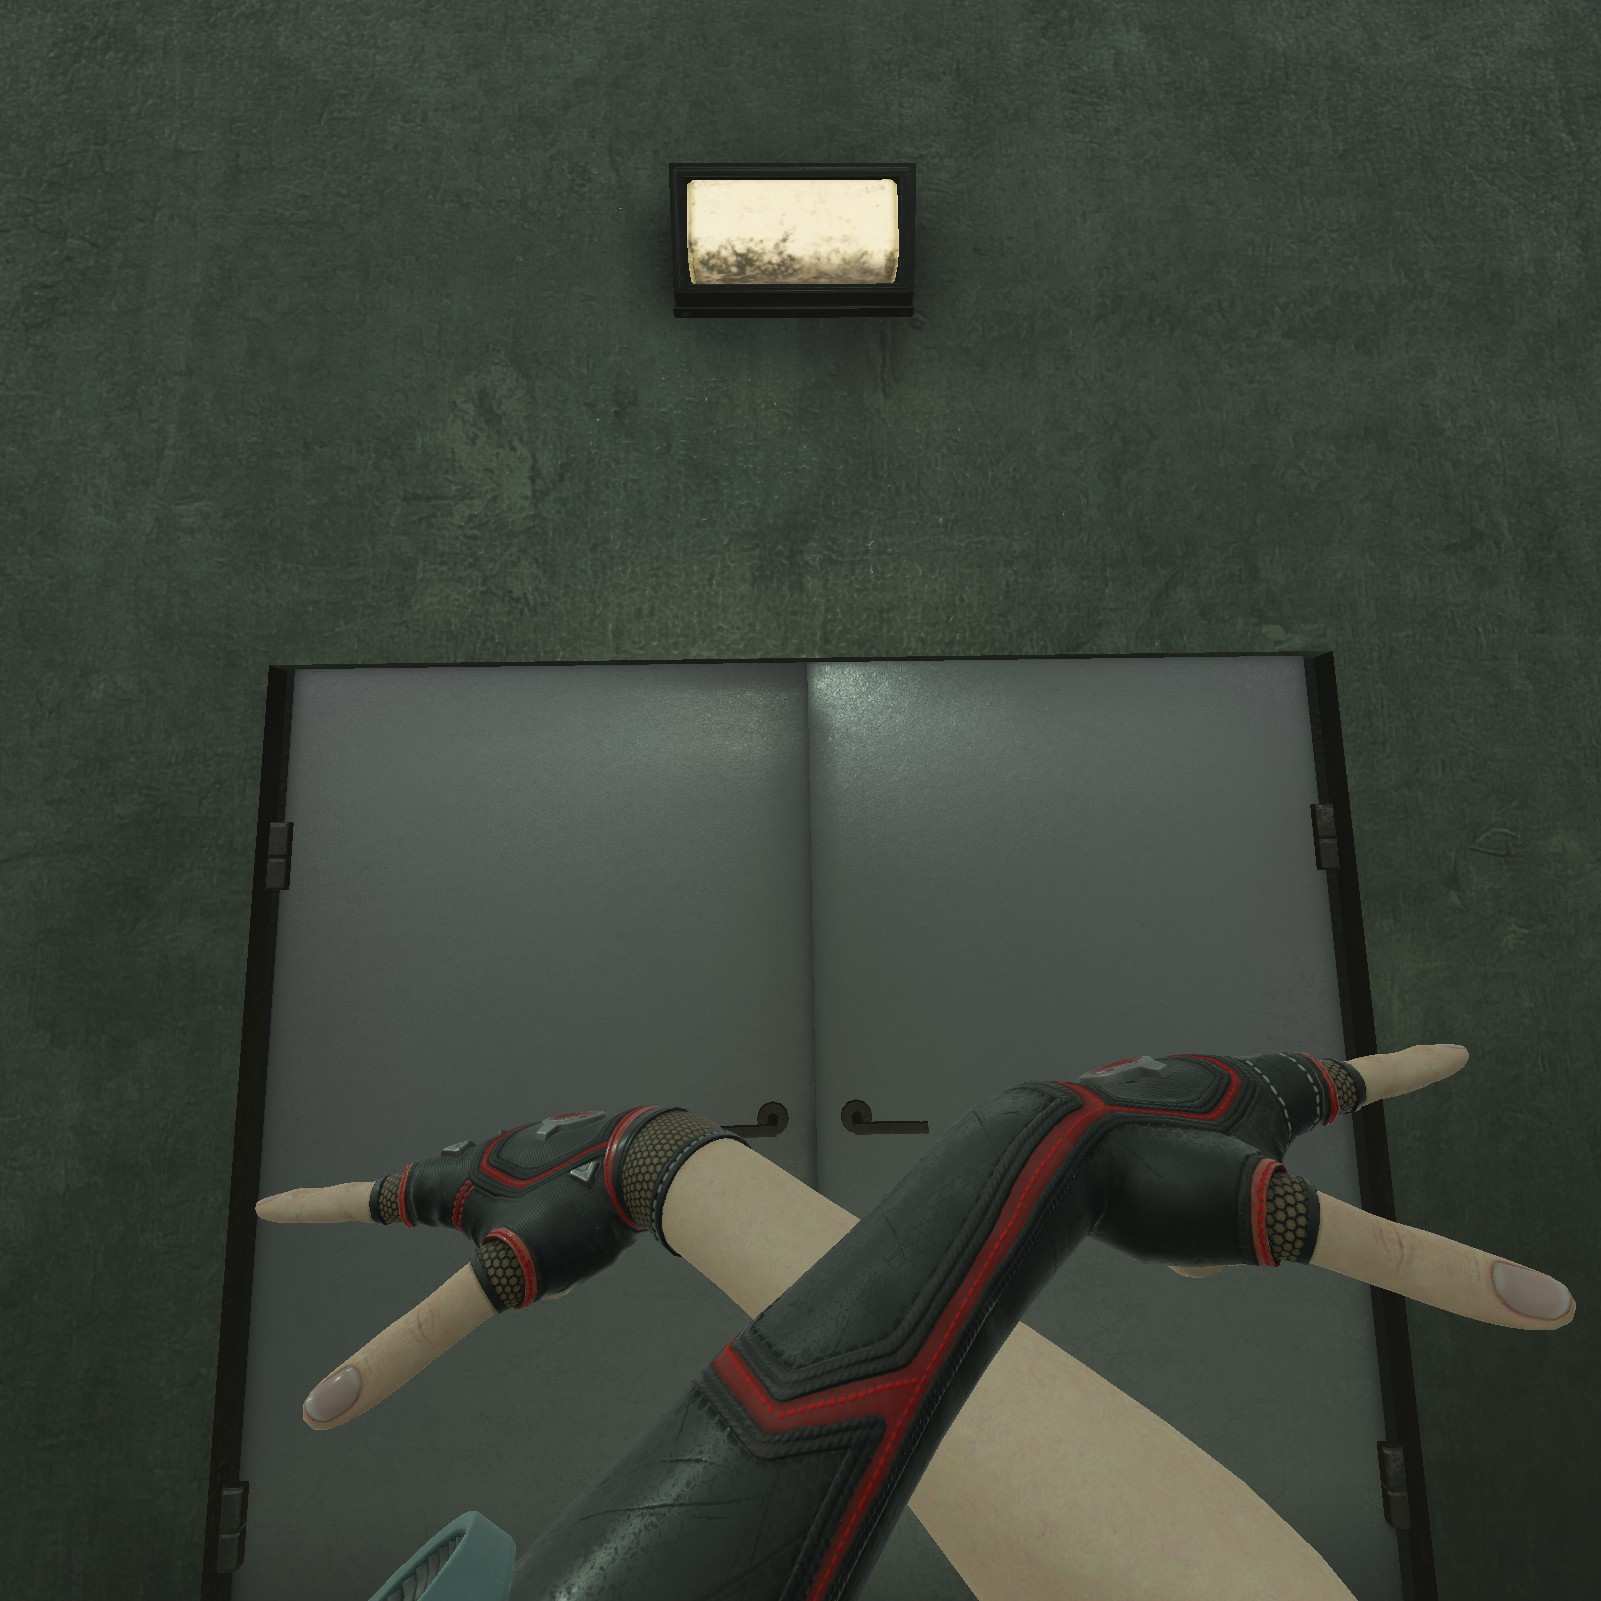
These next few gatchas requires the ancient art of opening doors. You can do this. I believe in you.
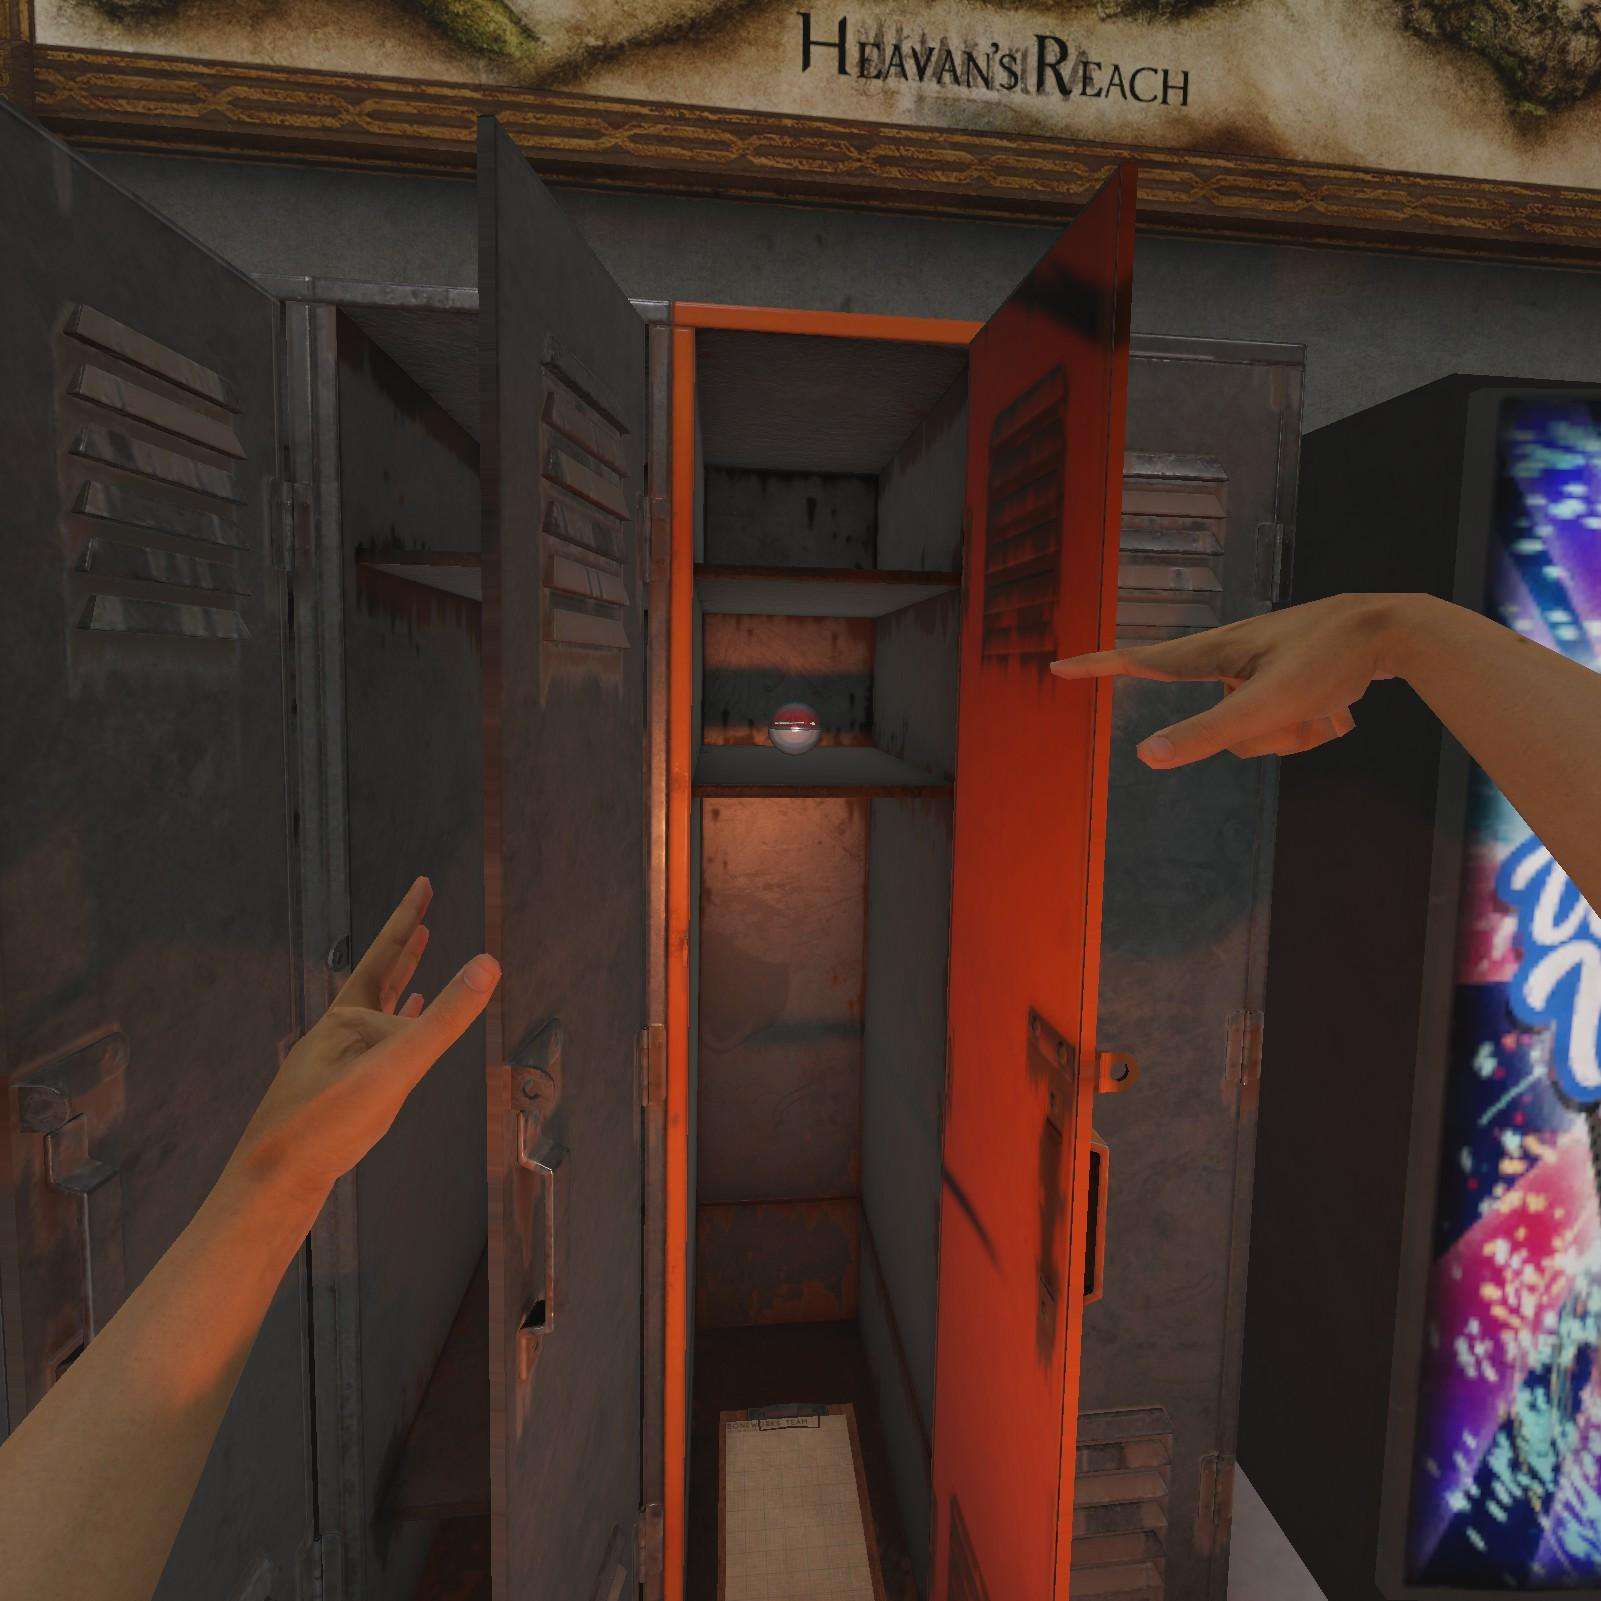
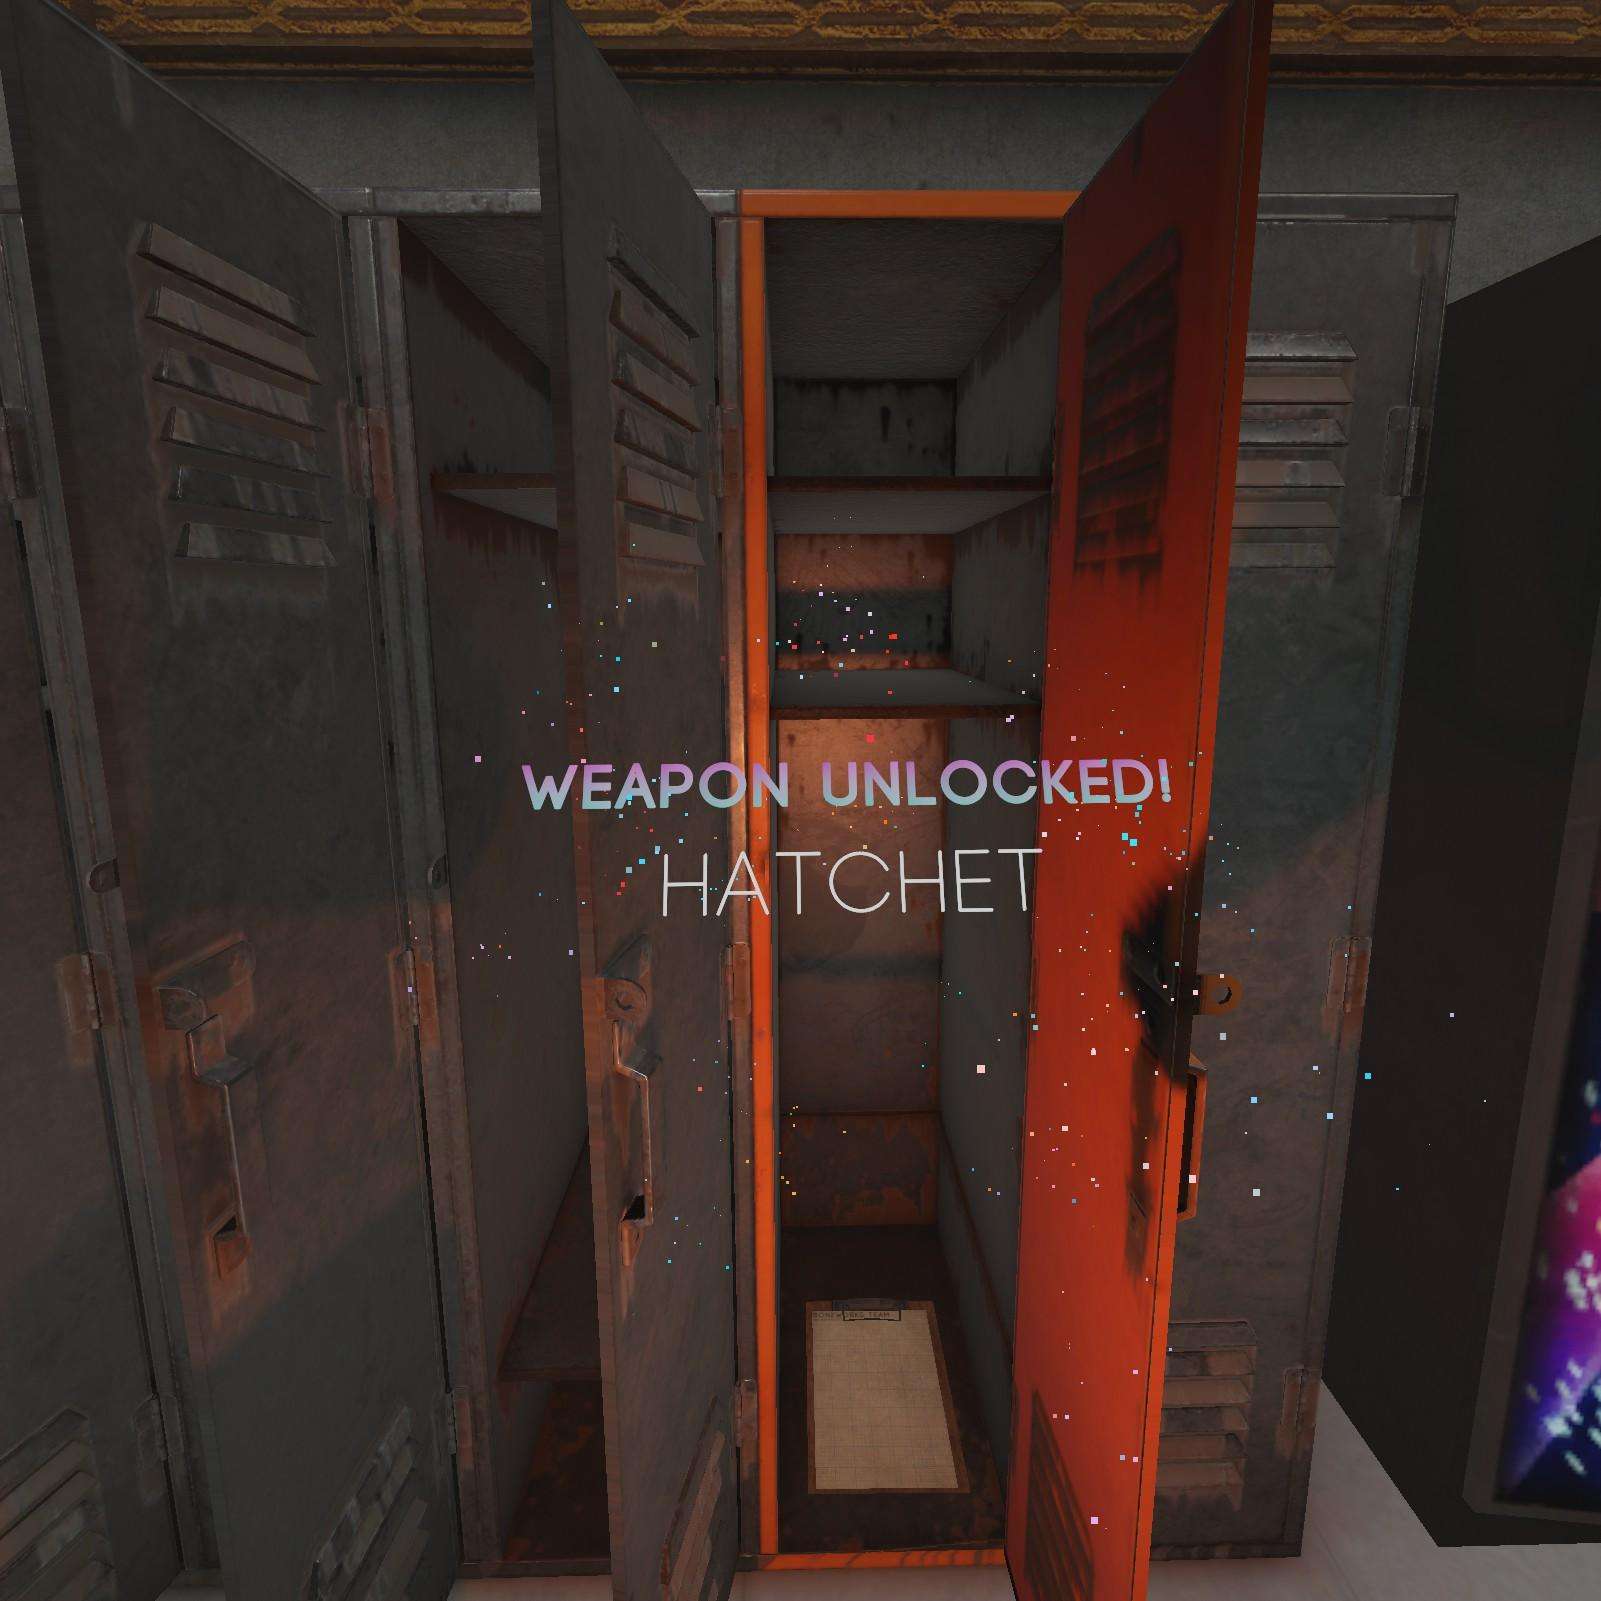
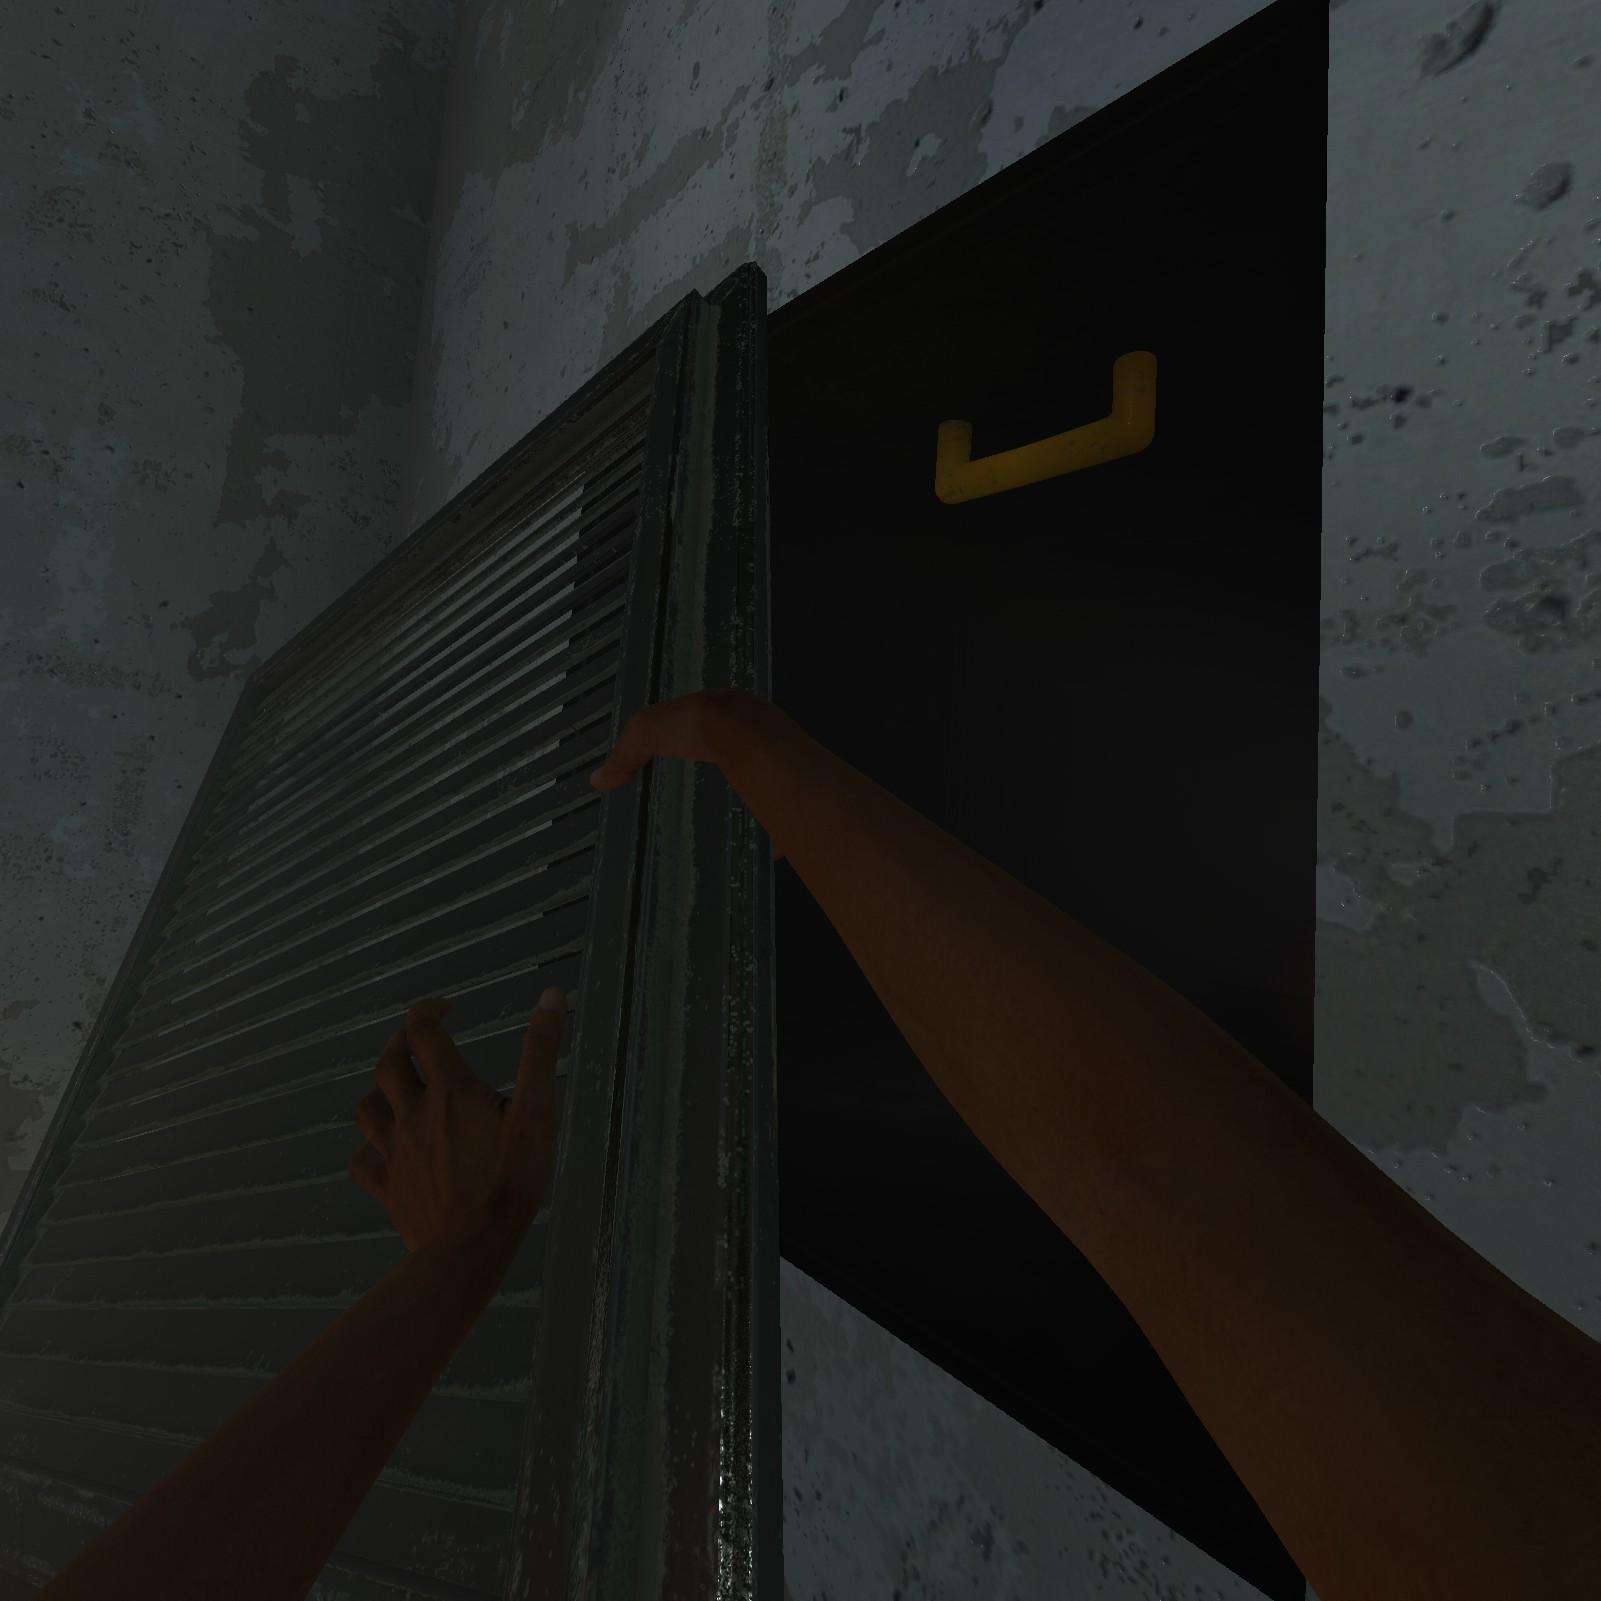
Hatchet:
We’ve got one in this orange locker here, a hatchet for opening the bright orange locker.
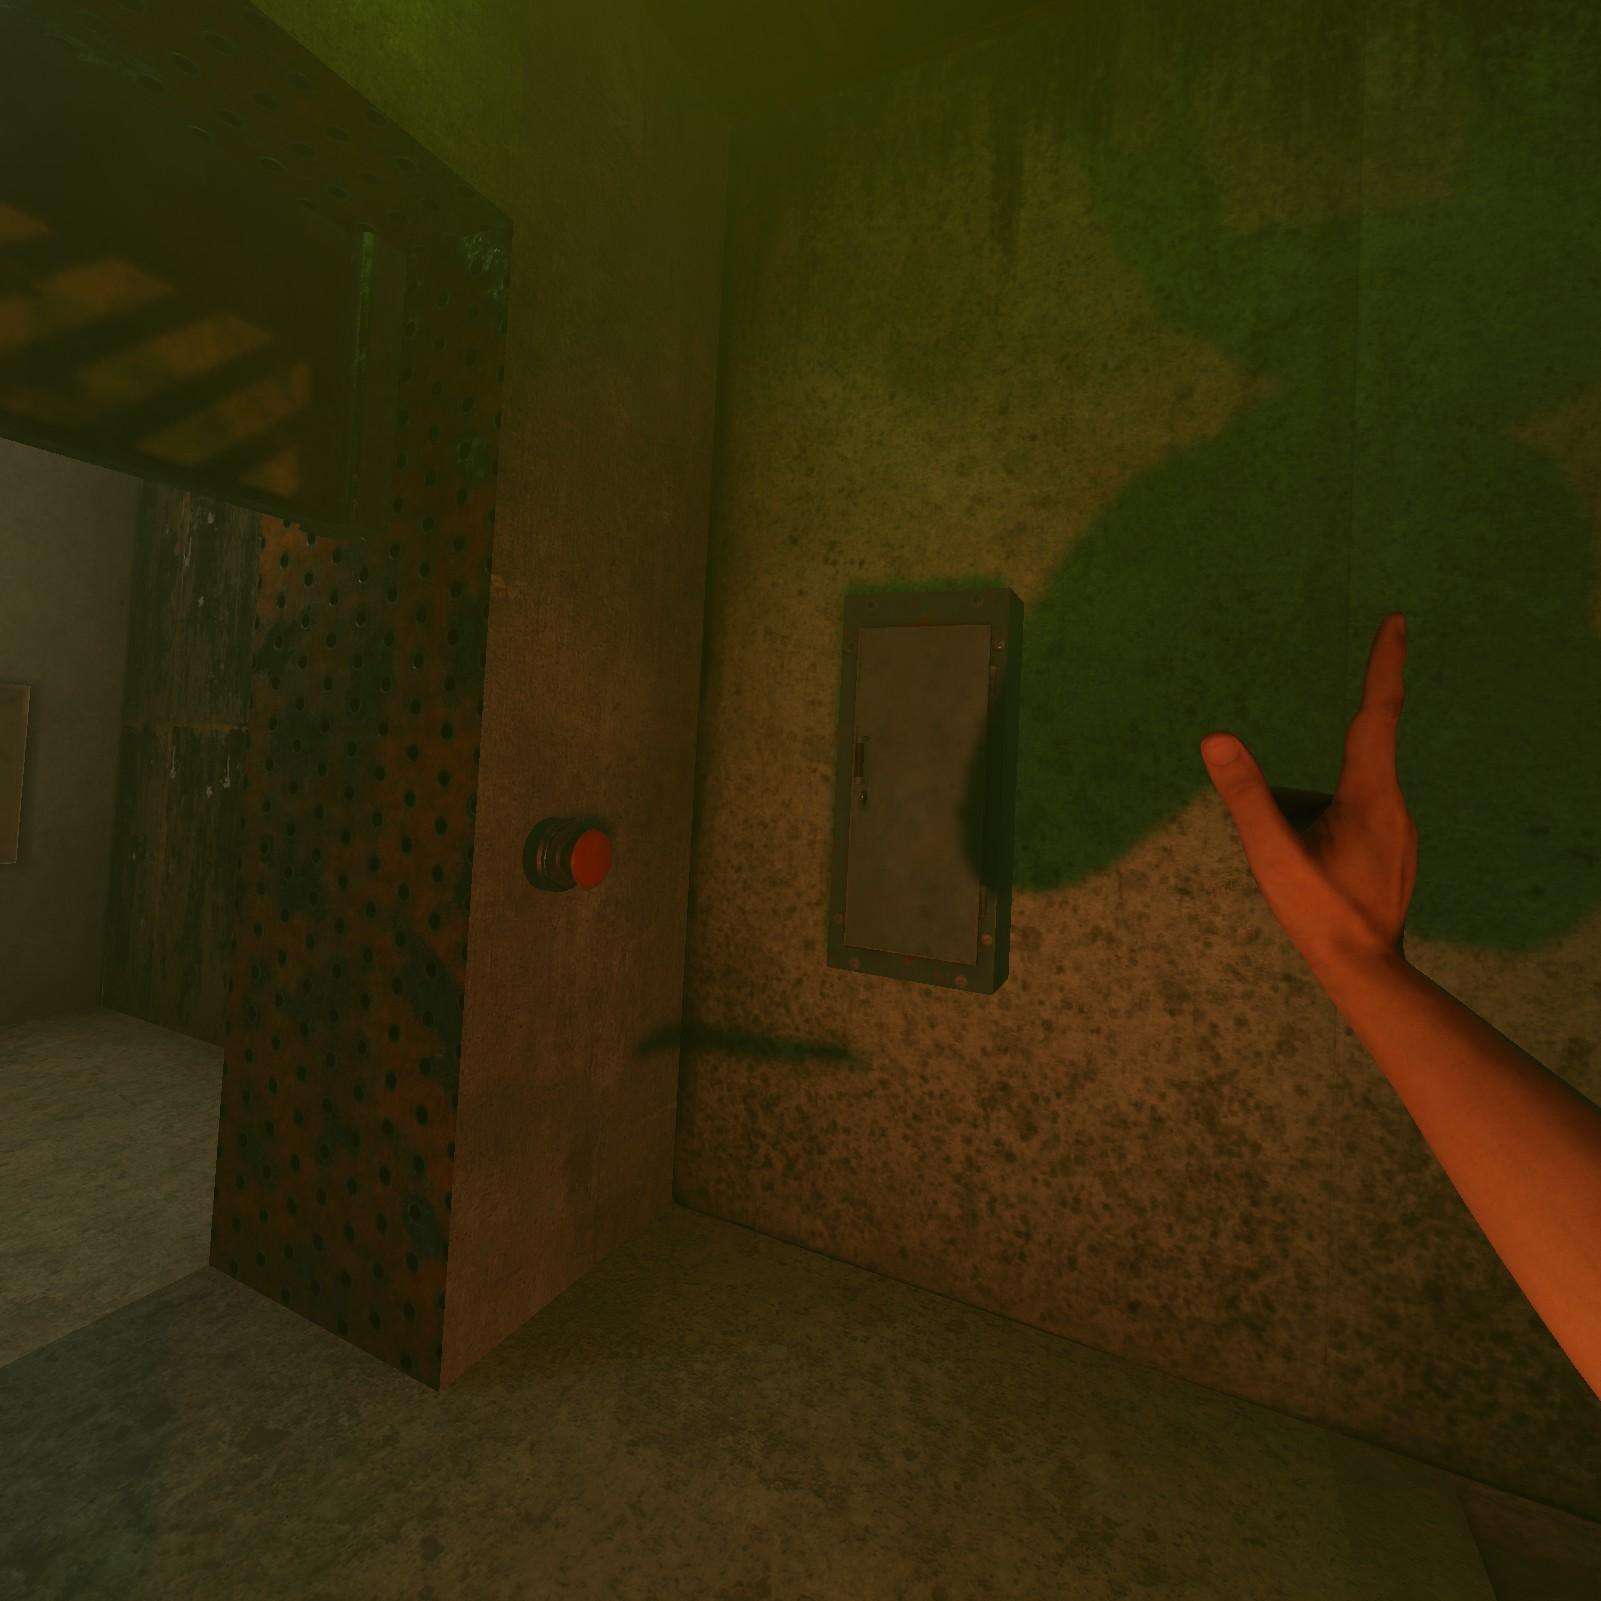
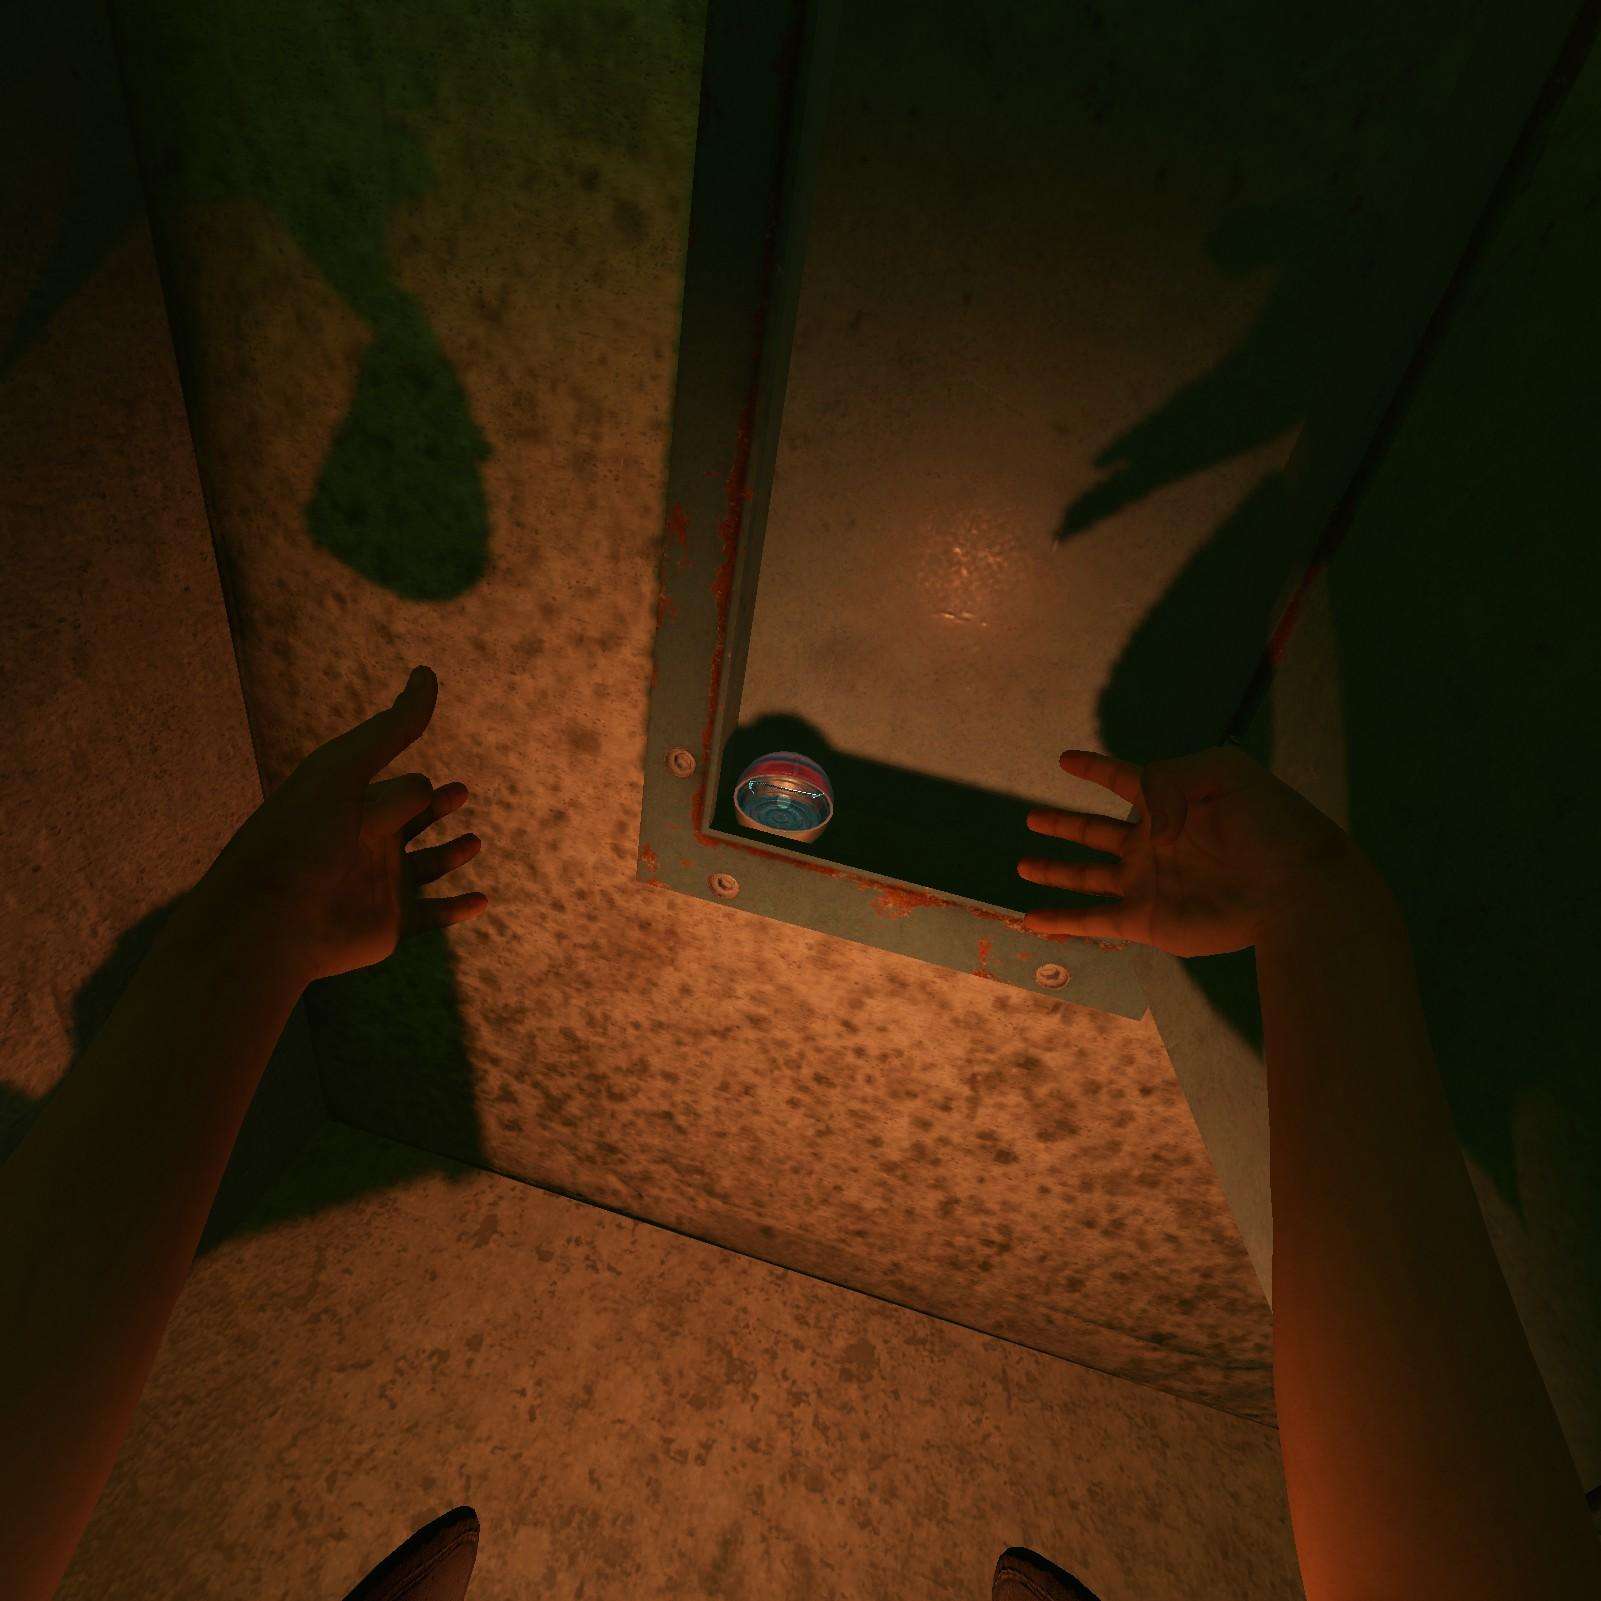
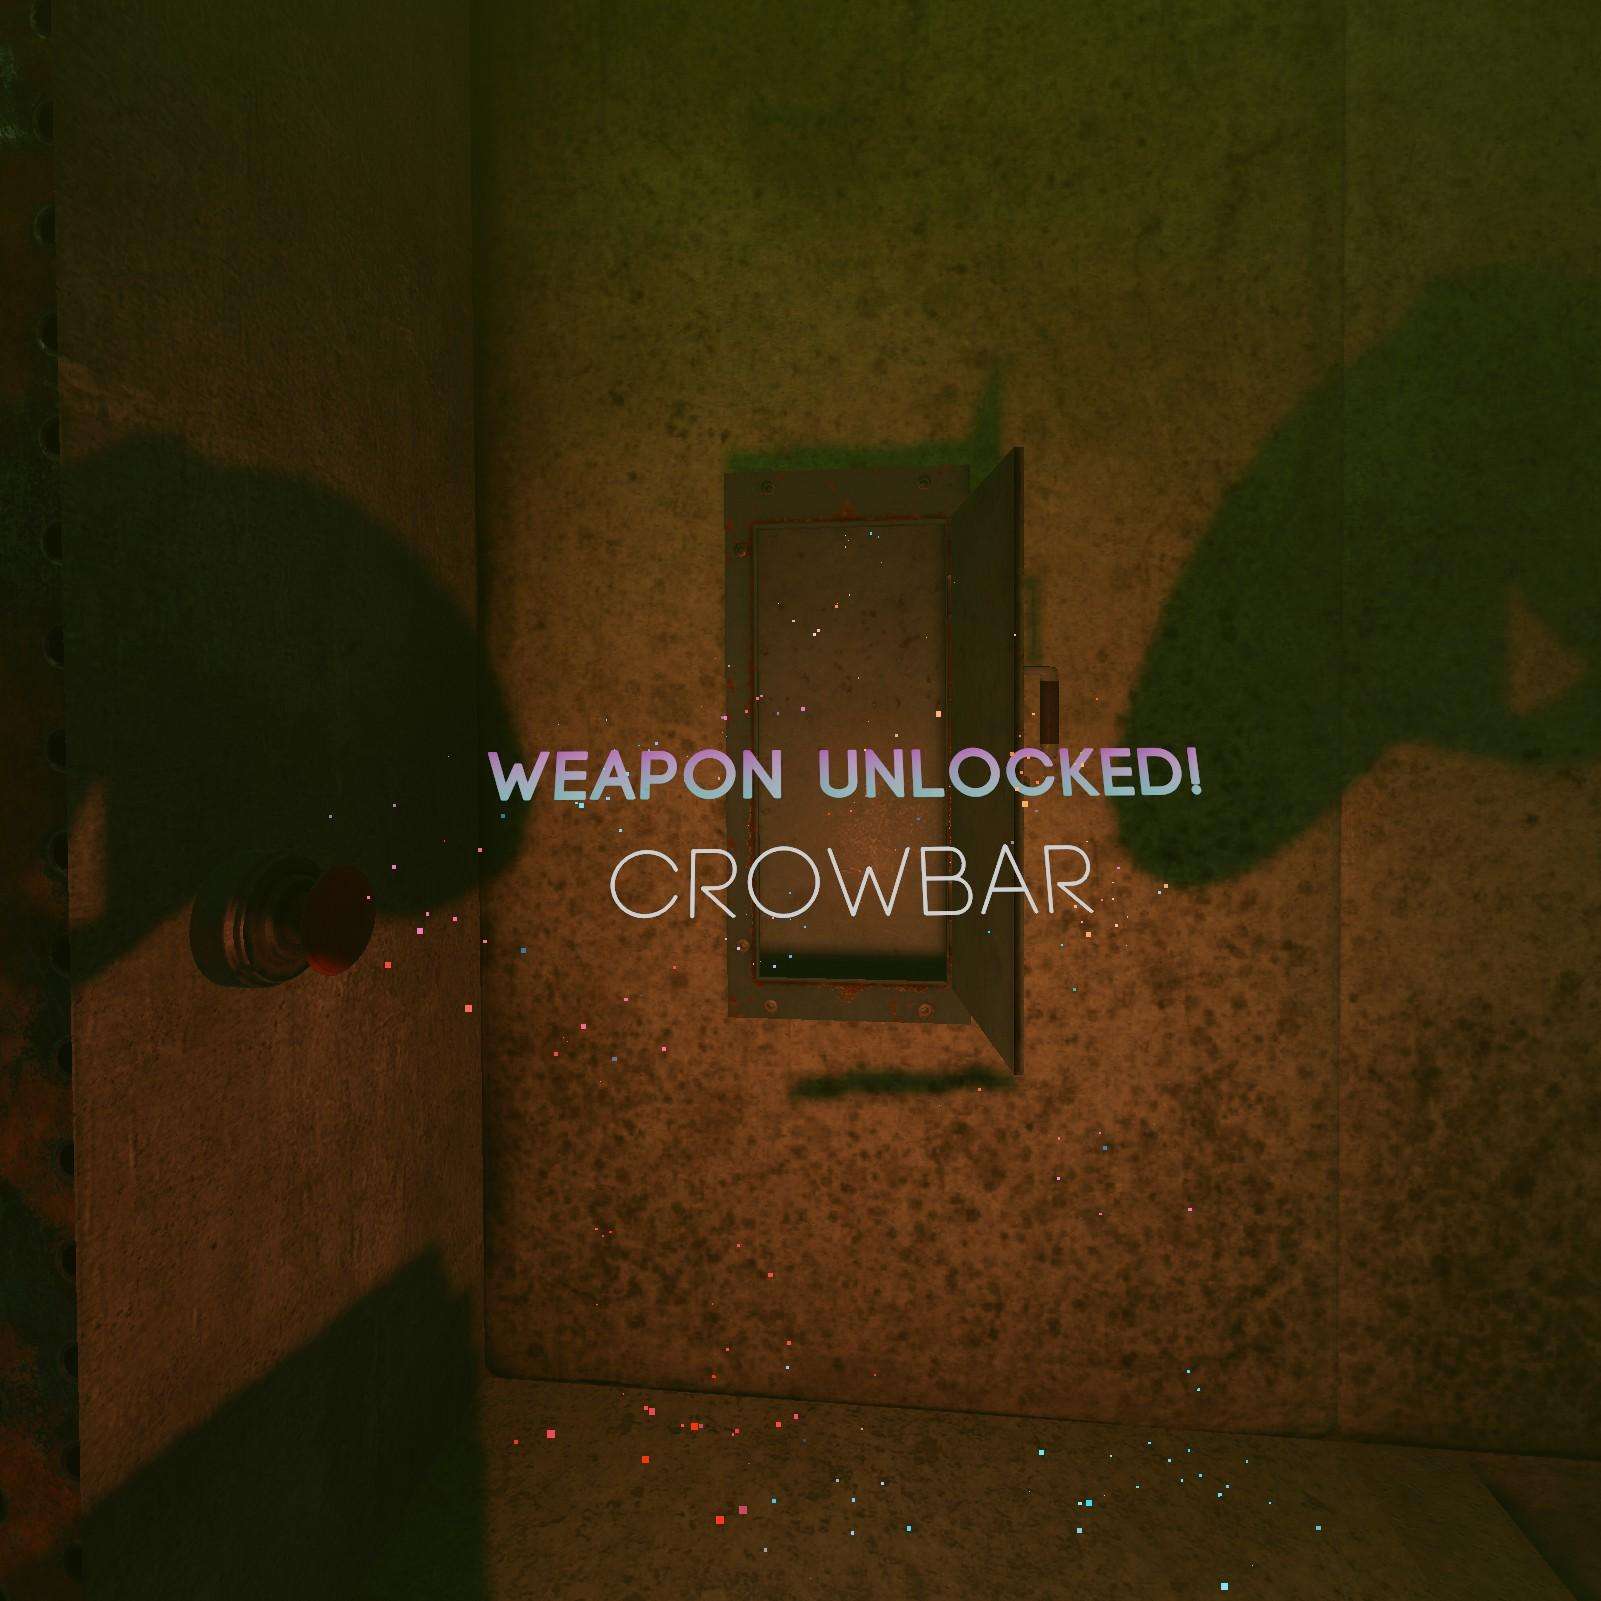
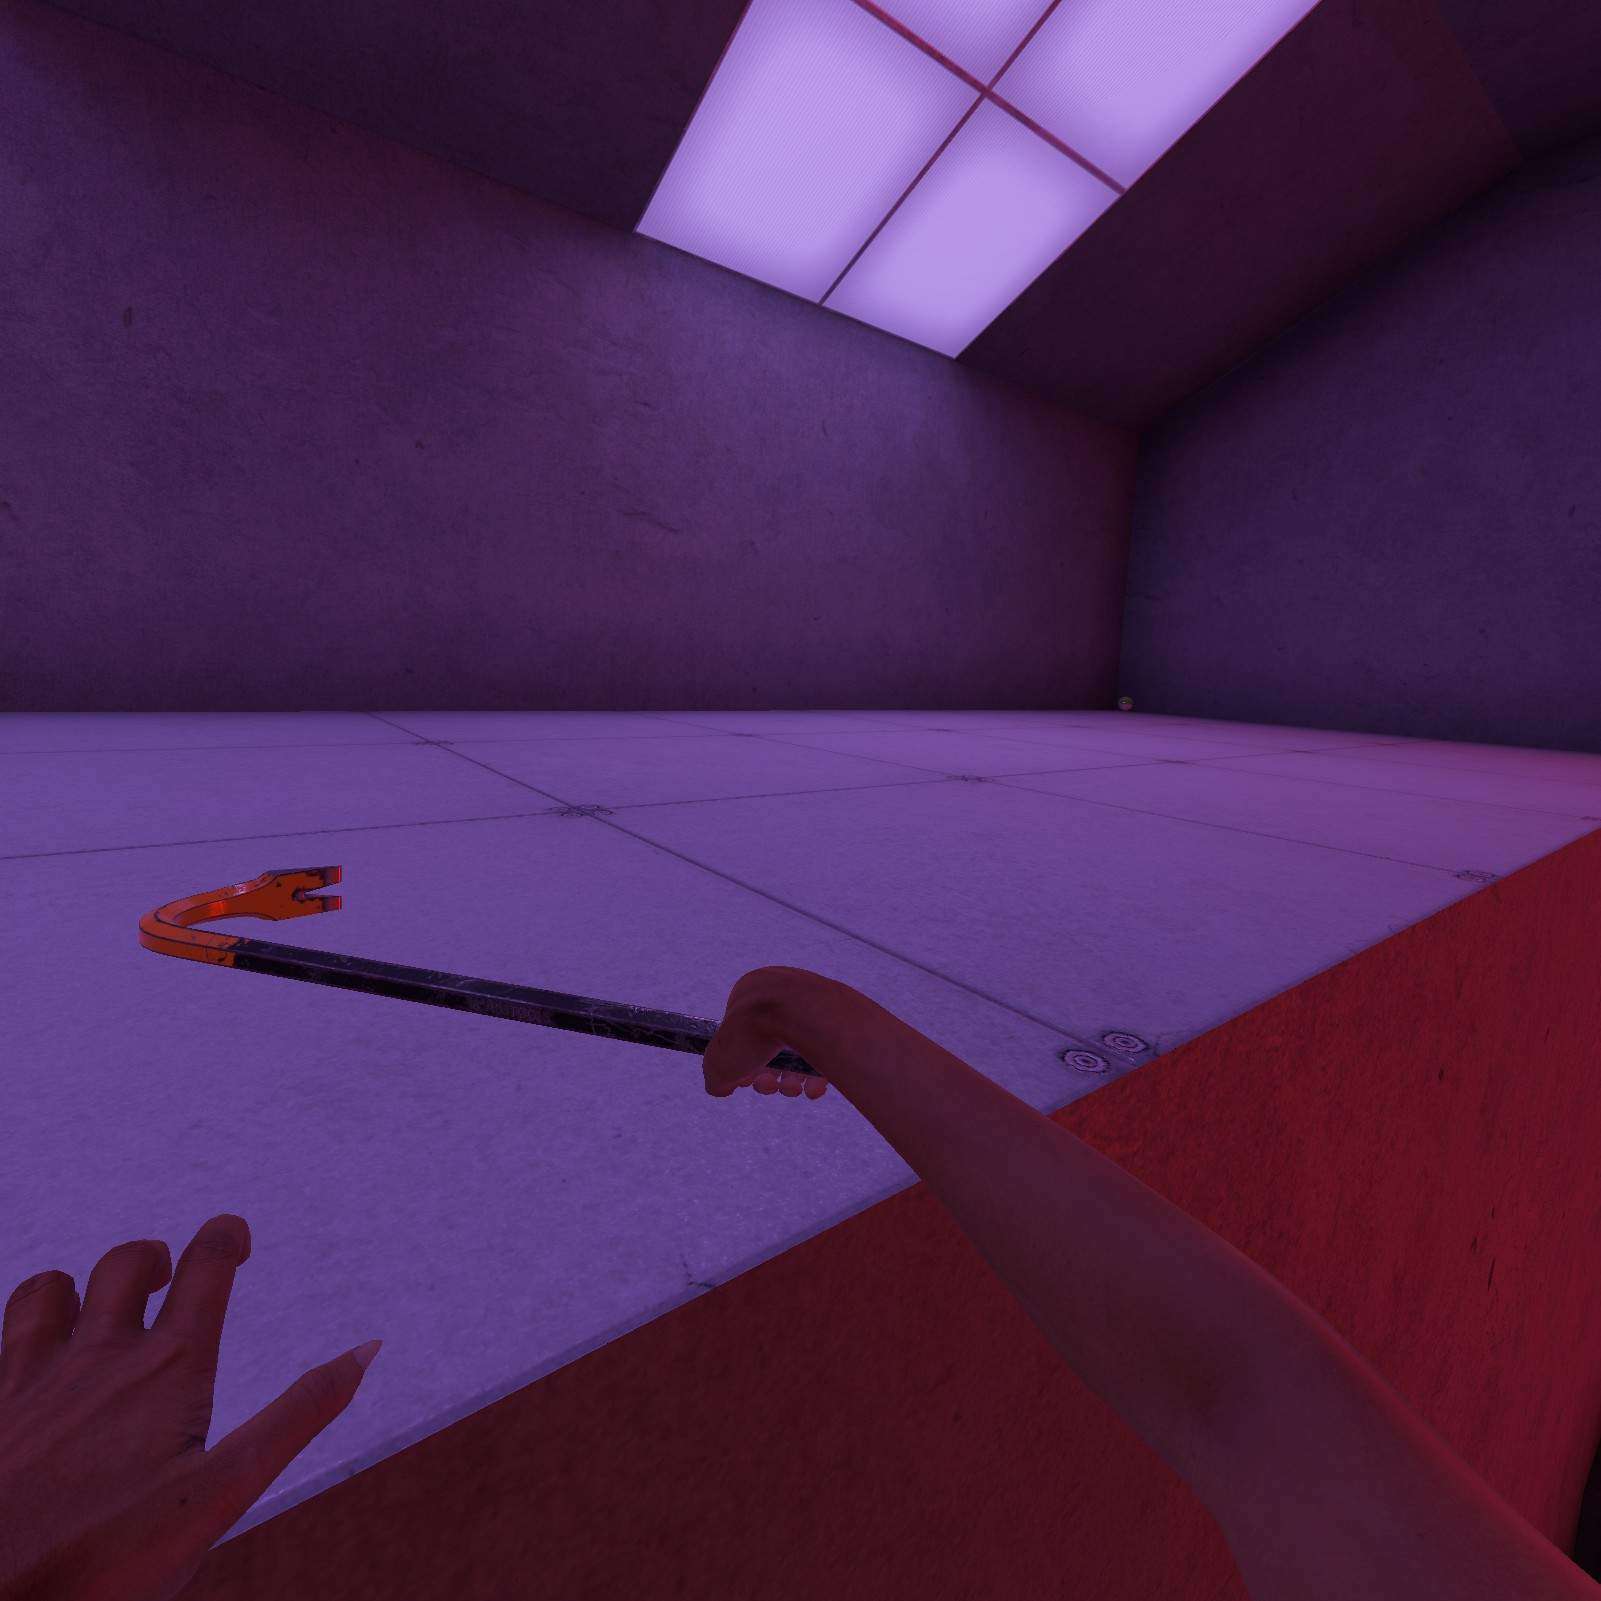
Crowbar:
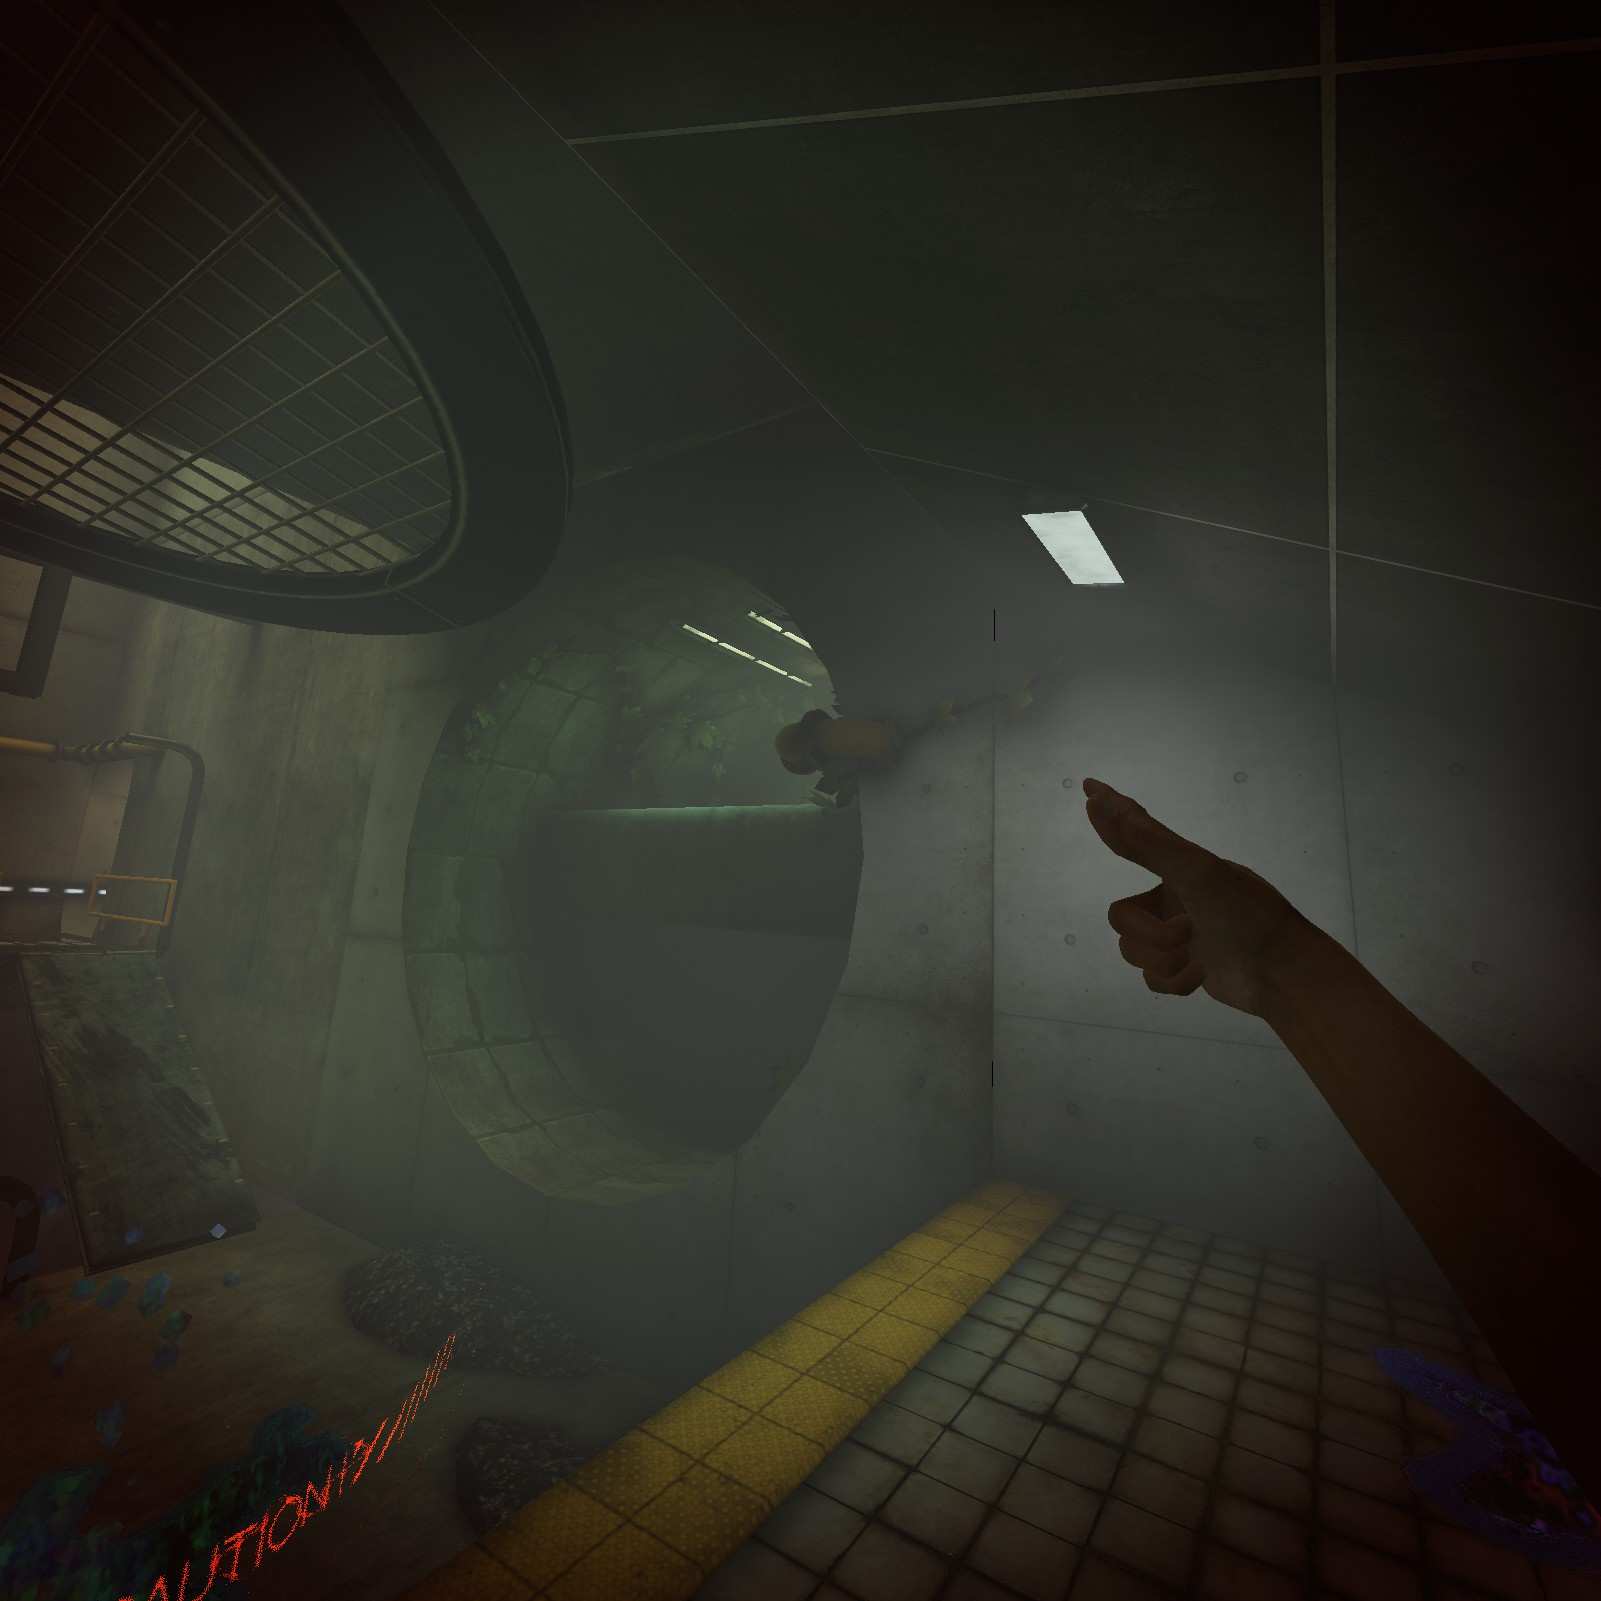
You might be flustered by the crablet you just encountered, but don’t let that cause you to miss this crowbar, located in this electrical box.
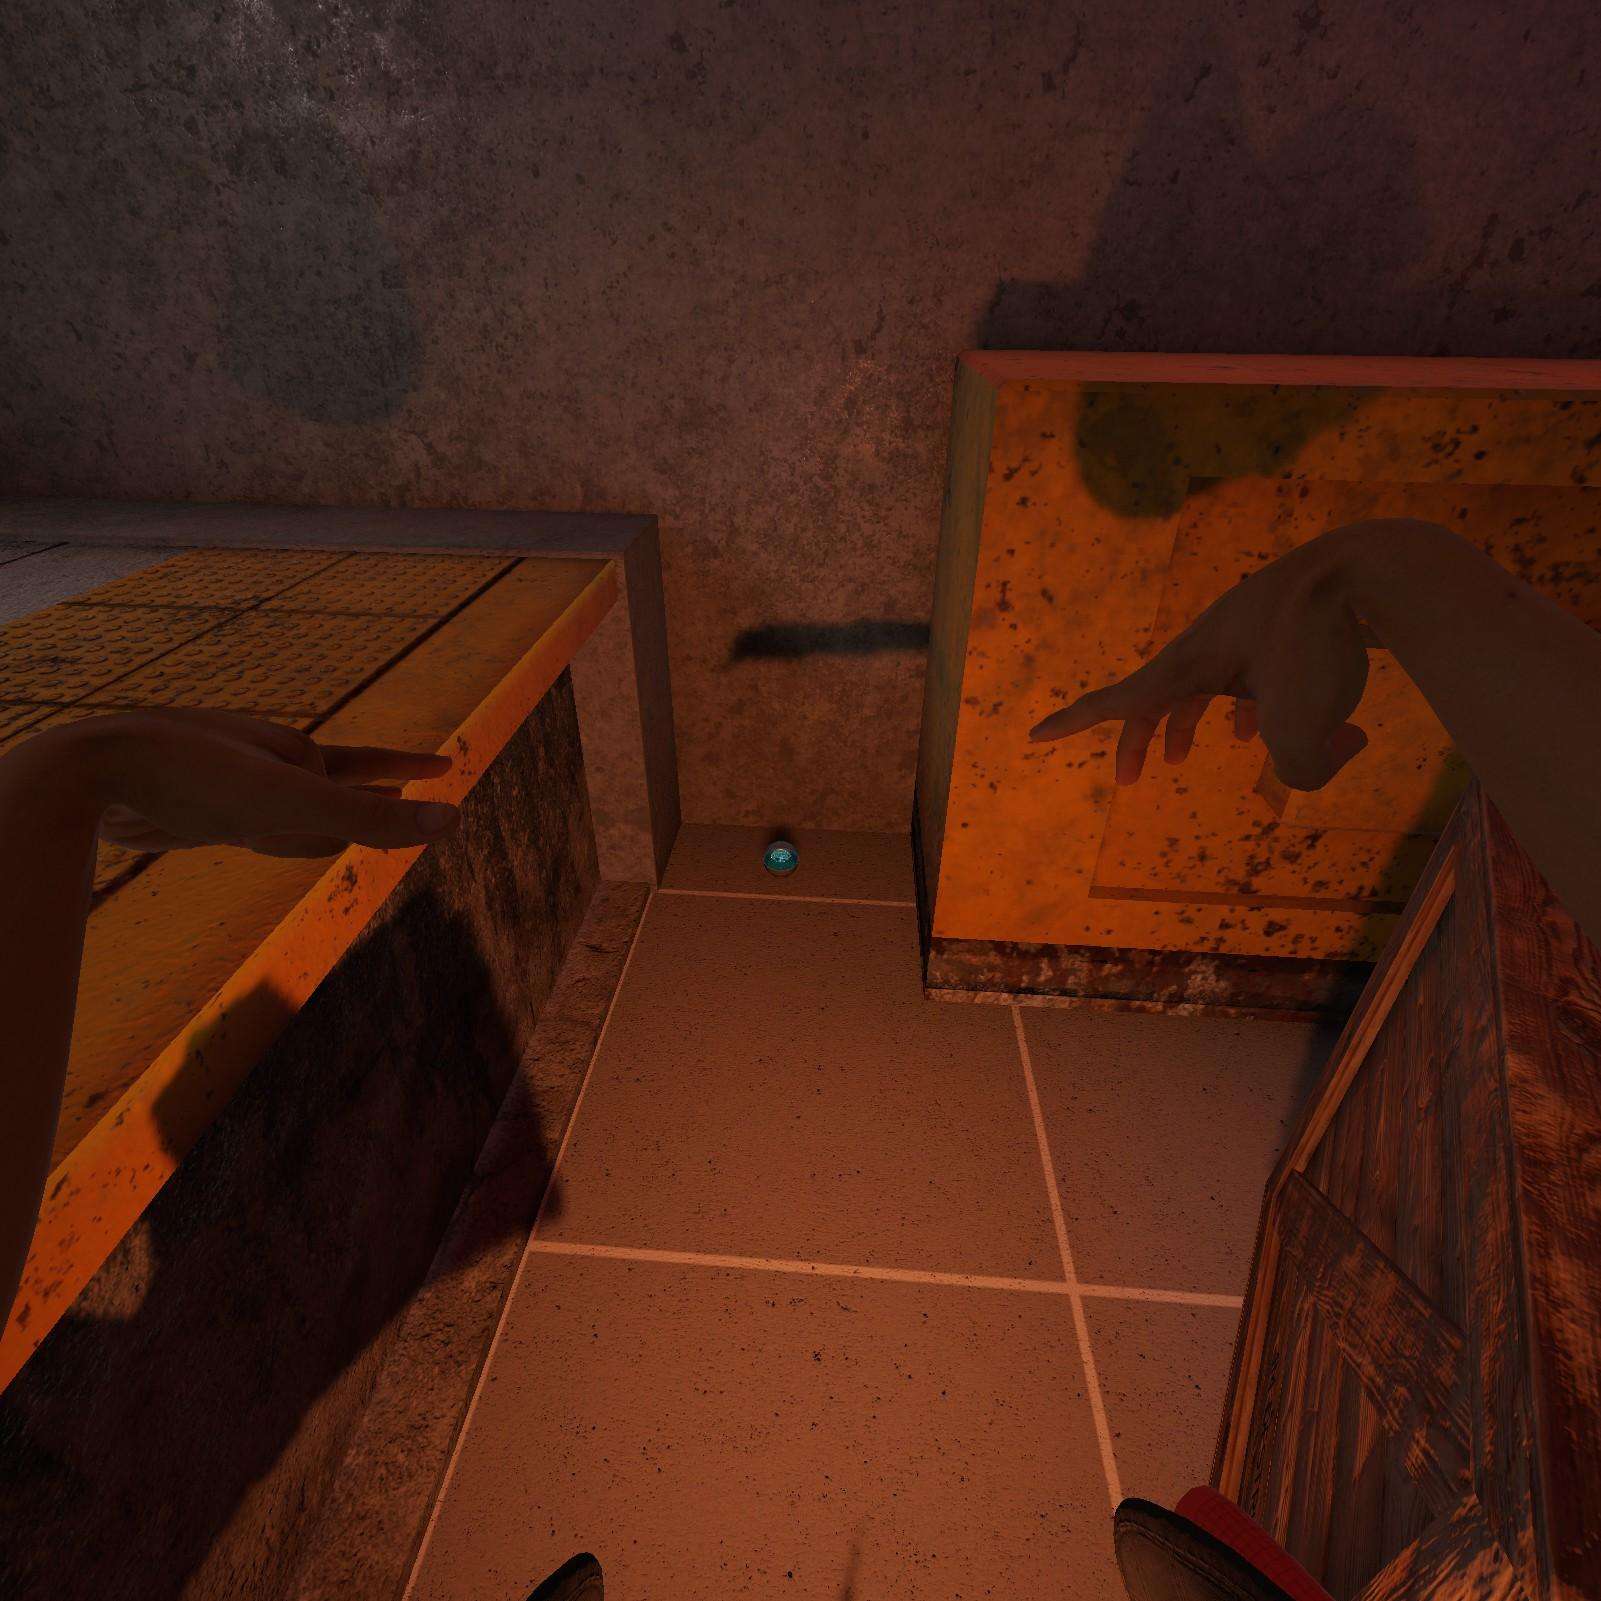
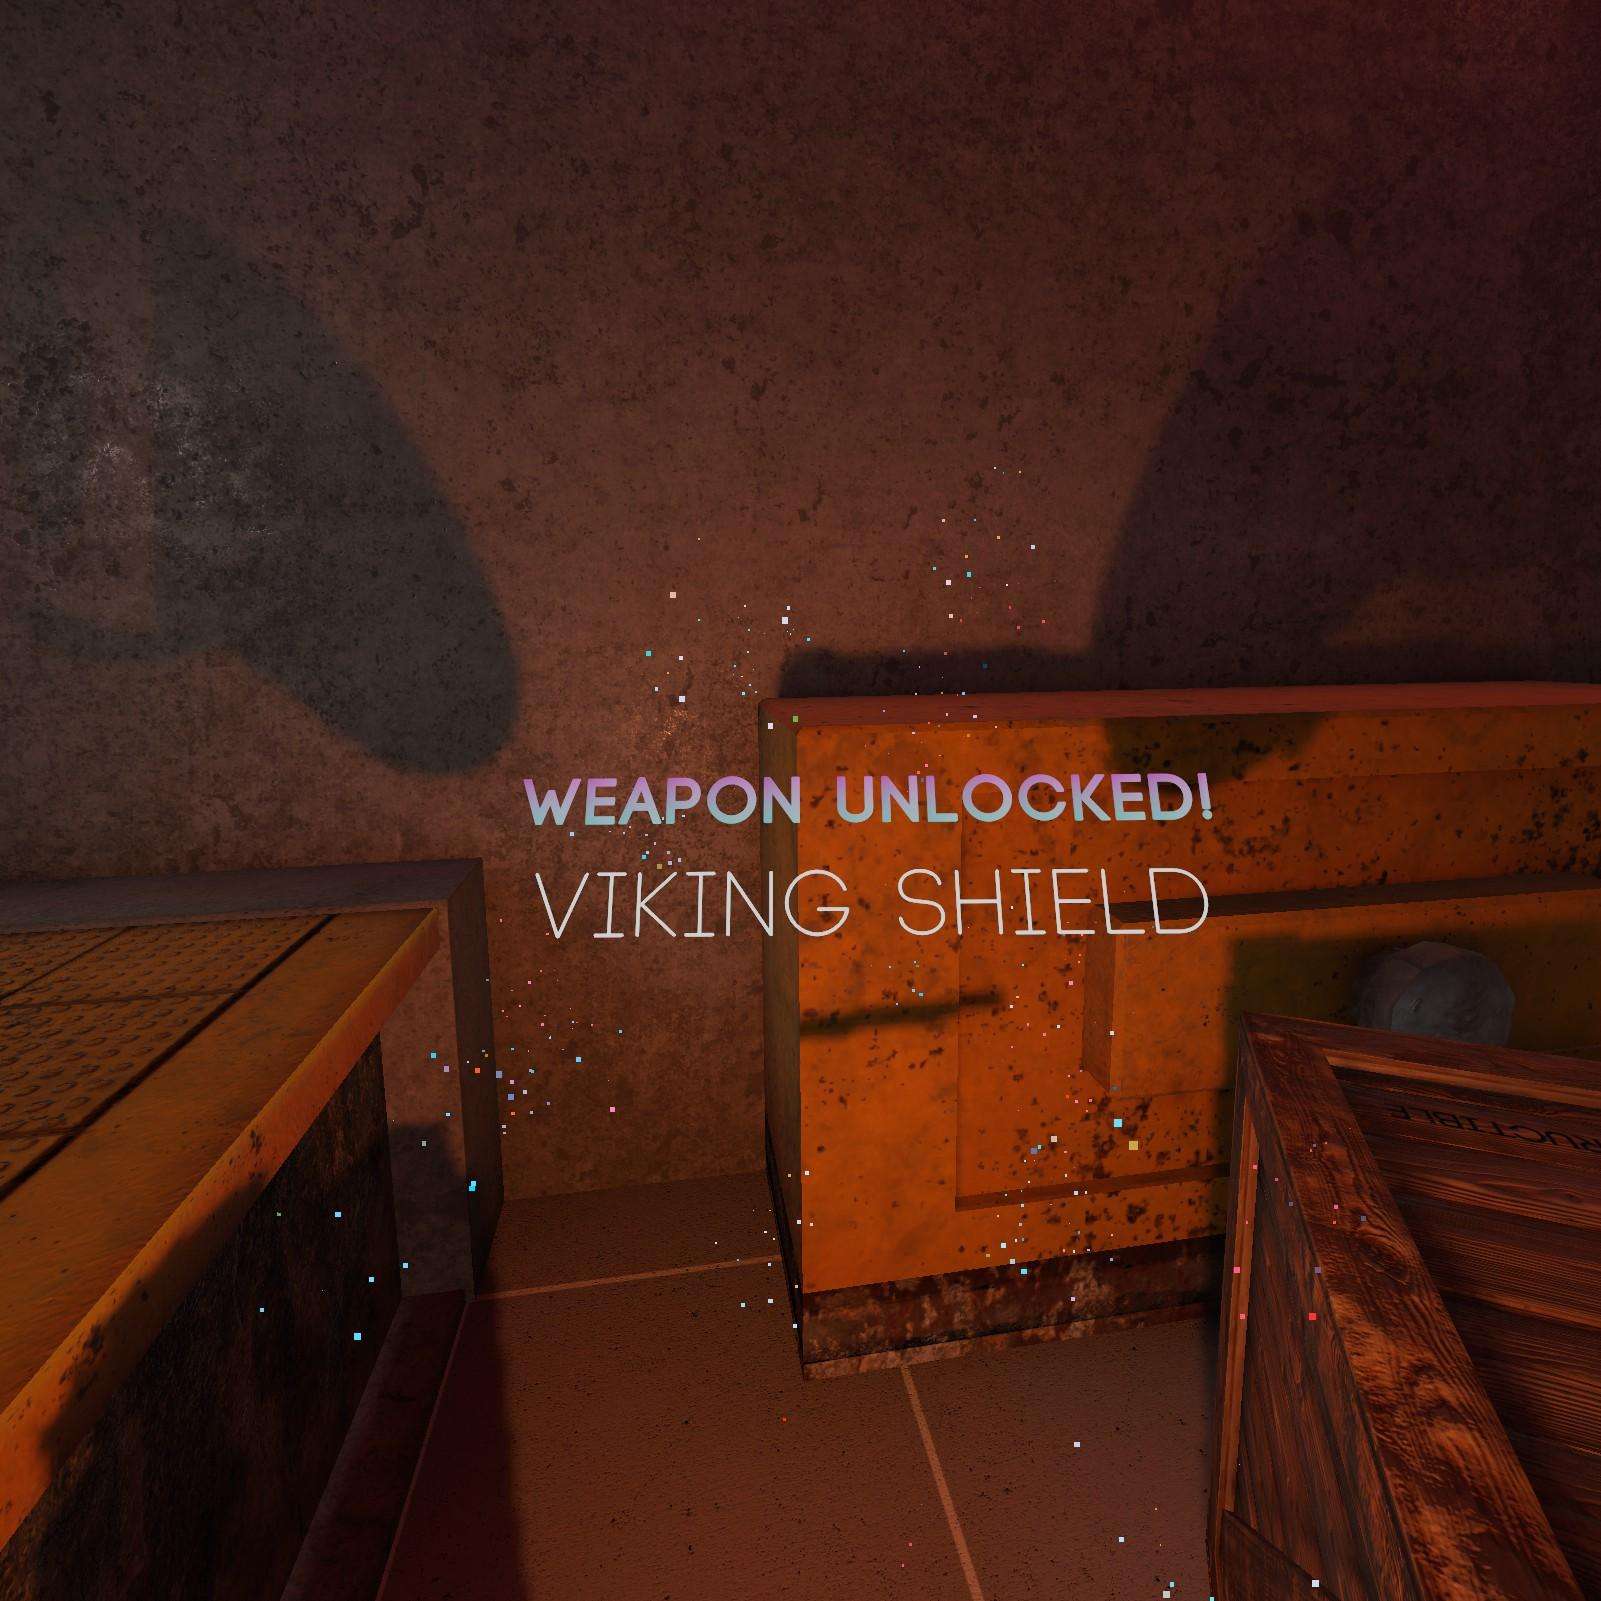
Viking Shield:
Scared of trains? Grab this shield and you’ll be able to protect yourself from them! Trust me this is 100% legit you definitely wont die like an idiot.
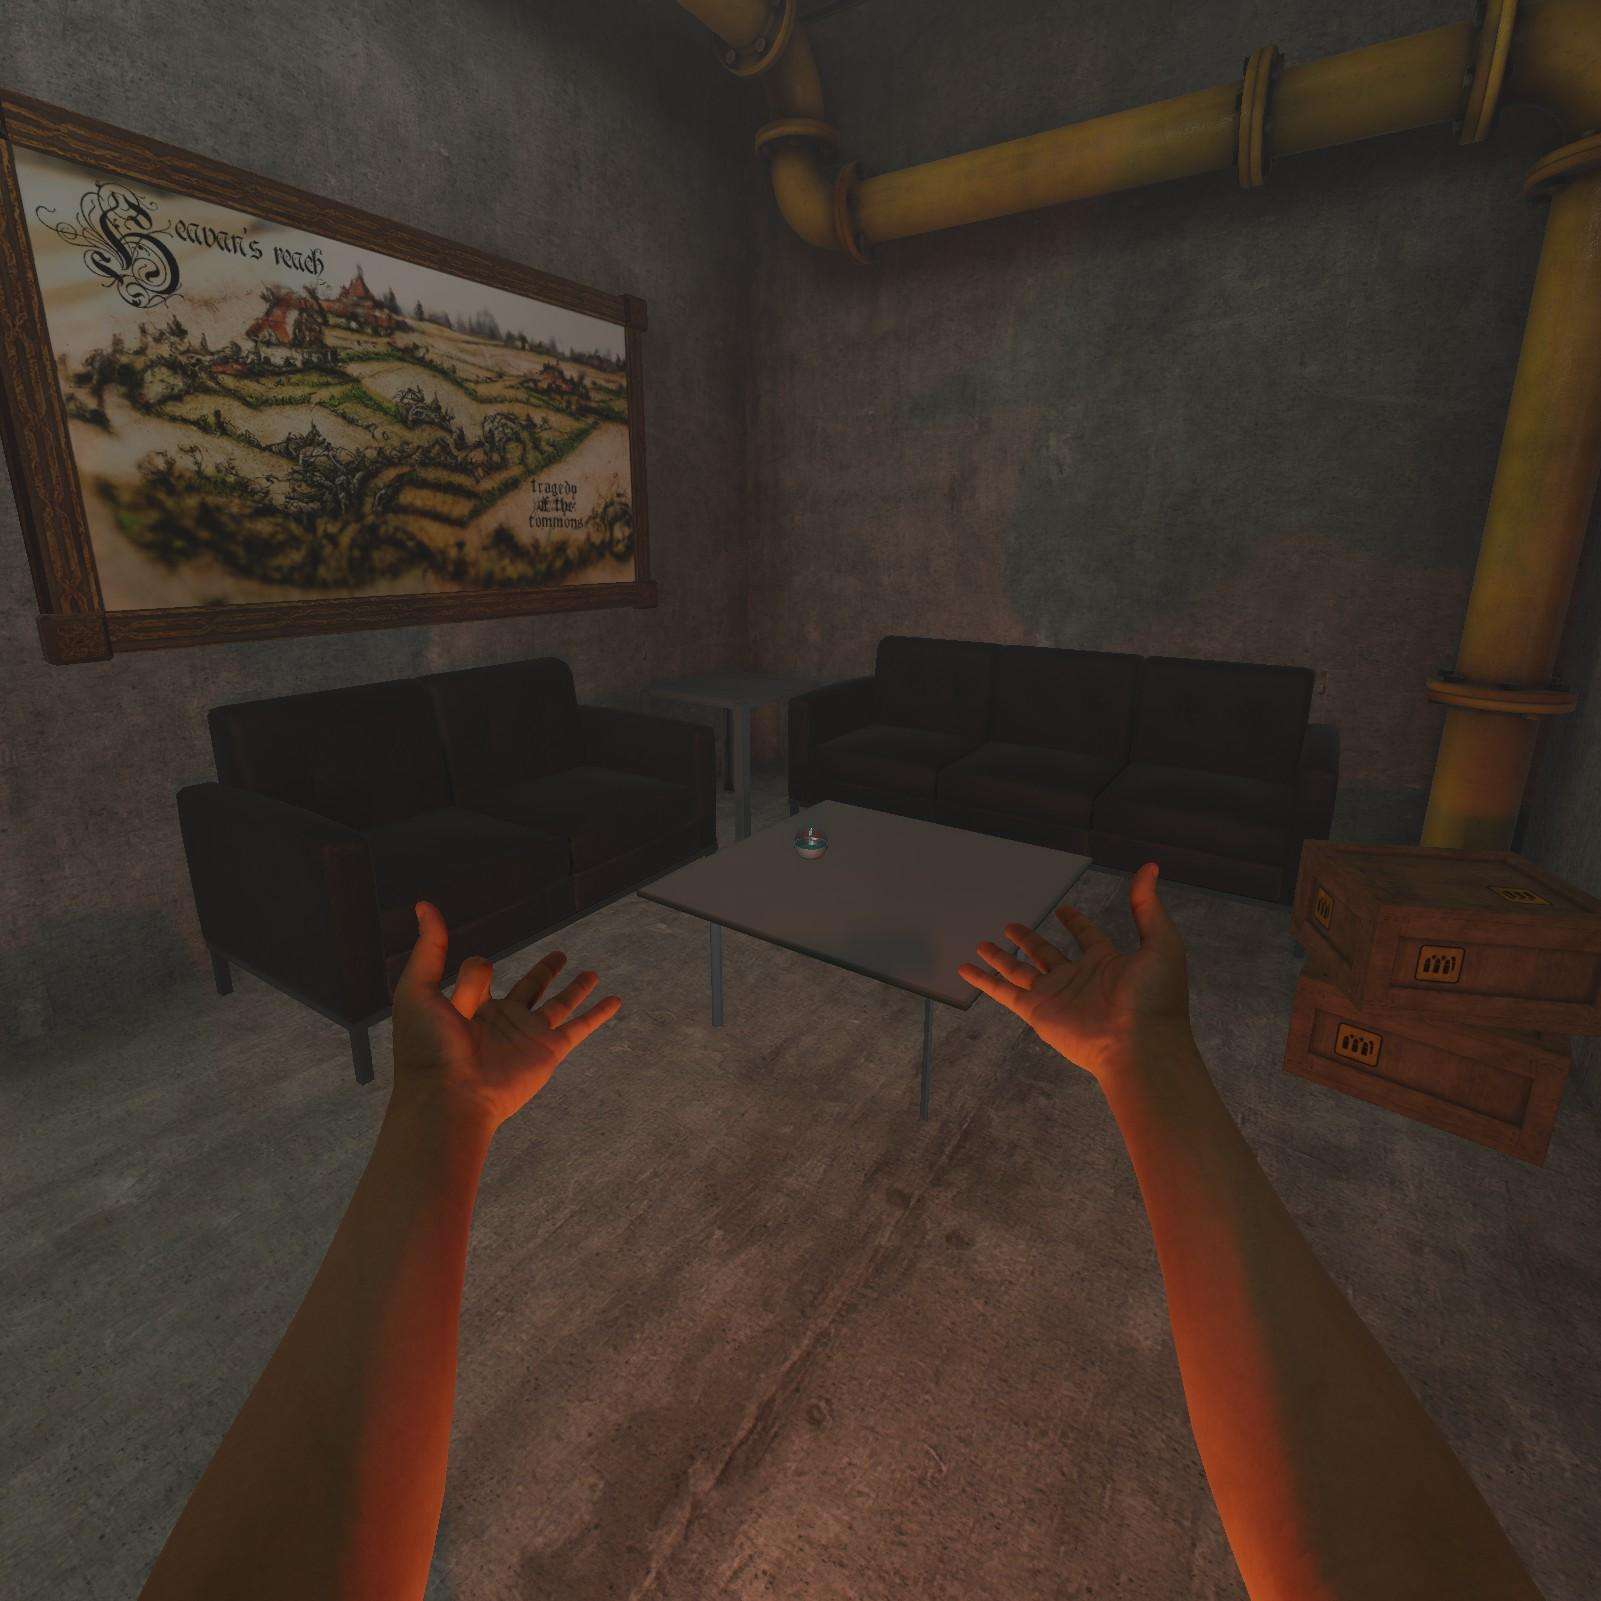
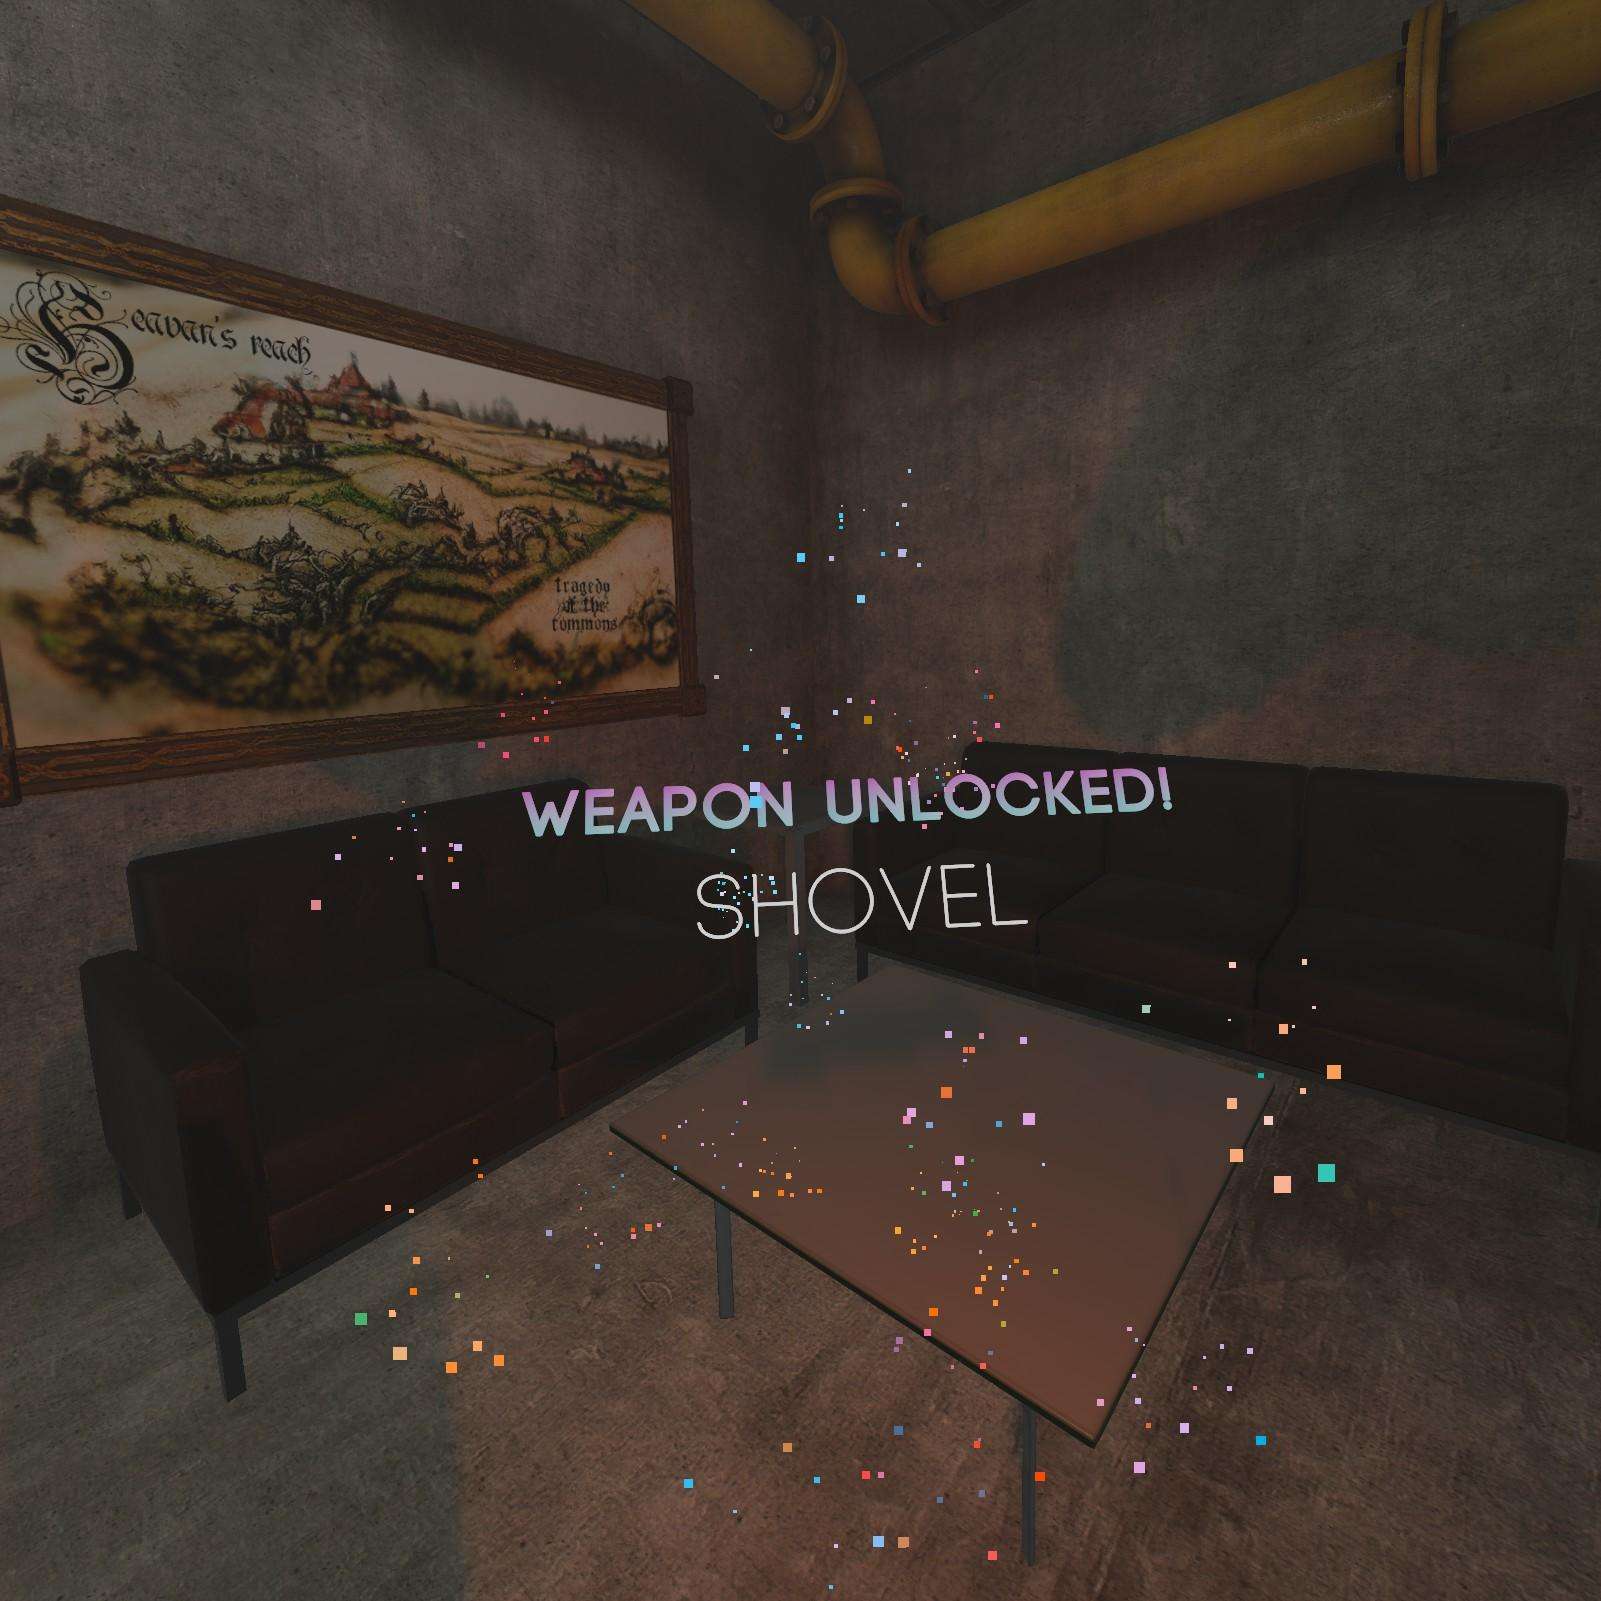
Shovel:
Once we leave the scary train room (If you are in fact scared of trains) be sure to turn left for a shovel on the table, useful for burrowing under trains.
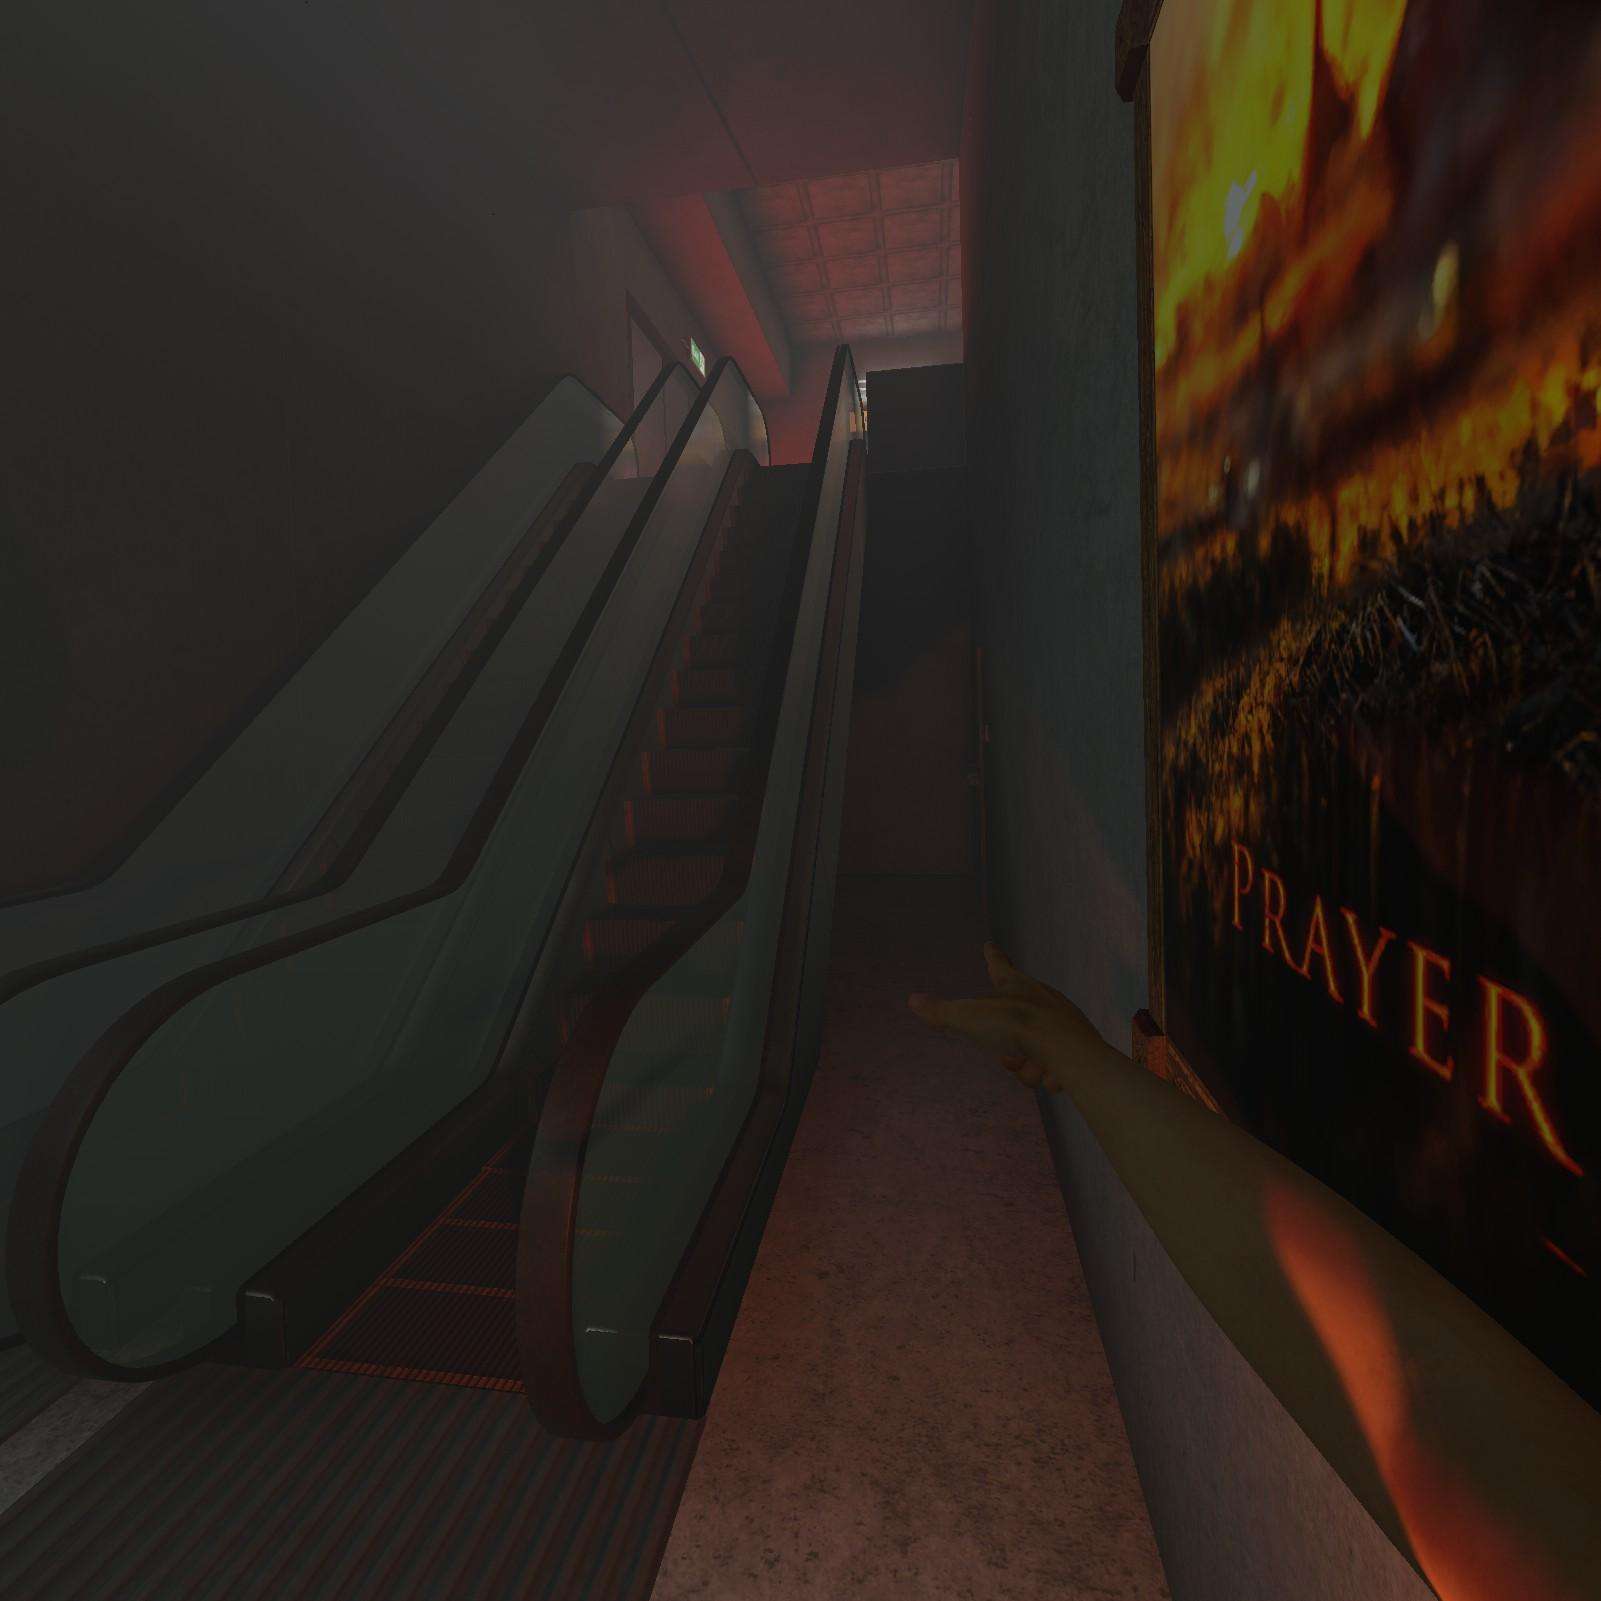
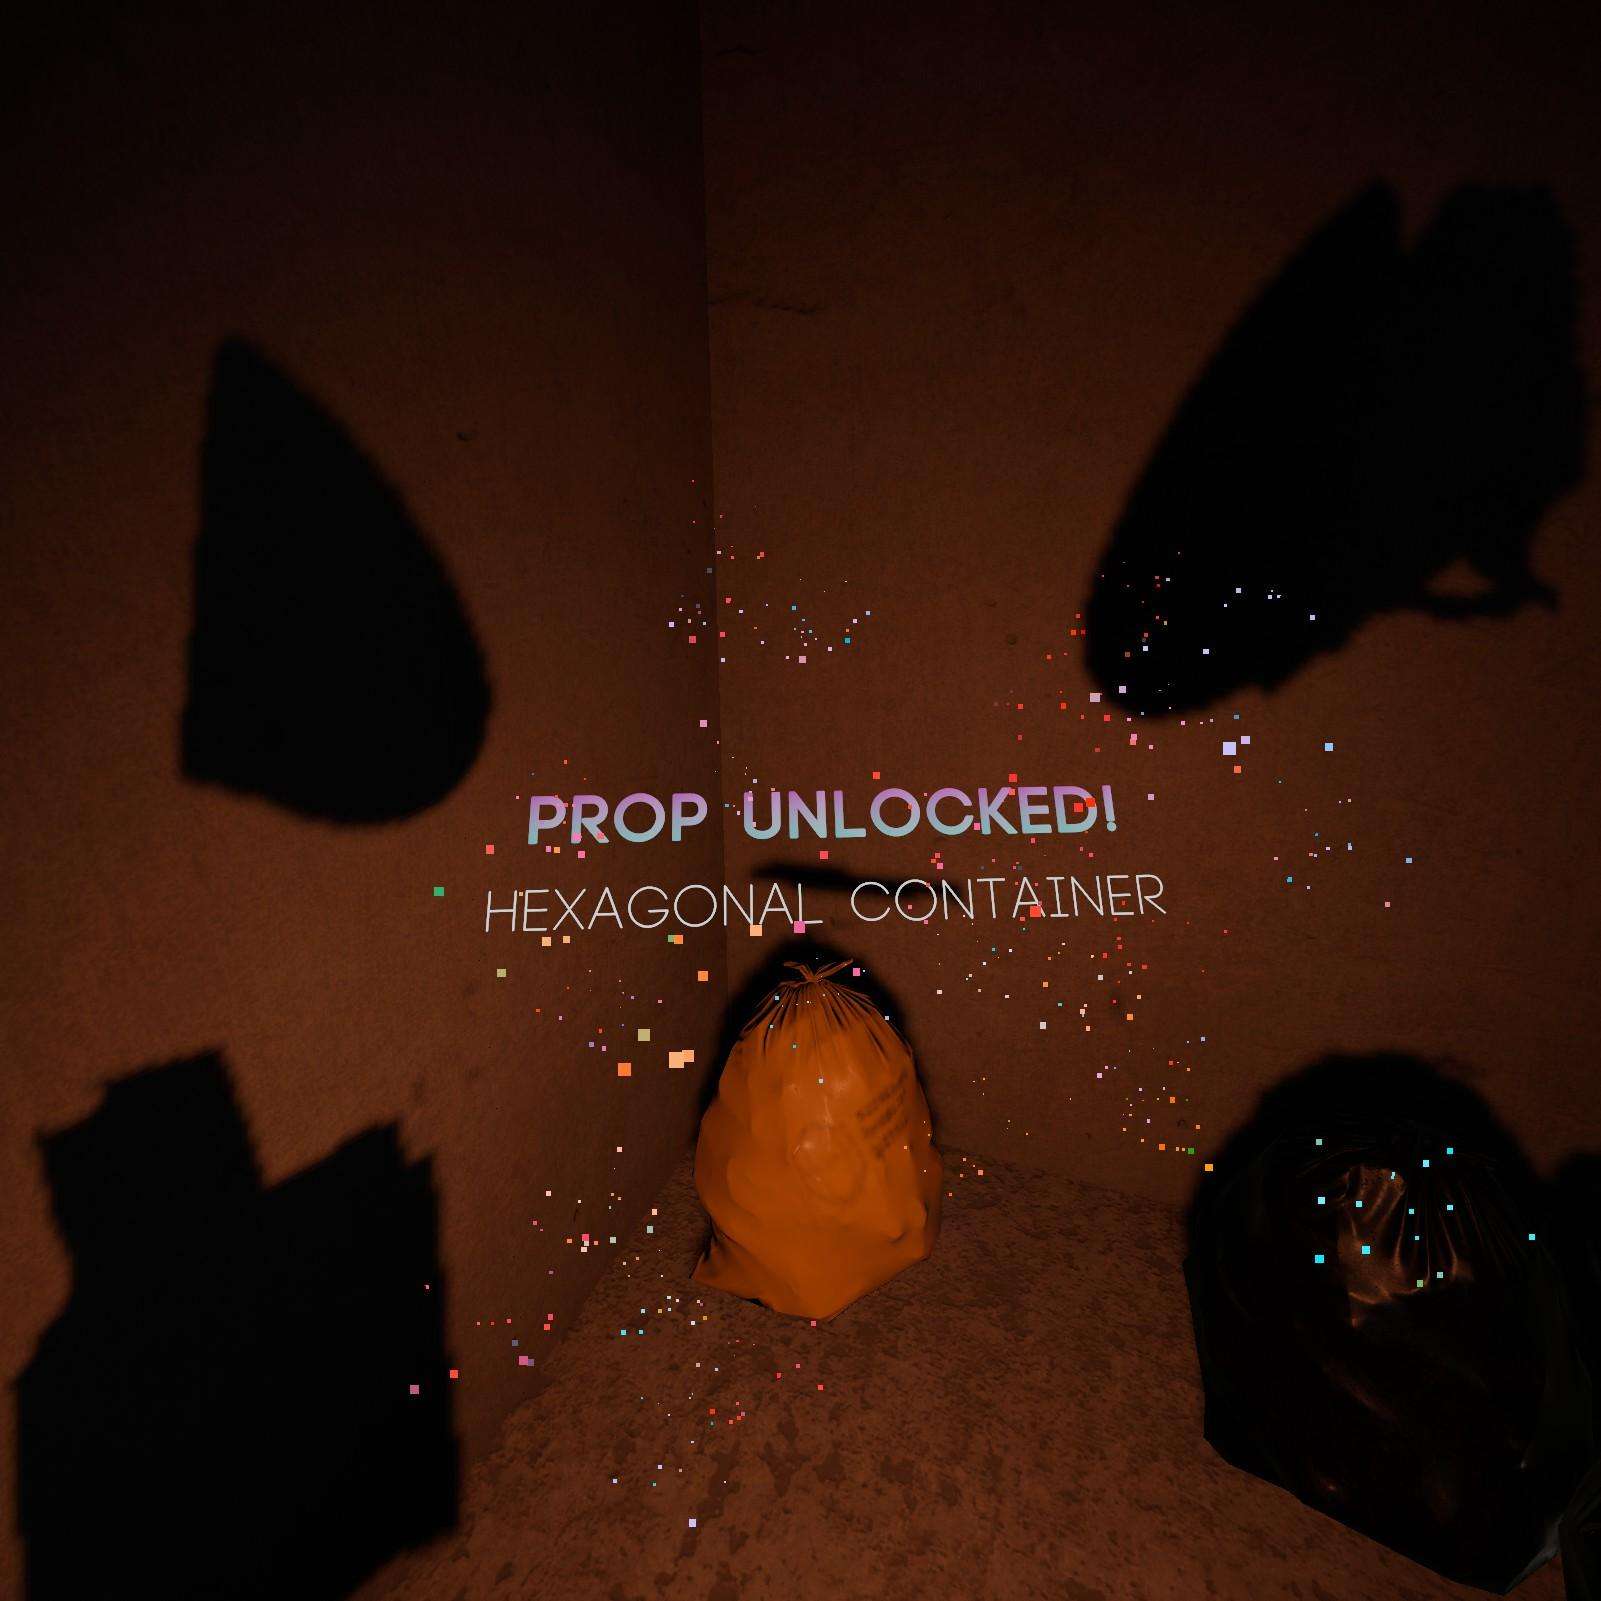
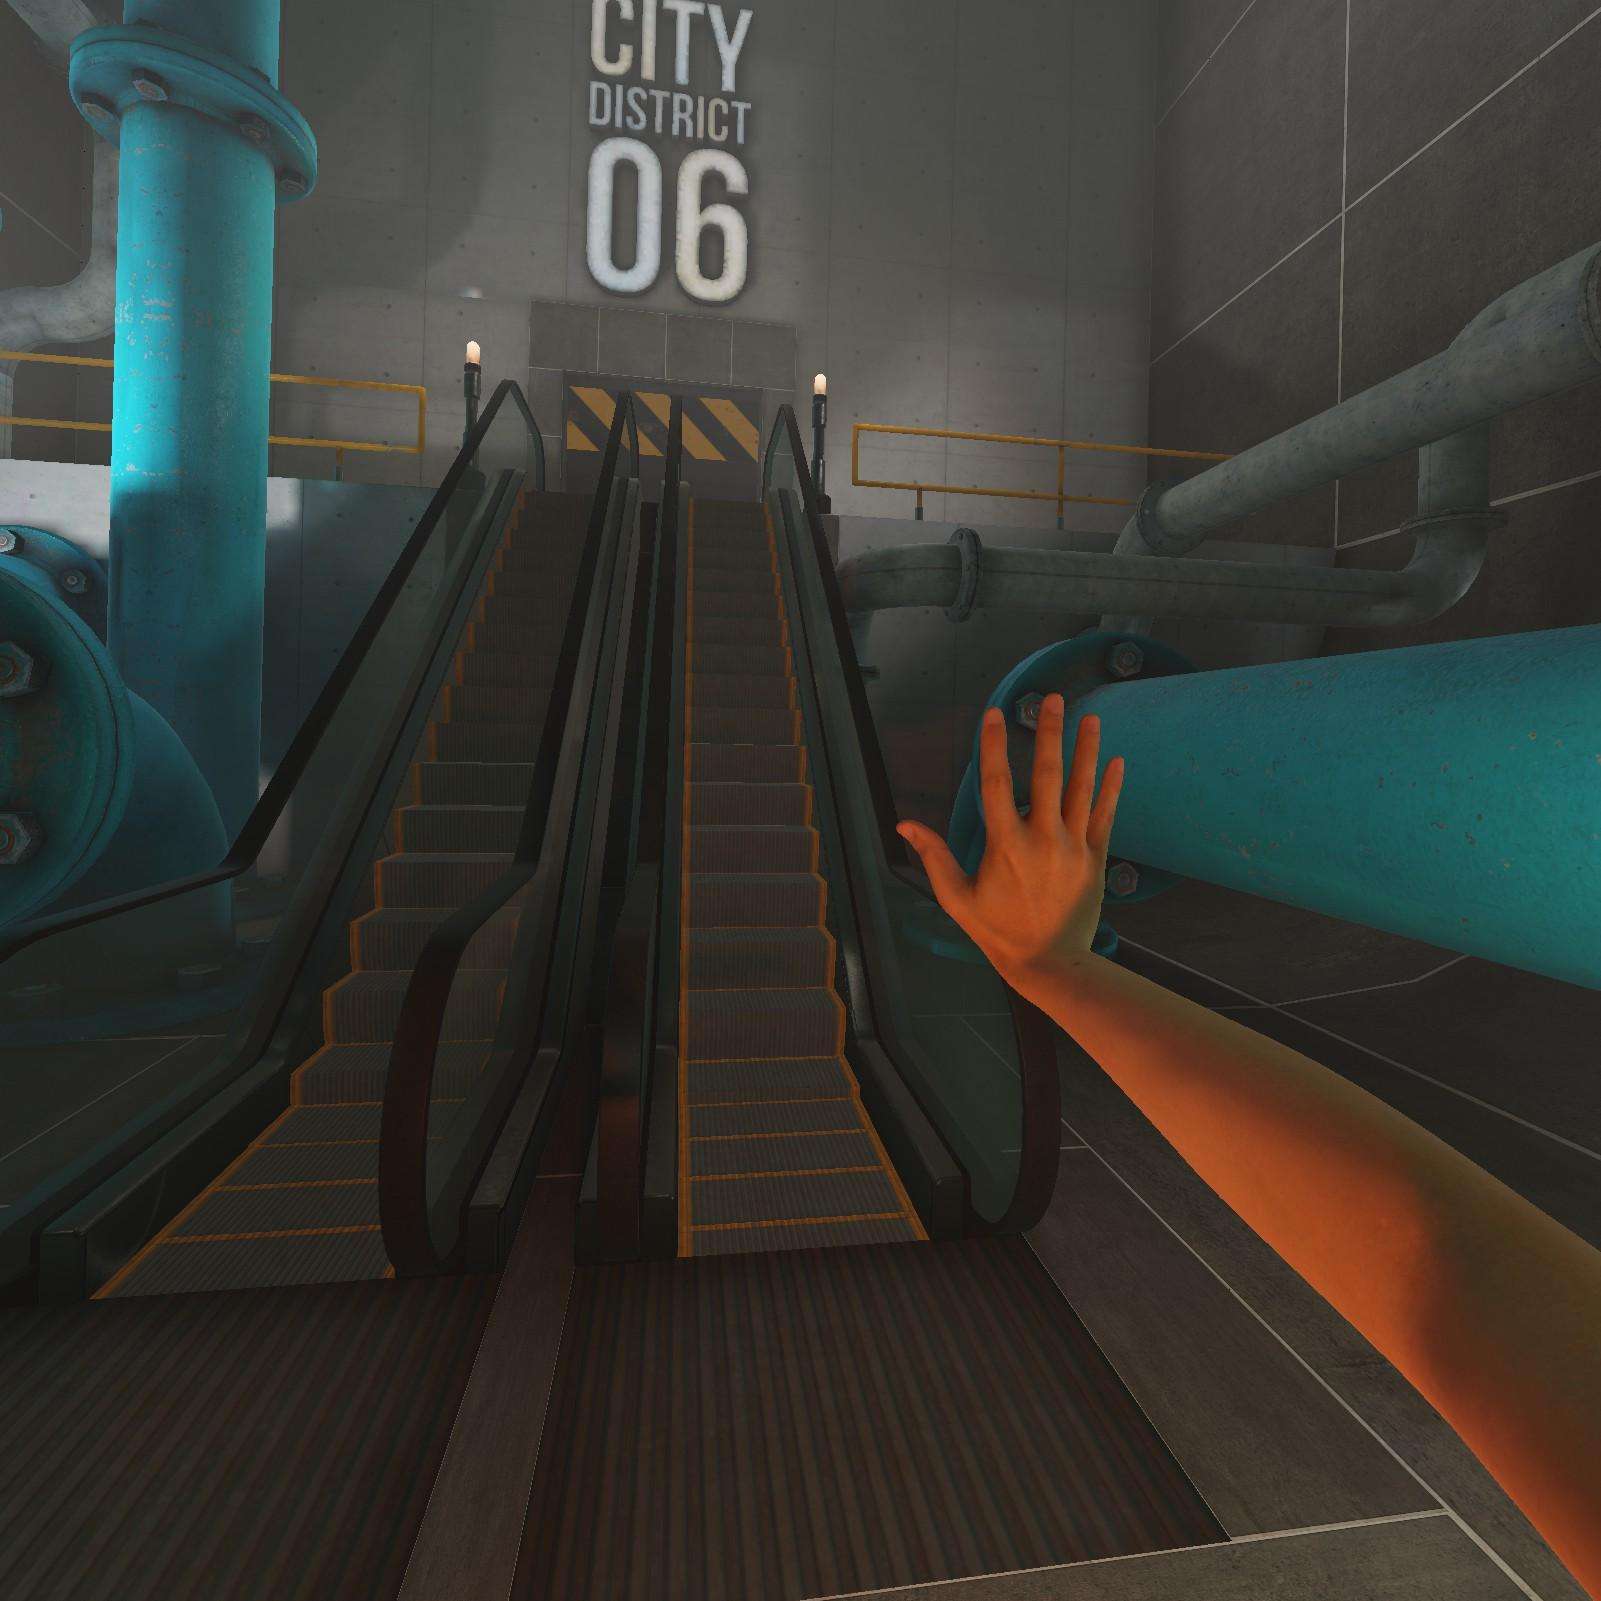
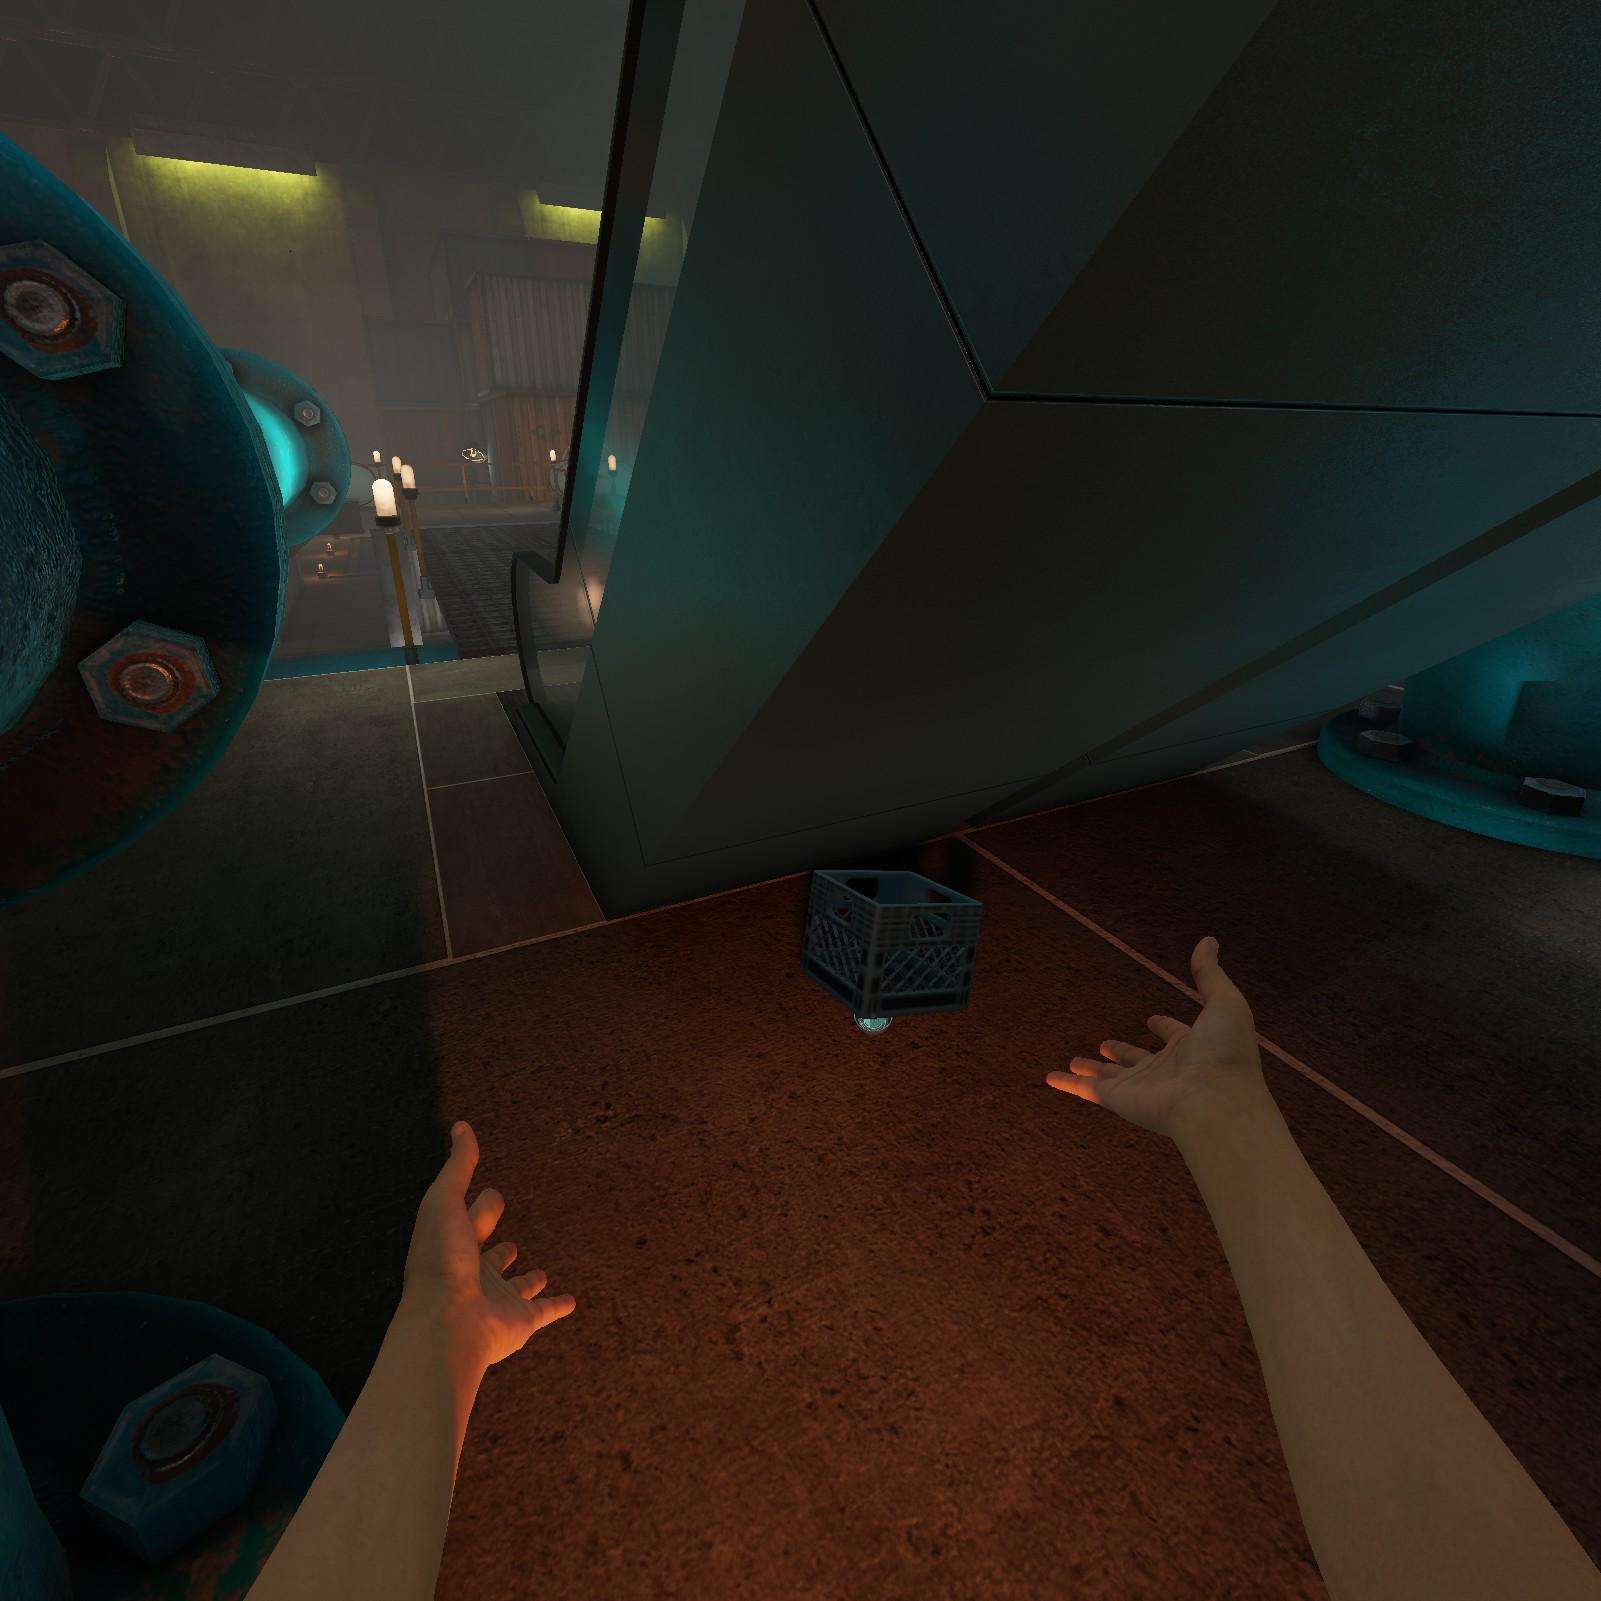
Hexagonal Container:
Did you know hexagons are my favorite shape? Thats how I remember to look under this escalator for the hexagonal container.

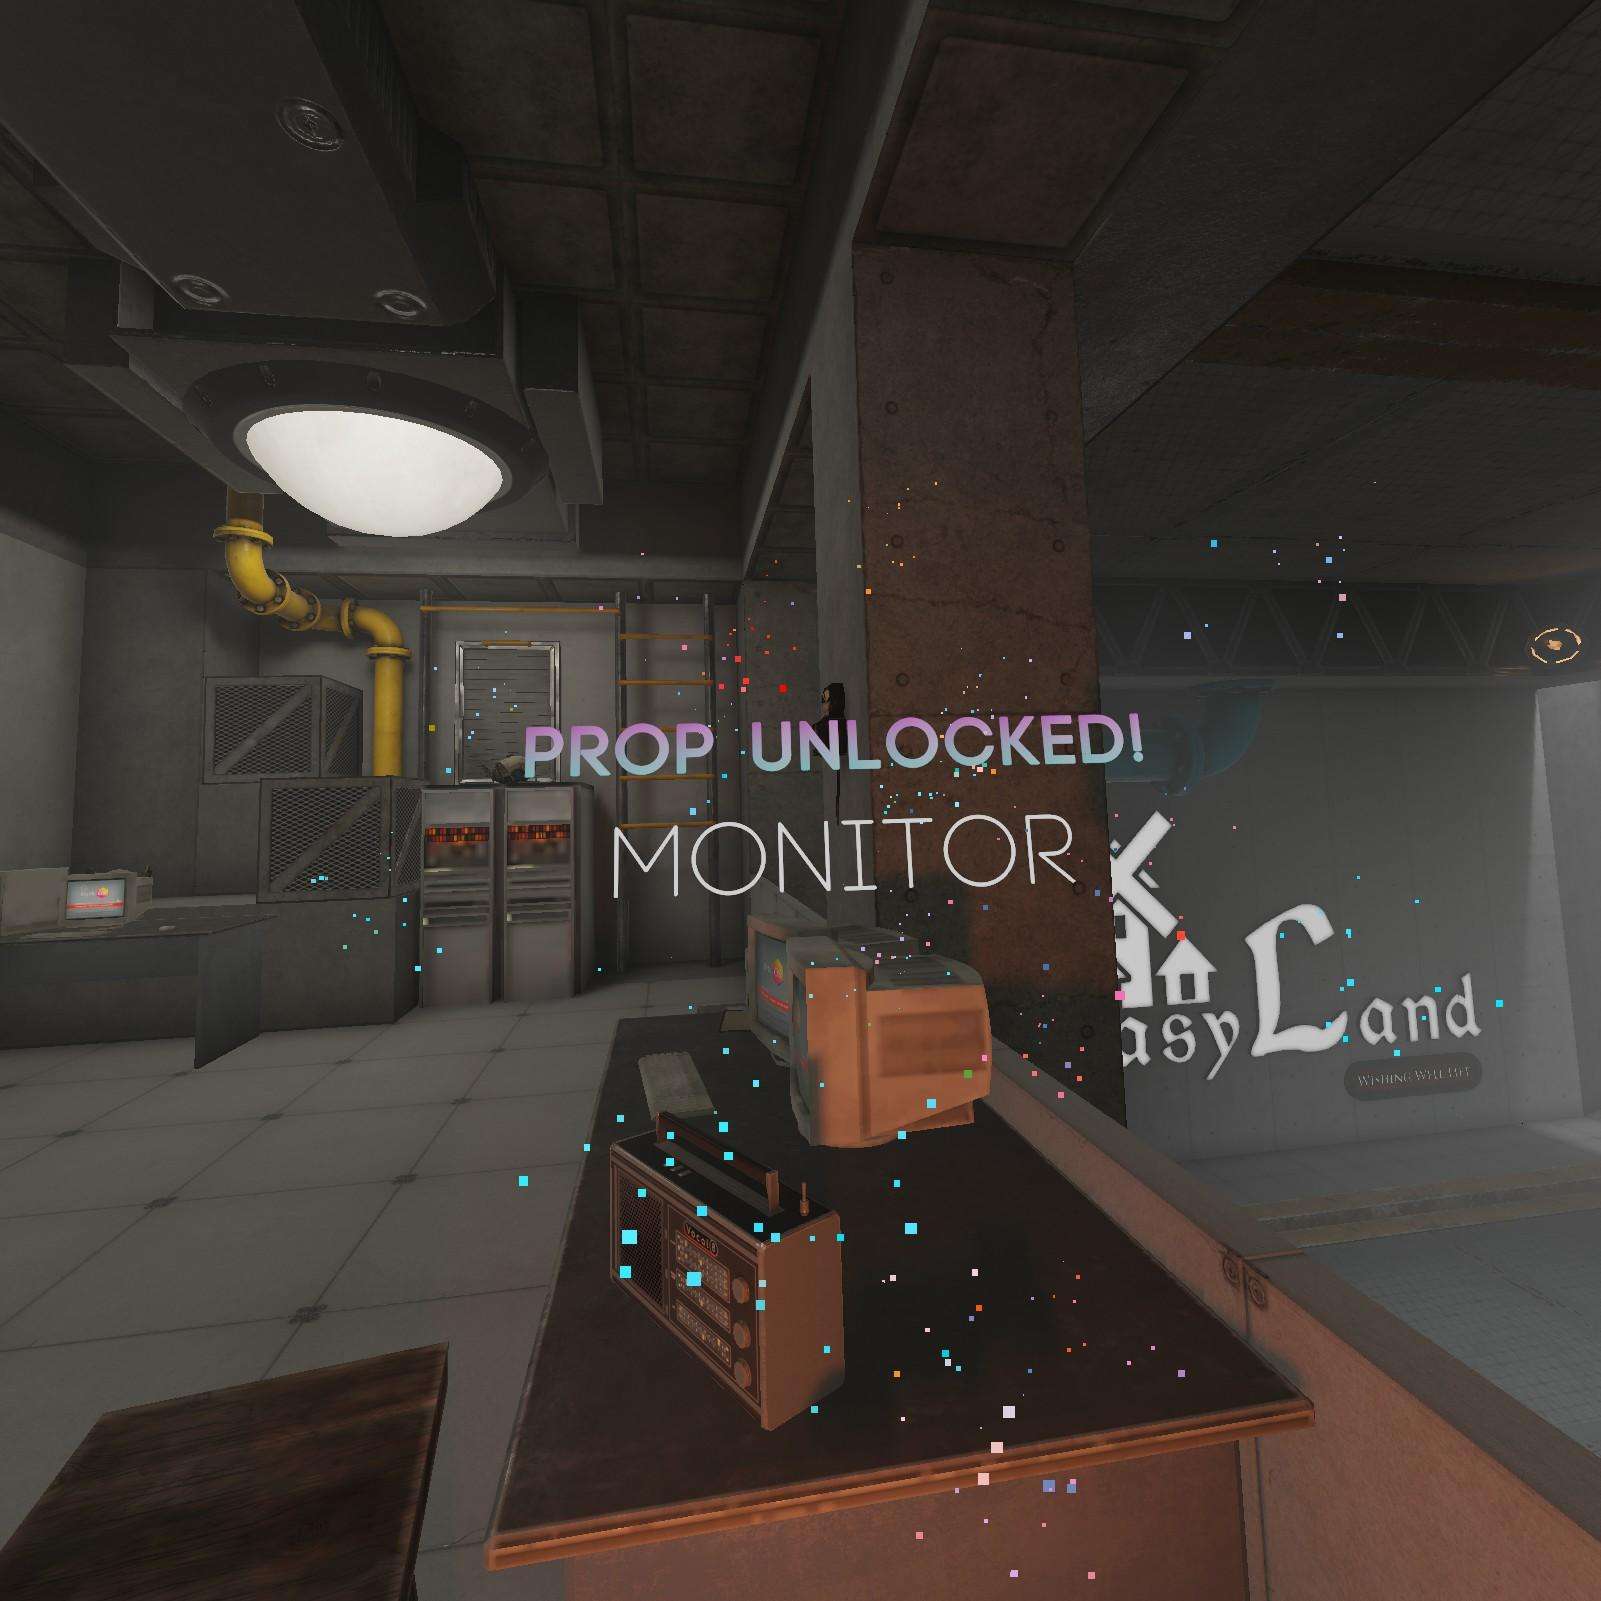
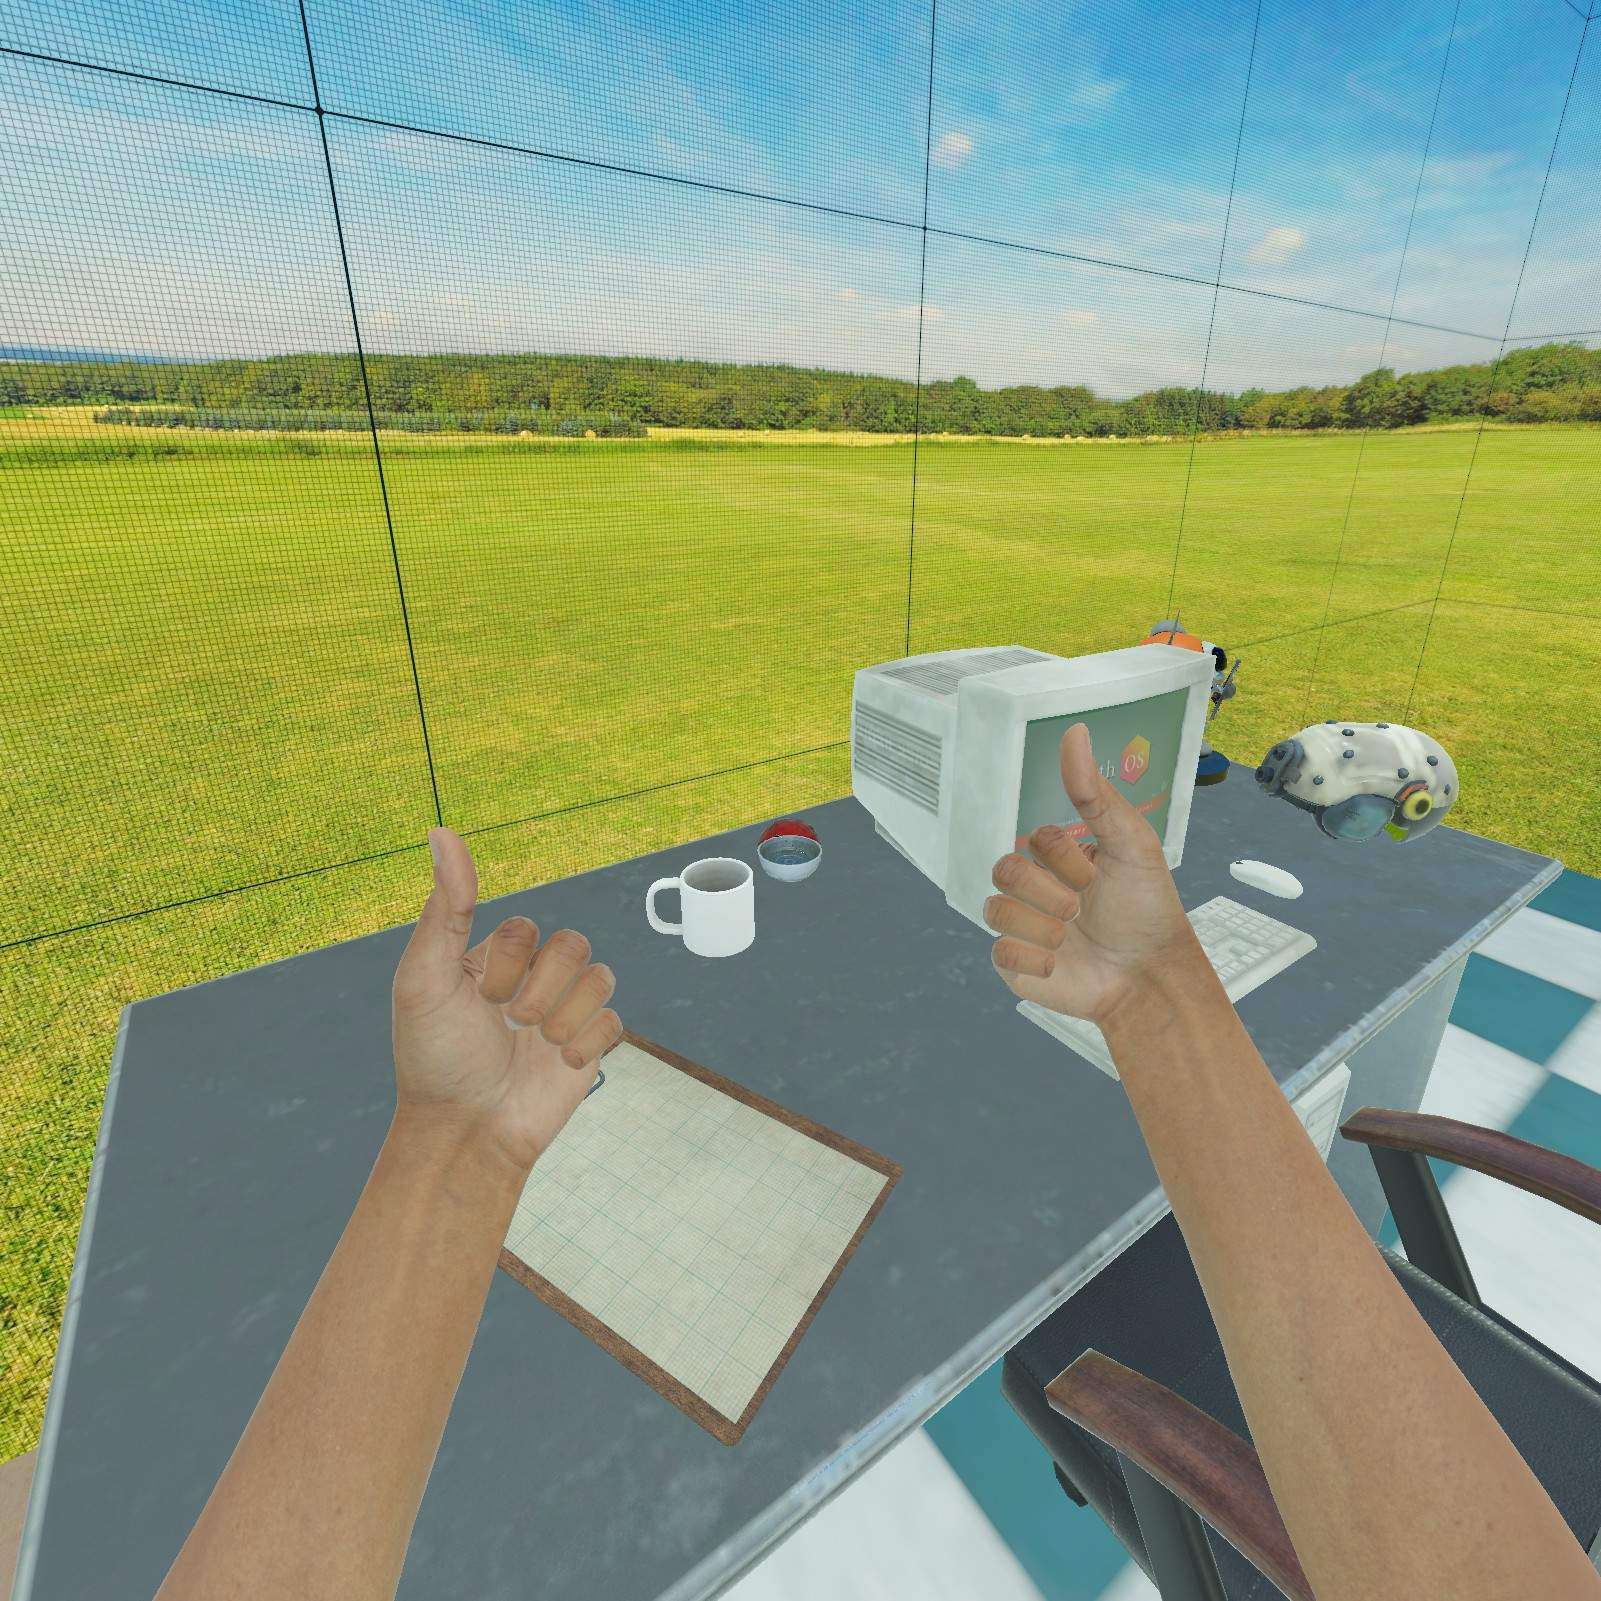
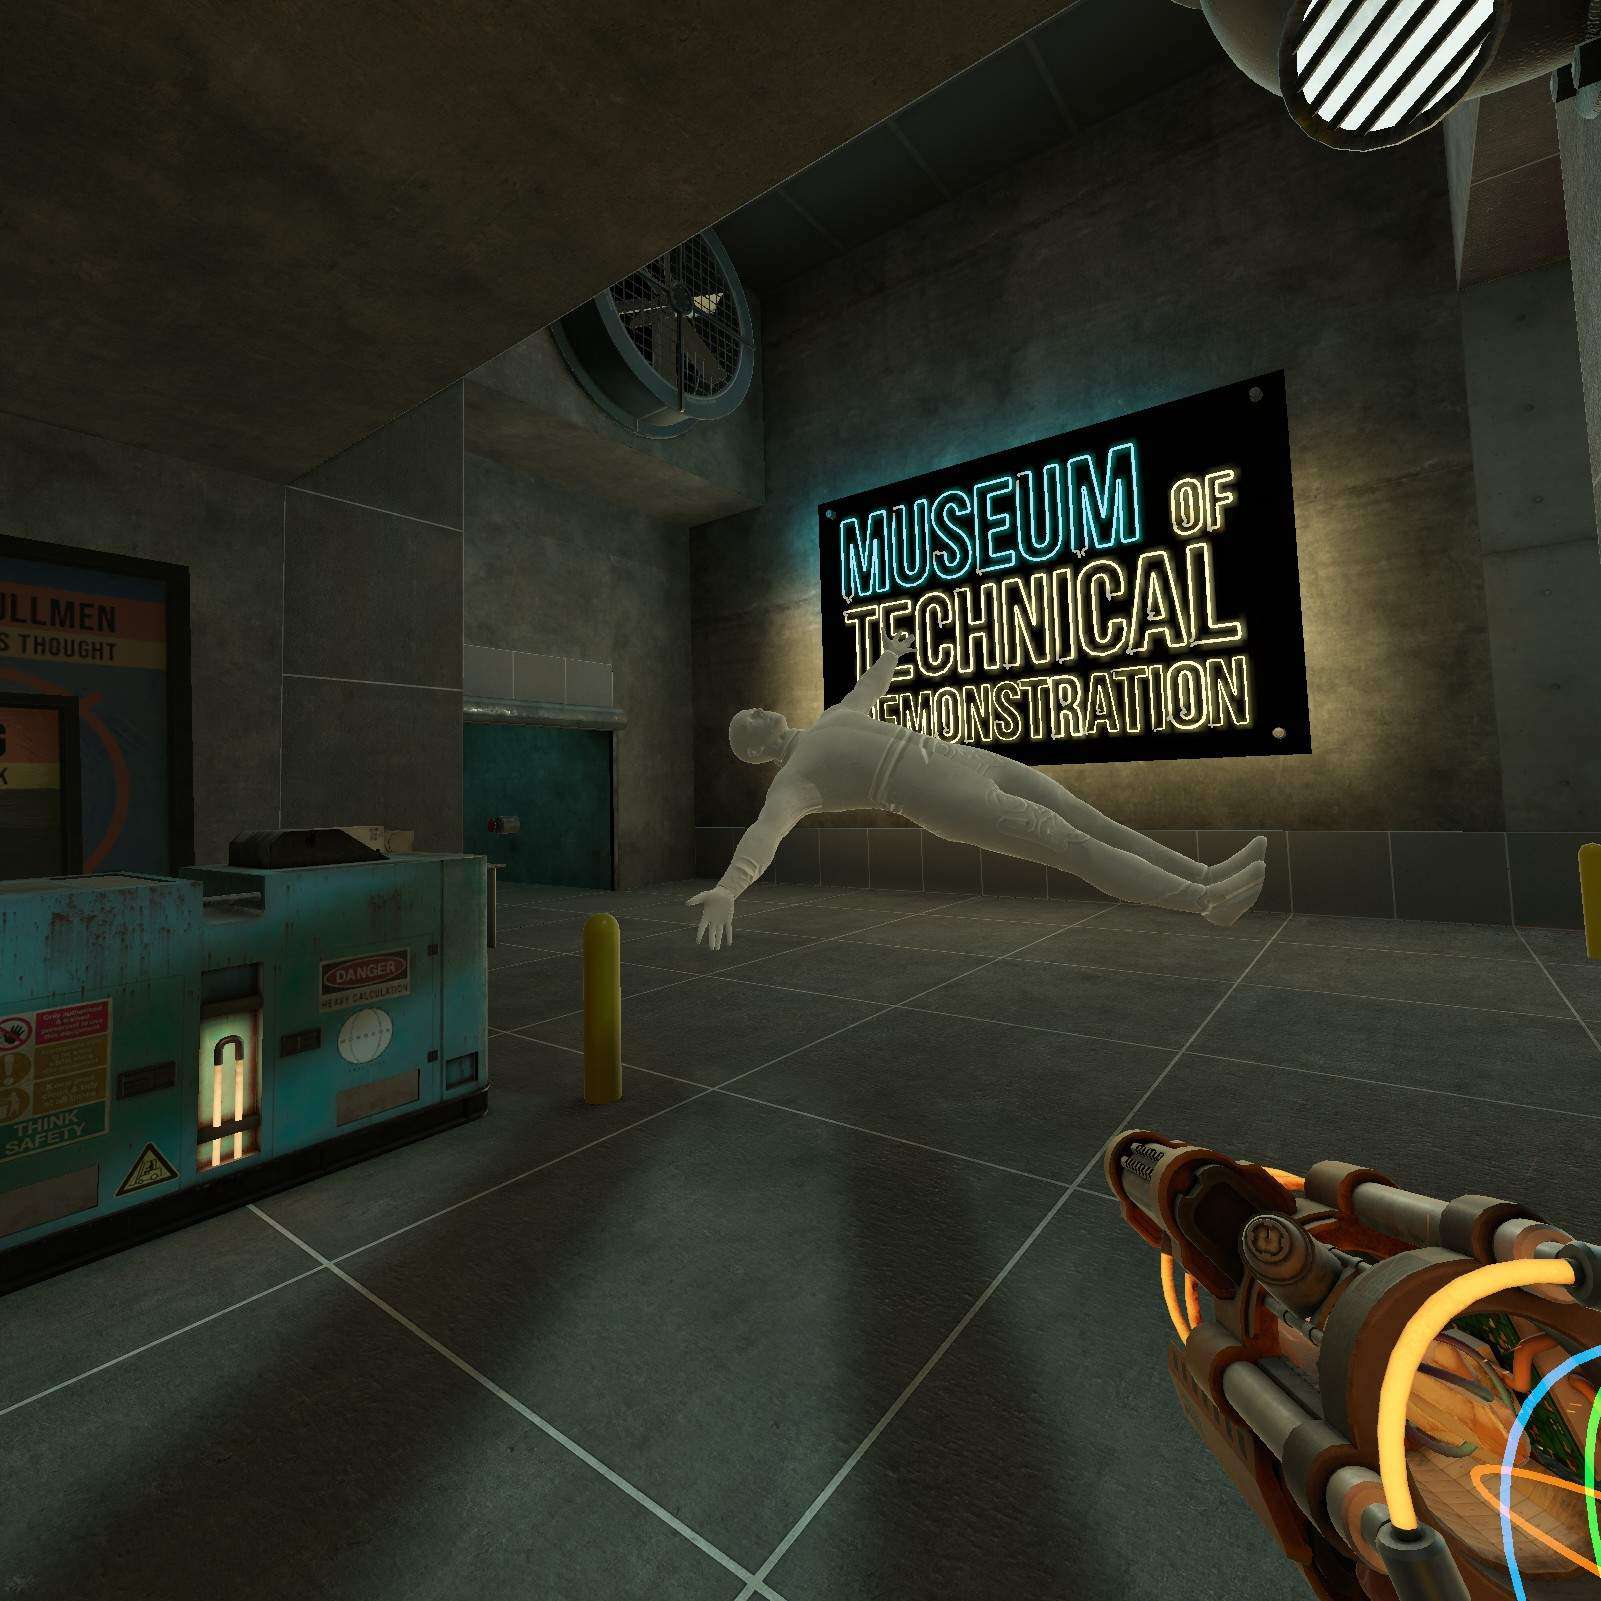
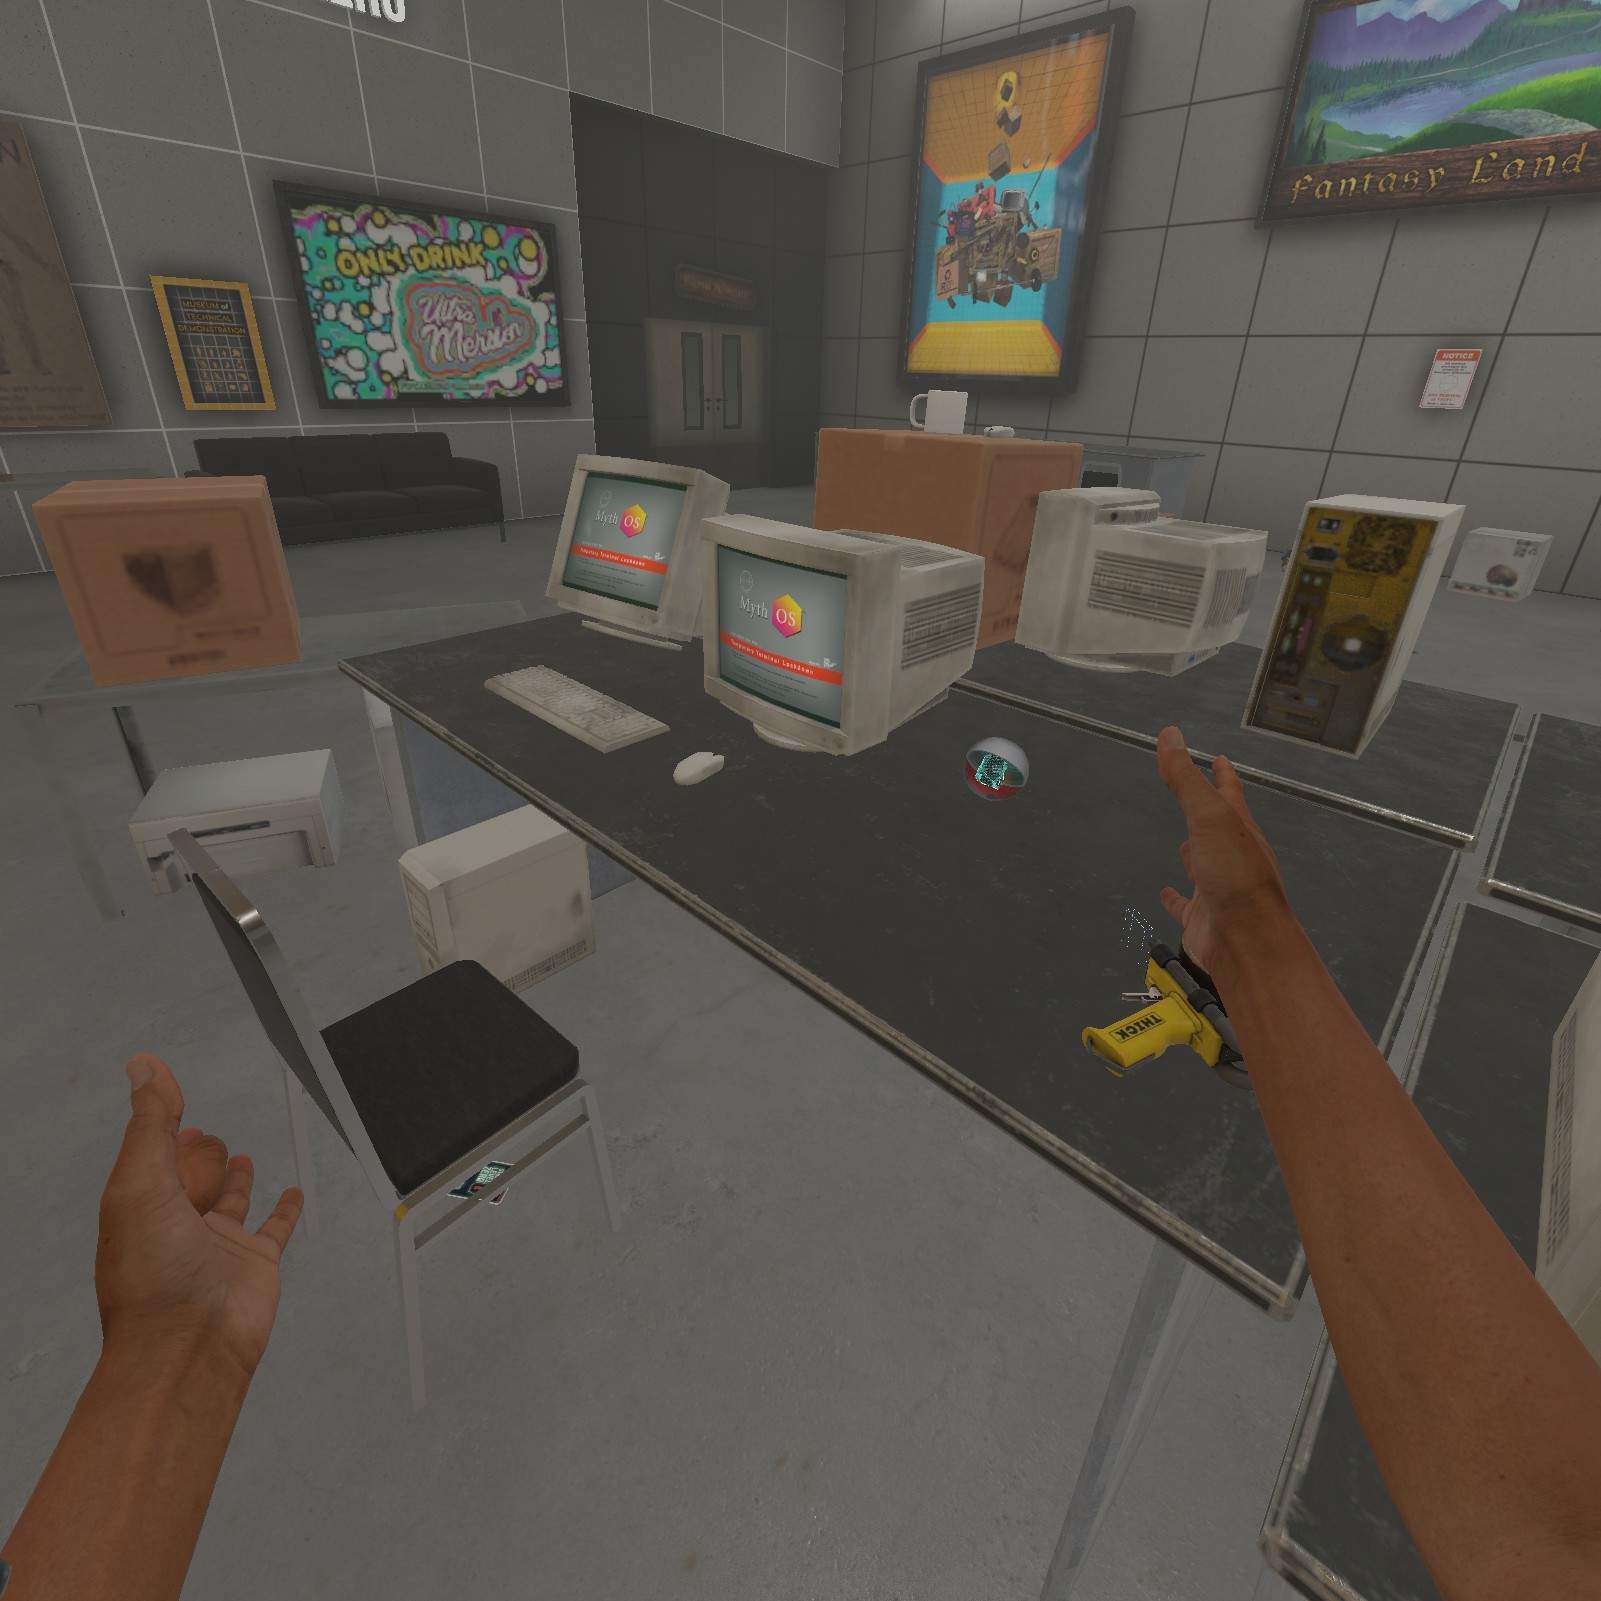
Monitor:
Losing my save file makes me want to smash every monitor I can find, which isn’t many. But with this gatcha ball I can satiate my endless rage with endless monitors.

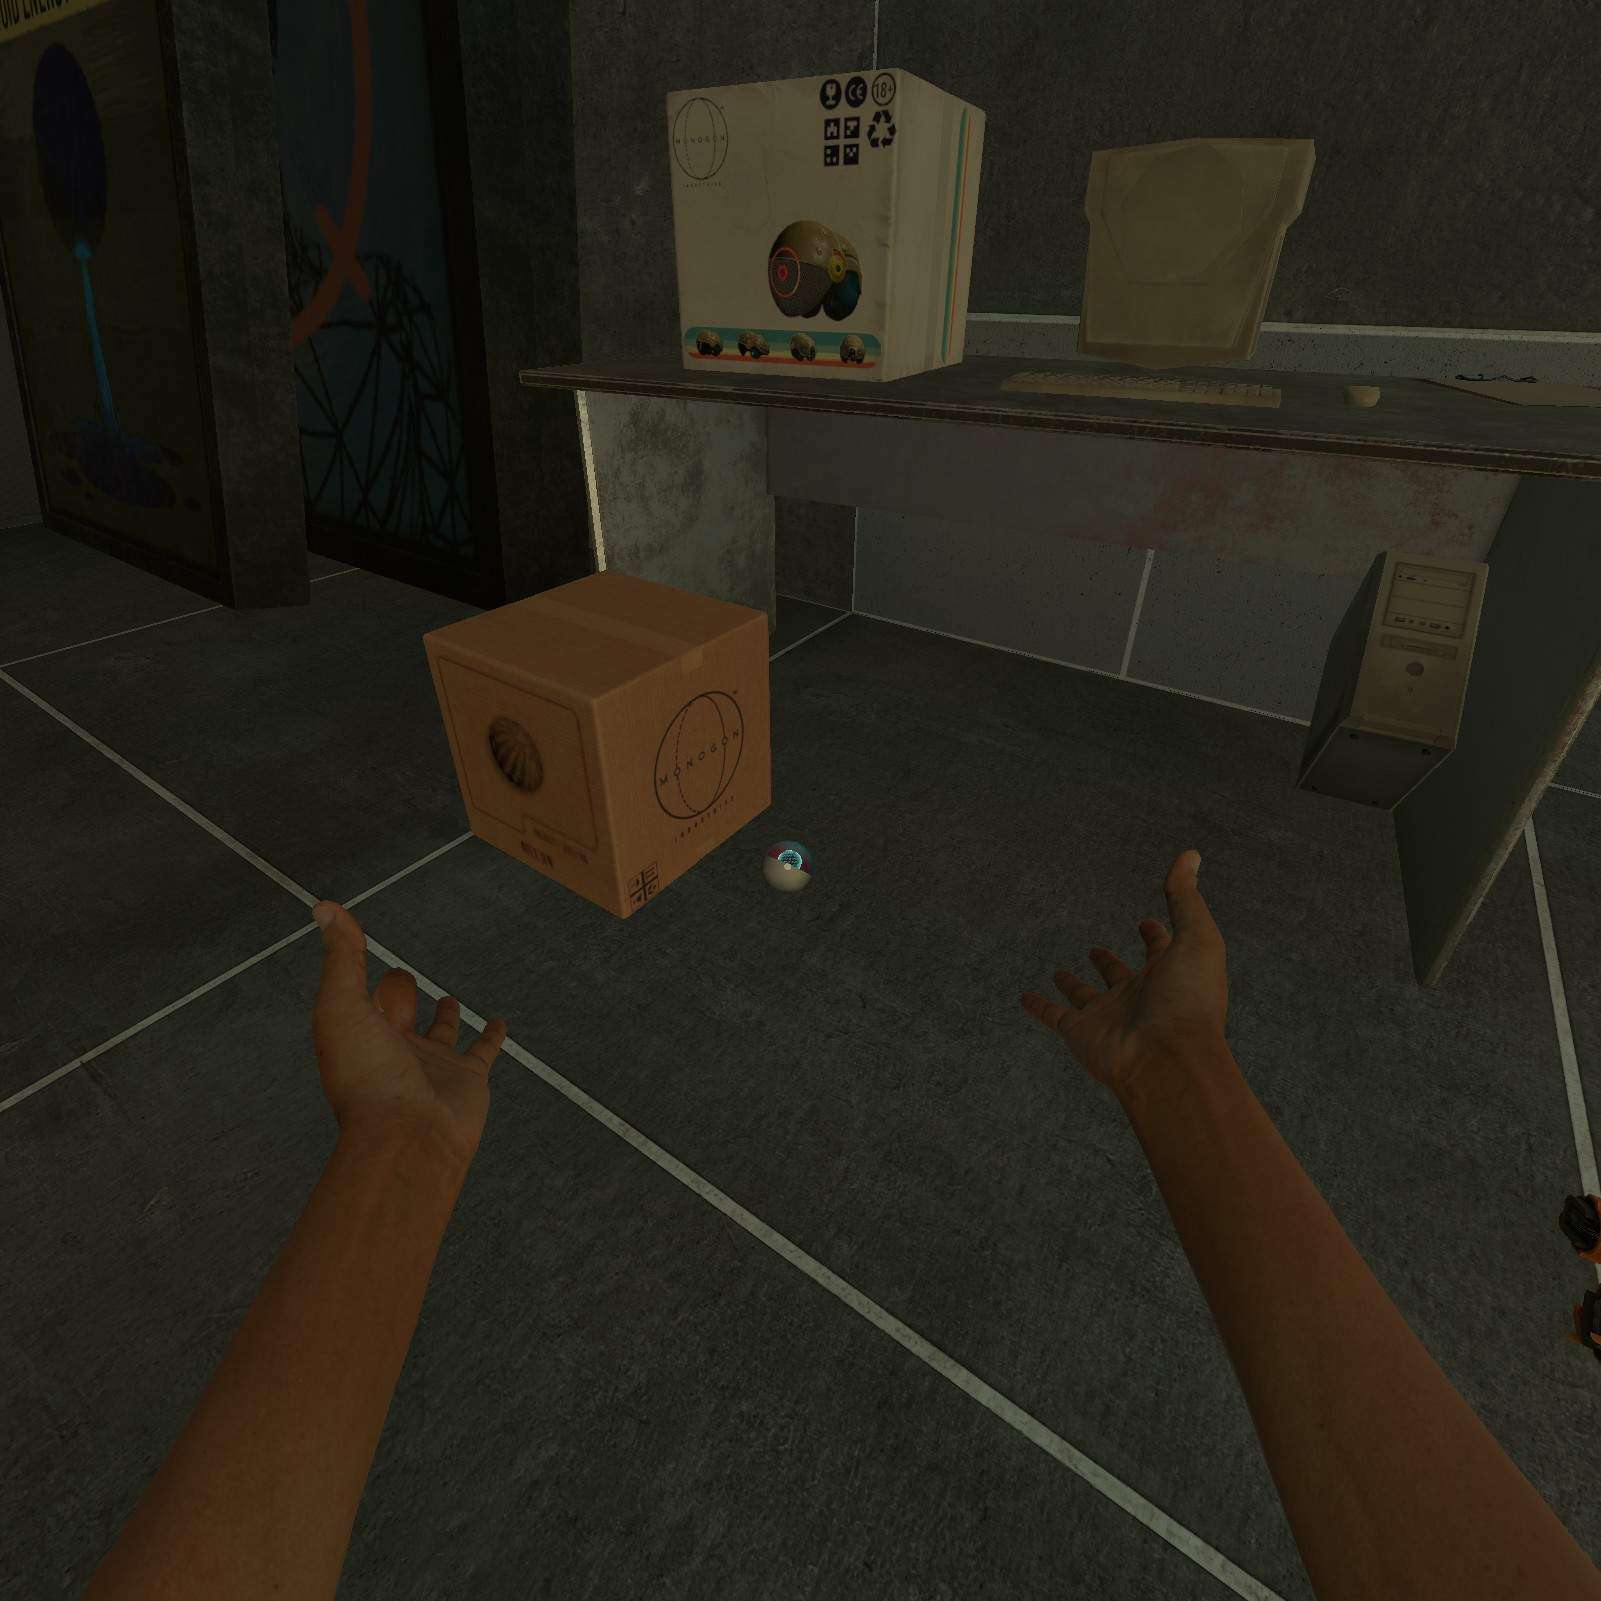
Cardboard Box:
We’re almost done here. Did I say almost? I mean not even remotely close, but we can keep that skeleton in our closet for the time being. Or if you don’t have a closet, this cardboard box will suffice.
(Couldn’t even spawn in the plastic container smh).

The Bonelab (Part 1)
Why is it part 1? Simply put, some things don’t spawn in until we progress the campain. If you see new gatcha balls in places you’ve sworn you’ve checked before, your not crazy.
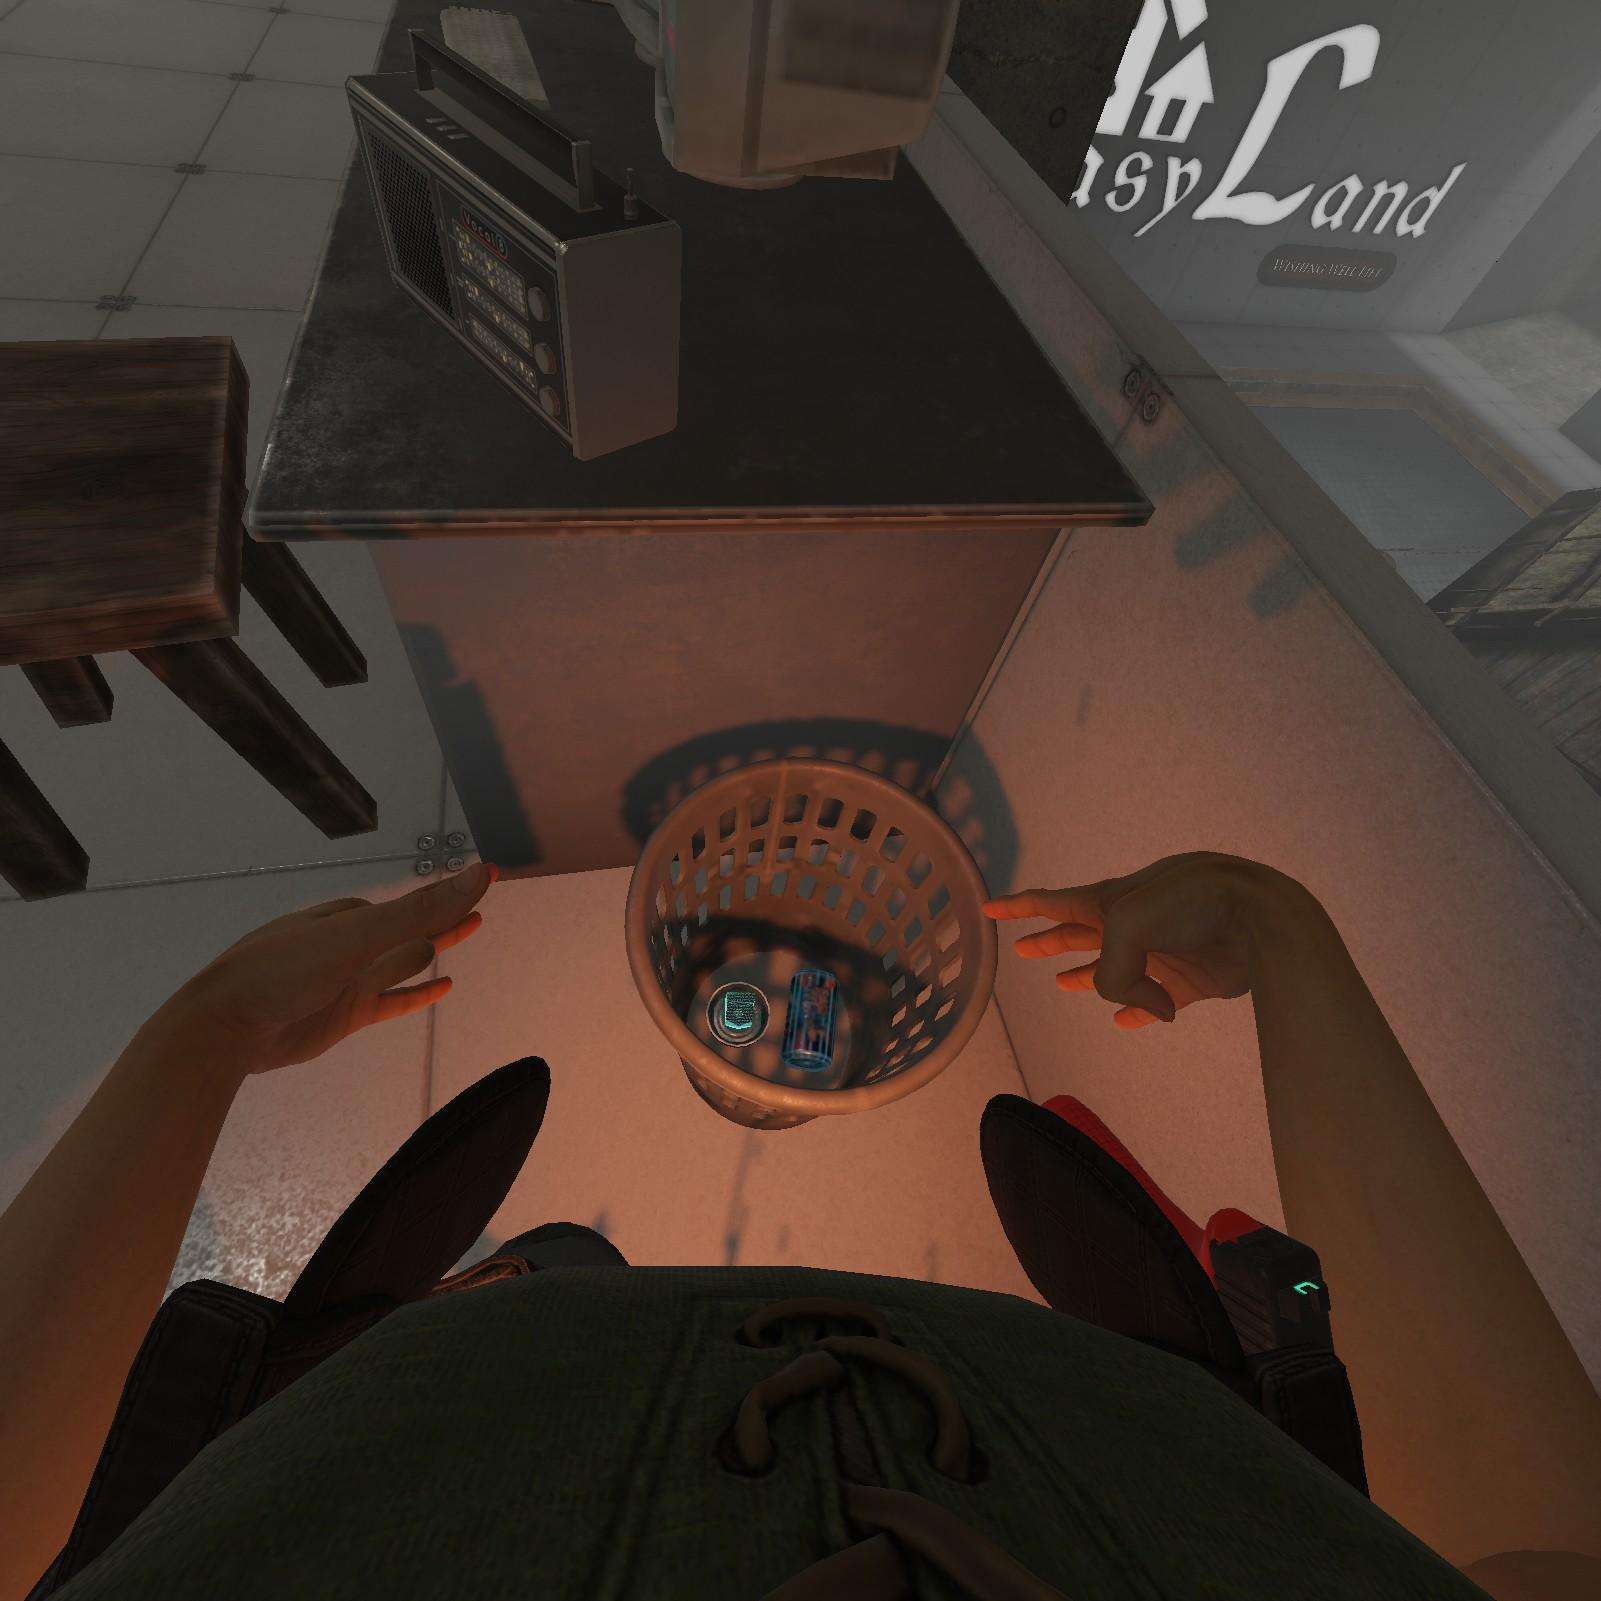
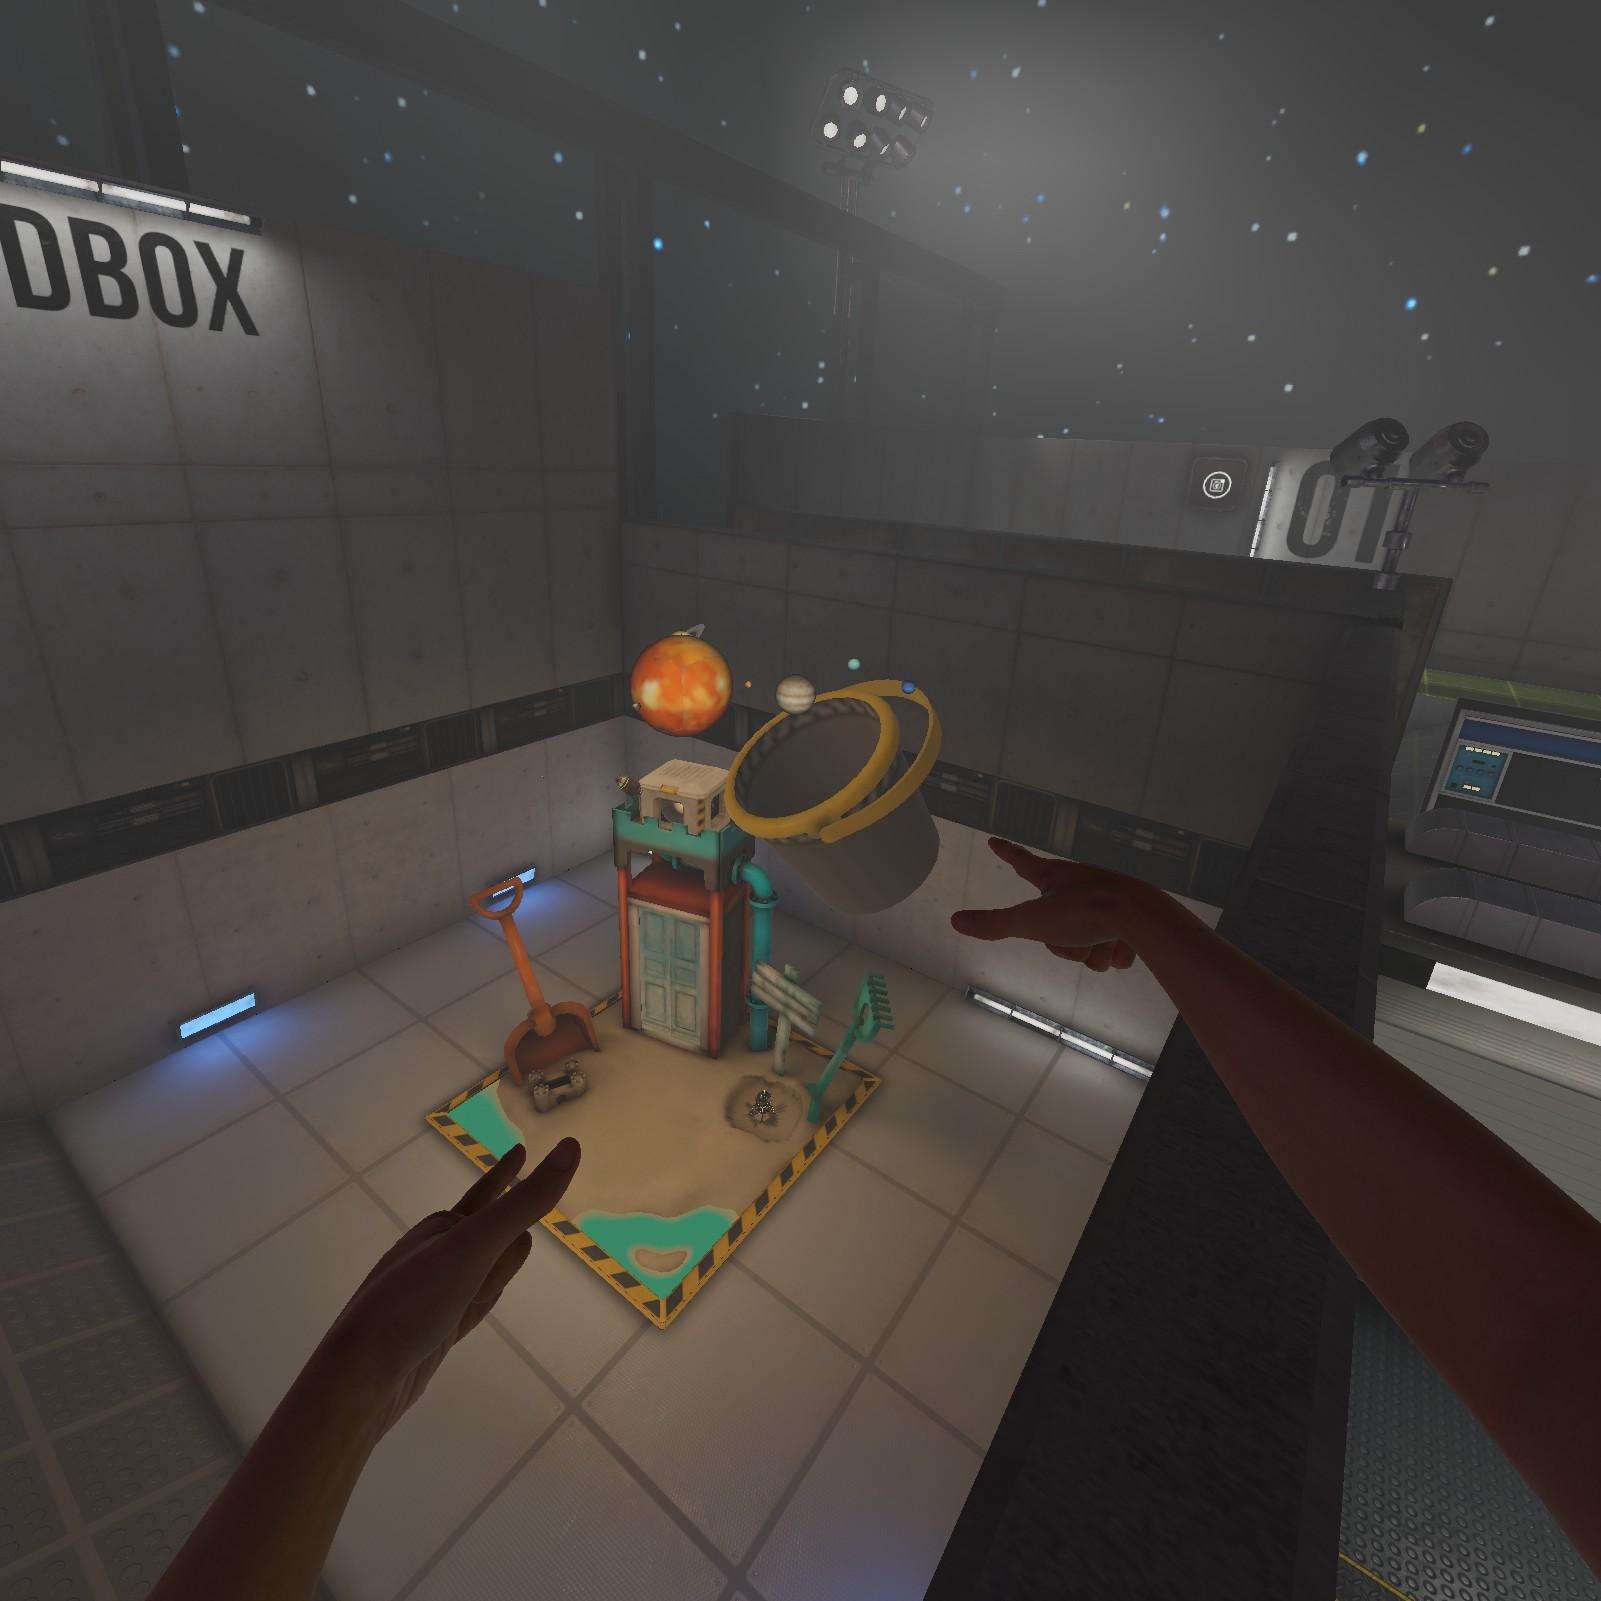
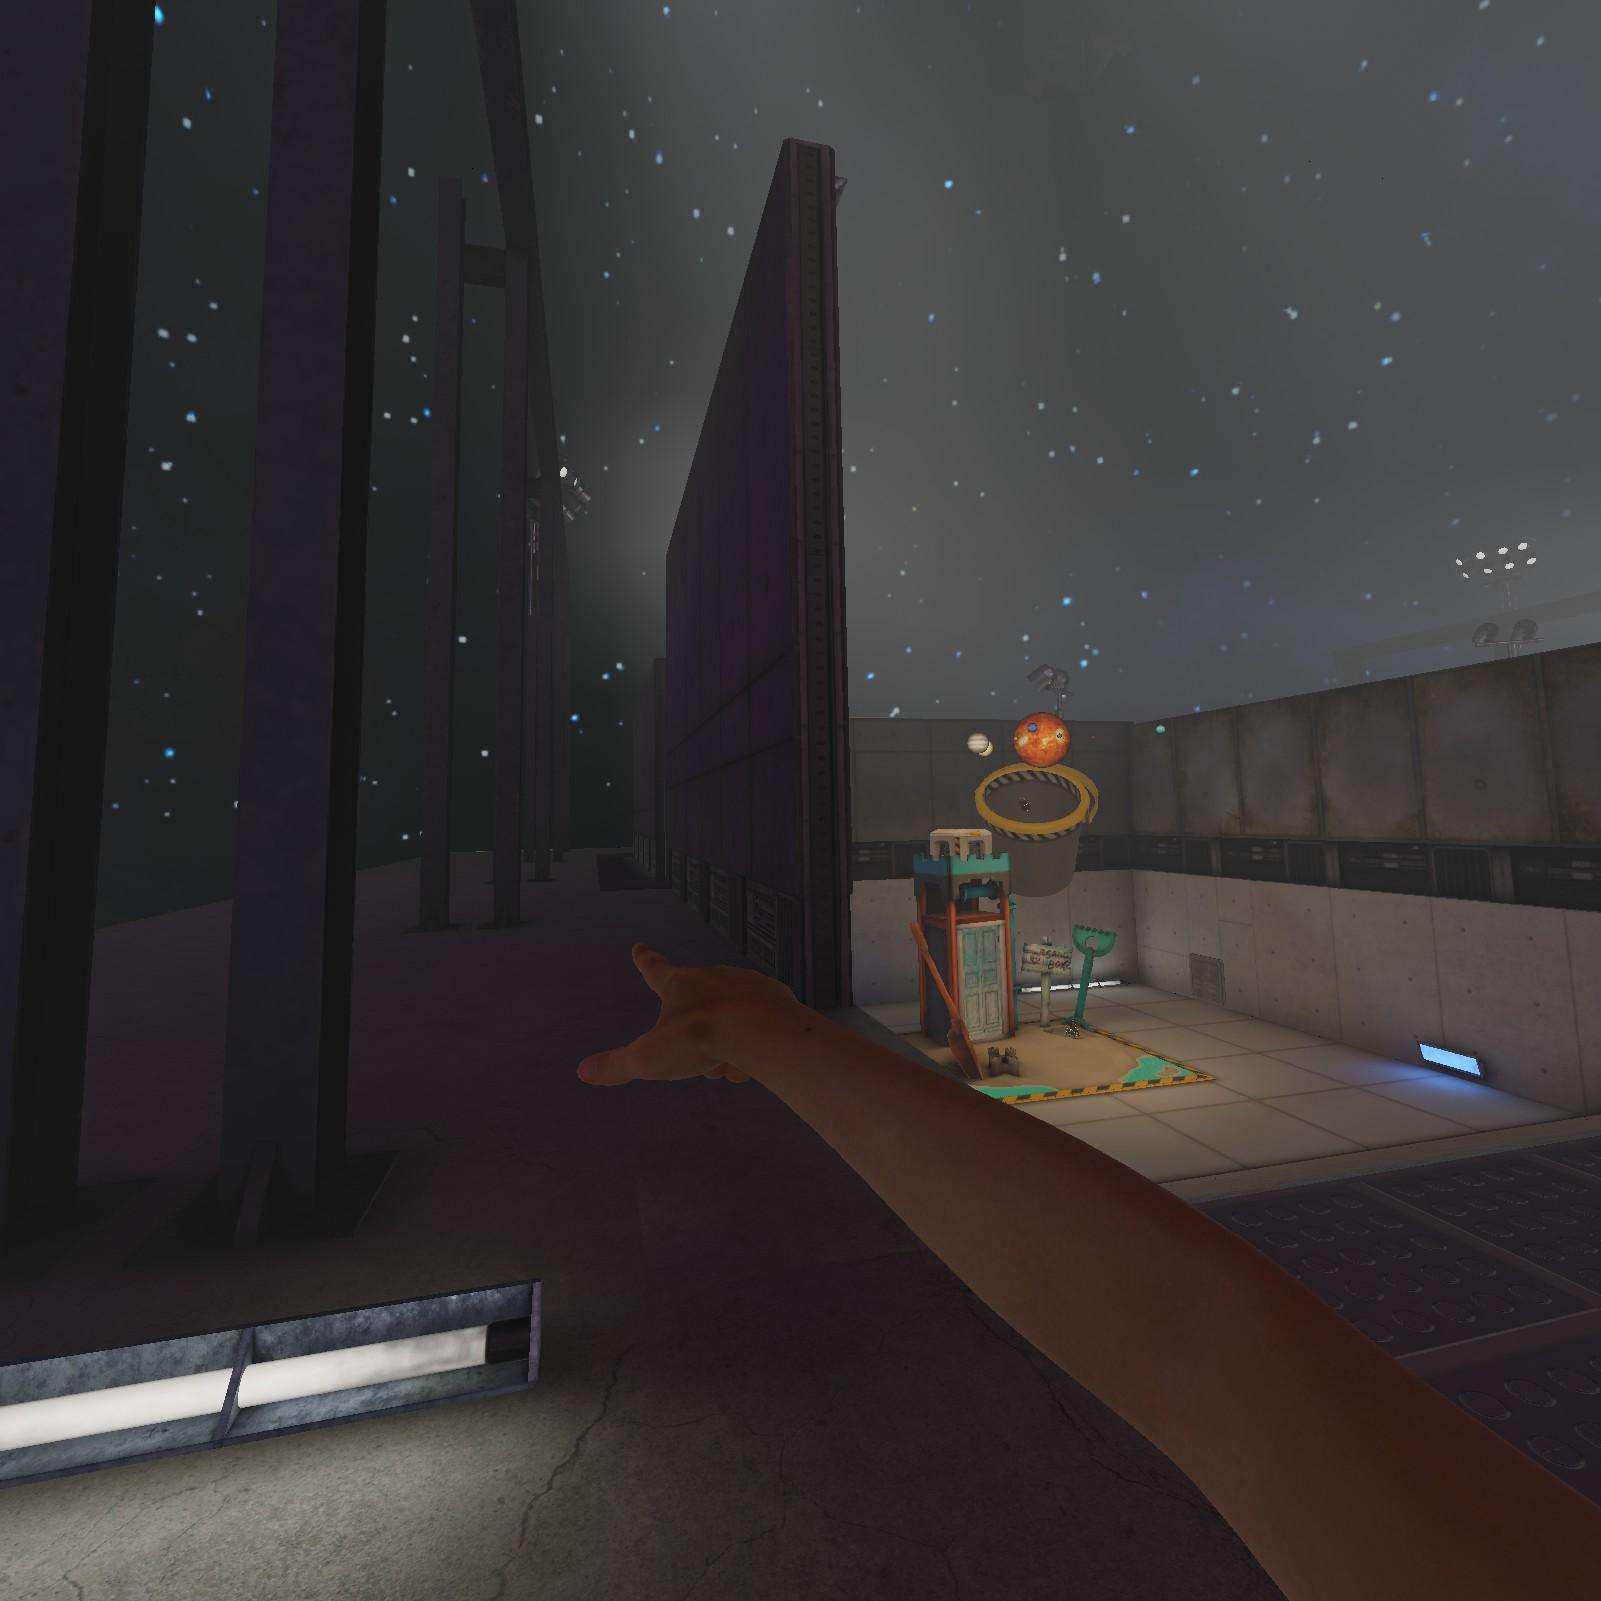
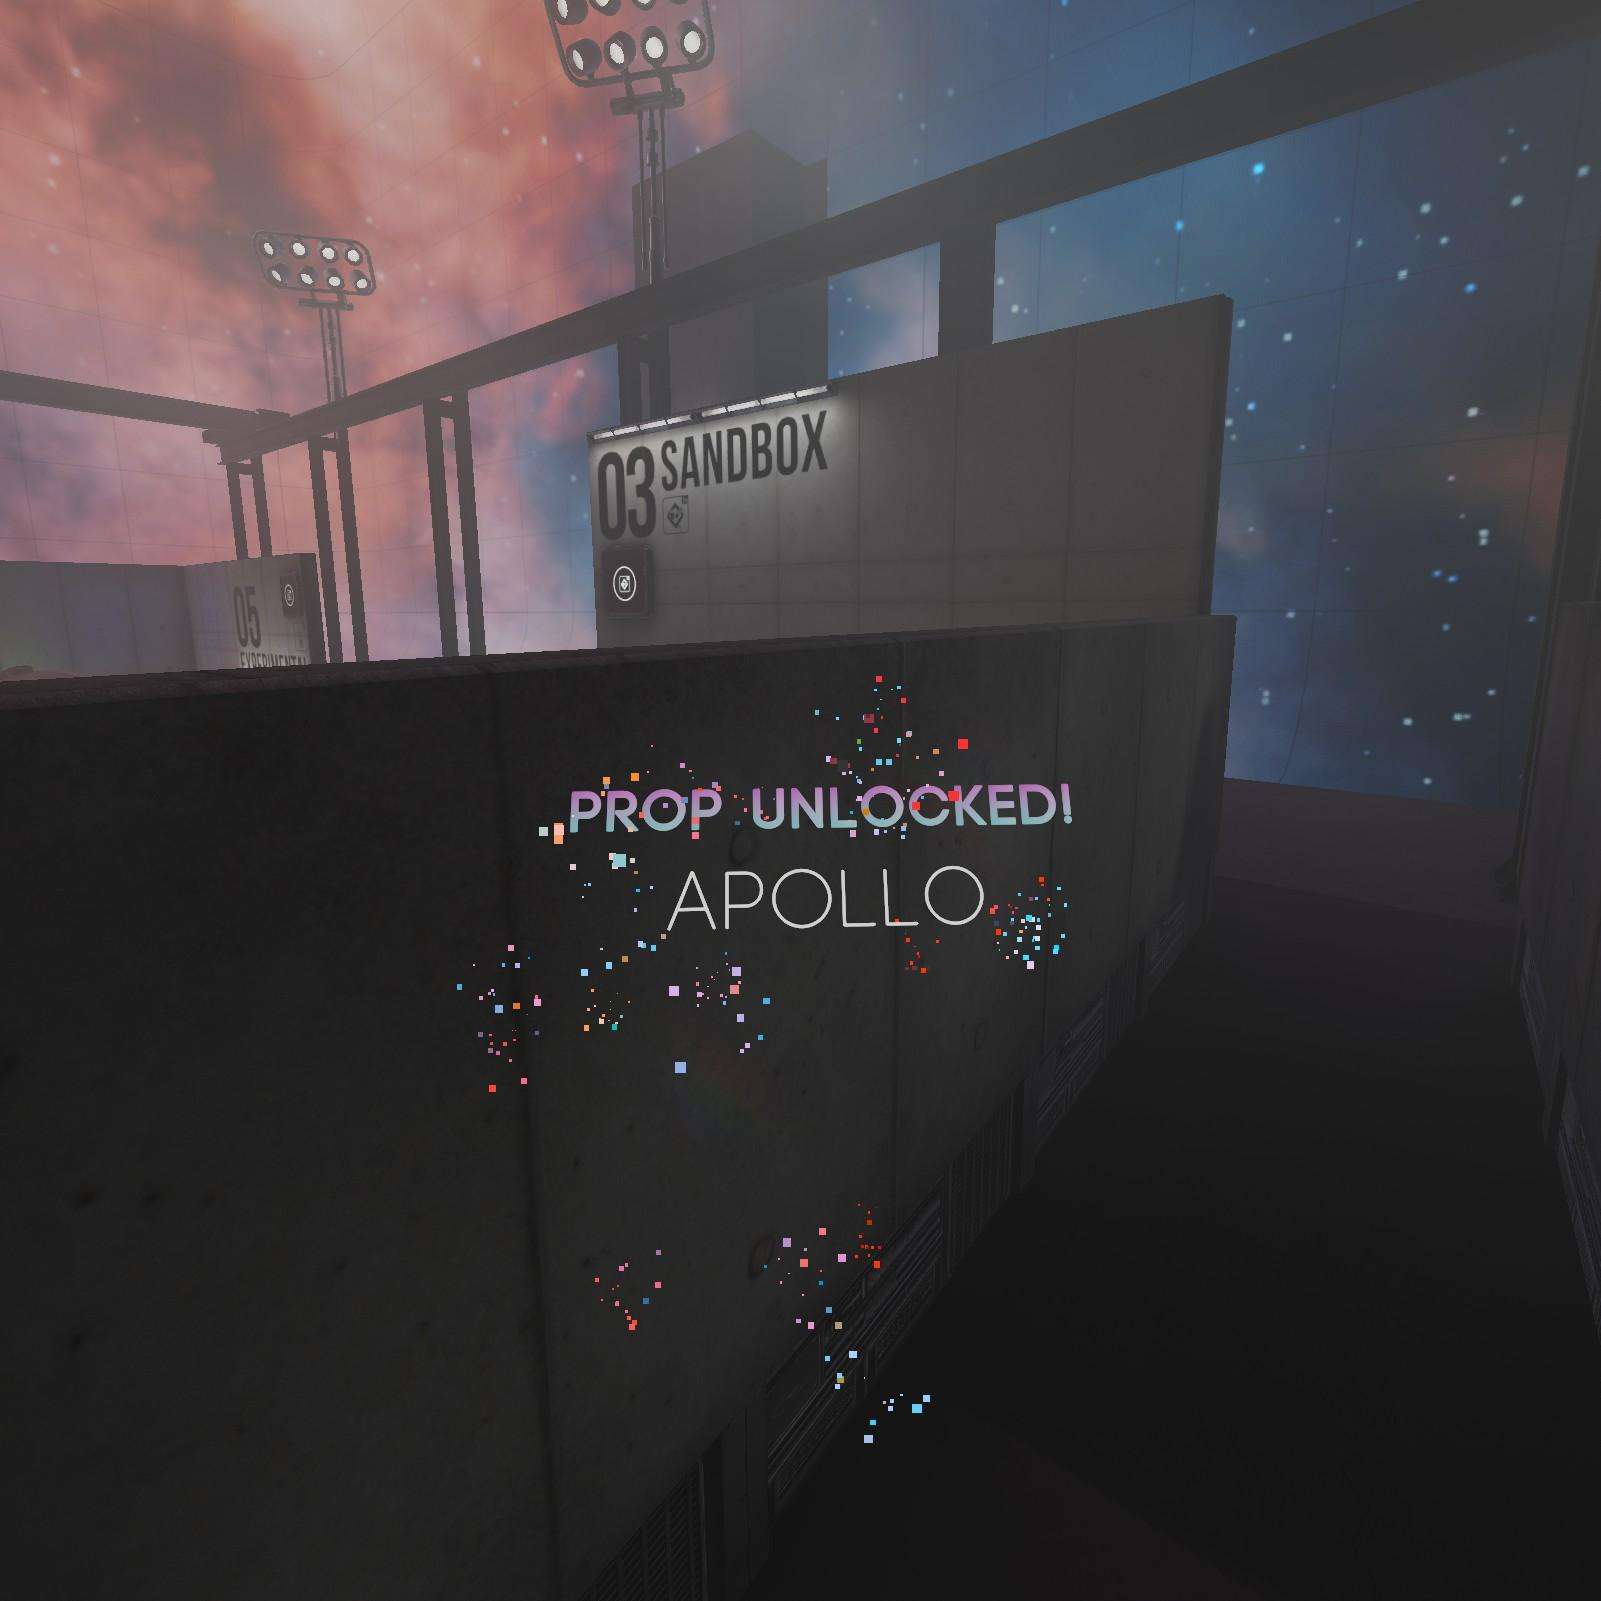
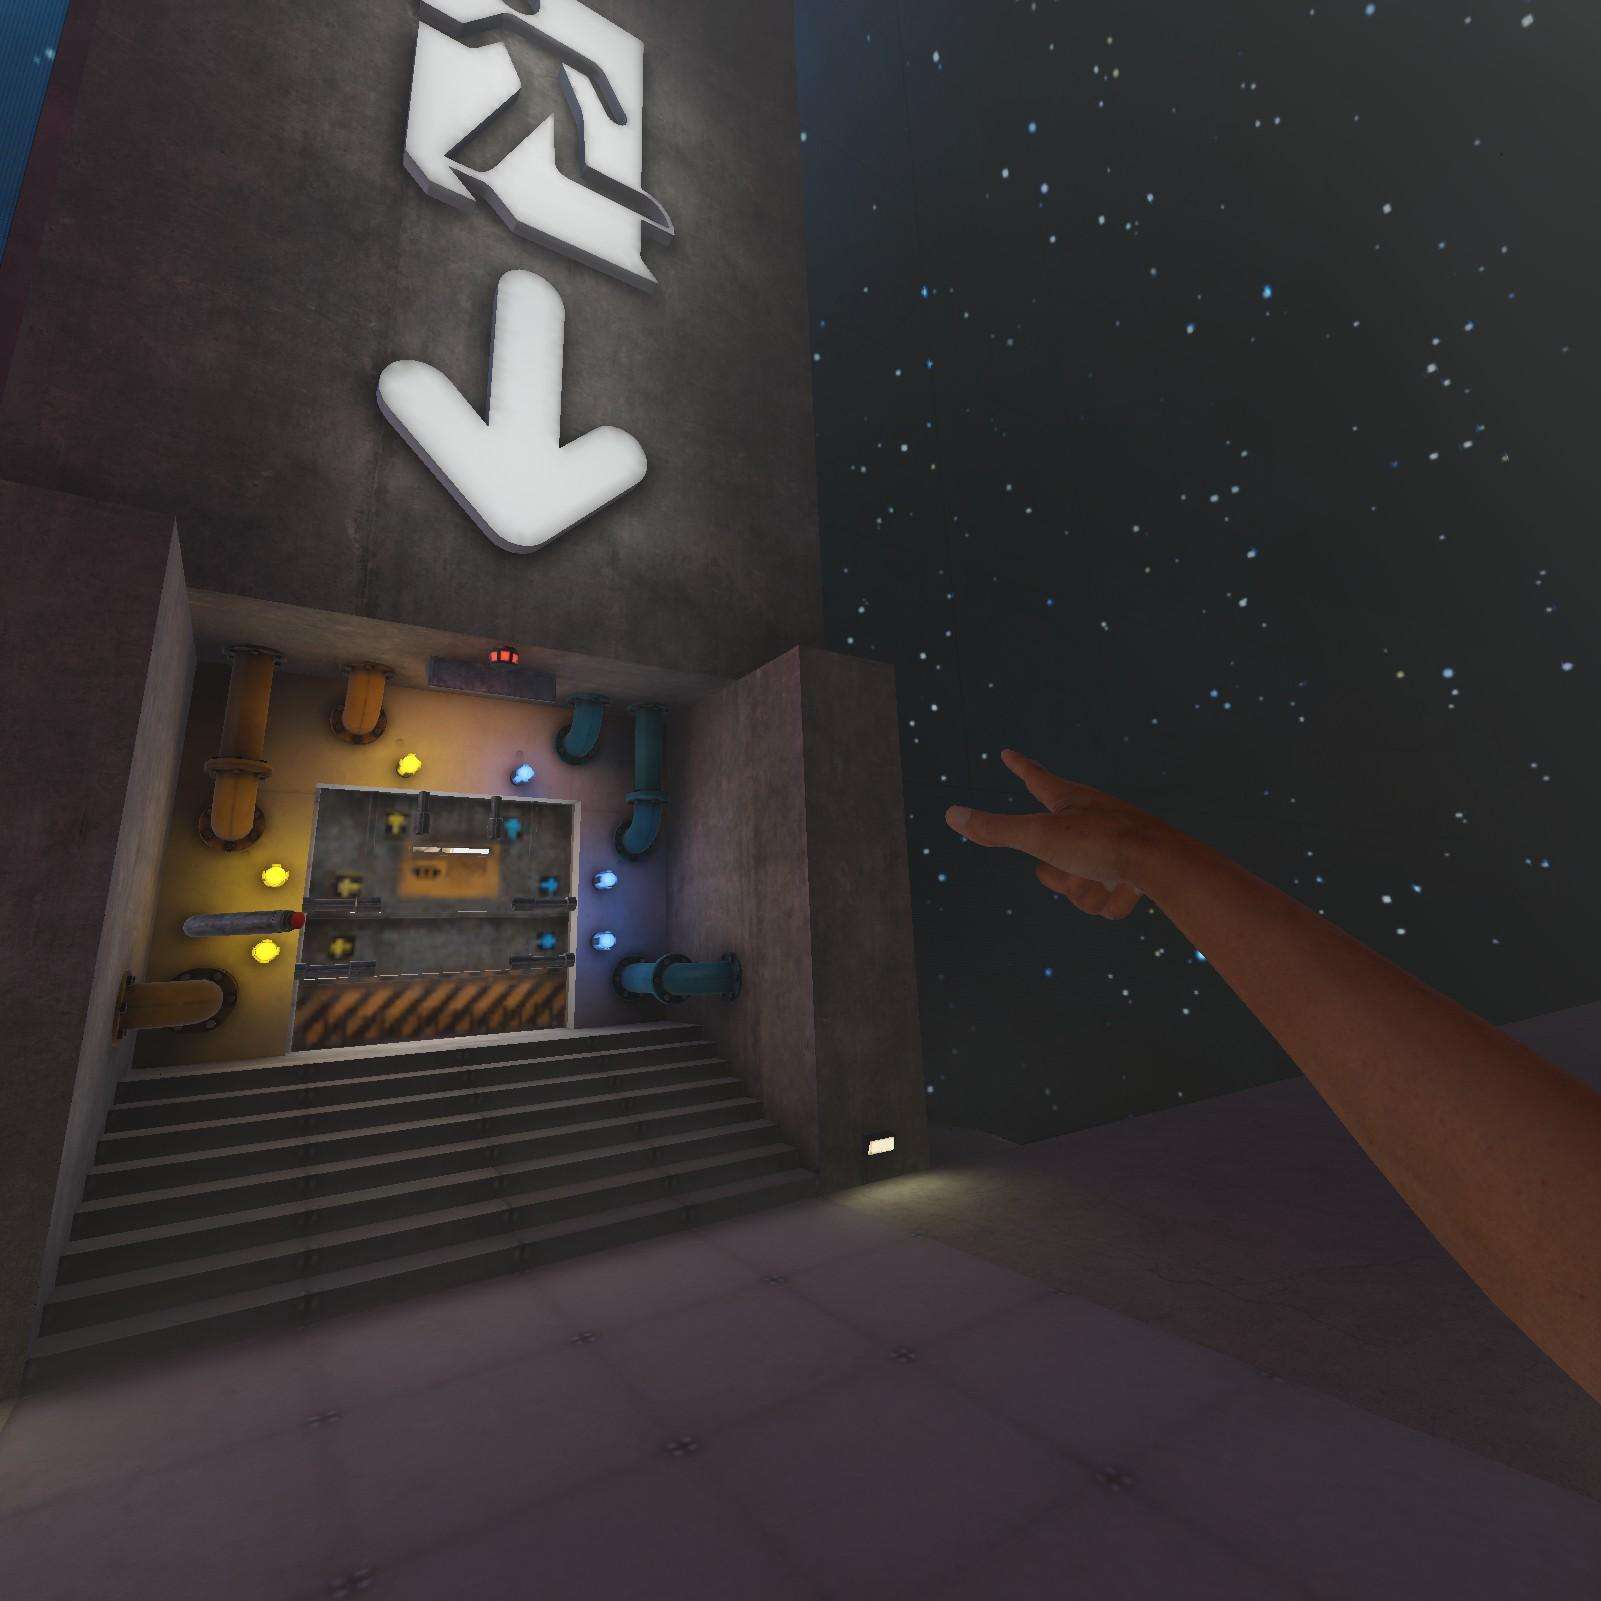
Apollo:
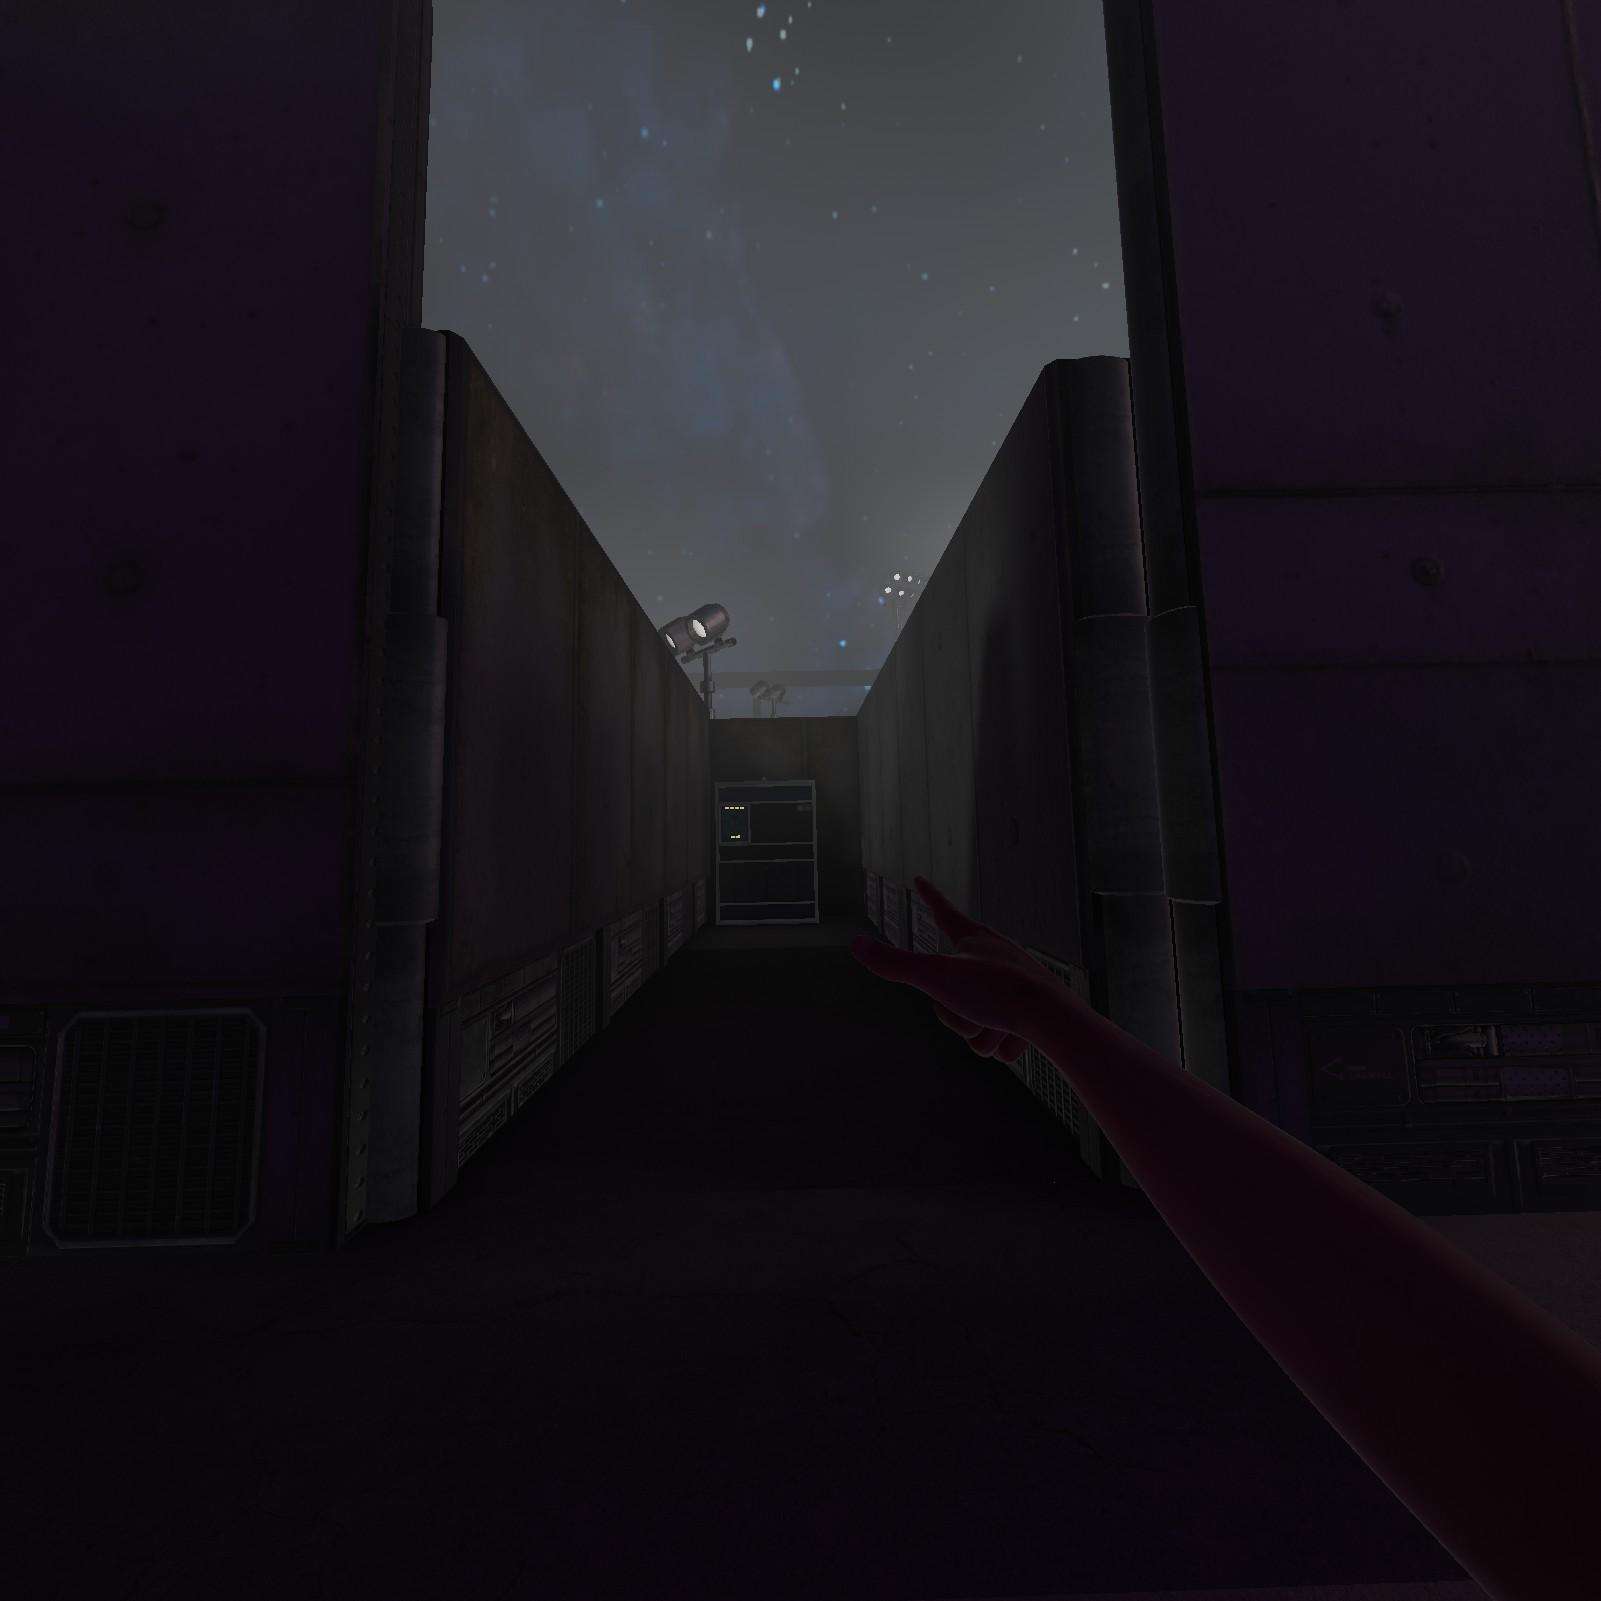
Take note of this bucket for the future, but we are going right past it for now to this back alleyway where we can find our best friend apollo. He’ll never leave you, unlike your friends.
That was a short section, mainly because we are about to collect everything from the lab games. No, I am not kidding, so buckle up as we are about to sit though more loading screens than you’ve ever seen before.
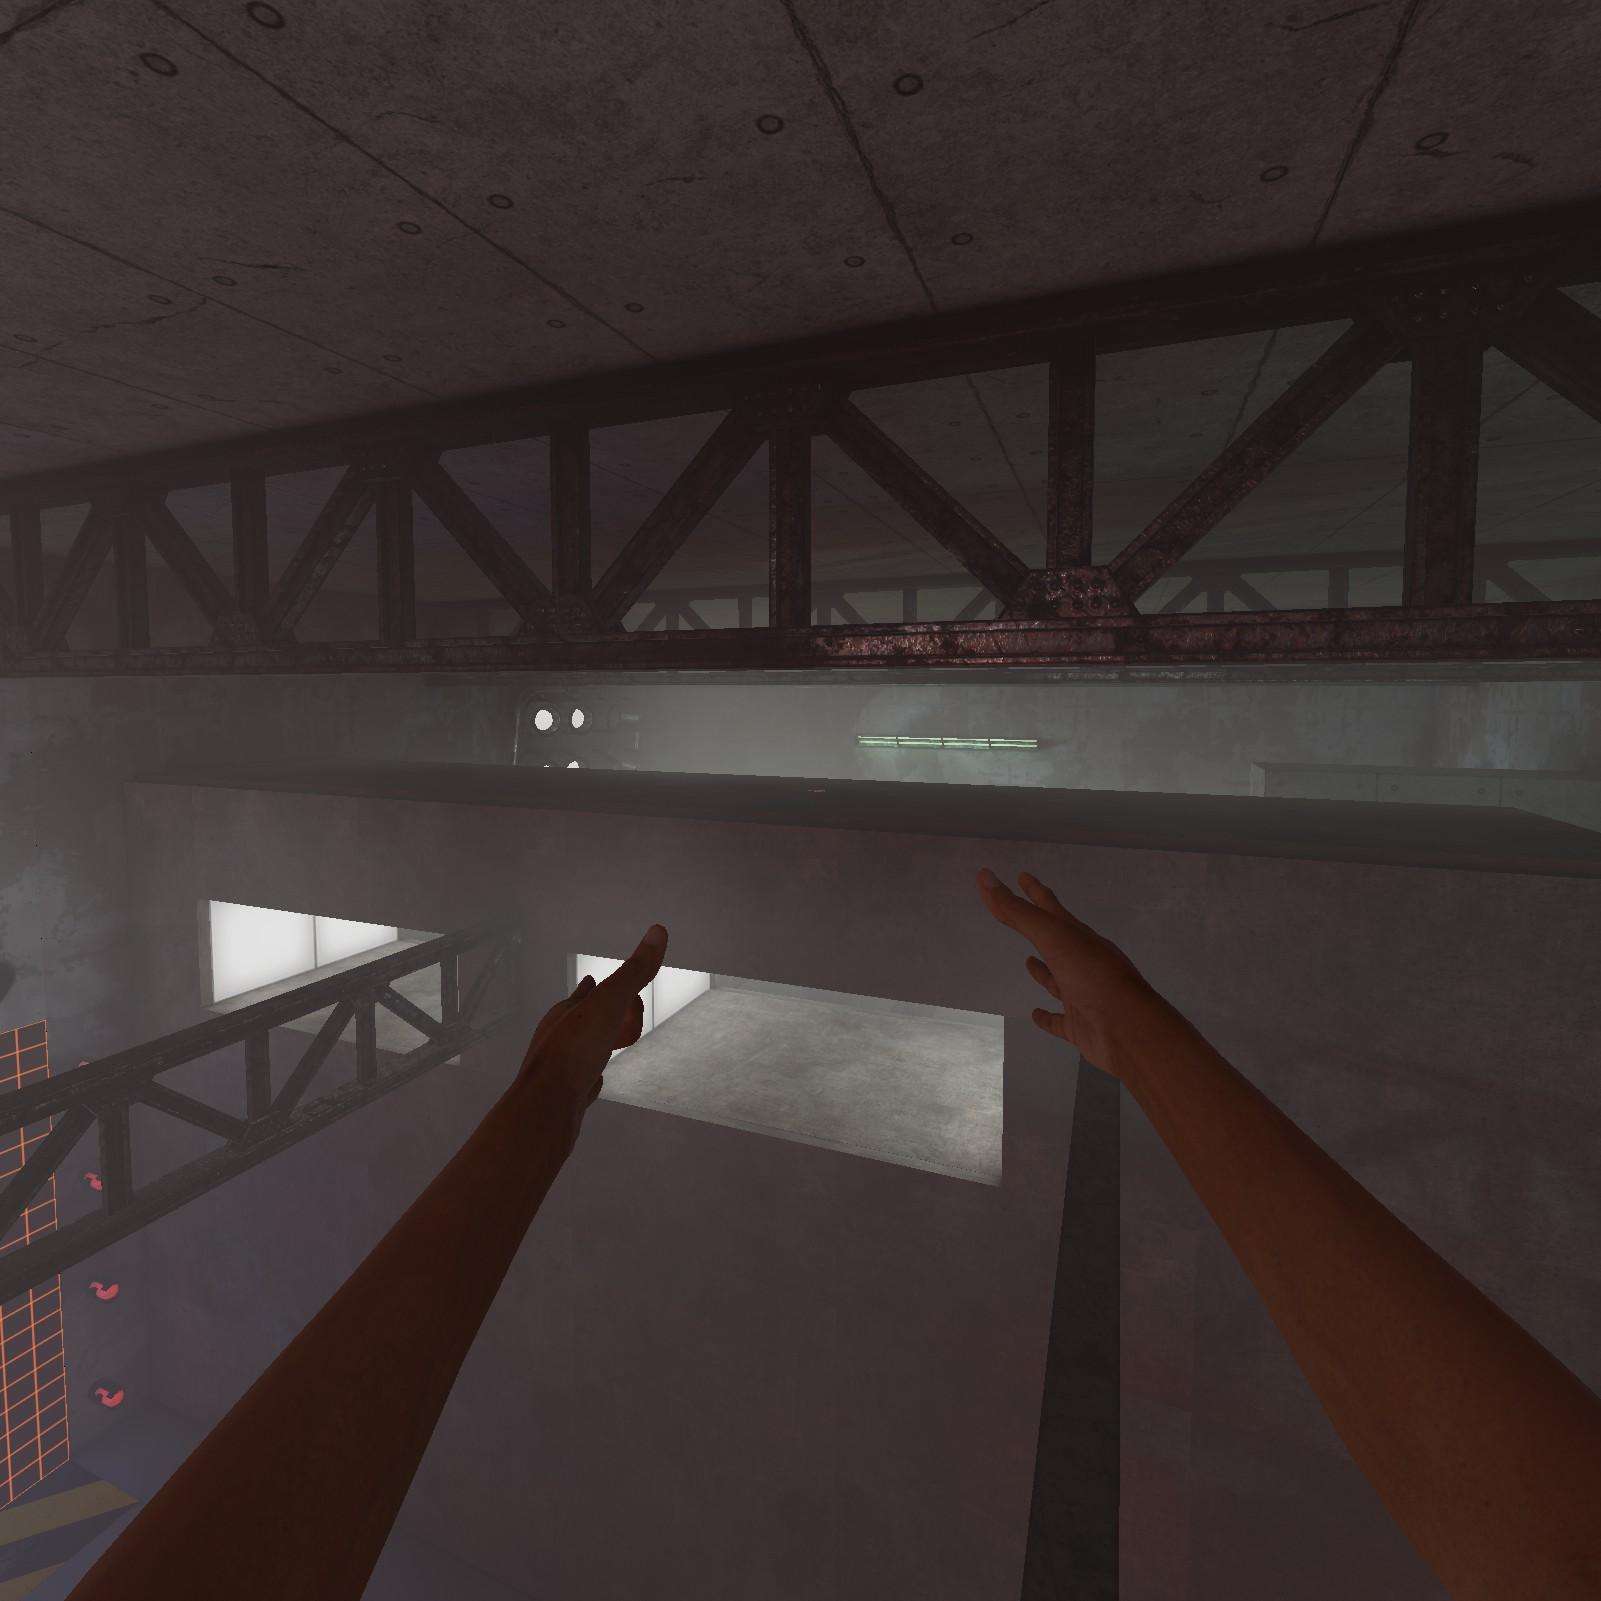
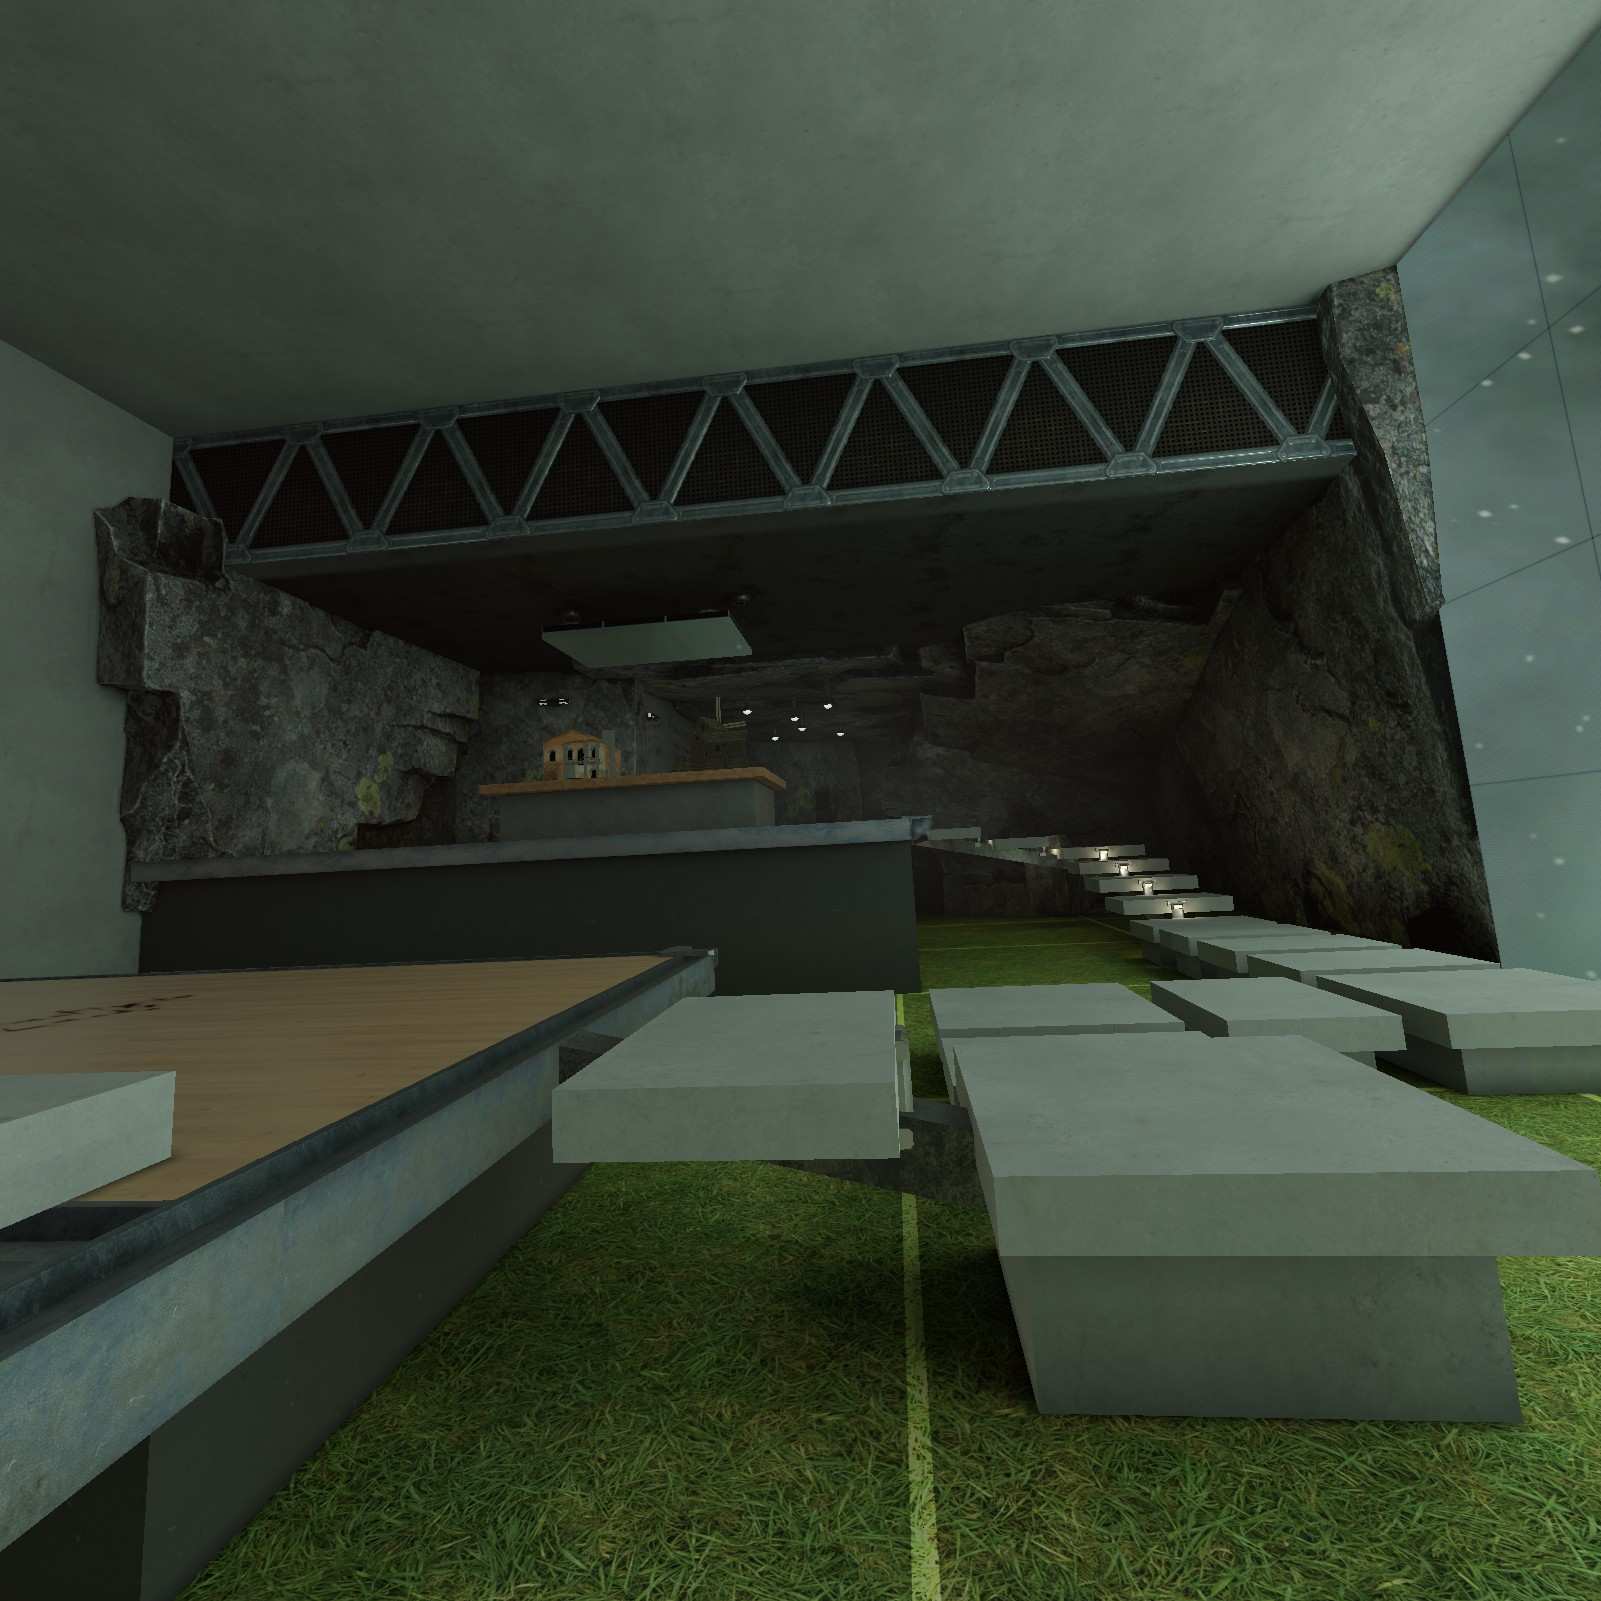
Drop Pit
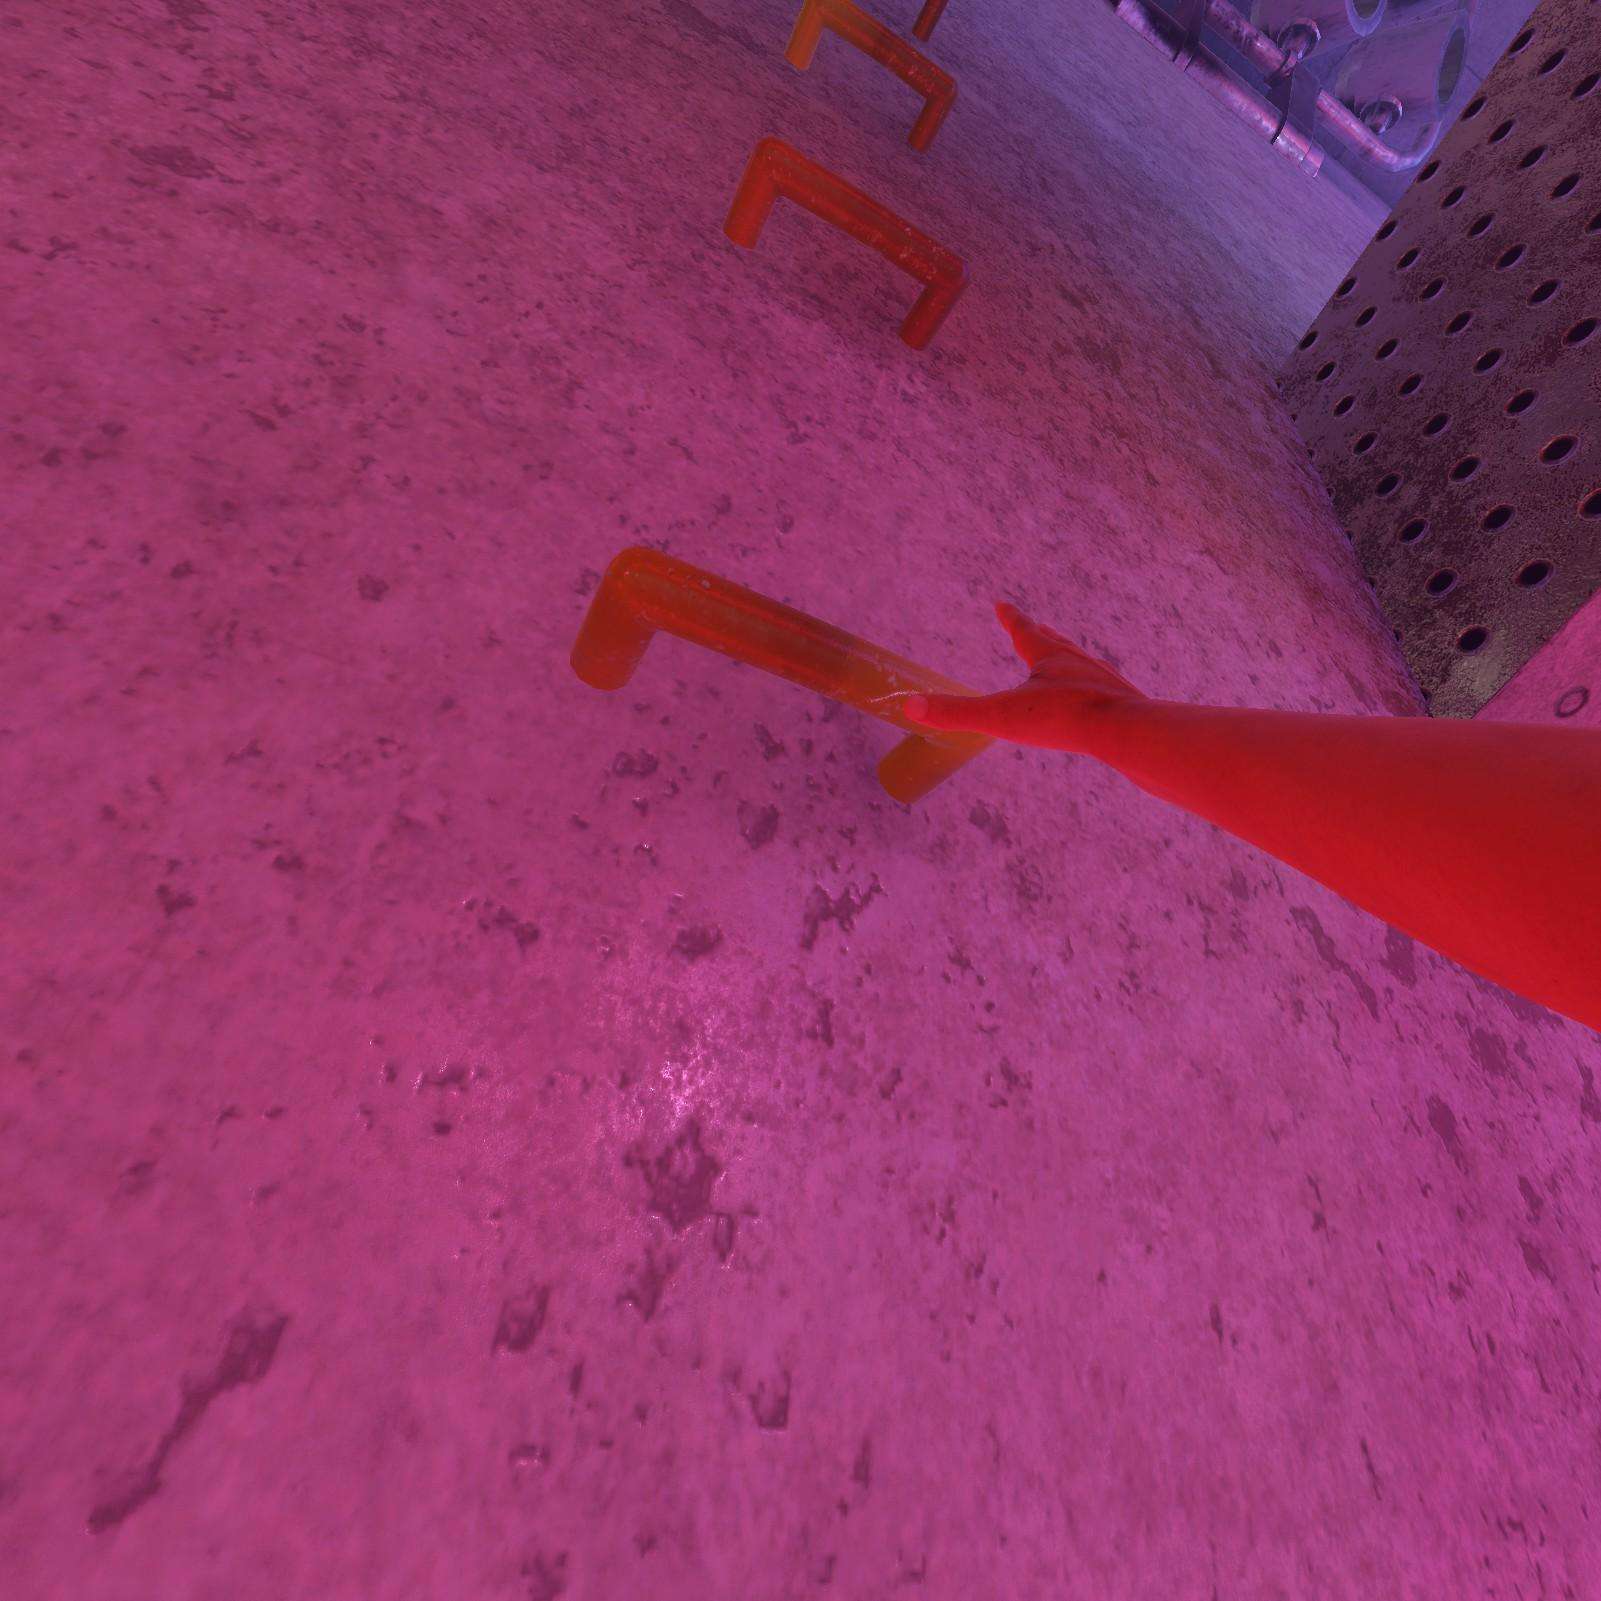
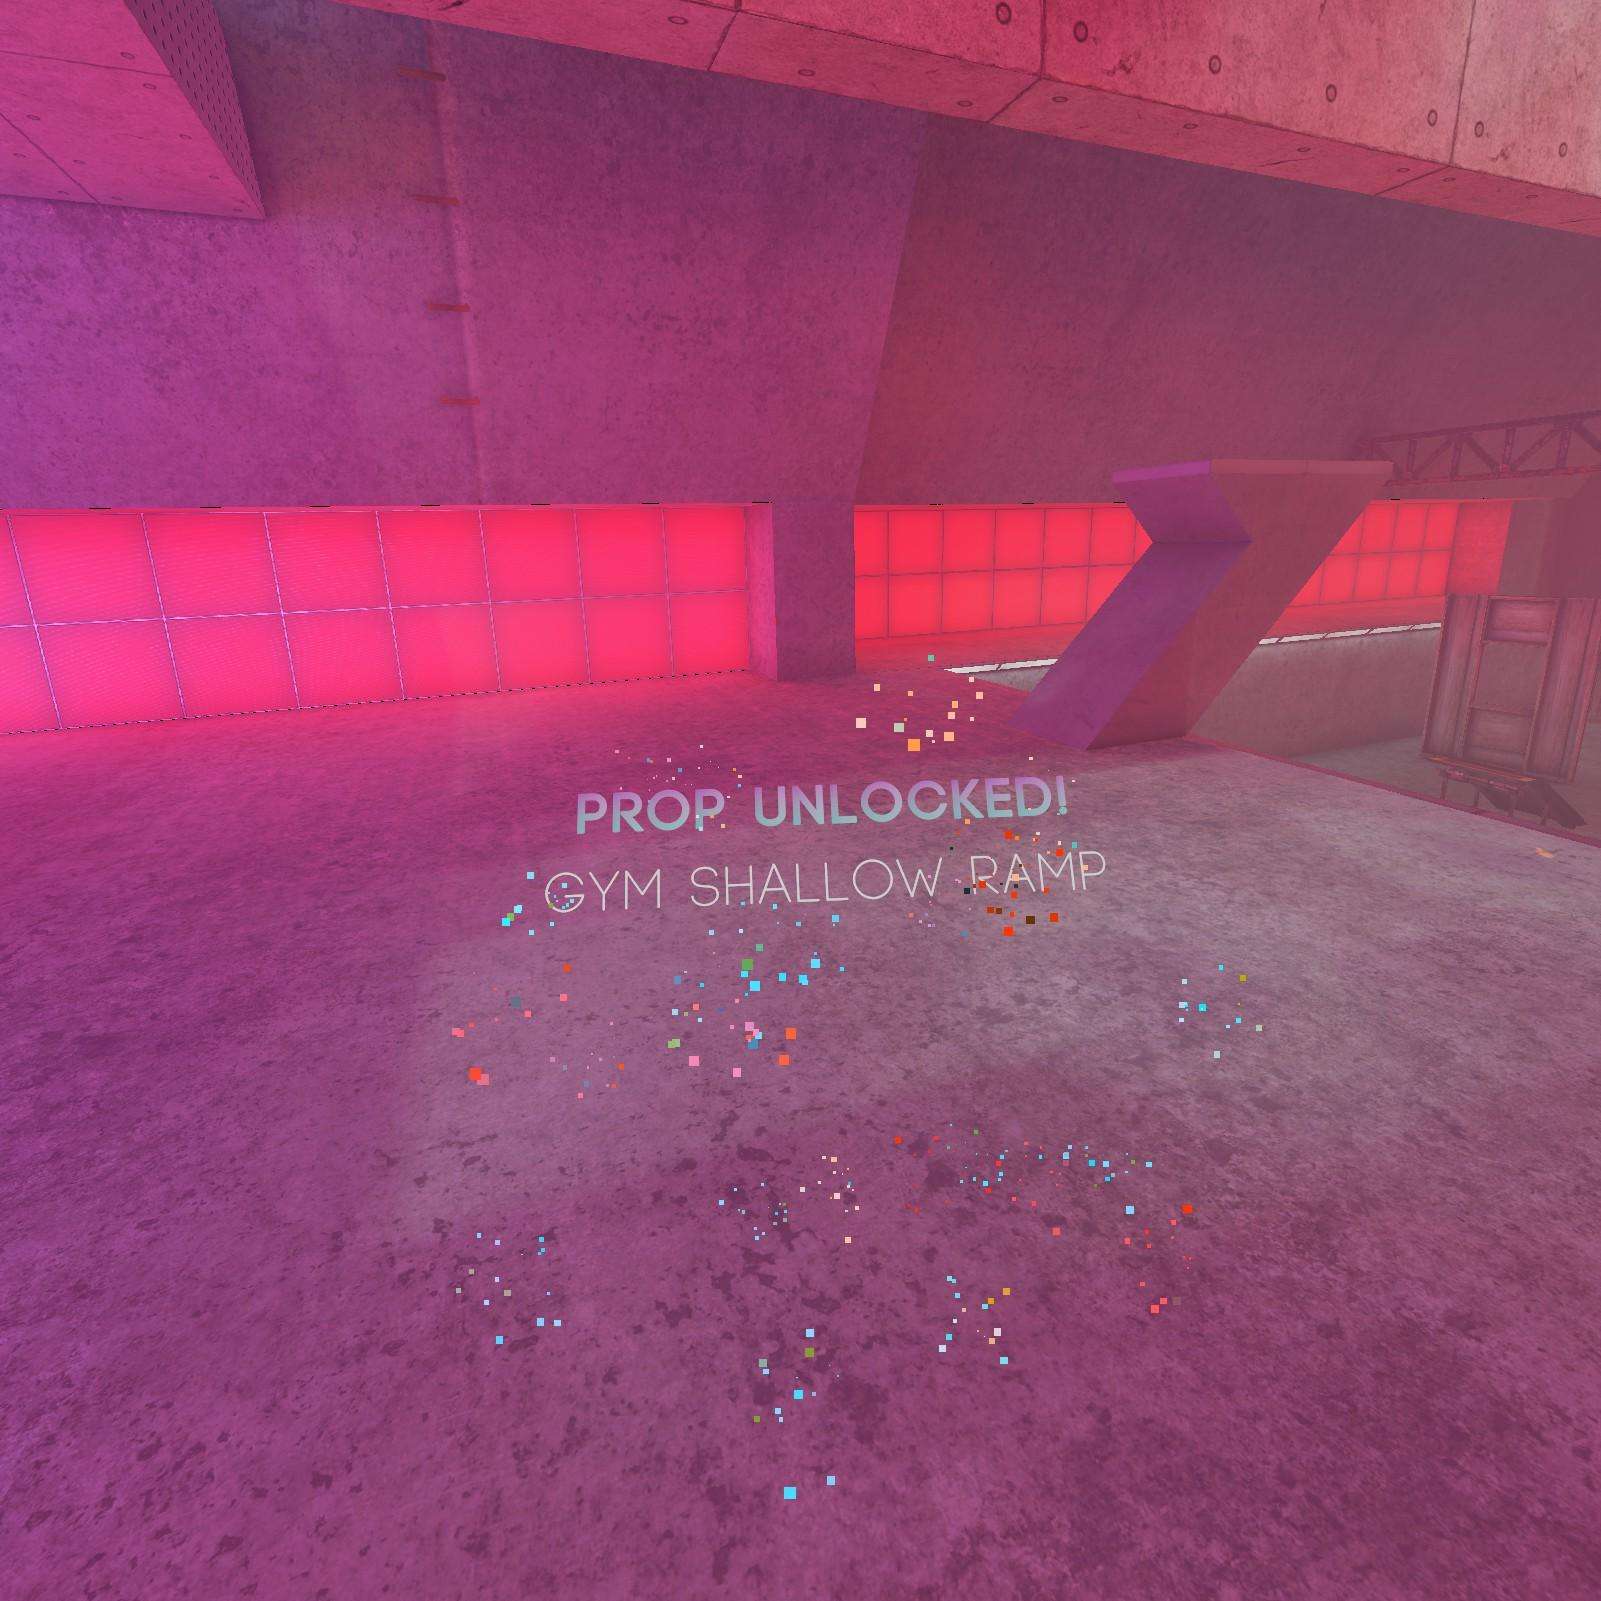
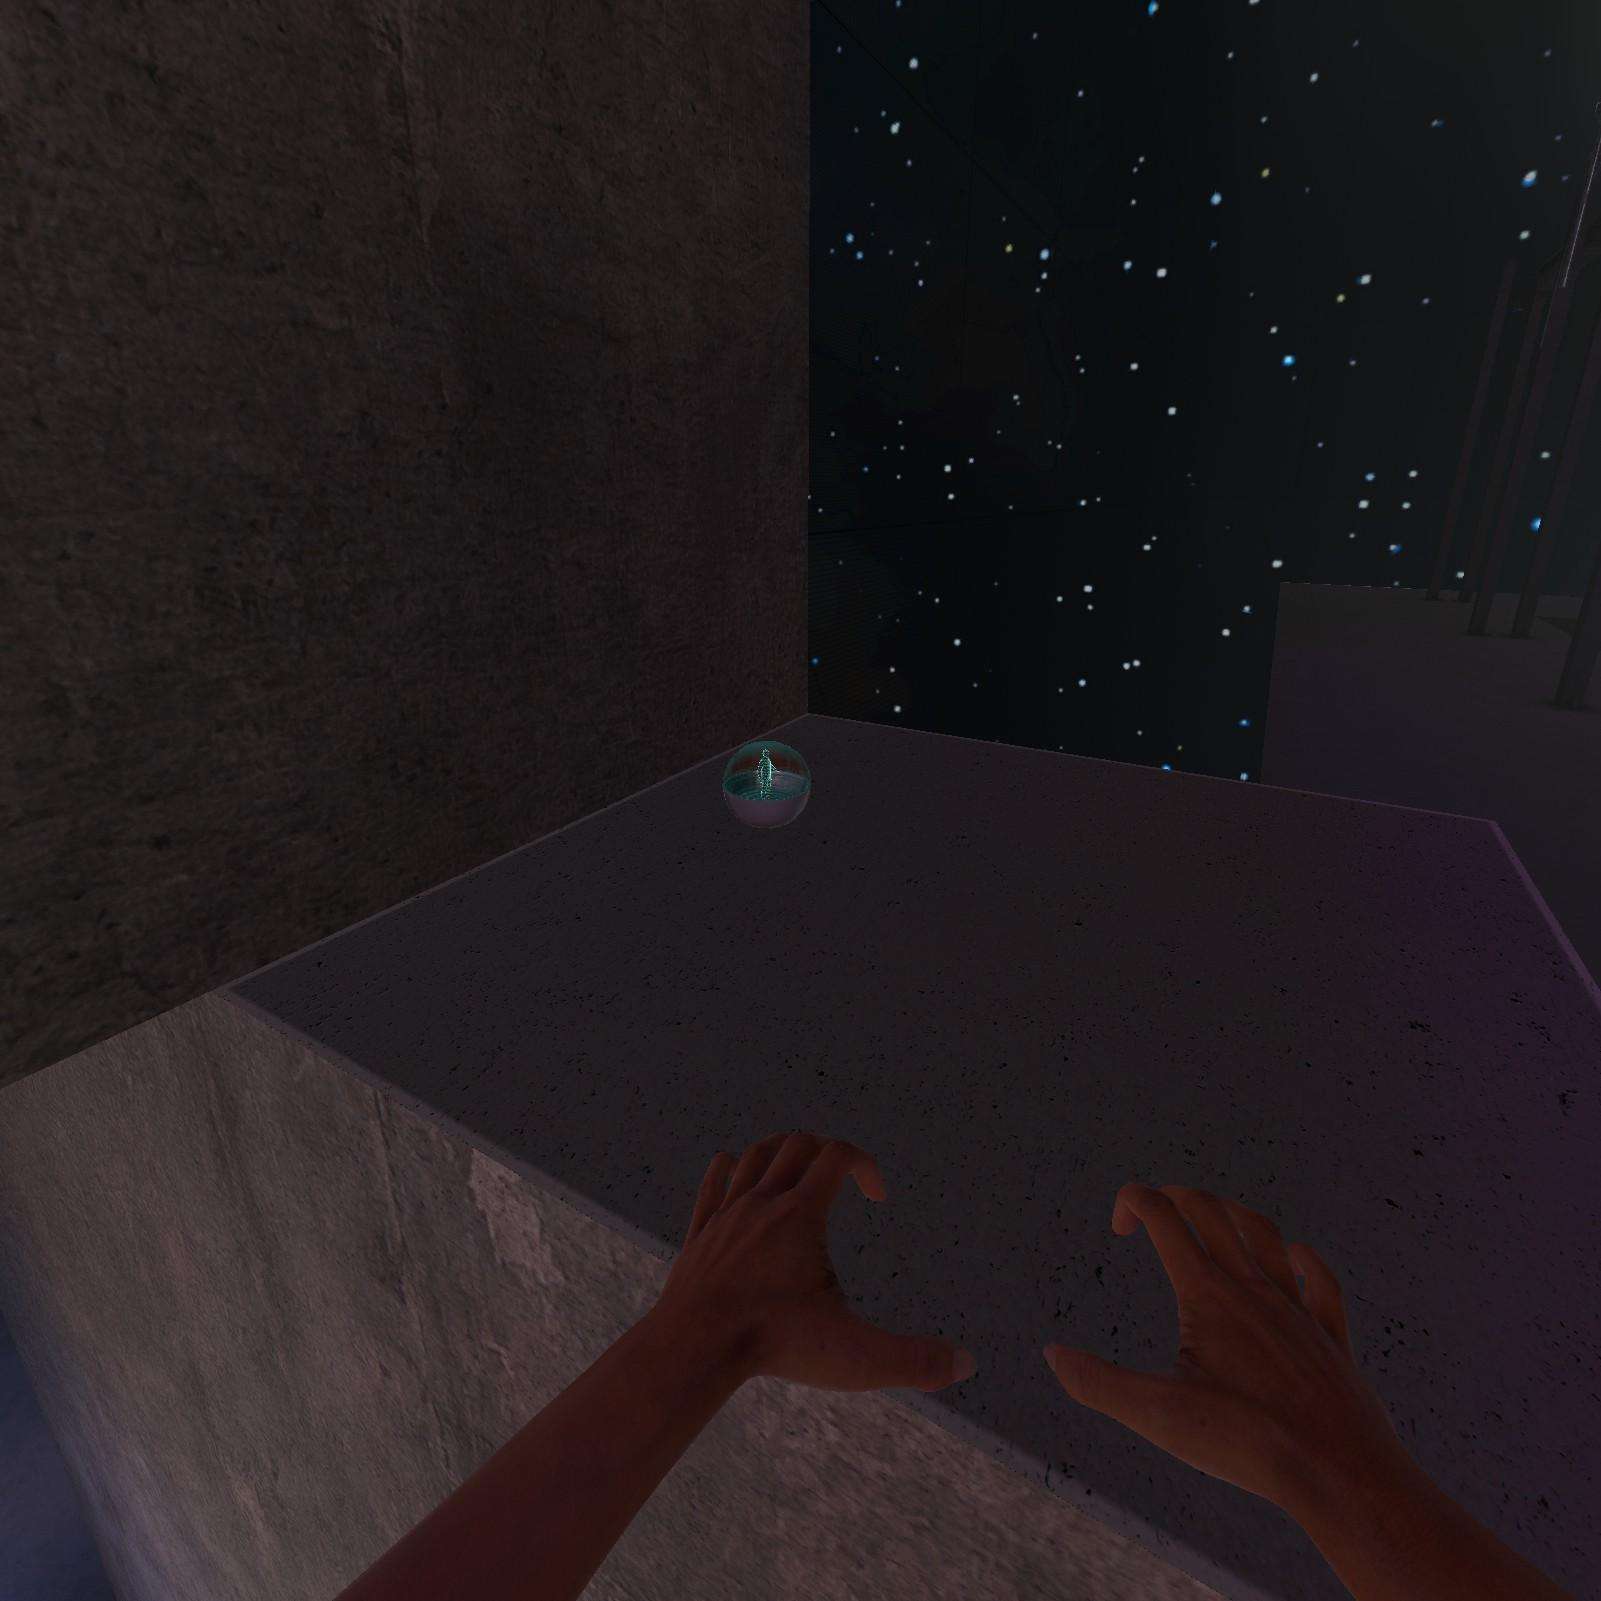
Gym Shallow Ramp:
Tact trials encouraging you to go fast? Not today! Well maybe the first segment since there’s no capsules there. Once you reach this branching path head down to the lower area. You may spy in the distance some climbing bars. Get up there and turn around for my favorite shape the gym shallow ramp.
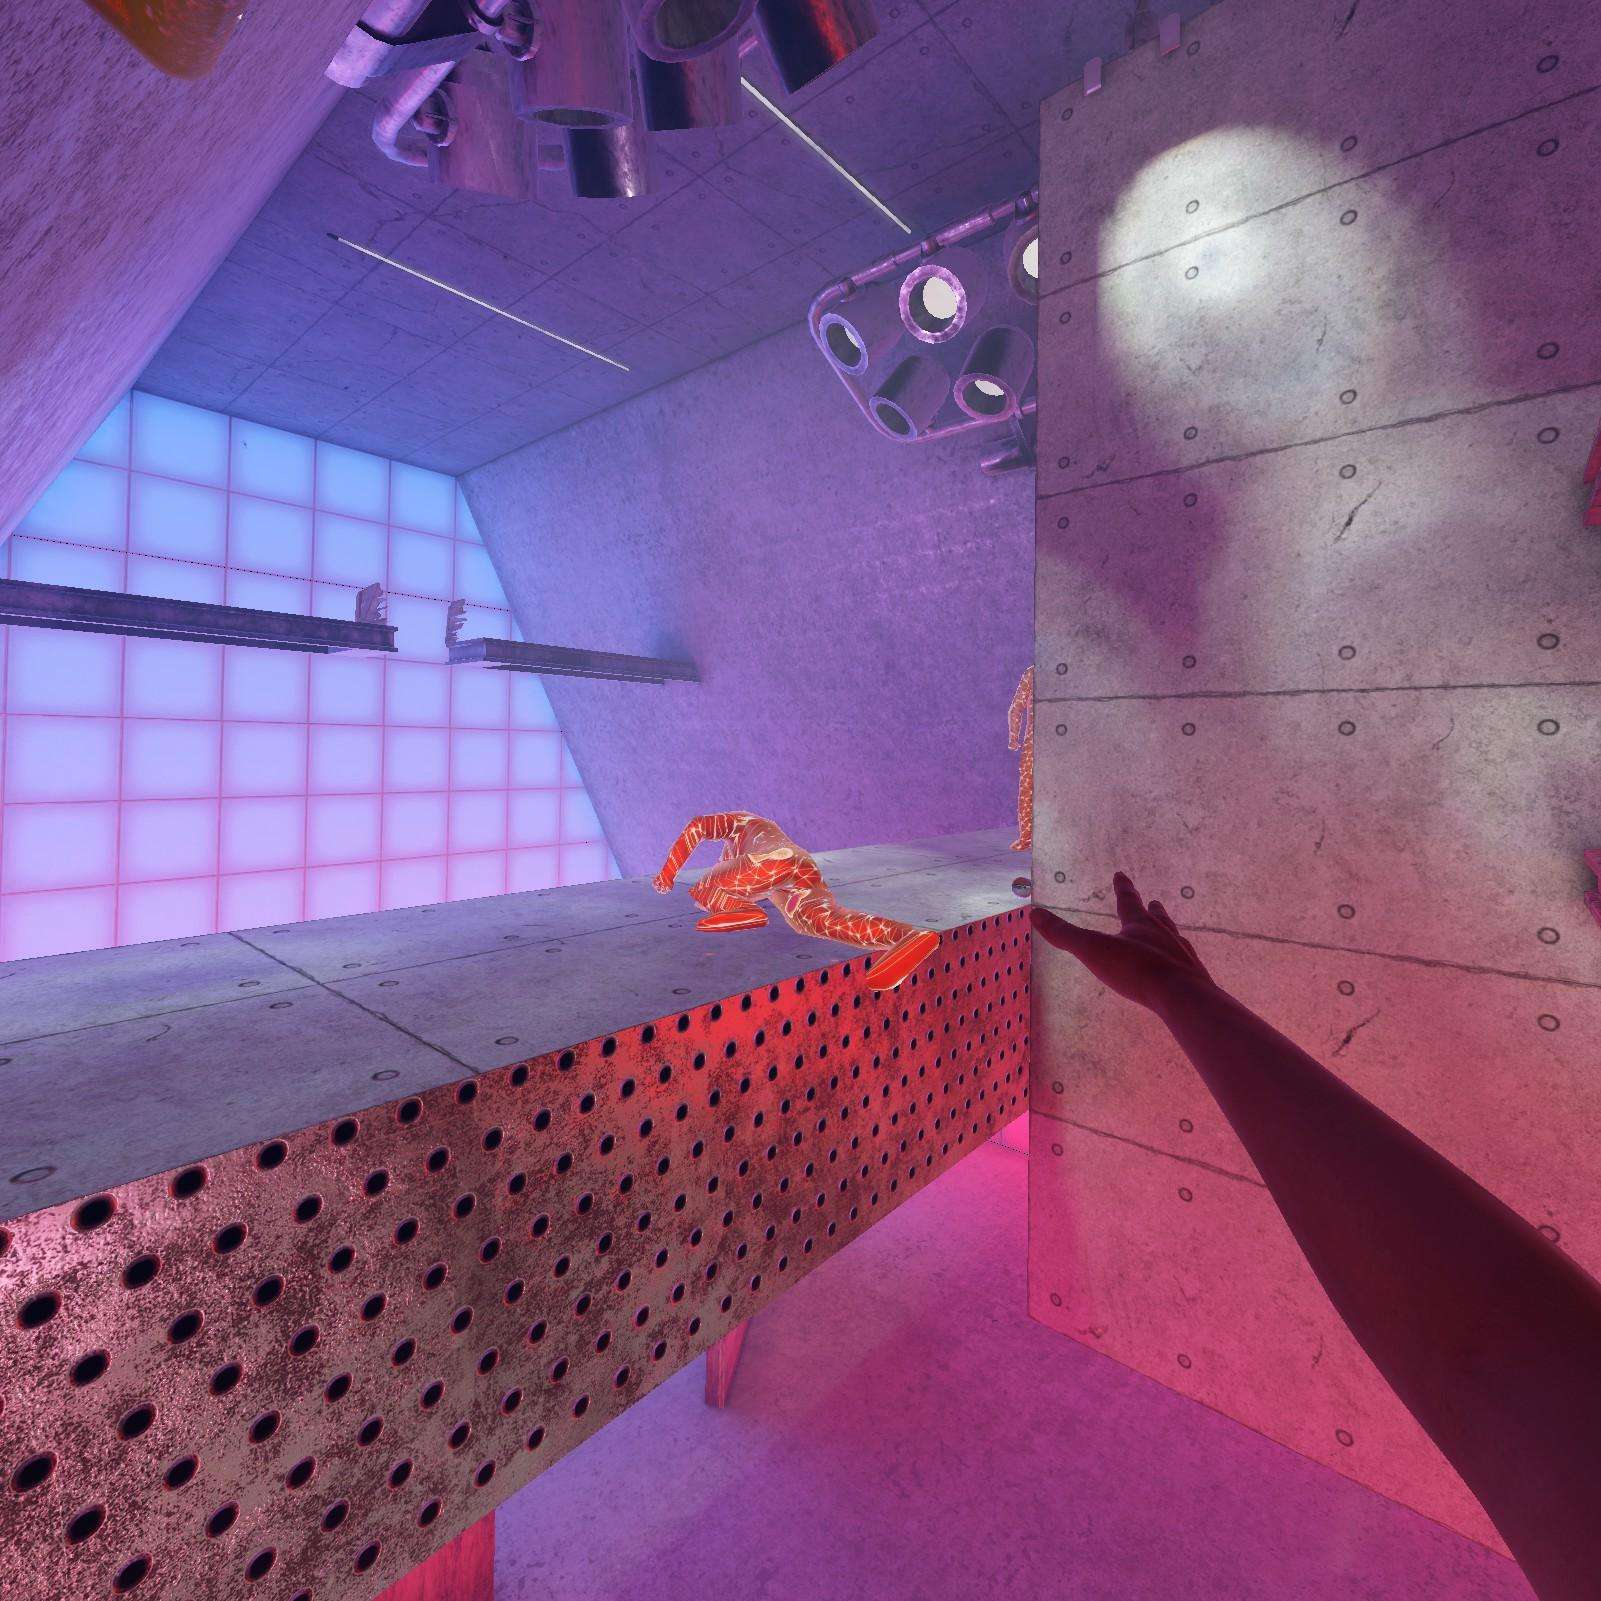
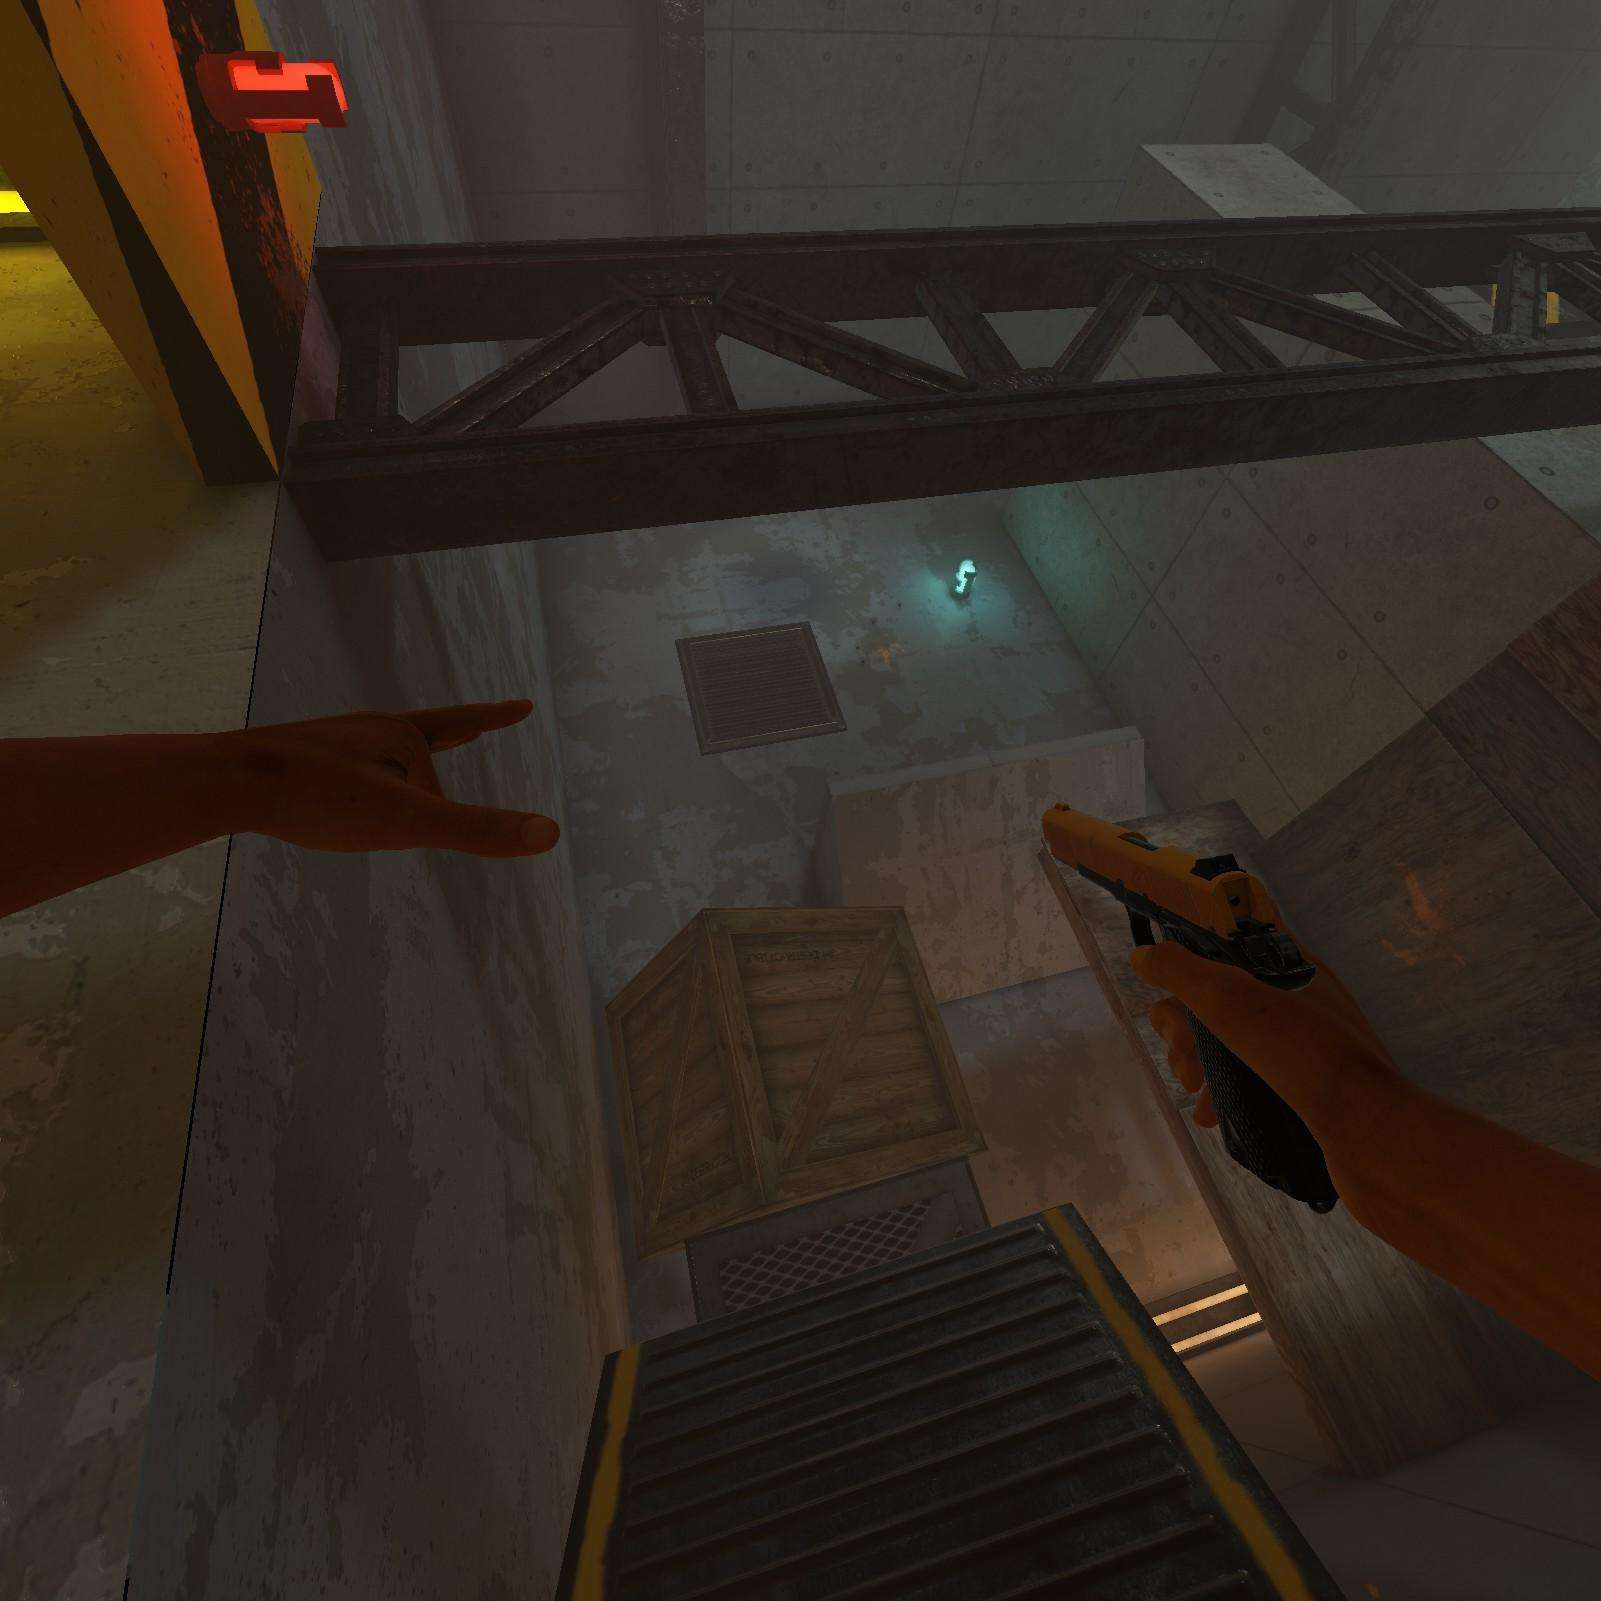
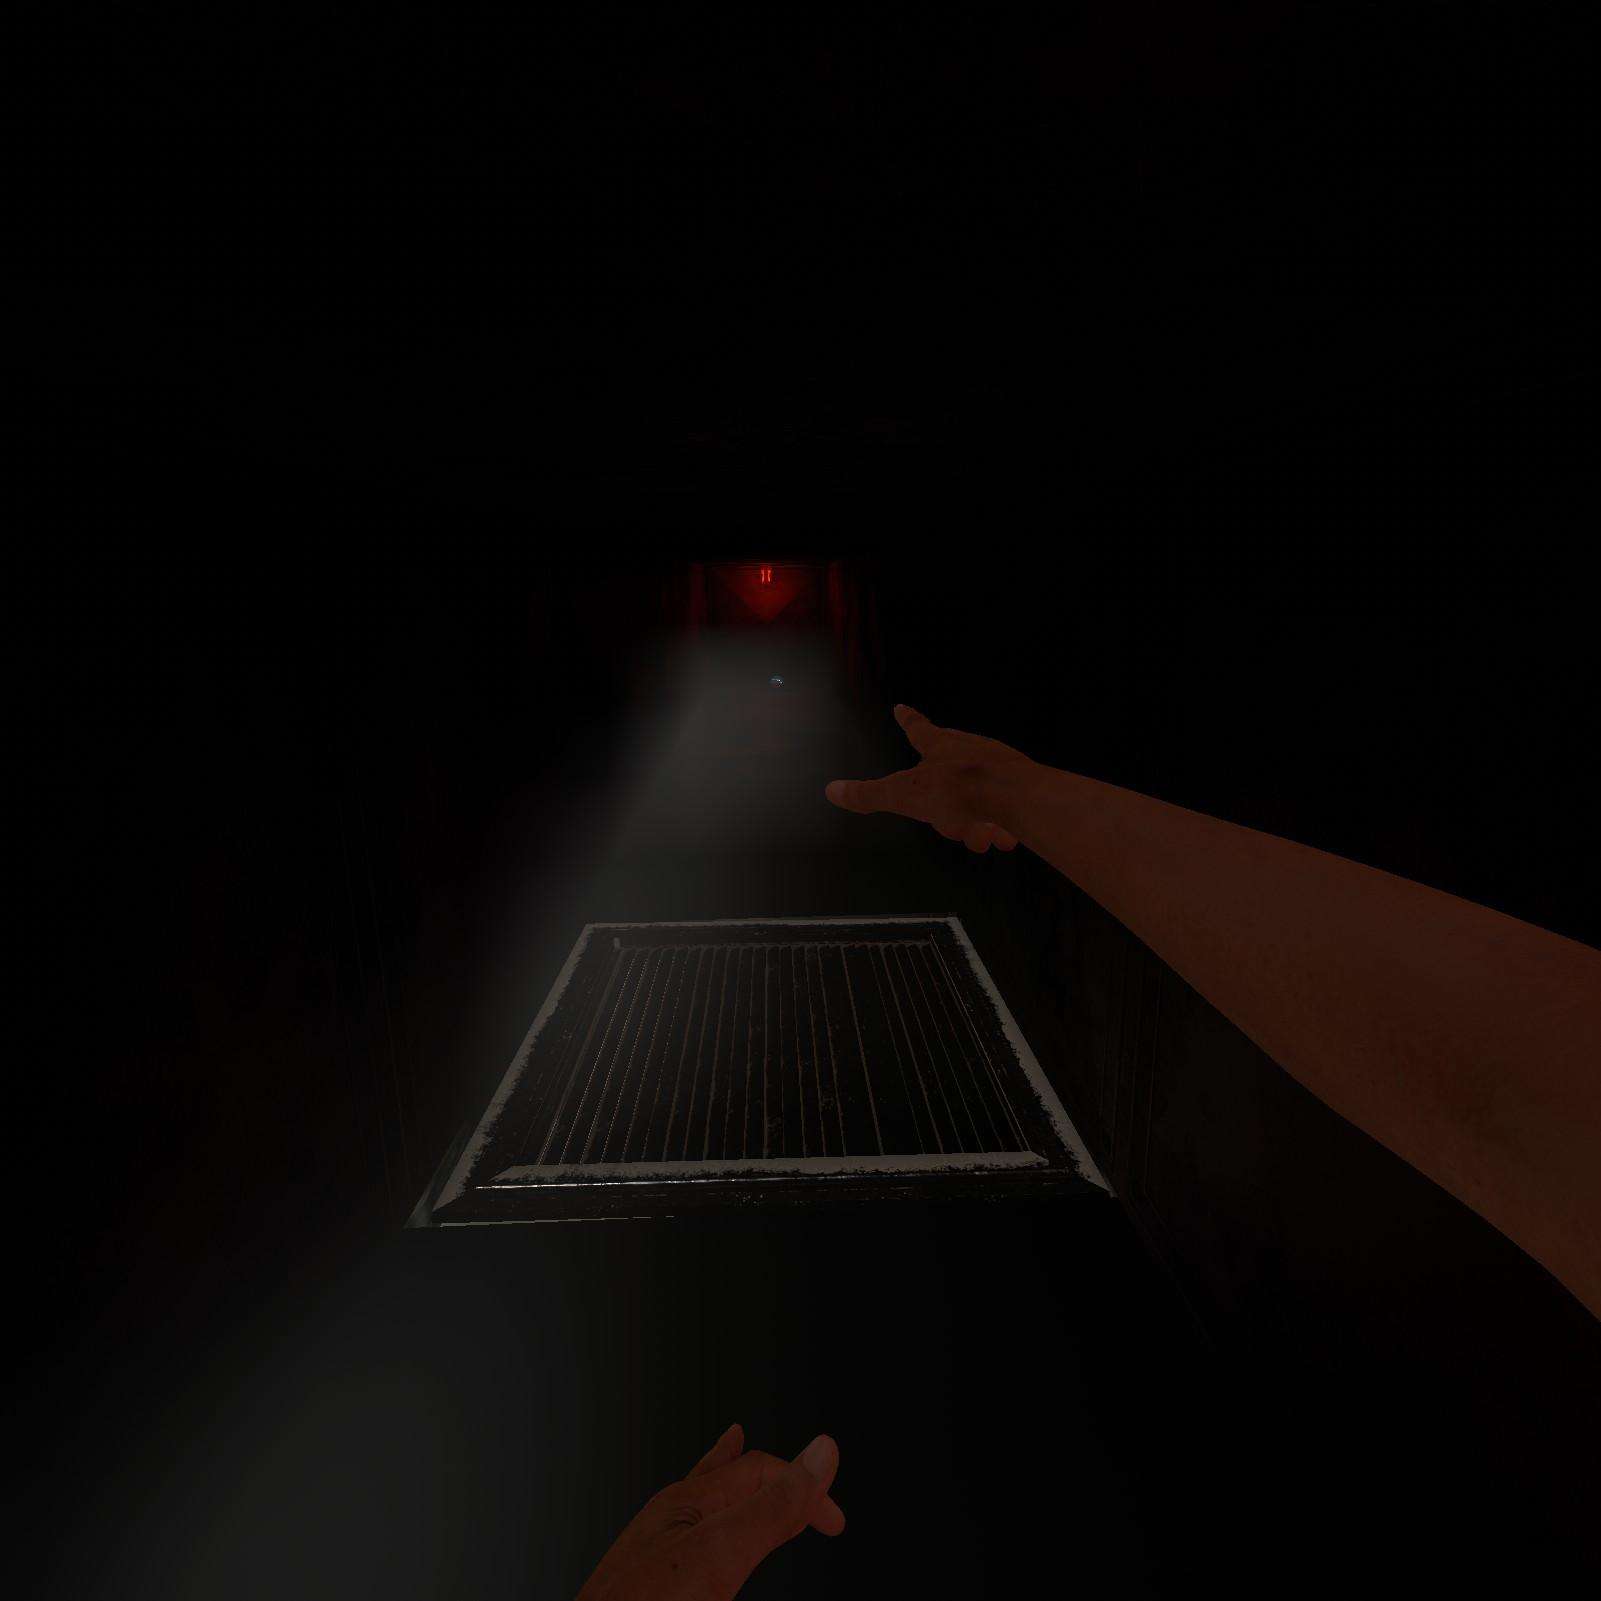
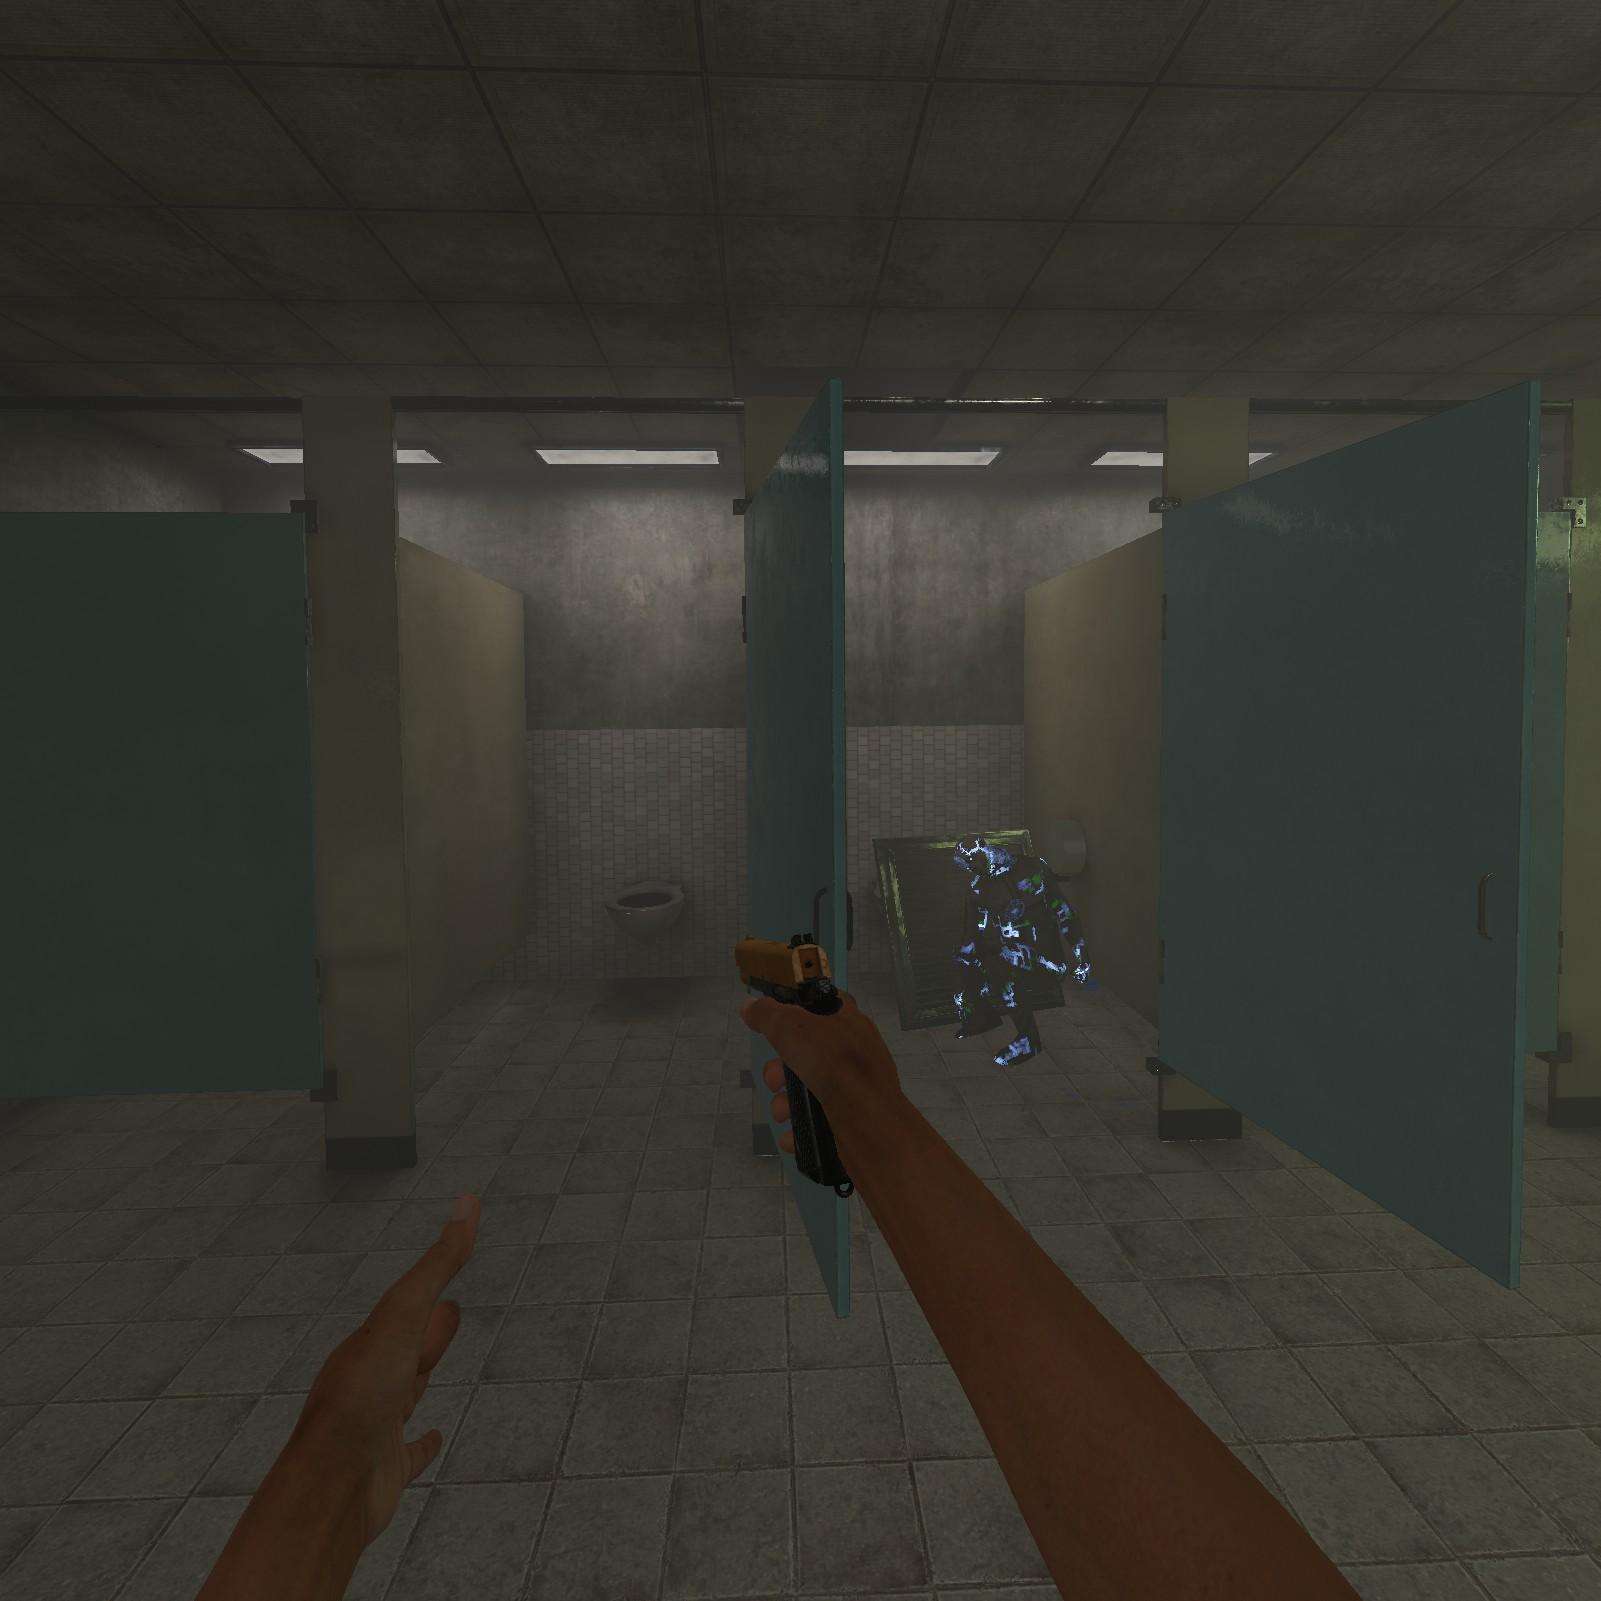
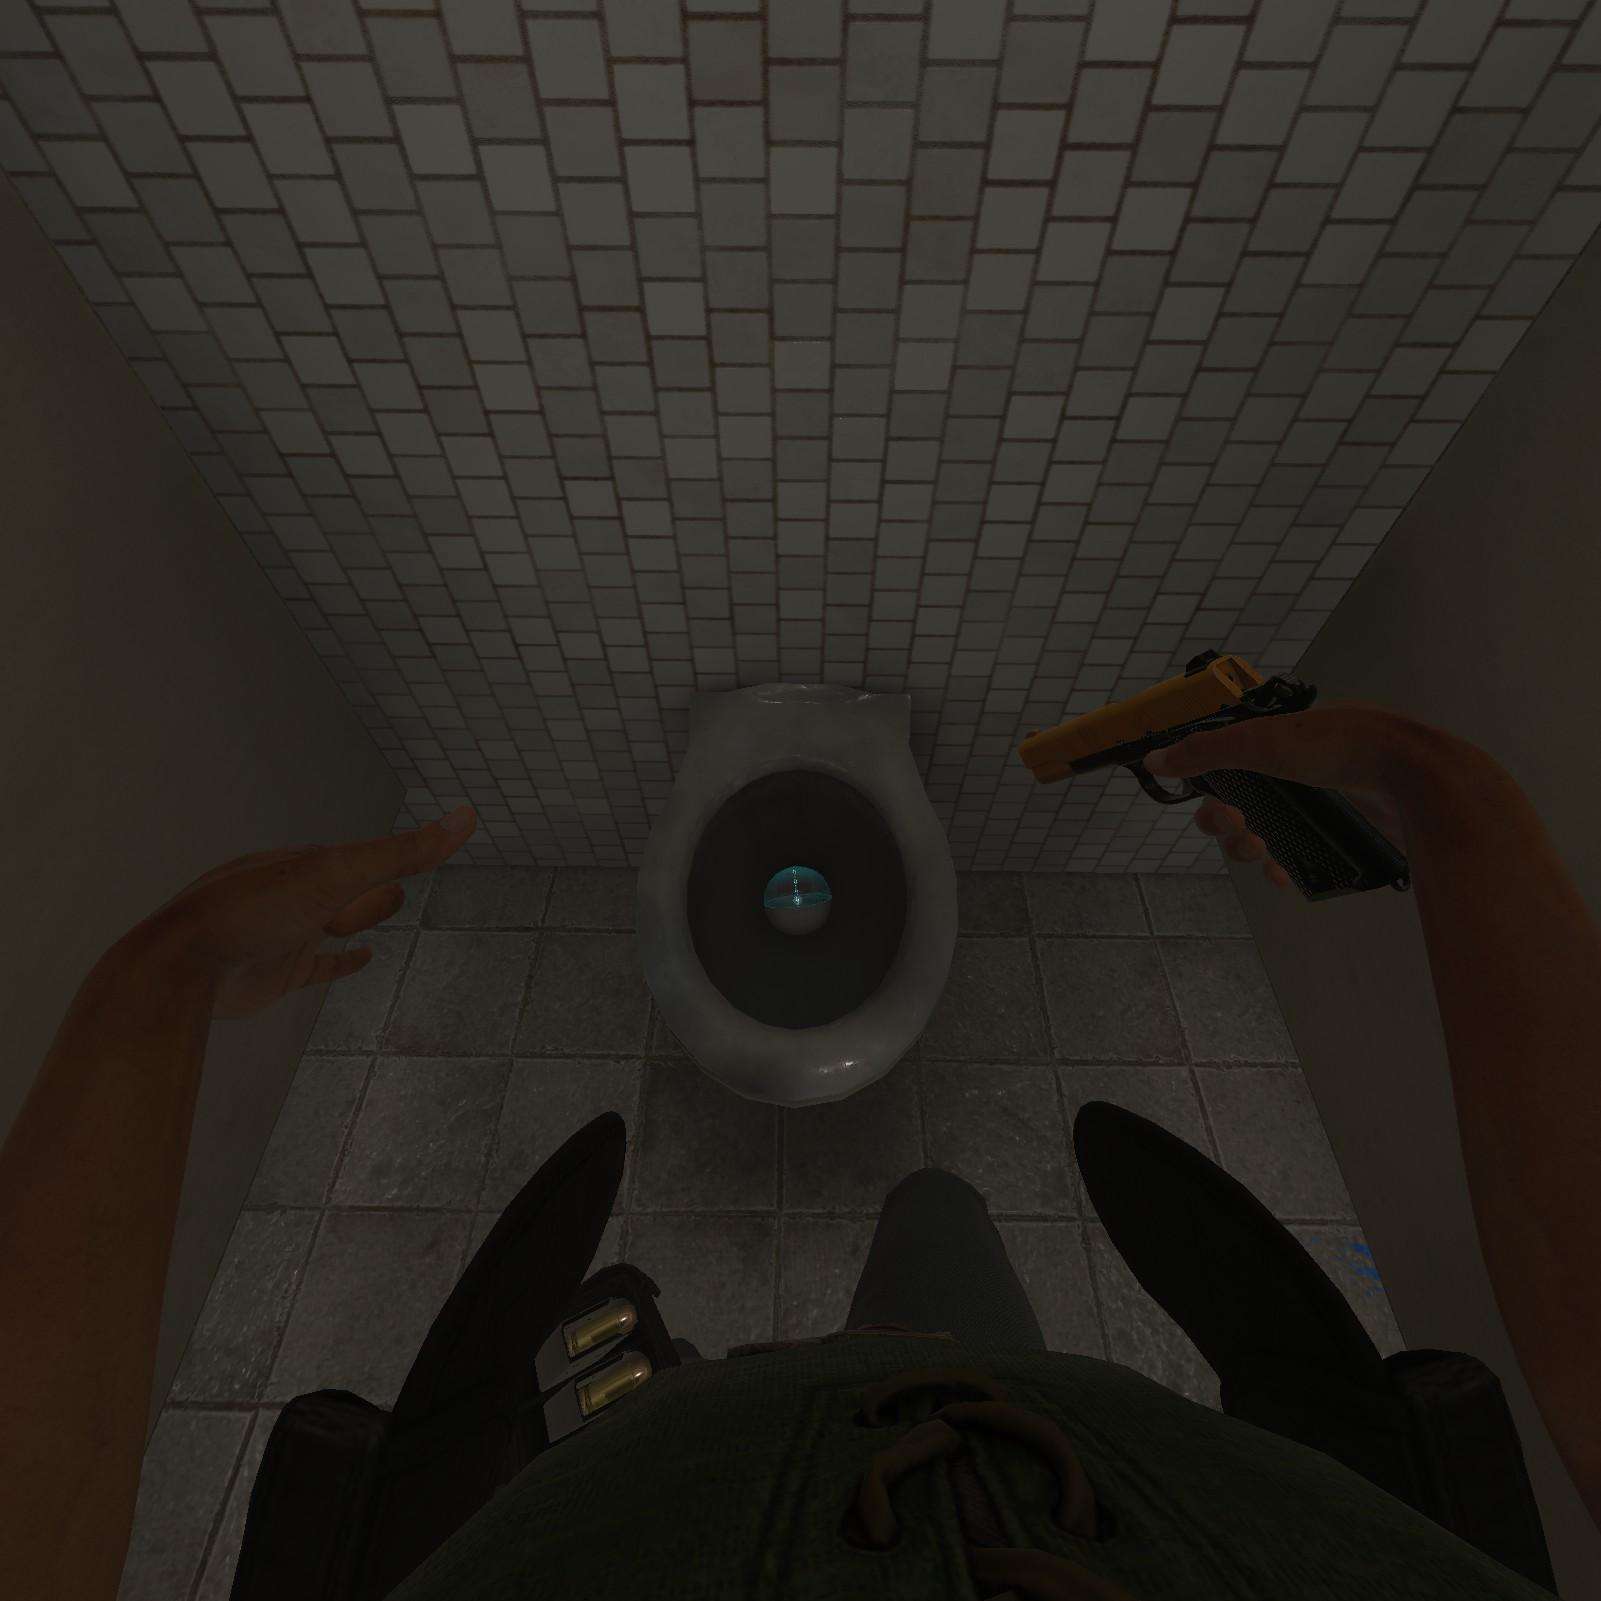
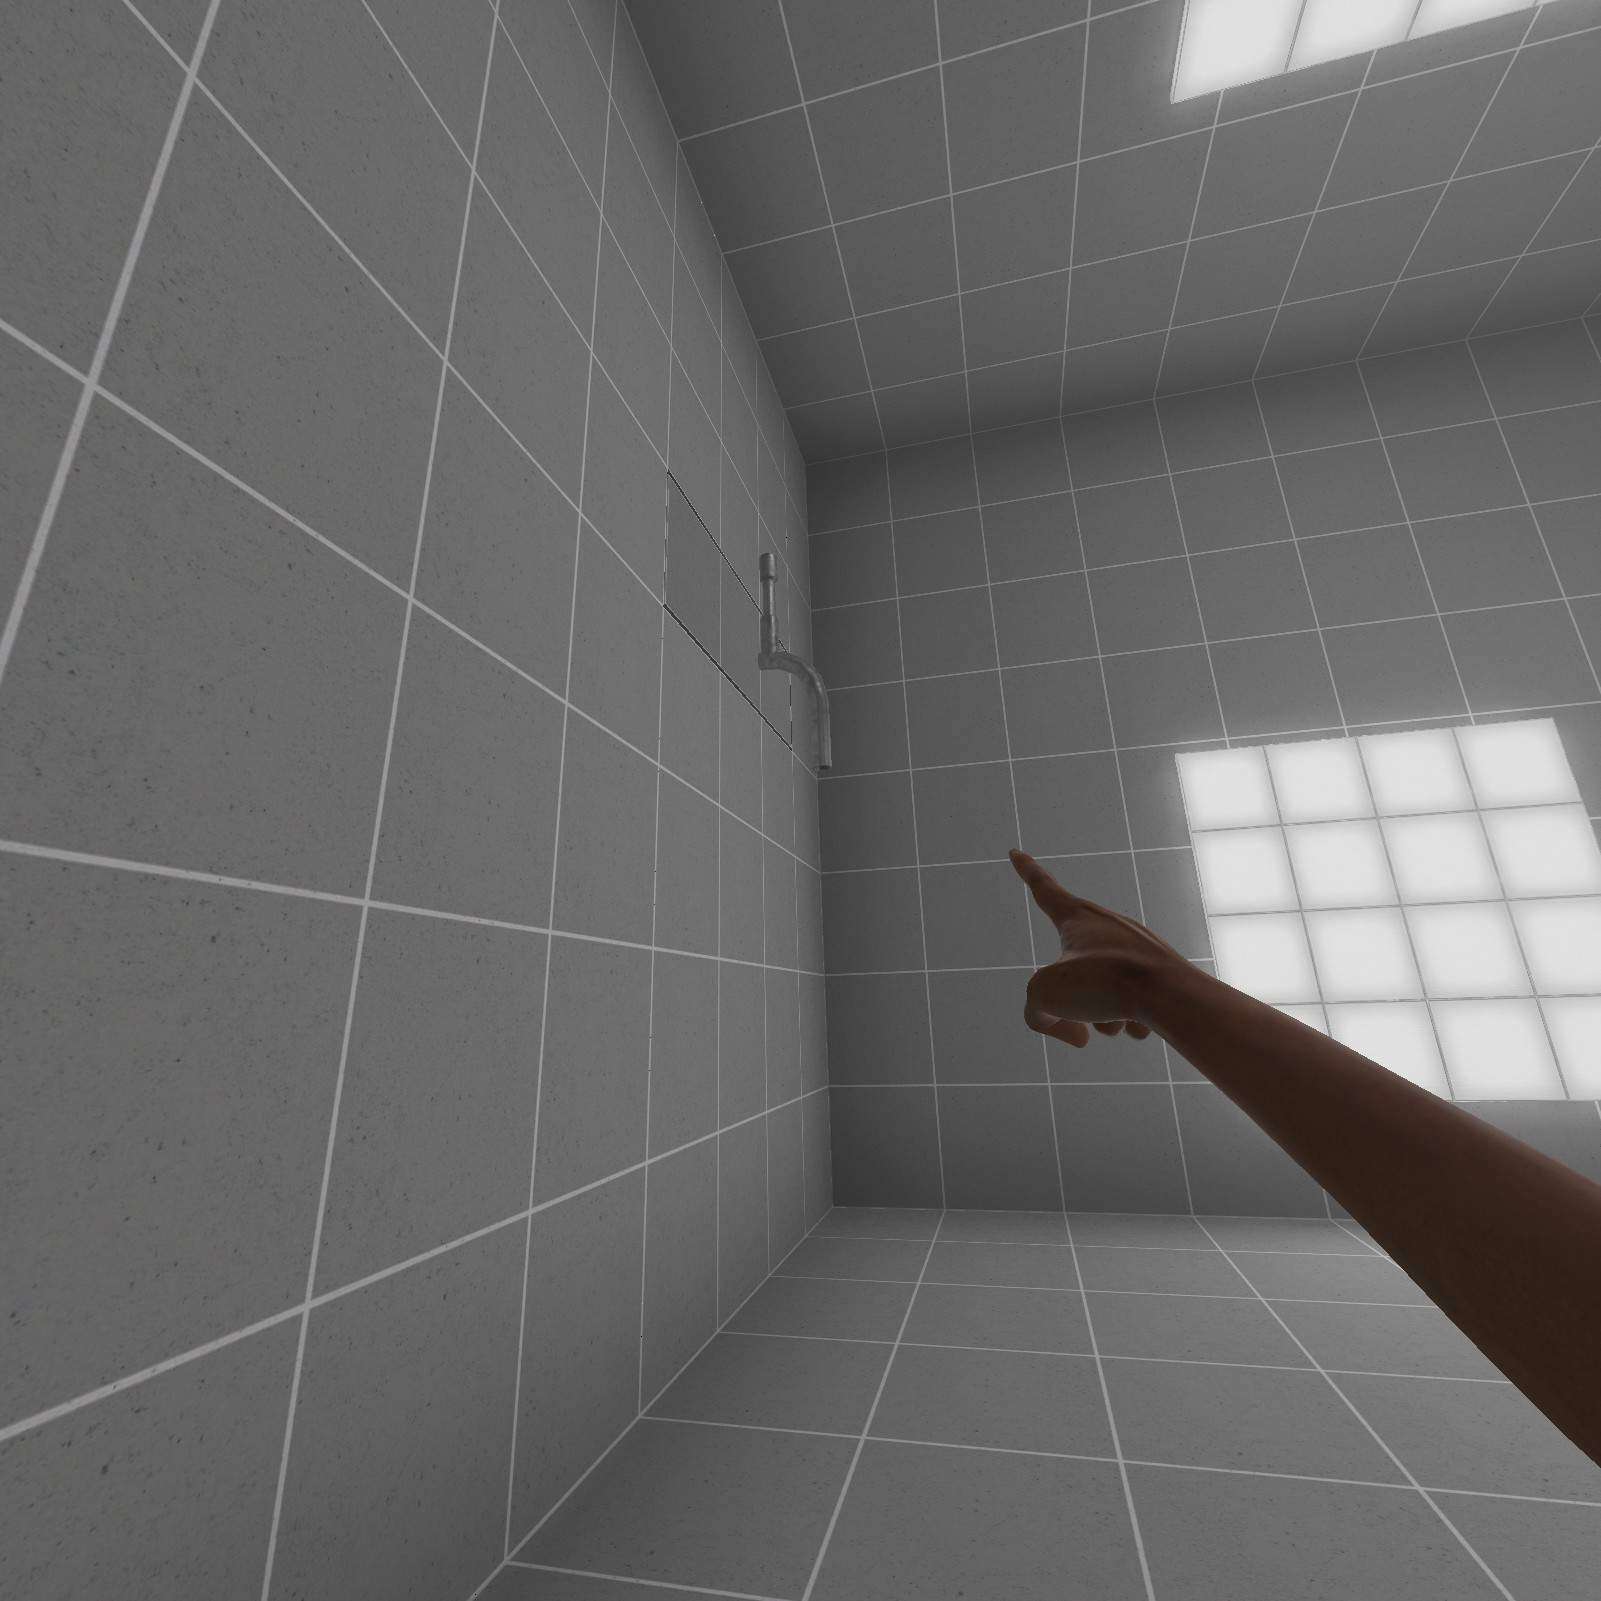
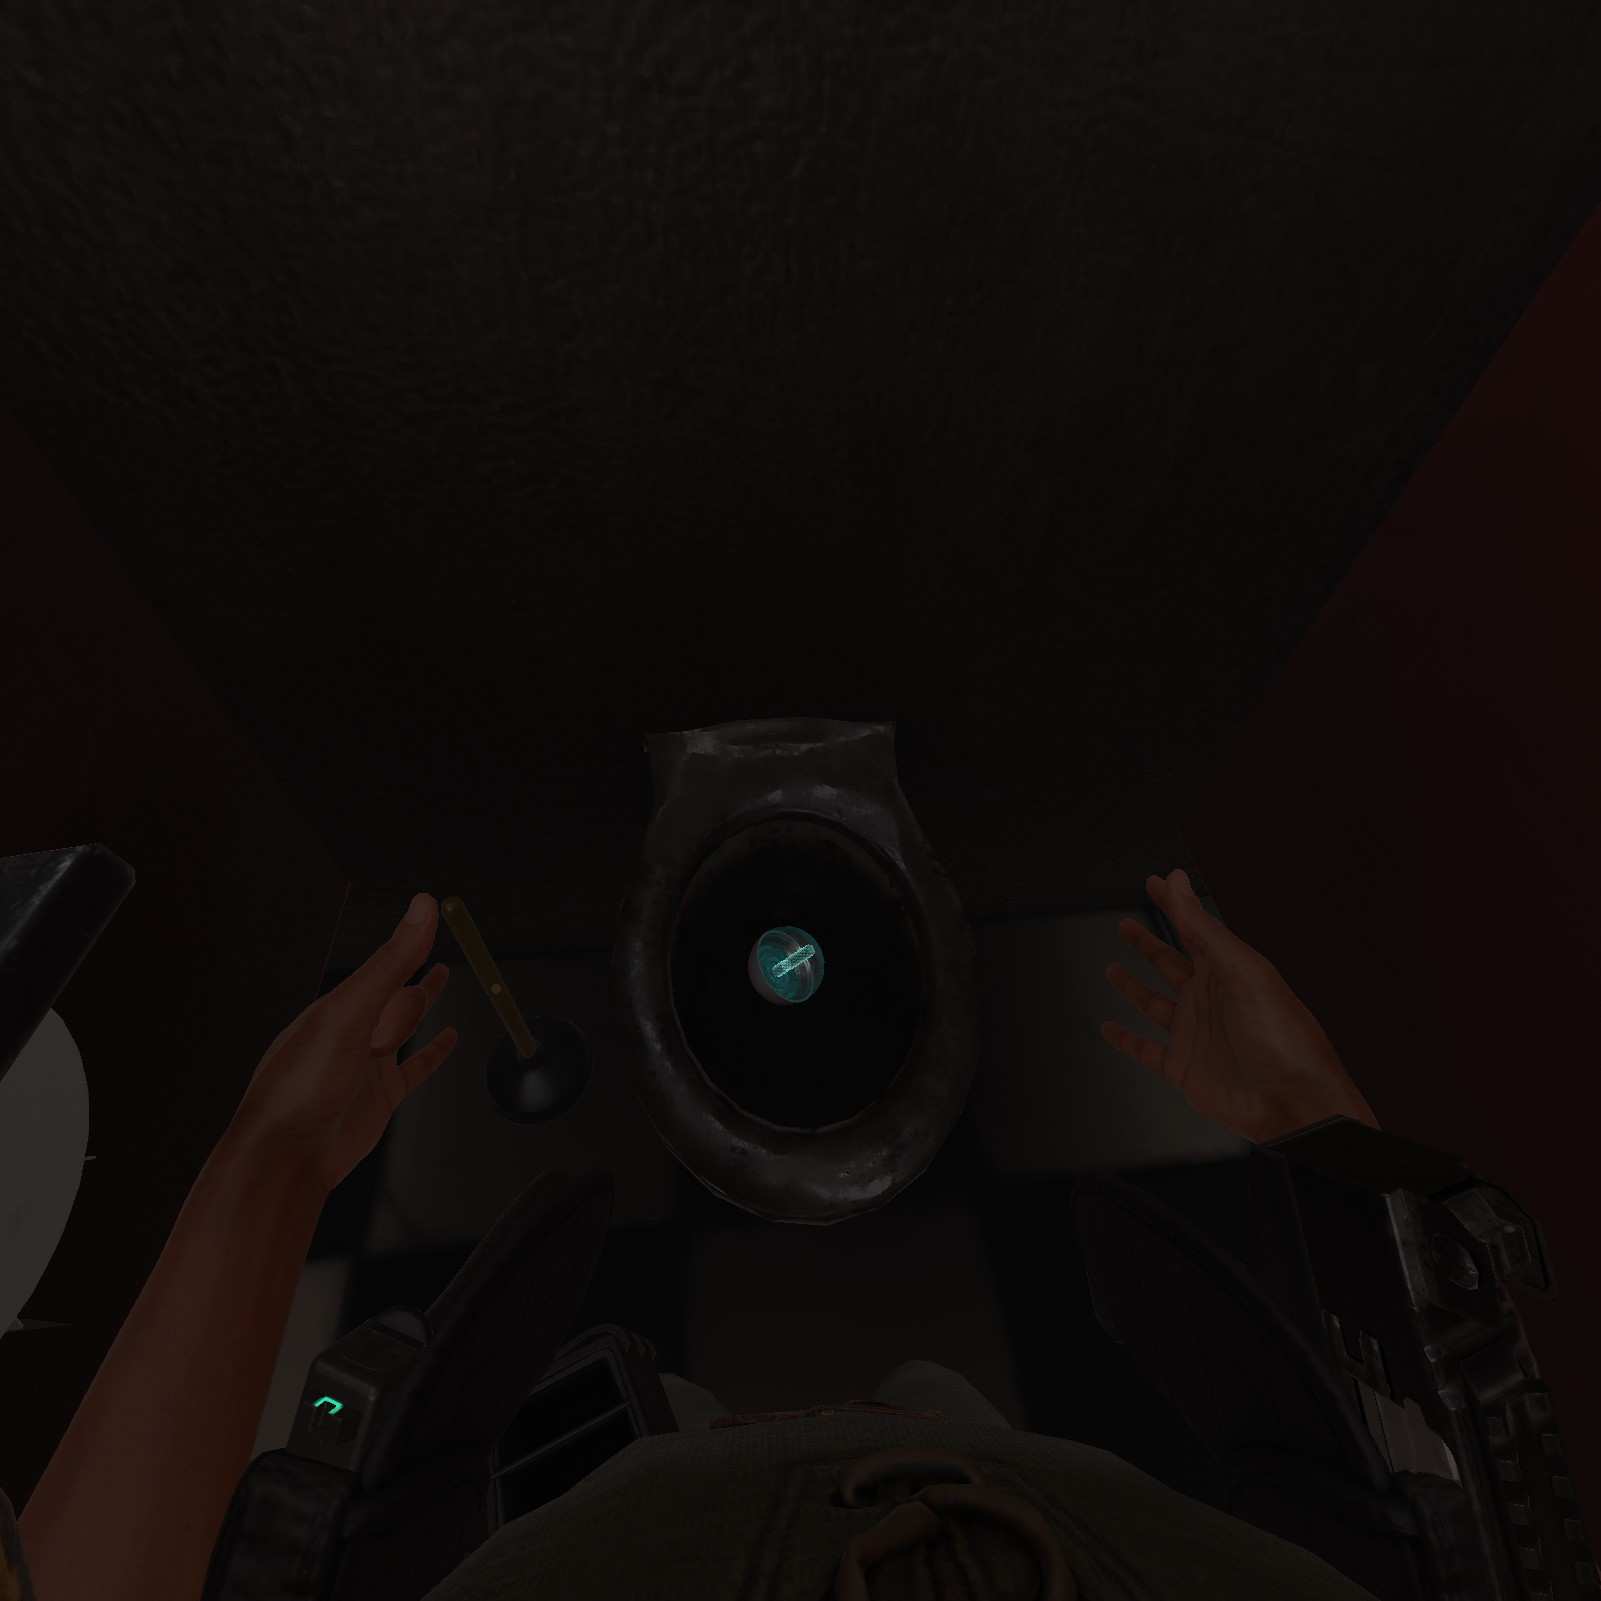
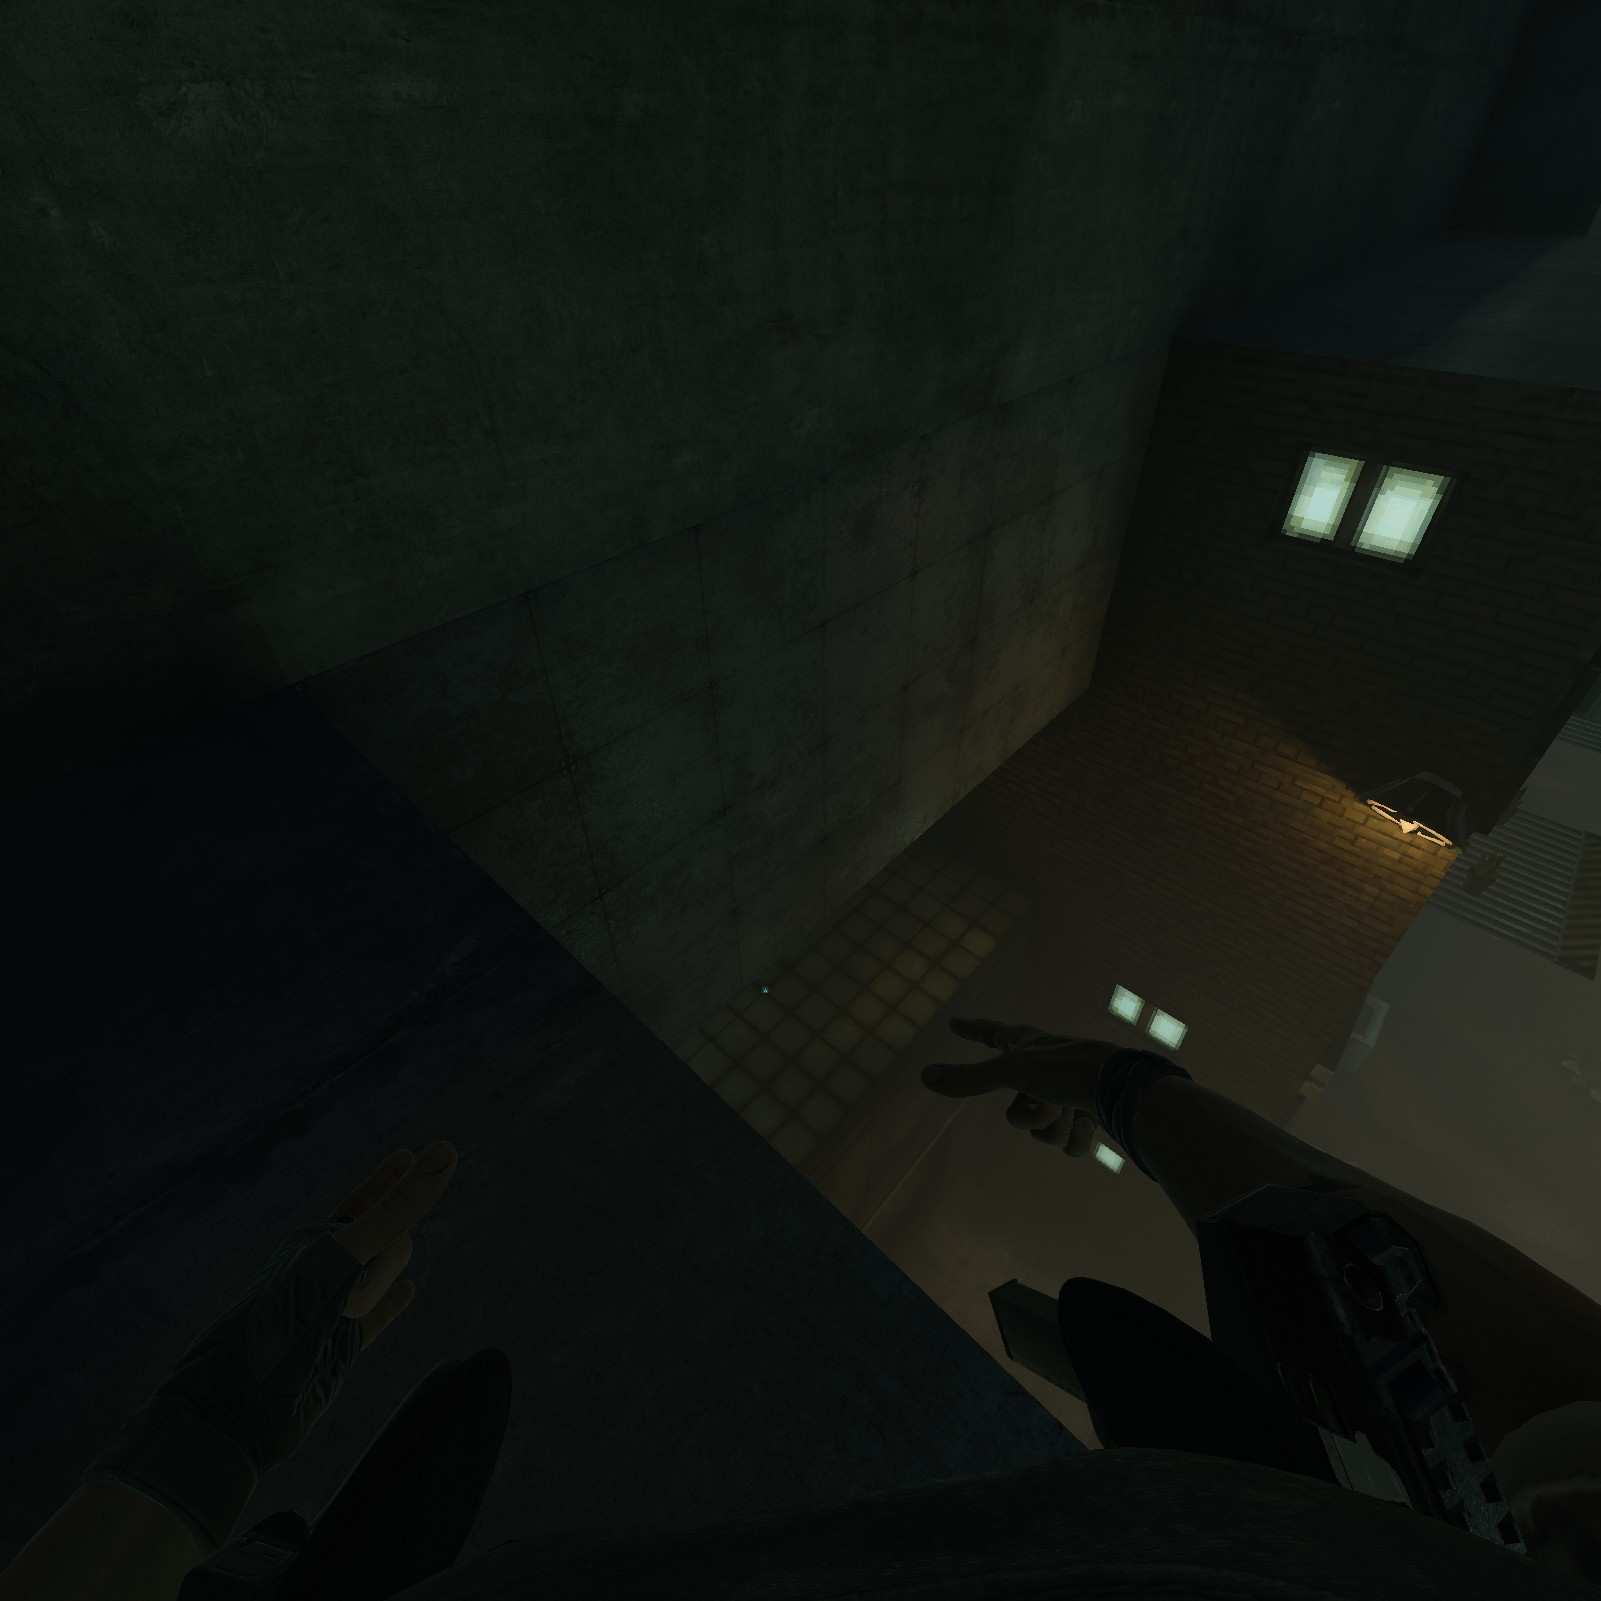
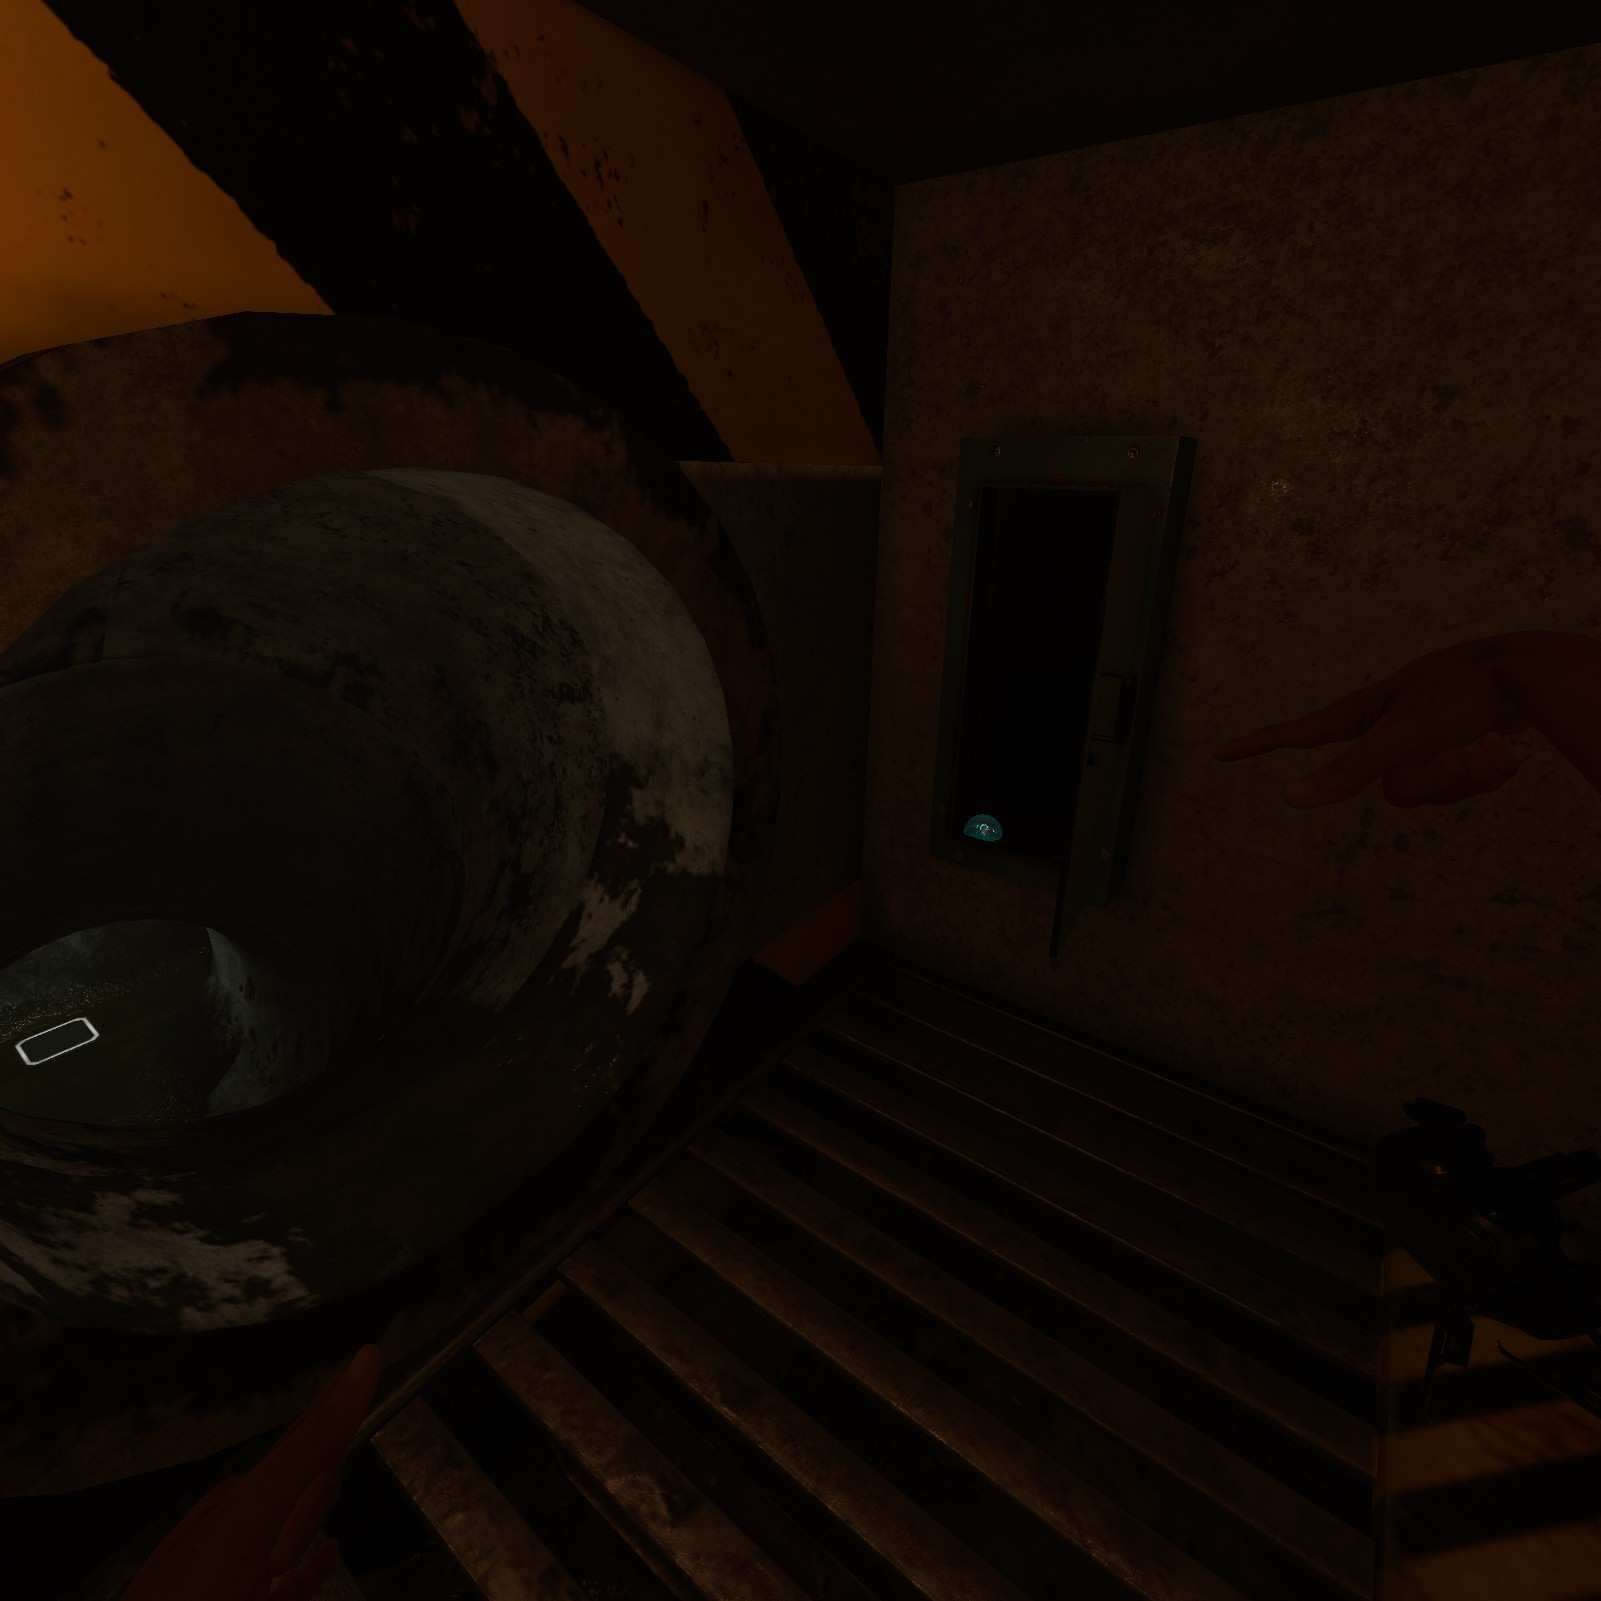
PT8 ALARIS & Plunger:
Our next two collectibles are located in this vent. Just like the Dice collectible if you don’t let your fat ass fall down while crossing you can get yourself the PT8 ALARIS. Once that’s grabbed you can fall down like a pro and disrupt this nullbody’s private time. Before you leave, check the stall to the left of the nullbody for a plunger.
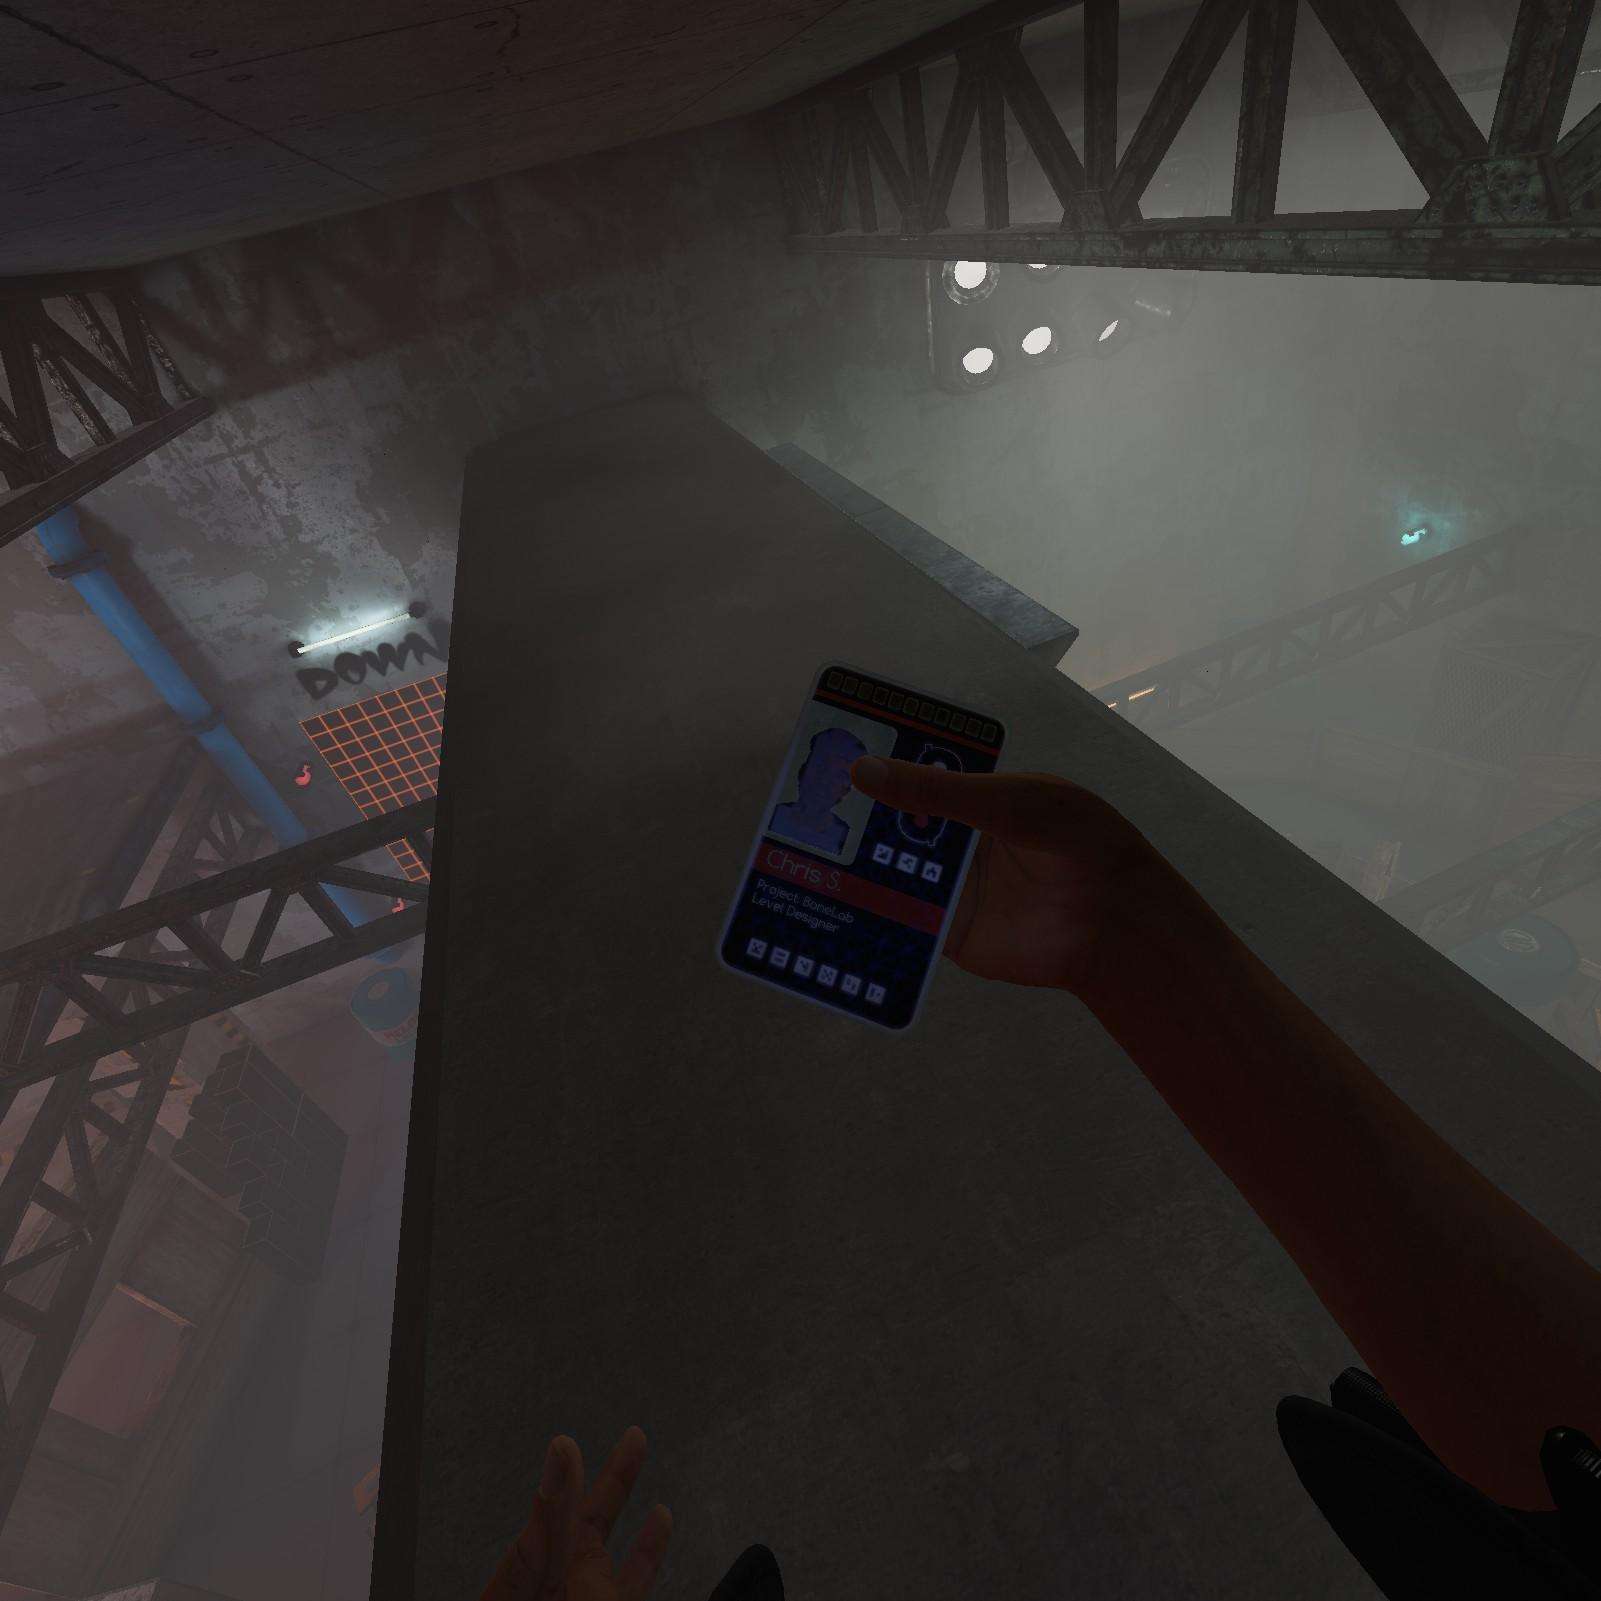
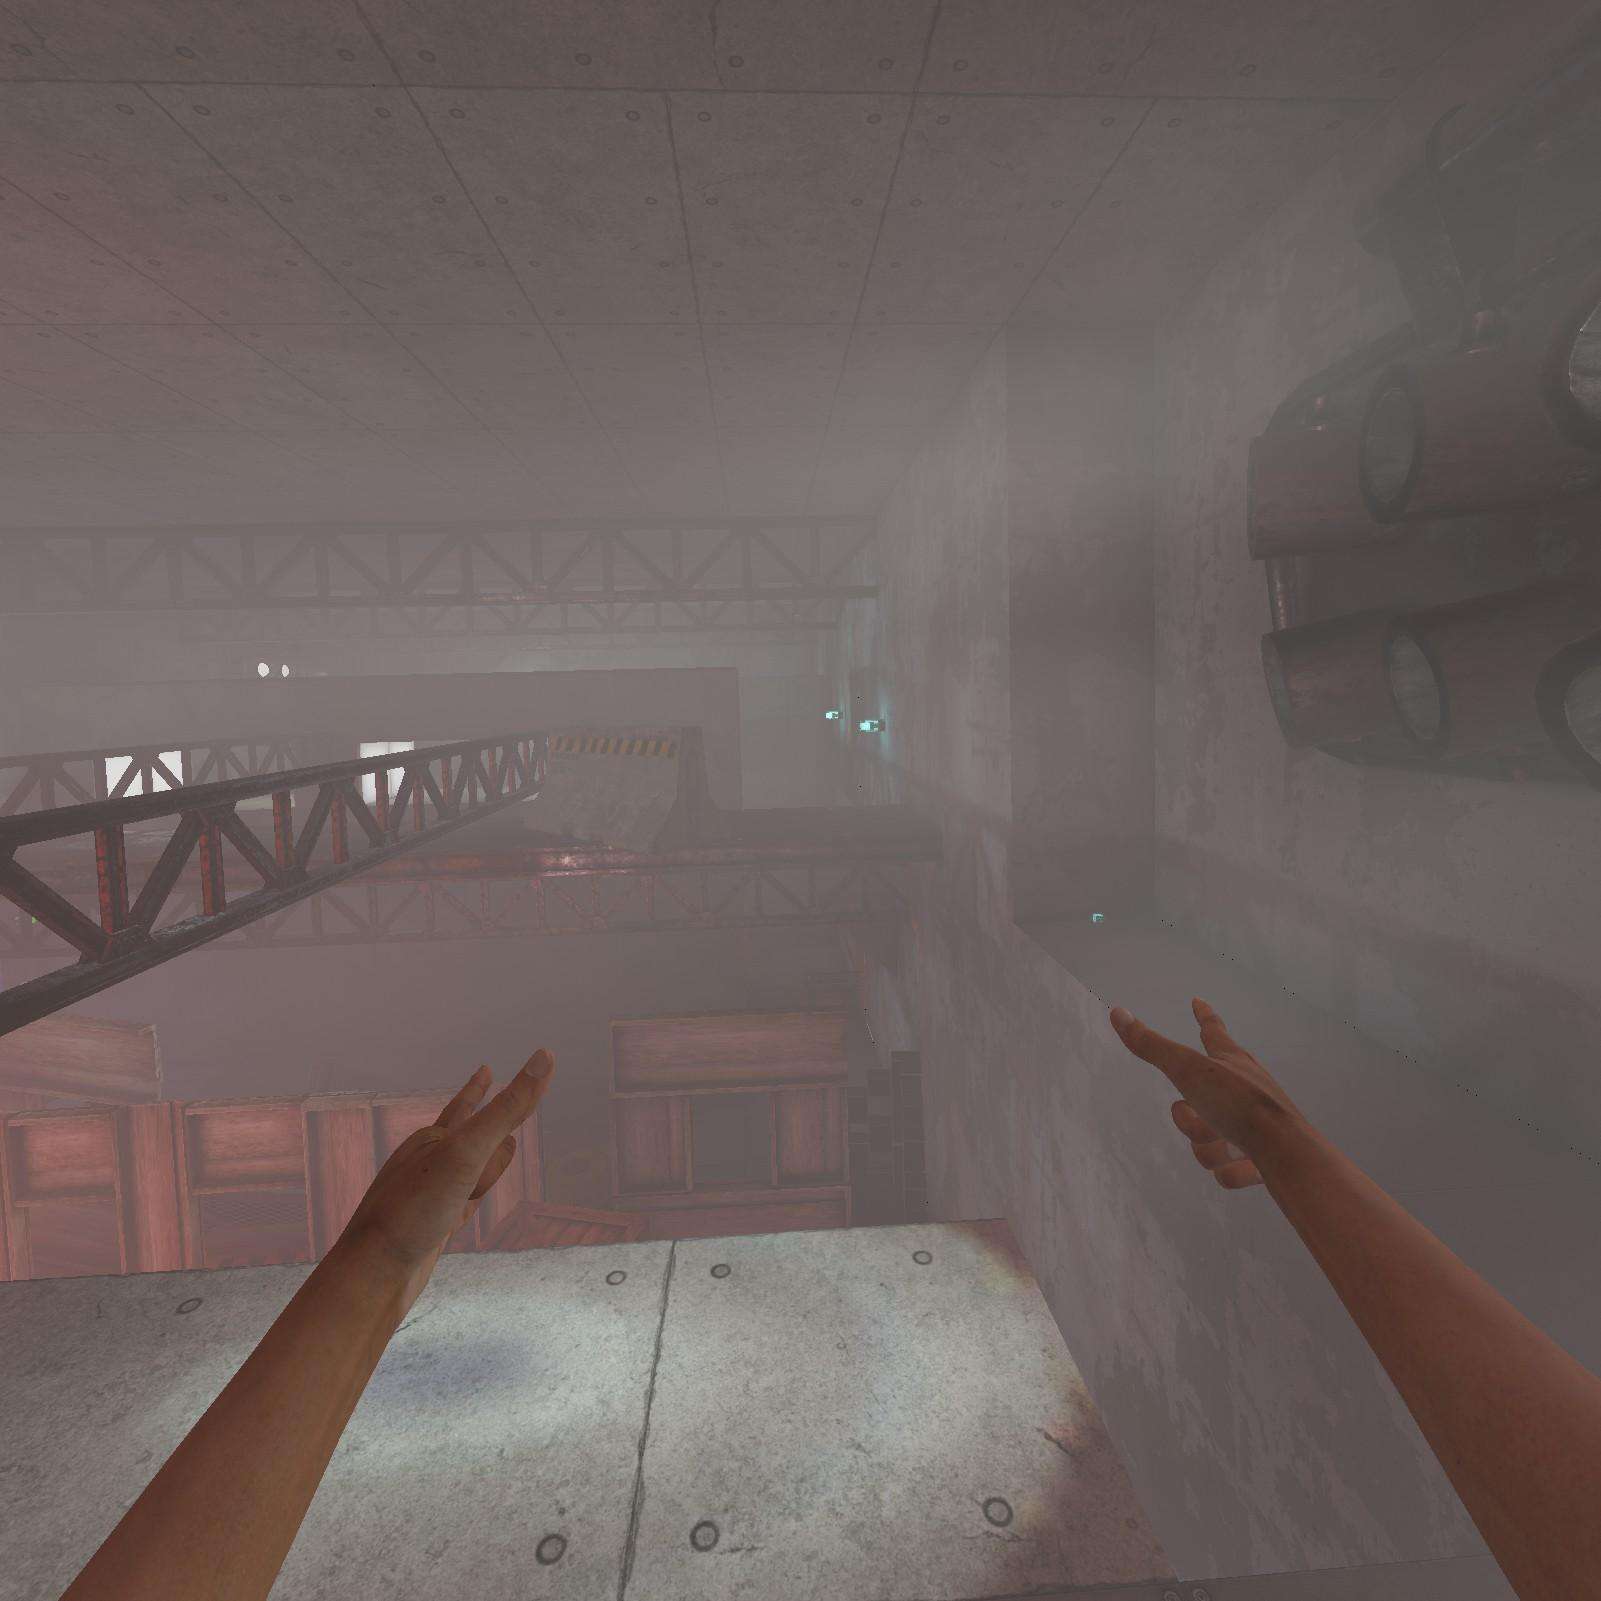
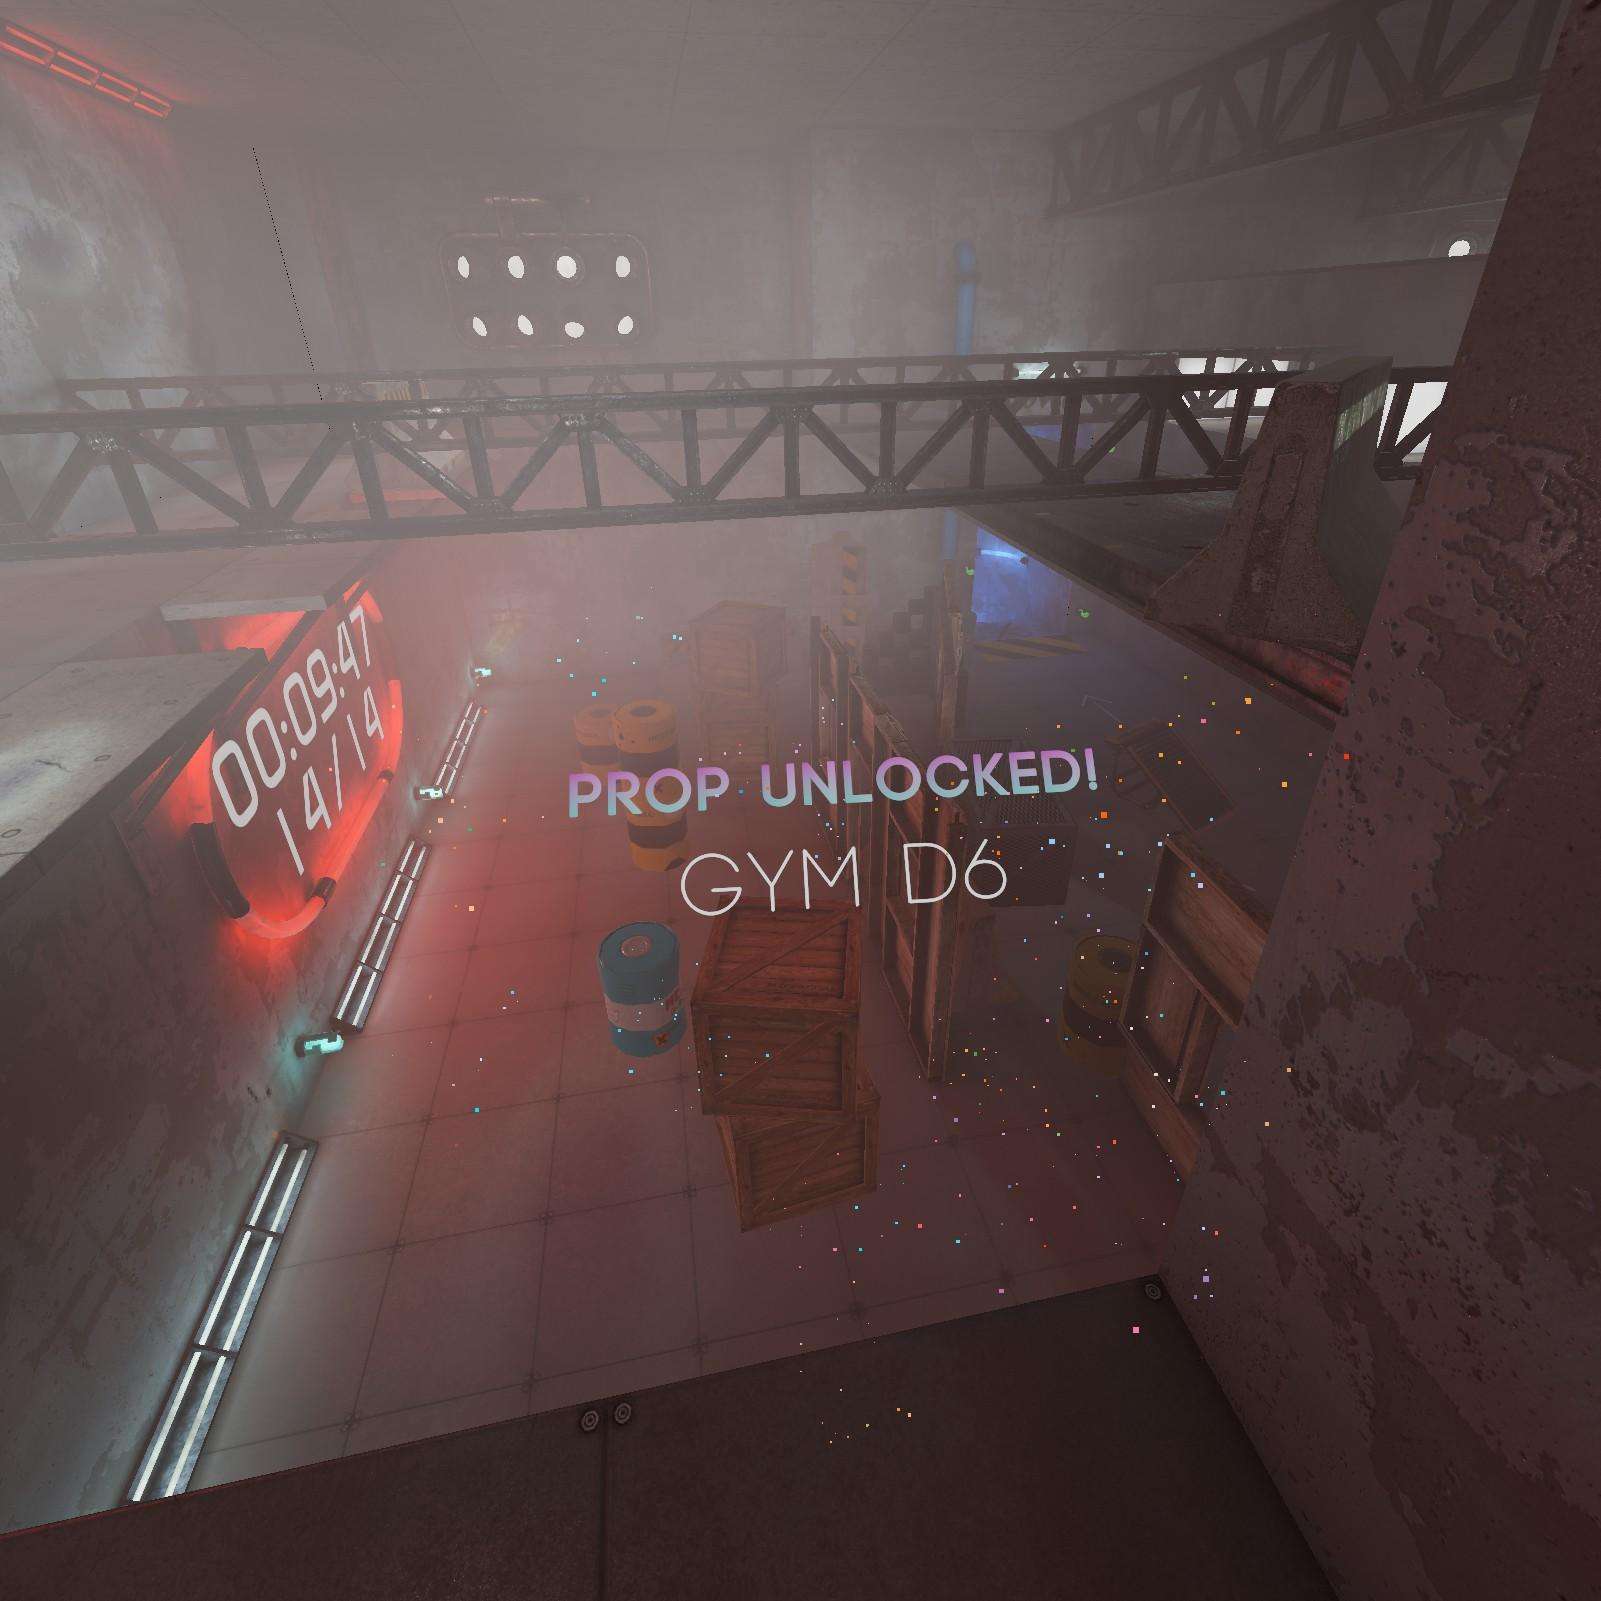
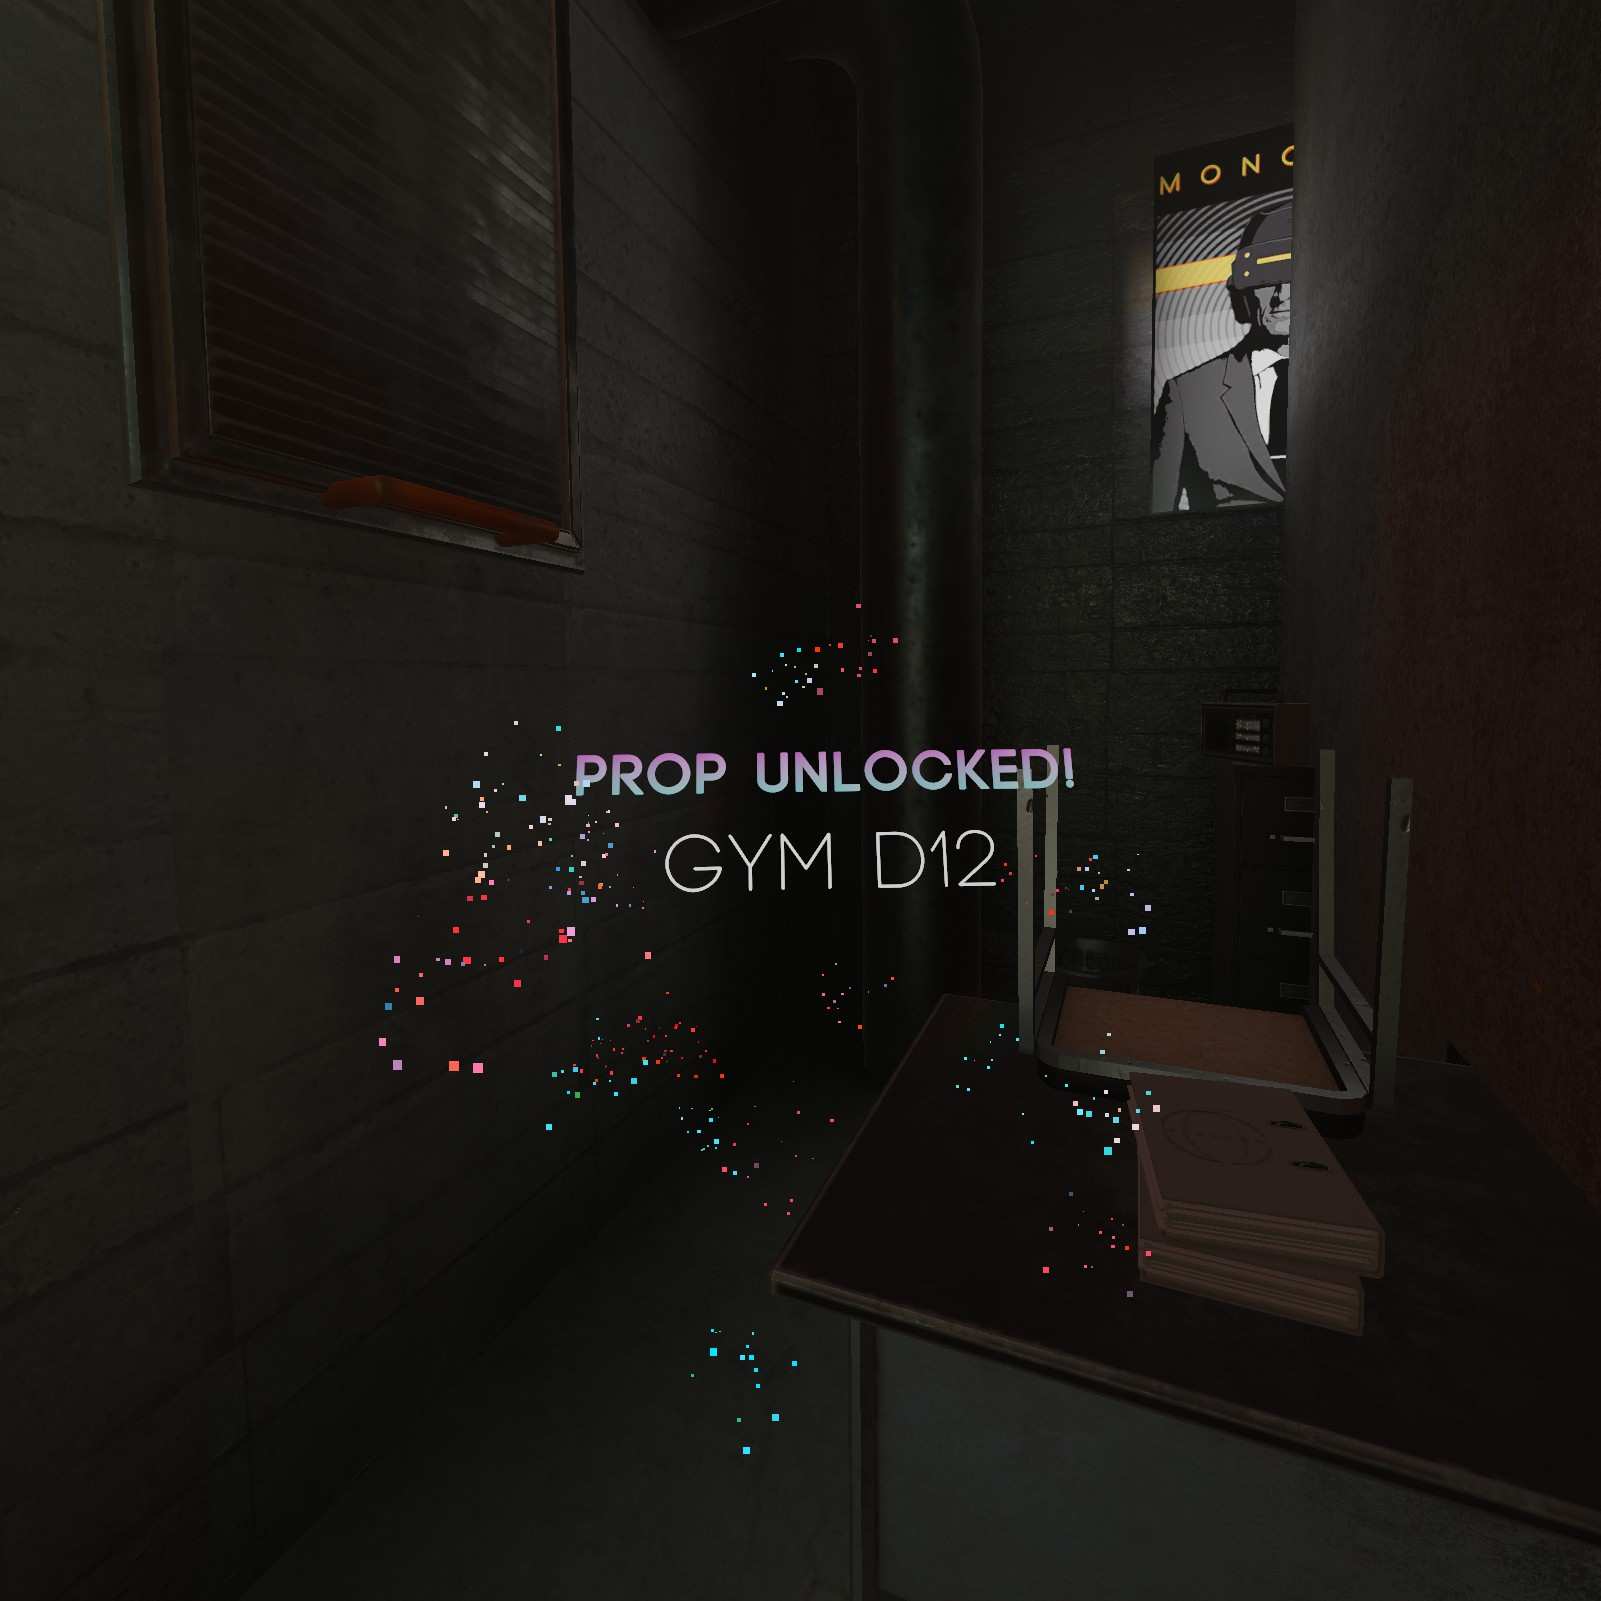
Gym 6D:
Once we’re back in the pistol segment we’ll want to climb up here for a… SLZ Card? We don’t care about those in this guide! But from here we can see what we do care about, my favorite shape the gym 6D.
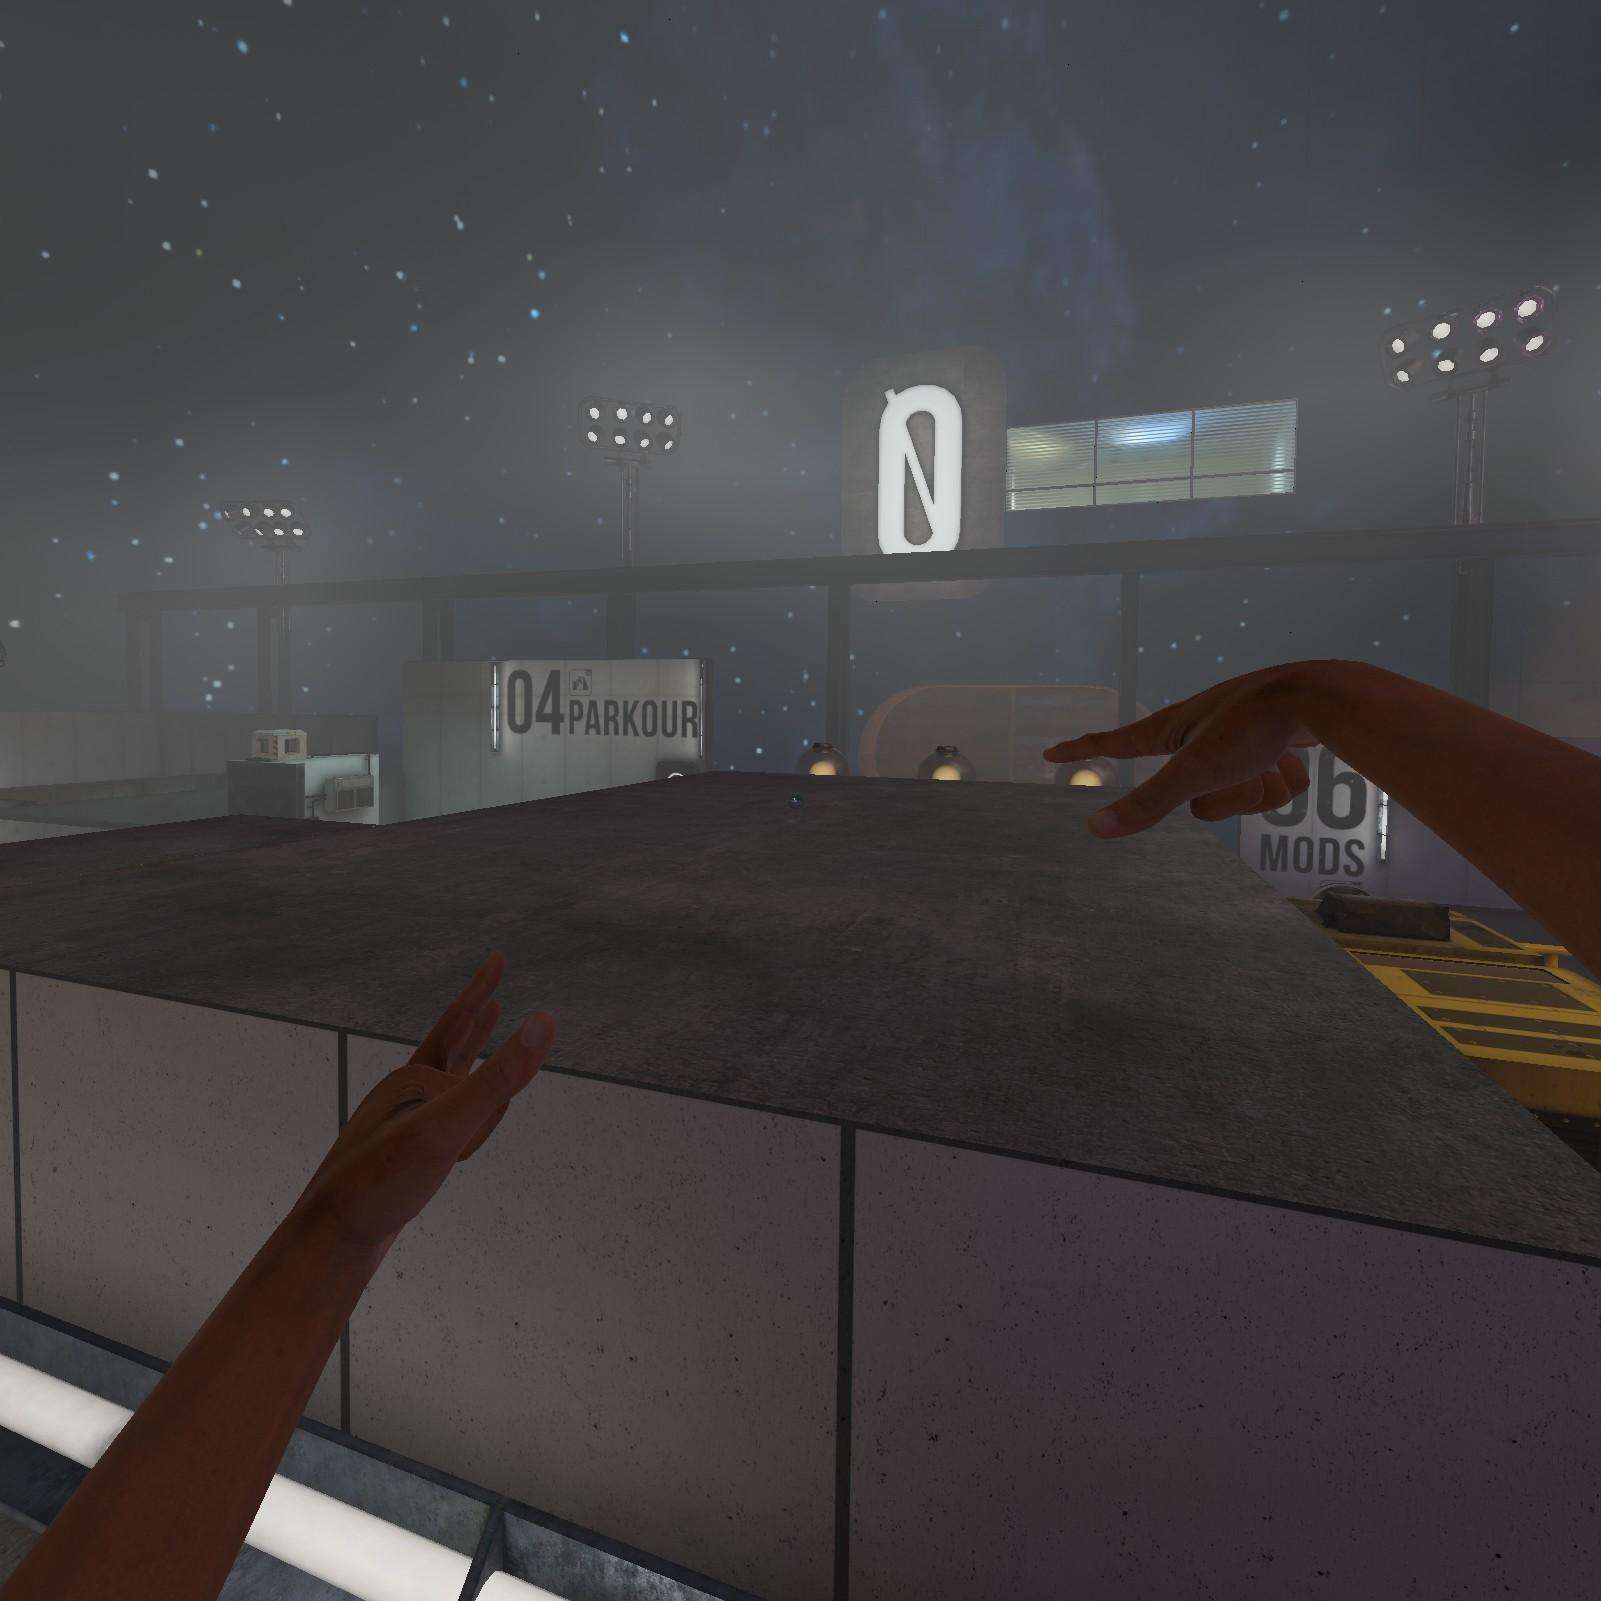
Neon Level (Both Versions)
I’m like 90% sure that this level and its parkour variant are the same level, I didn’t find any gatcha balls in the latter after clearing the former out, so this part should work for both.
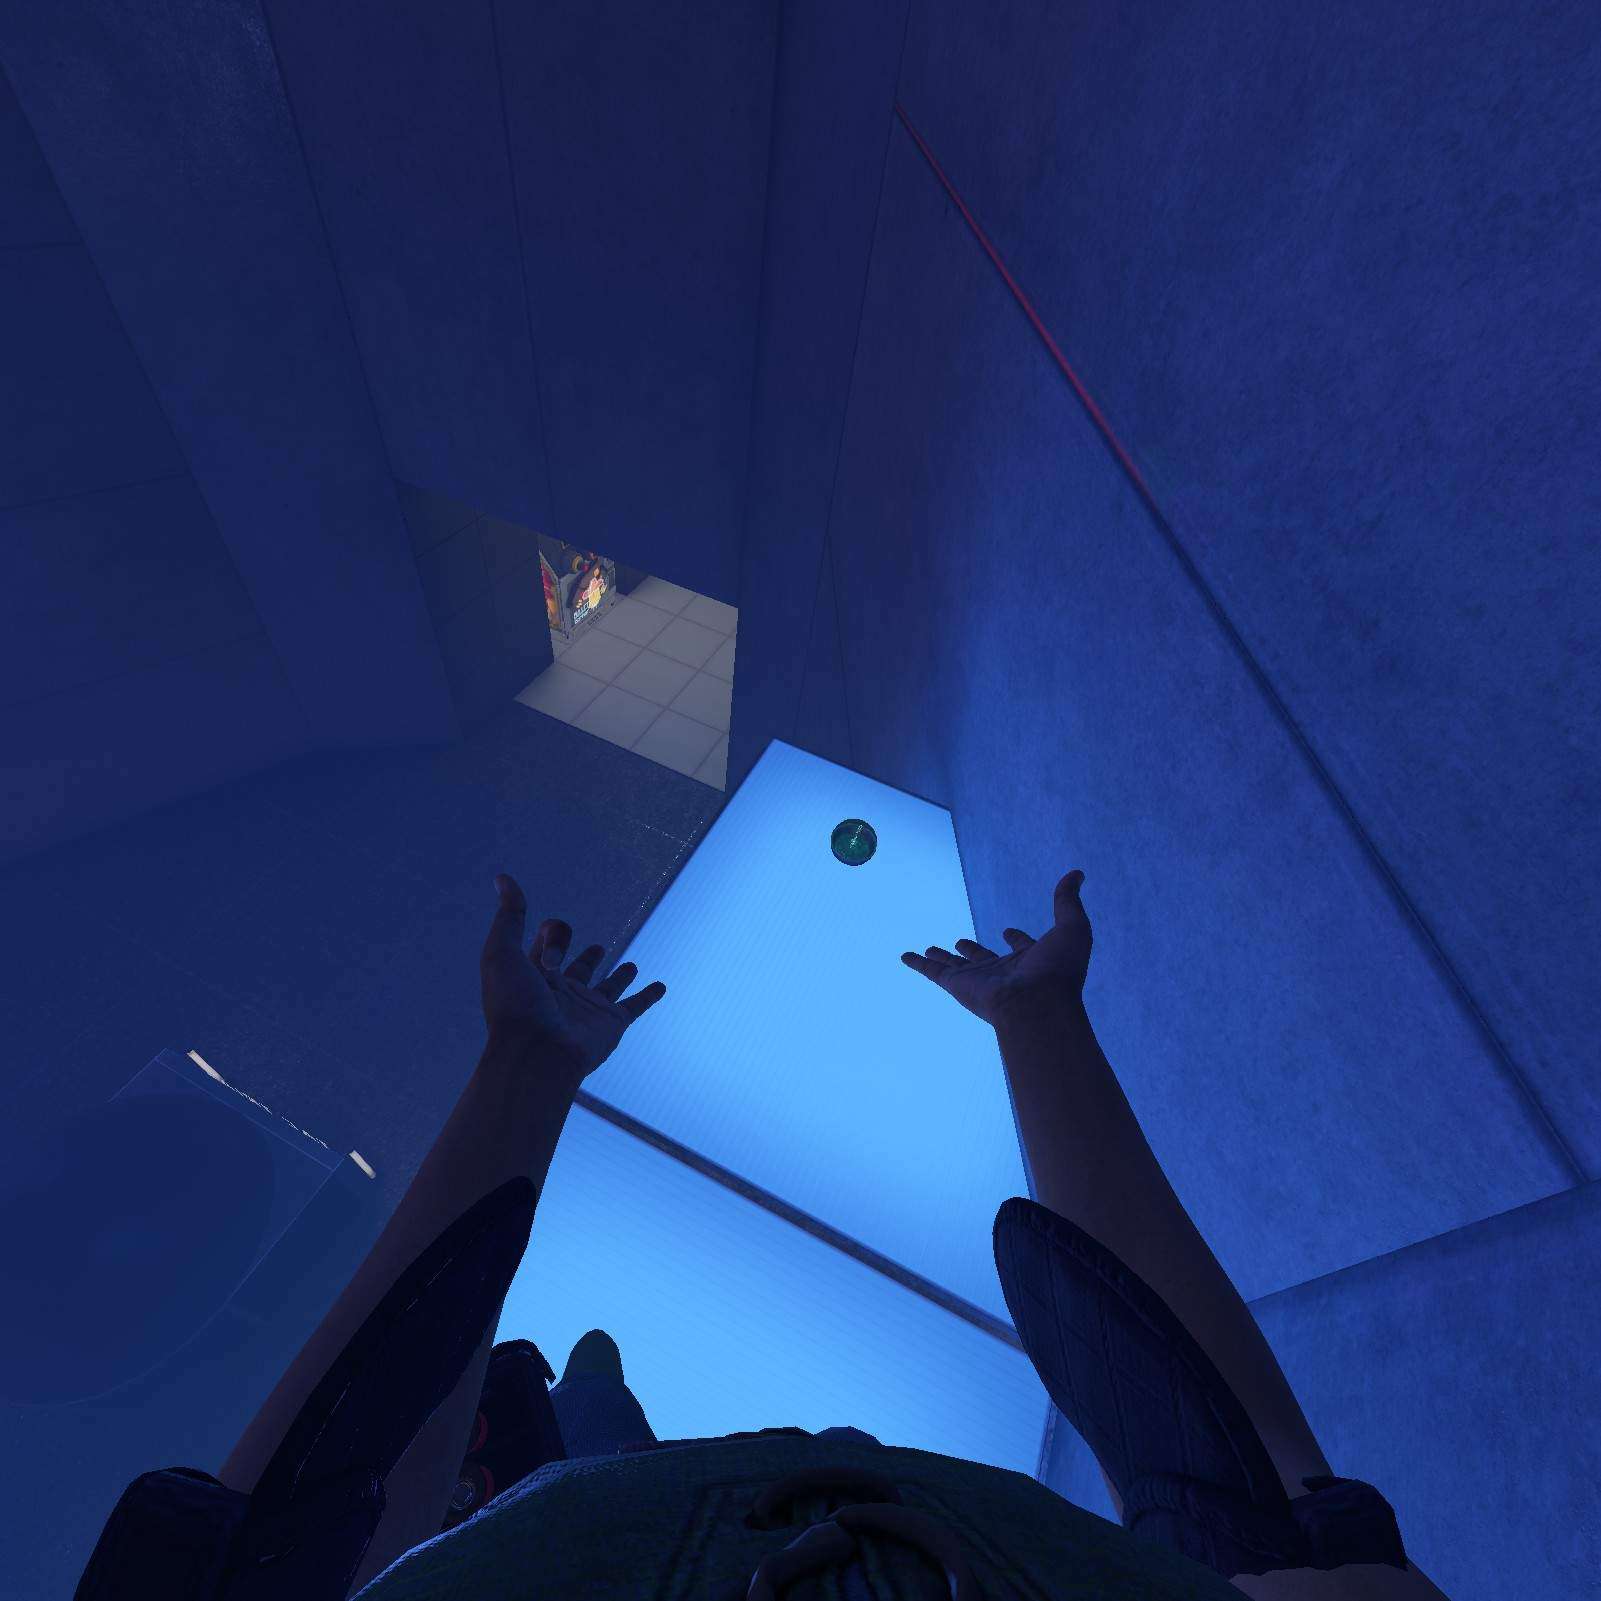
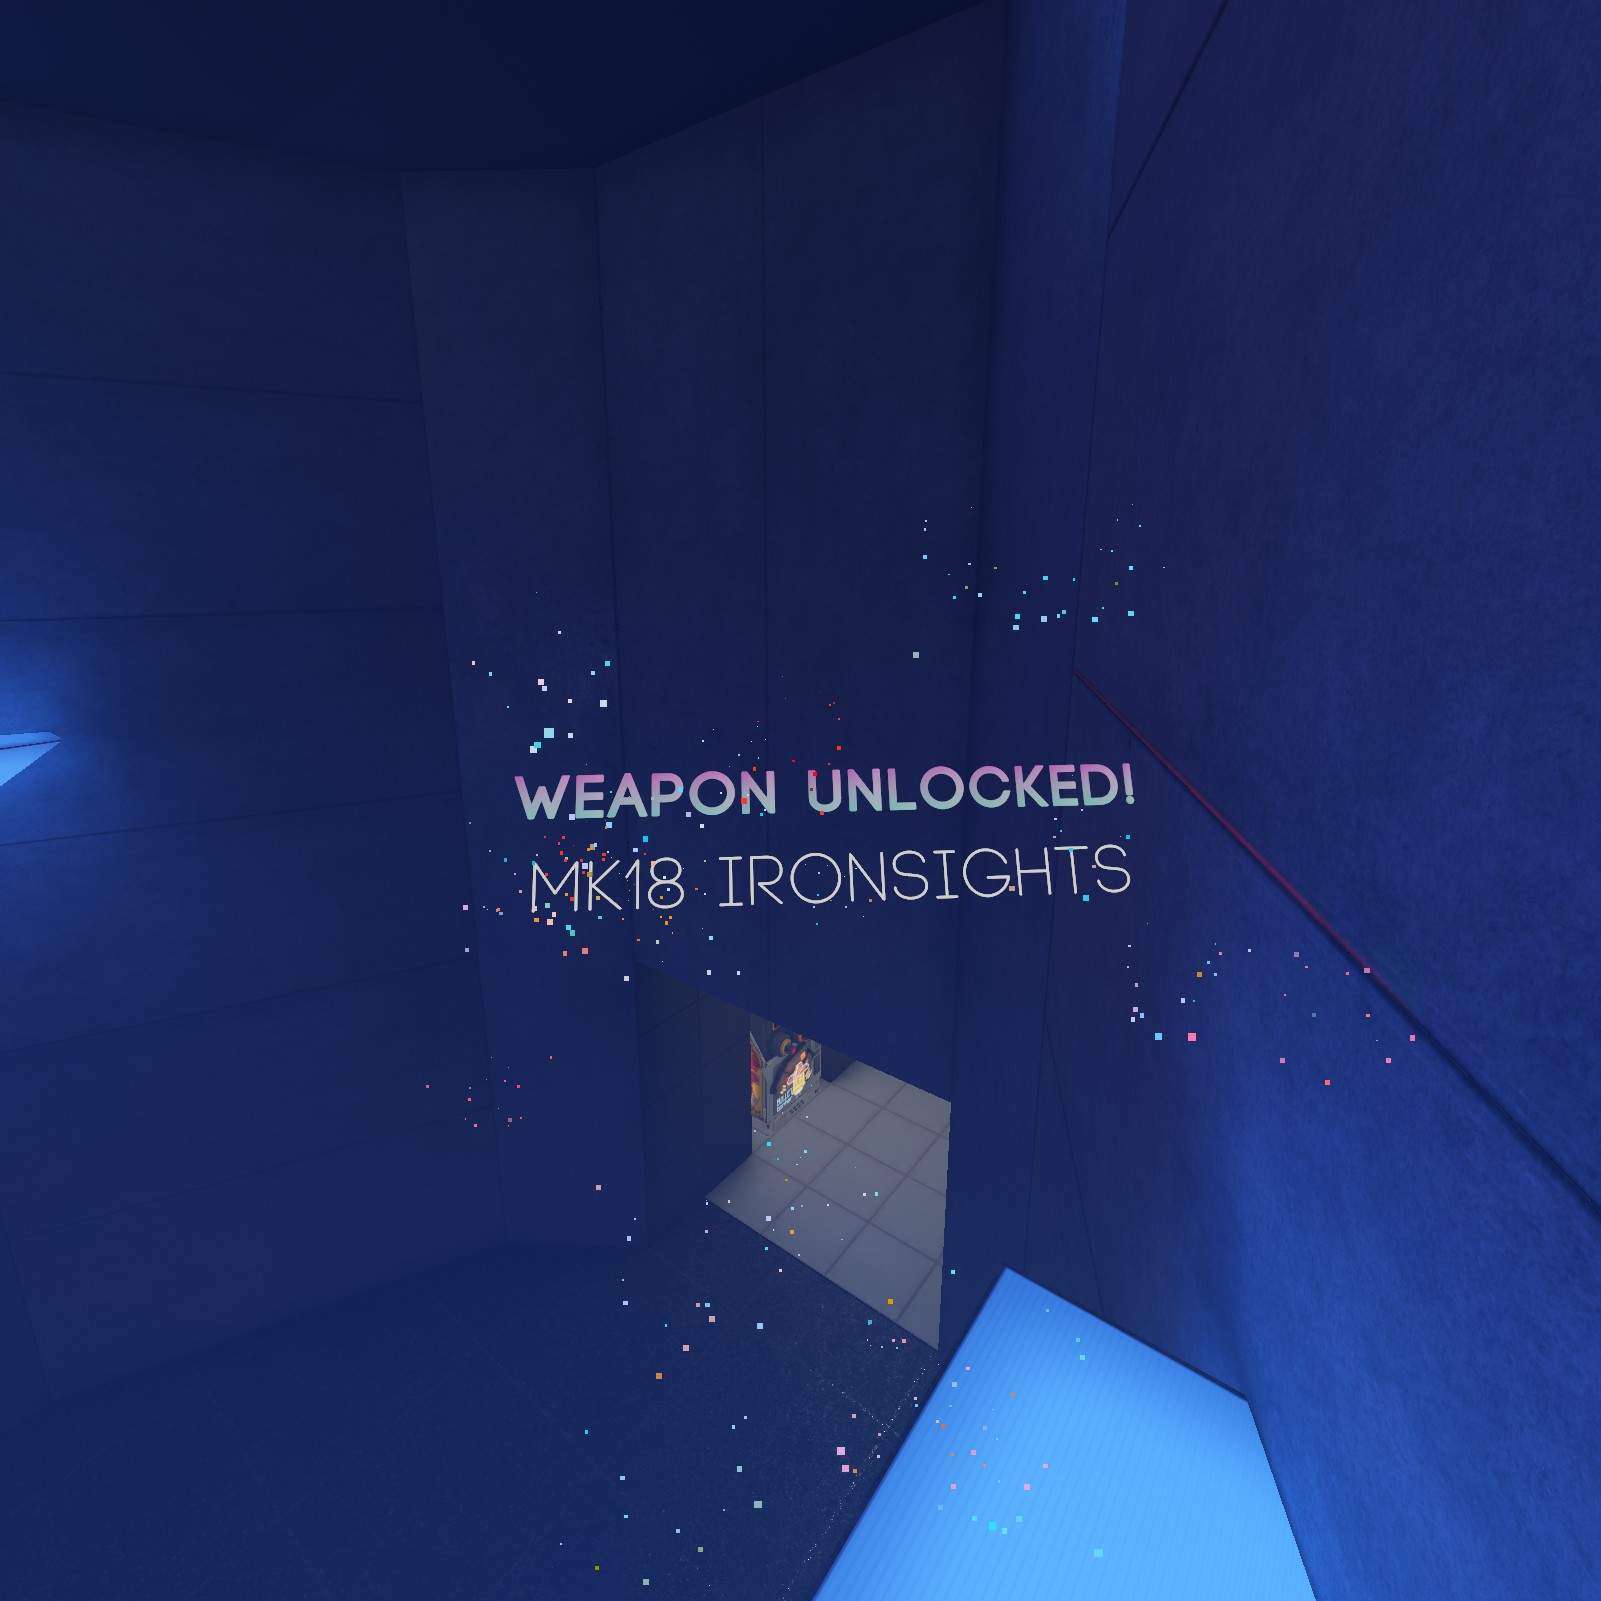
MK18 IRONSIGHTS:
In blue zone there’s a rather sad and lonely MK18 Ironsights taking shelter from nullbodys up on the blue light. Won’t you go and adopt this gun and save it from its sadness?

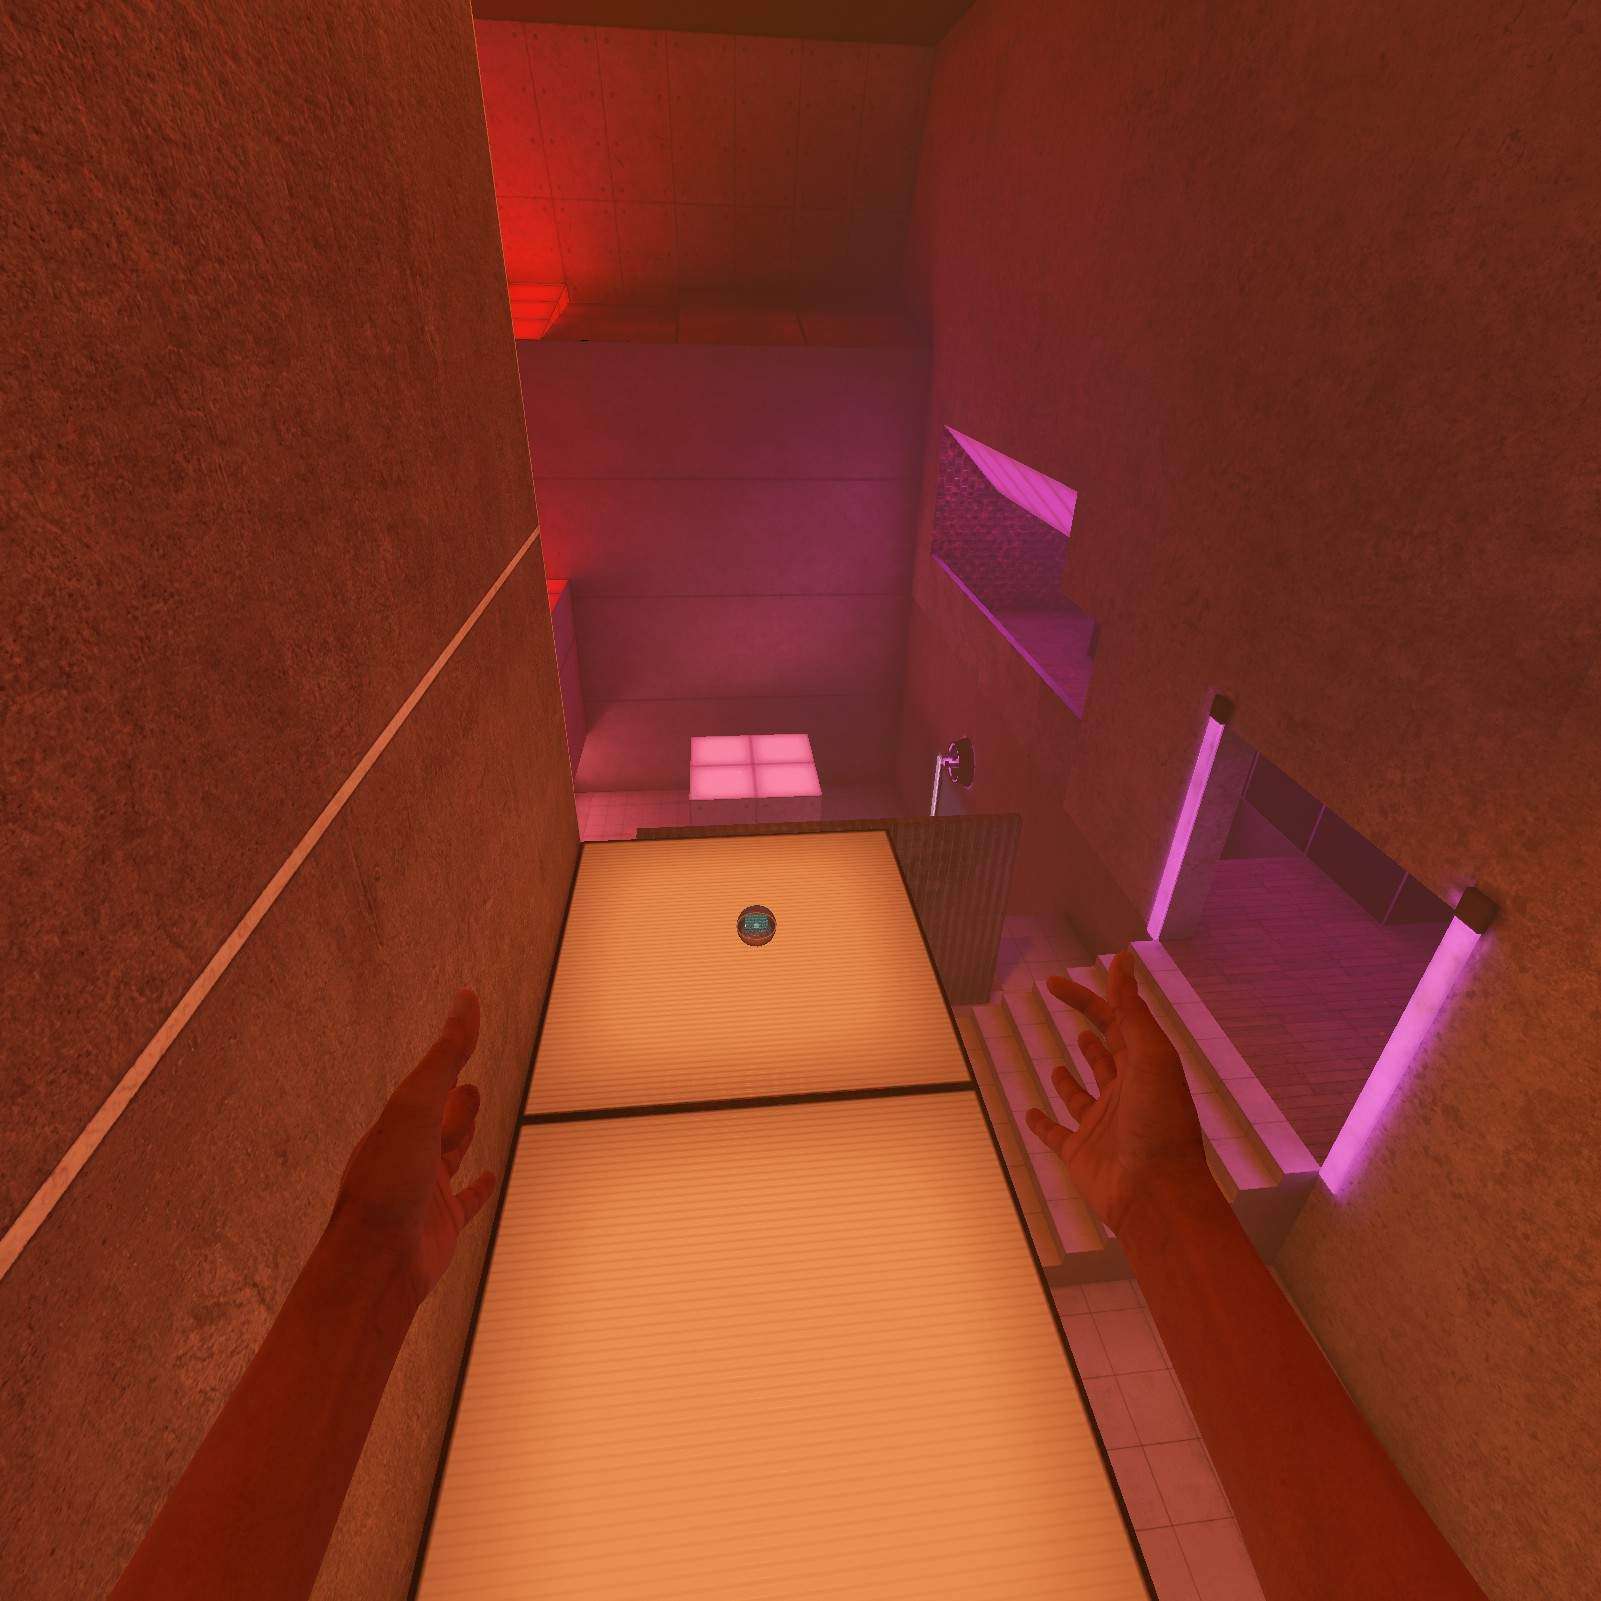
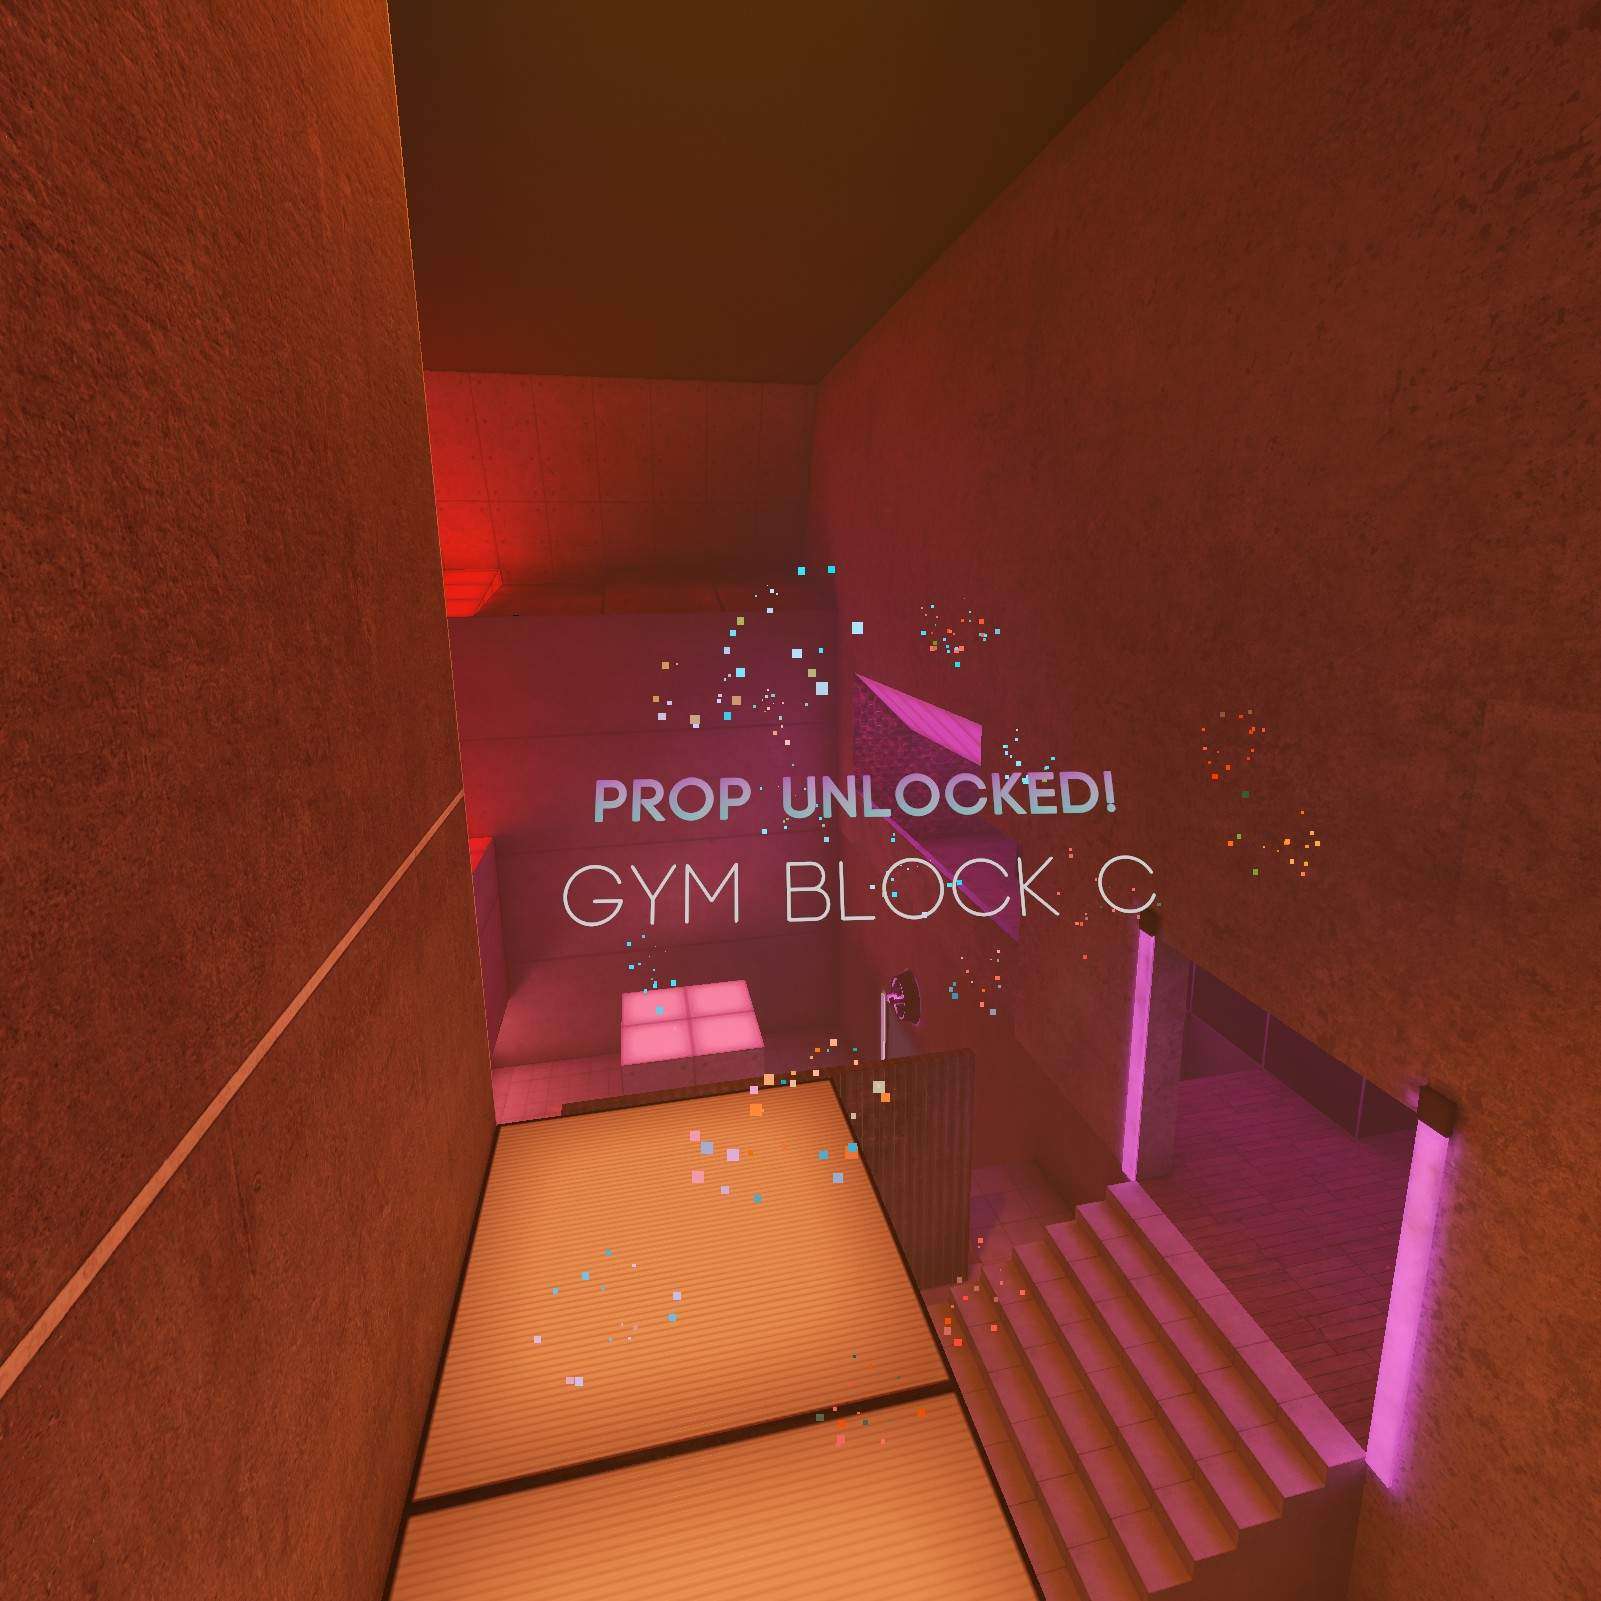
Gym Block C:
Now its time to get my favorite shape the Gym Block C, located up on this orange light.
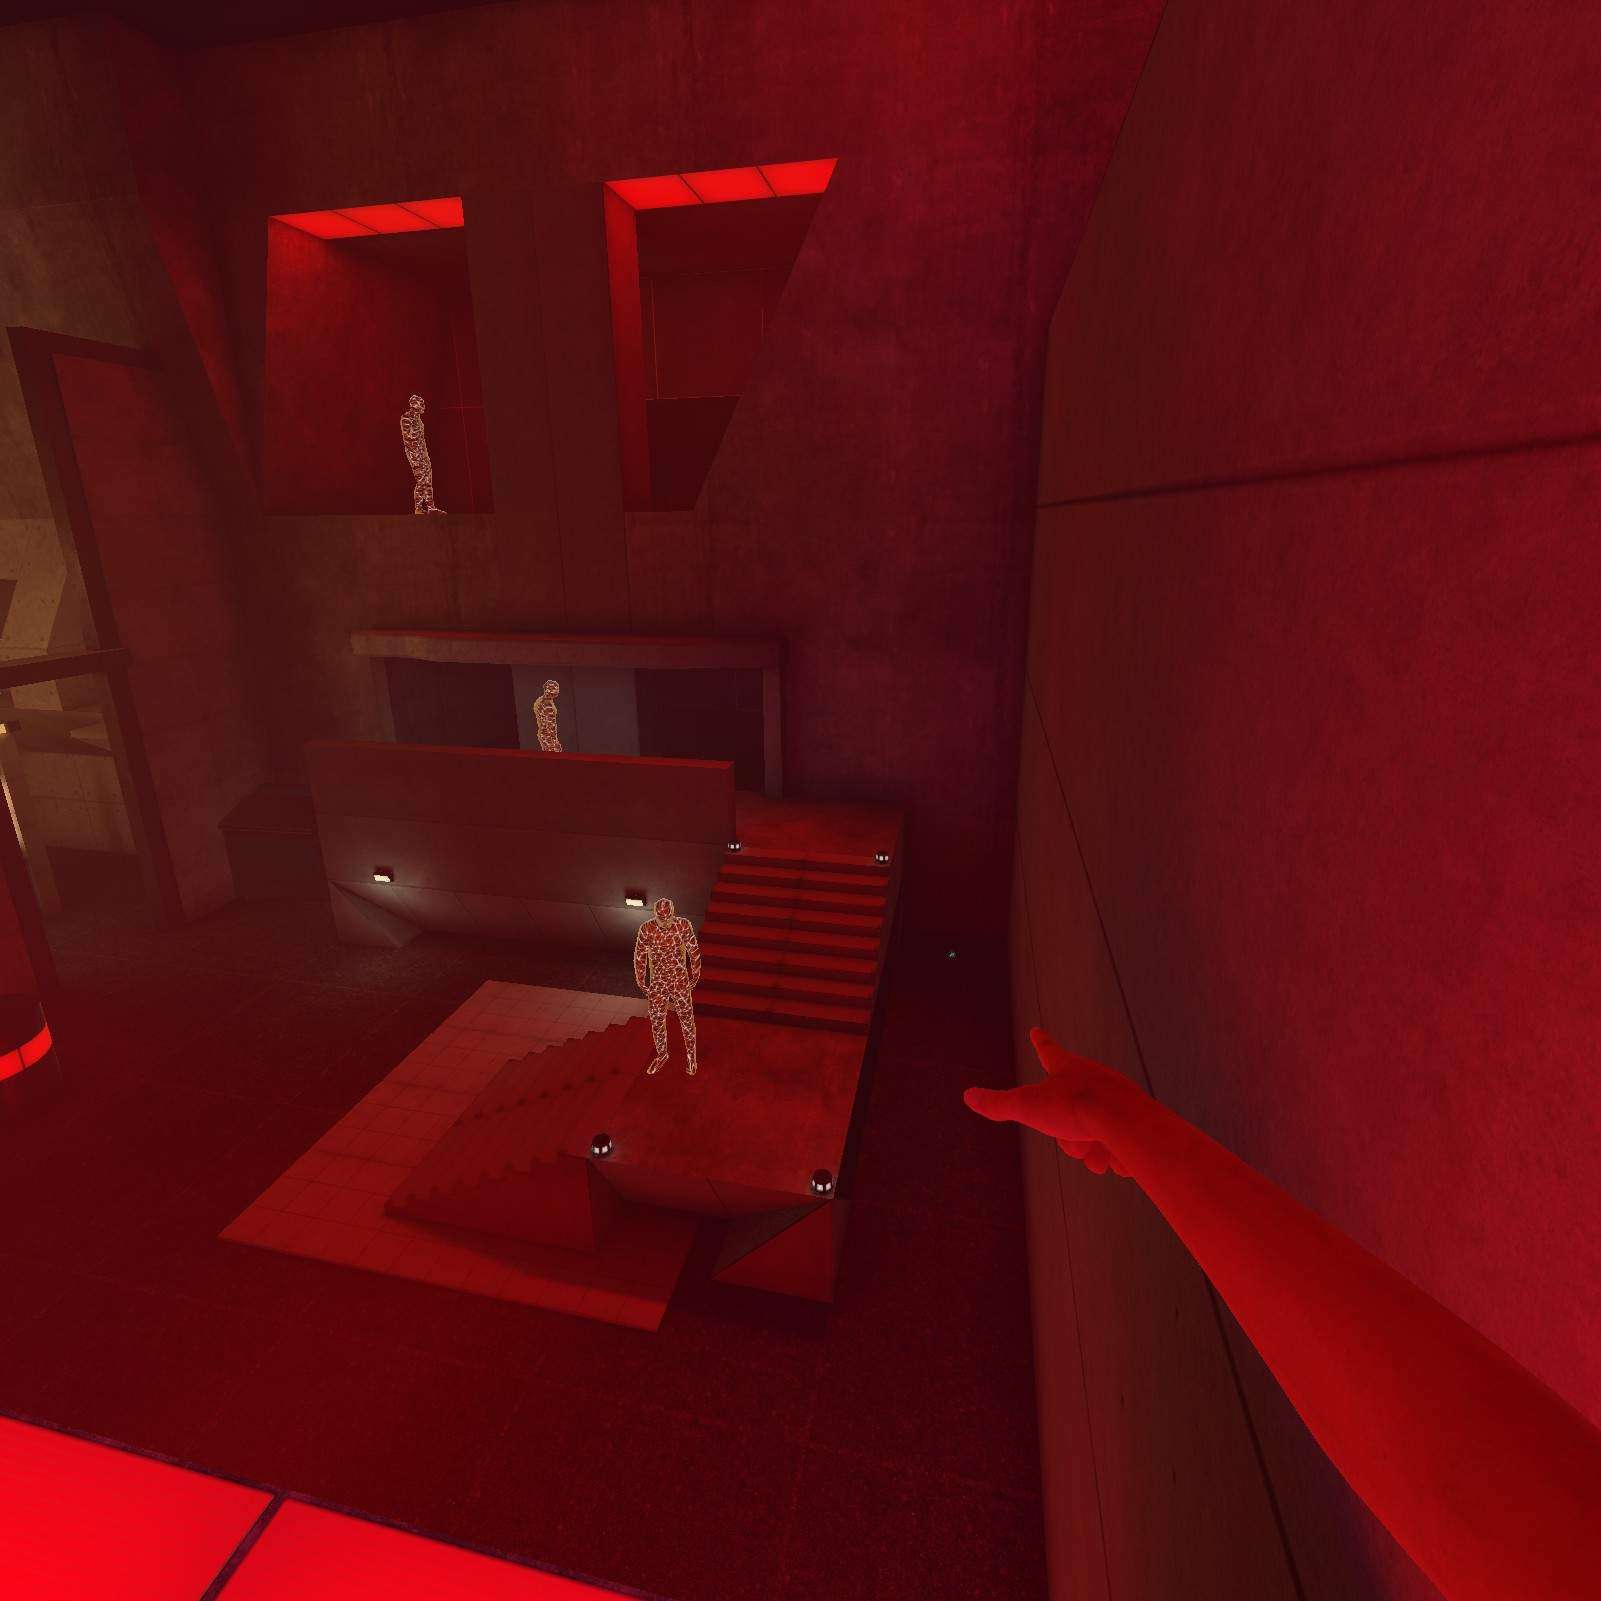
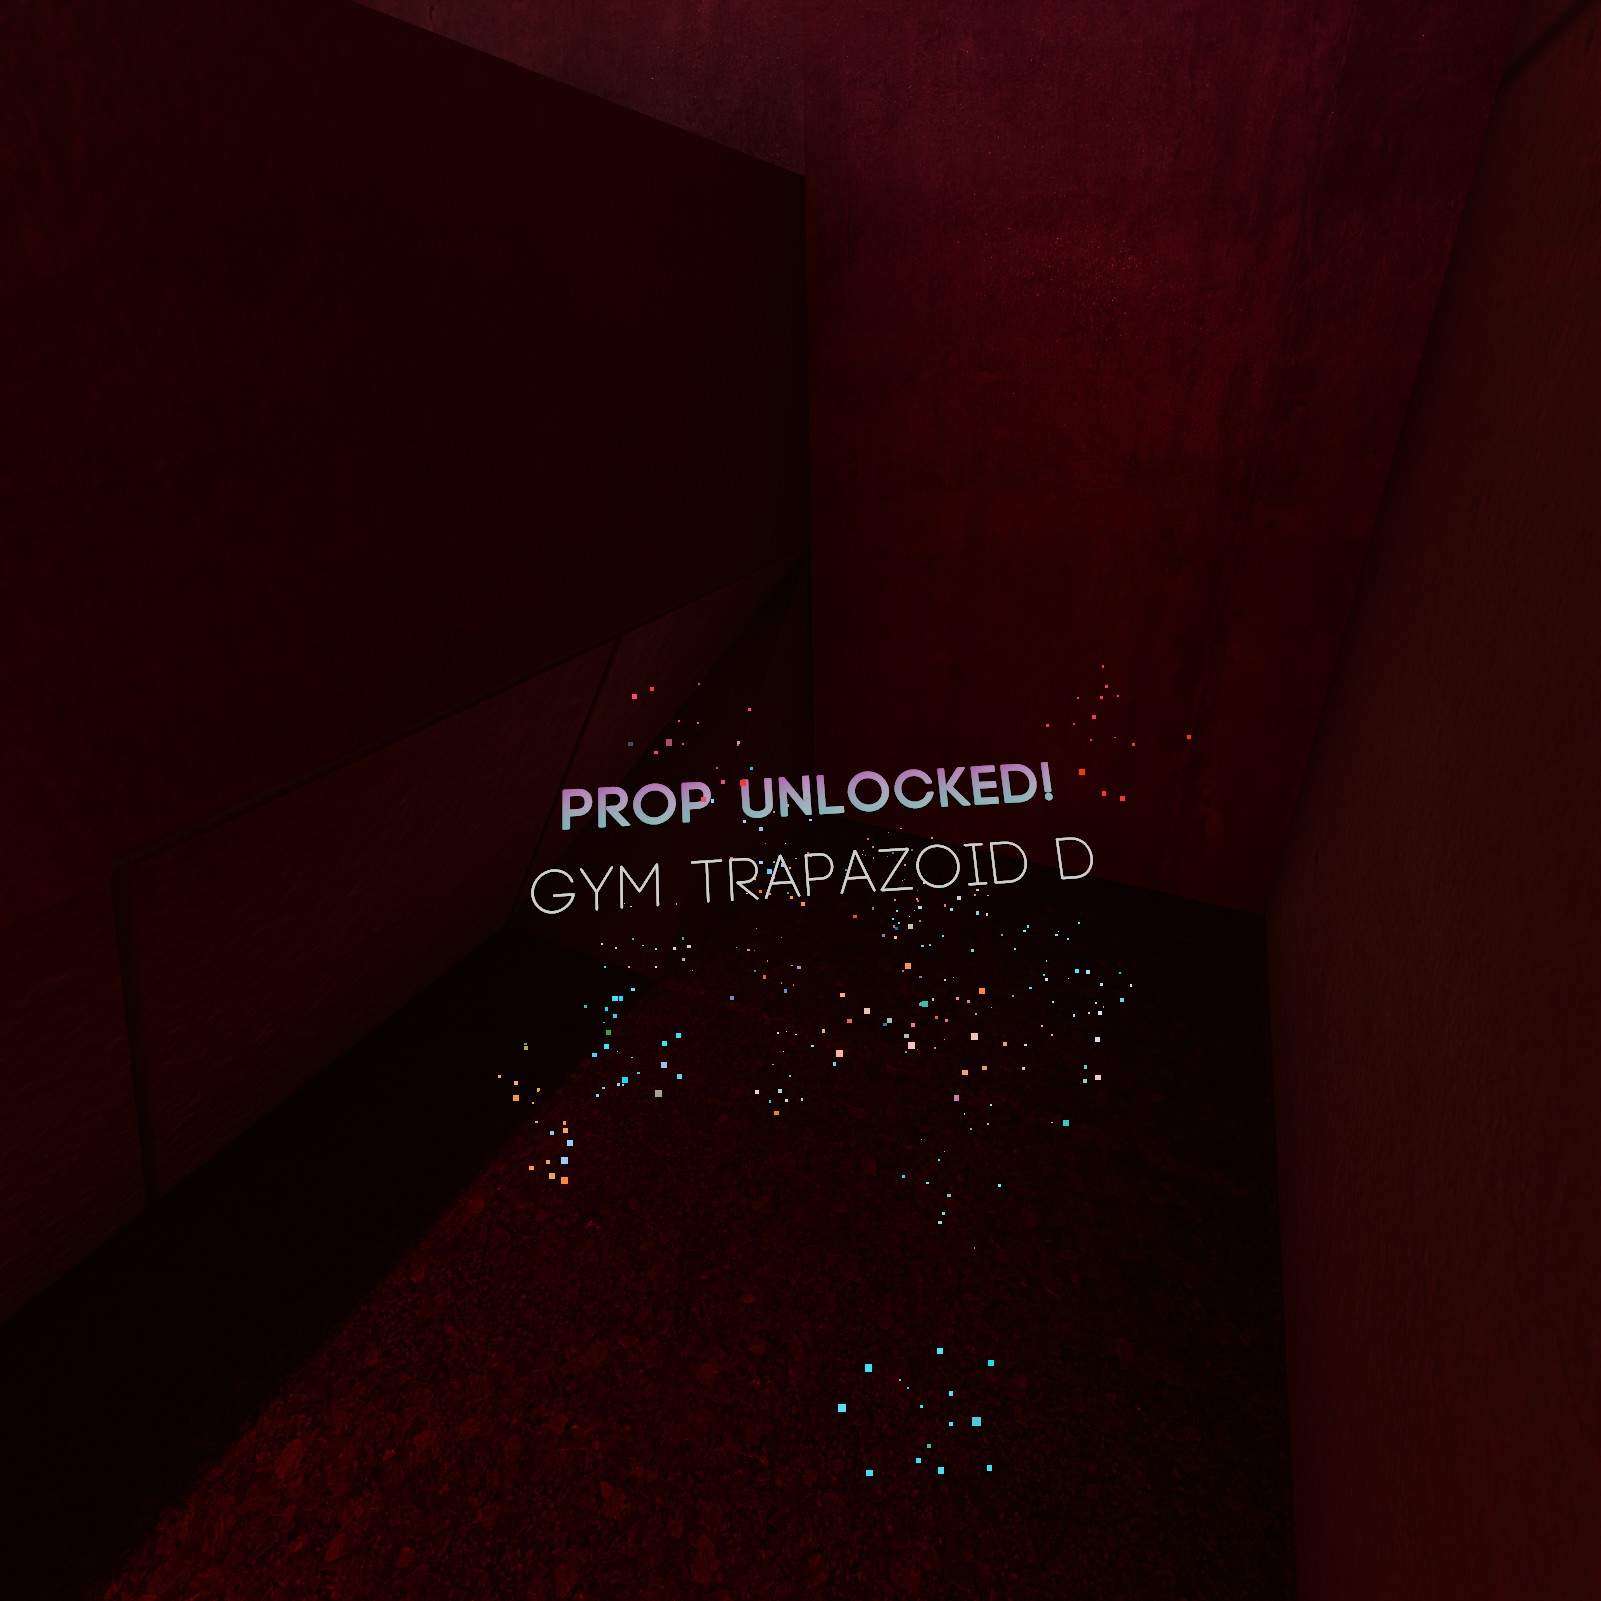
Gym Trapezoid D:
Now its time to get my favorite shape the Gym Trapezoid D, sitting in the North eastern corner of the map.
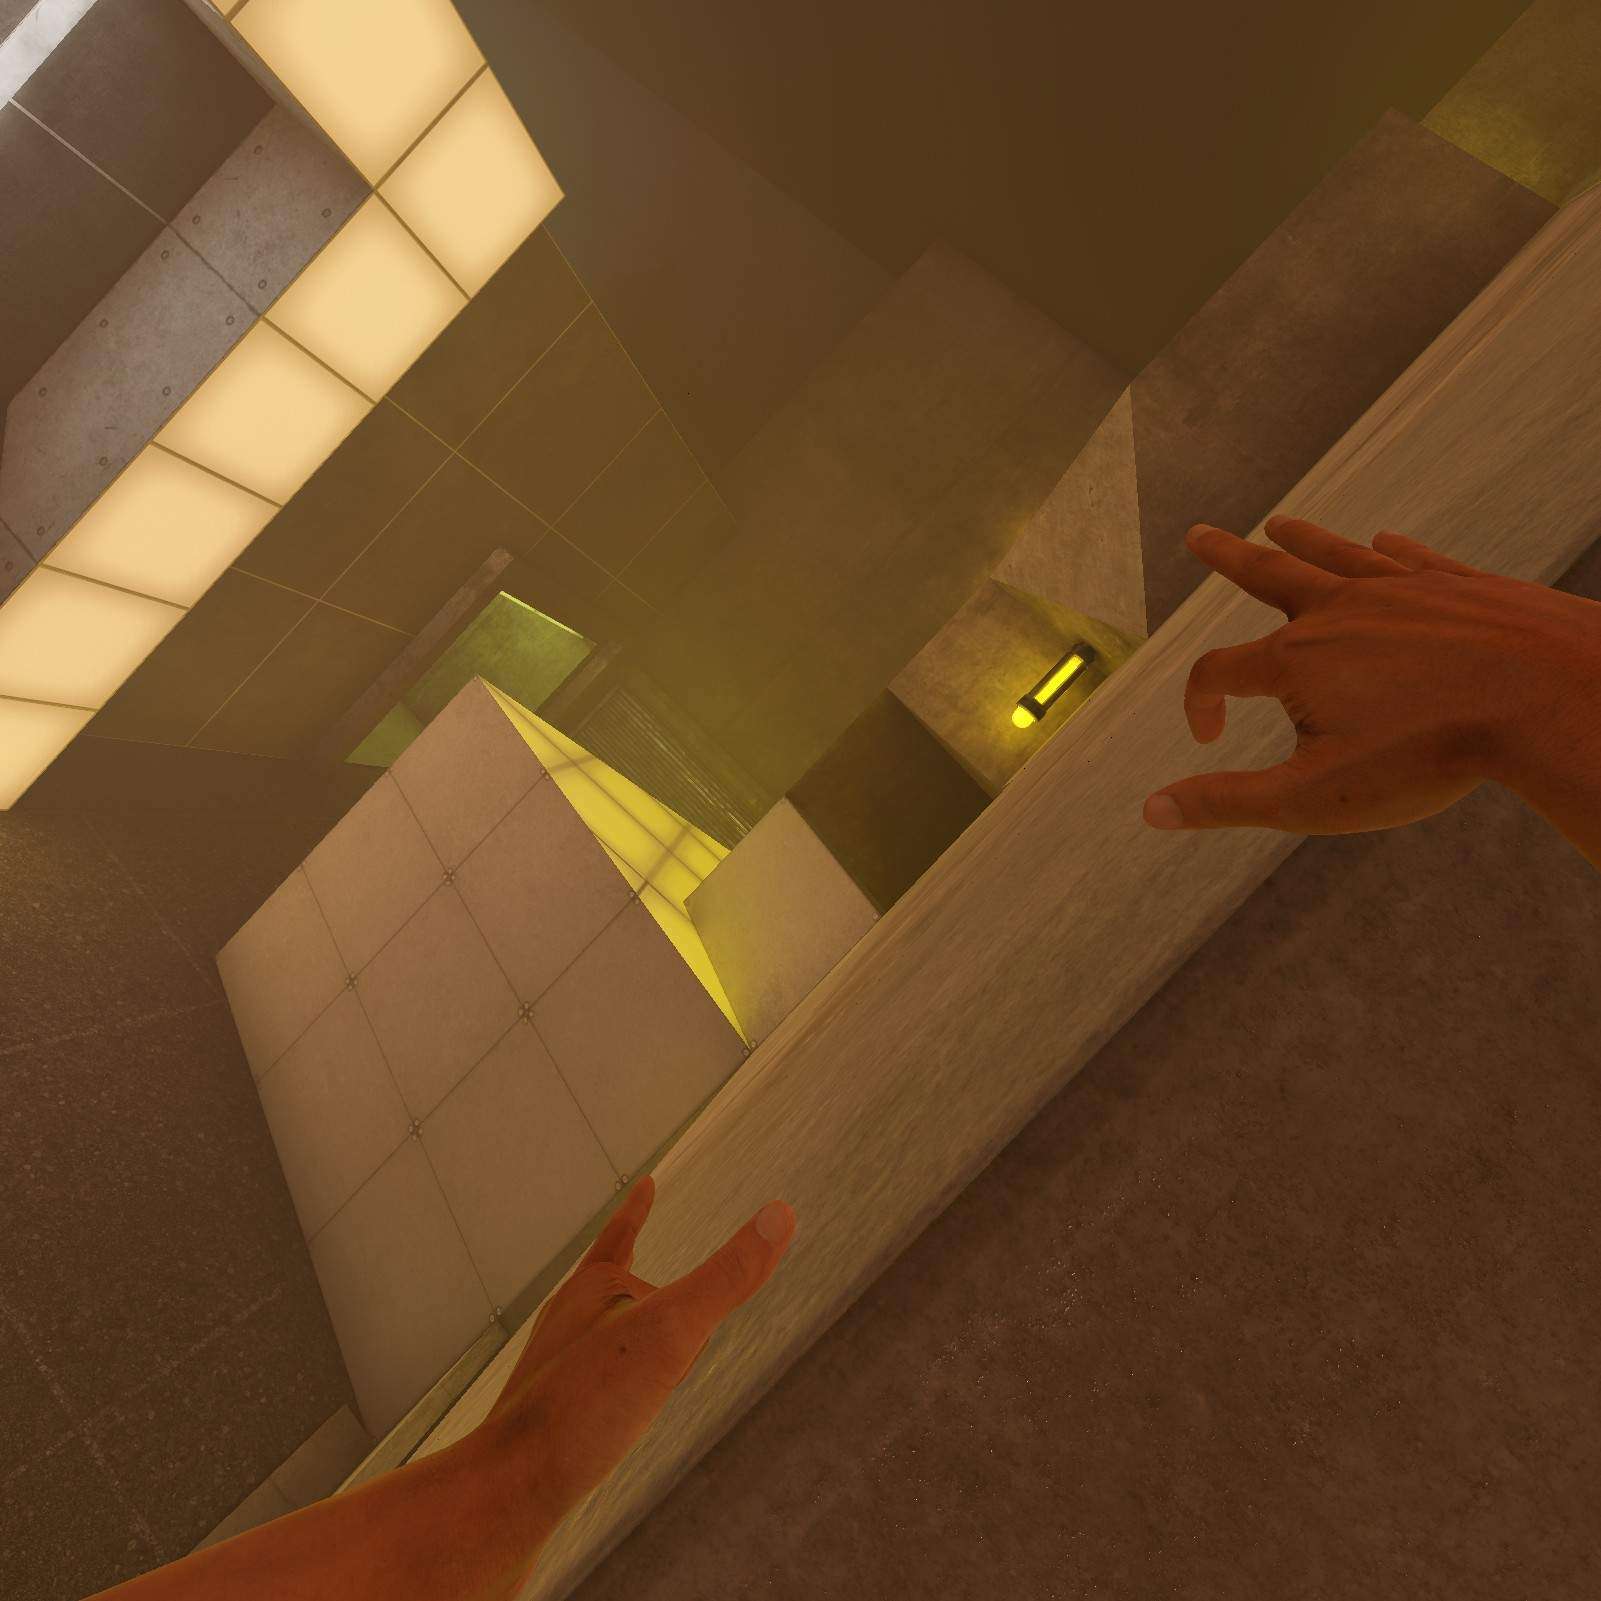
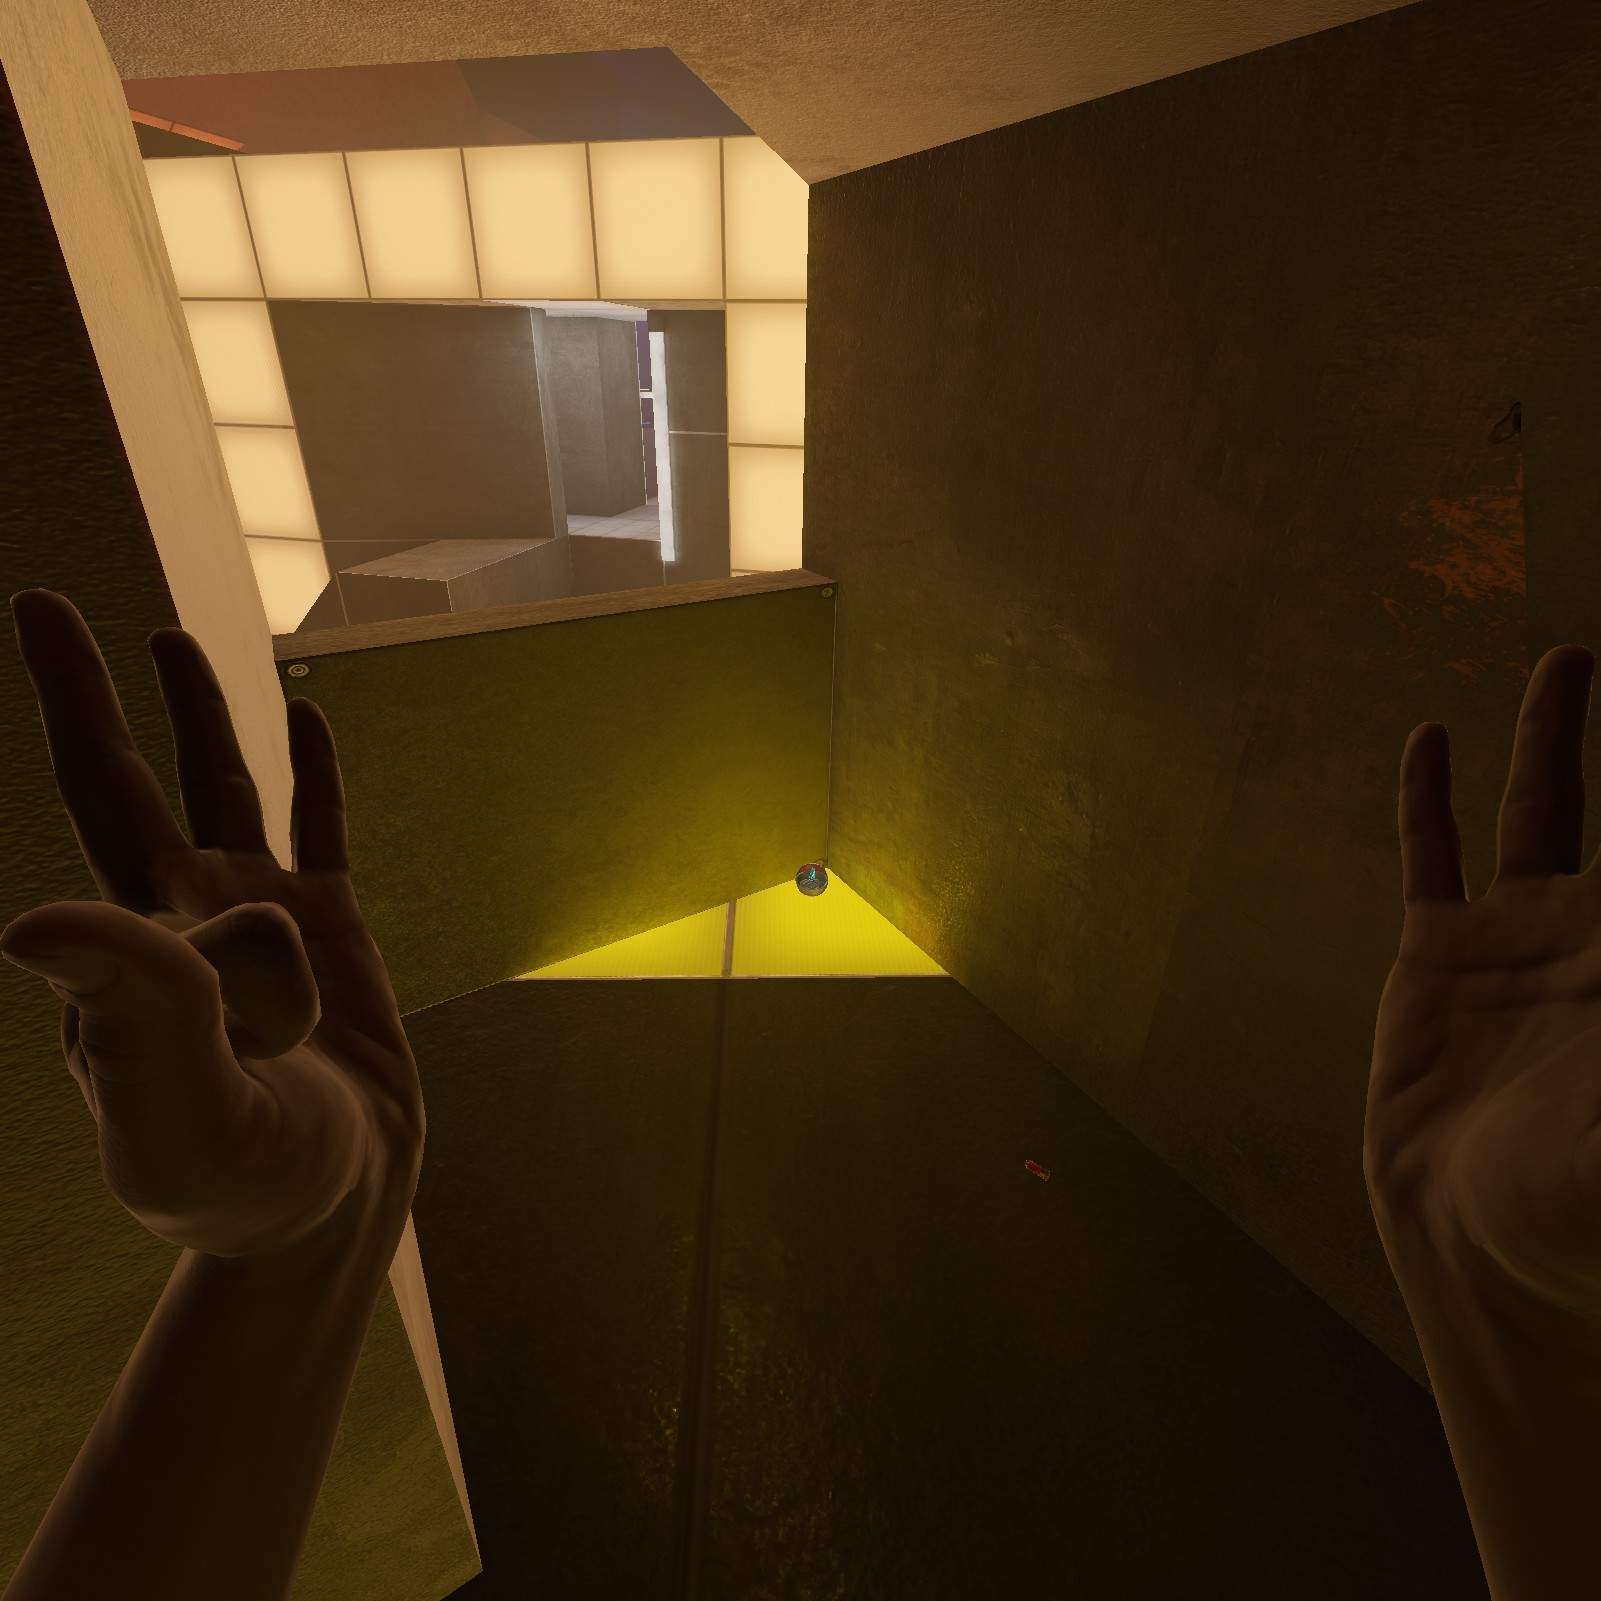
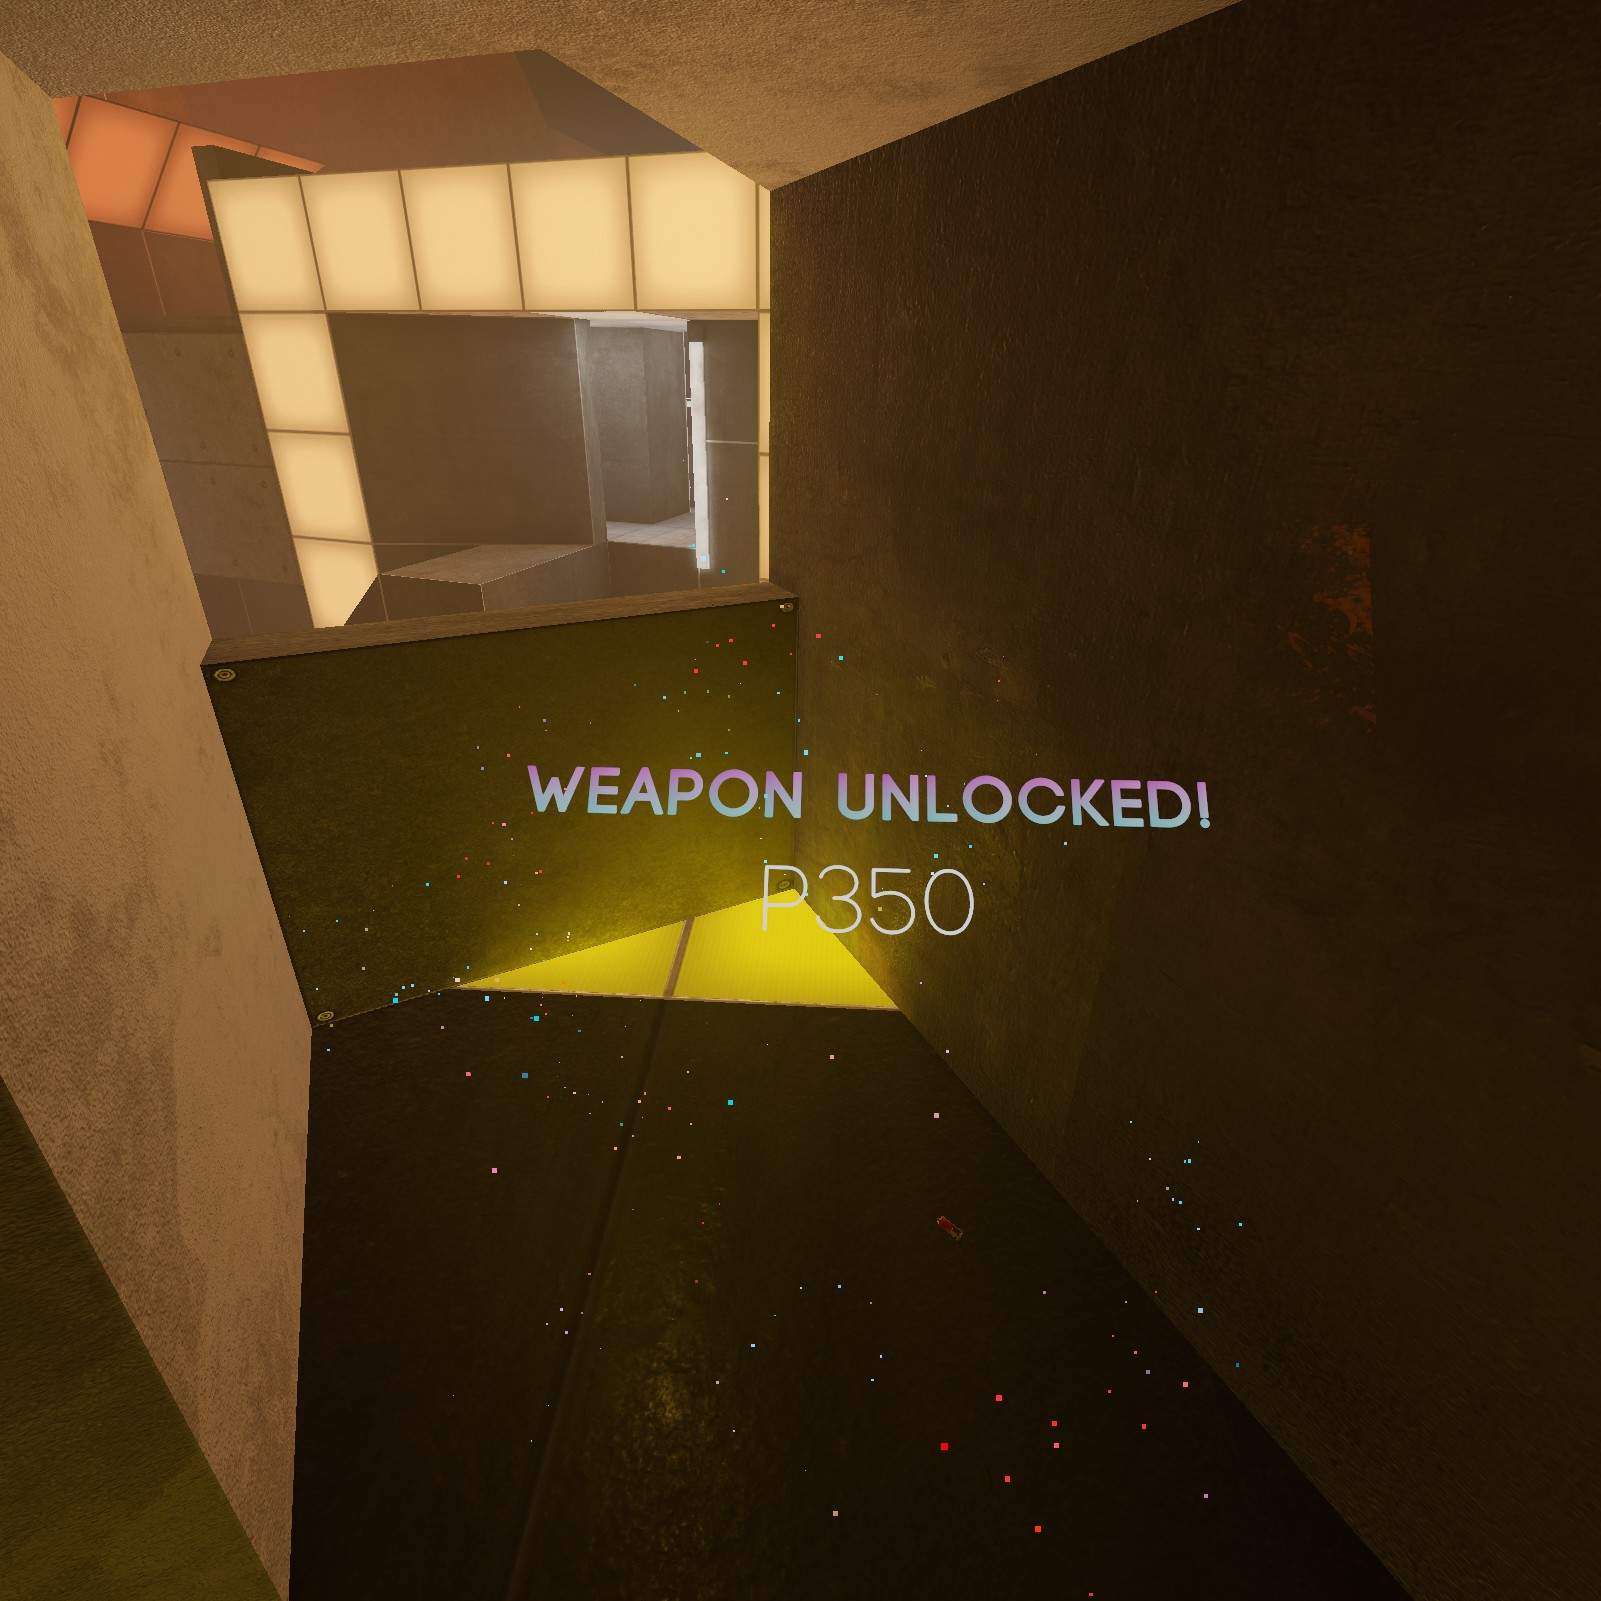
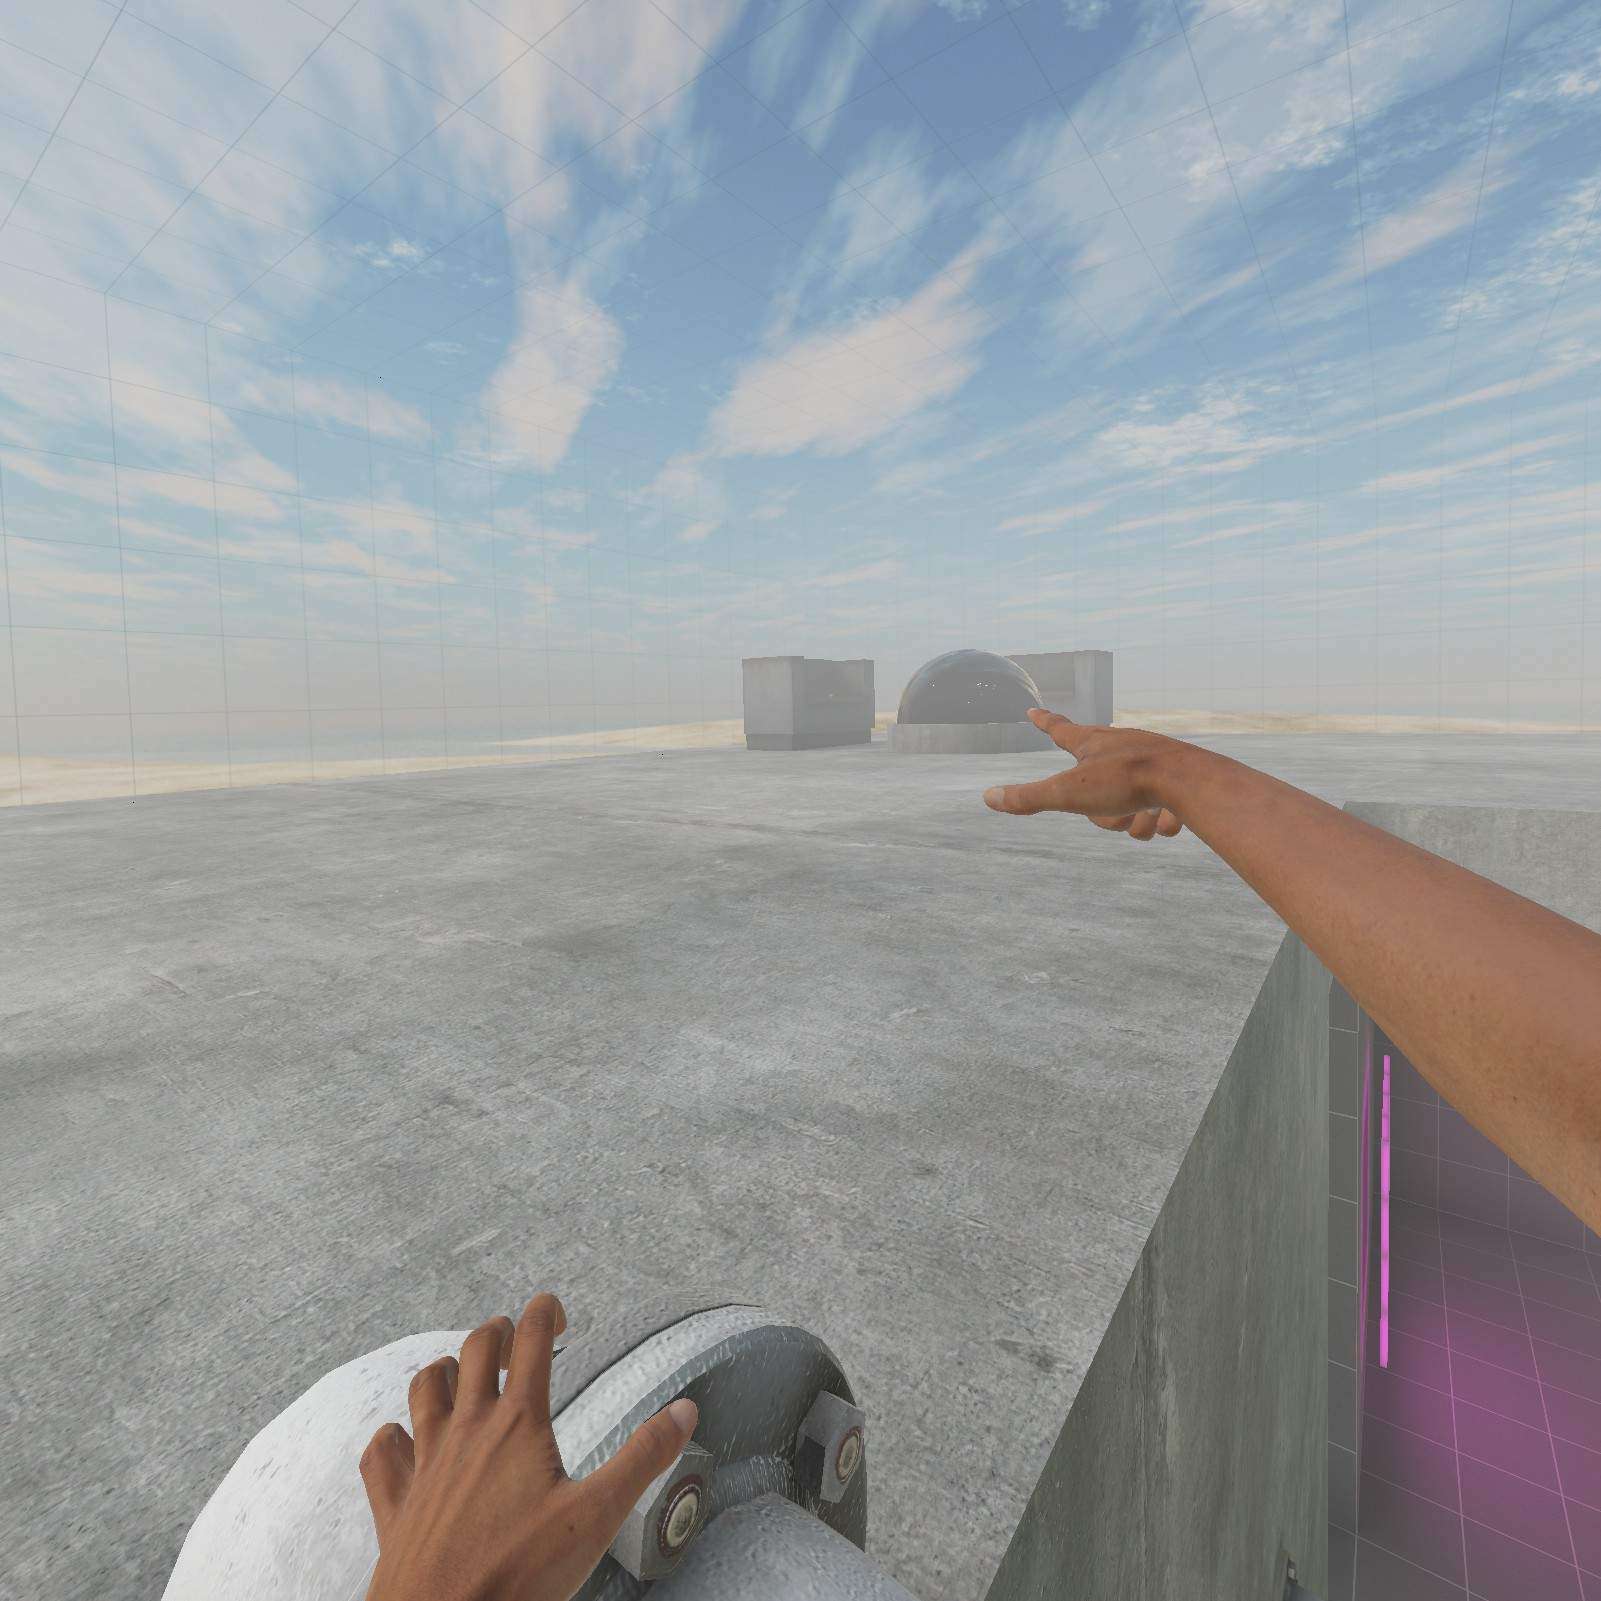
P350:
Is that a small bunker I see in yellow zone? Turns out the P350 is here hiding from you. And now you taking it out of its natural habitat. You monster.
Container Field
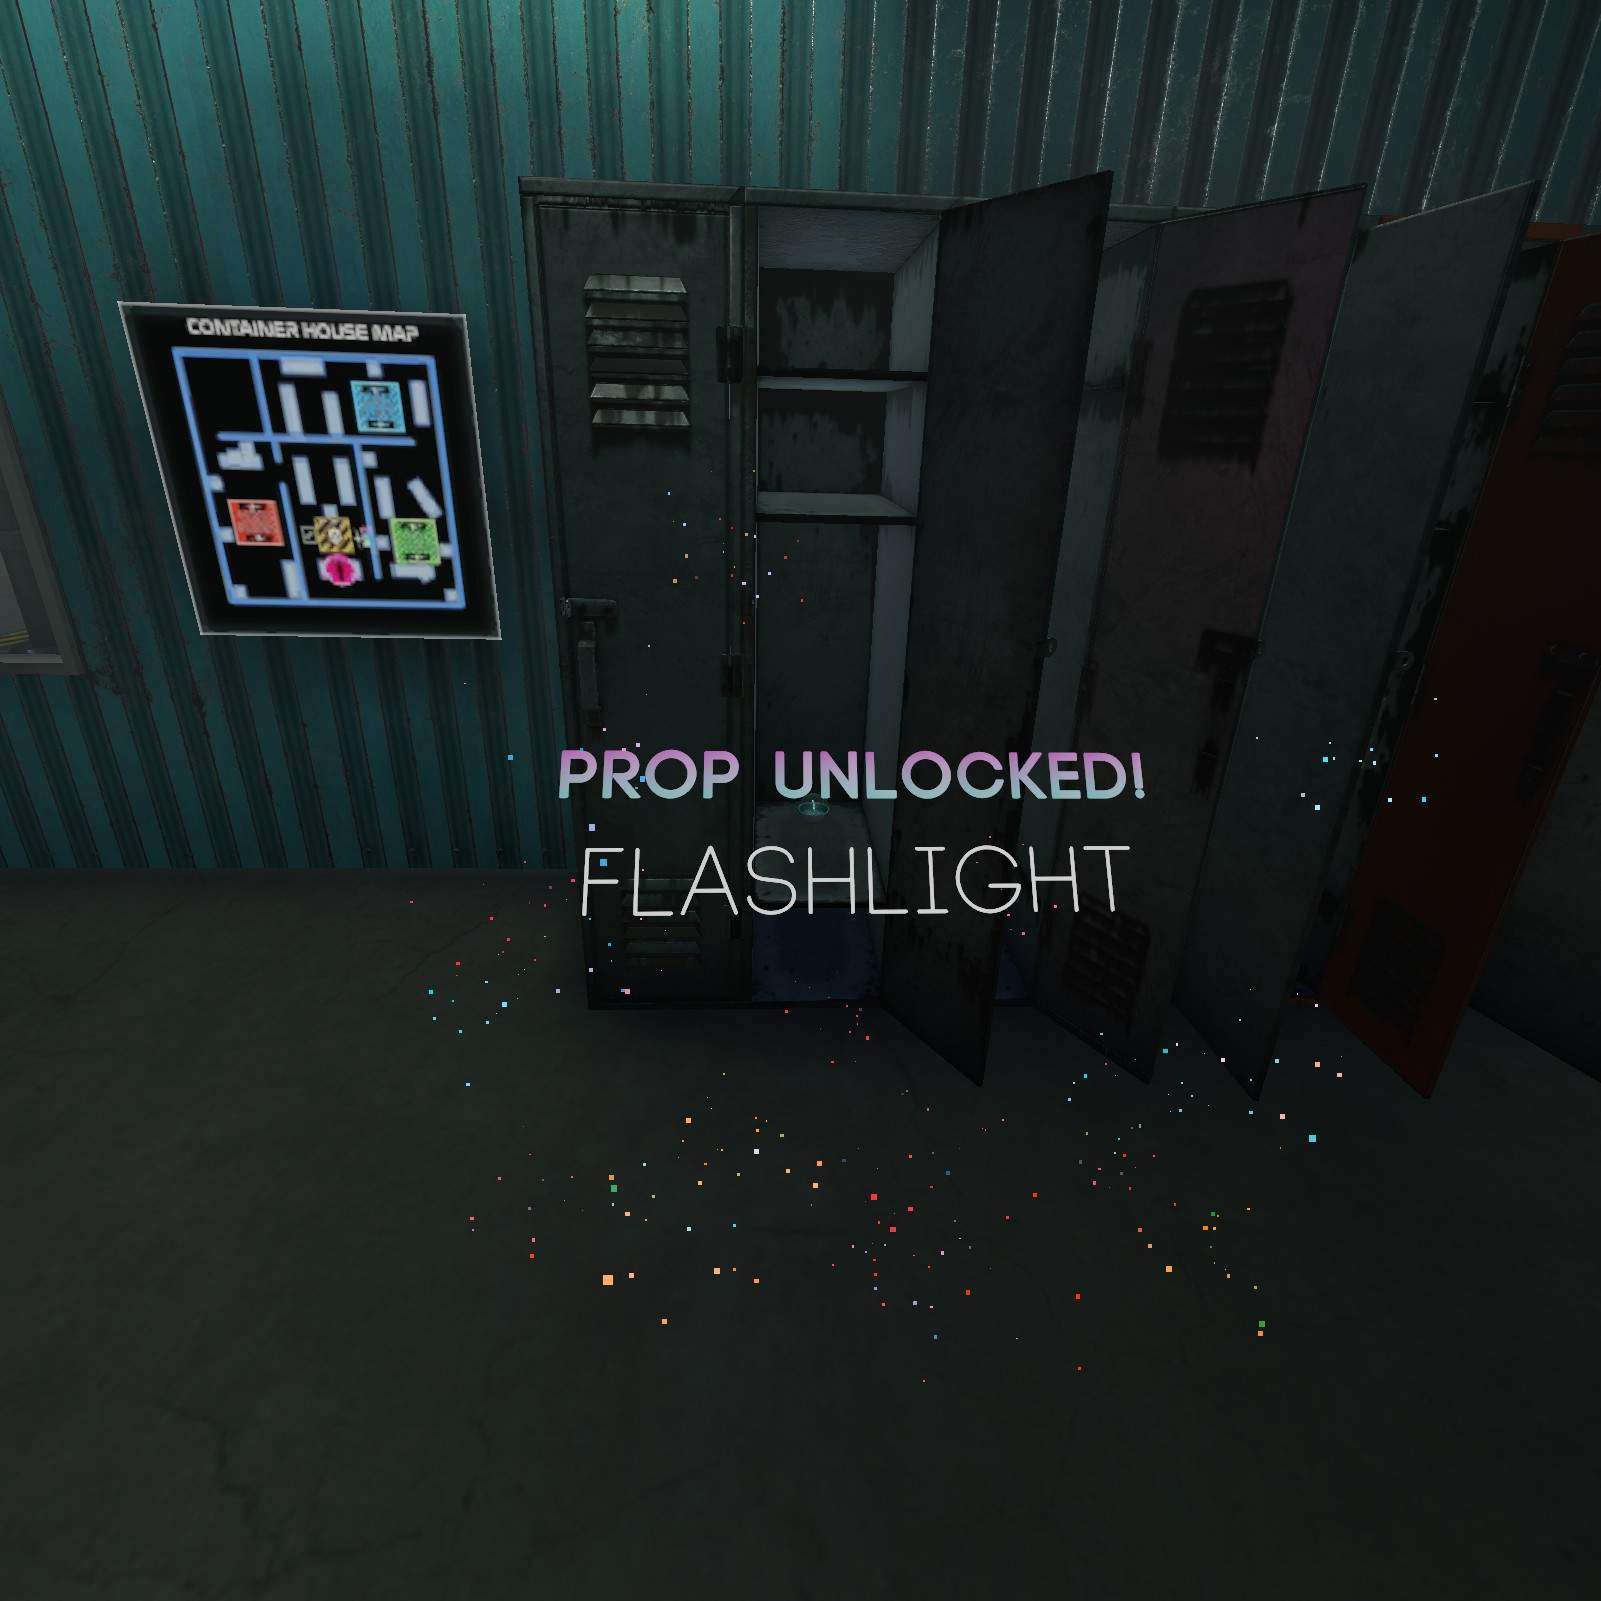
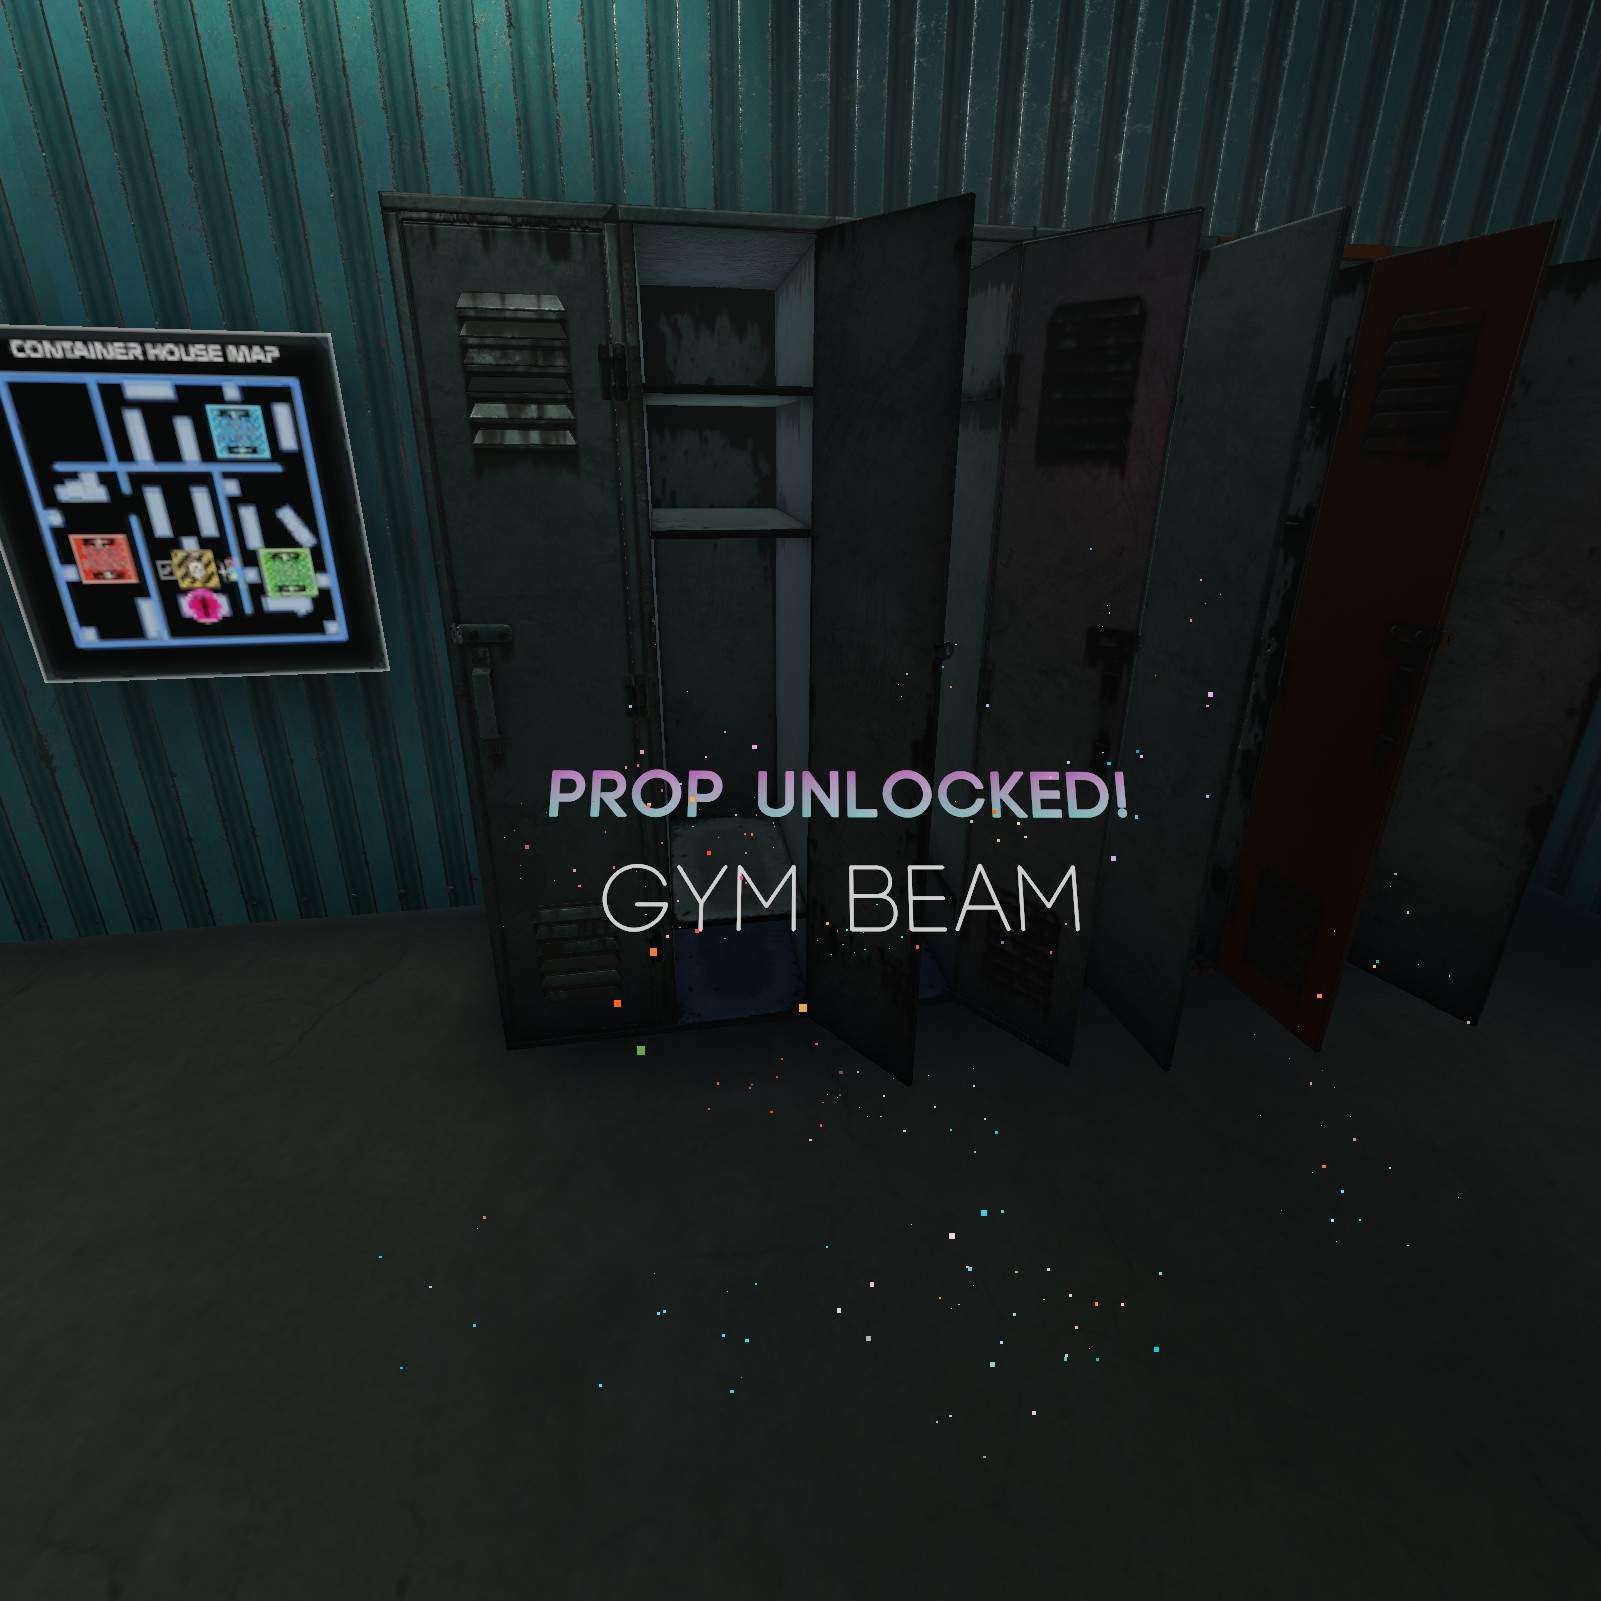
Gym Beam:
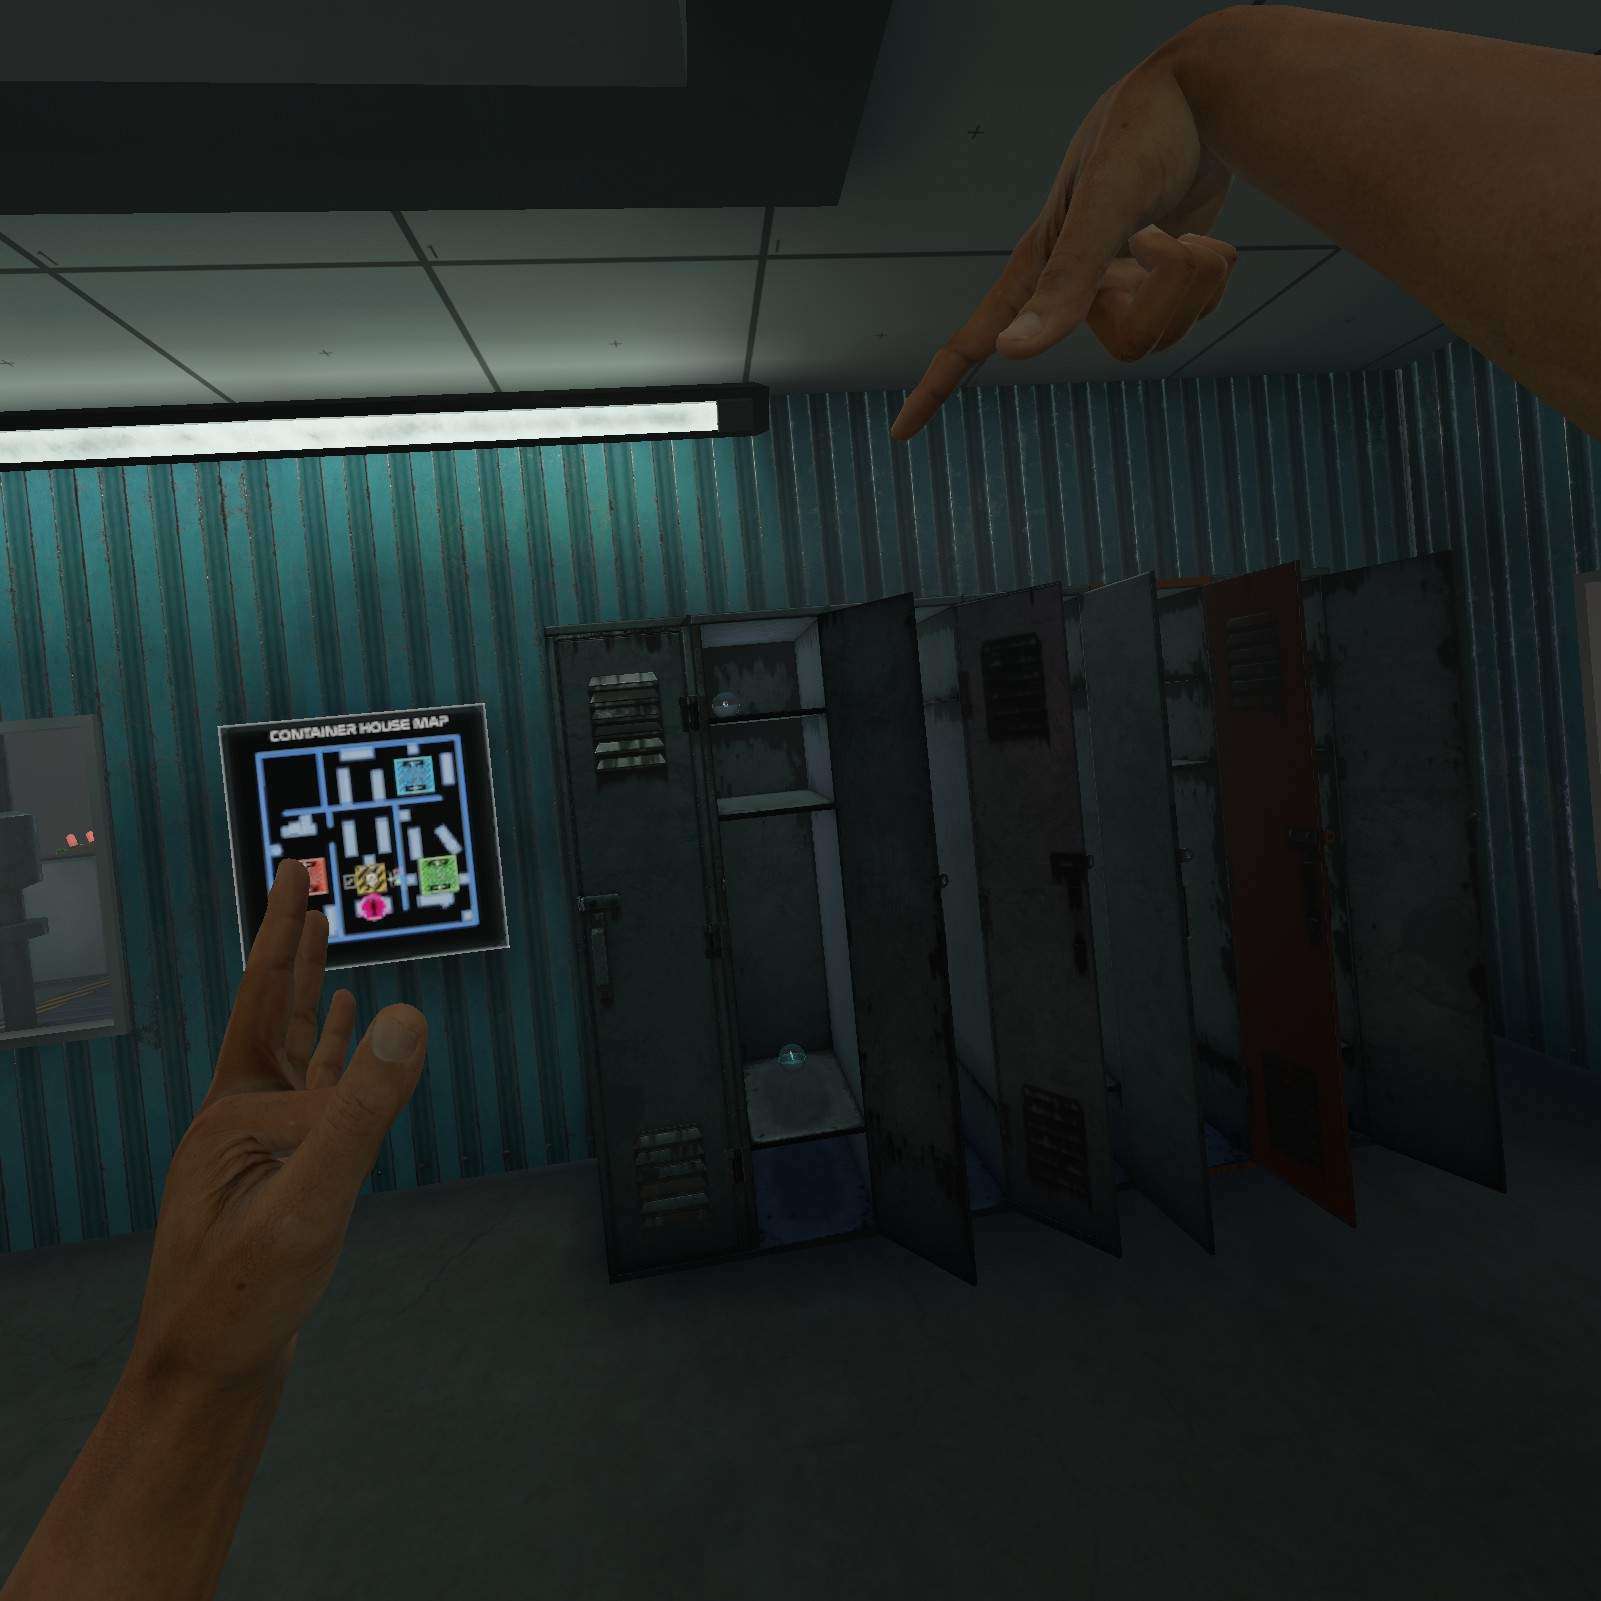
We’ve got a 2 for one special here, Open thus locker for a flashlight and My favorite shape the Gyme Beam.
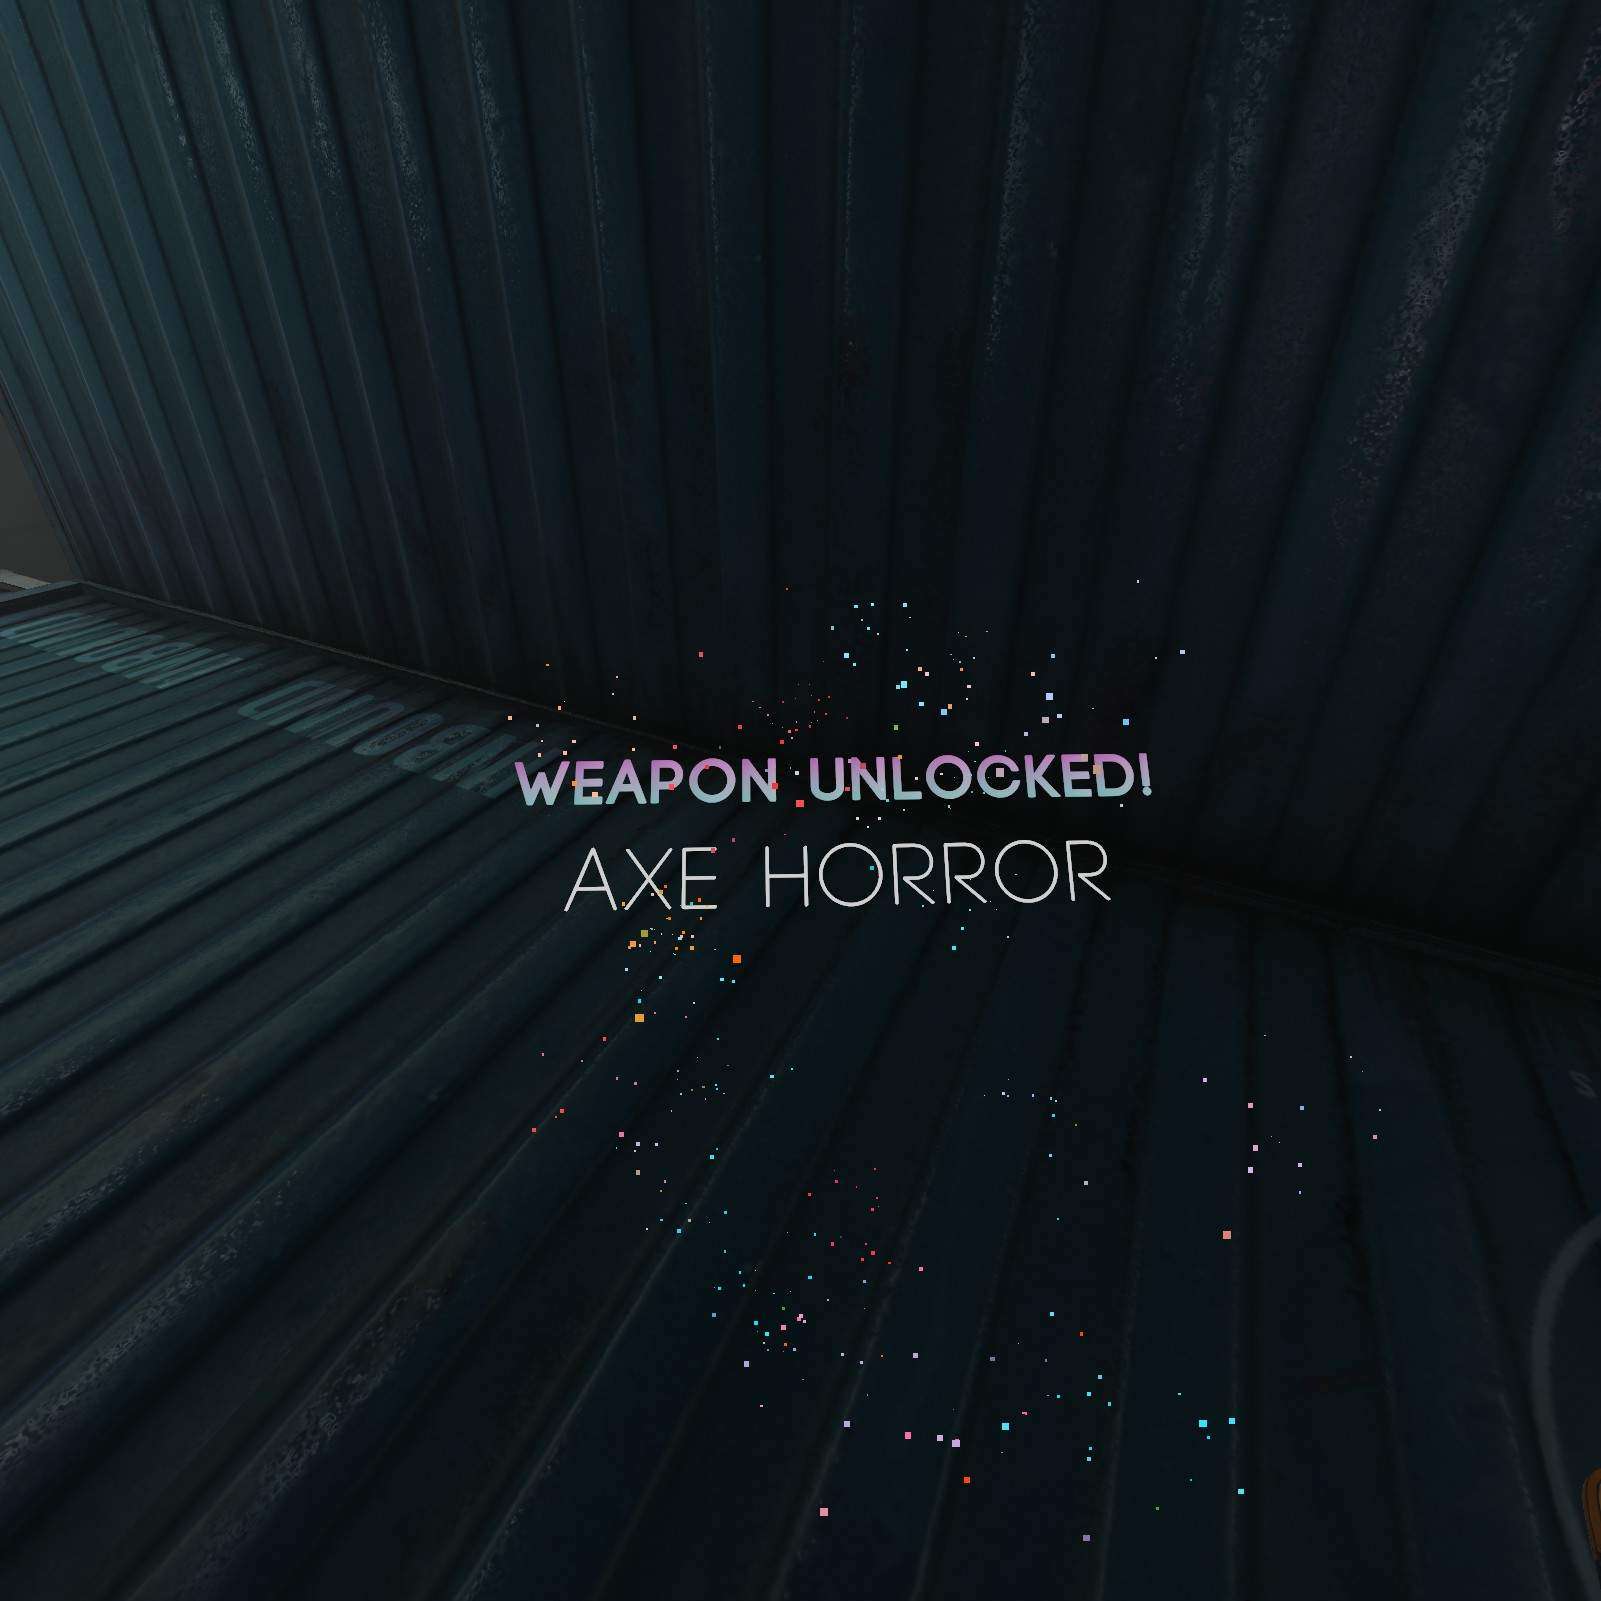
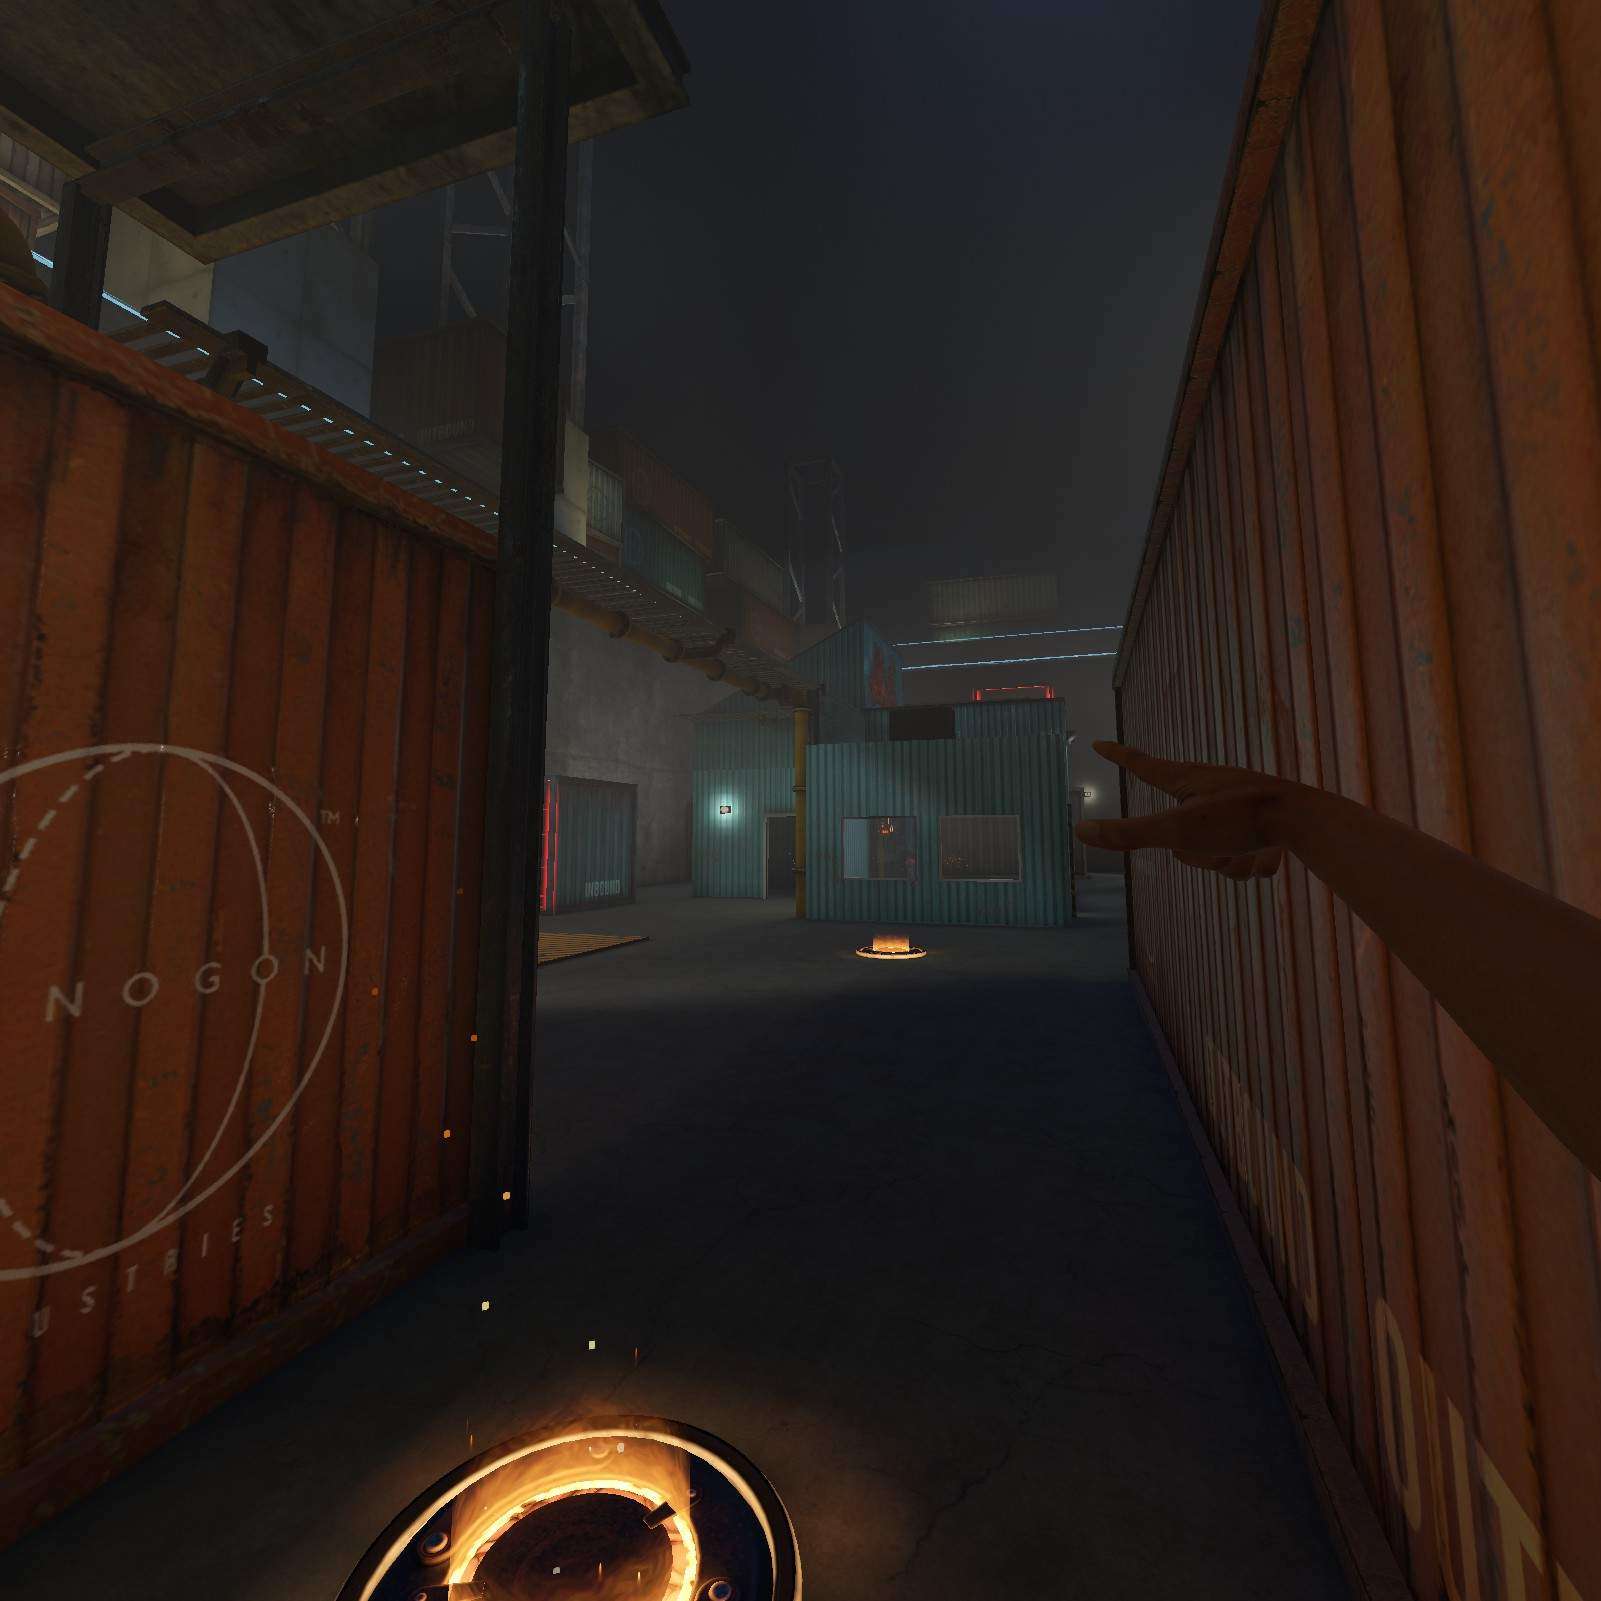
Axe Horror:
You like Axes? You like Horror? Then climbe into this central shipping bin for your Axe Horror!


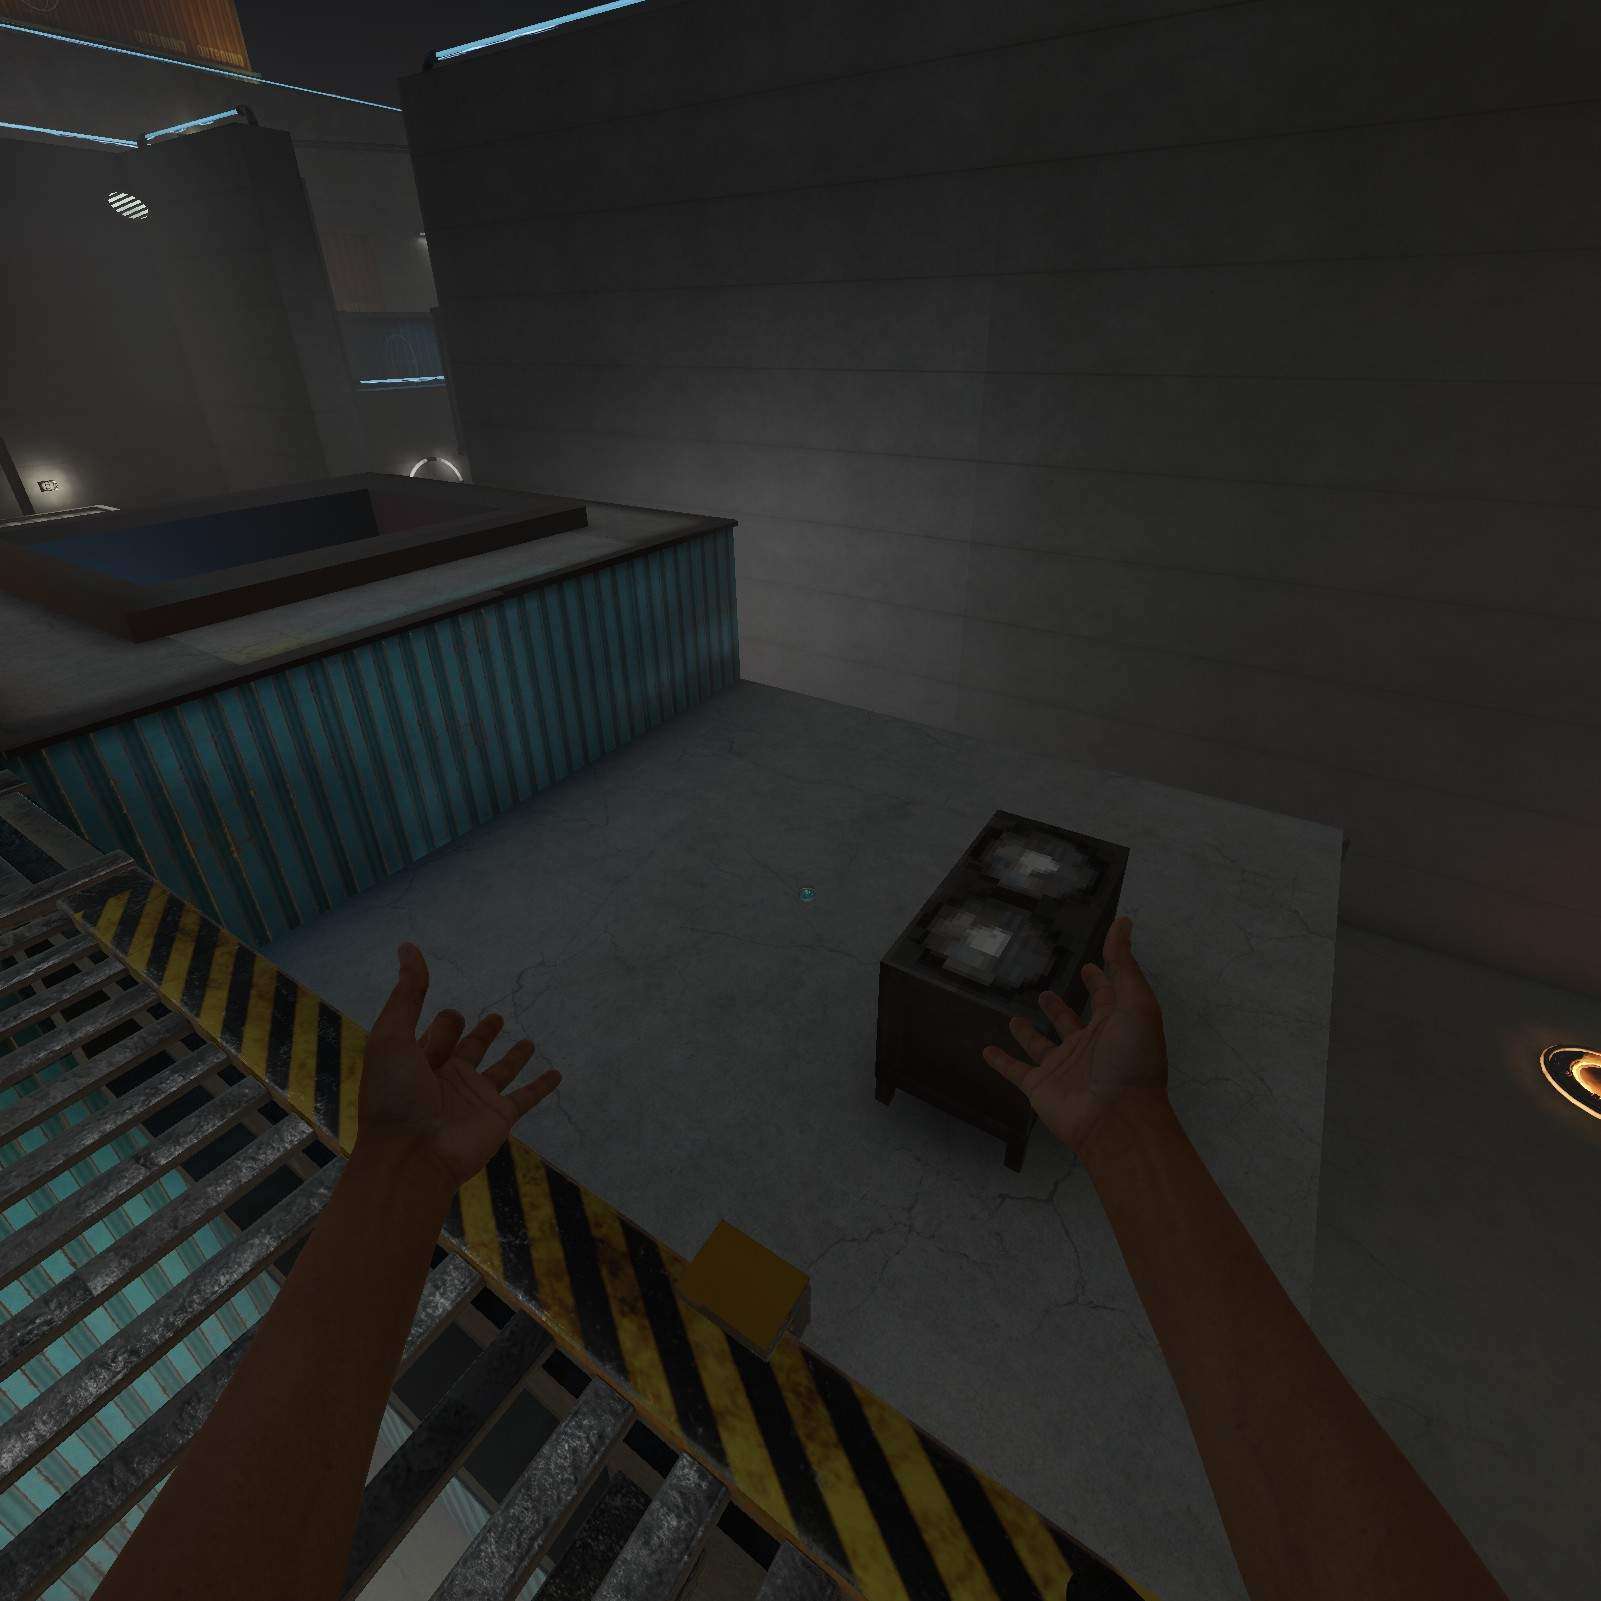
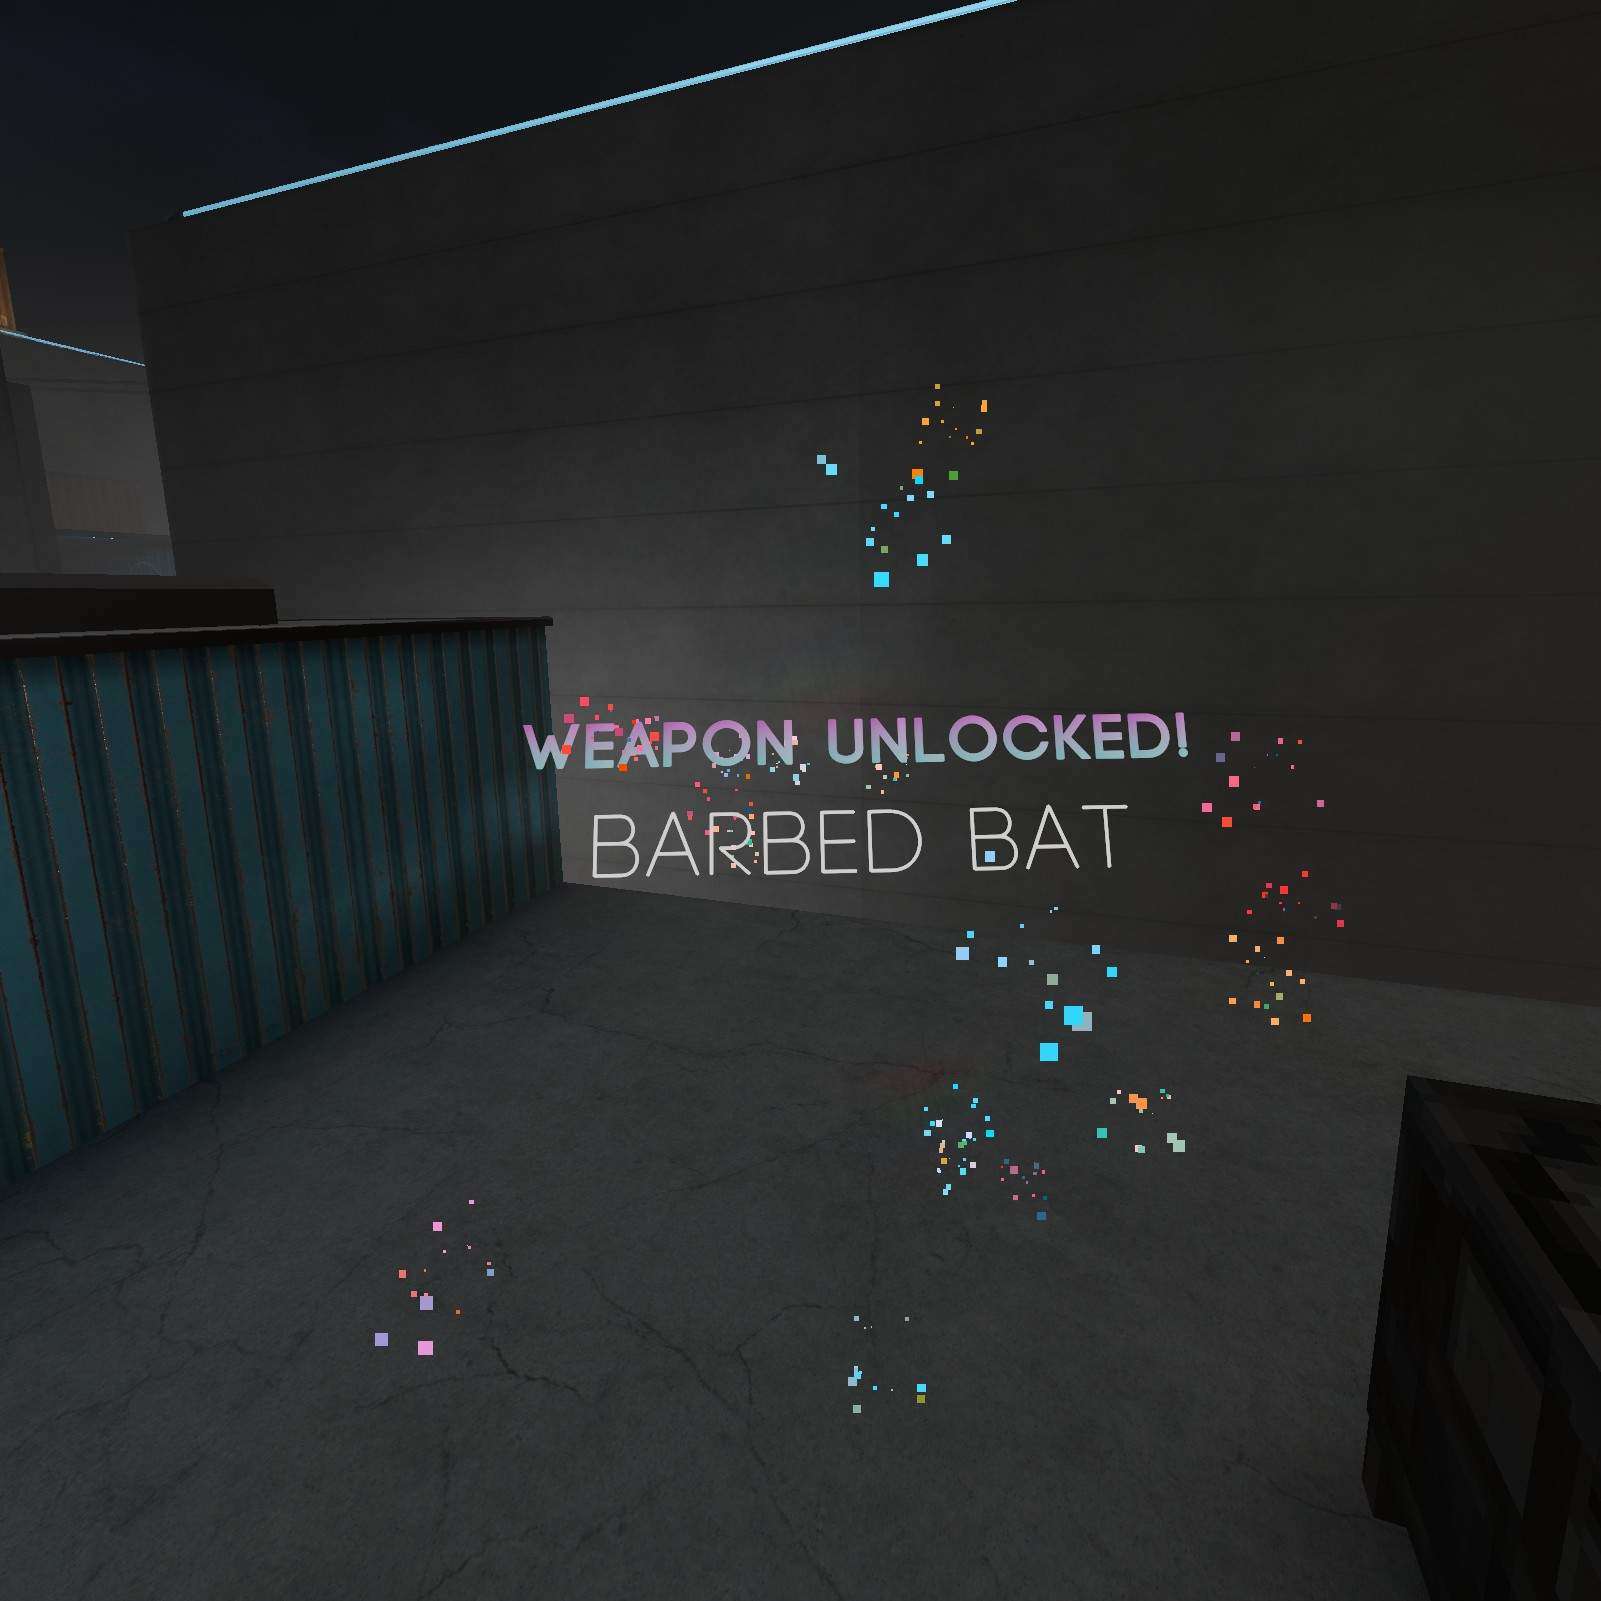
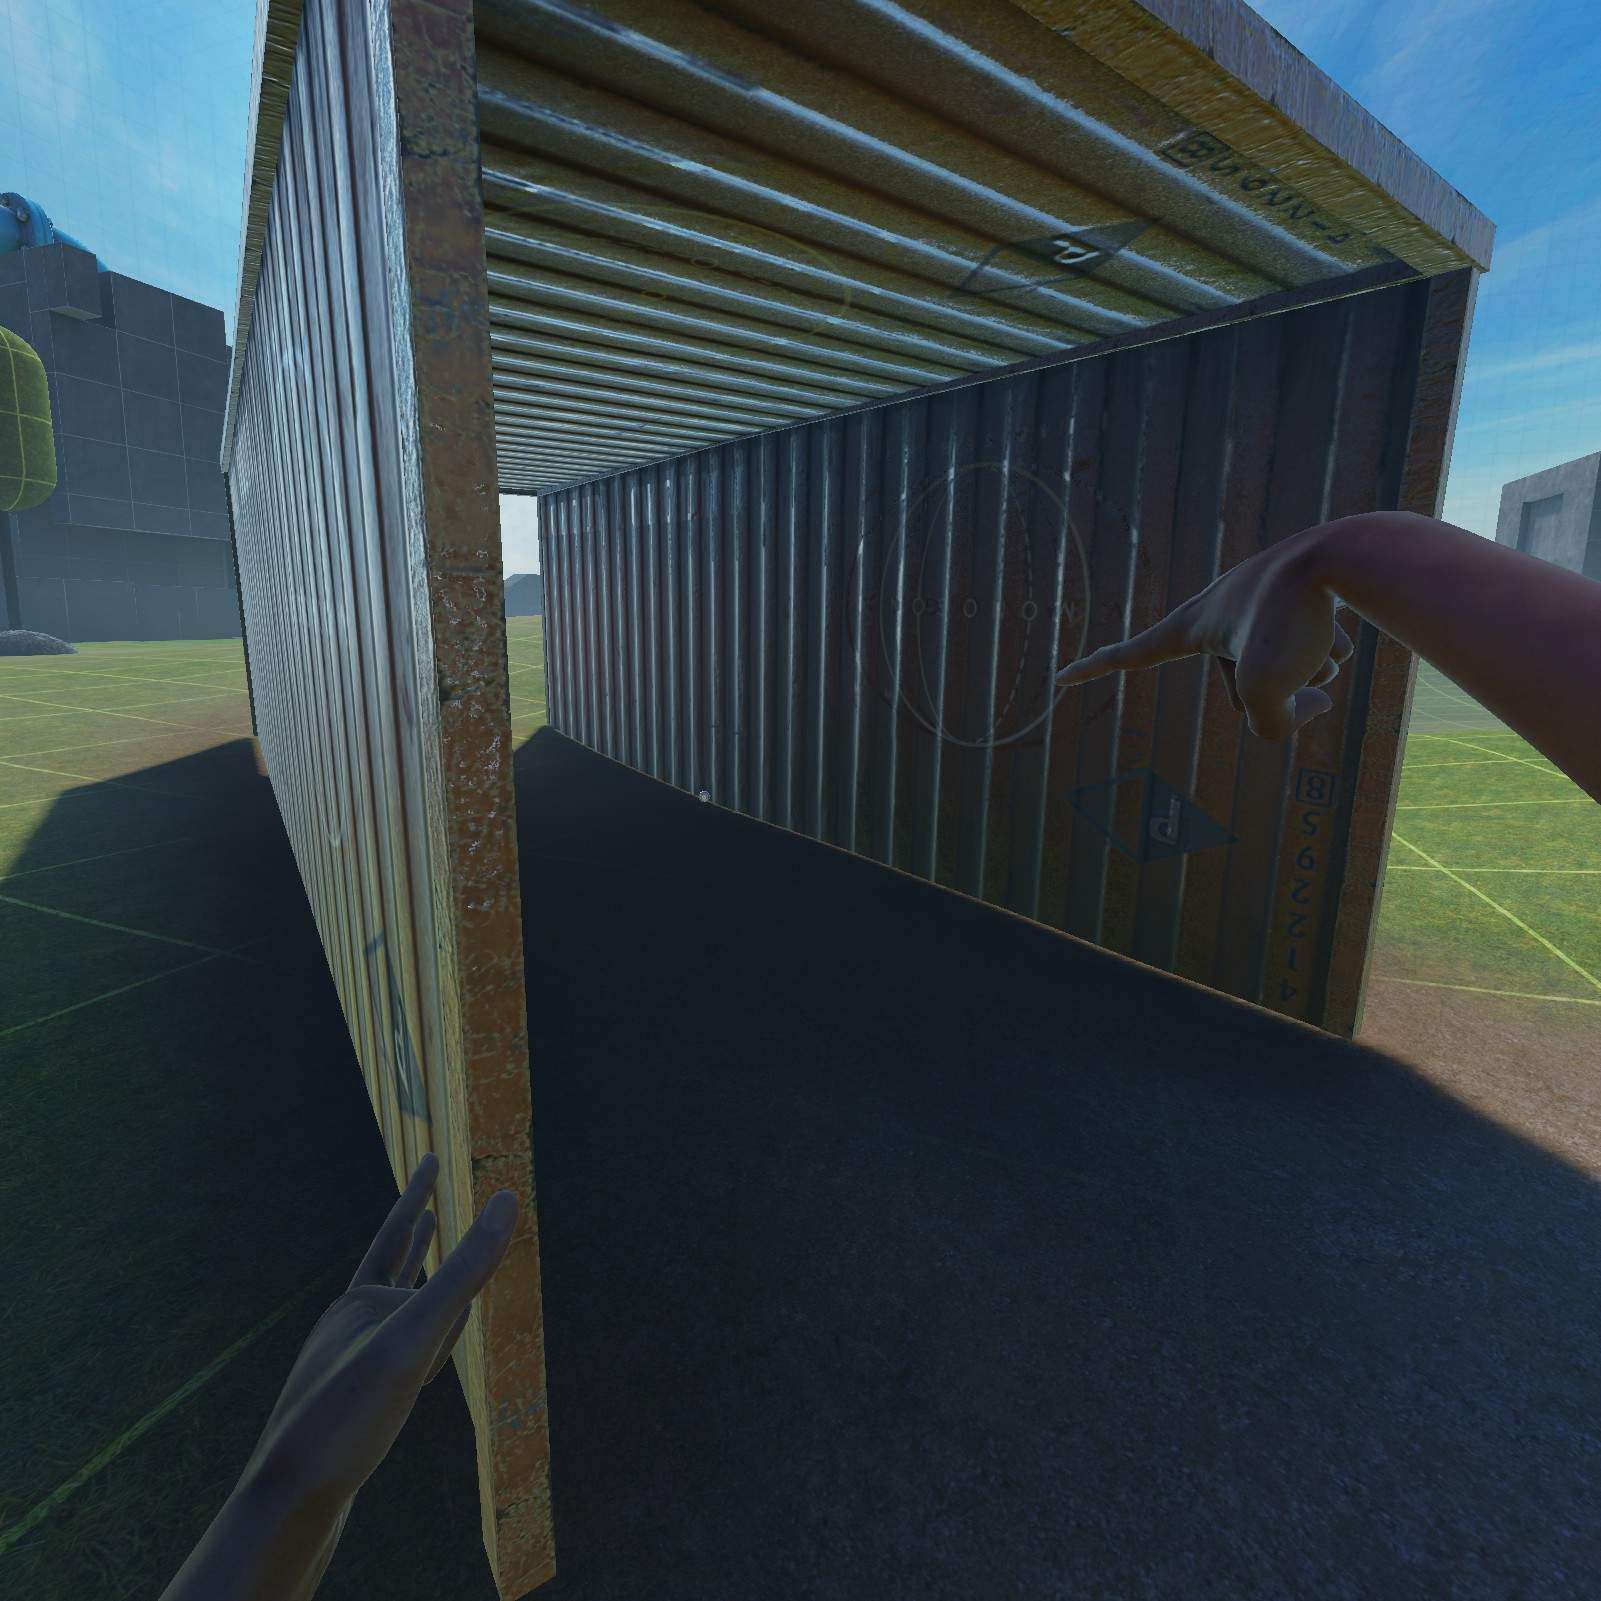
Barbed Bat:
This tiny warehouse is hiding a secret… Head on top behind the air conditioning unit for a barbed bat.
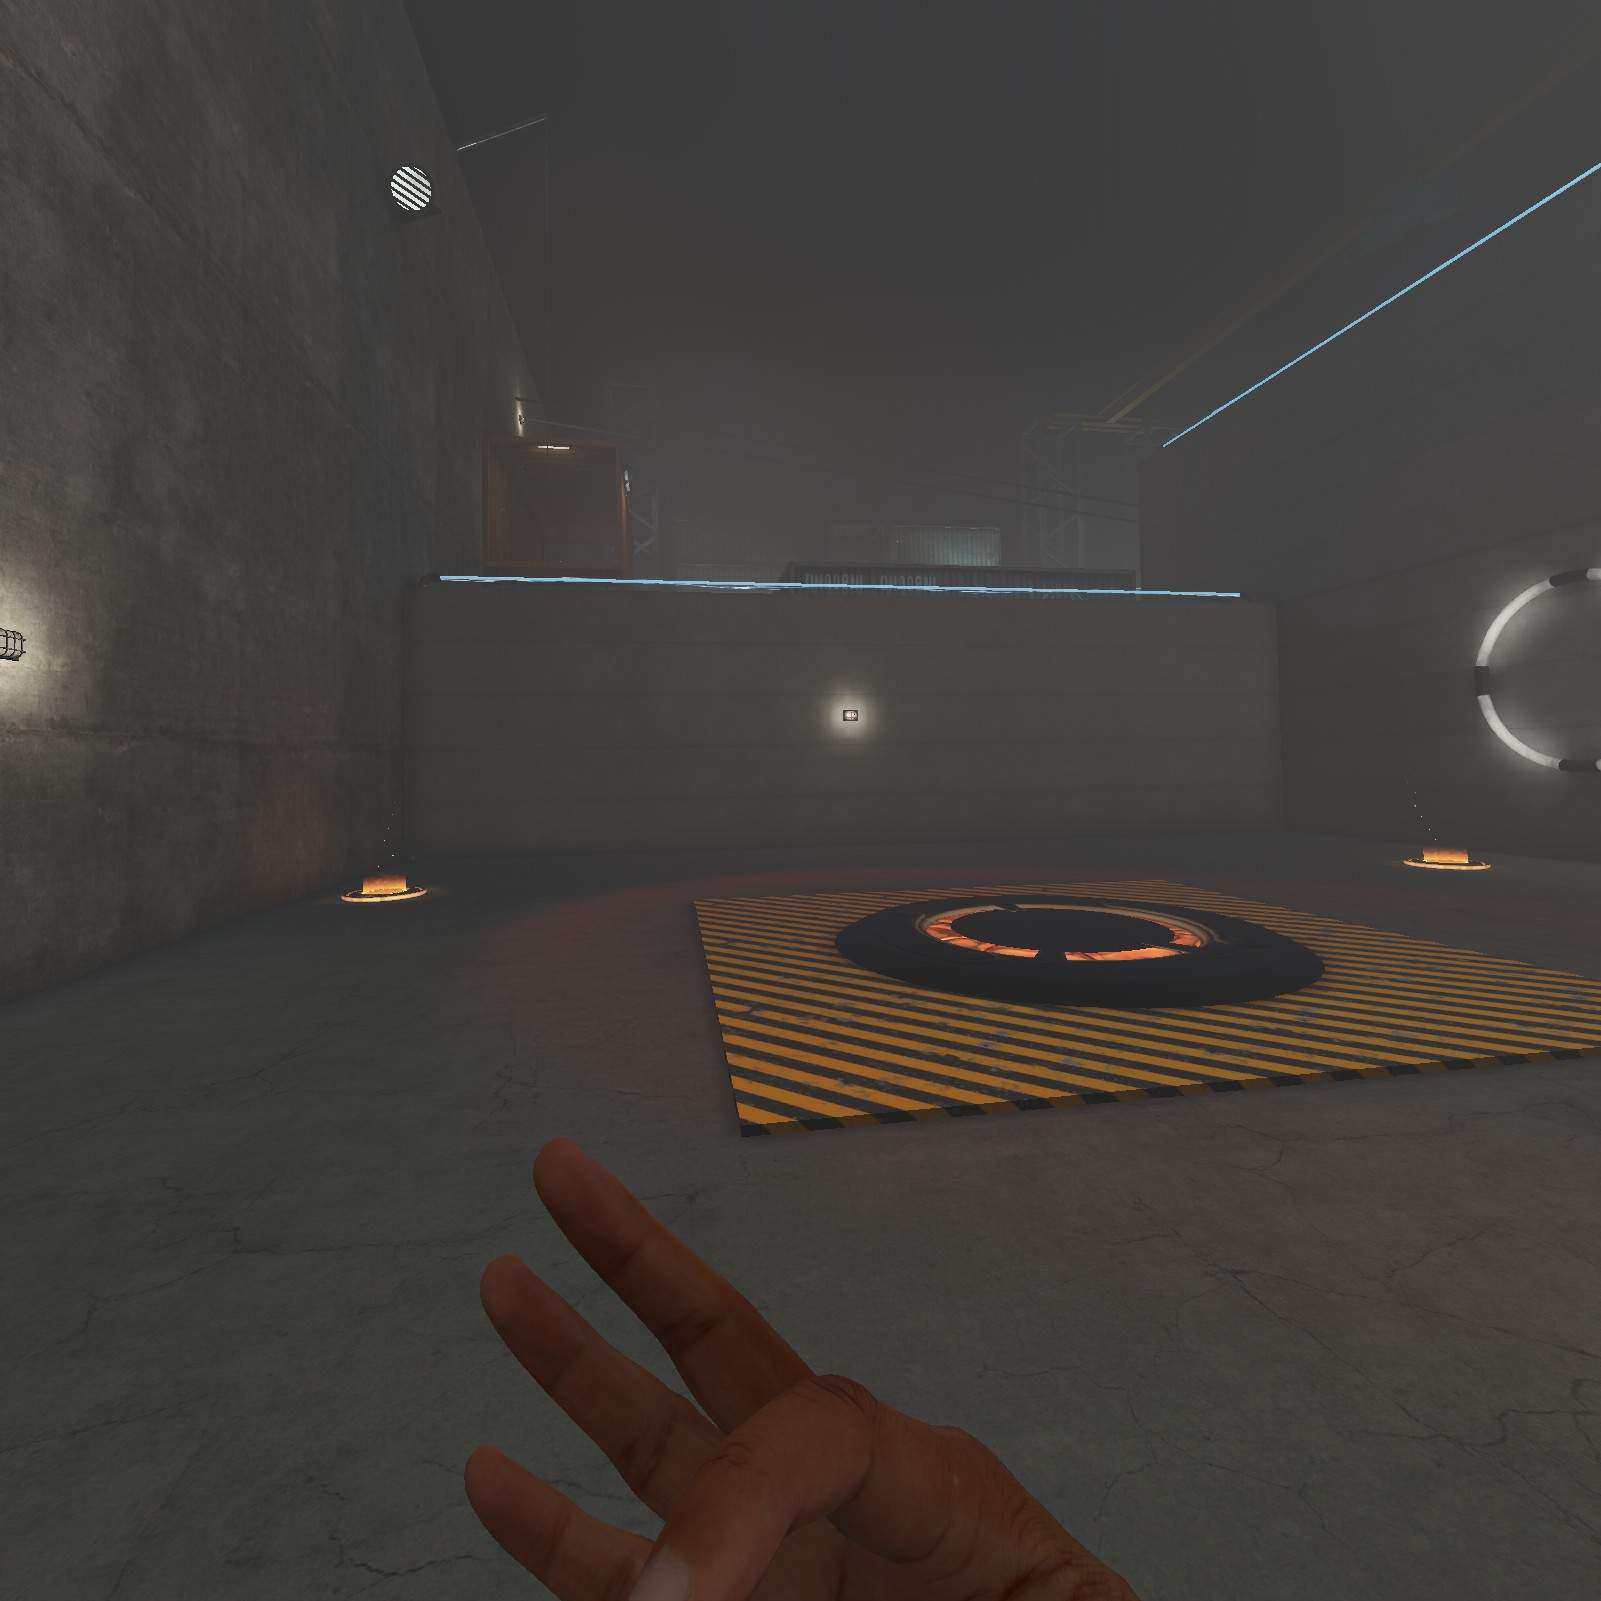
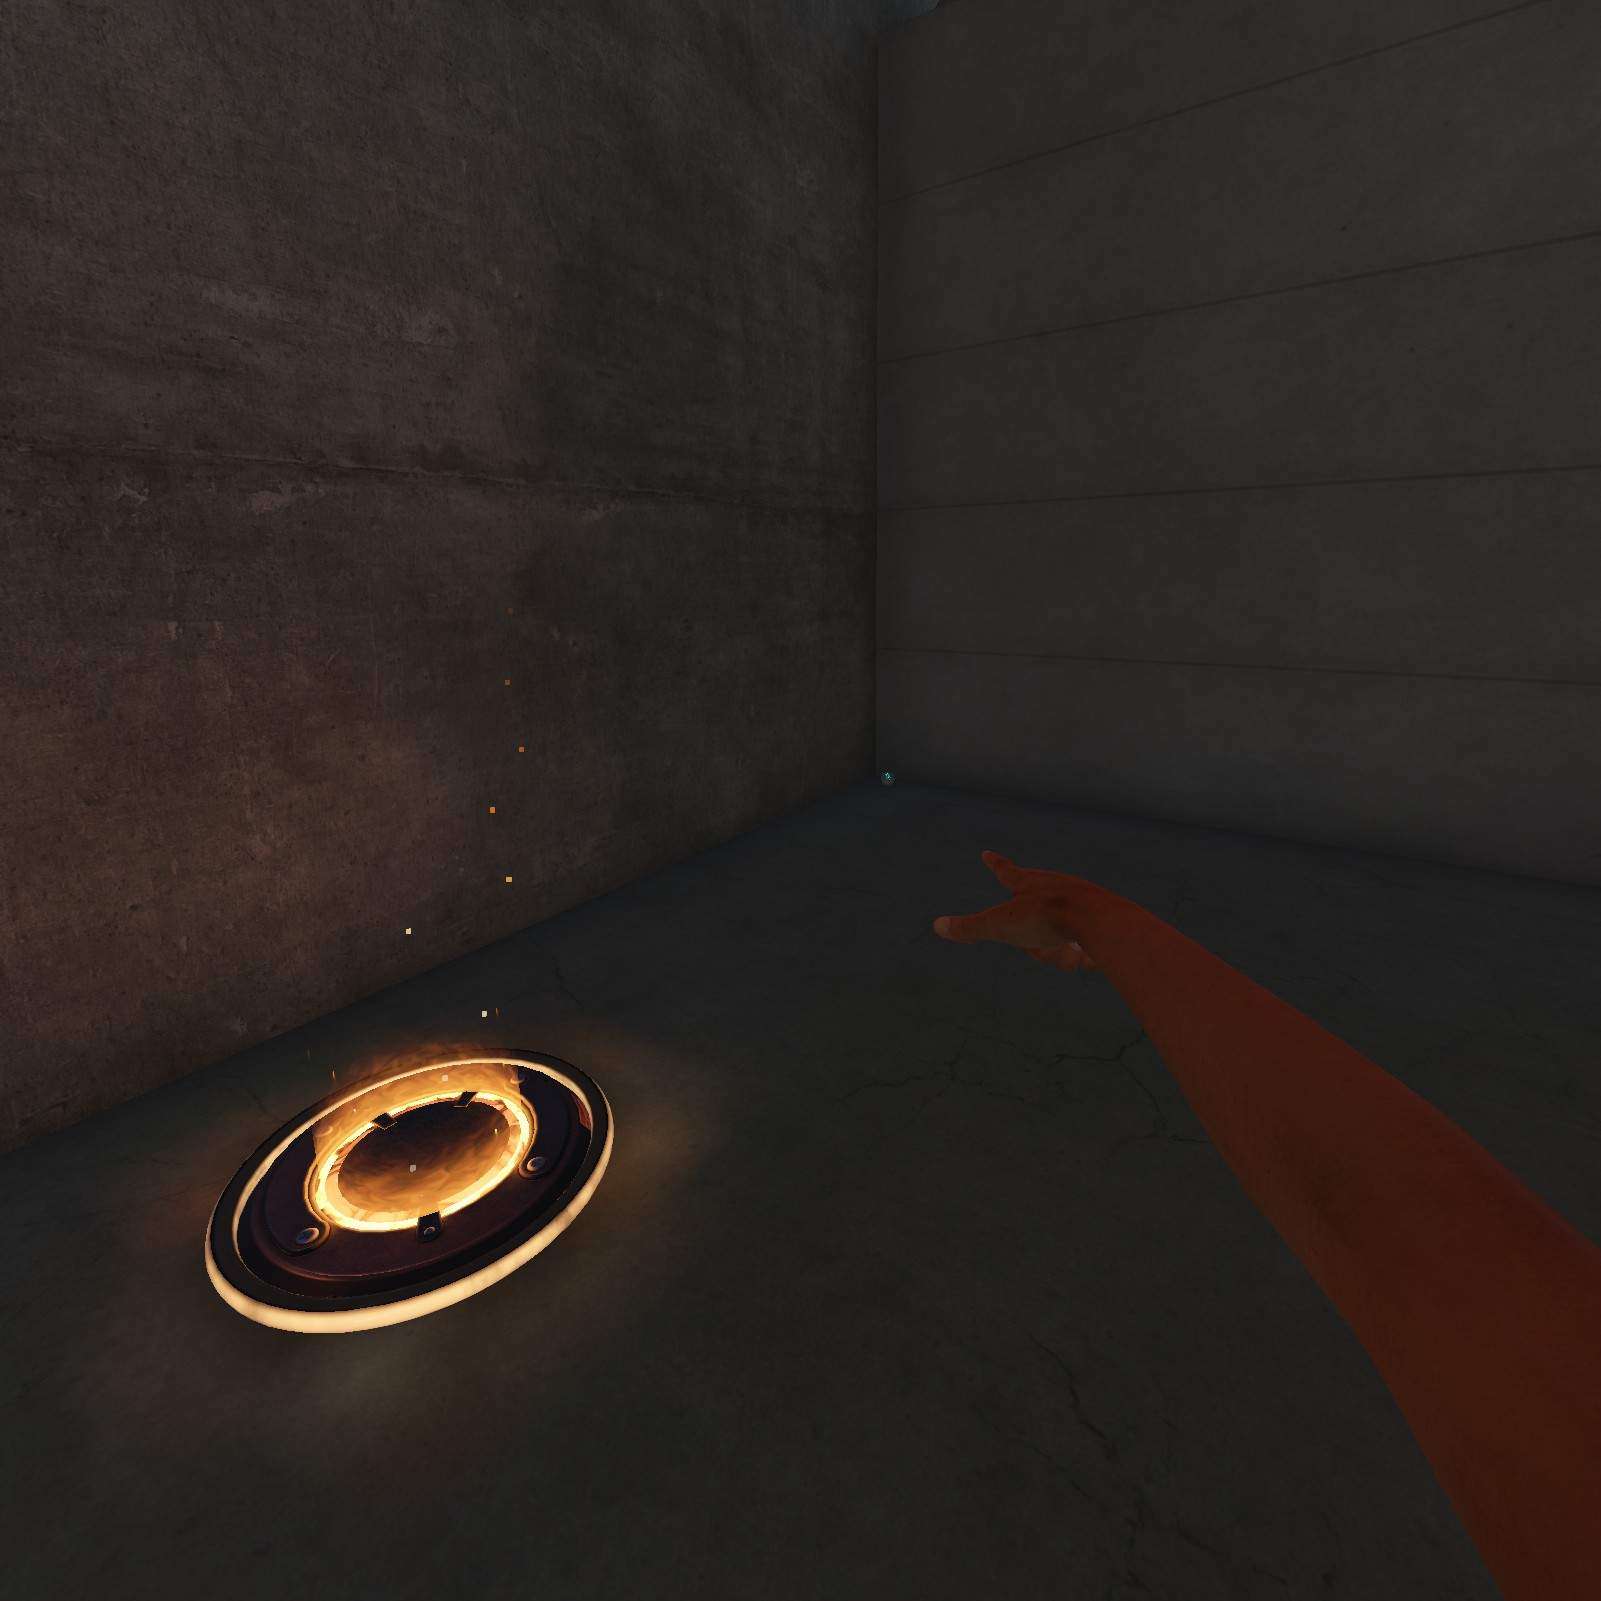
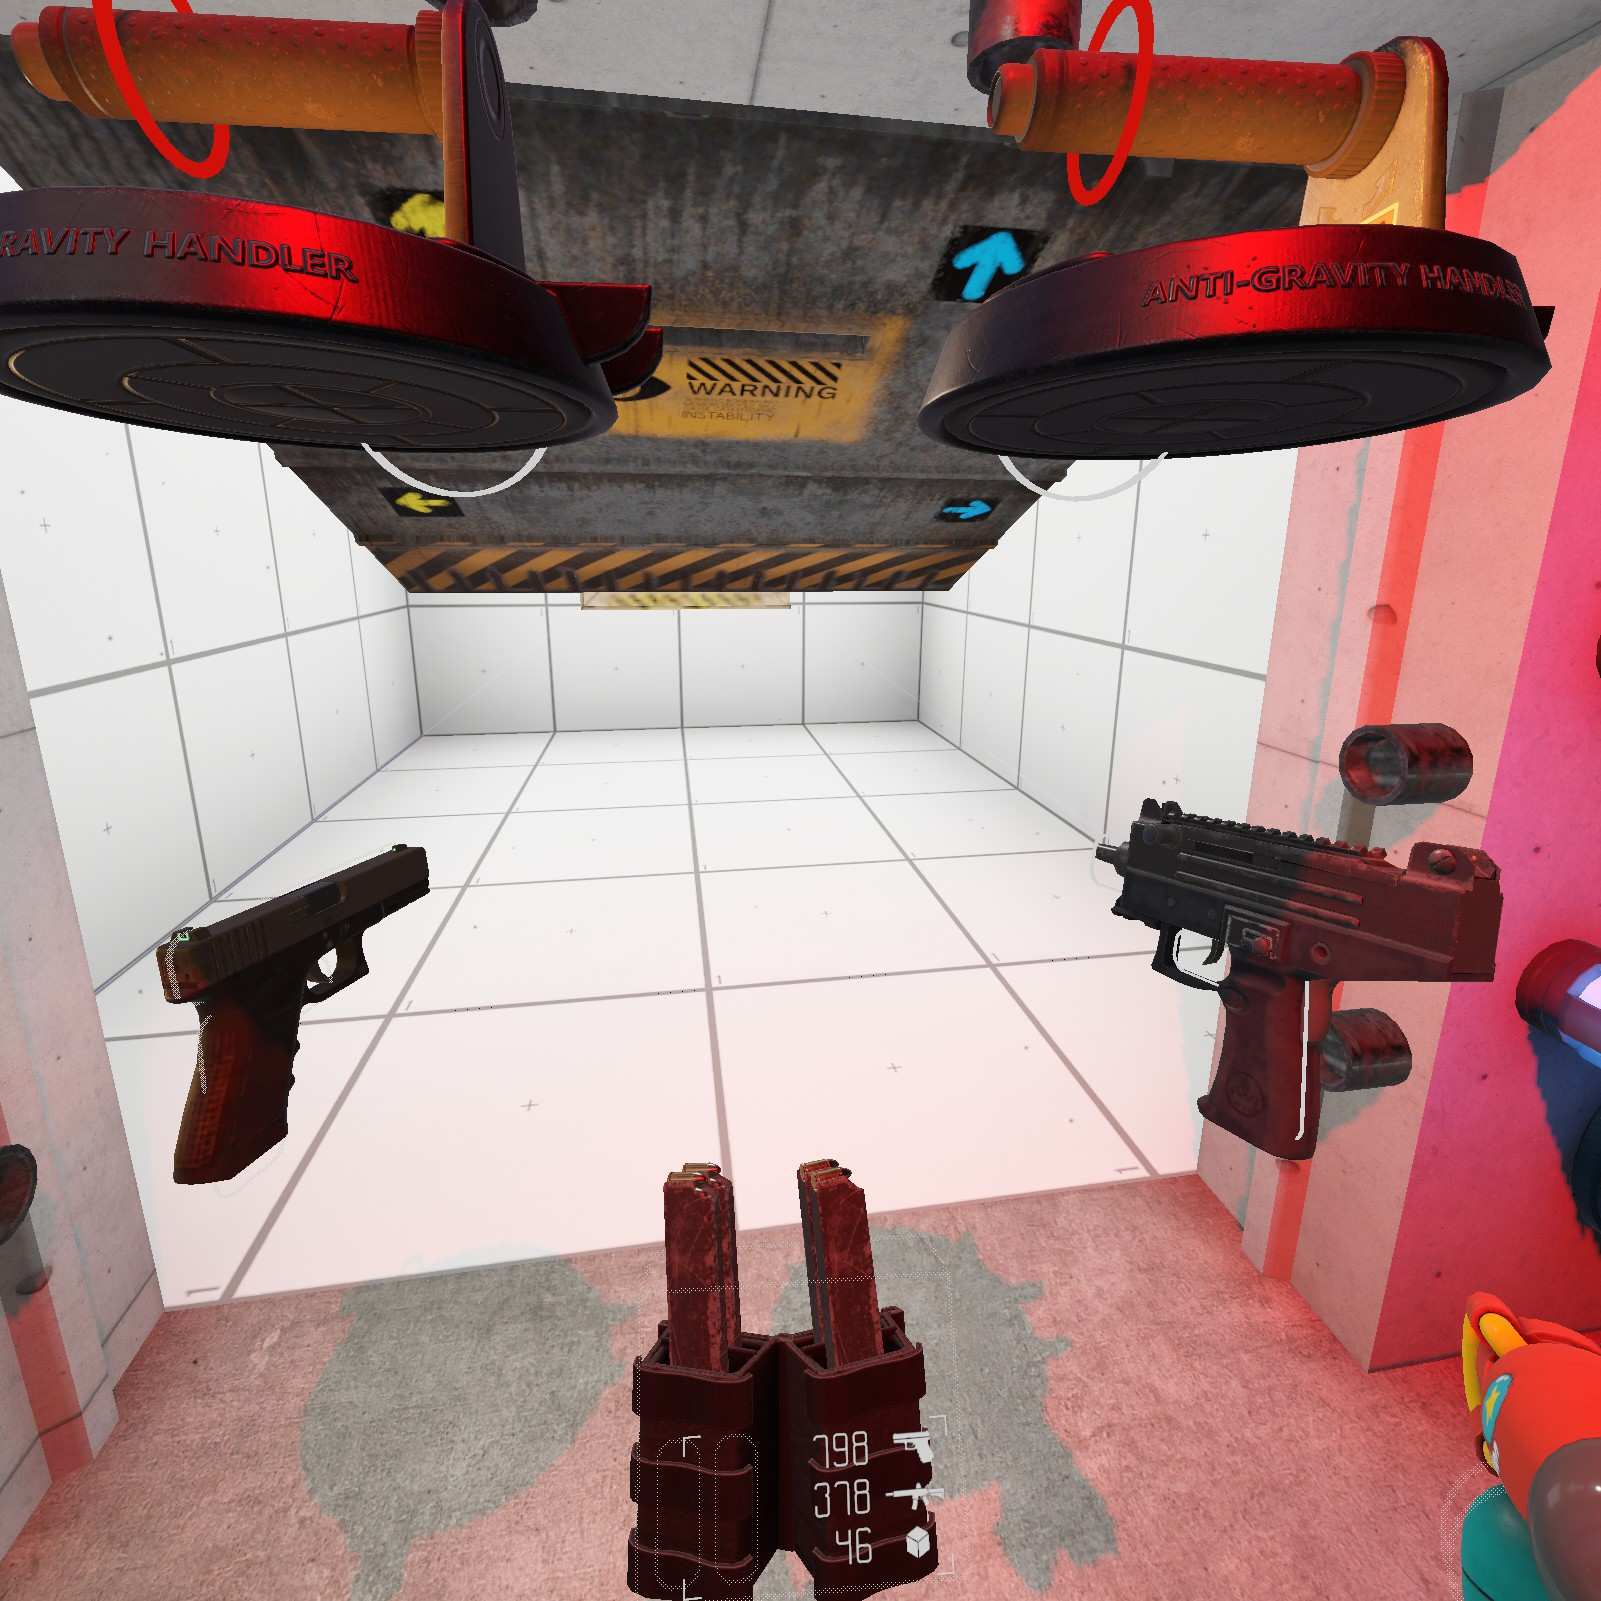
Board Gun:
If you see a gravity well, be sure to look in the corner for a… Board Gun? This early in the campaign? What were they thinking?
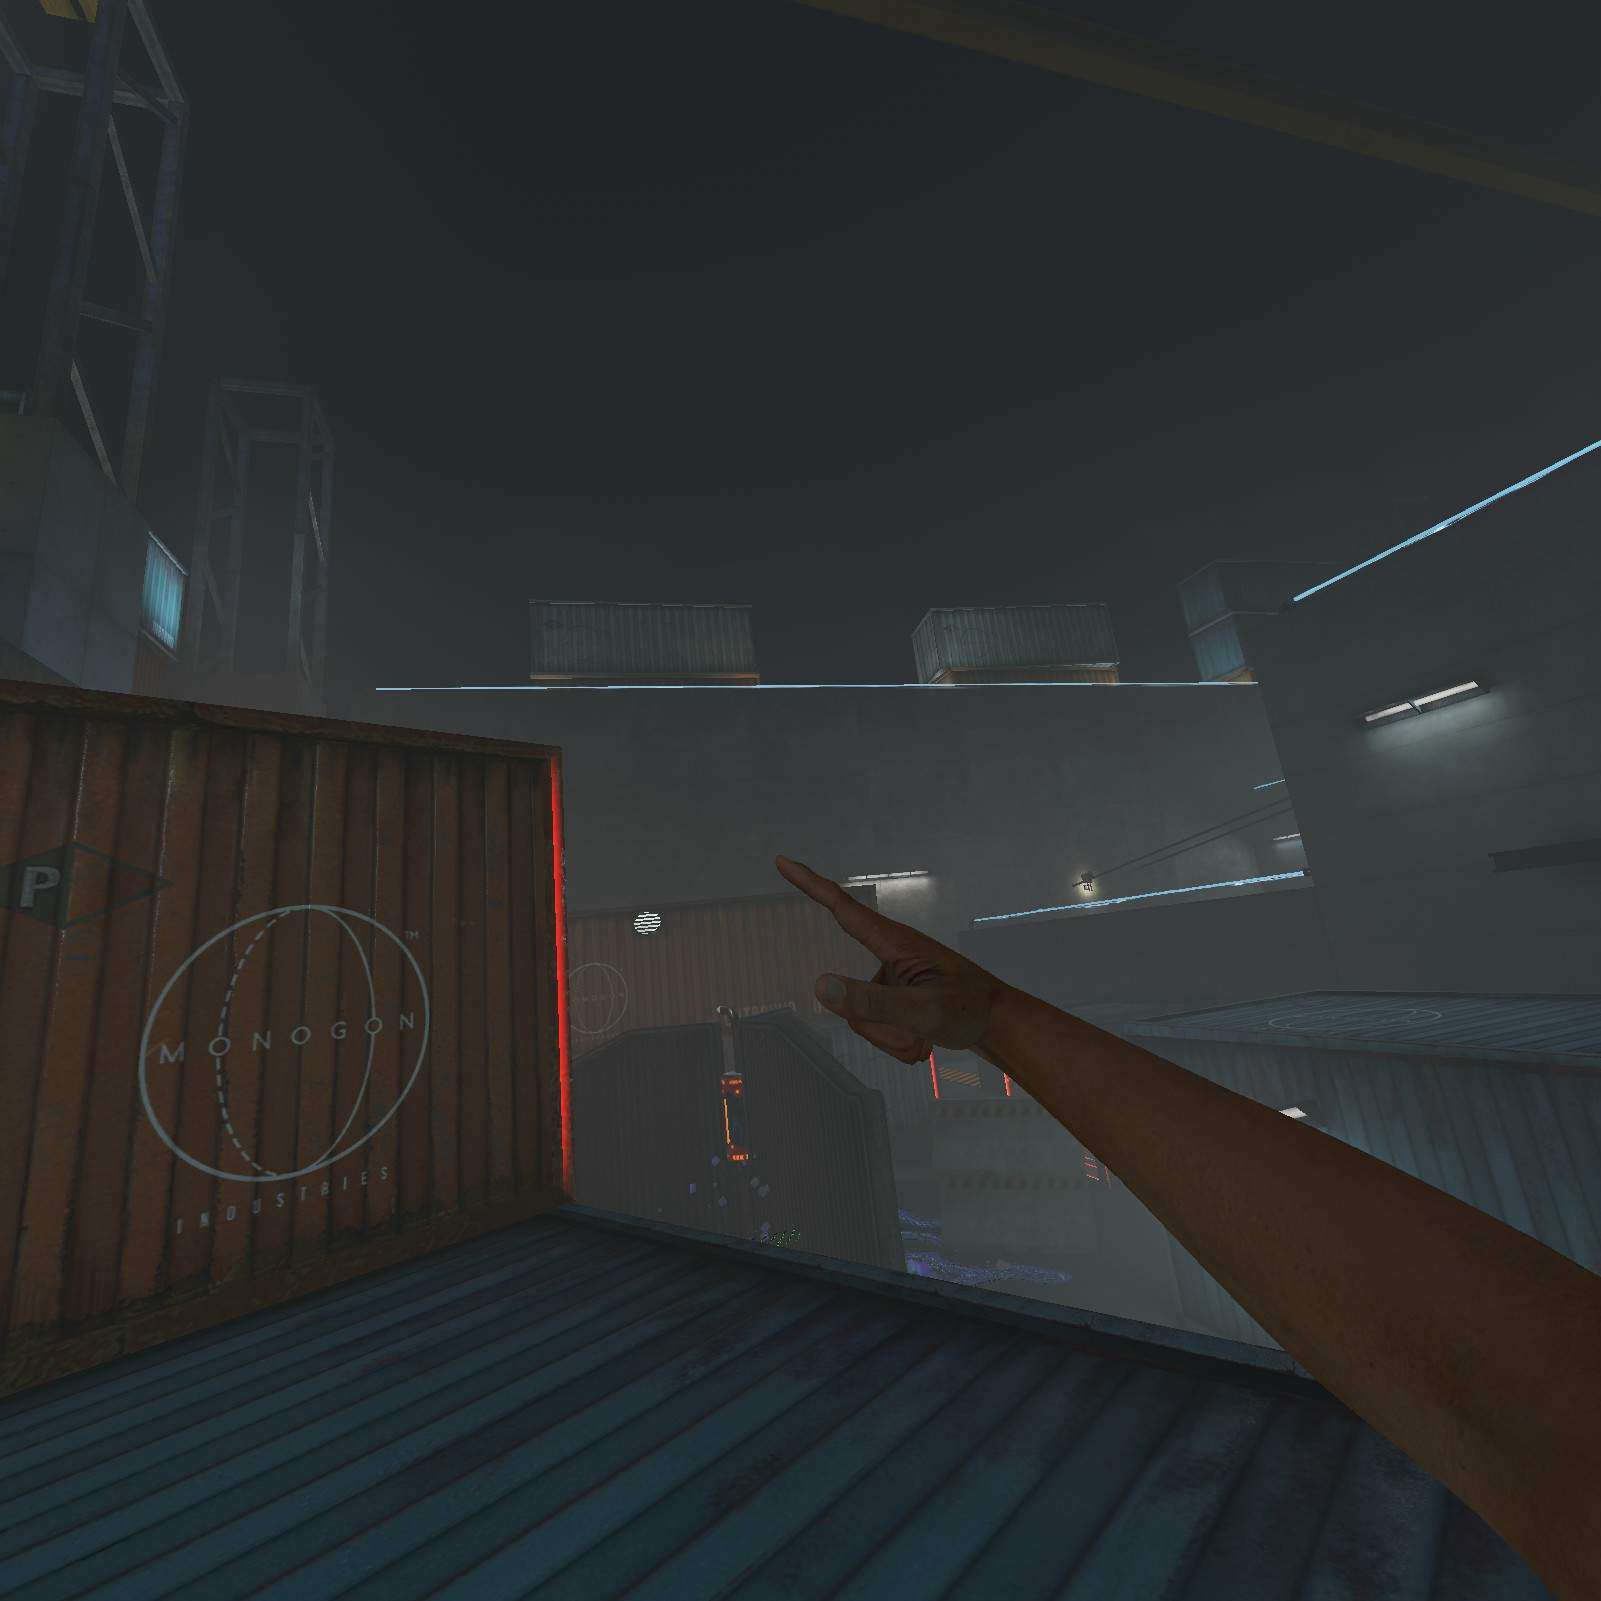
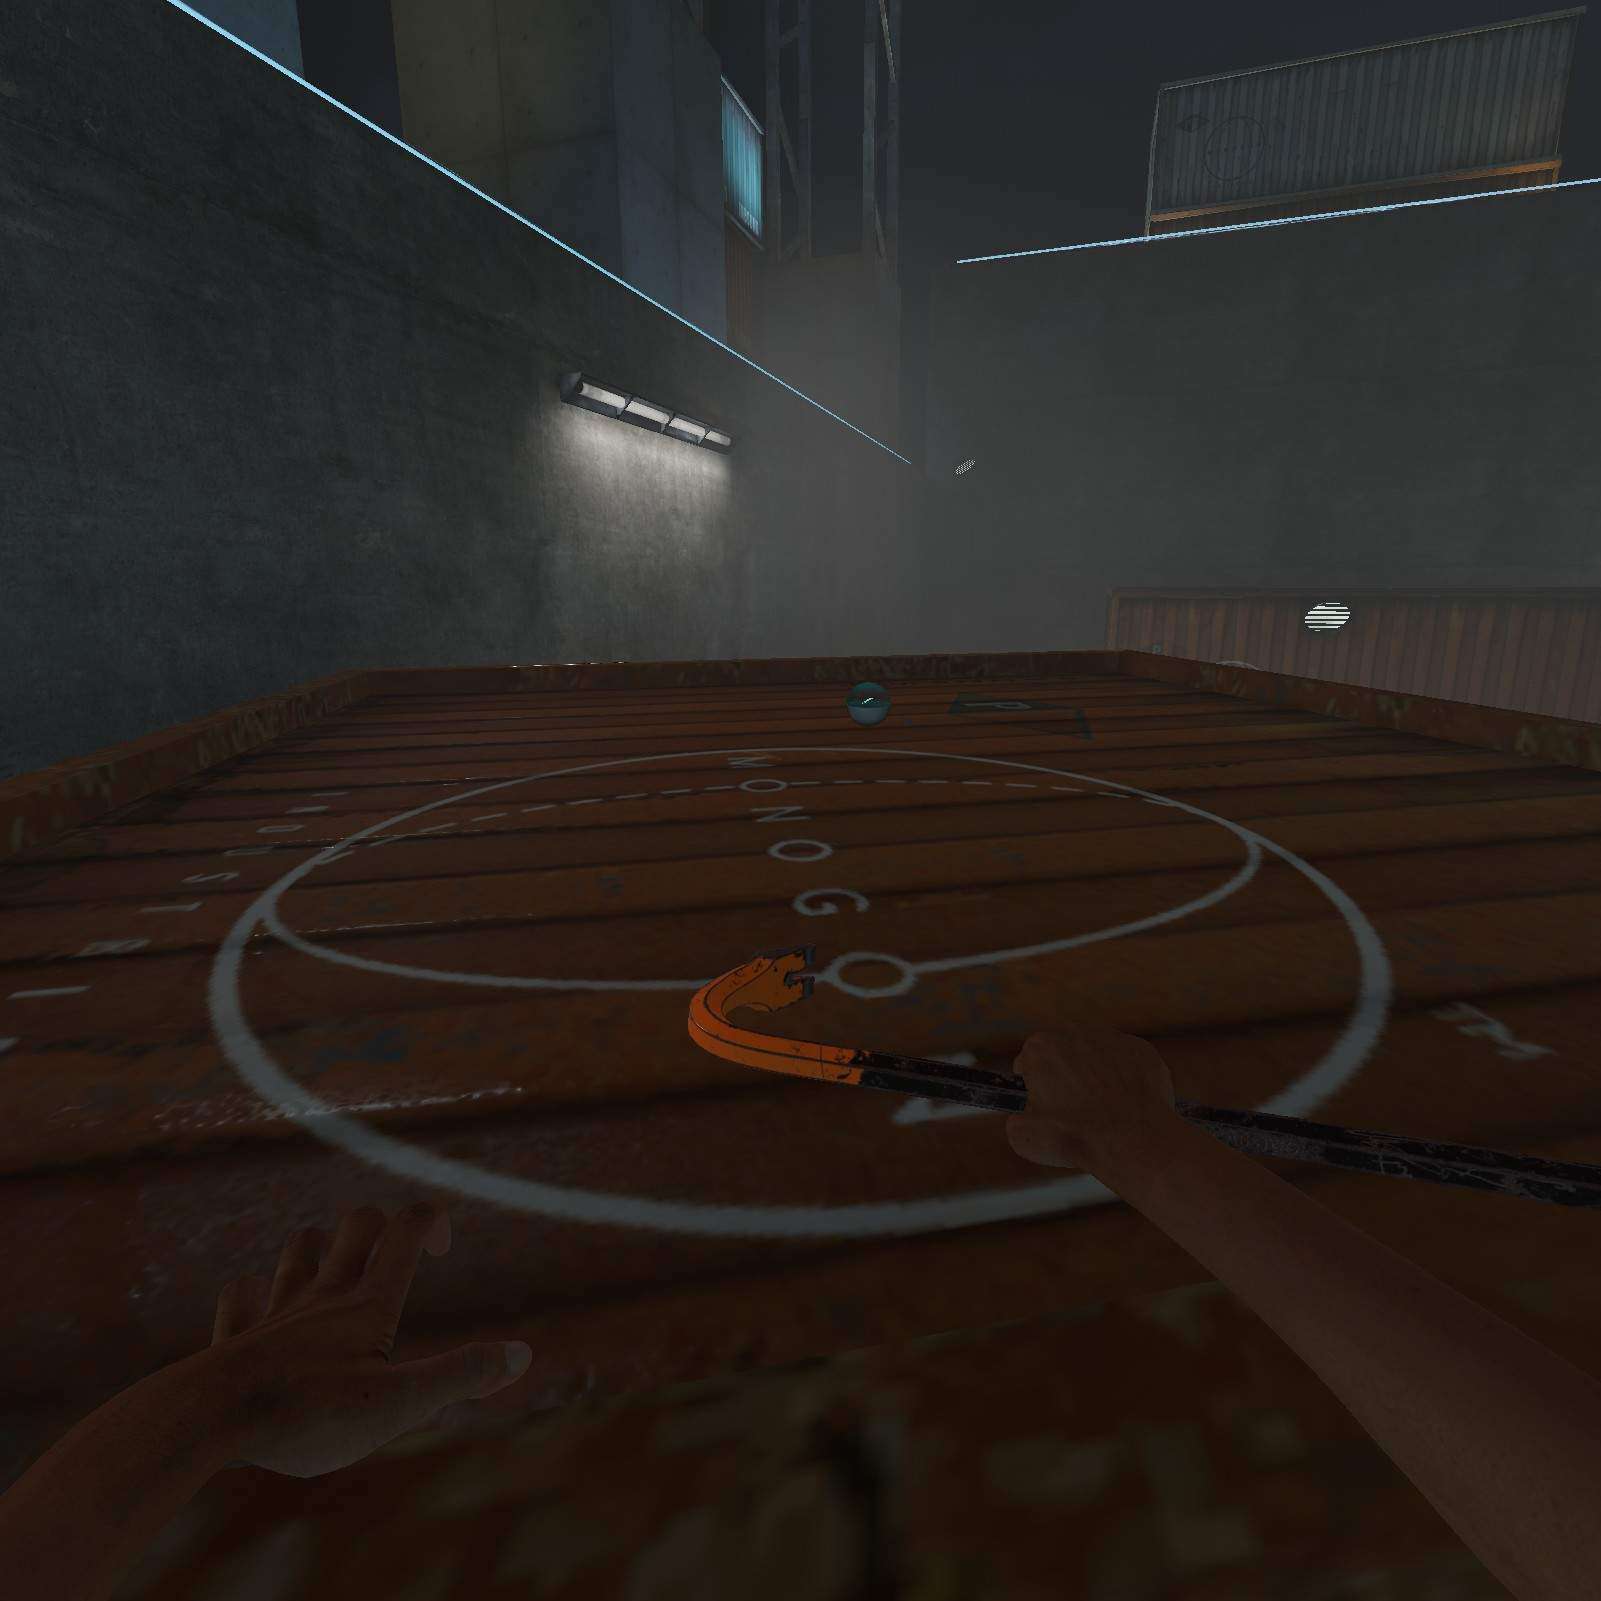
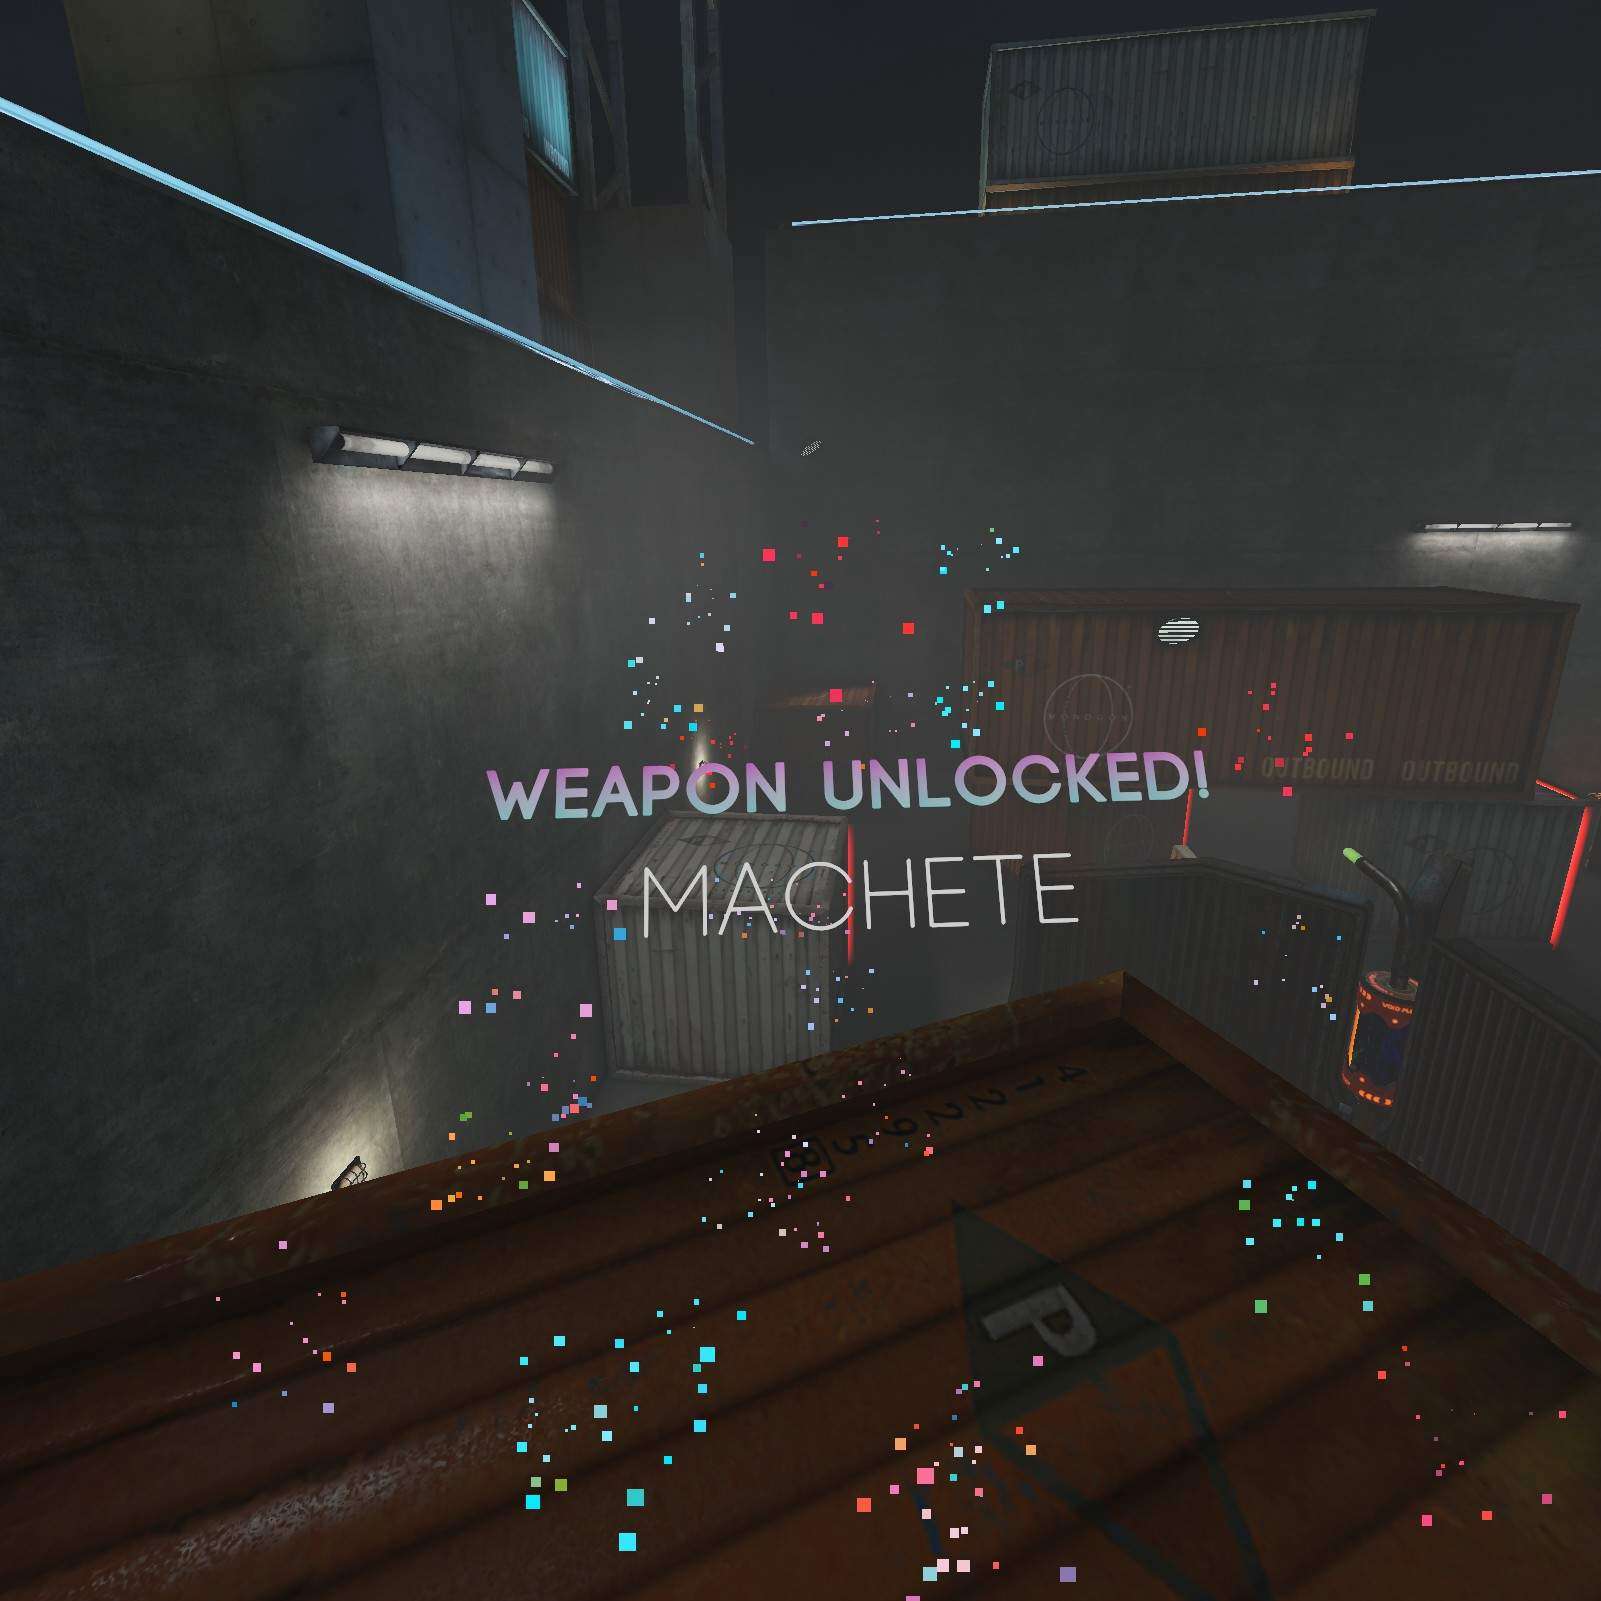
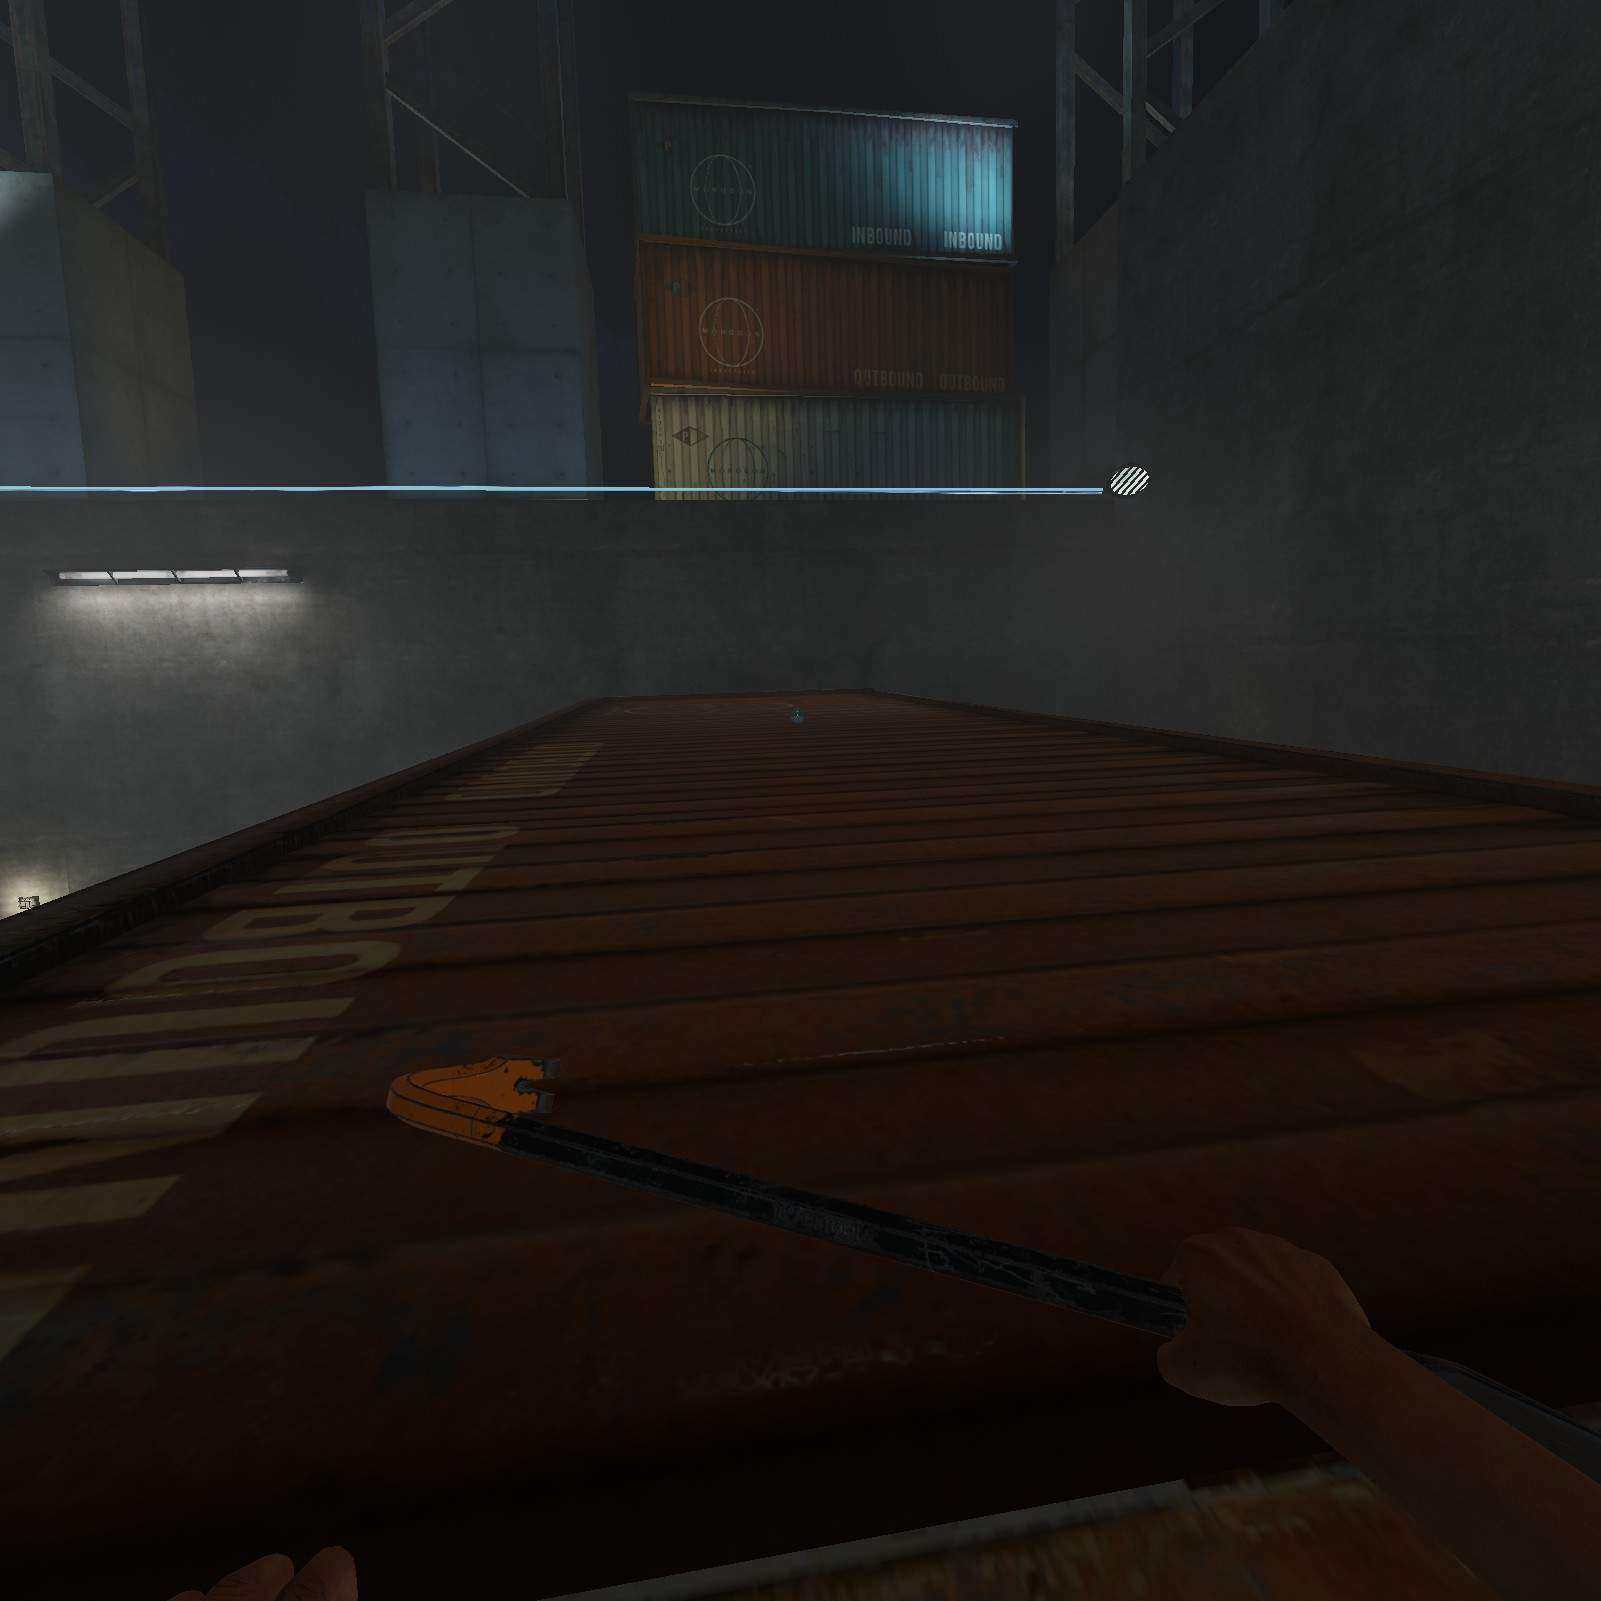
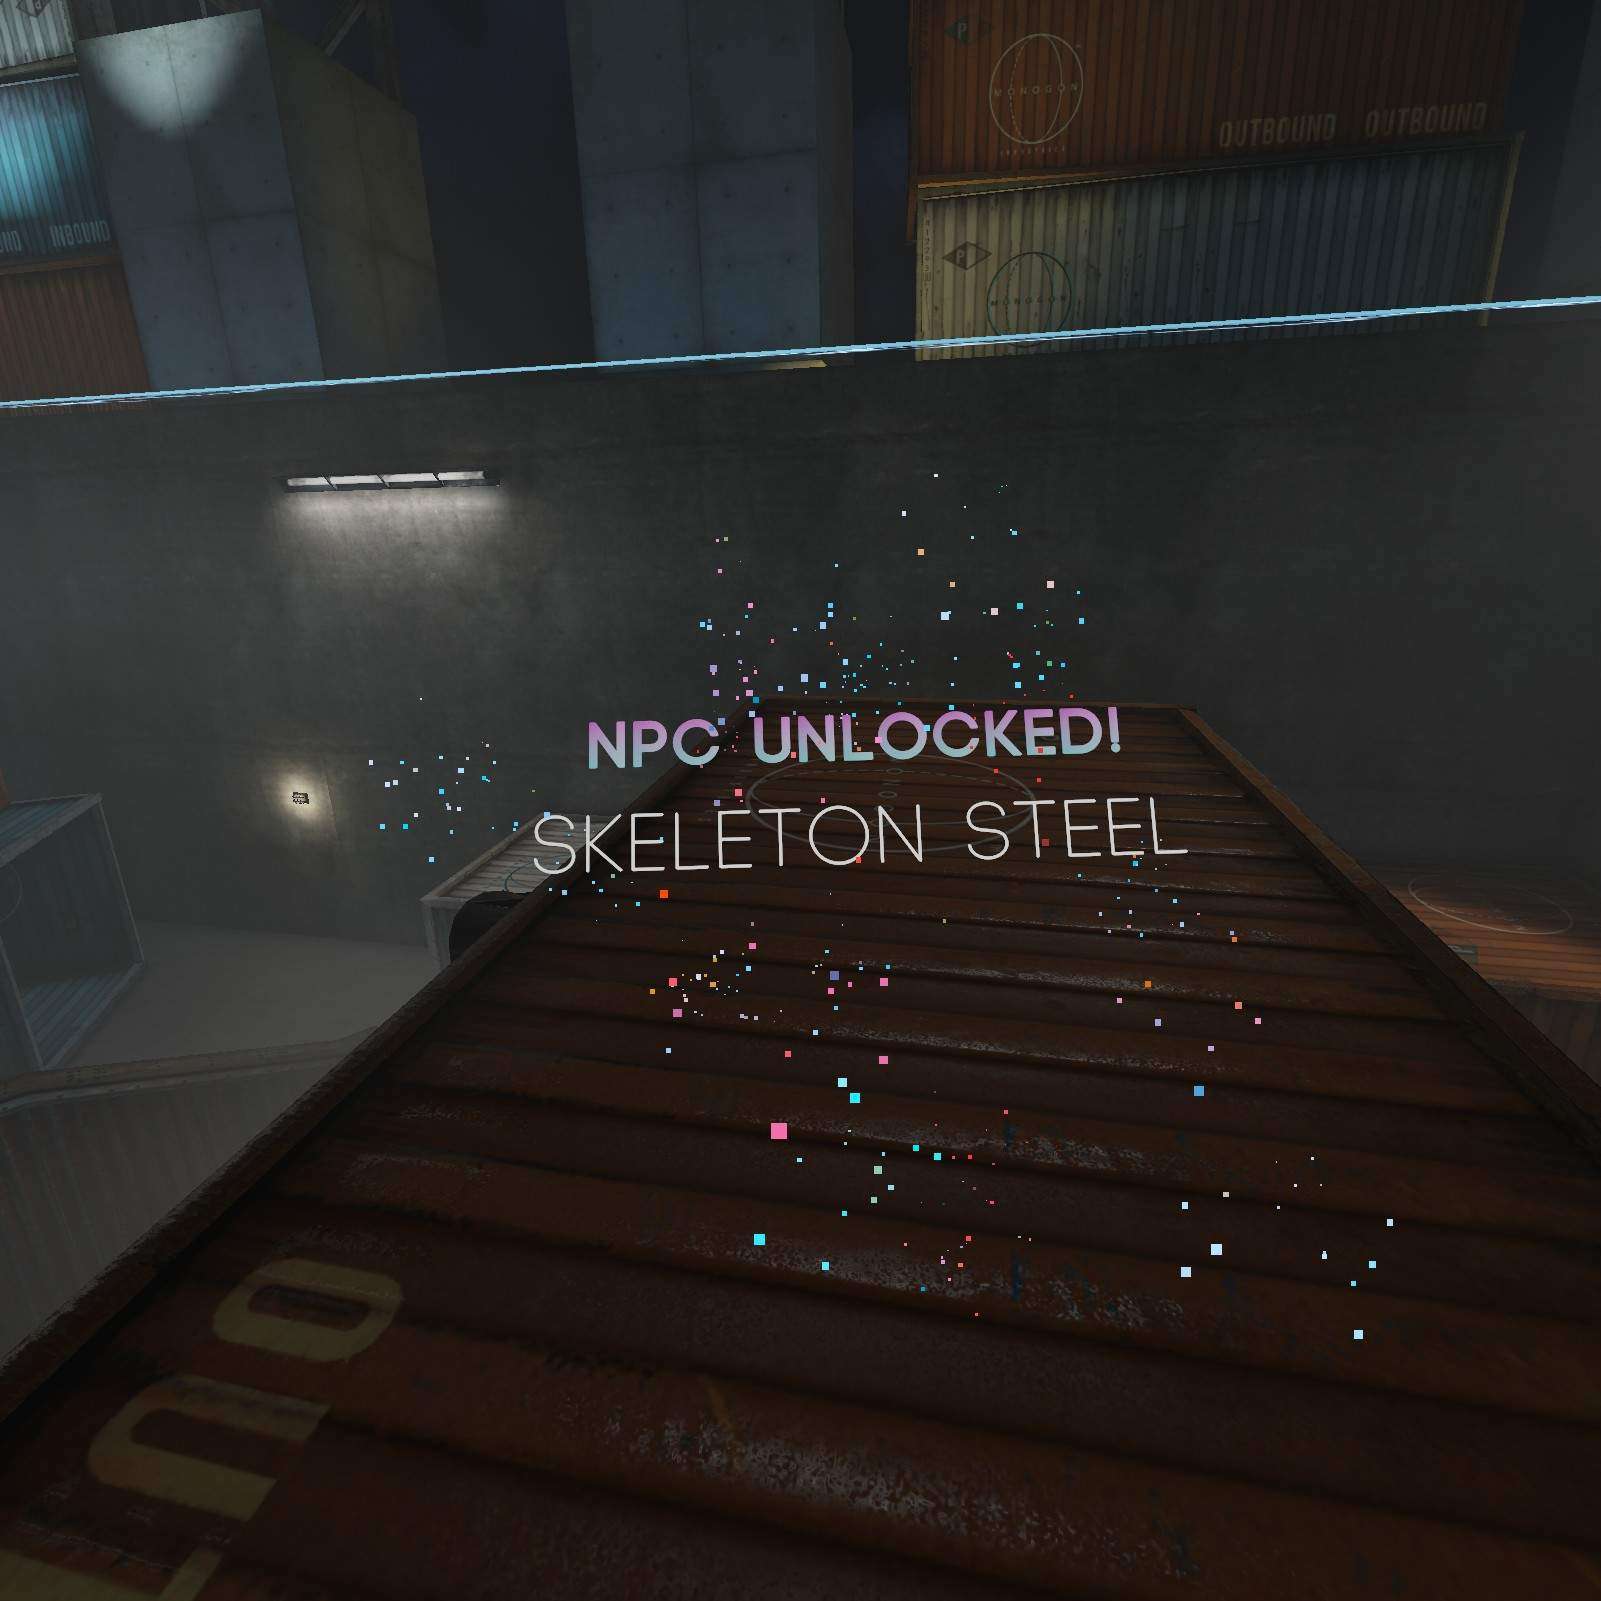
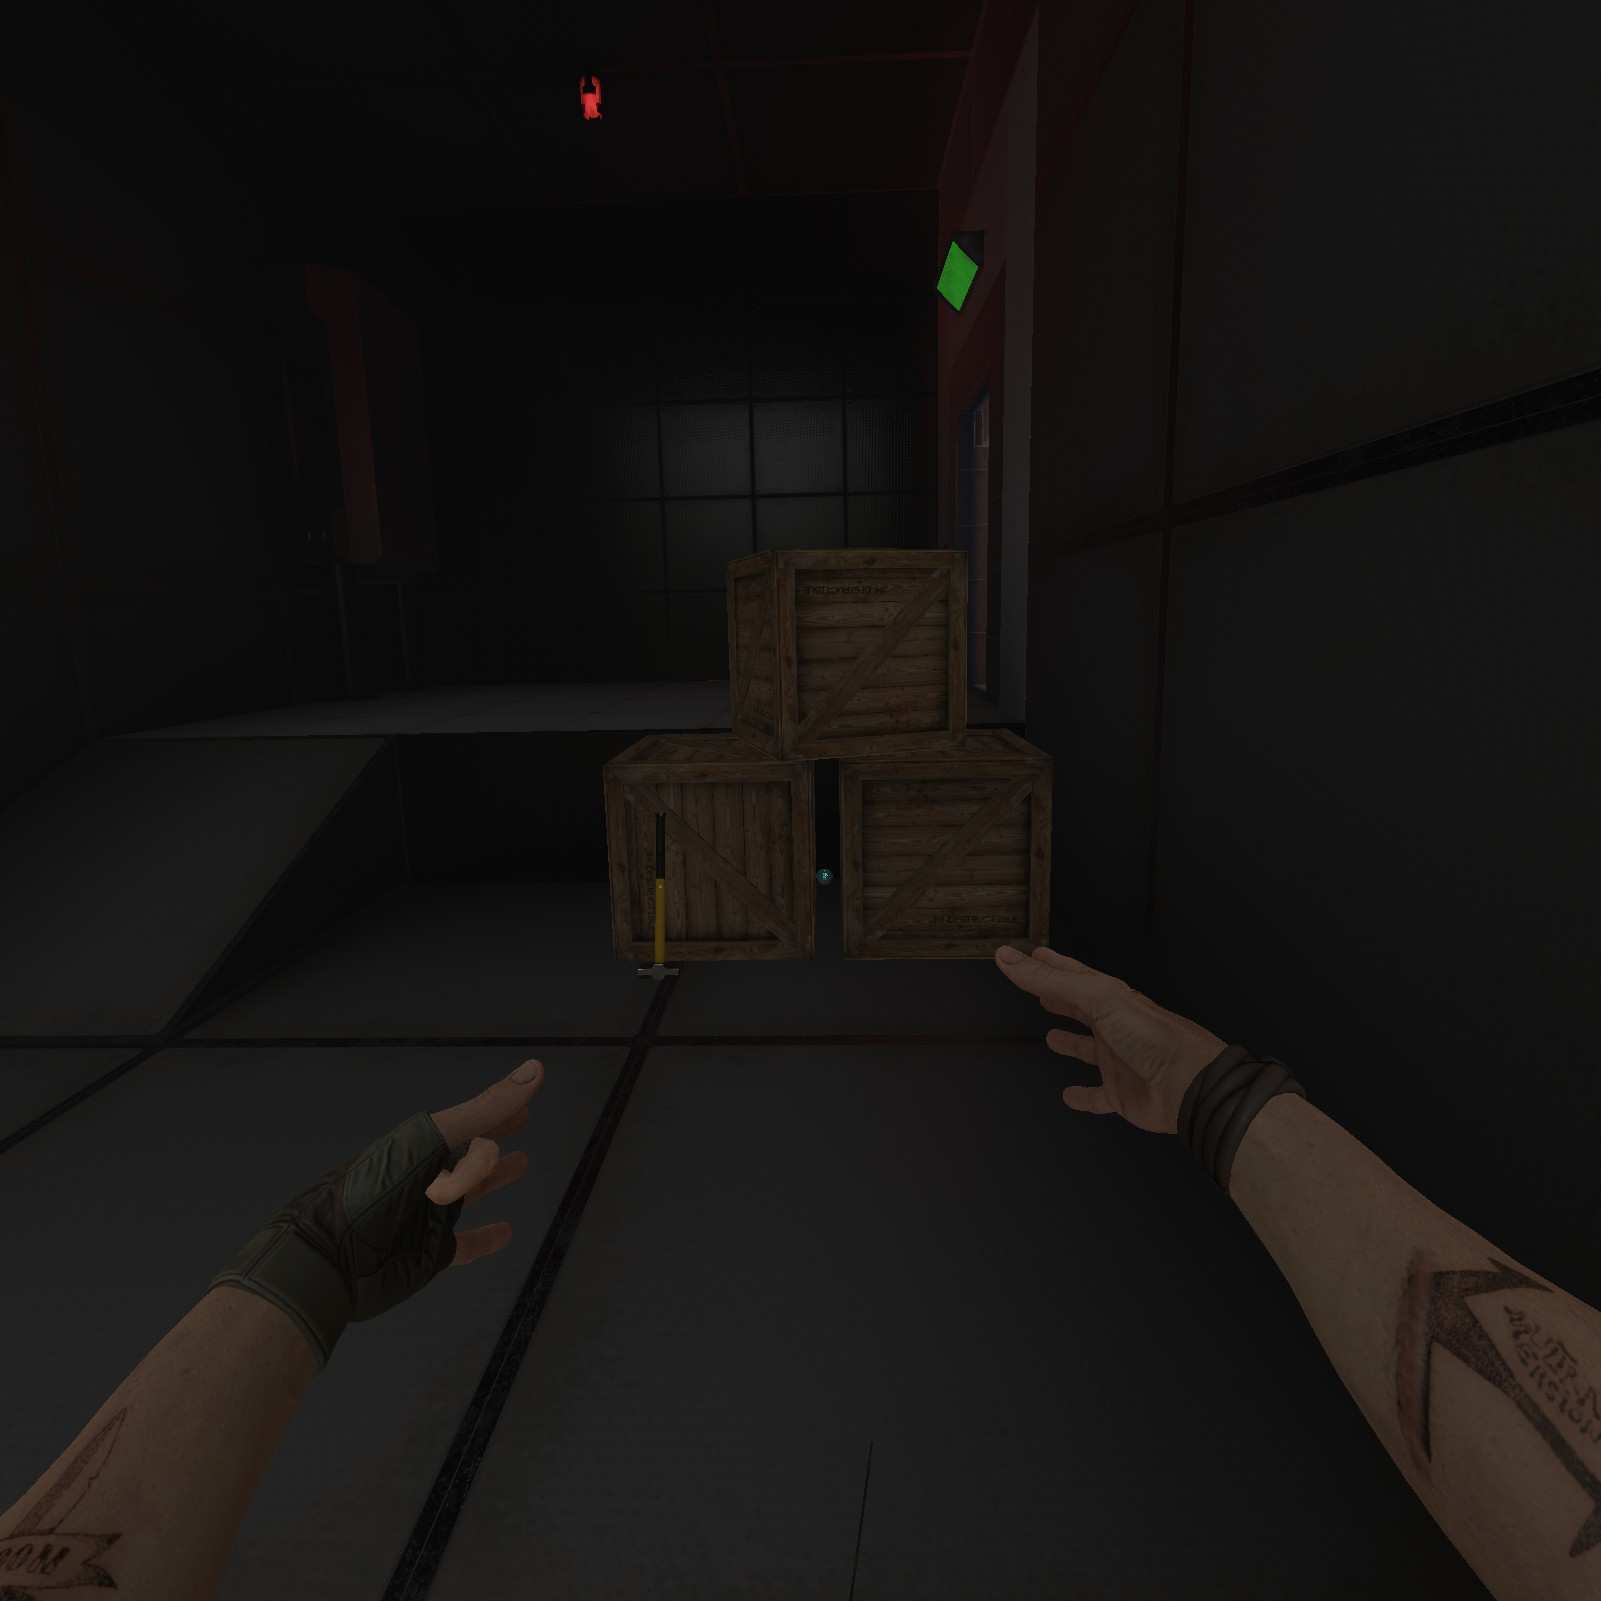
Machete:
Here’s another two for one special. Clamering up these two orange shipping crates will net you a Machete and a metal skeleton NPC.

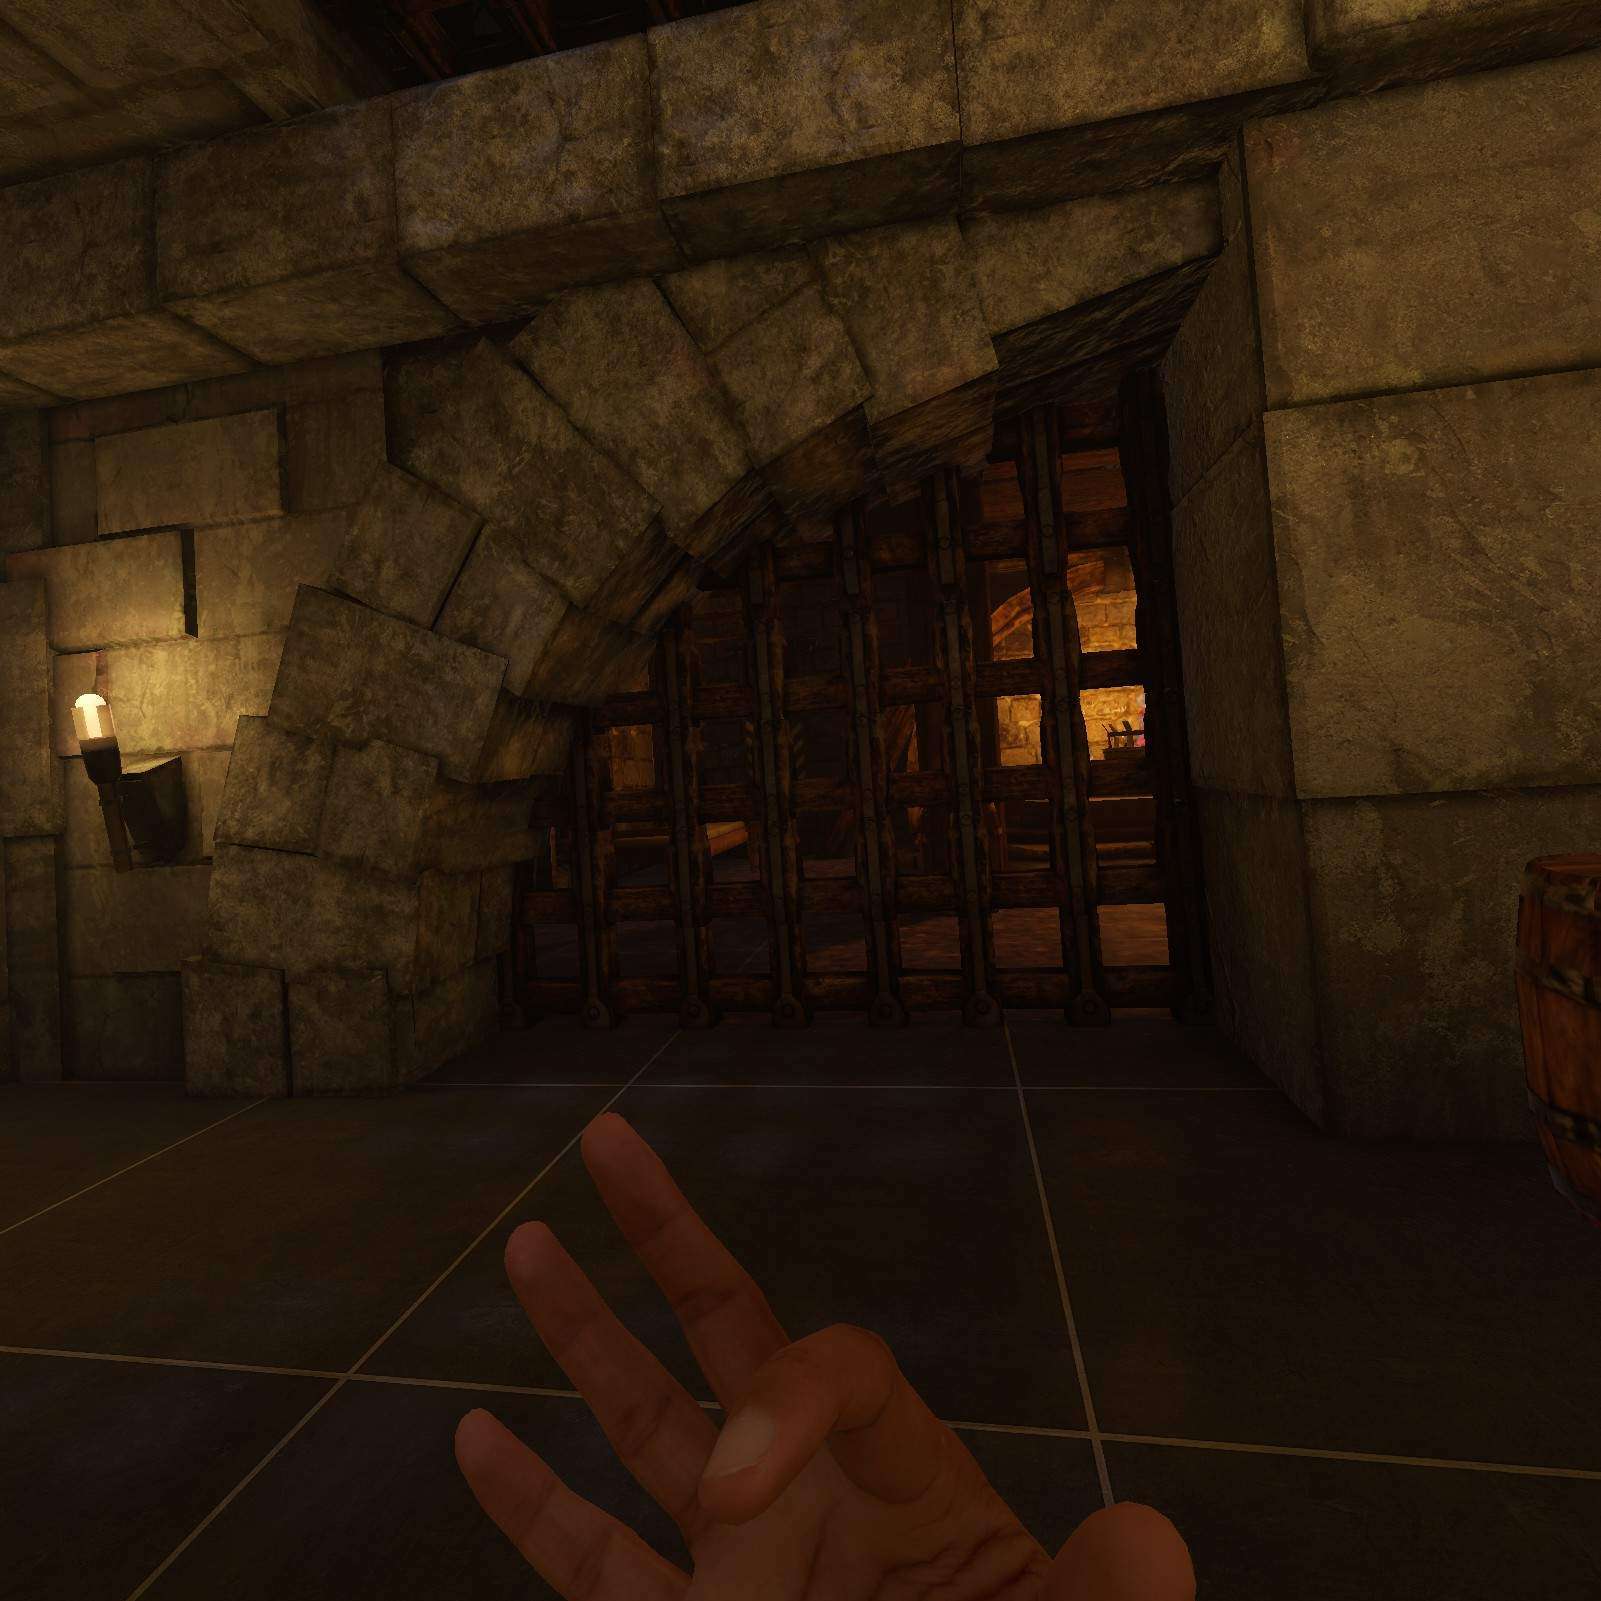
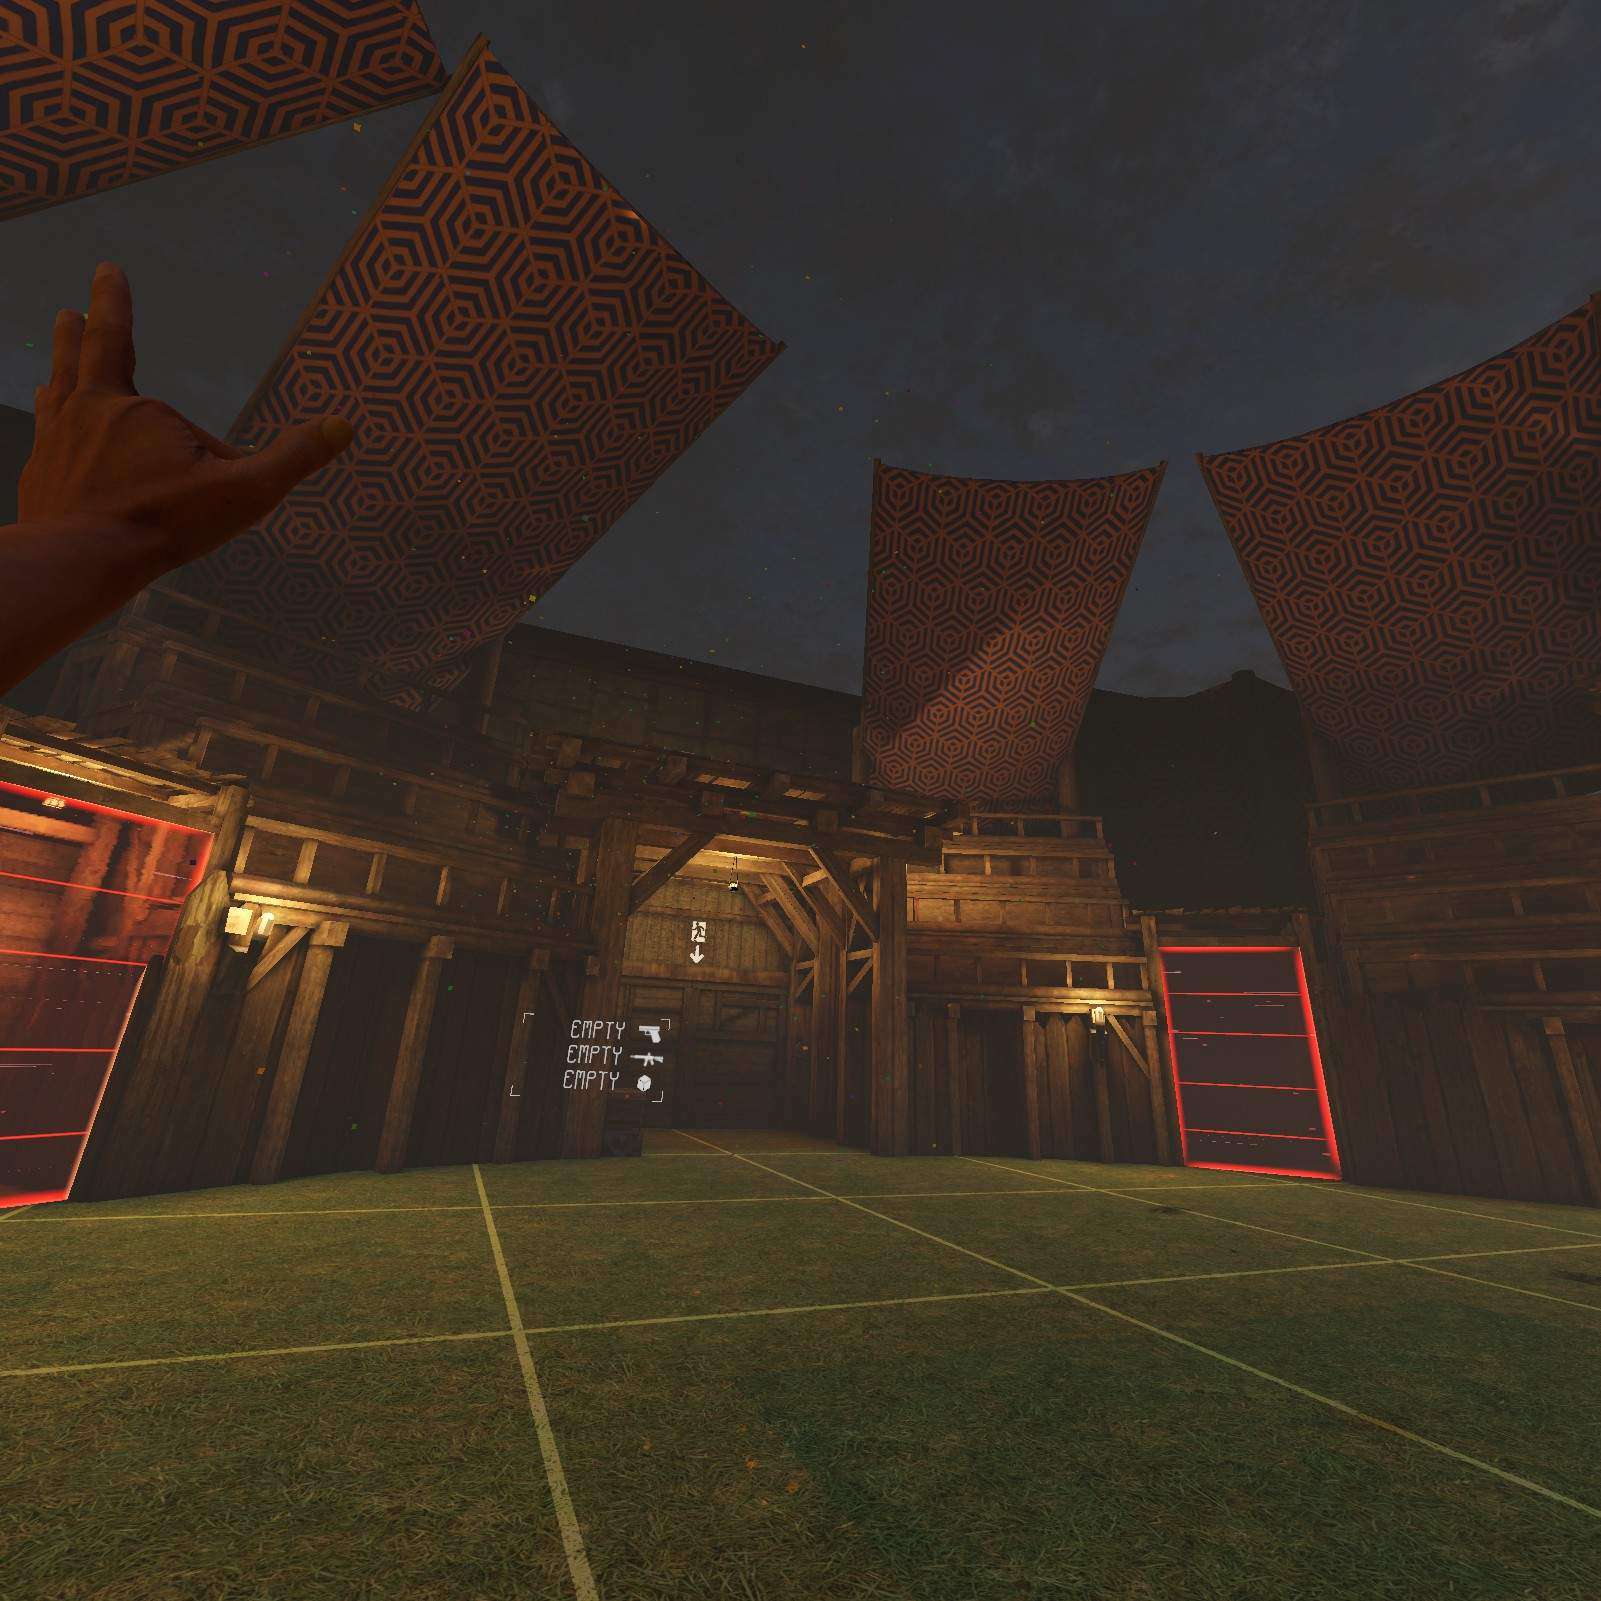
Fantasy Arena
Sword Clamor:
Entering the arena… No actually don’t, because there’s a sword clamor hiding behind this gate. Froce grab it before picking a challenge.
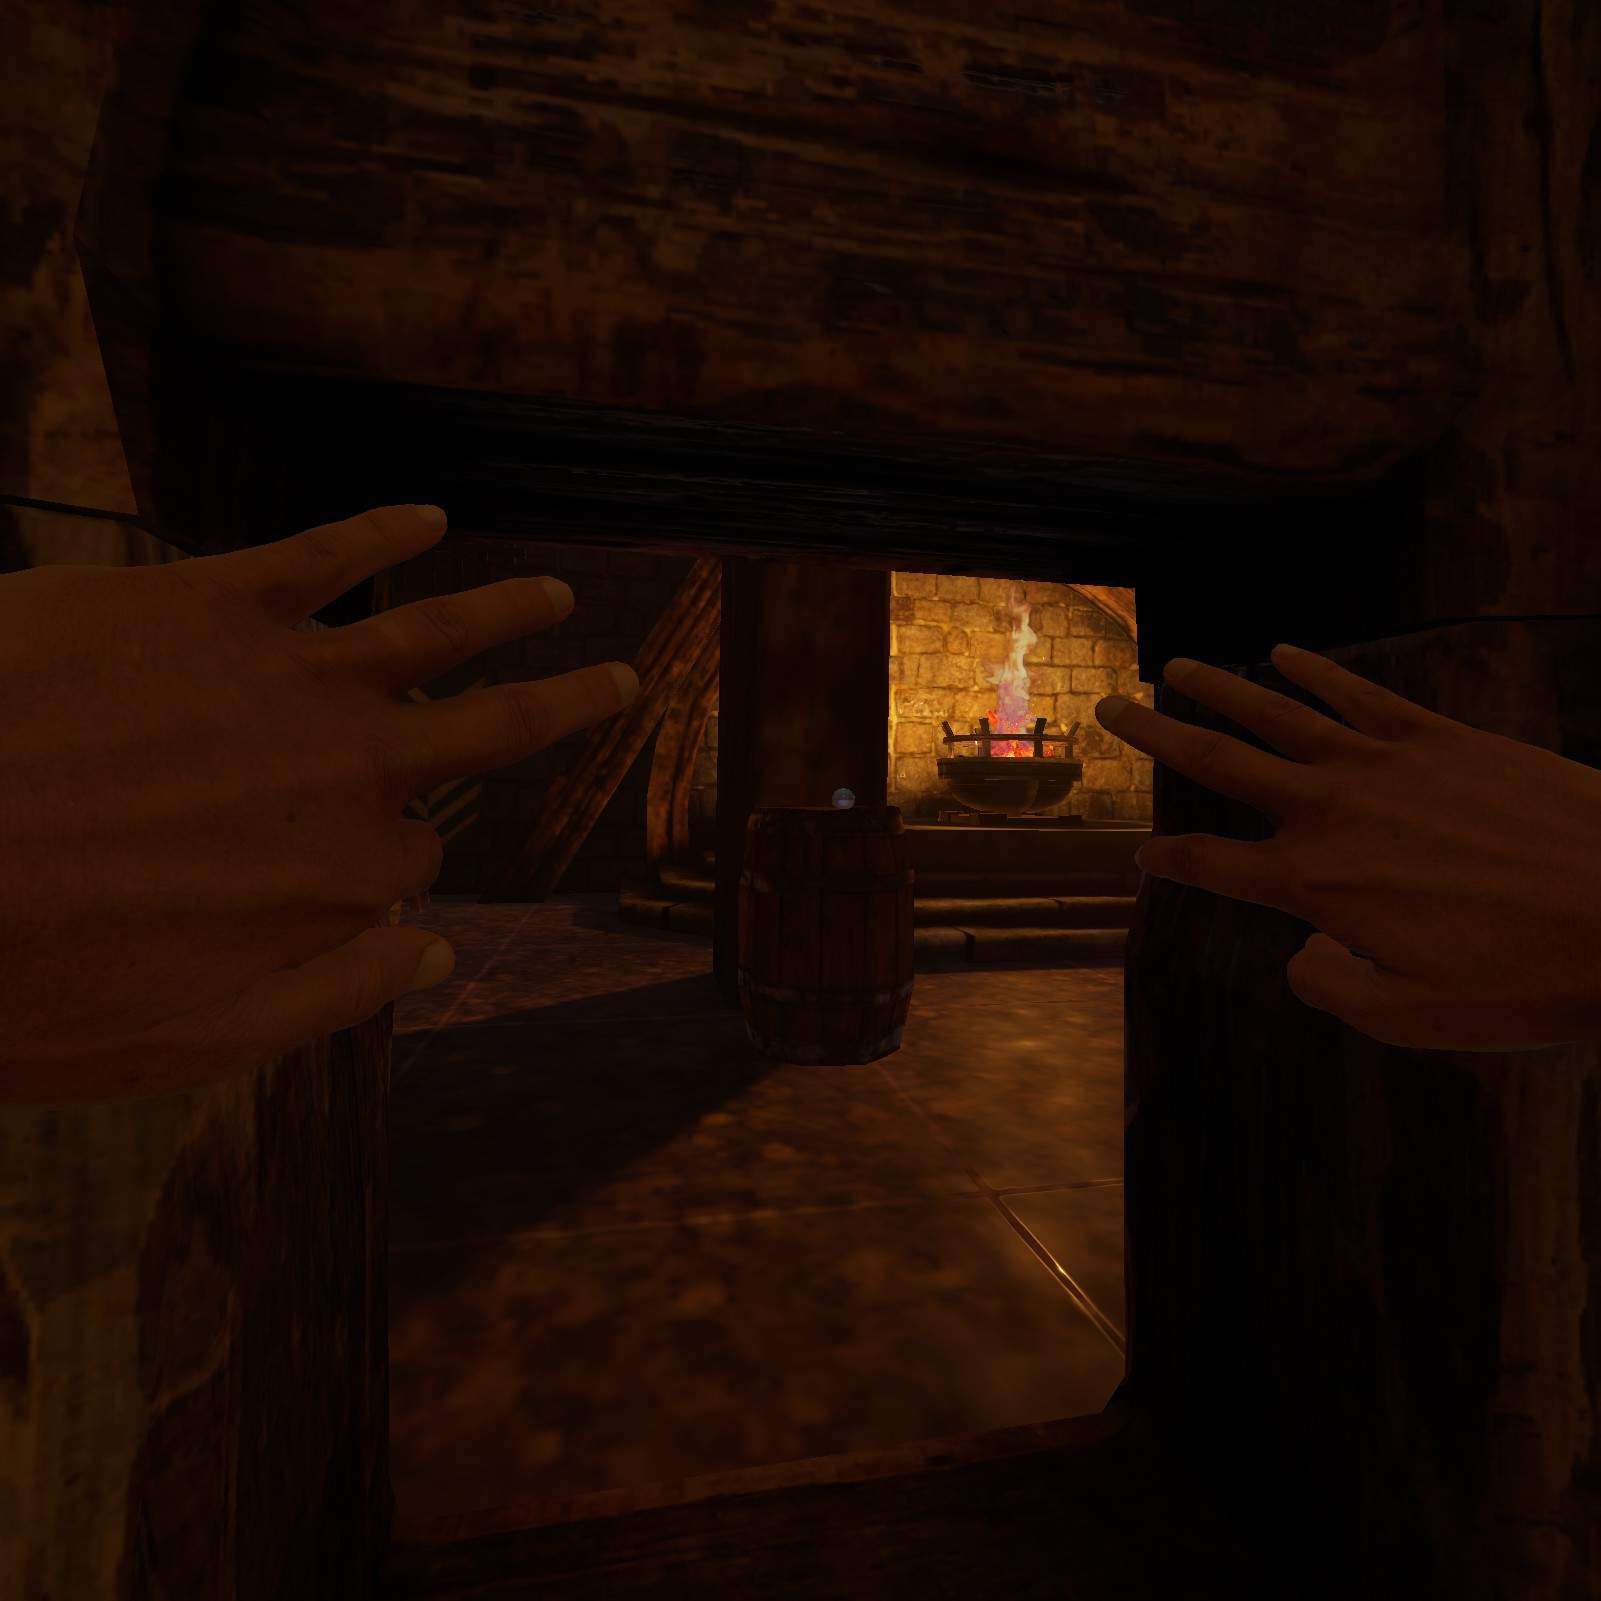

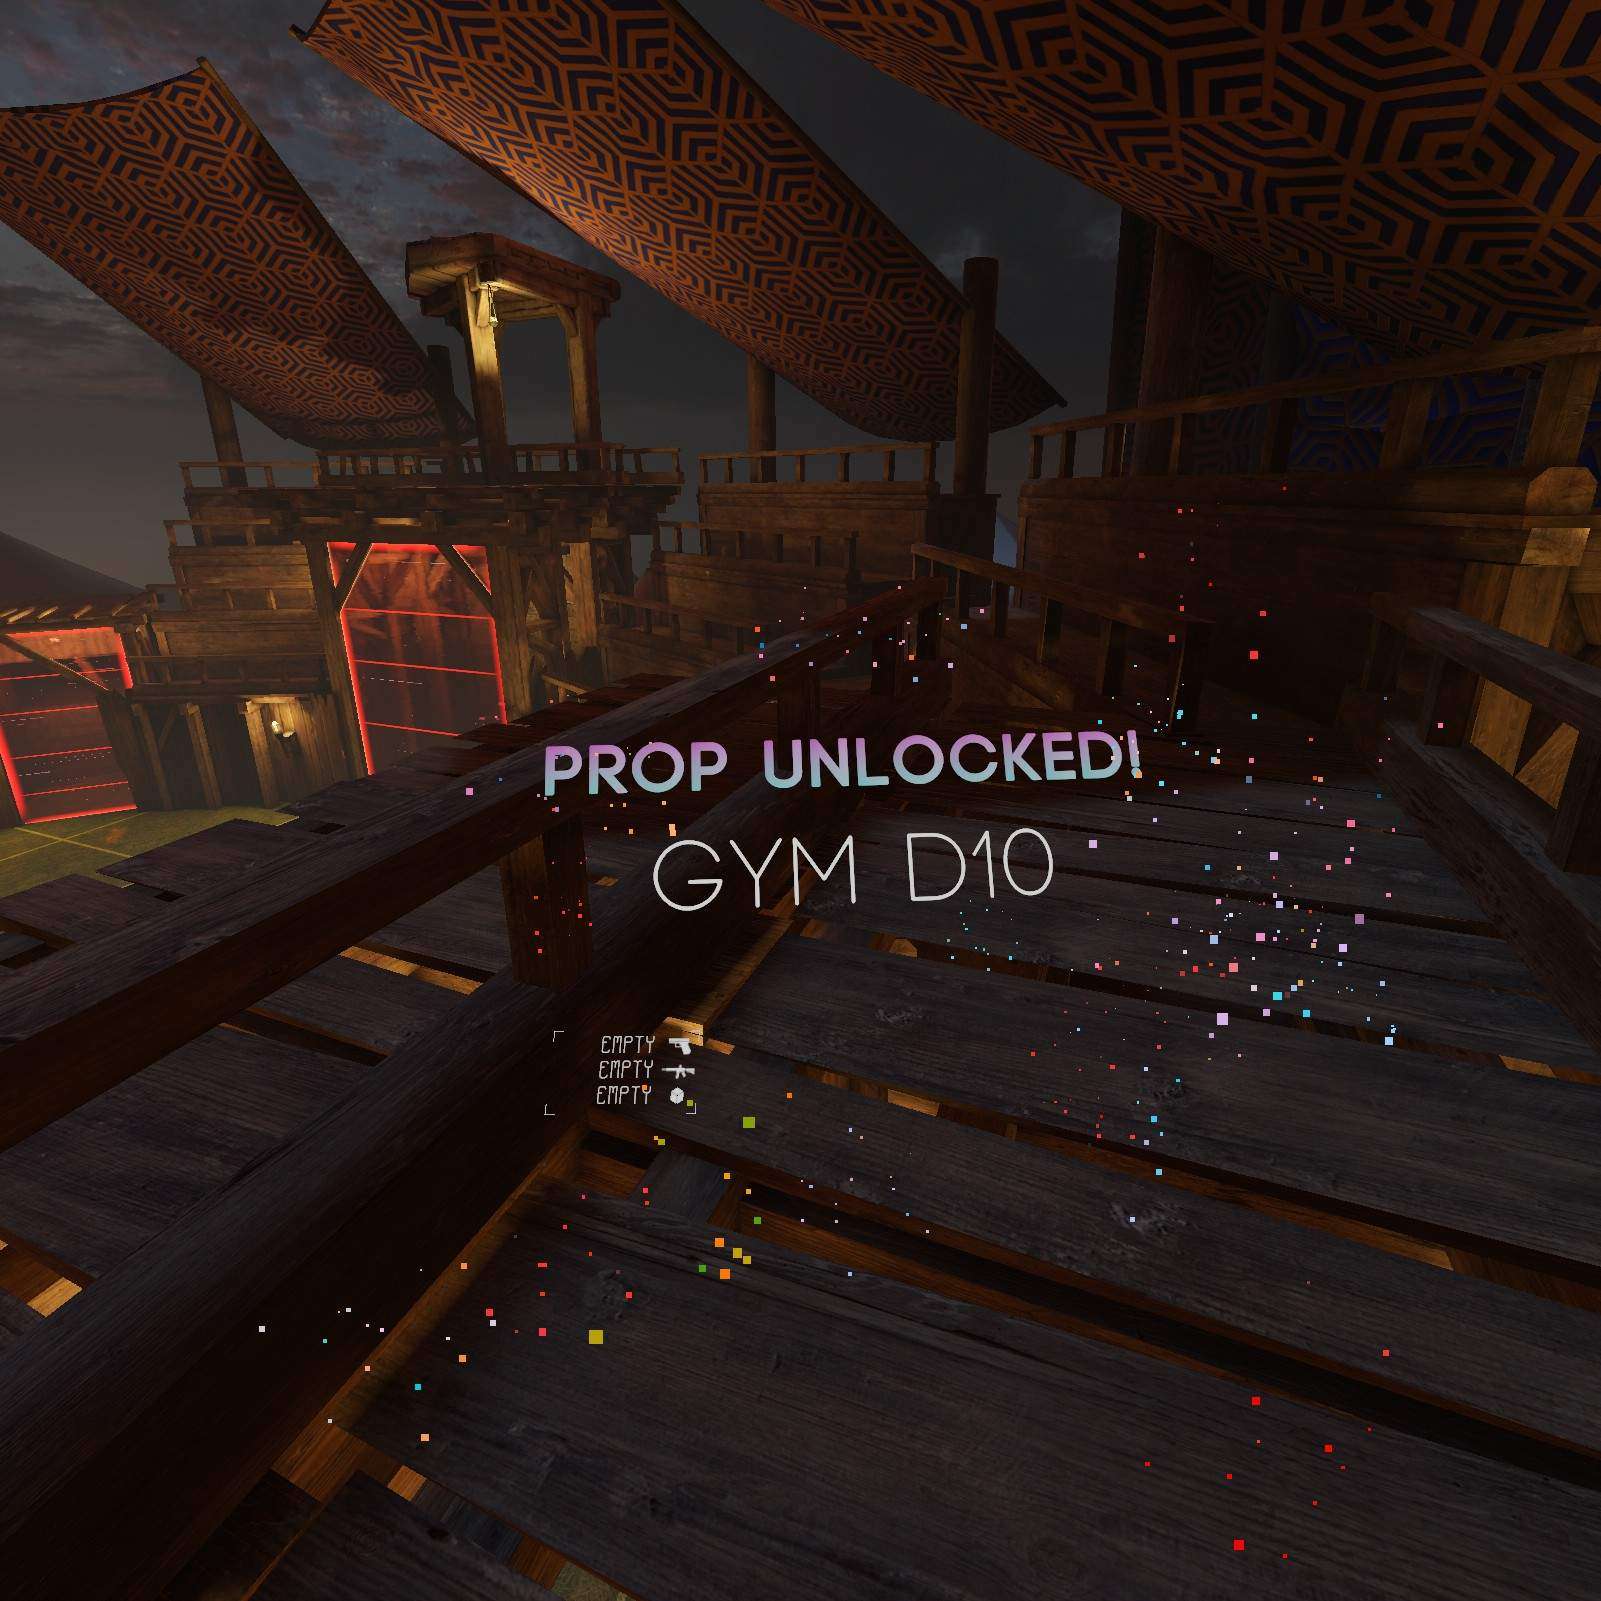
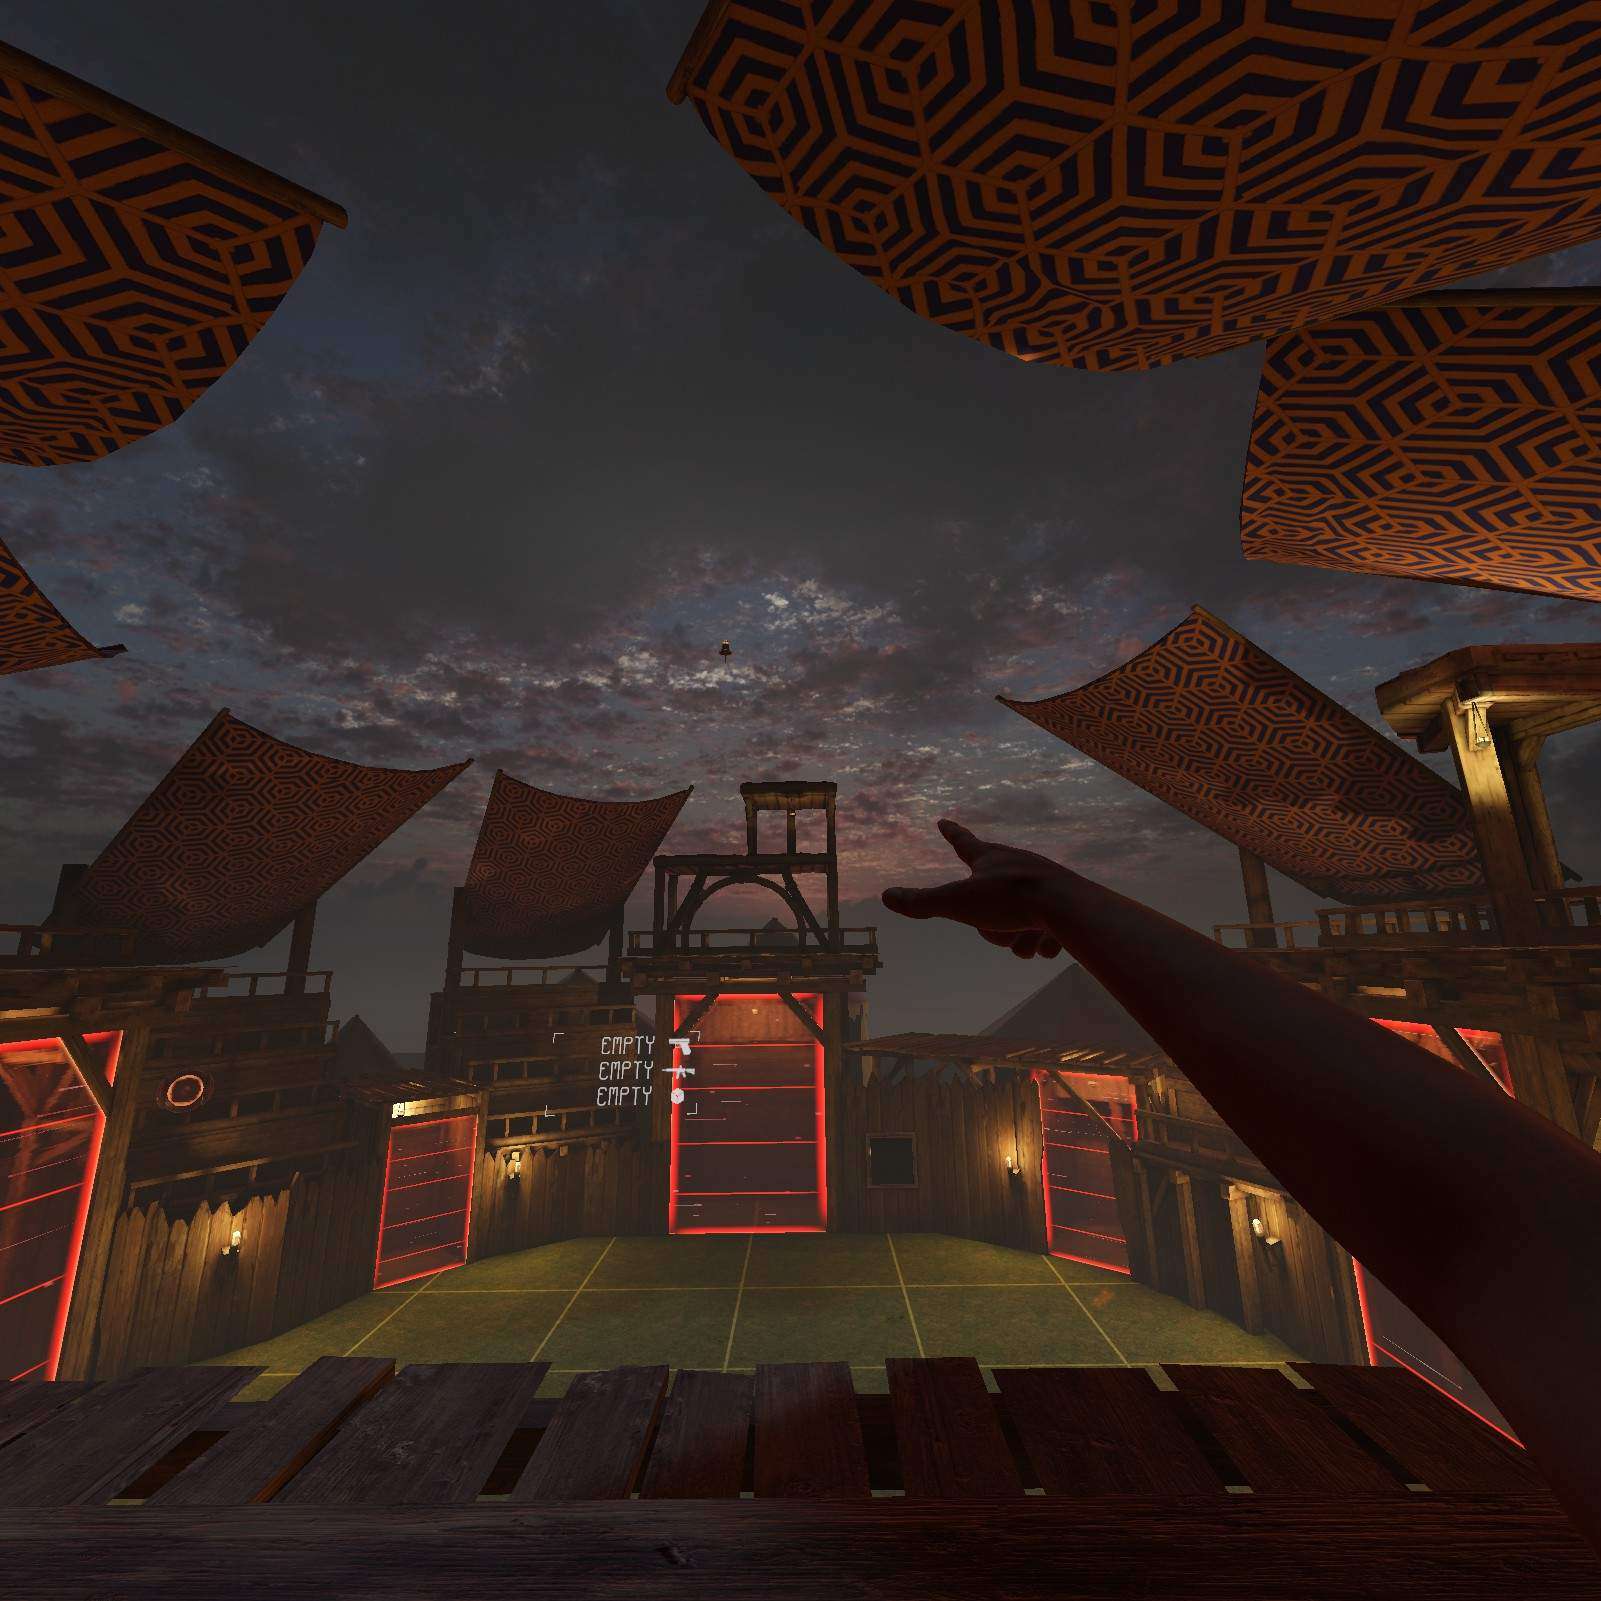
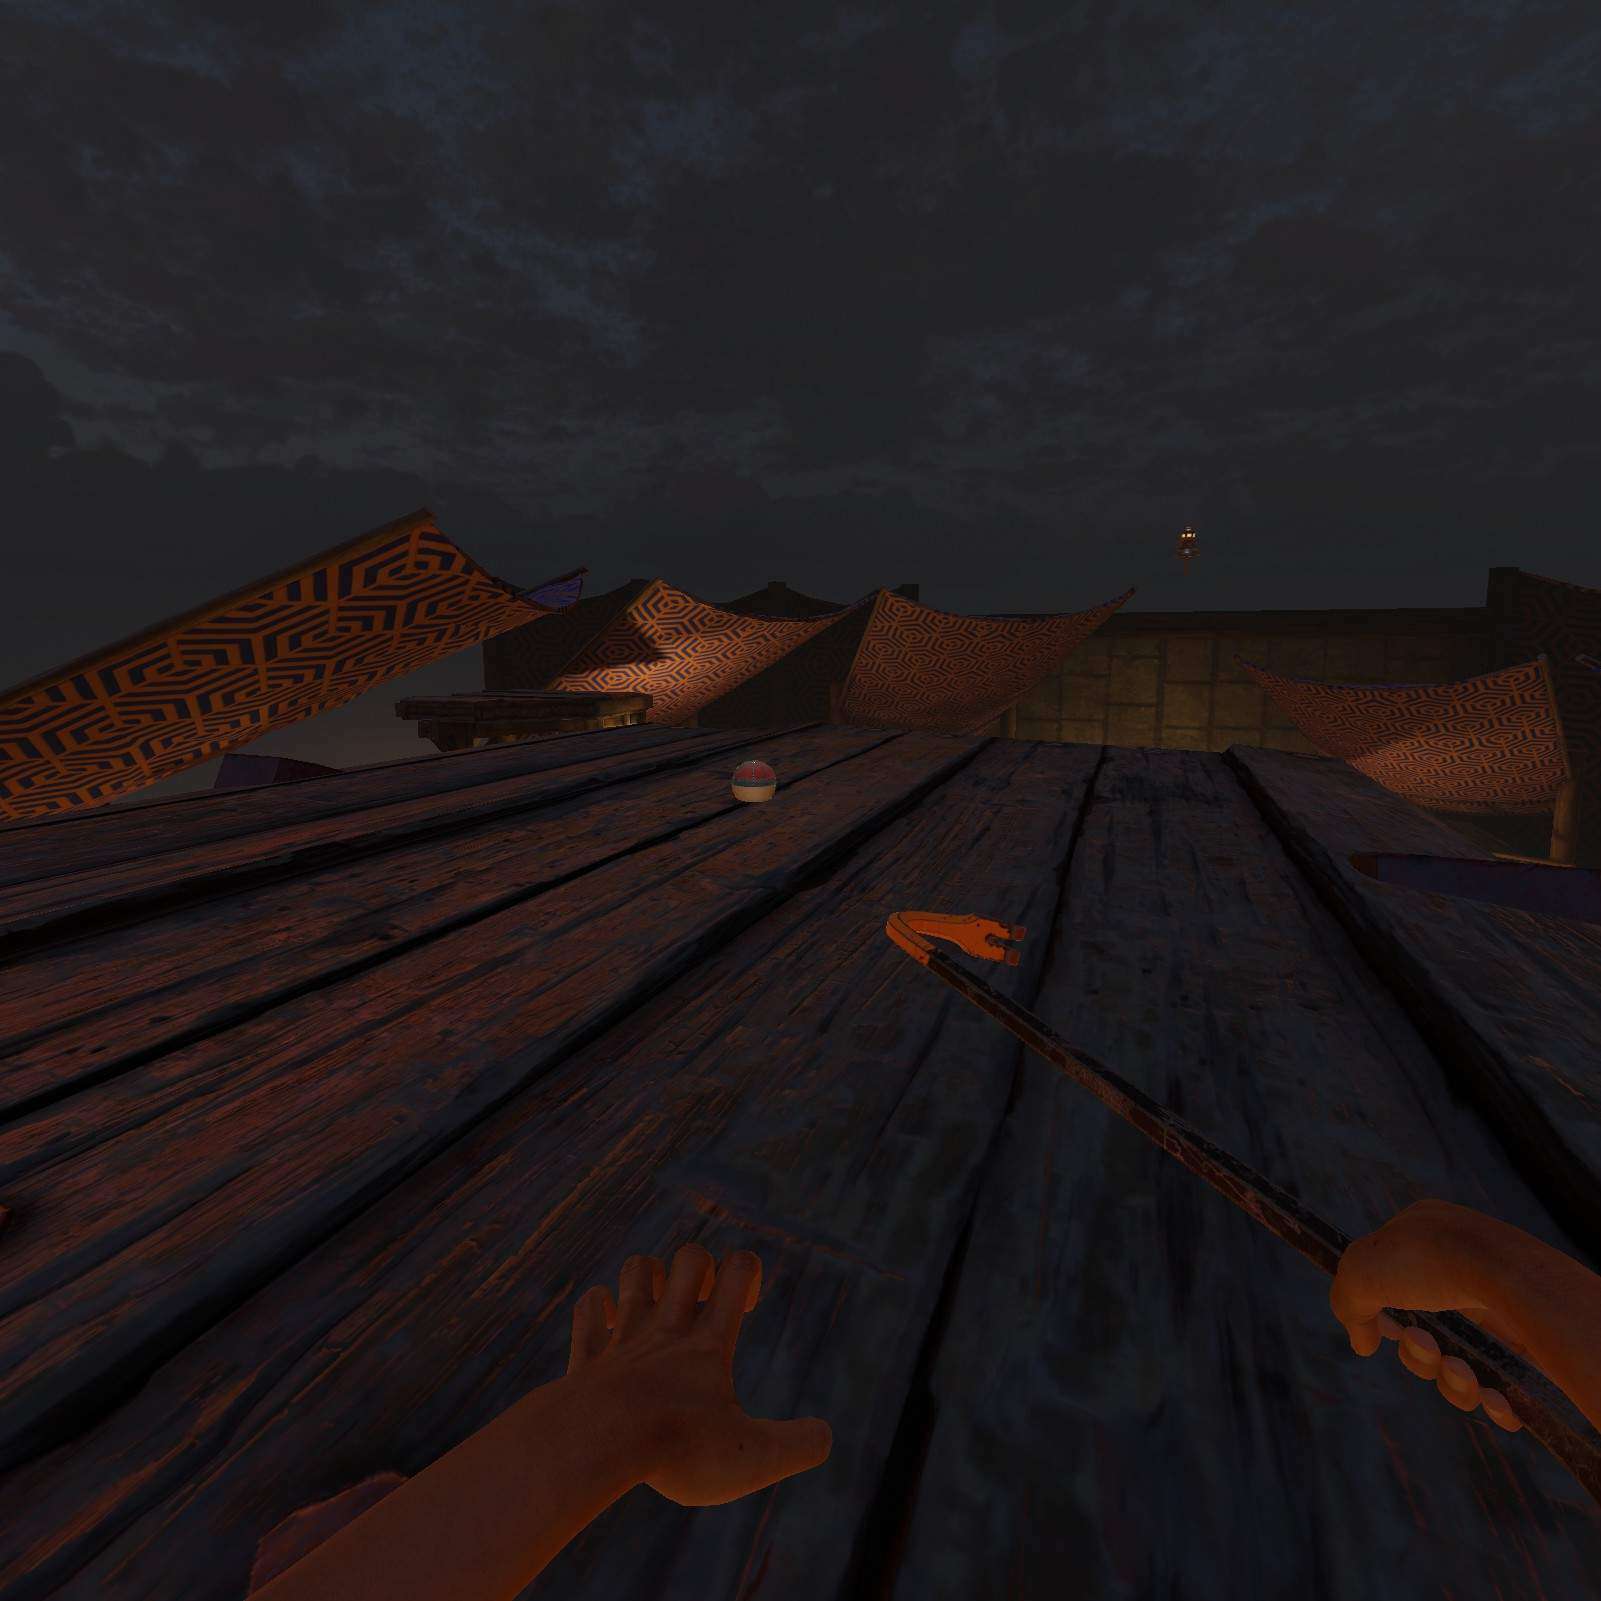
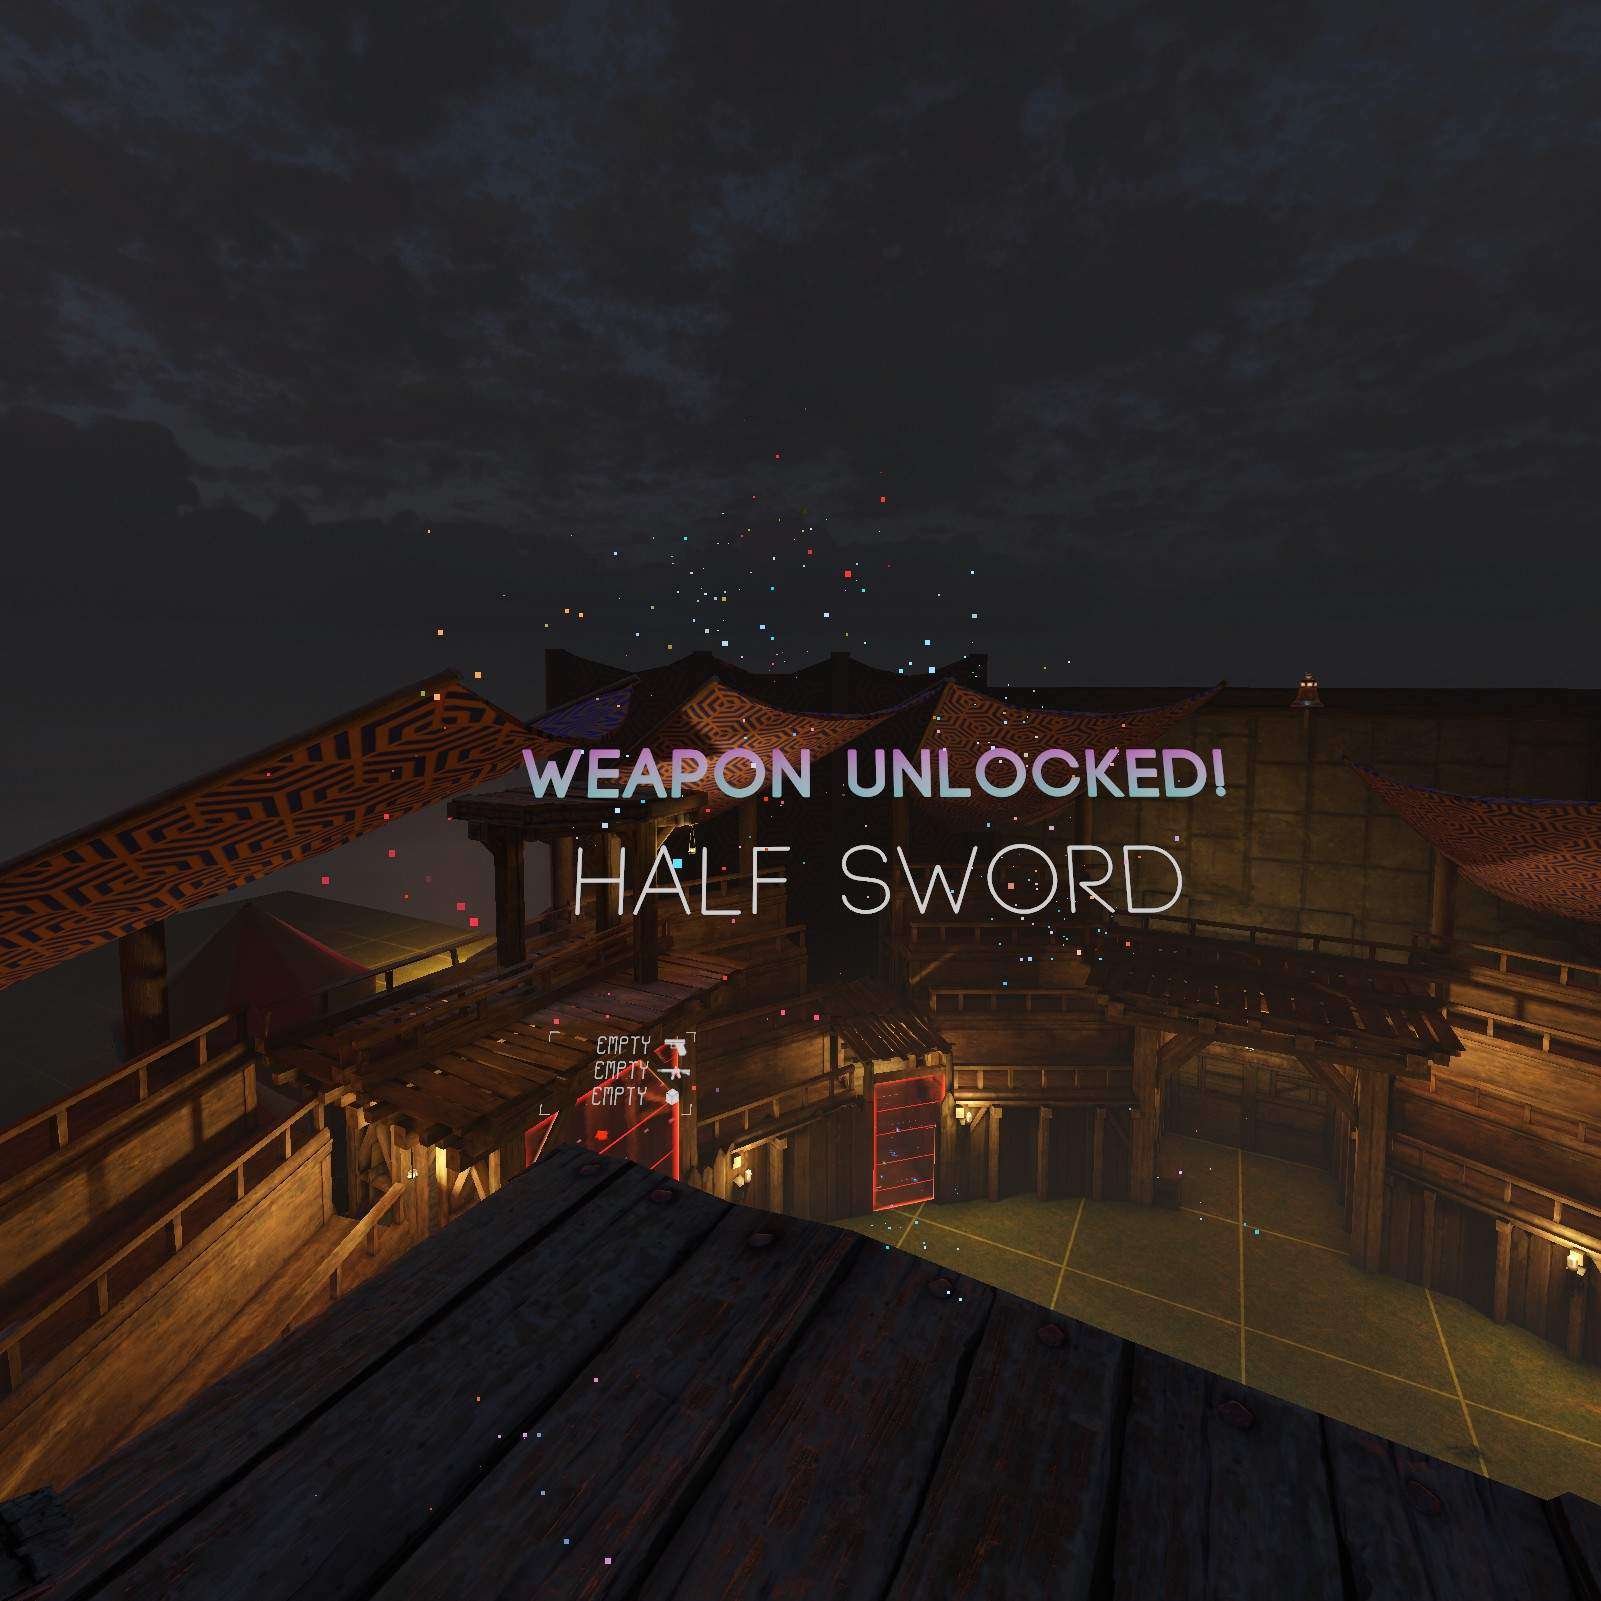
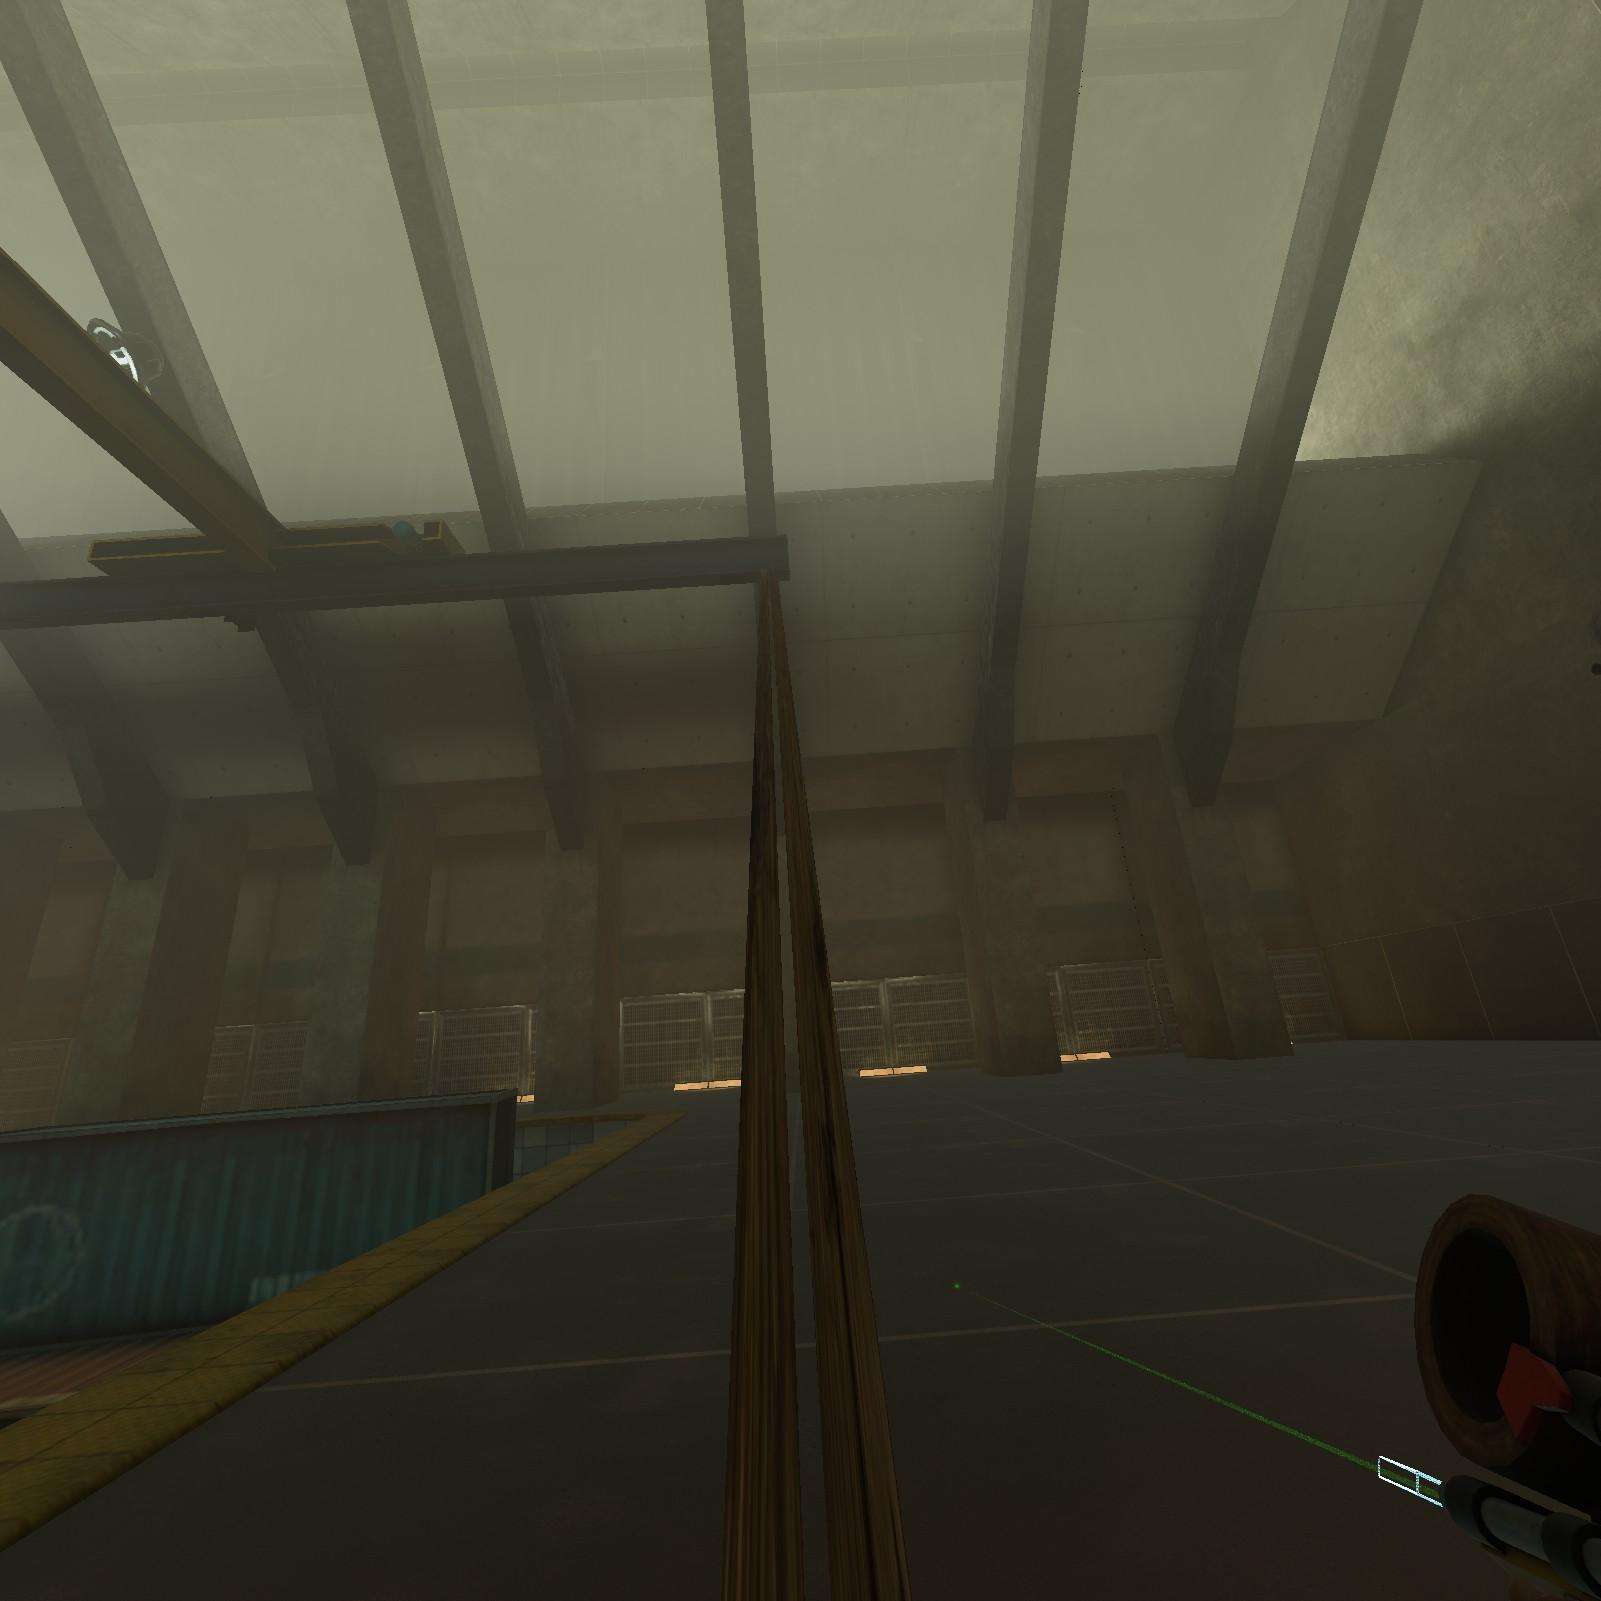
Half Sword & Gym D10:
Beat a challenge, any challenge of your choosing. I don’t care. What I do care about are these capsules on top of the Northern and Southern towers, so grab your crowbar and get climbing for the Half Sword and my favorite shape the Gym D10.


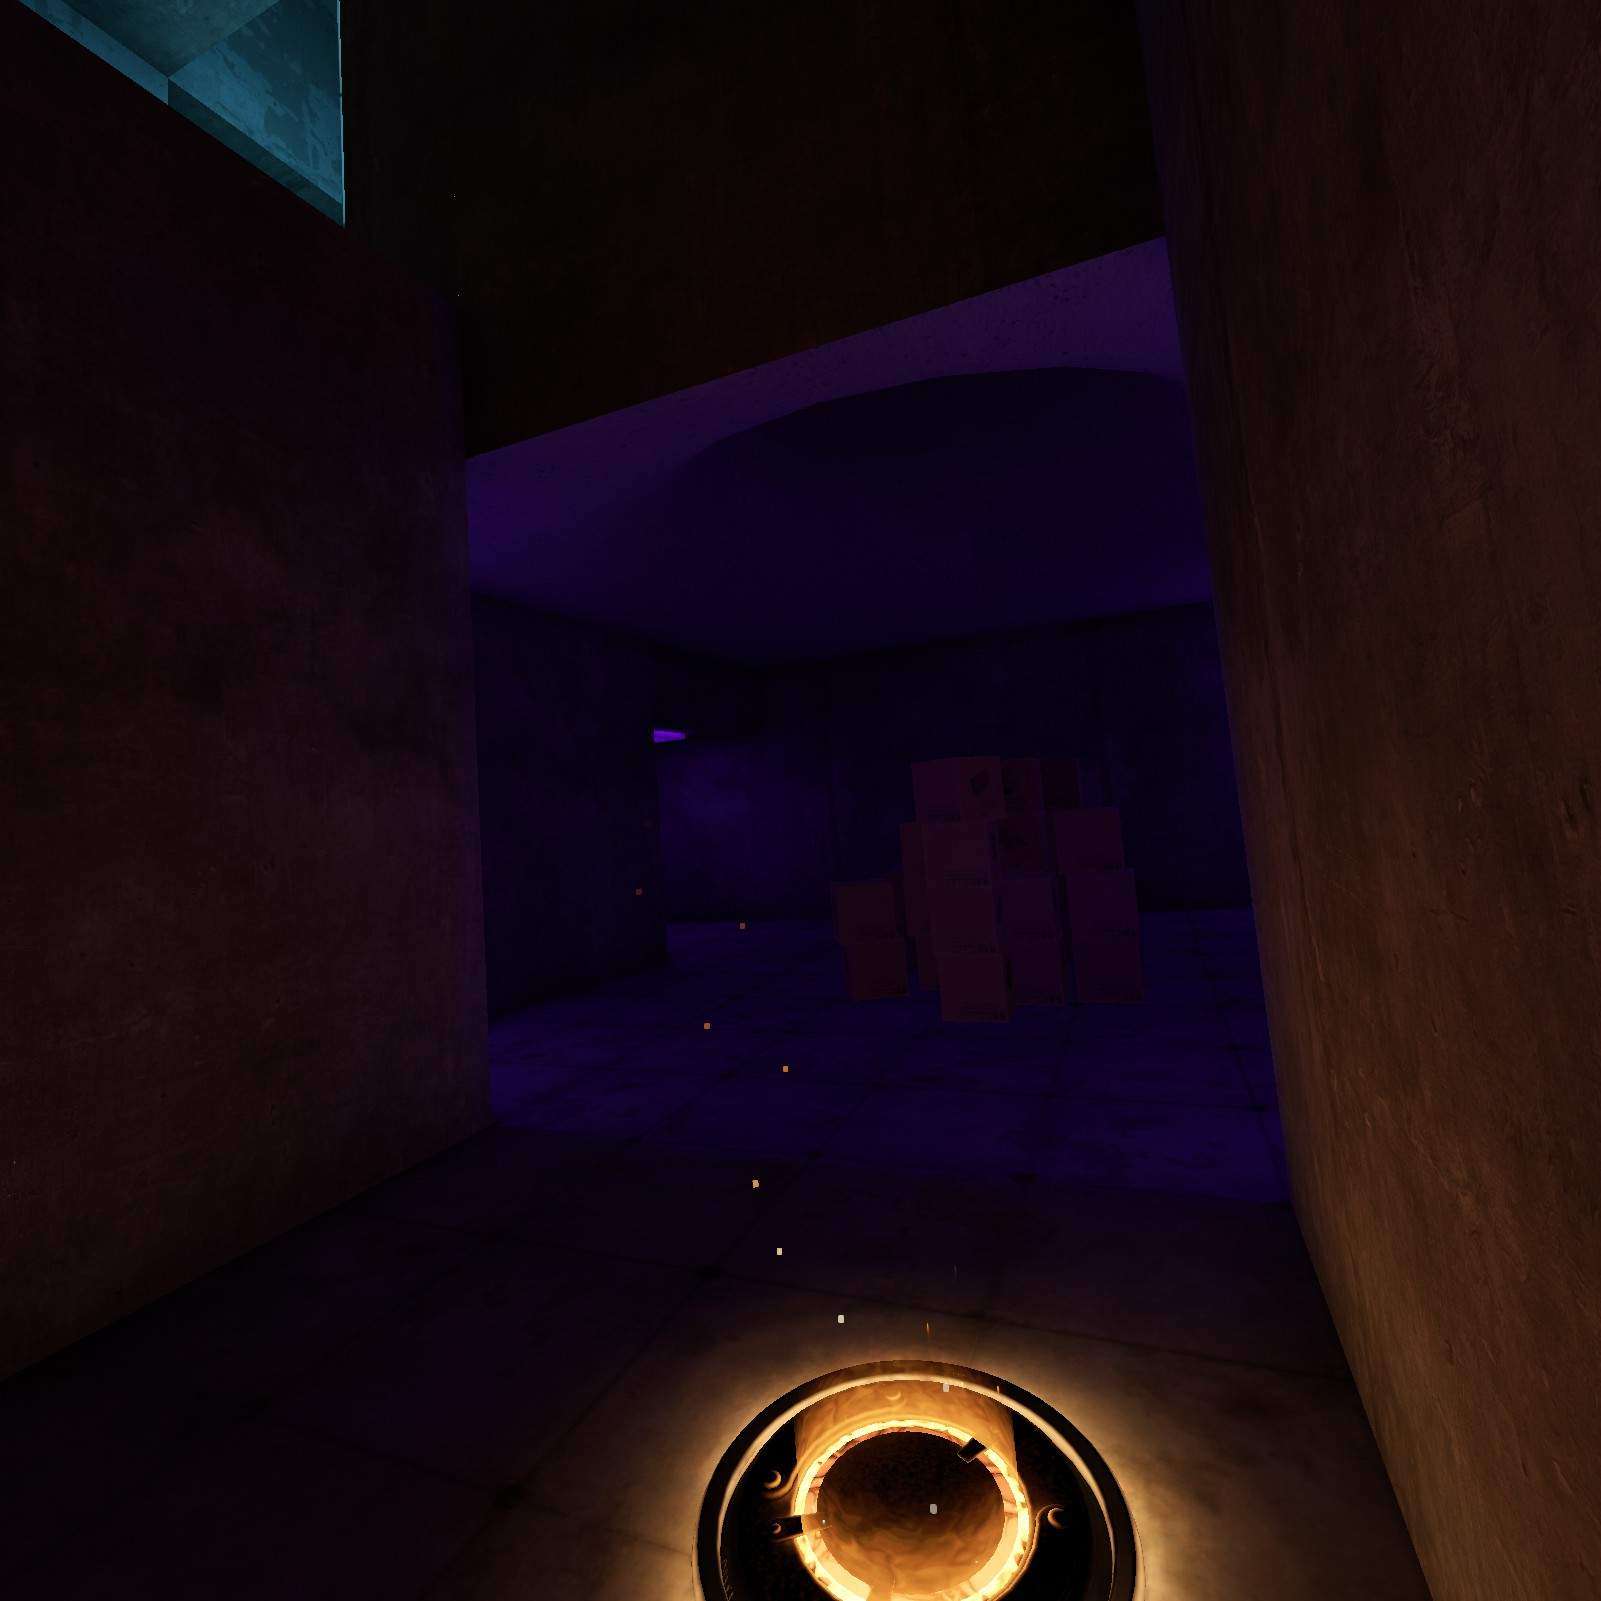
Tower Tiller
I think thats the name? Close enough for tonight.
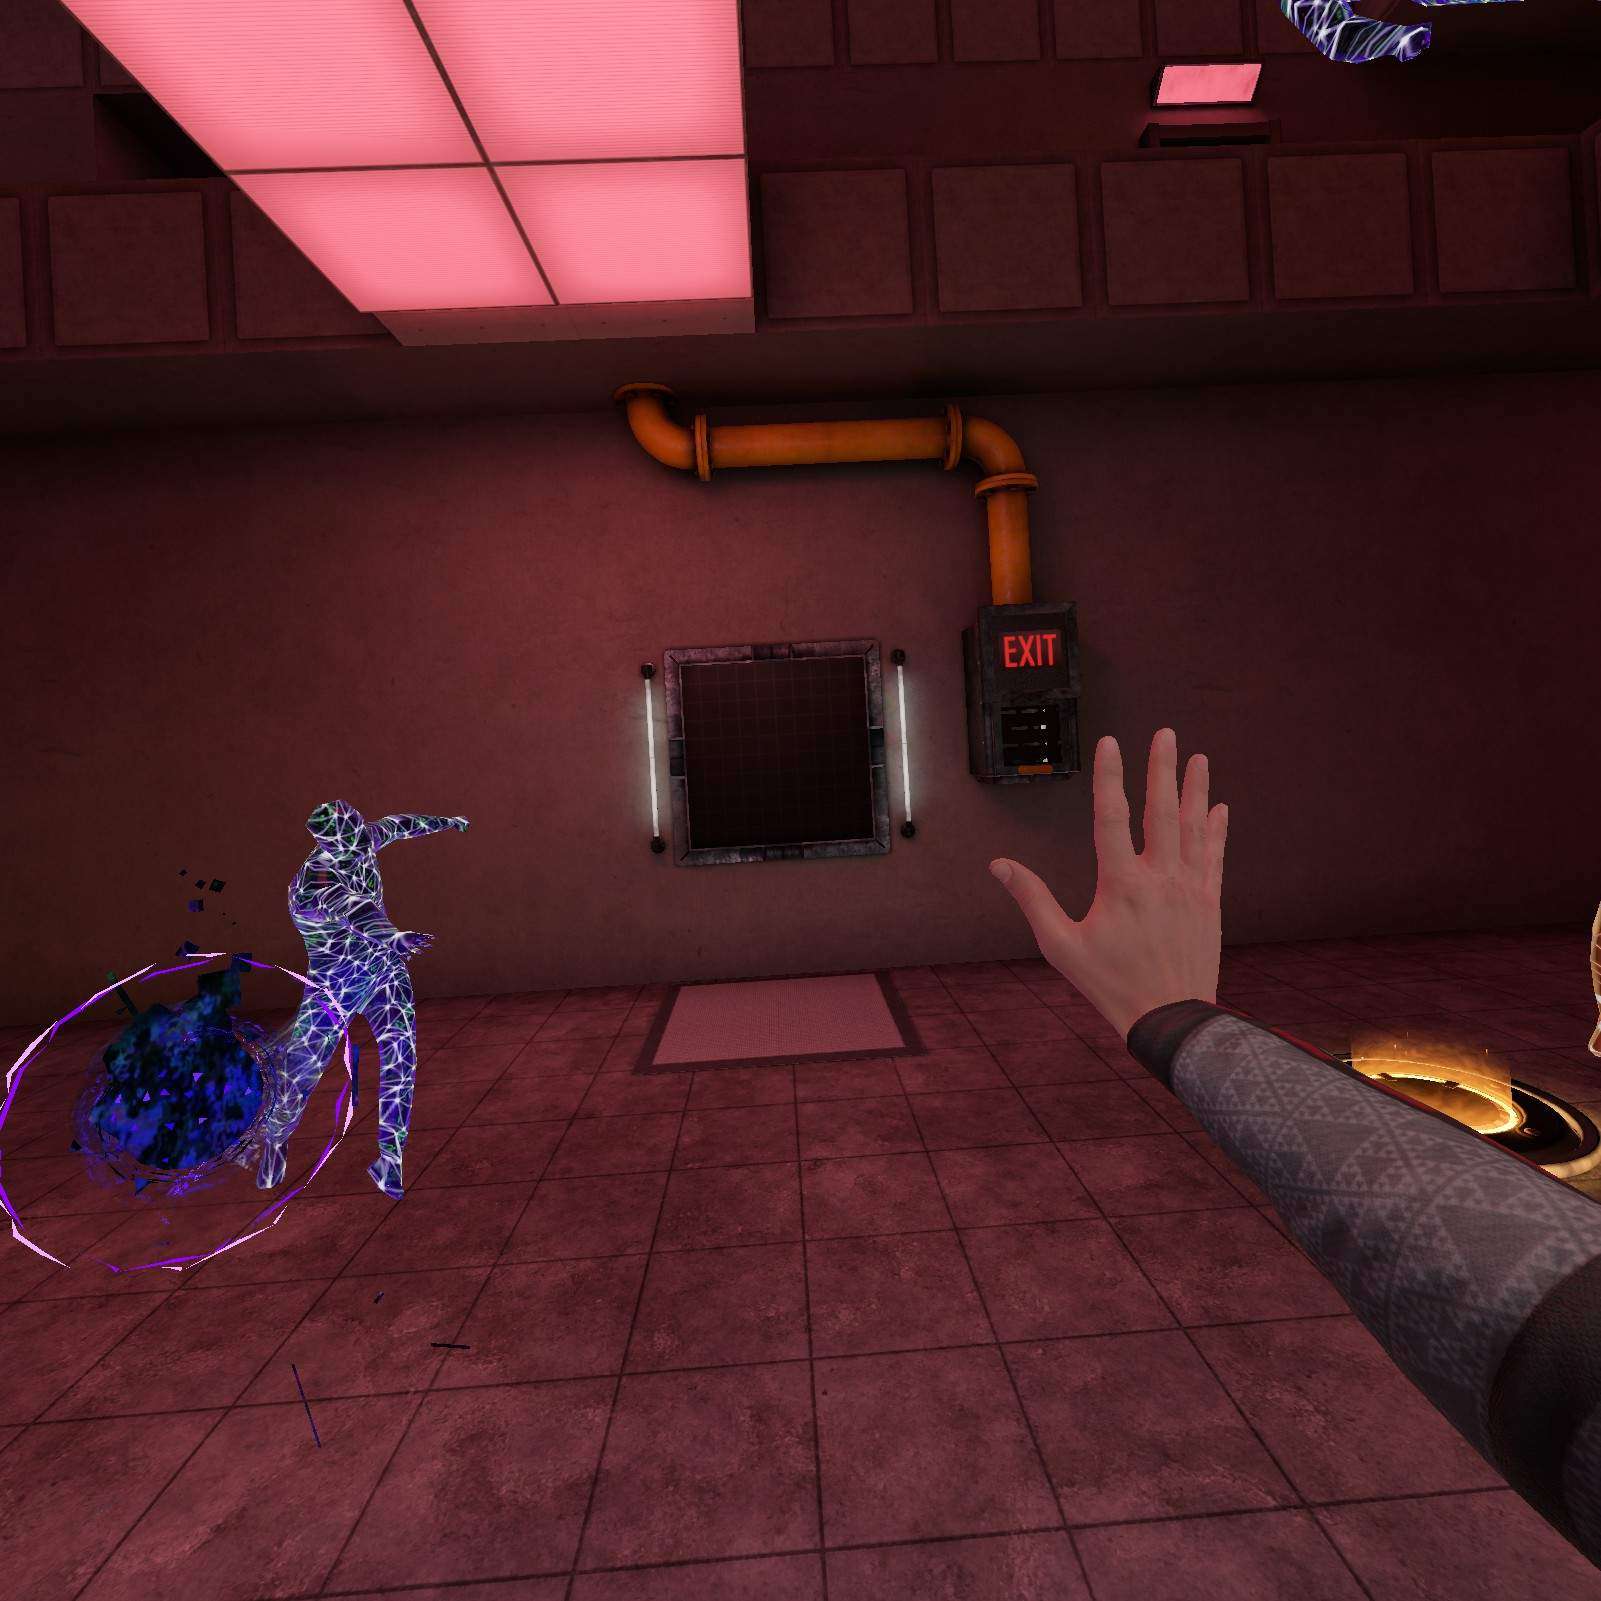
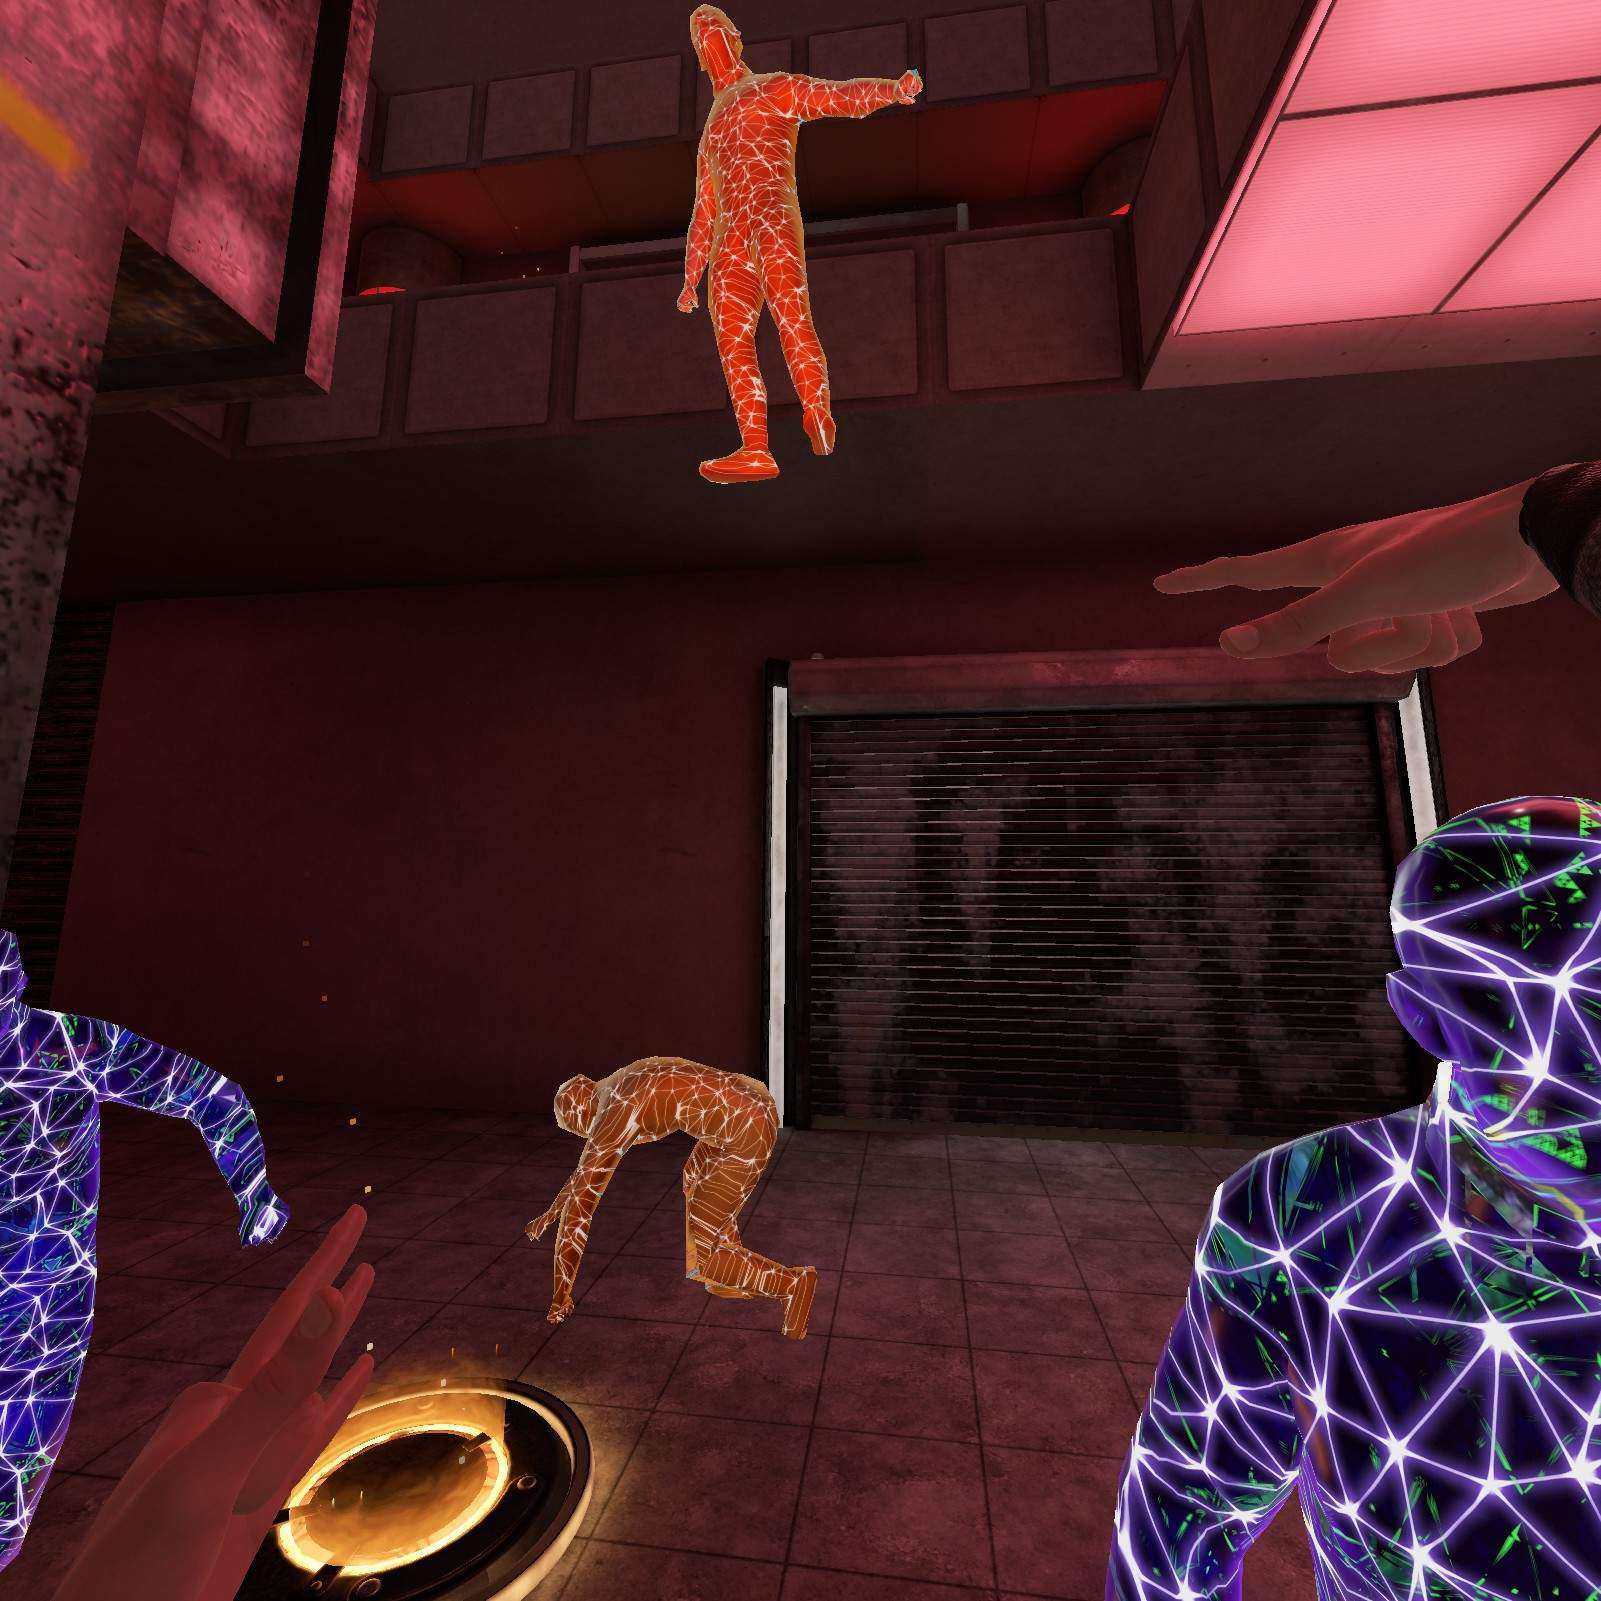
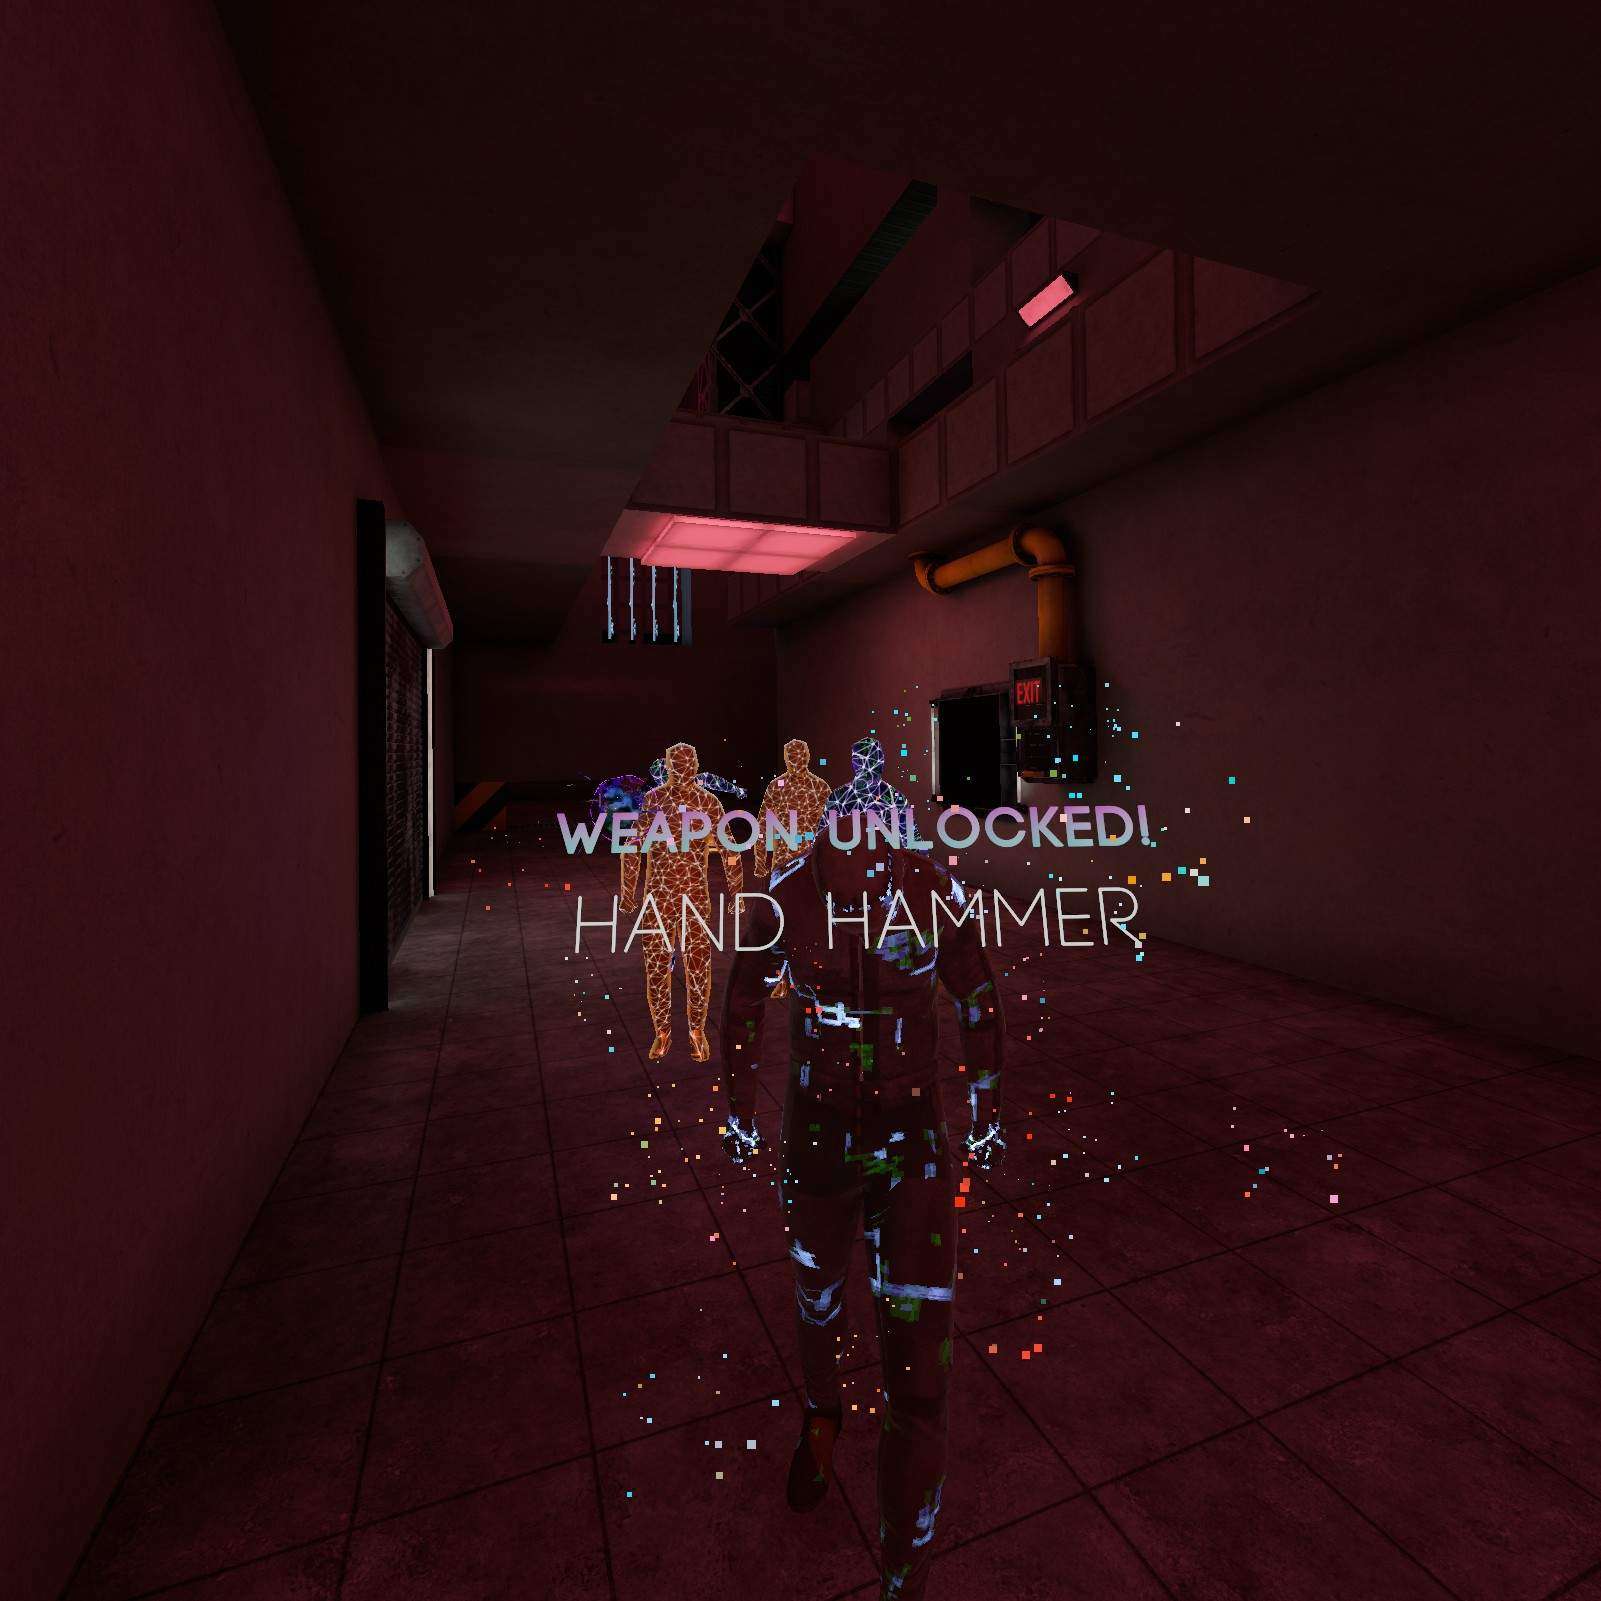
Hand Hammer:
Before you start killing things be sure to grab the hand hammer just above the garage you entered from.
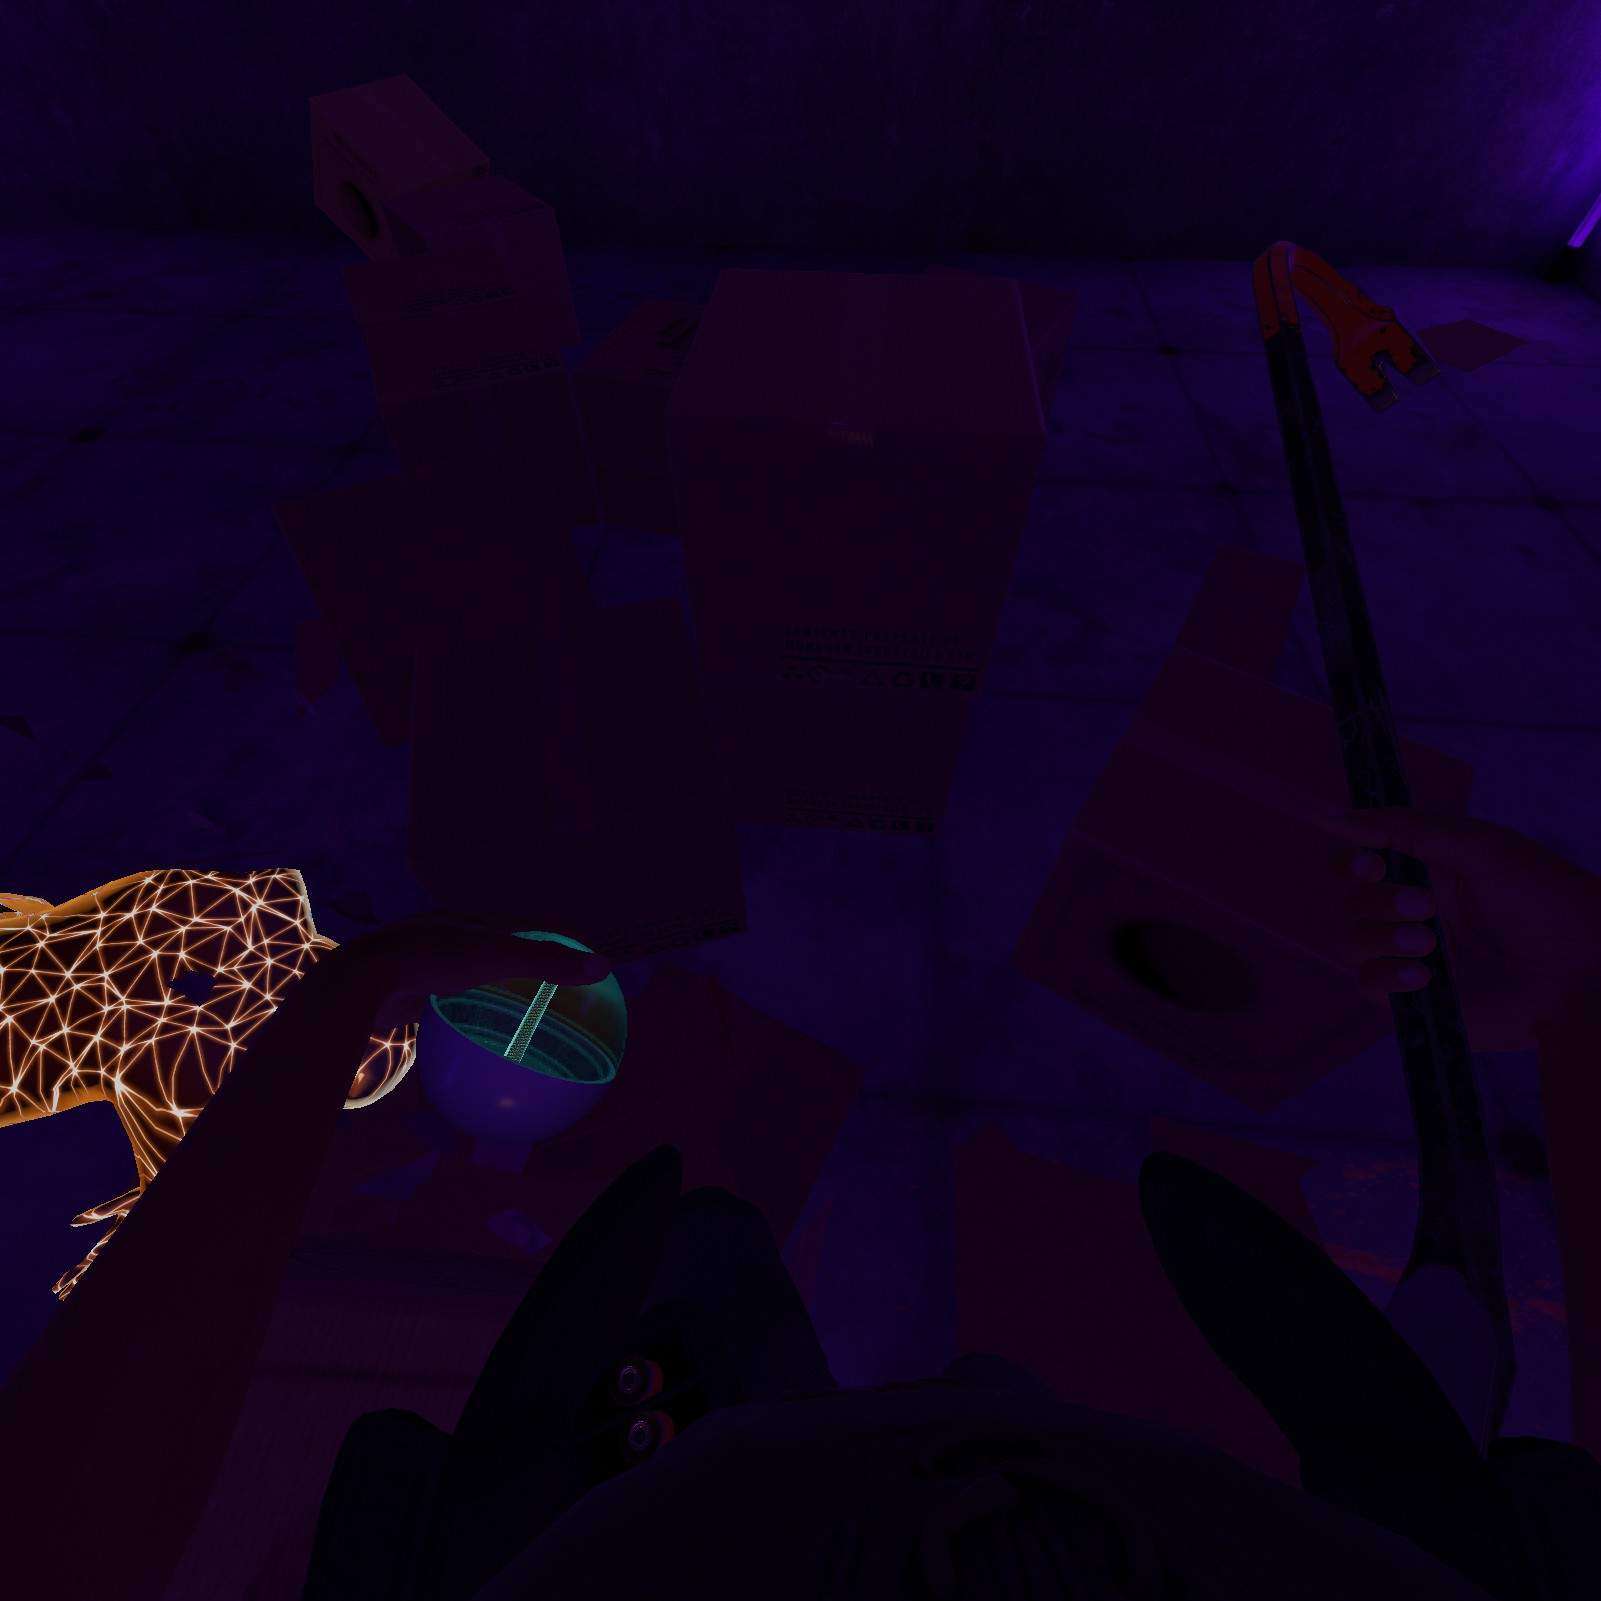
Glowstick:
Lets go down to this purple room. Be sure to bring something to break all these boxes as there’s a glowstick hiding in em.


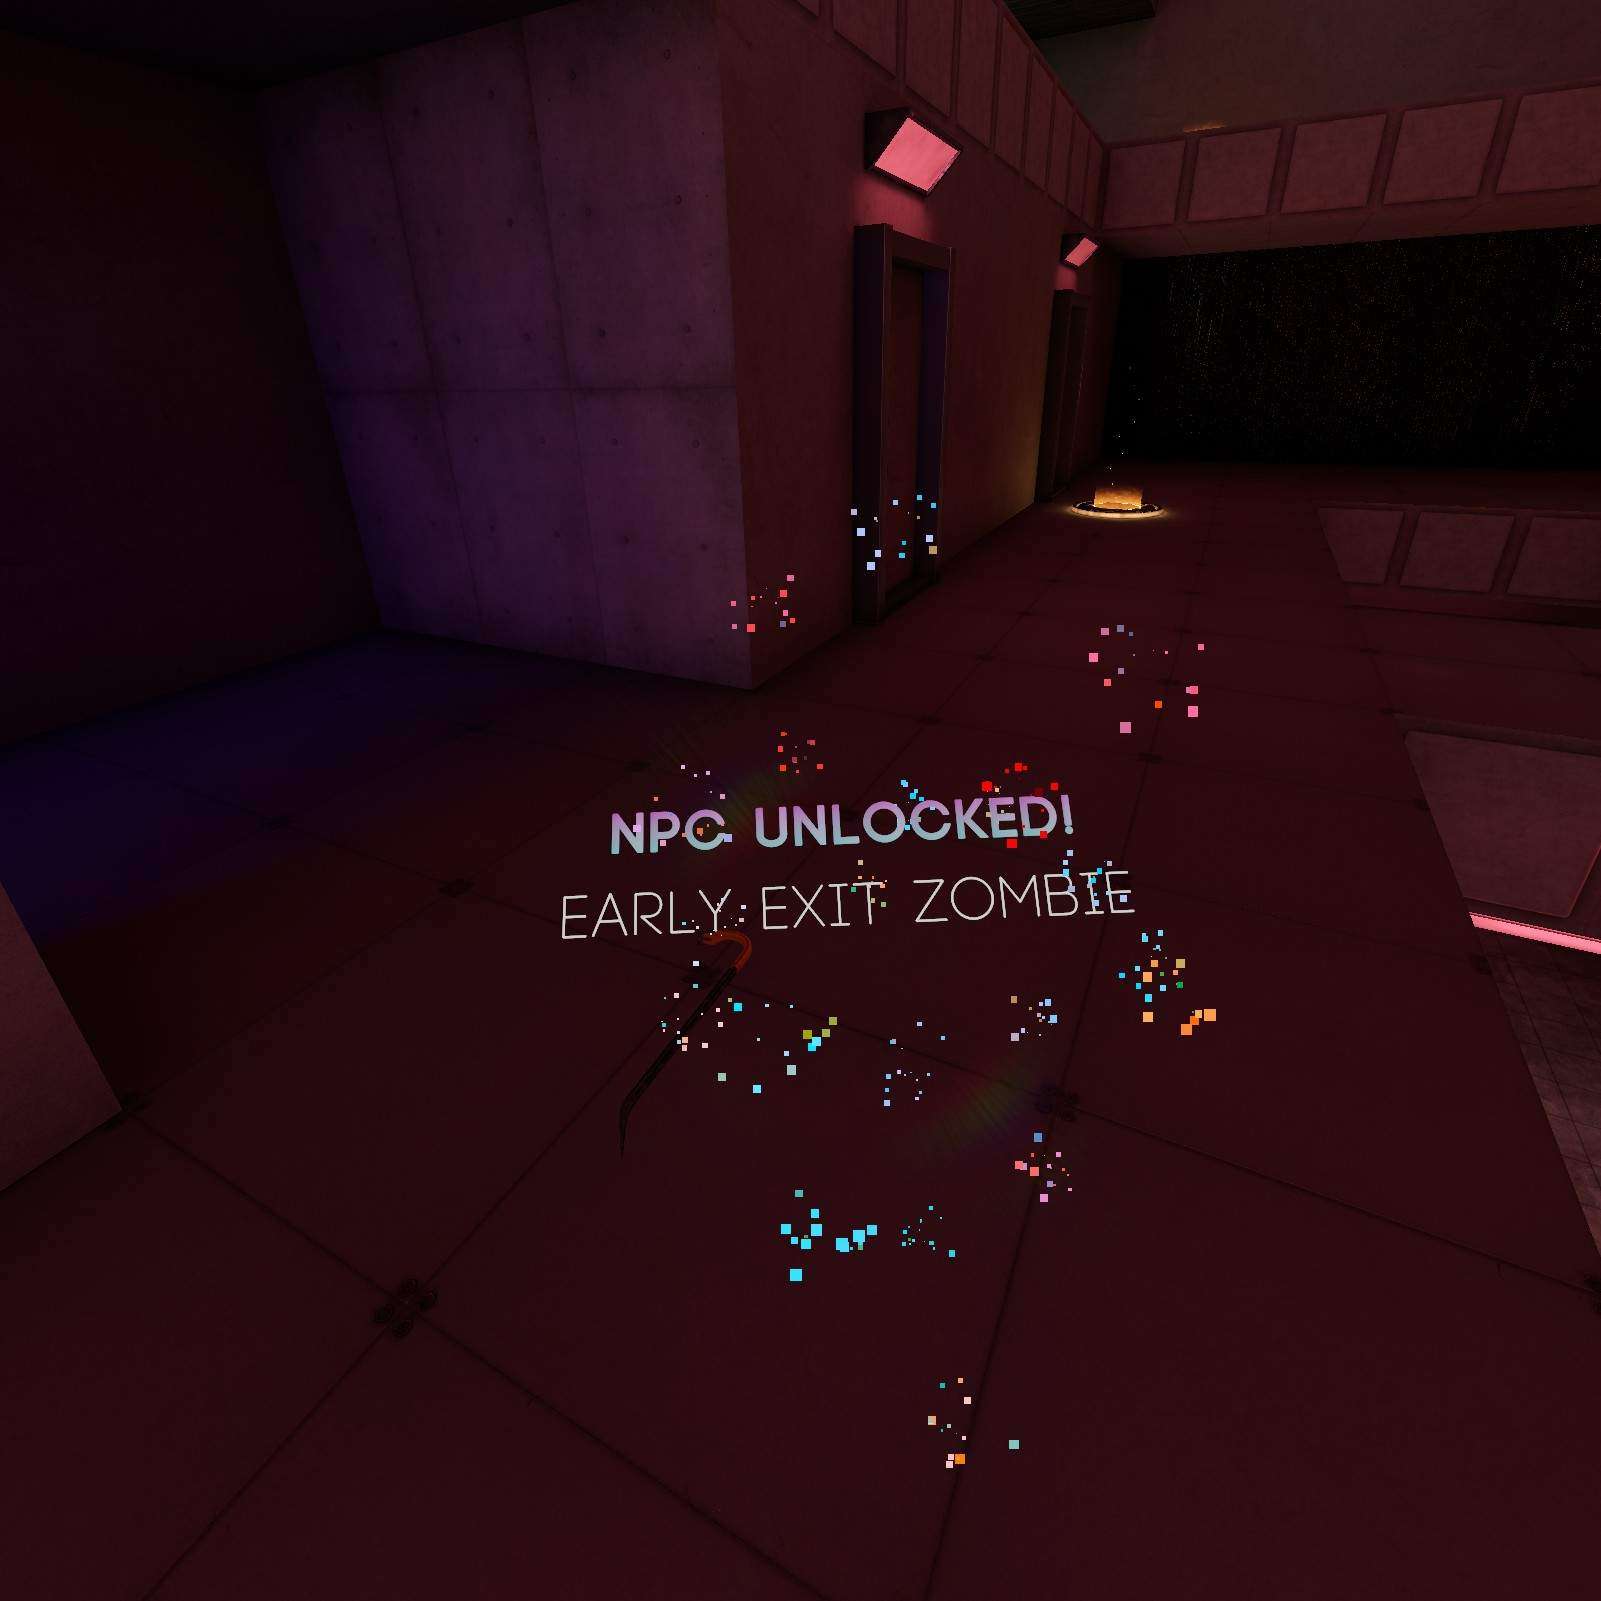
Early Exit Zombie:
Oh hey guys, watch me do a cool stunt for Early Exit Zombie.

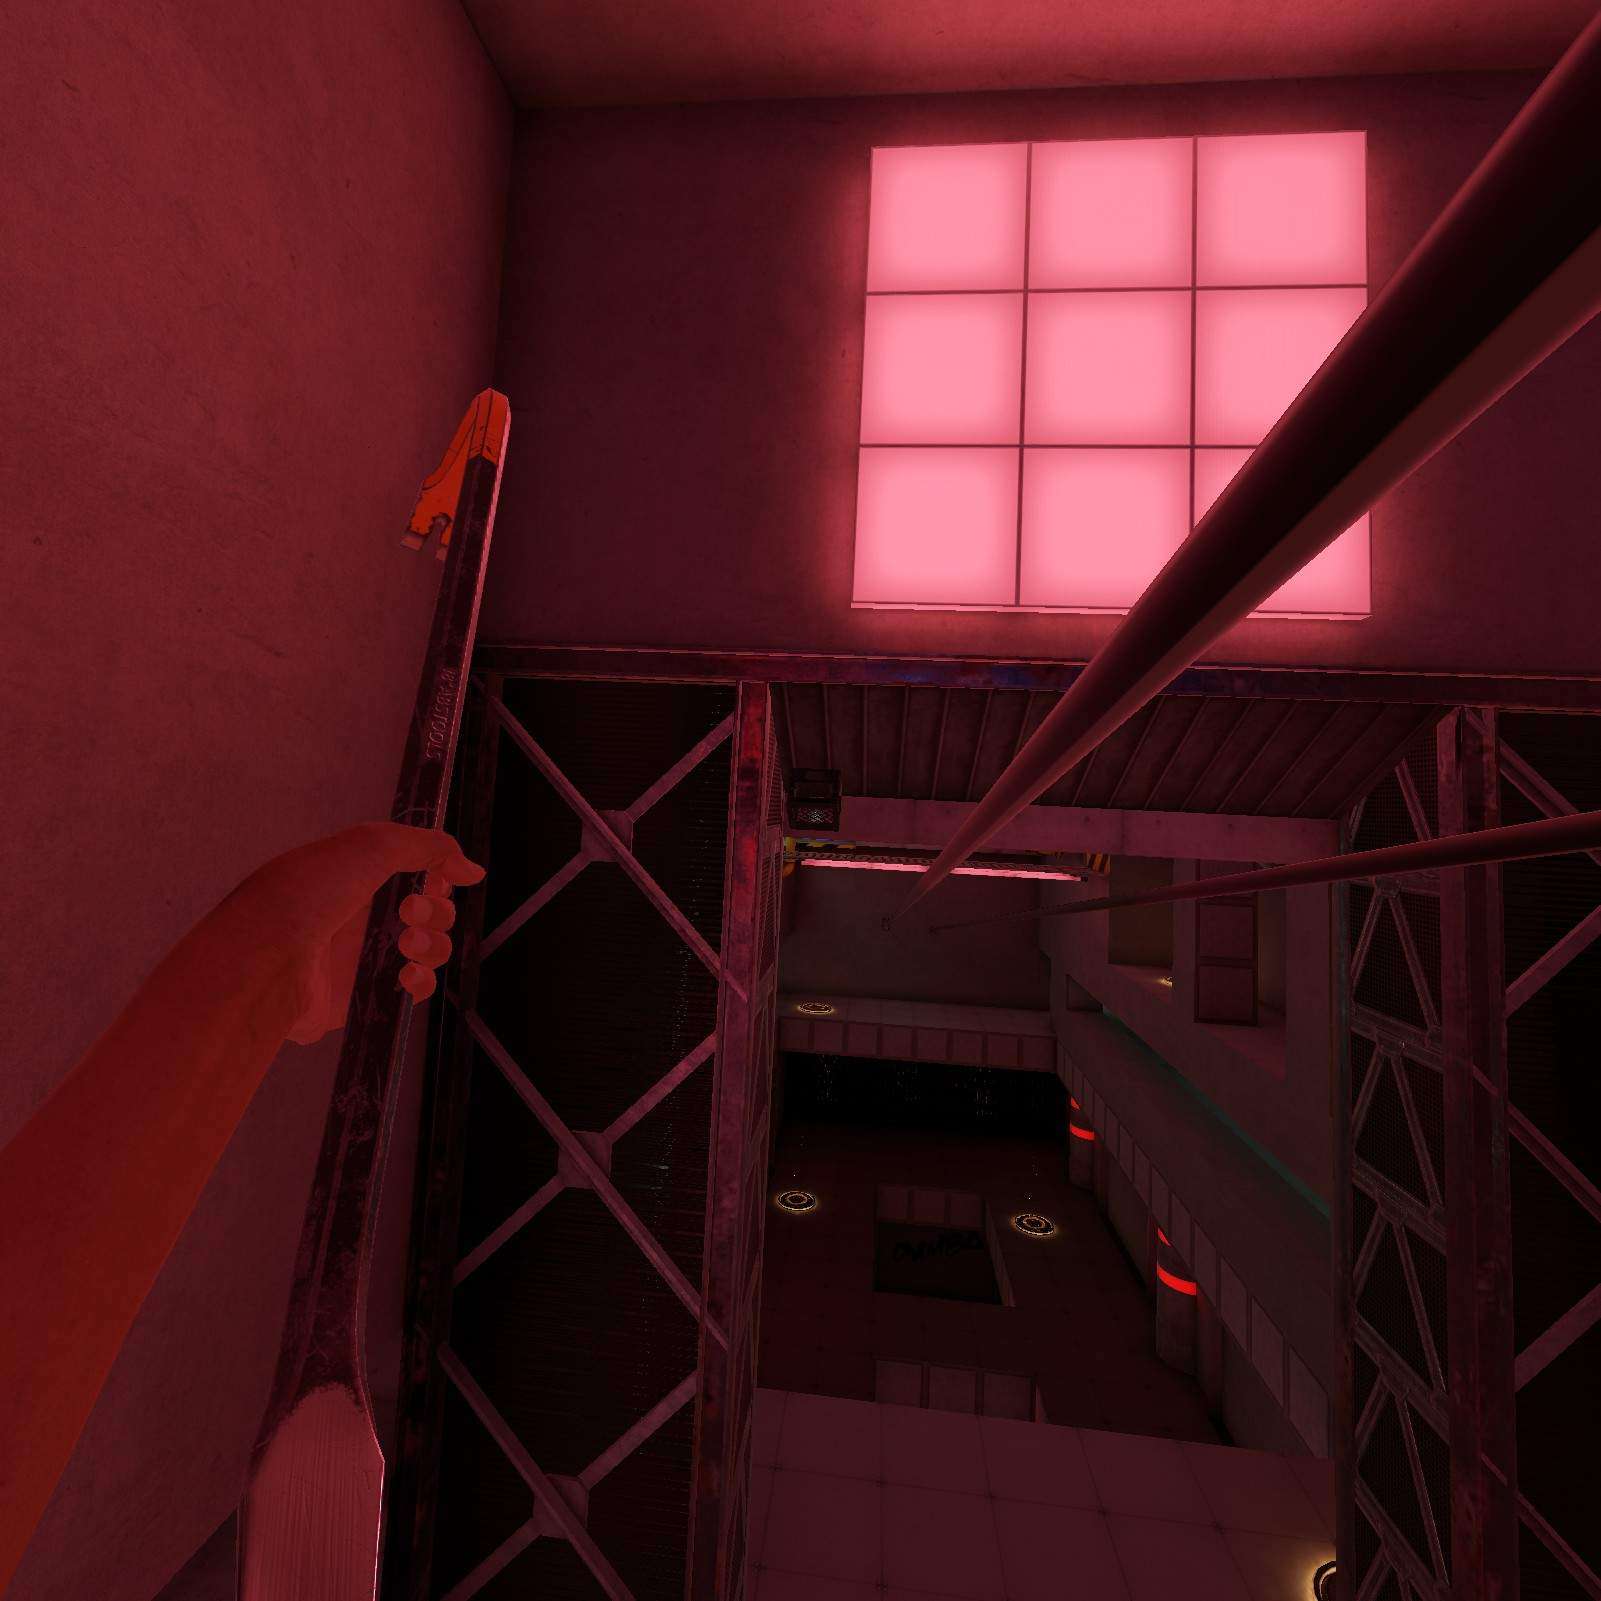
Crowbar slap, Epic midair grab (I did not fall off the rail Early while doing this Exit with your slander)
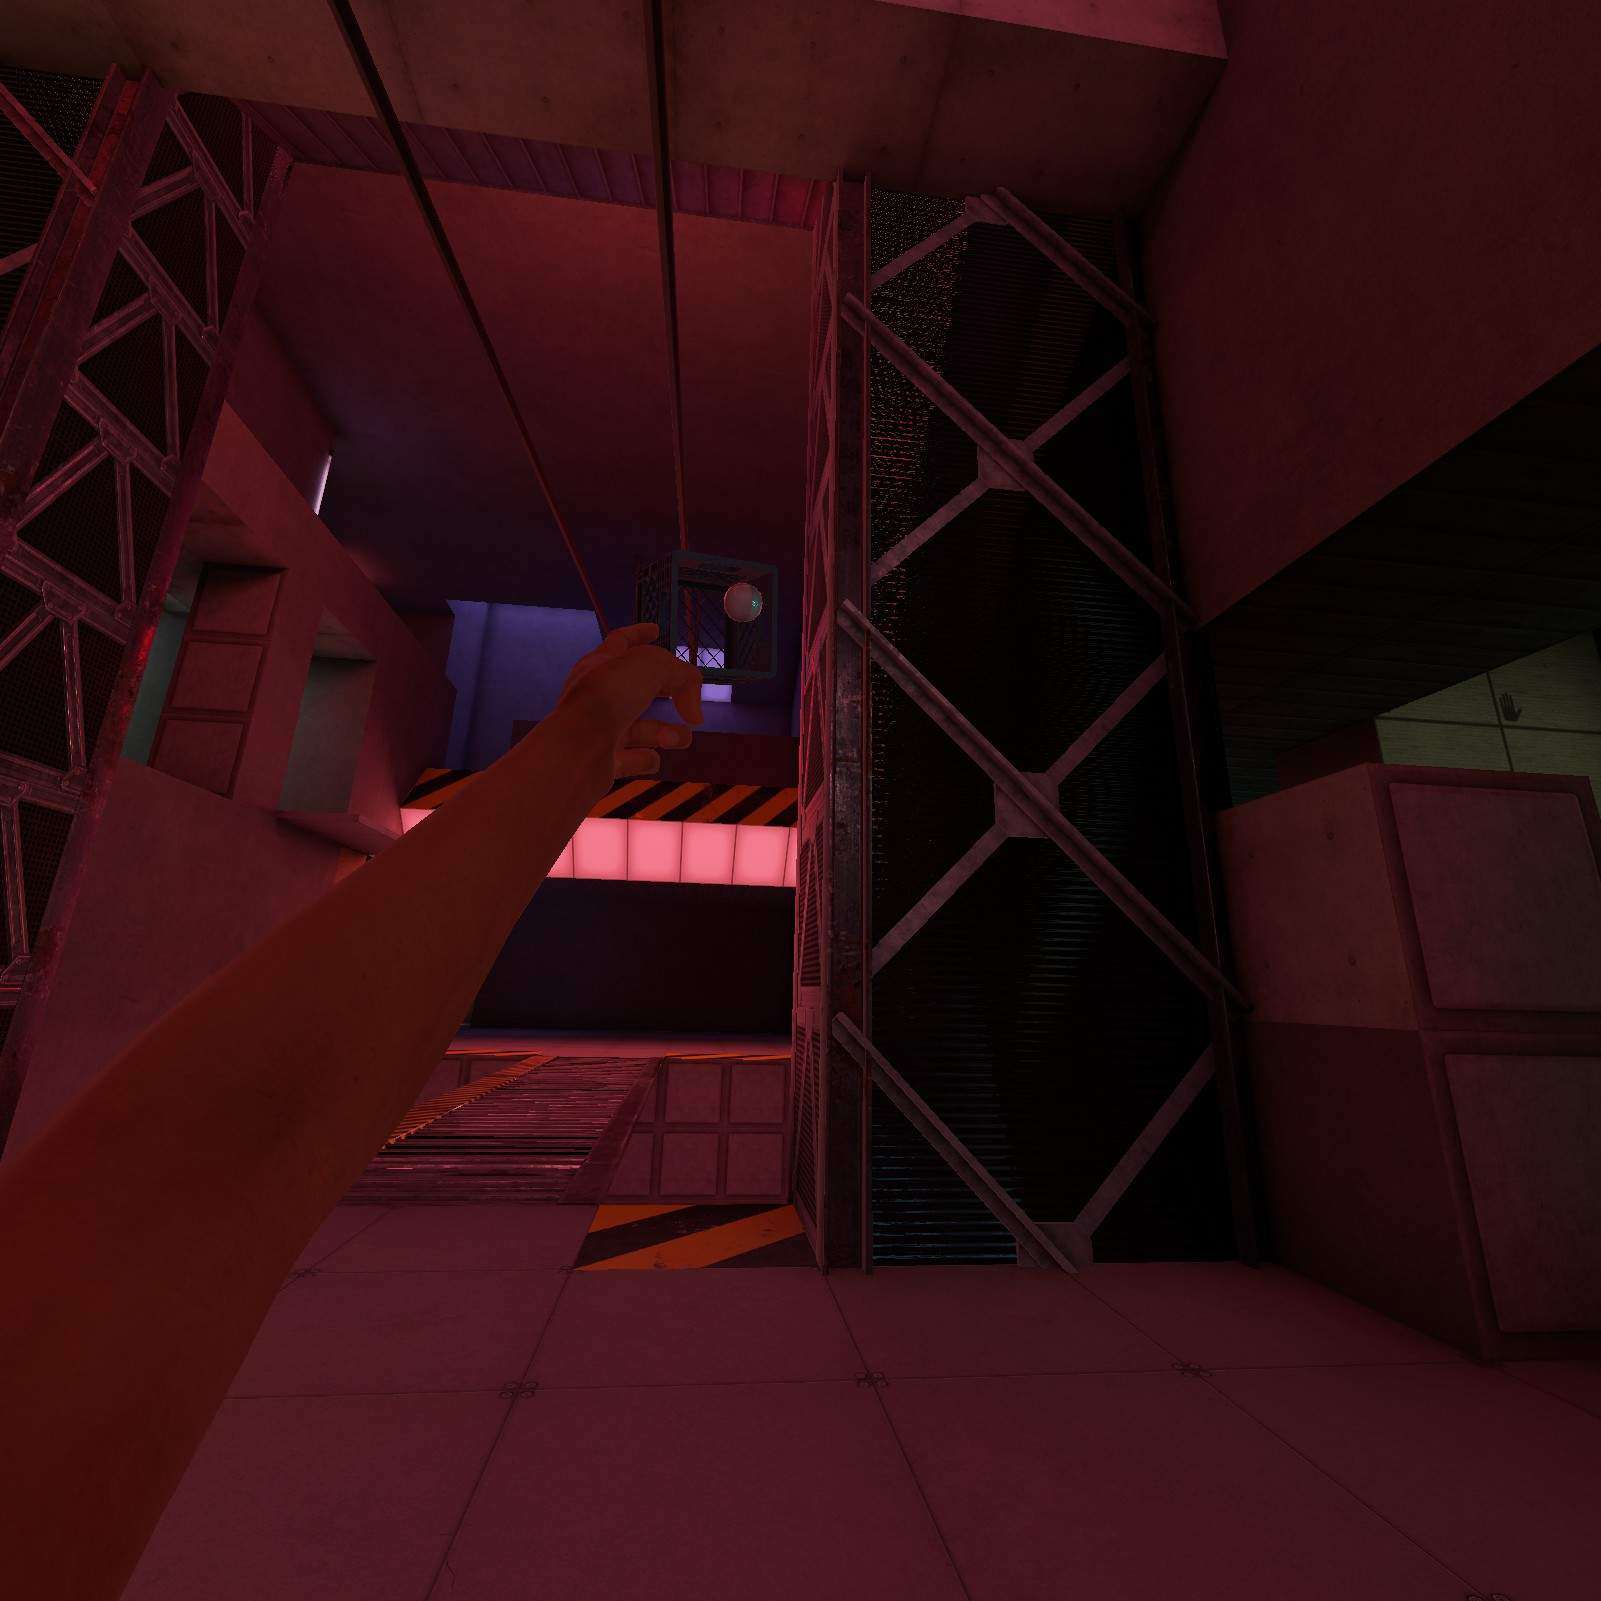
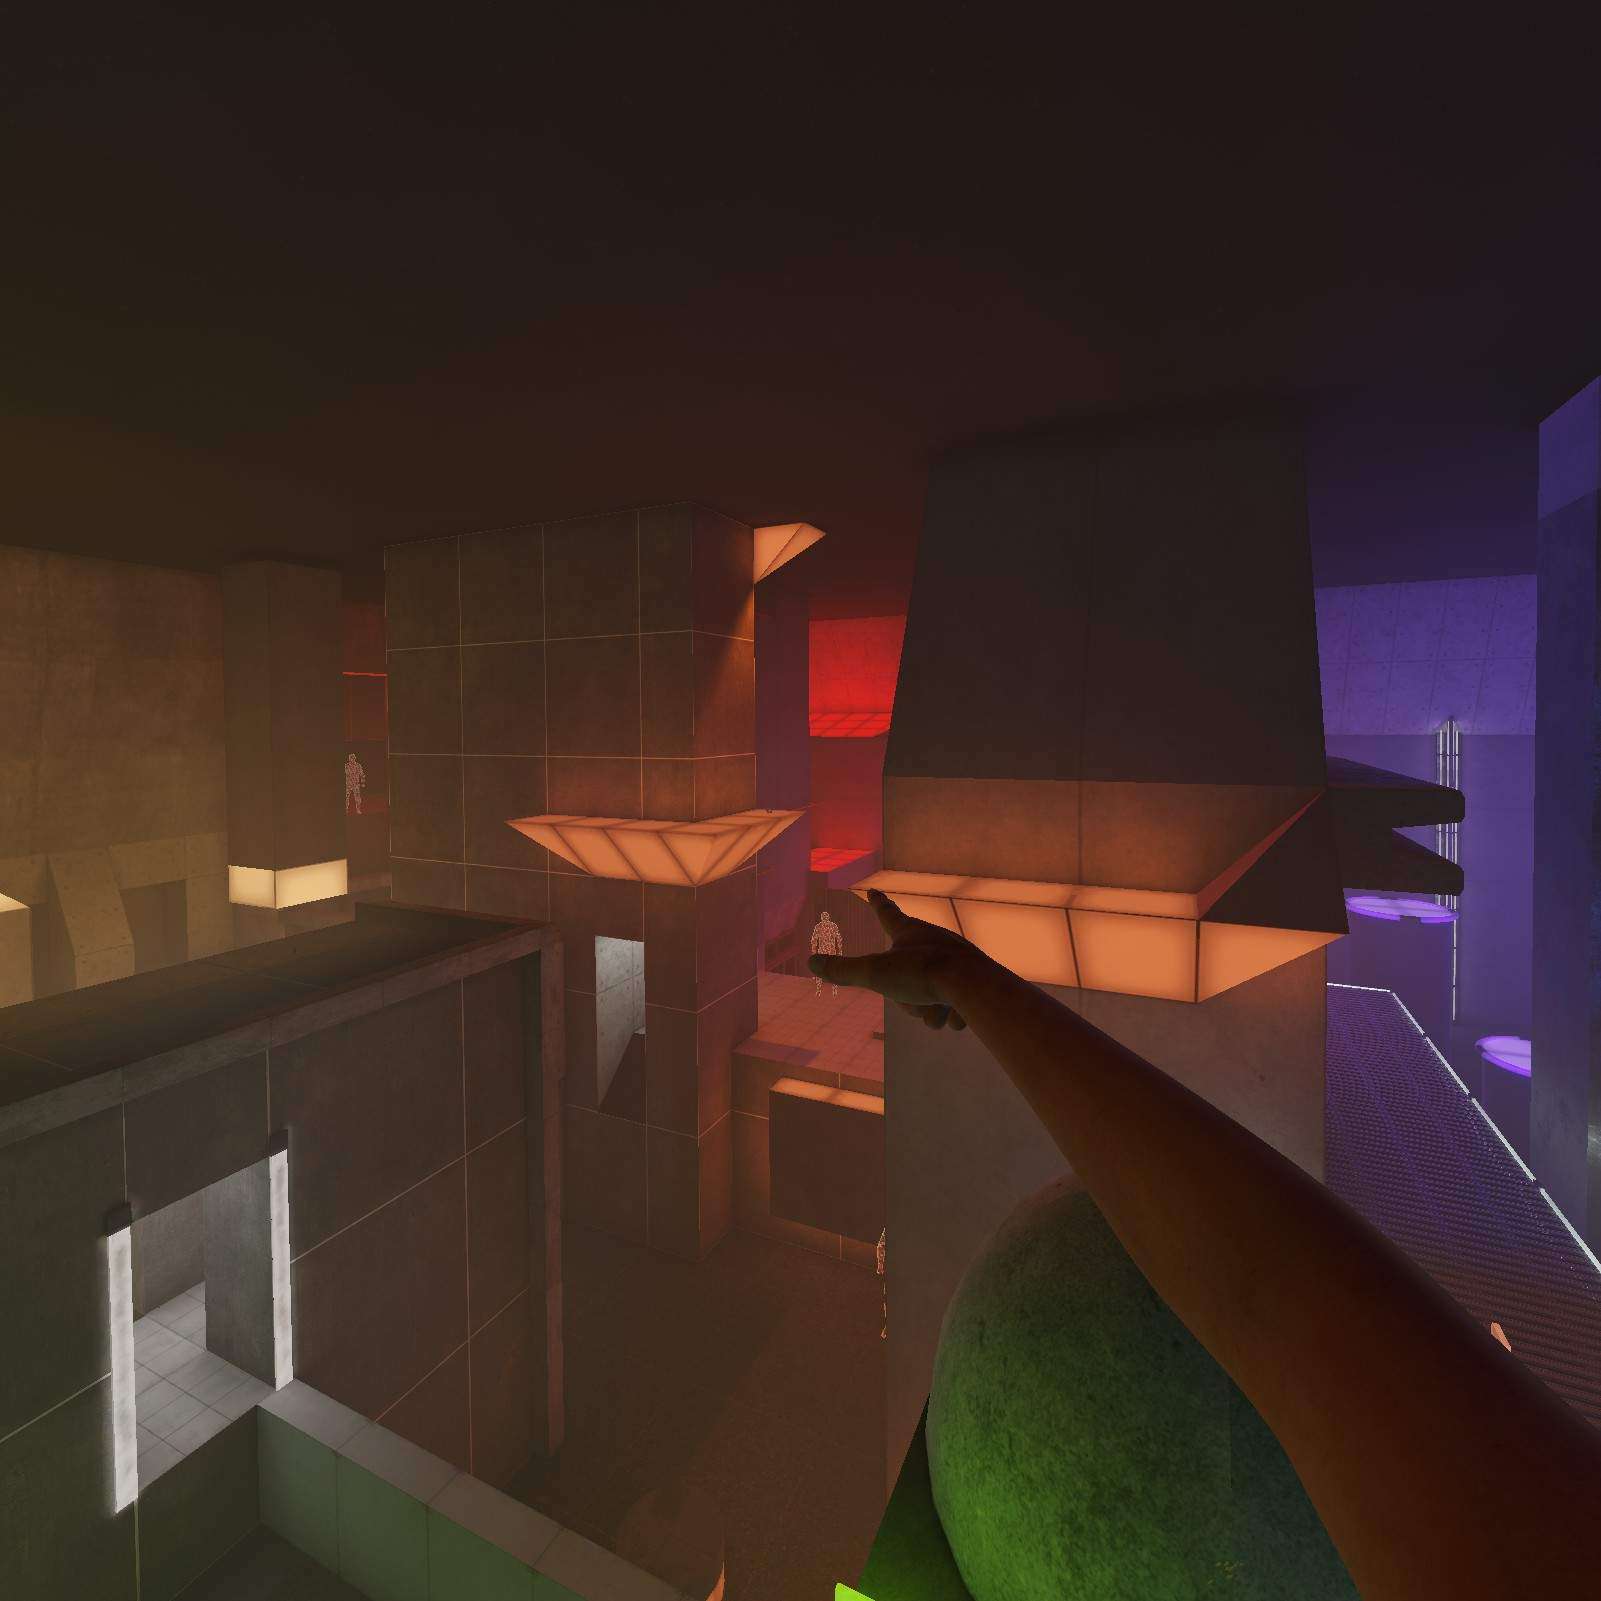
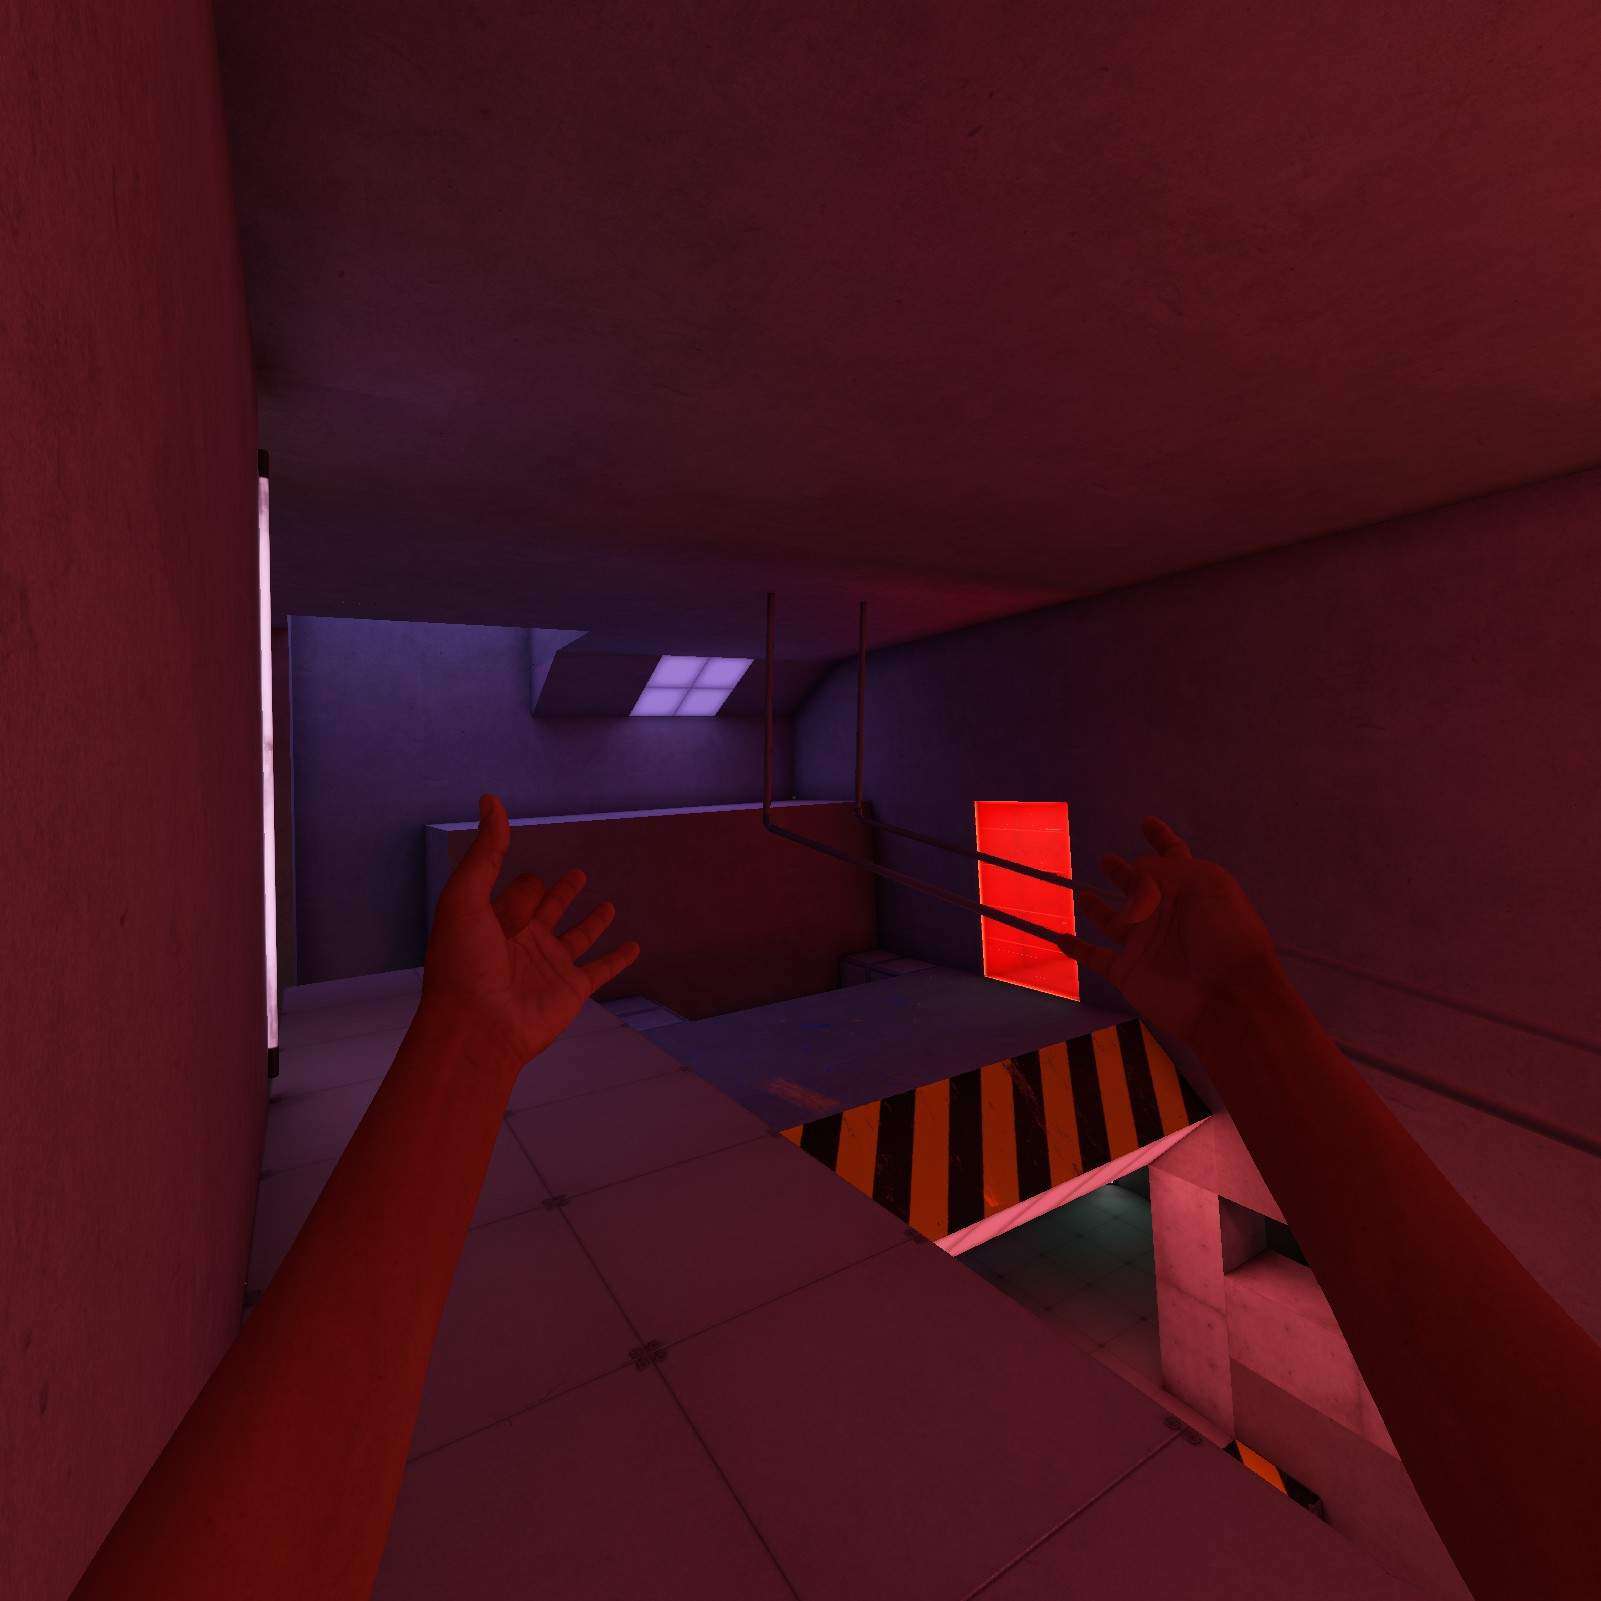
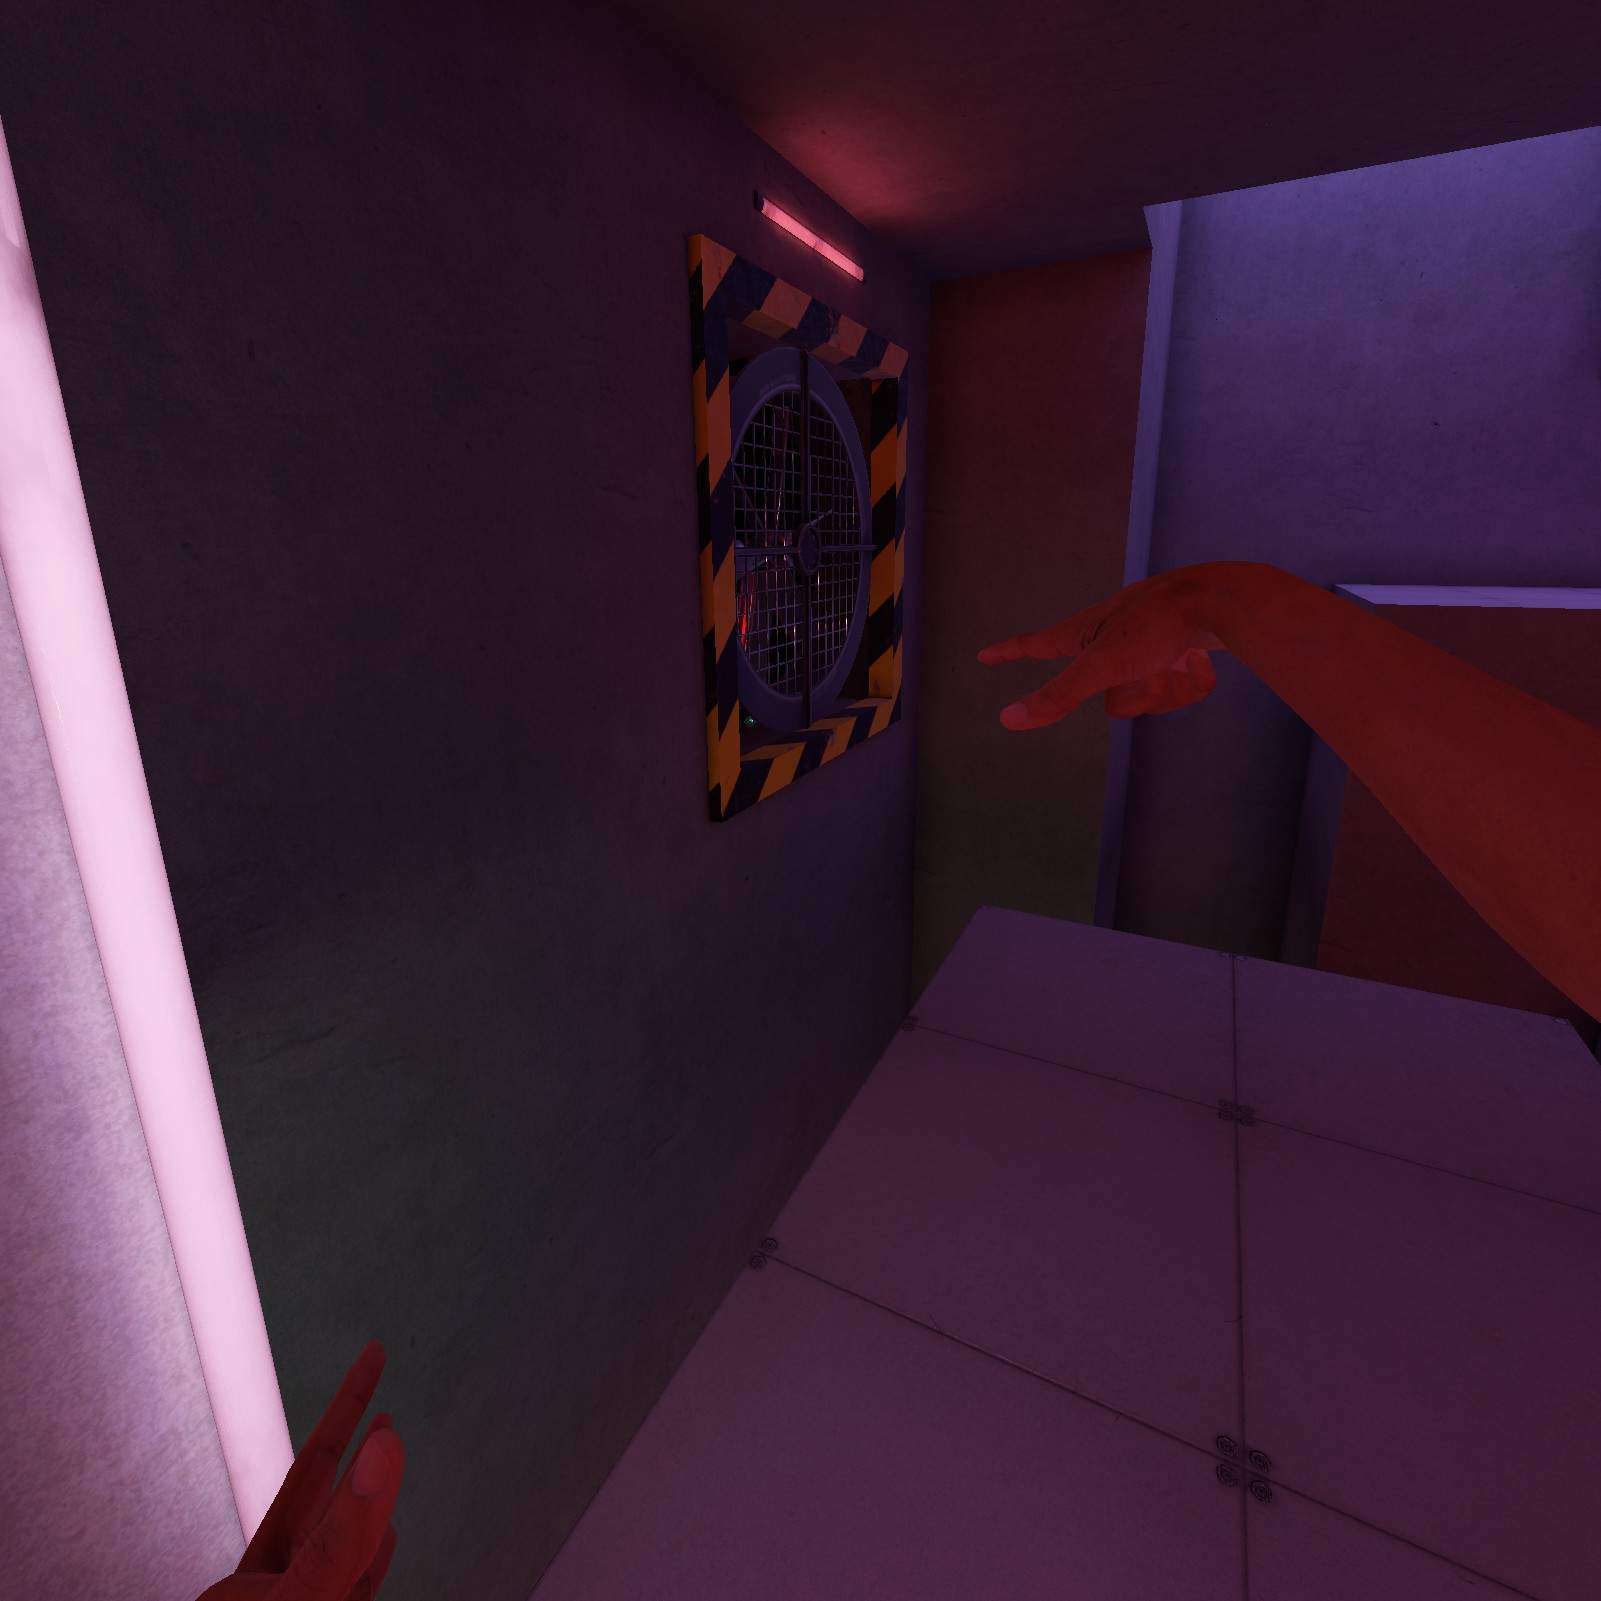
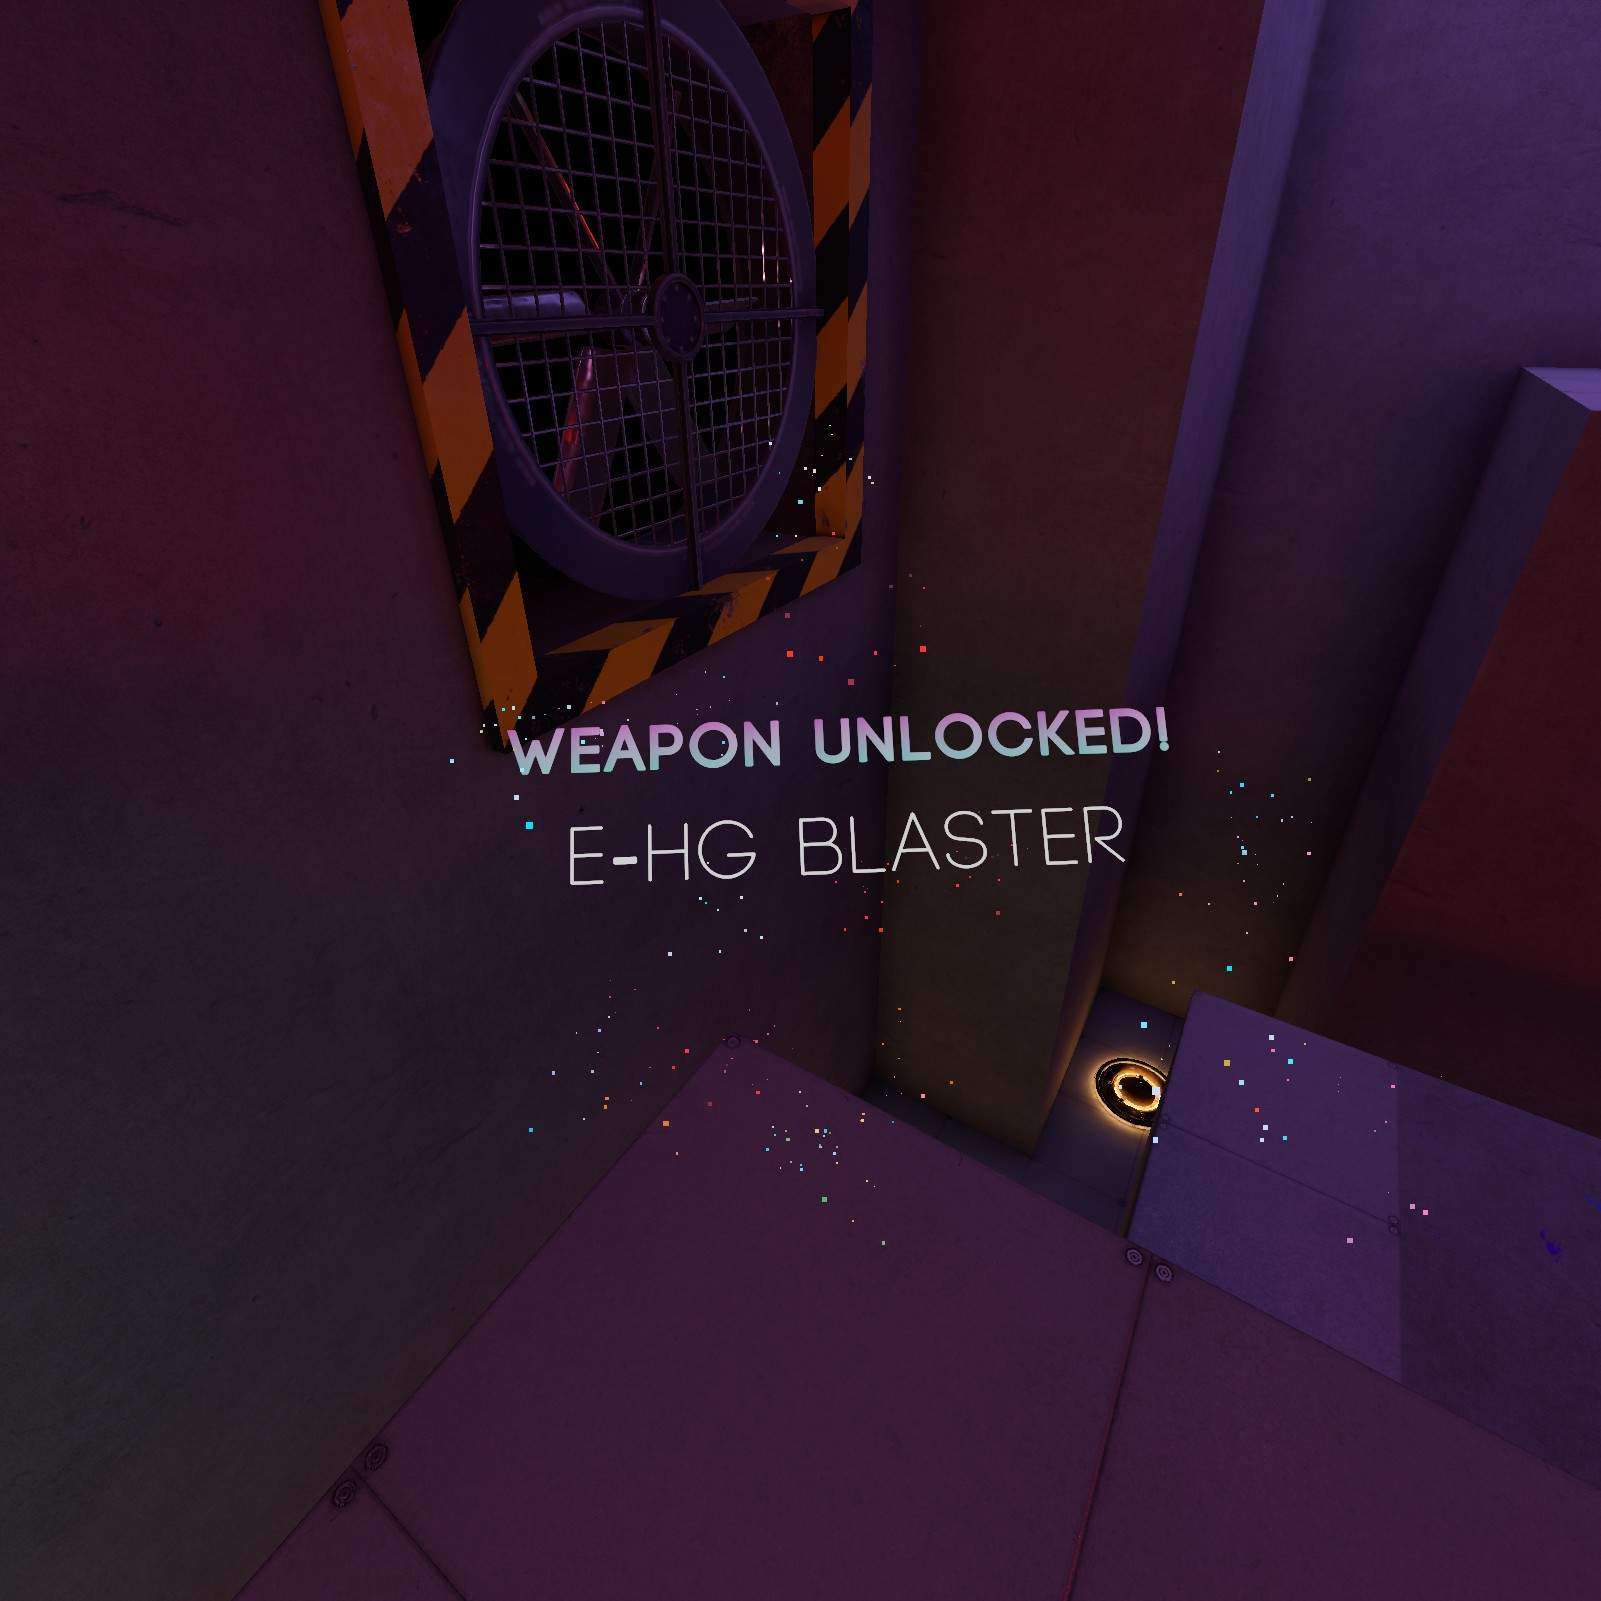
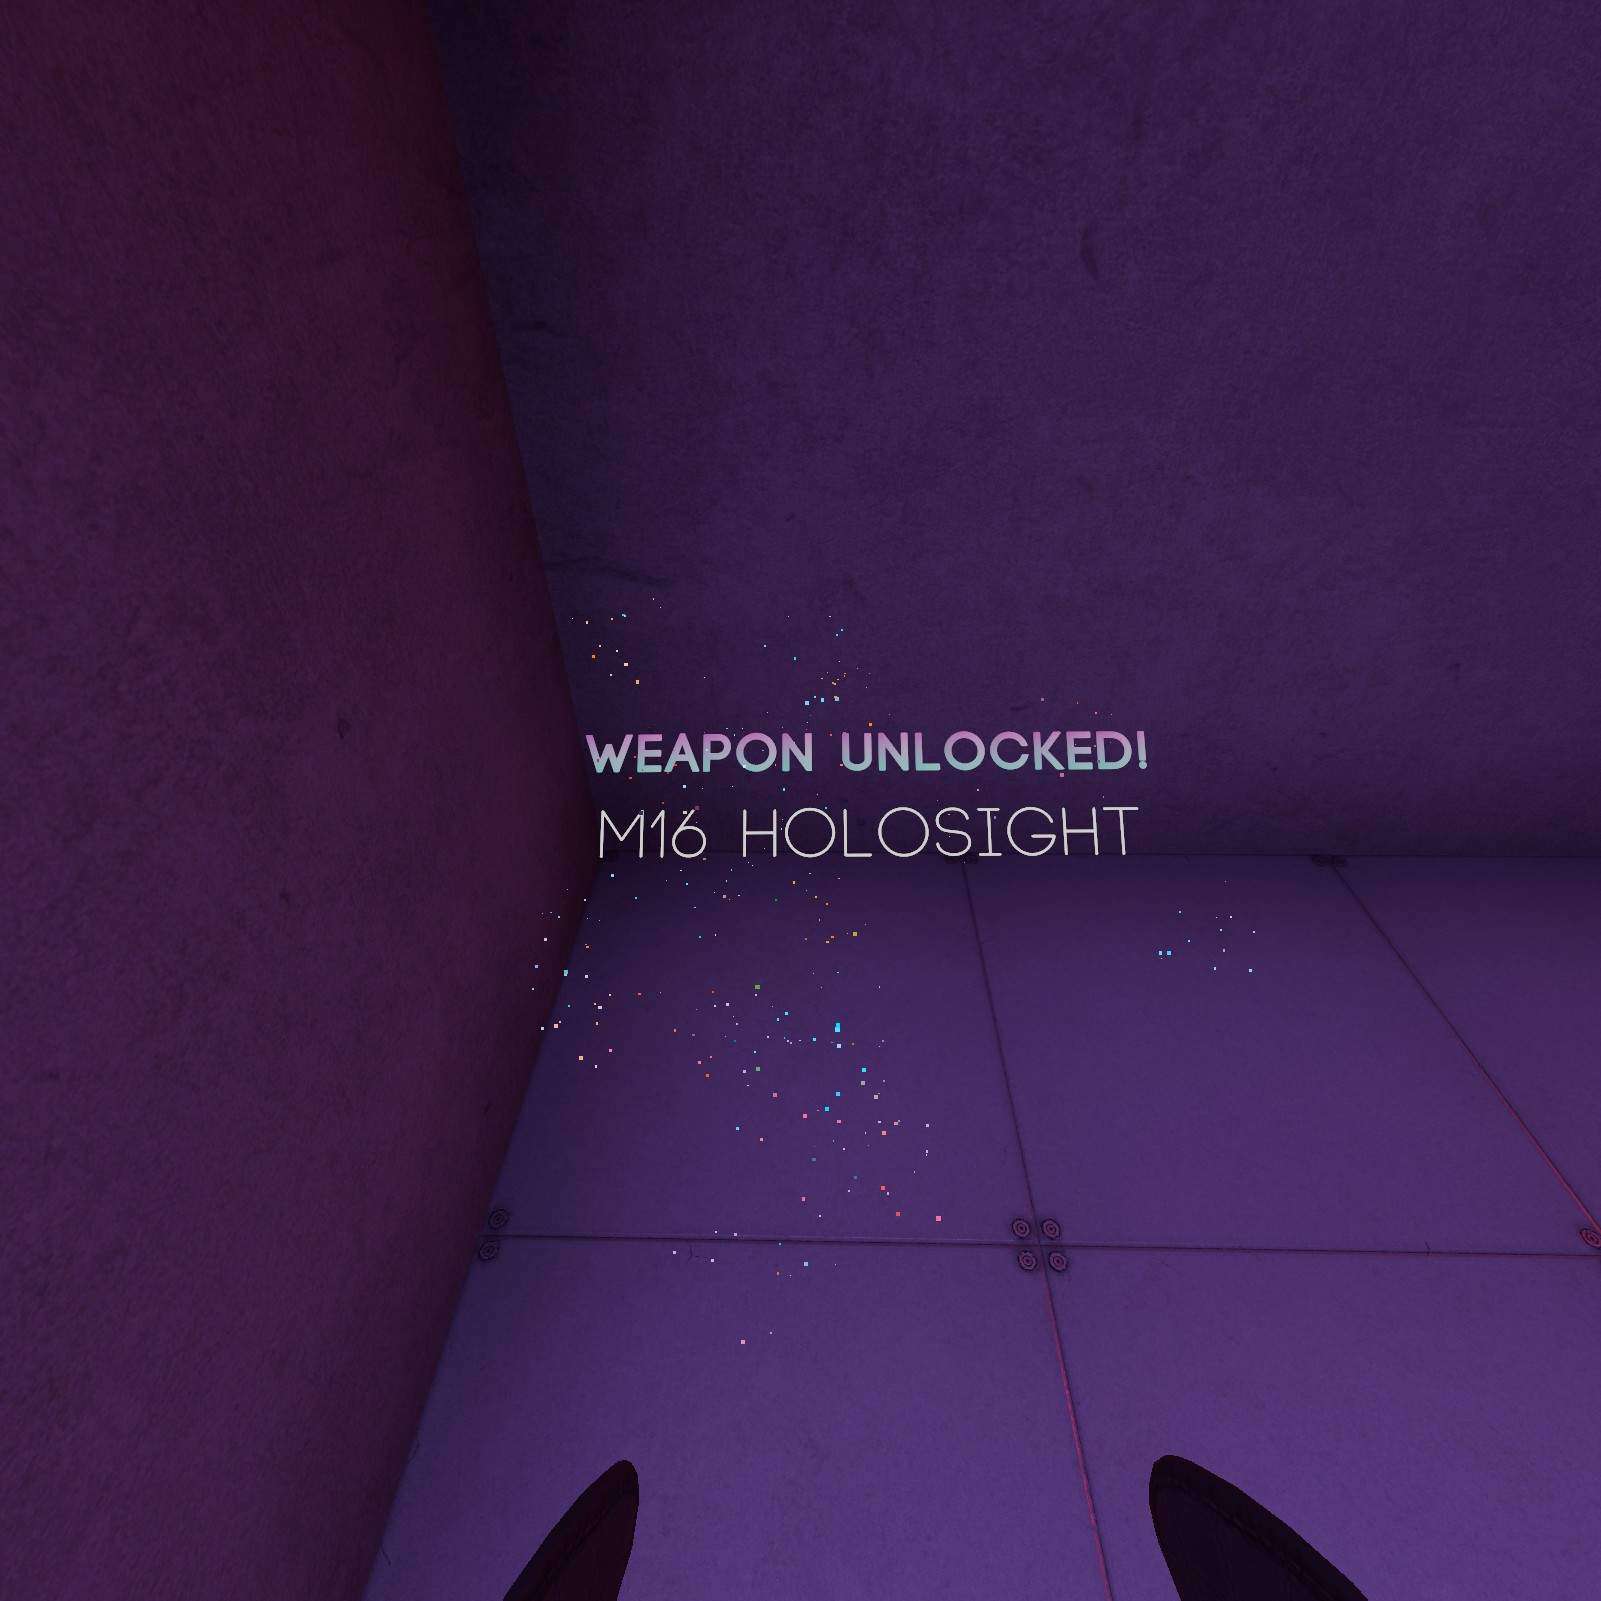
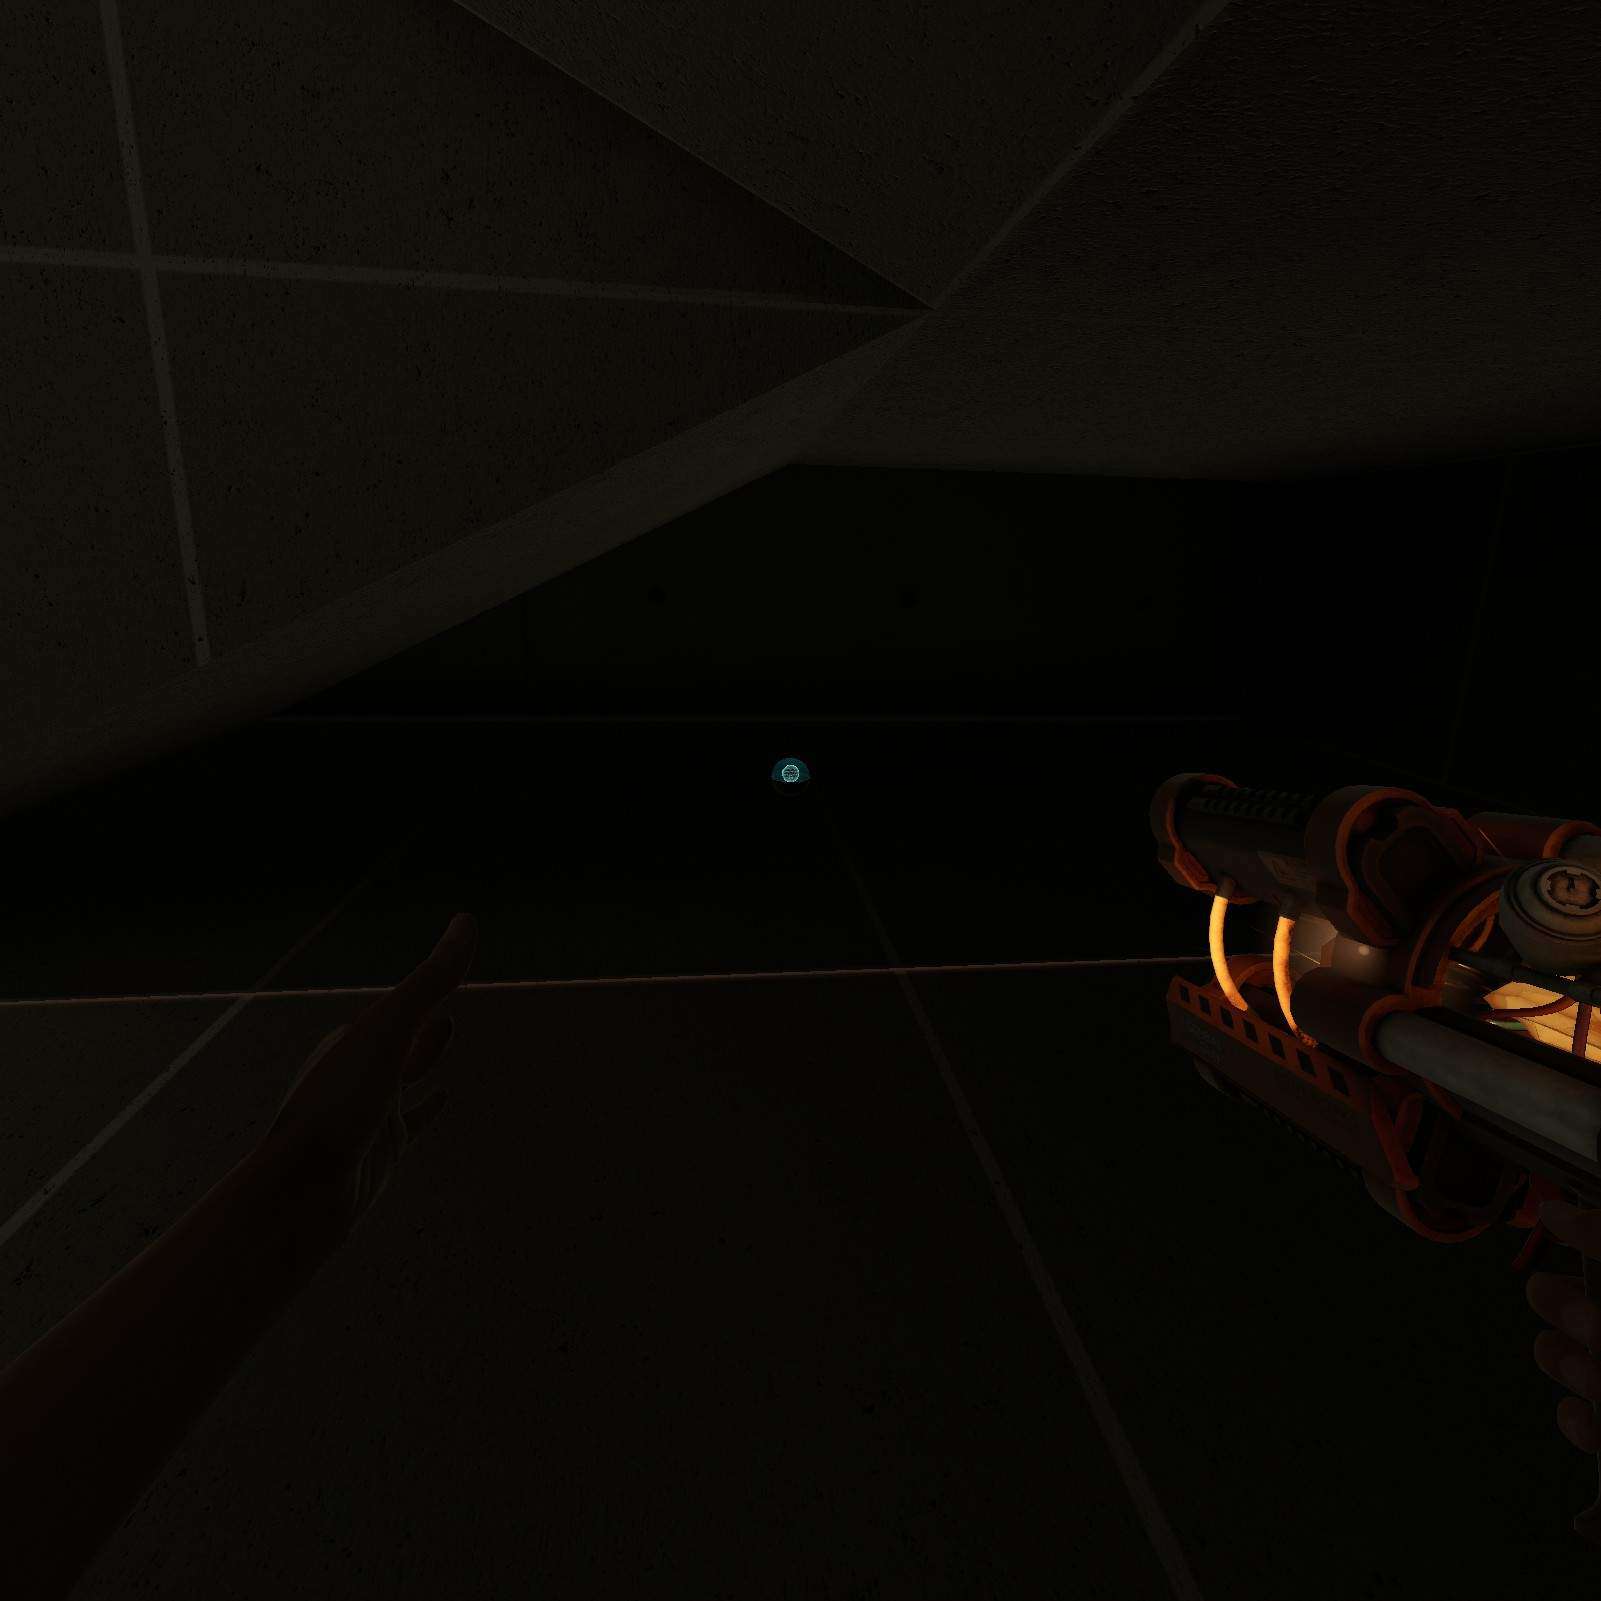
E-HG BLASTER & M16 HOLOSIGHT:
Is that a gatcha ball on that platform? Good, because we’re ignoring it in favor of the ball in the fan. That one on the platform is trying to distract you from the superior one. Be sure to grab both of em.
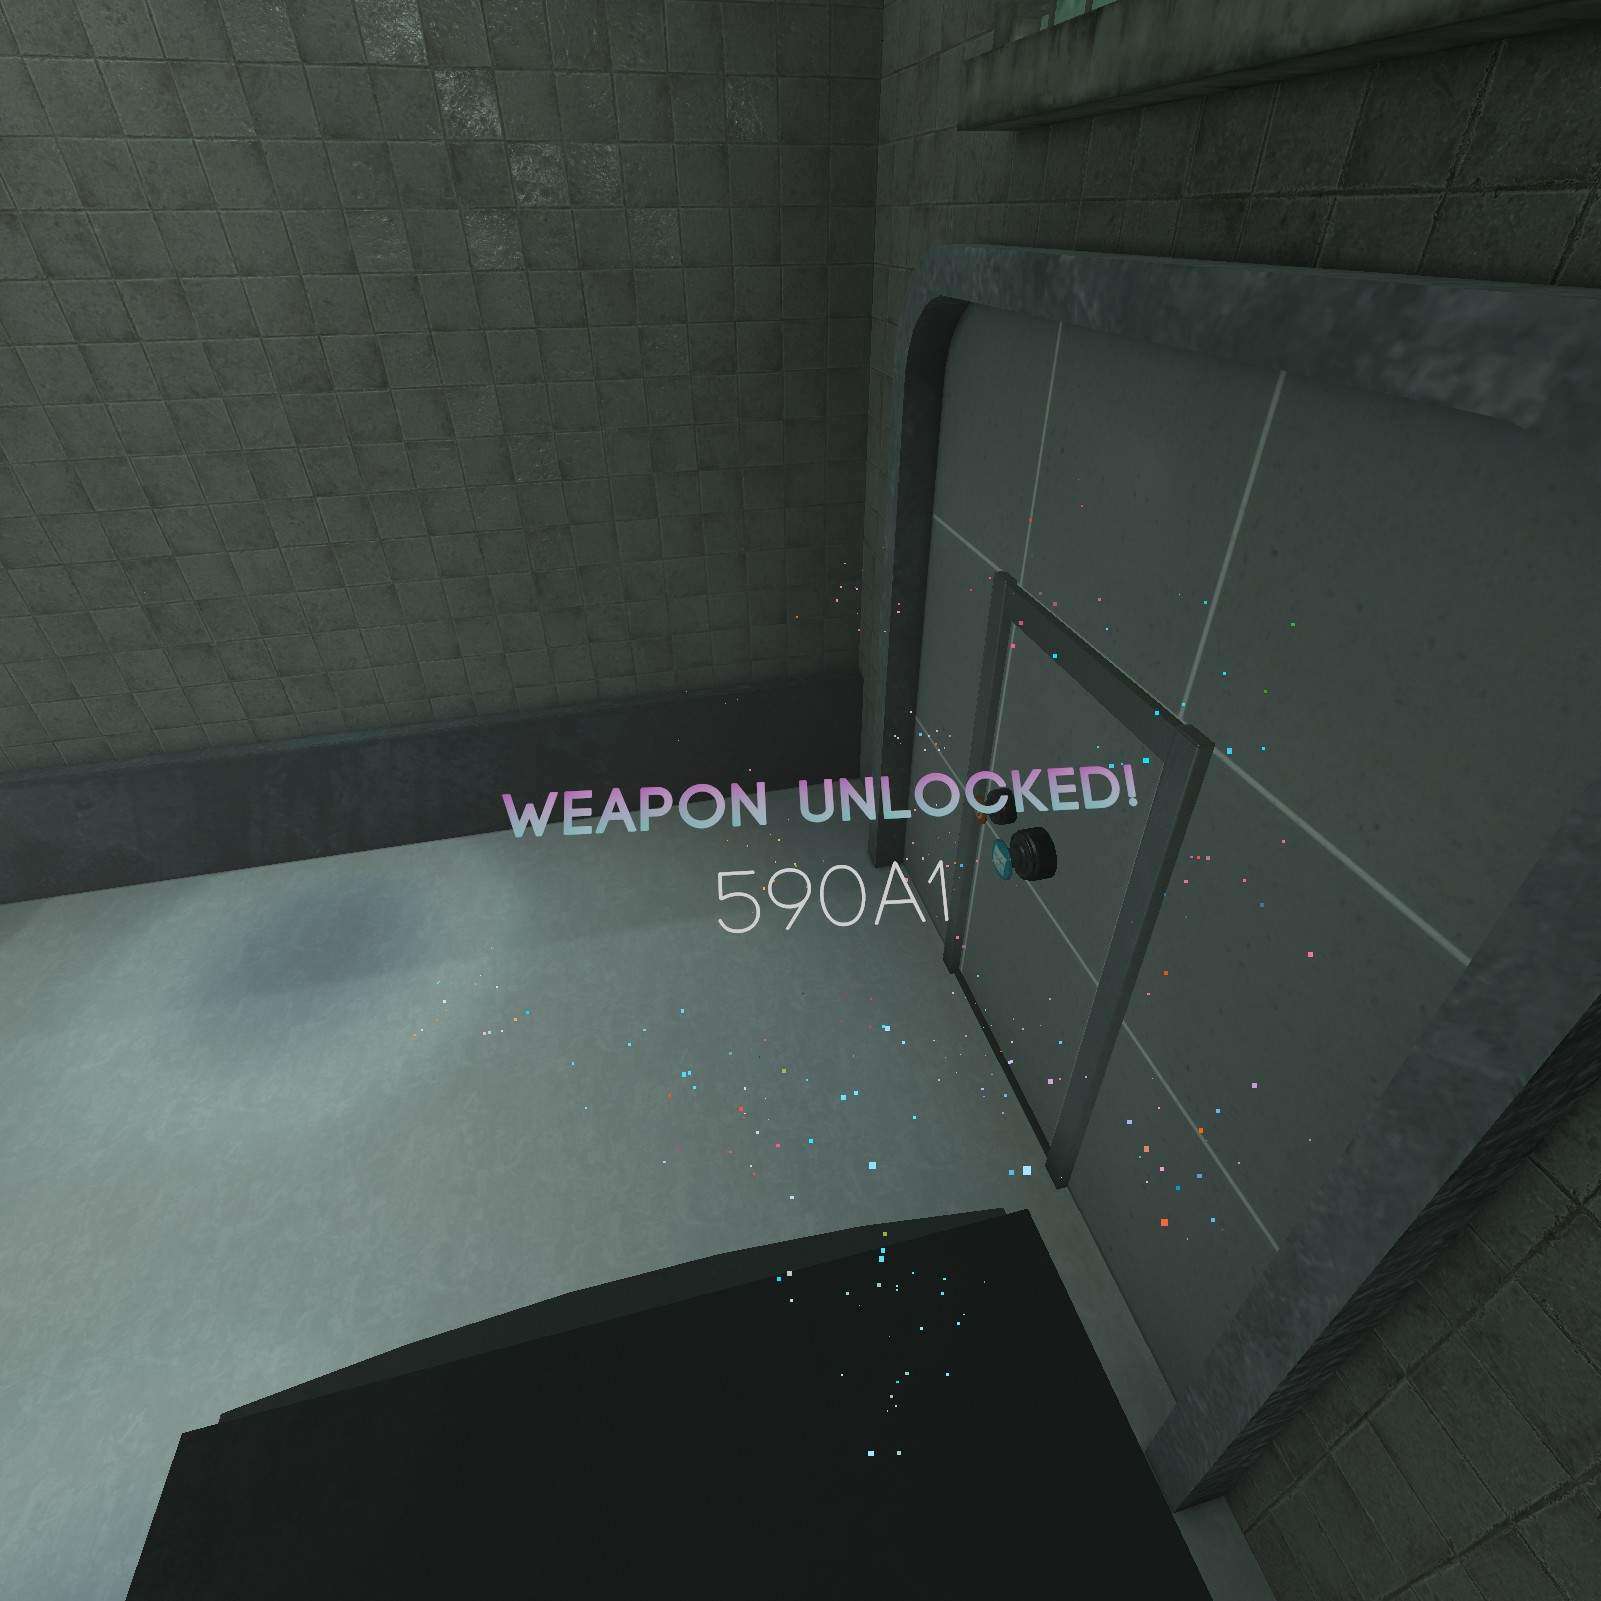
Gun Range
590A1:
In the starting room, check the top of the vending machine for the 590A1. What do those numbers and letters mean? I have no Idea.
M4:
Check this western range for a M4, just behind the cardboard cutouts.


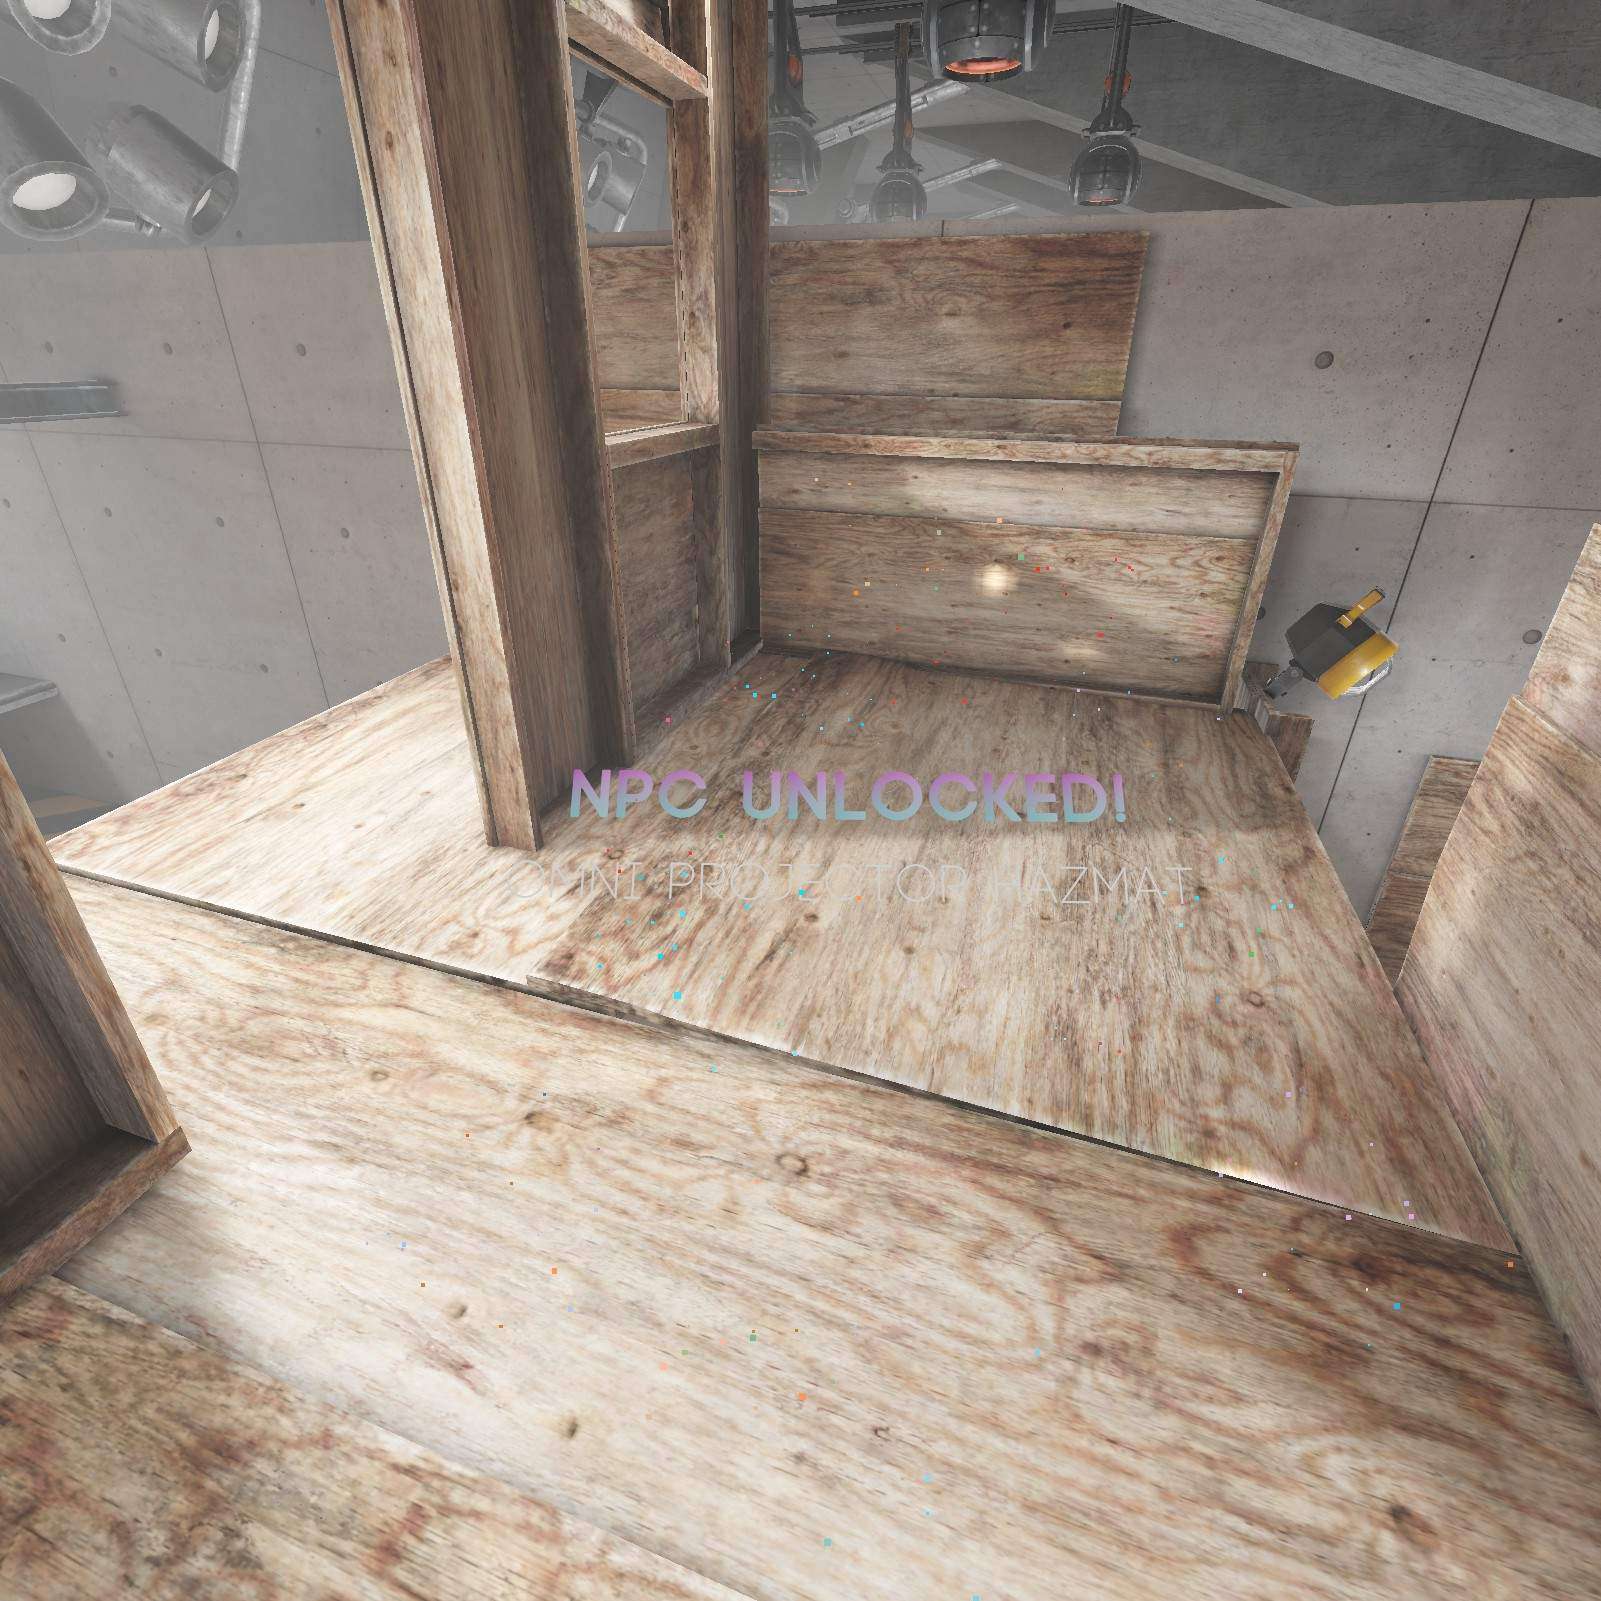
Omni Projector Hazmat:
Want to fill yourself with sweet sweet lead? Grab this Omni Projector Hazmat and spam them all around you. (Trust me thats what it says, White mixes too well with white backdrop)
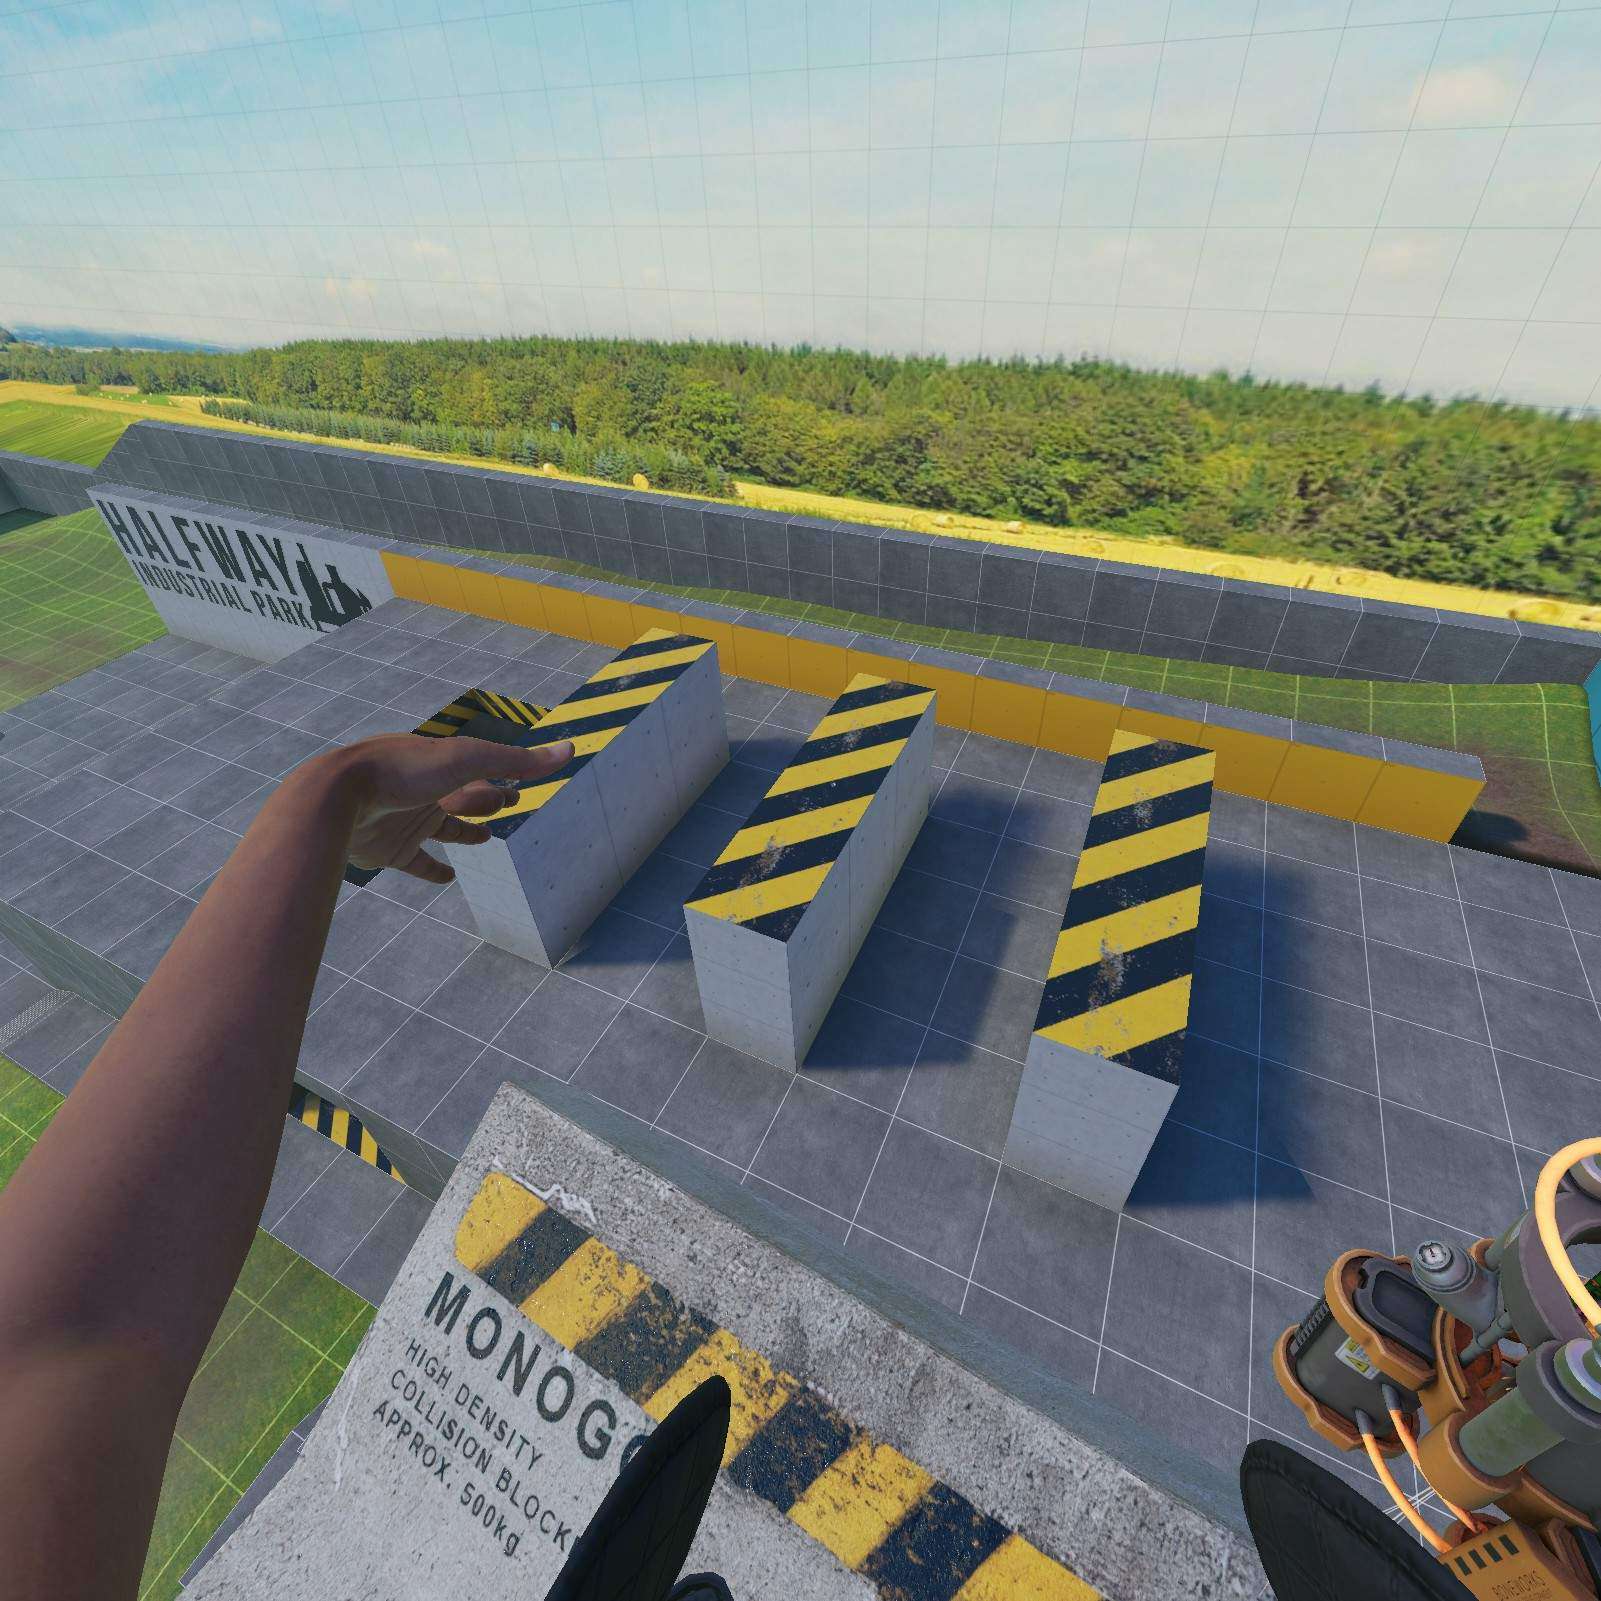
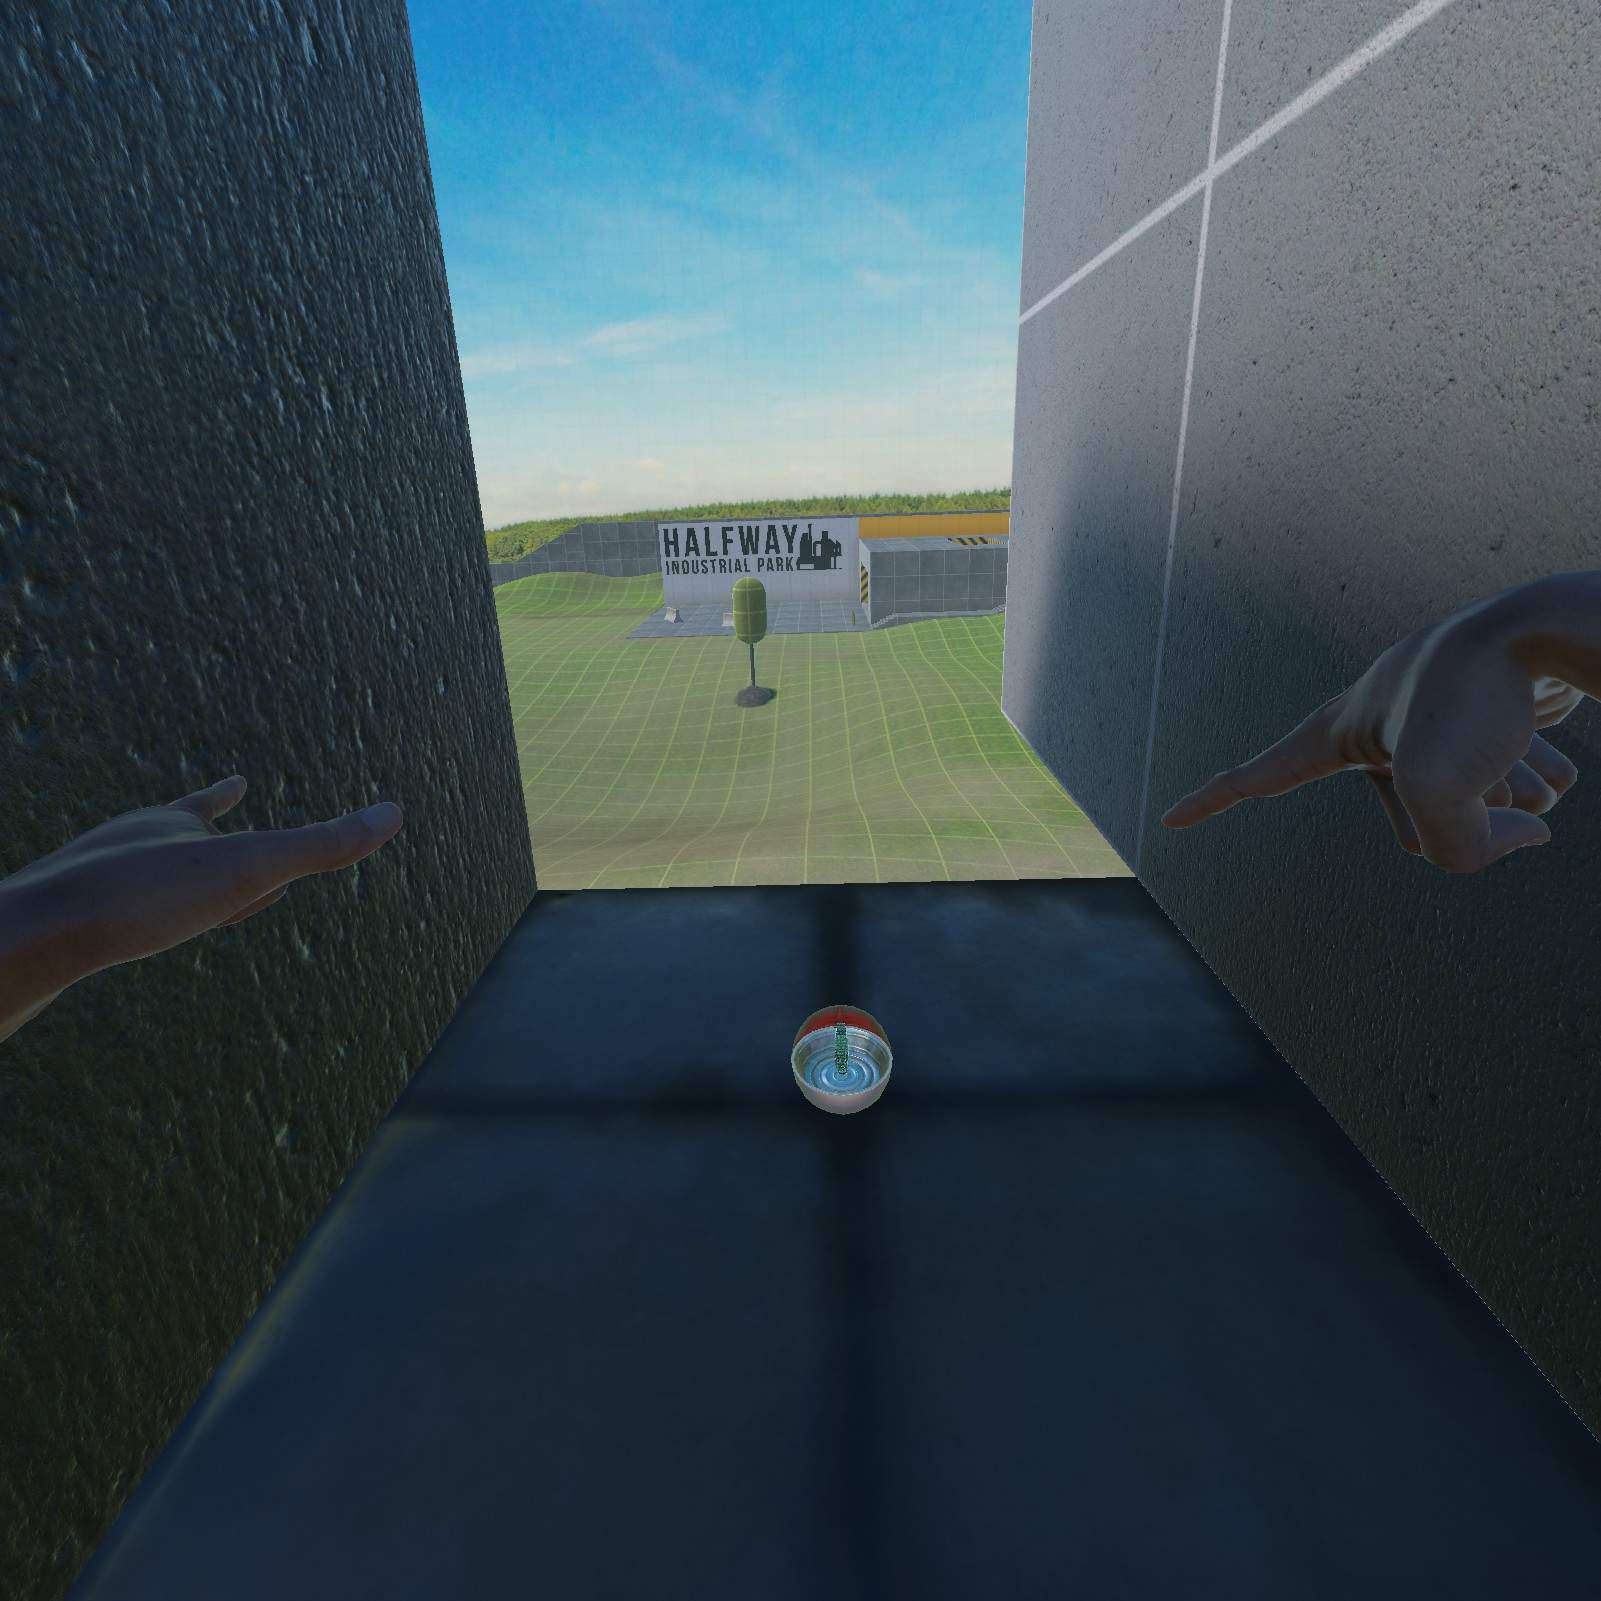
Halfway Park
The devs were kind enough to give us a dev manipulator and some concrete barriers, so this shouldn’t take long at all.
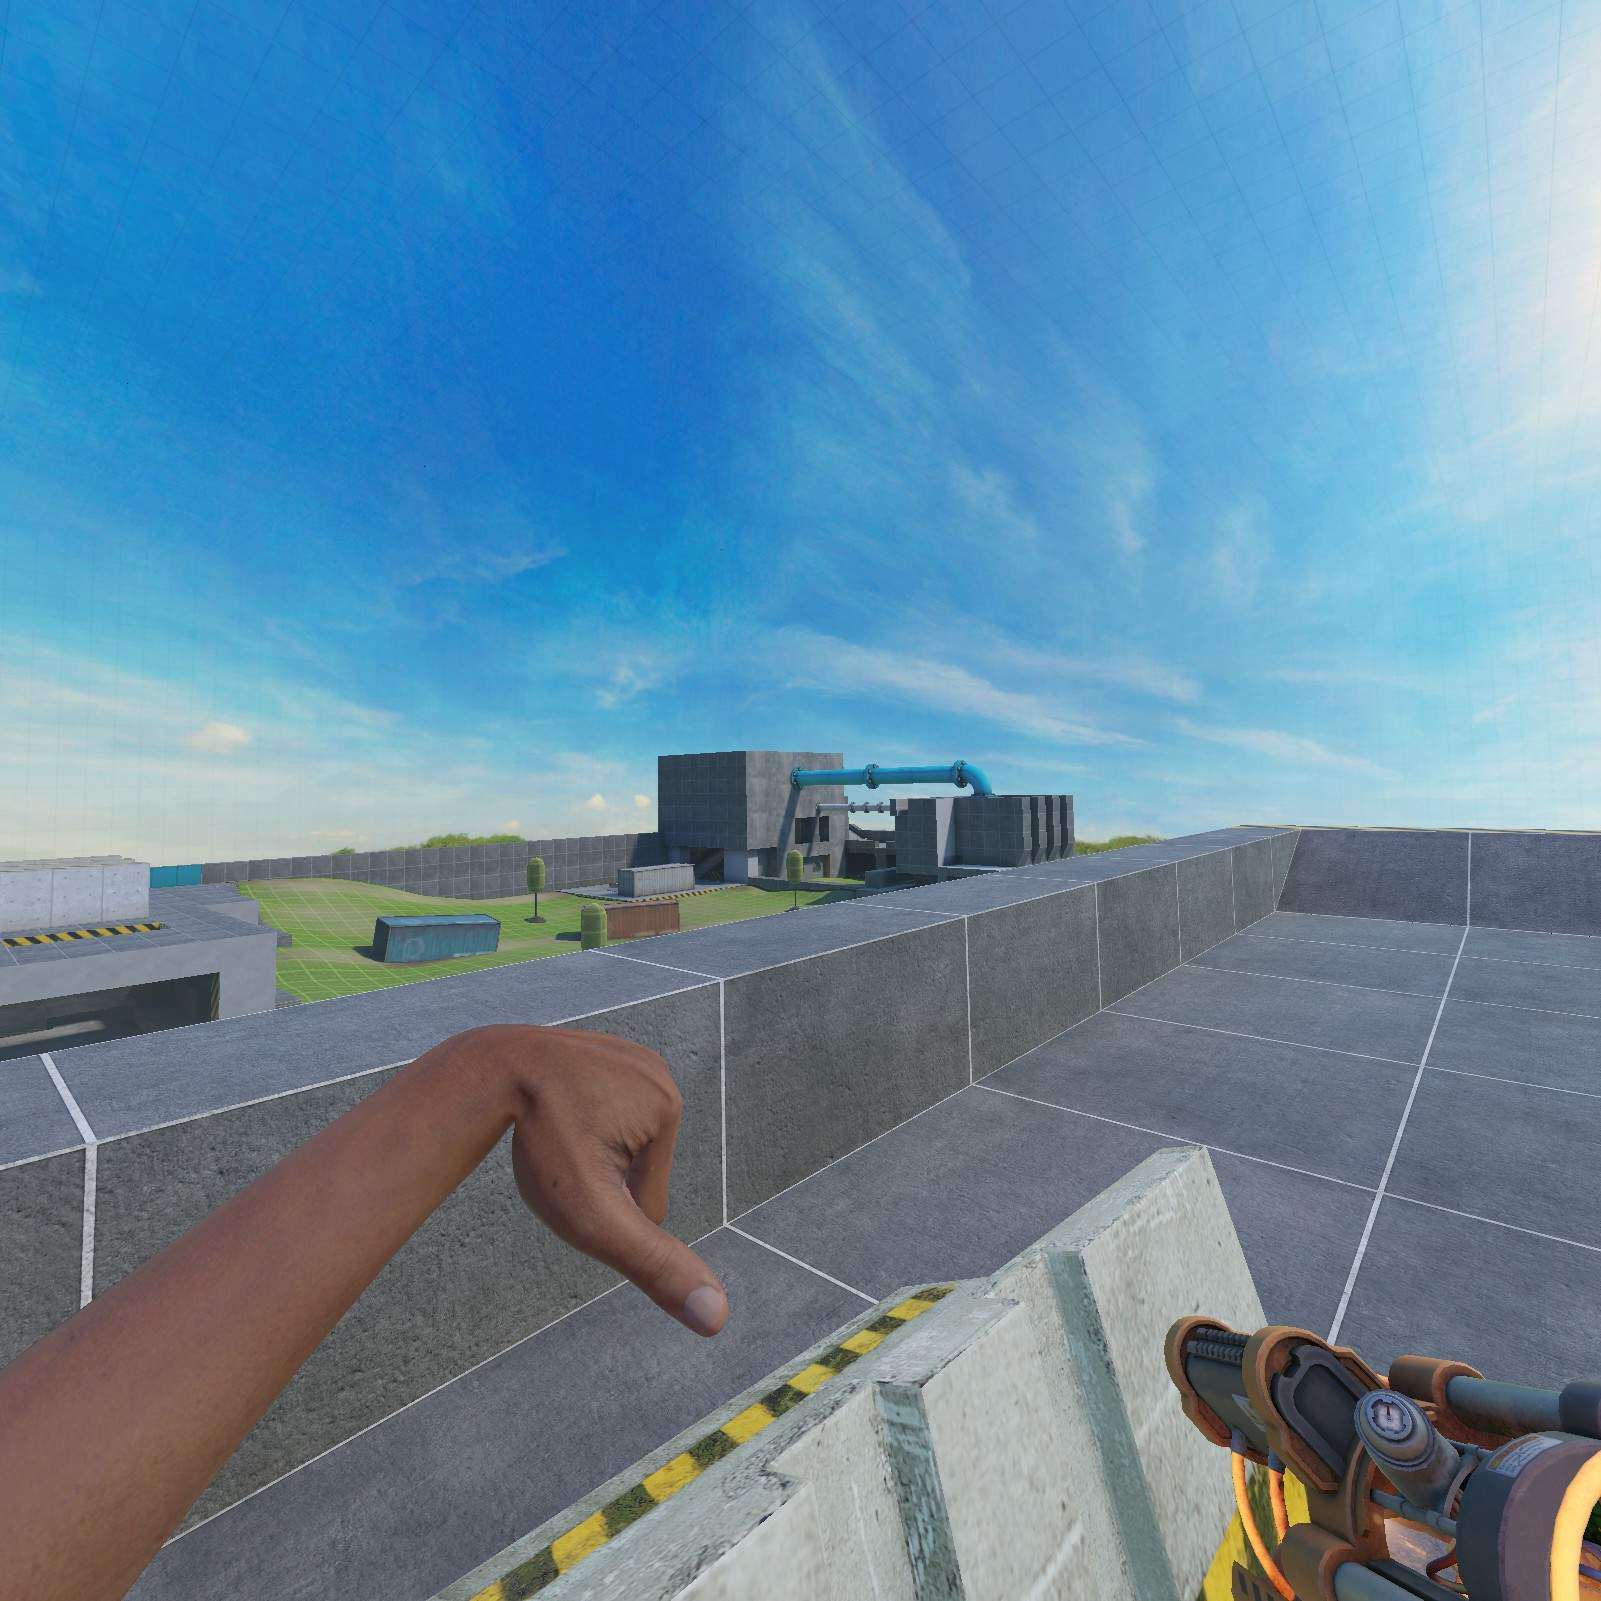
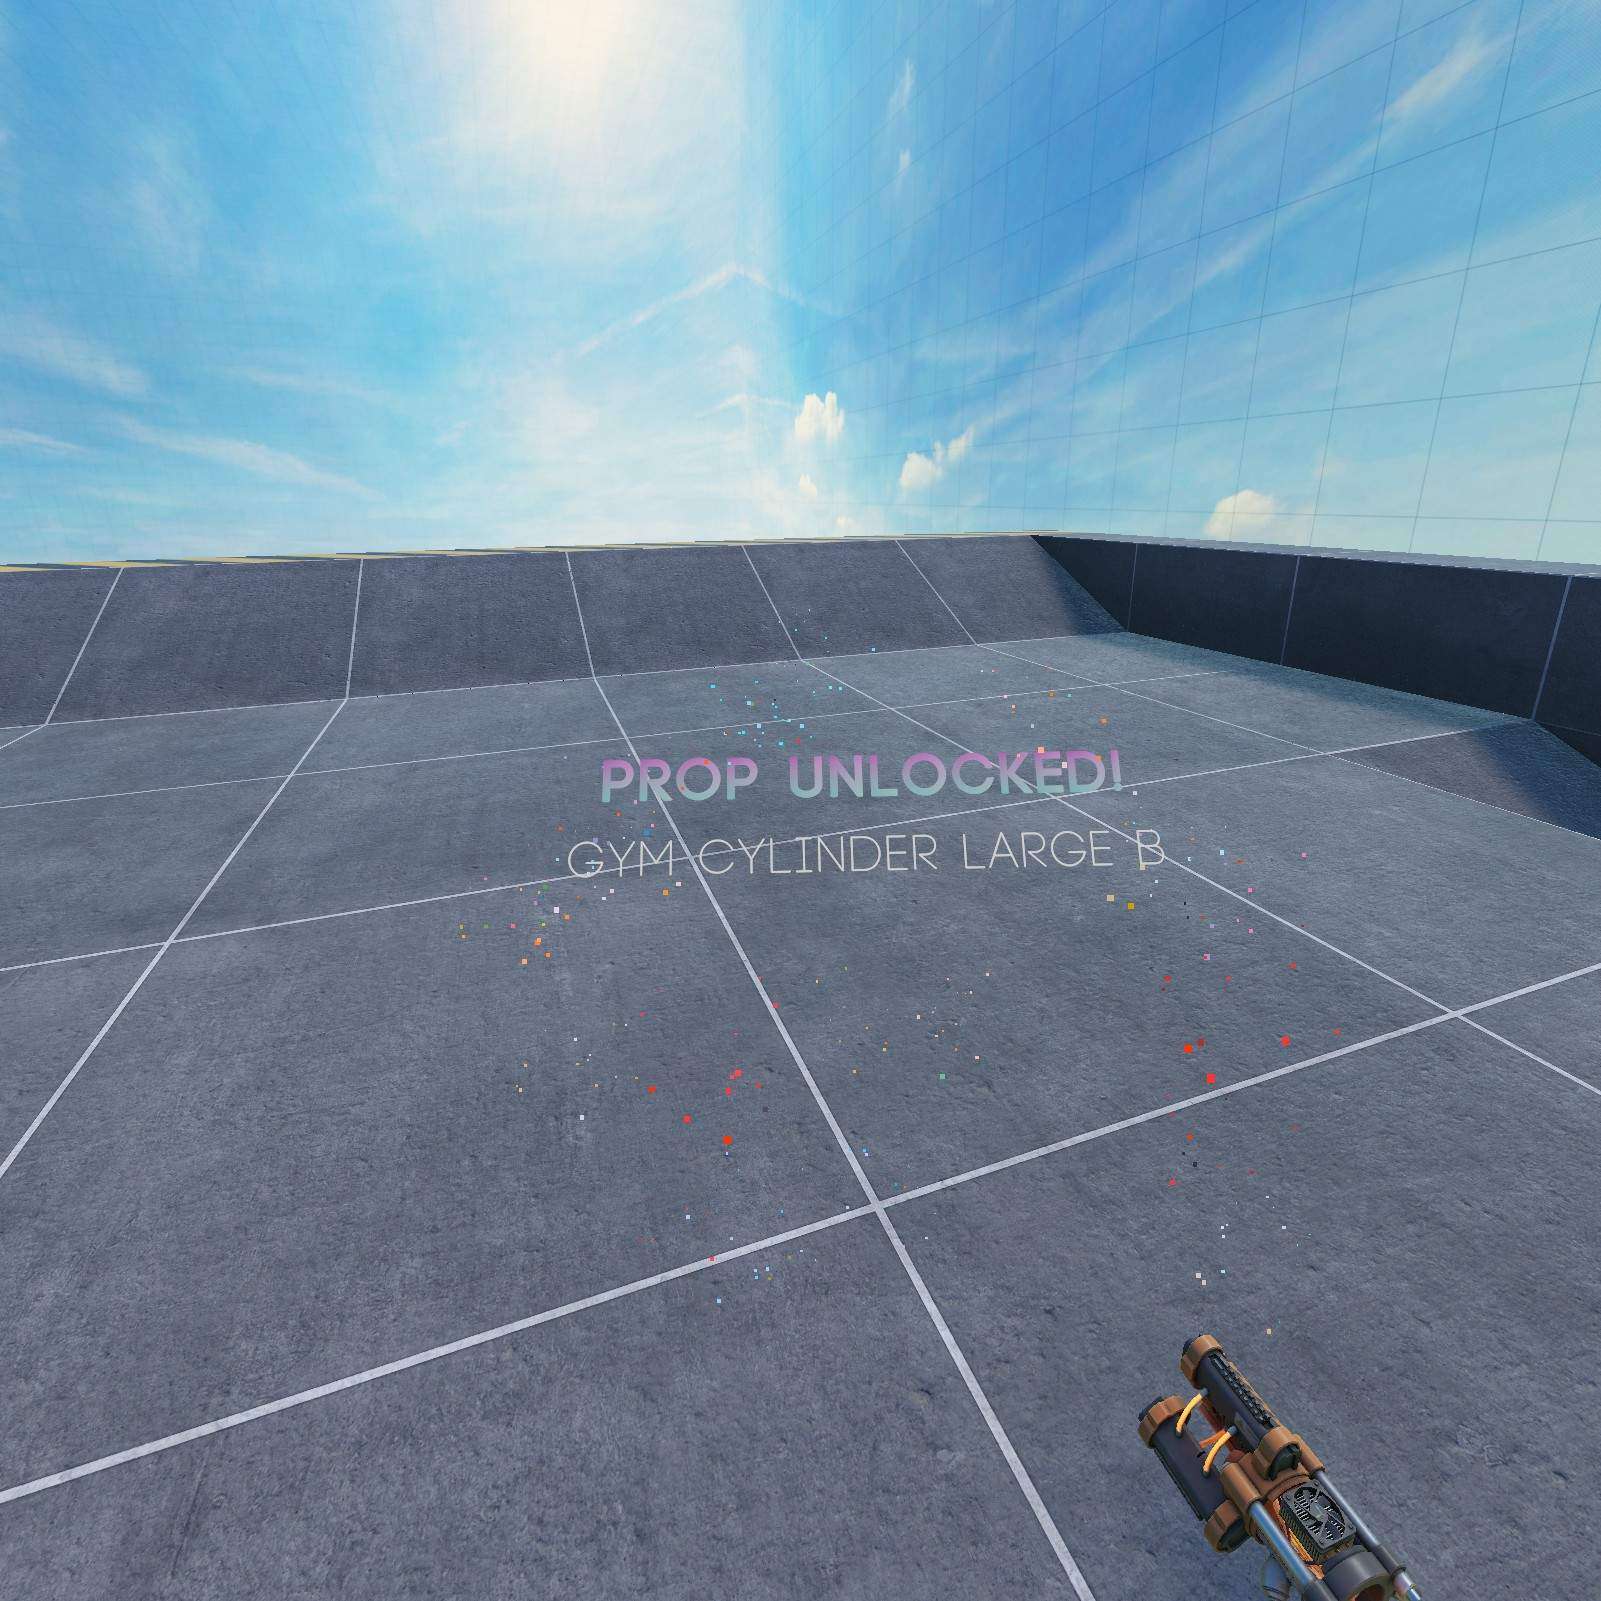
Gym Cylinder Large B:
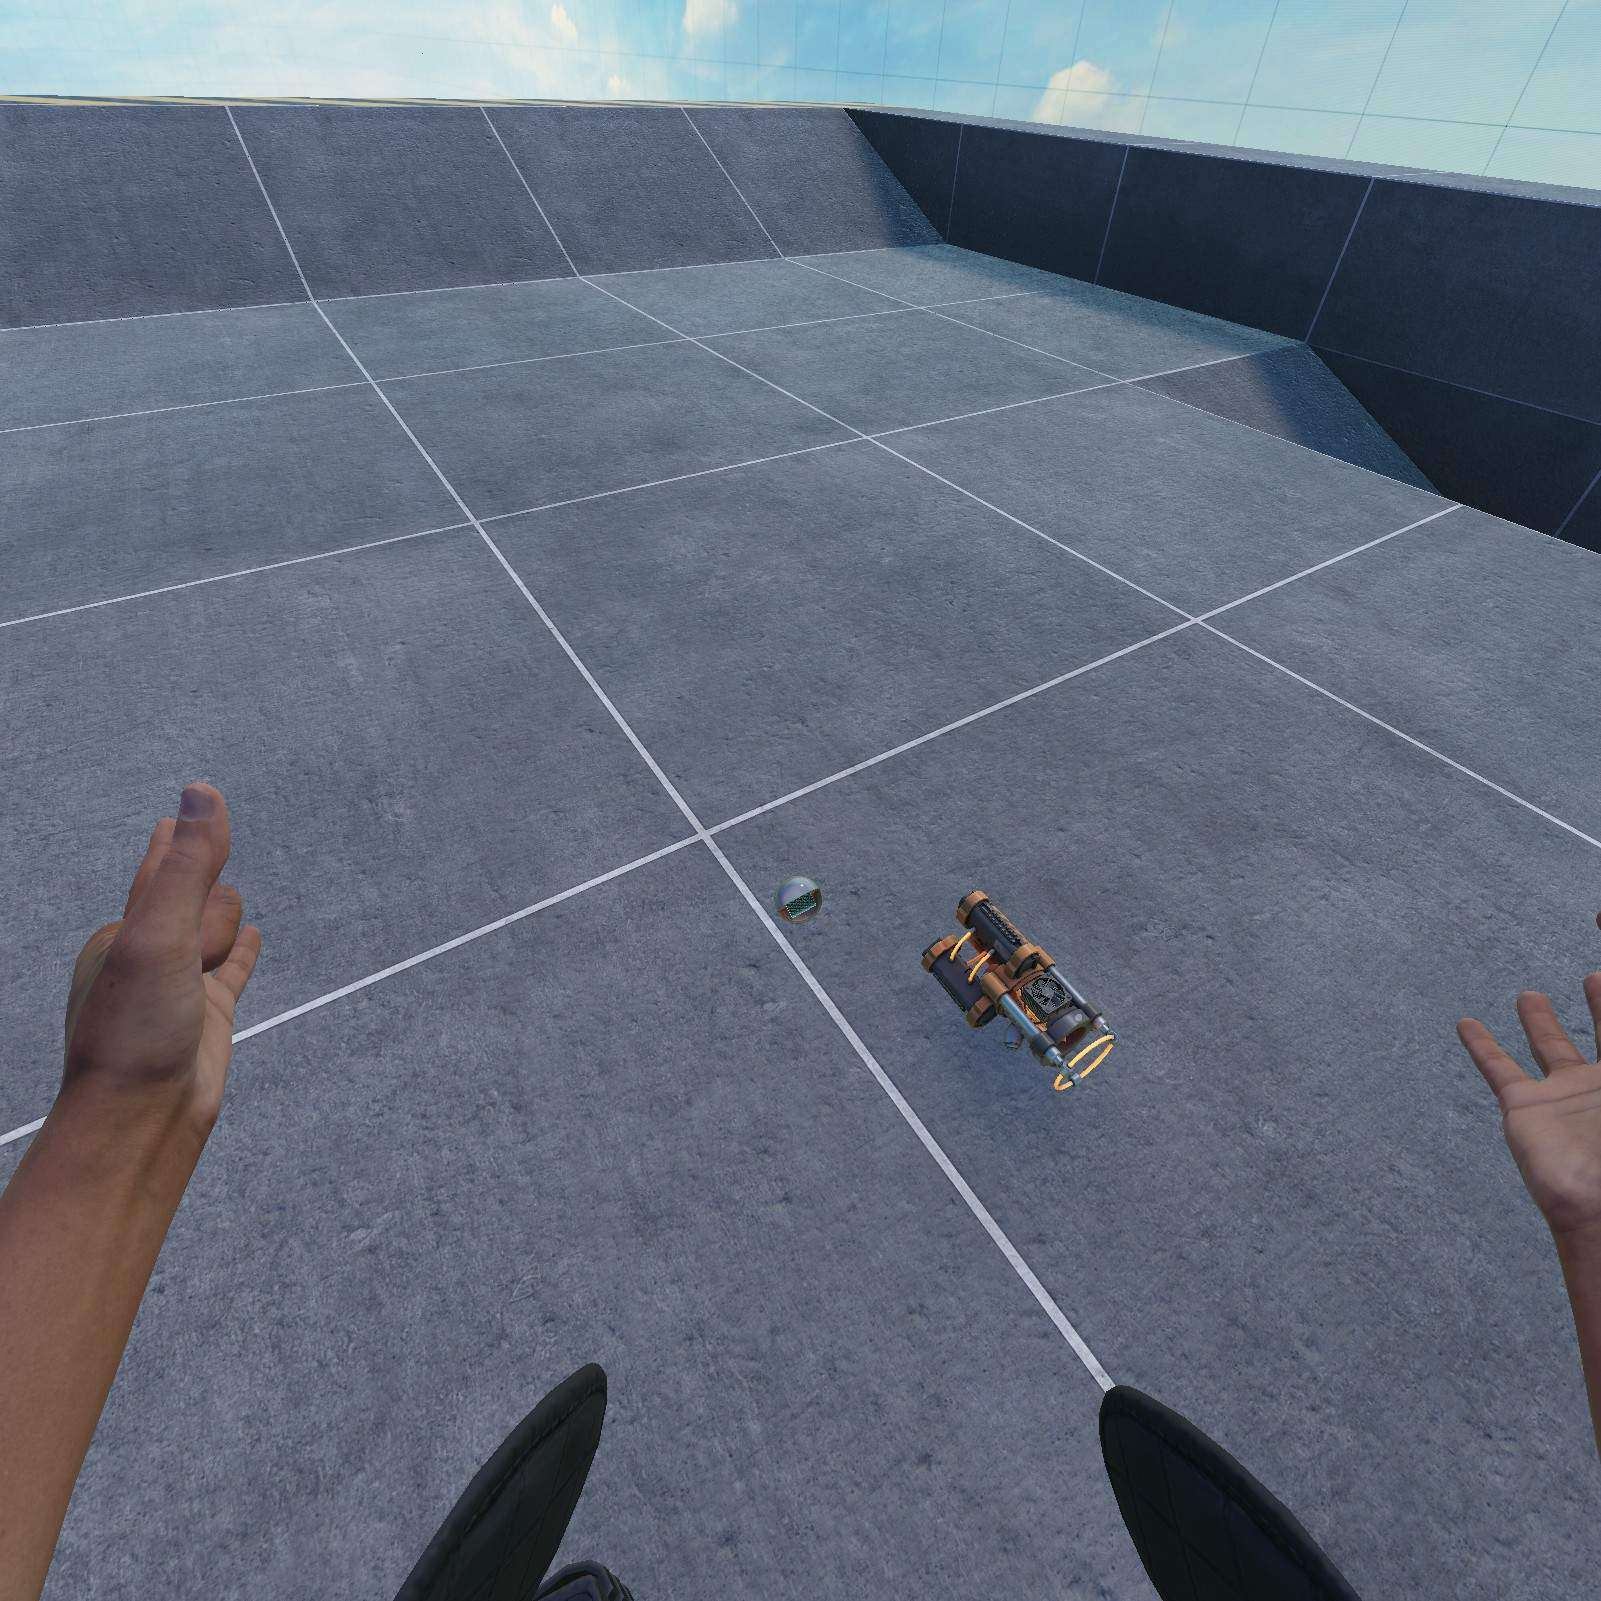
First we fly up on the South Western Building for my favorite shape the Gym Cylinder Large B.

It was right about there I accidentally grabbed it again.
Gym Cube 3X3 & M9:
Next on these 3 walls with caution tape we can find my favorite shape the Gym Cube 3X3. From there we can hop down to these shipping containers to find an M9 hiding in the orange one.


Constrainer:
Last but not least we’ve got the Constrainer. He’s been spying on you from his perch watching you fly around with your NSFW avatar. Don’t let him perv on you, grab him to prevent him from releasing the blackmail he’s been recording.

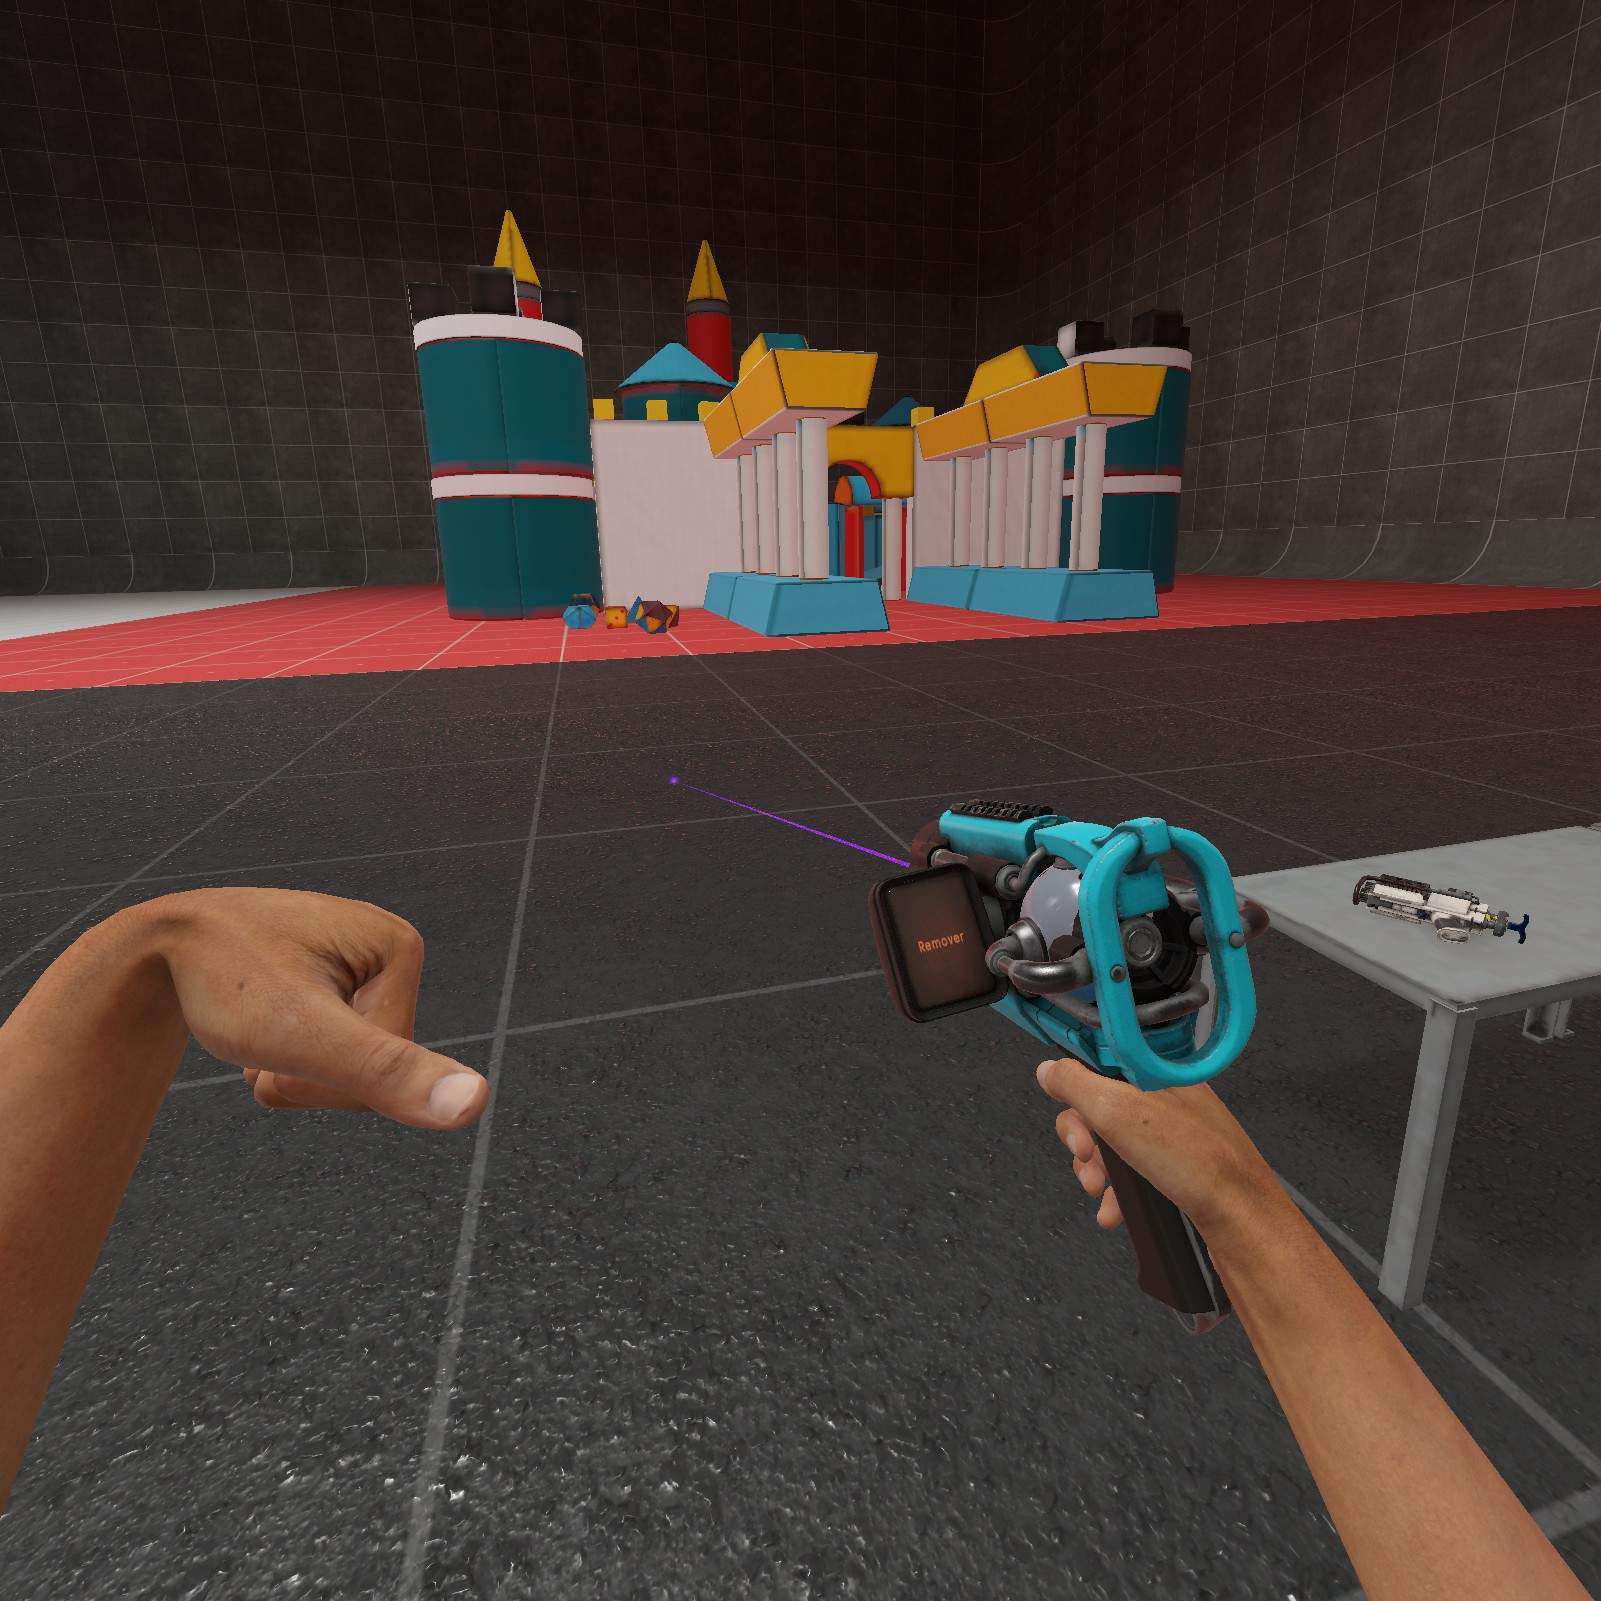
Museum Basement
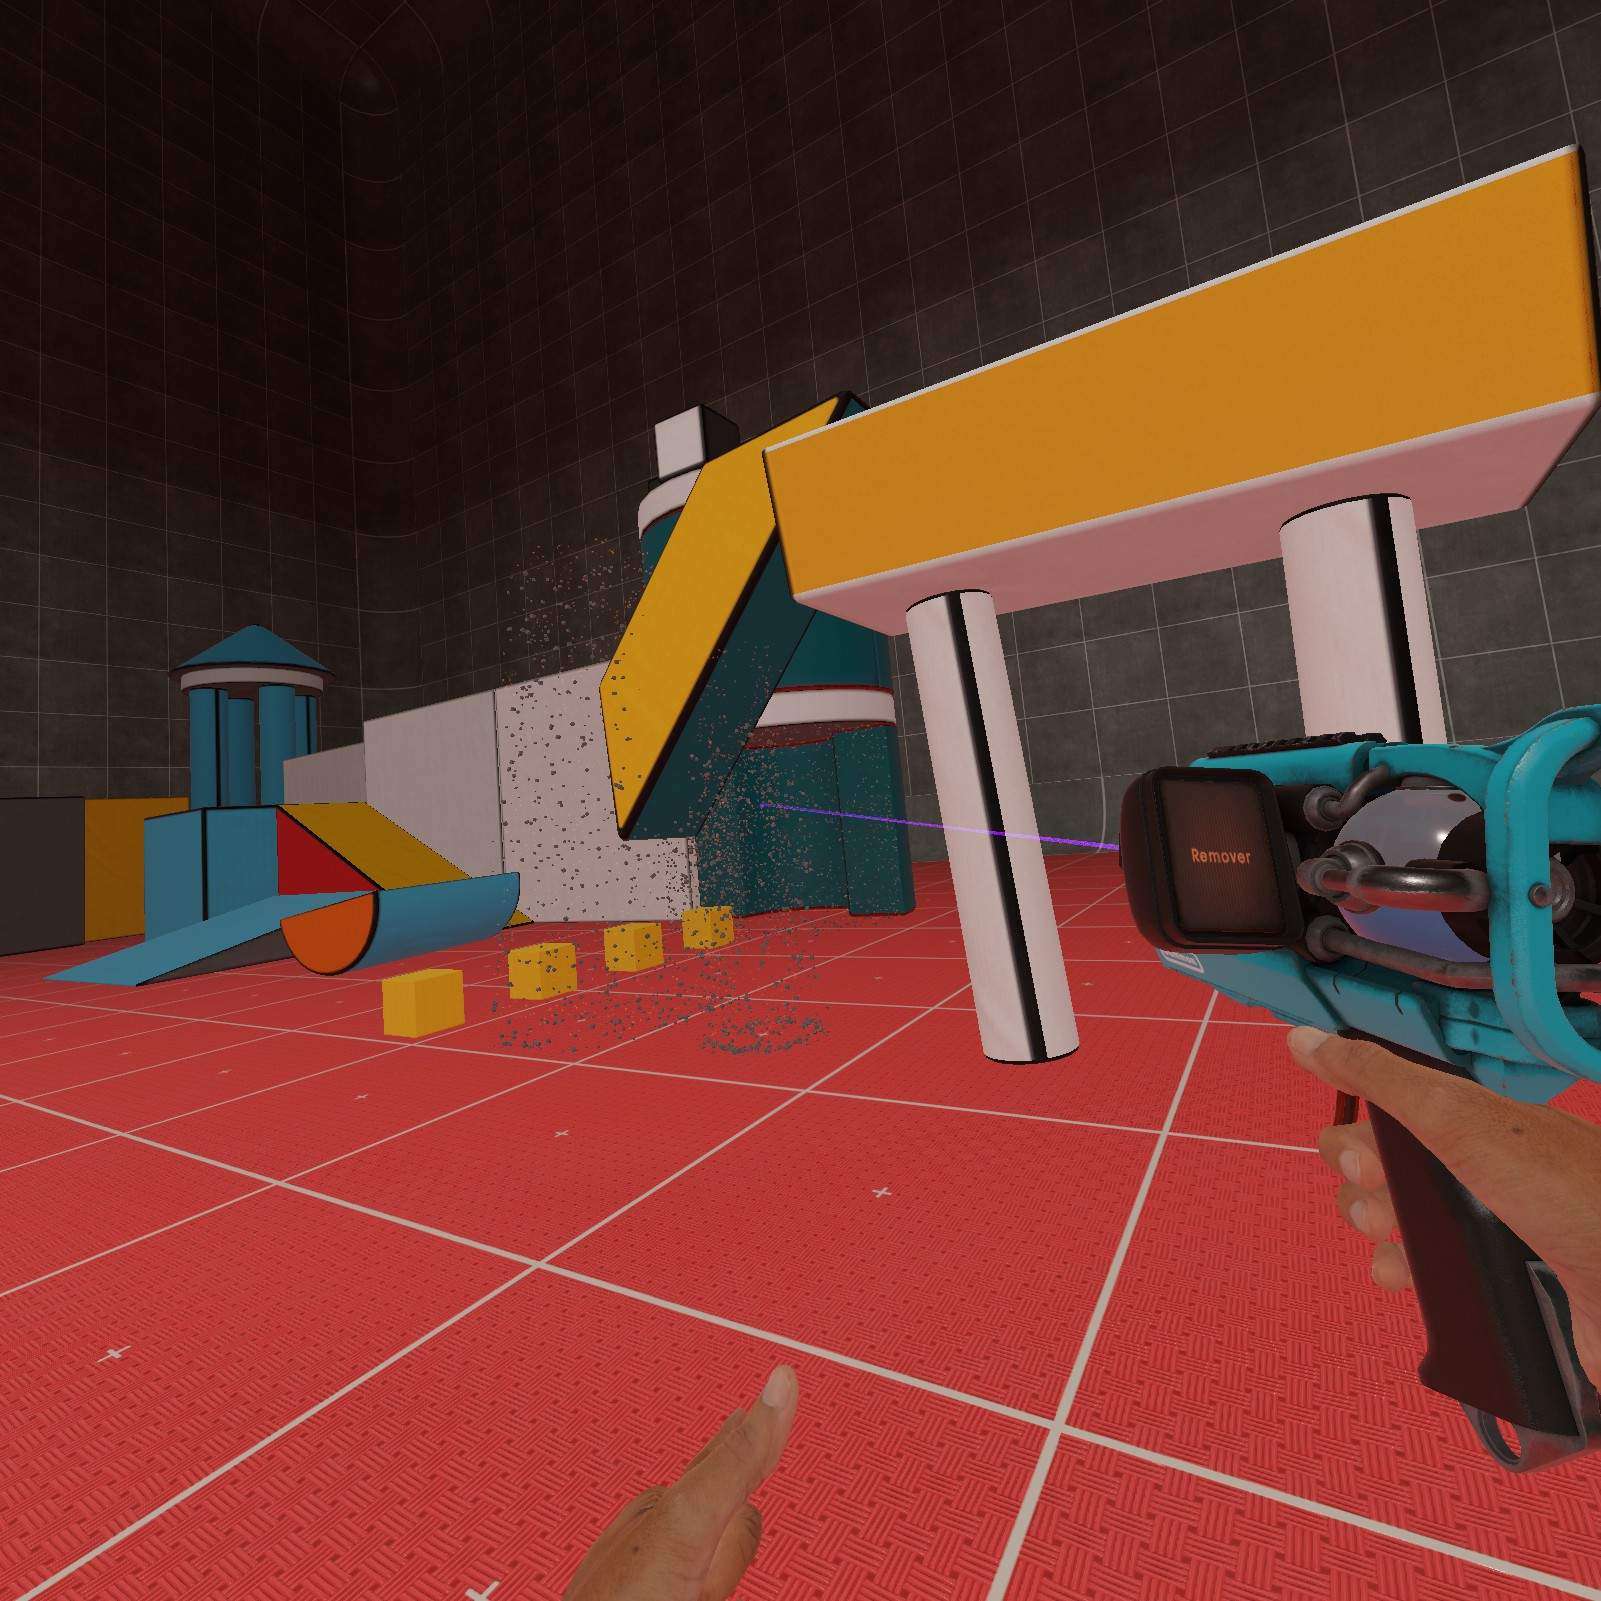
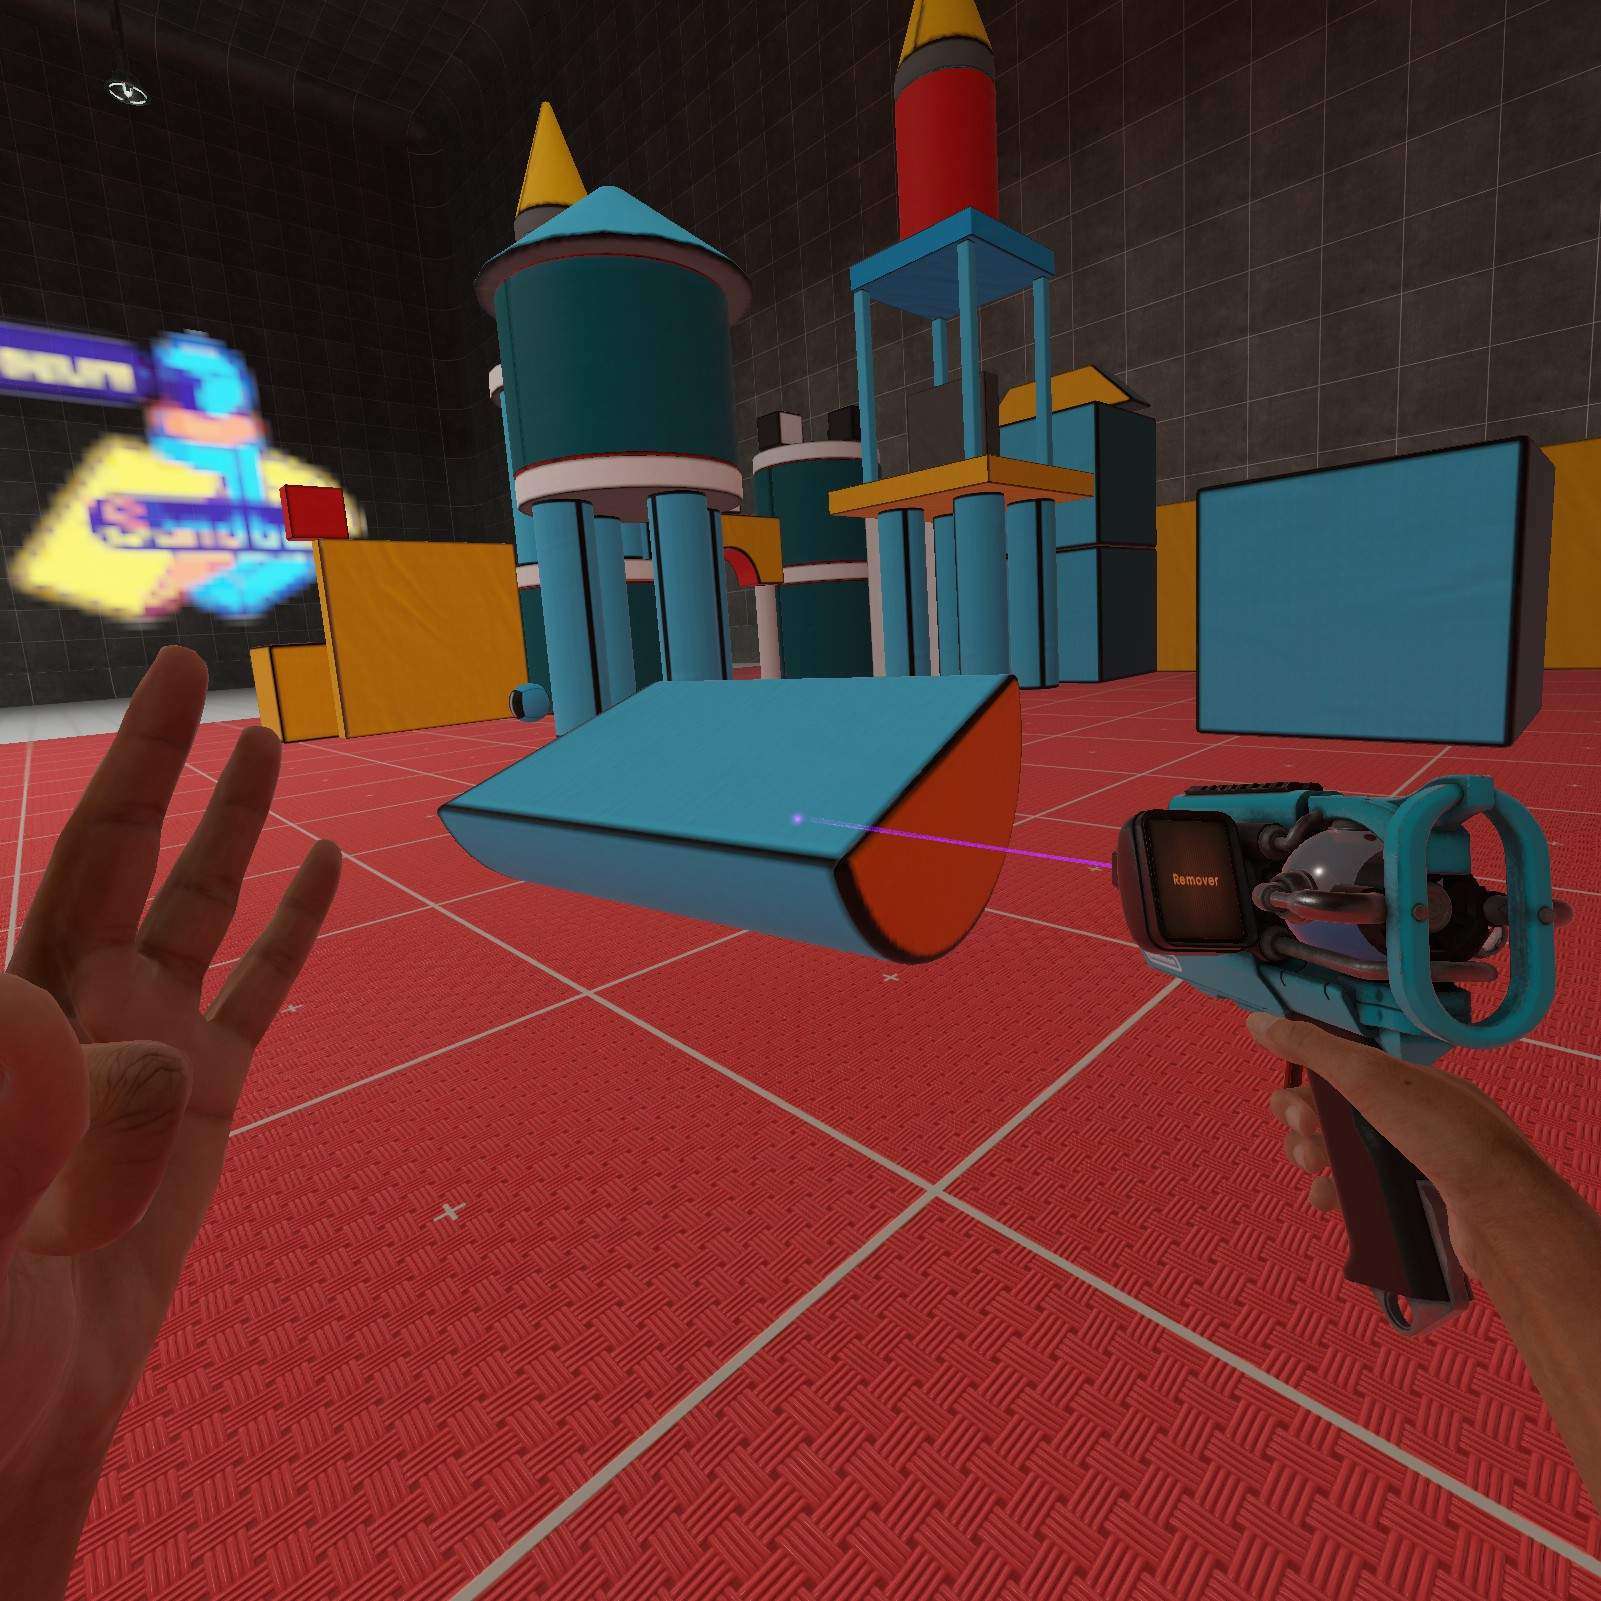
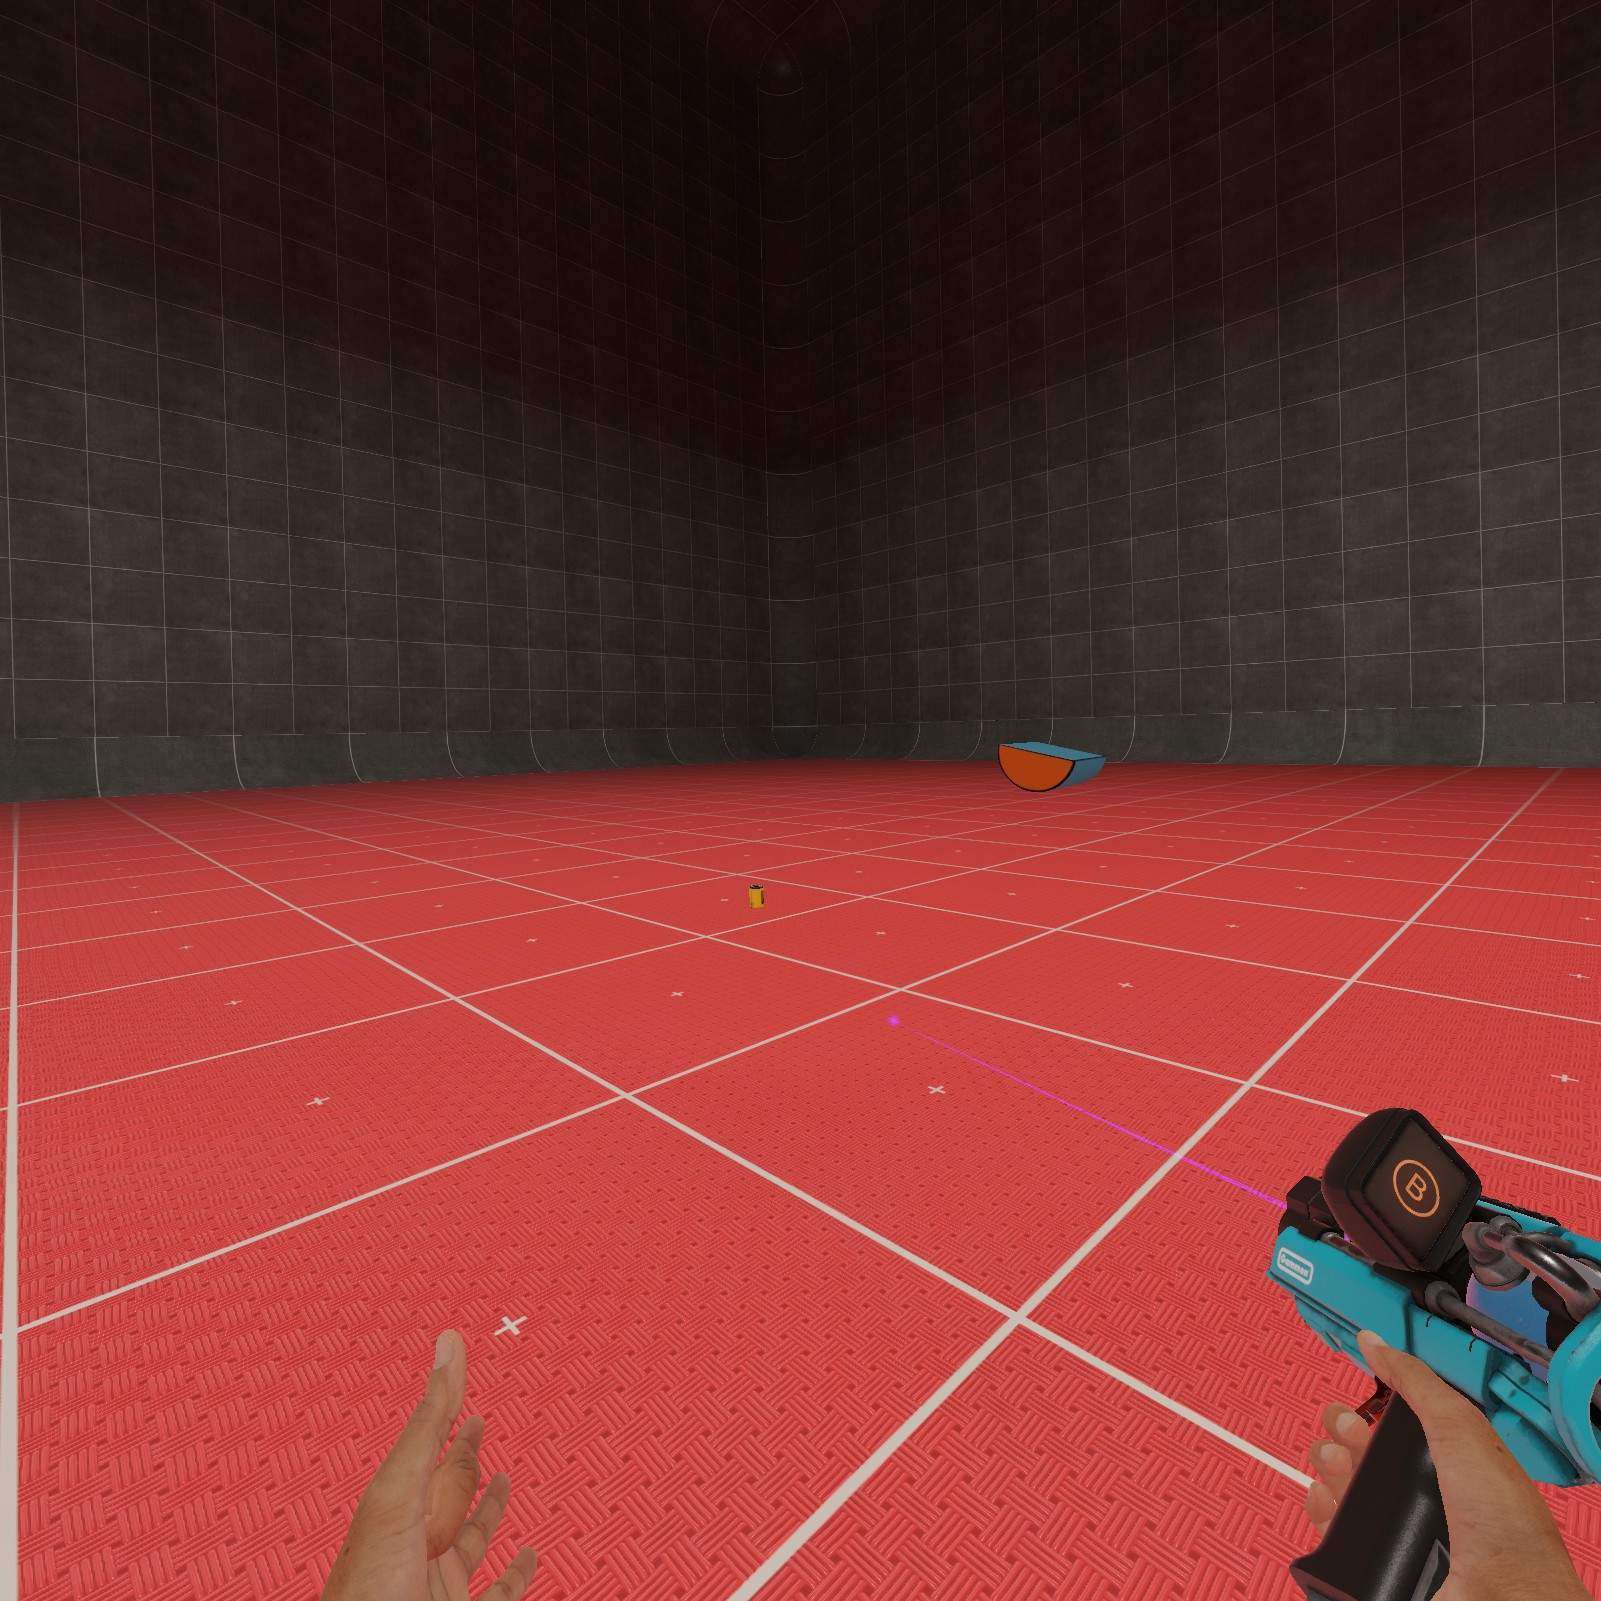
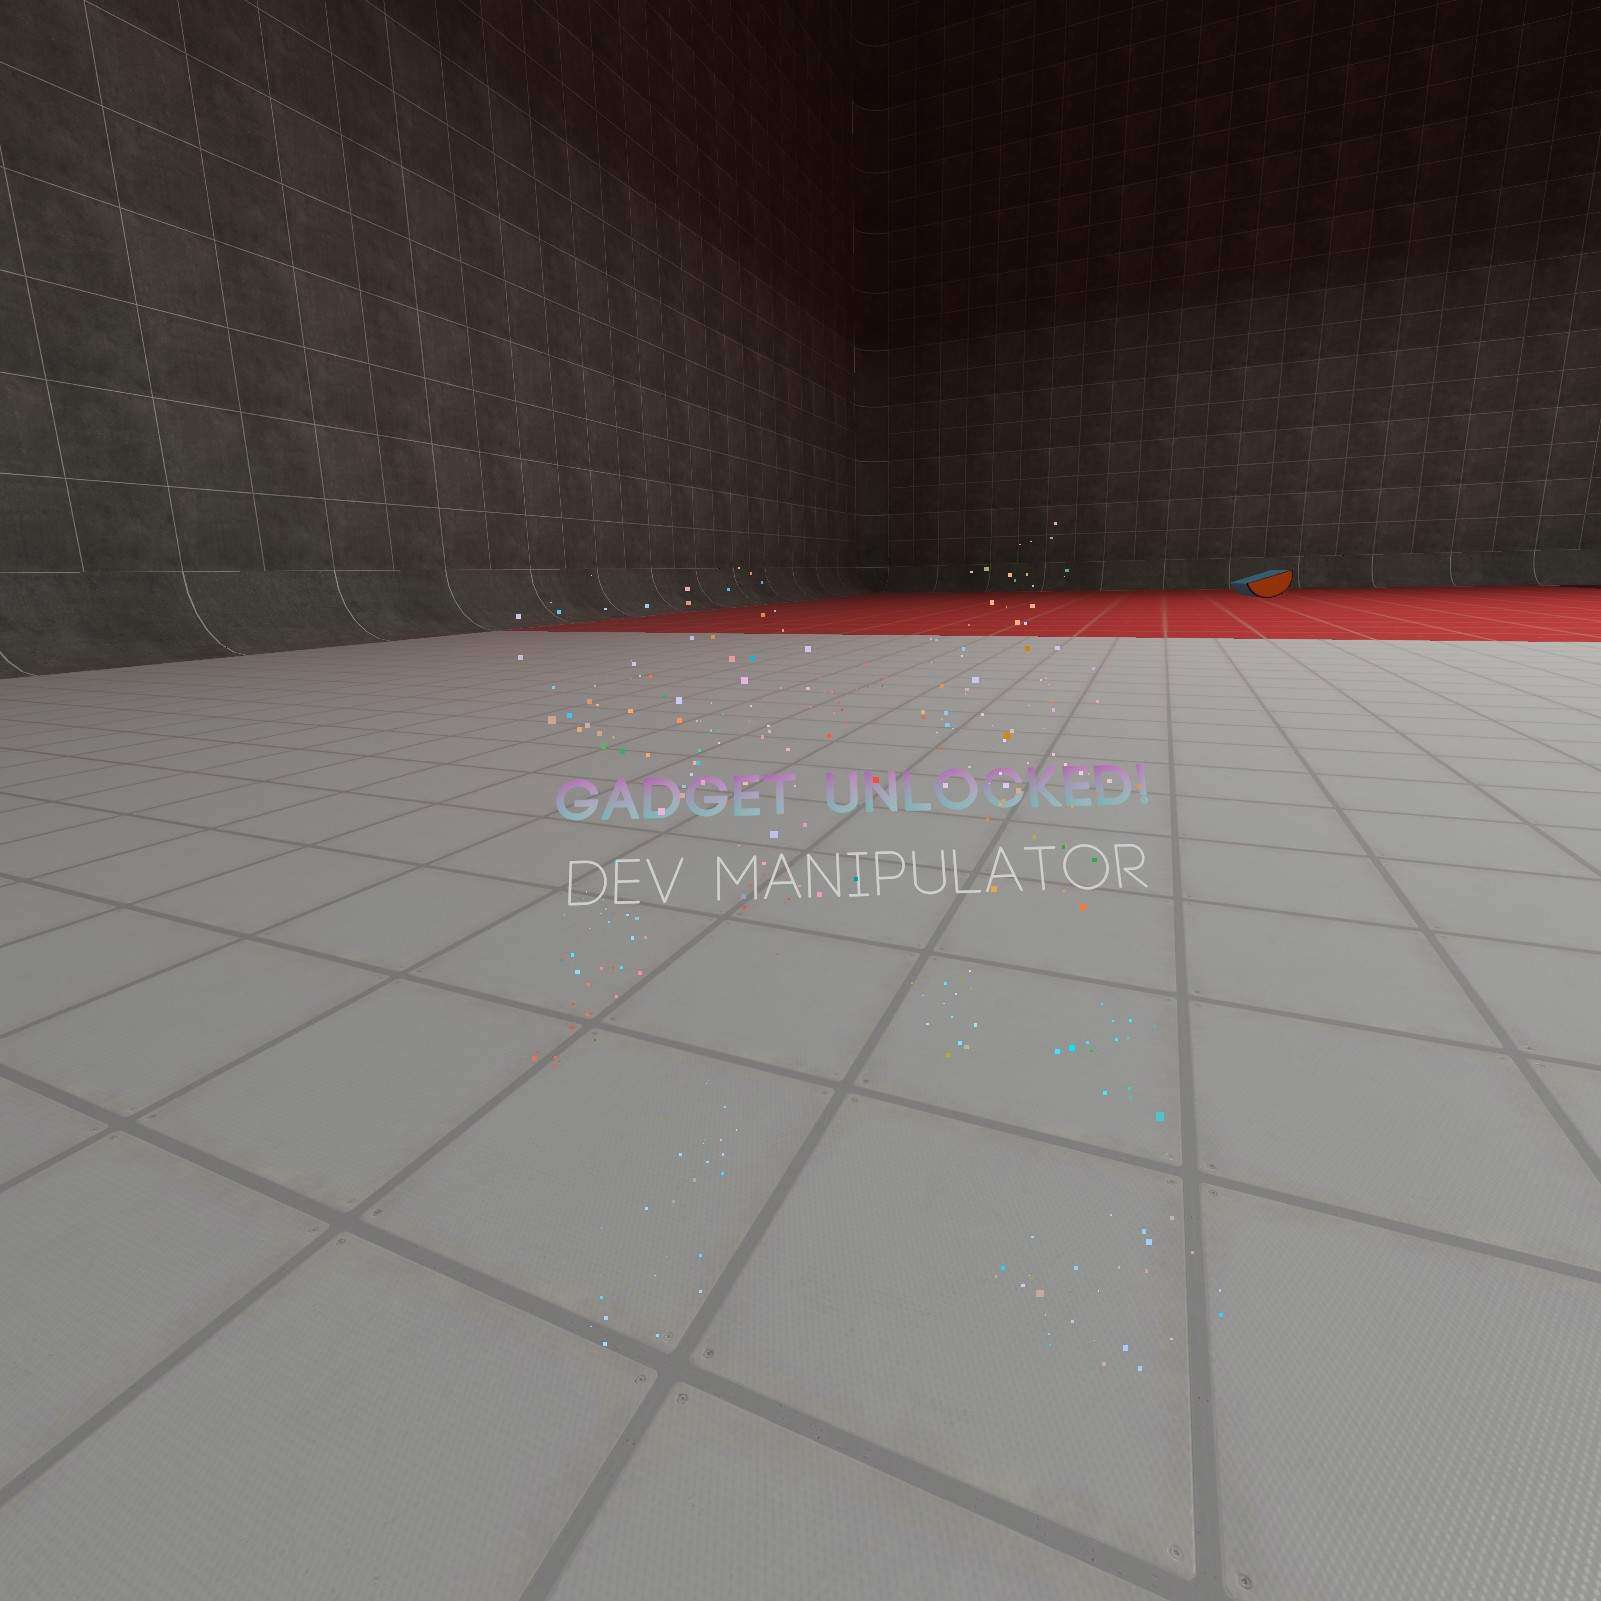
Dev Manipulator:
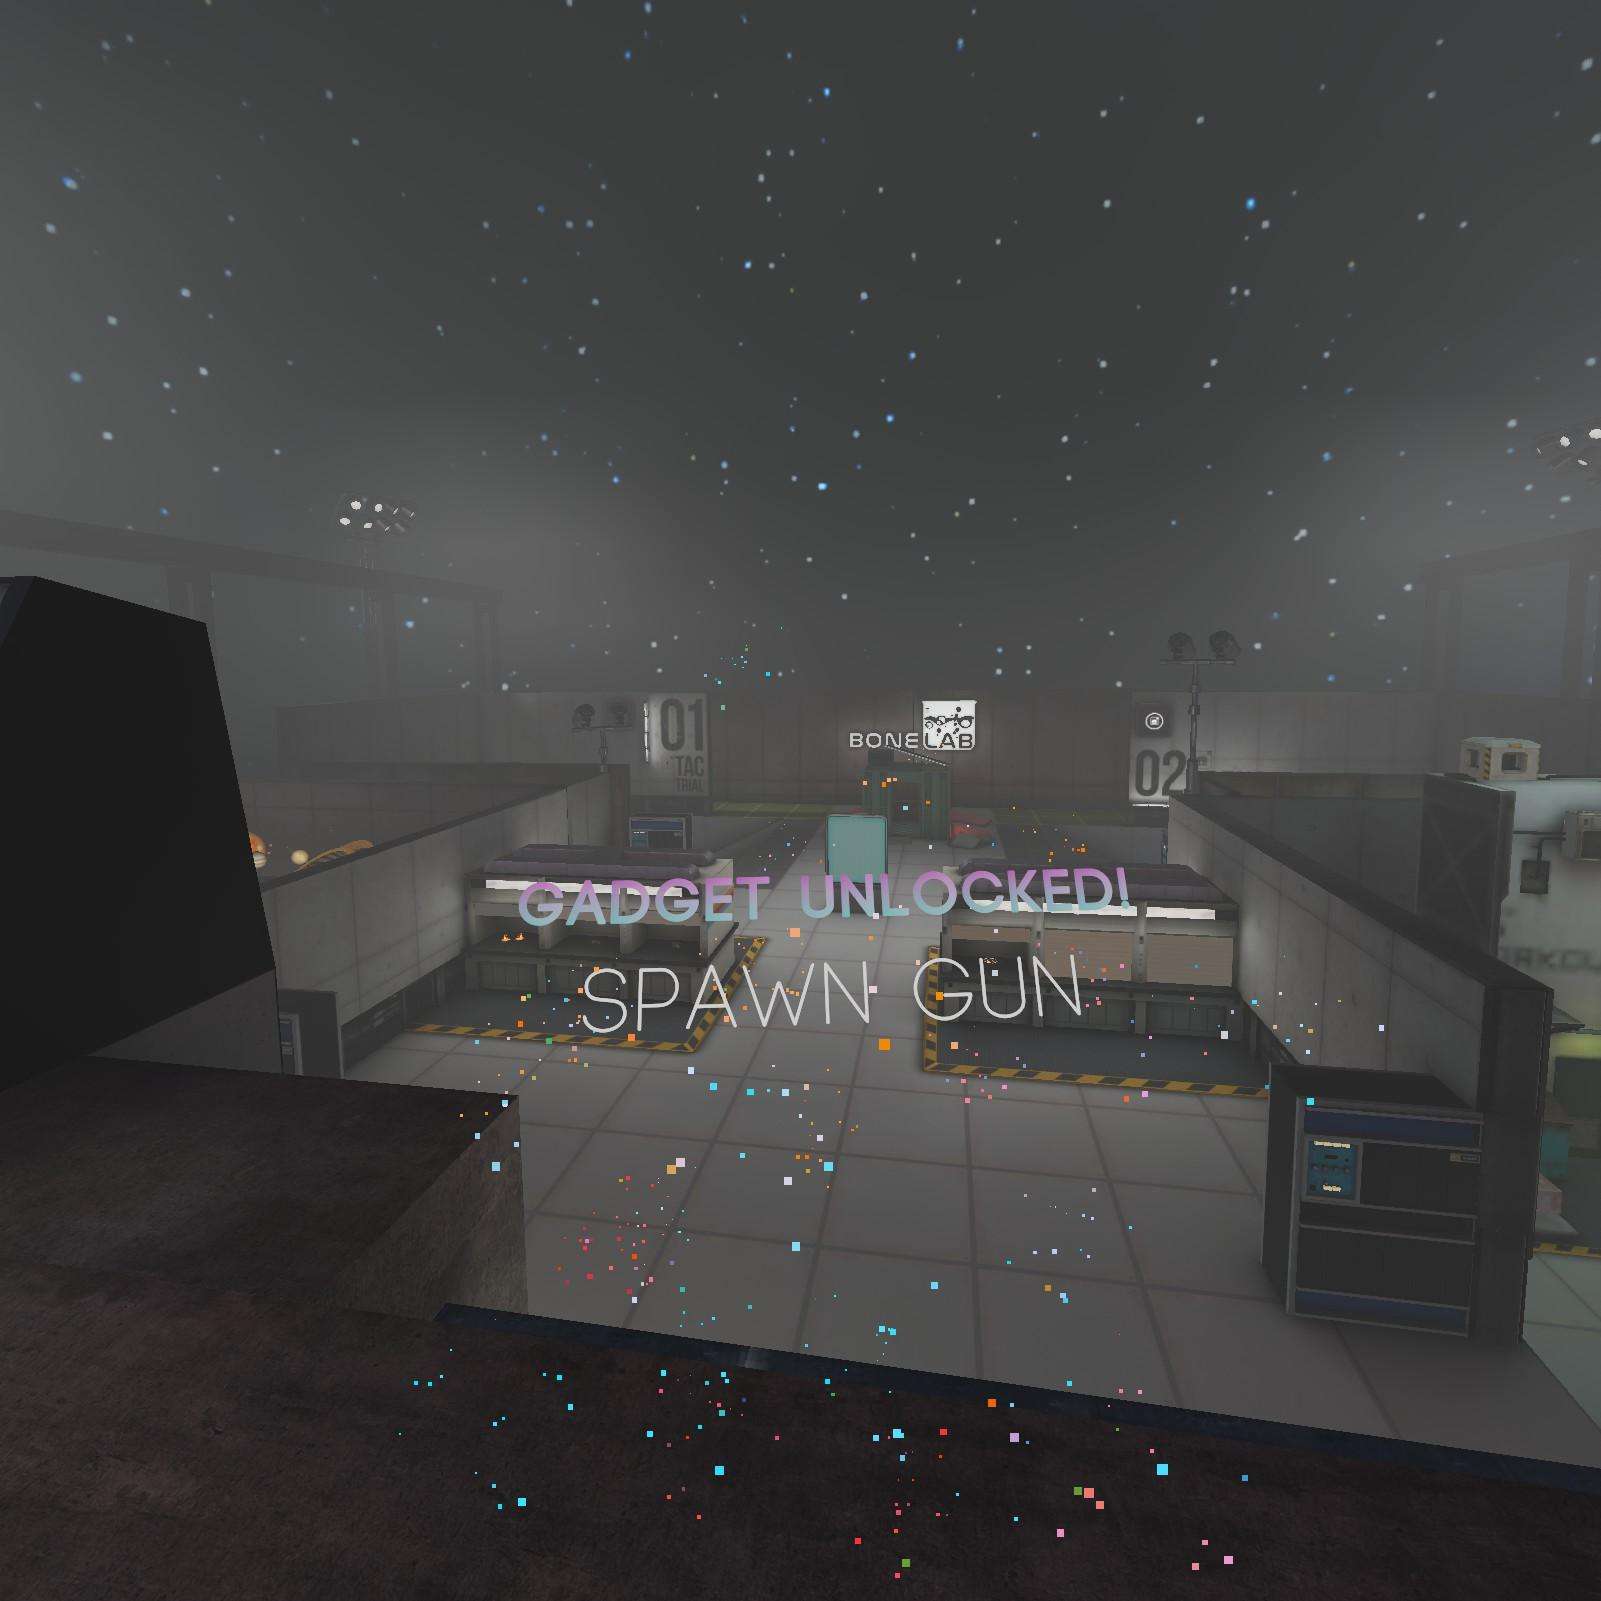
In this room there’s a huge play castle with 2 important collectibles. Rather than digging through all of that though I’d recommend grabbing the spawn gun and delete all but this immortal half cylinder. Afterwards, finding the battery and the dev manipulator should be easy.
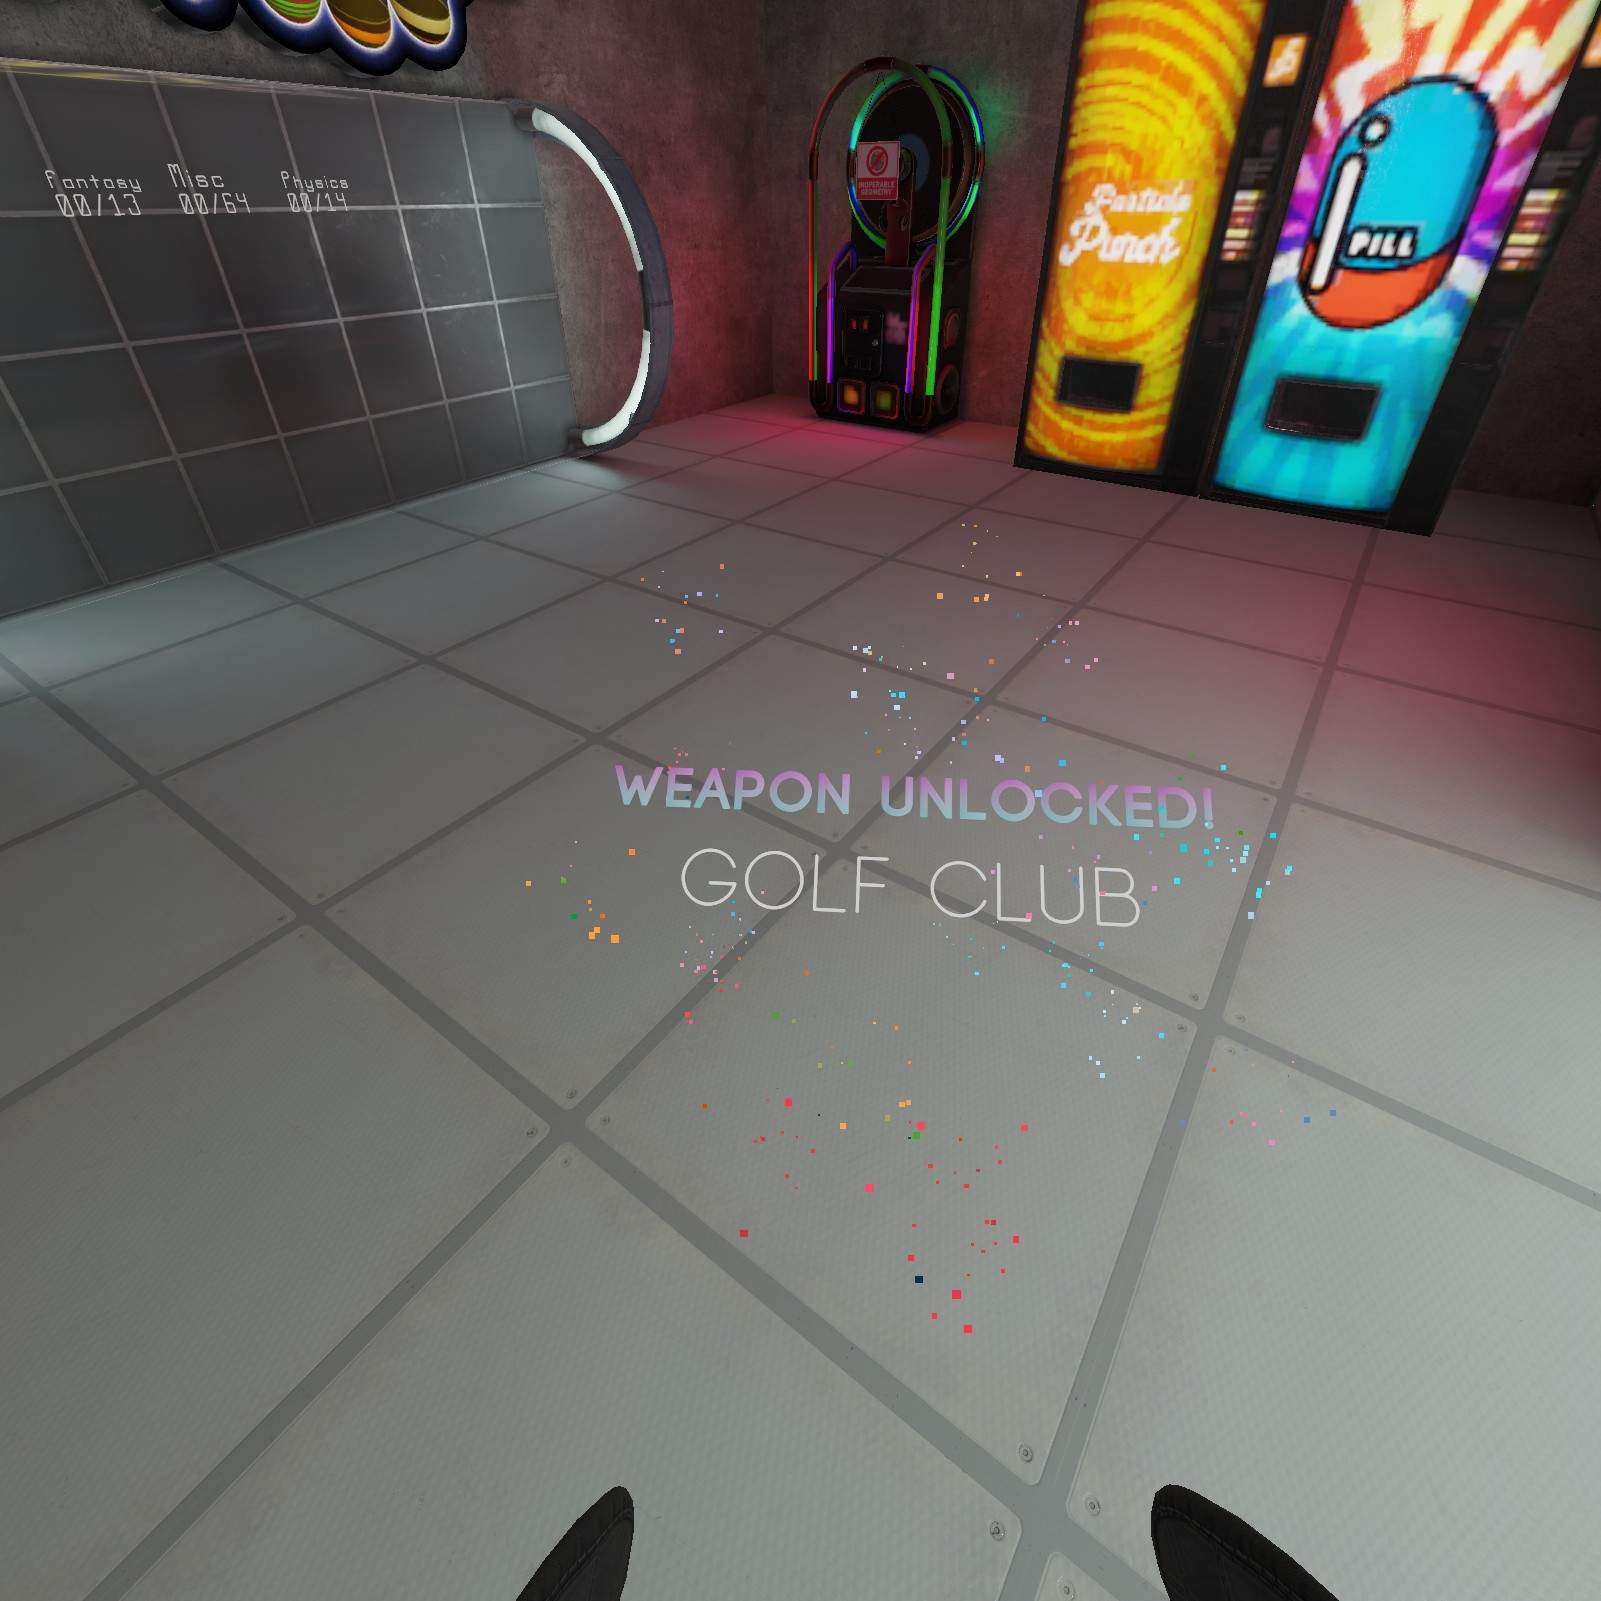
Golf Club:
You can use the battery to open the door in the level. Keep going until AHG! ITS TOO BRIGHT. You know what doesn’t hurt my eyes? The golf club Capsule of course!
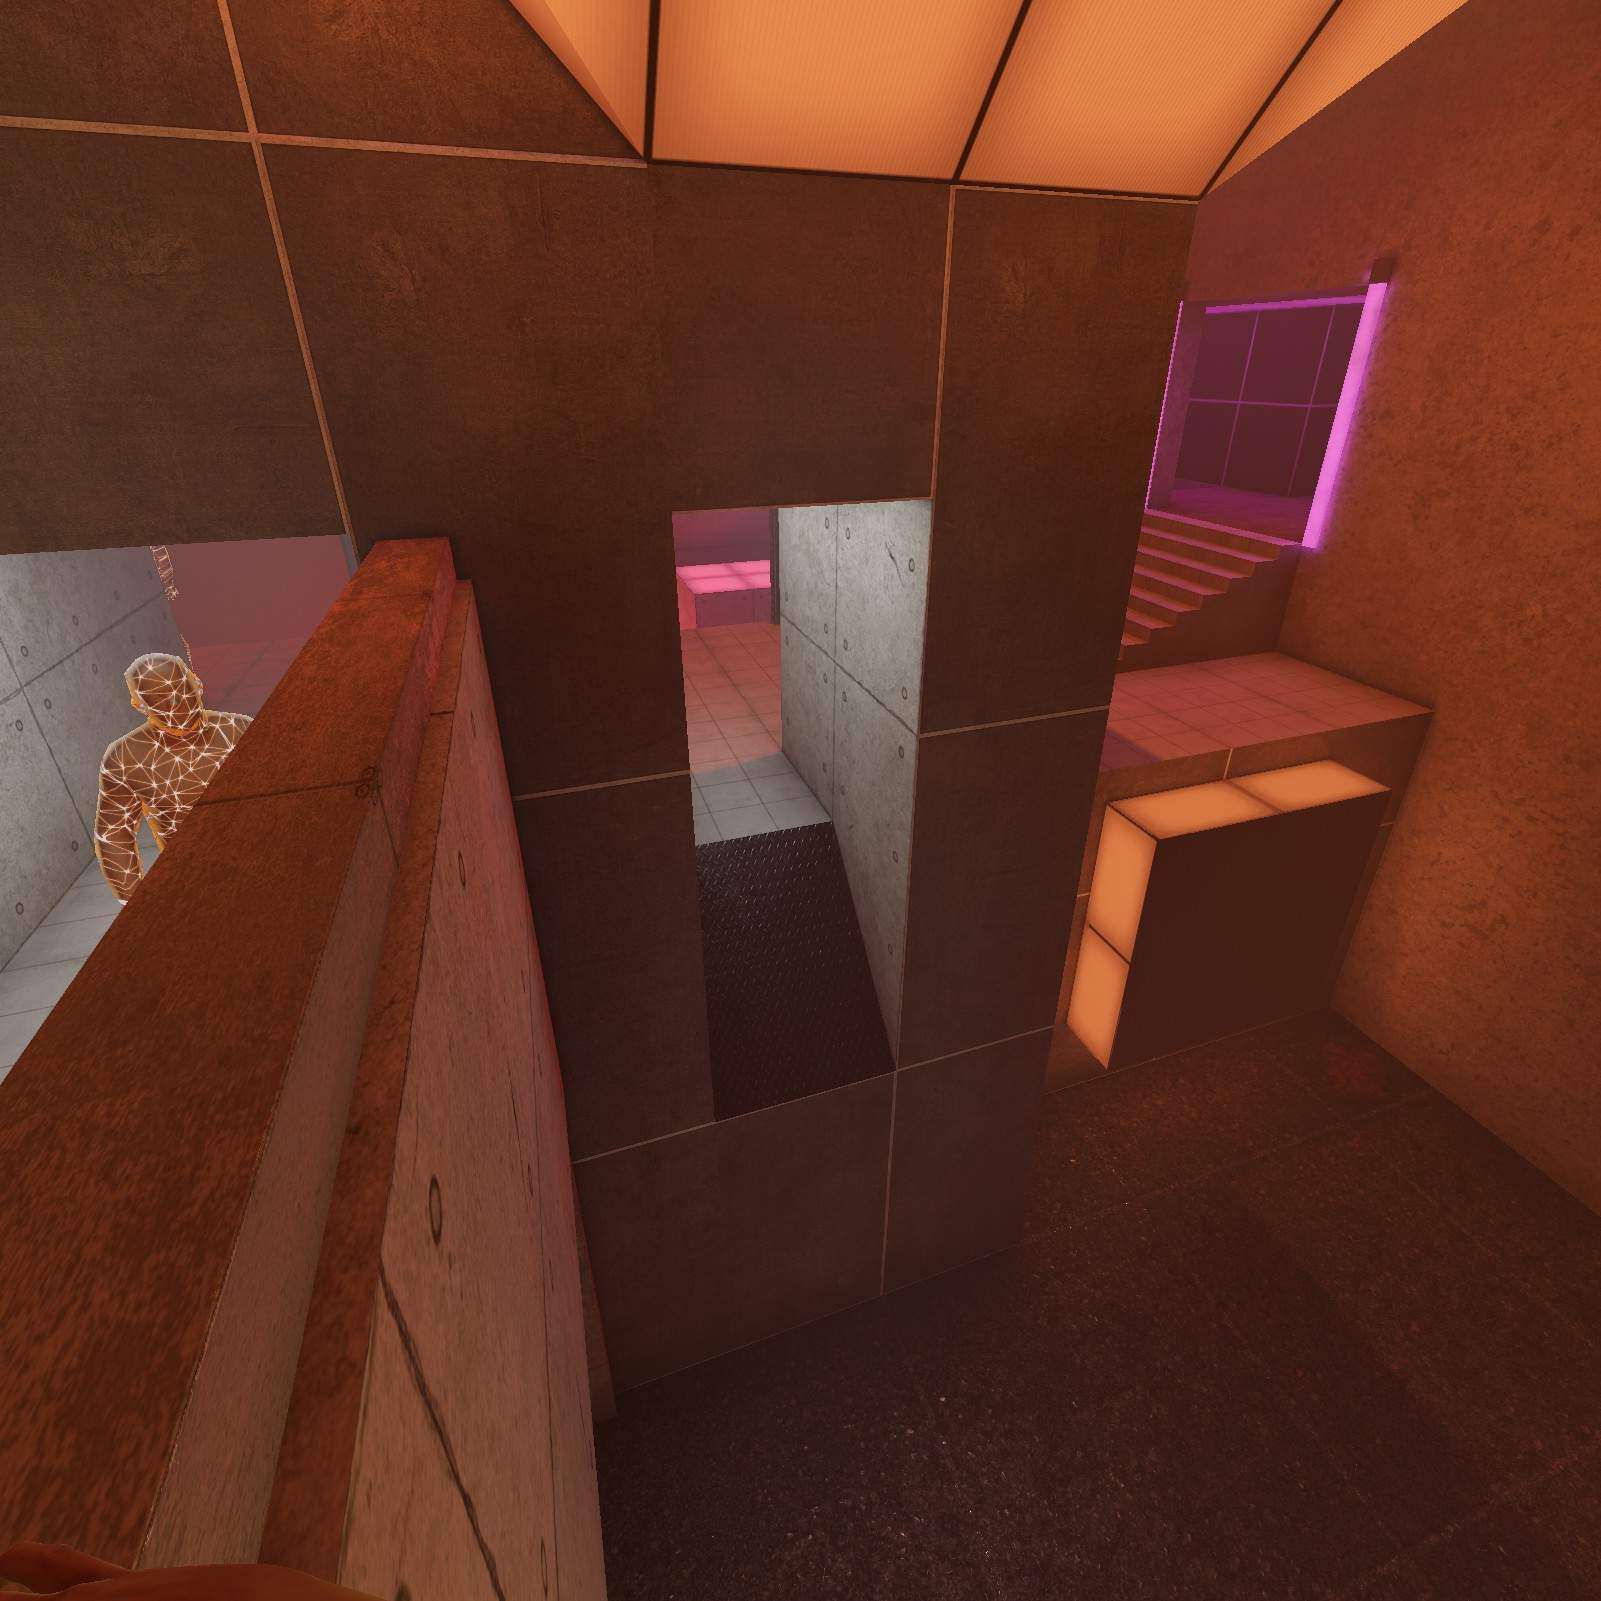
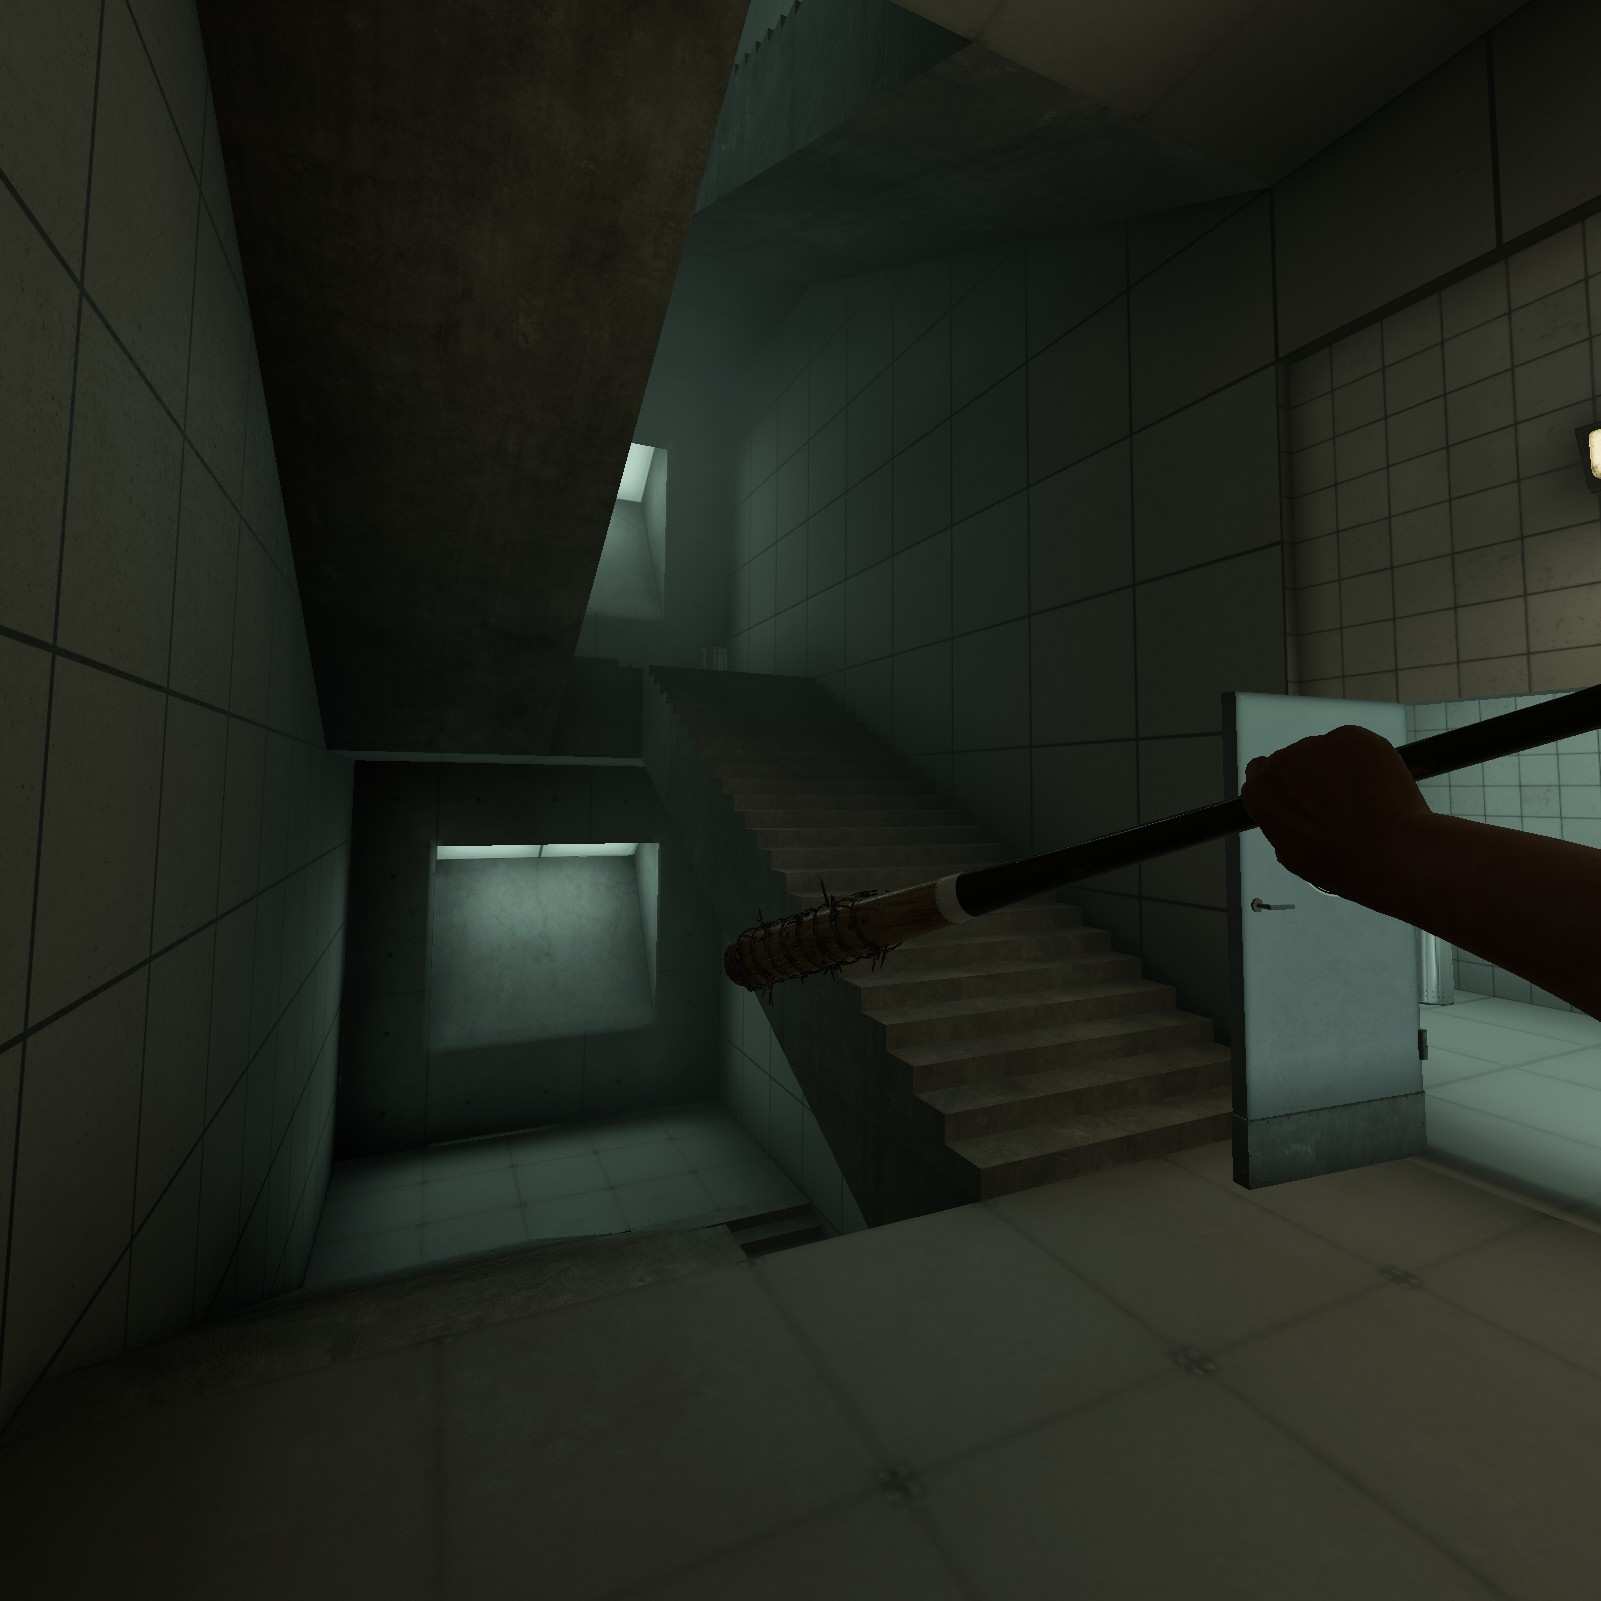
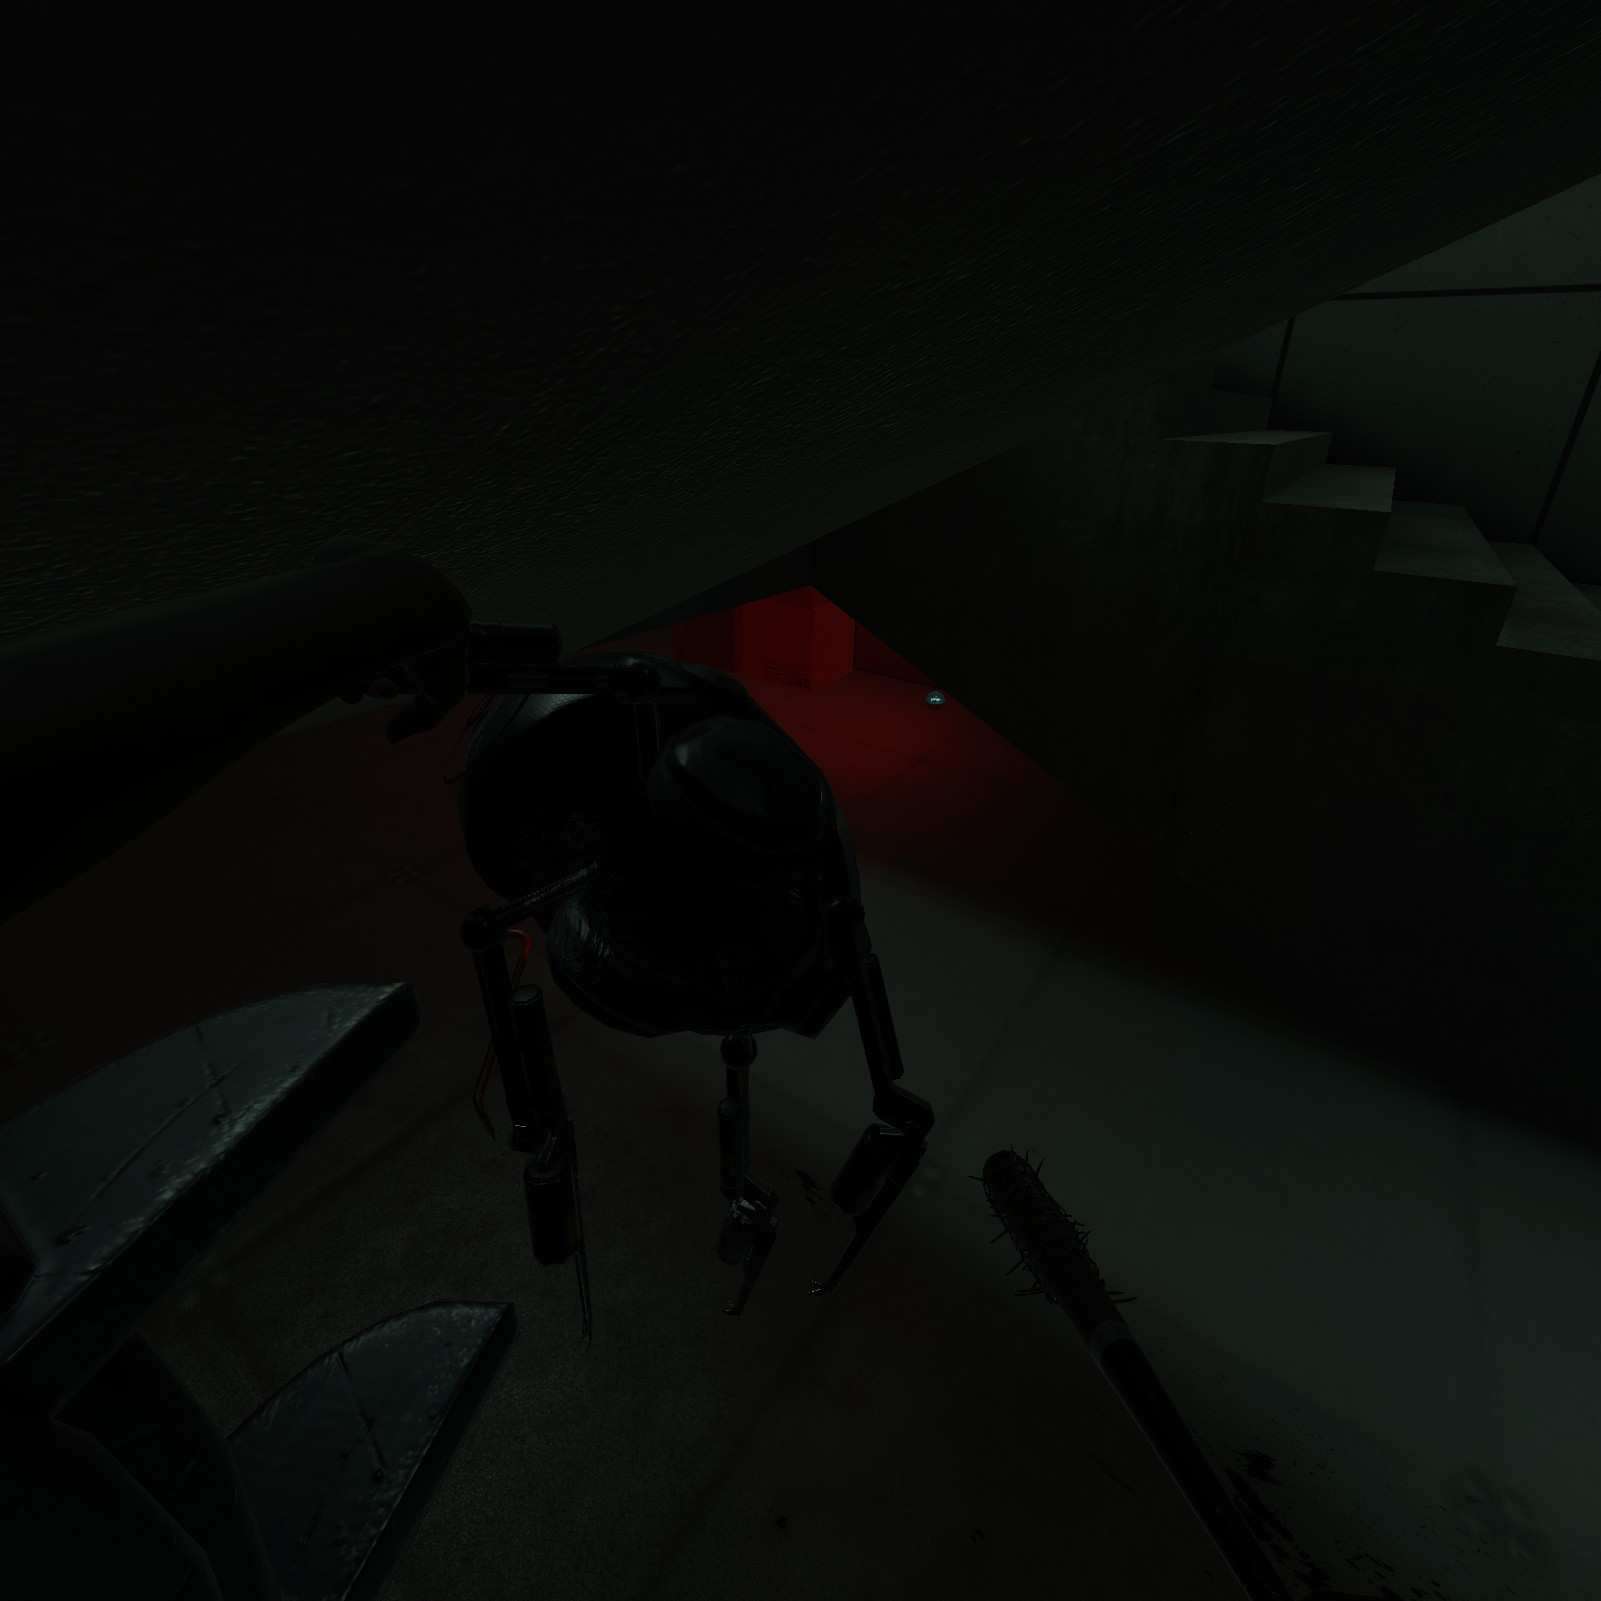
Gym Soccer Ball:
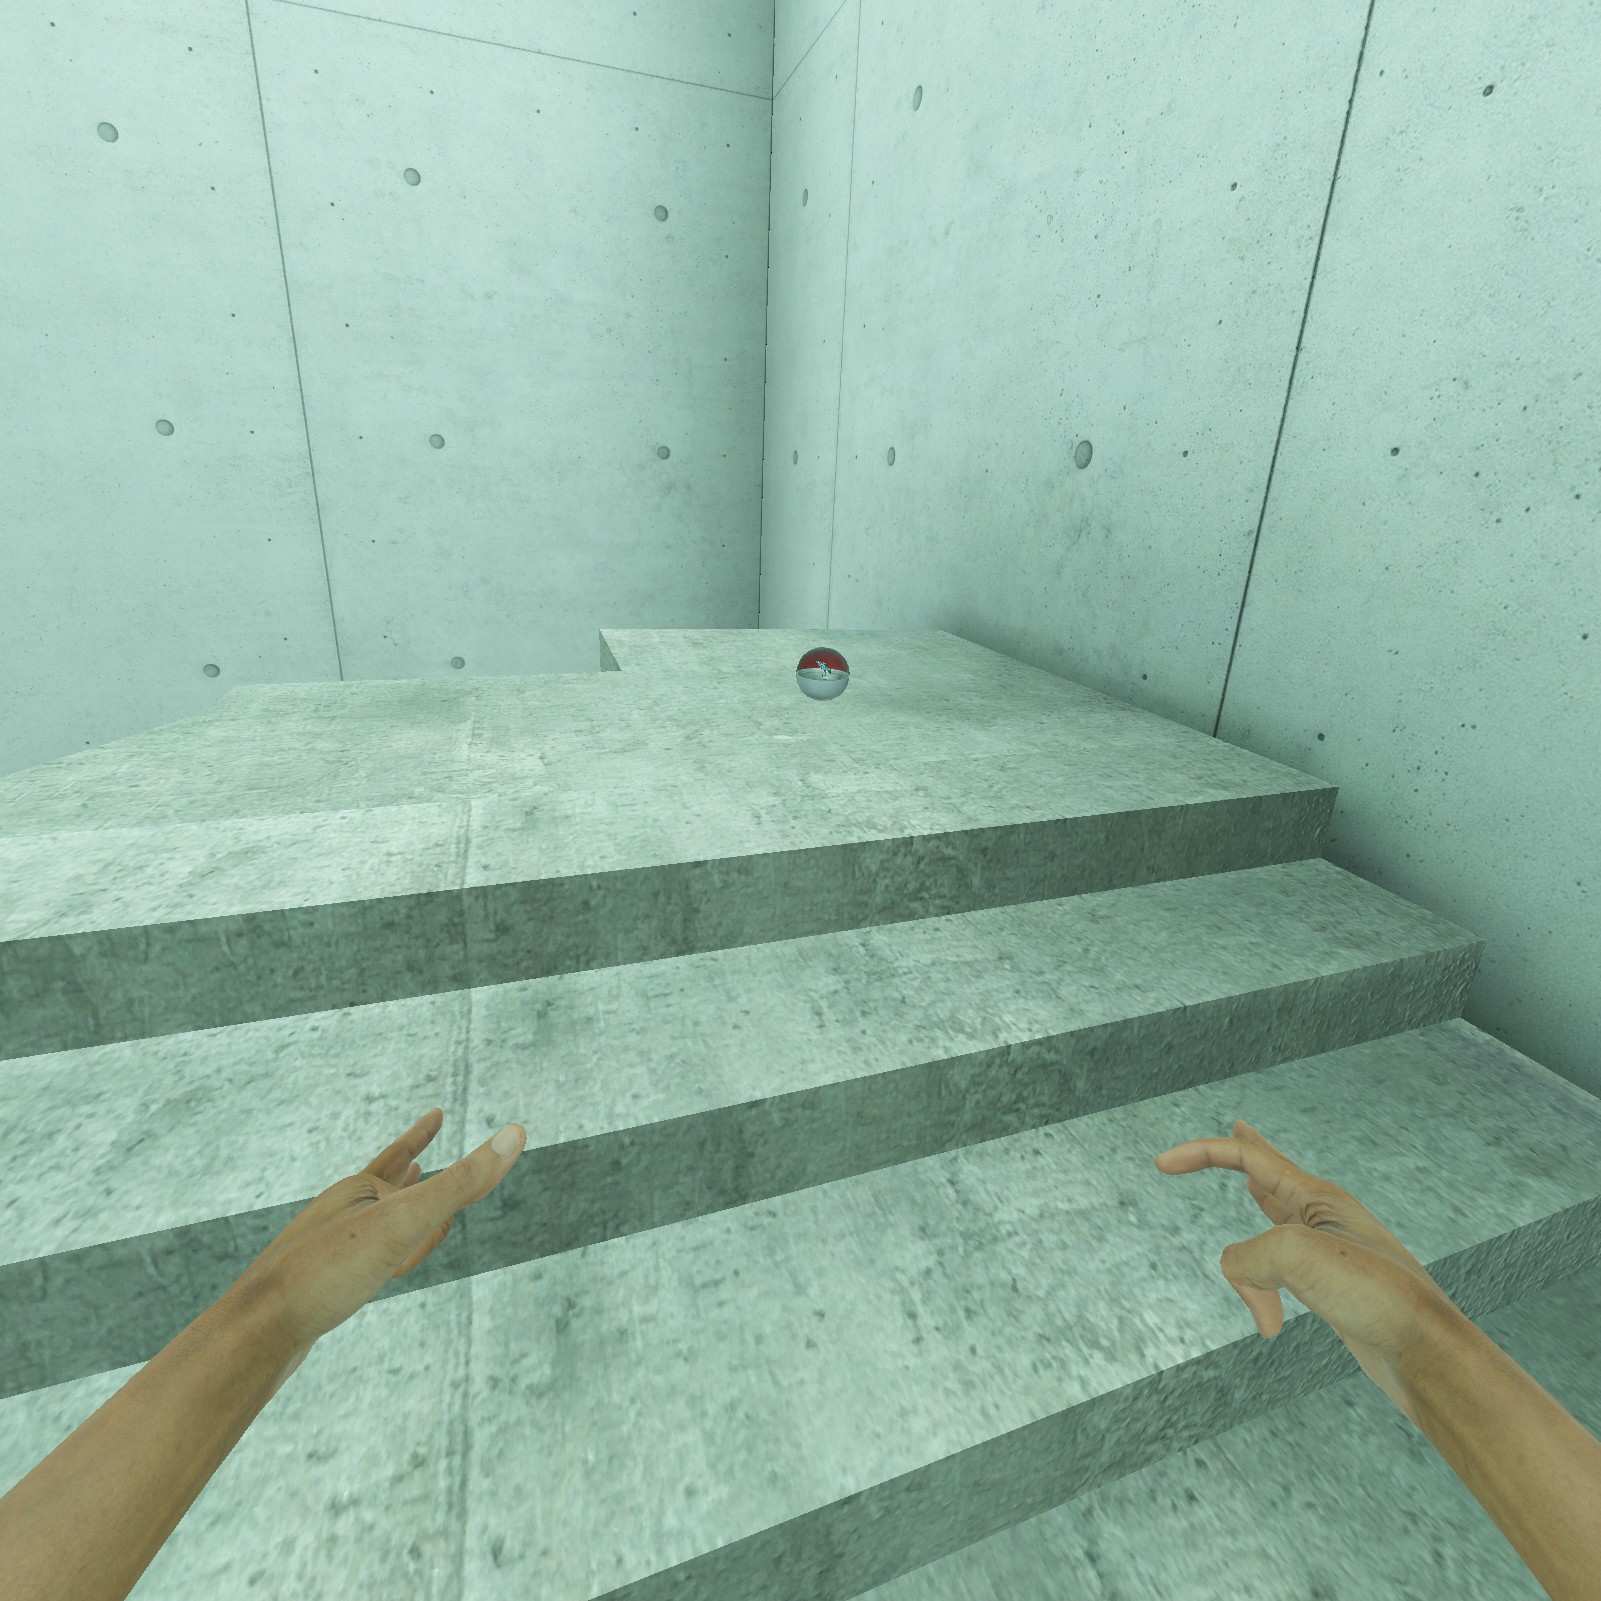
We arn’t done yet though, Behind these snack machines there’s a split path, and one leads to a staircase. Always check under staircases people, more than likely there’s stuff under them. This one has my favorite shape, the Gym Soccer Ball.

Basket Ball:
Continue until you see this callback to Boneworks. To the left you’ll see a basket ball capsule just under the desk. There’s nowhereto dunk it though, so might as well open it.

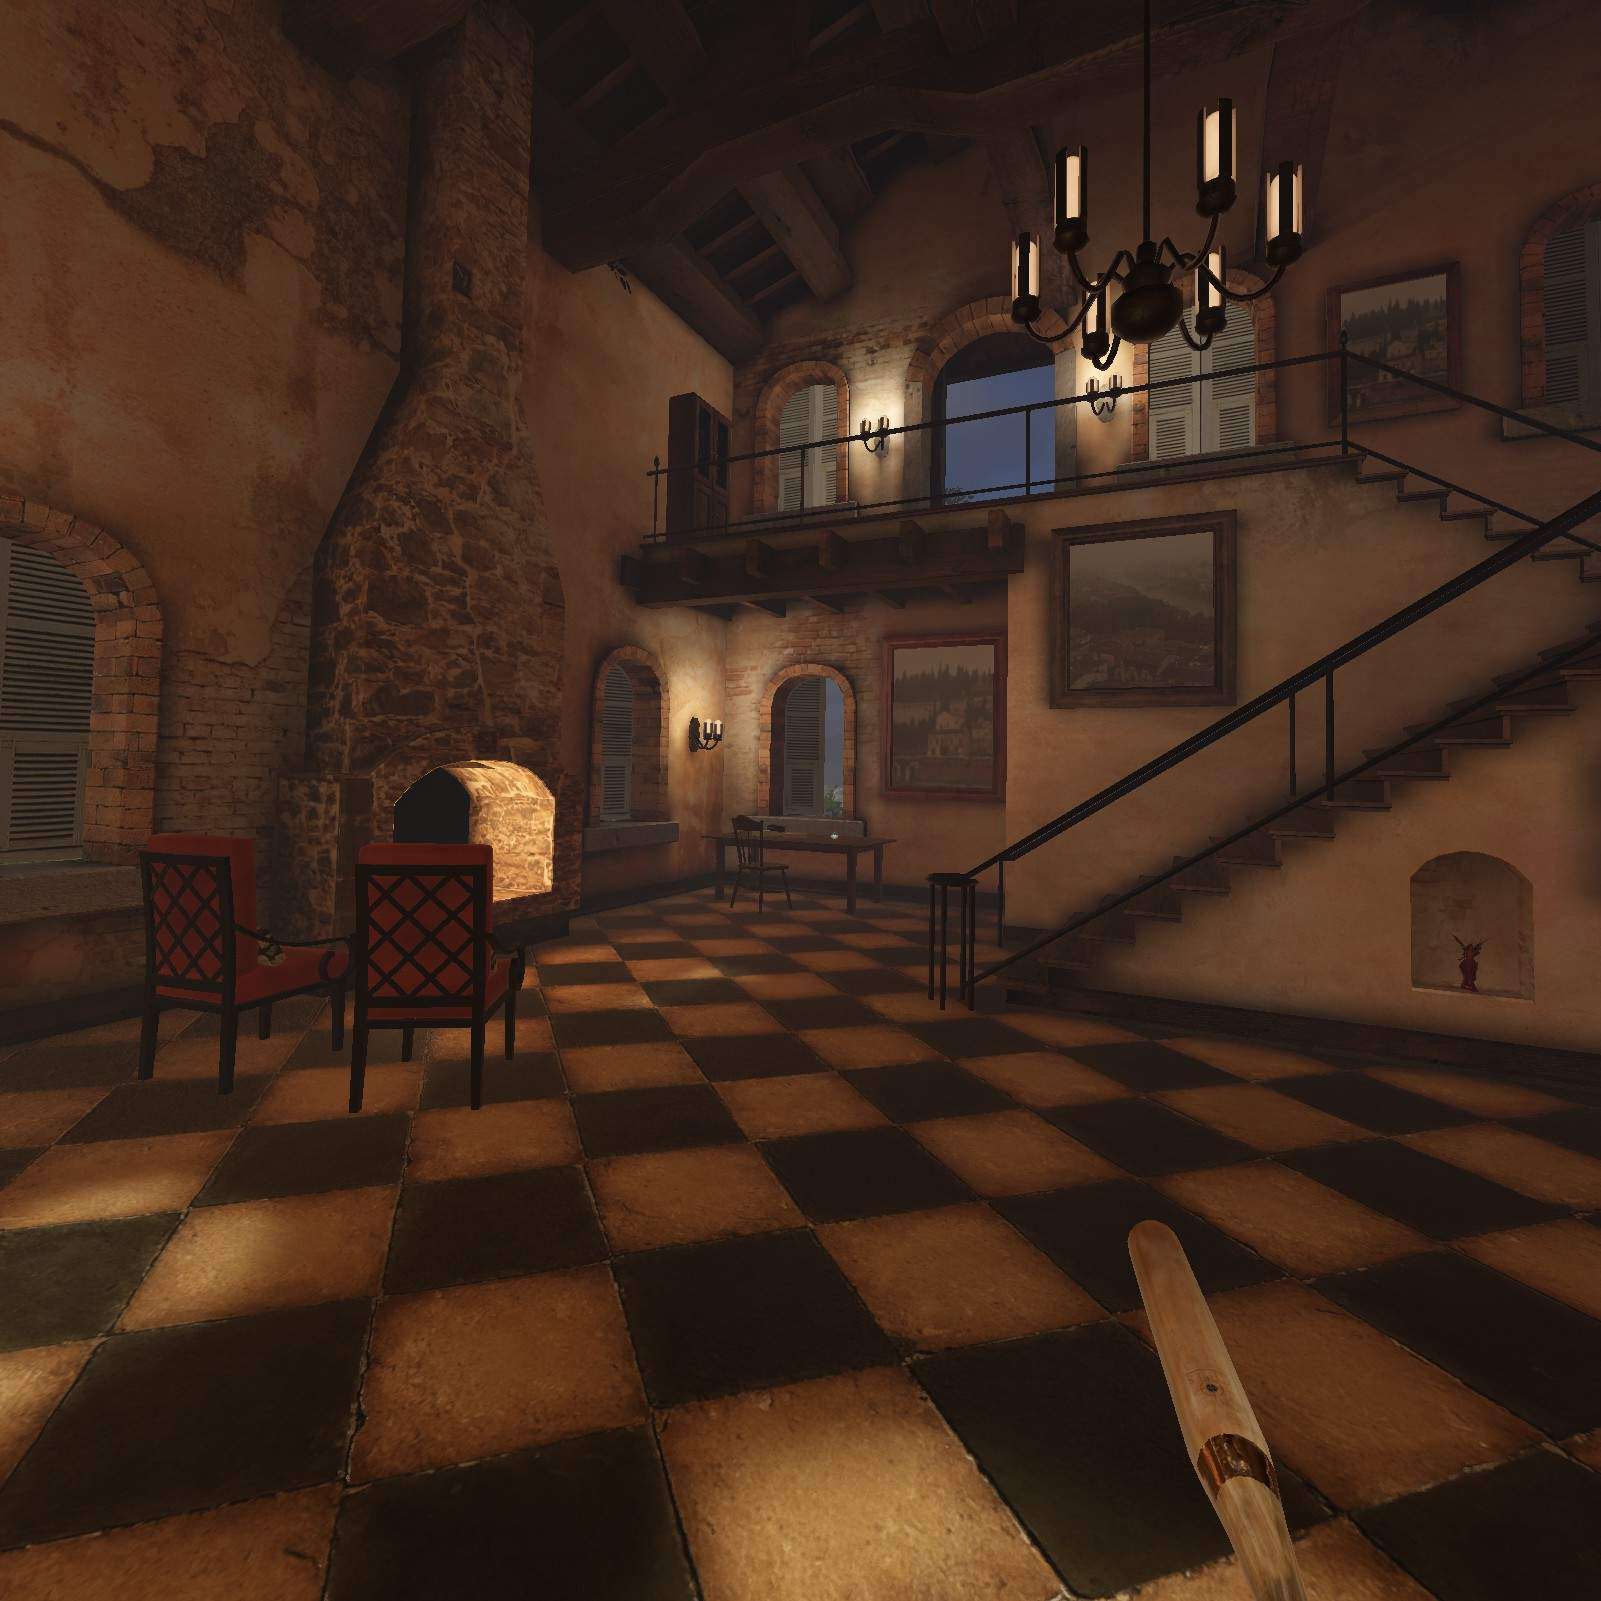
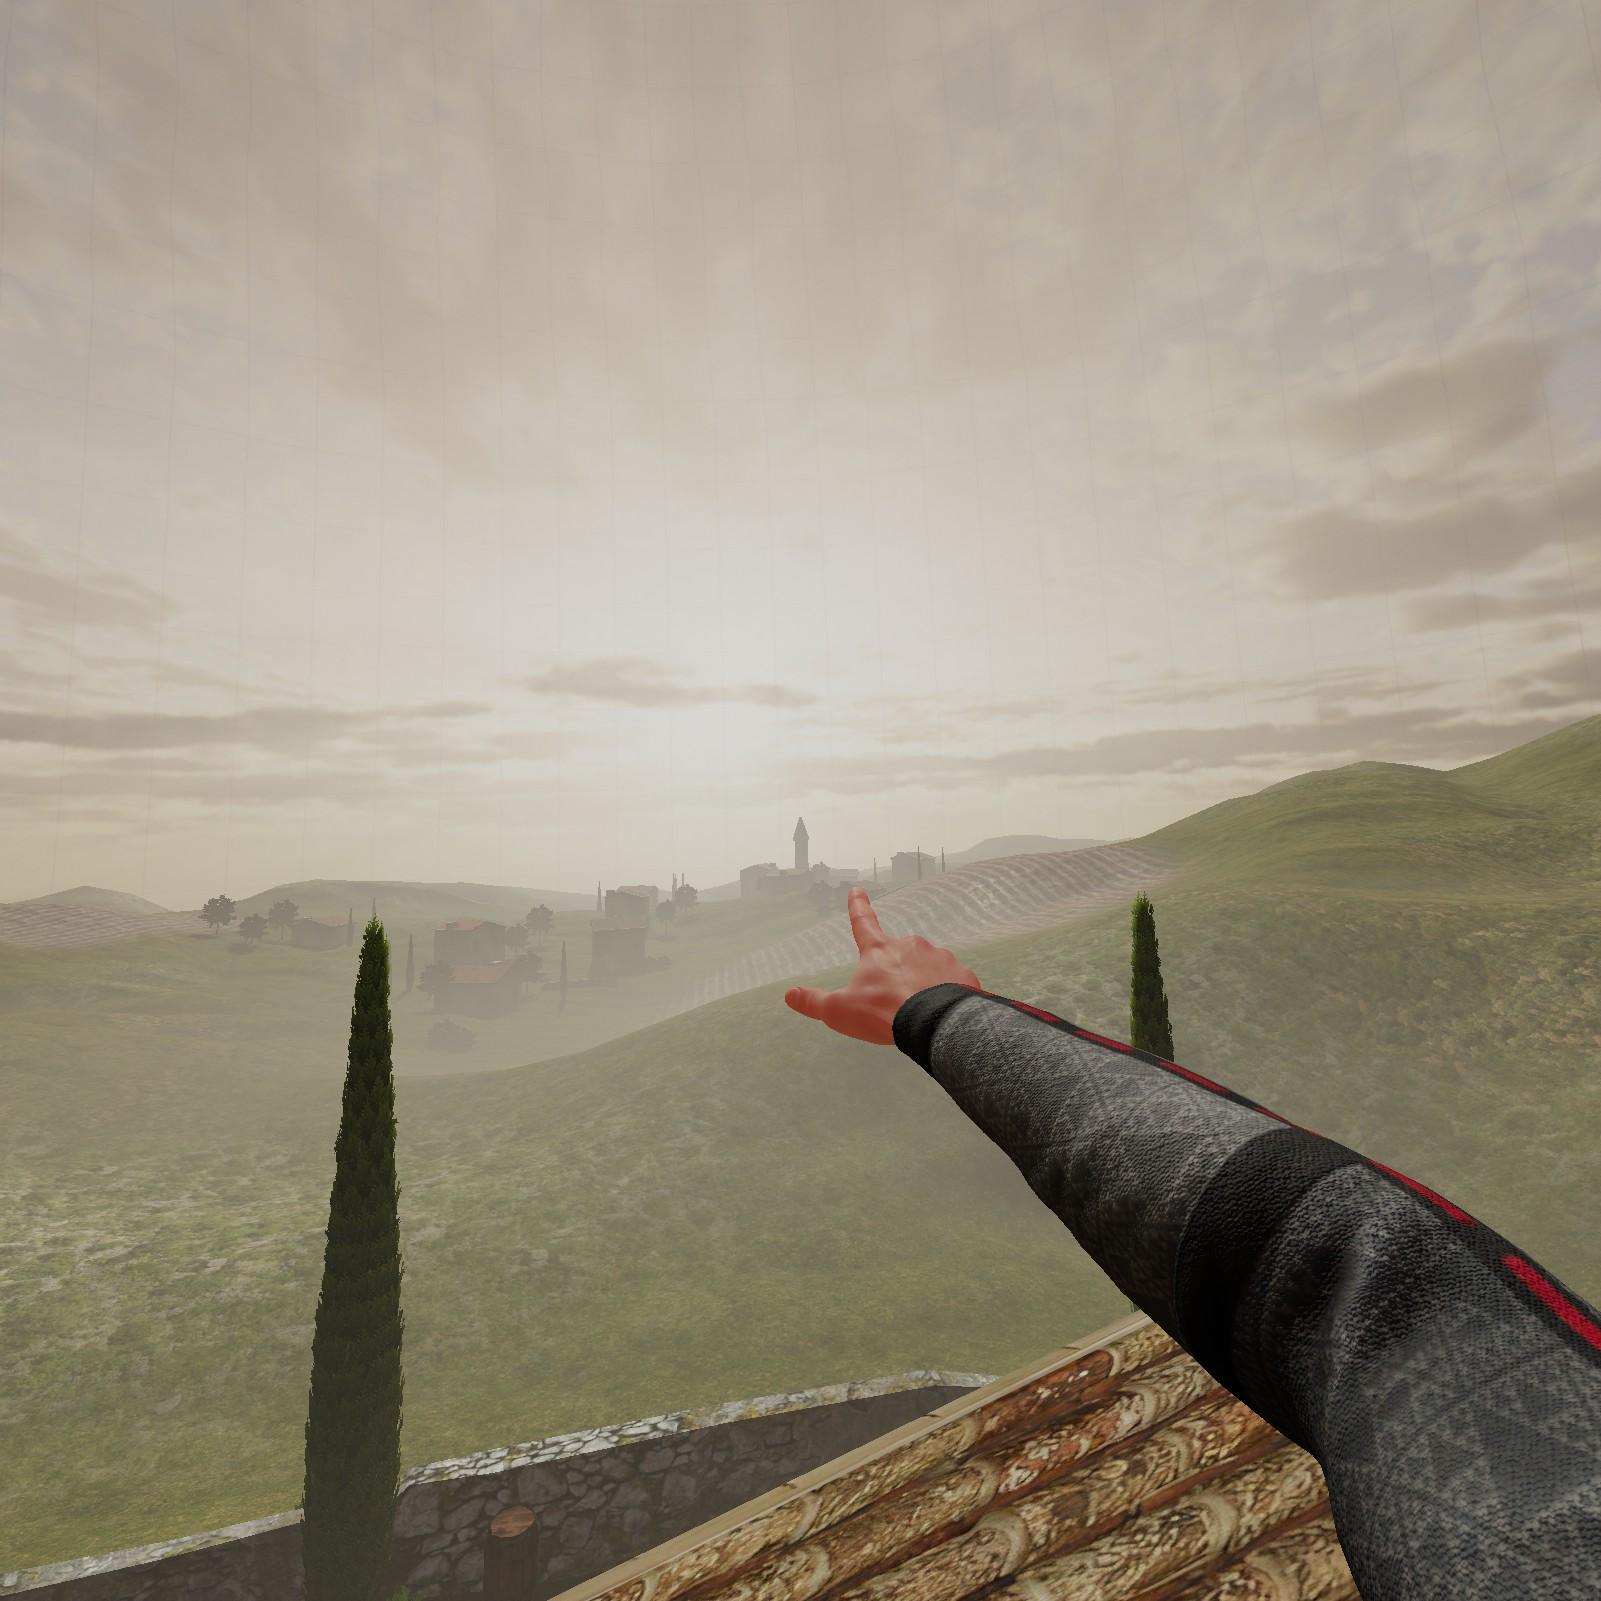
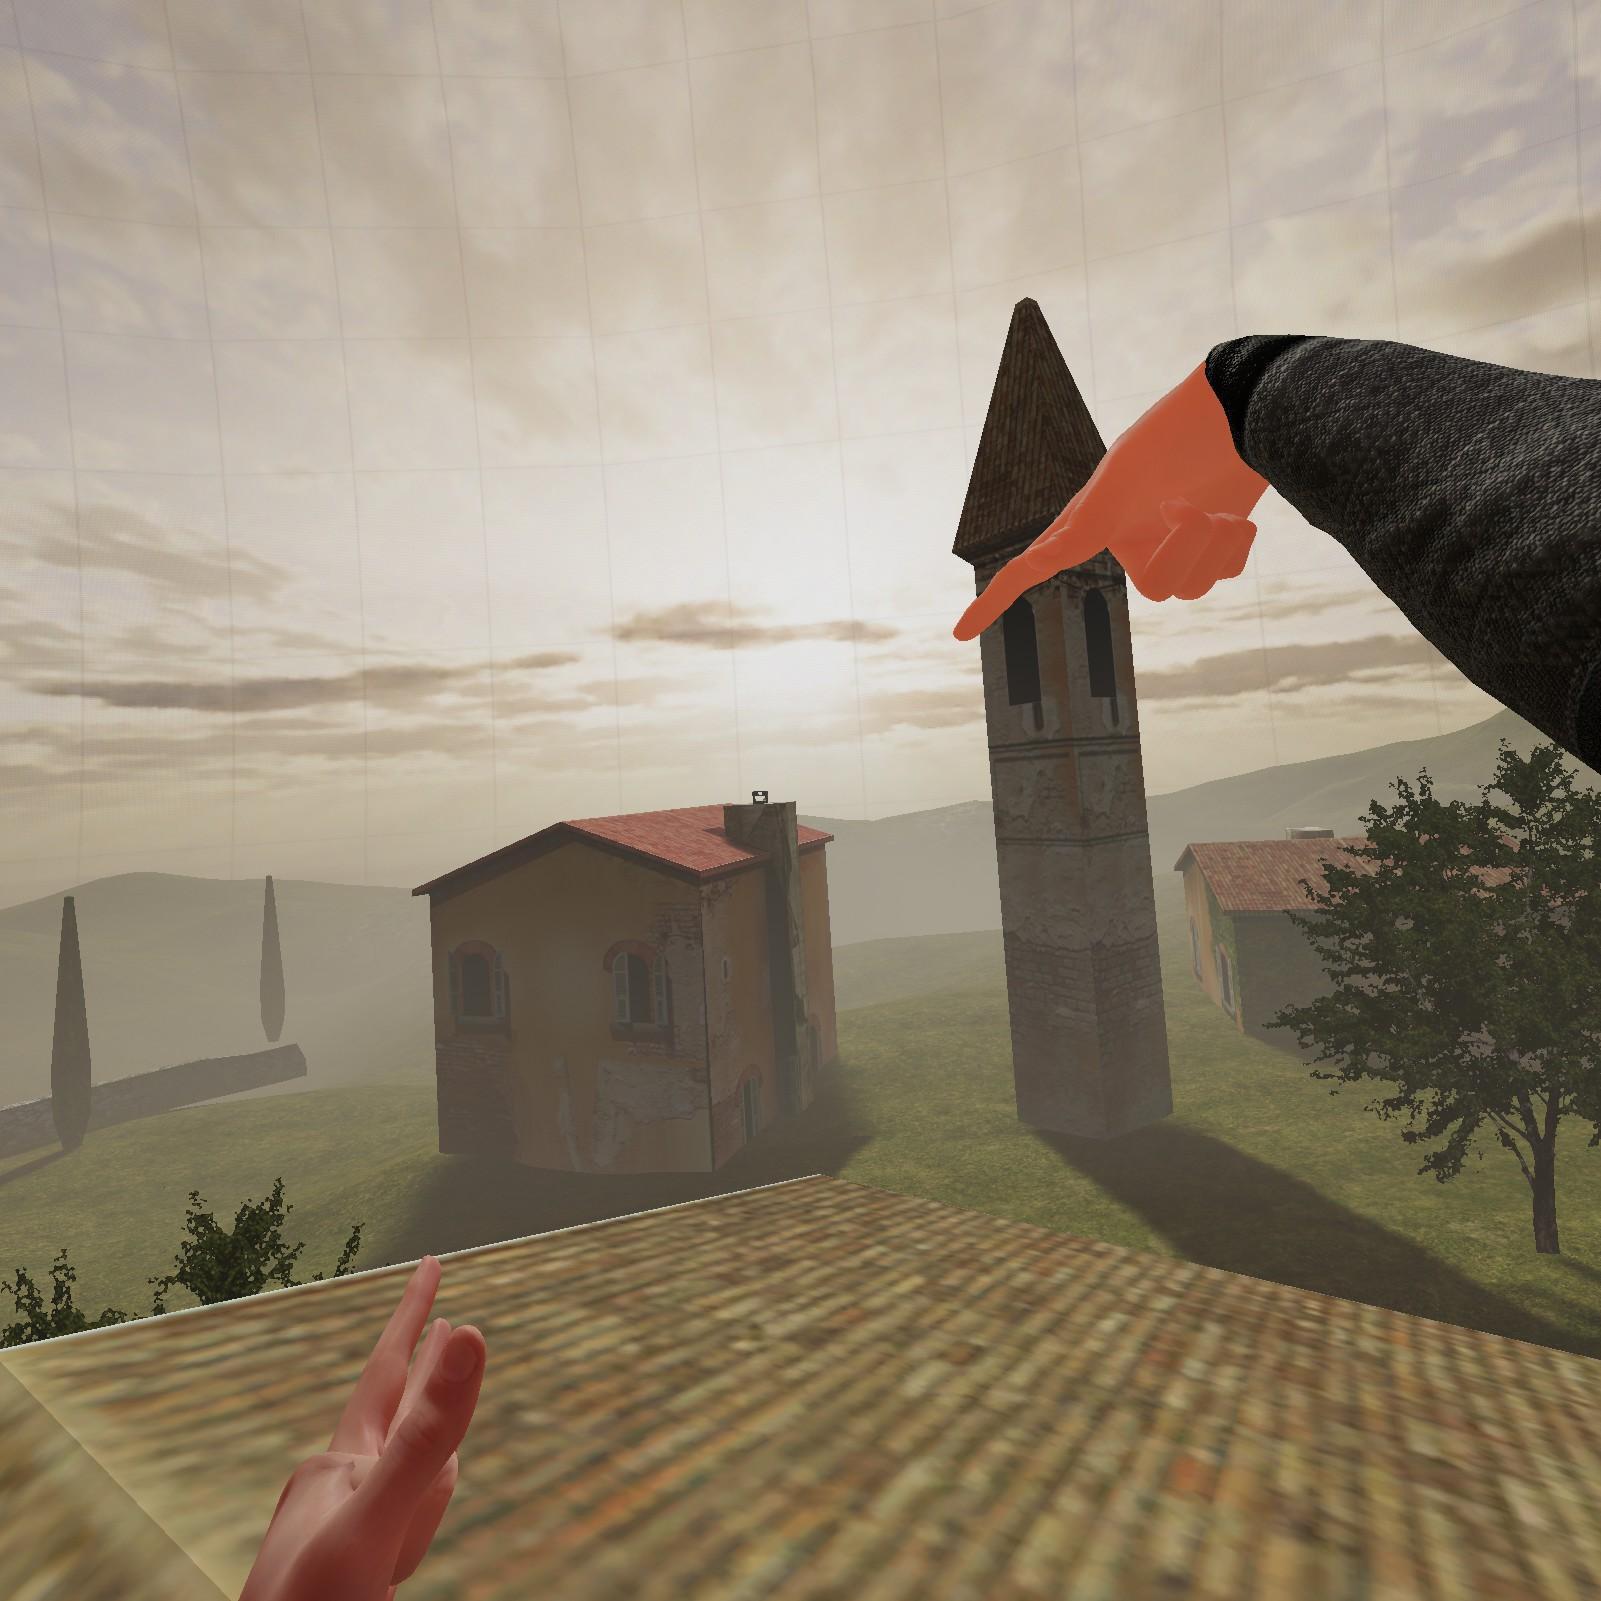
Tuscany
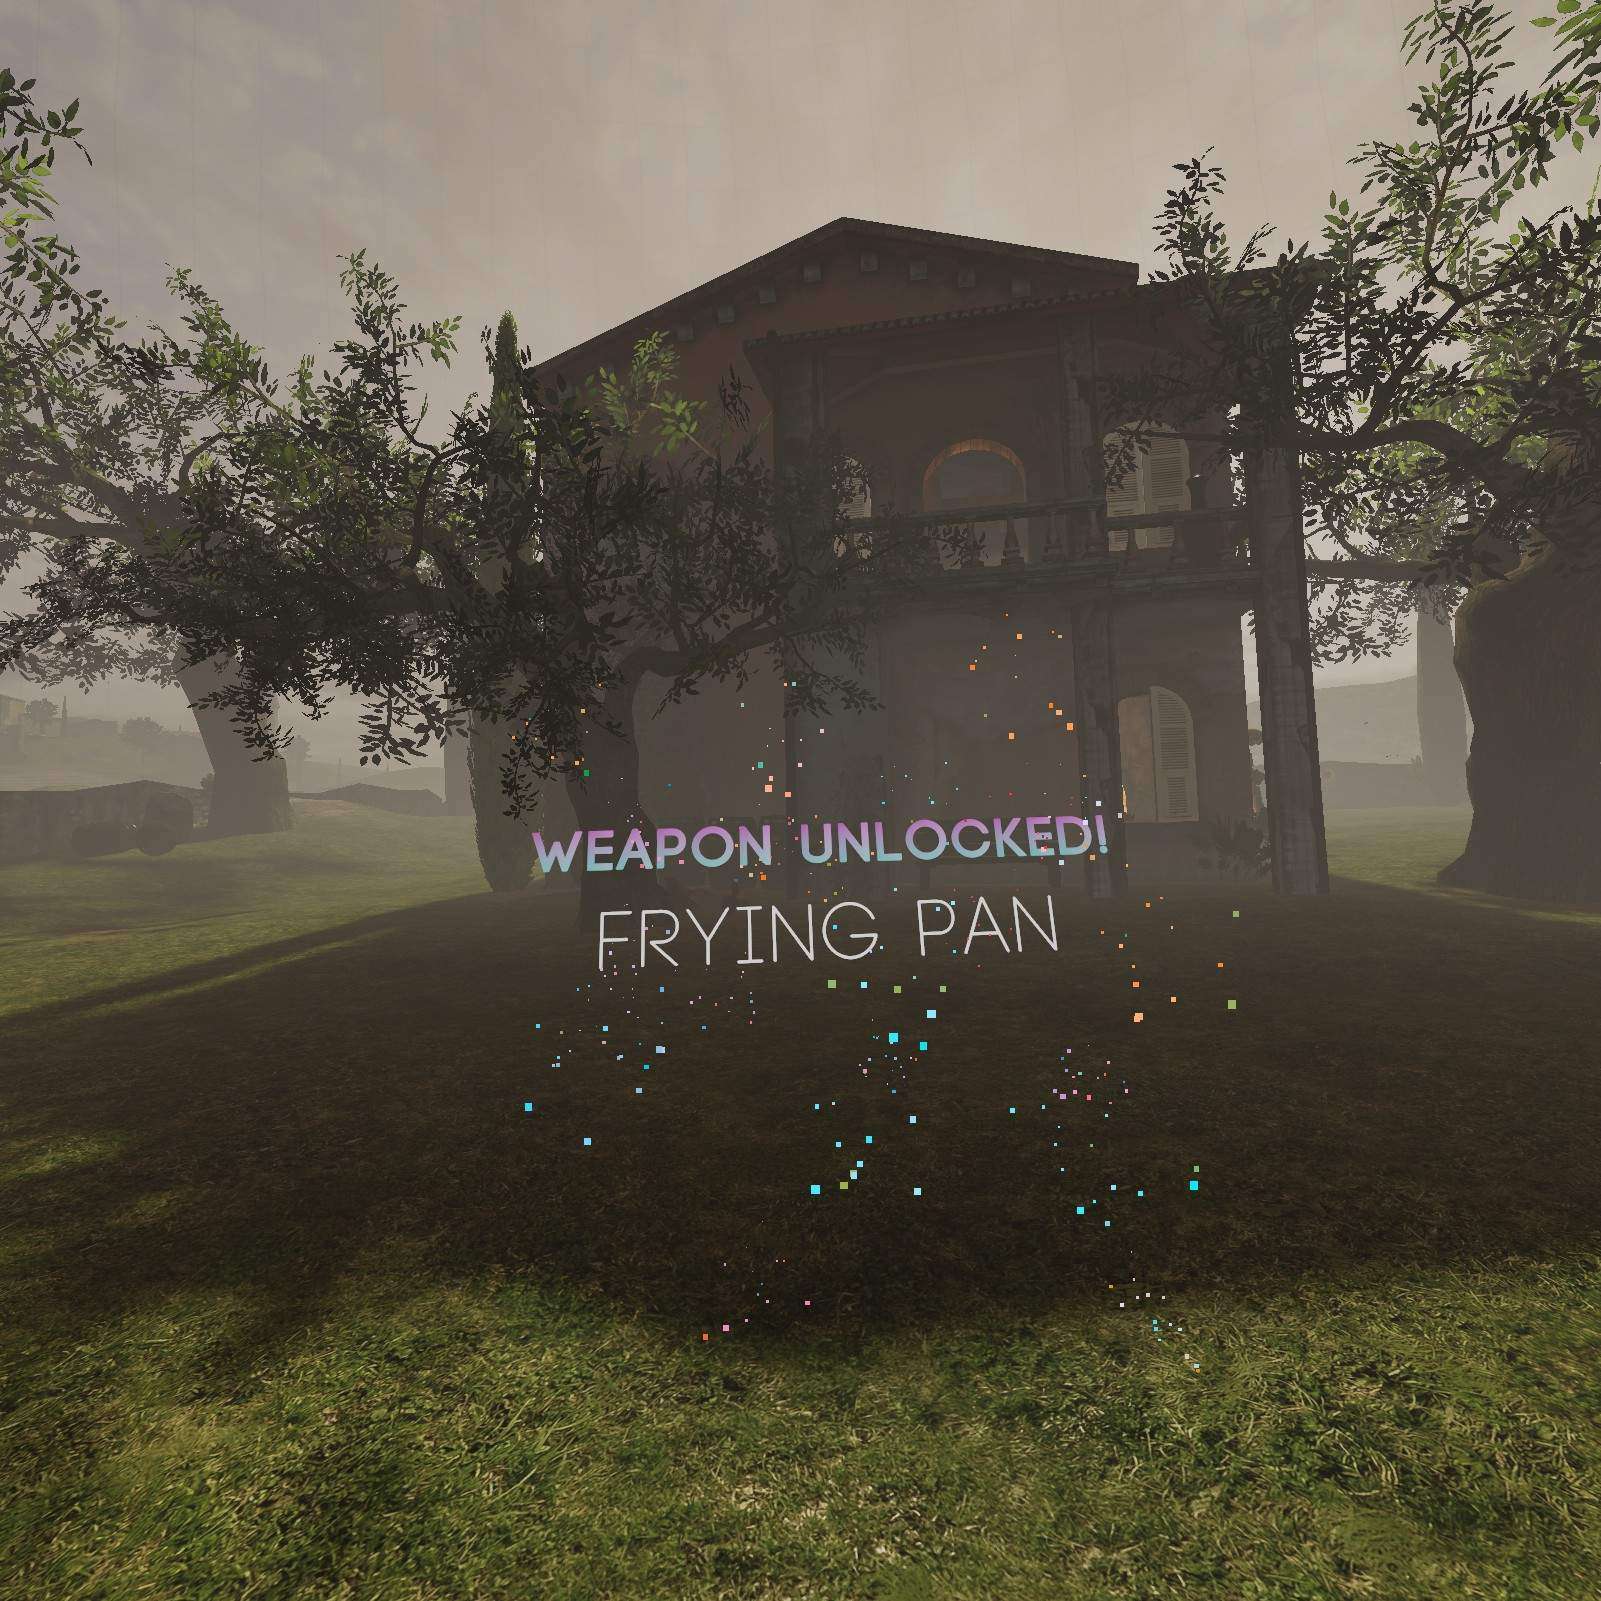
Frying Pan:
Look at this nice spread we’ve got here, even has a frying pan for us to grab.

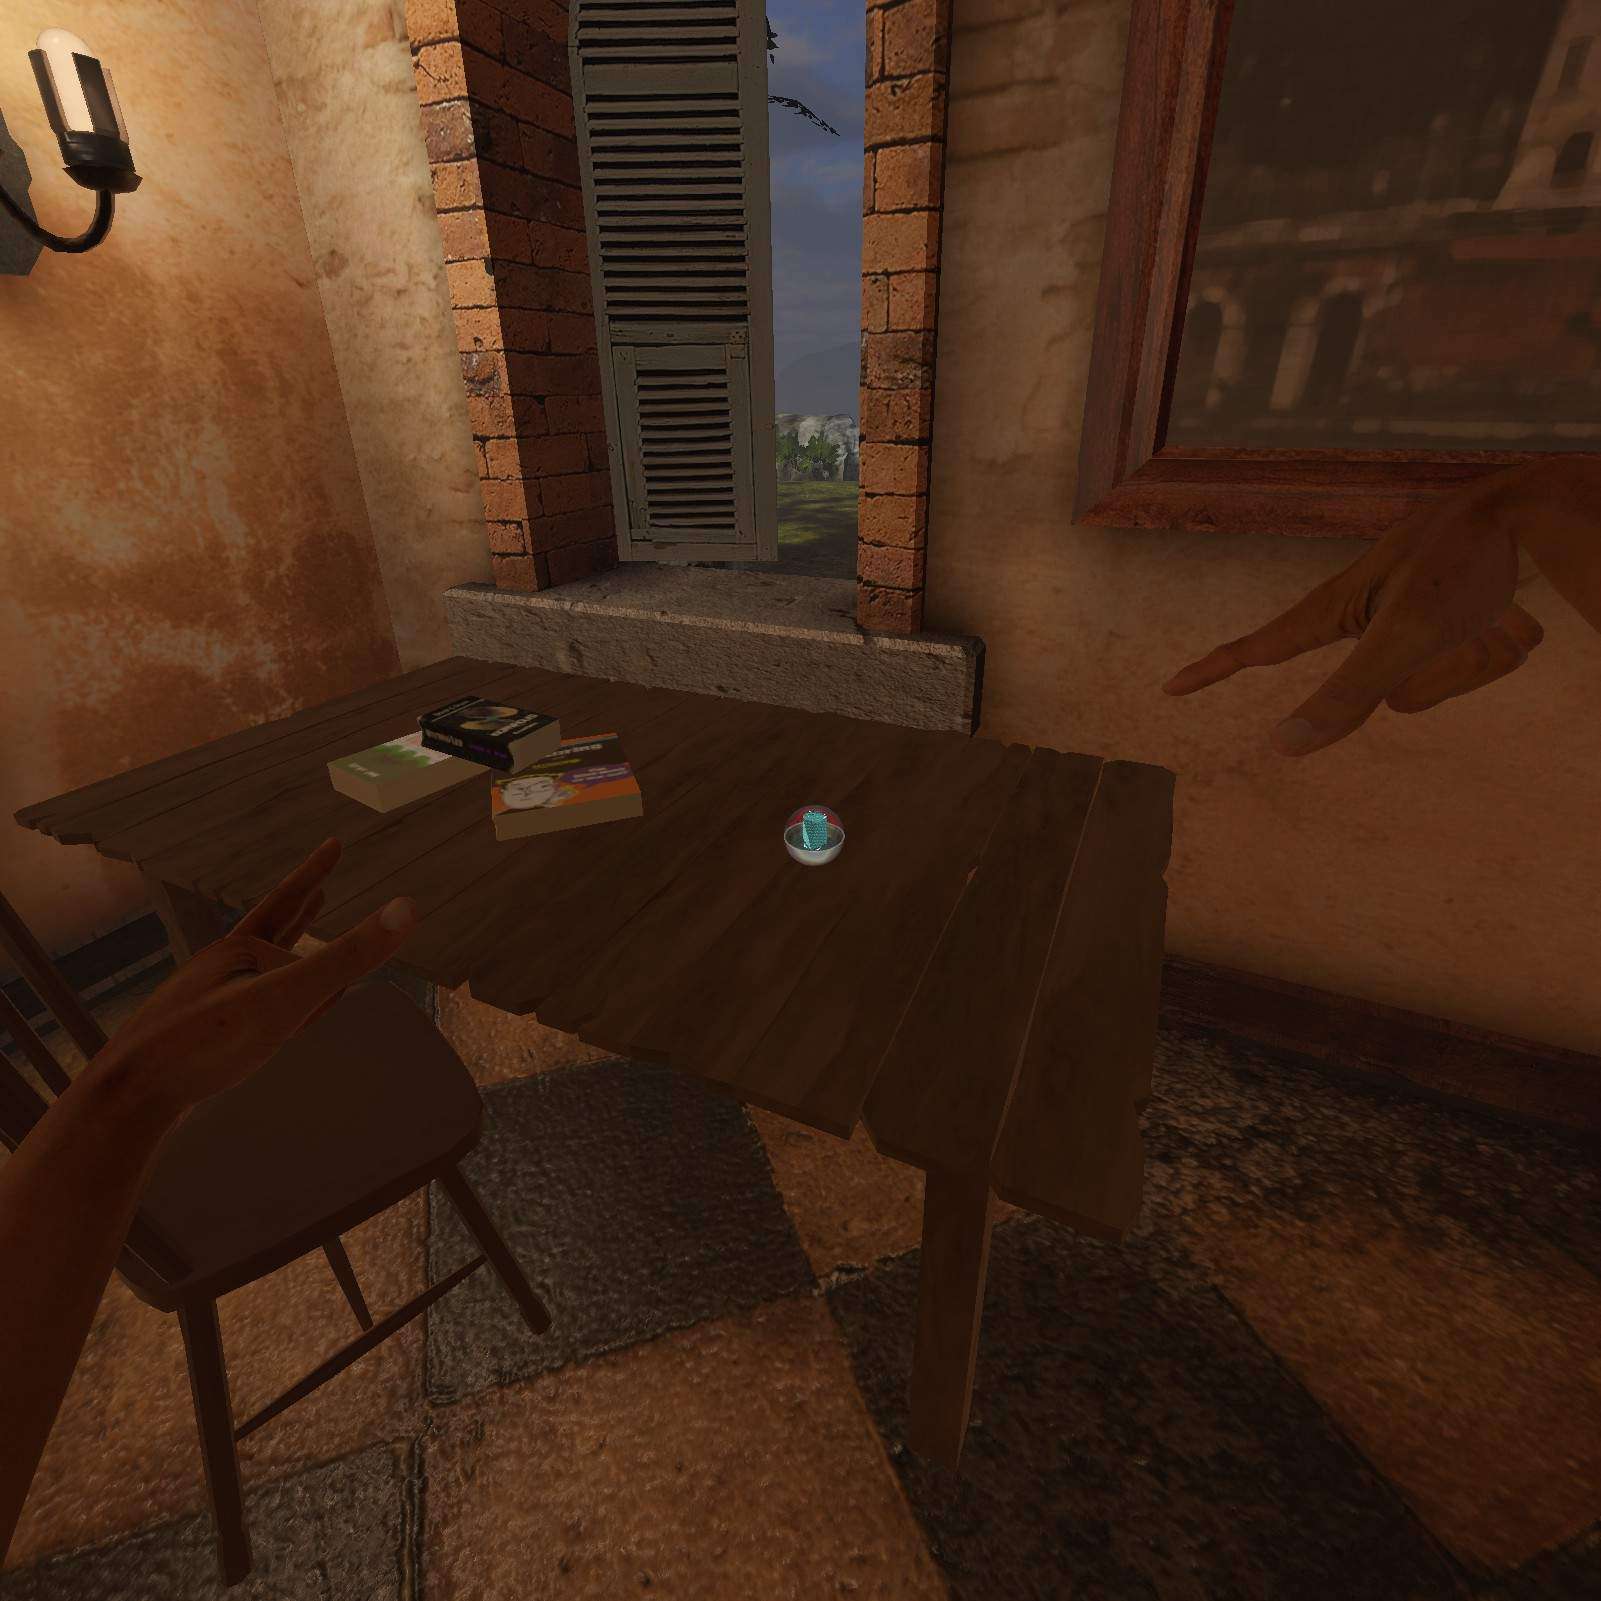
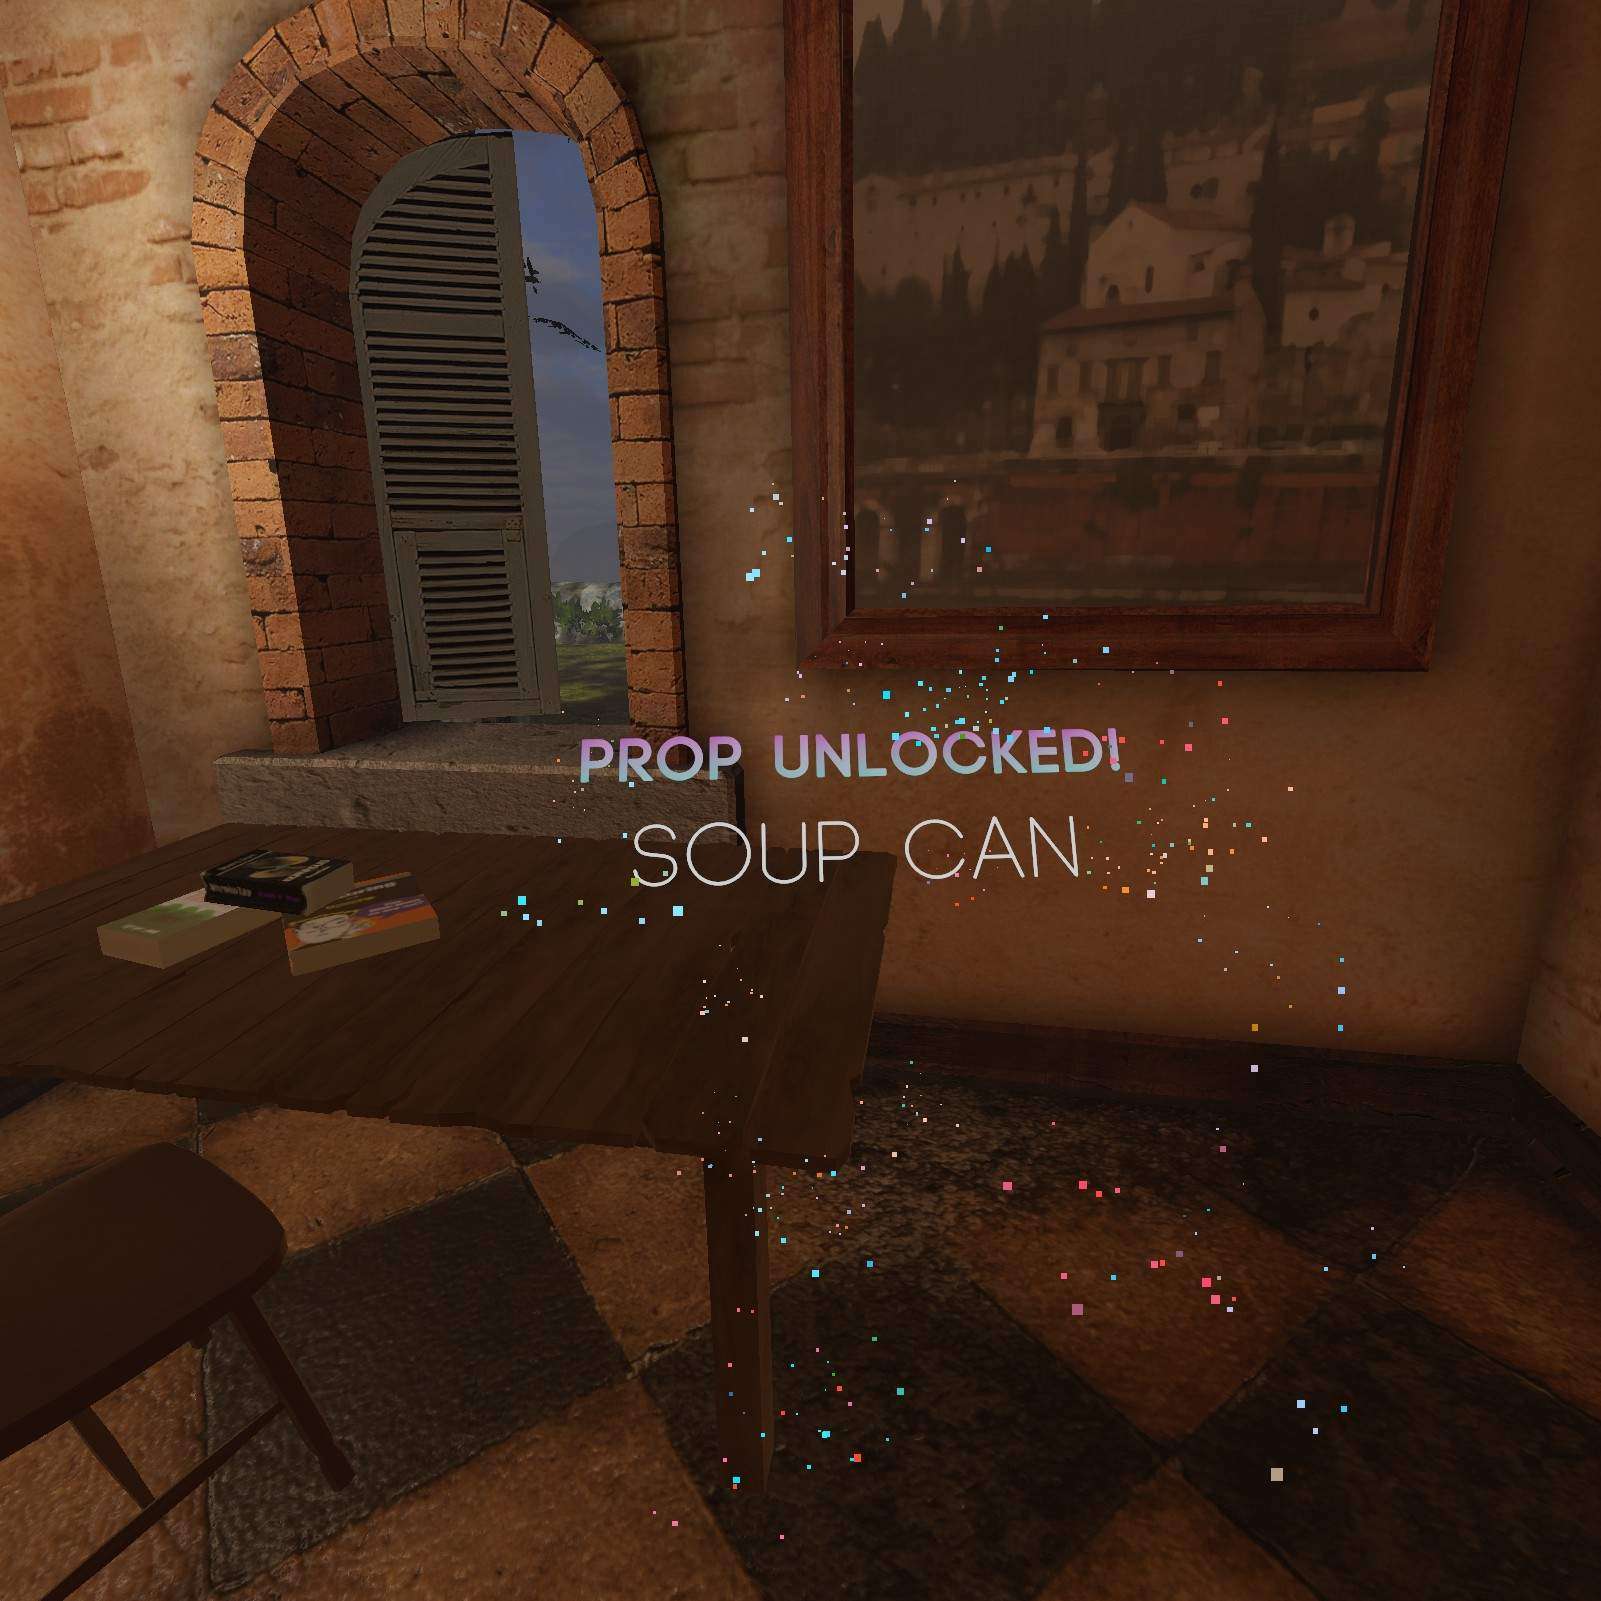
Soup Can:
Inside the building there’s a soup can on the table.
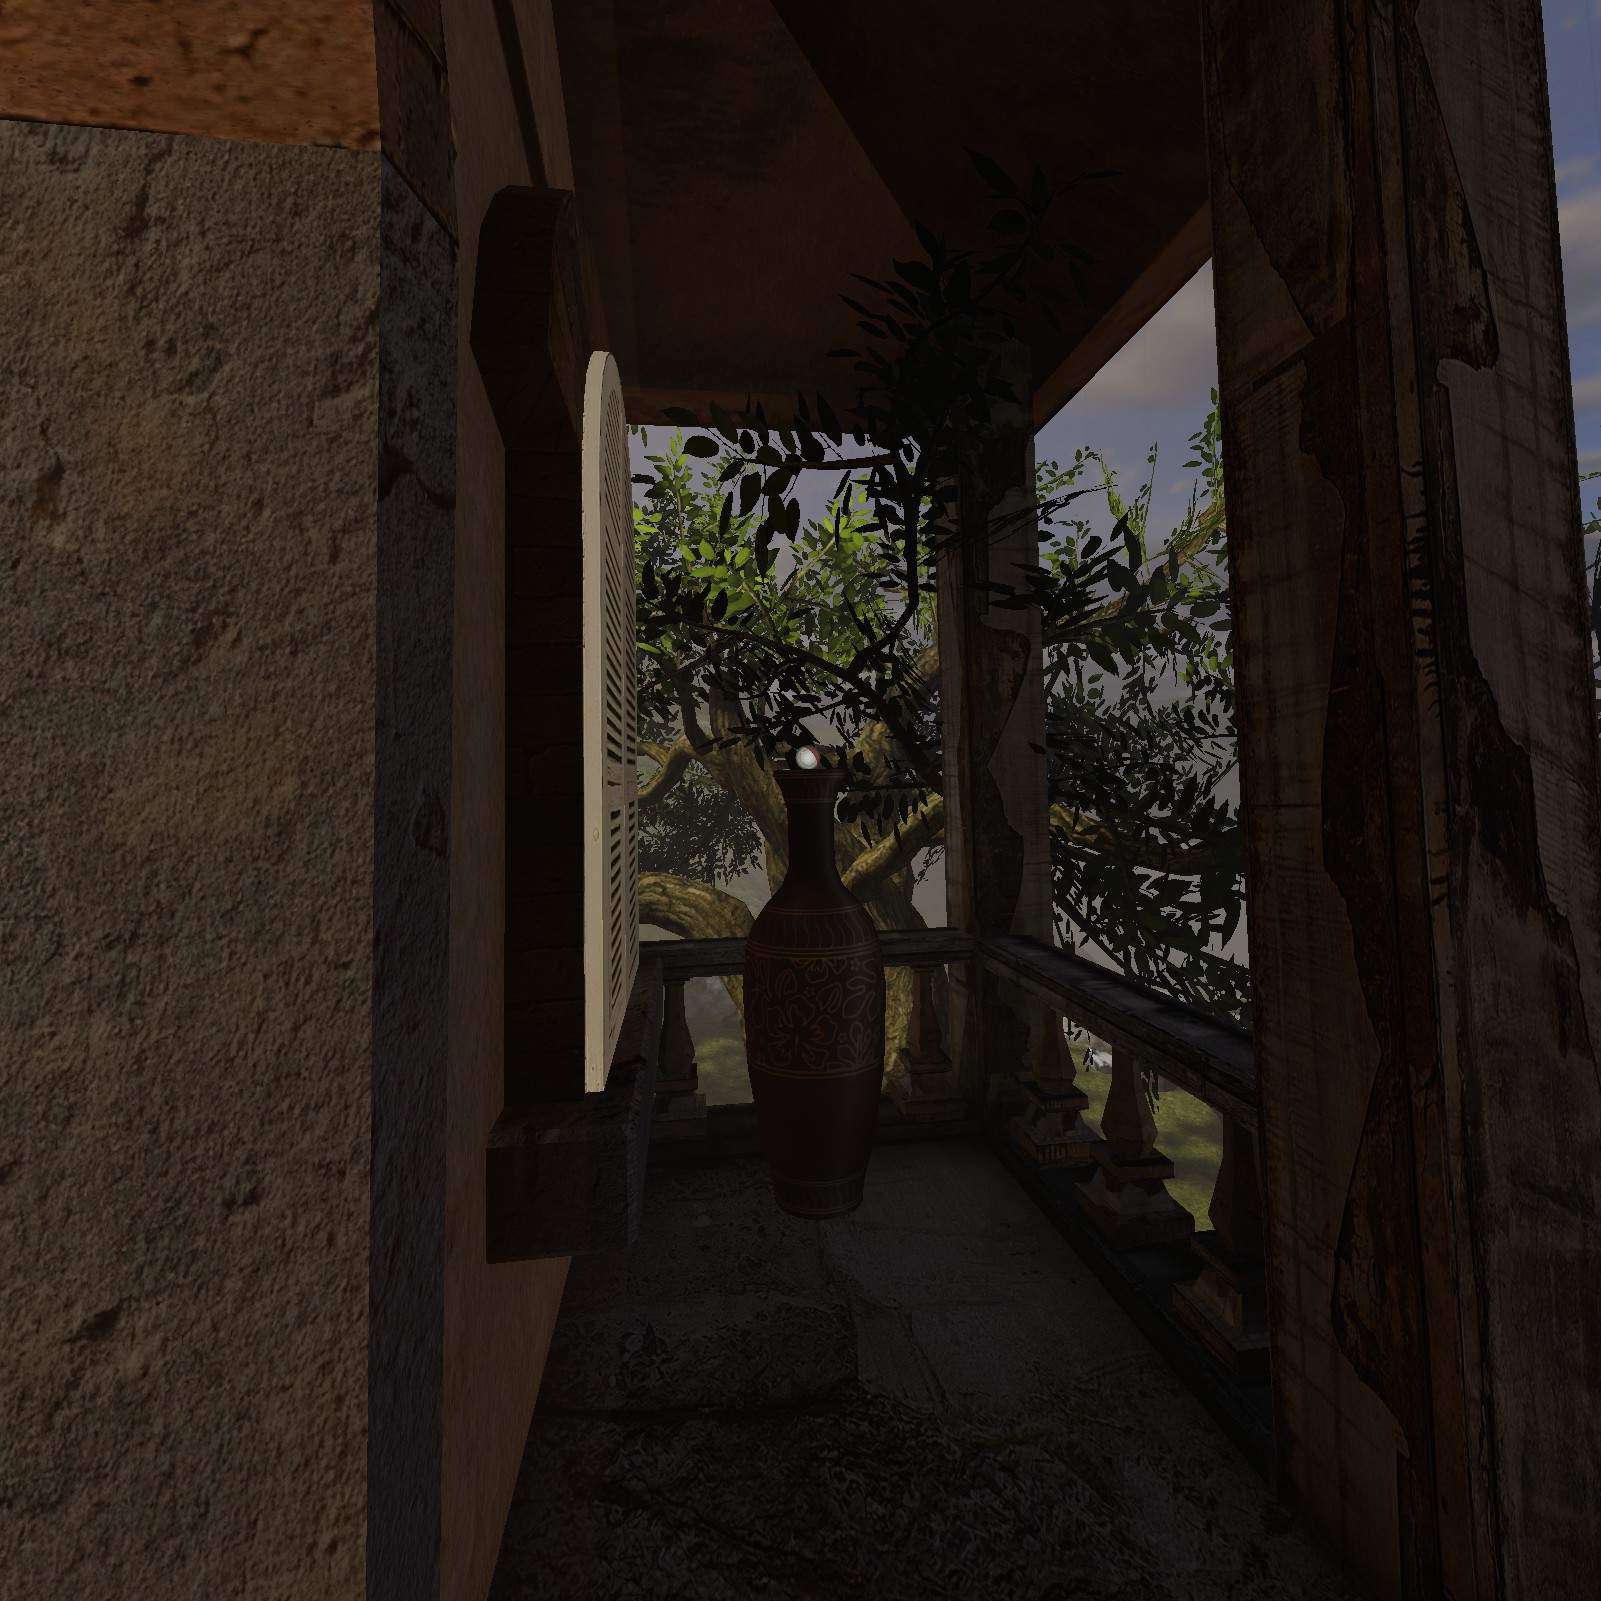
Watermelon:
Finally there’s a watermelon on the vase on the balcony.

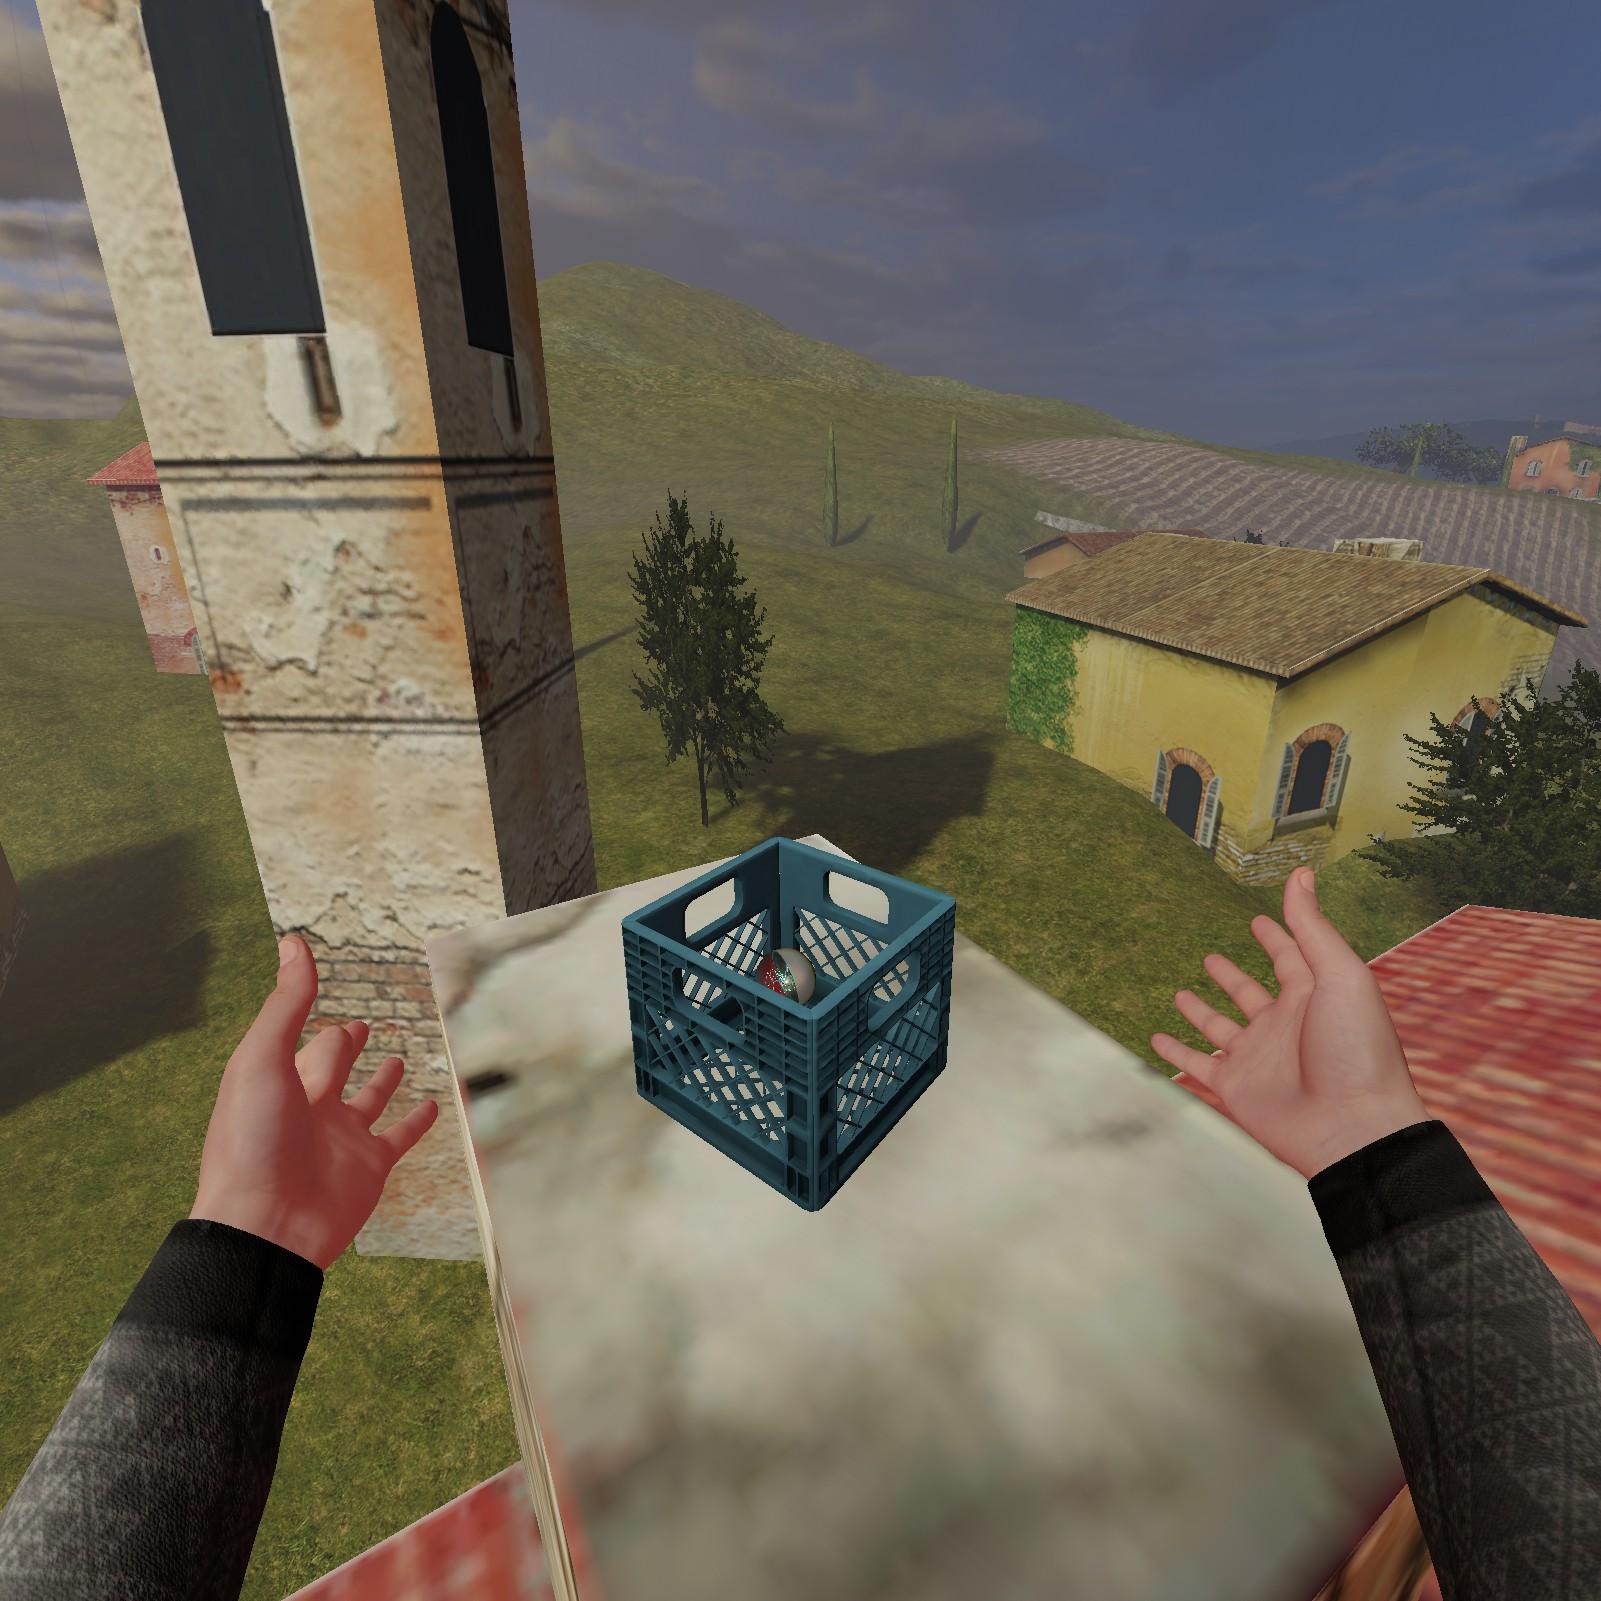
Shopping cart:
Luigi trollface found the shopping cart in a container all the way out on this building.

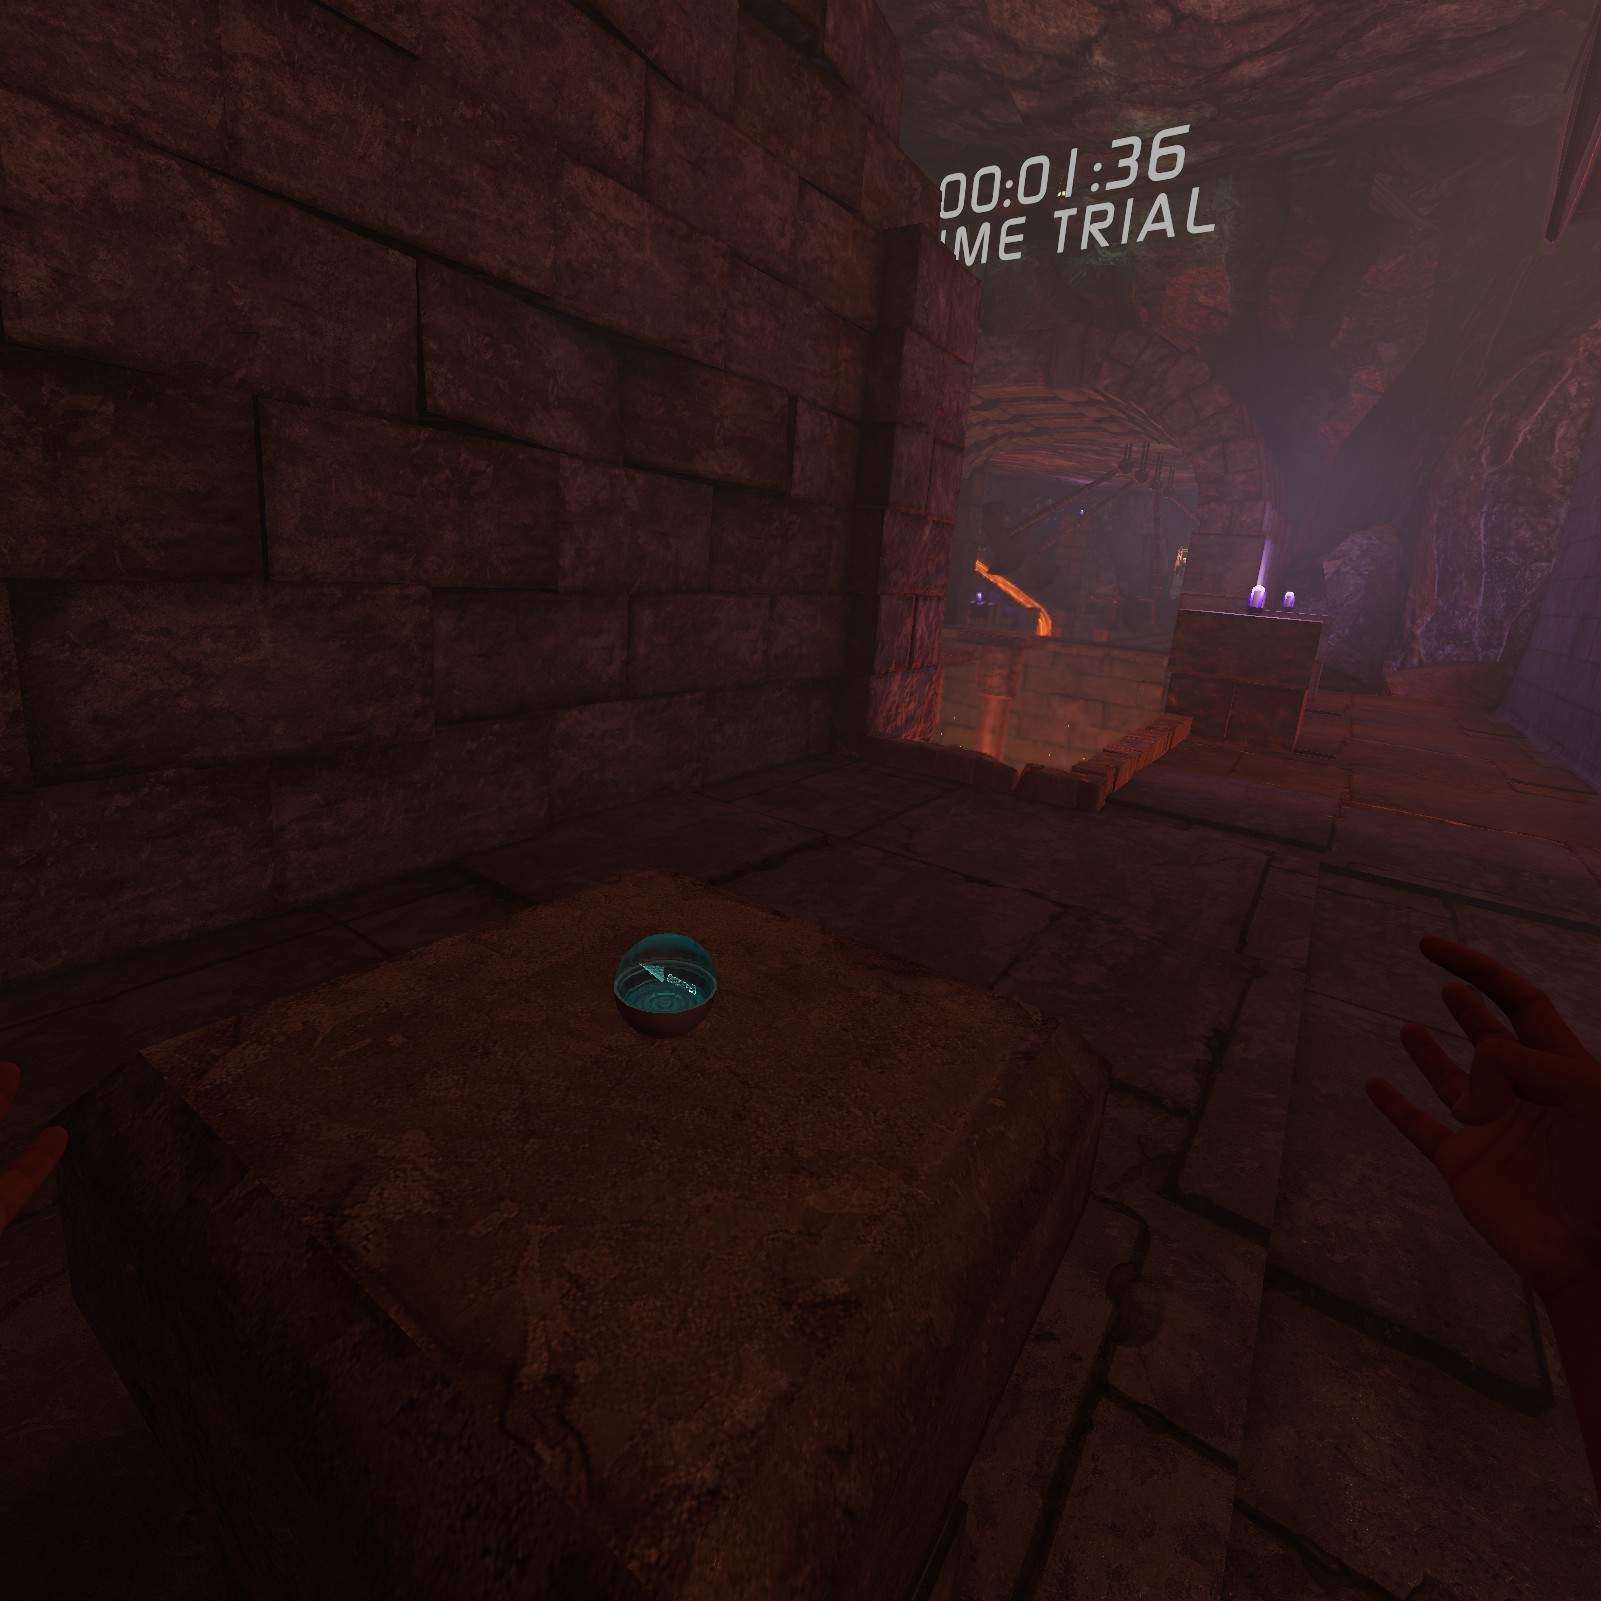
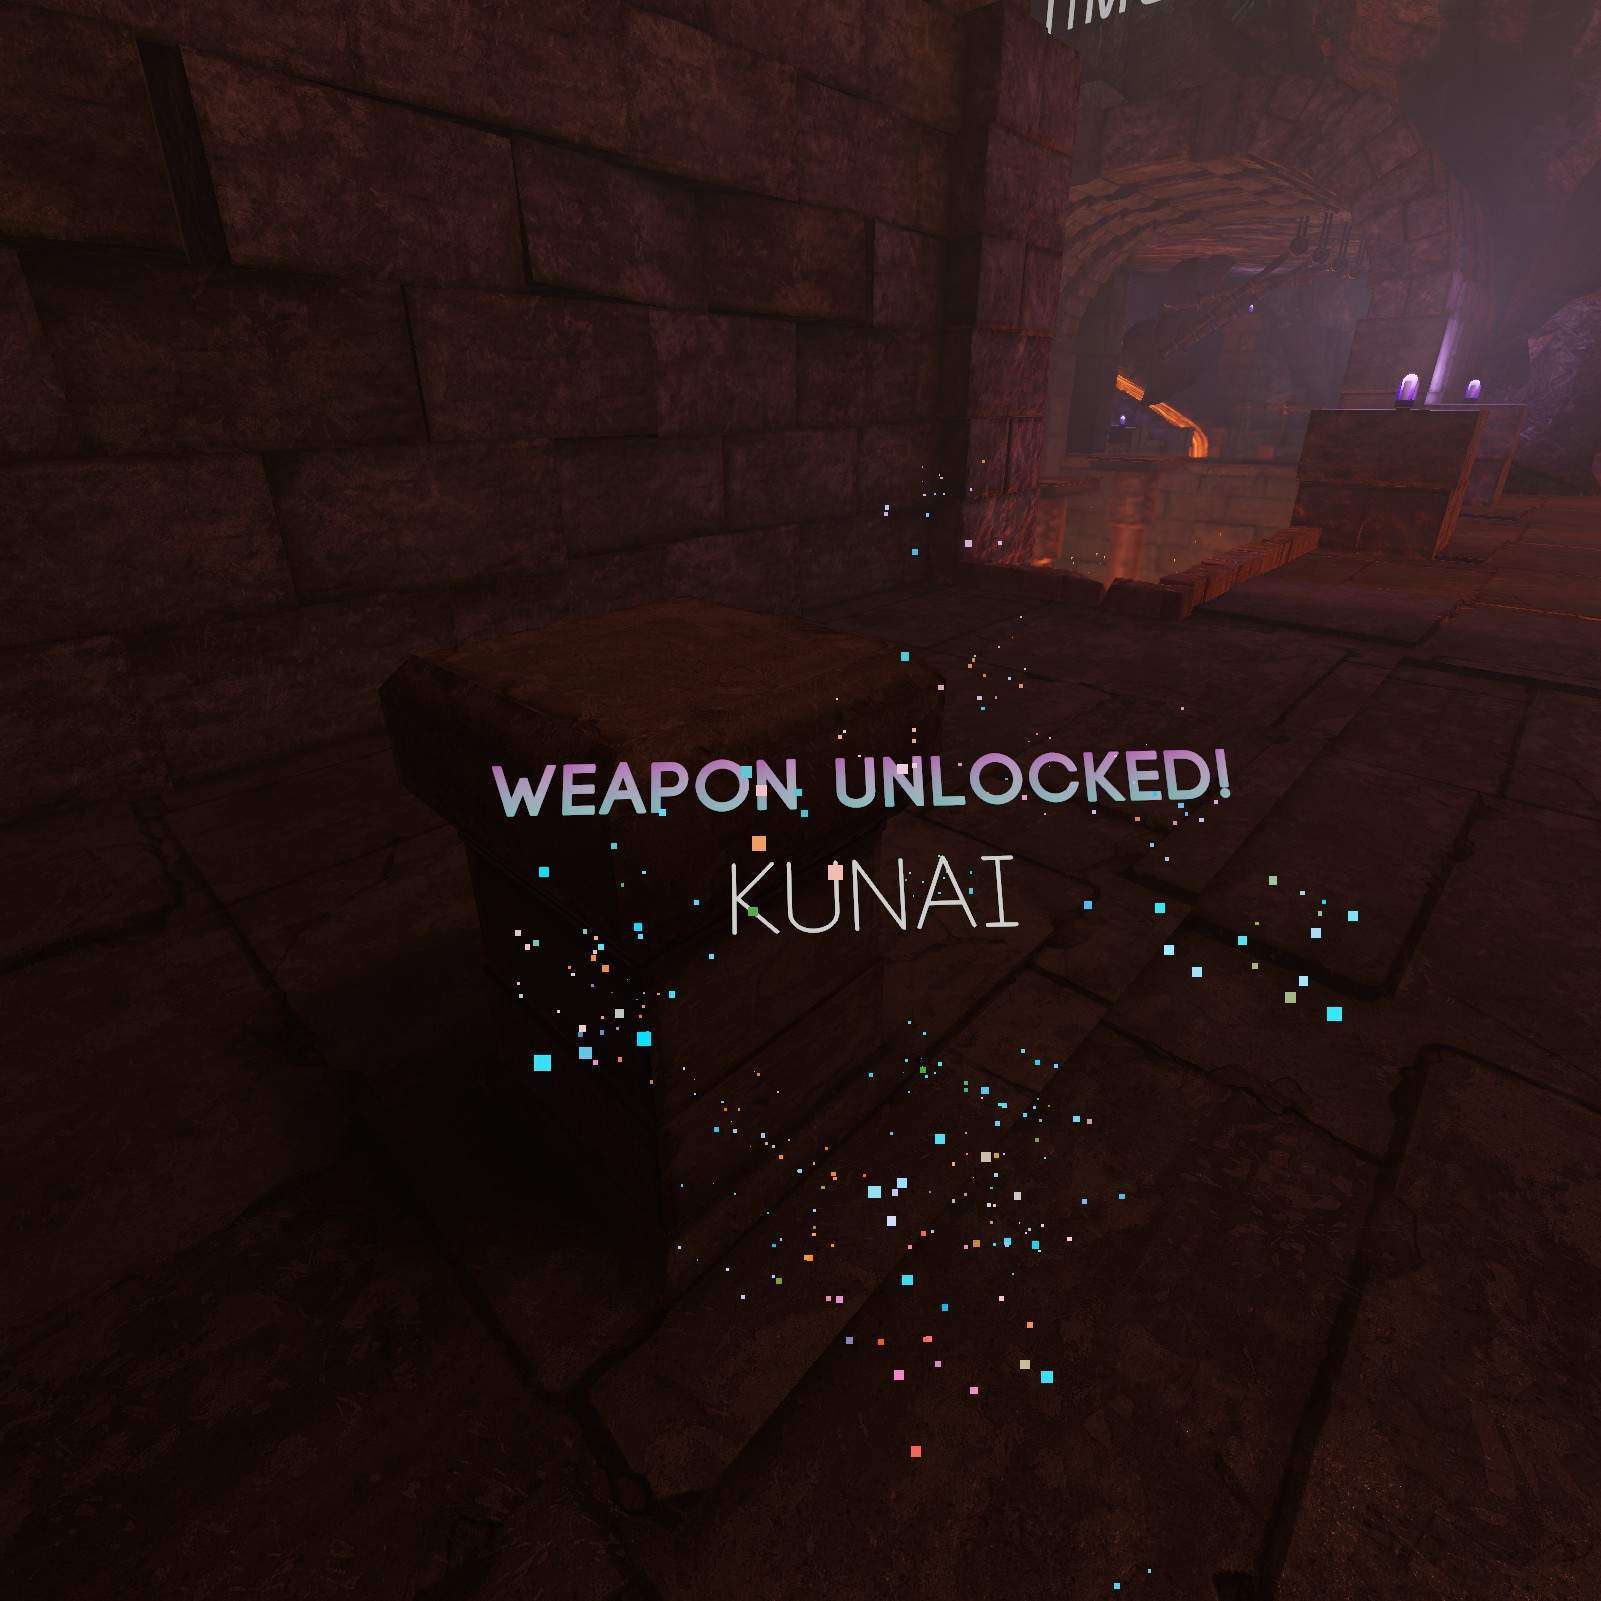
Magma Parkour
Kunai:
After completing the first few jumps, turn around to spot a kunai capsule on this small pillar.
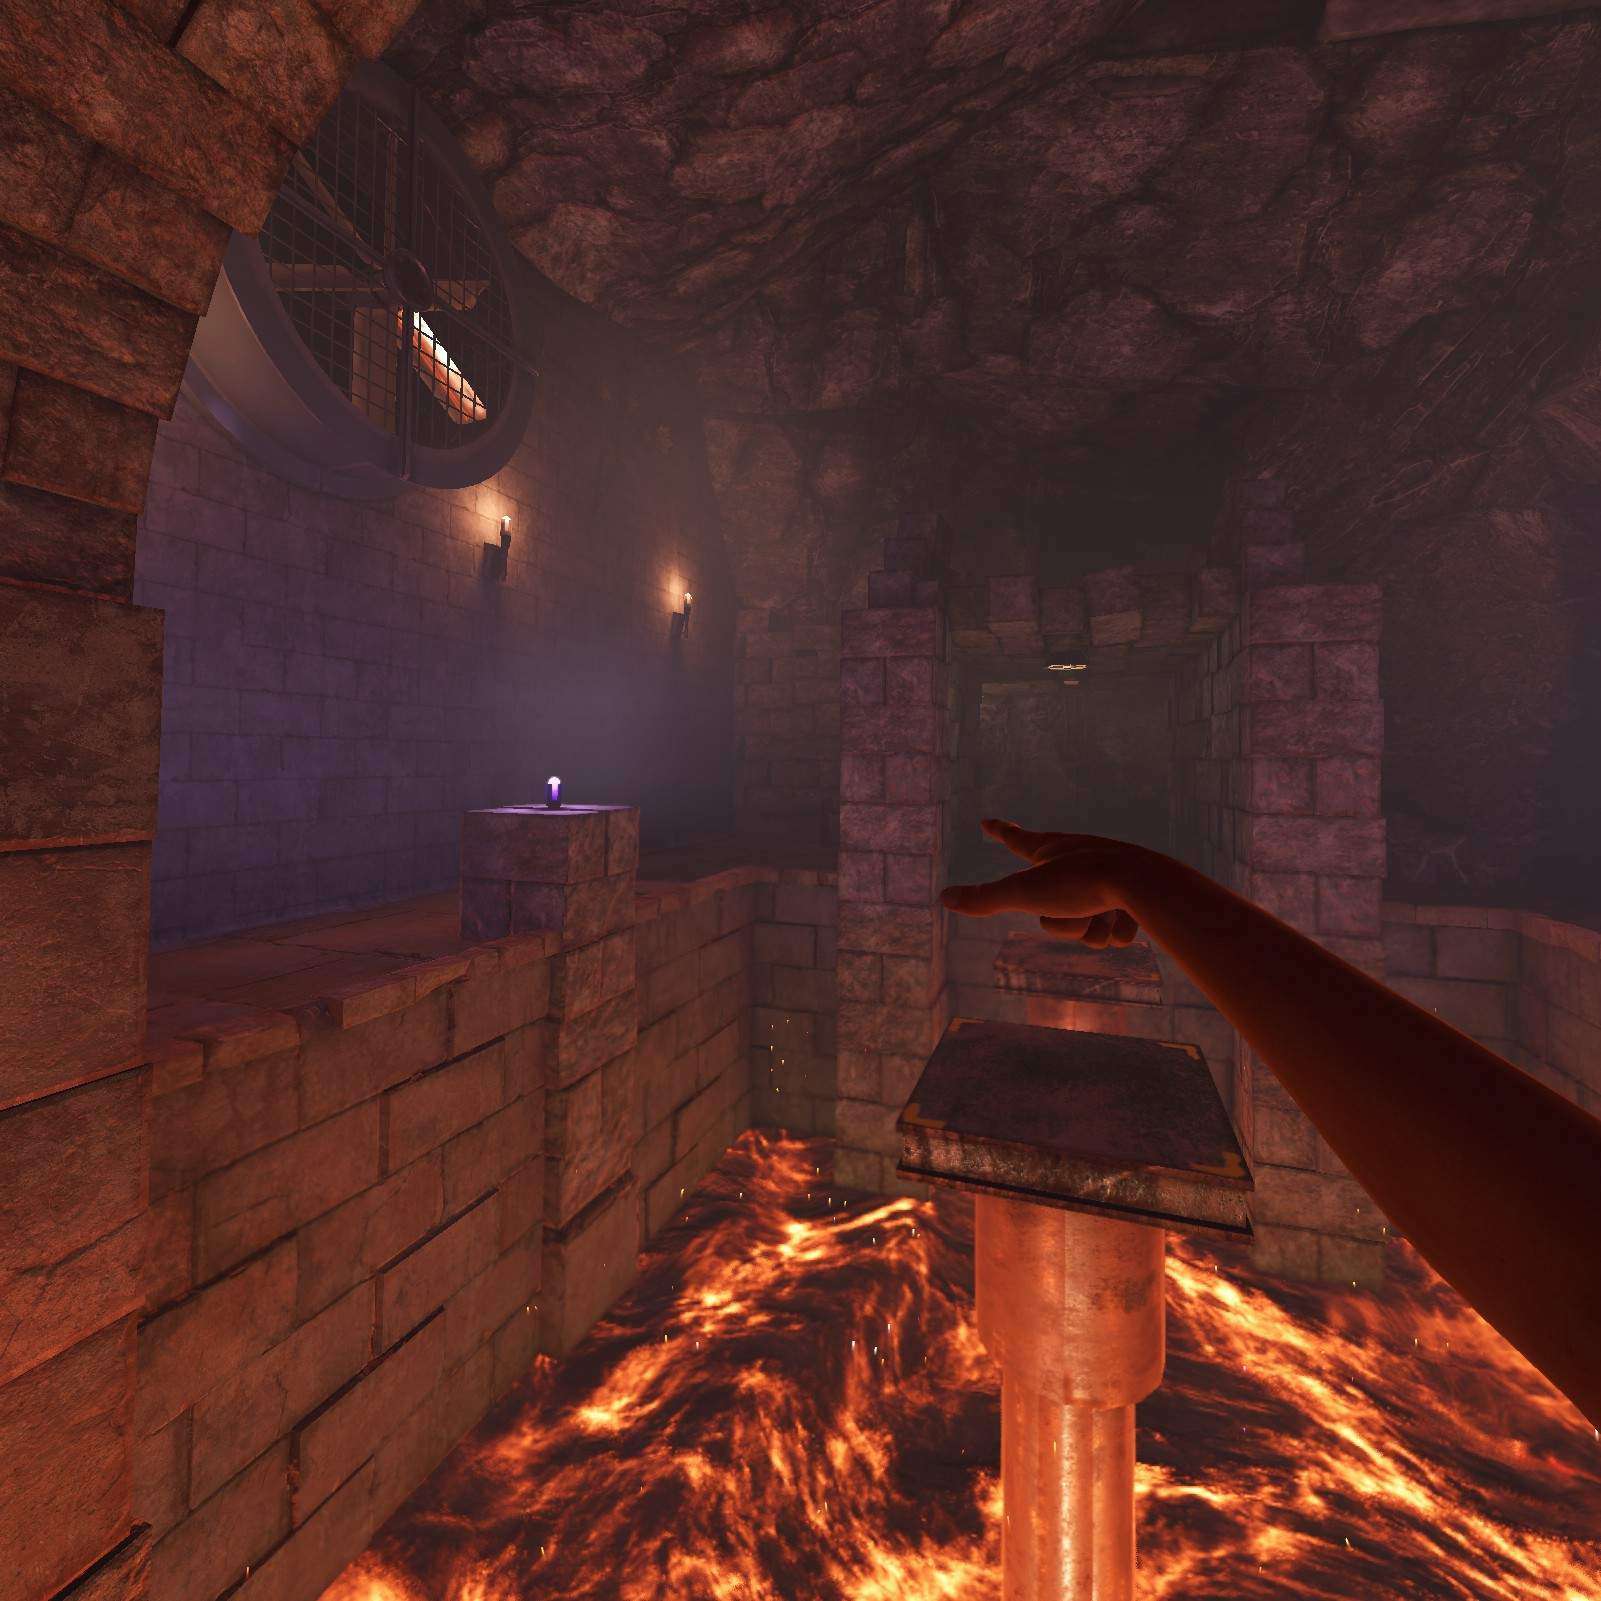
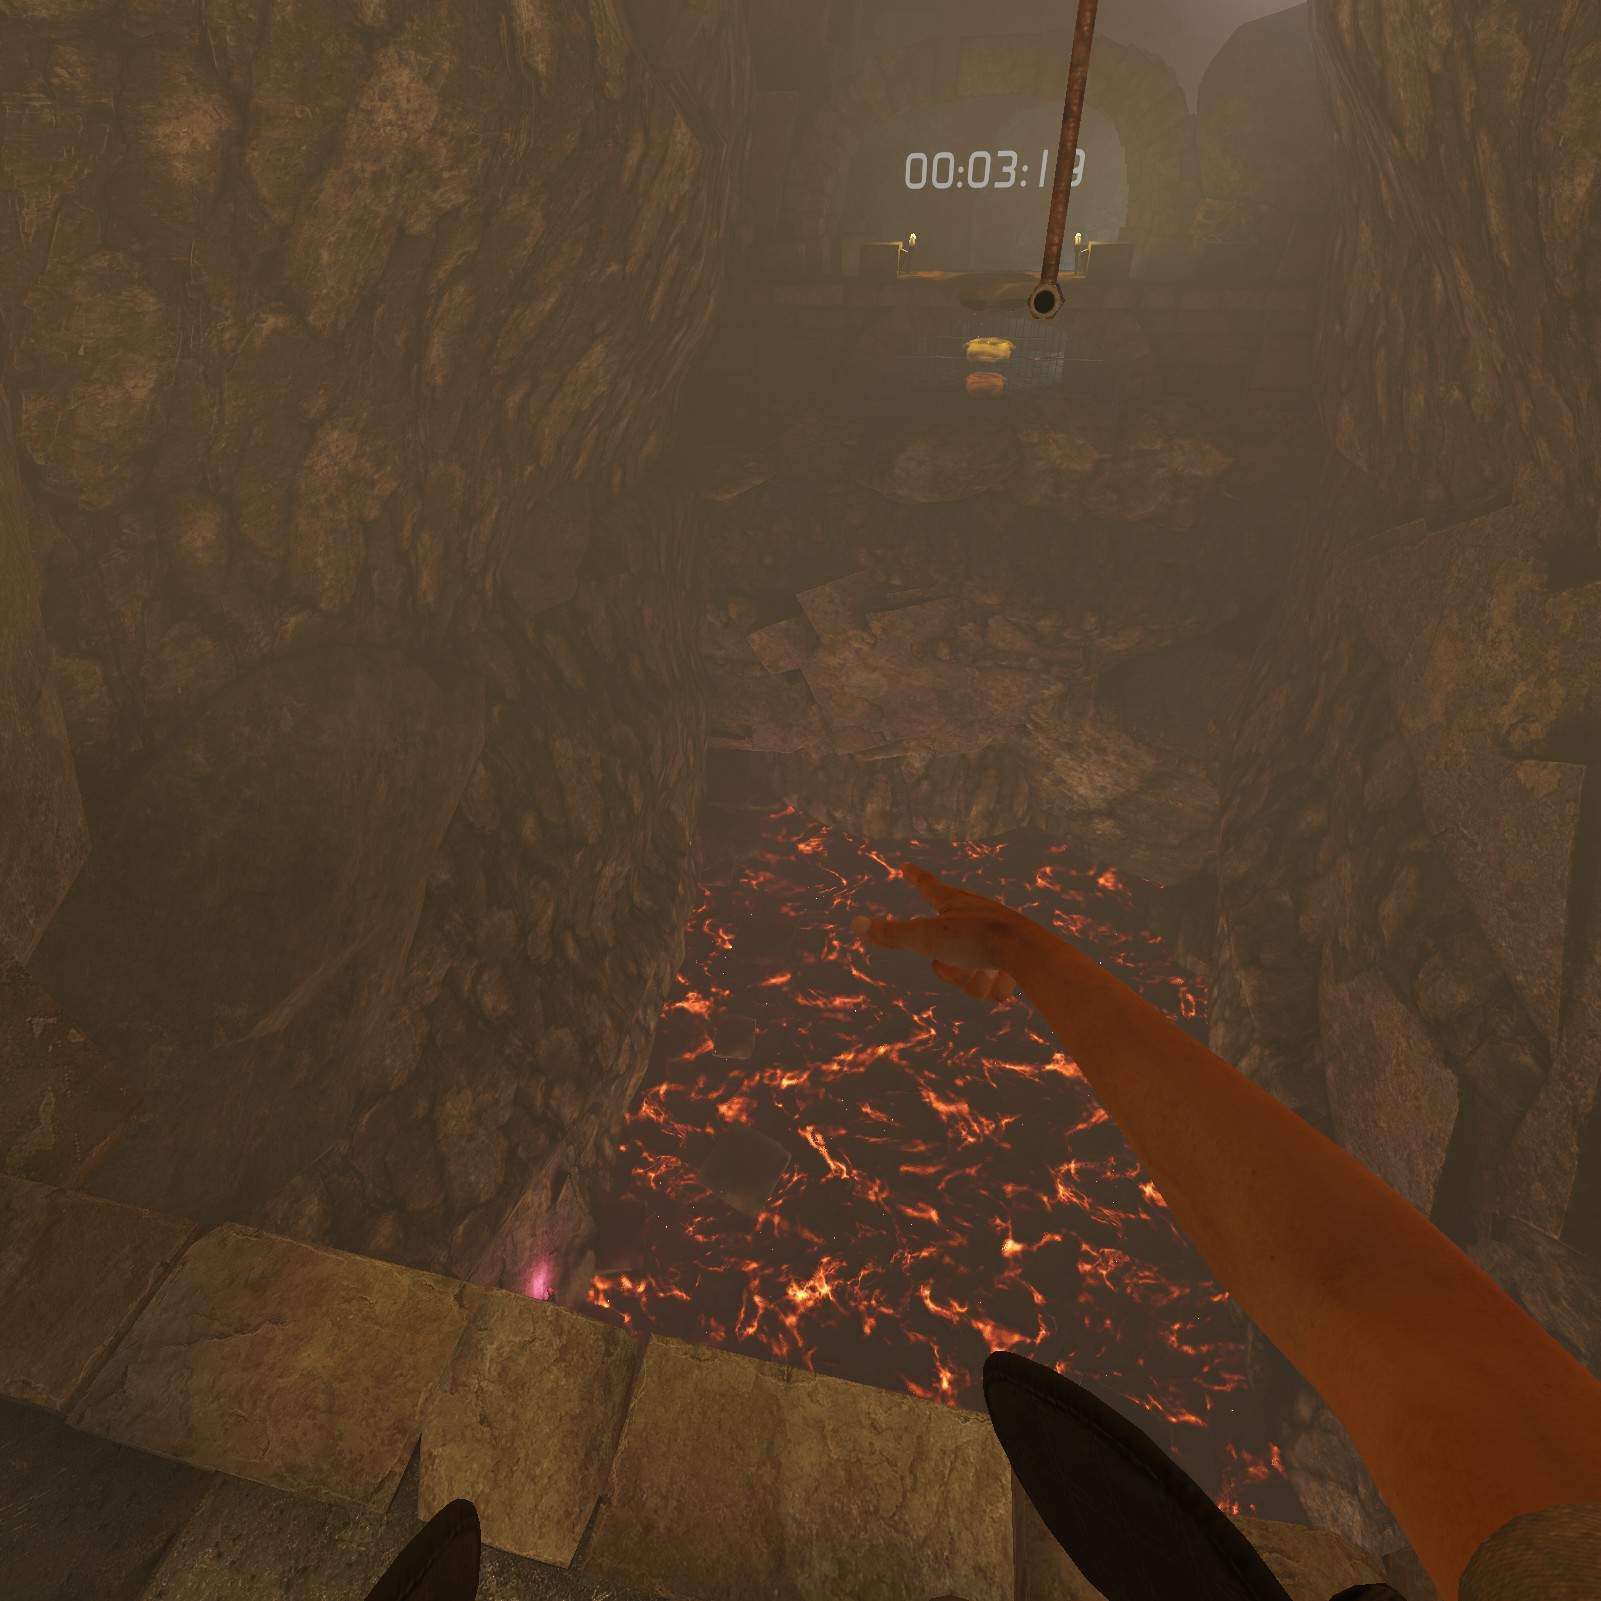
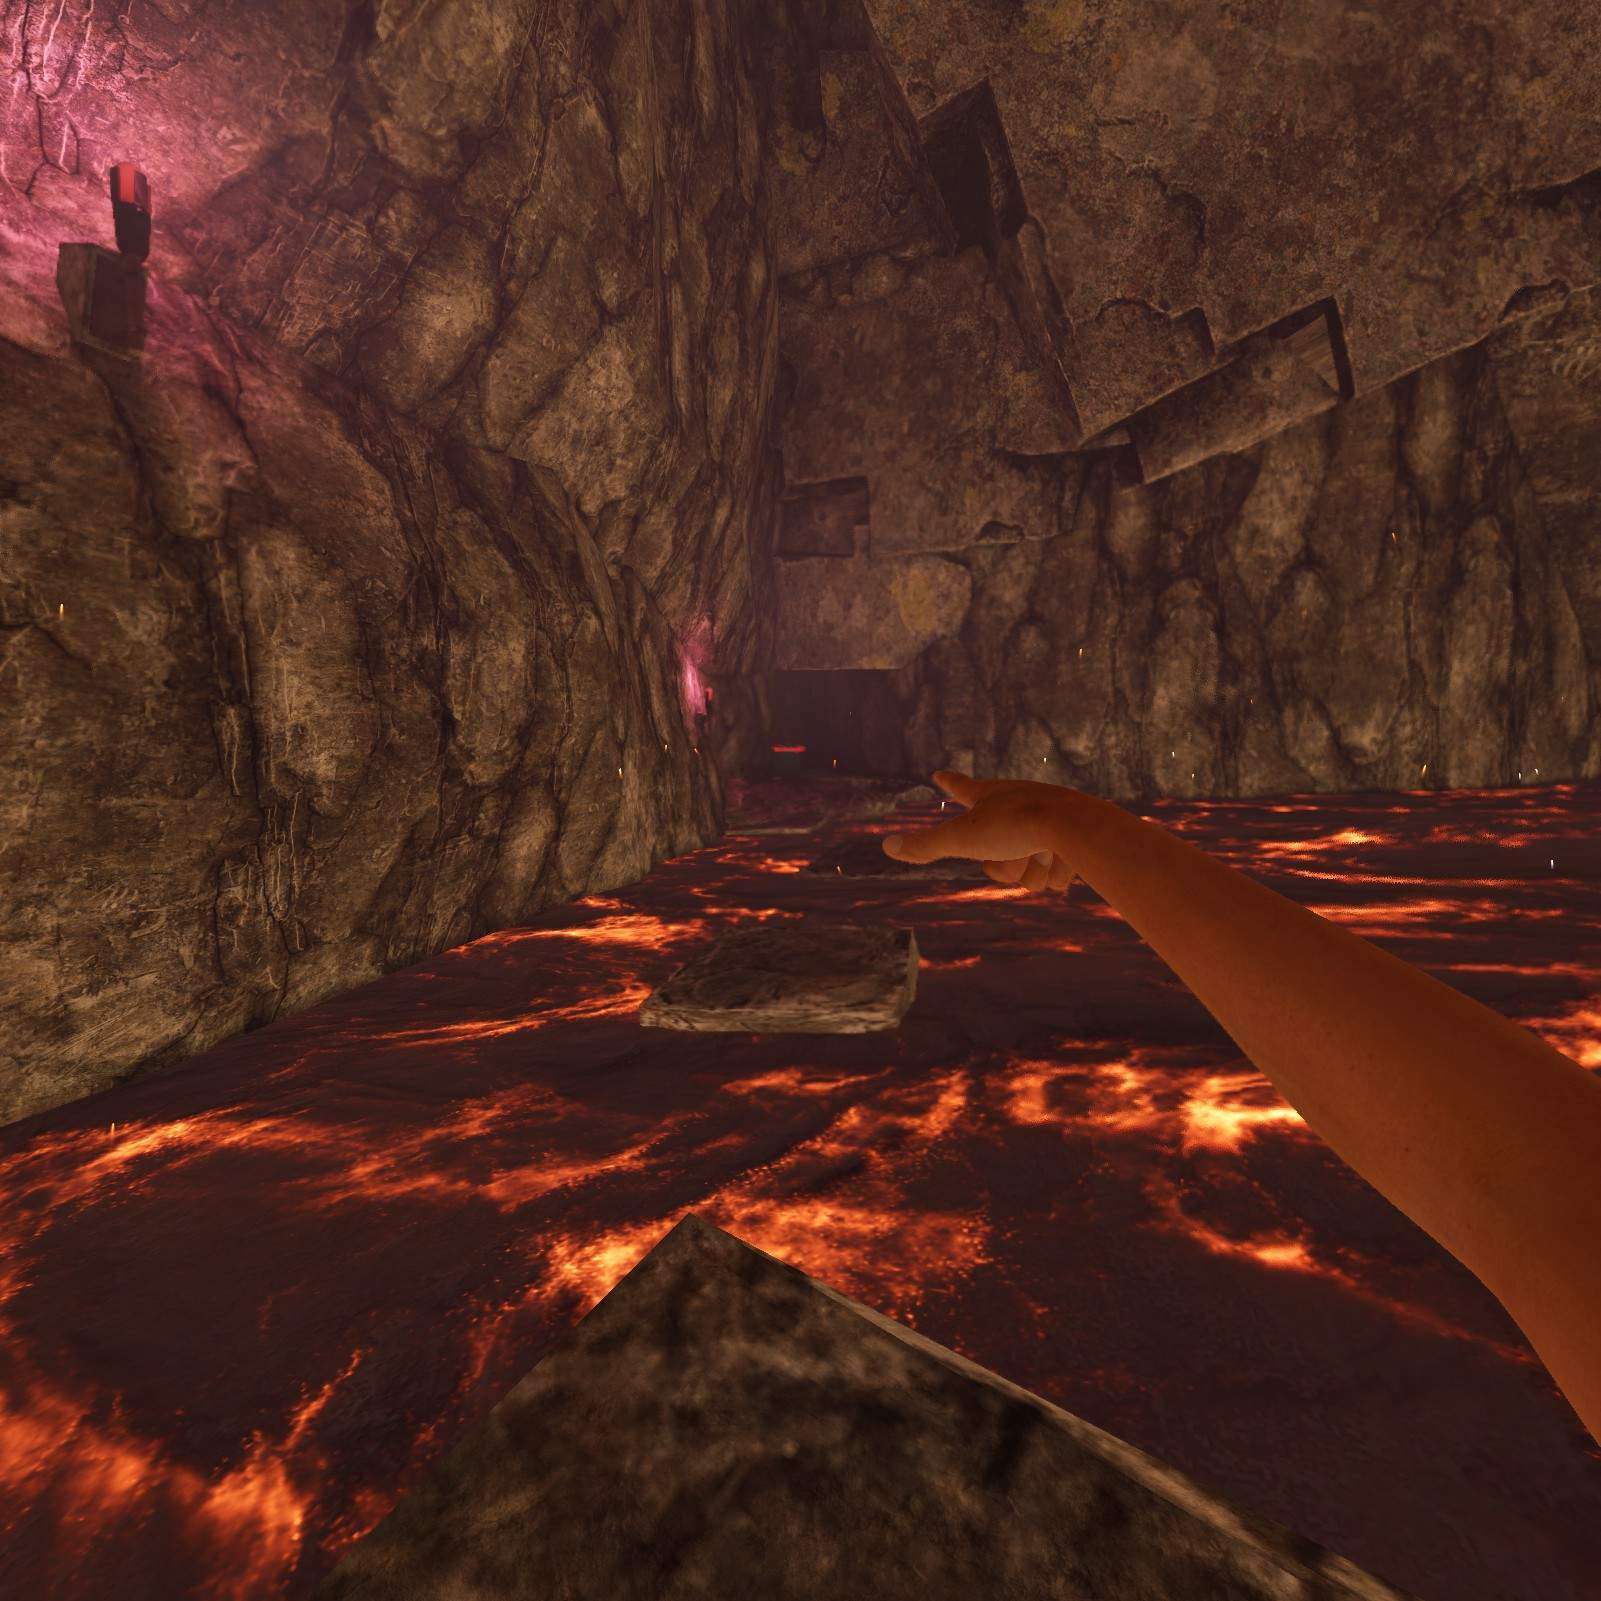
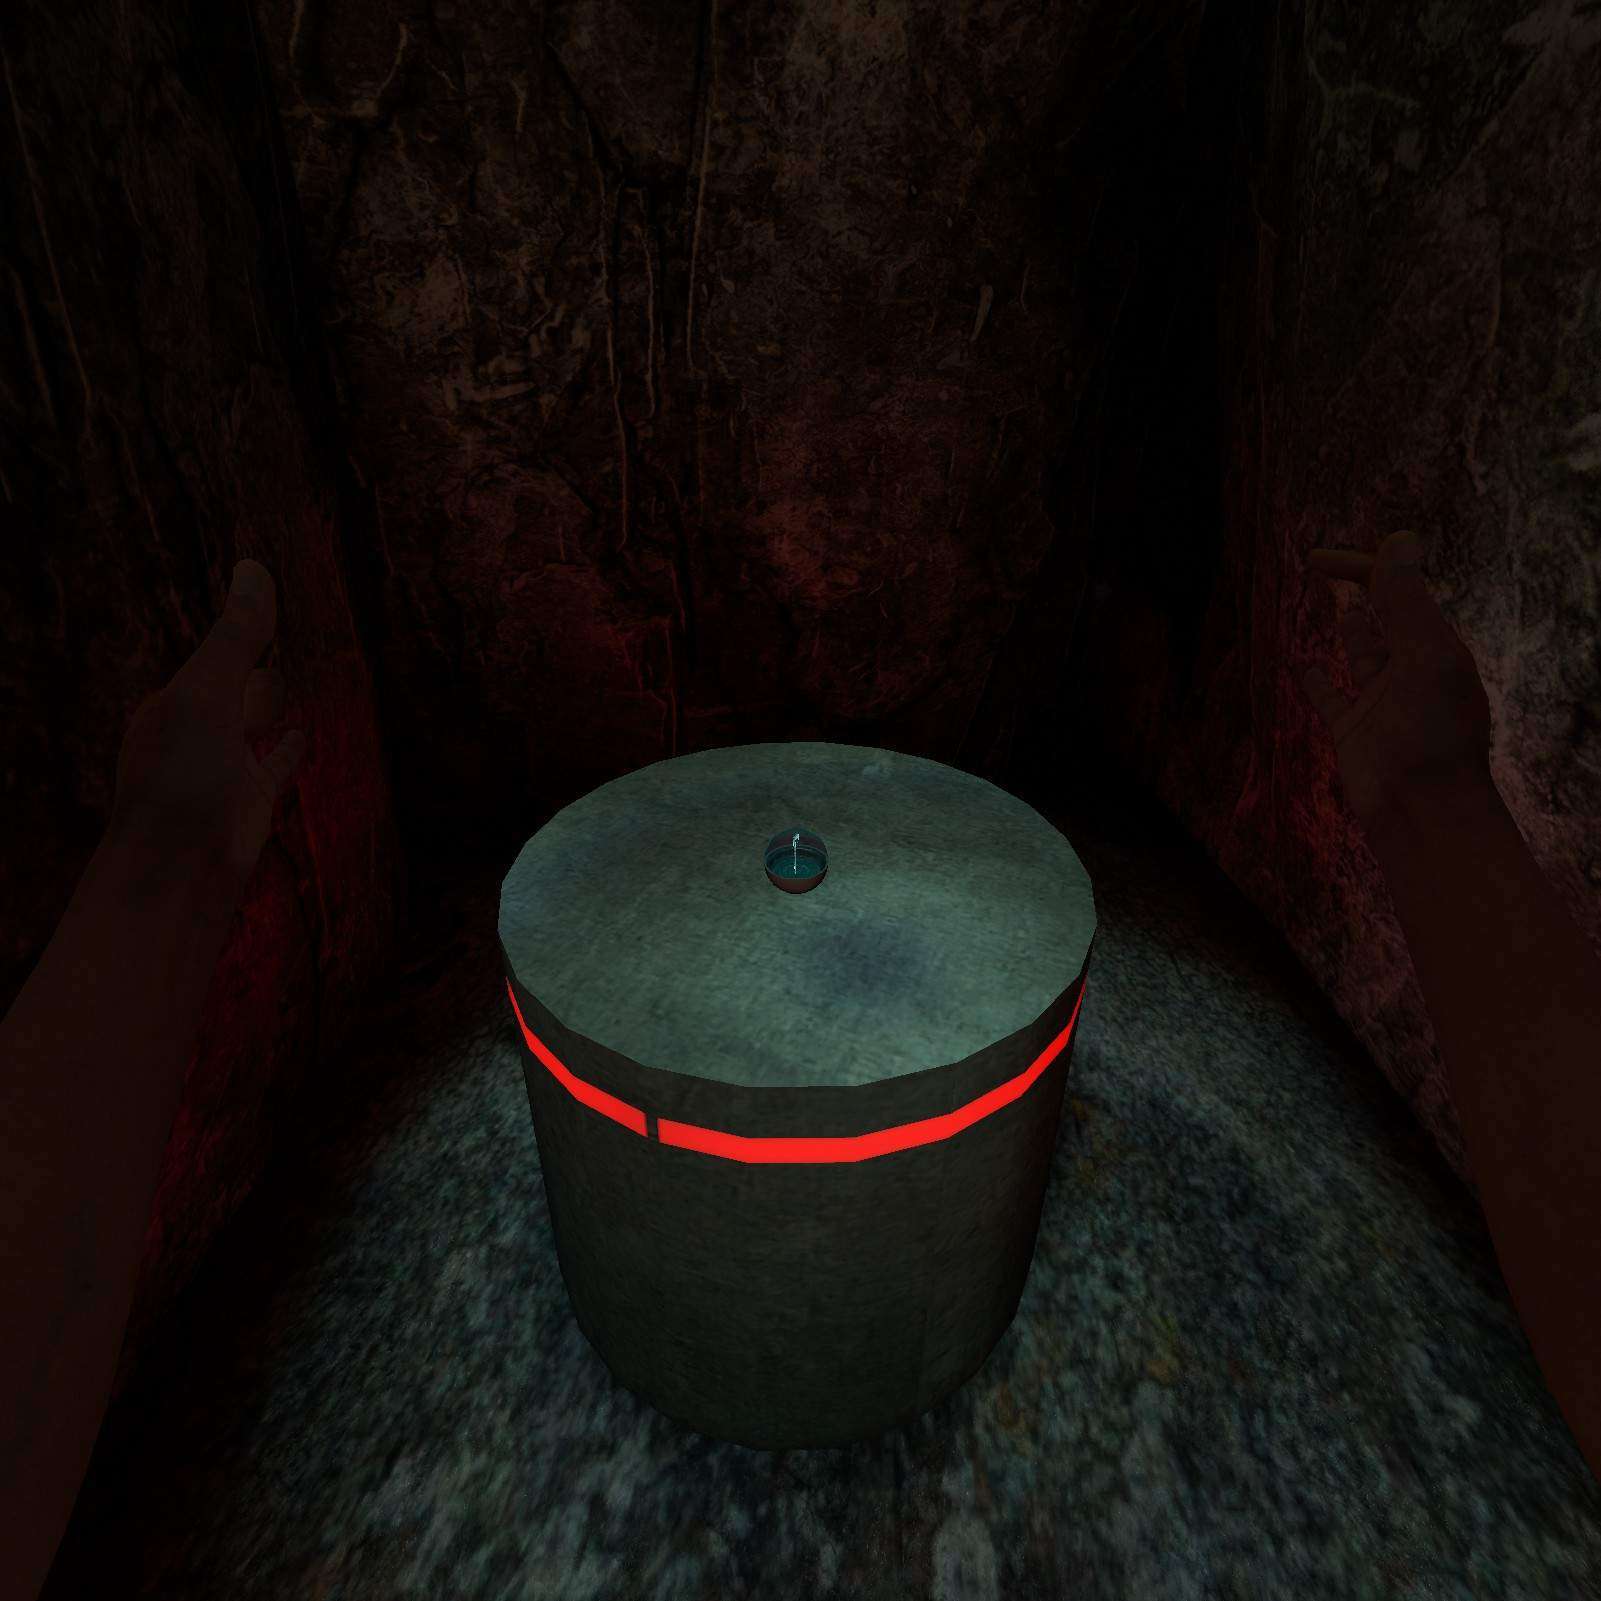
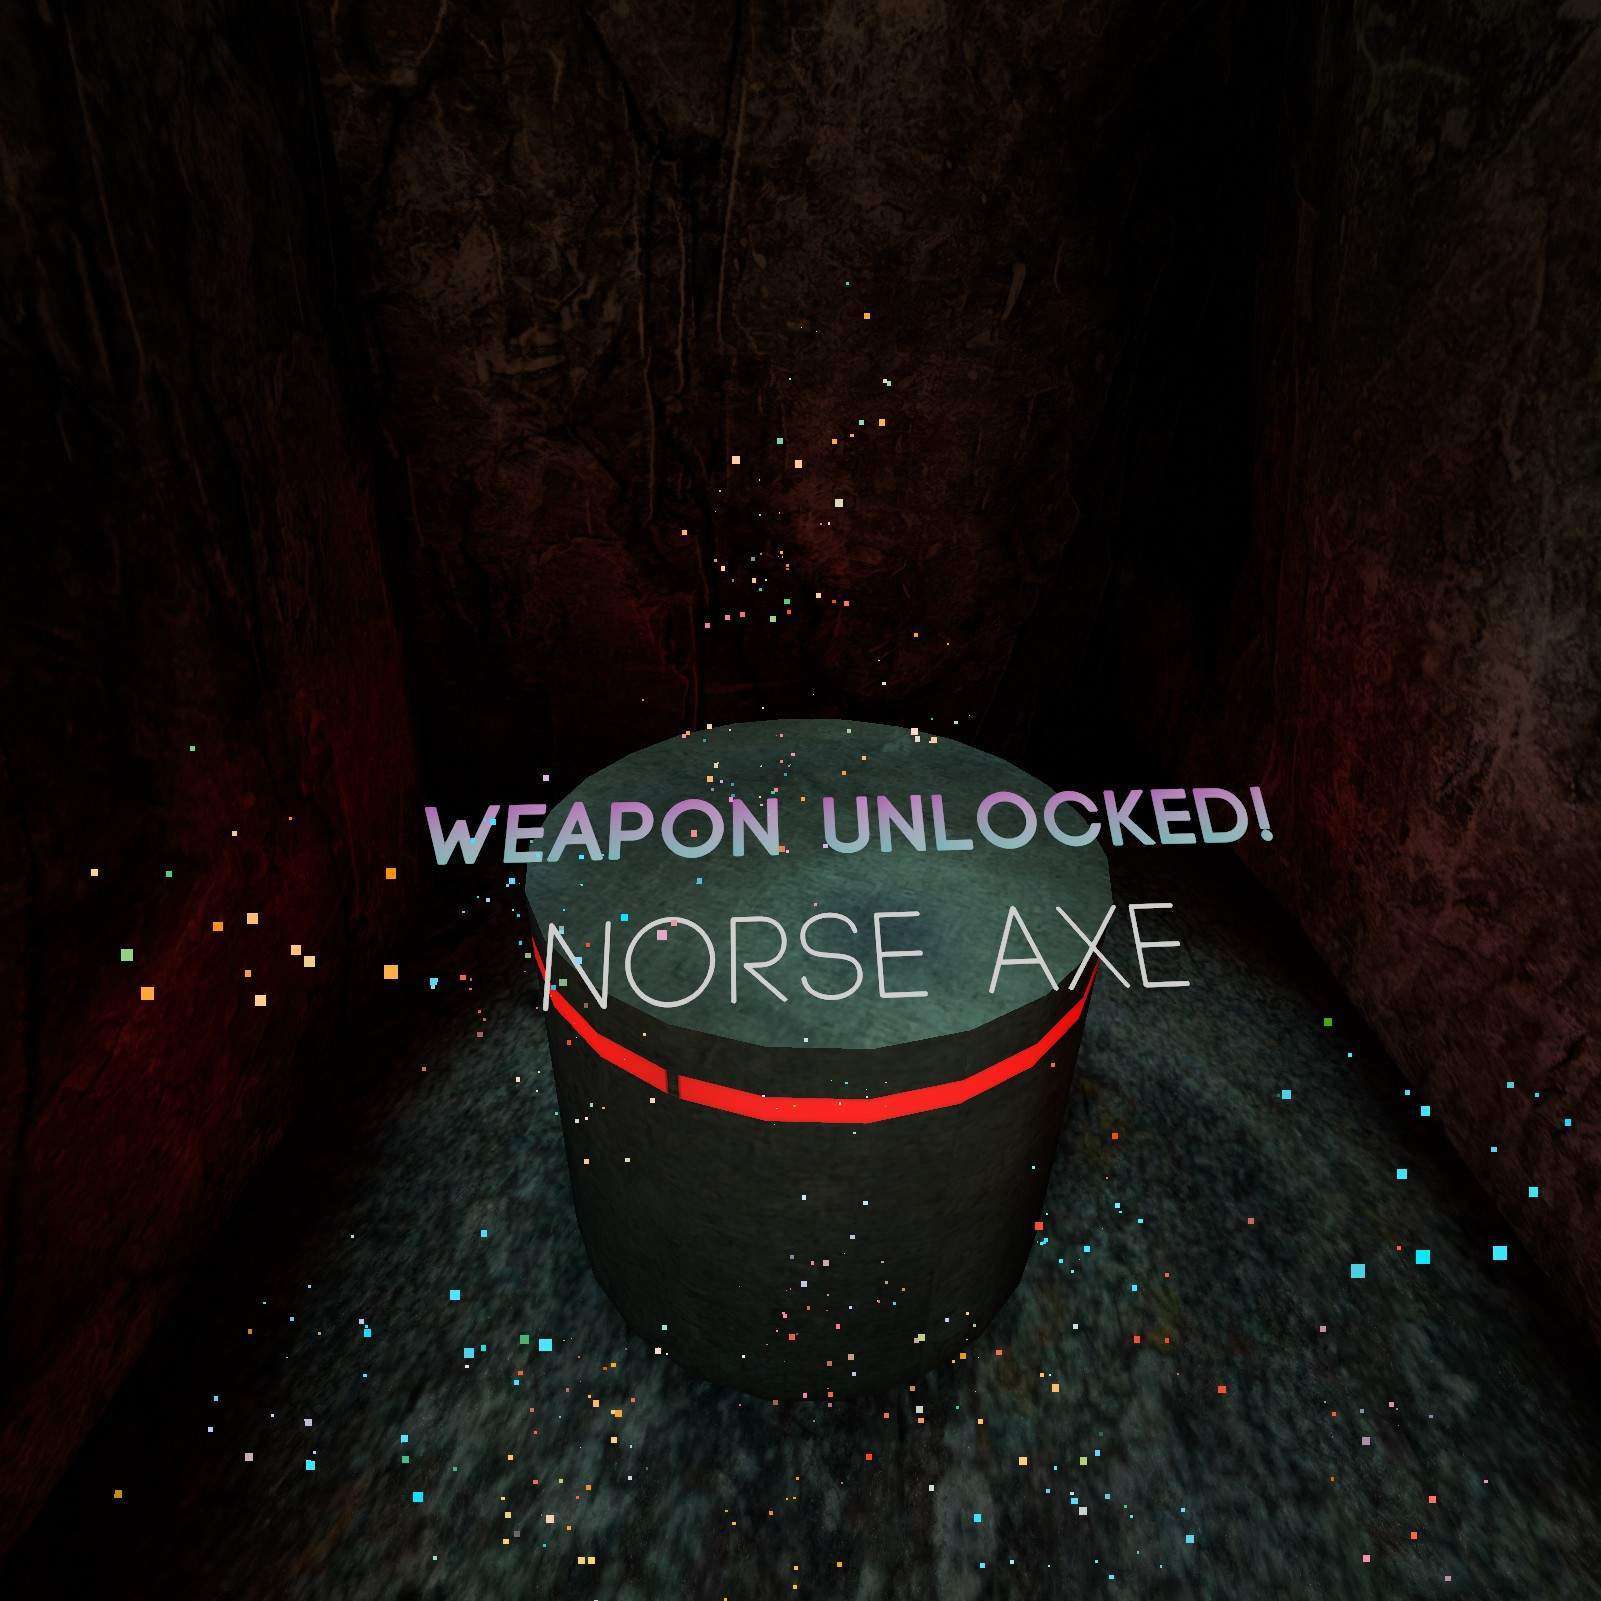
Norse Axe:
At this giant lava pit there’s actually some platforms at the bottom. Hop across them for a Norse Axe.
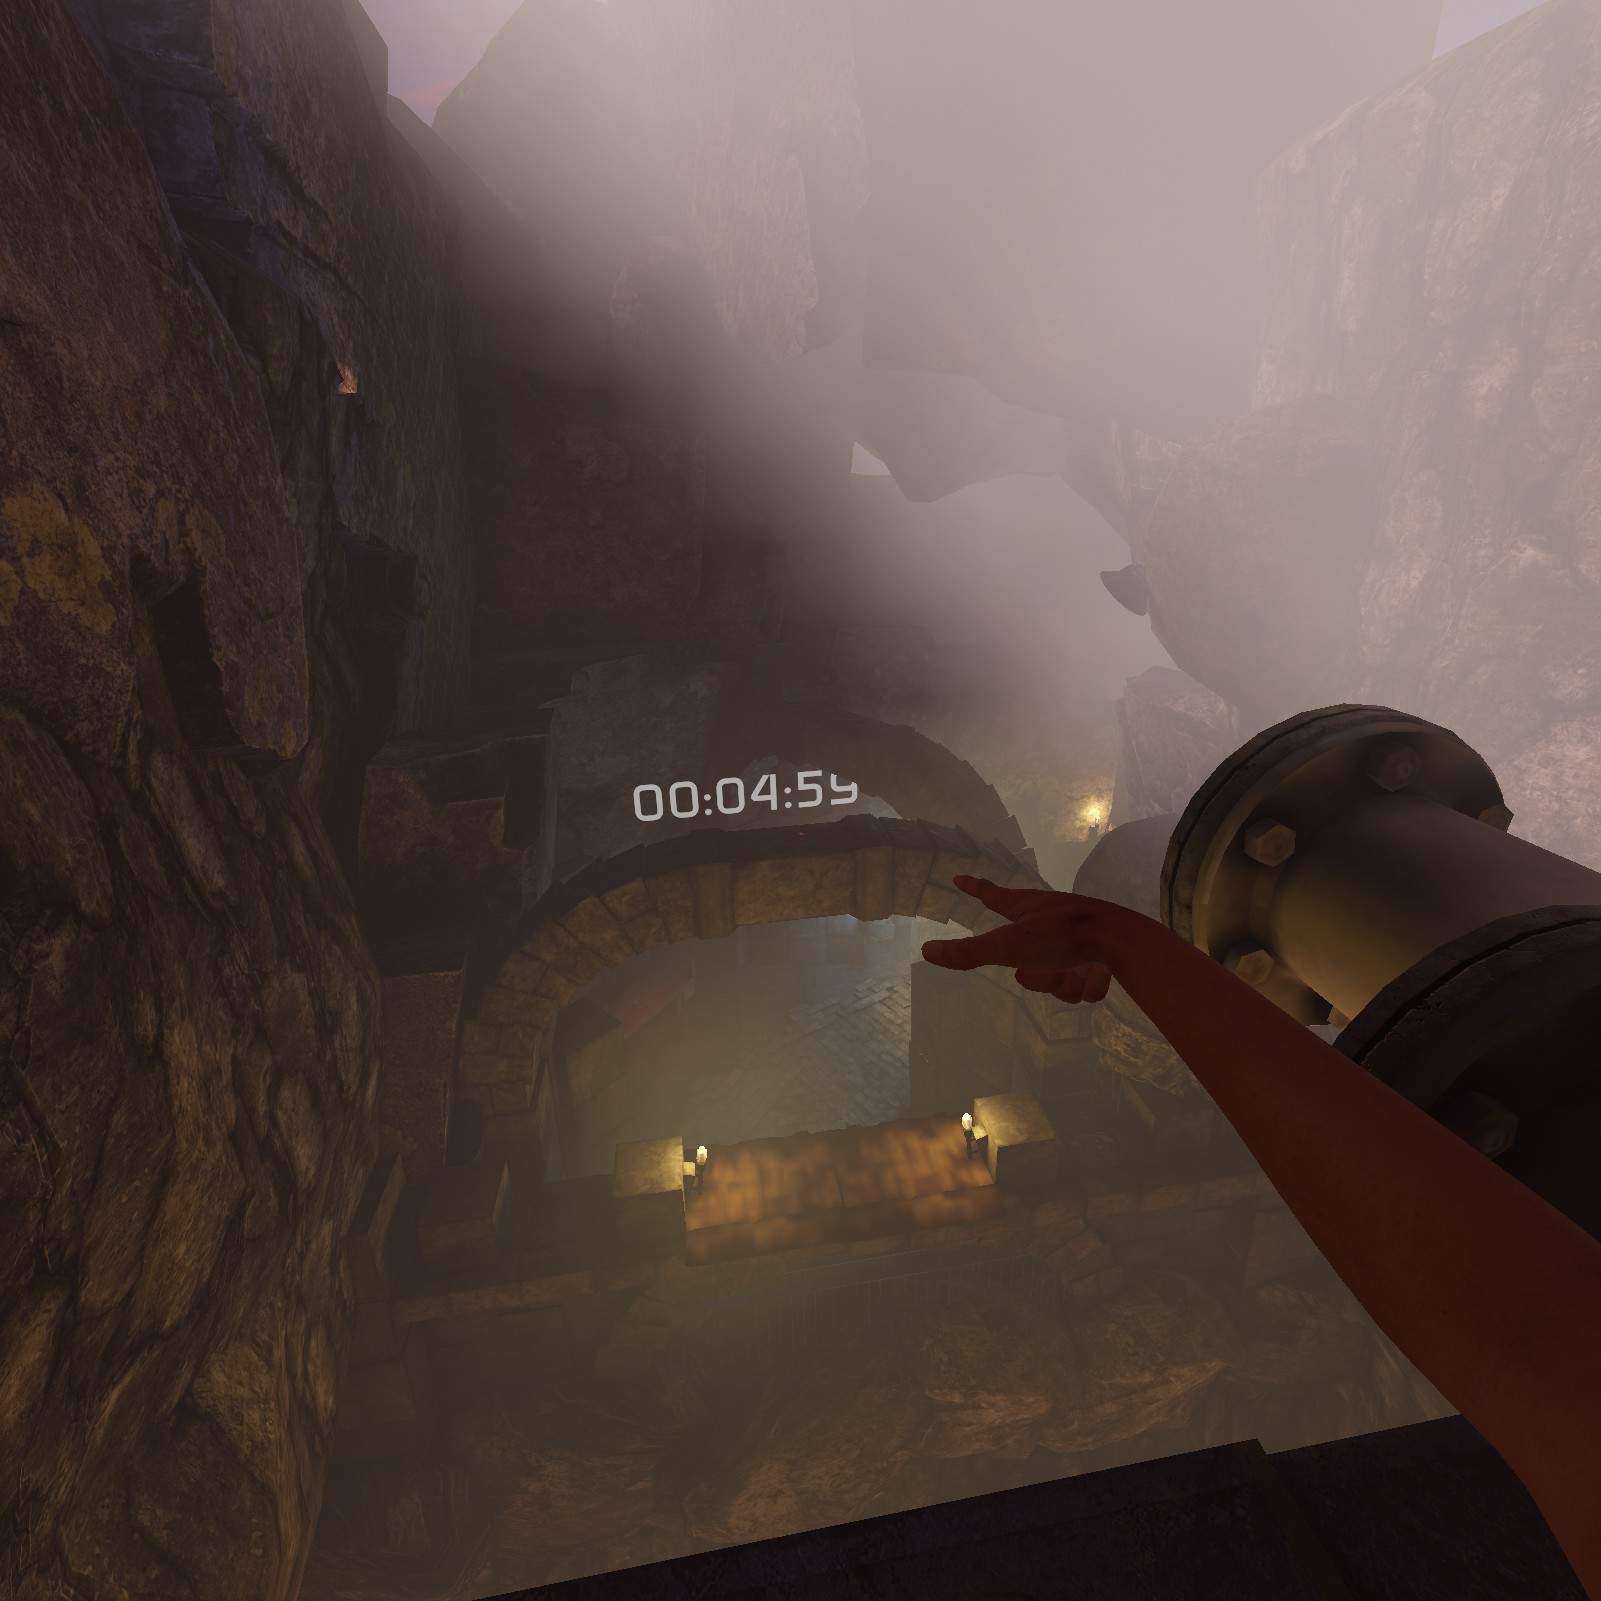
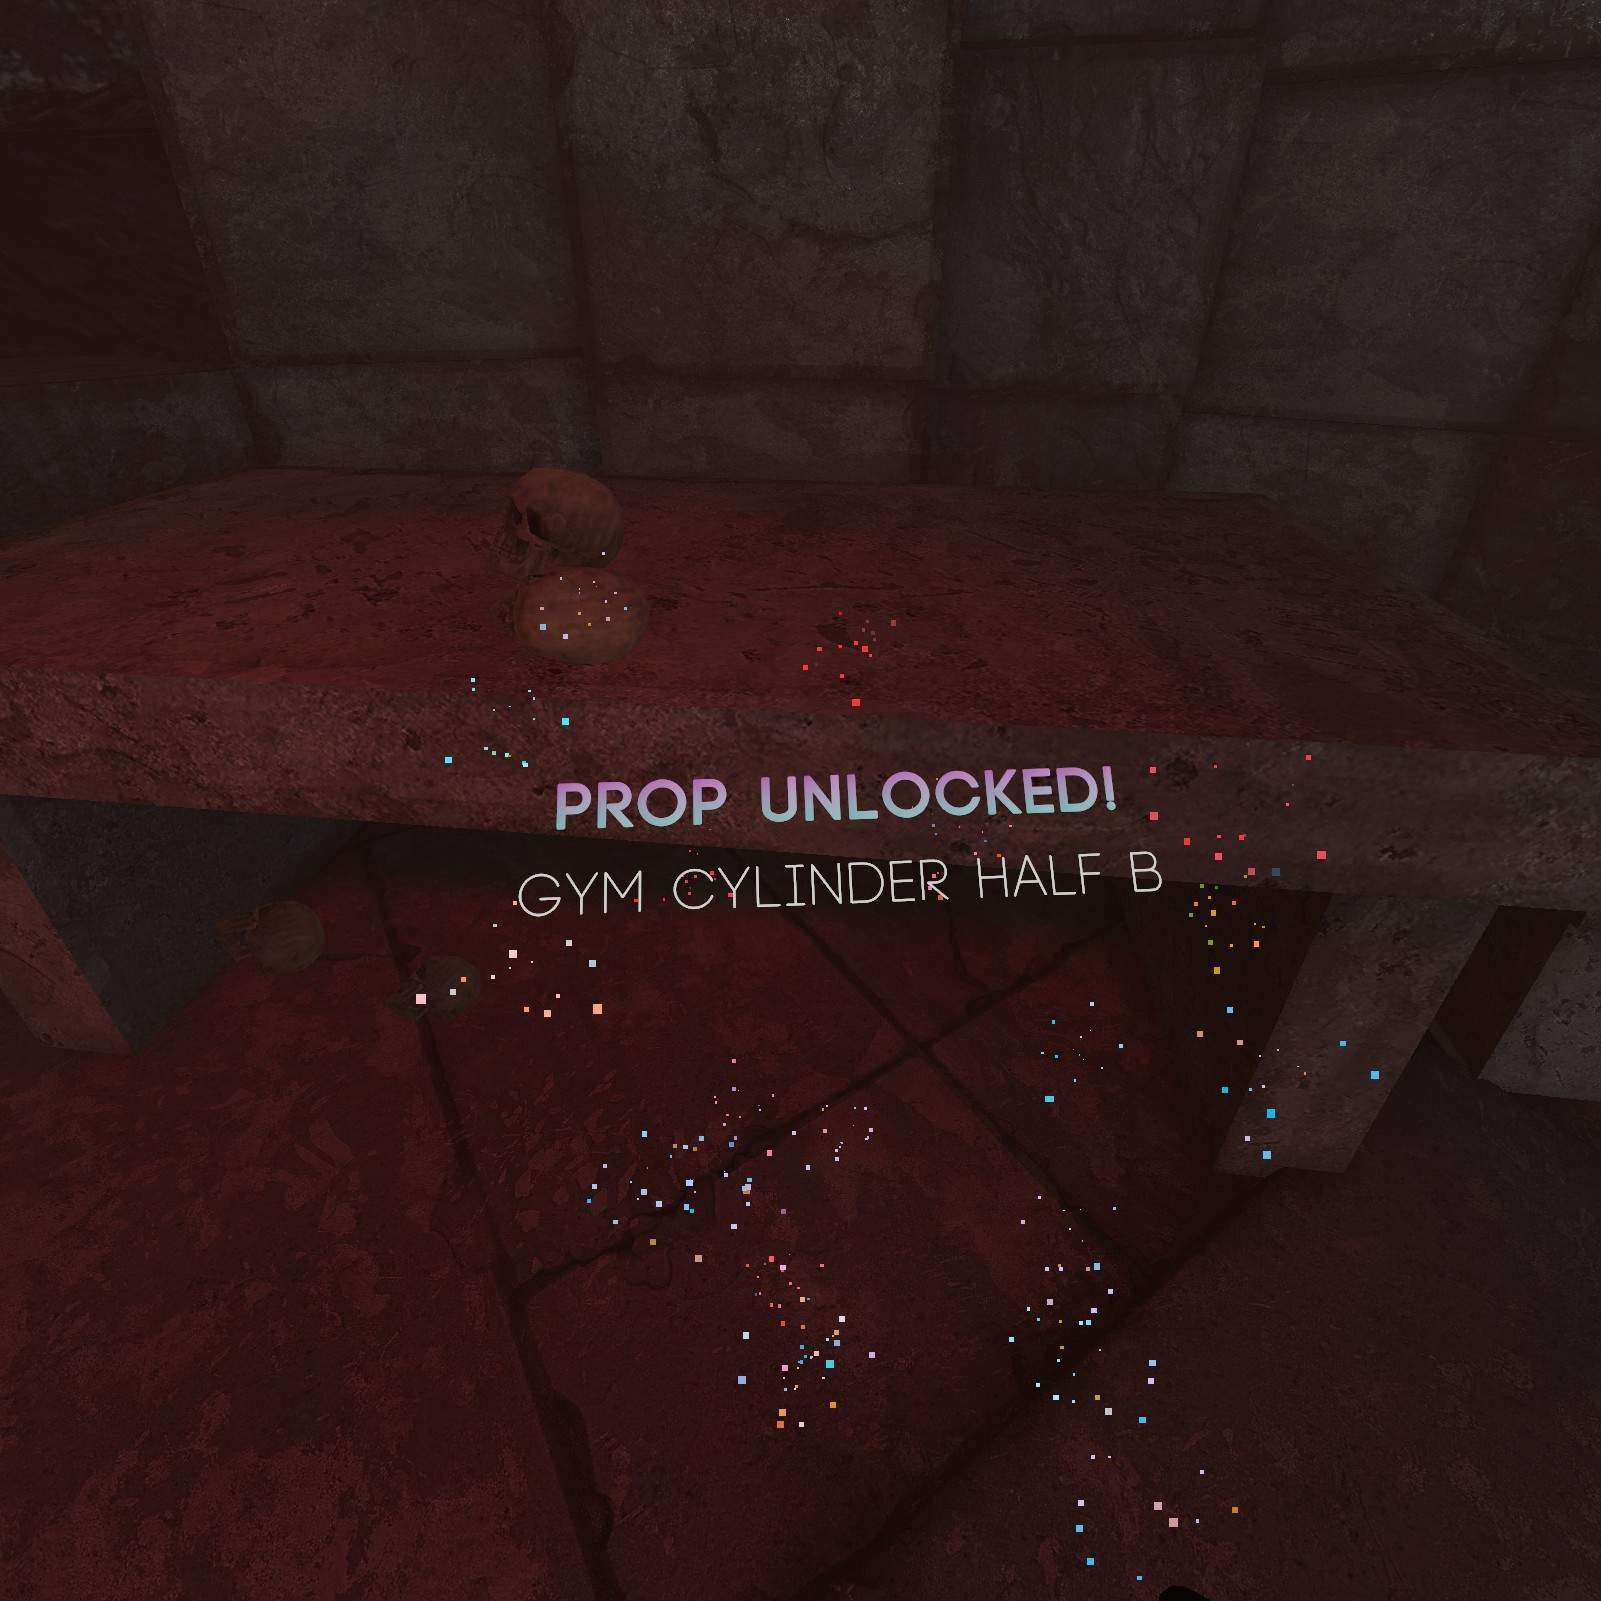
Gym Cylinder Half B:
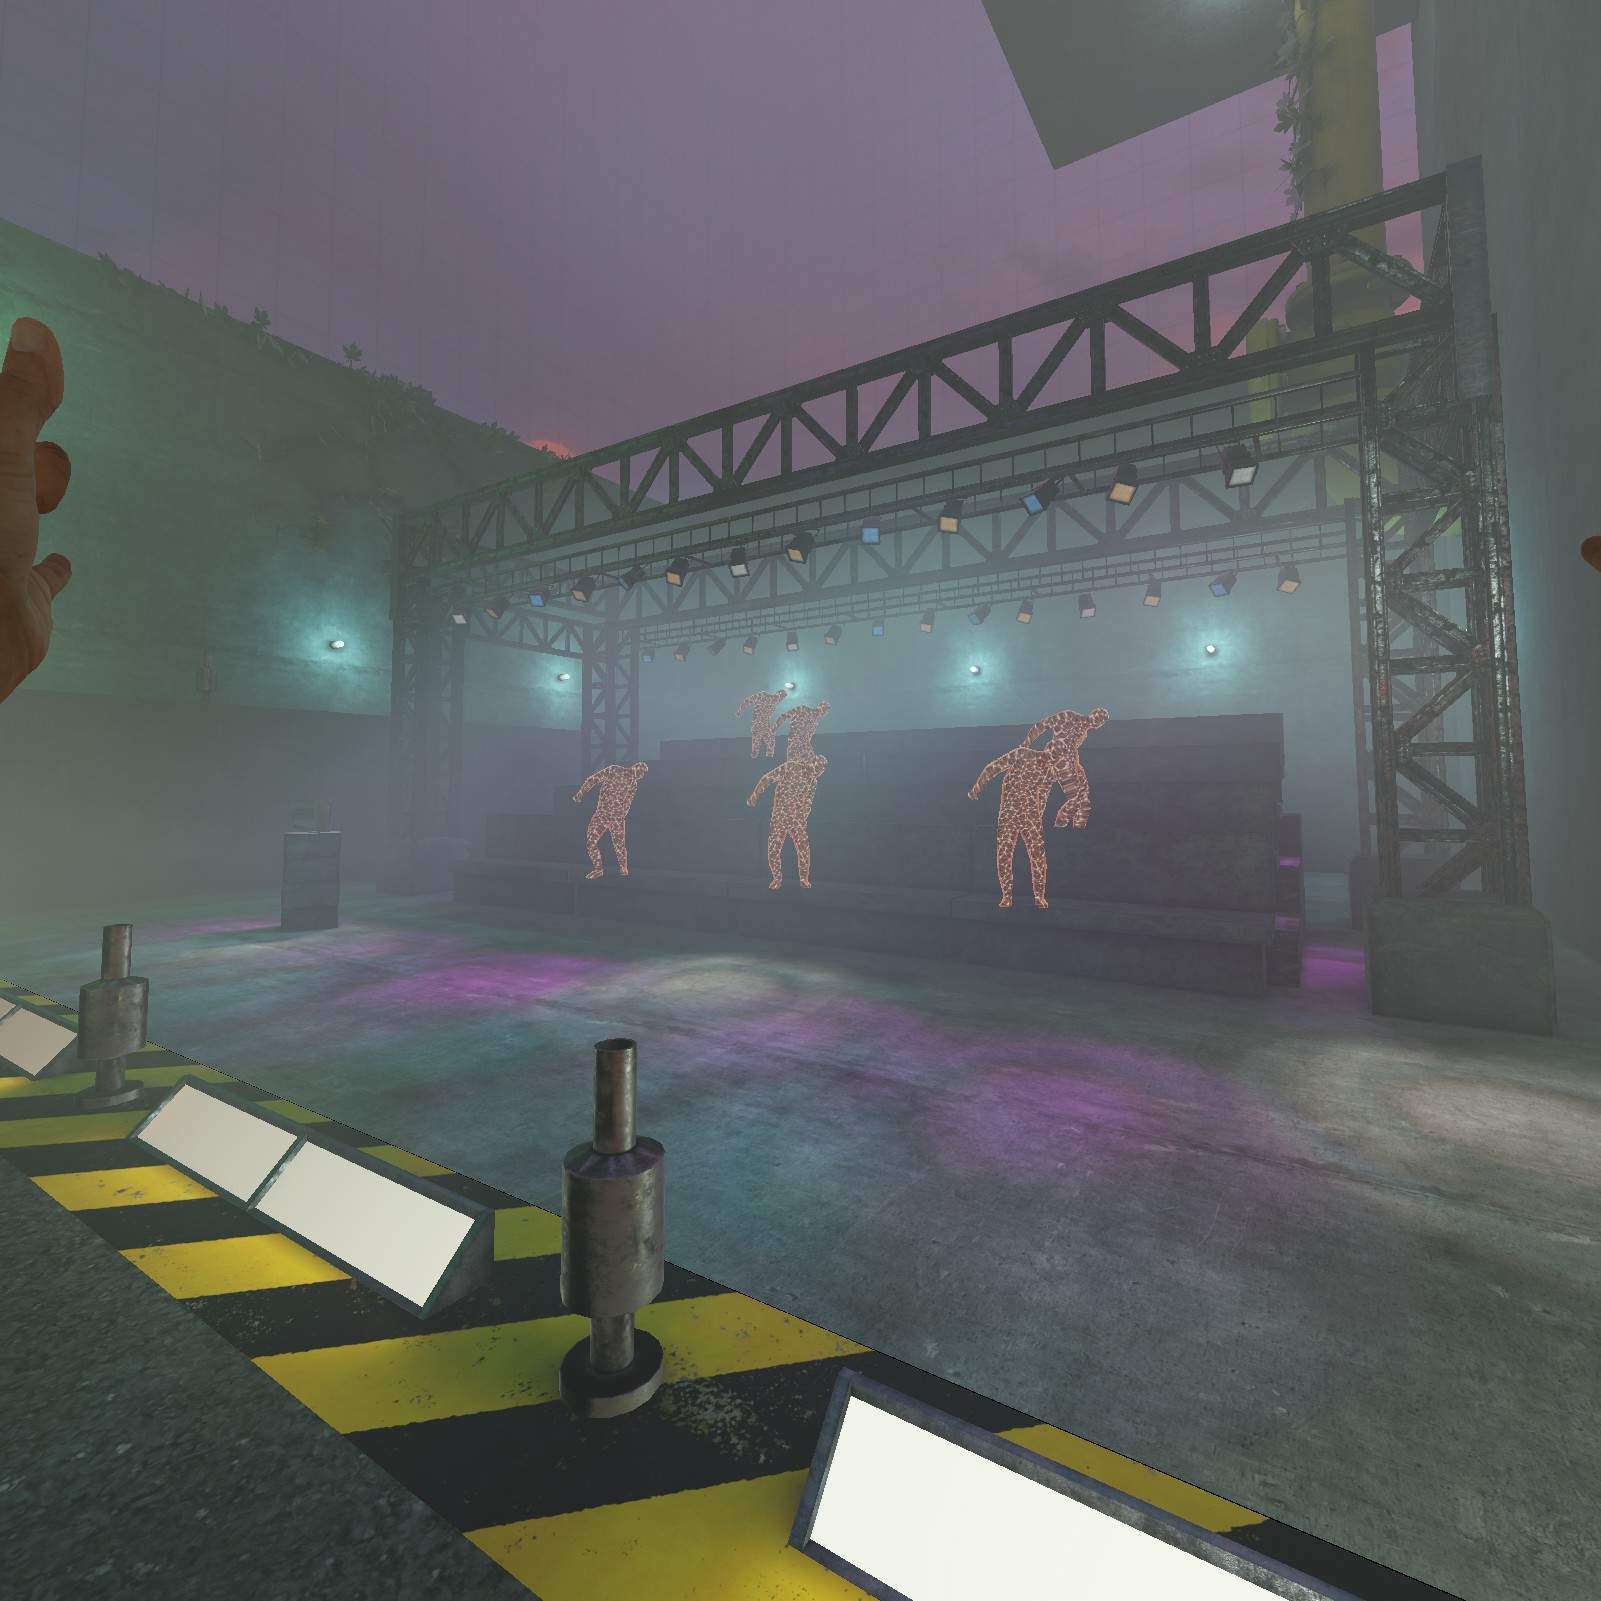
After clearing the actual climbing challenge (By skipping it by going over the top of it) be sure to grab my favorite shape the Gym Cylinder Half B on the table with two skulls.

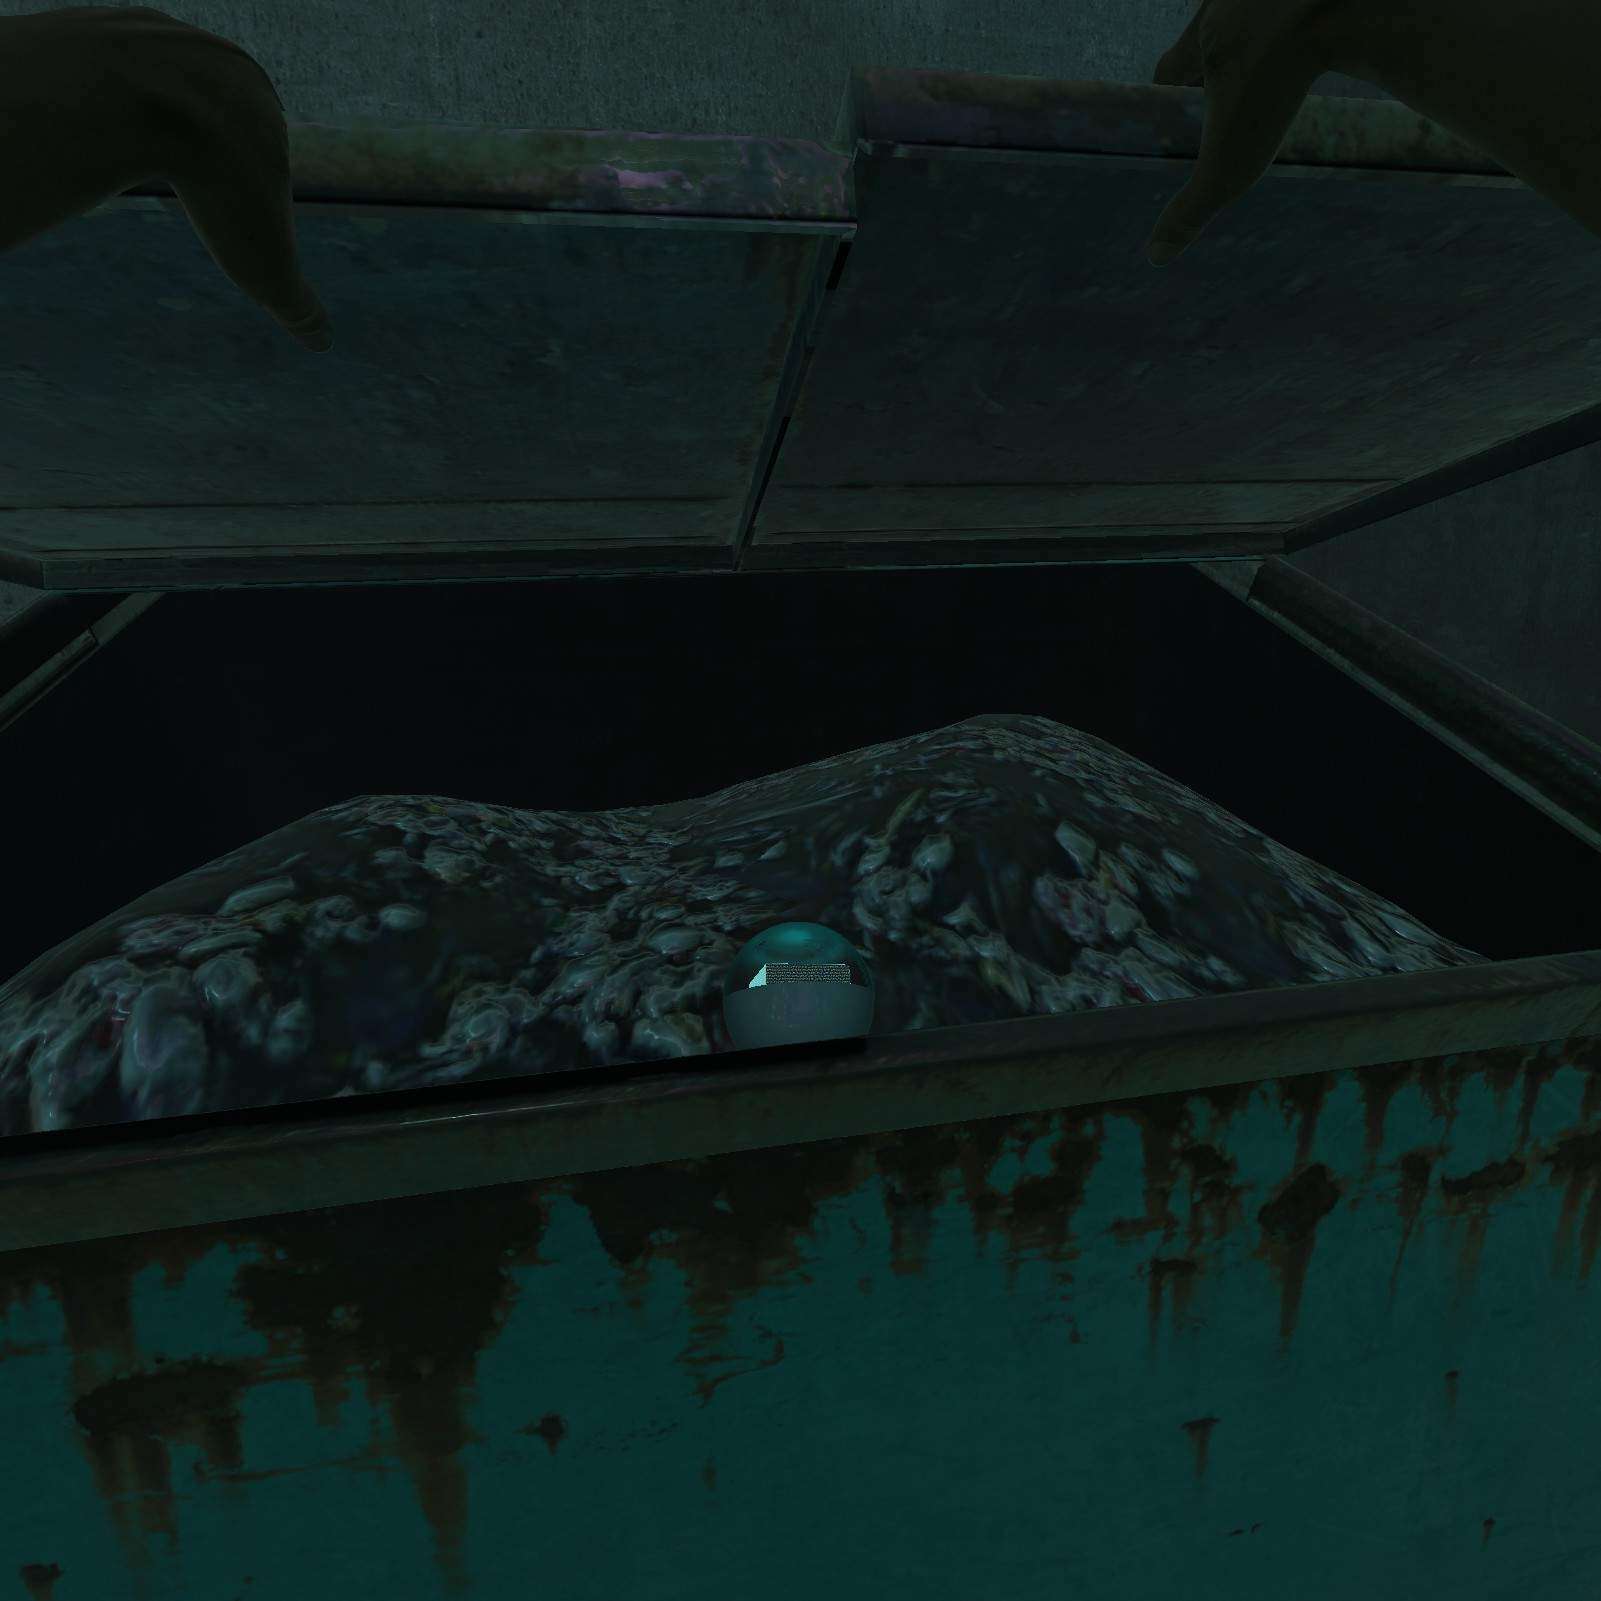
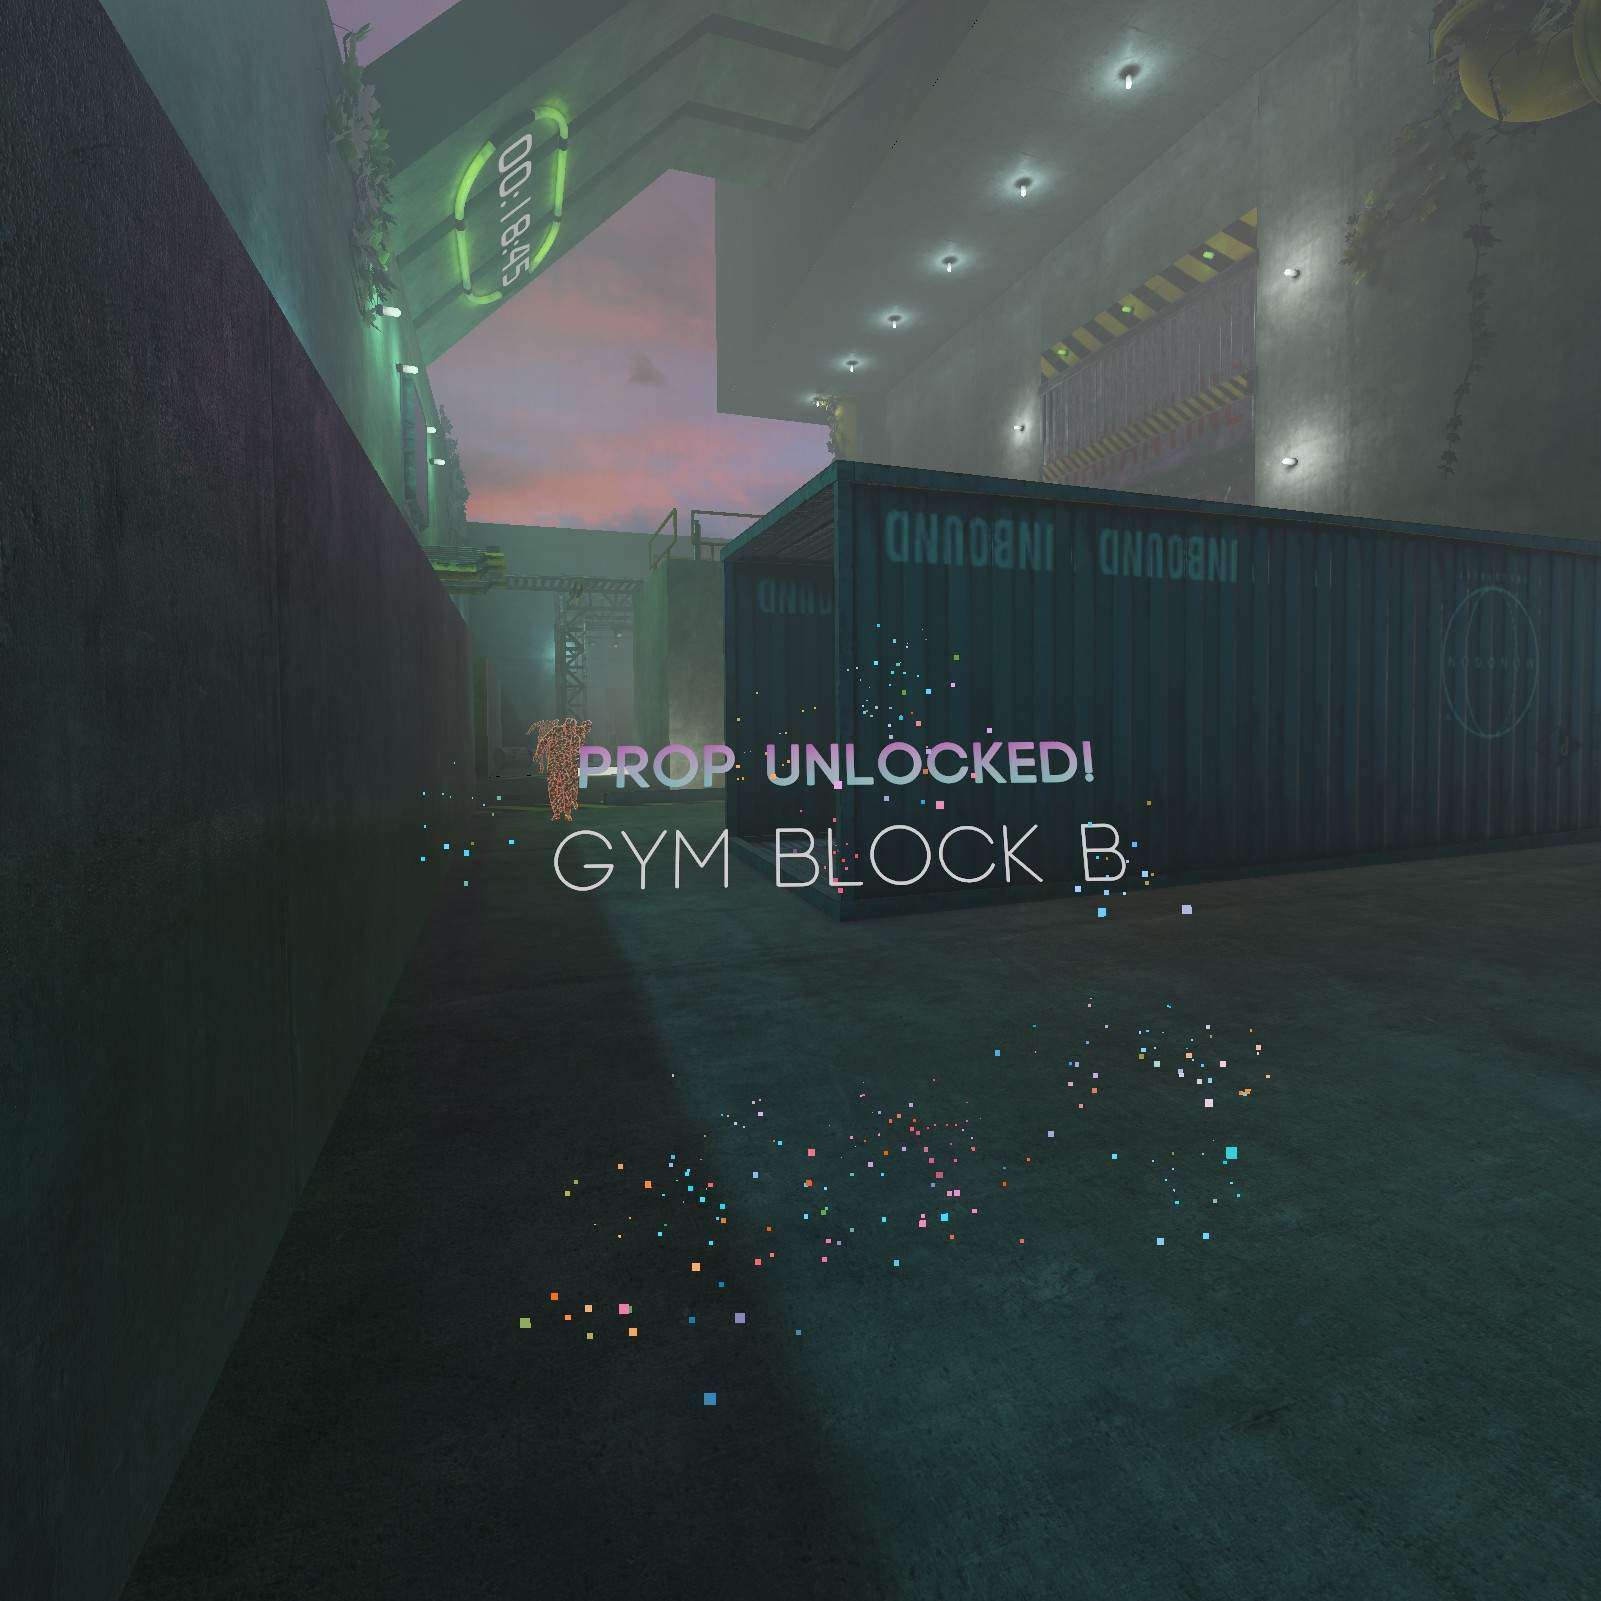
Gym Block B:
Woo, were getting heckled by nullbodys. They want you to throw yourself in the nearby dumpster for being so slow, but there’s my favorite shape the Gym block B inside, so its not all bad.
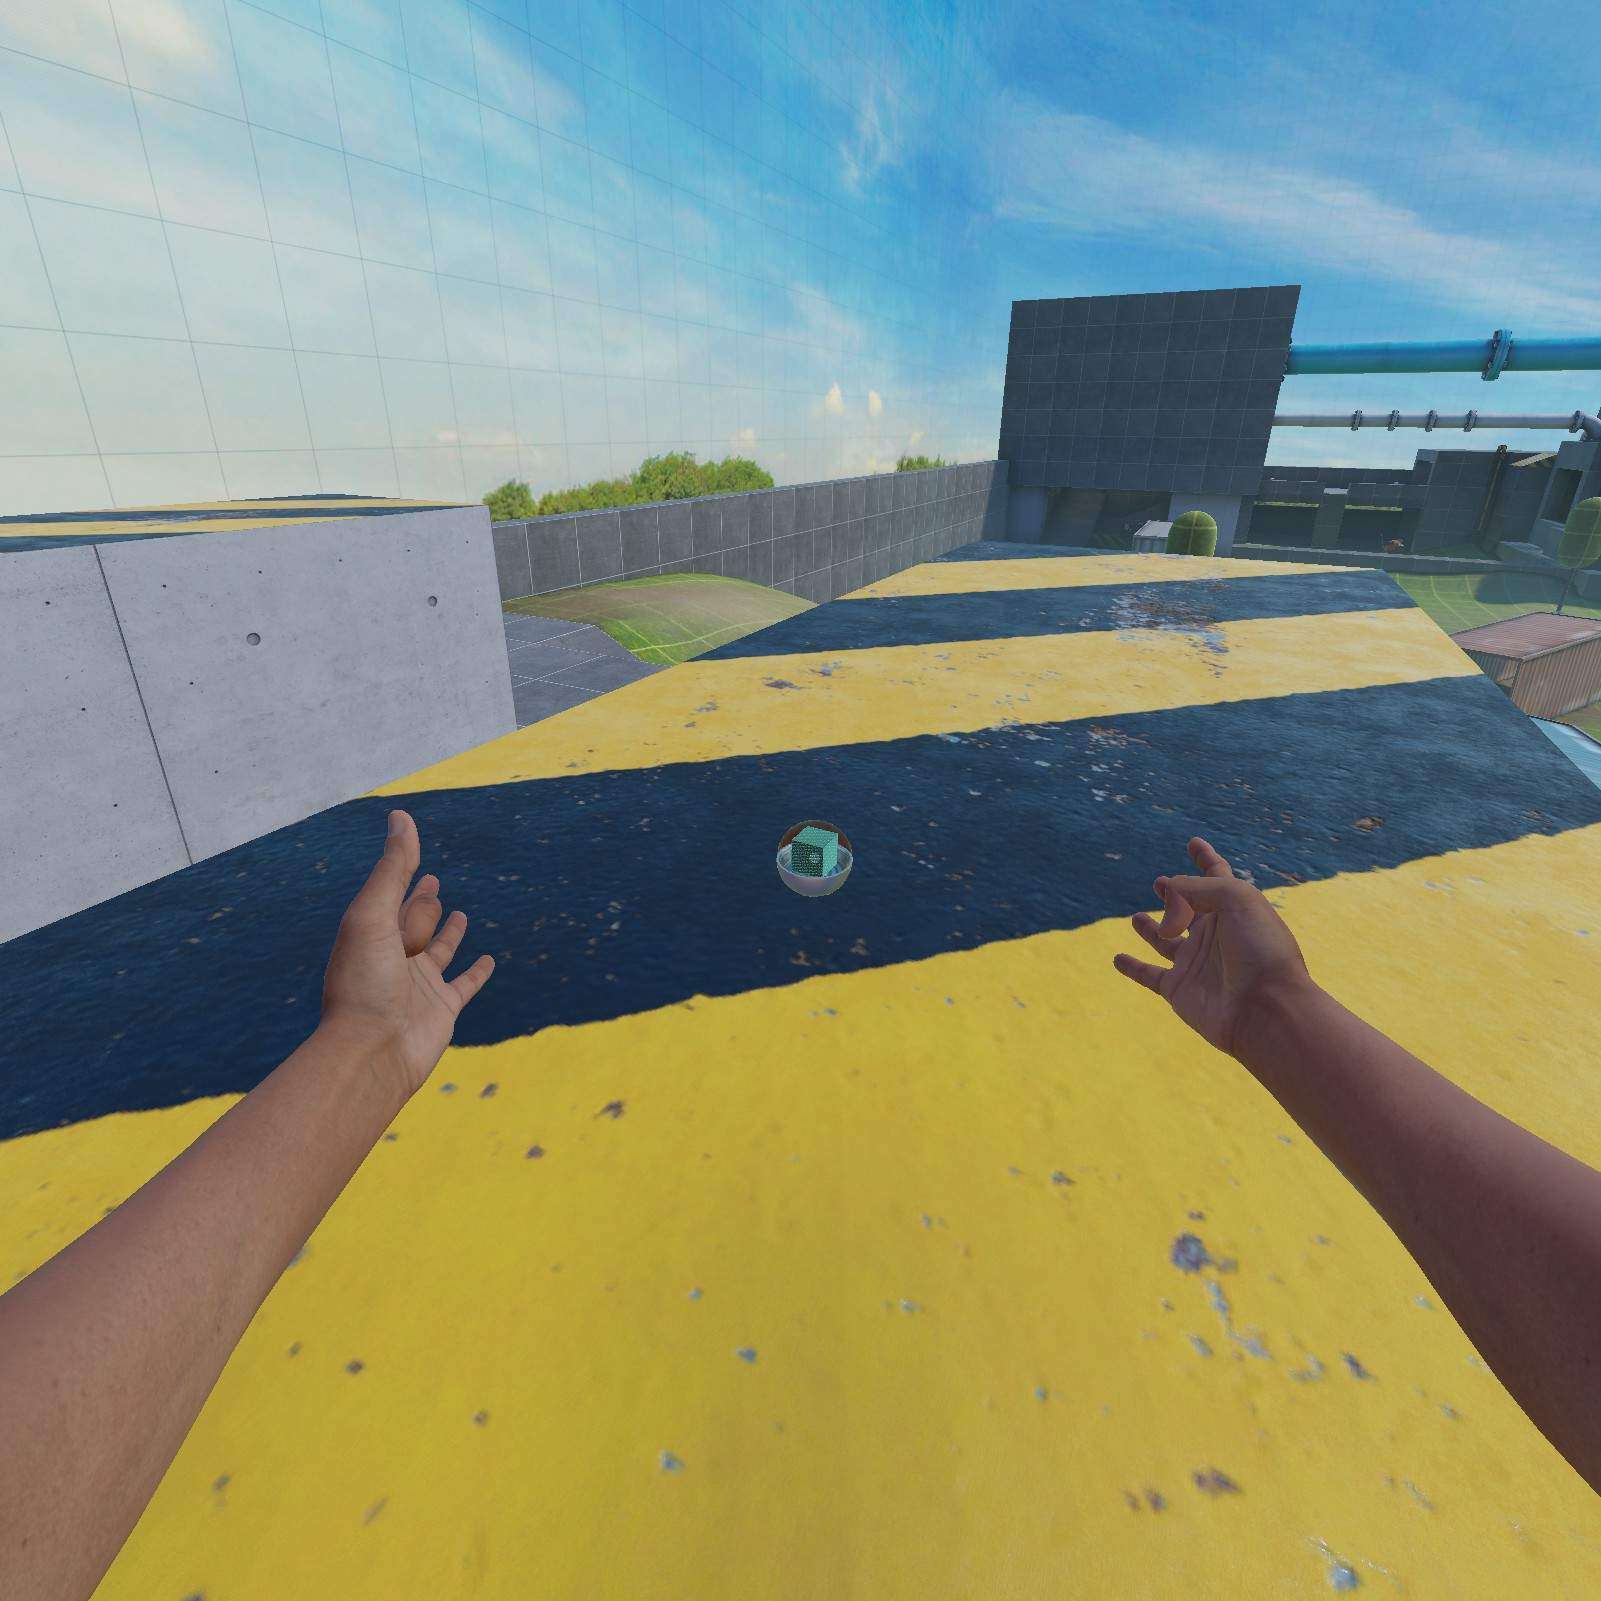
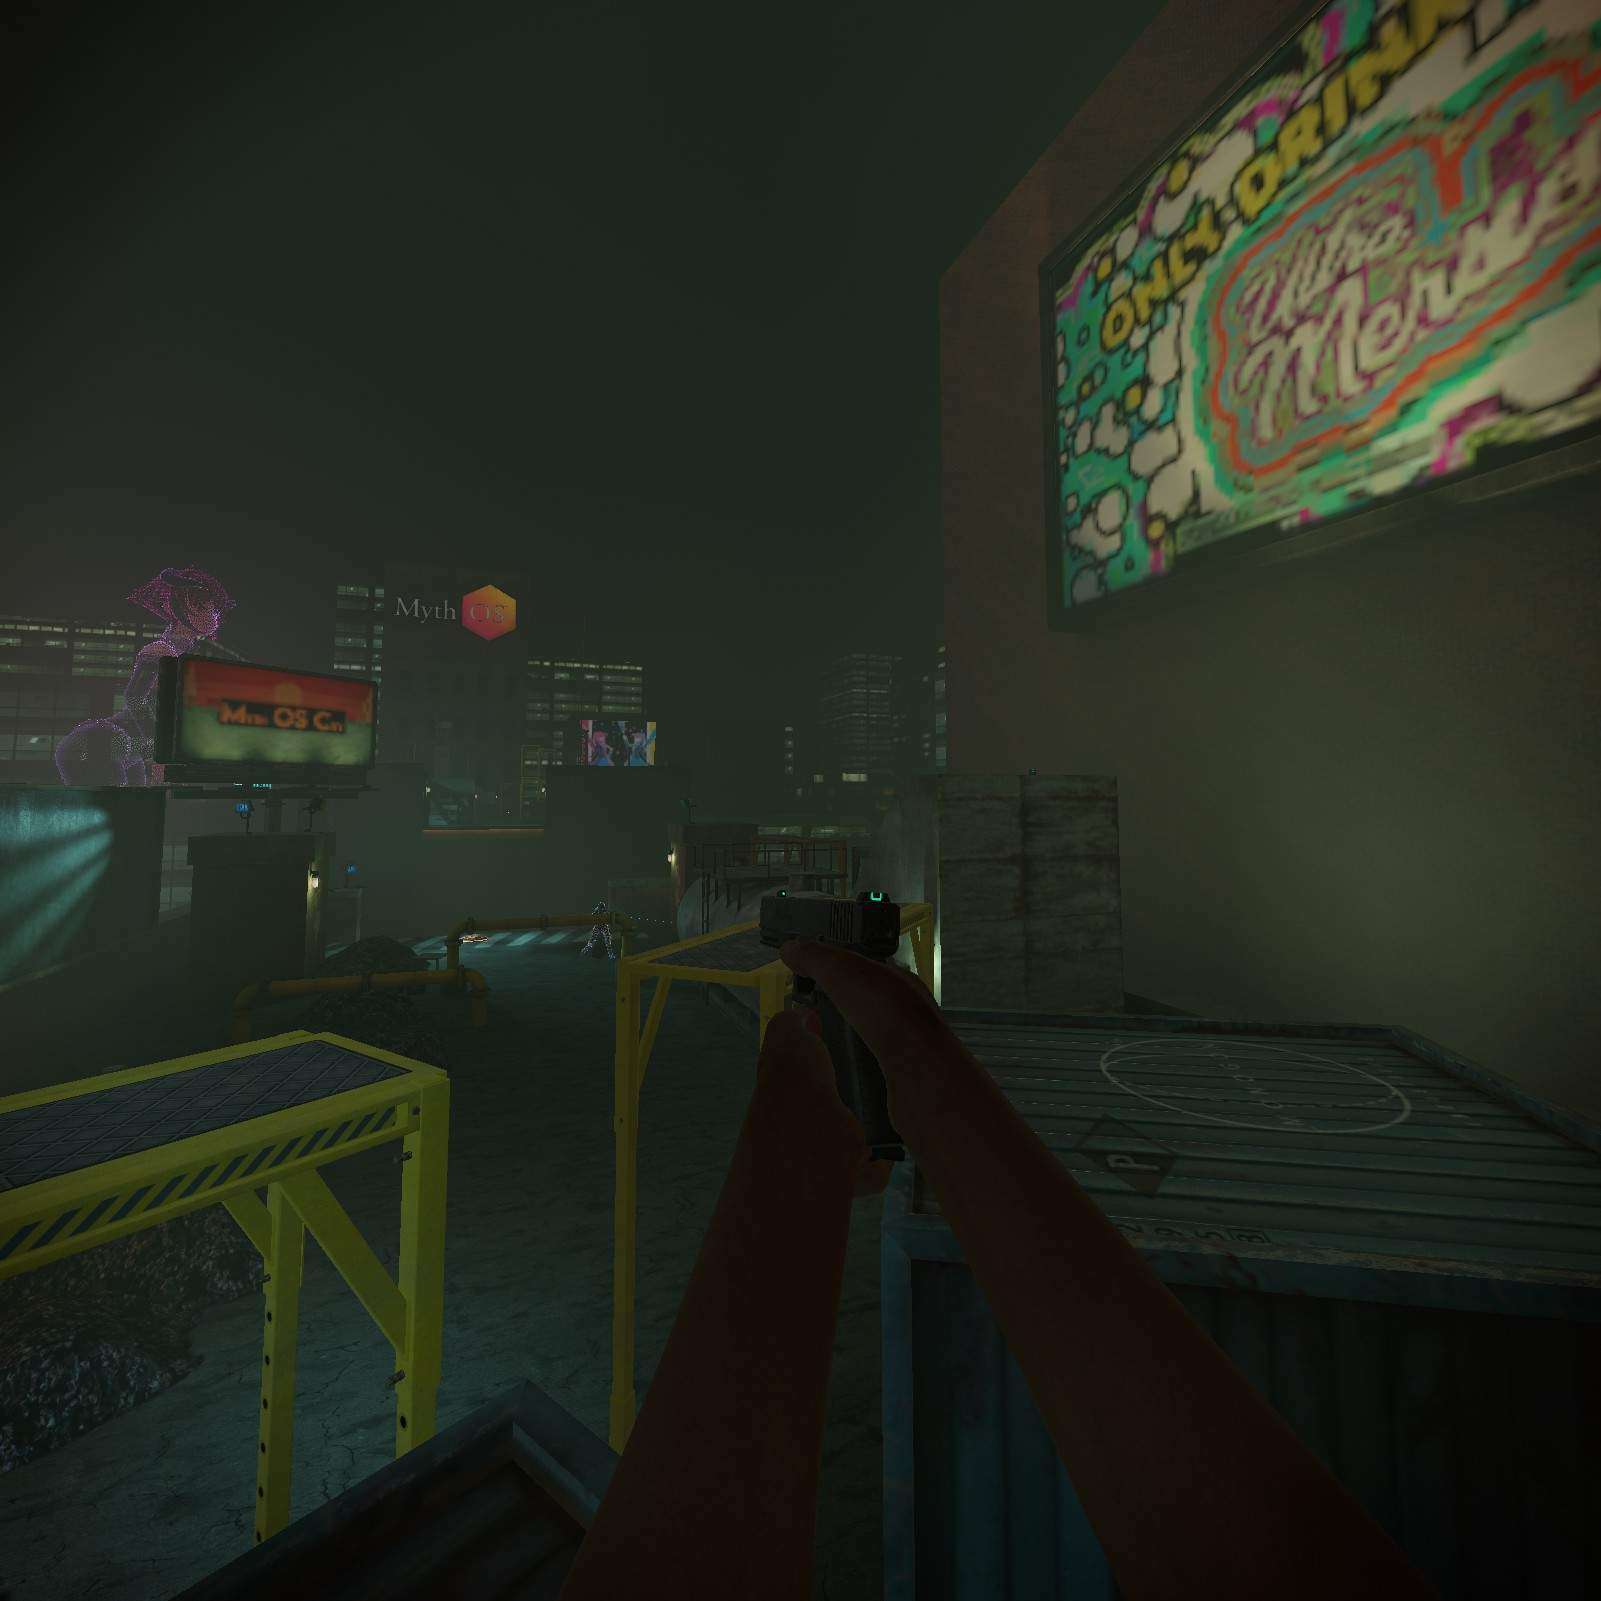
Rooftop
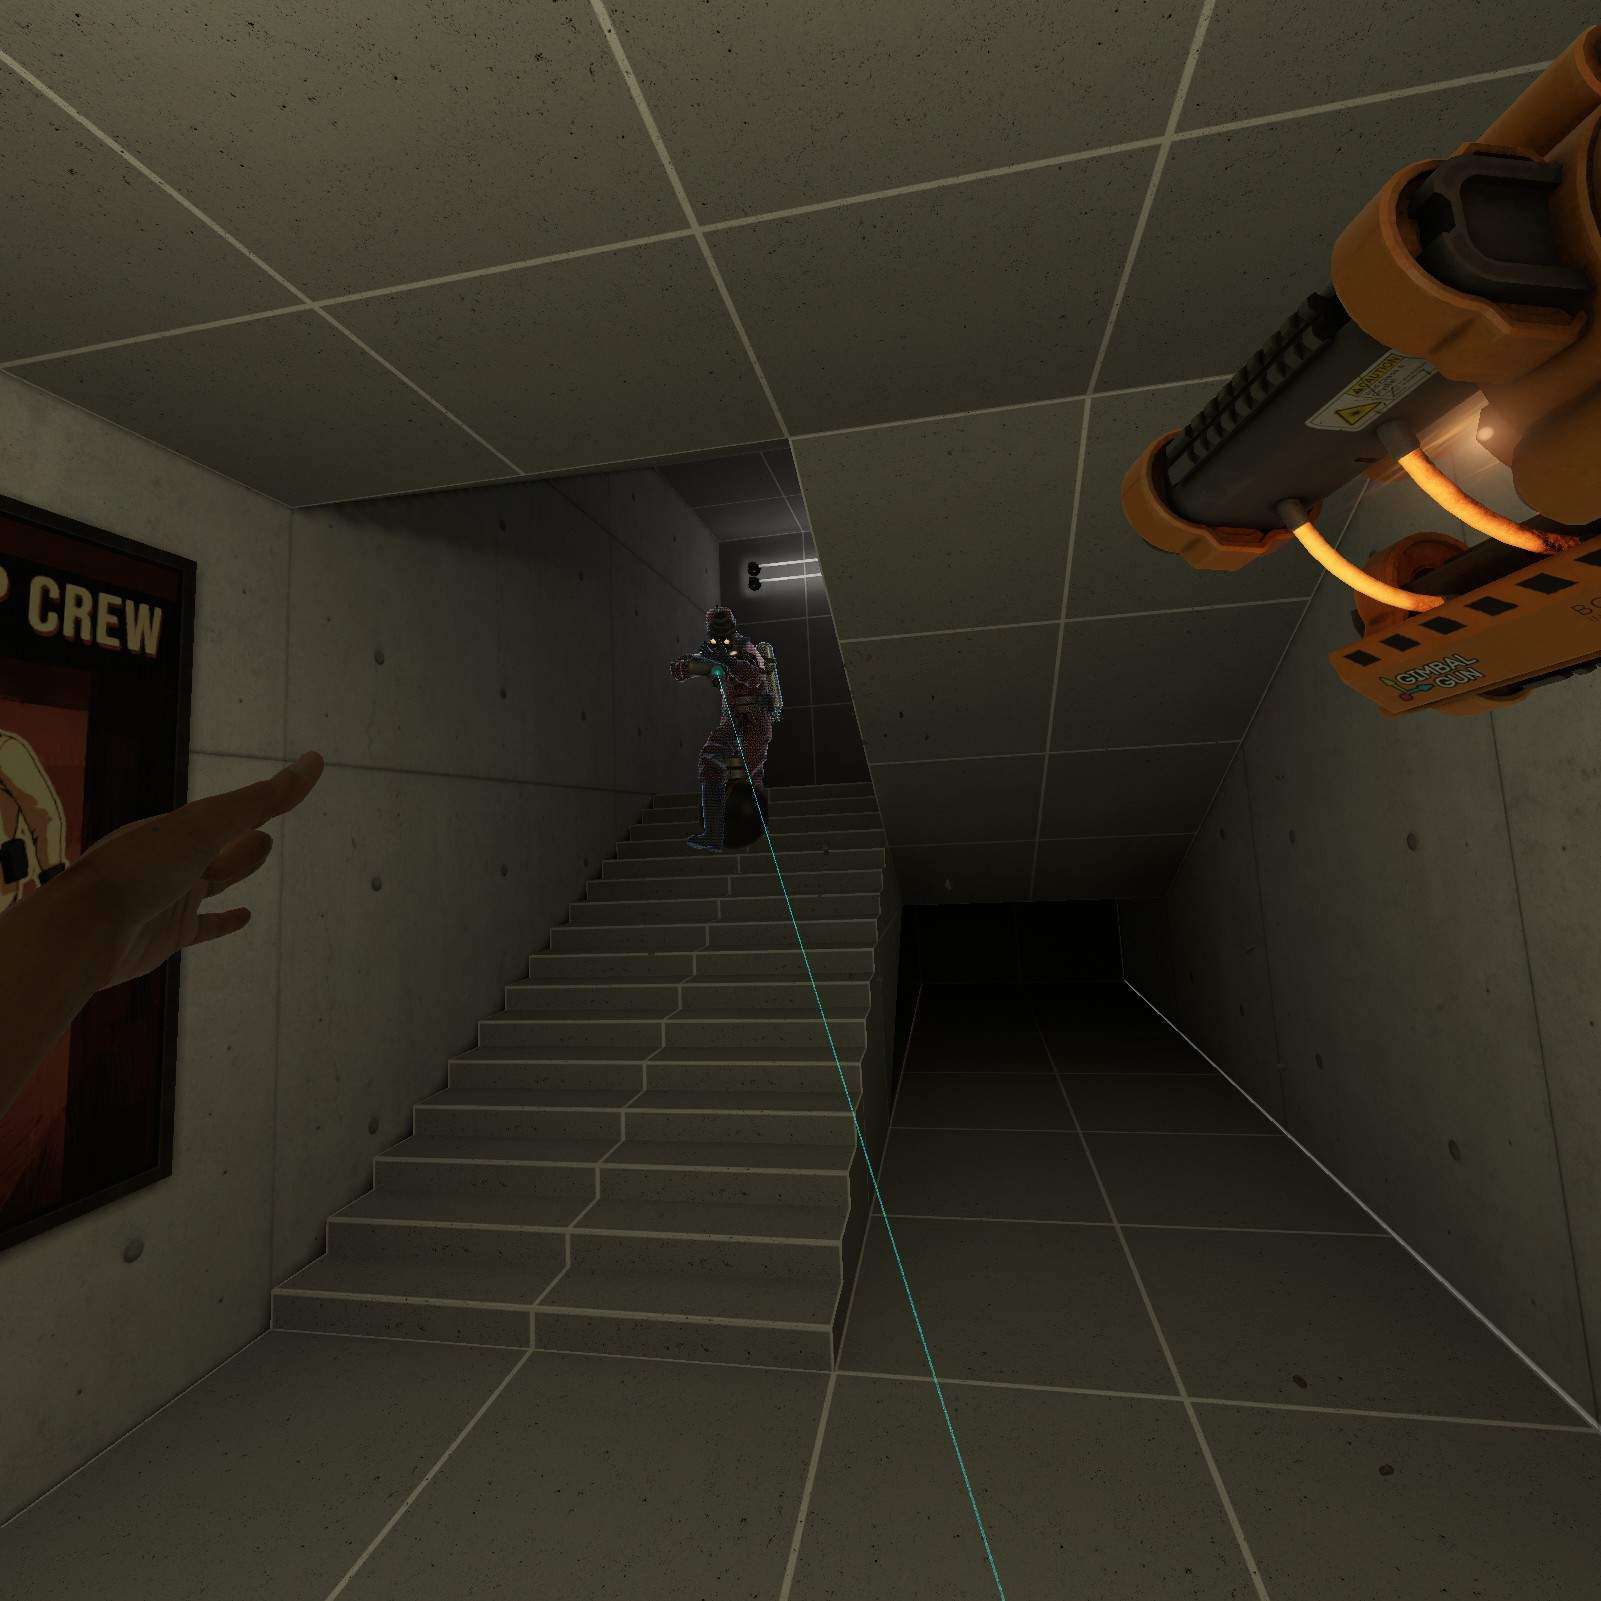
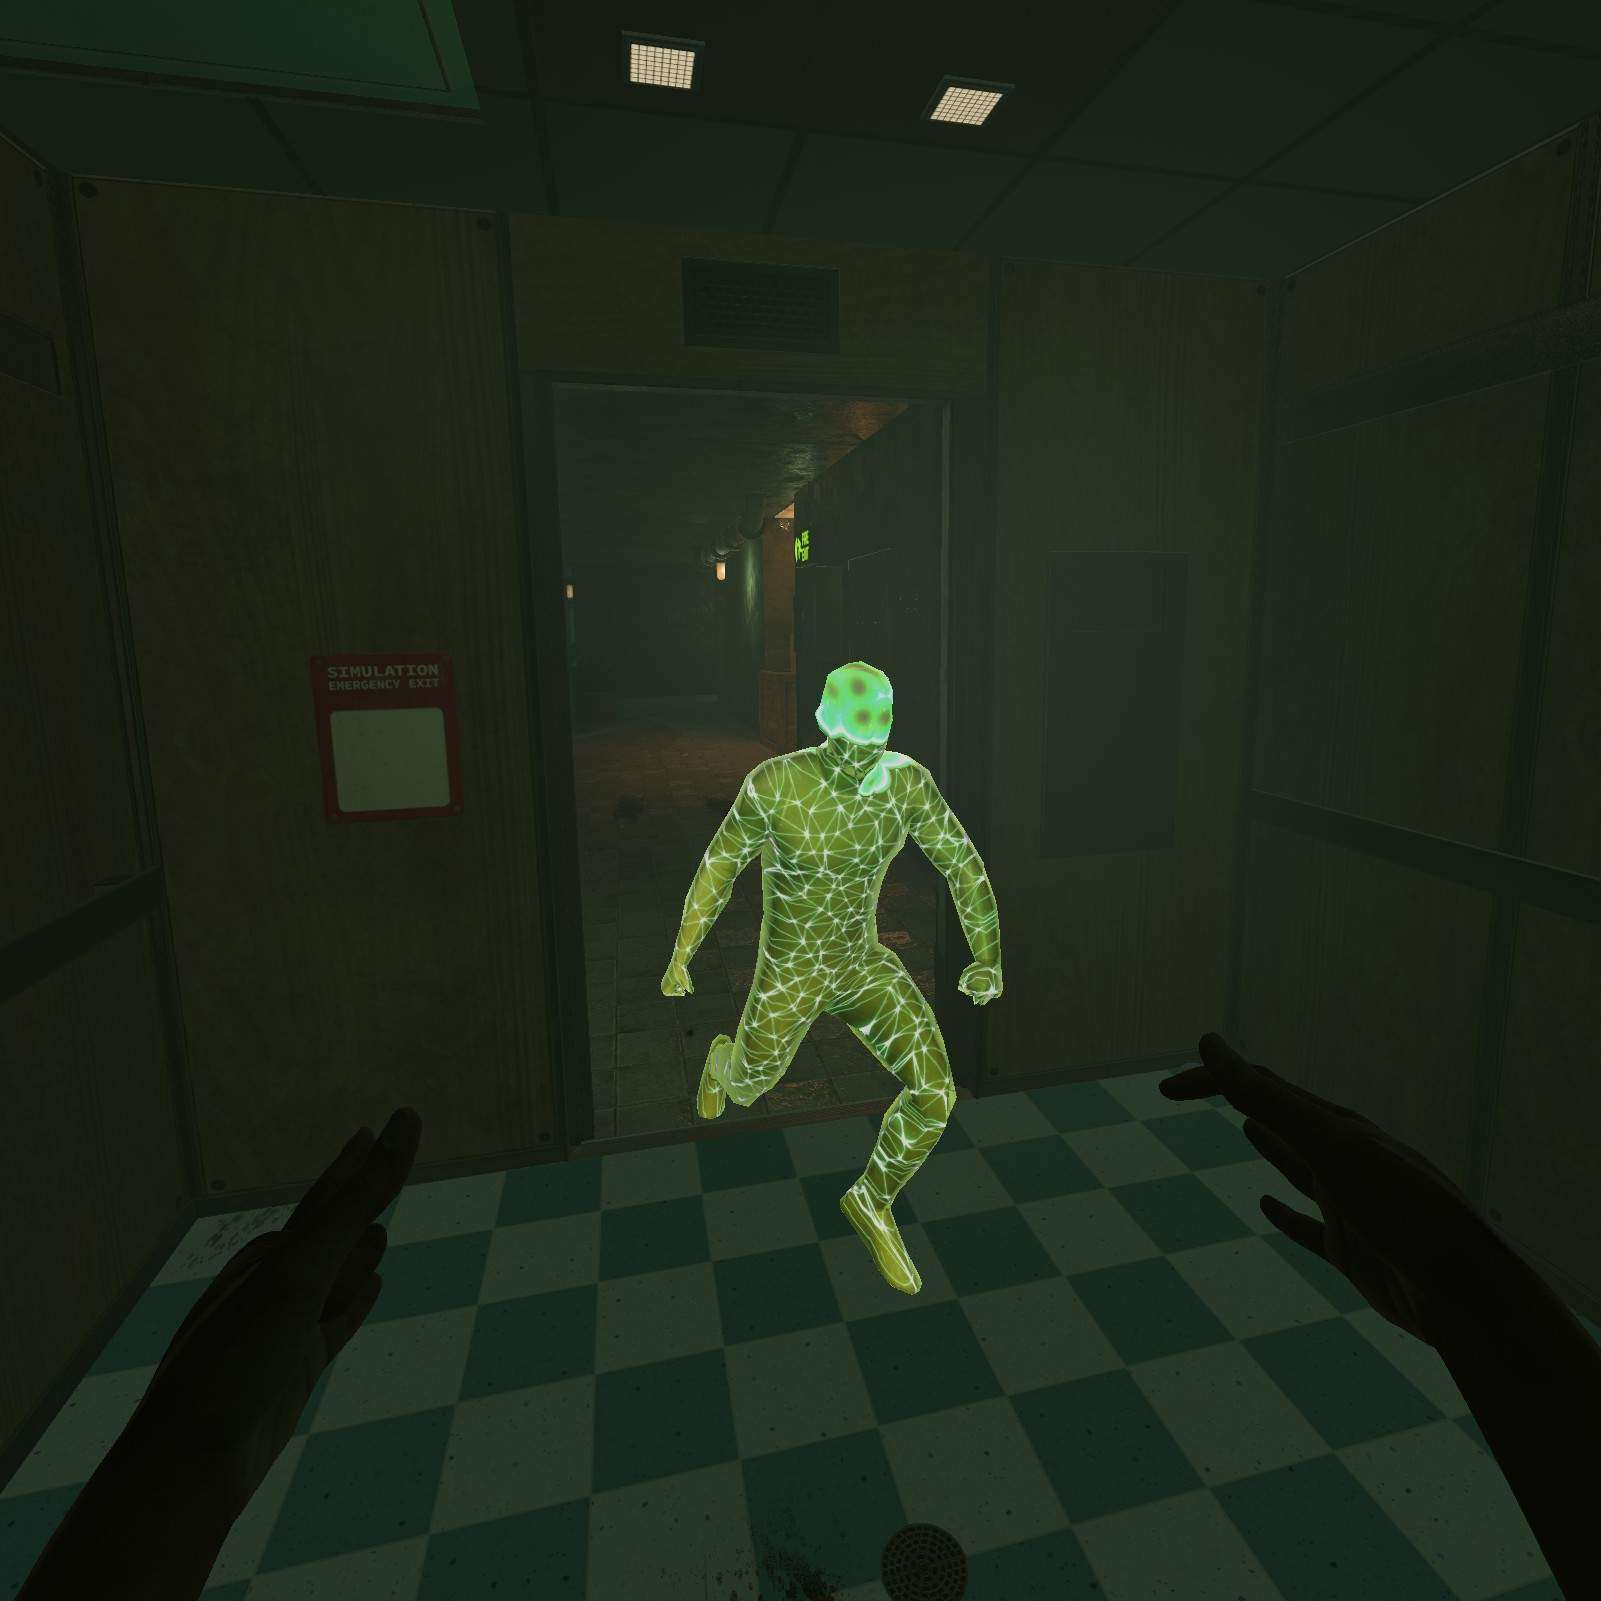
Null Body Agent:
This map tries to get you to go fast by putting this immortal Nullbody behind you, but we need to head past him into this elevator to grab his capsule. Narrowly escaping his reach, we can safly open it in the nearby hallway.
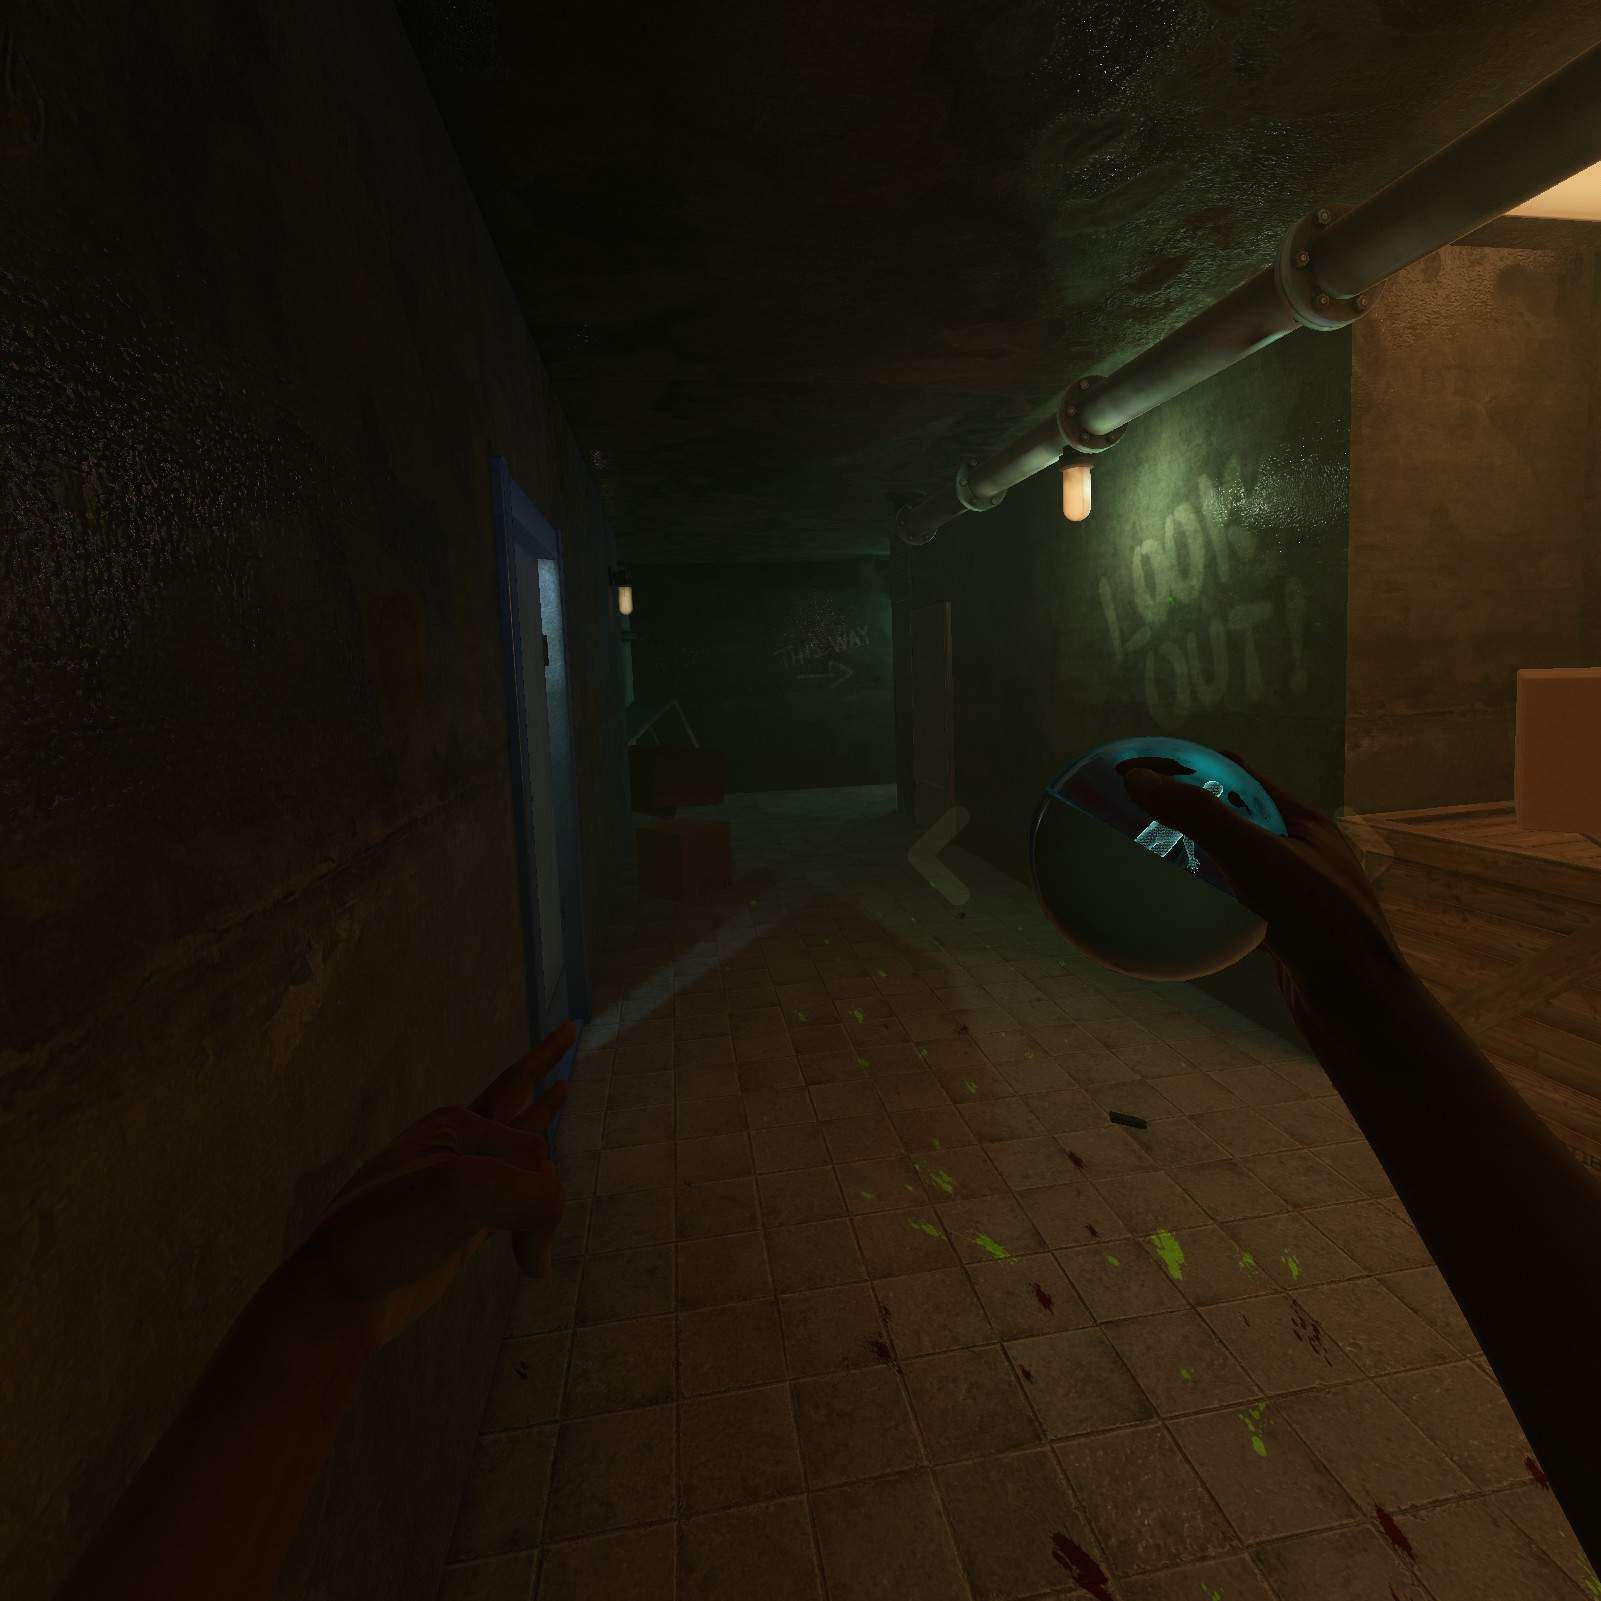

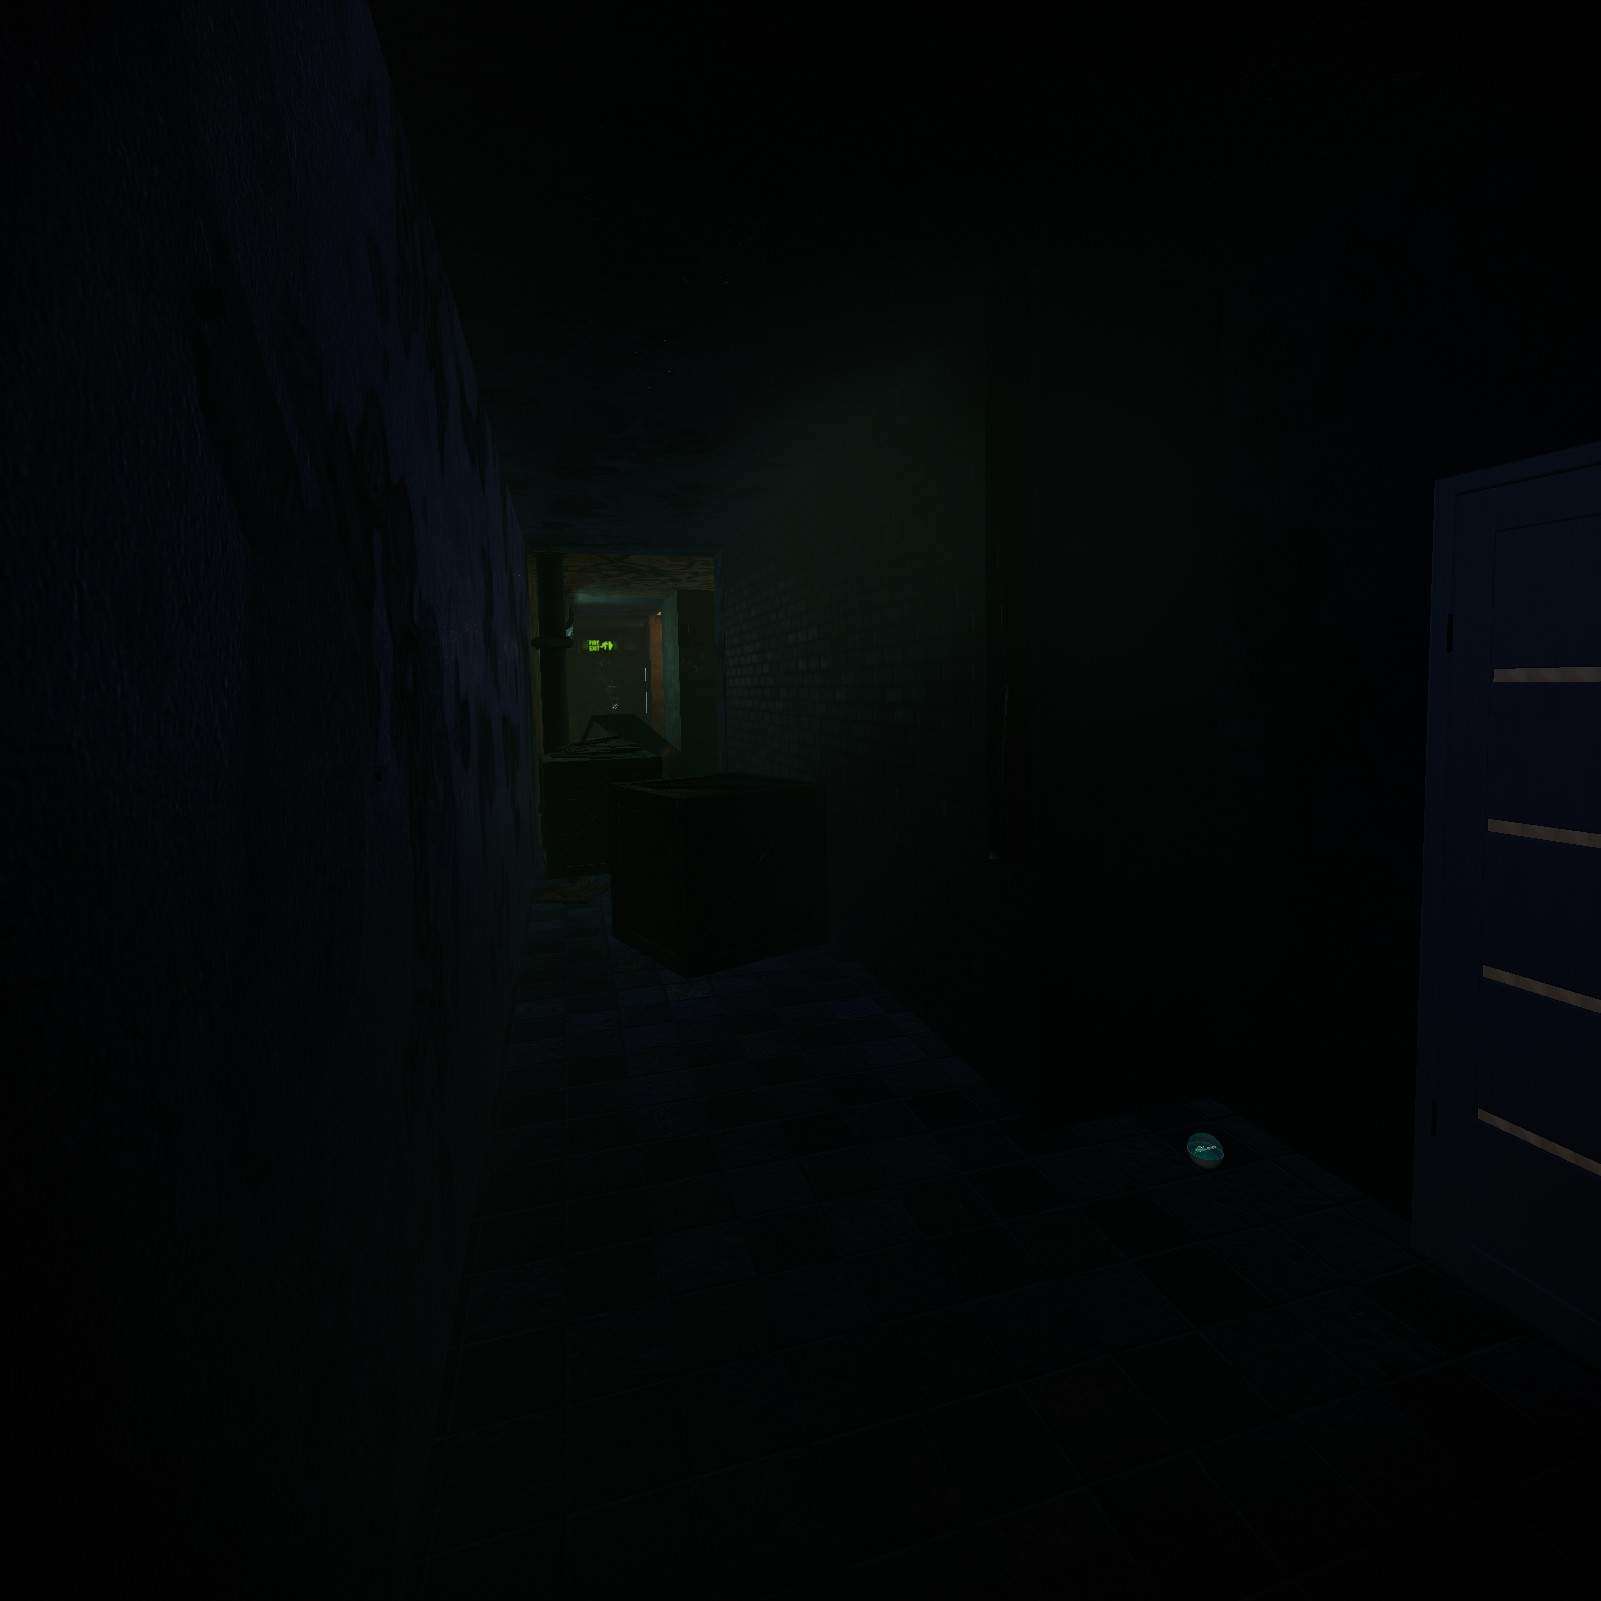
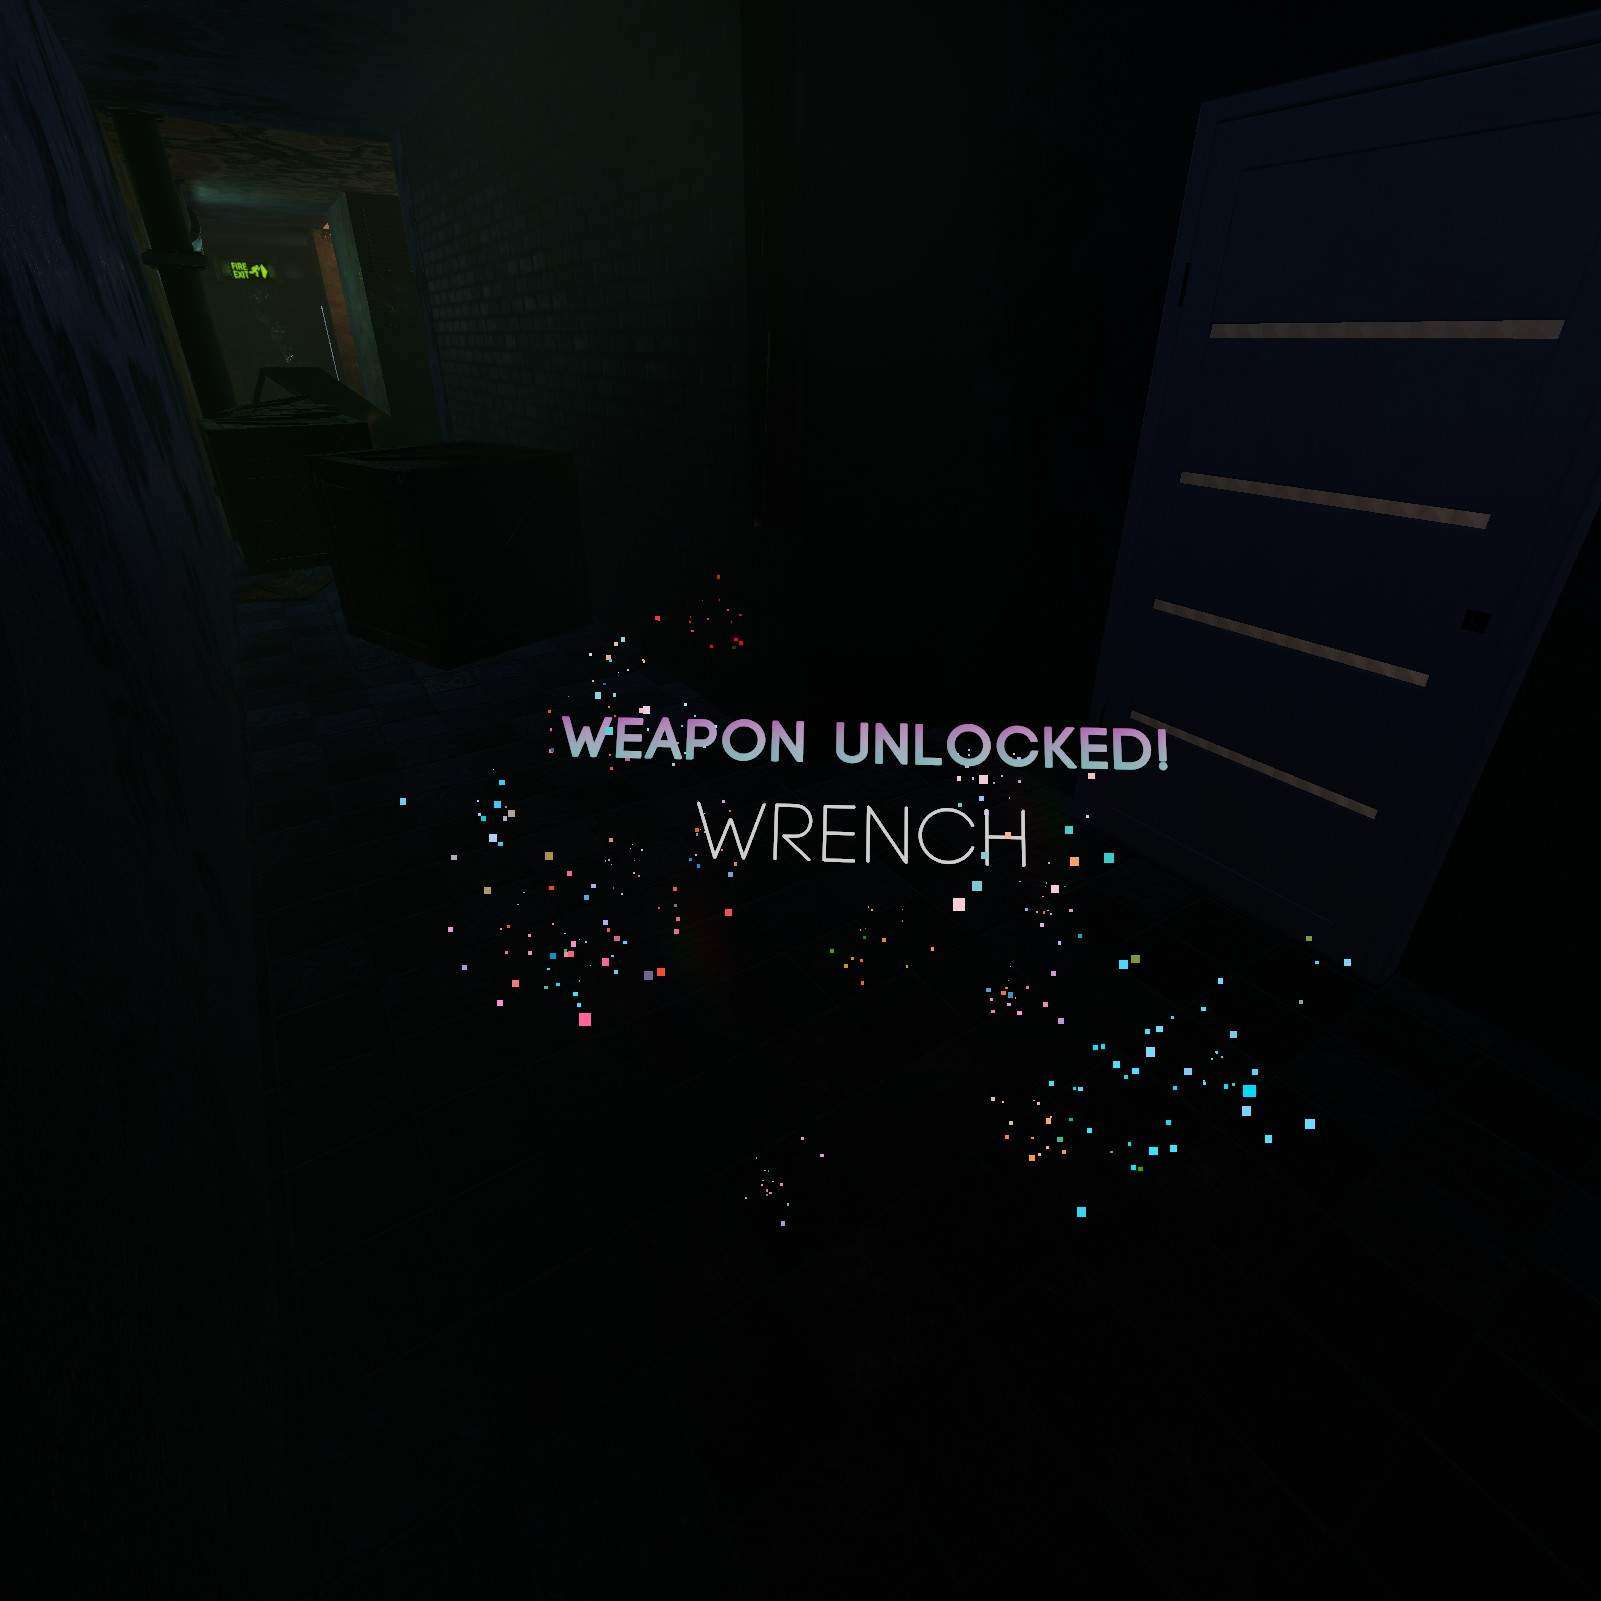
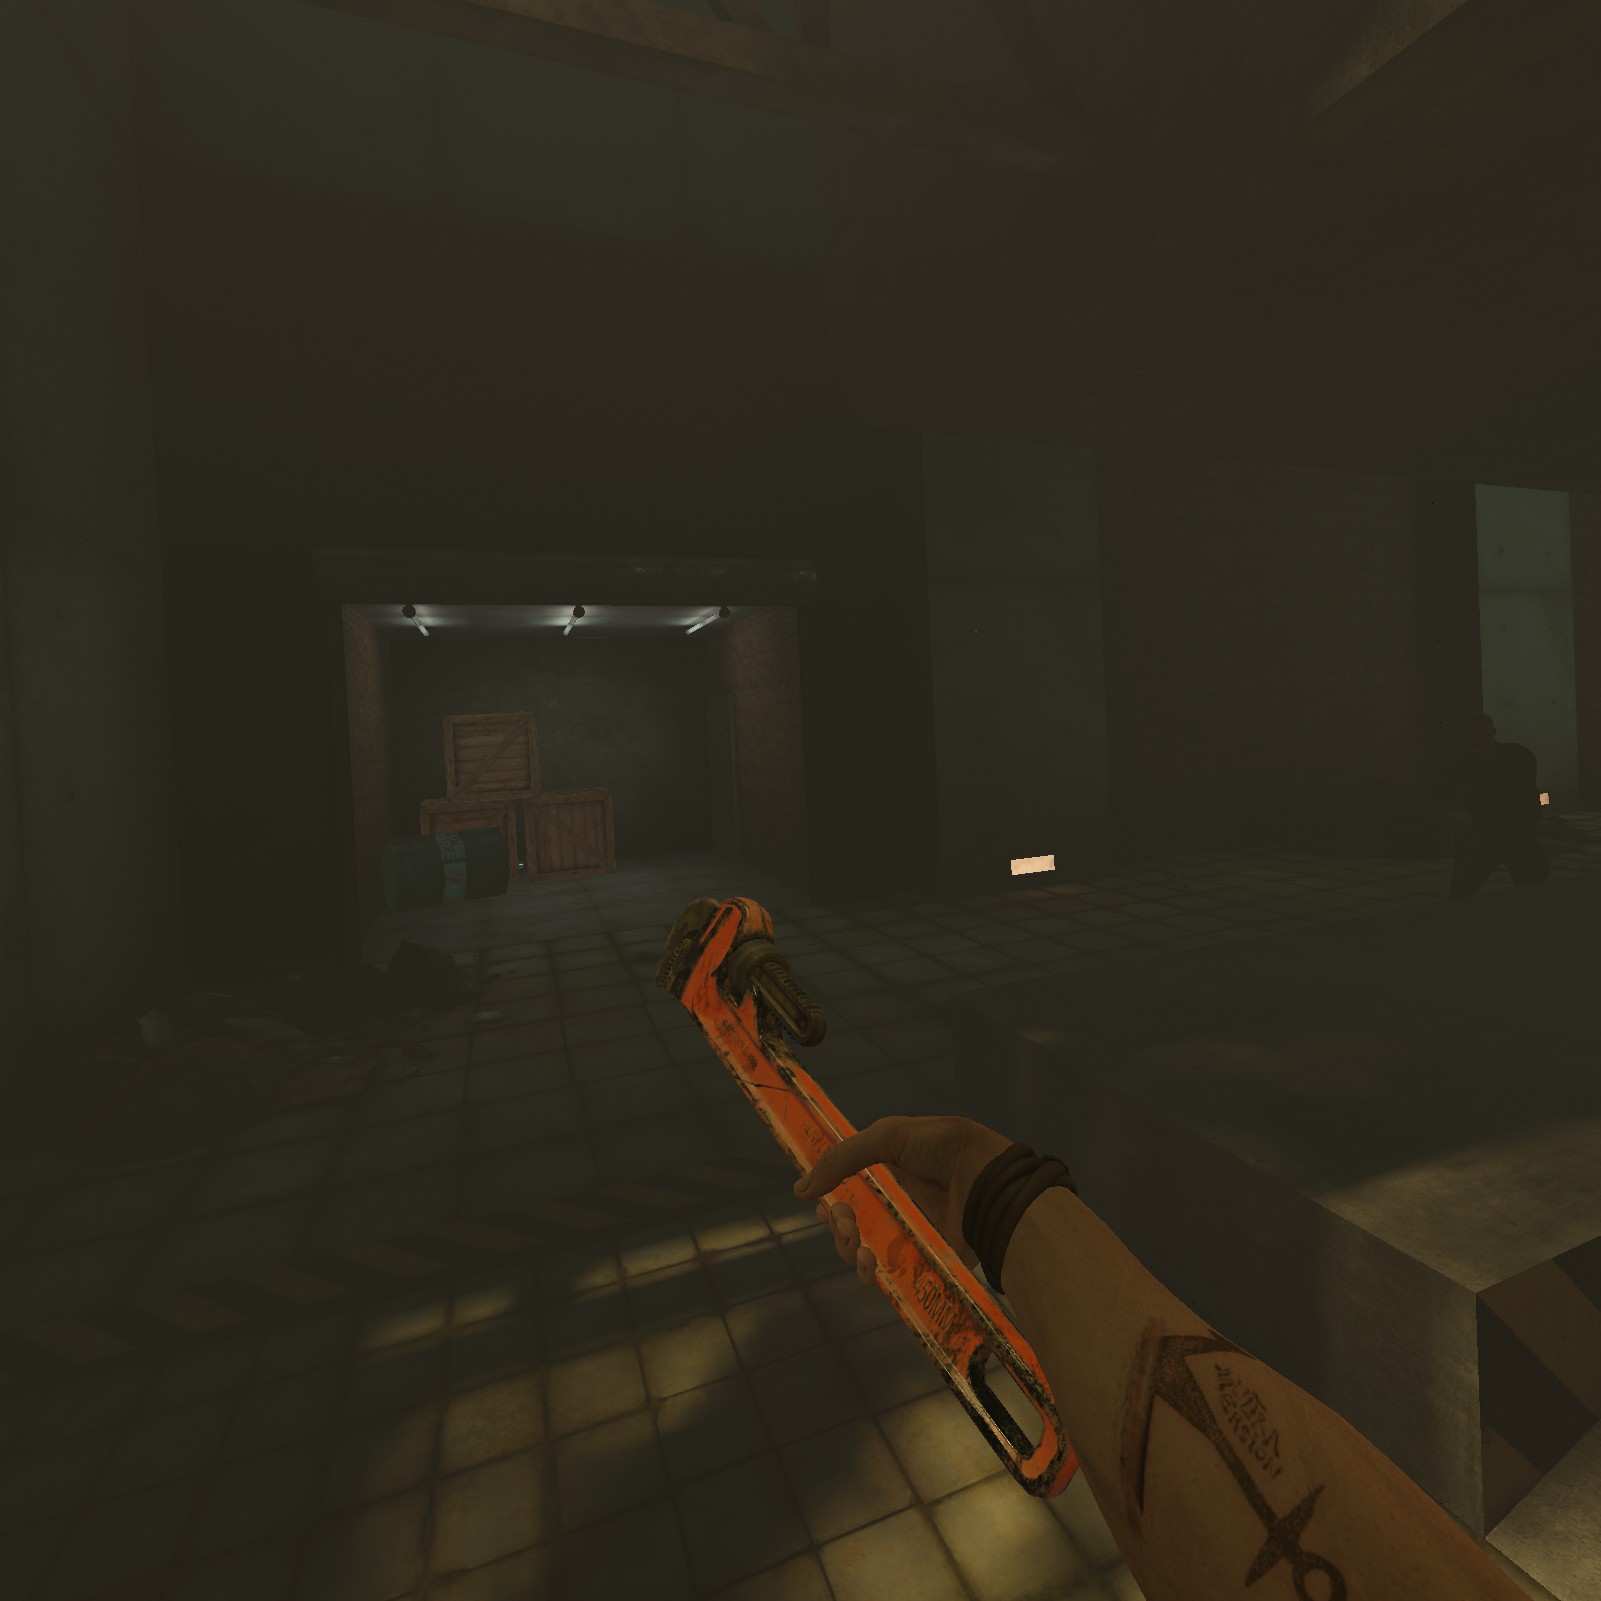
Wrench:
Moving forward we start getting shot by this projector. Head into the hallway behind it for the OP wrench.
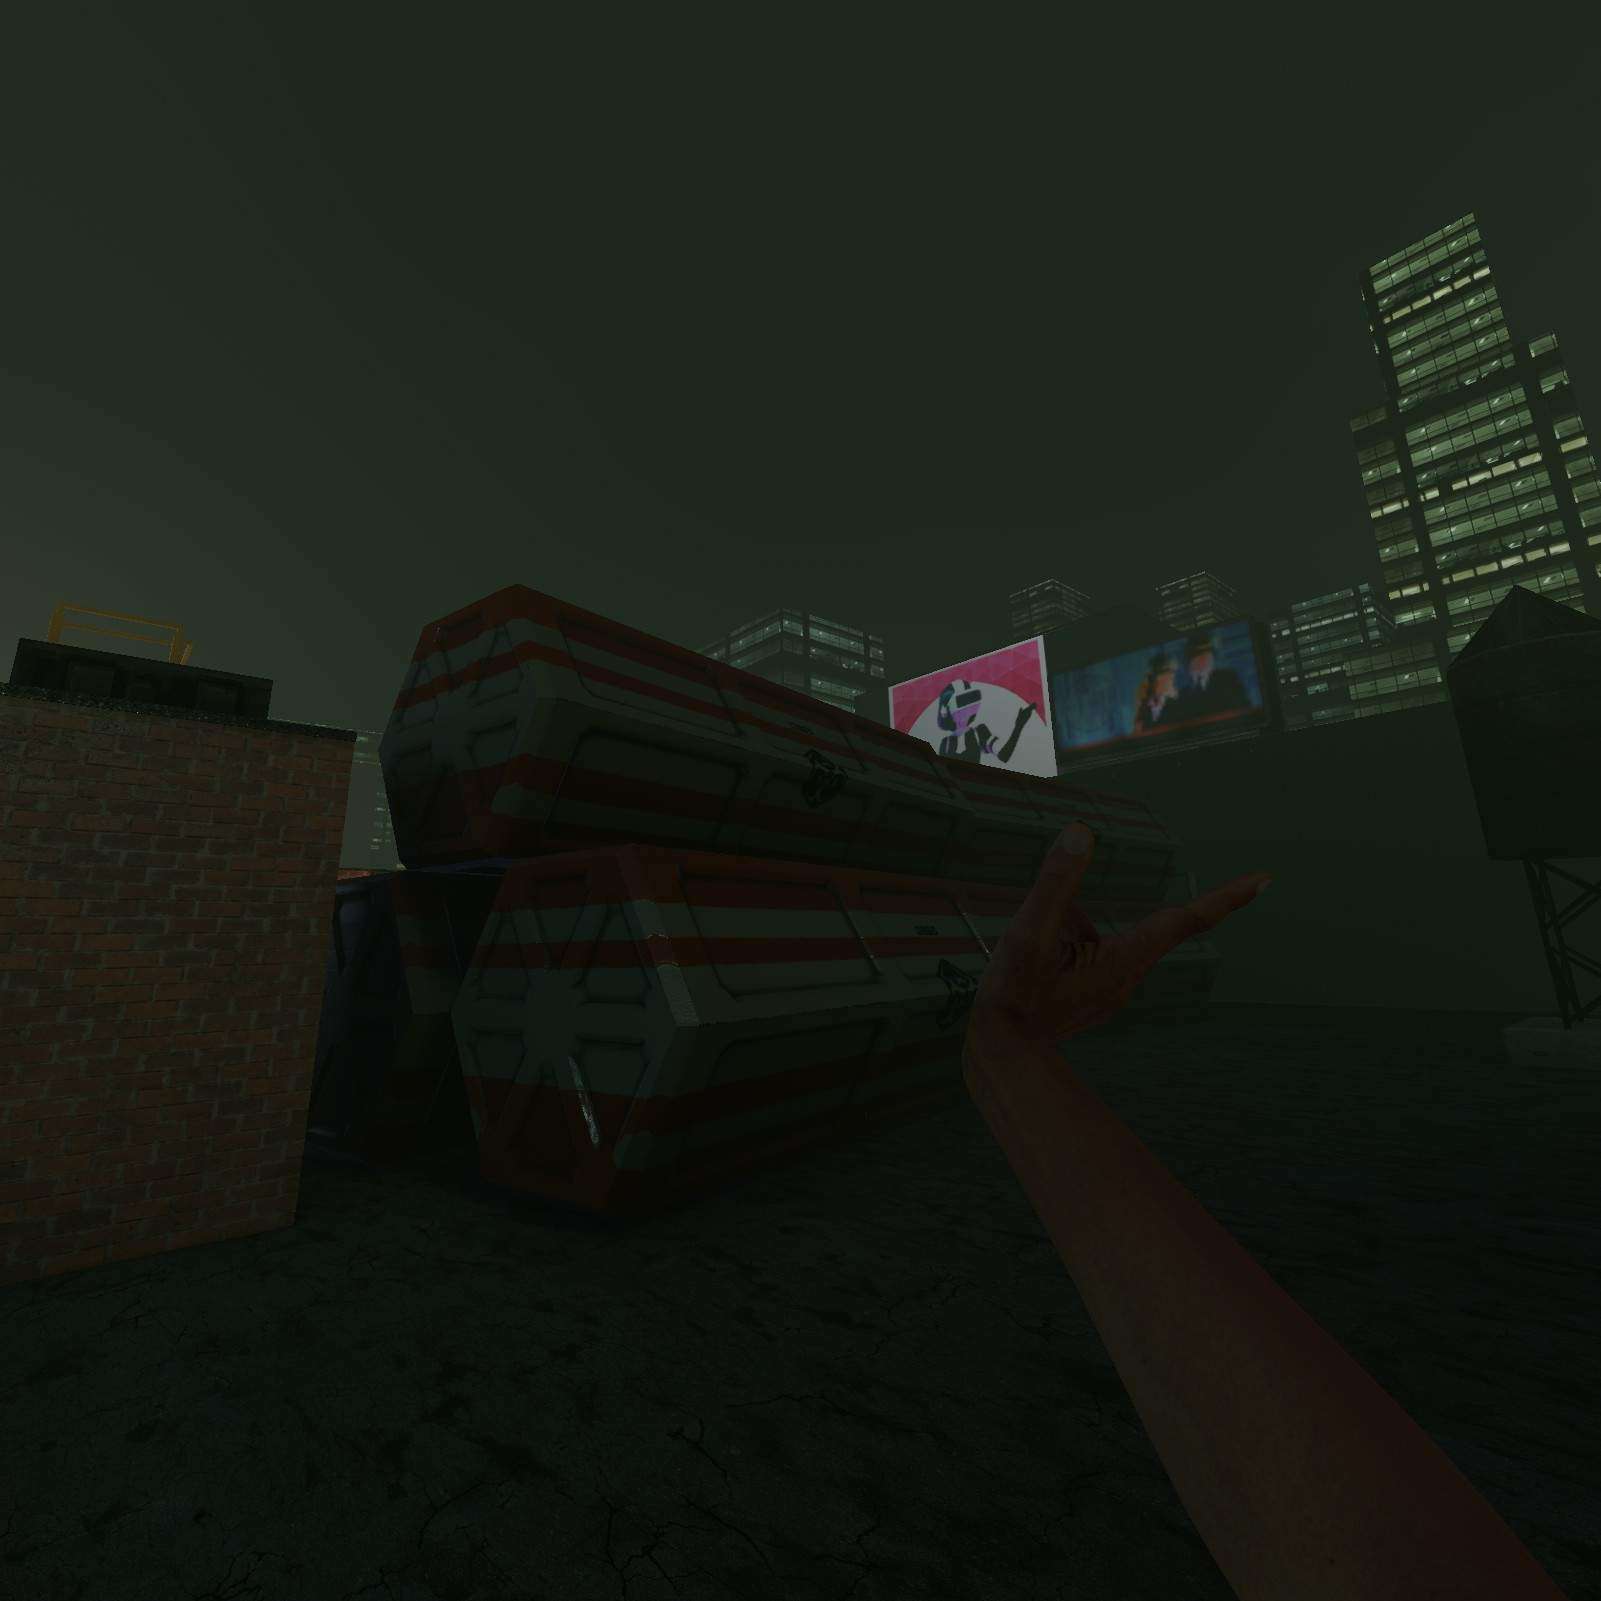
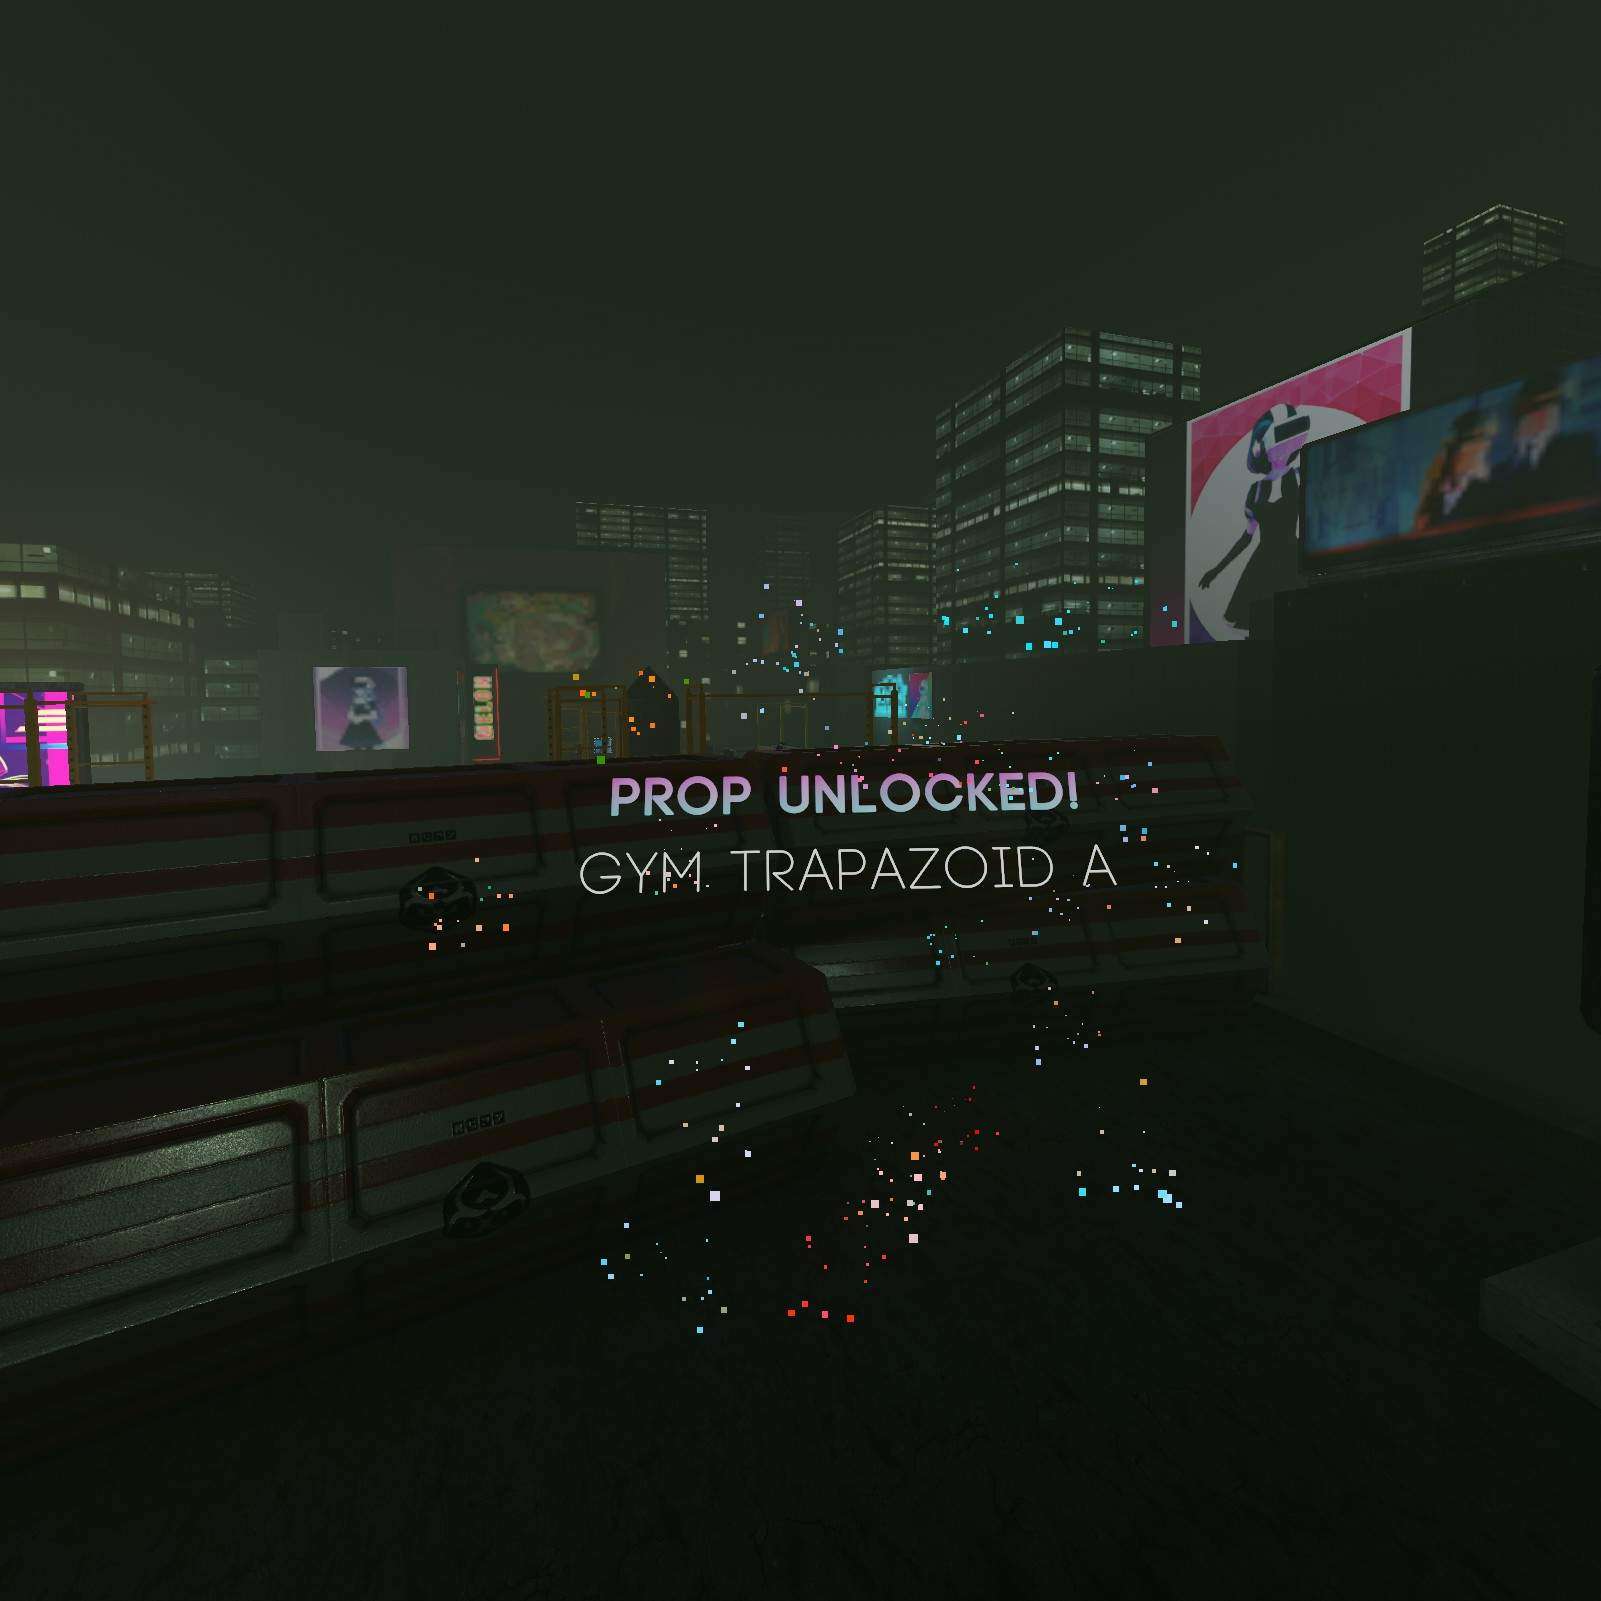
Gym Trapezoid A:
Behind my least favorite shape the hexagonal containers is my favorite shape the Gym Trapezoid A just on top of this platform.

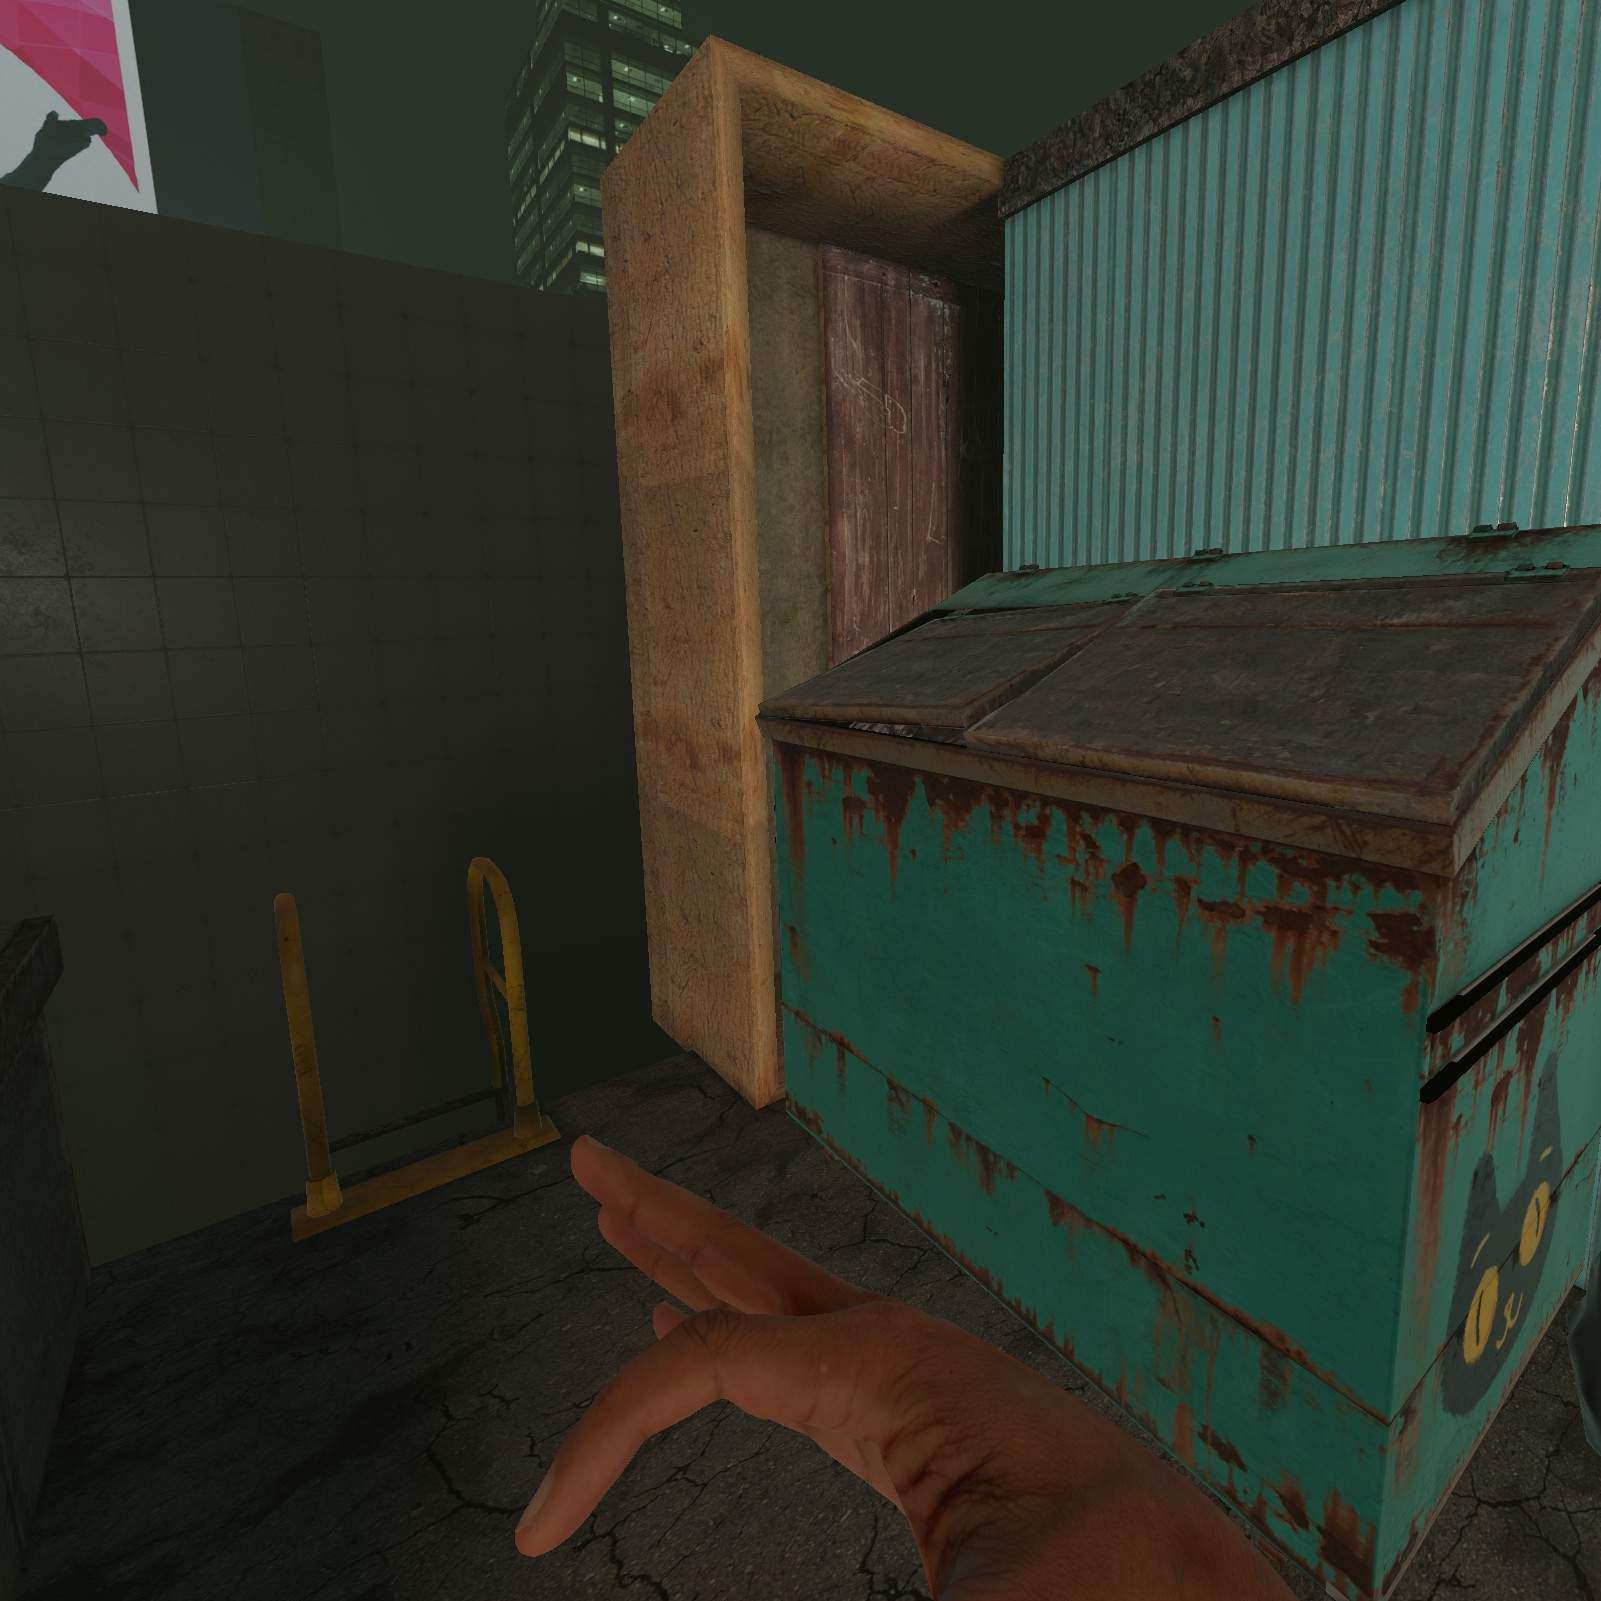
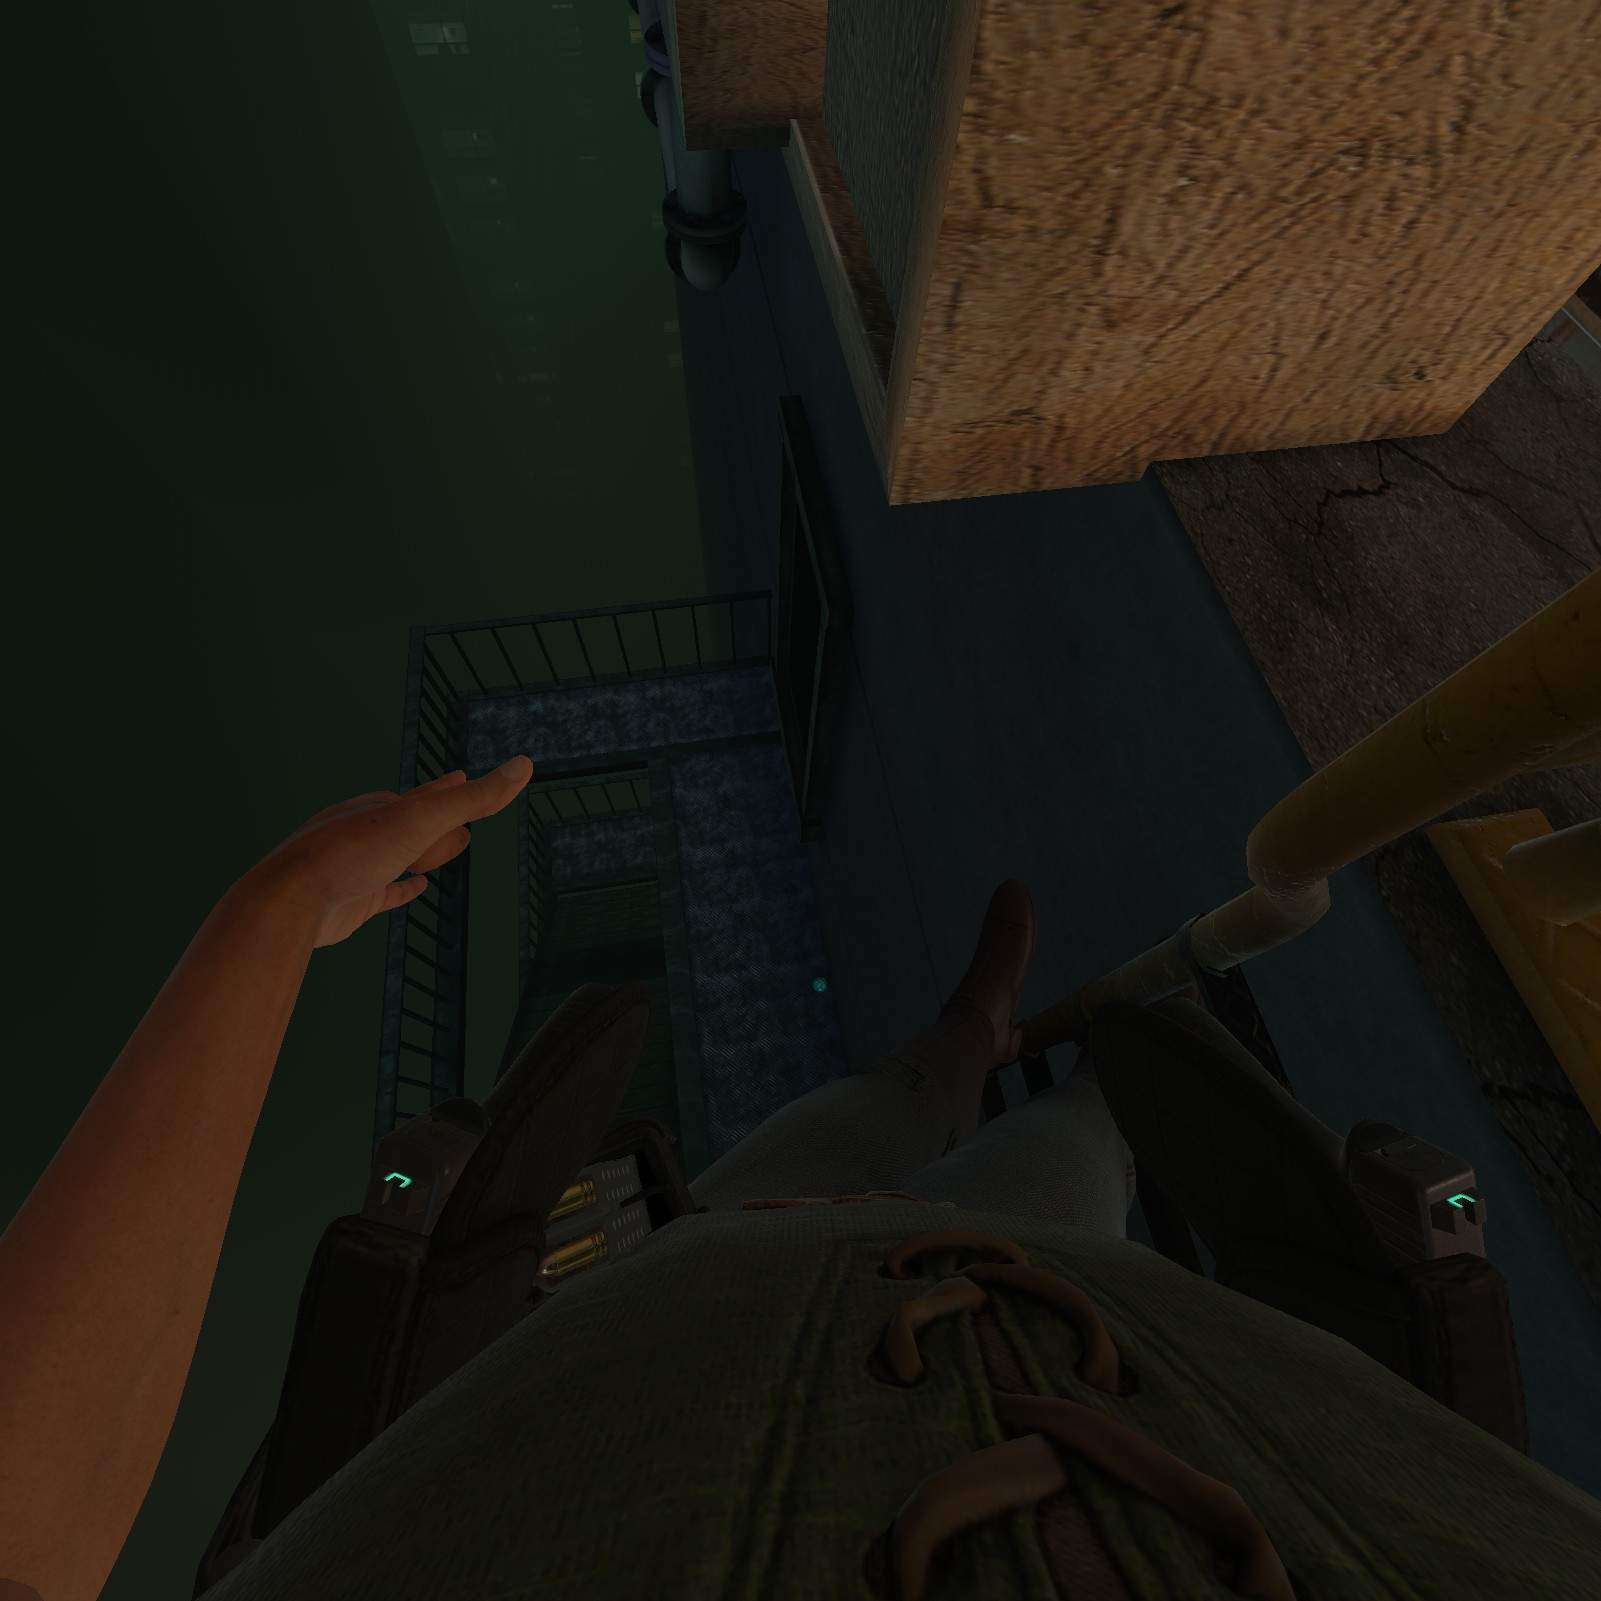
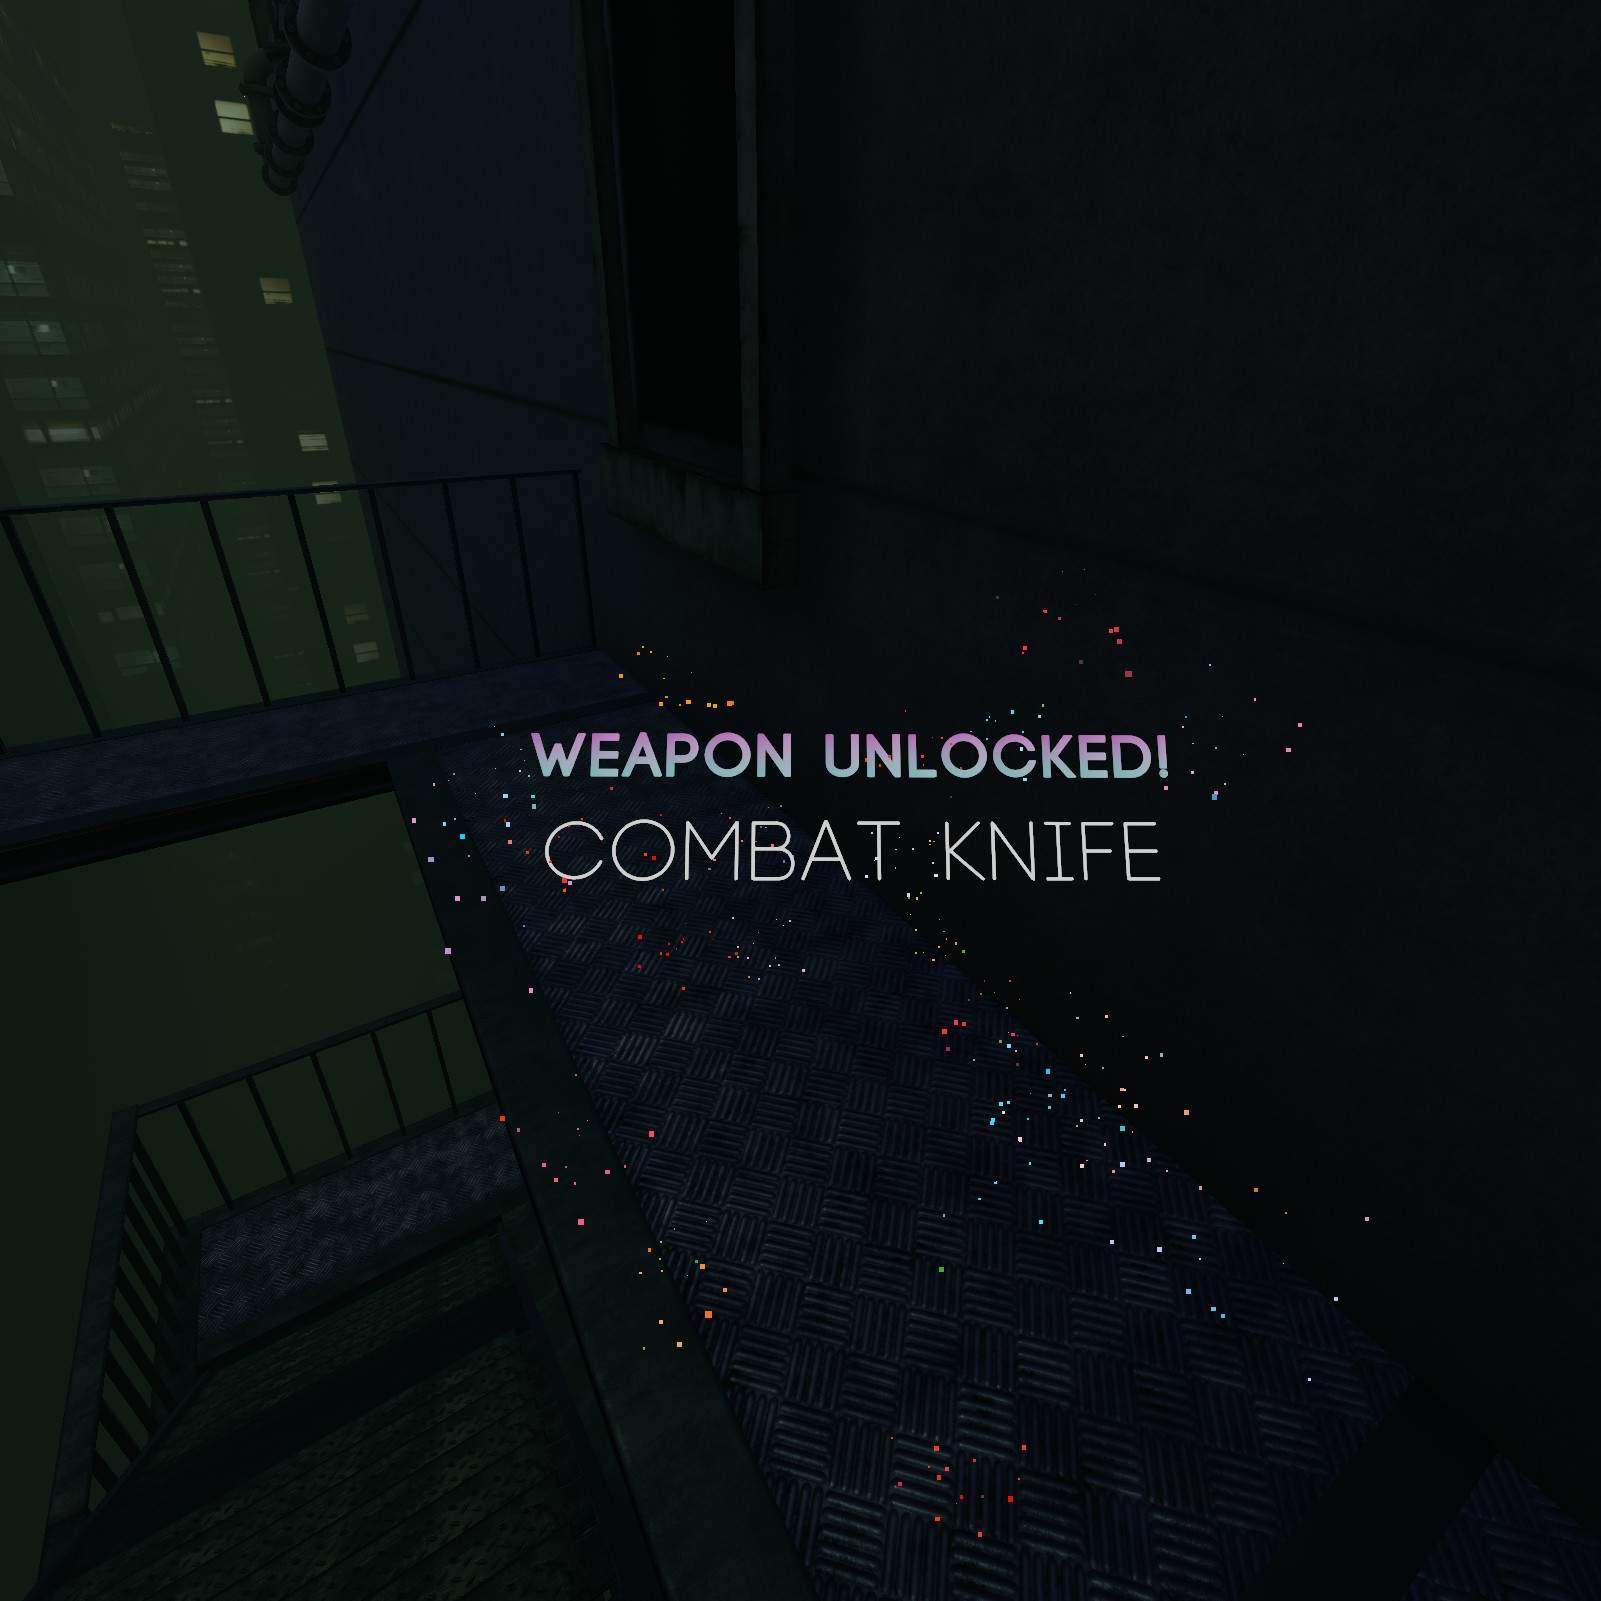
Combat Knife:
Another dumpster? No collectibles in it, but there is a ladder that leads to a combat knife.
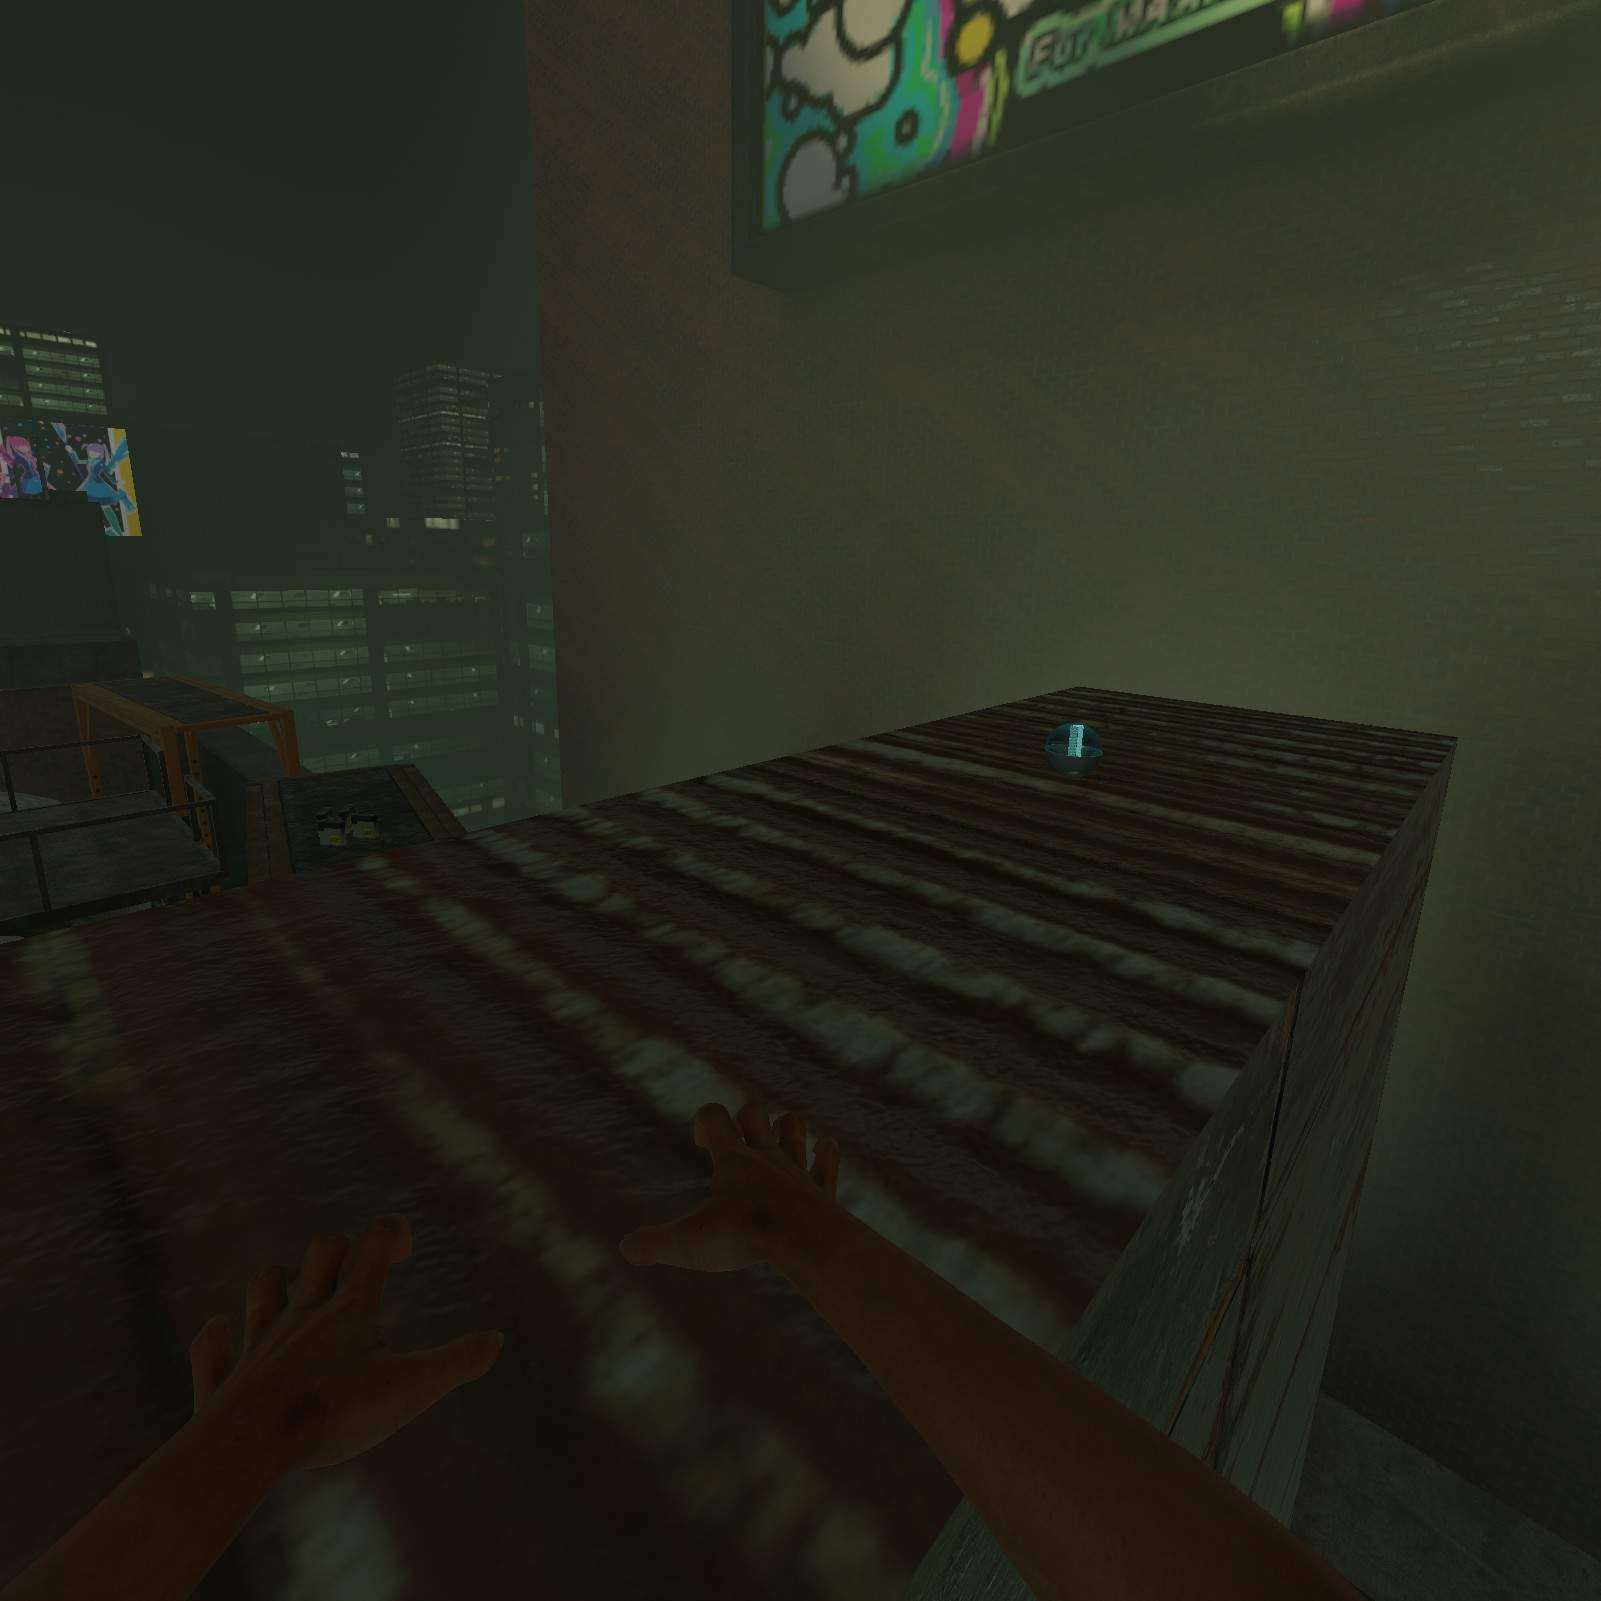
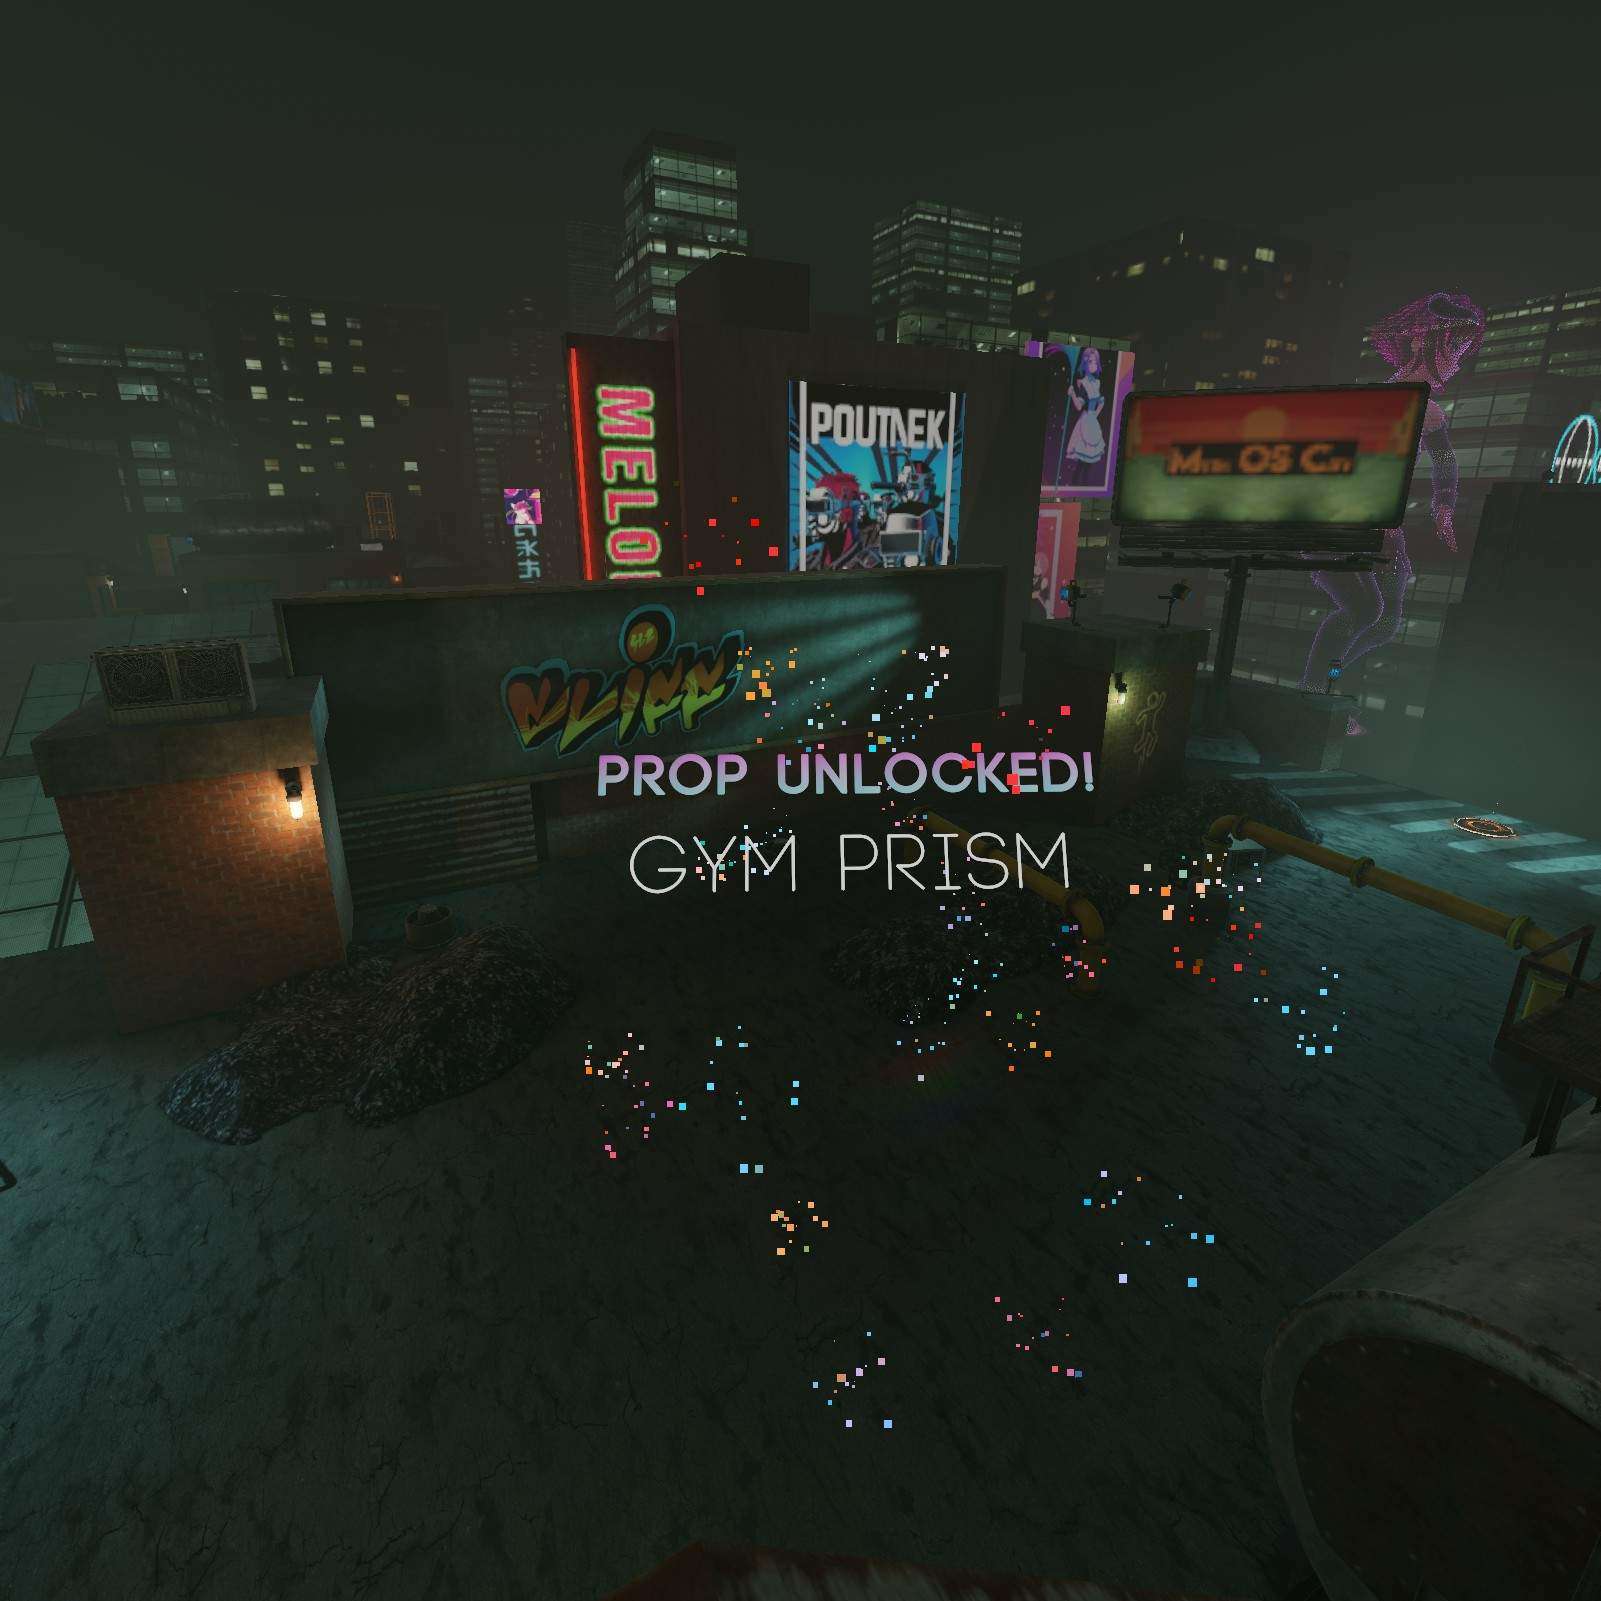
Gym Prism:
I spy my favorite shape over there, the Gym Prism. Hop up and nab it.
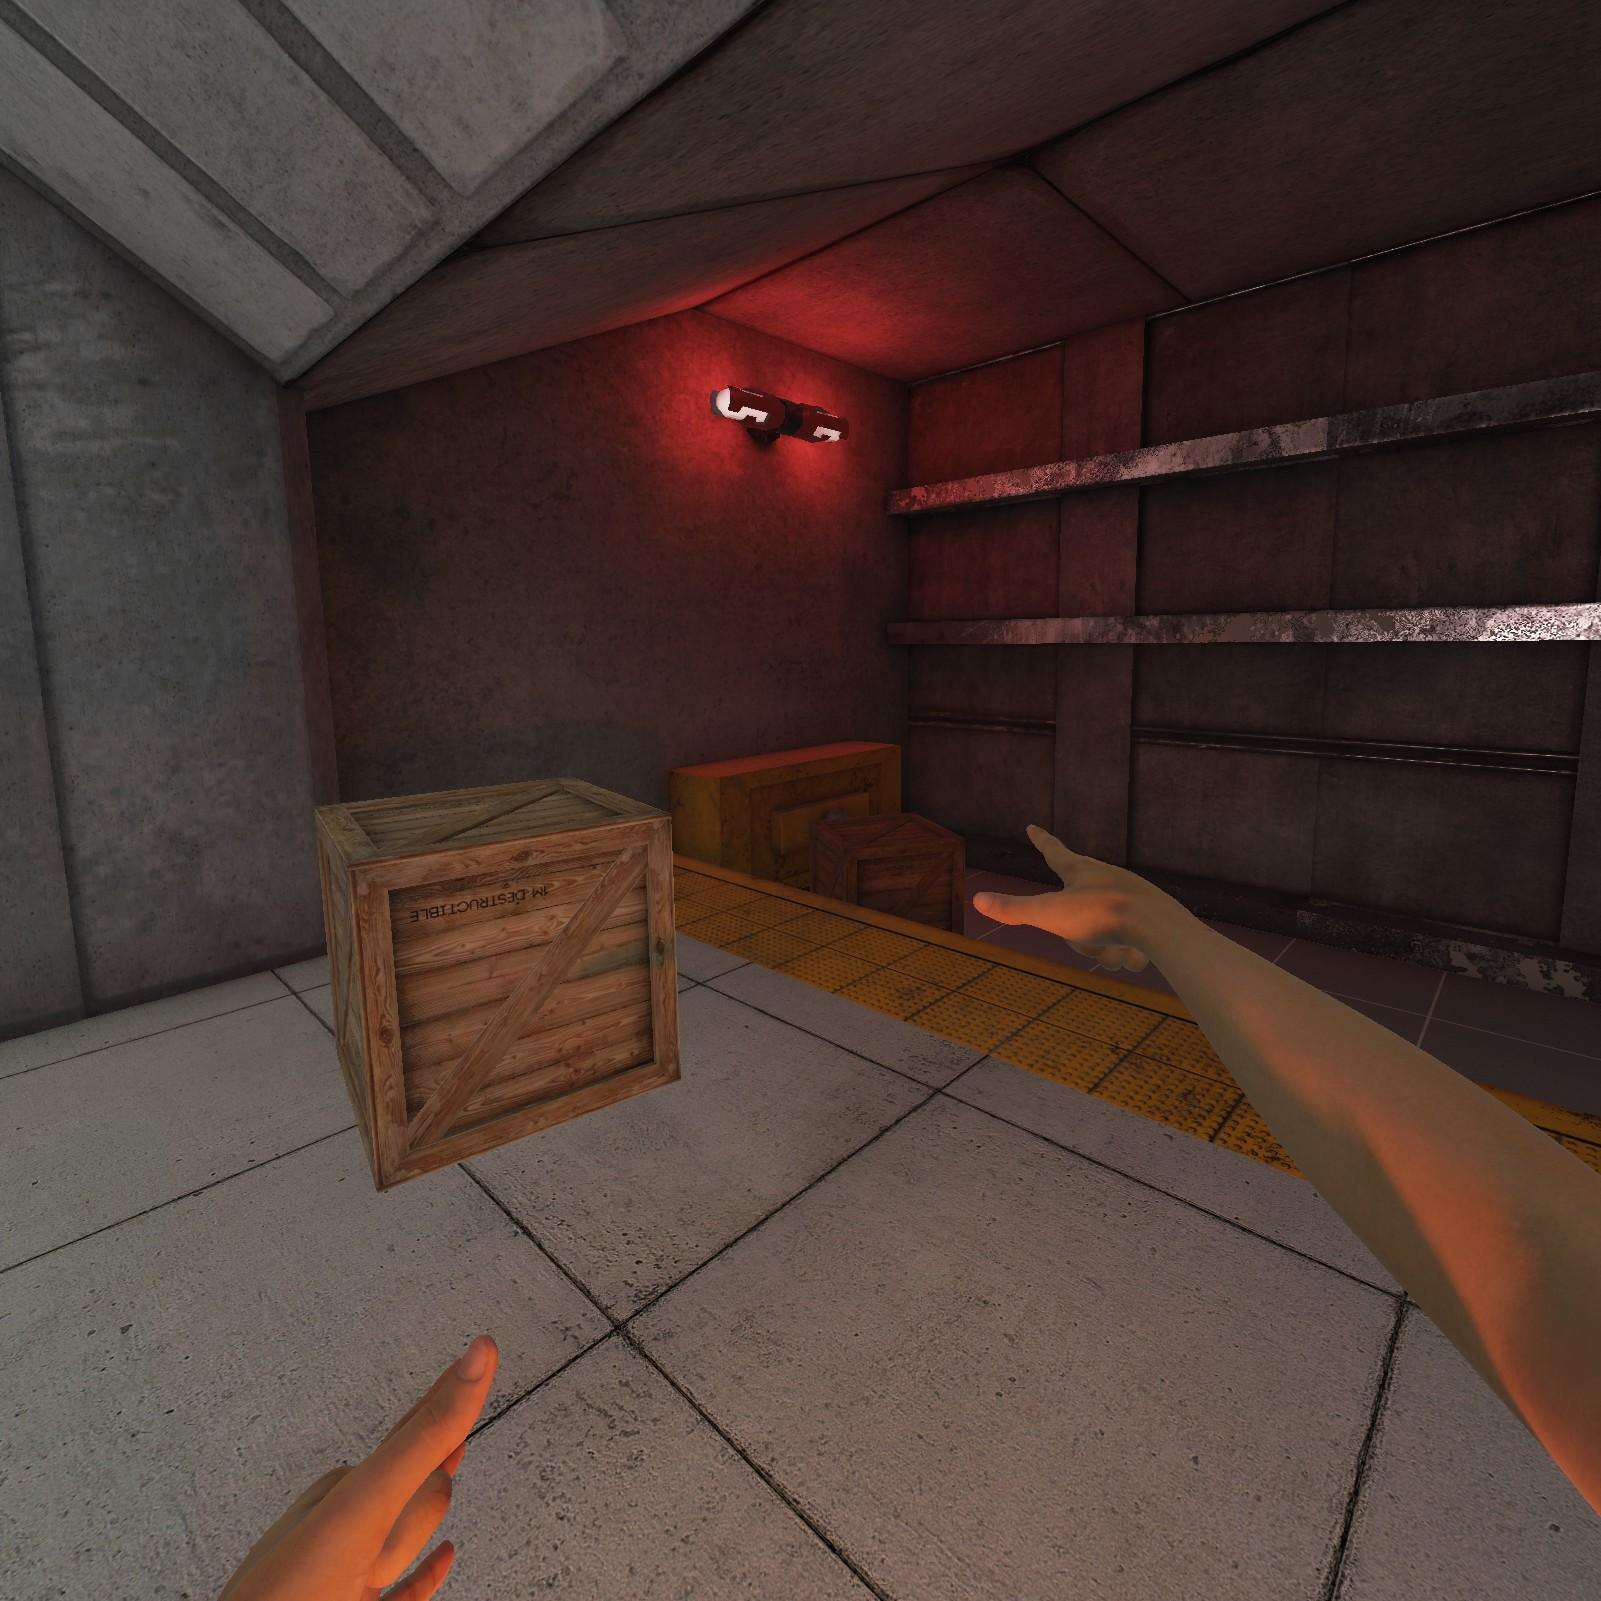
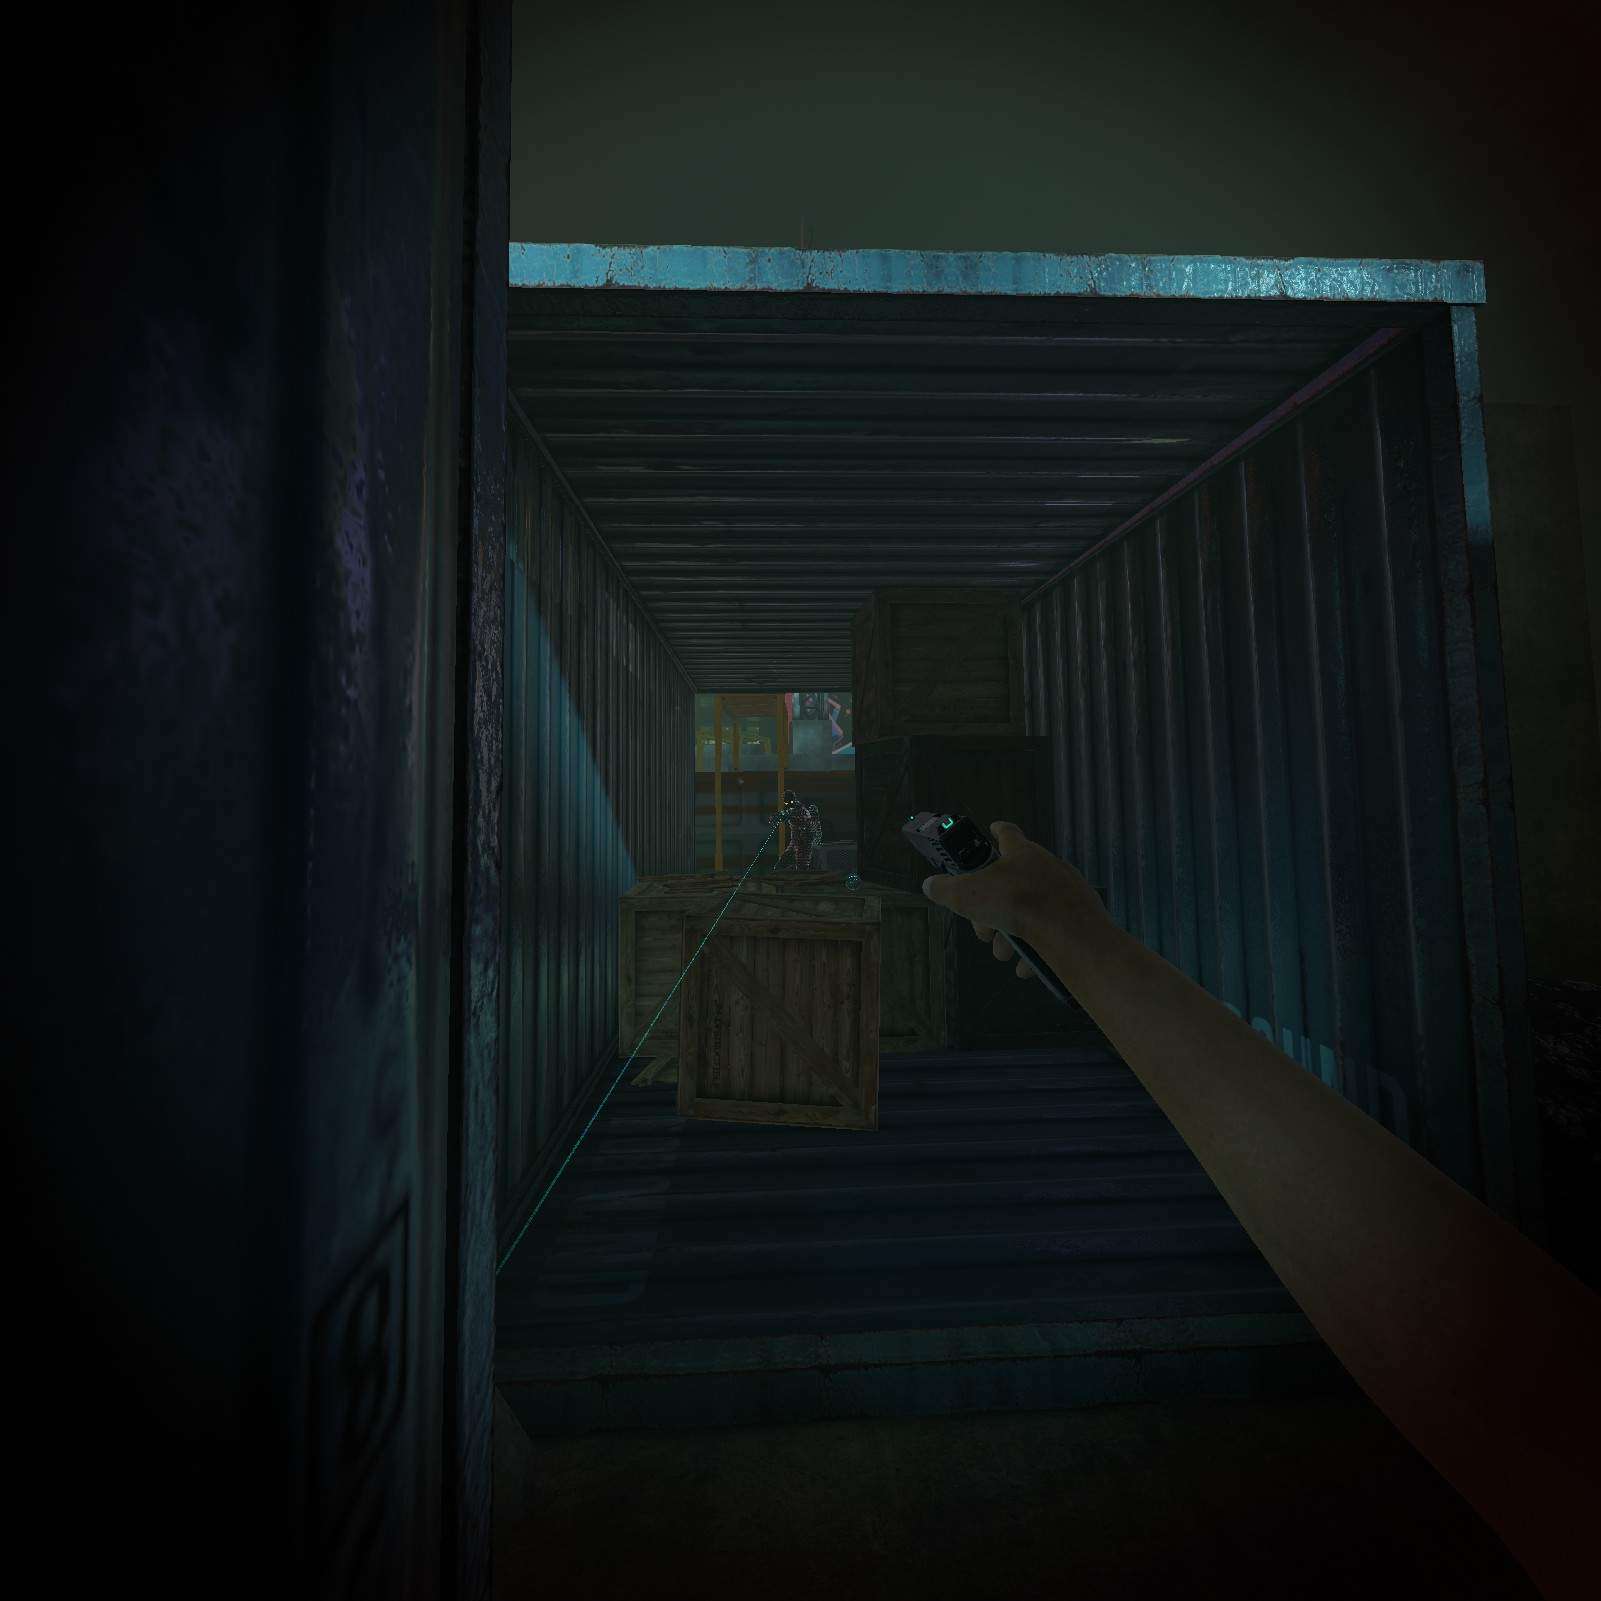
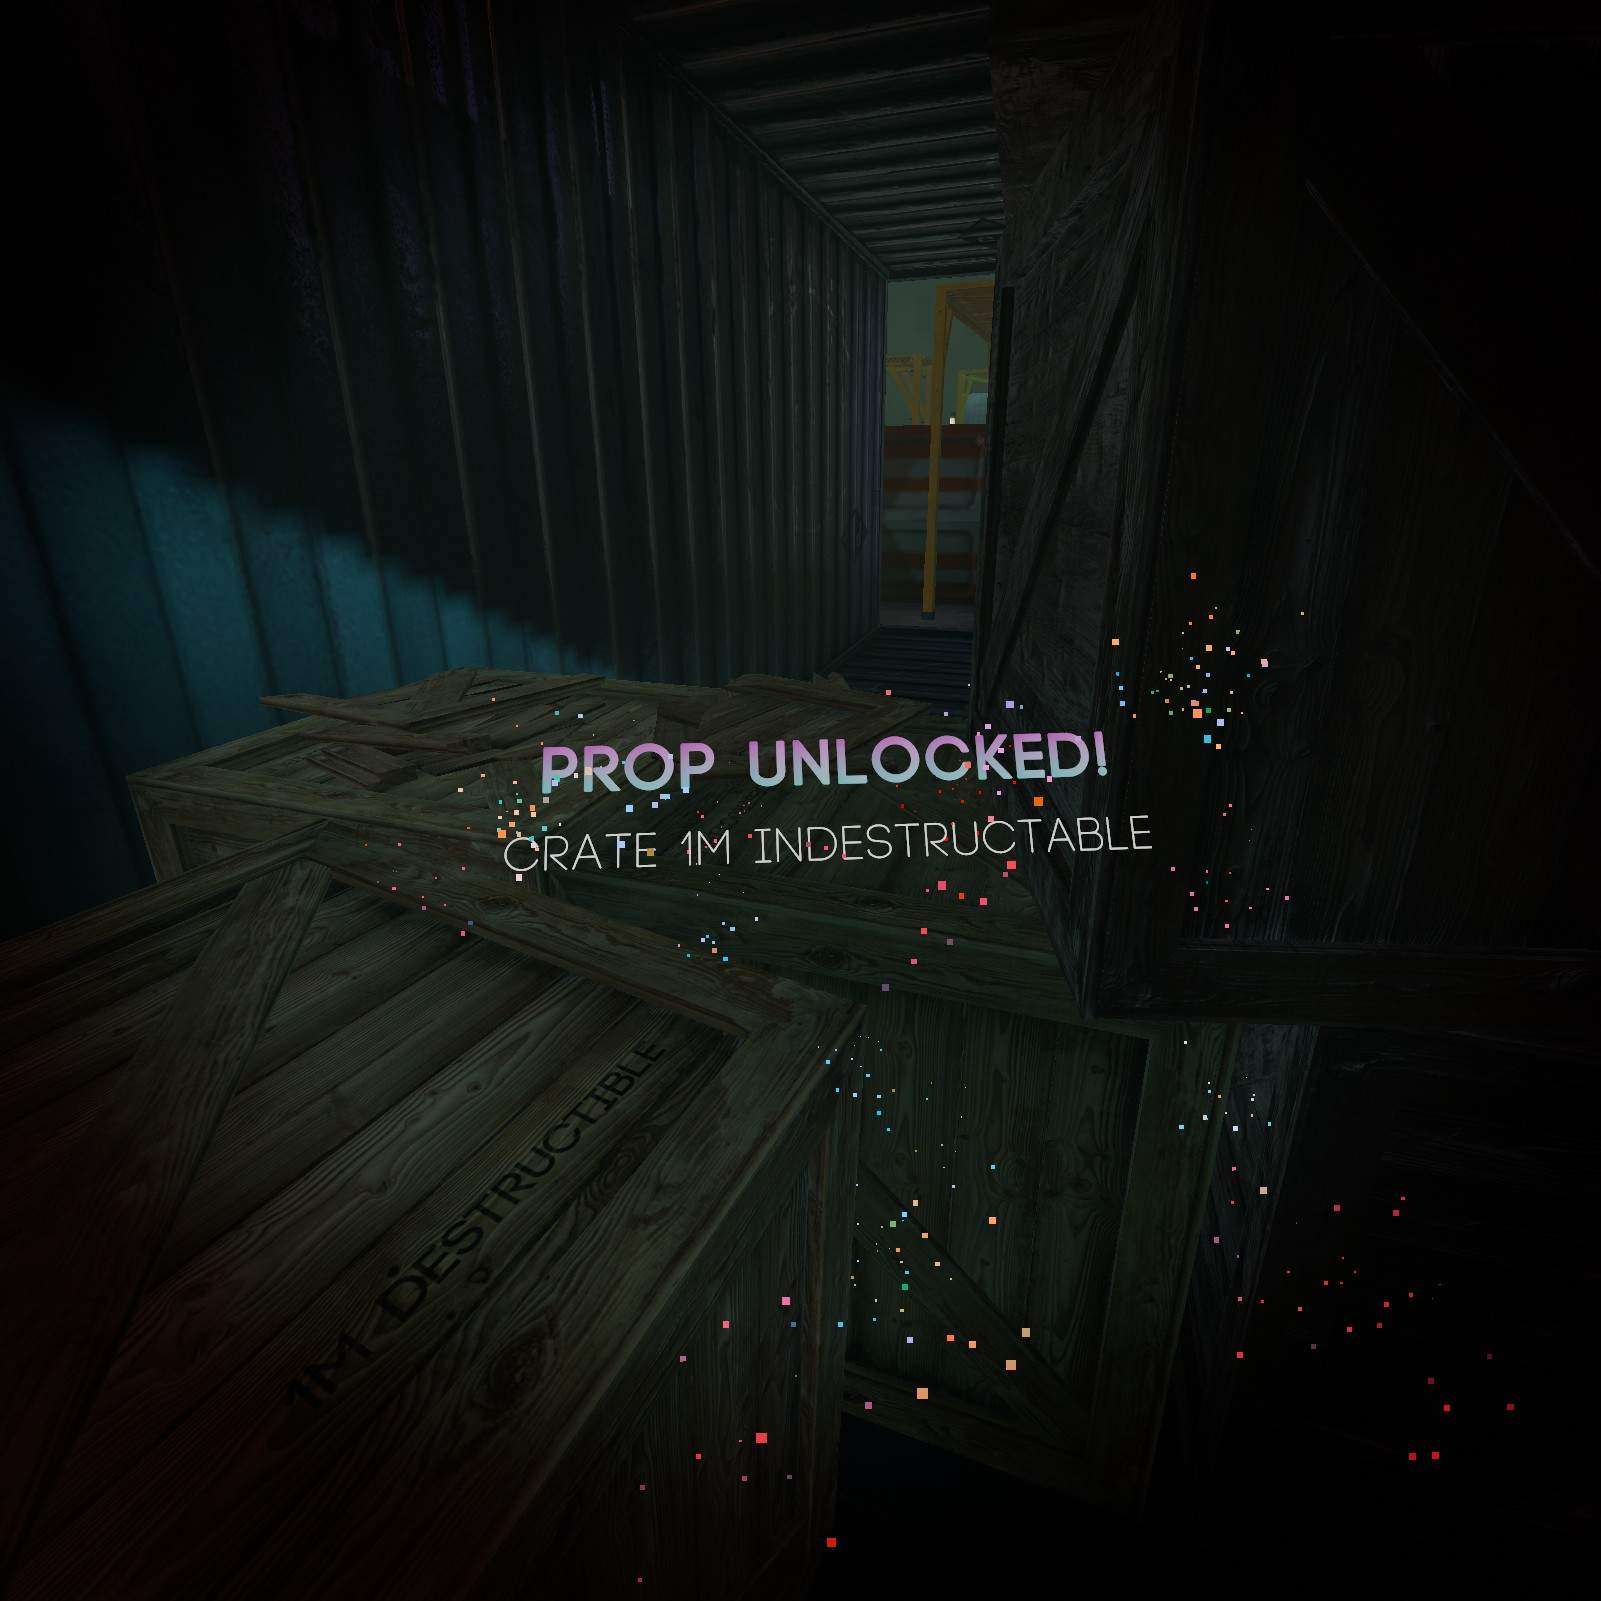
Crate 1M Indestructible:
Inside this blue container there’s a view on the Crate 1M Indestructible just on top of the Crate 1M Destructibles.
Gravity Cup:
Her cups are easier to get to than you might think. I am of course talking about the gravity cups near her feet, just slide down there to grab em.


MP5K Laser:
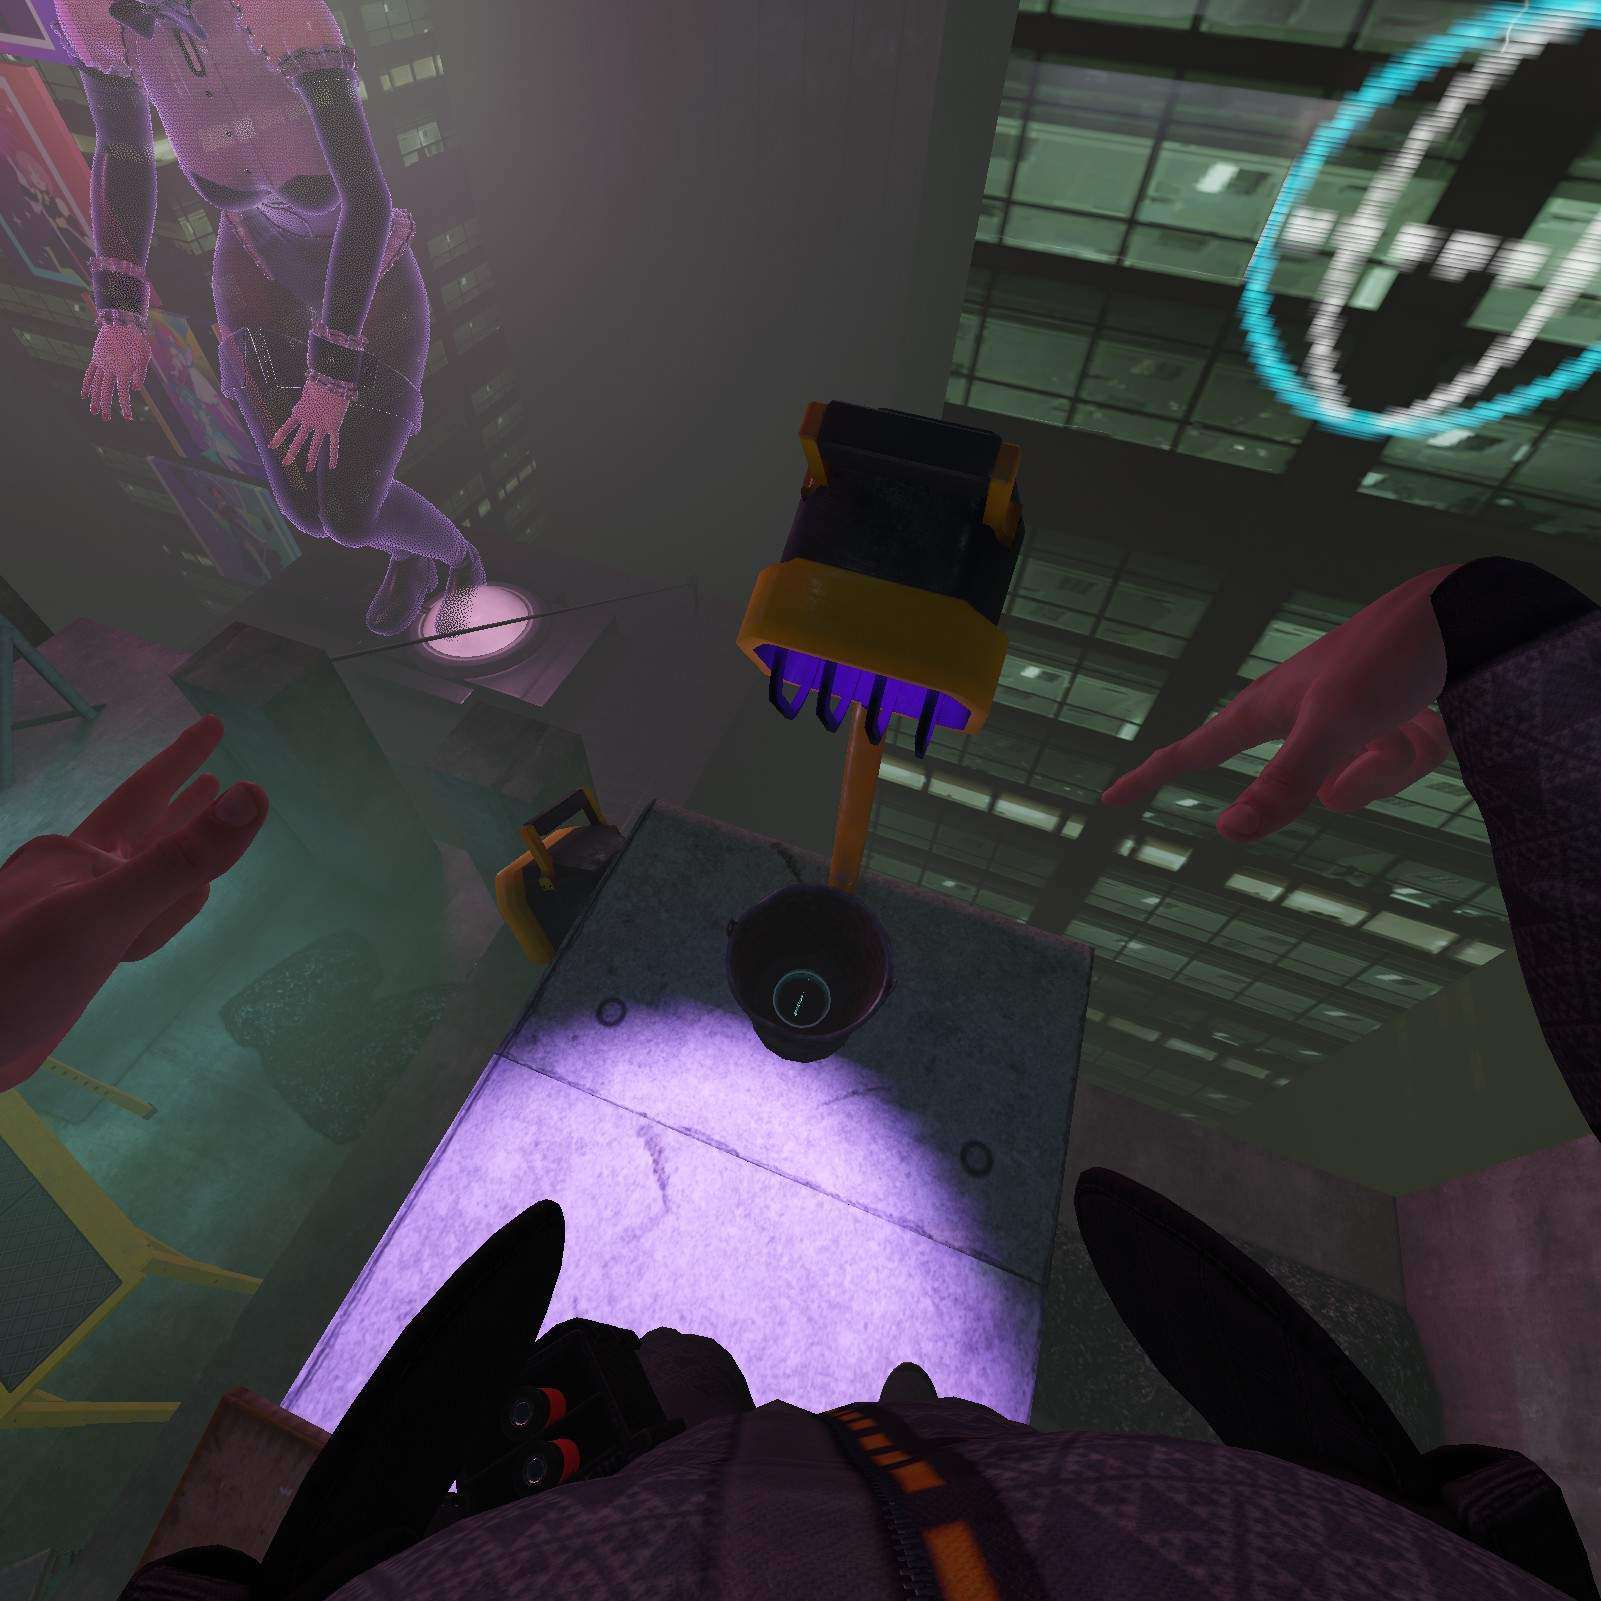
Last capsule in this level is an MP5K Laser. Climb up to to the tower with the knock down board, knock it down, and cross it. Its in the bucket. There’s nothing more…


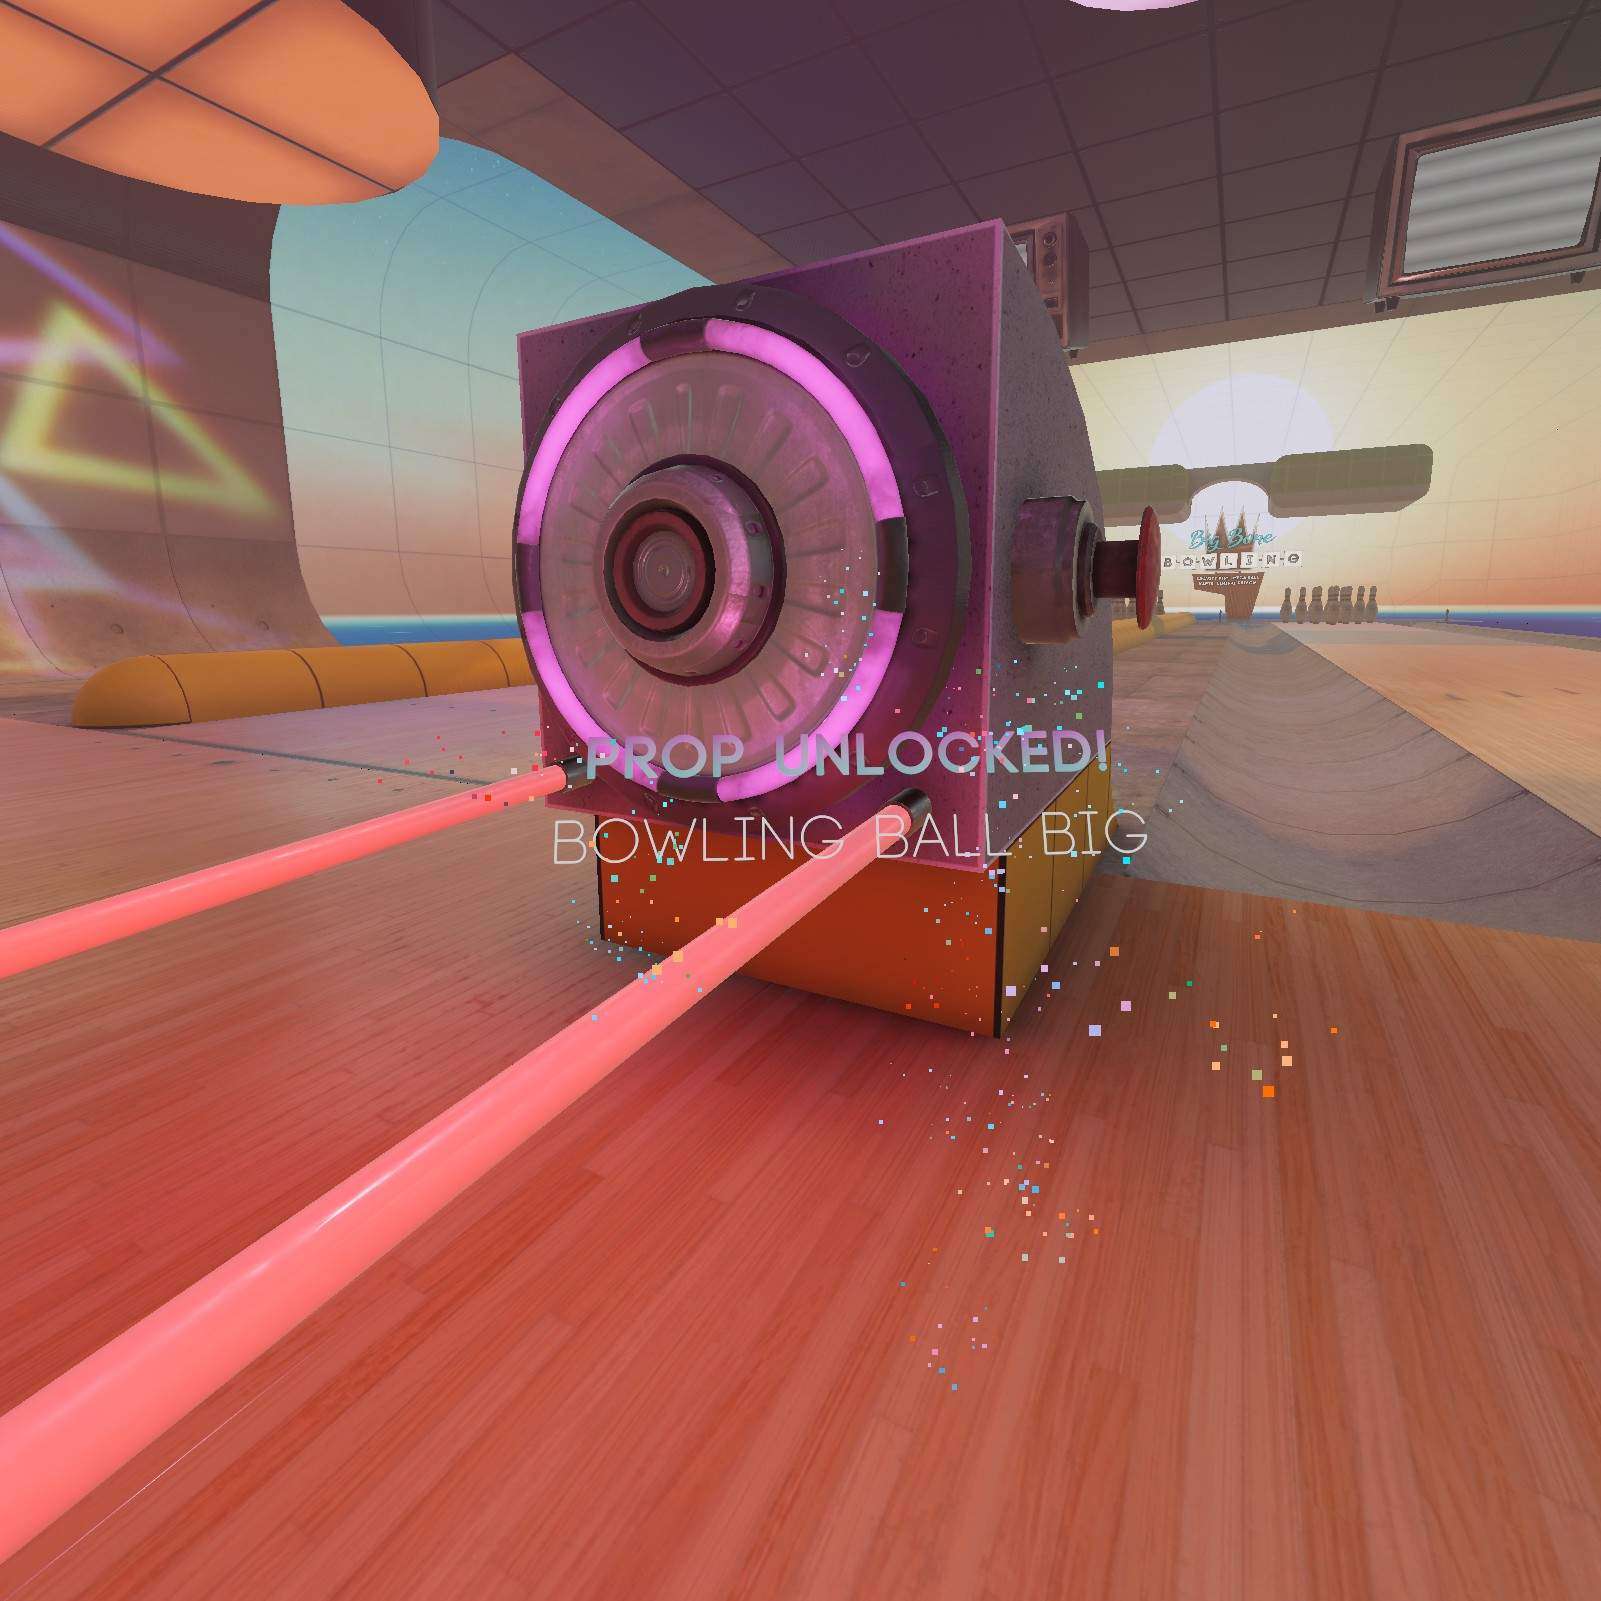
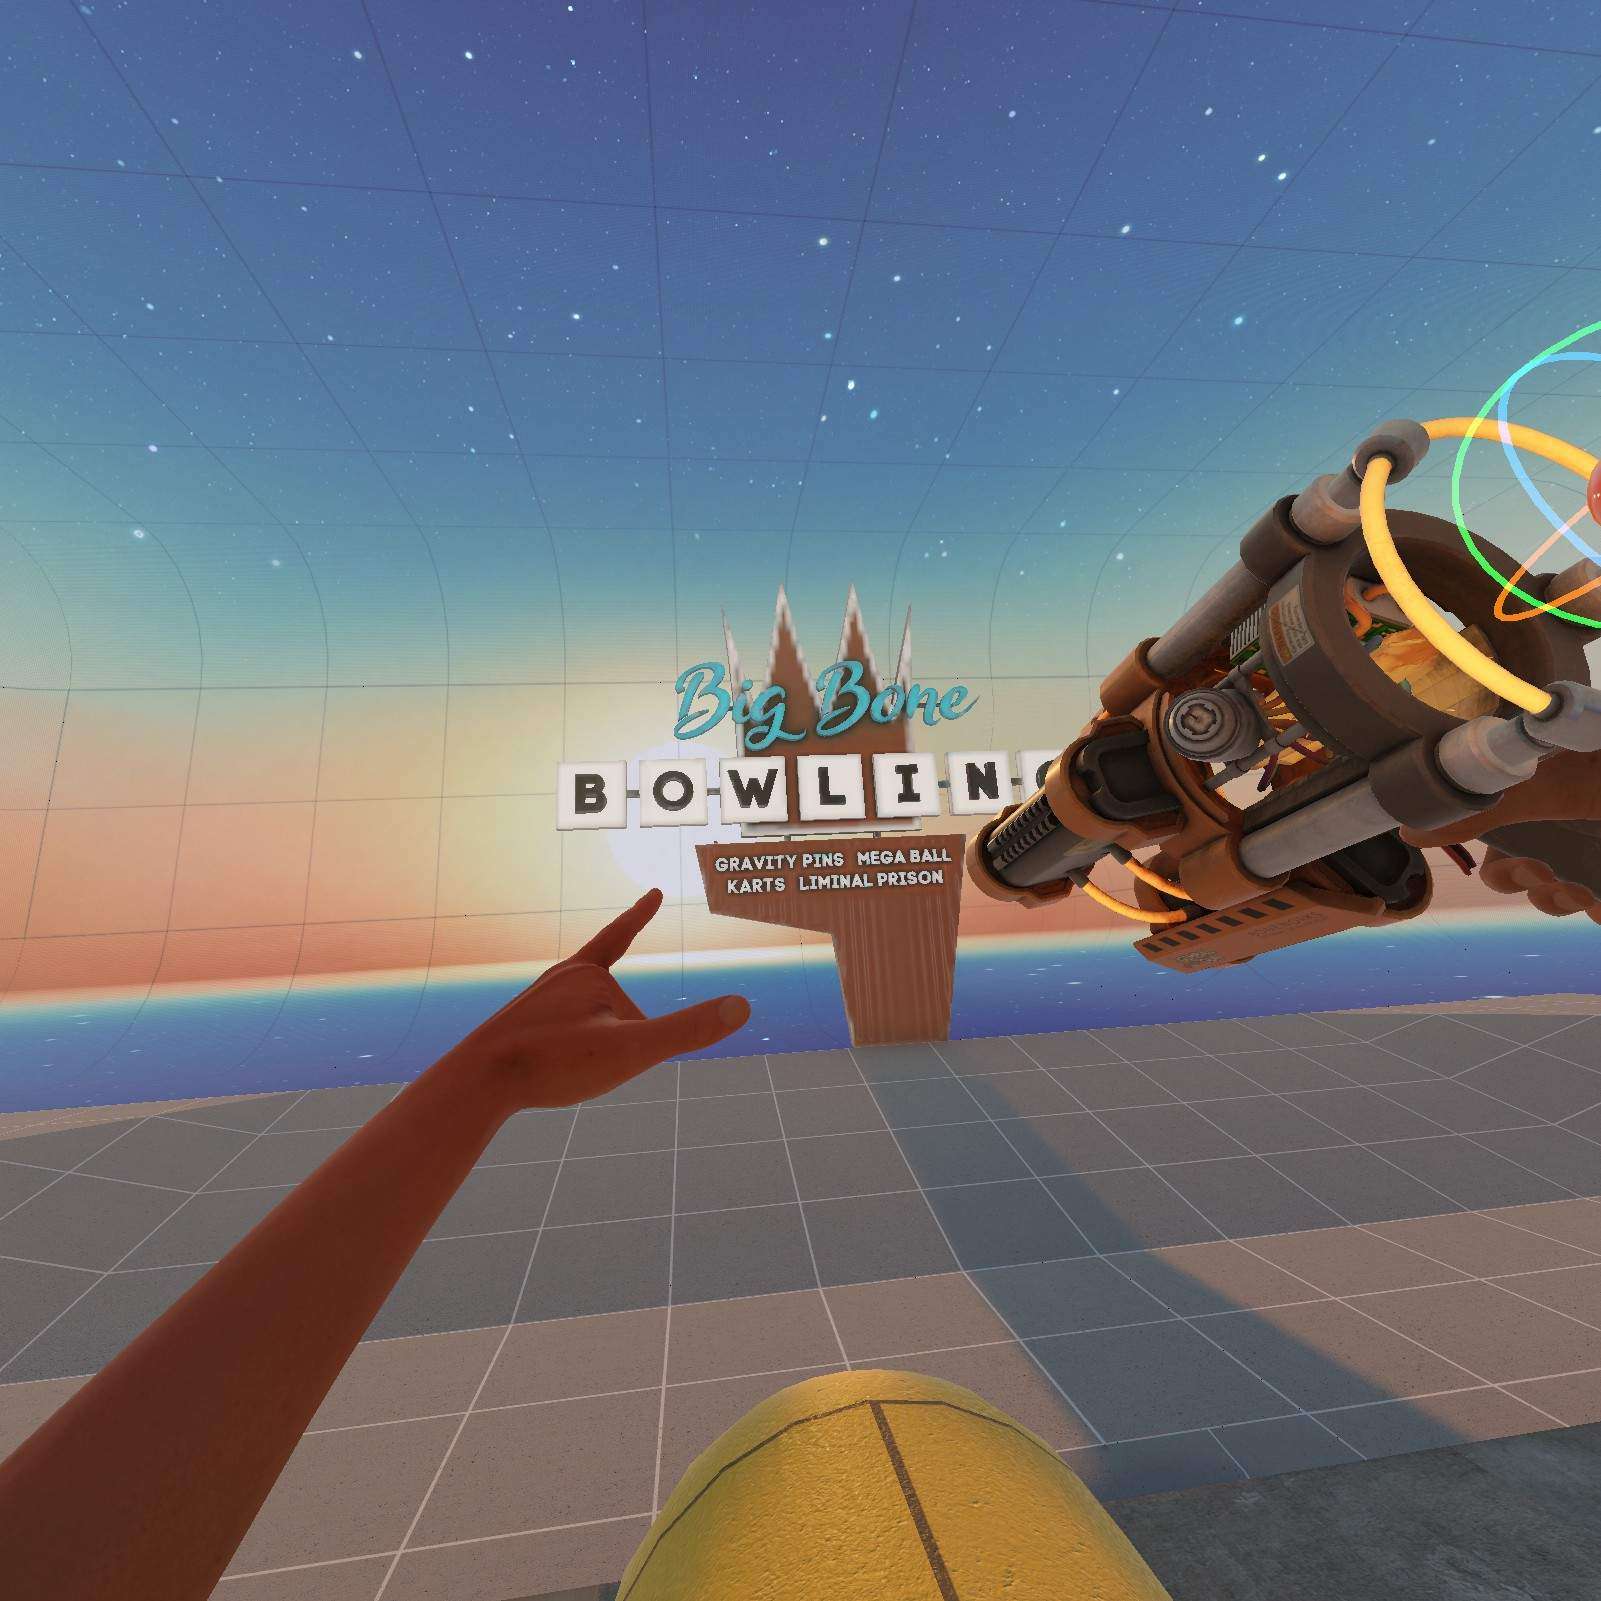
Big Bone Bowling
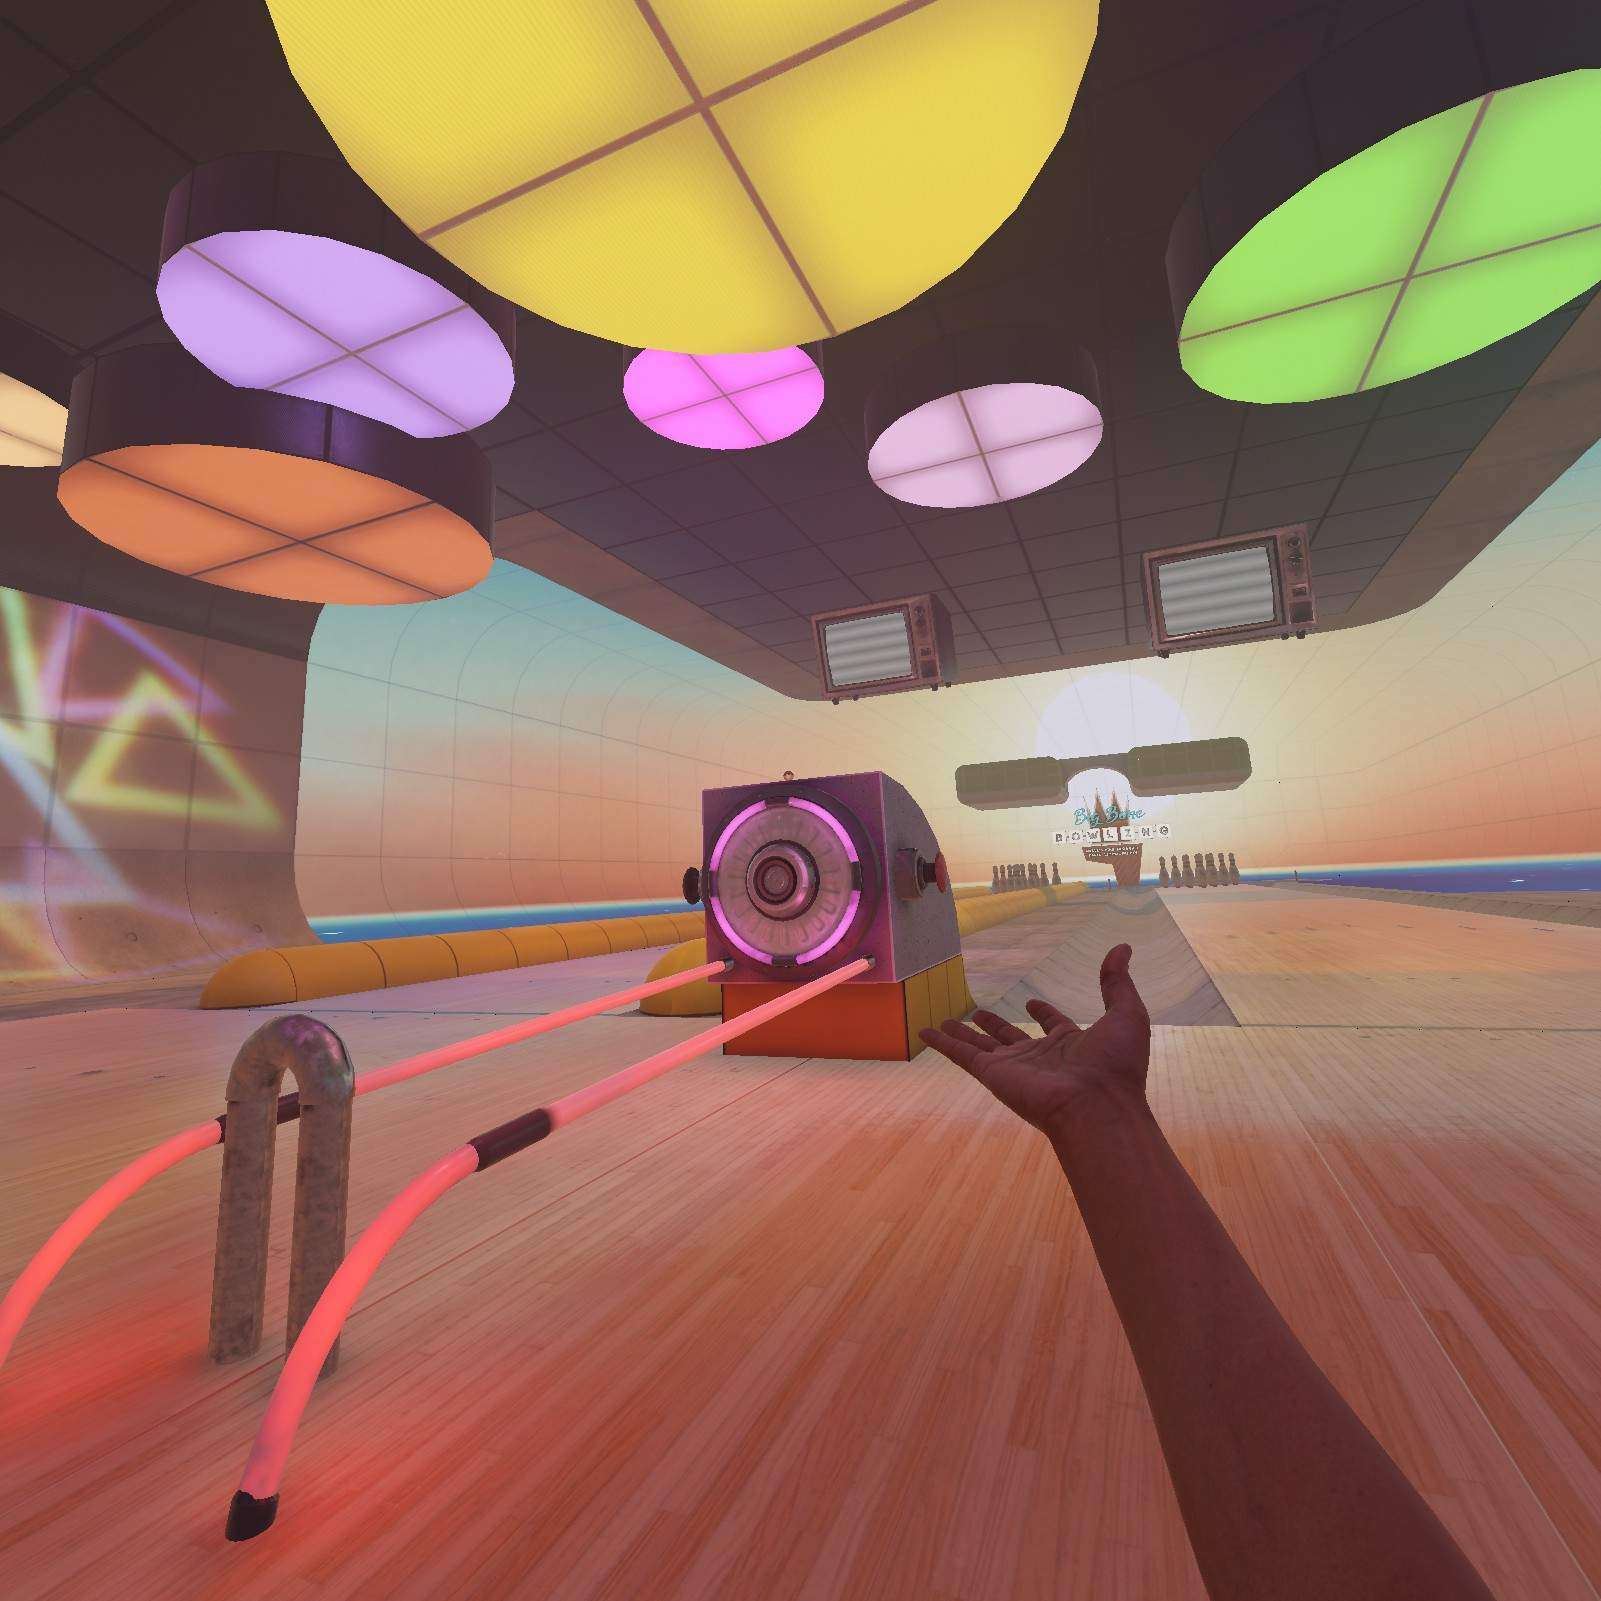
Bowling Ball Big:
On the bowling ball spawner there’s a bowling ball capsule that allows you to spawn more bowling balls.
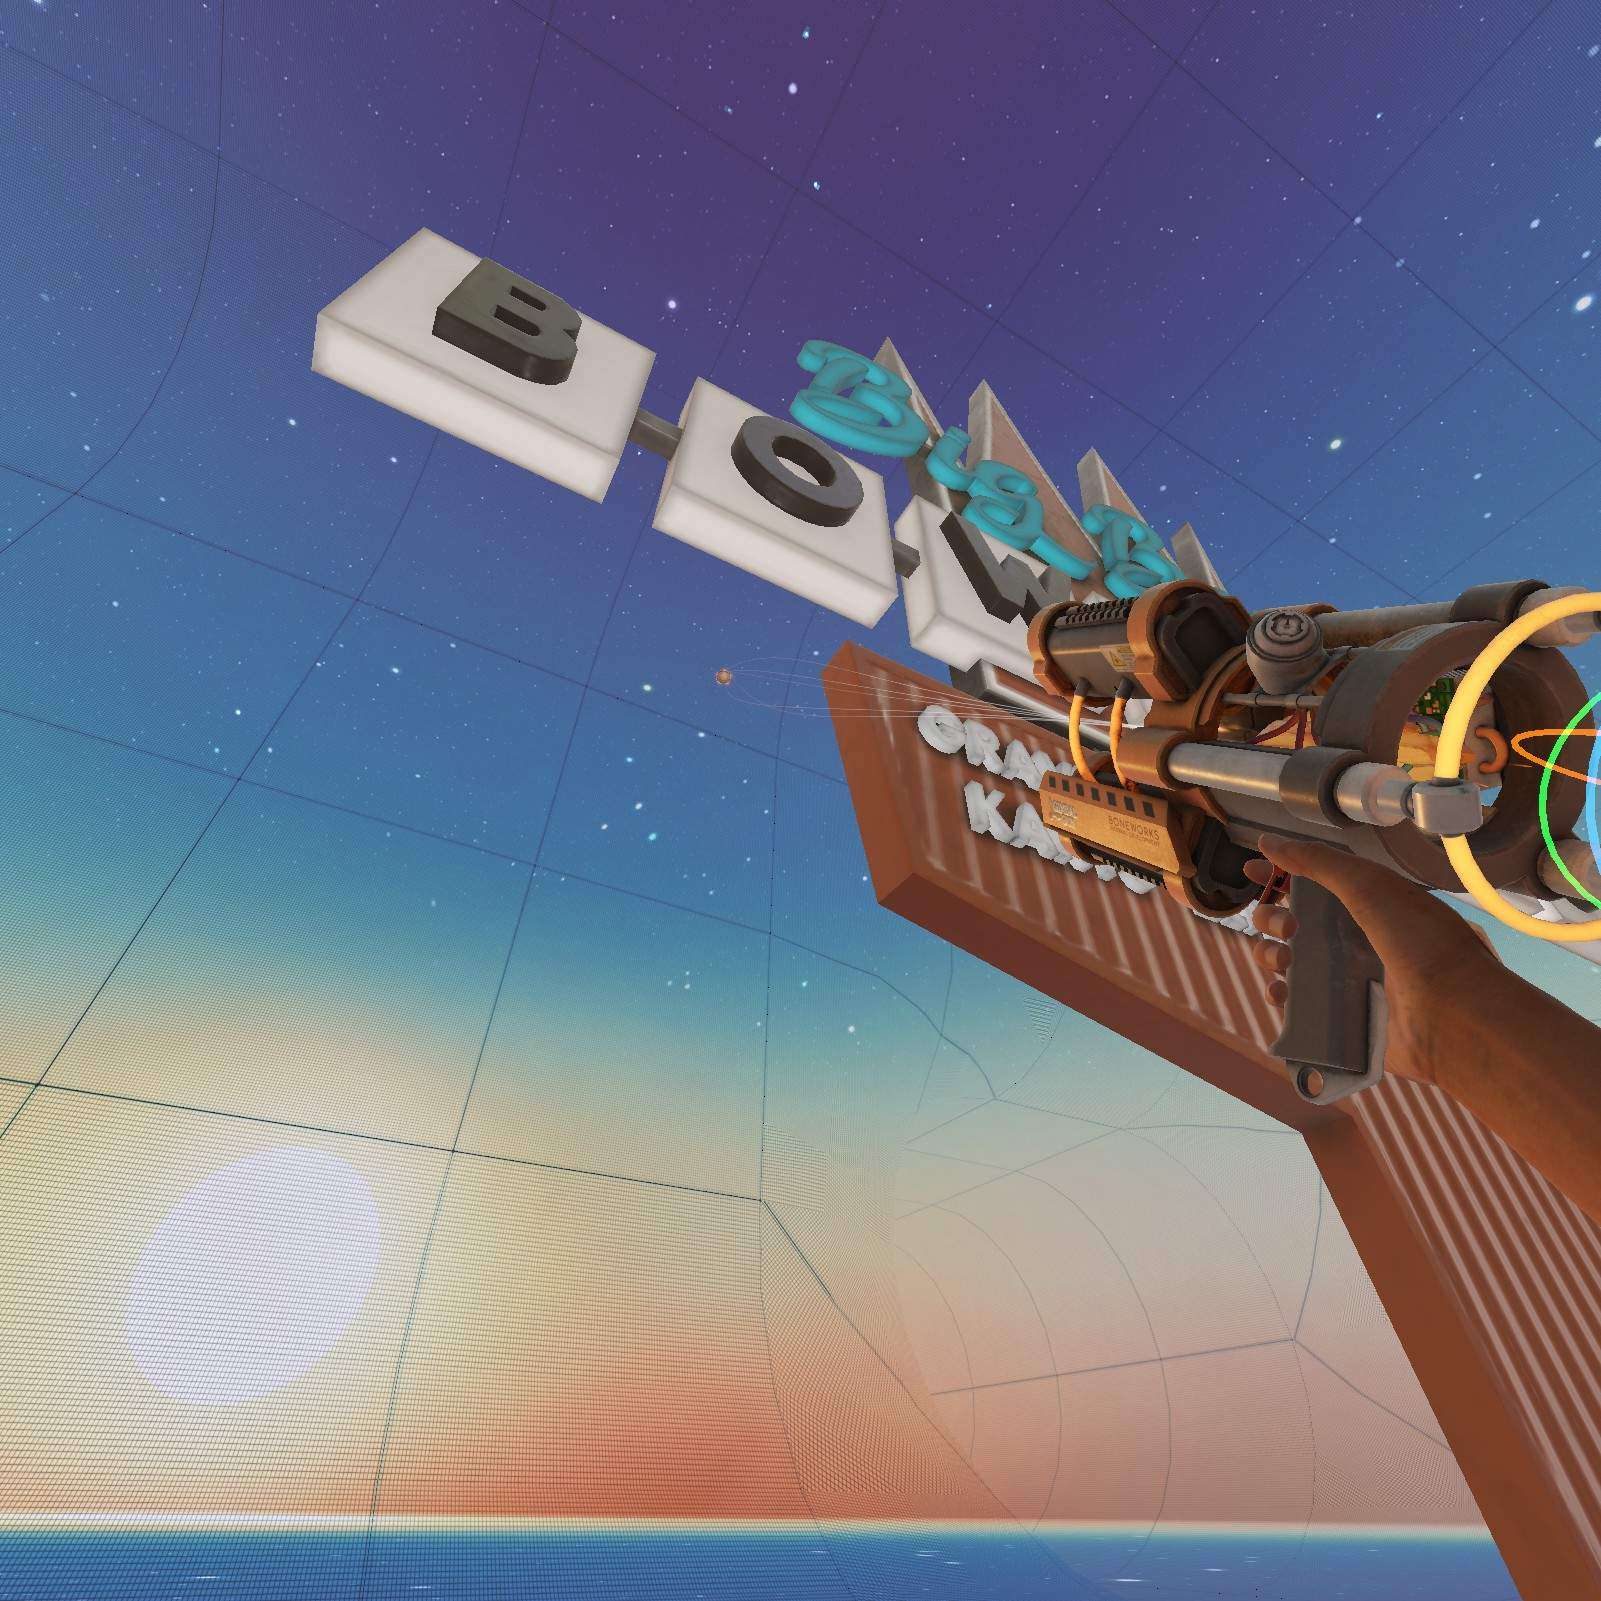
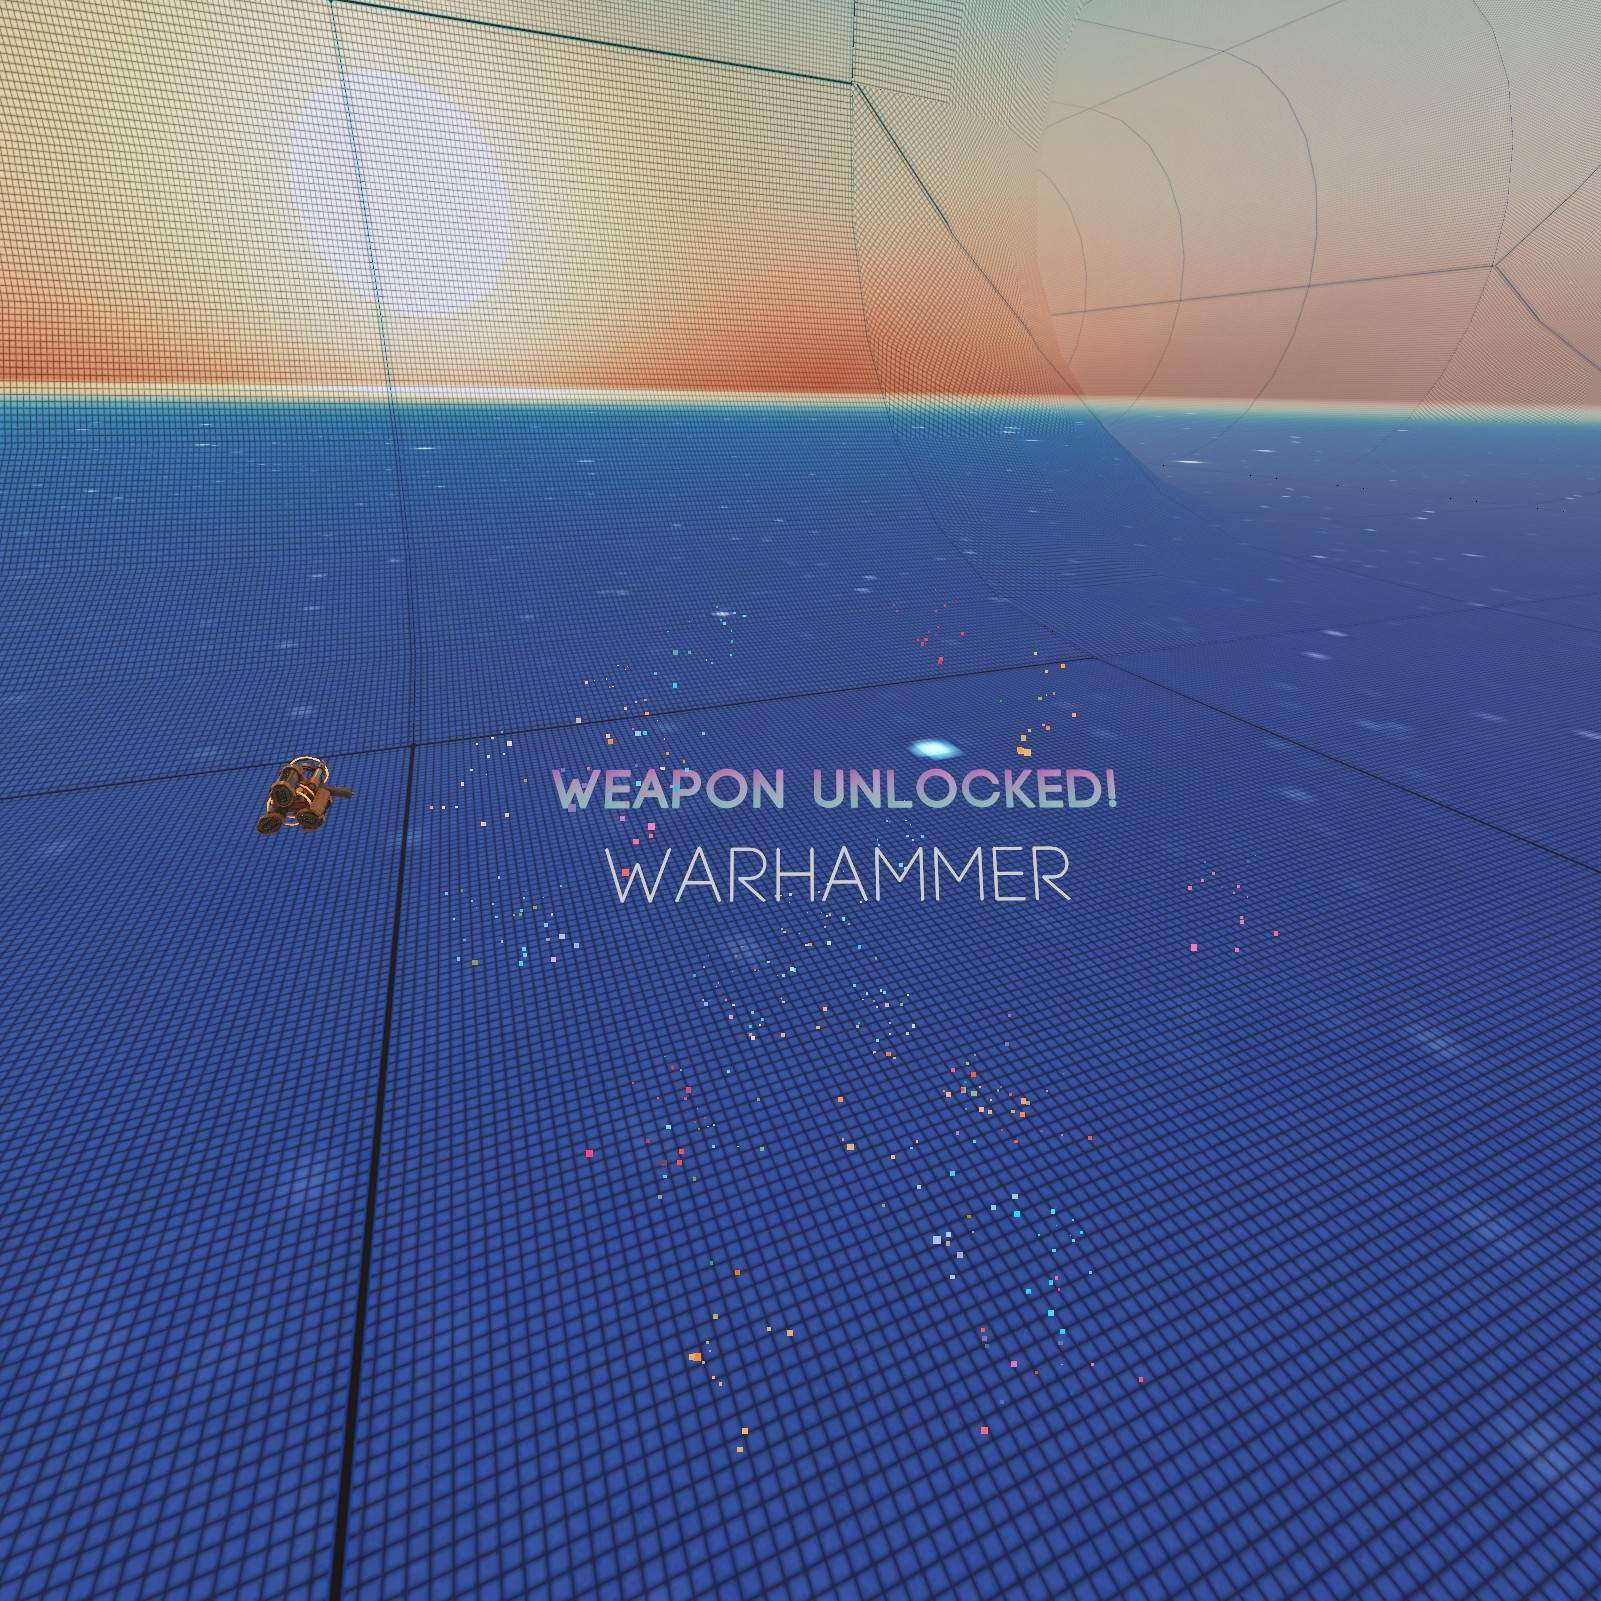
Warhammer:
At the back of the map there’s a war hammer just on top of the sign, bring it down with the dev manipulator.
Mirror
Gym arch & Gym Cylinder Large A:
Now we need to get on top of the mirror level. To do that we need to pull out this platform here. Its easy enough to jump to and push from up top. Afterwards we get some help from our boy giant Apollo to climb up and spot the capsule on the chair. We get my favorite shape the gym arch and my favorite shape the Gym Cylinder Large A.


The Bonelab (Part 2)
Finally. We can progress level 2. Longest time spent in one level everybody!
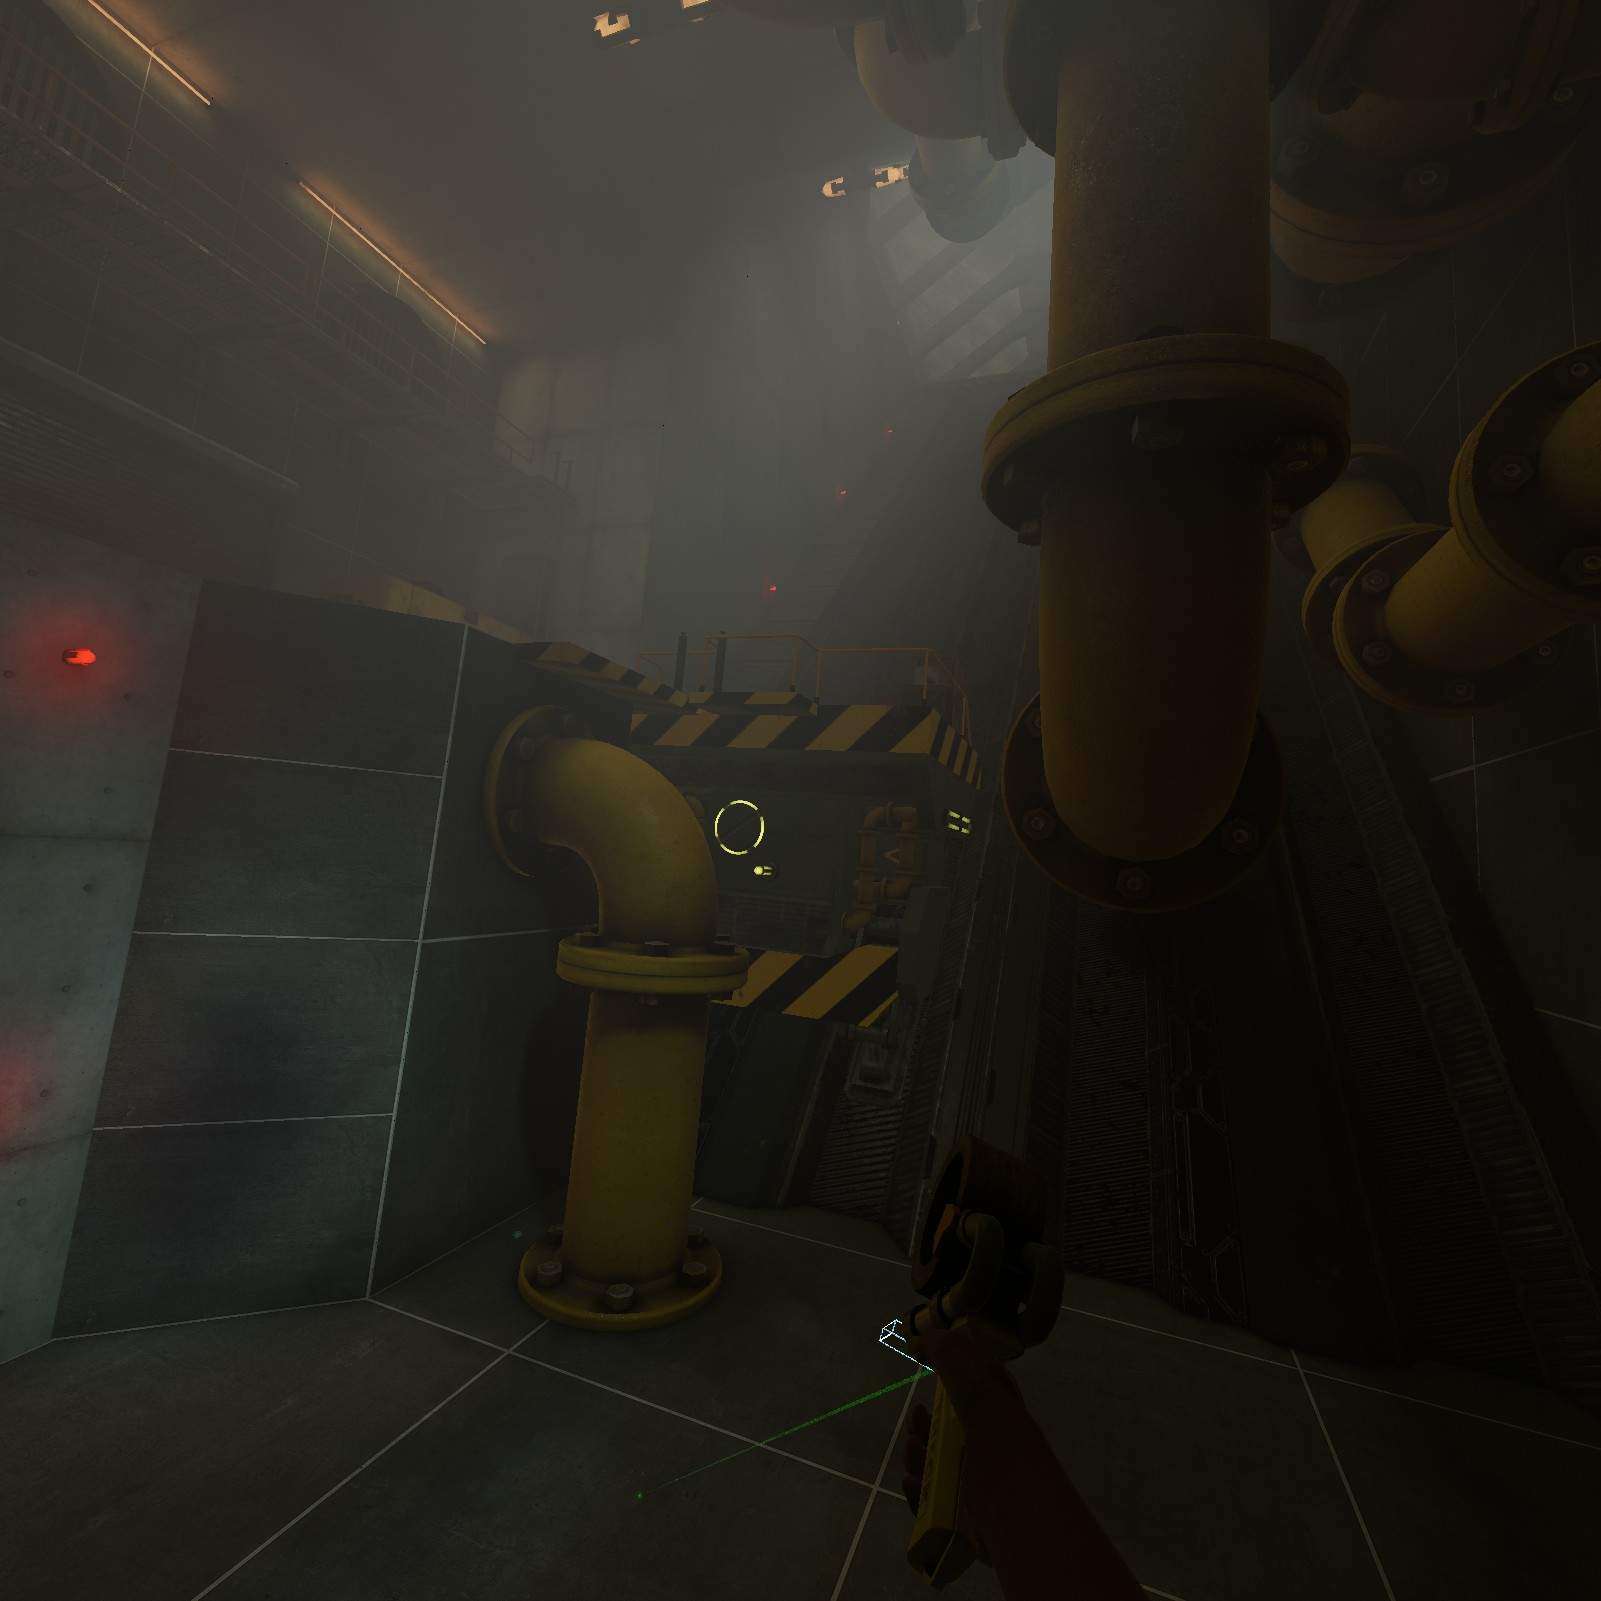
Quick tip, rather than using the crane, just use the dev manipulator we grabbed earlier to quickly get the gravity balls to their respective pipes. Also if you store them in your inventory, you can take dev tools throughout the rest of the game. I’d particularly recommend the gravity cups as then you can climb anywhere you want.

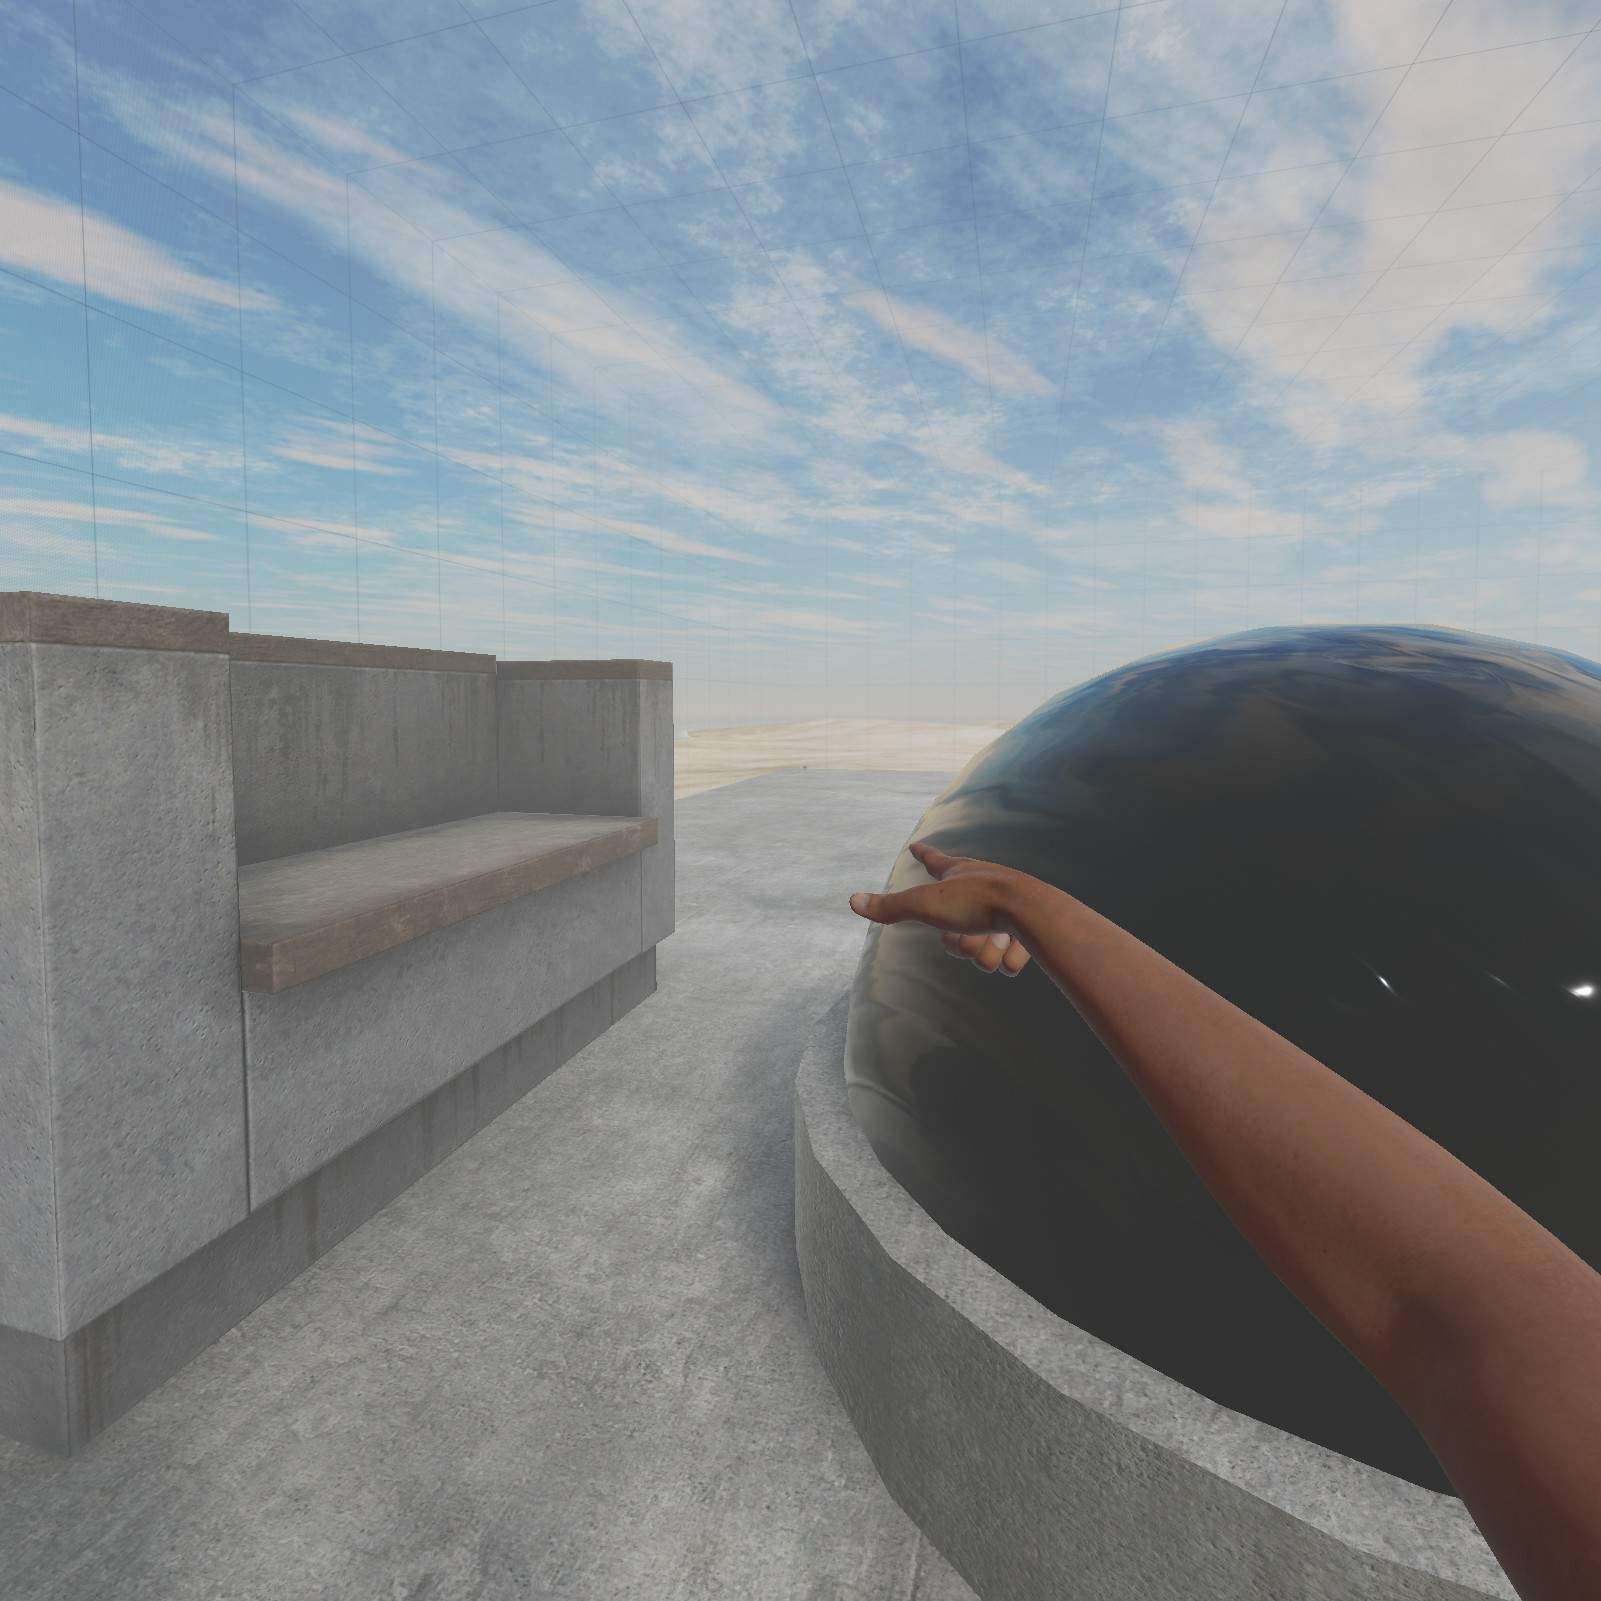
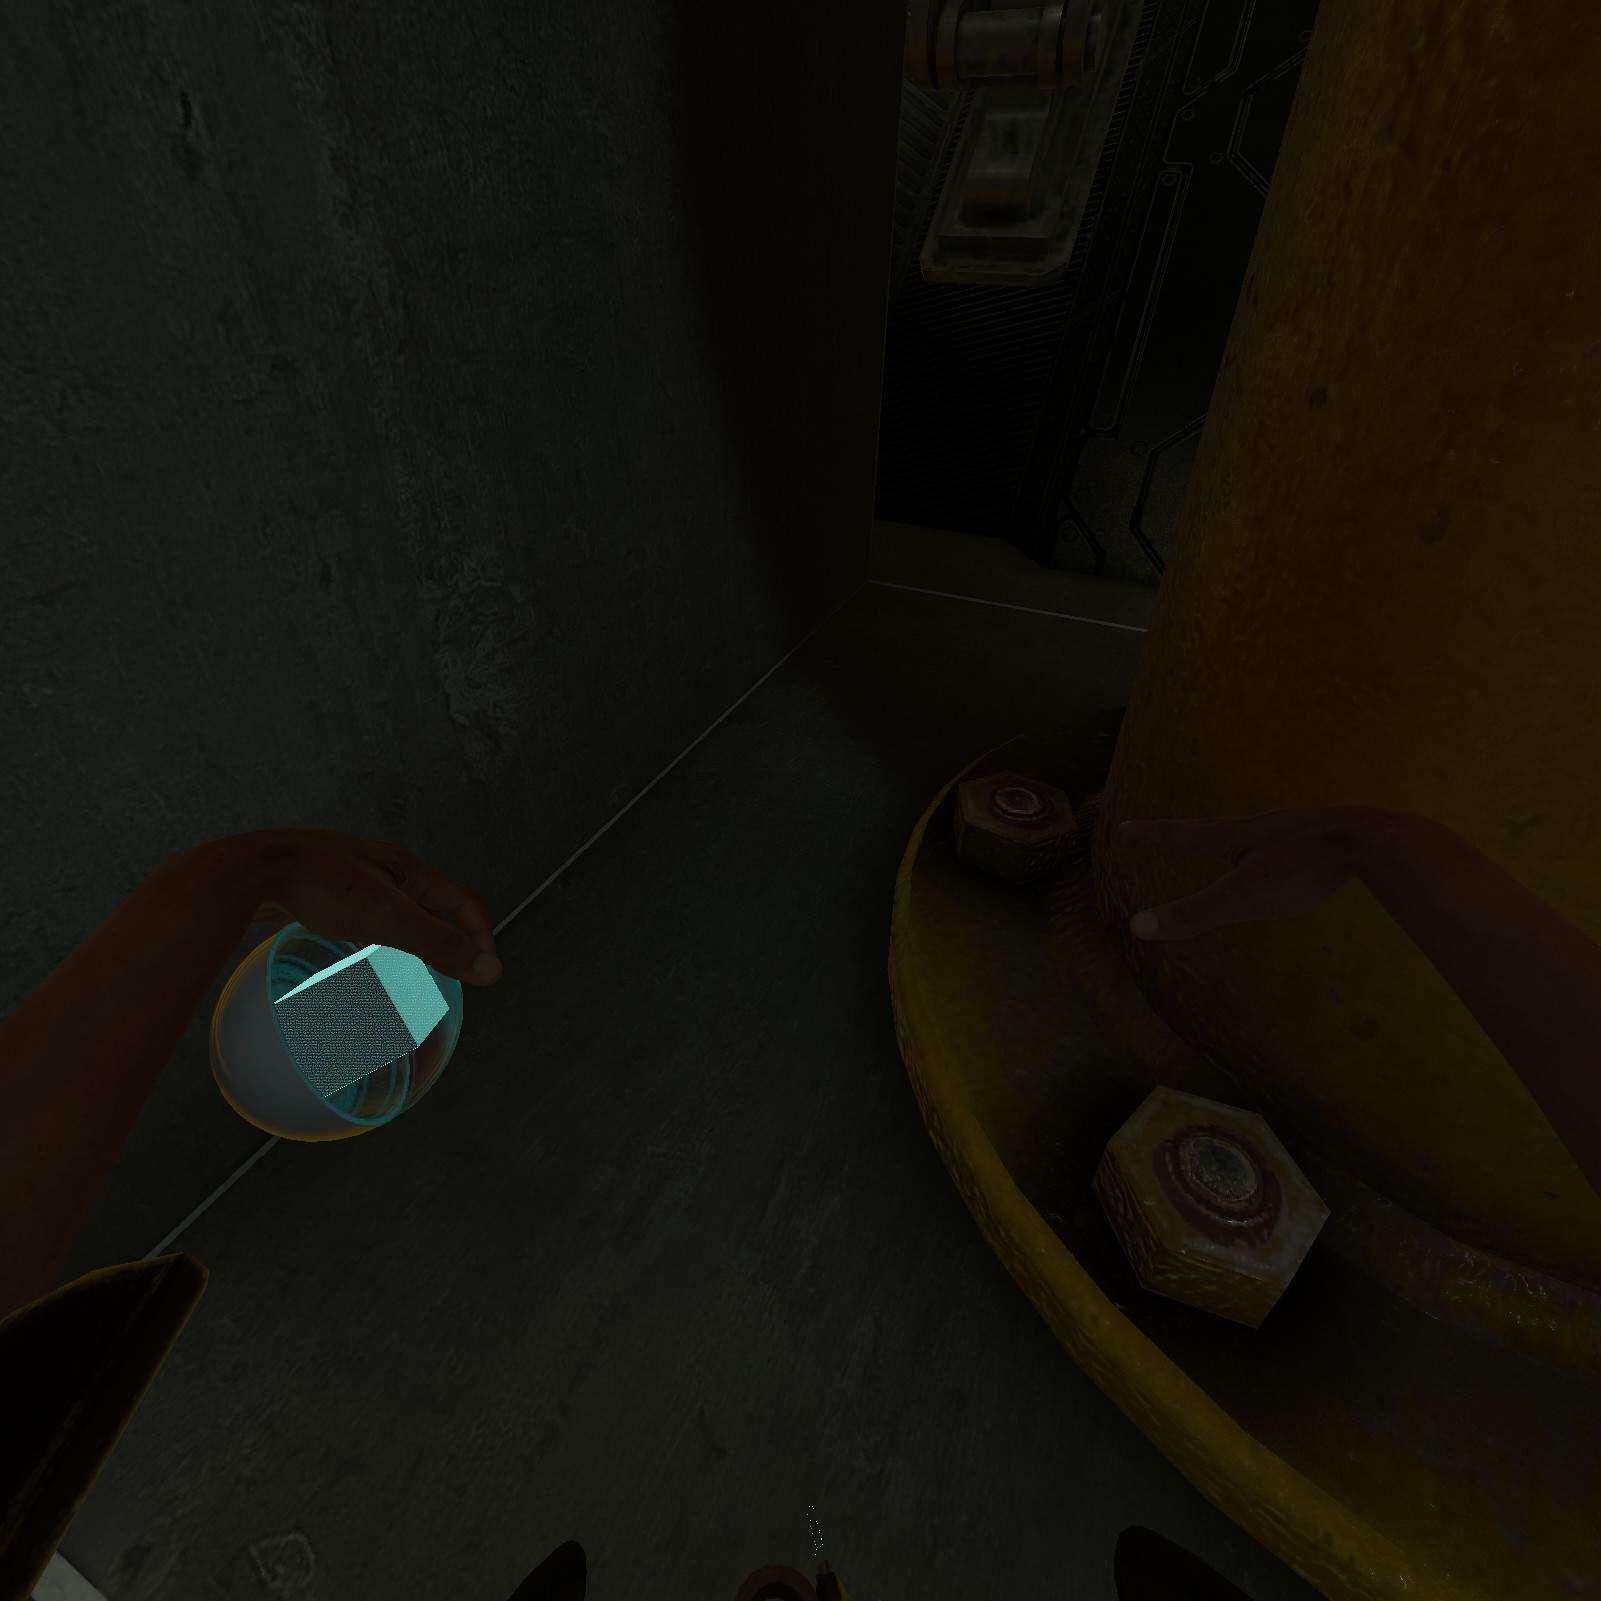
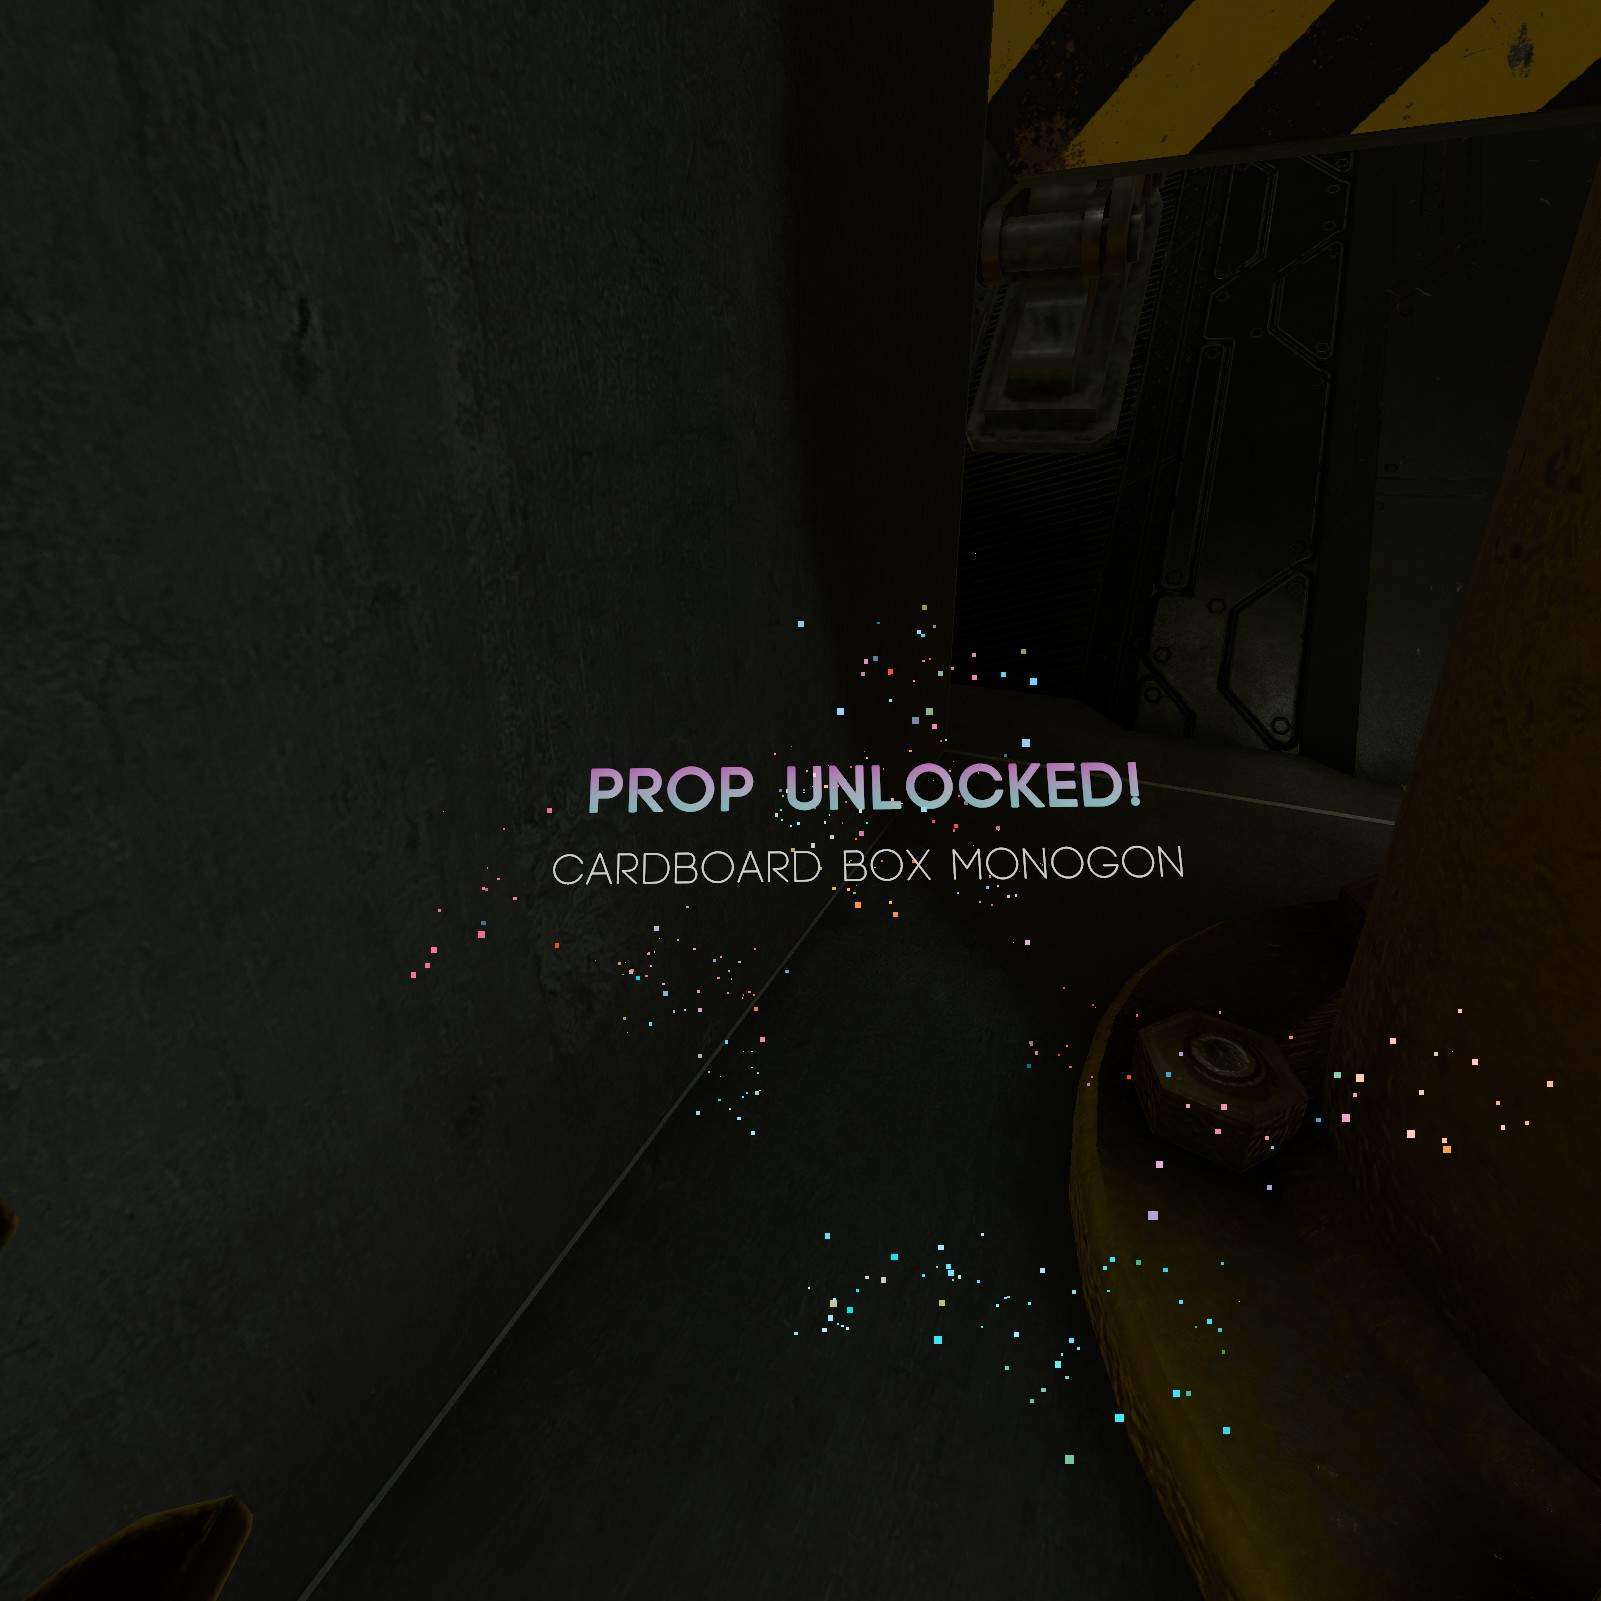
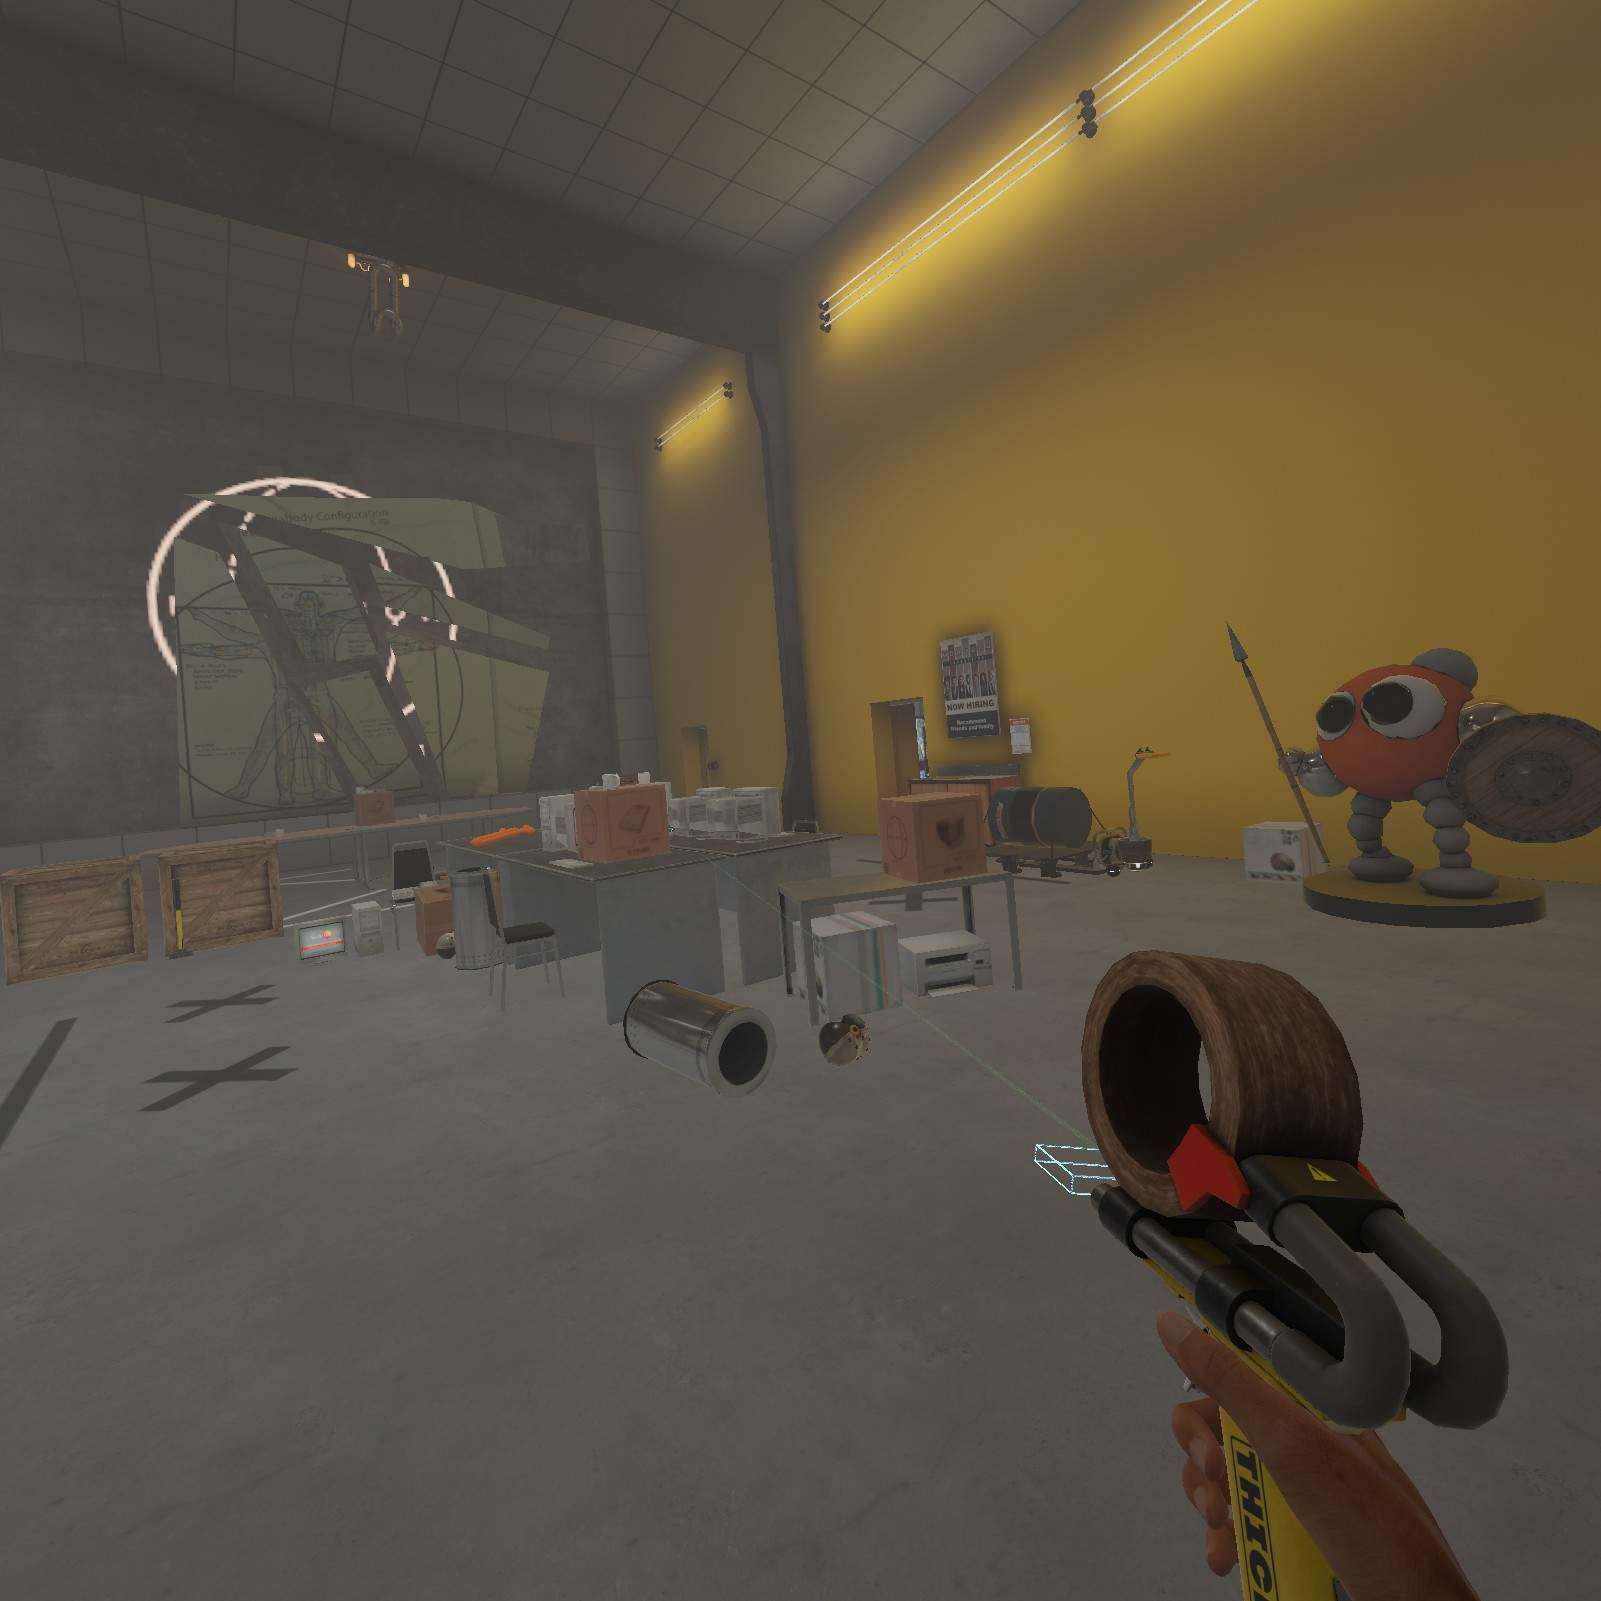
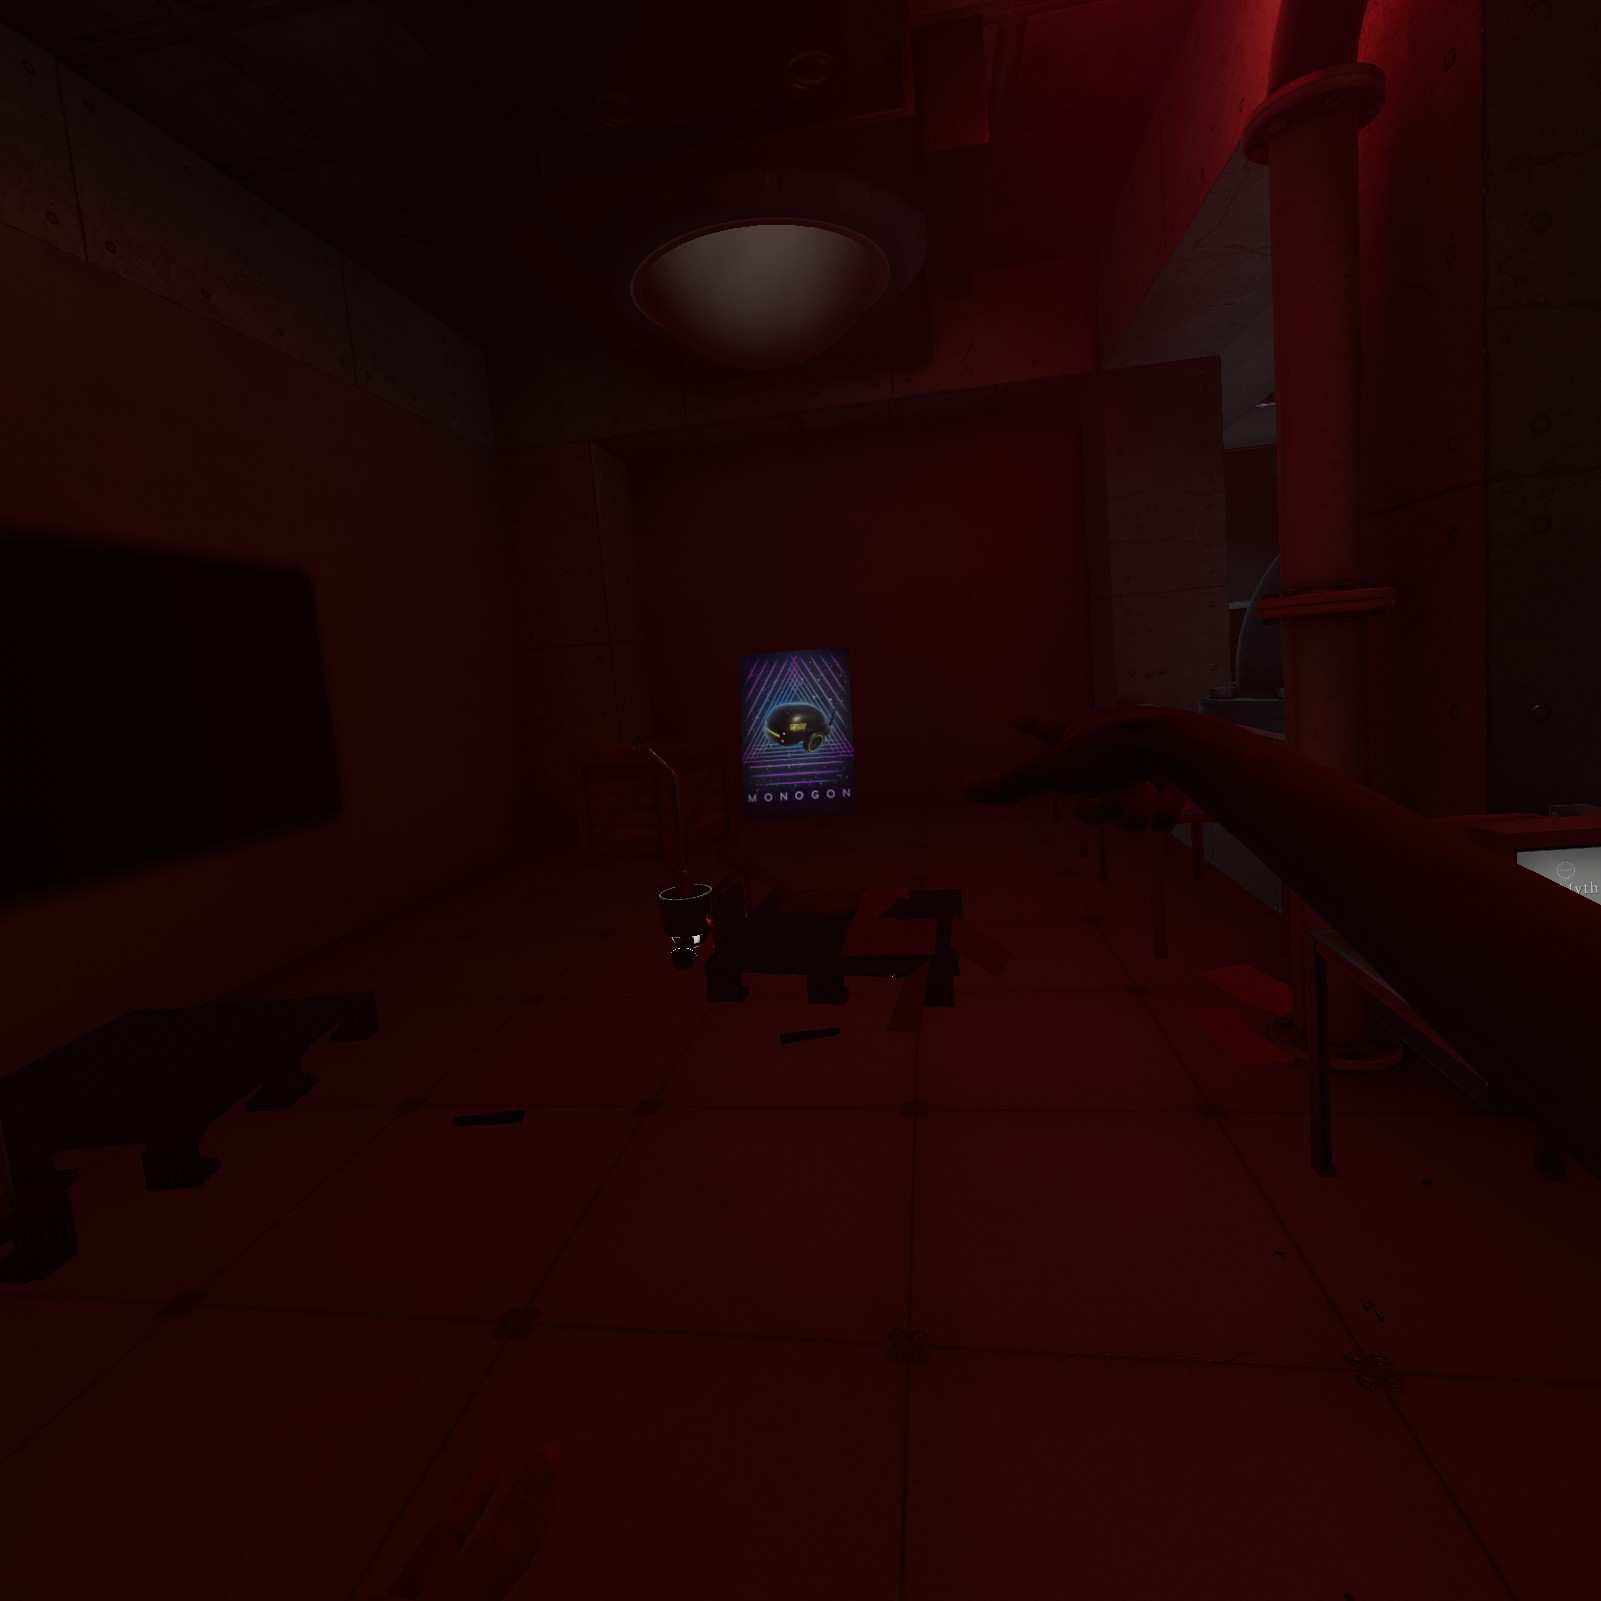
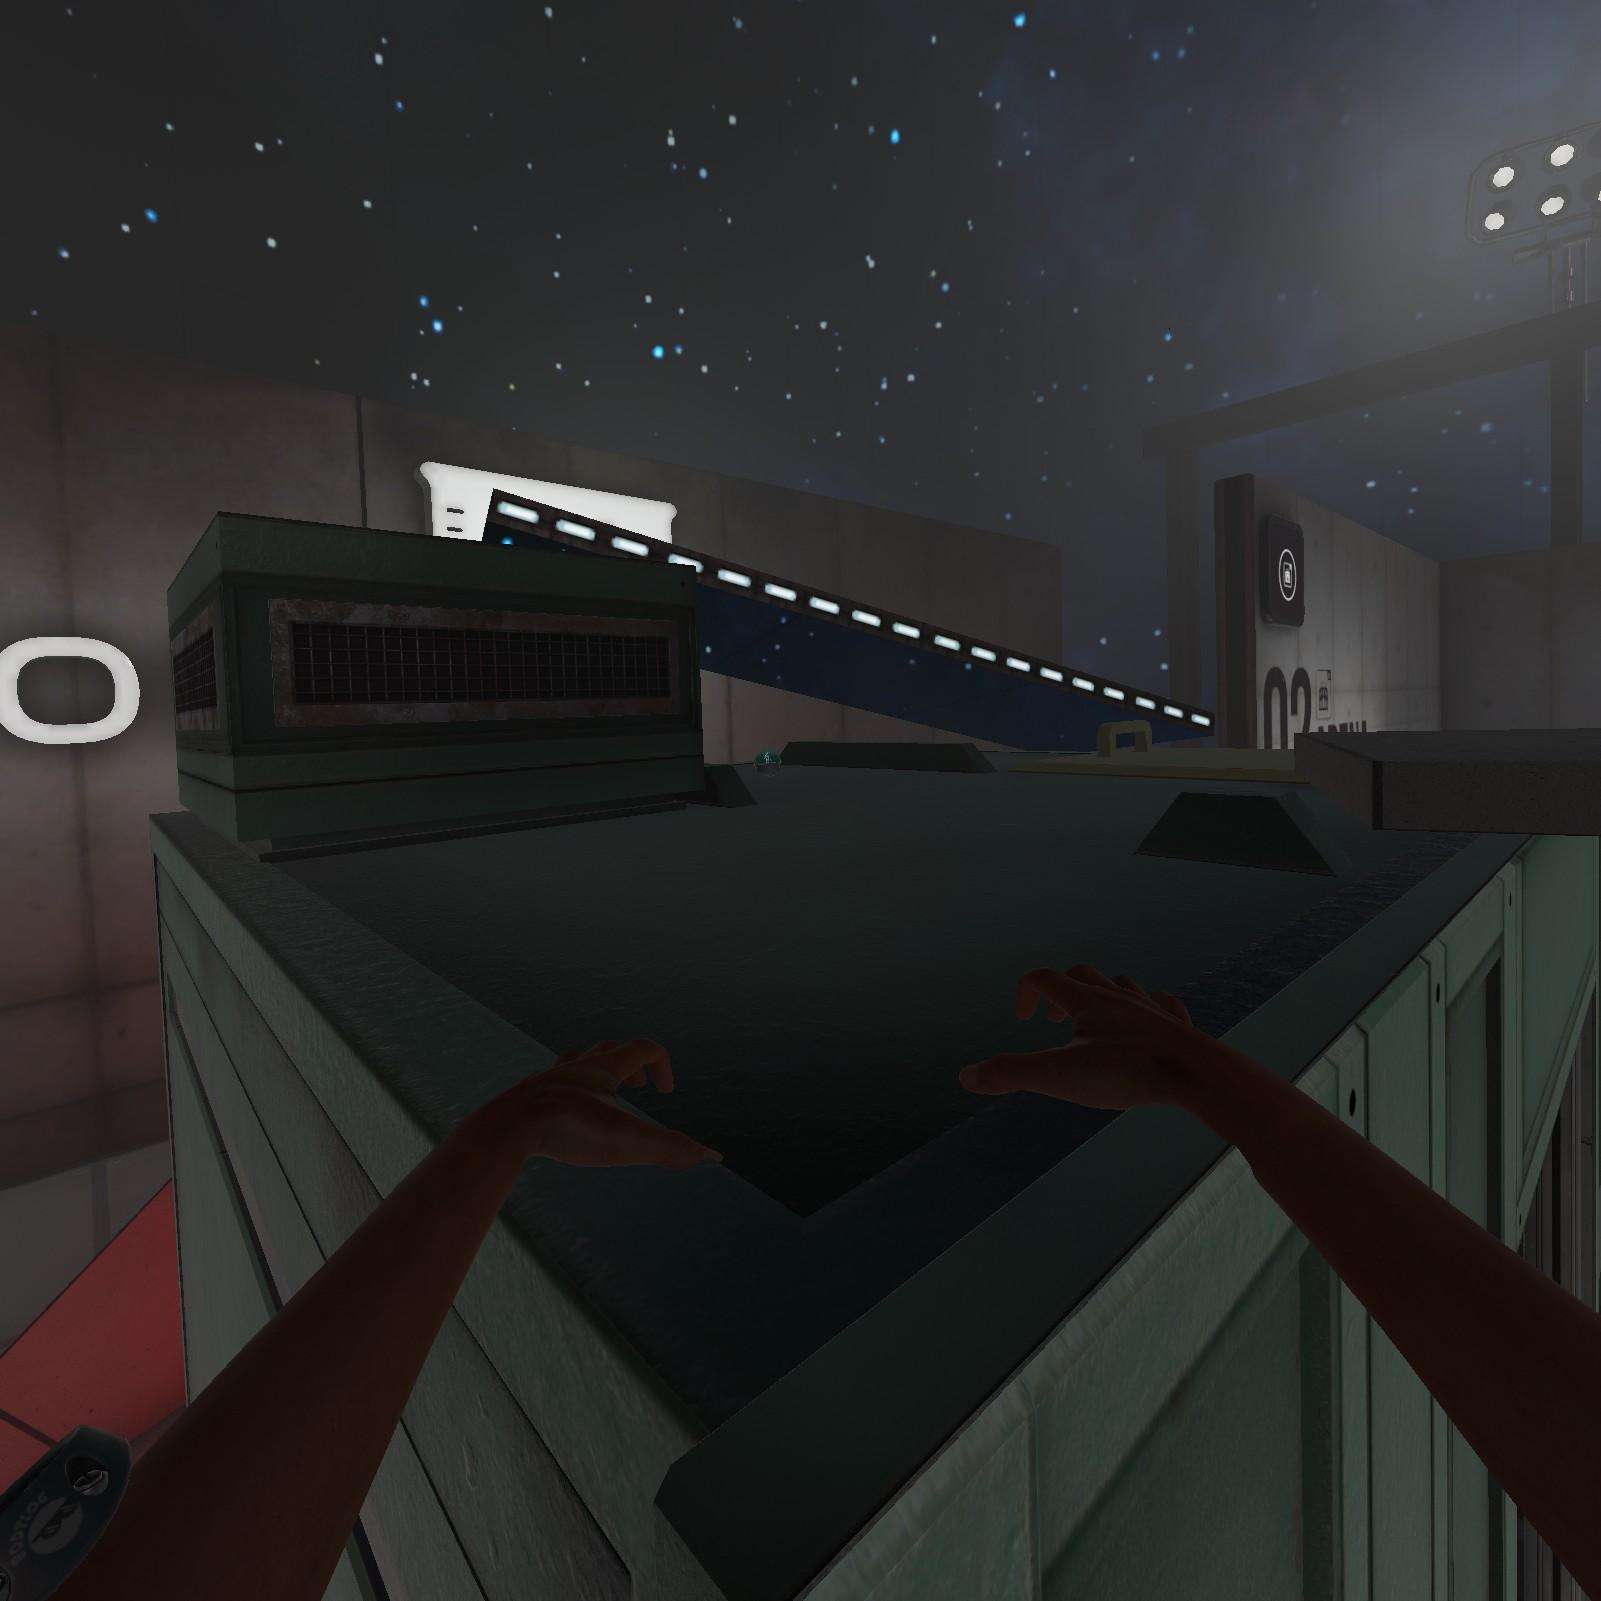
Monogon Cardboard Box:
Once you reach the elevator… wait no stop… ah you overshot and landed under it. Not to worry, there’s a gatcha ball here anyway. Grab your monogon cardboard box, put it on, and walk away like a champ.

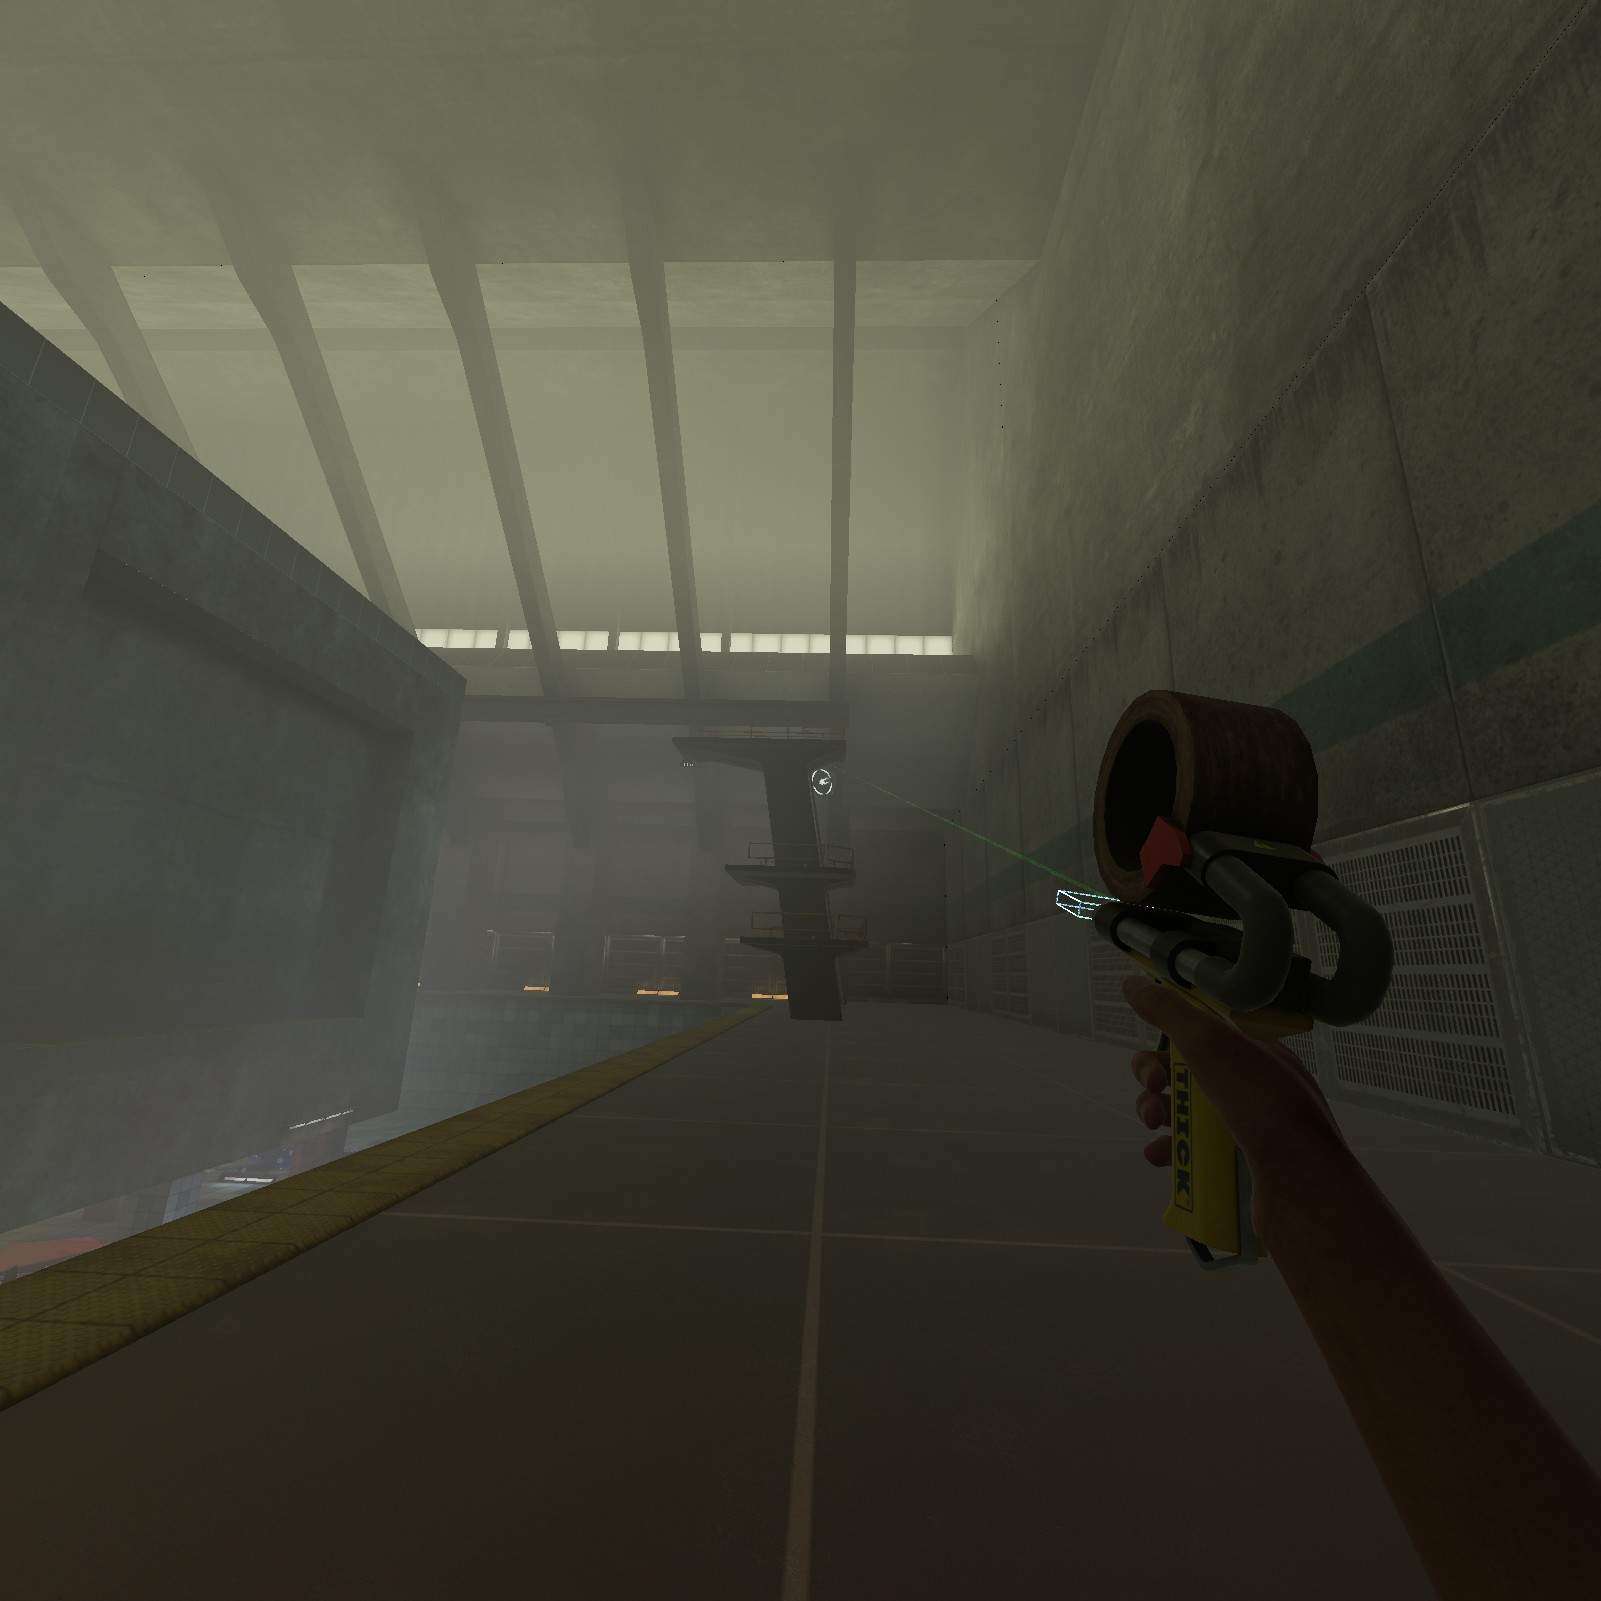
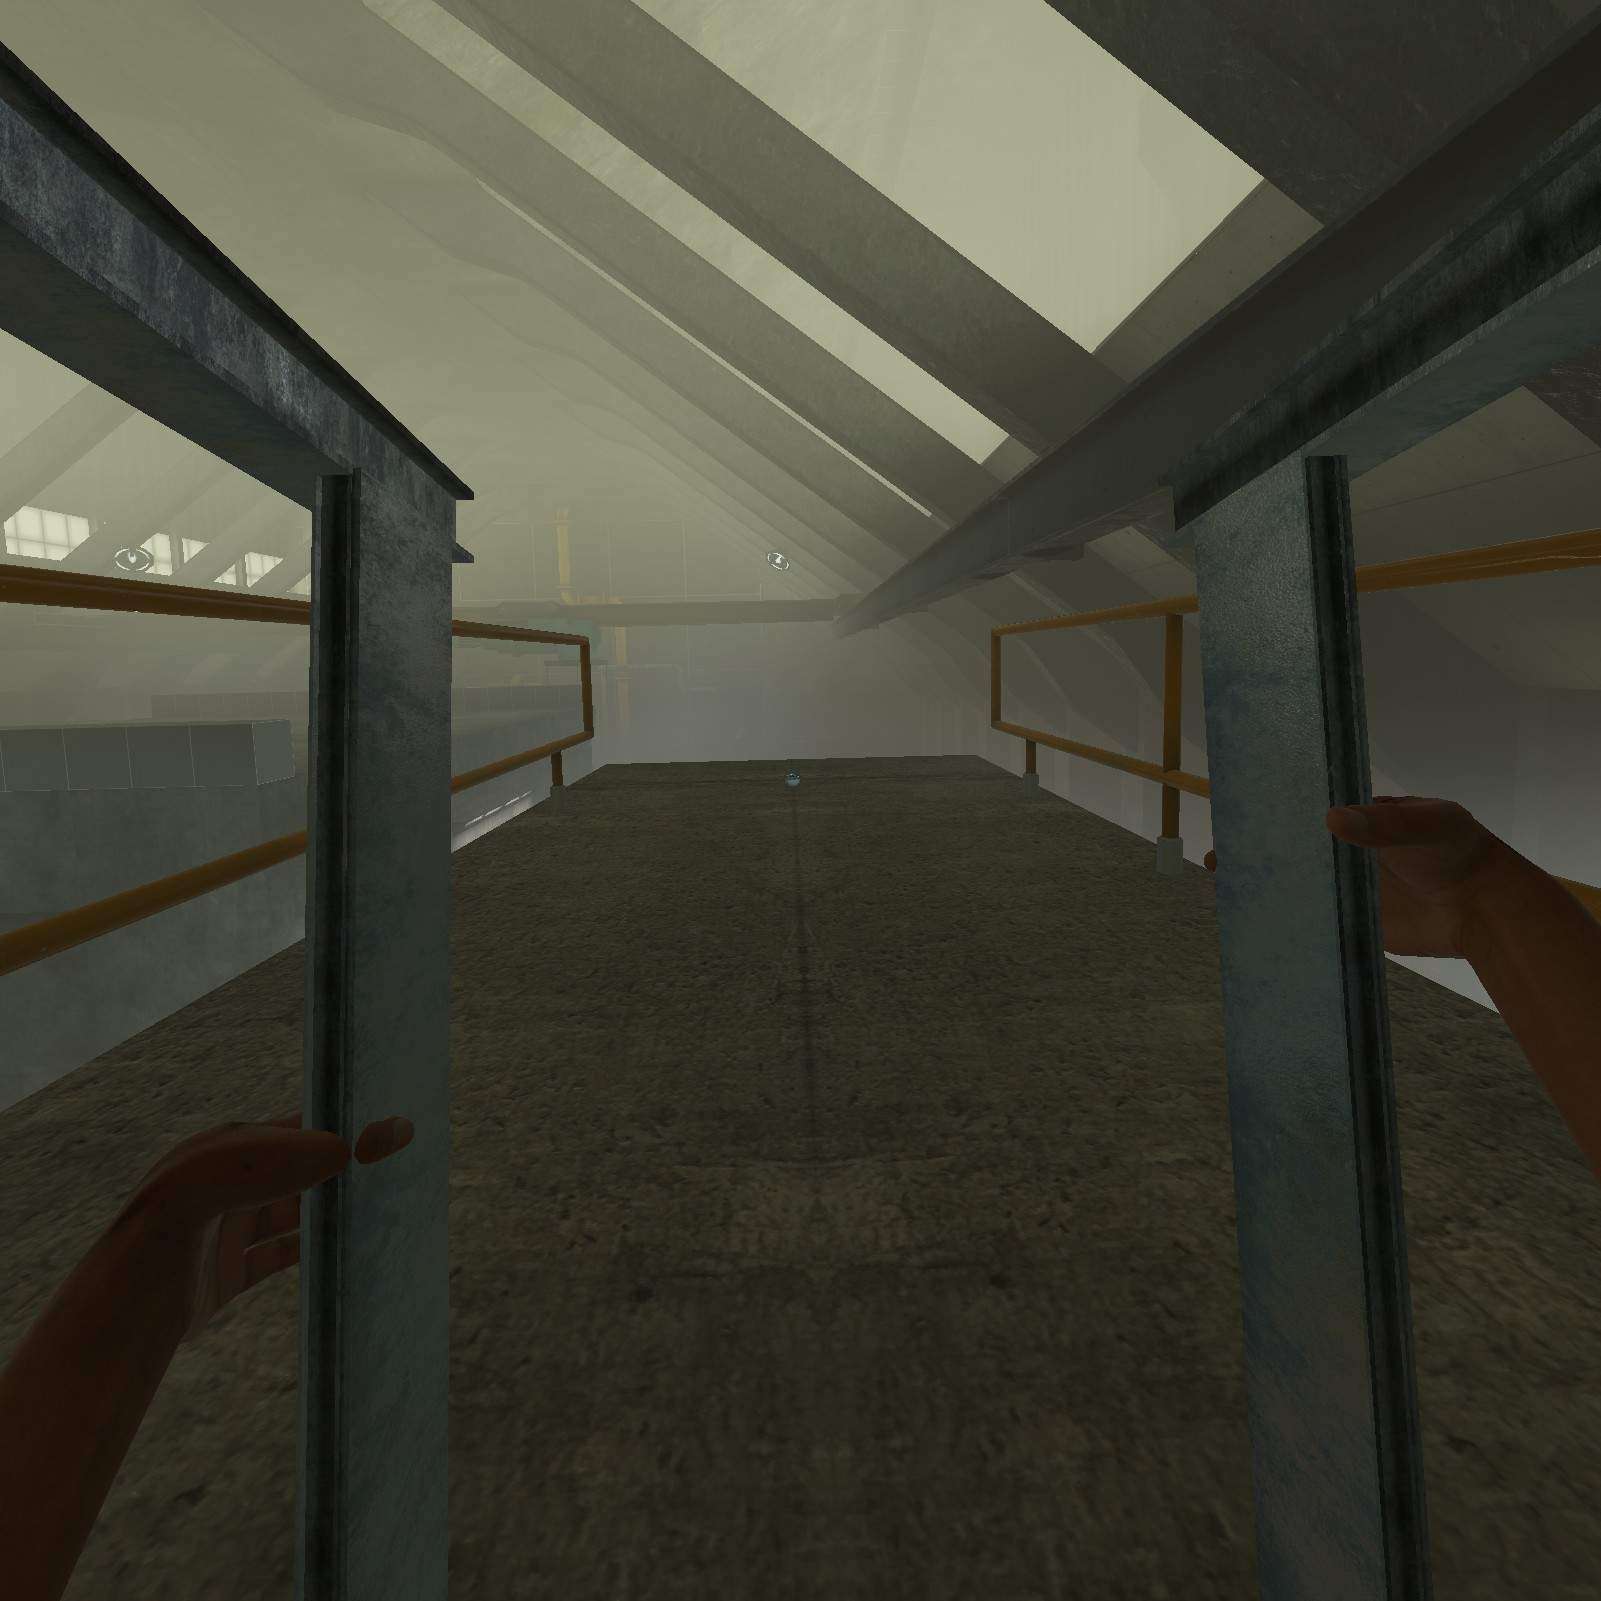
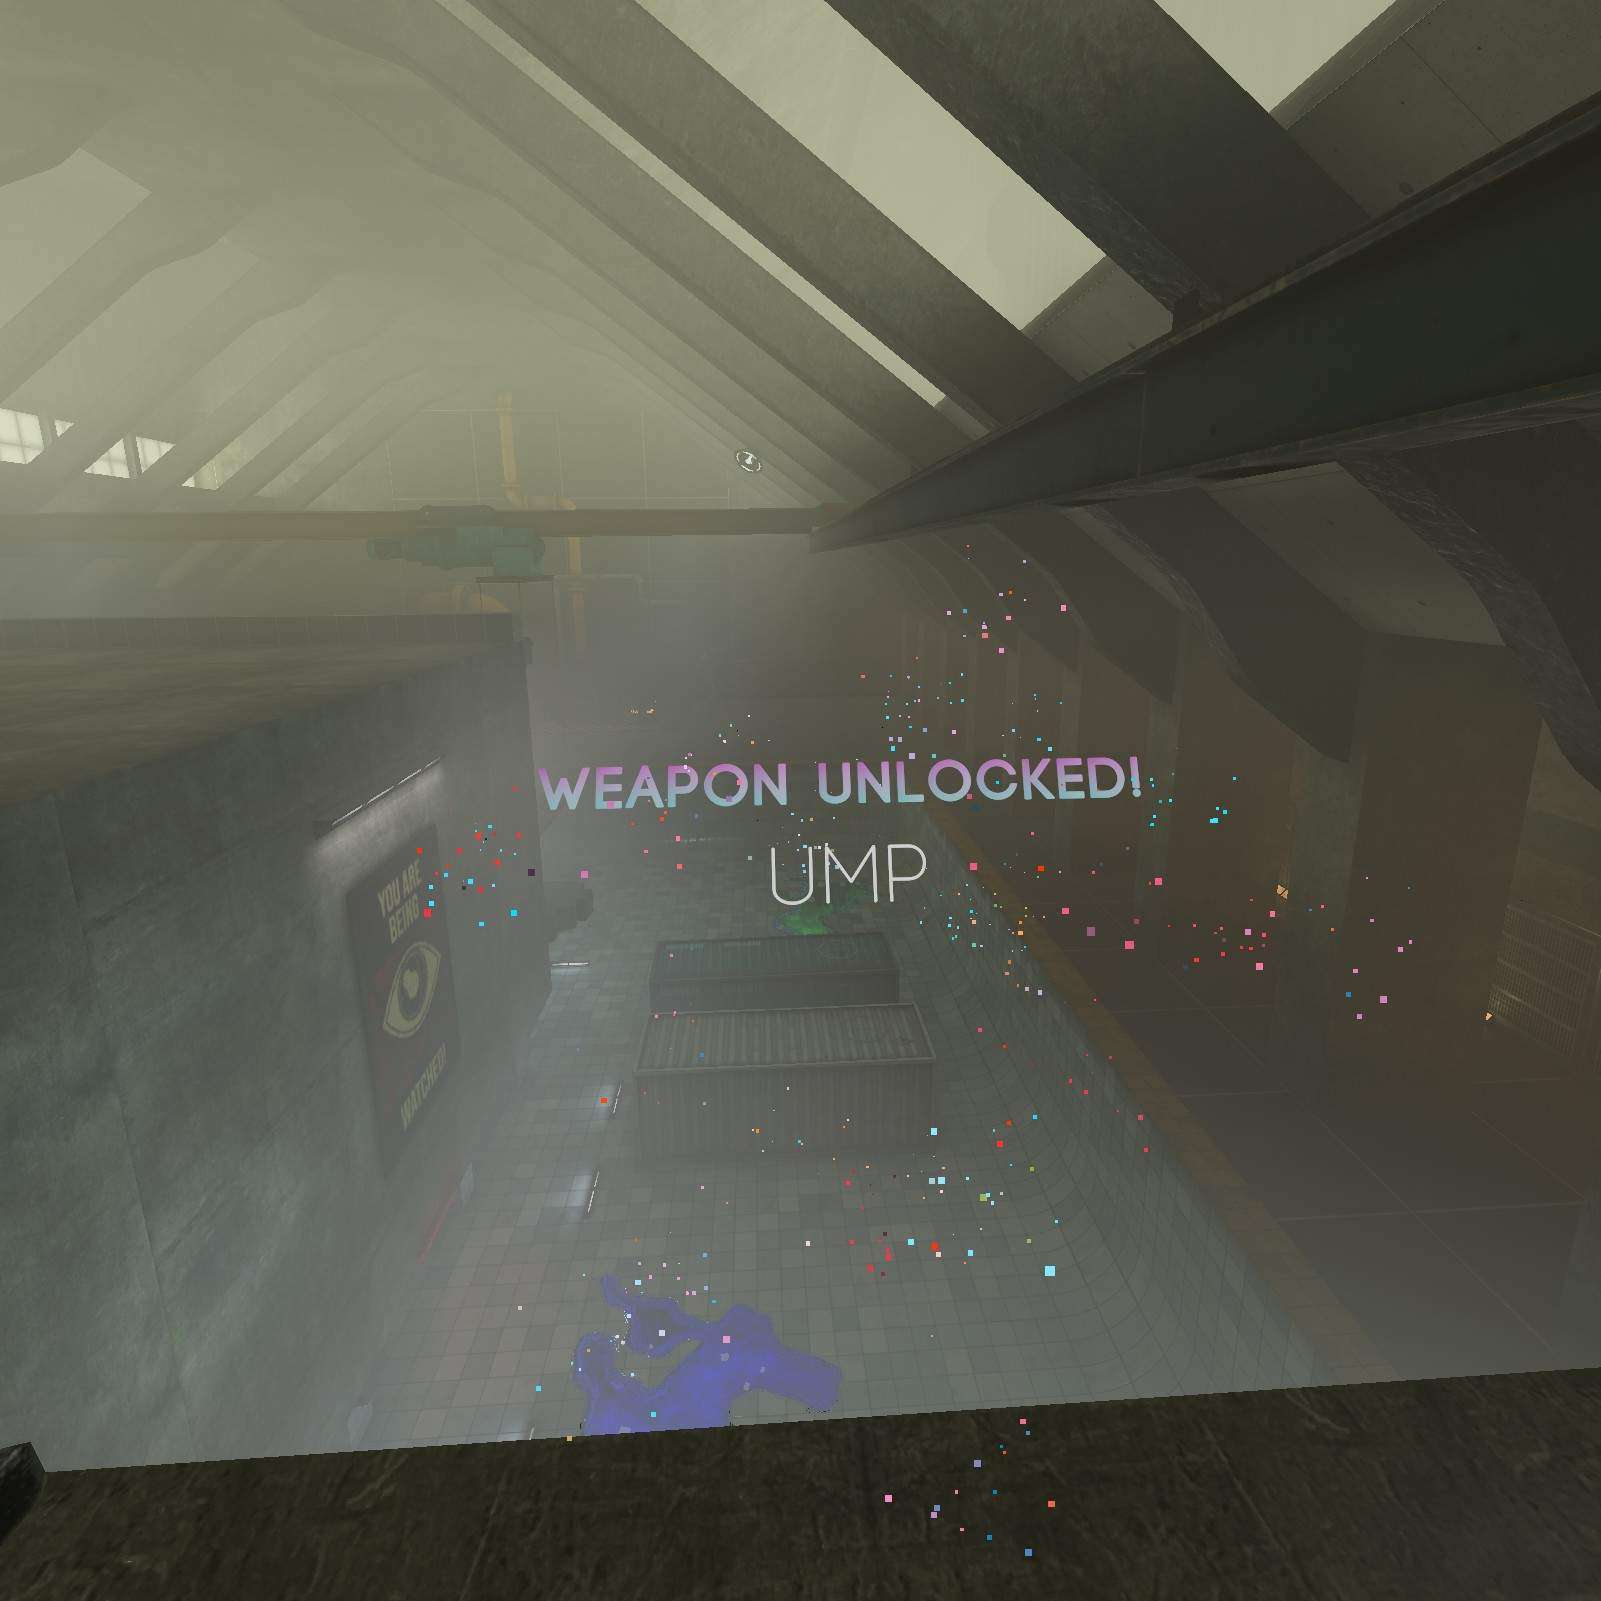
UMP:
Are you ready to go diving in void matter? Before you jump off the top here, don’t forget to grab your UMP.
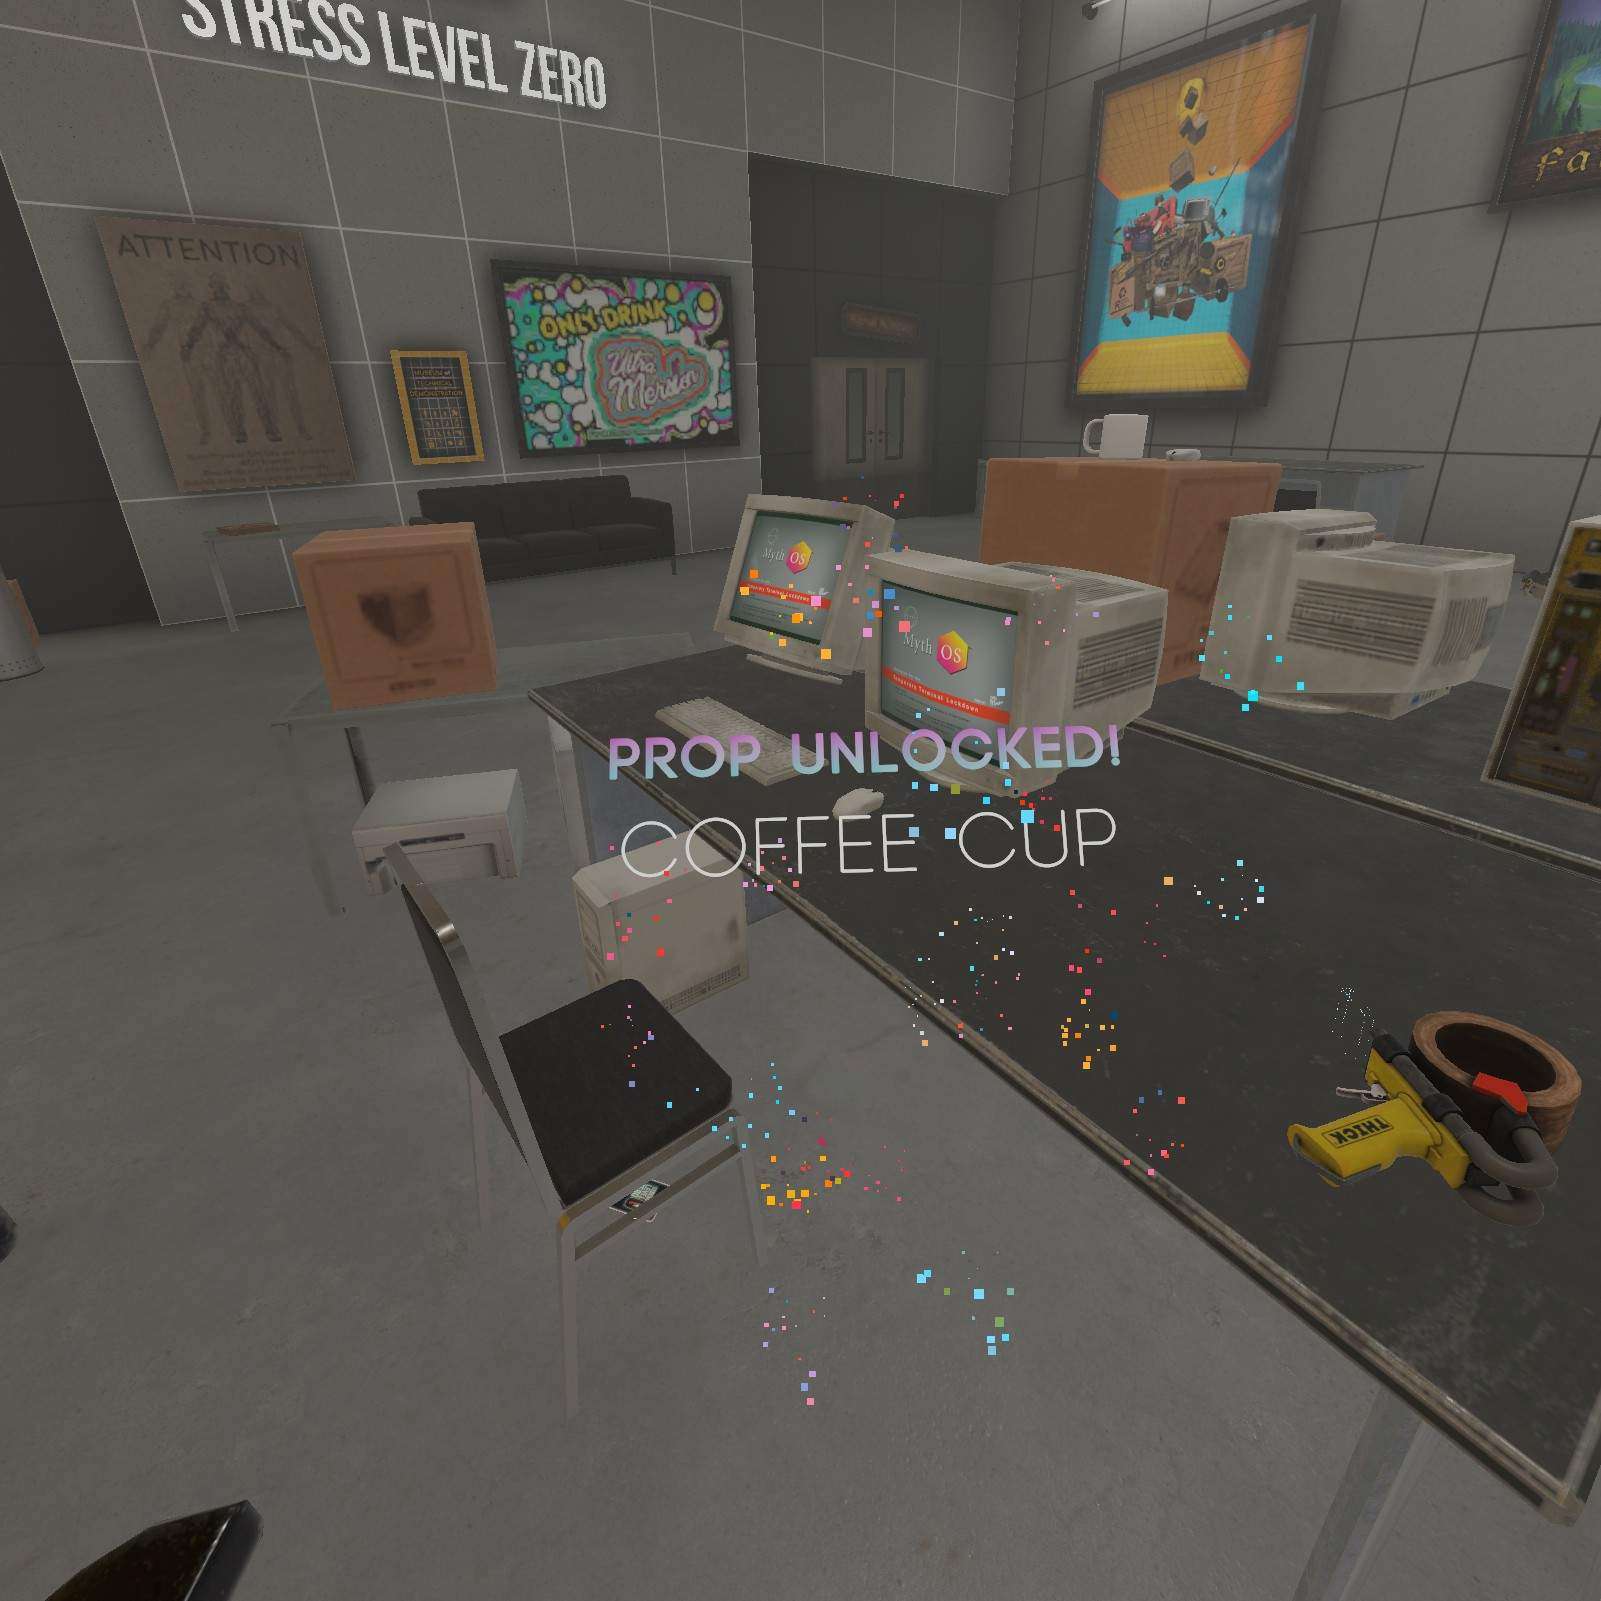
Coffee Mug:
I’m editing this at like 3 in the morning, so I’m stopping here for tonight, but if I wanted to continue I could use this coffee mug to carry my stay awake drug anywhere I go.
Runaway
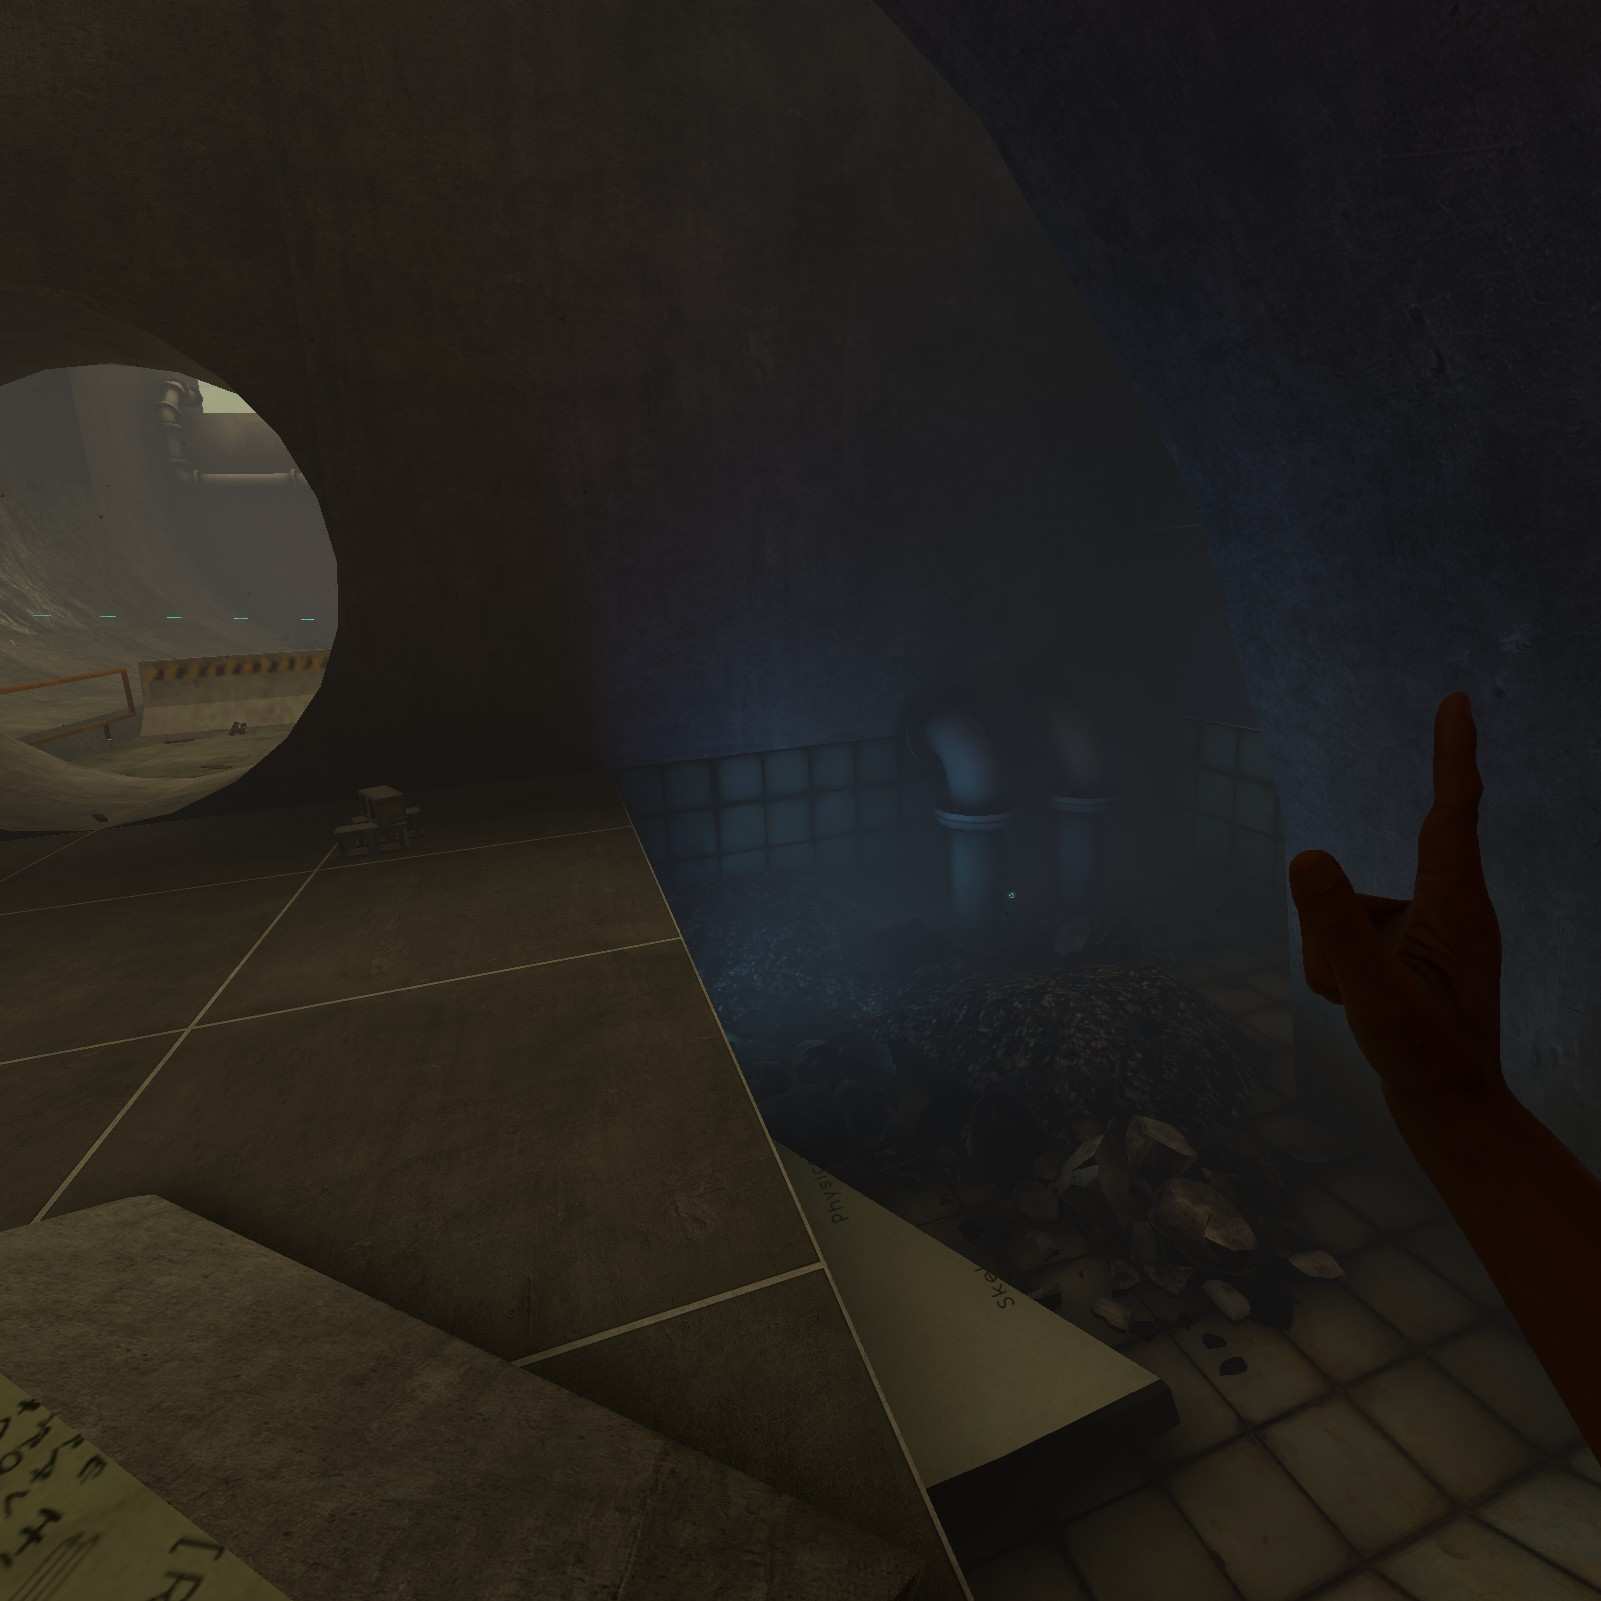
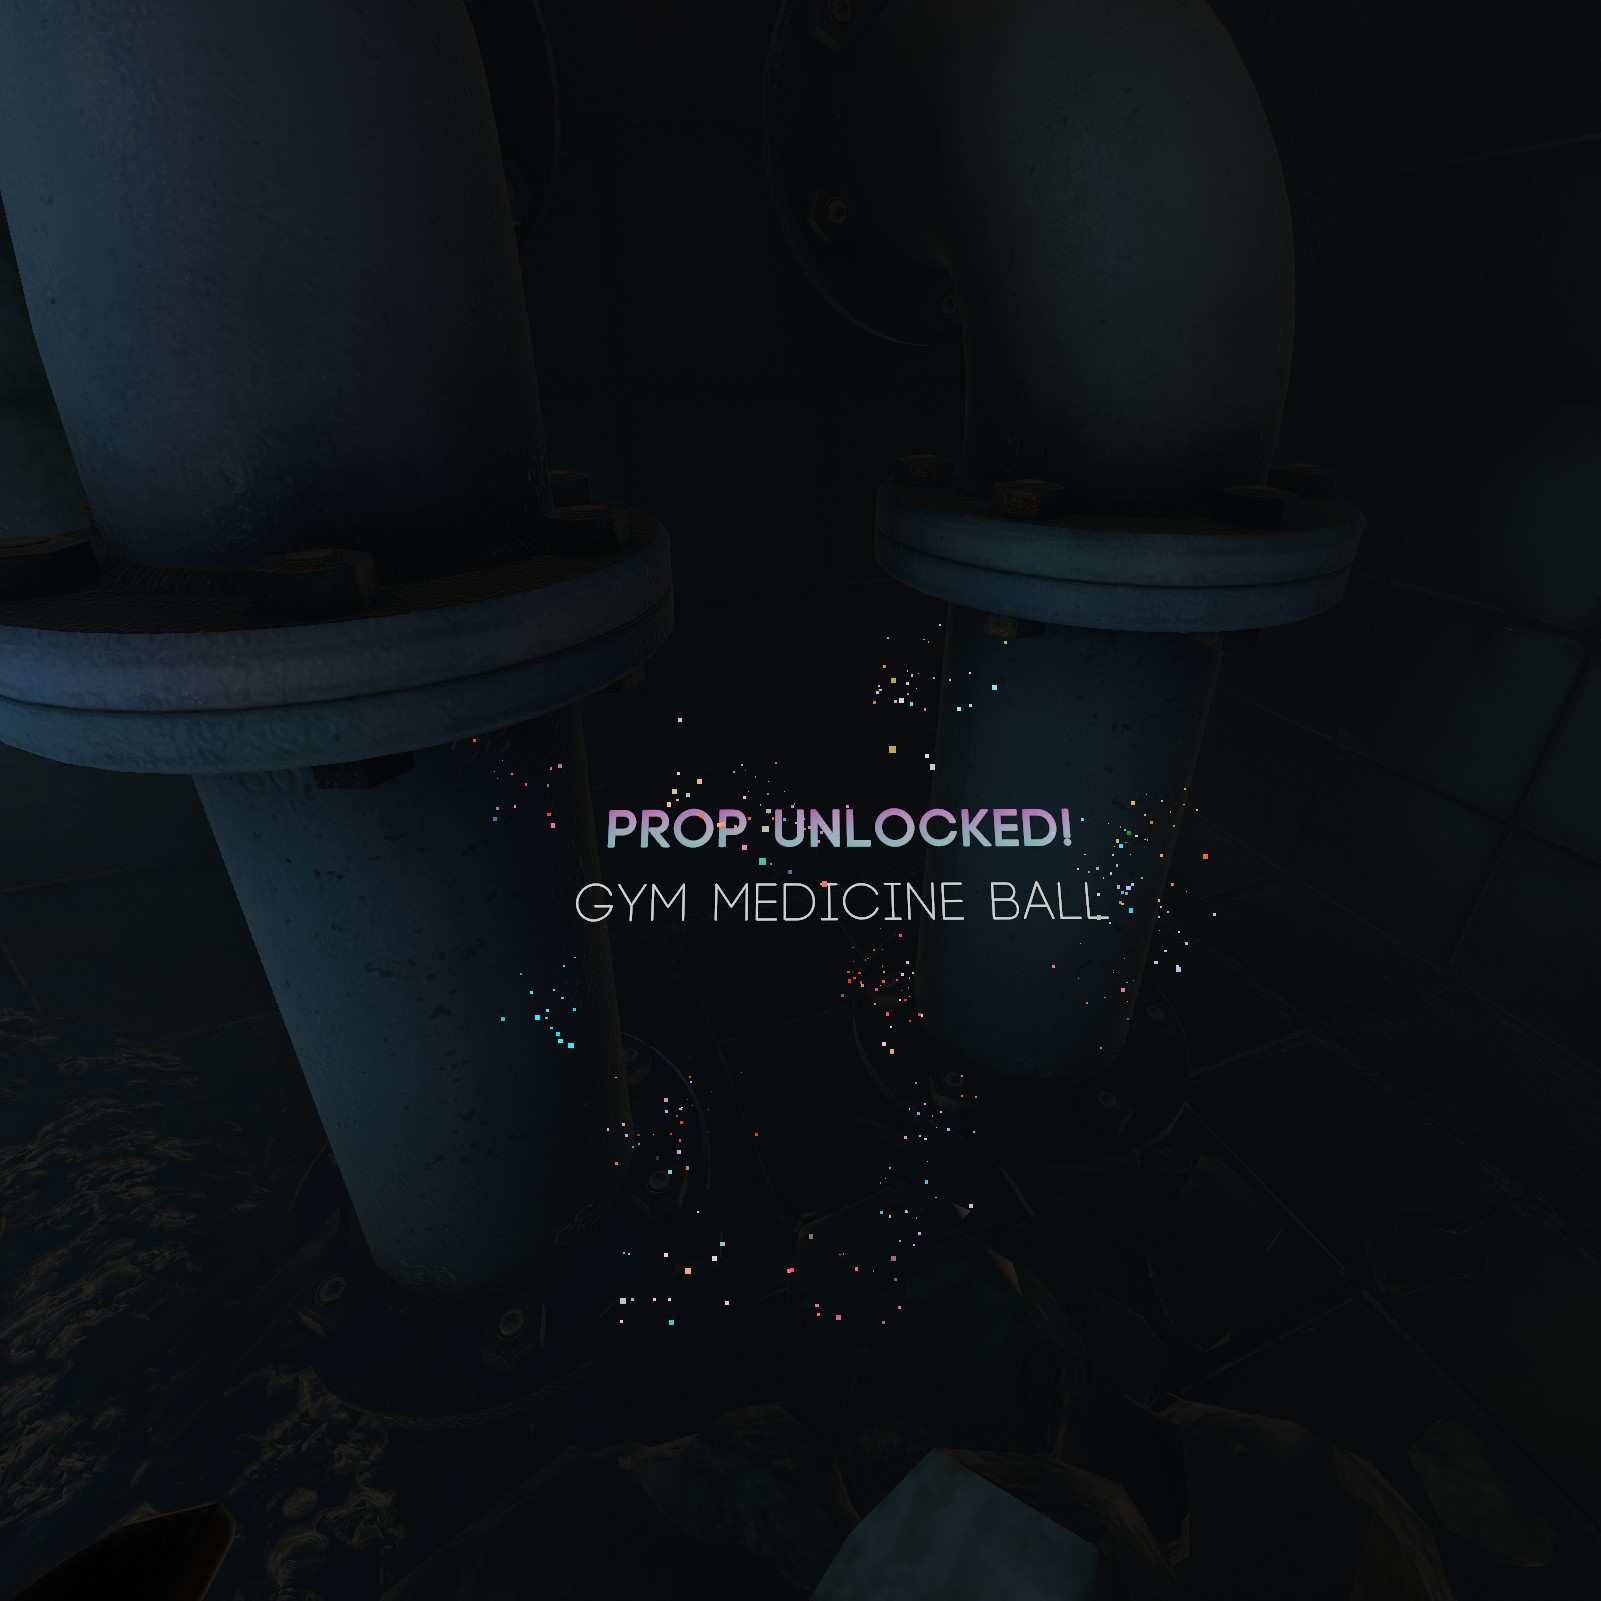
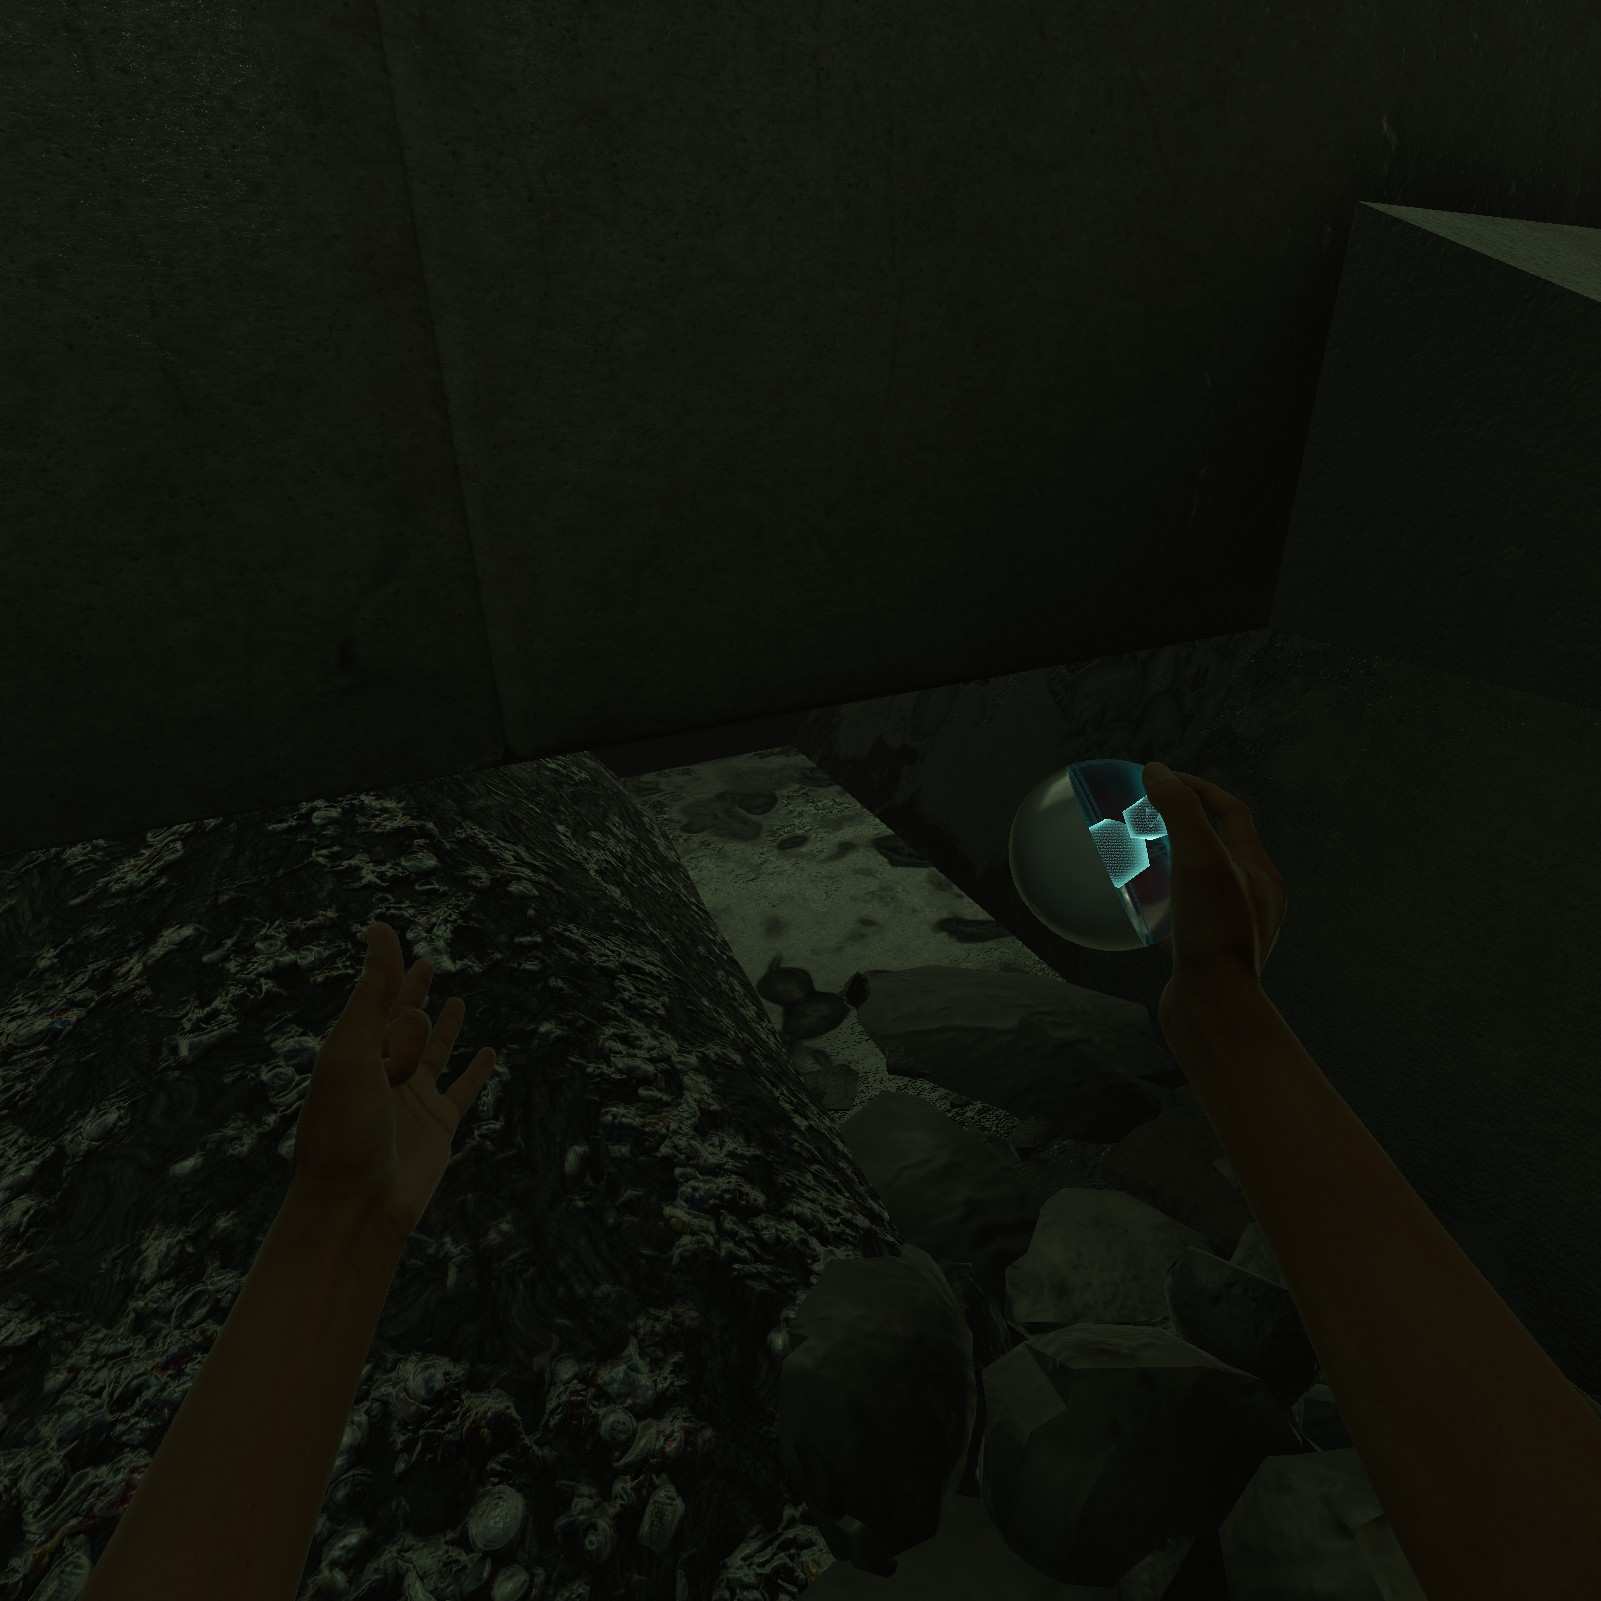
Gym Medicine Ball:
When this level starts take an immediate turn to your right for my favorite shape the Gym Medicine Ball.

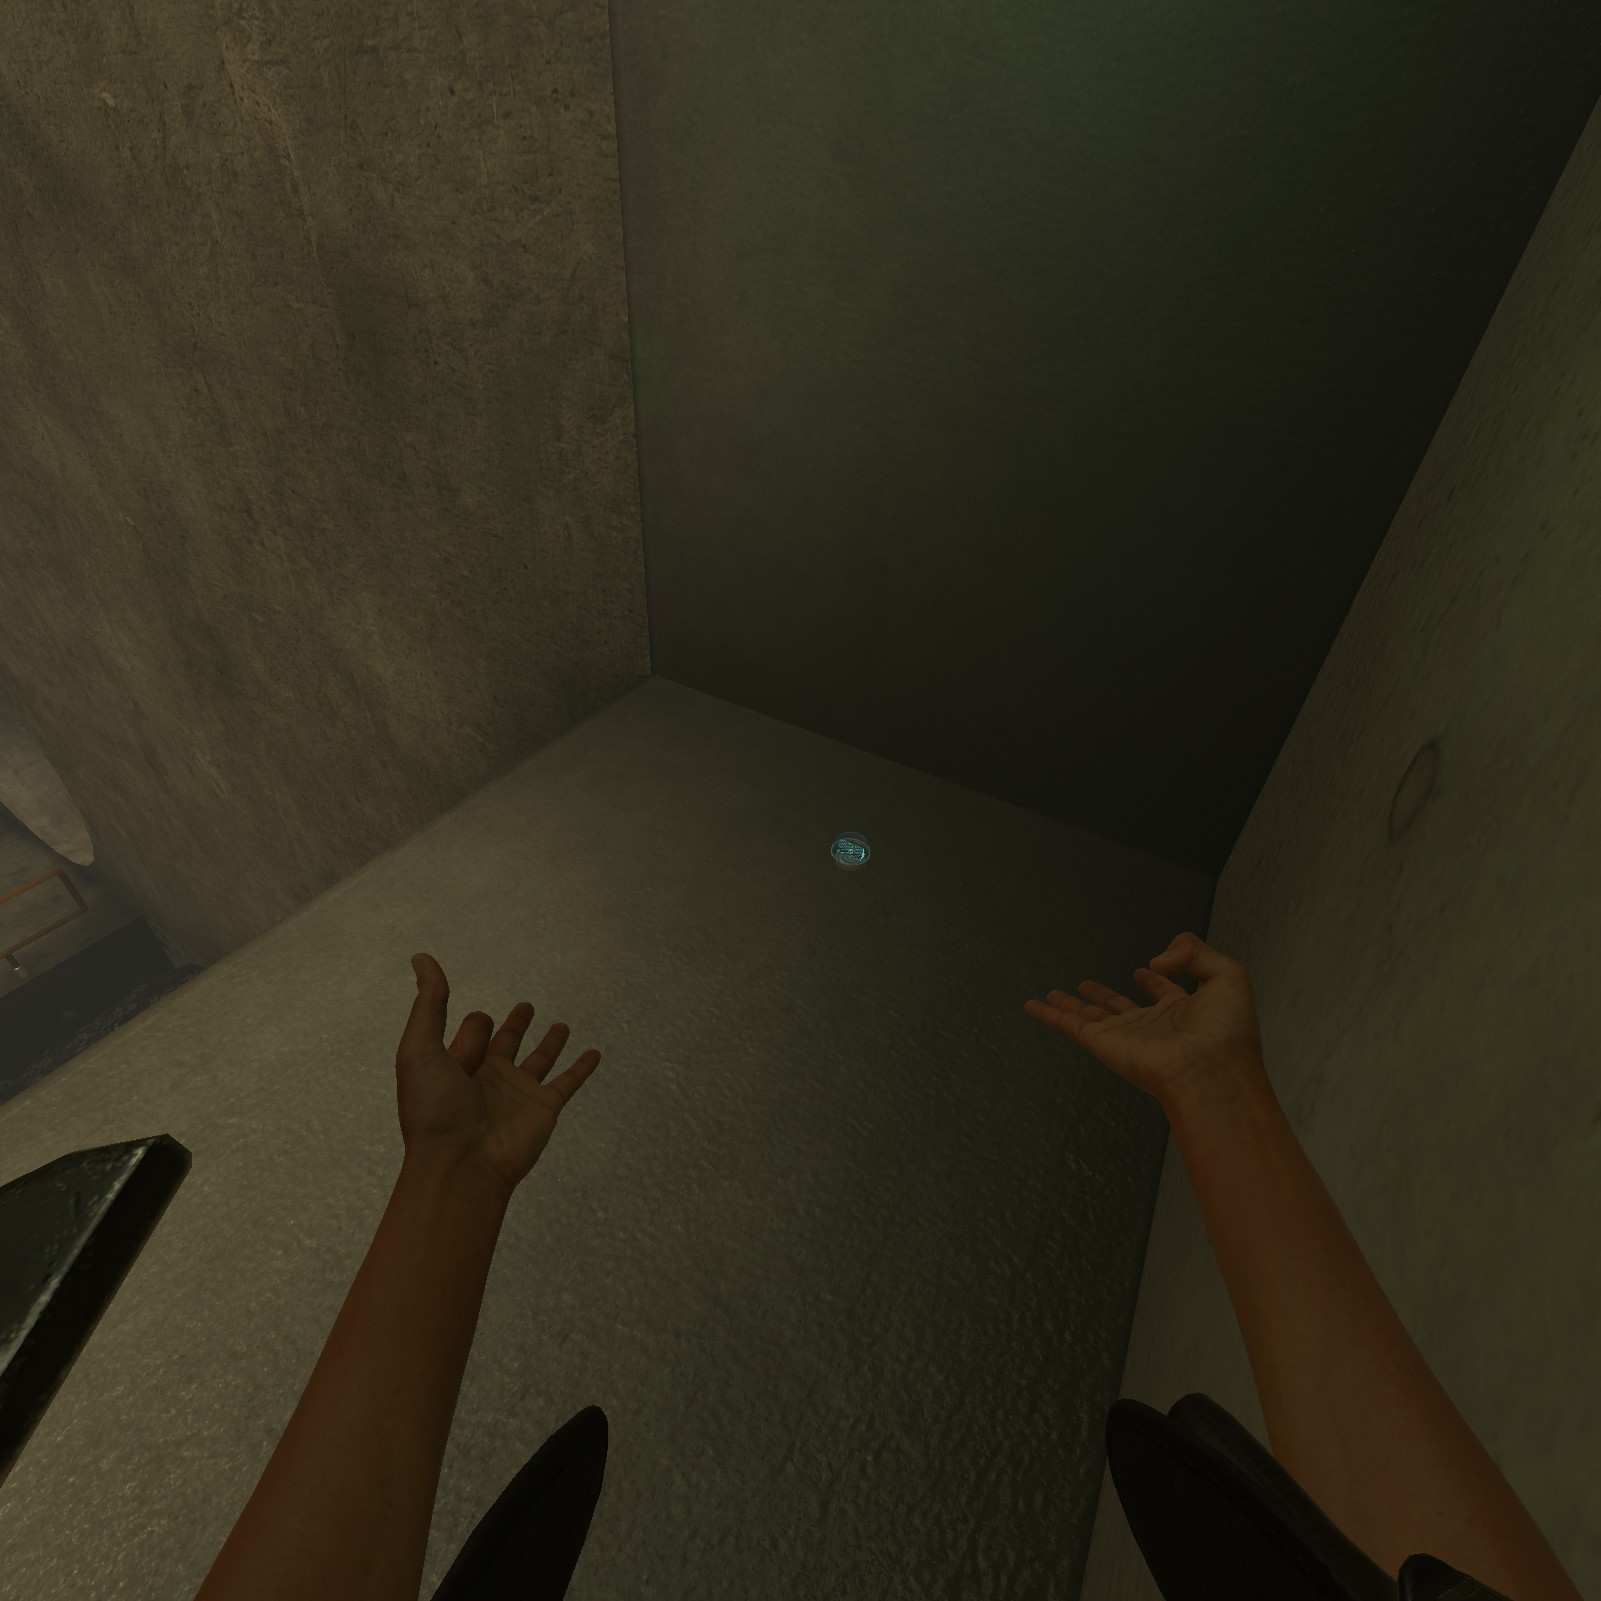
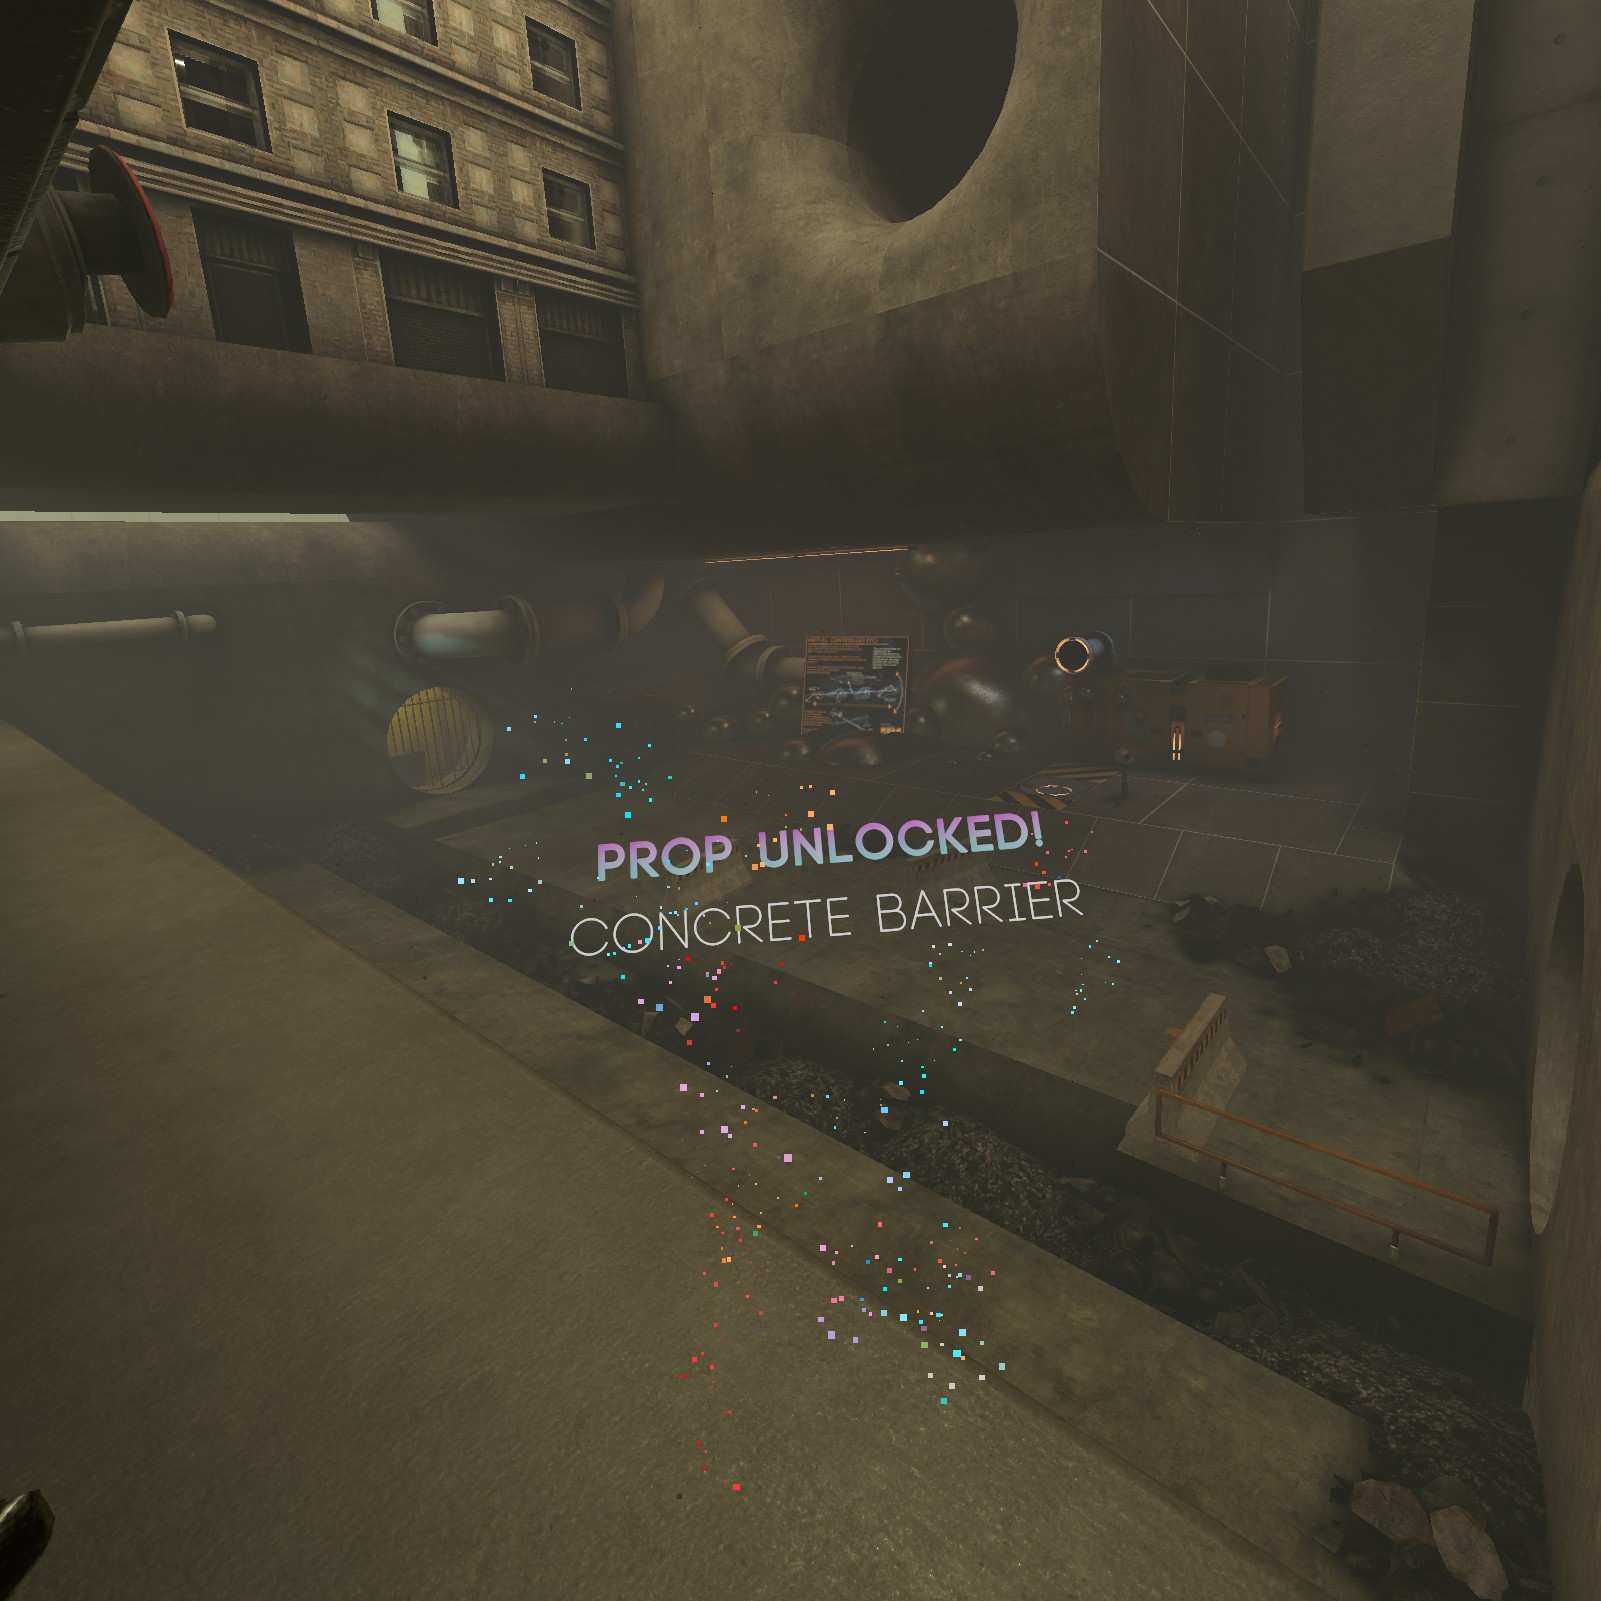
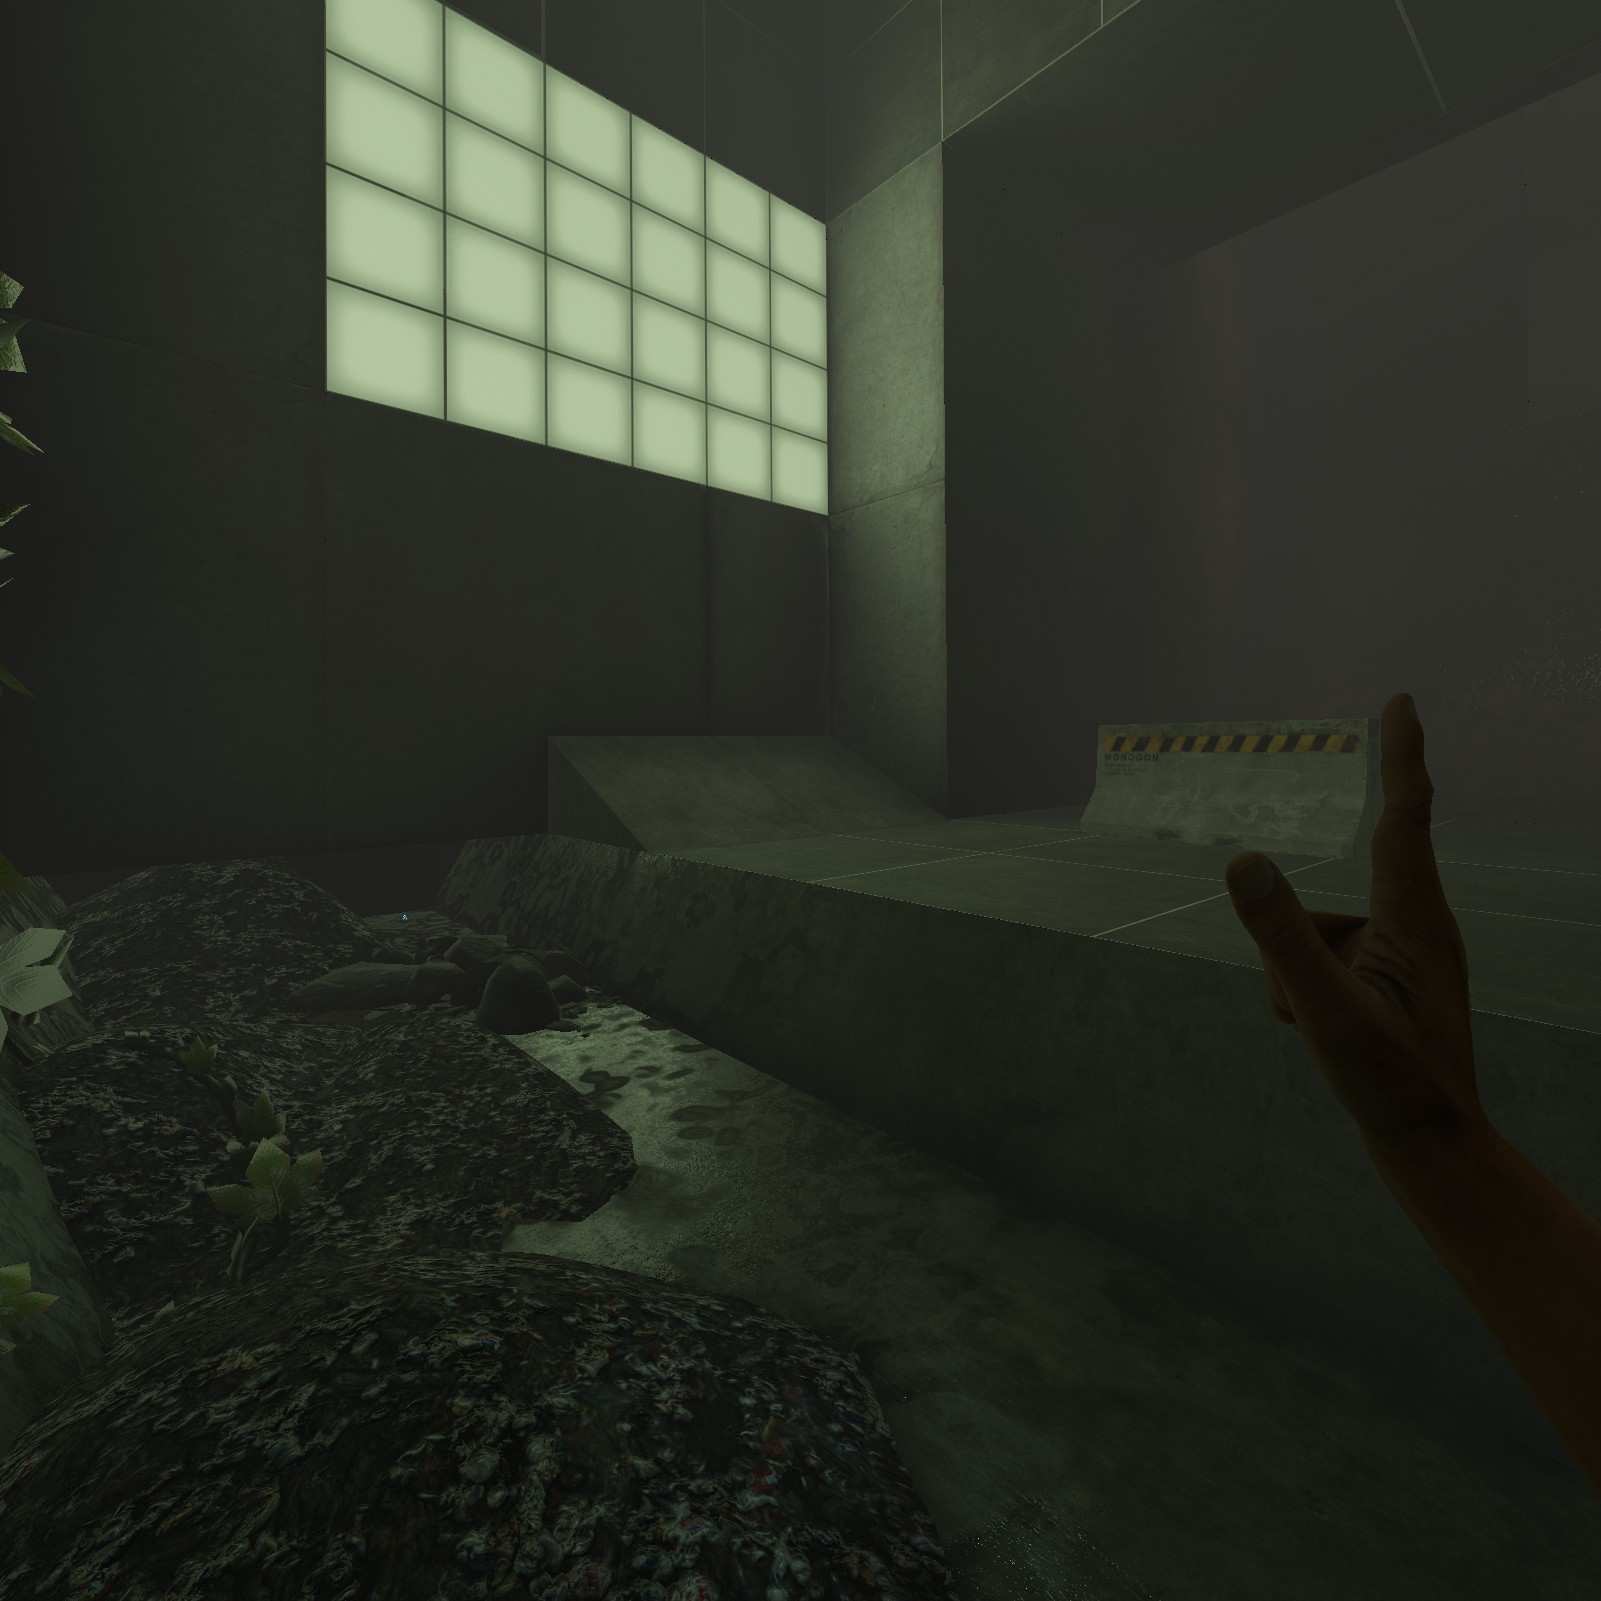
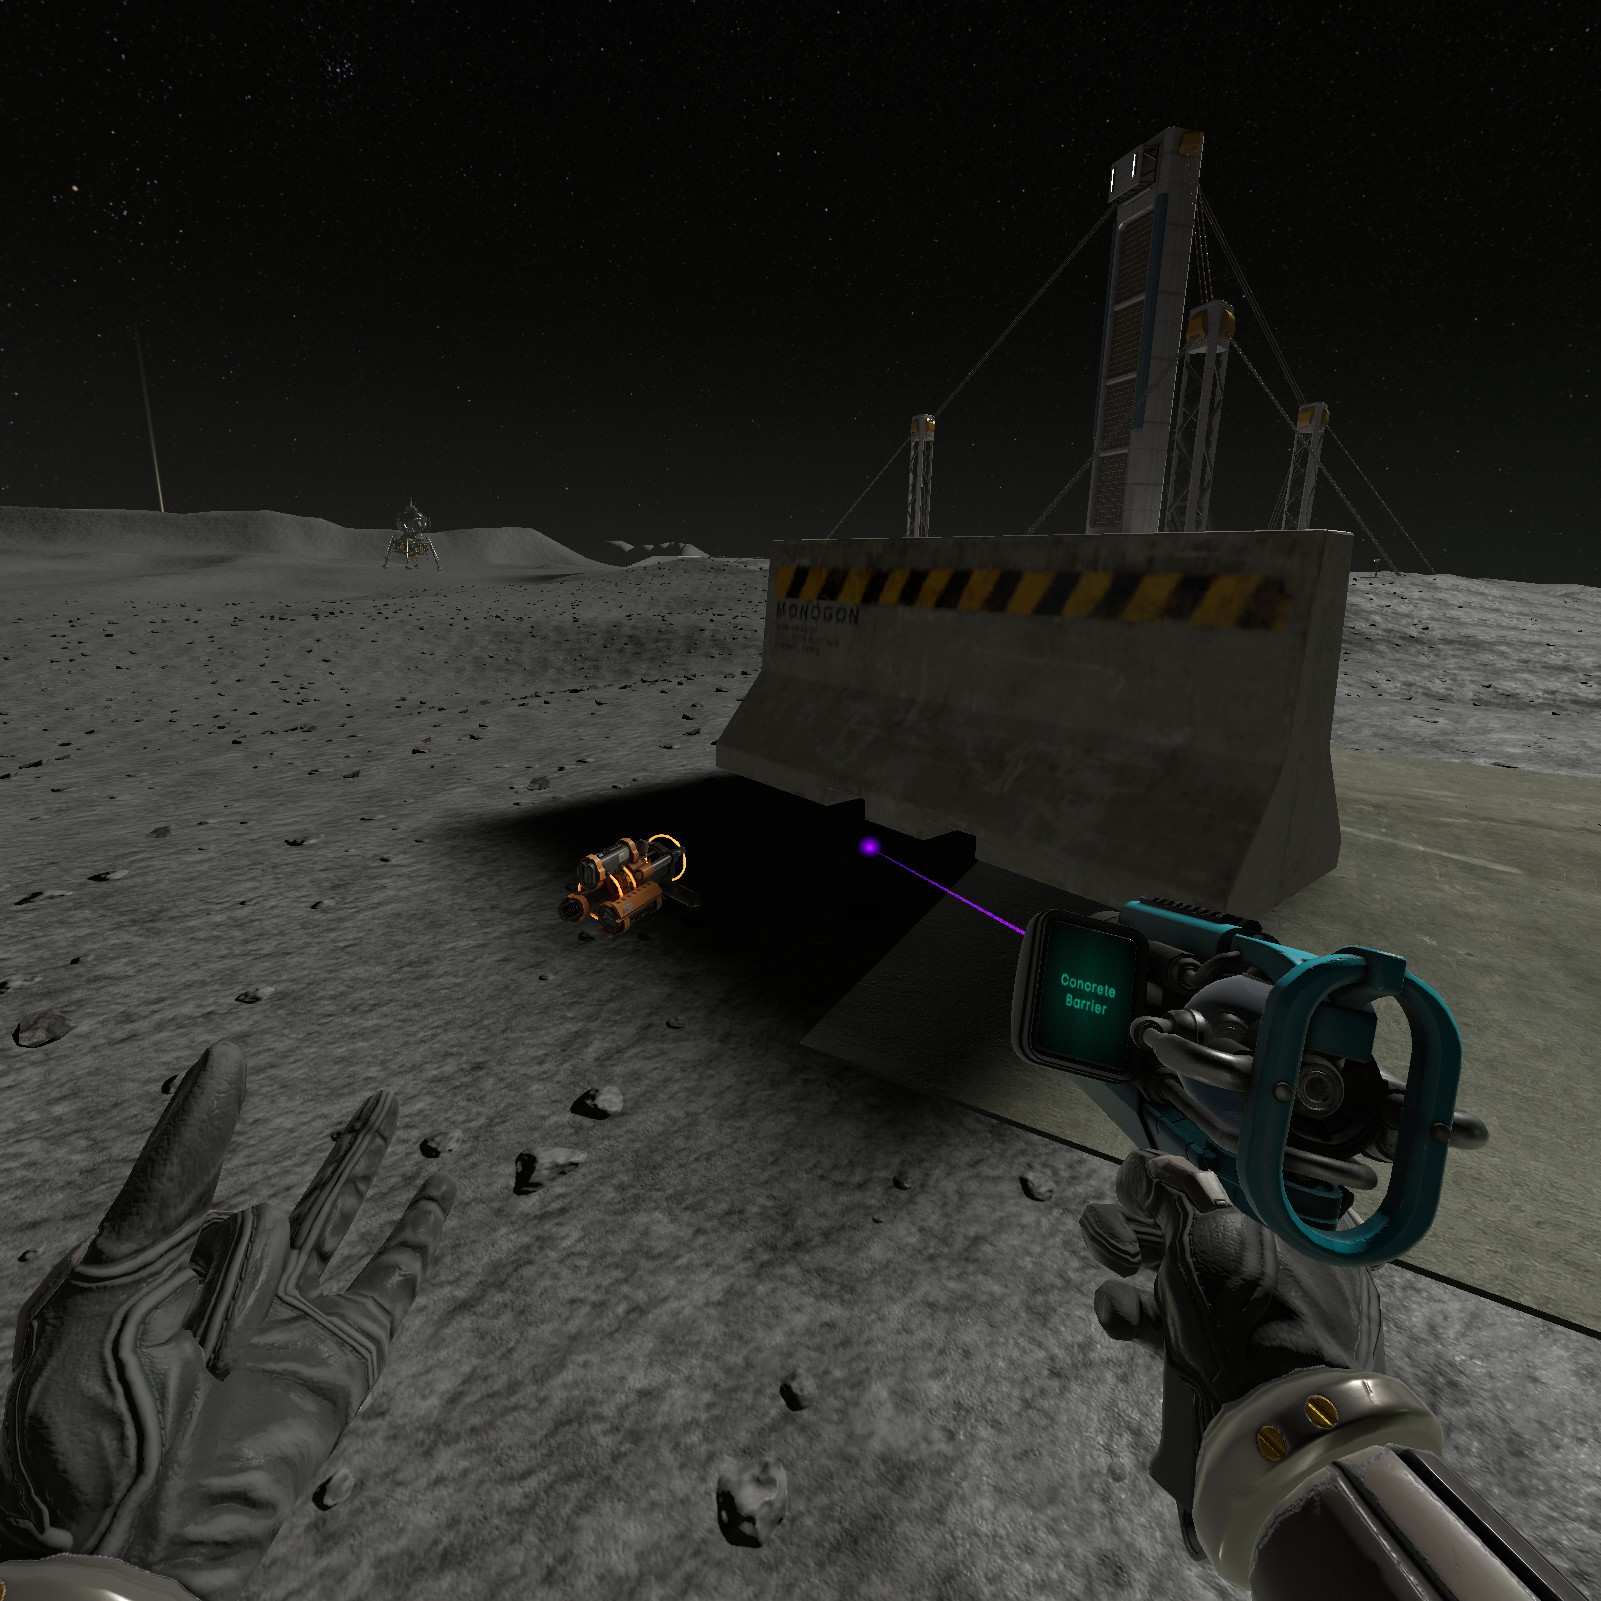
Concrete Barrier:
Climbing up to this high ground in the next area leads to the concrete barrier capsule.
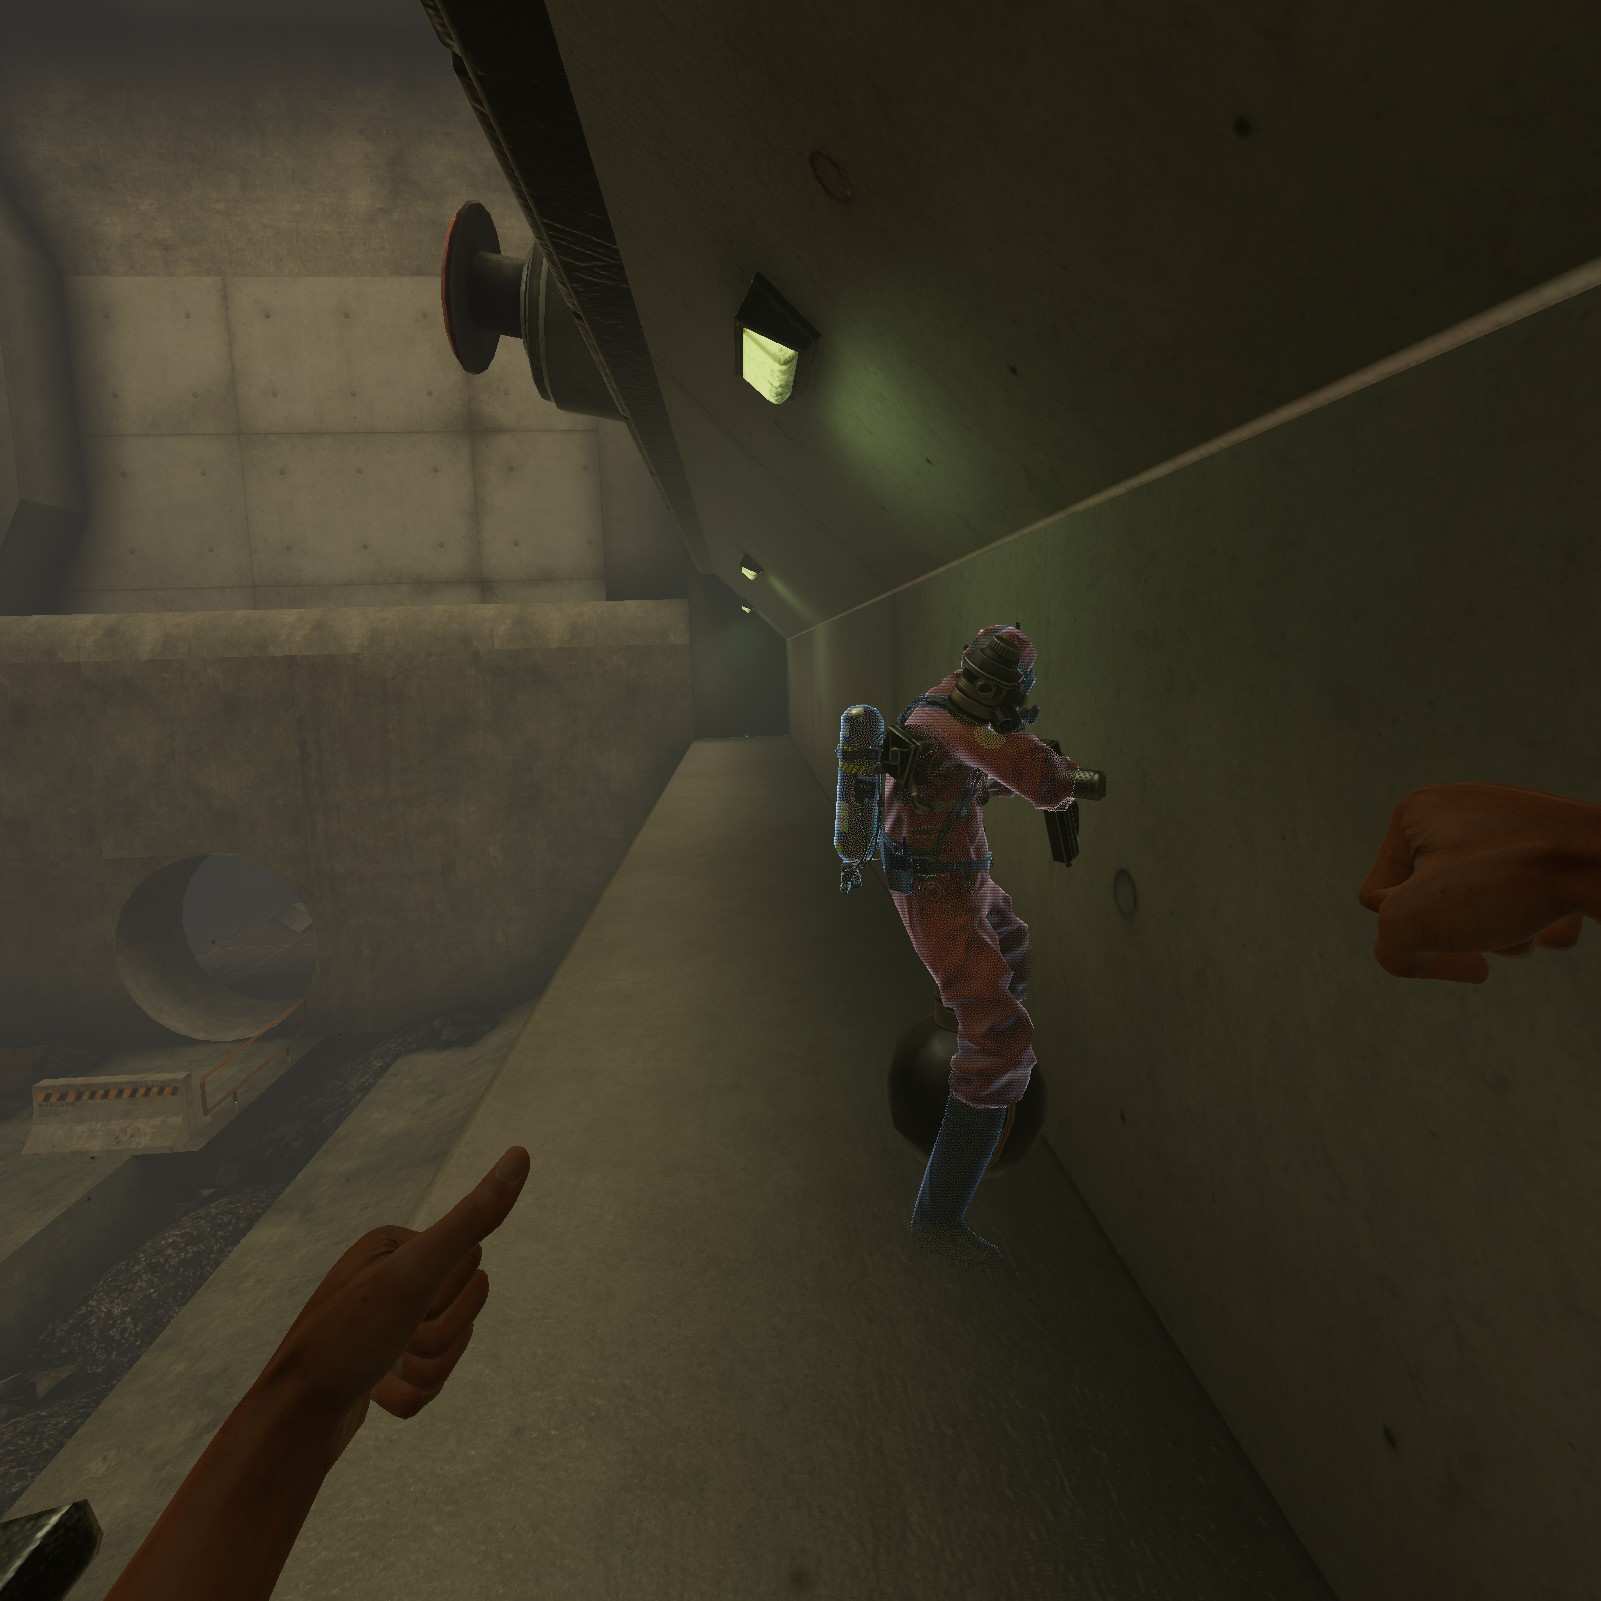
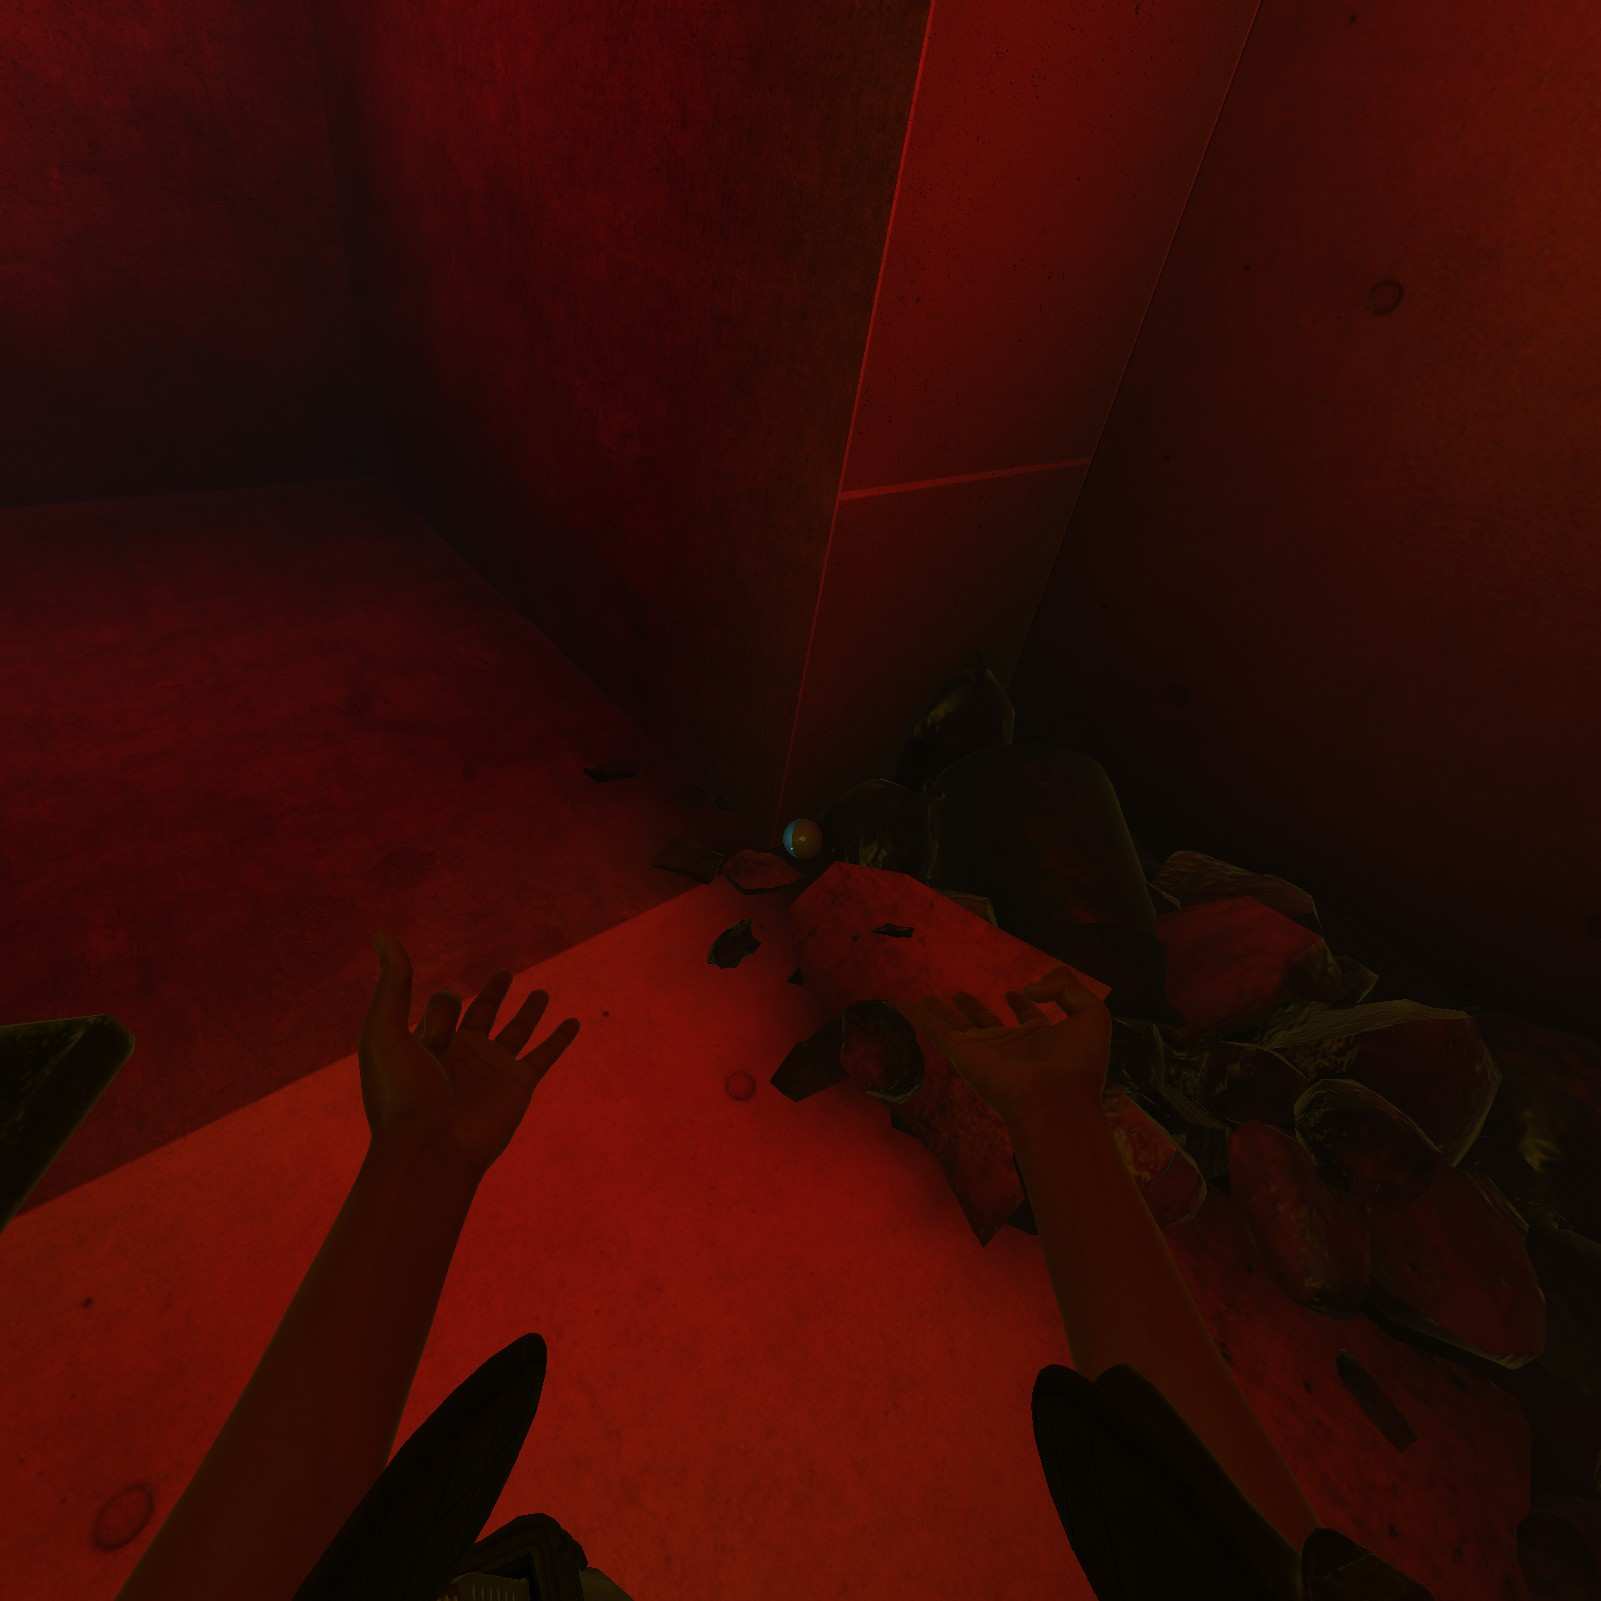
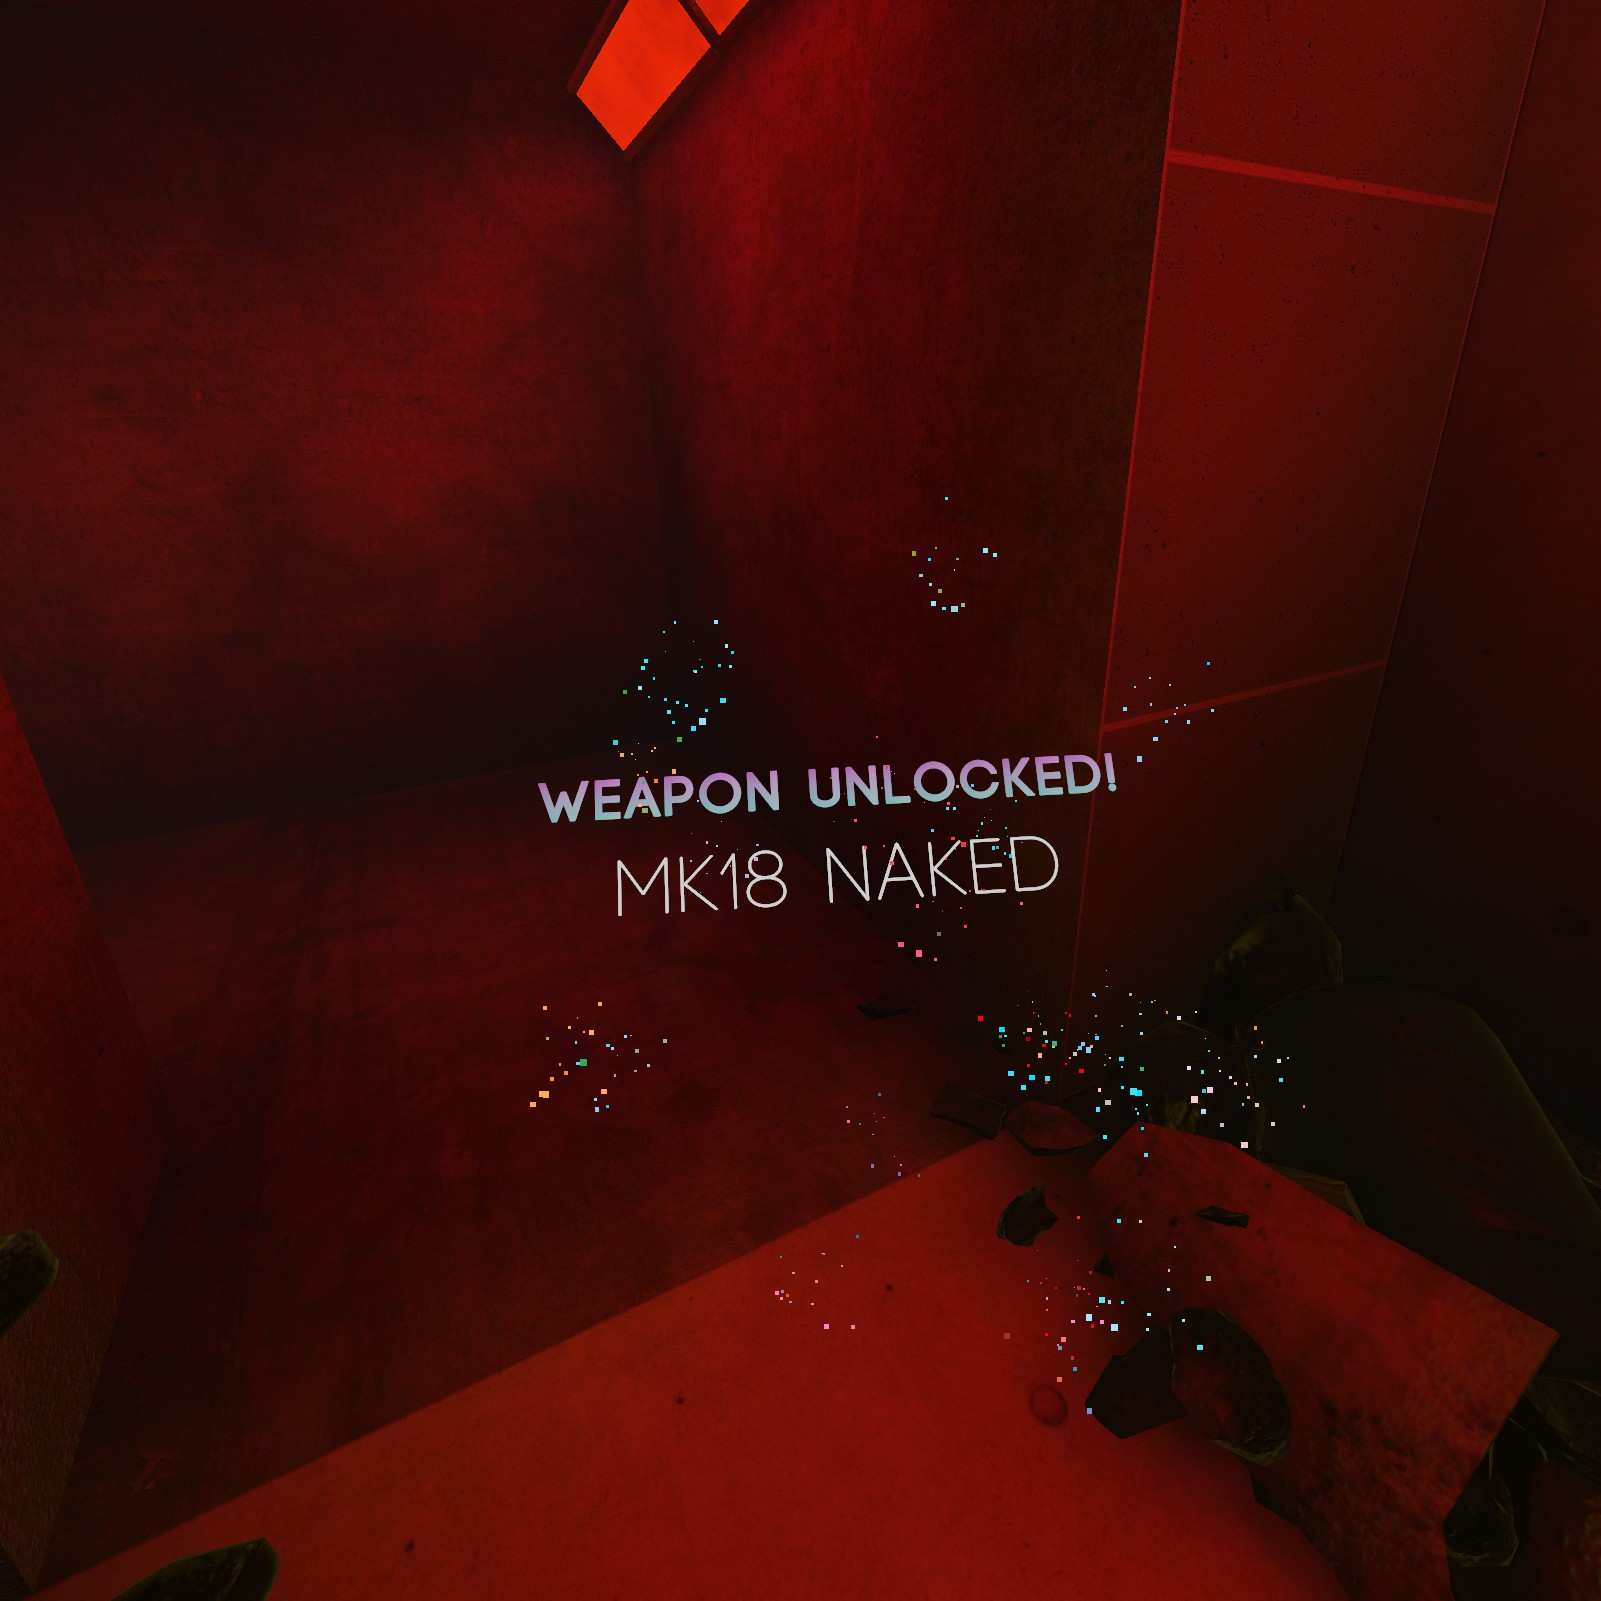
MK18 Naked:
Just past this physics puzzle there’s a red area with a not so red MK18 Naked, for those that hate attachments and non-red things.
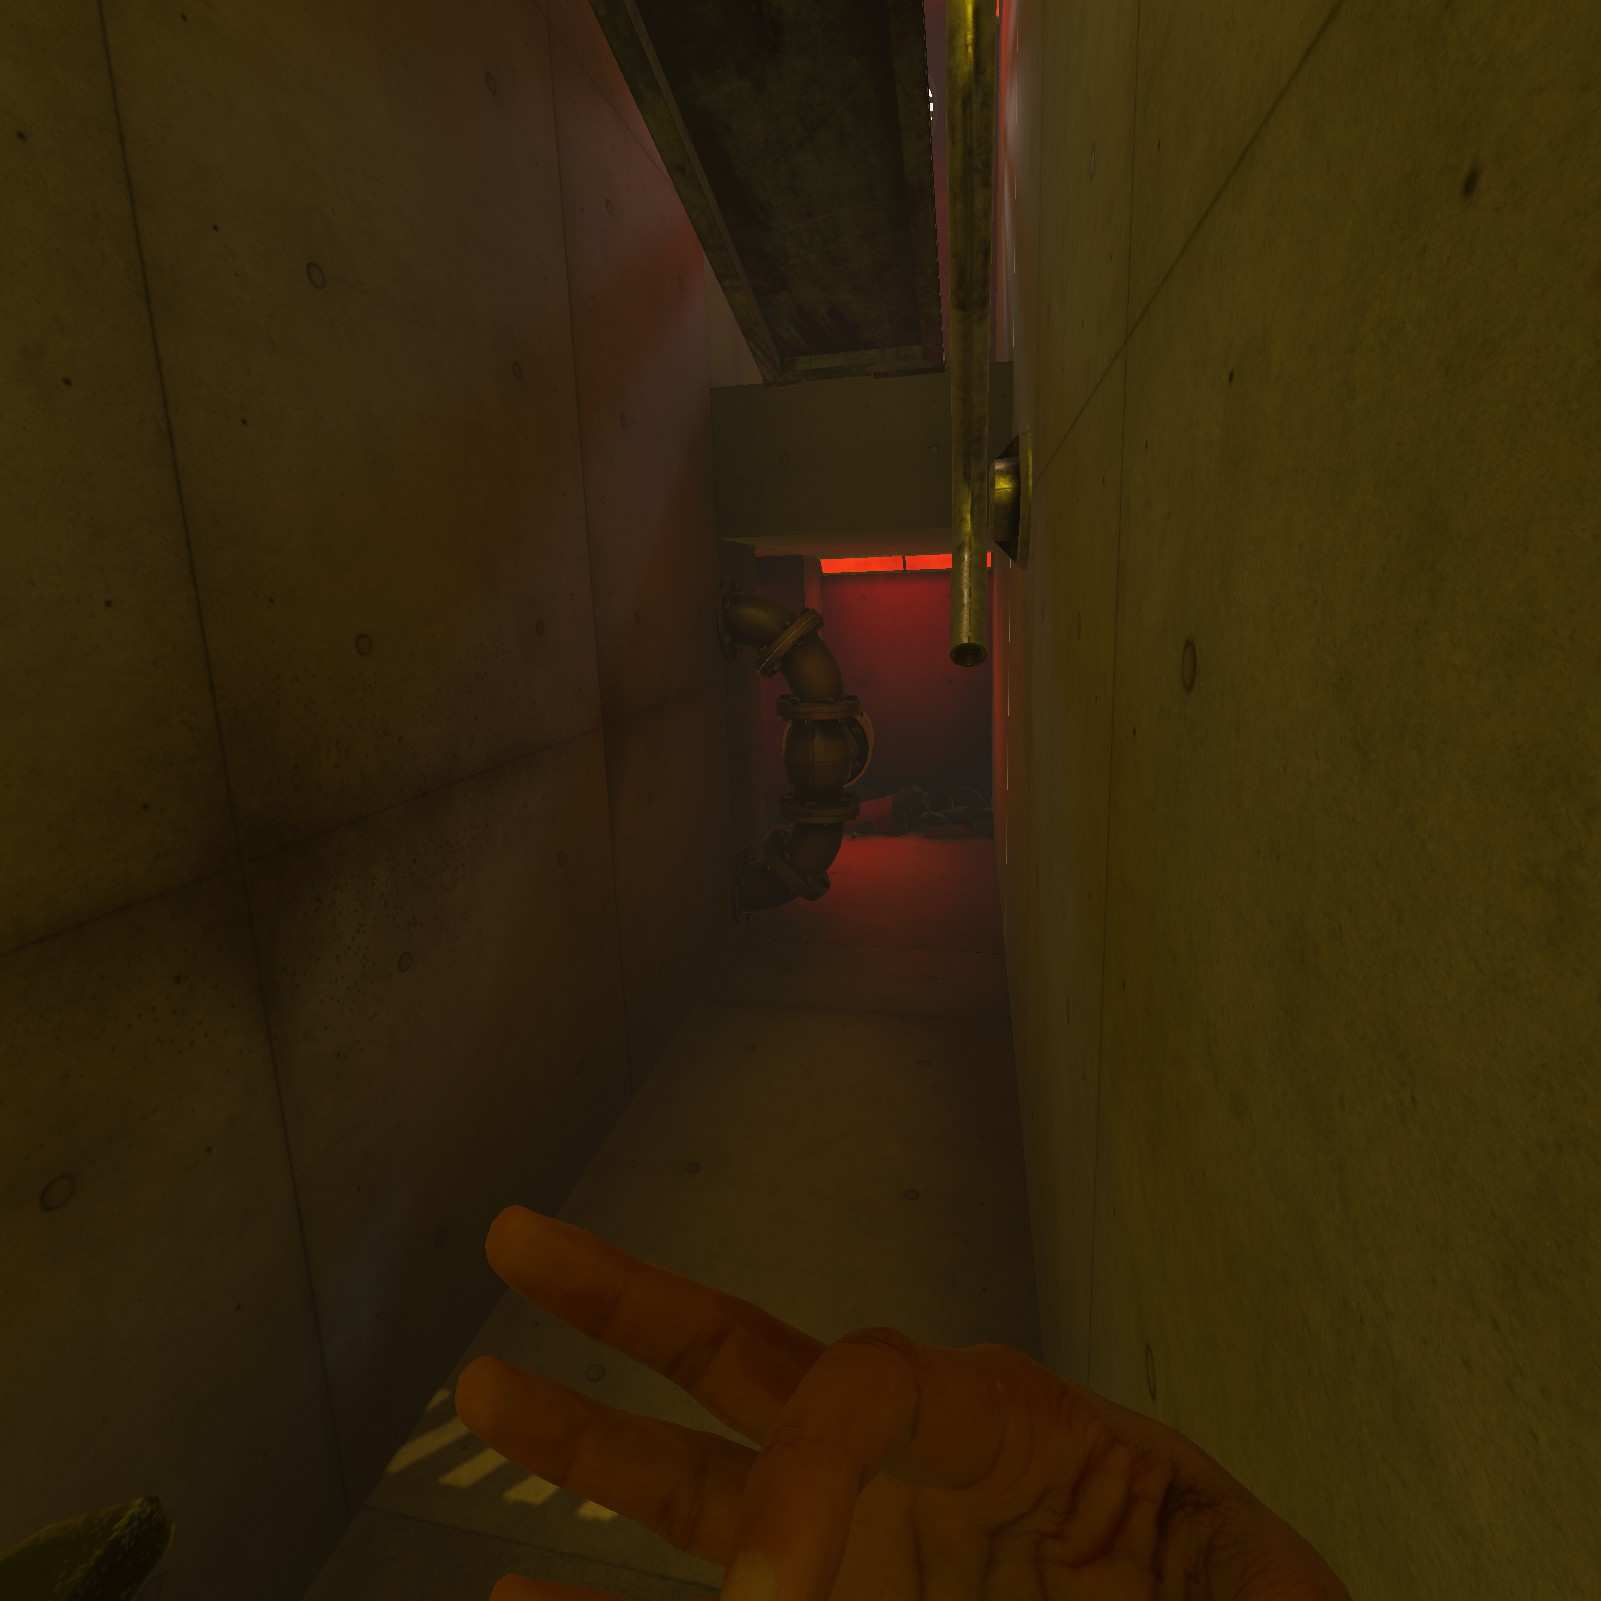
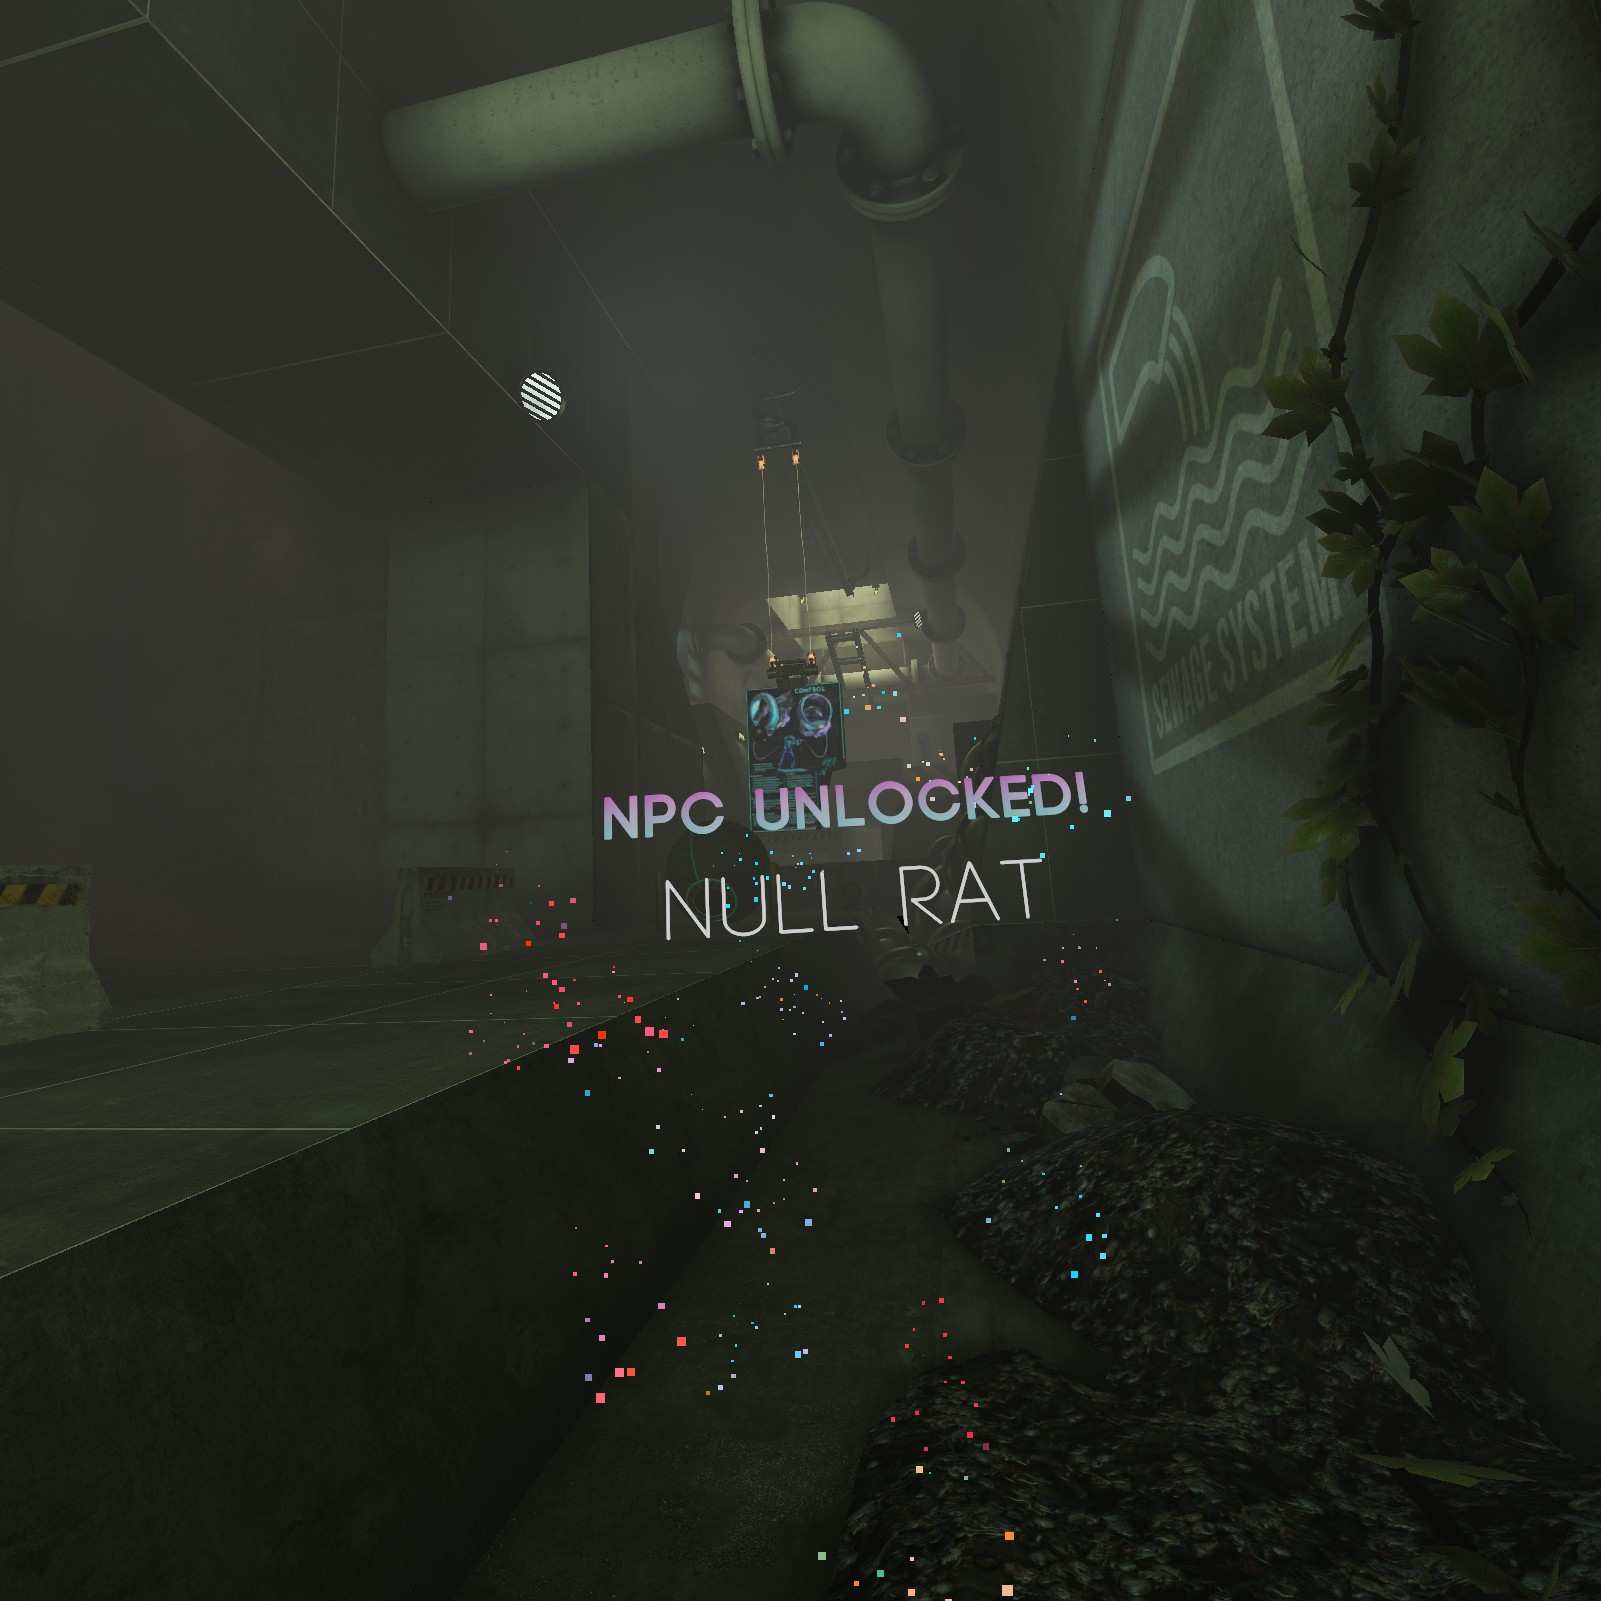
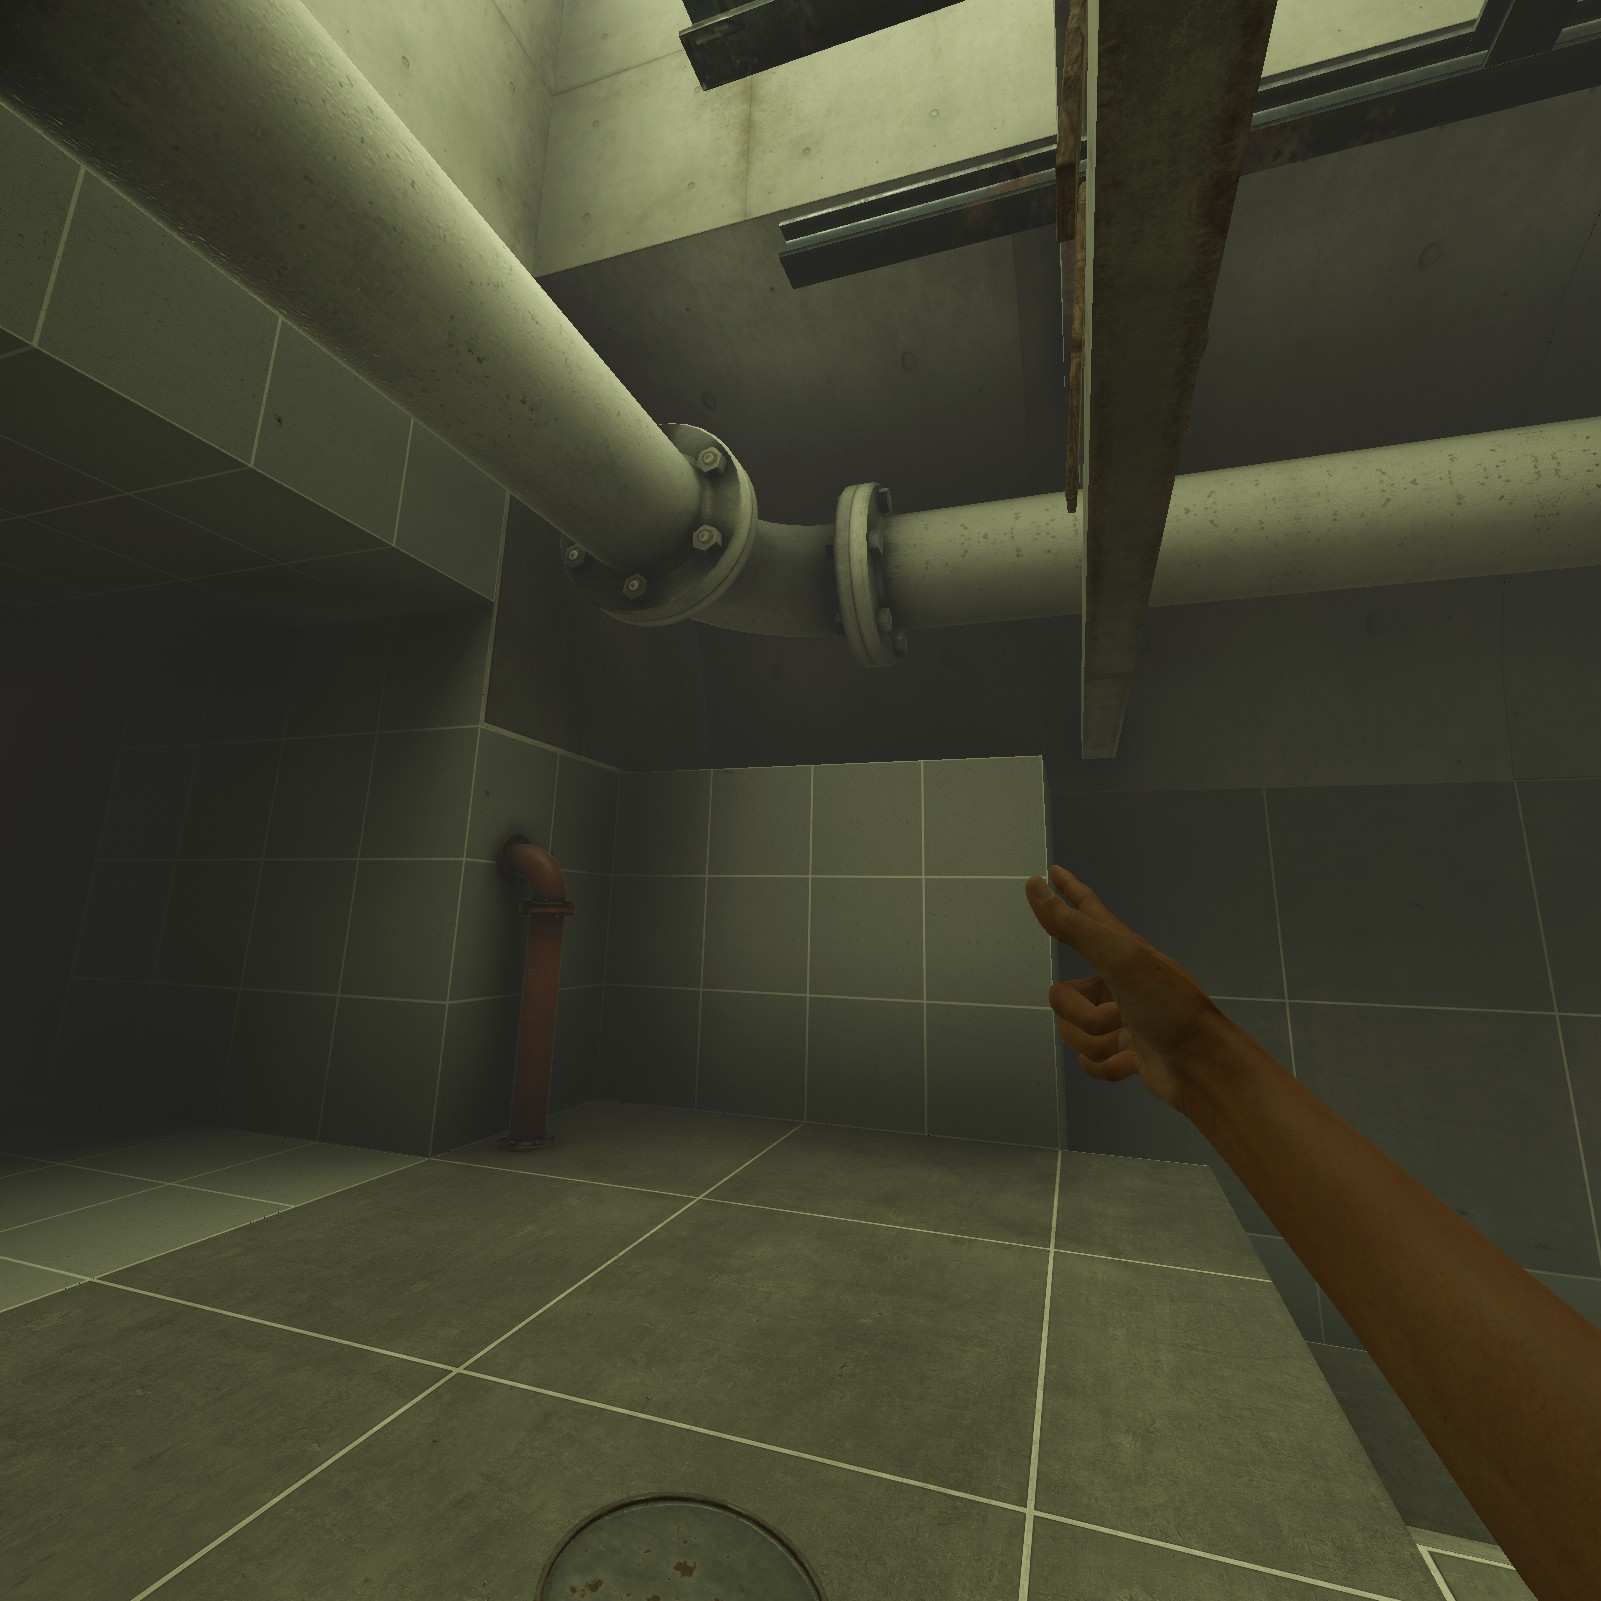
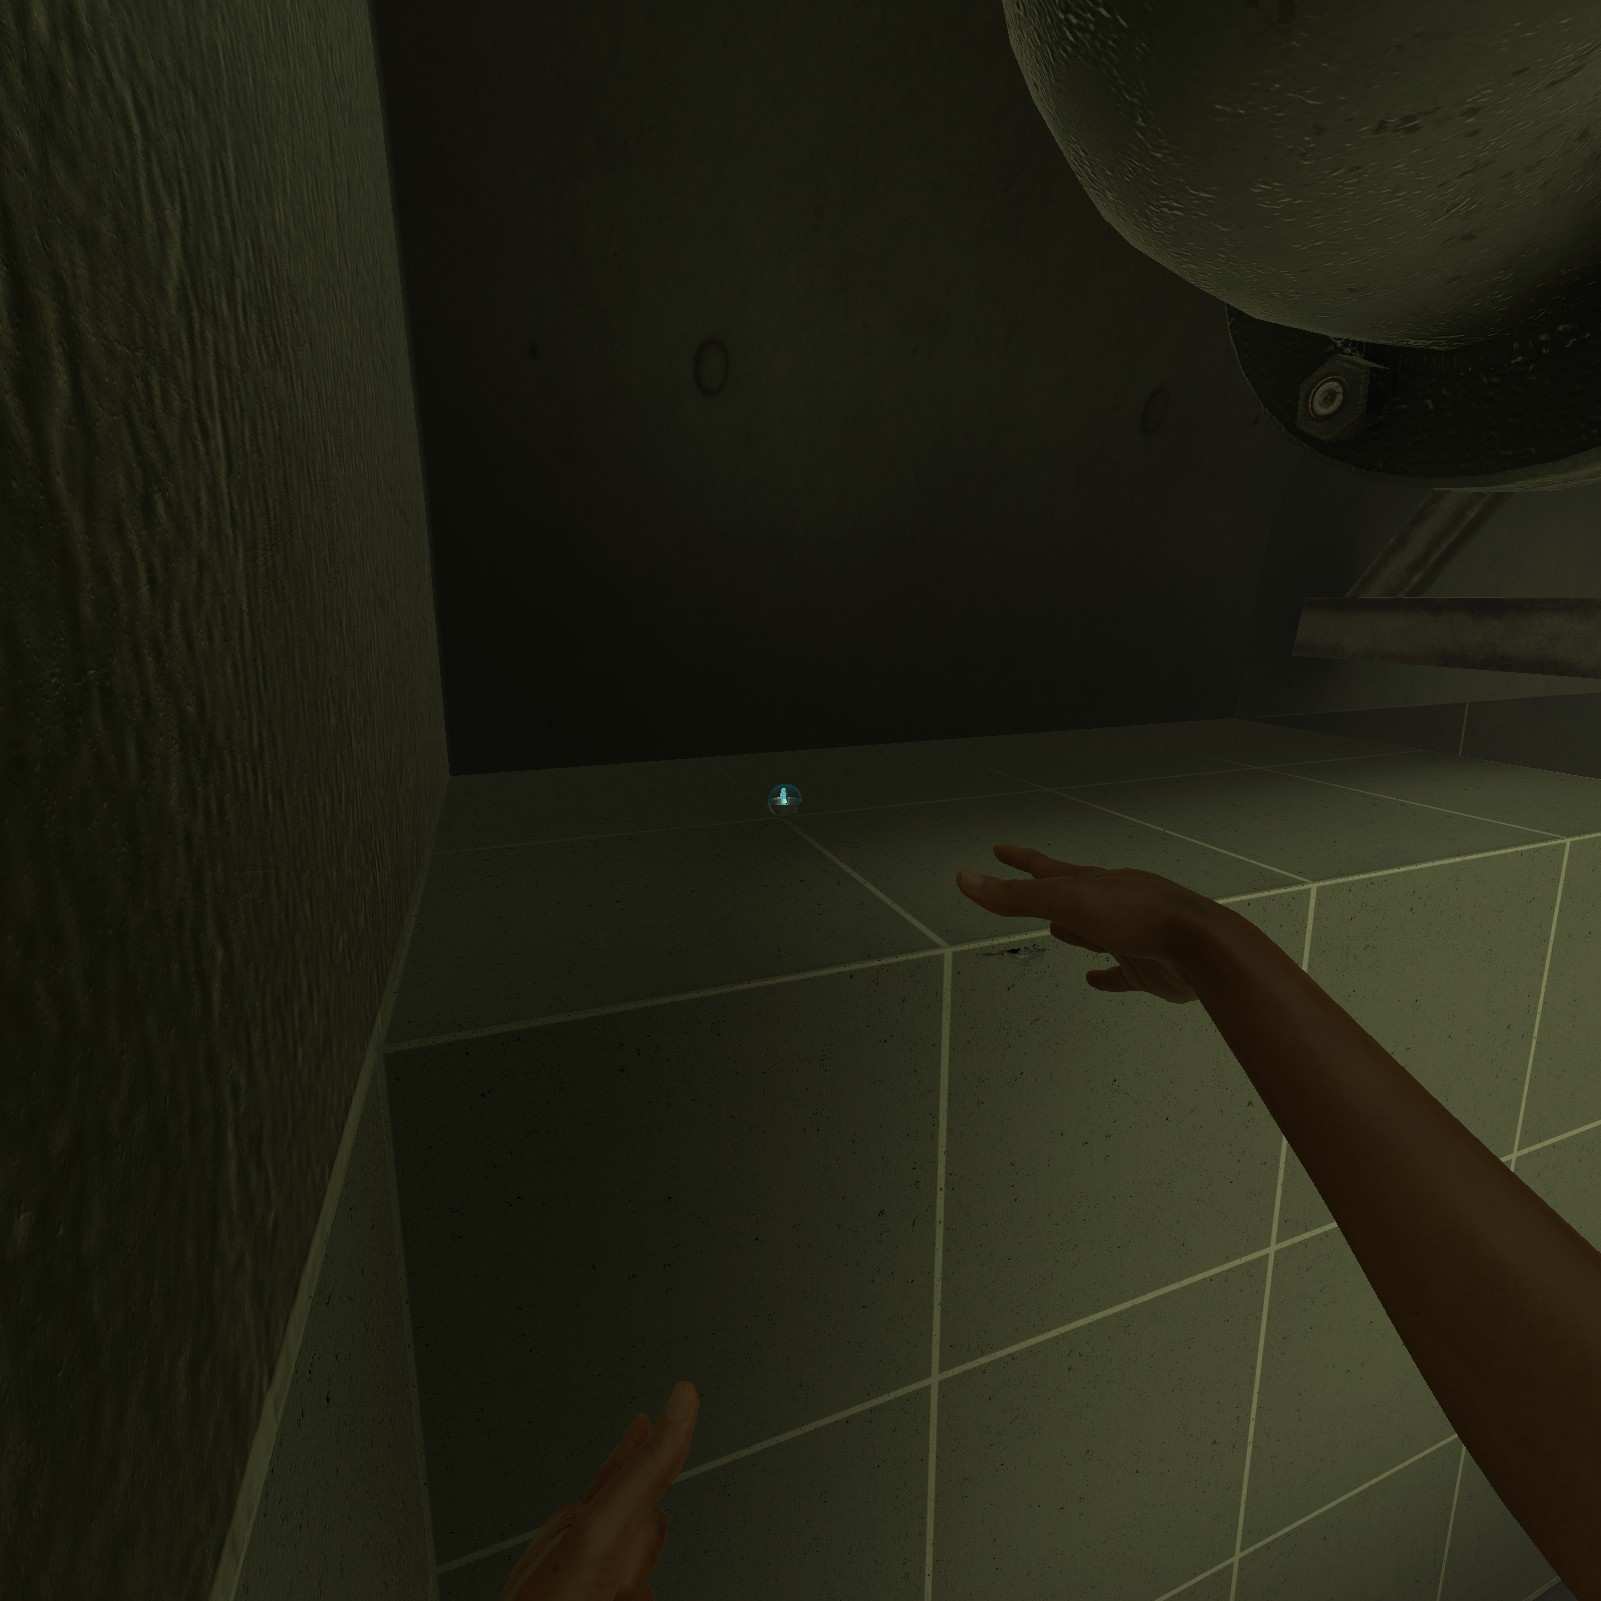
Null Rat:
To the right before the fire fight there’s a null rat just inside this small sewage area.
Trashcan Lid:
Up on this platform past the major fire fight we’ve got the trash can lid. It does damage now btw so you can use it like the viking shield.

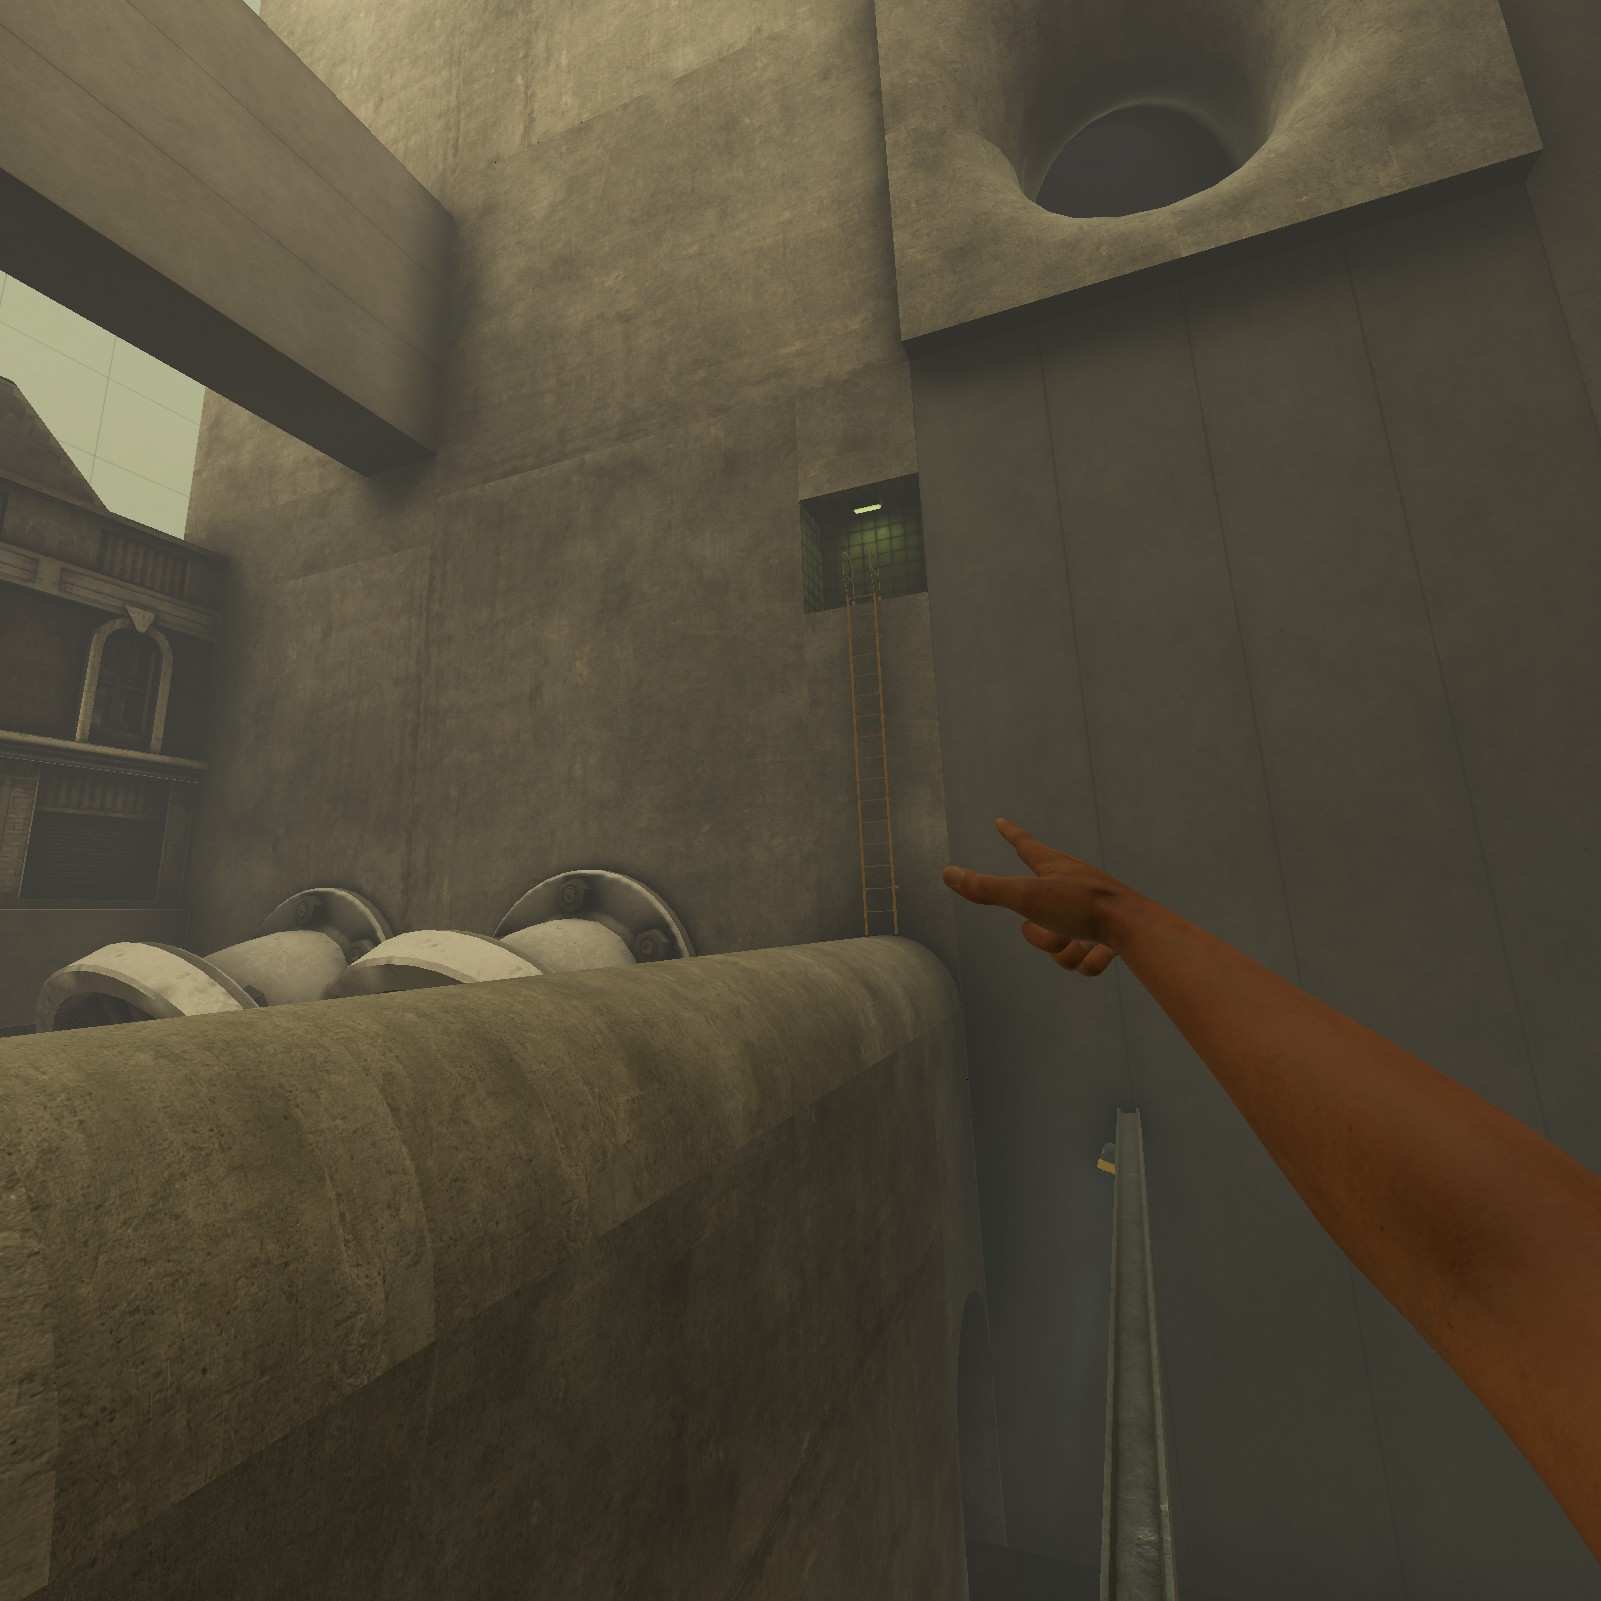
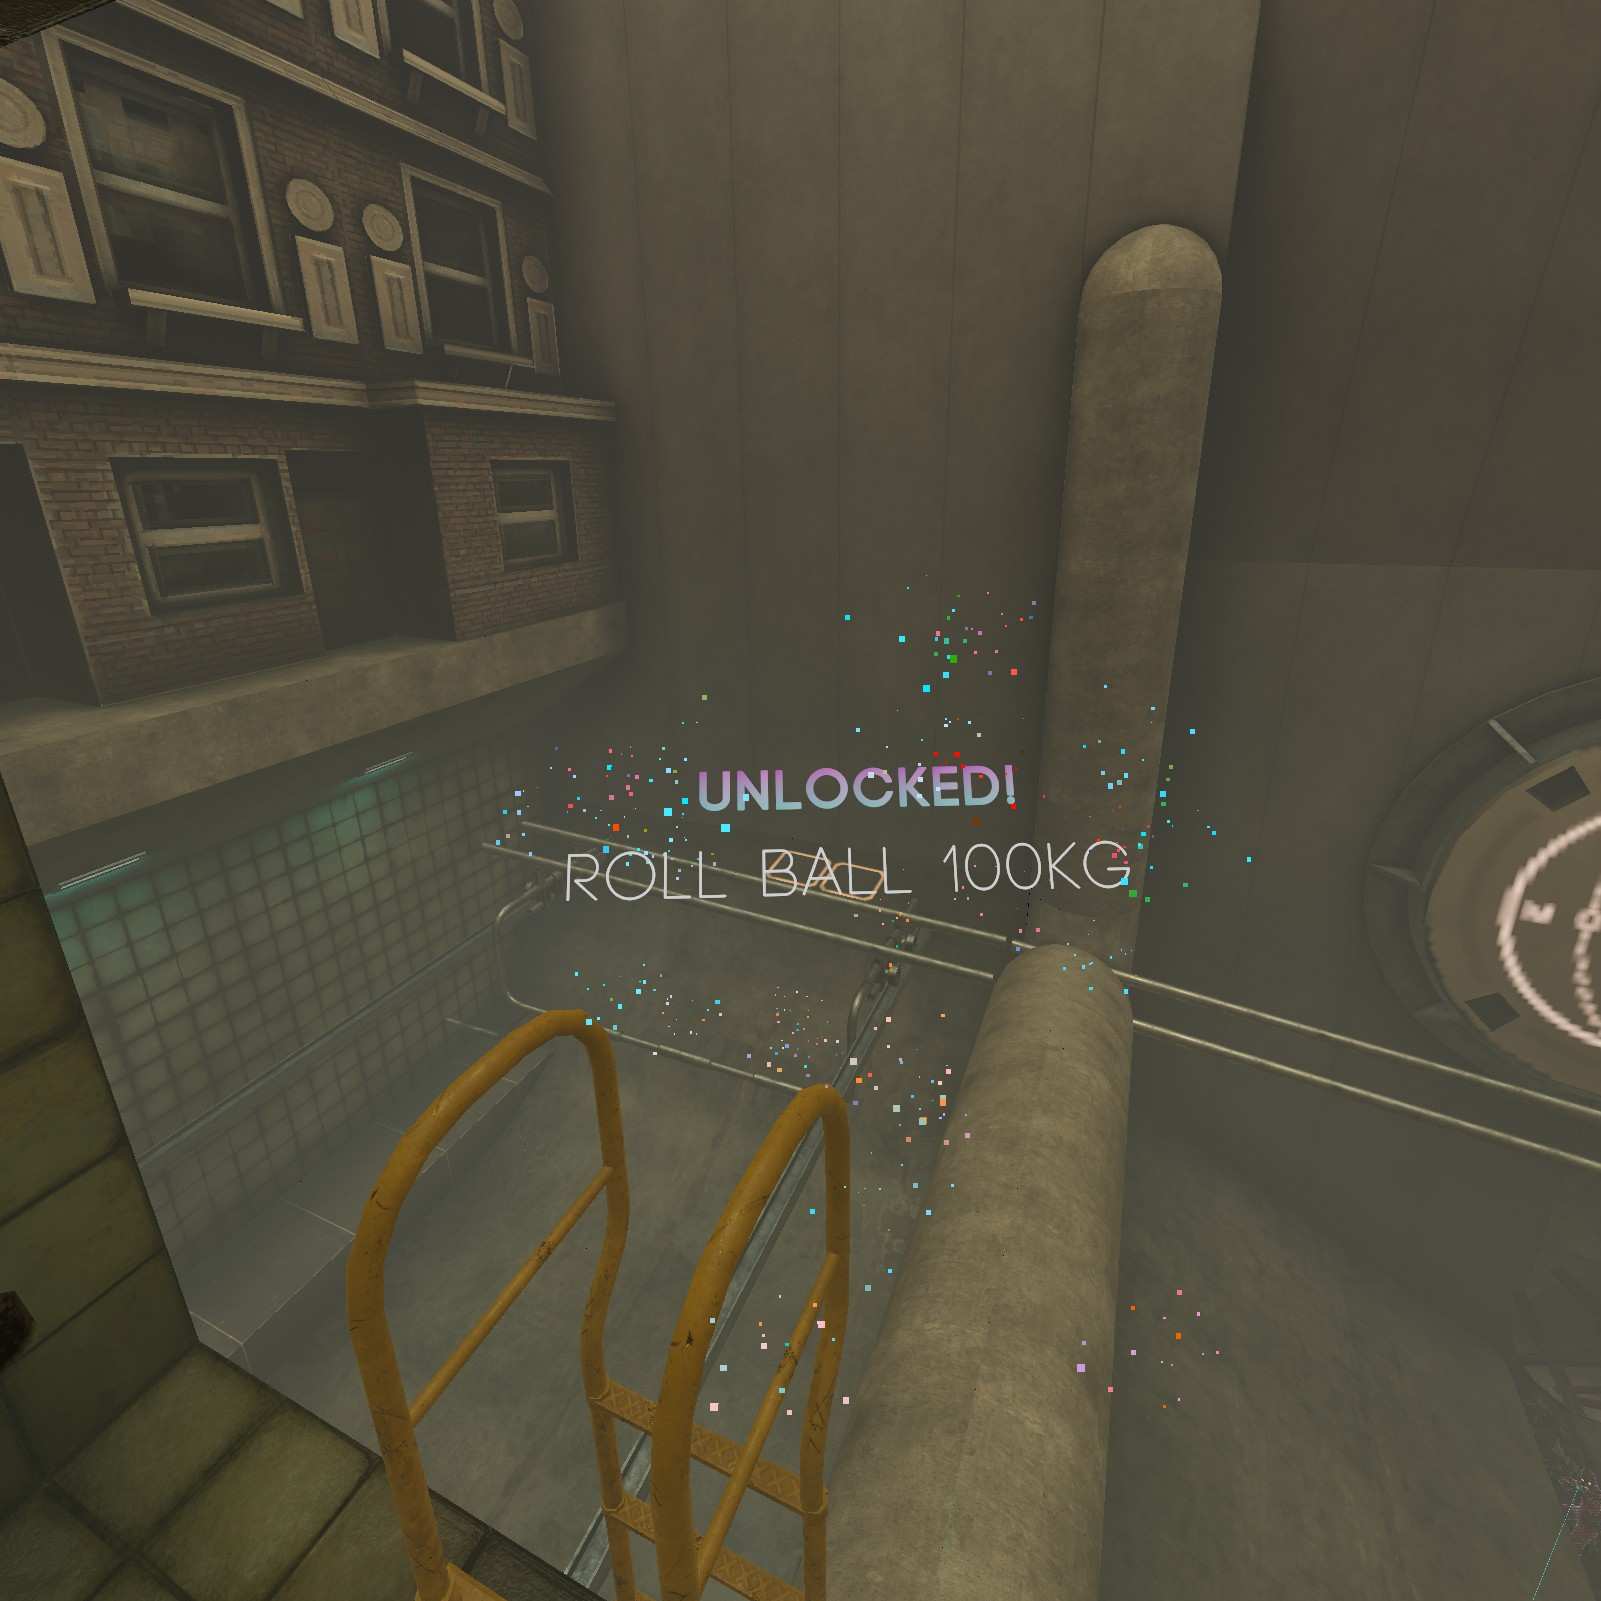
Roll Ball 100KG:
Push this thing to the left, climb it and climb the ladder for the roll ball 100KG.


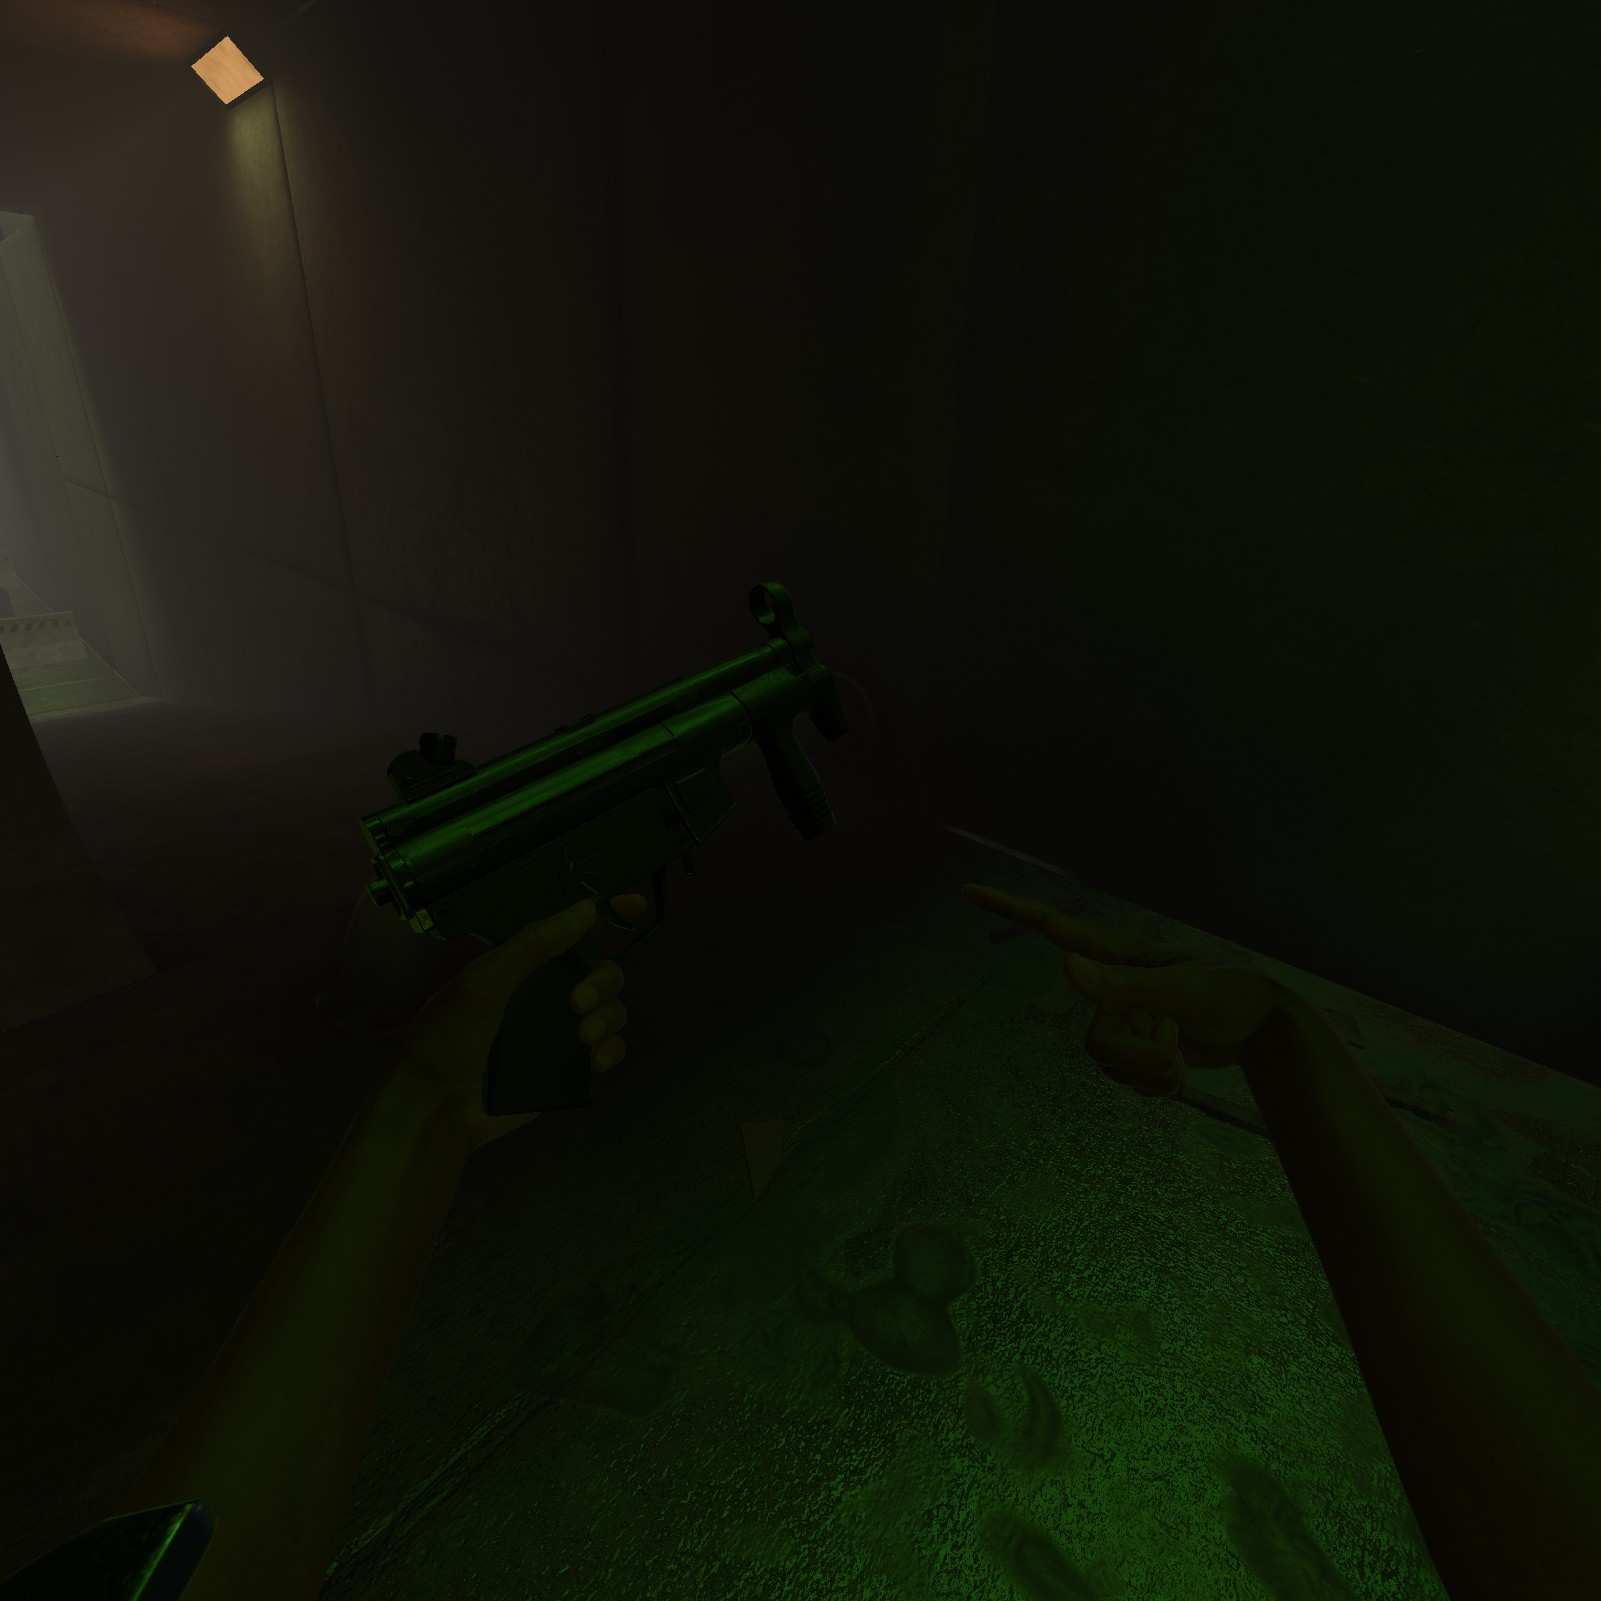
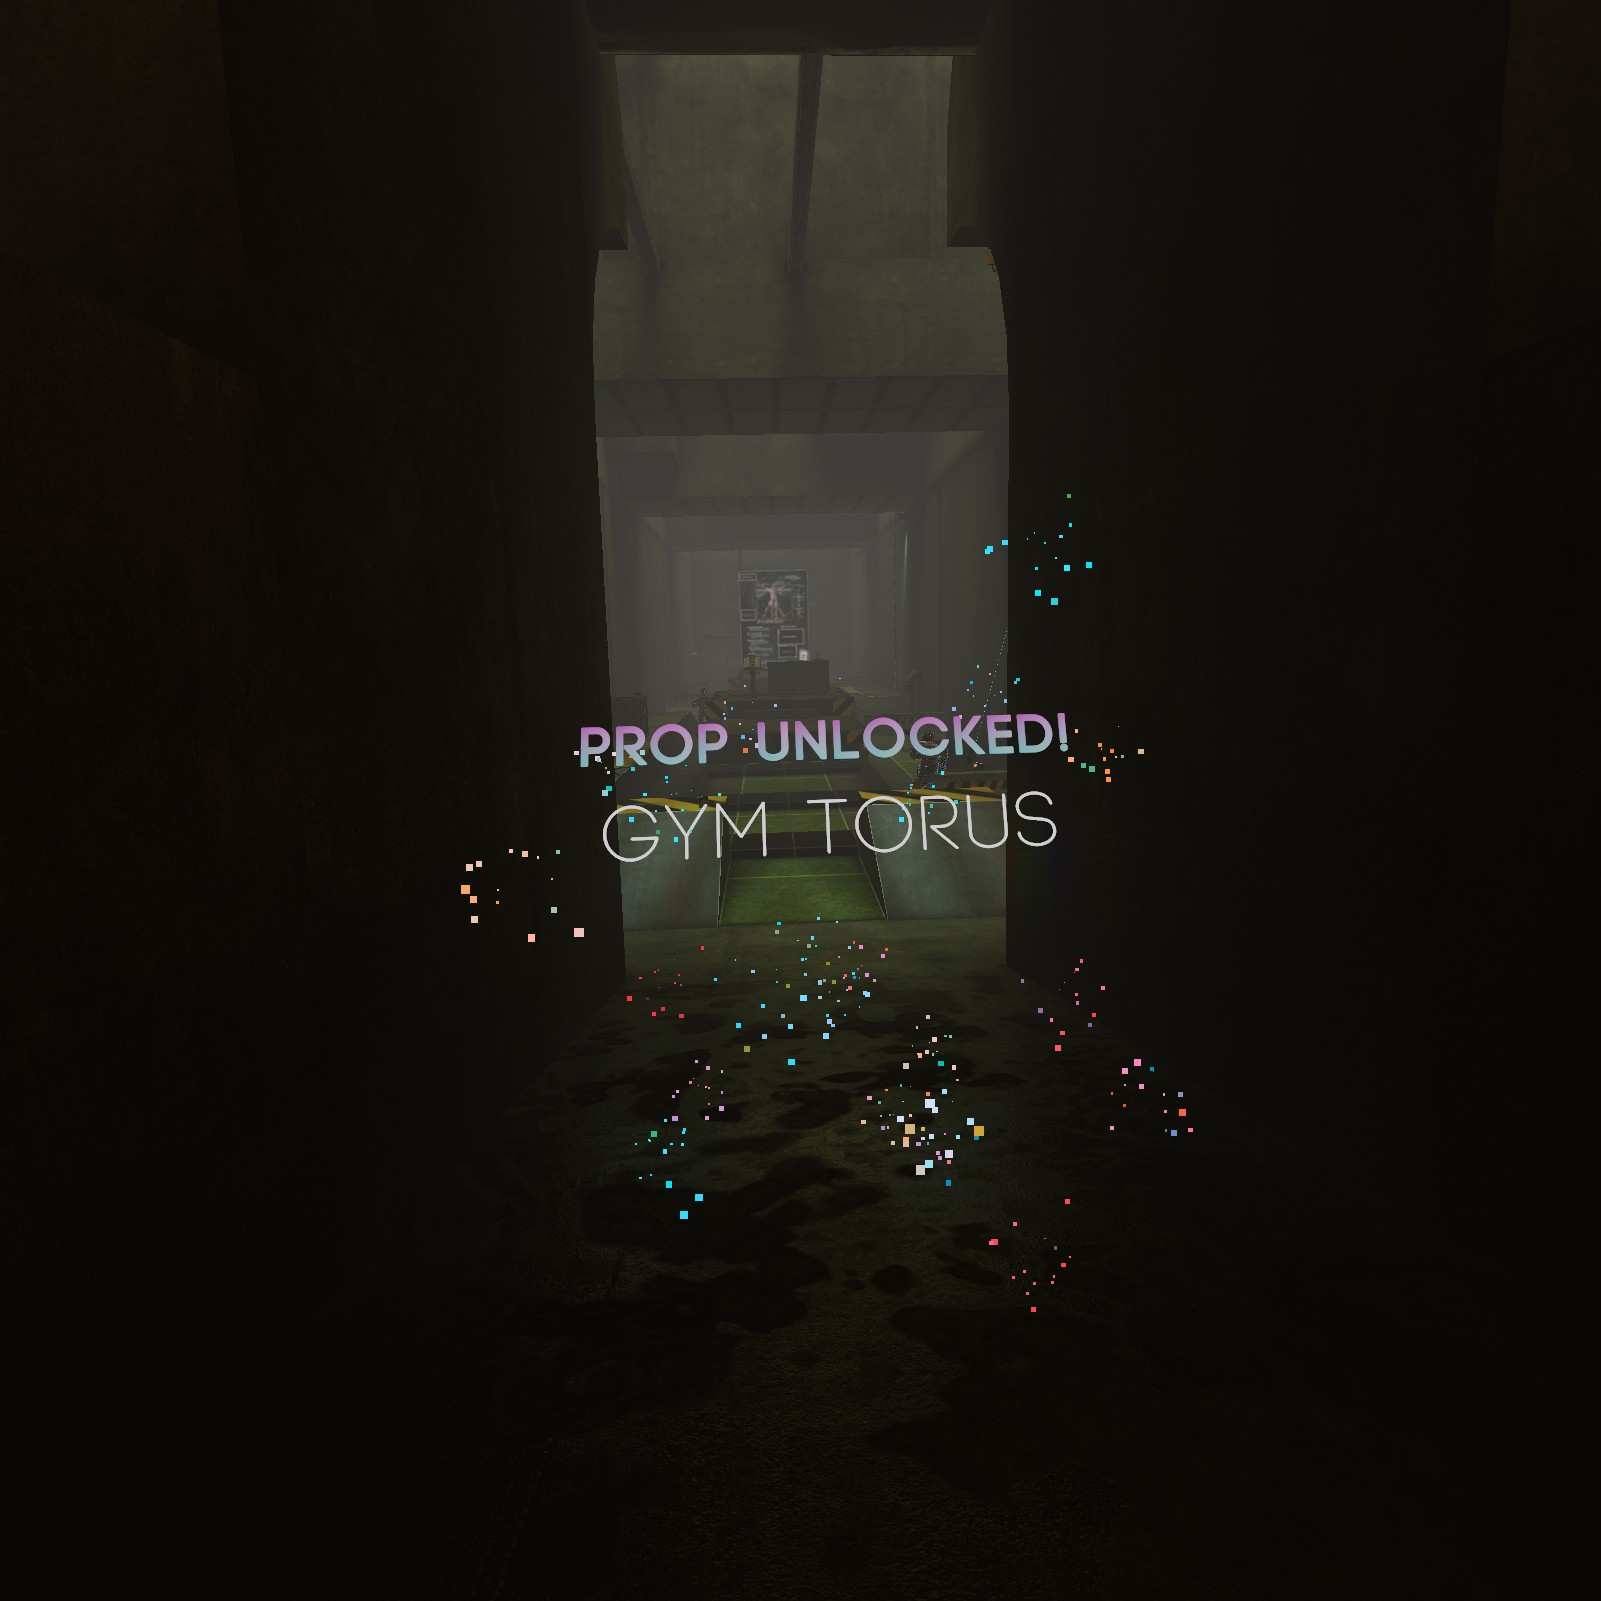
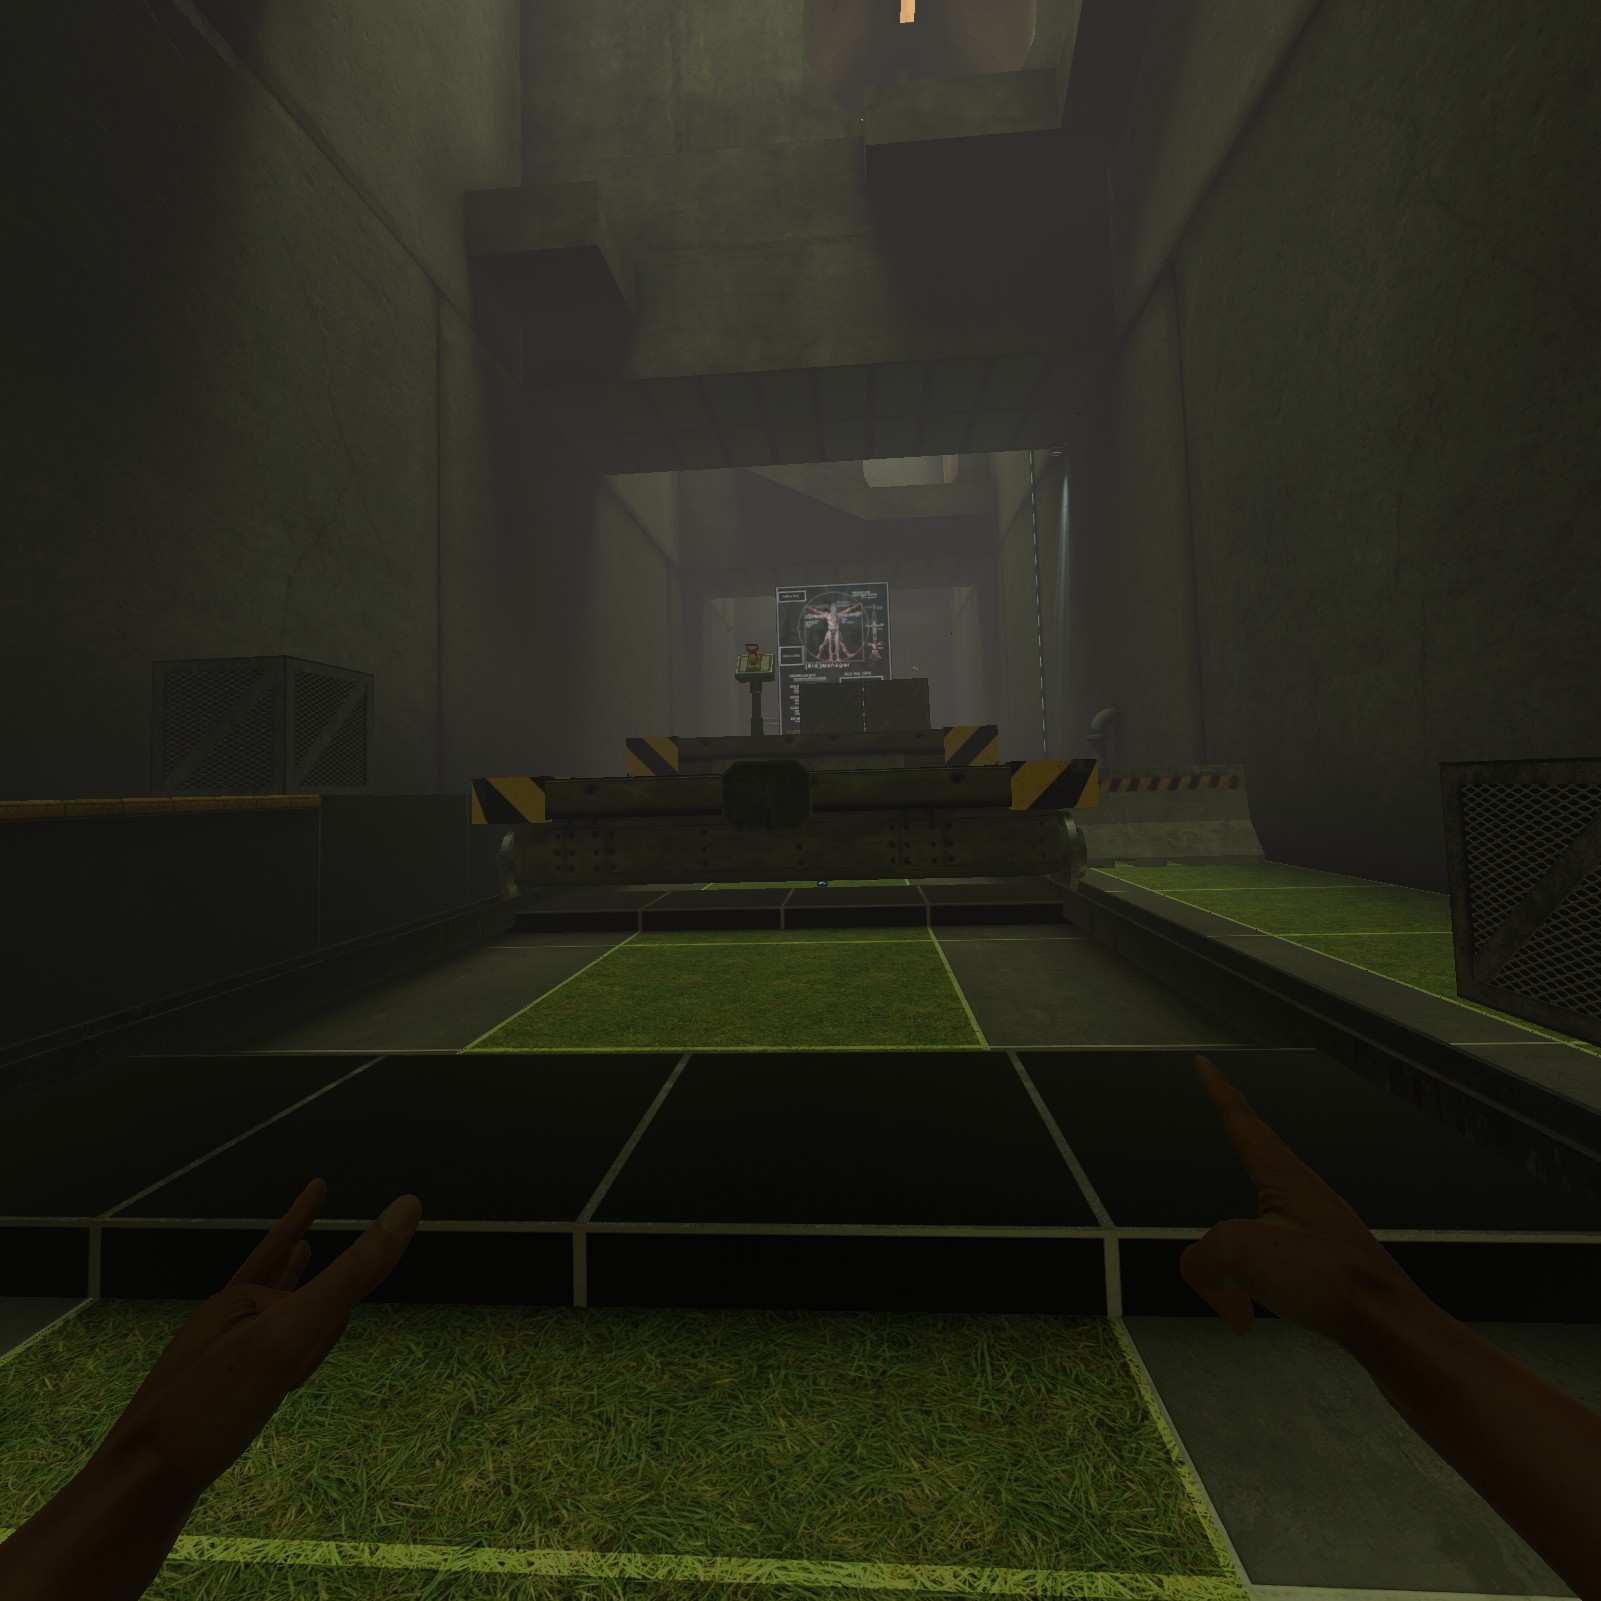
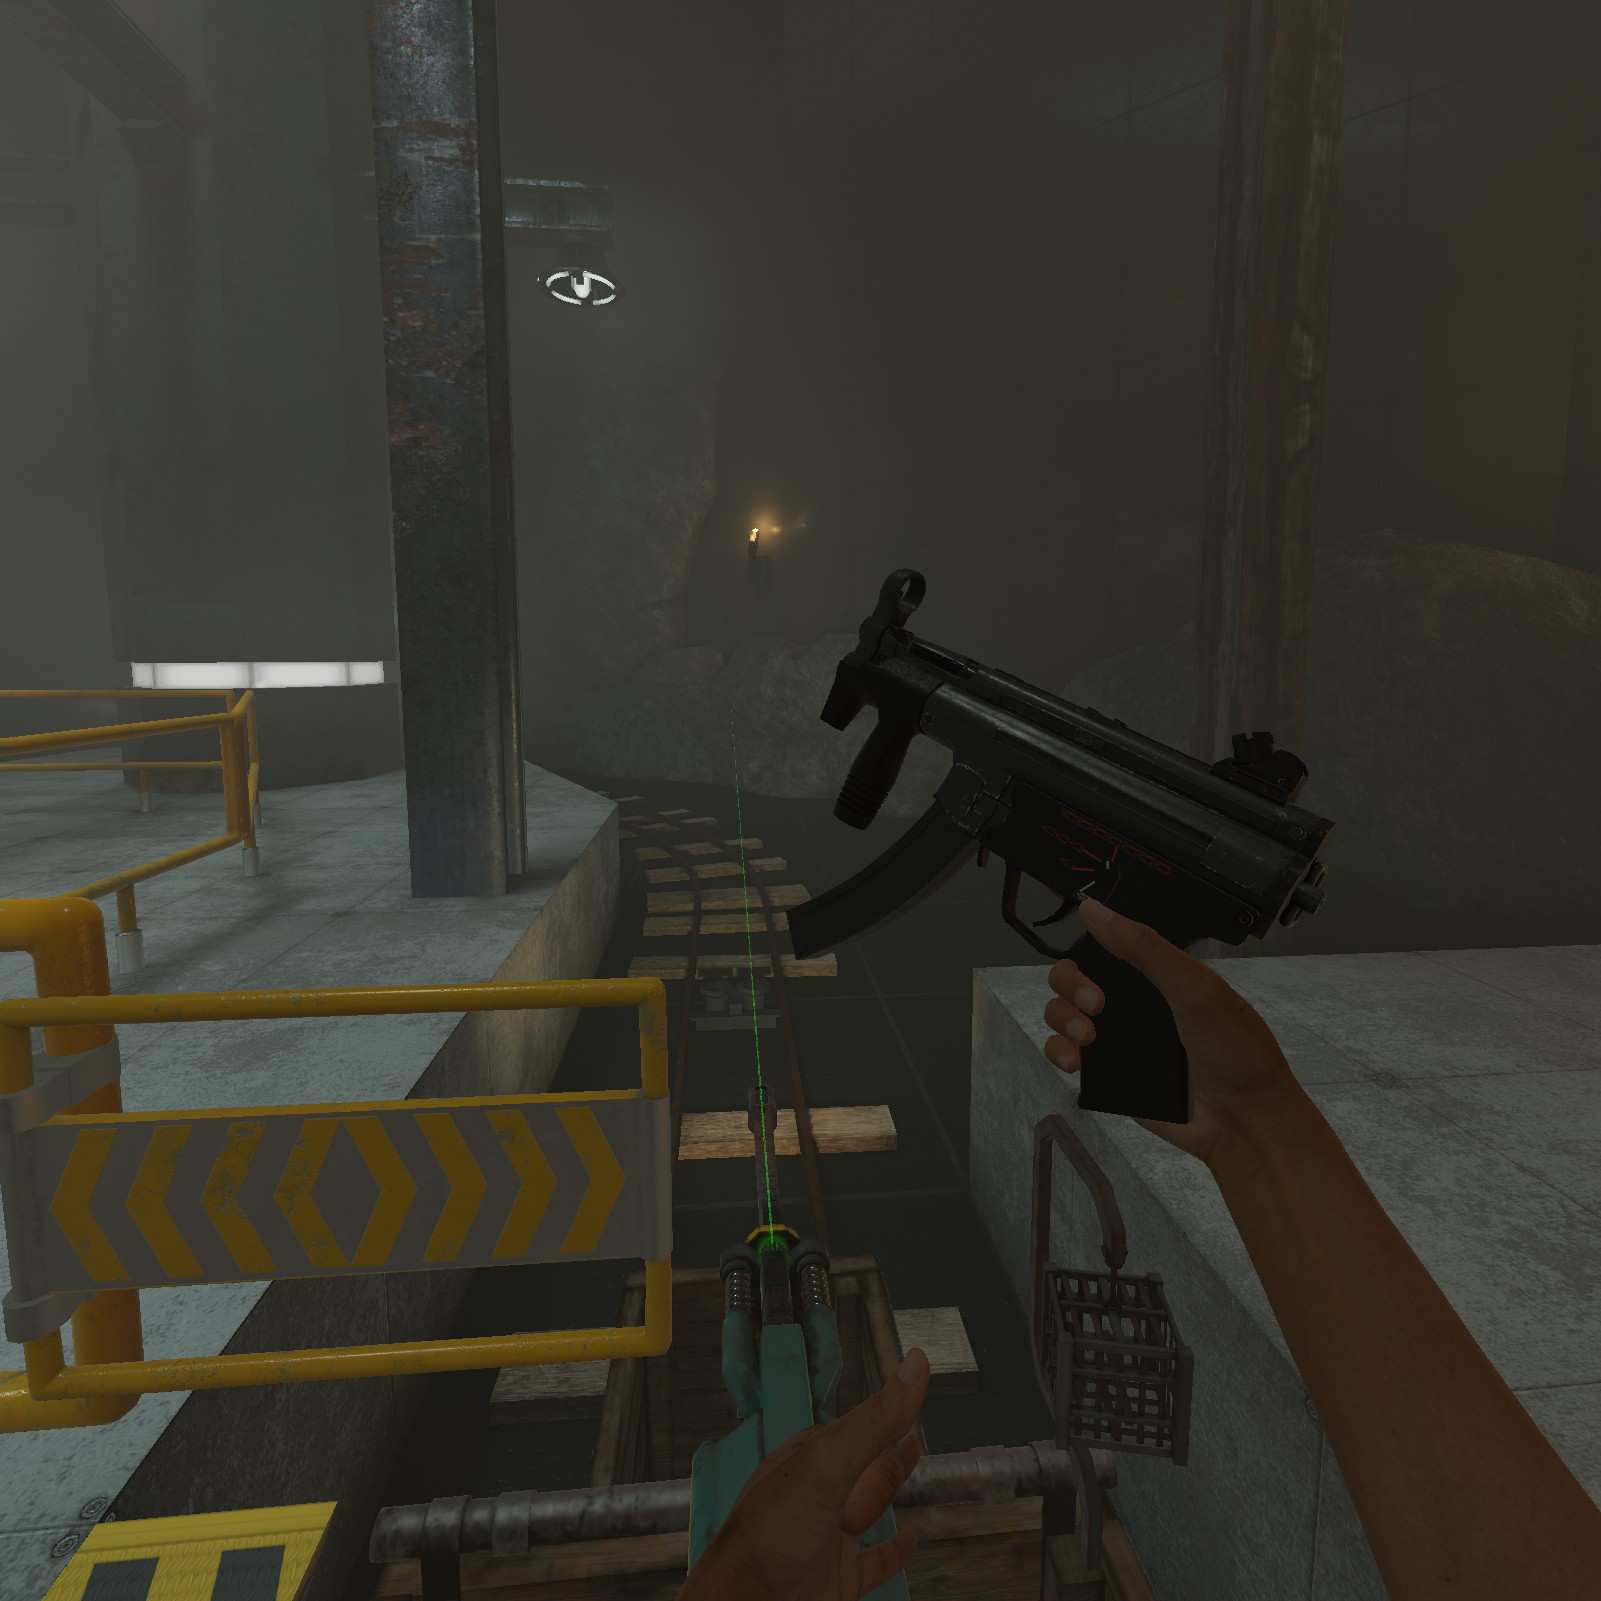
Gym Torus:
Be sure to grab this SMG, we’ll need it for the next level. As you move forward just round the corner there’s my favorite shape the Gym Torus. (Wth is a torus?).

Gym Cone B:
Now just under the train car ahead there’s my favorite shape the Gym Cone B, ether force grab it now or move the car forward to make it easier to grab.

Gym Cube 1X1:
After this fight we need to clamber up this yellow pipe to find my favorite shape the Gym Cube 1X1.


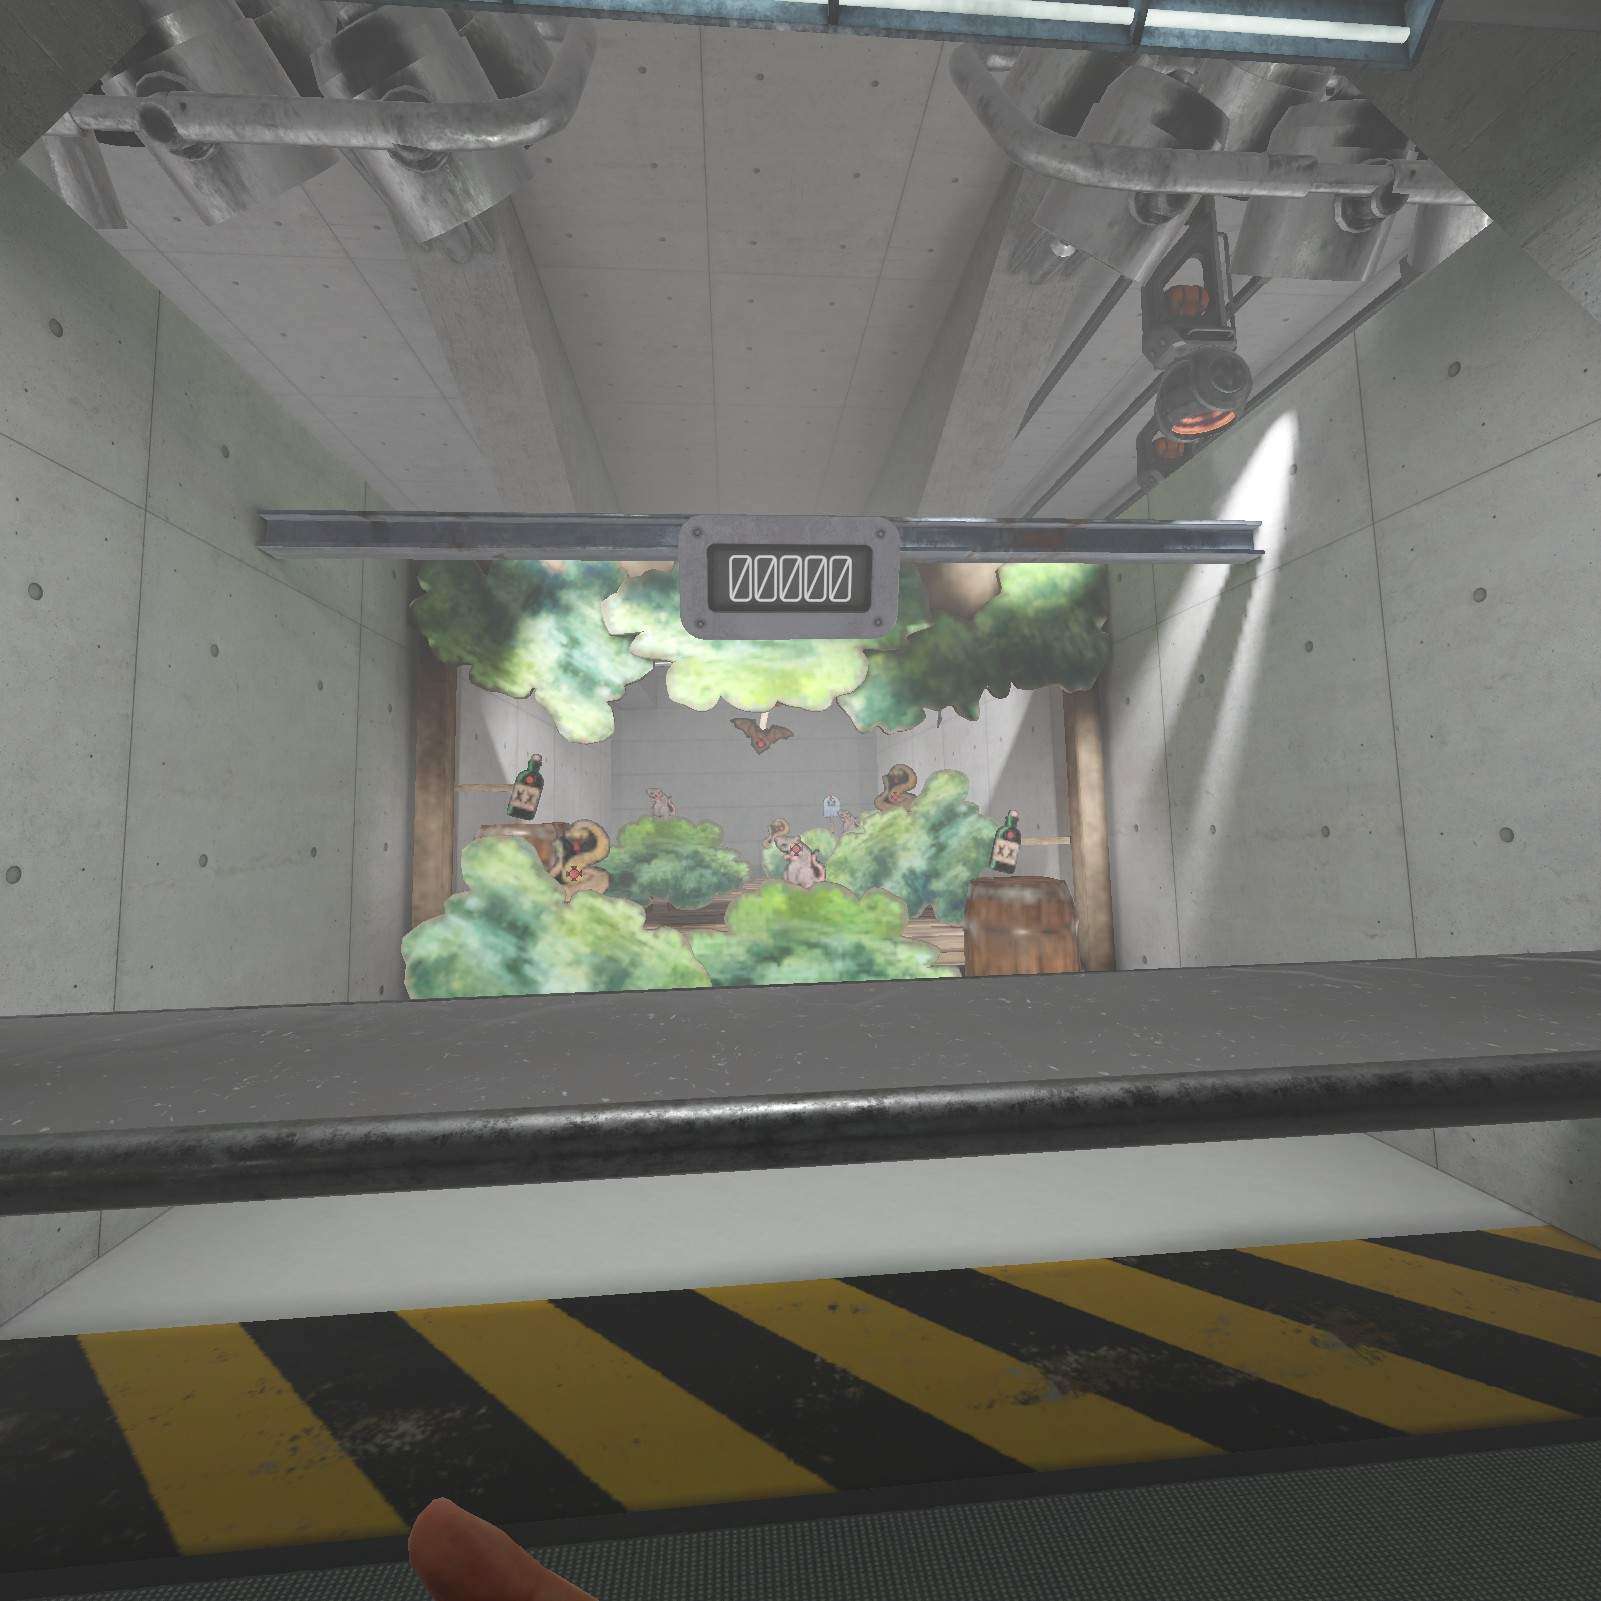
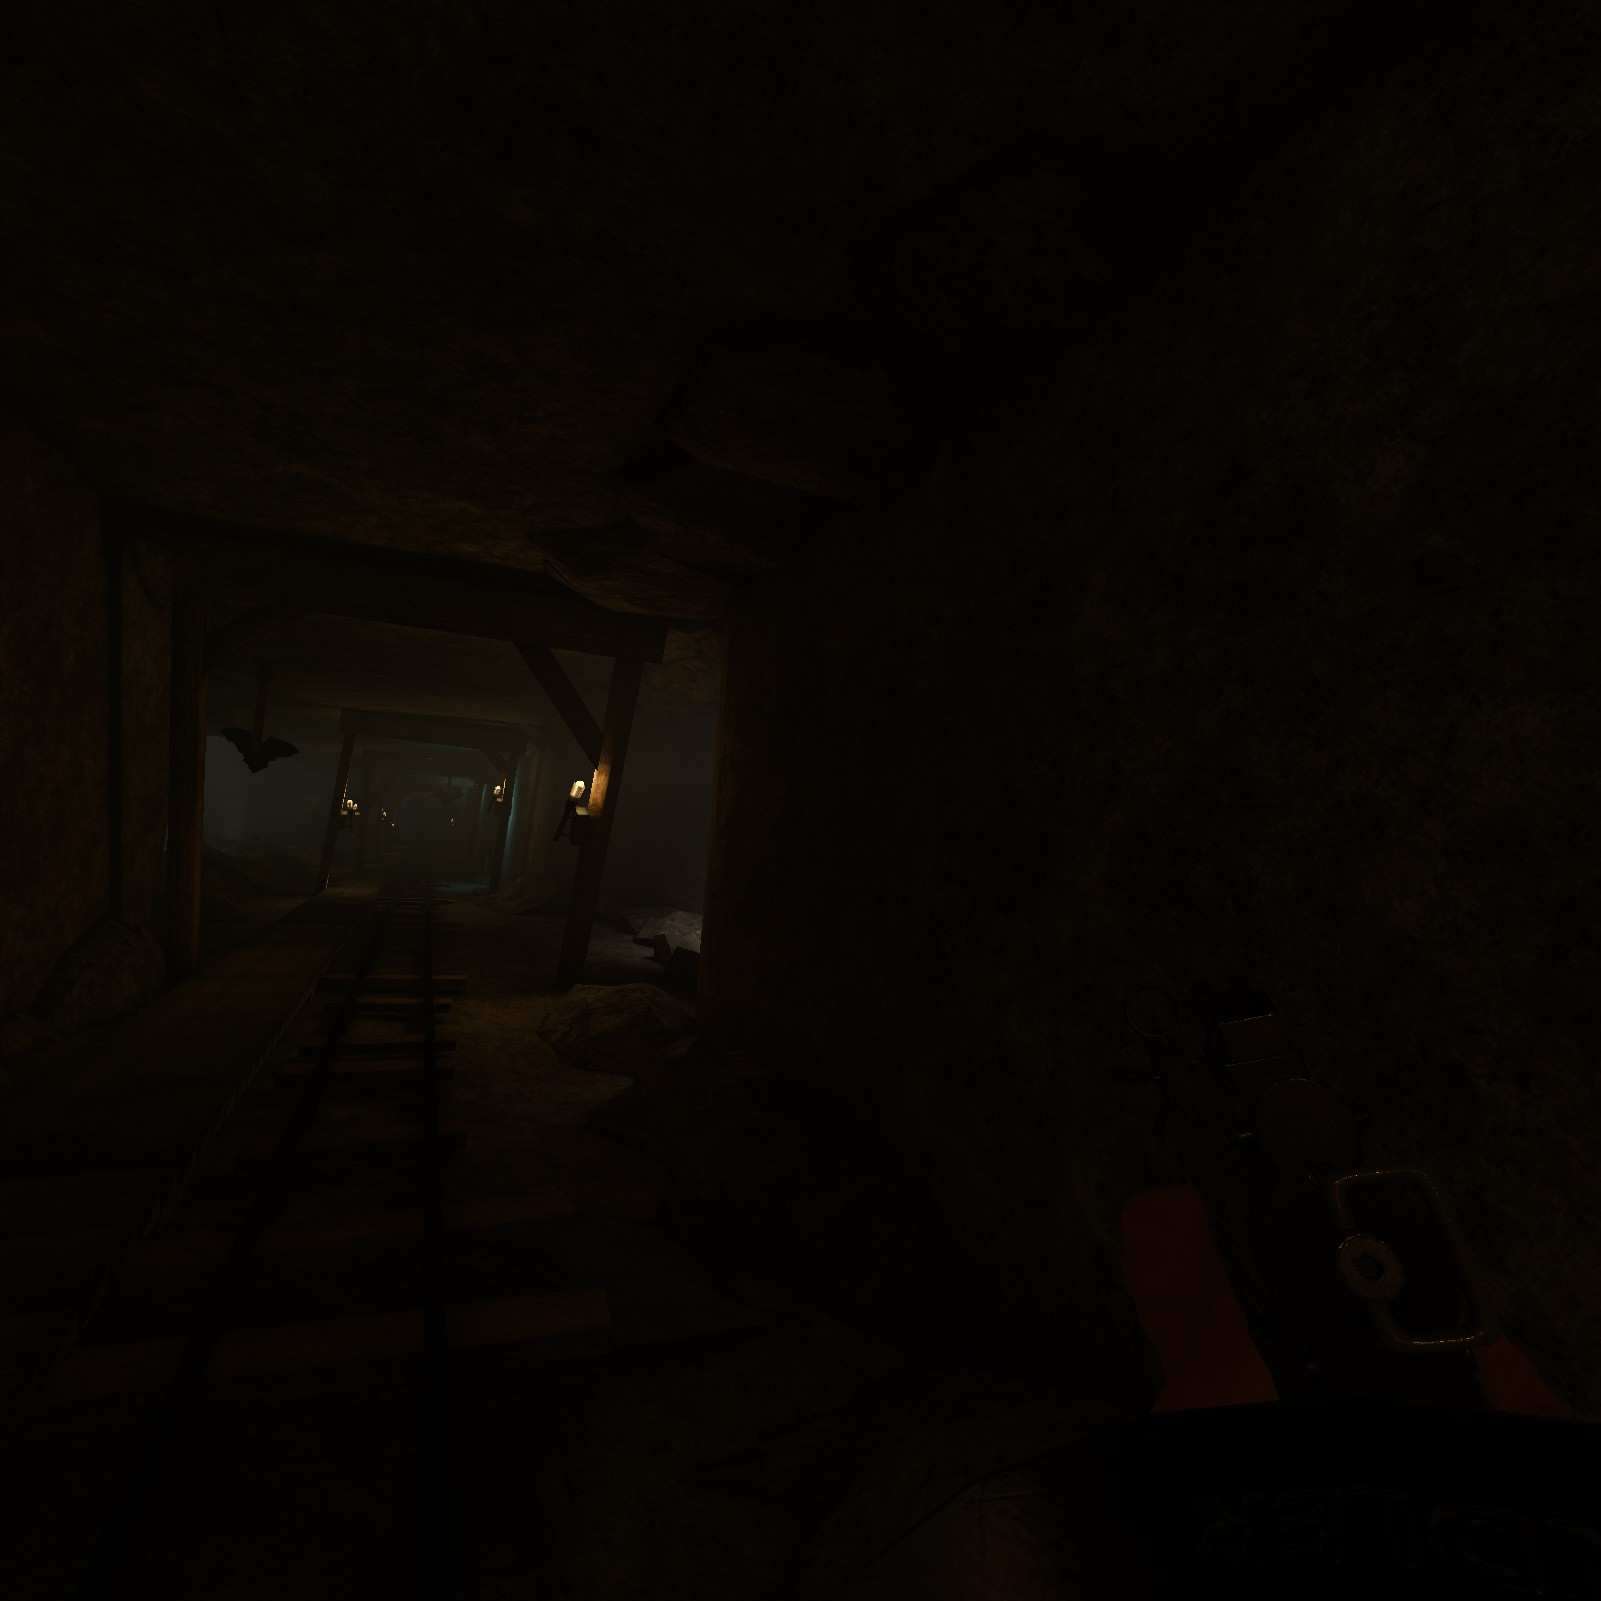
Mine Coster
This level’s colectables function a bit differently. You need to shoot these gatcha cutouts for your prize and their text is very easy to miss. Even now I don’t know what they unlock yet, so I’ll update that when I find out.
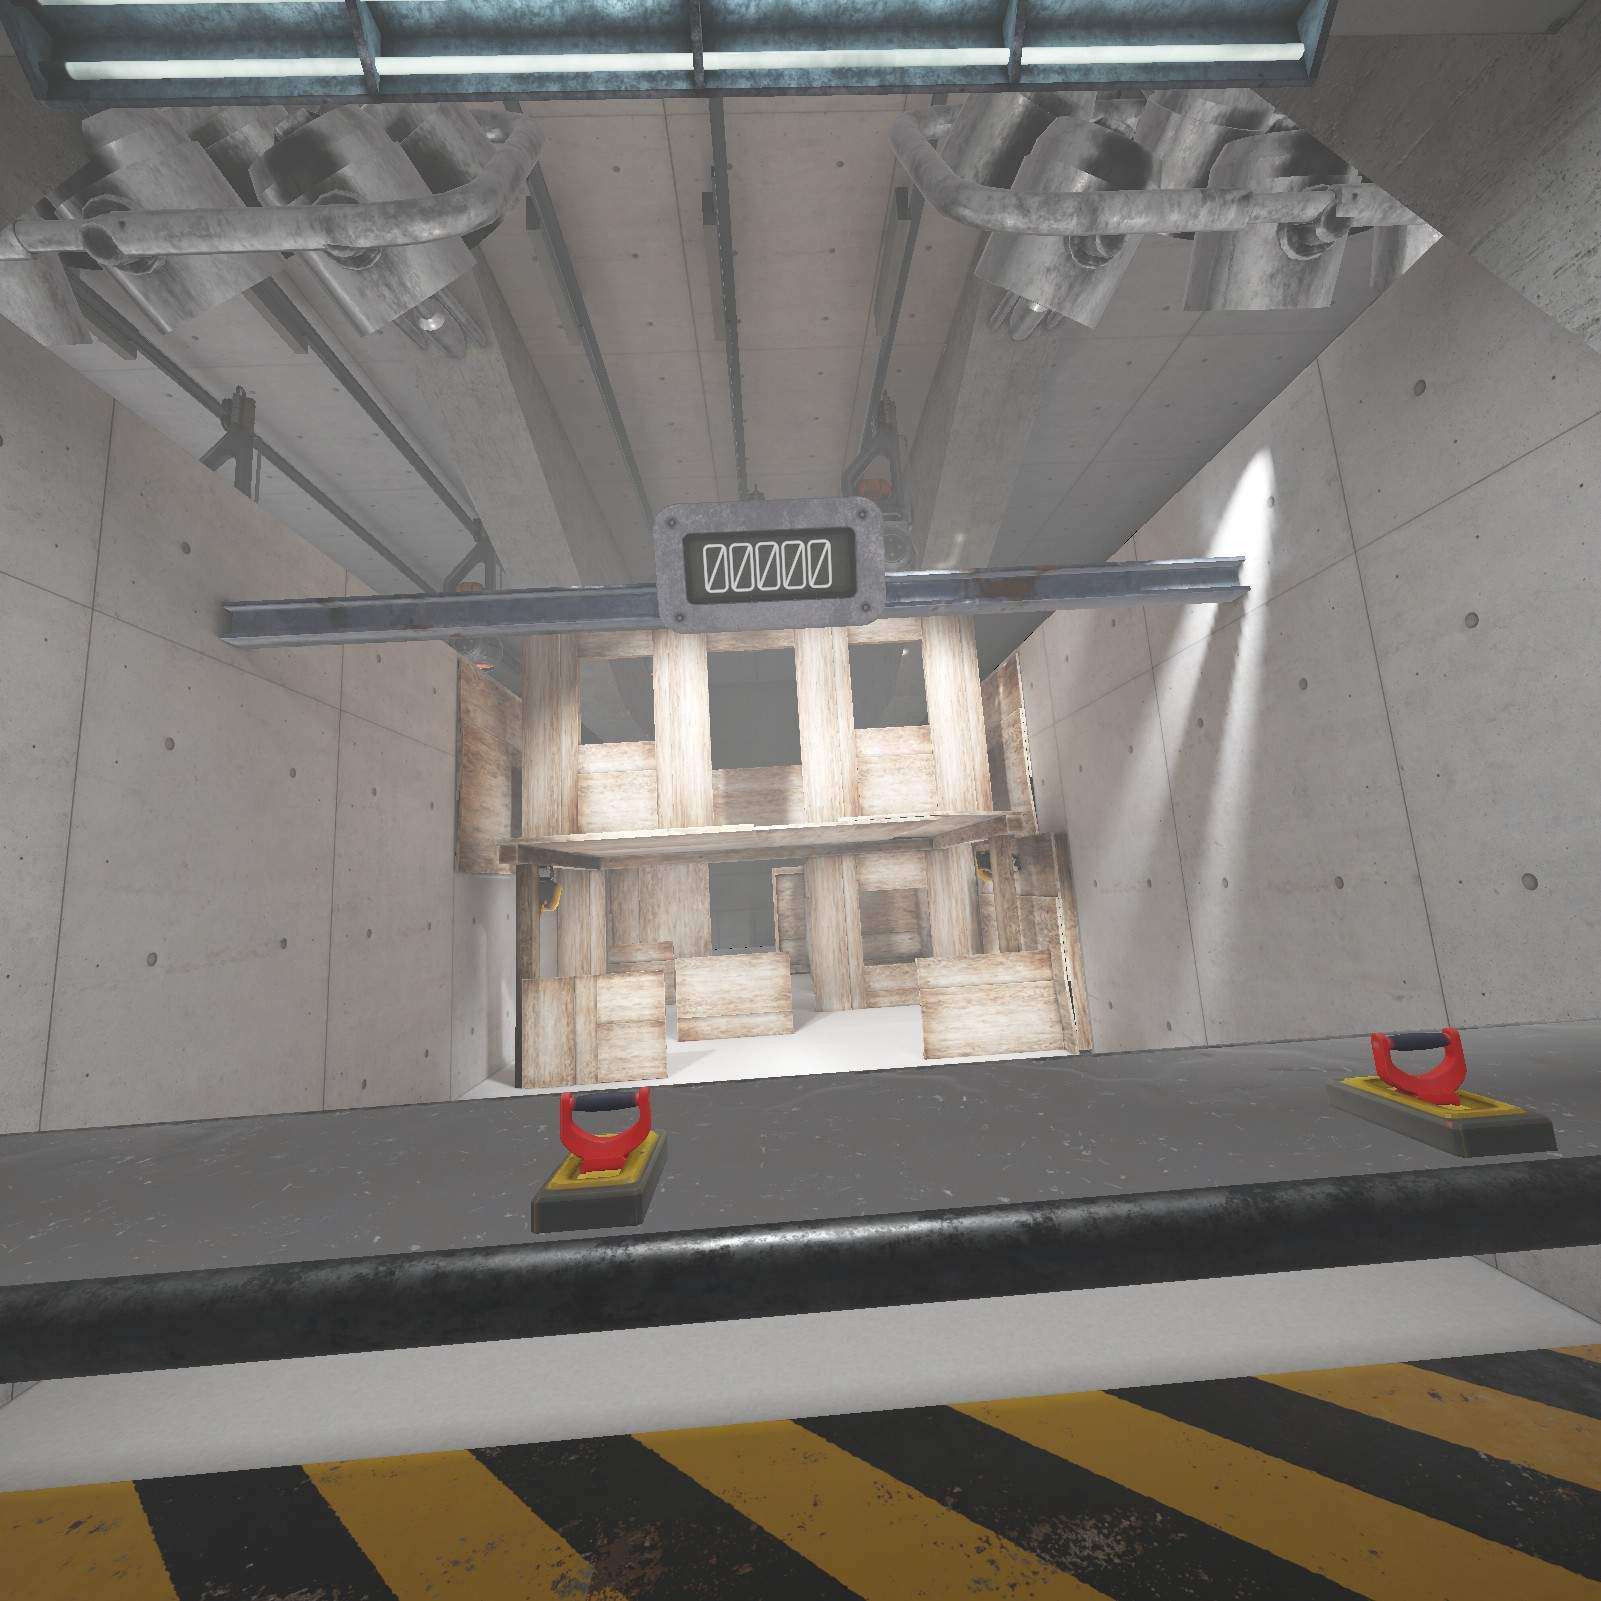
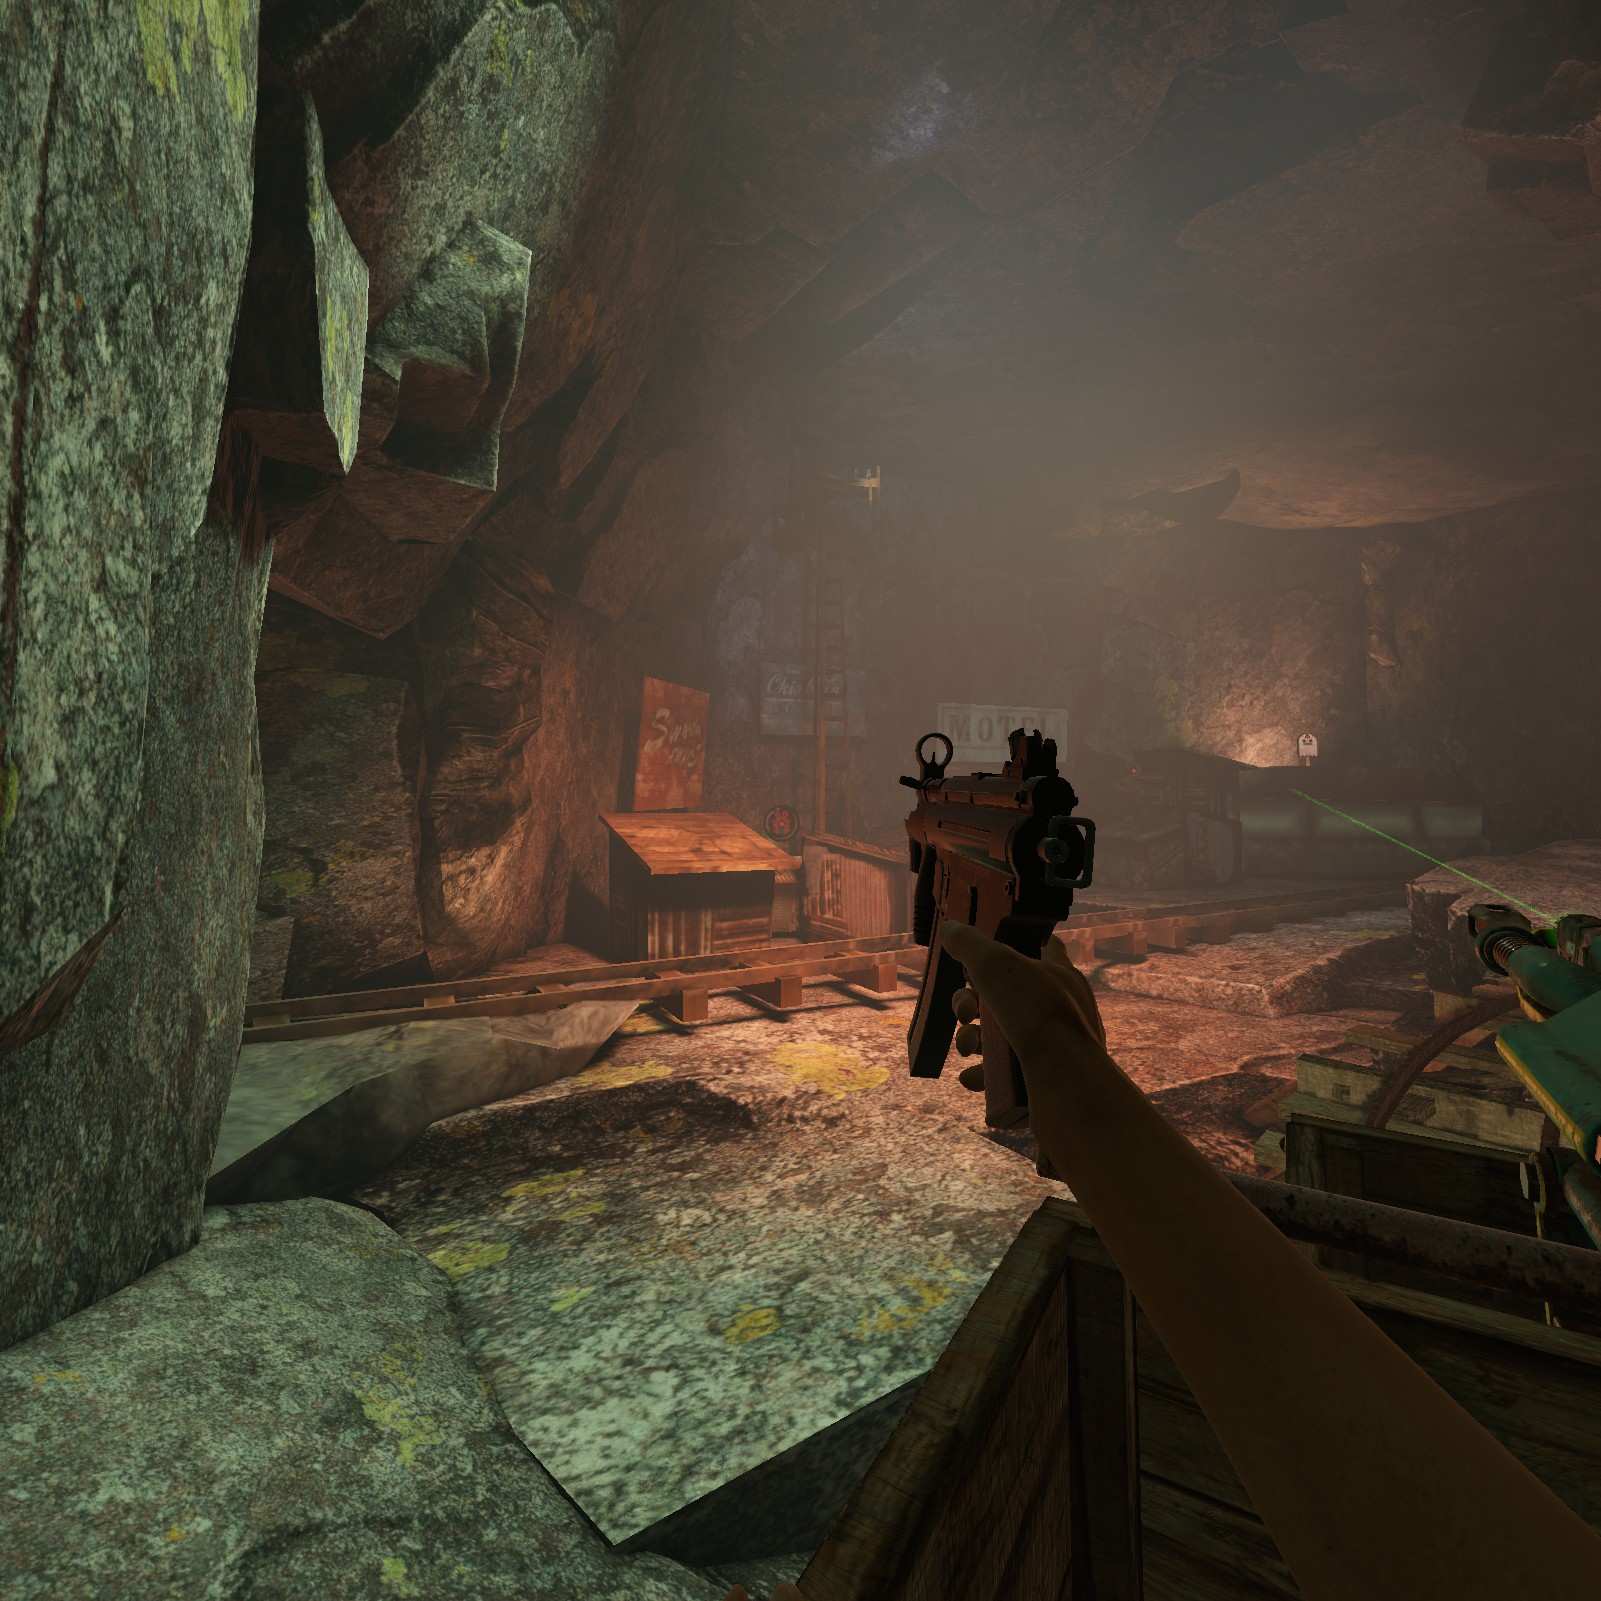
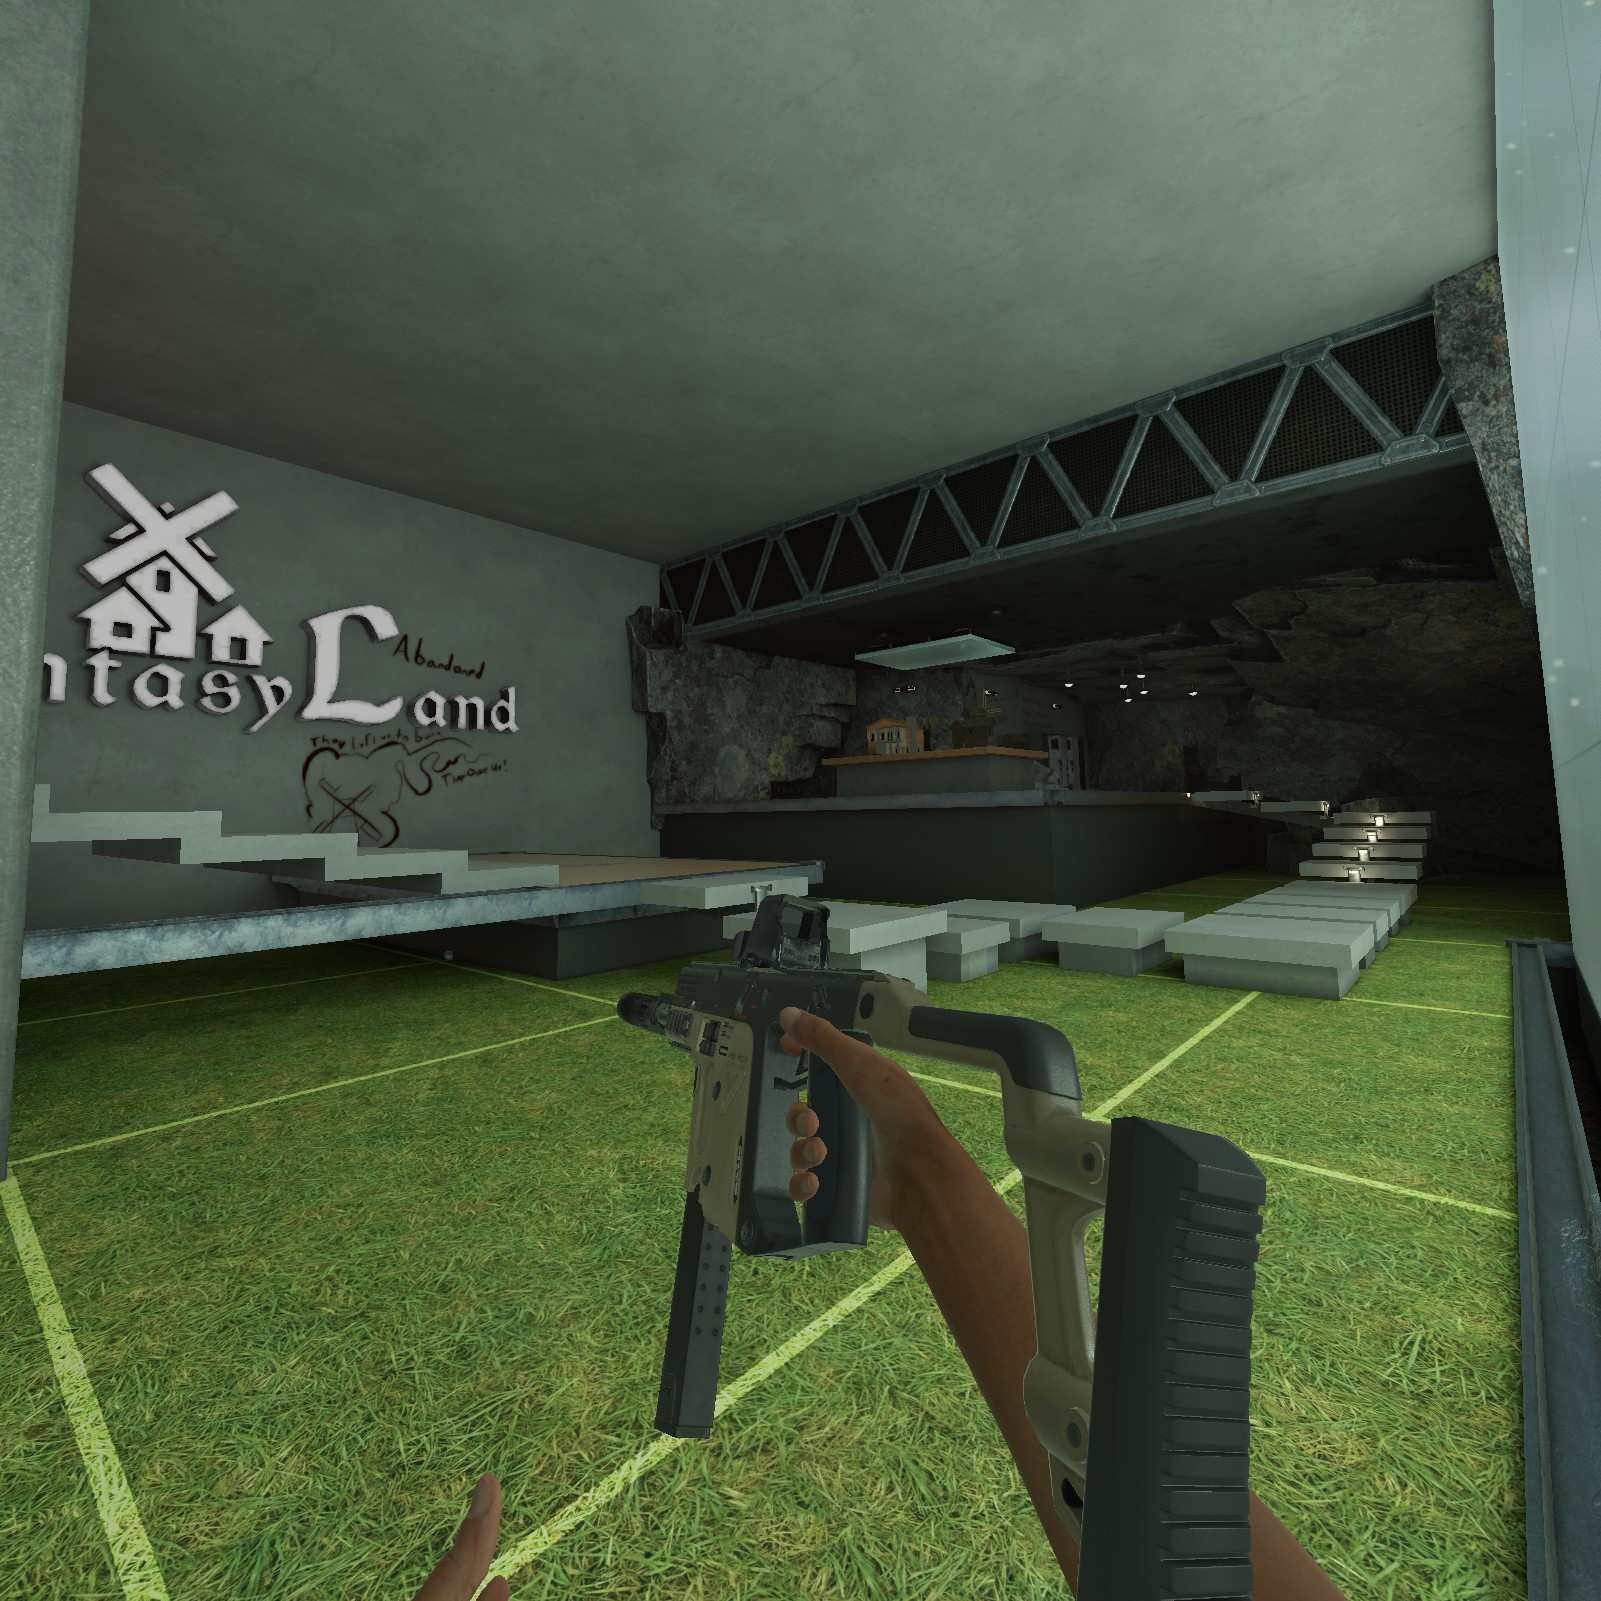
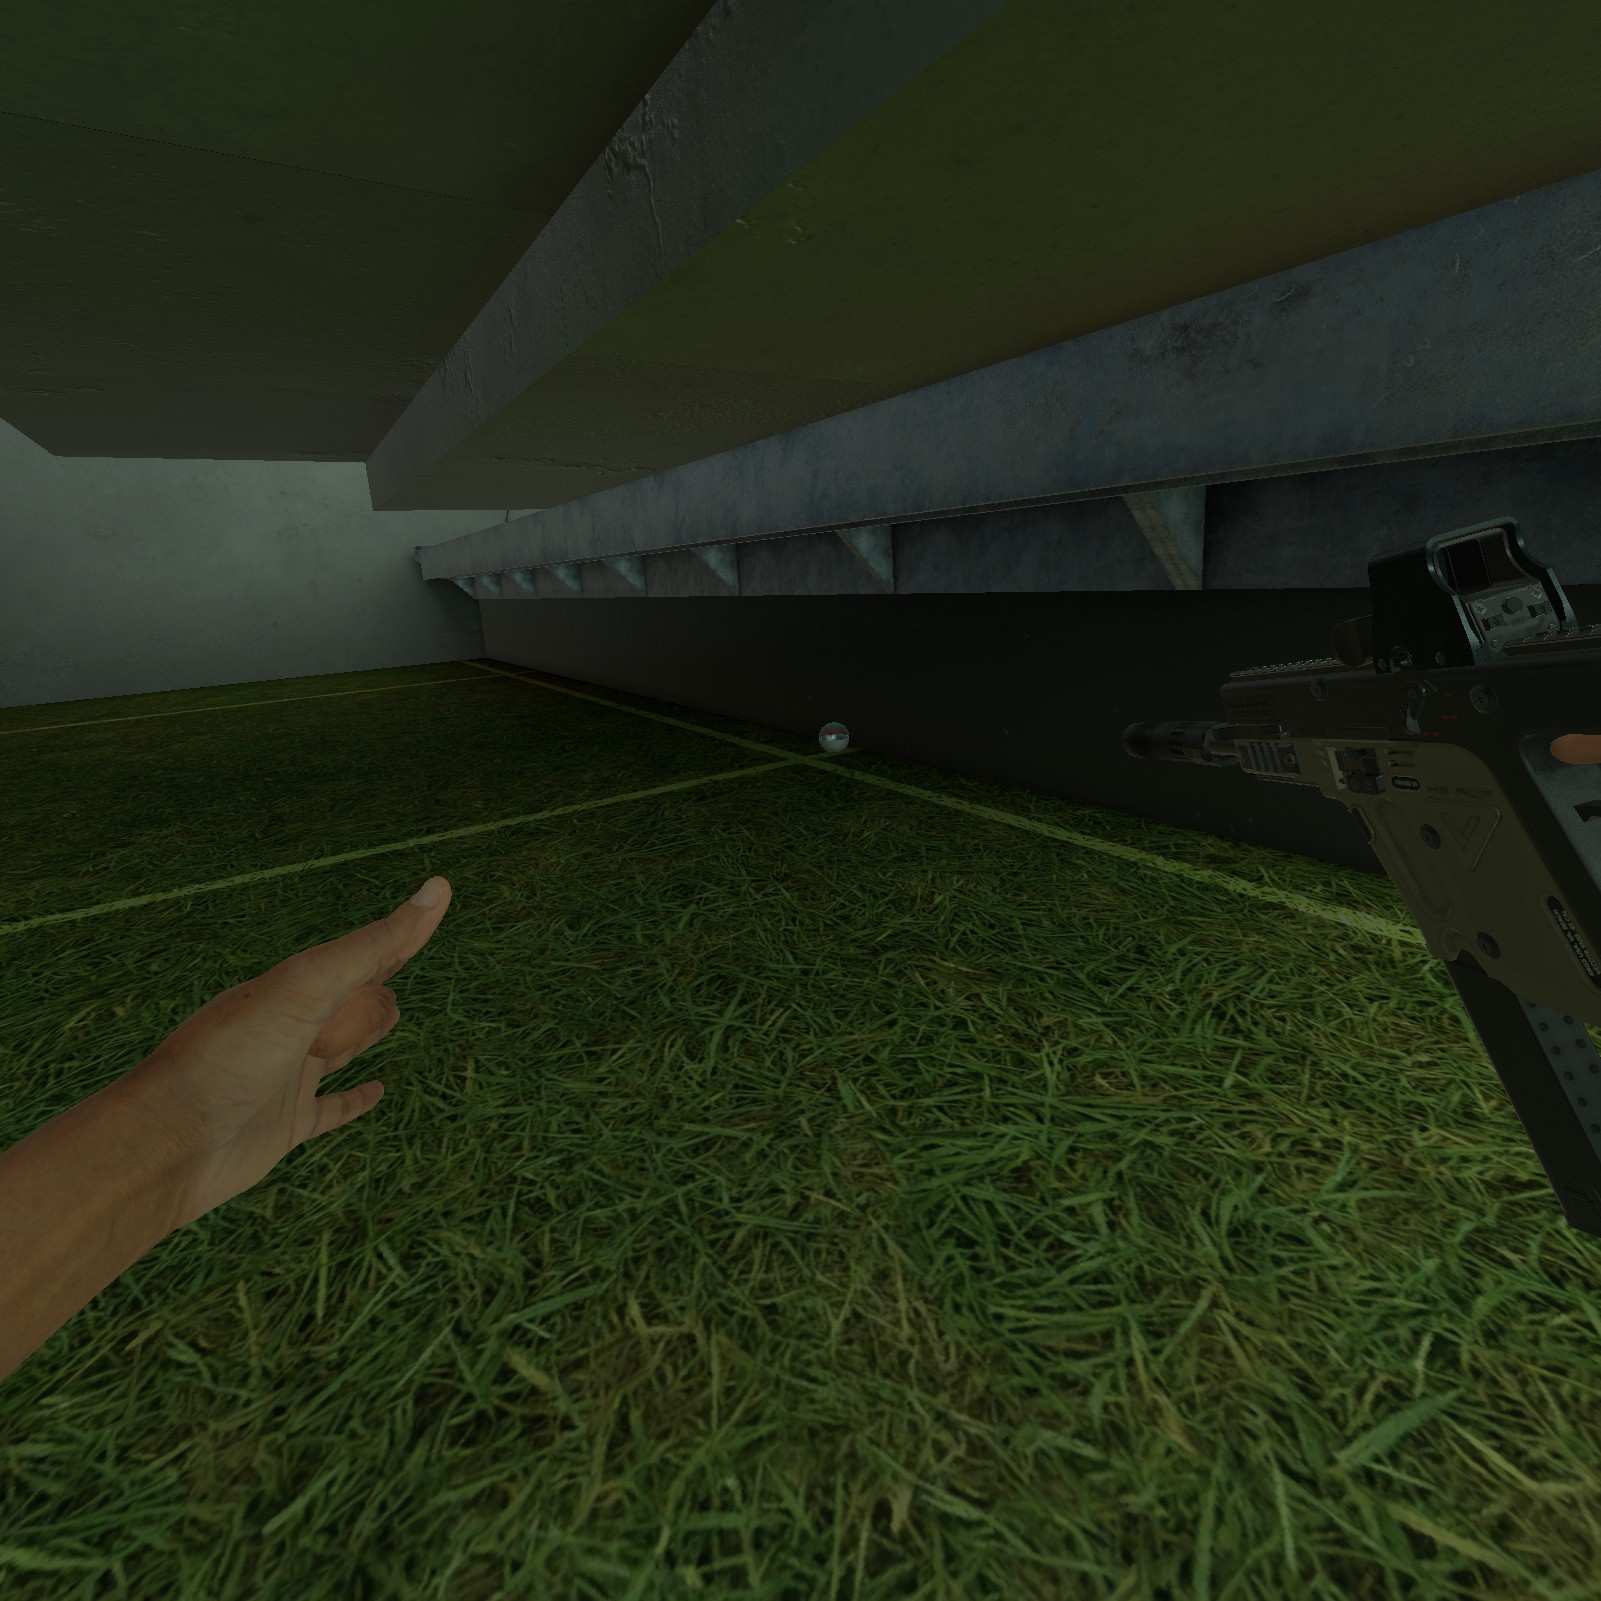
Gym Trapazoid E::
There are 3 that I found, the first is in the back of this practice range.
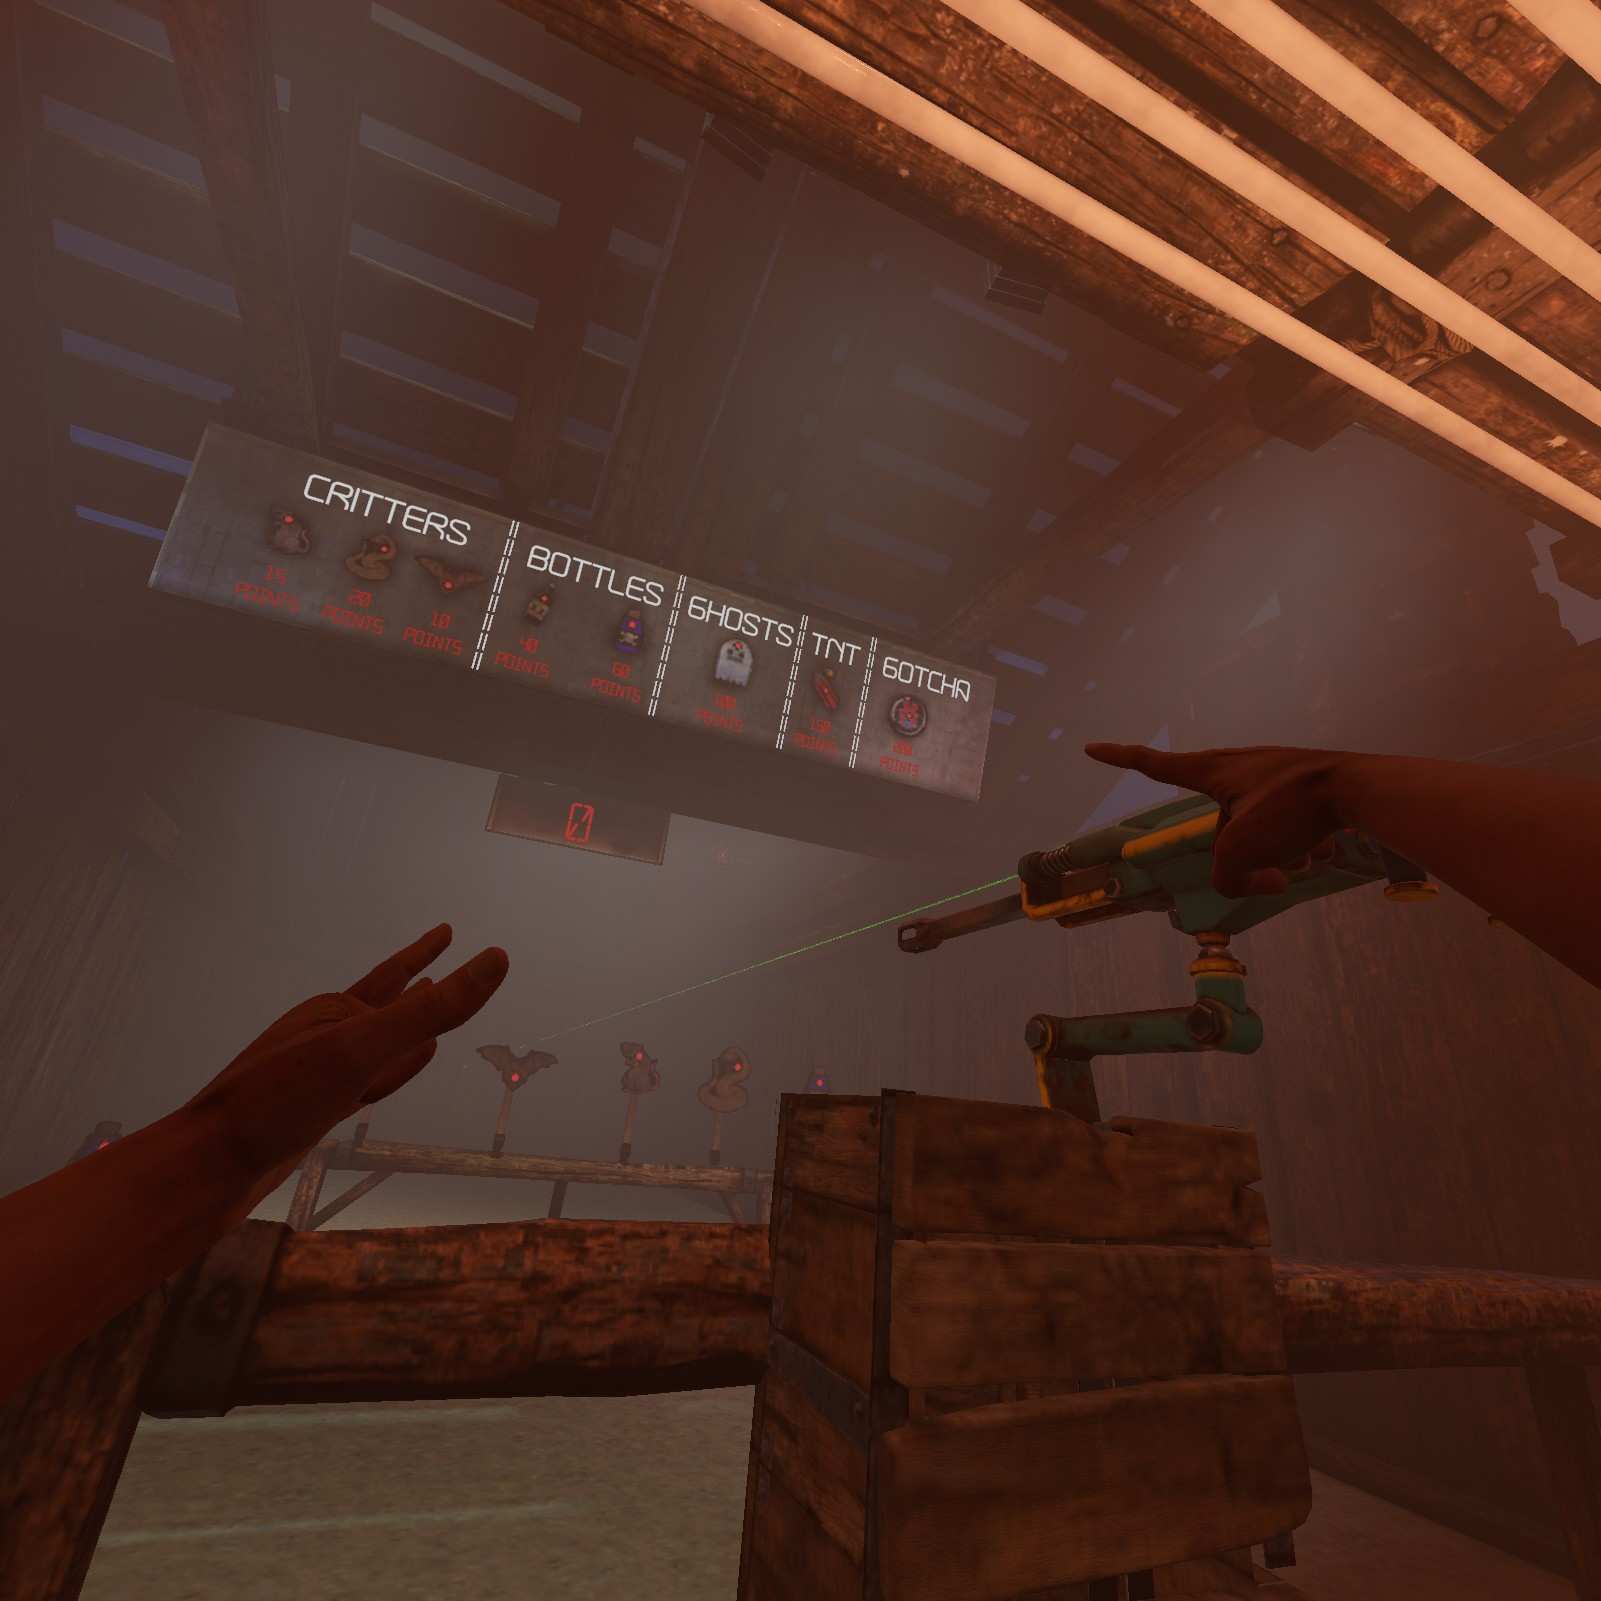

SMG is recommended here for its high fire rate and high ammo count at this point in the campaign.
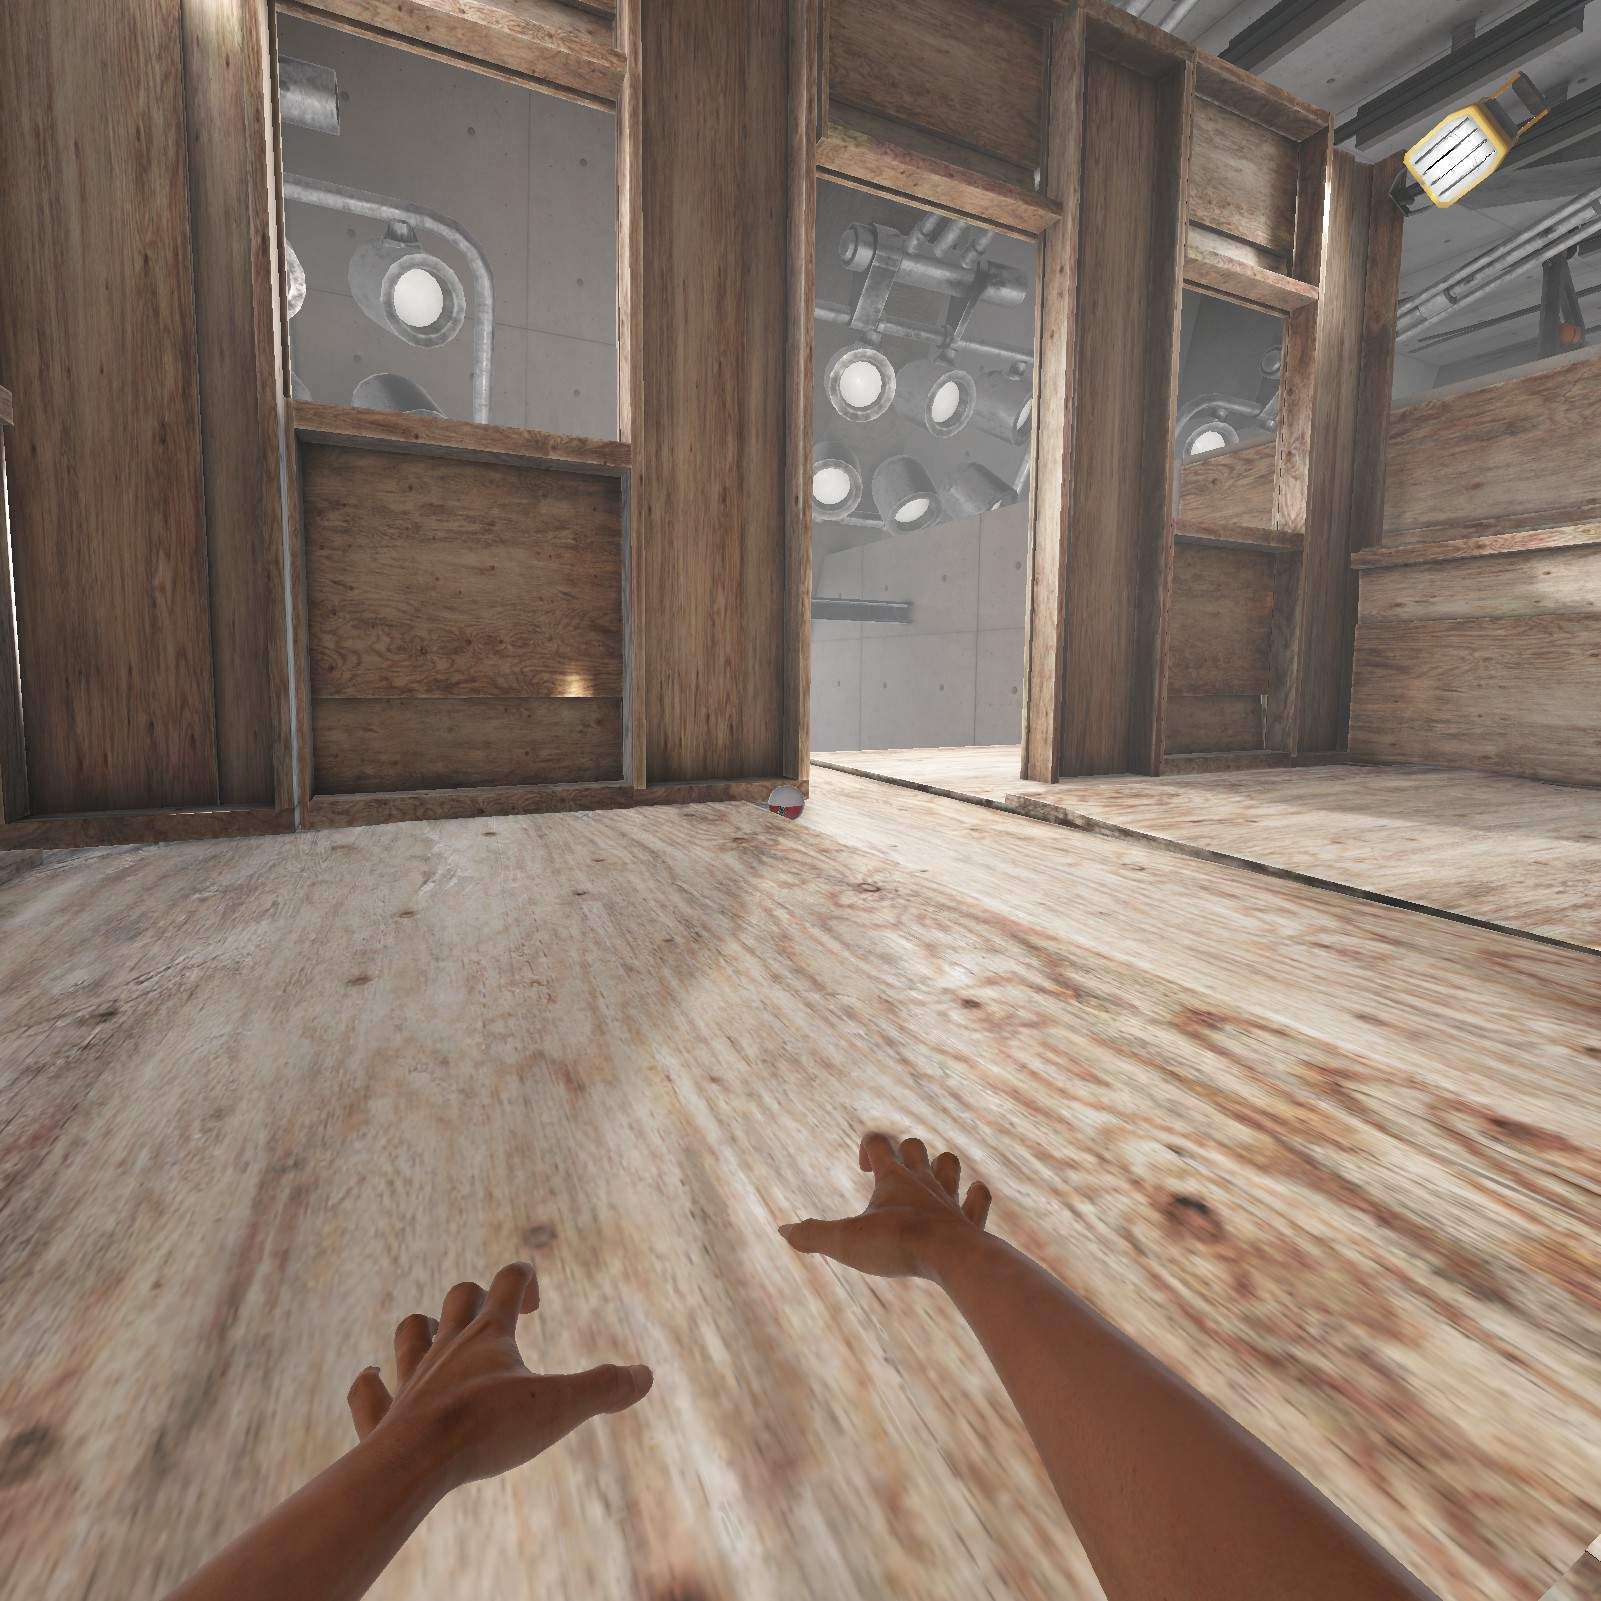
Pickaxe:
Next there’s this one on the left in the second shooter segment, Its hard to see in the back, even I missed the screenshot, just trust me and keep aiming to your left until you see and shoot it.
Stapler:
Last is this one in the town, its the first target to the level, I actually got the text to show this time as well, its the Stapler.

Big Anomaly
Gym D12:
You did not miss this one. I refuse to believe it. Even if its my favorite shape the Gym D12 I will not forgive you if you missed this one.
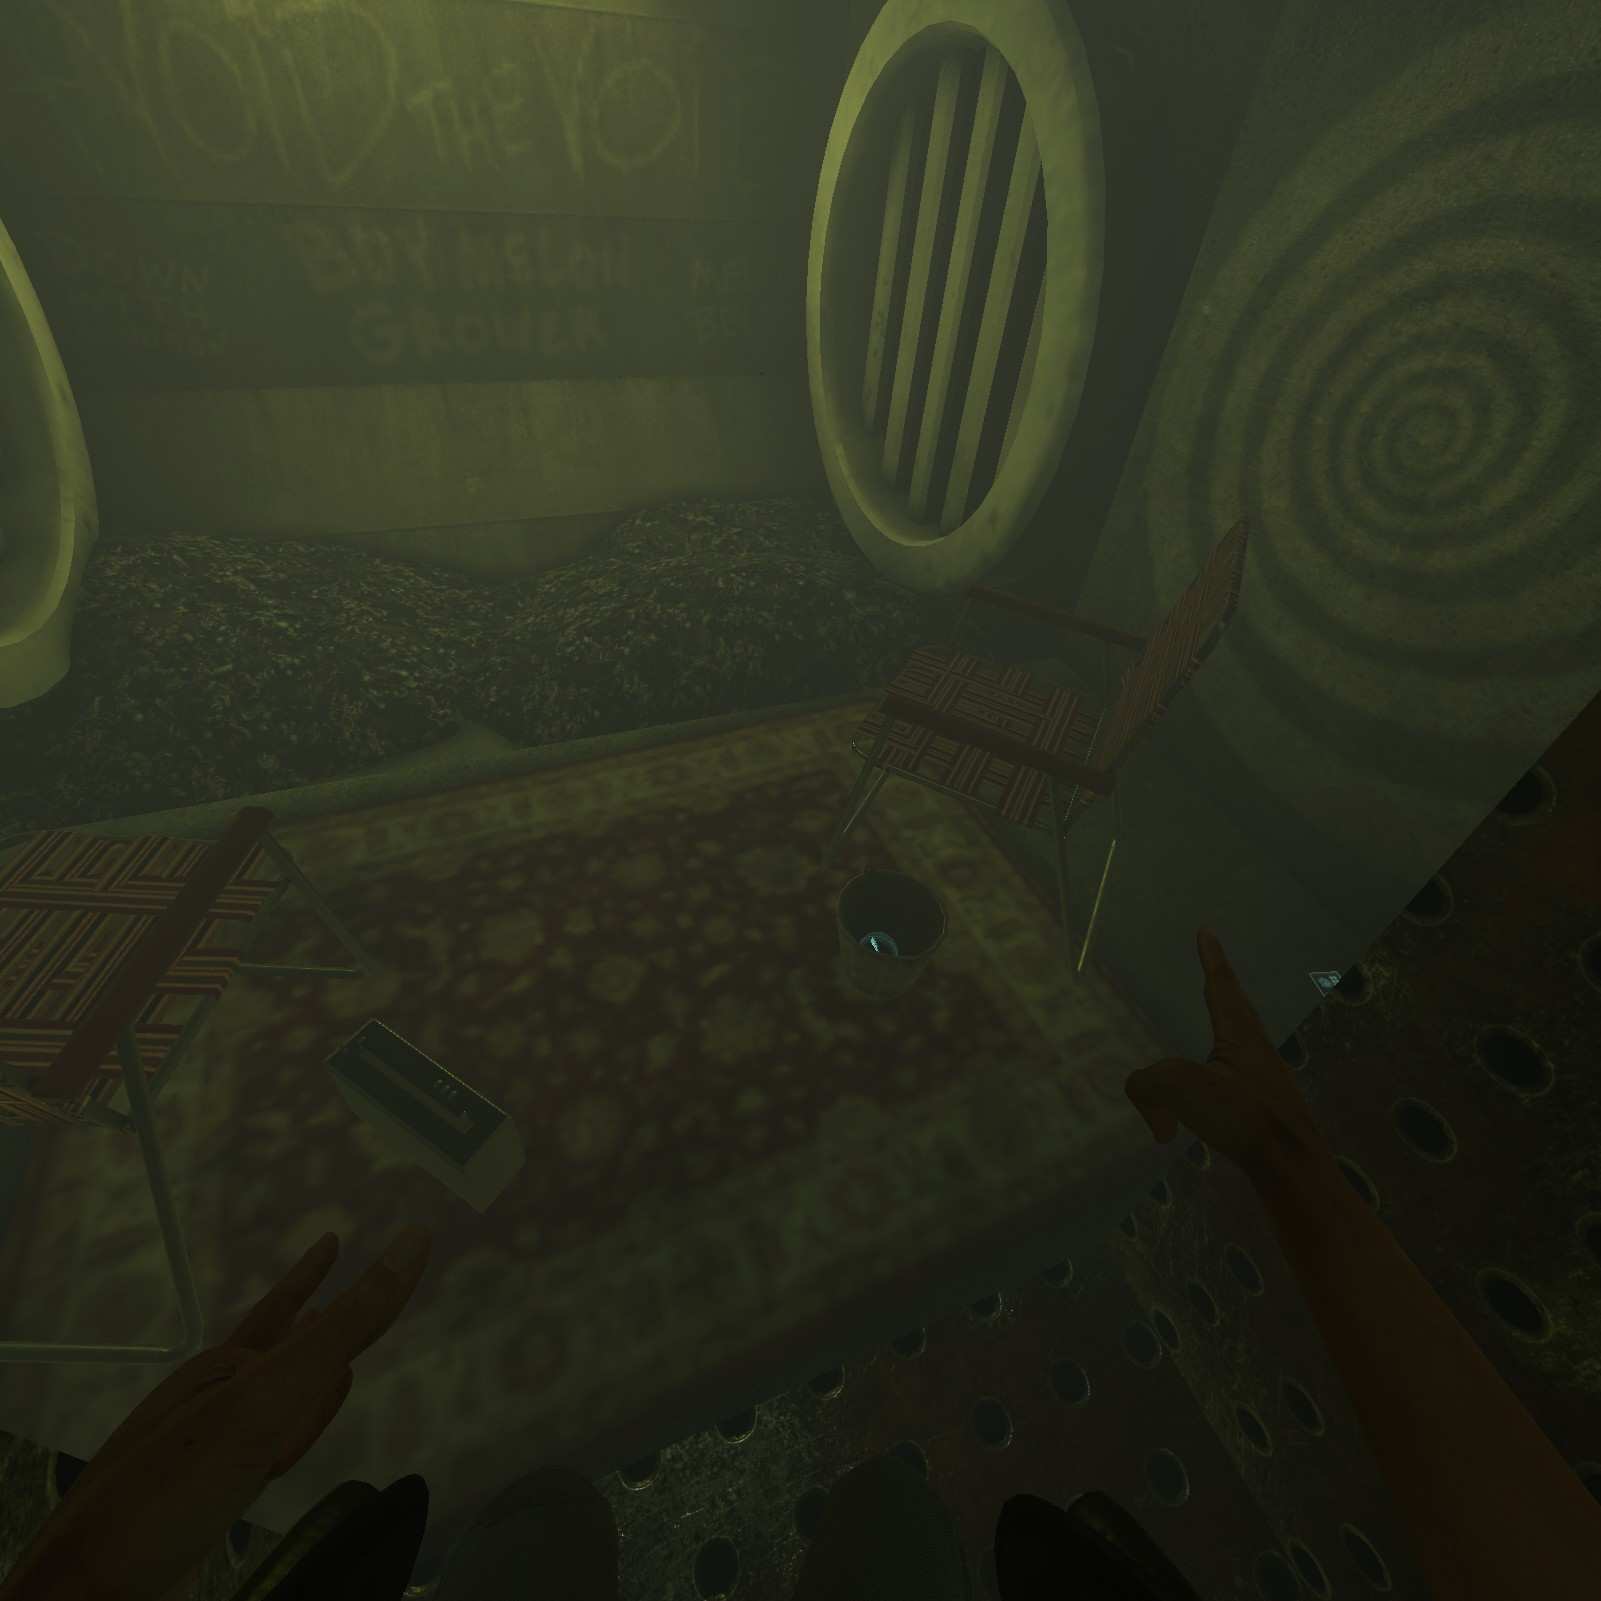
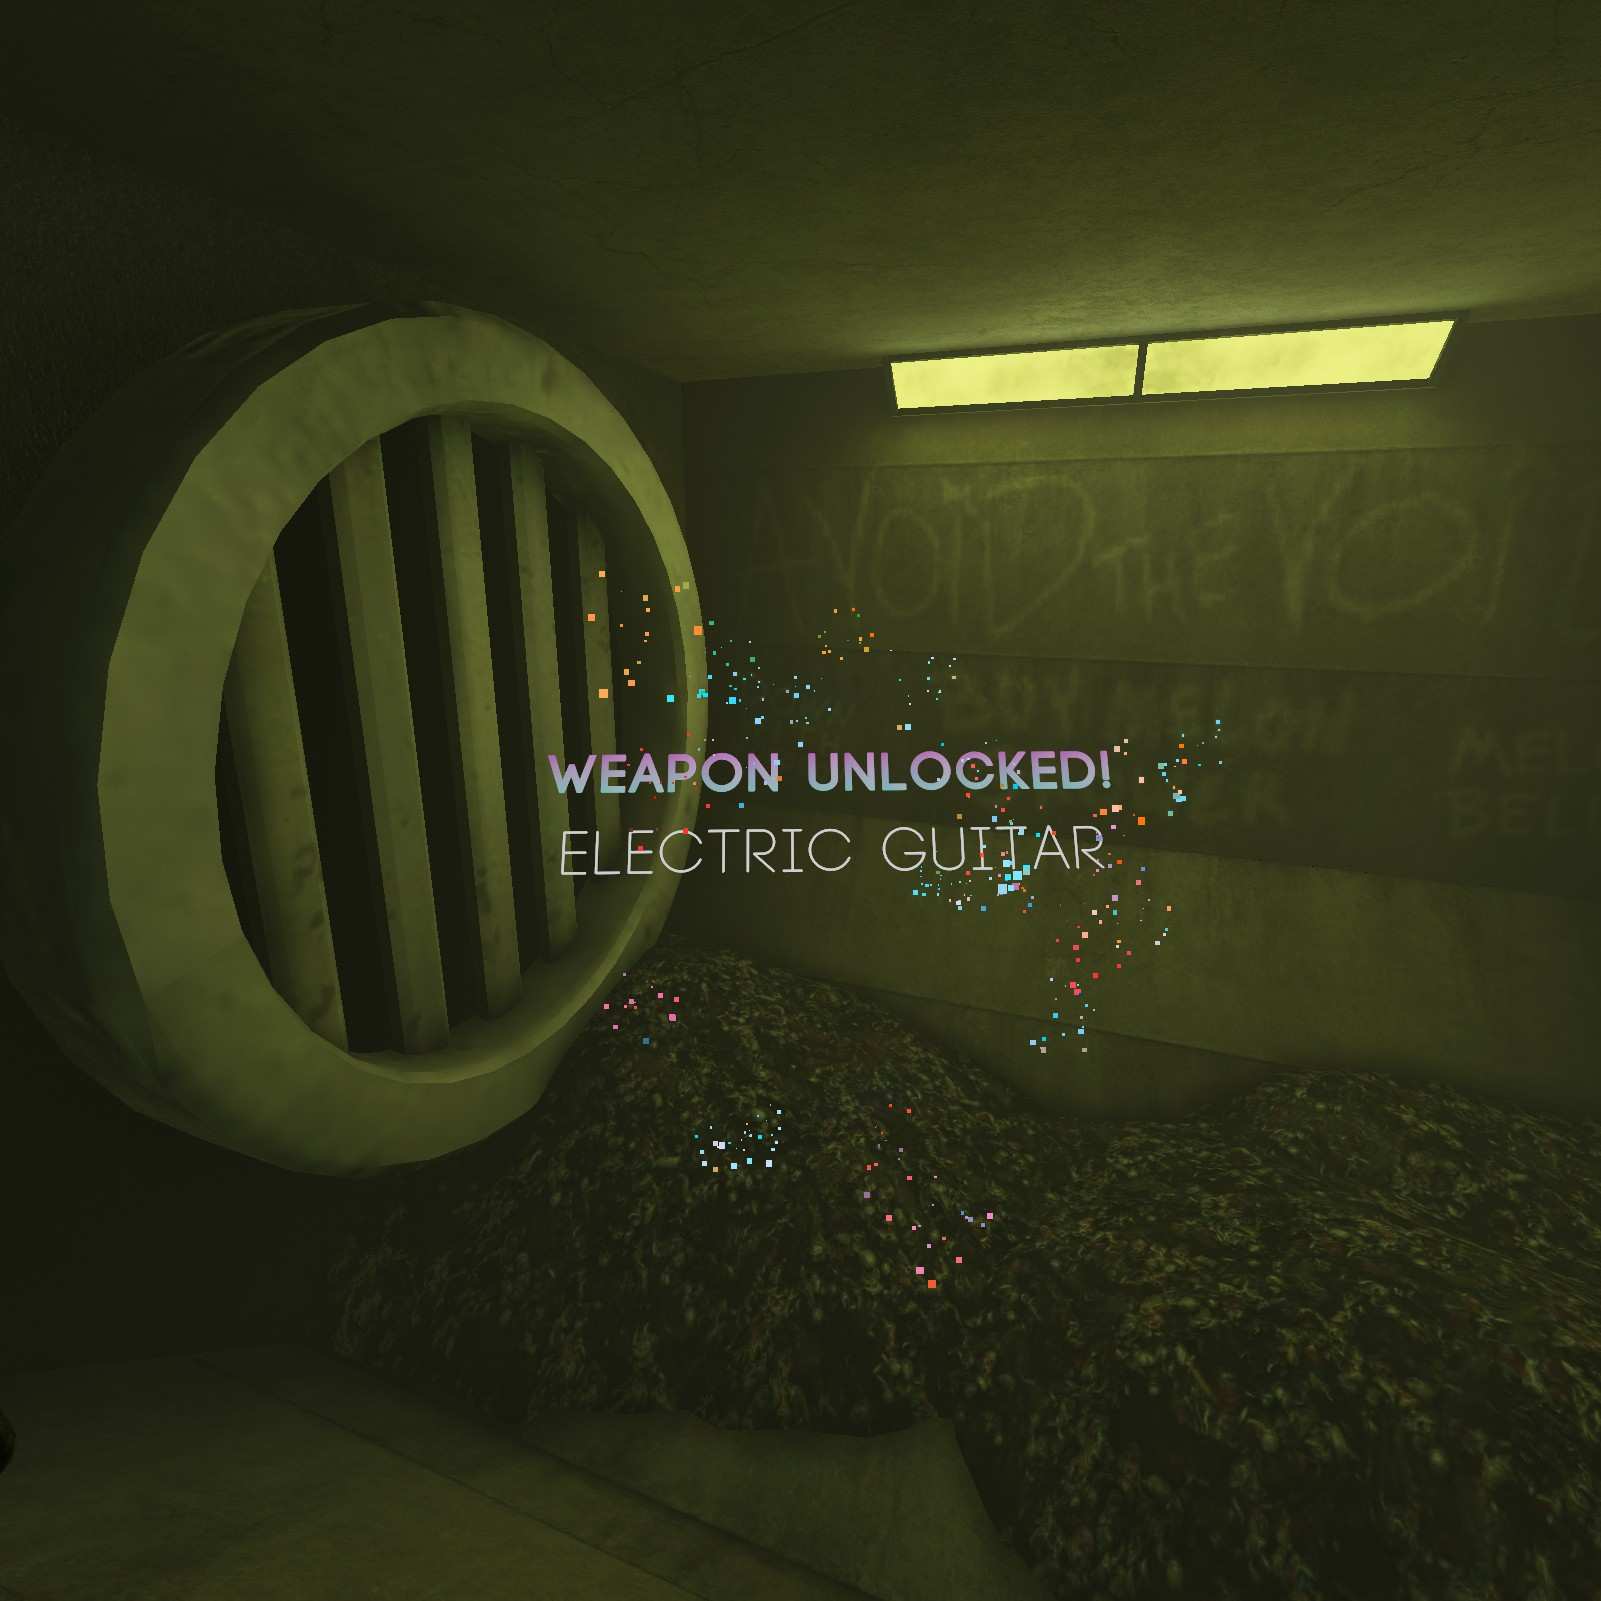
Gravity Plate & Electric Guitar:
Under the stair case there’s a crablet, a gatcha ball and passageway to another gatcha ball. These are the gravity plate and the electric guitar.

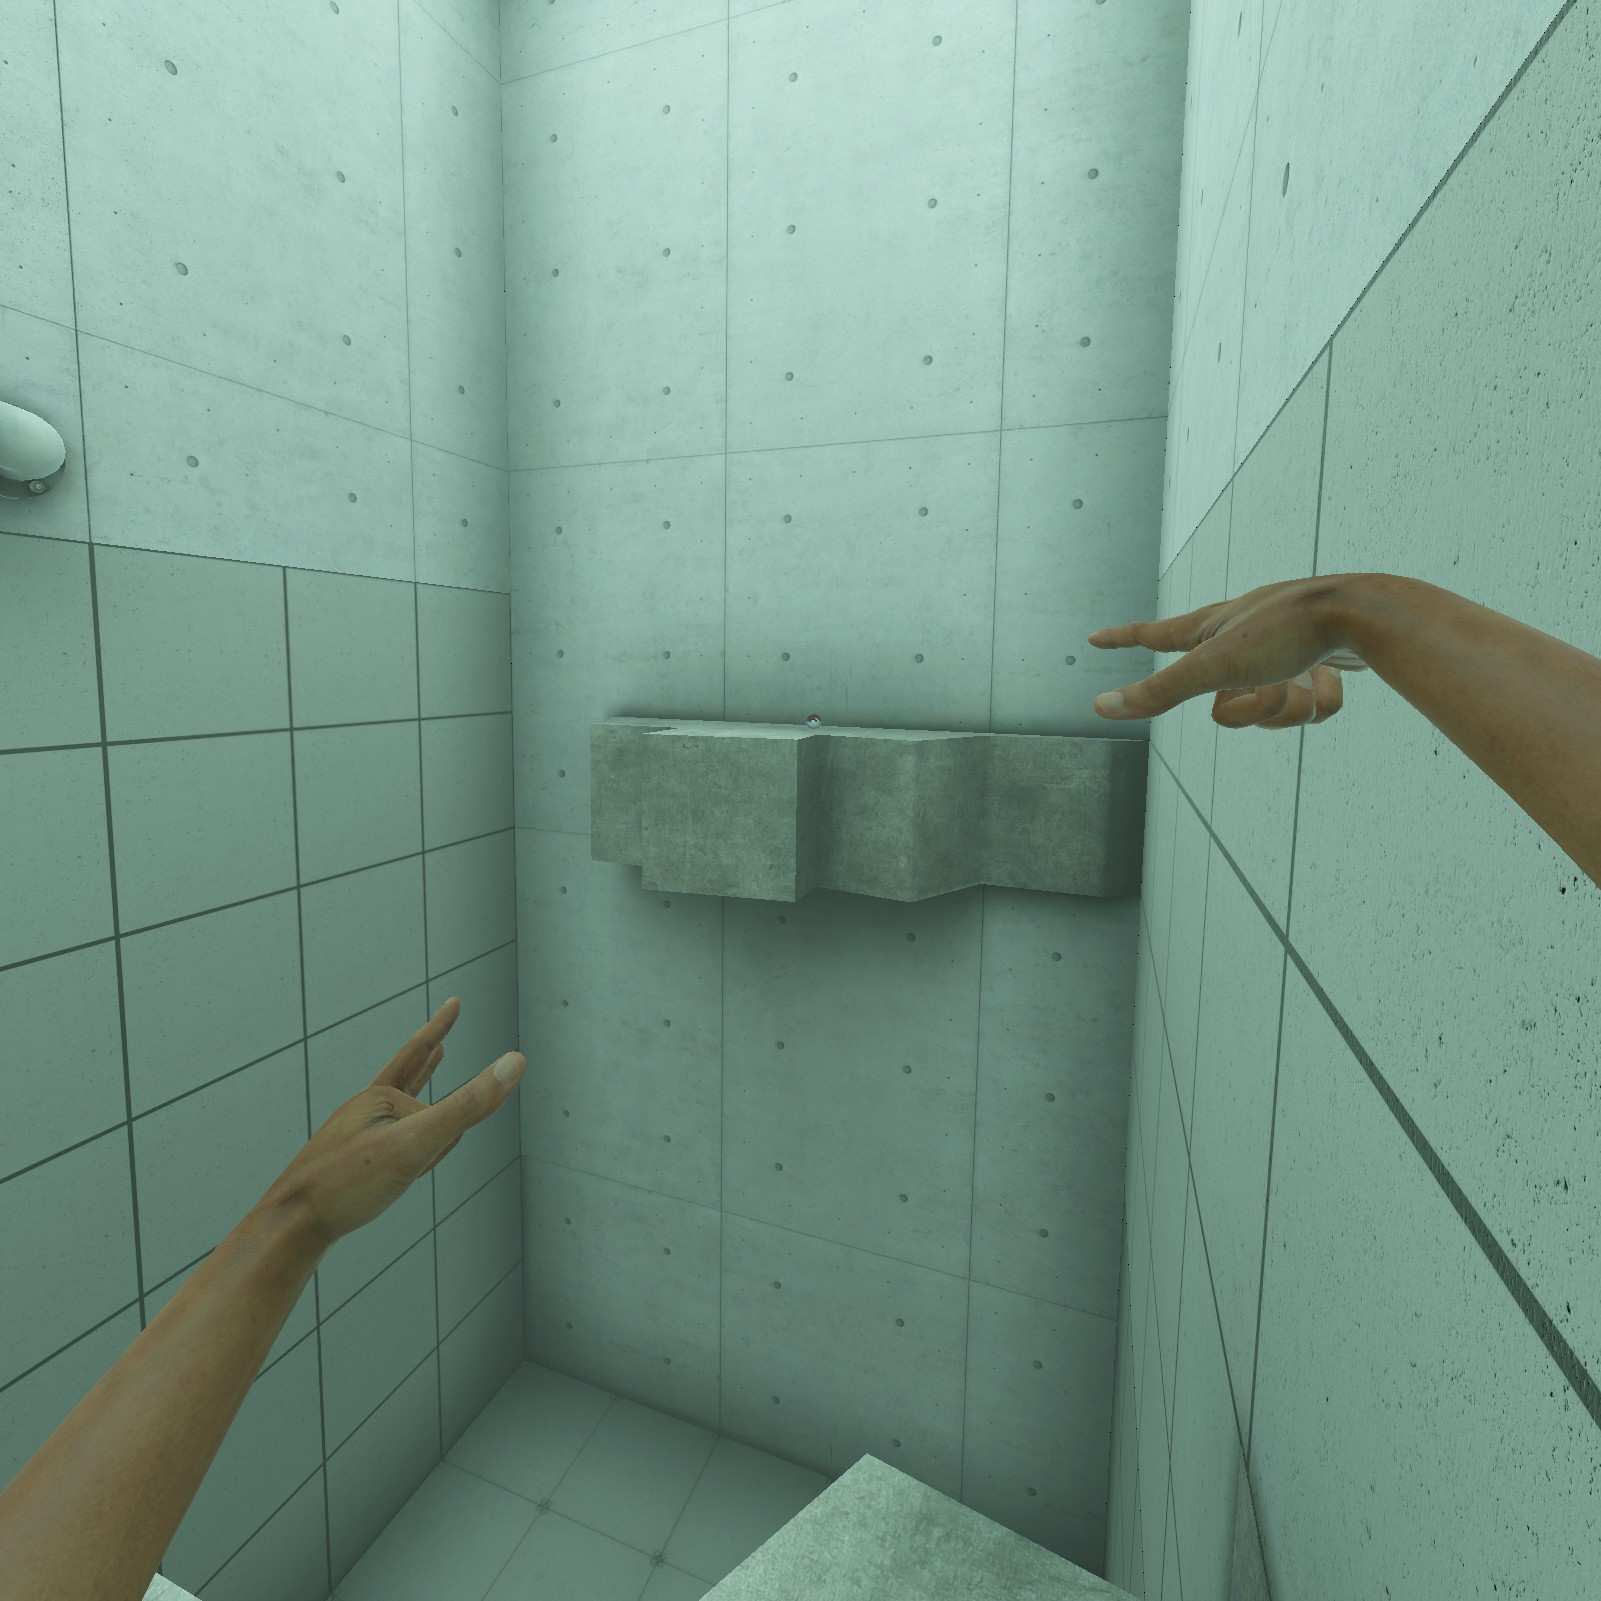
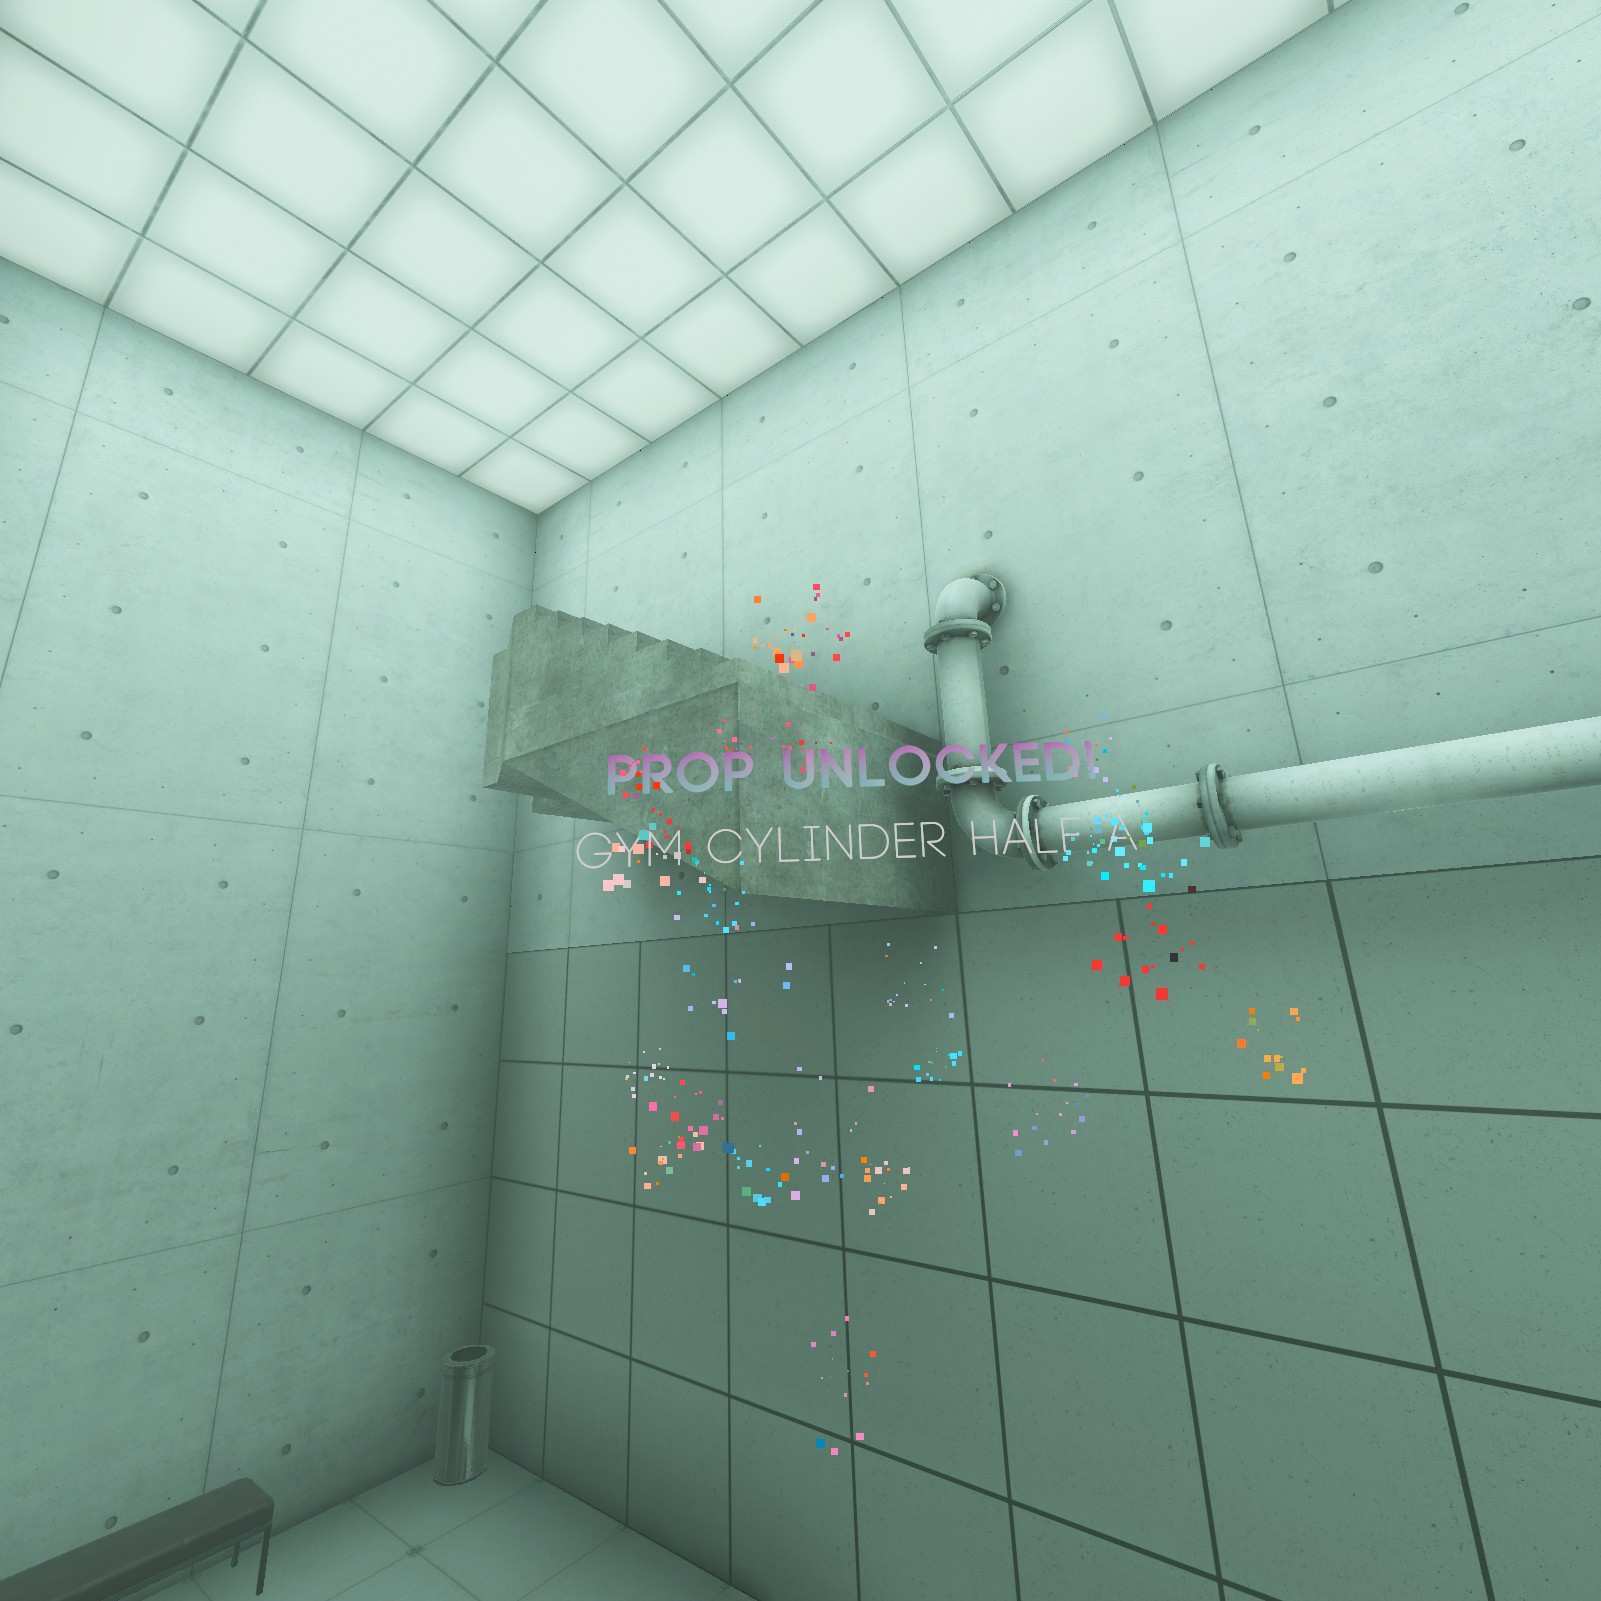
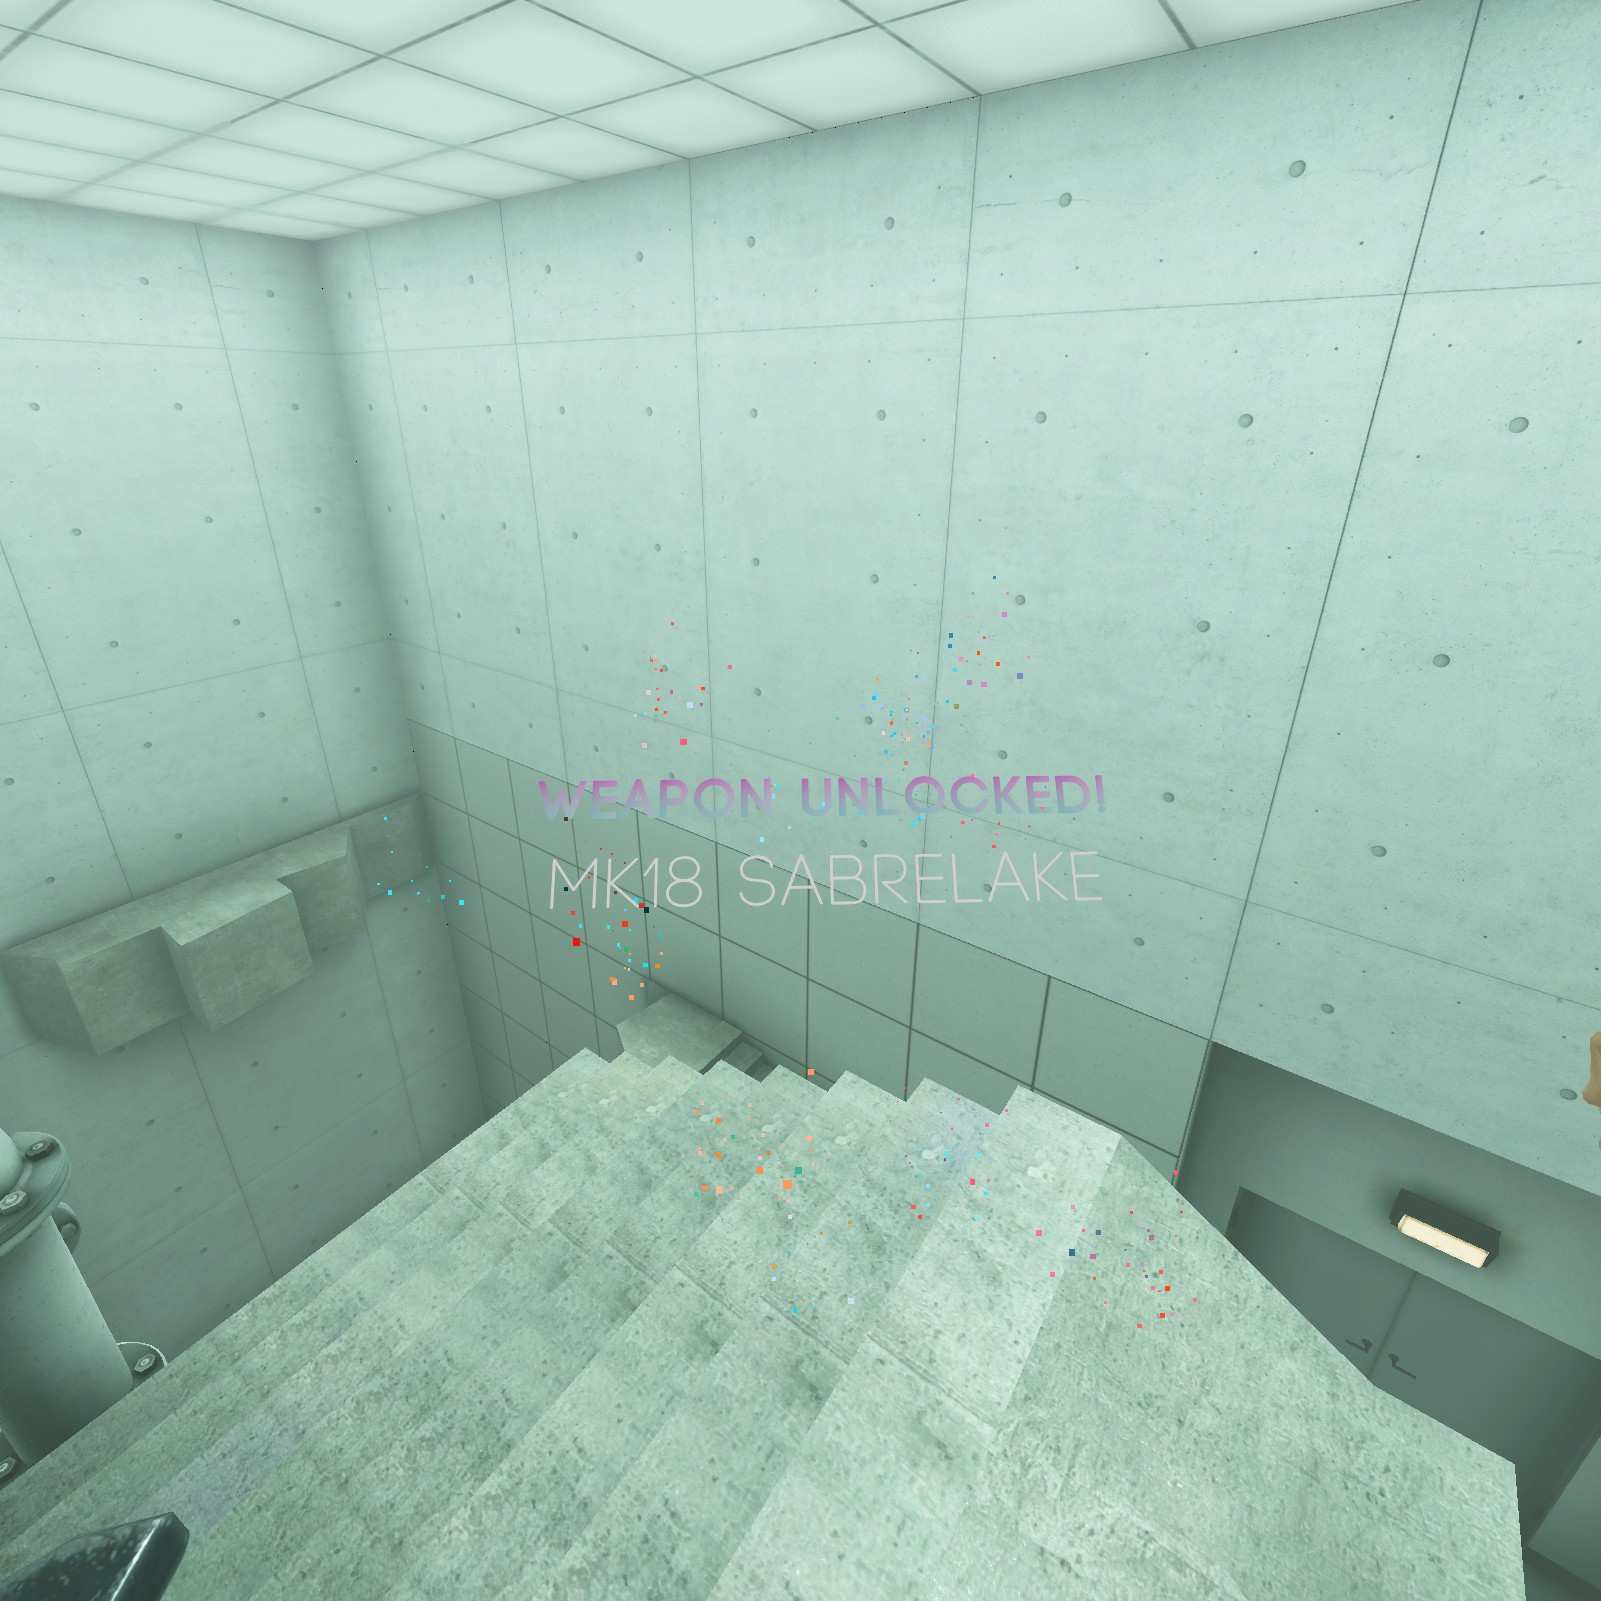
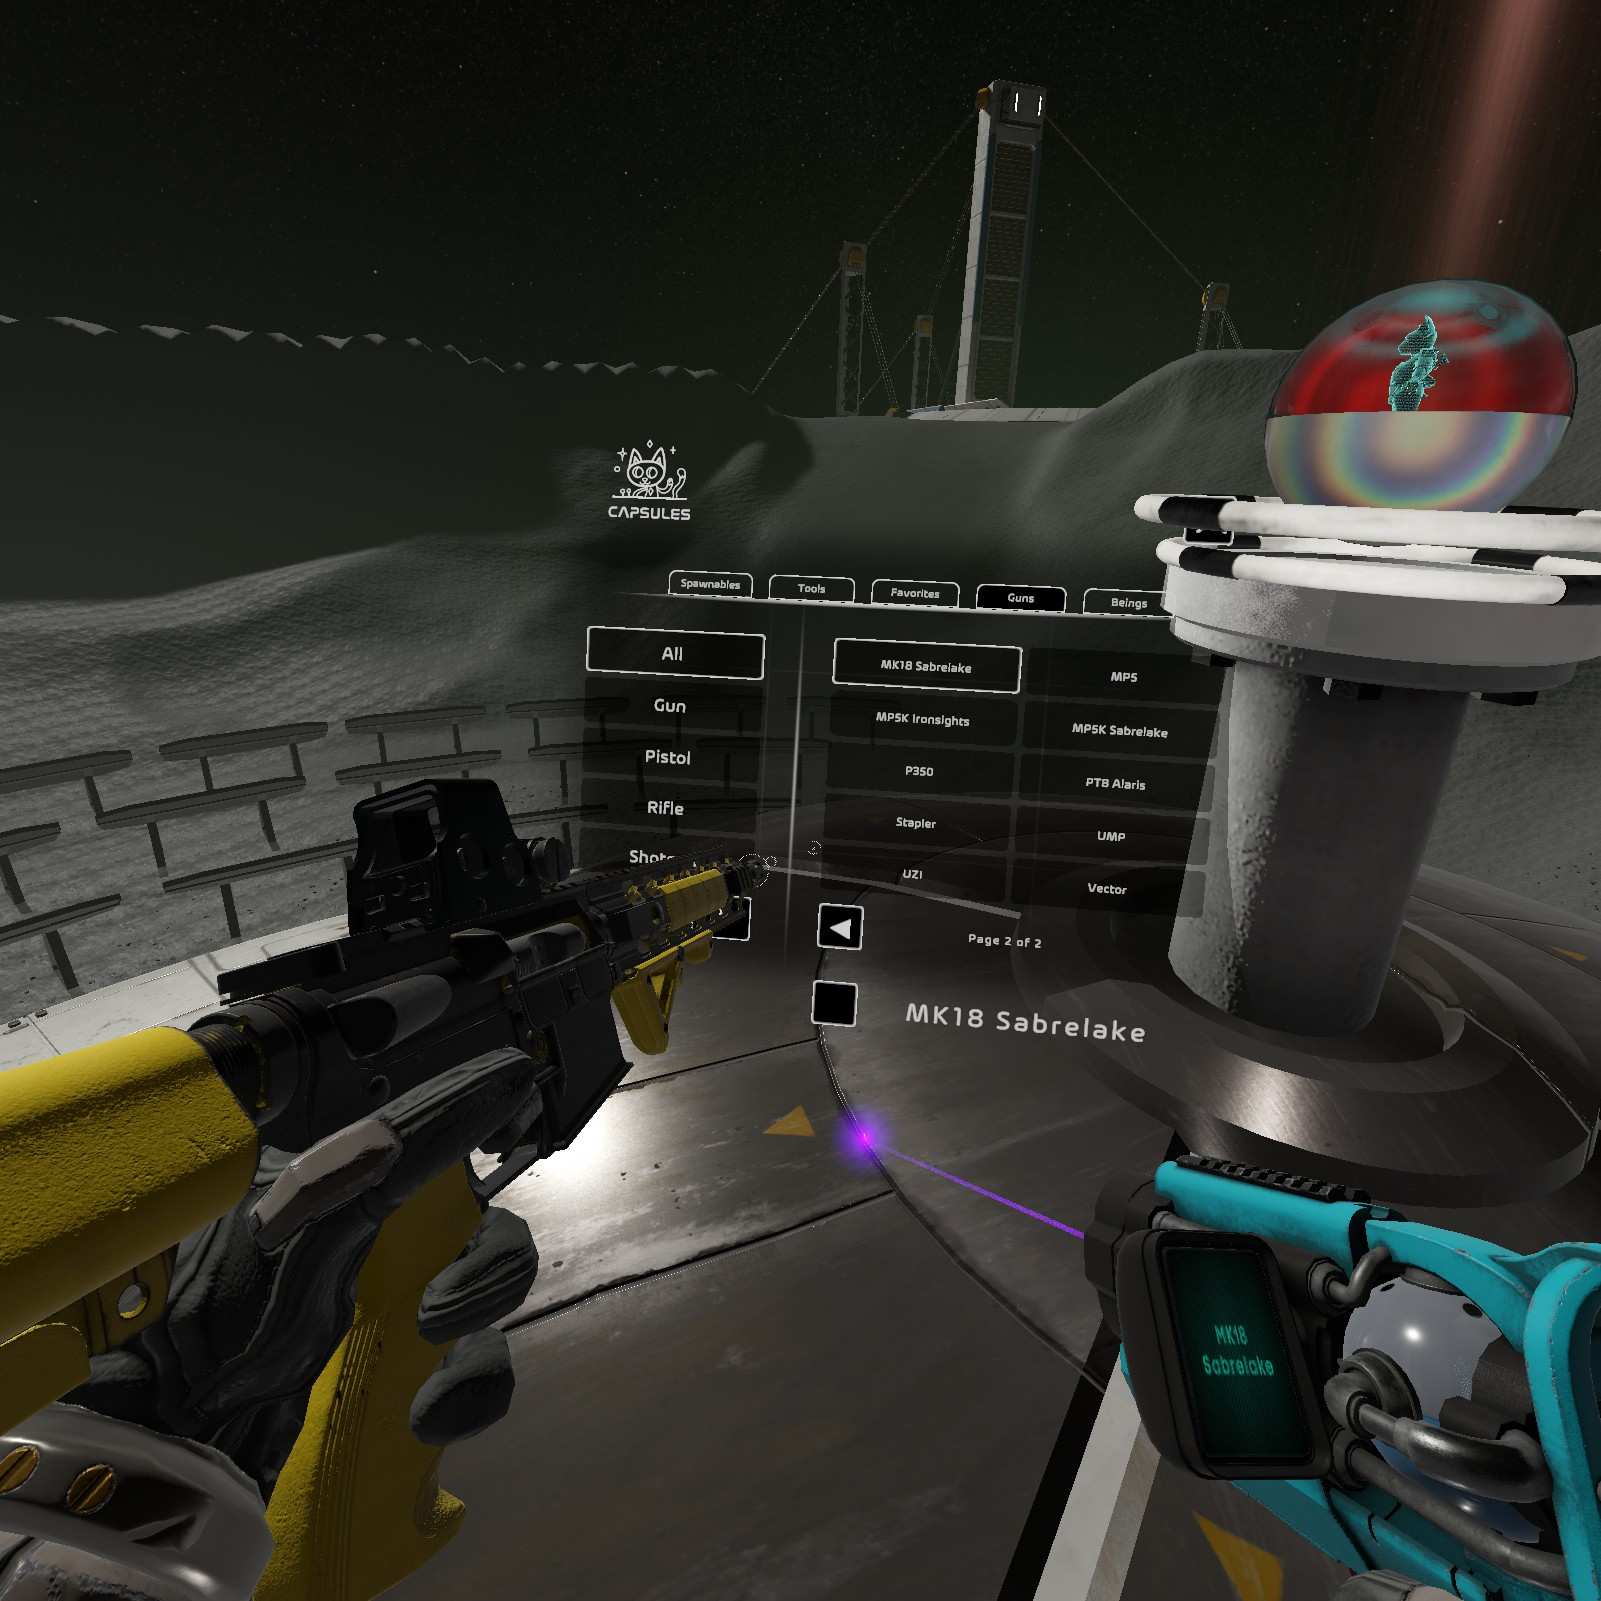
MK18 Sabrelake:
At the top of the stair case we have a two for one special, my favorite shape the Gym Cylinder Half A on the island and the MK18 Sabrelake at the very top.
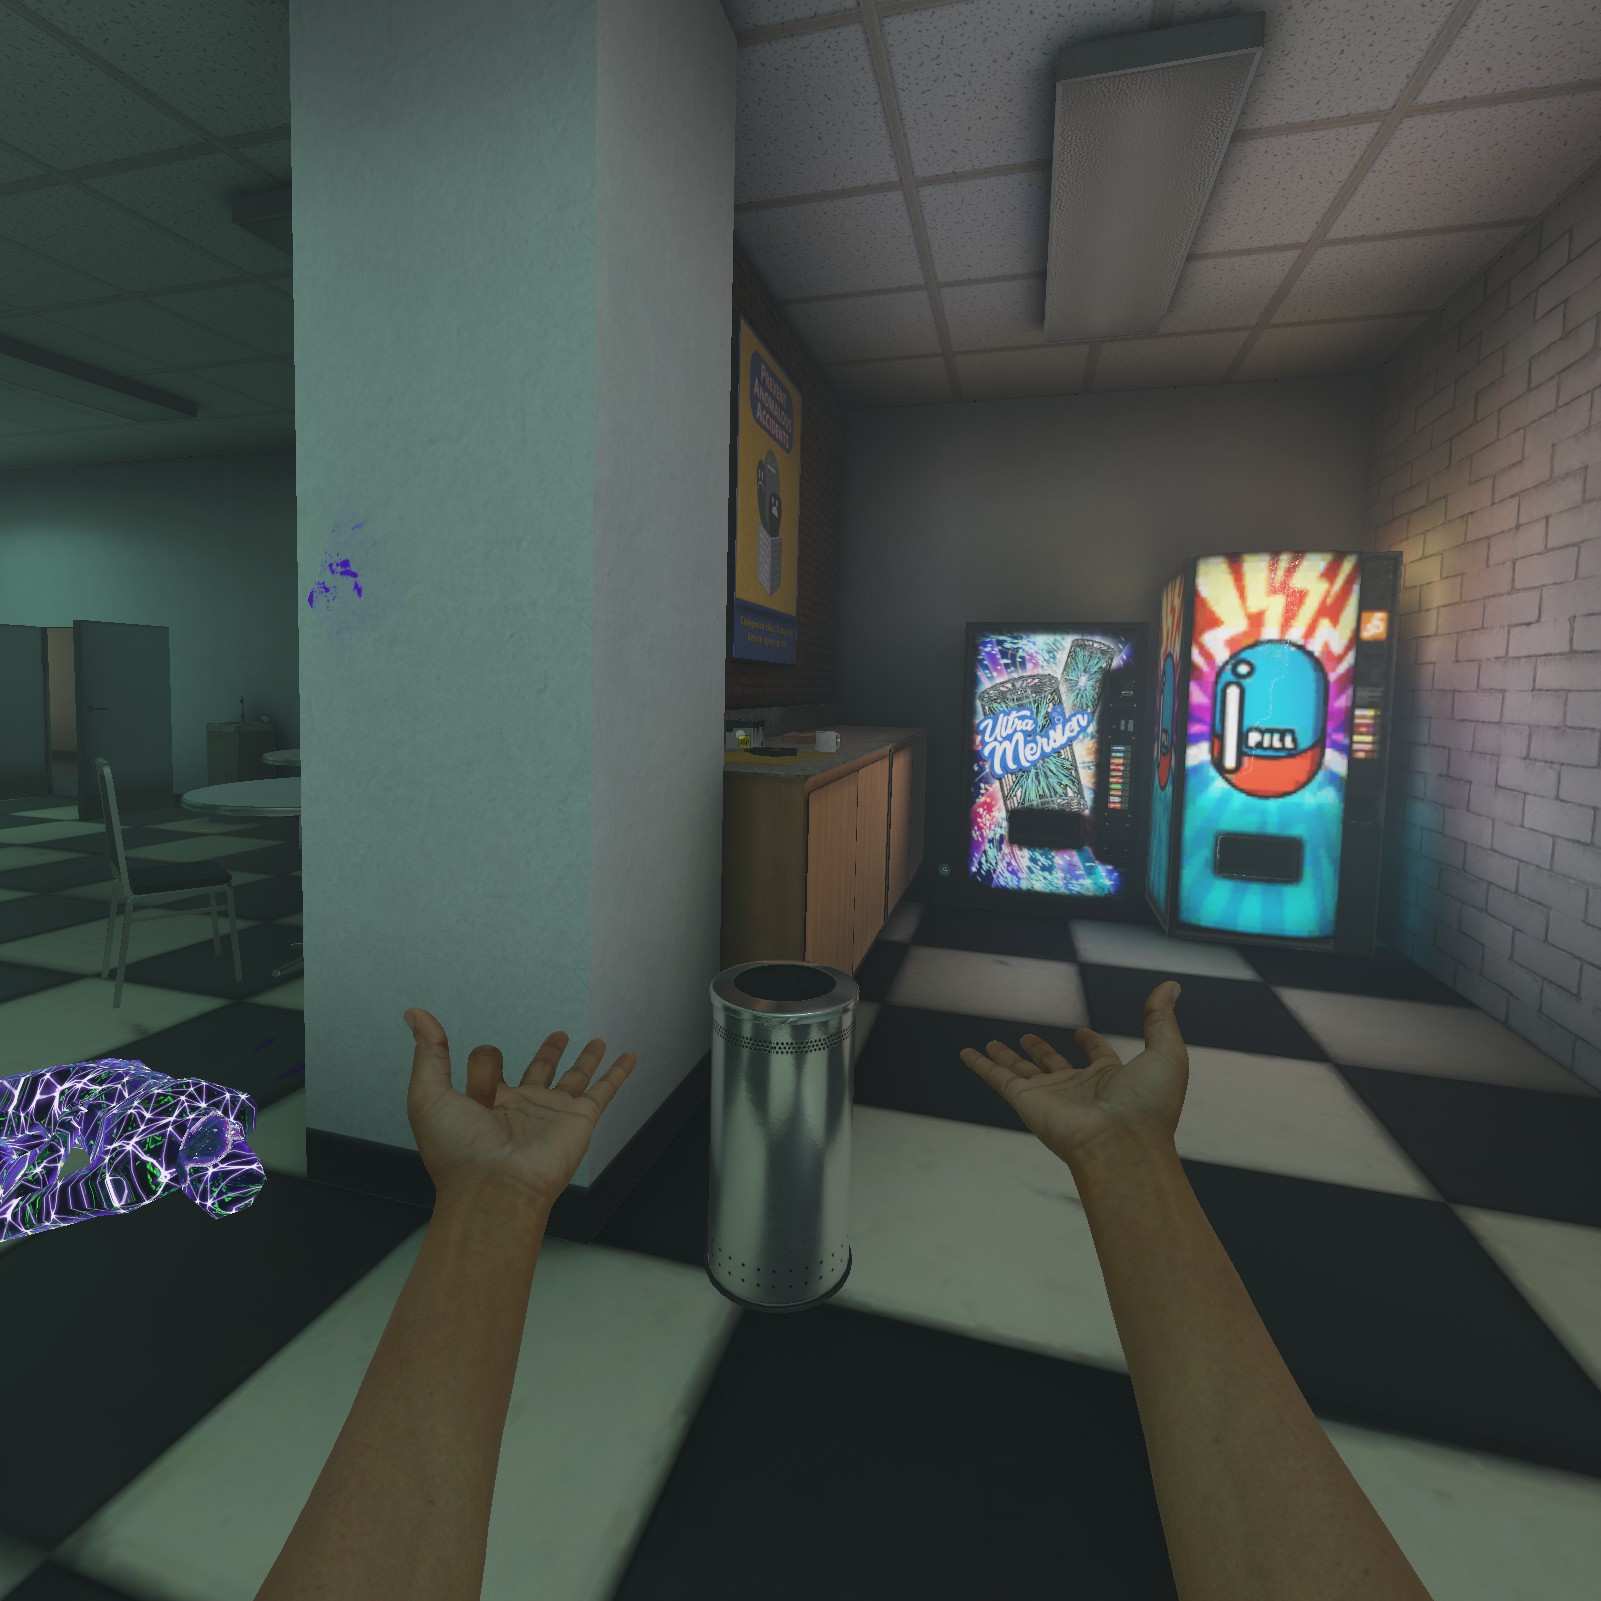
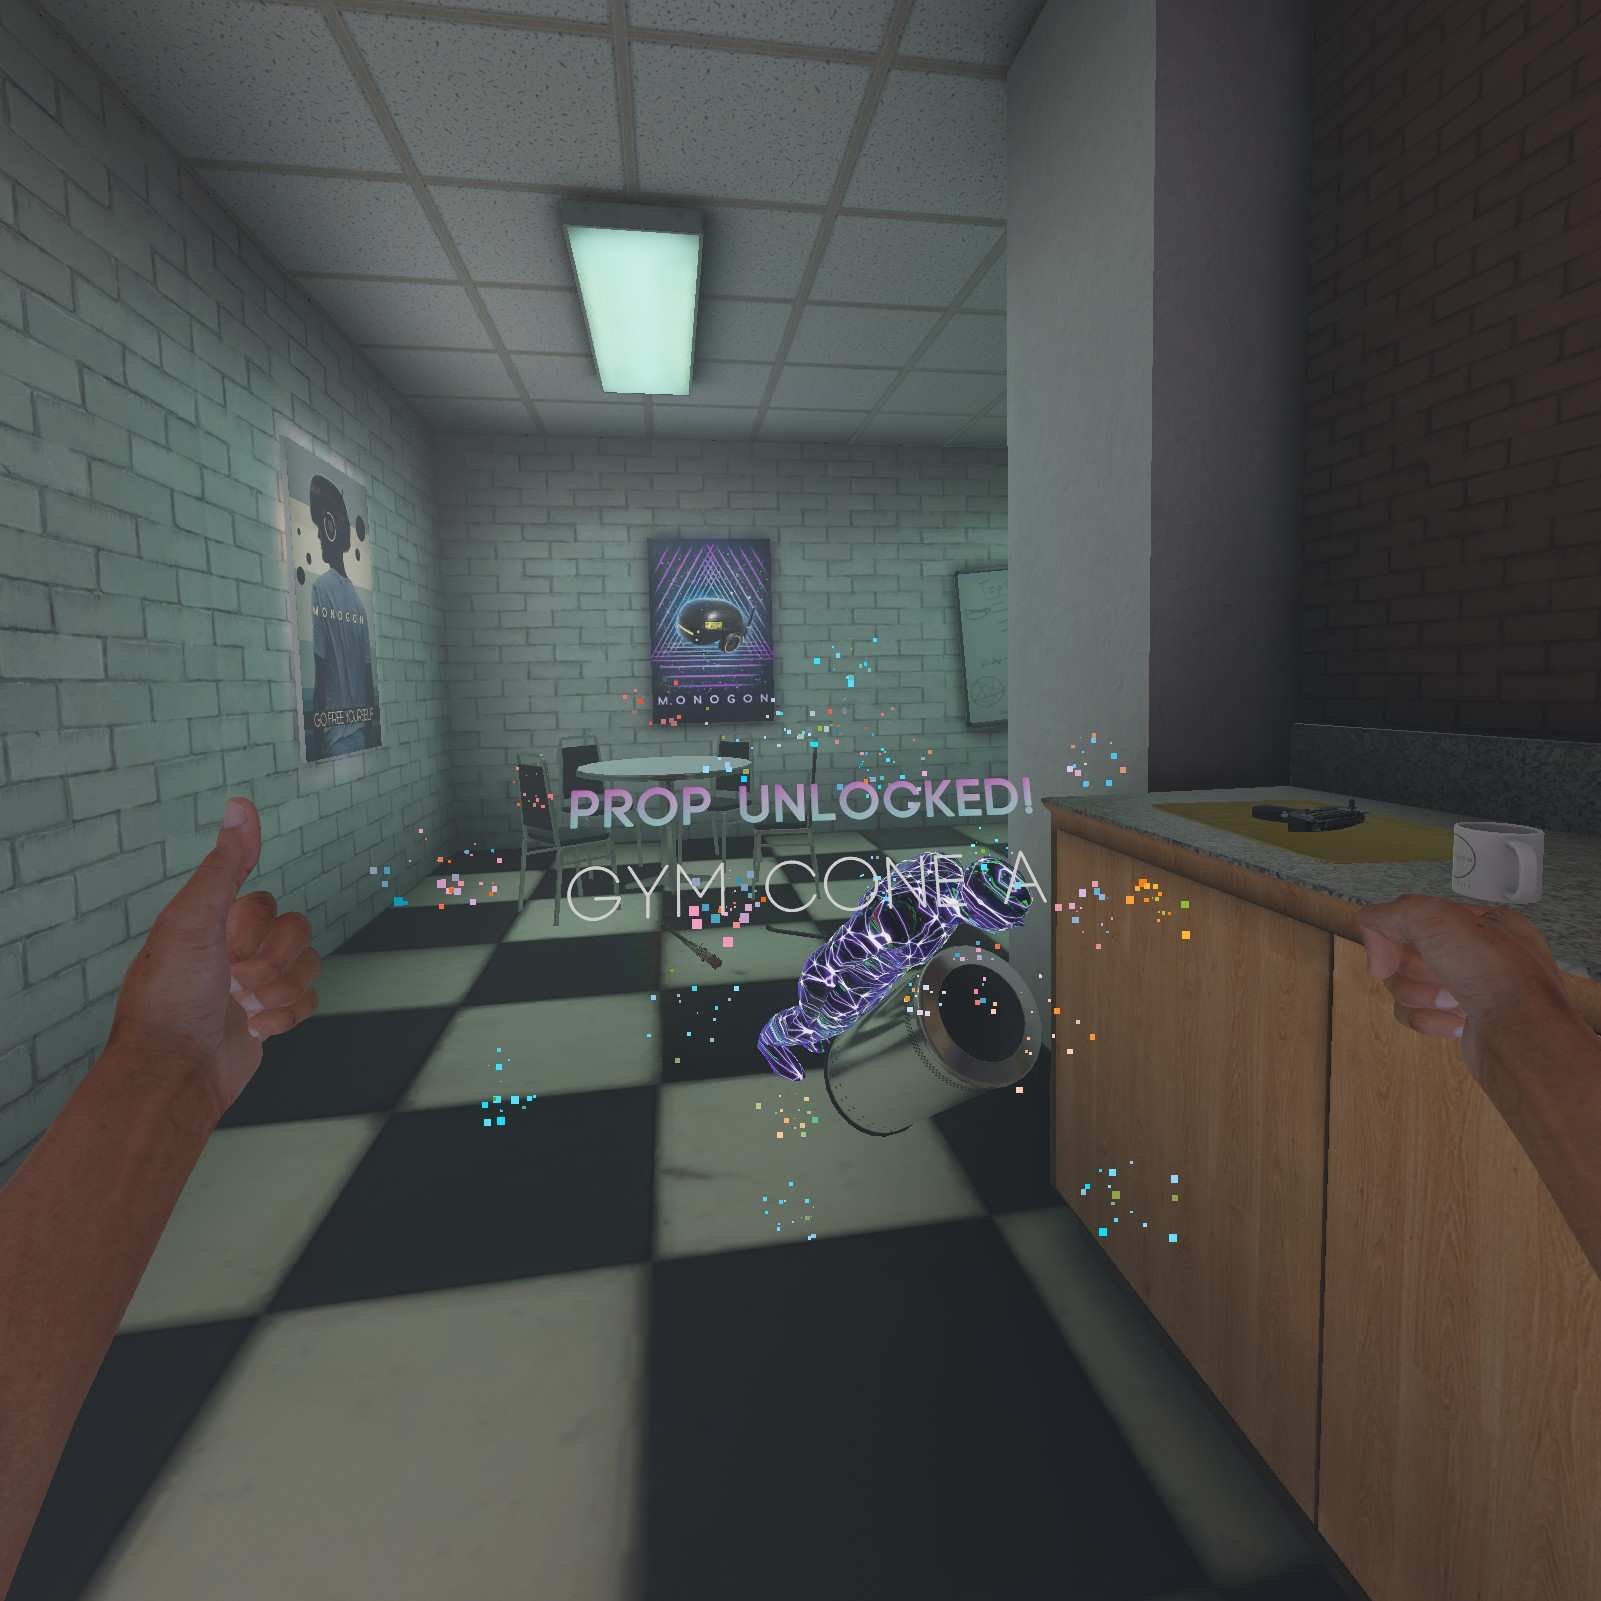
Gym Cone A:
In this office space near the Uzi we have my favorite shape the Gym Cone A.
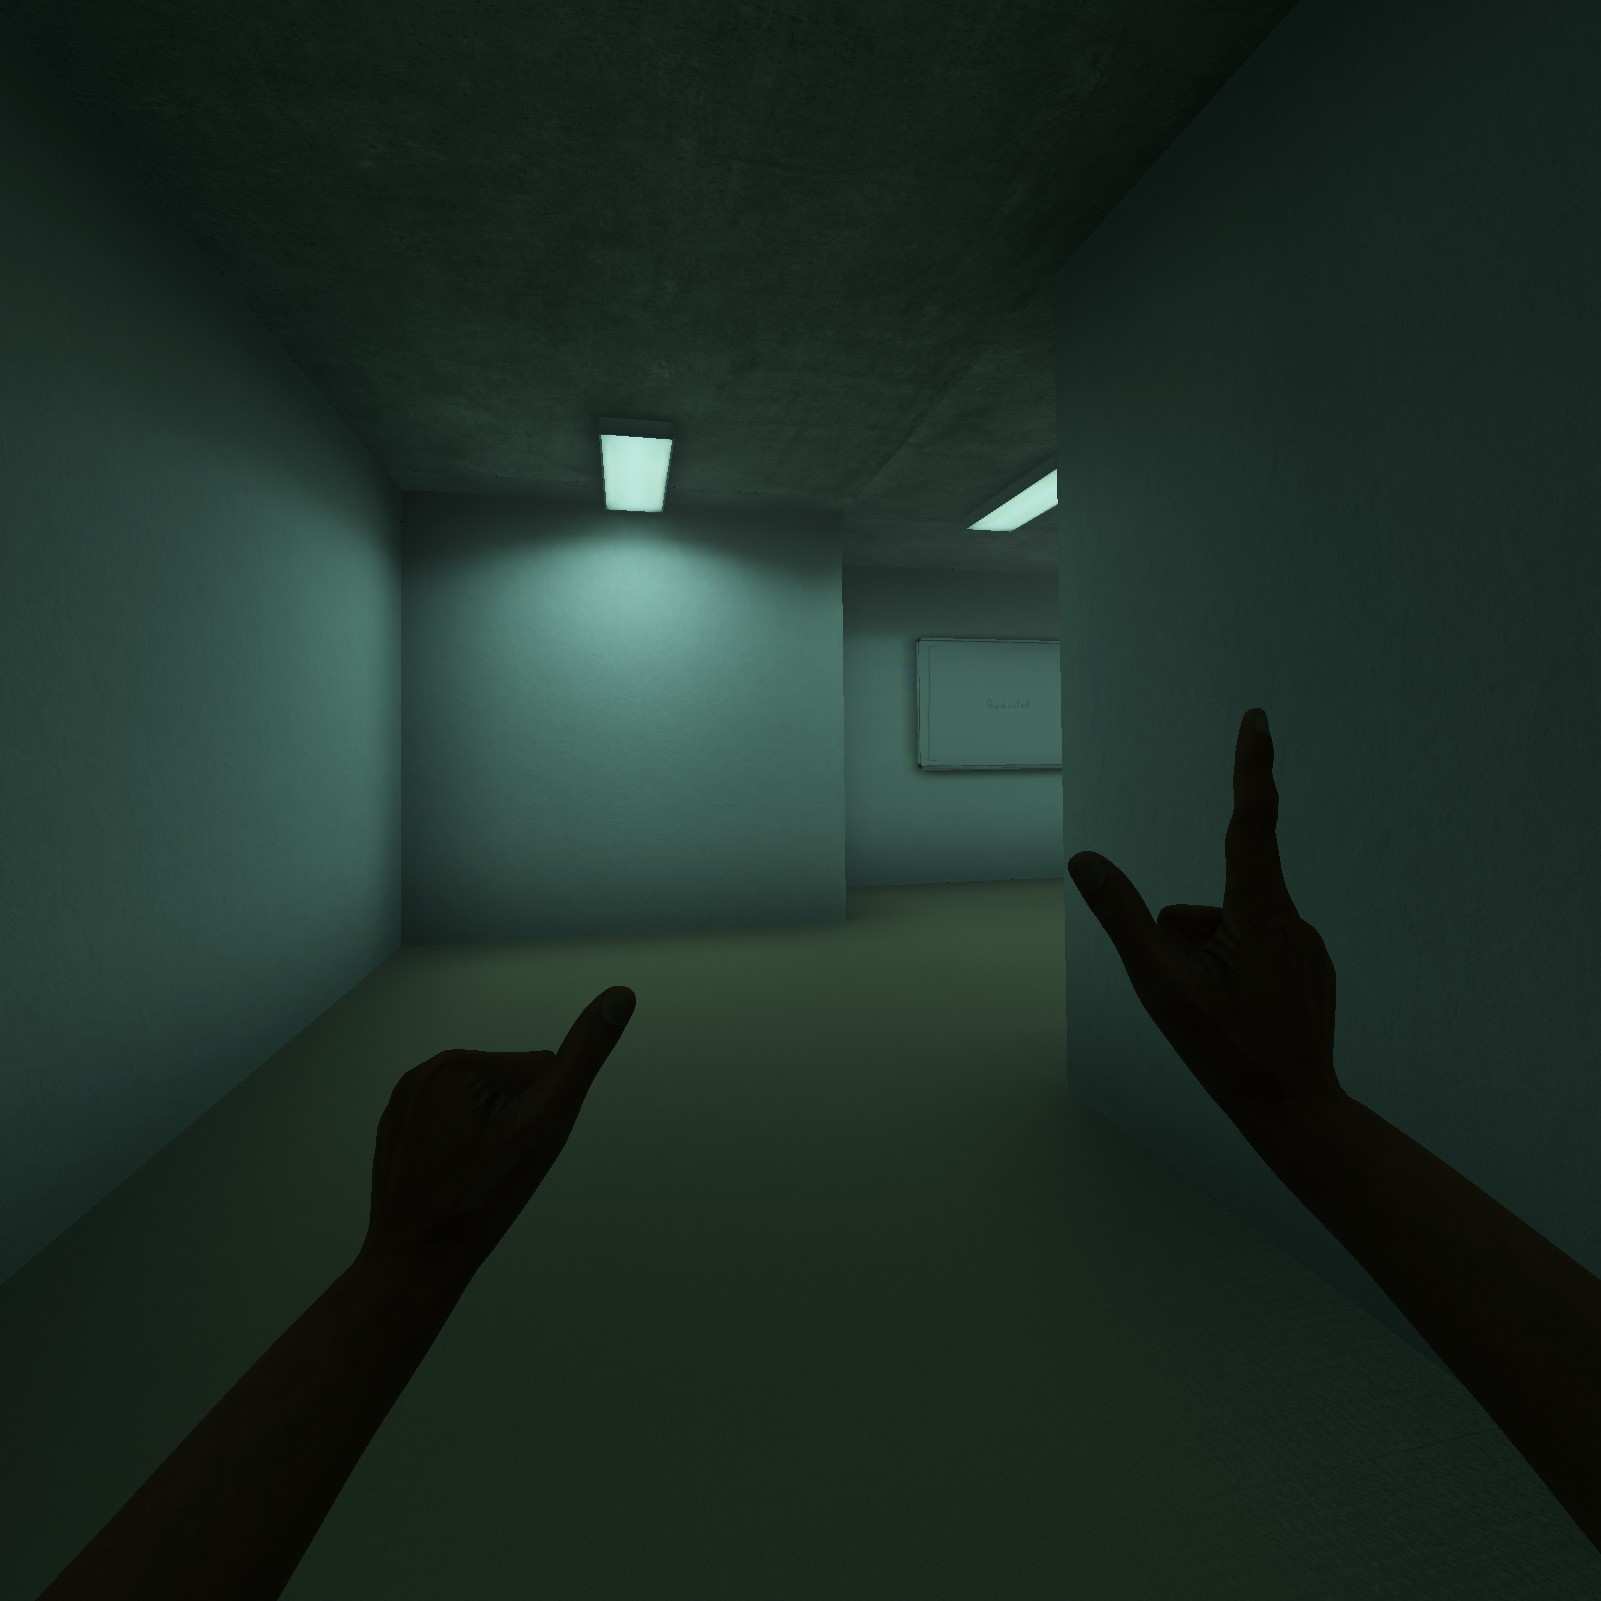
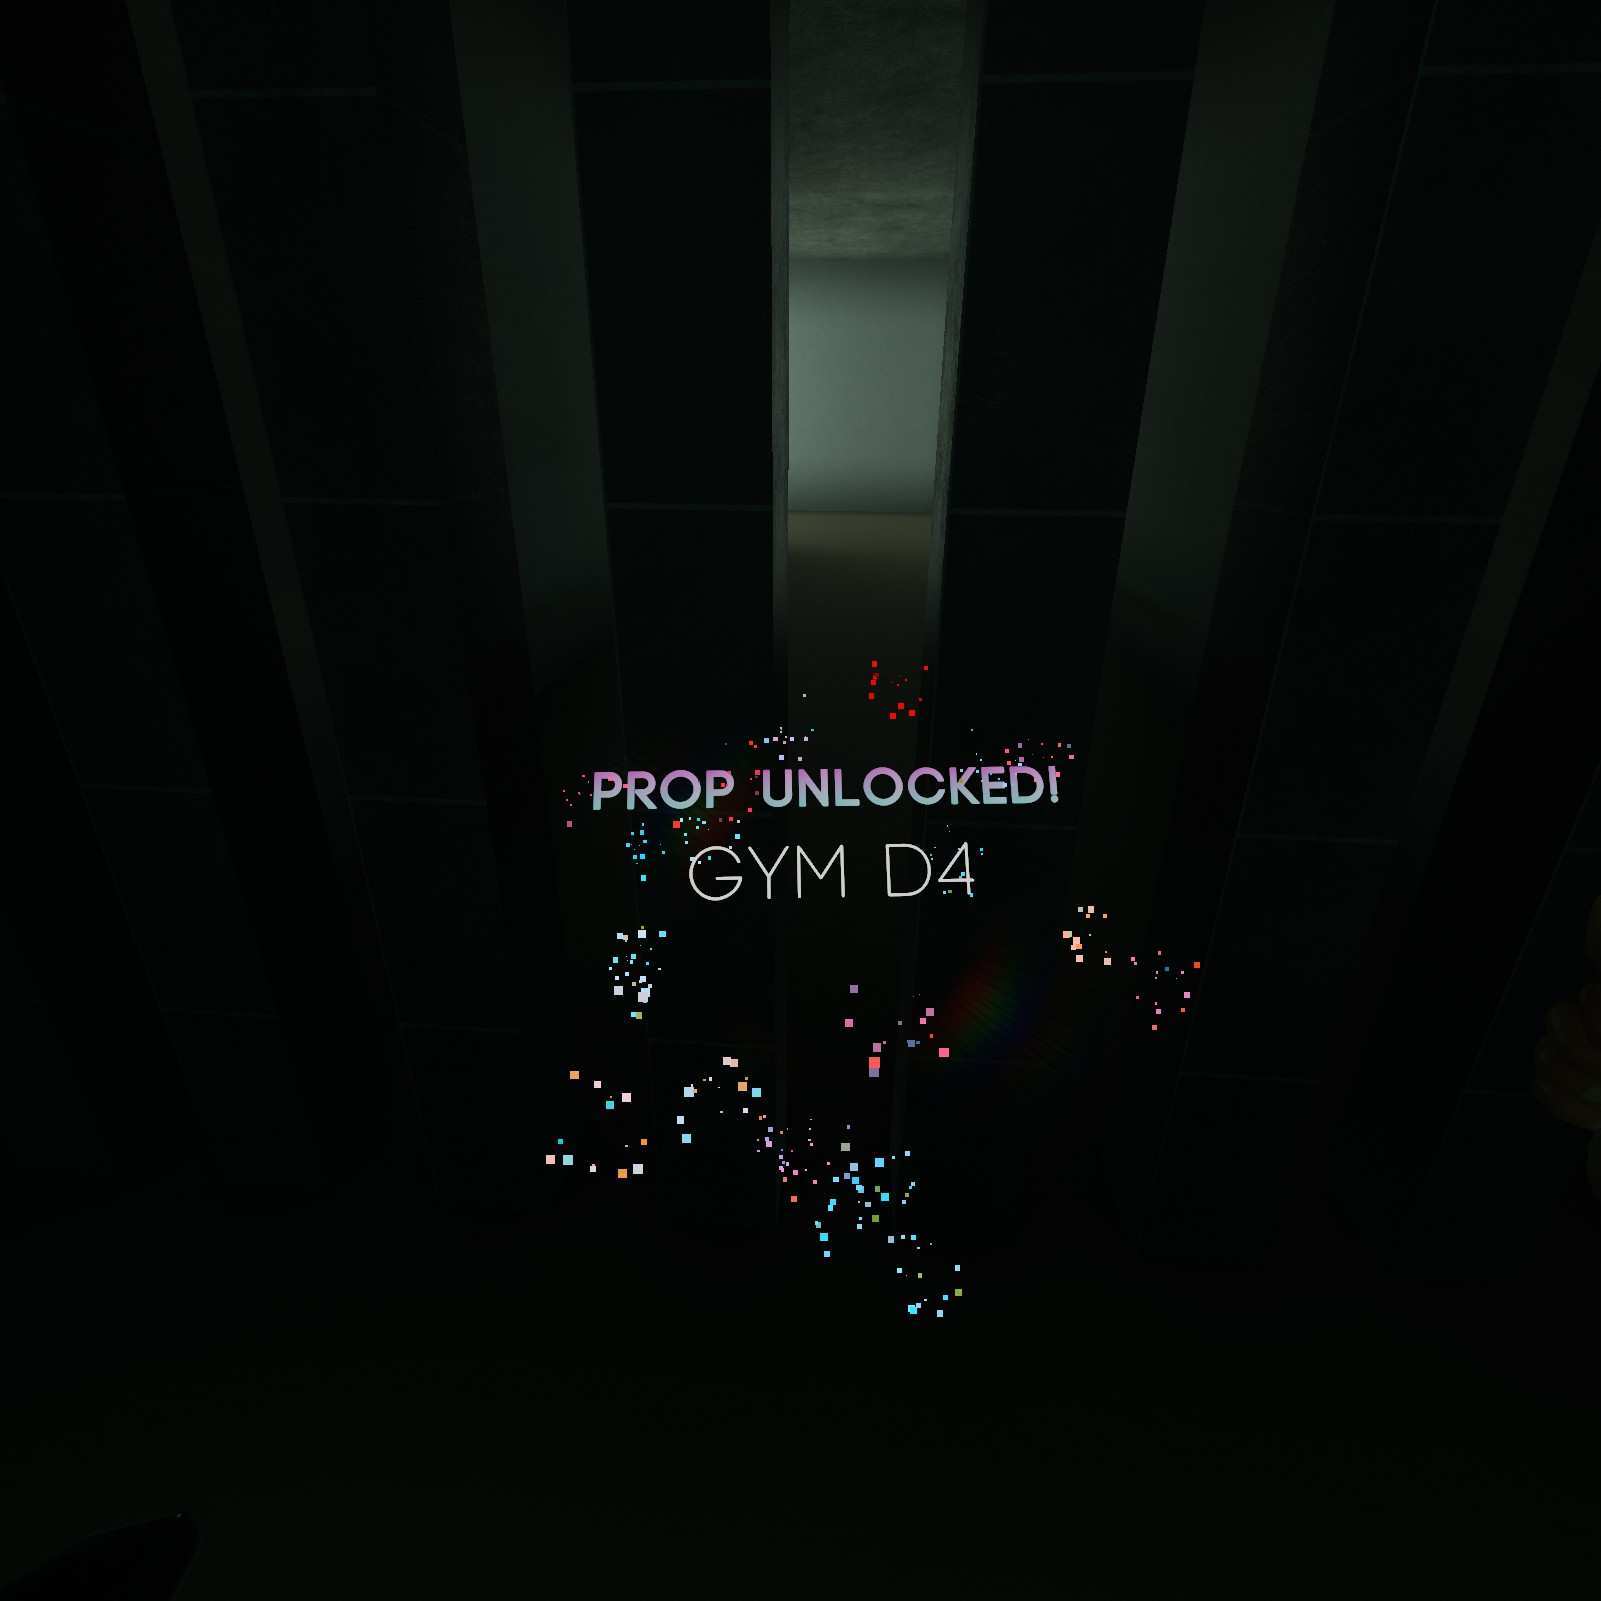
Gym D4:
Once we drop into this liminal space we need to turn around. There will be a gate holding my favorite shape the Gym D4 hostage. Save him!

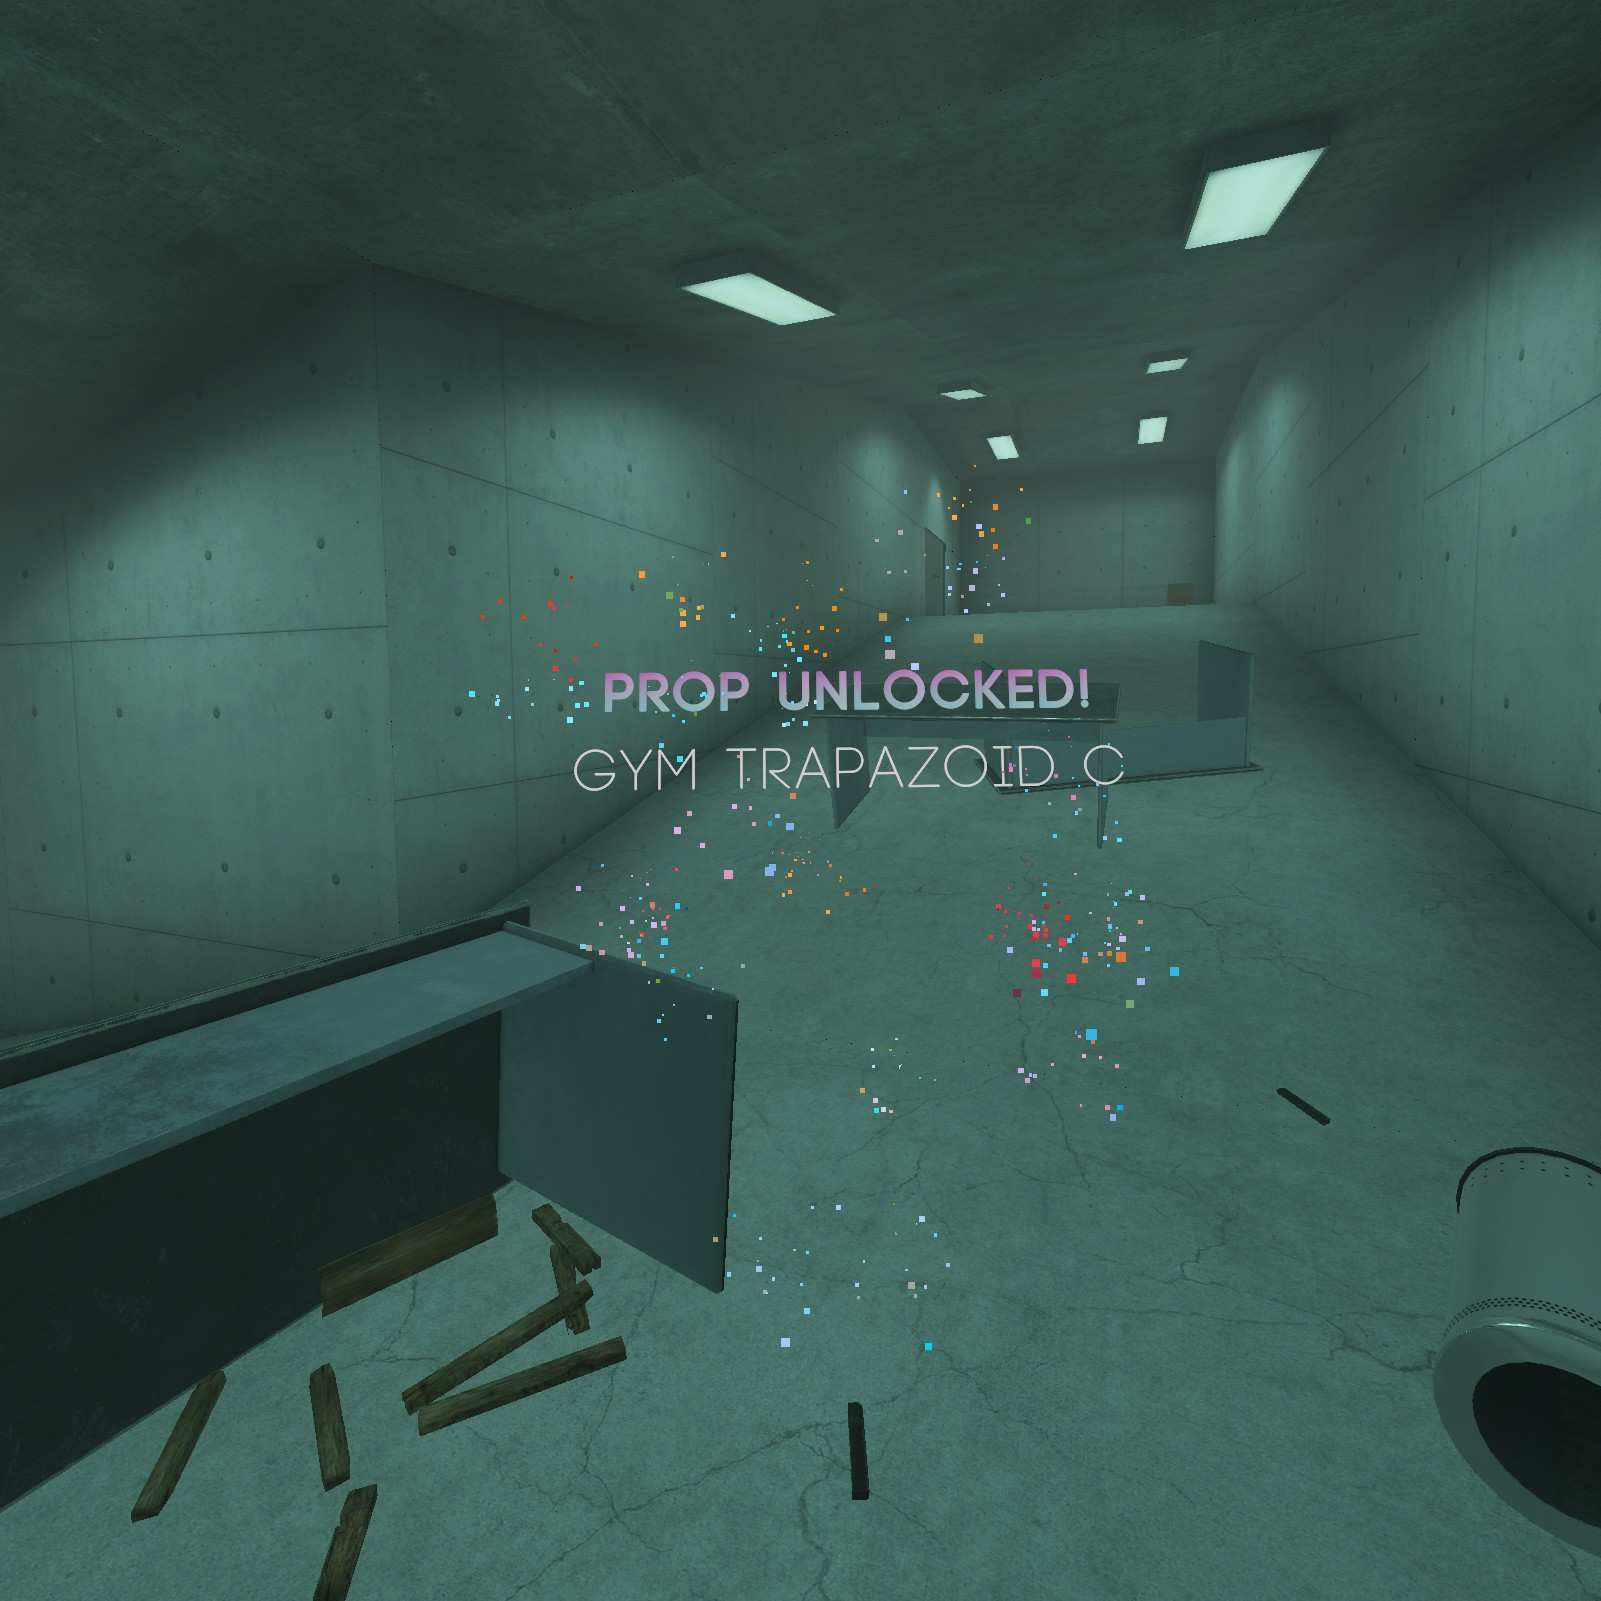
Gym Trapazoid C:
Here in the table room there’s a gatcha ball under one of them. It holds my favorite shape the Gym Trapazoid C.


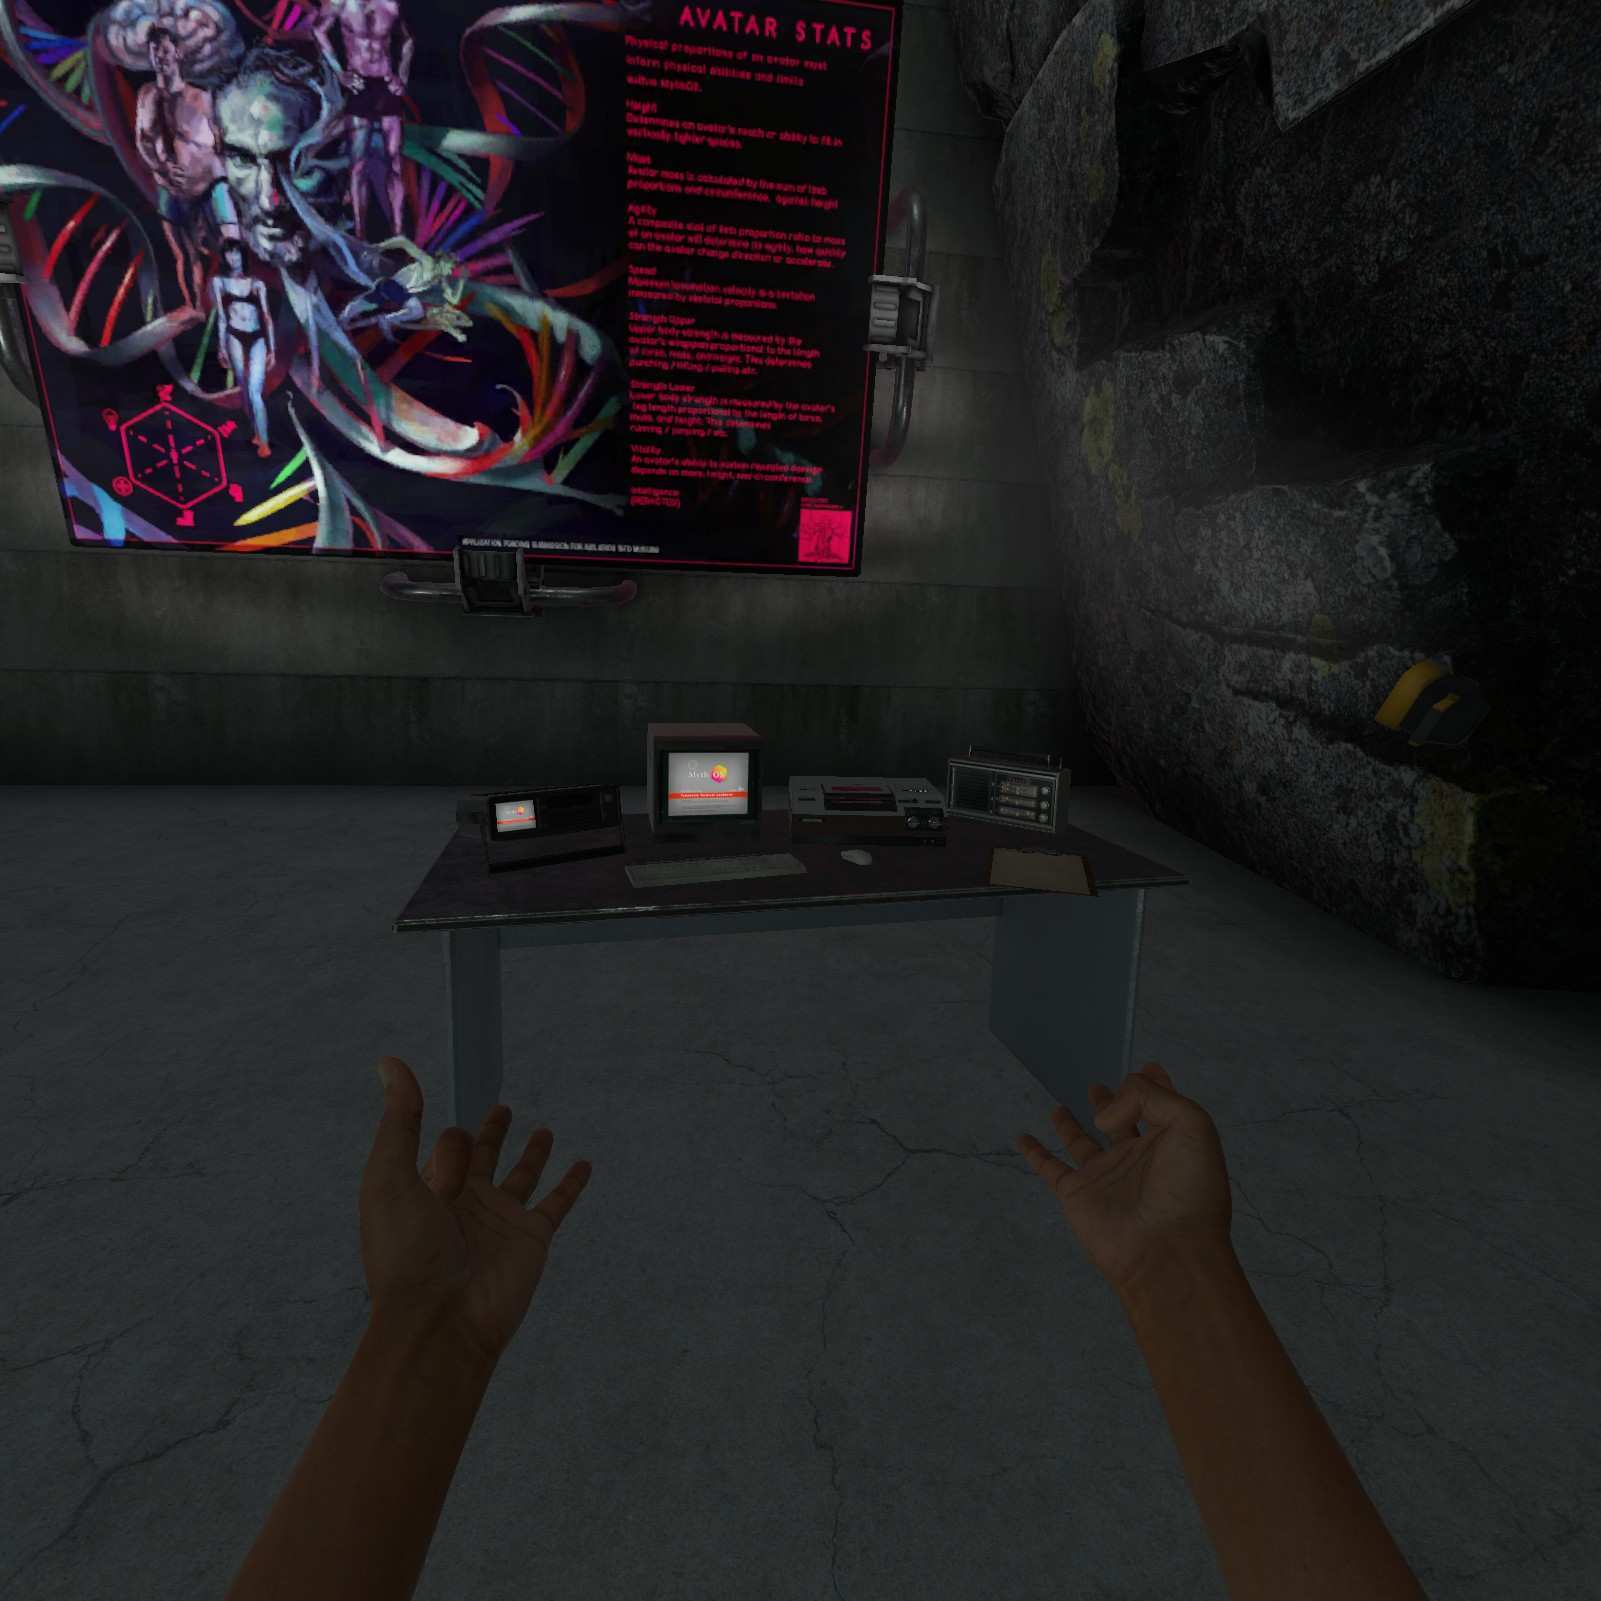
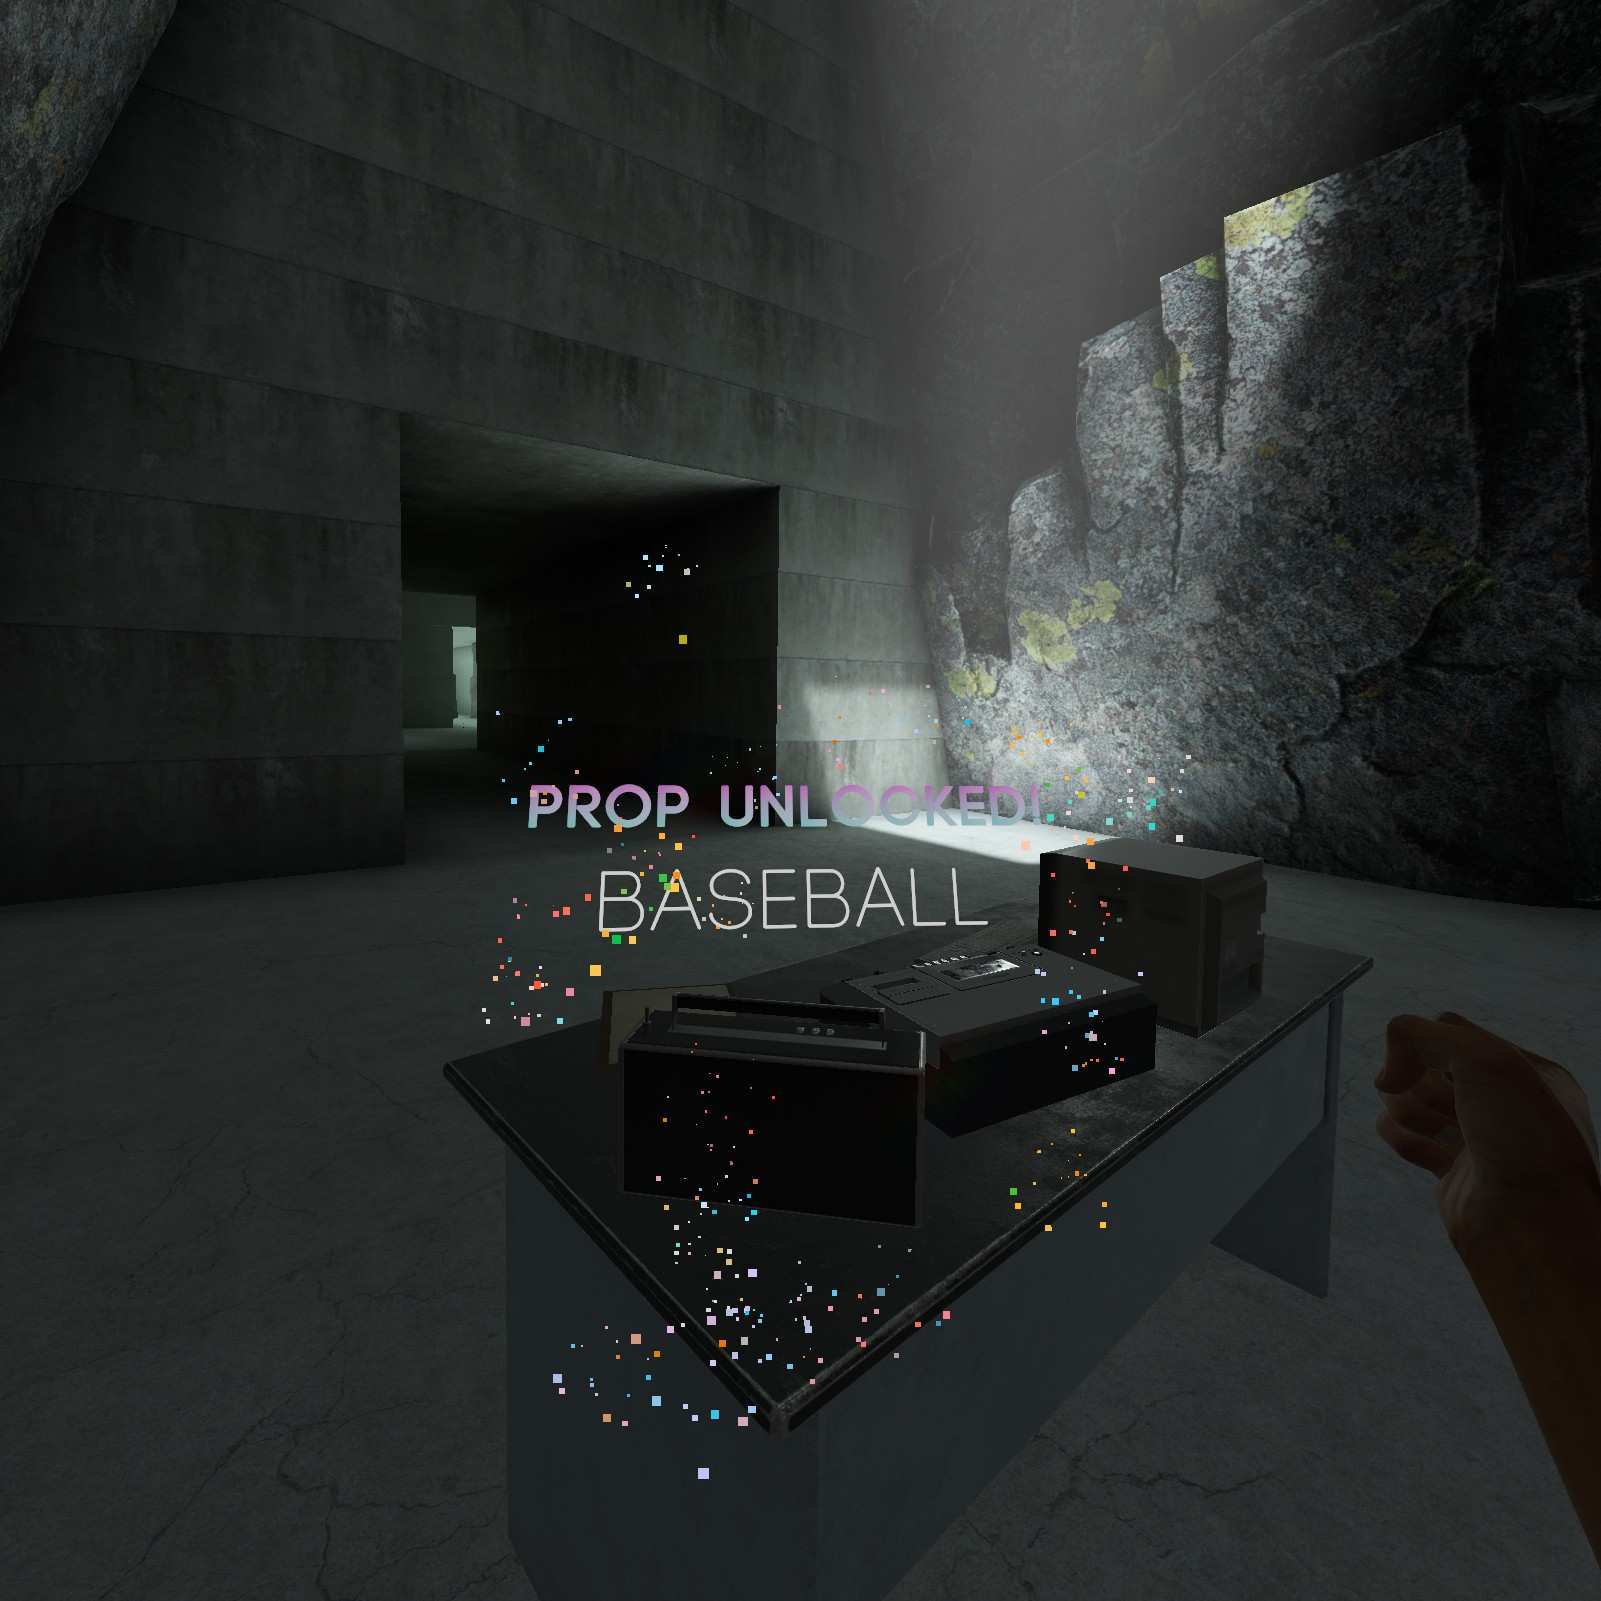
Baseball:
Here in this open room there’s a table with stuff blocking the gatcha ball in this room. Its right behind the device on the left. Its the Baseball. Is it still lore relevant? Probably not as much as it was.

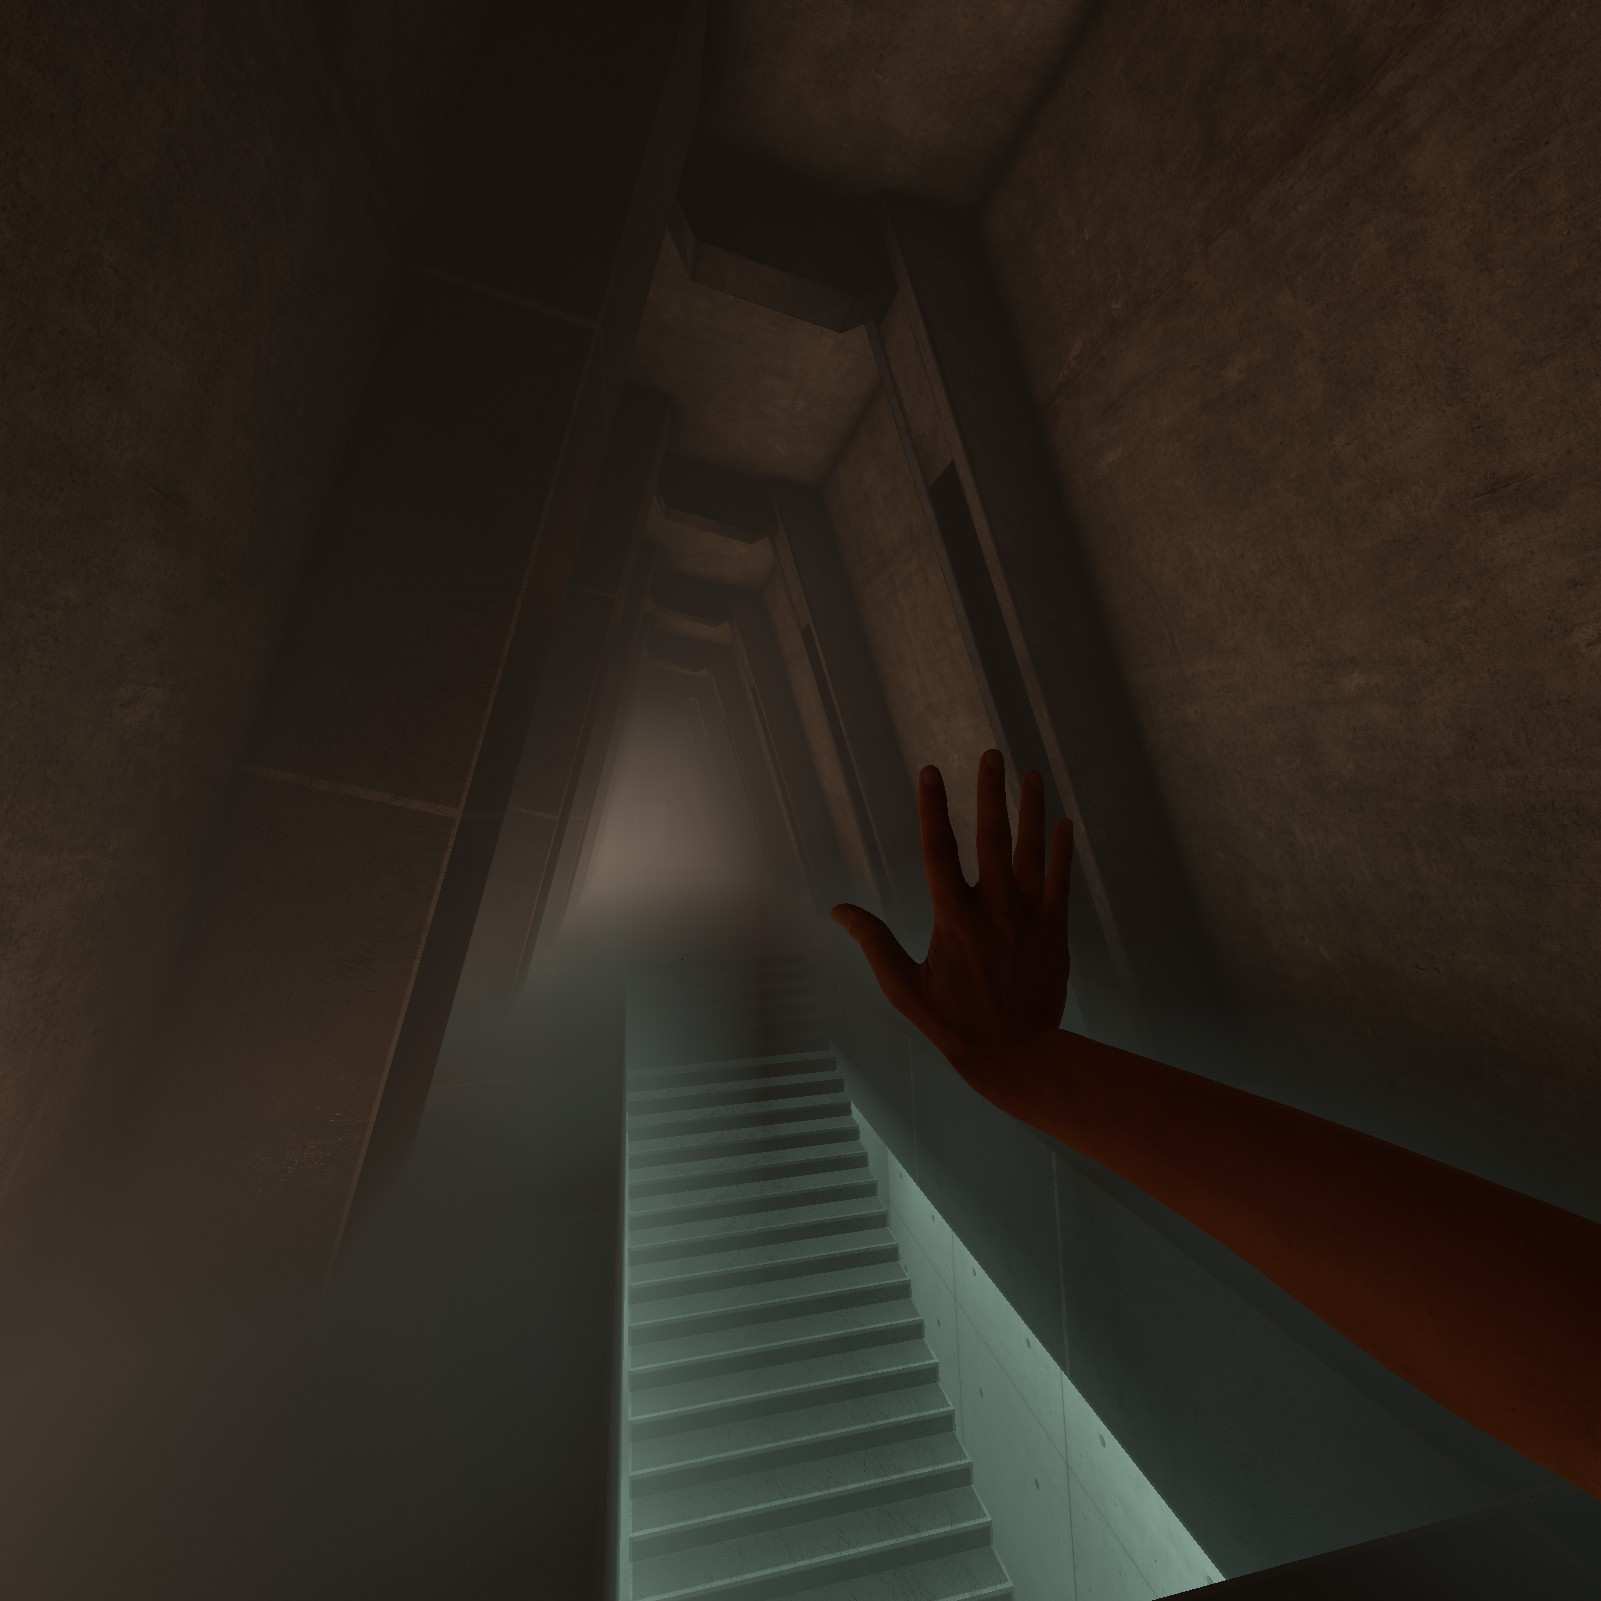
Vector:
Here’s one thats easy to miss. Just after ascending this staircase, turn around and look behind this pillar. You’ll find on of the new guns, the Vector.

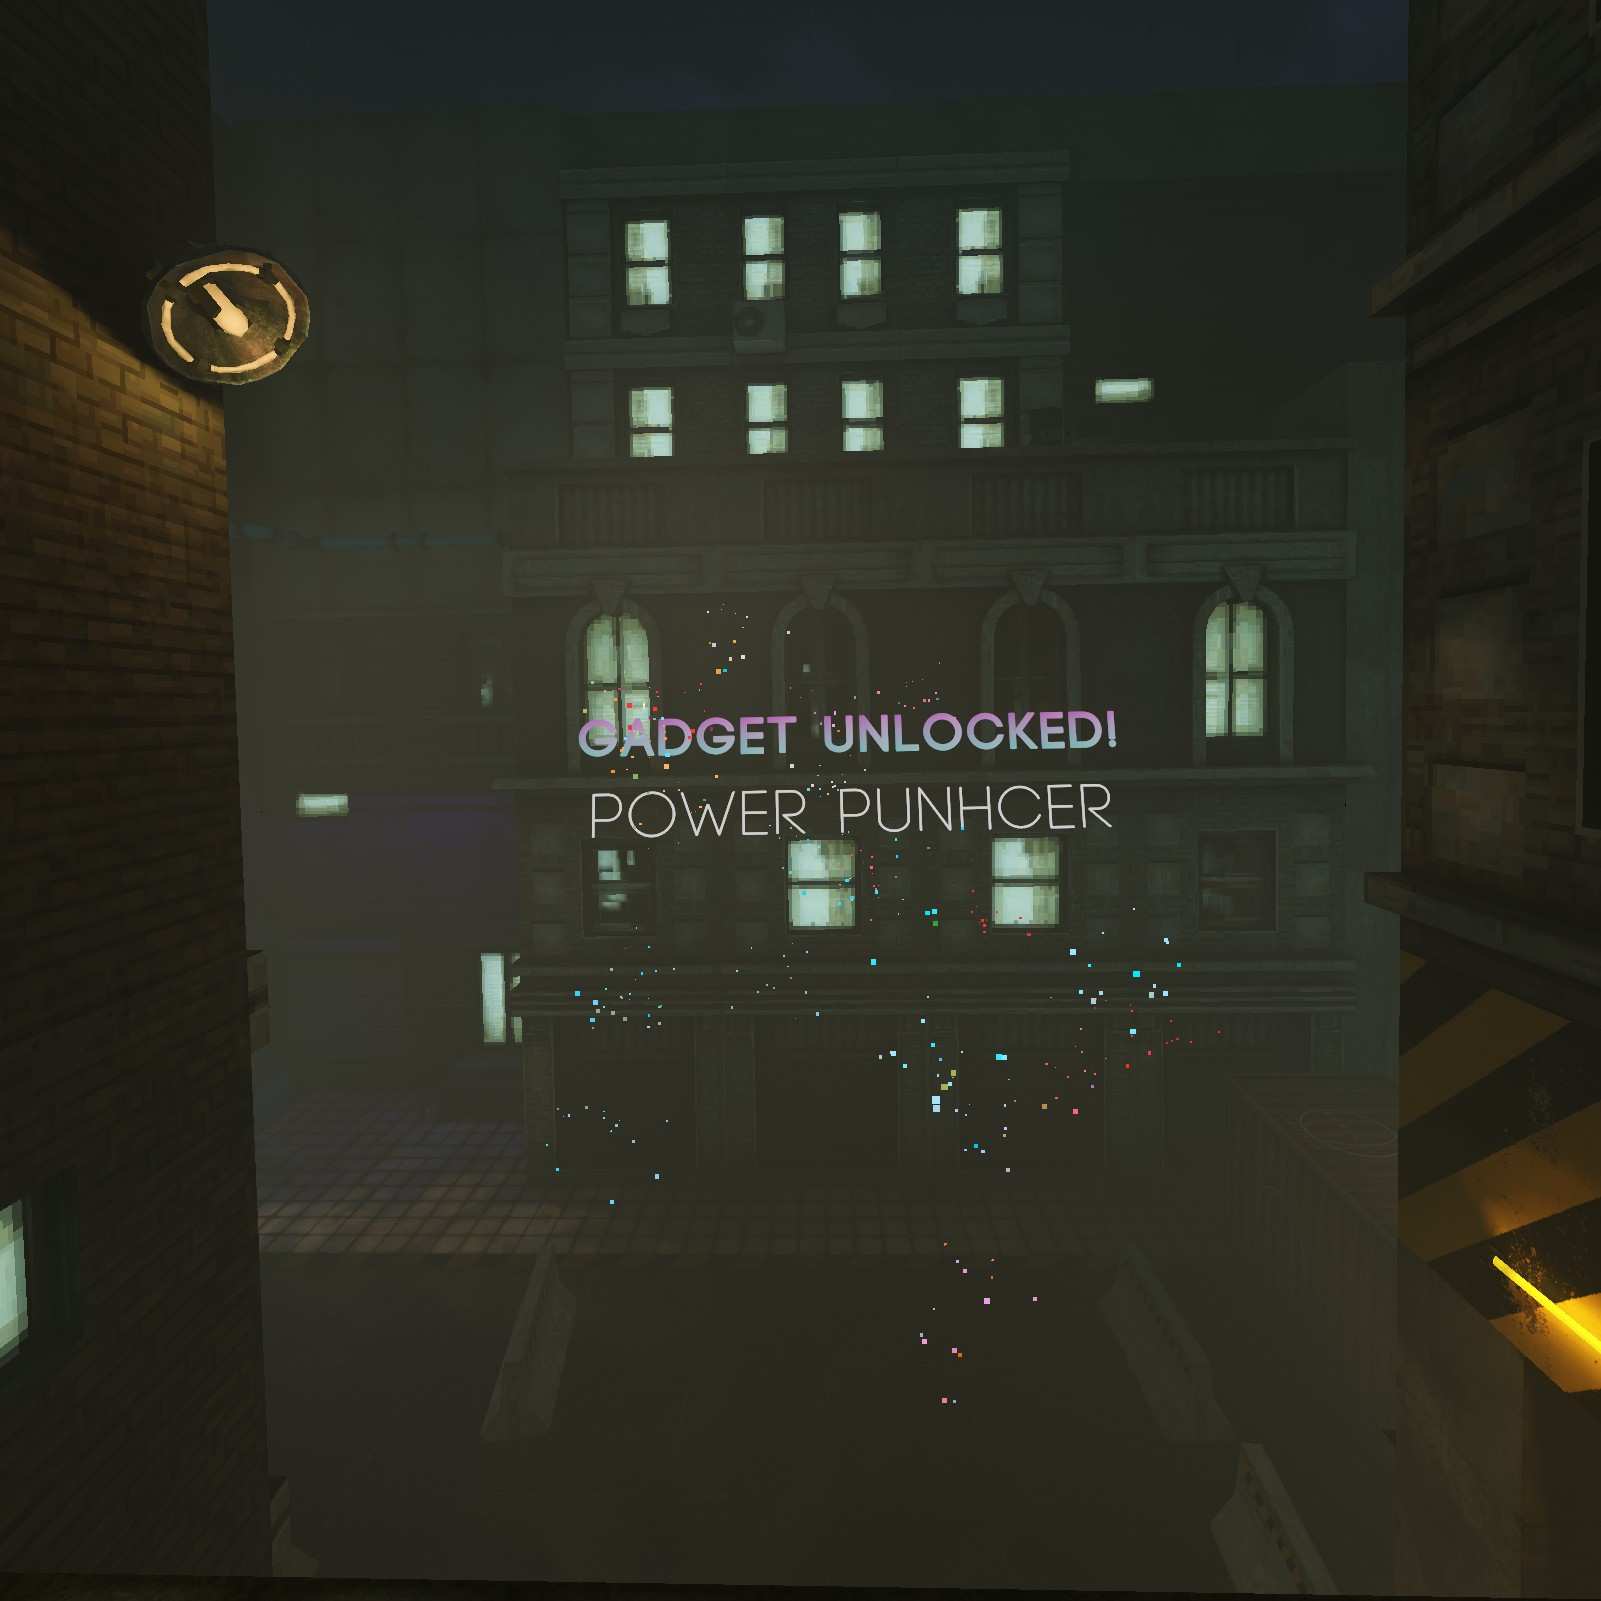
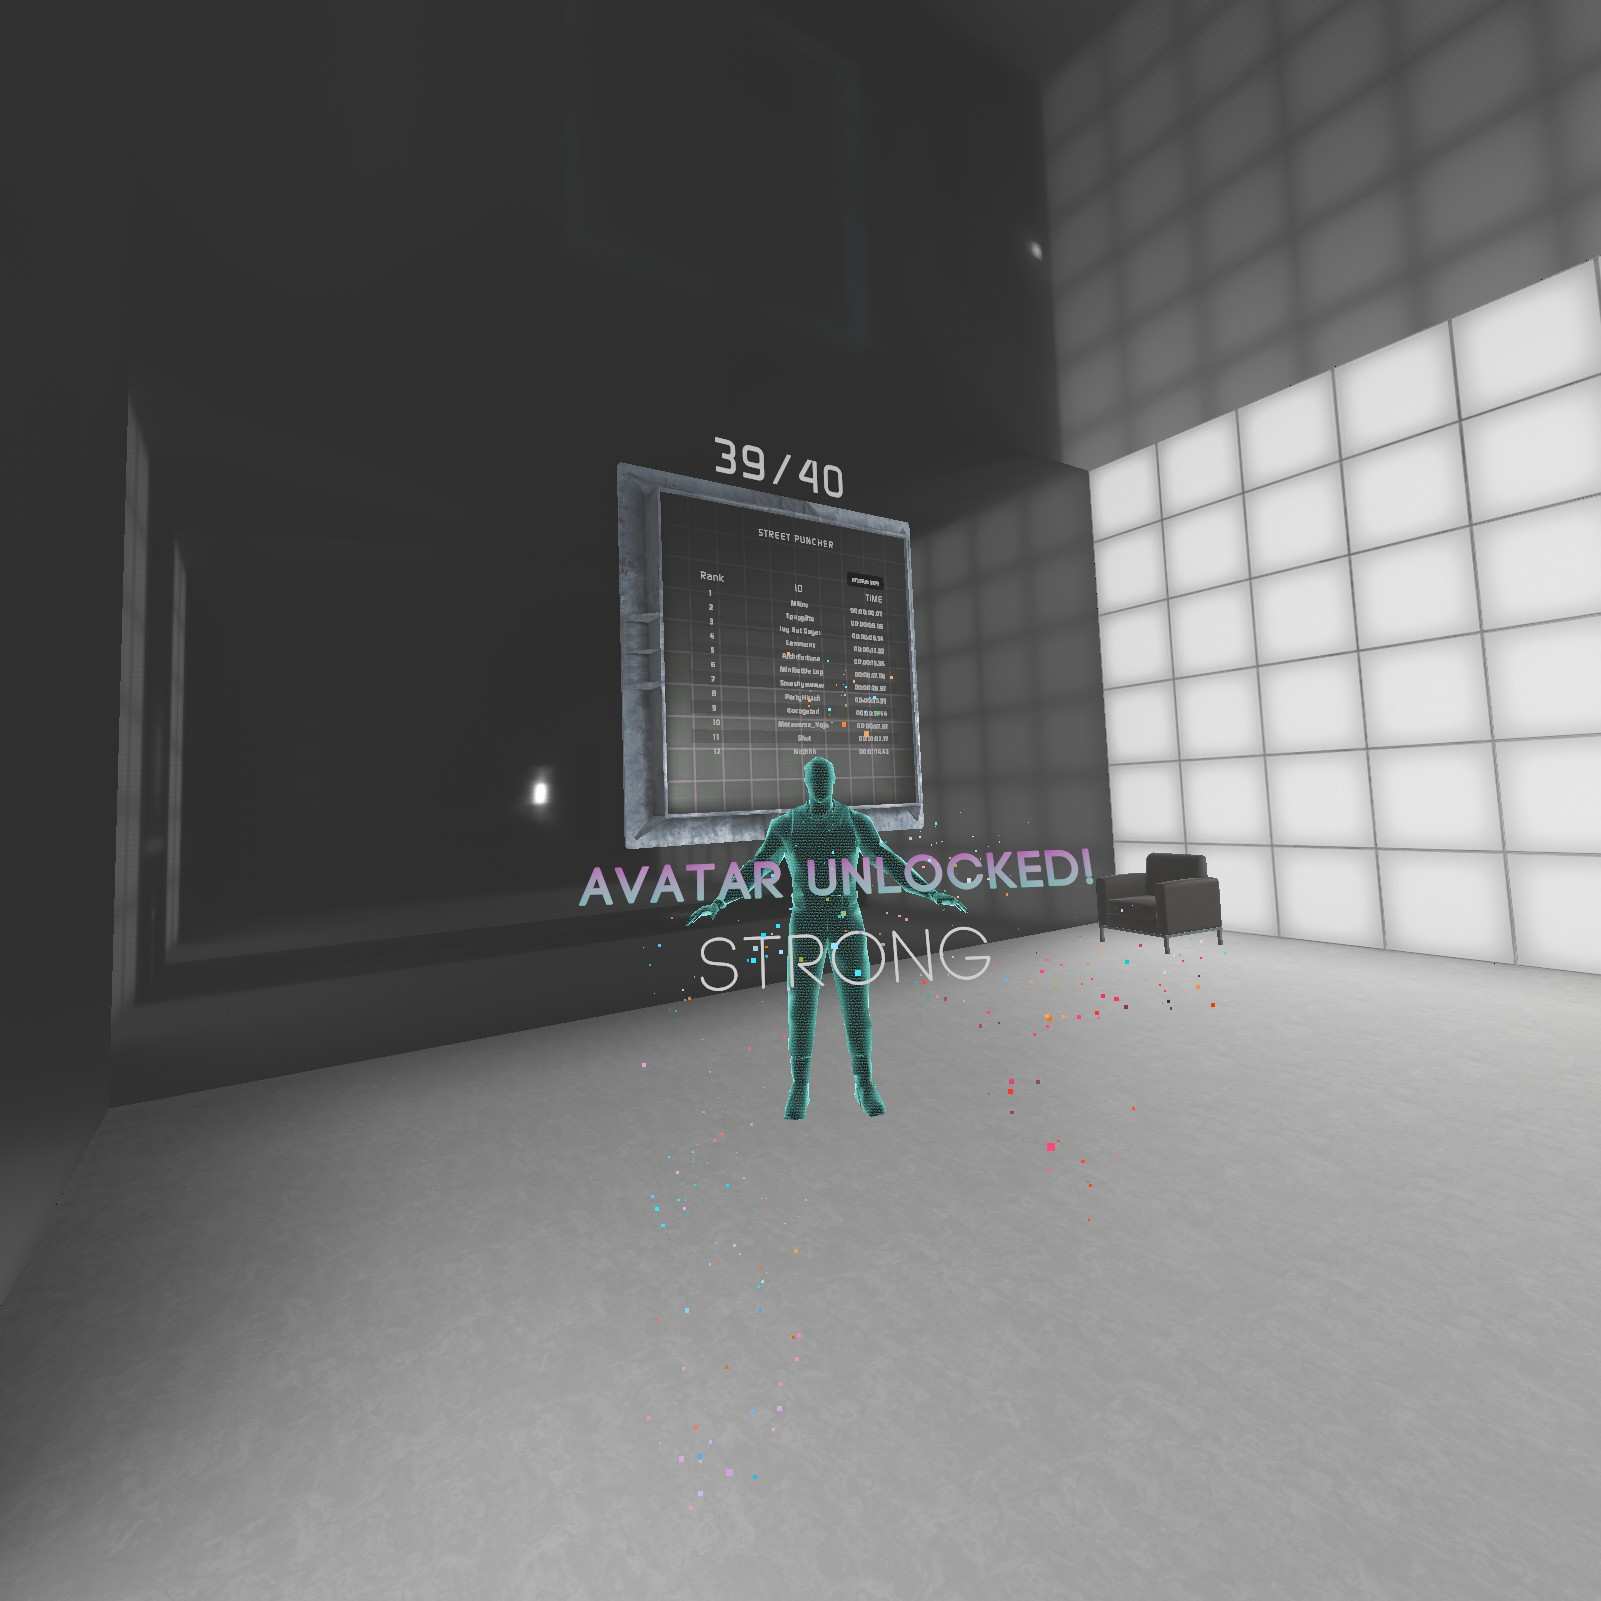
Street Puncher
Time to gather our avatars. They are technically gatcha balls though, so I’m listing them here despite being mandatory for progression.
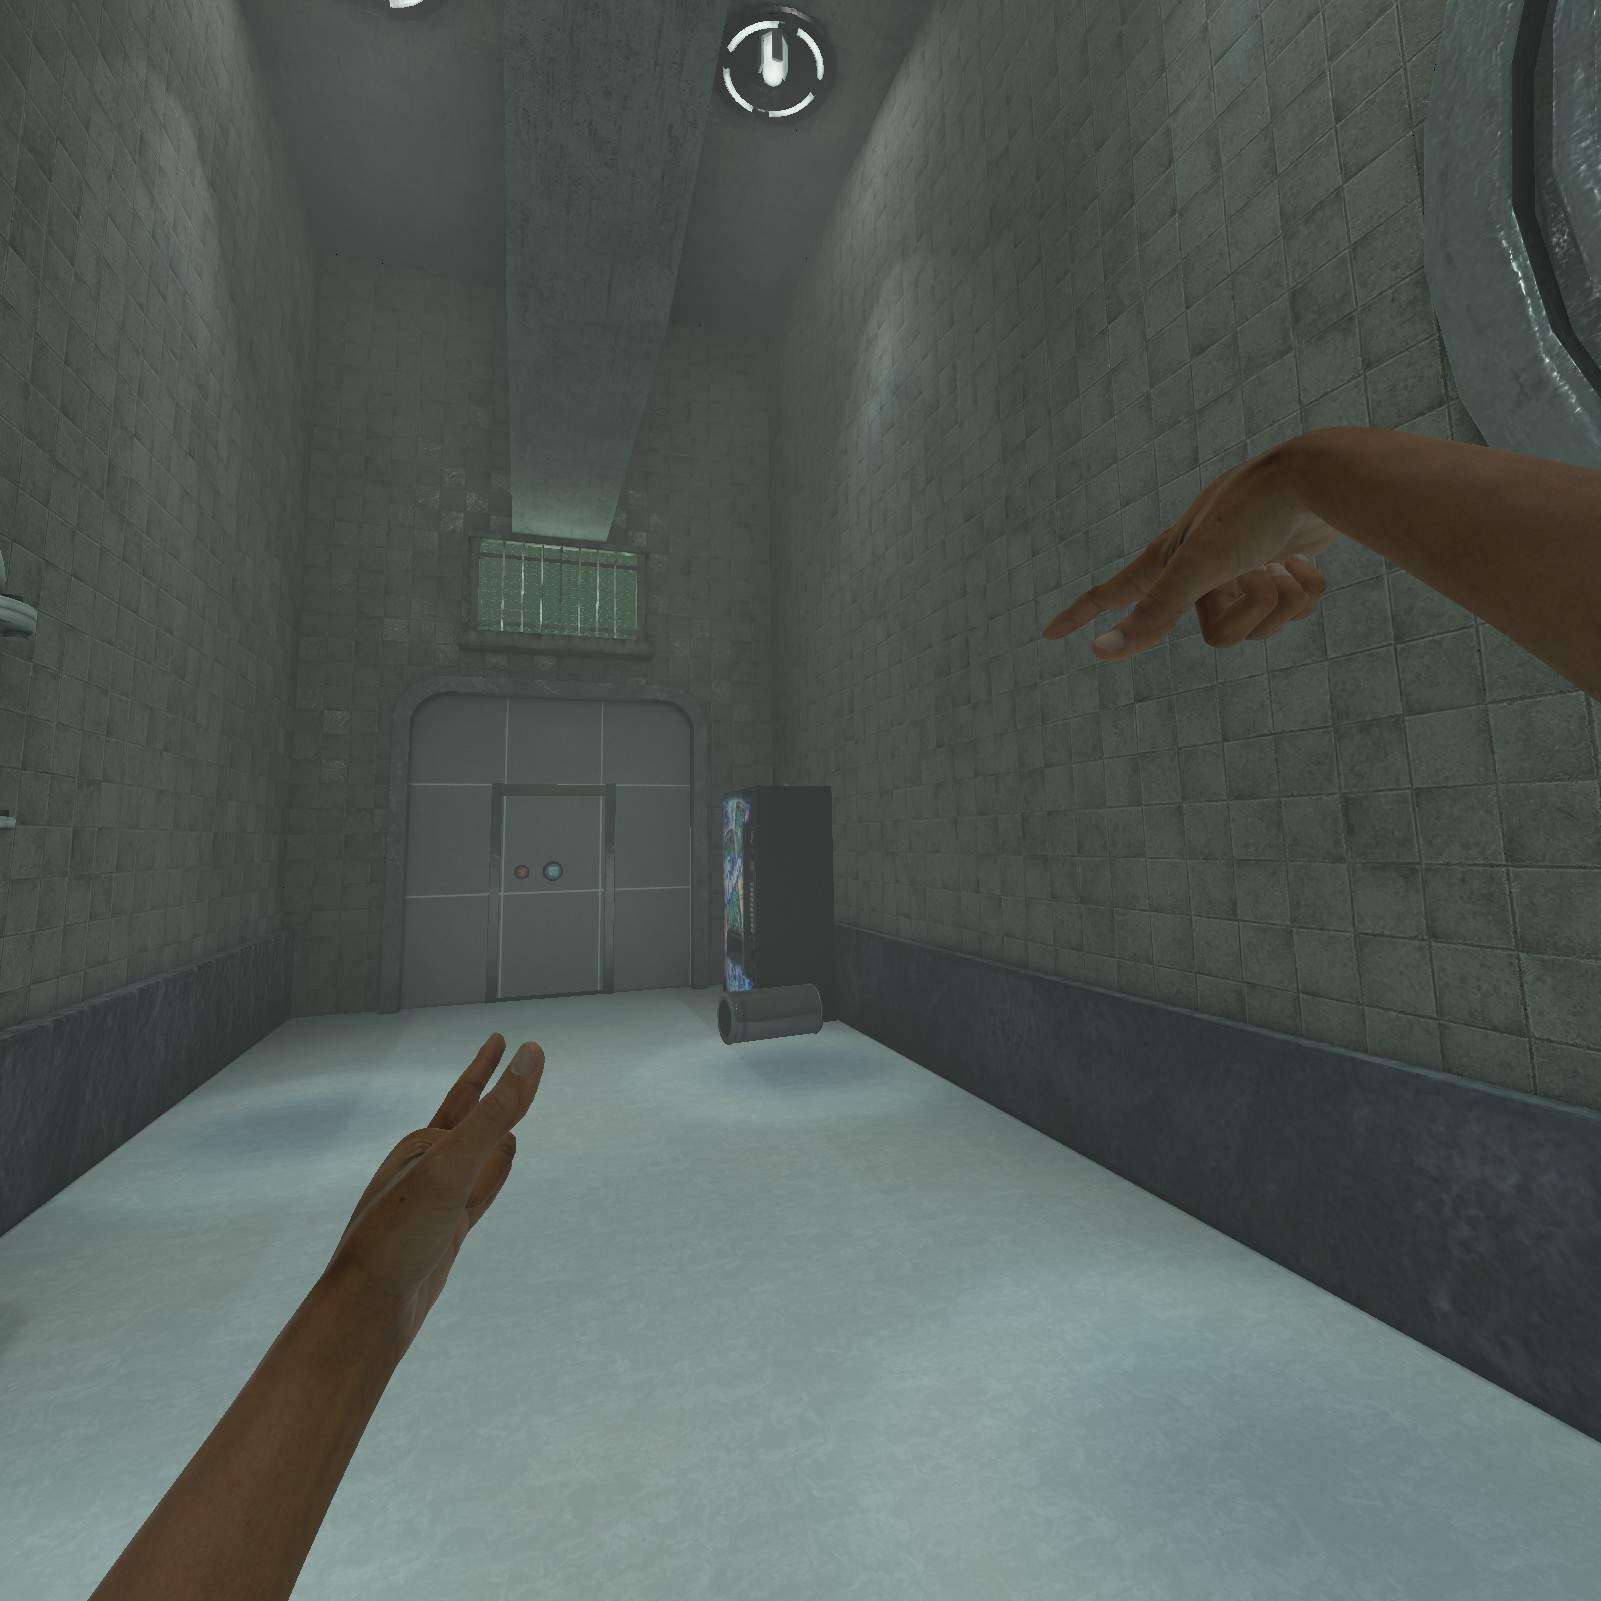
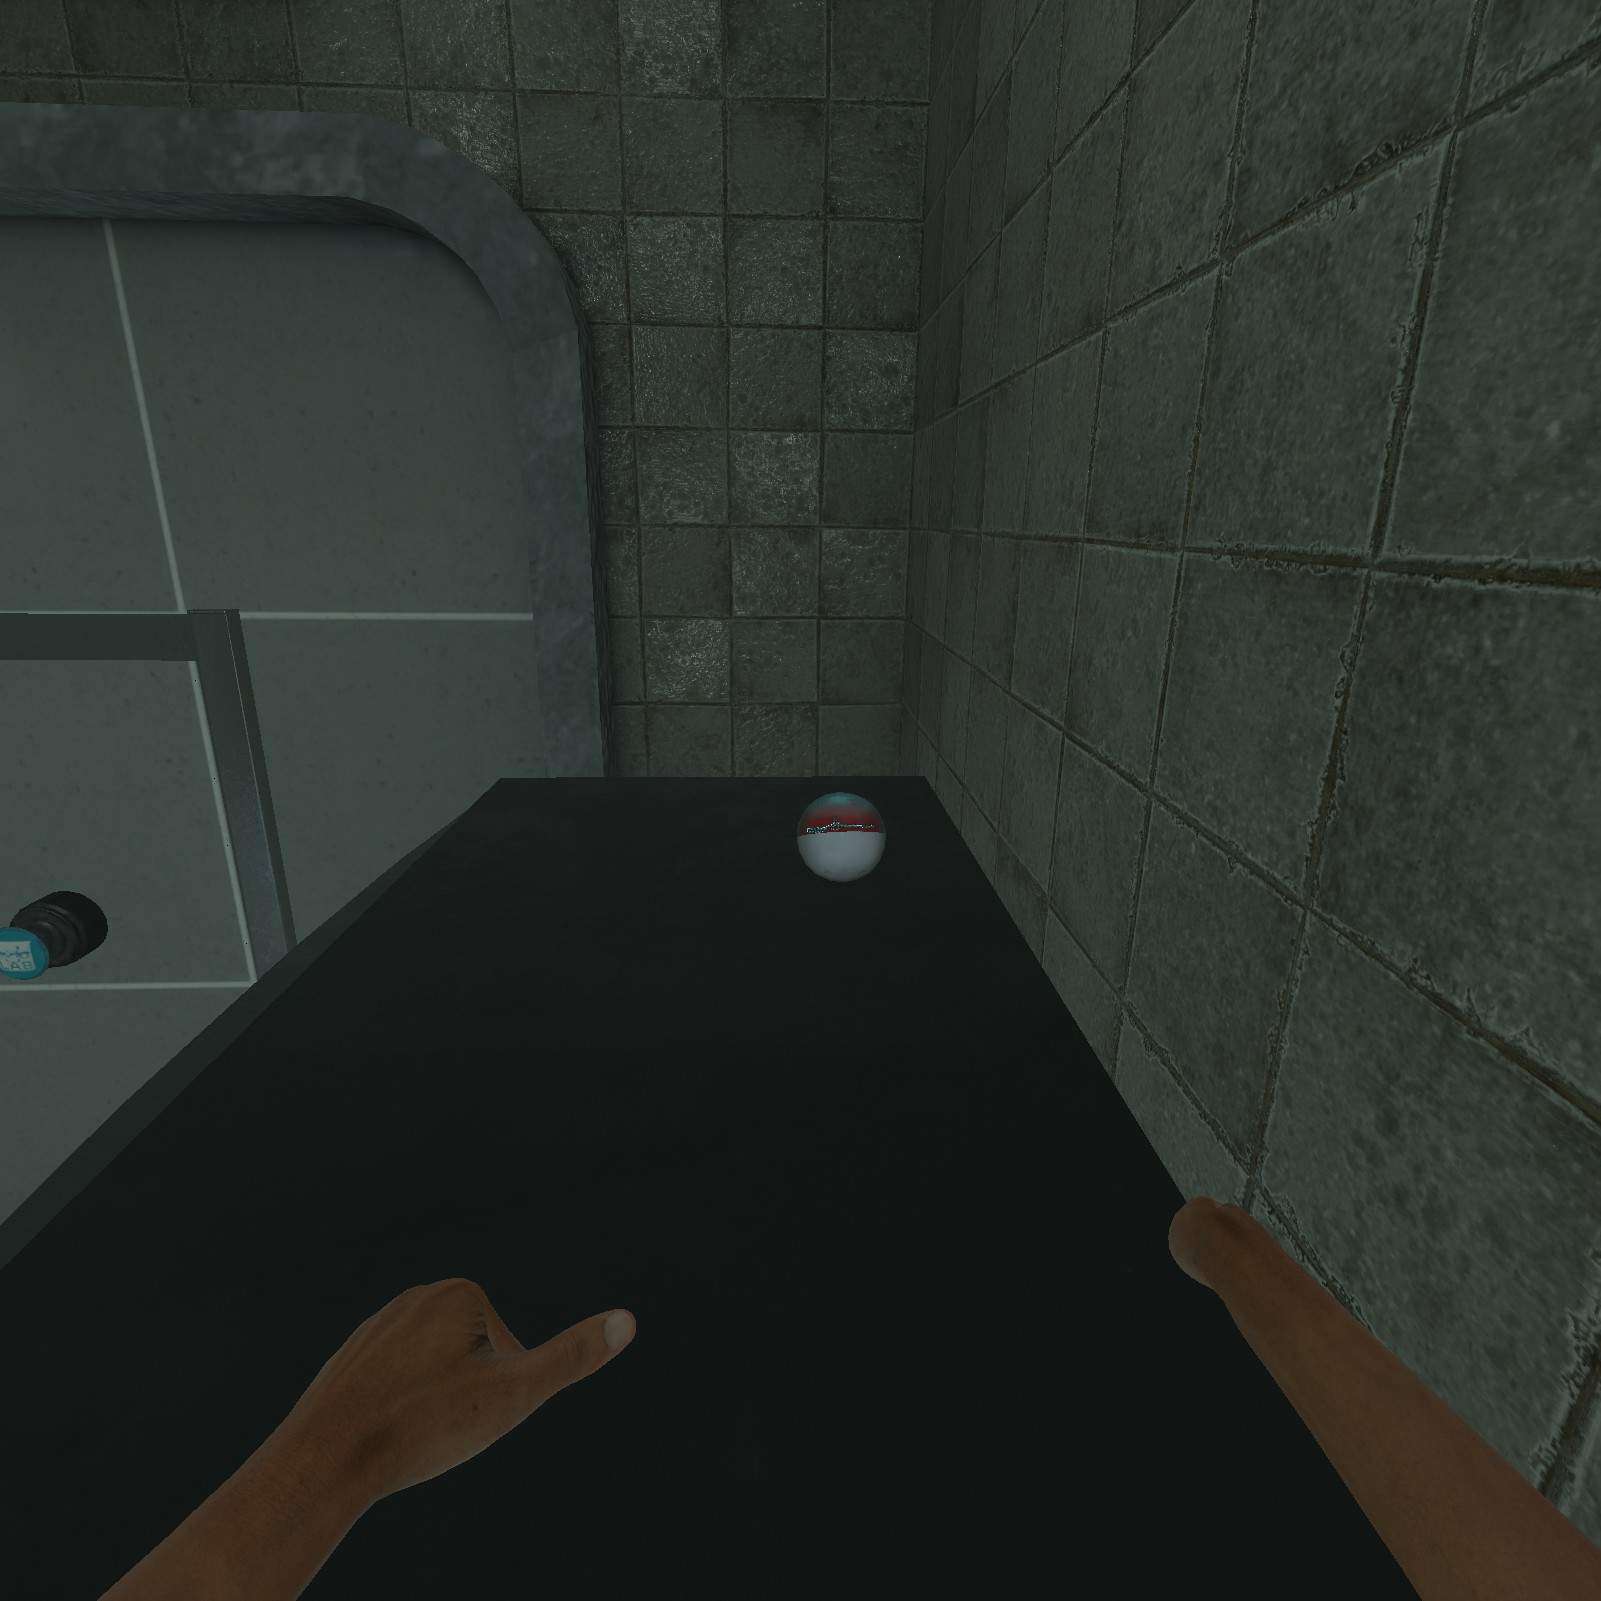
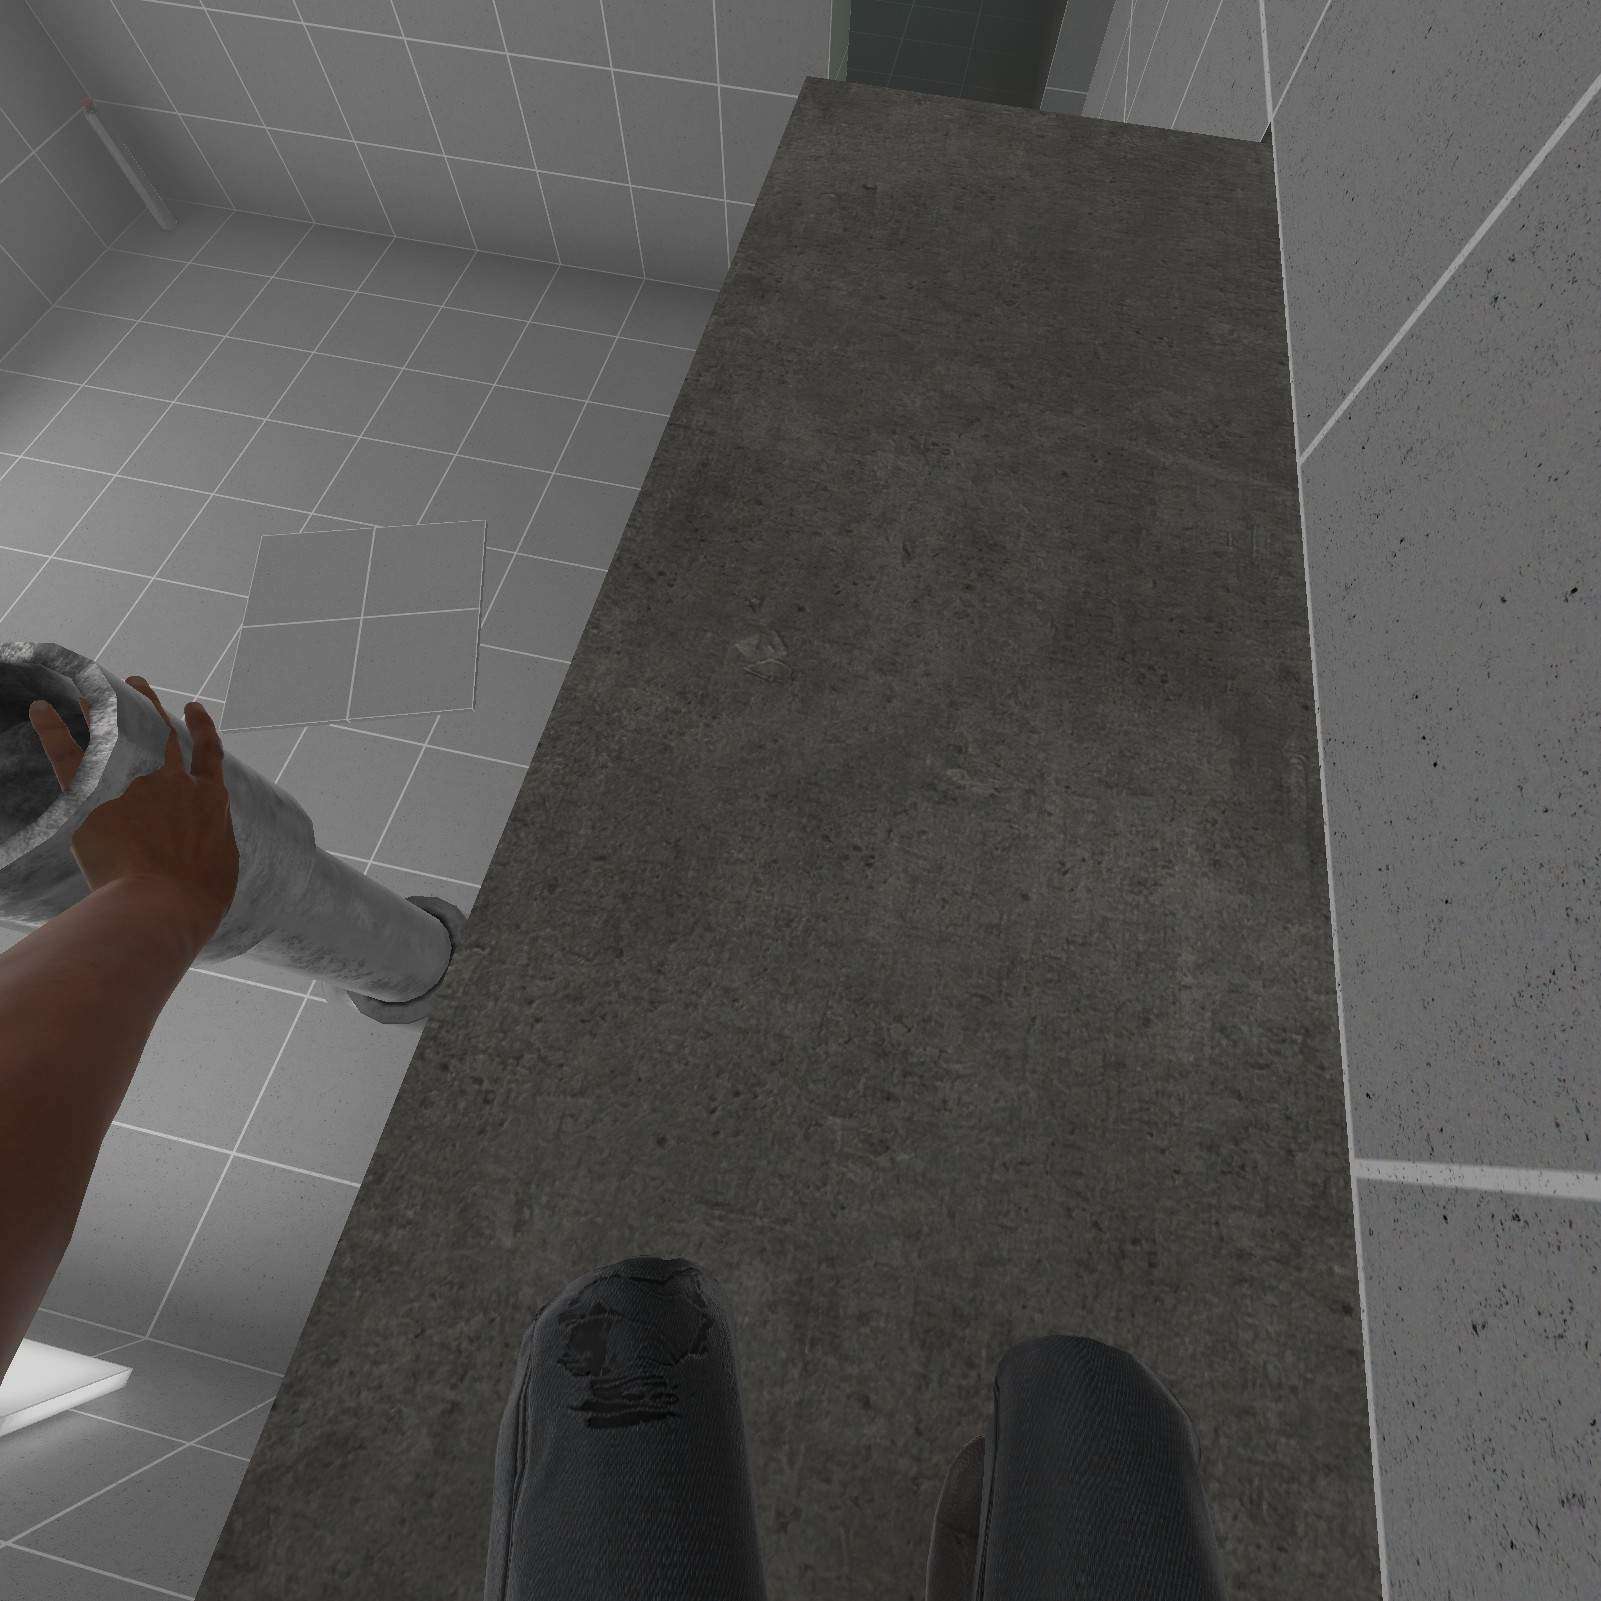
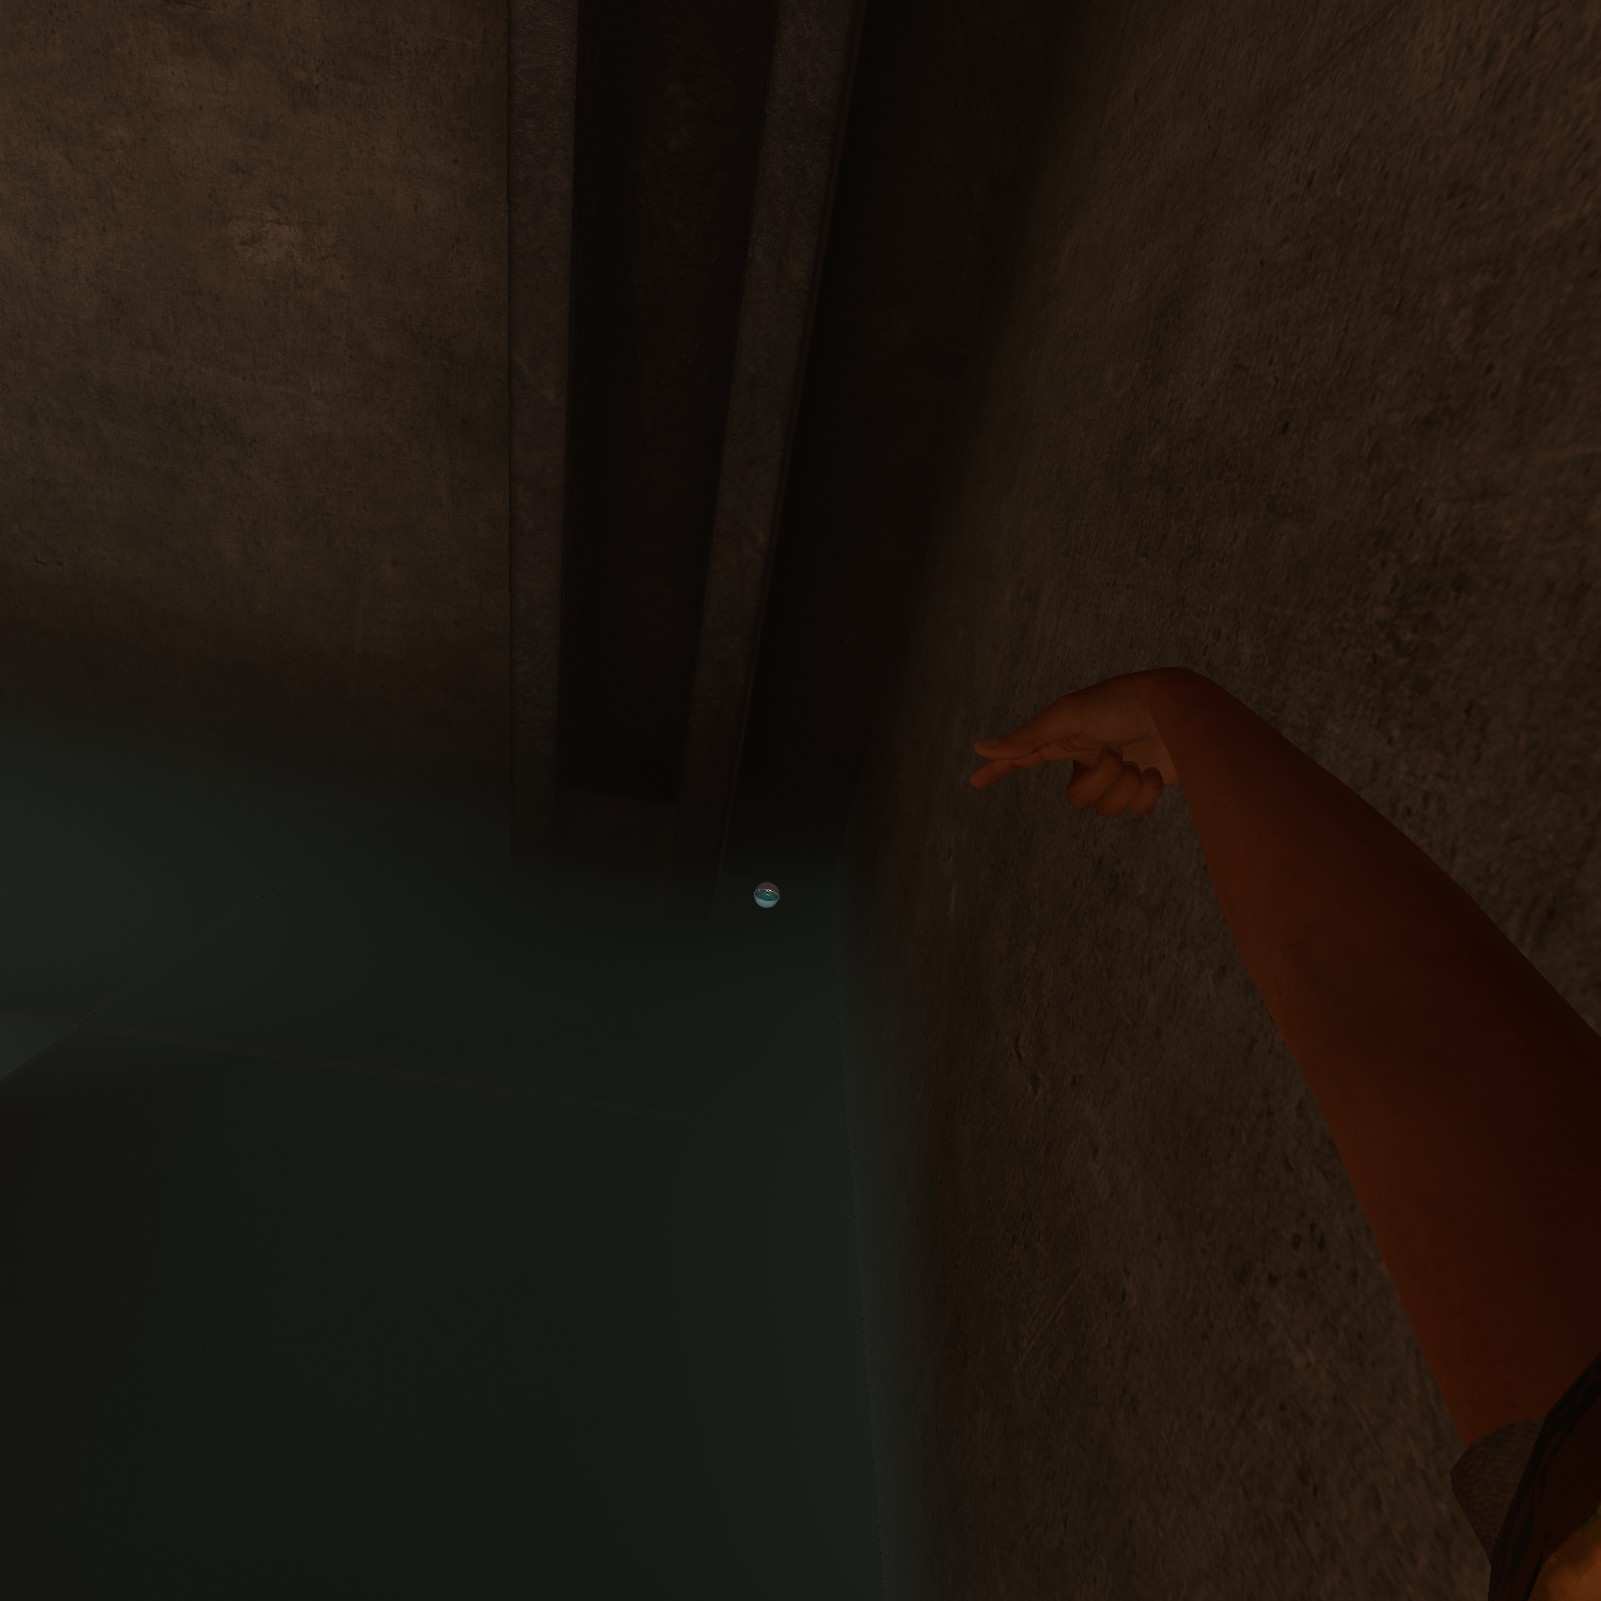
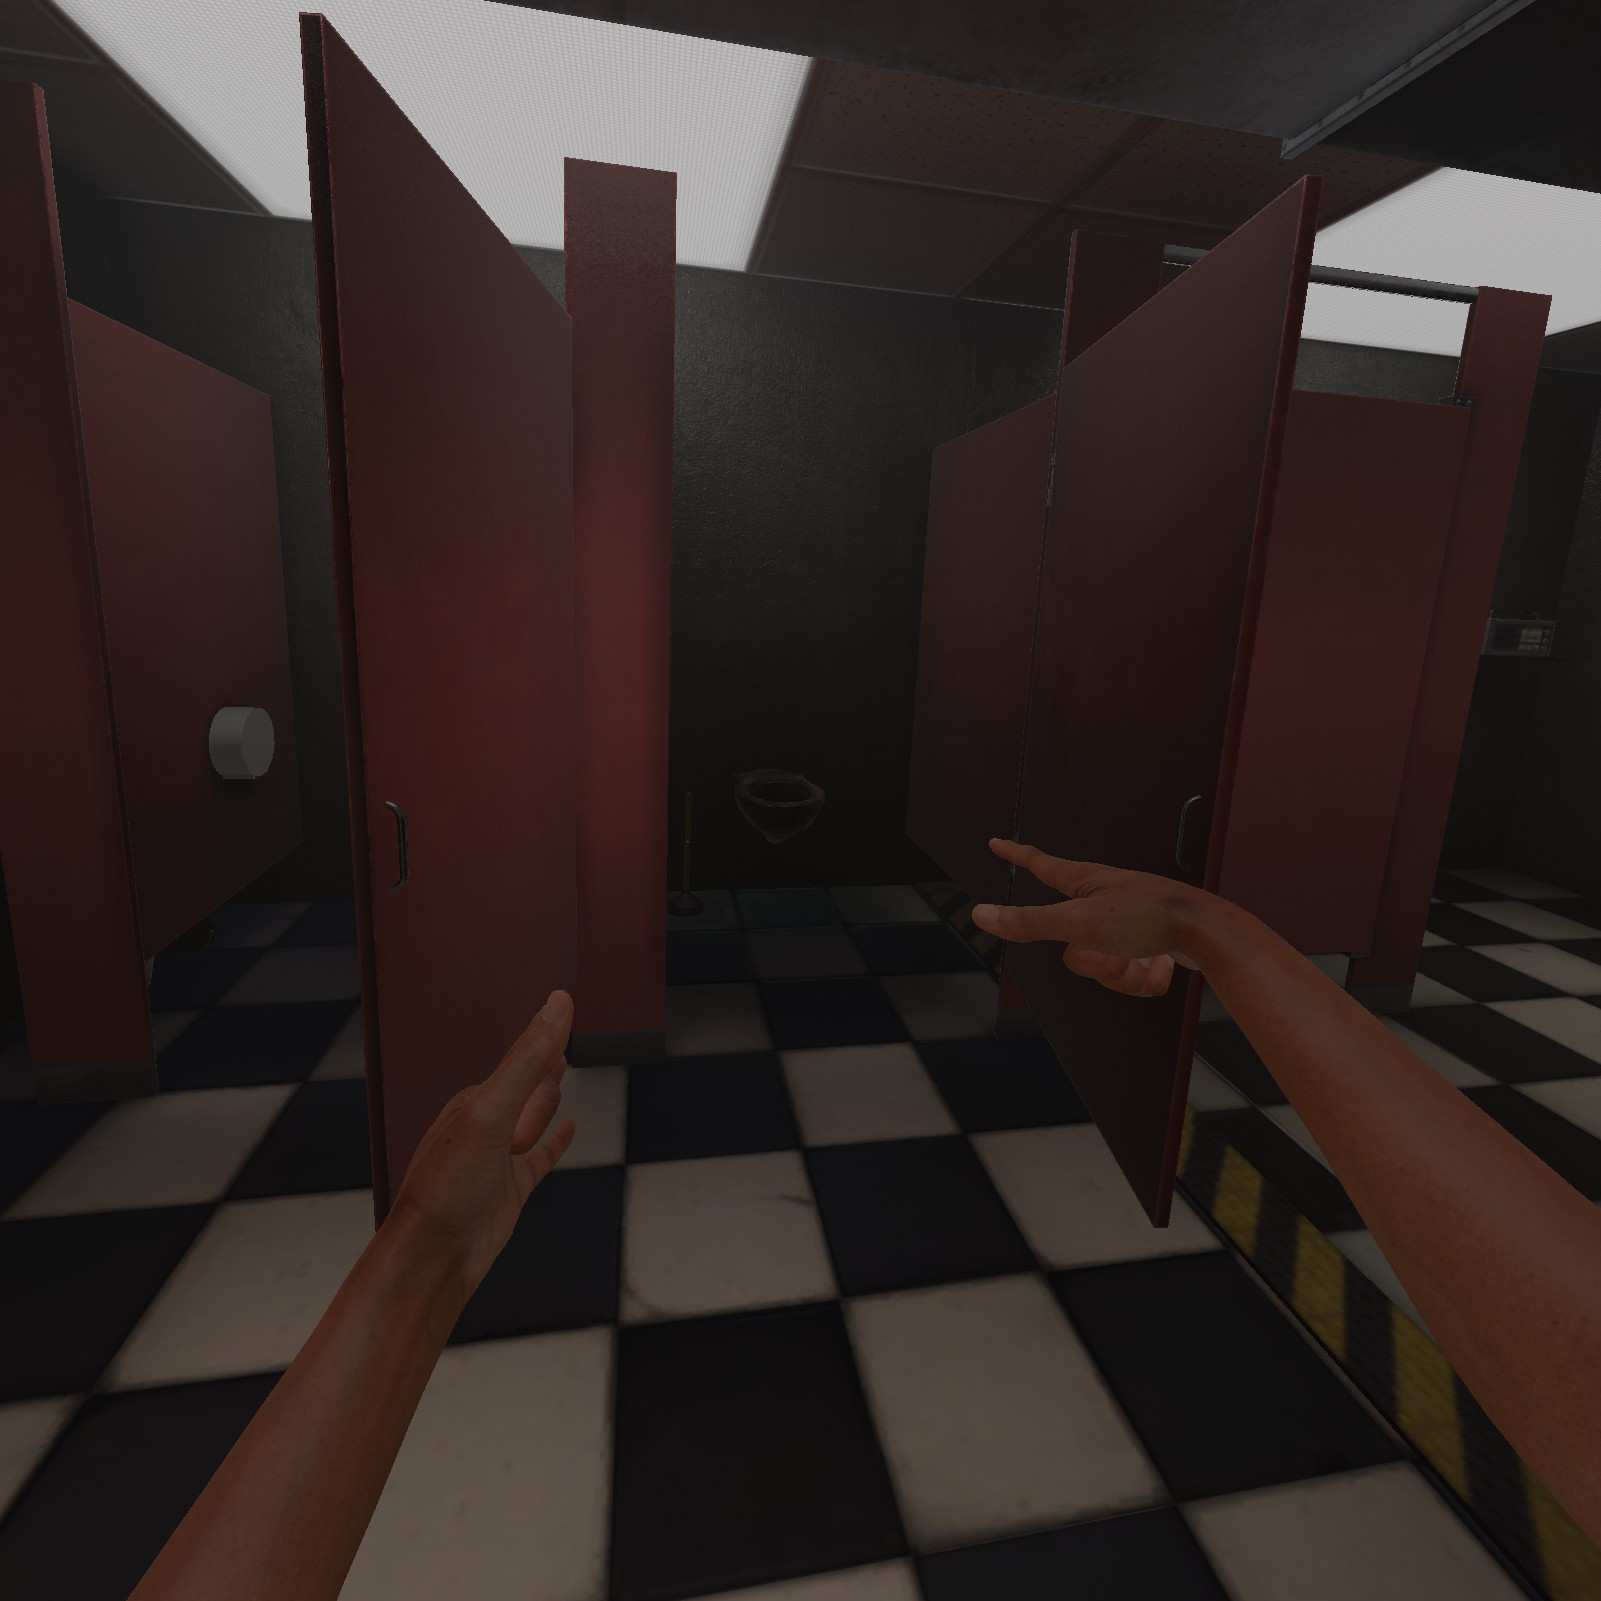
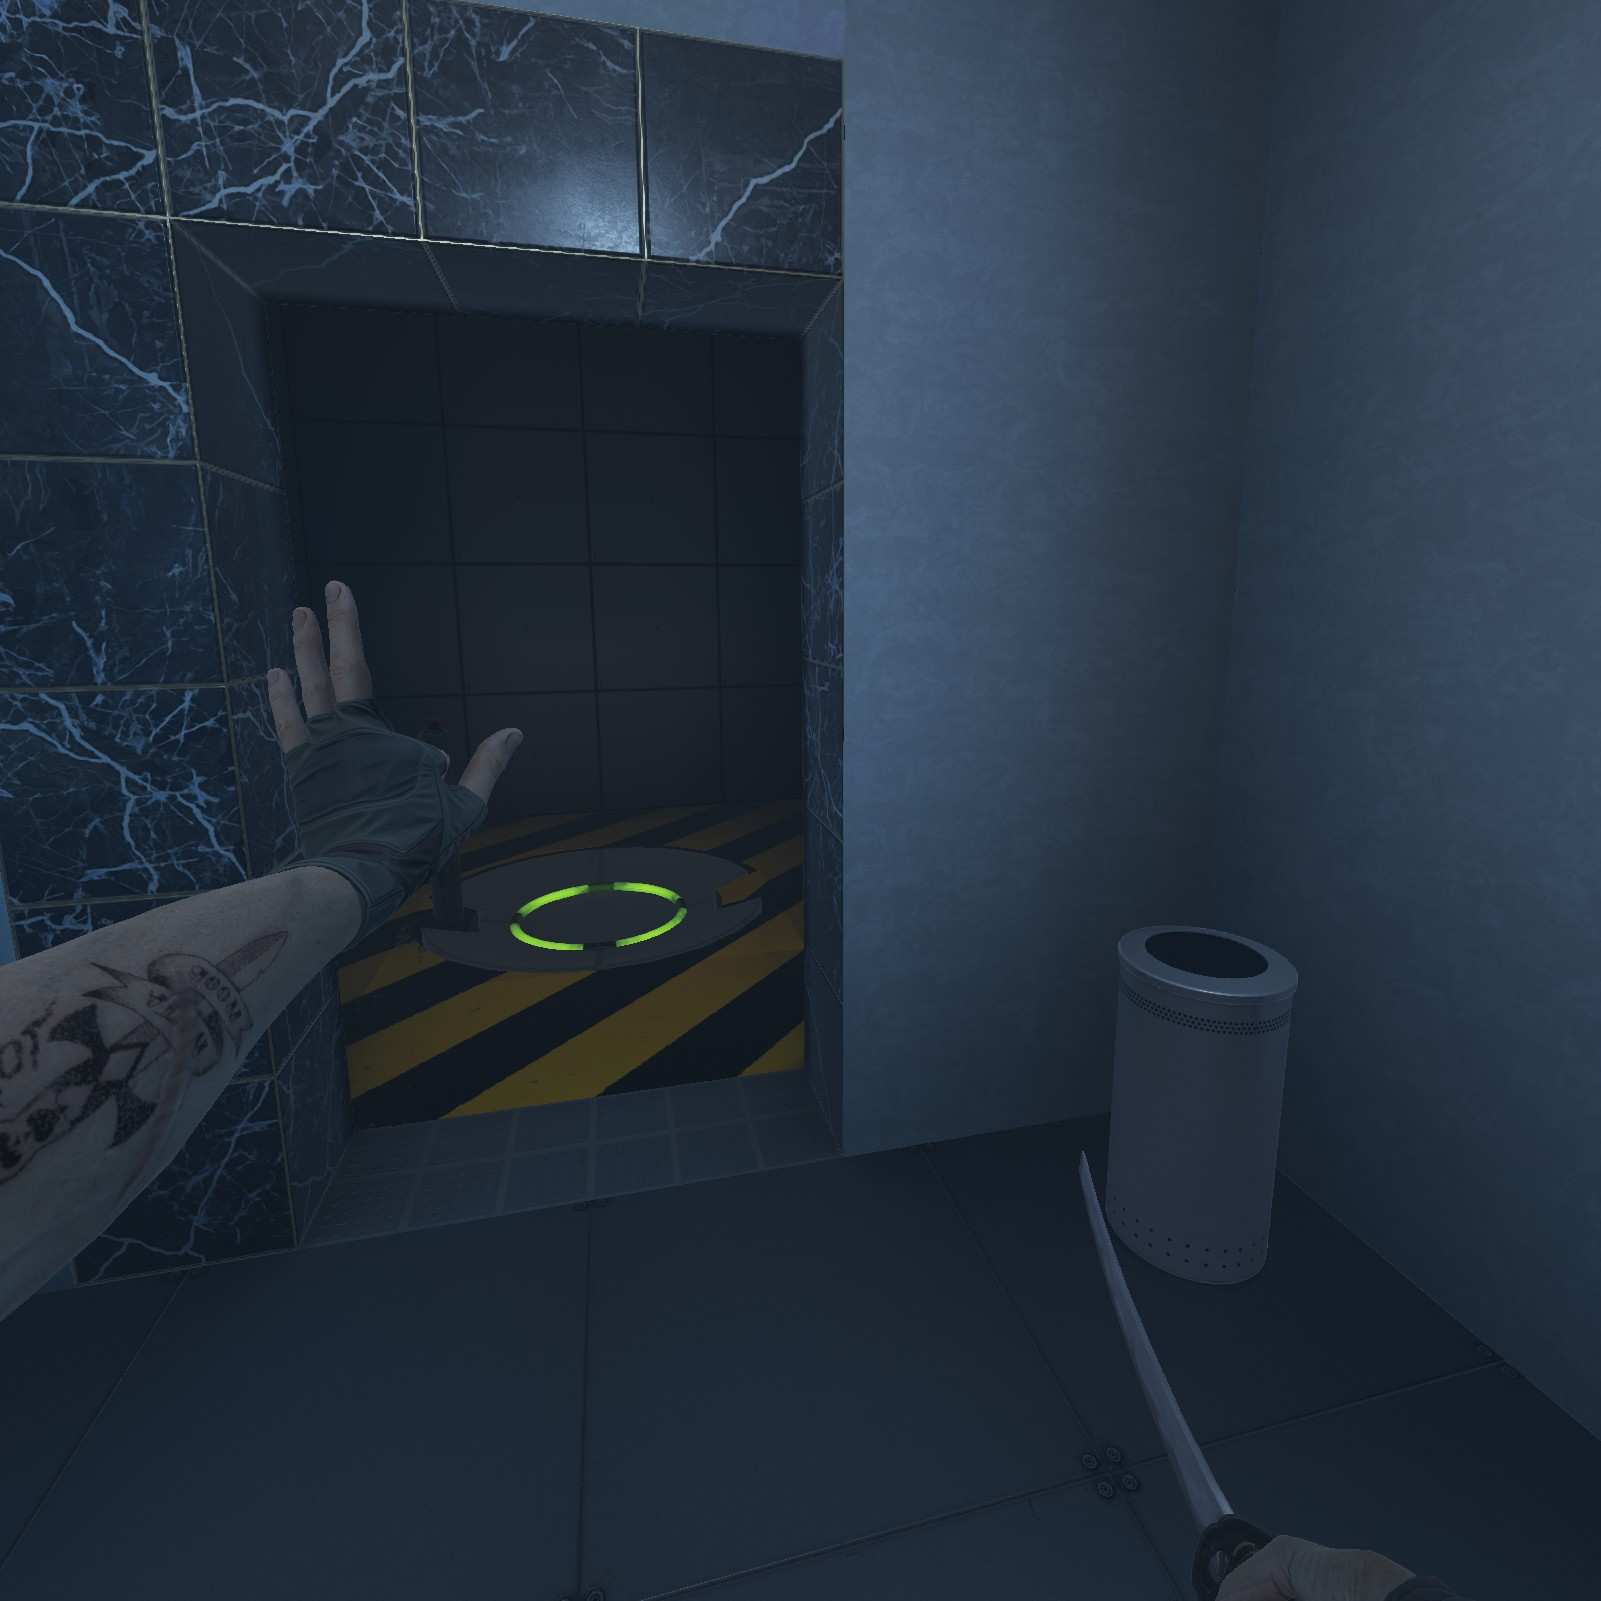
Gym Cylinder Small:
In the middle stall there’s my favorite shape the Gym Cylinder Small, yoink it like a savage. Now go wash your hands because that’s disgusting what you just touched.

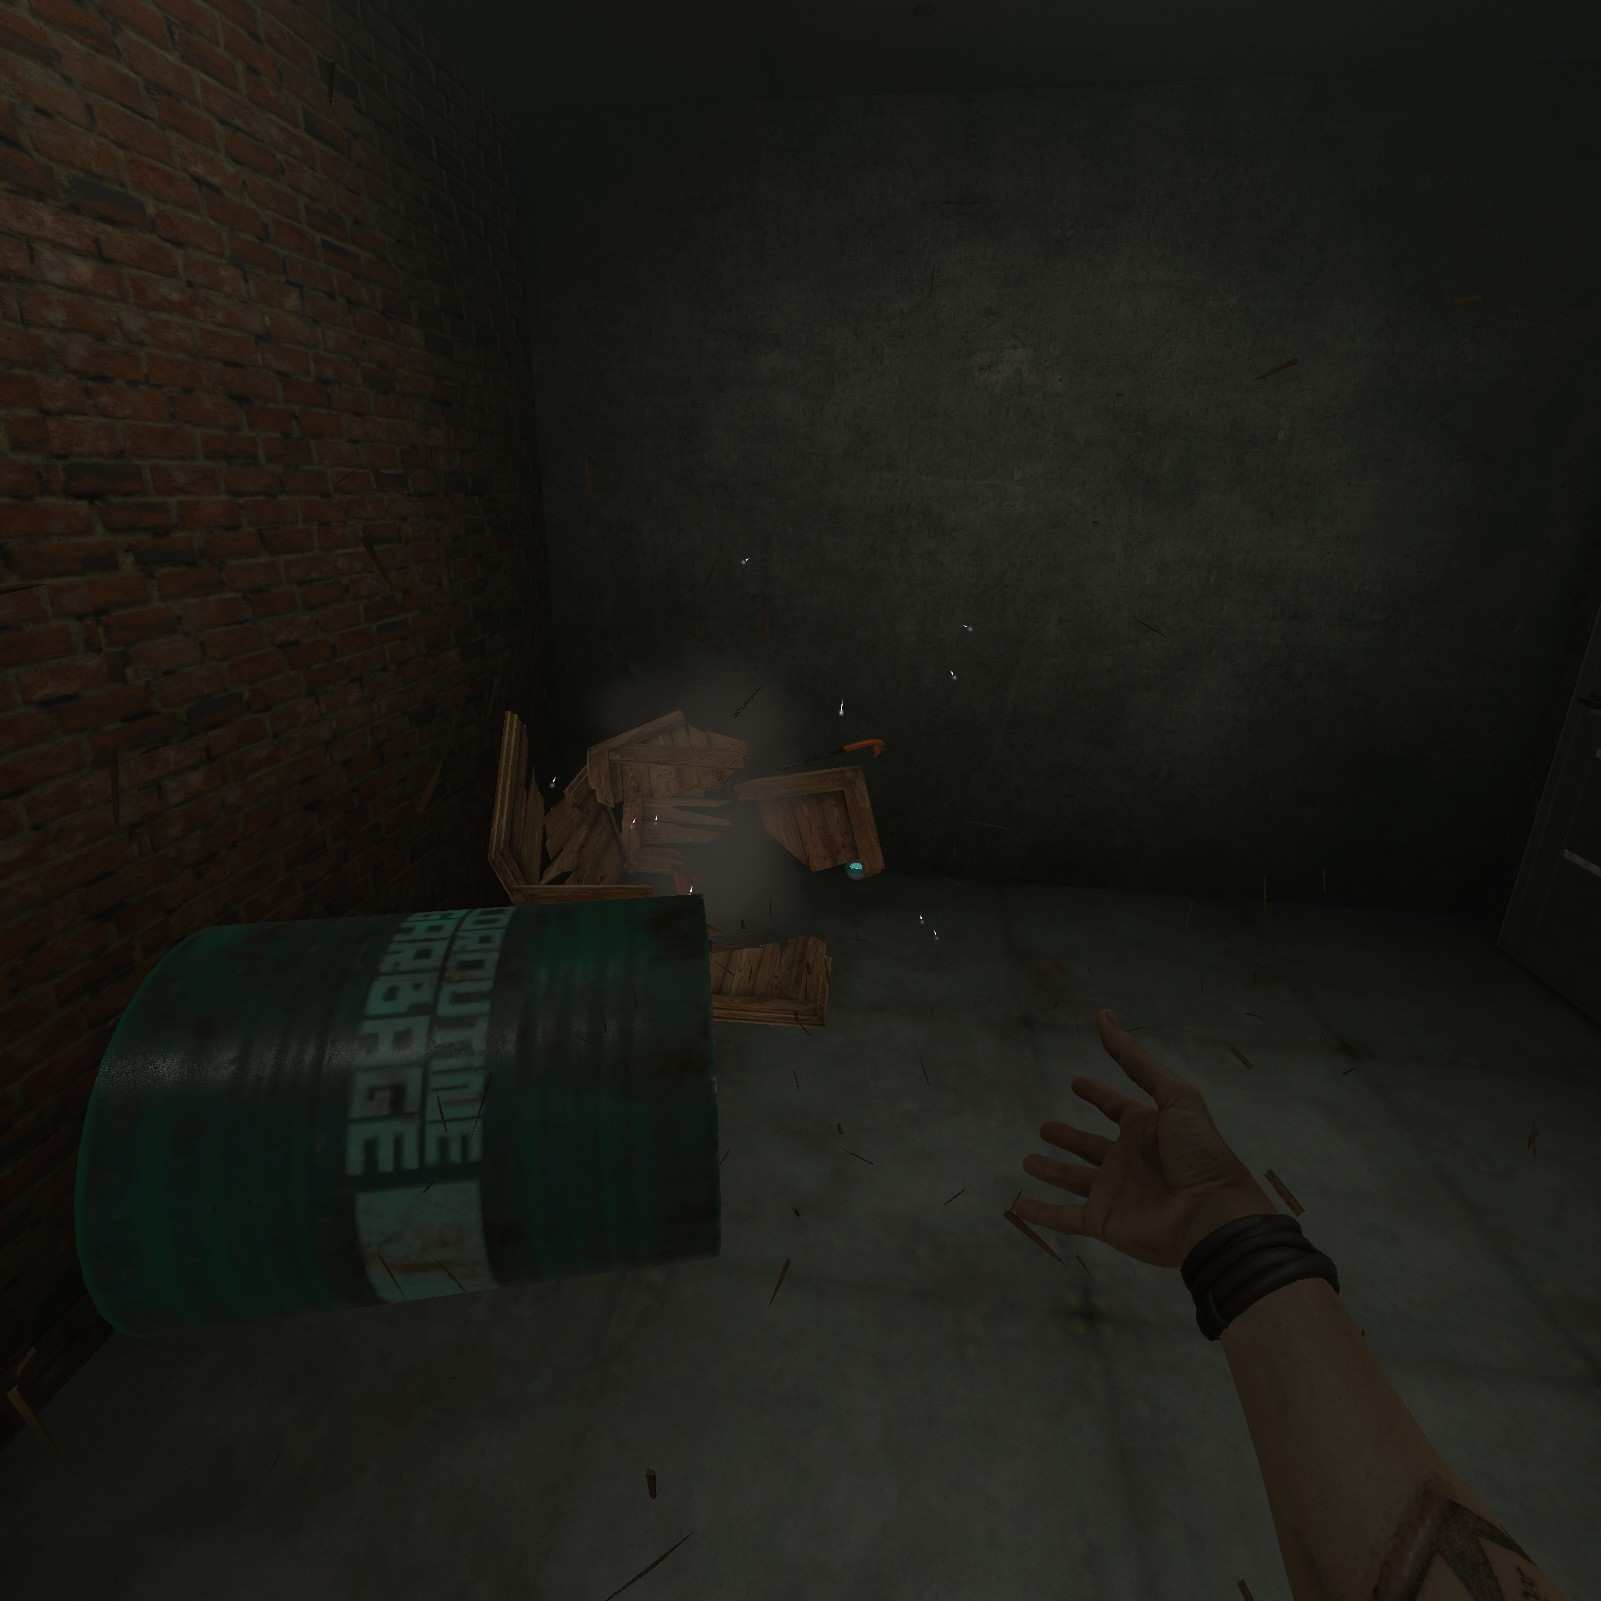
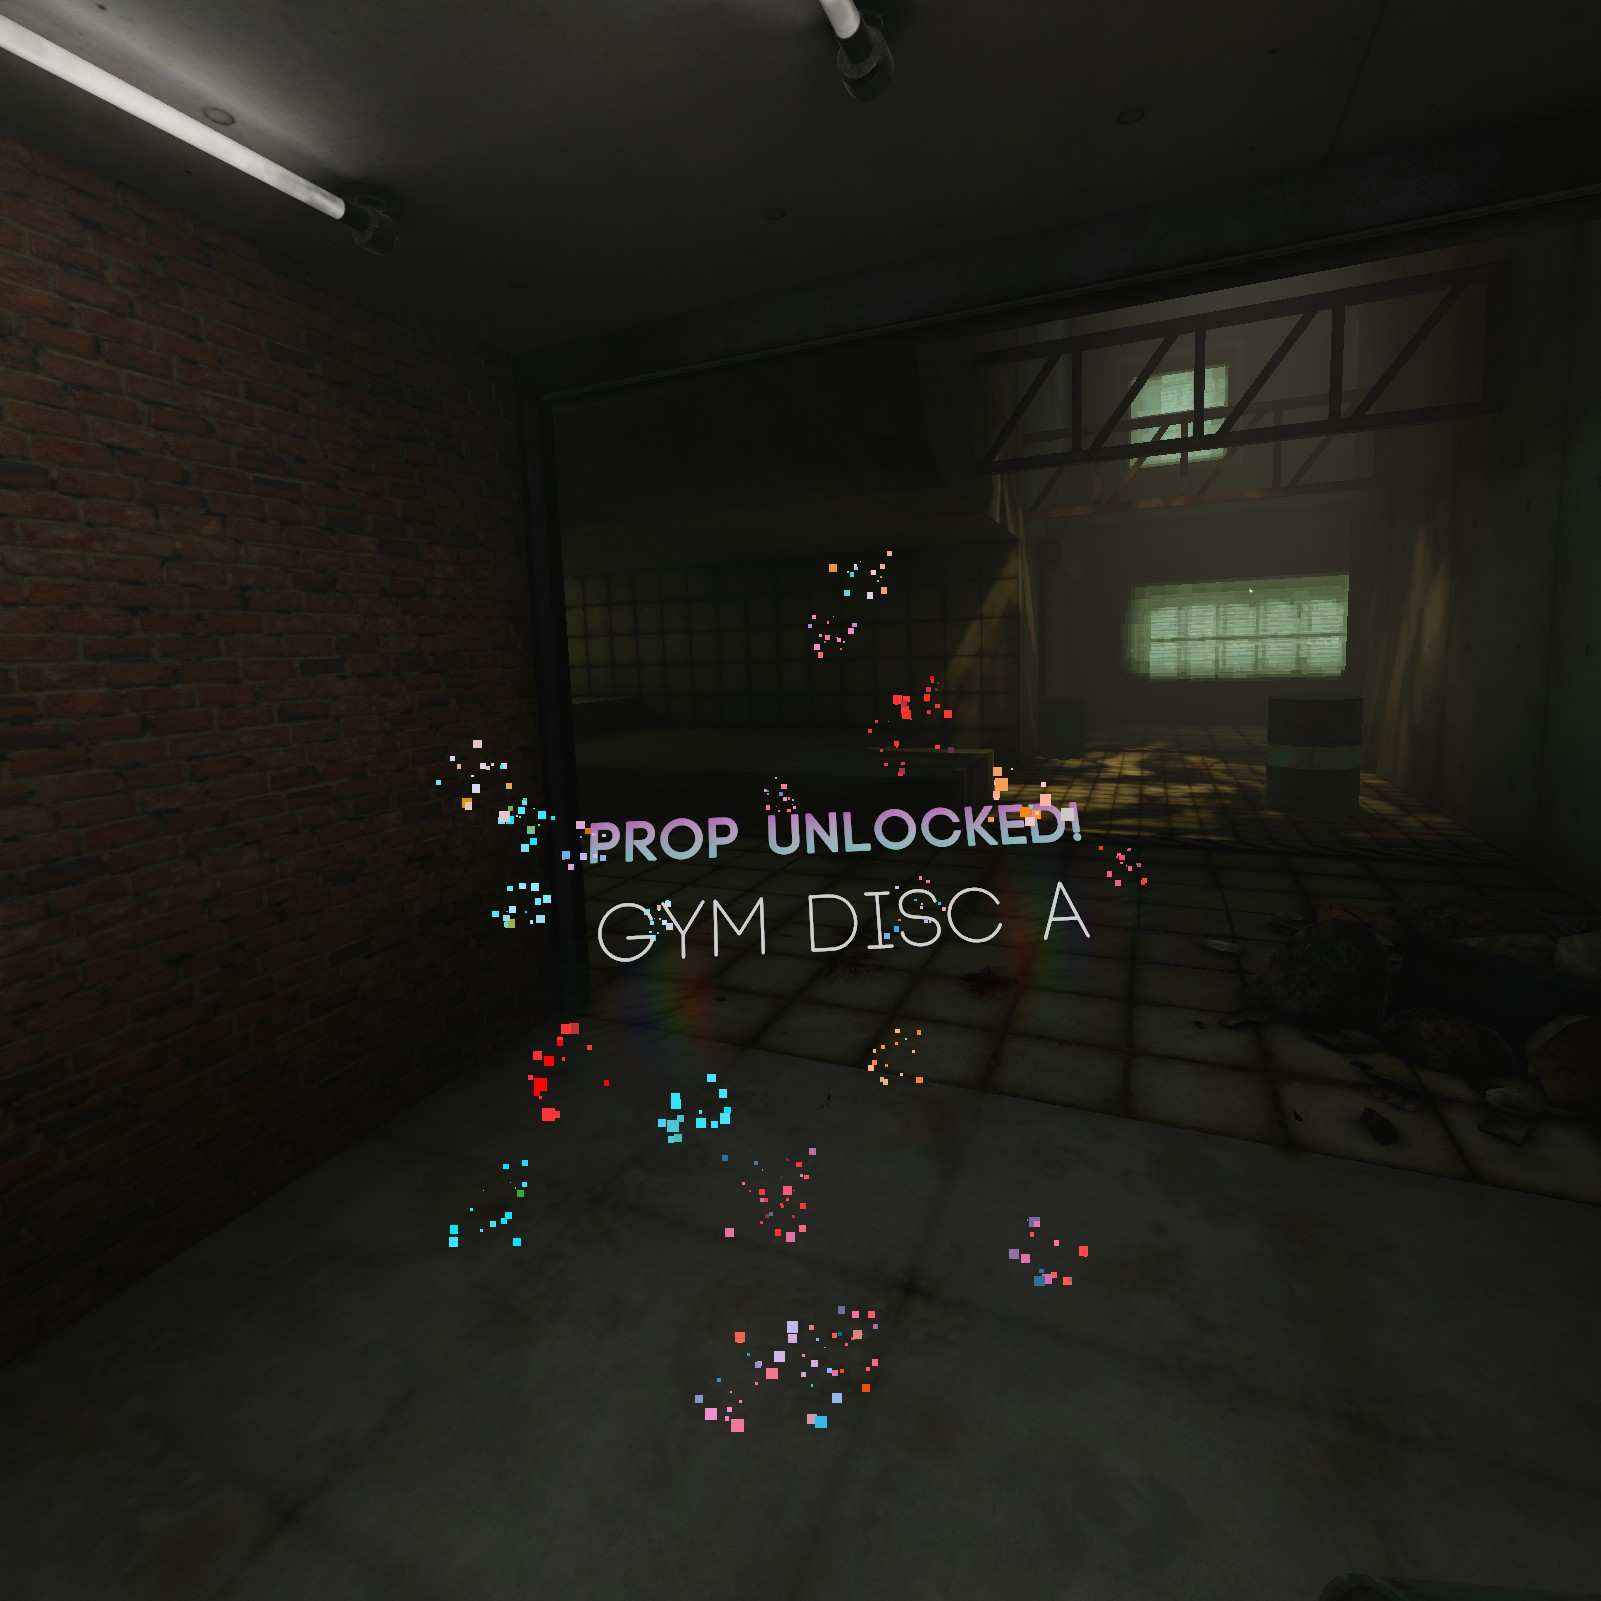
Gym Disk A:
In the garage just outside the bathroom you can find my favorite shape the Gym Disk A. Ether force grab it or break the boxes to collect it.
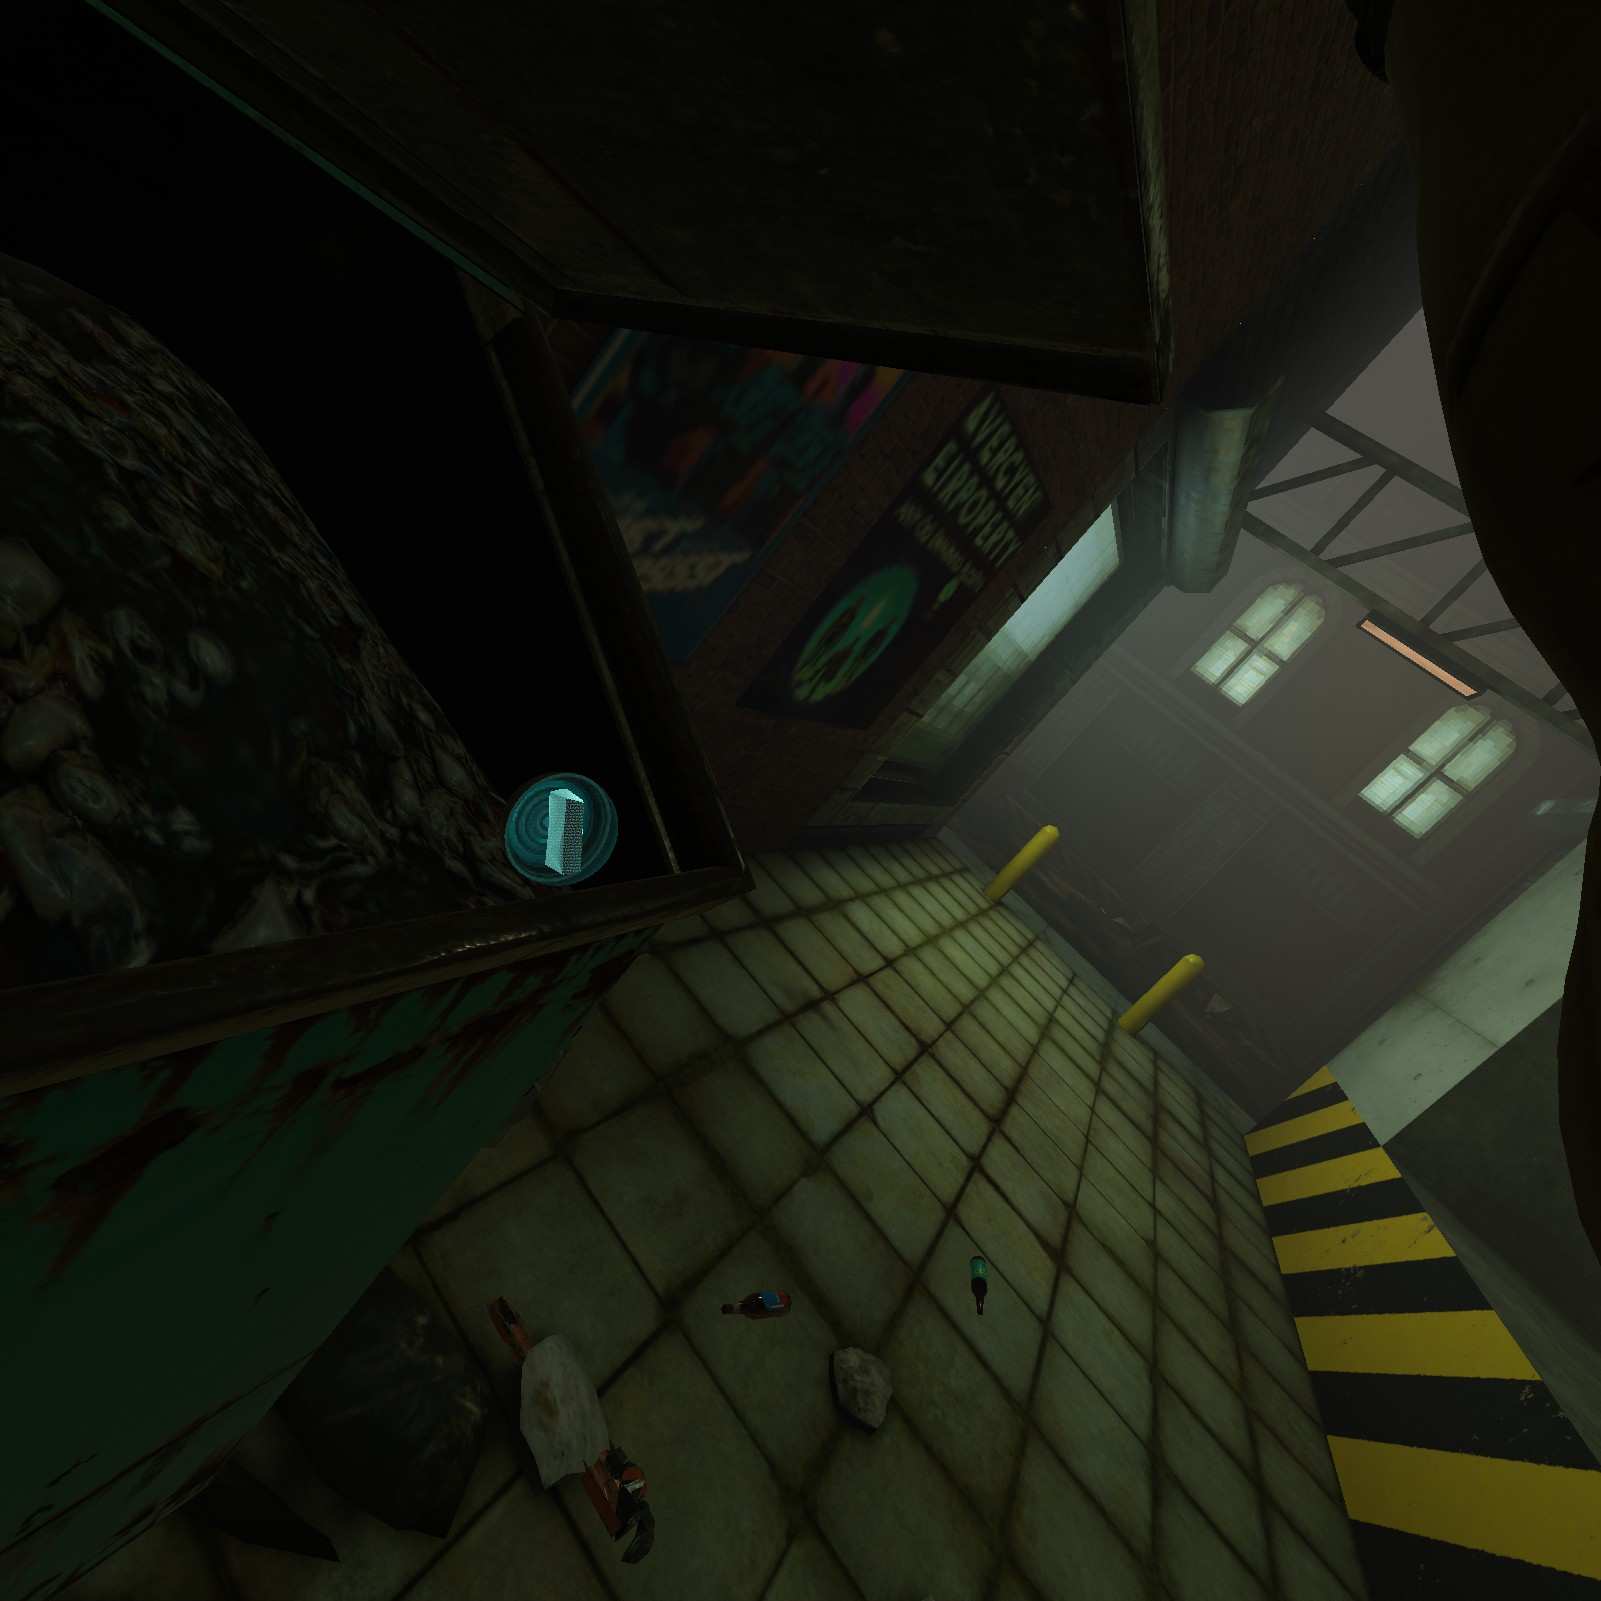
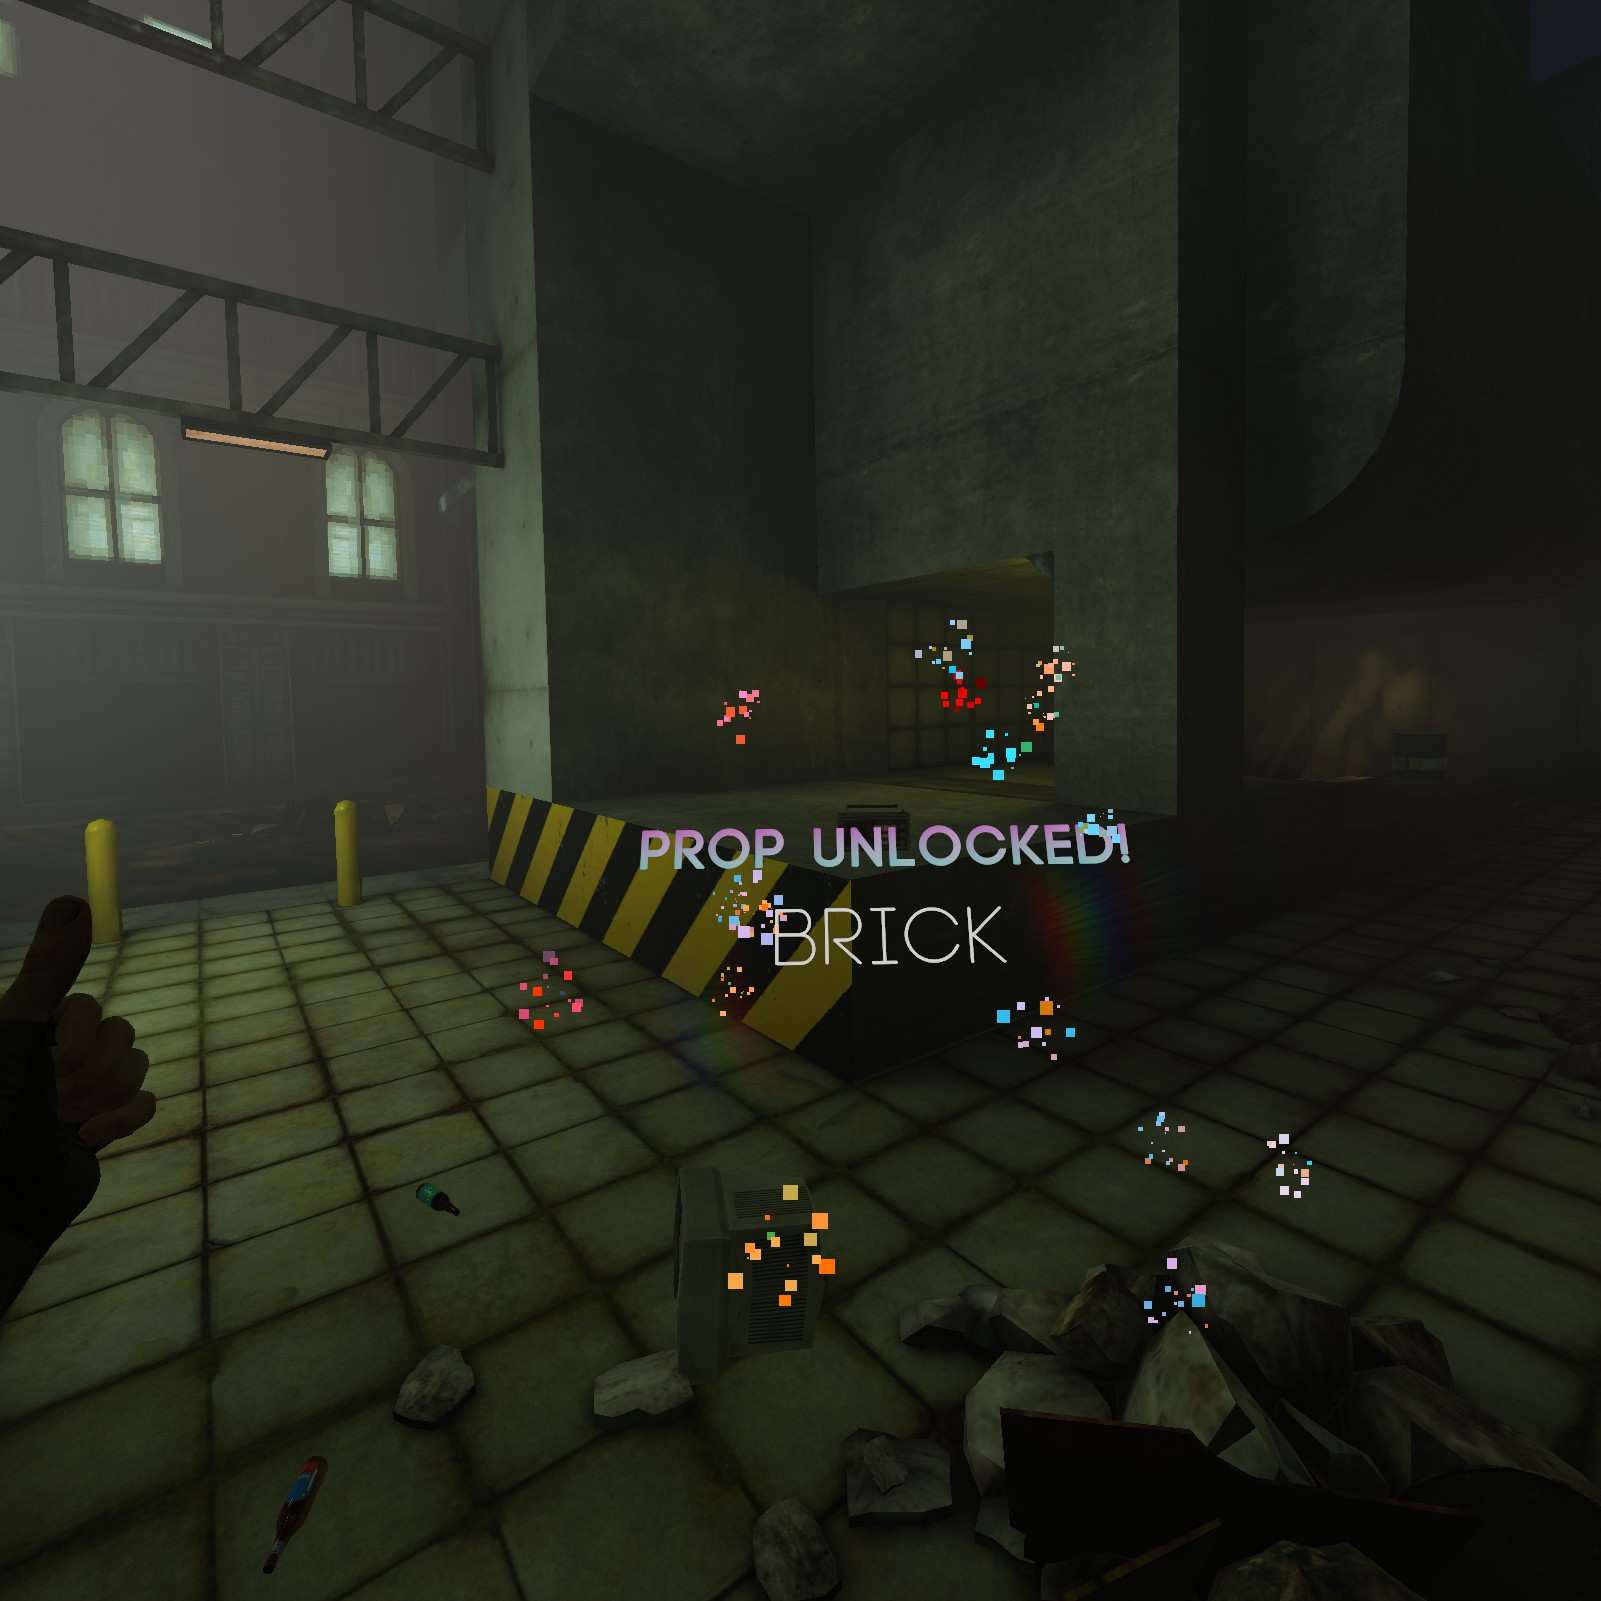
Brick:
Time to go dumpster diving again.This time we’ve found bricks, if thats a melee weapon you’d ever use.
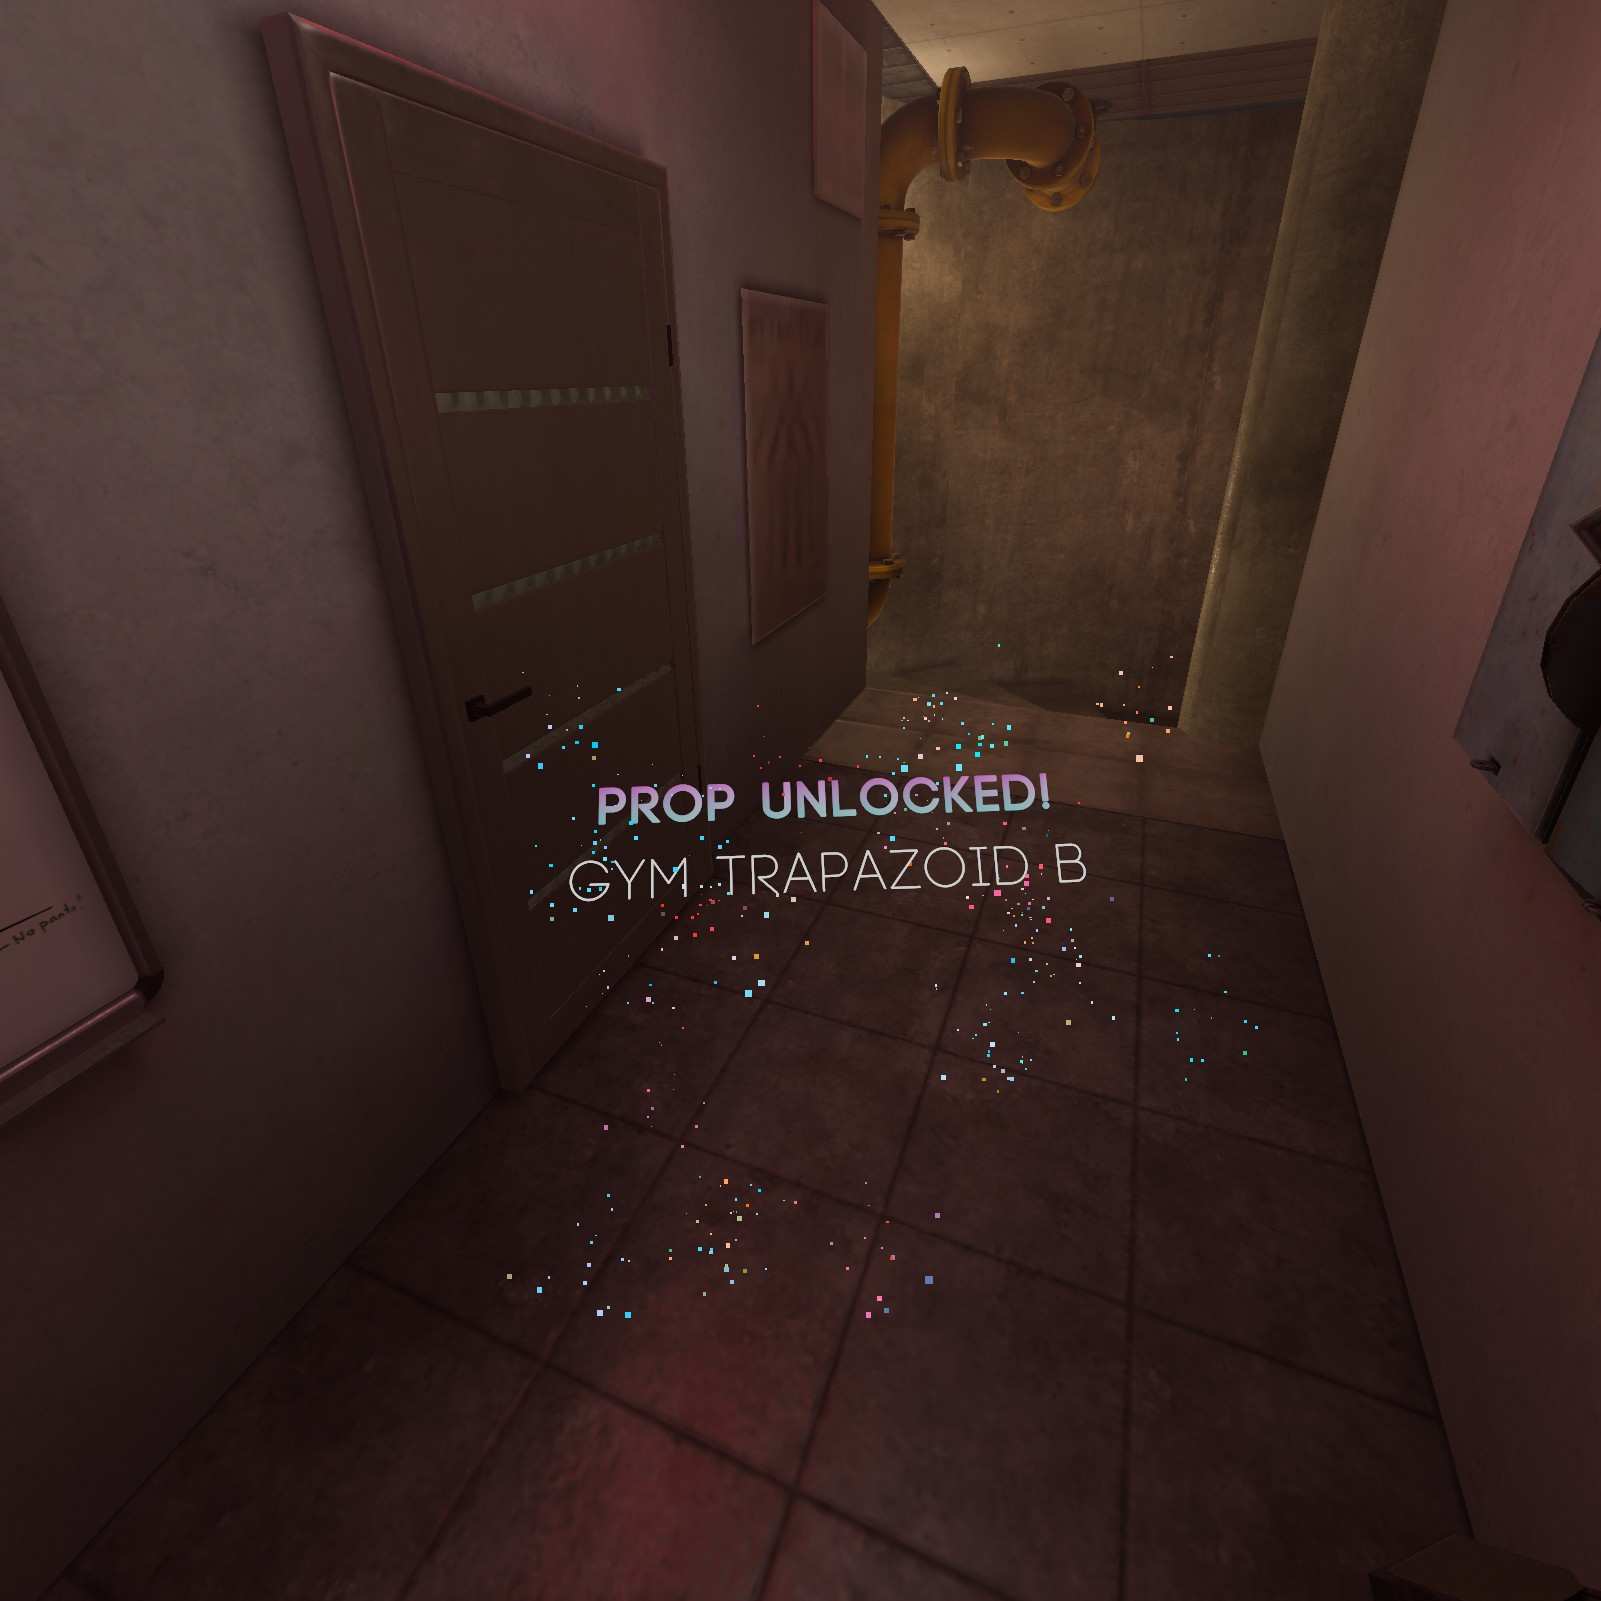
Gym Trapazoid B:
Here we have a split on which collectible we want to go for. Lets go in the vent first. This leads to a room where we can collect my favorite shape the Gym Trapazoid B. This area can also be accessed from a nearby spiral staircase.


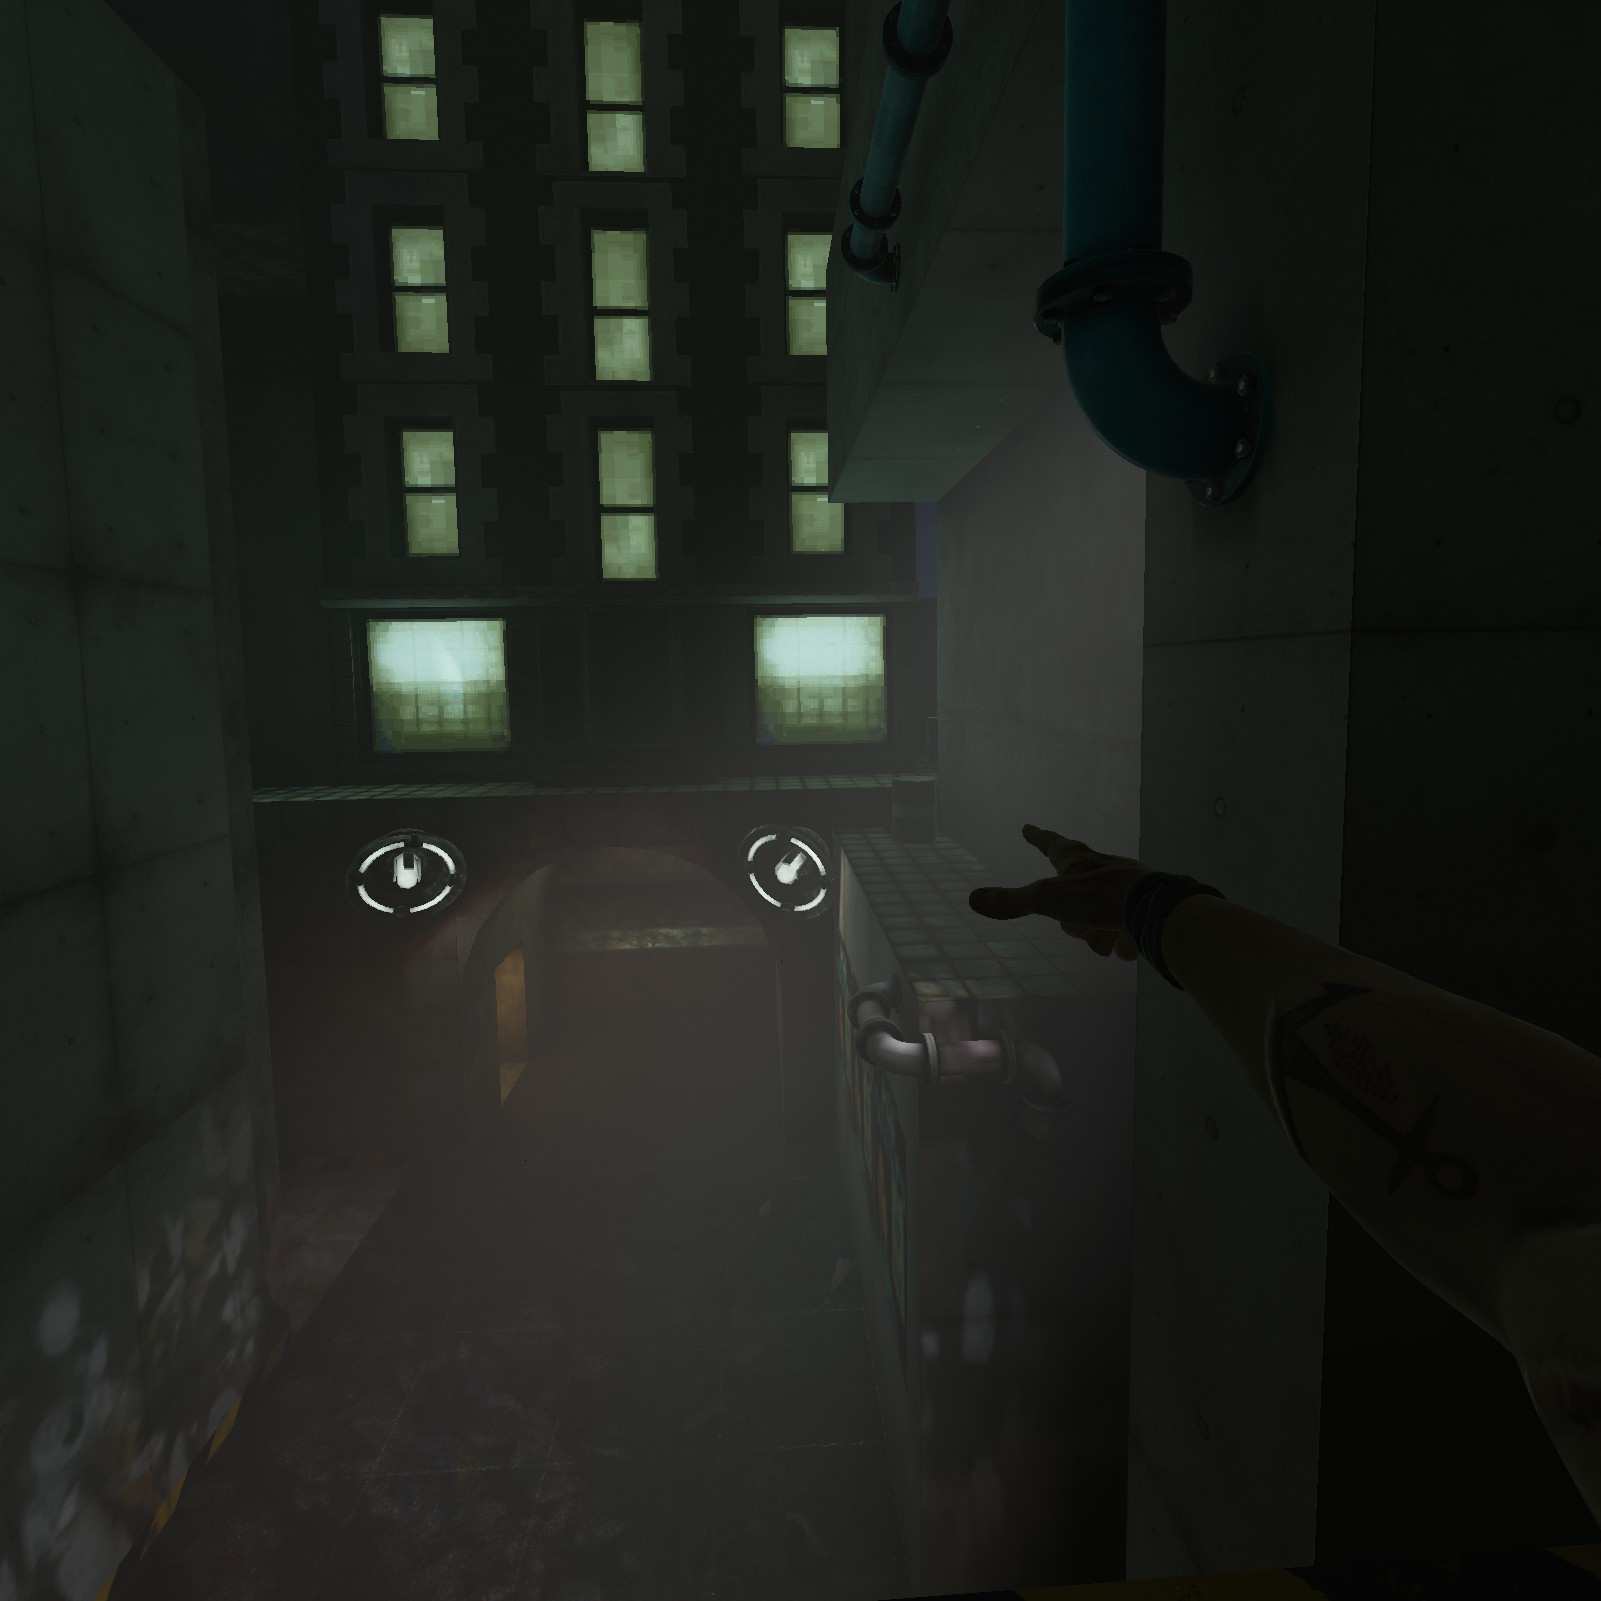
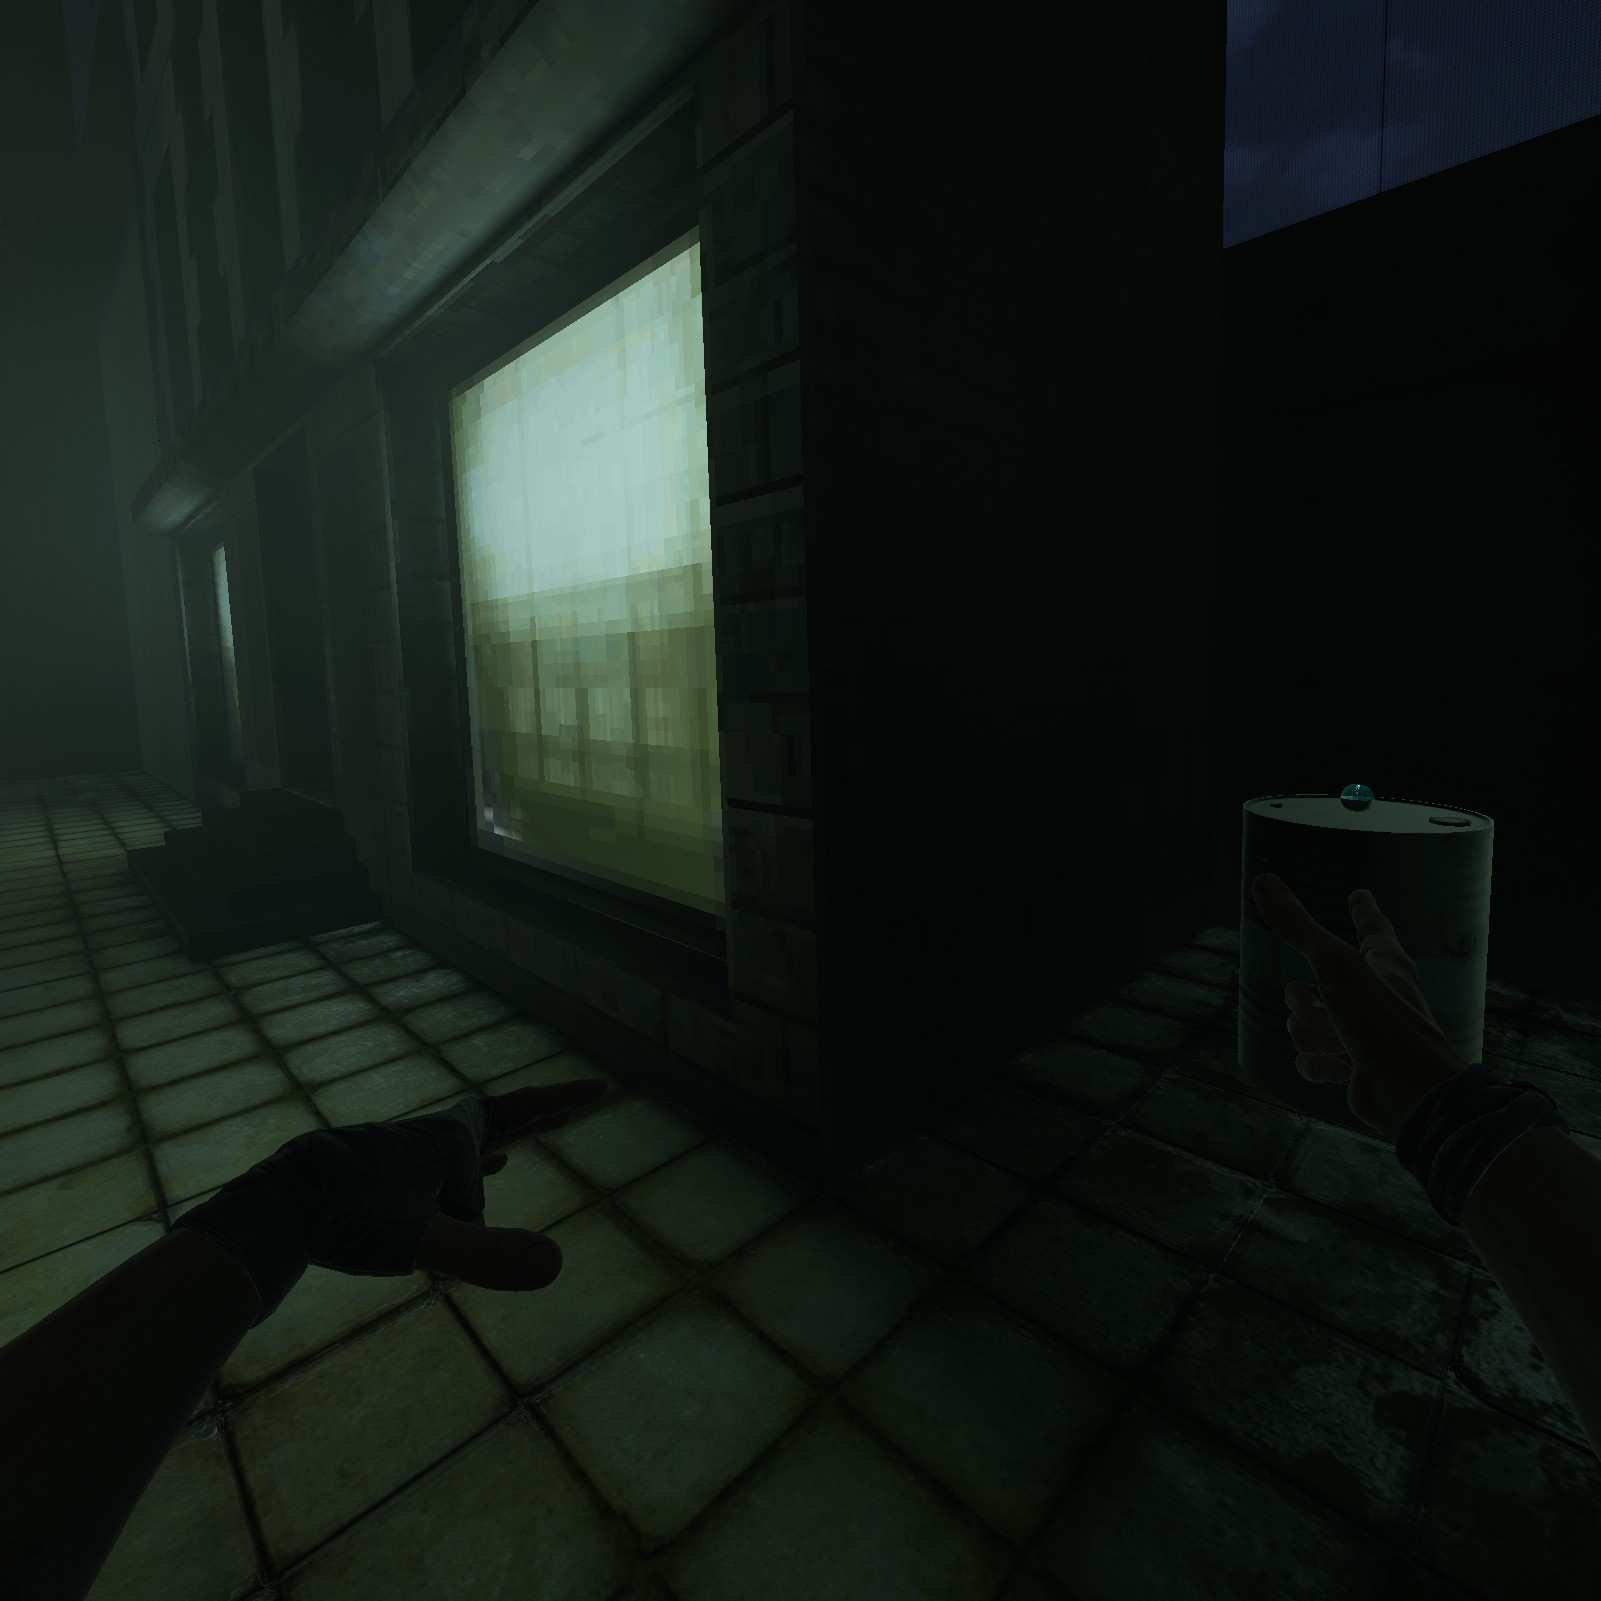
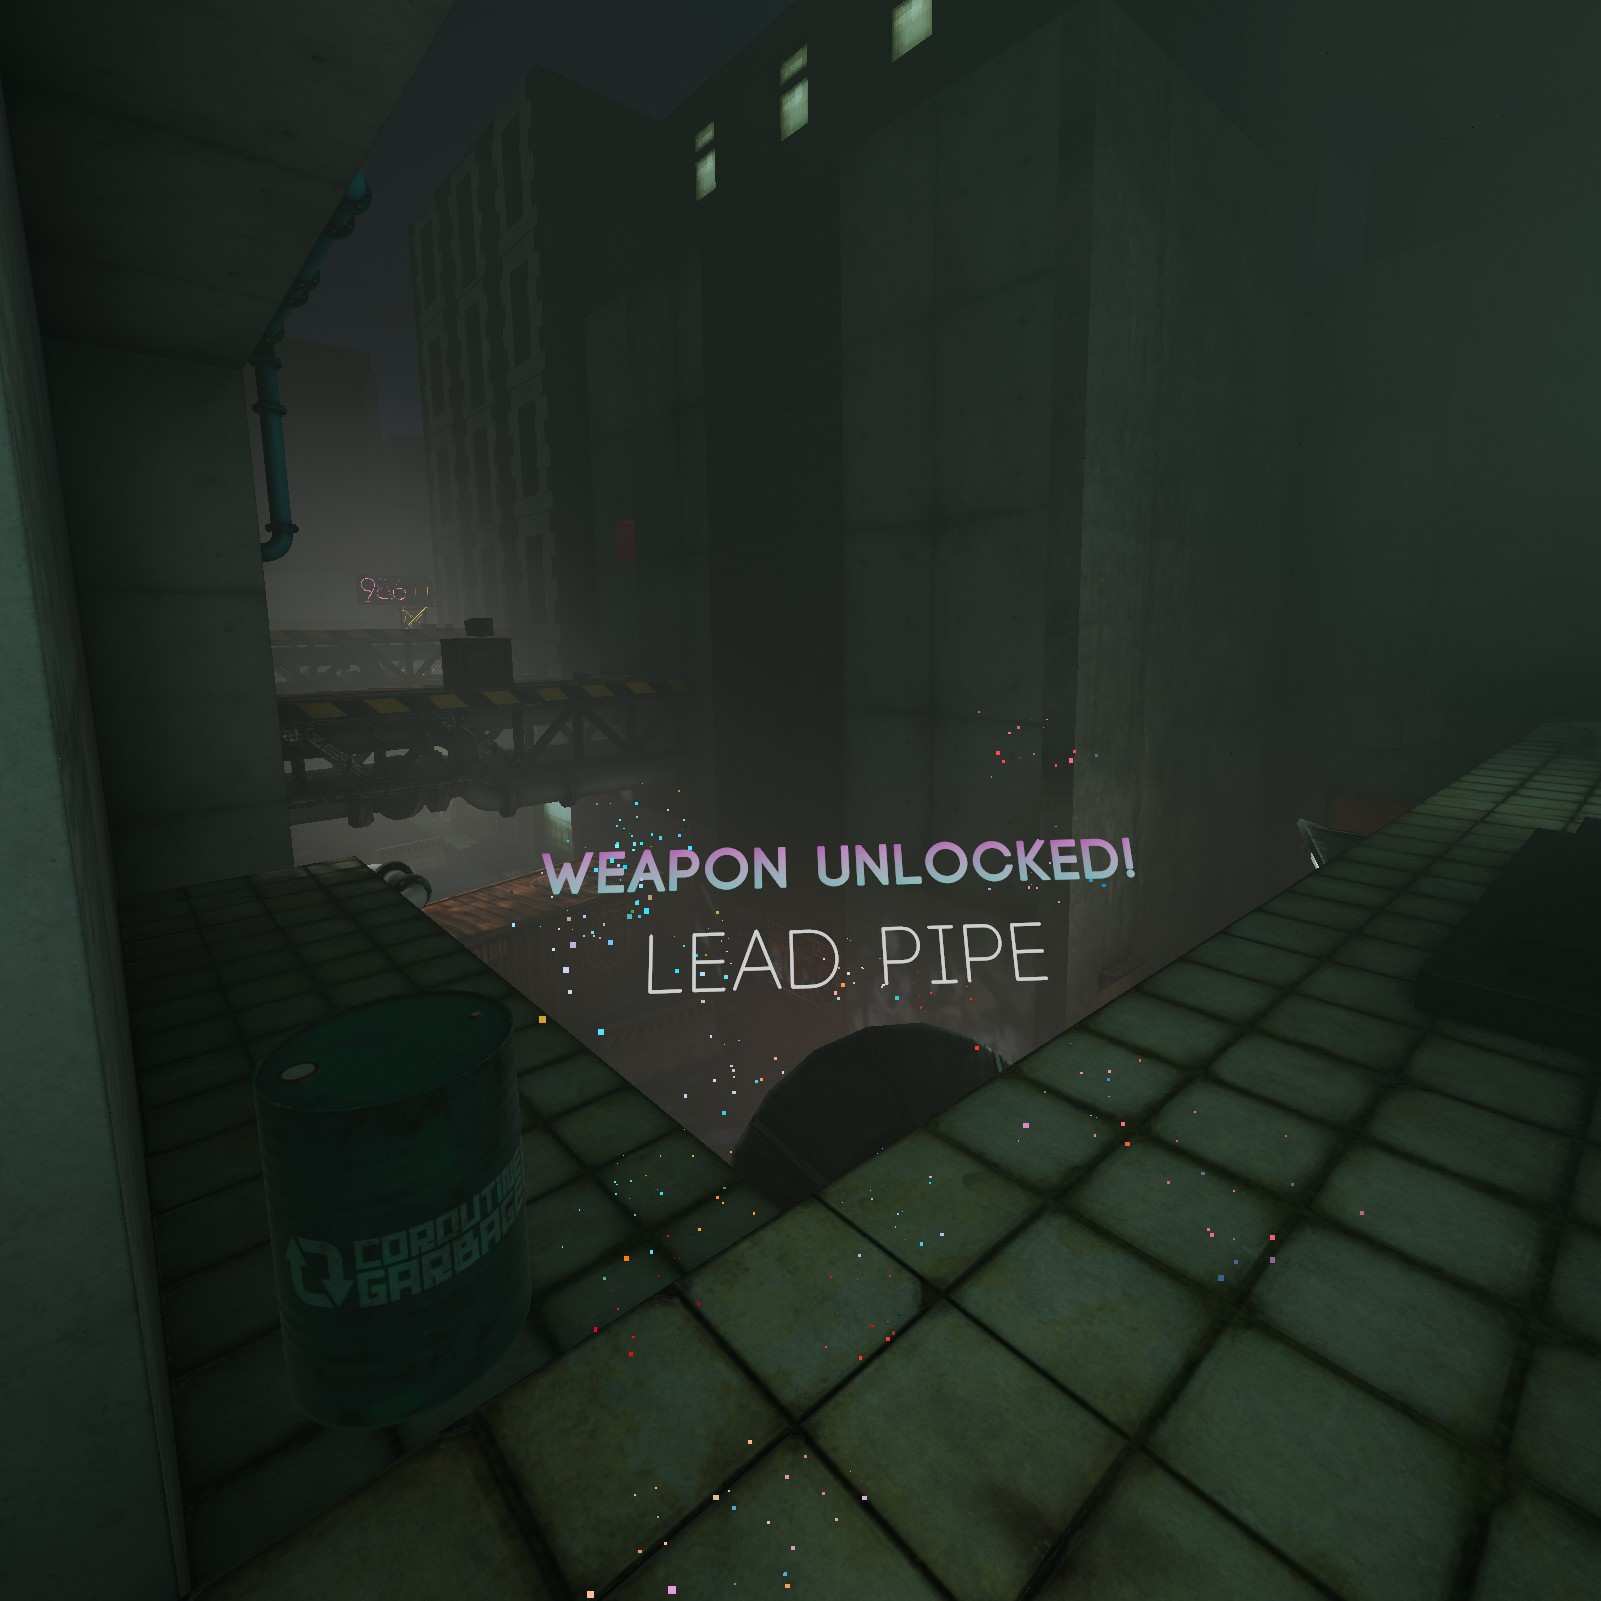
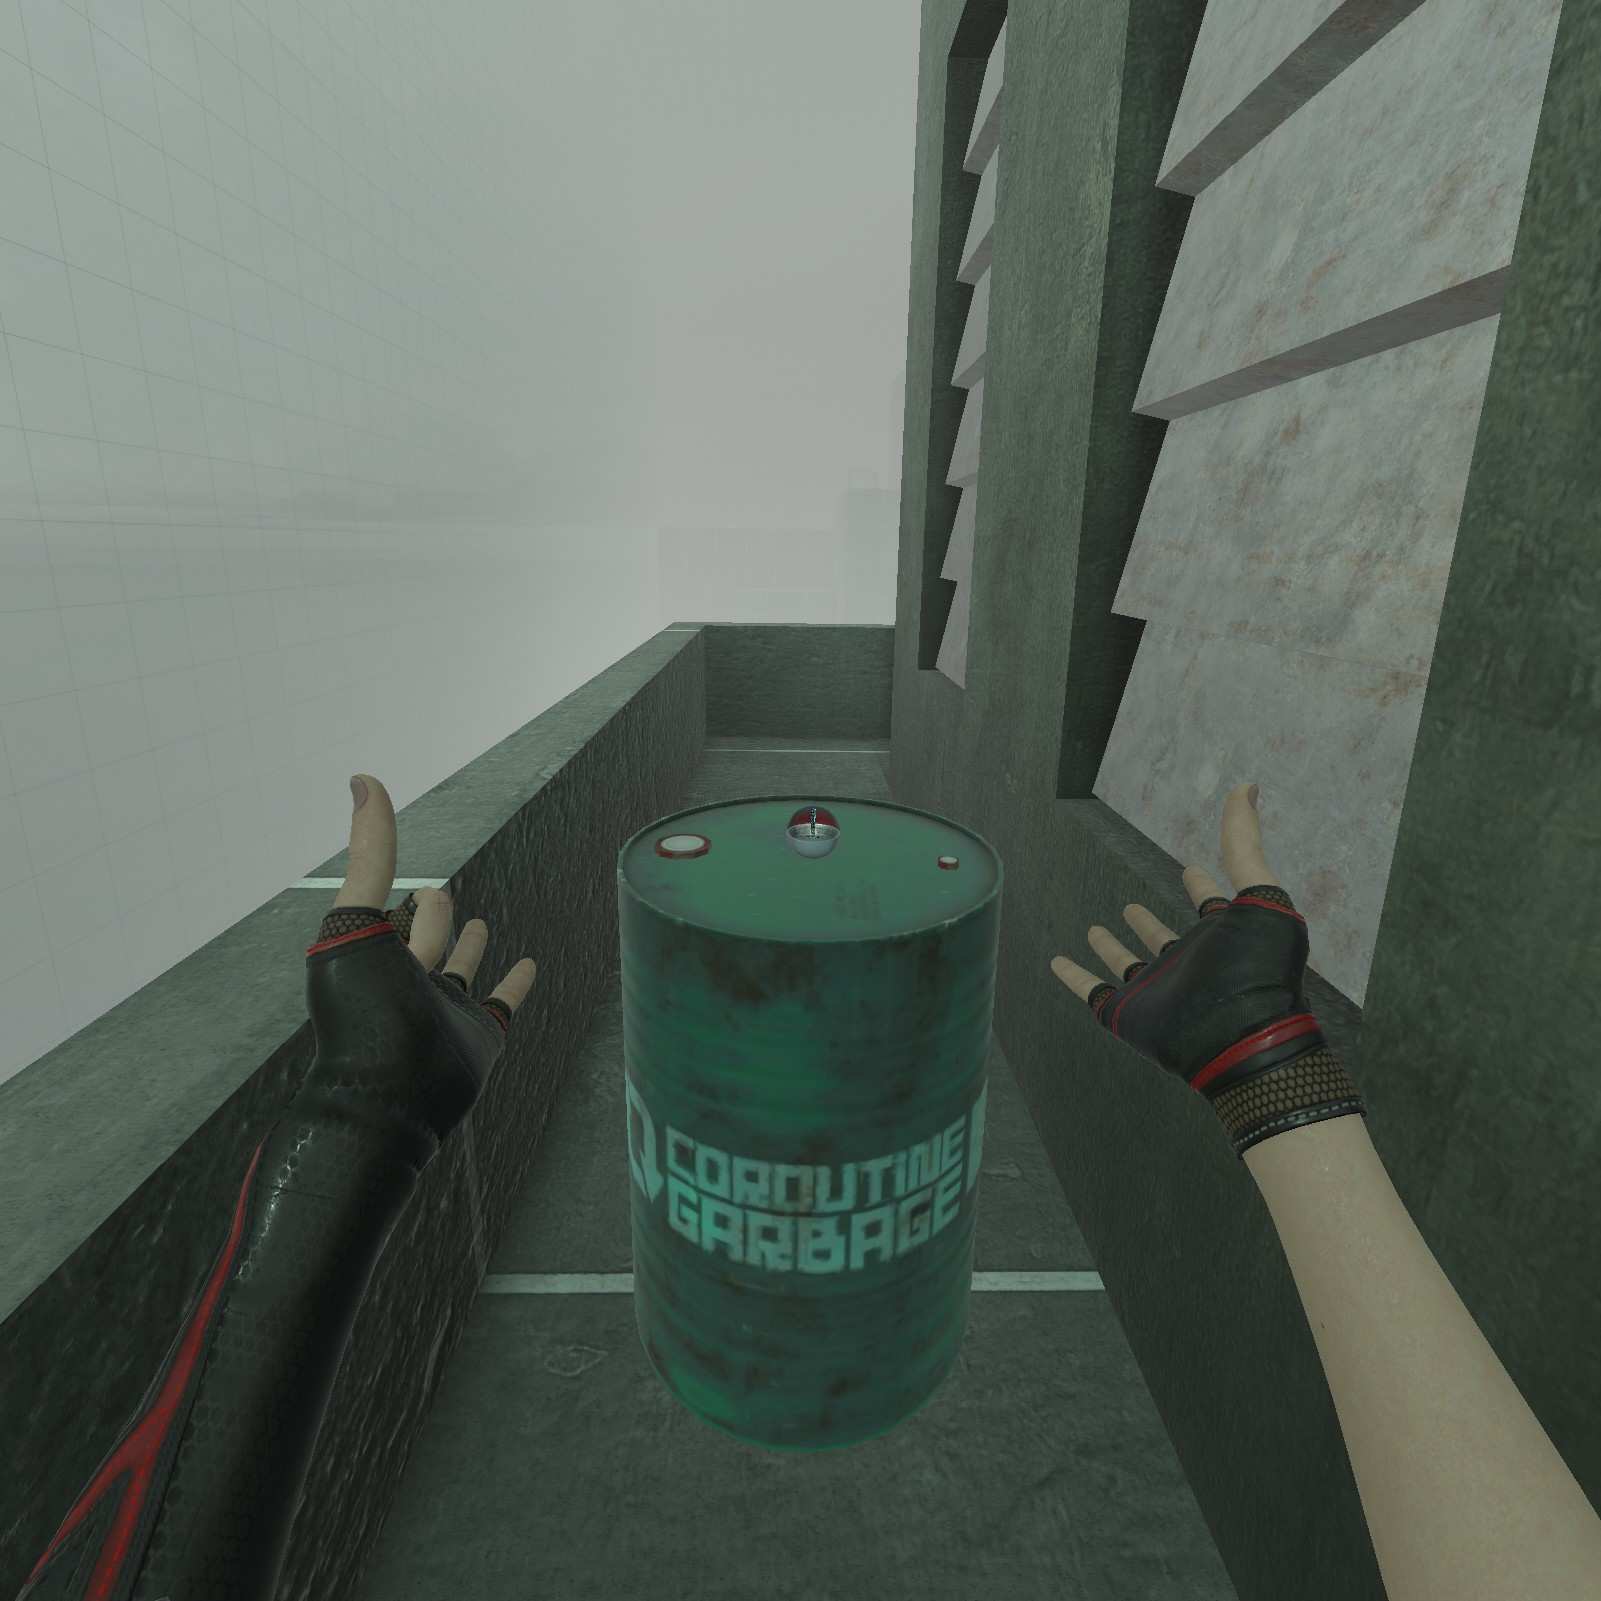
Lead Pipe:
Now lets return to the split and head over to the right instead. Behind a barrel we can find the lead pipe. Doesn’t hit hard, but inflicts lead poisoning (Target dies in 99 years).
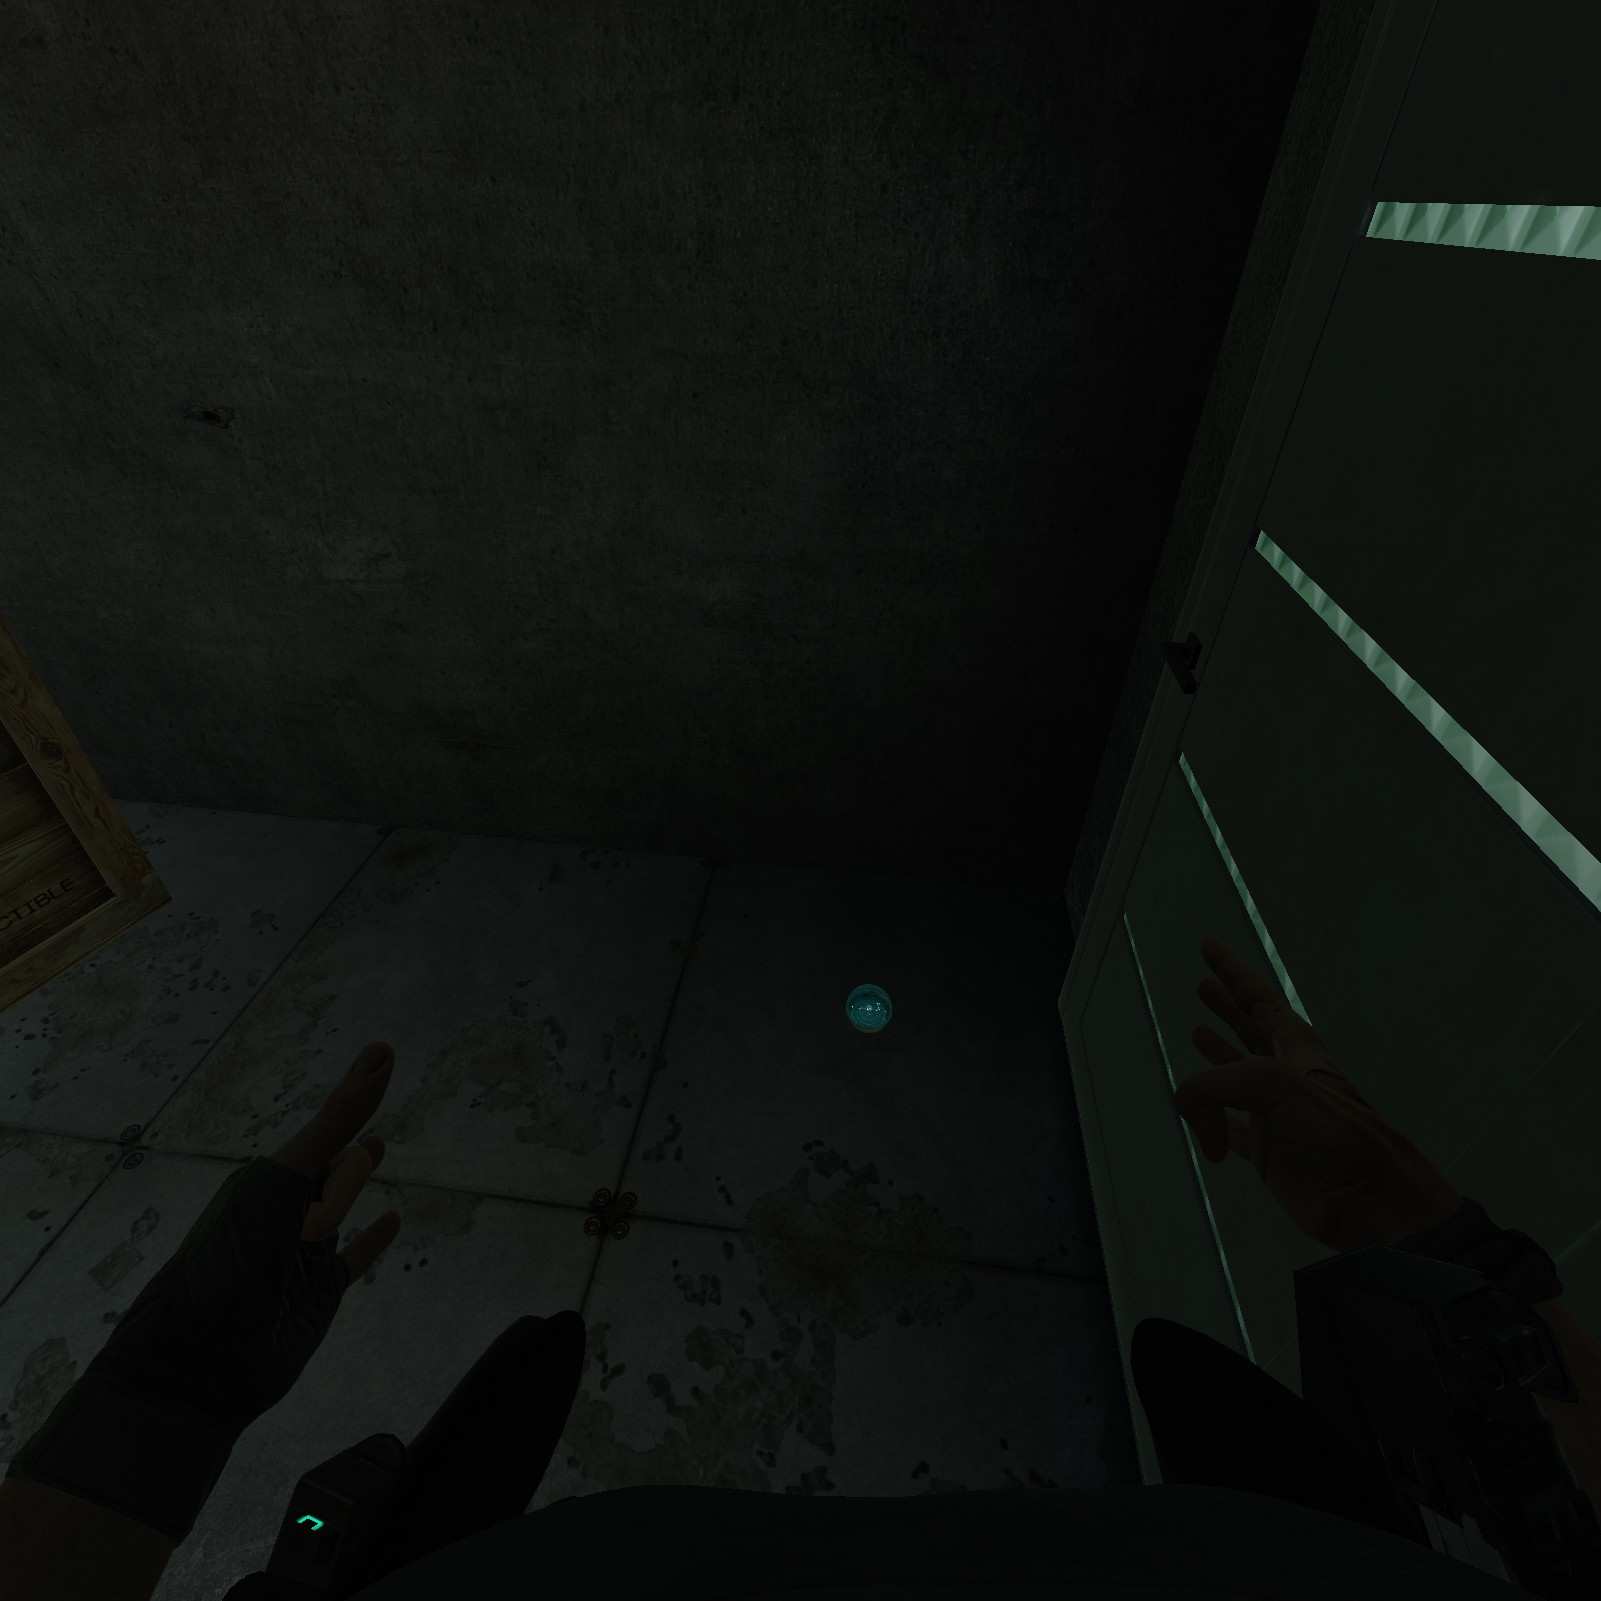
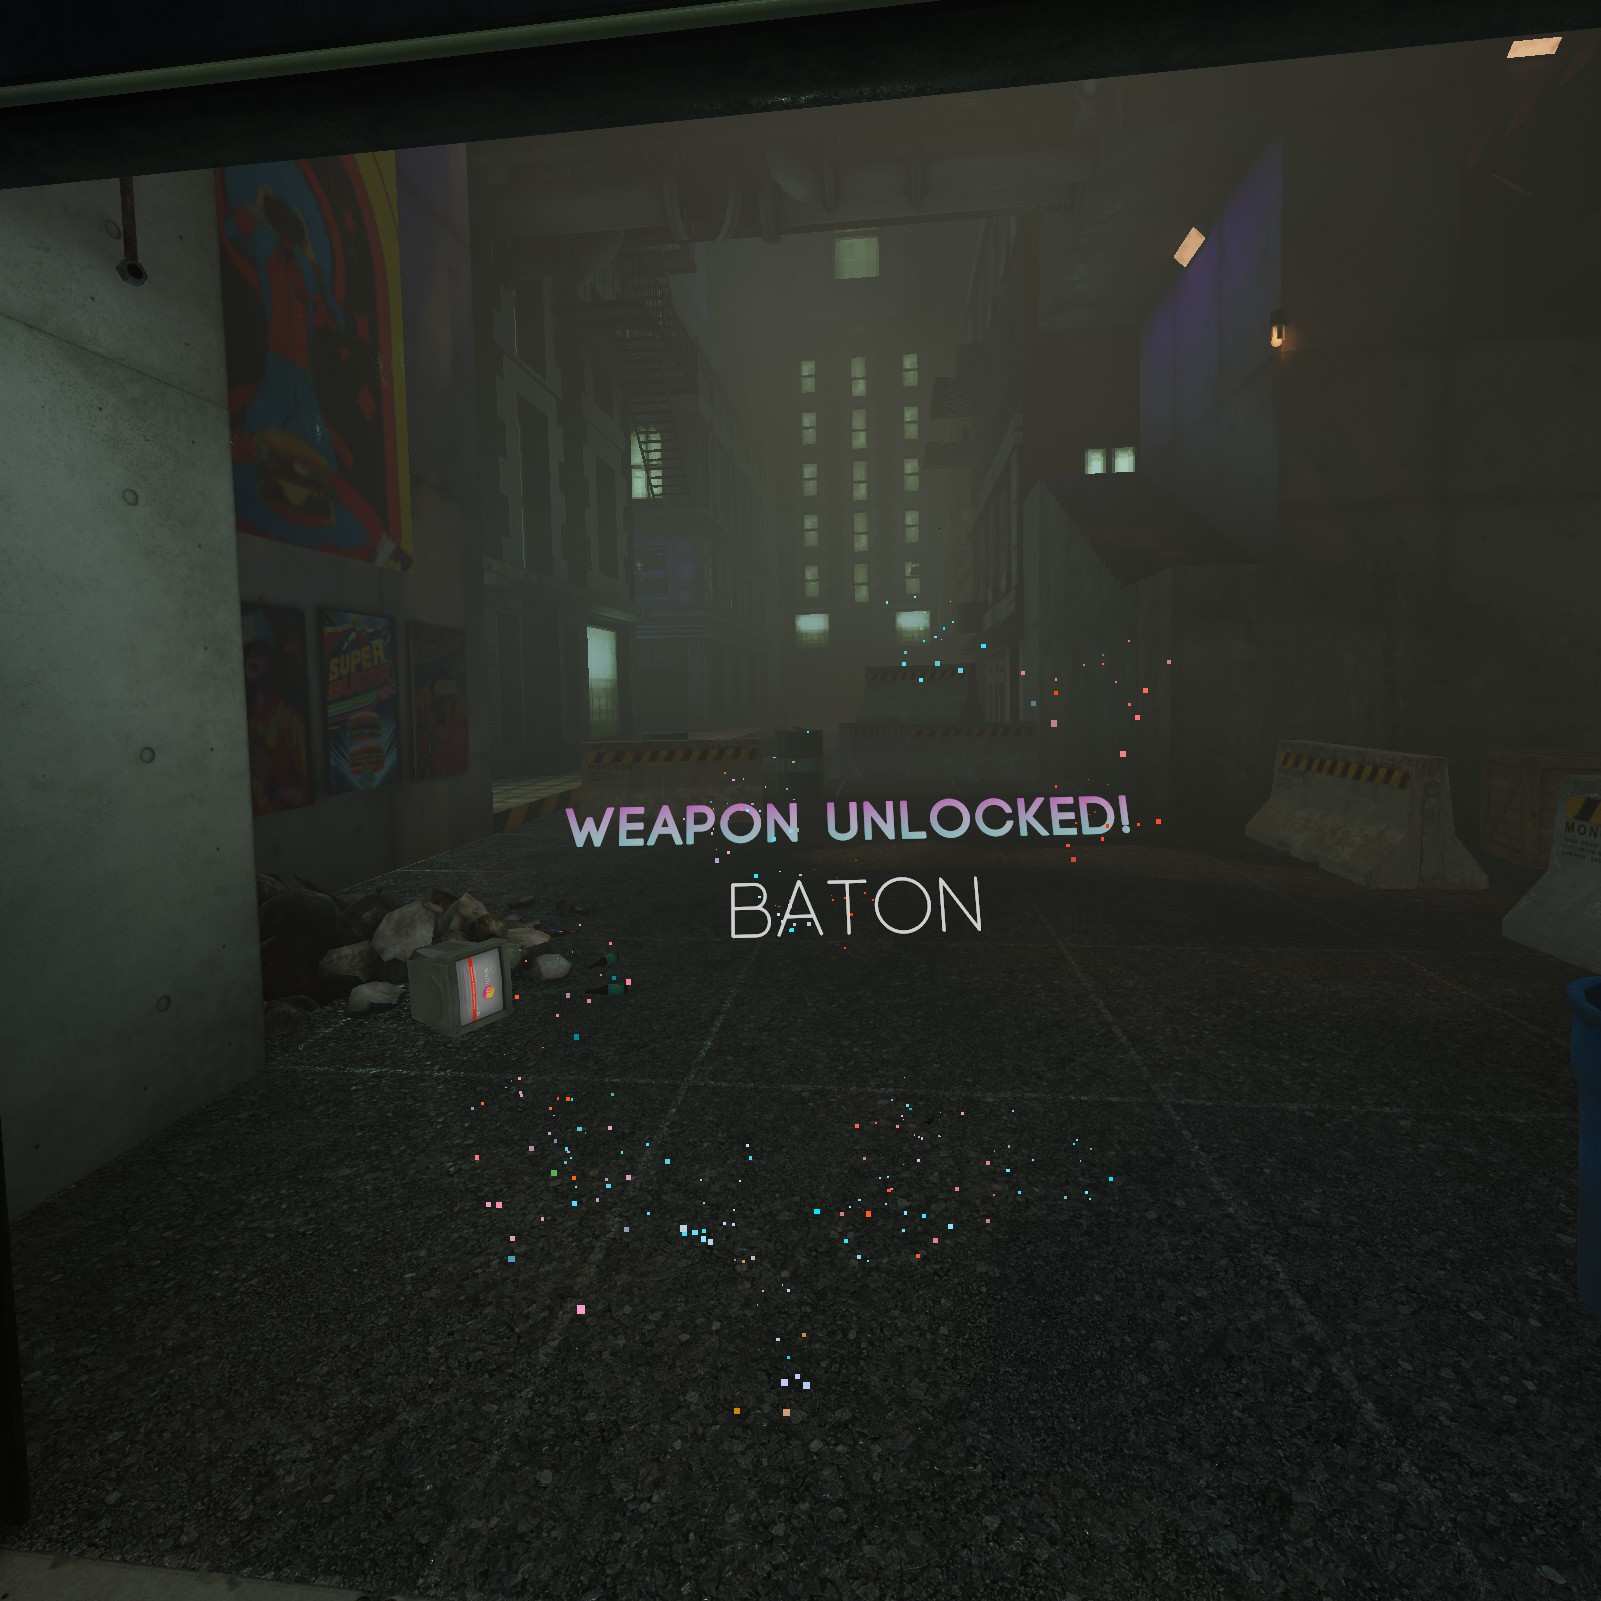
Baton:
In this sparse garage where a cop ambushes us from we can find the baton. Yes its still terrible. No that does not mean we are skipping it.

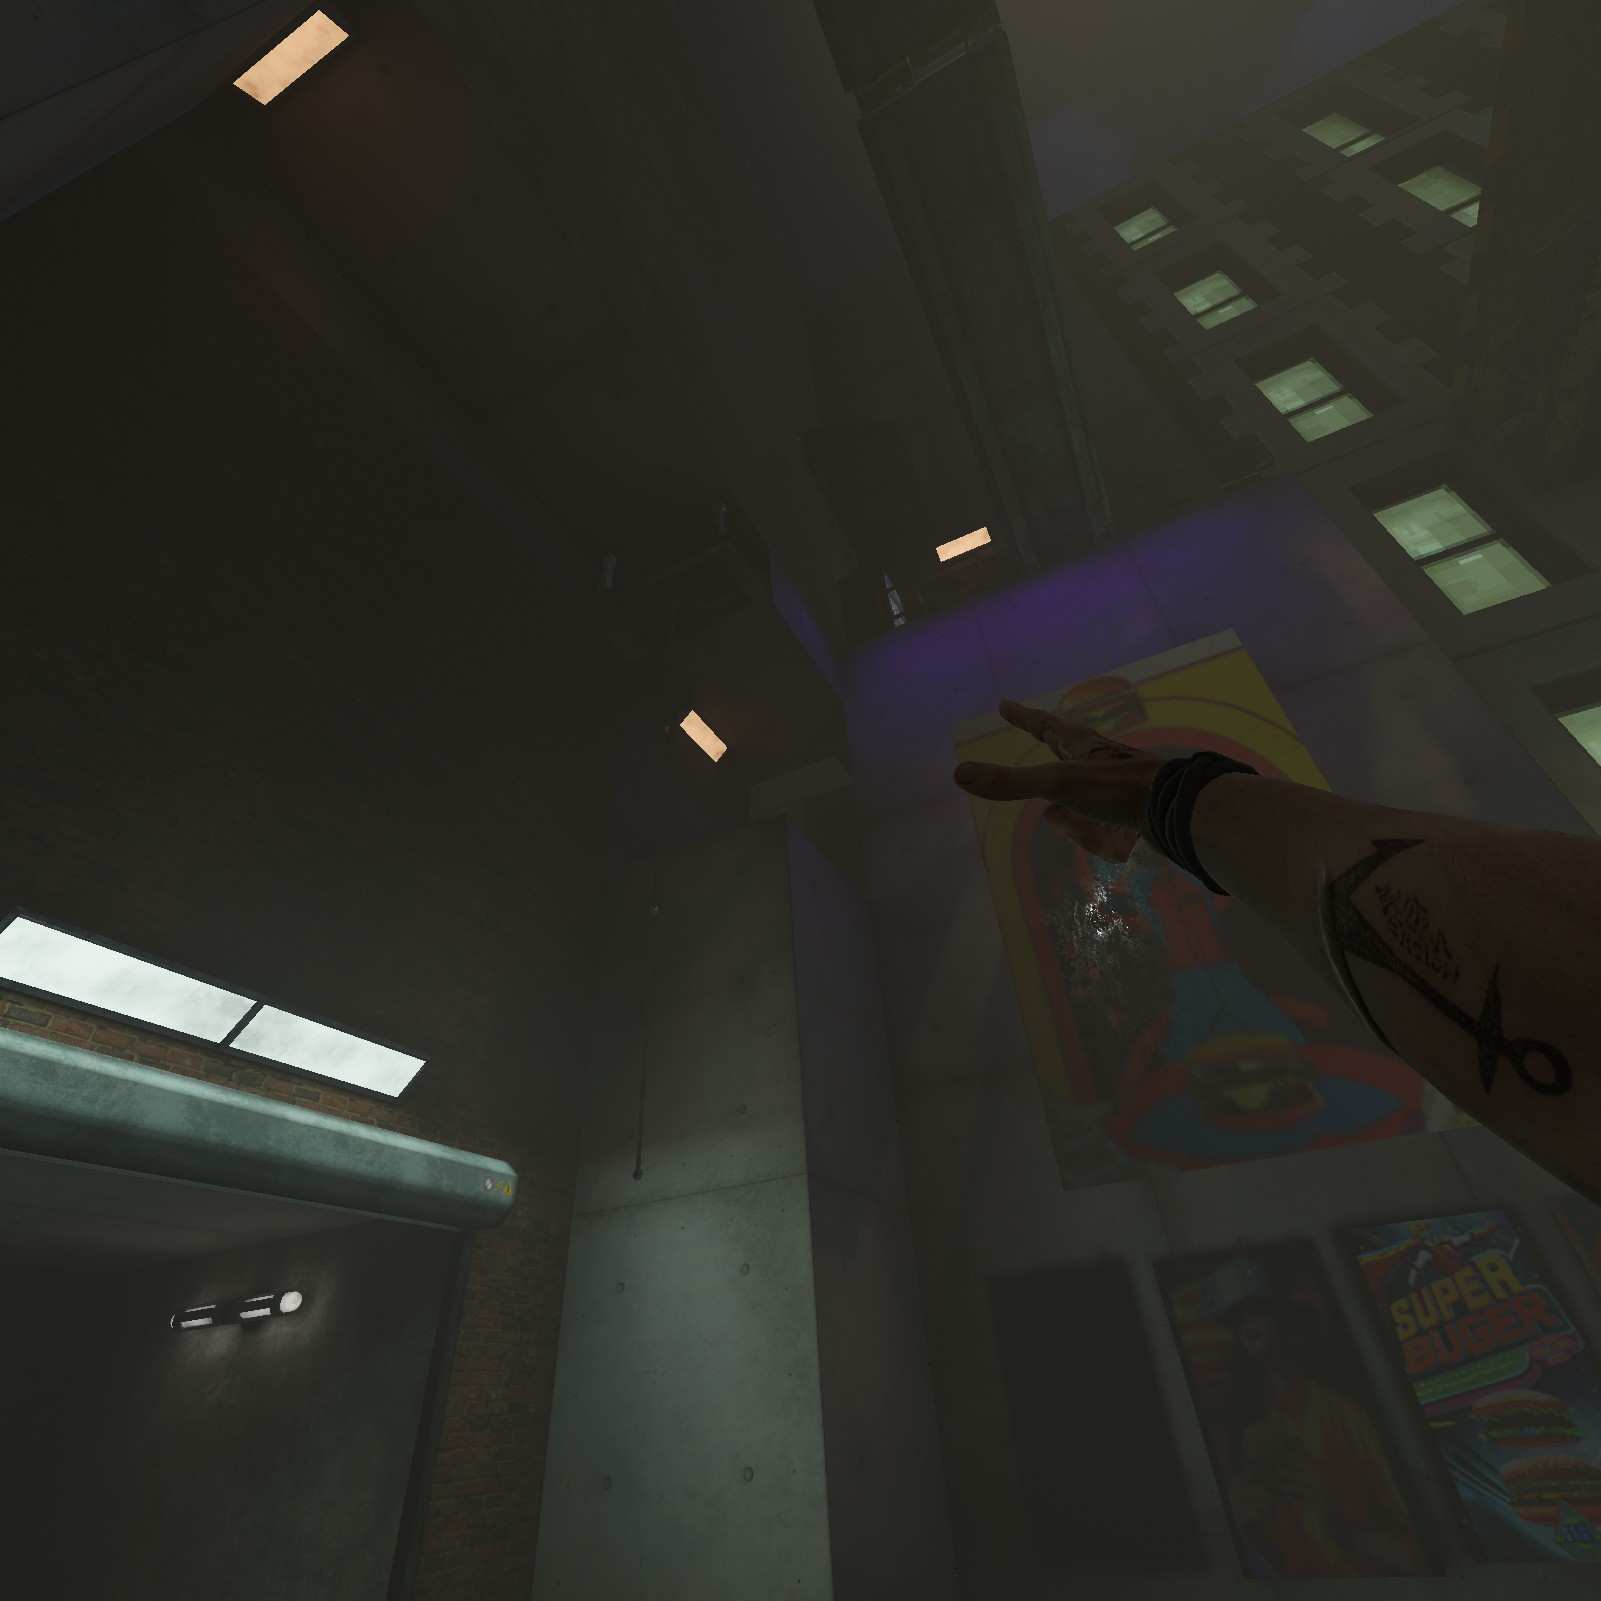
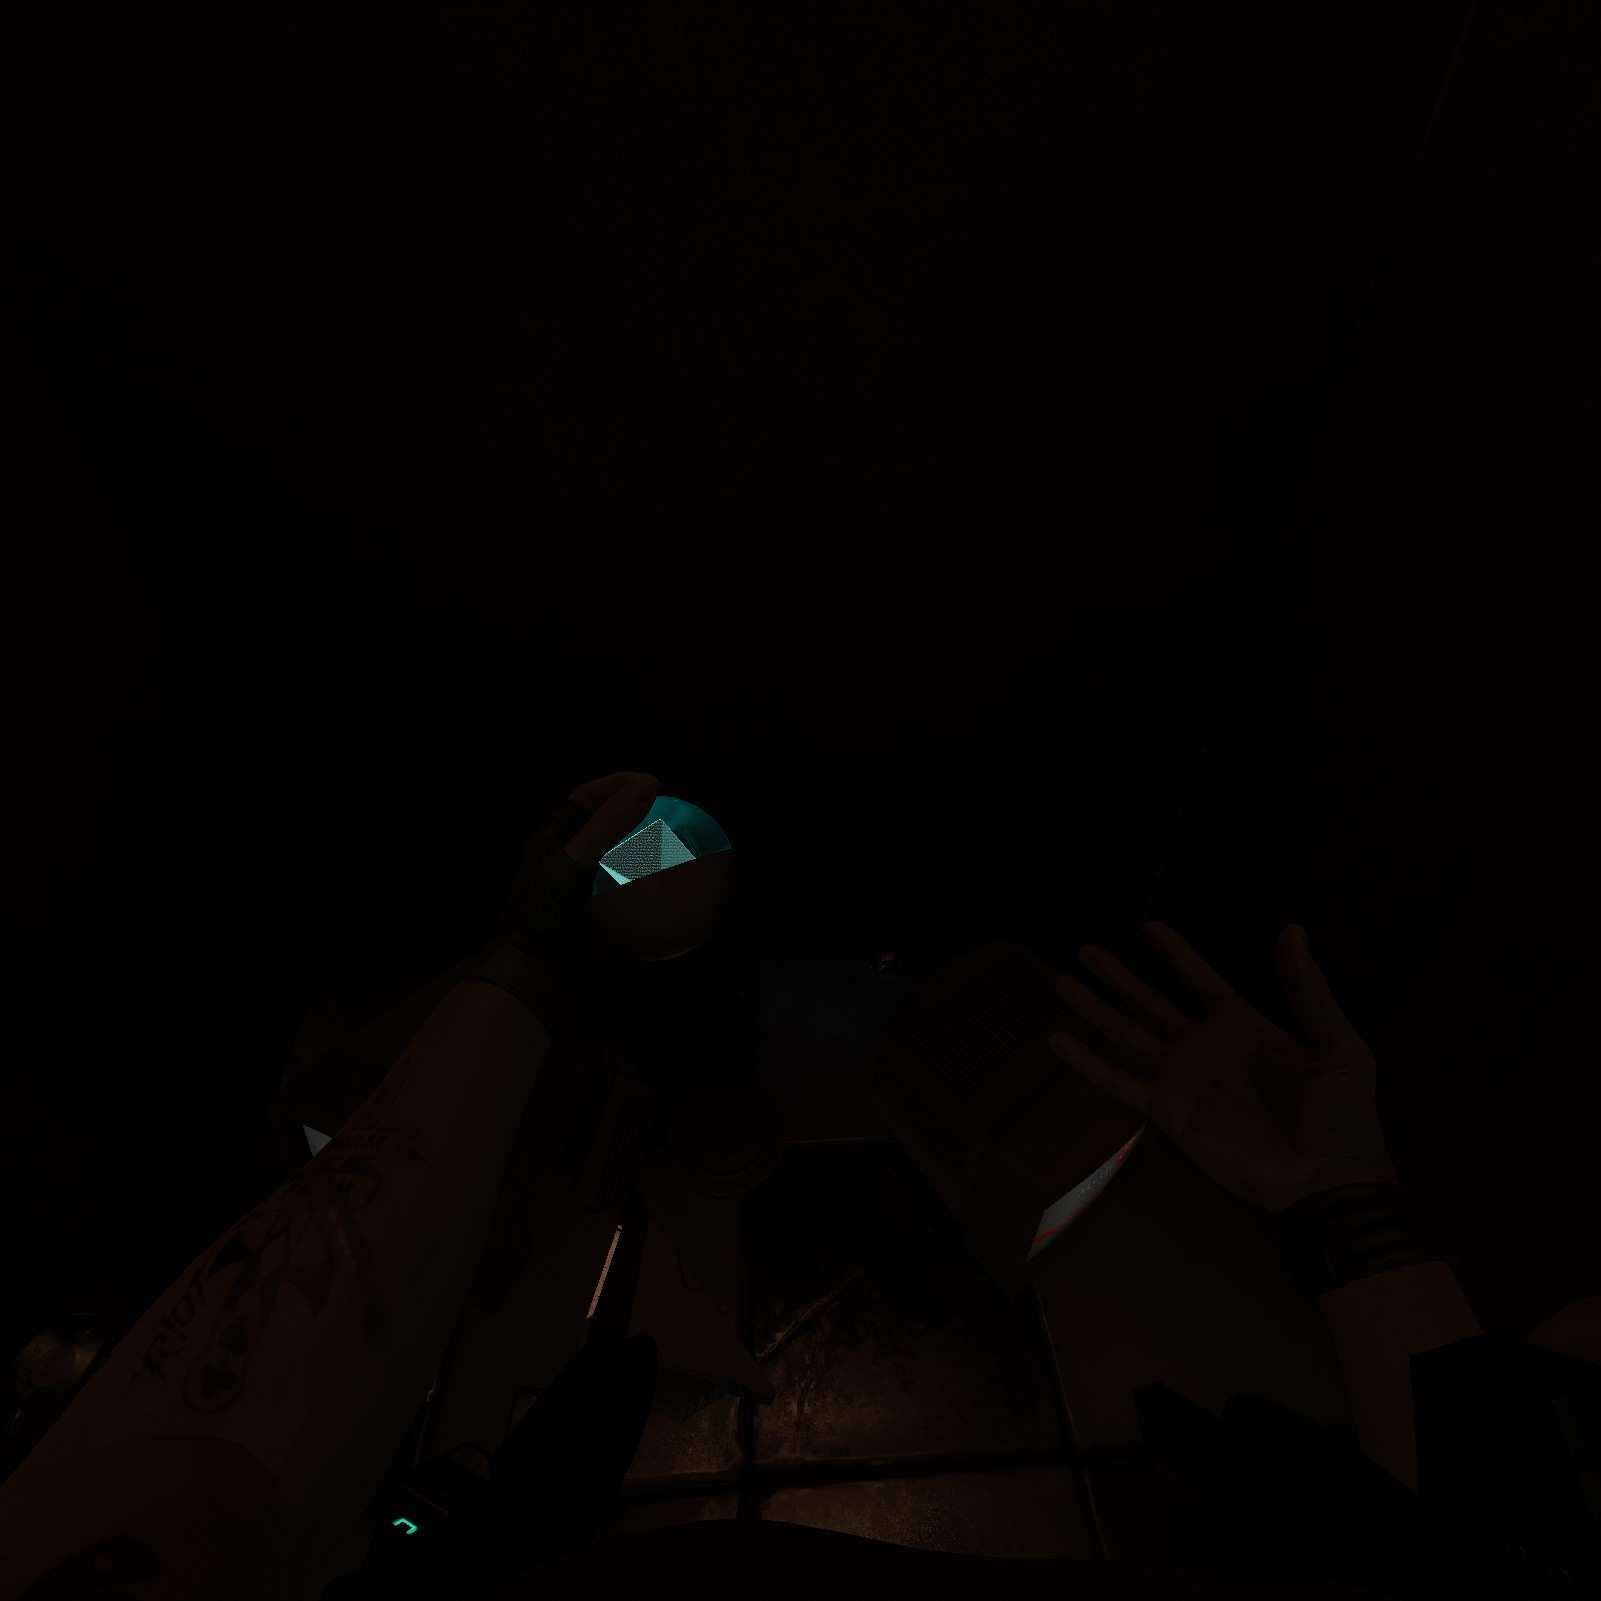
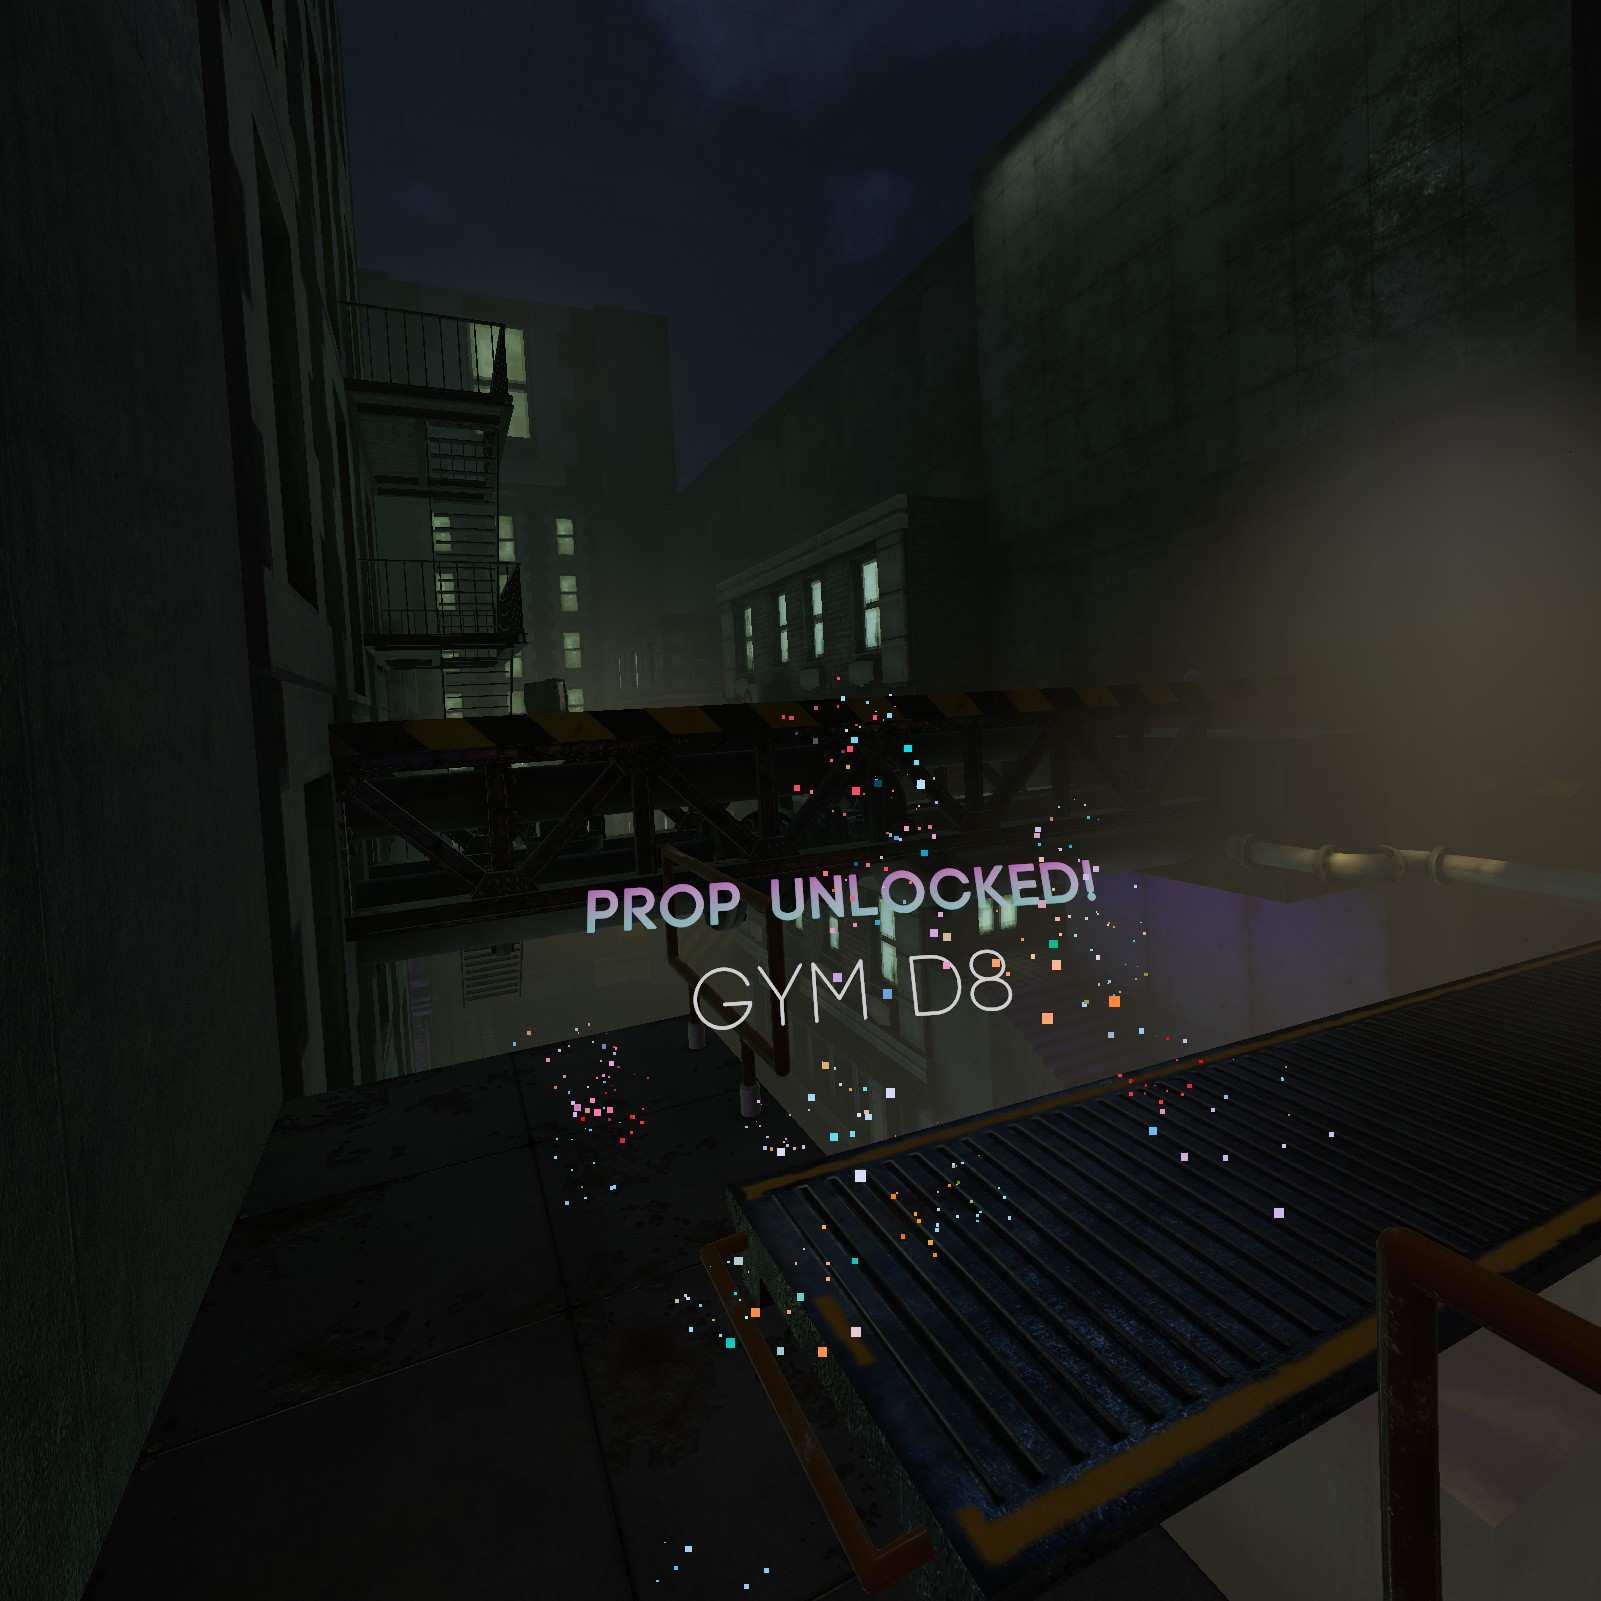
Gym D8:
Now we need to do some climbing. First target is up this rope. Keep going till you see 3 monitors on the ground and look behind them for my favorite shape the Gym D8.
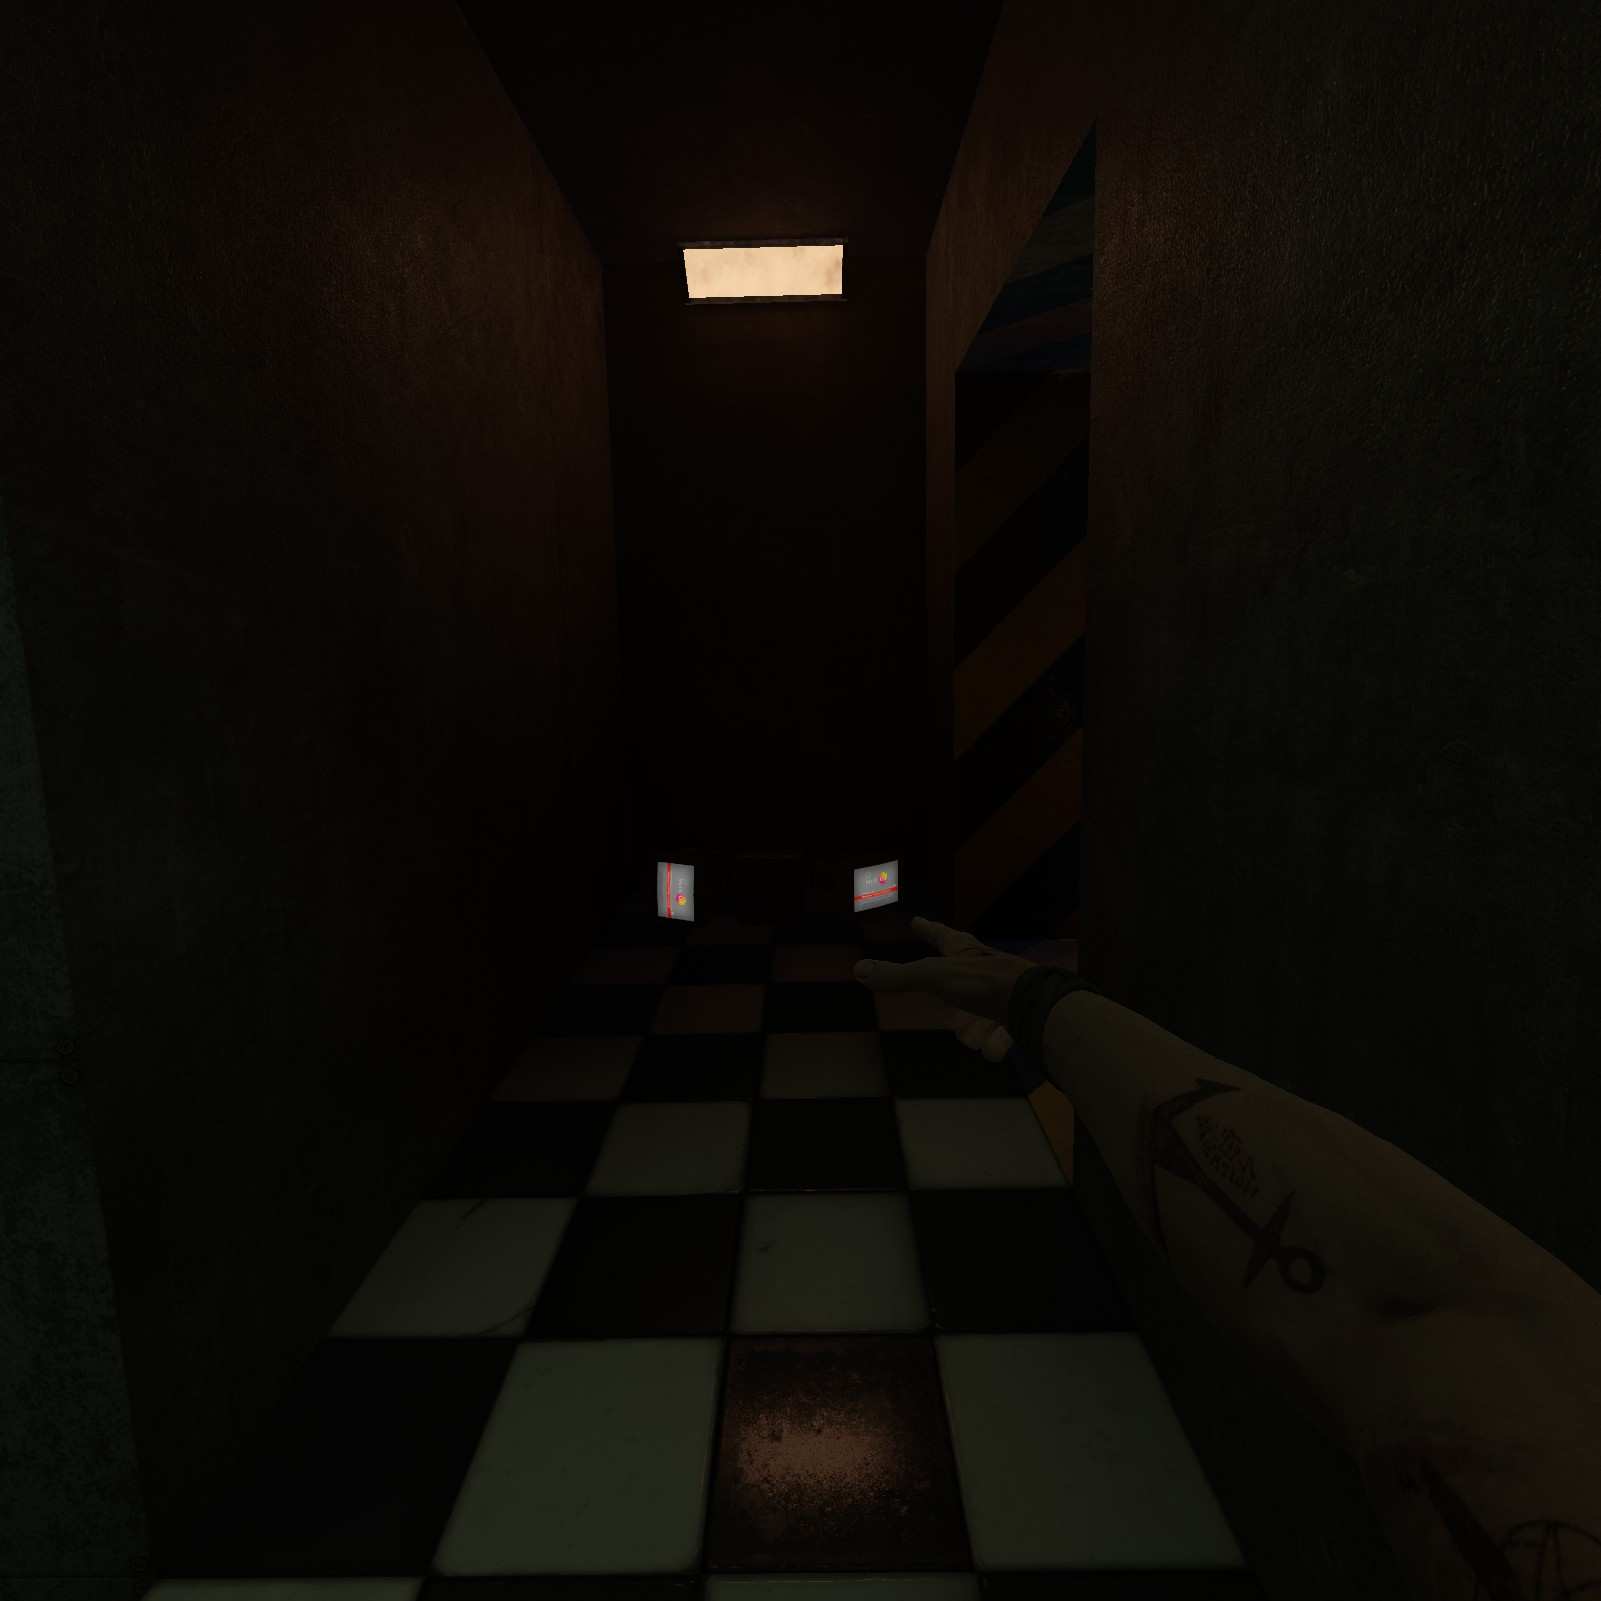
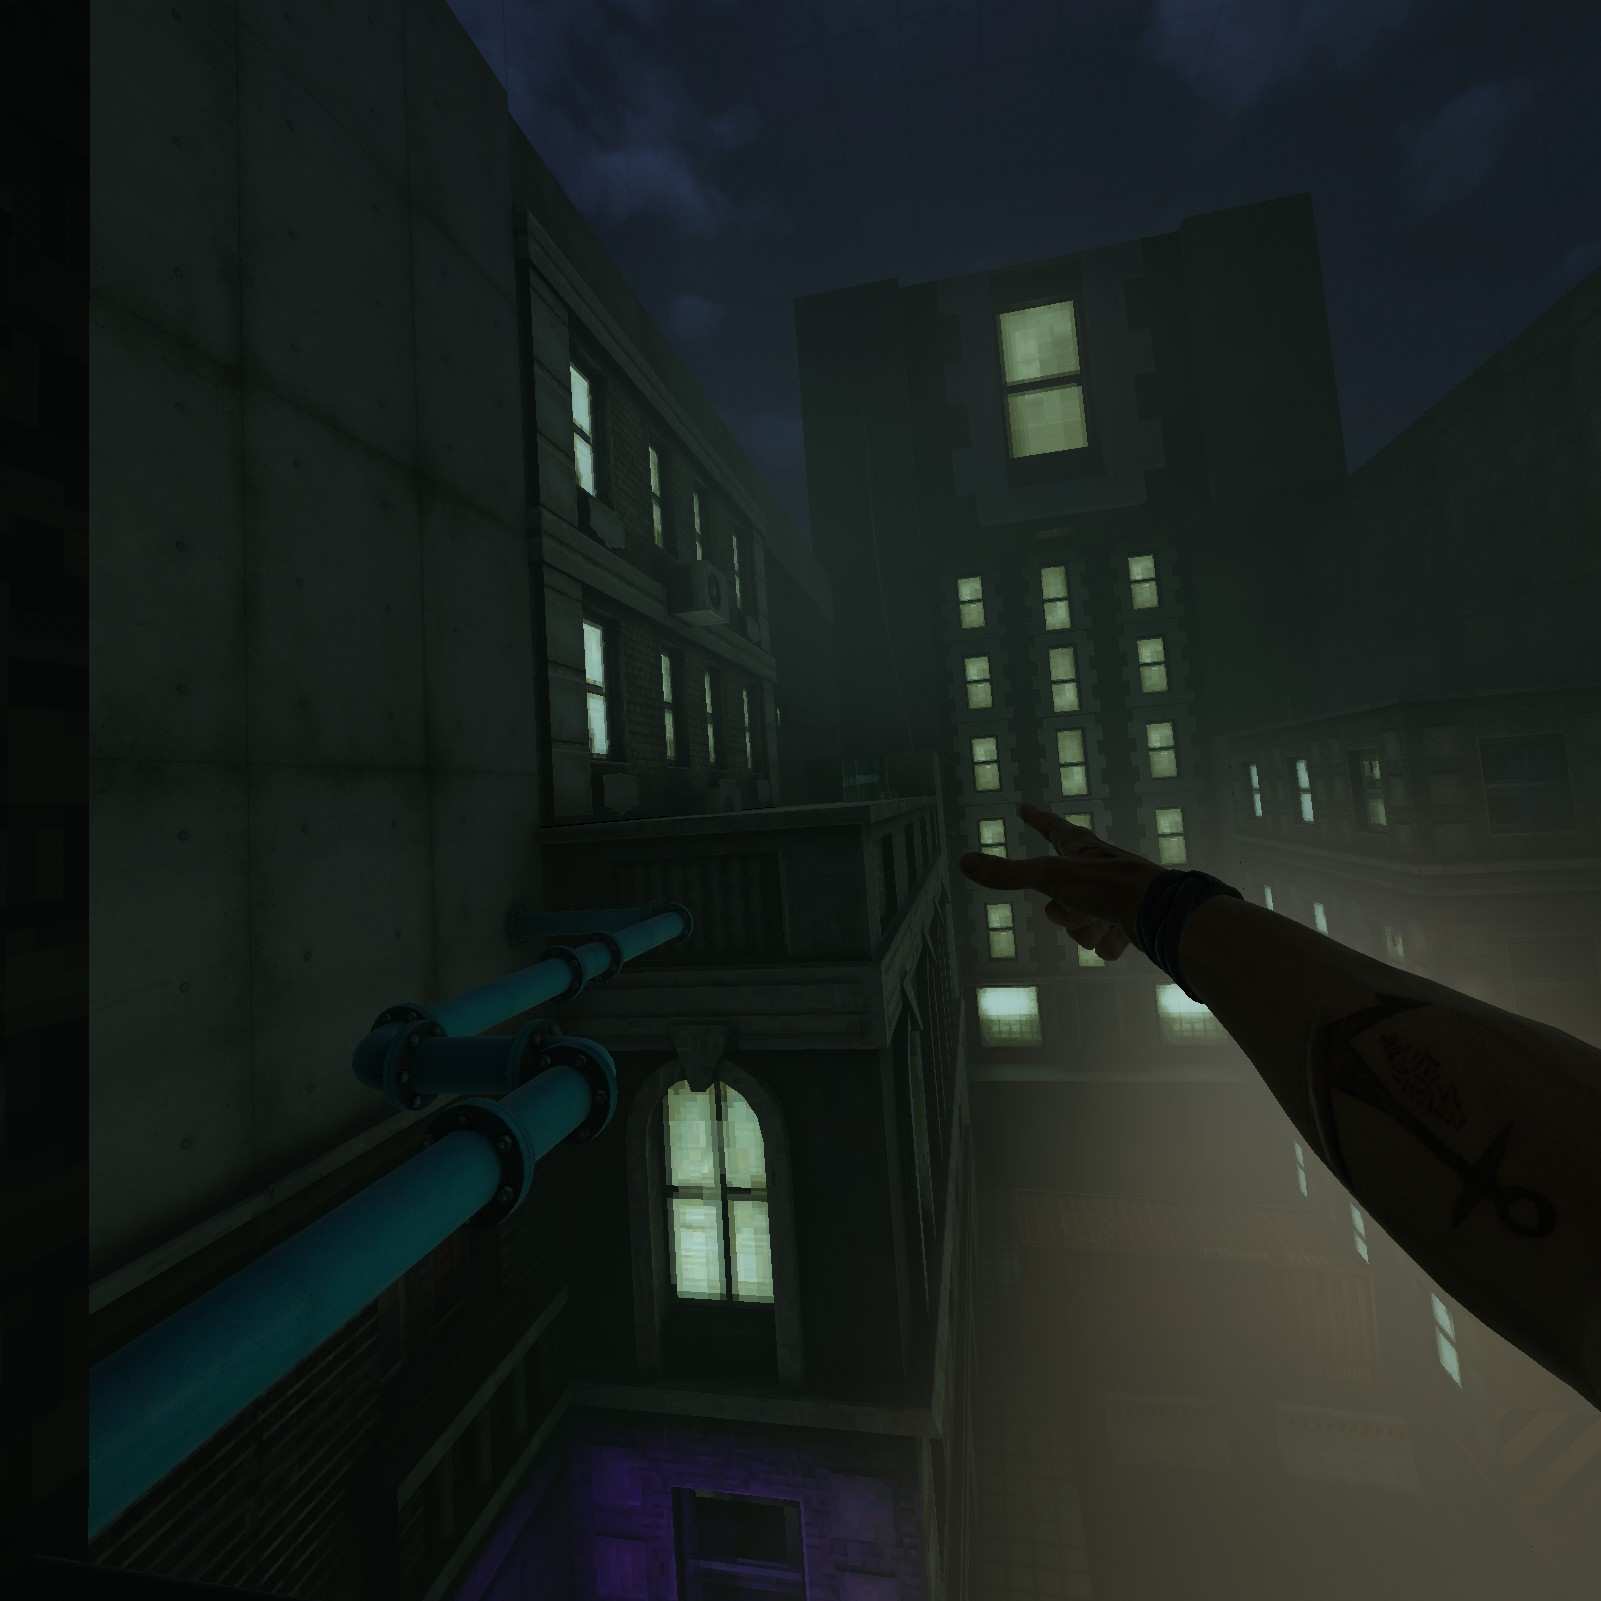
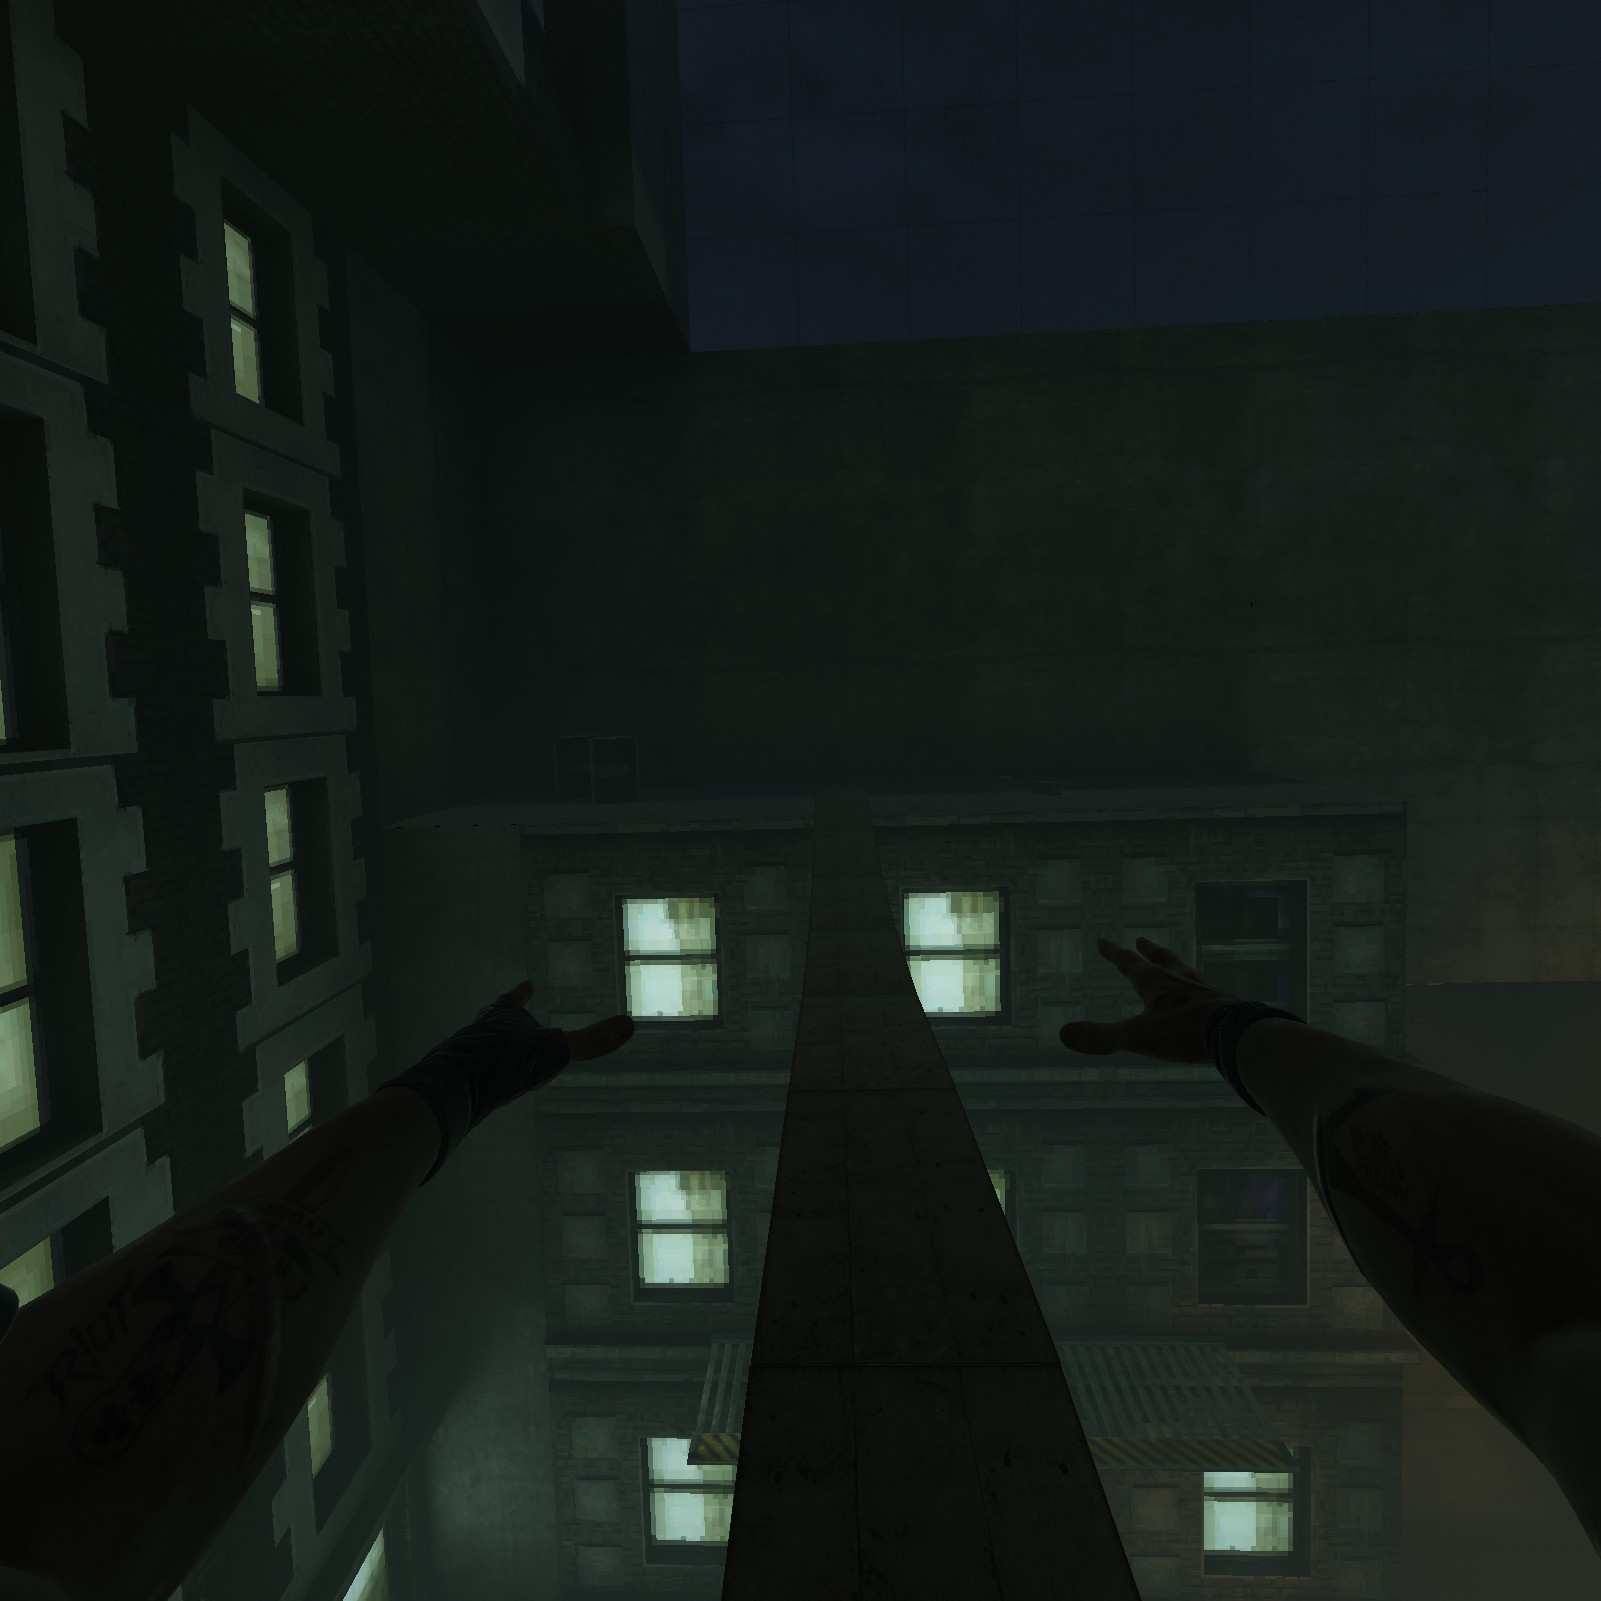
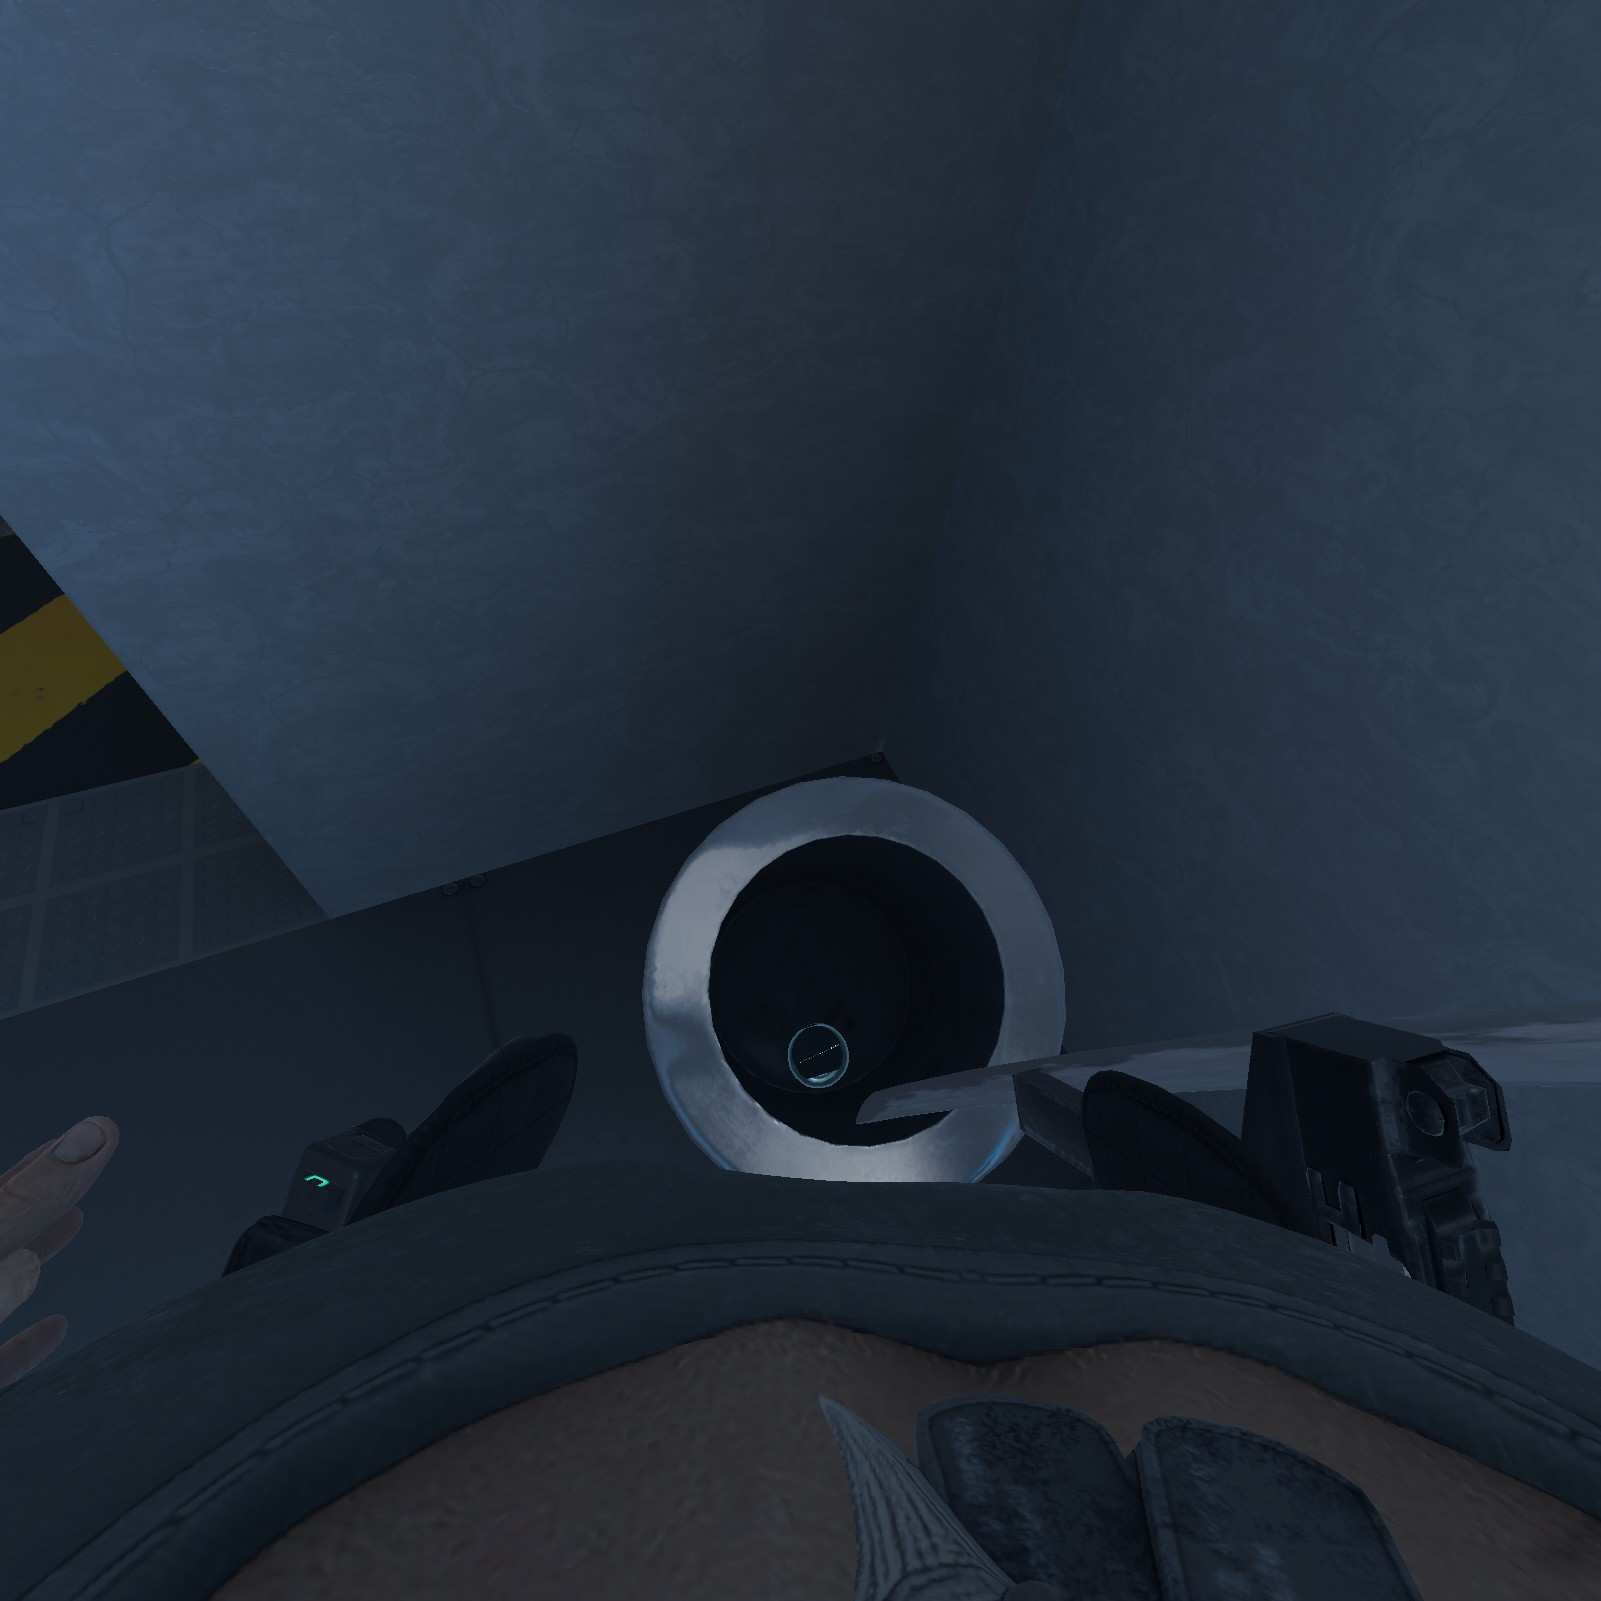
Super Puncher:
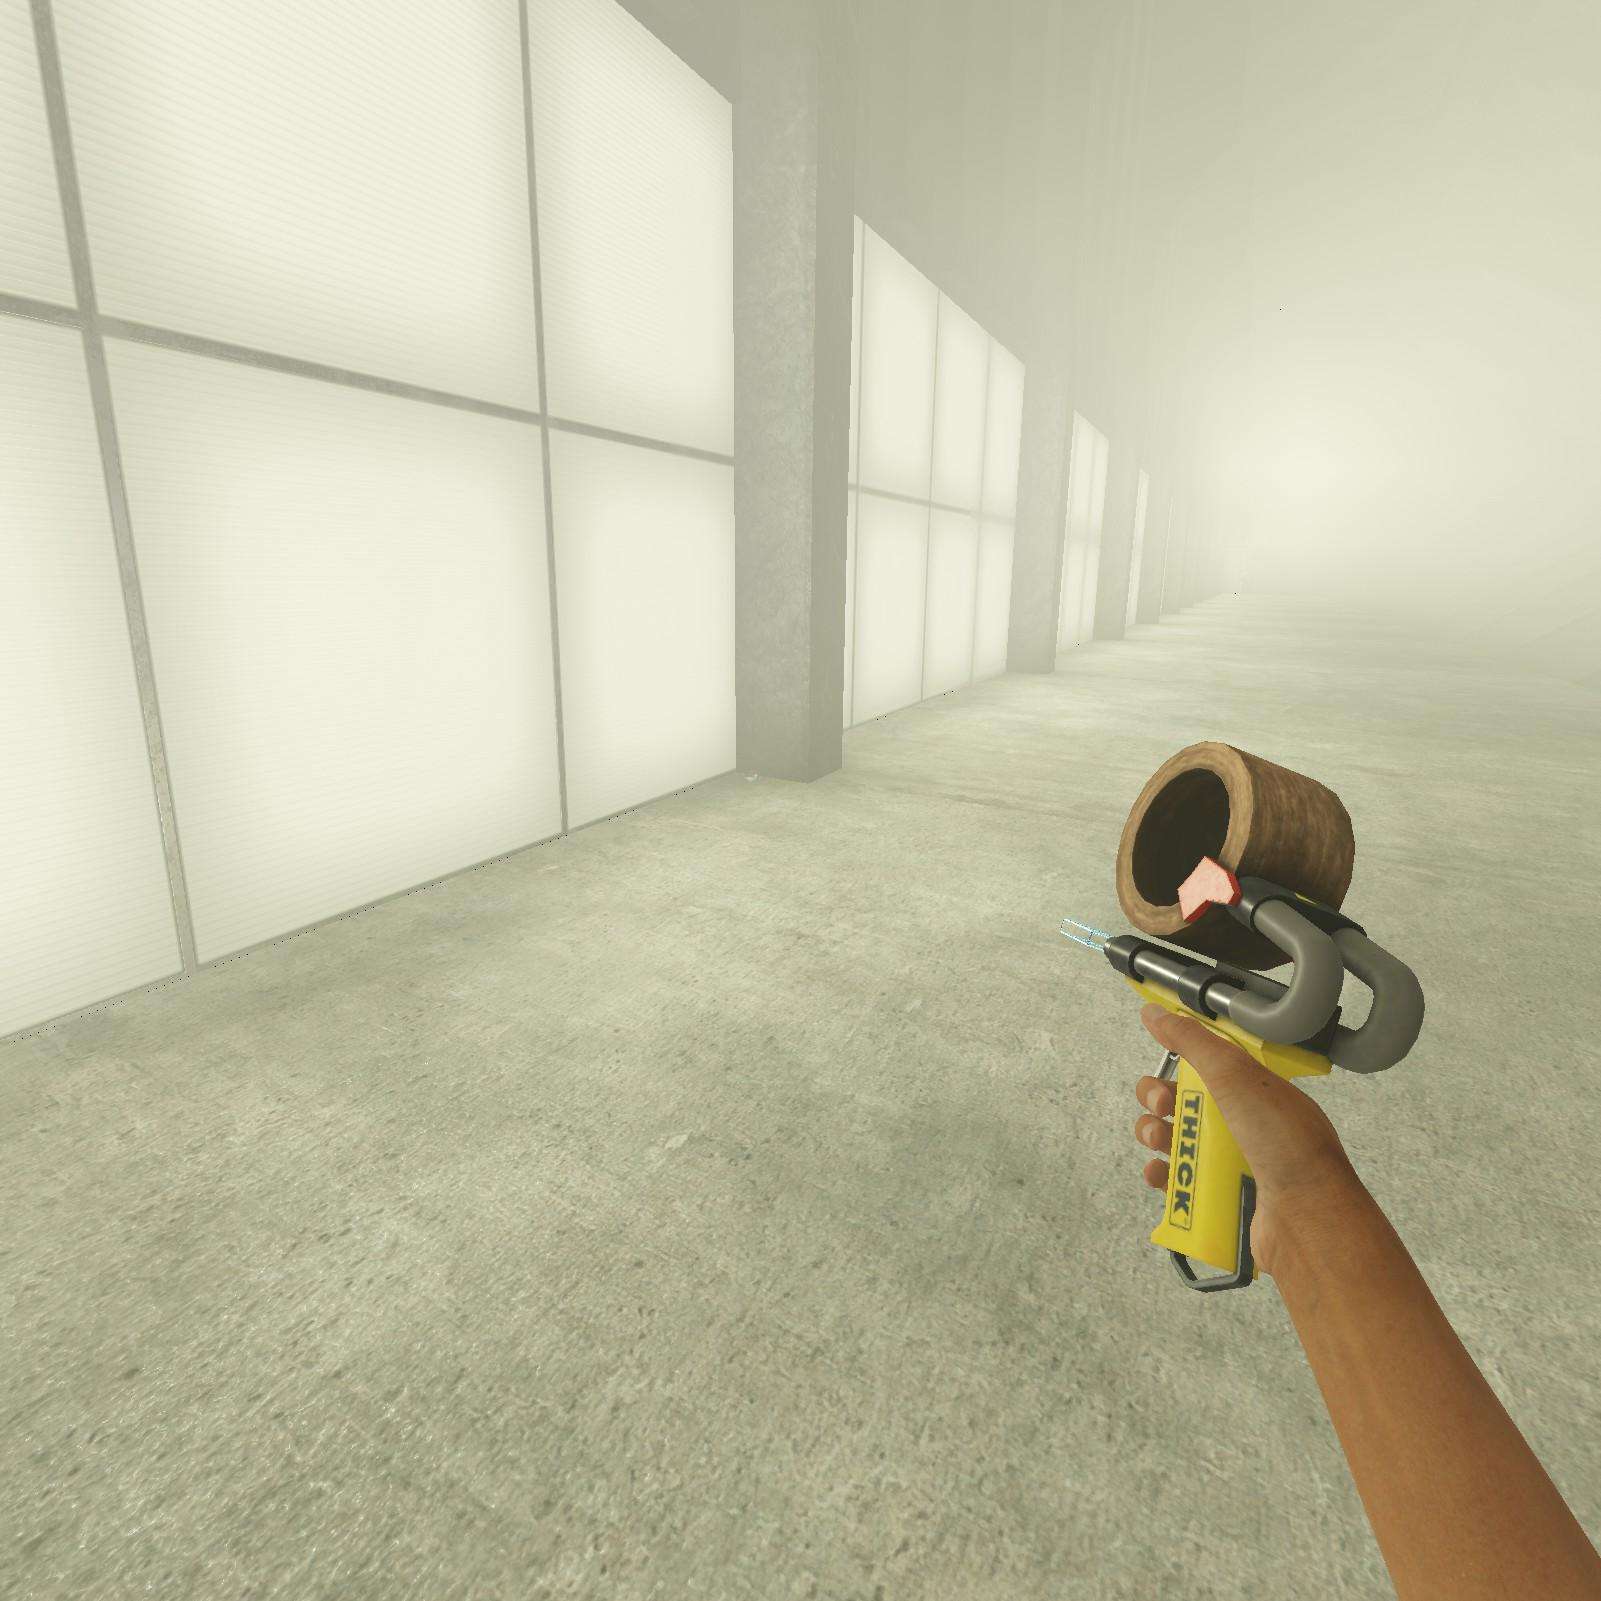
Now this one is tricky. We’re looking to get to this specific platform. You’ll need to get above it and drop down on it, ether landing or force grabbing the capsule. Its worth it though as this is the super puncher, the funny gravity tool.
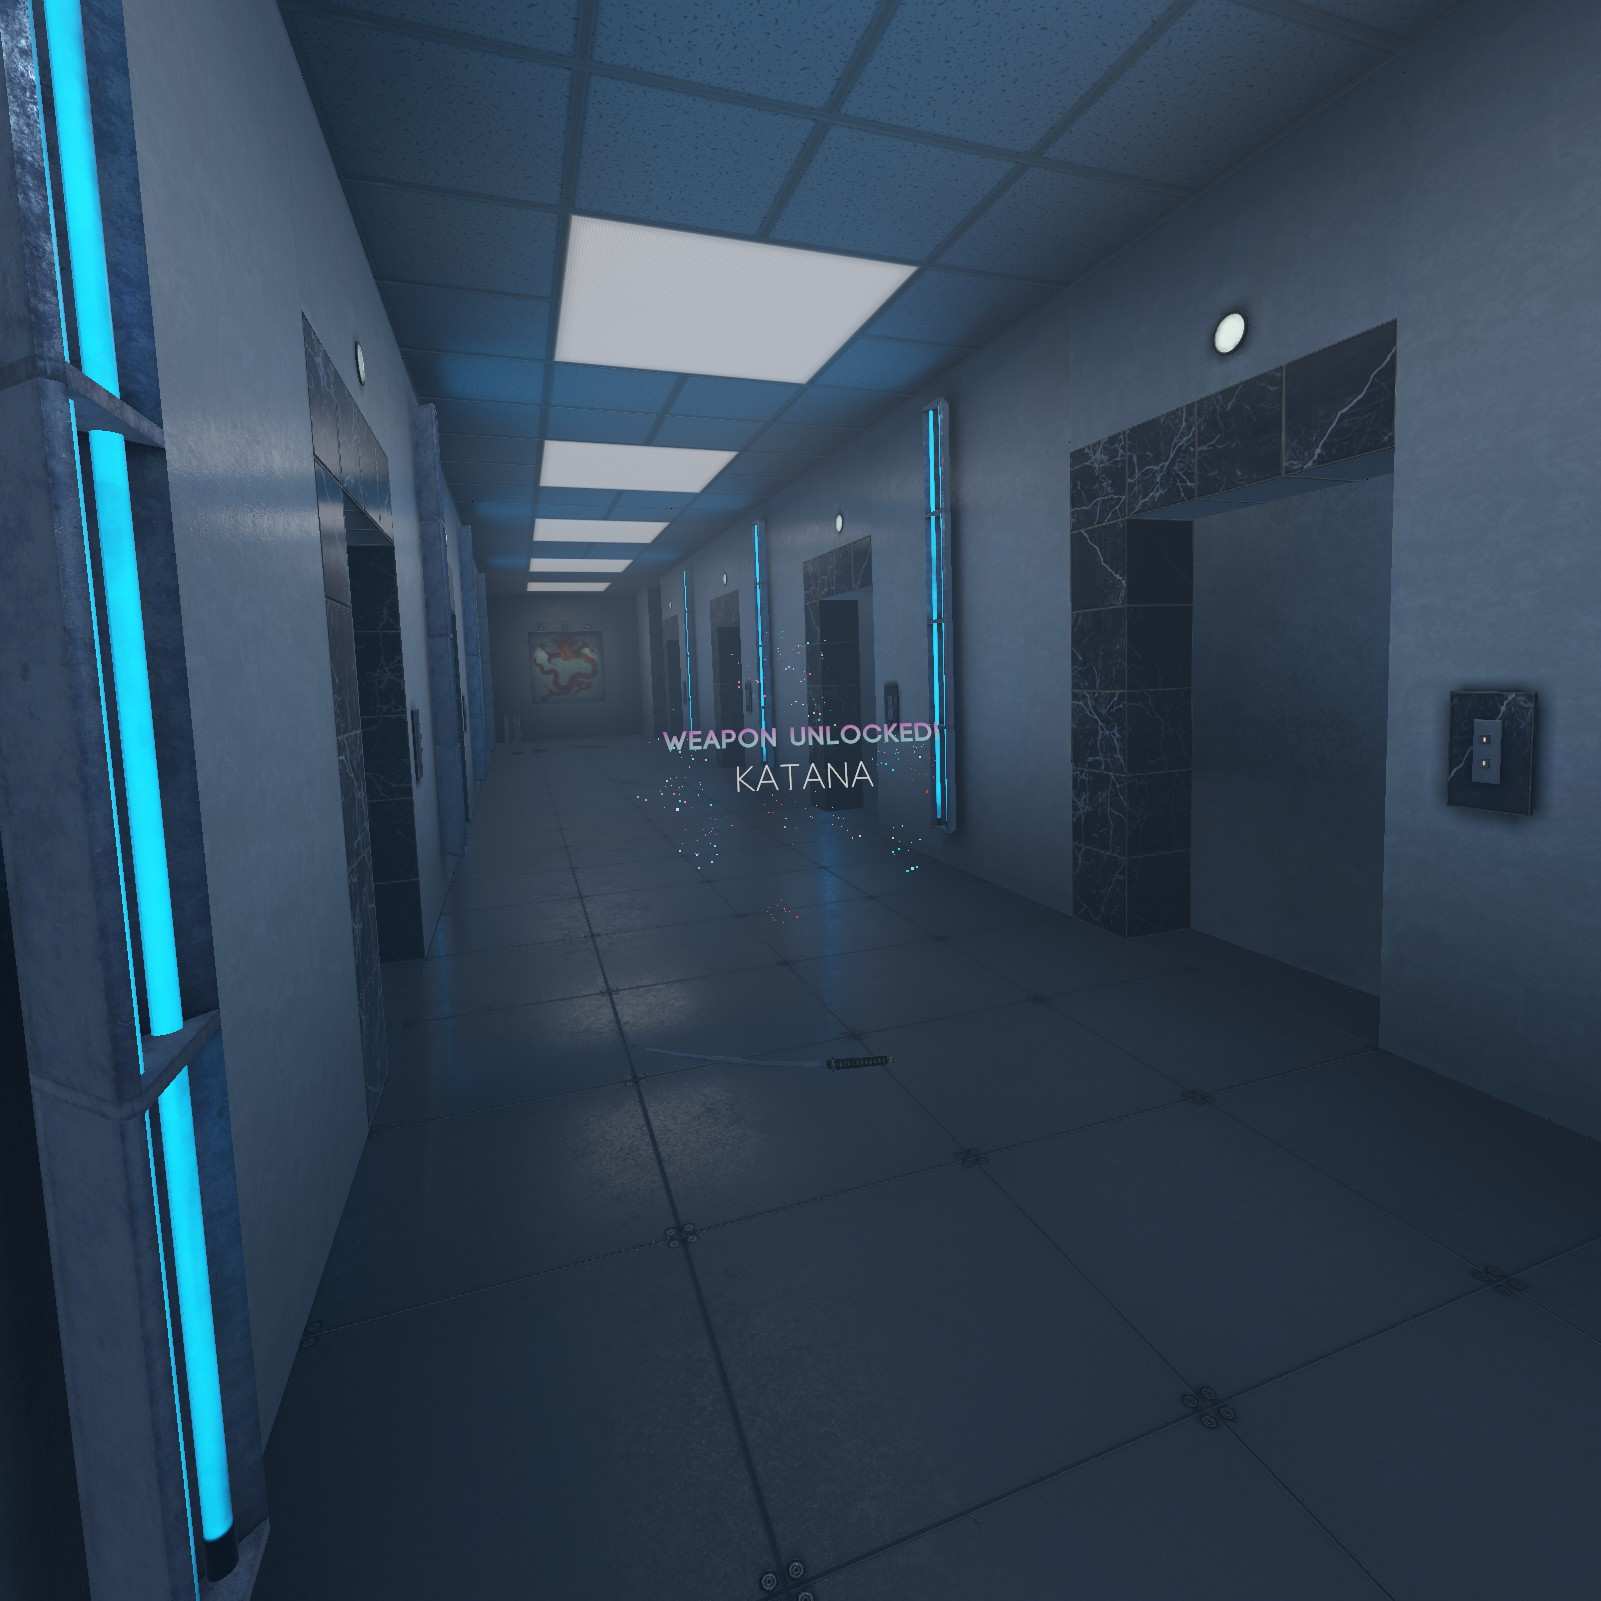
Katana:
Katana in the trash, katana in the trash. Who’d throw it away? Nobody, that’s who. Thats why this is such an anomaly.
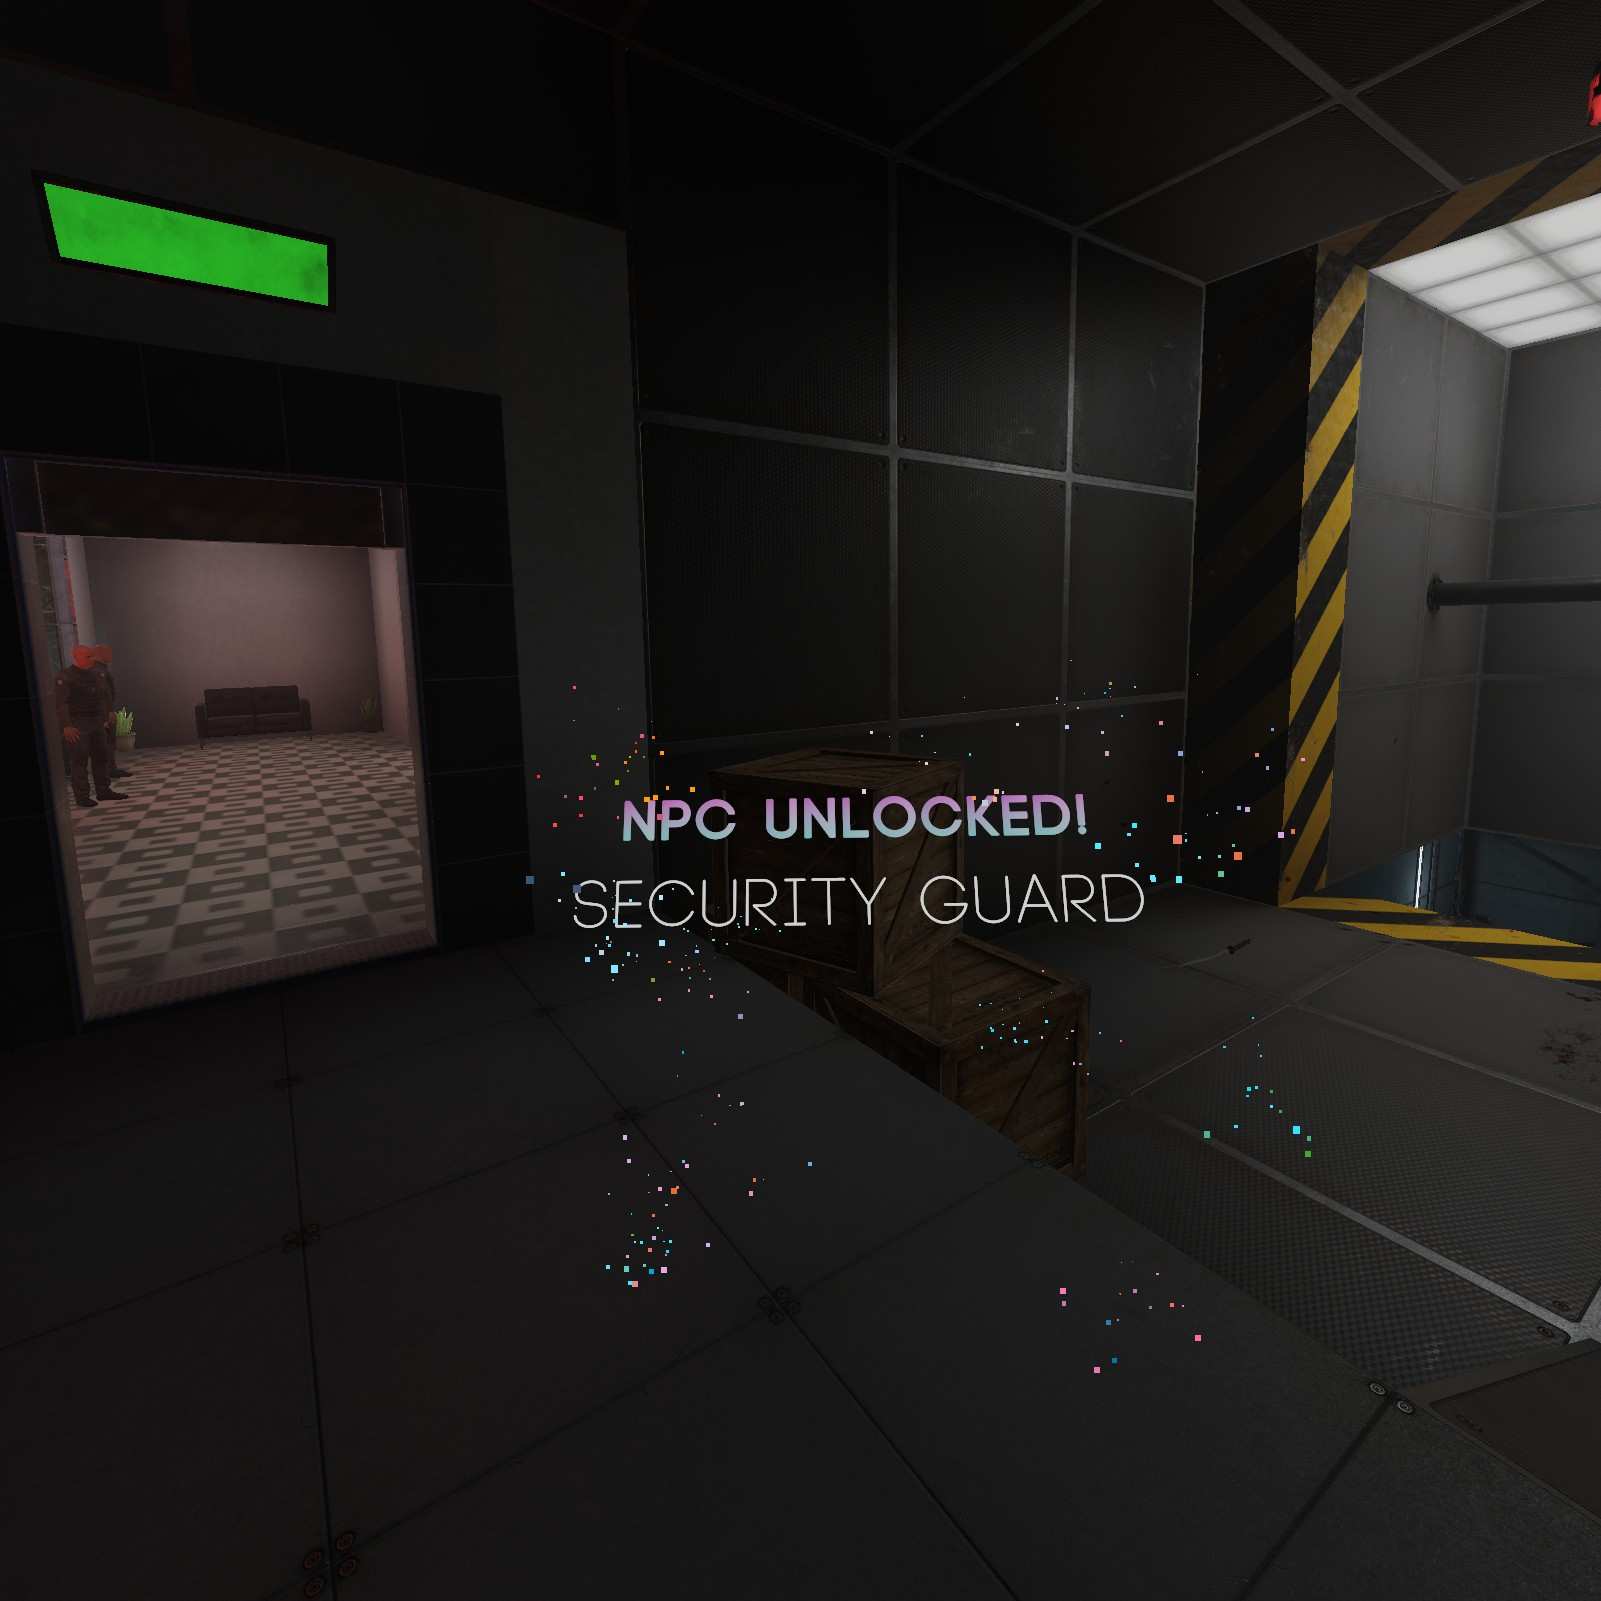
Security Officer:
Don’t you love beating up security officers? Want to beat up more? Grab this capsole to take revenge on the police system and beyond.
Strong:
Honestly if you could skip this one do so, the strong avatar isn’t terribly interesting.
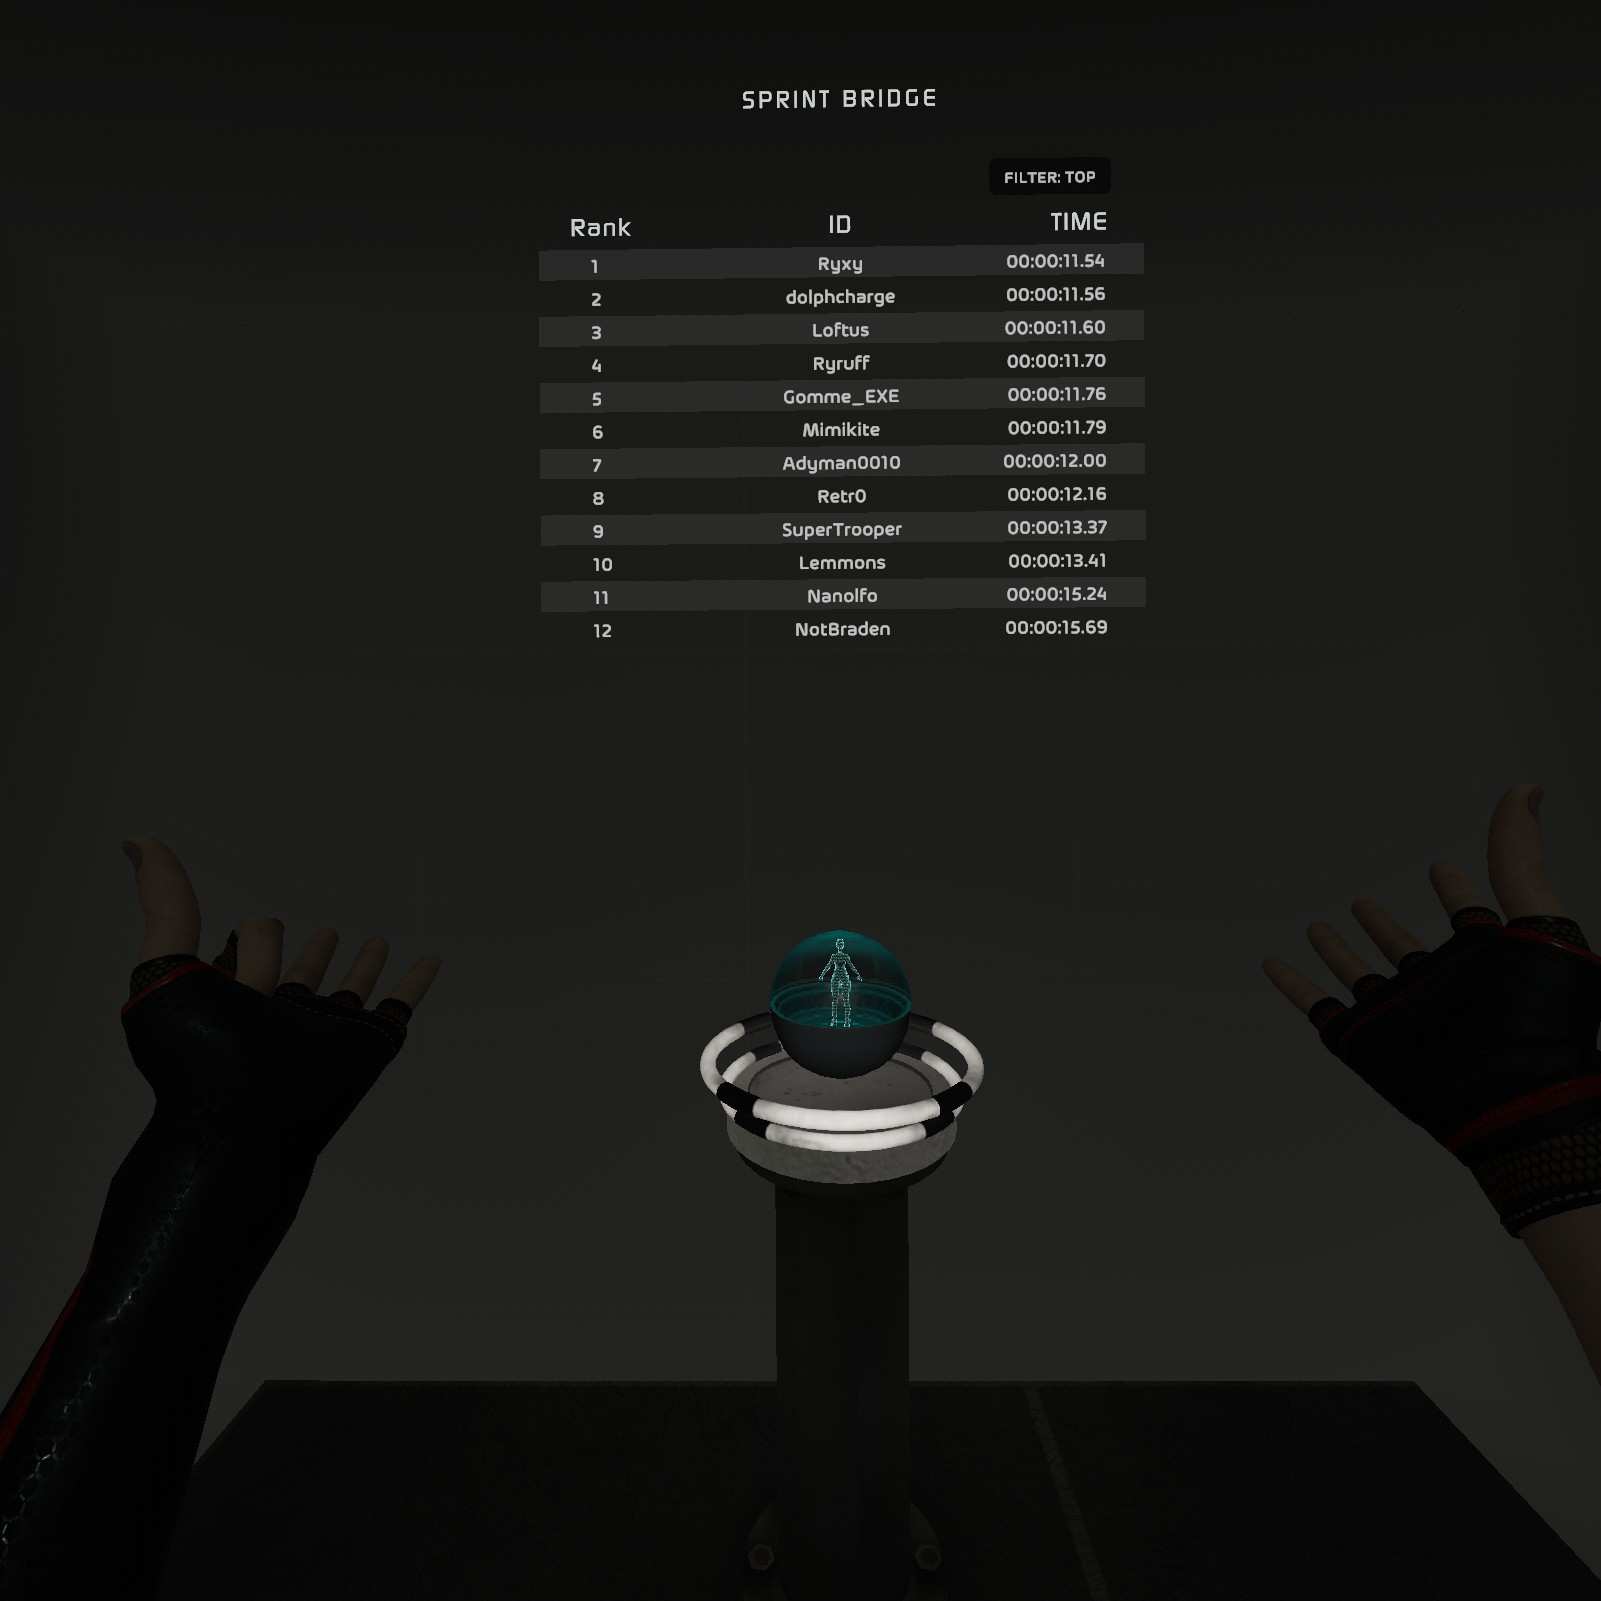
Sprint Bridge 4
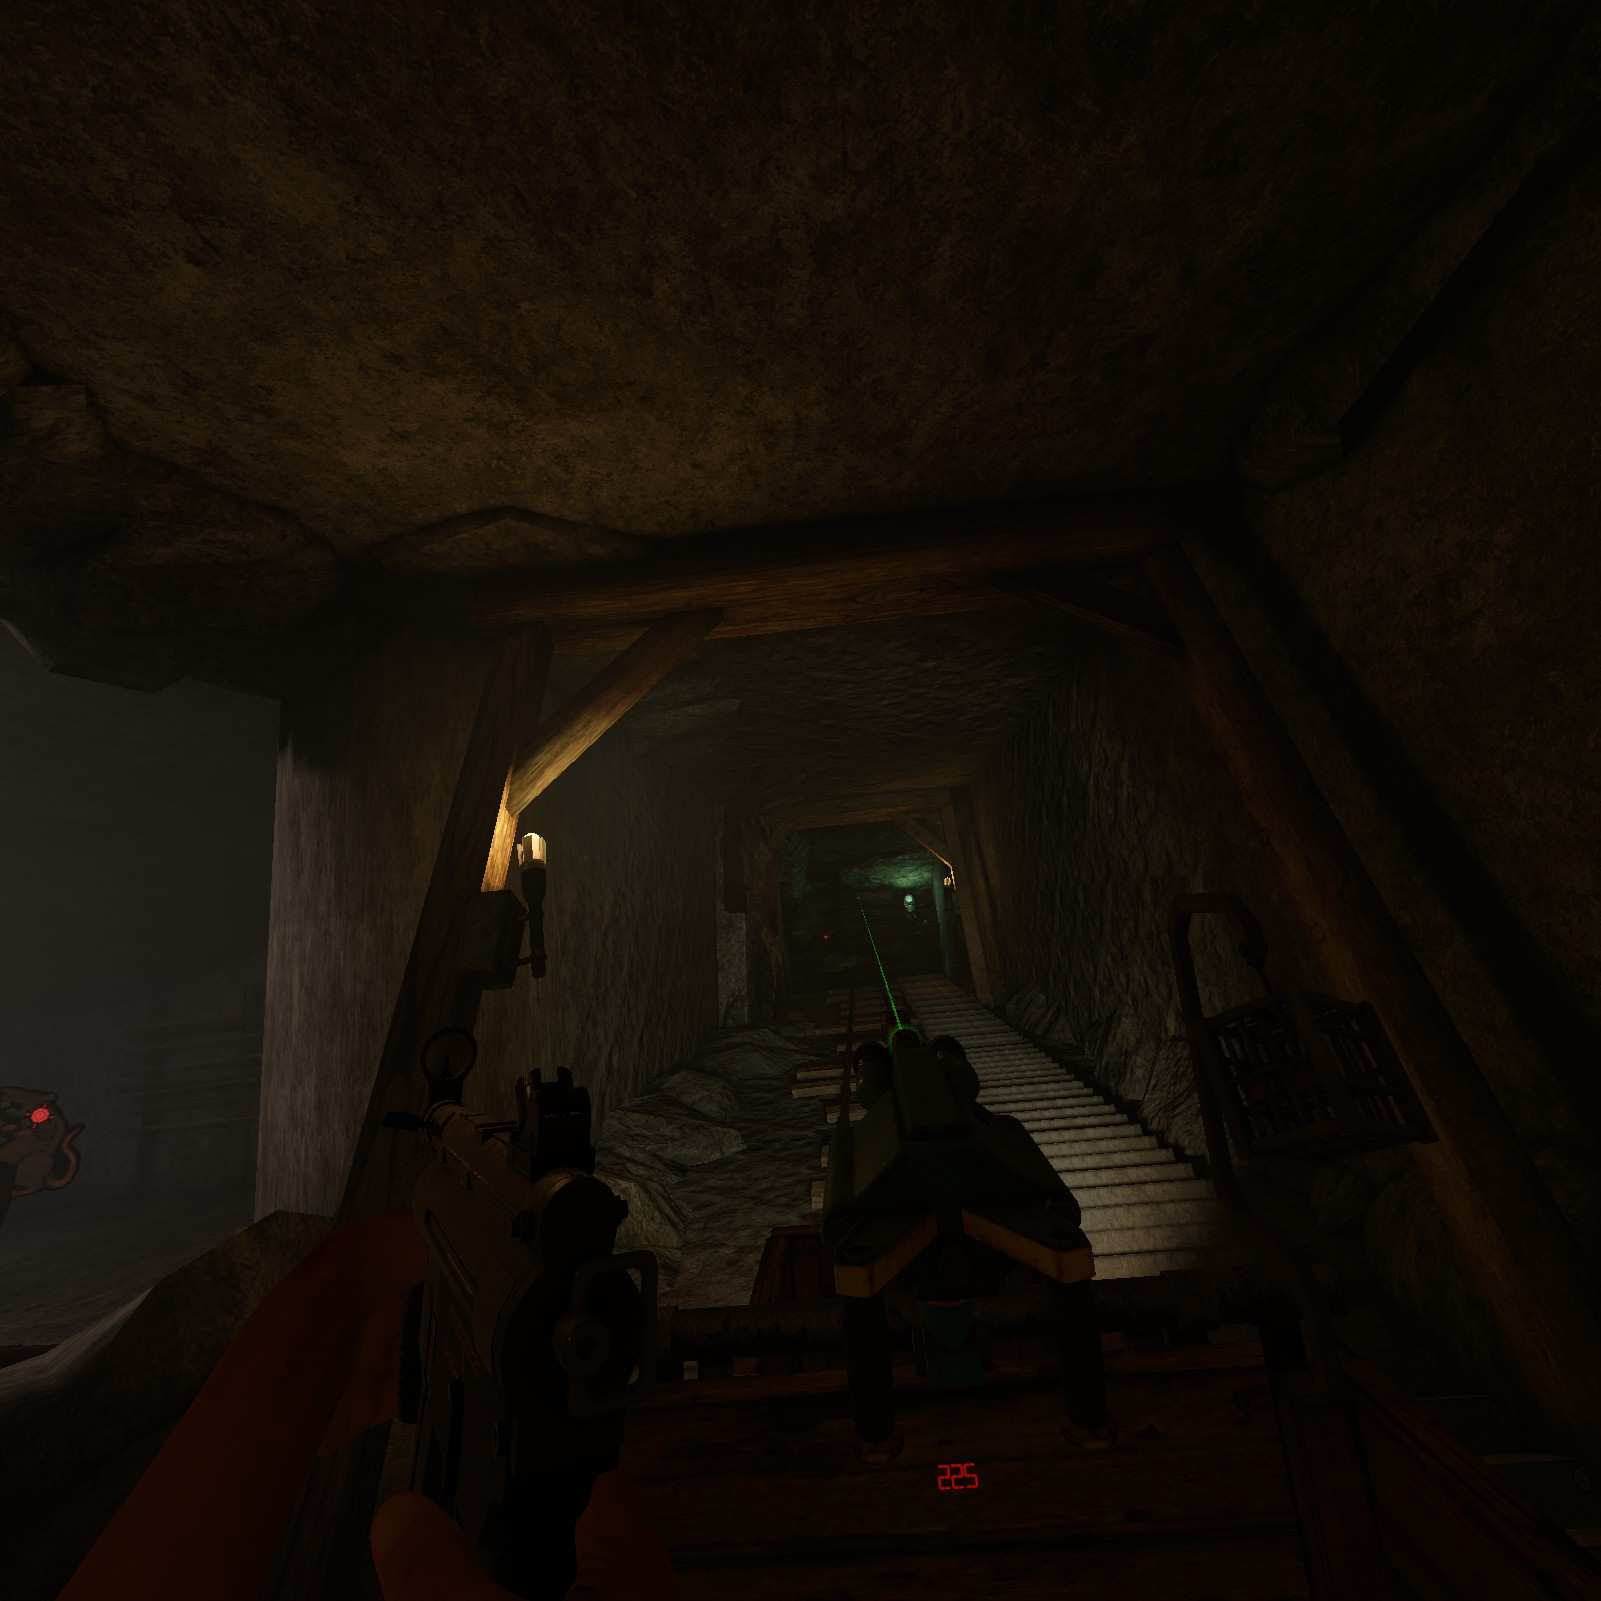
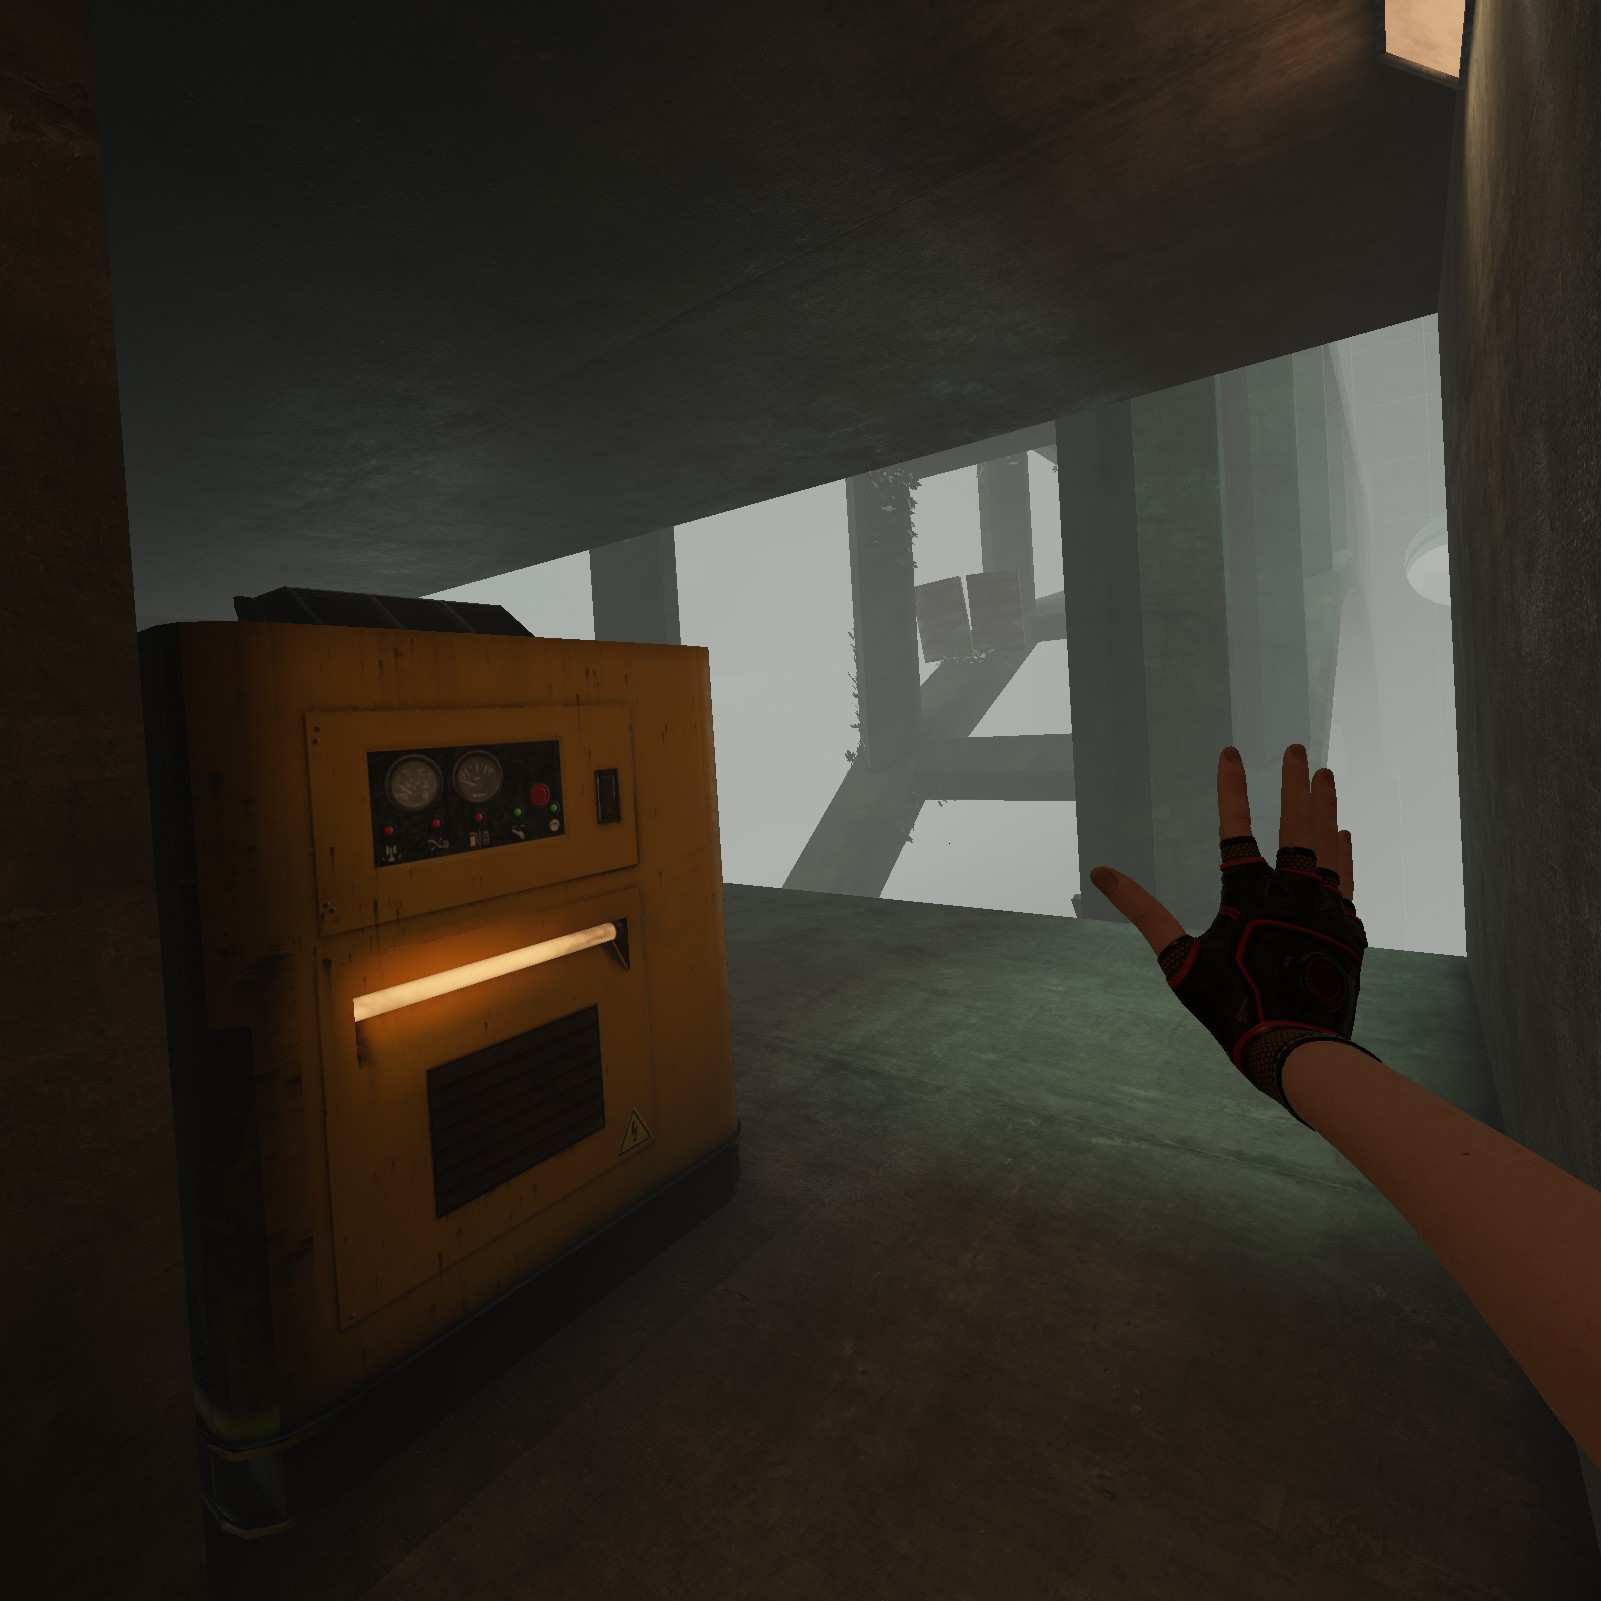
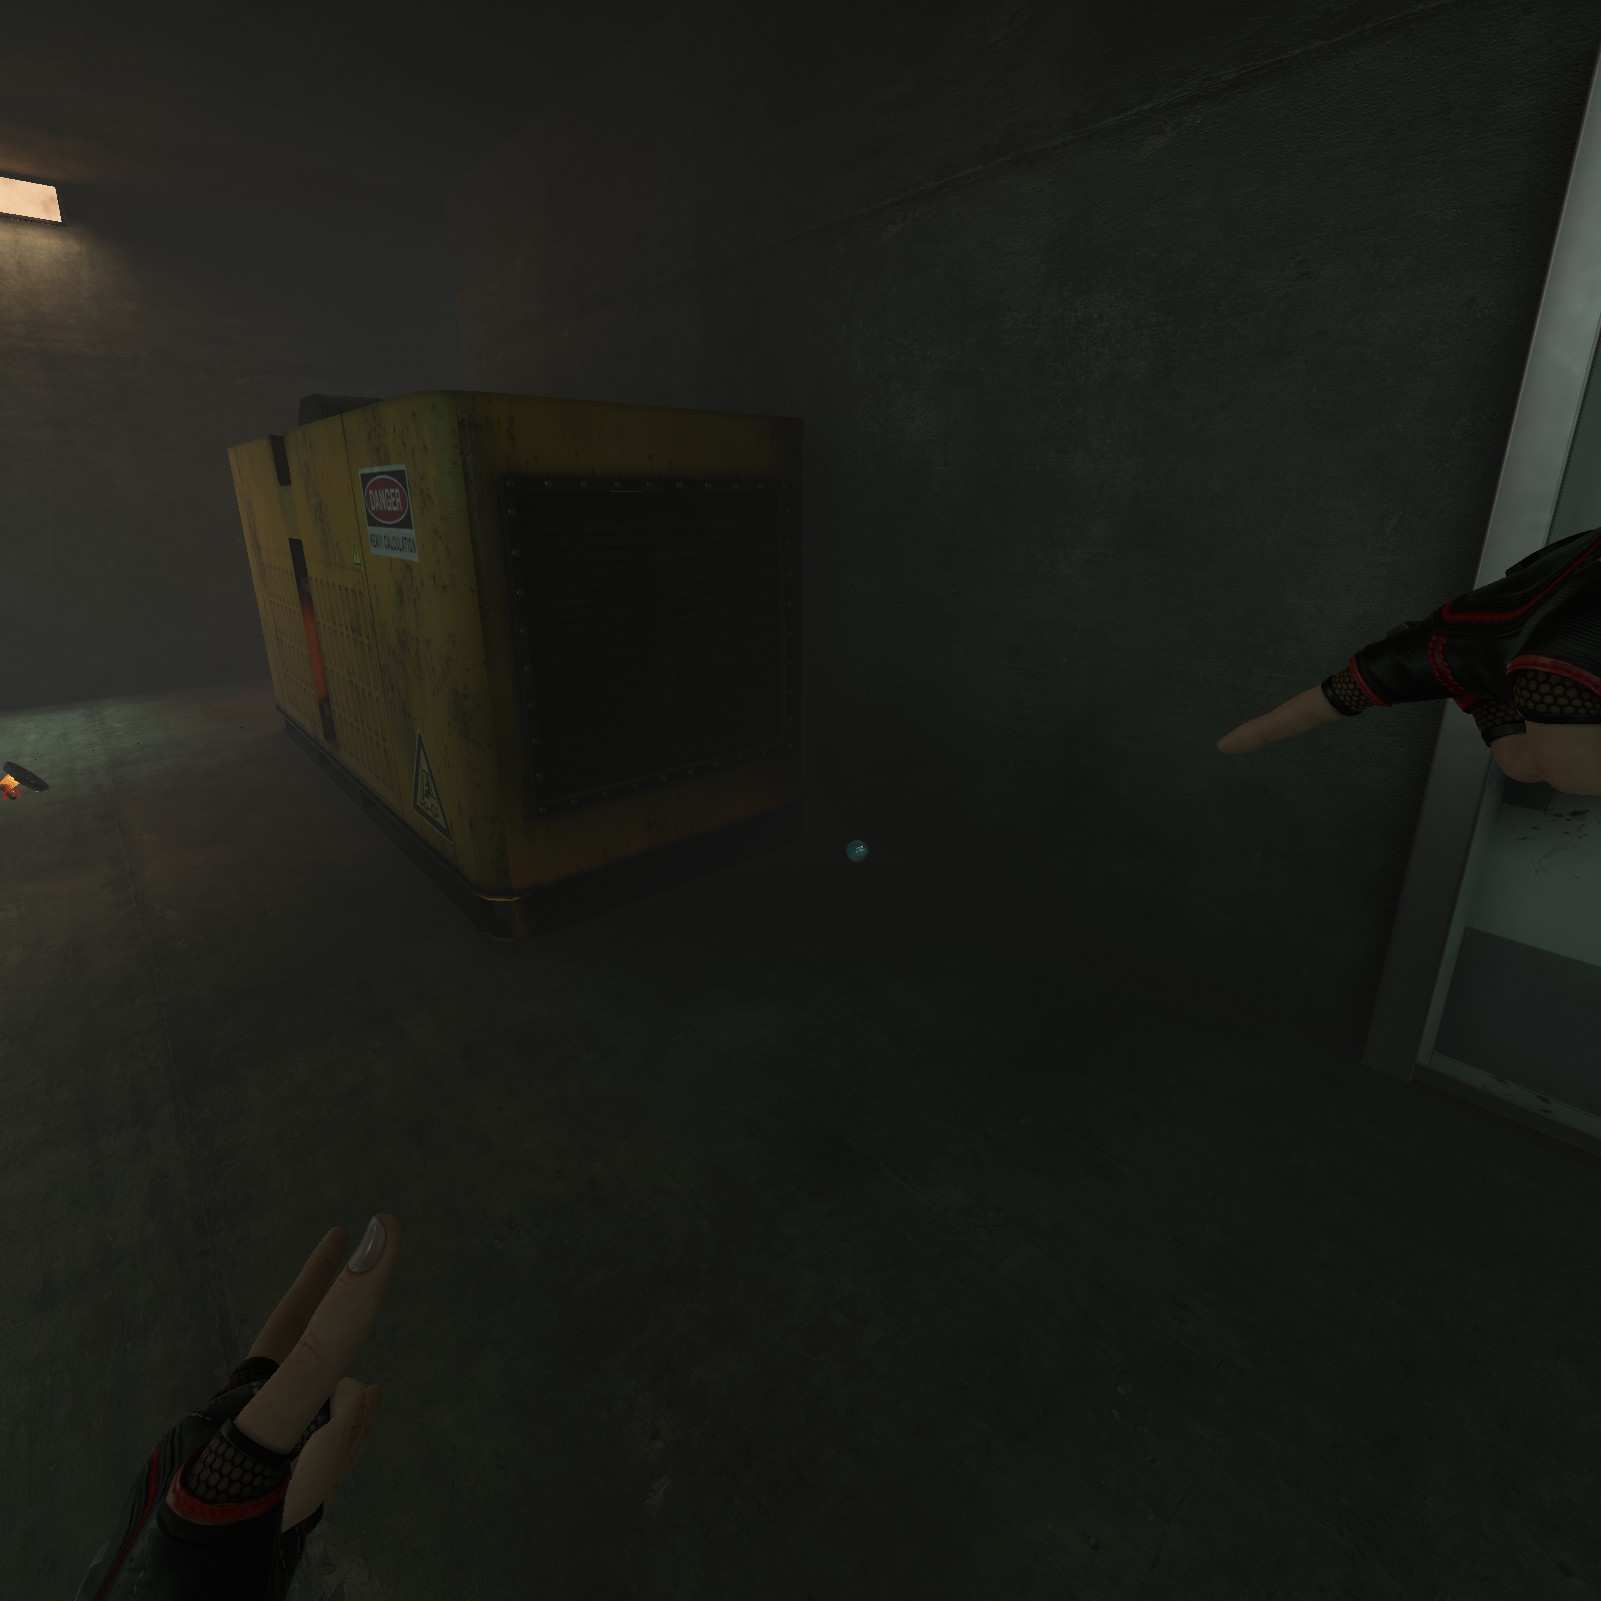
PDRC:
Right near the start of the level before hoping on the bridge, there’s a yellow generator to the left. Go to the other side for a PDRC.

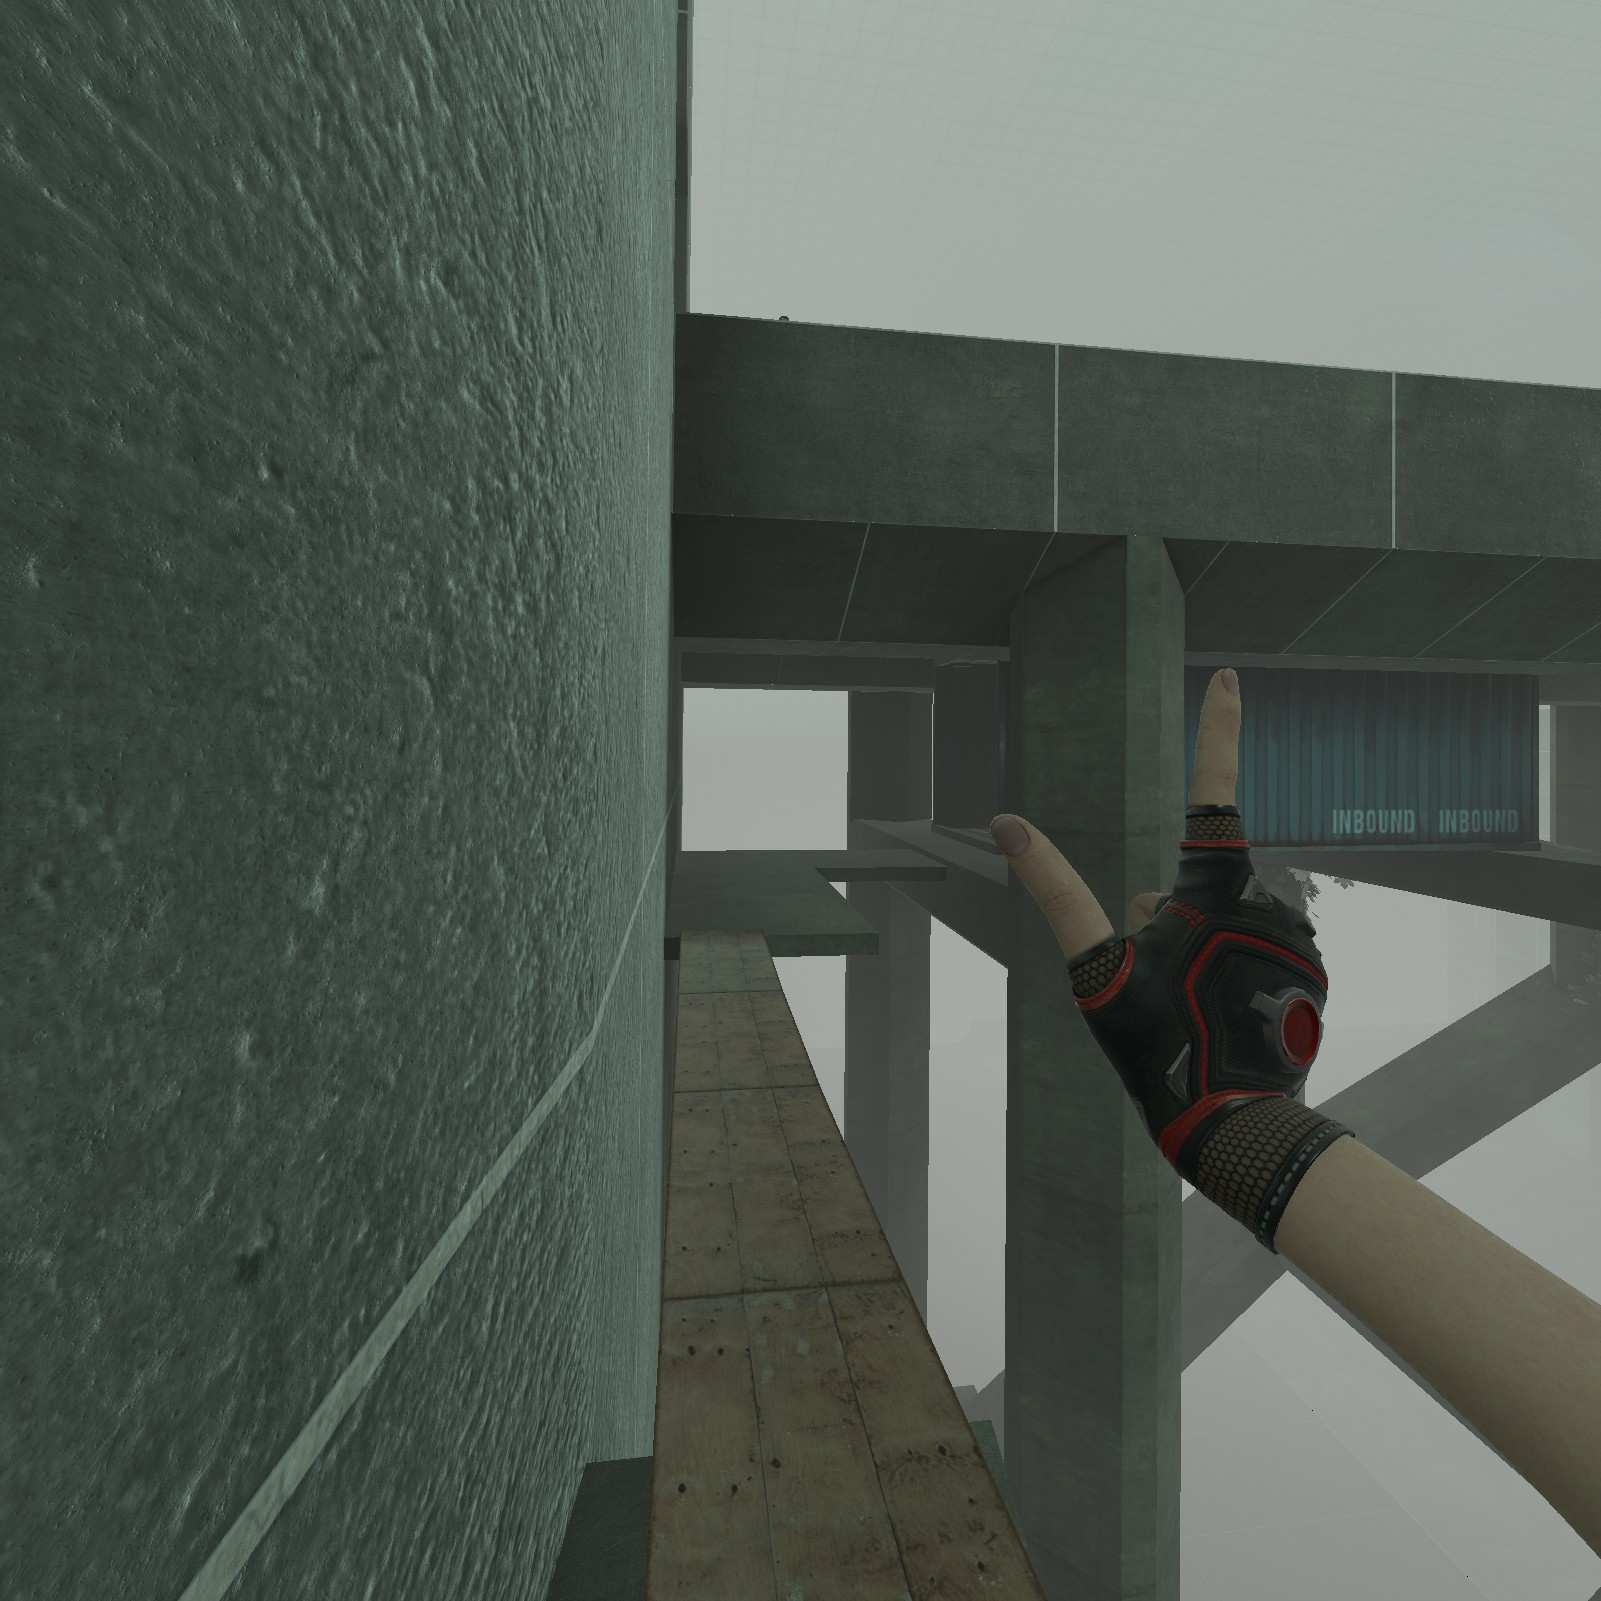
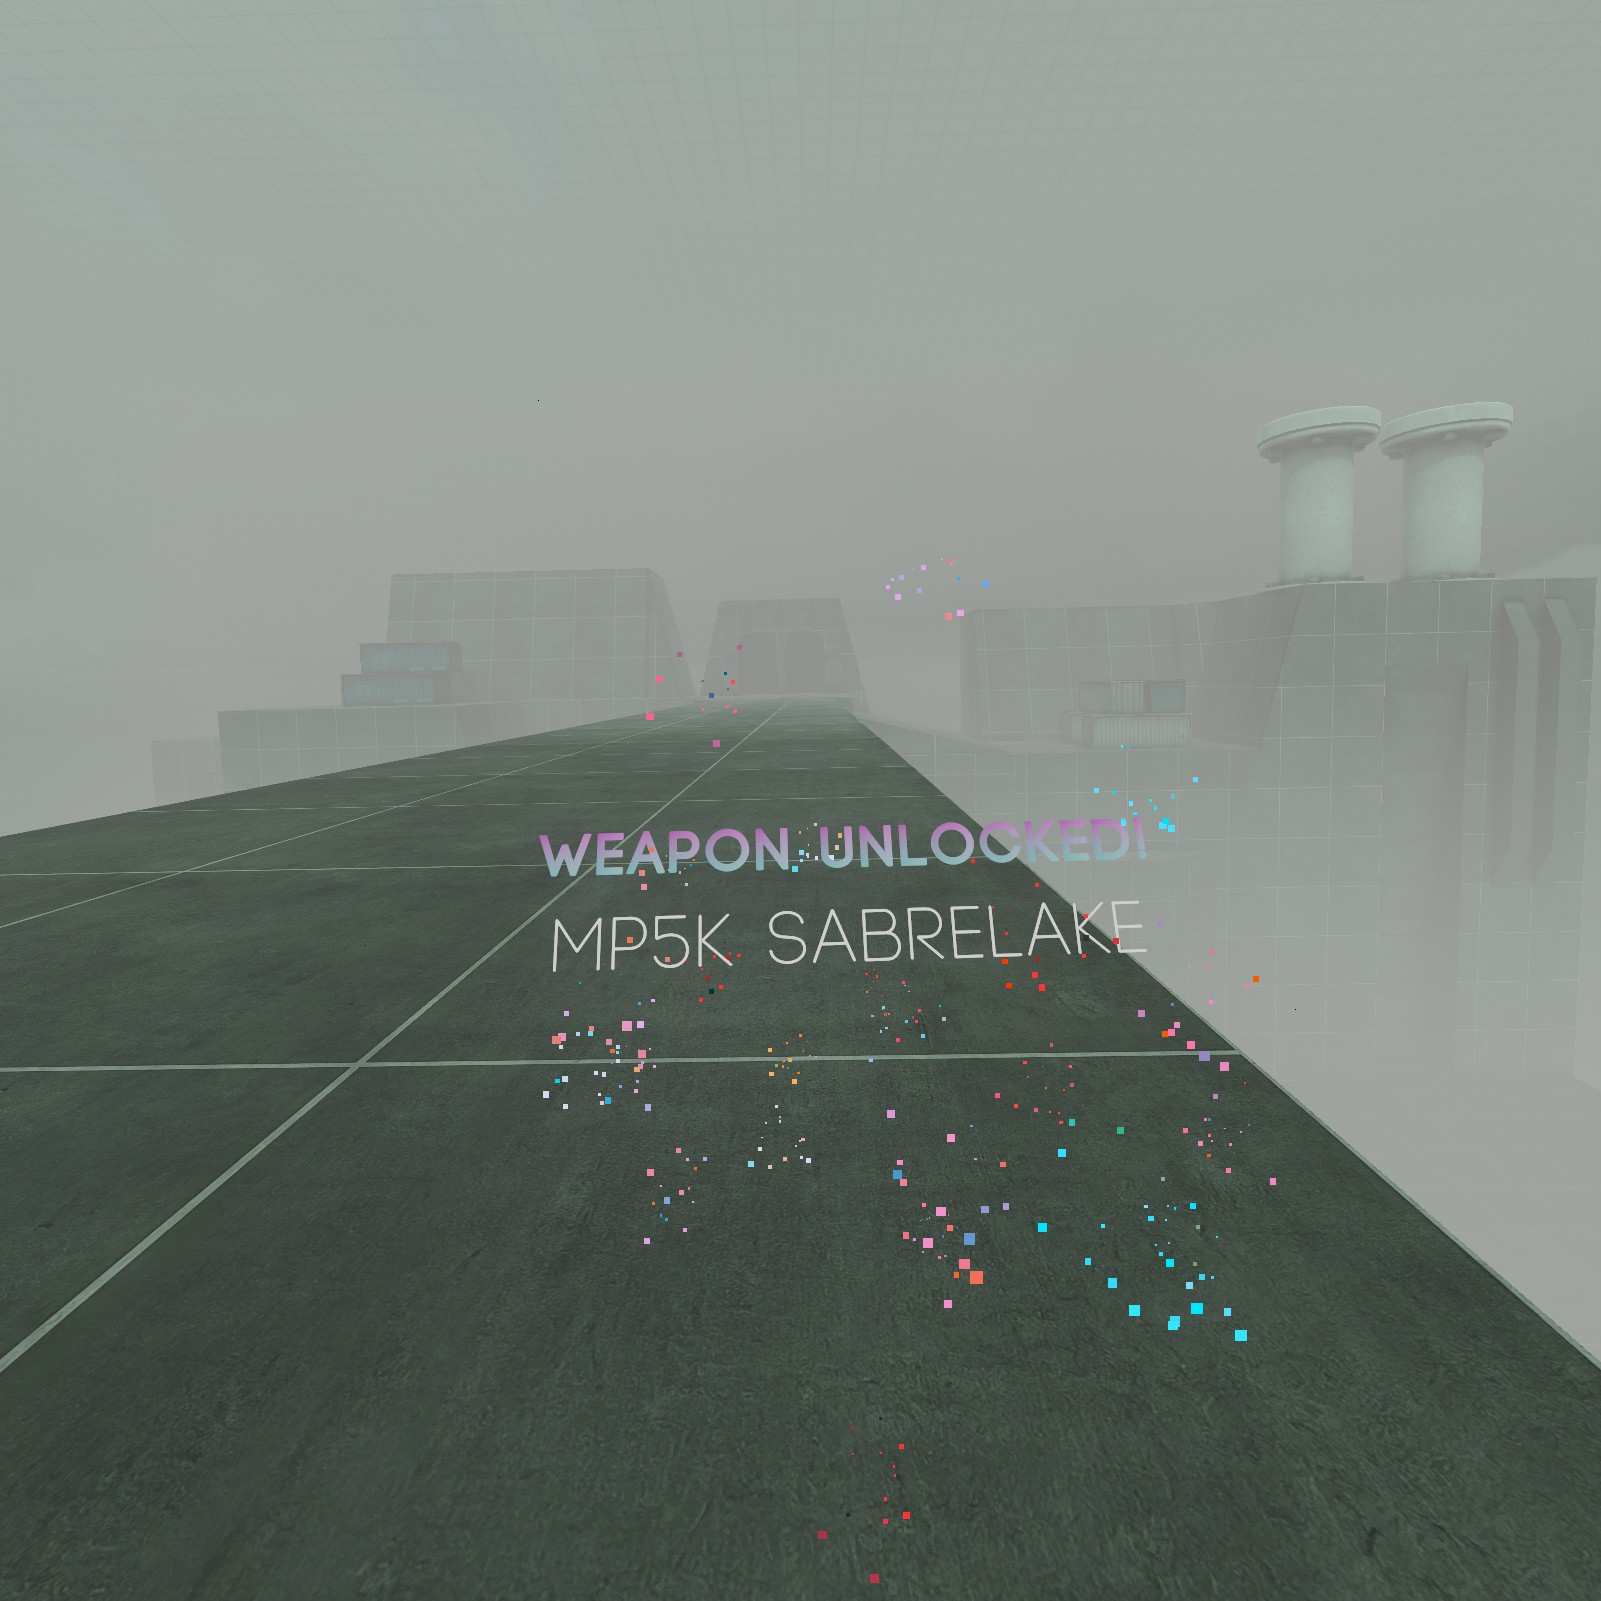
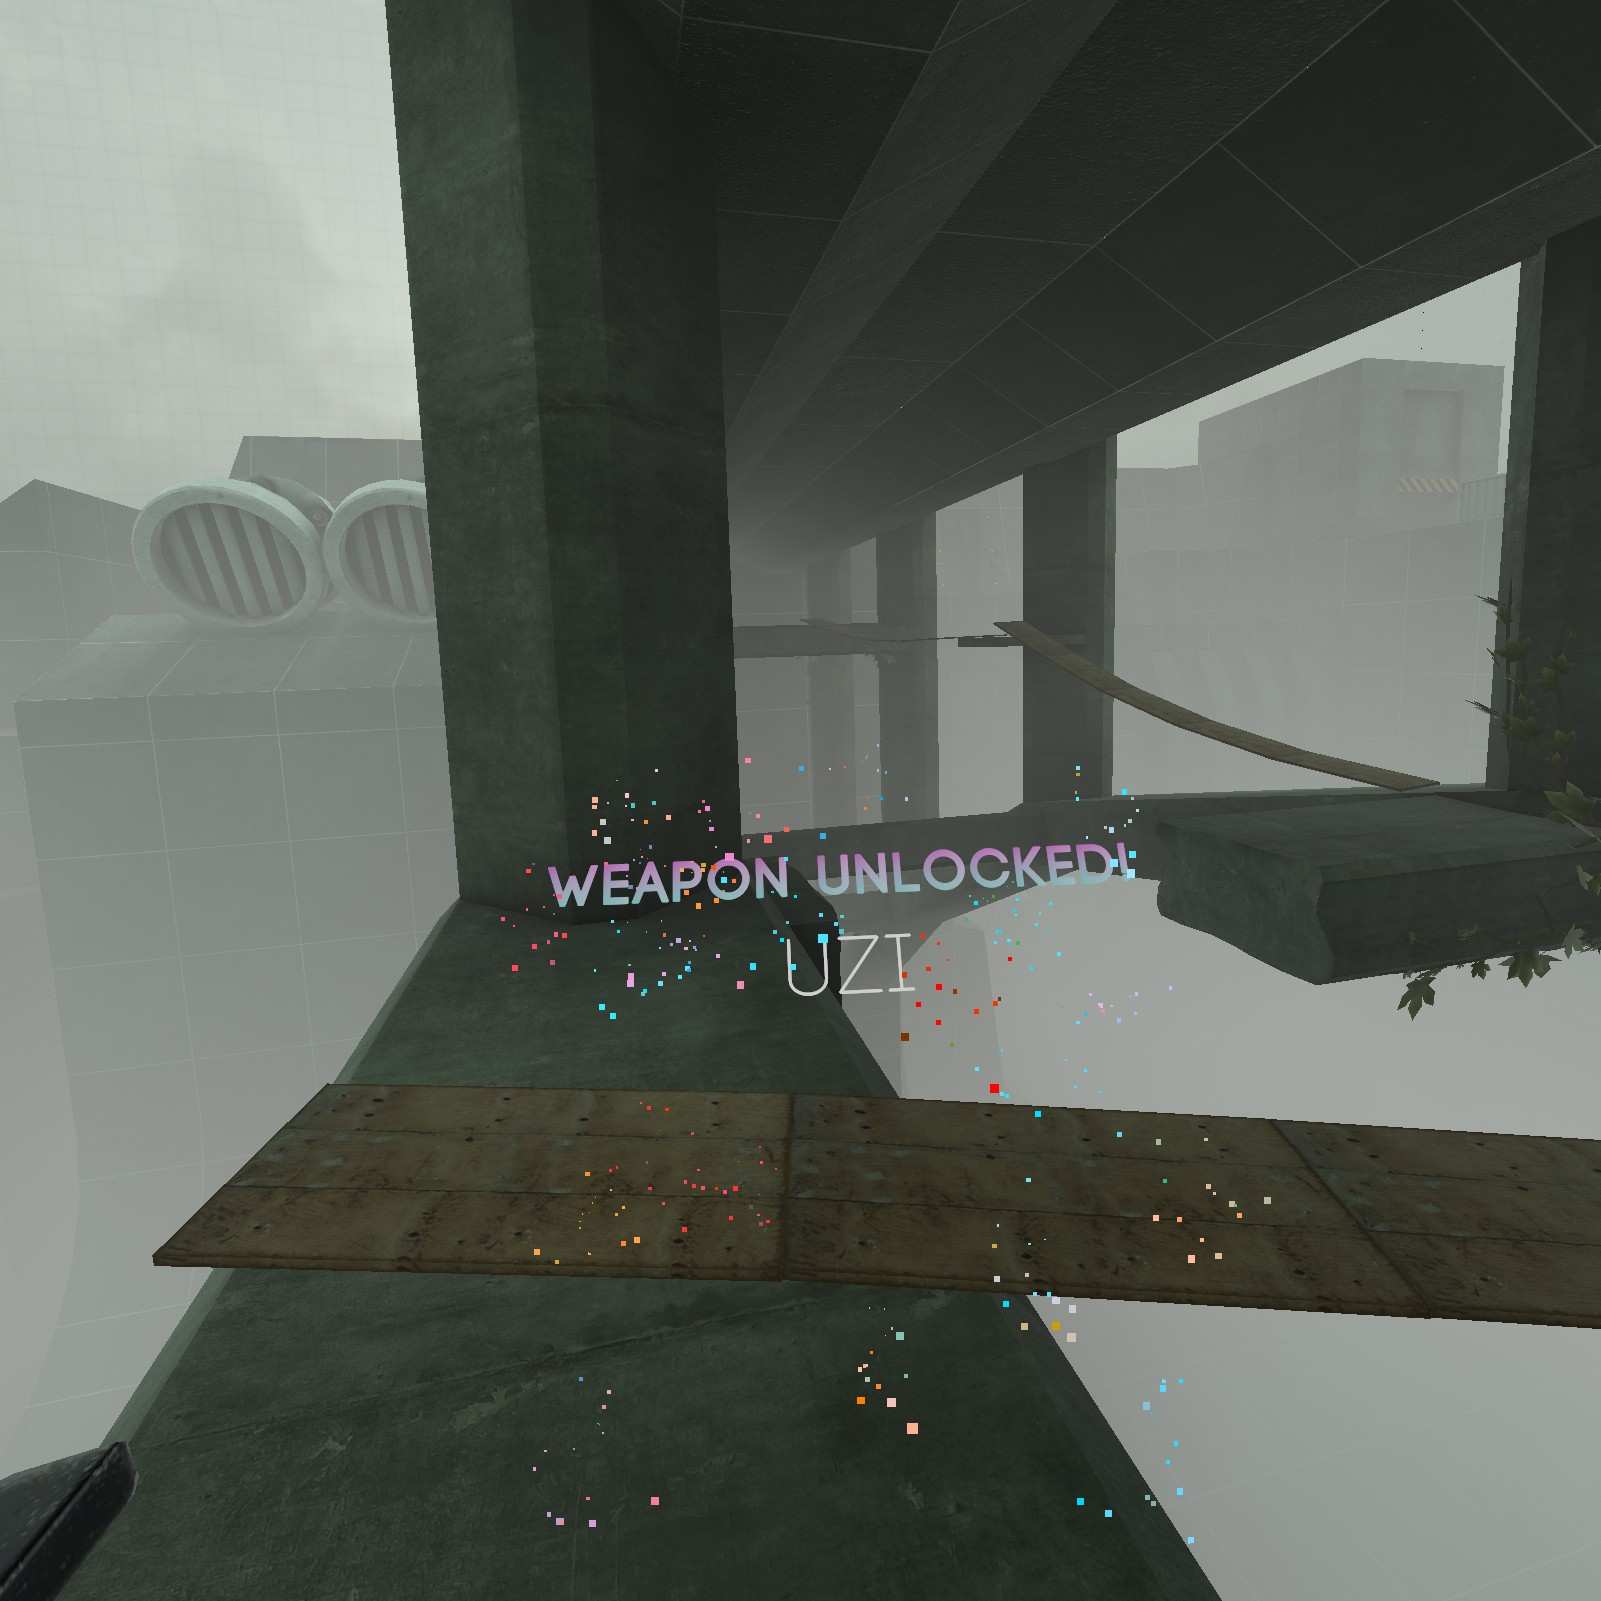
MP5K Sabrelake:
Once you push down this wooden platform, turn around to spot a MP5K Sabrelake on the above bridge. You can super jump to it, climb with tools, or attempt to force grab it. Worst case you come back with a taller avatar (You ain’t getting this one Niko mains).
Sword Noodledog:
At the side room, don’t go in, but go around to find the fabled Sword Noodledog resting on a barrel.

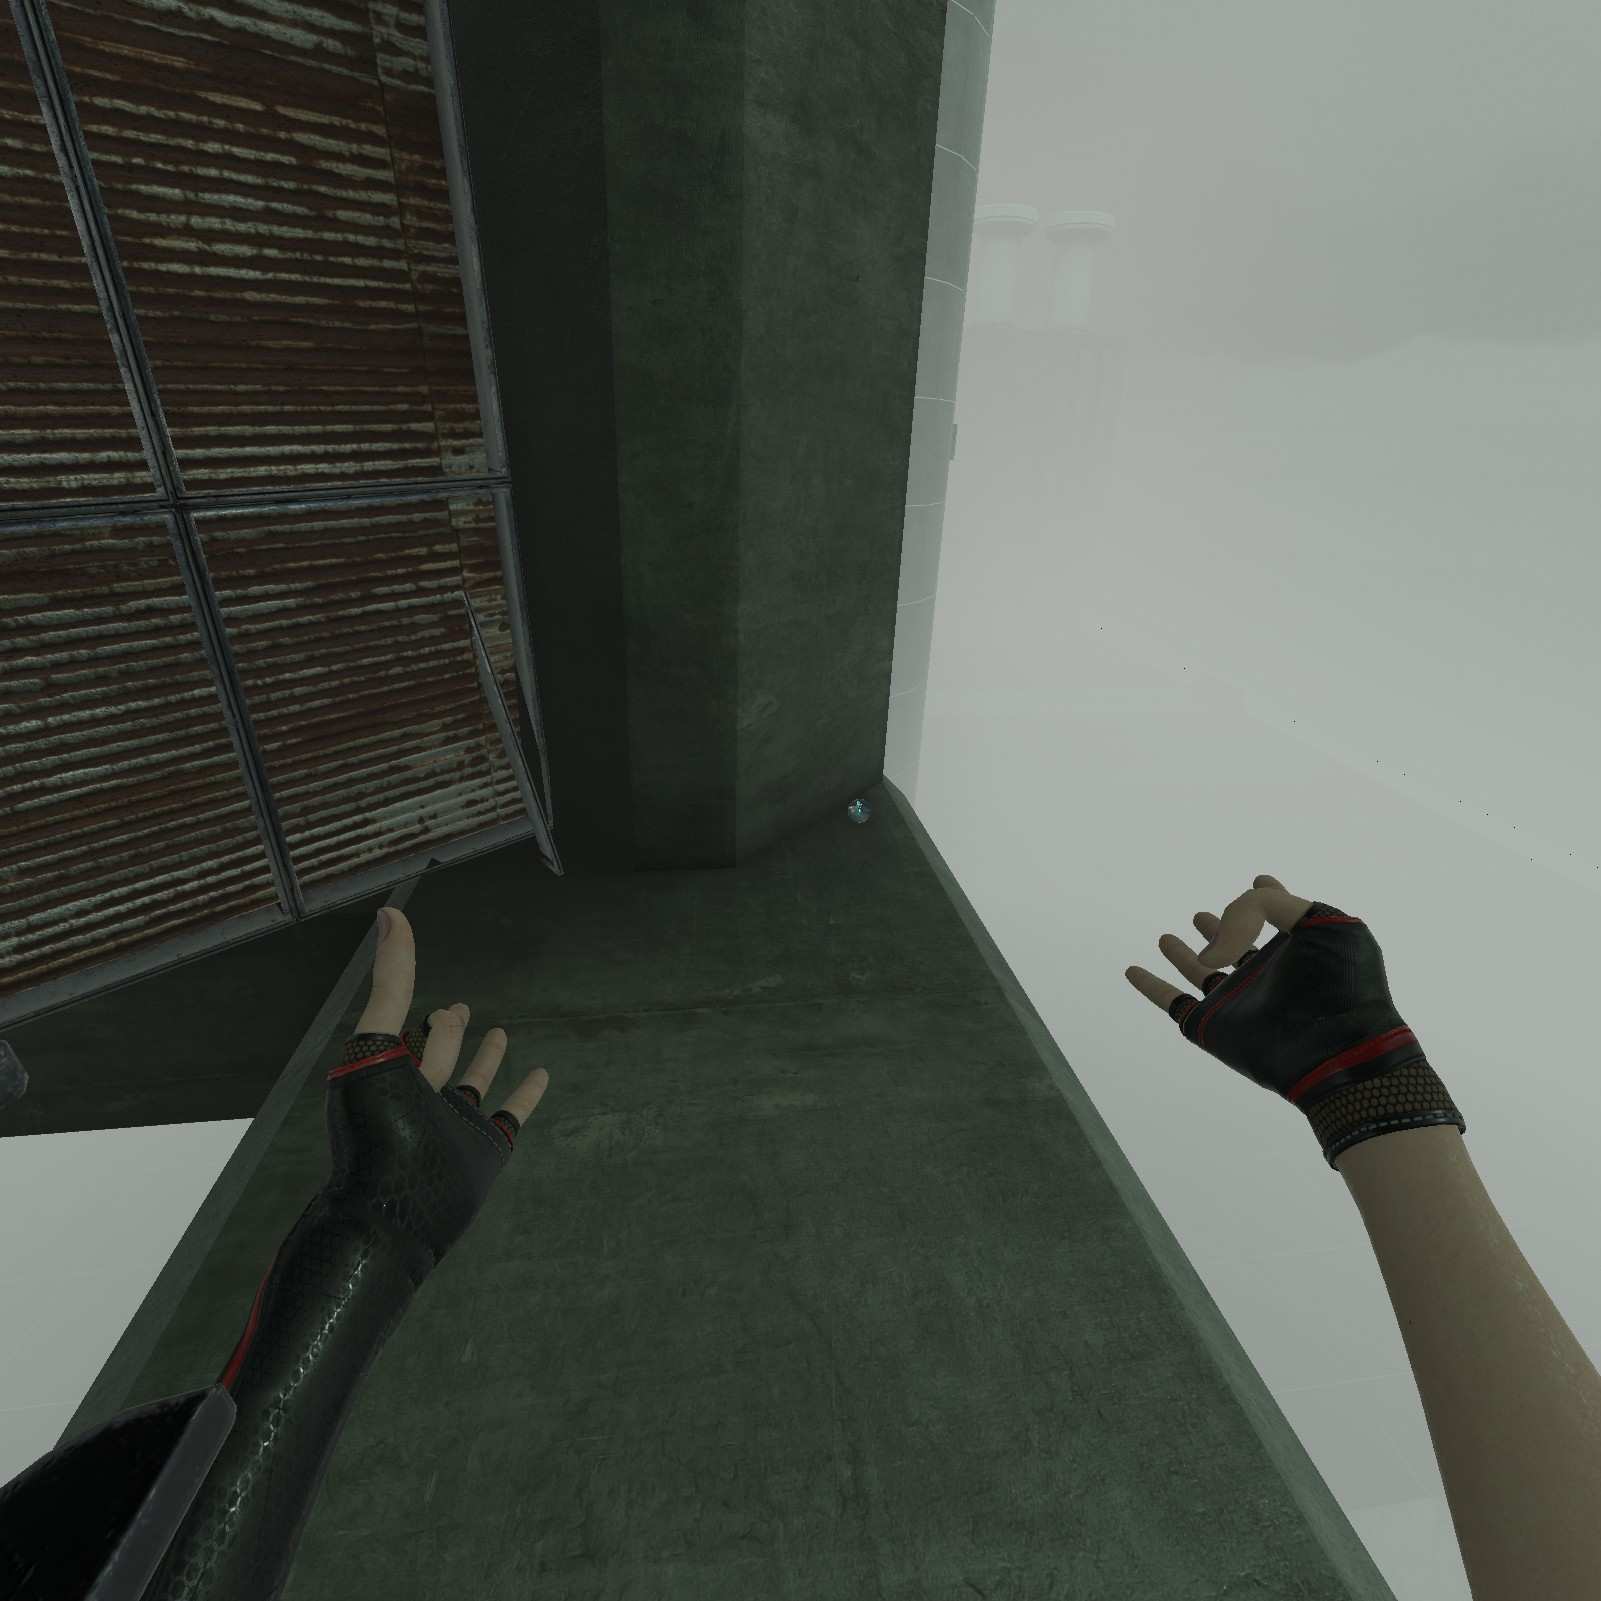
Uzi:
At this platform crossing, head right from where I’m standing to get an Uzi. Your part of the gang now.
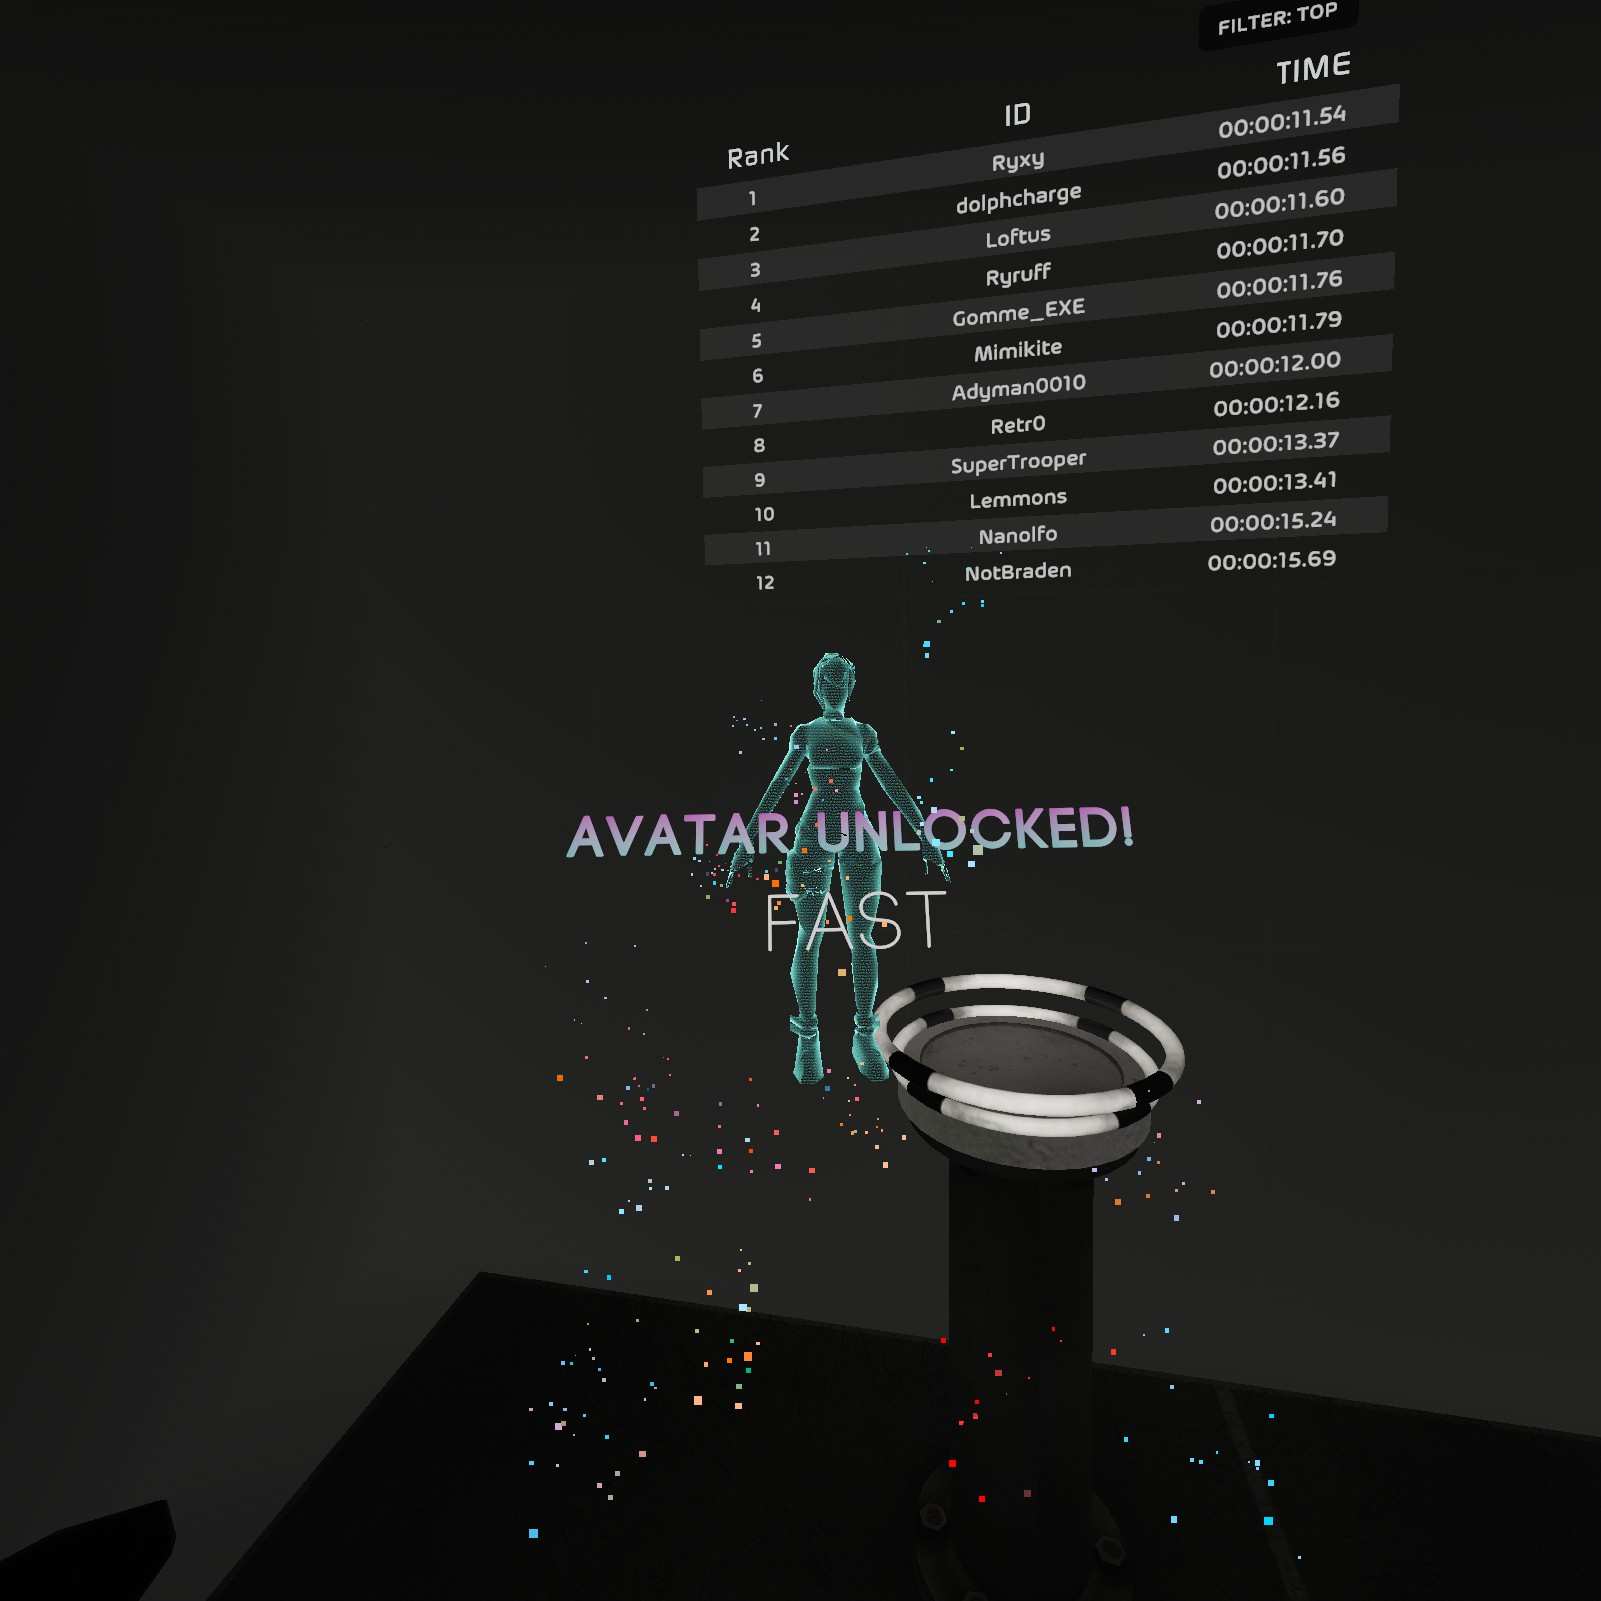
Fast:
Fast is somewhat more interesting than strong, least you’ve got some assets to play with and relativly controllable speed.
Magma Arena
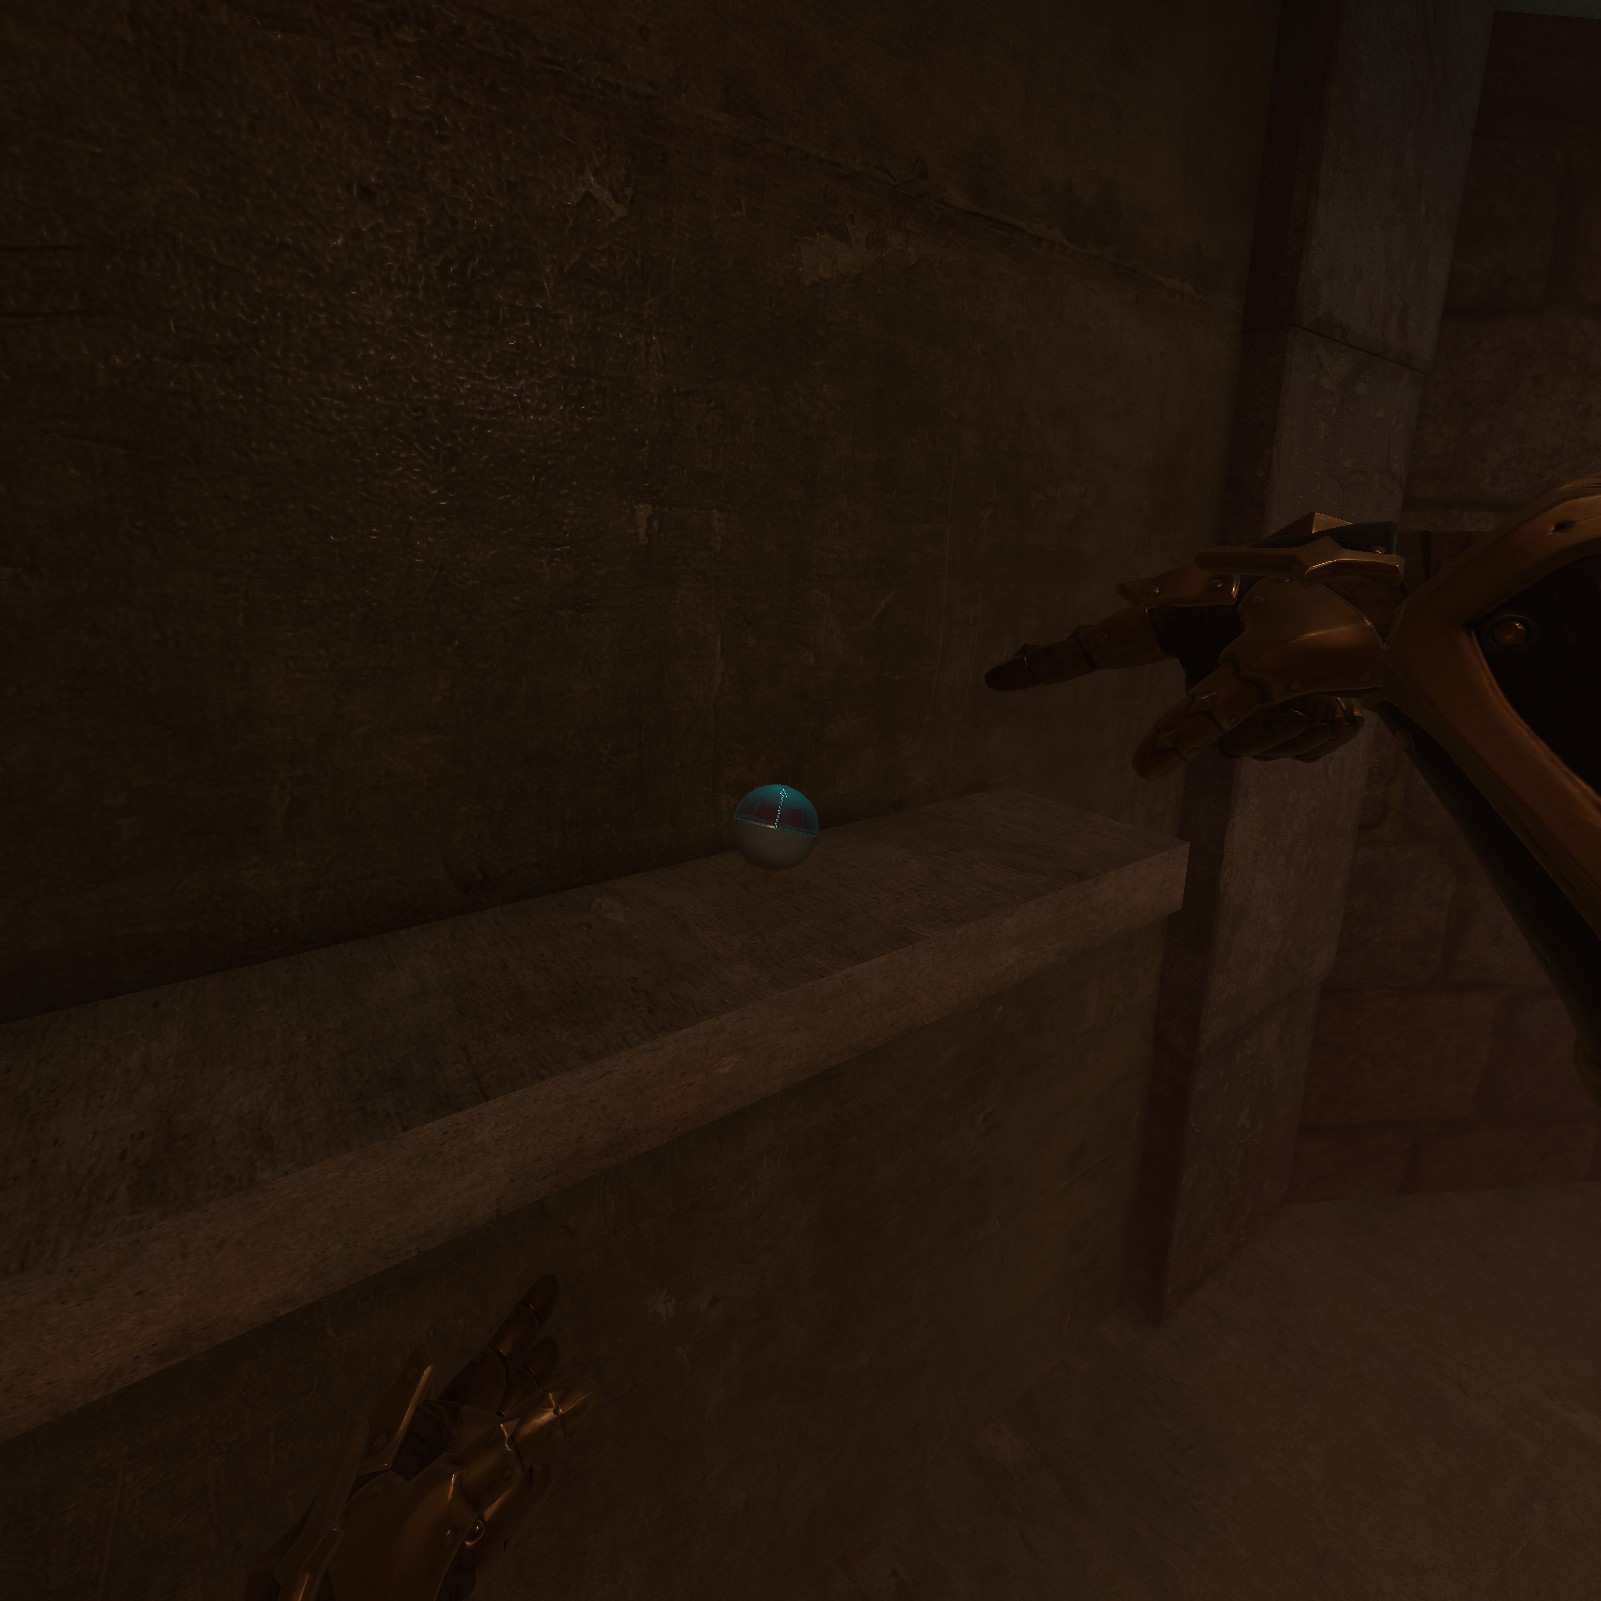
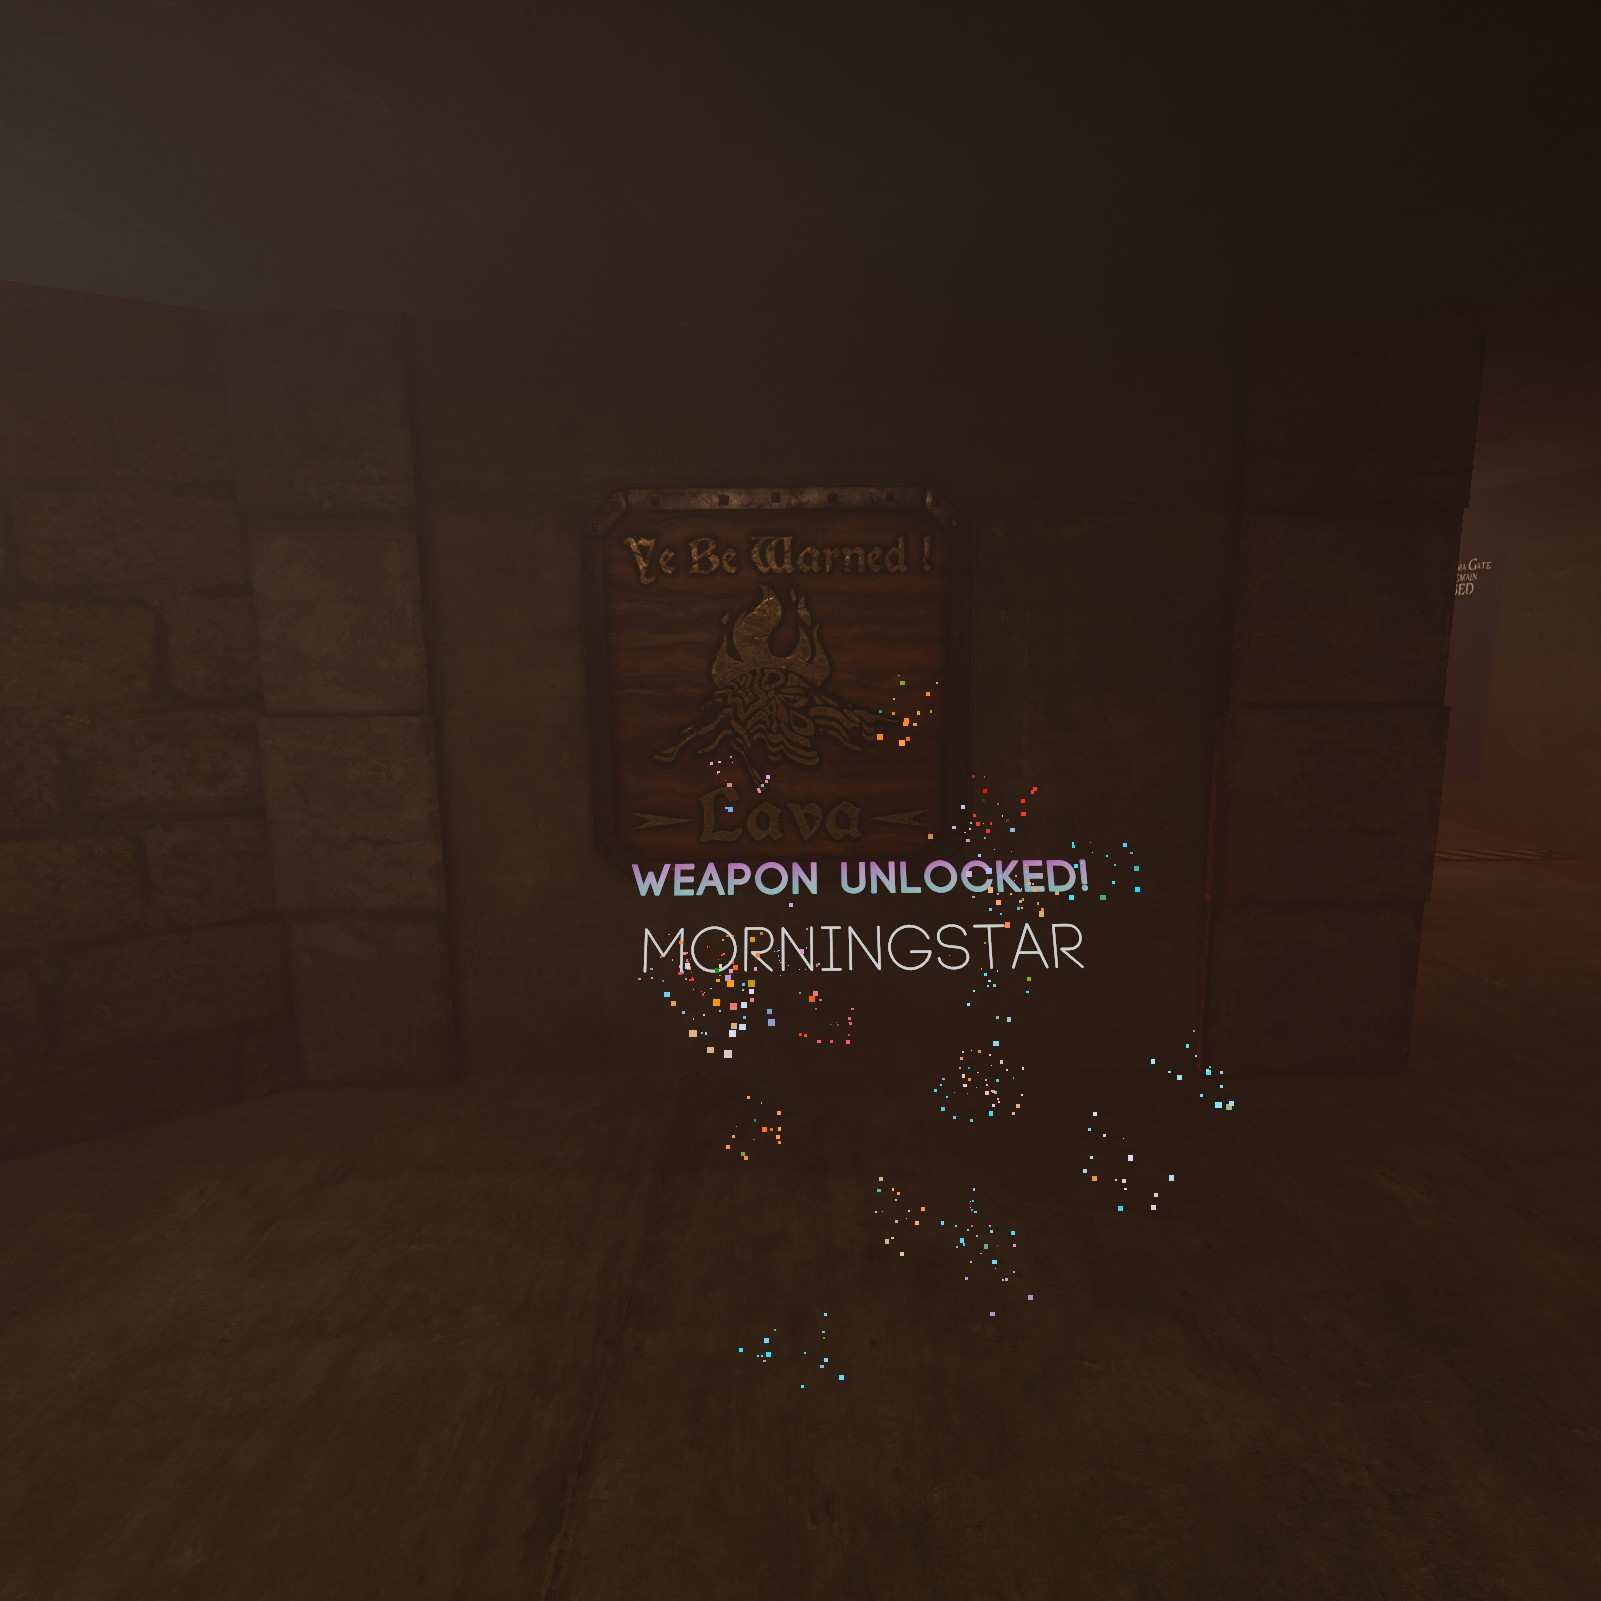
Morningstar:
Before you go smash heads, smash the radio to find its been hiding morningstar from you.

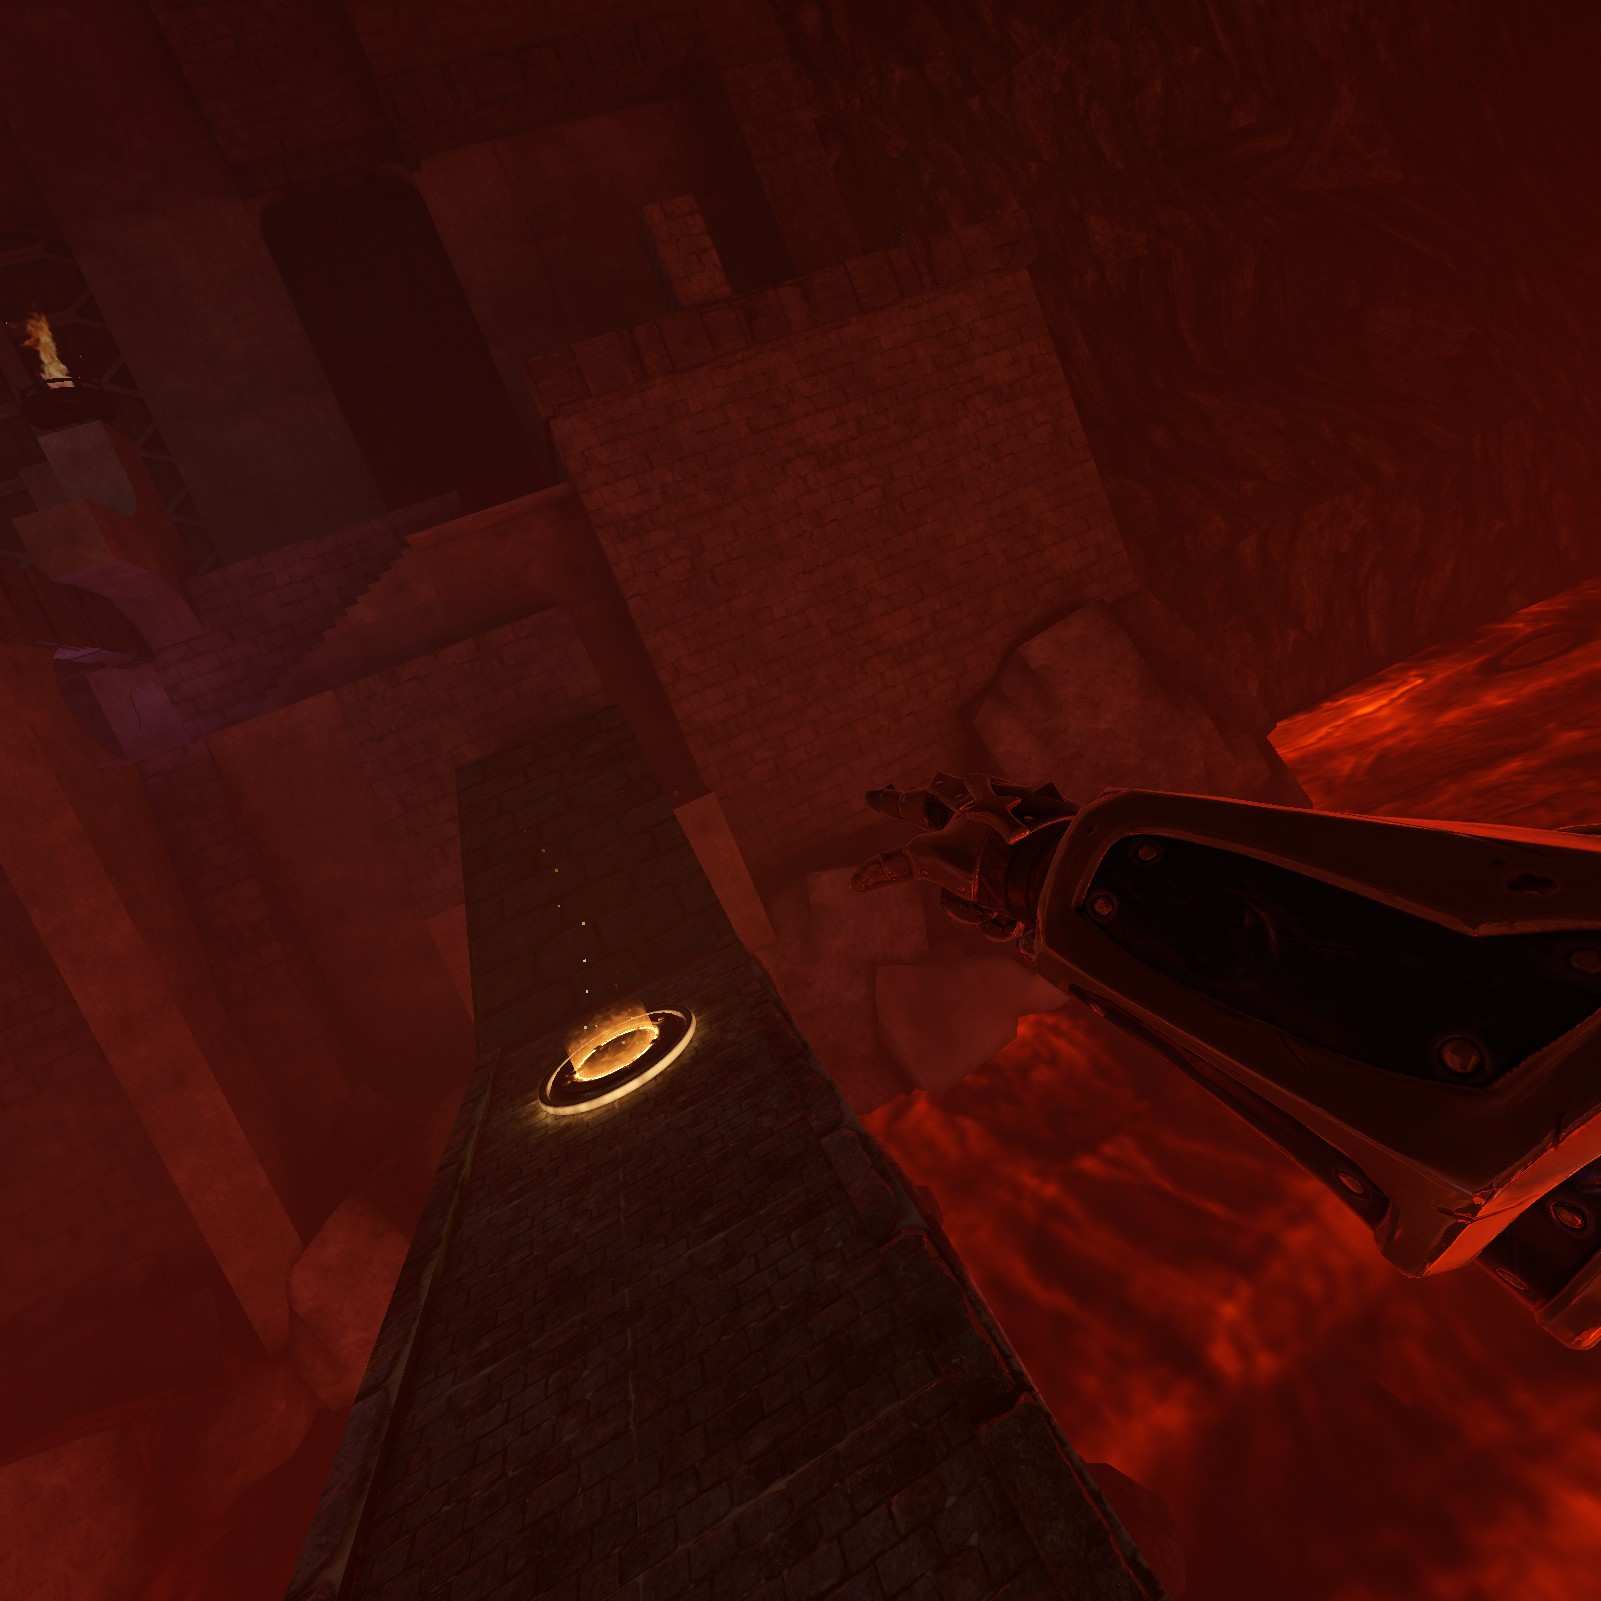
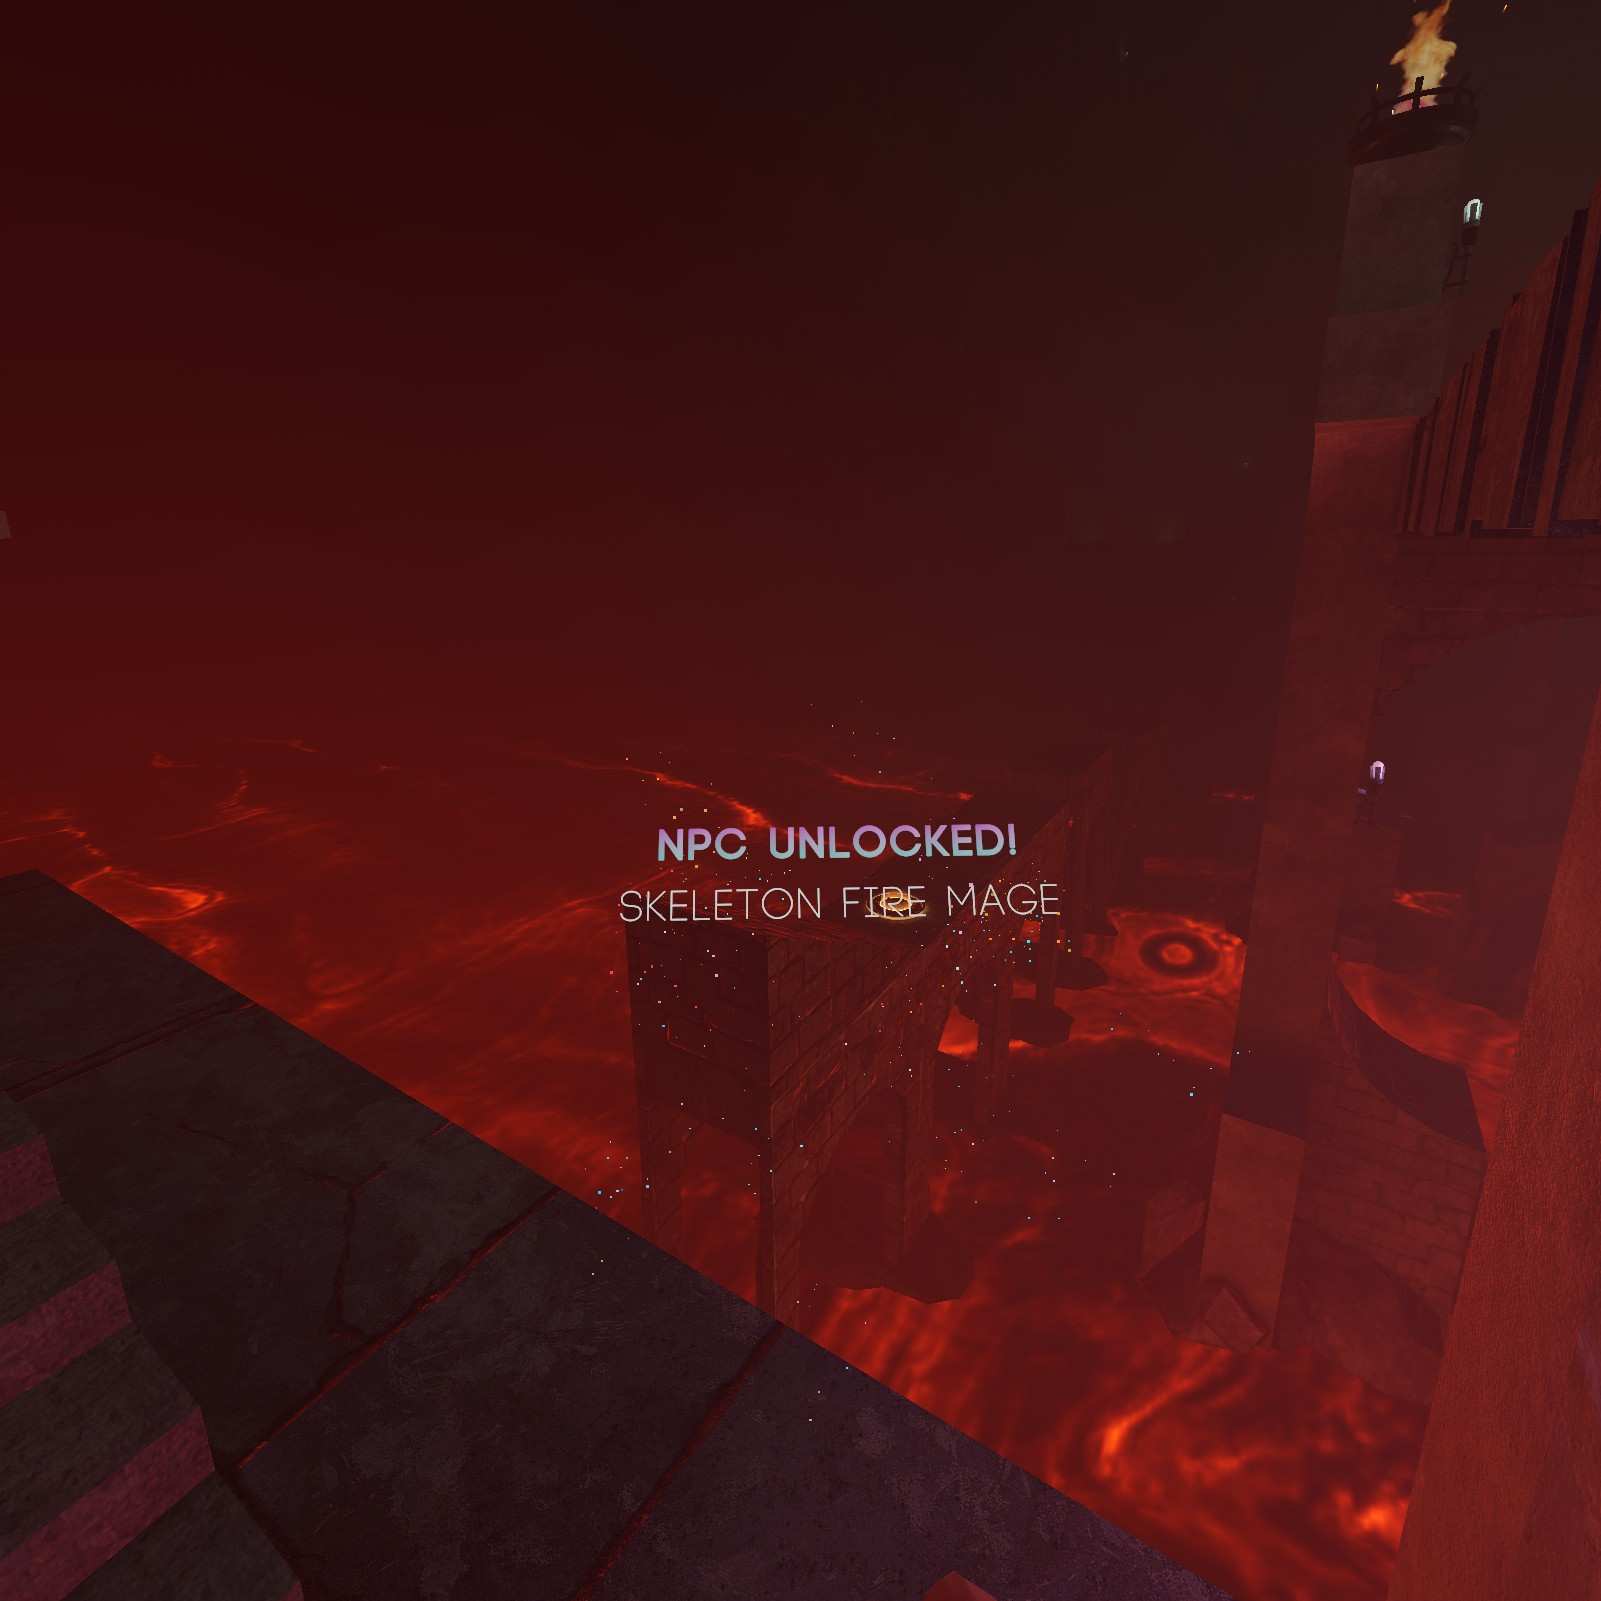
Skeleton Fire Mage:
On the other side of the bridge on the right there’s a skeleton mage capsule in this nook, careful you don’t fall in the lava or you’ll need to restart the level.

Bastard Sword:
Near this capsule is a launch pad. use it to reach the bastard sword capsule.


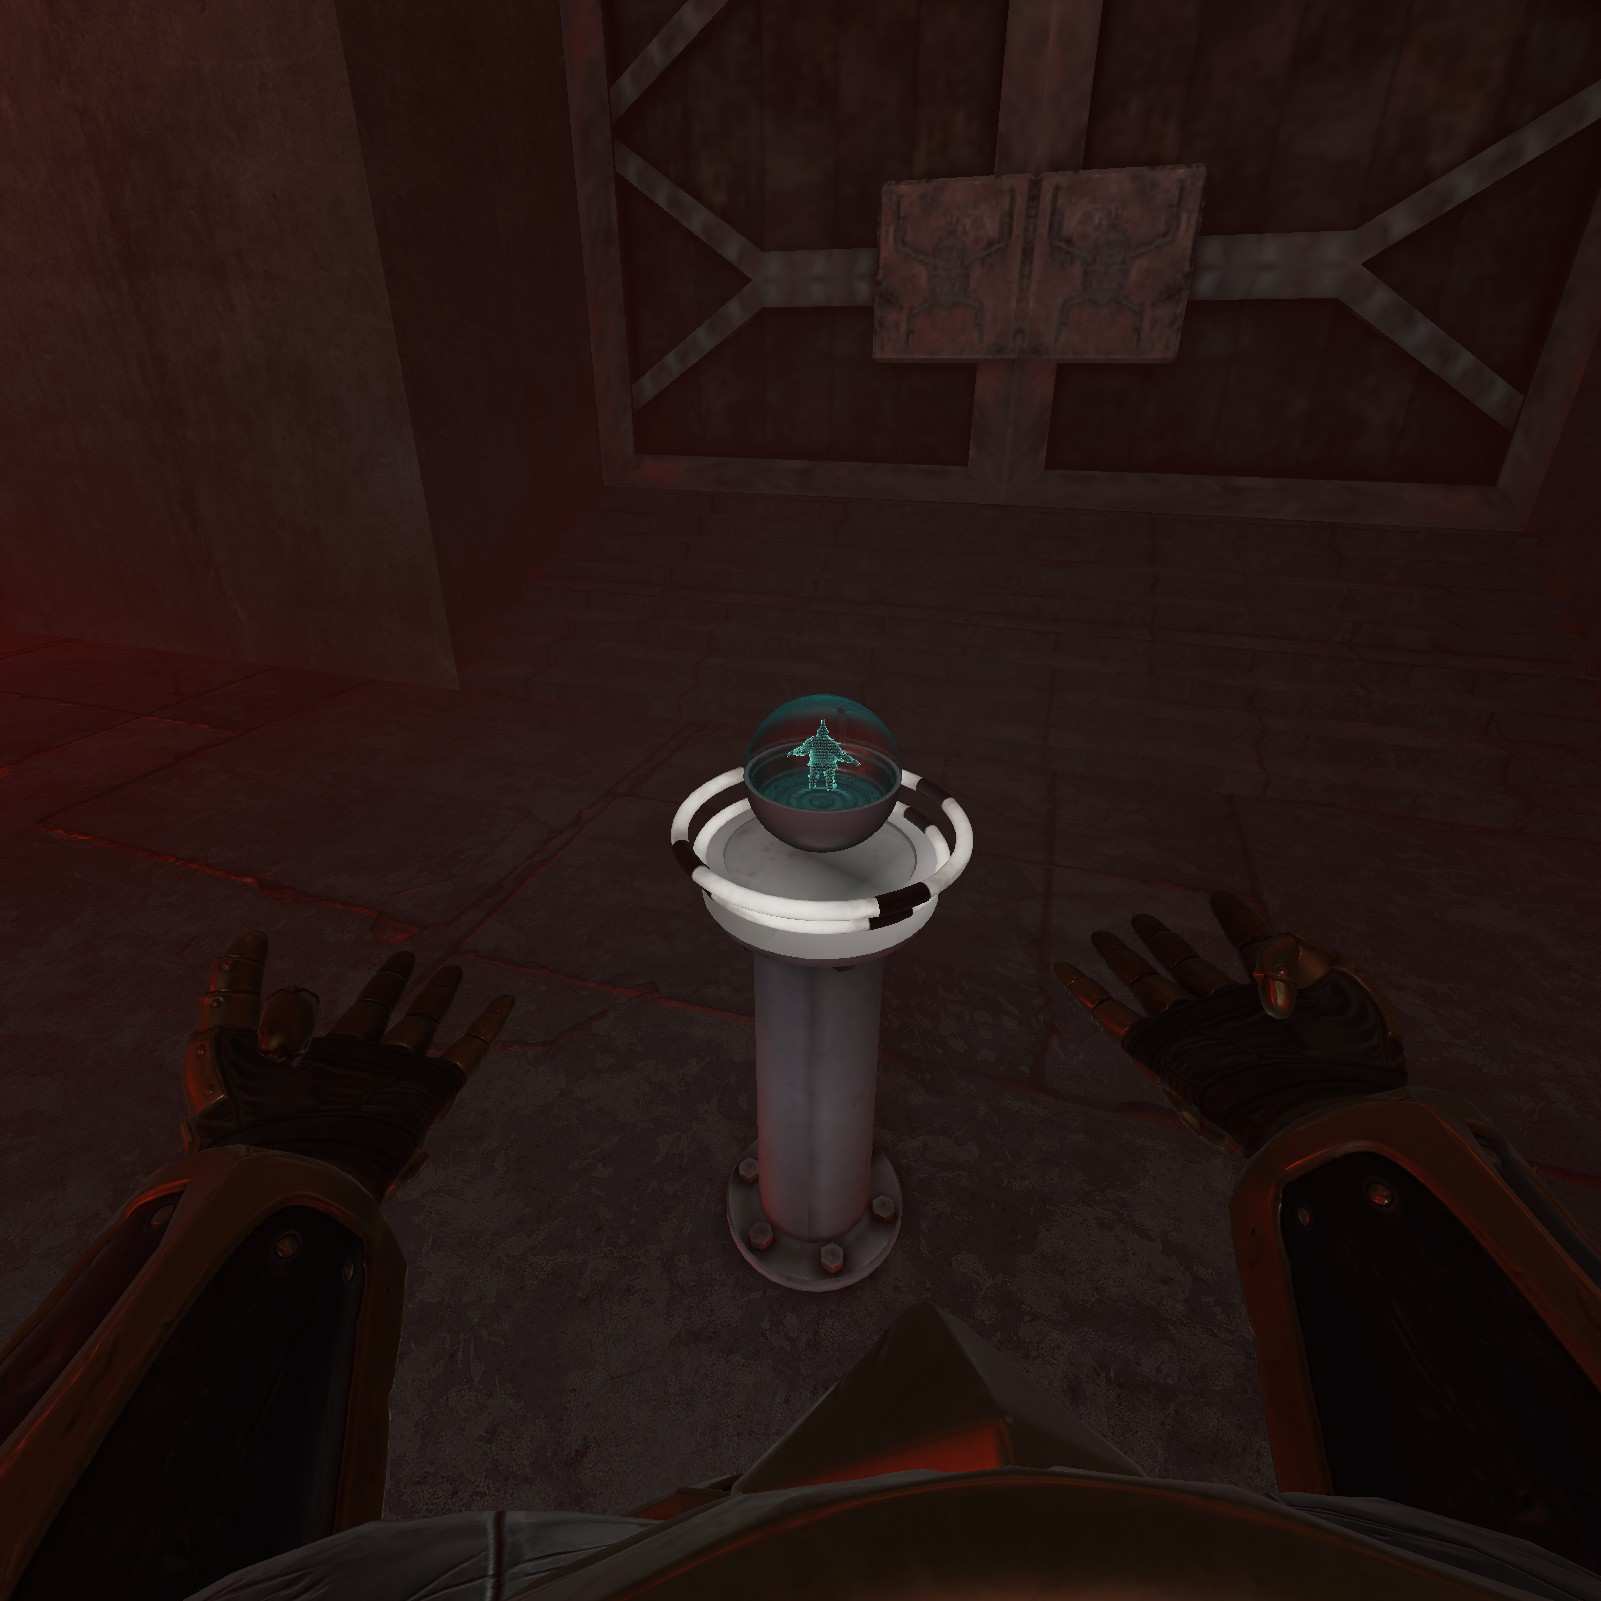
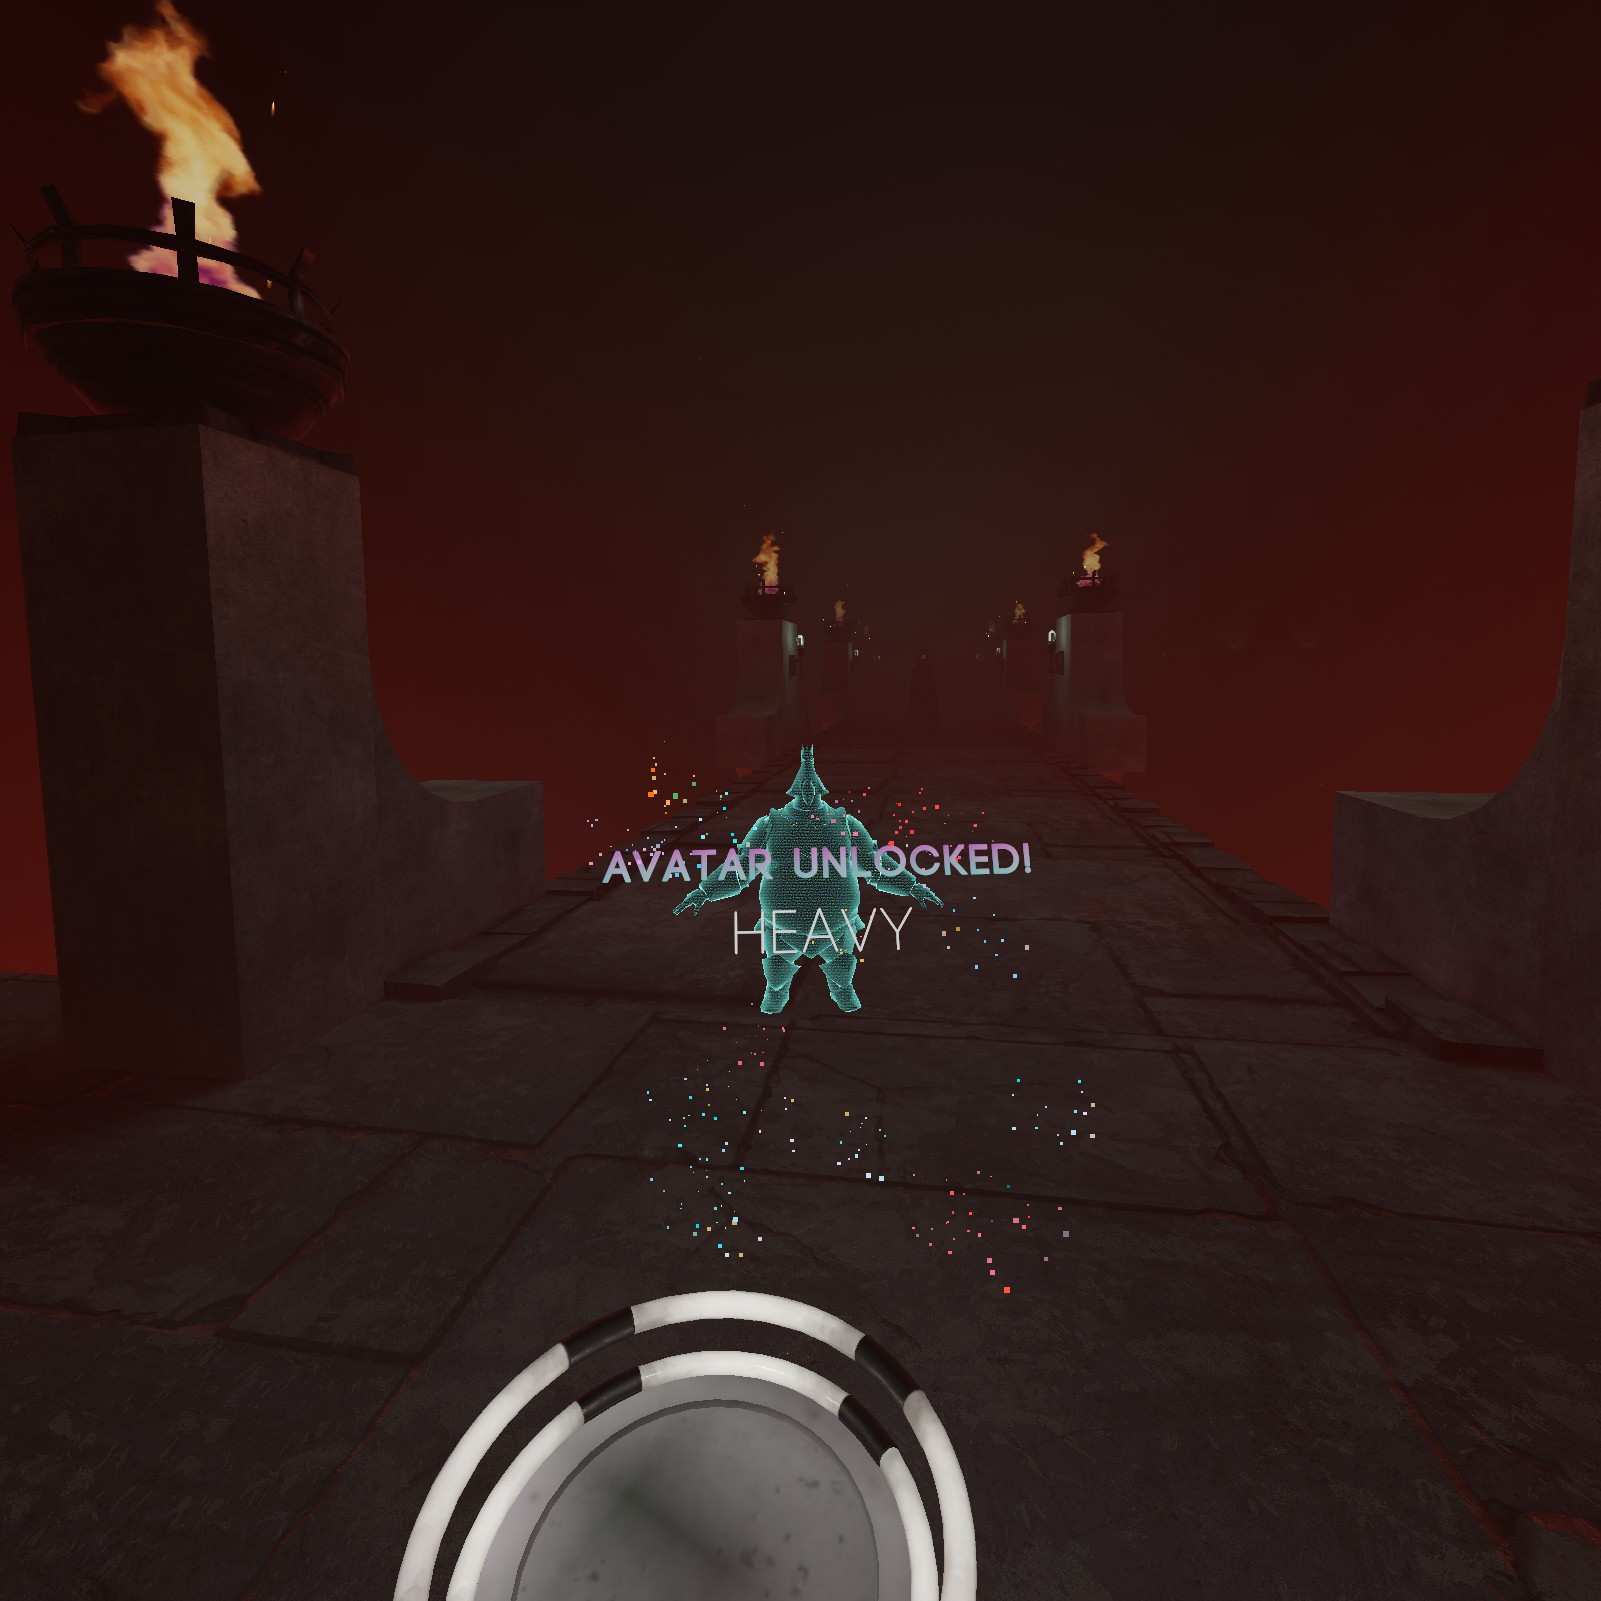
Heavy:
Heavy is pretty good, you get to mess around with heavy objects you wouldn’t normally be able to move easily.
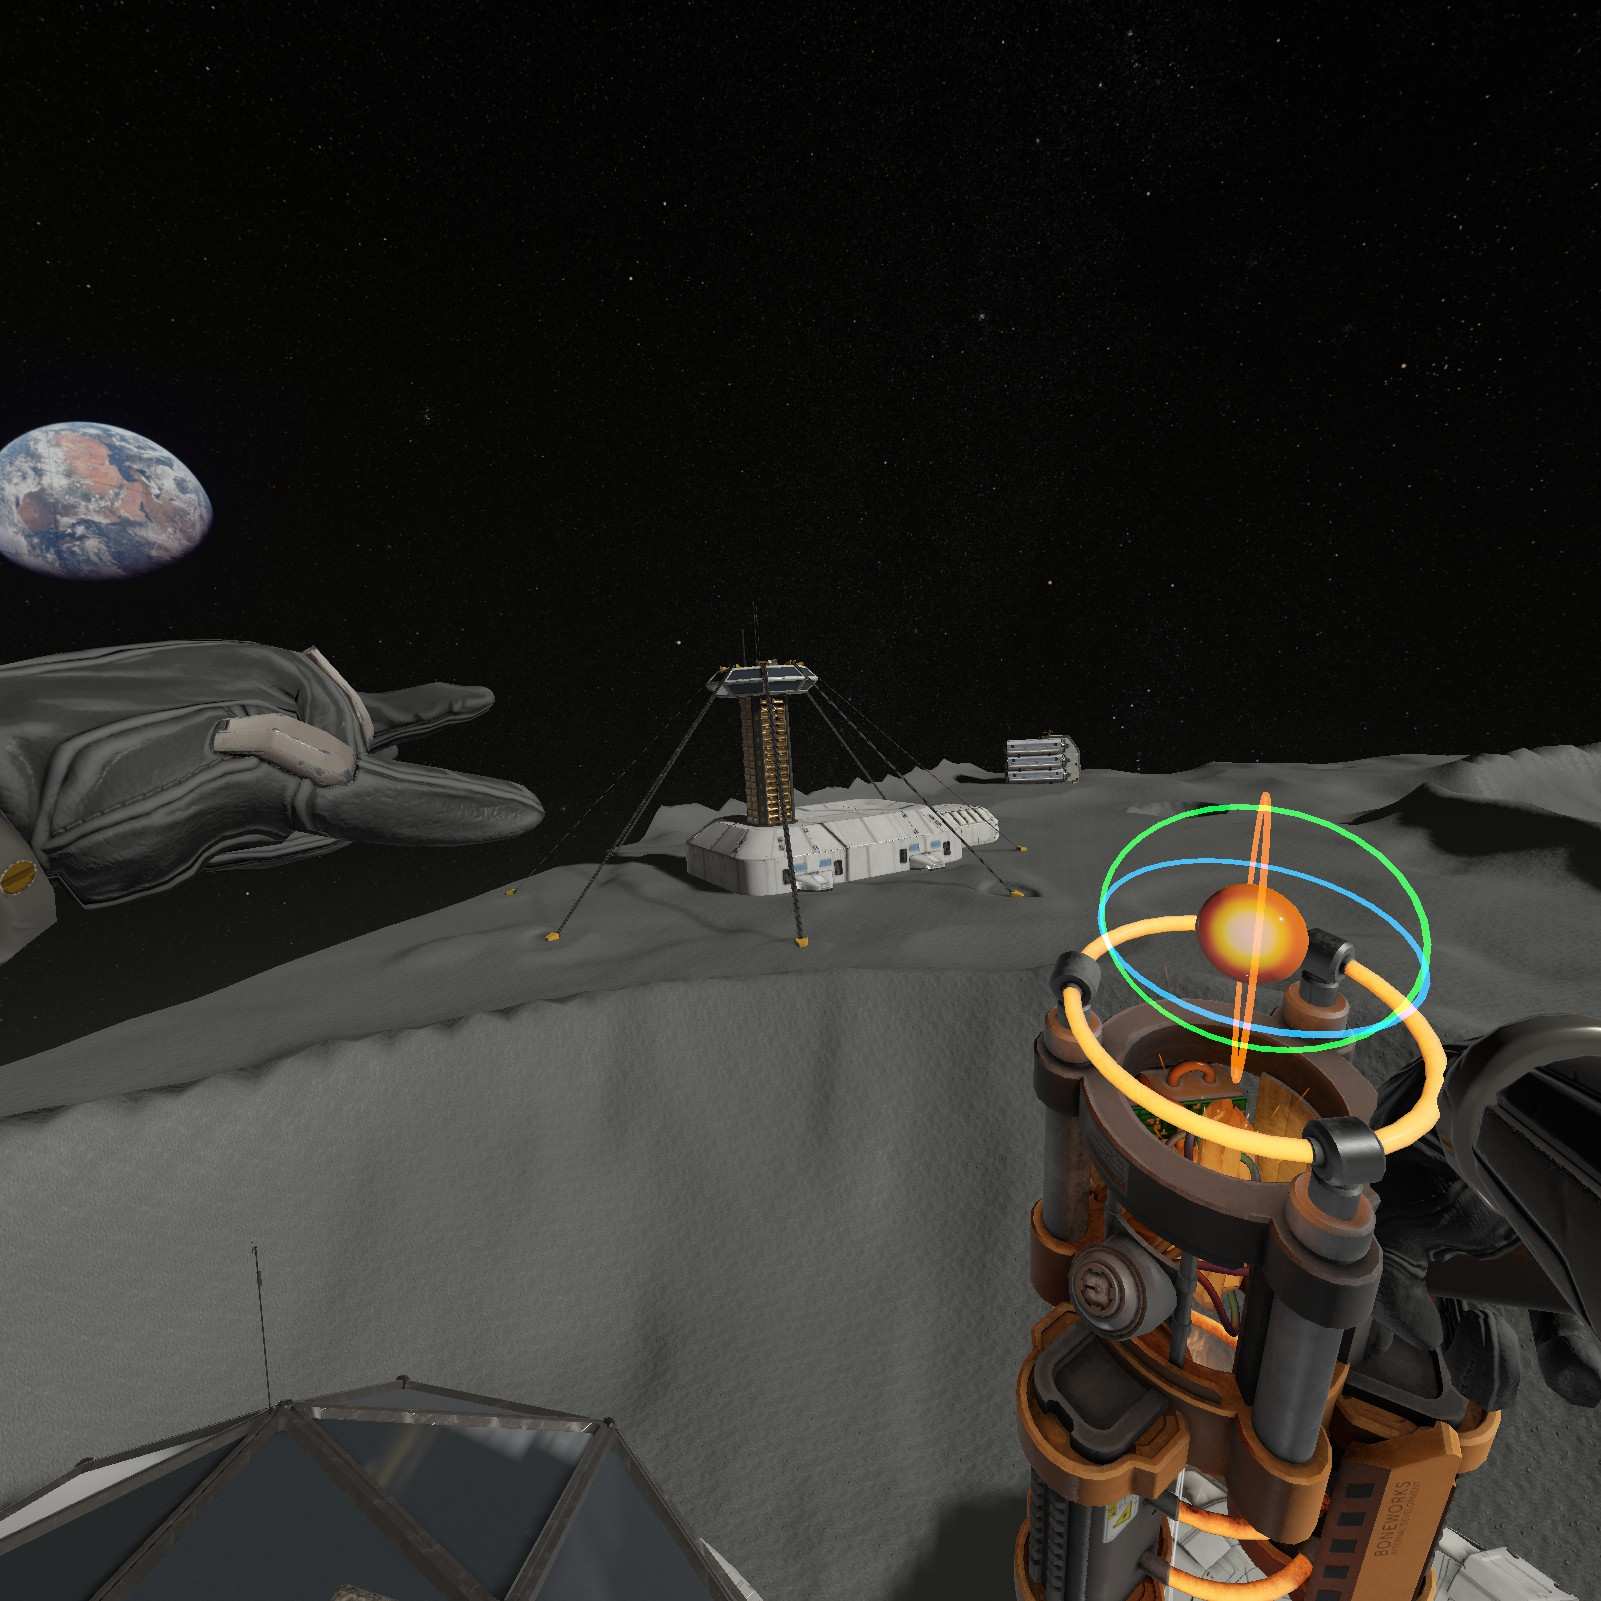
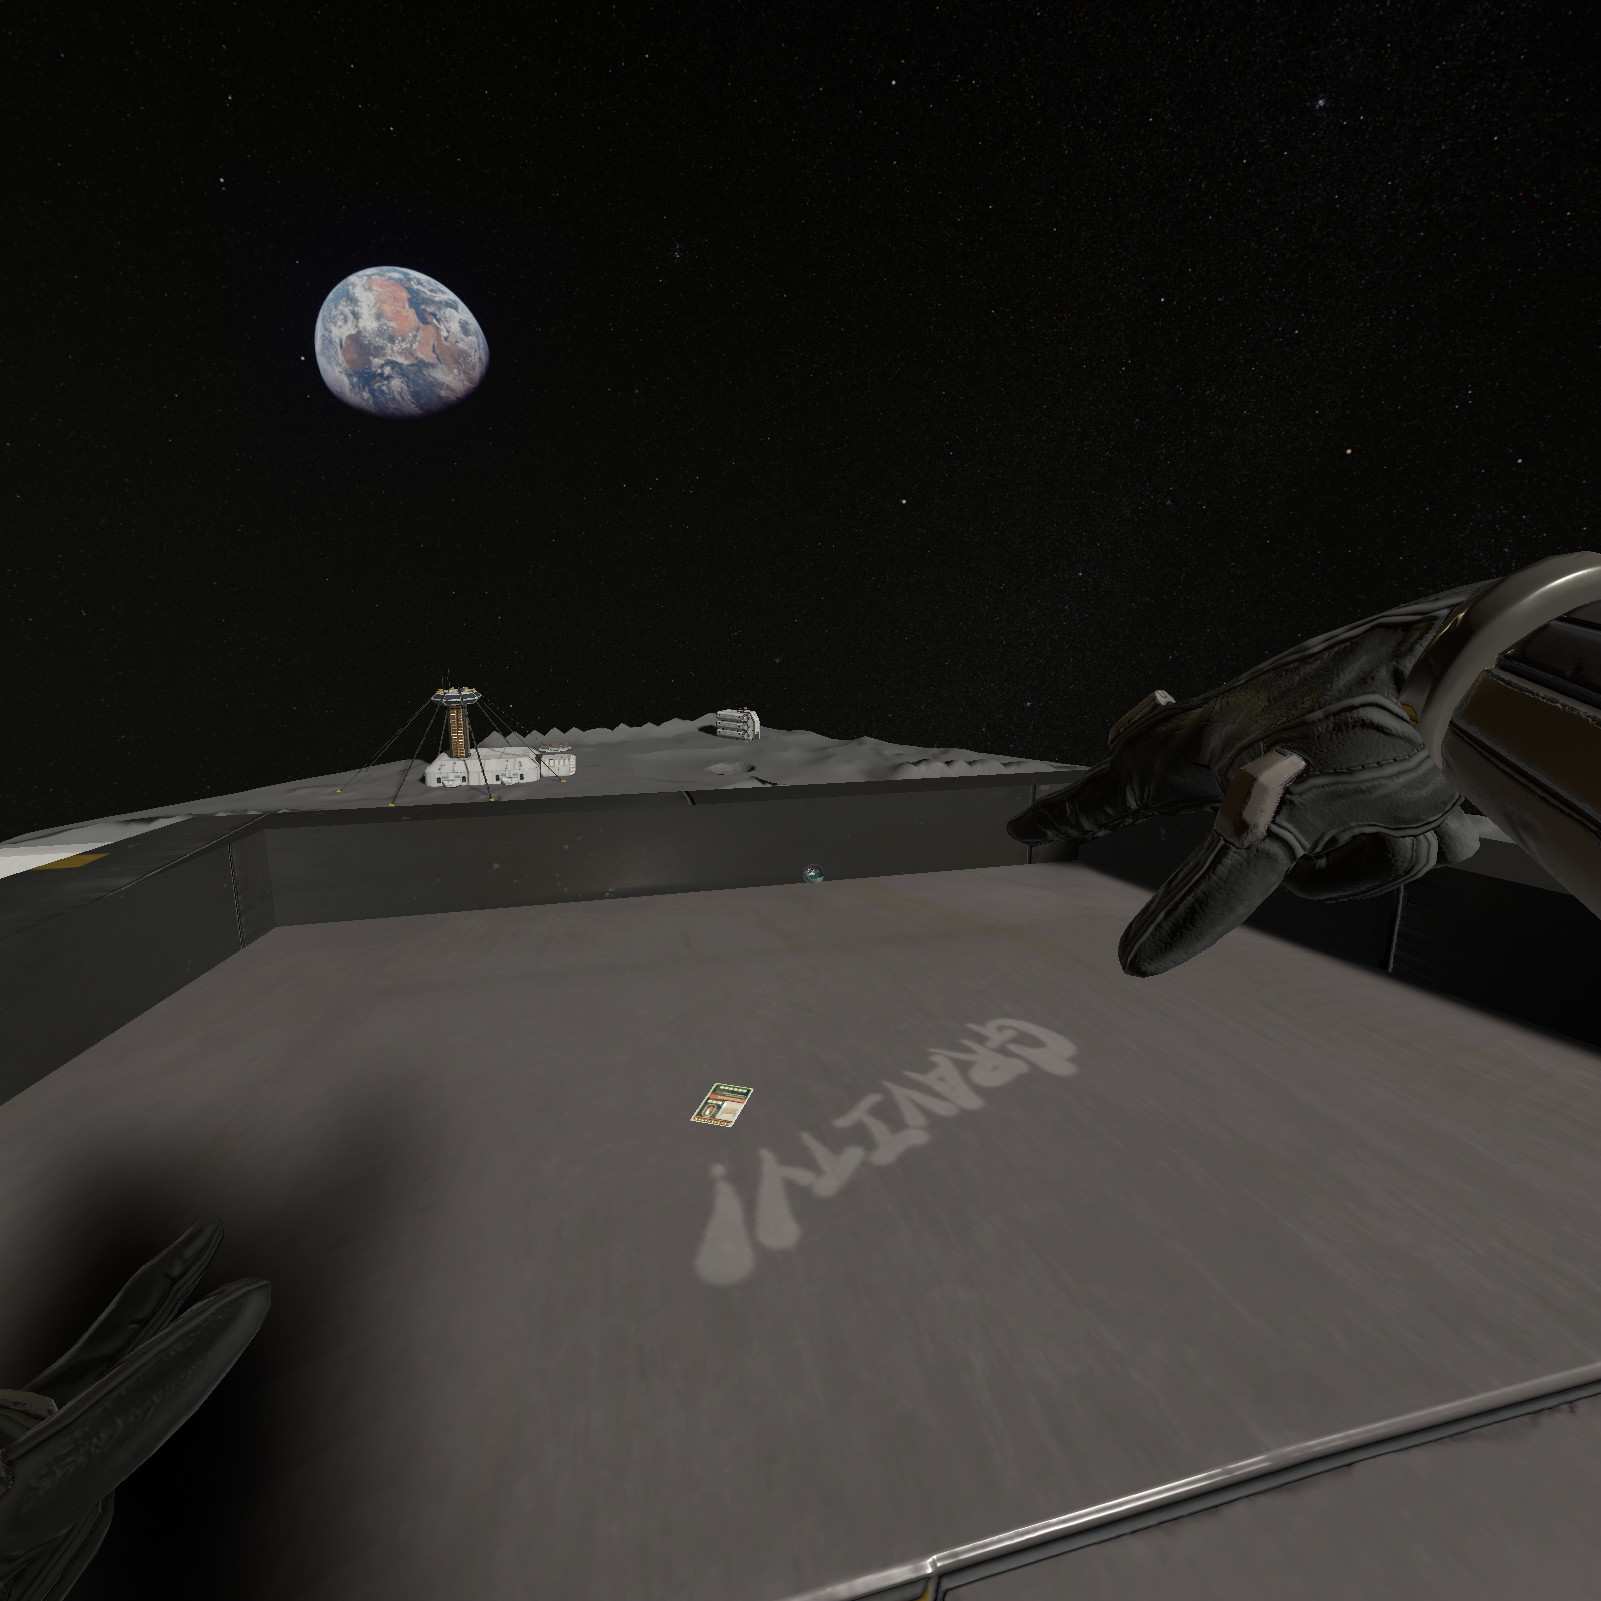
Moon Base
Now if you’ve collected everything thus far, I’d recommend spawning a concrete barrier and the dev manipulator to move around this level quicker.
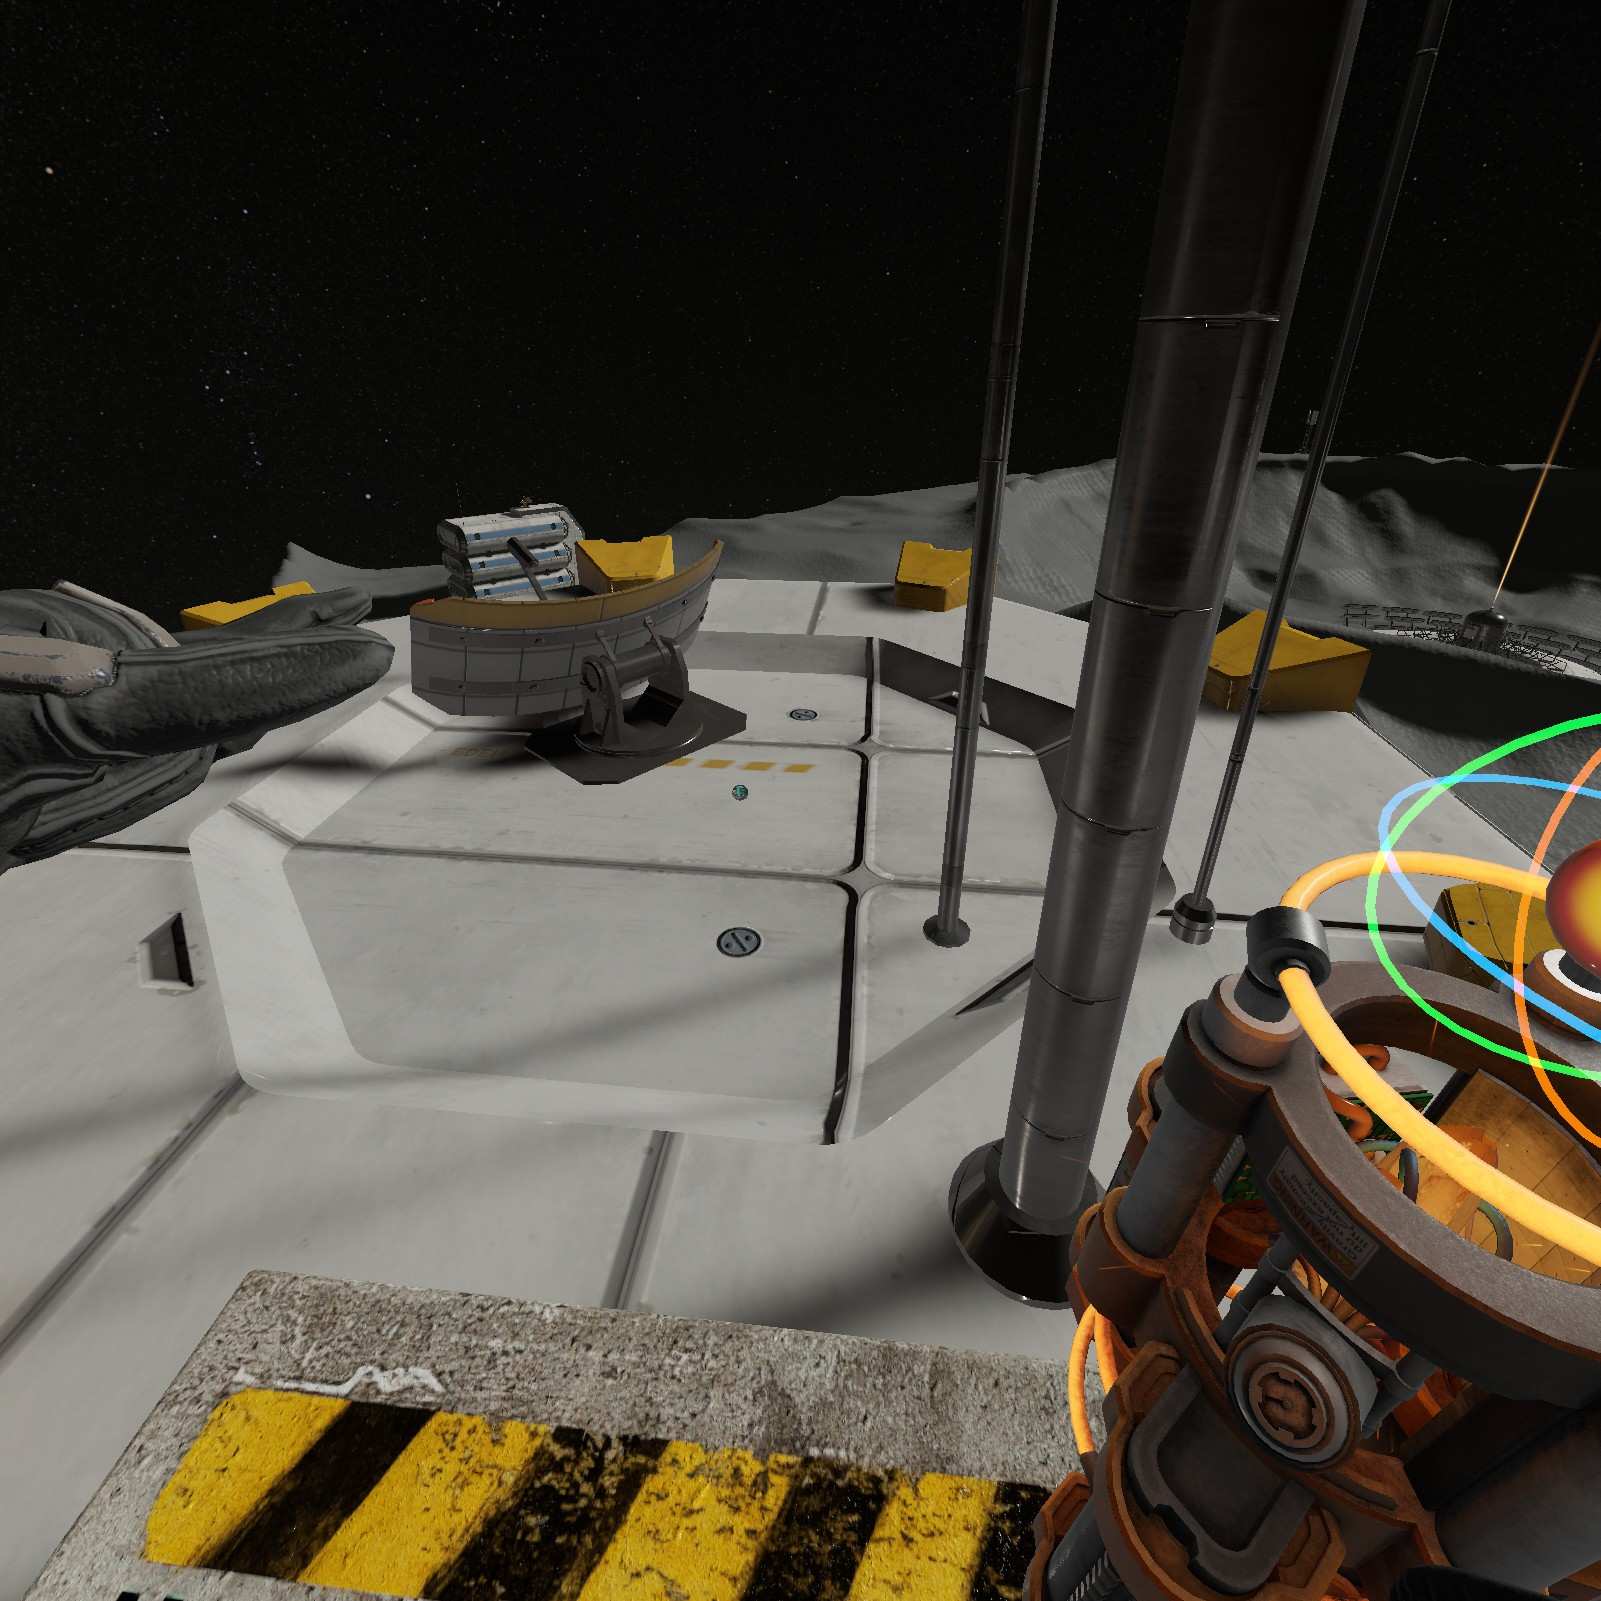
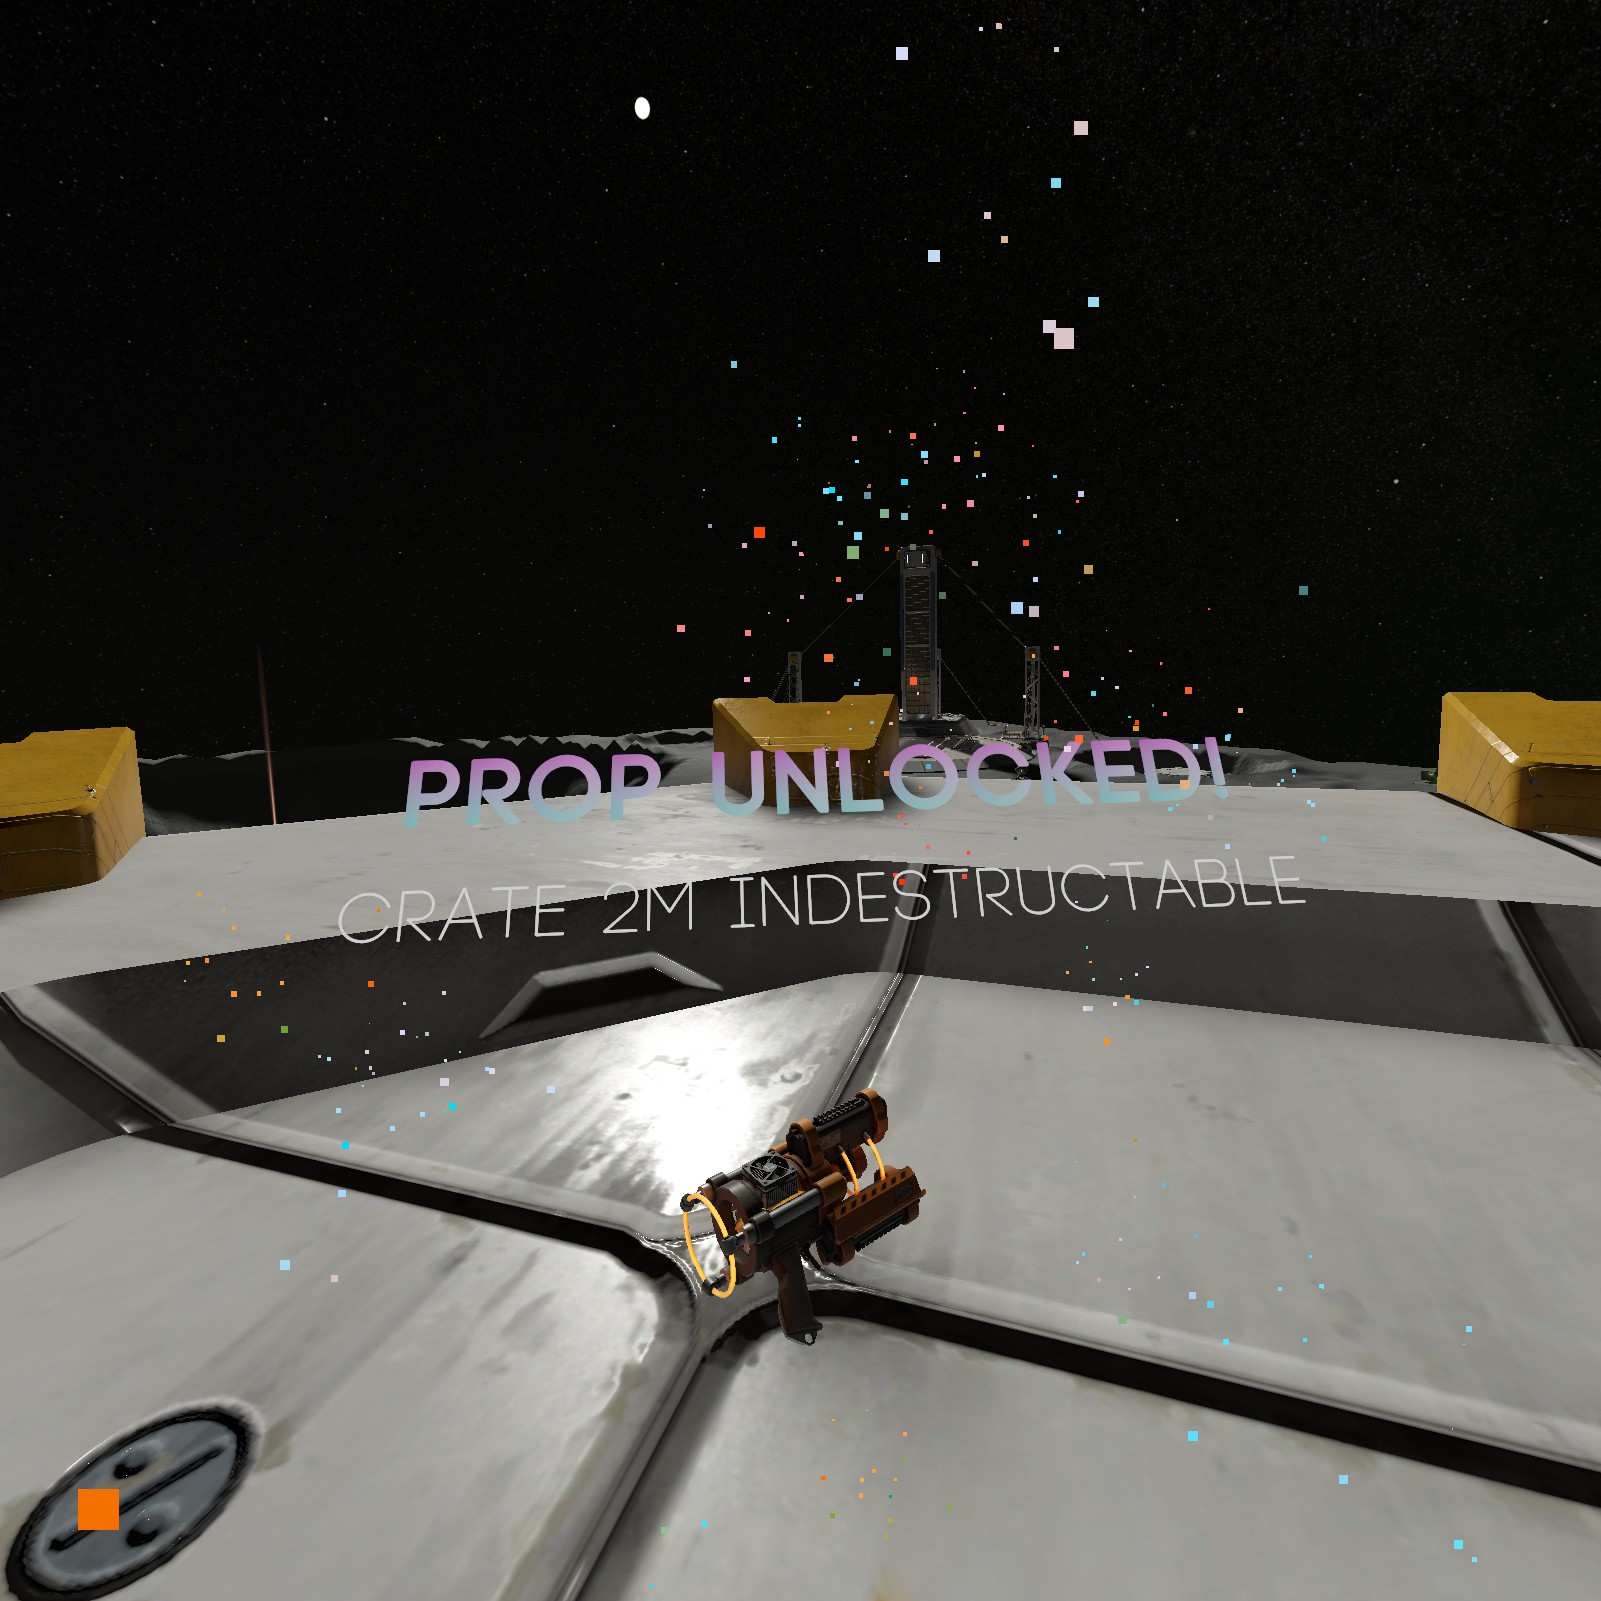
Crate 2M Indestructible:
First we’re flying to this tower for the Crate 2M Indestructible for when you need more crate from your indestructible.
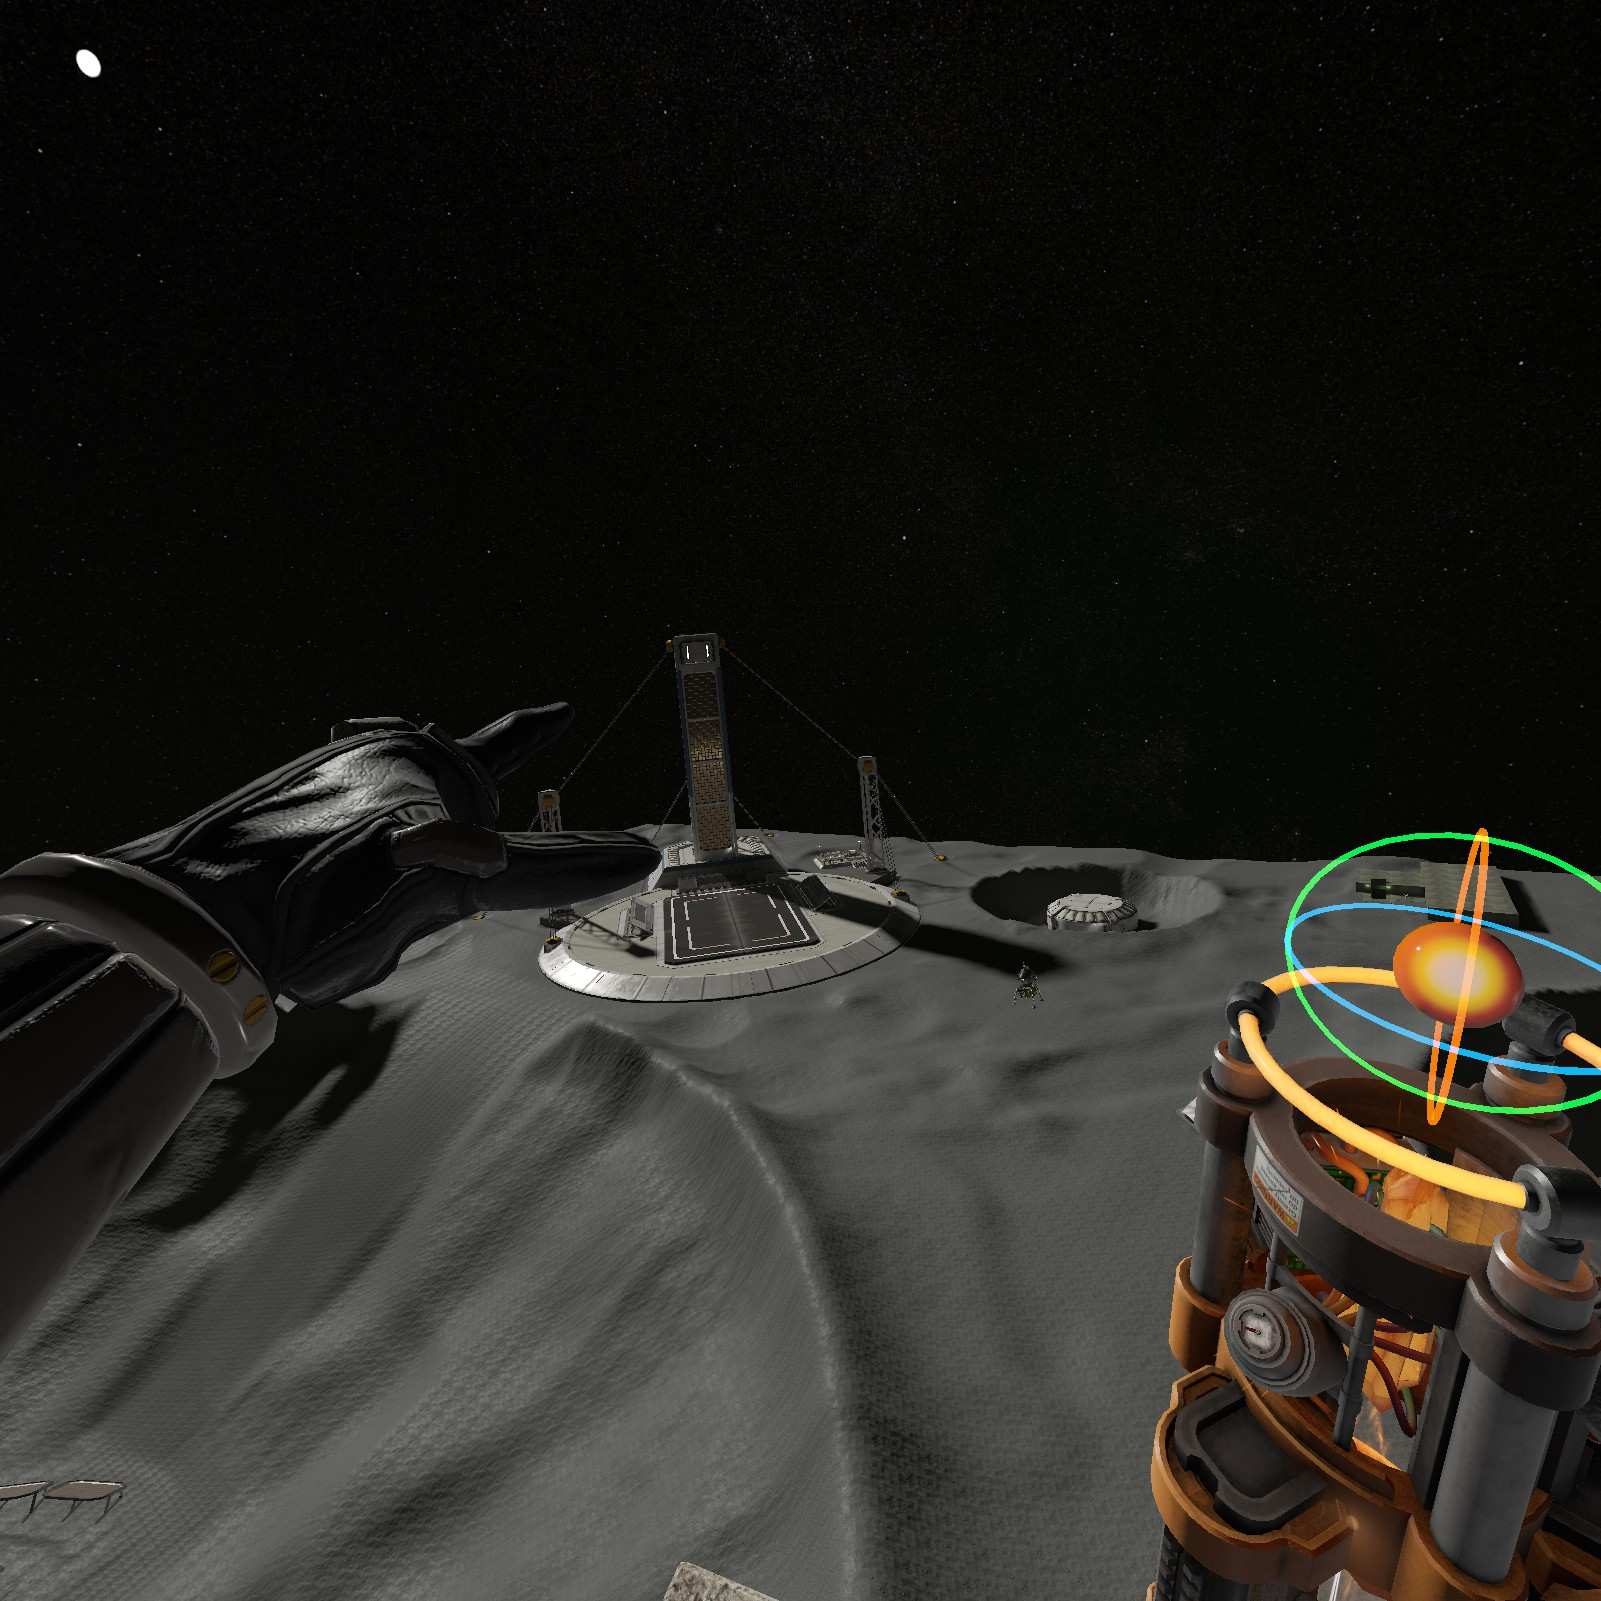
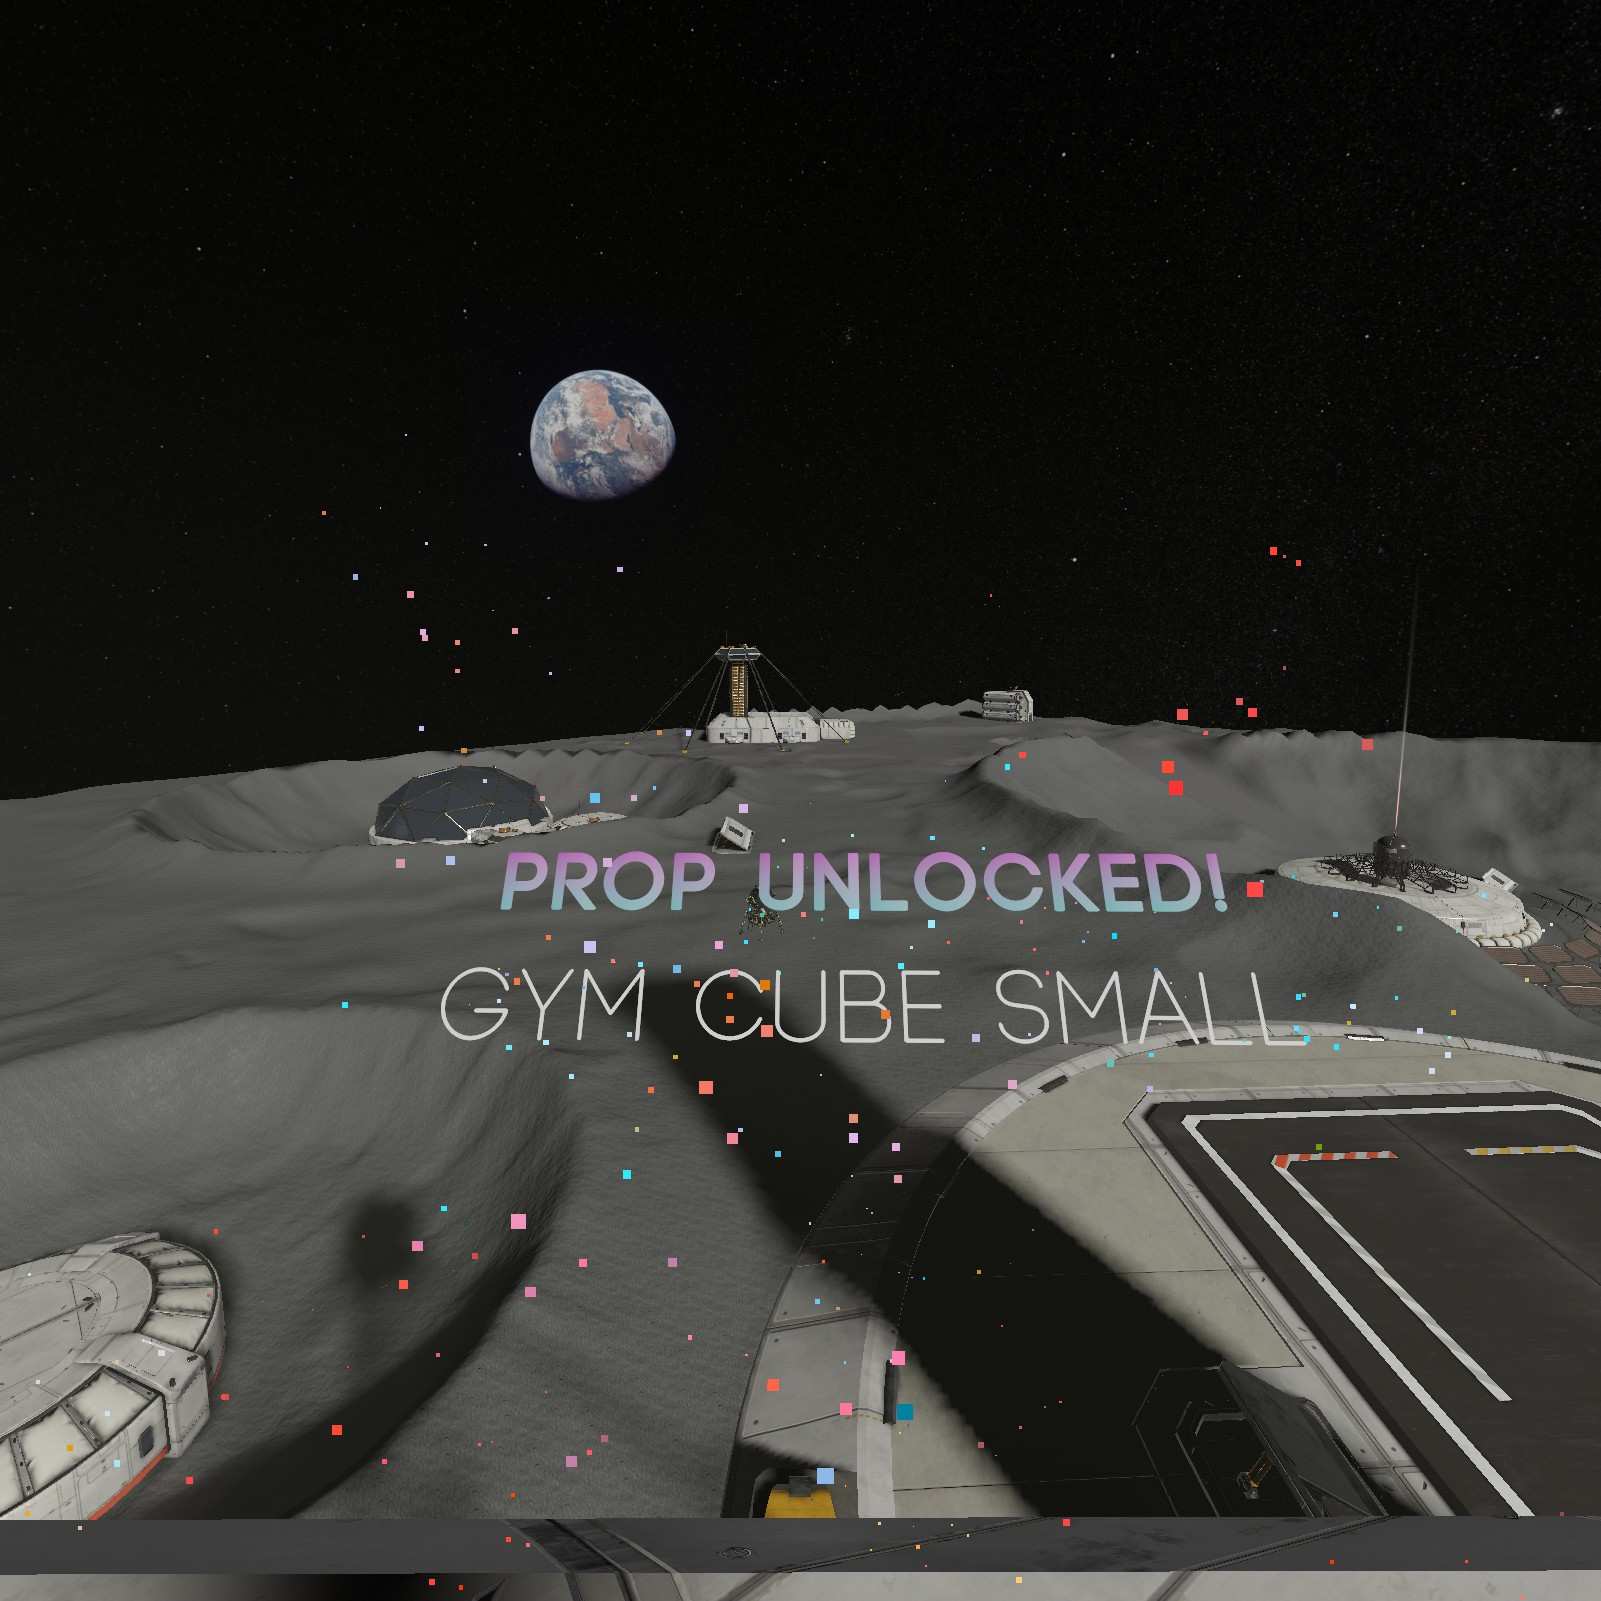
Gym Cube Small:
Next we are flying to this tower, but not the tall one even though it has a dev card. Instead we need to carefully lose control of our flying machine and climb up this smaller tower for my favorite shape the Gym Cube Small.

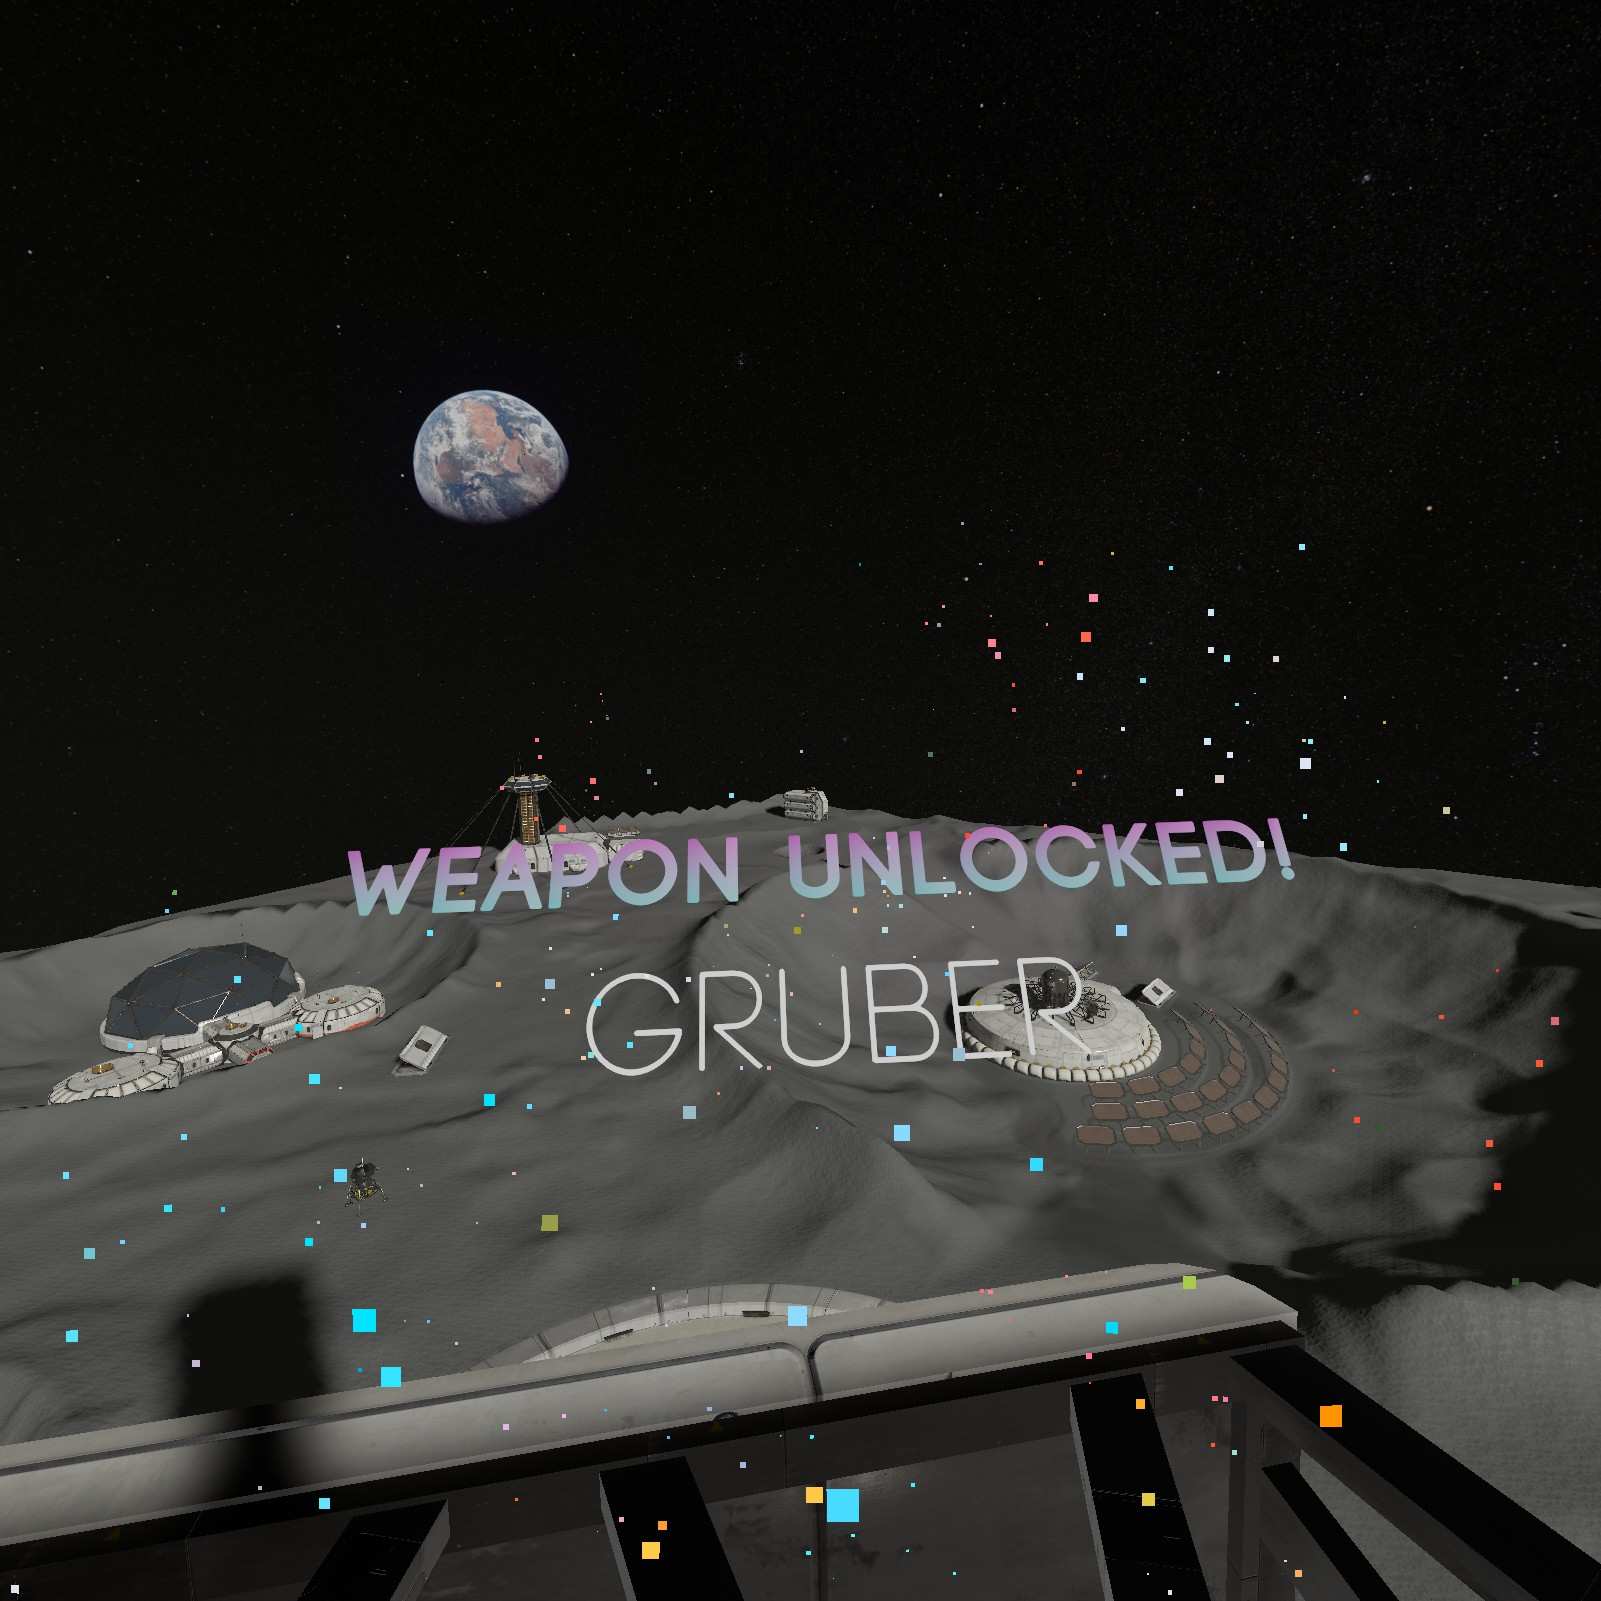
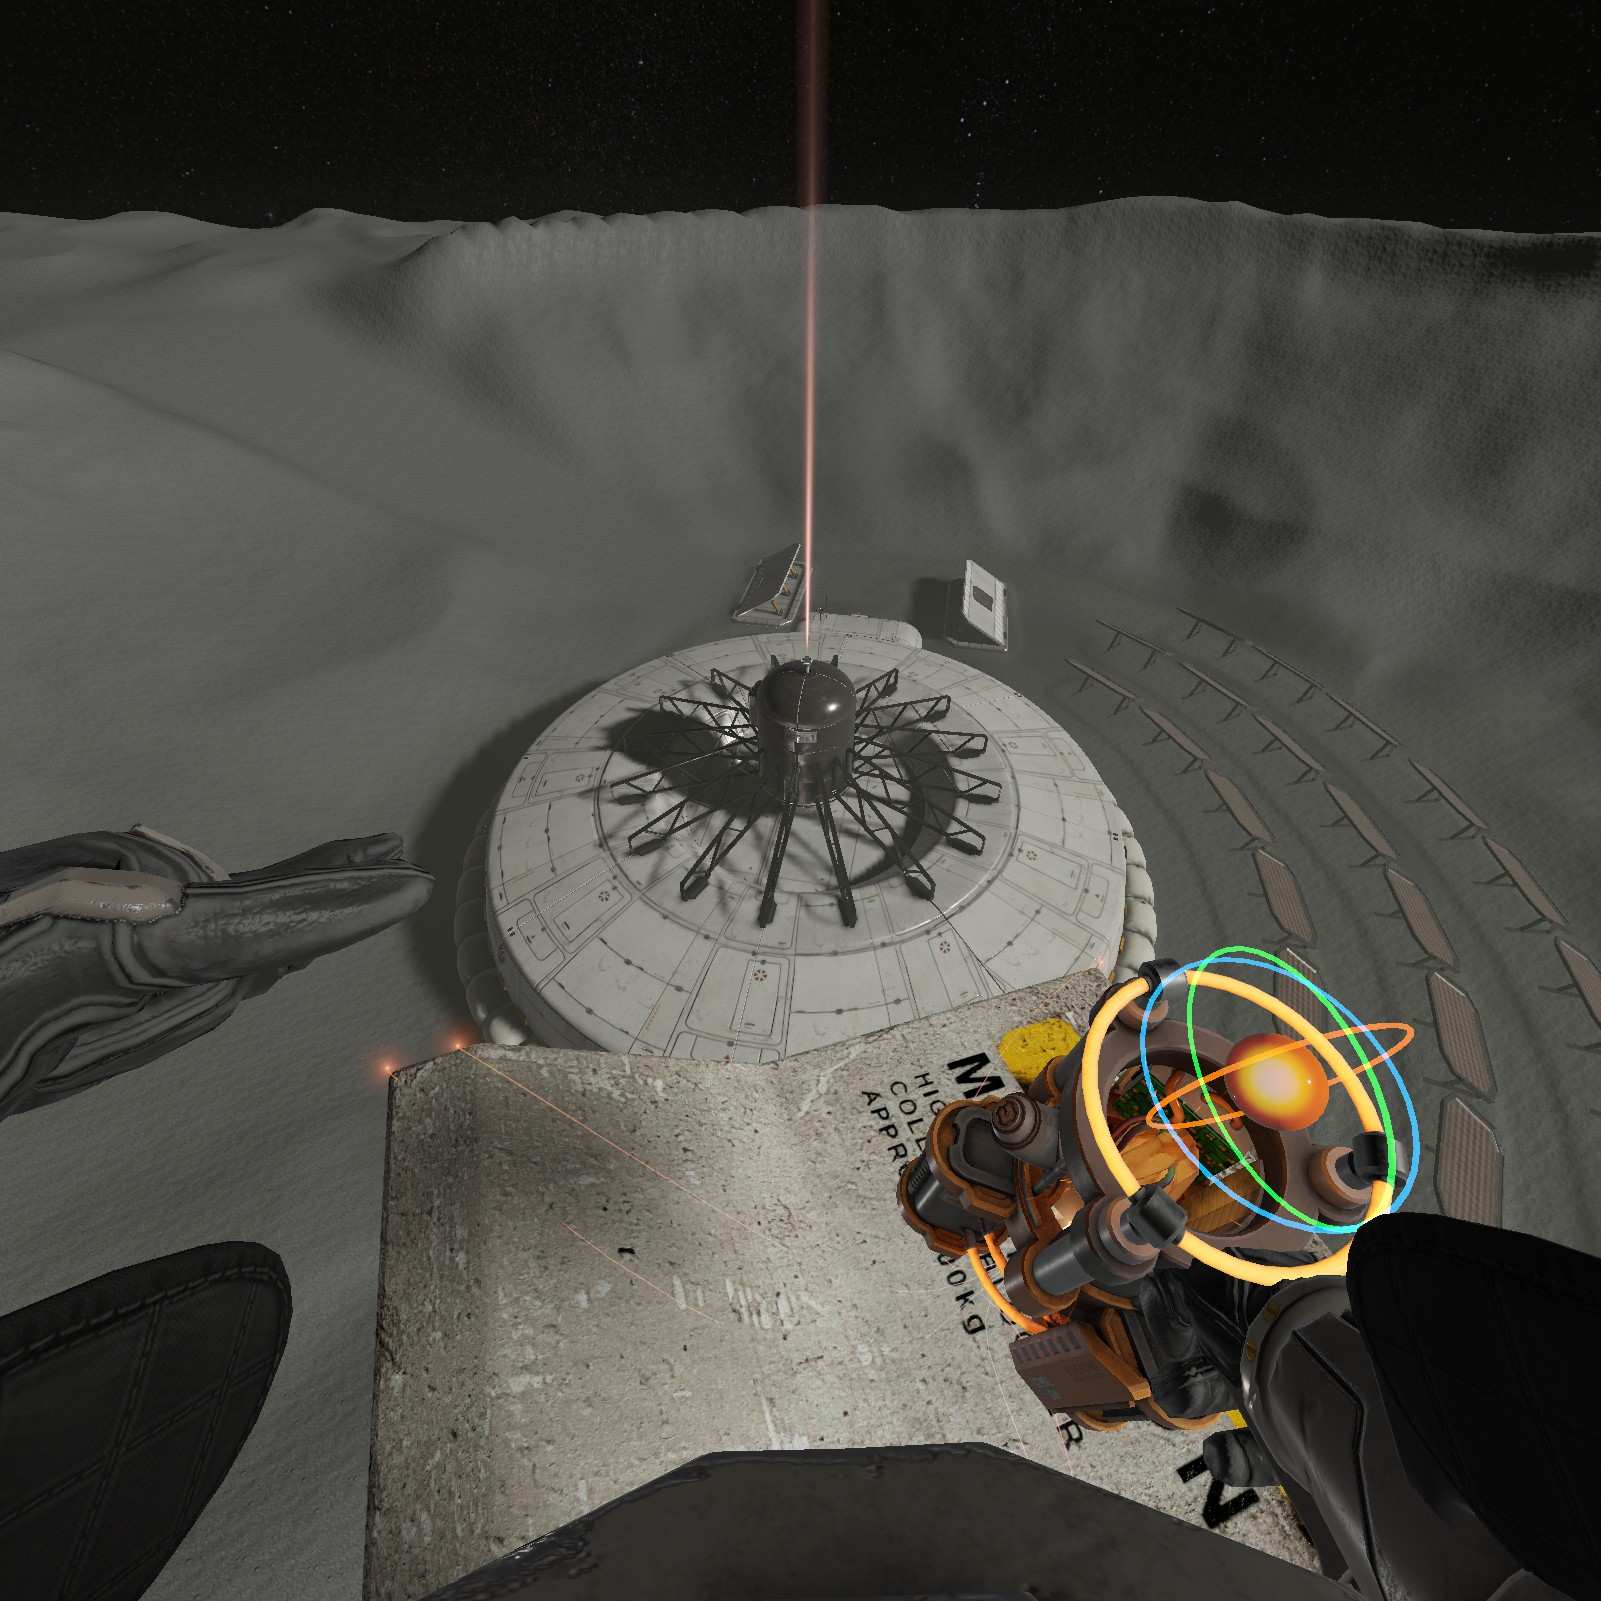
Gluber:
Did I say we weren’t going to the top of the tall tower? I lied. TotallyMad Wanted to make you suffer more in this level and found a gluber at the top near the dev card for you to climb to with your stubbly little legs. How did I miss this? I blame motion blur.
Short:
I rarely use short, I guess its strong for its size but Light just has more range of movement. Do be sure to spawn yourself a rapid fire weapon for the tower climb, you’ll need it for your sanity.

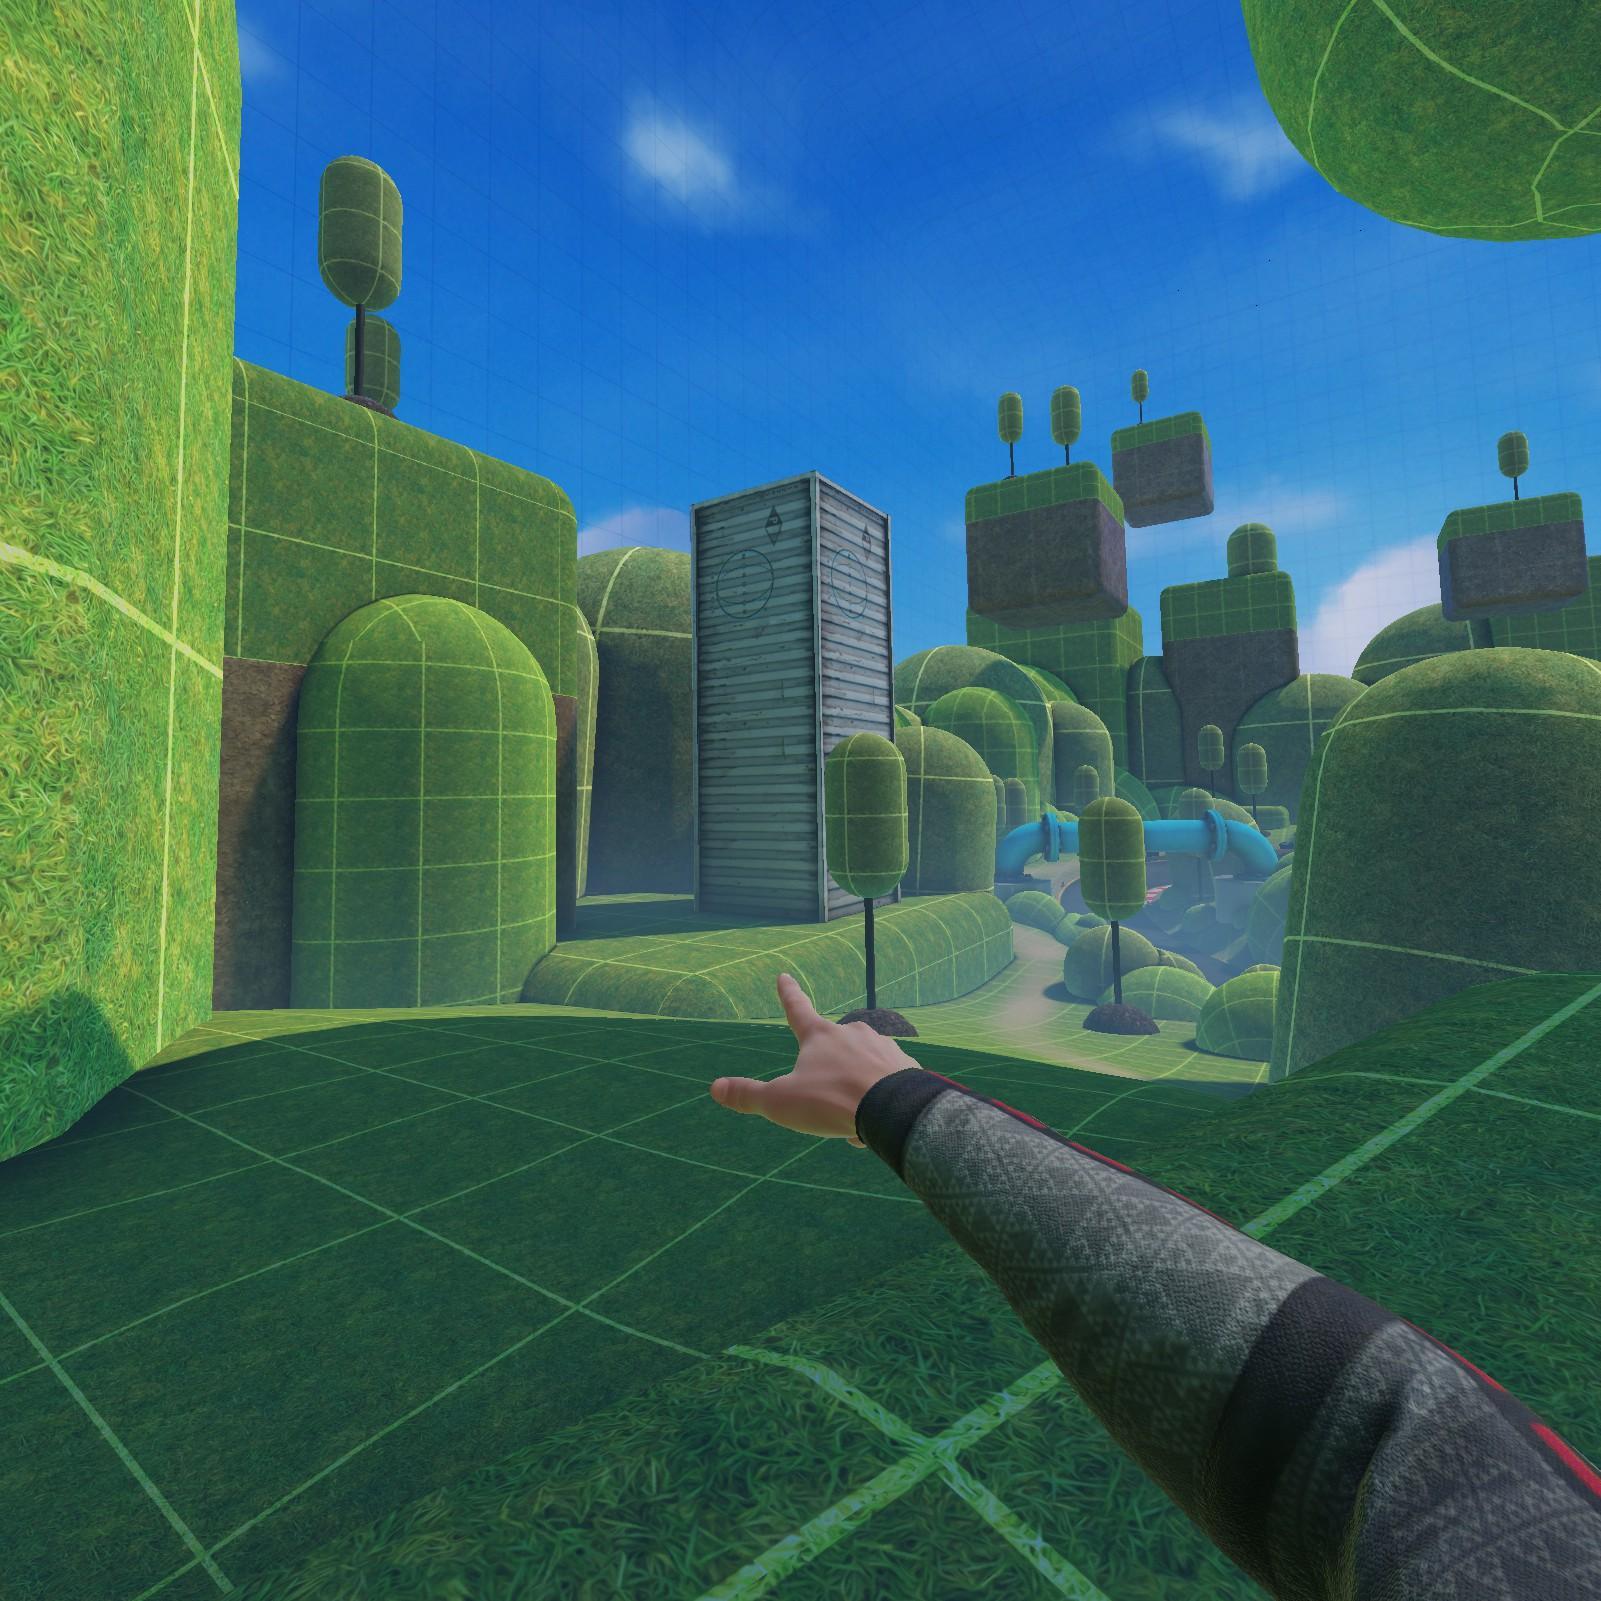
Monagon Raceway
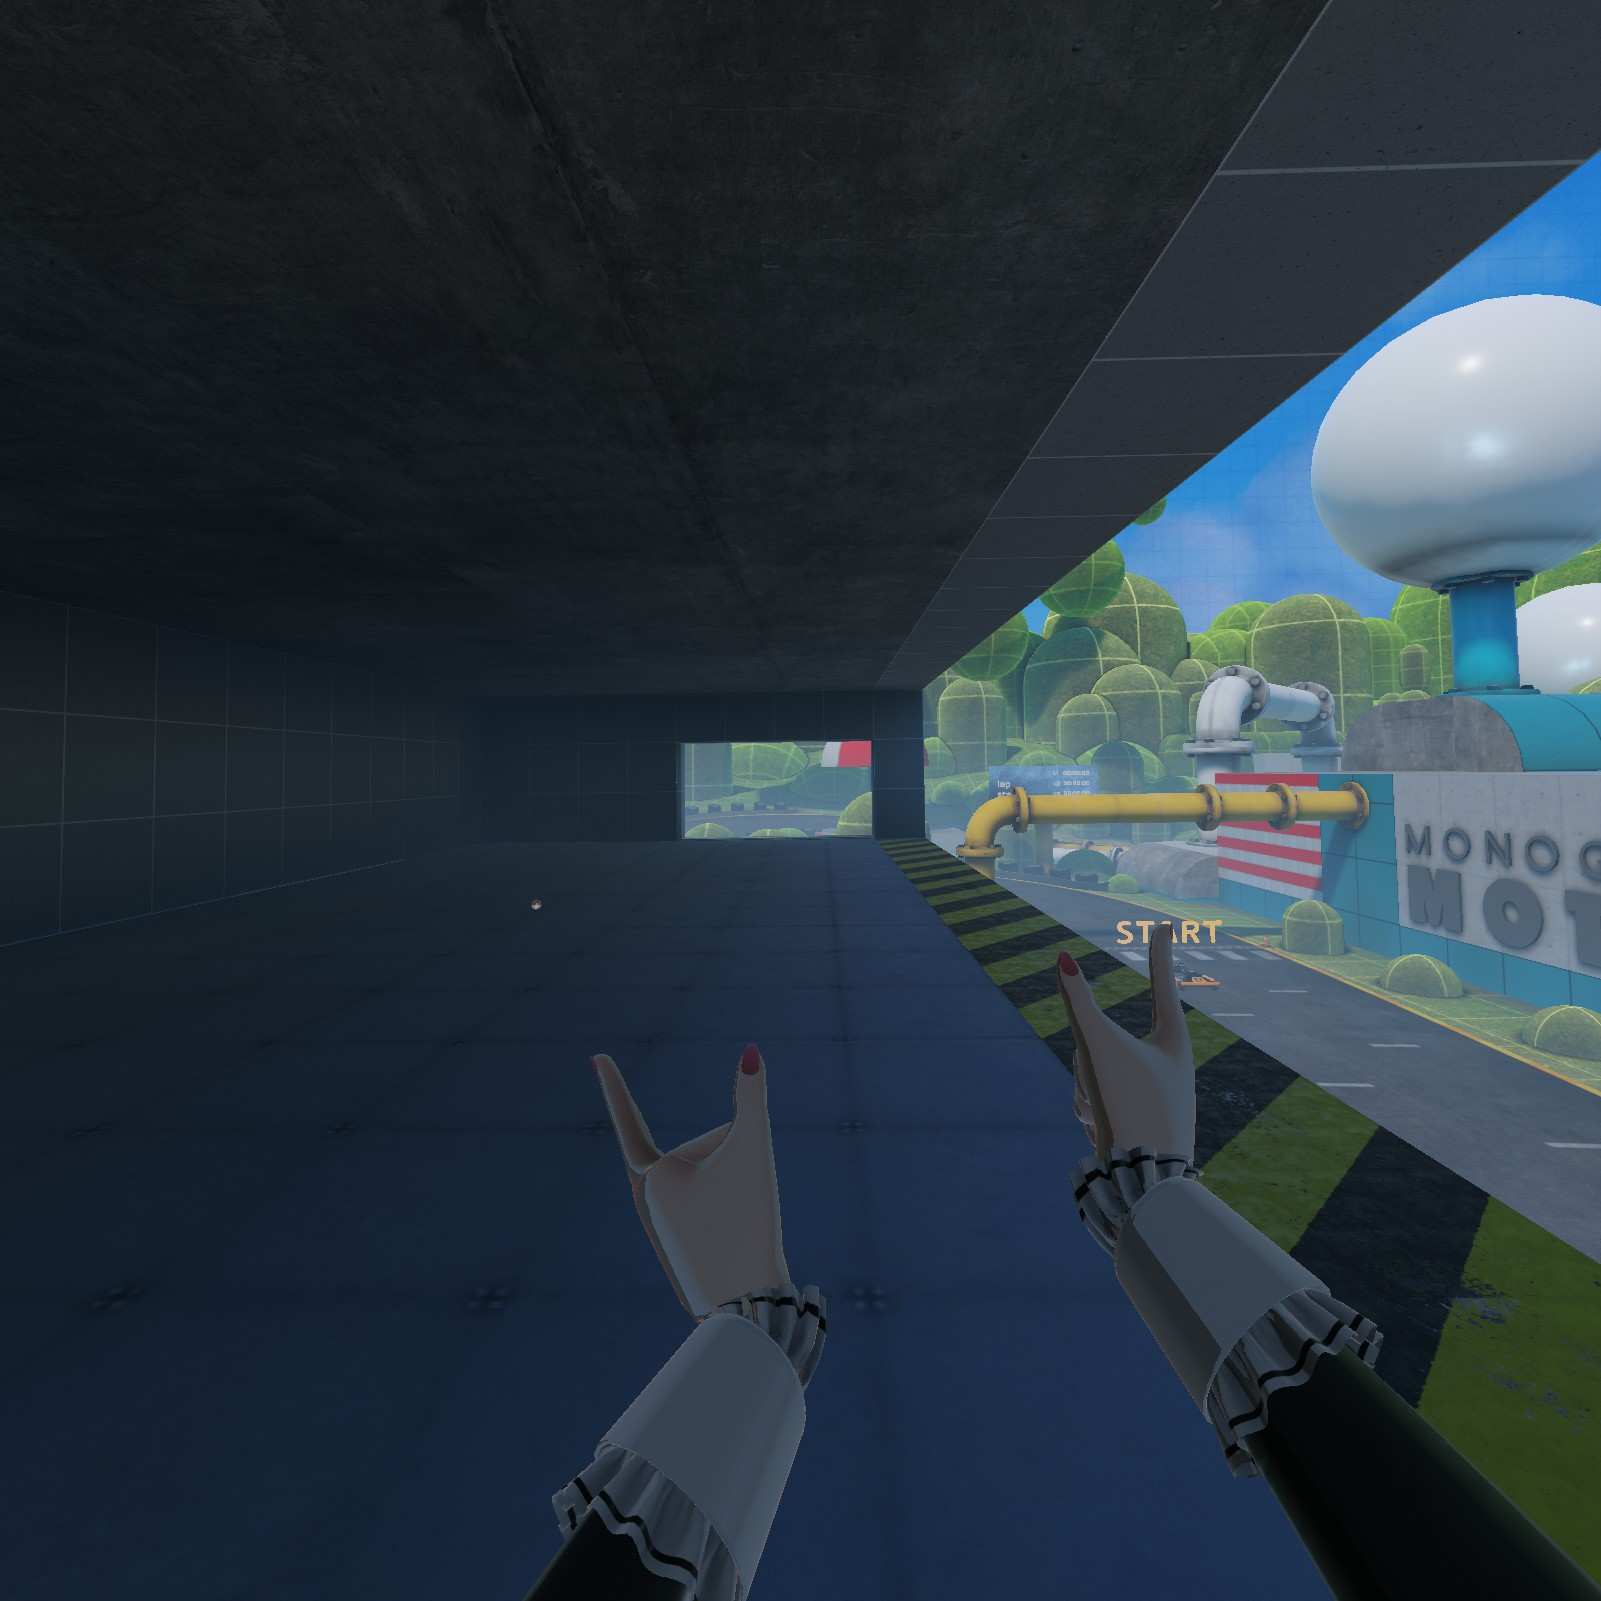
Gokart:
Idk why some people missed this one, maybe they got distracted by the anime girl. Gokart capsule is in this starting room.

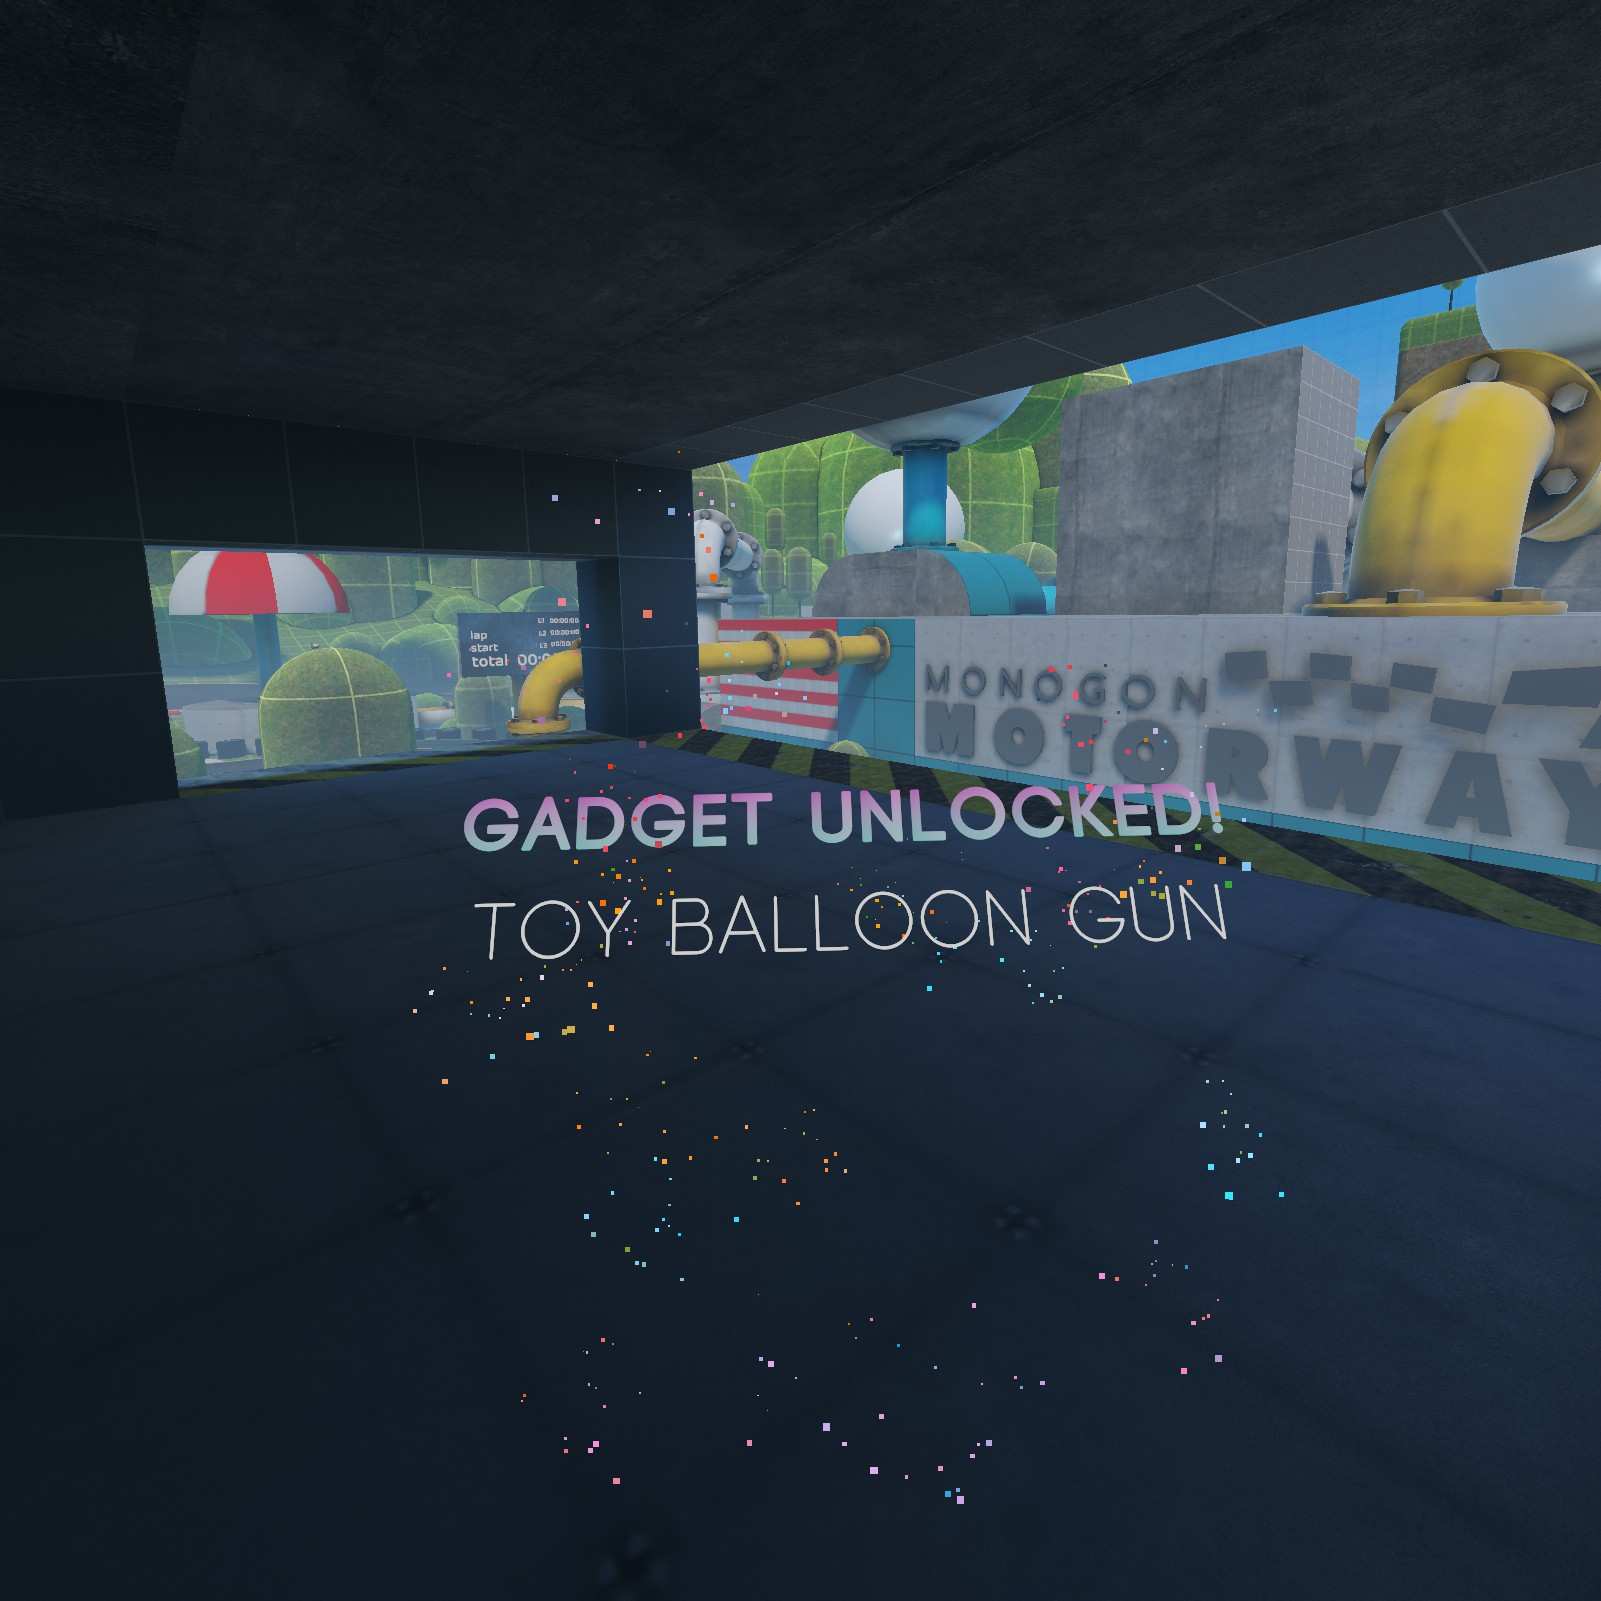
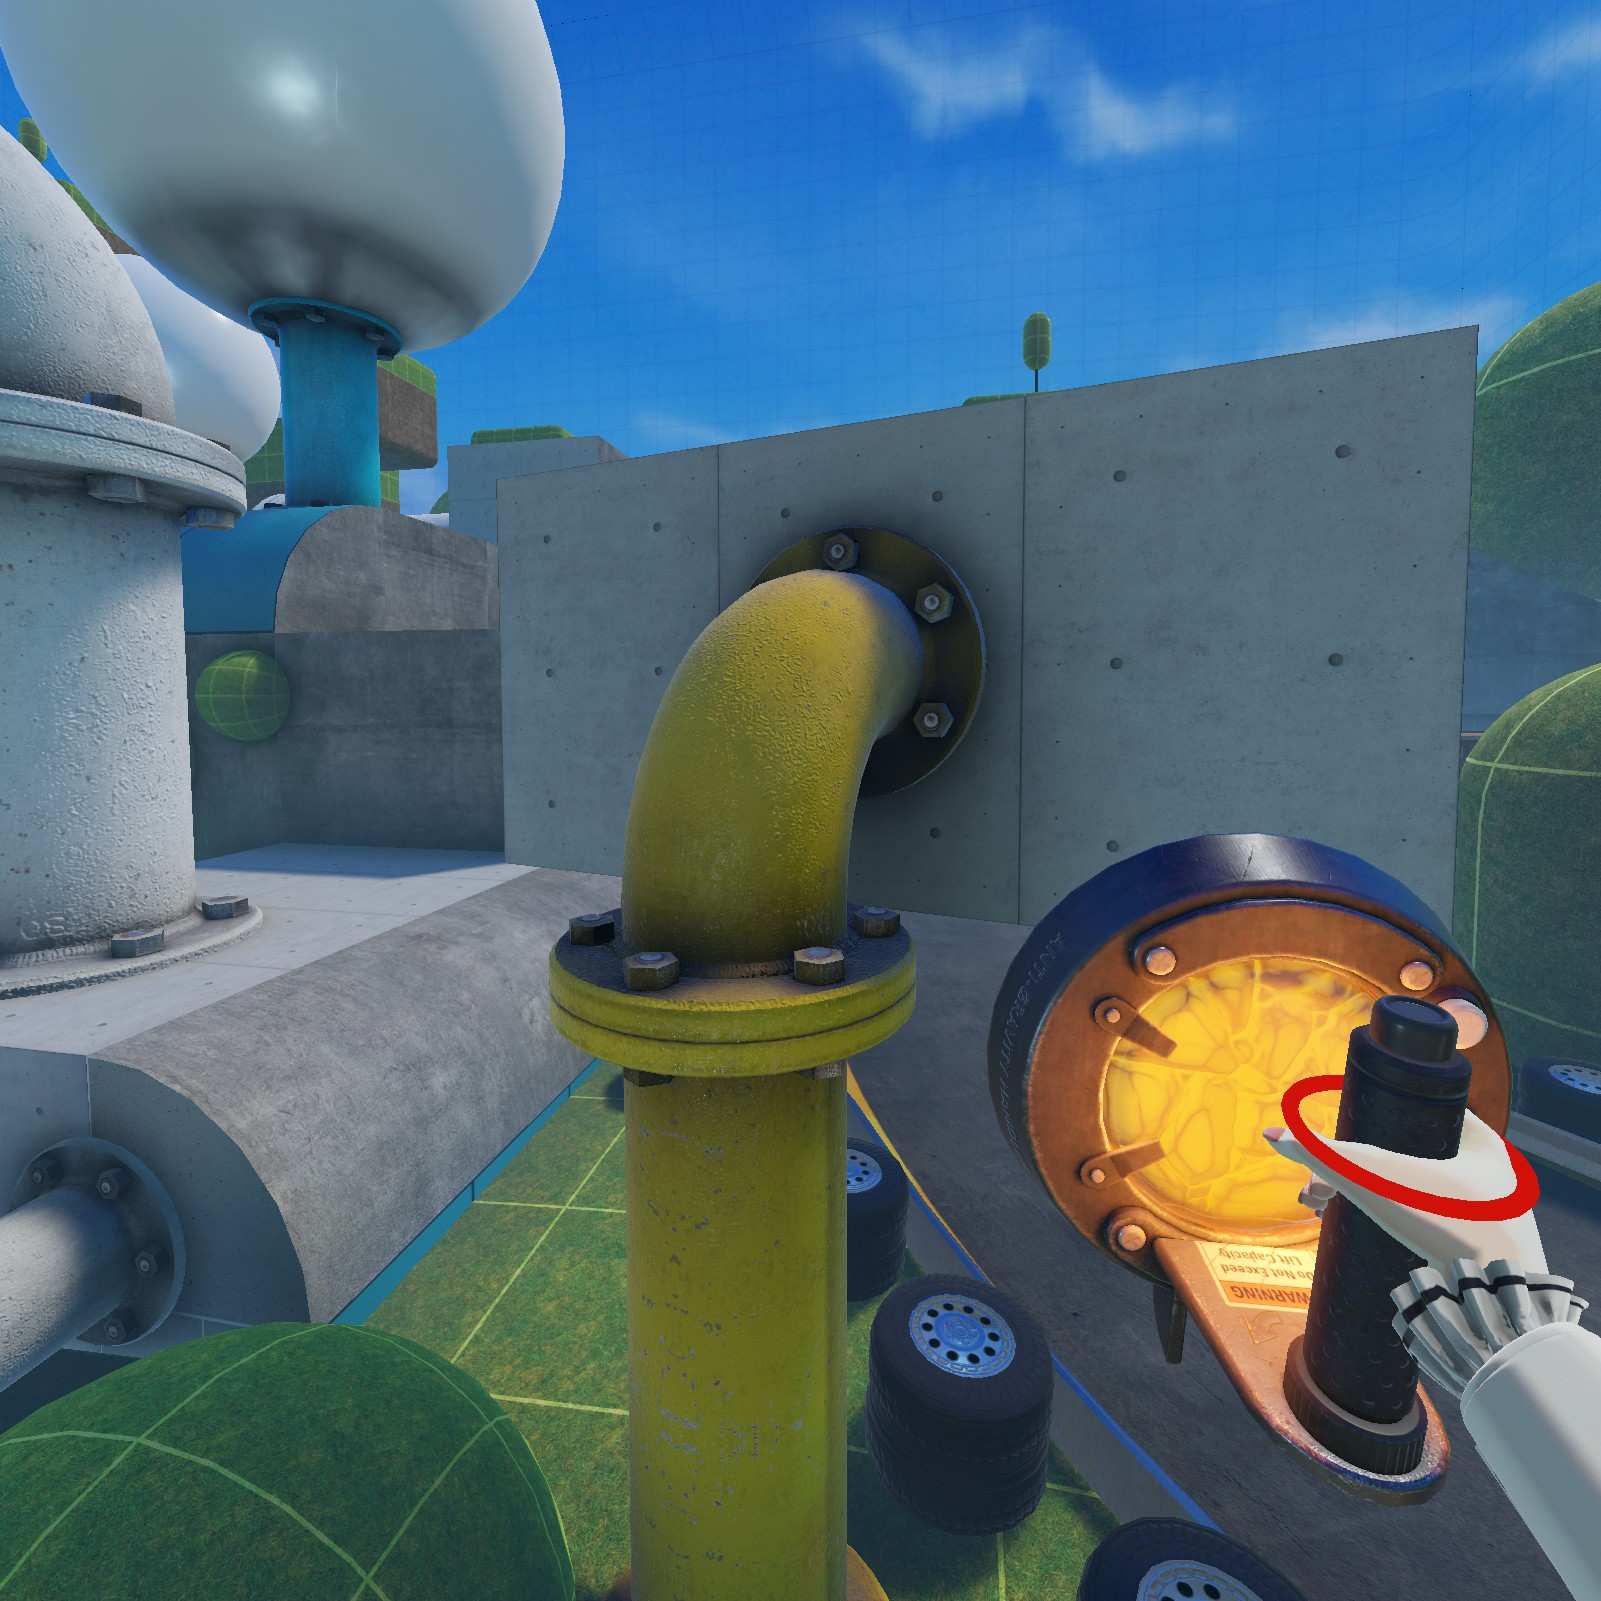
Toy Ballon Gun:
Up on the second floor you can find the Toy Balloon gun, one of the fabled gravity tools.
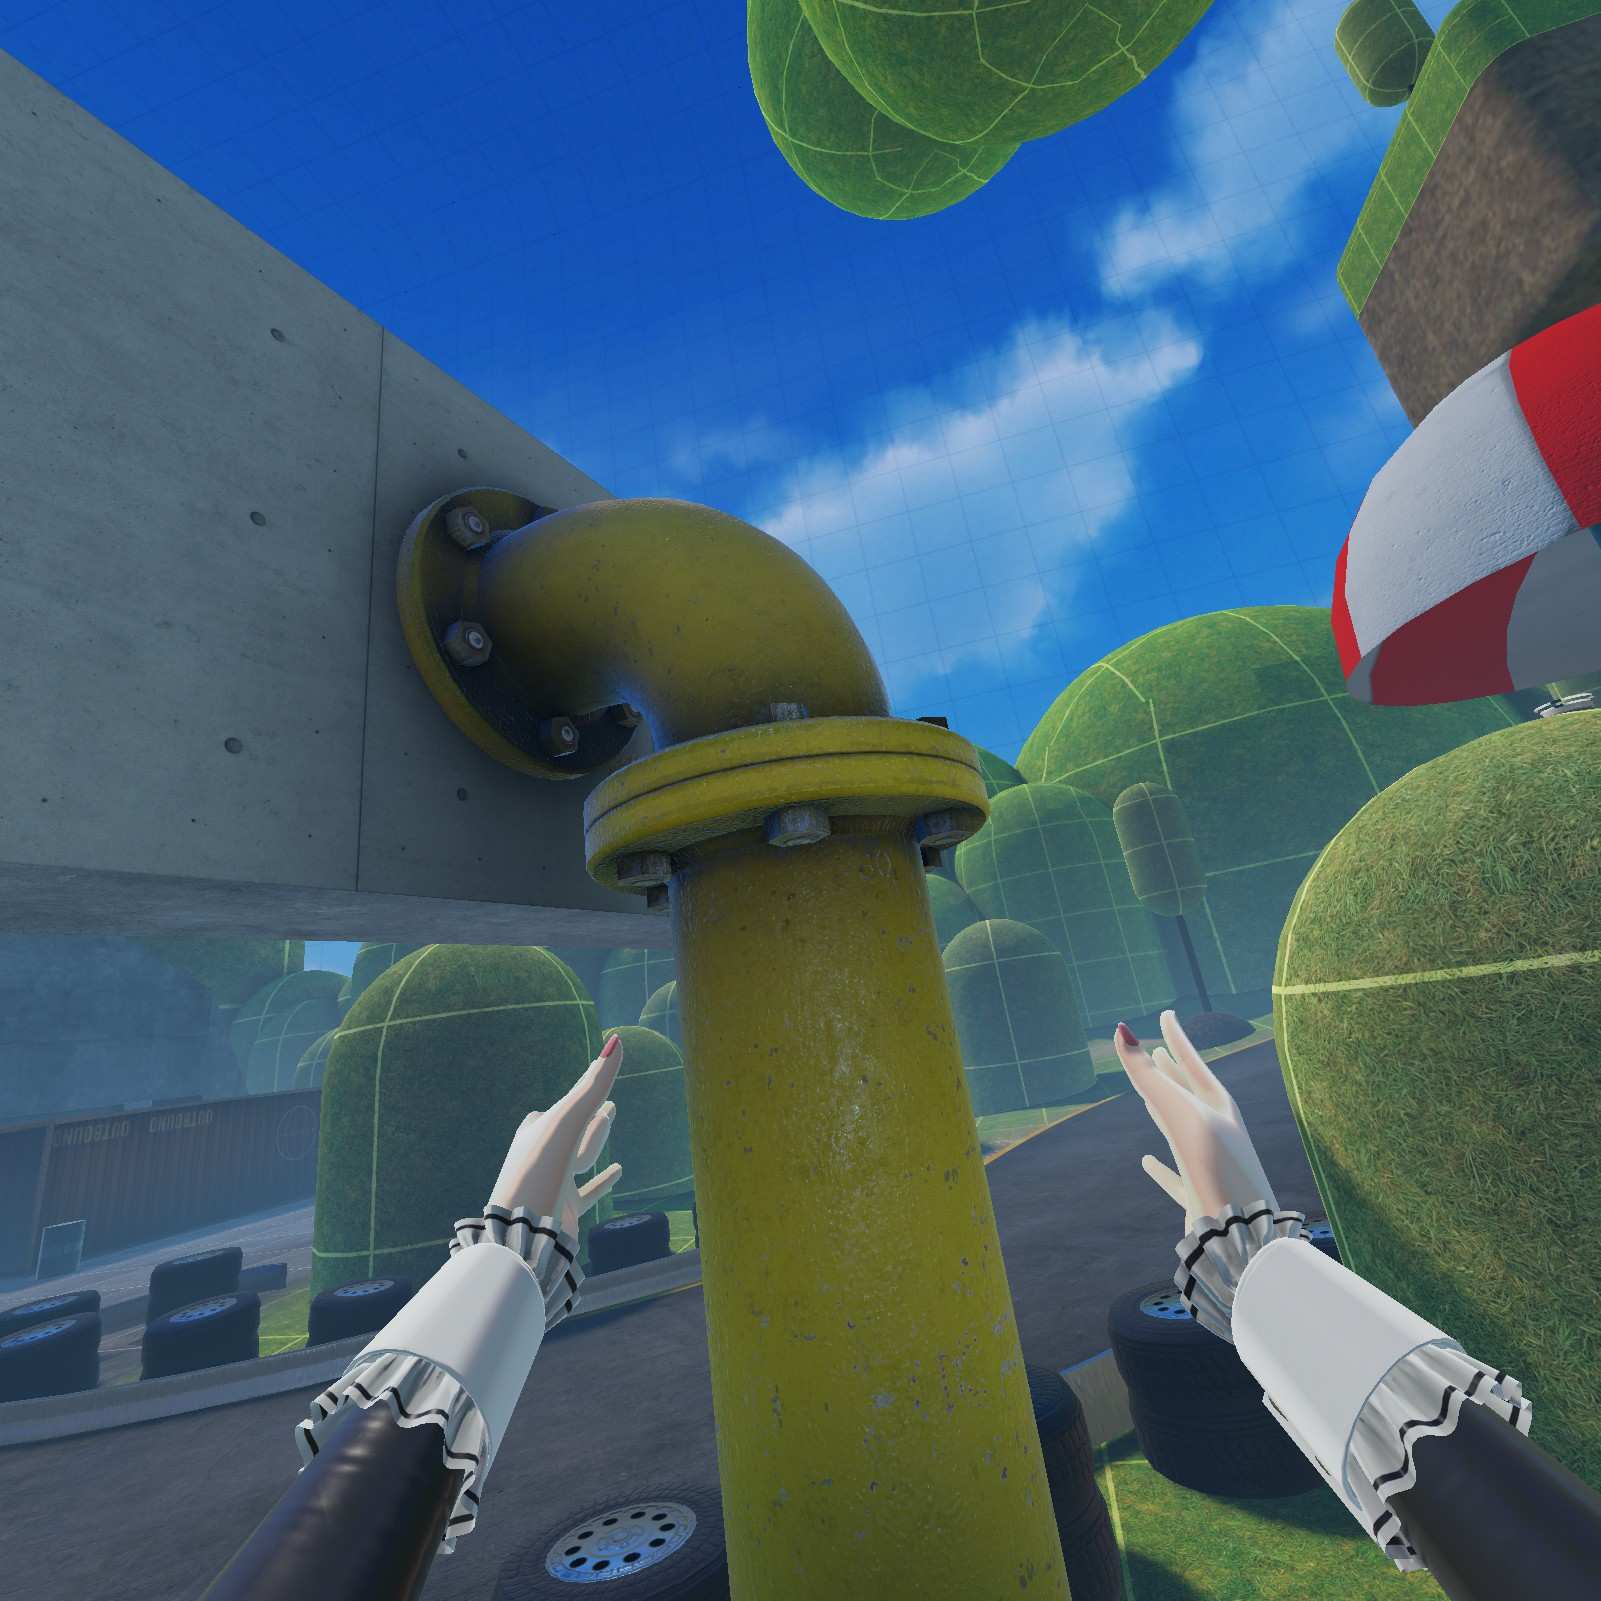
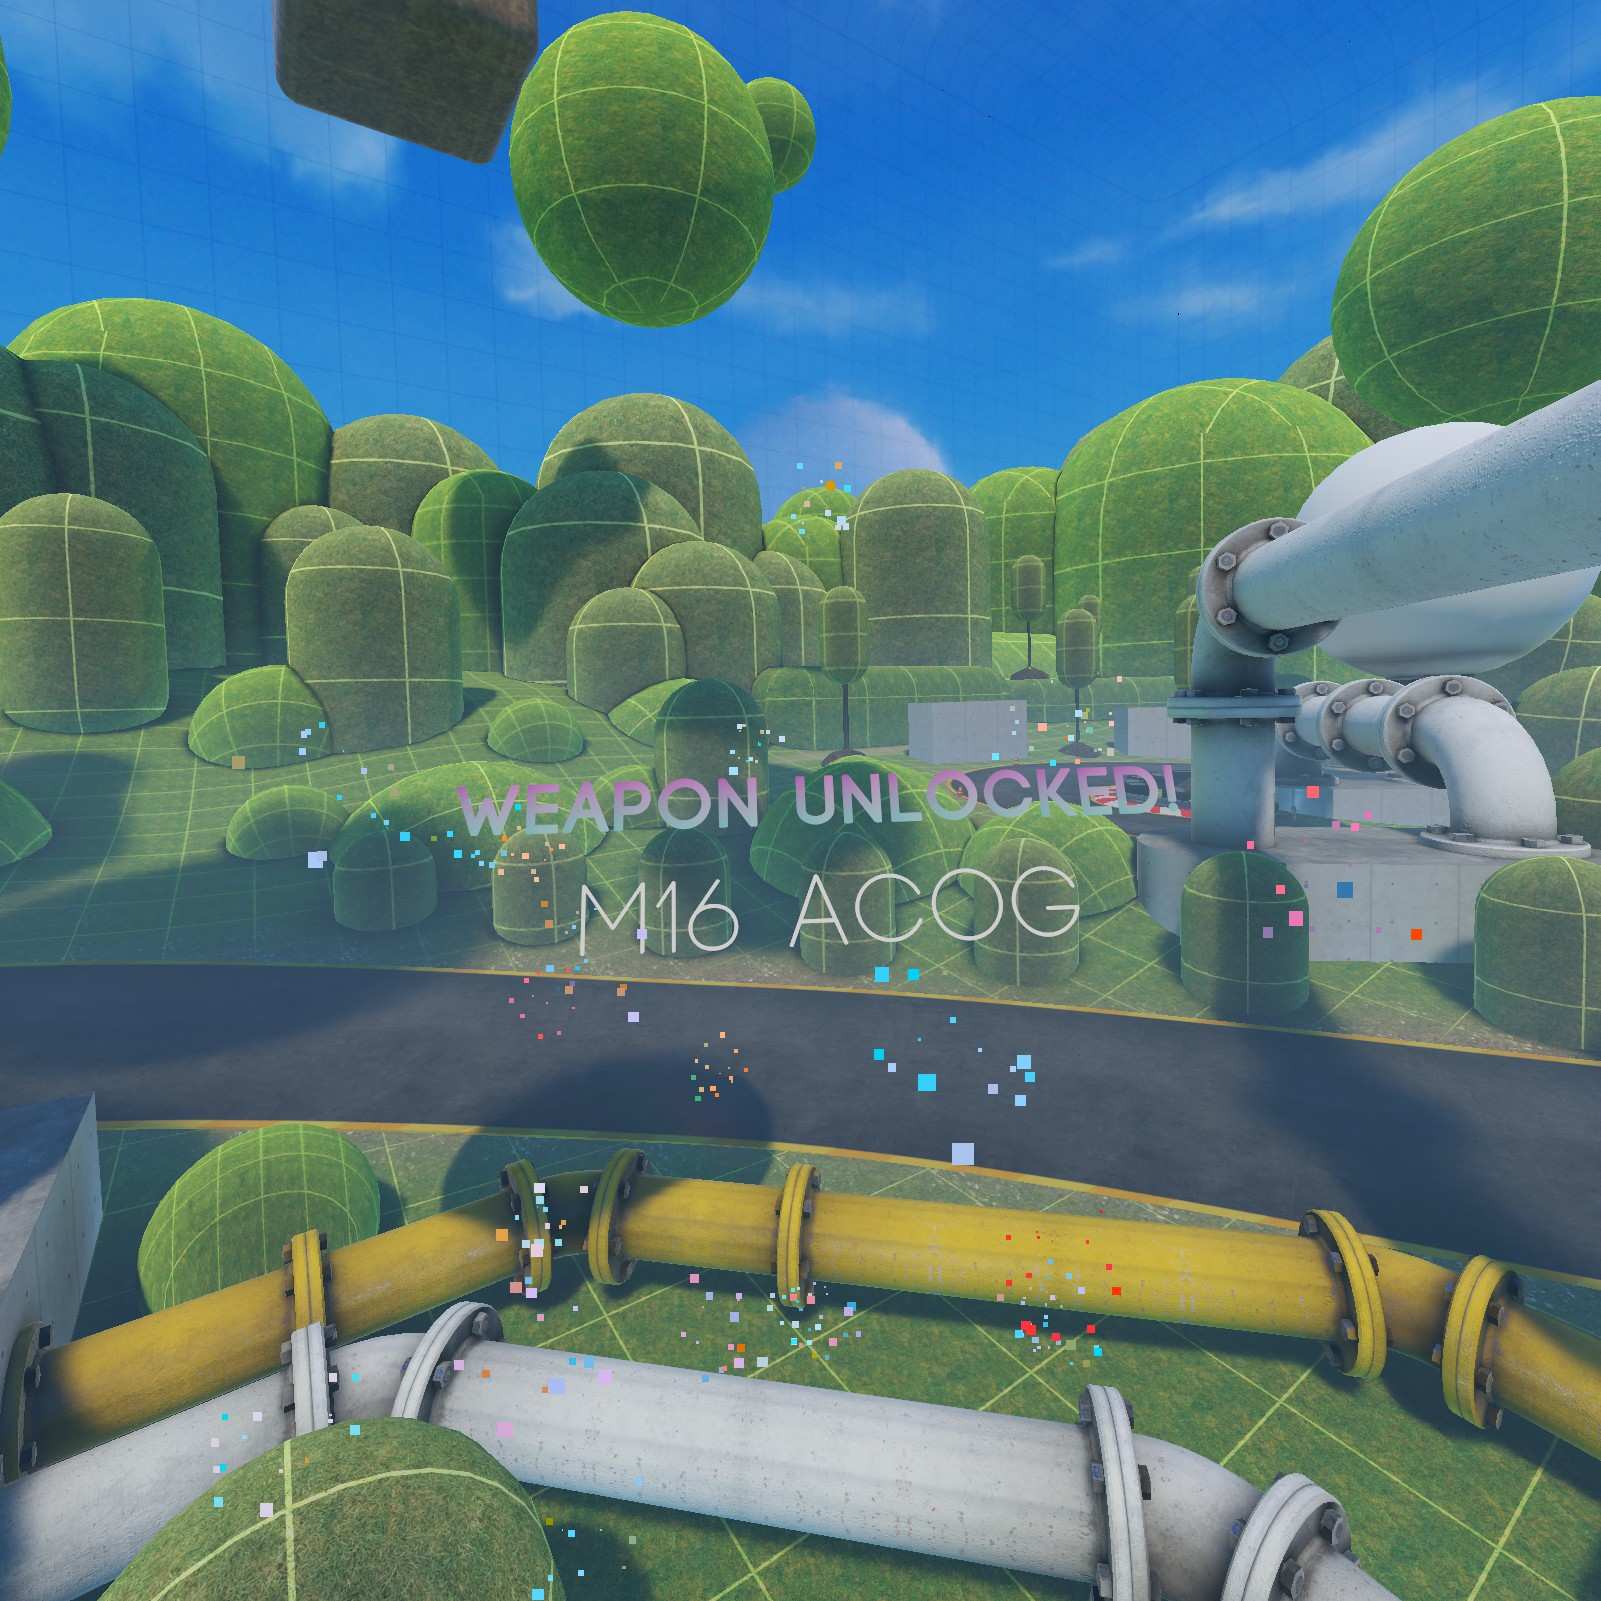
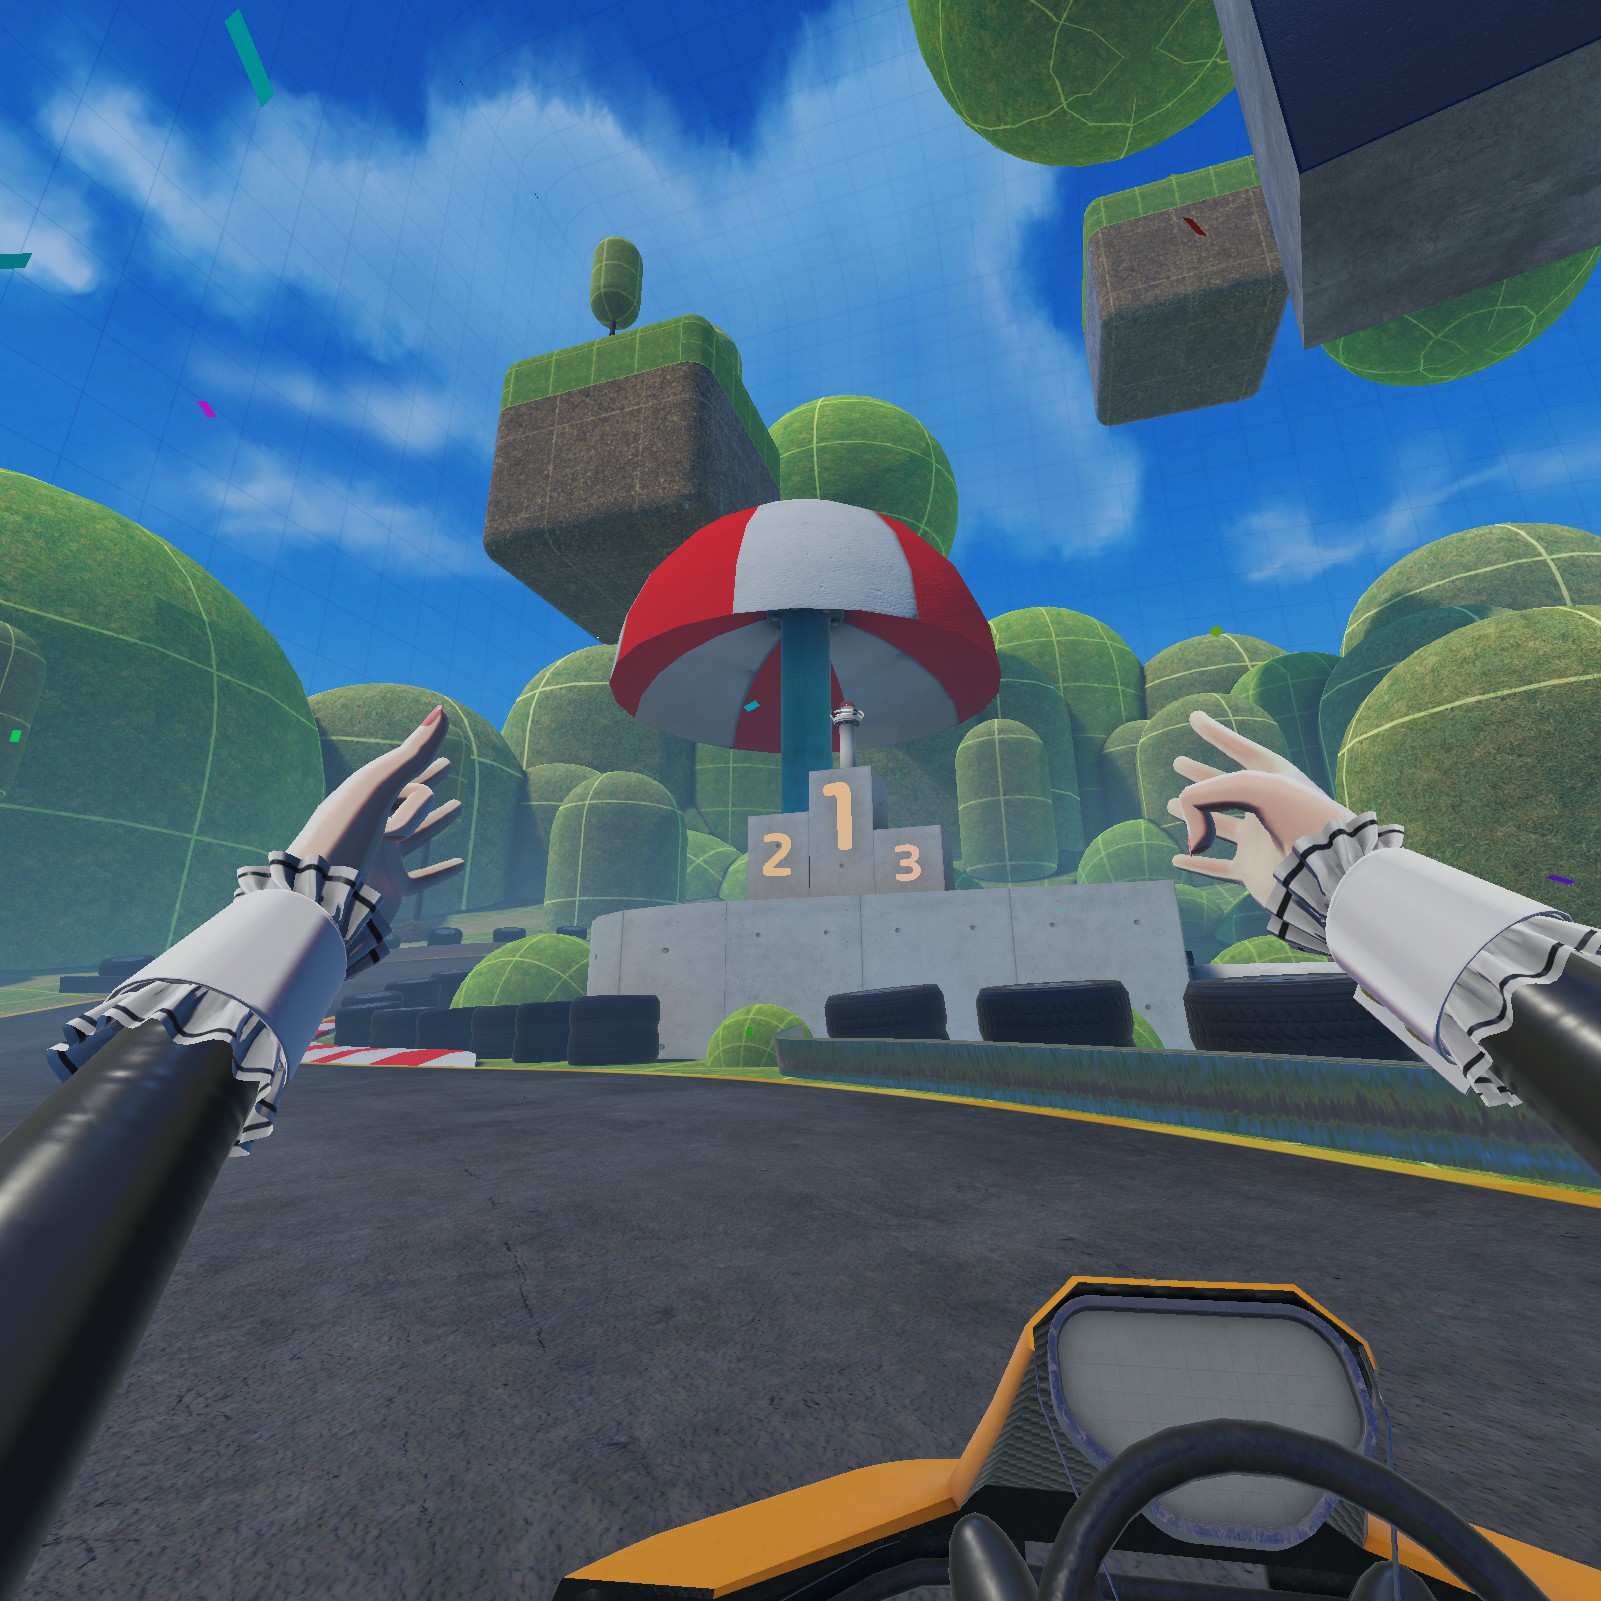
M16 ACOG:
Now we need to get up on this scoreboard. Its a very hard jump, and our avatar does not help in any way. Hopefully you’ve brought a gravity cup or came back post game since otherwise you might have to skip it. M16 ACOG for you if you do manage to nab it.
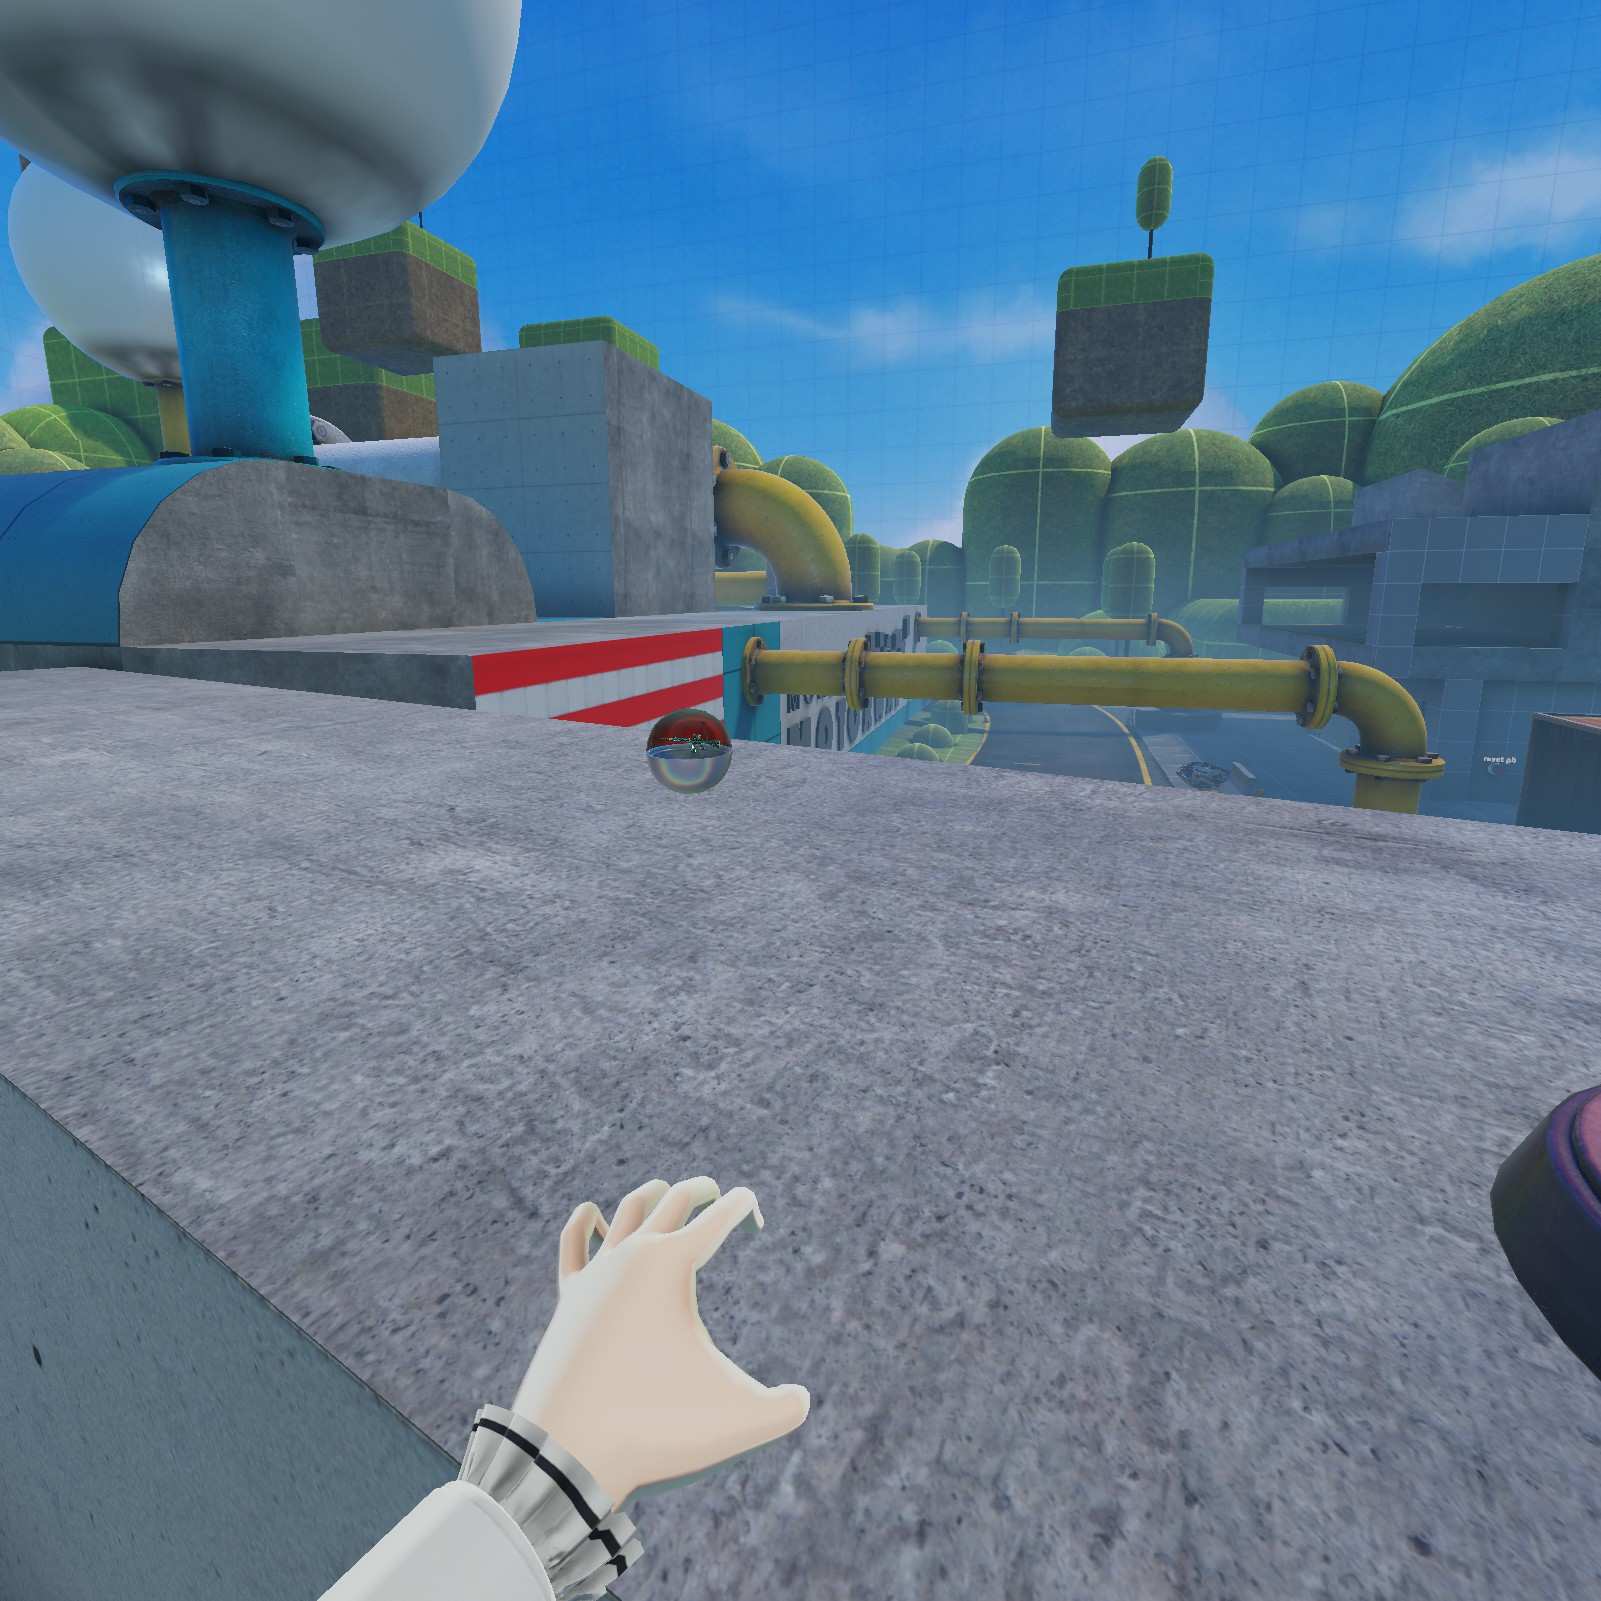
Gym Cube 2X2:
Just past the start is this railing with my favorite shape the Gym Cube 2X2 wedged in it.
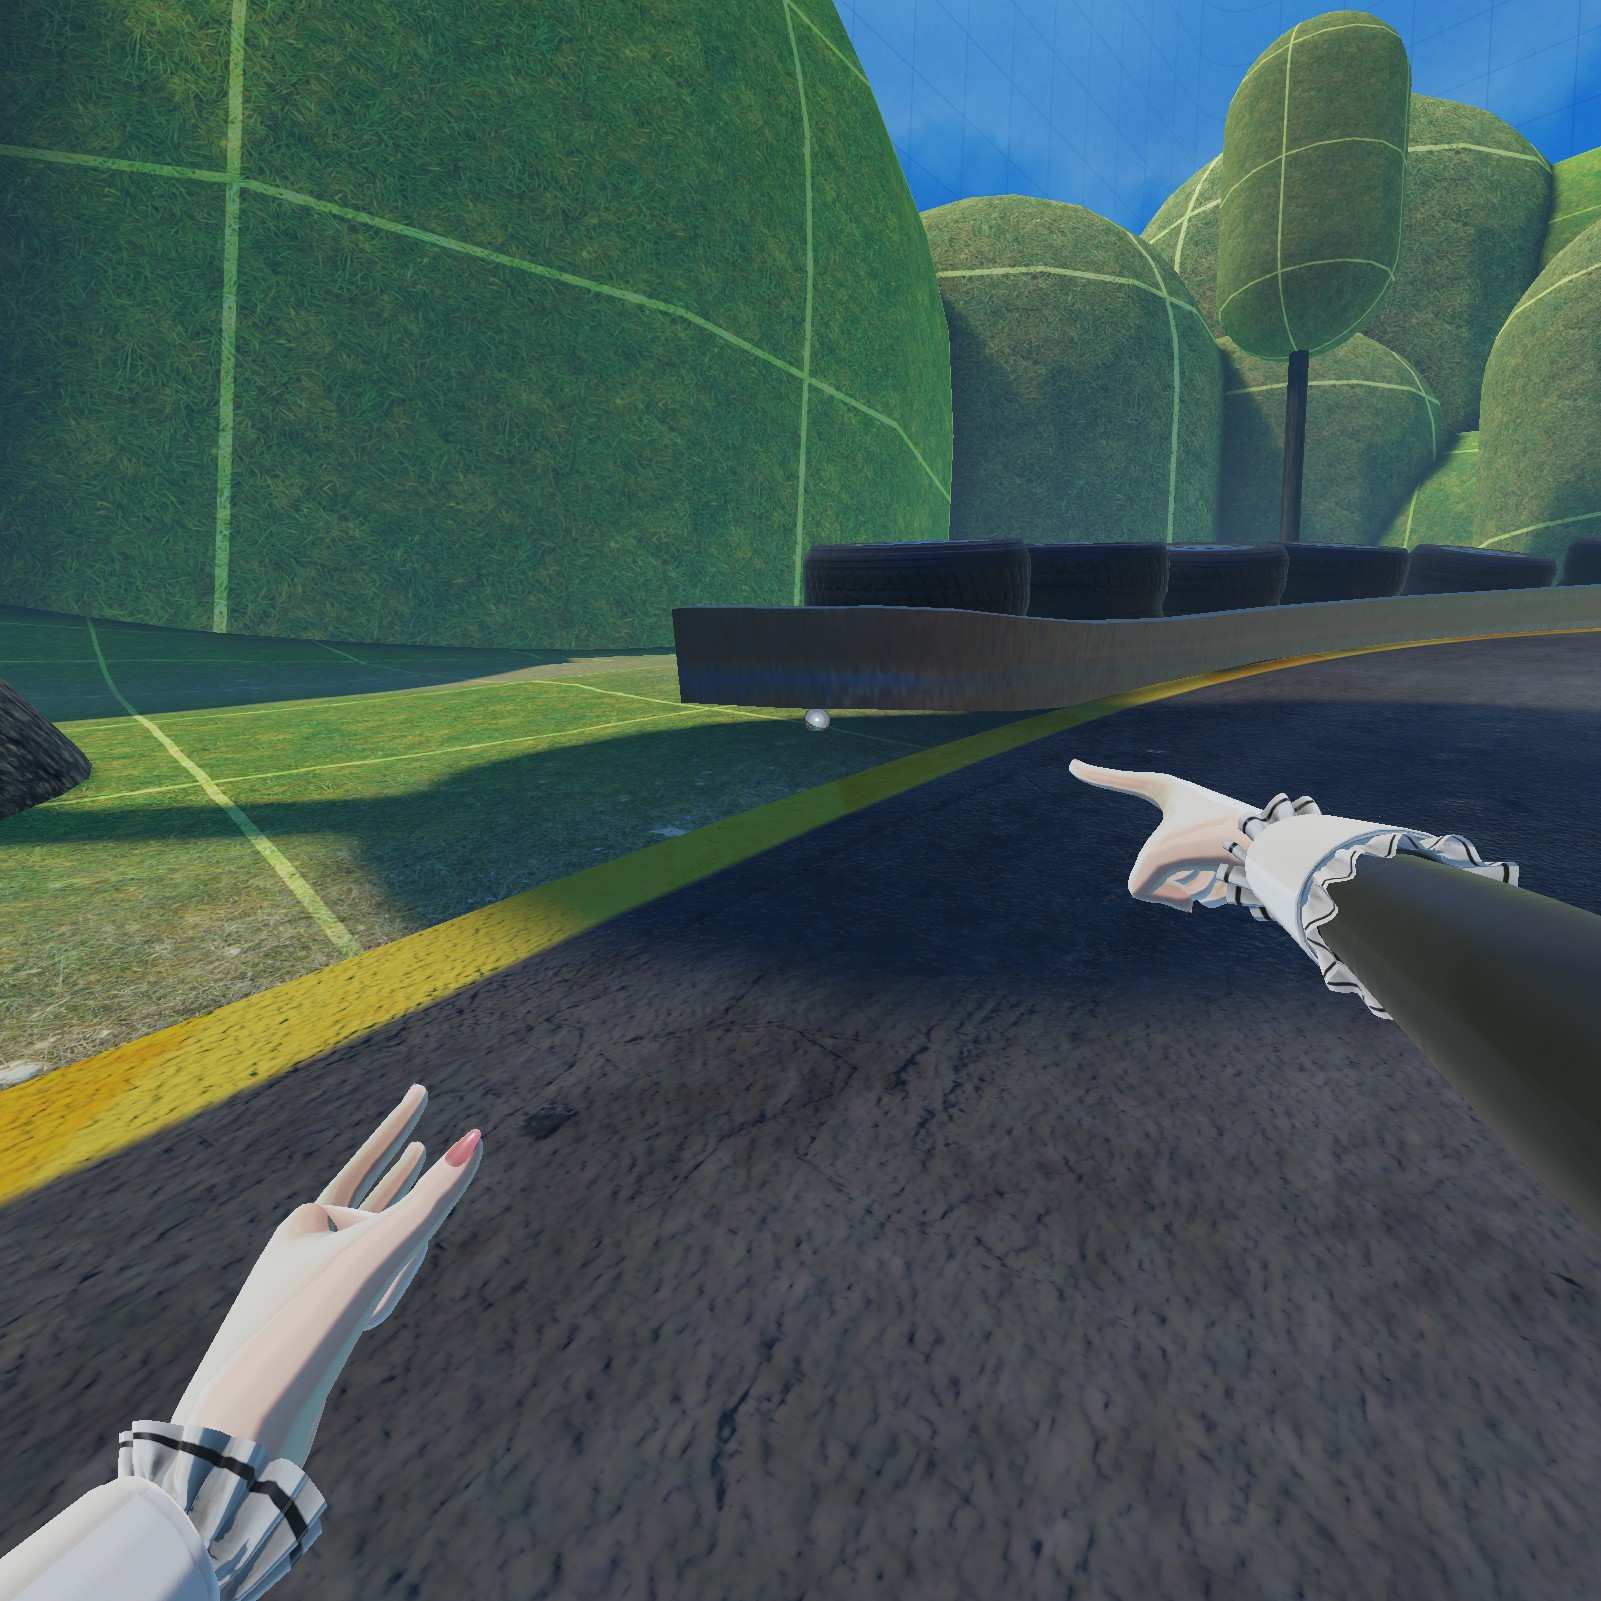
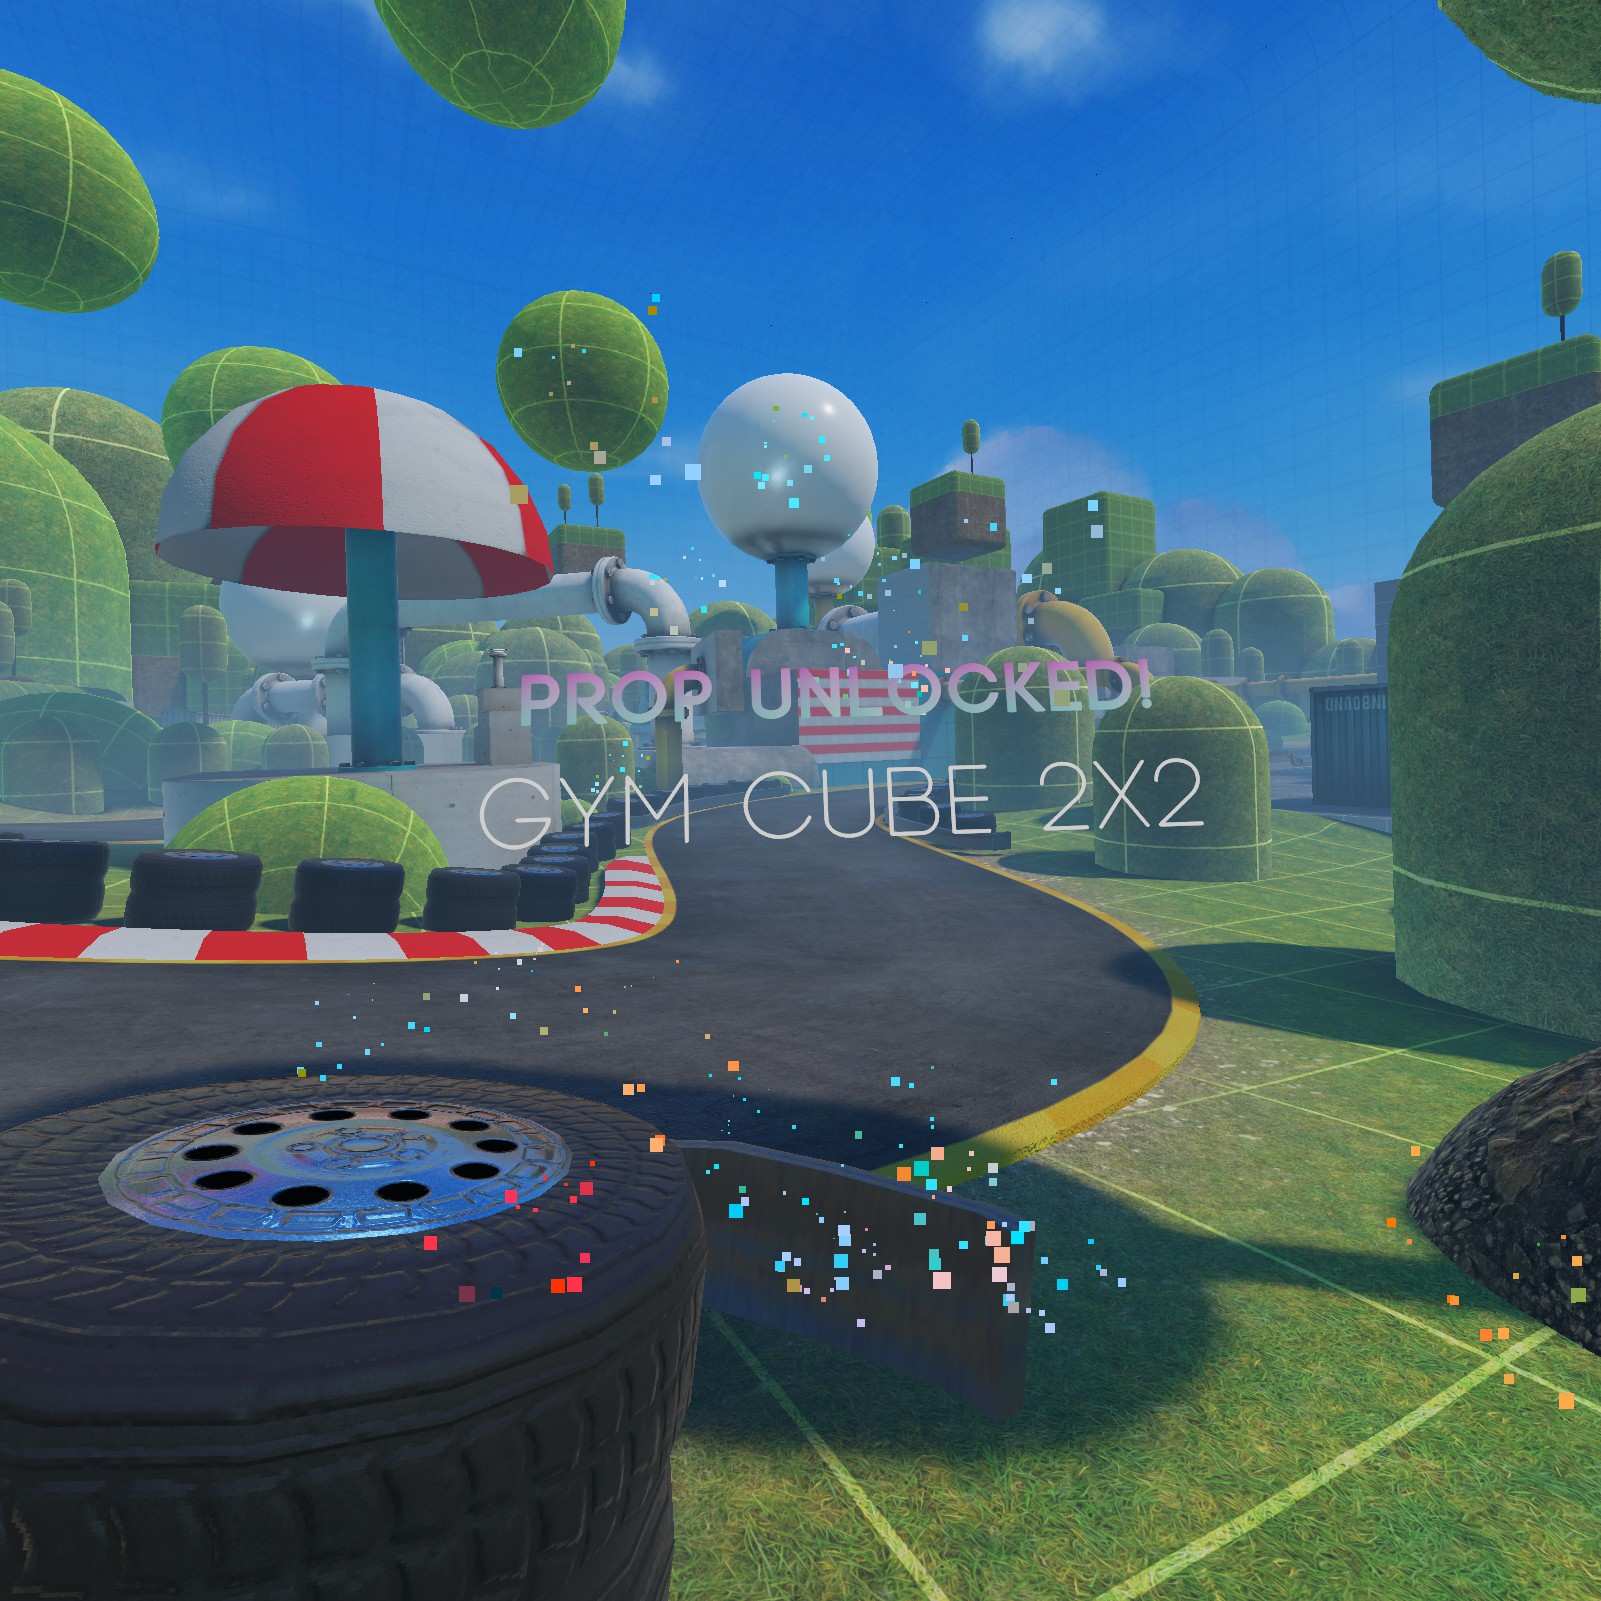
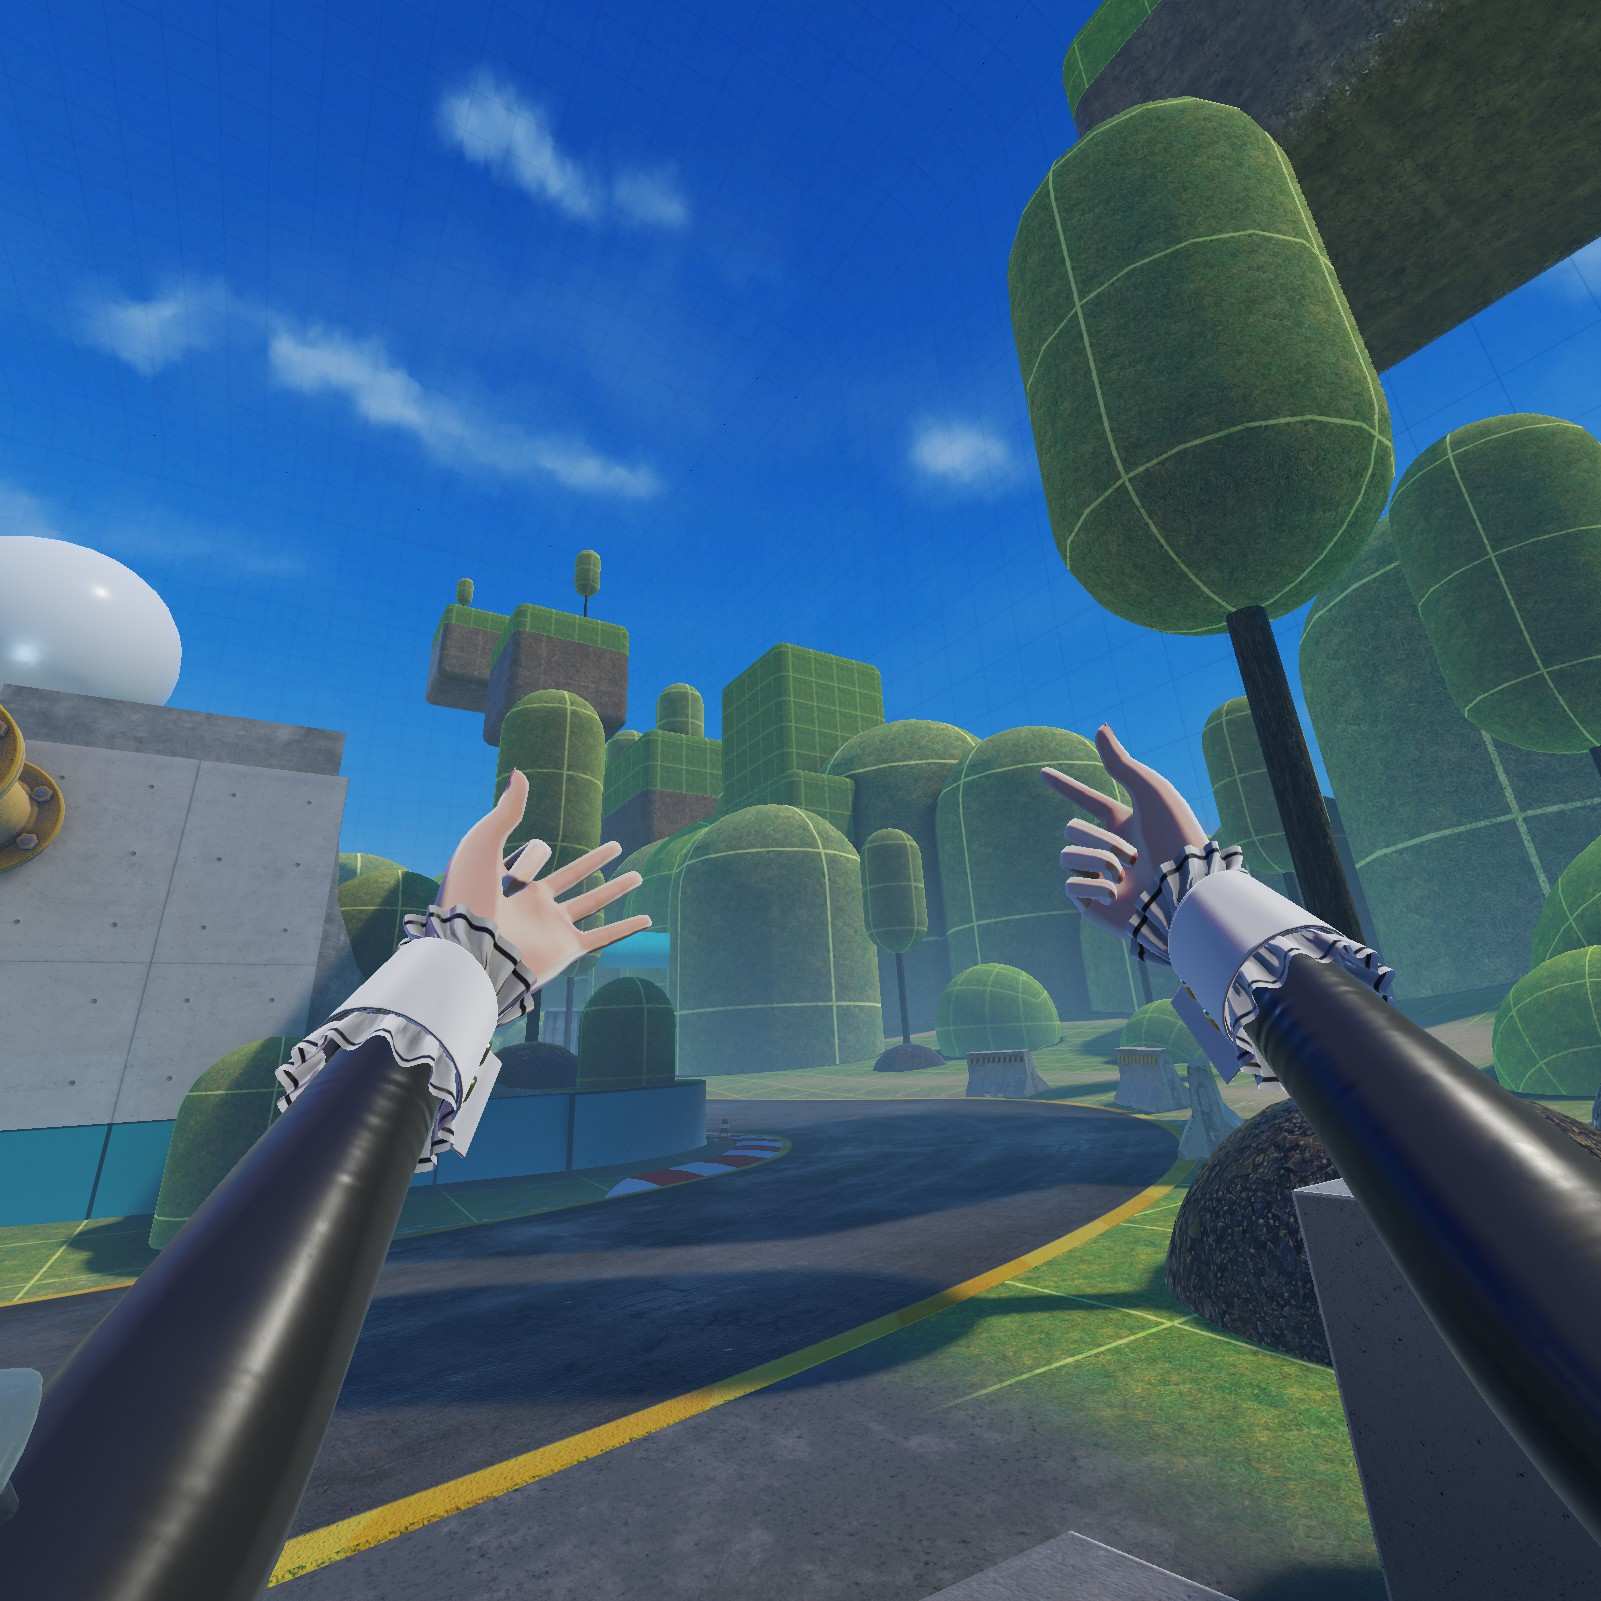
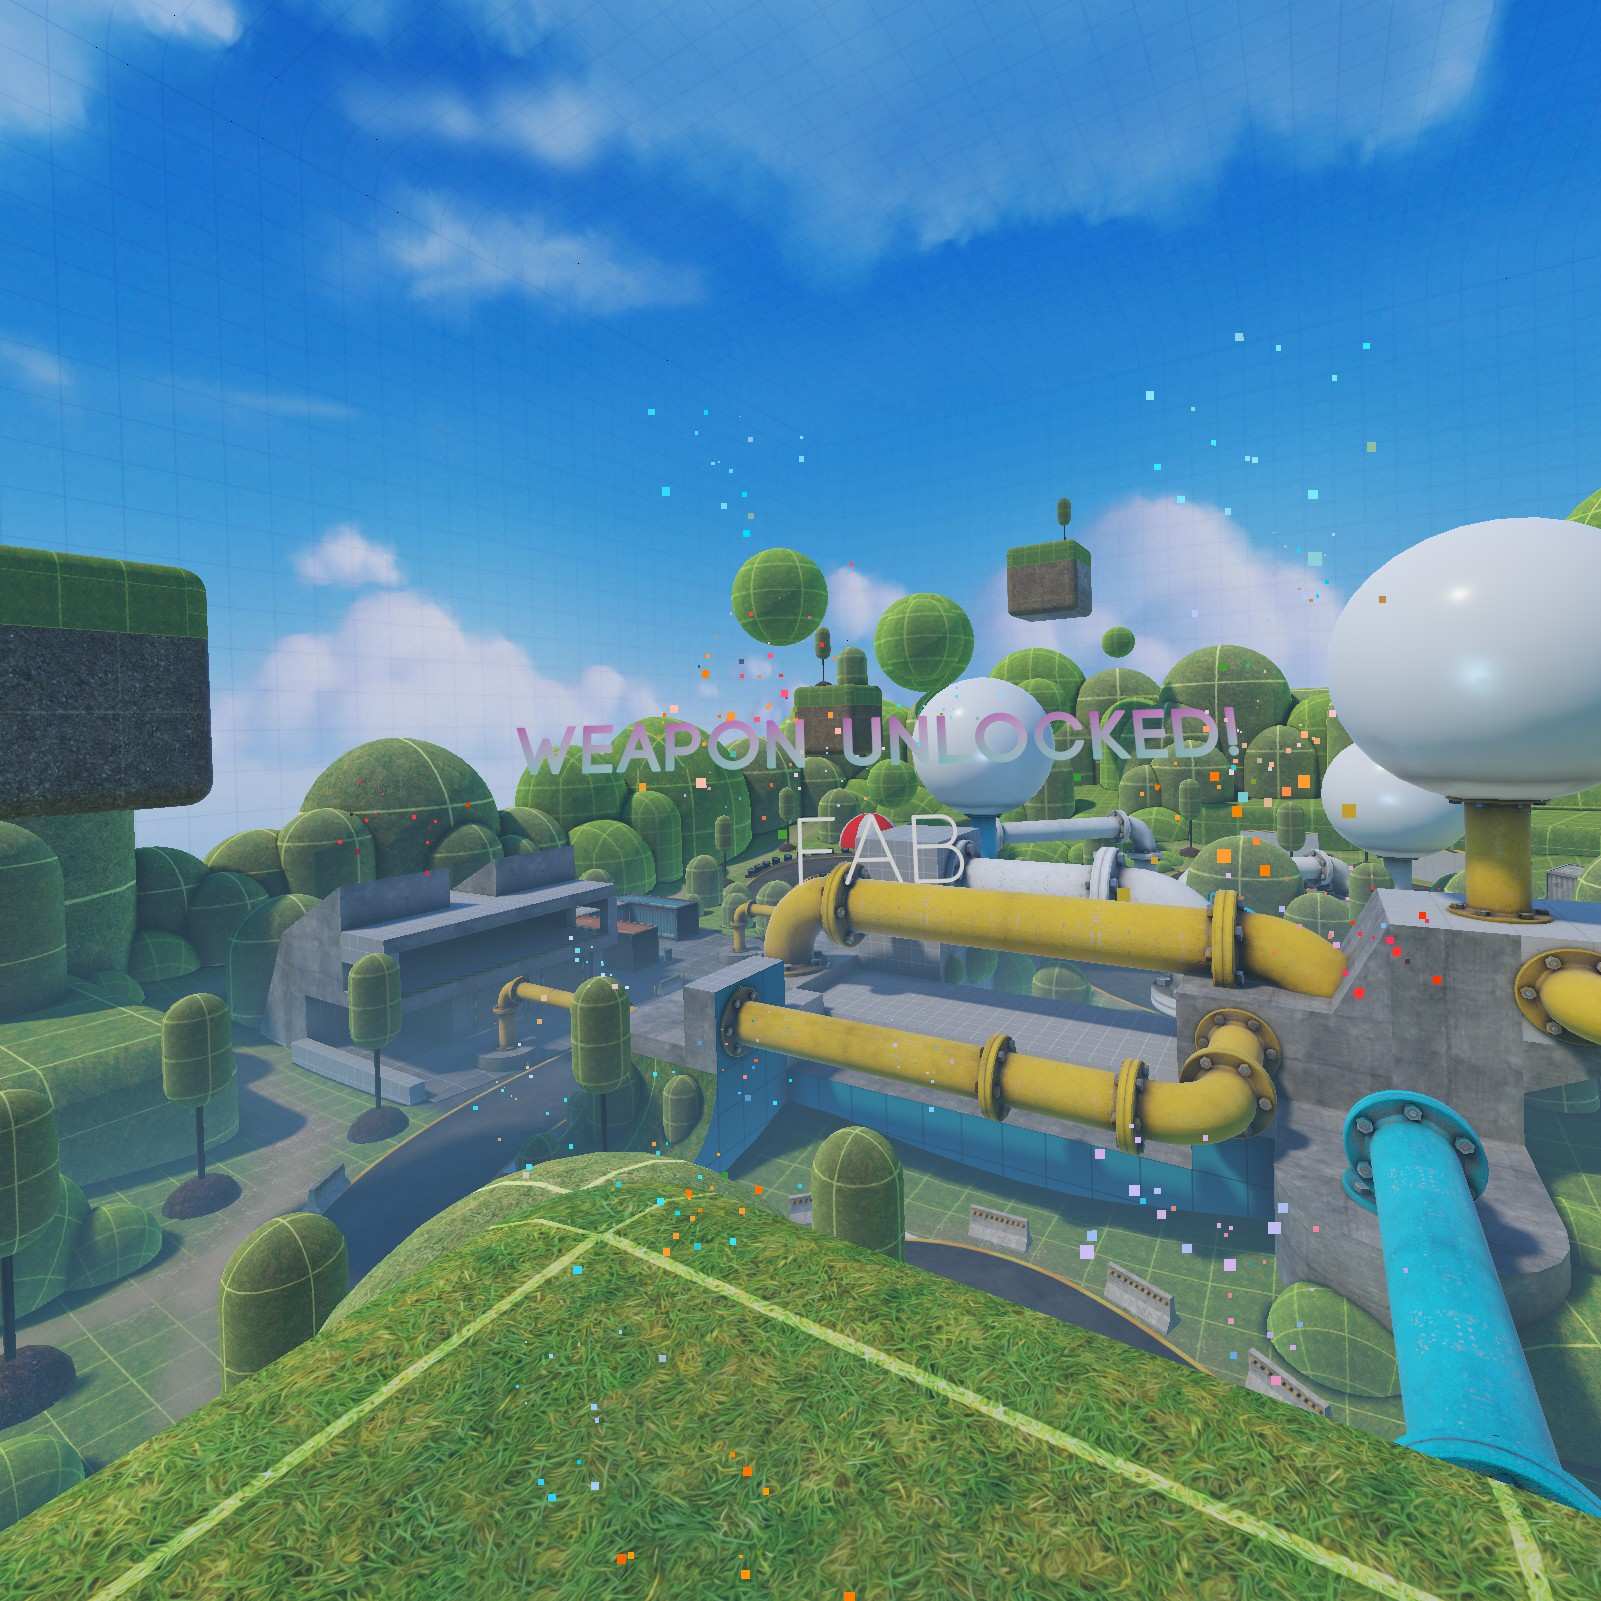
FAB:
BRUH, WTF?!? There’s no way they thought you could get here legit, at least not on a first playthrough. Gravity cups are mandatory here, maybe you could reach this spot with a super tall modded avatar.

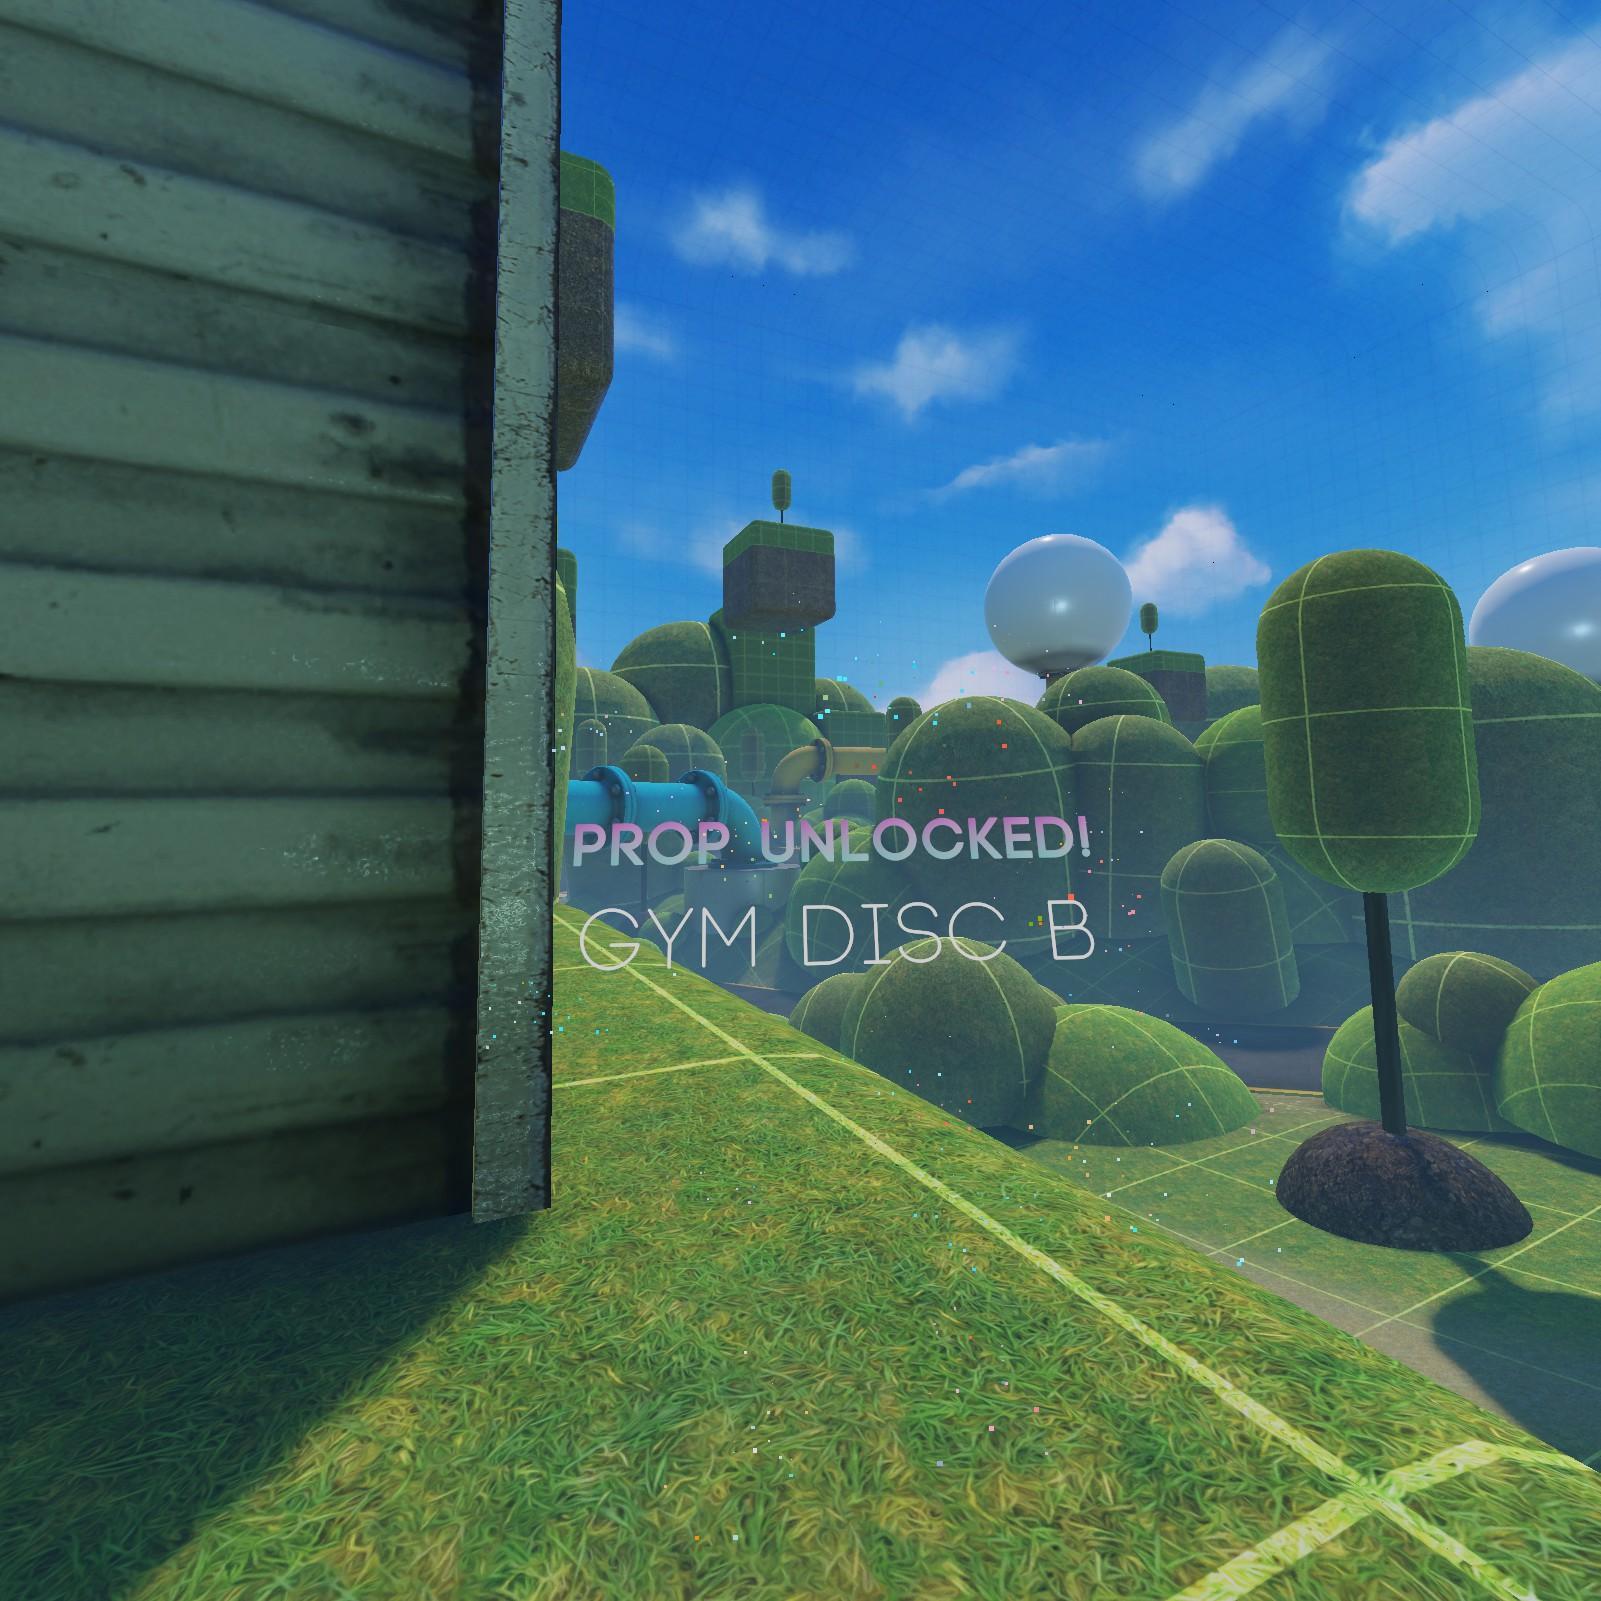
Hang on, I’m getting a telegram from John B.R Colt on the location of another capsule…
“Found one in monogon motorway, behind the shipping container”
♥ amazing description for a level with 6 shipping containers. Not ambiguous at all.
I’ll forgive you this time though since you did find my favorite shape the Gym Disk B.

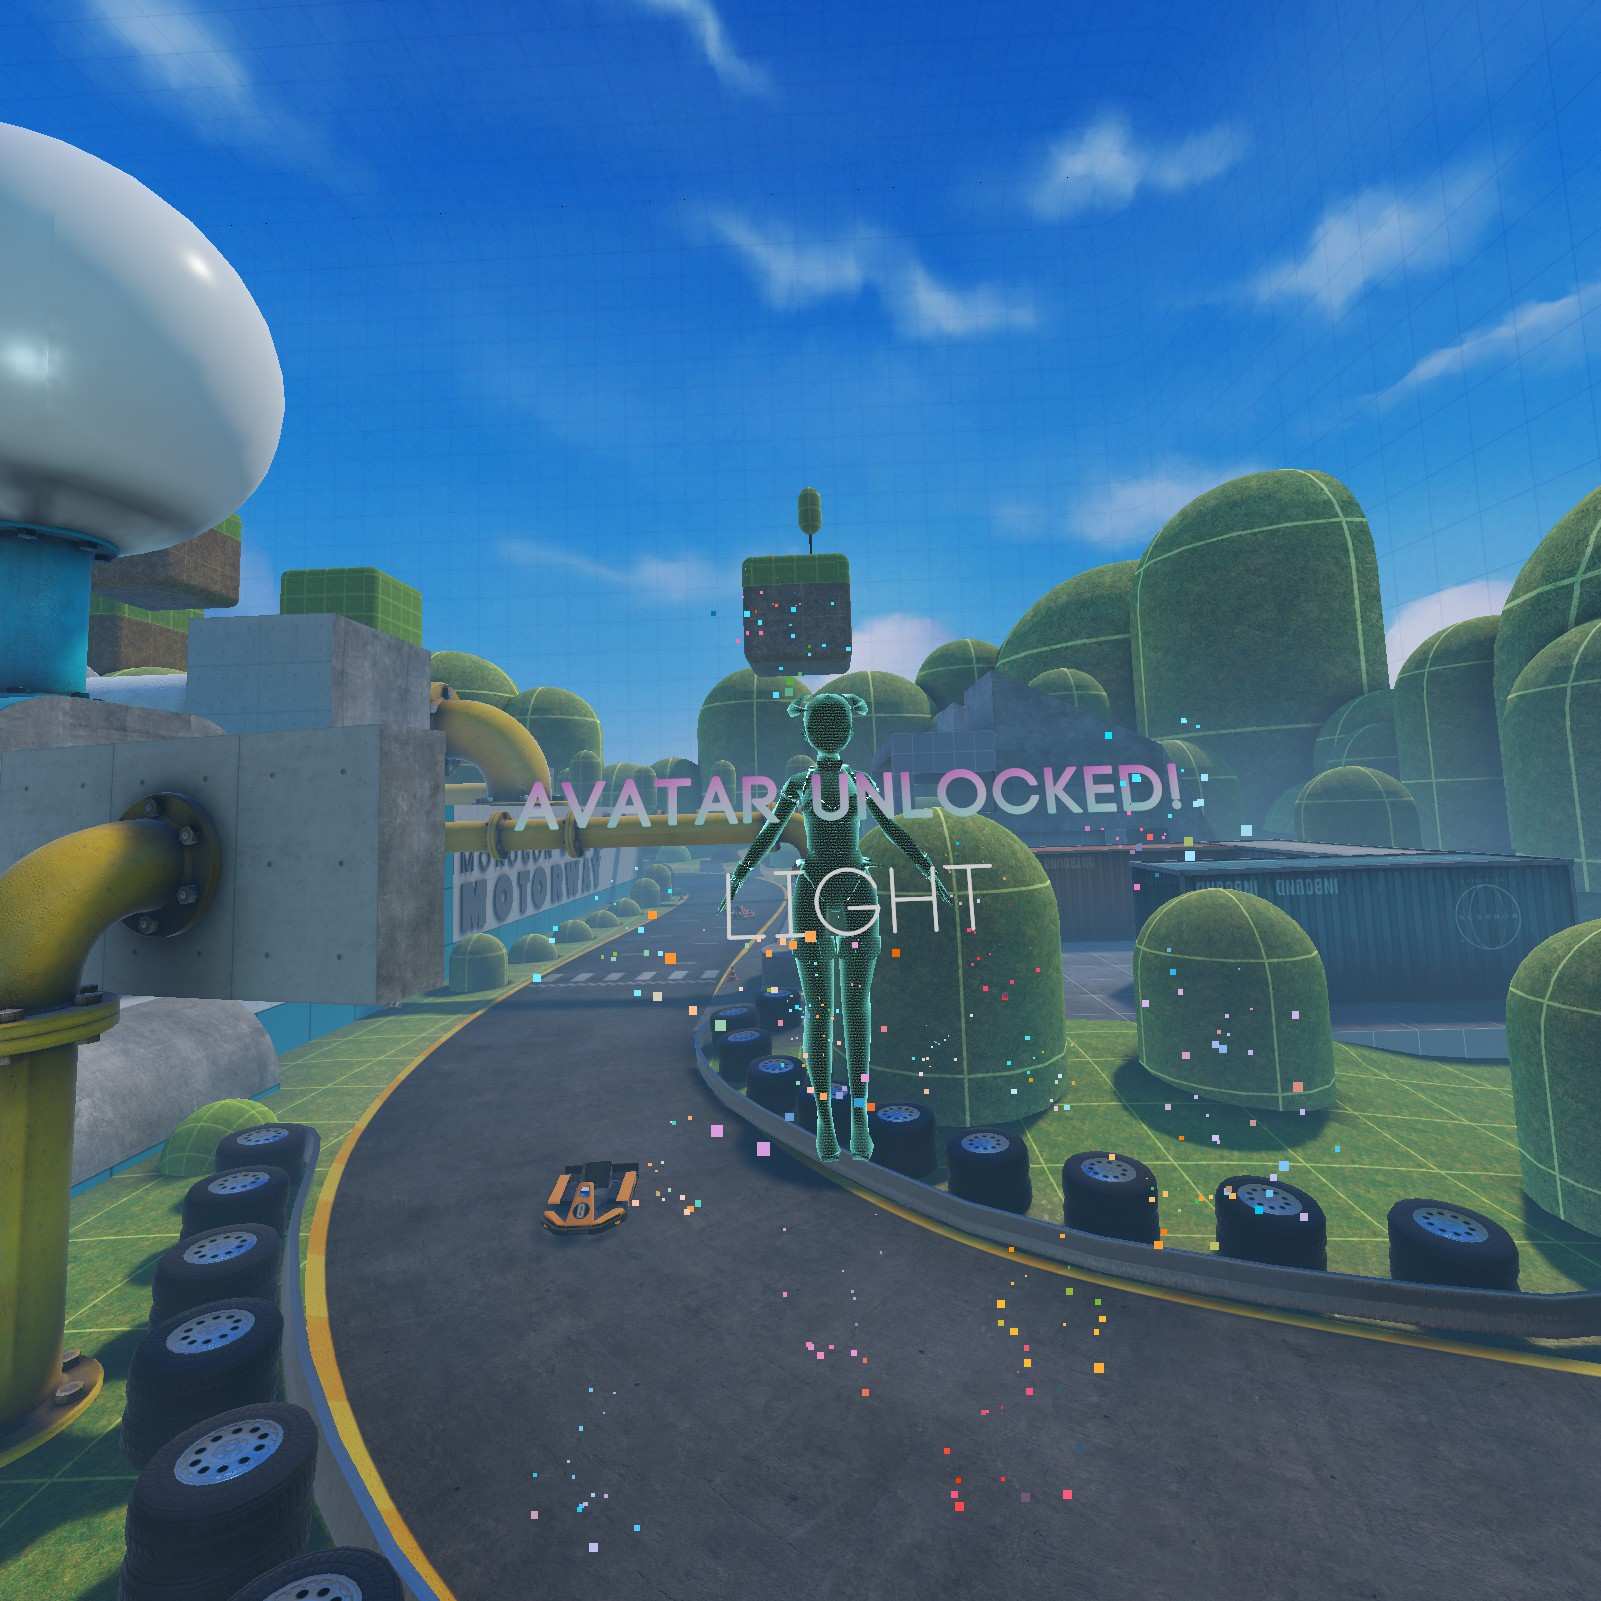
Light:
I used light a bit more than I thought I would. Fit the short role better than the short just with the range of movement and not getting caught on as many things.
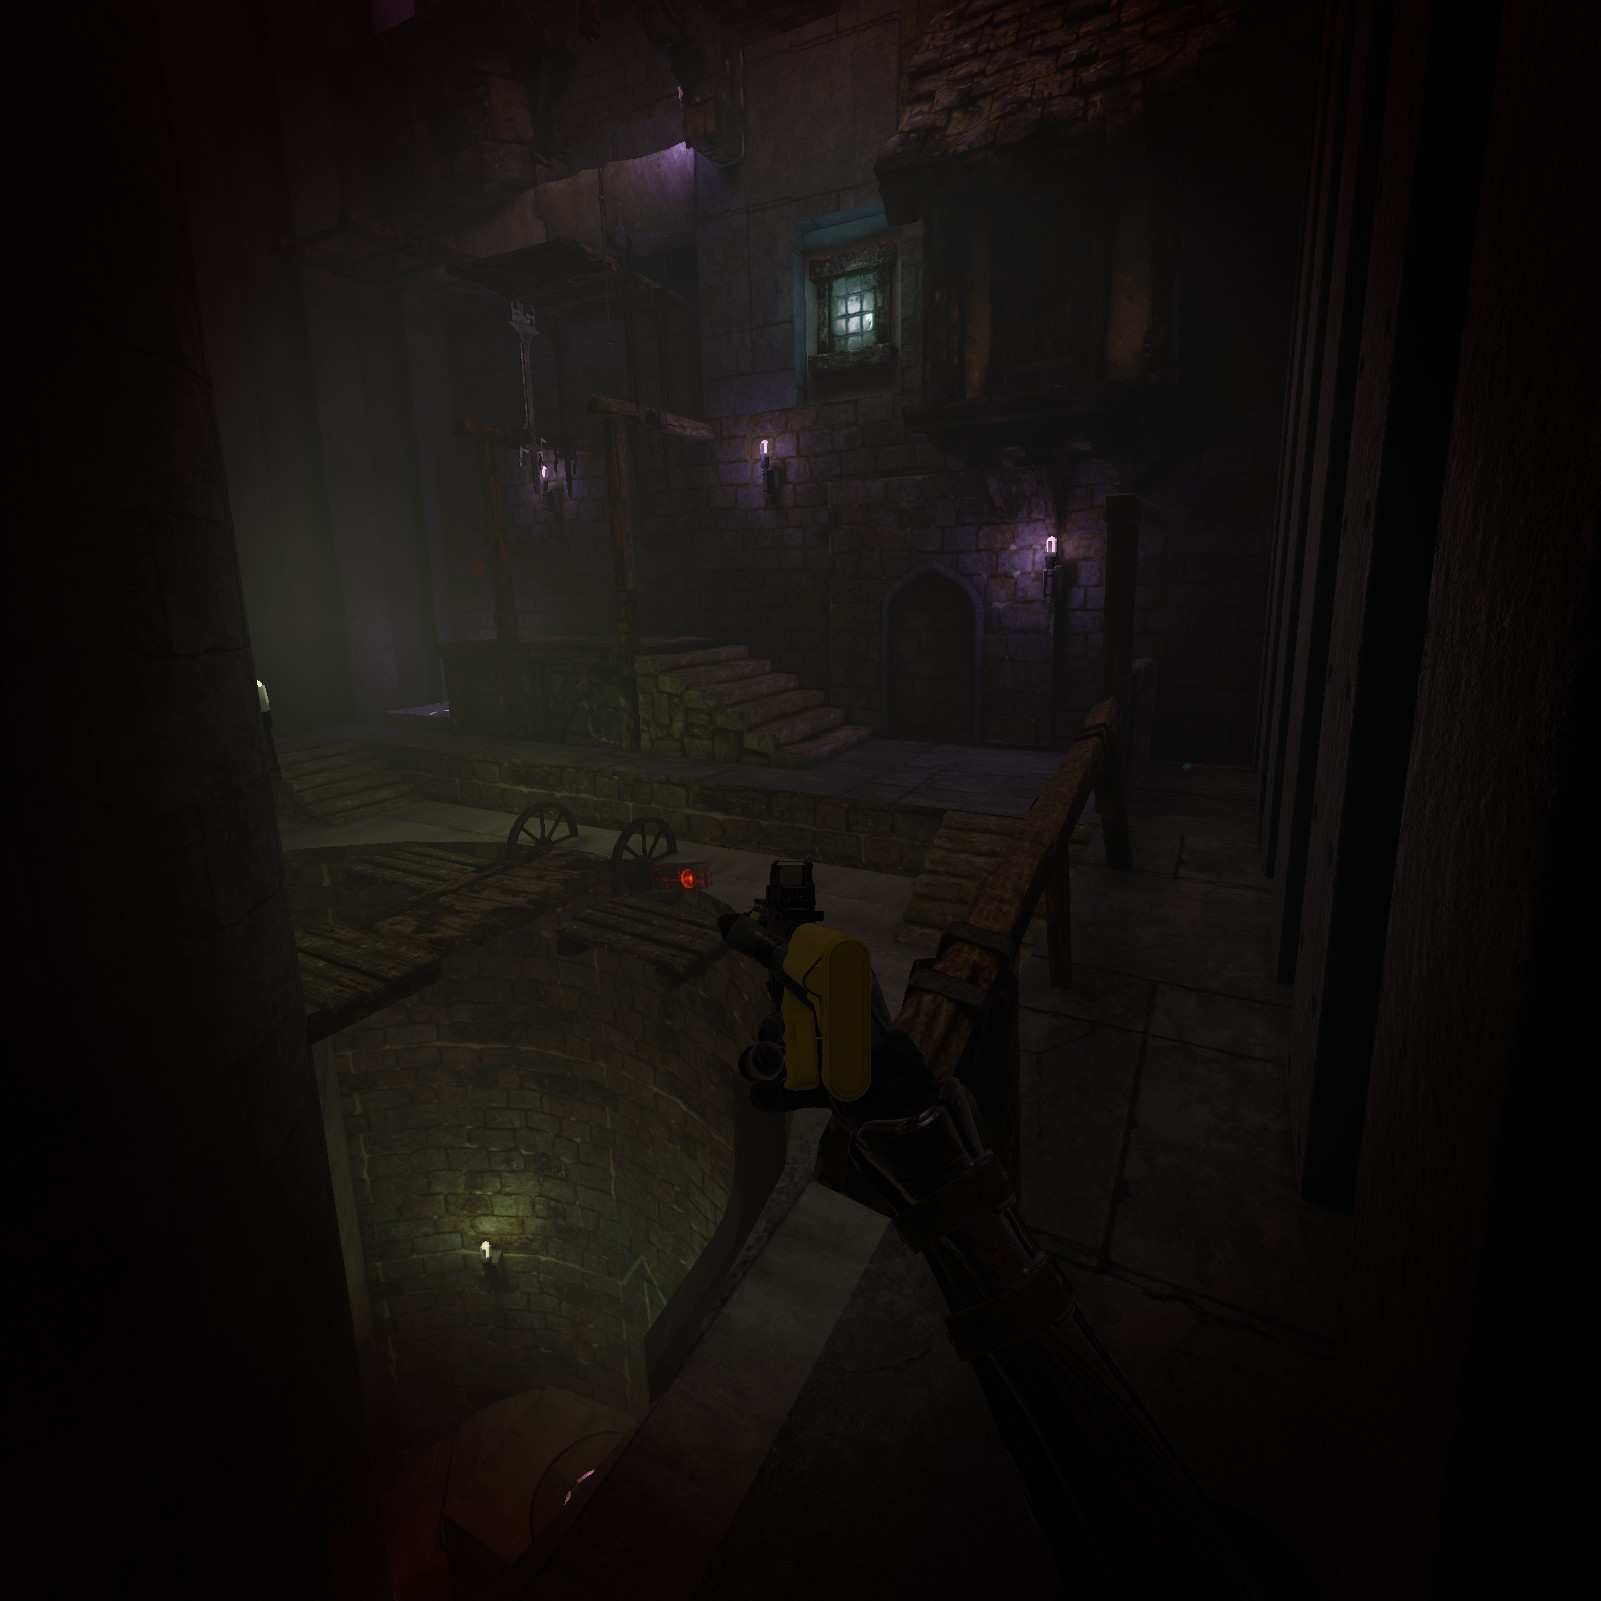
Pillar Climb
Be sure to use that gun you spawned earlier to take care of the beetles, least you get stuck on an unfavorable avatar.
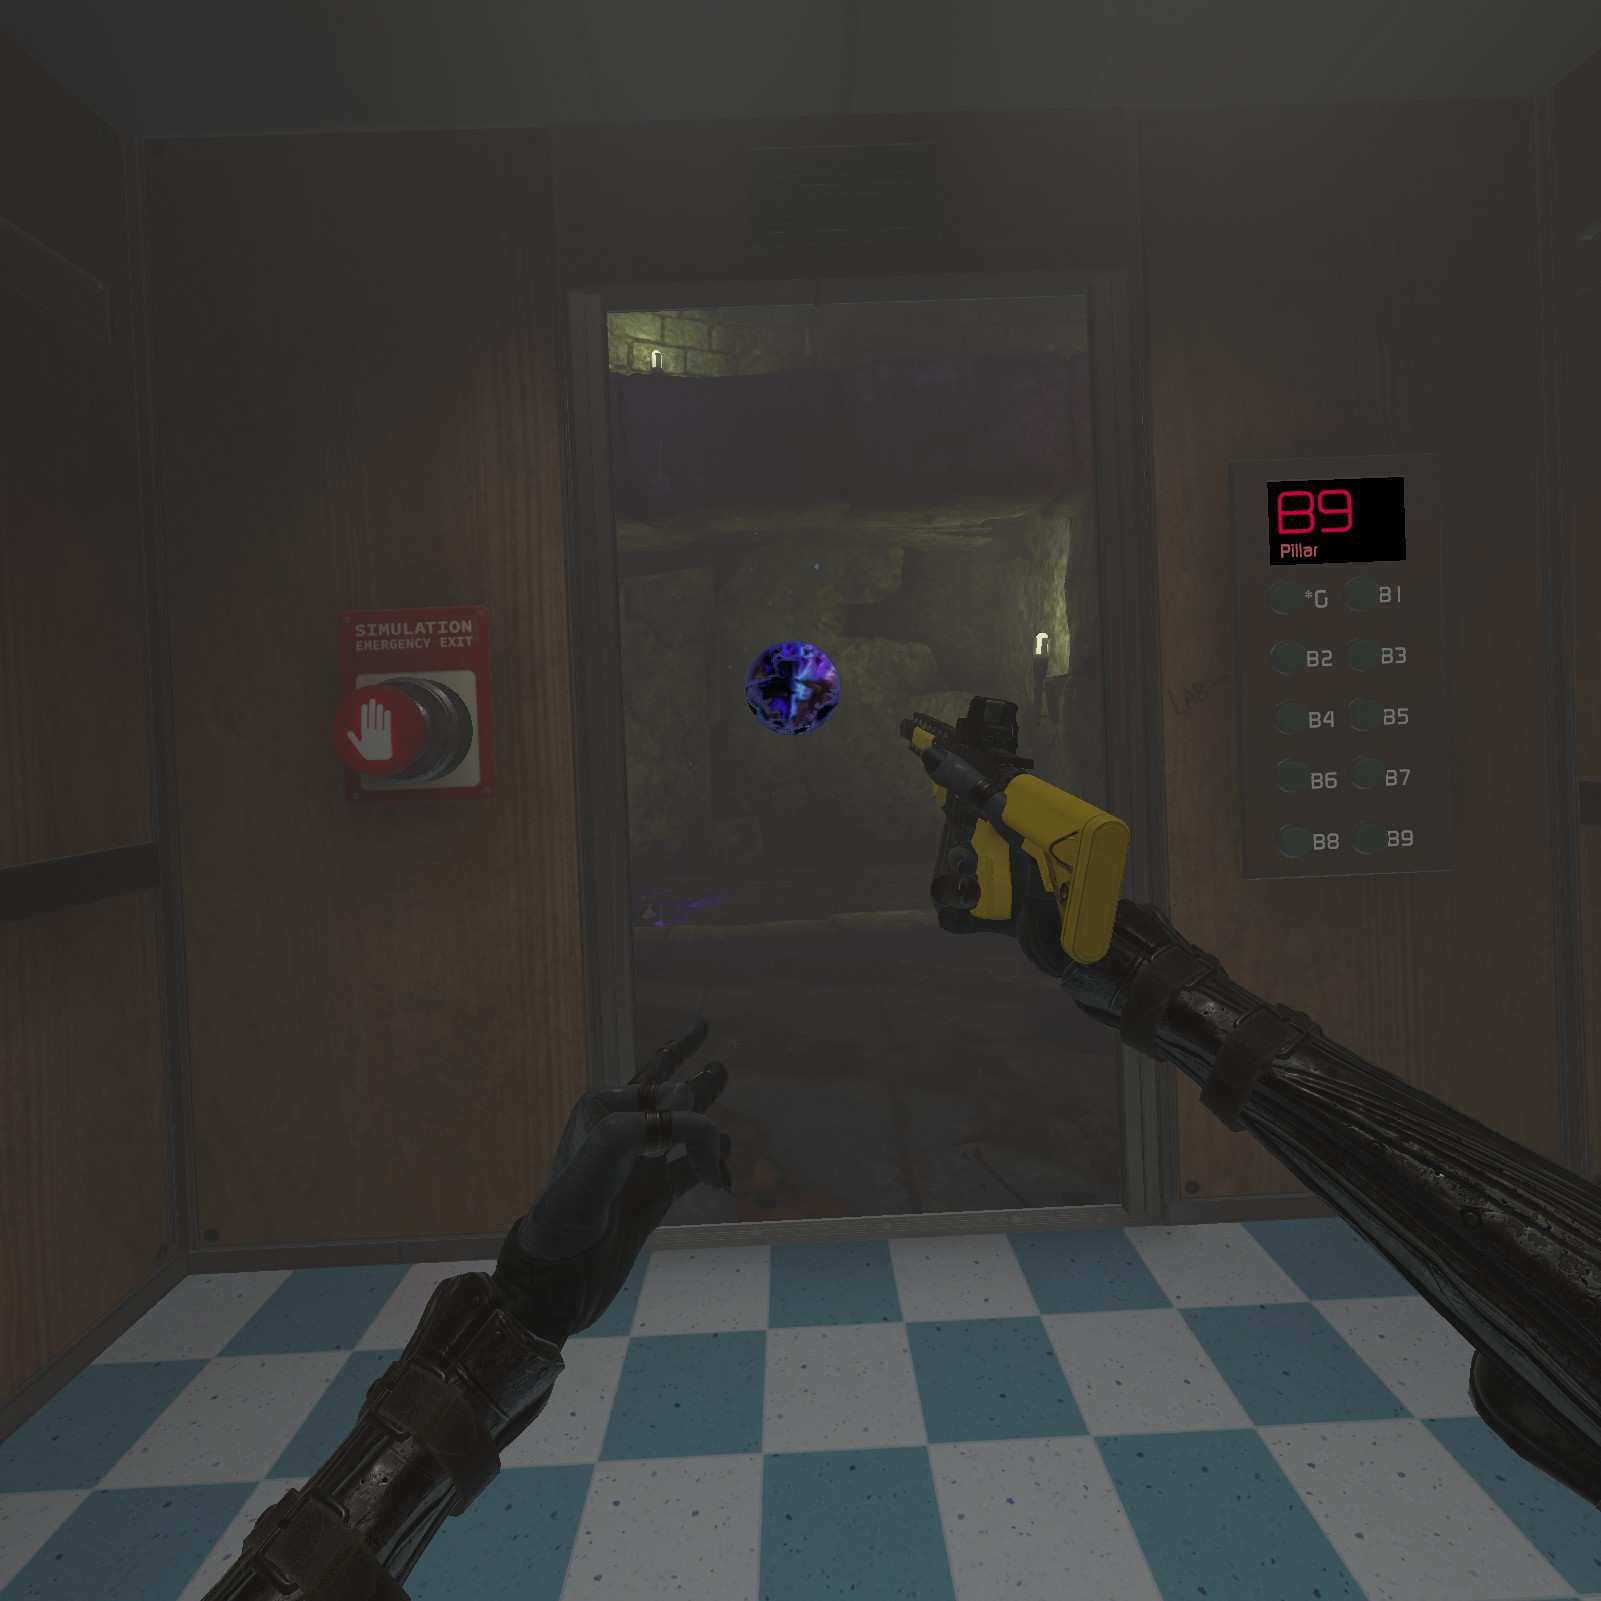
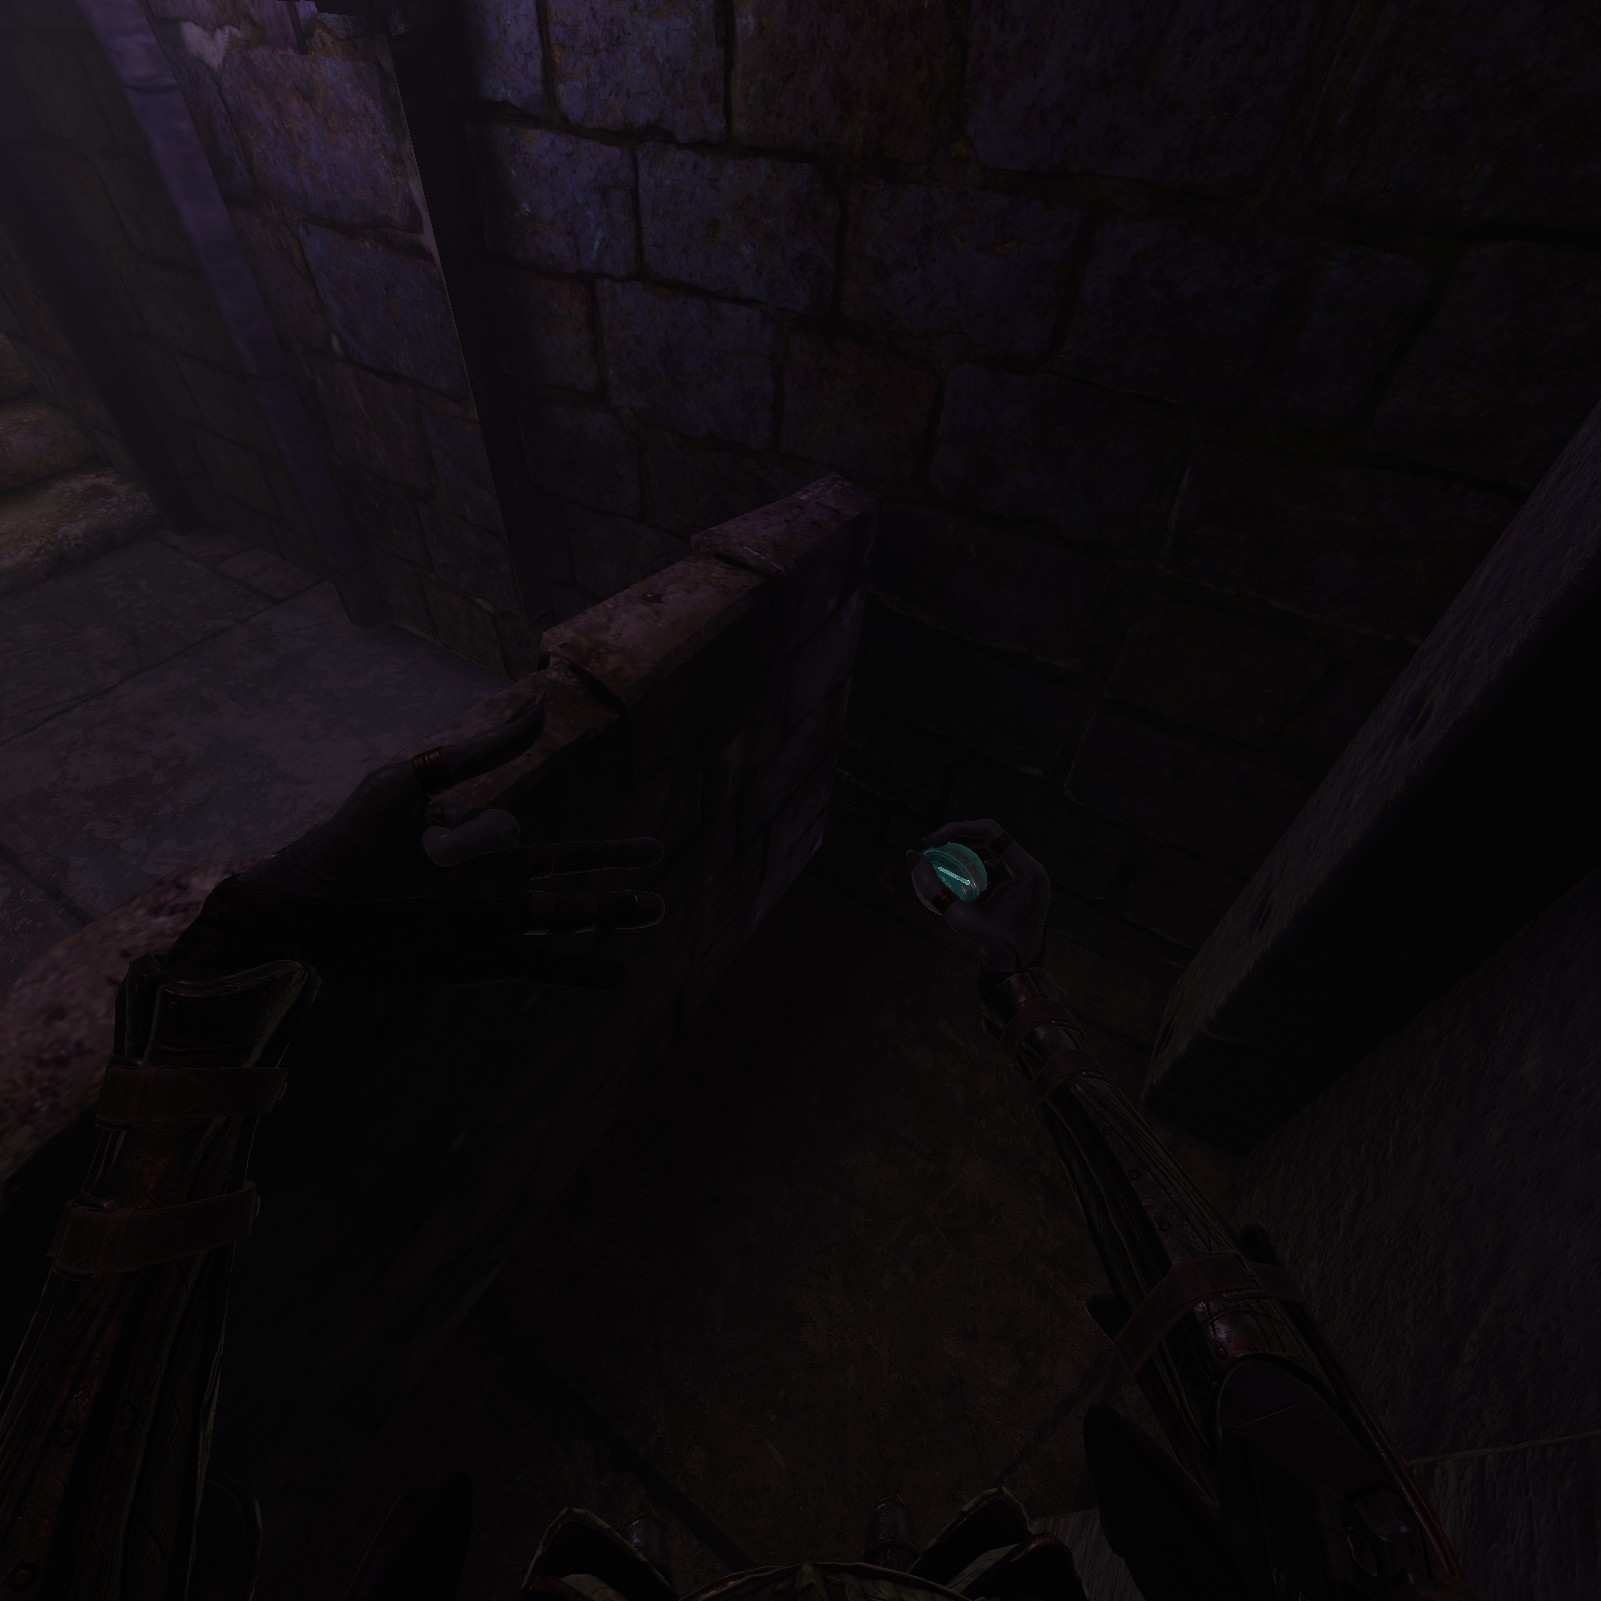
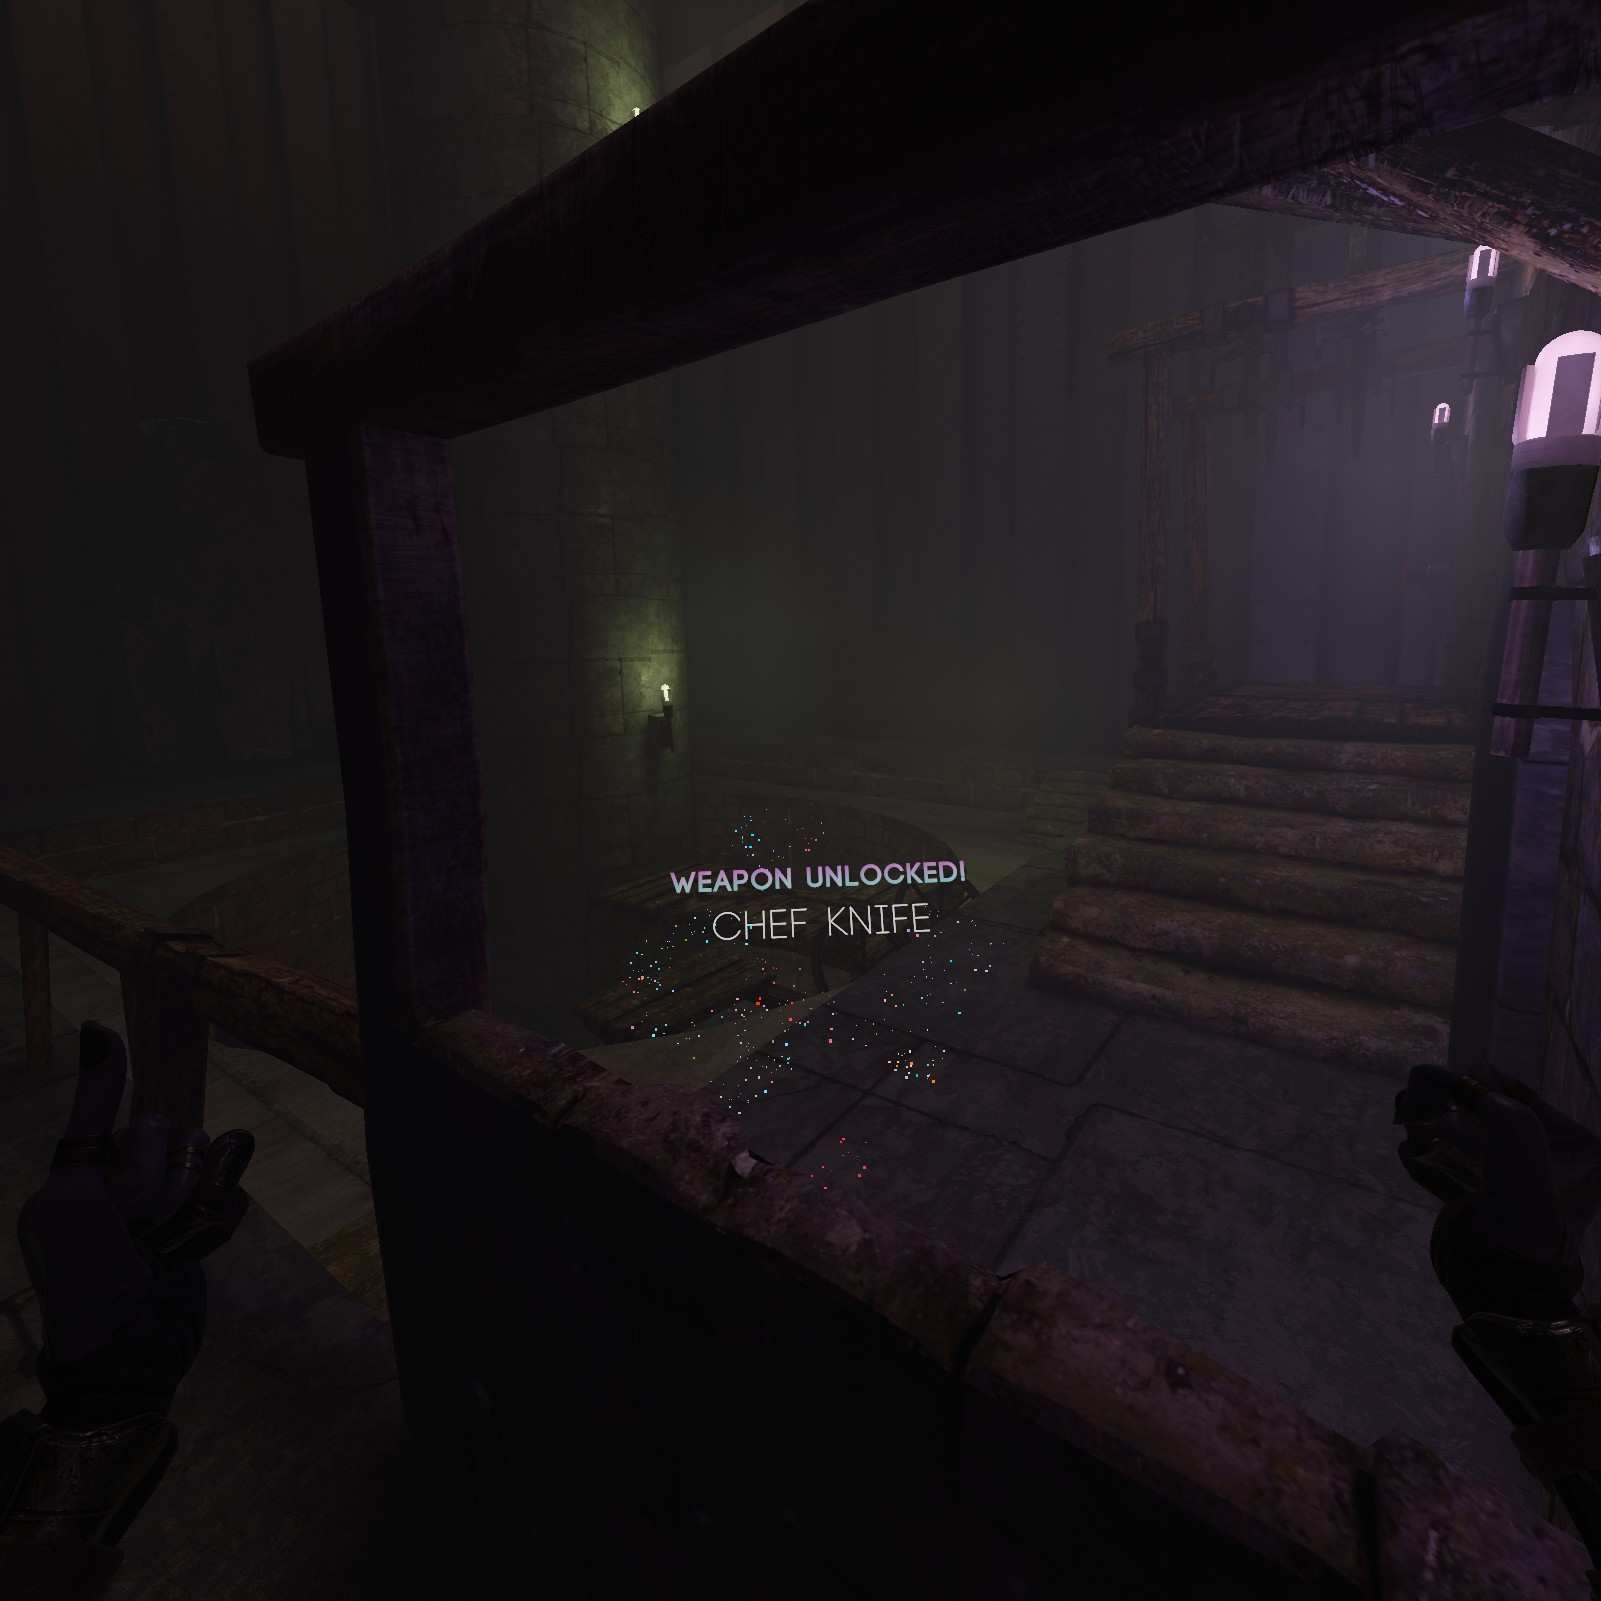
Chef Knife:
Get up to the top of the cylindrical section. On the right will be a chiefs knife for preping beetles for dinner.
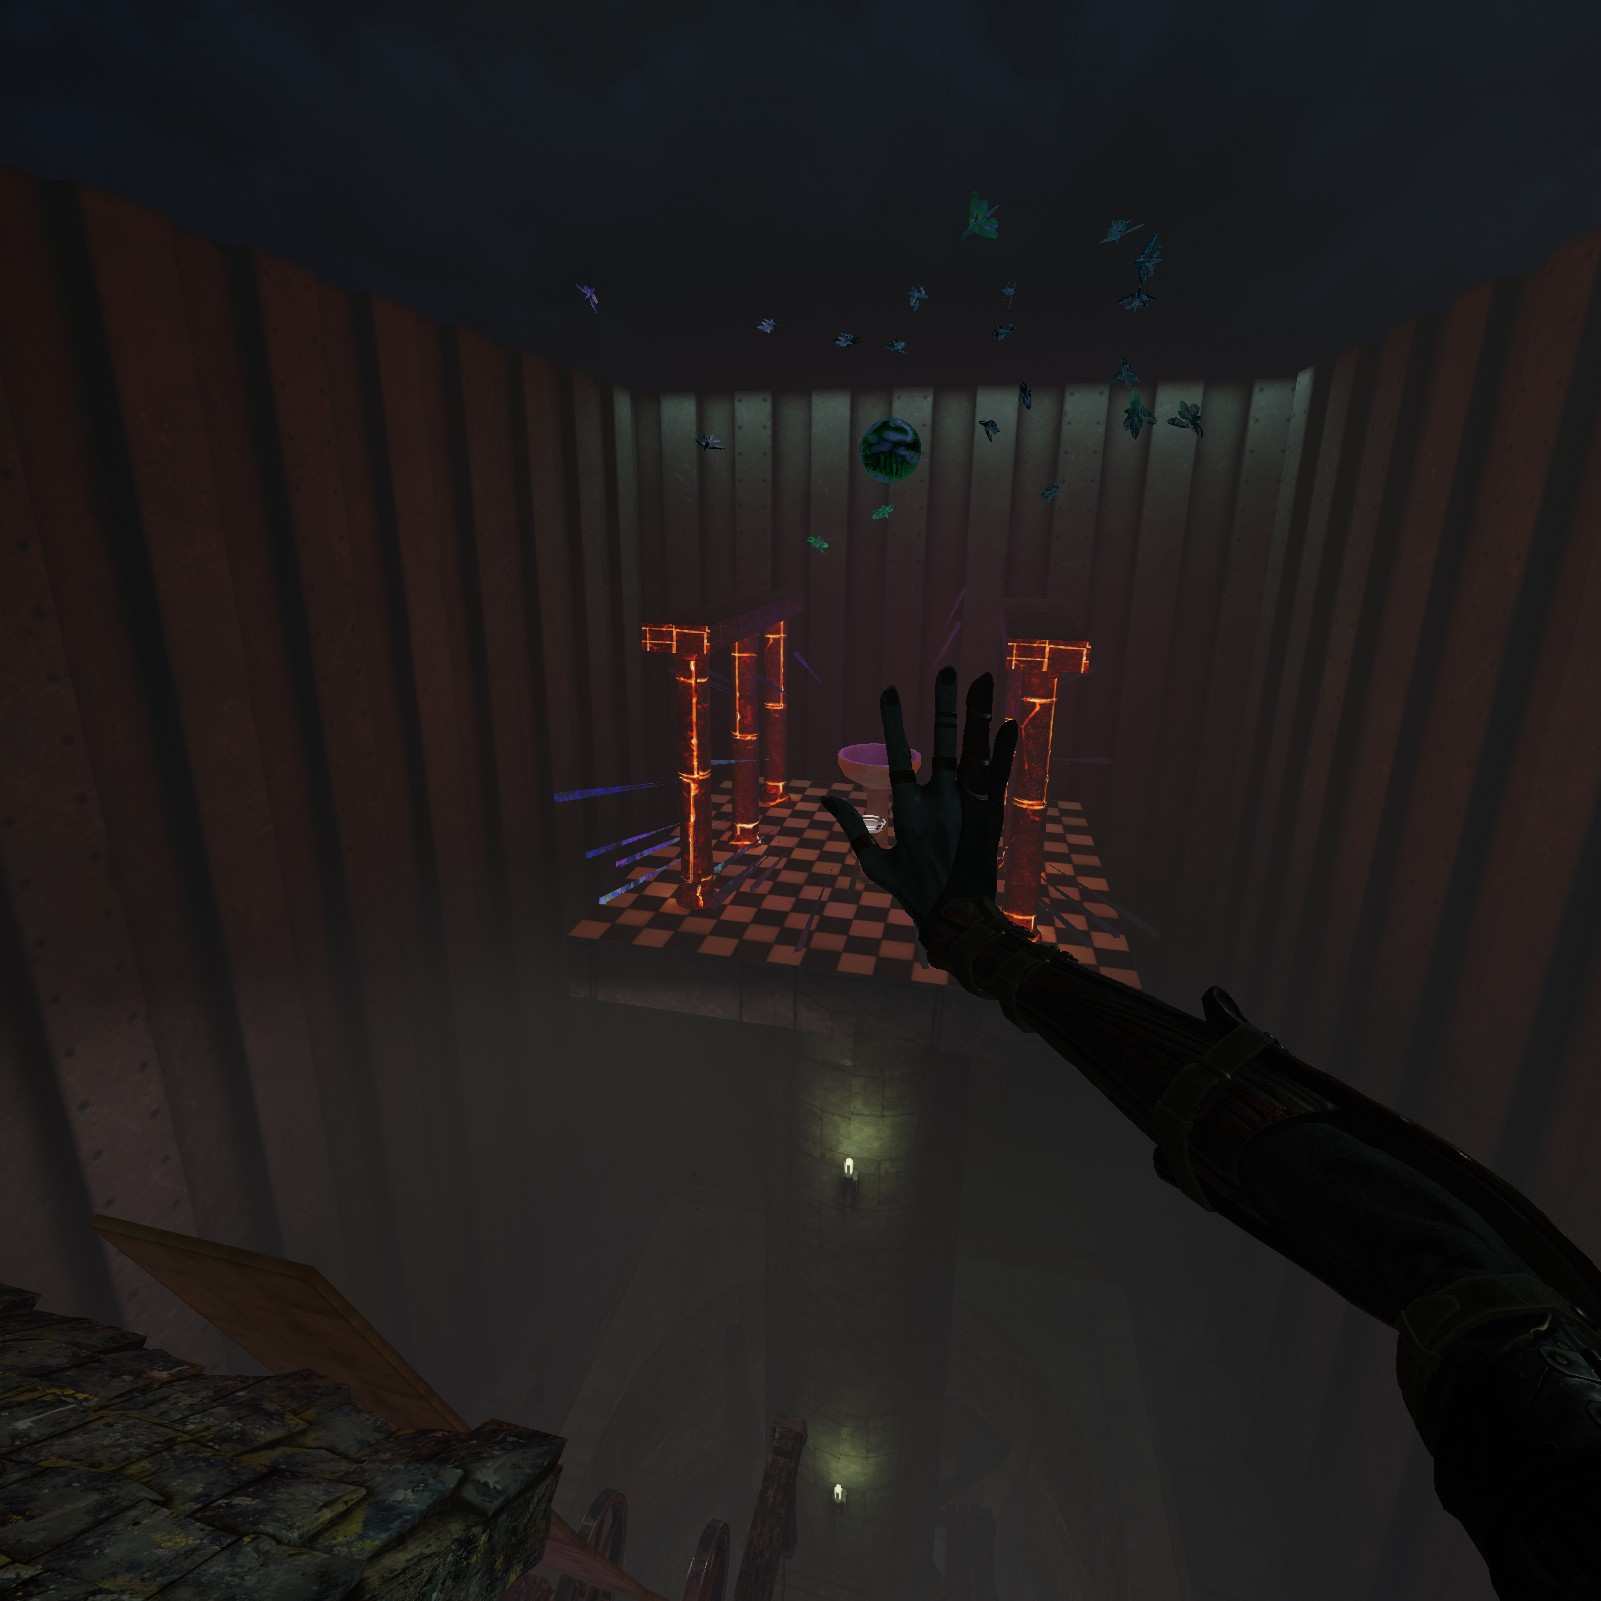
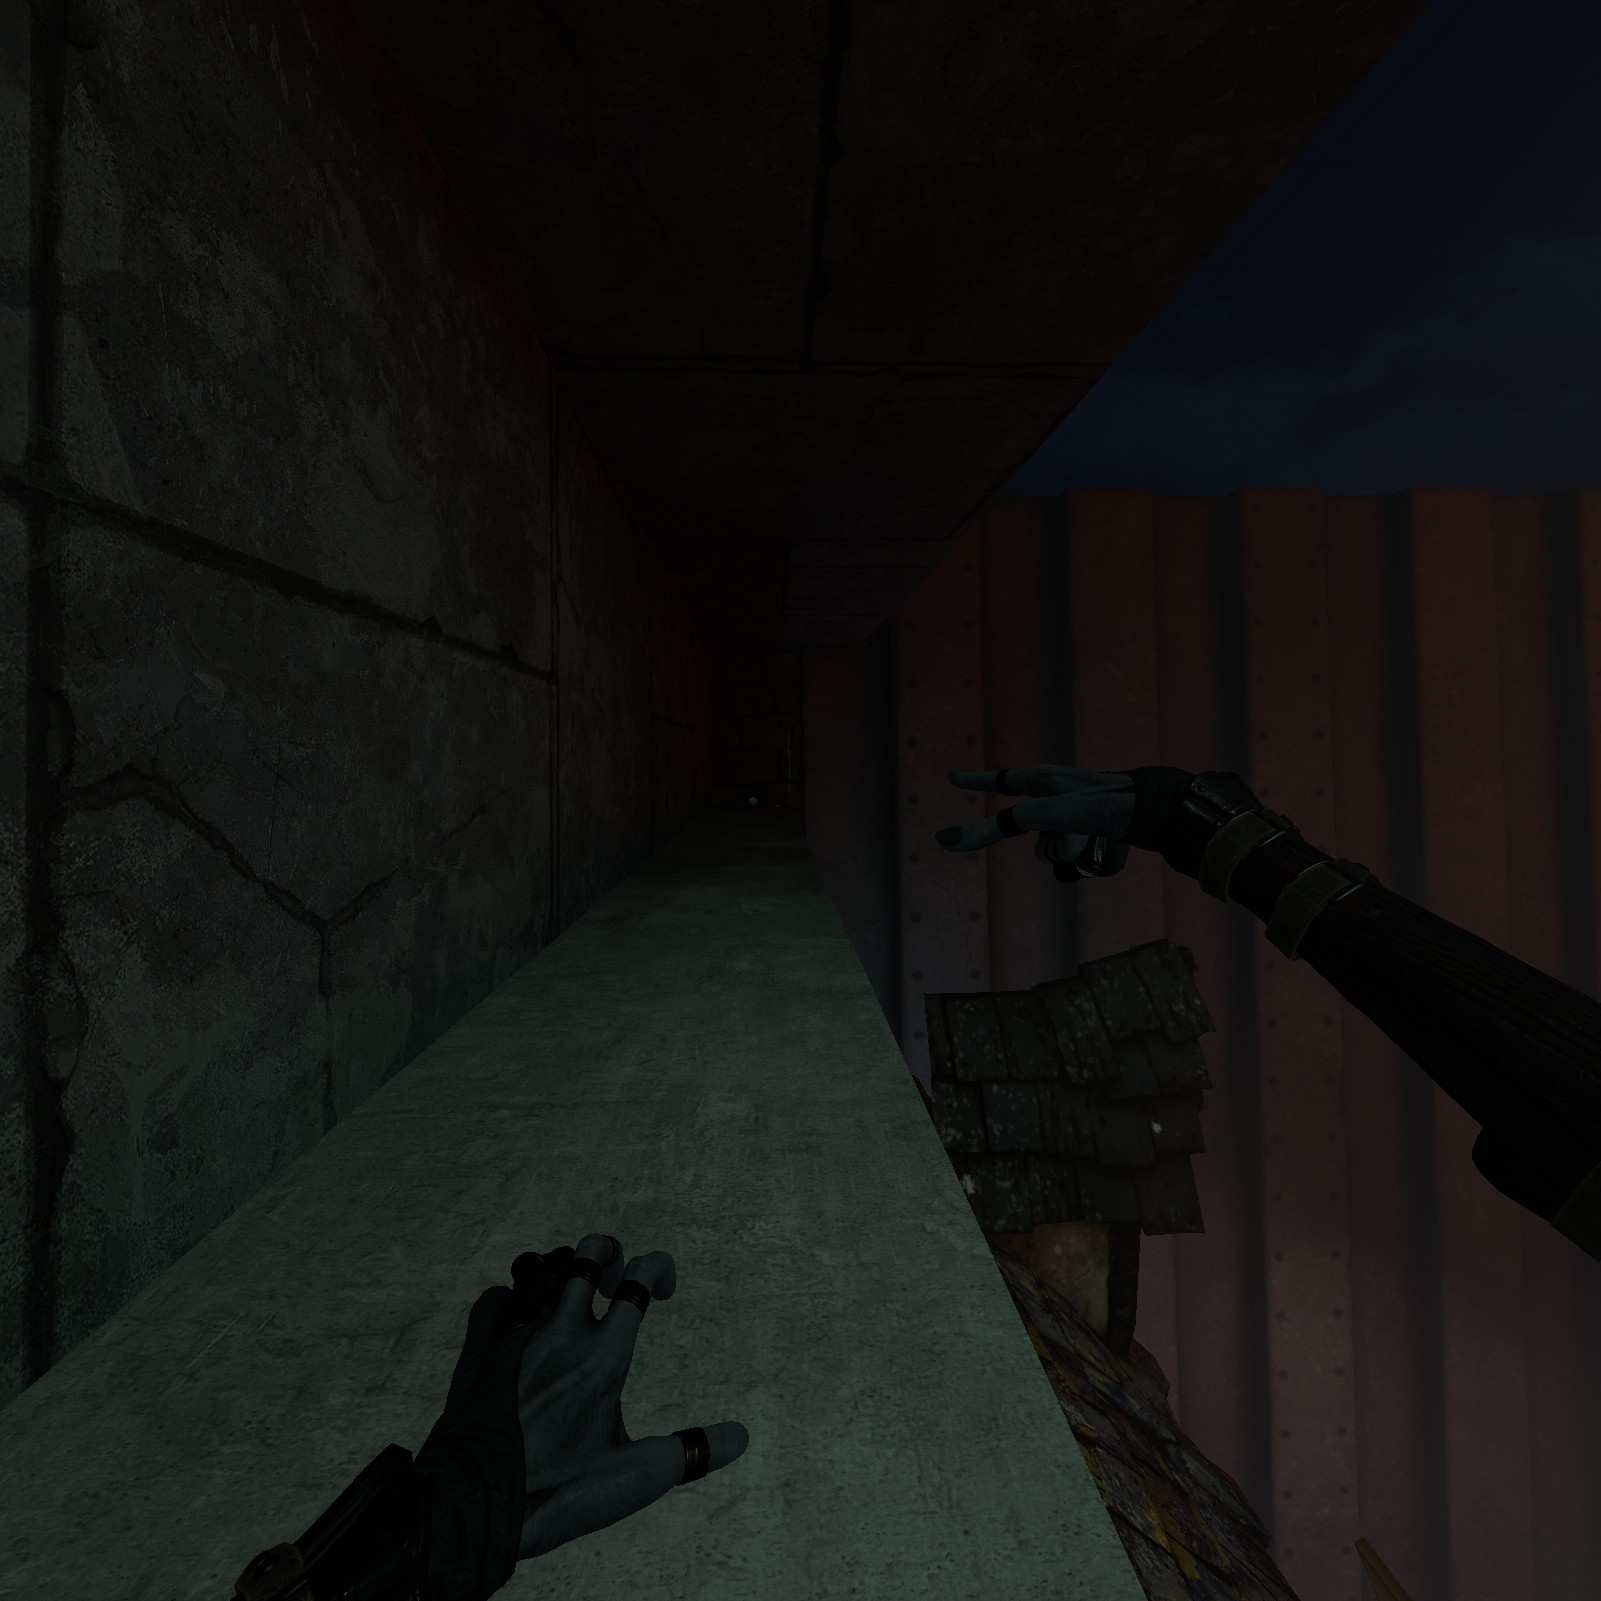
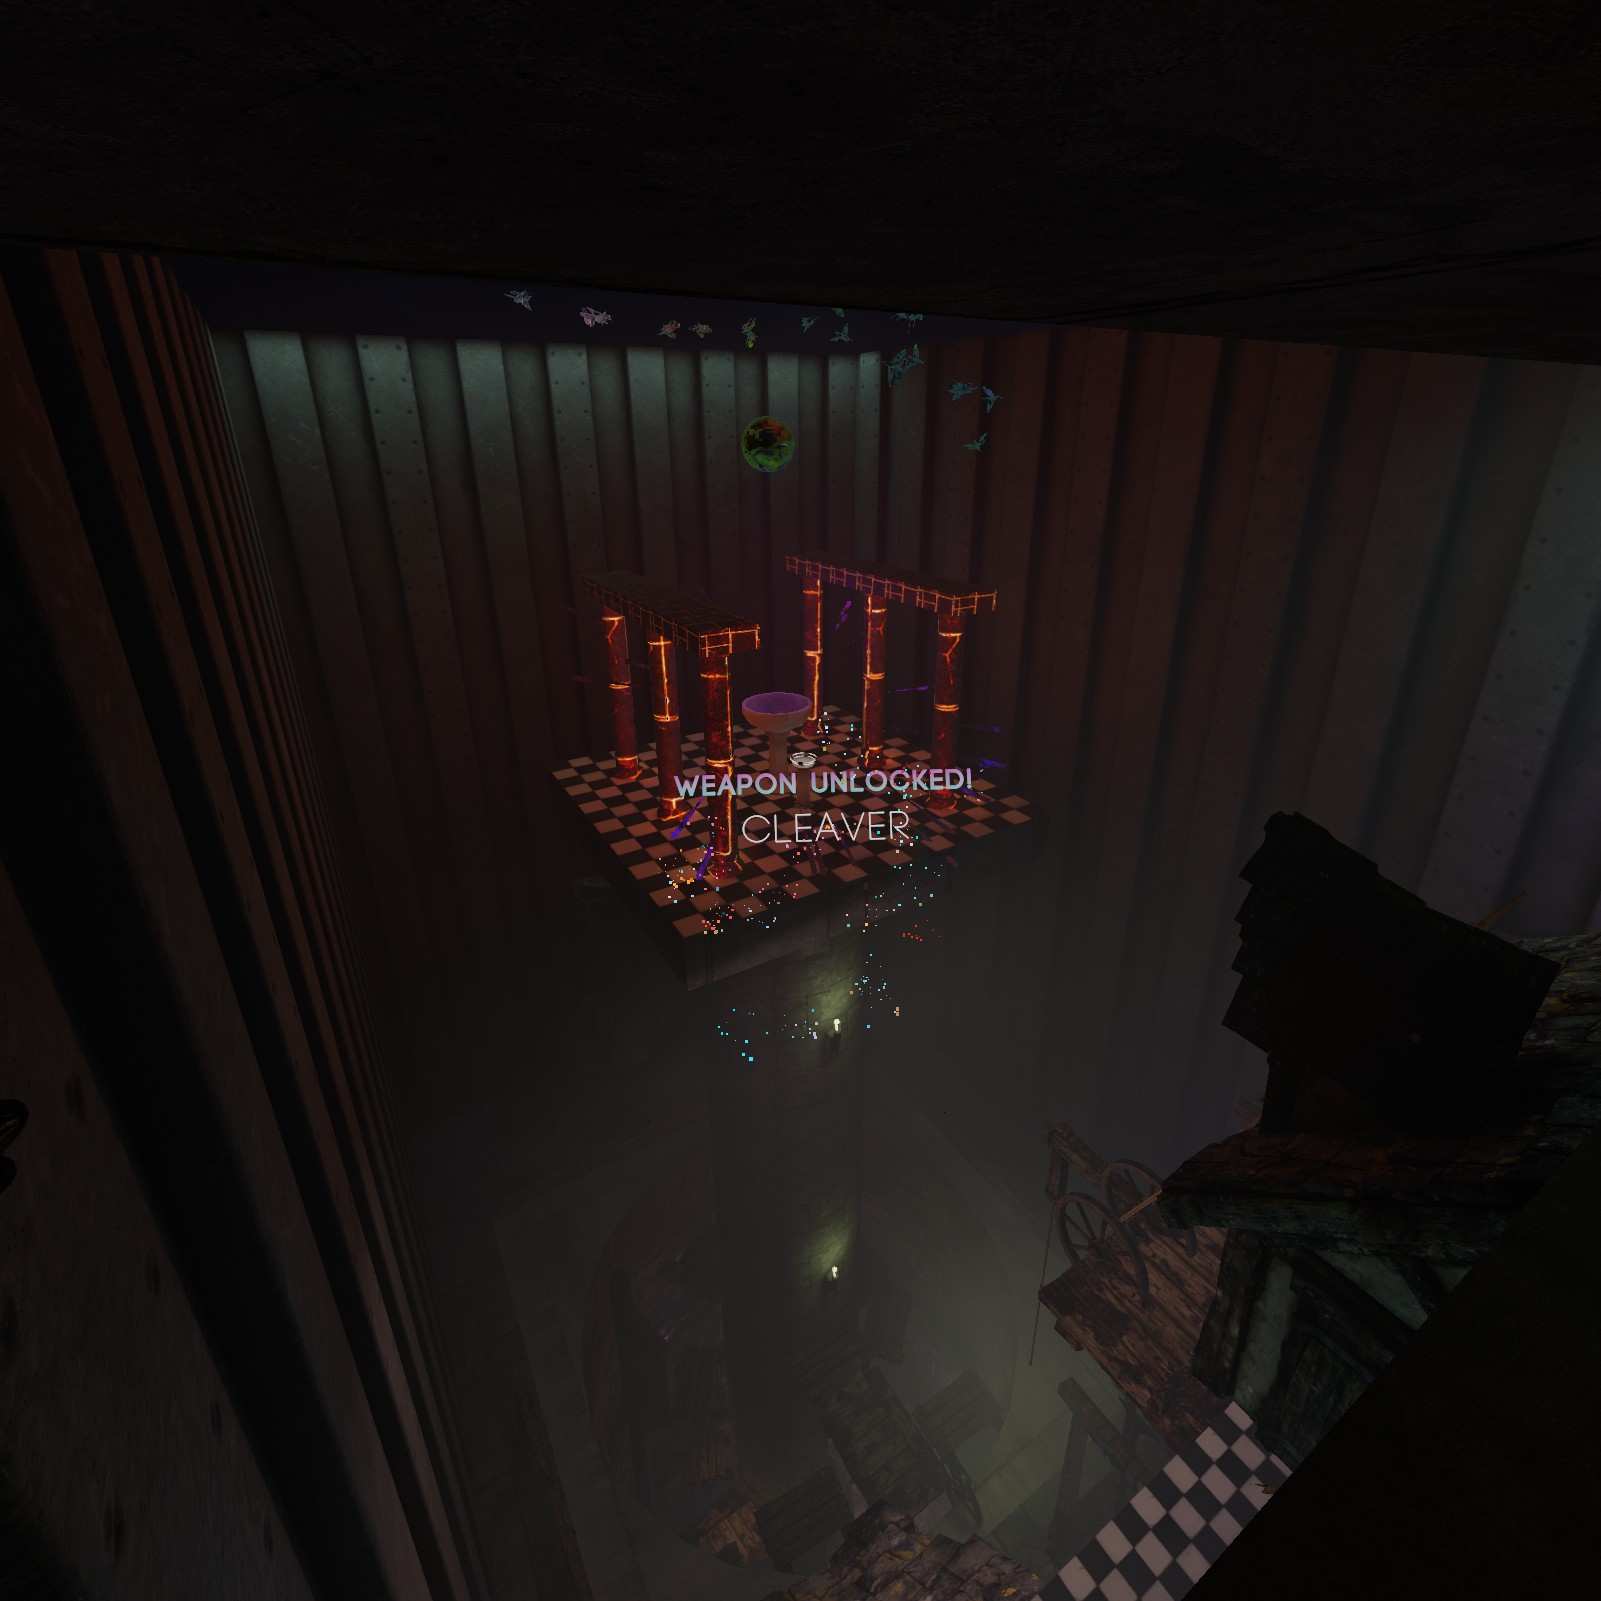
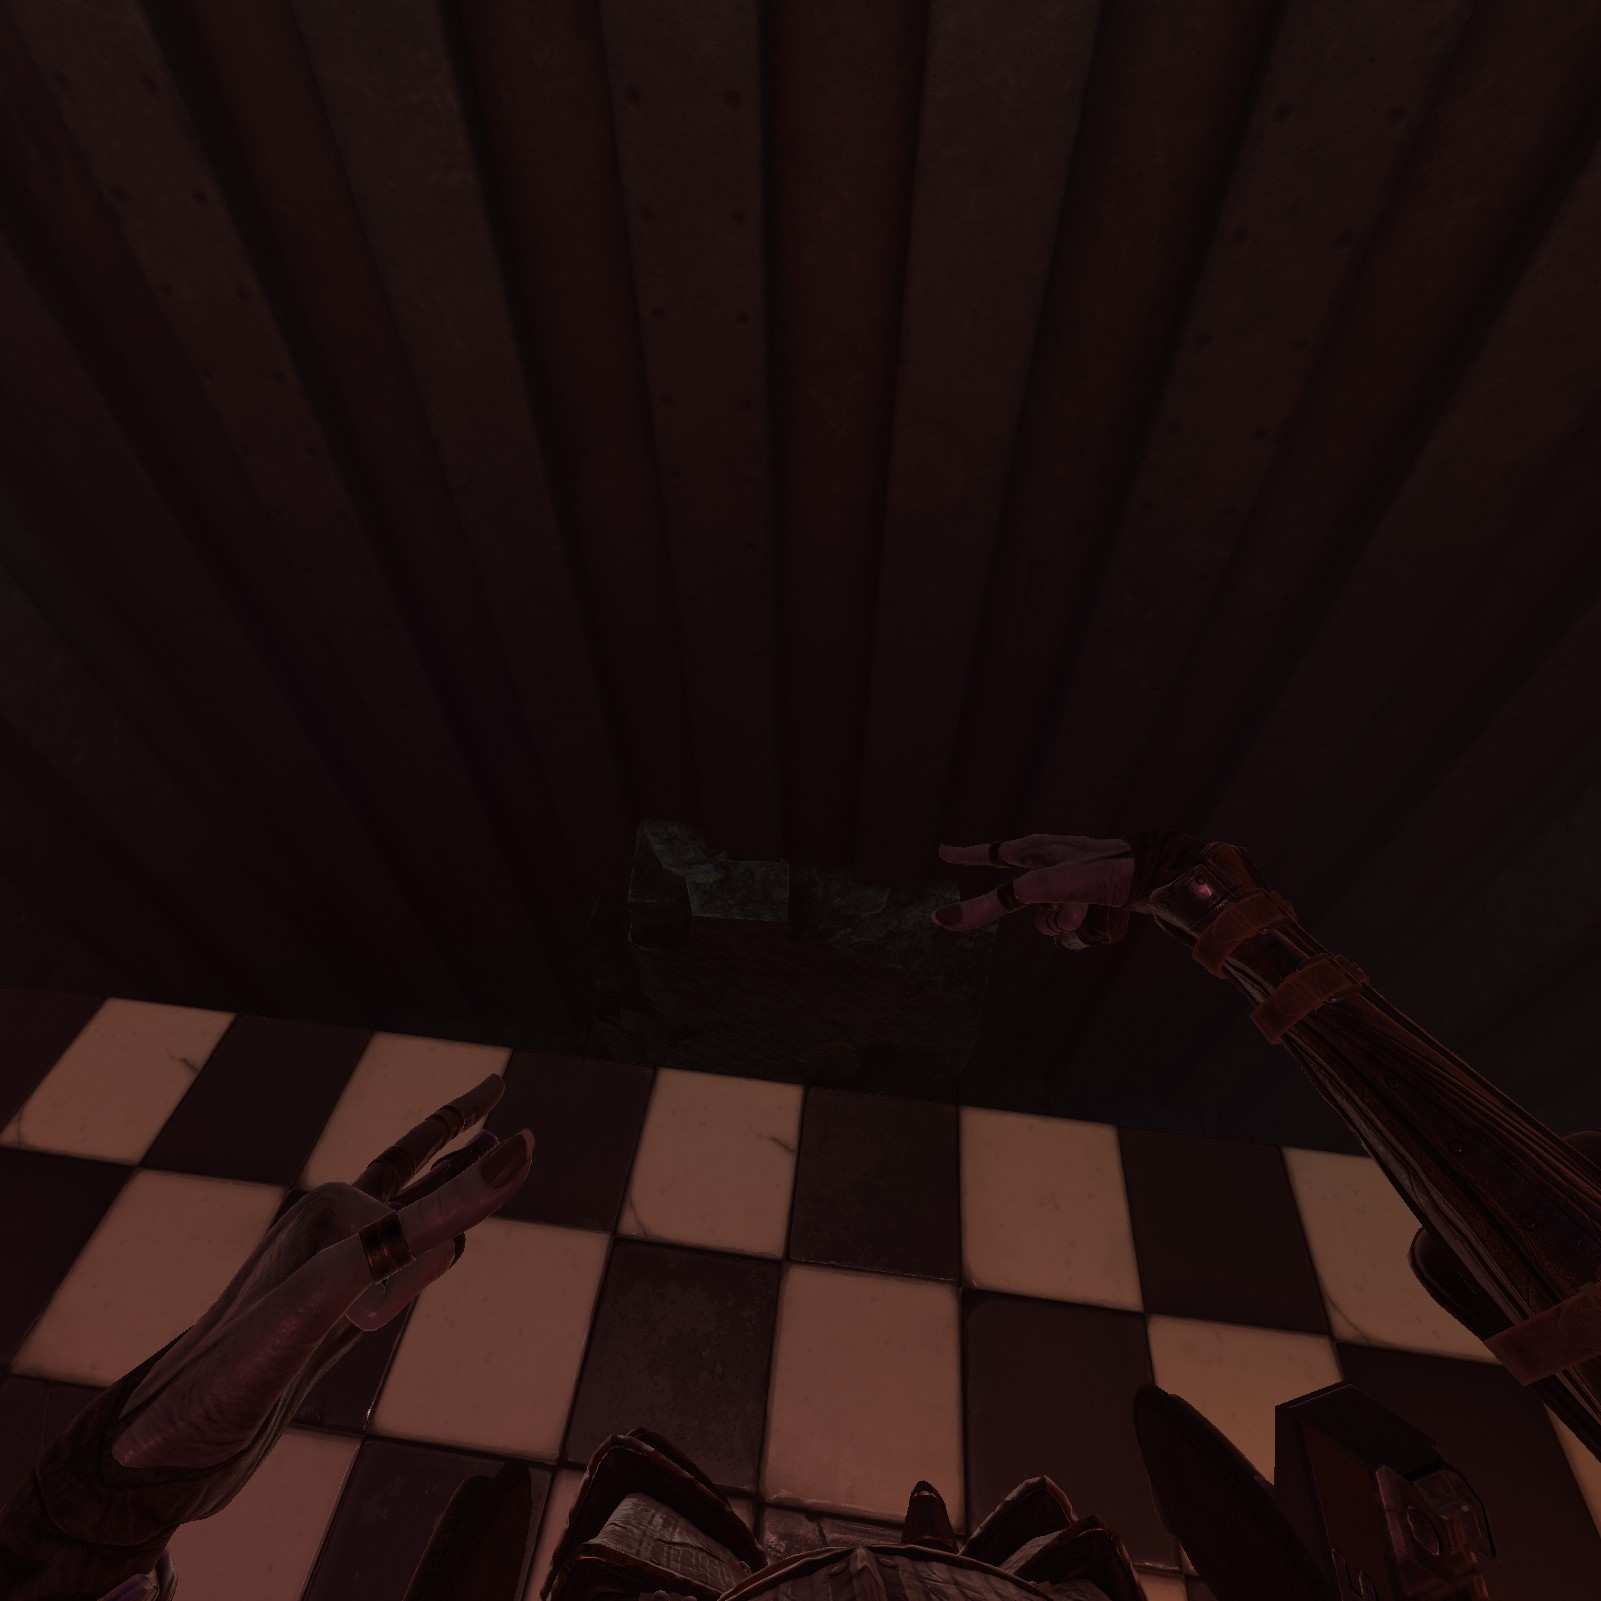
Cleaver:
Need more knife power? Climb up to the top here, crouch in this cramped area, and nab the cleaver.
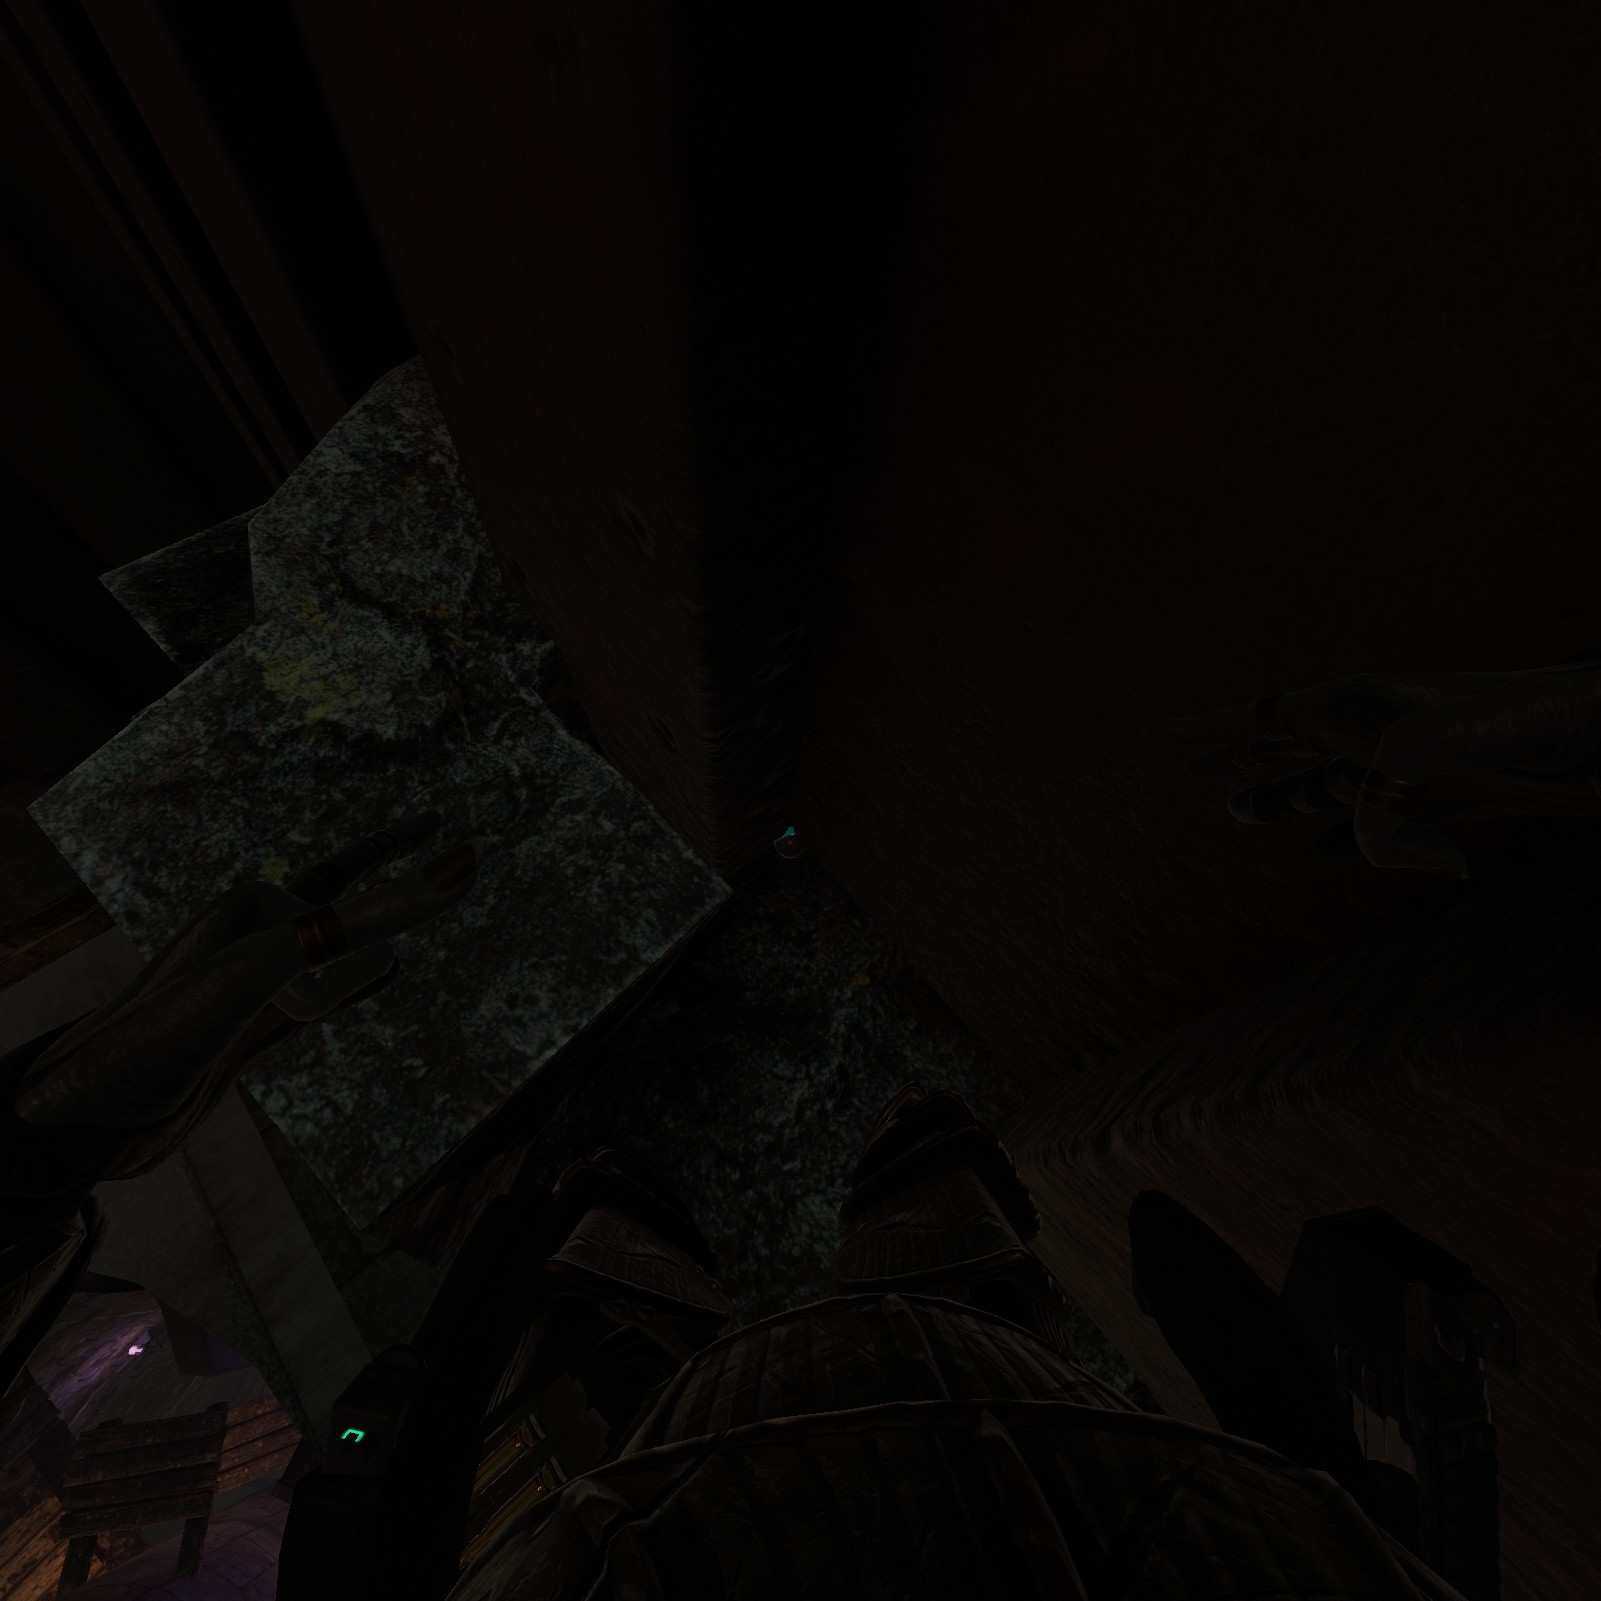
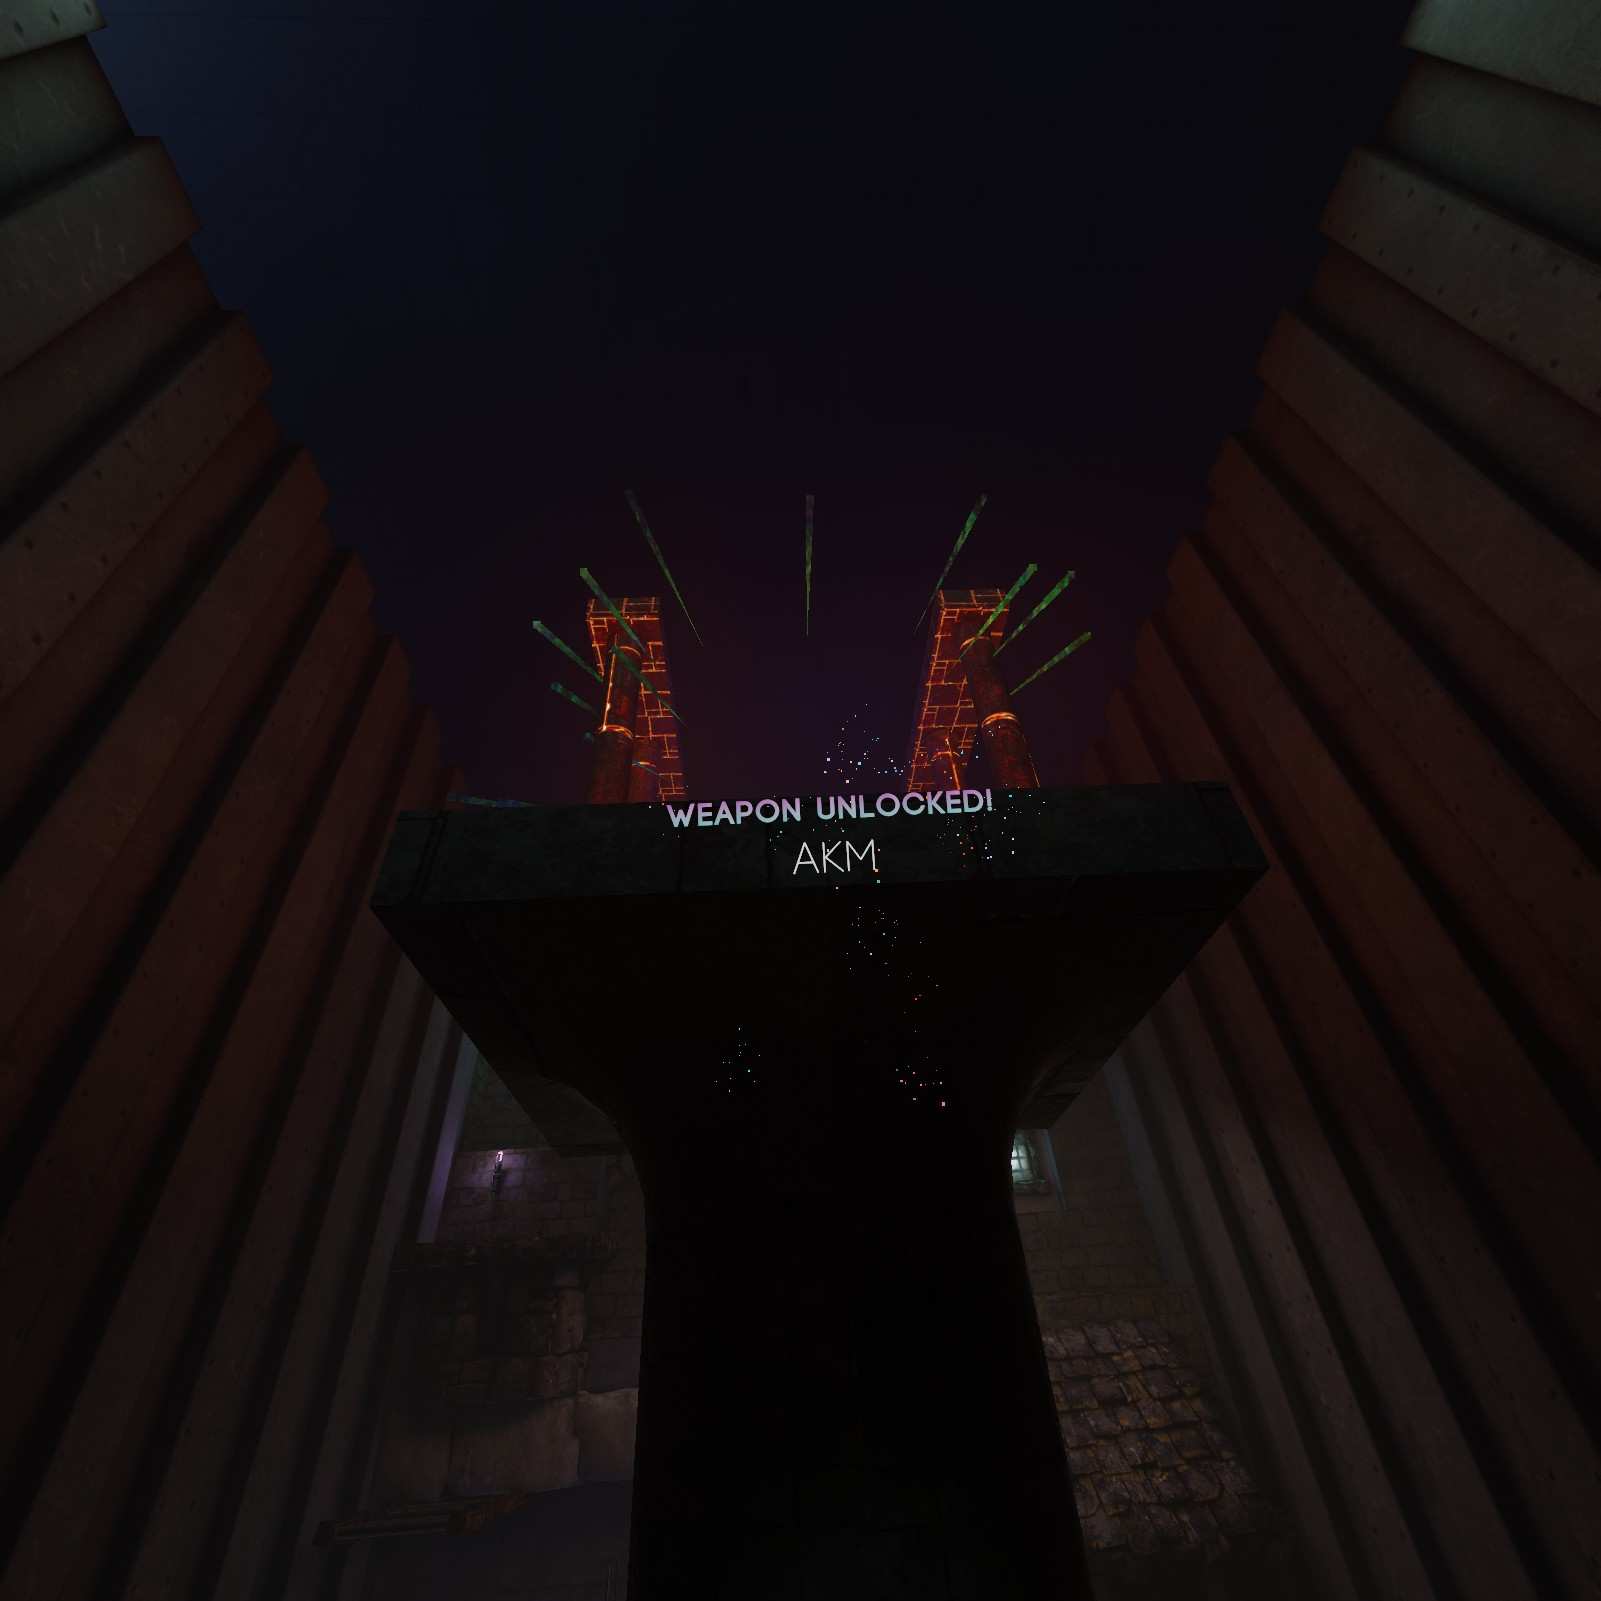
AKM:
Credit to TotallyMad for pointing me to this one, just before you grab the tall avatar, look out on the other side of the platform to find a rock face with the AKM on it.
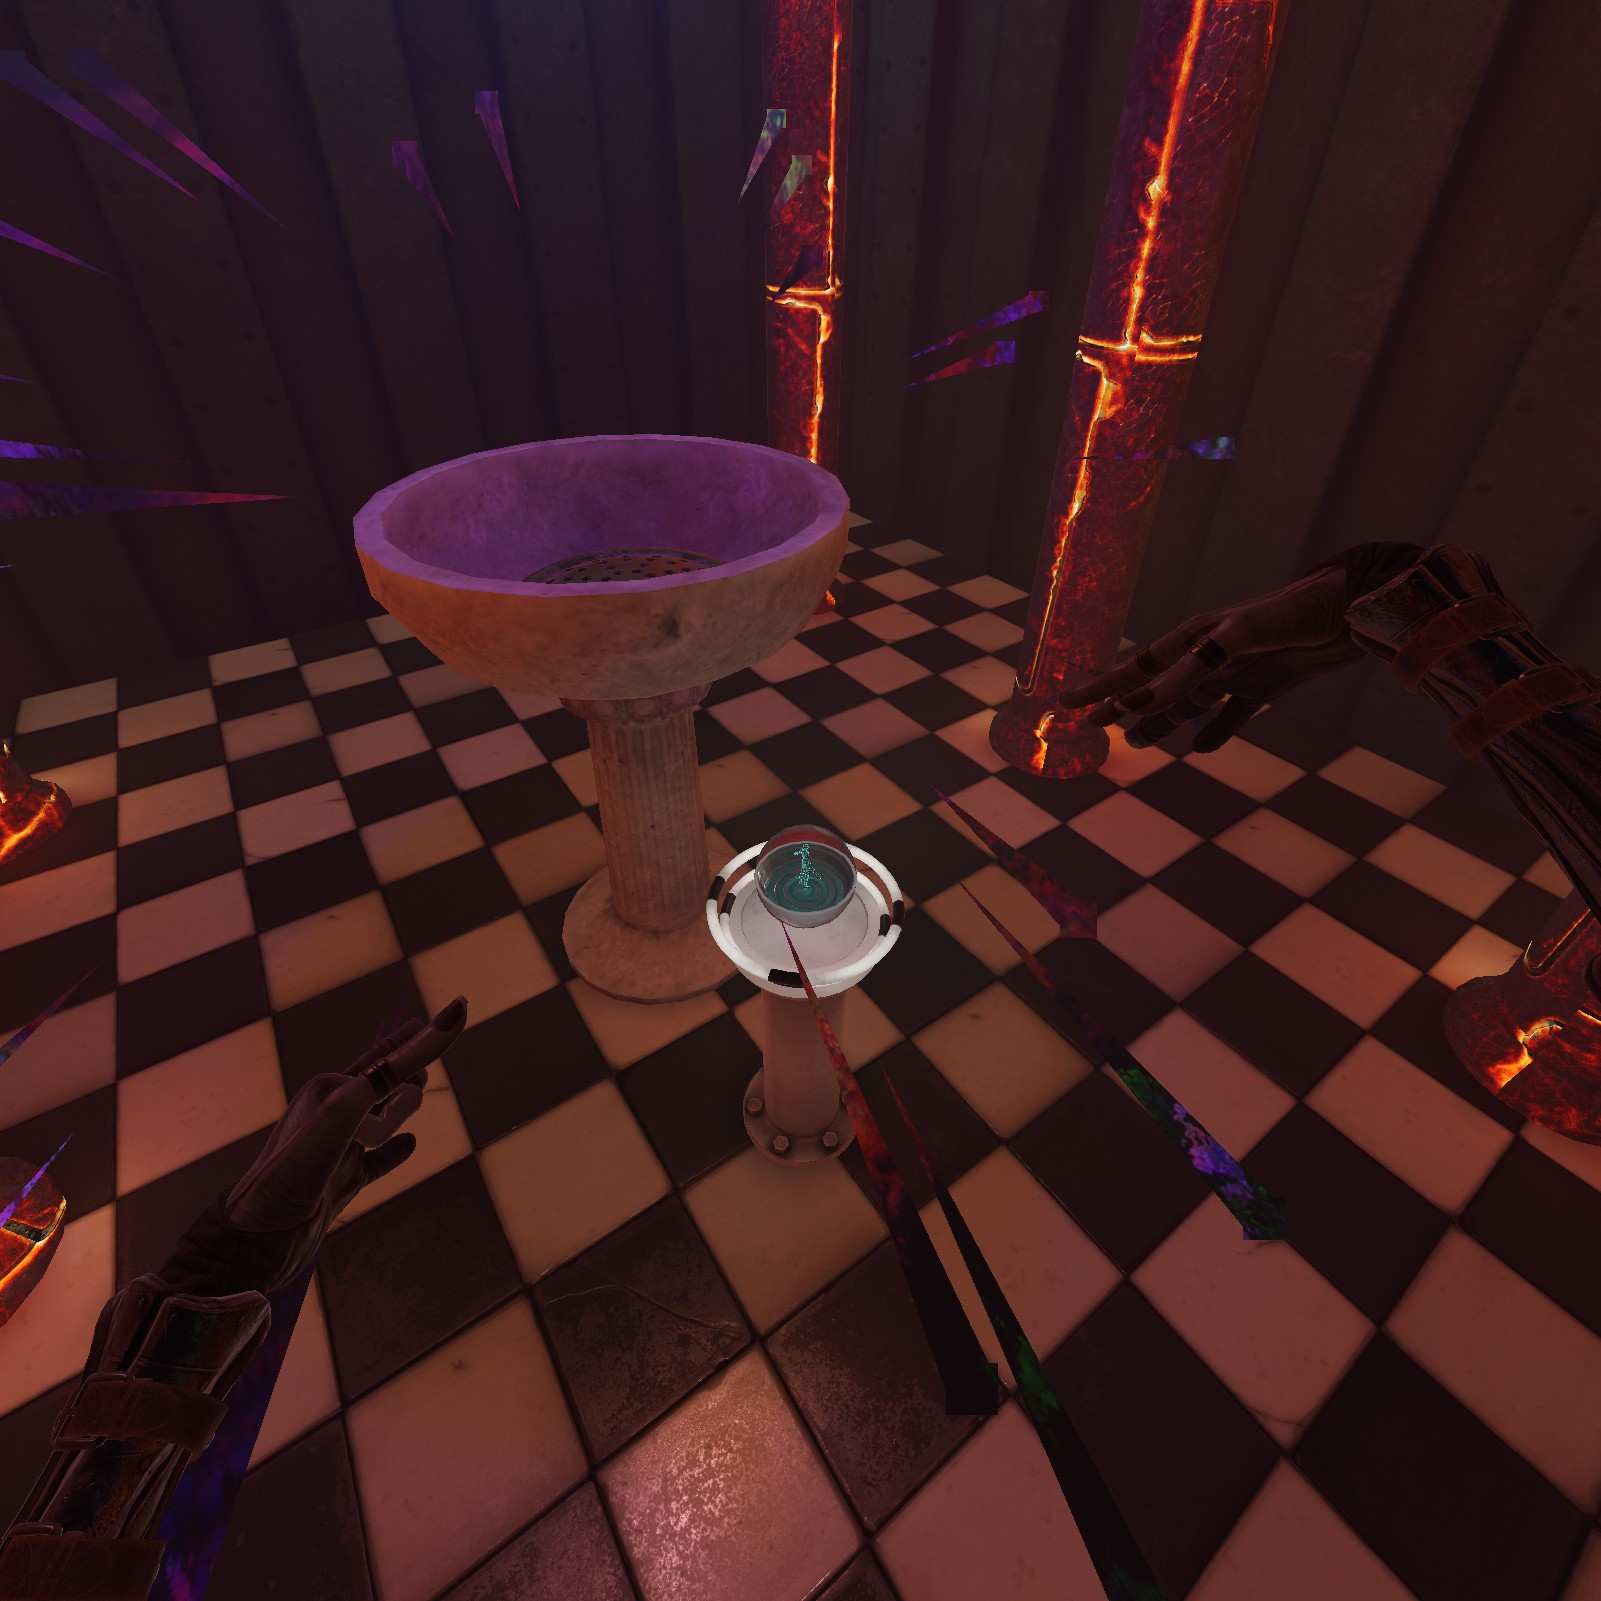
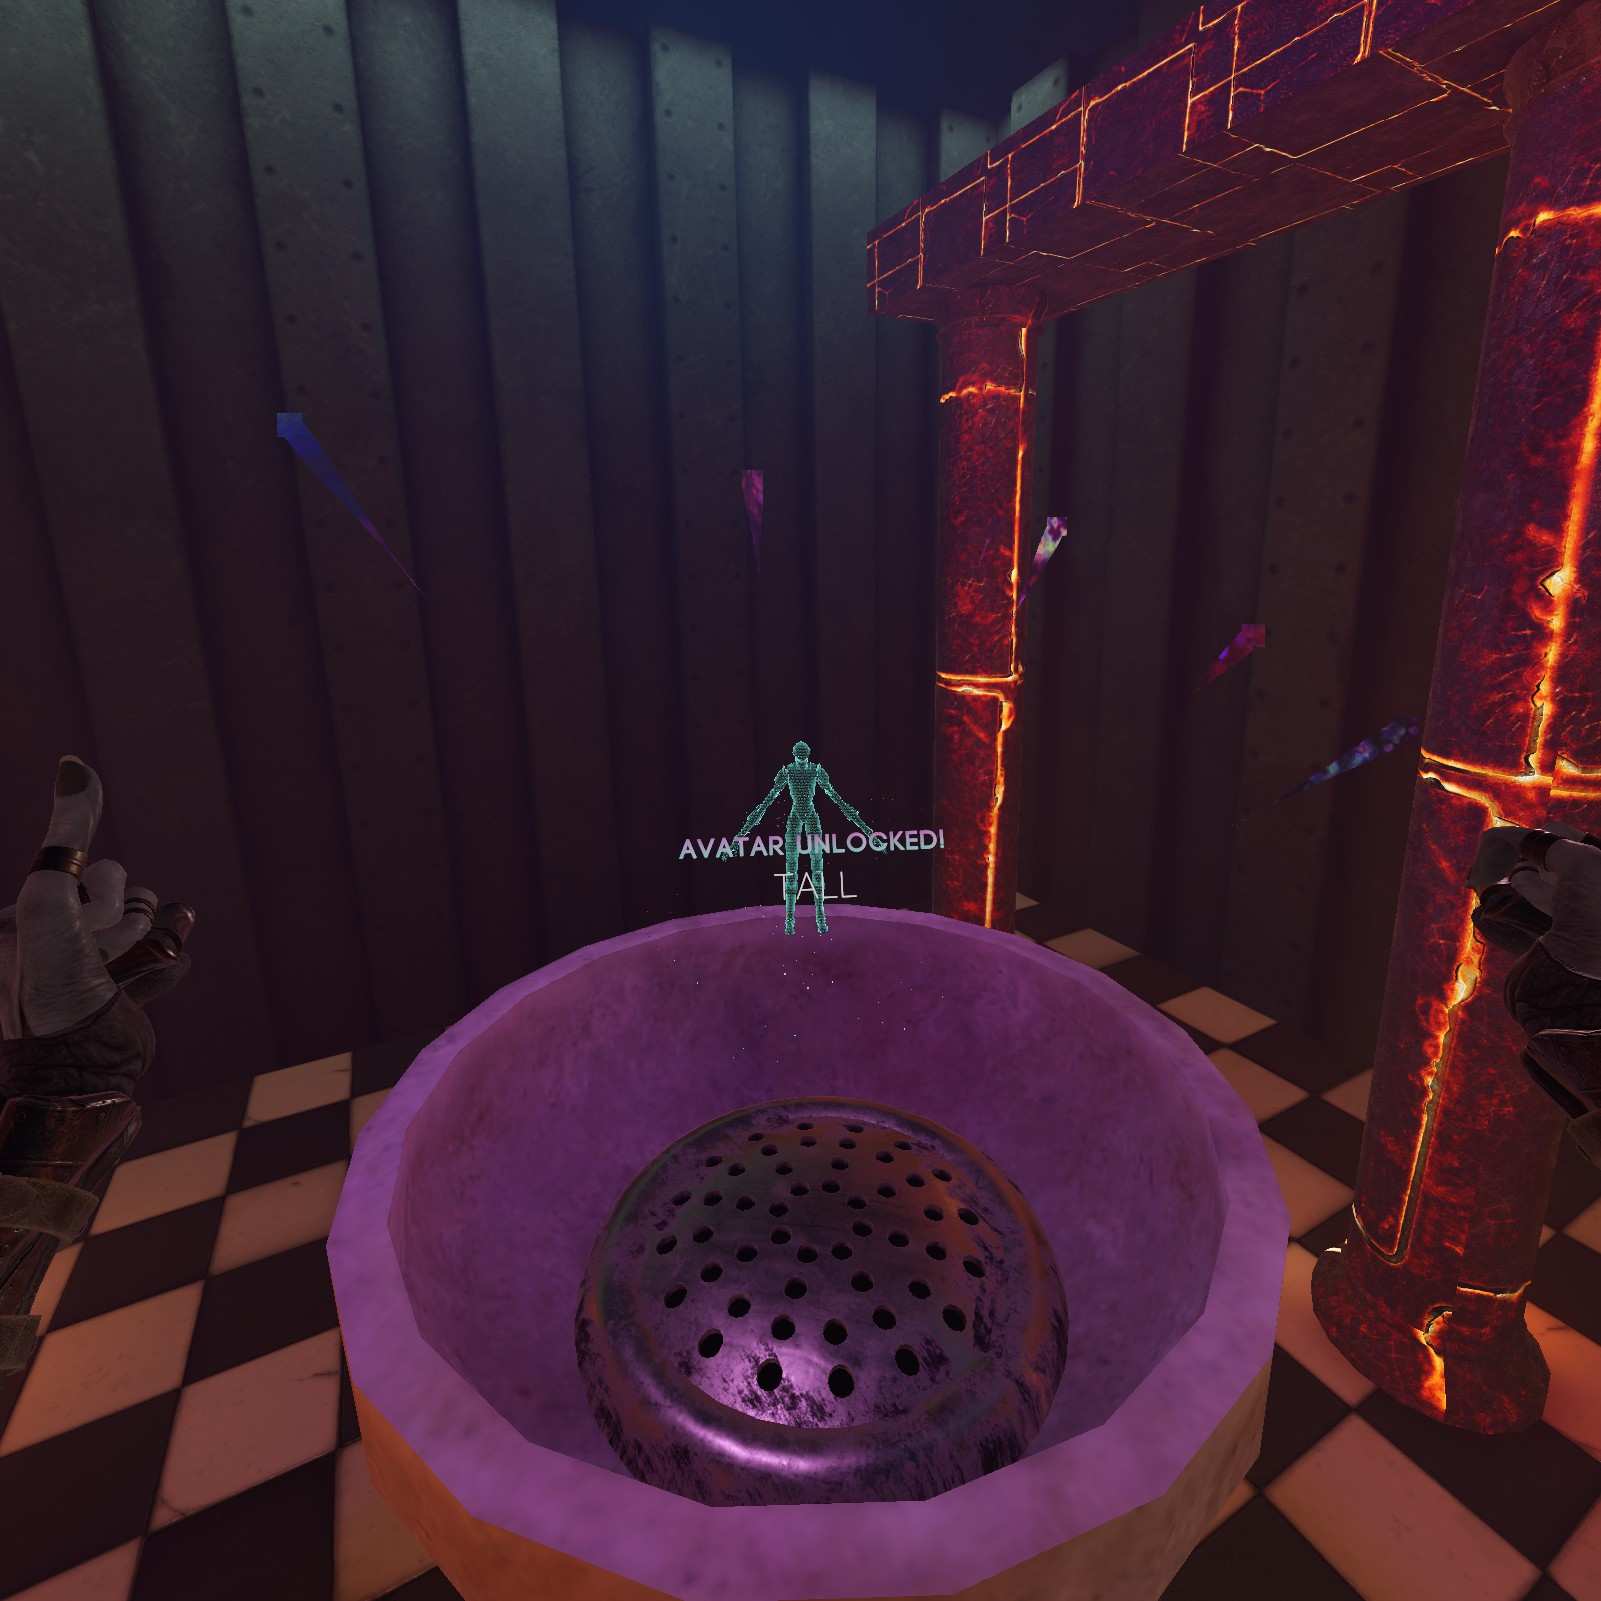
Tall:
Tall is my most used avatar, mainly because he’s great at finding collectibles and navigating vertically in general. I’d still be super jumping if it weren’t for him.
Ascent
We are at the home stretch, and the game has given us some prep time by bringing us back to the lab. No new collectibles this time round, But I’d suggest loading up on gravity tools to make accessing upcoming collectibles easier. You can also modify your avatar selection if you have an avatar adept at navigating vertically. Tall works fairly well, but there are probably taller ones out there somewhere. They are all accessible with gravity tools and just a peasant avatar though.
Plant:
Starting in the room past the first heavy ball puzzle there’s a hard to miss plant capsule next to a plant. Don’t miss it or I’m calling the cops on your incompetence.

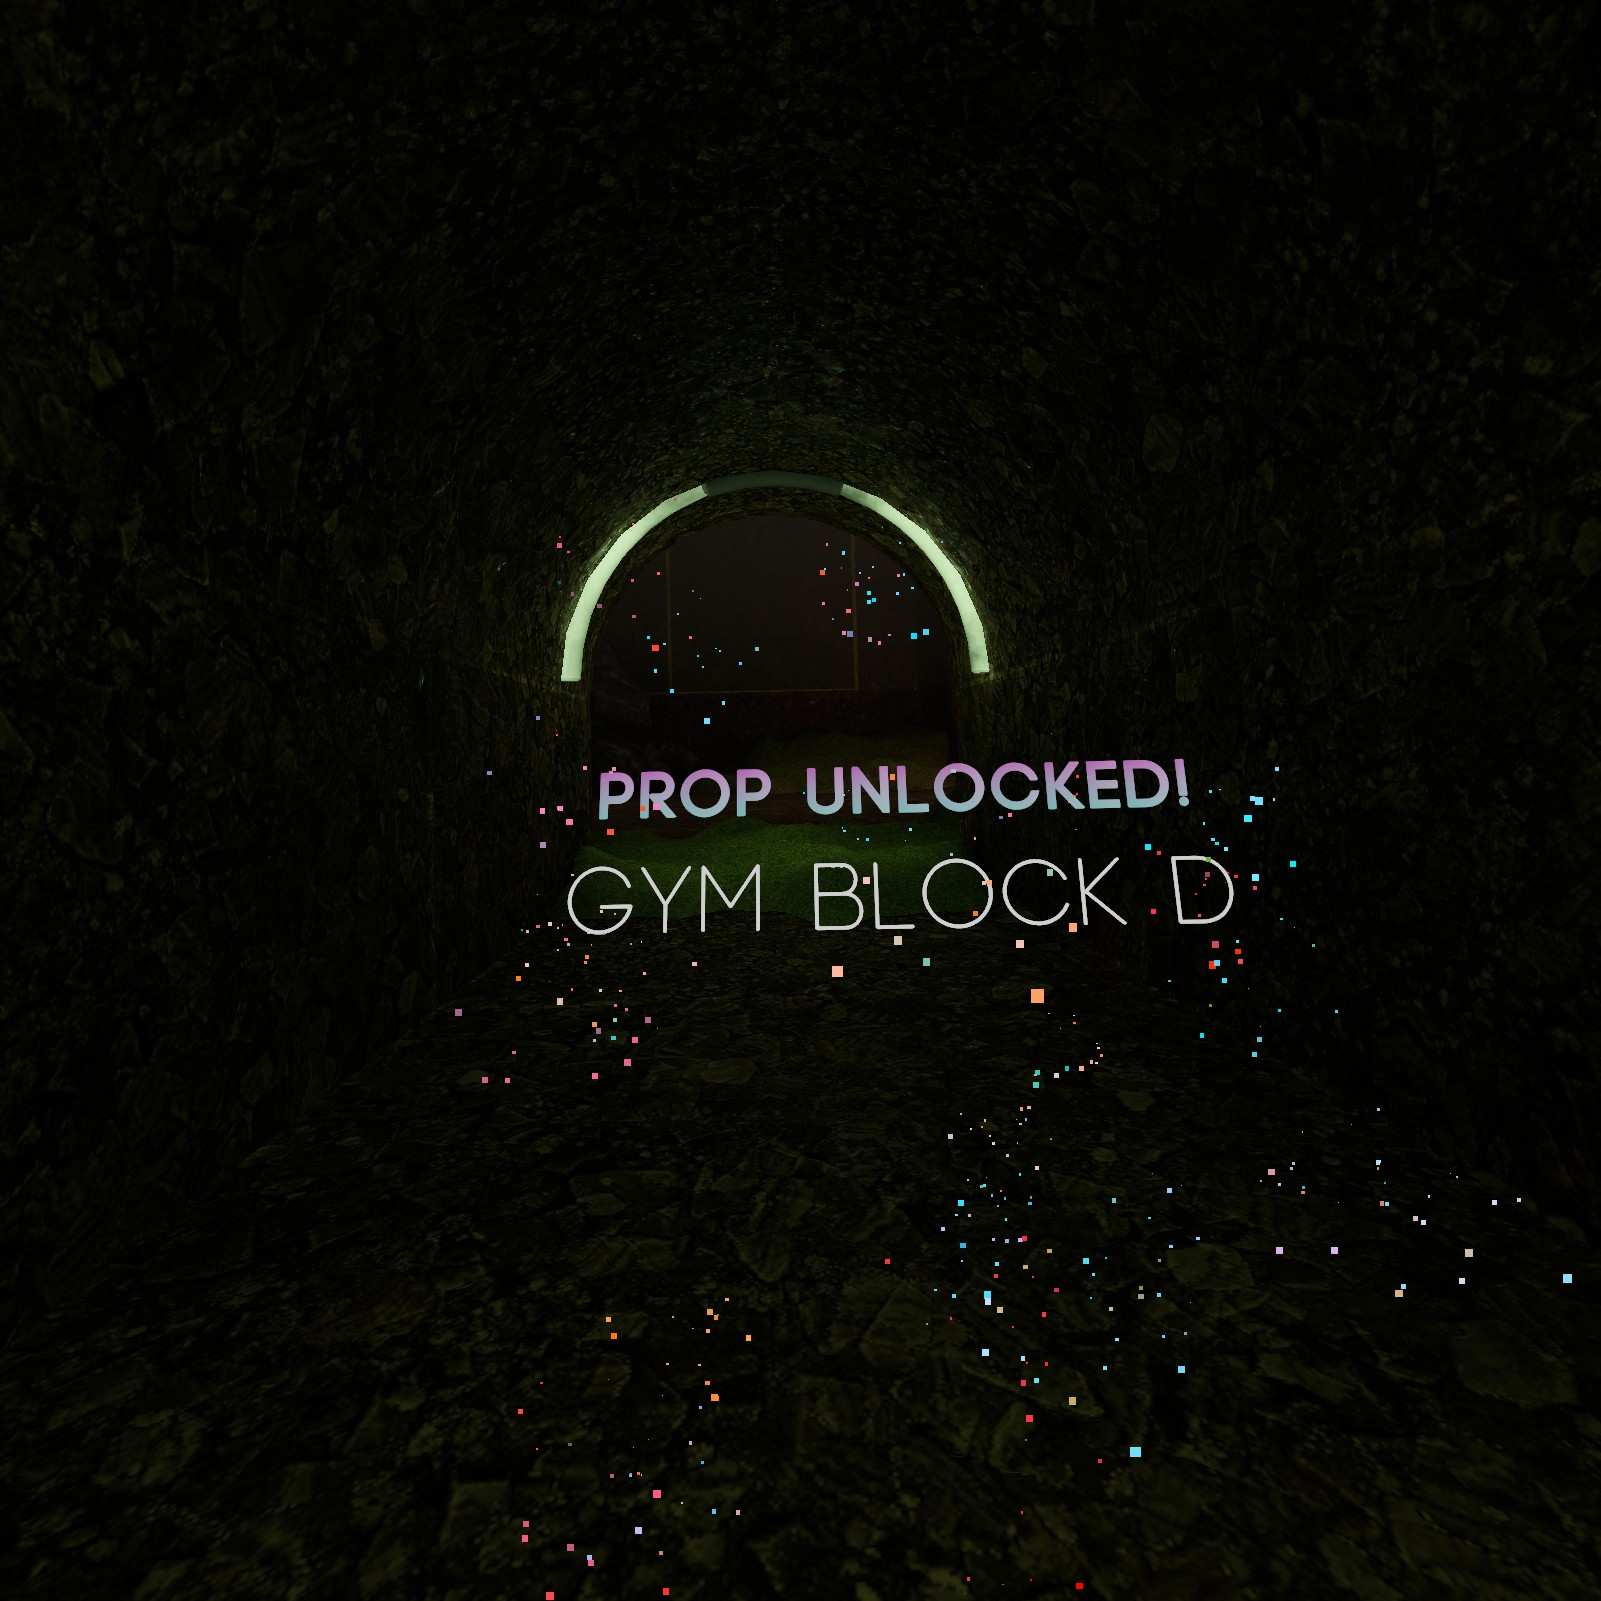
Gym Block D:
After completing the second heavy ball puzzle the way back up has a capsule in your path. If you used tall to climb back up, then that’s probably why your missing my favorite shape the Gym Block D.
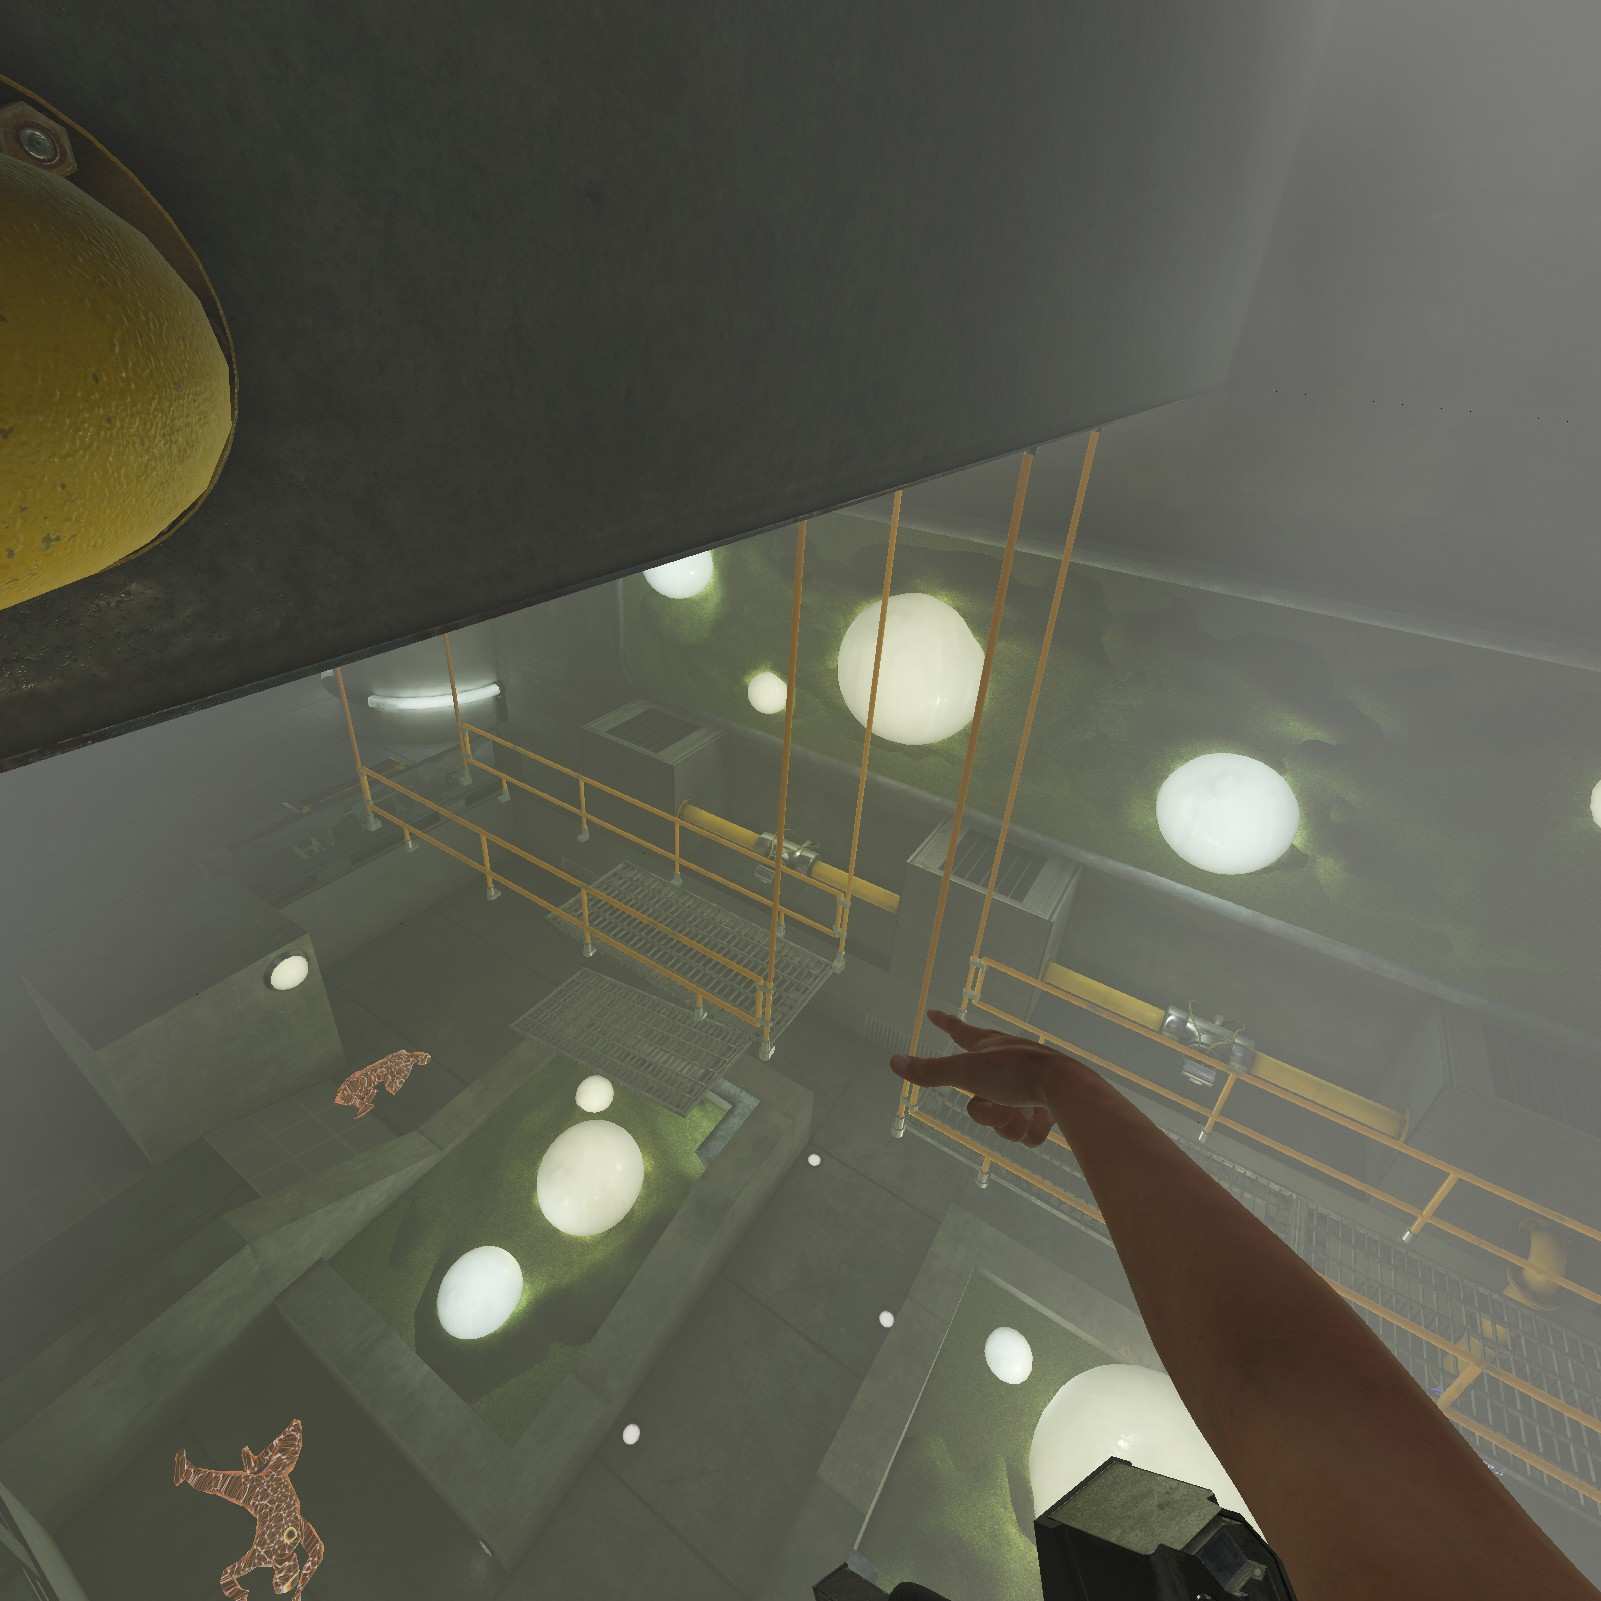
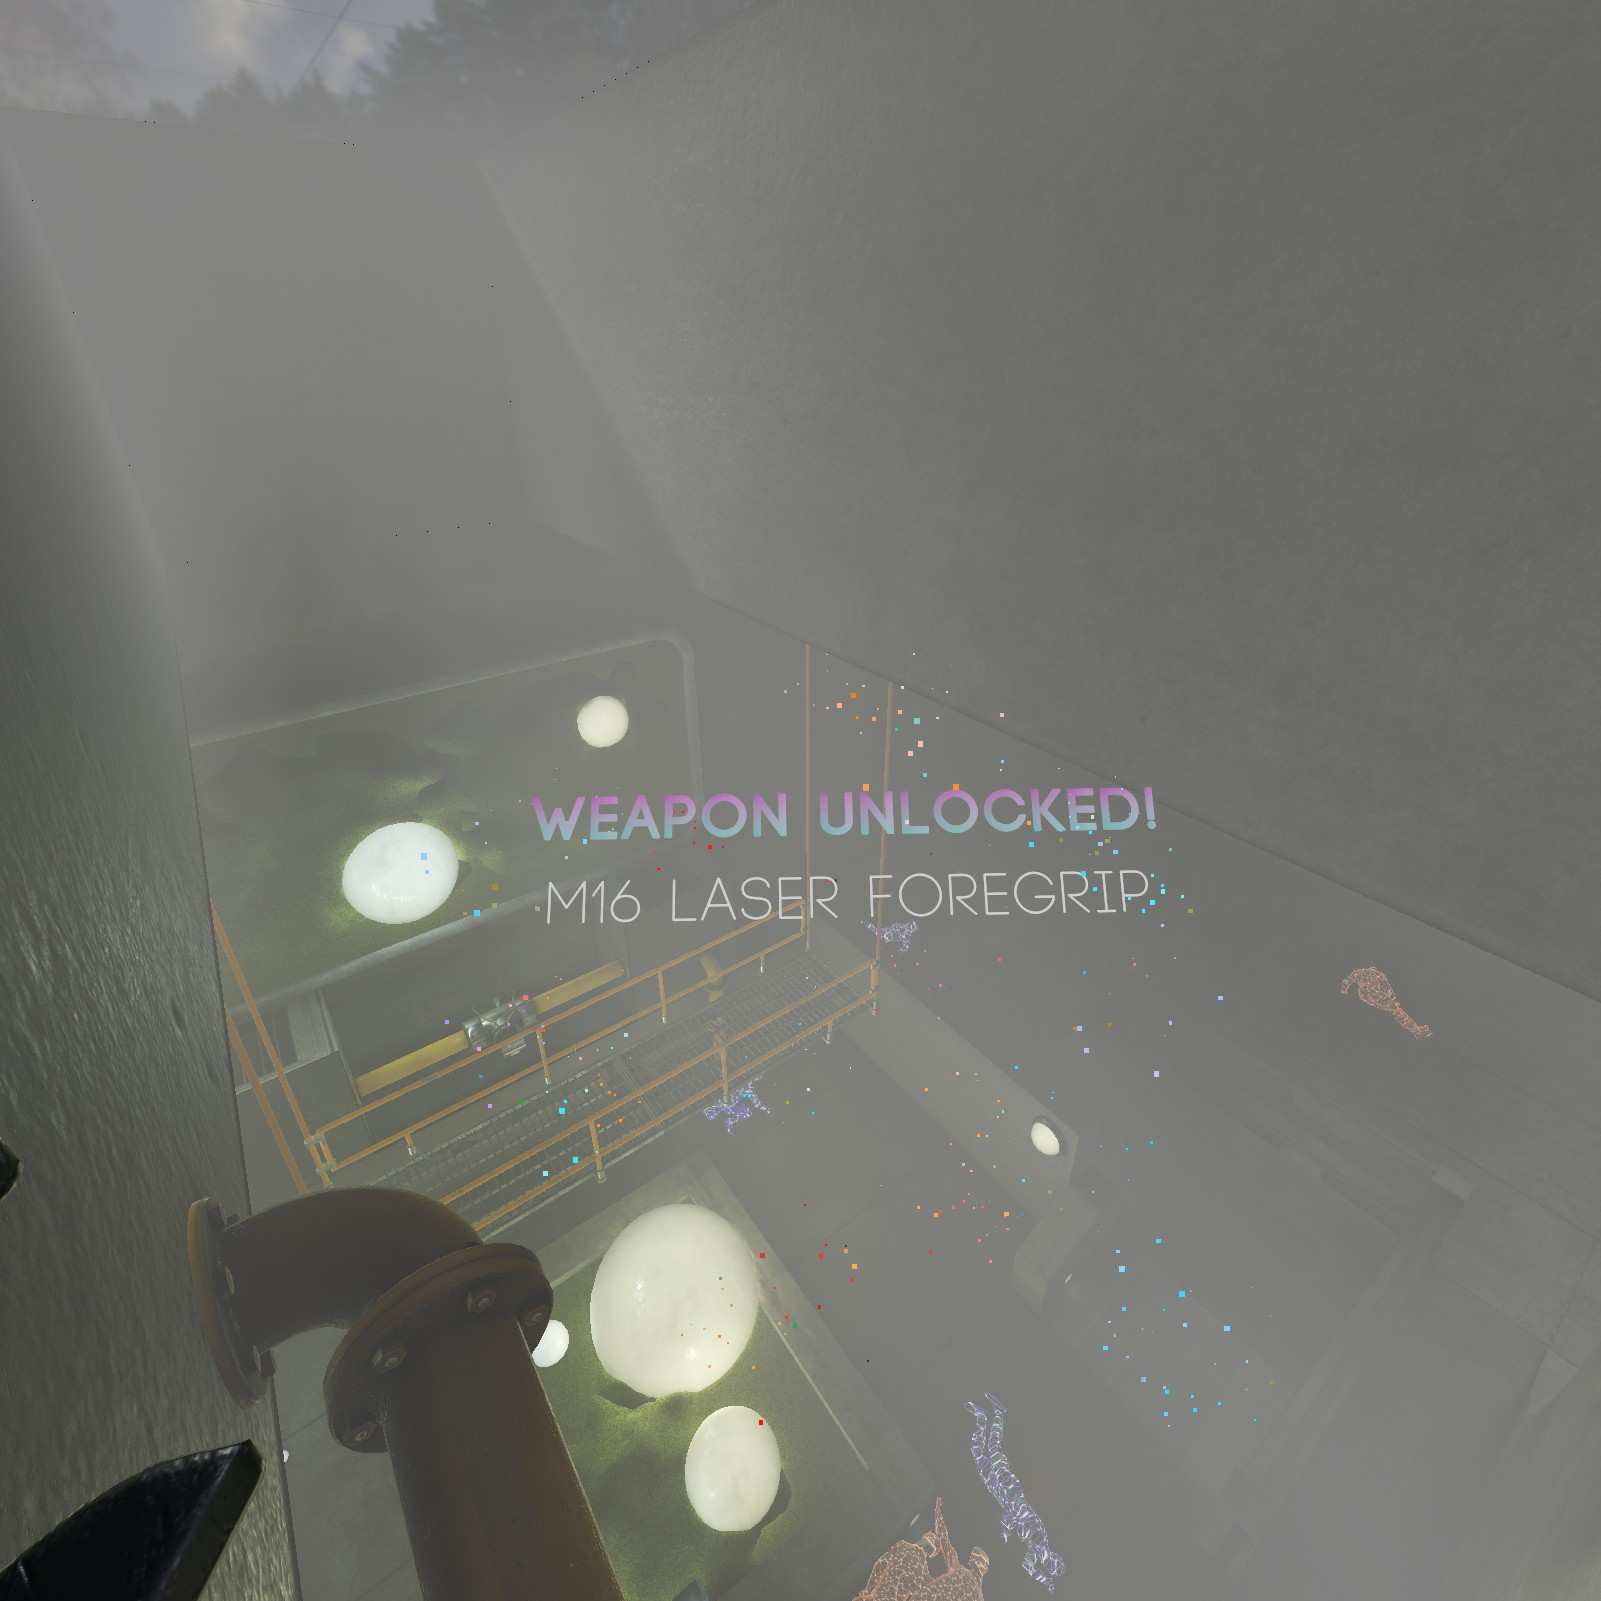
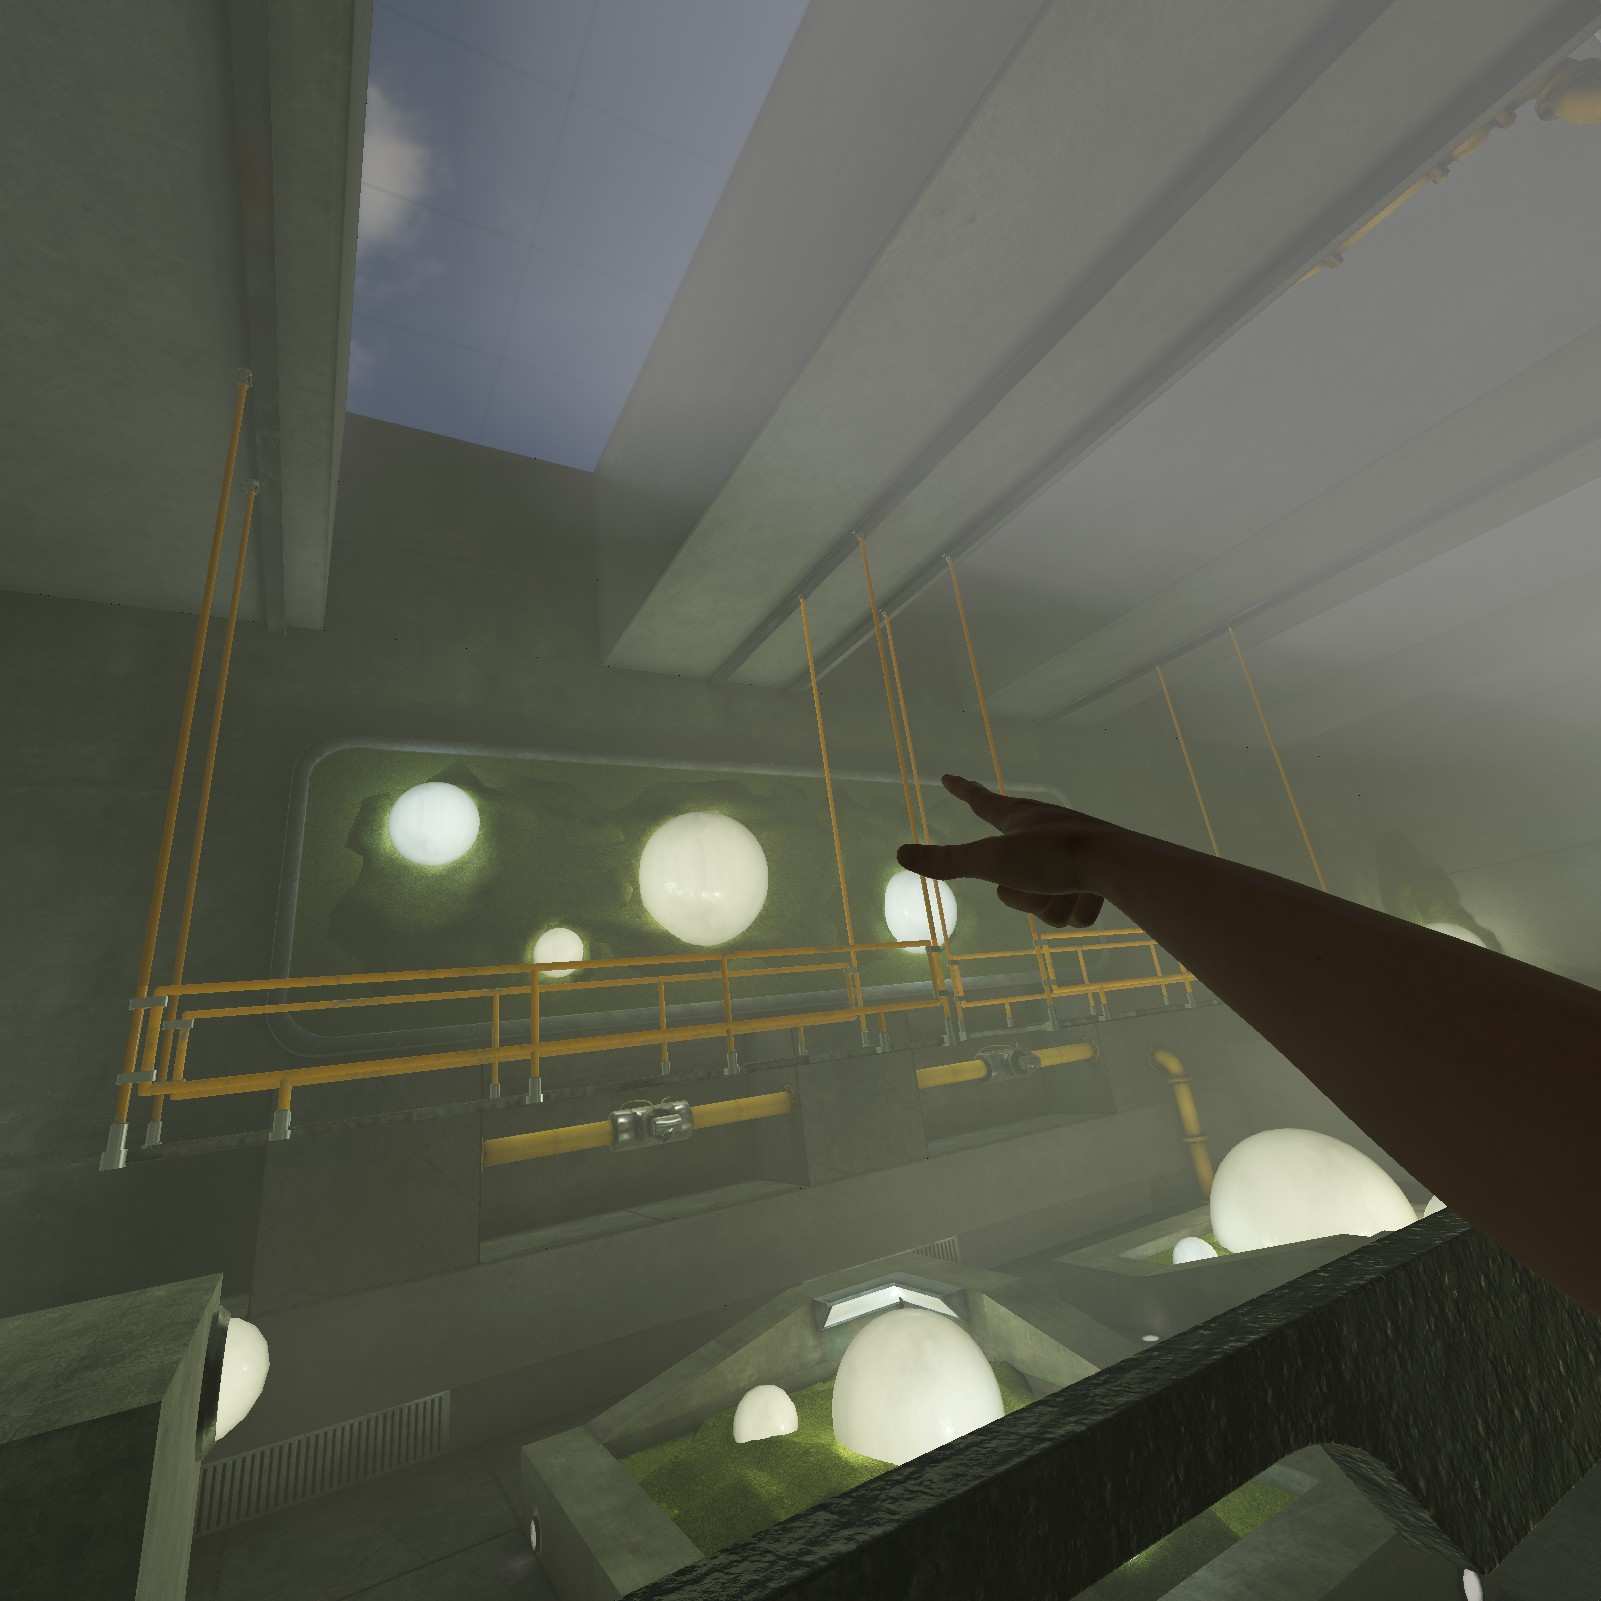
M16 Laser Foregrip:
In the Null room you can actually climb the poles that reach the ceiling unlike the ones at the lab. Climb up to find the M16 Laser Foregrip.
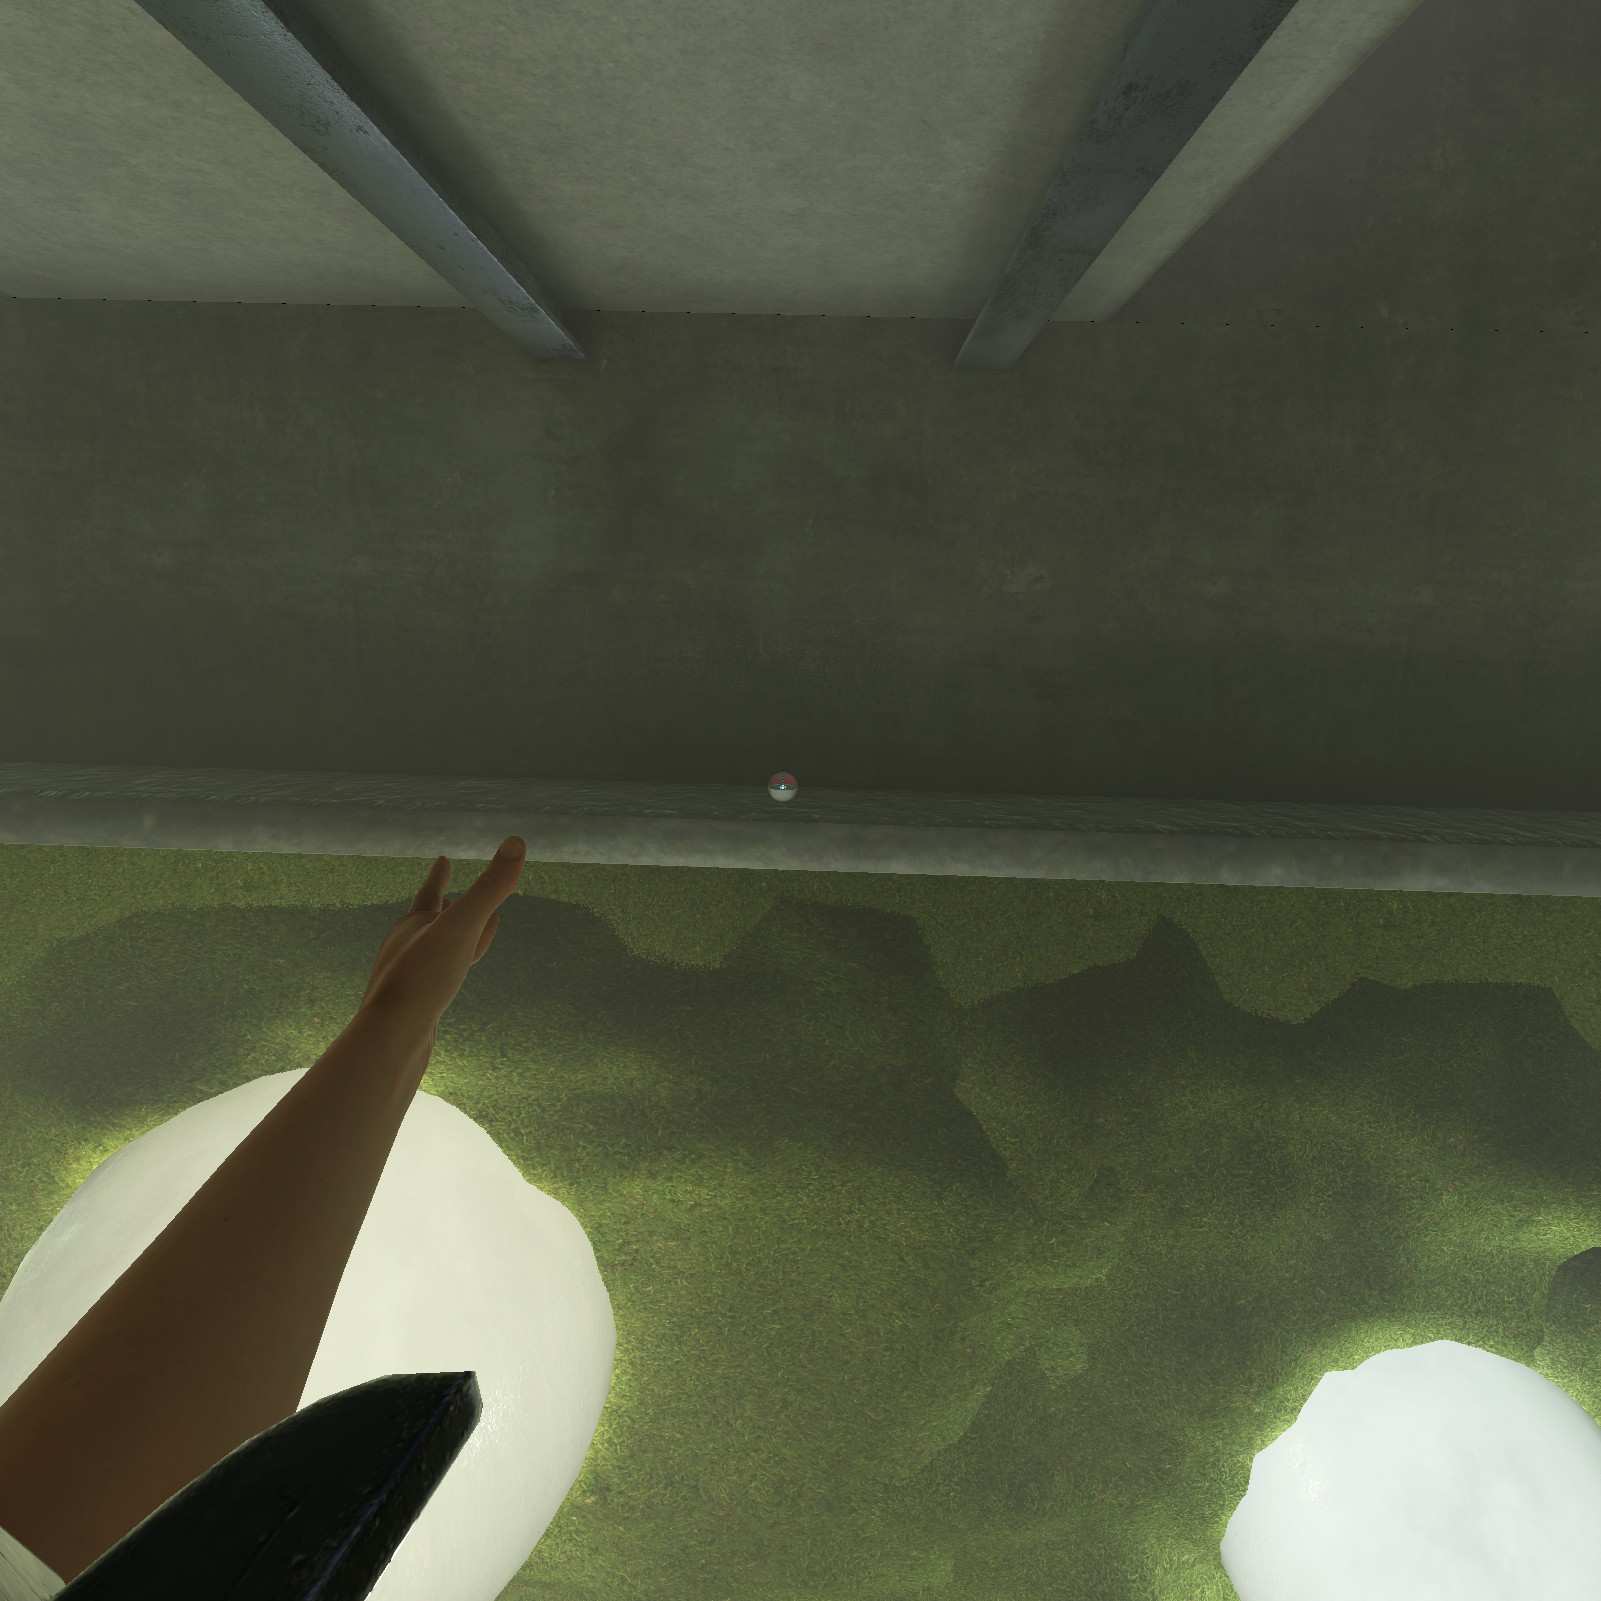
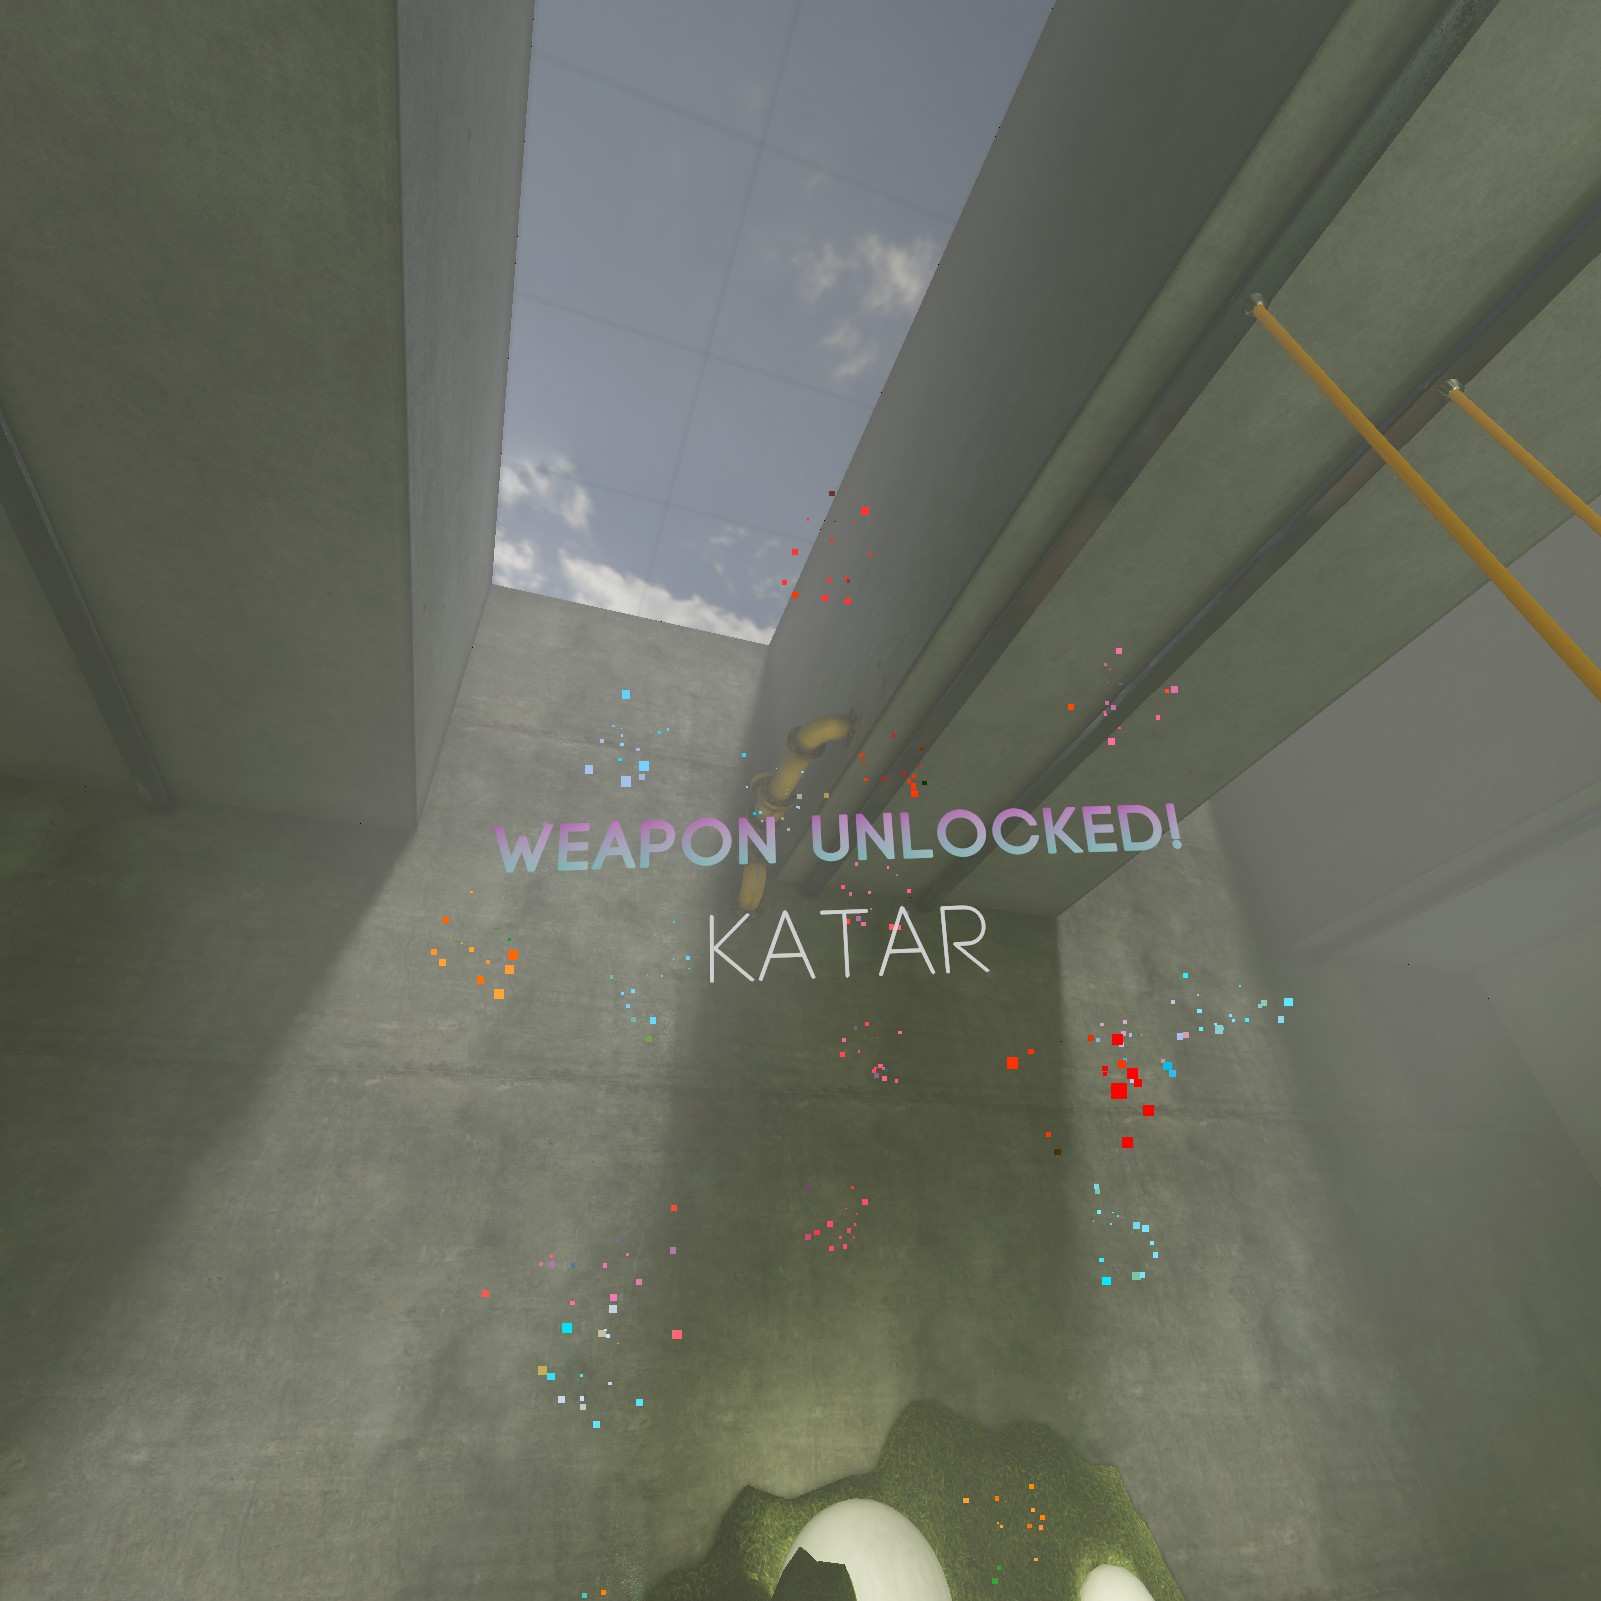
Katar:
In the same room there’s a rounded rectangular extrusion on the left side of the room. Climb up the same mid orange pull to get in range to force grab the katar.
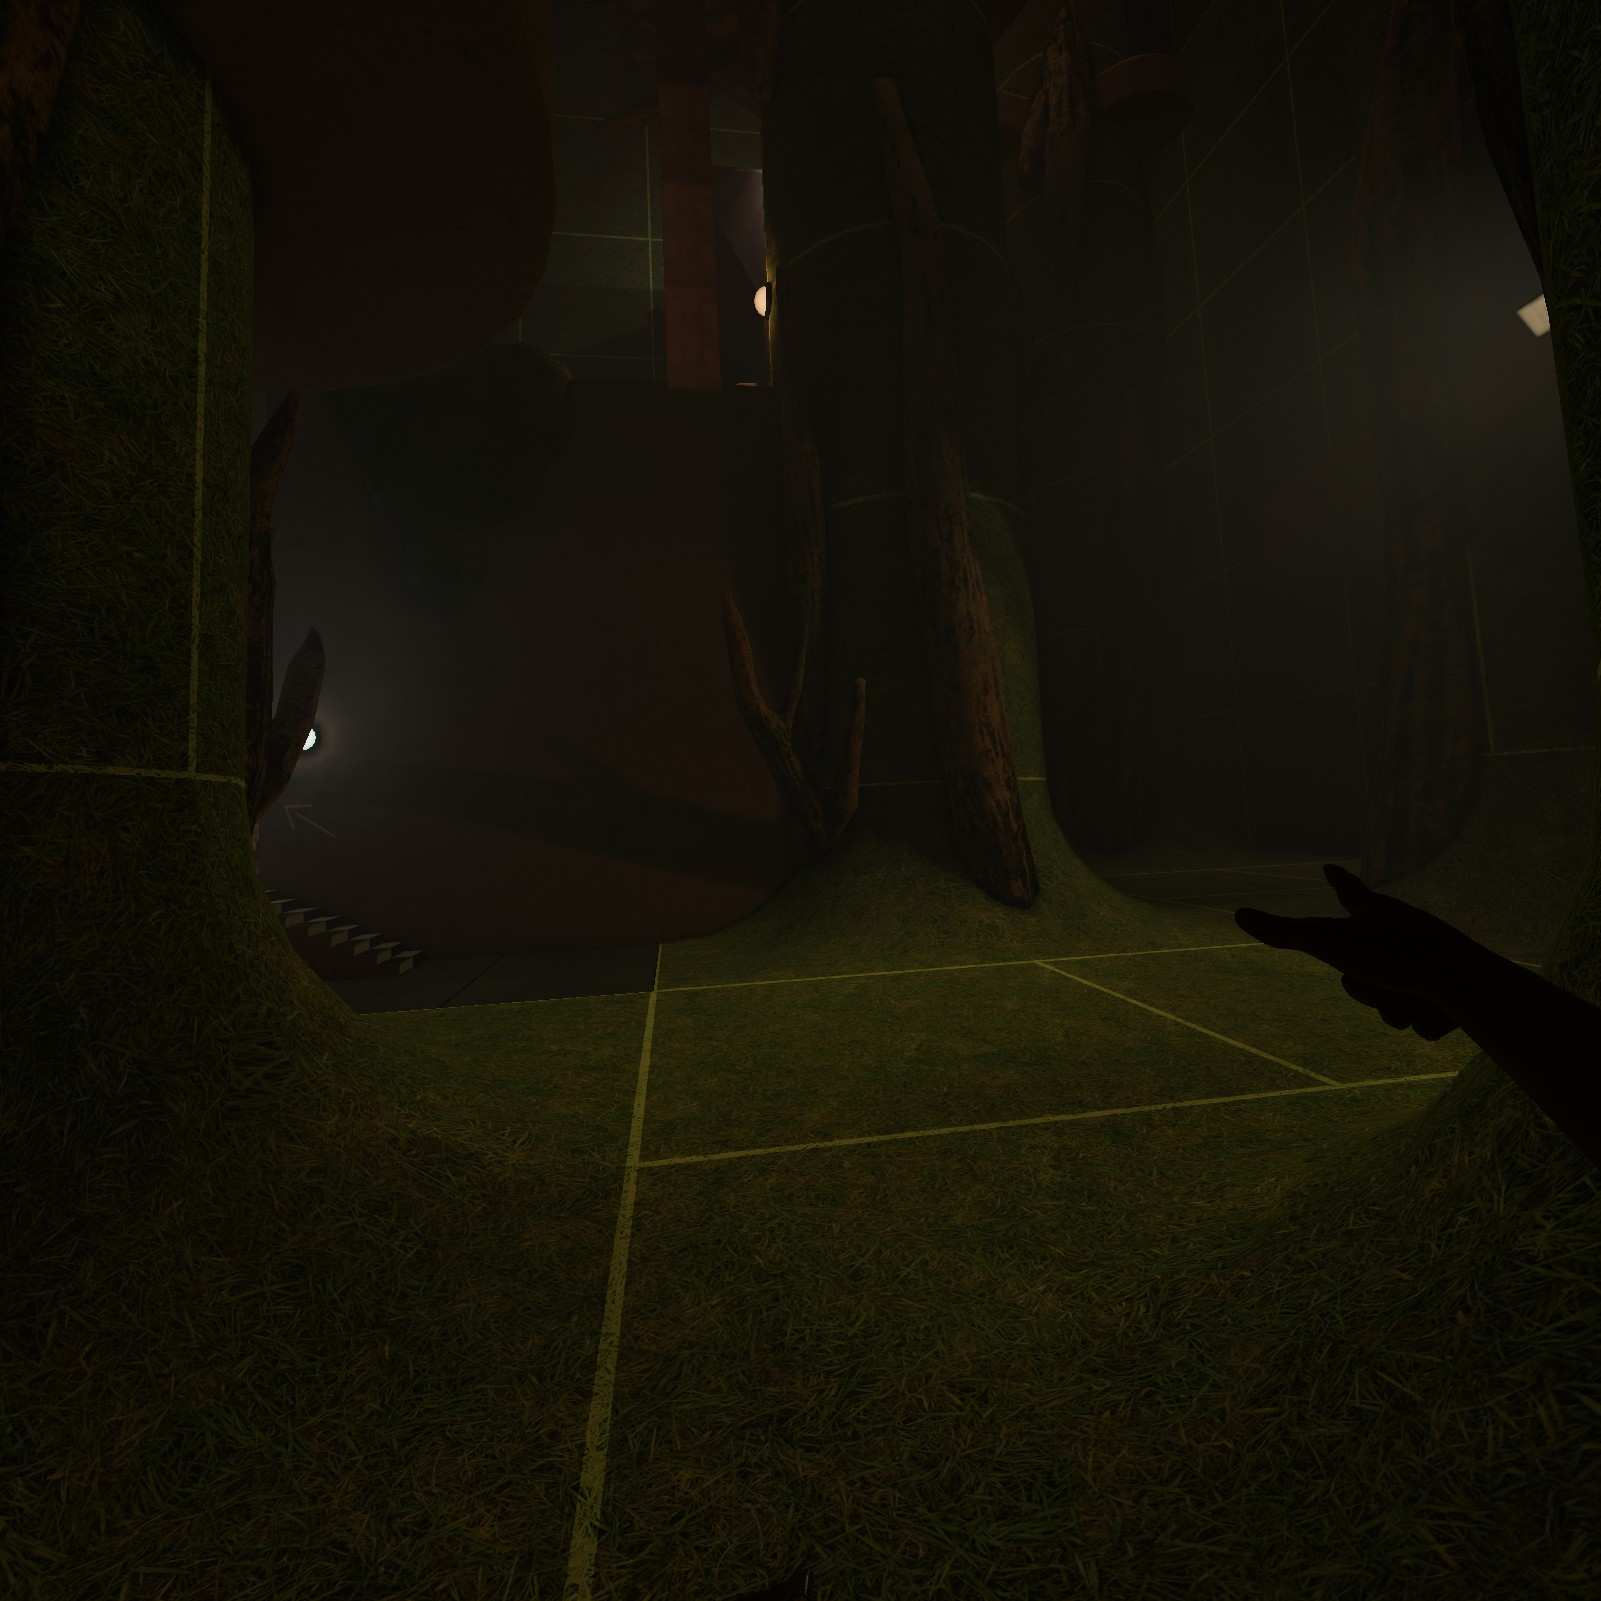
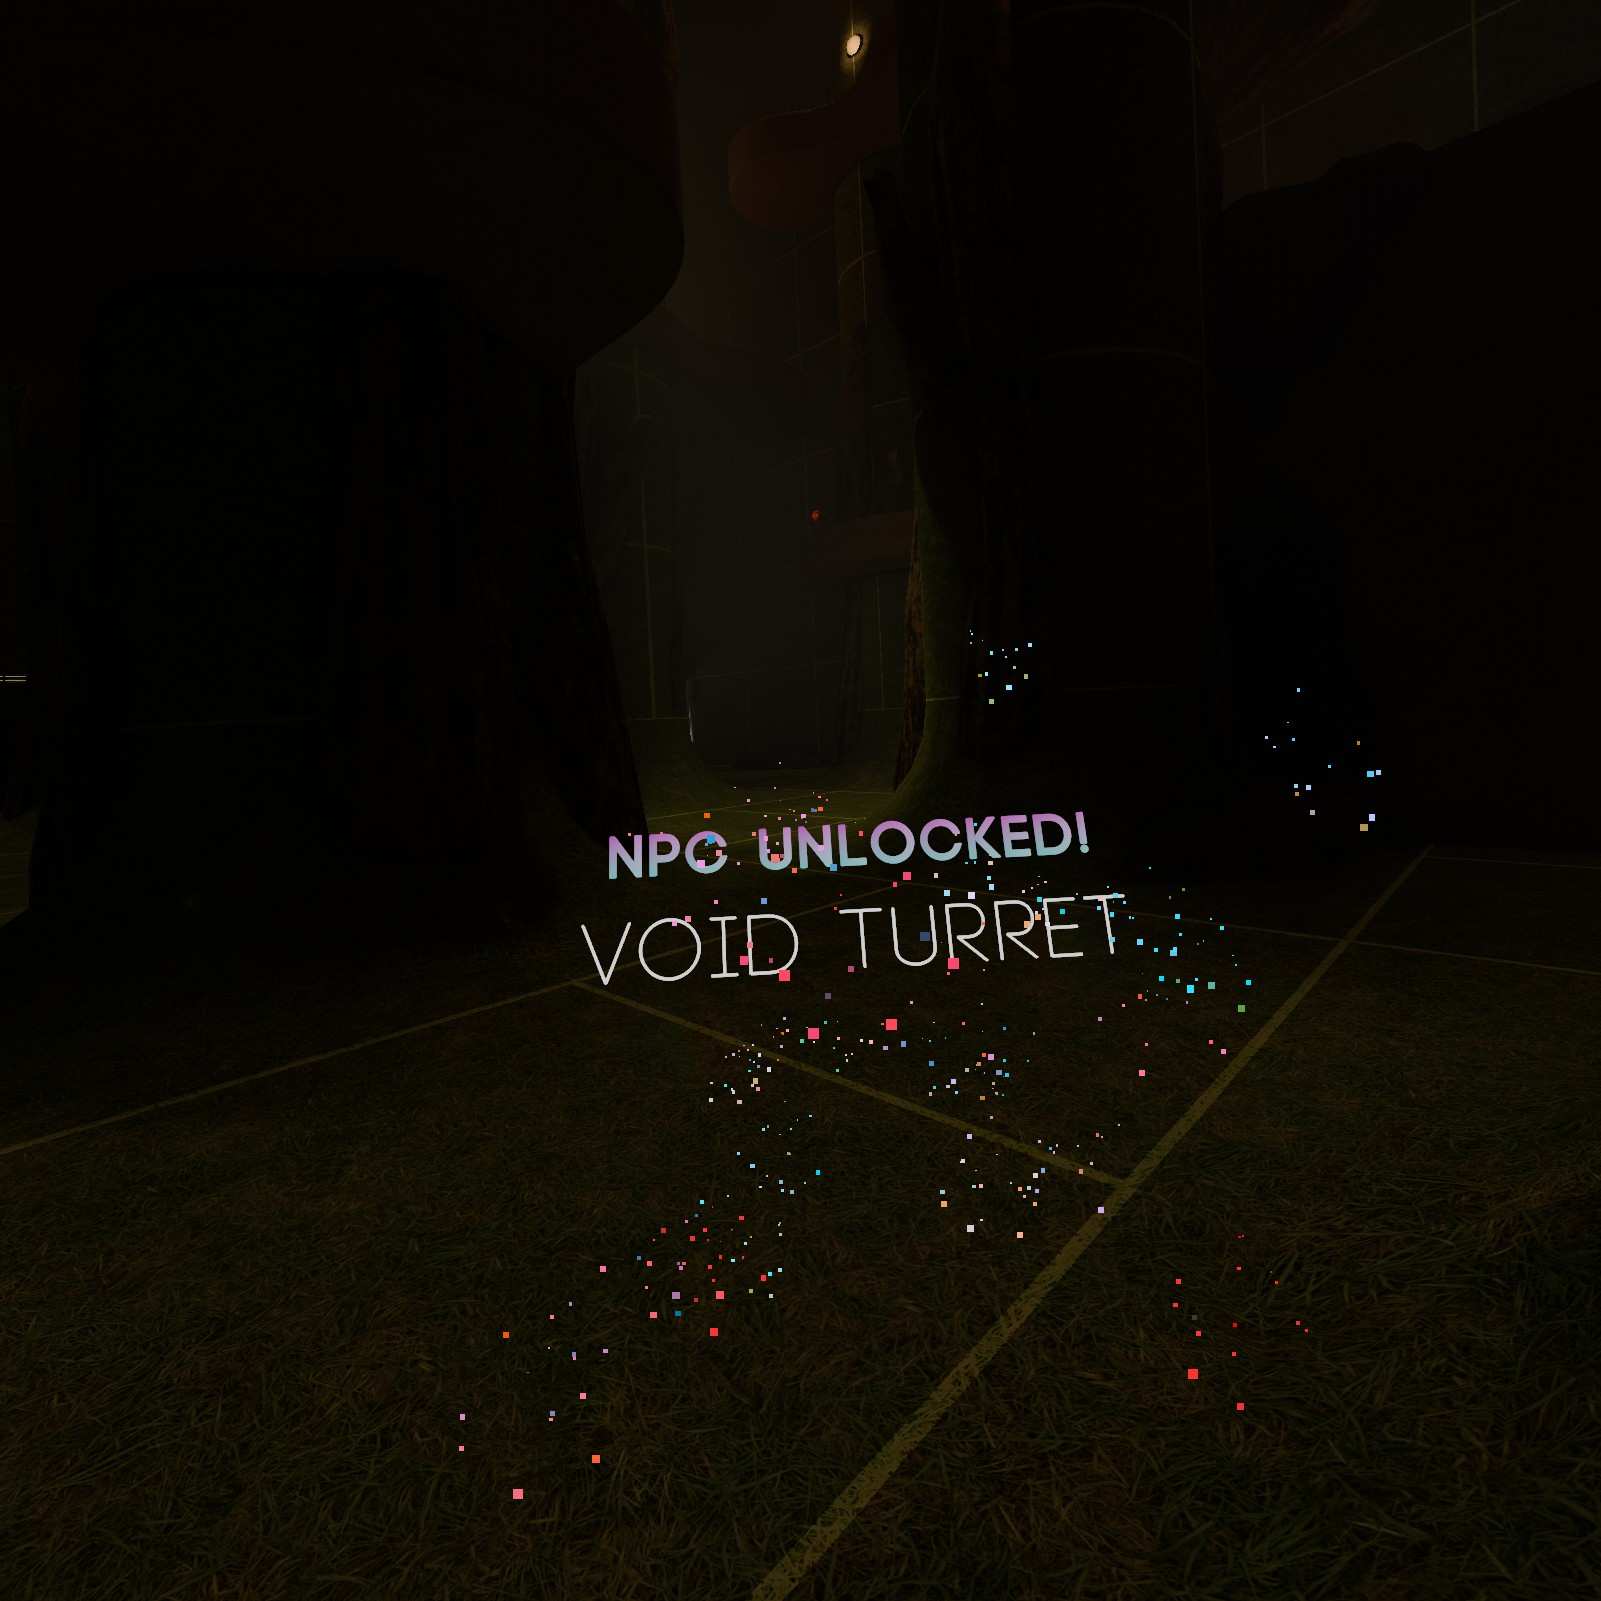
Void Turret:
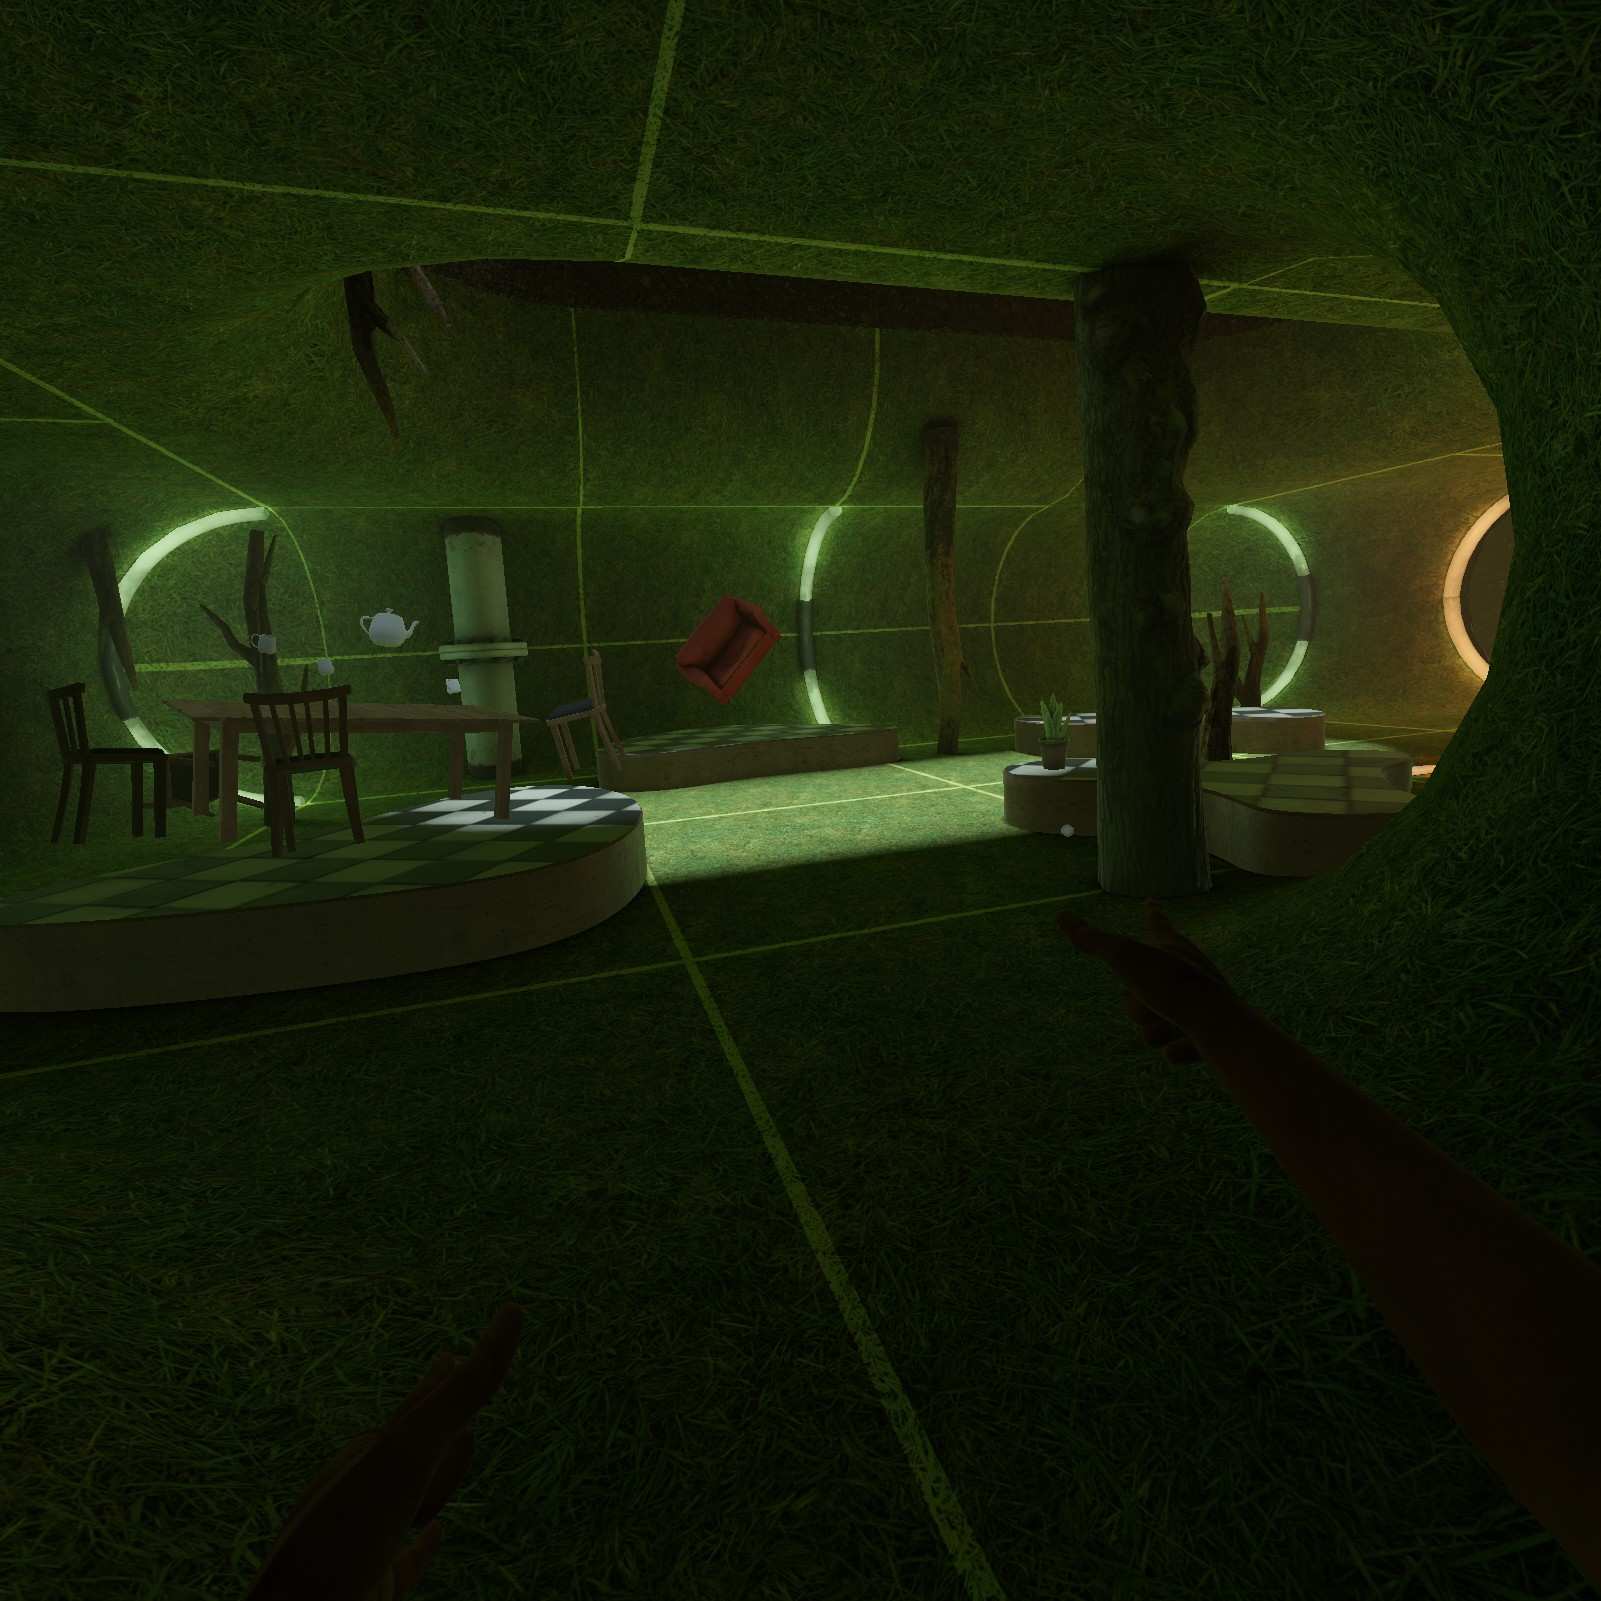
Void turret can be found on the ground in the corner of the tree room.

Gym D20:
One of the checker platforms near the stairs has my favorite shape the Gym D20, hop down to nab it.
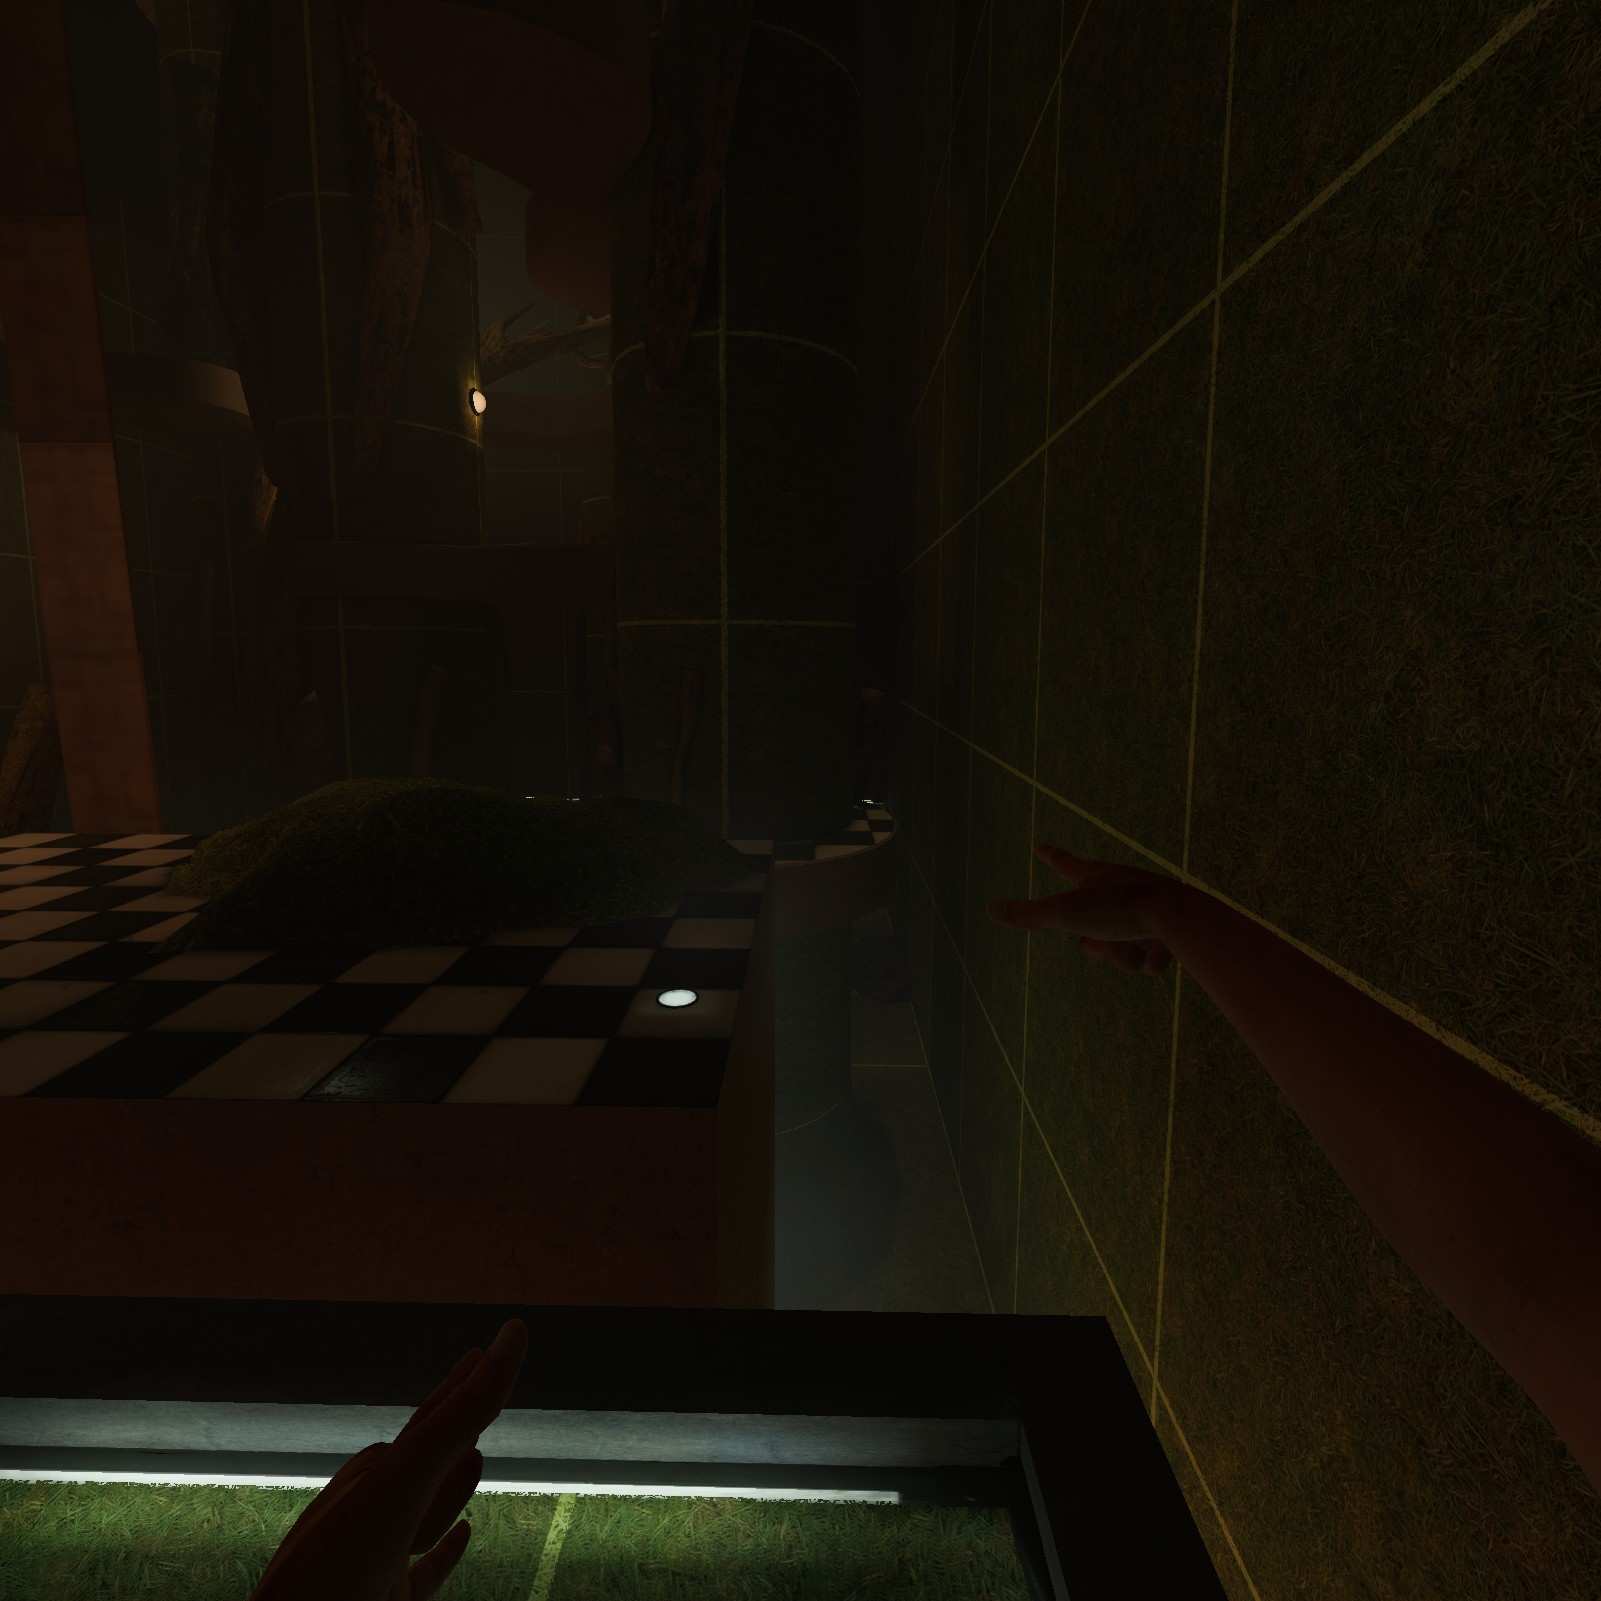


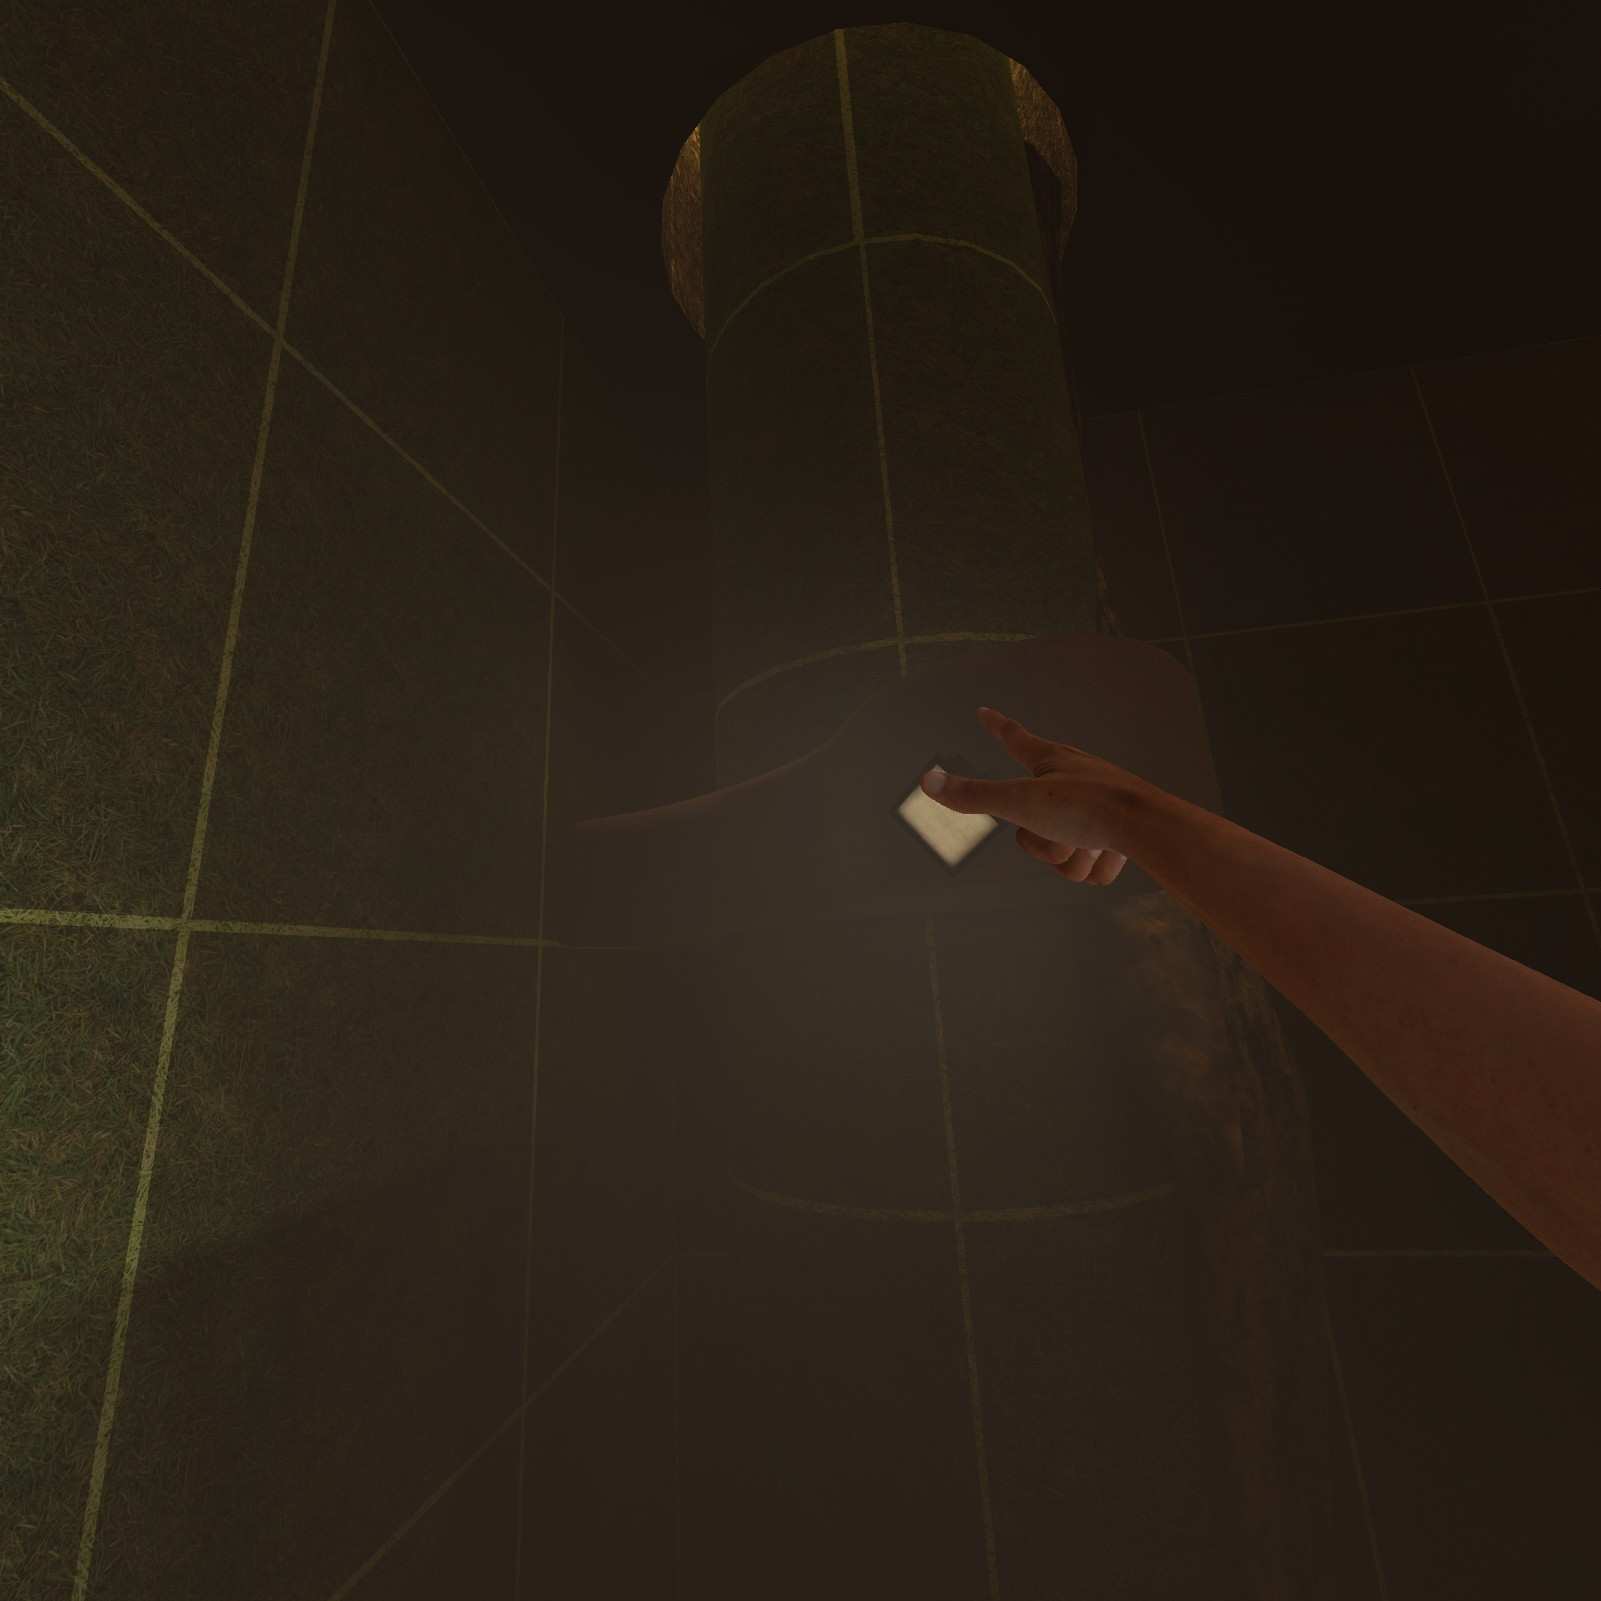
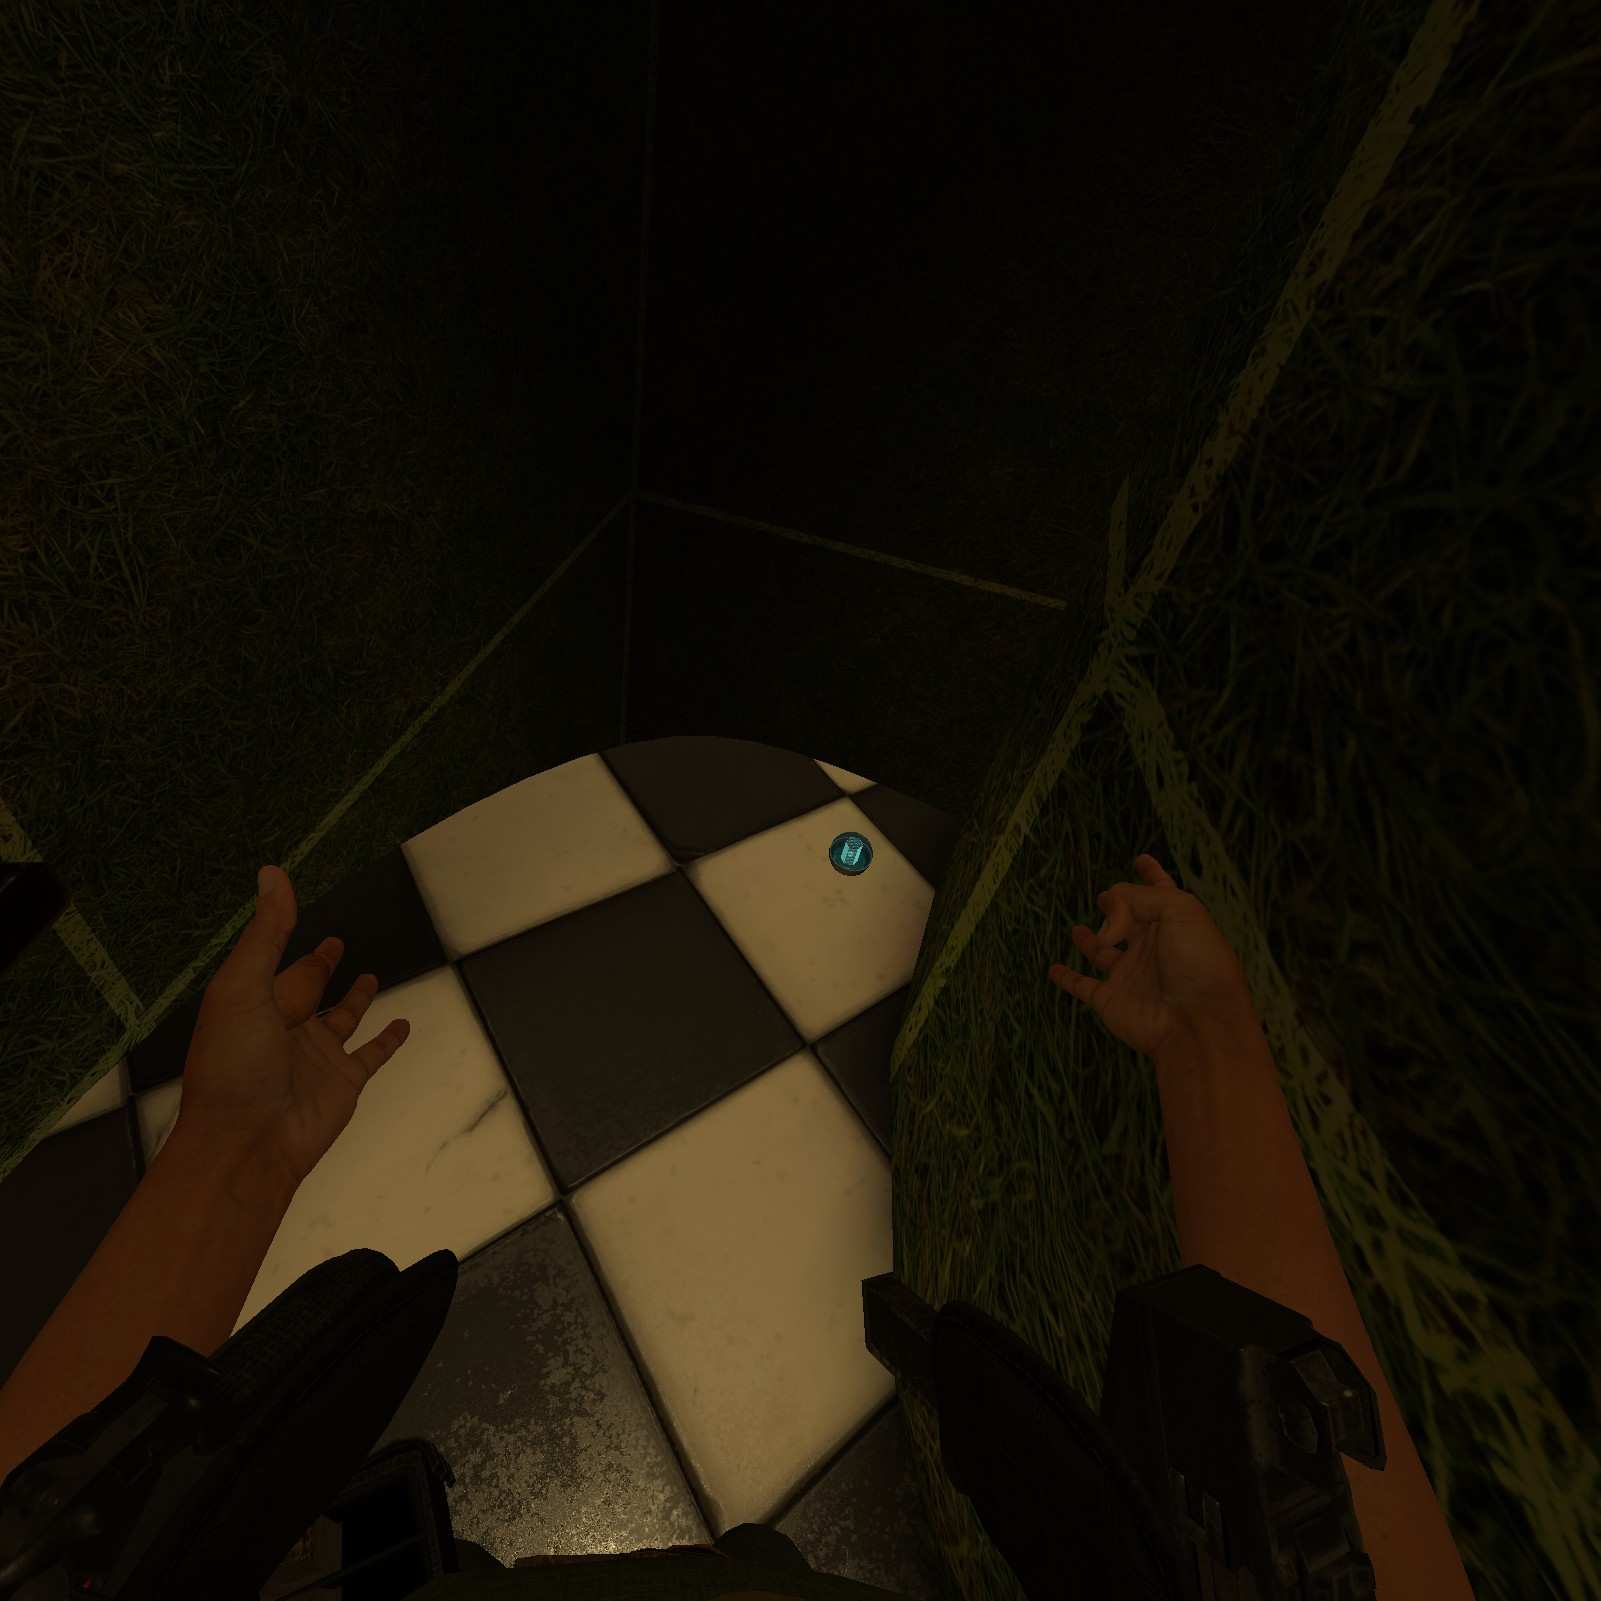
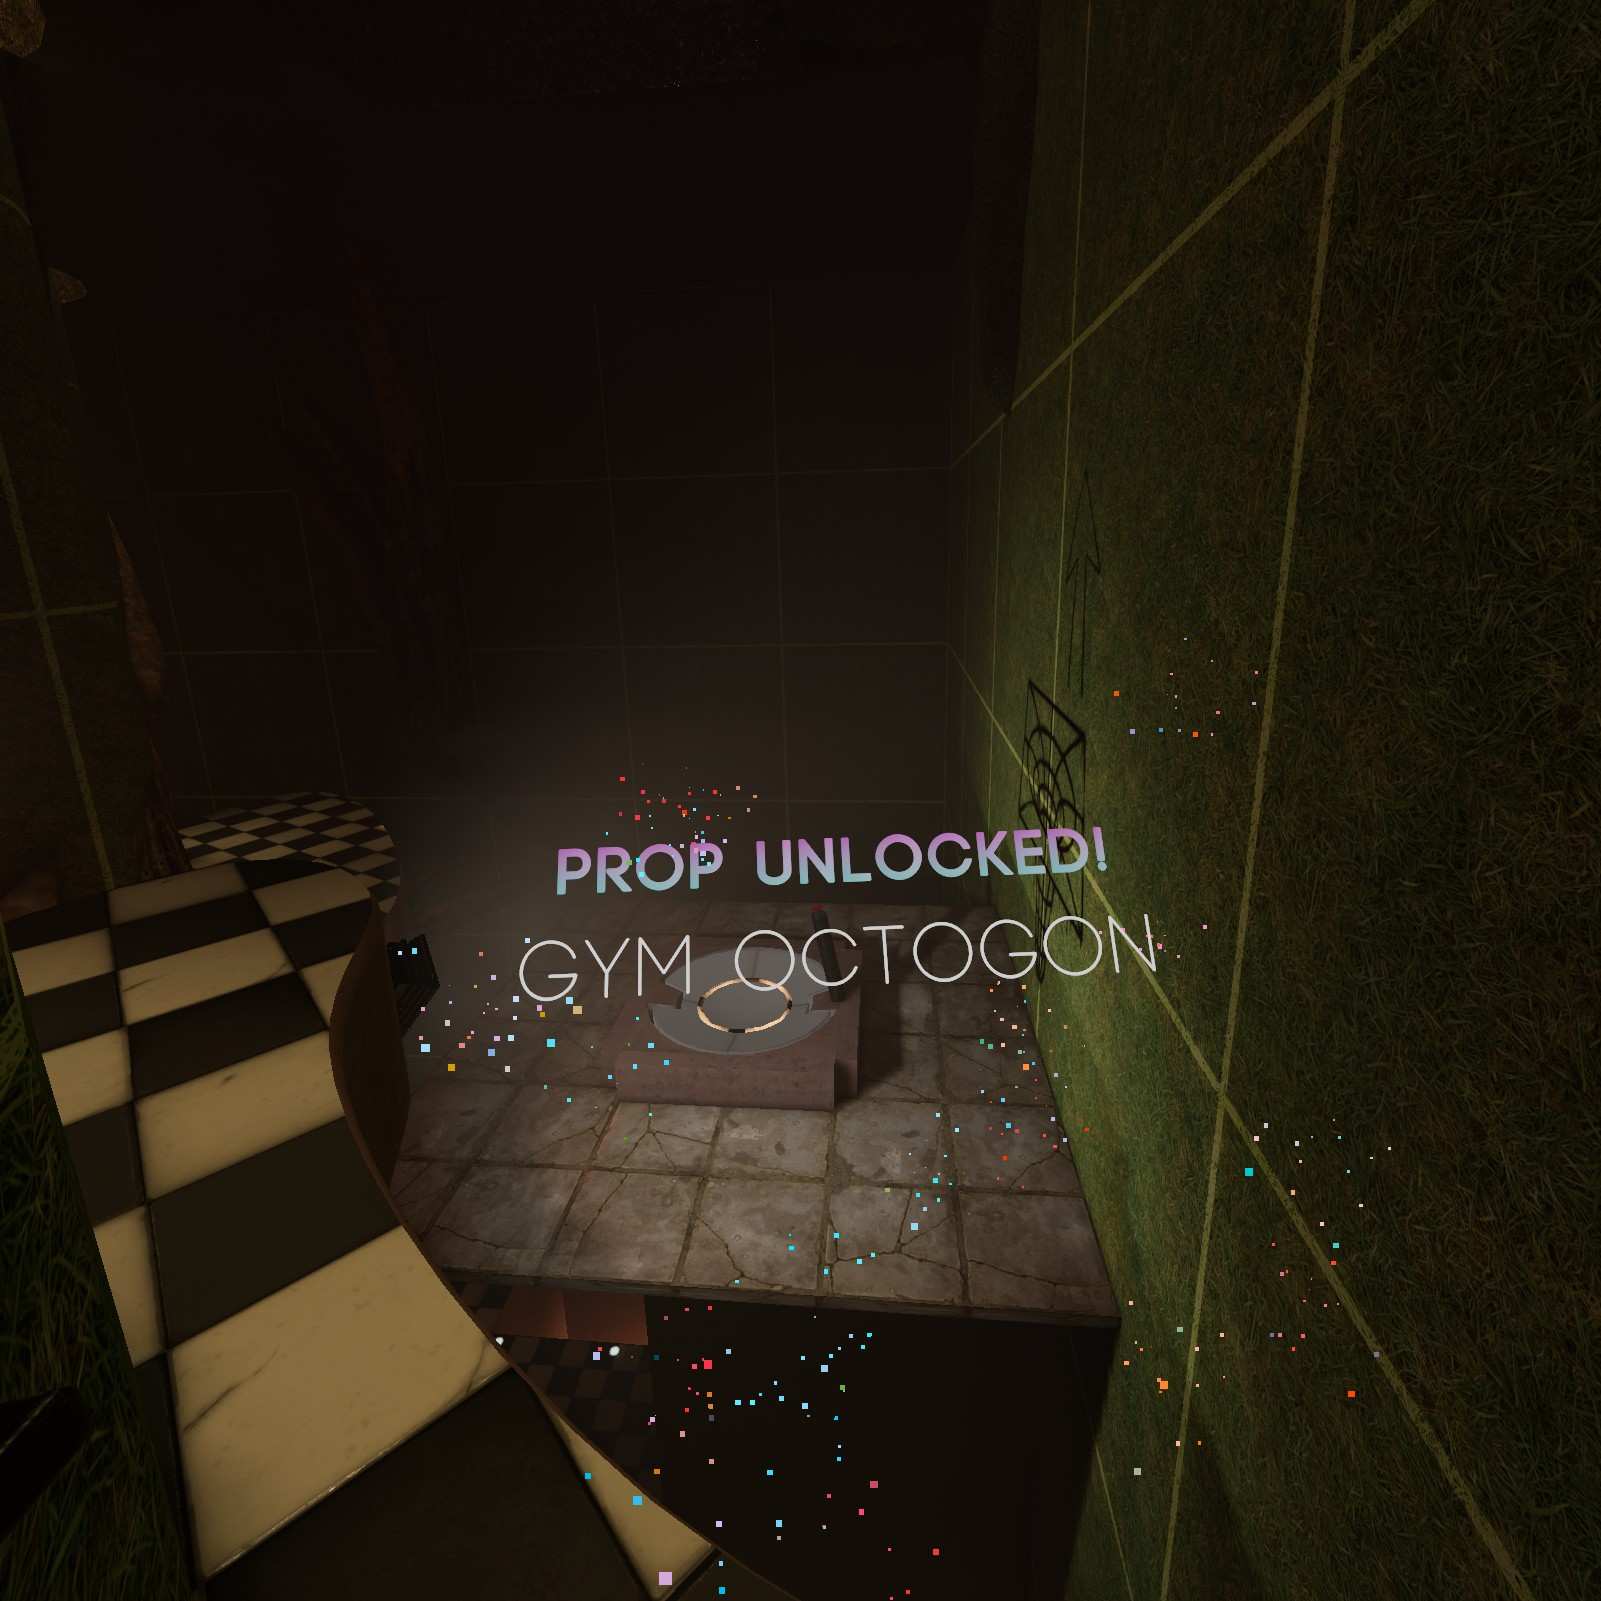
Gym Octogon:
At the end of the parkour at the jump pad is an even higher platform. Hop up to grab my favorite shape the Gym Octogon.
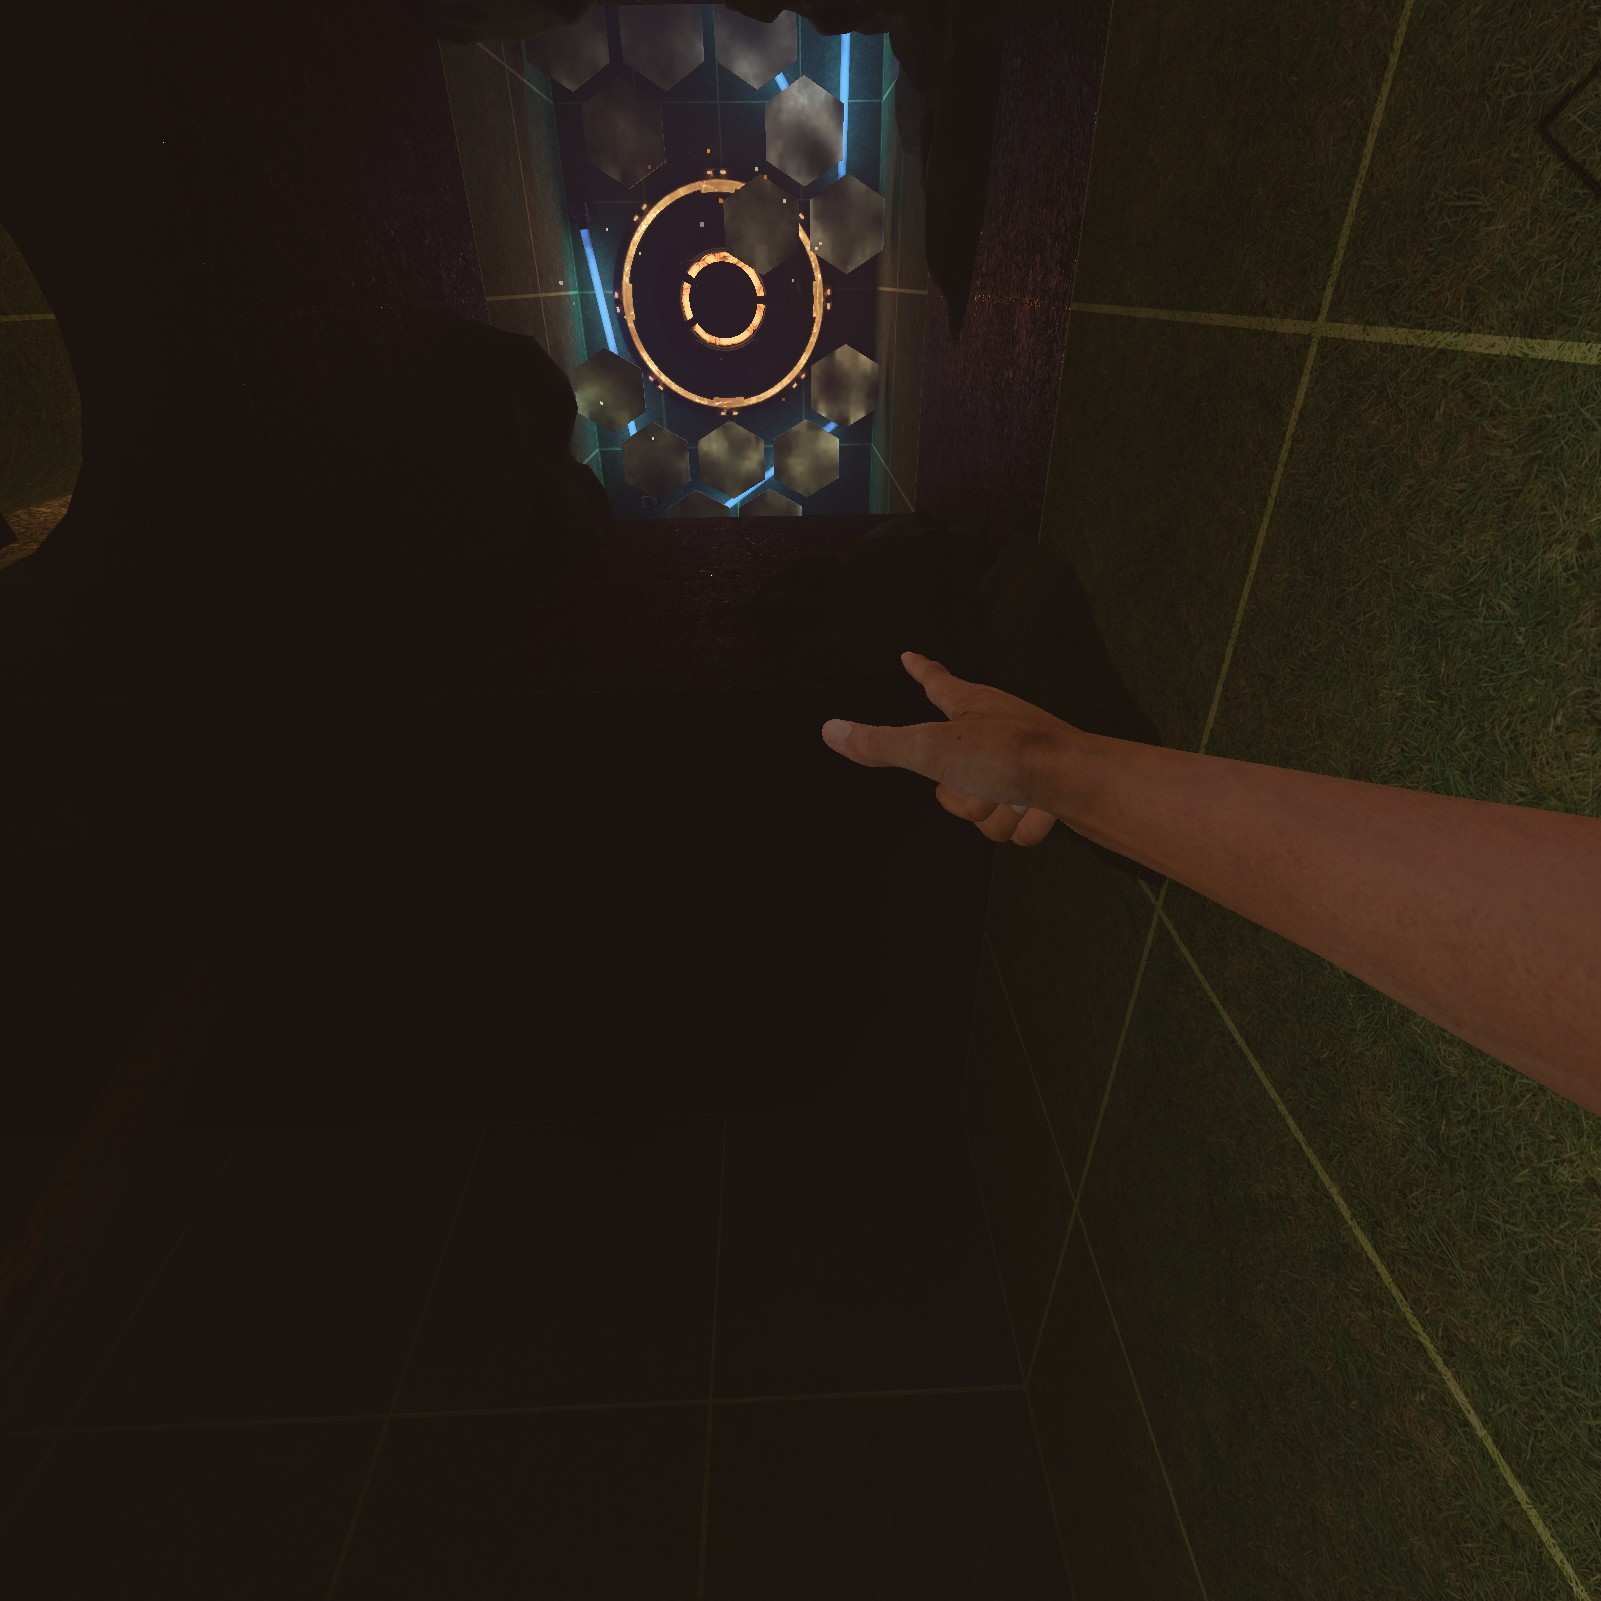
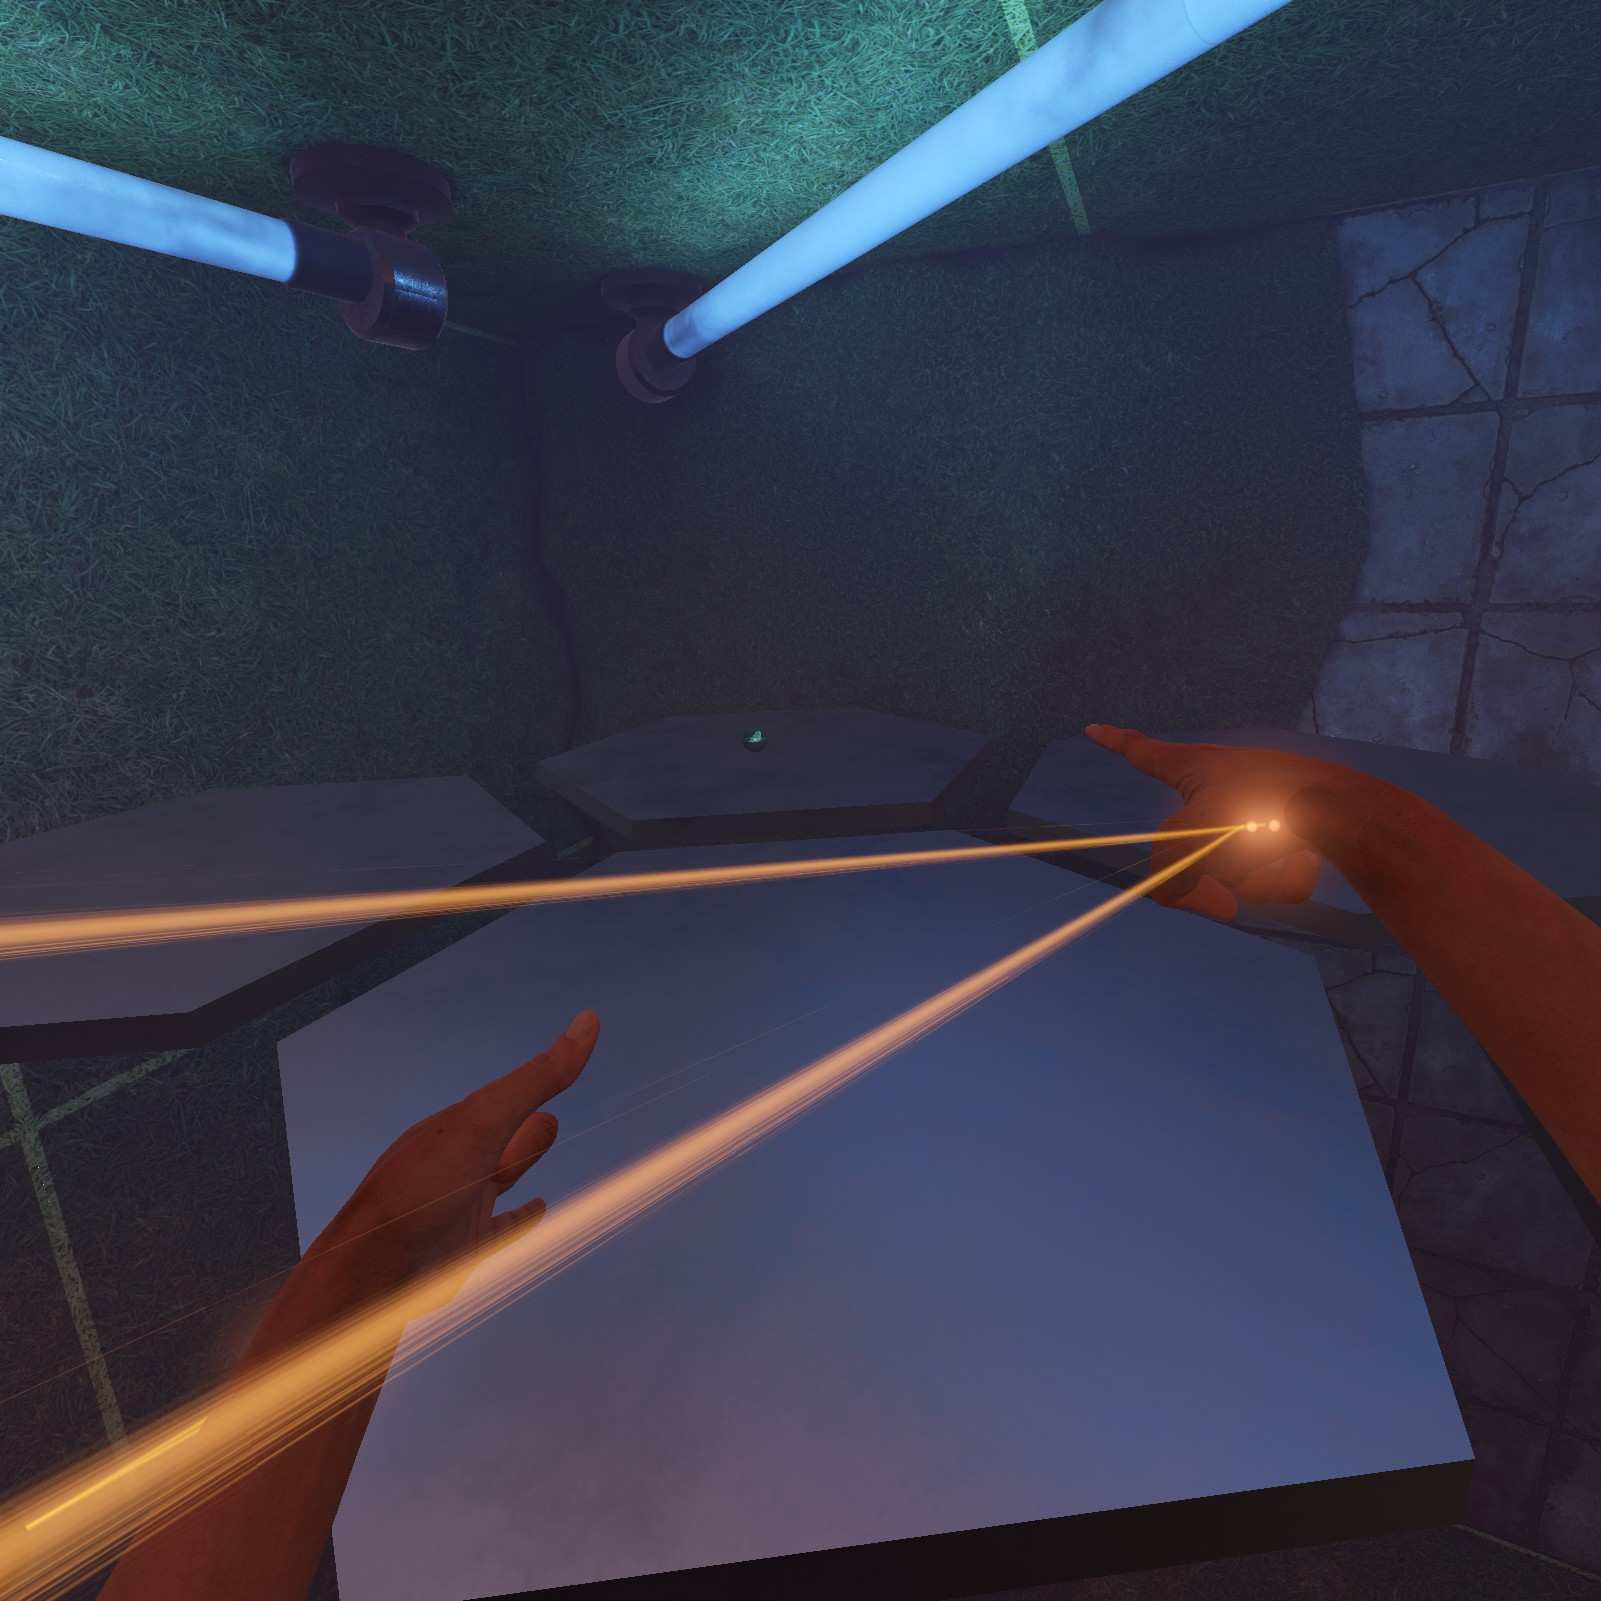
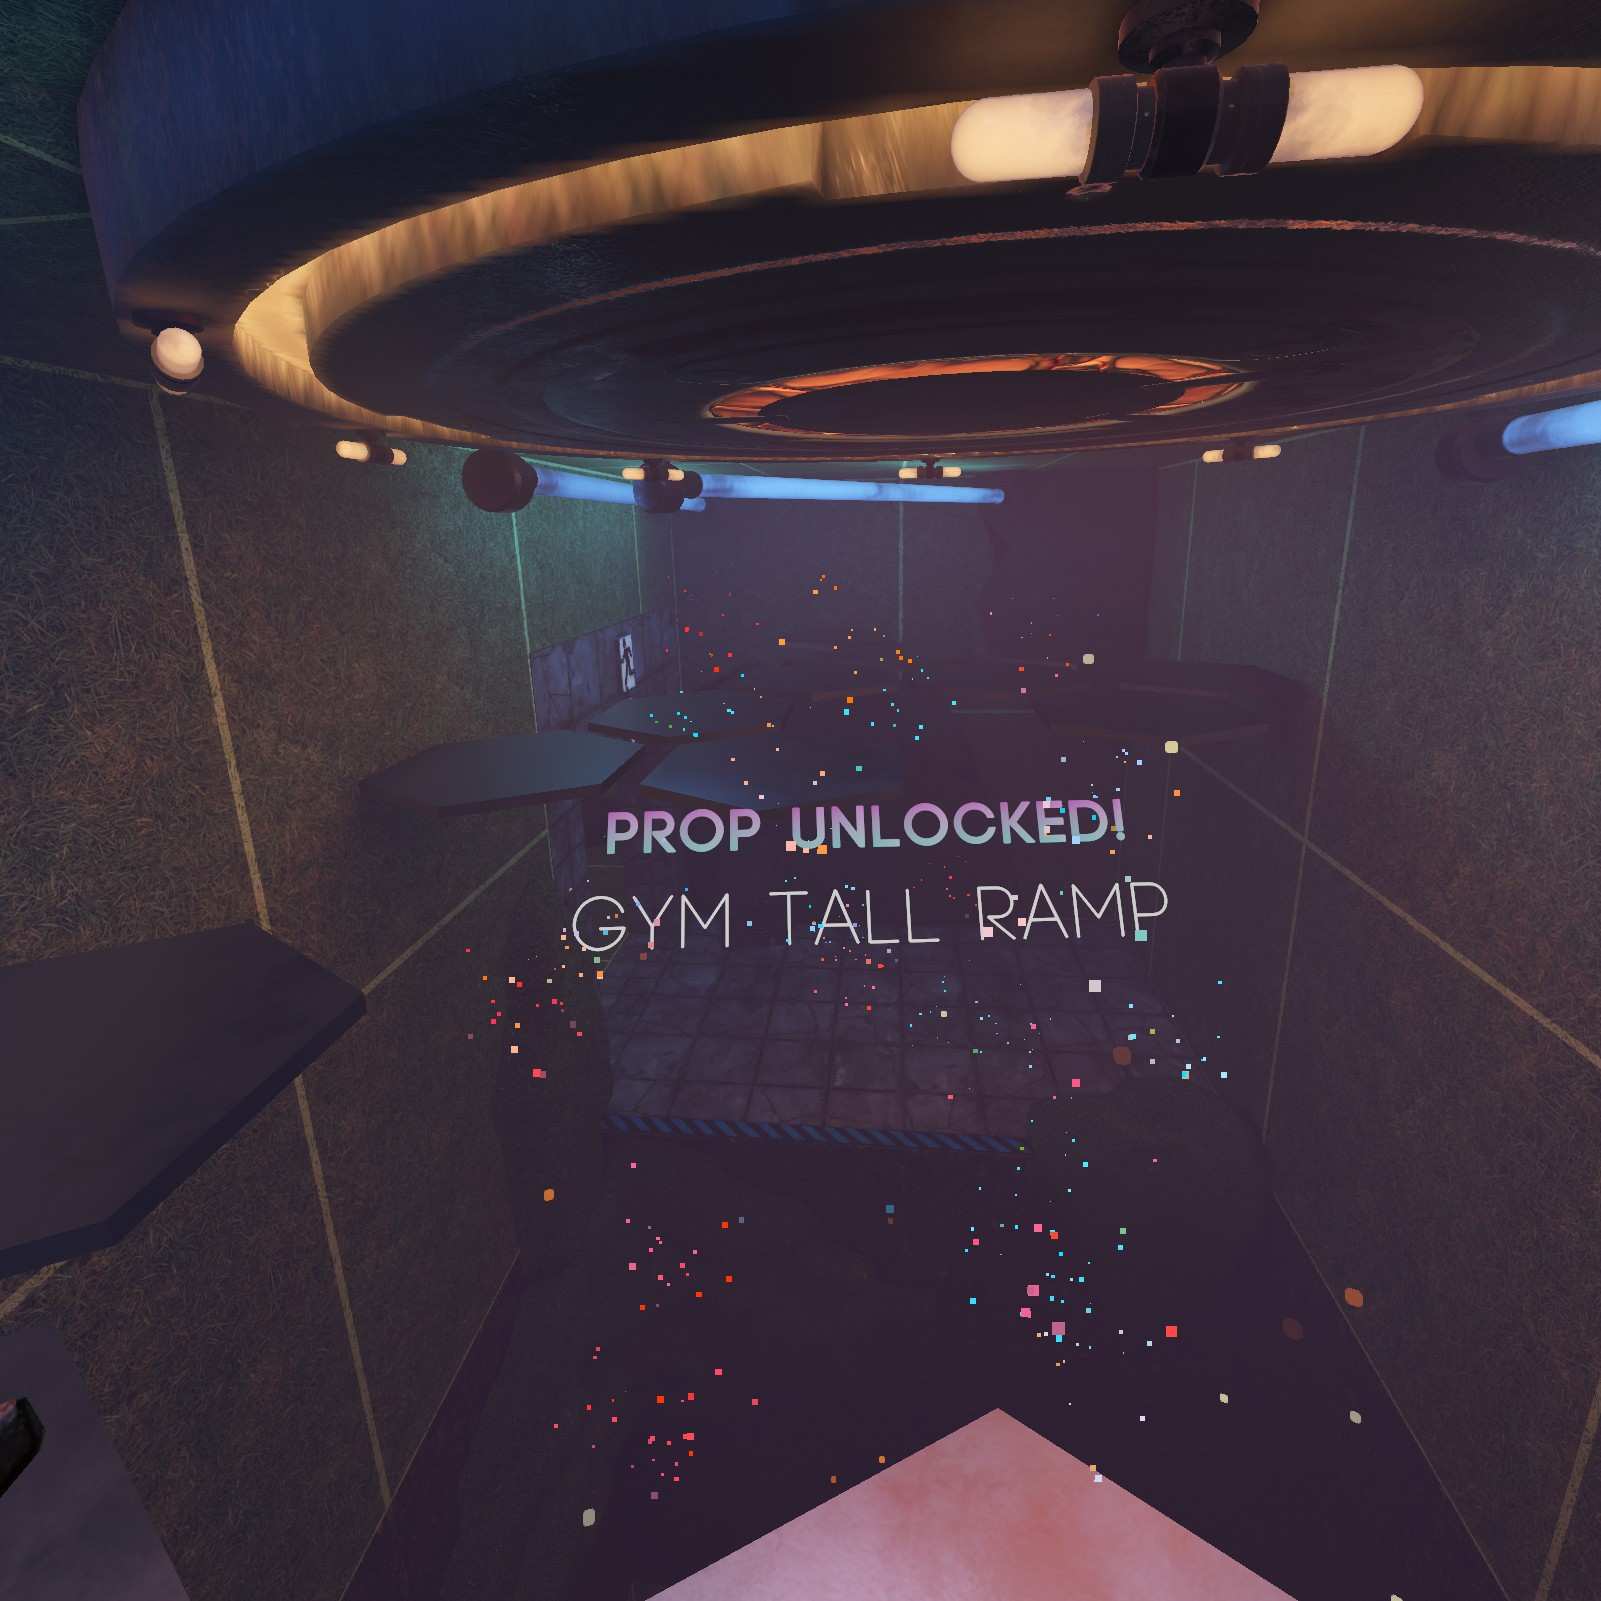
Gym Tall Ramp:
Angle your jump to the left here to get in range of my favorite shape the Gym Tall Ramp.
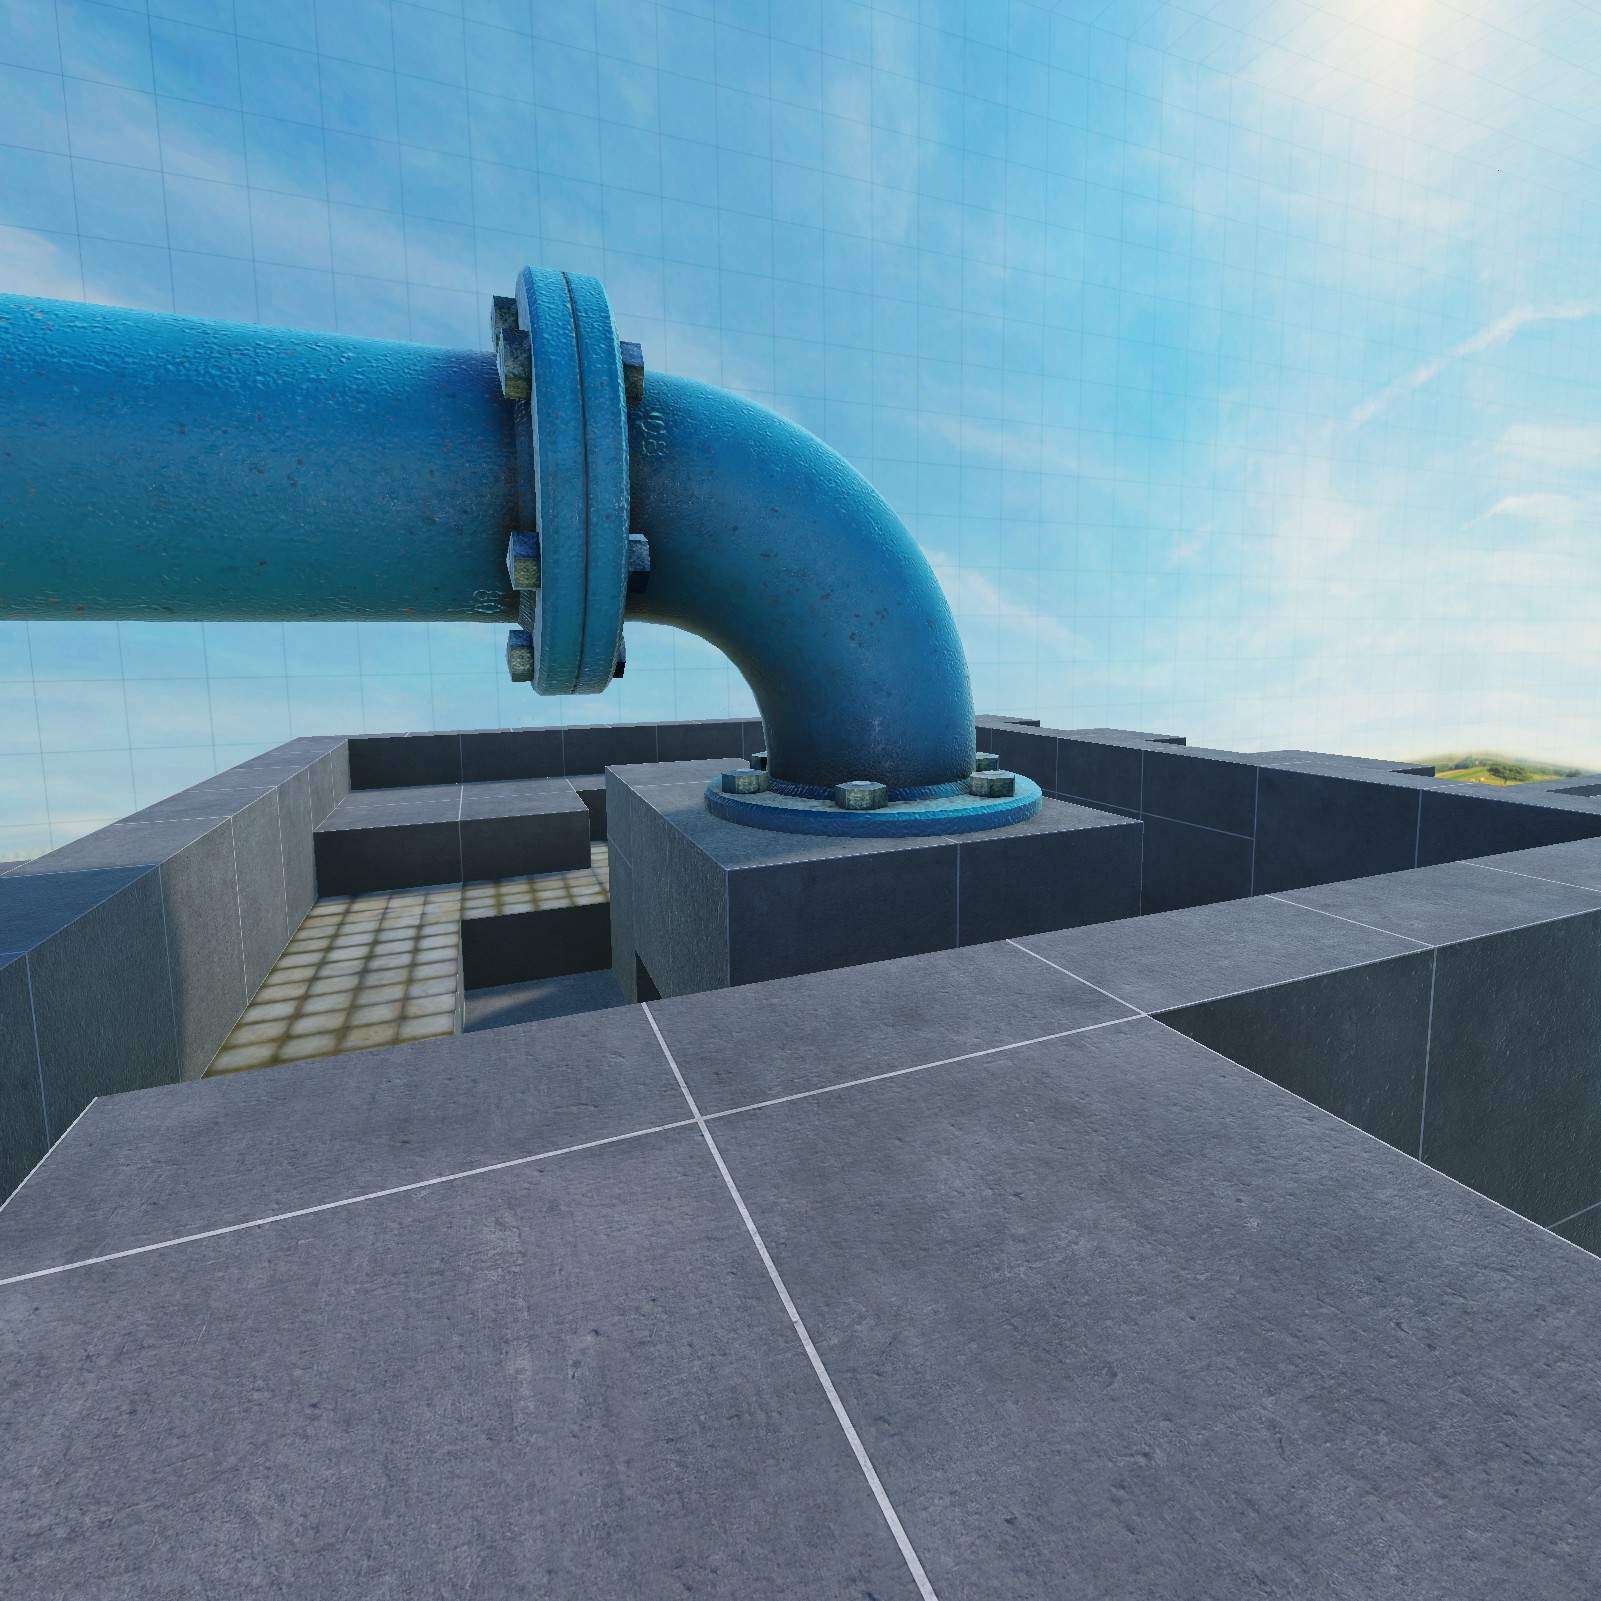
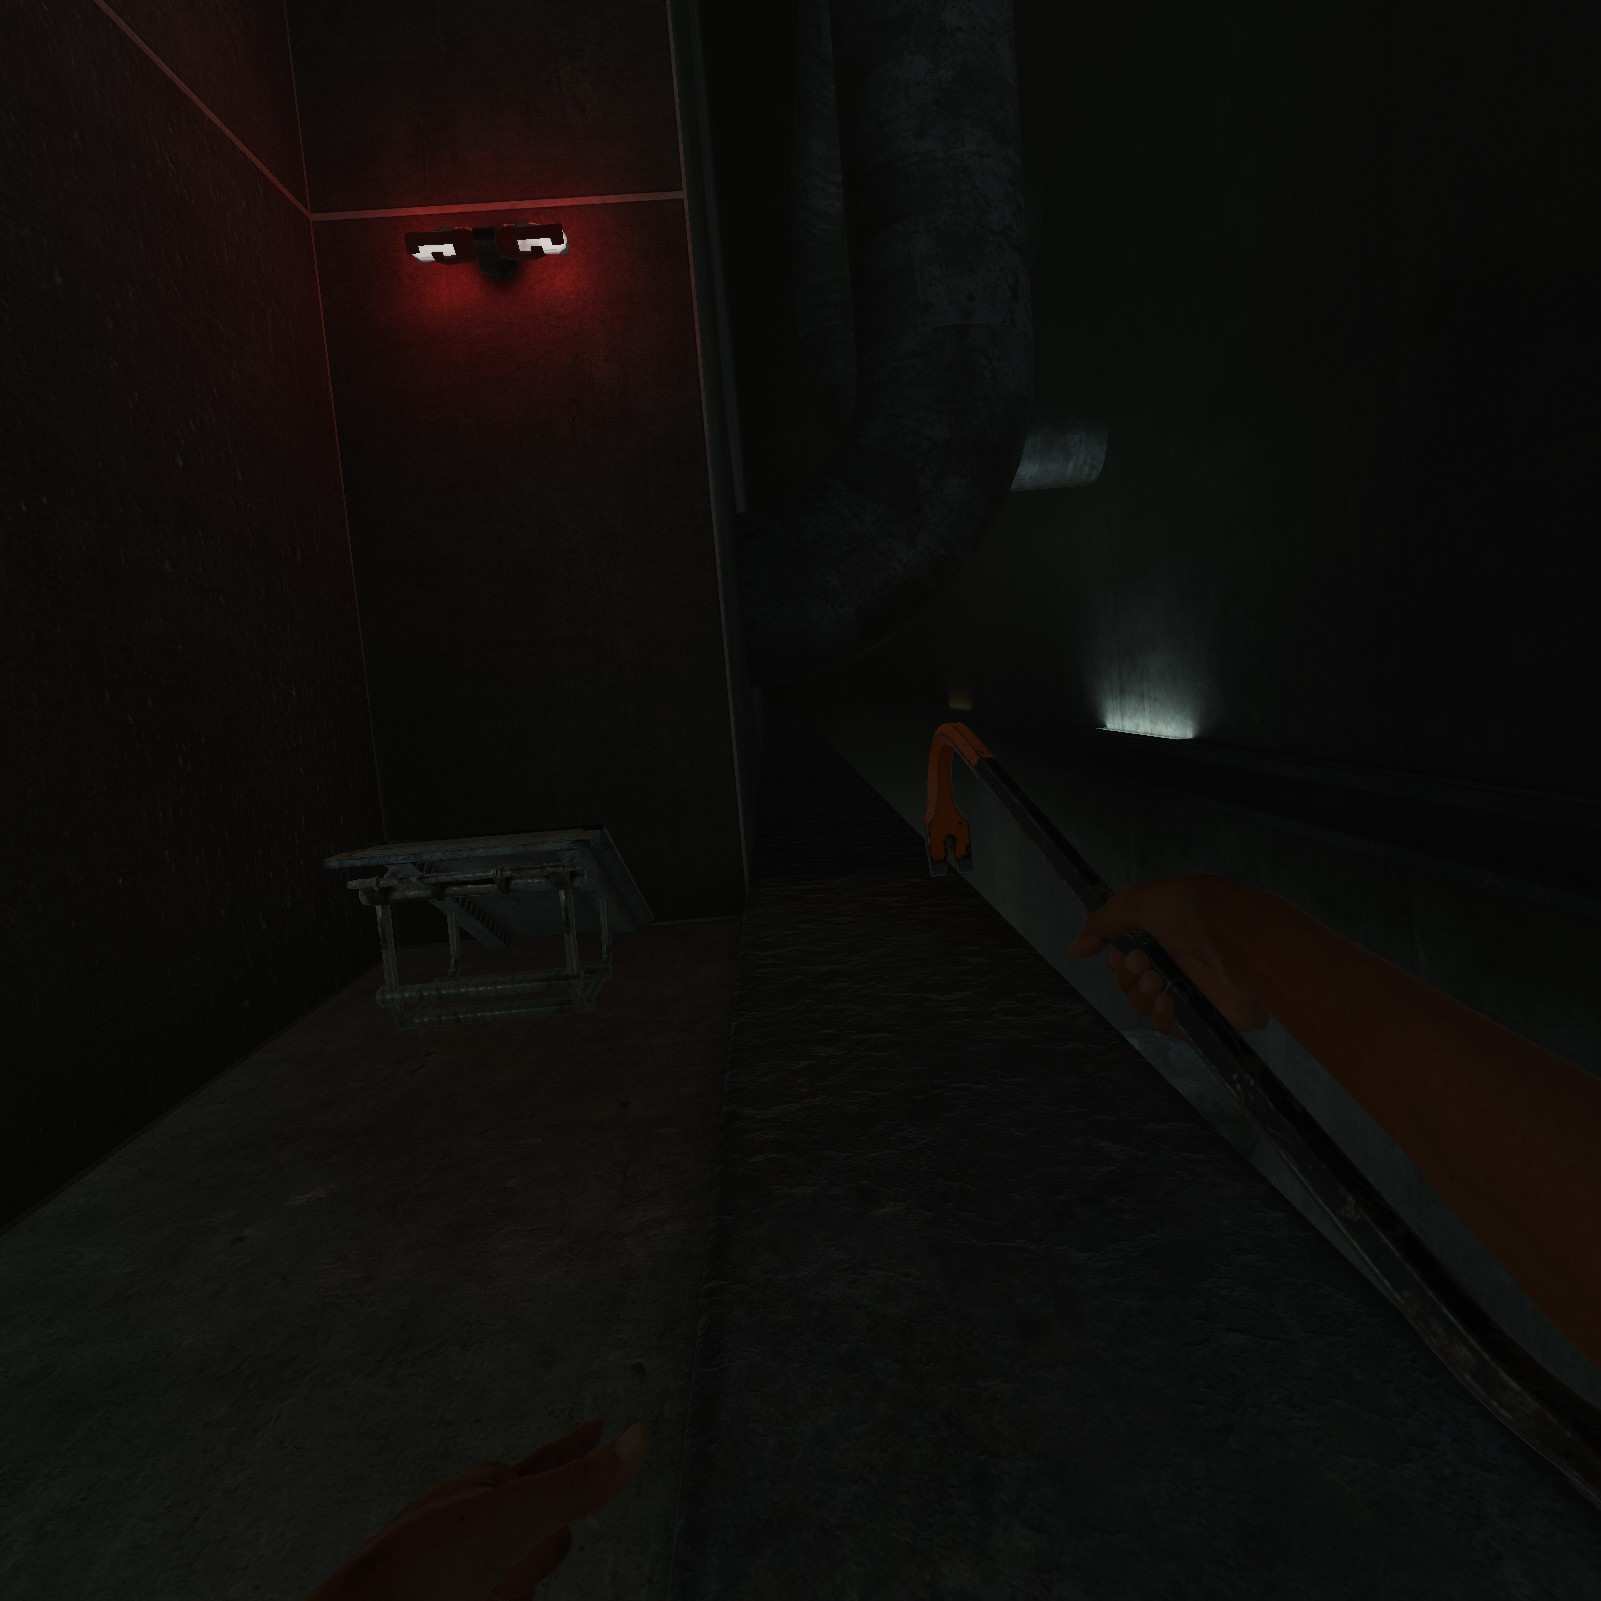
MP5K Holosight:
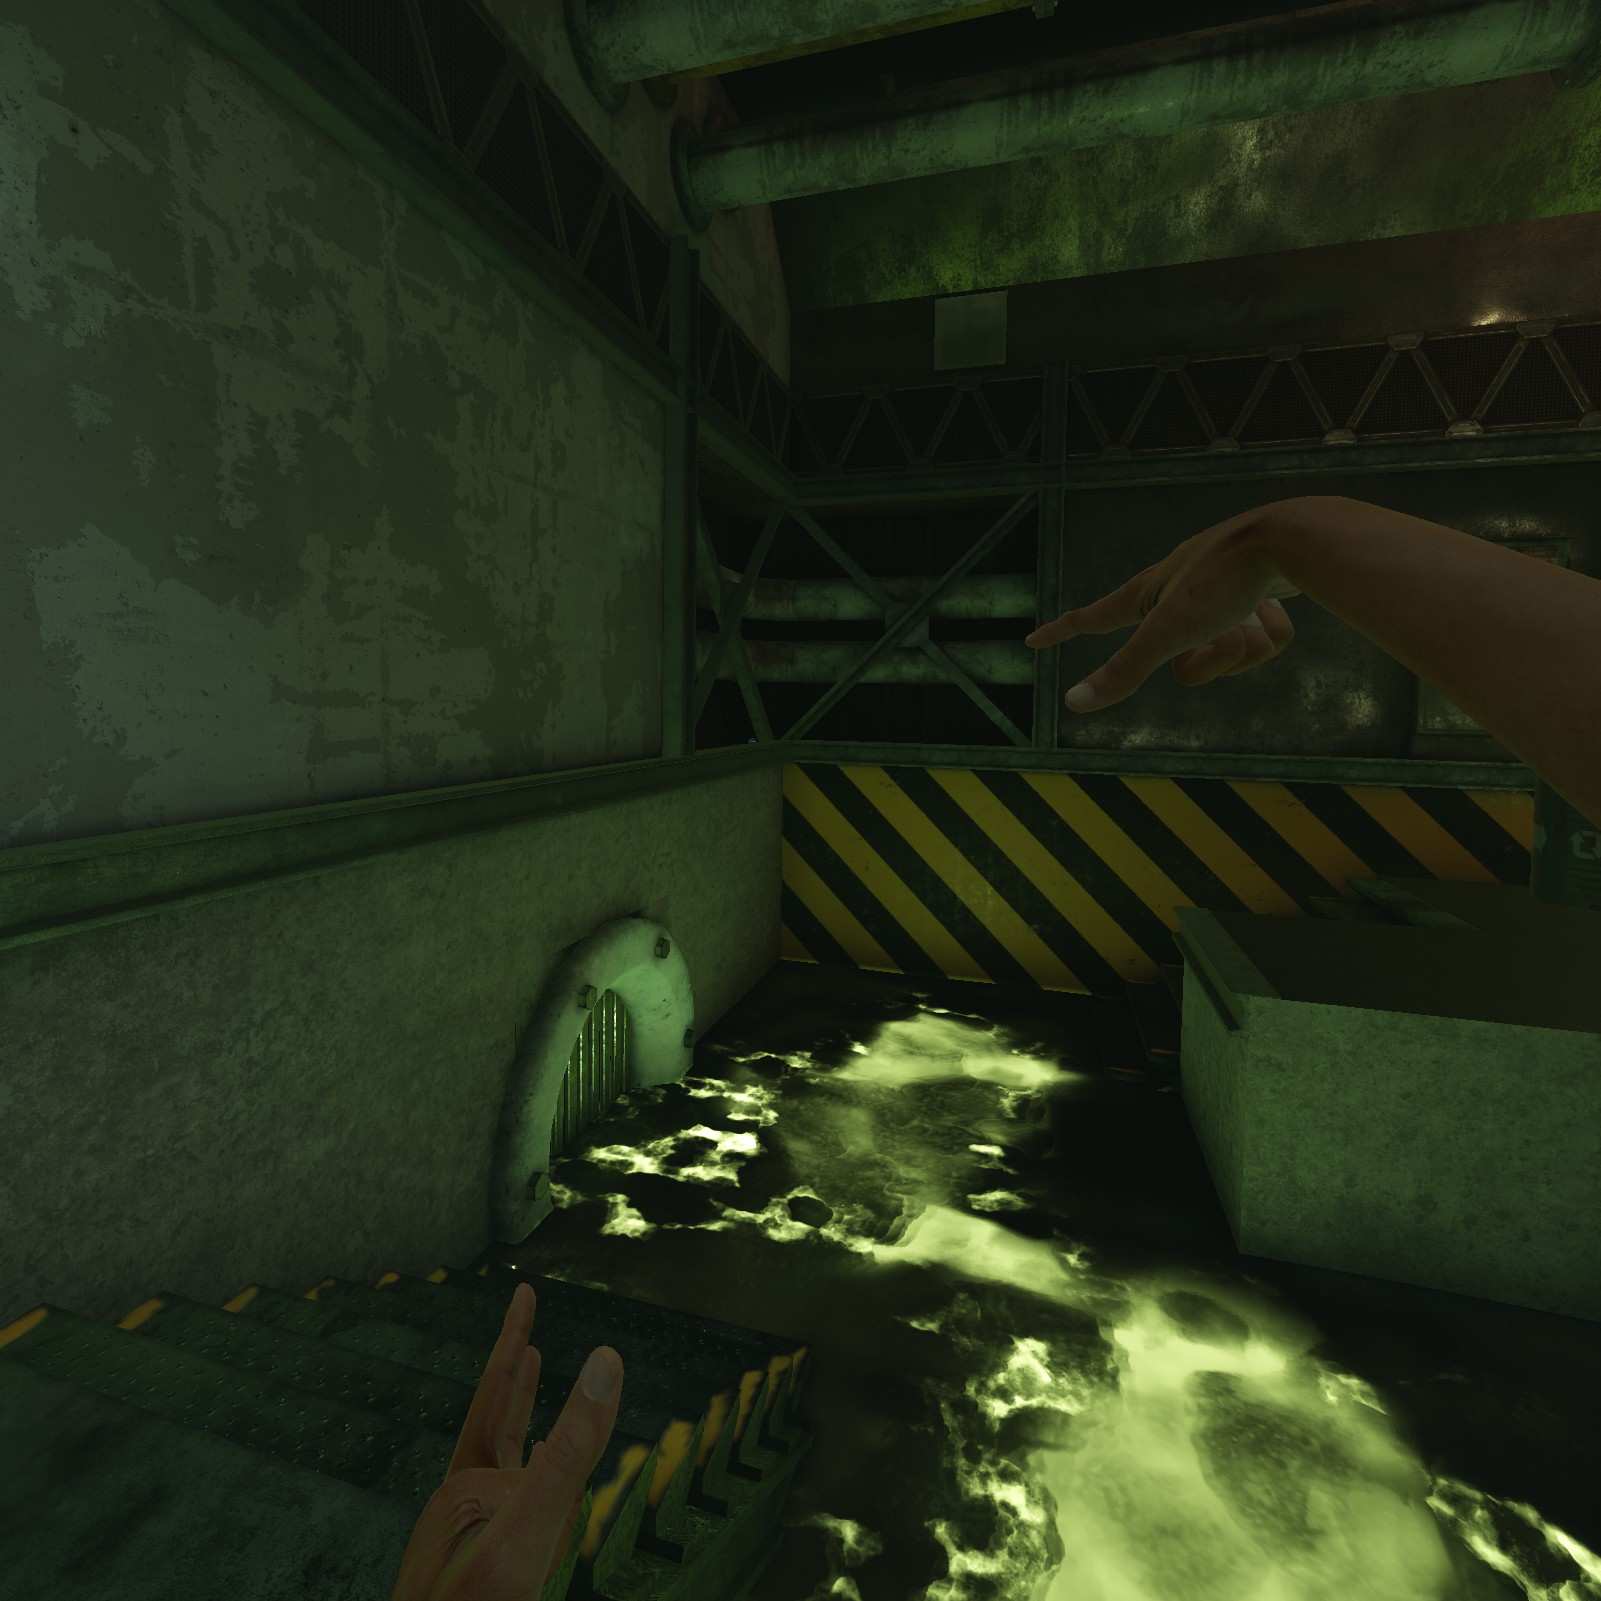
In this ravine to the left is an MP5K Holosight, a gun that you might actually use.

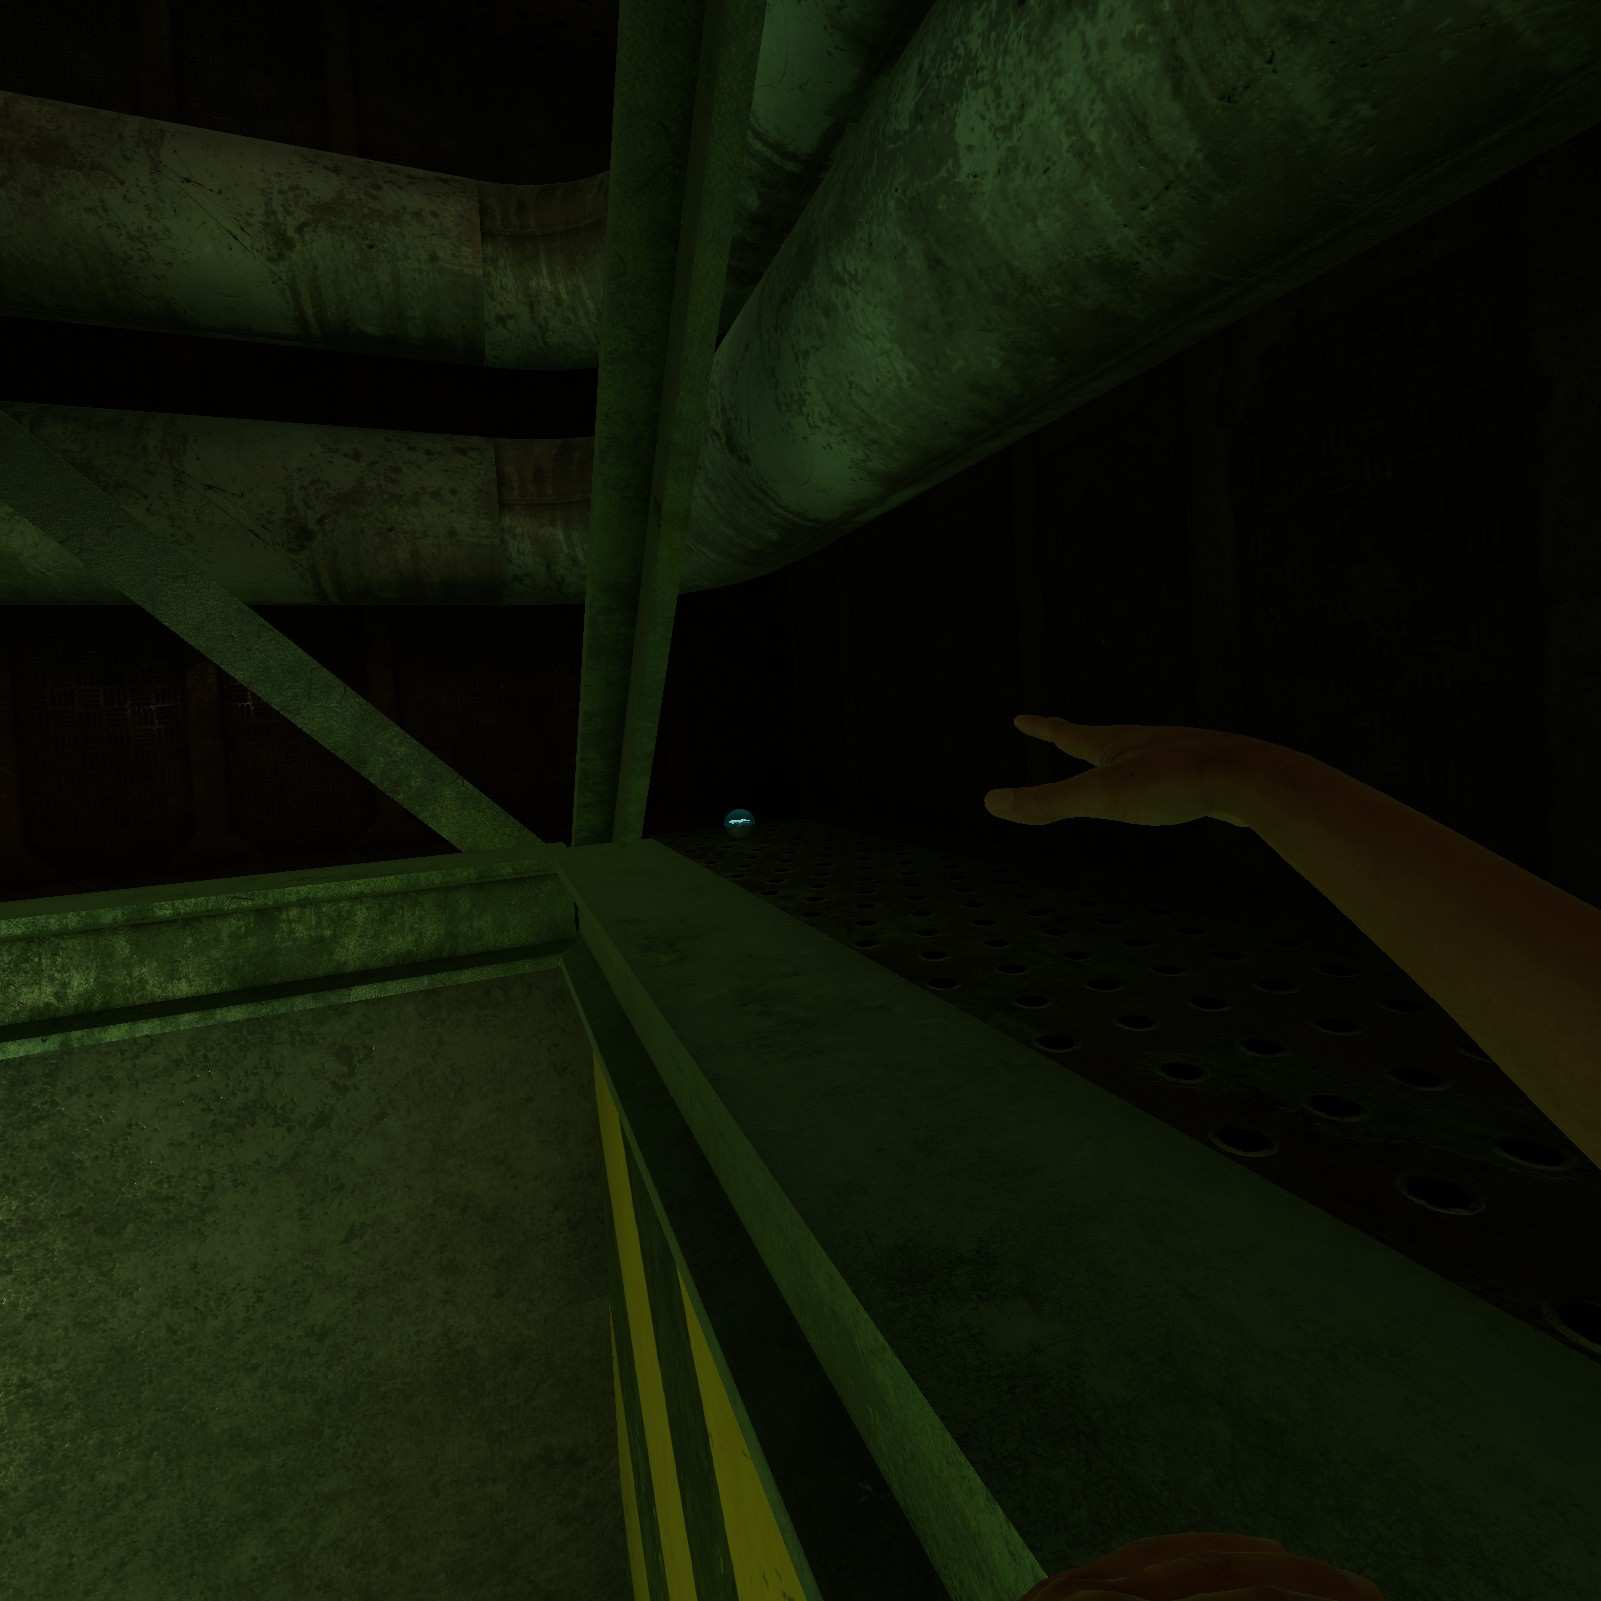
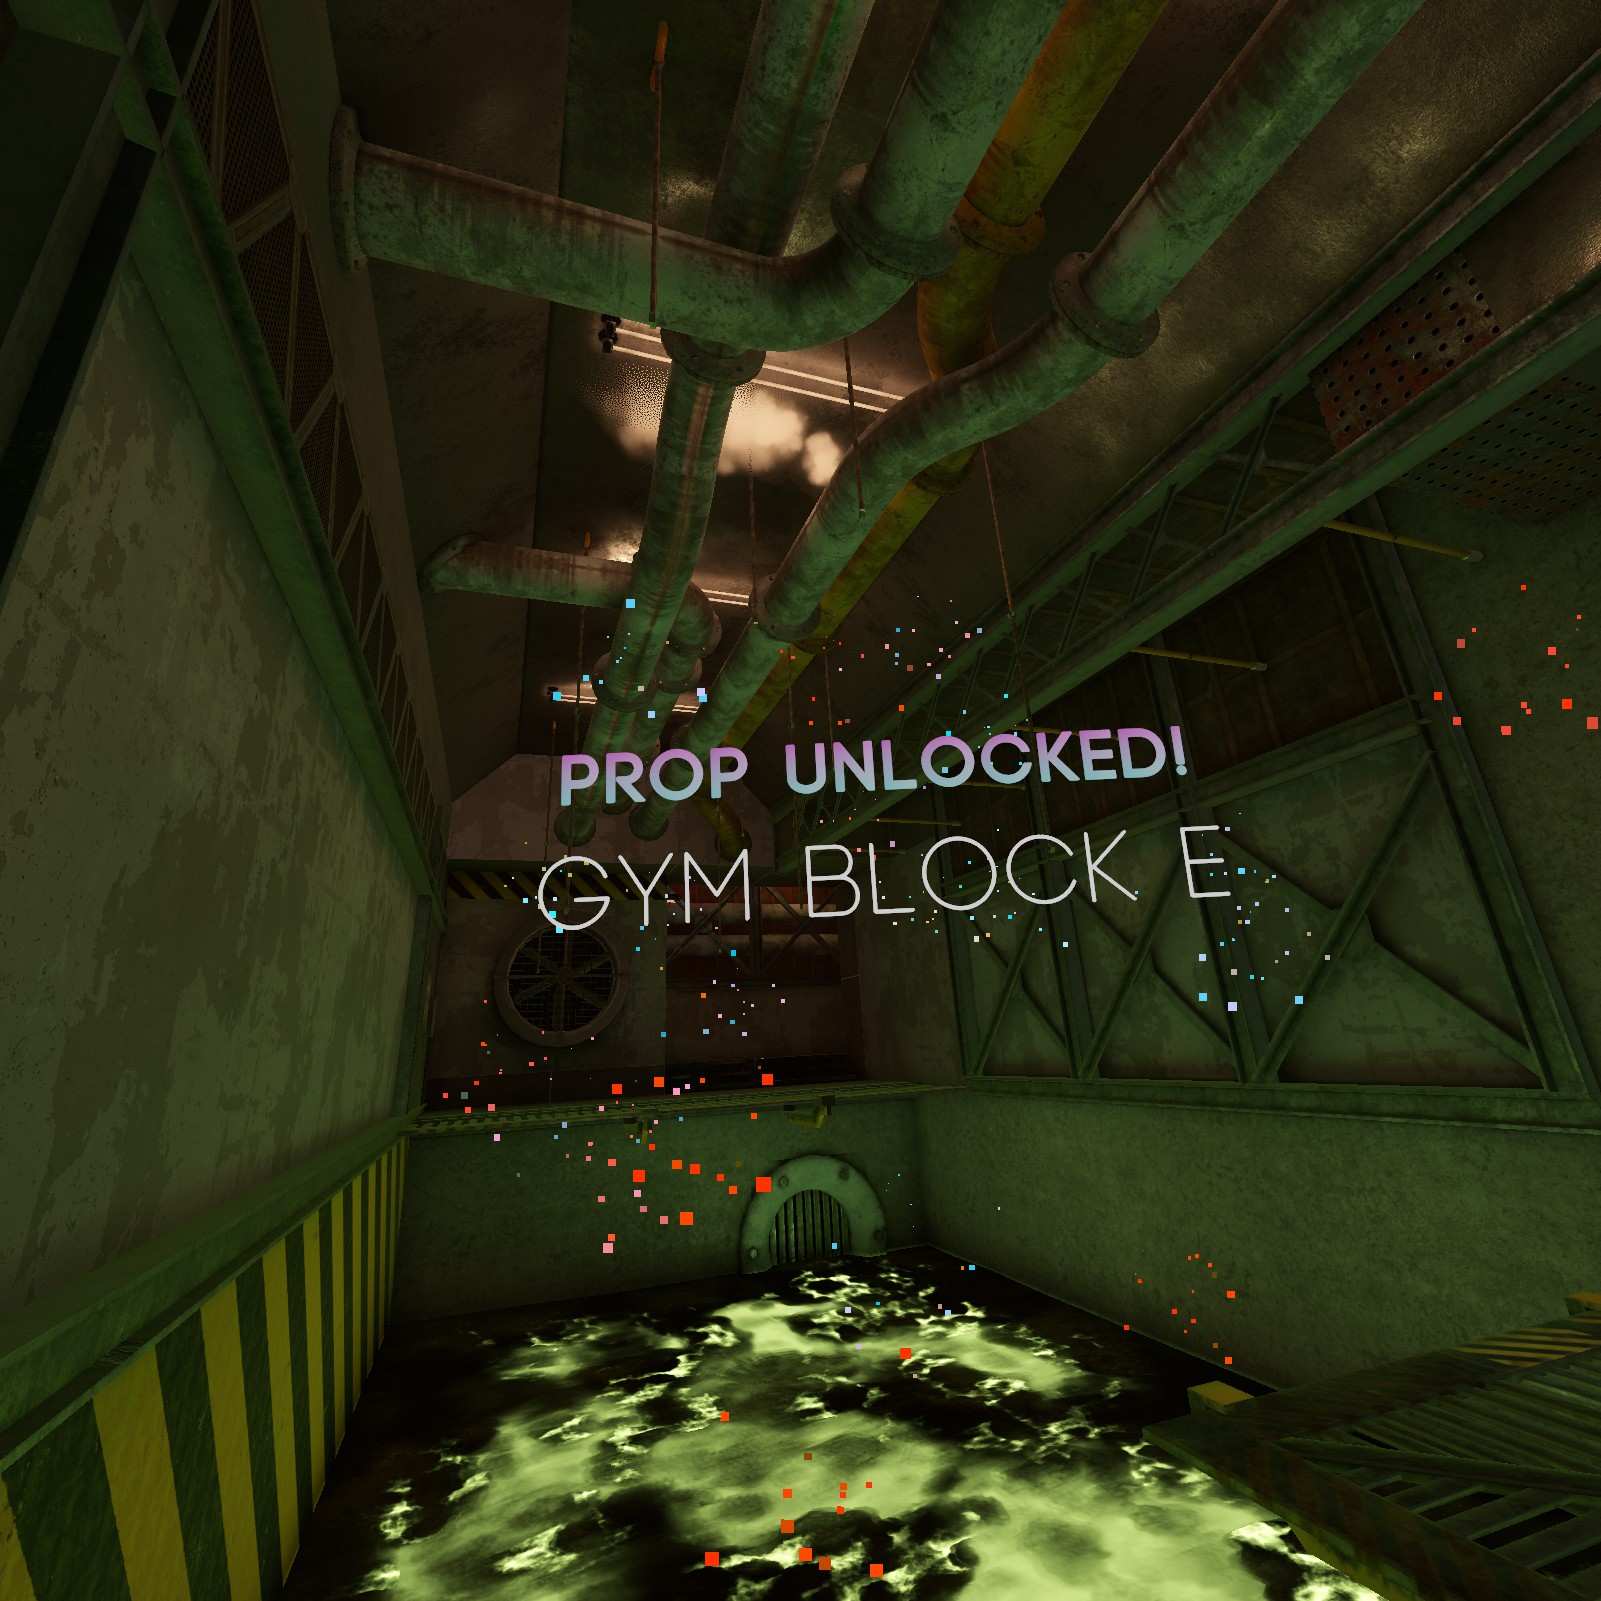
Gym Block E:
My favorite shape …ashufghbi .. My favorite shape … Gifahbsjdbfhj … Gym Block E … soduijgbfajkfhgbaoiu … My favorite shape … sdklghojusgbauoibsuiodjbgfjob
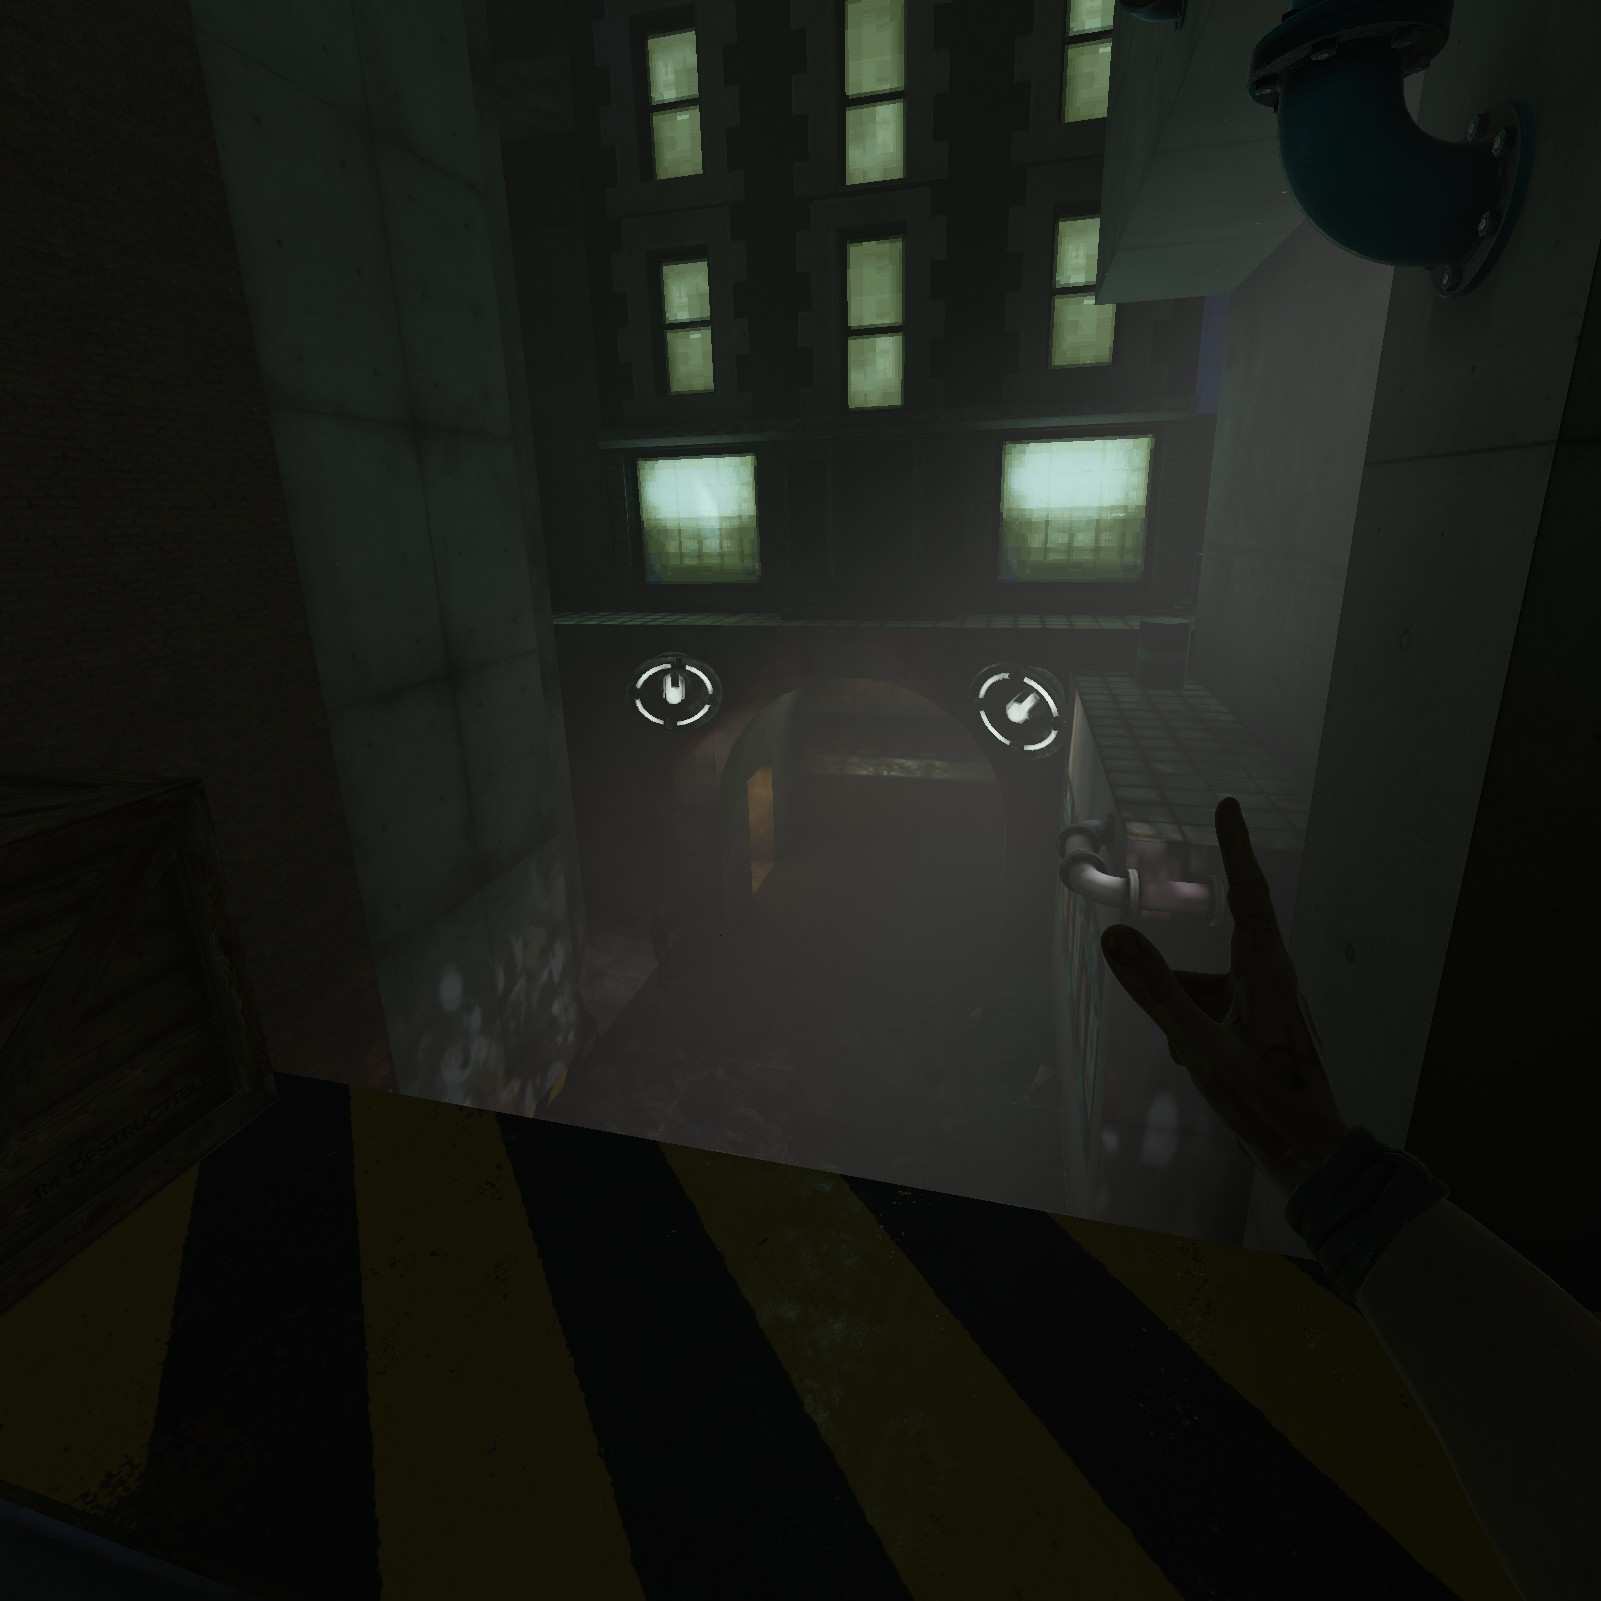
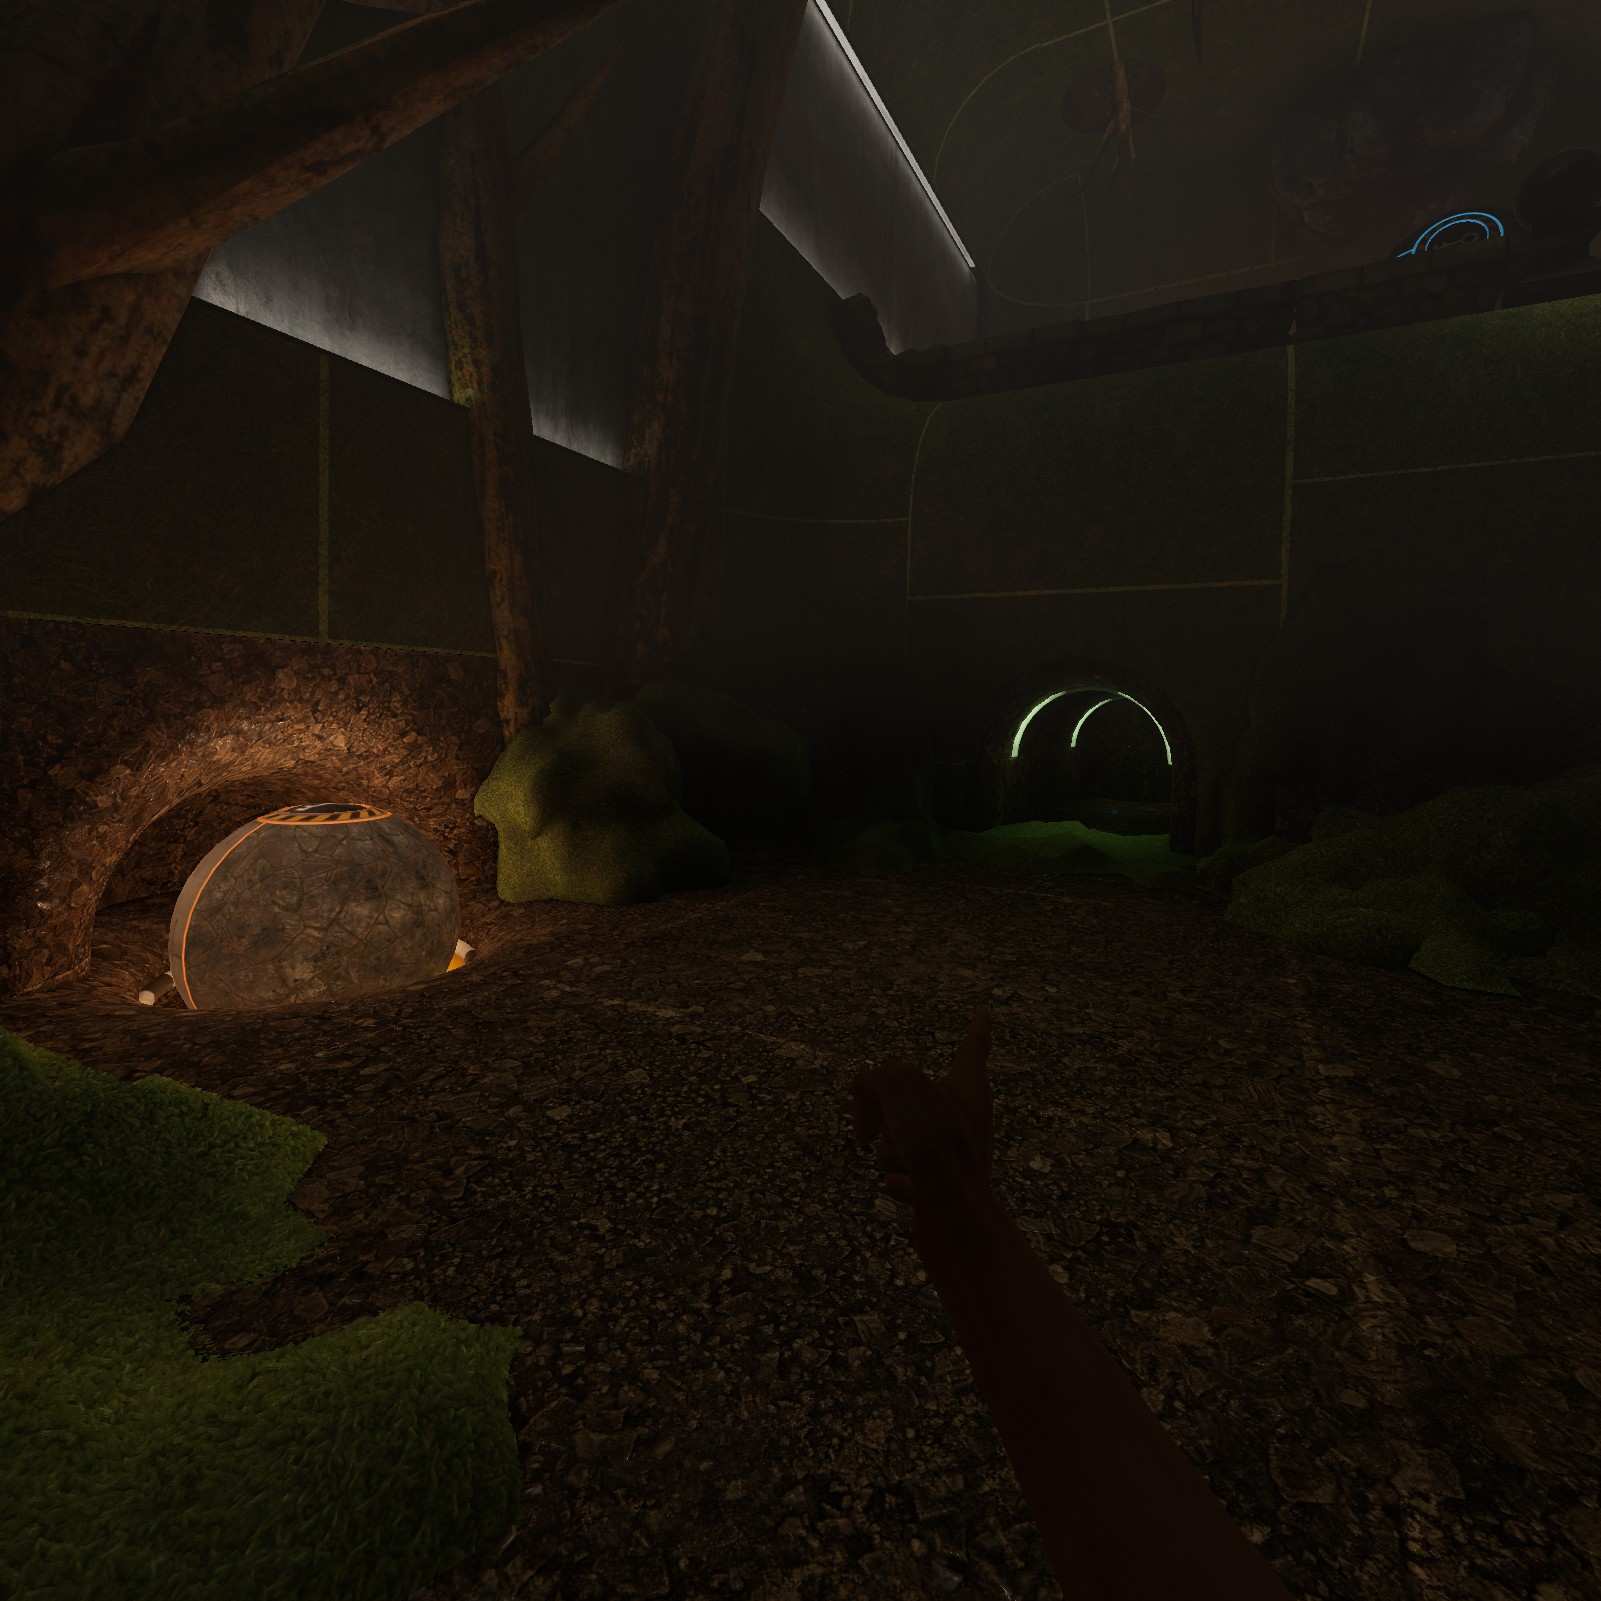
Crablet Plus:
Do you like your crablets plus sized? You’ll need to open this door and grab it.

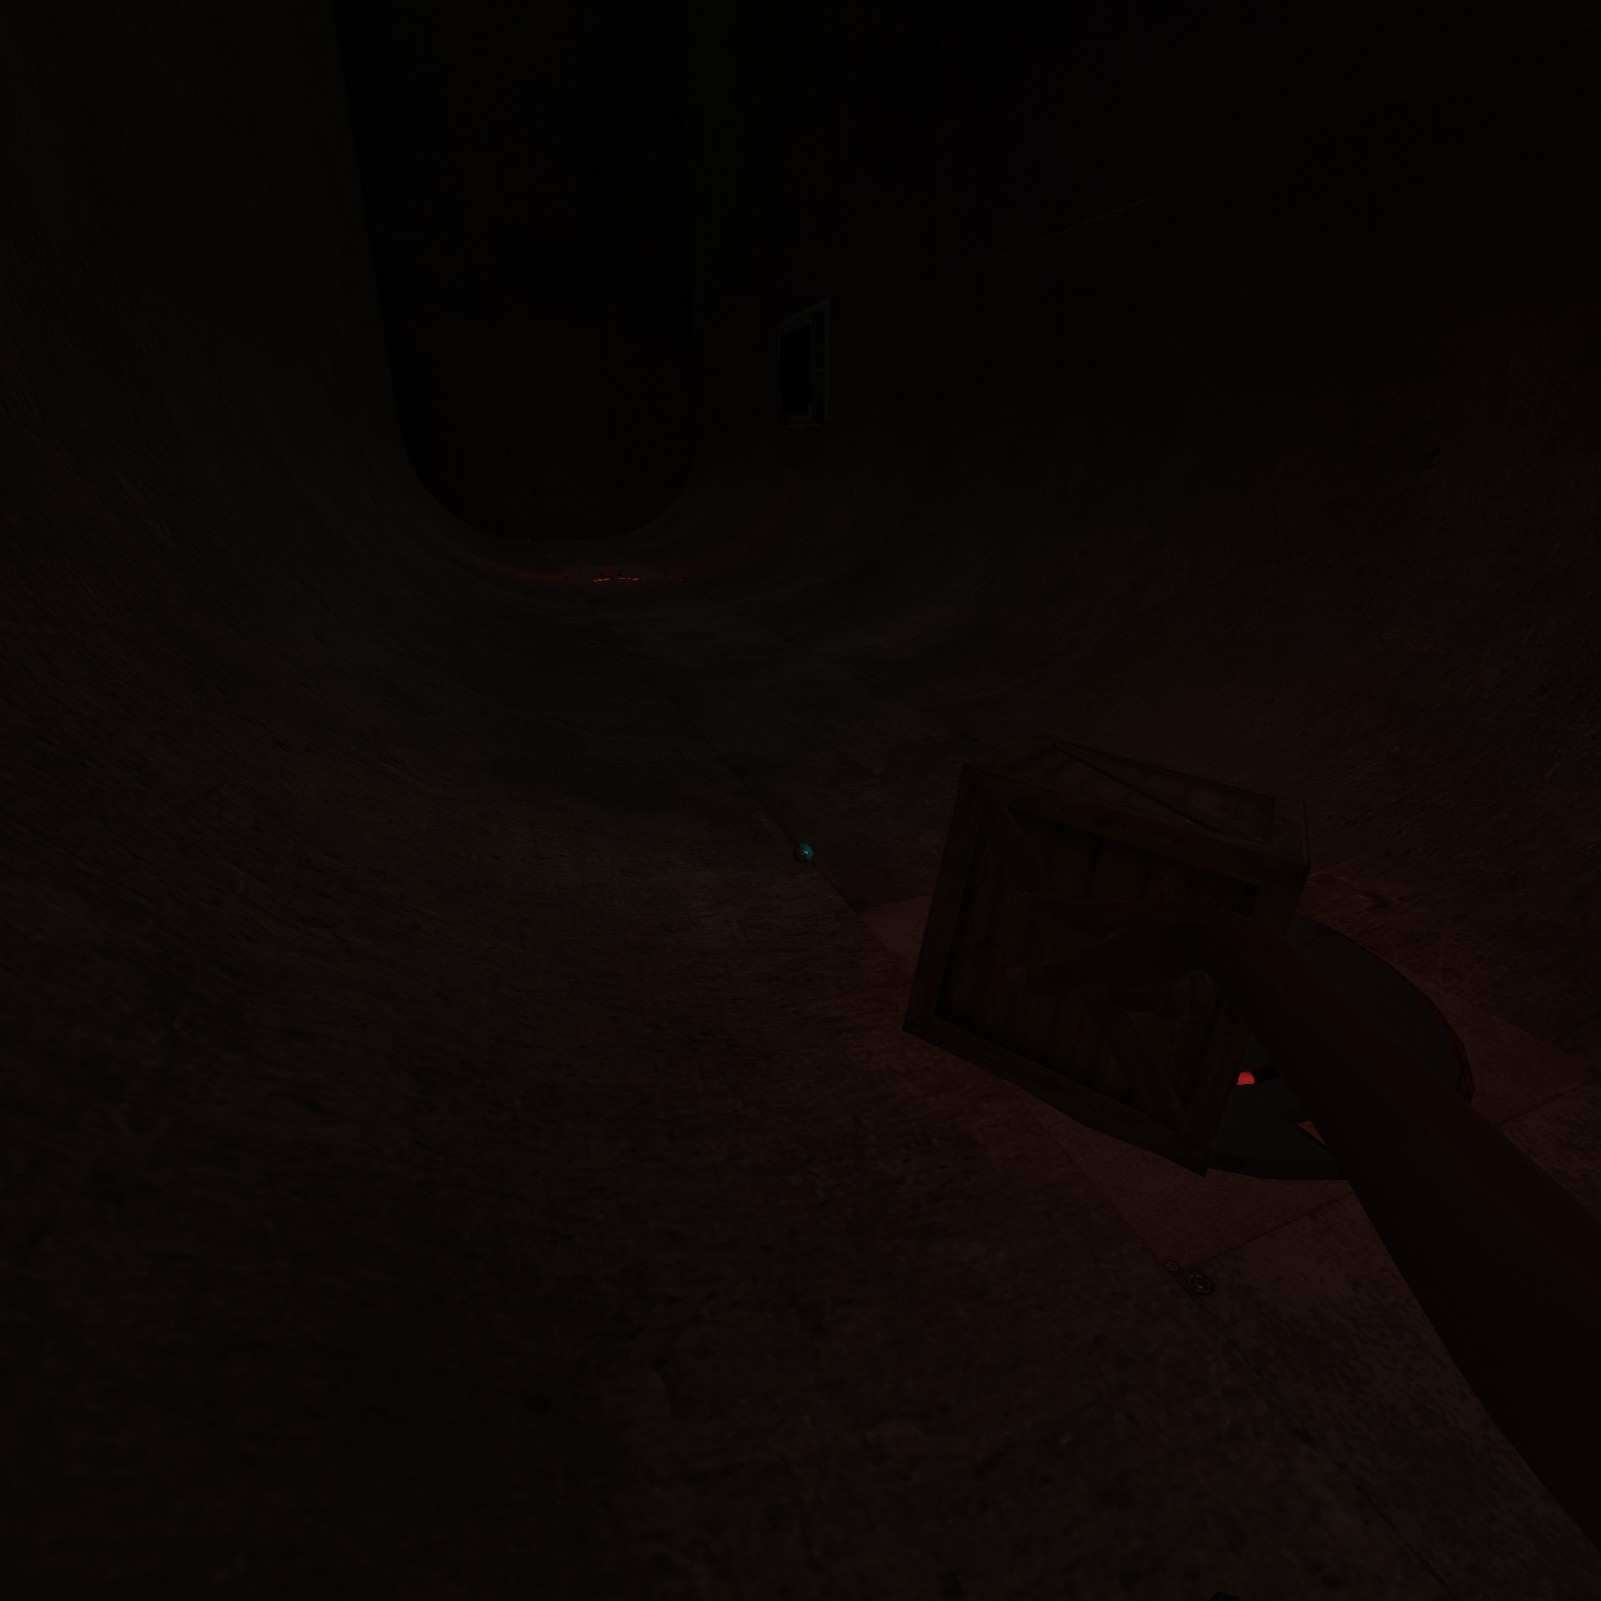
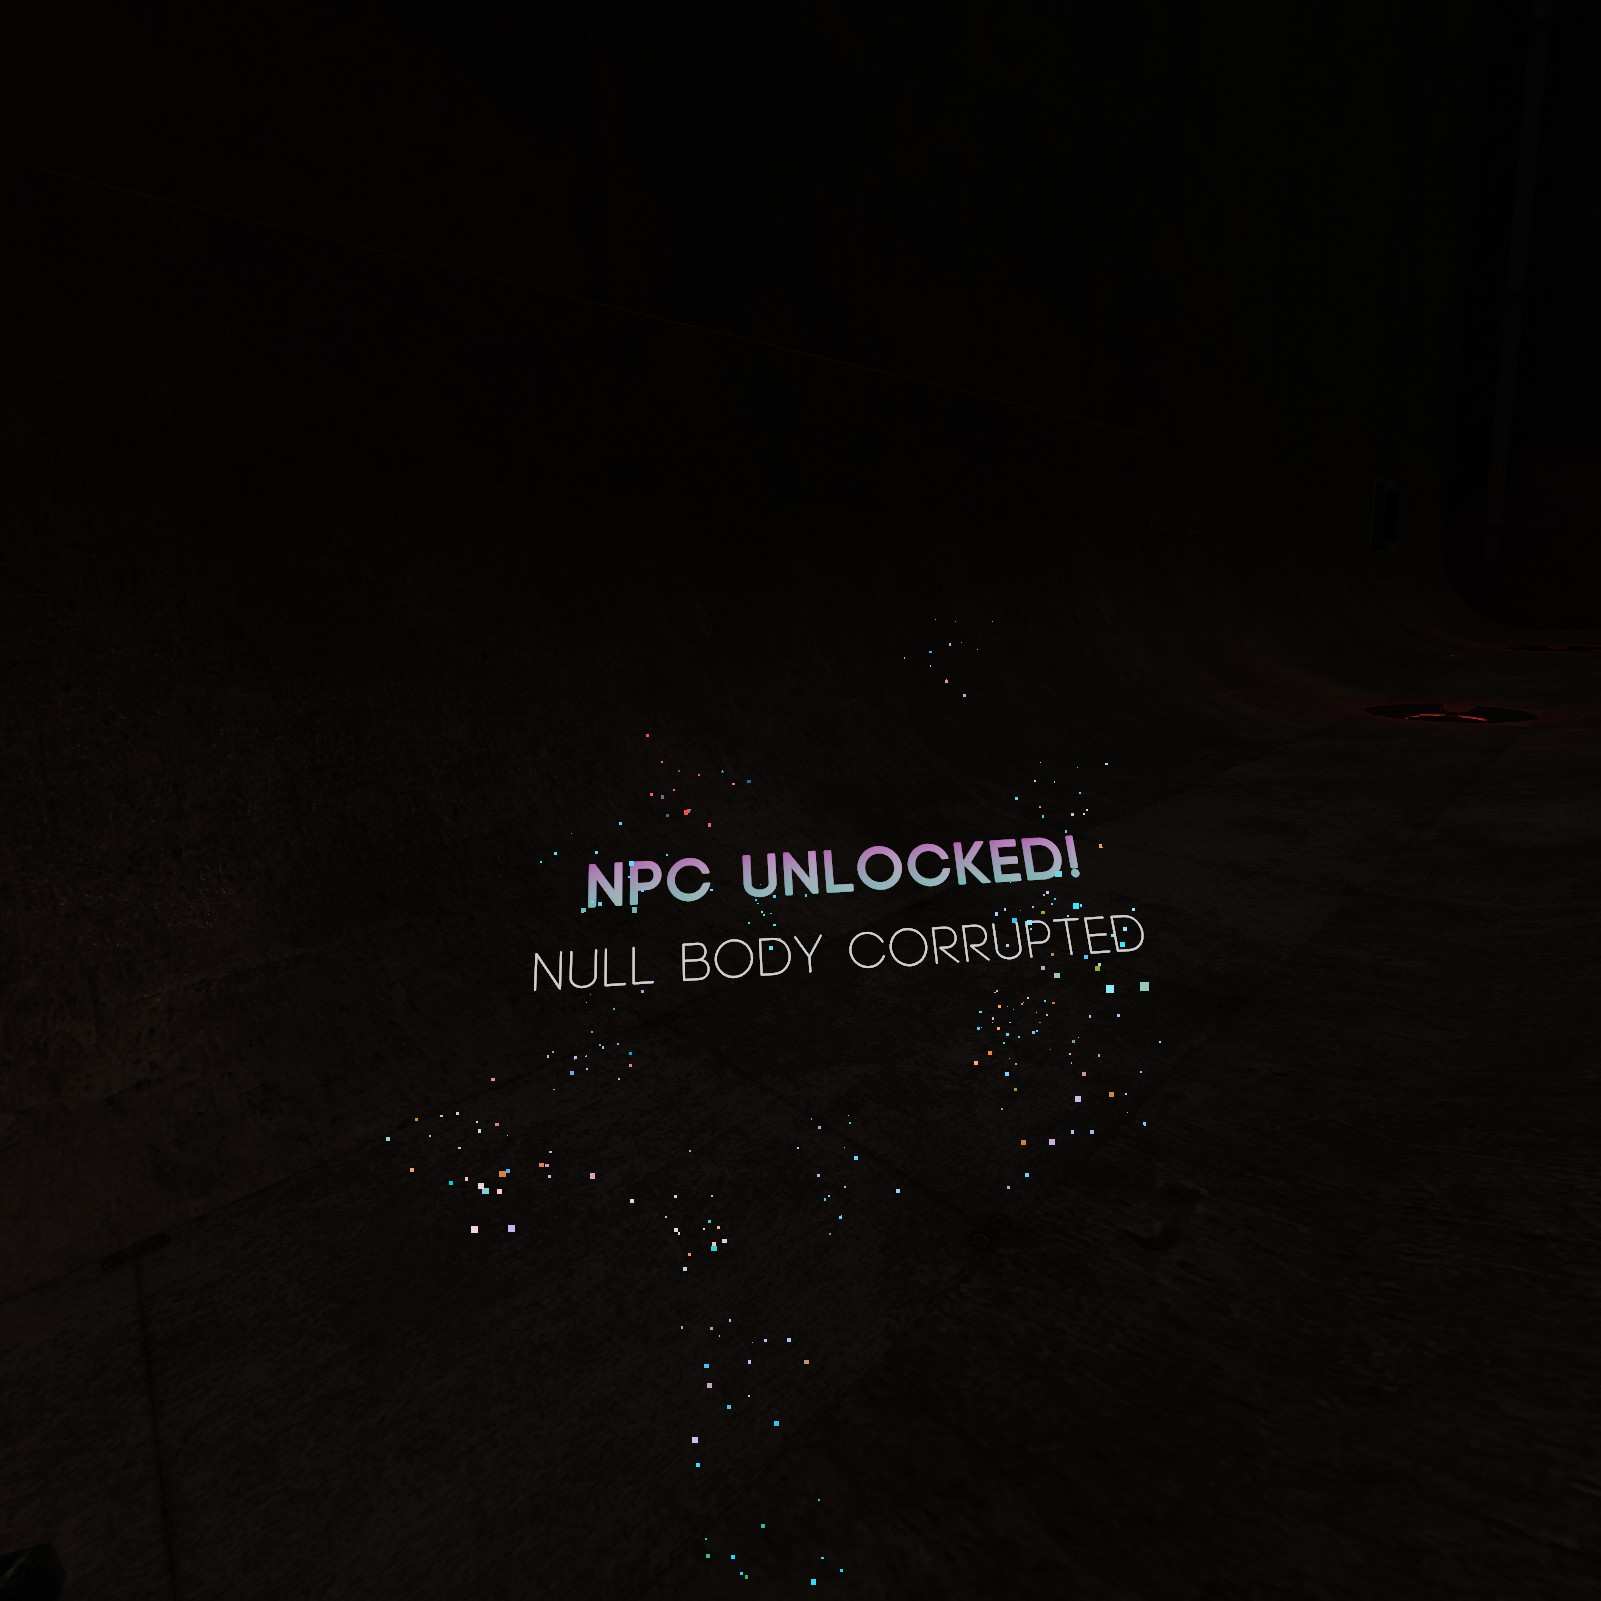
Null Body Corrupted:
If you launched yourself to far like I did, no need to worry. There’s a Null Body Corrupted here to grab while you think about your life choices.
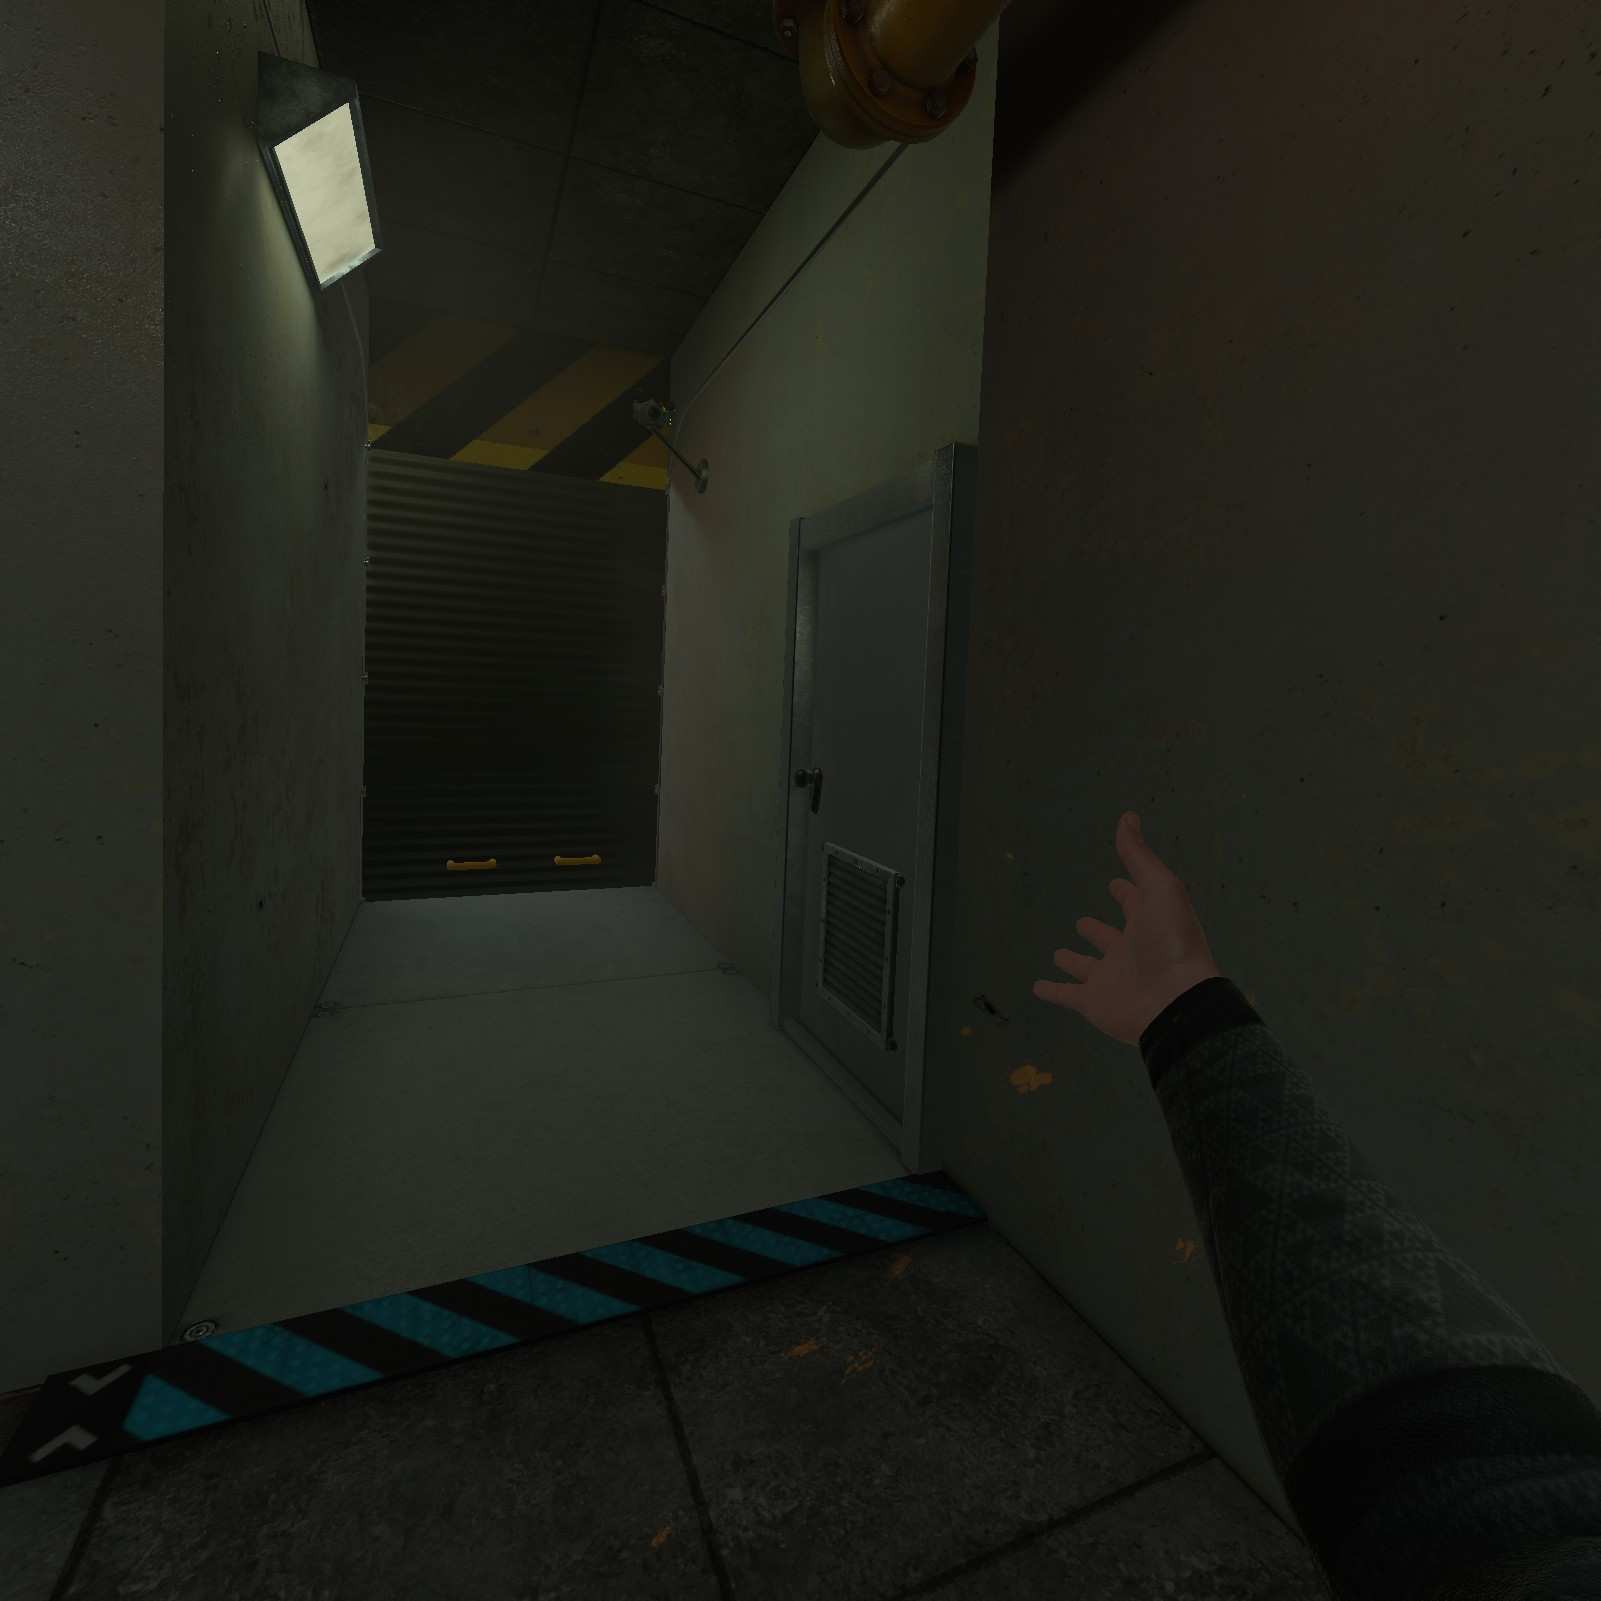
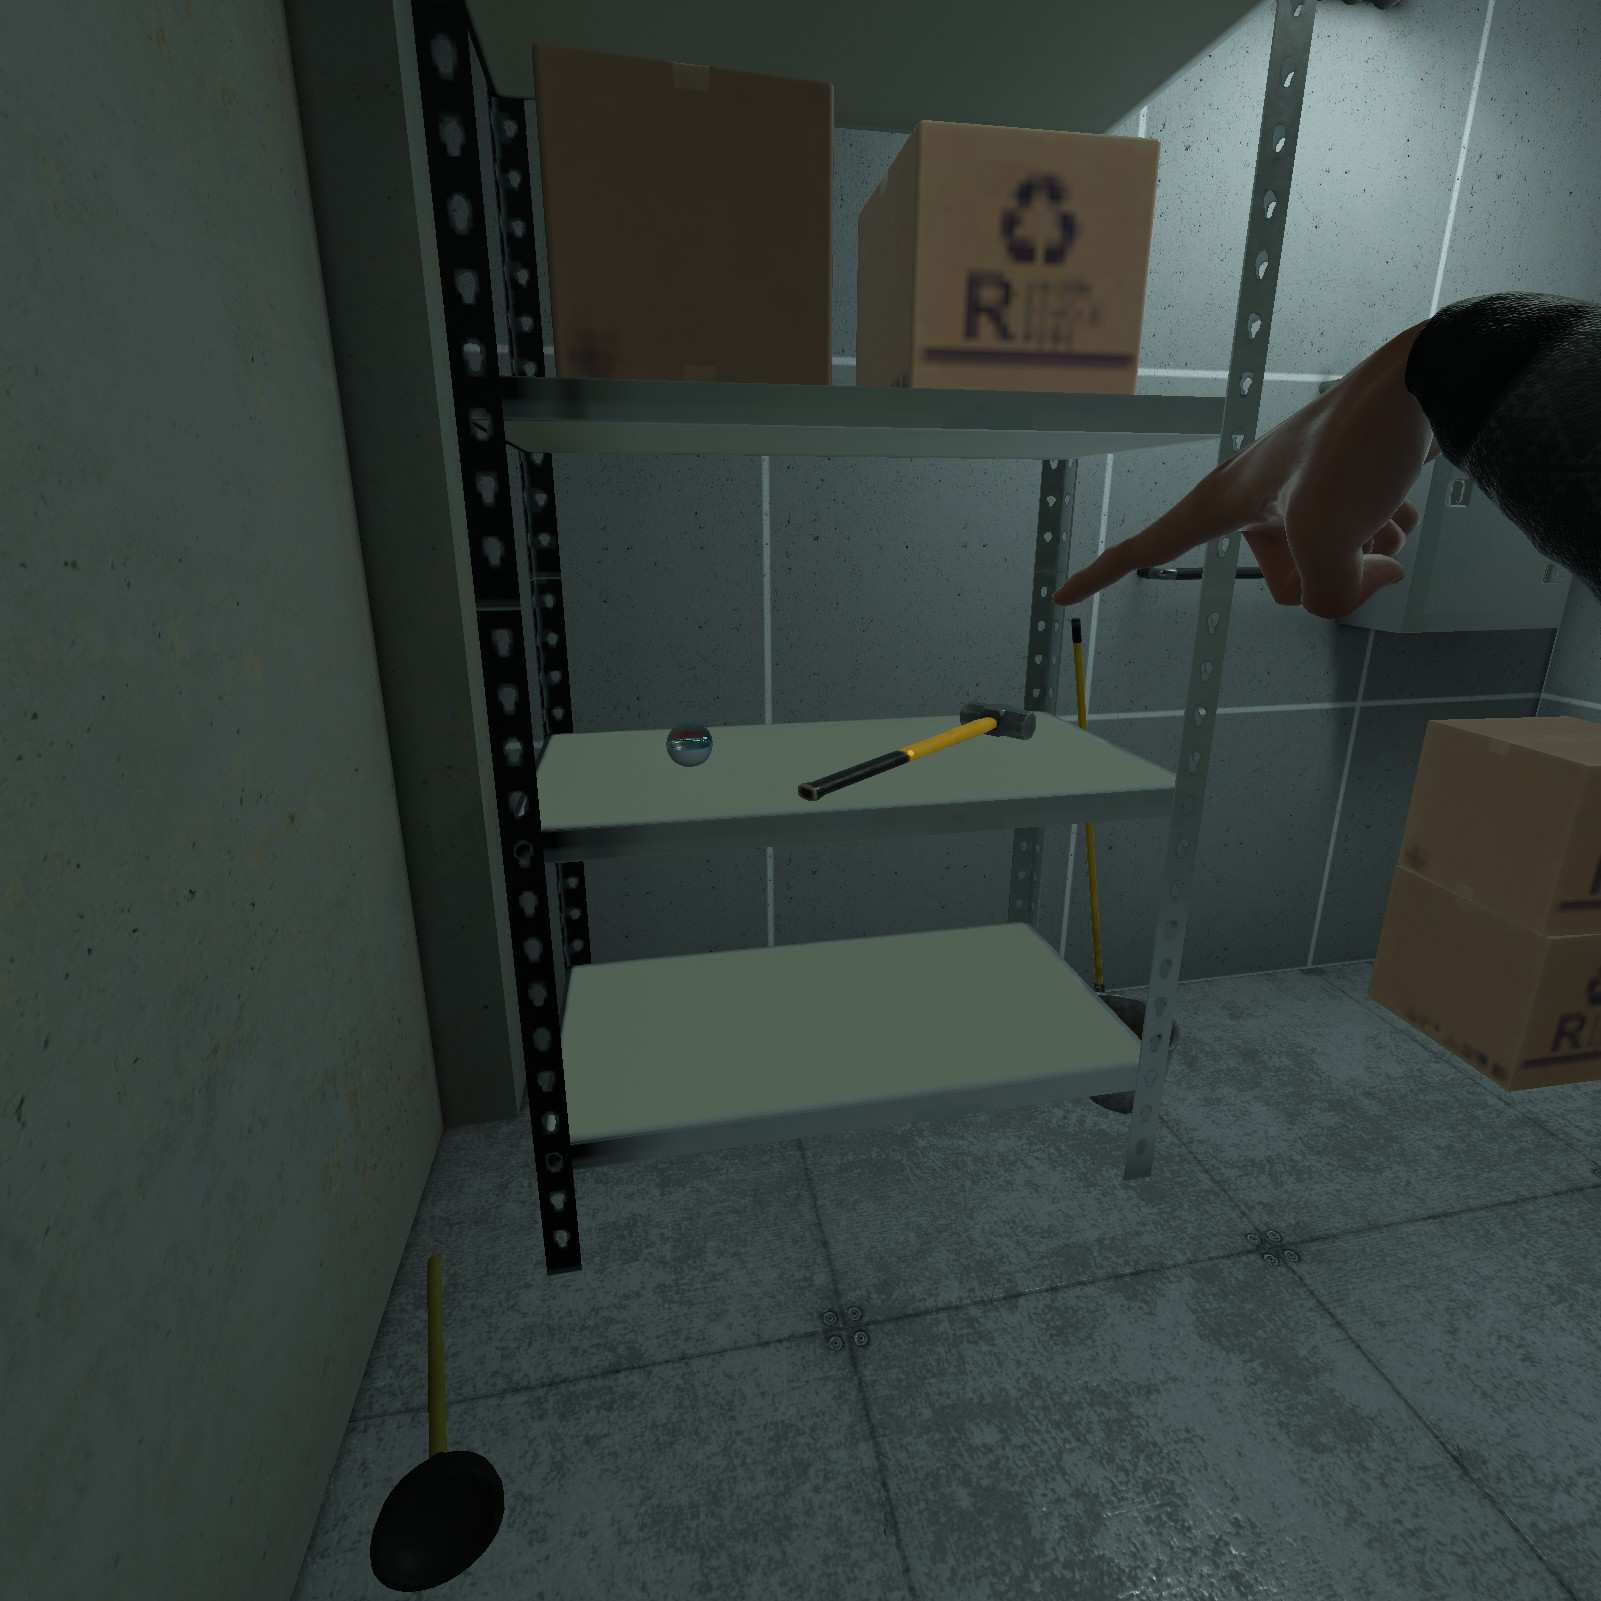
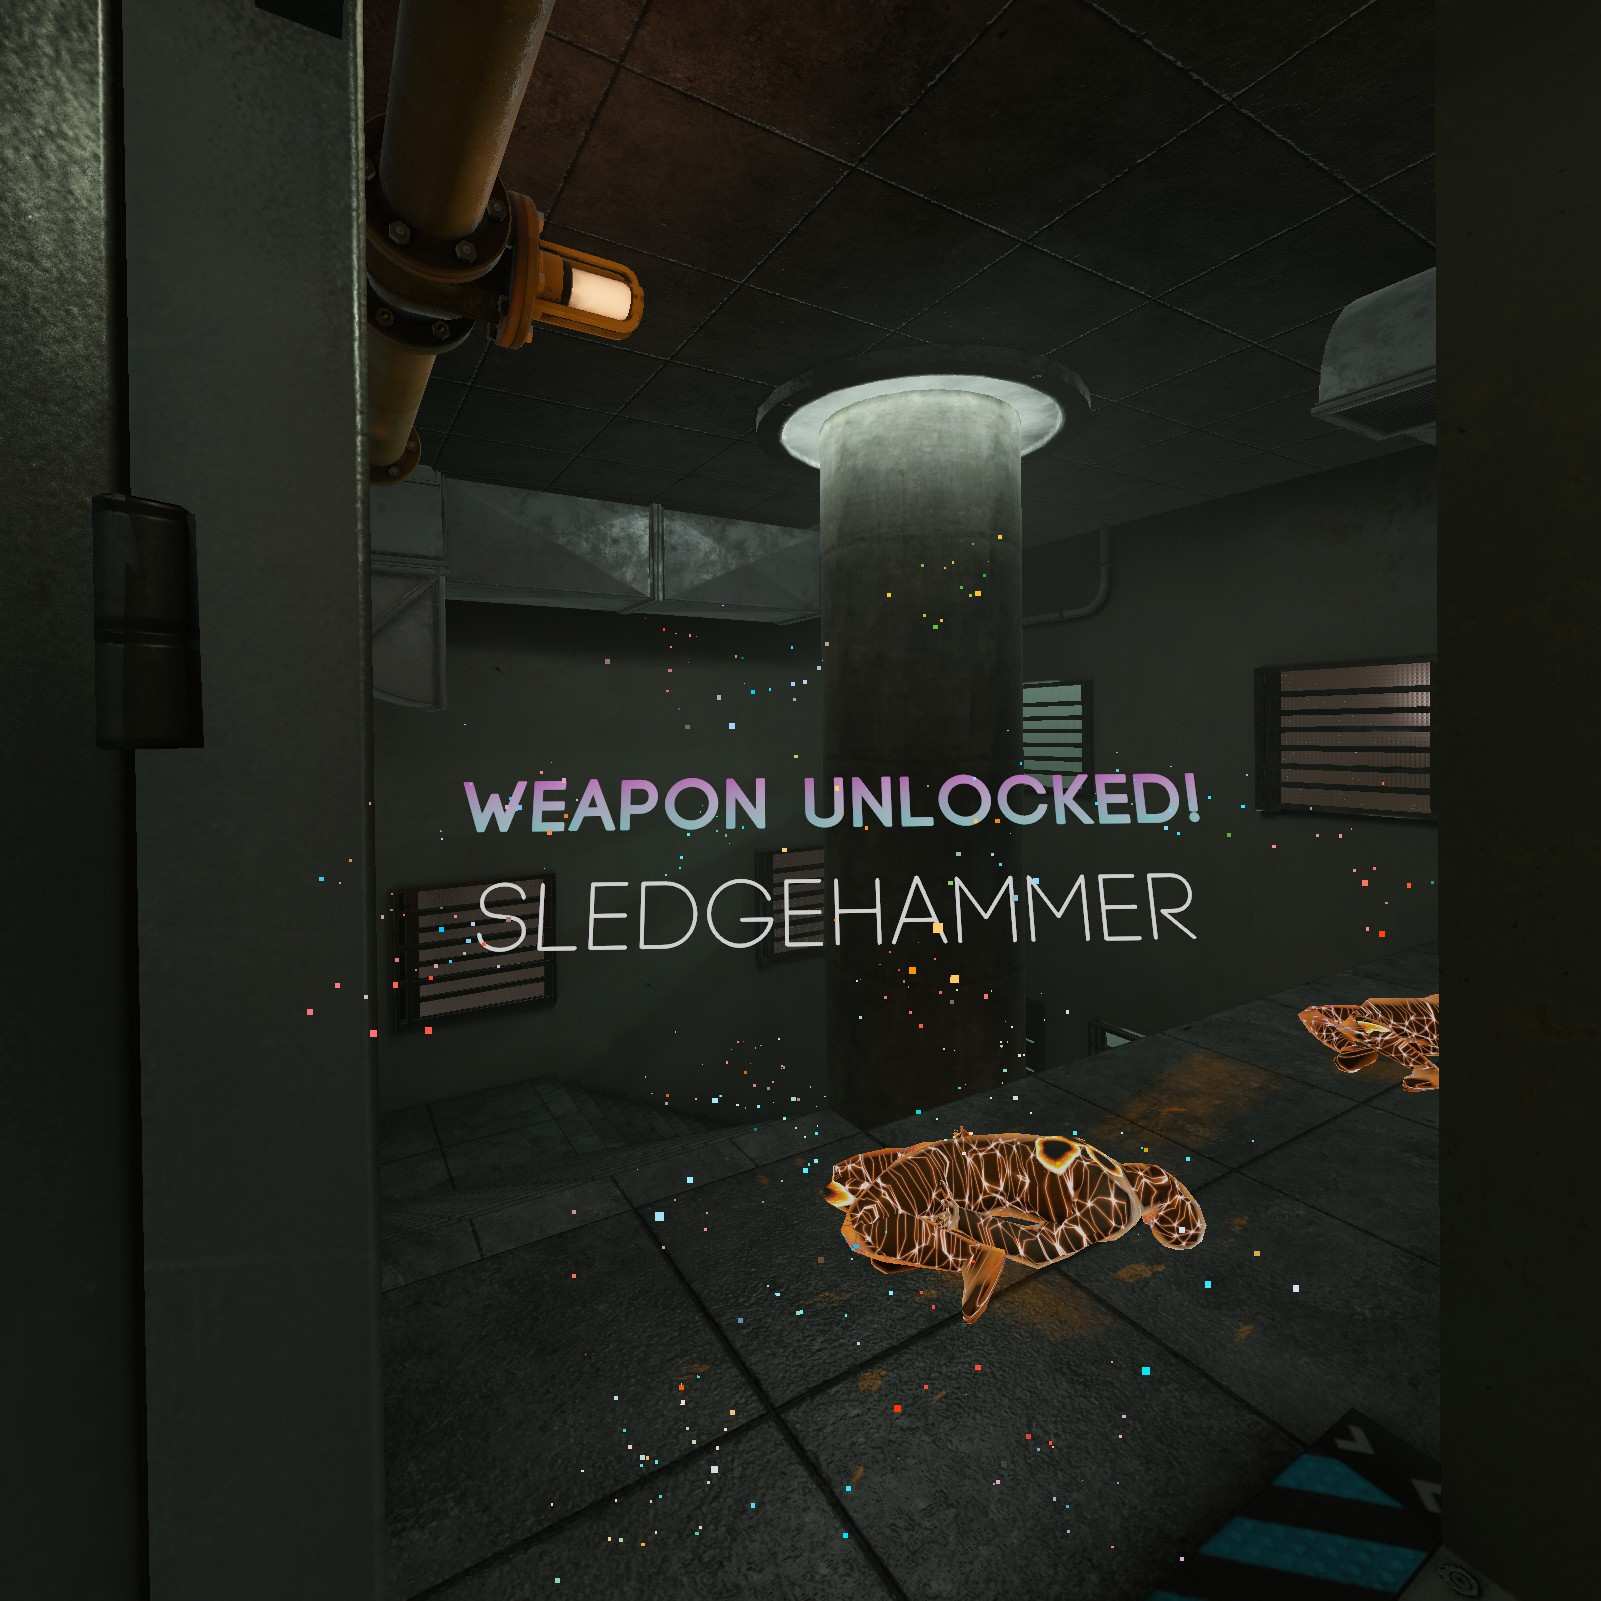
Sledge Hammer:
TotallyMad is basically writing this guide for me at this point, three catches in a row. Don’t get too distracted by the ammo to the left at the top of the staircase as there’s an actually functional door to the right. Go inside to get the sledge hammer. Also there’s a plunger (Not Capsule, hit up on your ctrl f) in there for the sexual freaks reading this.
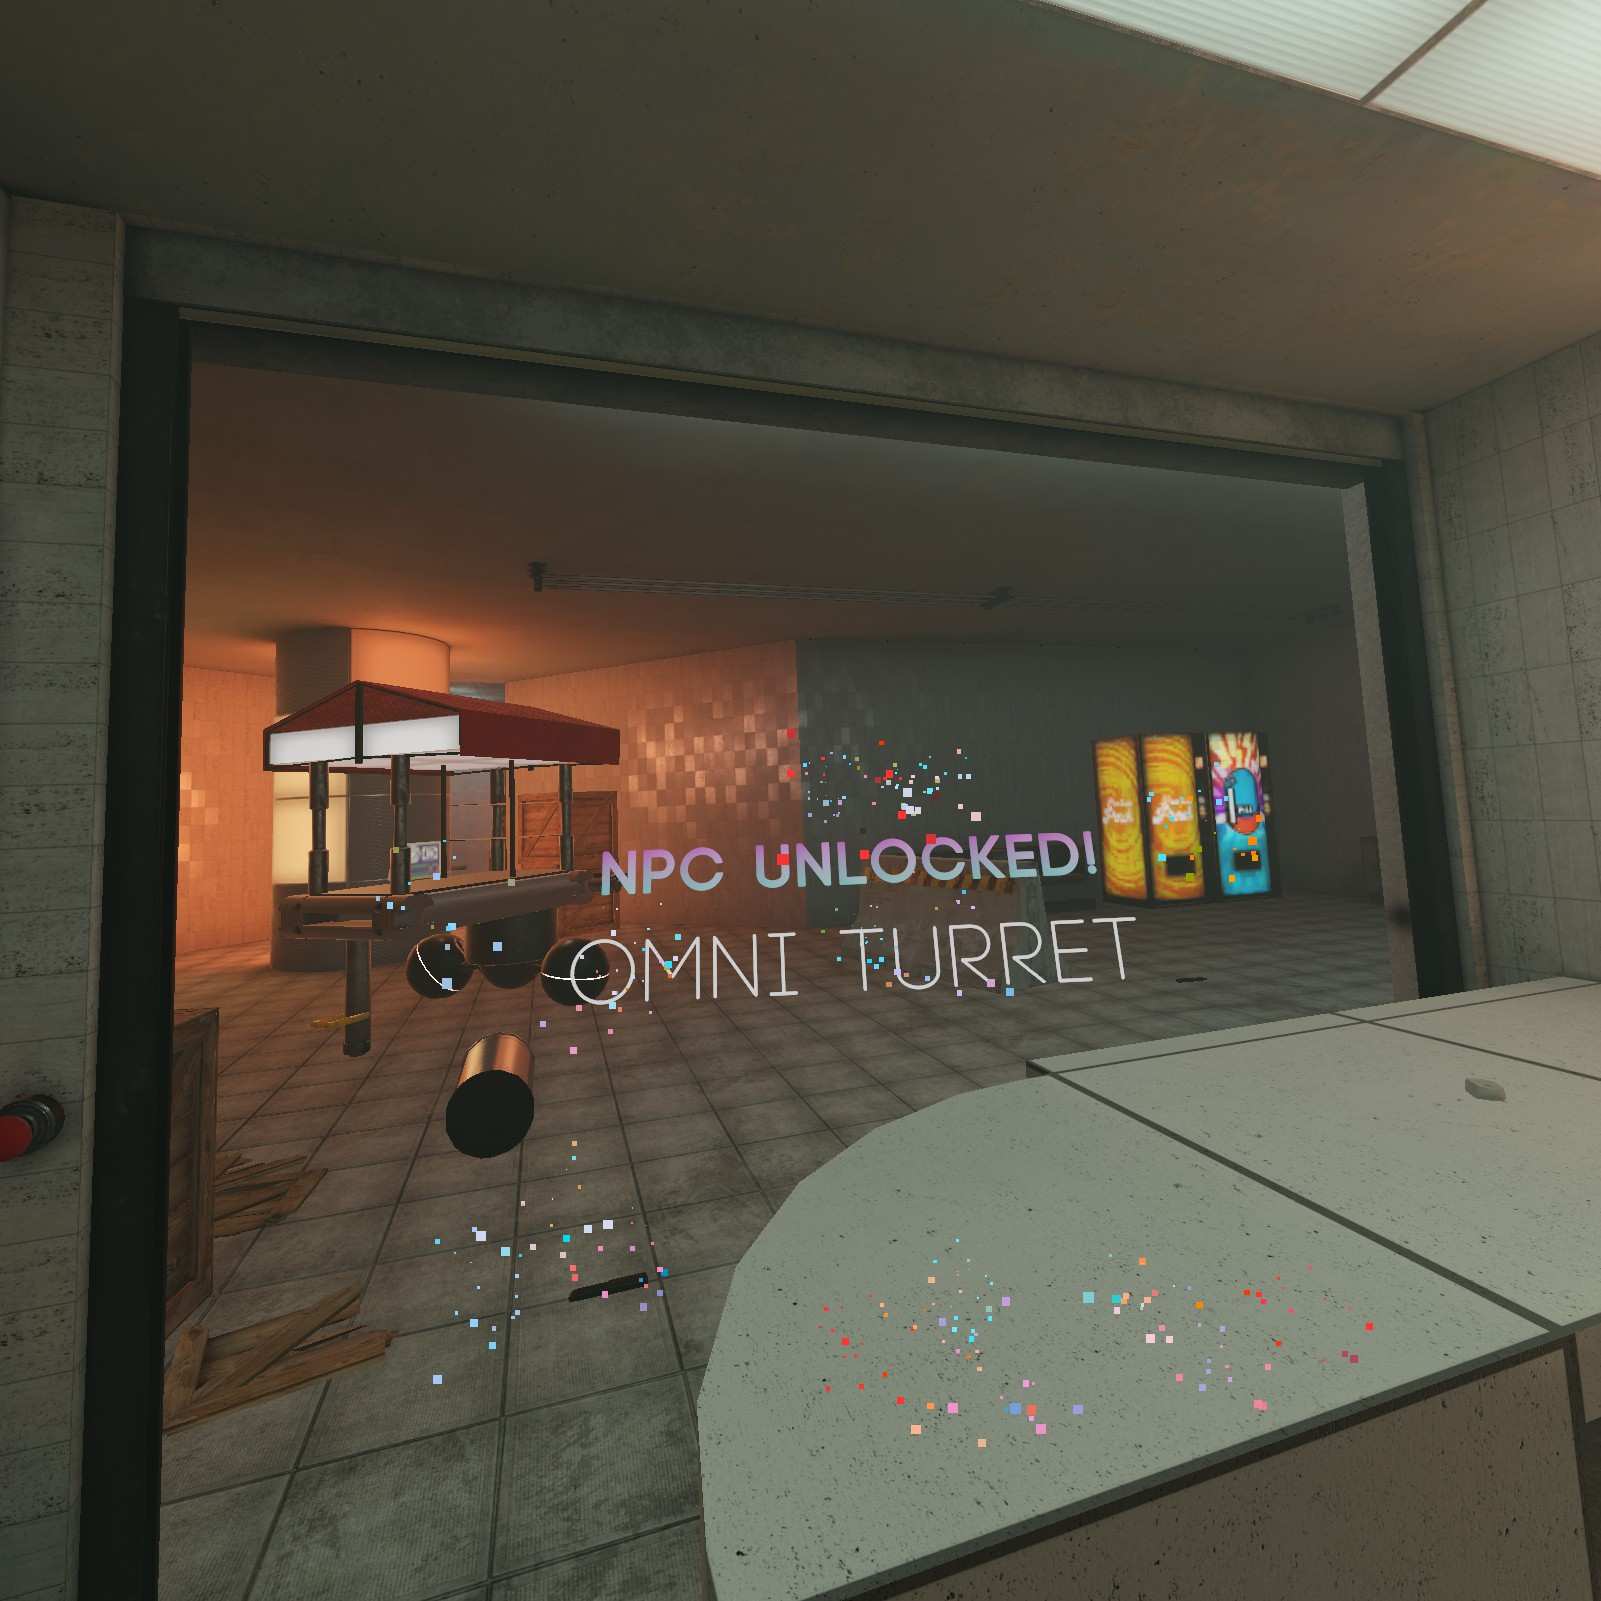
Omni Turret:
There’s an omni turret next to an omni turret capsule. I wonder if that’s its egg…
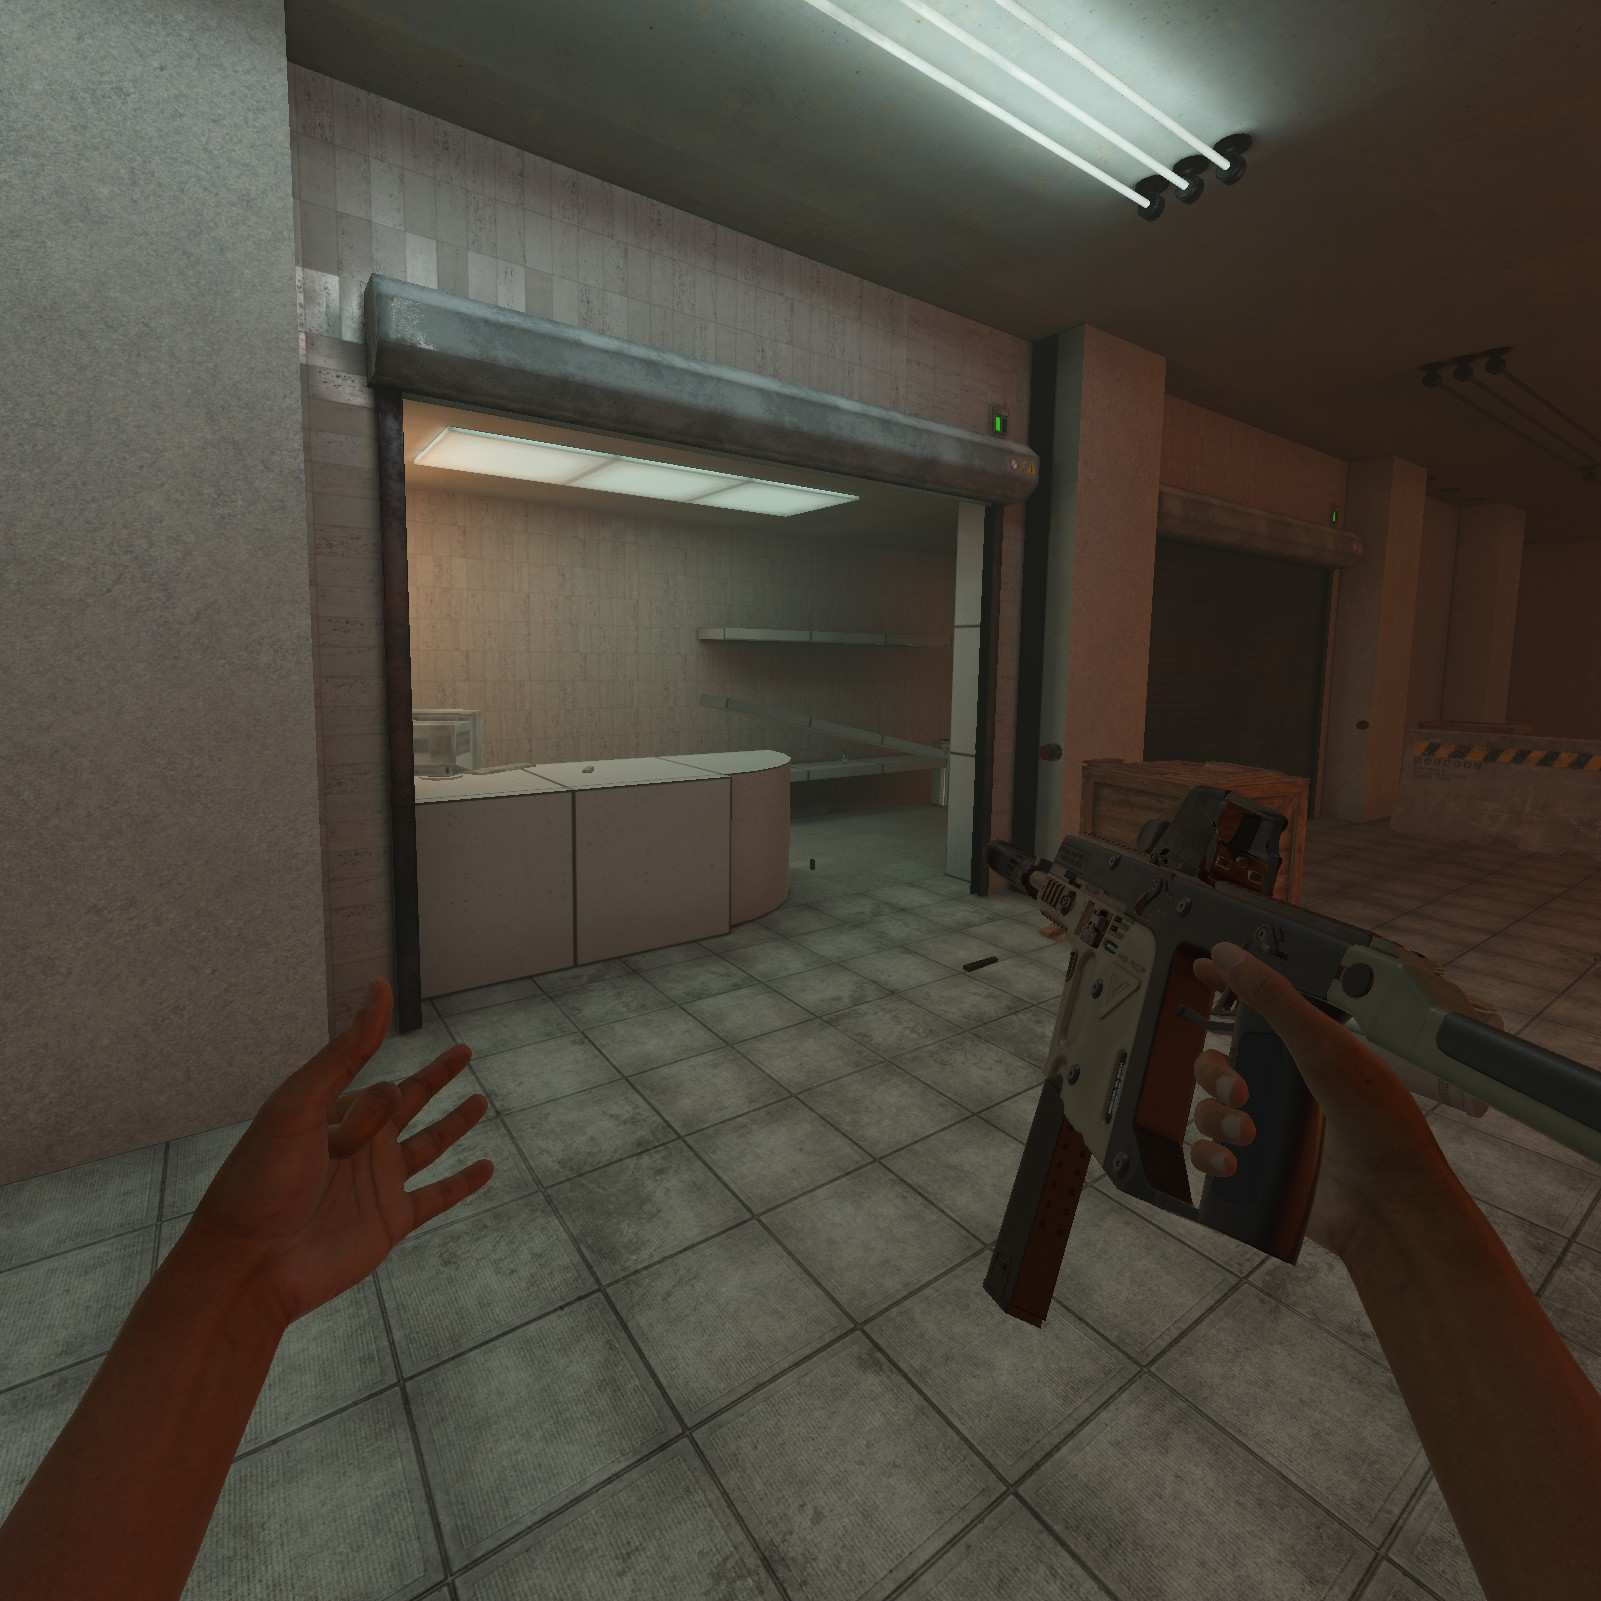
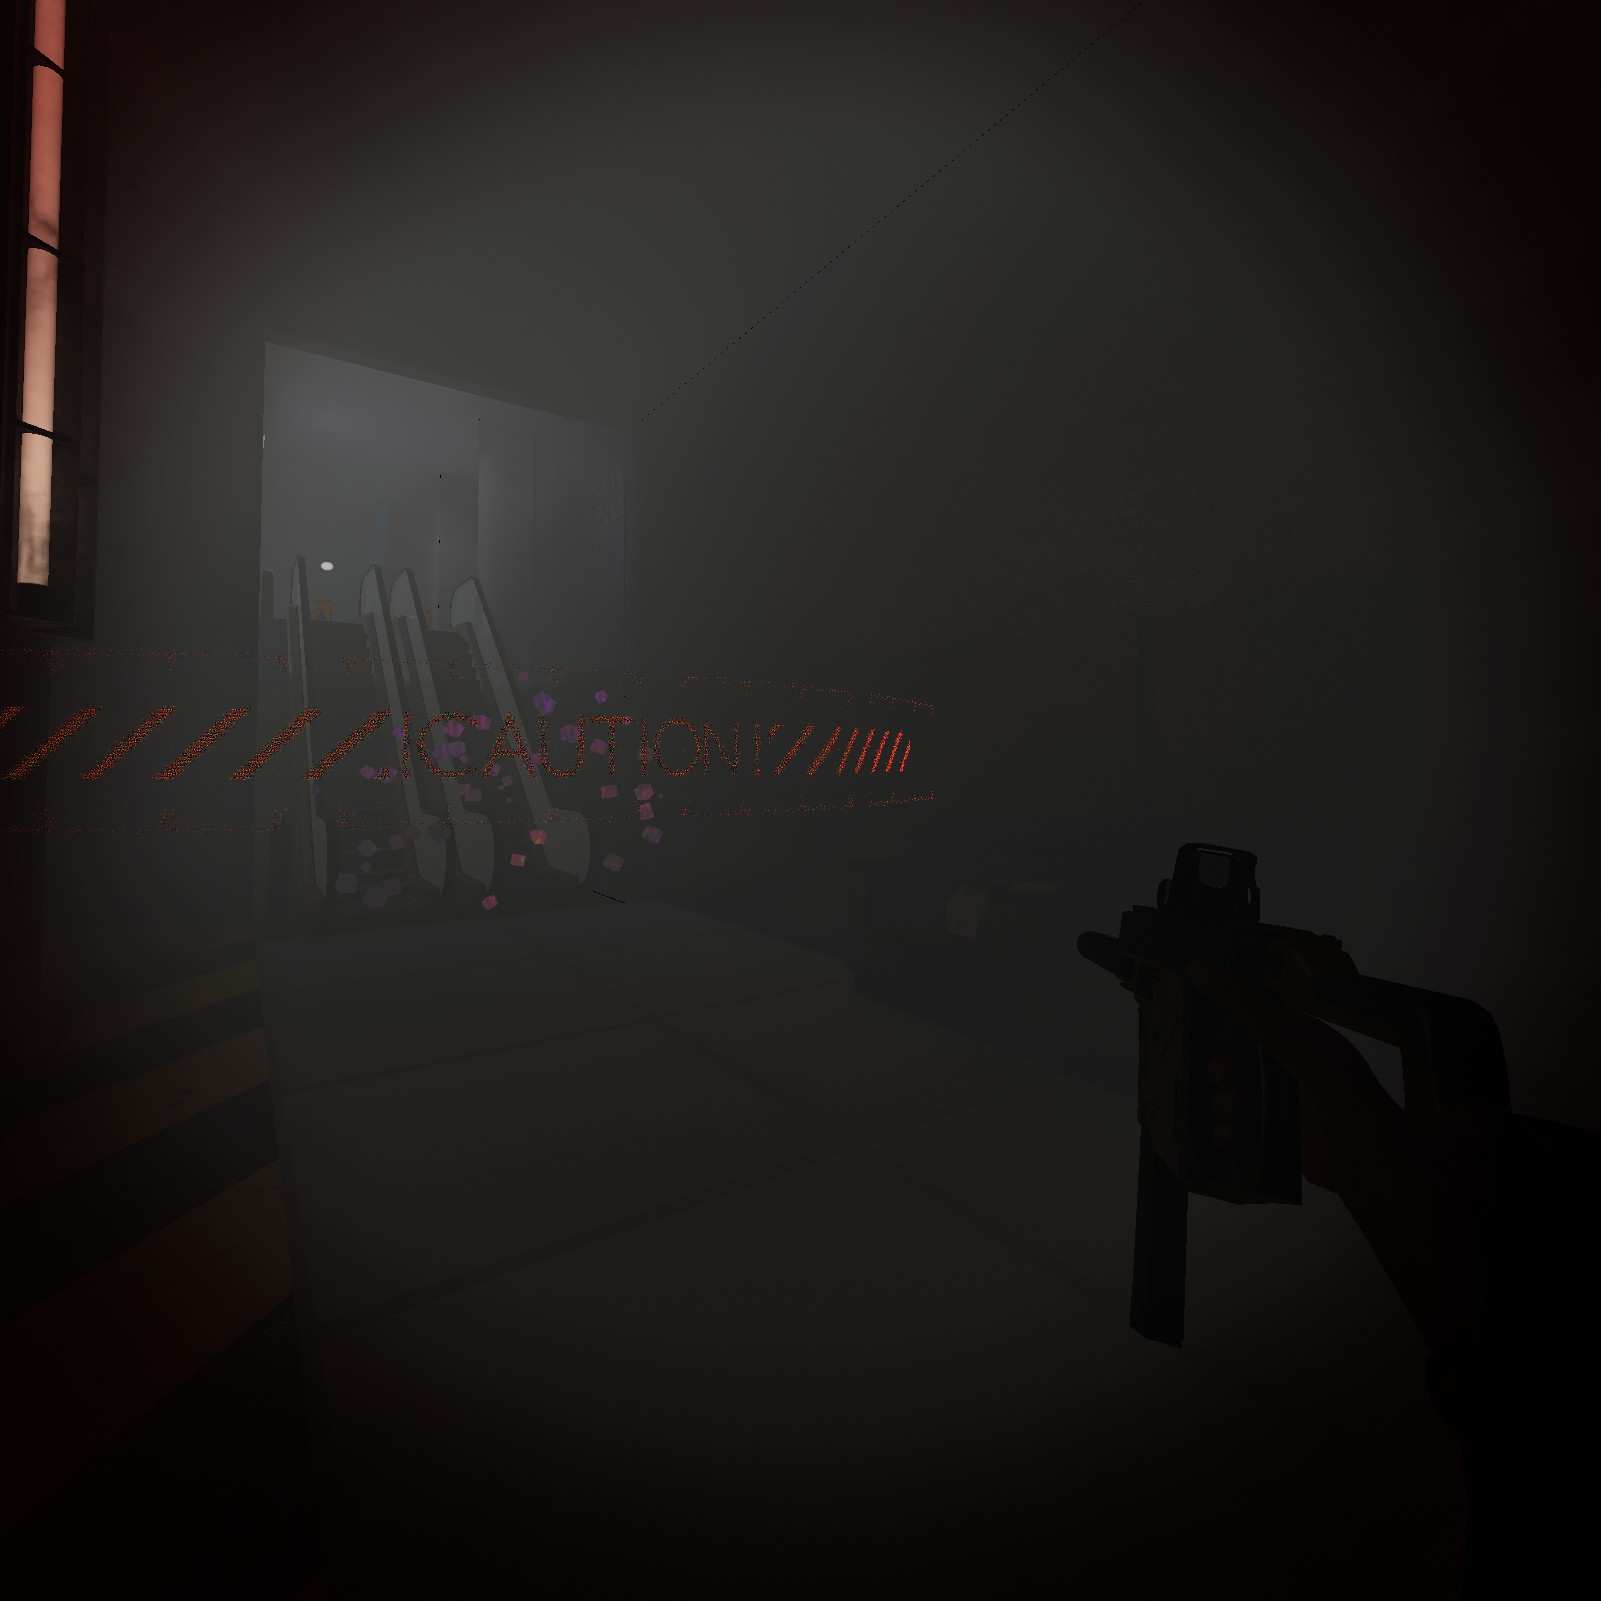
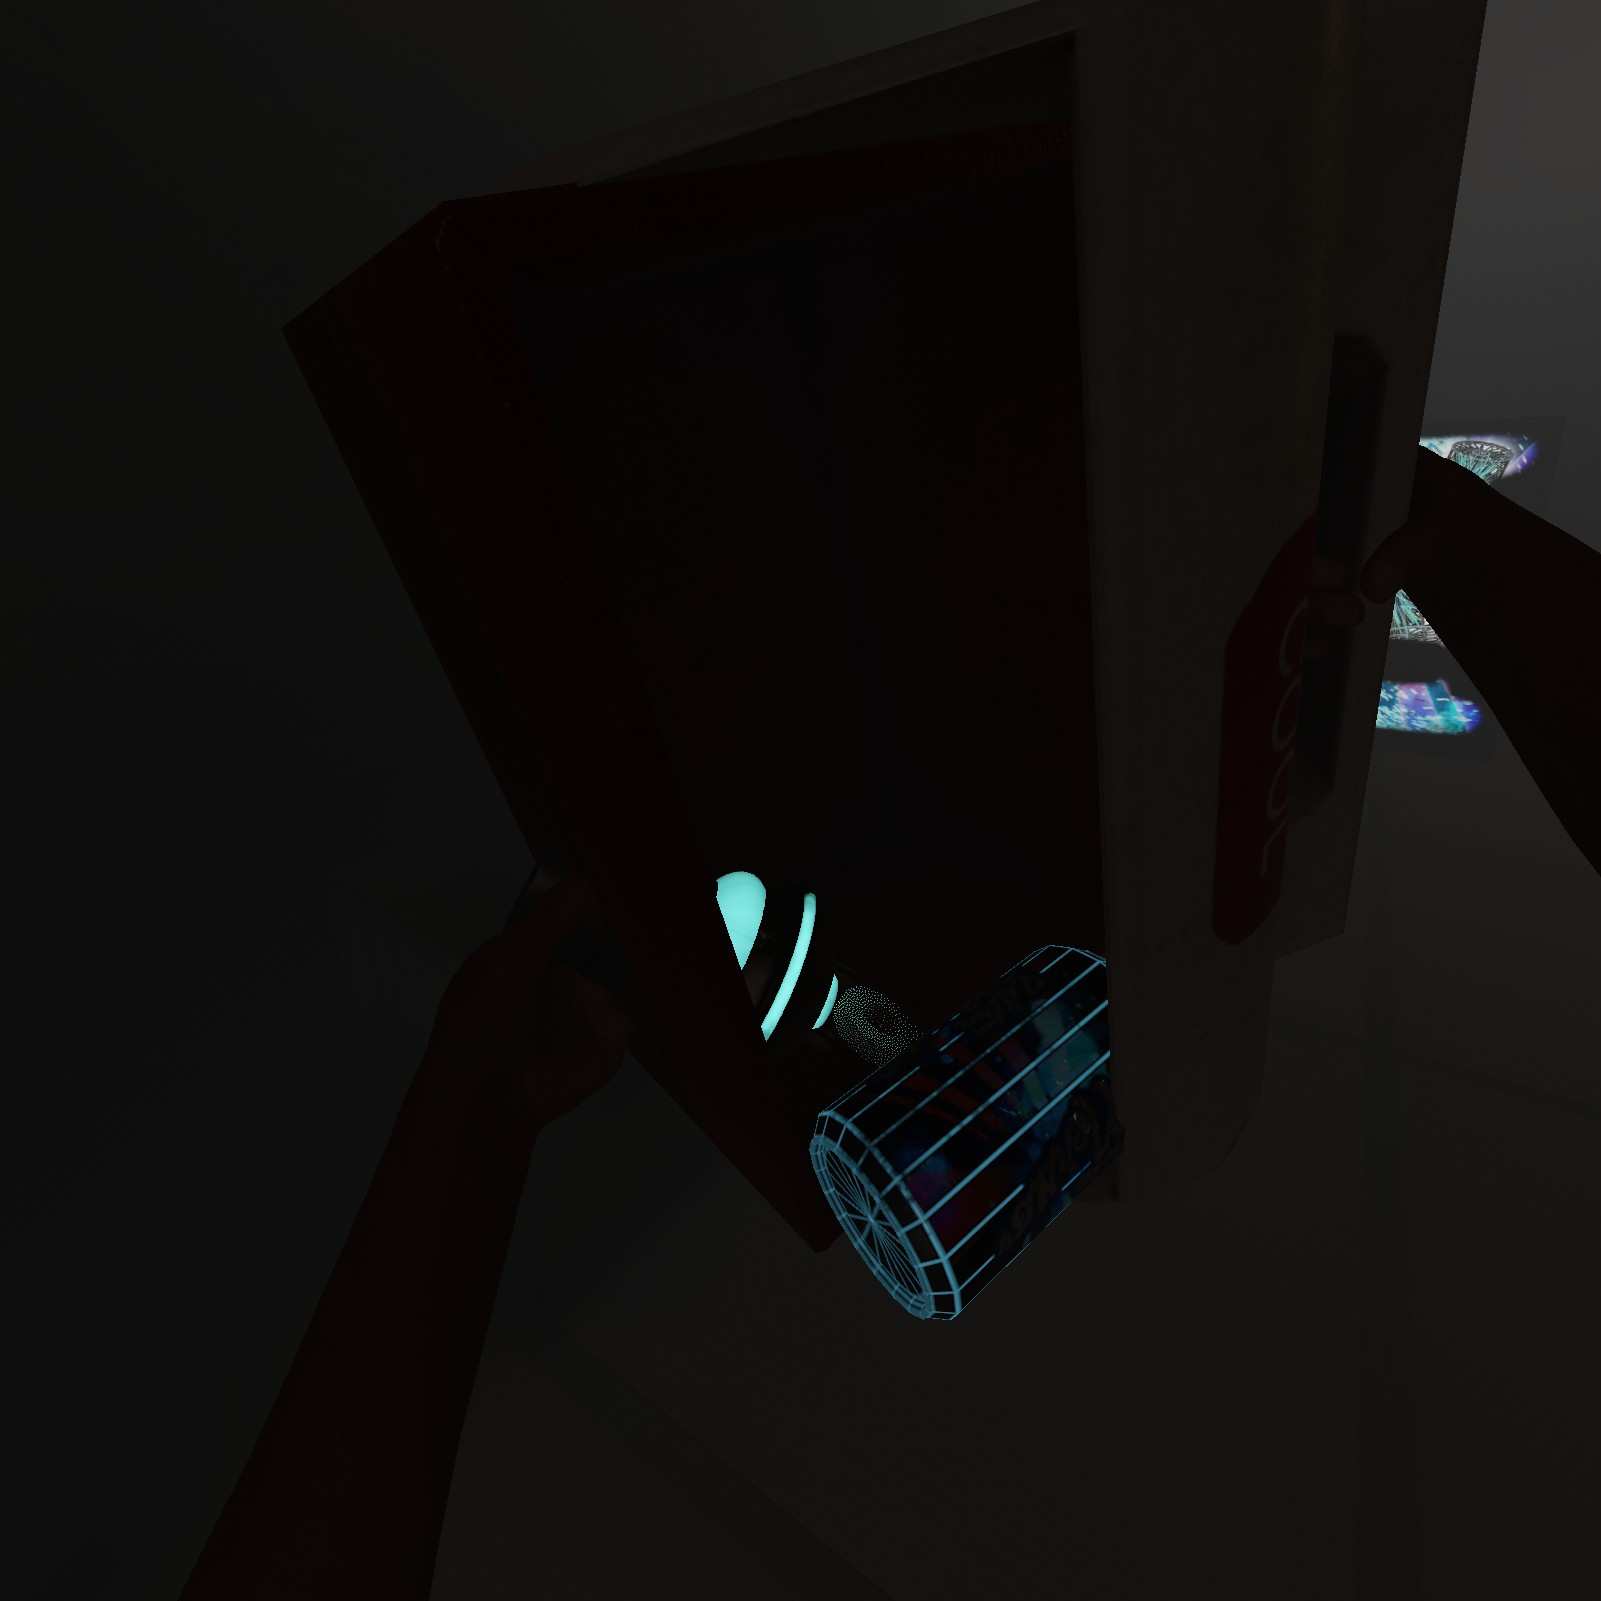
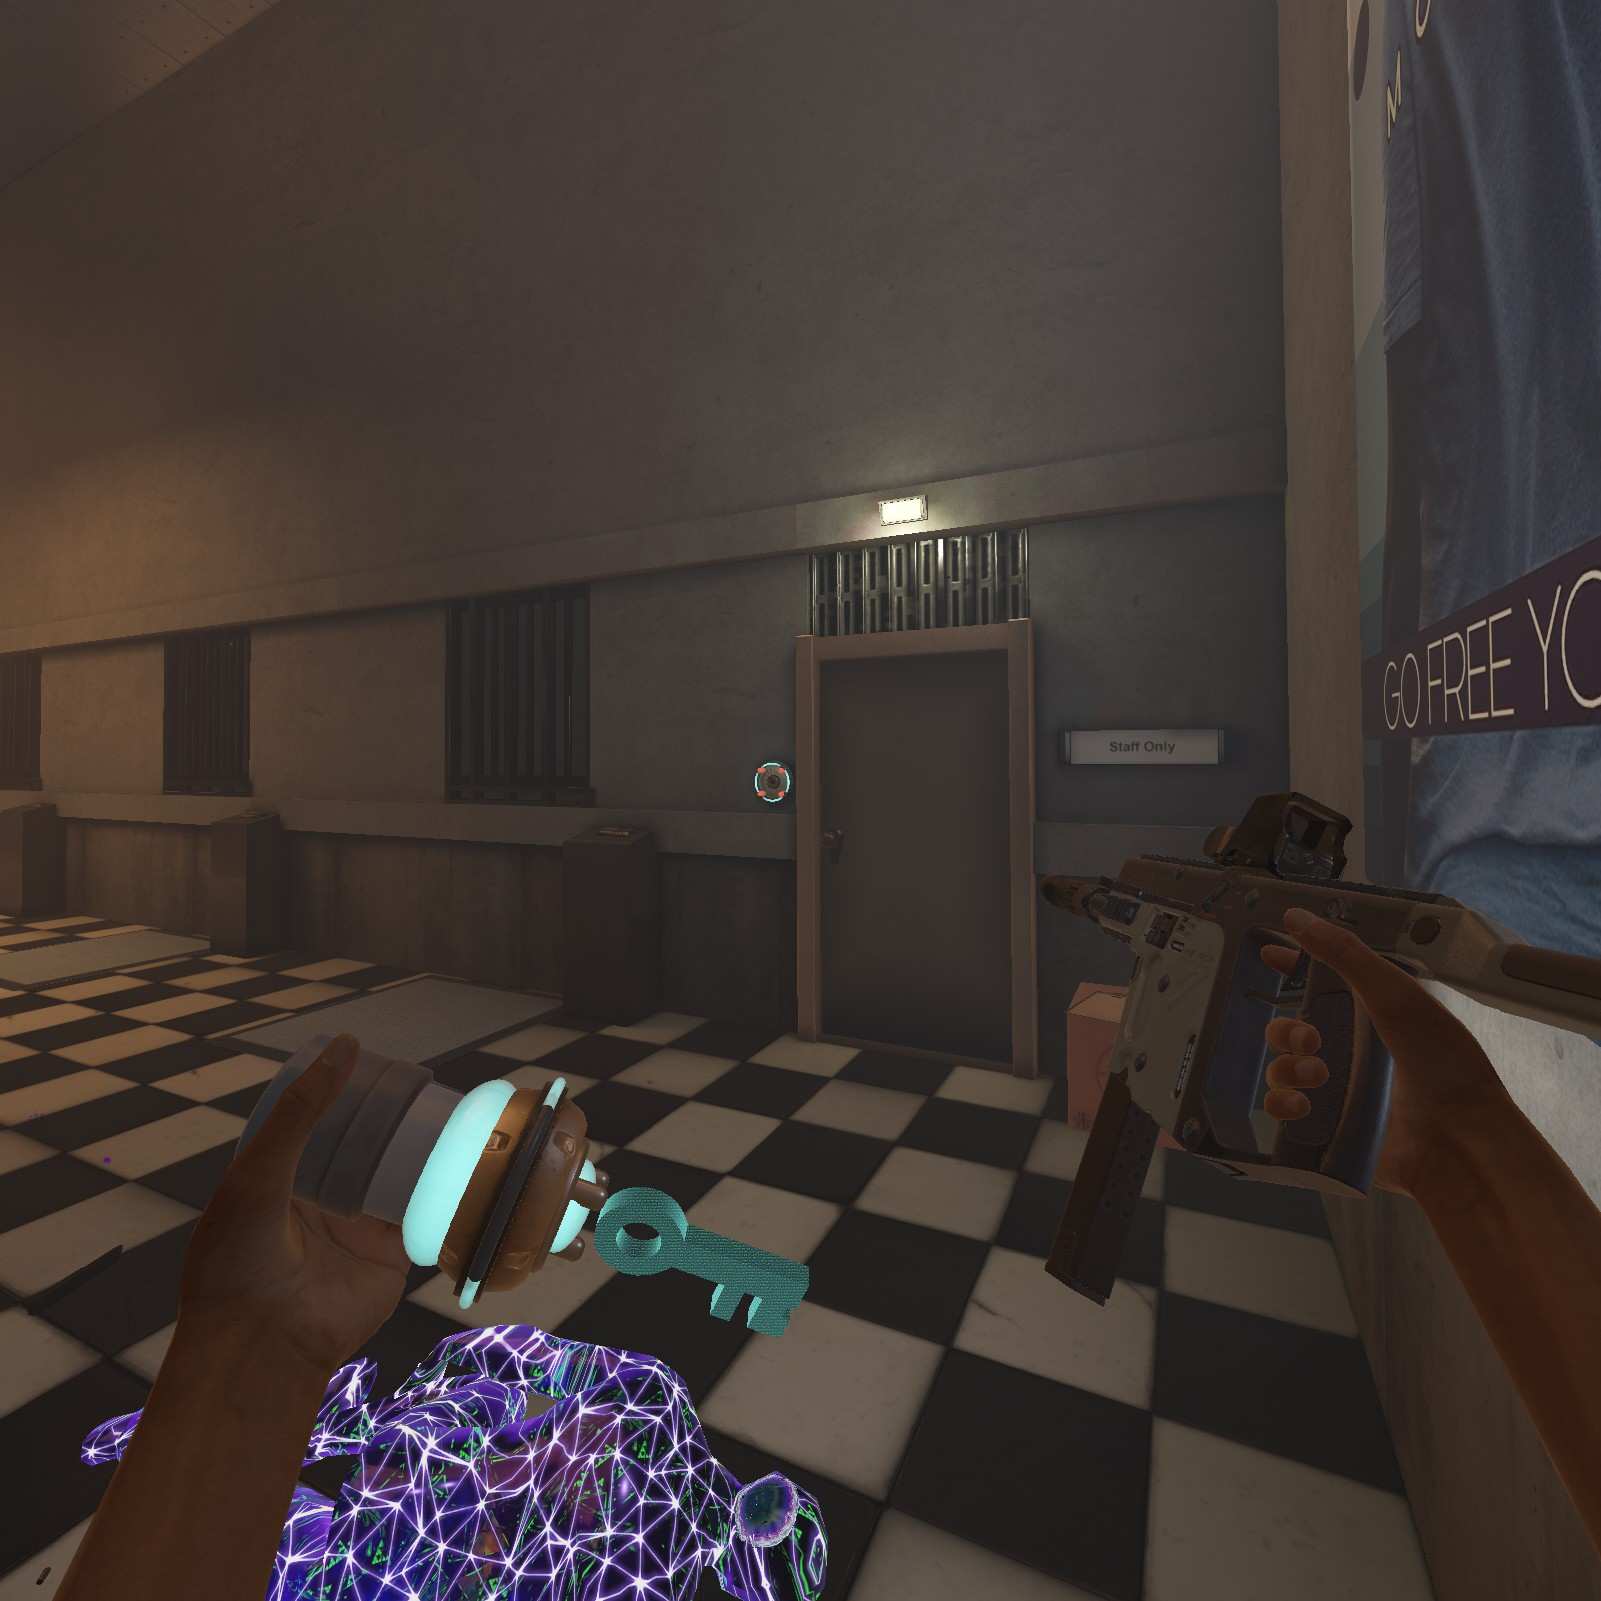
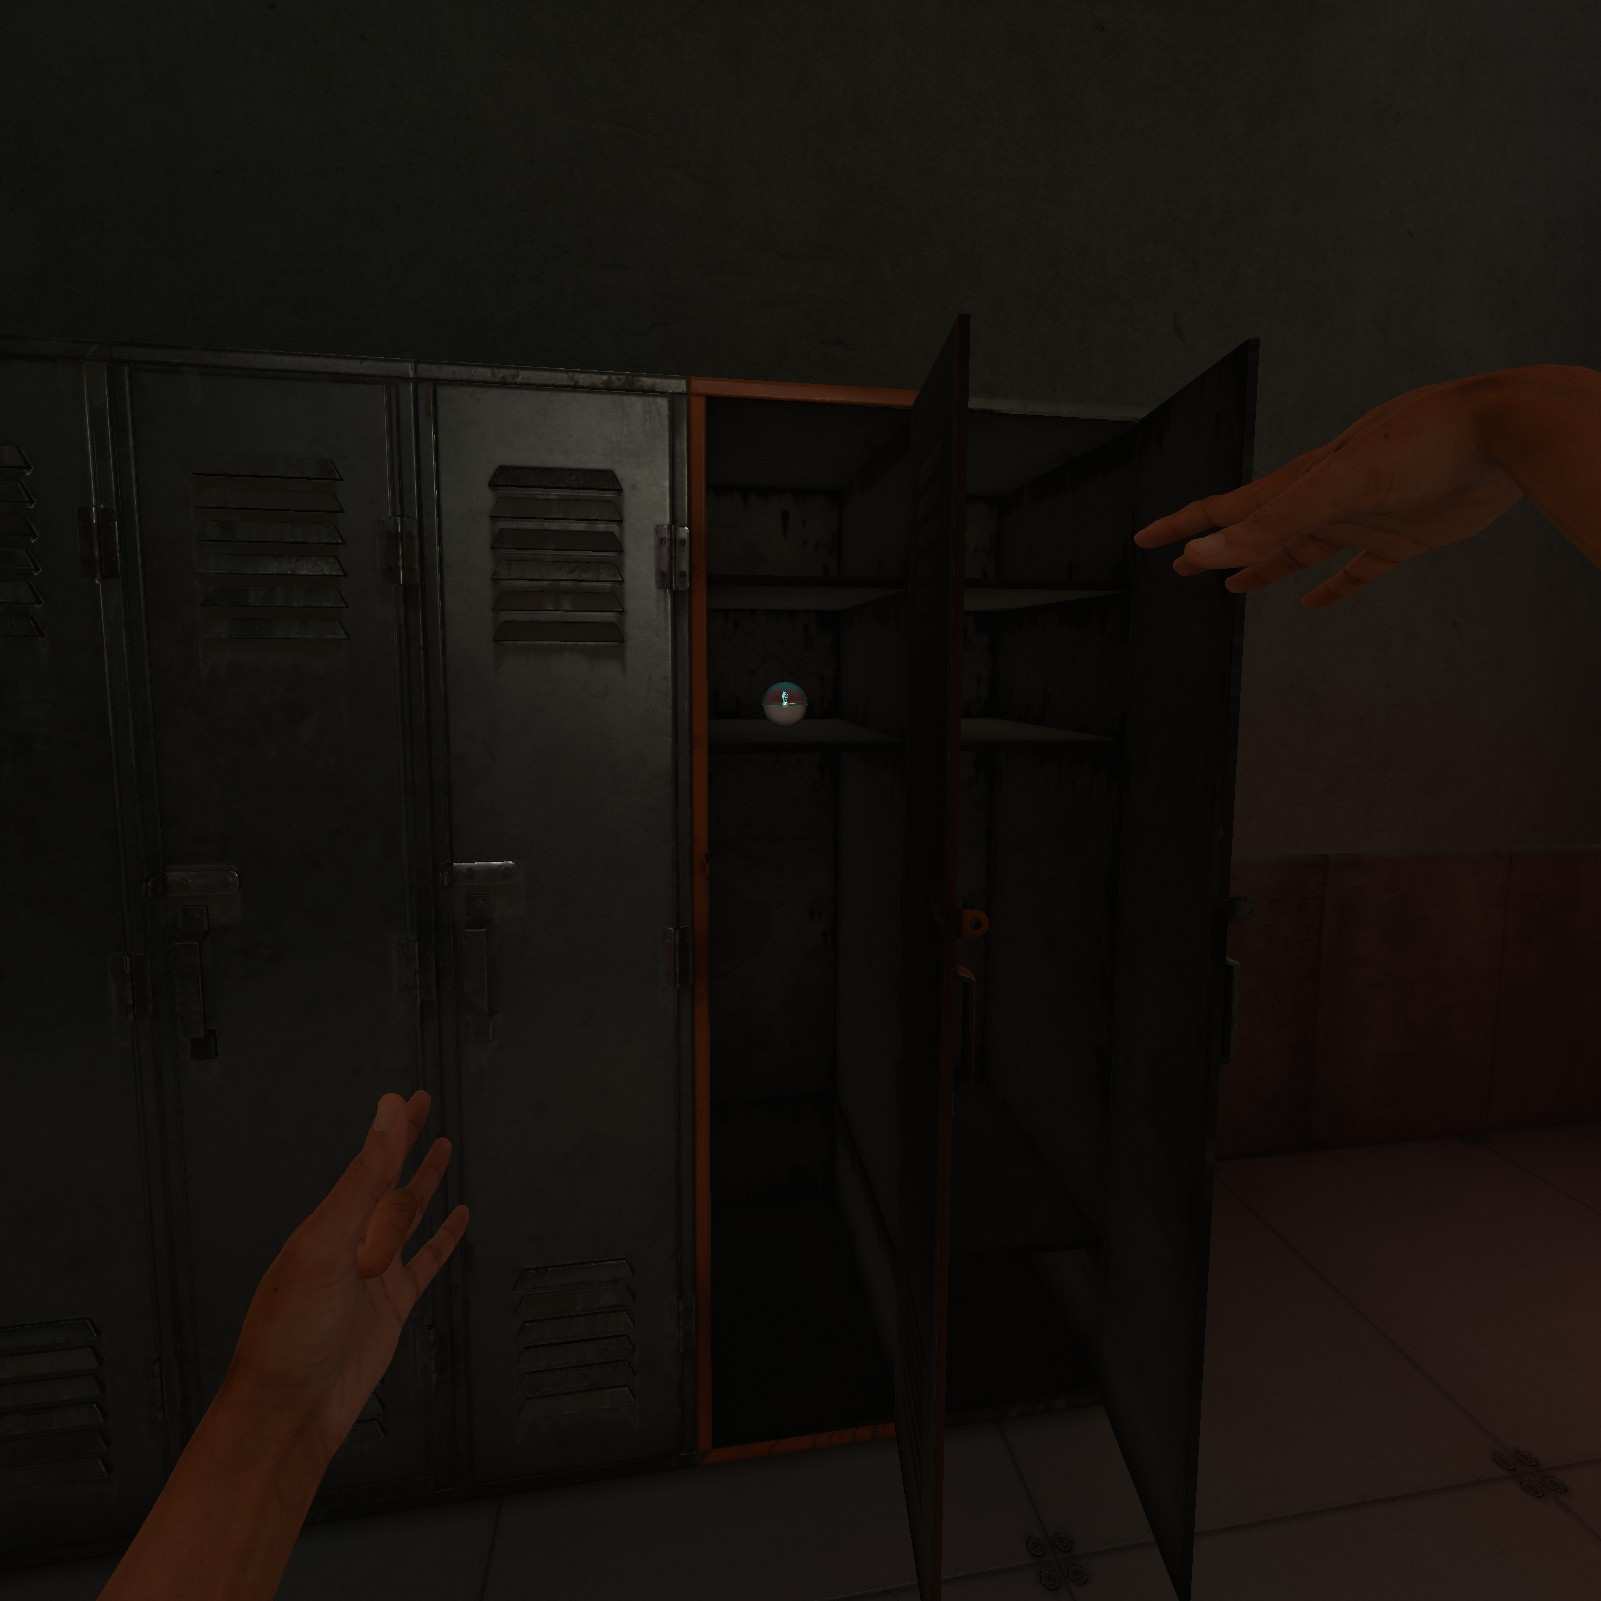
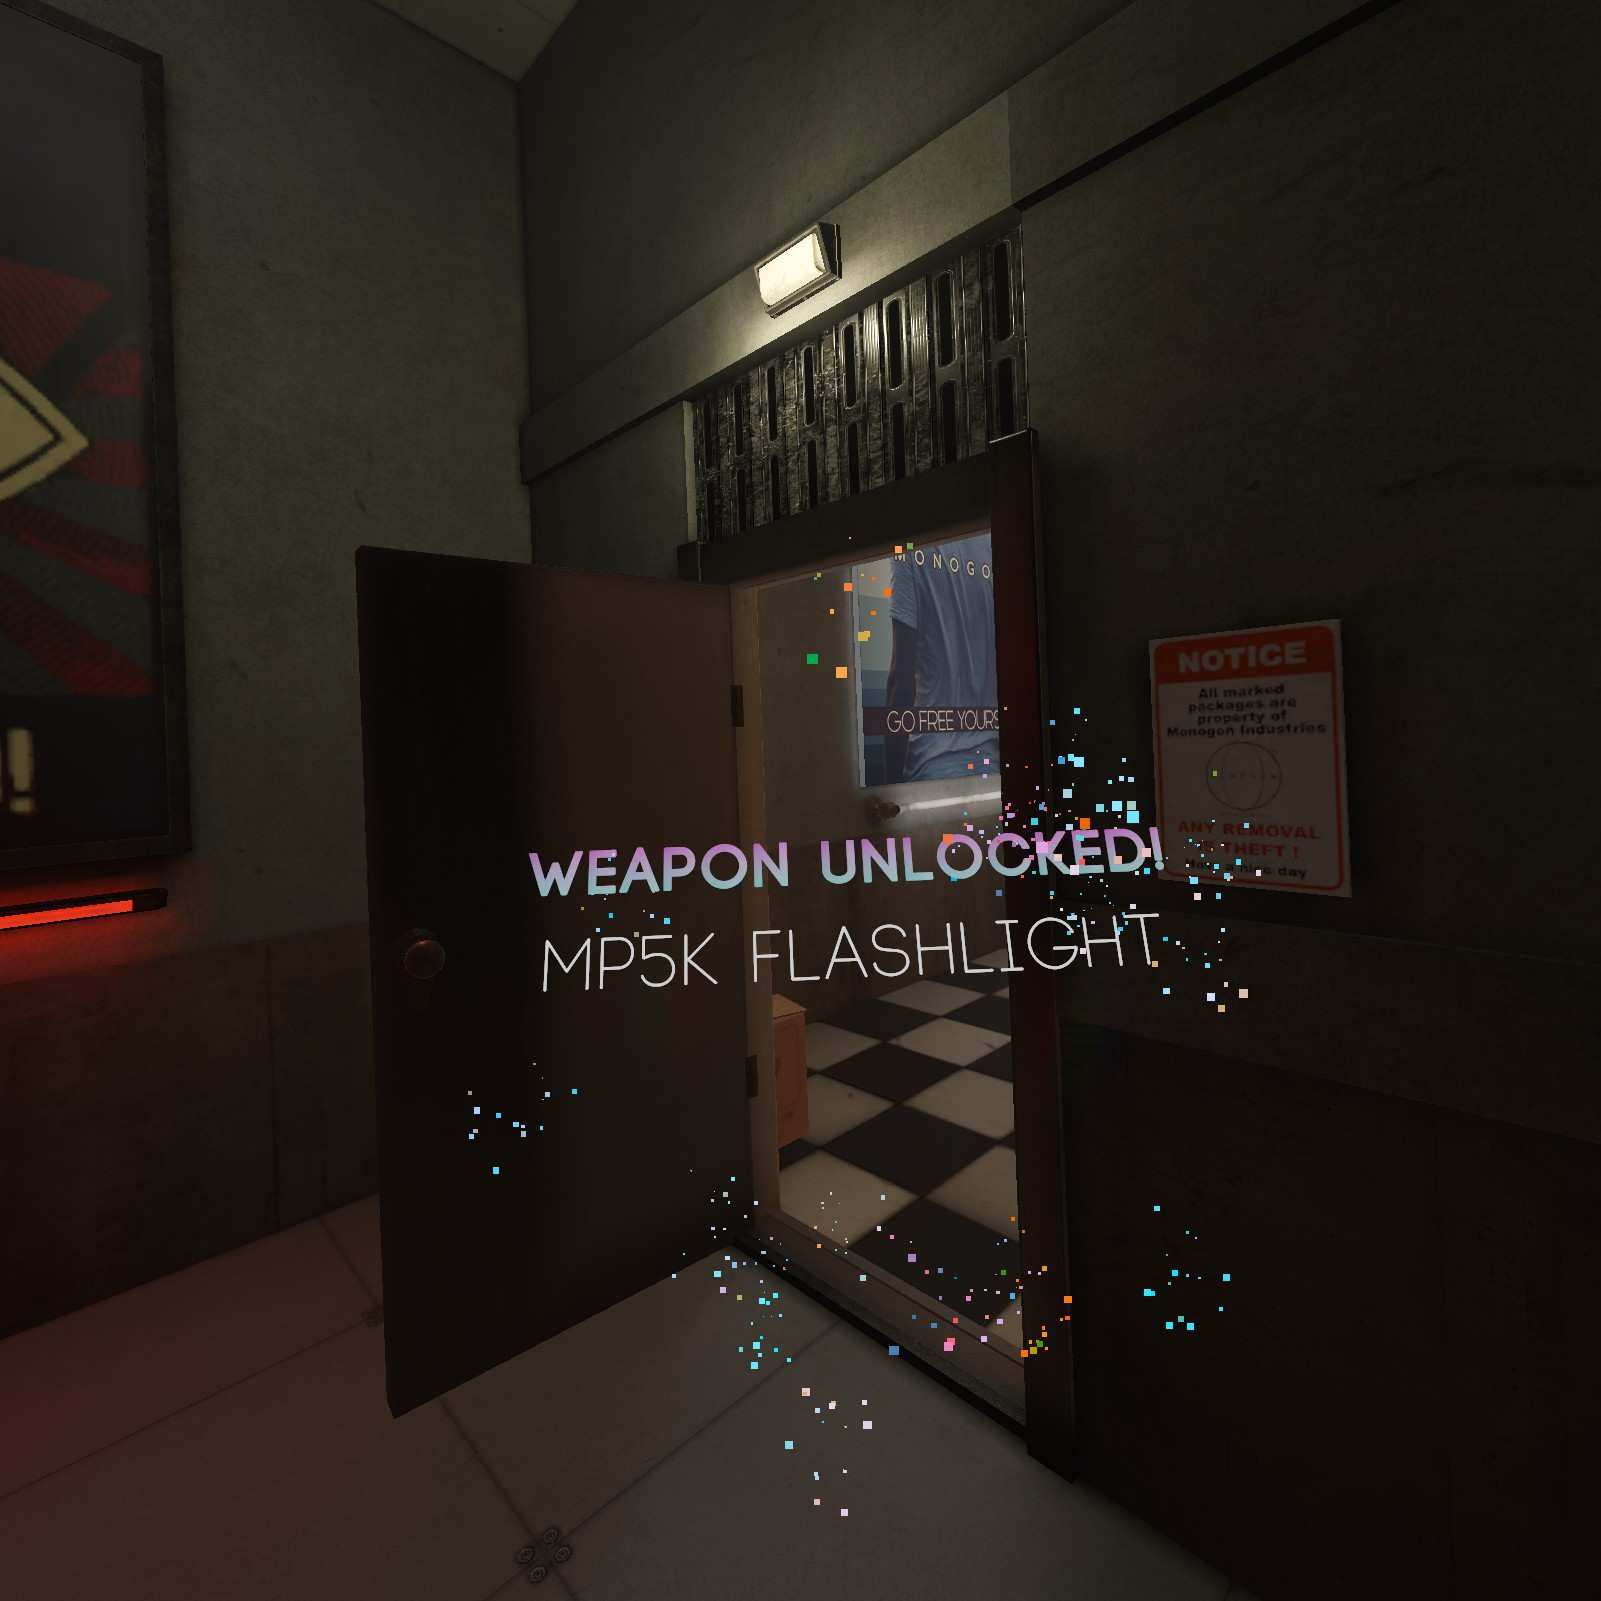
MP5K Flashlight:
This next one requires a blue key, grab it from the lunch box just over the caution void leak signs. Take the key to its respective door, open the locker and boom, free MP5K Flashlight.
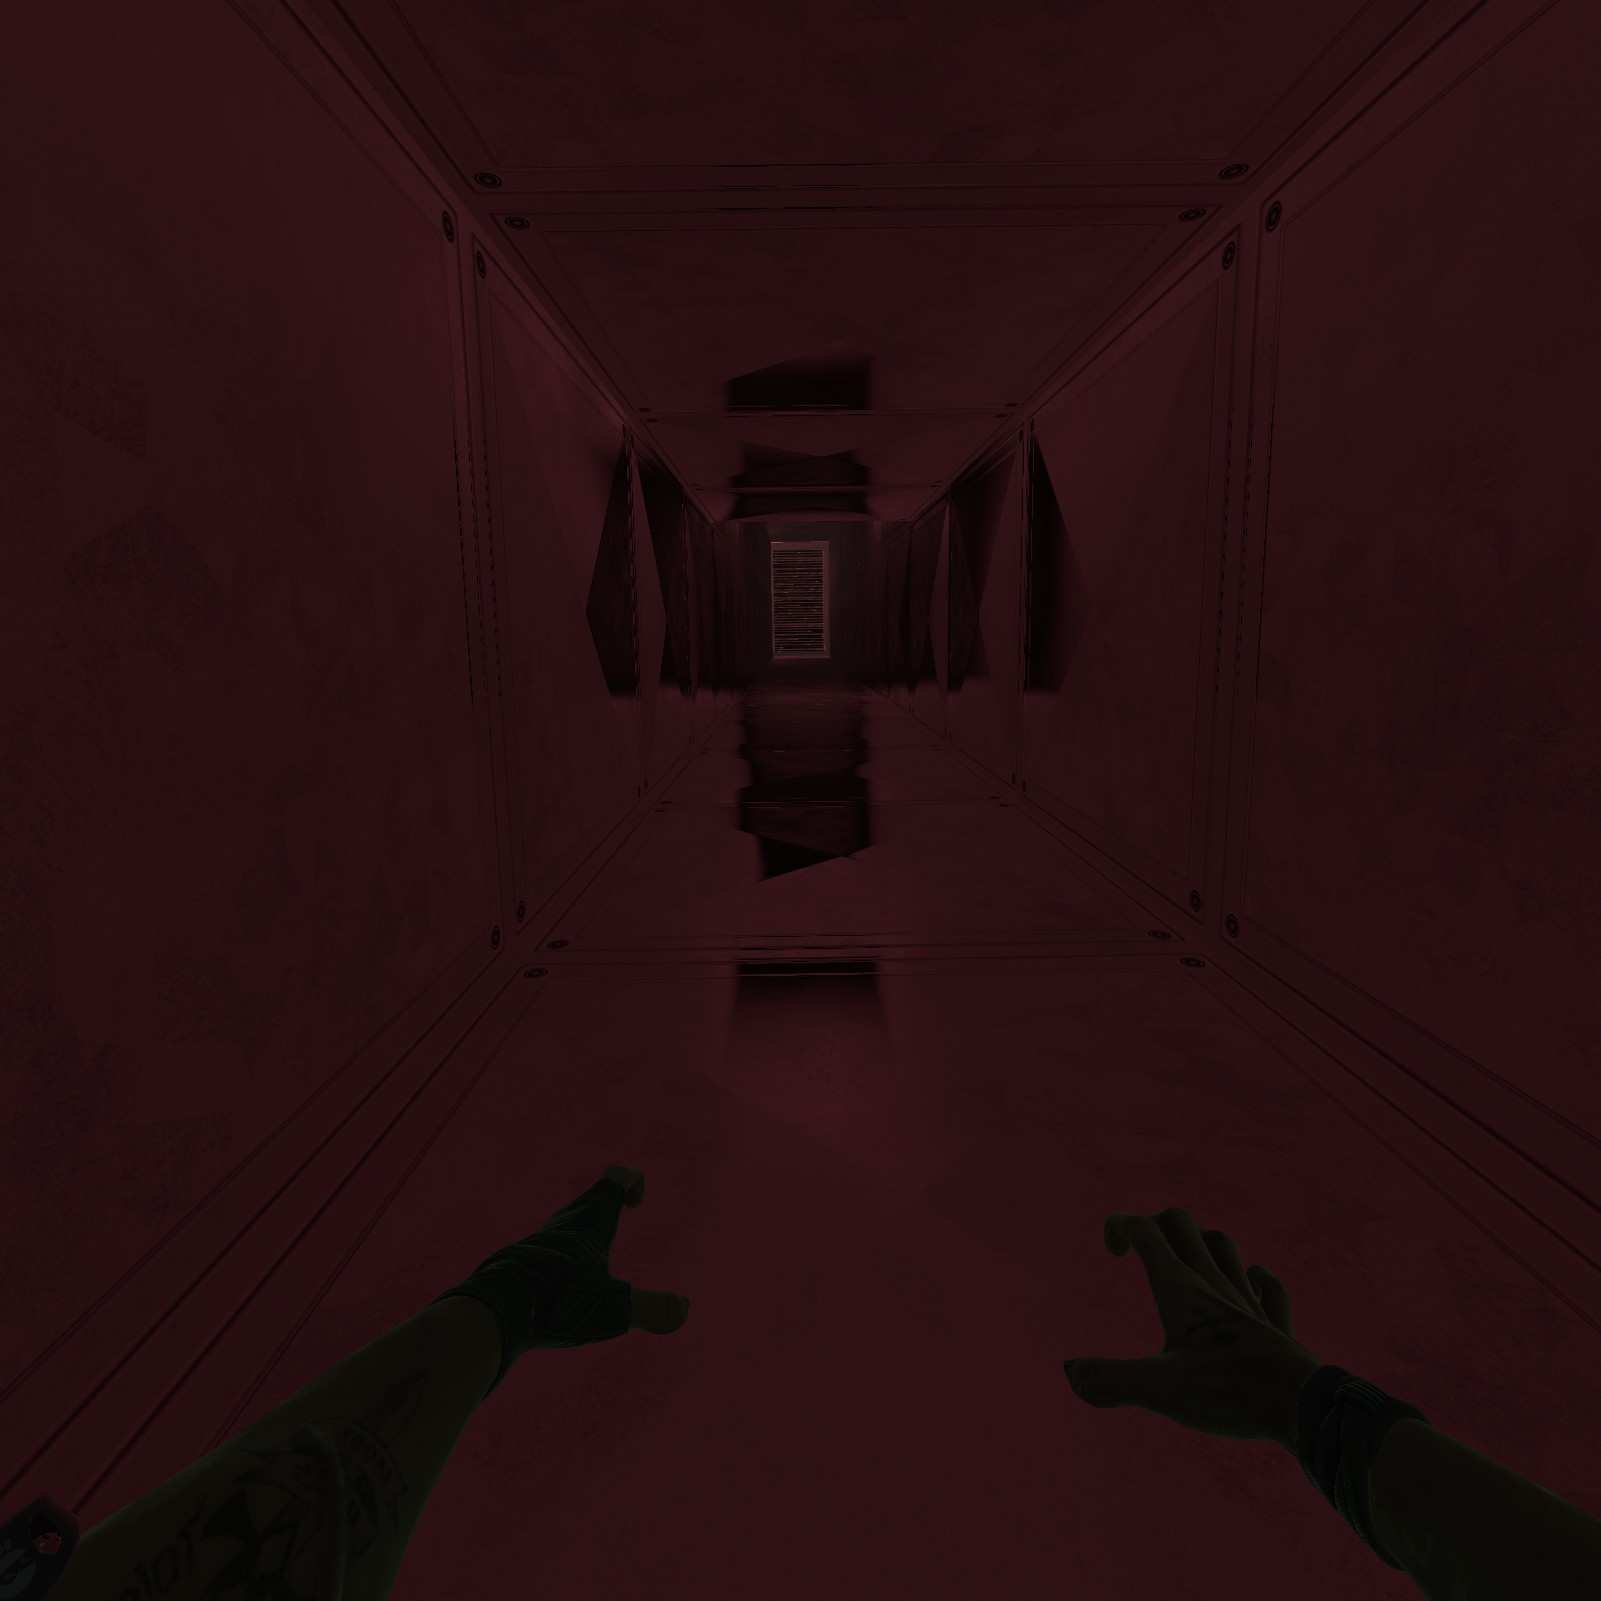
[Redacted]
(I just opened it, no text whatsoever. Creepy)
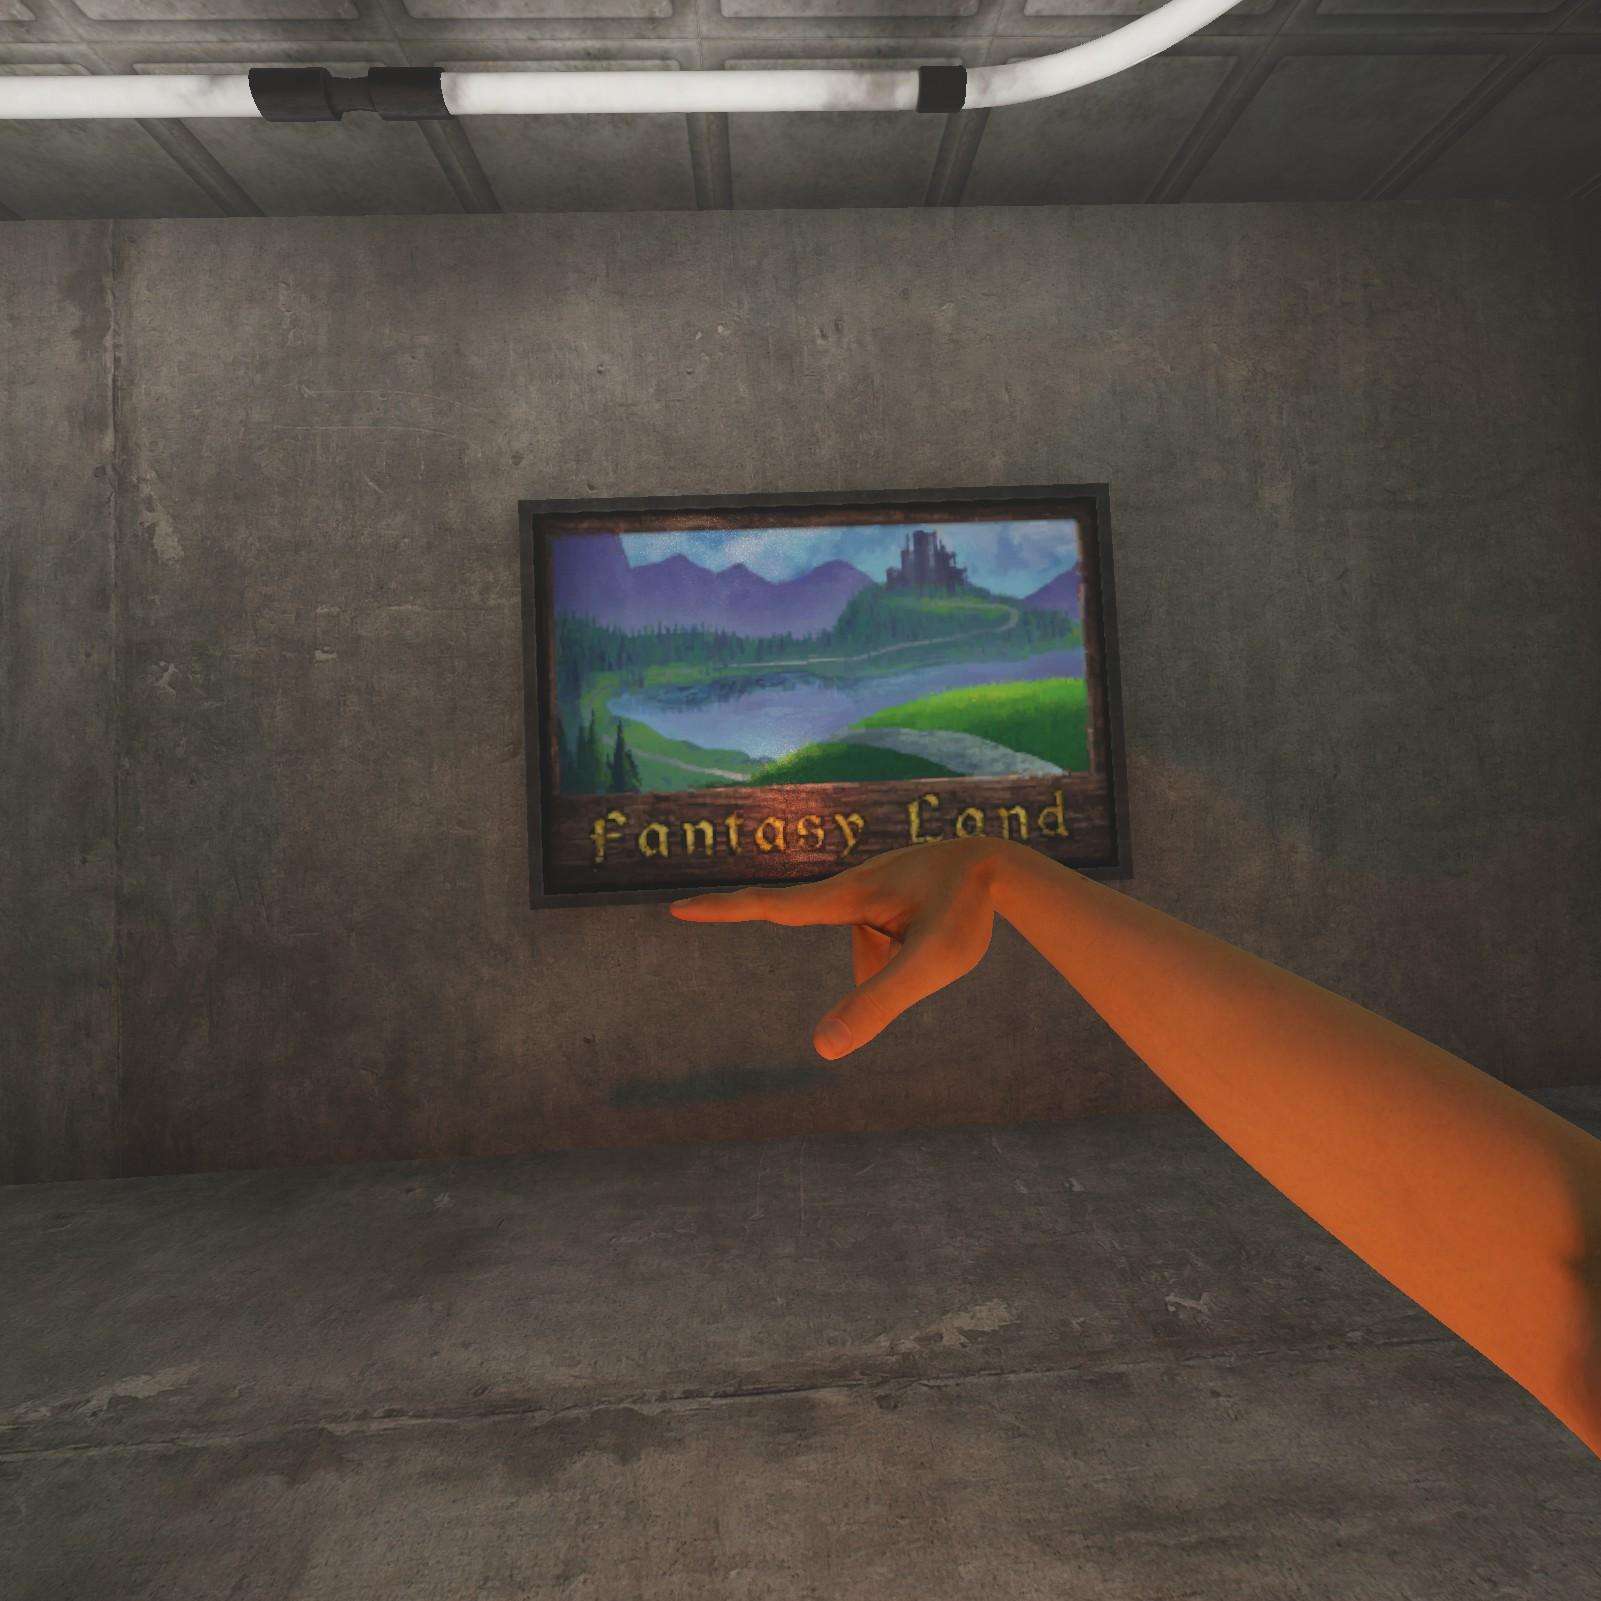
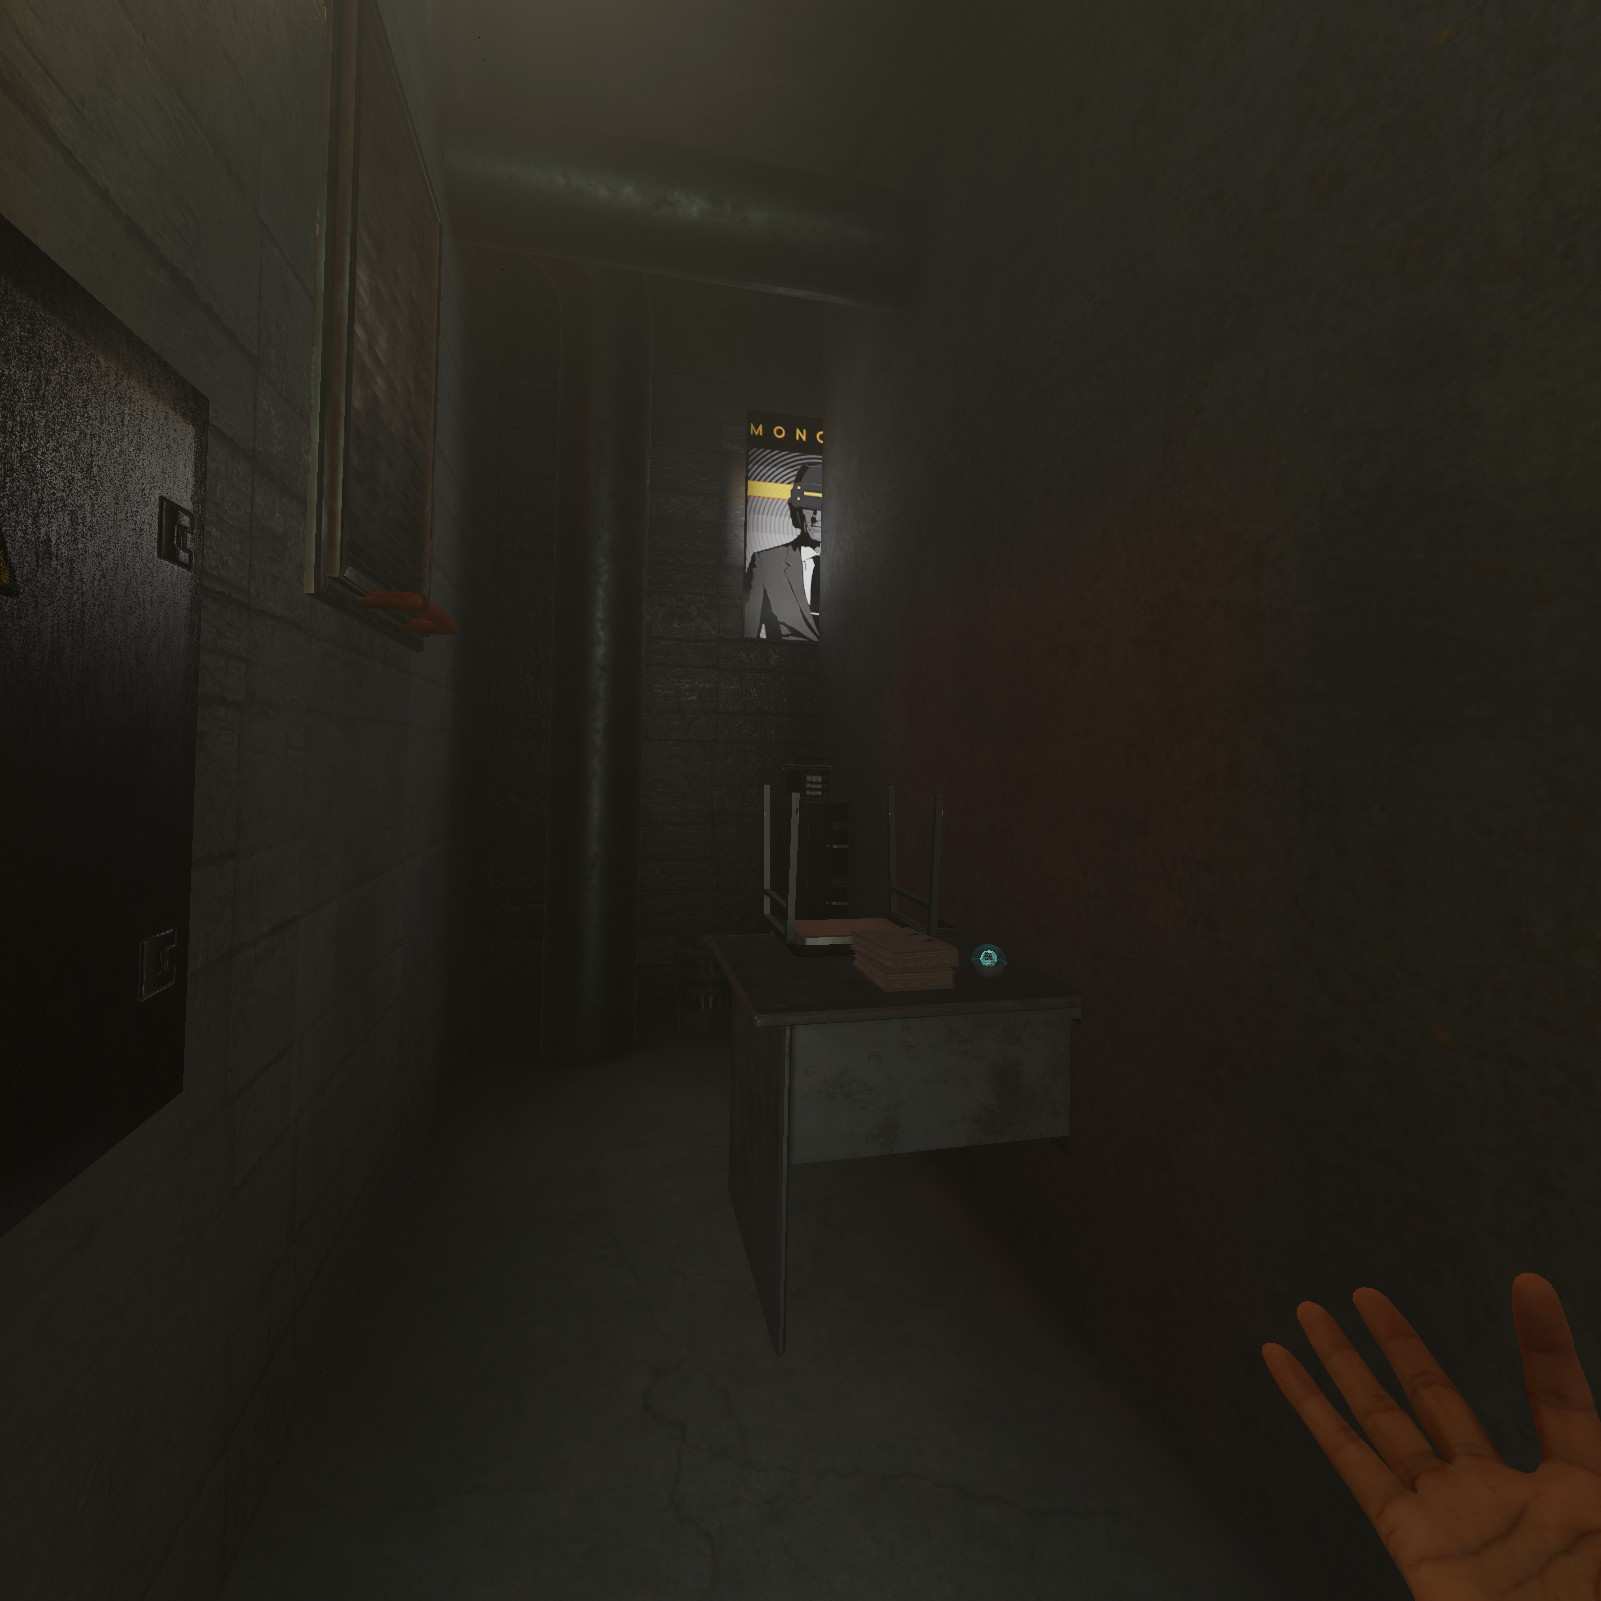
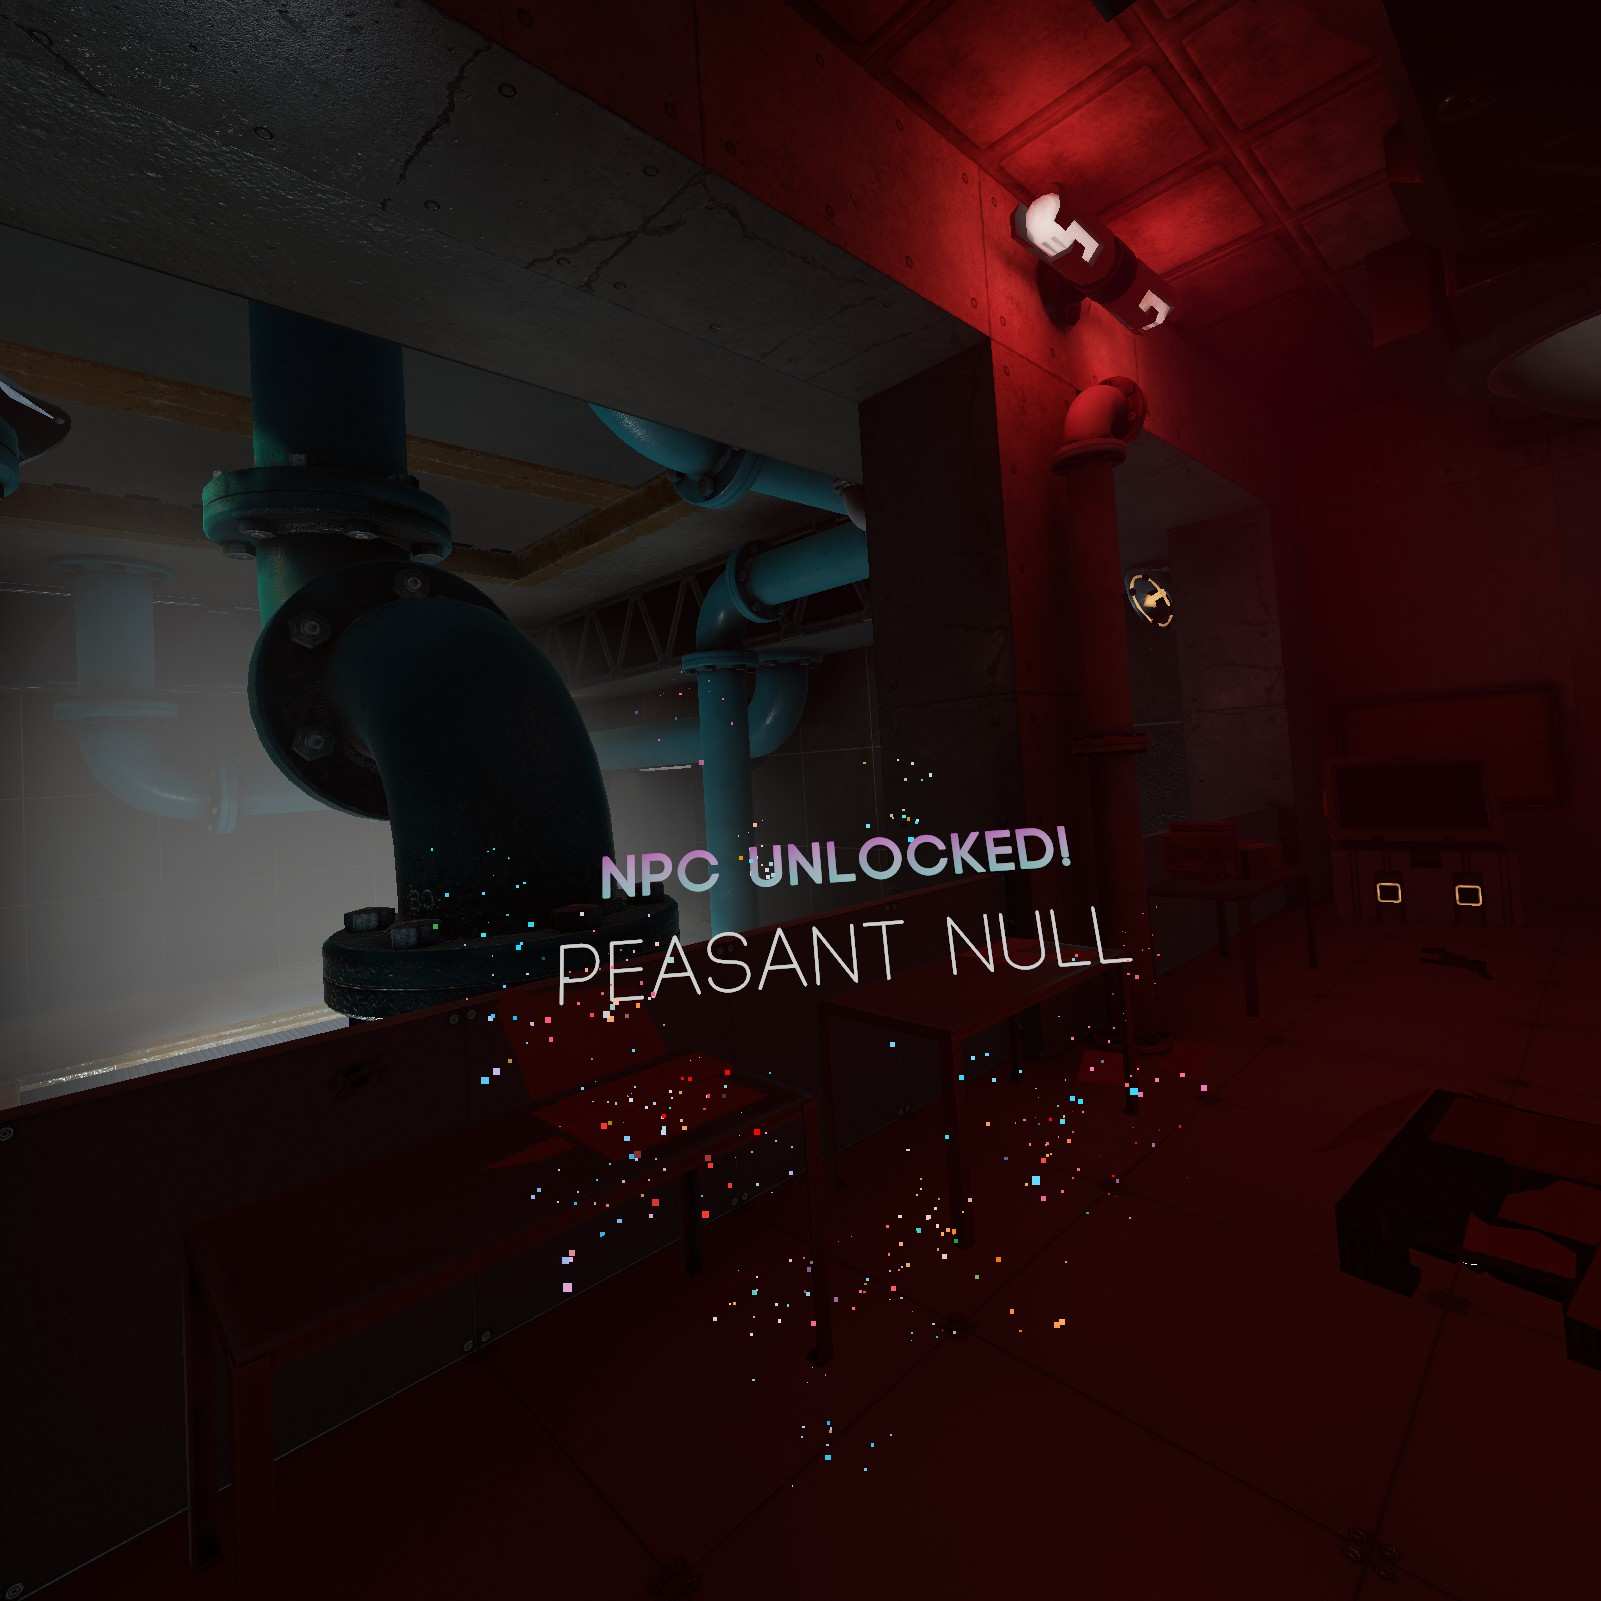
Peasant Null:
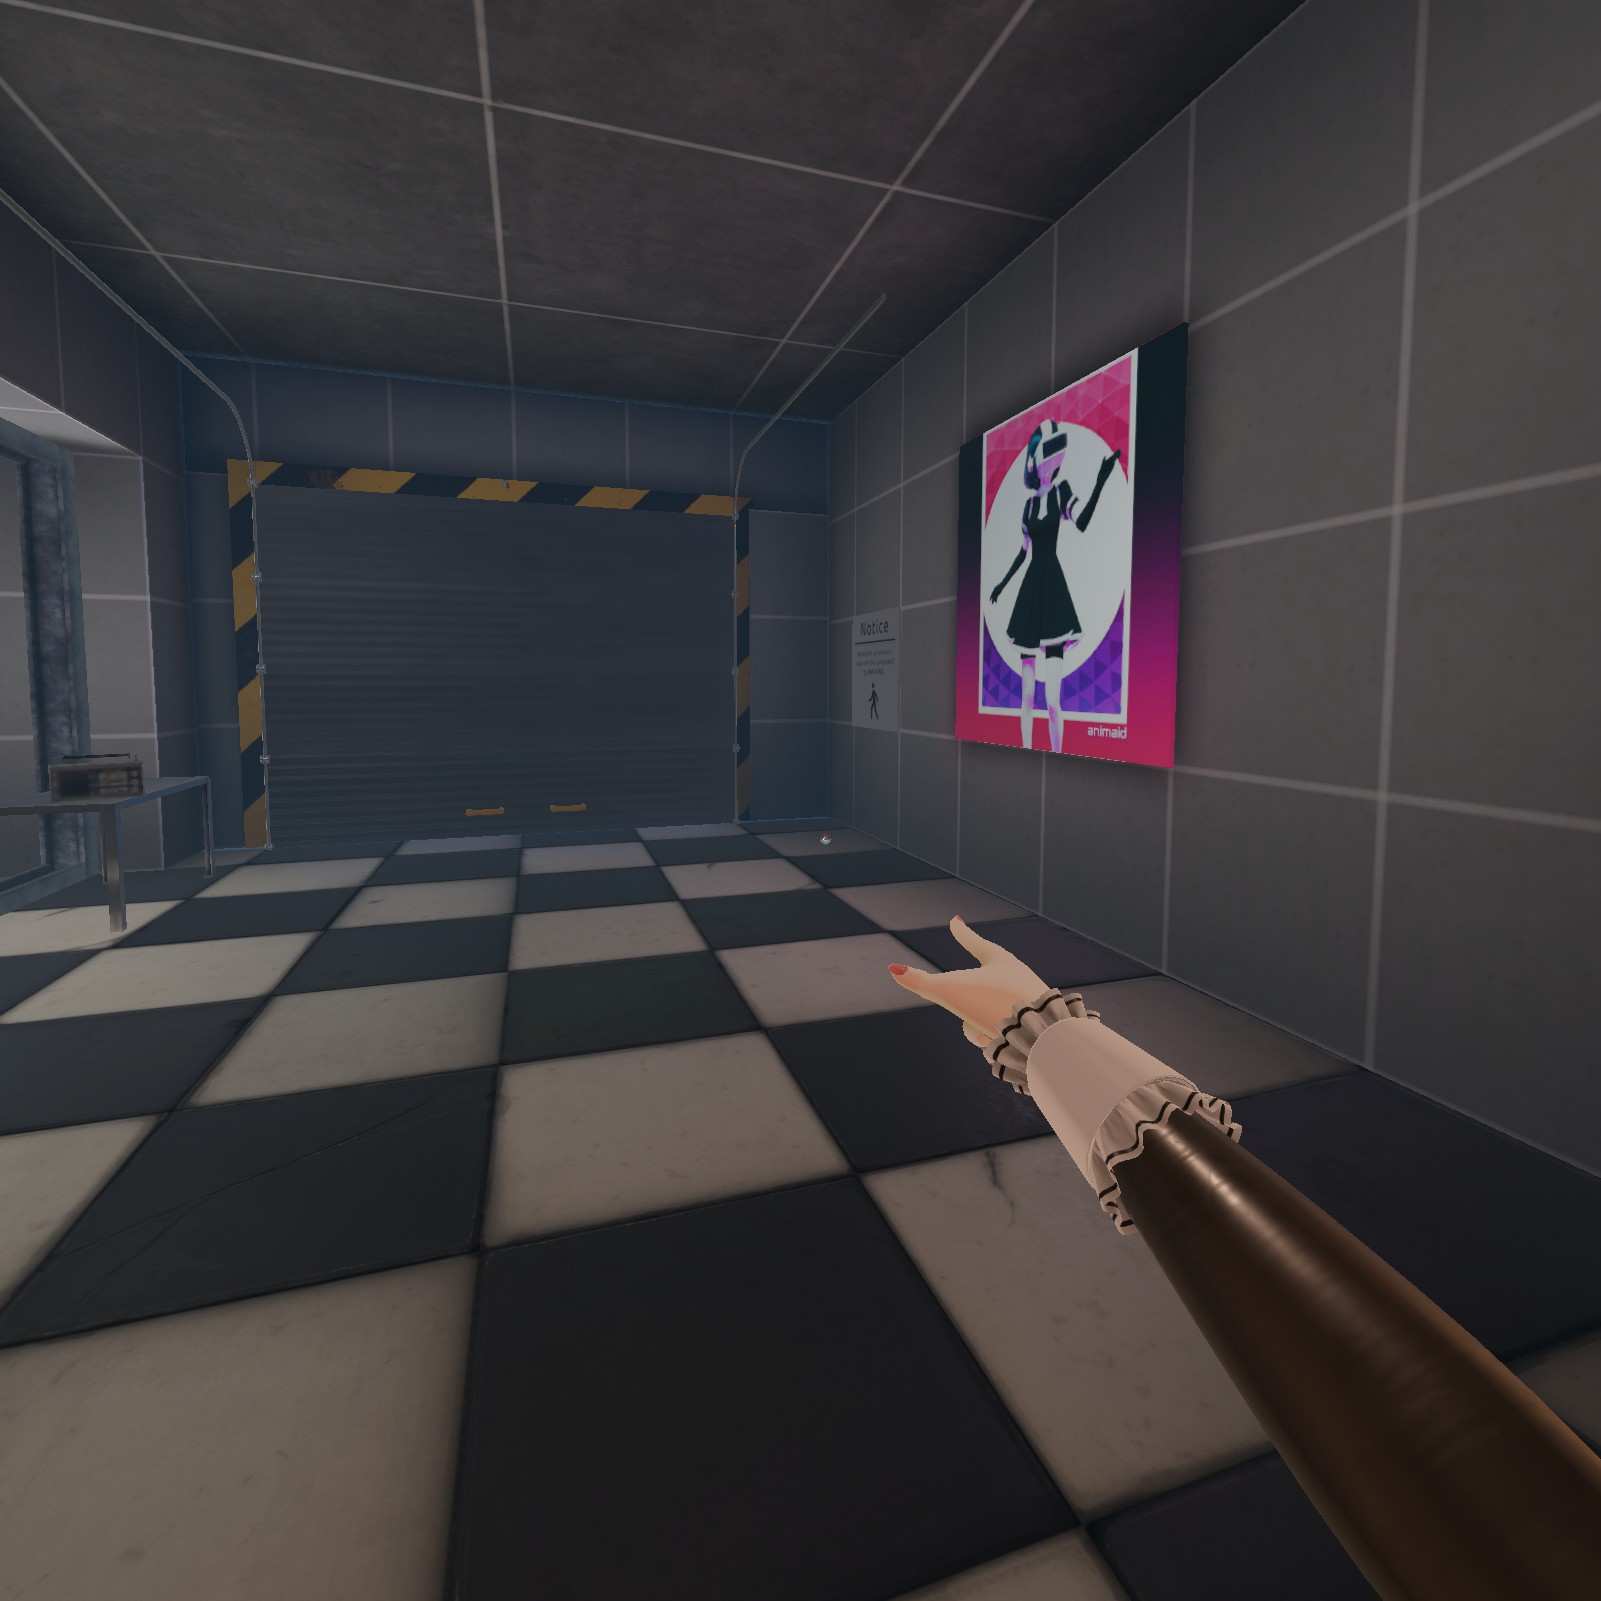
The first peasant line of capsules can be found just before going home in the office behind this advert.

Home
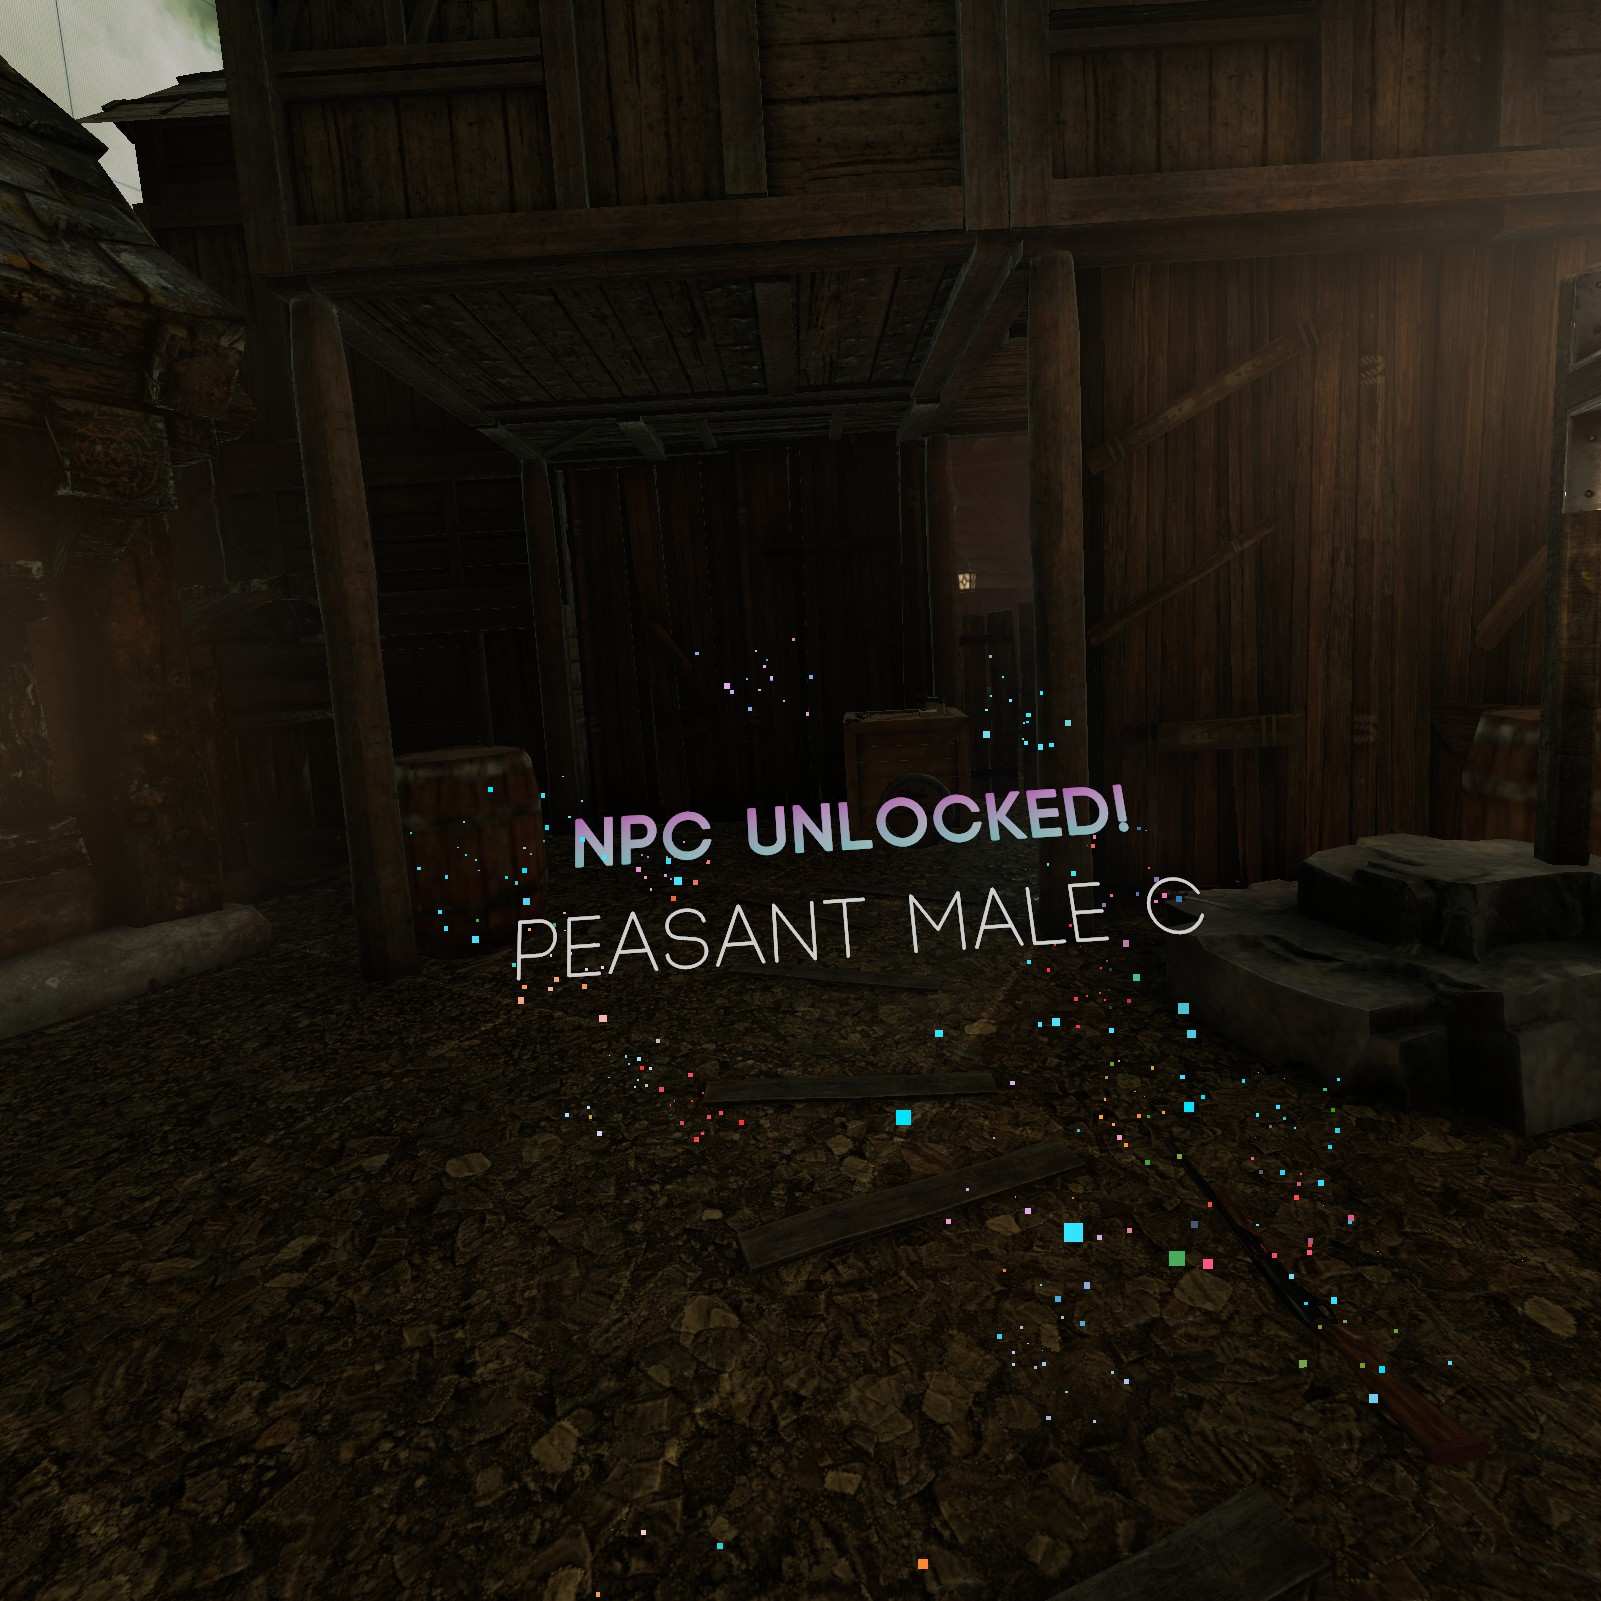
Peasant Male C:
Peasant Male C can be found right next to the lift. It may role away though, so grab it quick.
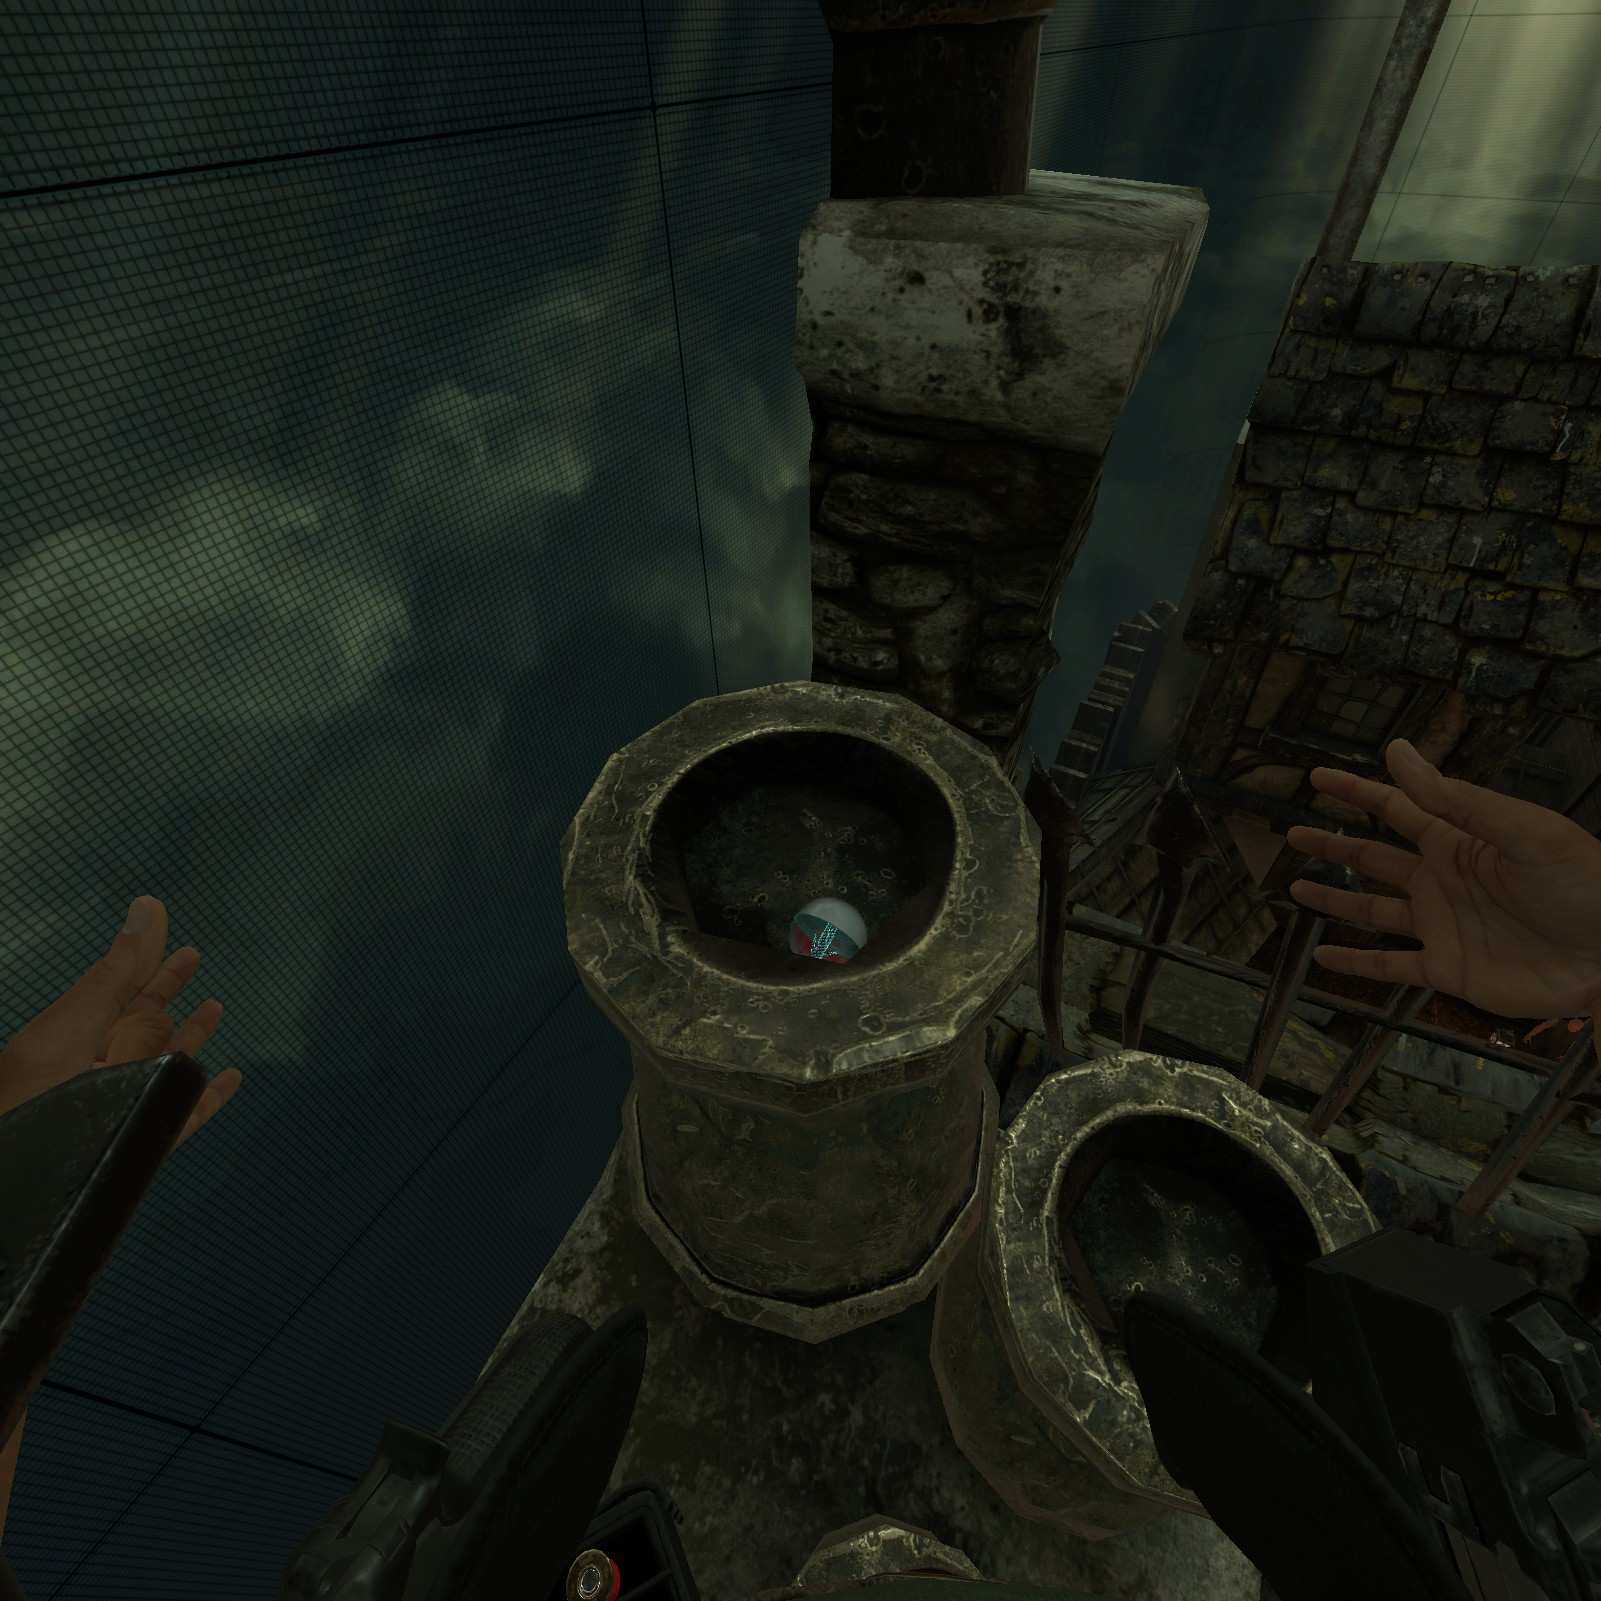
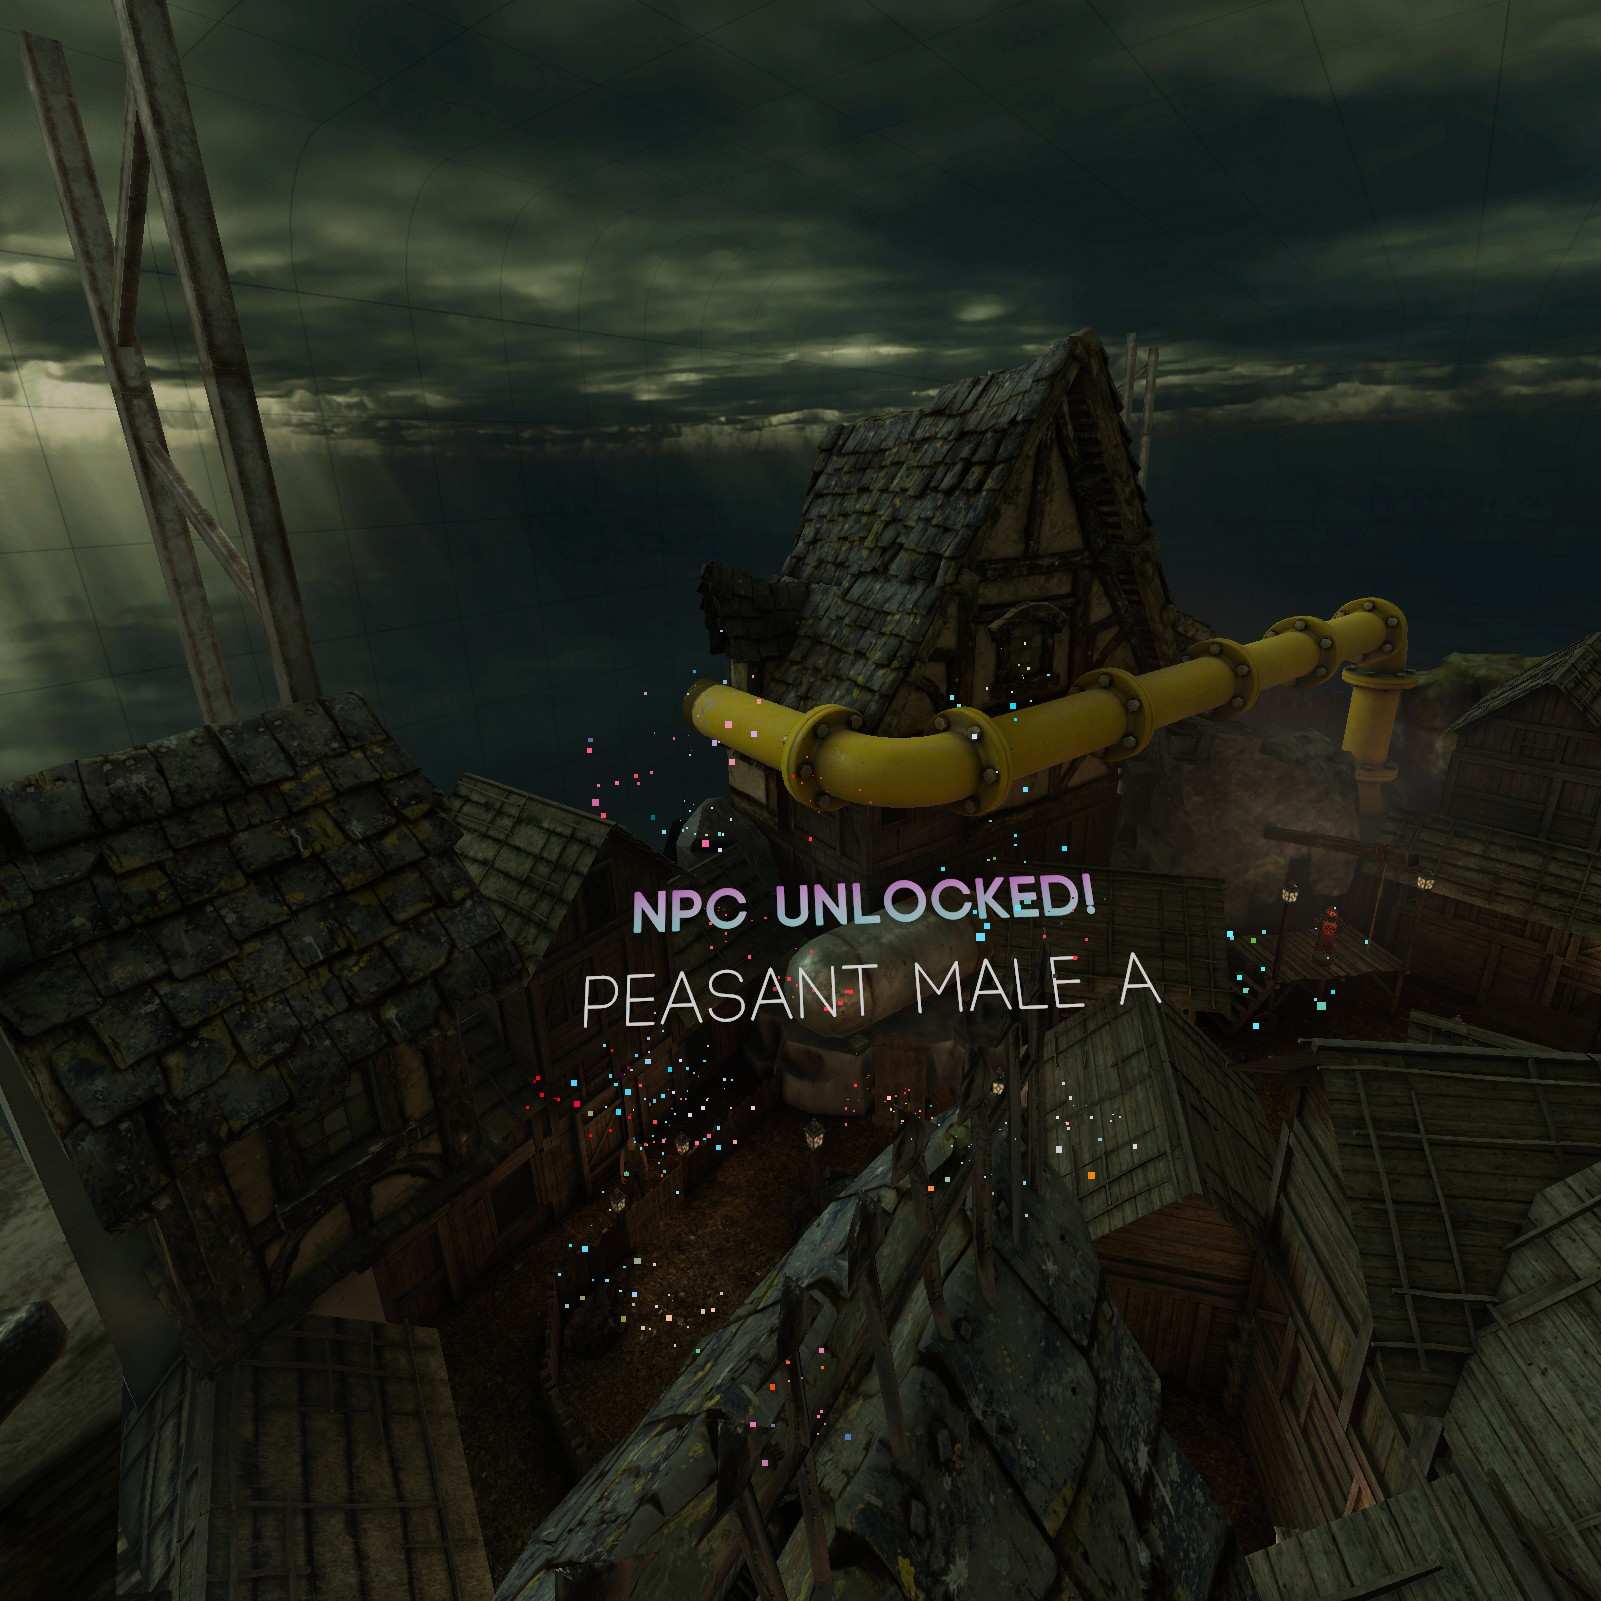
Peasant Male A:
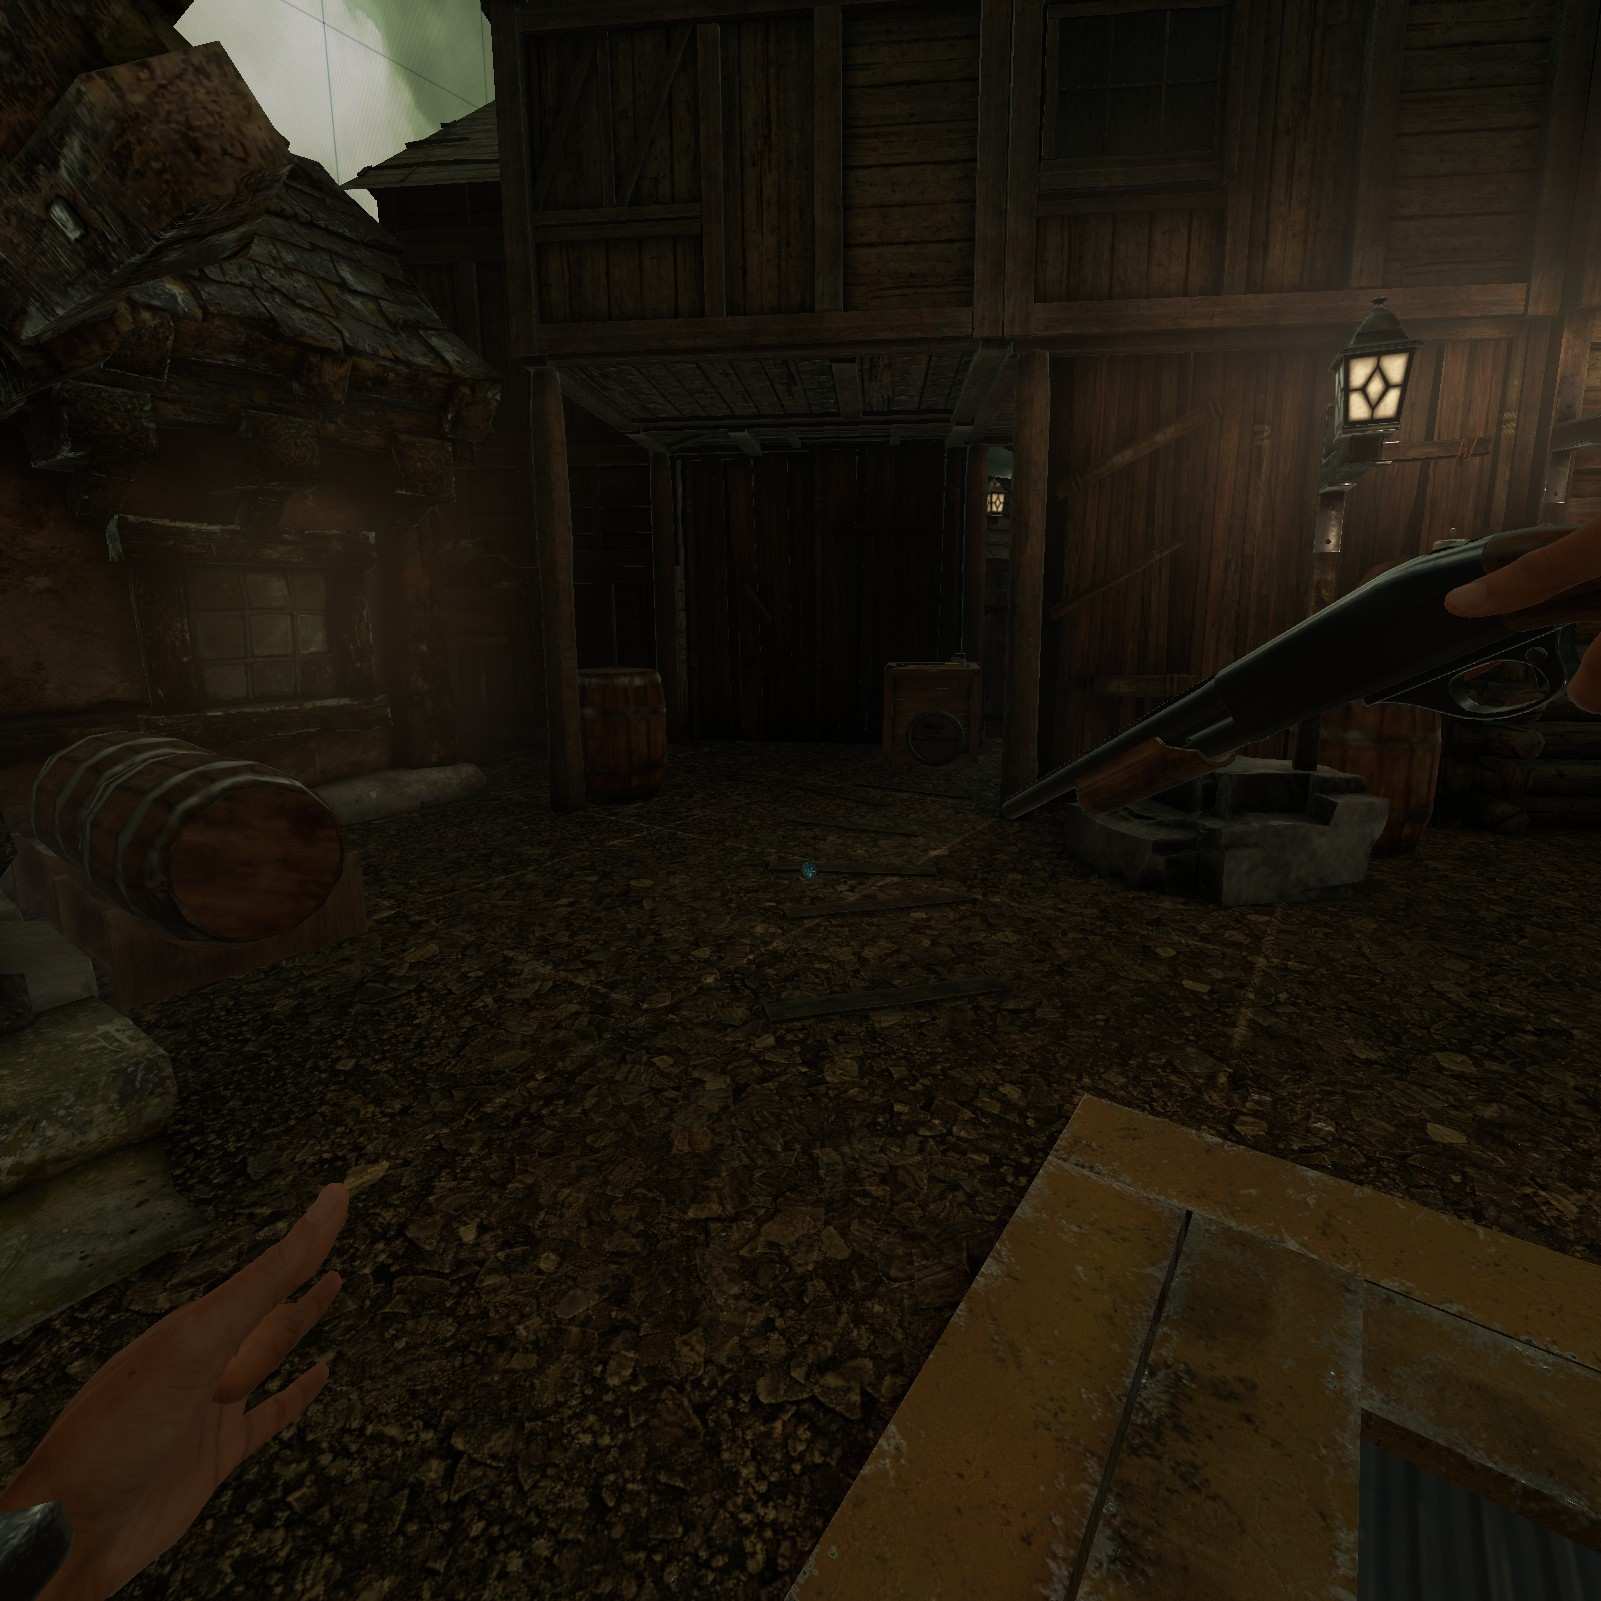
Hopefully you have something to reach this chimney. Peasant Male A hides up here from most who pass through this level.

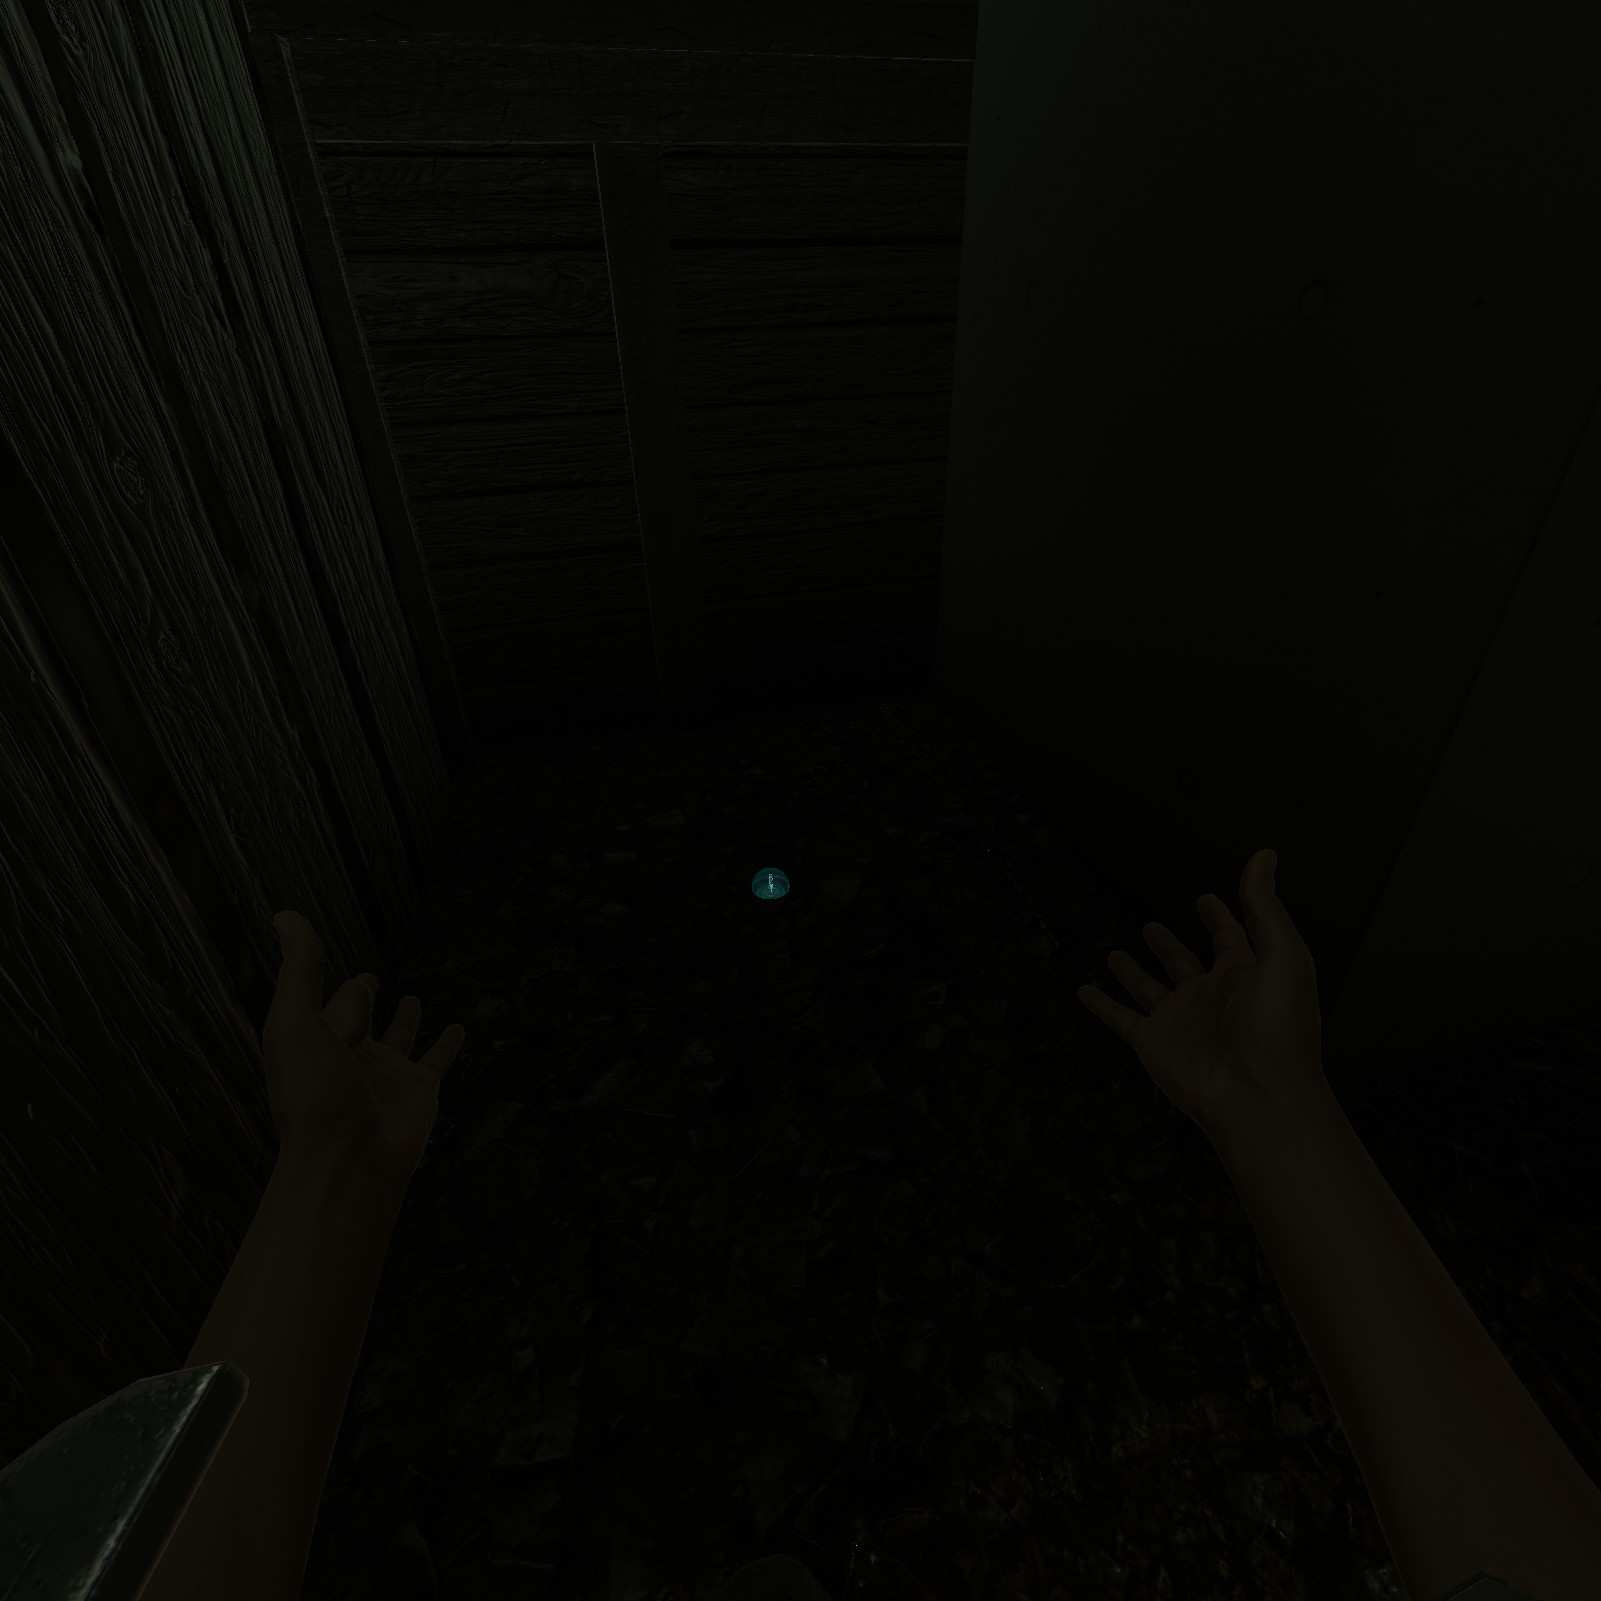
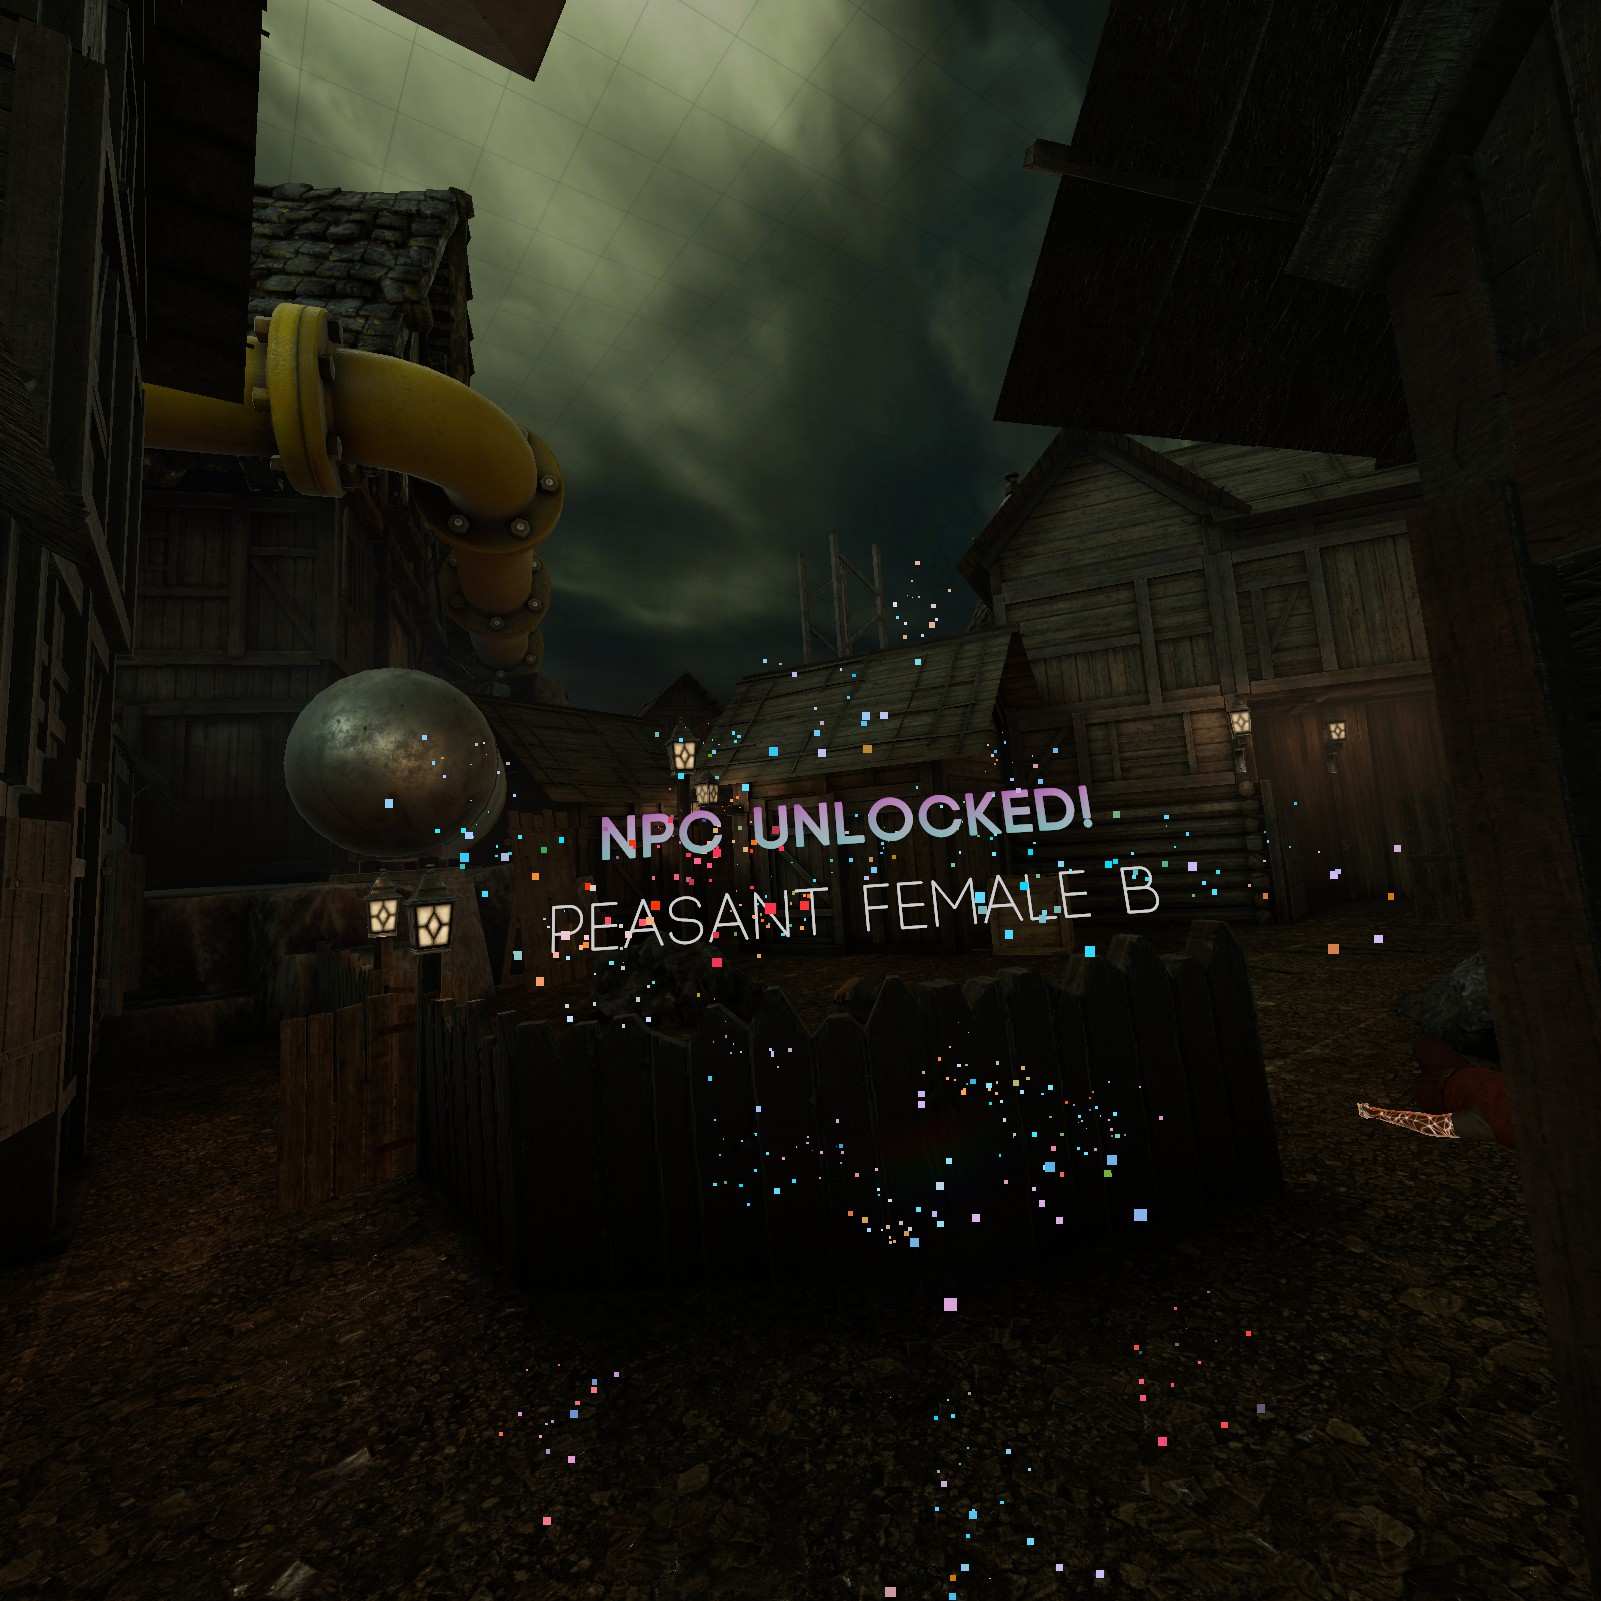
Peasant Female B:
Over in this corner of the map is the peasant female B. Now you can beat up women in bonelab without modding the game you sicko.
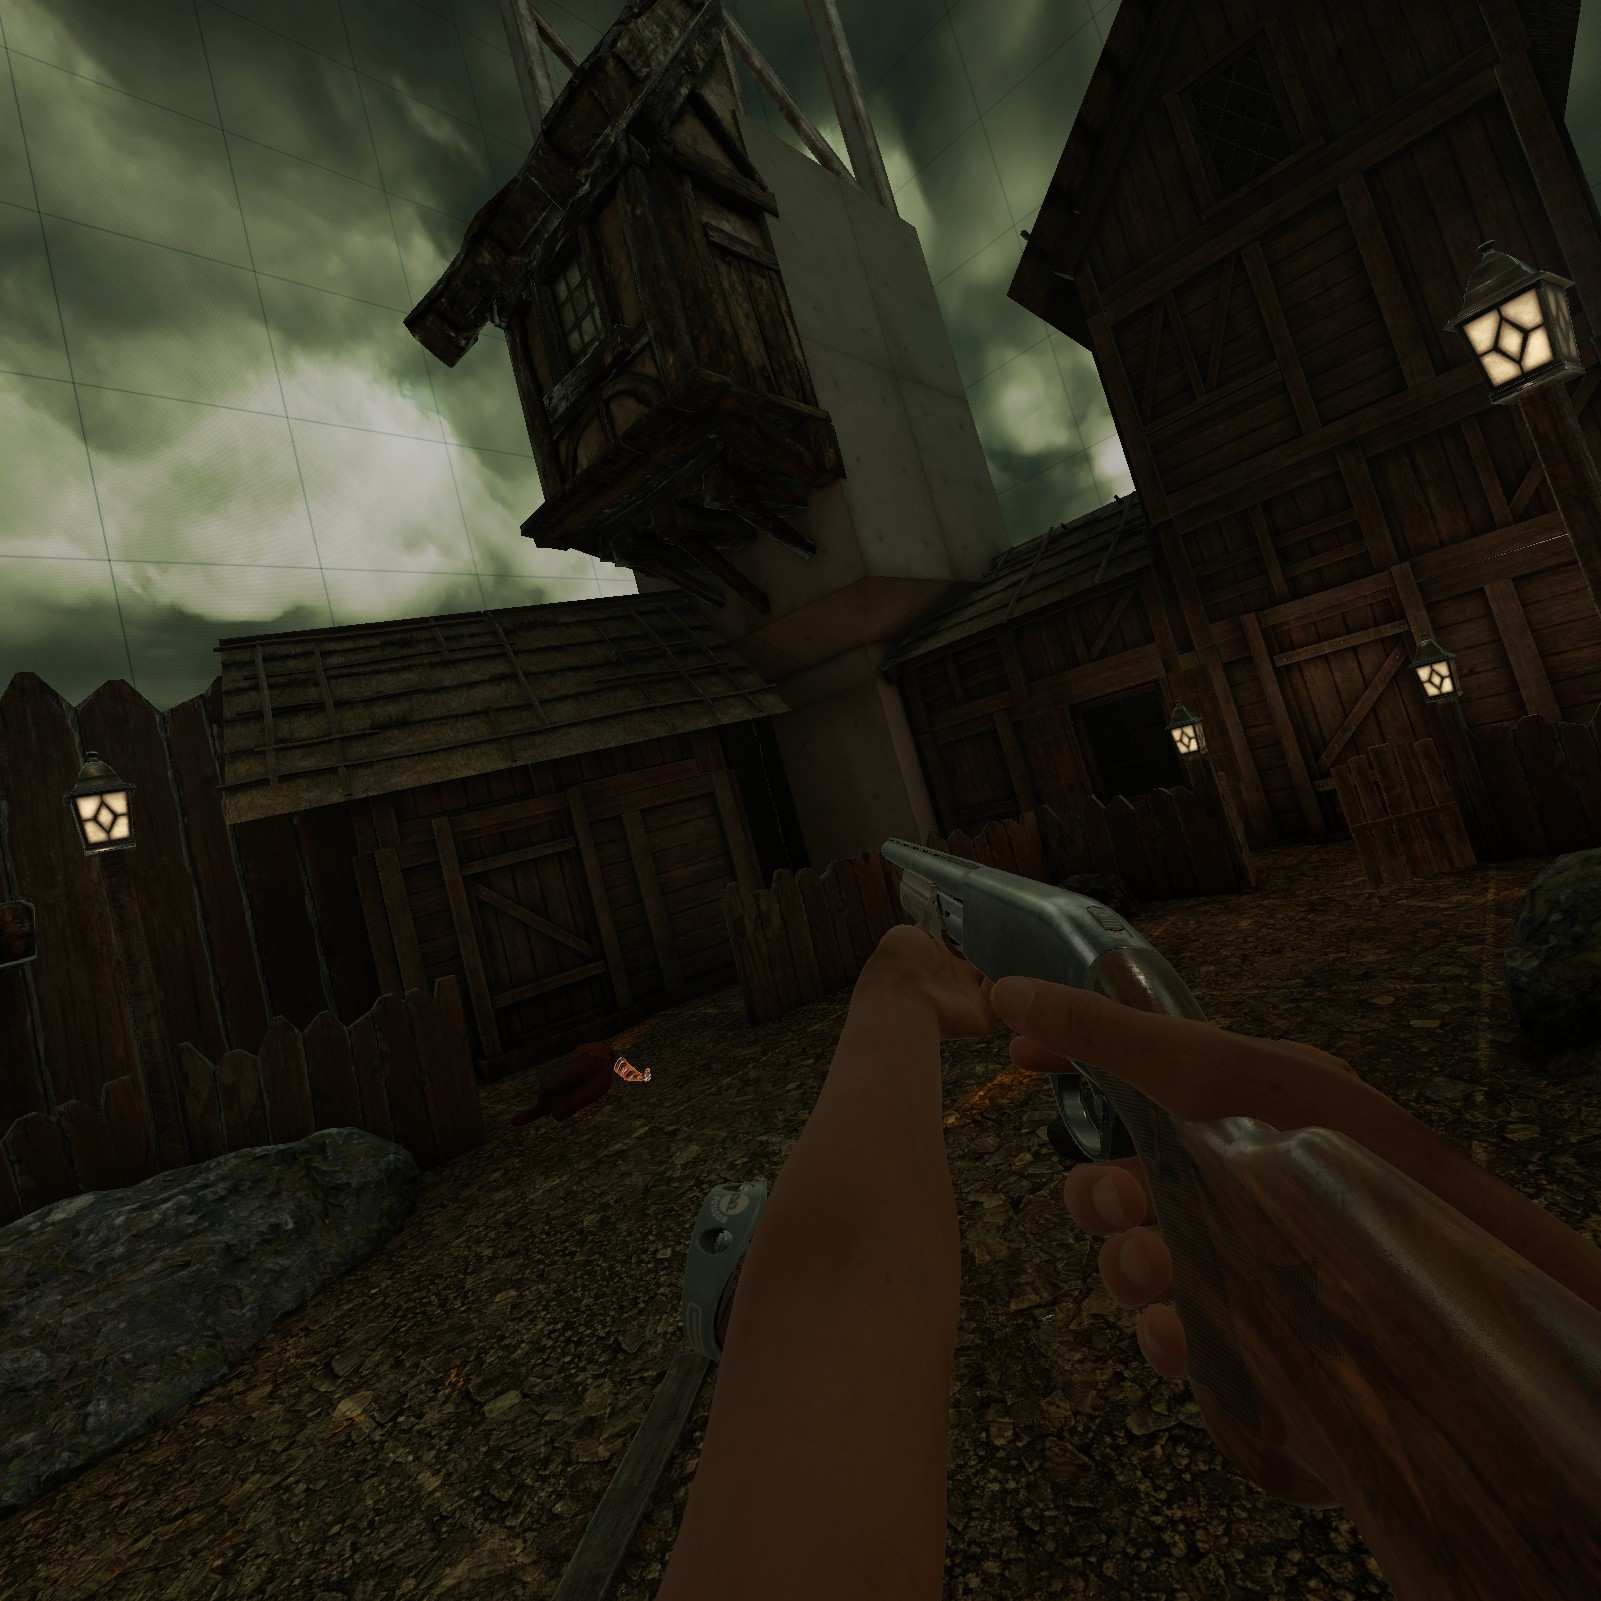
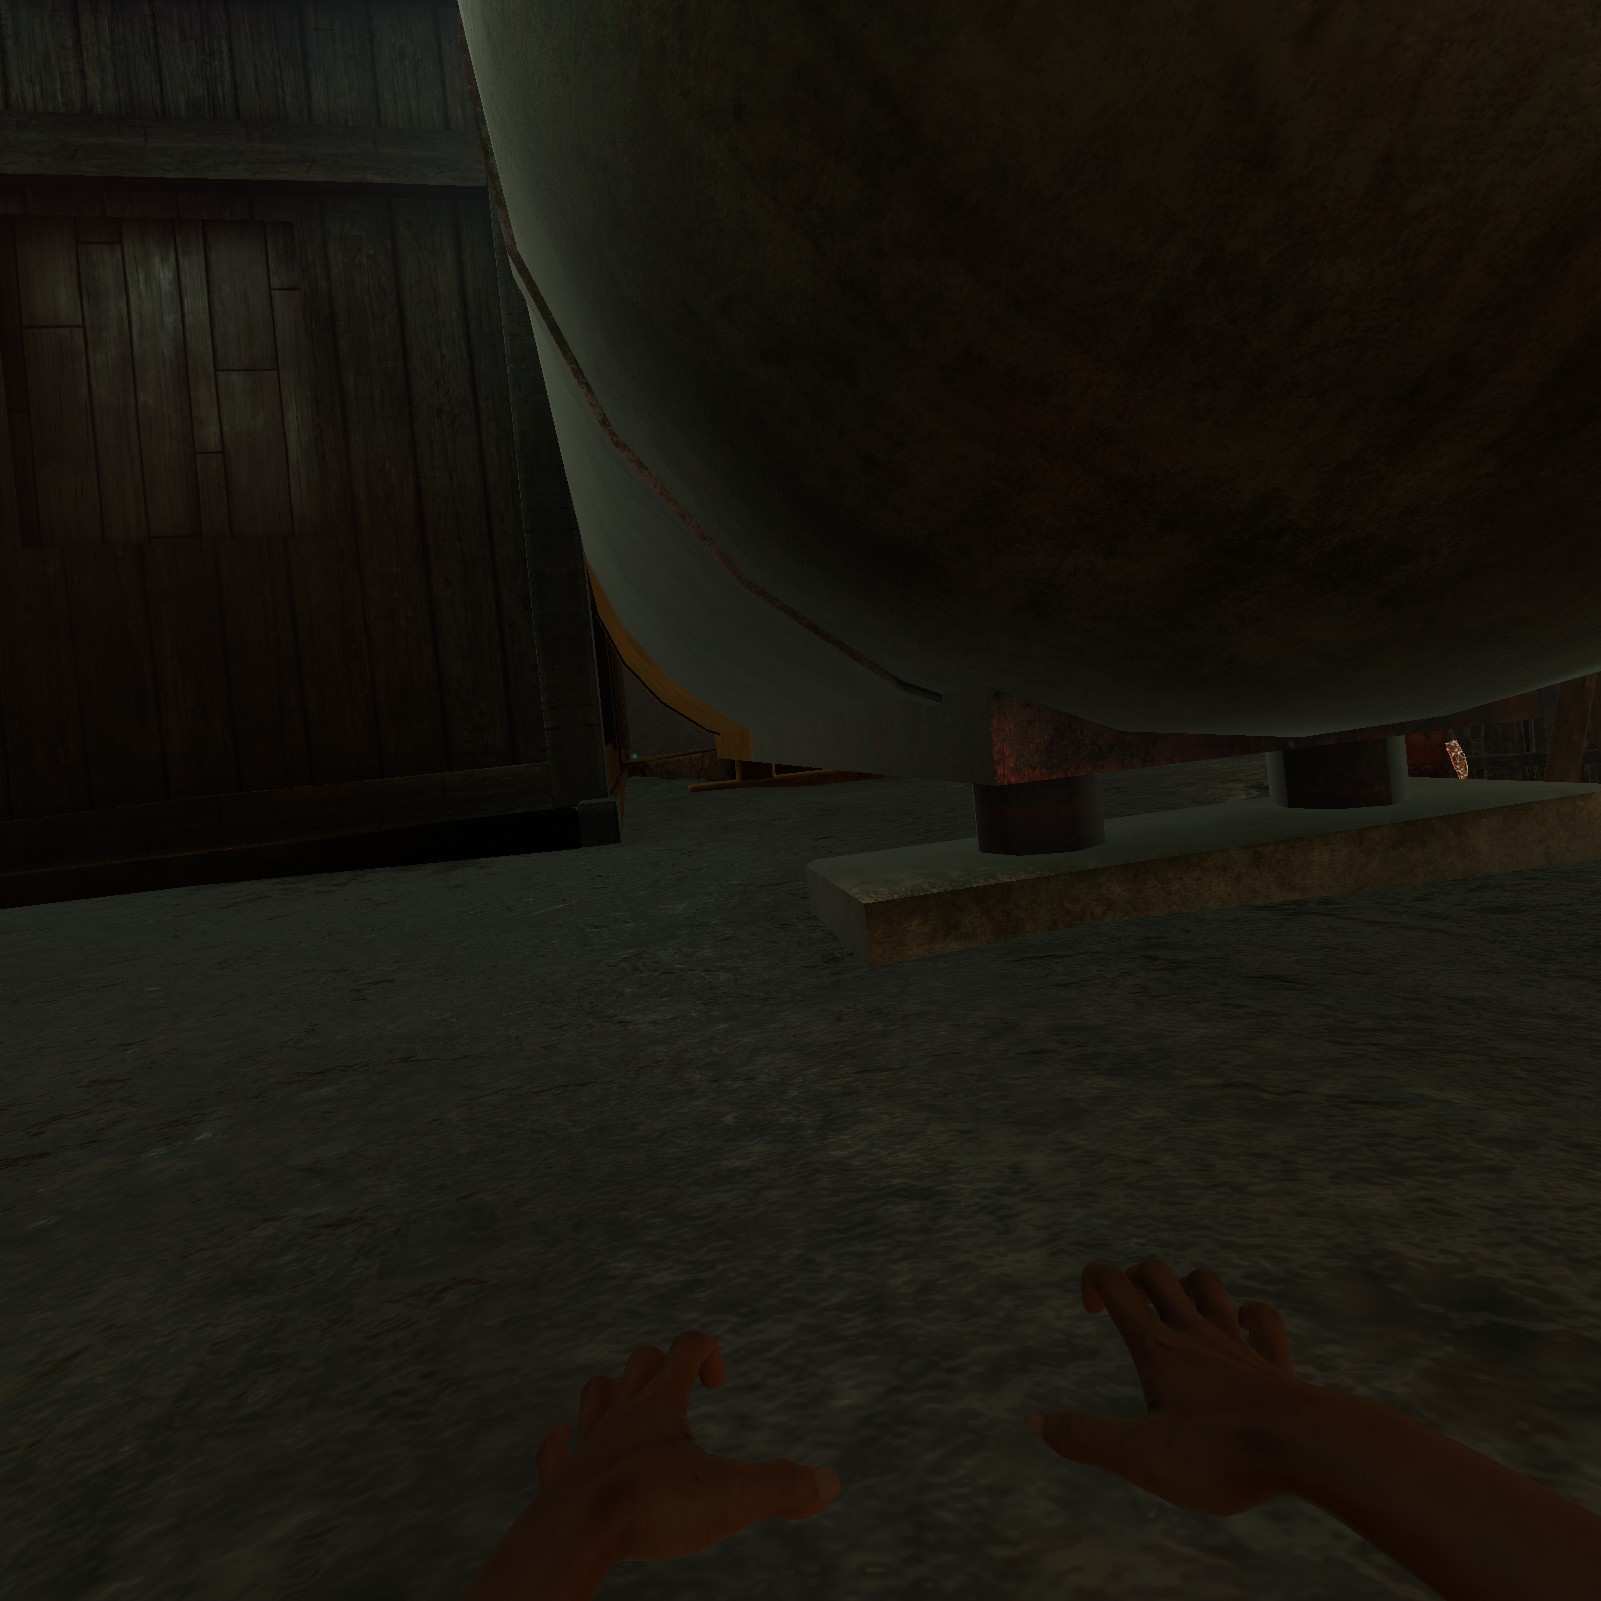
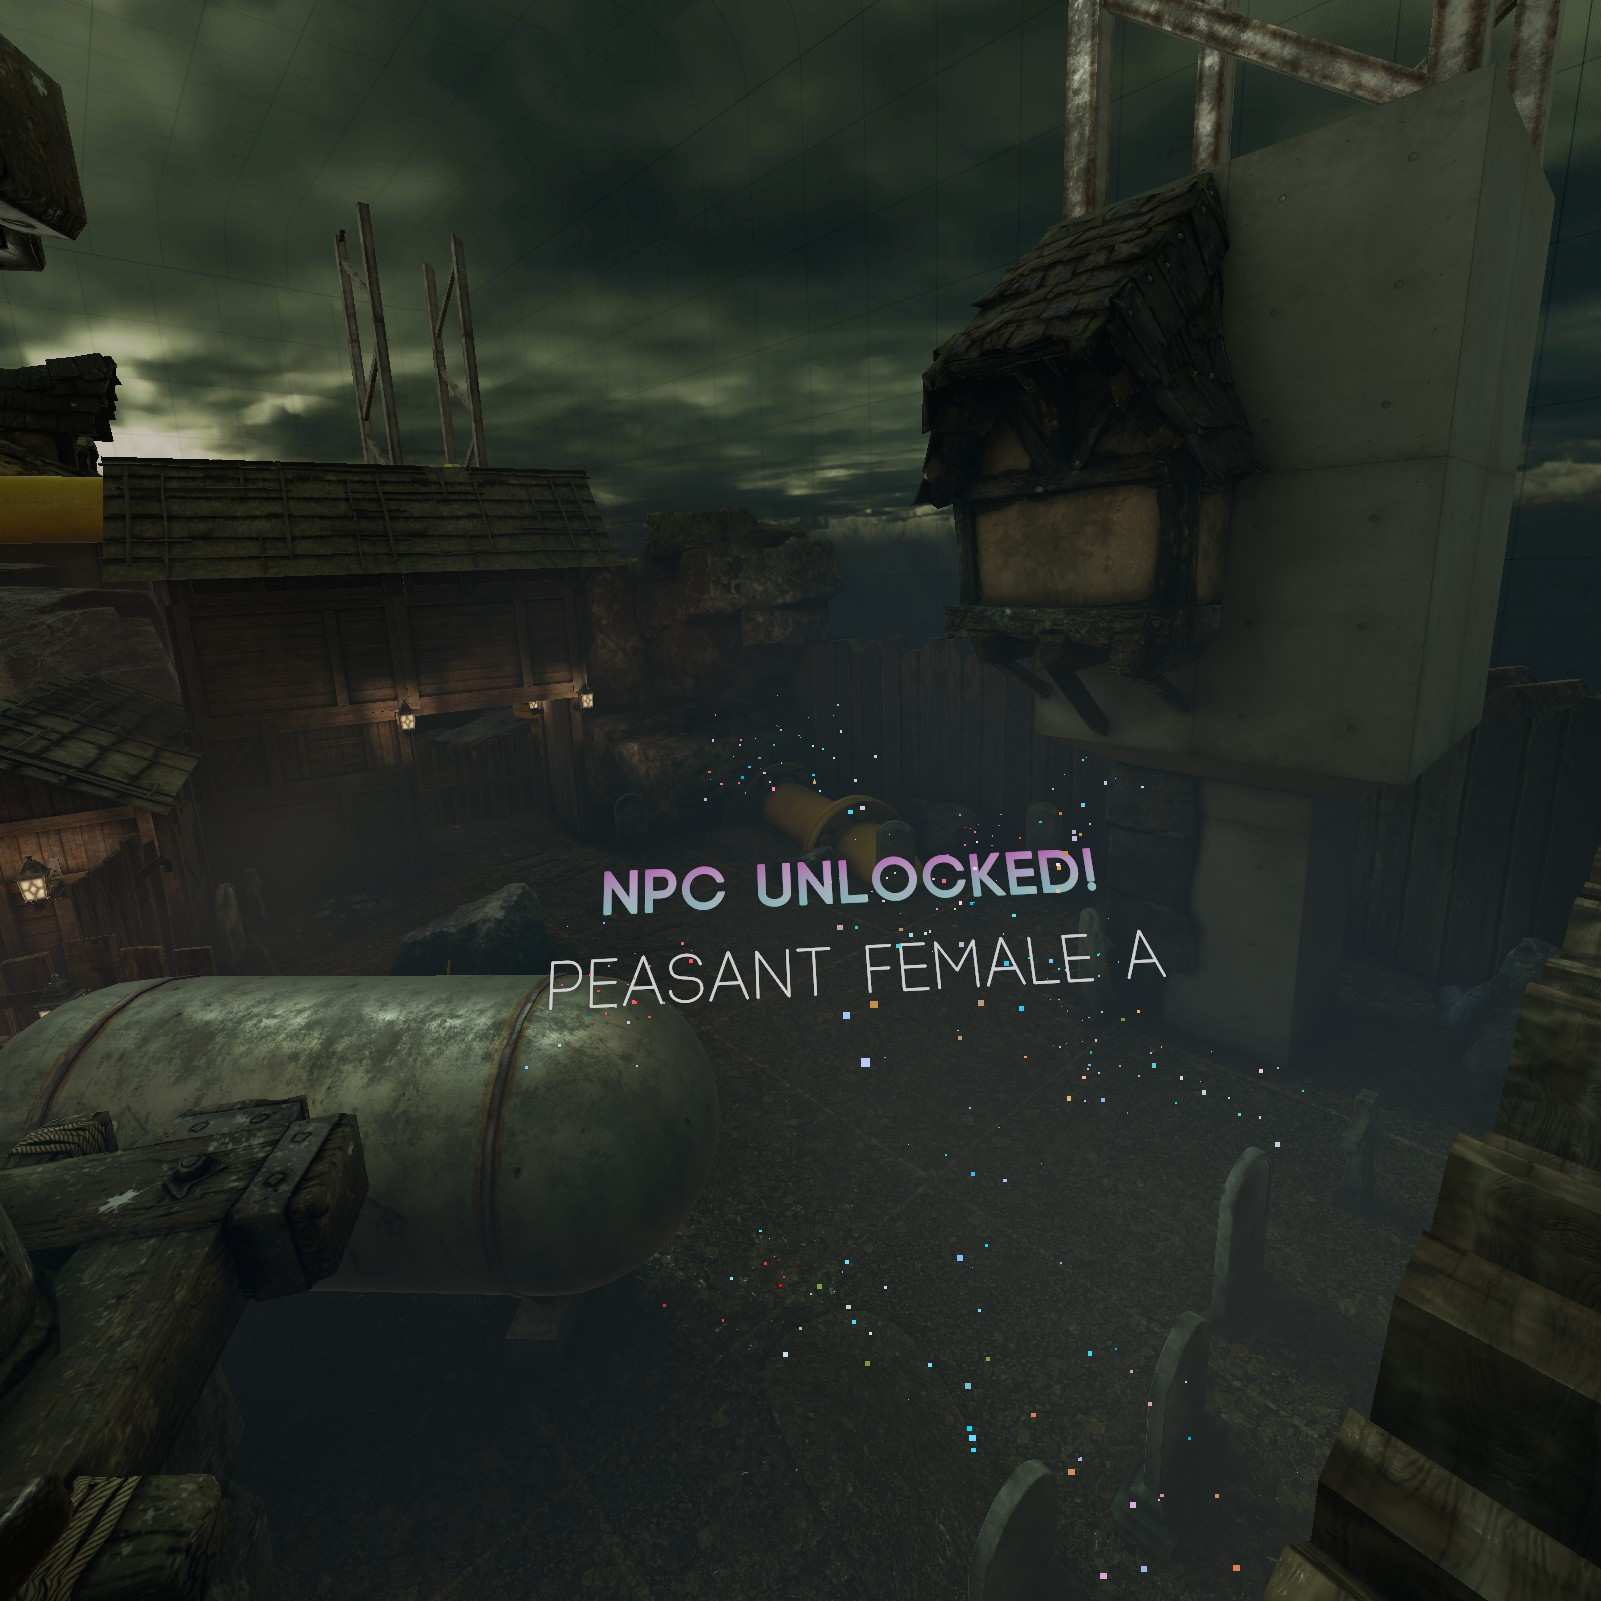
Peasant Male B
Time to sneak up on this Peasant male B, he’ll never expect the approach from the oil tank. Wait, Oil tank? In fantasy land? I think I’m dying…

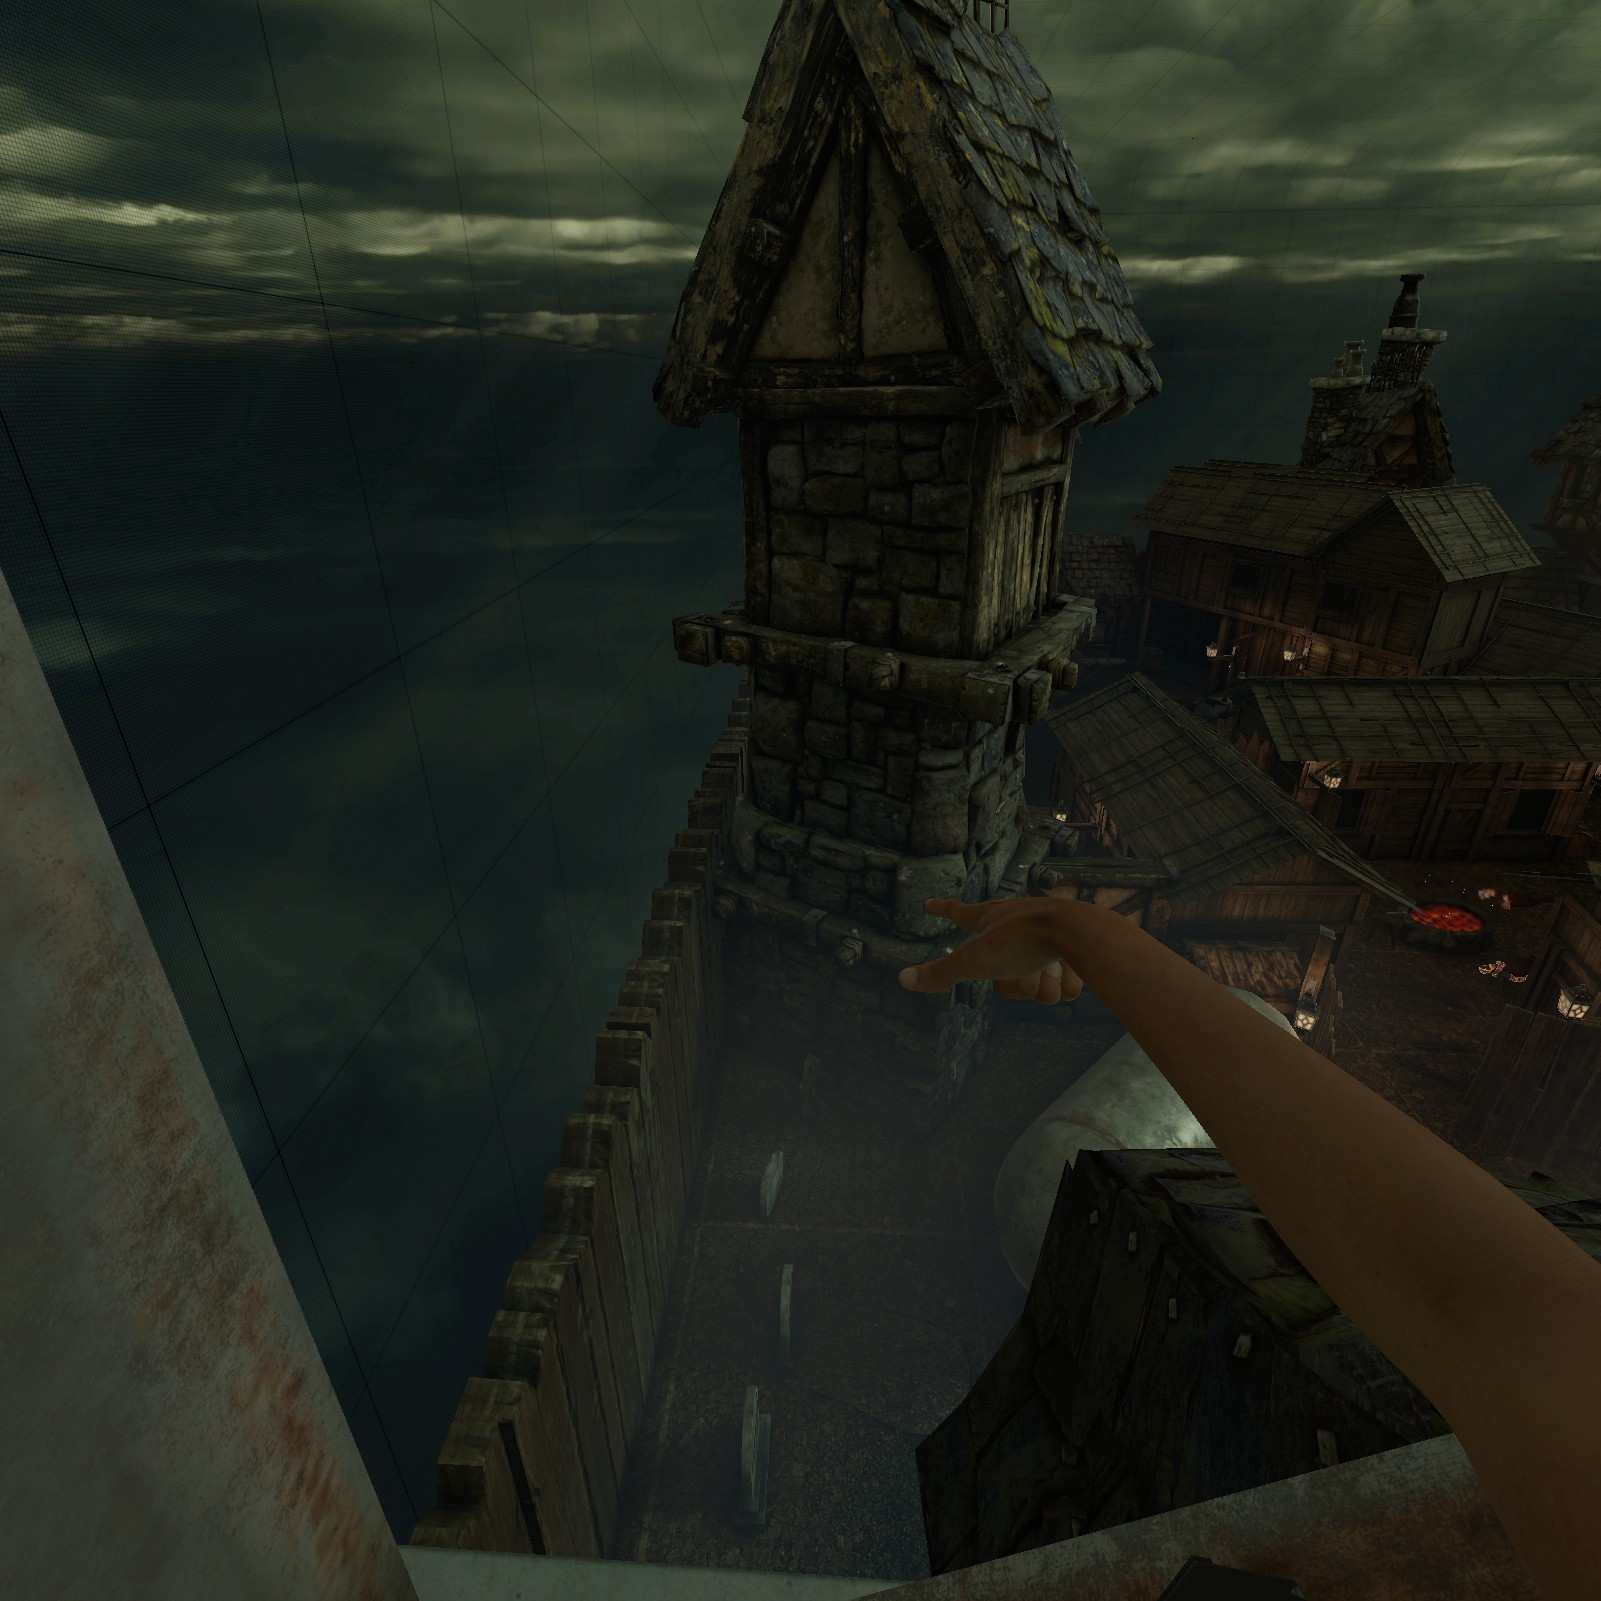
Peasant Female A:
Peasant female A can be found up on the edge walling behind this tower.

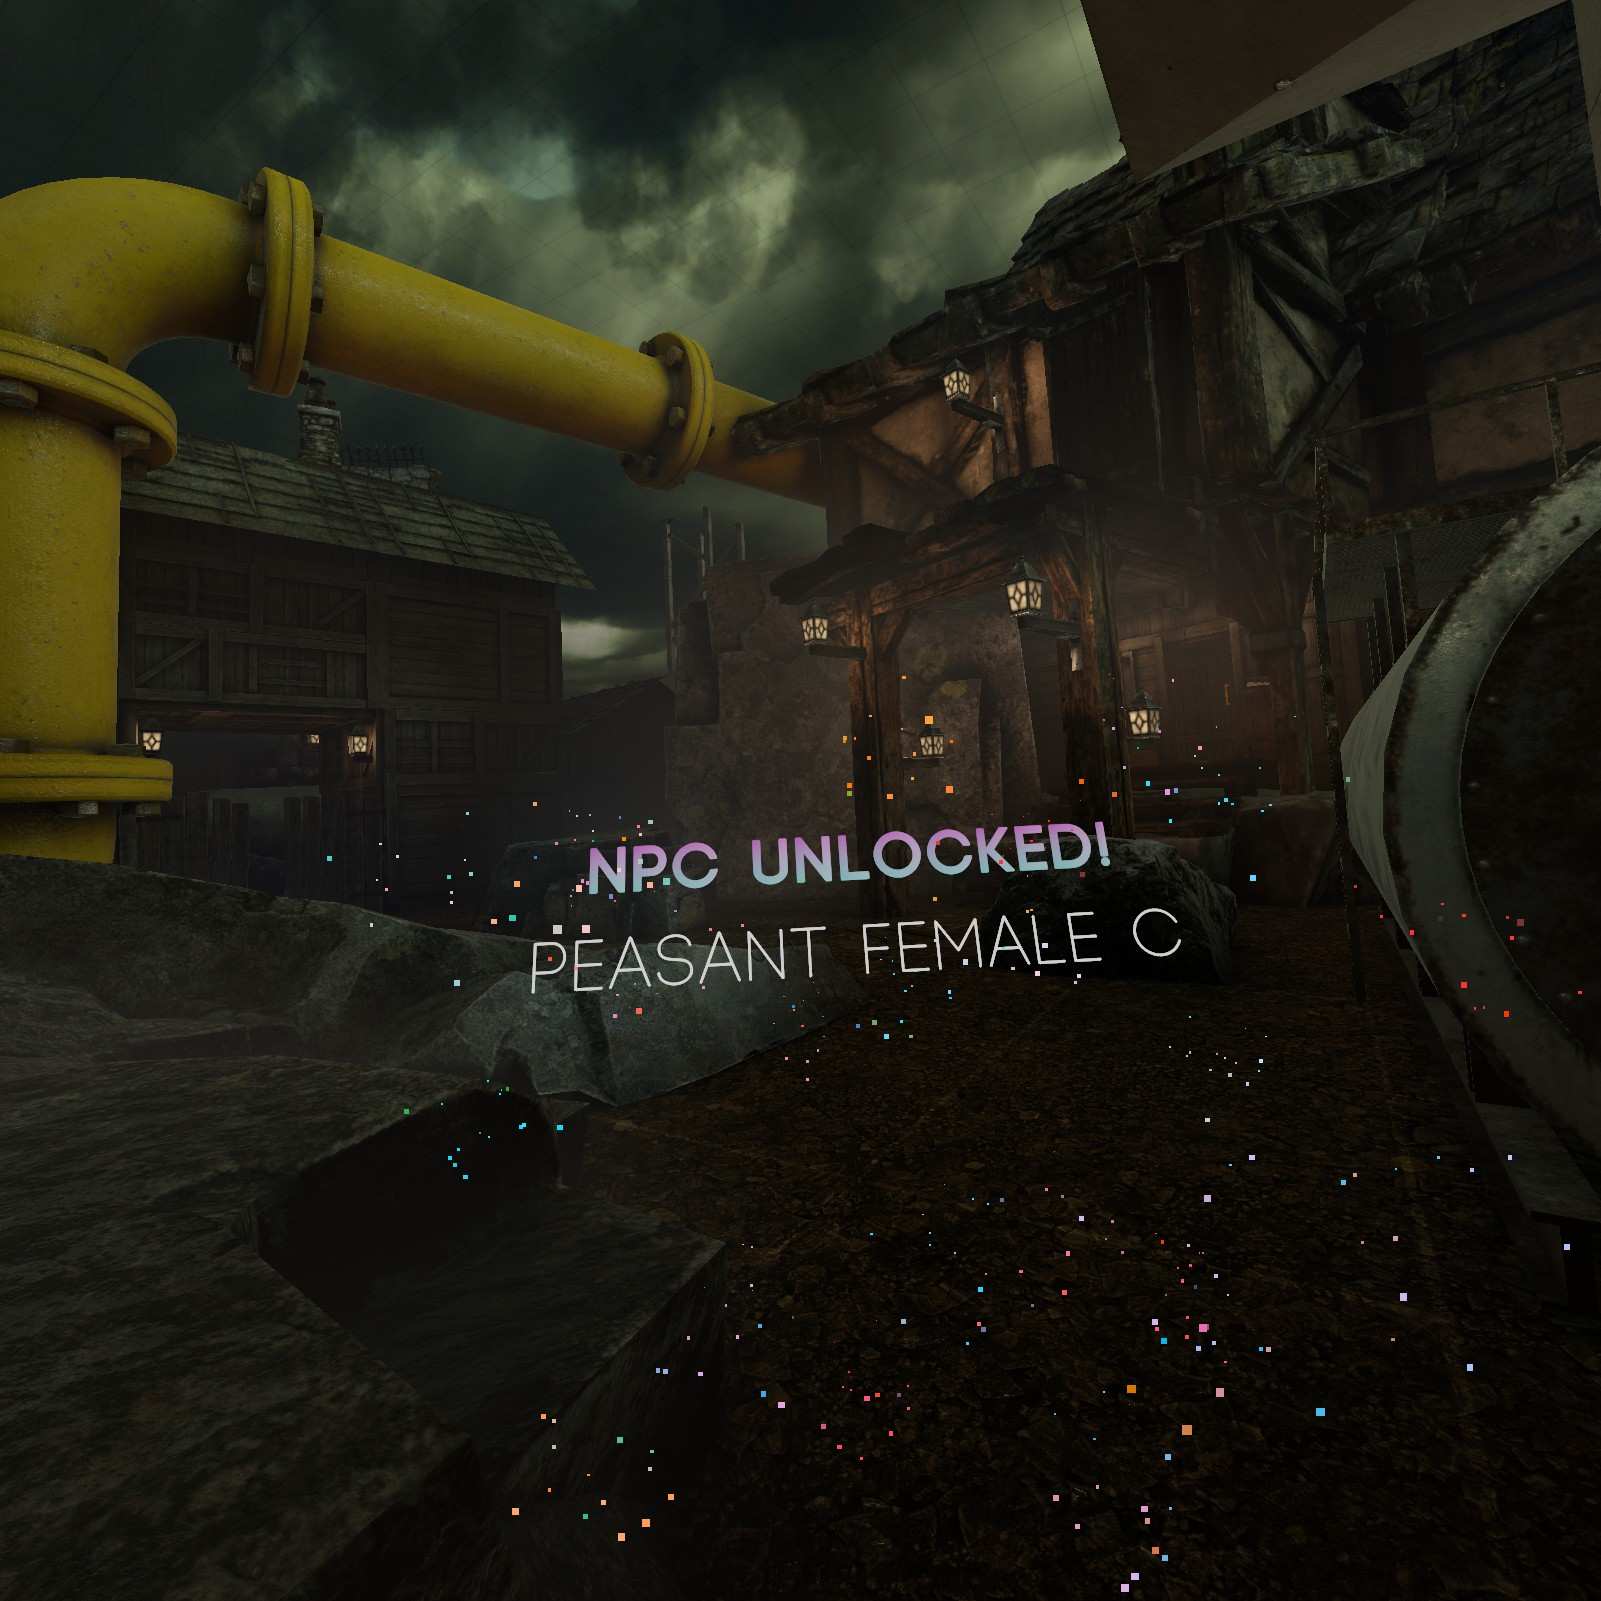
Peasant Female C:
The last of the peasant series can be found behind another oil tank just before the bar fight. Its Peasant female C.


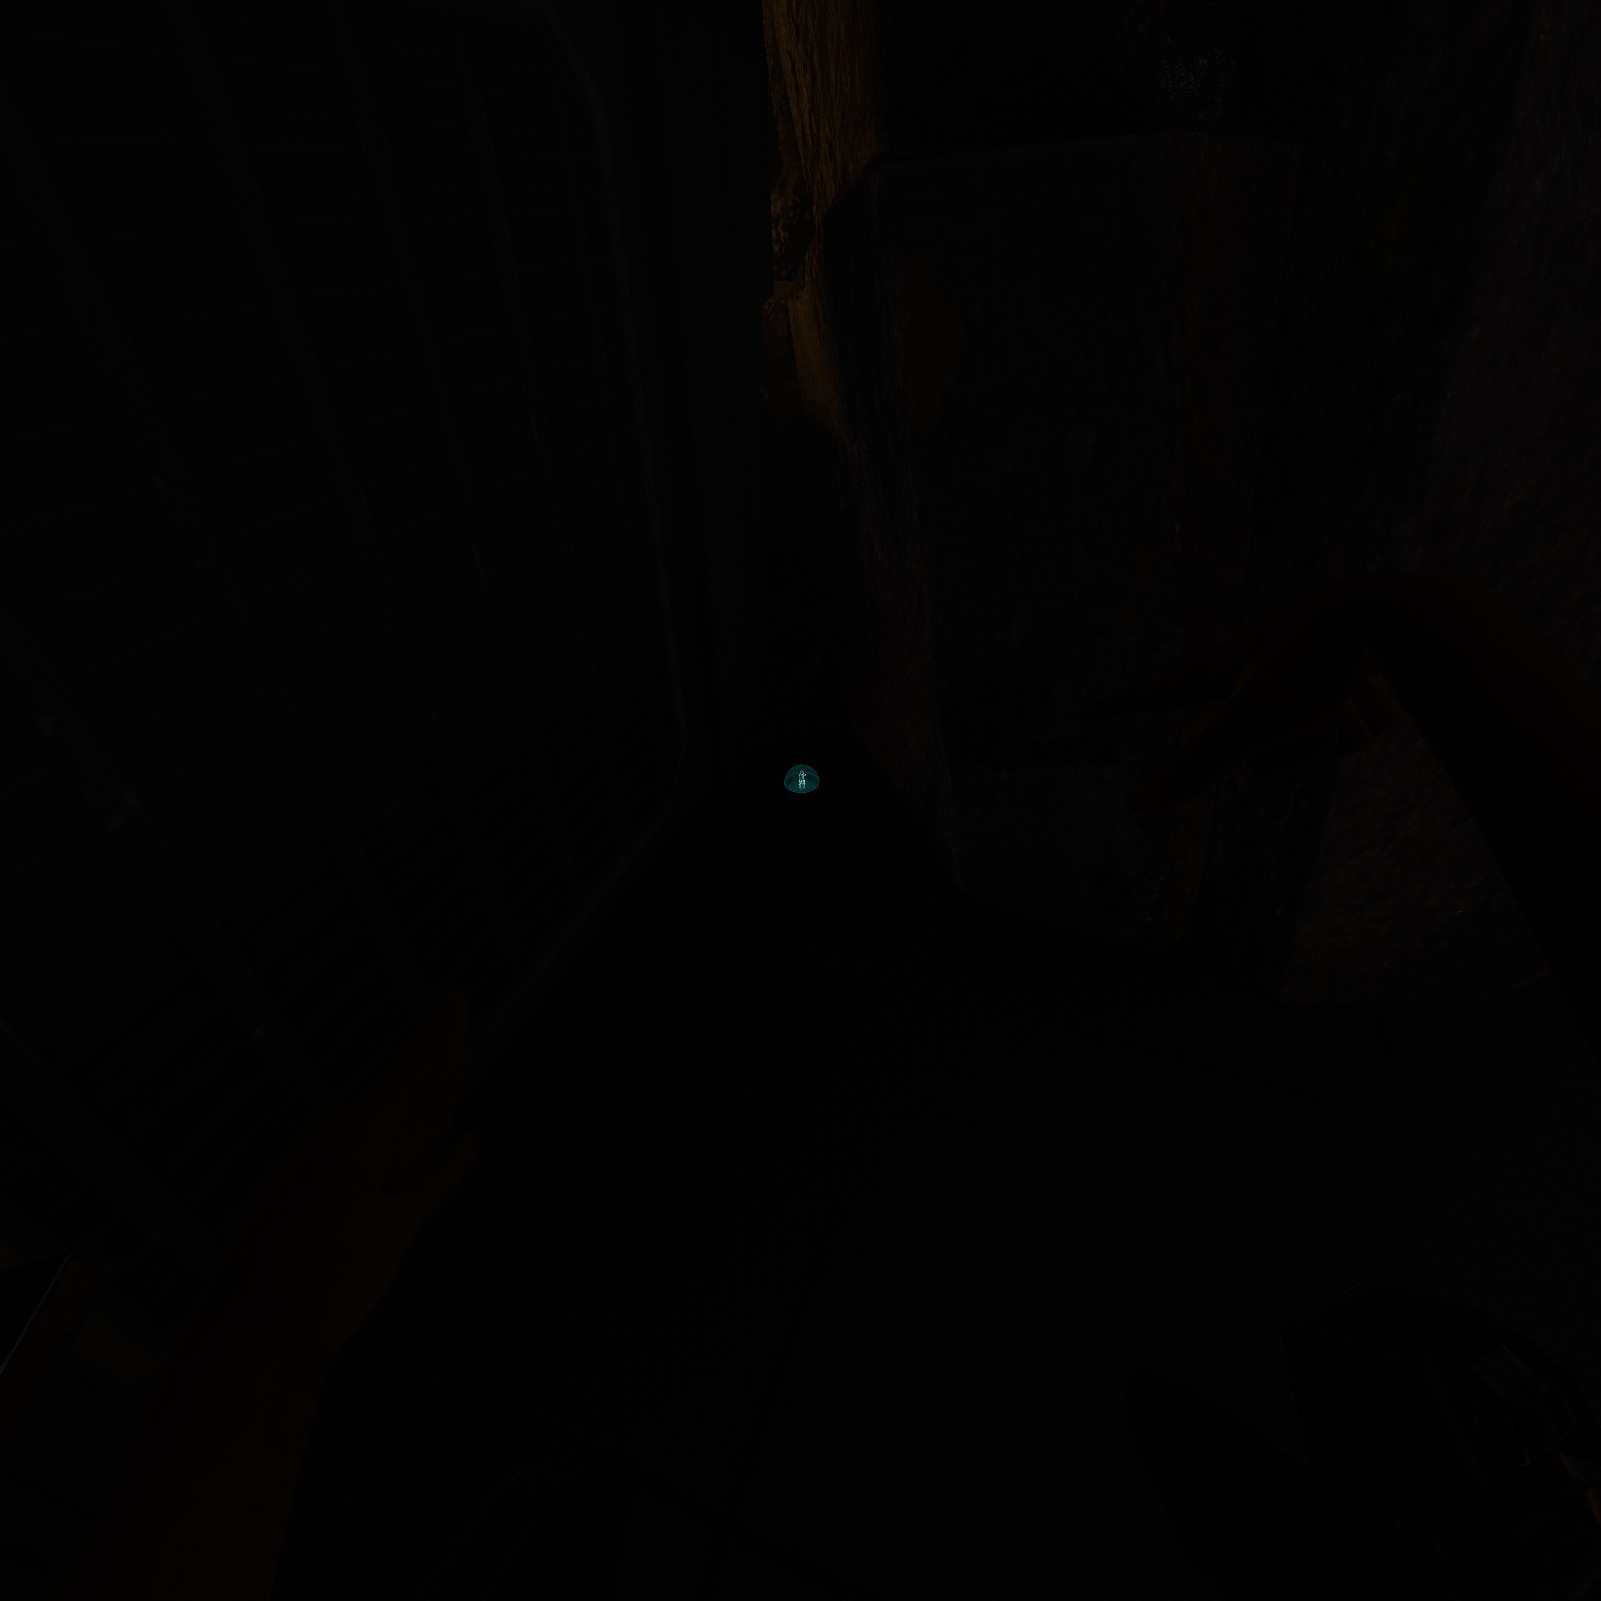
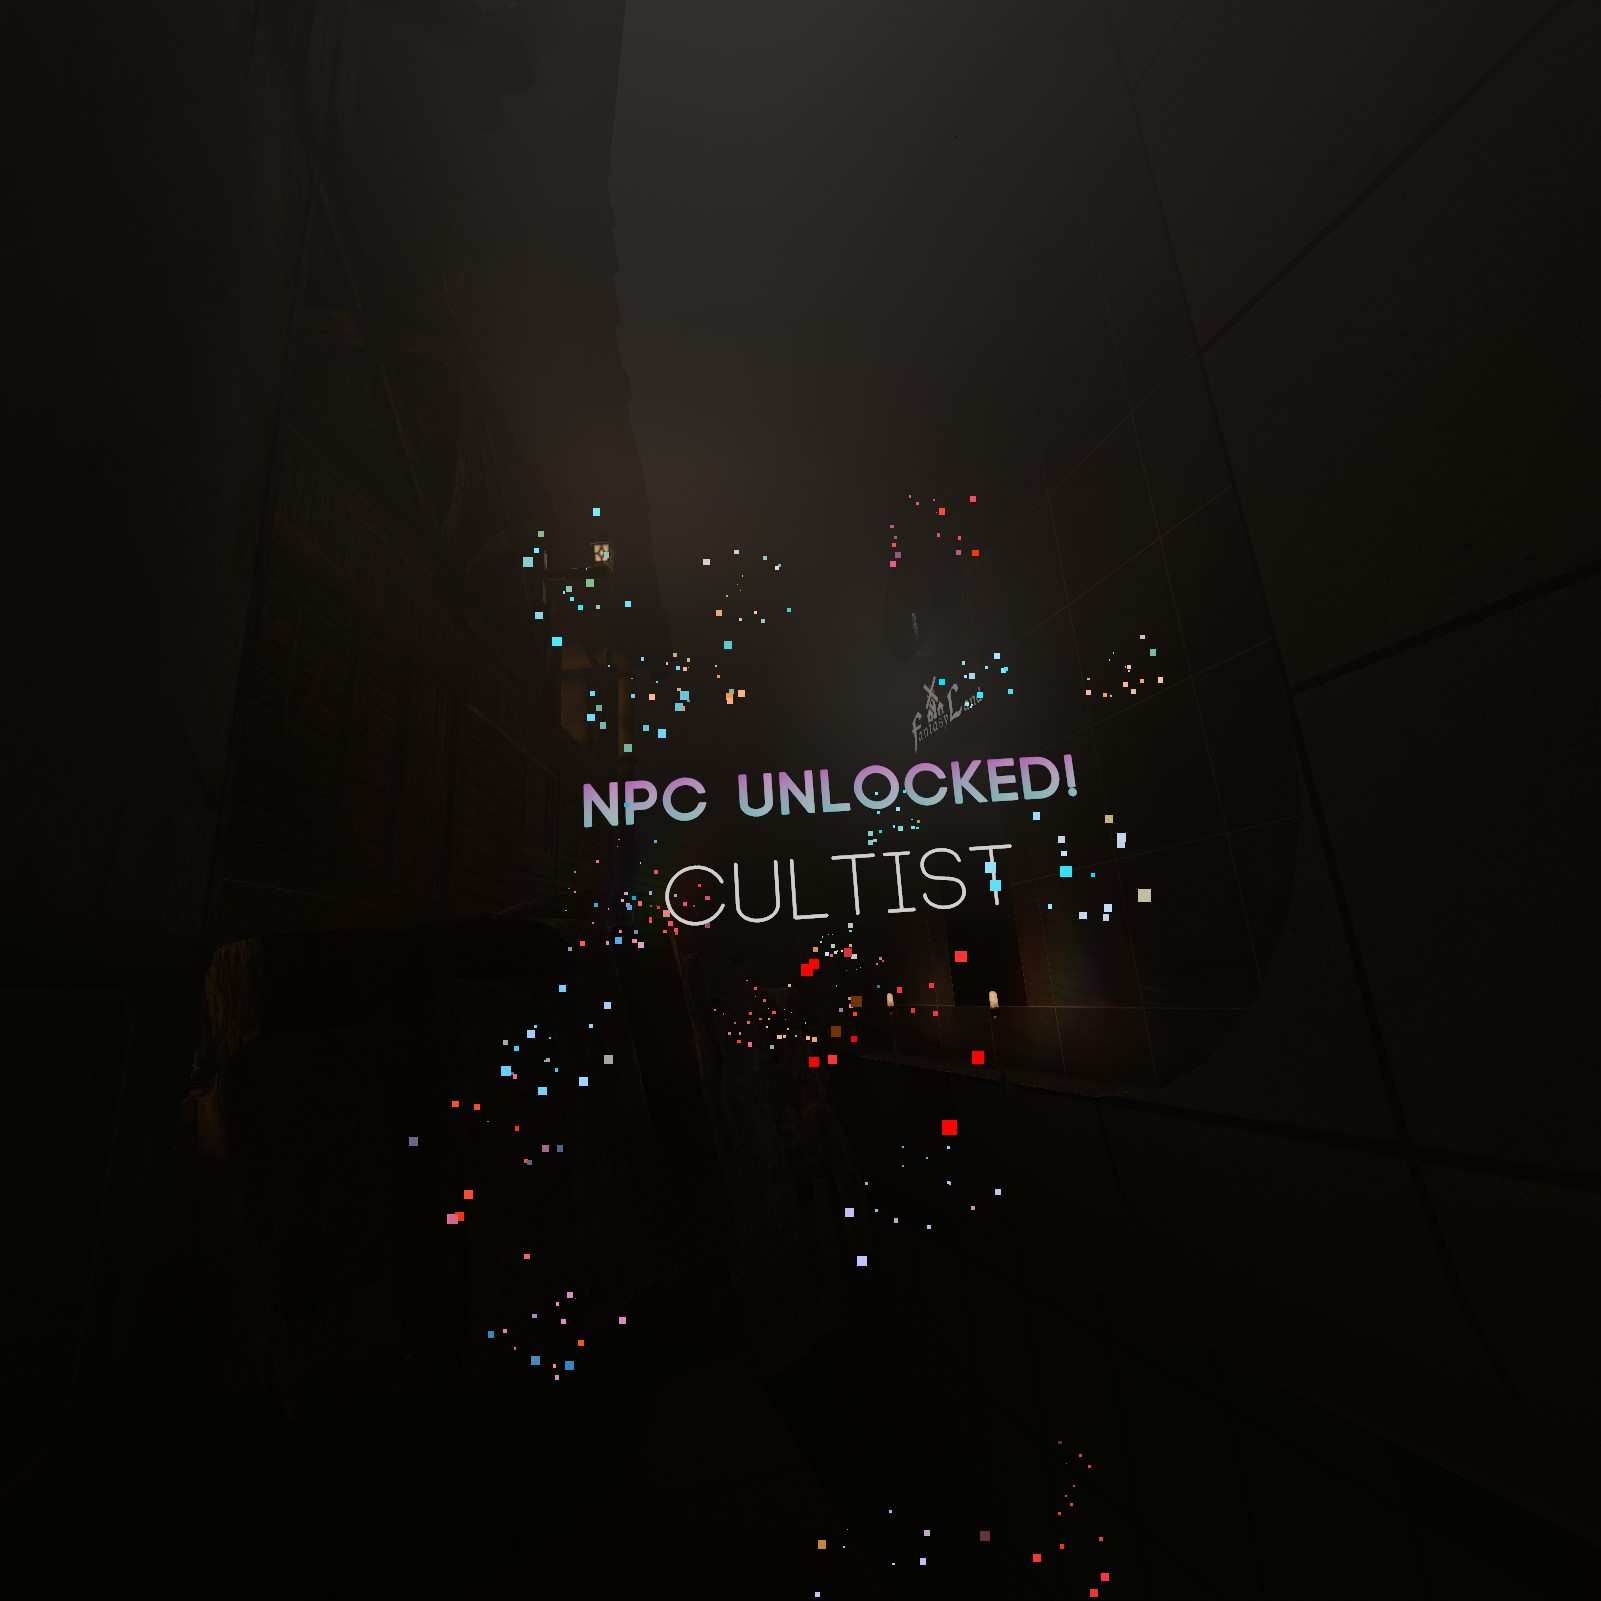
Cultist:
The cultist were omni robots all along… Not sure how to feel about that. Hidden just near this cliff wall.

The Bonelab (Part 3)
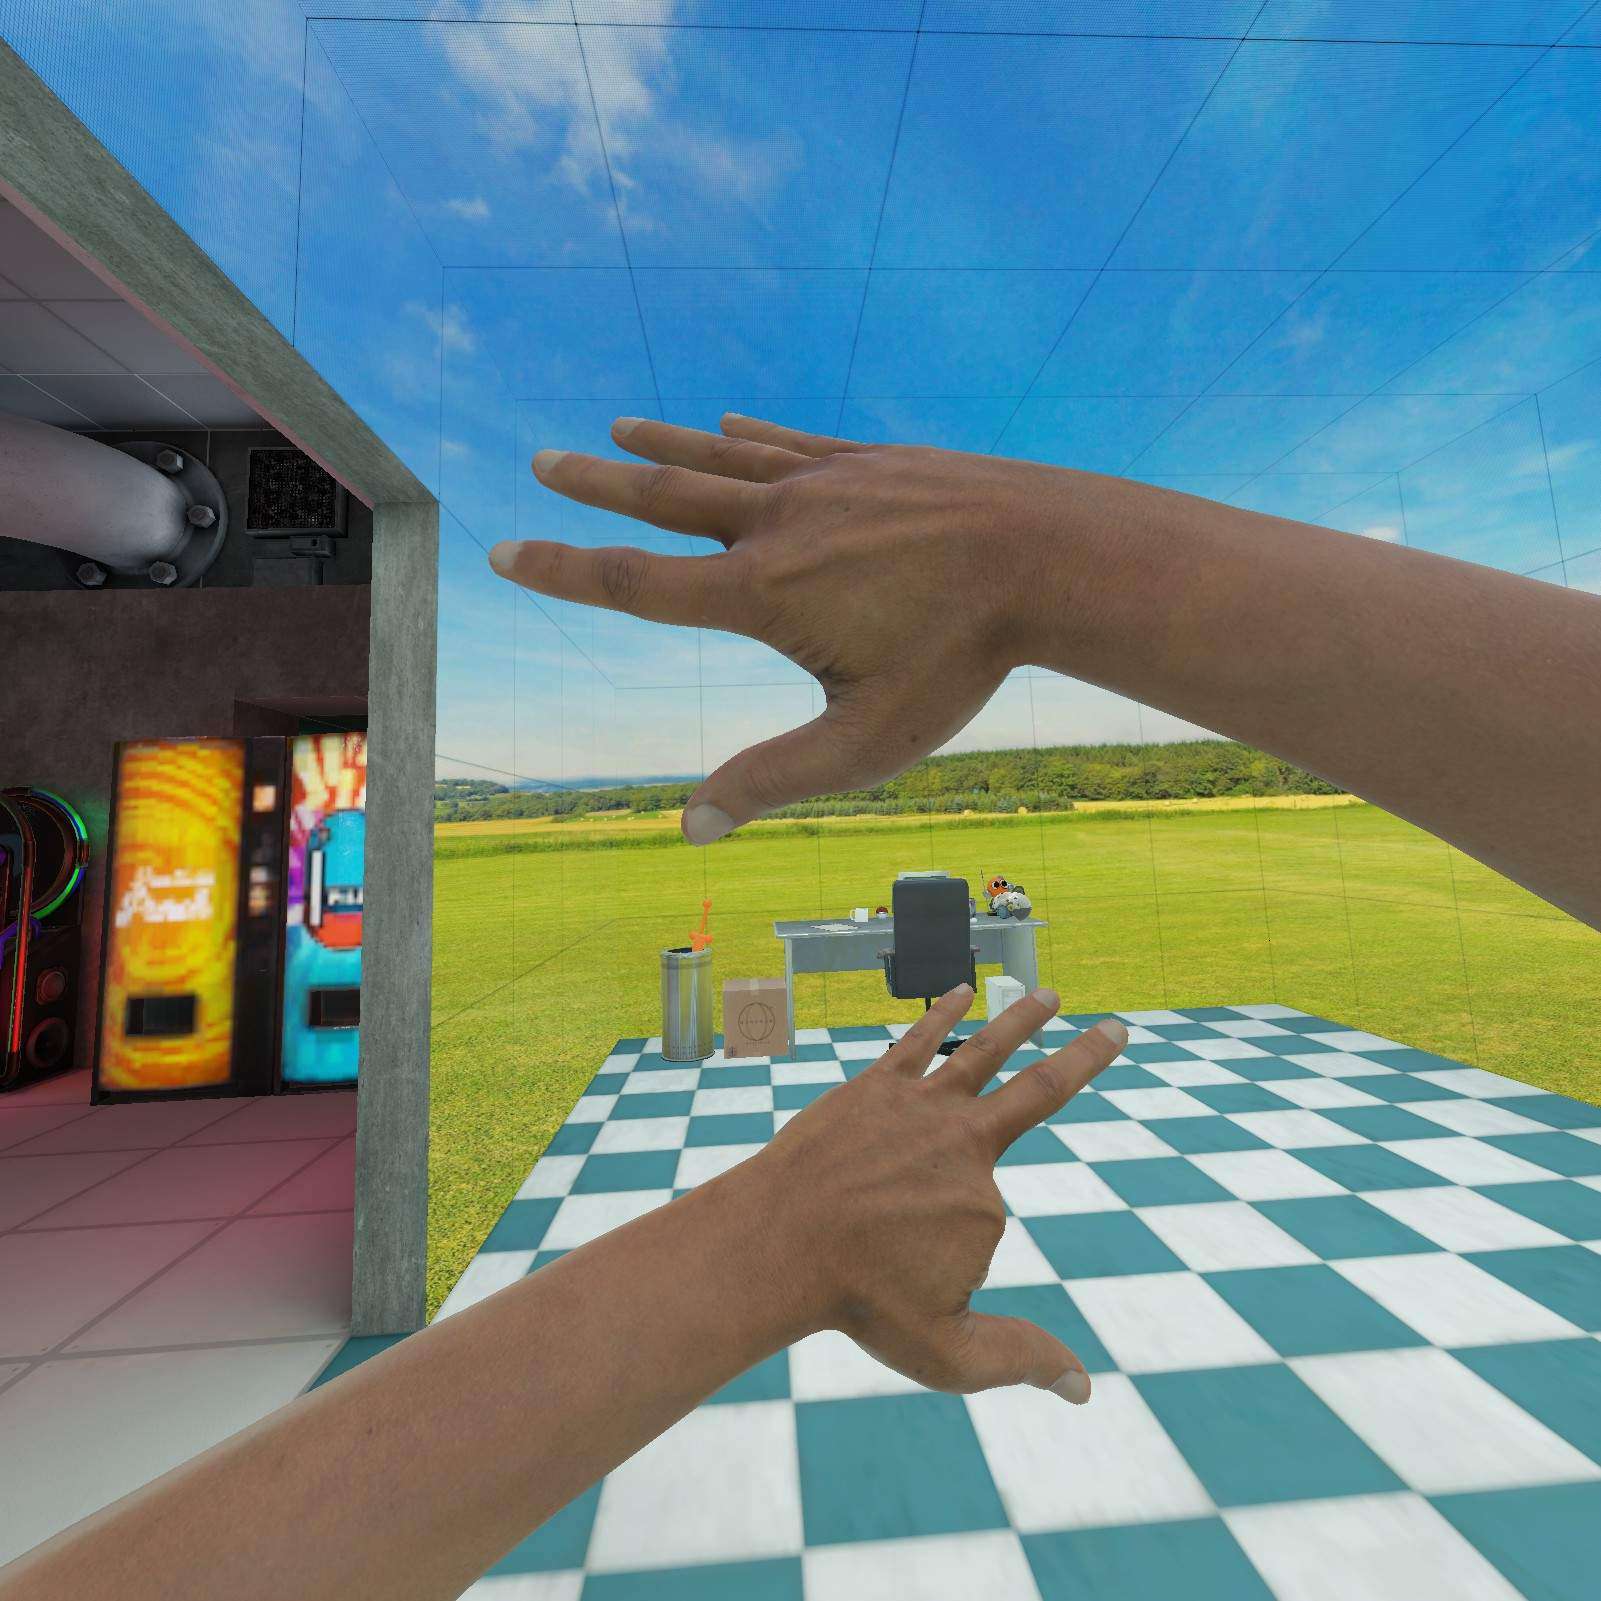
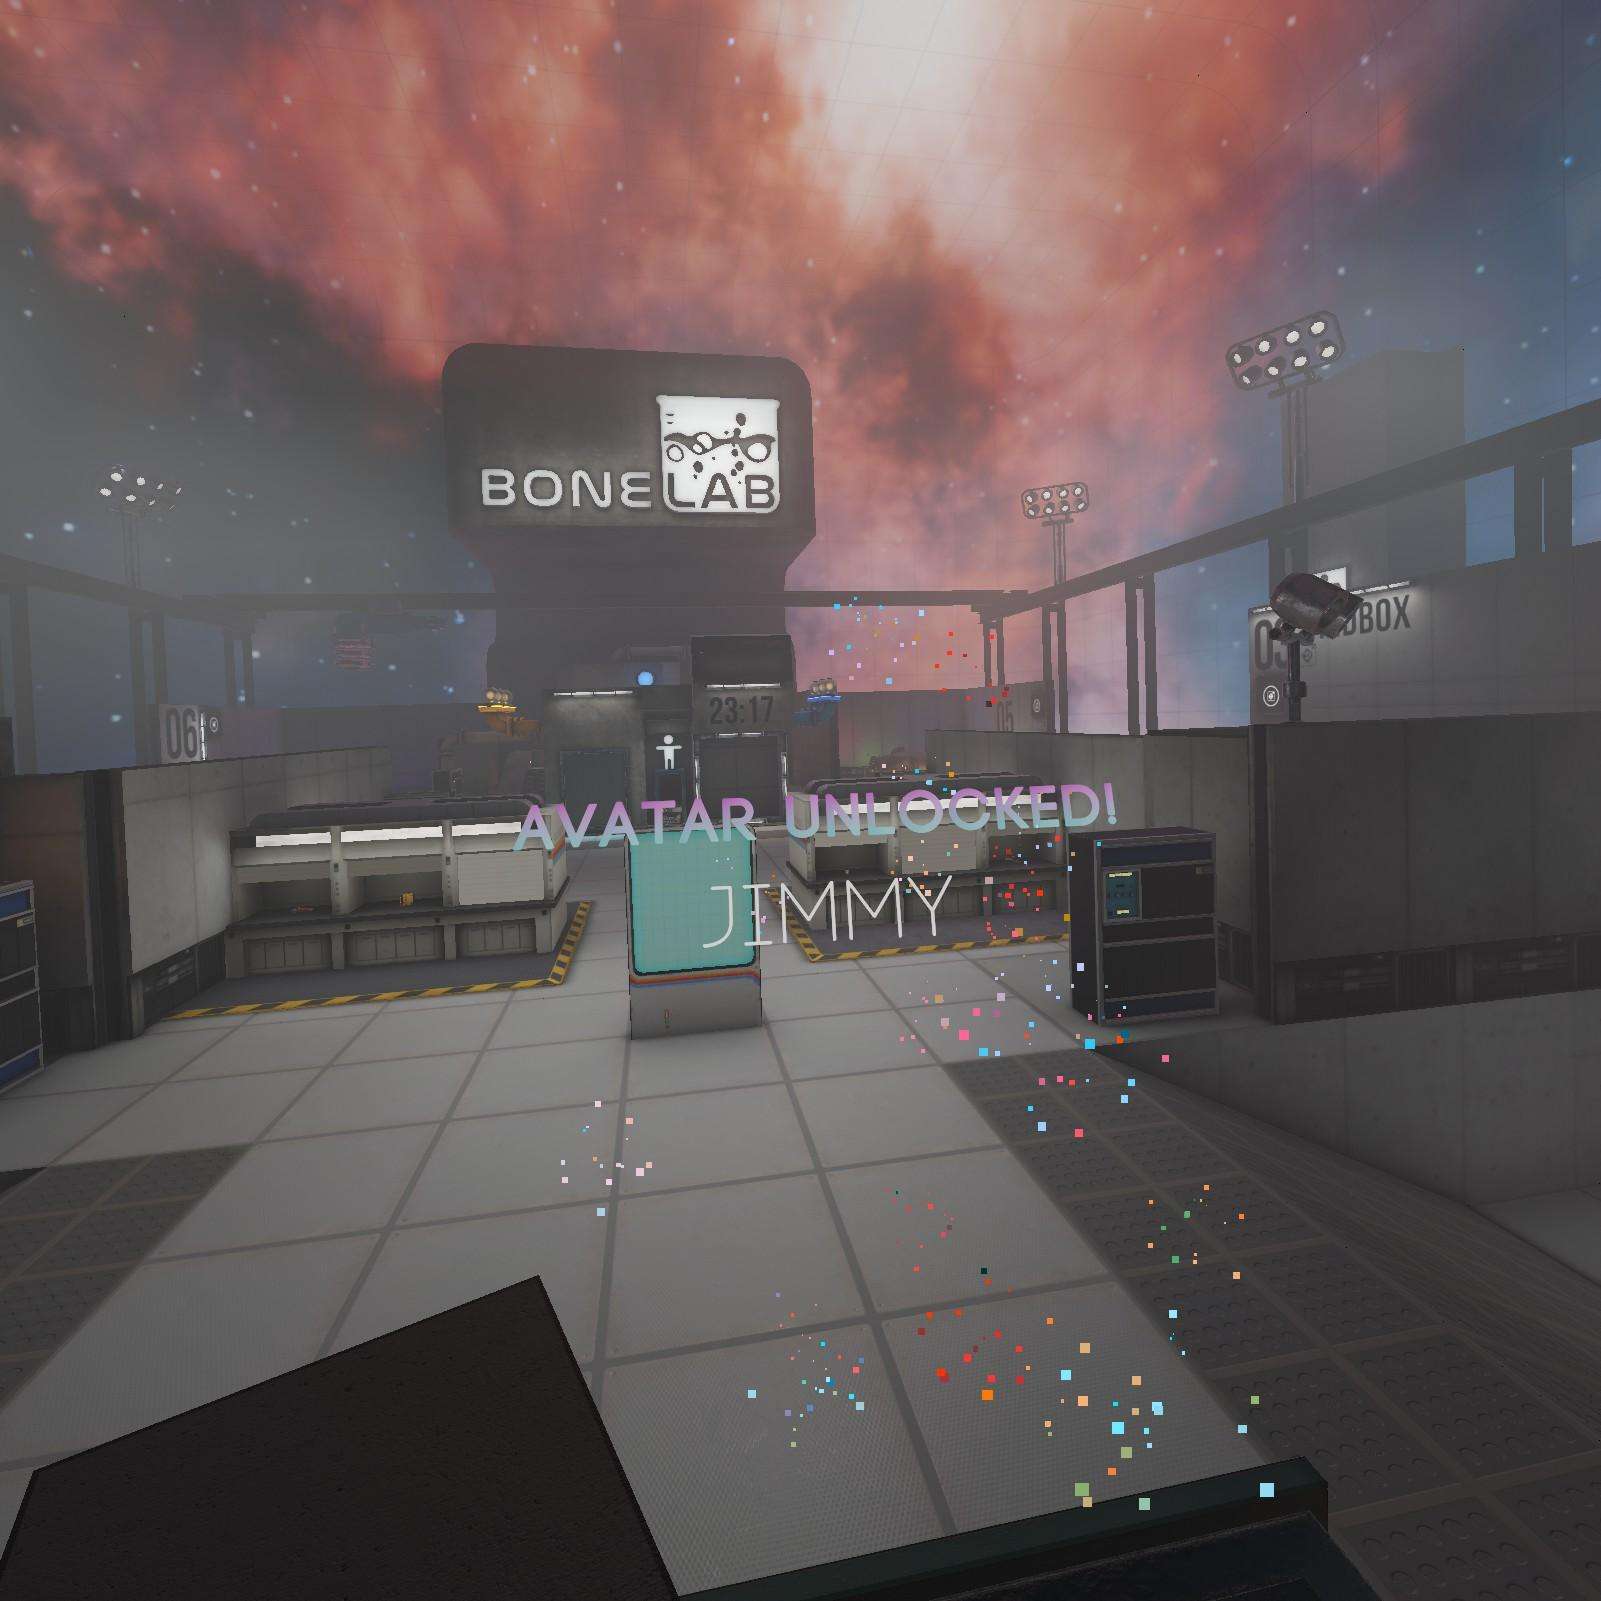
Jimmy:
You thought we were done? No! Now we need to grab some stuff that just appeared in the Bonelab. You’ll need to play till you get back. Jimmy is hanging out on top of the elevator.
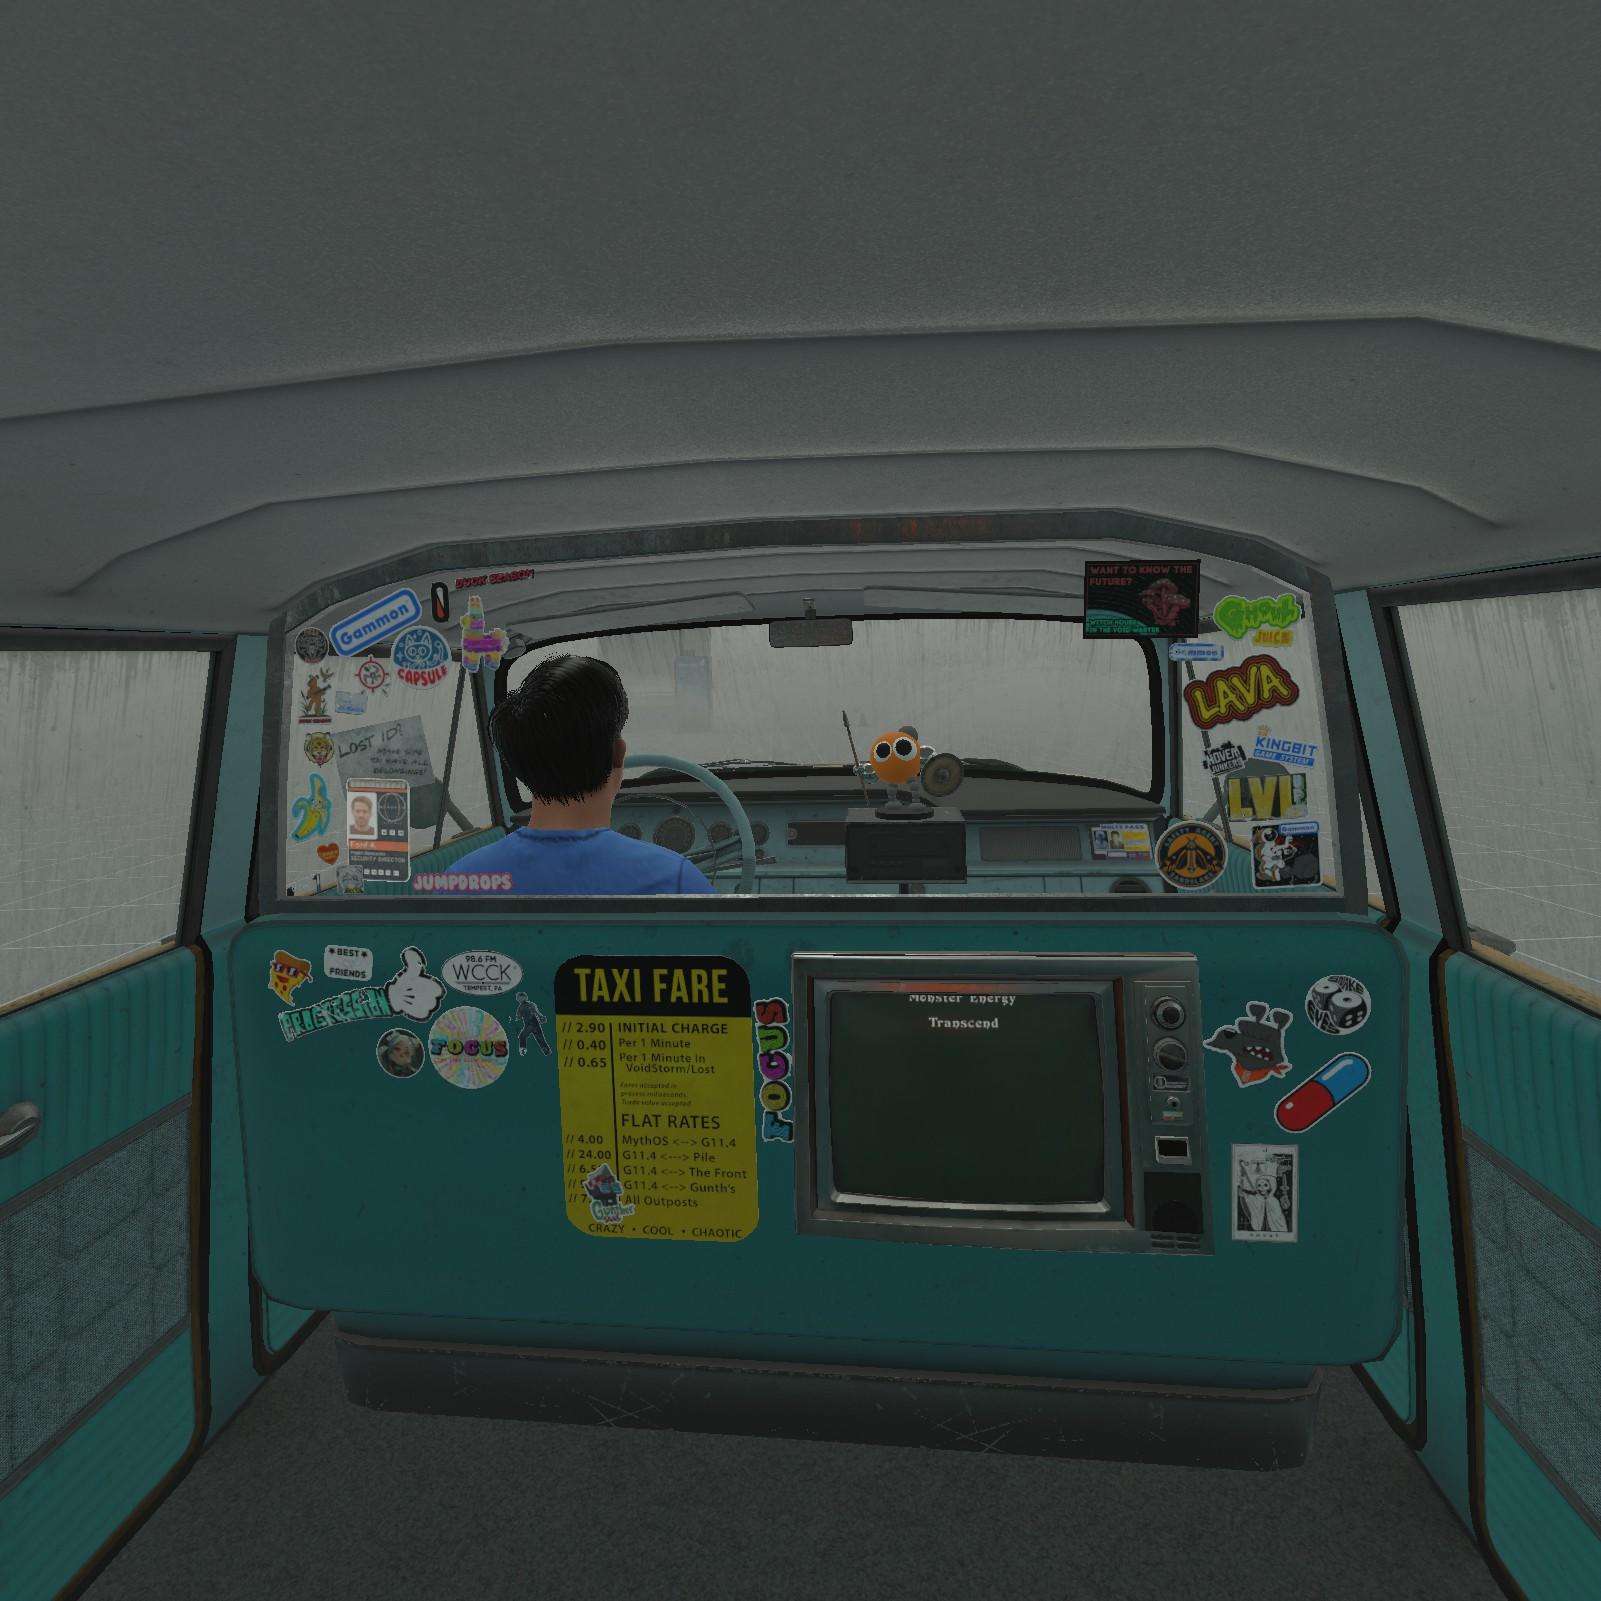
Ford:
Oh what up son?

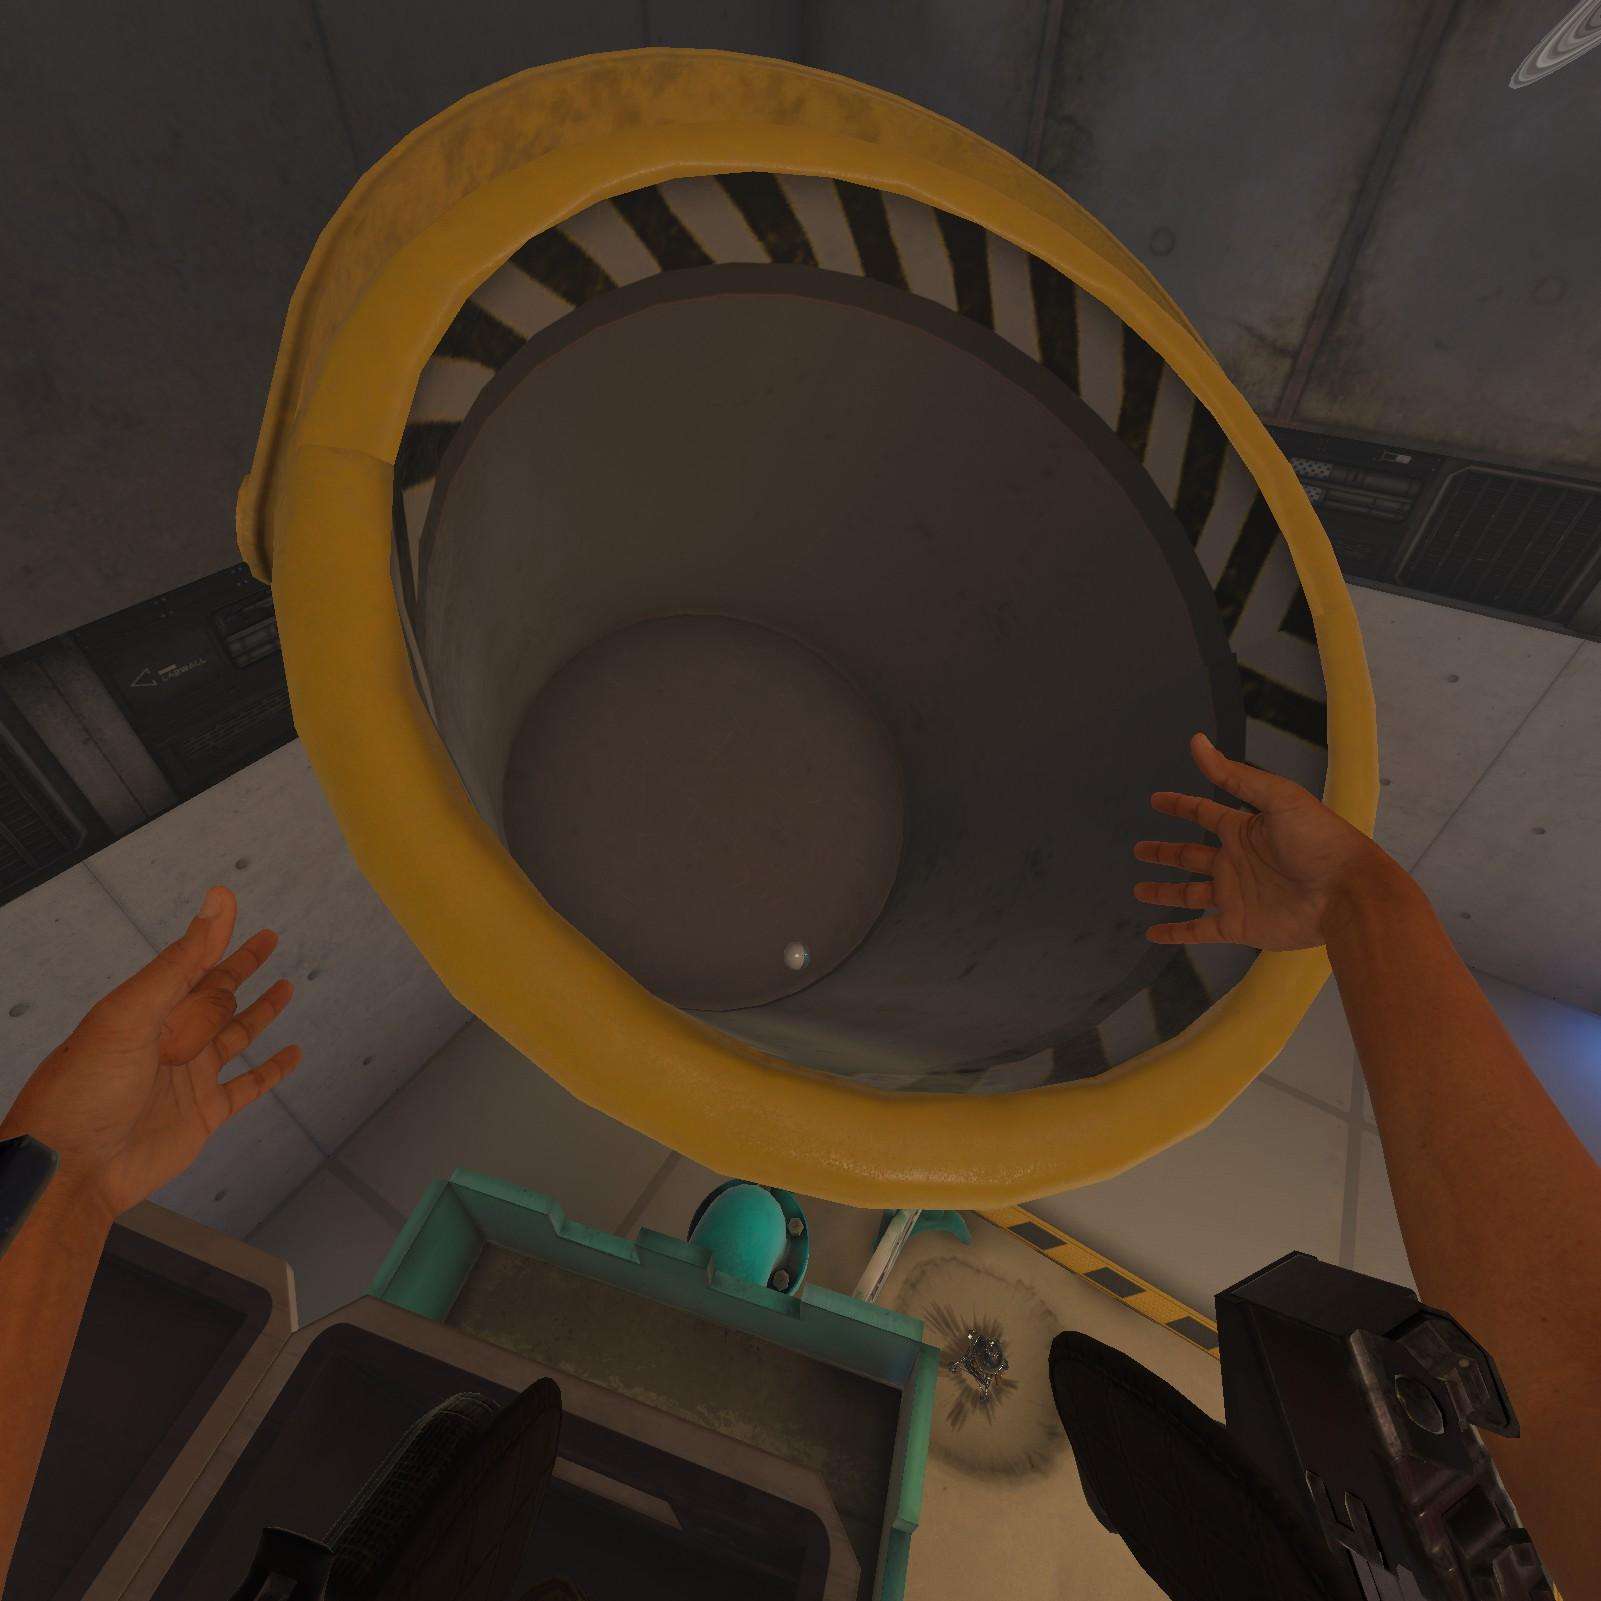
Nimbus Gun:
The bucket is no longer empty. Look inside for the nimbus gun.

Spawn Gun:
To the right of the crane controls that we didn’t use in this run now lies the item spawner. I think grabbing this alongside the nimbus gun unlocks the dev tools in your pause menu on your next load in.
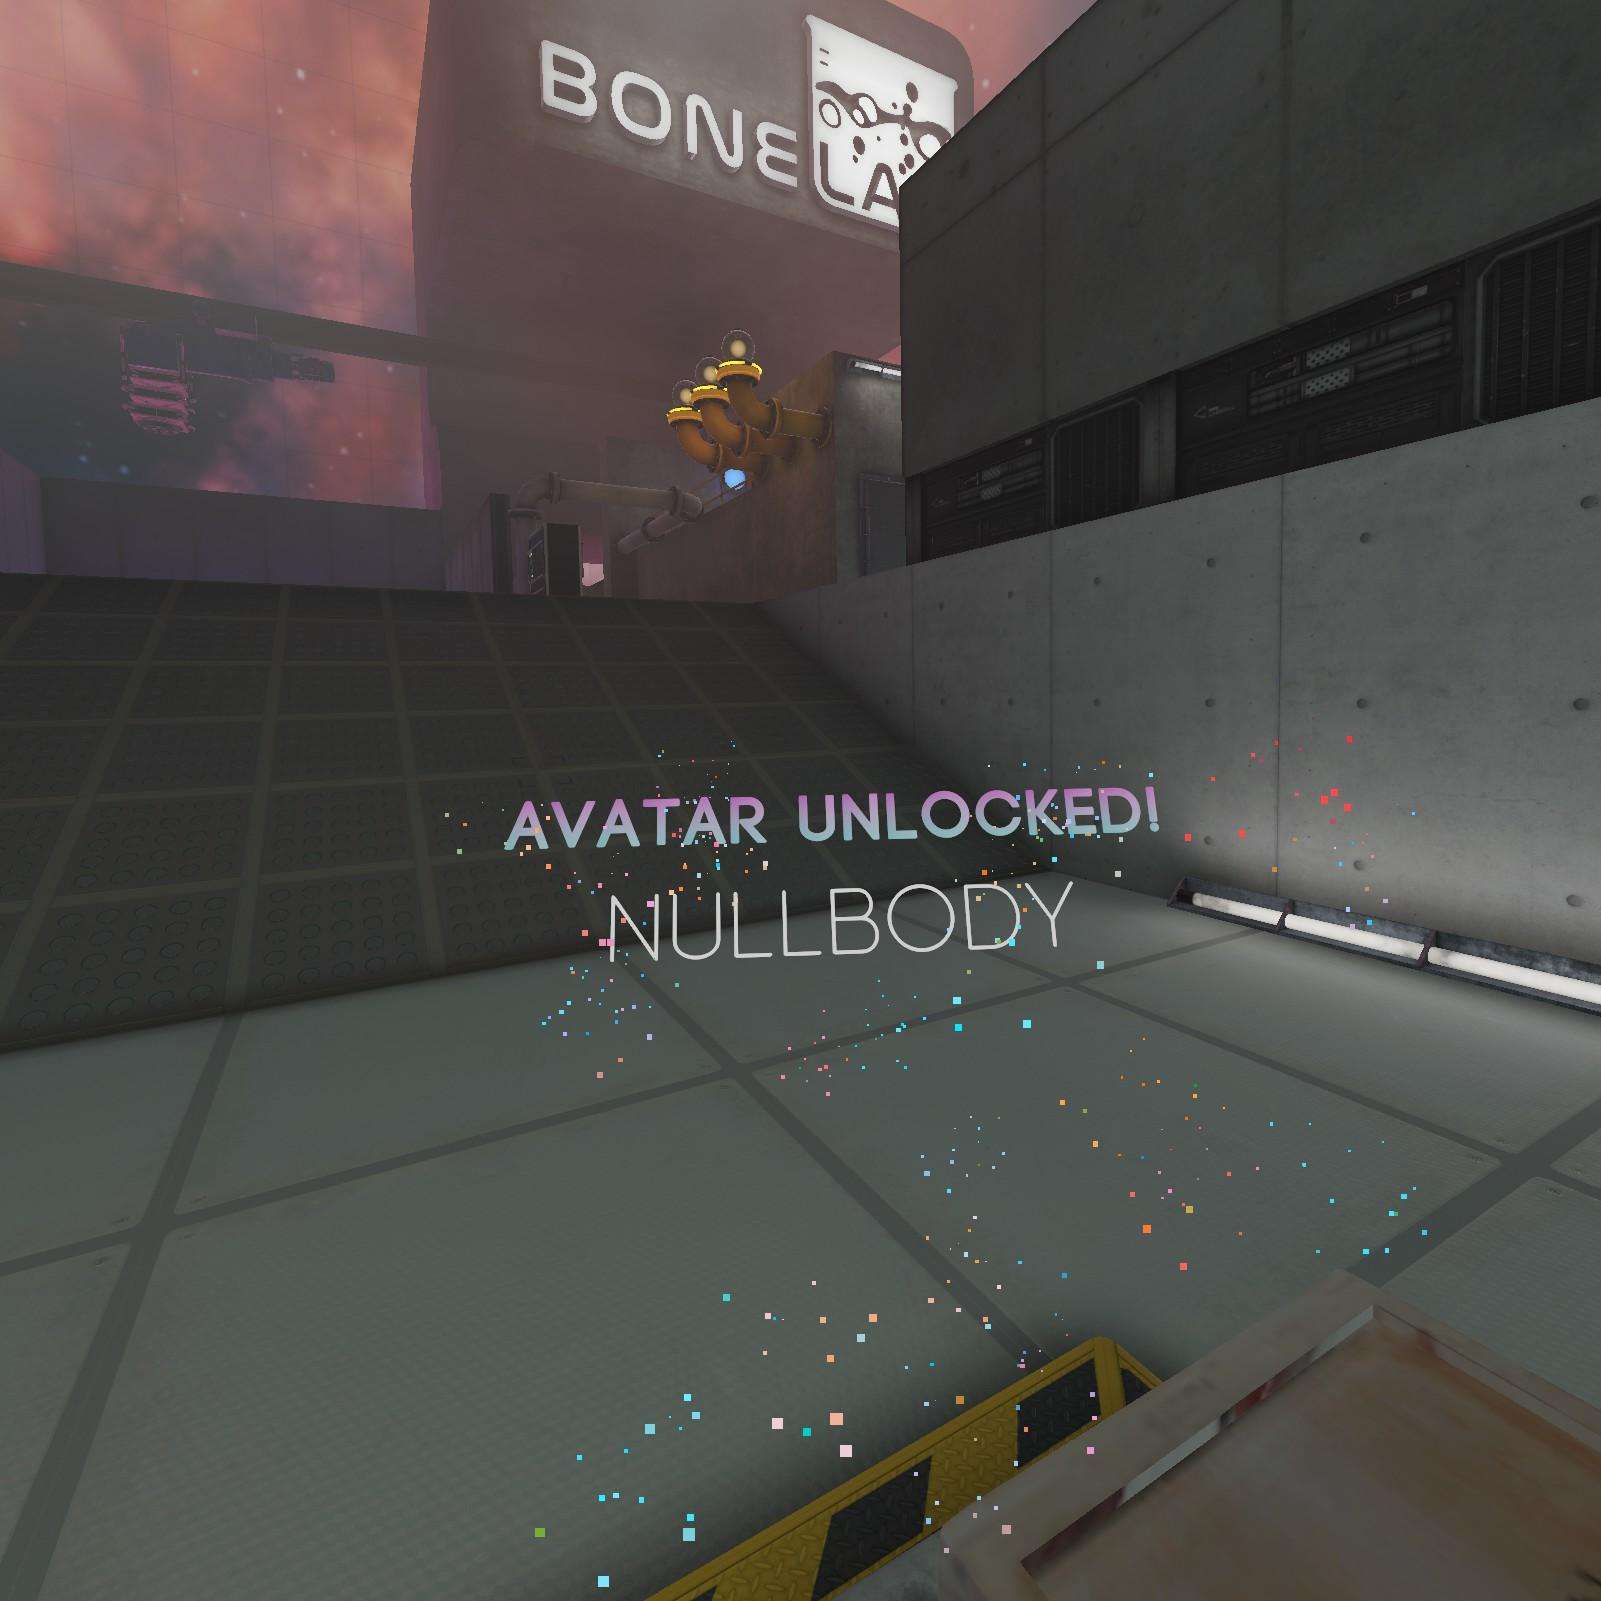
Null Body:
In the dumpster there’s a Null body capsule. Not much to say about it.

DS Dog:
This is it, the last, non bugged capsule of this list. Its been quite a journey thus far, and we still need to go a little farther for the remaining stragglers, but now you can officially say you have most of the capsules in bonelab. The Dog from duck season is hiding well above the SLZ offices. I’d recommend the nimbus gun, I was just too lazy to restart the level. Its way in the back right corner here.


Hey! Thanks for the guide, really helped with finding some of the trickier capsules.
One note, the P350 capsule is in the Tac Trial version of Neon District. I wasn’t able to find it in the Parkour version.
yo where is the gun in the museum basement I’ve been looking for hours
In new update, you can unlock the skeleton avatar in the hell arena.
Go to the left after getting out of the starting gate, jump across the three stones, and it should be right there.
yo, the 2 unknown items you unlock from shooting the gatcha cutouts in mine dive are the gym trapezoid E for the first one in the target range, and the pickaxe melee weapon for the second one in the actual rollercoaster part. hope this helps lol
I just confirmed the shopping cart capsule that luigi trollface mentioned in Tuscany. It’s directly behind where you spawn, the house has a red roof, closest to the tower. There’s a crate with the shopping cart capsule
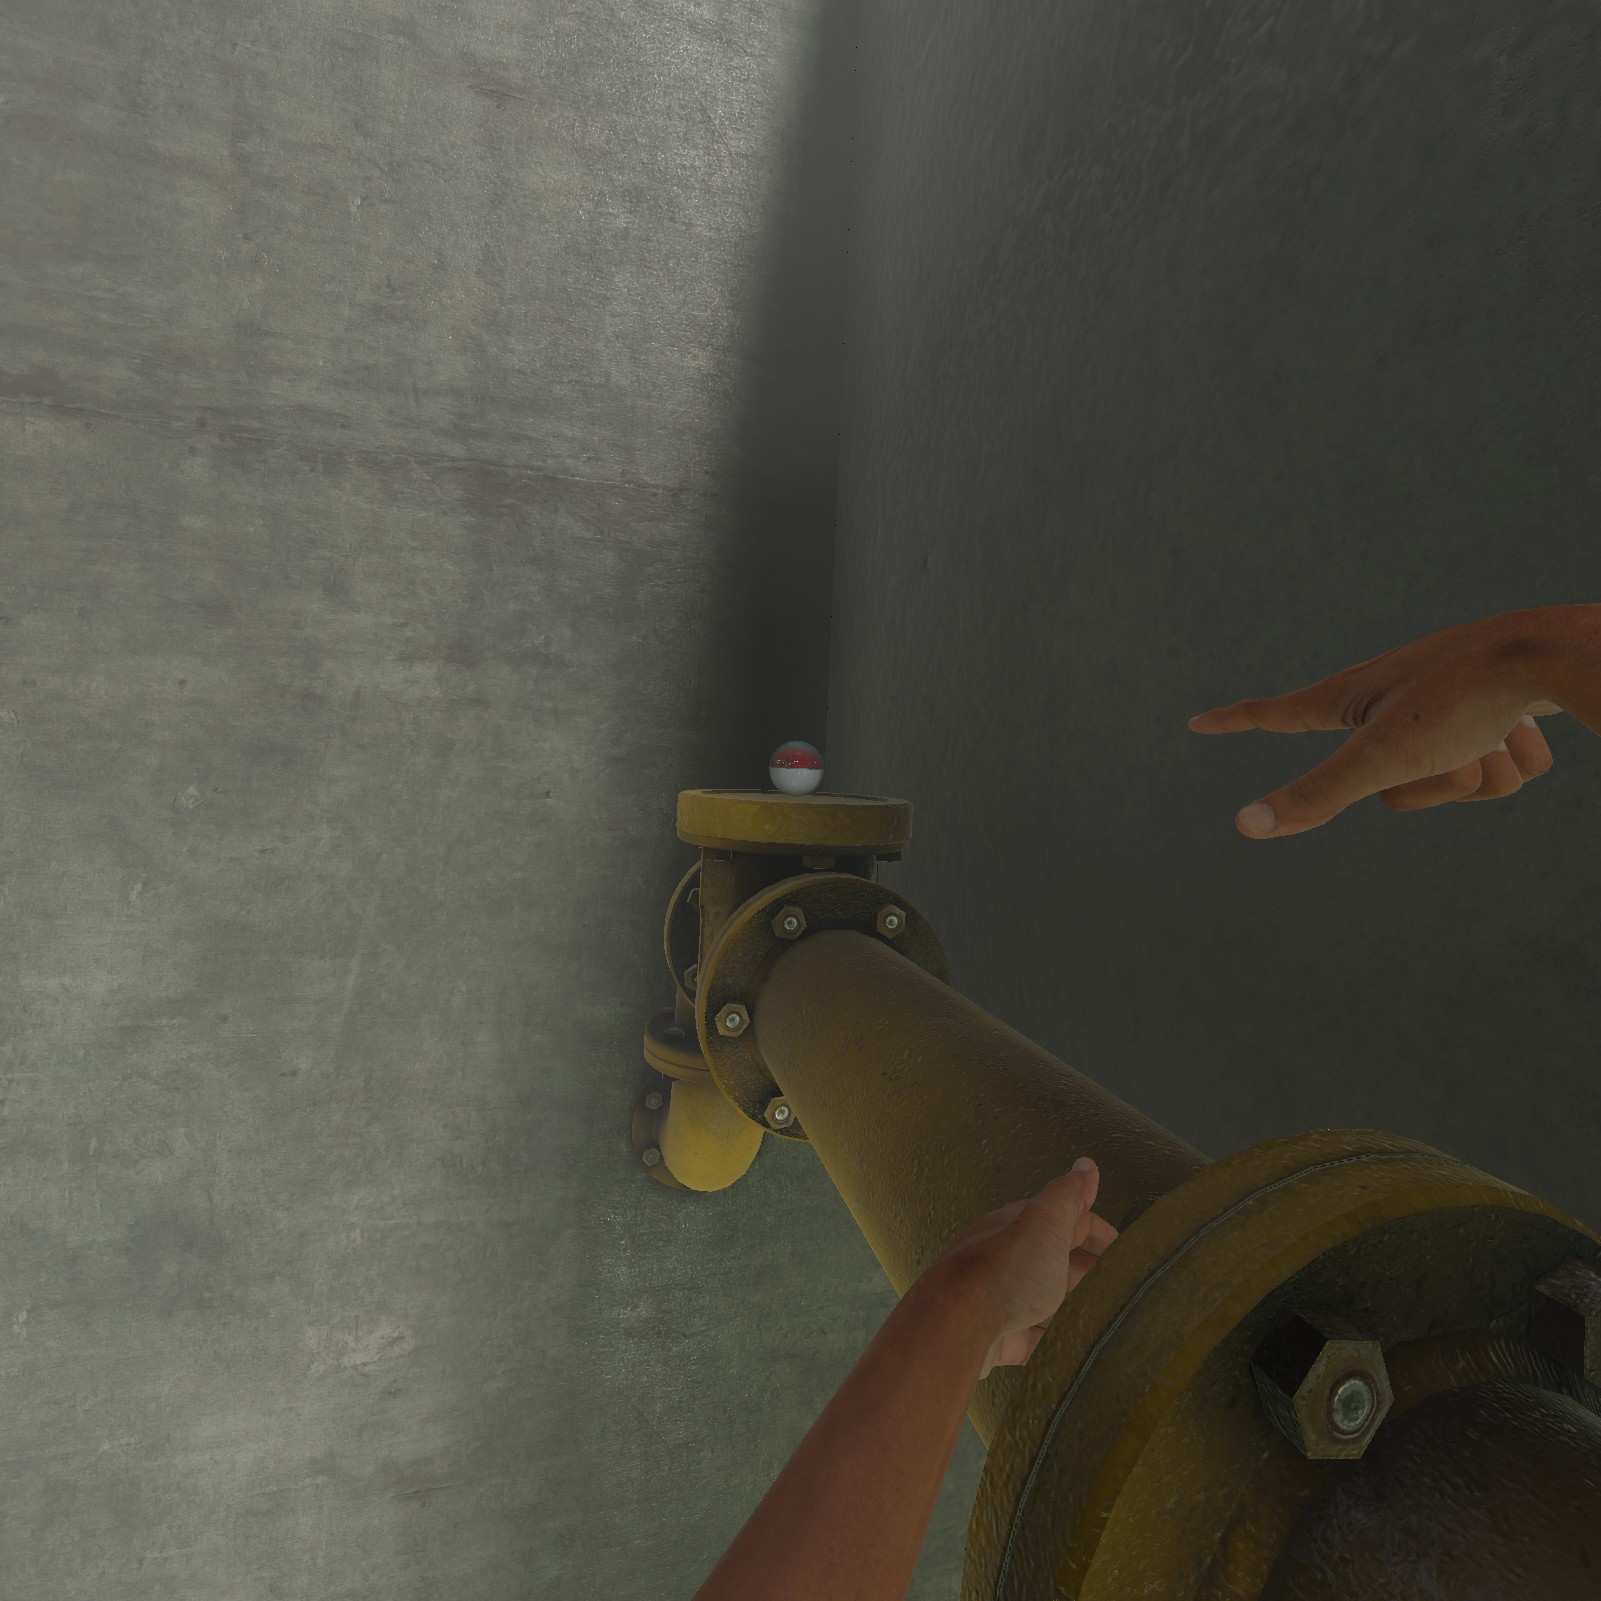
I found a new capsule! On the opposite side of the room with the MP5K Holosight, there’s a massive pipe. It’s on top of that curve in it. I had a lot of trouble climbing up there, the pipe is super glitchy, and it disappeared when I glitched off and died. It might also just be a crablet.
I just found one in the electric room under the escalator where ya find the hexagon container. in there is trash bag A…I didn’t see it in your list if it is and I missed it sorry
One of them, the M1911 is supposed to be unlocked at the start, but is currently bugged, wait for an update, or get a 110% developer save file from mod.io.
Another one thats missing is on Moon Base level. On the highest Tower next to the SLZ Card there is the Gruber Pistol capsule
You missed the AKM on Pillar Climb (or Tower Climb as you put it in your guide). Once you get to the top, if you look down off the back of the tower, the AKM capsule is sat on top of the rock formation.
Thx so much for the collection!
I collected about 70% on my own and were missing some you had in the guide. One that I remember on the top of my head you haven’t listed is in Tower Climb level. When you walk past the Avatar Capsule and look down on the platform you’ll find a capsule on a rocky ledge. Can’t remember what’s inside tho
you missed the shopping cart, its in tuscany, on one of the houses in the distance, forgot which one exactly tho
Found one in monogon motorway, behind the shipping container