Just some quick tips for beginners on decal creation. Whether you’re on the girder or looking to drift right into it, this quick read will start you off on the right side of the road.
Tips and Tricks on Decal Creation
Inspiration
If ya wanna make something cool, but dunno where to start, there’s always new posts in the Artwork section of the Community page. You can Google search “racing stripes vector” or similar phrases to get some generic stock photo car designs. Even other video games such as Rocket League have hundreds of decals.
Personally, I dove right in without thinking while in a voice call with a pal of mine. A few terrible ideas later resulted in this abomination:

A sussy W101010D probably isn’t the most inspiring thing… Let’s just move on.
Before You Start
In the “Instructions.txt” file found in the game’s Decal folder, our pal Fábio left some very important tips. You can access them yourself by hitting Enter in-game while your cursor highlights a Custom decal option.

These are critical to know before starting, so give them your full attention. For the sake of convenience, I’ll paste the text here as well:
So you wanna put some SICK DECALS on your ride? Just grab the template files, open them in your image editor of choice and have fun!
You can keep the game open while you work on these. In fact, that’s actually preferable. Edit the file as you see fit, then in the car selection menu reload/update the image to see how it’s looking!
Some important points to keep in mind!
- Make sure you keep the same file names, or the game won’t be able to see them. This includes file types, it must be a PNG.
- Image sizes other than 2048×2048 can be used, but they must be powers of 2 (2,4,16,32,64,128,etc). The limit is 4096×4096. This may affect the game’s memory usage a bit, though.
- If you need to reset the file to it’s template for whatever reason, just delete it and restart the game, it will create a new one for you.
- This text file is redone every time you boot the game to make sure it’s always available, so don’t use this for personal notes, ok?
If you need an image editor that supports transparencies, free options exist such as:
- Krita.
- PaintdotNET.
- GIMP.
I’ll be using PaintdotNET for this guide, since it’s the program I’m most familiar with. If you have none of these programs, it would be the one I recommend if you don’t intend on drawing your own designs, or you want a fast download.
Preparing the Canvas
To get started, open up PaintdotNET (“PDN” from now on).
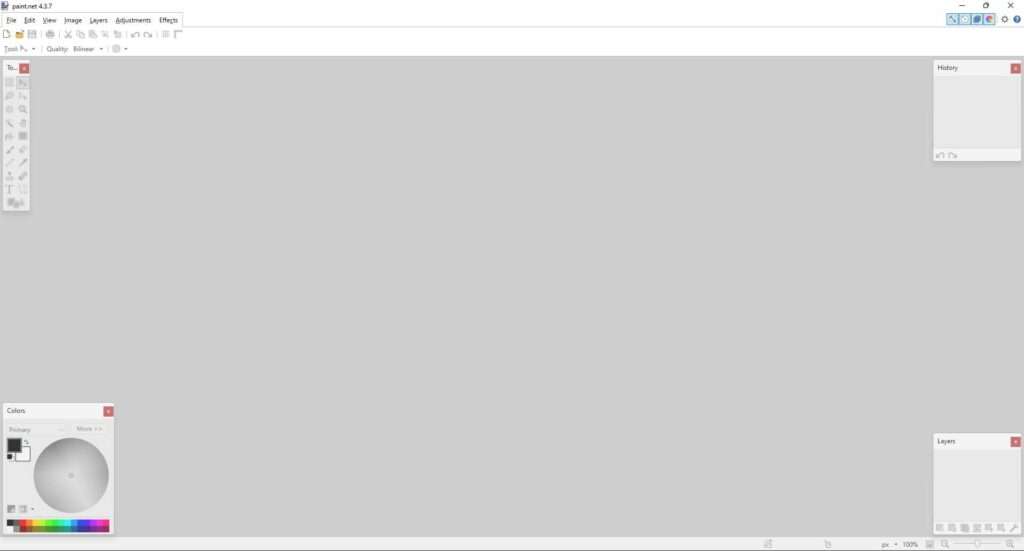
You’ll be greeted with a blank workspace. Typically, you’d push Ctrl+N to create a new canvas, but a drag and drop of any image file also does this for you!
Navigate to your decals folder using the same method as before, and drag whatever car you’d like into the PDN window. I’m going to choose “Decal 1 – Ferrero – Slot 1”
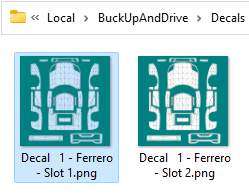
You can always pin the folder to Quick Access in File Explorer to get here faster.
Now, you could start drawing all over this thing right away, but…
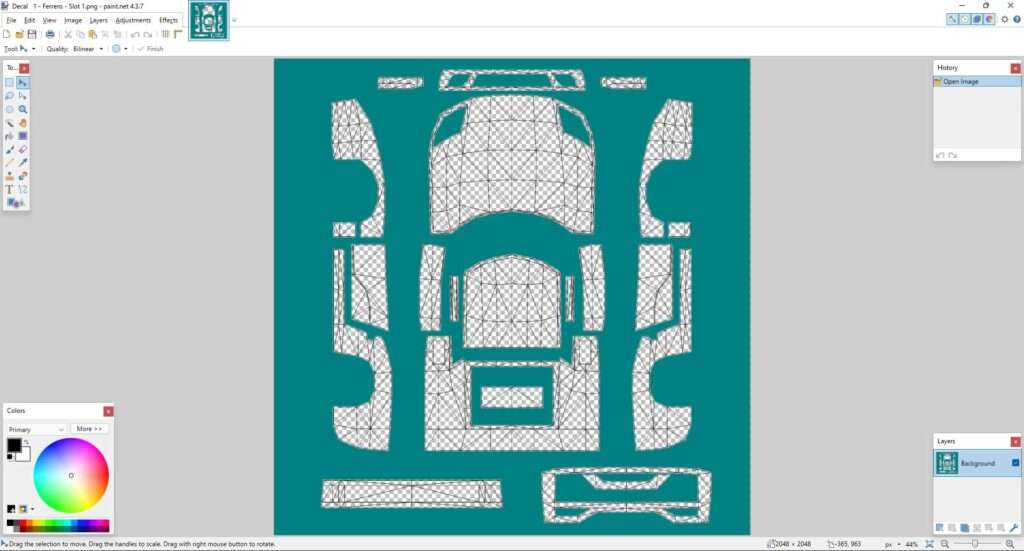
If you make any changes right now, you’ll be saving over the starting file the game has given you to work with. Let’s first make a copy. Hit Ctrl+Shift+S, or use the File button in the top left of the window and navigate to Save As… When saving, the default file type is a .pdn file. This file is useful since it remembers things such as layers, and your action history (for easy undo spam!)
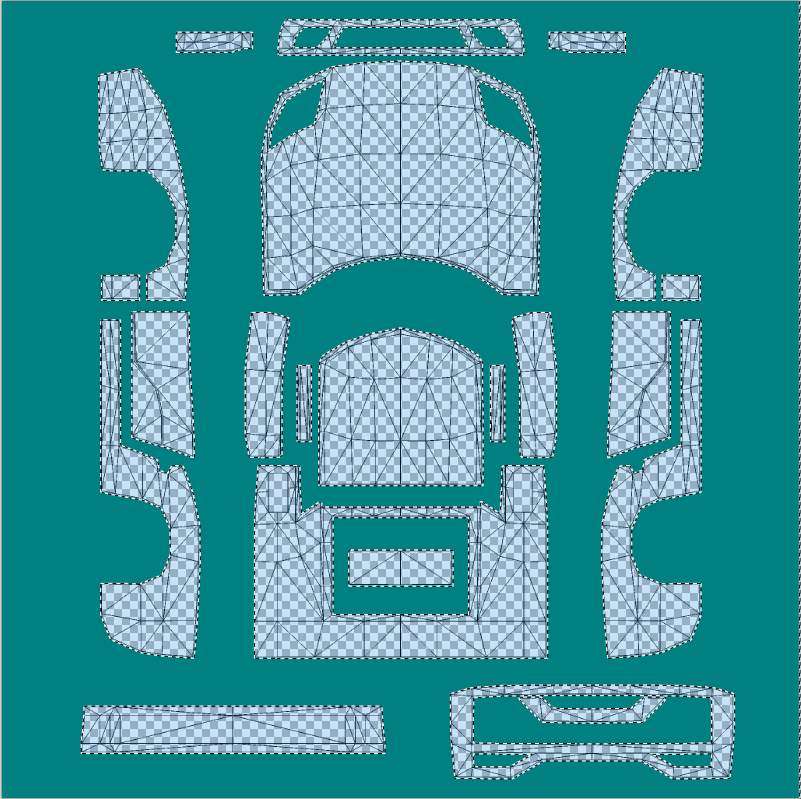
Before you make any changes!! Understand that the green area in this image is the background, and the transparent area is your car. Drawing in this transparent area will make changes to the in-game Custom 1 car when saving over the original .png file.
On the left are your Tools, (which you can toggle with F5), and the first thing you want to select is the Magic Wand. By clicking on your image, areas of similar color will be selected. With this knowledge, we first want to get rid of all the polygonal grid lines plaguing our soon-to-be amazing design. If ya leave the wireframe on, you’re gonna see it in-game, too.
With the Magic Wand selected, use Ctrl+Click and continue to click on all of the green areas (left).
After all the green is selected, push Ctrl+? to select the Inverse of what is already selected (right).
This will select all of the transparent pieces of the car, as well as the wireframe. Now just push Delete on your keyboard to see it all disappear!

Quick Pit Stop
I’d like to suggest this nifty little pack I made full of ready-to-use.pdn project files! Each texture file has a toggleable wireframe layer in the bottom right for precision painting. Now you can always have a car ready to paint on without repeating the previous section!
Just my little way of saying thanks for reading.? Here’s the drive link to the zip.
Let’s Get Stylin’
Regardless of the car, the top of the image is the nose, and the bottom is the rear. If ya can’t figure out what part something is, you can always scribble around on it with the Brush Tool (B). You can drag in any kind of image you like and use it as a sort of sticker. In this example, I dragged a checkerboard pattern I found online into a new canvas. I needed to make the white squares transparent, so all I would have is the black squares on the car.
And, uh…
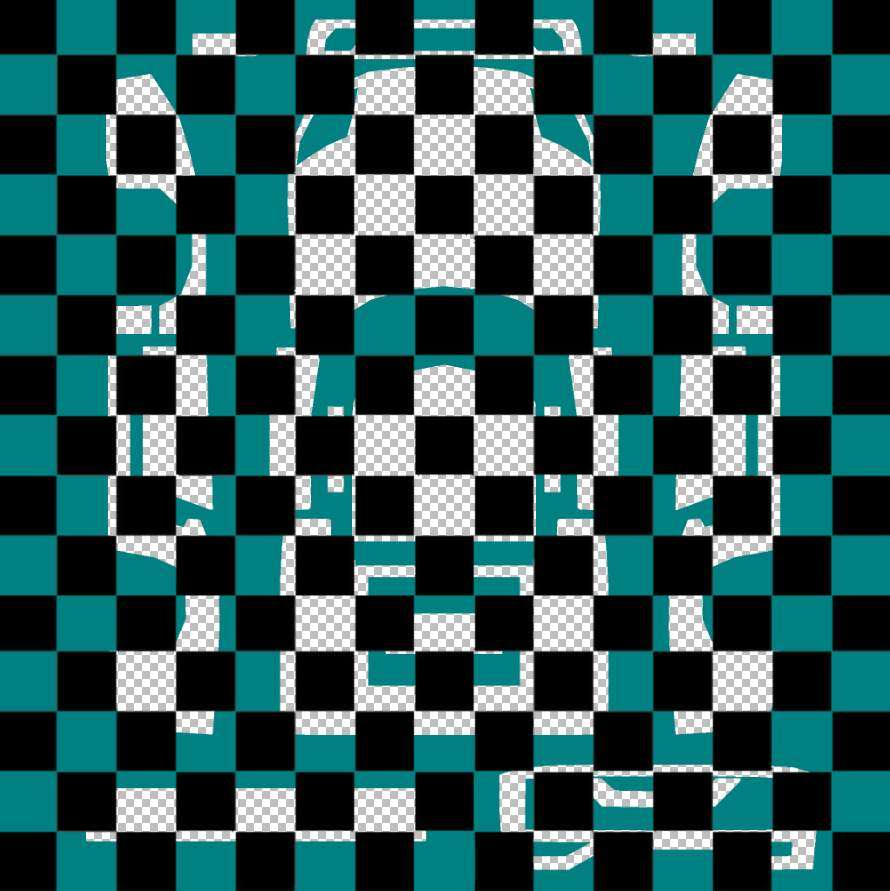
I’ll admit, I just kinda slapped it on there.
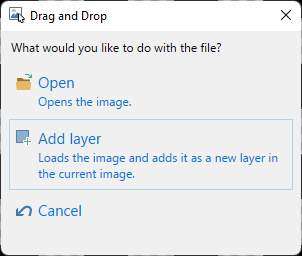
If ya wanna take this sort of approach, make sure you select “Add Layer” when dragging in your source material. Use the Layers window in the bottom left to select which layer you are on. The highlighted layer will be the one that receives changes, and the layers highest on the list will always appear on top of what is beneath them. Checkmarks will show or hide layers, and when you save as a .png, any hidden layers will not appear.
Here’s what it looks like on Purple! Not bad!
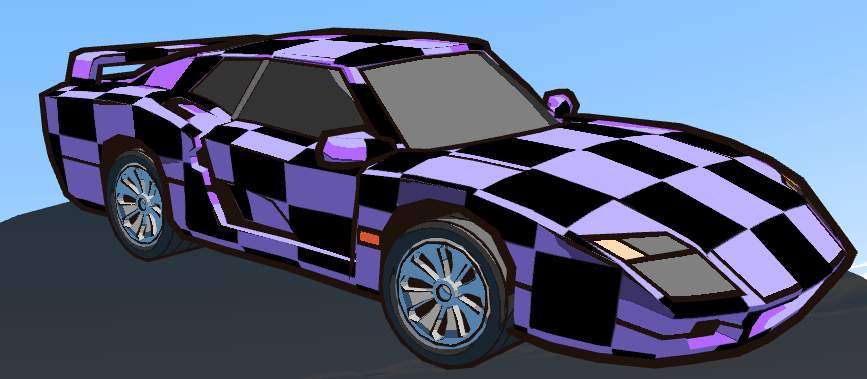
I’m only able to get away with being lazy like this since you aren’t able to affect to green background.
If you want to be more precise, you can use the Magic Wand Inverse Selection trick from earlier to select the blank space, and while it’s selected, paste your source into the layer where the wireframe used to be.
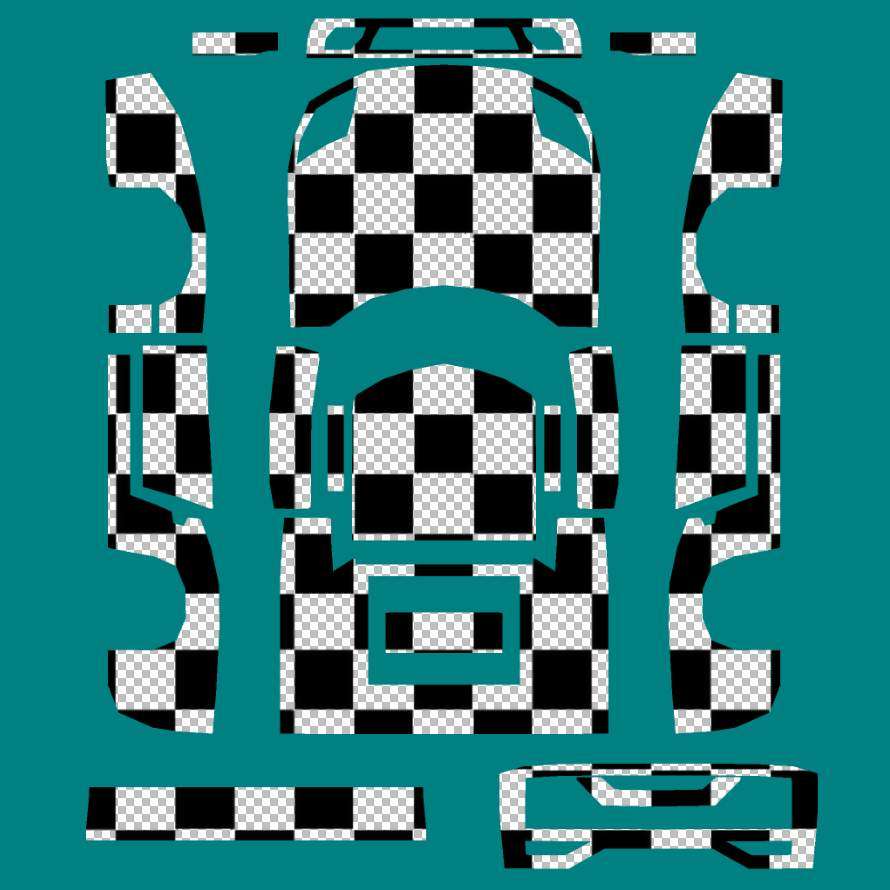
Your texture files will look a lot cleaner now, although your car won’t look any different if you had done it this way instead of the lazier method.
So, in a nutshell, paste whatever ya want on your car! If there’s something you want to be transparent, but isn’t you can always drag an image onto a new canvas, use the Magic Wand, and delete the space around the sticker you want.
Finish!
Whenever you’re done, Save As…, select .png from the drop-down, and save over your “Decal 1 – Ferrero – Slot 1” file, and see your changes in the car preview screen!
With a custom decal selected, and in the Rotate Car view, you can toggle auto updates to see your car’s changes with every save over the .png in the Decals folder.




Be the first to comment