
A small, secret by secret guide to quickly break down 100%’ing the “Interlude” chapter/map.
How to Complete Interlude
Secret 1
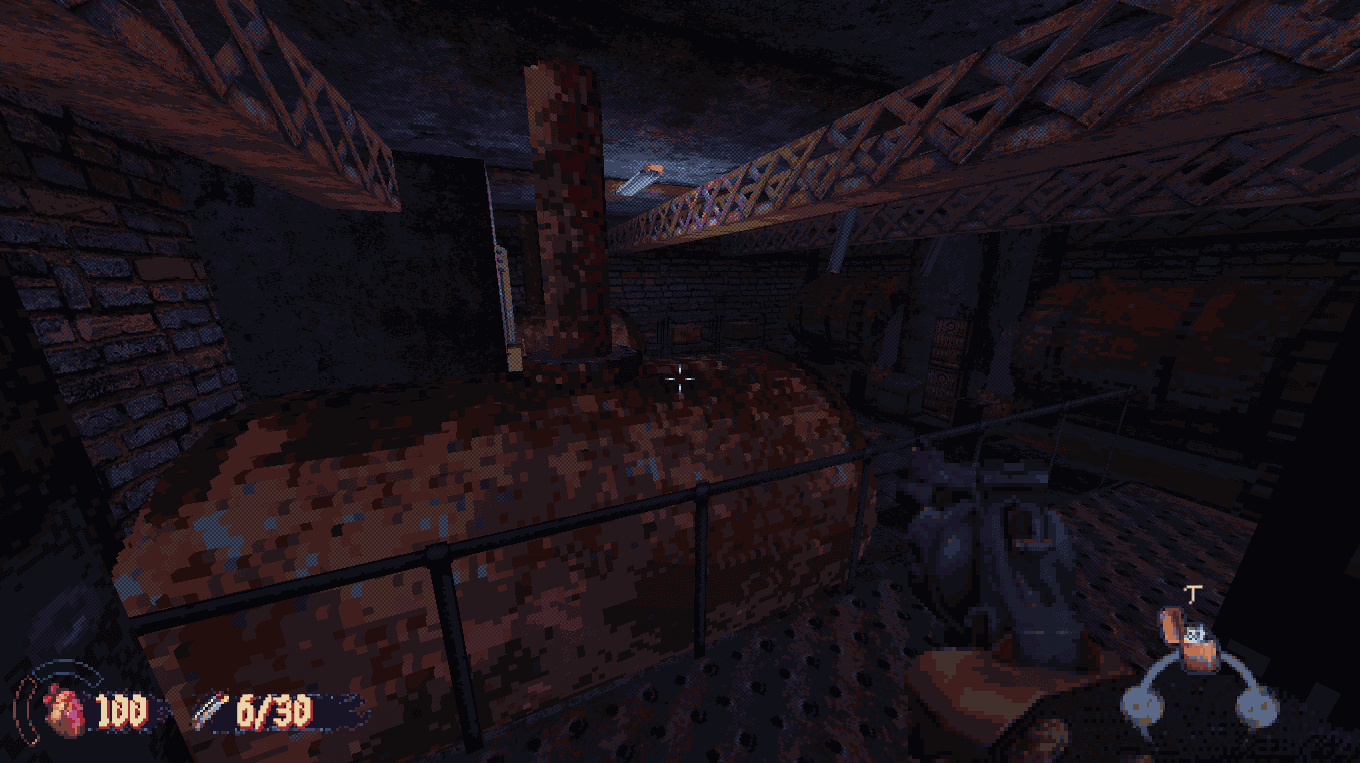
The first secret is located shortly after starting the level and getting out into the hallway. In the room you have to enter to turn off the fire, you should be able to clearly see a box of weapon parts through a blocked off doorway. From the entrance of the room, walk behind the first canister; the entrance will be behind a little destructible wooden doorway on the floor. Crouch to get into it and follow it all the way through the vents to get into the secret and your first set of weapon parts in the level (There is a similar doorway behind some crates underneath the stairs; this is a red herring and leads to nothing).
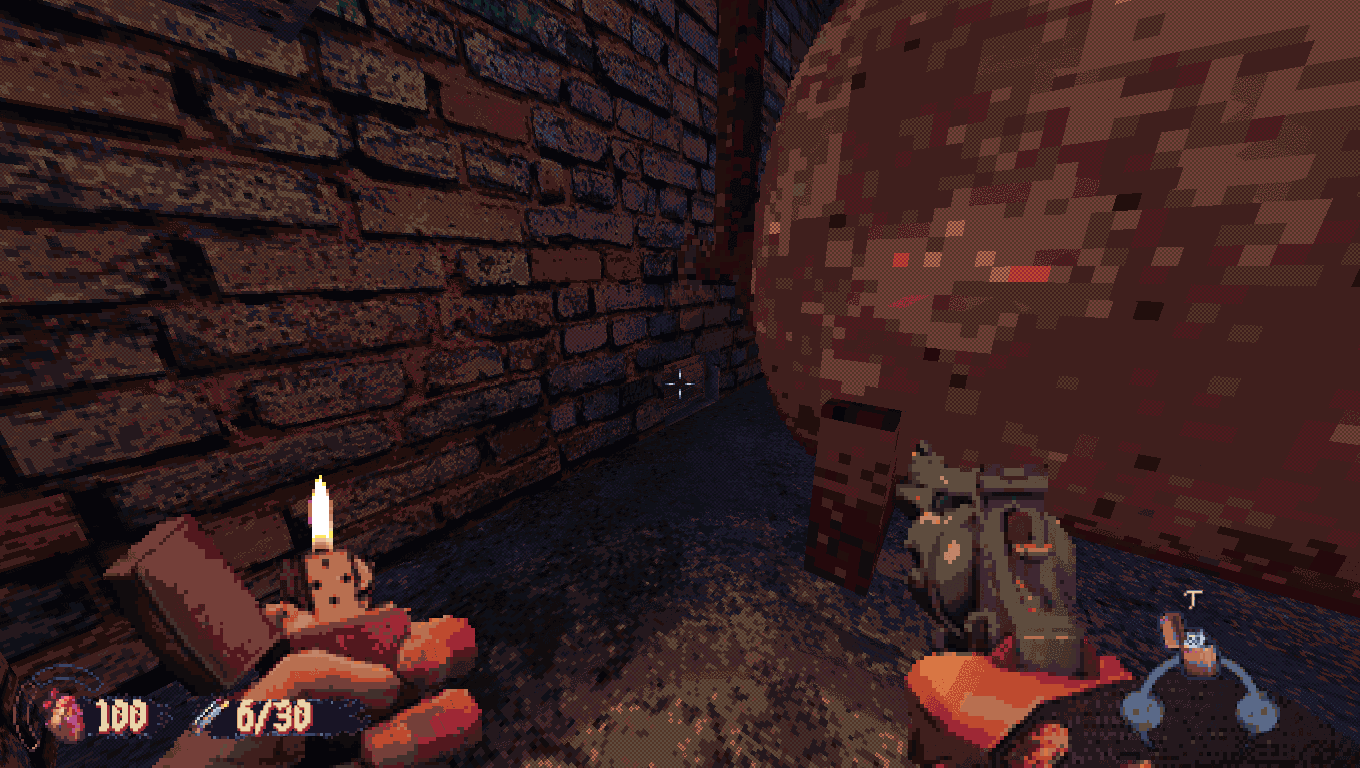
My crosshair is on the doorway in this screenshot.
Secret 2
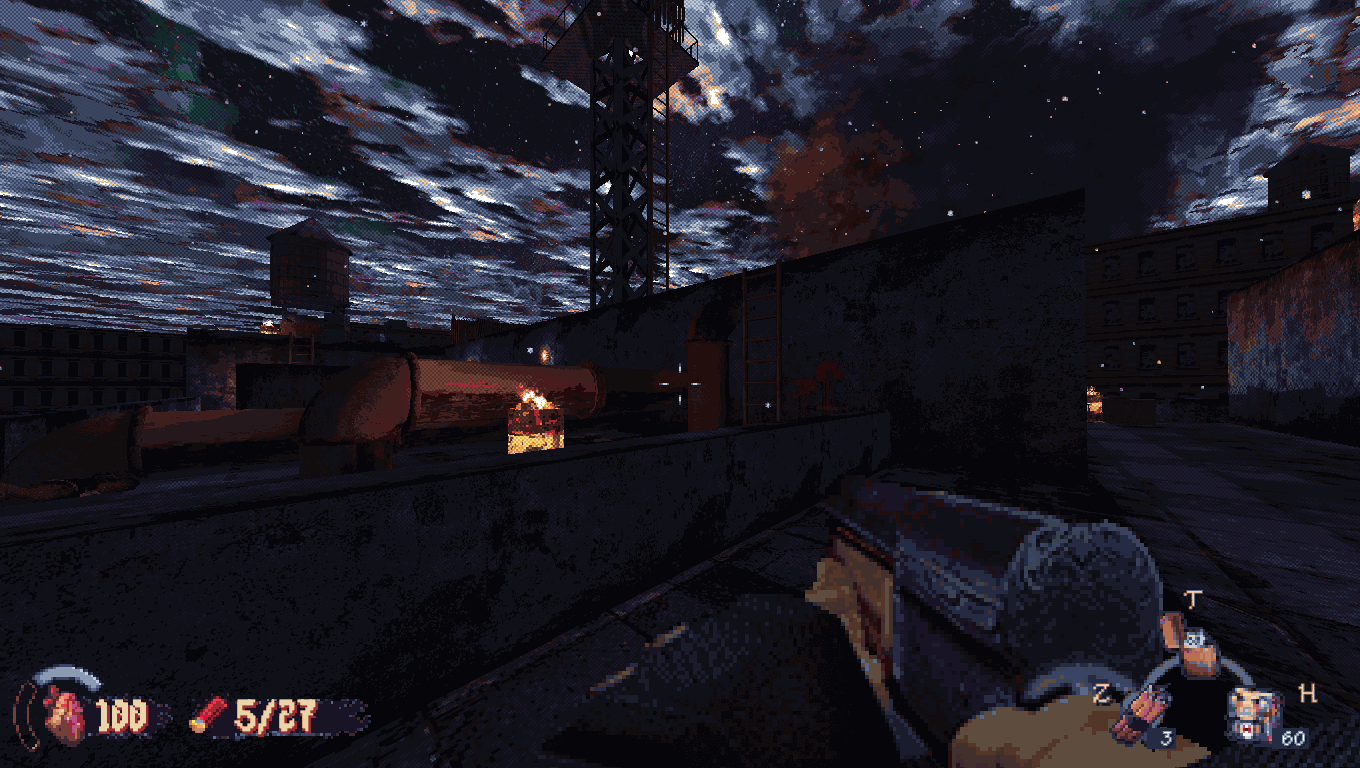
Continuing on with the level for a short while, you’ll eventually reach the rooftops.
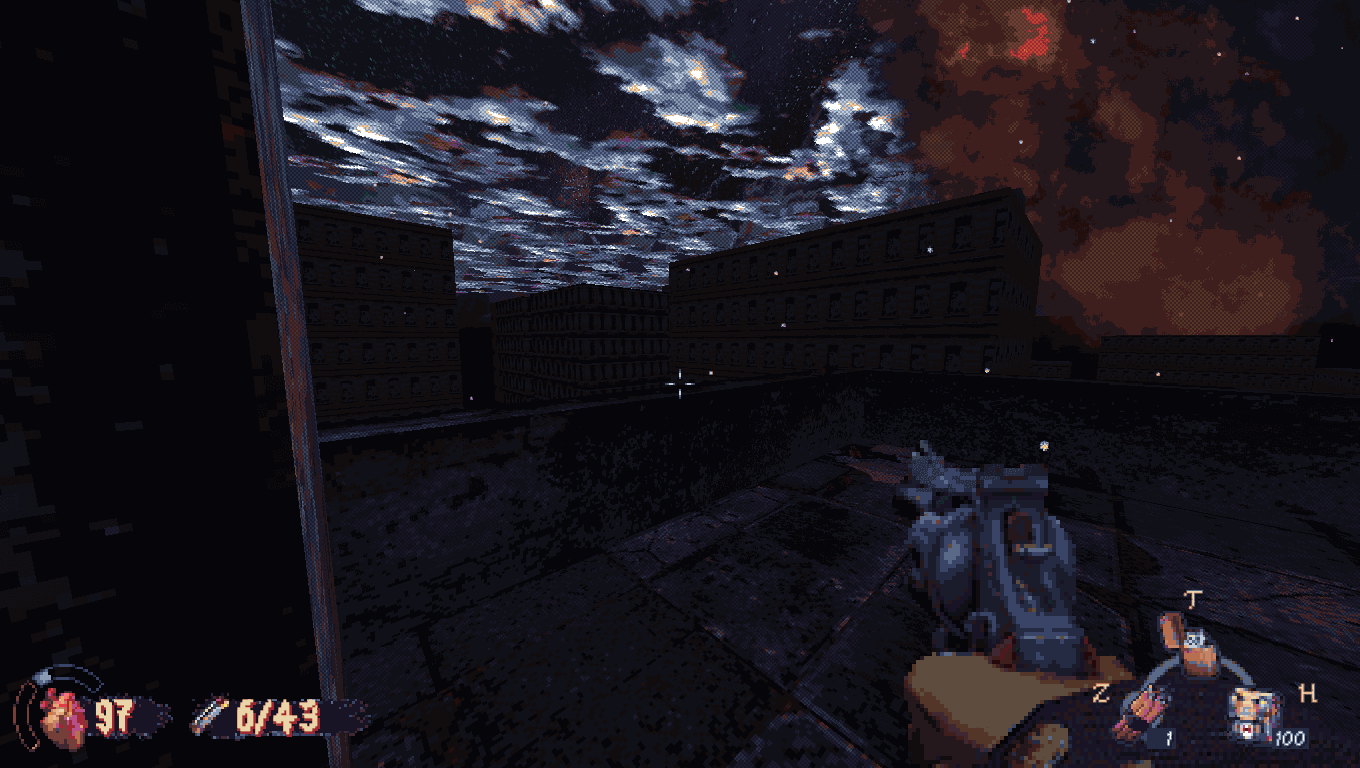
Immediately turn left and jump on the ledge, following it all the way to the far side. Some weapon parts await you there (I had collected them before remembering to grab the screenshot, but trust me, they’re there).
Secret 3
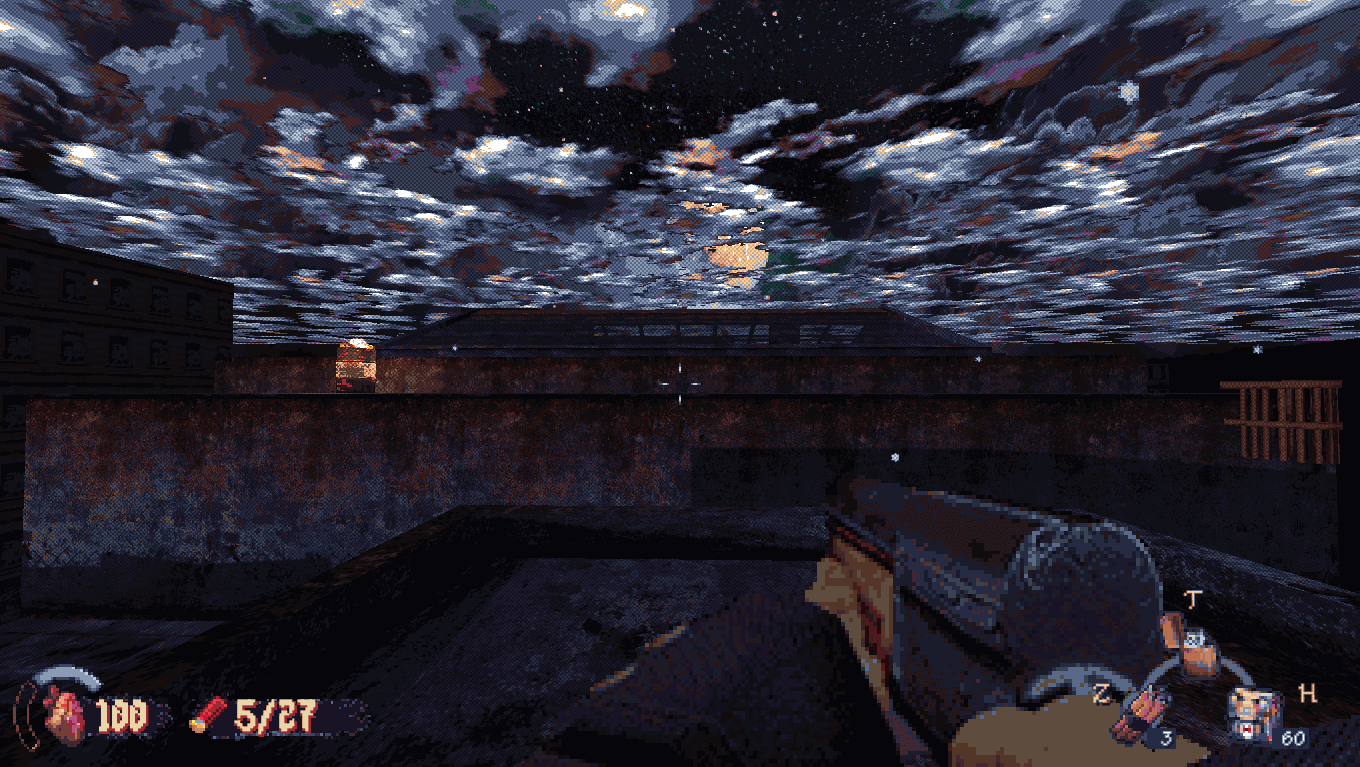
Continue on with the rooftops for a bit, and after a skirmish with a few cultists, you’ll find yourself in a spot with two visible ladders. You want to take the one on the right for the secret.
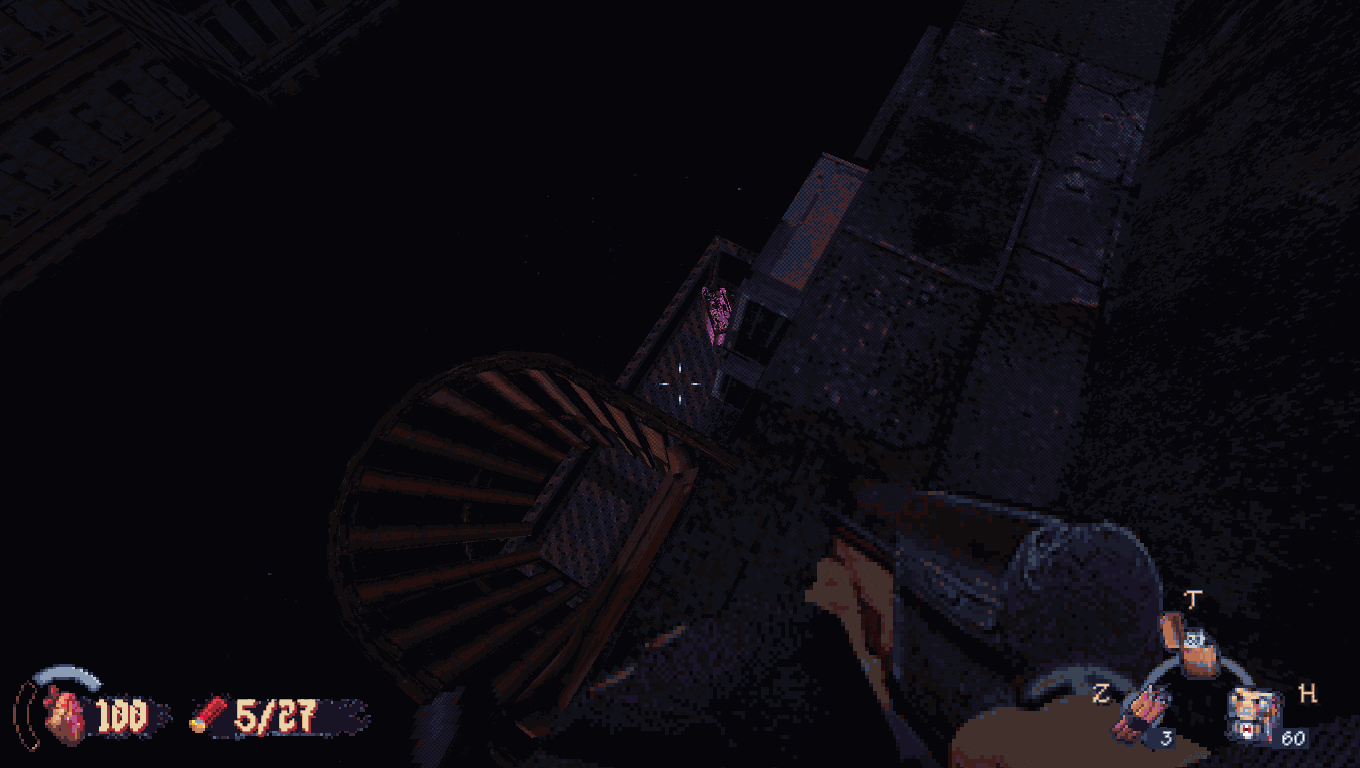
Head up the ladder, and turn to the right. You’ll find yourself facing a higher portion of the roof with a glass top; you’ll have to kickboost over there (Jump and then Kick; it might take a few tries, but it is very doable).
After kickboosting your way over, head across the roof and look down. You’ll see a balcony, and your reward; another set of weapon parts.
Secret 4
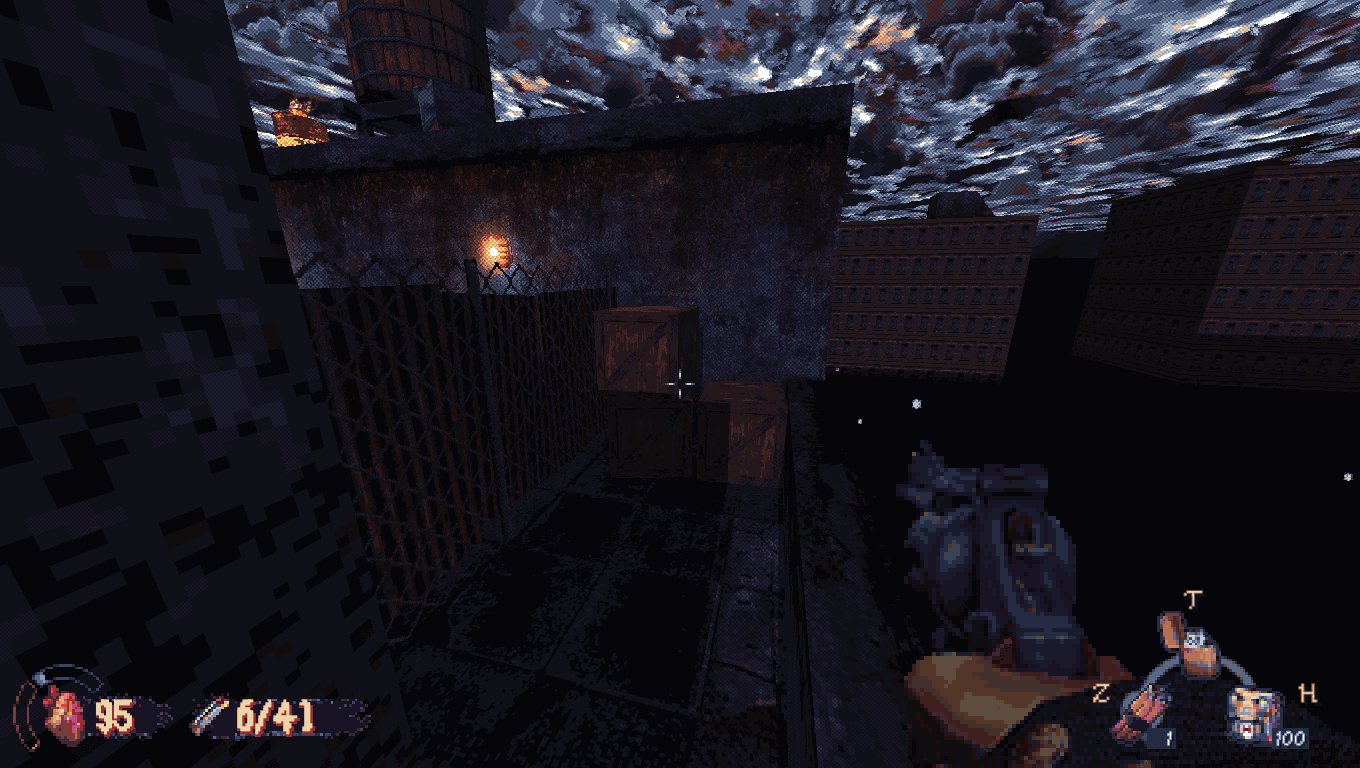
The easiest secret in the entire level, given a note found when you take a left on the ladder that leads to Secret 3 spells out how to get to it. After getting Secret 3, head back and head up the ladder that you saw earlier on the left. You’ll find yourself looking at a water tower.
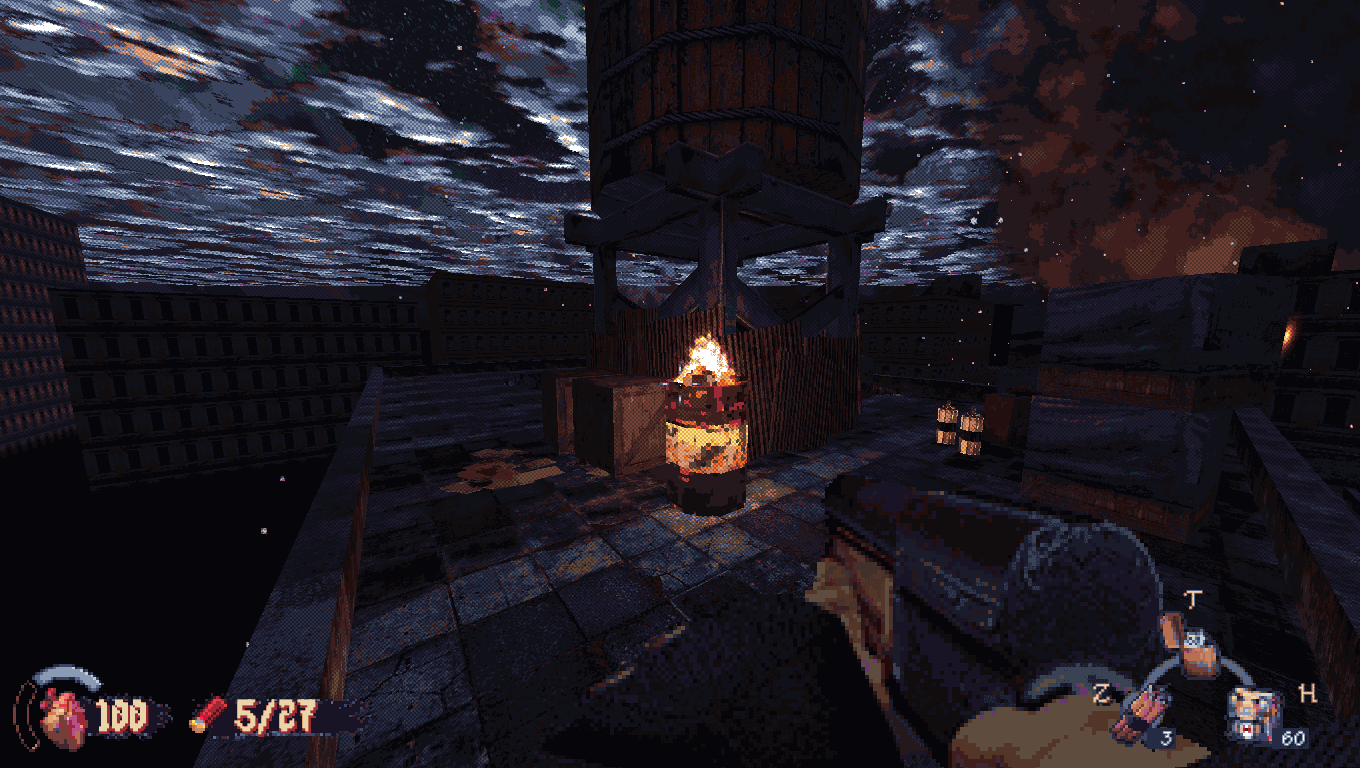
Destroy those two boxes and crouch underneath the water tower to find the secret. Your reward is some dynamite.
Secret 5
By far the most involved secret in the level, though still not terribly complicated. After dropping down the hole in the roof and dealing with the officers in the conference room, you’ll end up in the chief’s office.
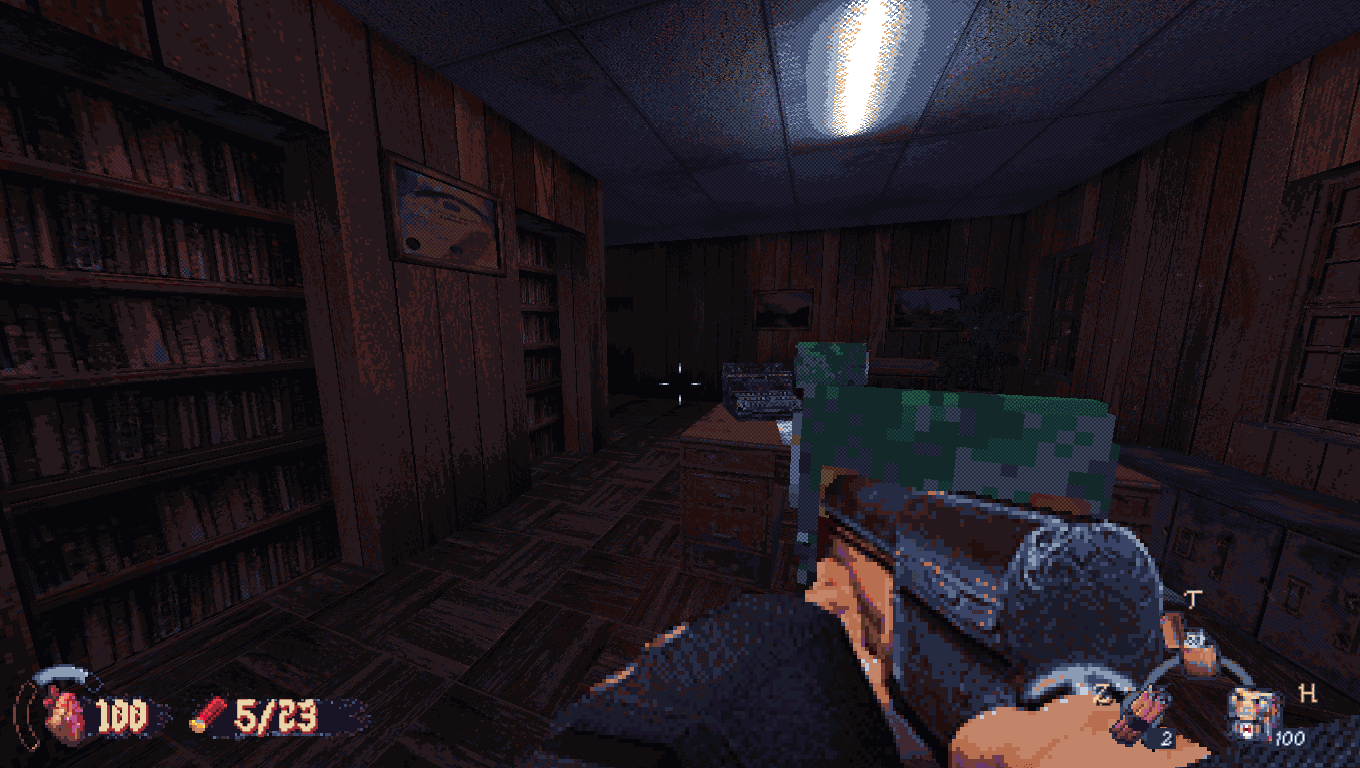
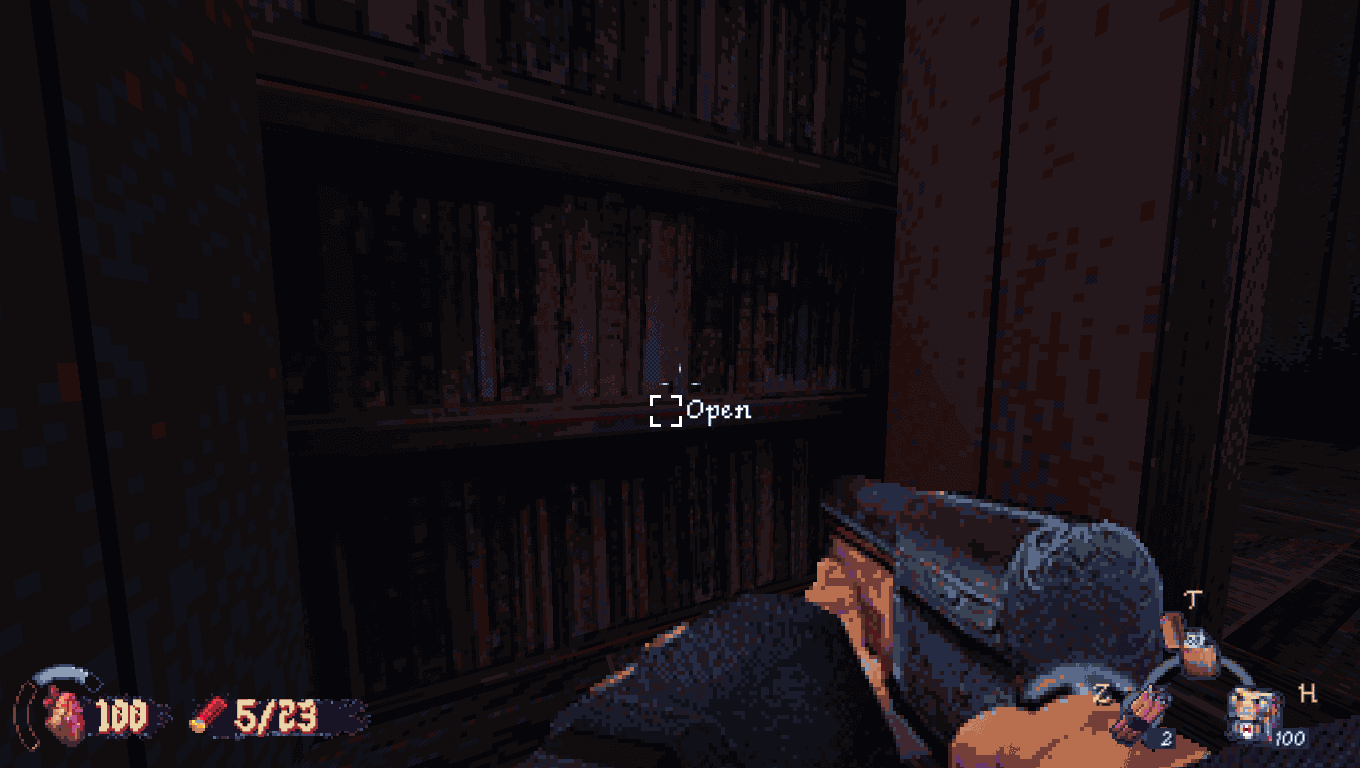
Go over to the SECOND bookcase, and crouch down by it. An interact prompt should come up, opening up a little compartment with the Morgue Key in it. Grab the key and remember it after the dark car park portion of the level.
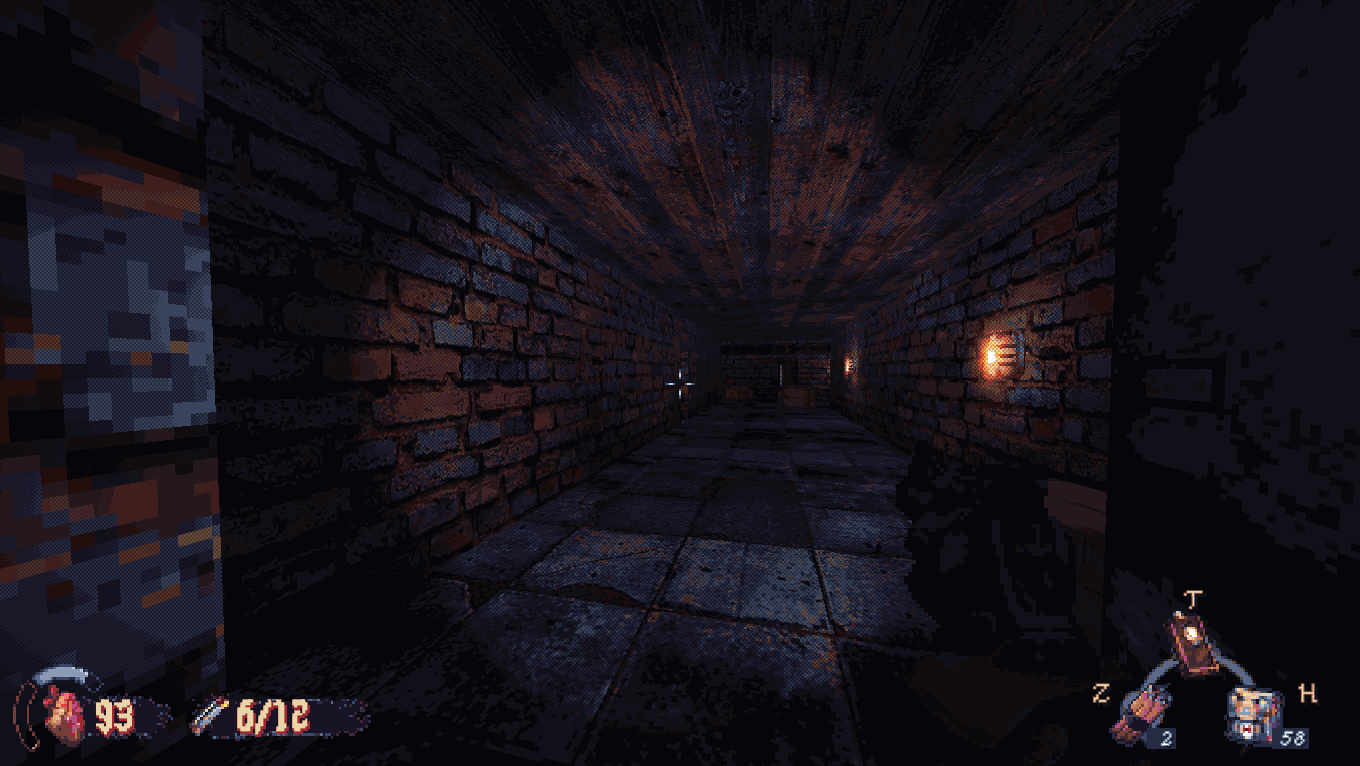
After dealing with the car park, you’ll end up at the bottom of a stairwell. Go up one flight of stairs and enter the door; you’ll be back near where you started the level.
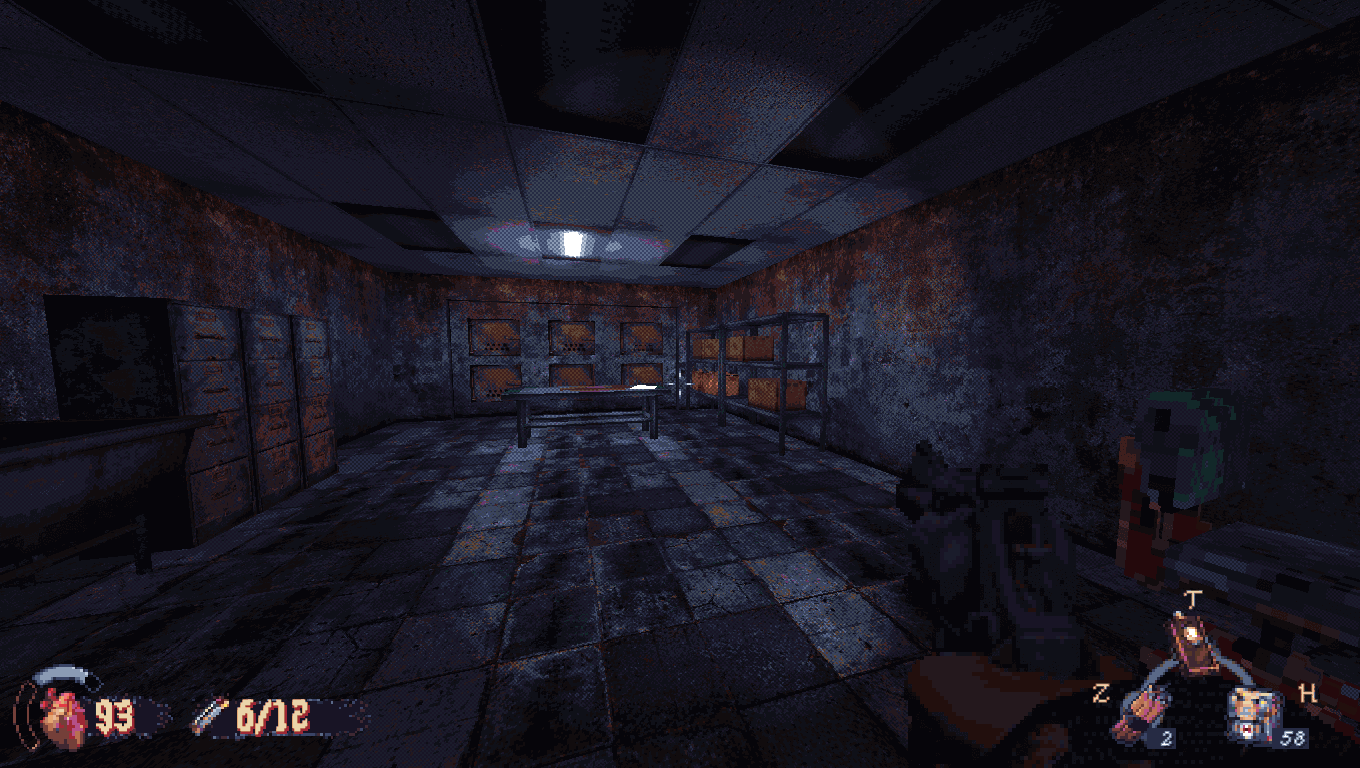
You want to enter the door on the left in the screenshot, the one that says MORGUE above it. Your reward for the final secret is some additional lore, and two more weapon parts.
Go have a blast with your extra weapon parts for weapon modding against the map’s boss.
Yeah I found that way after doing the kickboost and noticing the railing by the secret. Total “FFS” moment.
You actually don’t need to kick boost for Secret 3, you can shimmy around the side of the building to get to that balcony
Ahh. The only way I’d seen anyone get to it was by kickboosting, I wasn’t aware of that.
I didn’t realize either until I’d failed the kickboost a few times and decided to check if there was another way around